Wood Bead Christmas Tree Sign
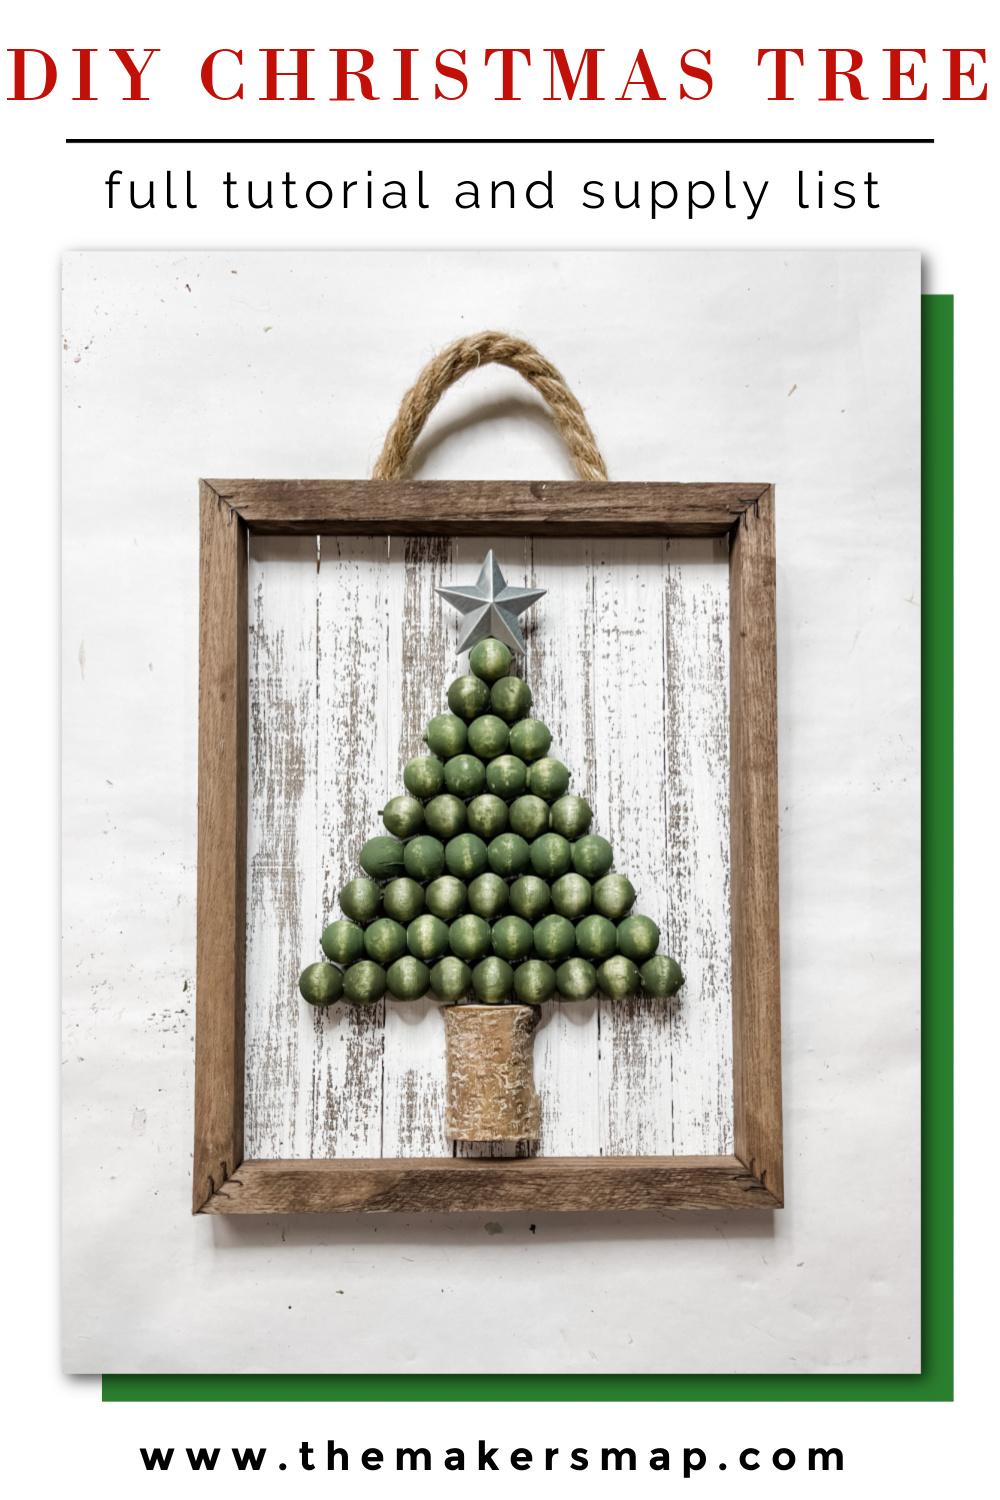
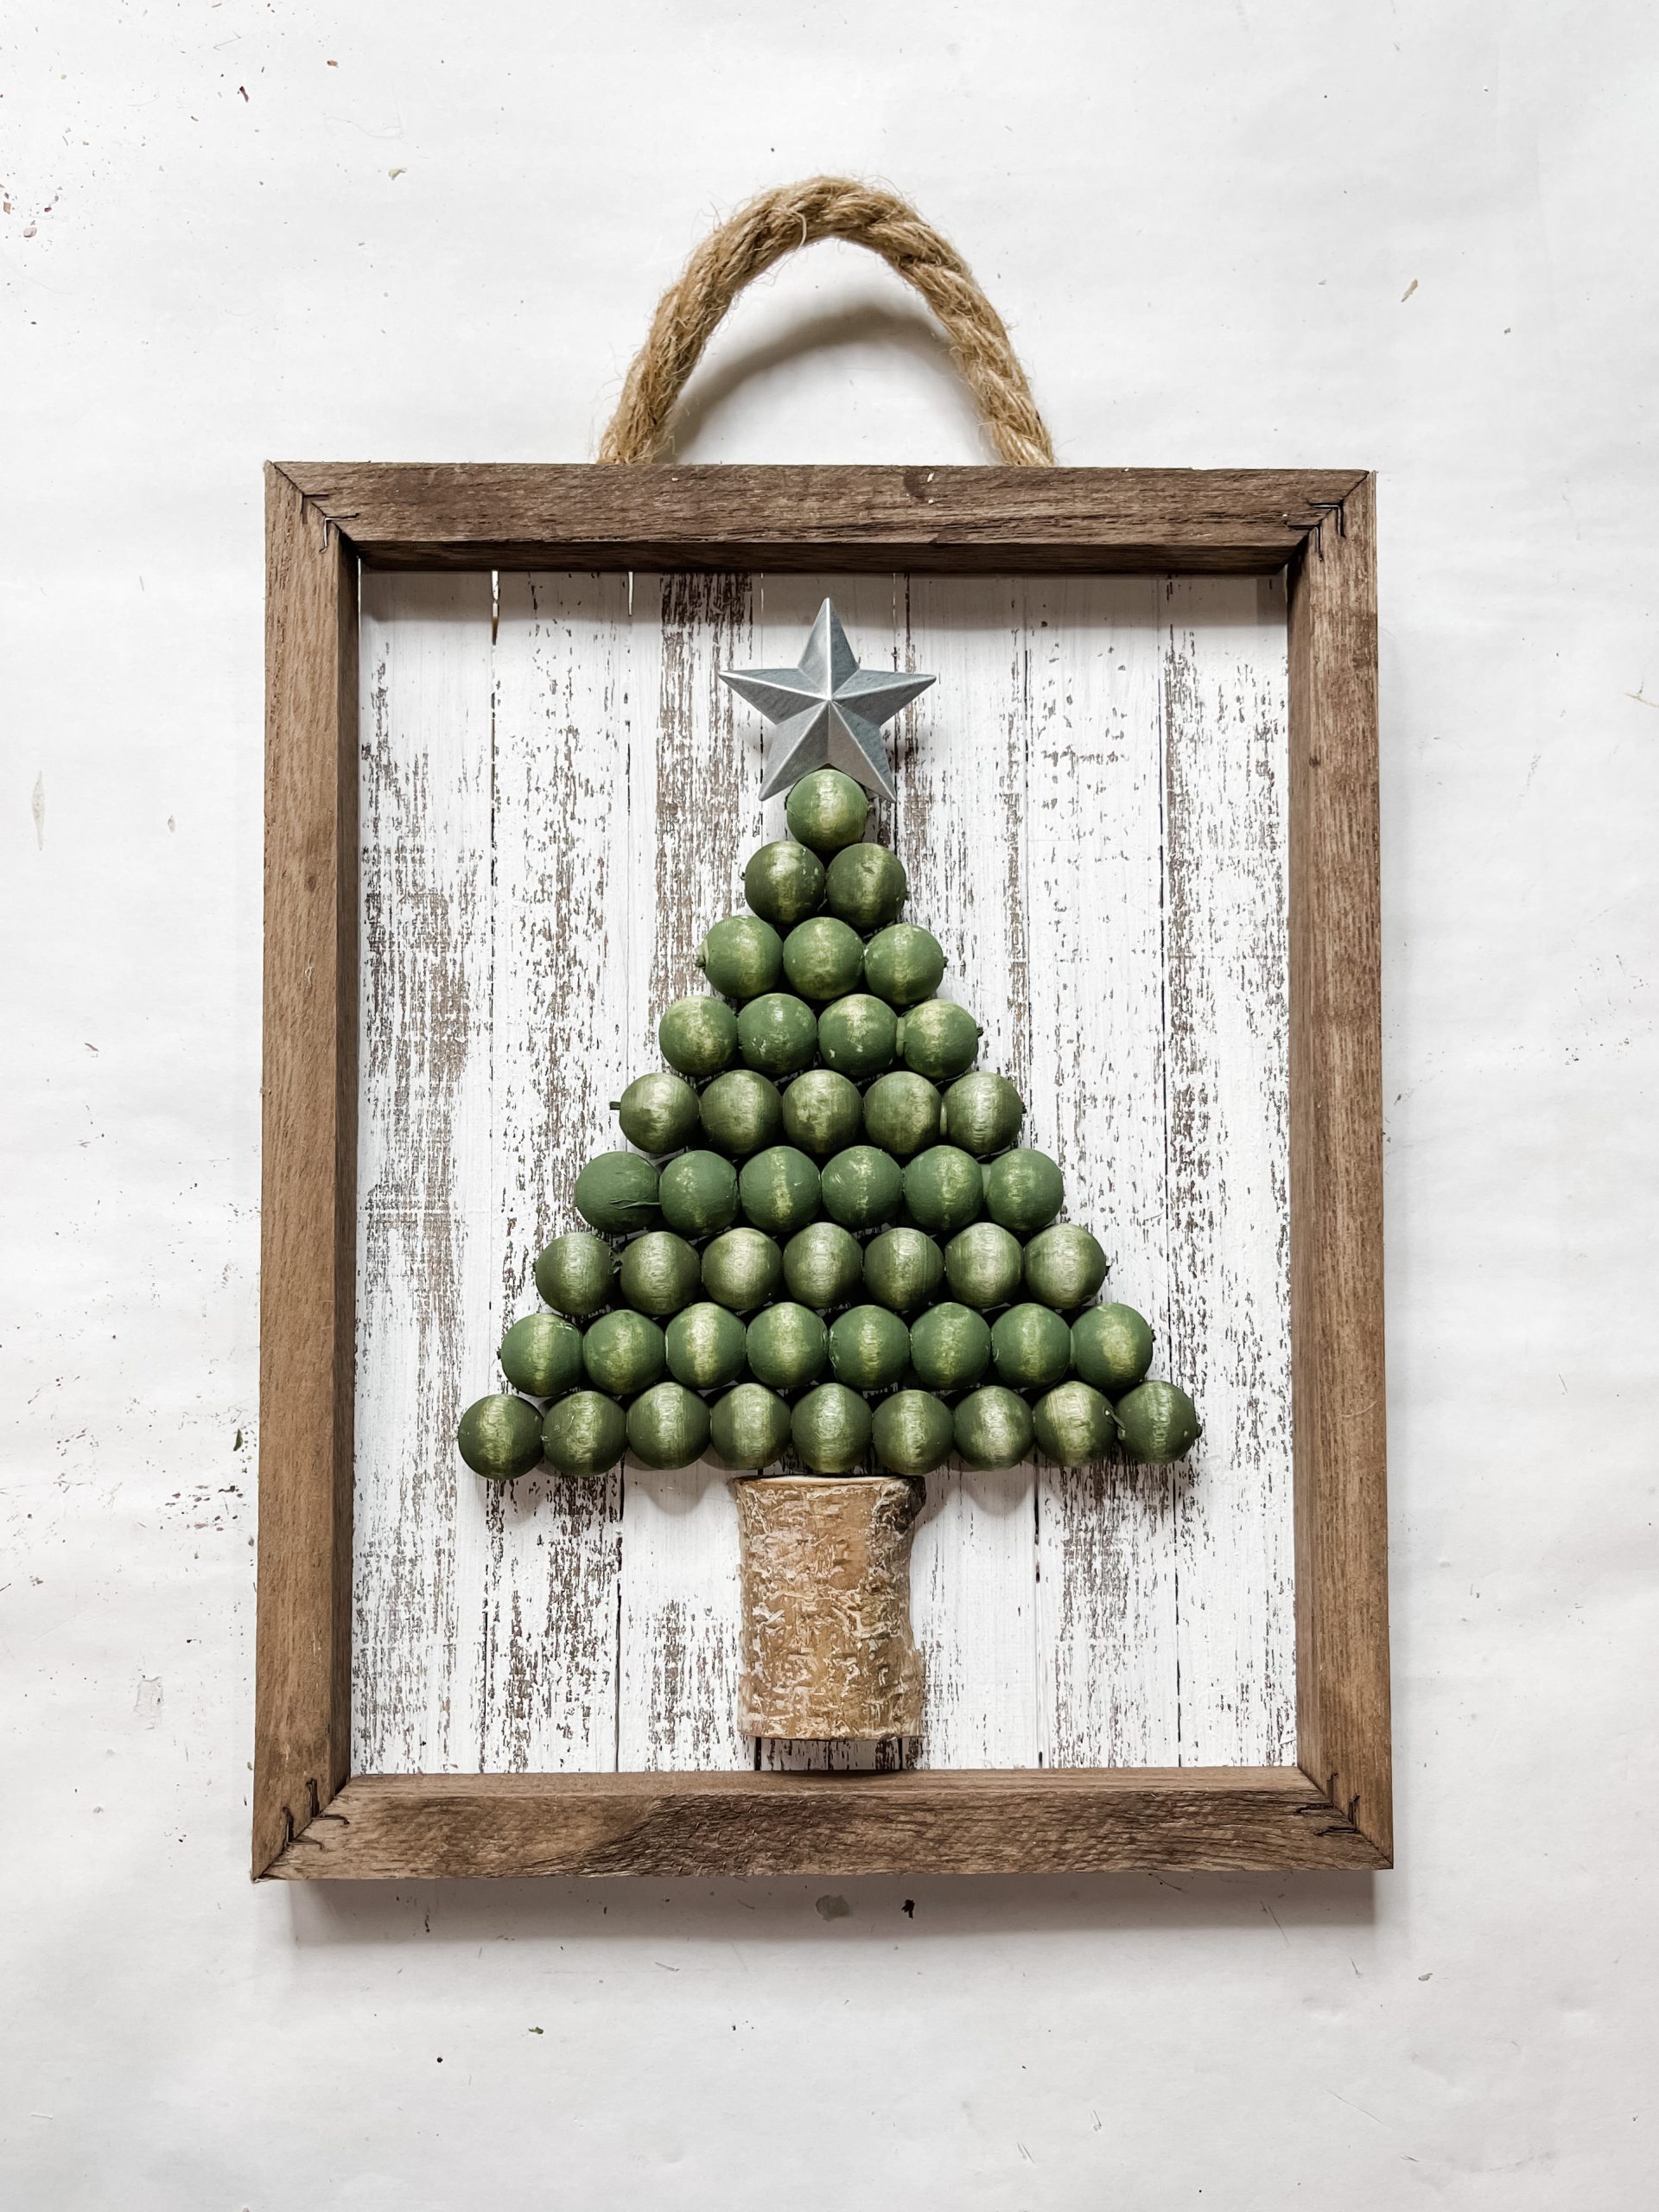
This wood bead Christmas Tree sign was so much fun to make and really let my creativity flow! Turn some basic wood beads into a super cute sign for Christmas!
I love the simplicity of this project and how you can use the idea for it to make other things. Instead of staining the beads green and gluing them in the shape of a tree, you could stain them orange and turn your tree into a pumpkin!
How to Make a Wood Bead Christmas Tree Sign
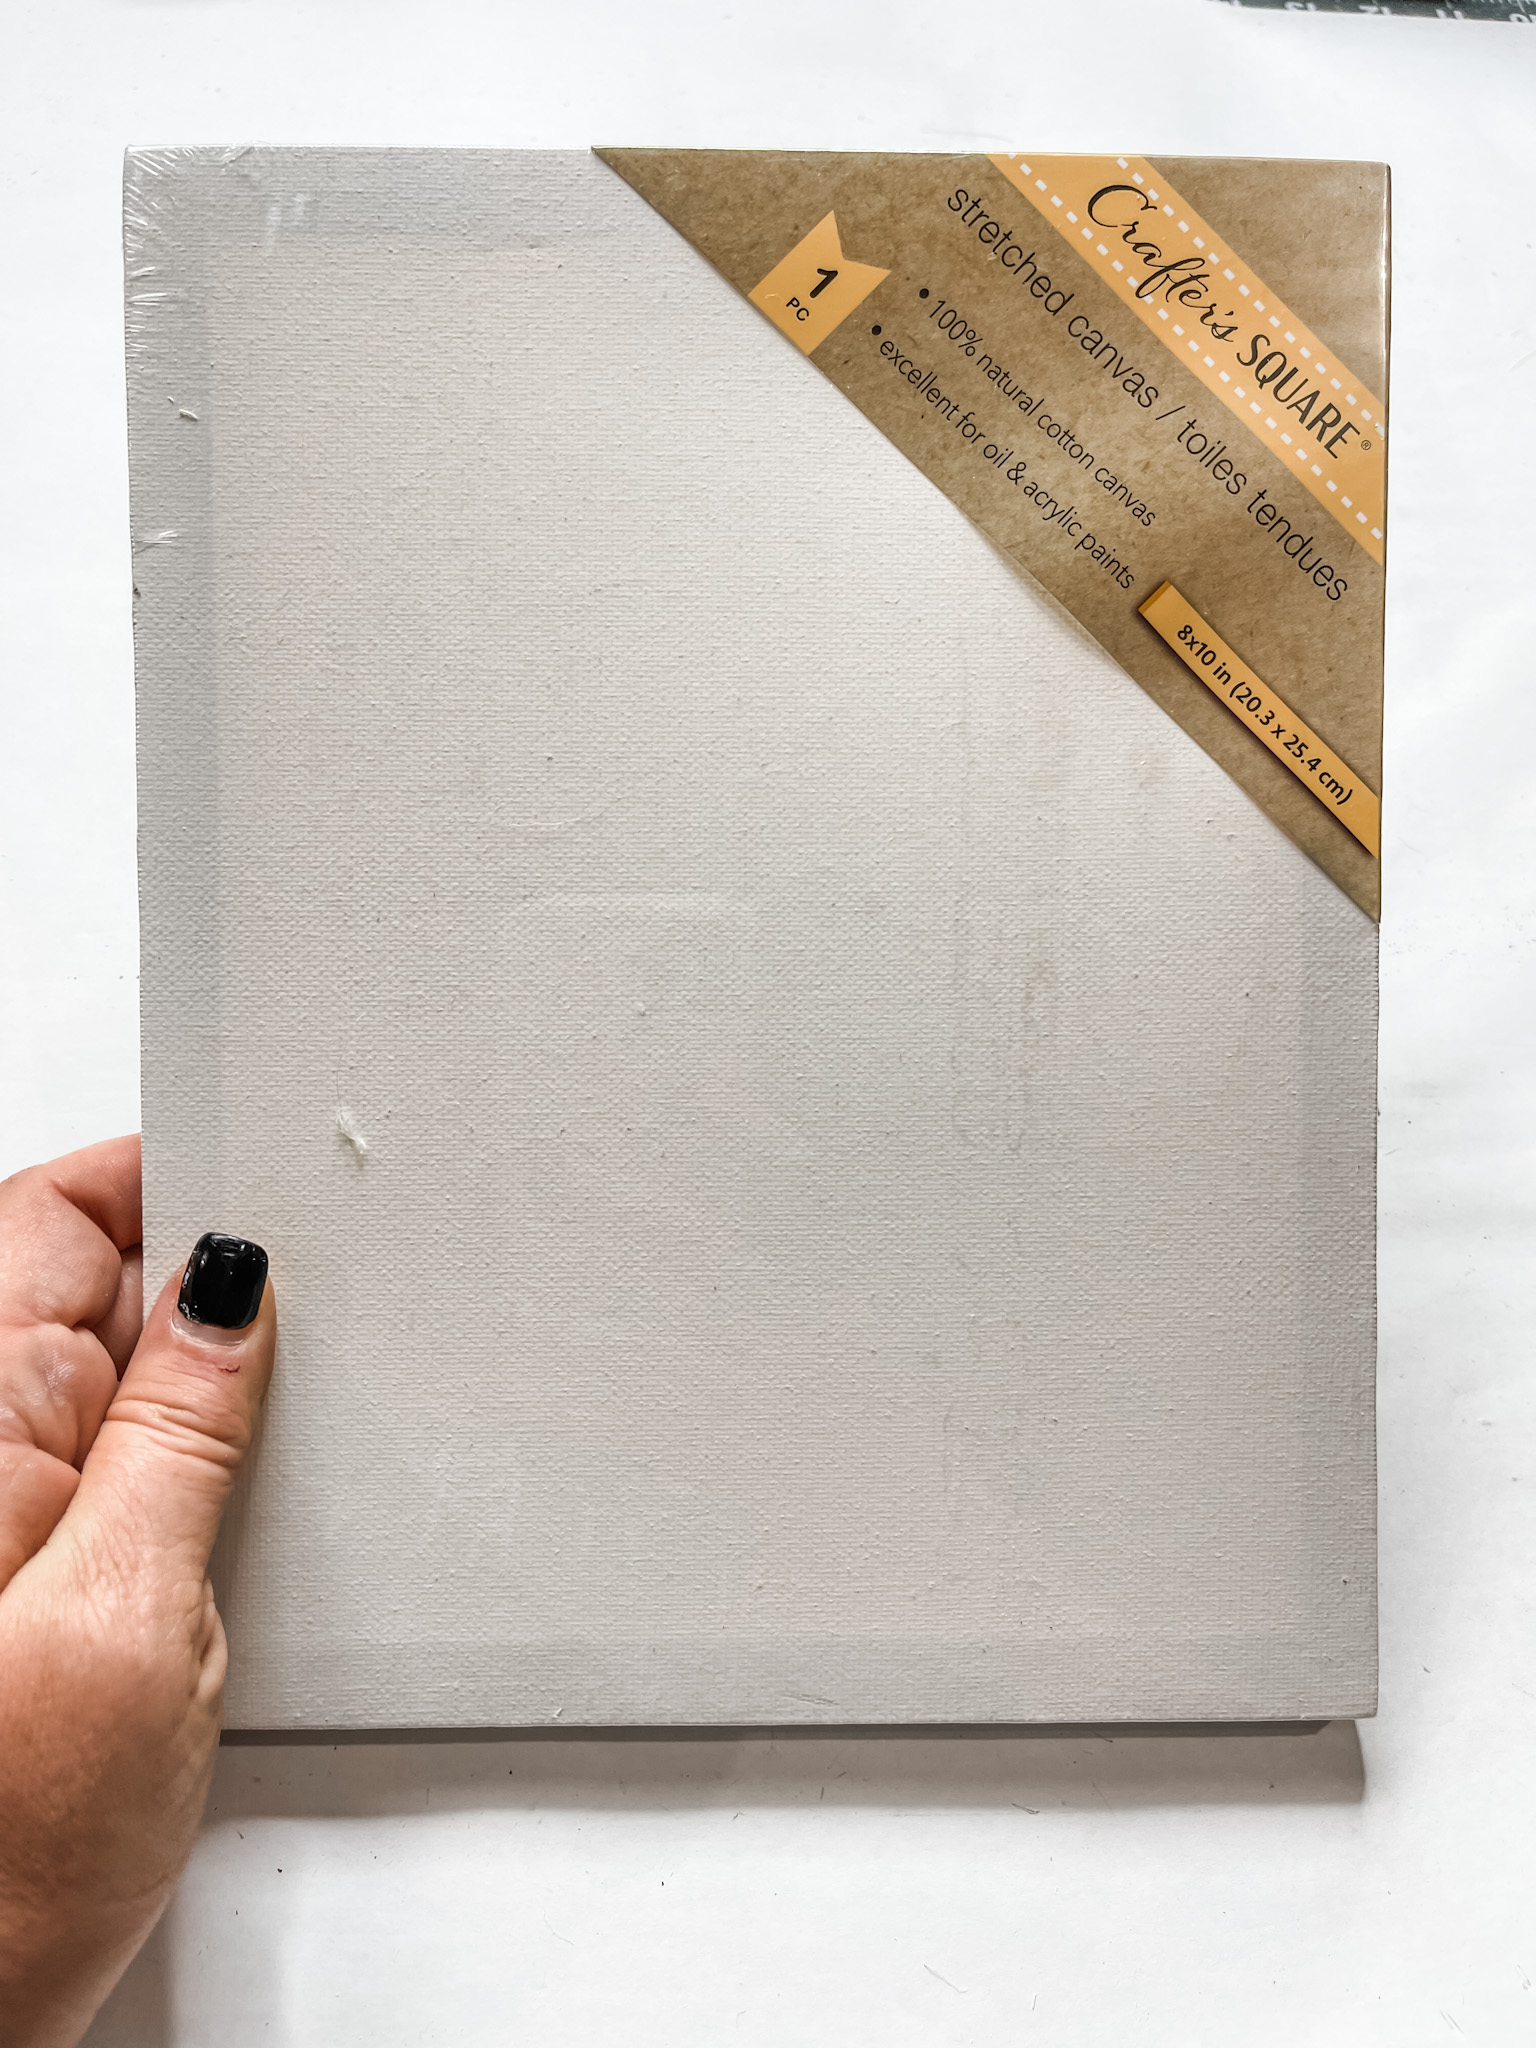
Start this adorable Christmas sign project by removing the Dollar Tree stretched canvas from its frame. You can do this conservatively and save the canvas for another project, or you can just rip it off – your choice.
Then, you need to stain the wooden frame. I like to use paint to stain wood for my craft projects because it is much more affordable but works just as great as an actual stain.
How to stain wood with acrylic paint
To use paint to stain wood, you’ll need to spray the wooden frame with water and pour the paint directly onto the wood.
Then, use a wet wipe to spread the paint across the frame. The water helps the wood absorb the pigment. Wipe the excess paint off with a clean wet wipe and you’re left with a stained finish!
Allow the wood to dry completely. I like to use my heat gun to speed up the drying process. Then, layout the wood shims on the frame to see how many you’ll need to cover the opening.
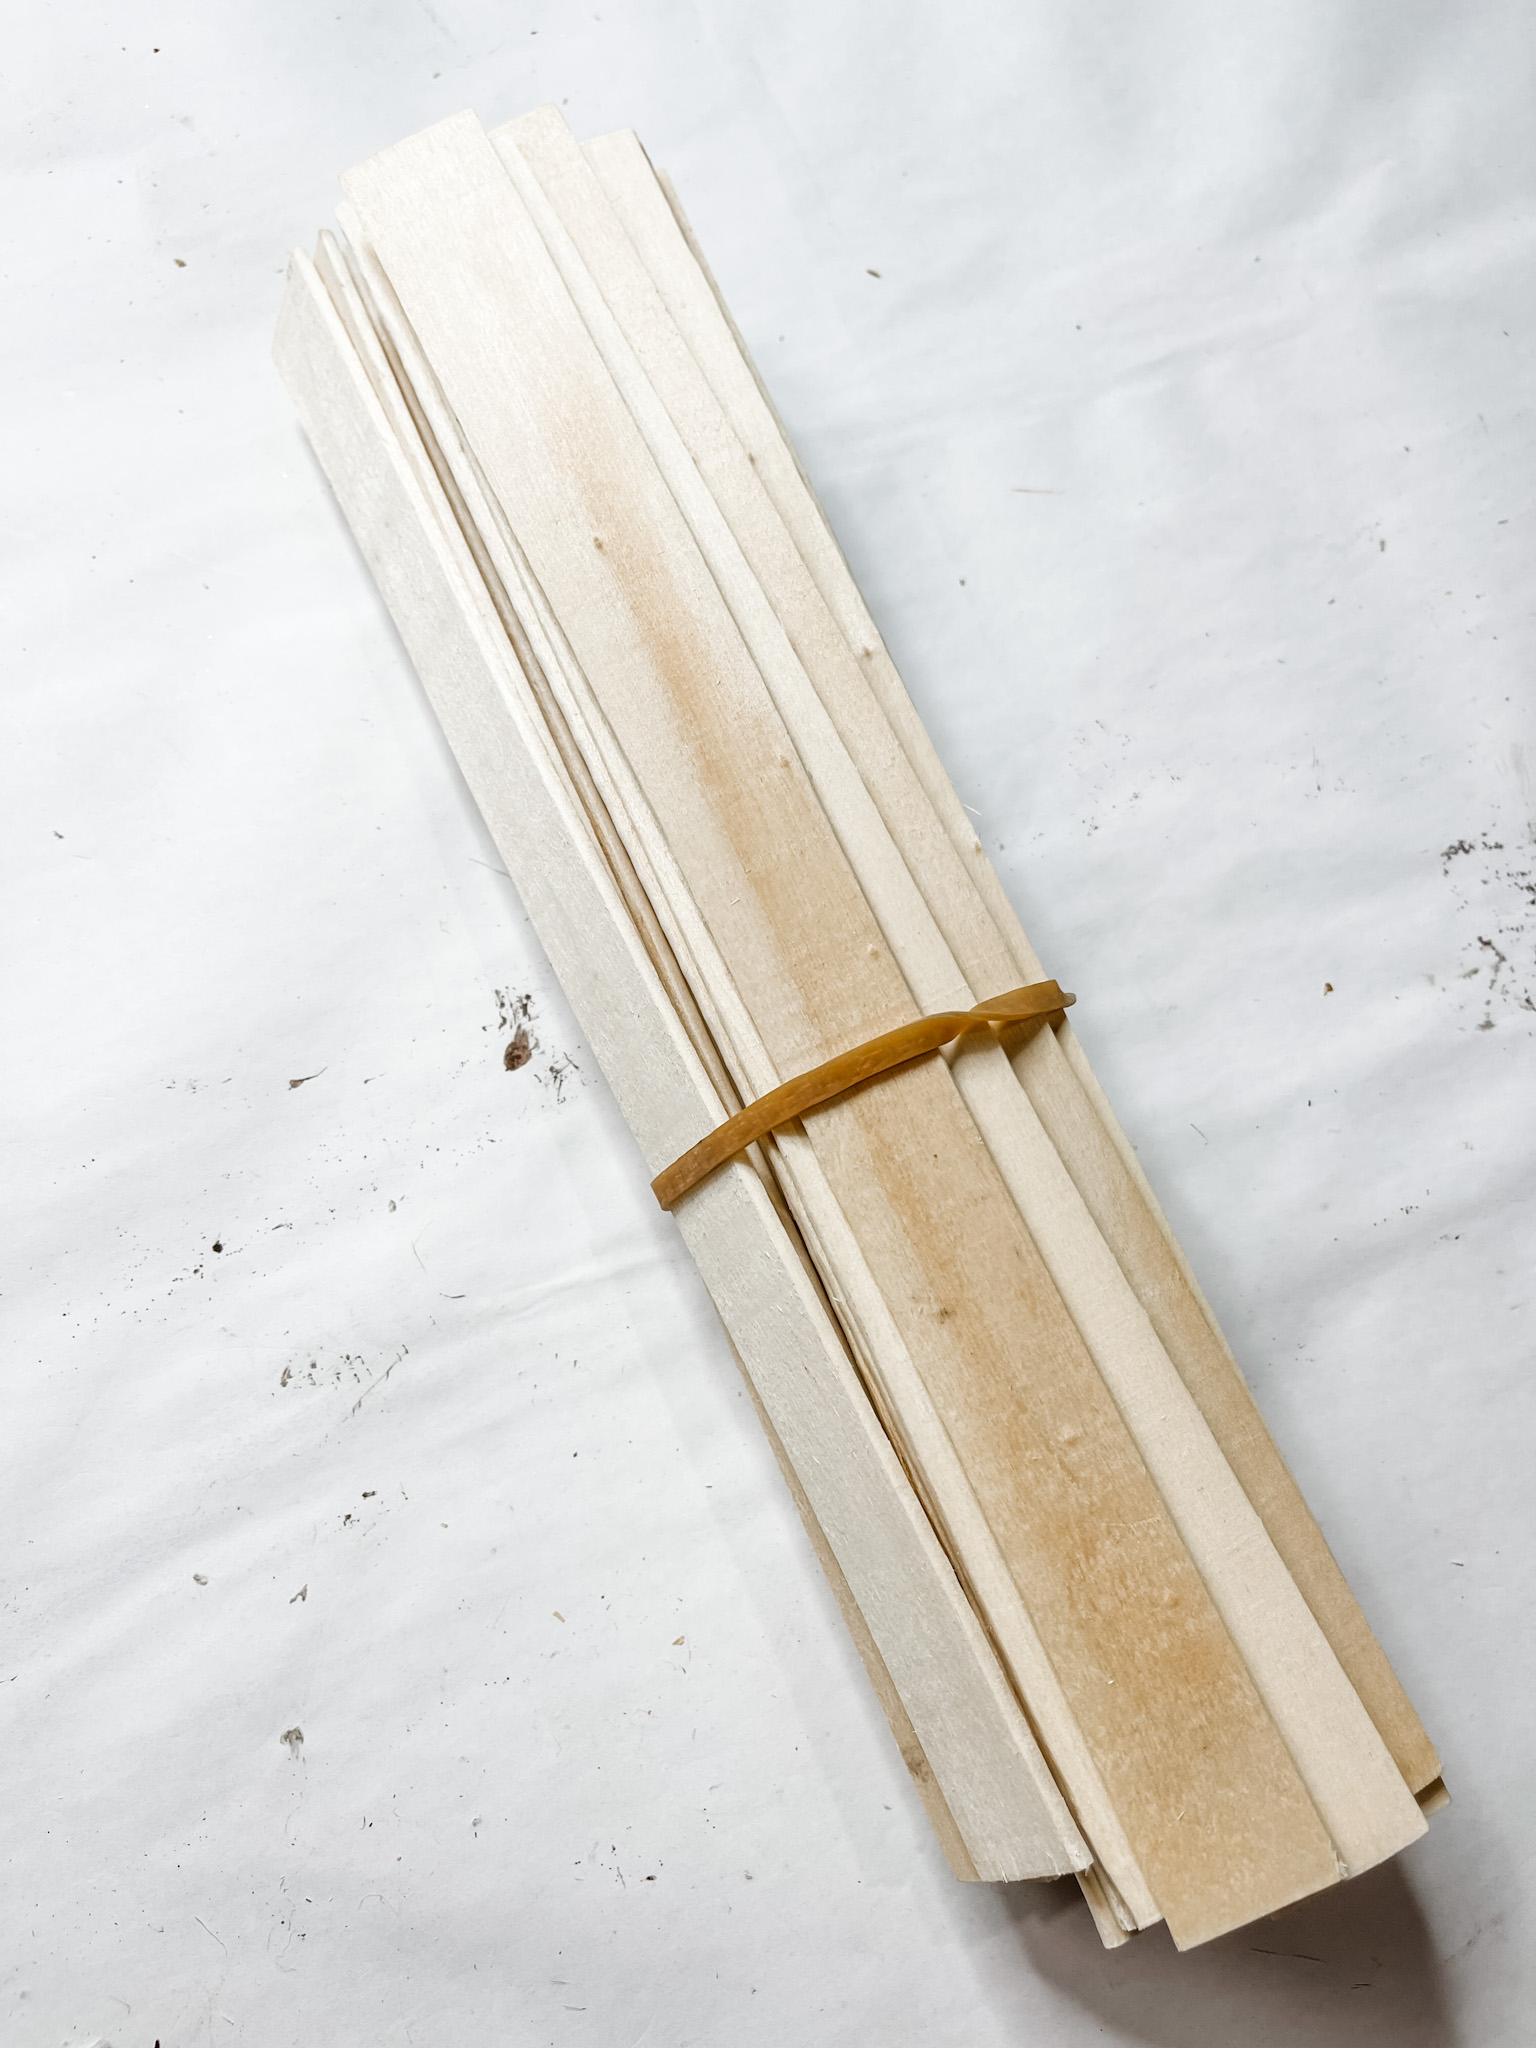
Mark the shims and trim them so they don’t hang over the sides of the frame. Once they’re all cut to size, secure them together with shims glued horizontally across them.
Now, go ahead and stain them the same way you stained the canvas frame.
Simple distressed finish
Allow the wood shims to dry completely (again, I used my heat gun to speed this up) and get your white paint and a clean paintbrush.
Dry brush a little bit of white paint across the shims. You aren’t going for full coverage, so keep a light hand and don’t get too much paint on the brush between strokes.
If you apply too much white paint, wait until the white paint dries, then go over the surface with a sanding sponge. You could also go for a chippy finish.
Pick your shade of green
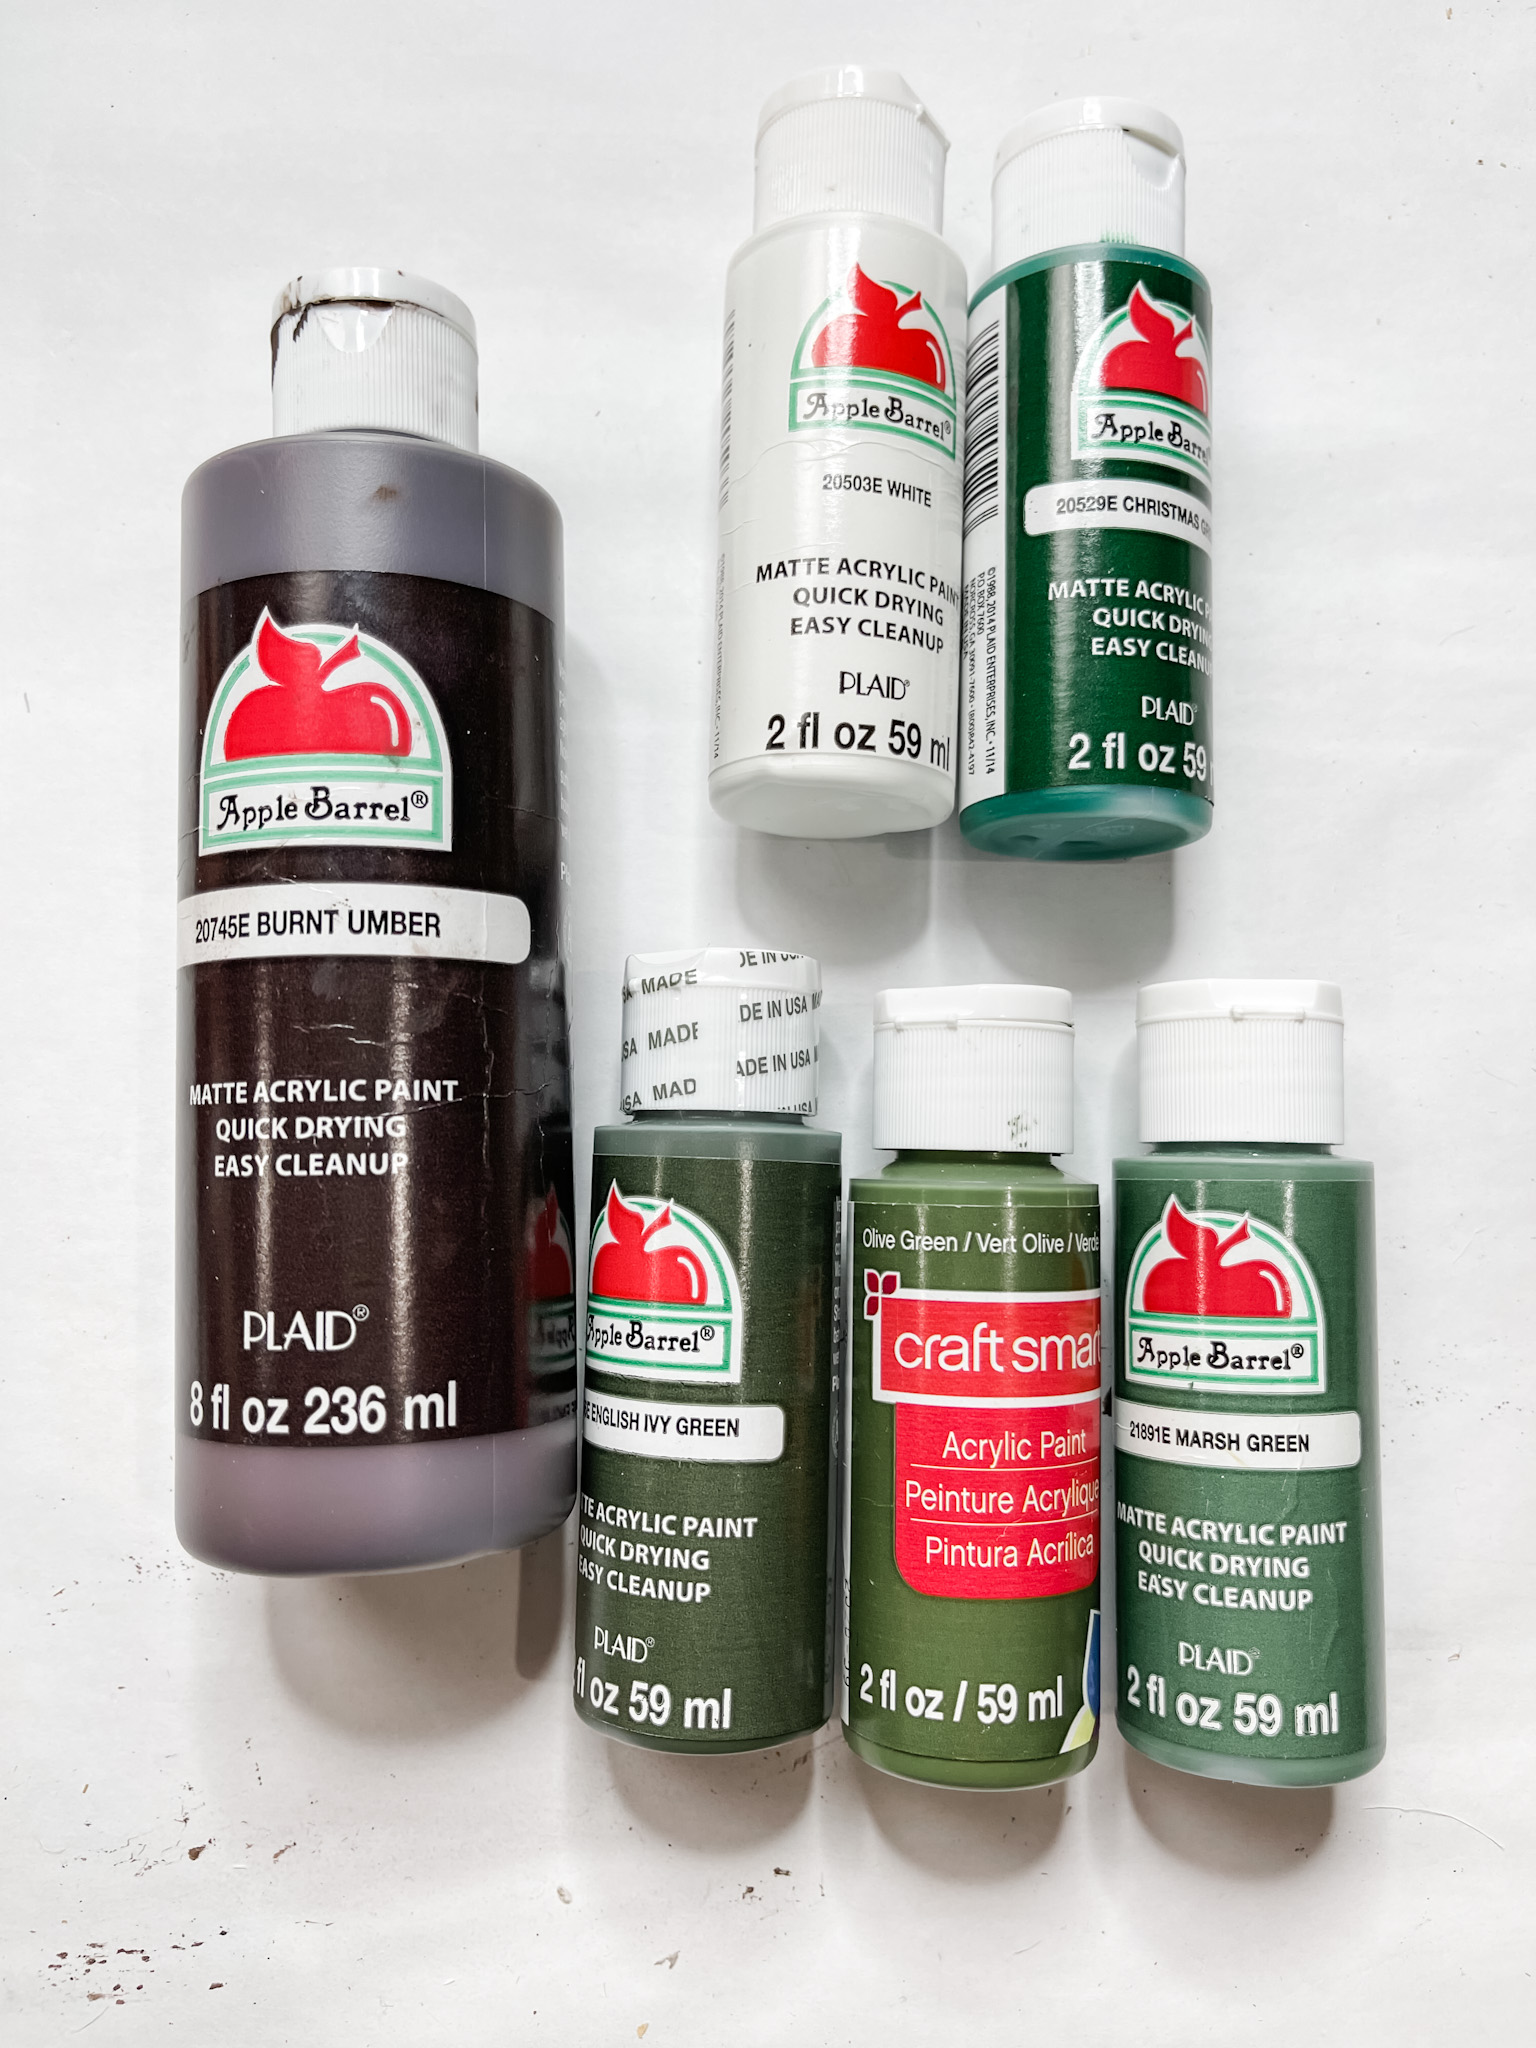
Next up is your Christmas tree! You need to pick the shade of green paint you want to use for your tree. I used Apple Barrel English Ivy and Craftsmart Olive Green, alternating.
I tested each of the shades listed in the supply list, so you can watch the video to see if you like any of those colors more than the ones I used.
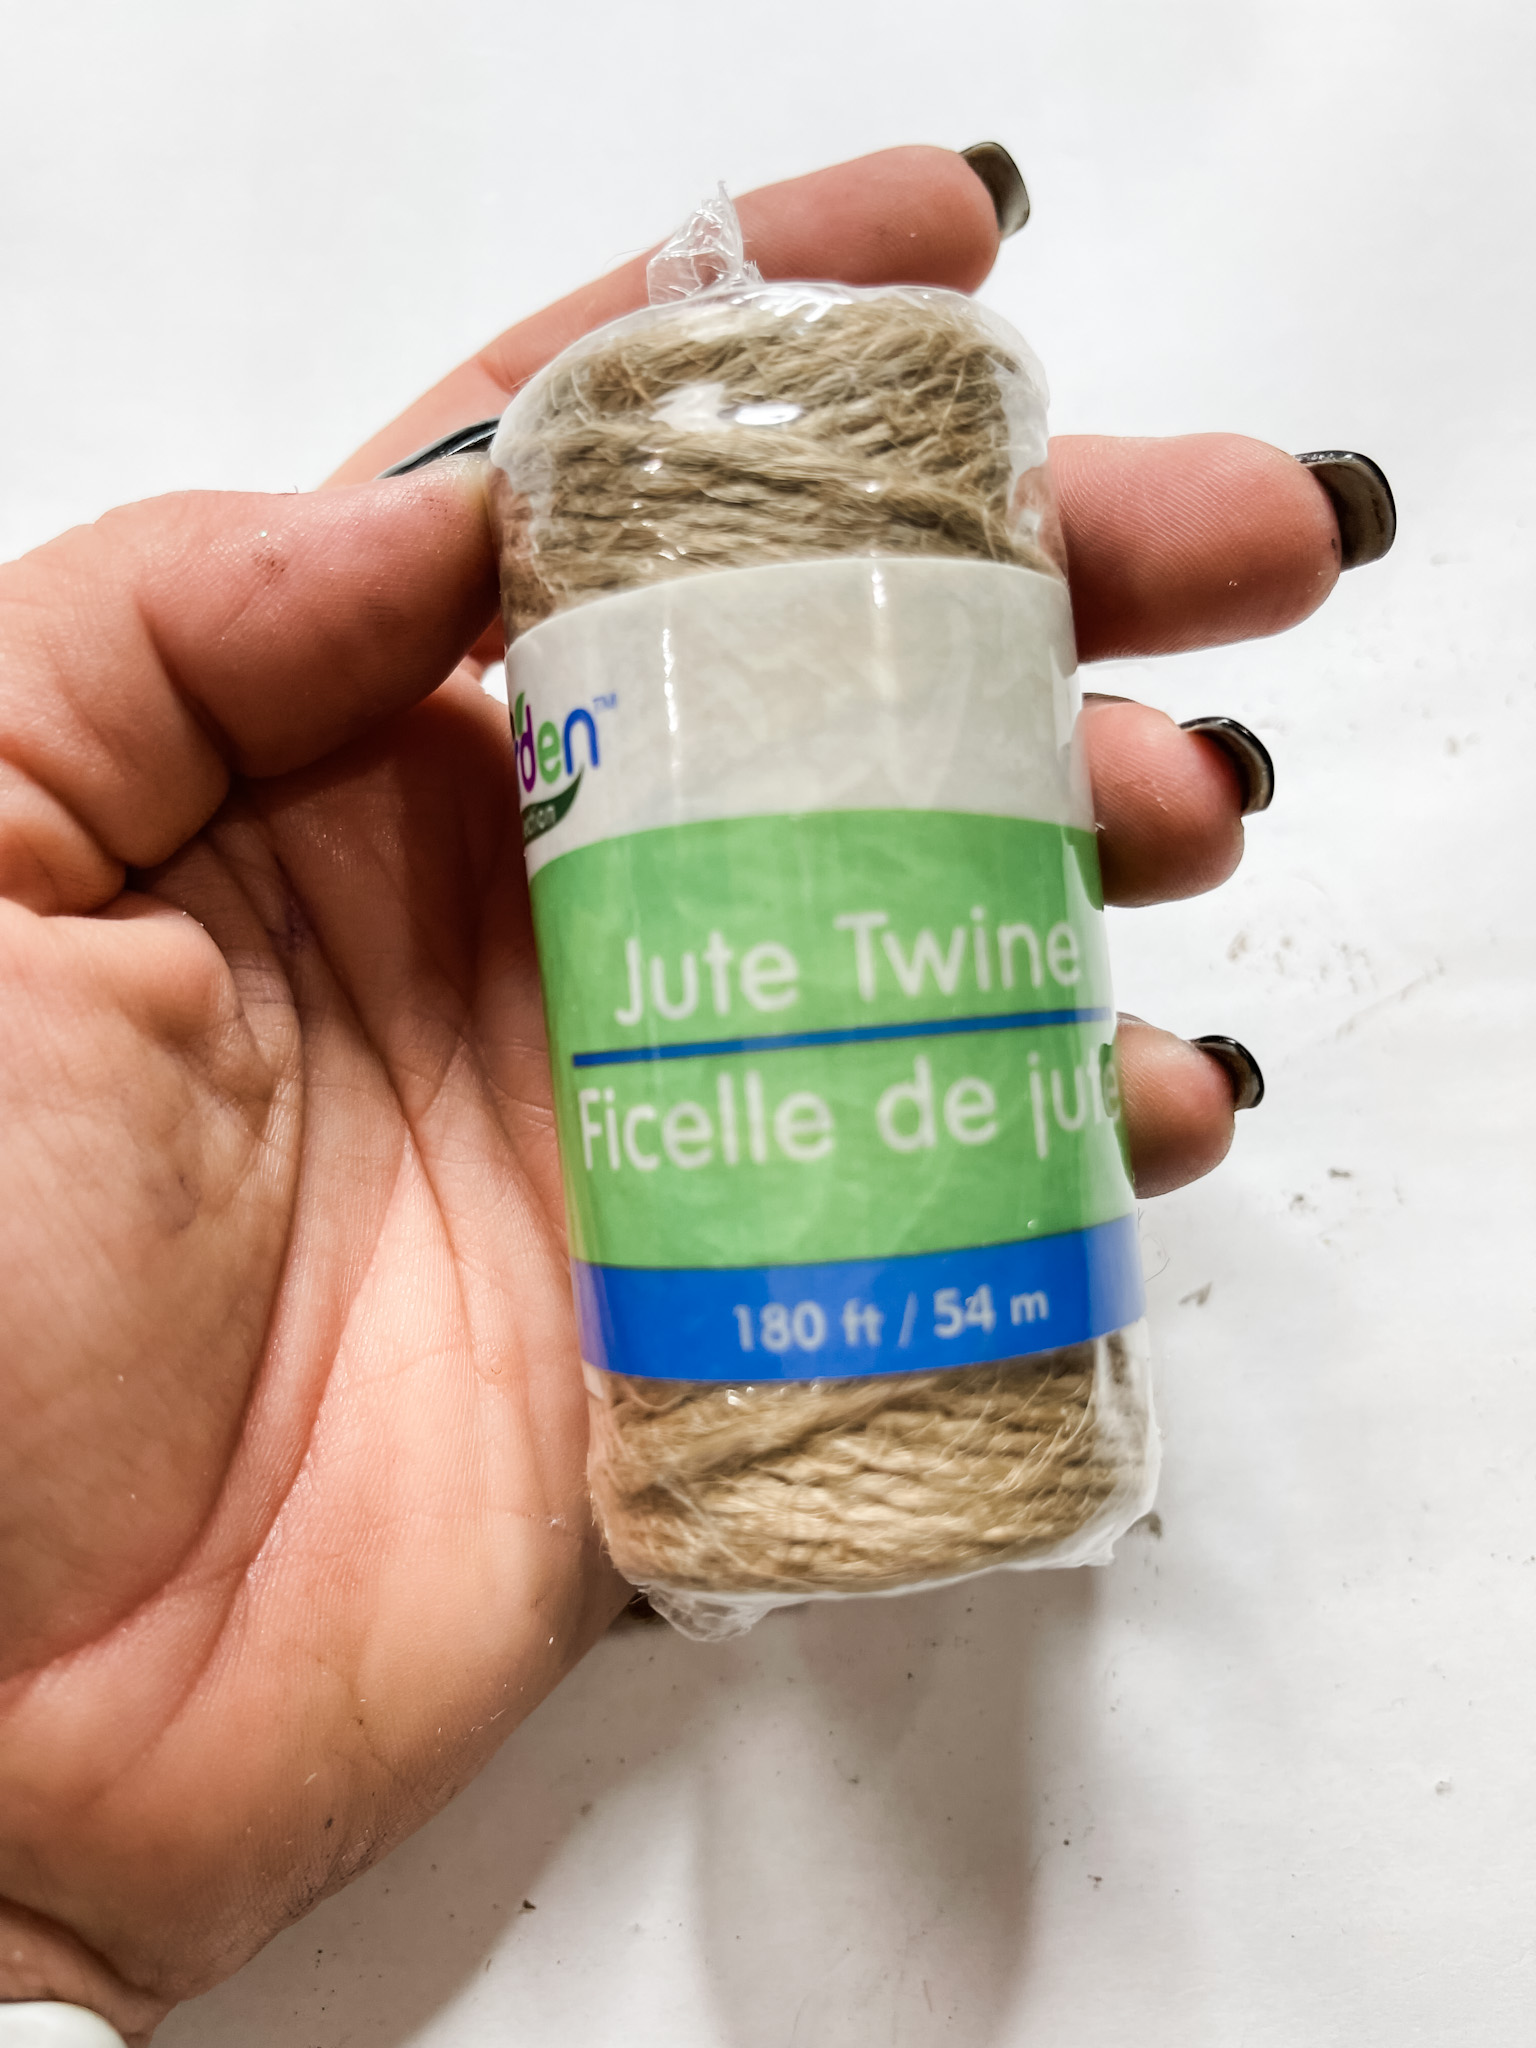
String your beads onto the jute twine for each line of your Christmas Tree. Hot glue them in place and tie a knot on each end so they can’t wiggle off the twine.
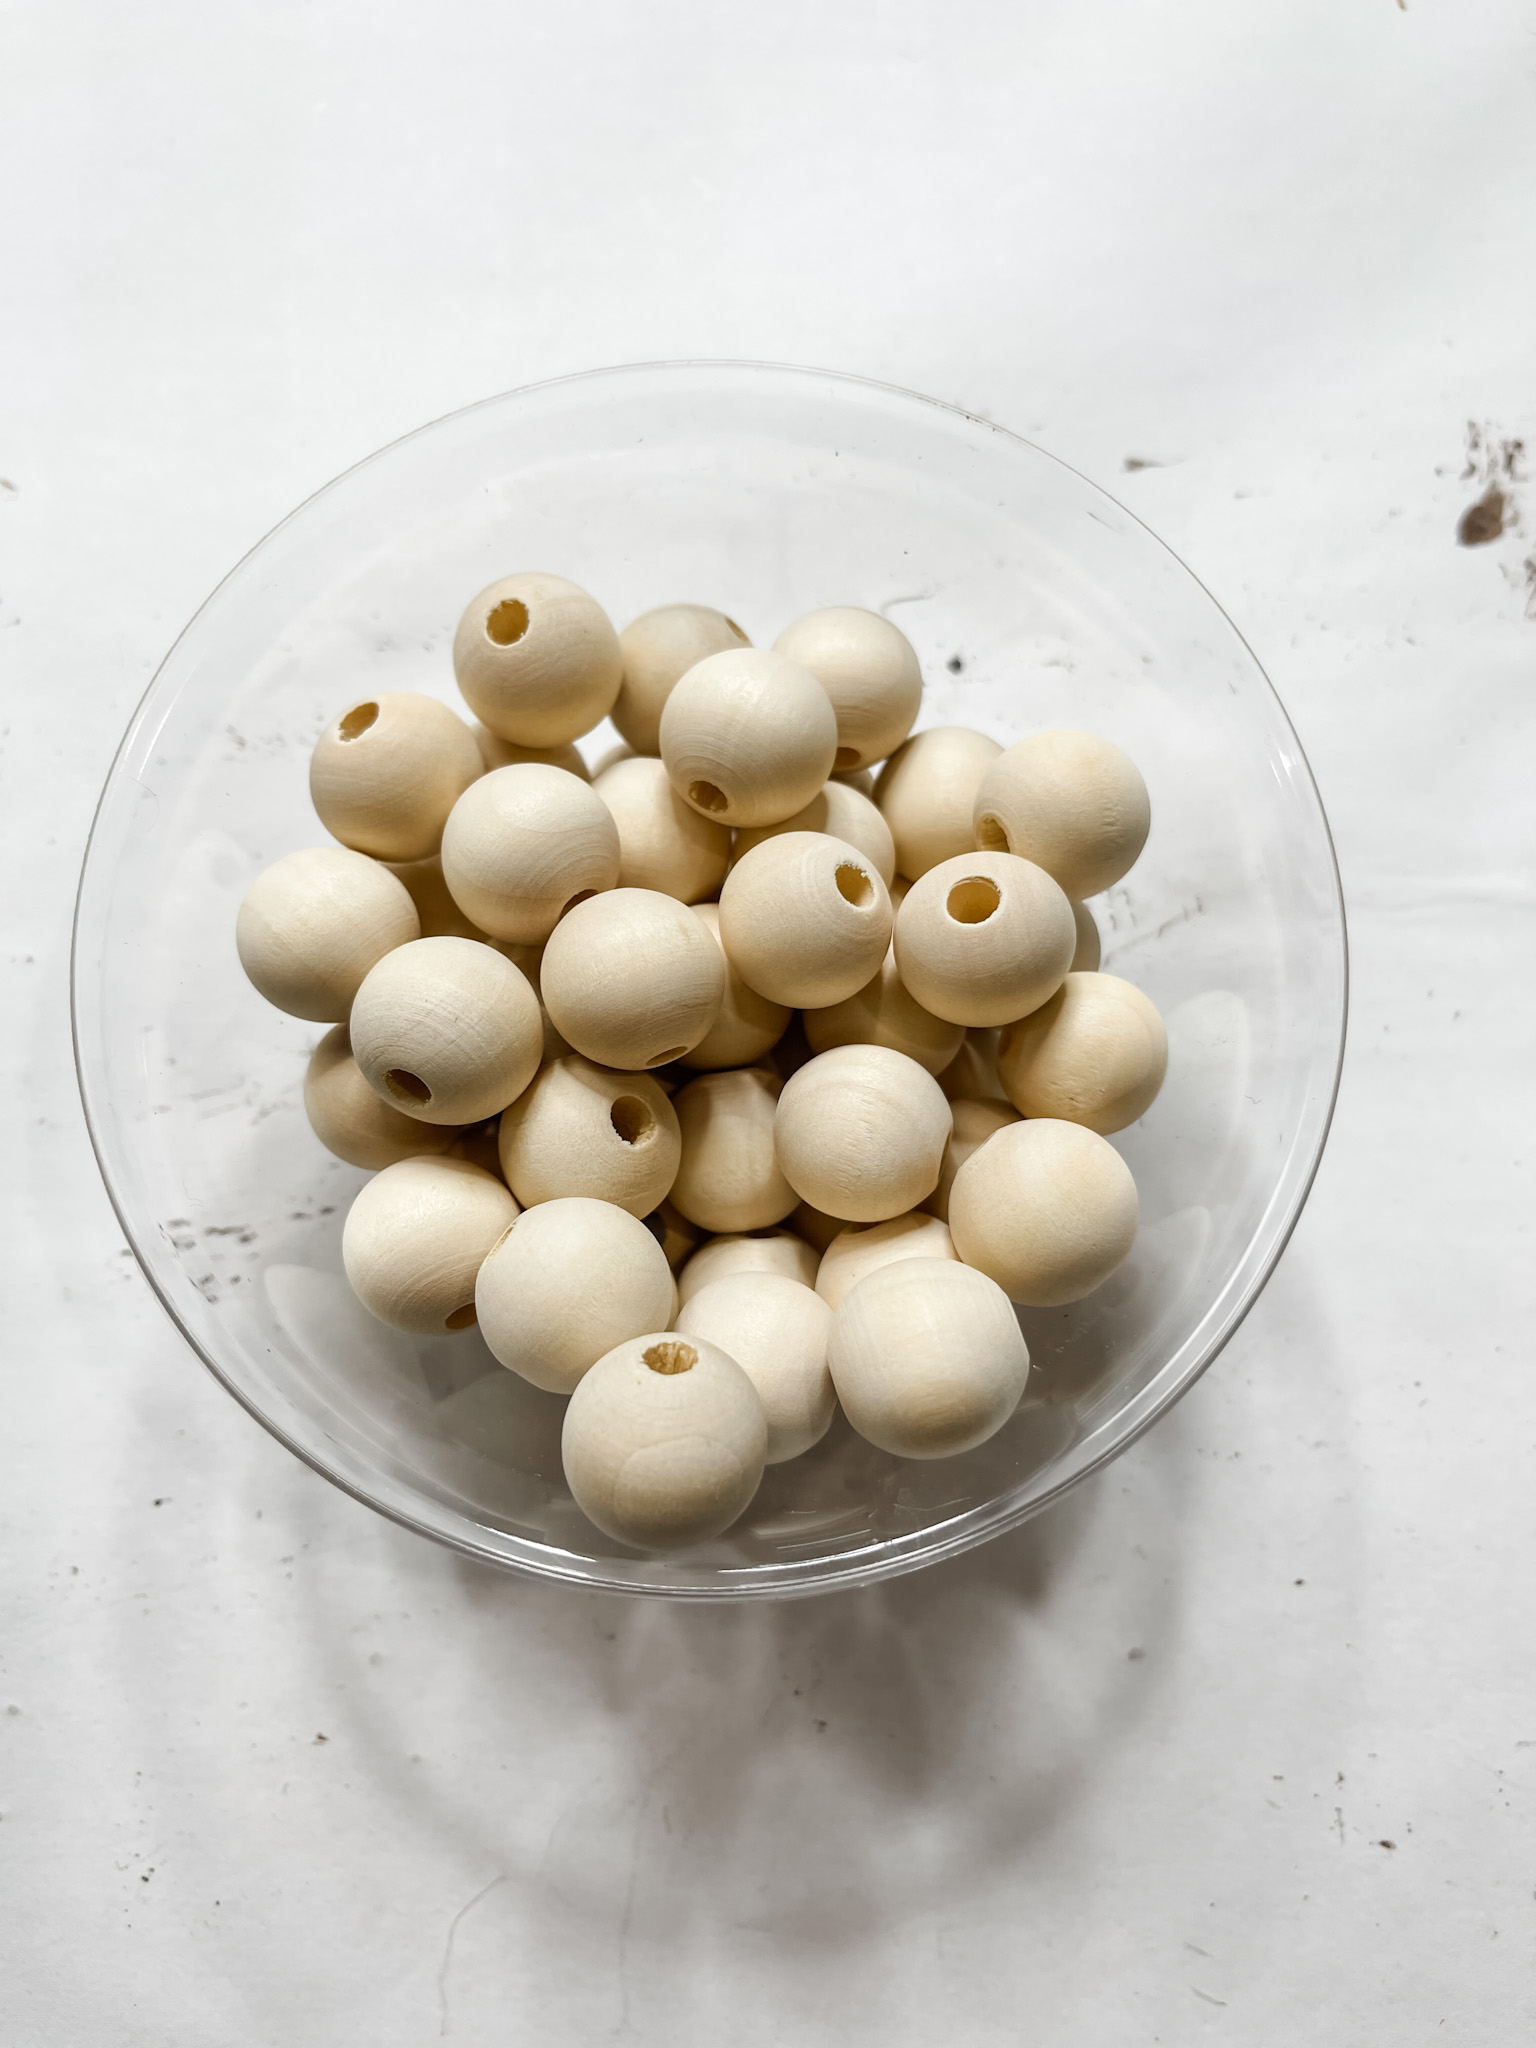
Trim the excess twine from each strand. Now, you’re going to stain each strand of beads. To do this, pour some paint onto a disposable surface and roll the bead strands through the paint.
Use a wet wipe to remove the excess paint from the beads and let them dry completely.
Bring it all together!
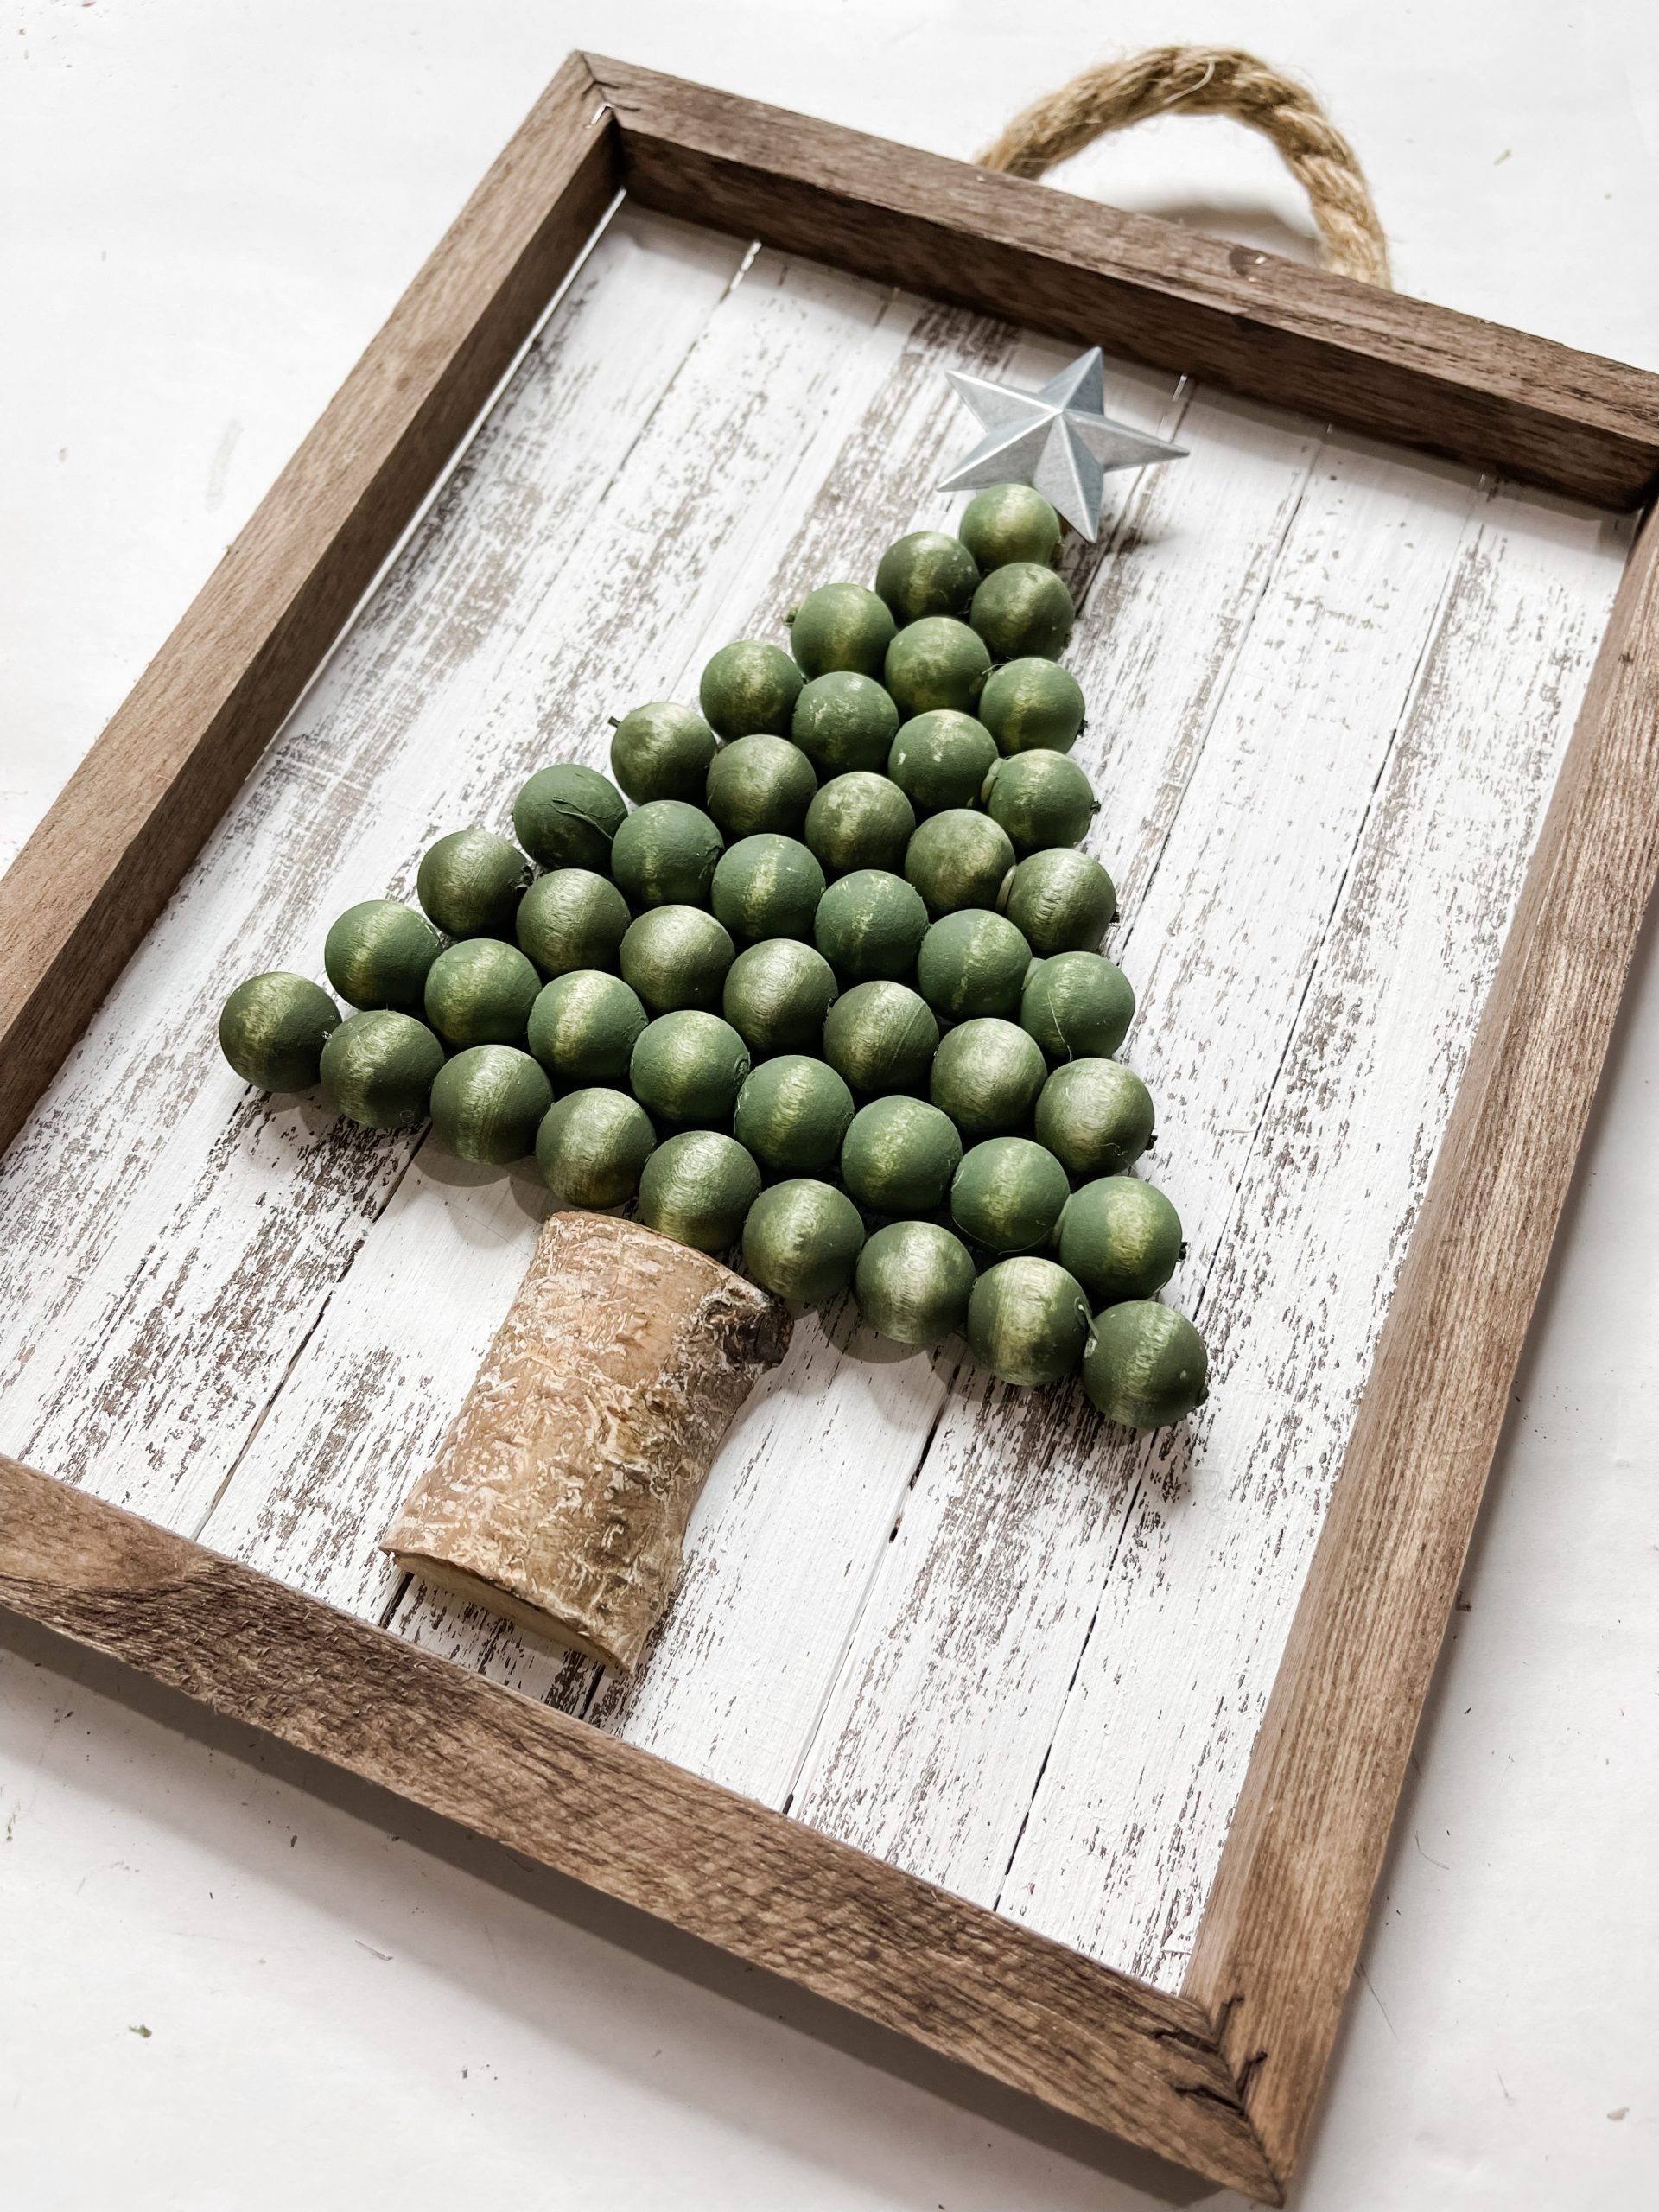
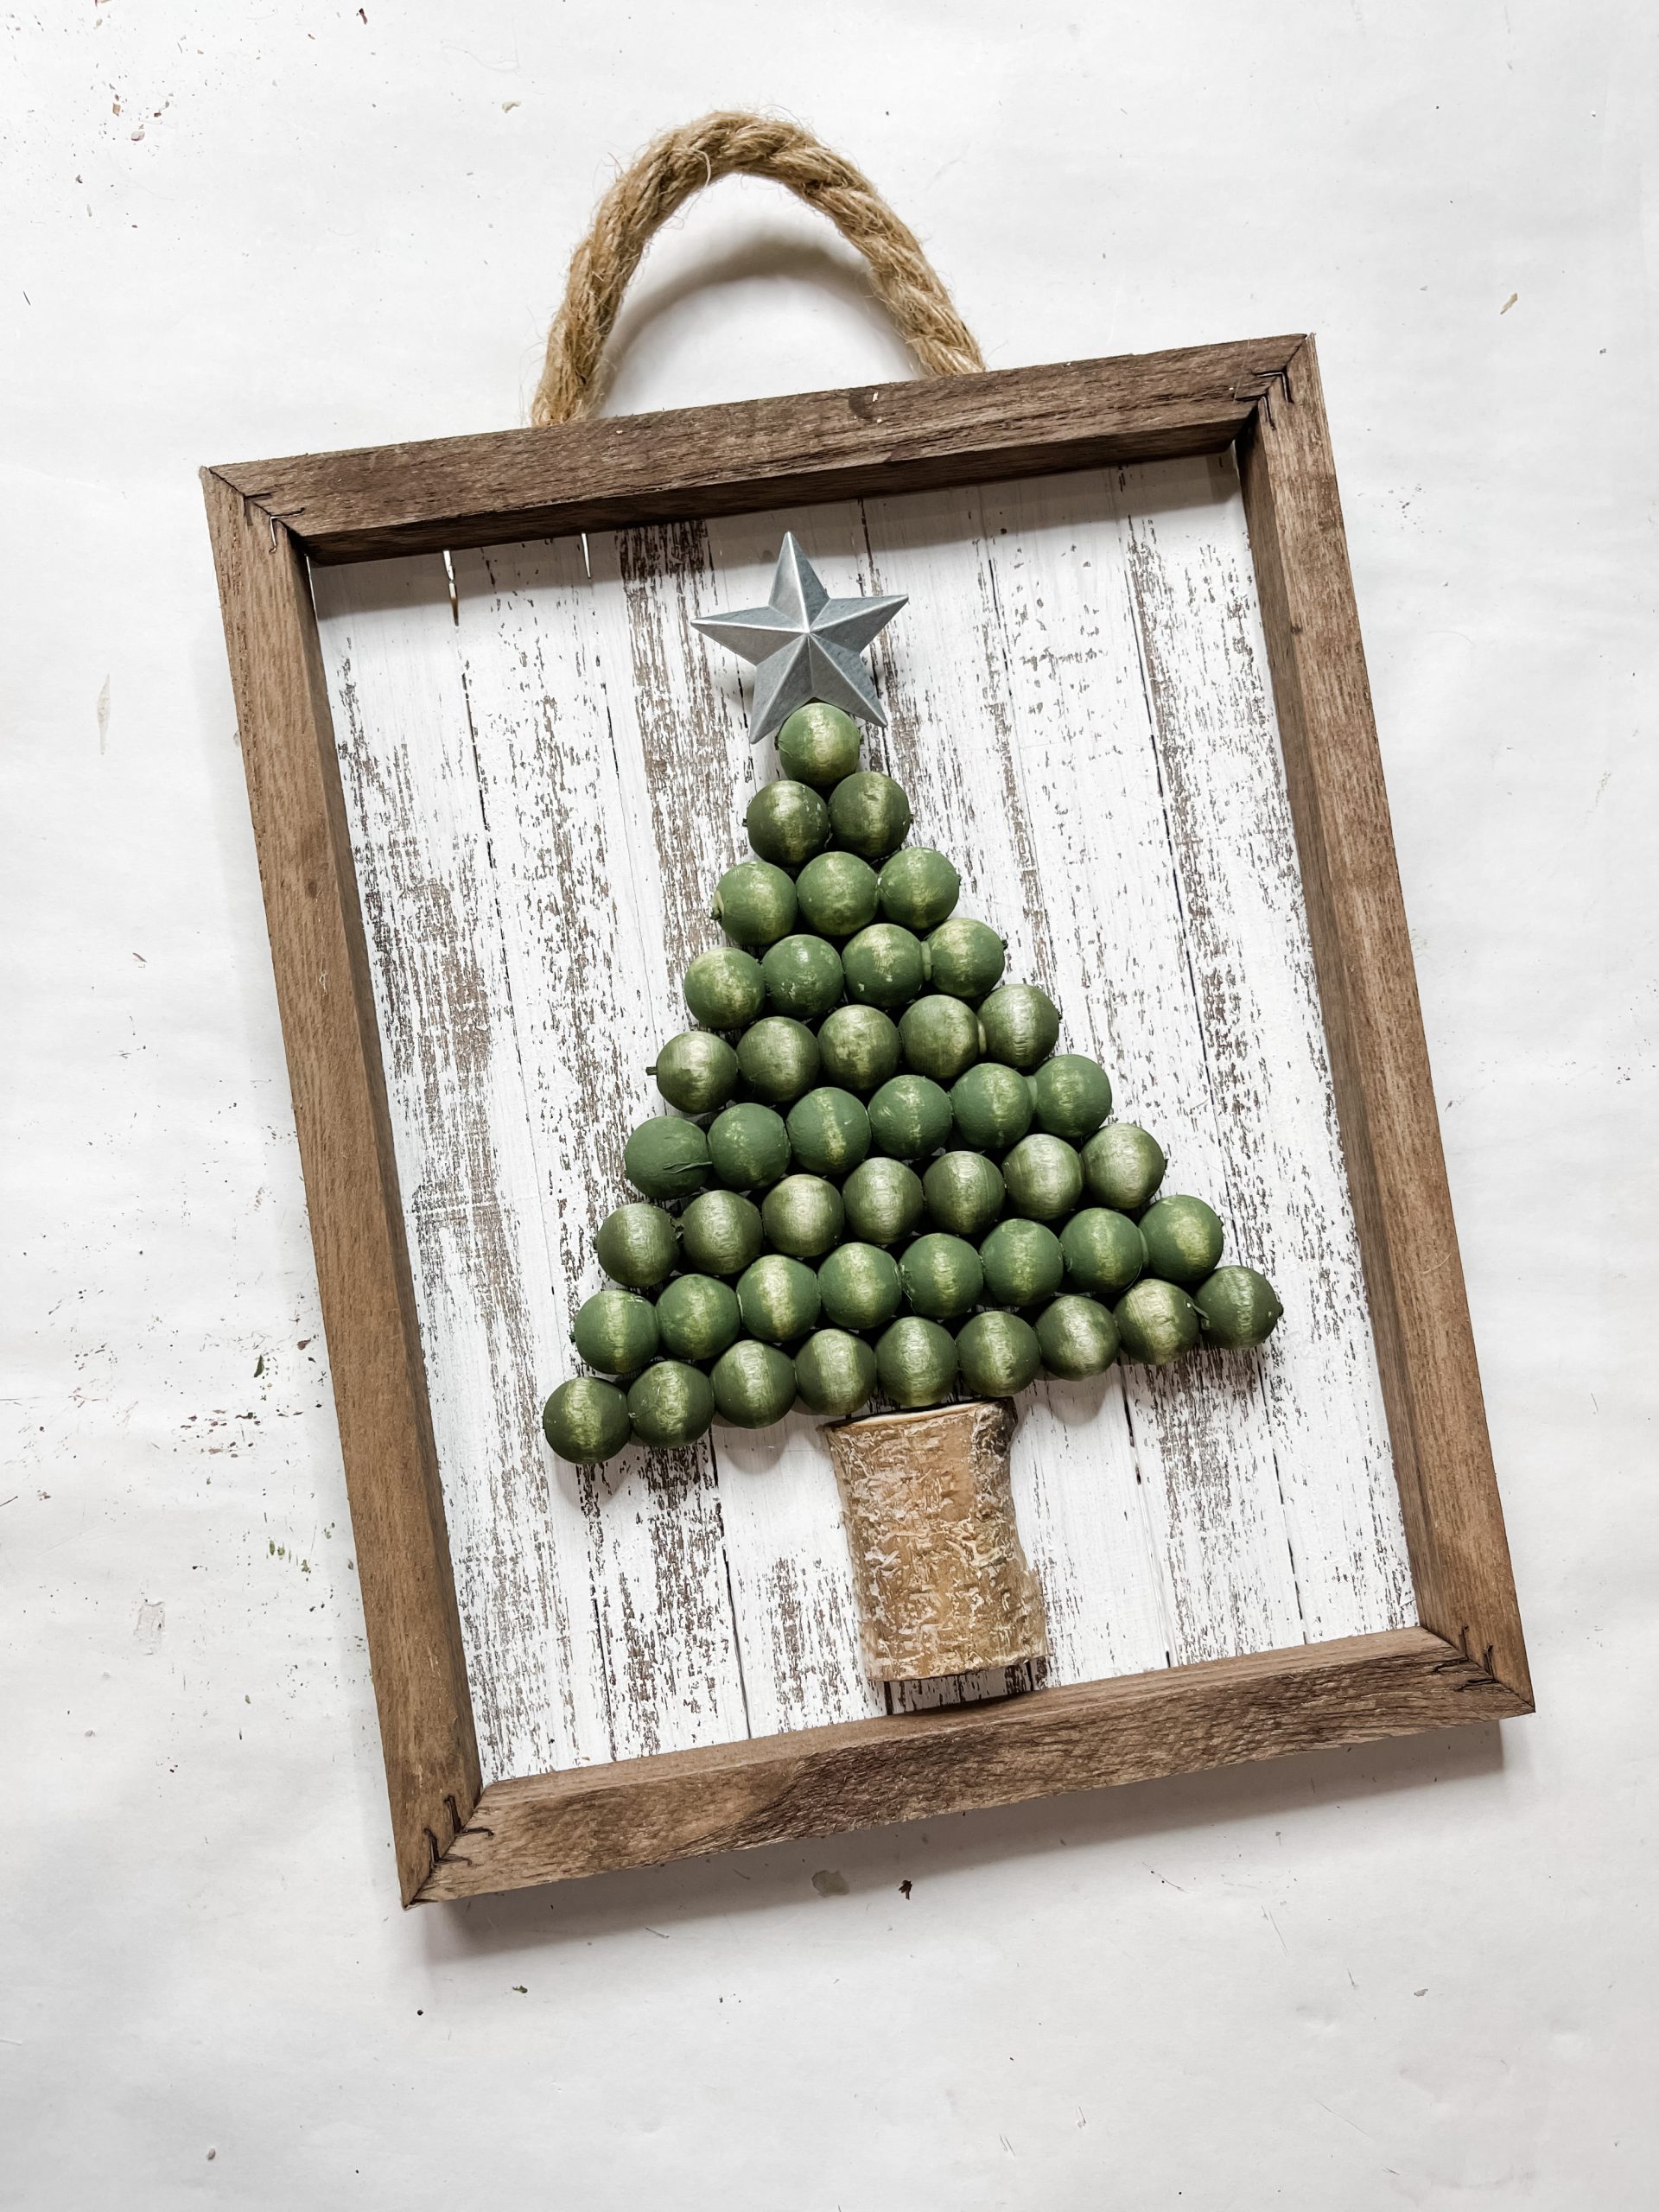
First, you need to staple the distressed shims to the stained canvas frame. Then, line each of the strands of wood beads next to each other to form your Christmas tree.
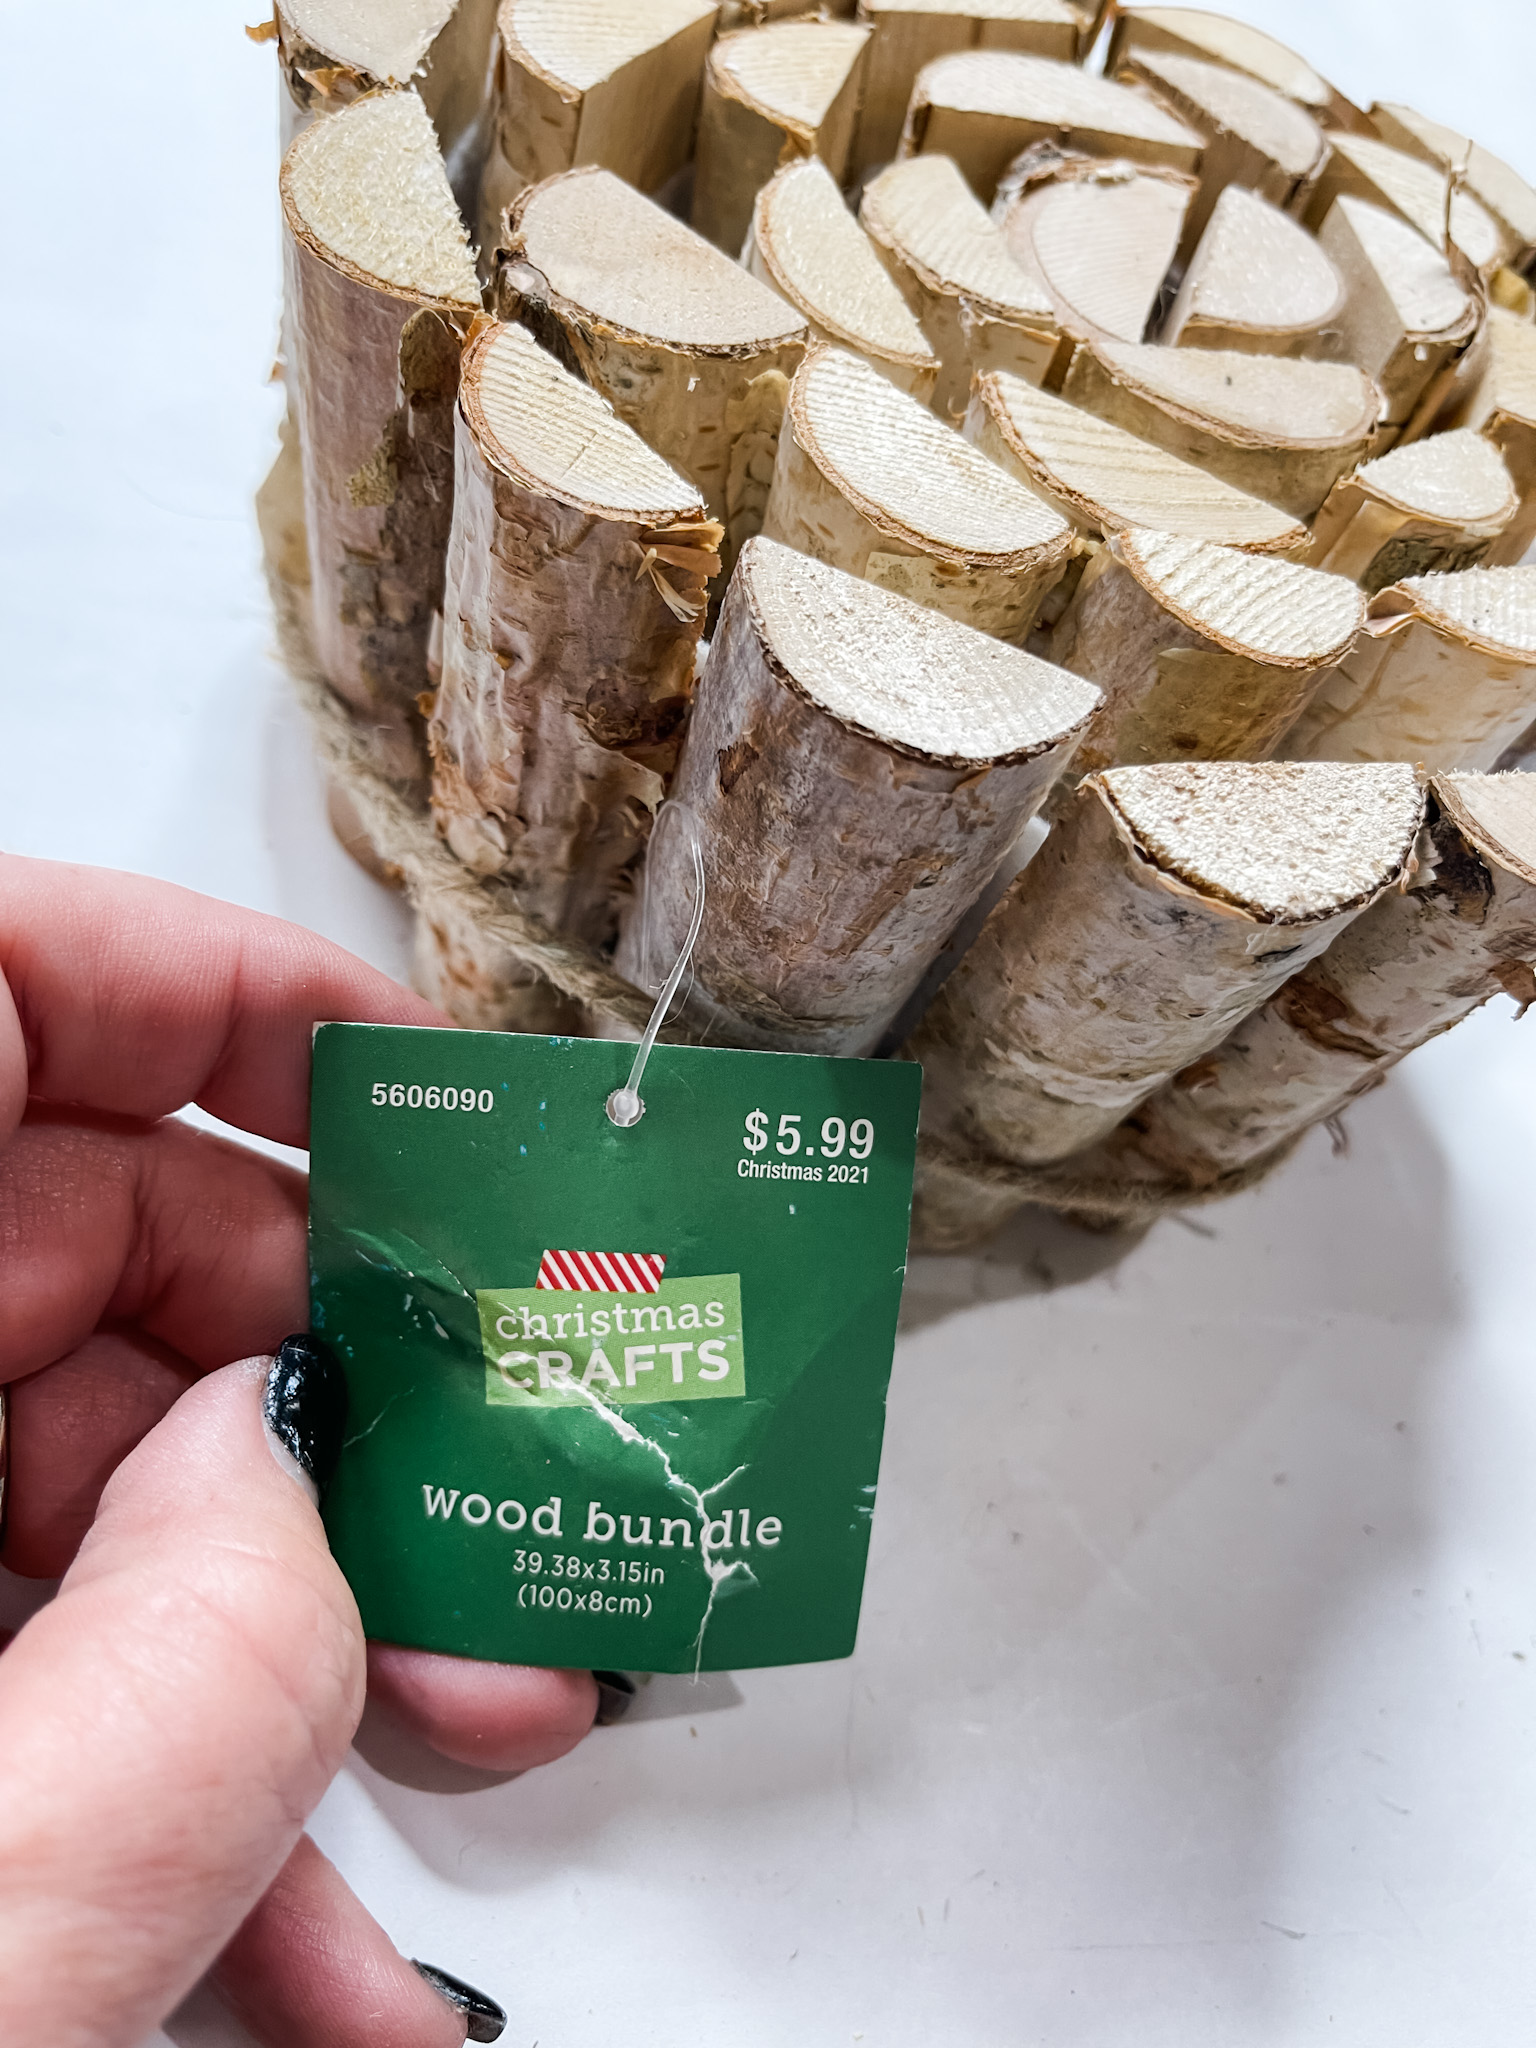
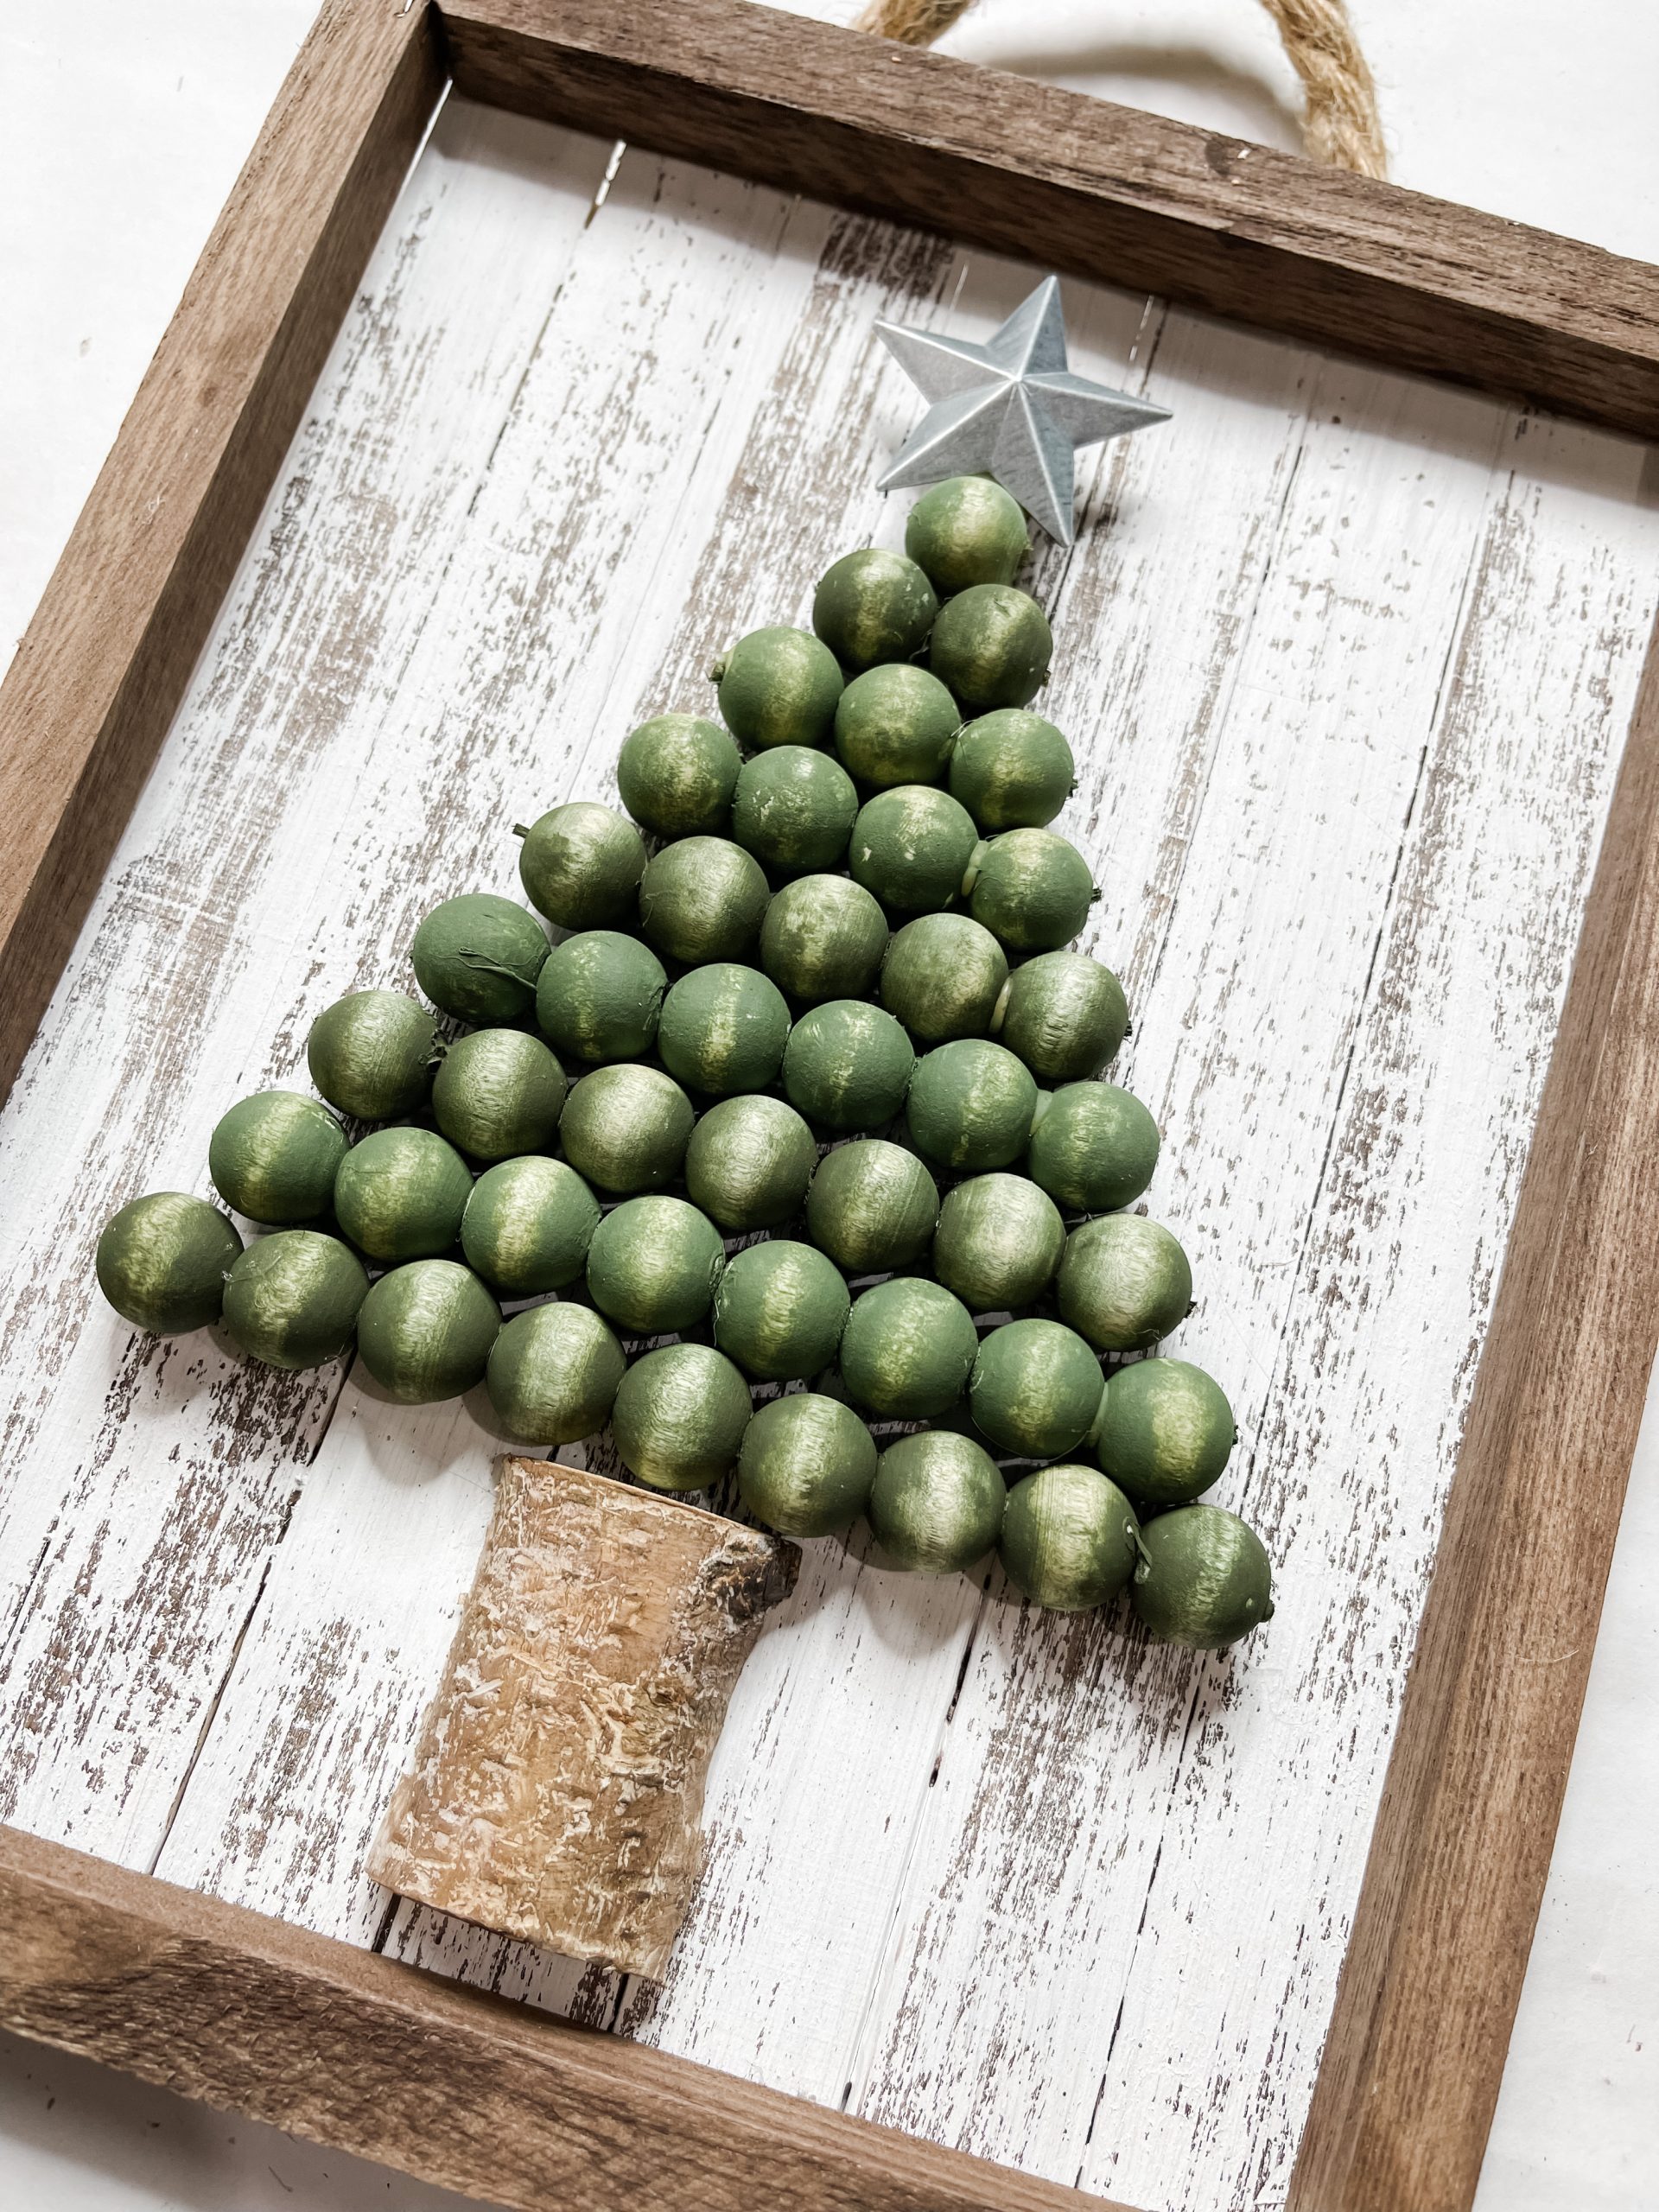
Get your wooden stem and measure it to make sure you don’t need to trim it. Glue the stem at the bottom of the frame. Then, hot glue each strand of the wood beads in place above it.
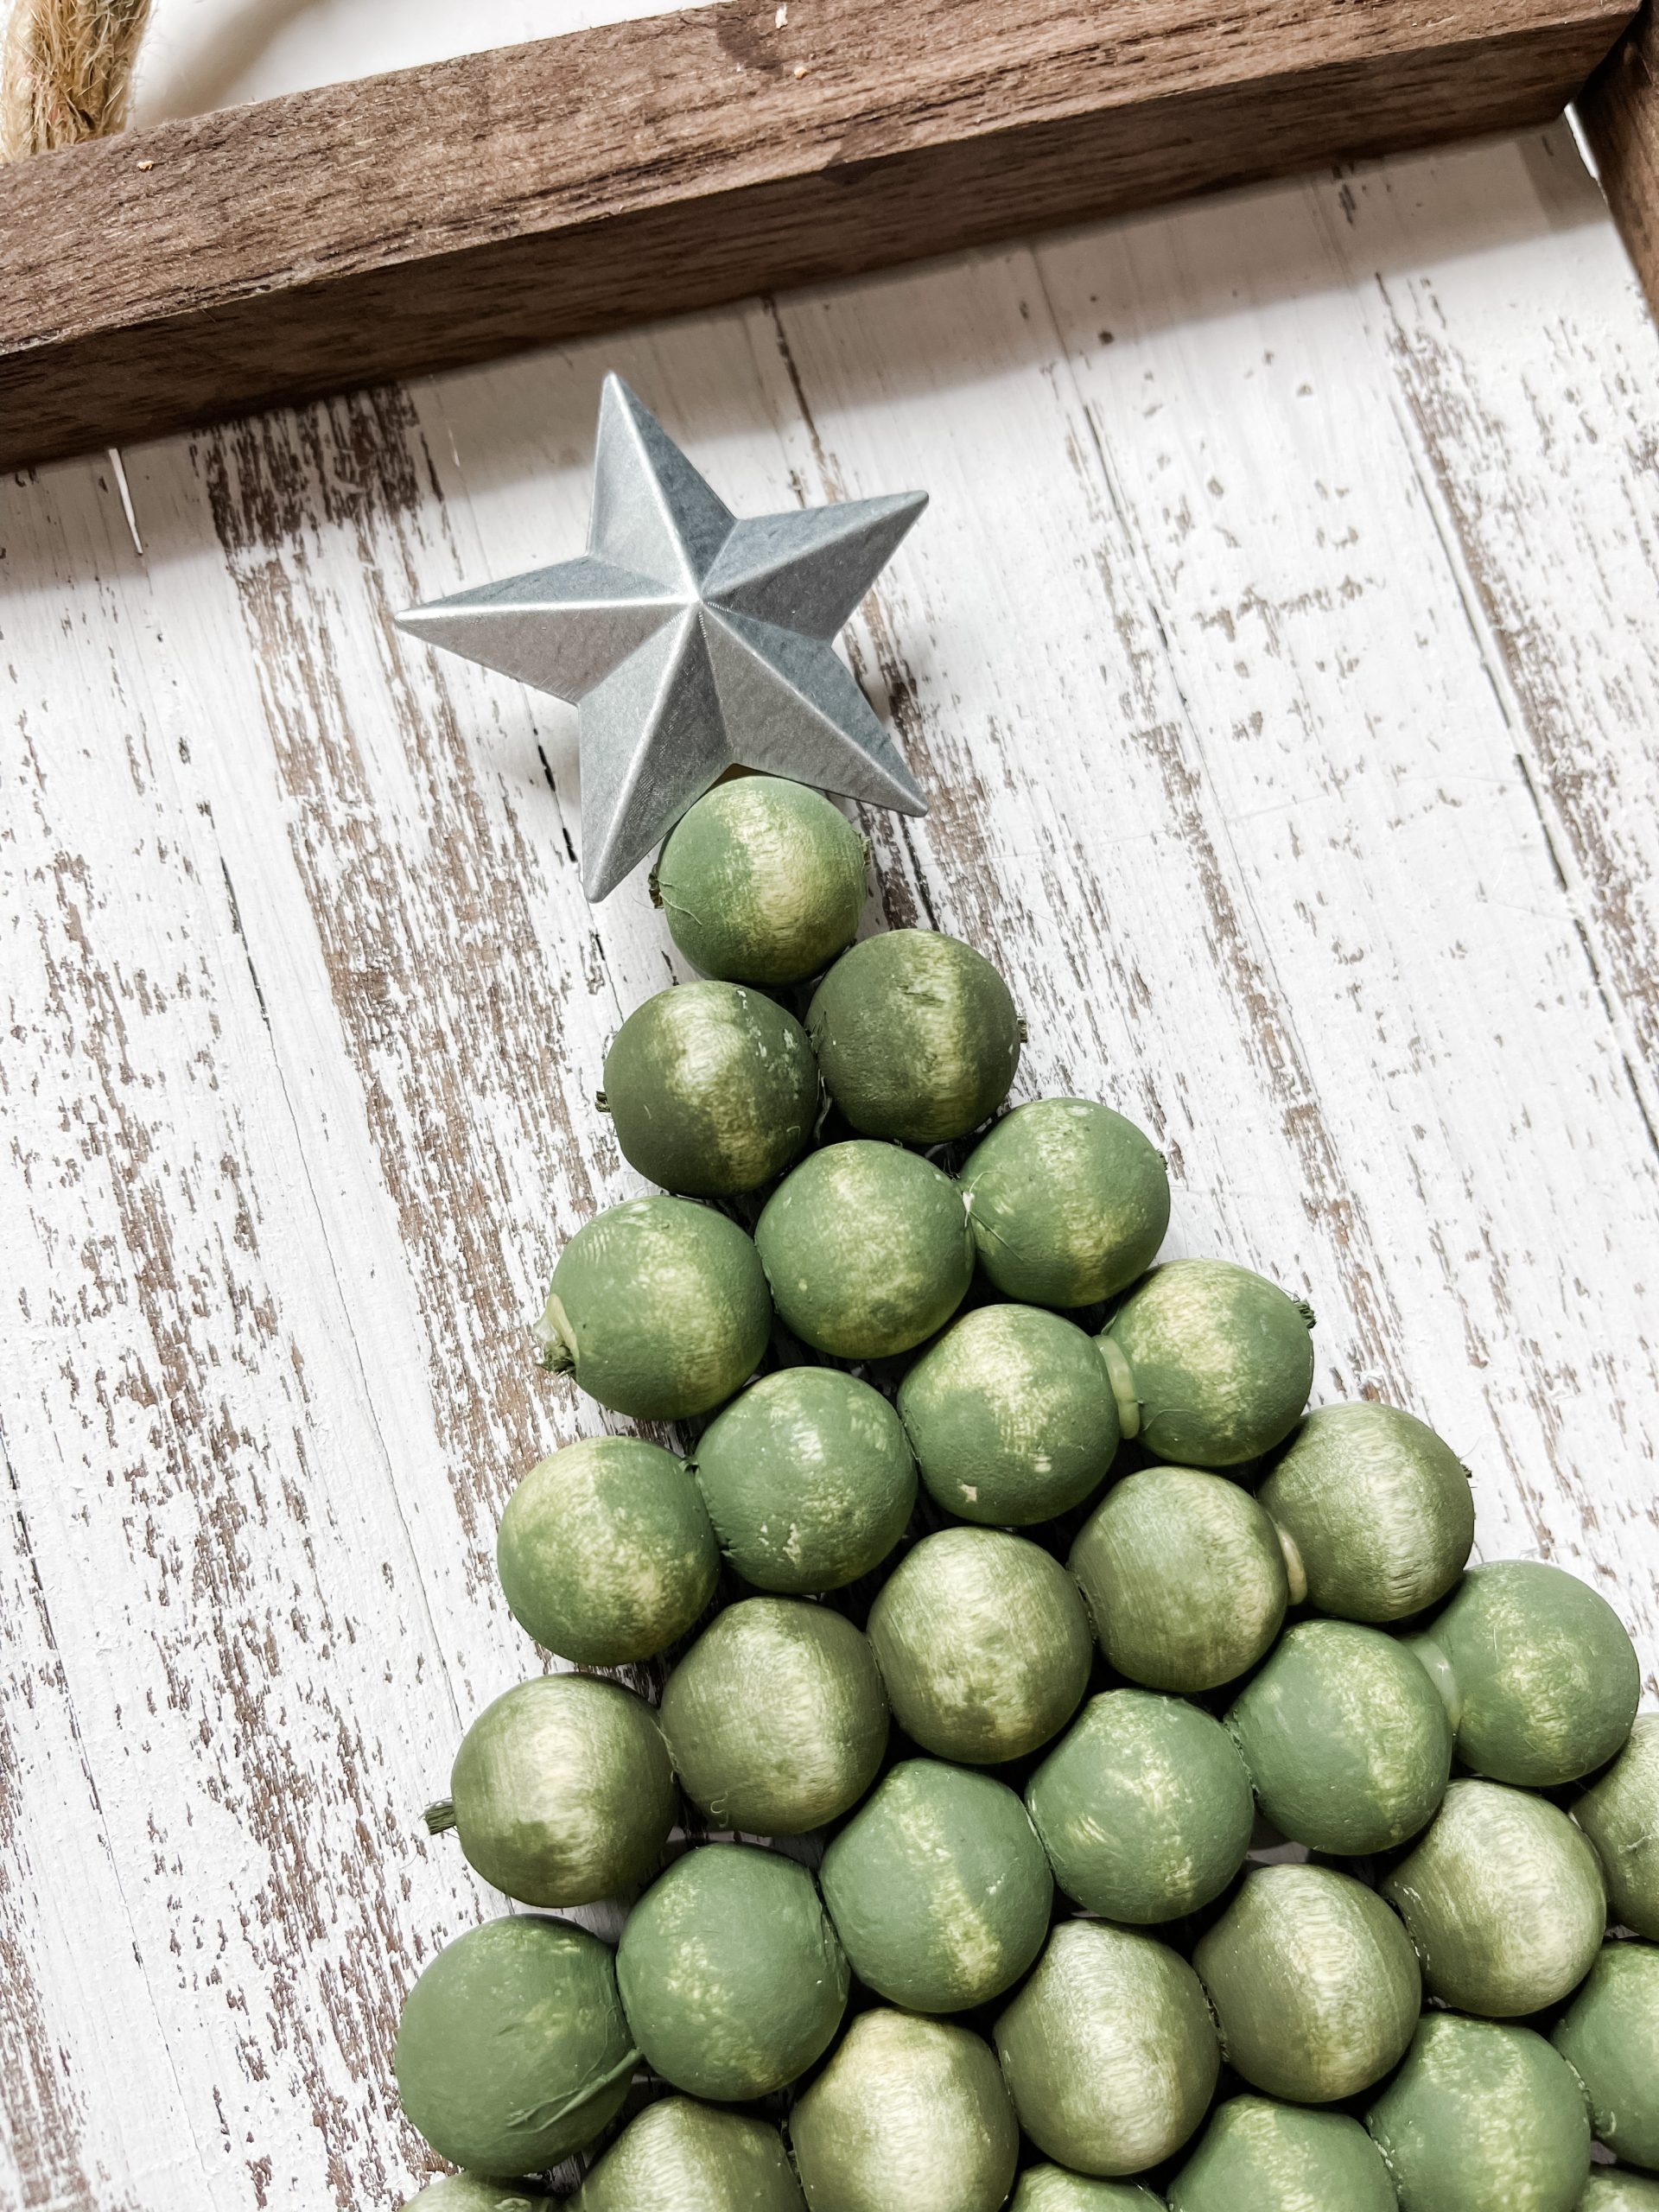
Now, hot glue a wood craft cube at the top of the tree and hot glue the star on top of it. Lastly, glue the ends of the nautical rope to the back of the sign, and you’re ready to decorate!
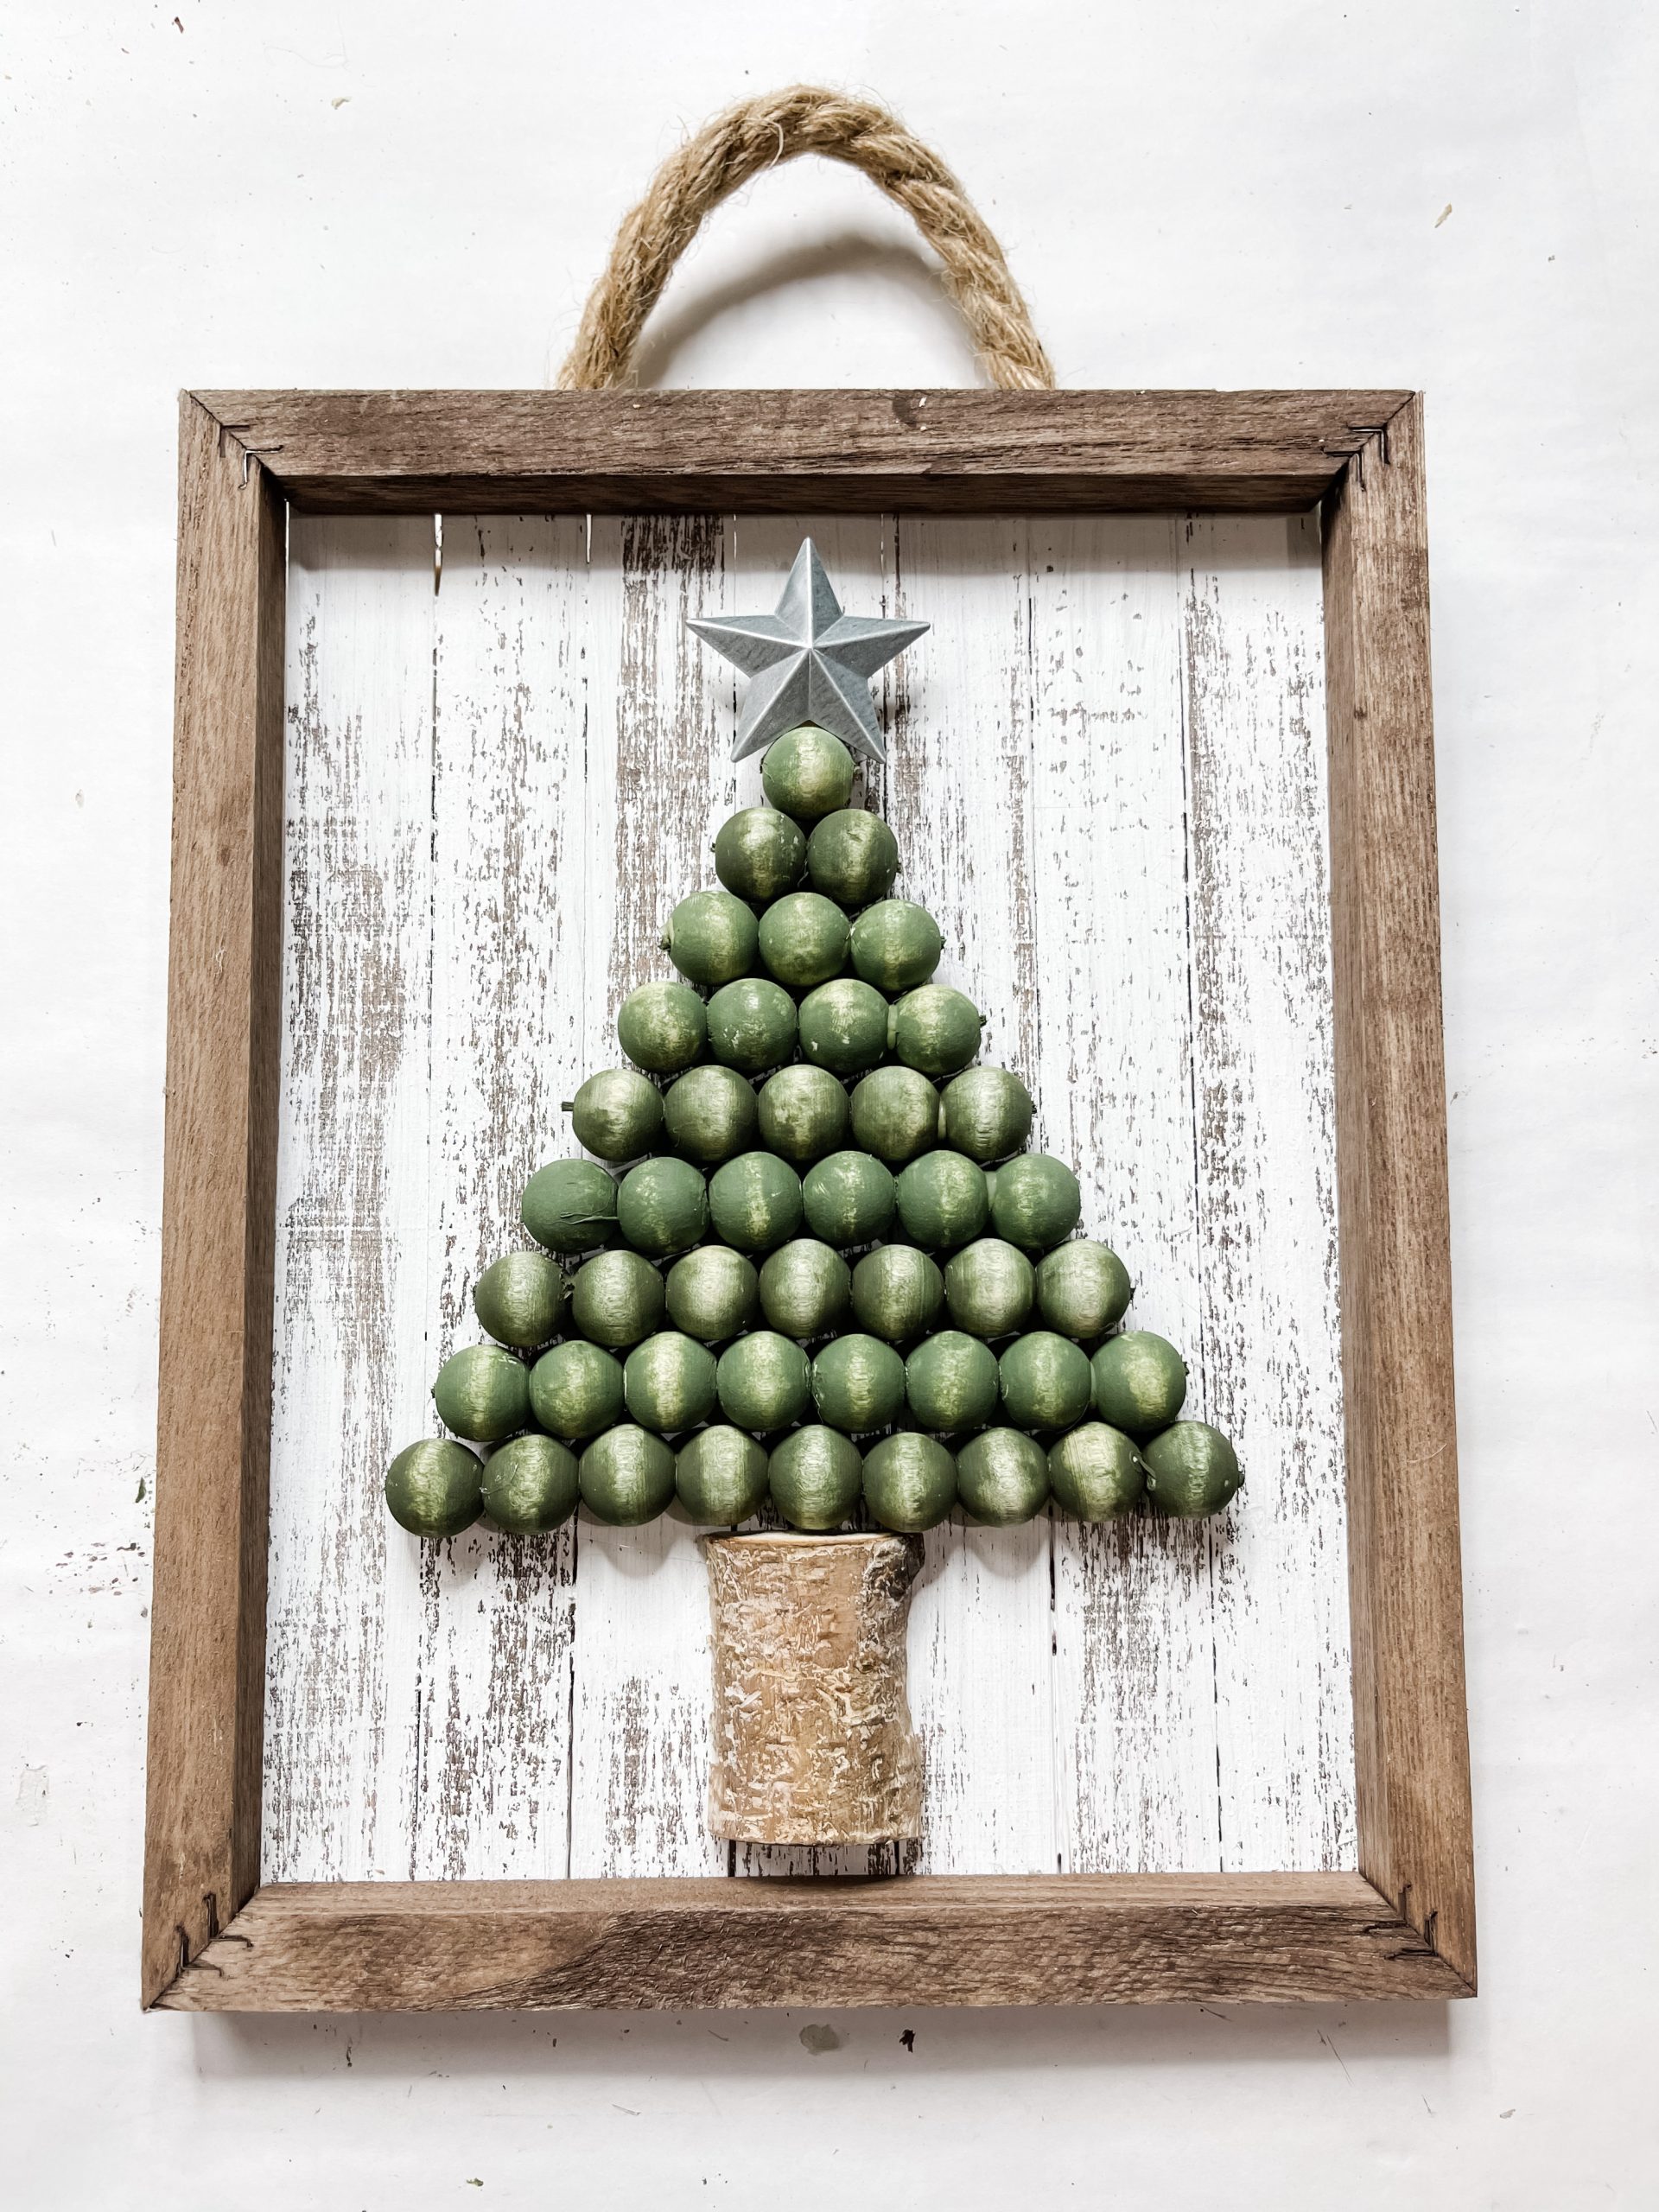
I hope you enjoyed this Wood Bead Christmas Tree Sign as much as I did and decide to make one for yourself! If you do, I would love to see how yours turns out!
Watch the DIY tutorial
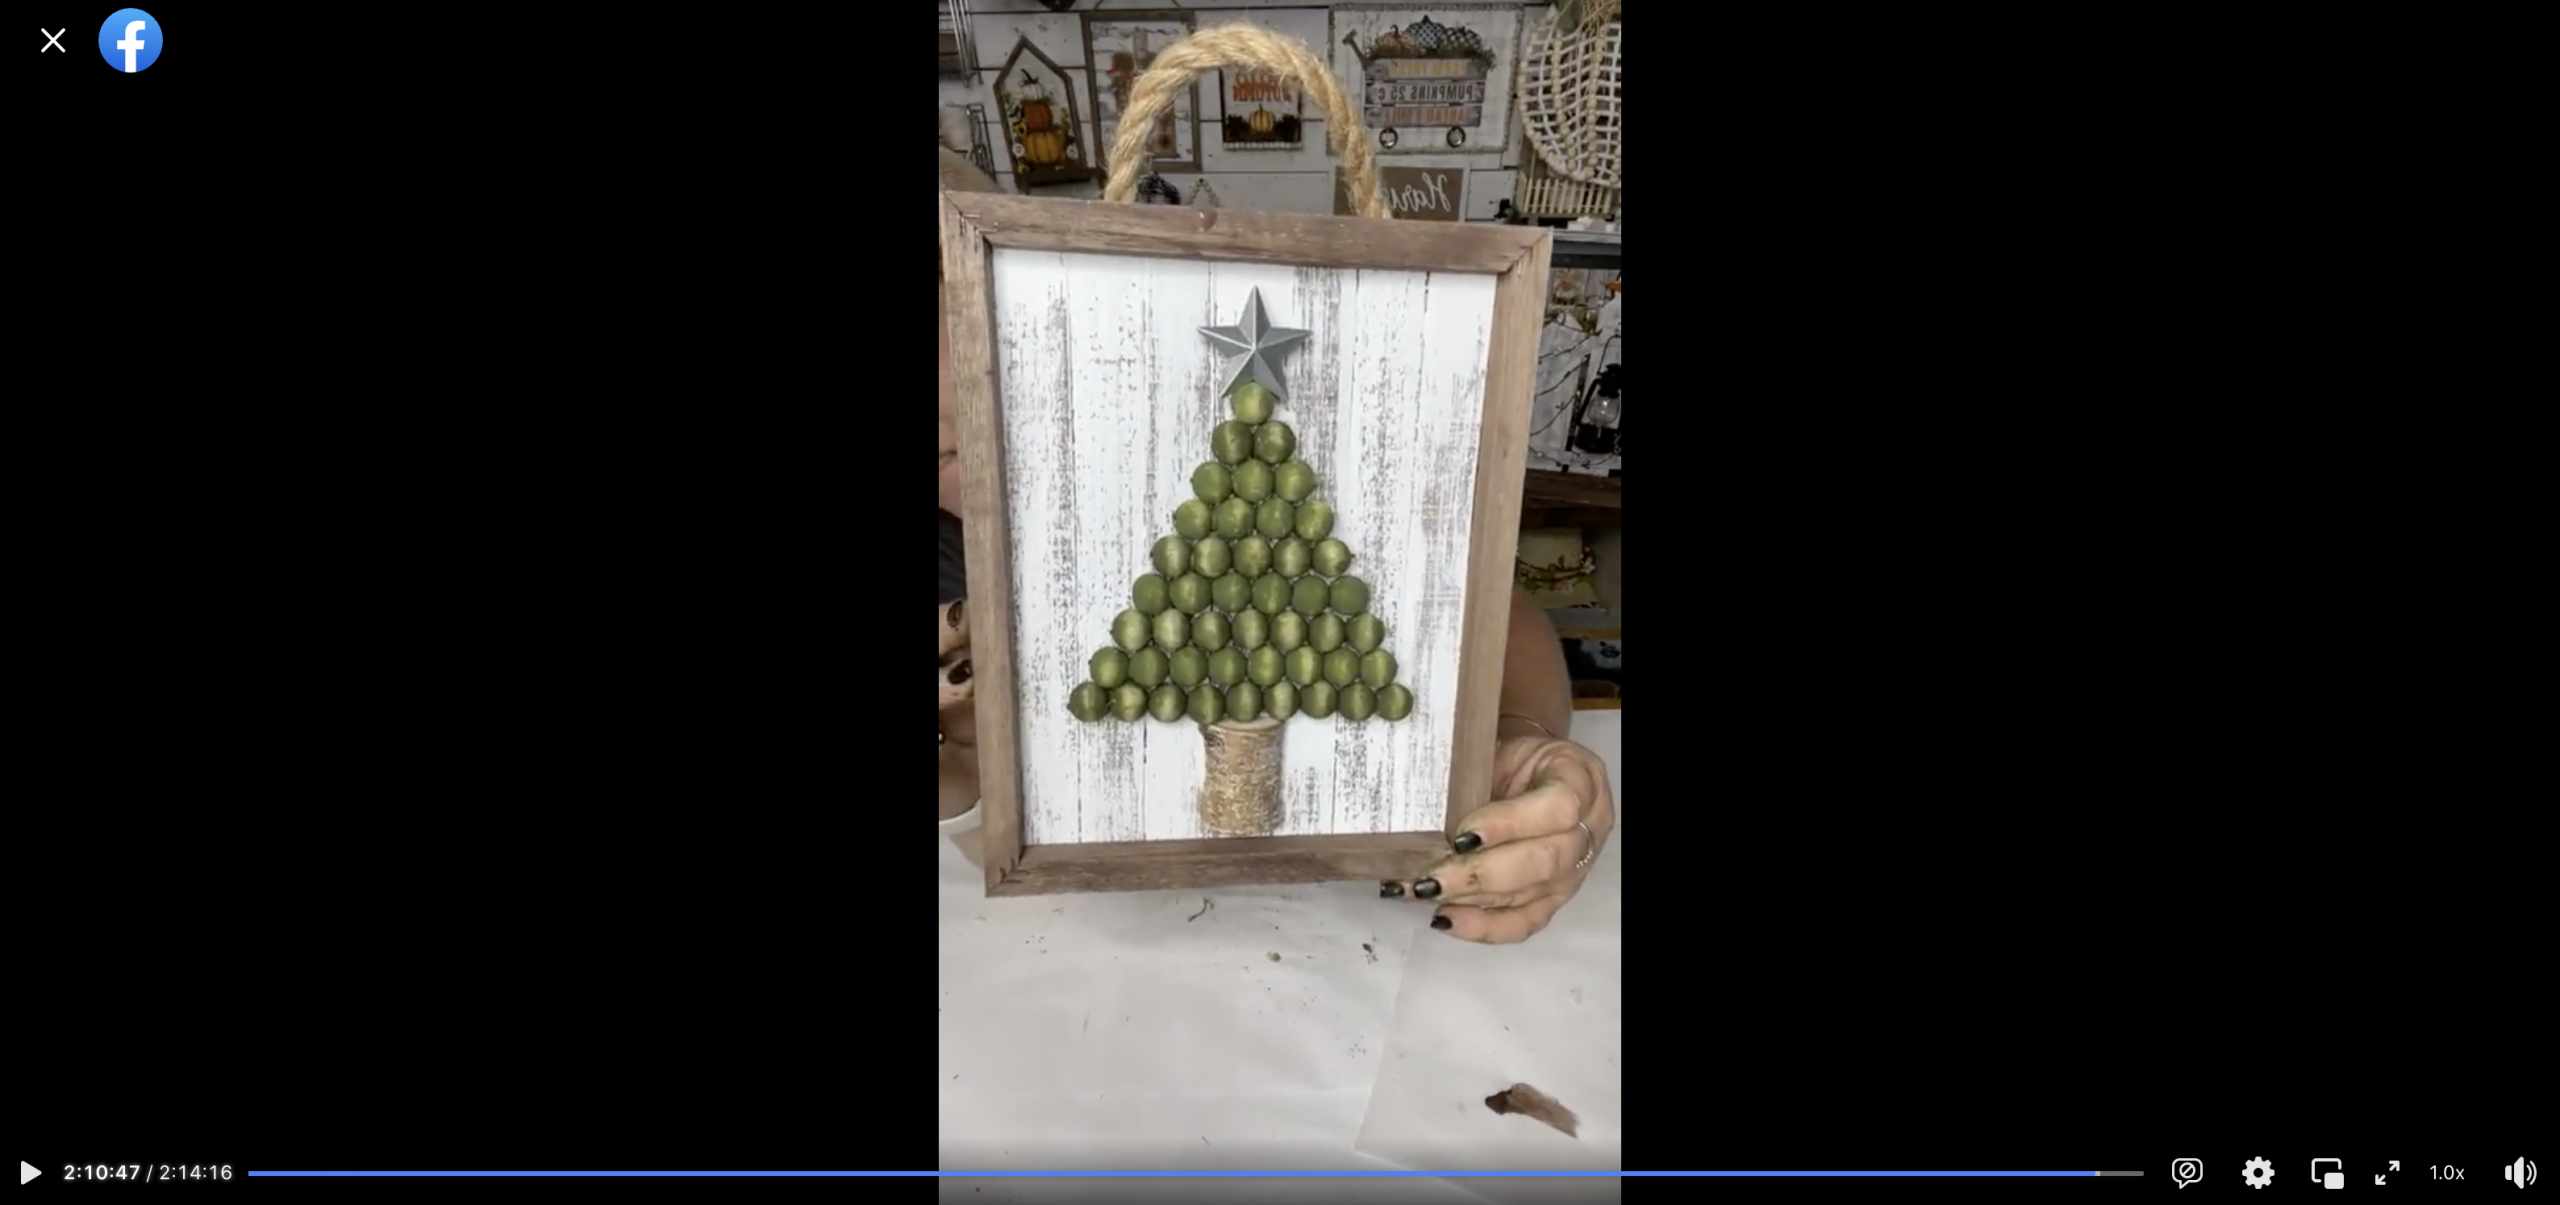
I recorded how to make this simple farmhouse Wood Bead Christmas Tree Sign during a LIVE video on my Facebook page.
If you want to see the DIY process, craft along, or just join in on the fun conversations, you can watch the DIY tutorial replay on Facebook!
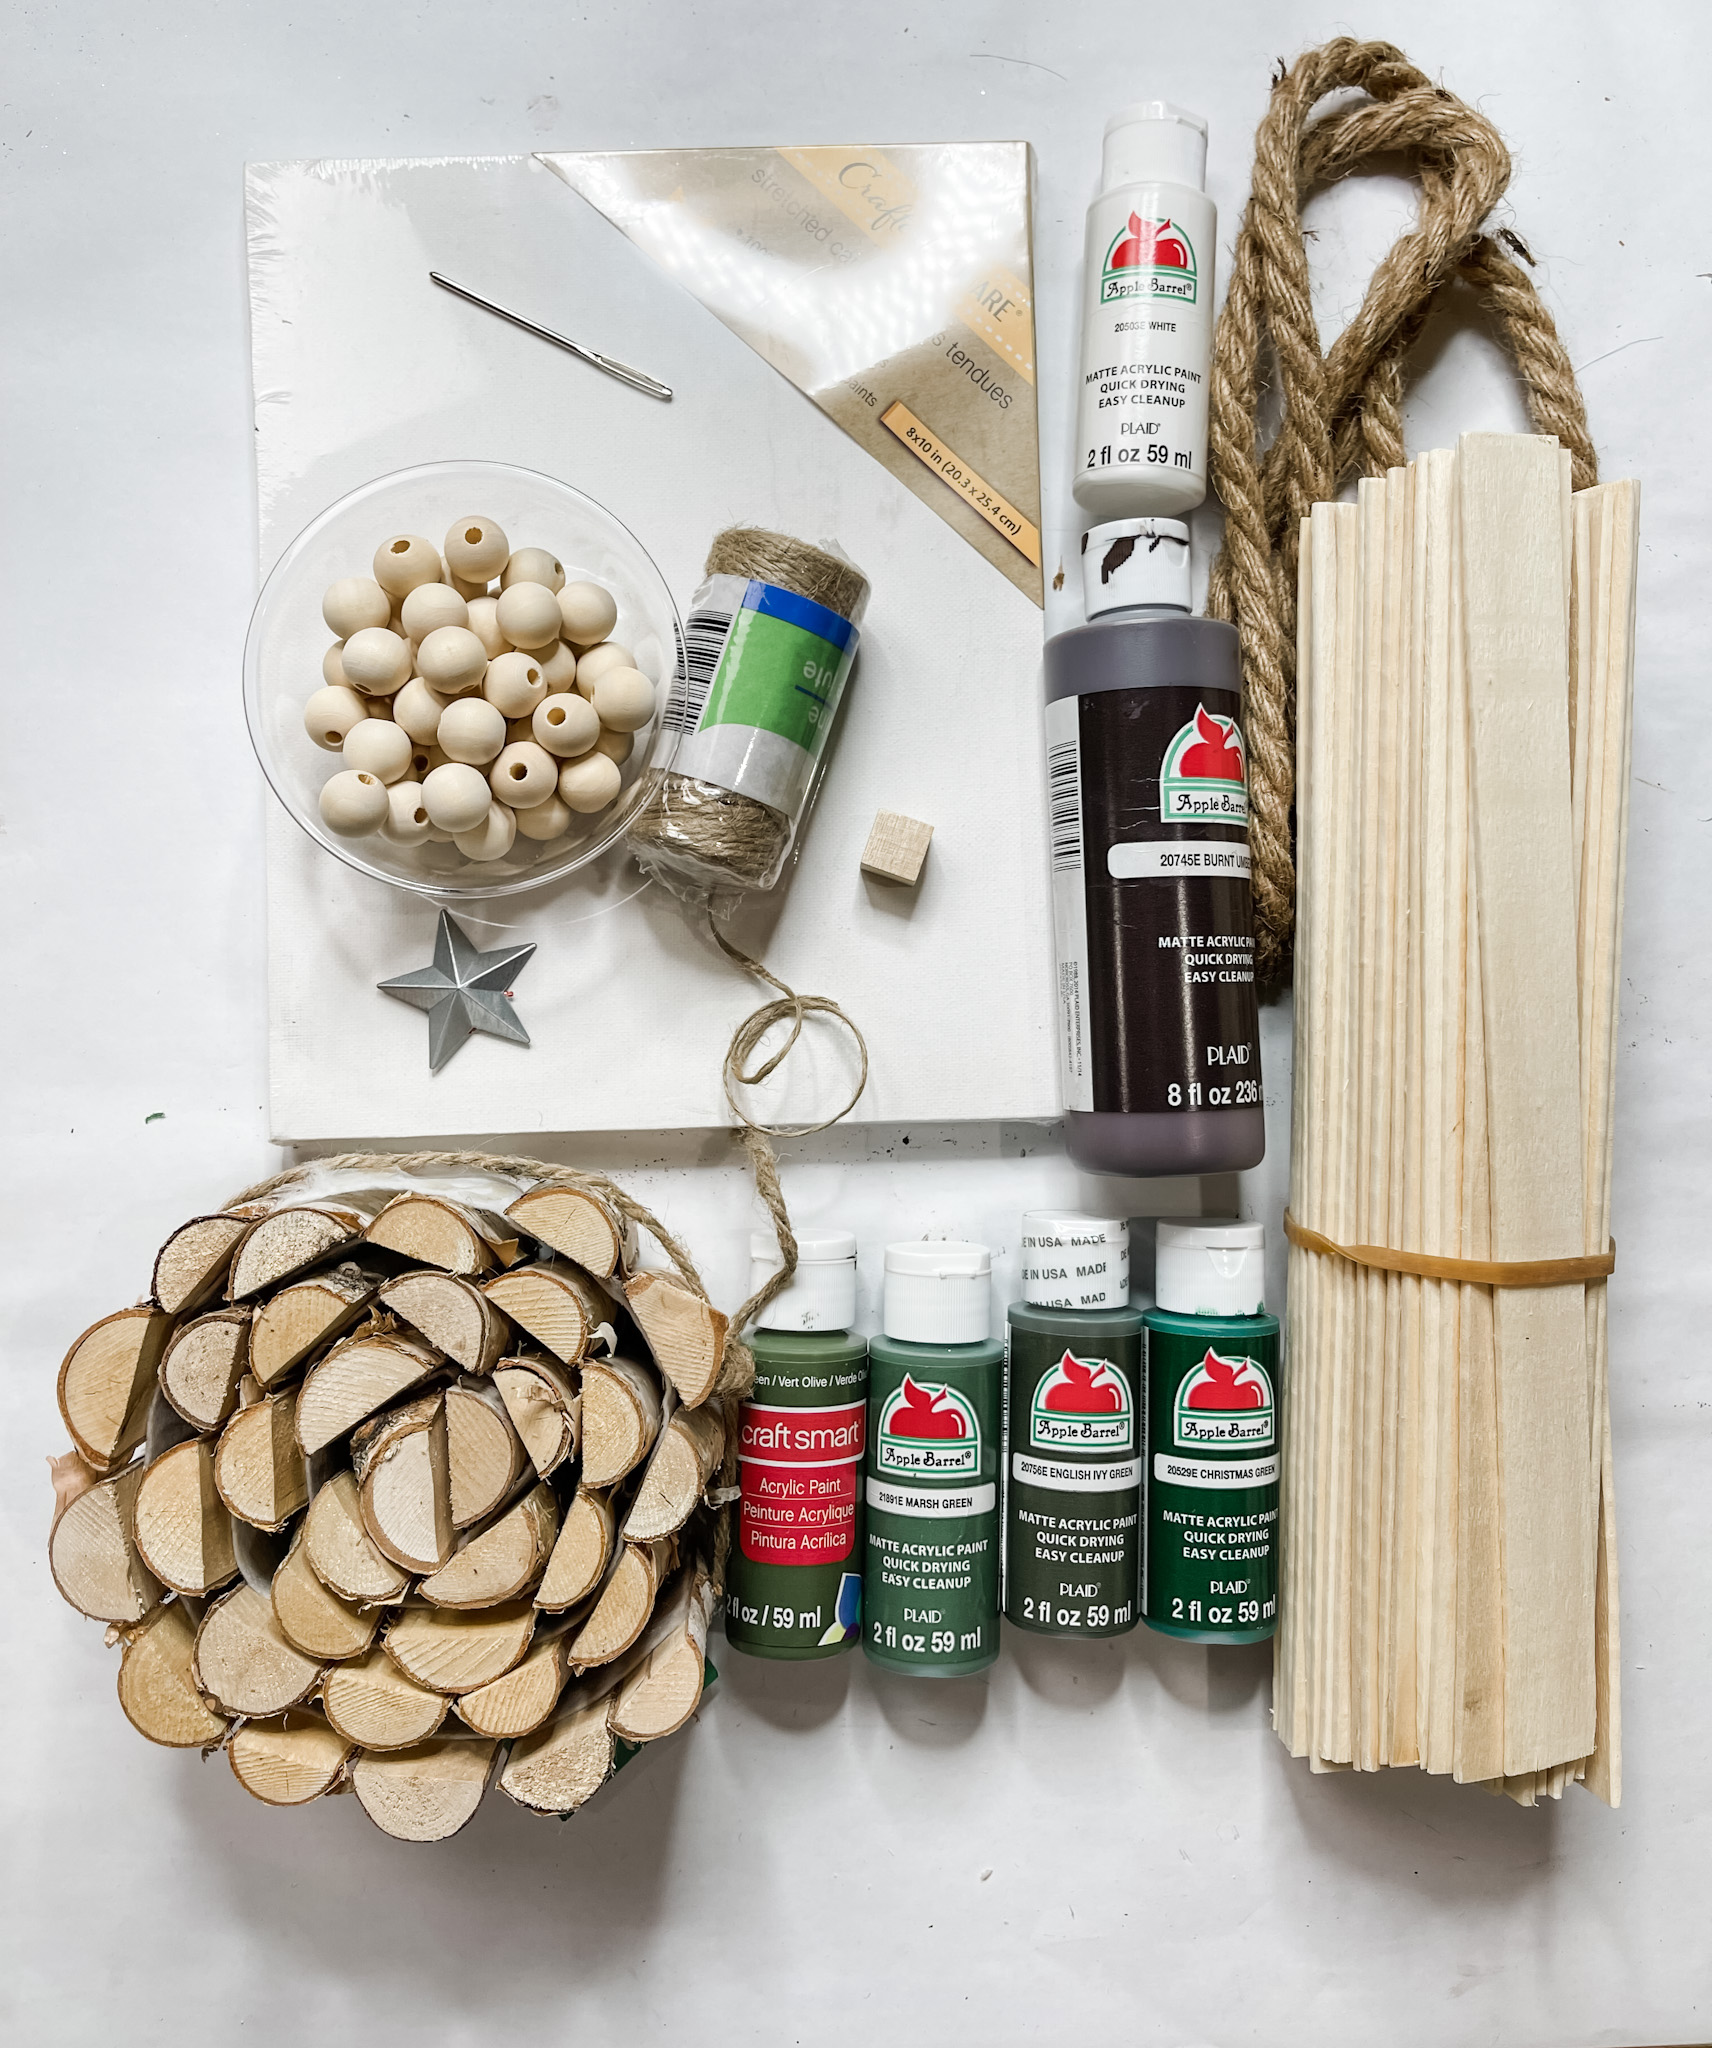
For this project, I will be using these items but you can substitute where you want.
“As an Amazon Associate, I earn from qualifying purchases.”
- Dollar Tree Stretched canvas (8×10)
- Dollar Tree Wood craft cube
- Wood Shims
- Dollar Tree Jute Twine
- Dollar Tree Nautical Rope
- Wood Beads (Can use wood bead garland from Dollar Tree)
- Star
- Wood Stem (Hobby Lobby)
- Apple Barrel Marsh Green
- Apple Barrel English Ivy Green
- Craftsmart Olive Green
- Apple Barrel Christmas Green
- Brown Paint
- White Paint
- Glue Gun
- Heat gun
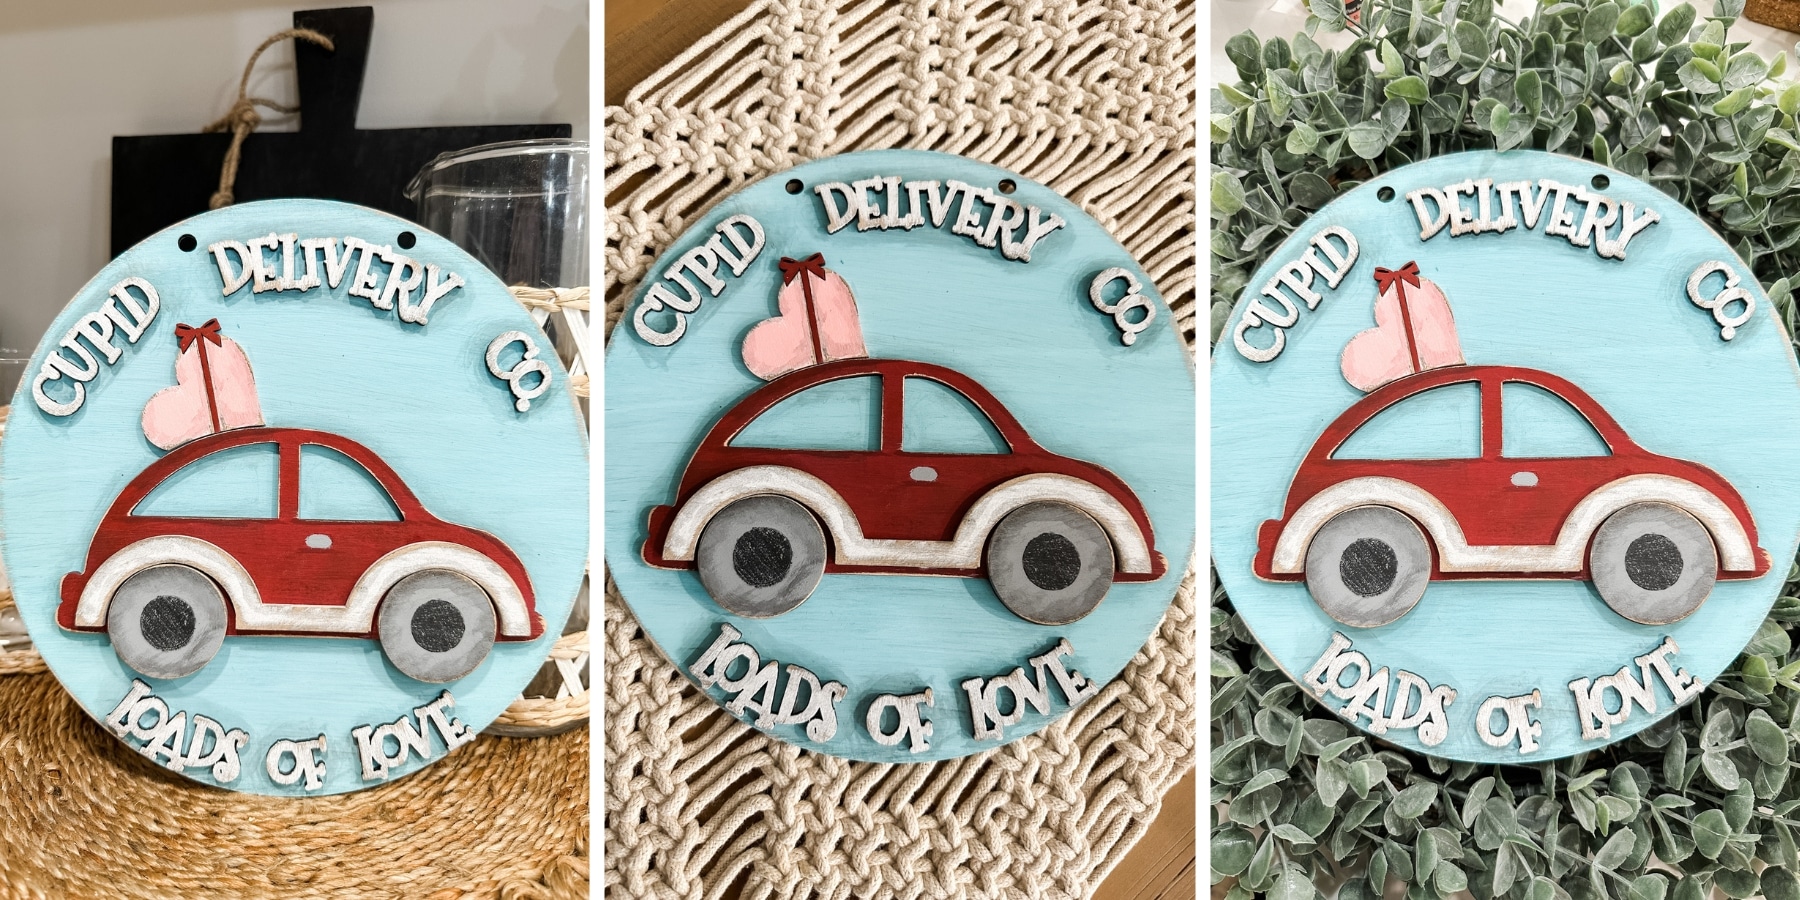
You should totally join my FREE Facebook group called On A Budget Crafts! It is a judgment-free community for DIY crafters to show off their projects and ideas.
If you loved this DIY you might also like this DIY Christmas Tree Shelf Decor!
Thanks for stopping by! XOXO Amber
You can also shop my ENTIRE AMAZON Favorites shop just click here! It’s packed full of all the things I use and love.
Here is the supply list I highly recommend every creative have on hand!! Would you also pin my blog for later and get on my newsletter alerts? I would love to have you join my #craftycrew.

Join my free “ON A BUDGET CRAFTS” Facebook group!


Super adorable