Valentine’s Day Paper Craft DIY Shabby Chic Decor
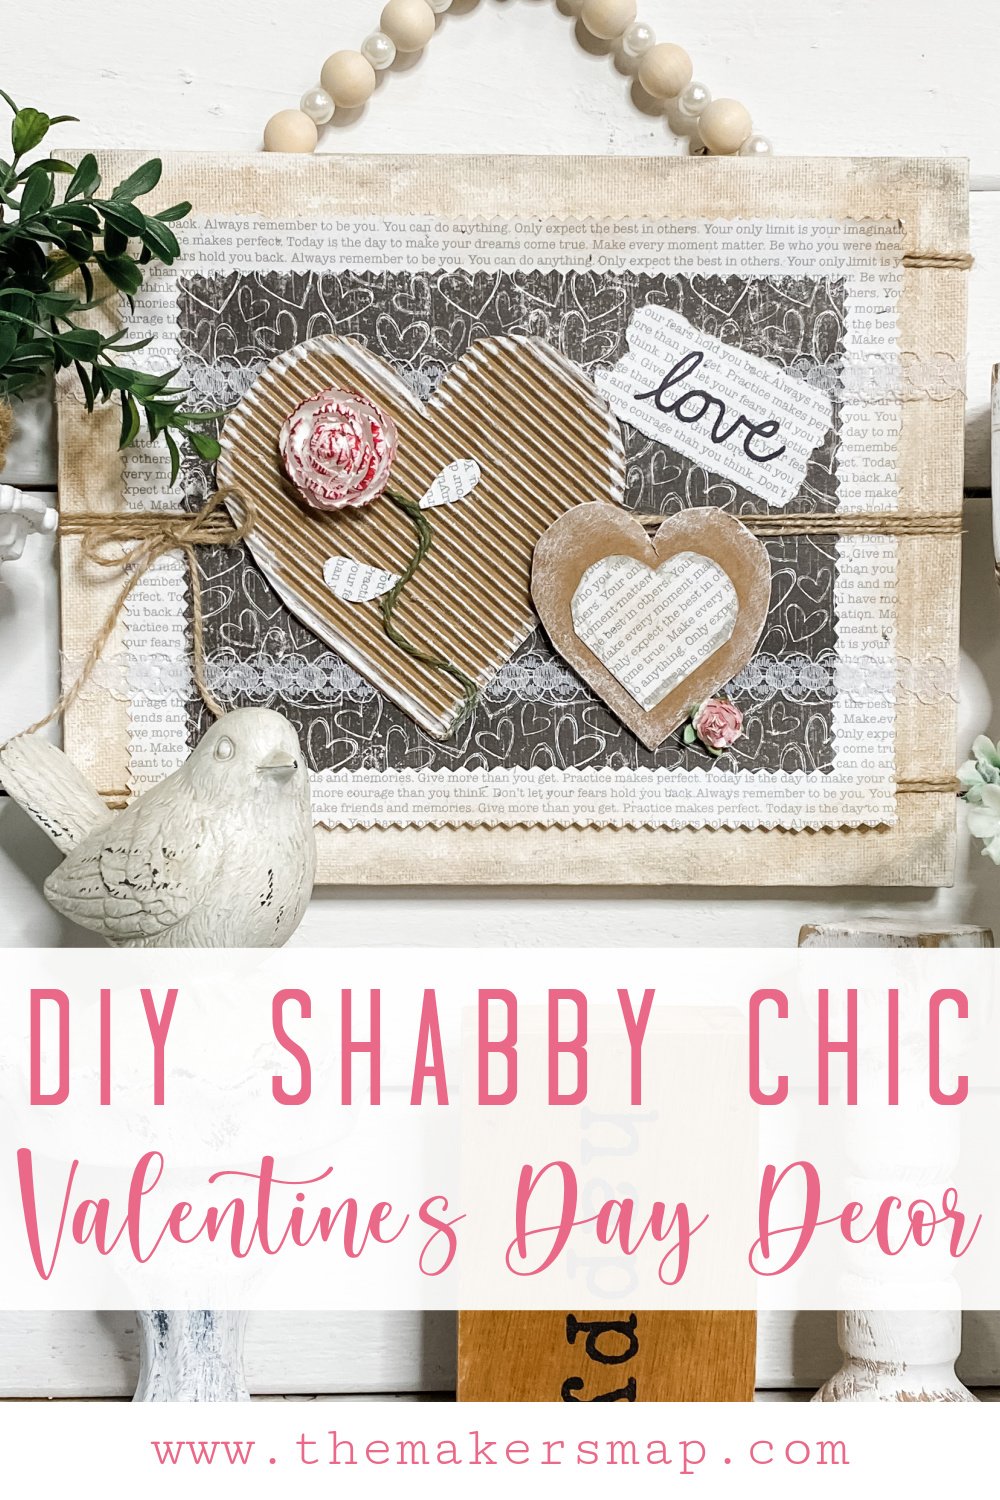
This Valentine’s Day Paper Craft DIY Shabby Chic Decor is giving me serious vintage postage vibes! Doesn’t it remind you of a letter from the 1800s?
If you love Shabby Chic decor as much as I do, you’re going to want to make this adorable DIY project ASAP!
Watch the replay
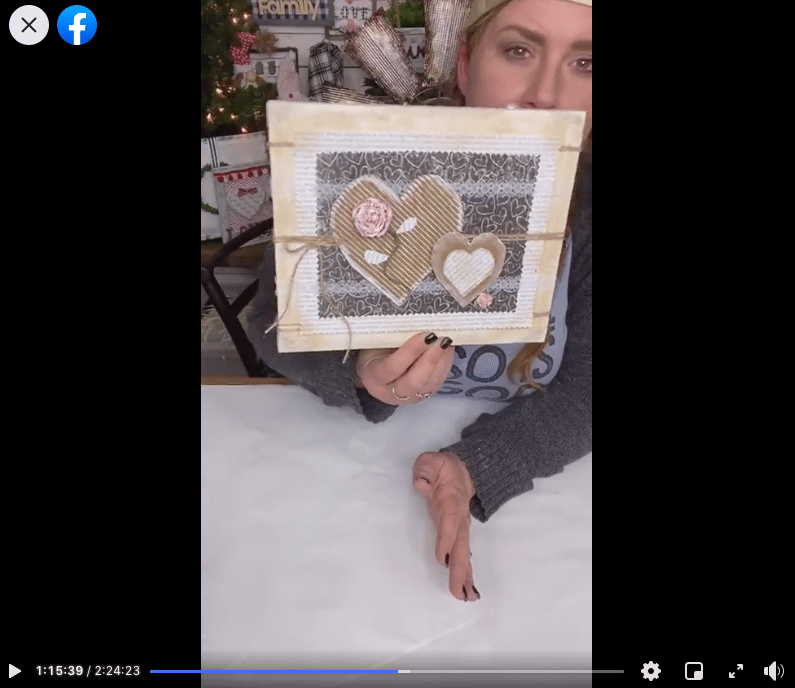
Are you more of a visual learner? Well, then you’re about to be very happy! I recorded myself making this easy DIY papercraft decor during a LIVE video on my Facebook page.
If you want to see this DIY process, watch the replay!
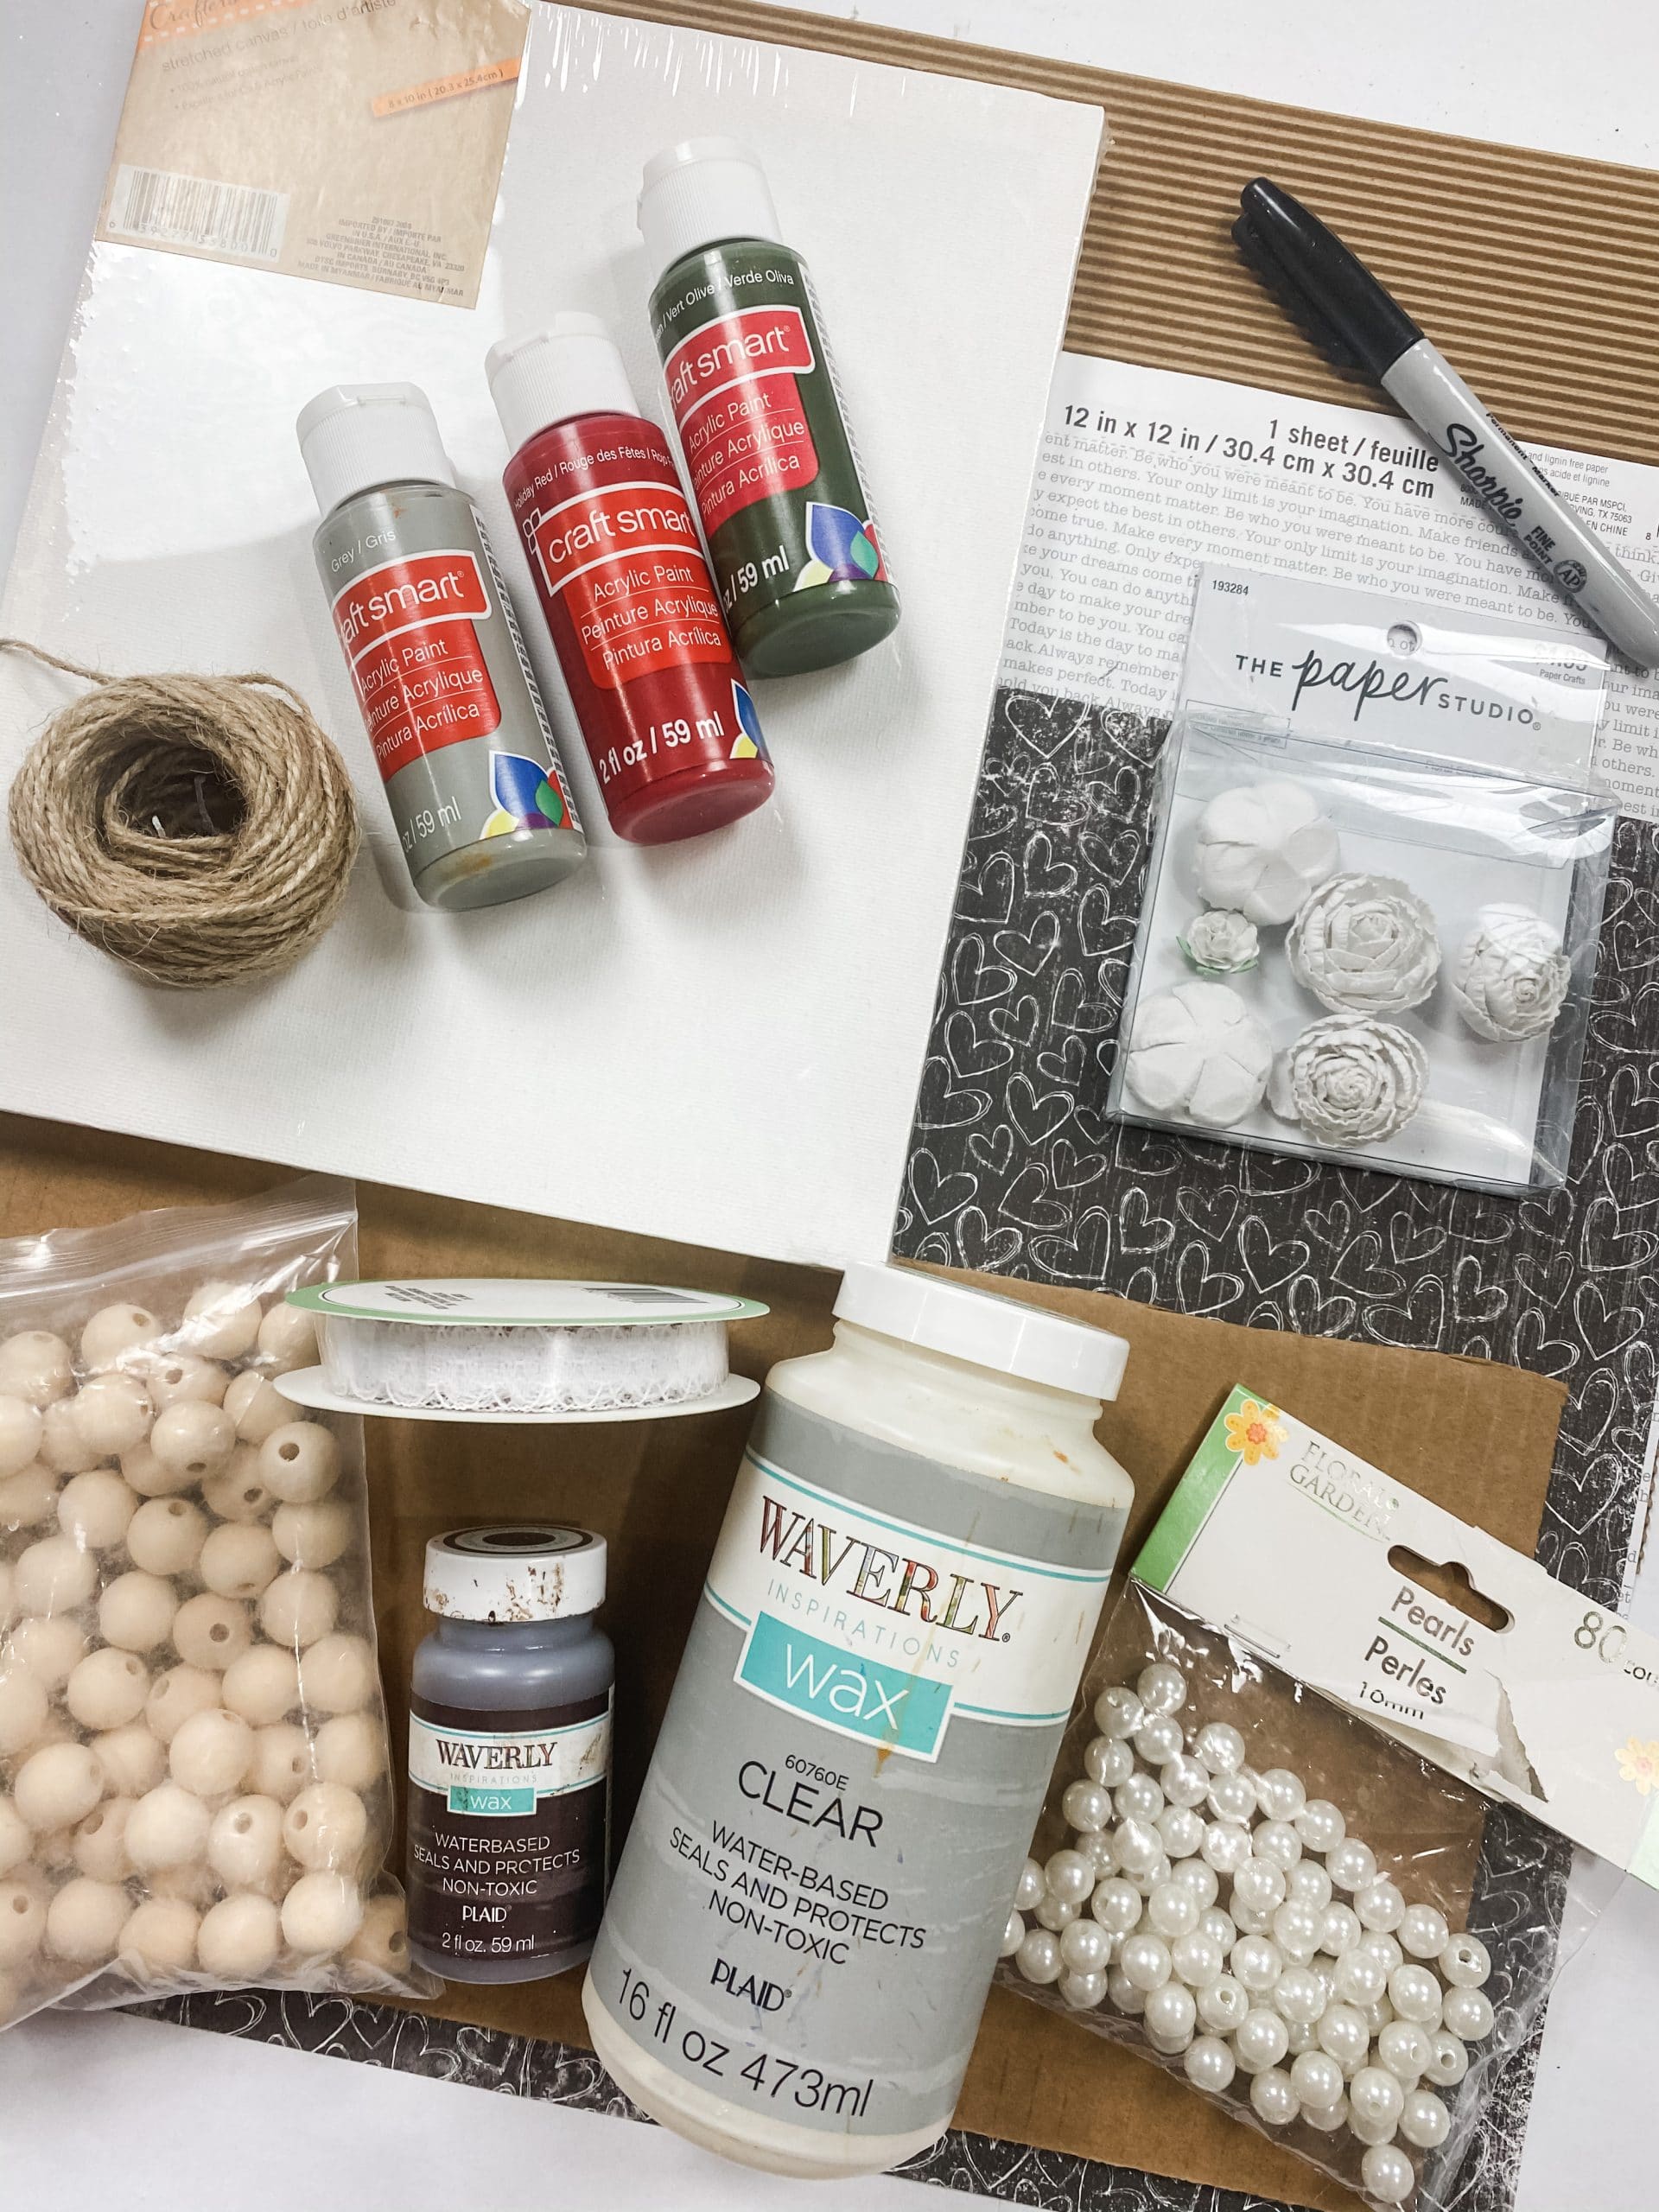
For this project, I will be using these items but you can substitute where you want.
“As an Amazon Associate, I earn from qualifying purchases.”
- Dollar Tree Canvas
- Dollar Tree Pearls
- Wood Beads
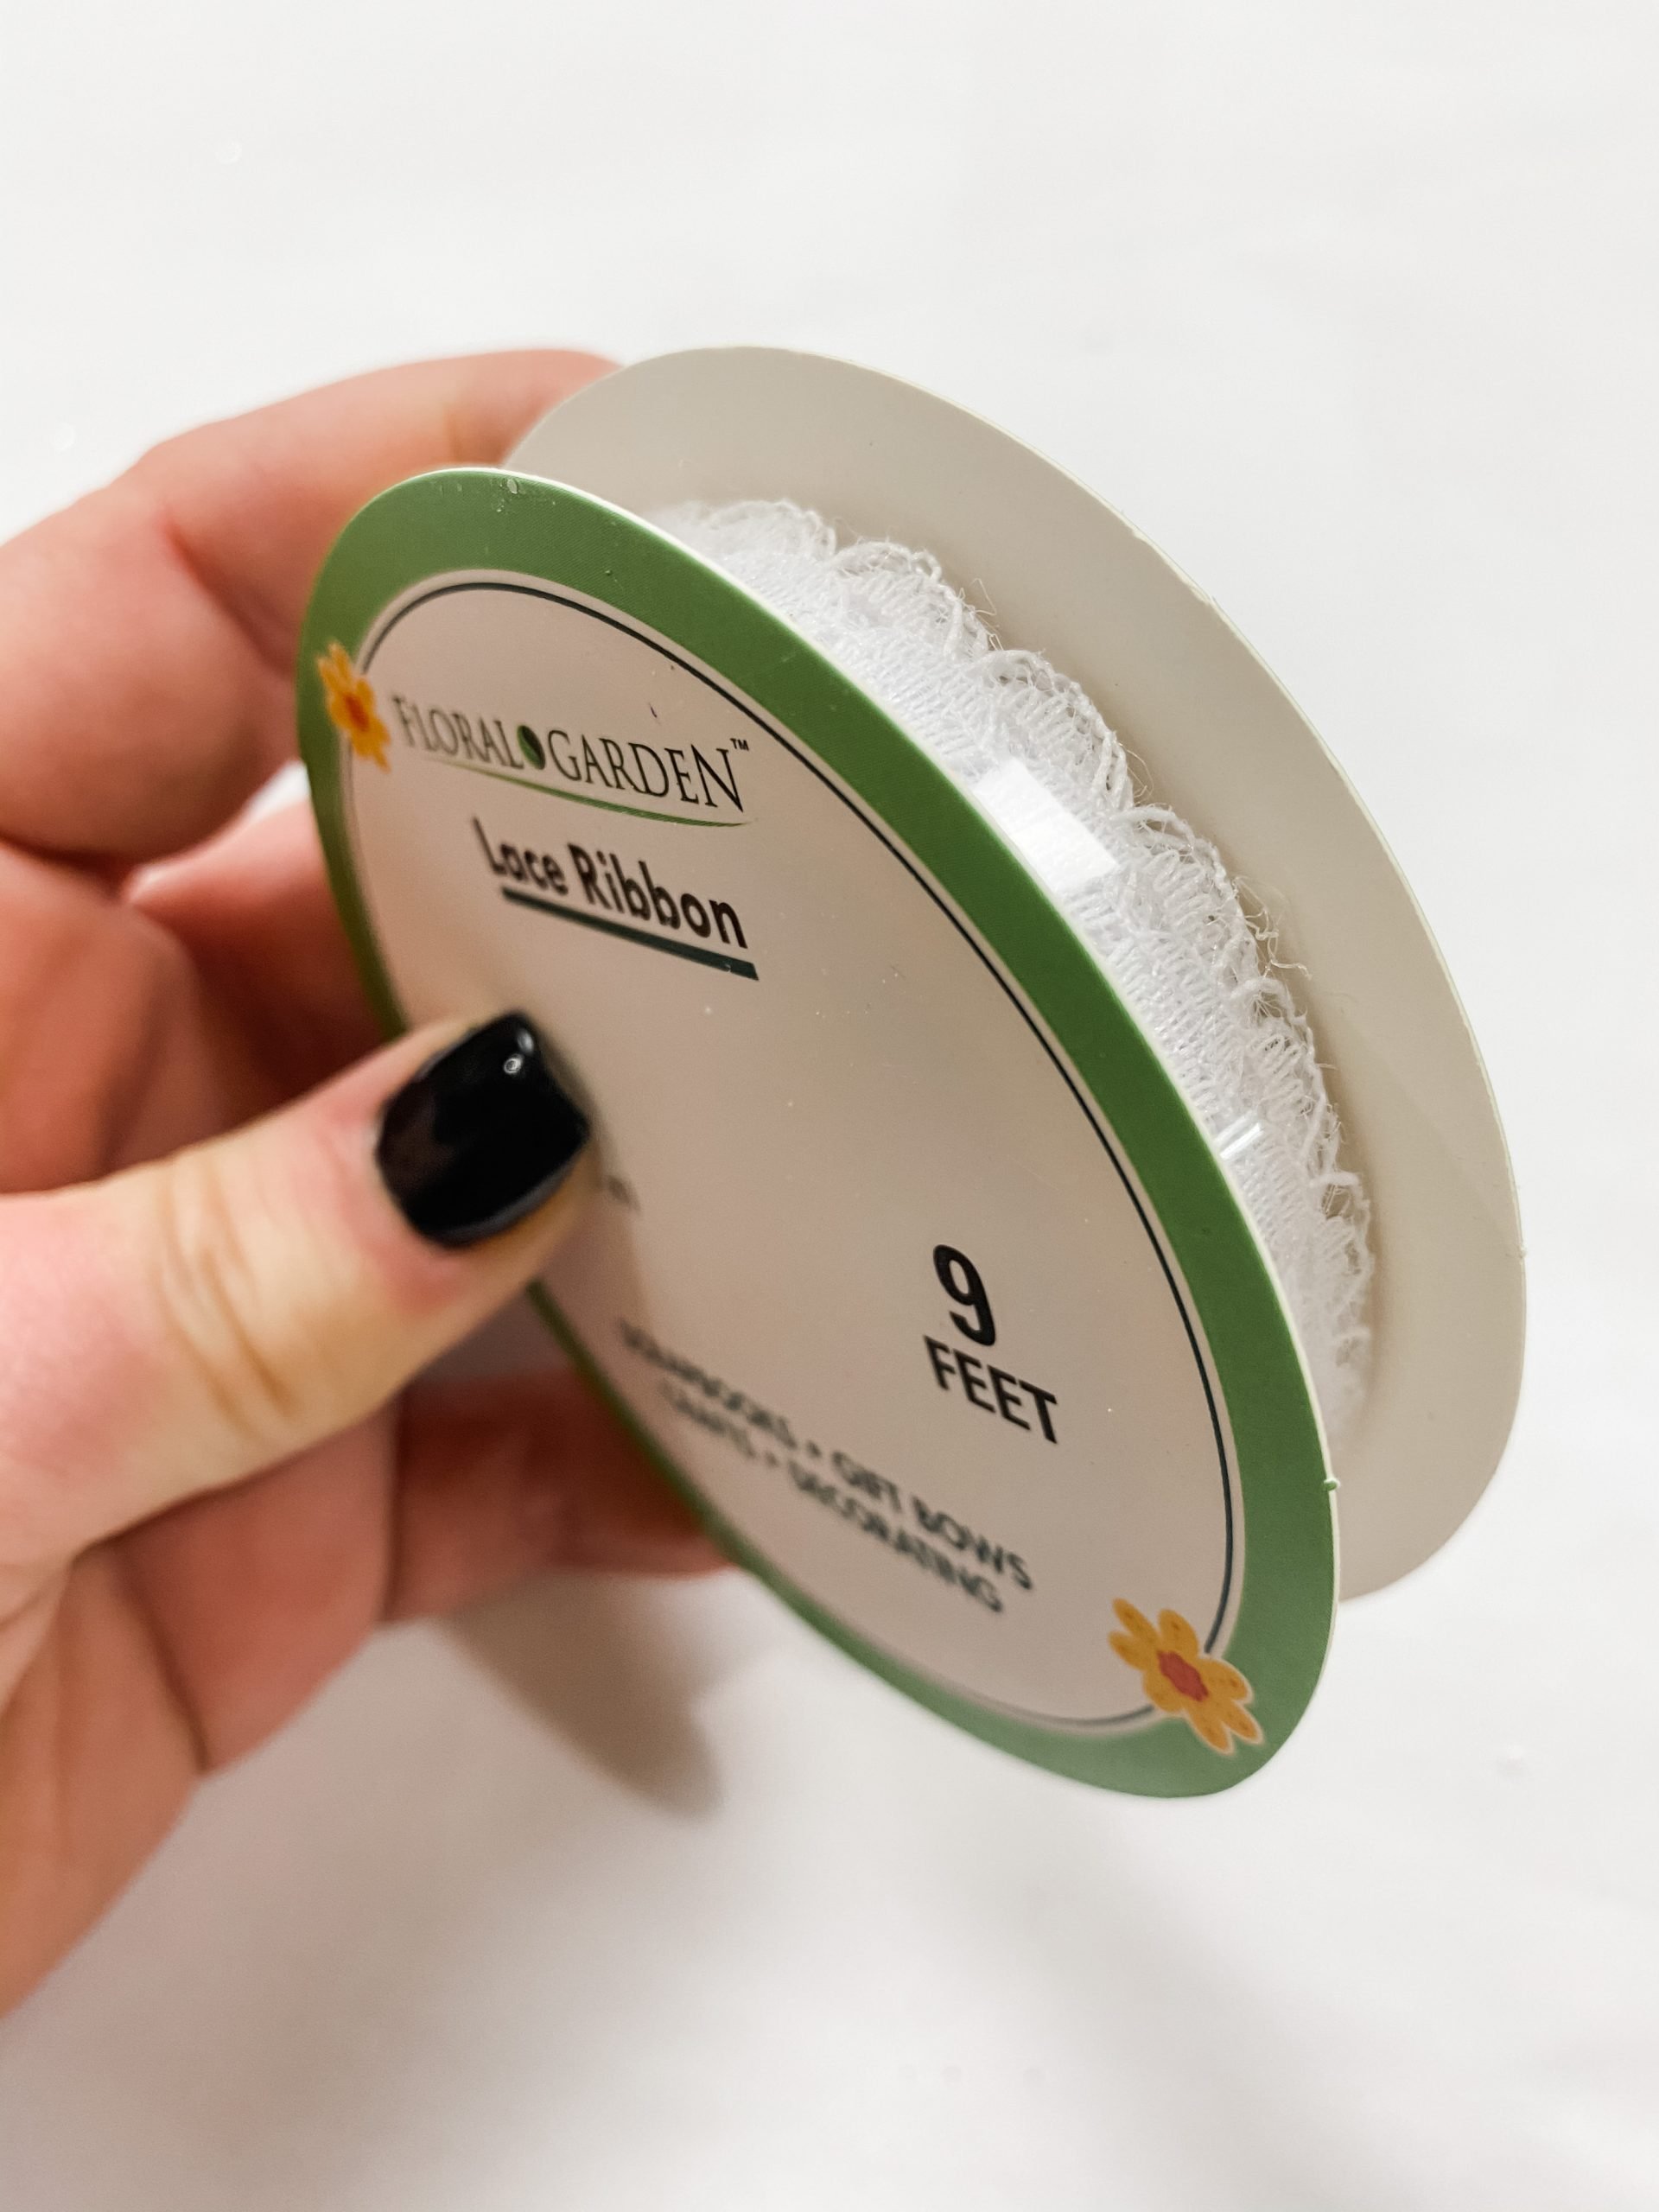
- Dollar Tree White Lace Ribbon
- Dollar Tree Wood Heart Ornament
- Decorative white flowers (Hobby Lobby)
- Dollar Tree Red Buffalo Check Fabric
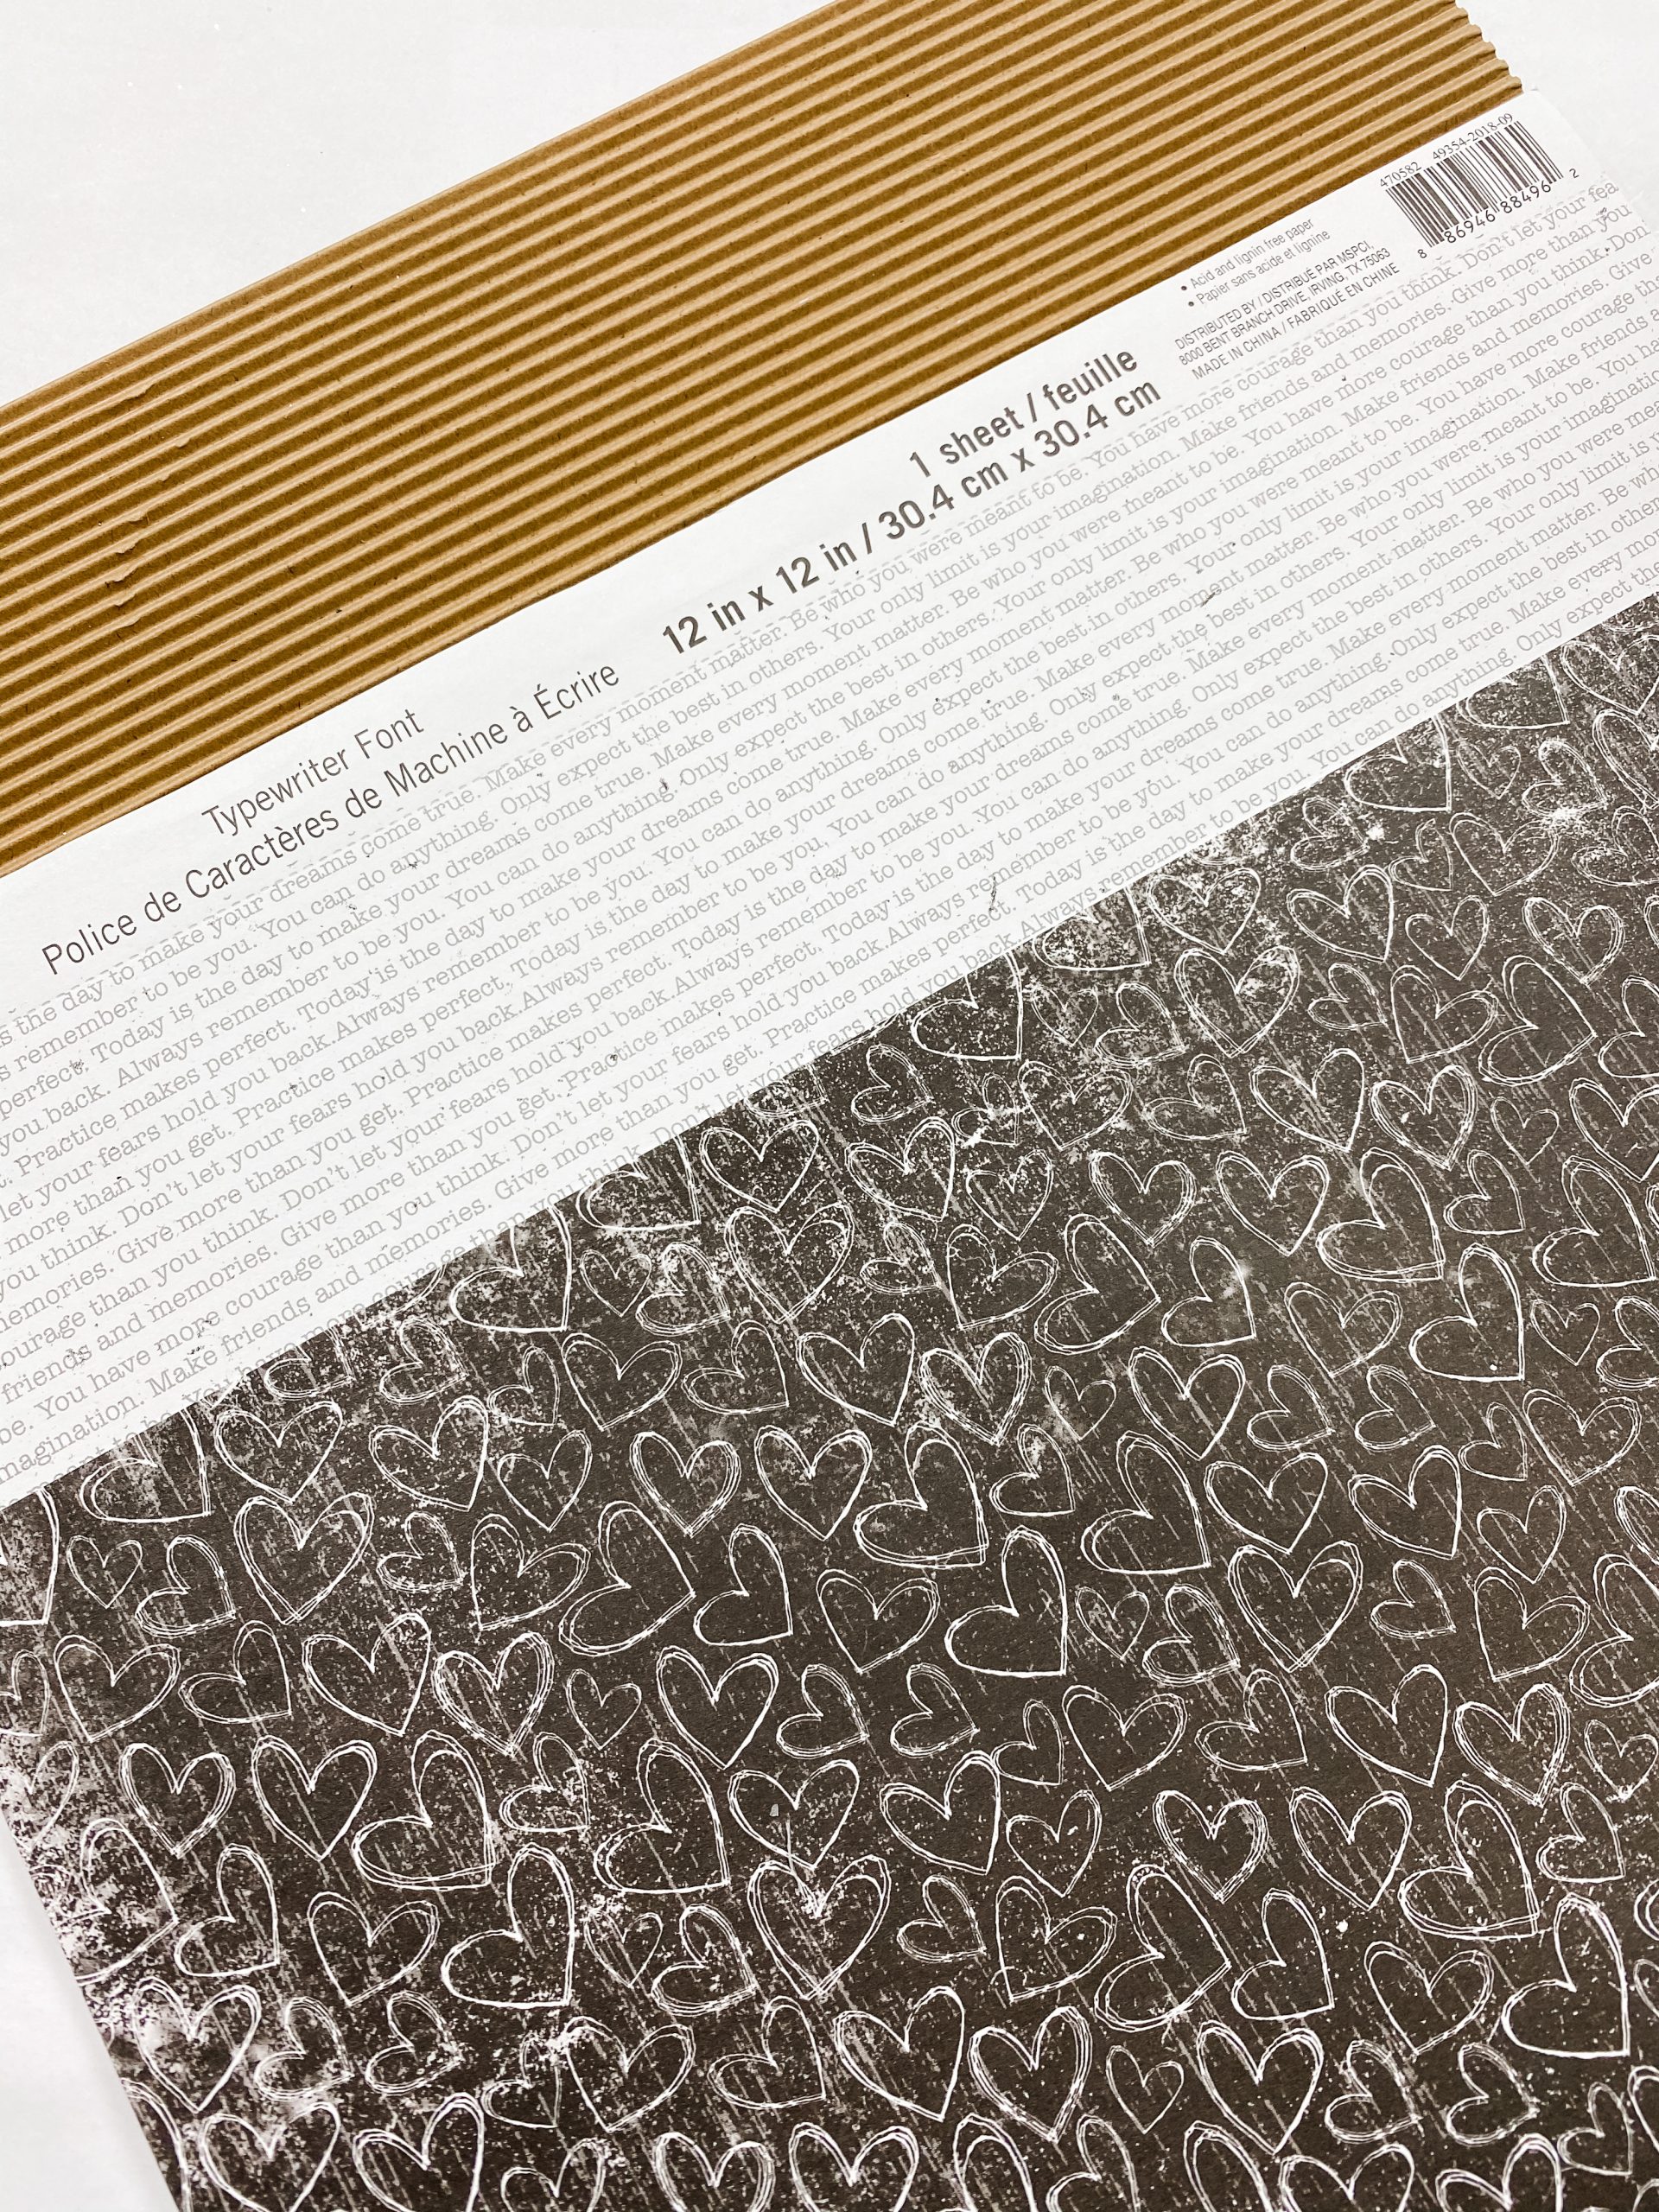
- Corrugated Scrapbook Paper (Hobby Lobby)
- Grey Heart Scrapbook Paper (Hobby Lobby)
- Timewriter Font Scrapbook Paper (Hobby Lobby)
- Waverly Antique Wax
- Waverly Clear Wax
- Craft Smart Holiday Red Acrylic Paint
- Craft Smart Olive Green Acrylic Paint
- Mod Podge
- Apple Barrel White Acrylic Paint
- Craft Smart Grey Acrylic Paint
- Paint Pixie Wax Brush
- Jute Twine
- Hot Glue gun
- Glue Sticks
- Scissors
Let’s get crafty!
Alright, y’all! Let’s get started making this adorable DIY shabby chic decor! The first thing I did was coat the Dollar Tree canvas with Waverly Clear Wax. I used a Paint Pixie Wax Brush to spread the wax onto the canvas.
The clear wax is very liquidy, so a little can go a long way here. I coated the canvas with clear wax to keep the fabric from absorbing the antique wax later and allow me to distress it.
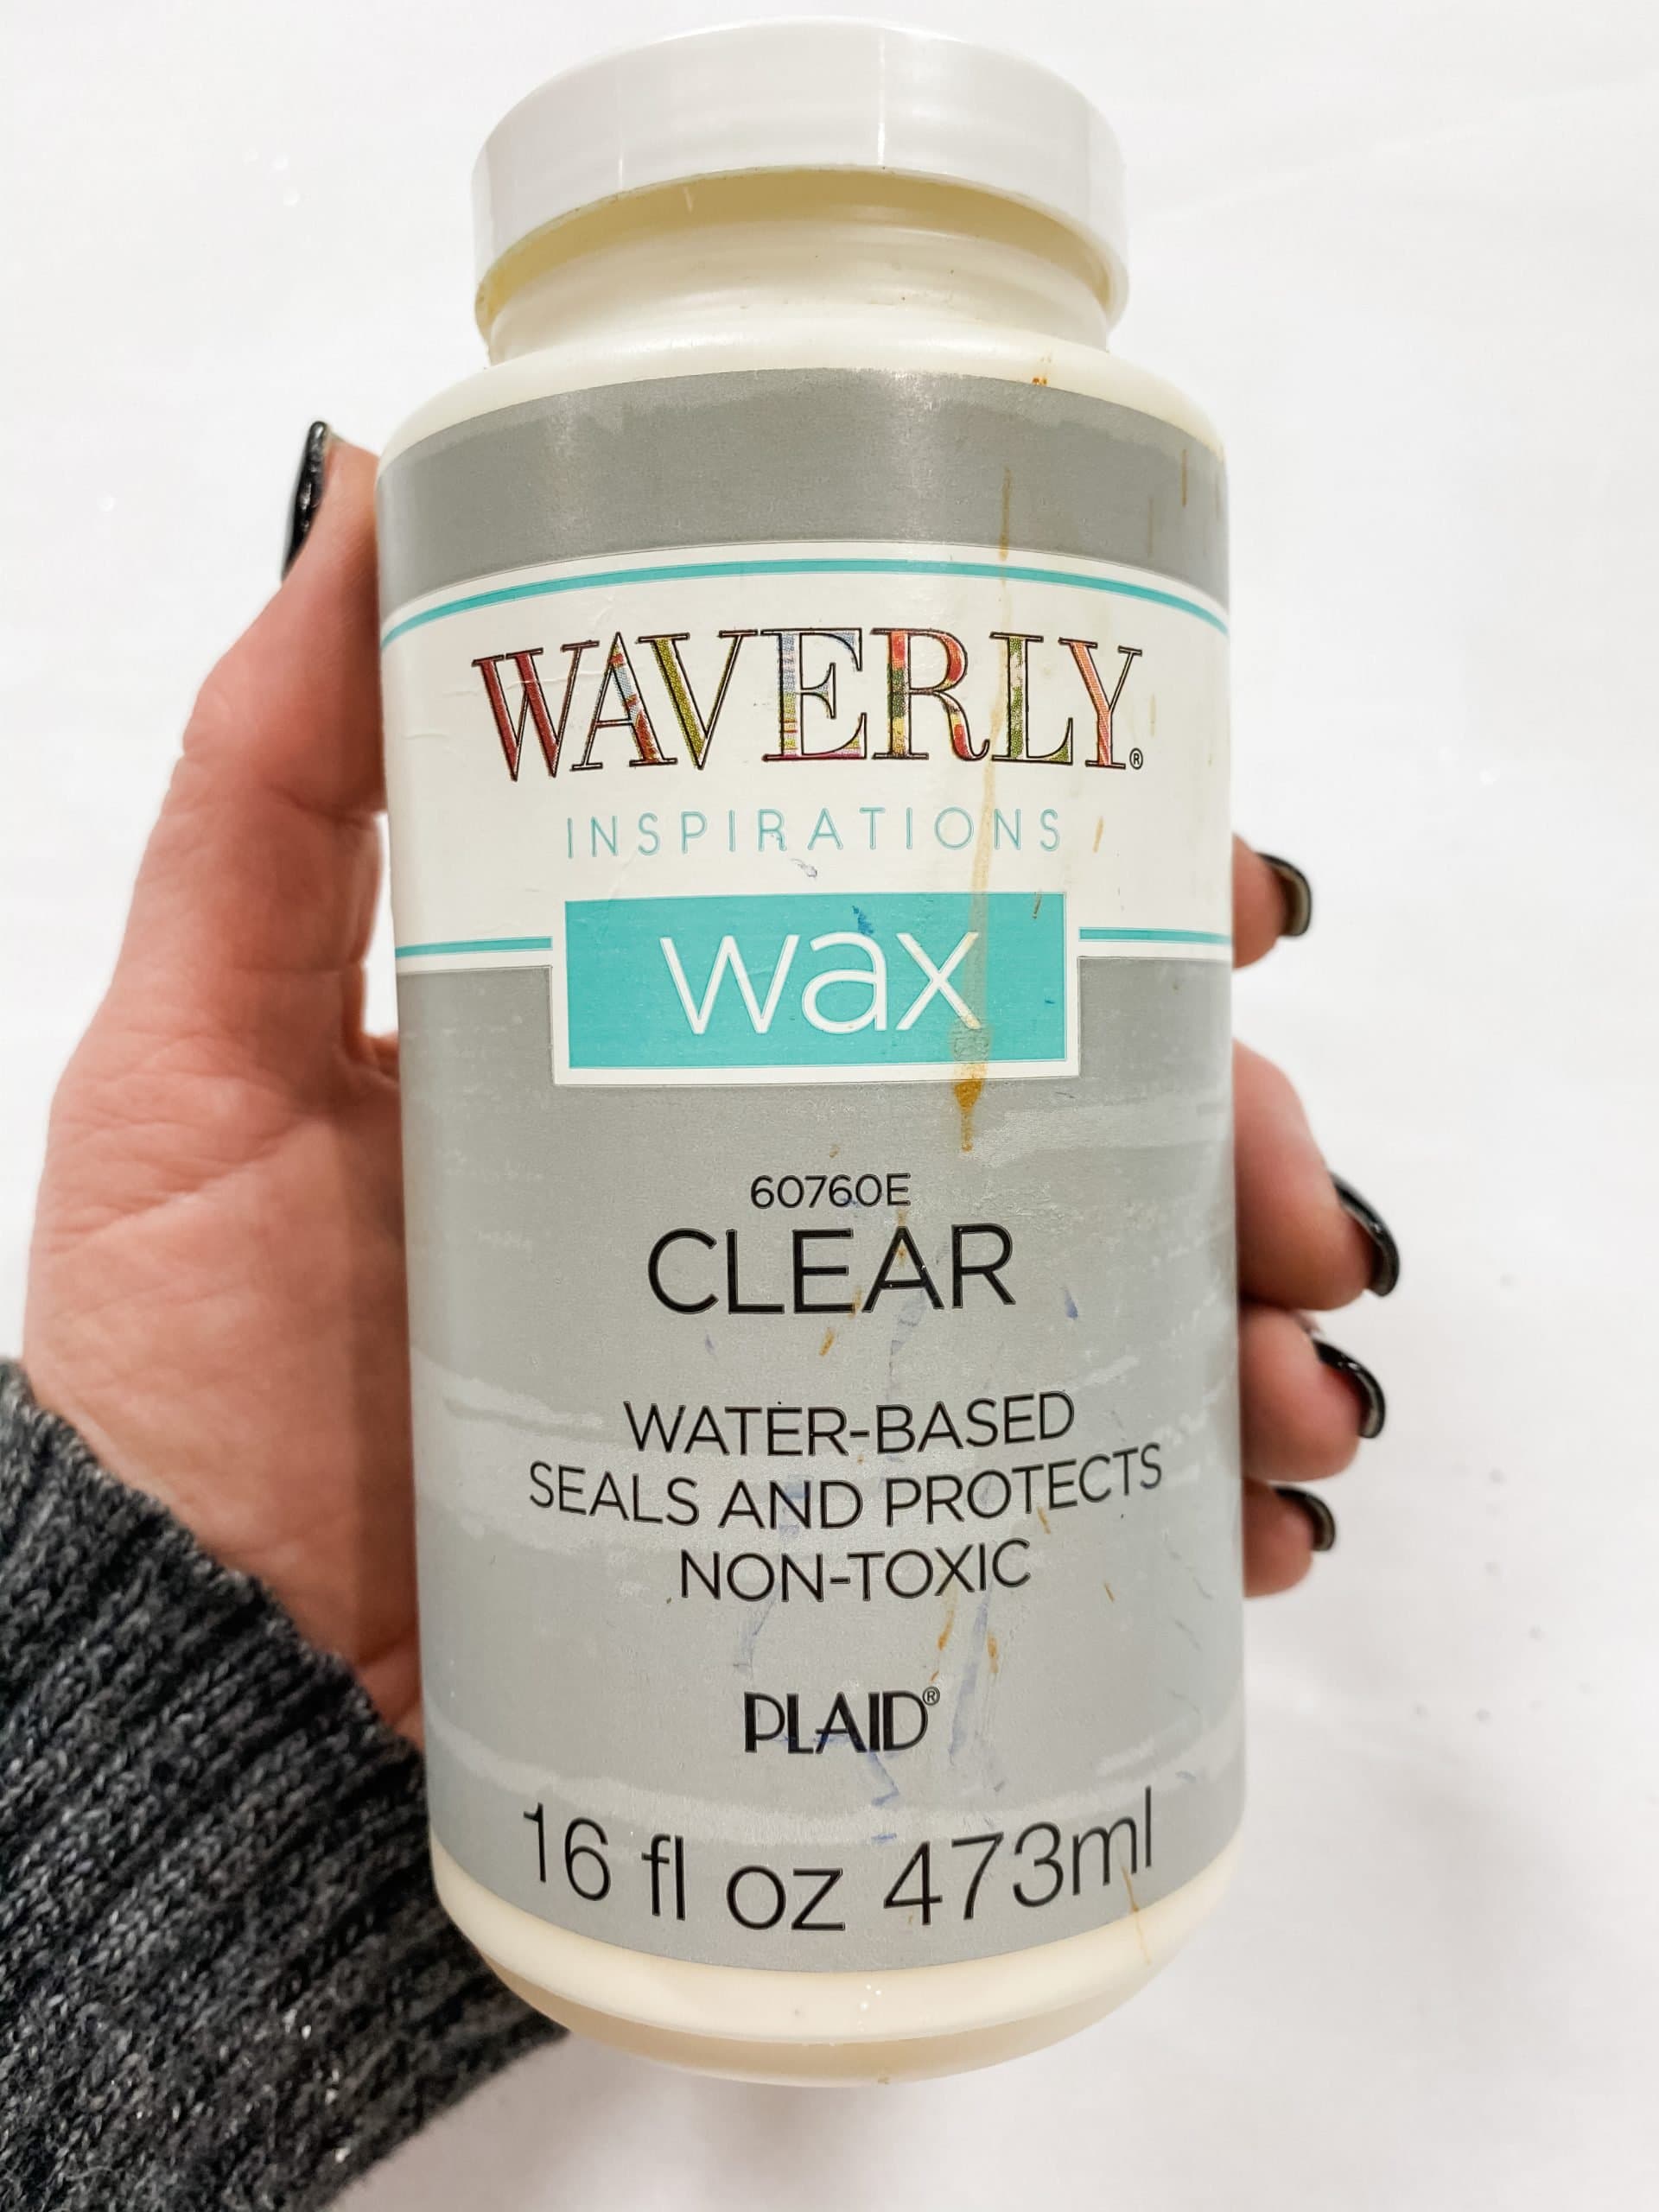
Allow the clear wax to dry before moving on. I used my heat gun to speed up the drying process. If you don’t have a heat gun, you can use a hairdryer on the low cool setting.
Once the clear wax was dry, I used just a small bit of Waverly Antique Wax and a Dollar Tree stencil brush. When I say a little bit, I mean it.
You only need just the tiniest bit of antique wax. I poured the wax into a small mixing bowl, sprayed water into the bowl, and mixed it.
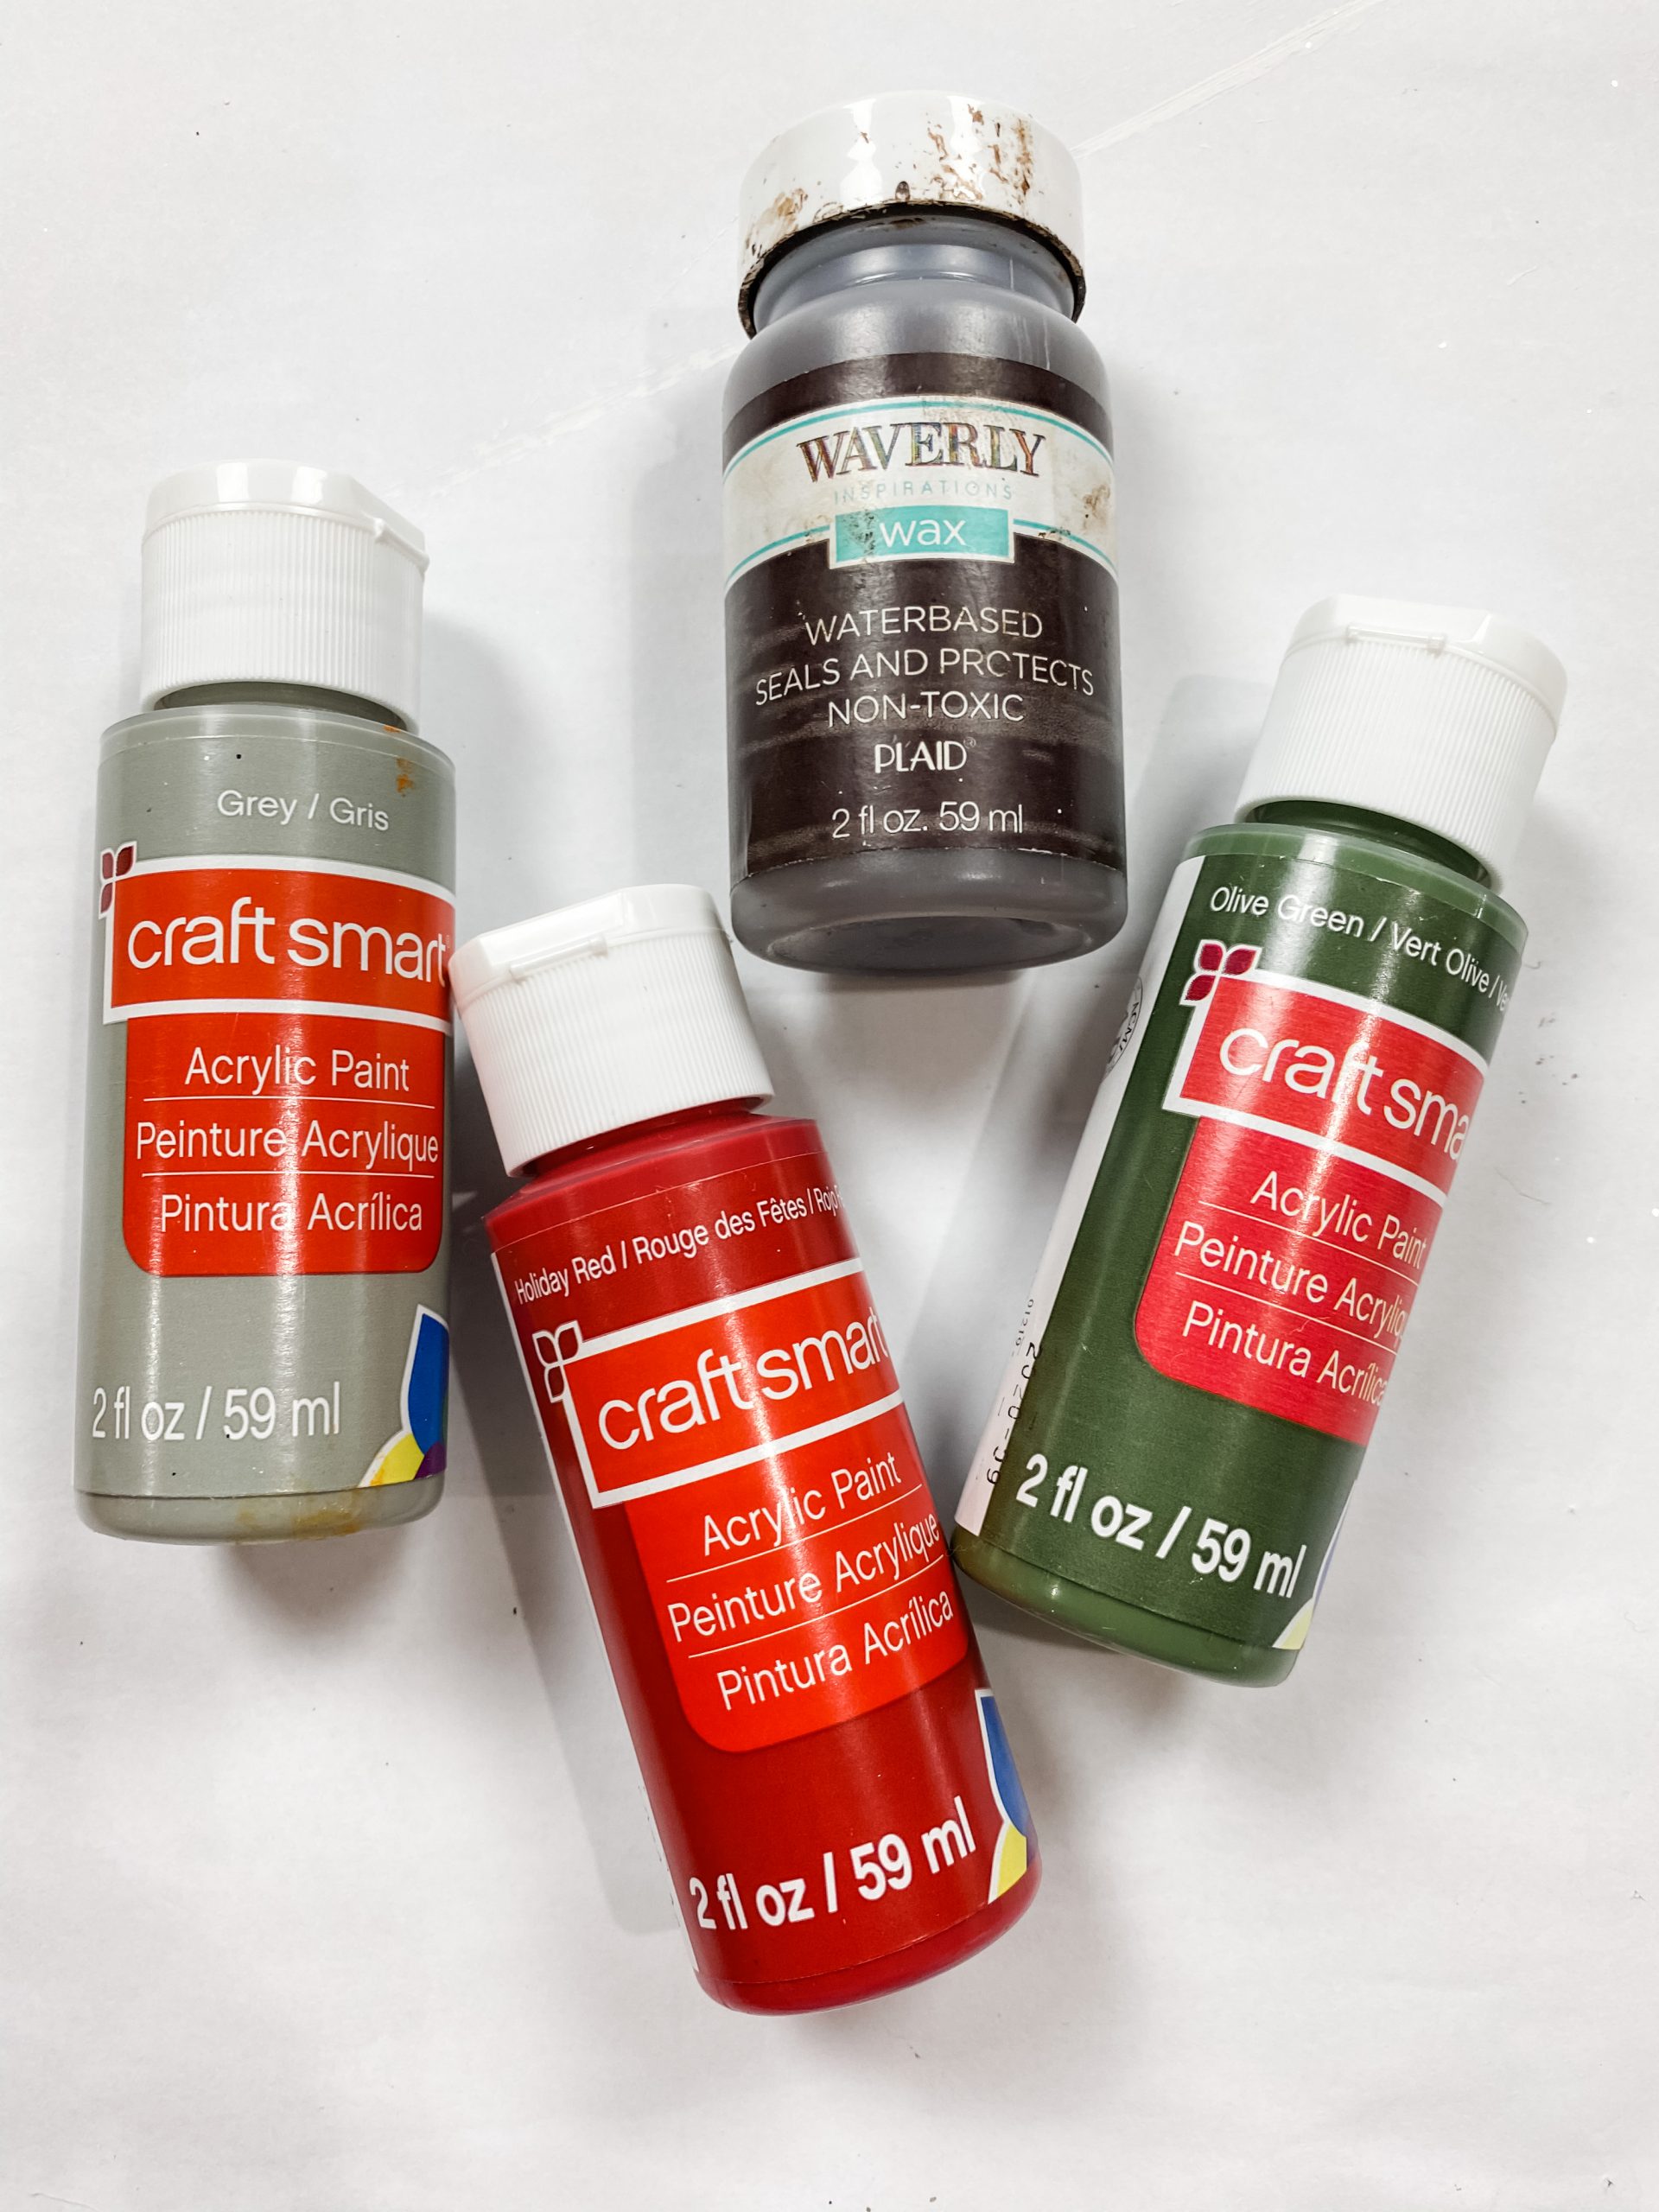
Then, I brushed the wax/water mixture onto the edges of the Dollar Tree canvas and blended it towards the center in circular motions. A lot like how you blend your contour when you’re doing your makeup!
Next, I took a sanding sponge to the edges to distress the canvas even more. Just lightly sand the areas where you’ve applied the Waverly Antique Wax.
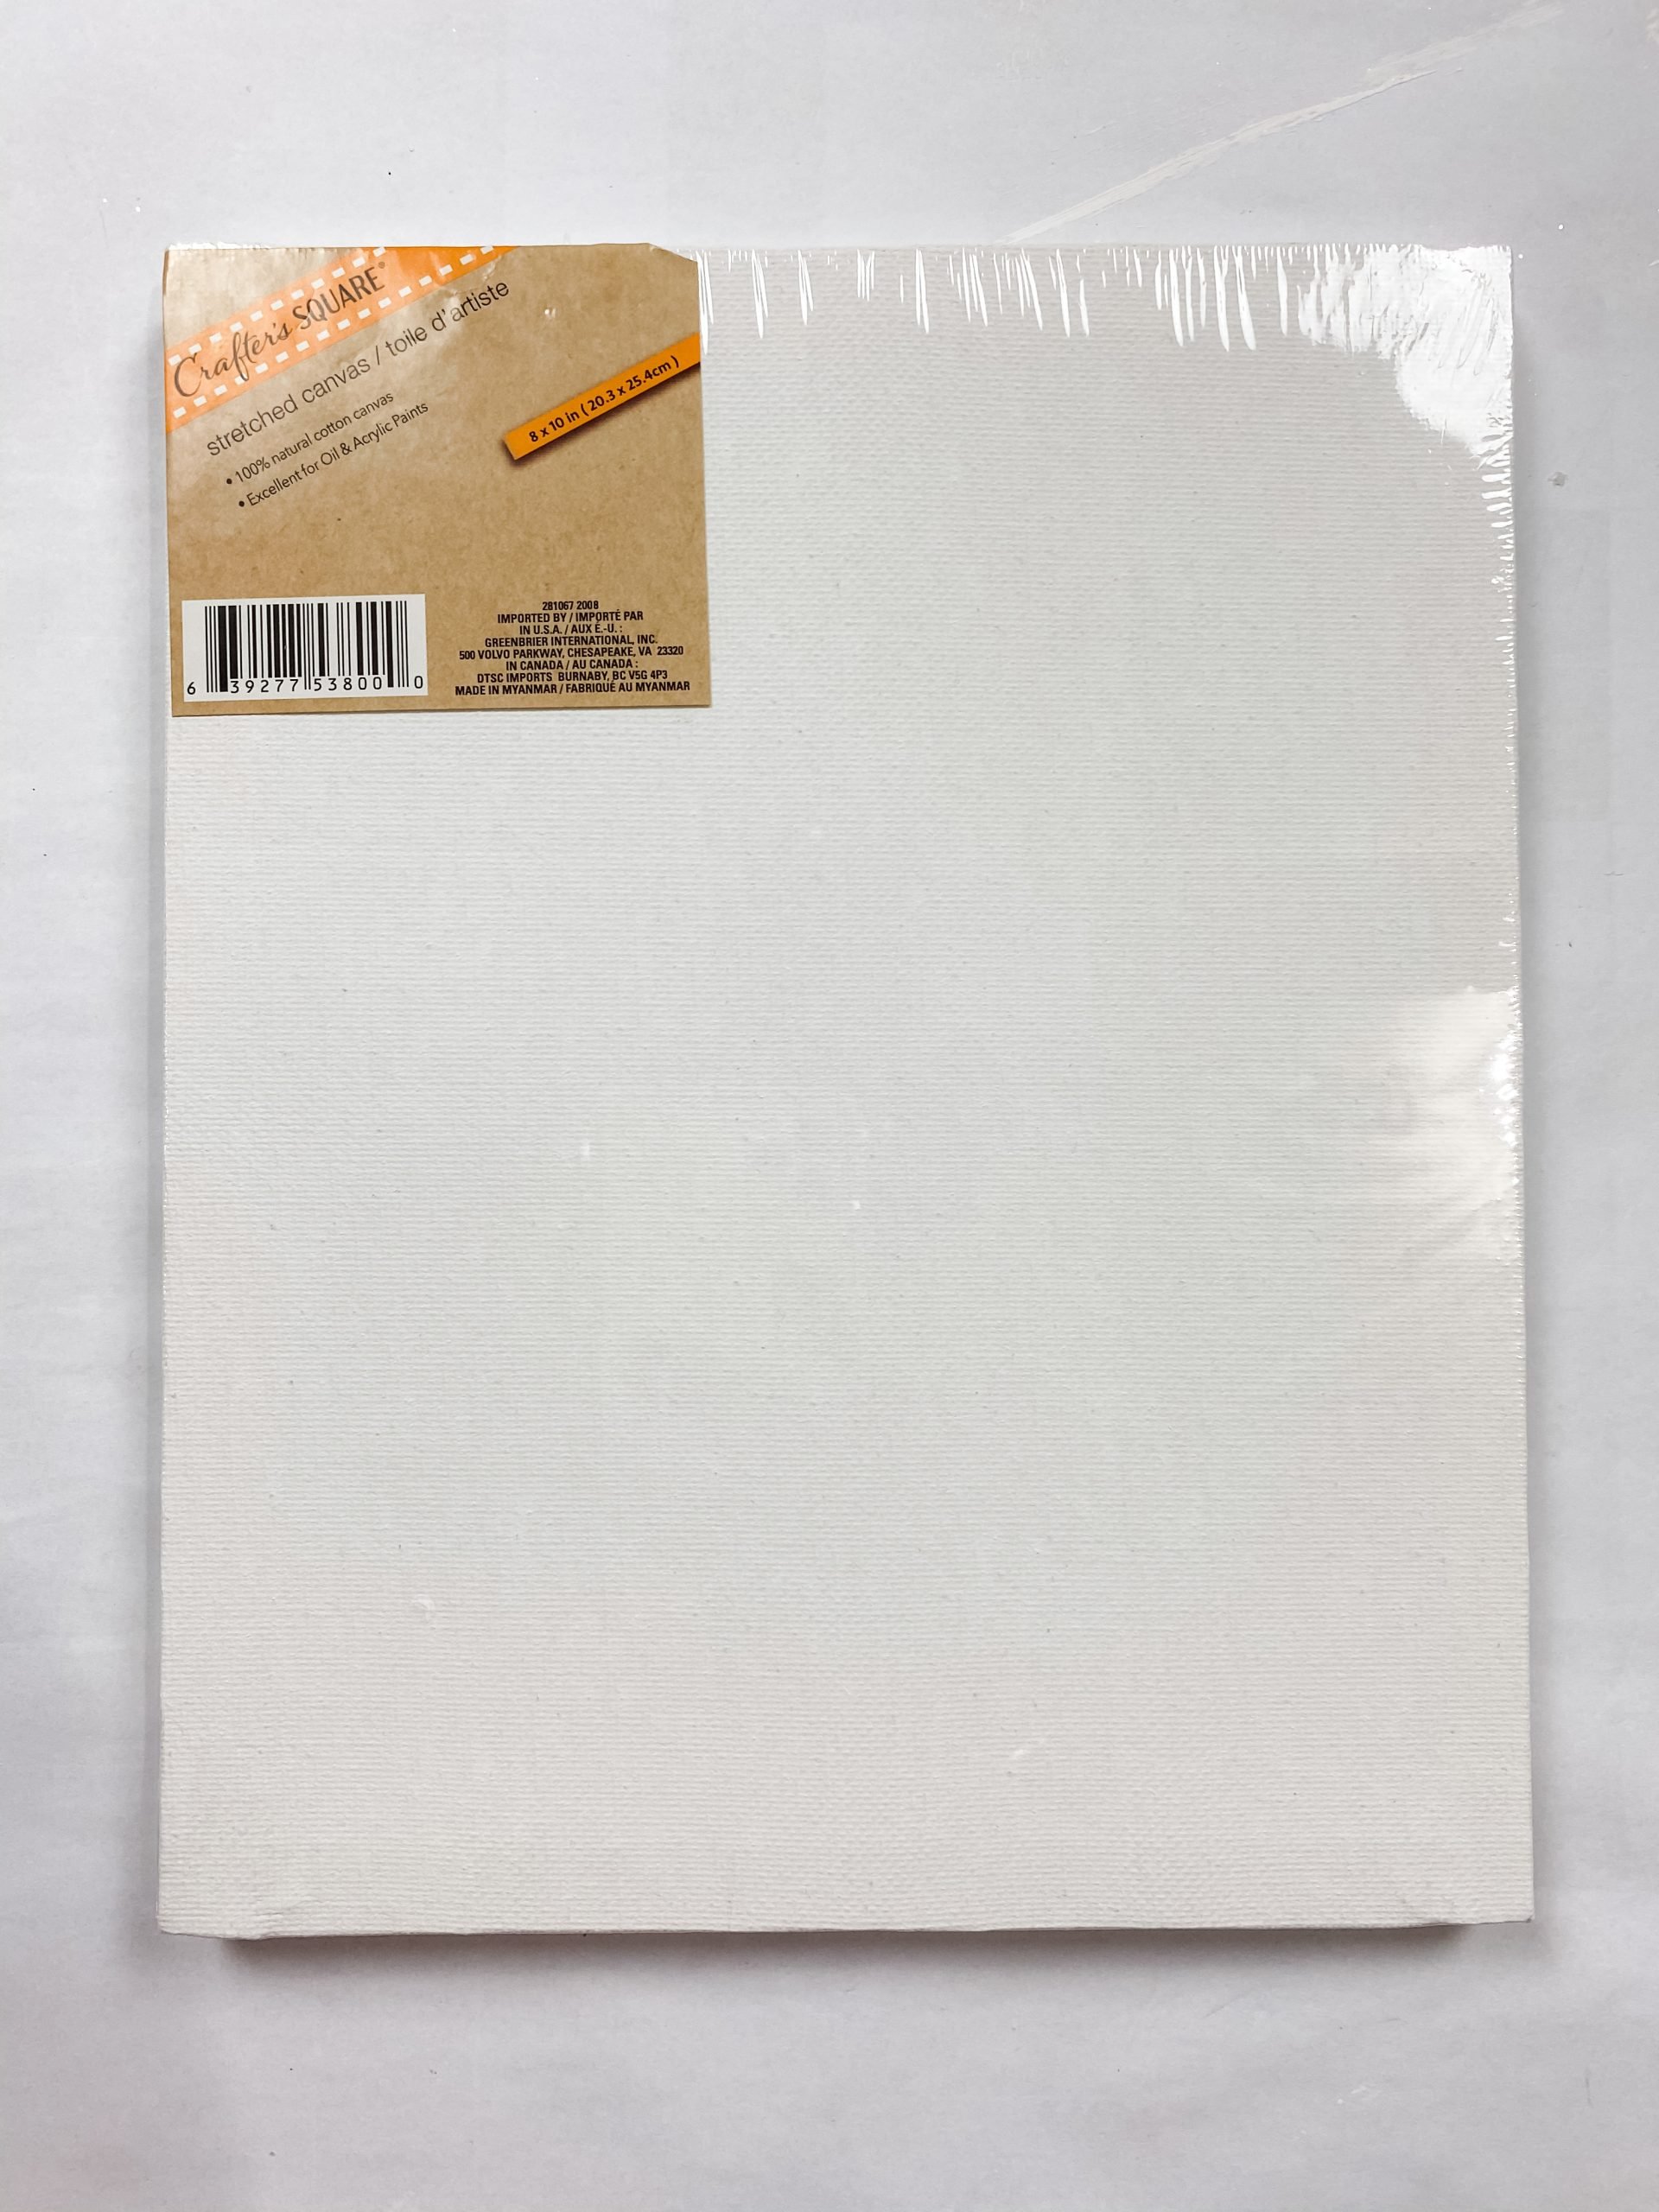
How to decoupage
Once the antique wax has dried, you’re ready to decoupage your scrapbook paper onto the Dollar Tree canvas! The first scrapbook paper pattern I used was the Typewriter Font from Hobby Lobby.
Cut a rectangle to fit onto the Dollar Tree canvas, and make it slightly smaller to expose the distressed edges you just created.
Before I attached the scrapbook paper to the canvas, I wrapped jute twine around the Dollar Tree canvas.
I wrapped the jute twine towards the top and towards the bottom of the canvas and hot glued the twine in place.
Then, I applied Mod Podge to the canvas and places the piece of scrapbook paper onto the center of the canvas.
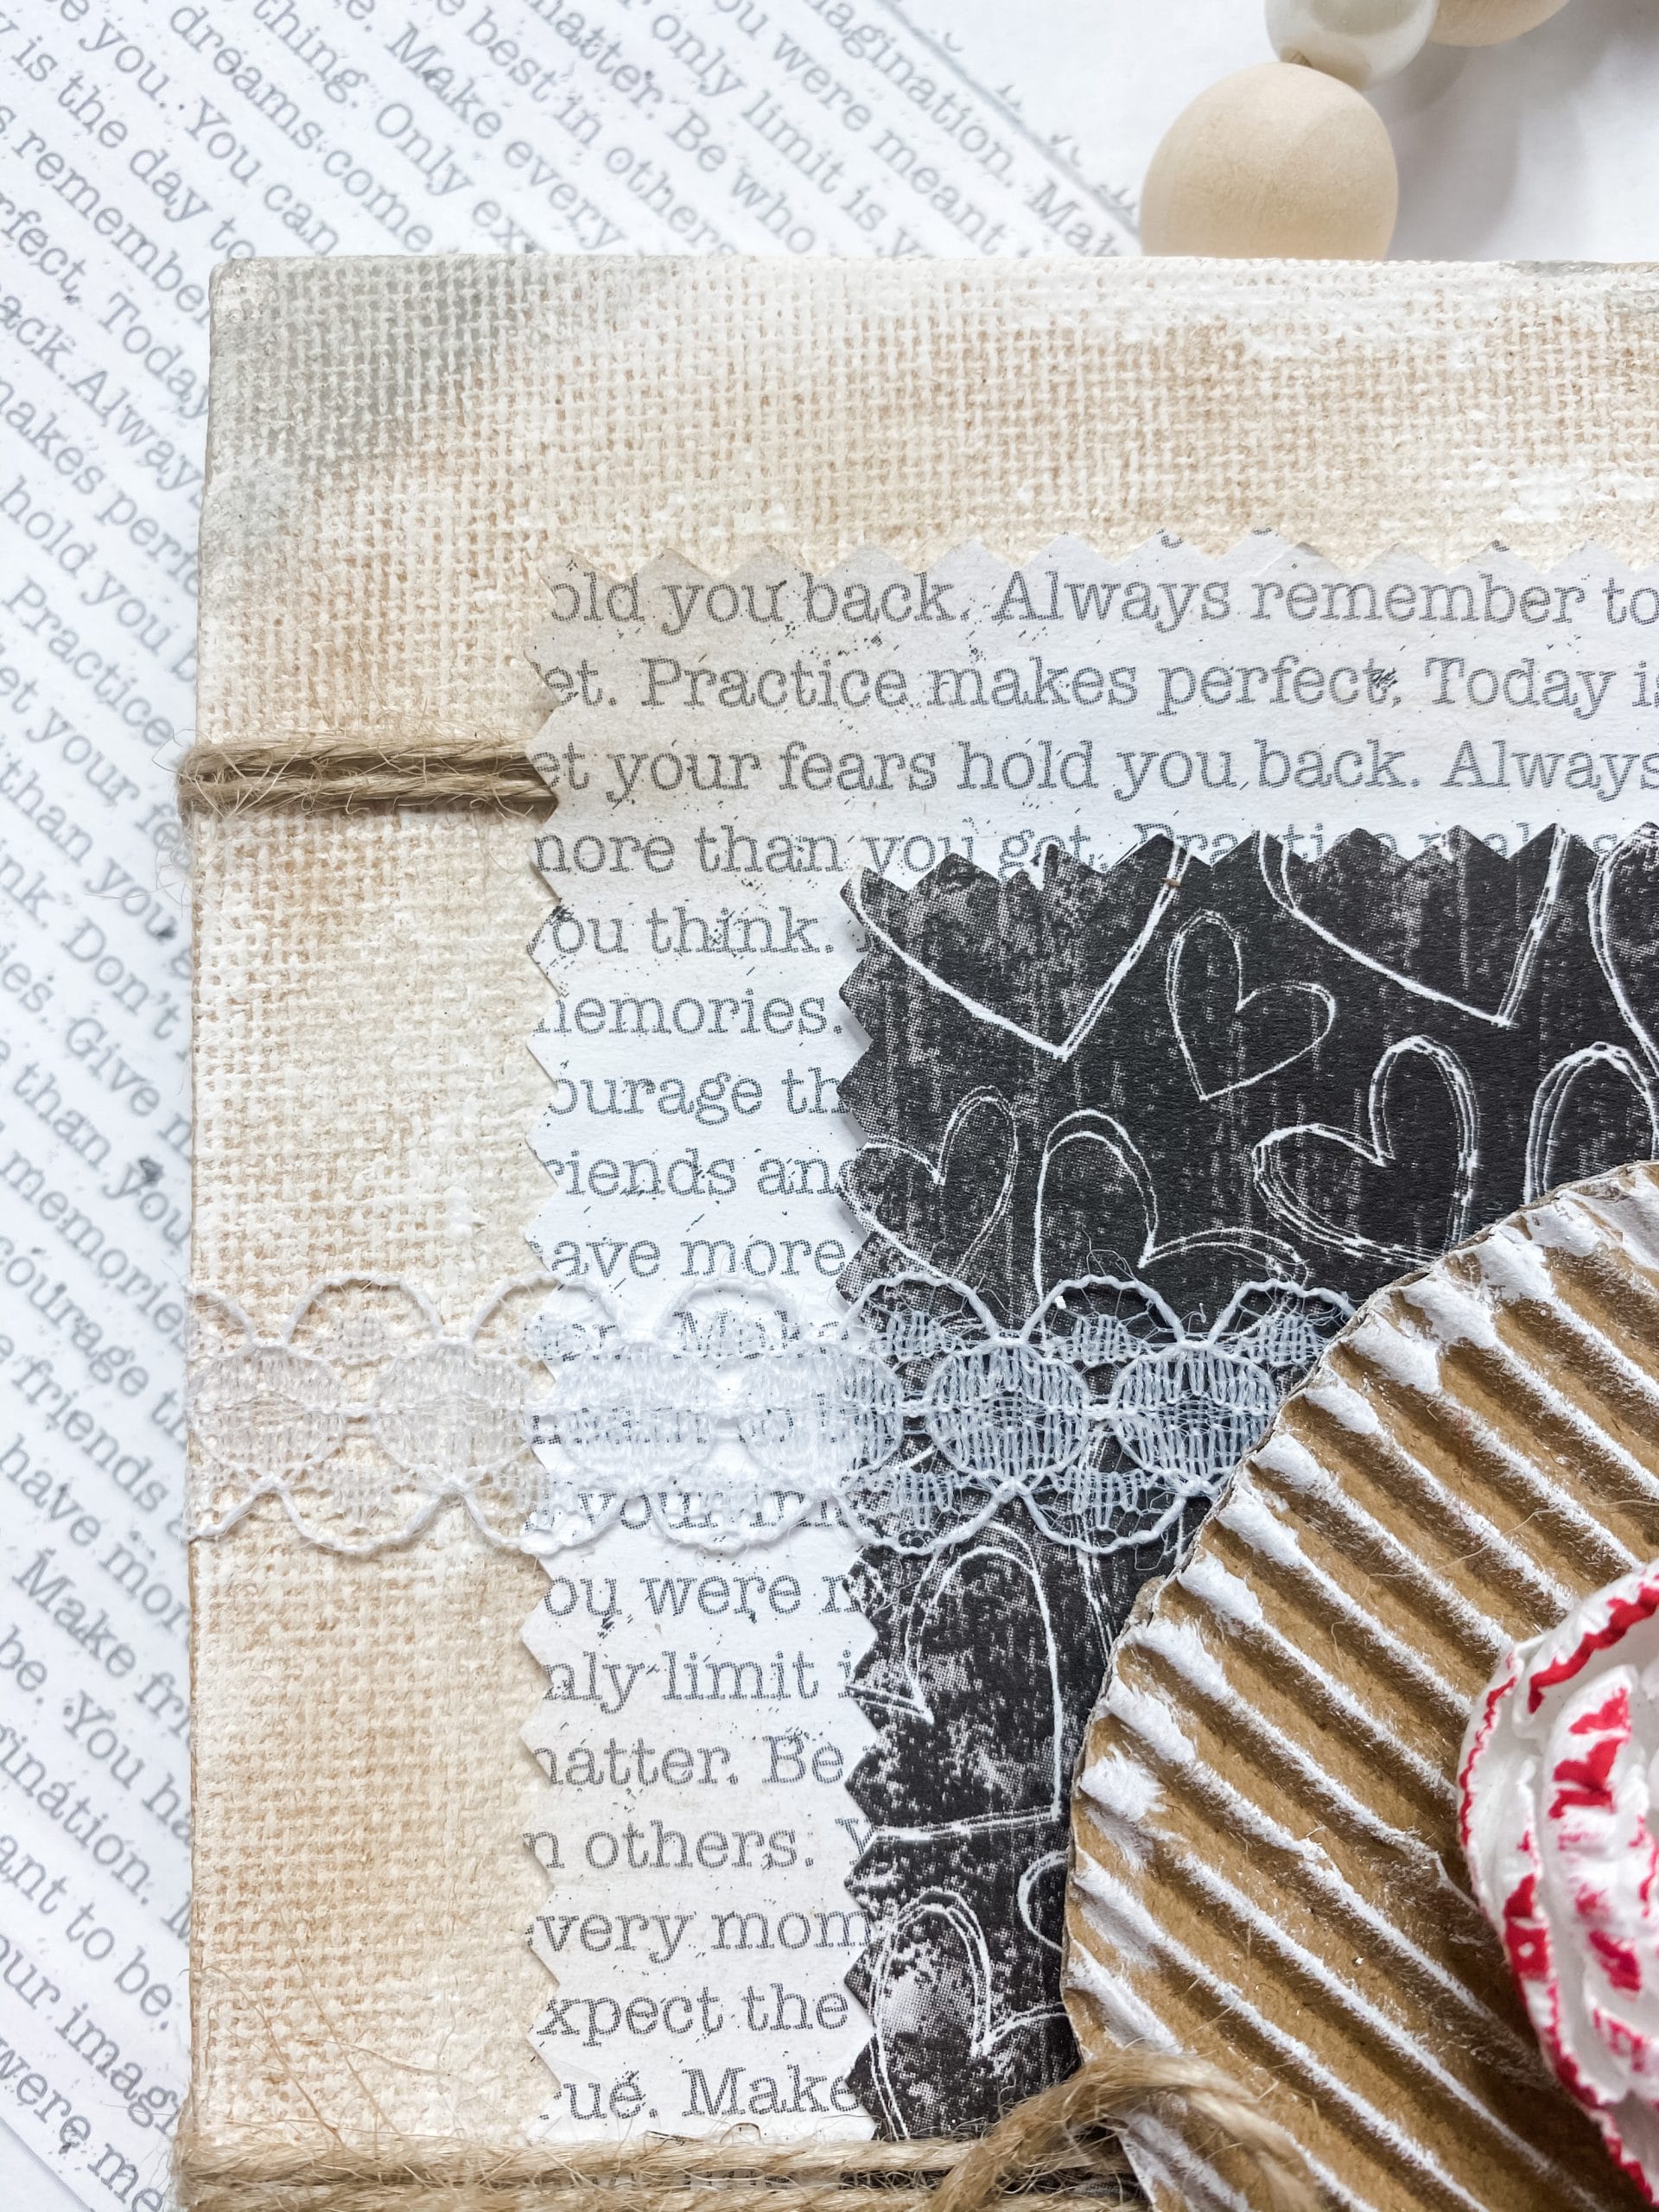
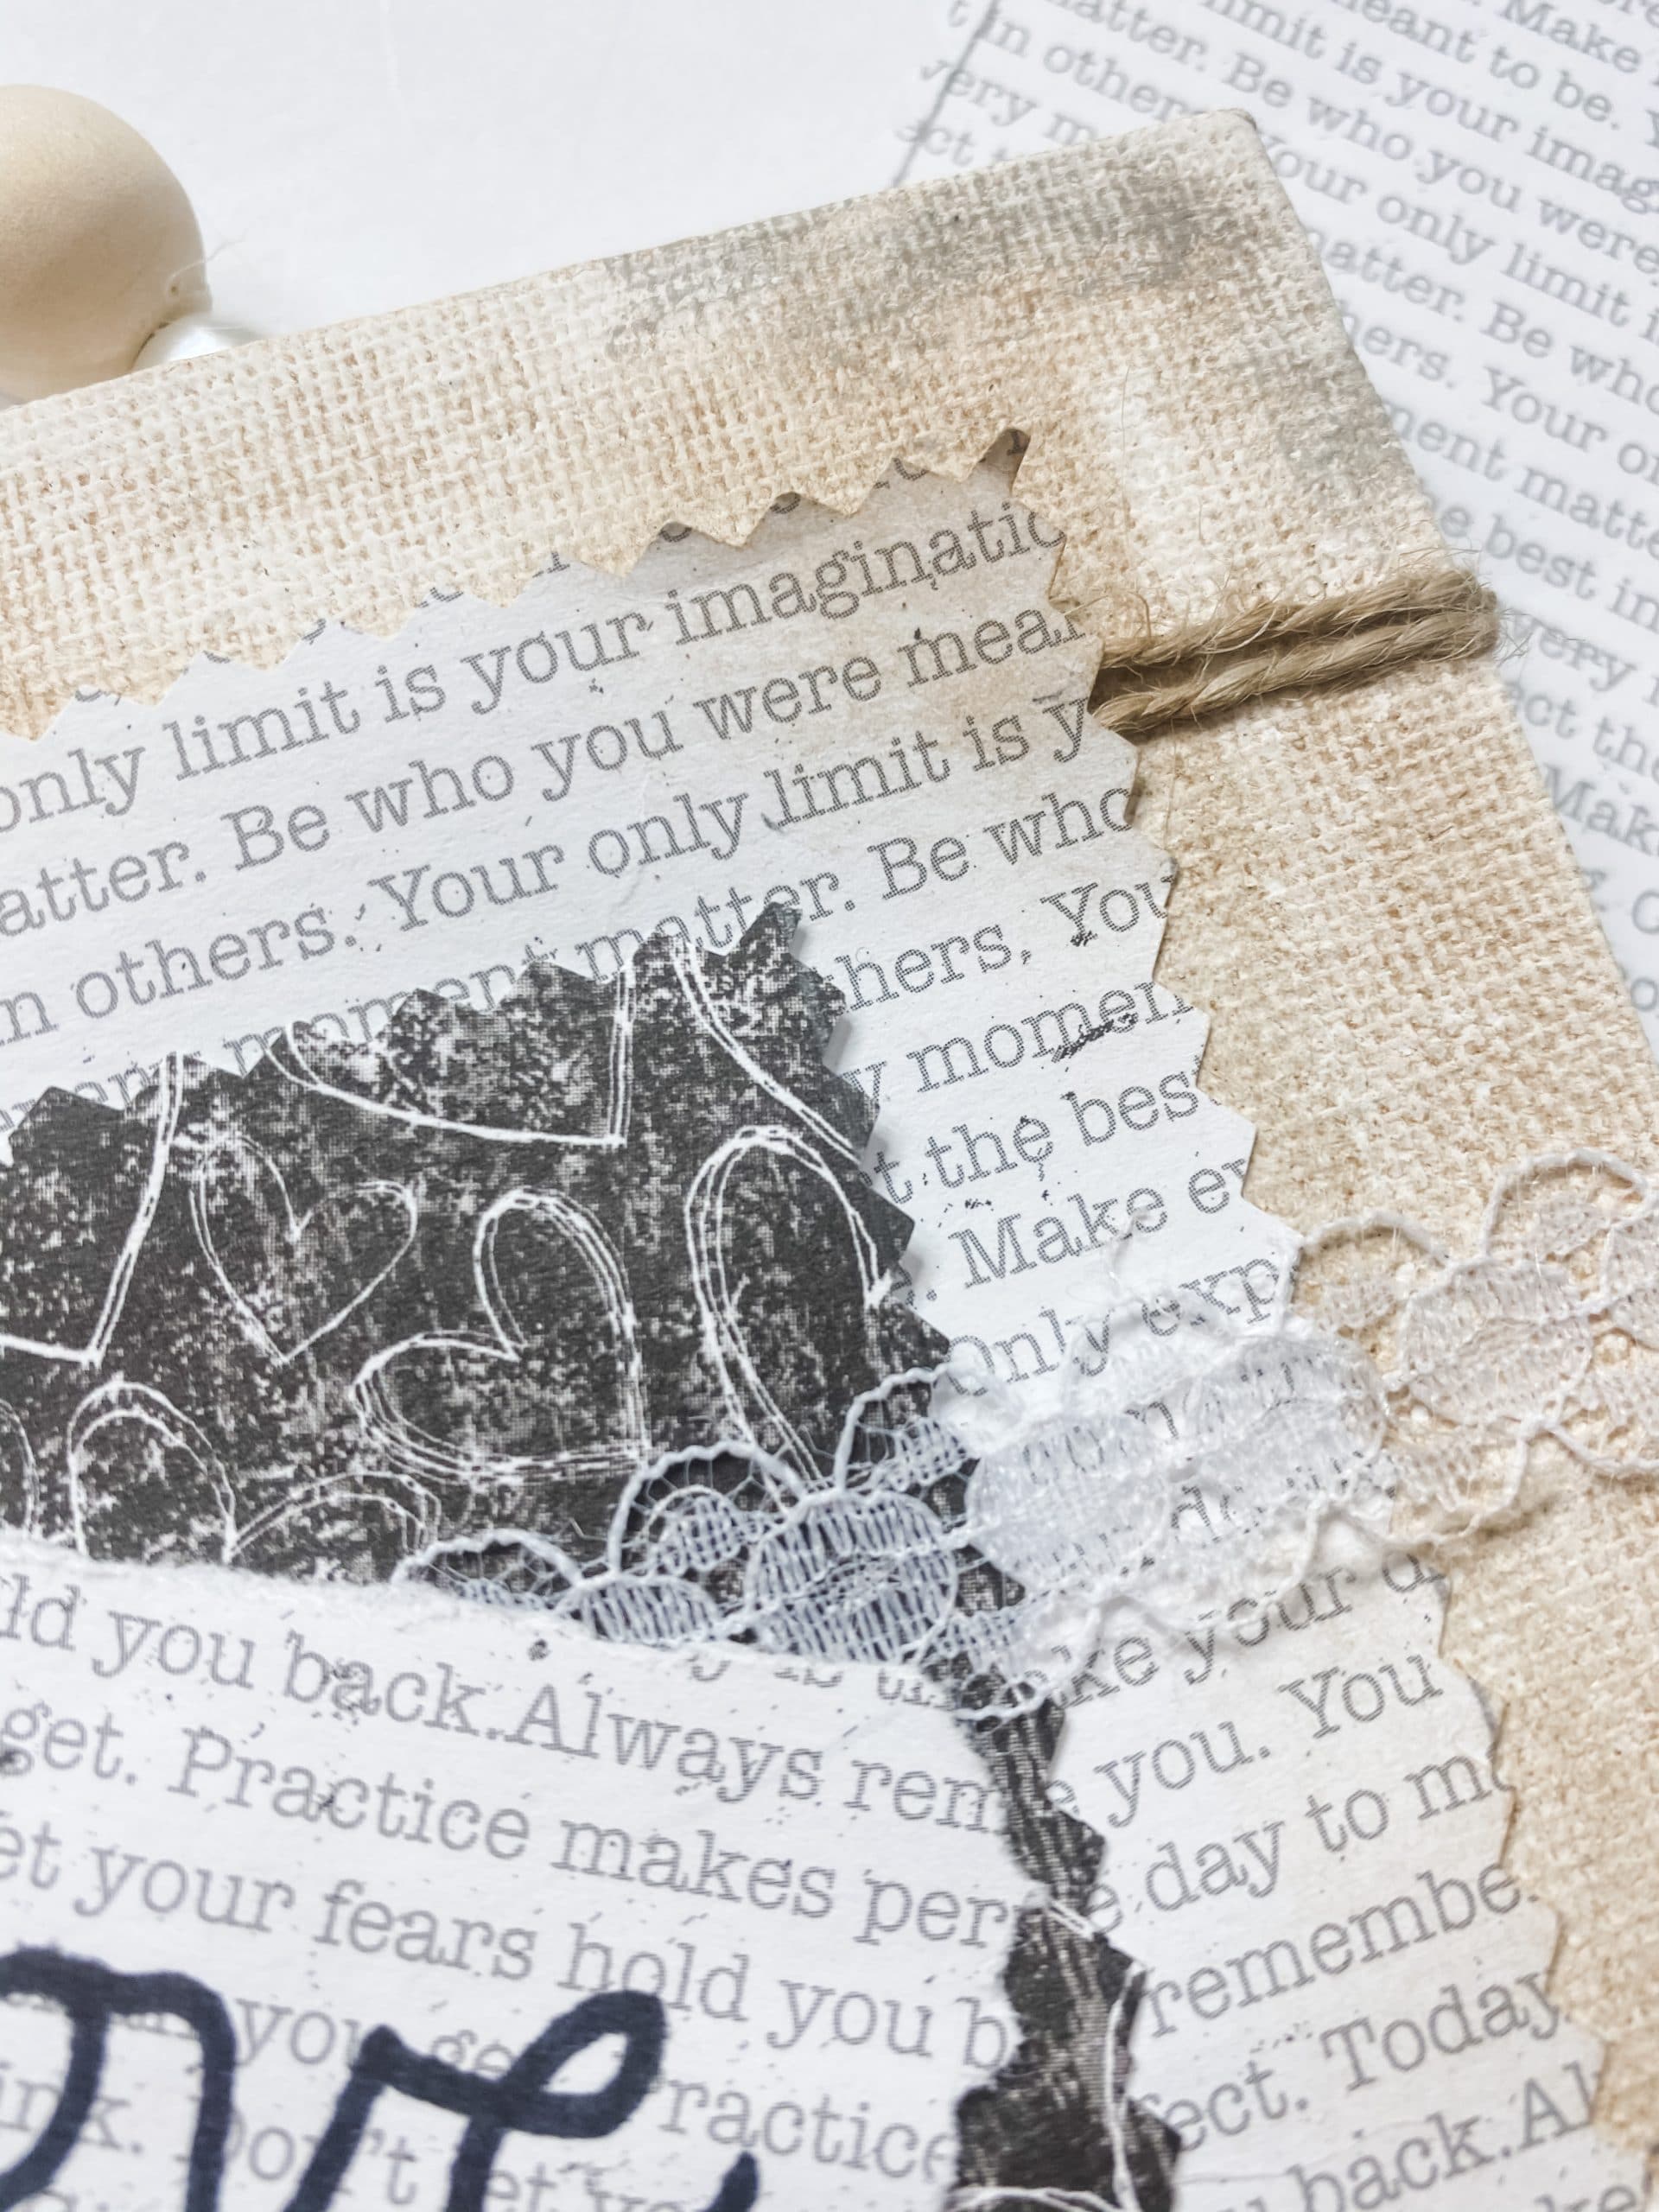
Alright, grab your second scrapbook paper design. For this one, I used grey paper with little hearts, also from Hobby Lobby. Cut the paper to be slightly smaller than the previous scrapbook paper cutout.
I used a pair of pinking shears to get a patterned edge on each of my scrapbook papers, but you can use a regular pair of scissors if you aren’t a fan of the ric rac patterned edge.
Corrugated Scrapbook Paper
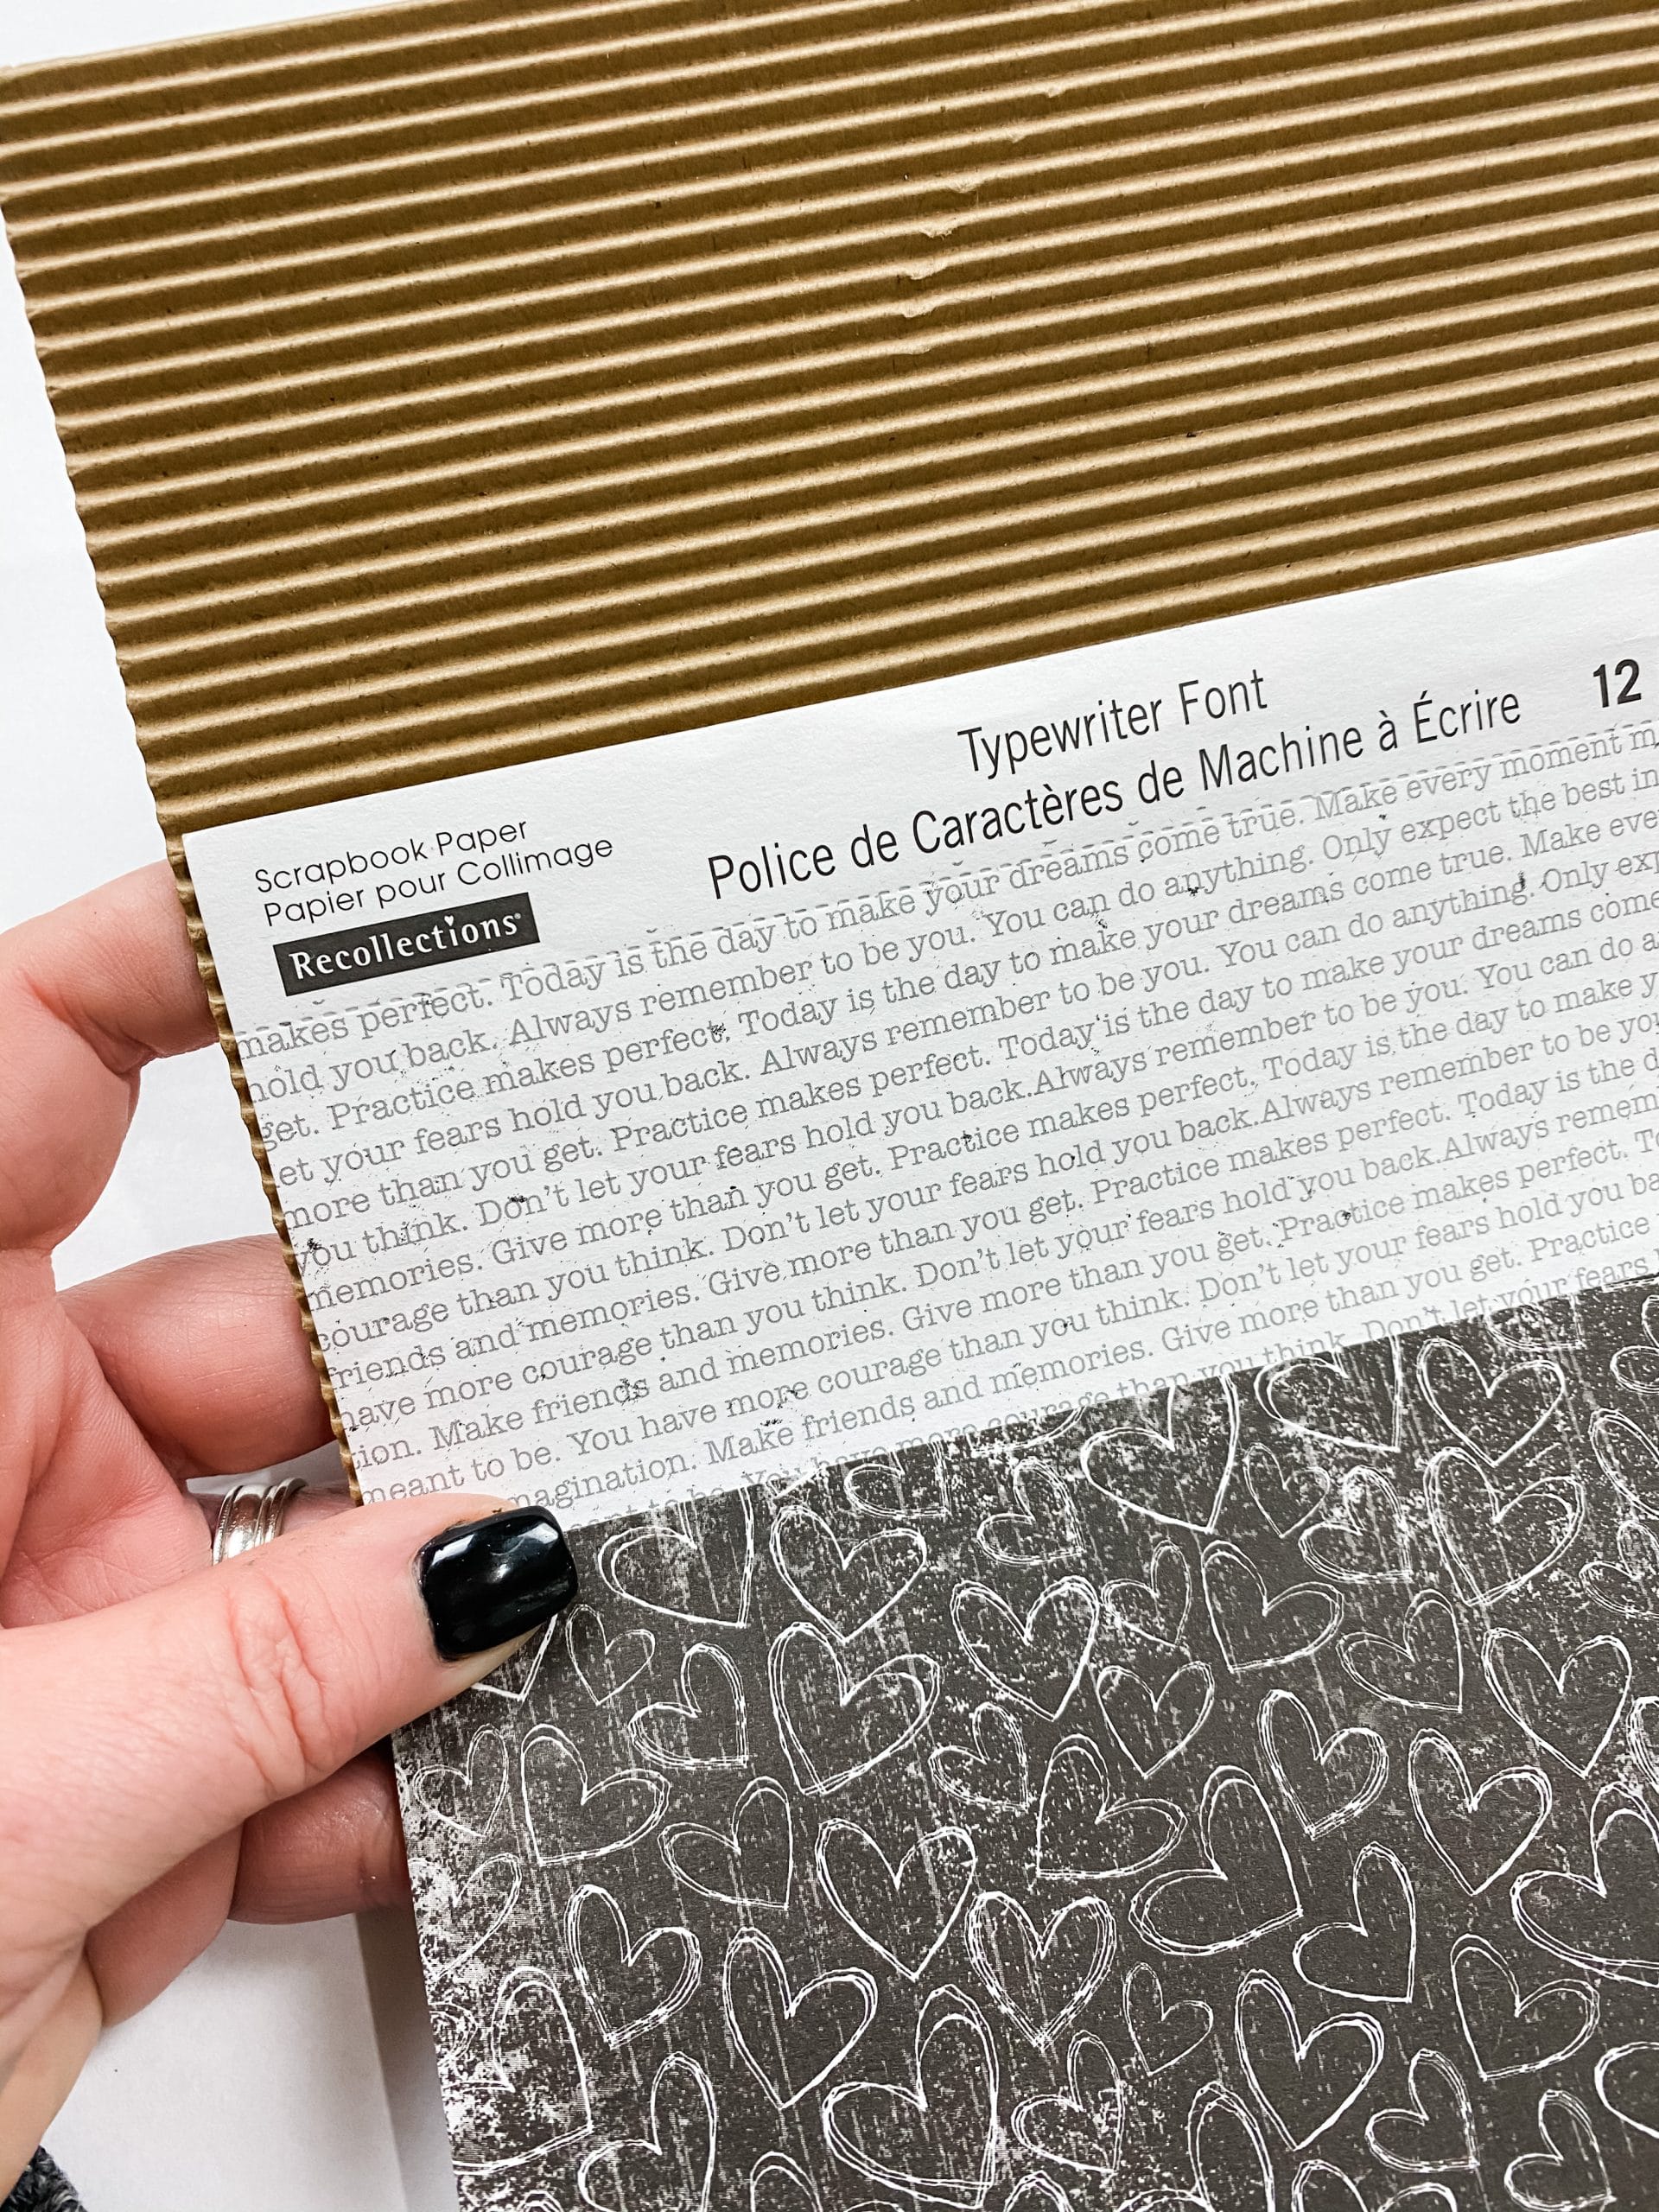
Next, you’re going to need corrugated scrapbook paper (or a piece of cardboard). I bought this corrugated scrapbook paper from Hobby Lobby!
If you can’t get the same scrapbook paper, you can remove the paper front from a piece of cardboard, and then cut the cardboard to shape.
You’re going to cut a heart out of the scrapbook paper, or cardboard, whichever you use. I cut a larger heart out of the scrapbook paper and a smaller heart out of the cardboard, but I didn’t pull off the paper cover to reveal the corrugated inside of the cardboard heart.
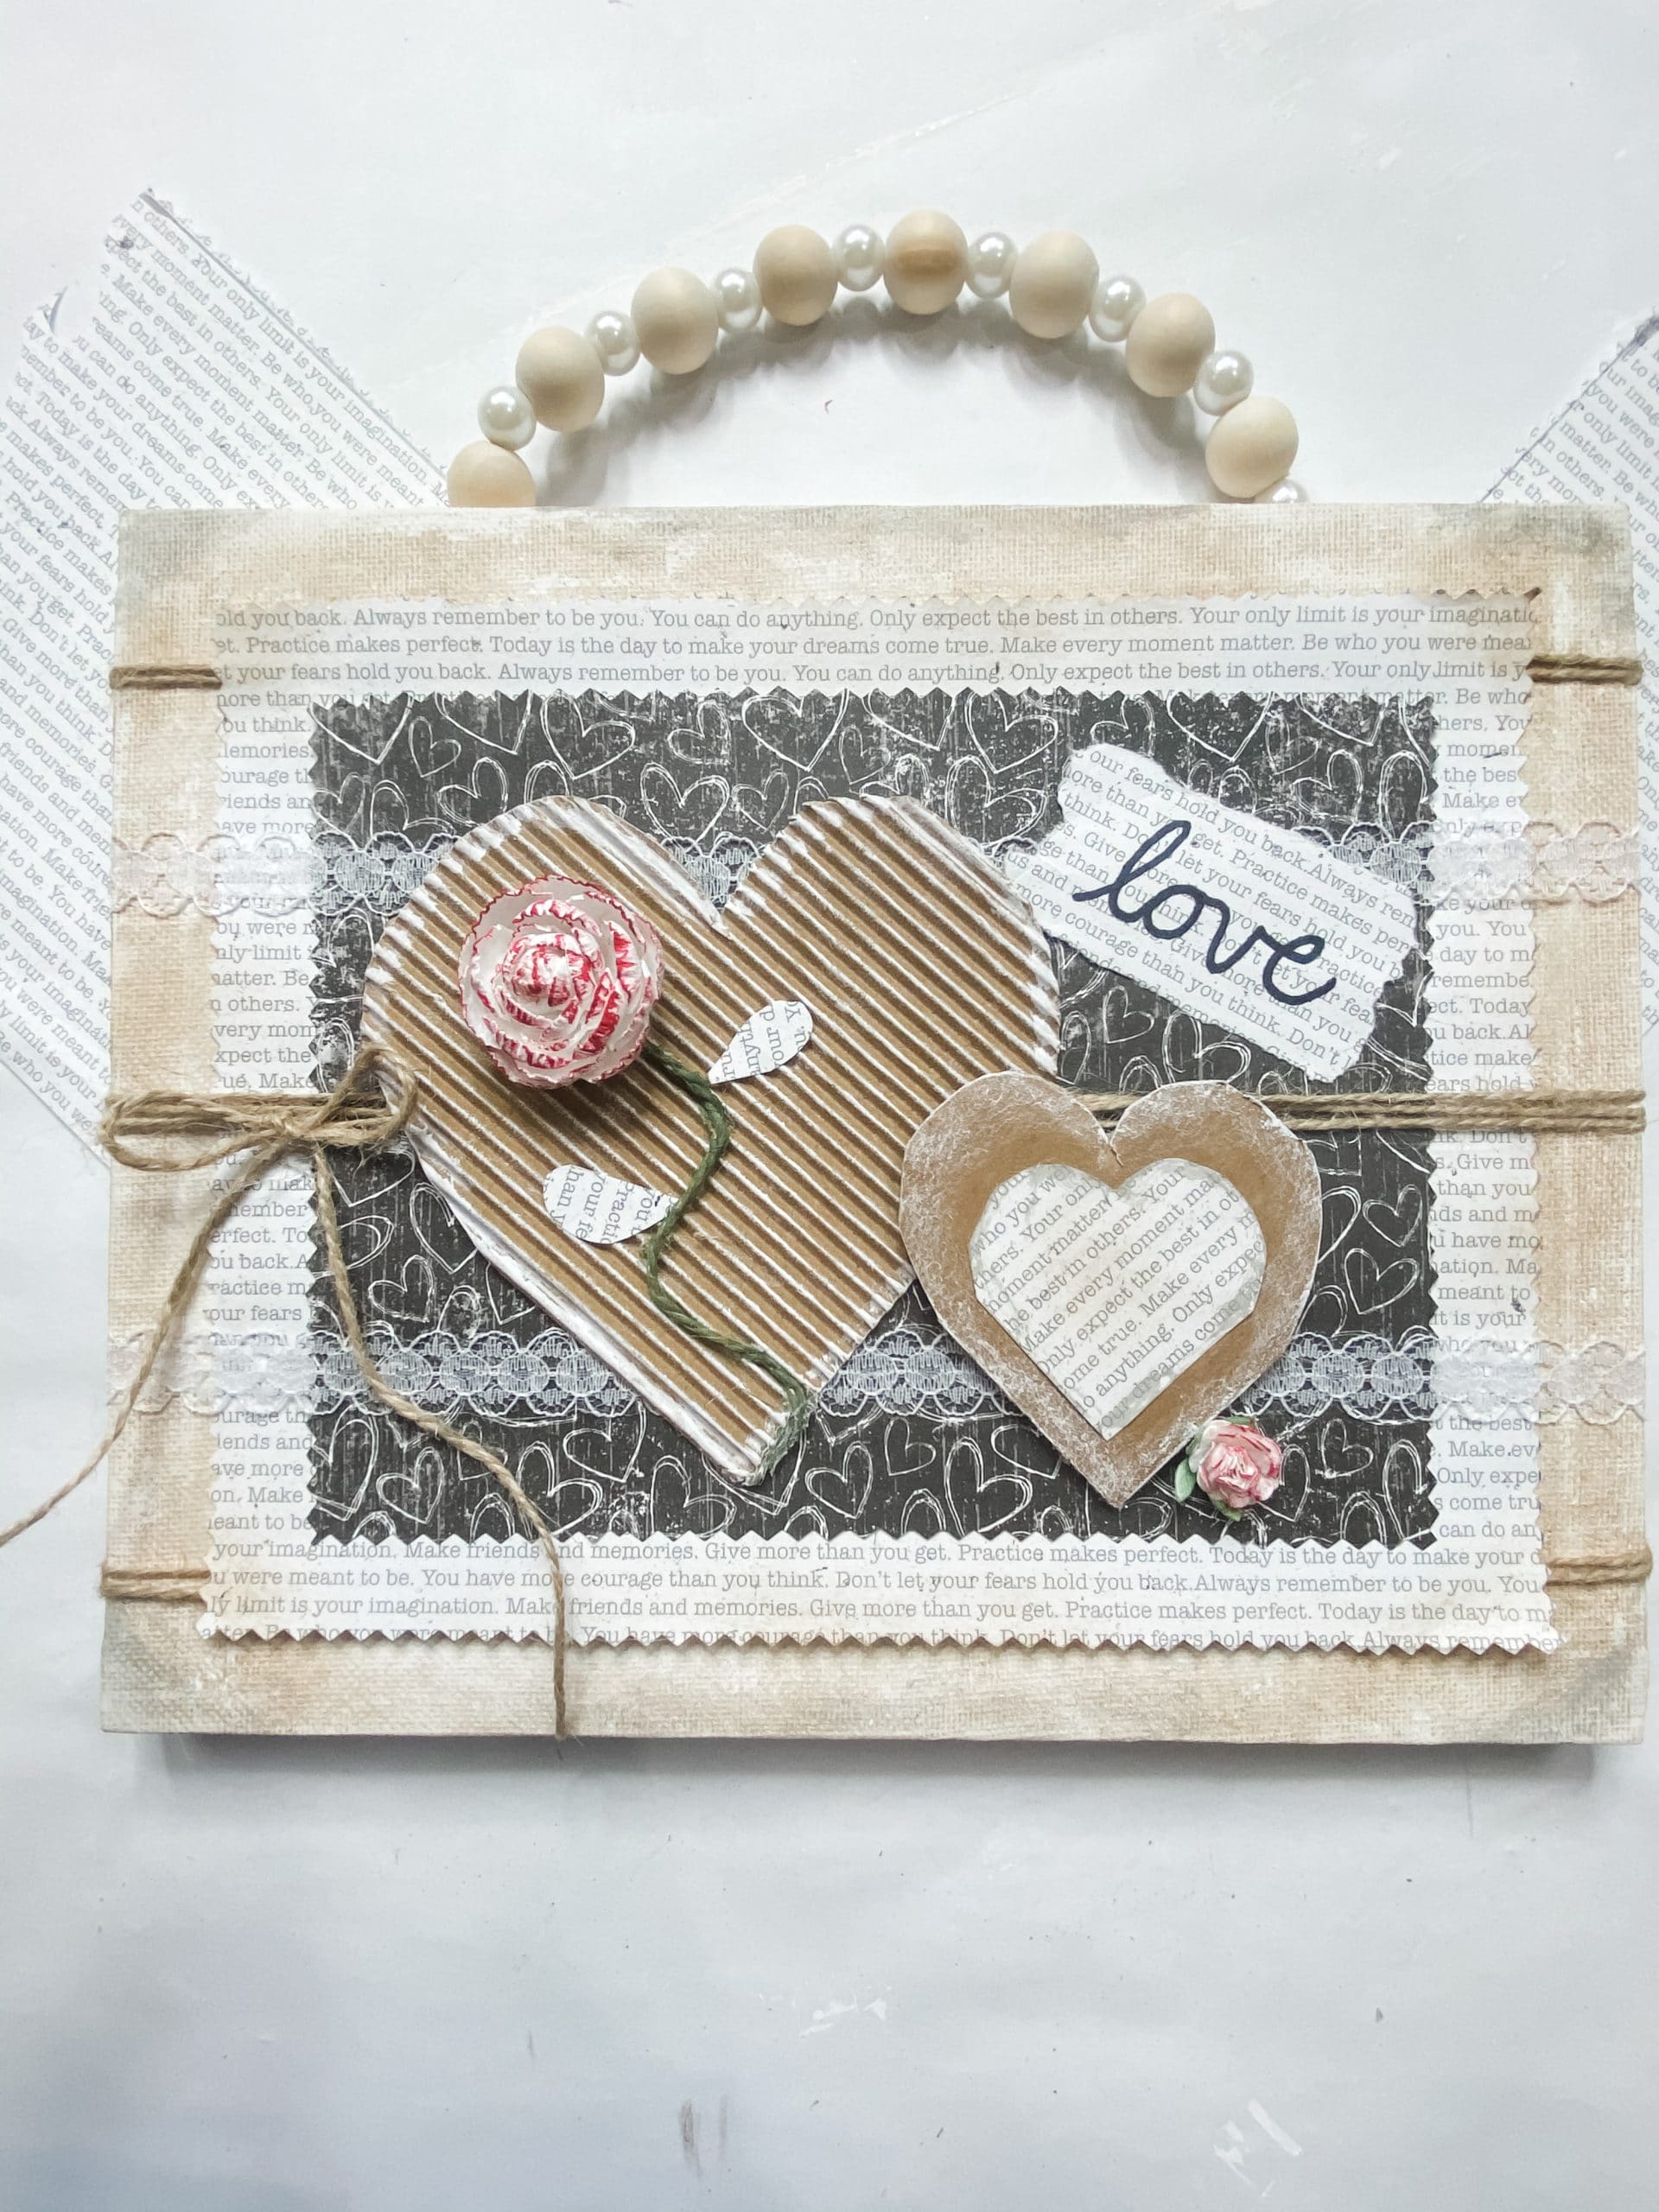
I then cut an even smaller heart out of the Typewriter Font scrapbook paper to go in the center of the cardboard heart.
Before I attached the hearts to the canvas, I lightly brushed white paint across the corrugated scrapbook paper heart and around the edges of the cardboard heart.
Add some detailing
For these next steps, you’re going to need the Craft Smart Olive Green Acrylic Paint, decorate white flowers from Hobby Lobby, jute twine, and the Typewriter Font Scrapbook Paper.
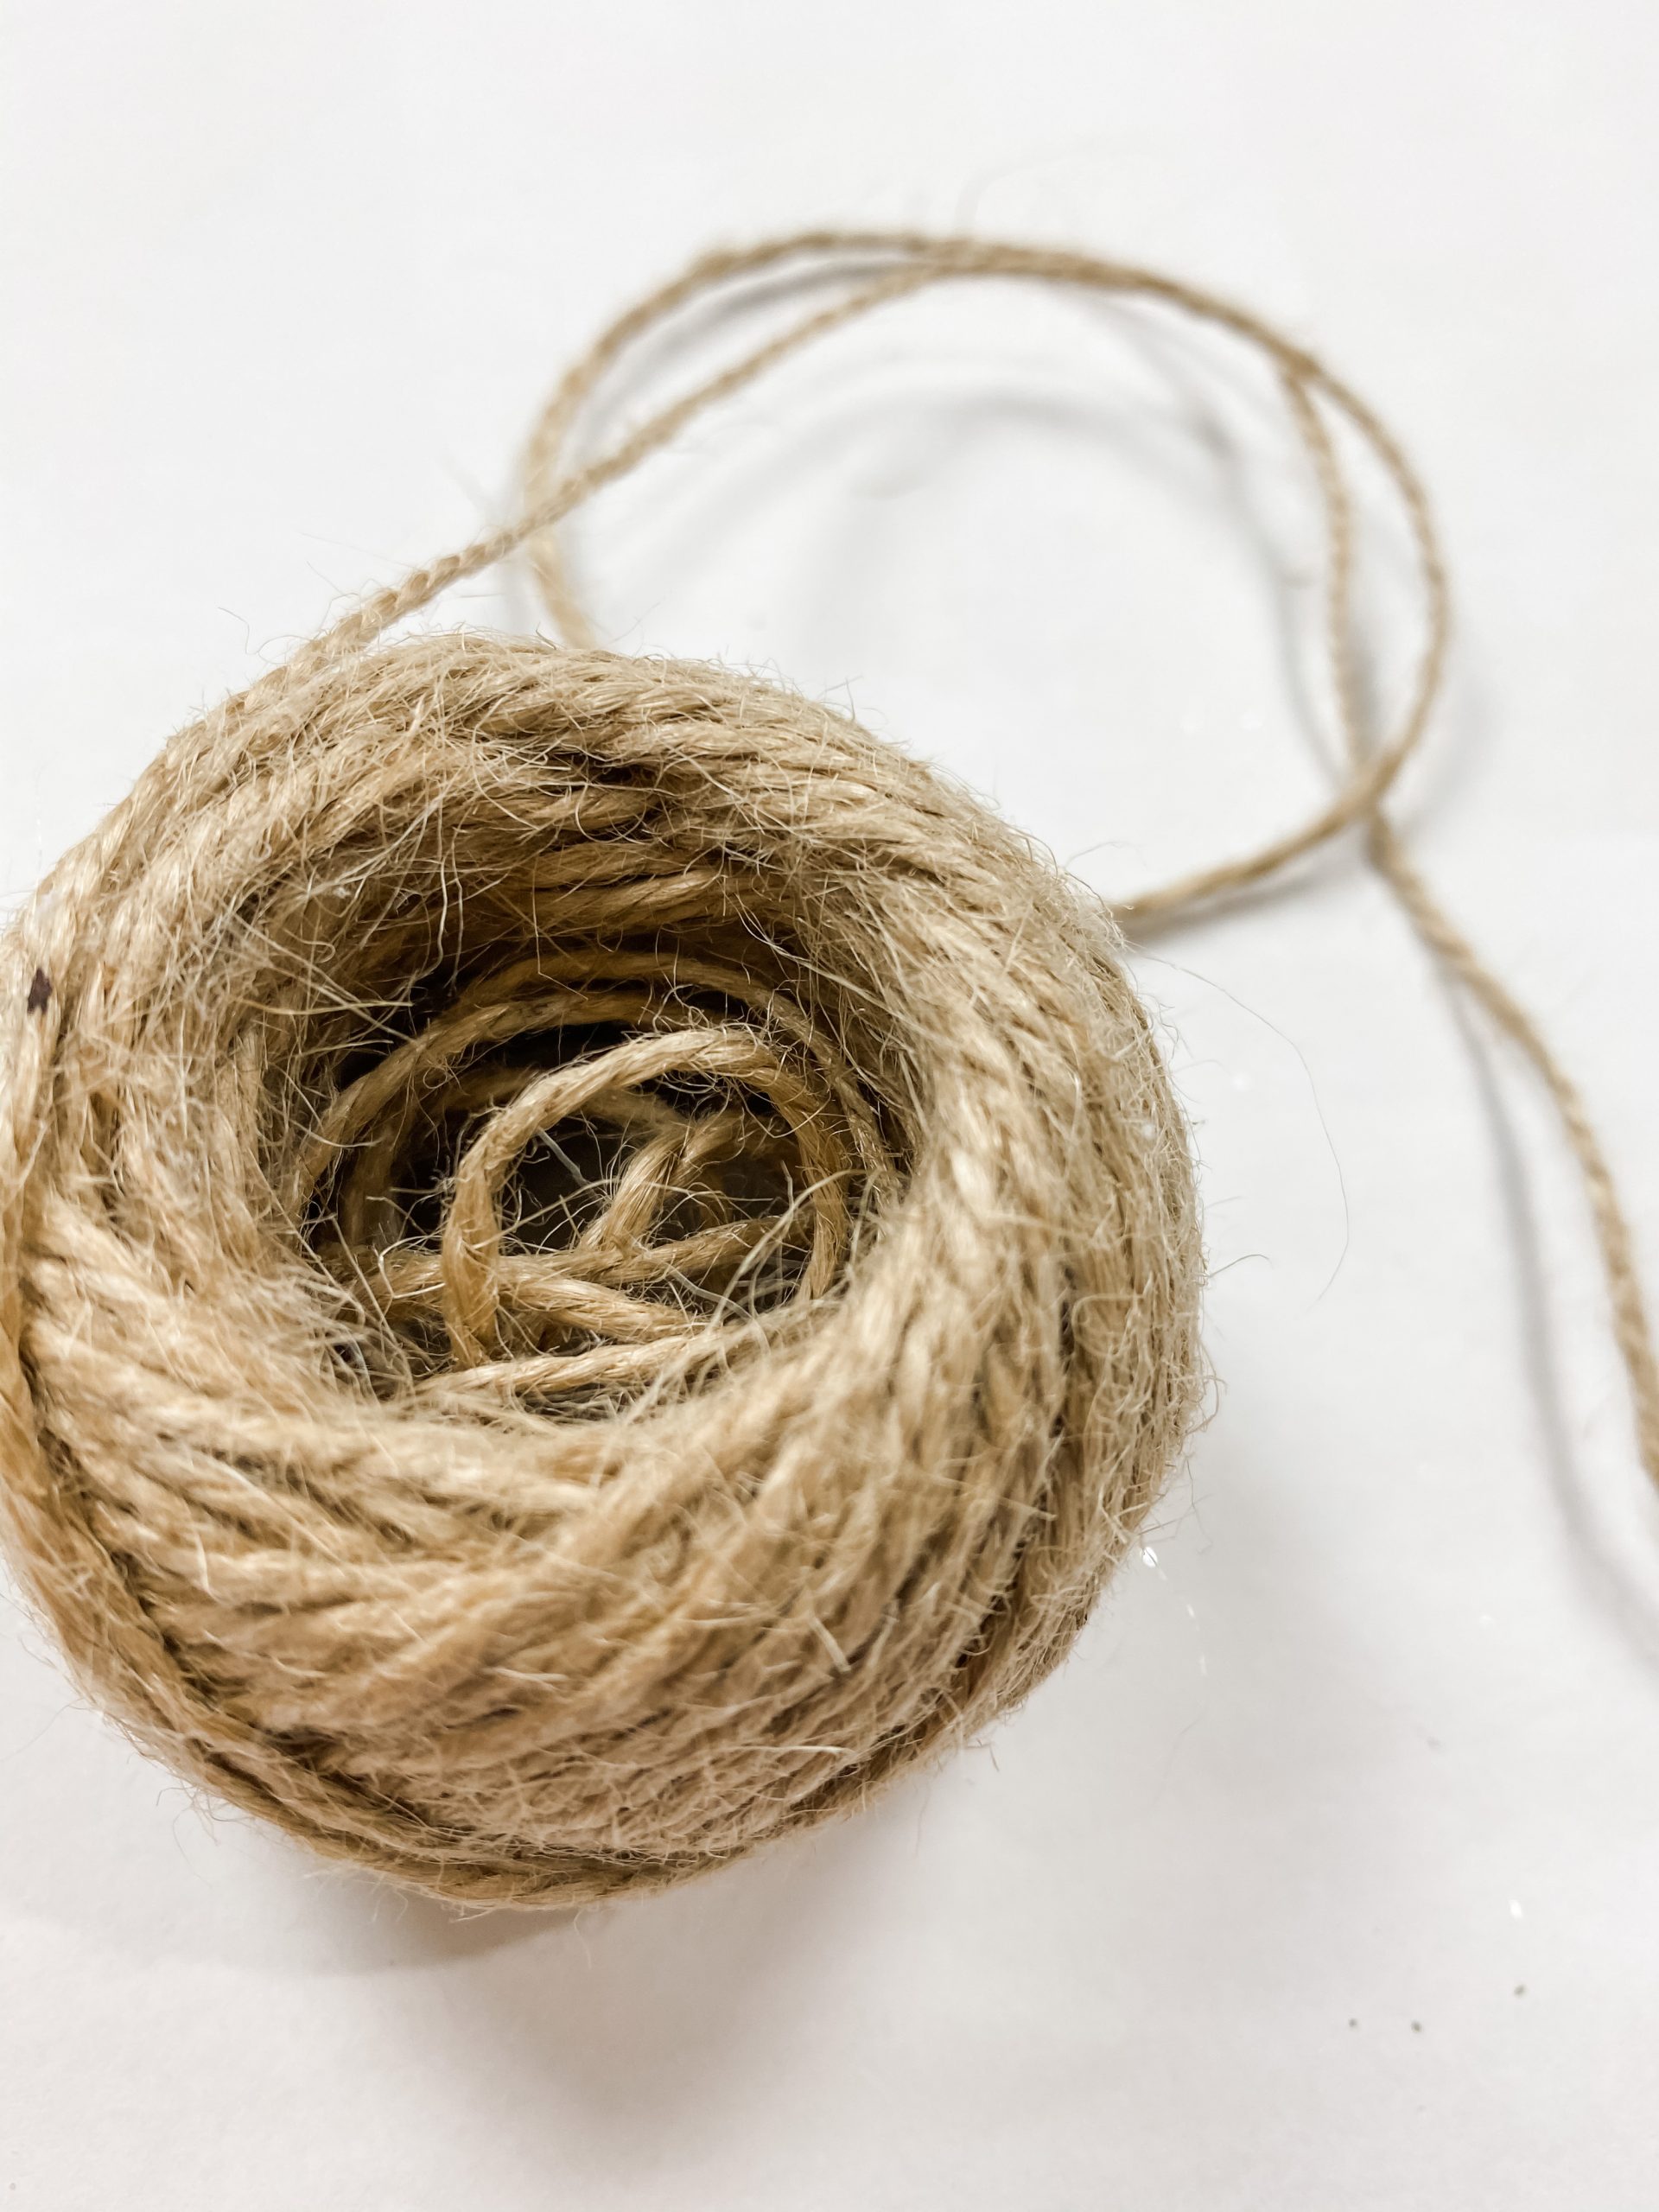
The twine is going to be the stem of the flowers that we add to the corrugated scrapbook paper heart, so paint a piece of it with the Craft Smart Olive Green Acrylic Paint.
Then, hot glue it onto the corrugated scrapbook paper heart in a small squiggle (like a flower stem) and hot glue a white decorative flower to one end of the twine.
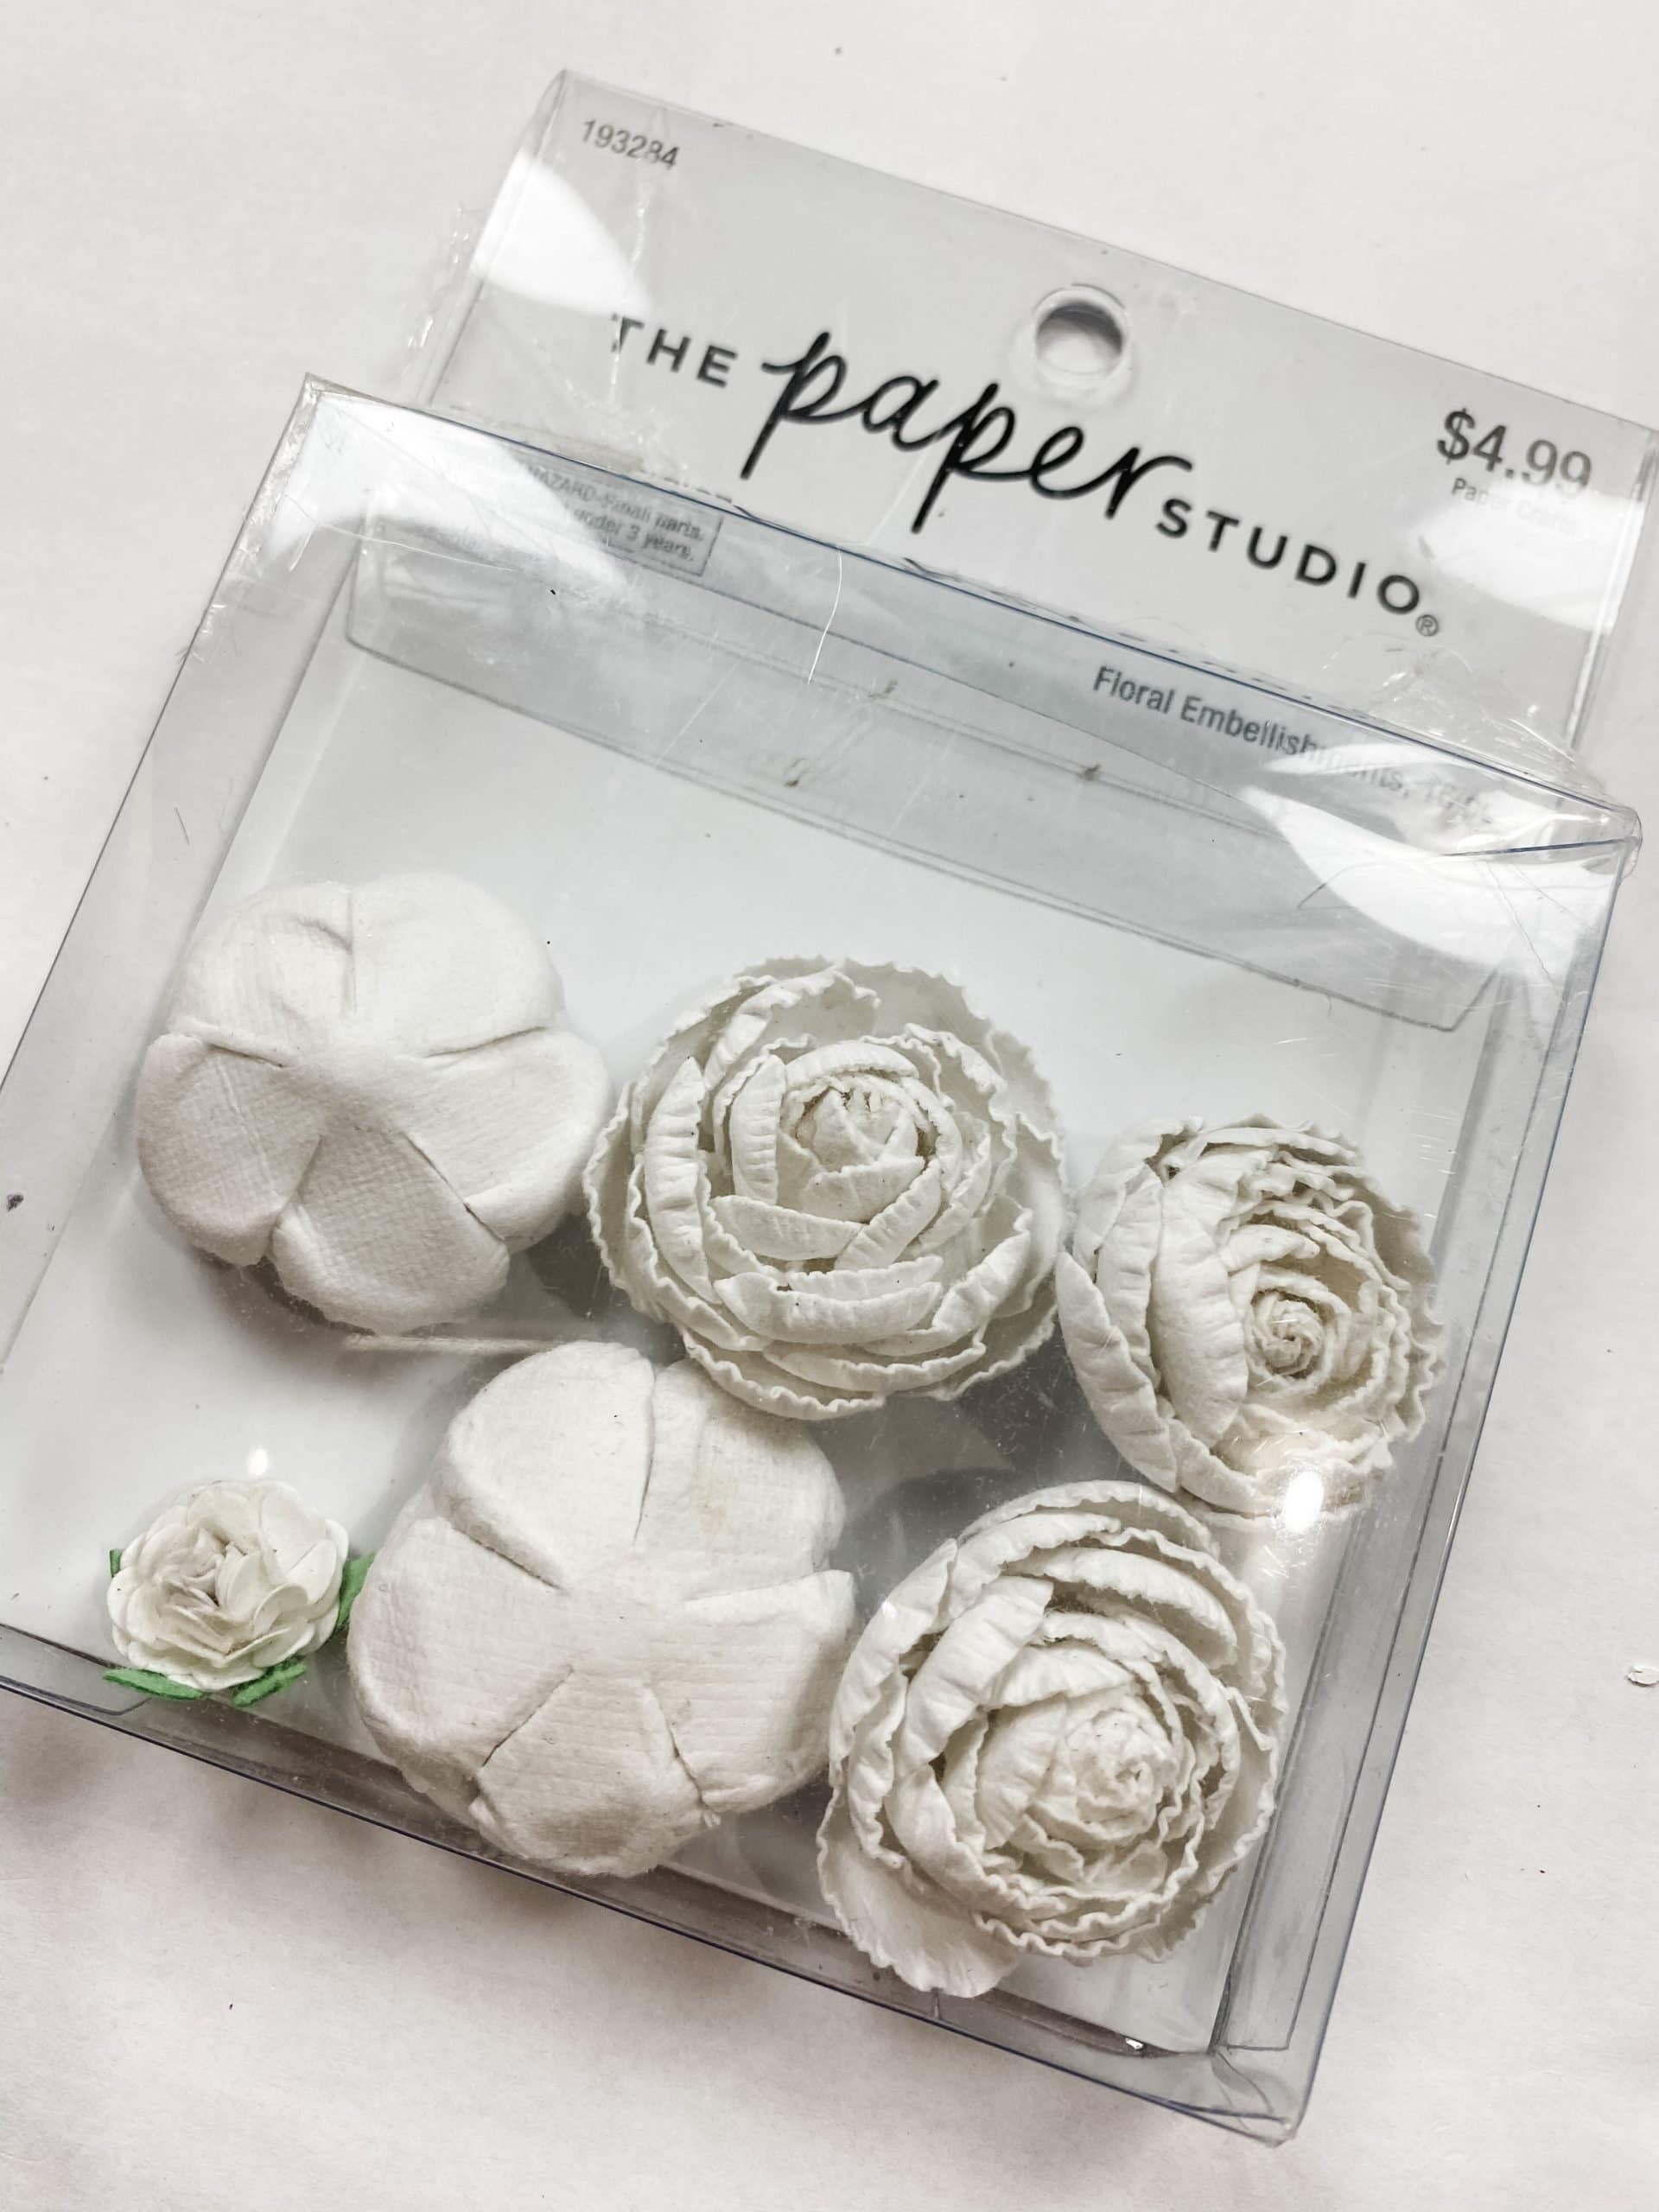
Then, cut small leaves out of the scrapbook paper, and hot glue them onto the jute twine stem. Next, I lightly painted the white flower with a bit of Craft Smart Holiday Red Acrylic Paint.
You can set the corrugated heart to the side for now, and grab the cardboard and small scrapbook paper heart for the next steps.
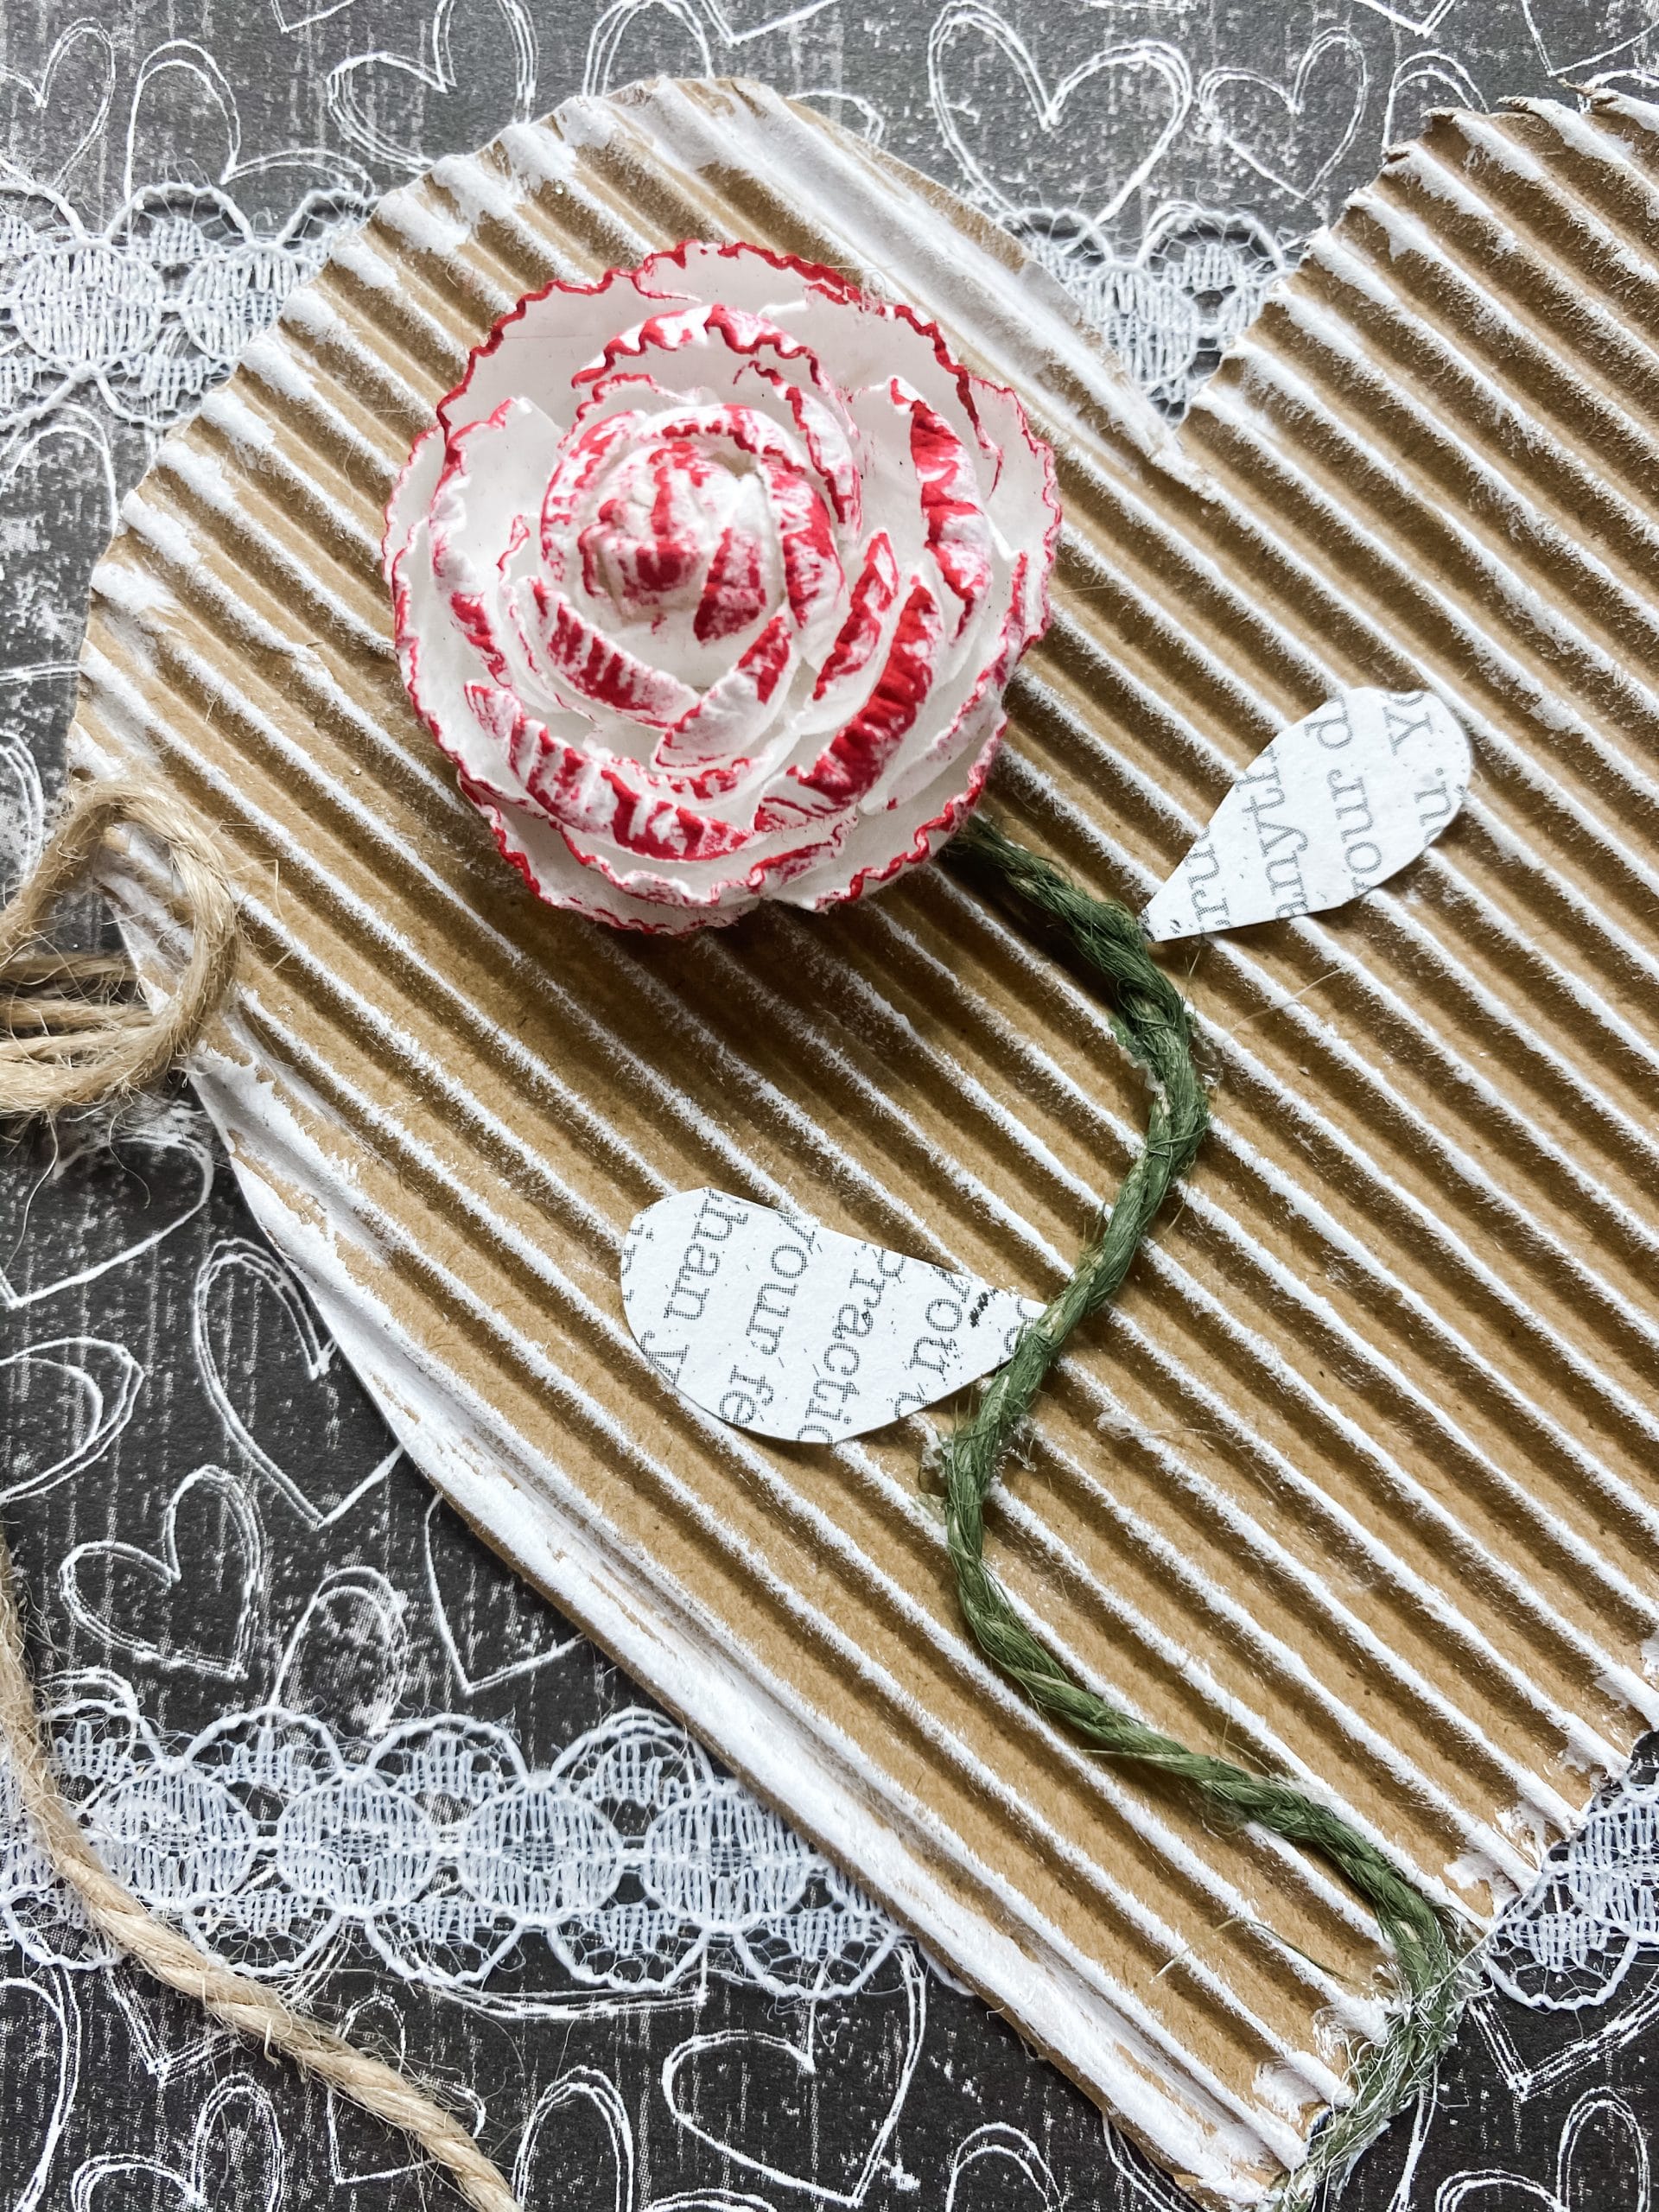
I lightly painted around the edges of the smaller scrapbook paper heart with Craft Smart Grey Acrylic Paint and hot glued it onto the center of the cardboard heart.
Then, I added some of the Dollar Tree white lace ribbon. I wrapped it around the Dollar Tree canvas just inside the jute twine, and hot glued it in place.
After the lace, I wrapped another piece of jute twine three times around the center of the Dollar Tree canvas, hot glued it into place, and tied a small bow out of the twine towards the left side of the canvas.
Bring it all together
Once you have the jute twine bow tied and secured, it’s time to bring this Valentine’s Day Paper Craft DIY Shabby Chic Decor together!
Hot glue the corrugated scrapbook paper heart in place over the center twine, next to the little bow.
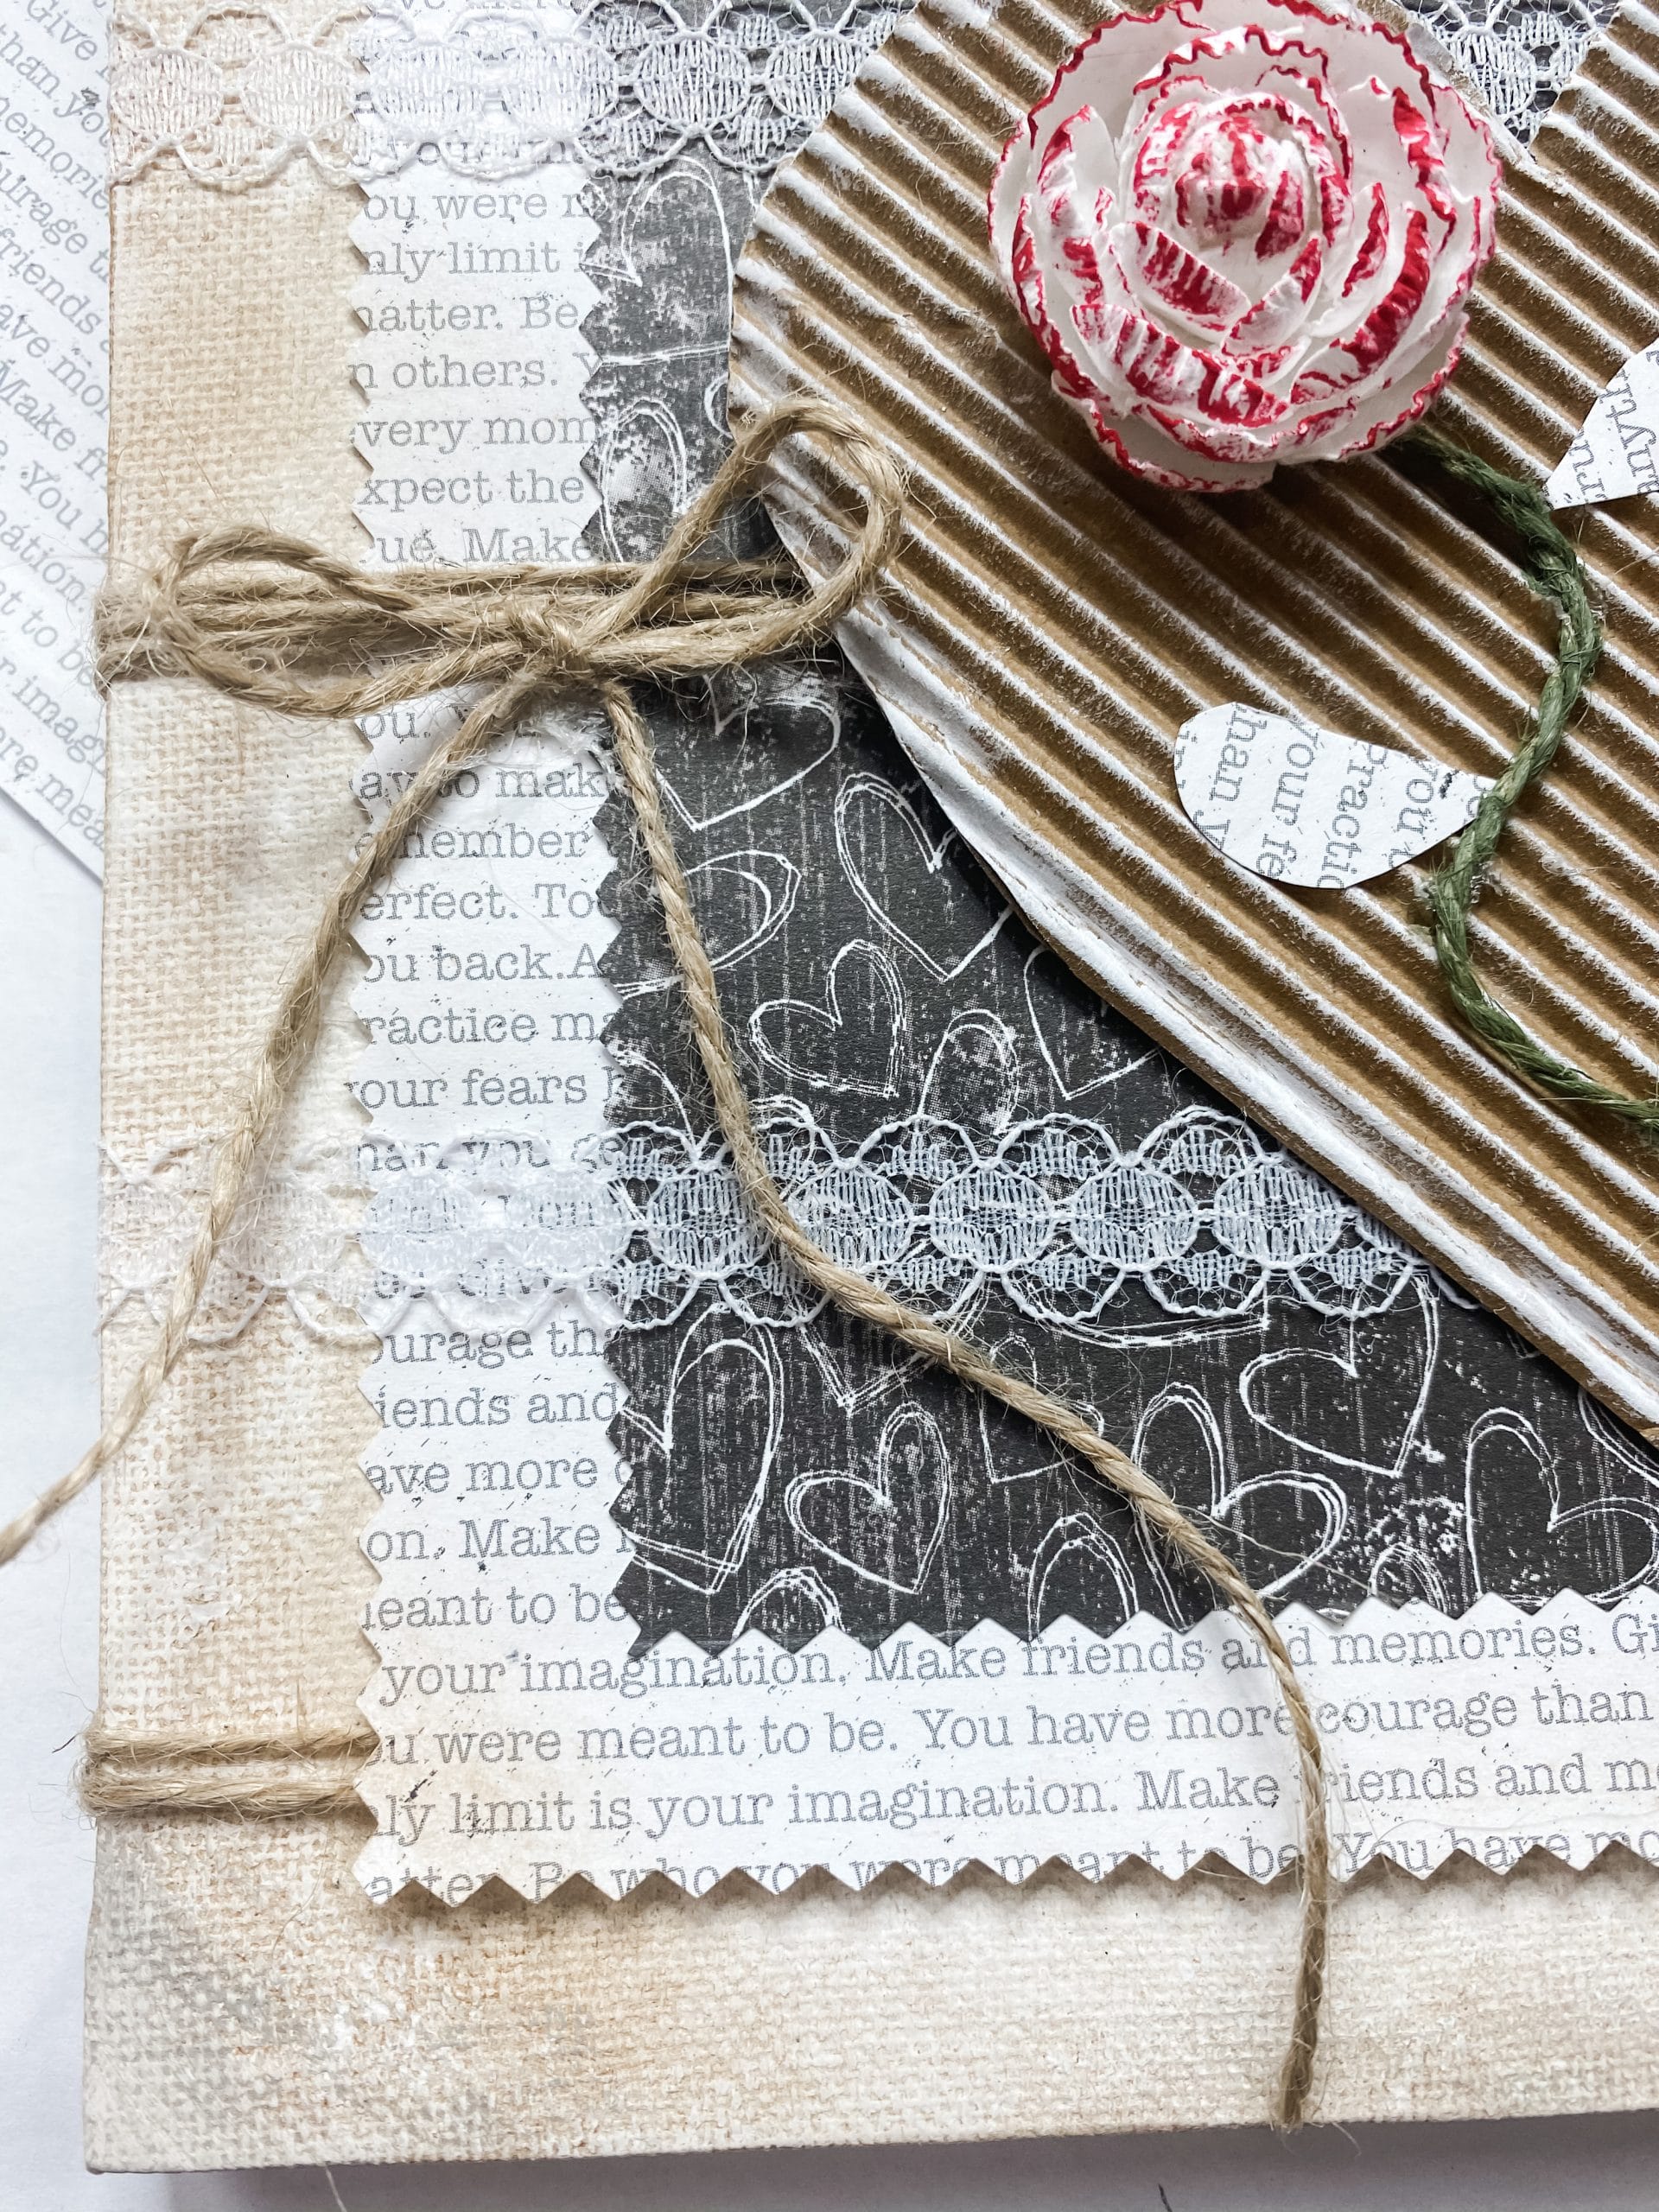
Then, hot glue the cardboard heart slightly overlapping the bottom right of the corrugated scrapbook paper heart.
Next, I hot glued a small white heart by the bottom of the cardboard heart and lightly painted it with the same red paint as before.
To add some more dimension, I lightly painted the edges of the corrugated scrapbook paper hear with white paint.
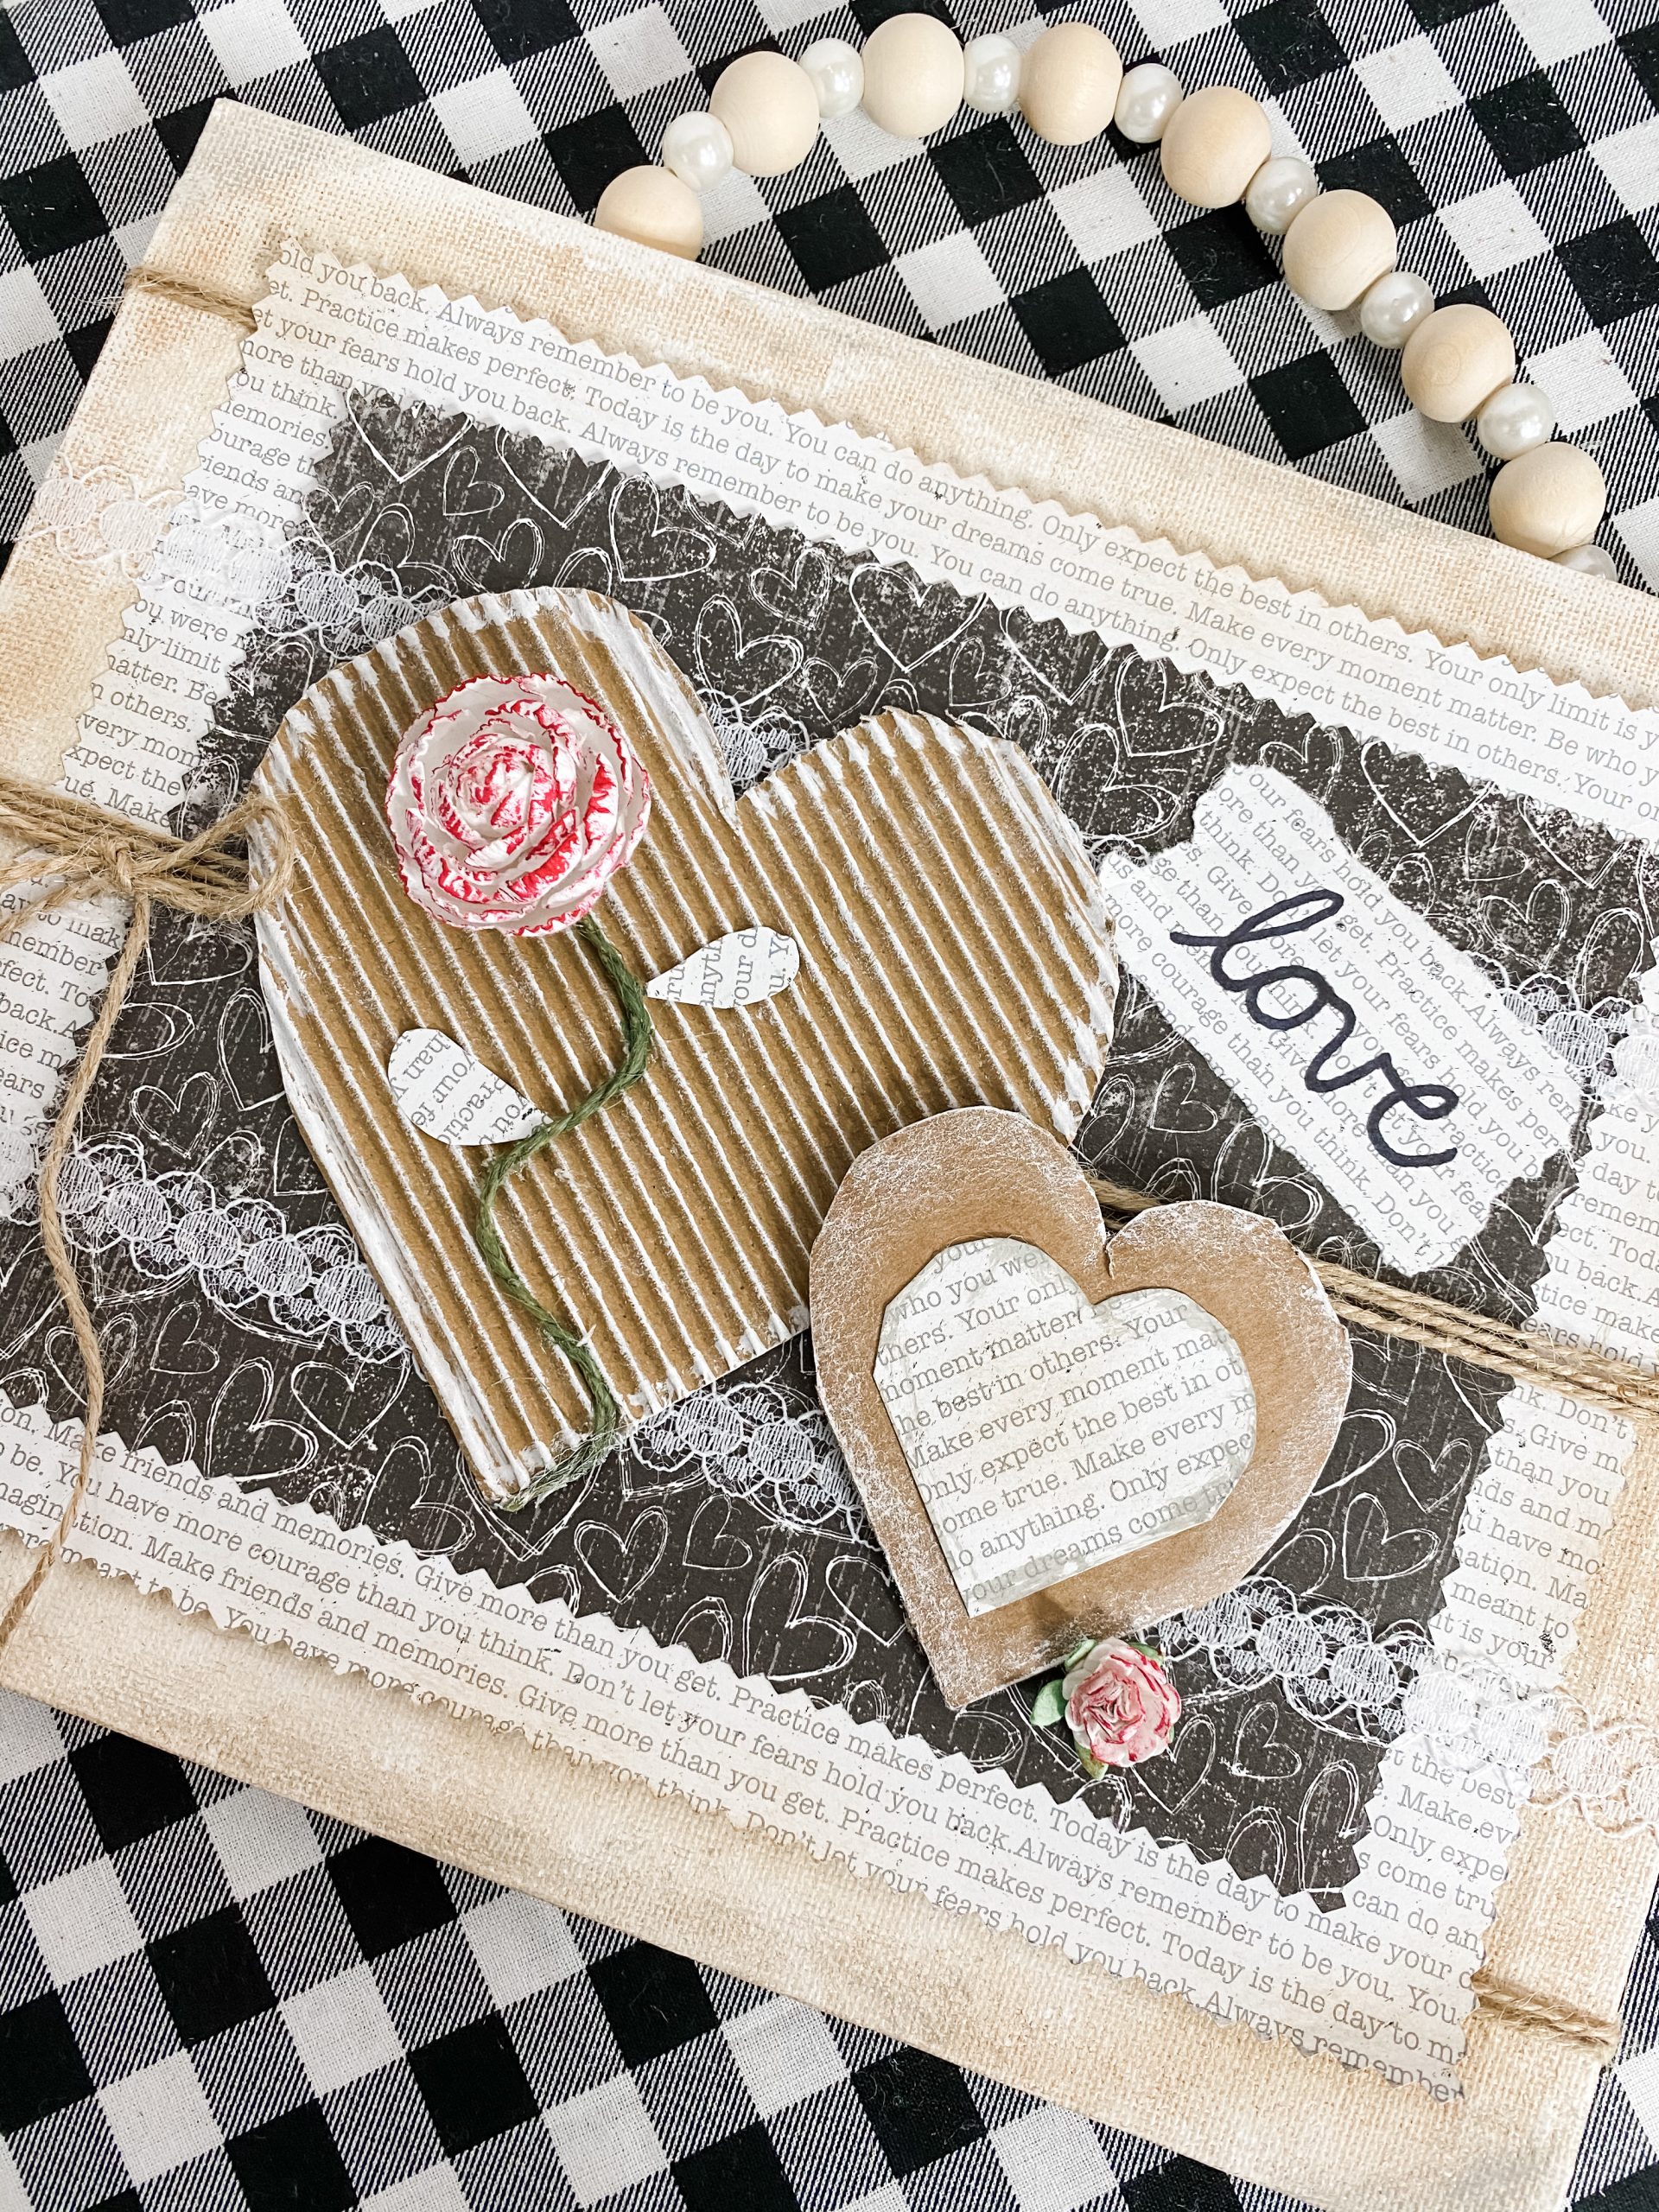
Remember the Dollar Tree stencil brush we used to spread the Waverly Antique Wax on the canvas? Well, you need that again.
I lightly brushed the edges of the Typewriter Font scrapbook paper with the brush to get a small bit of wax on it to help it match the aged look of the canvas!
The finishing touches
We are almost done making this adorable DIY Valentine’s Day Decor! The next thing I did was make the hanger for this shabby chic decor.
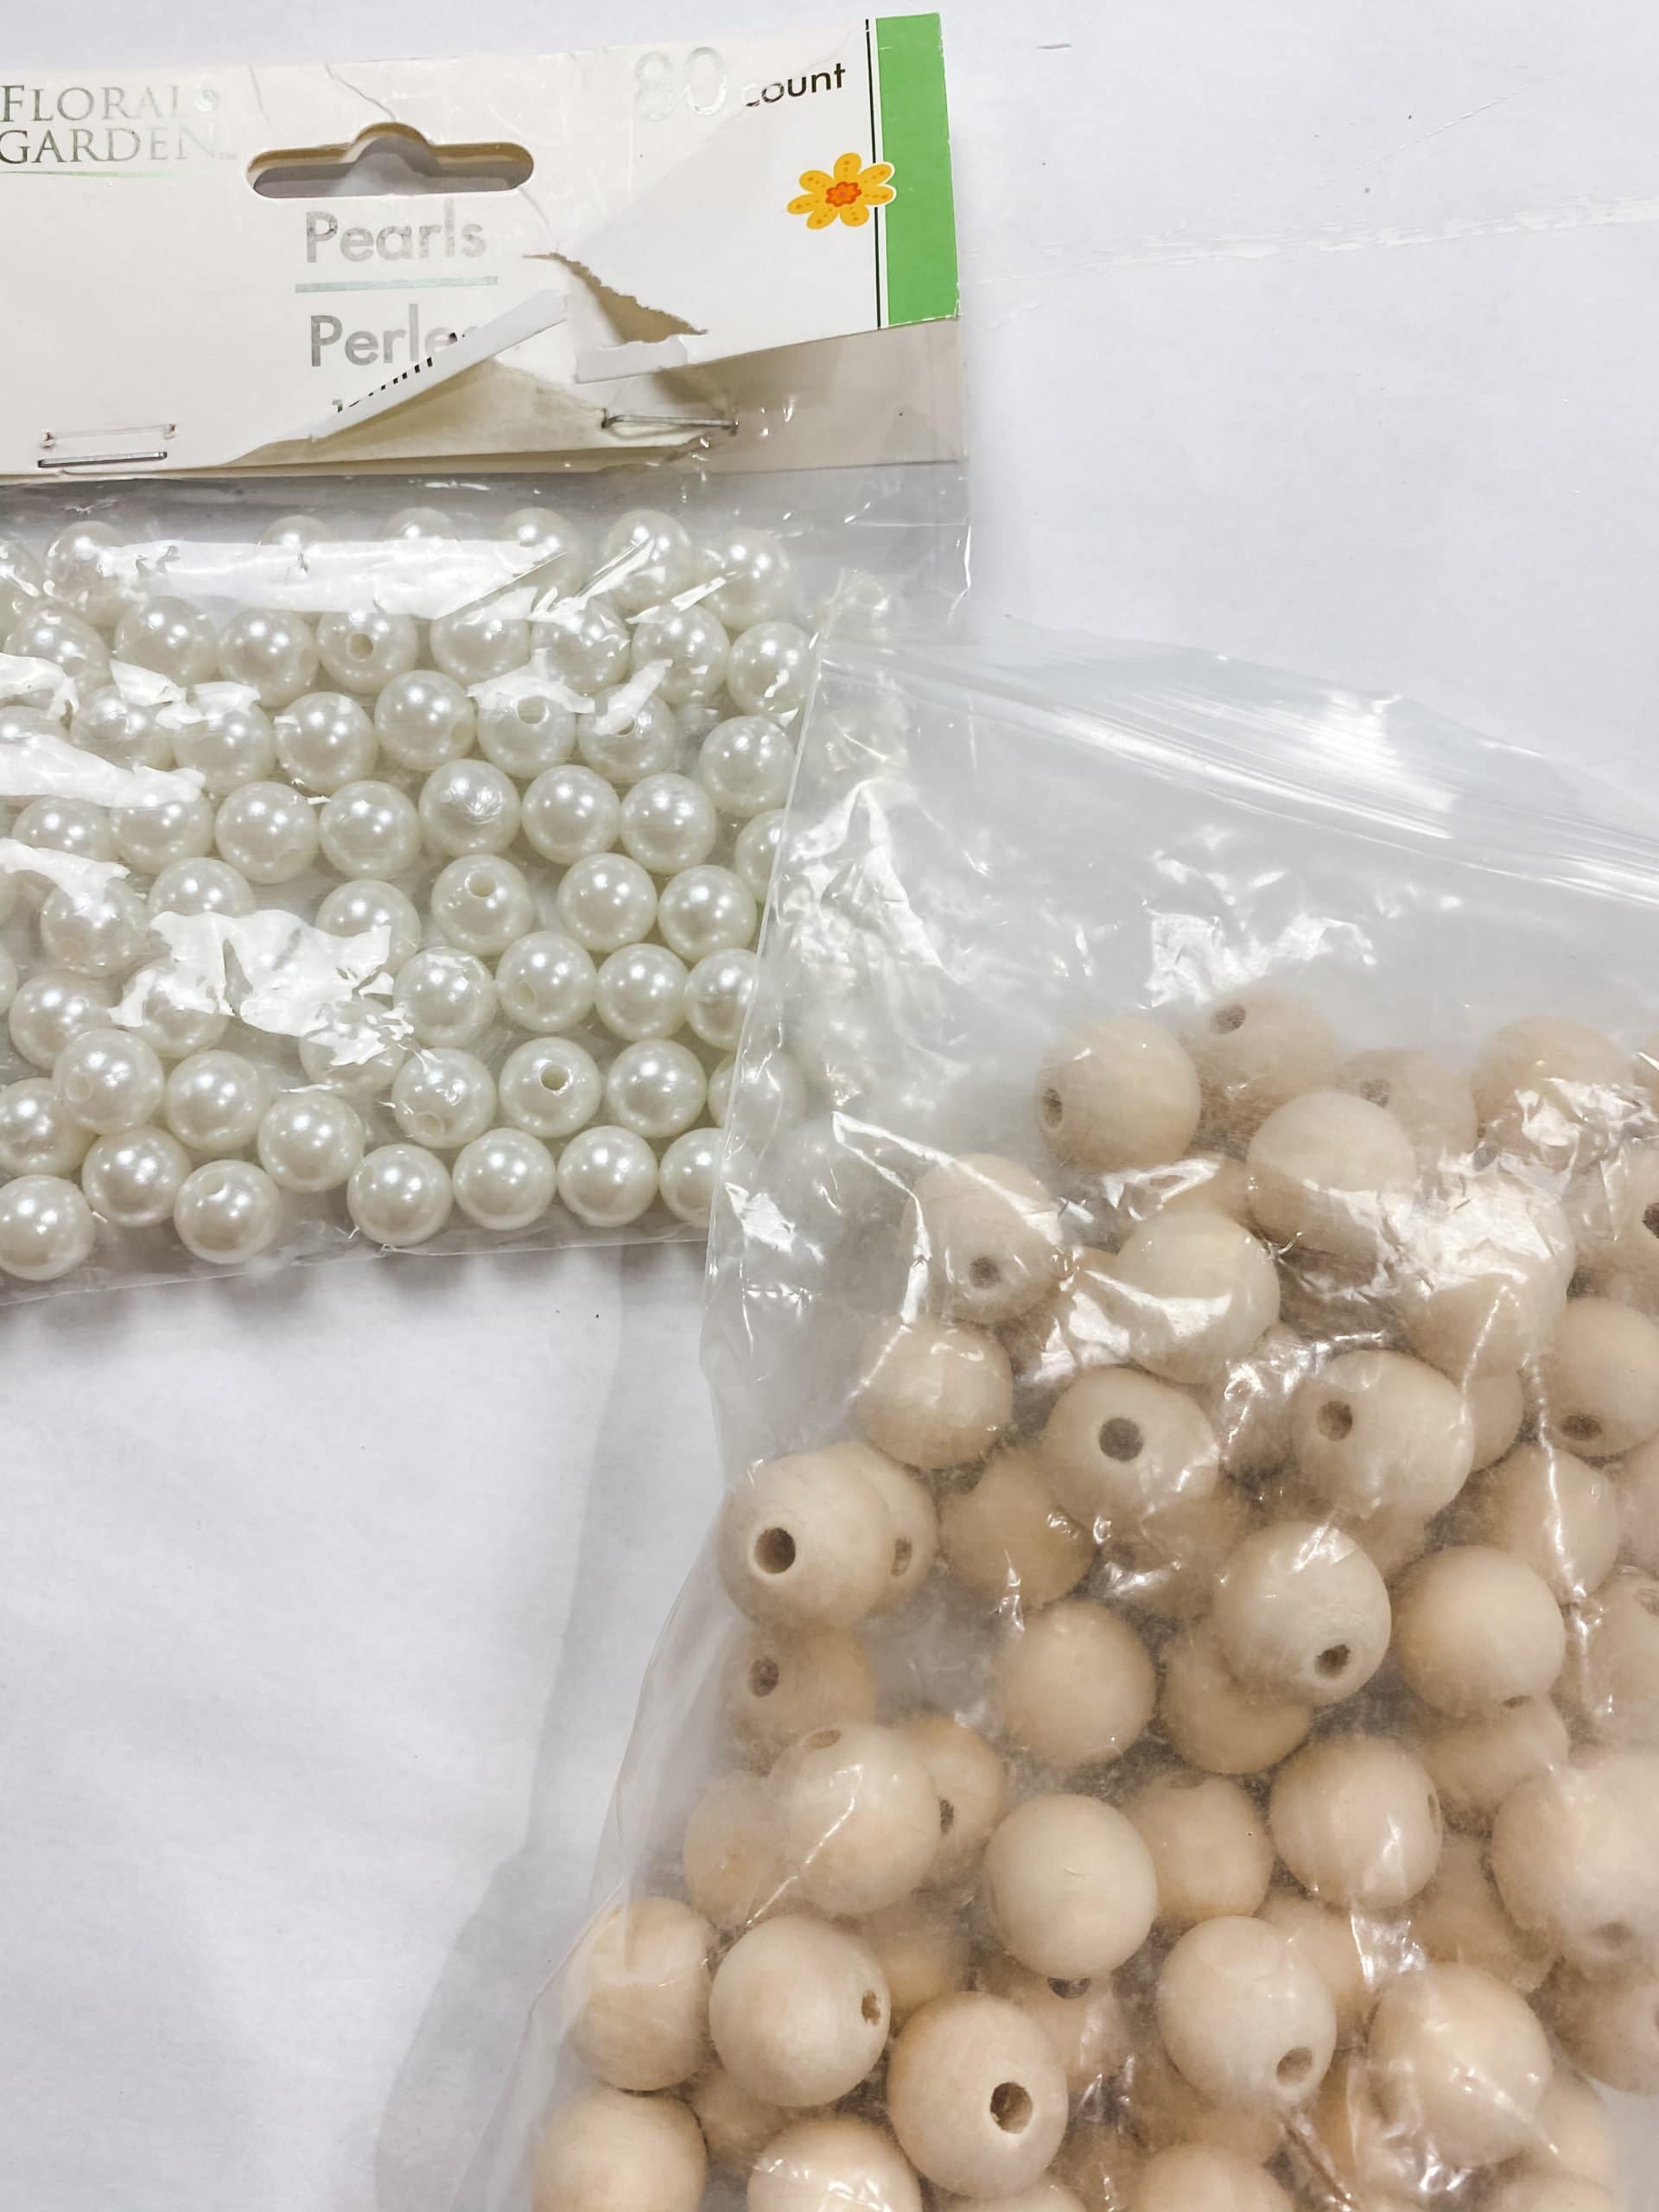
To make the hanger, you’re going to need the Dollar Tree pearls, jute twine, and some wood beads (I get mine from Amazon!). I started by threading the beads and pearls onto the twine, alternating as I went.
Once you’re happy with the length of your hanger, hot glue the end beads in place and hot glue the ends of the jute twine onto the back of the Dollar Tree canvas.
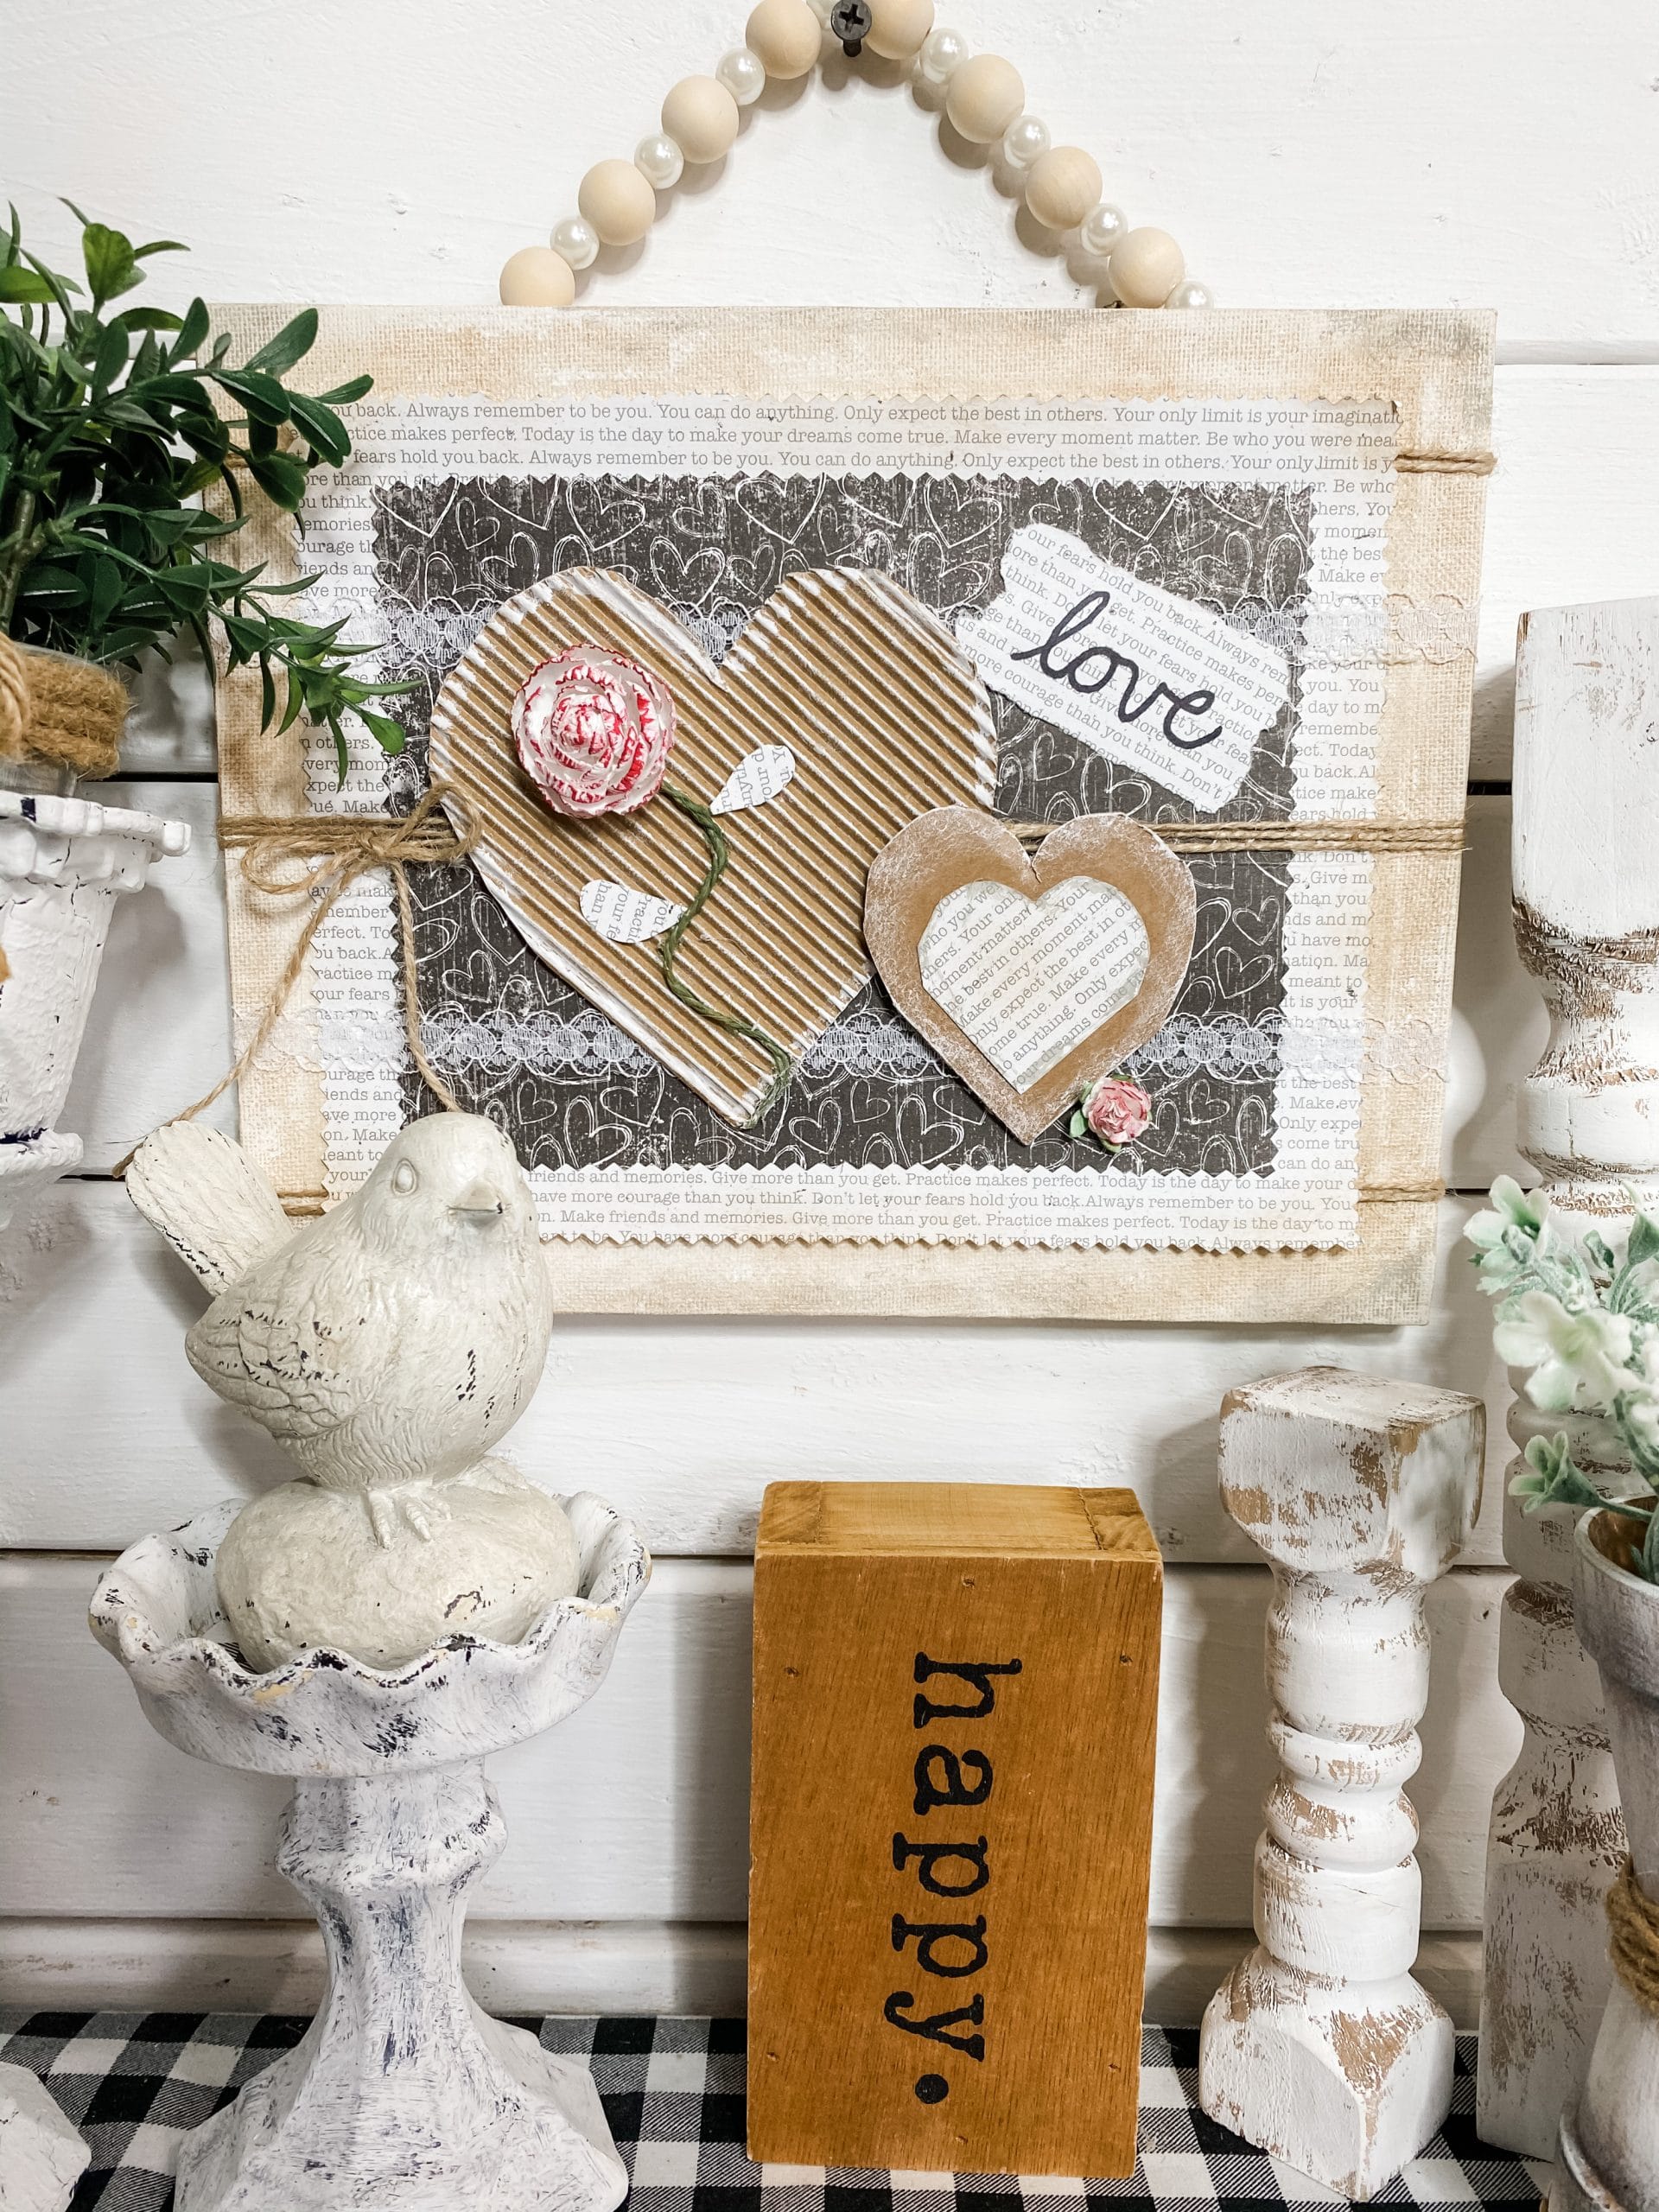
Before I added the last piece of this easy DIY paper craft, I lightly brushed Craft Smart Grey Acrylic Paint onto the corners of the Dollar Tree canvas. This helps add to the aged look of this DIY decor!
The last thing I did for this DIY was ripped a small rectangle piece of the Typewriter Font Scrapbook paper, wrote love with a sharpie on it, and hot glued it to the top right of the two hearts.
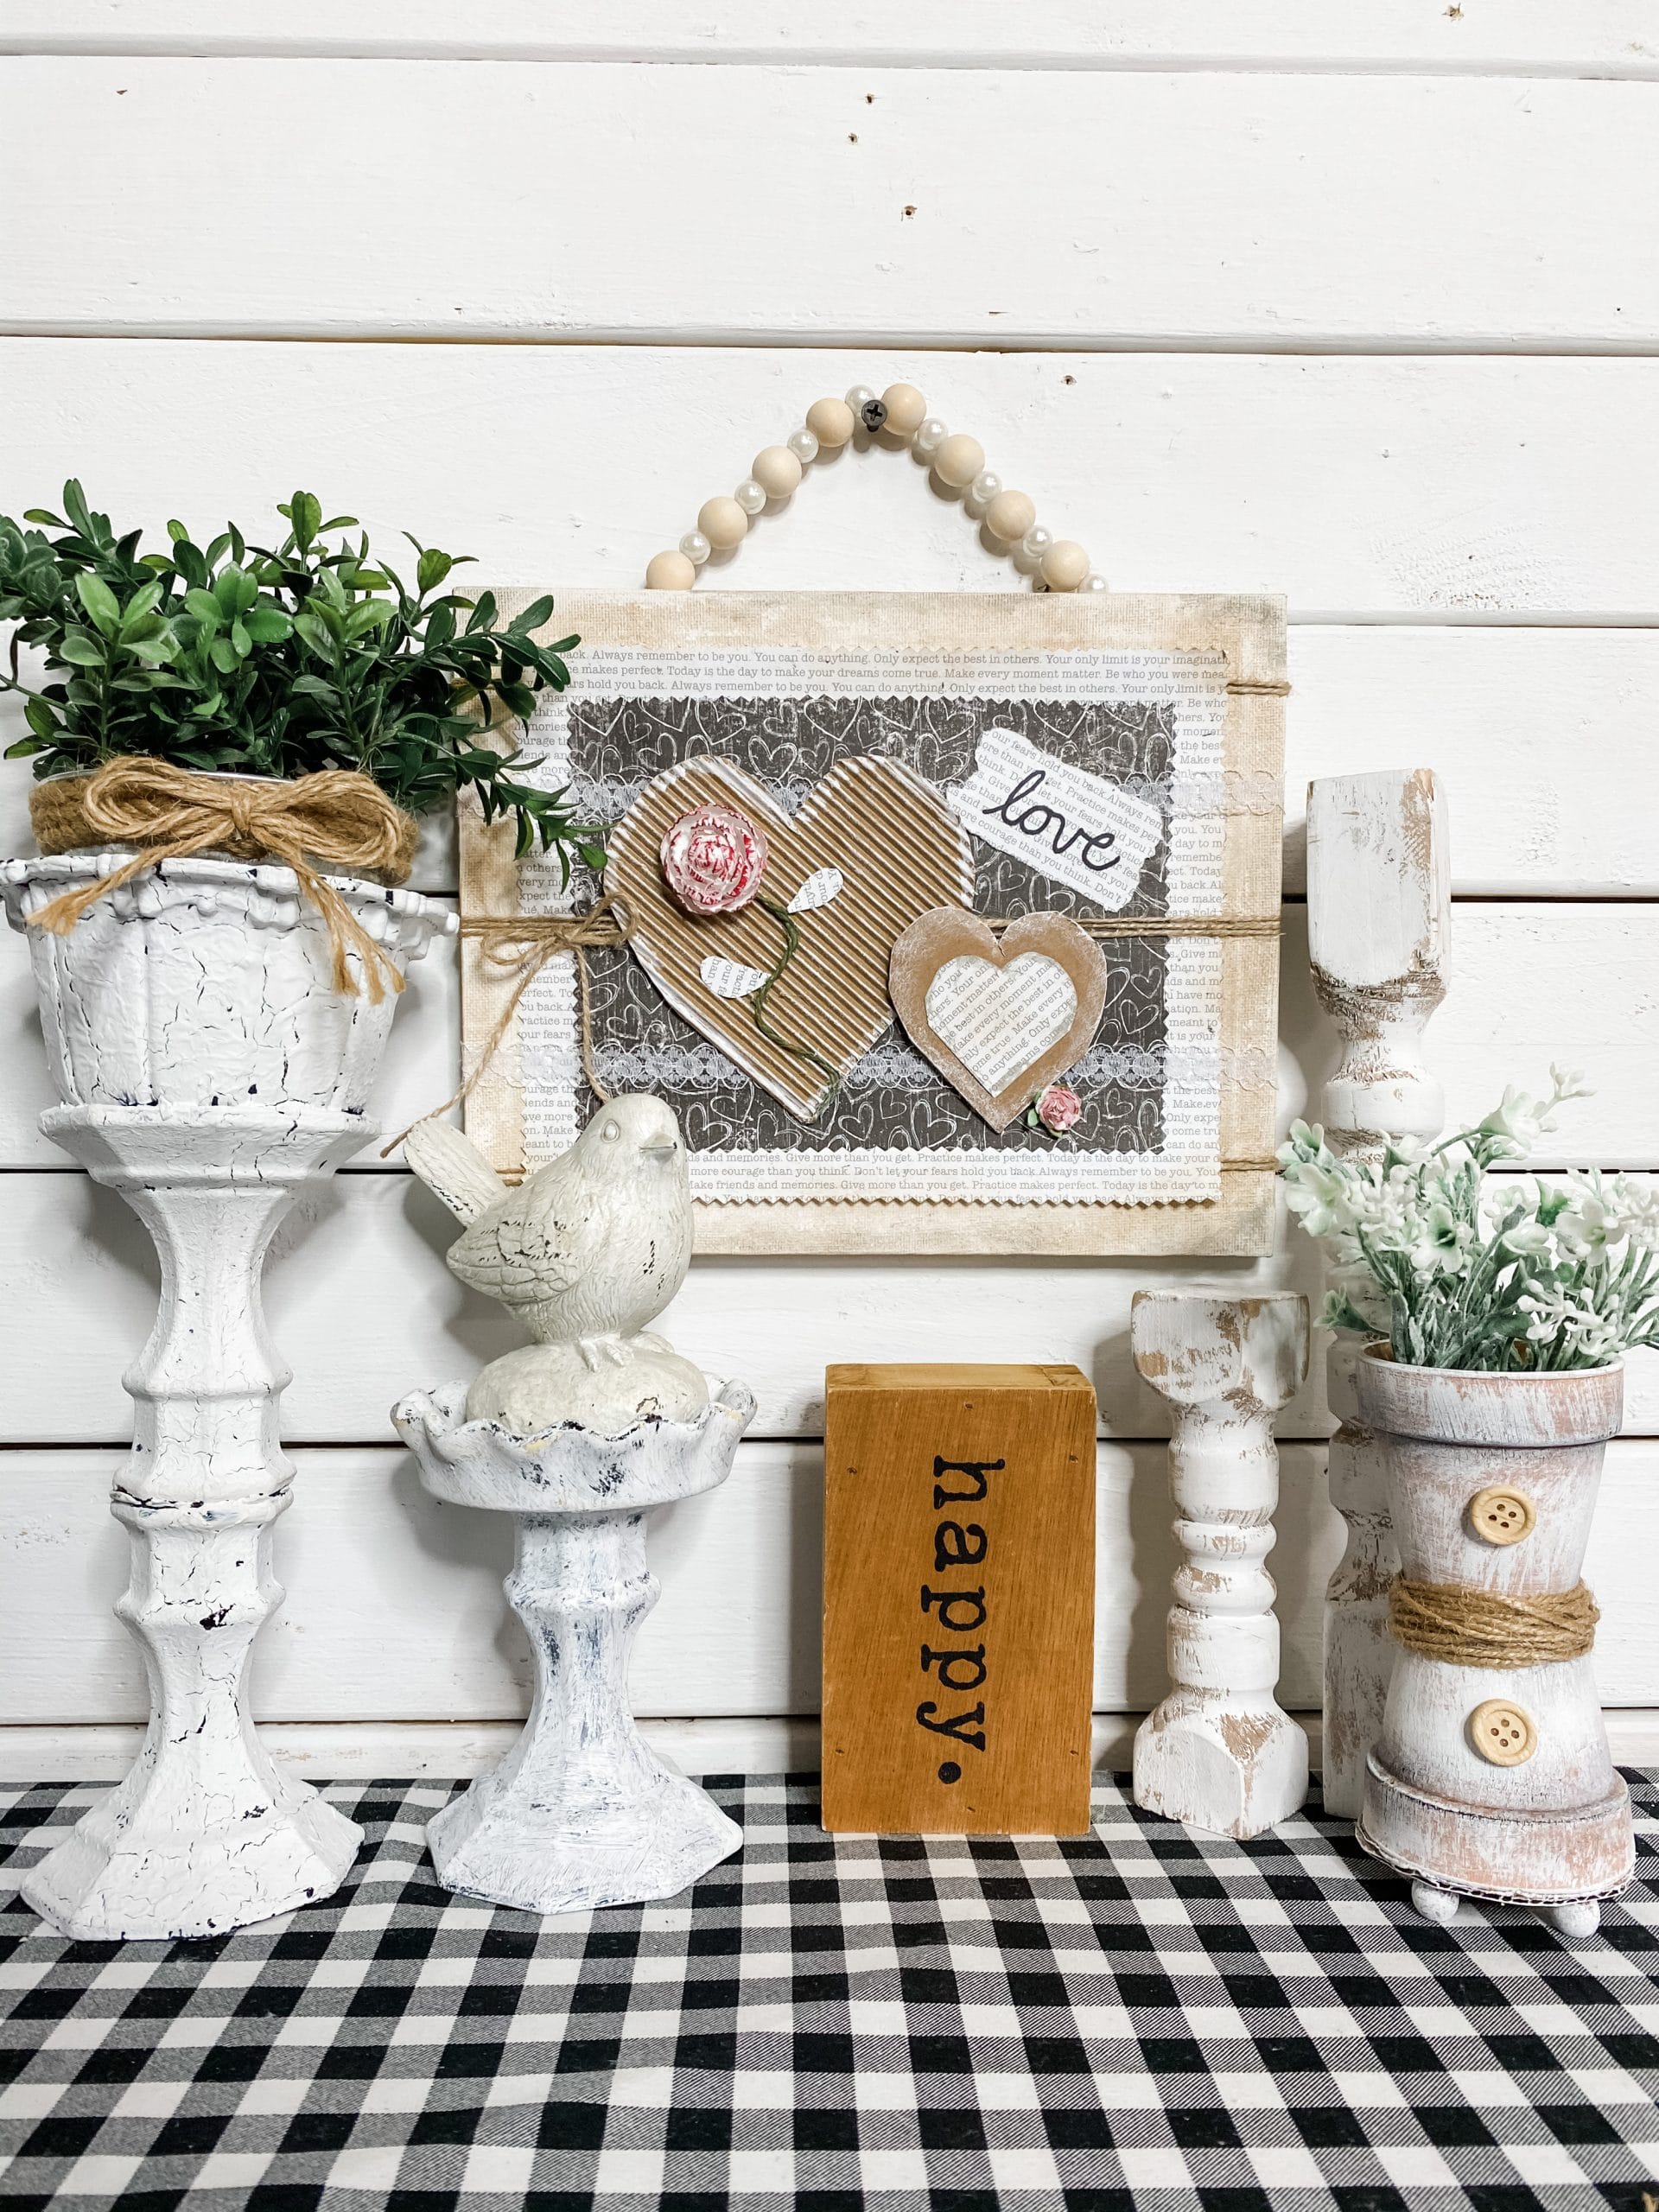
I hope you enjoyed this Valentine’s Day Paper Craft DIY Shabby Chic Decor as much as I did and decide to make one for yourself! I would love to see how yours turns out!
You should totally join my FREE Facebook group called On A Budget Crafts! It is a judgment-free community for DIY crafters to show off their projects and ideas.
If you loved this DIY you might also like this Dollar Tree Calendar DIY Shabby Chic Decor!
Thanks for stopping by! XOXO Amber
You can also shop my ENTIRE AMAZON Favorites shop just click here! It’s packed full of all the things I use and love. Here is the supply list I highly recommend every creative have on hand!!
Would you also pin my blog for later and get on my newsletter alerts? I would love to have you join my #craftycrew.
Inspired? Leave me a comment below! I love hearing from my readers!

Join my free “ON A BUDGET CRAFTS” Facebook group!


3 Comments