Valentine’s Day DIY Love Sign
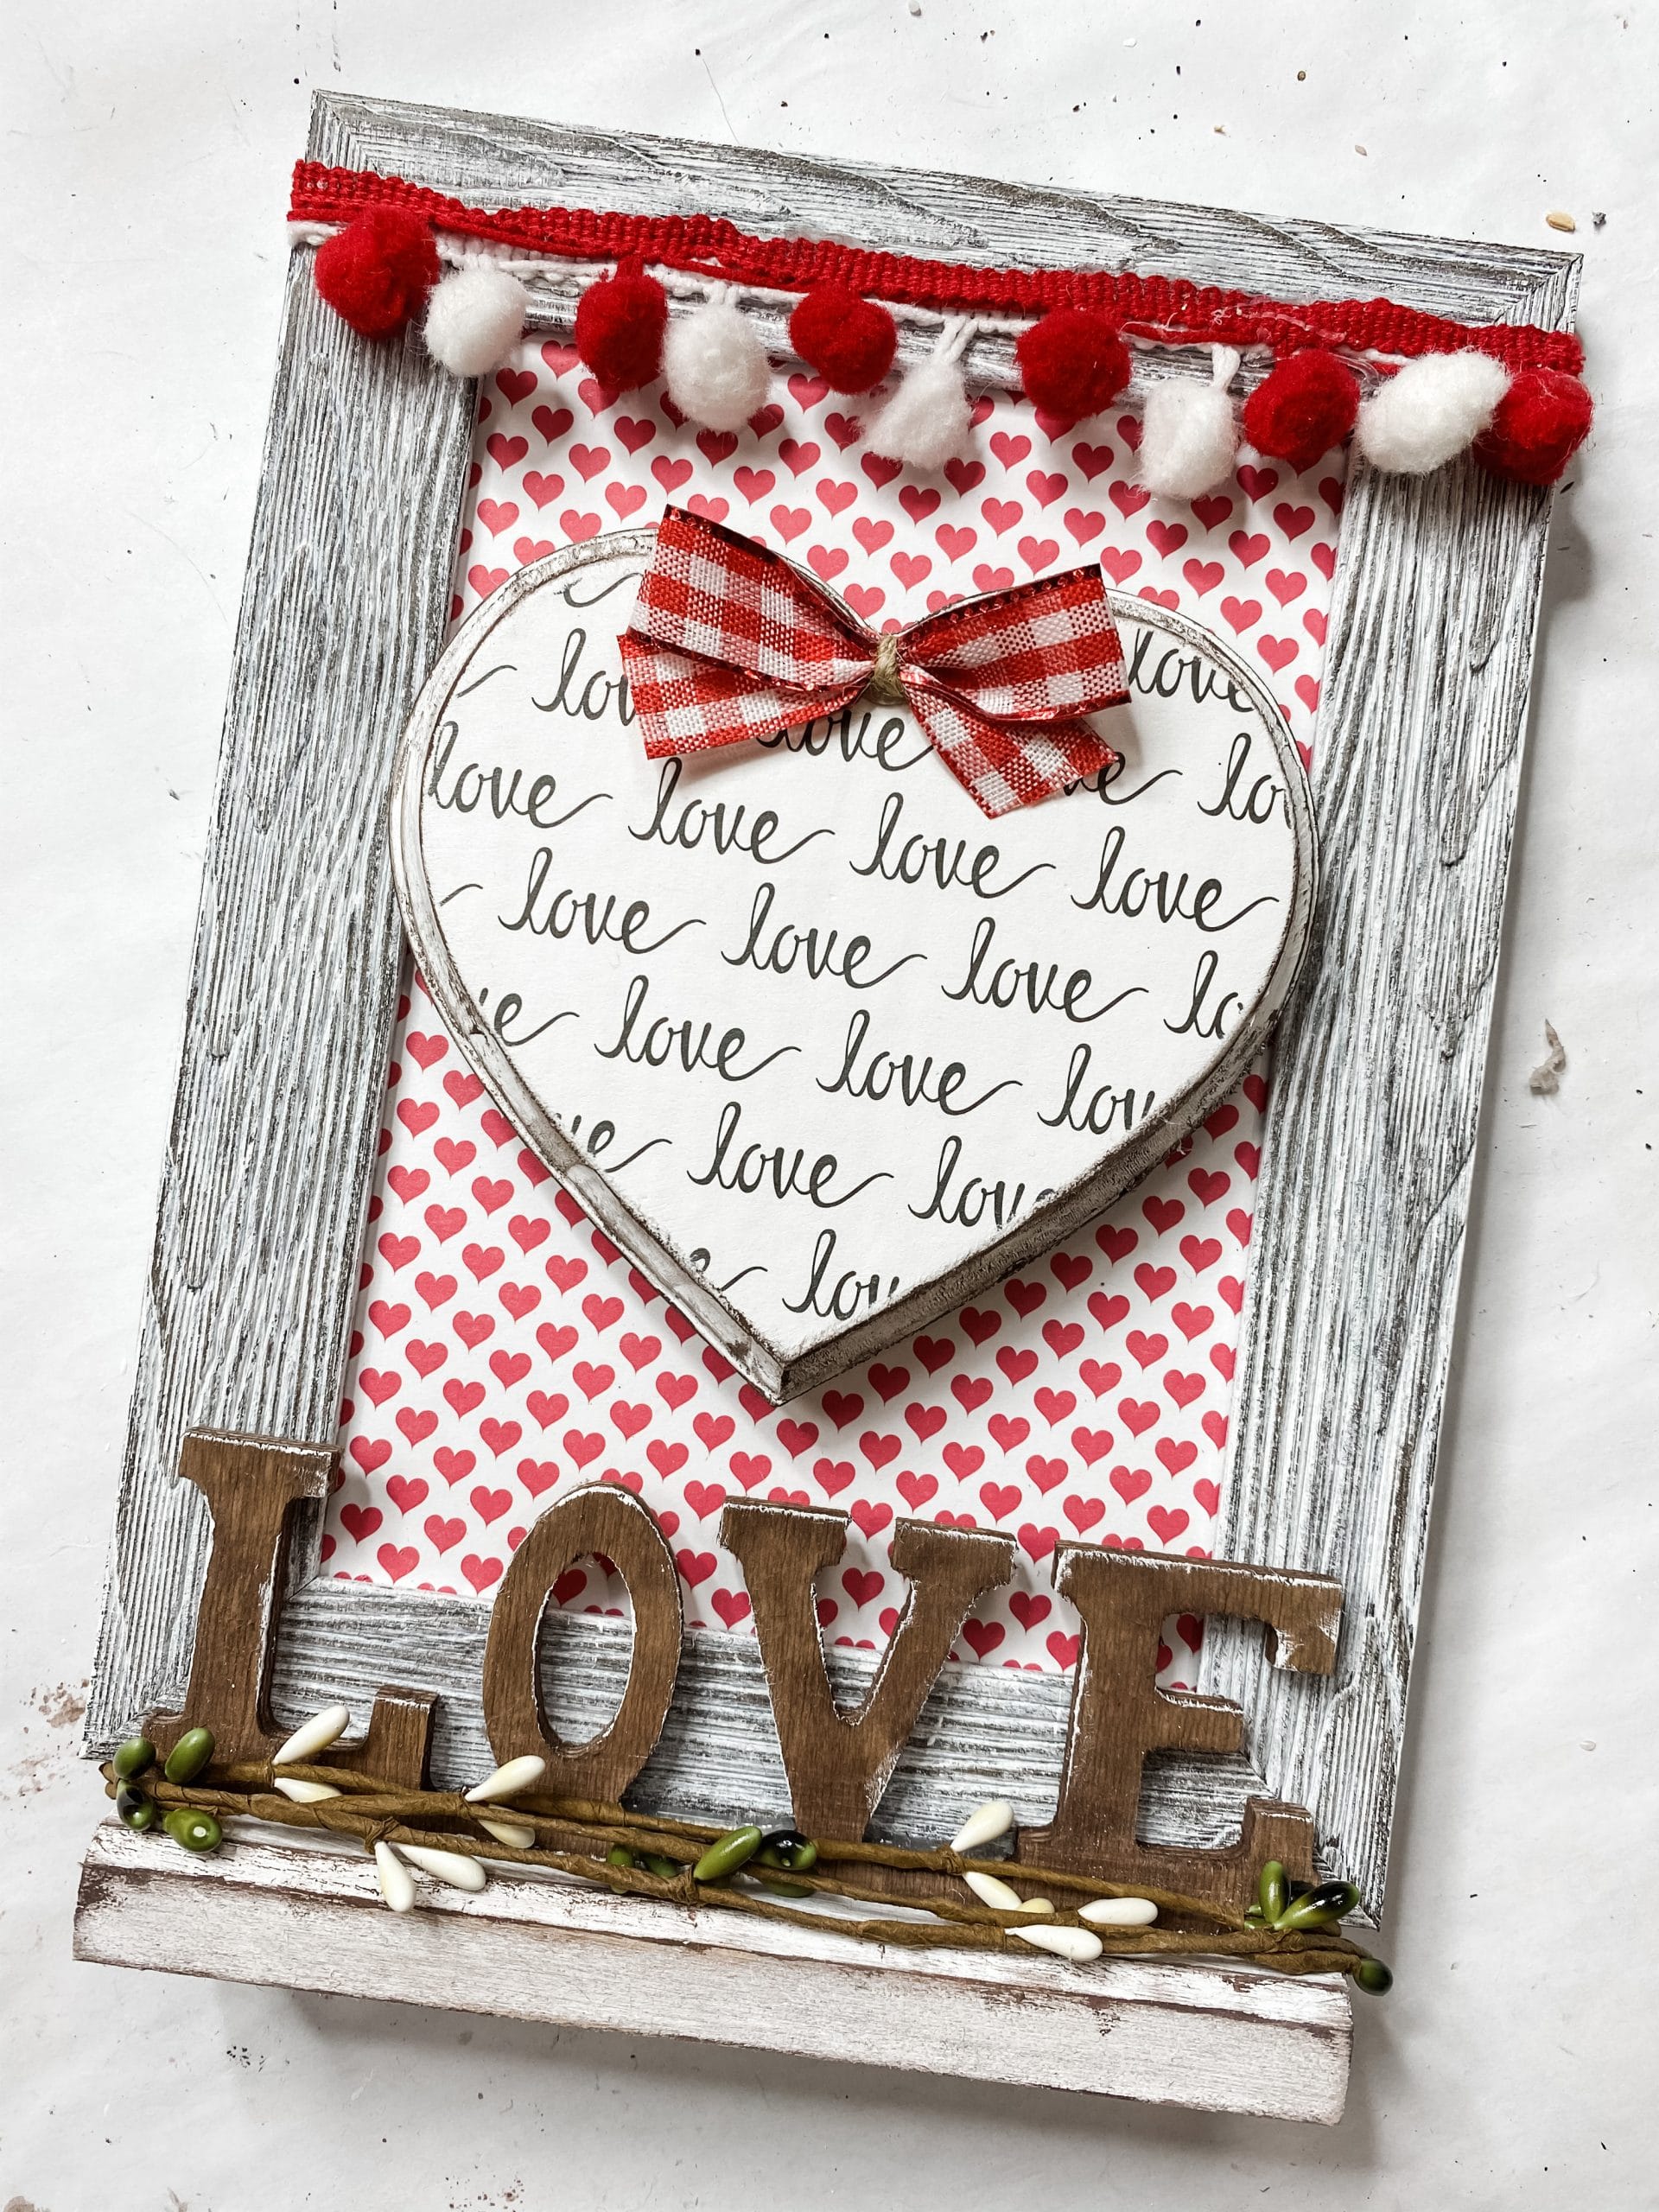
I am always trying to think outside the box and find ways to use affordable items to create adorable home decor that anyone would want in their homes, and I think I did that with this Valentine’s Day DIY Love Sign!
Bringing this rustic Valentine’s Day decor to life was so much fun, but it also didn’t hurt the bank! Almost all the supplies can be found at Dollar Tree!
Watch the replay
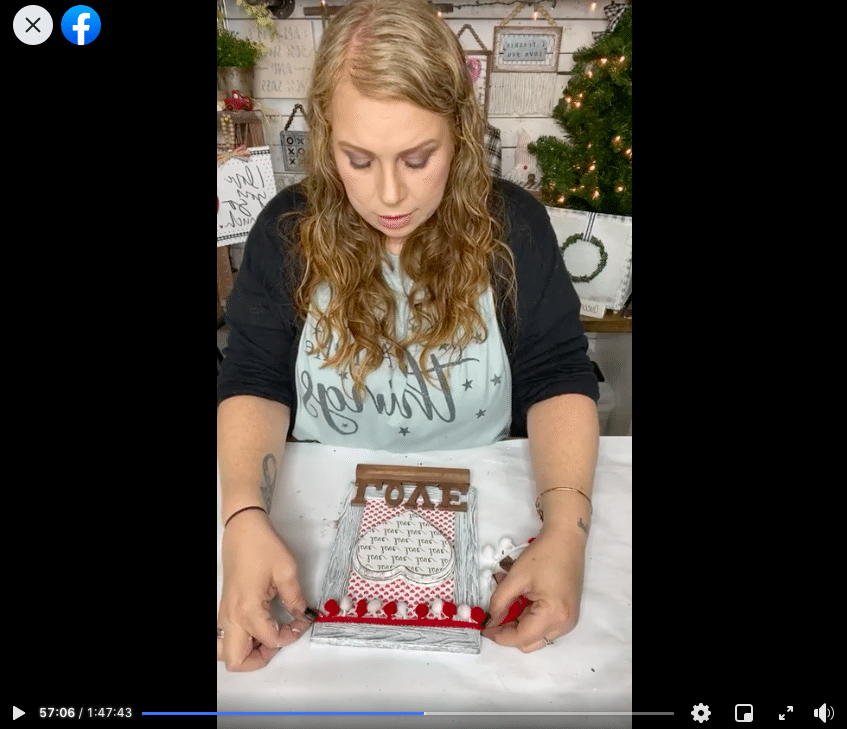
You know me, so you know that I record everything! I made this adorable Valentine’s Day DIY Love Sign during a Facebook LIVE video, and I had so much fun crafting and chatting with my Crafty Crew!
I talk through each step and show you each item I use in this easy Valentine’s Day home decor idea. If you want to see my techniques or join in on the crafting fun, watch the replay!
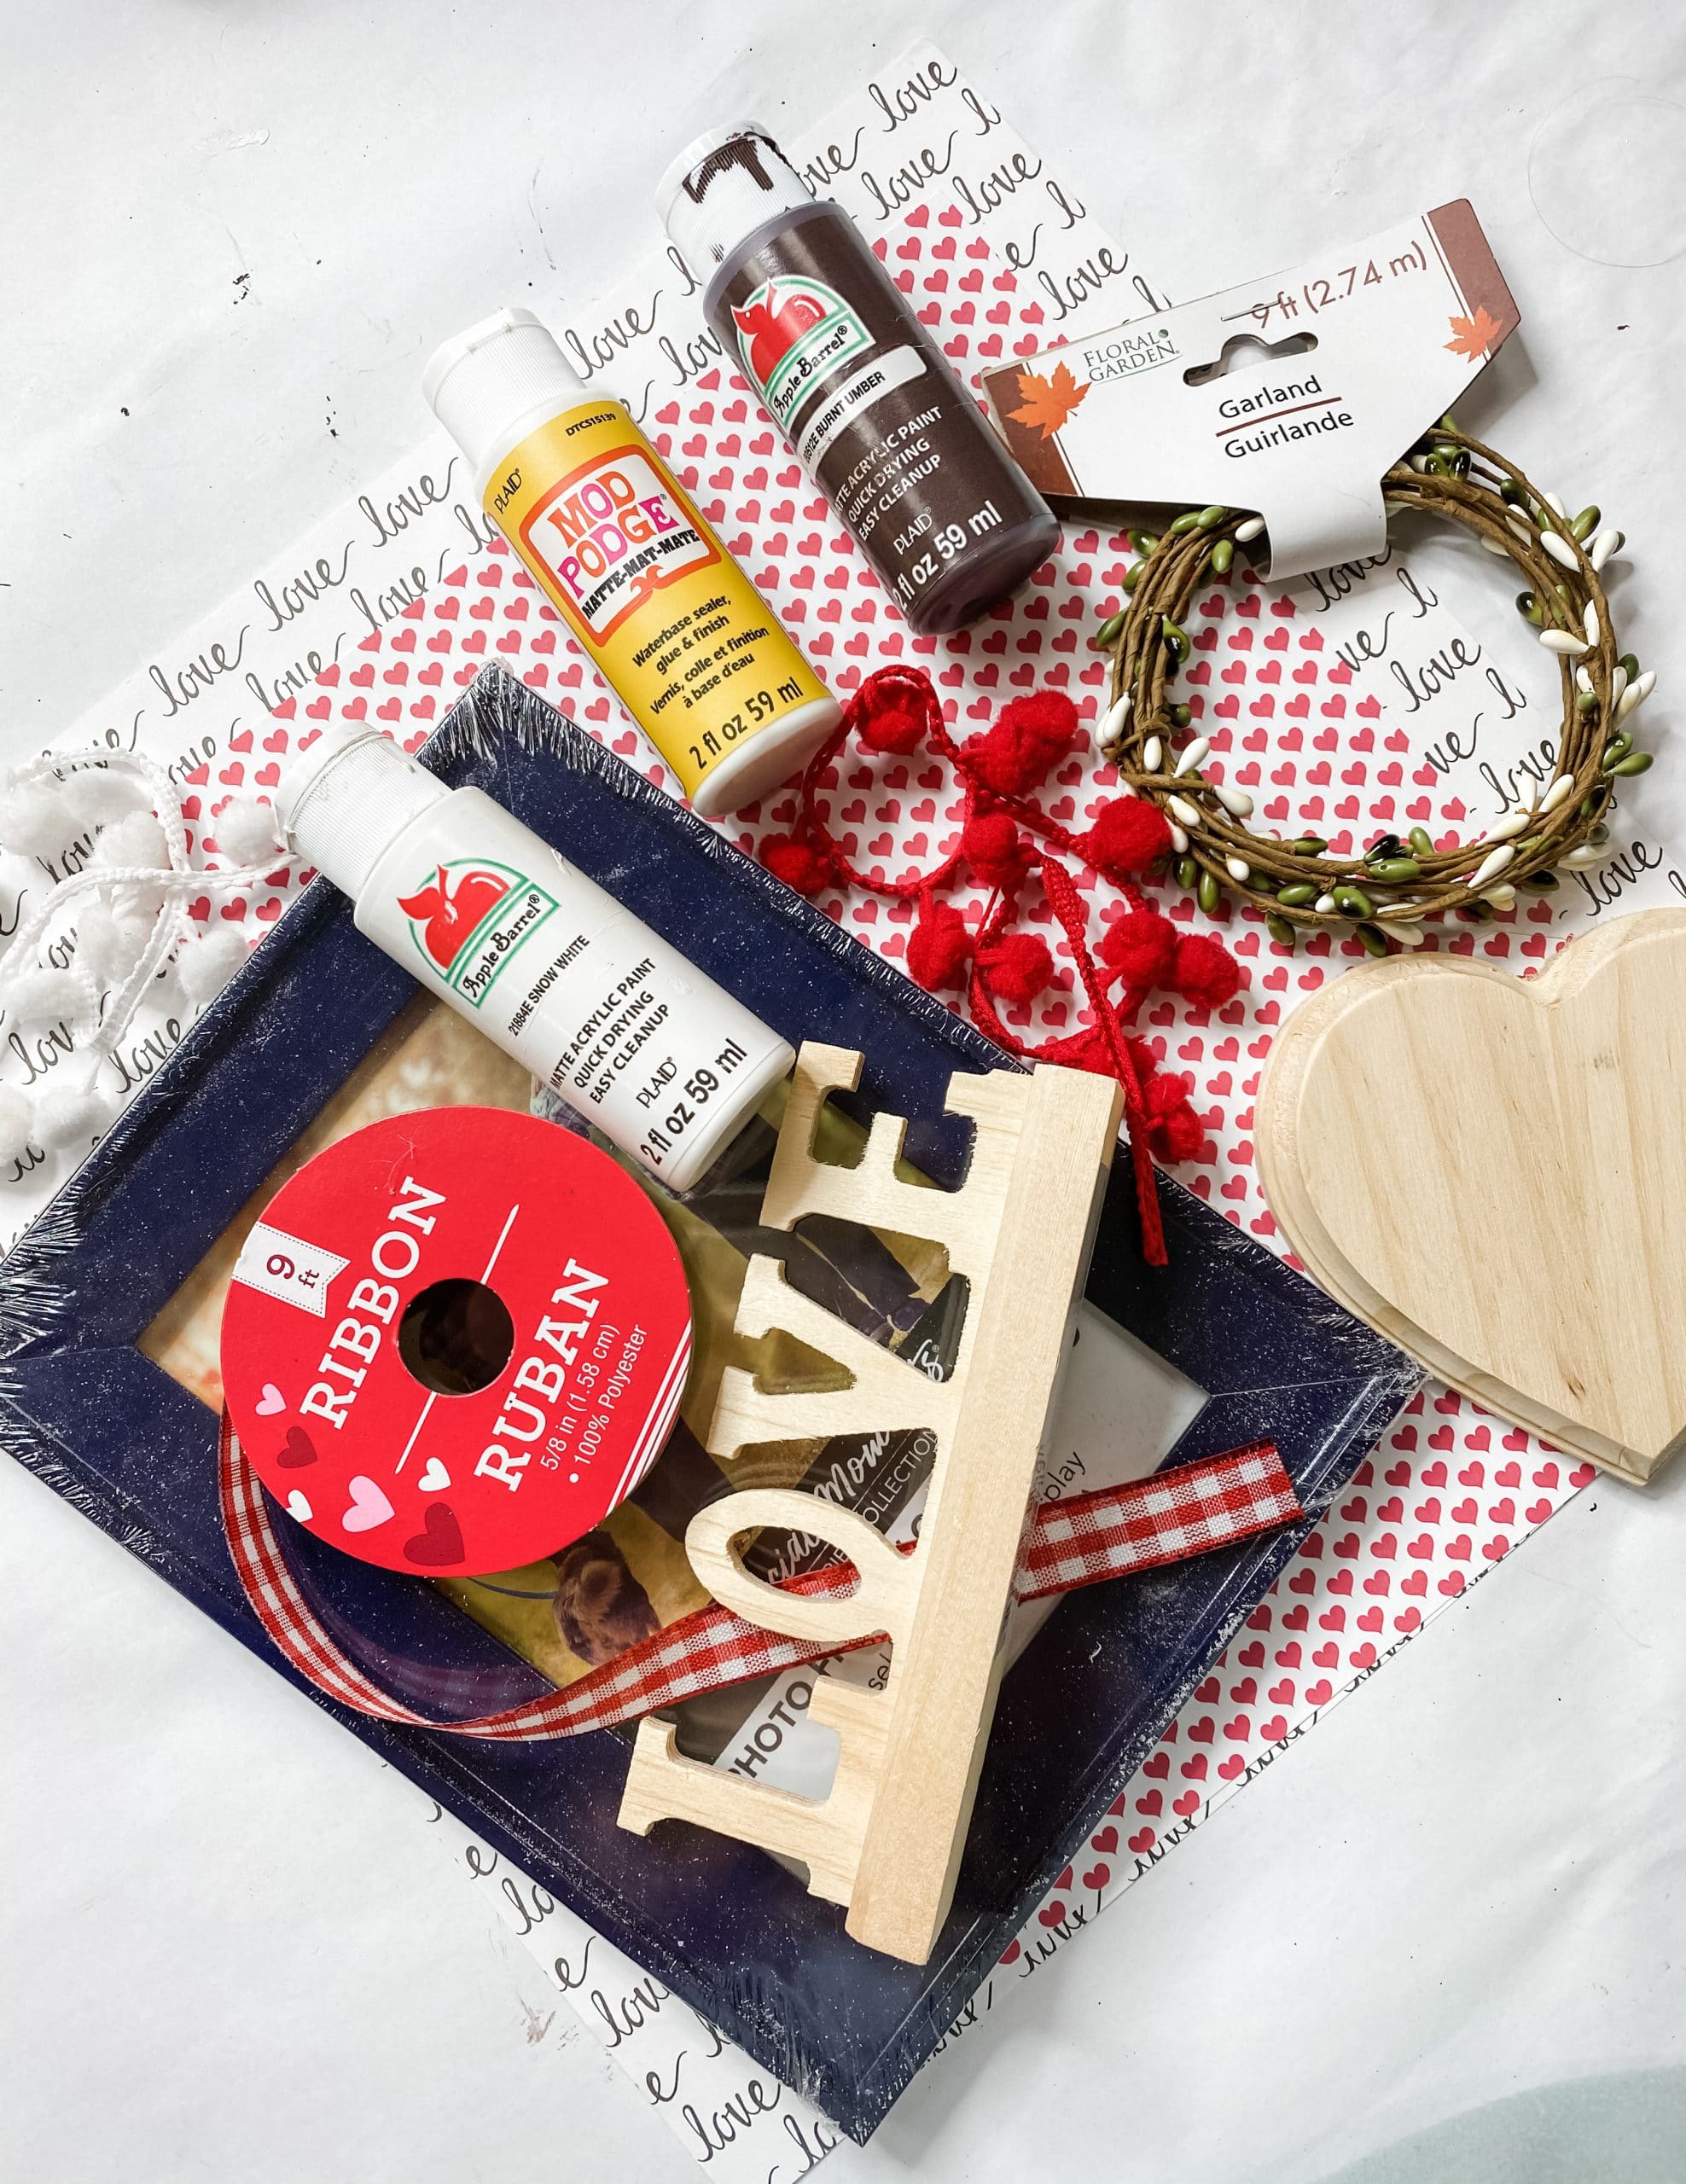
For this project, I will be using these items but you can substitute where you want.
“As an Amazon Associate, I earn from qualifying purchases.”
- Dollar Tree Picture Frame
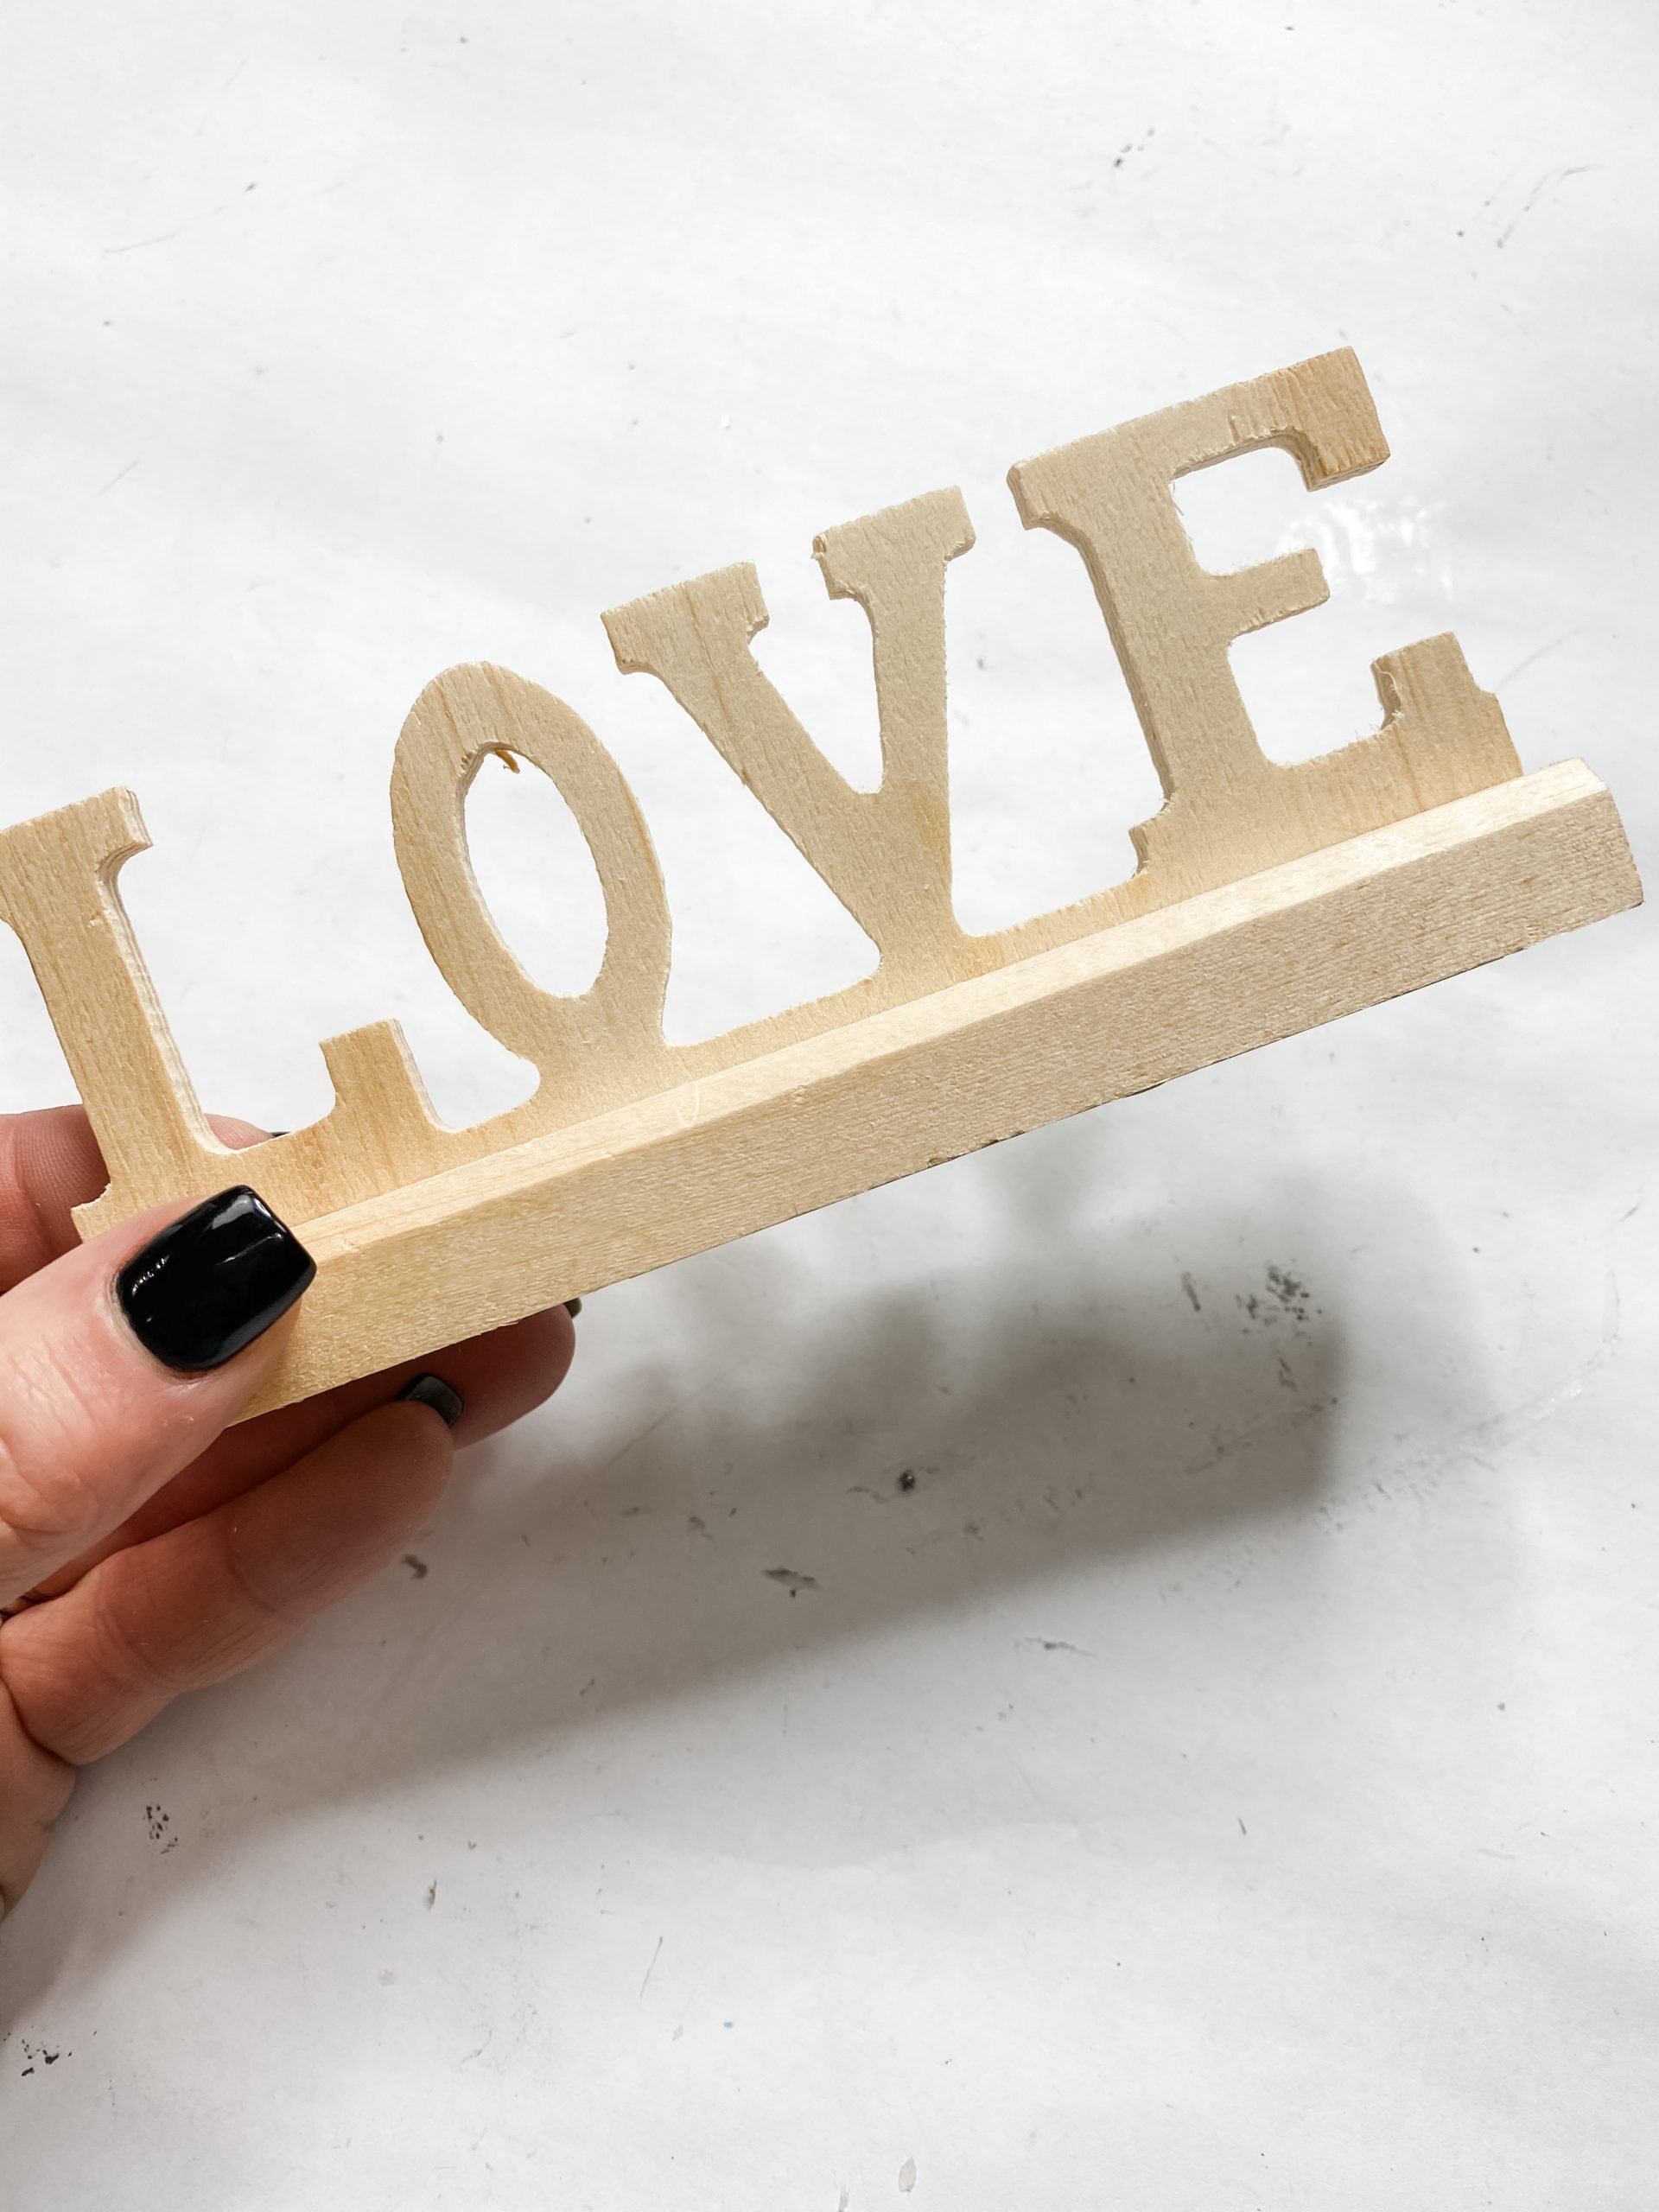
- Dollar Tree Love Sign on a Stand
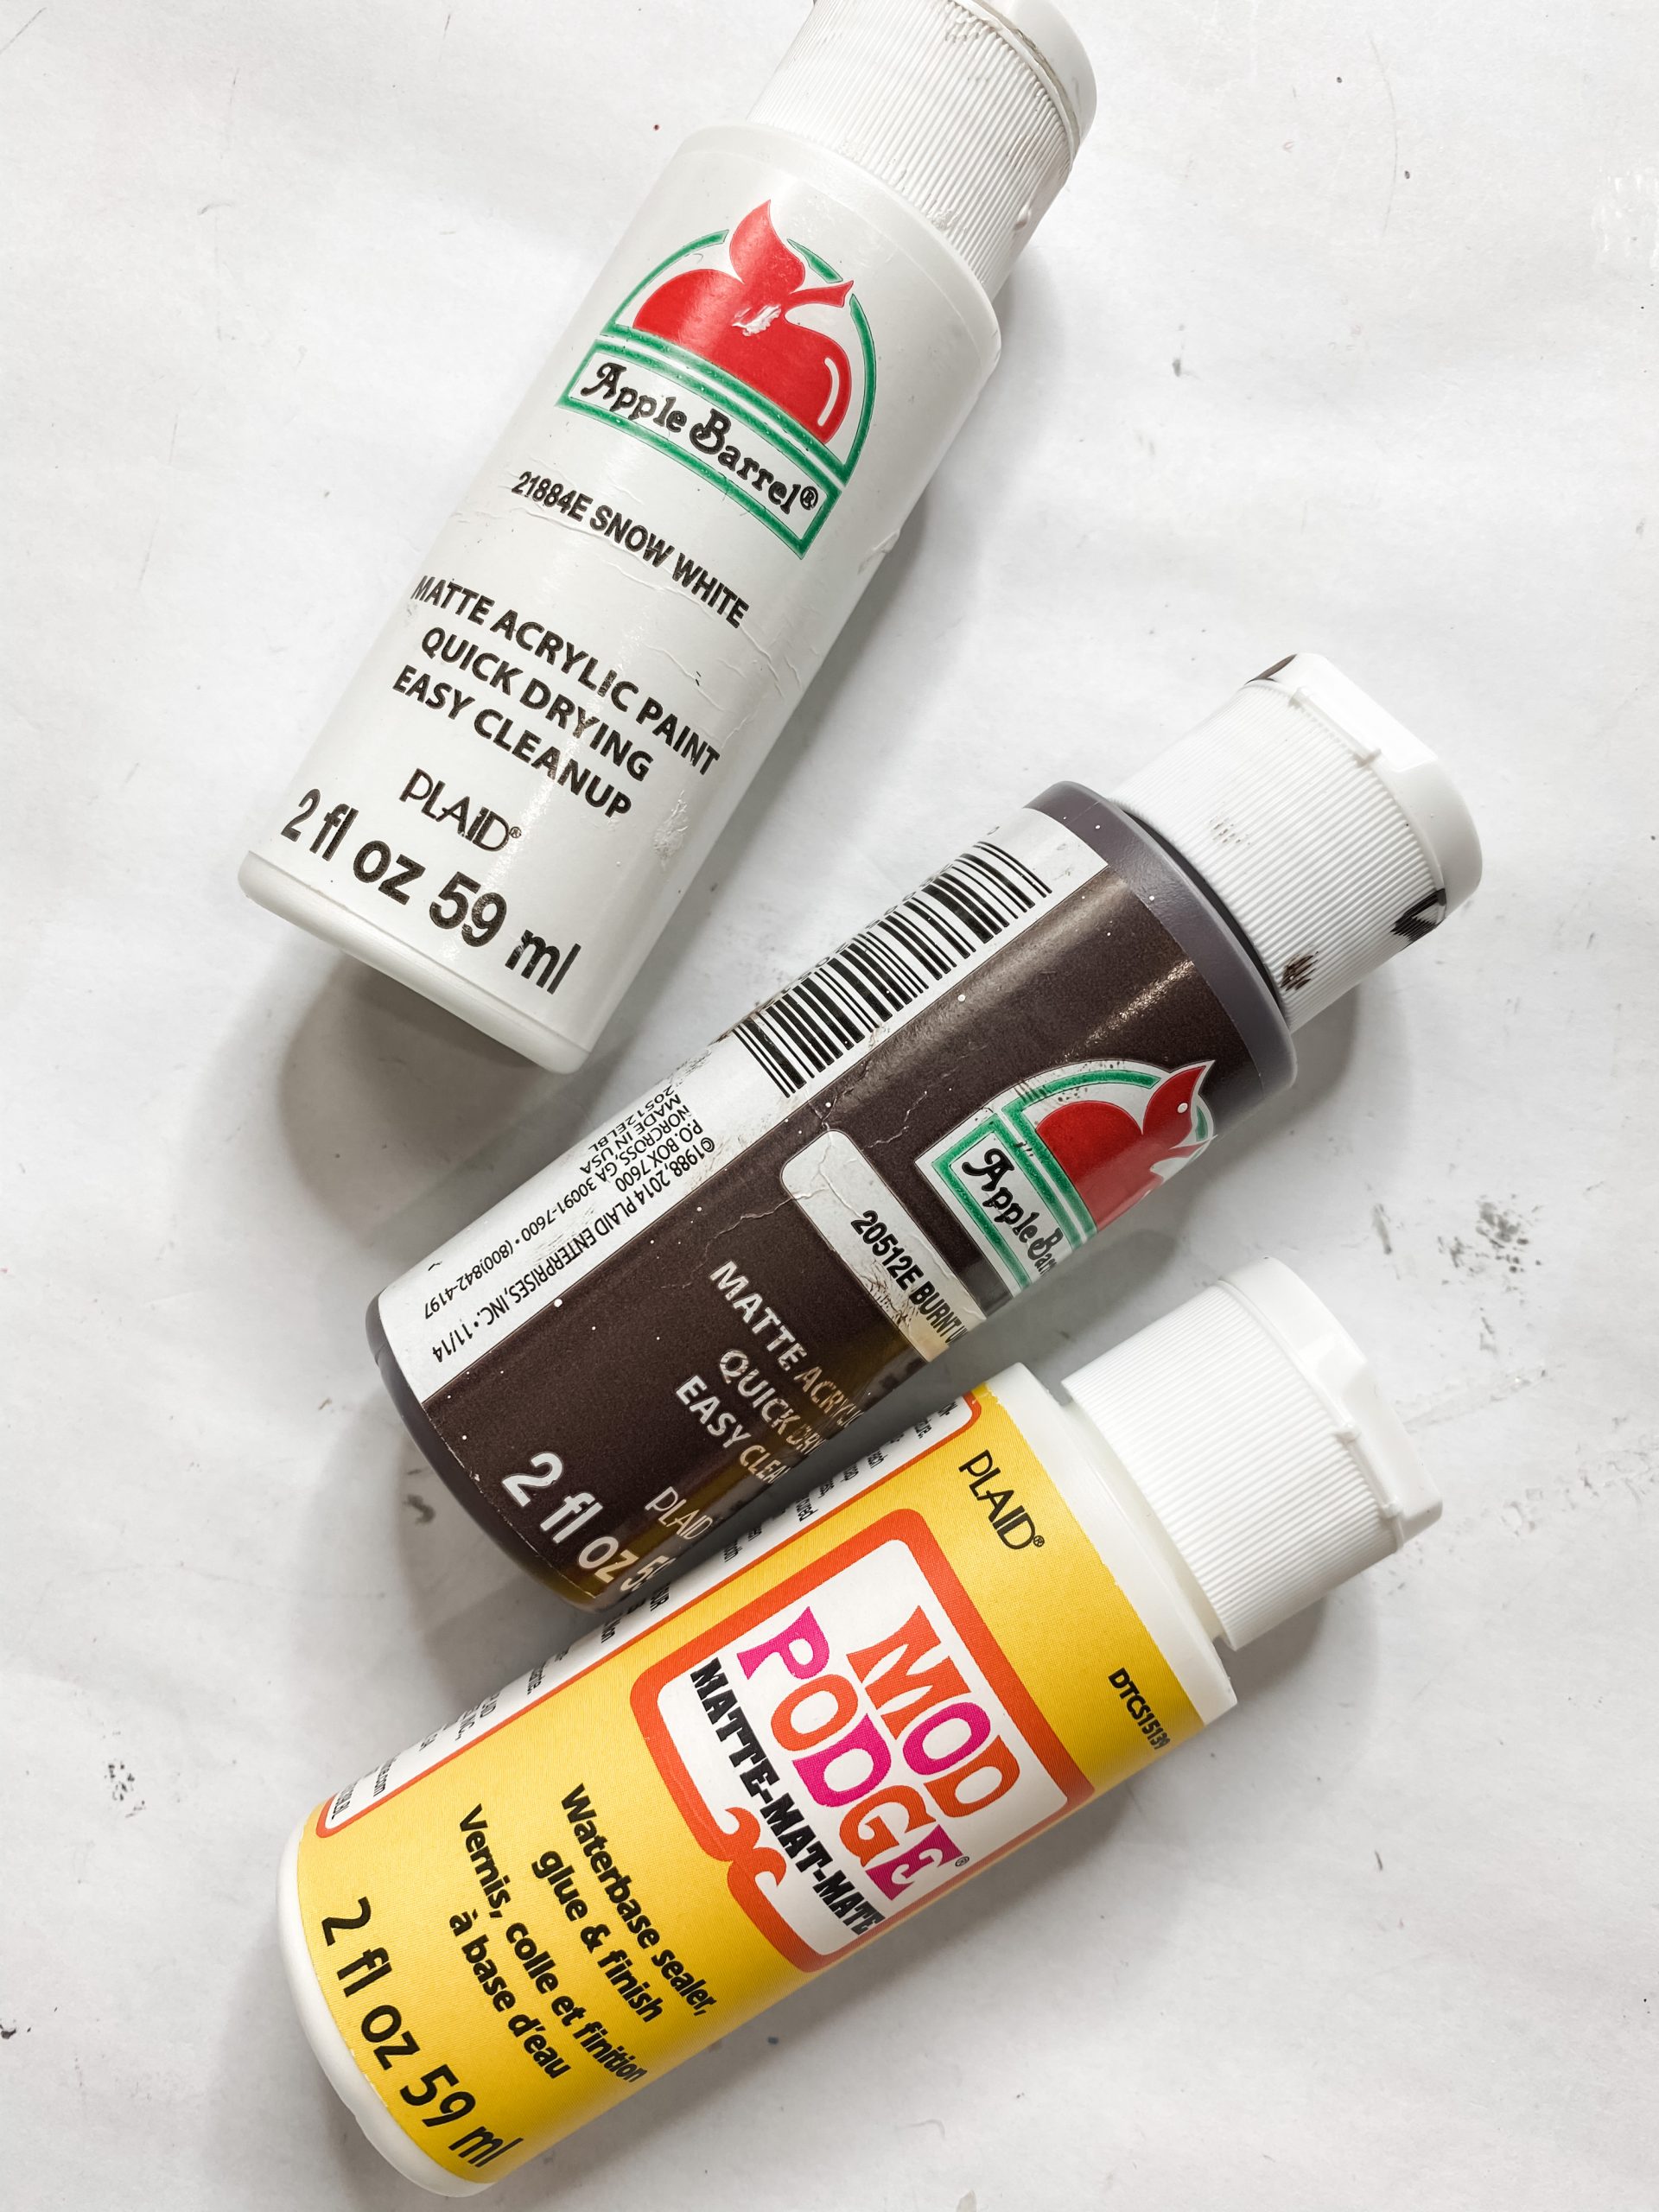
- Mod Podge
- Dollar Tree Wood Plaque
- Dollar Tree Pip Berry Garland (fall)
- Jute Twine
- Dollar Tree Red Buffalo Check Ribbon
- Apple Barrel White Acrylic Paint
- Apple Barrel Burnt Umber Acrylic Paint
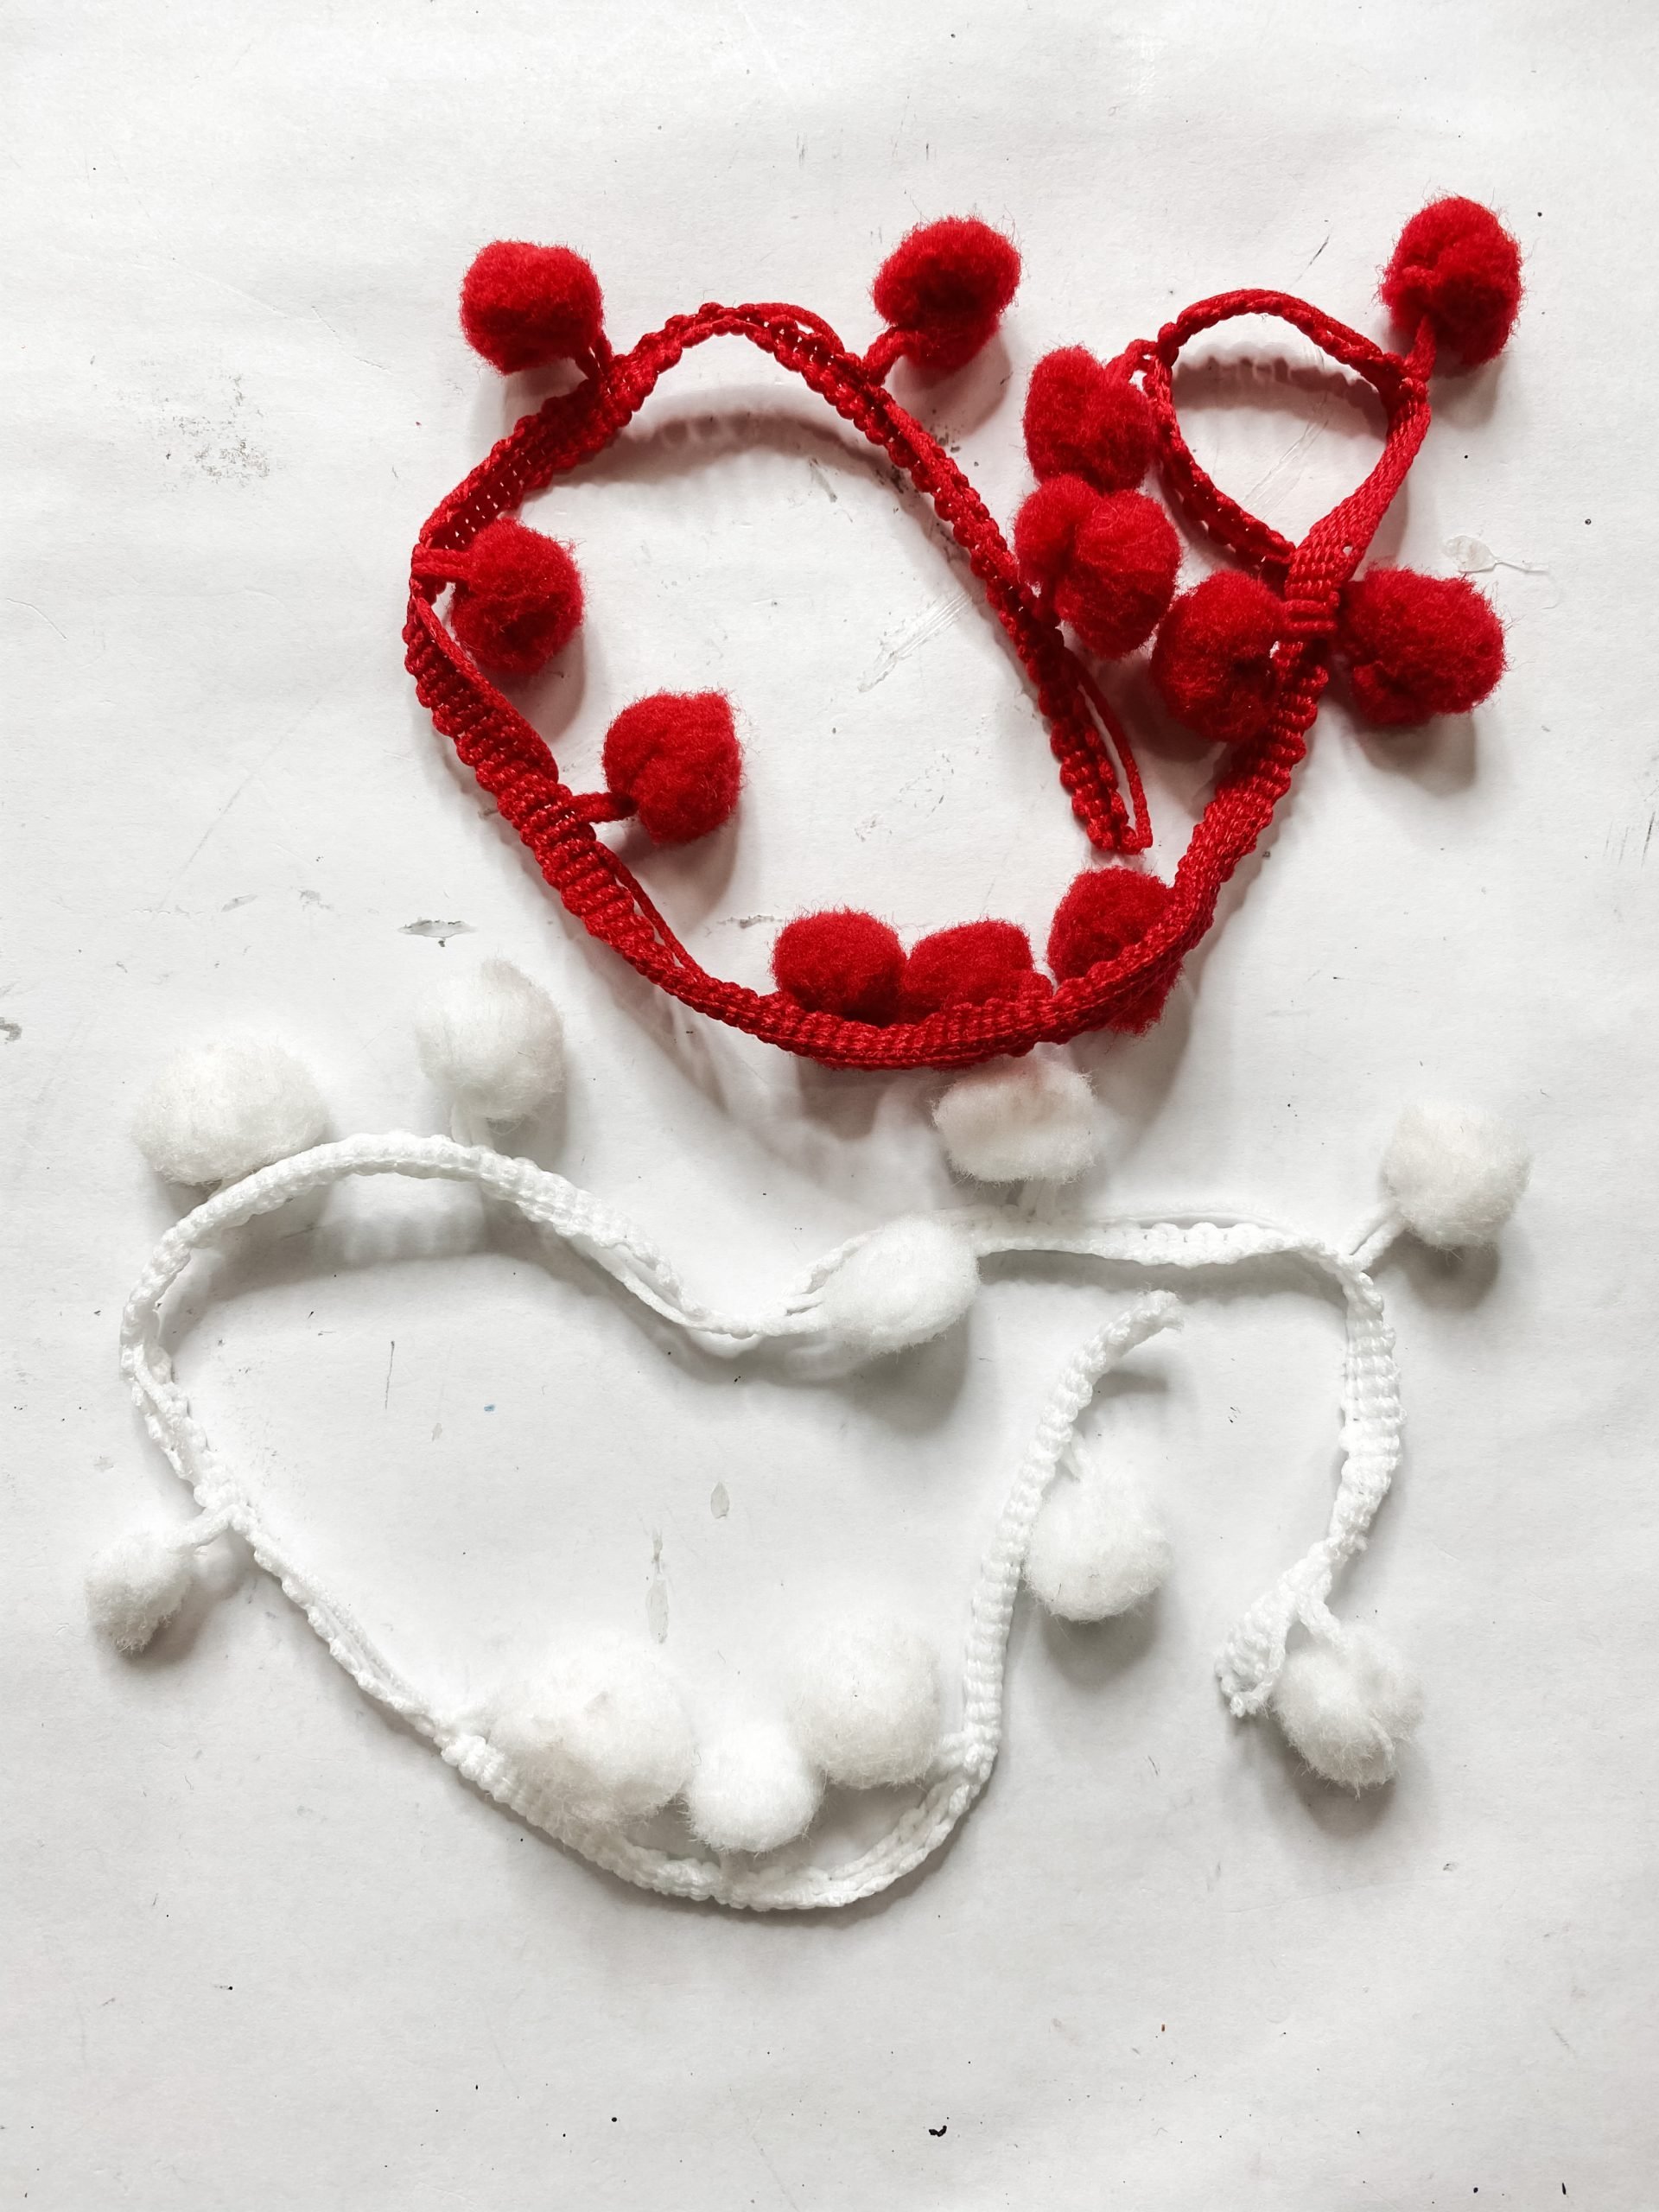
- Red Pom Pom Trim (Home Goods)
- White Pom Pom Trim (Home Goods)
- Love Scrapbook Paper (Hobby Lobby)
- Red Heart Scrapbook Paper (Hobby Lobby)
- Hot Glue gun and Glue Sticks
- Scissors
Let’s get started!
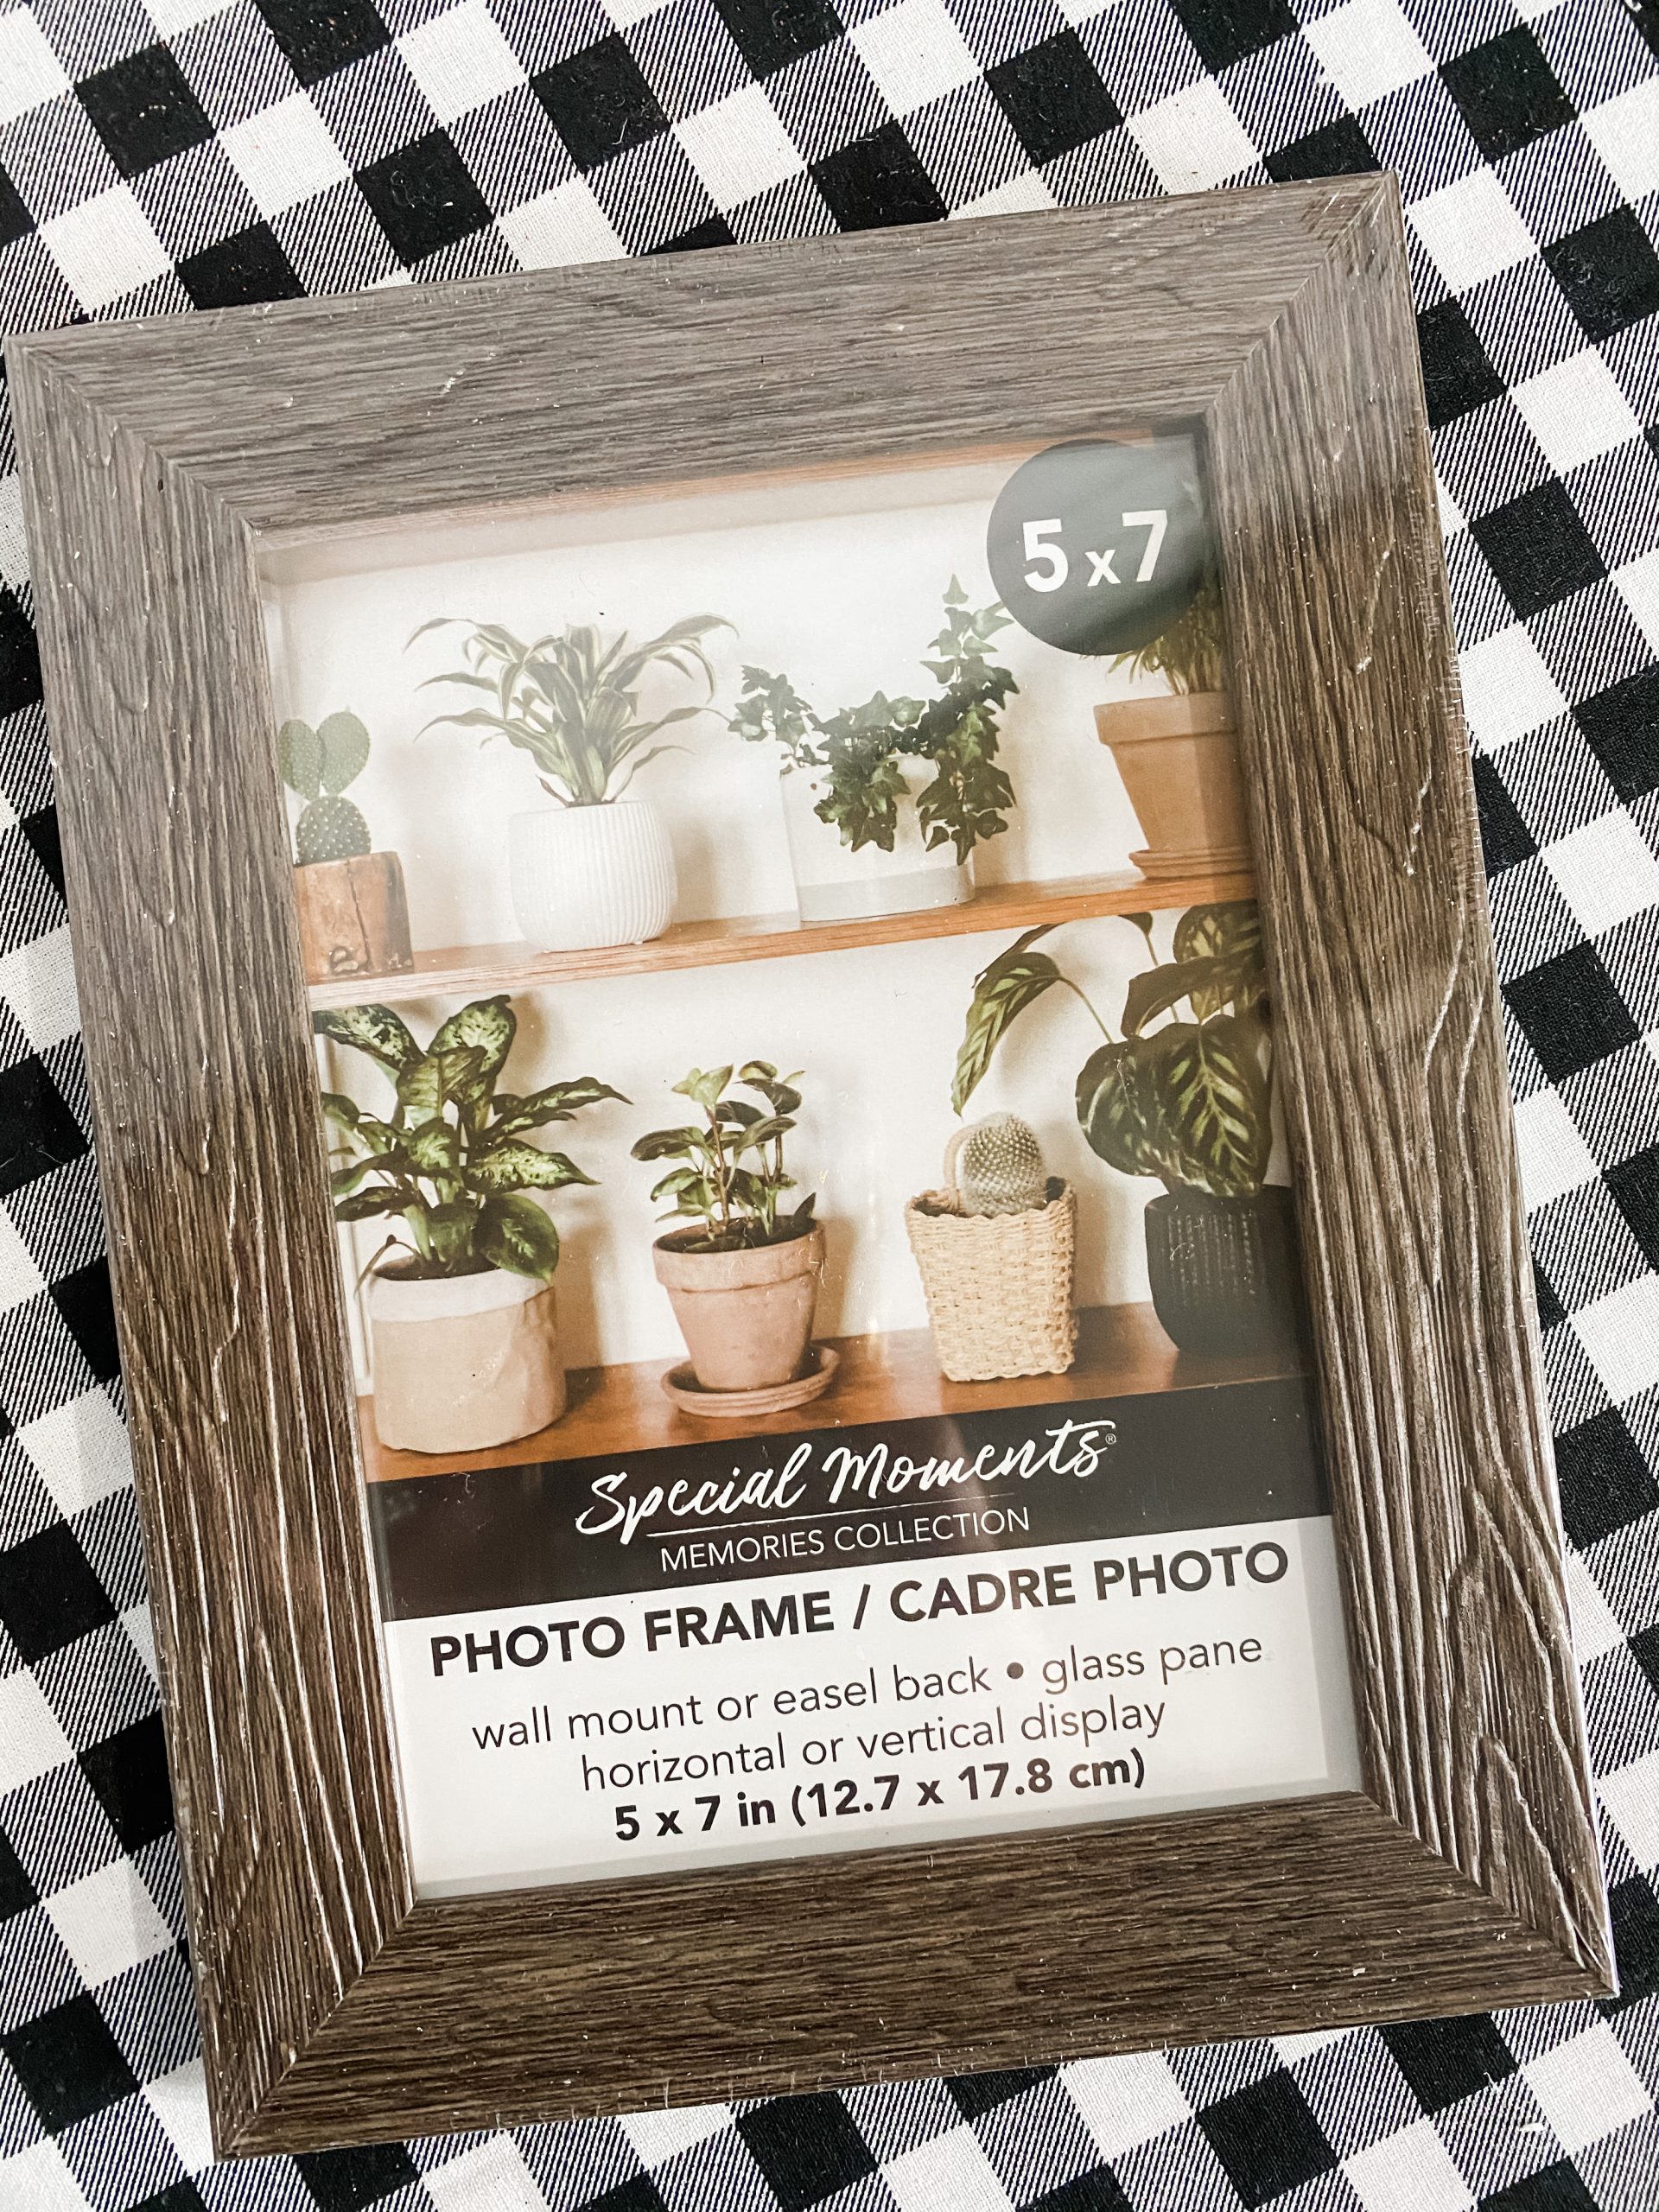
I started this easy Valentine’s Day DIY Love Sign decor idea by opening up my Dollar Tree picture frame. For this project, I used the frame with the embossed MDF. I wanted to have the wood feel, and this picture has a faux wood frame.
Remove the glass and back of your Dollar Tree picture frame. We are going to use this as the template to cut out a piece of scrapbook paper.
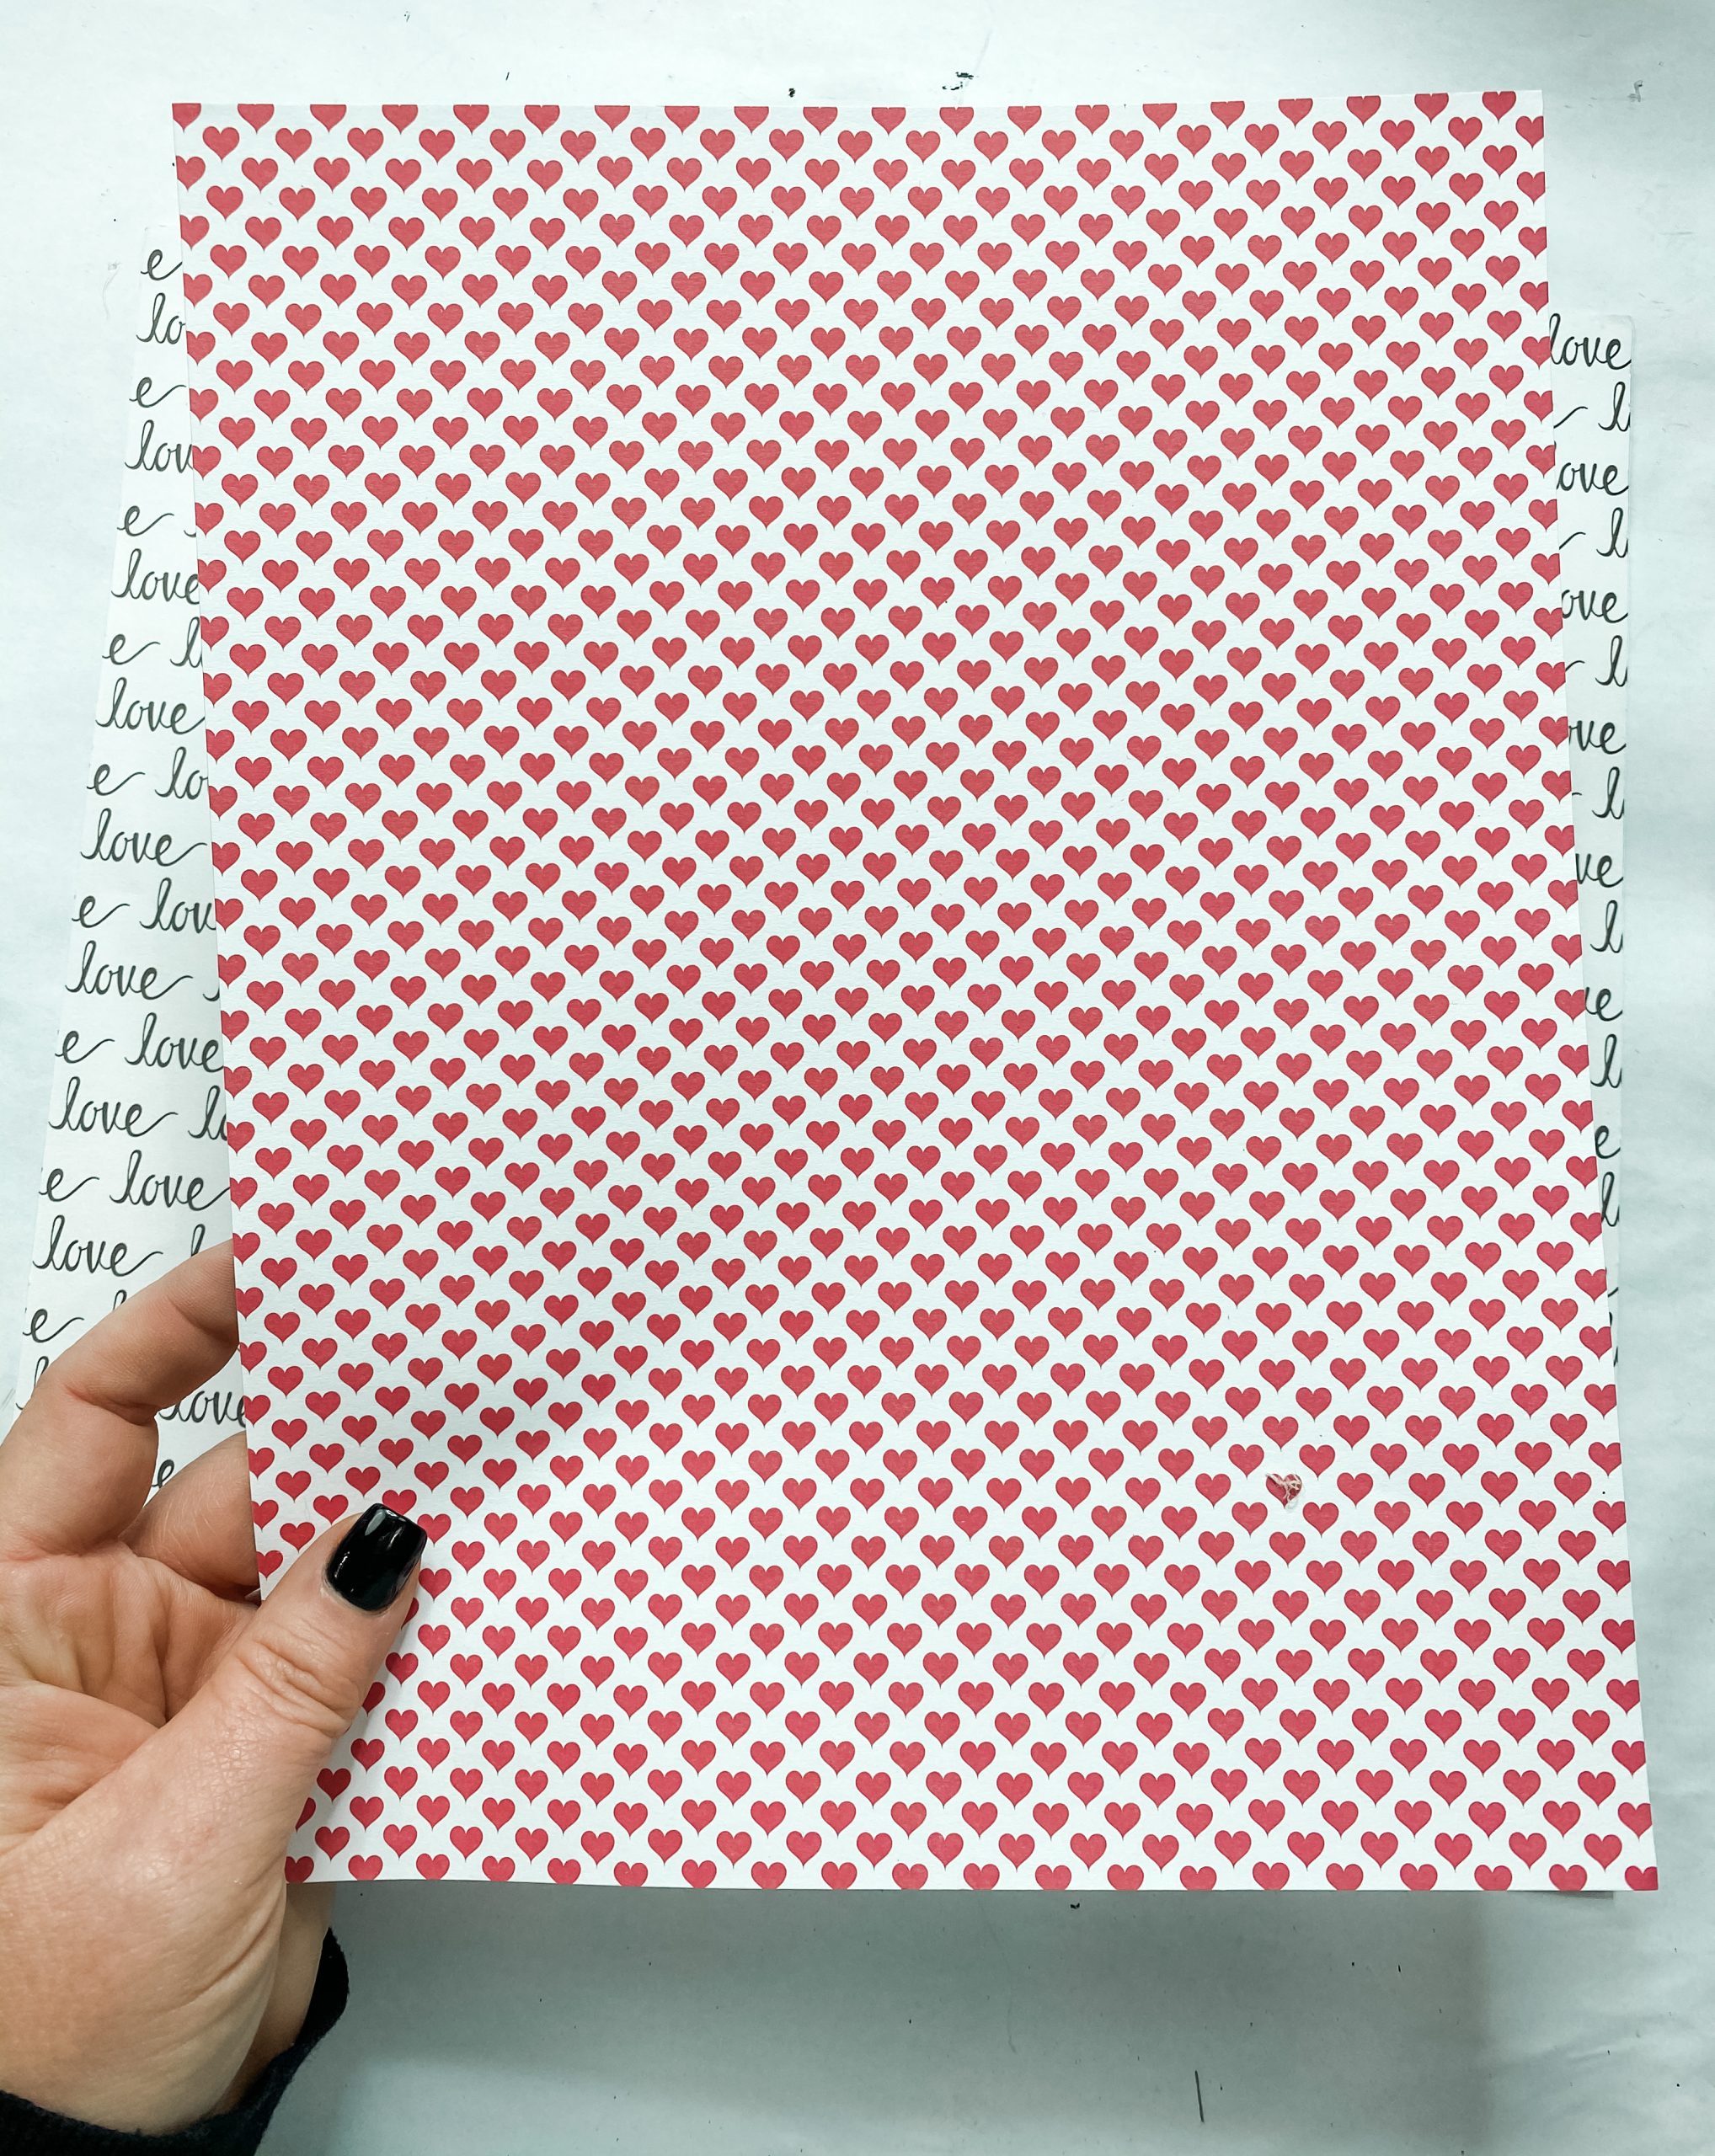
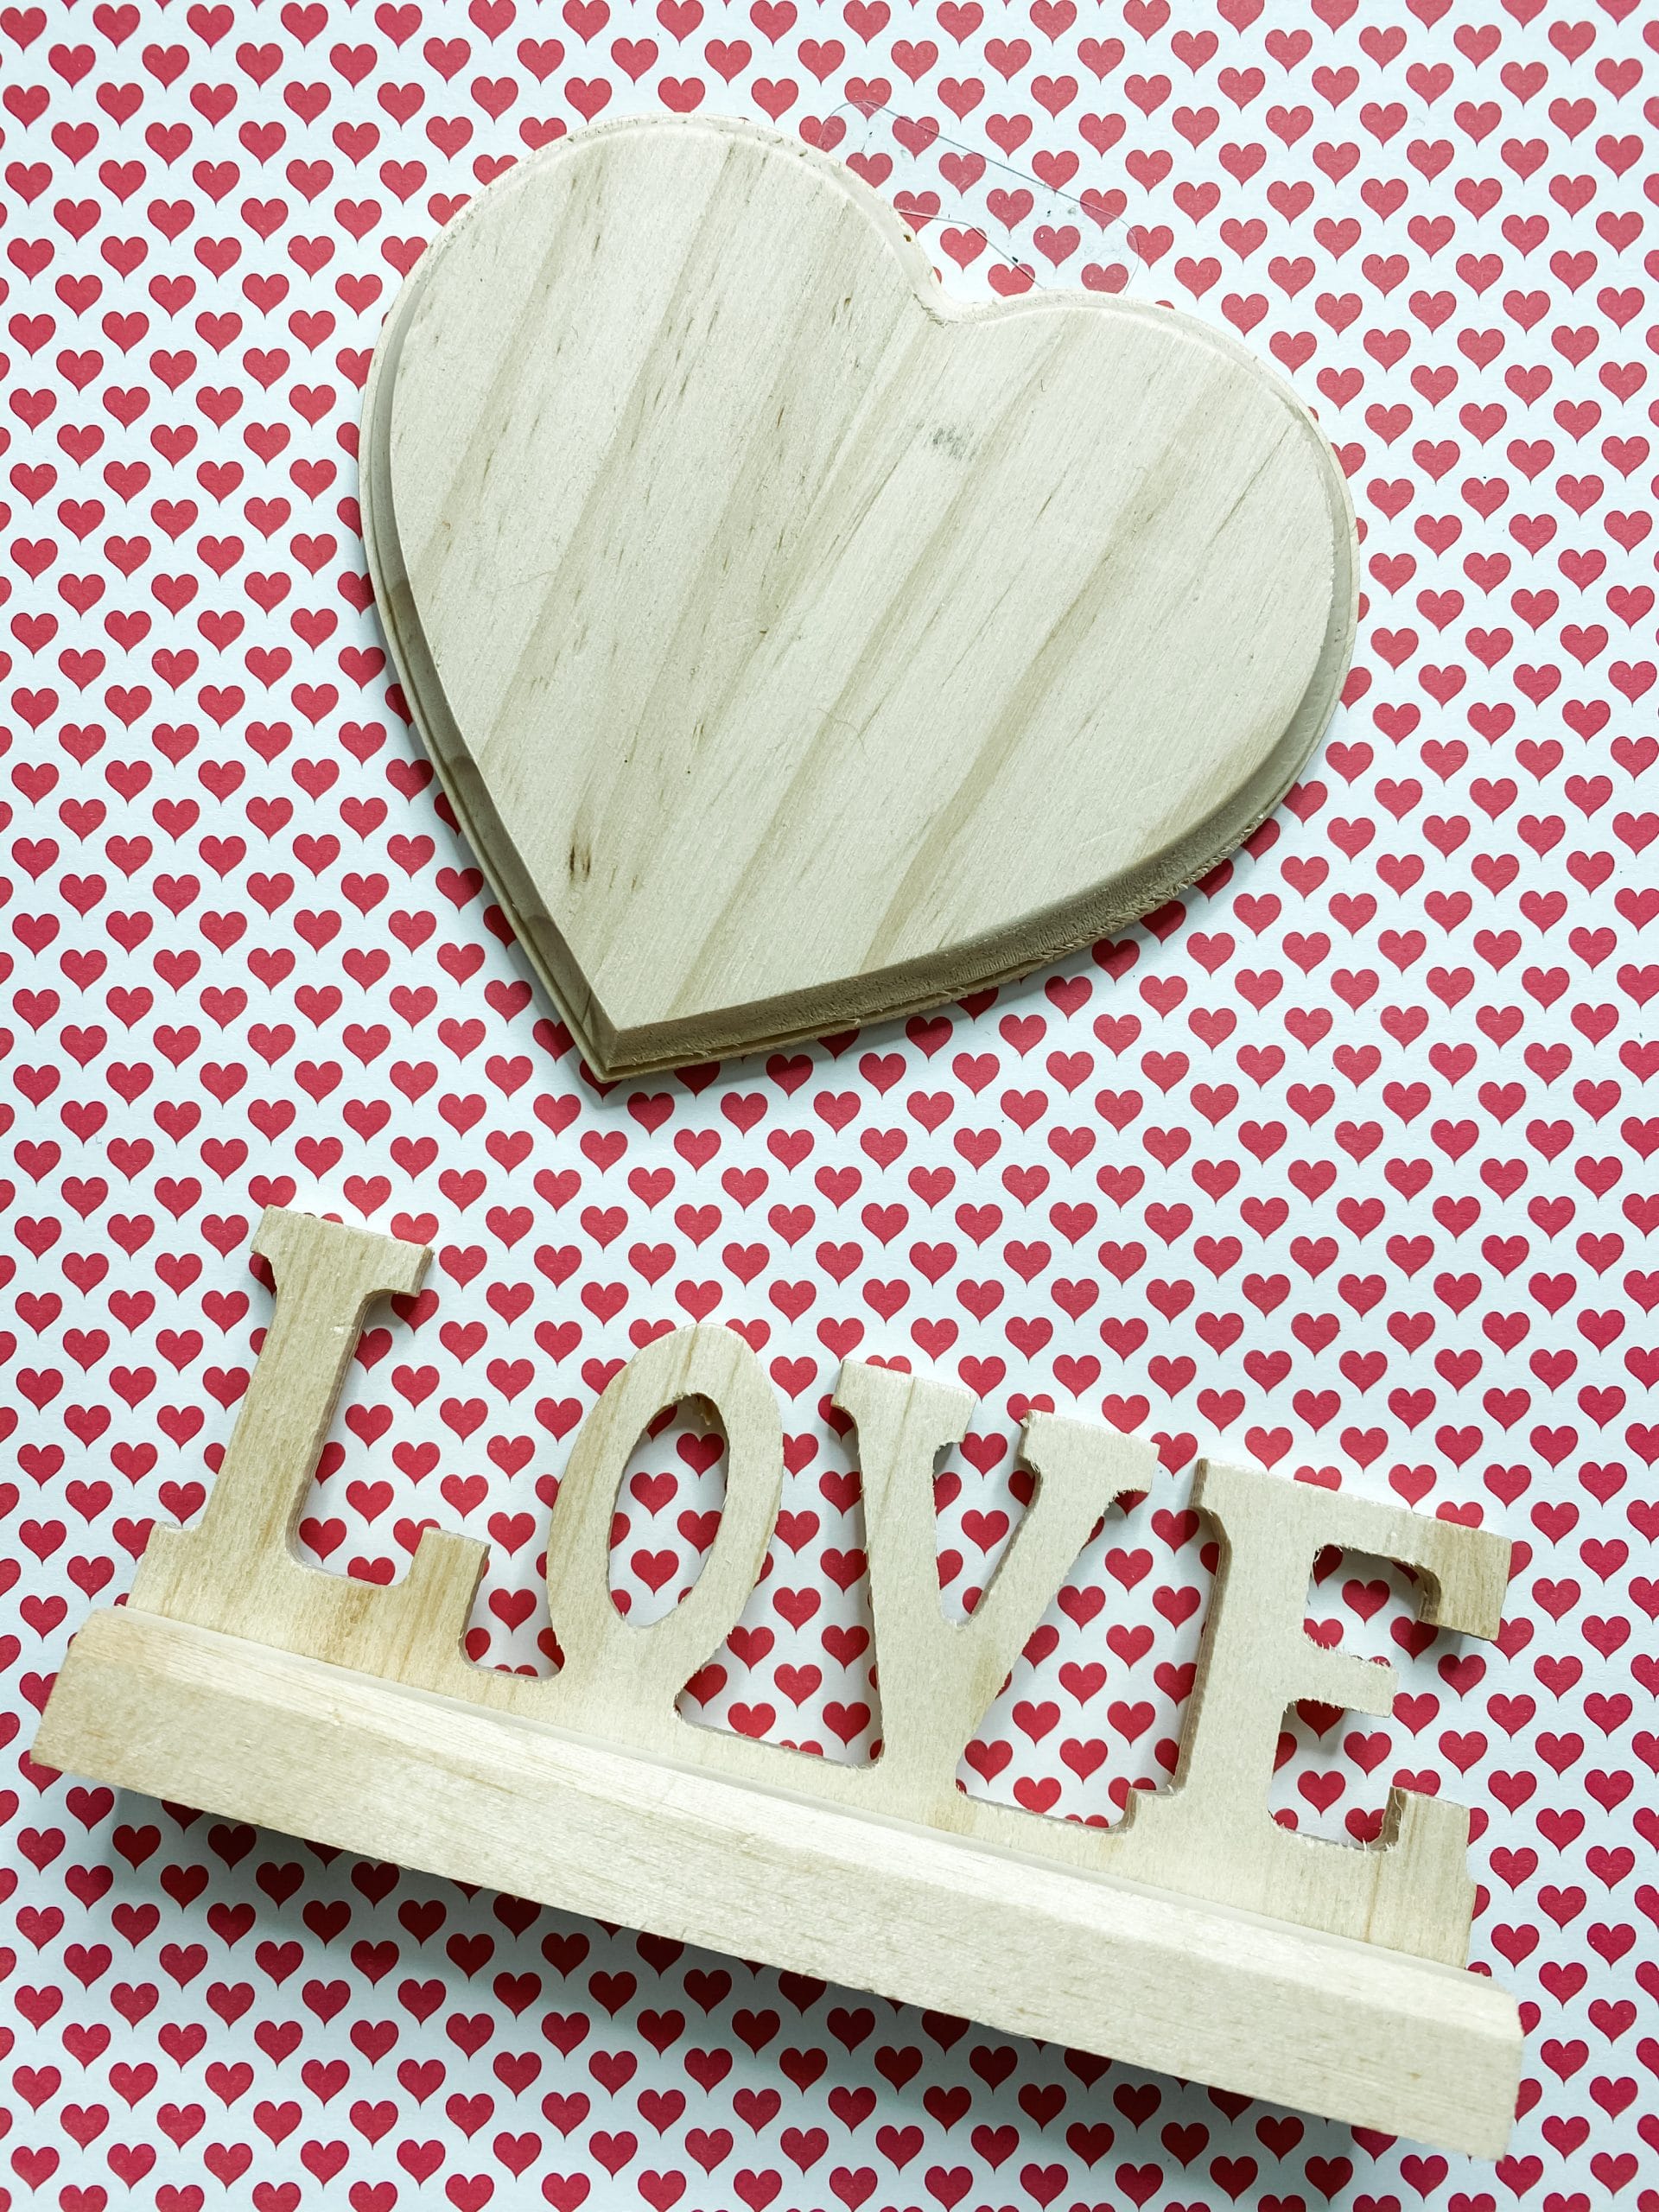
I had two scrapbook paper patterns that I purchased at Hobby Lobby. For the background of this DIY, I decided to use the red heart scrapbook paper pattern.
So, cut out the red heart scrapbook paper to fit onto the backing of the picture frame. Set the backing, glass, and scrapbook paper cutout to the side. We are going to work on the picture frame right now.
Giving the Dollar Tree picture frame the perfect distressed look is very easy! Because the frame already has the embossed wood finish, all we have to do is dry brush the Apple Barrel white acrylic paint across the frame.
Use a dry chippy paintbrush to lightly spread the white paint across the face of the picture frame. You don’t want to have too heavy of a hand or you’ll mess up the effortless distressed finish we are going for.
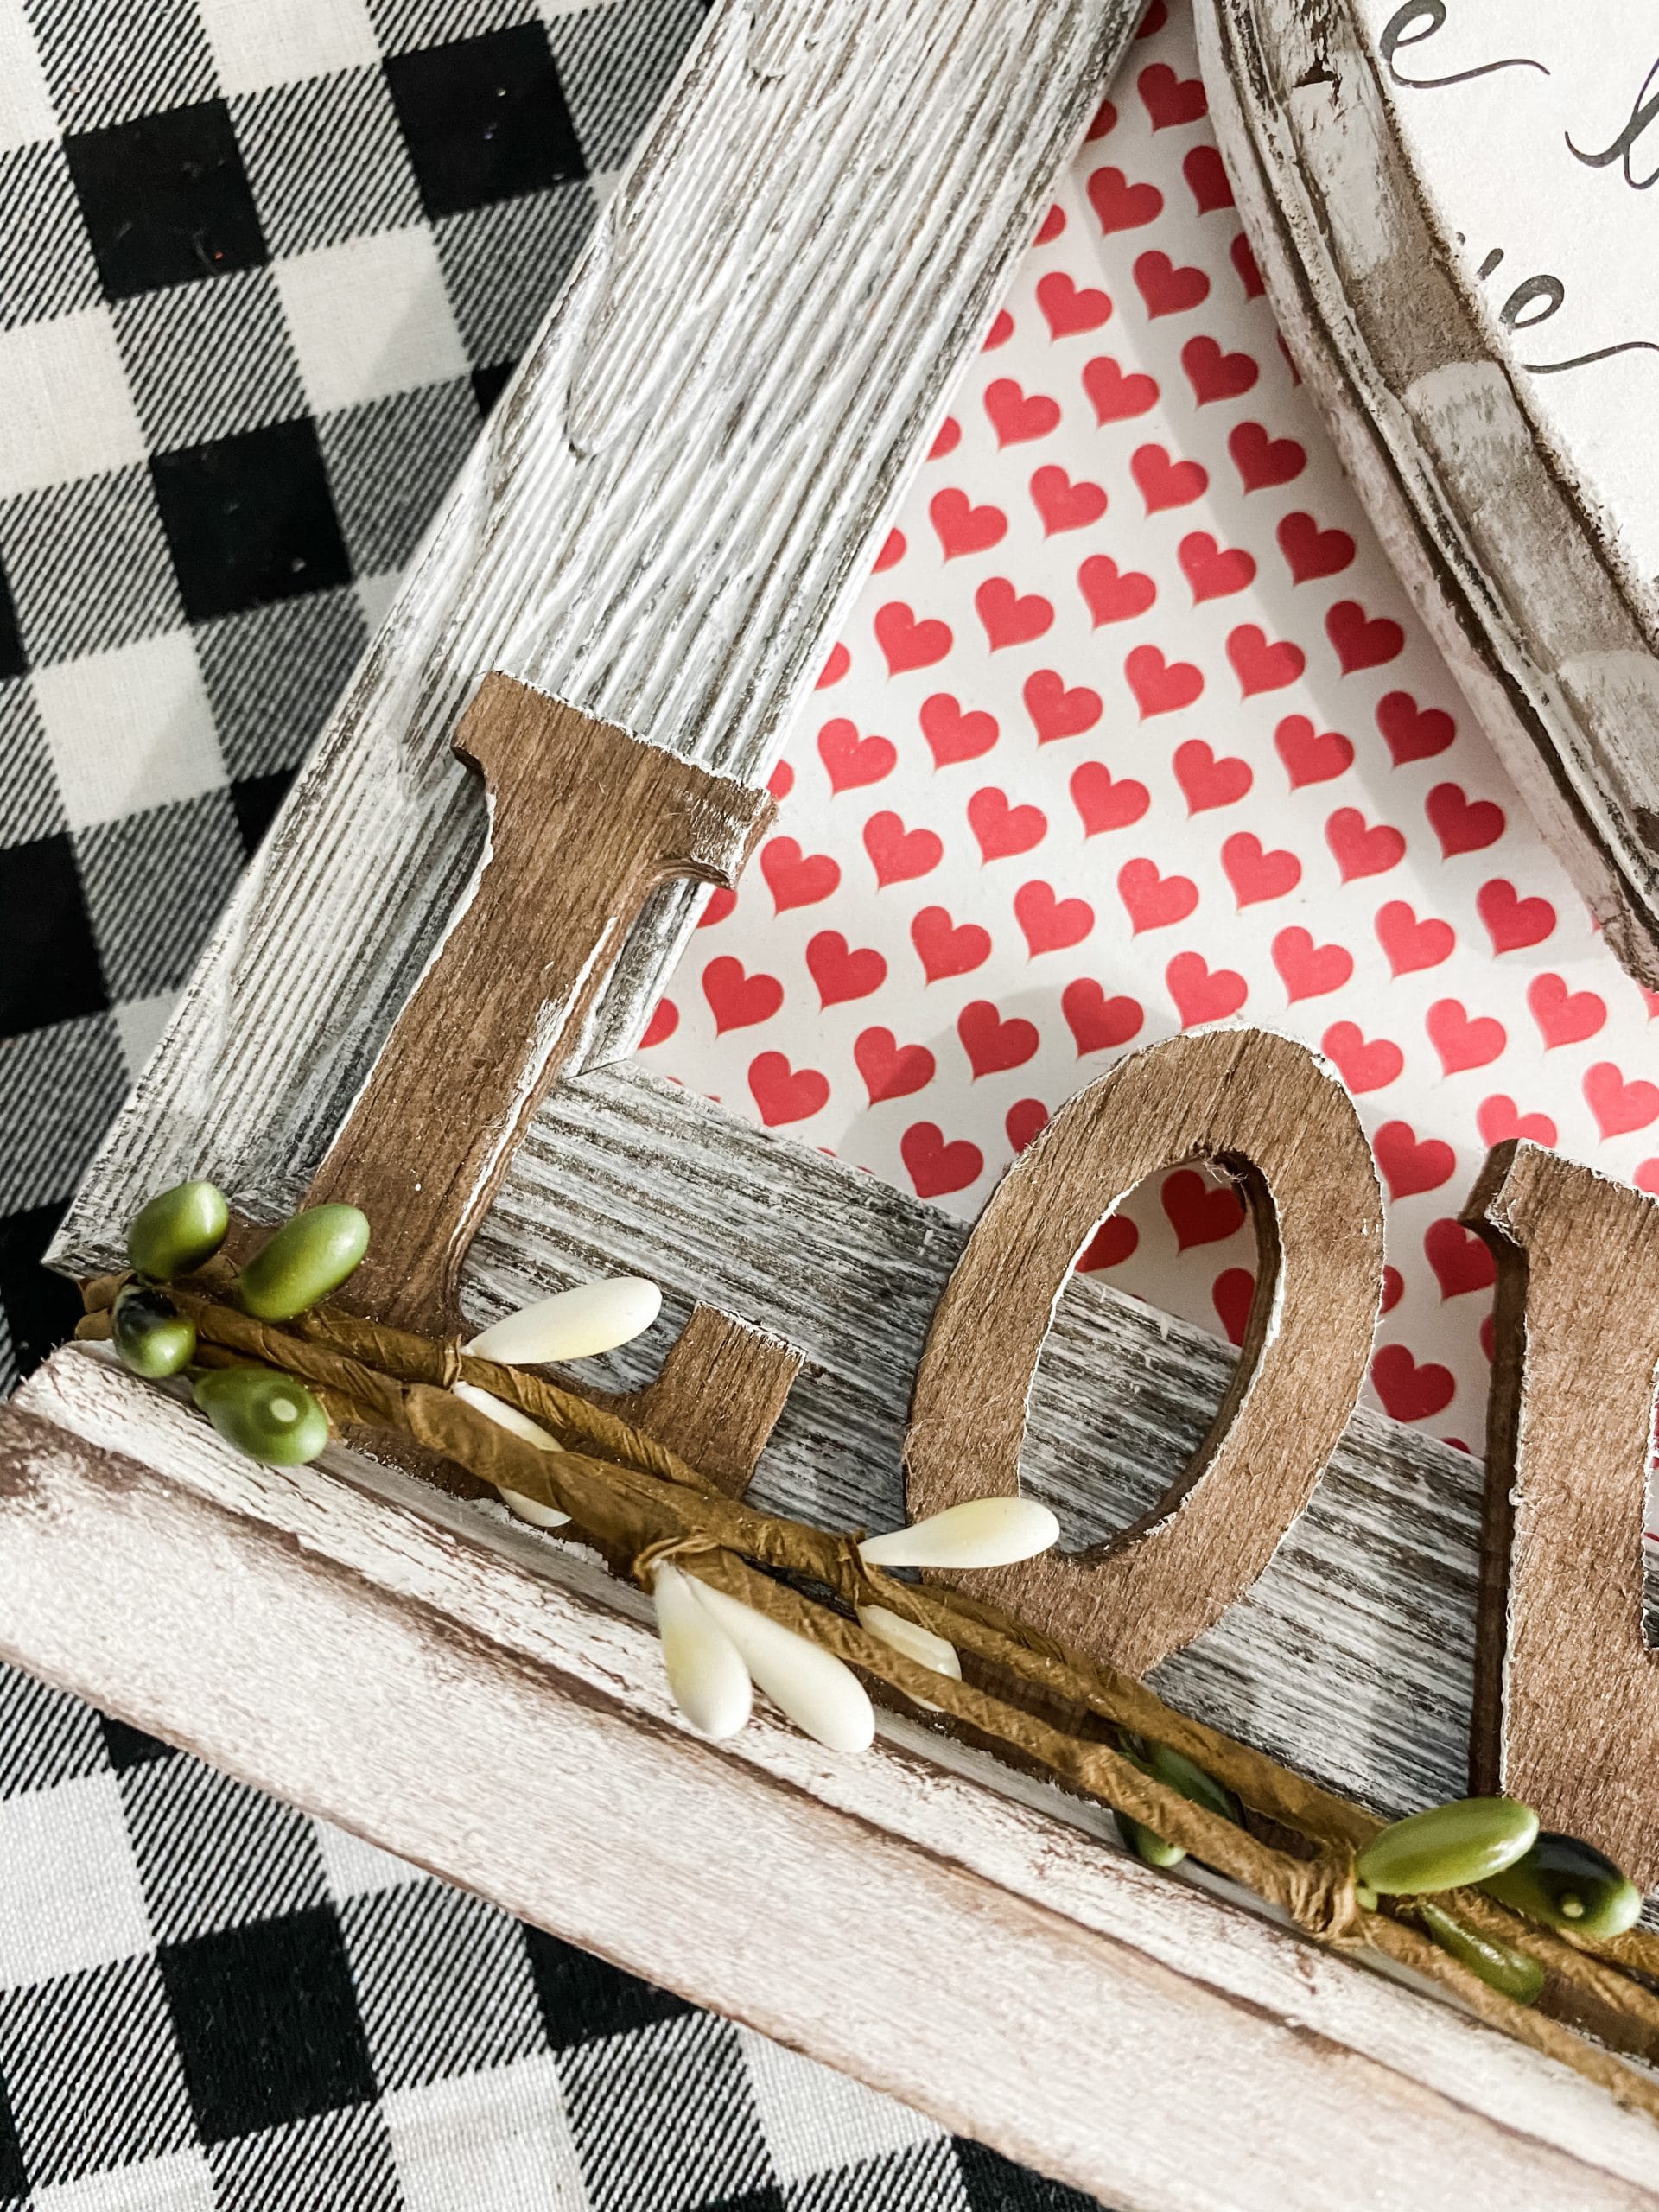
I also painted around the sides of the picture frame, but also kept the same light hand I used on the face of the frame.
Allow the picture frame to dry. I like to use my heat gun to speed up the drying process, but you can set it to the side because we are going to work on bringing other parts of this Valentine’s Day decor next.
How to decoupage
I decoupaged the red heart scrapbook paper cutout onto the glass insert of the Dollar Tree picture frame. To do this, apply a coat of Mod Podge across the glass.
Make sure you get very even coverage of the Mod Podge to ensure the scrapbook paper adheres completely.
Carefully place the Valentine’s Day scrapbook paper cutout onto to glass. Try your best to avoid creating any wrinkles or creases. You can use a rolling pin to smooth out any imperfections you can see.
Once the Mod Podge is dried, put the glass insert and backing into the picture frame, and set it to the side.
How to stain wood
Next, we are going to decoupage the Dollar Tree wood heart plaque. For this, I used the Hobby Lobby love scrapbook paper. Cut it out to fit onto the wood heart plaque.
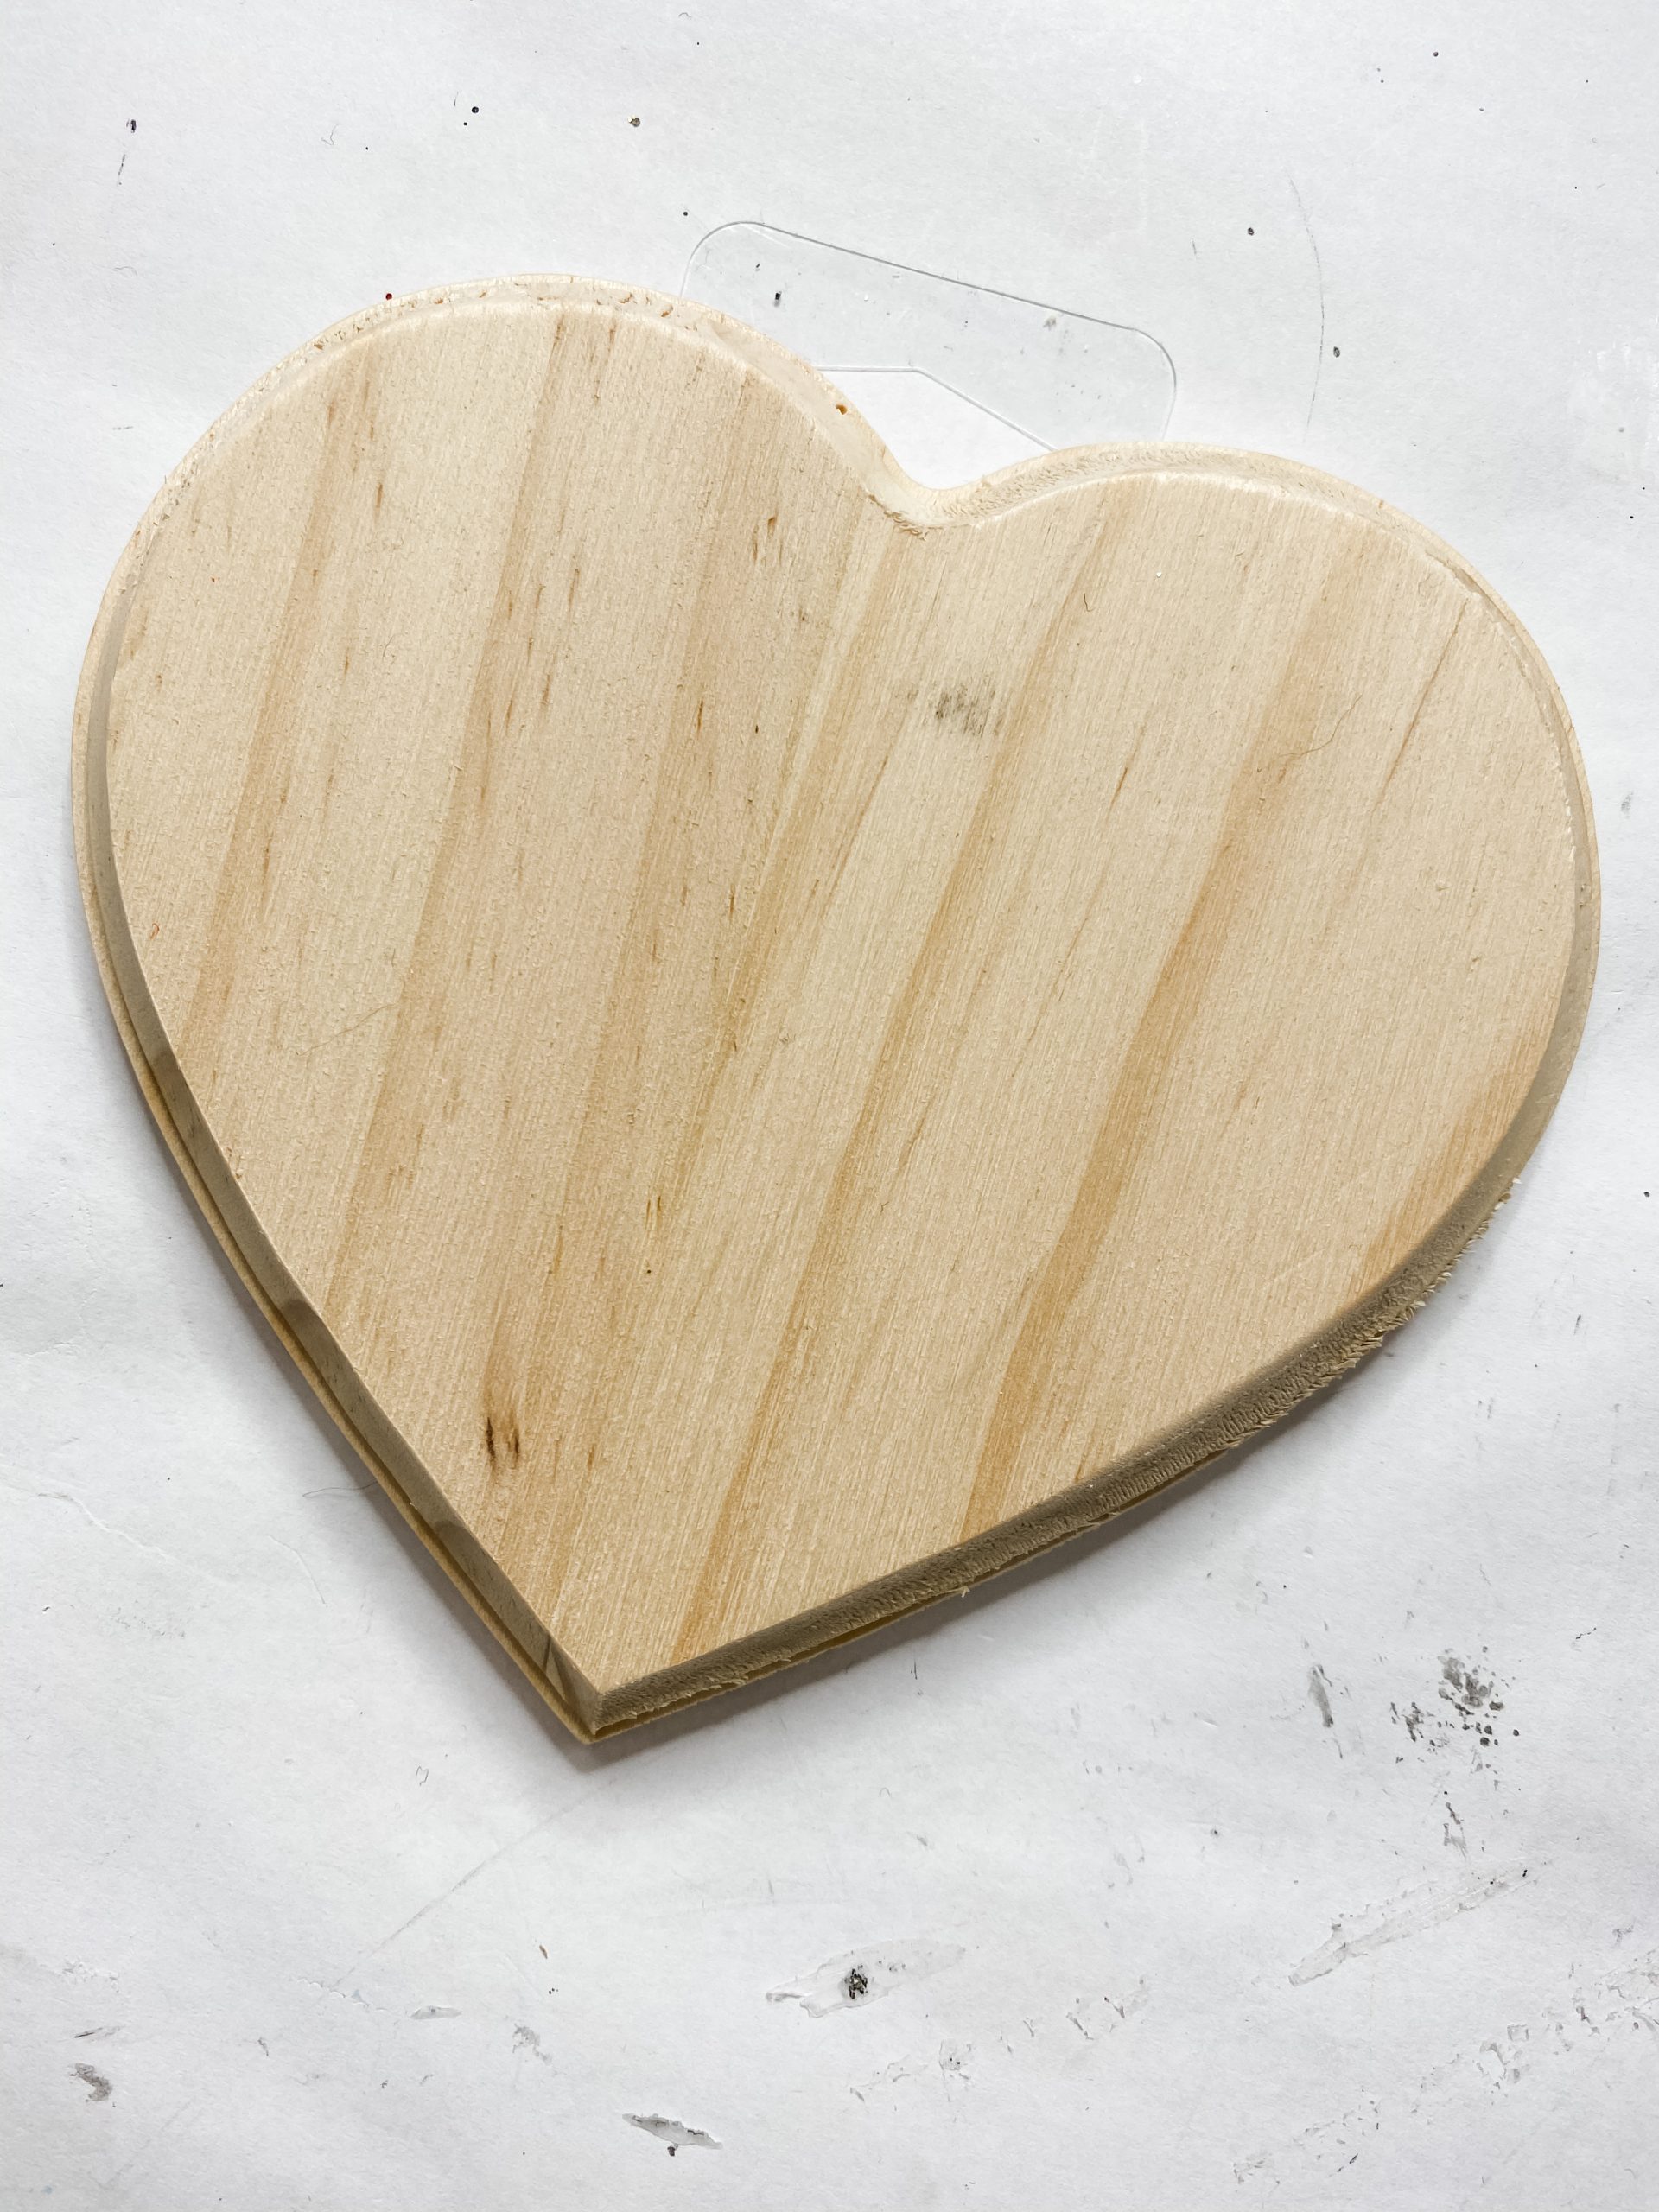
Now, before we decoupage the scrapbook paper onto the wood, we need to stain it. Because the Valentine’s Day scrapbook paper isn’t going to cover the entire surface of the wood, we are going to stain and paint the heart first.
Start by spraying your dollar Tree wood heart plaque with water. The water will help the wood absorb the paint and give it a stained finish.
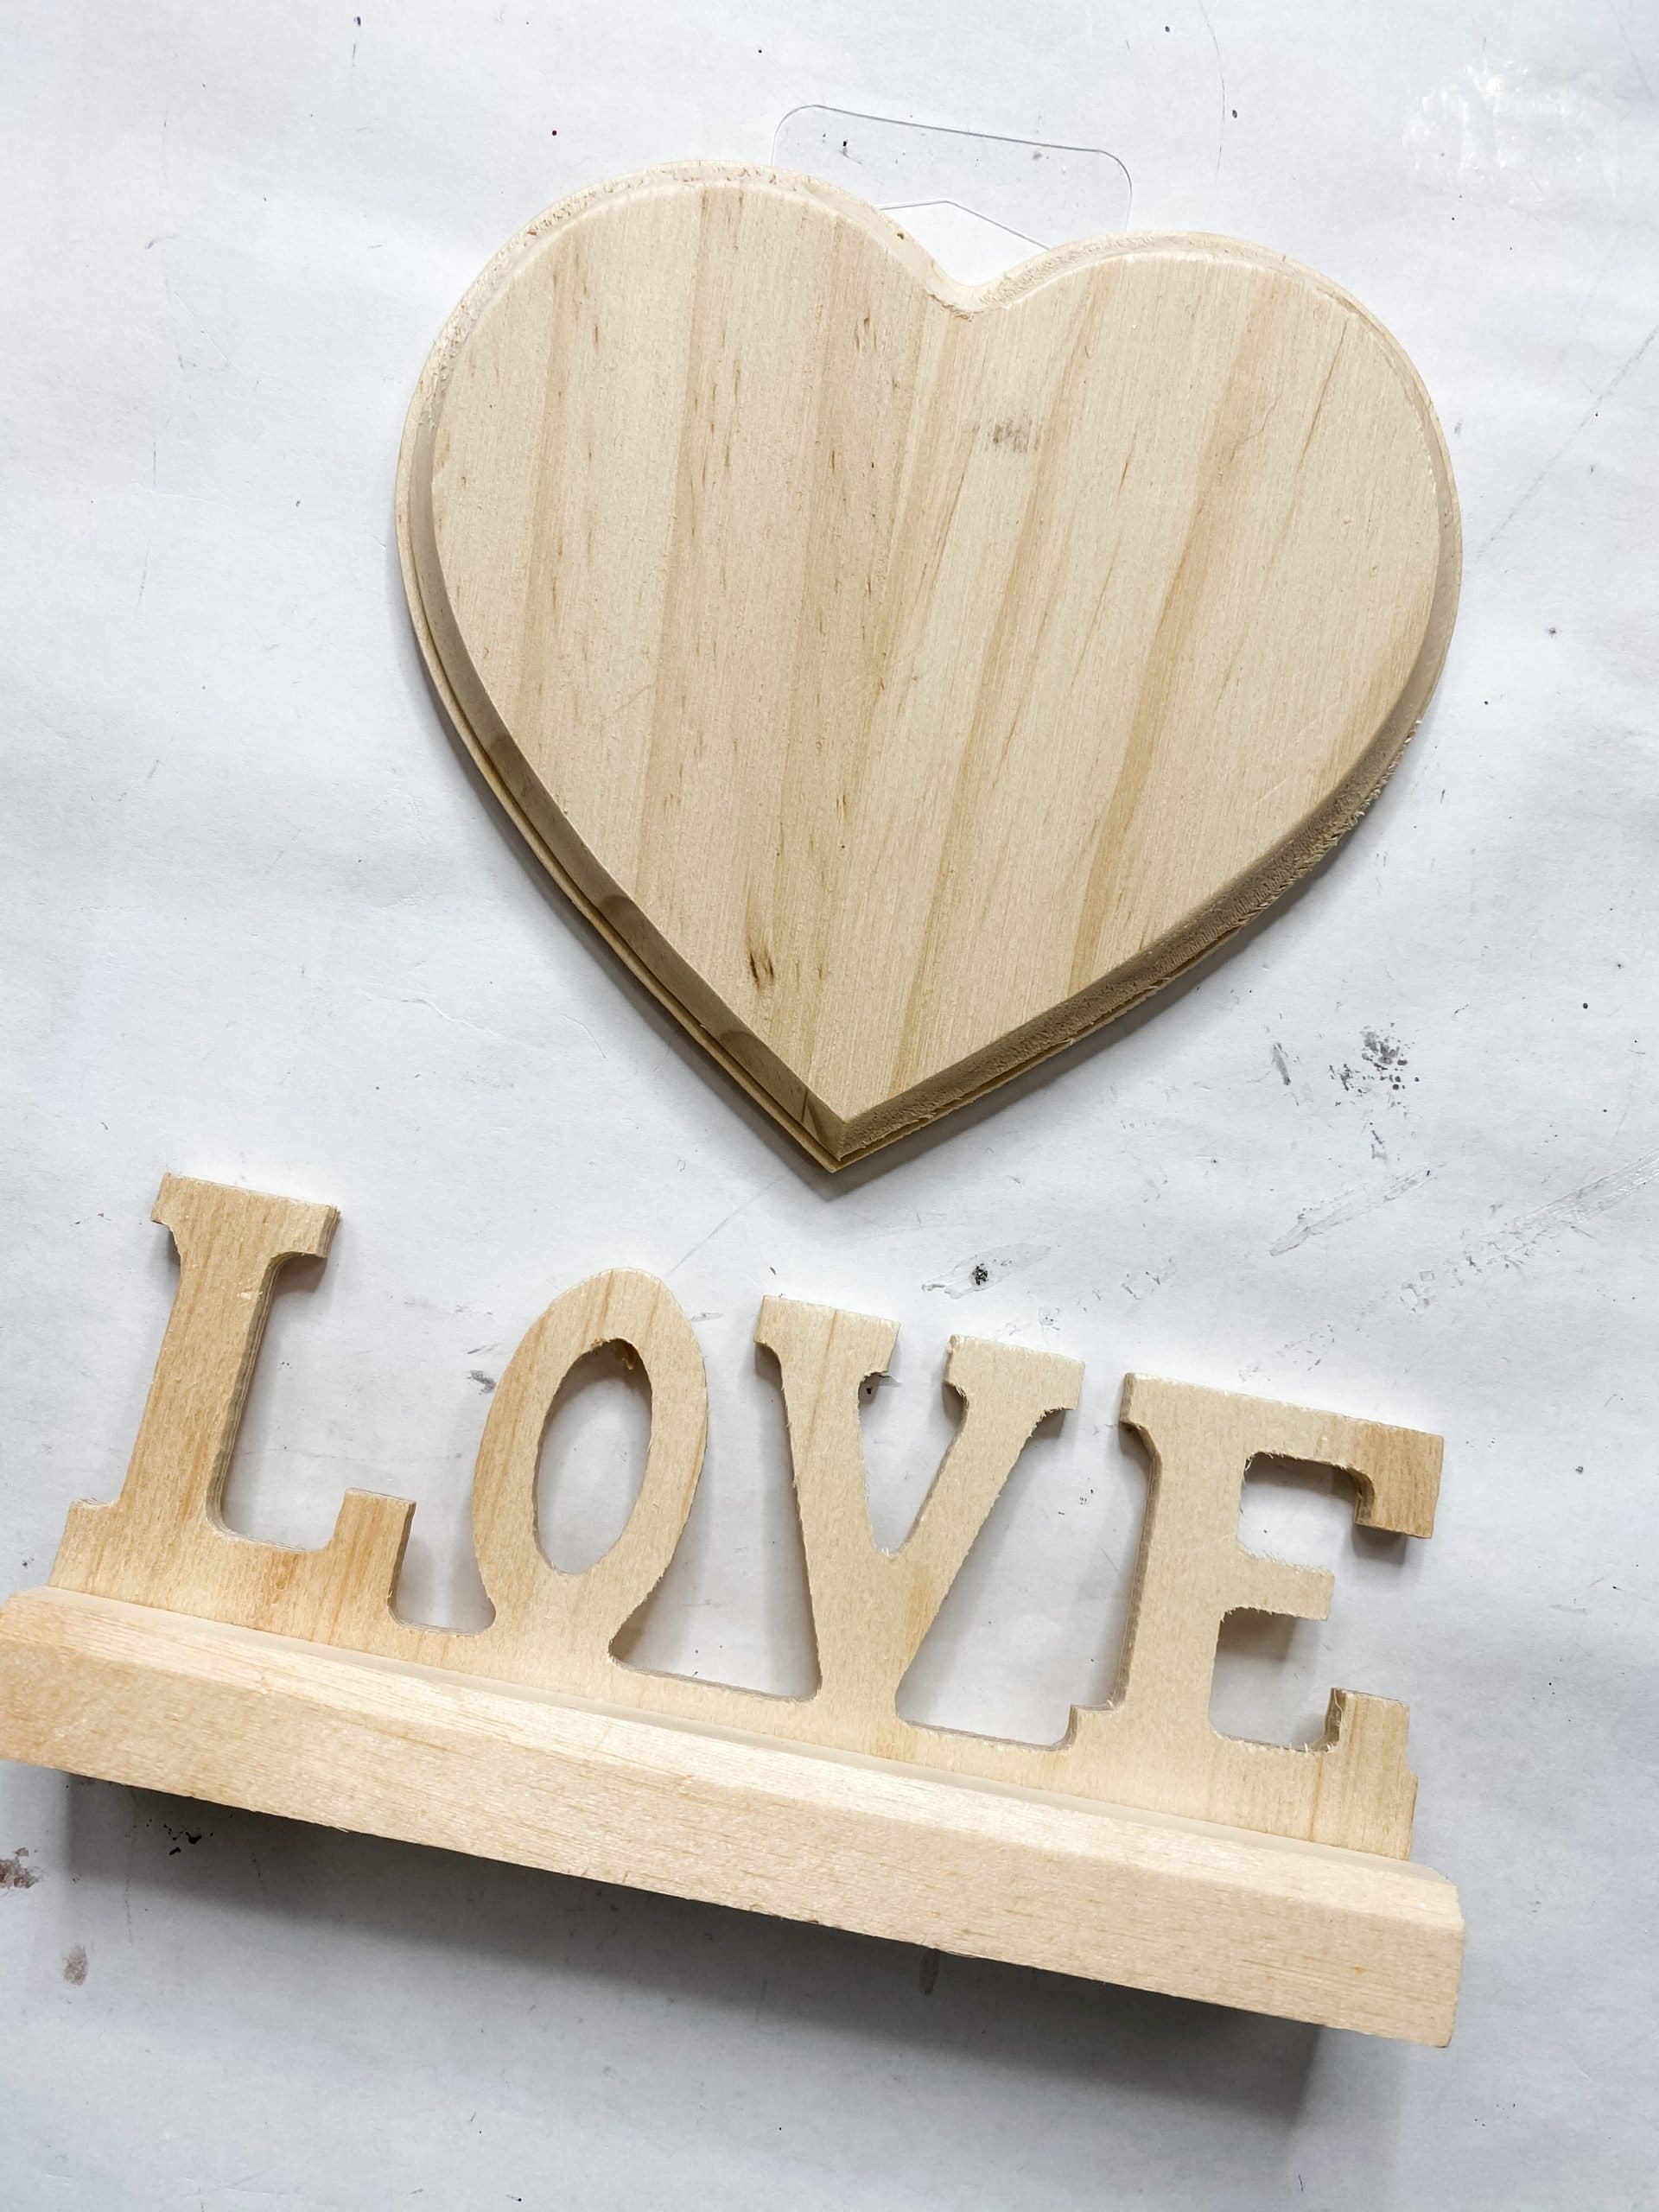
Next, pour the Apple Barrel burnt umber acrylic paint directly onto the wood heart and use a baby wipe to spread it across the entire surface of the plaque.
Use a clean baby wipe to remove the excess paint from the surface of the wood heart.
Work smarter
I like to group my tasks together, and I had to stain the Dollar Tree Love Sign as well. Repeat the staining technique you used on the wood heart plaque on the love sign. Make sure you stain the letters as well as the base.
Allow both the Dollar Tree wood heart plaque and the love sign to dry before moving on. If you don’t have a heat gun, you can use a hairdryer on the low cool setting.
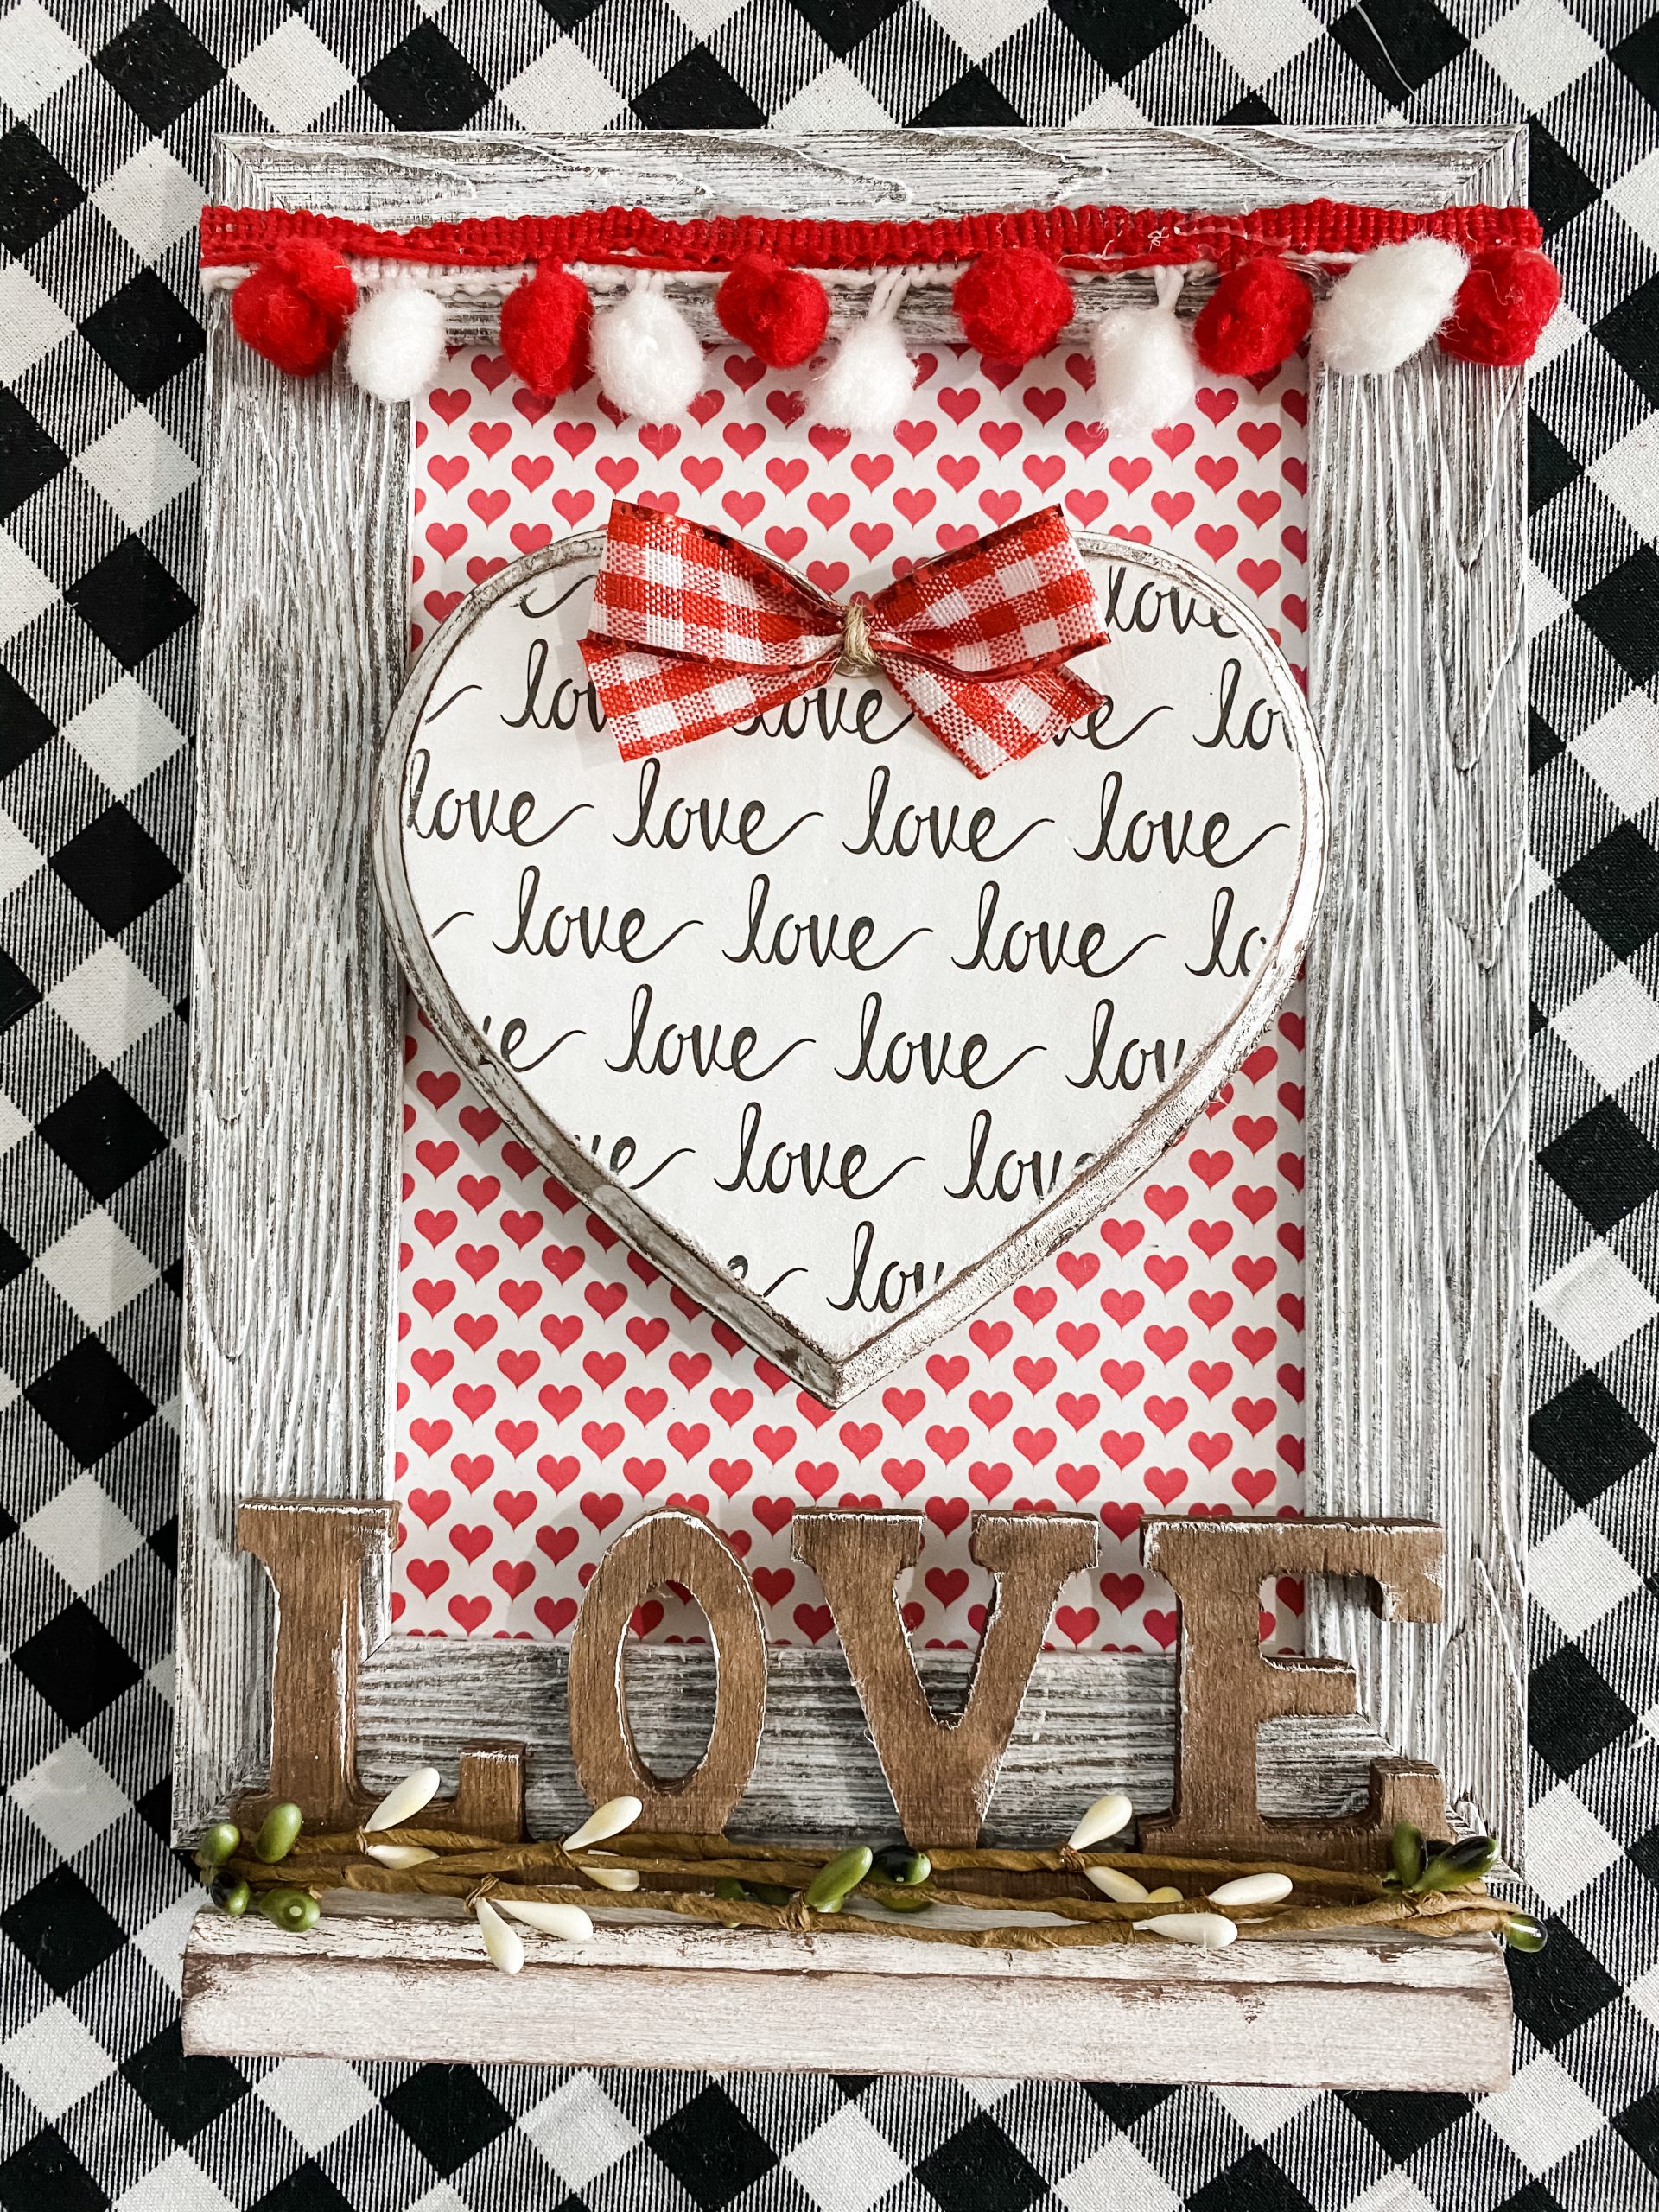
Once they are dry, use a chippy paintbrush to dry brush white paint across the sides and edges of the stained Dollar Tree wood heart plaque. Once the white paint dries, it’s time to decoupage the love scrapbook paper onto the surface.
Pour the Mod Podge directly onto the surface of the heart, and carefully place the scrapbook paper onto it. You can use a rolling pin to smooth out any wrinkles or imperfections.
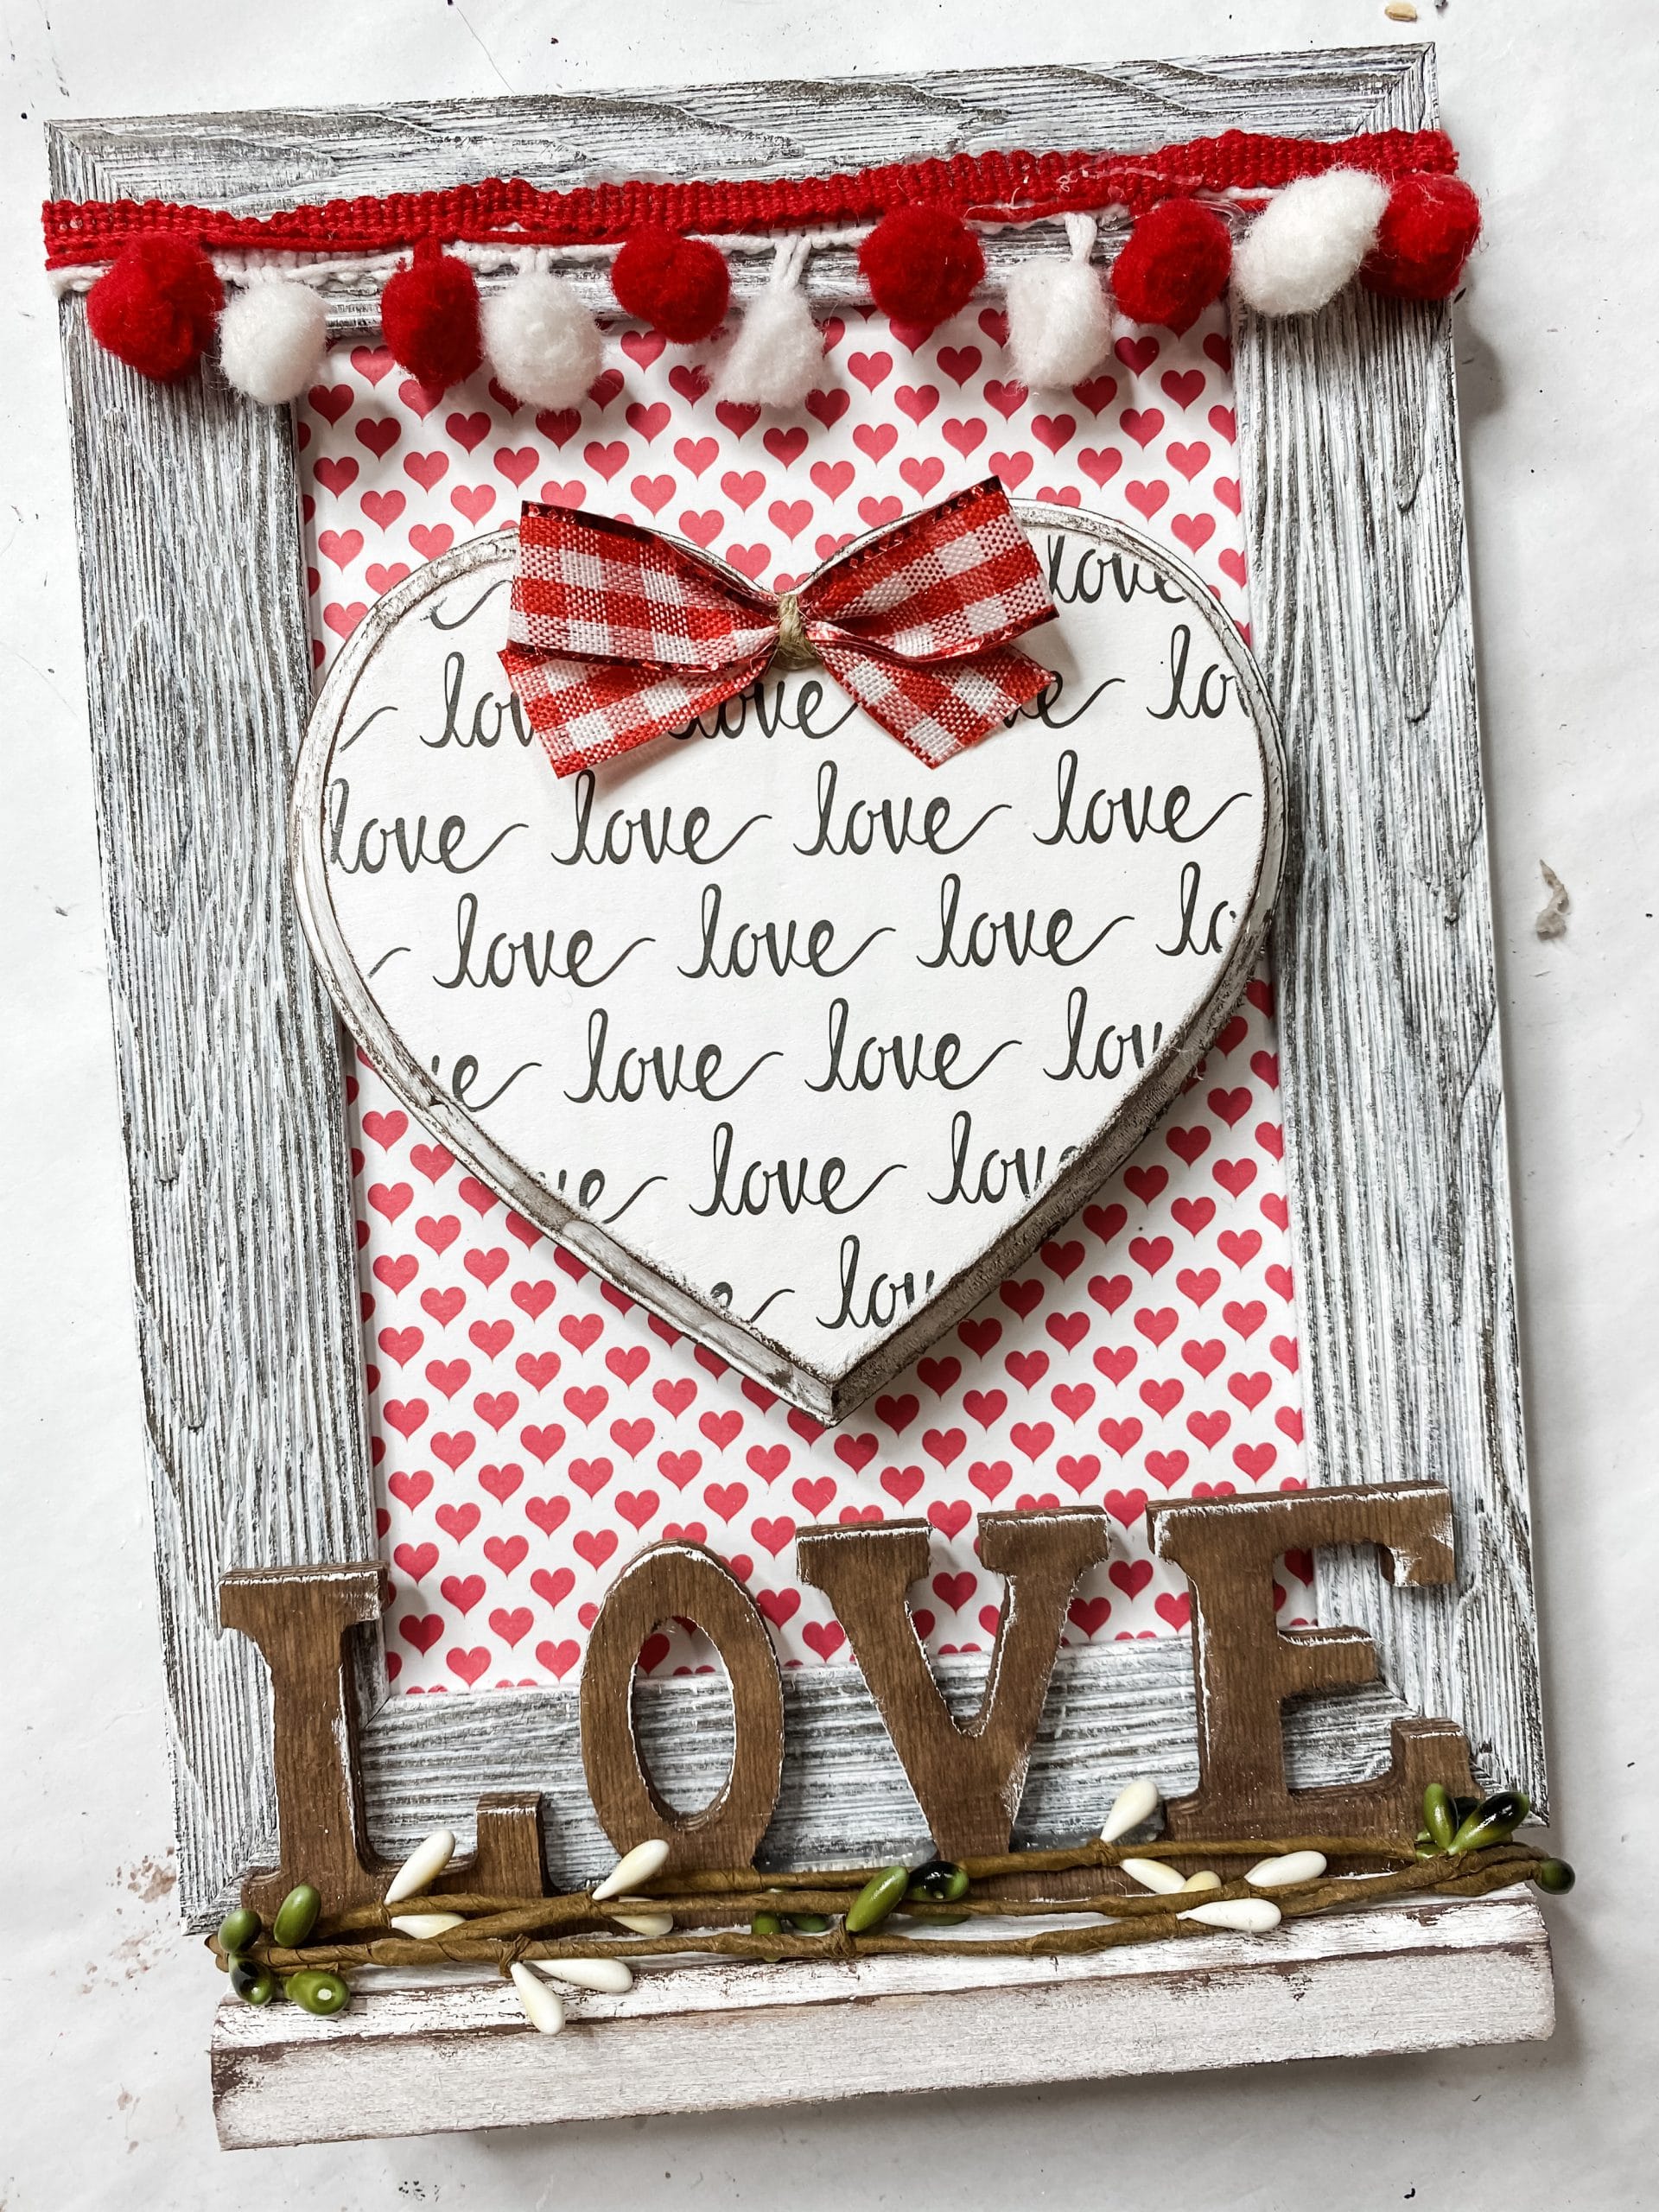
I then use a sanding sponge to remove any excess scrapbook paper from the edges of the heart. Like with almost everything, keep a light hand to prevent from pulling the scrapbook paper up from the wood.
Lastly, I used an artist’s brush and brown paint to go around the edges and add to the distressed look.
Bring it all together
Next, I layered the red pom-pom trim over the white pom pom trim and hot glued them across the top of the Dollar Tree picture frame. I had to use my finger protectors to really press the pom pom trim onto the hot glue.
Use a pair of scissors to trim off the excess pom-pom trim. I didn’t wrap it around the back of the frame but just trimmed them at the edge of the frame.
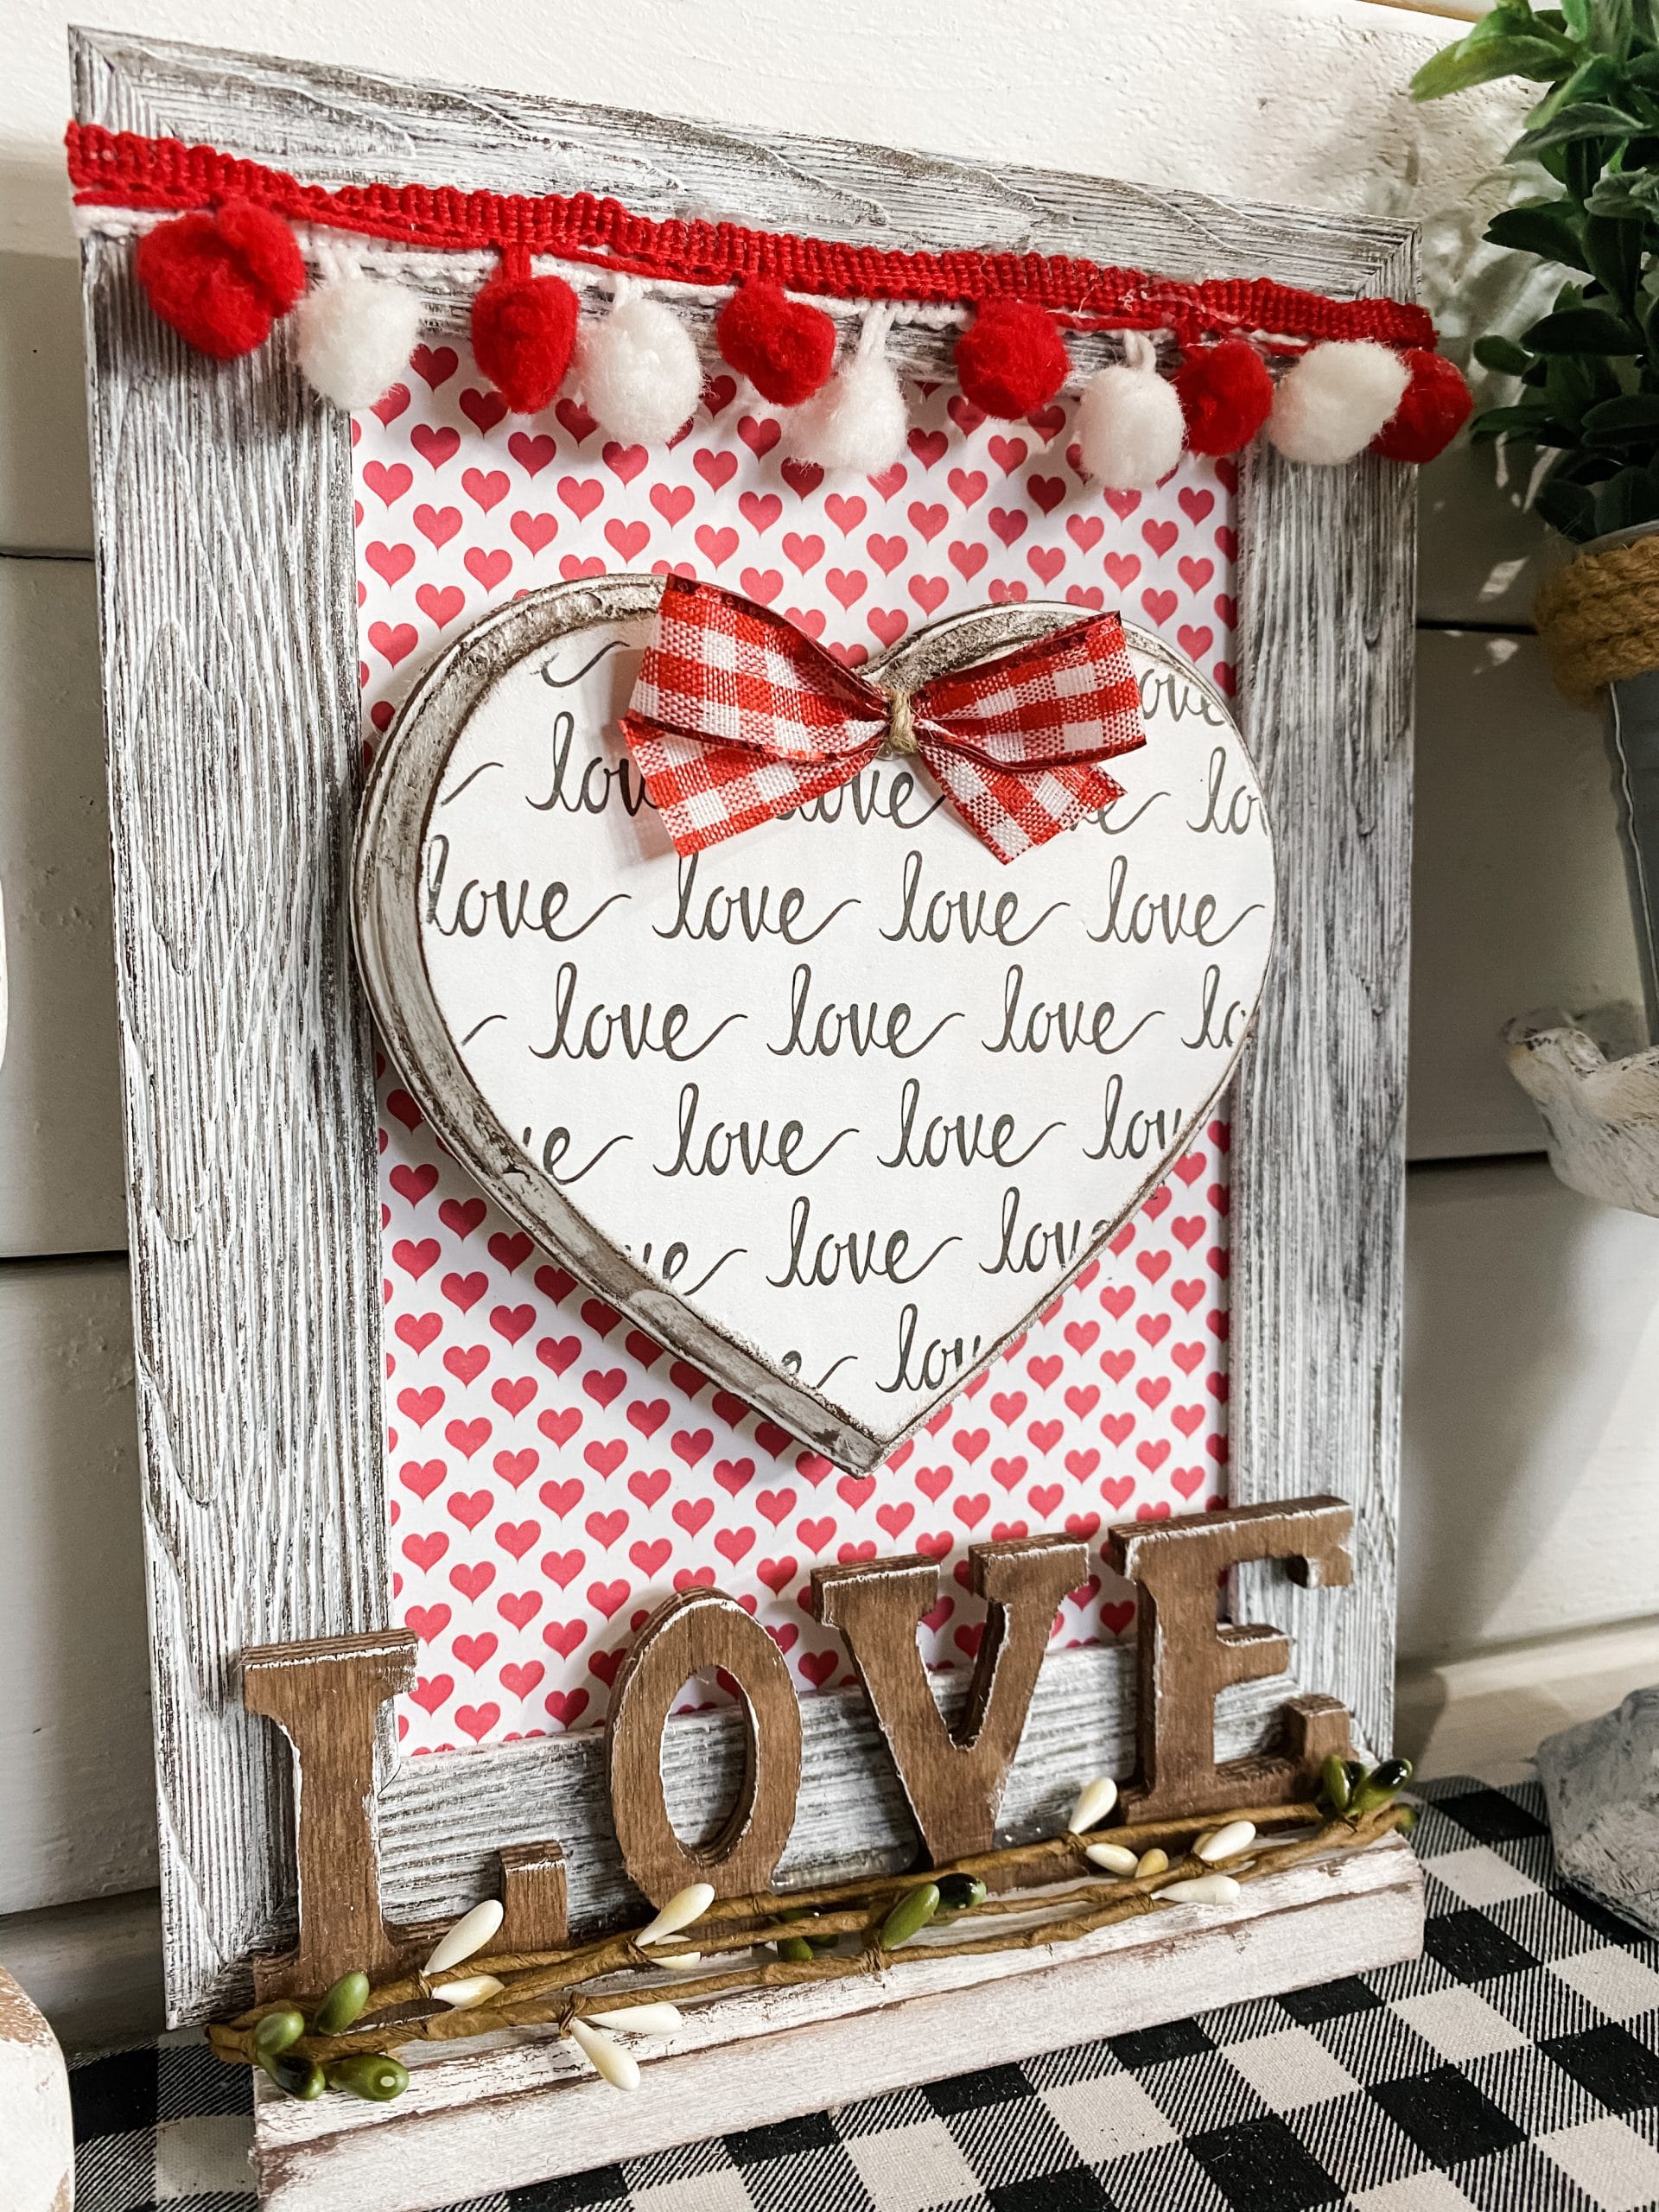
There was one hiccup with my DIY idea – the heart plaque was just a little too wide to fit right inside the Dollar Tree picture frame. To allow me to hot glue it in place, I had to add popsicle stick pieces to the back and raise the heart plaque up.
Before I hot glued the heart in place, I painted the base of the love sign white. Once the white paint was dry, I used a sanding sponge to distress the base and add to the rustic feel of this home decor DIY.
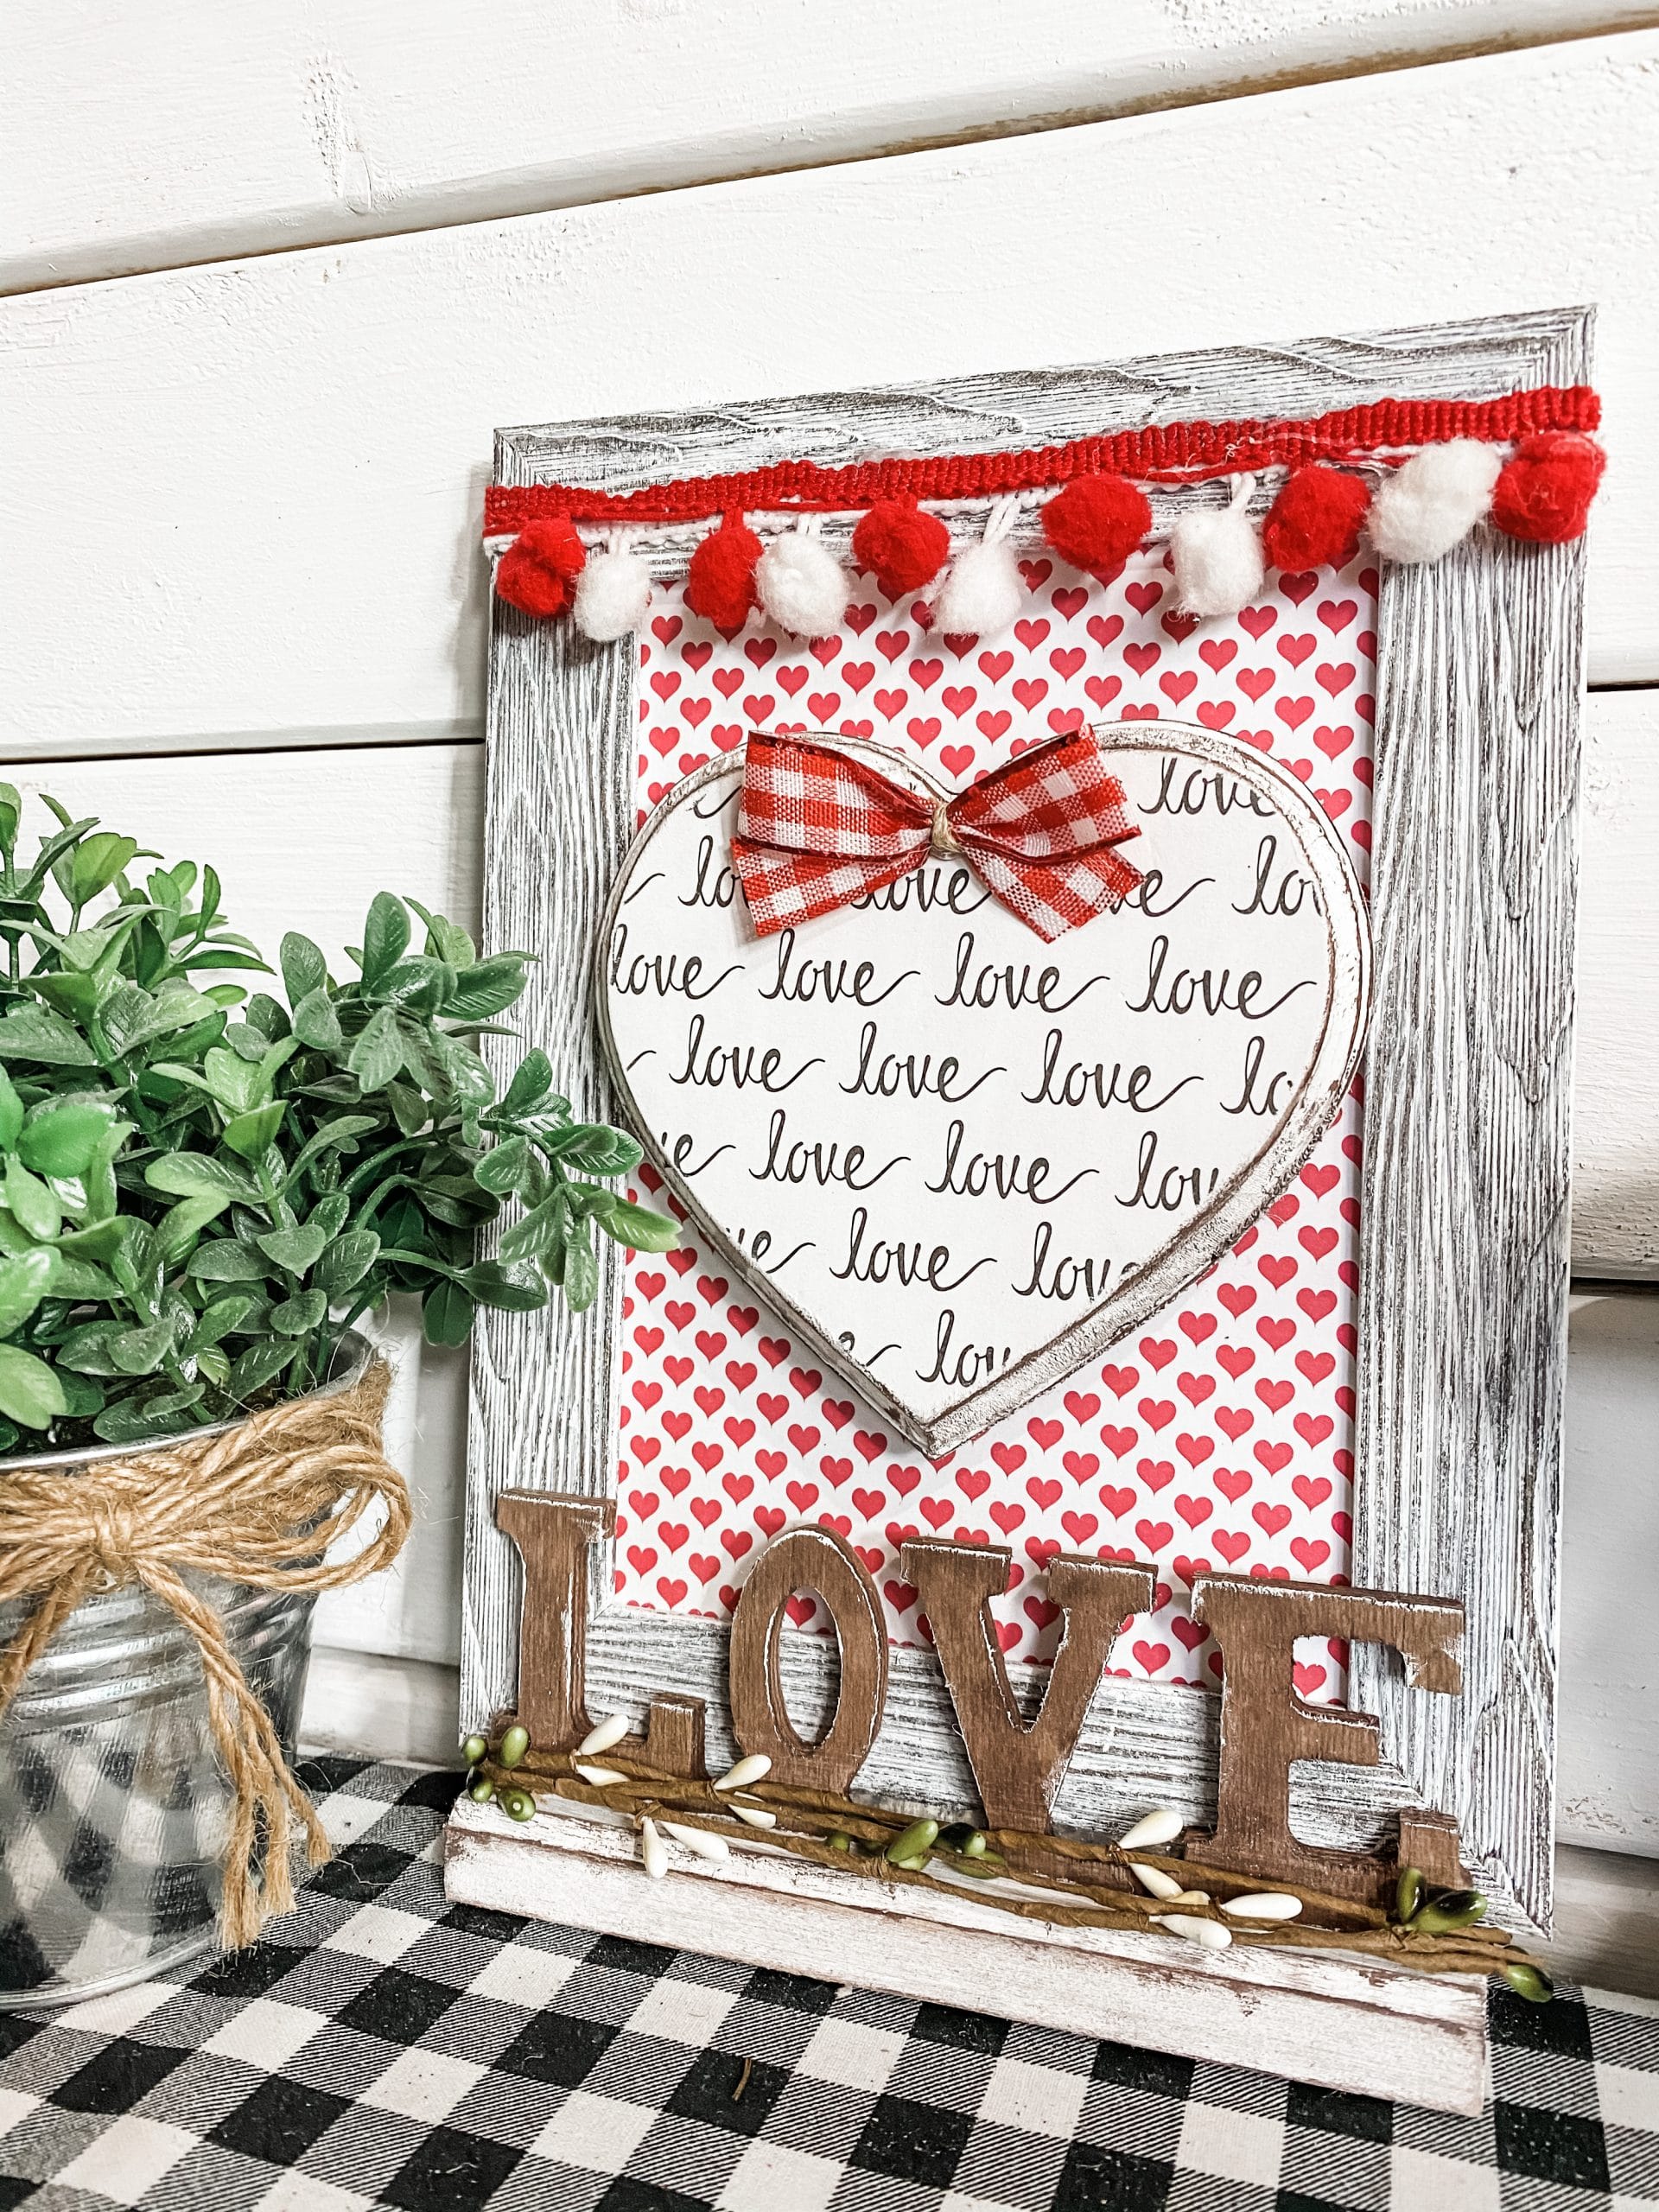
I went back over the edges of the base with an artist’s brush and brown paint to really add to the distressed finish. Then, I set the love sign to the side to dry and hot glued the decoupaged heart onto the picture frame.
Let’s make a bow
I used Dollar Tree red buffalo check ribbon and a piece of jute twine to make a little bow for the heart. Cut a piece of ribbon off the spool and twist it into the shape of a bow.
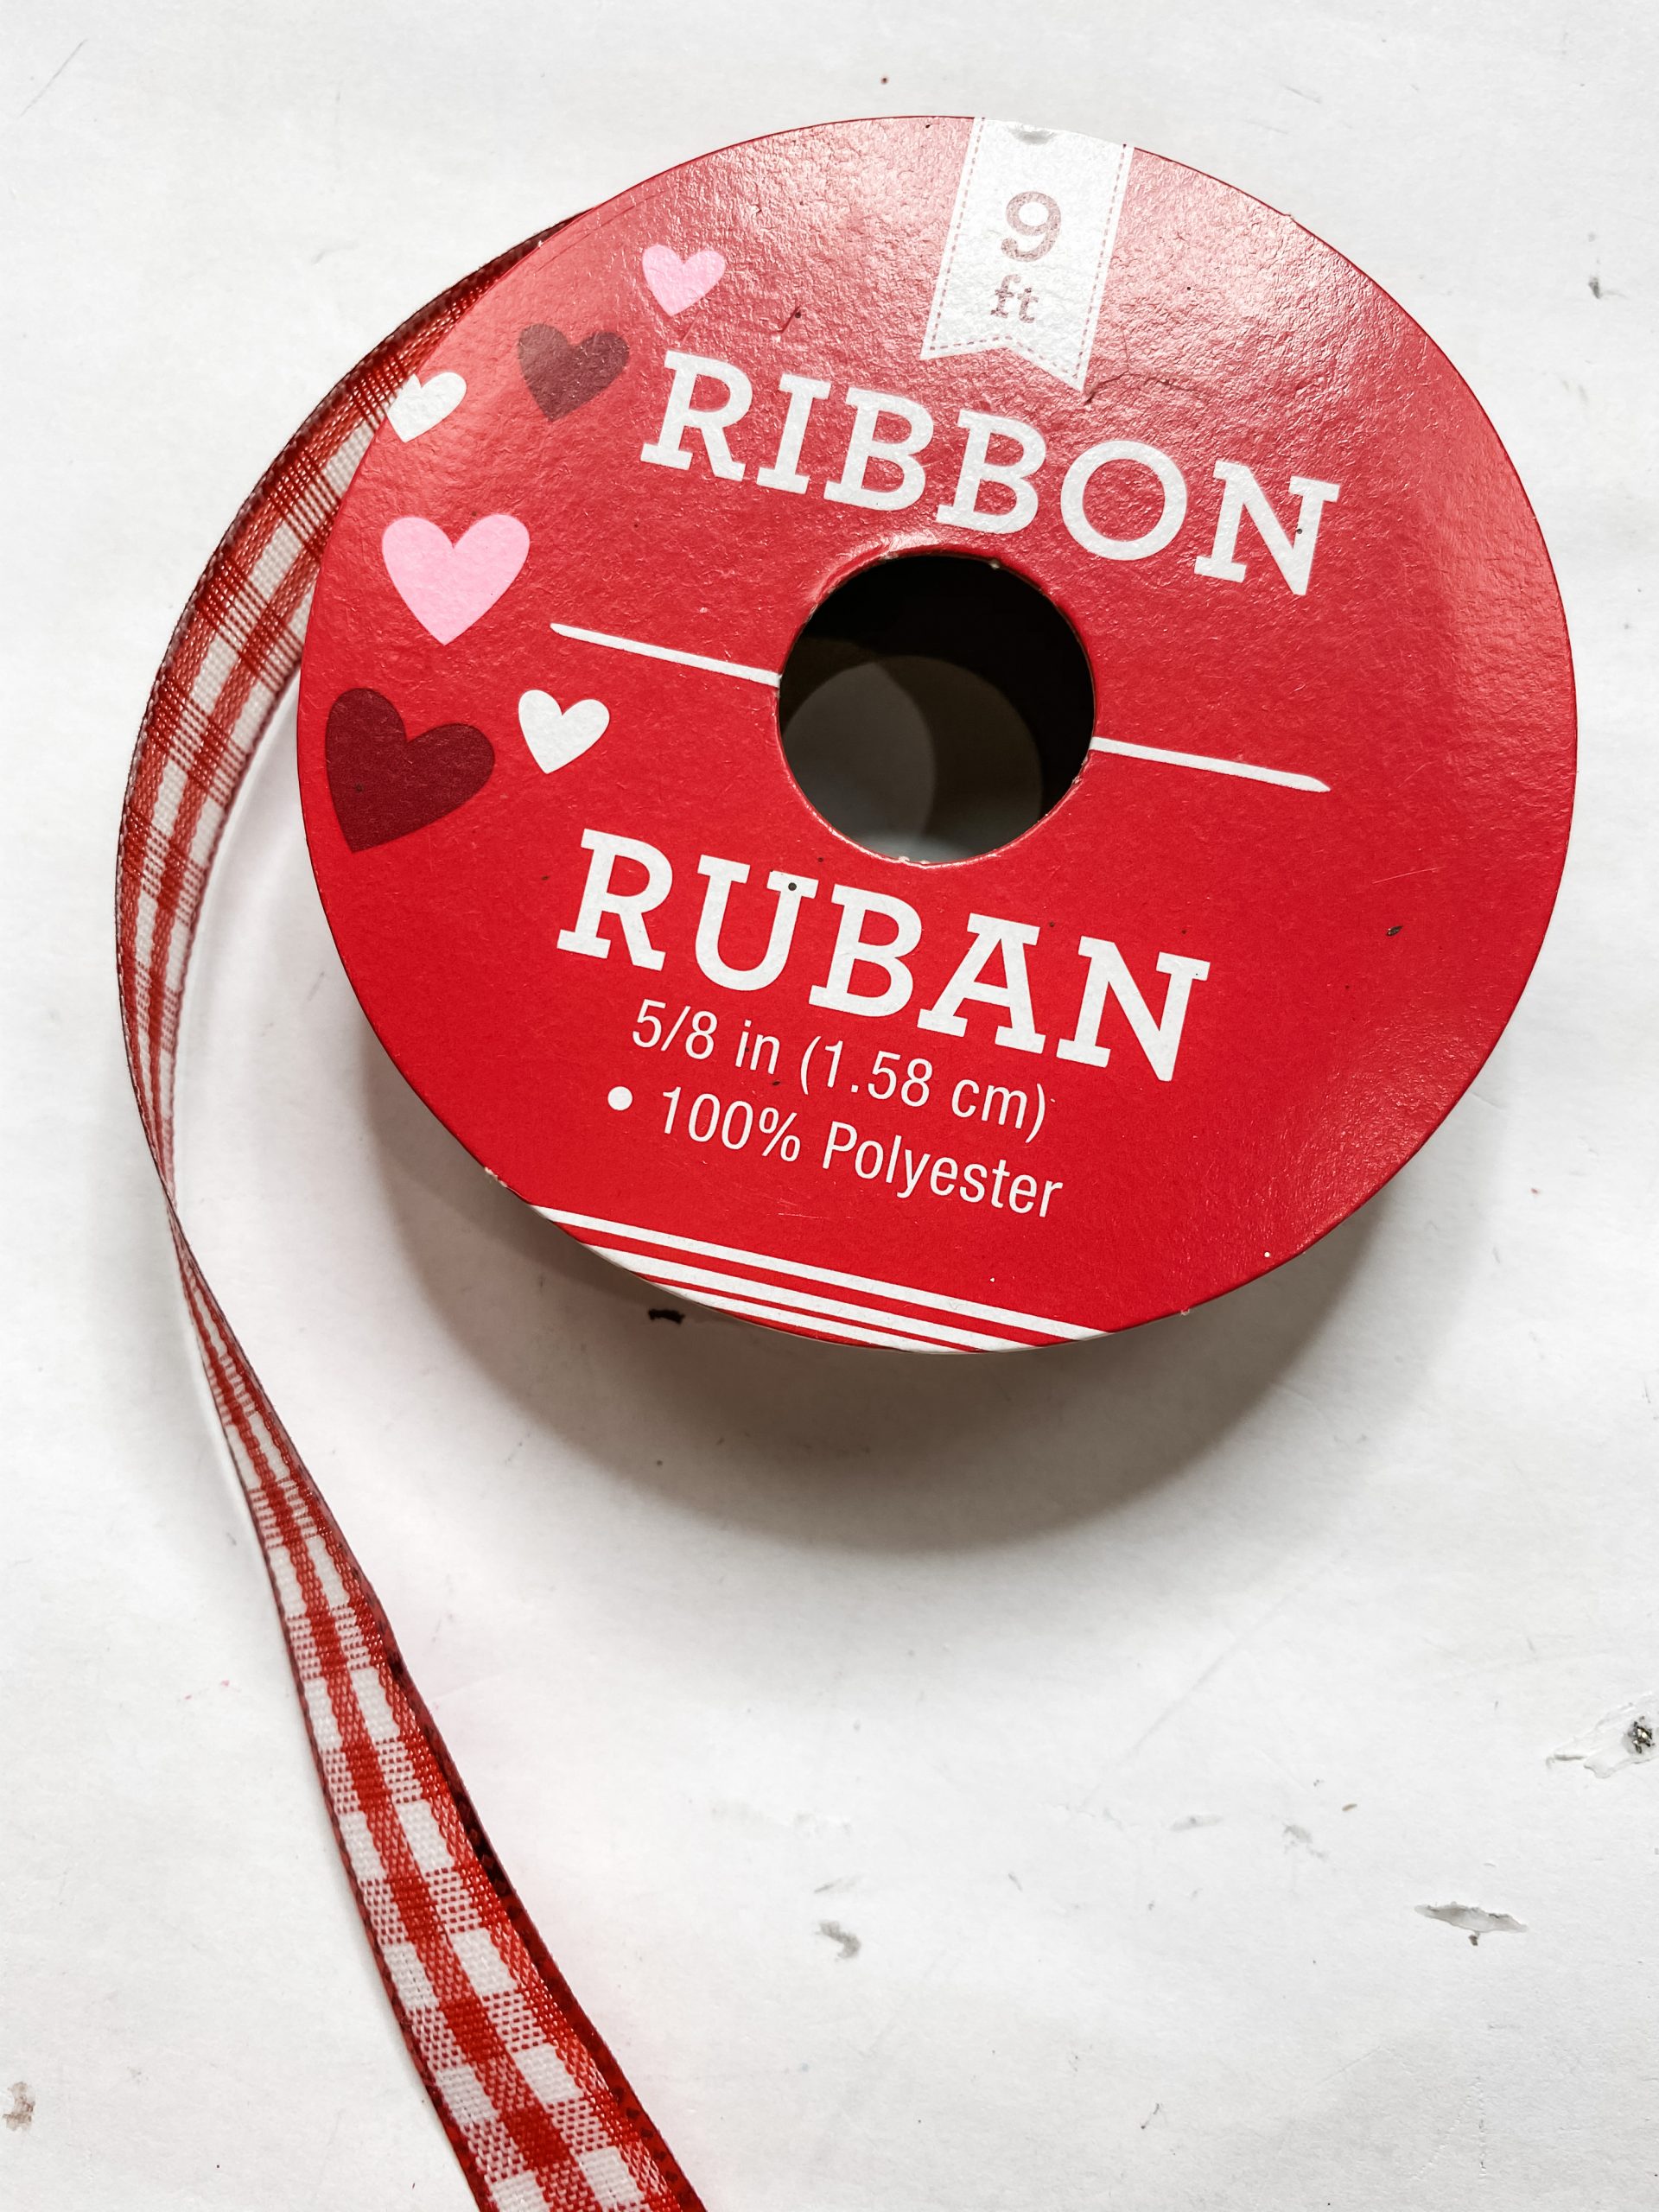
Use a piece of jute twine to secure the center. Then, hot glue the little red bow to the top of the heart.
Next, we are going to hot glue the love sign to the bottom of the picture frame and create a base. This is going to help stand the decor straight up instead of having to use the picture frames kickstand.
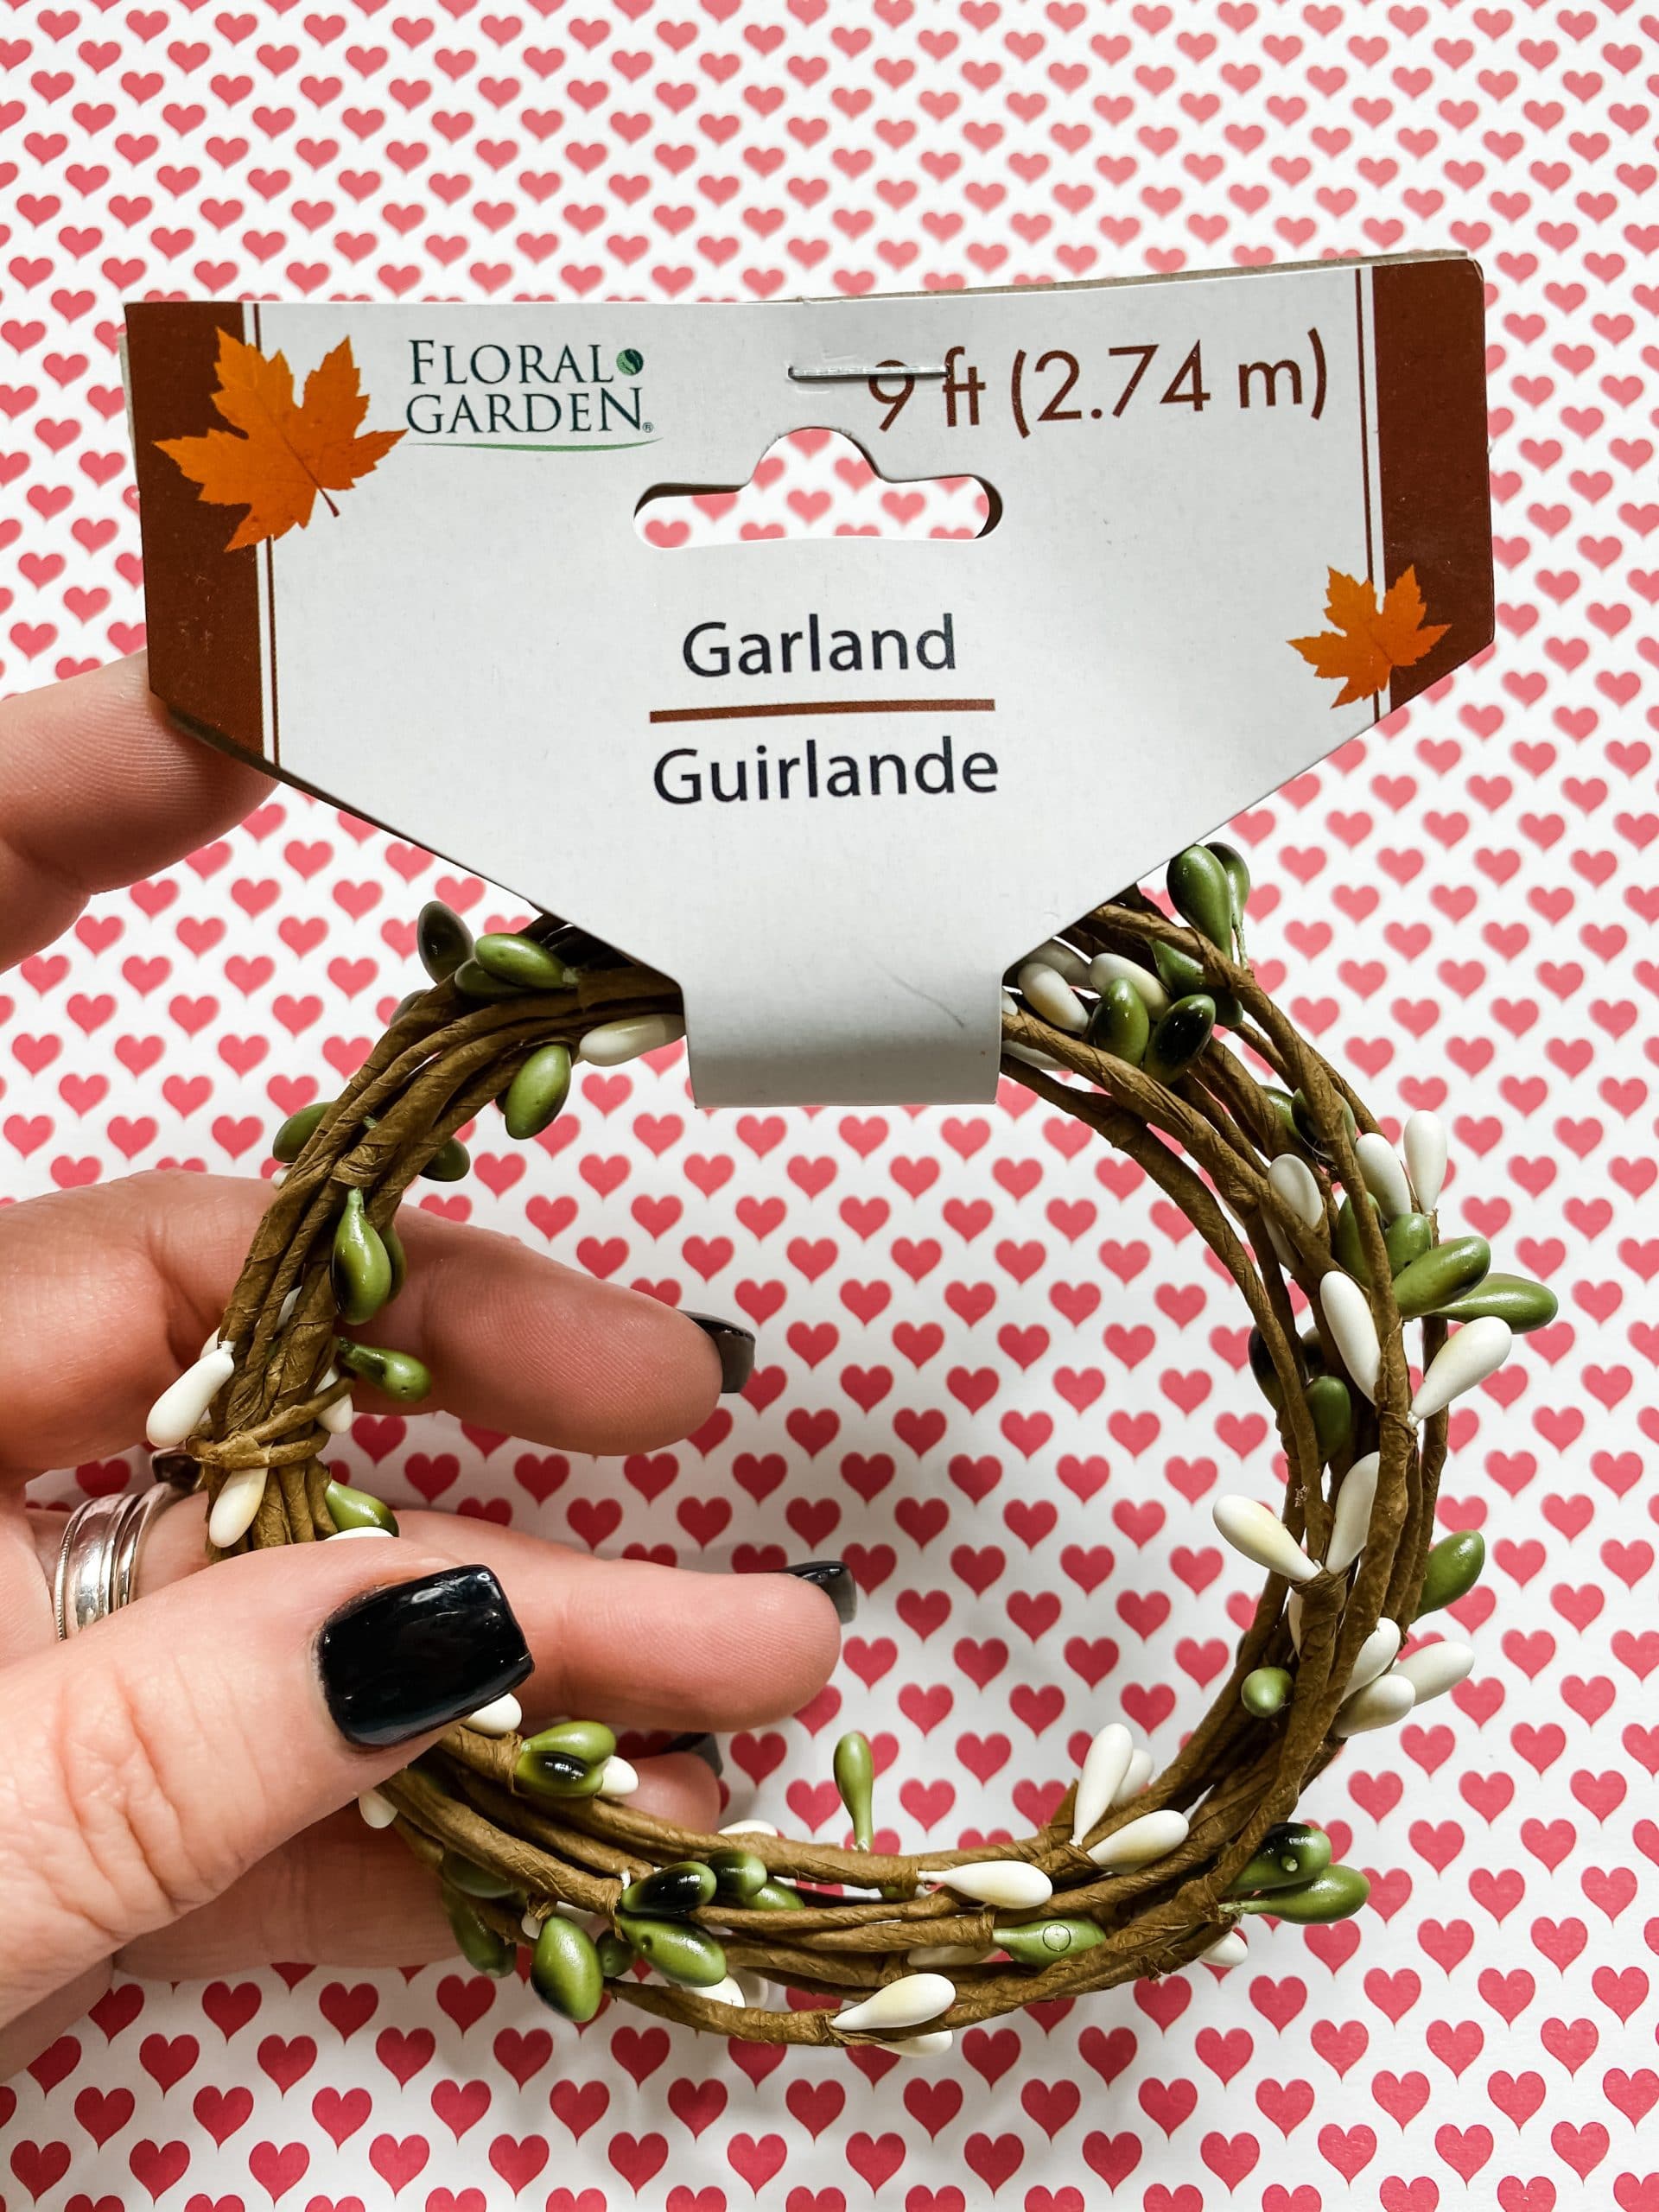
Finally, I wrapped the Dollar Tree pip berry garland around the love sign three times and hot glued it in place. This really adds to the rustic feel of the DIY home decor!
Once your hot glue is dry, you can stage this adorable Valentine’s home decor anywhere in your home!
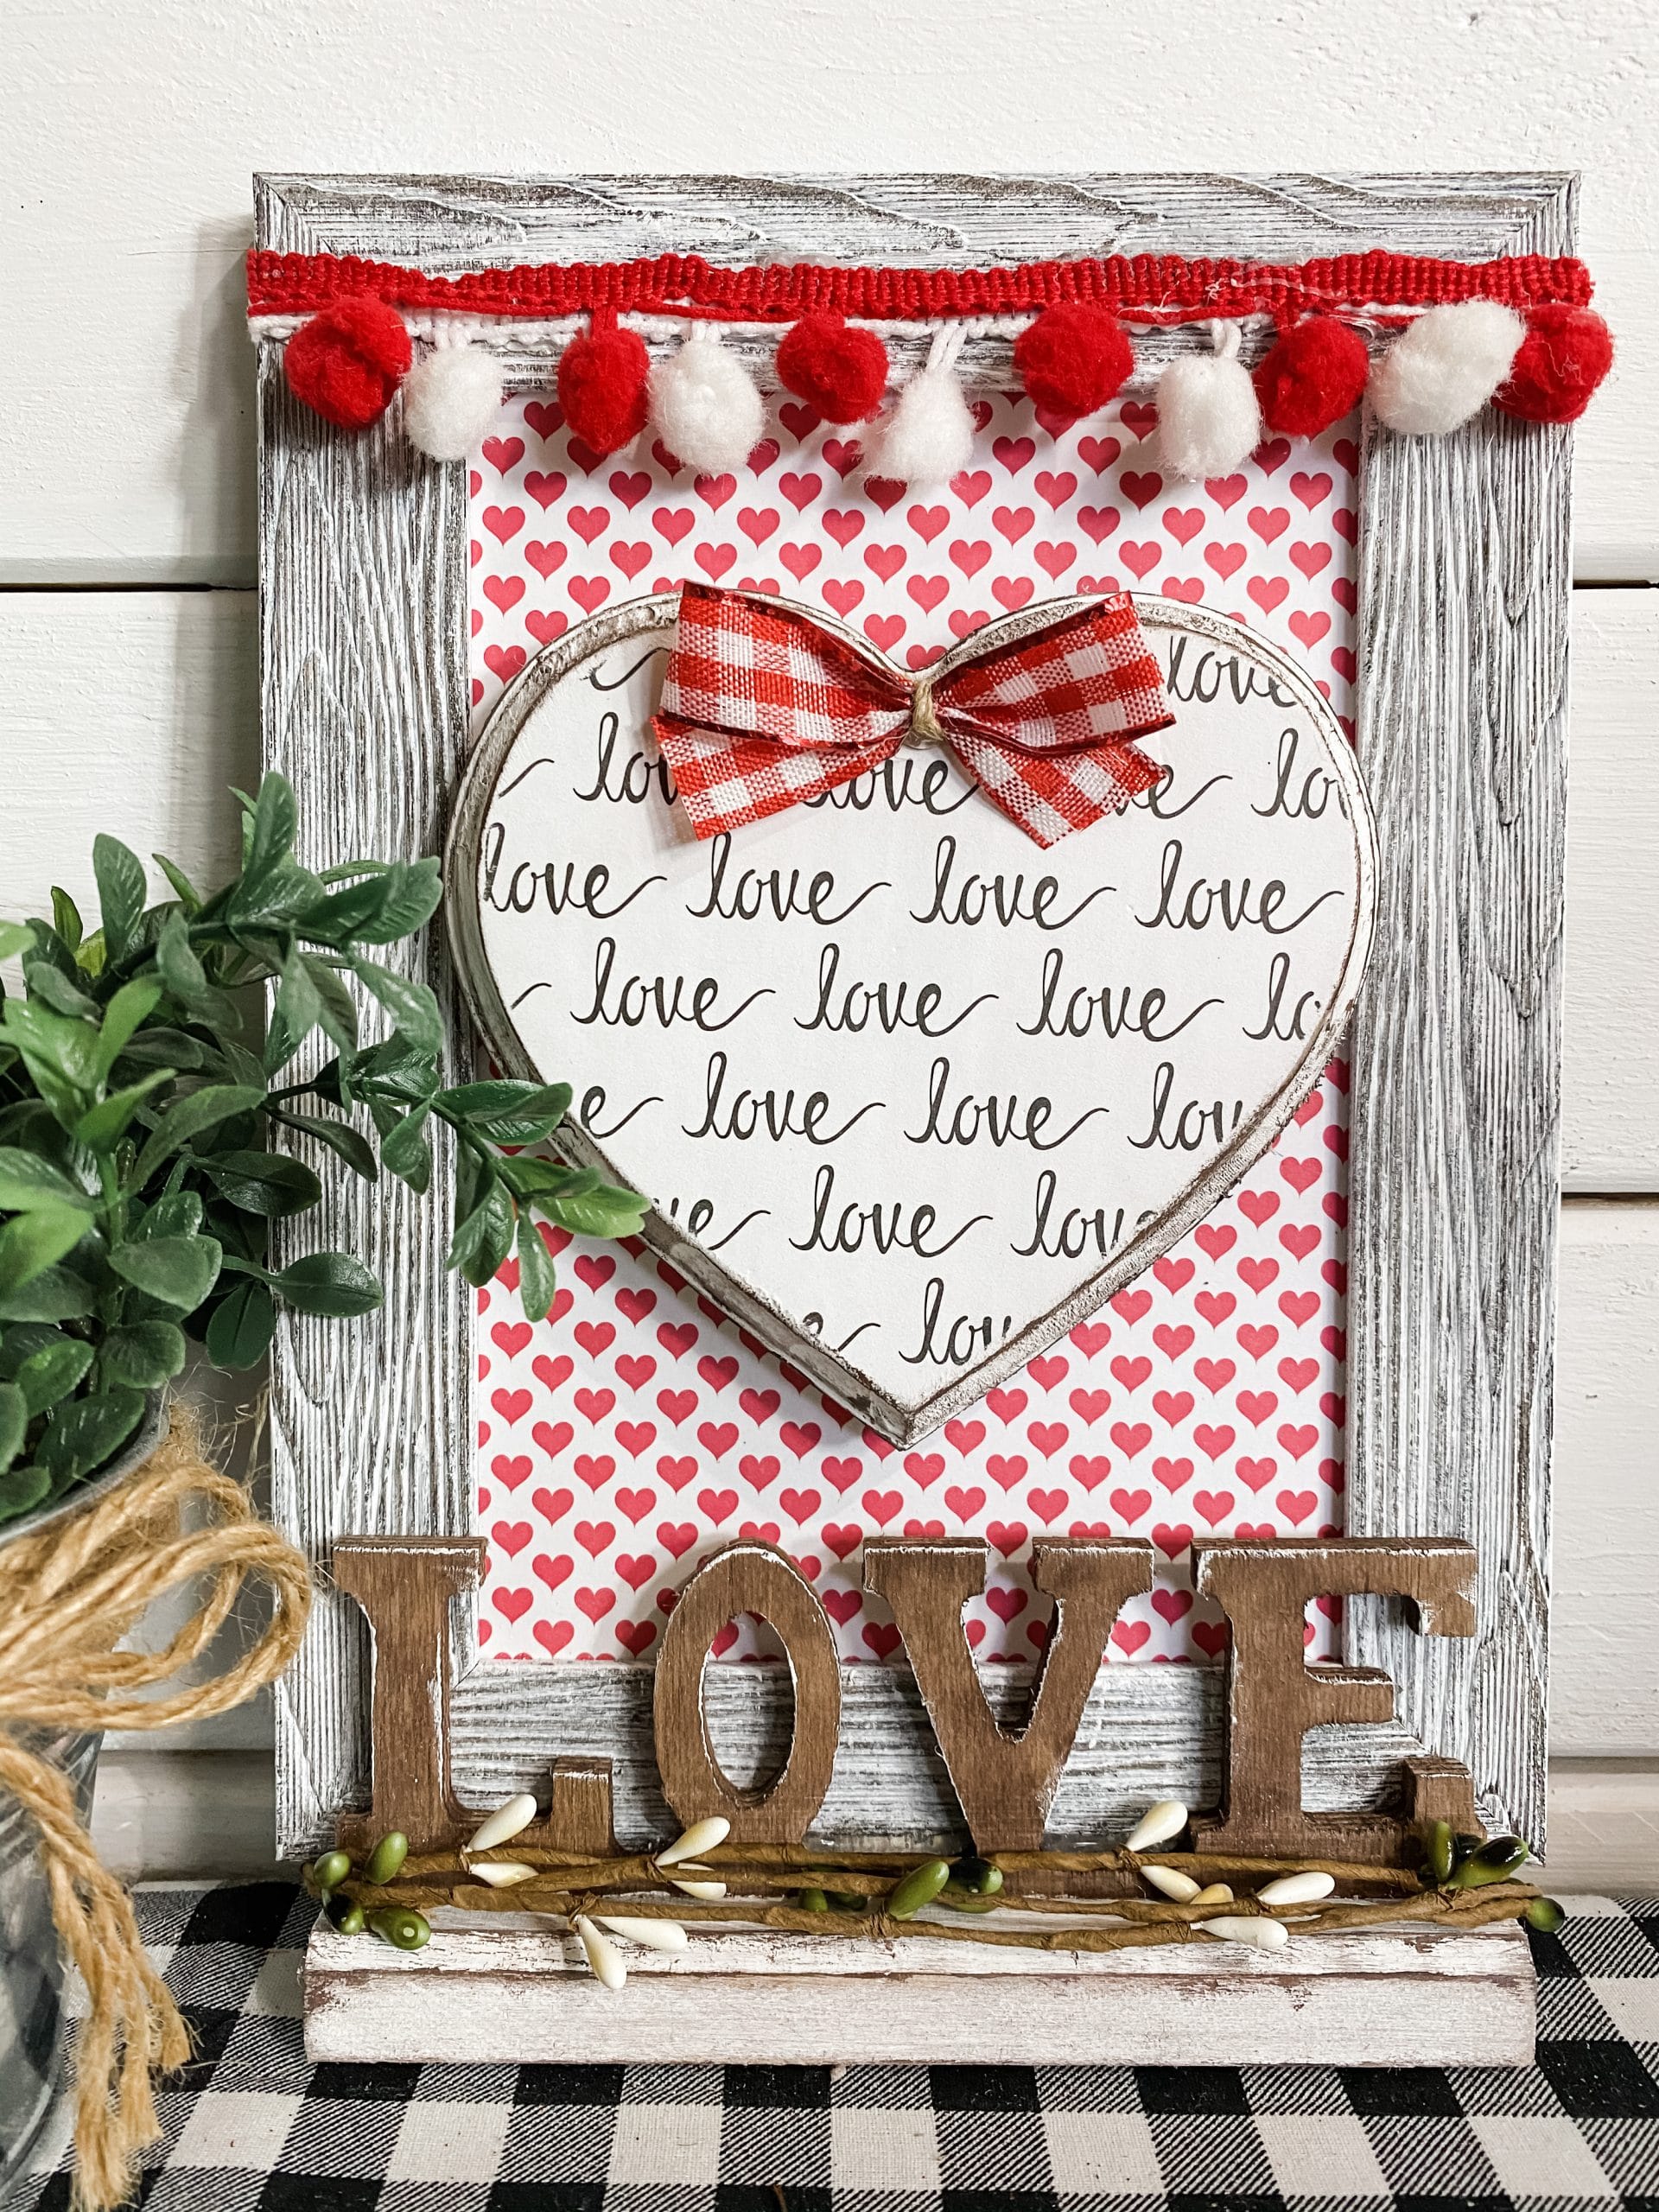
I hope you enjoyed this Valentine’s Day DIY Love Sign as much as I did and decide to make one for yourself! I would love to see how yours turns out!
You should totally join my FREE Facebook group called On A Budget Crafts! It is a judgment-free community for DIY crafters to show off their projects and ideas.
If you loved this DIY you might also like this 18 Valentine’s Day DIY Decor Ideas for 2021!
Thanks for stopping by! XOXO Amber
You can also shop my ENTIRE AMAZON Favorites shop just click here! It’s packed full of all the things I use and love. Here is the supply list I highly recommend every creative have on hand!!
Would you also pin my blog for later and get on my newsletter alerts? I would love to have you join my #craftycrew.
Inspired? Leave me a comment below! I love hearing from my readers!



Just adorable