Neutral Shiplap Bunnies Decor
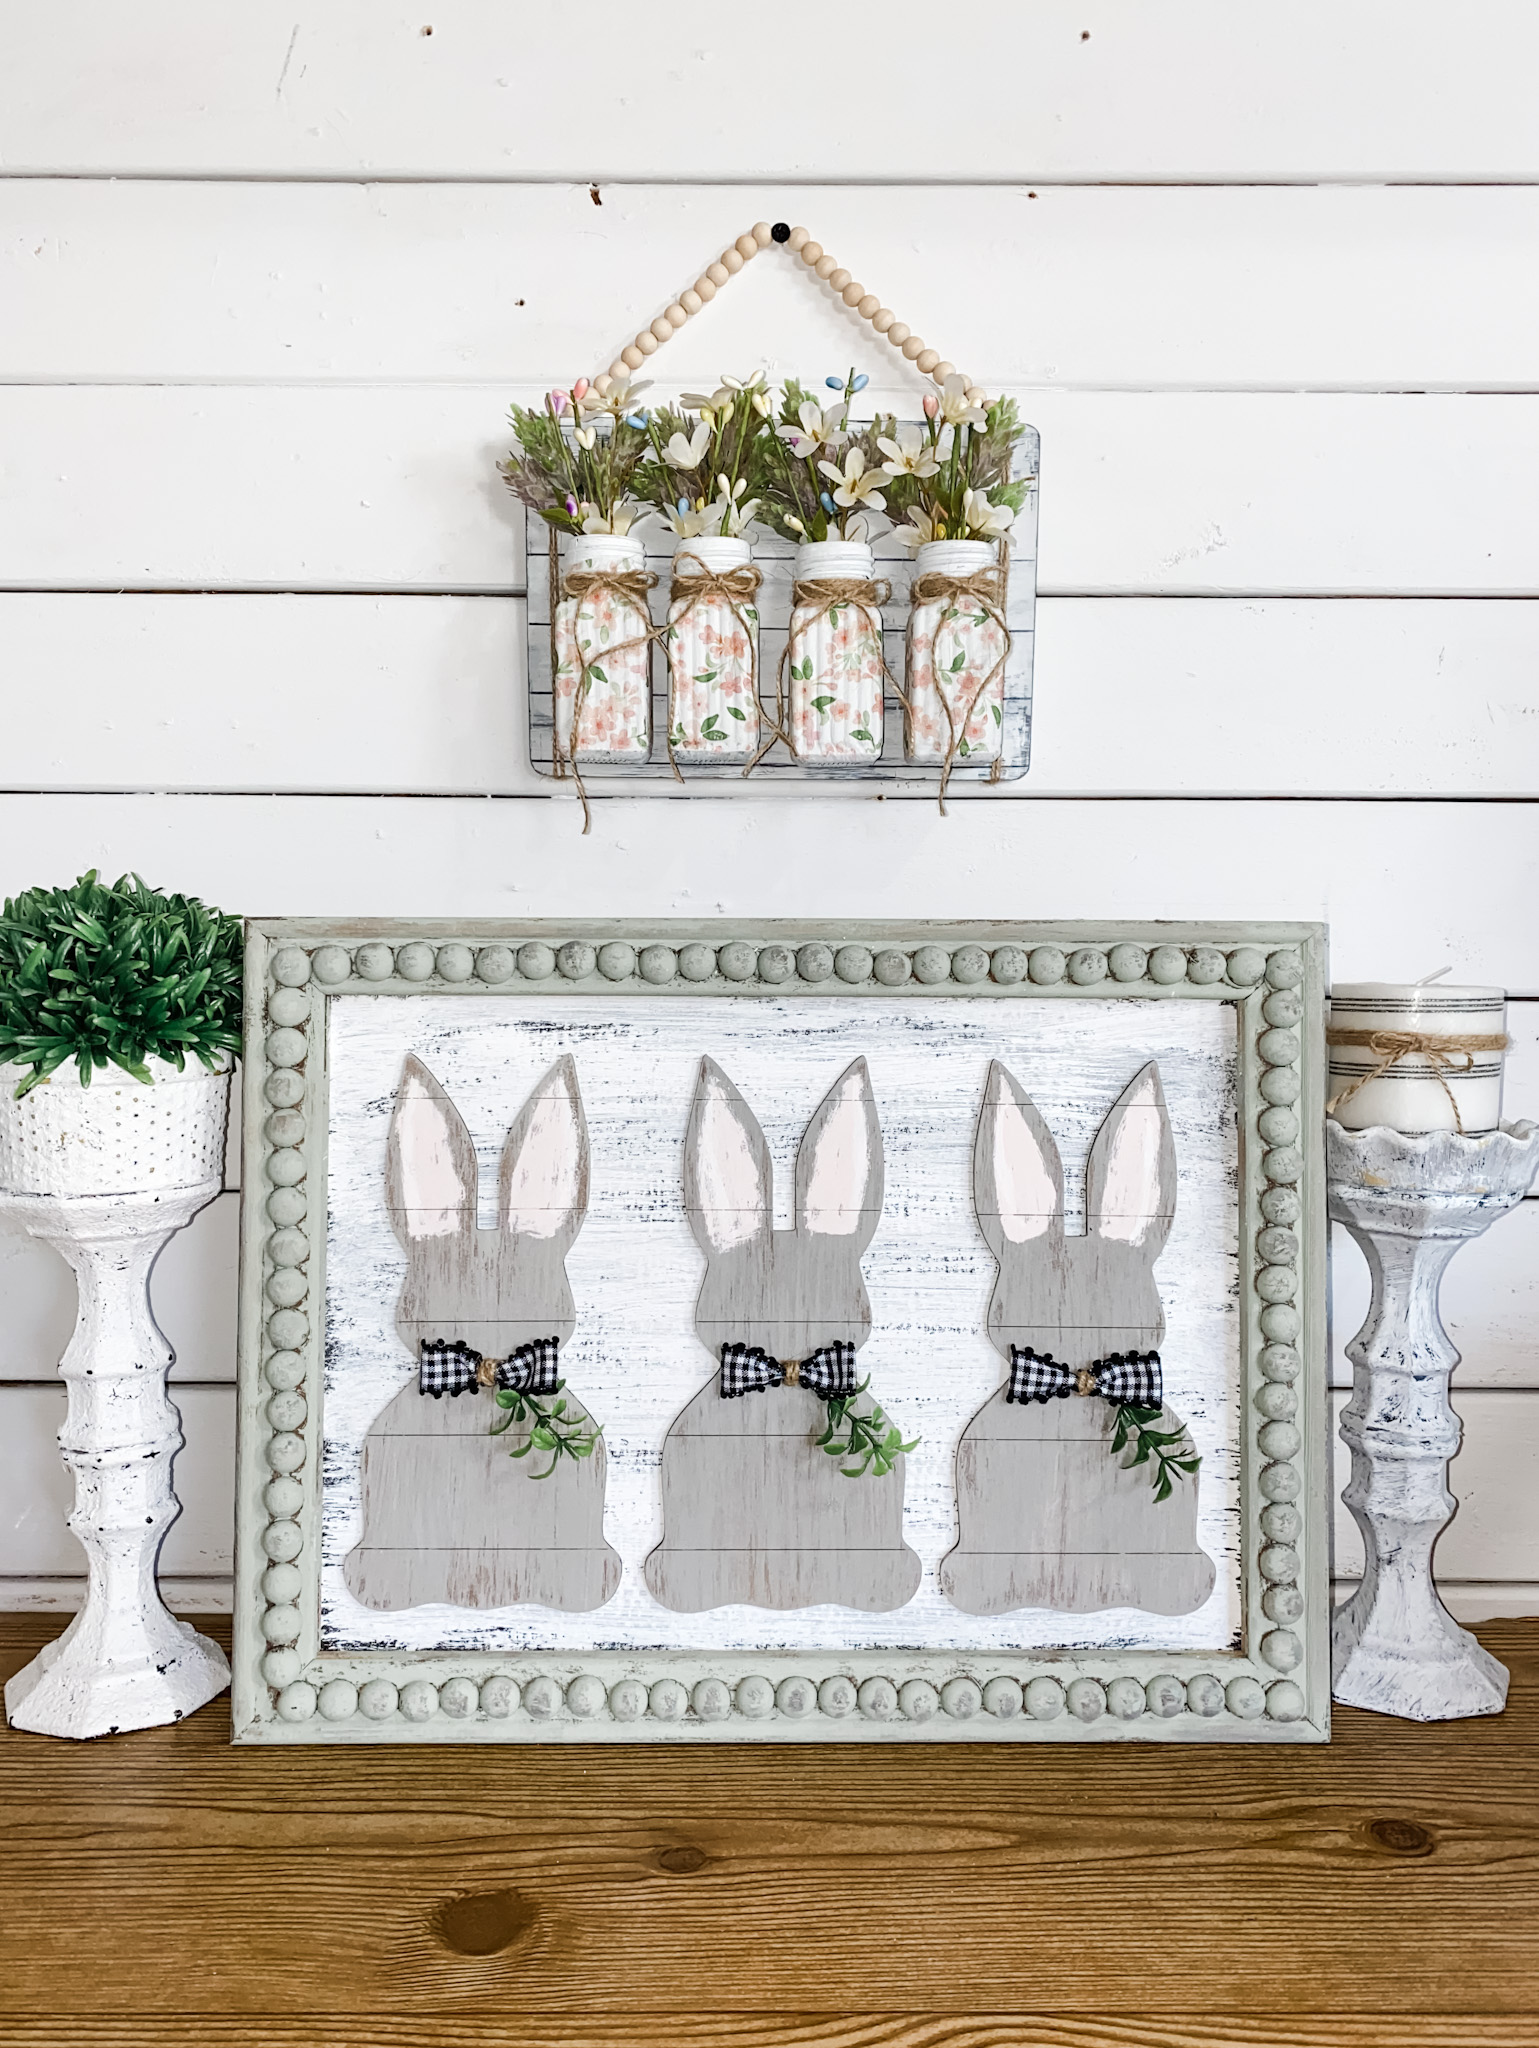
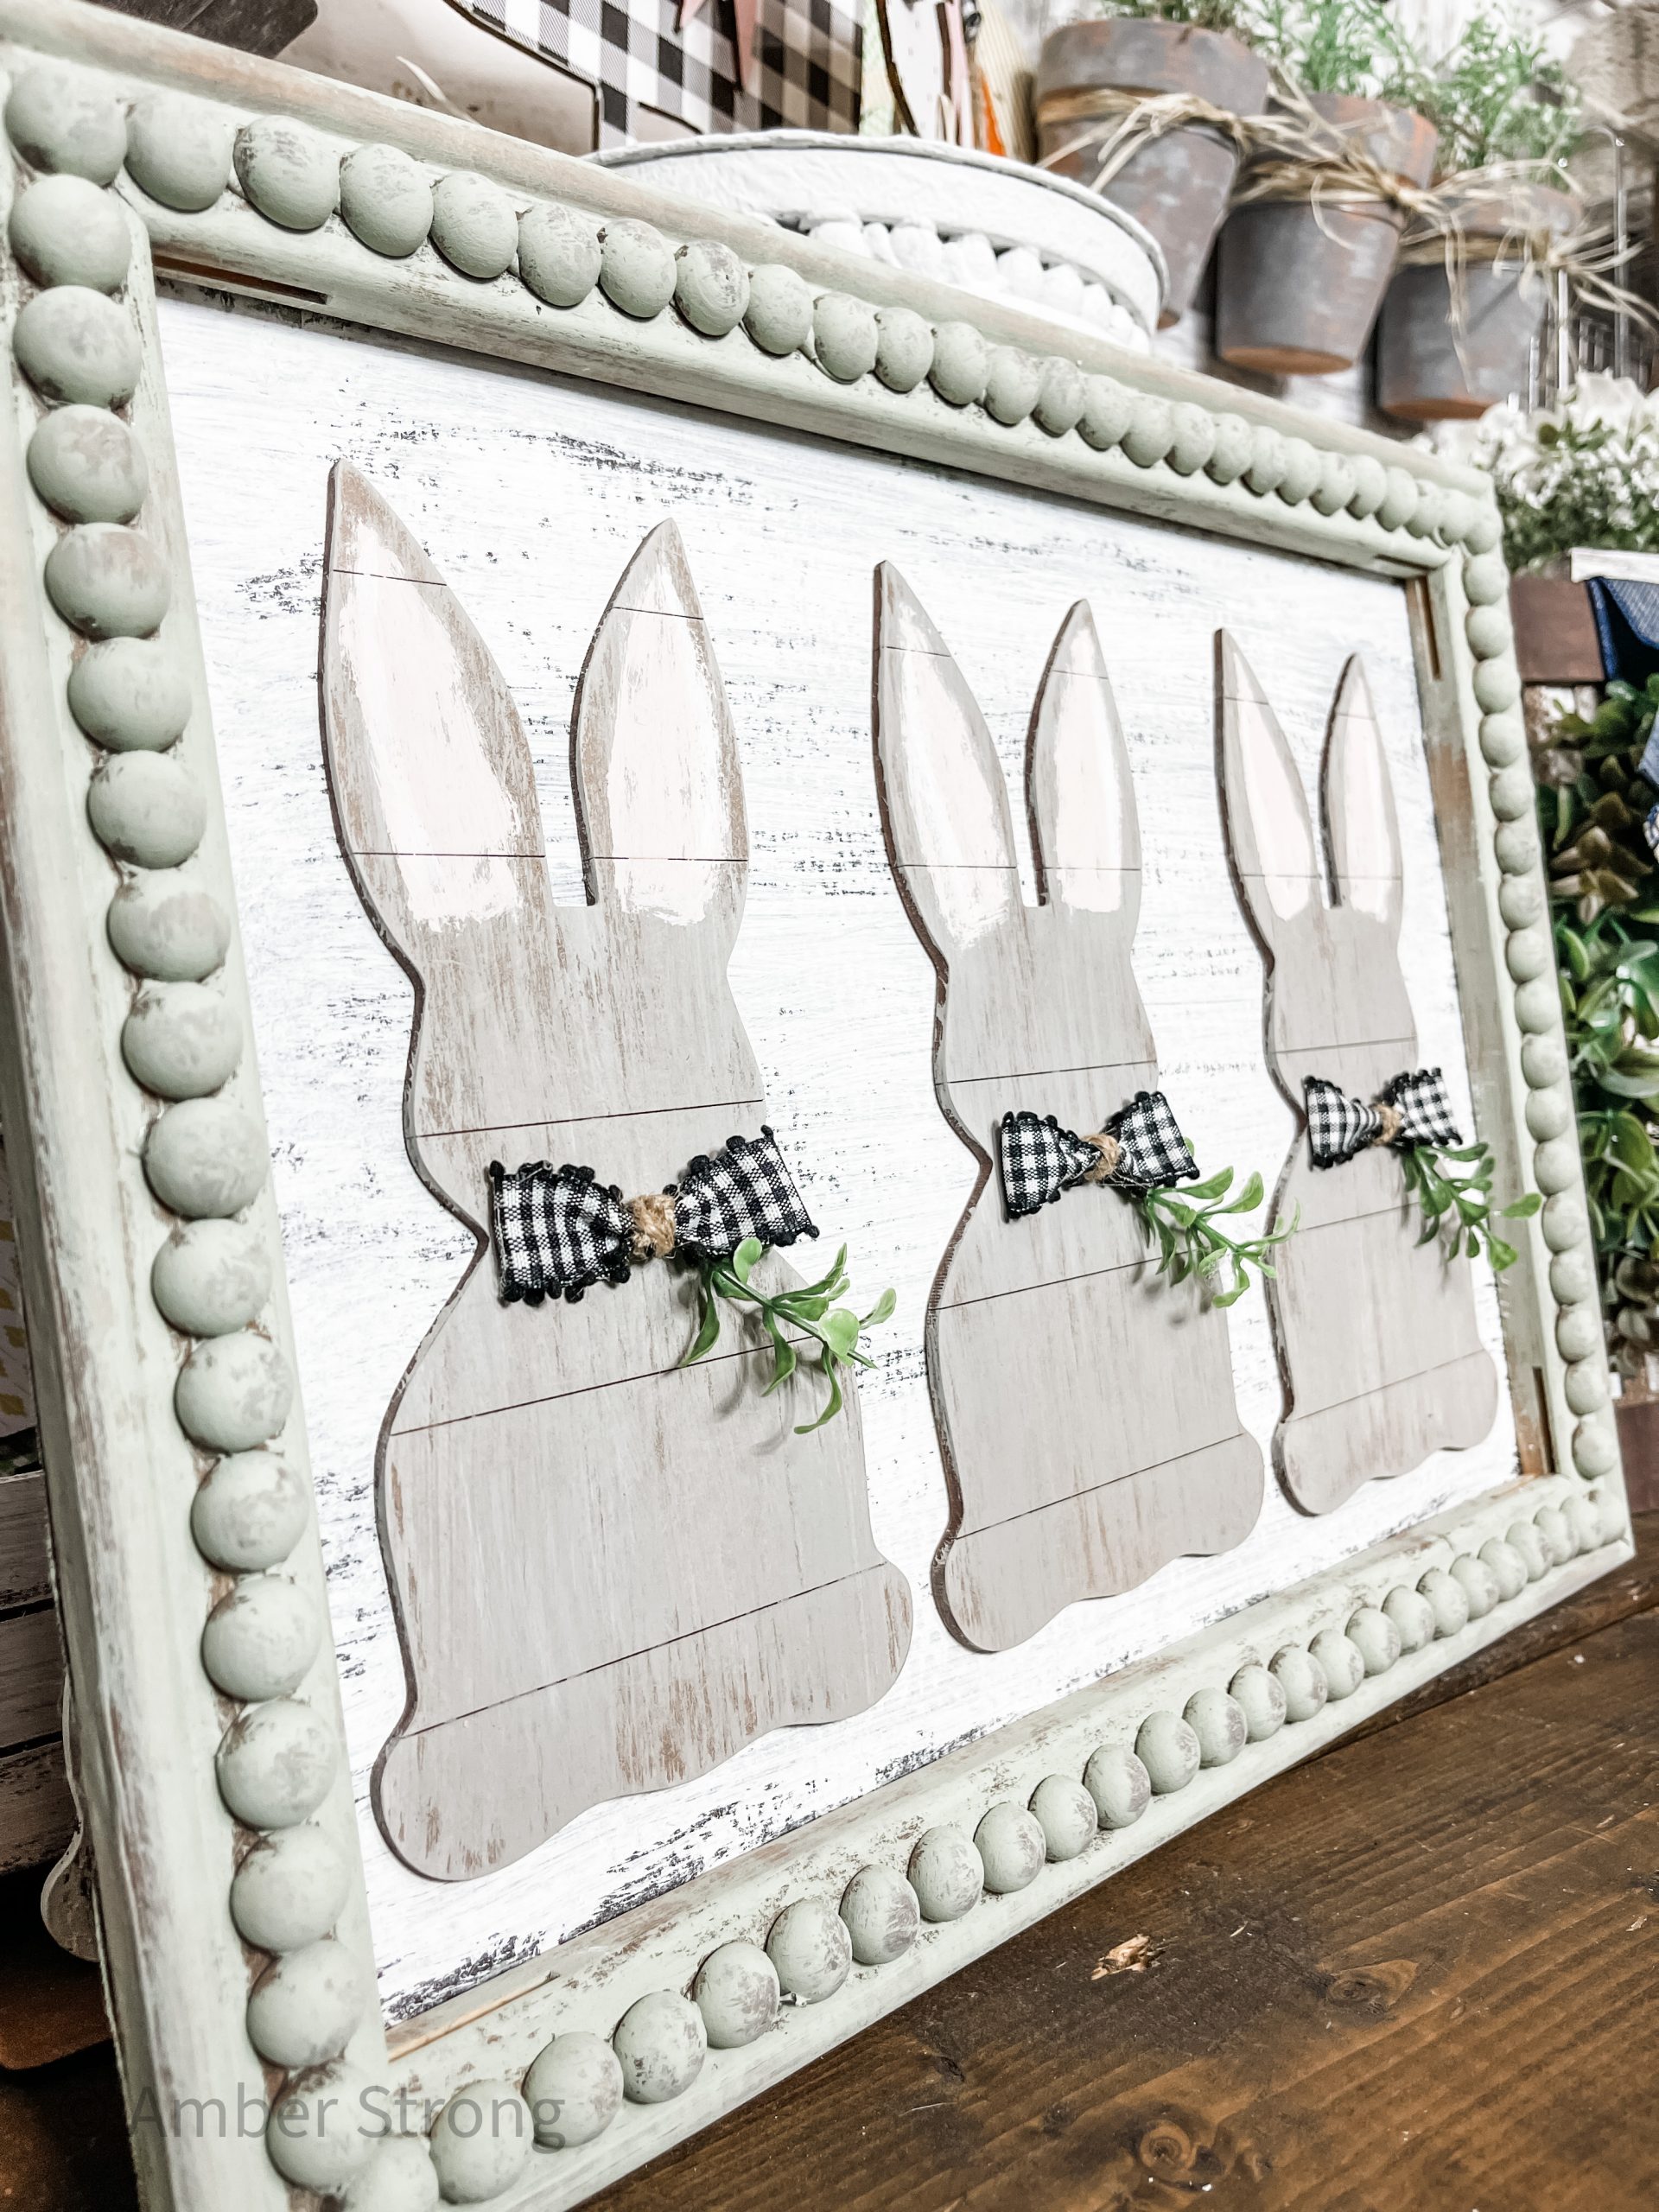
I am so excited to show you this neutral shiplap bunnies decor!! It was so much fun to bring this project idea to life!
I think what I love most about this neutral decor idea is that it doesn’t scream Easter or spring, but would be perfect for both!
Watch the DIY tutorial
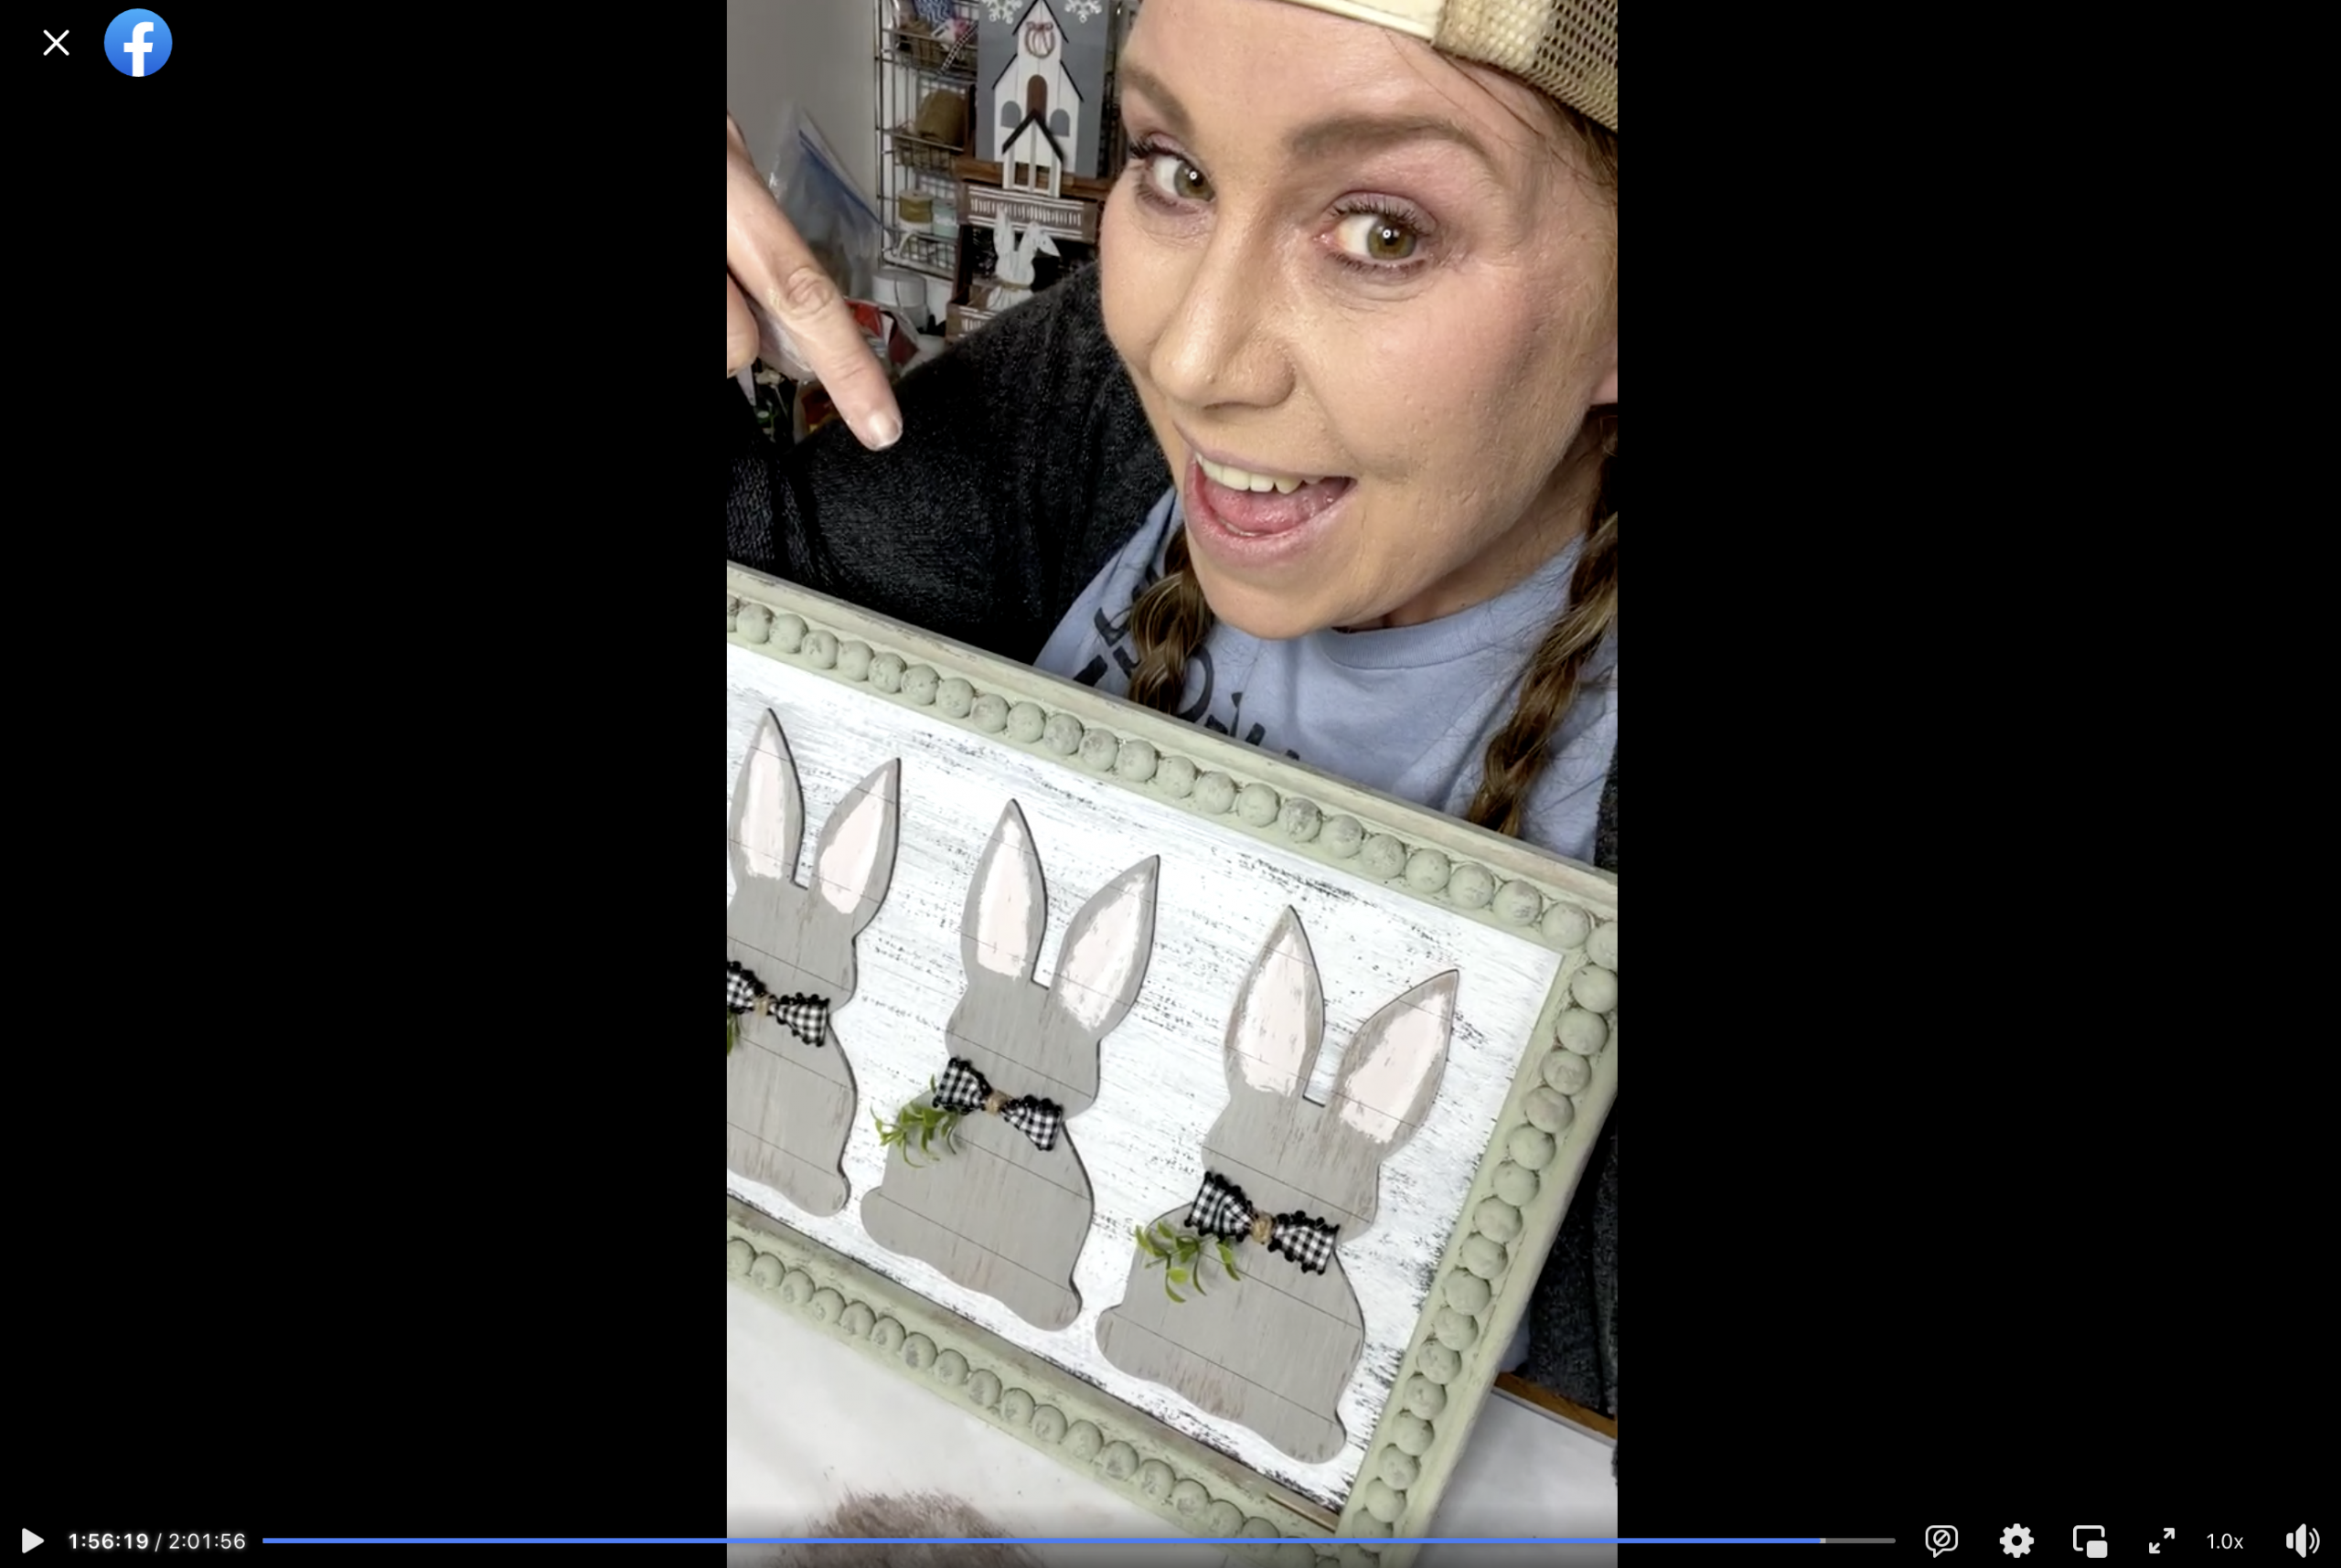
I recorded how to make this adorable neutral shiplap bunnies decor during a LIVE video on my Facebook page.
If you want to see the DIY process, craft along, or just join in on the fun conversations, you can watch the DIY tutorial video on Facebook!
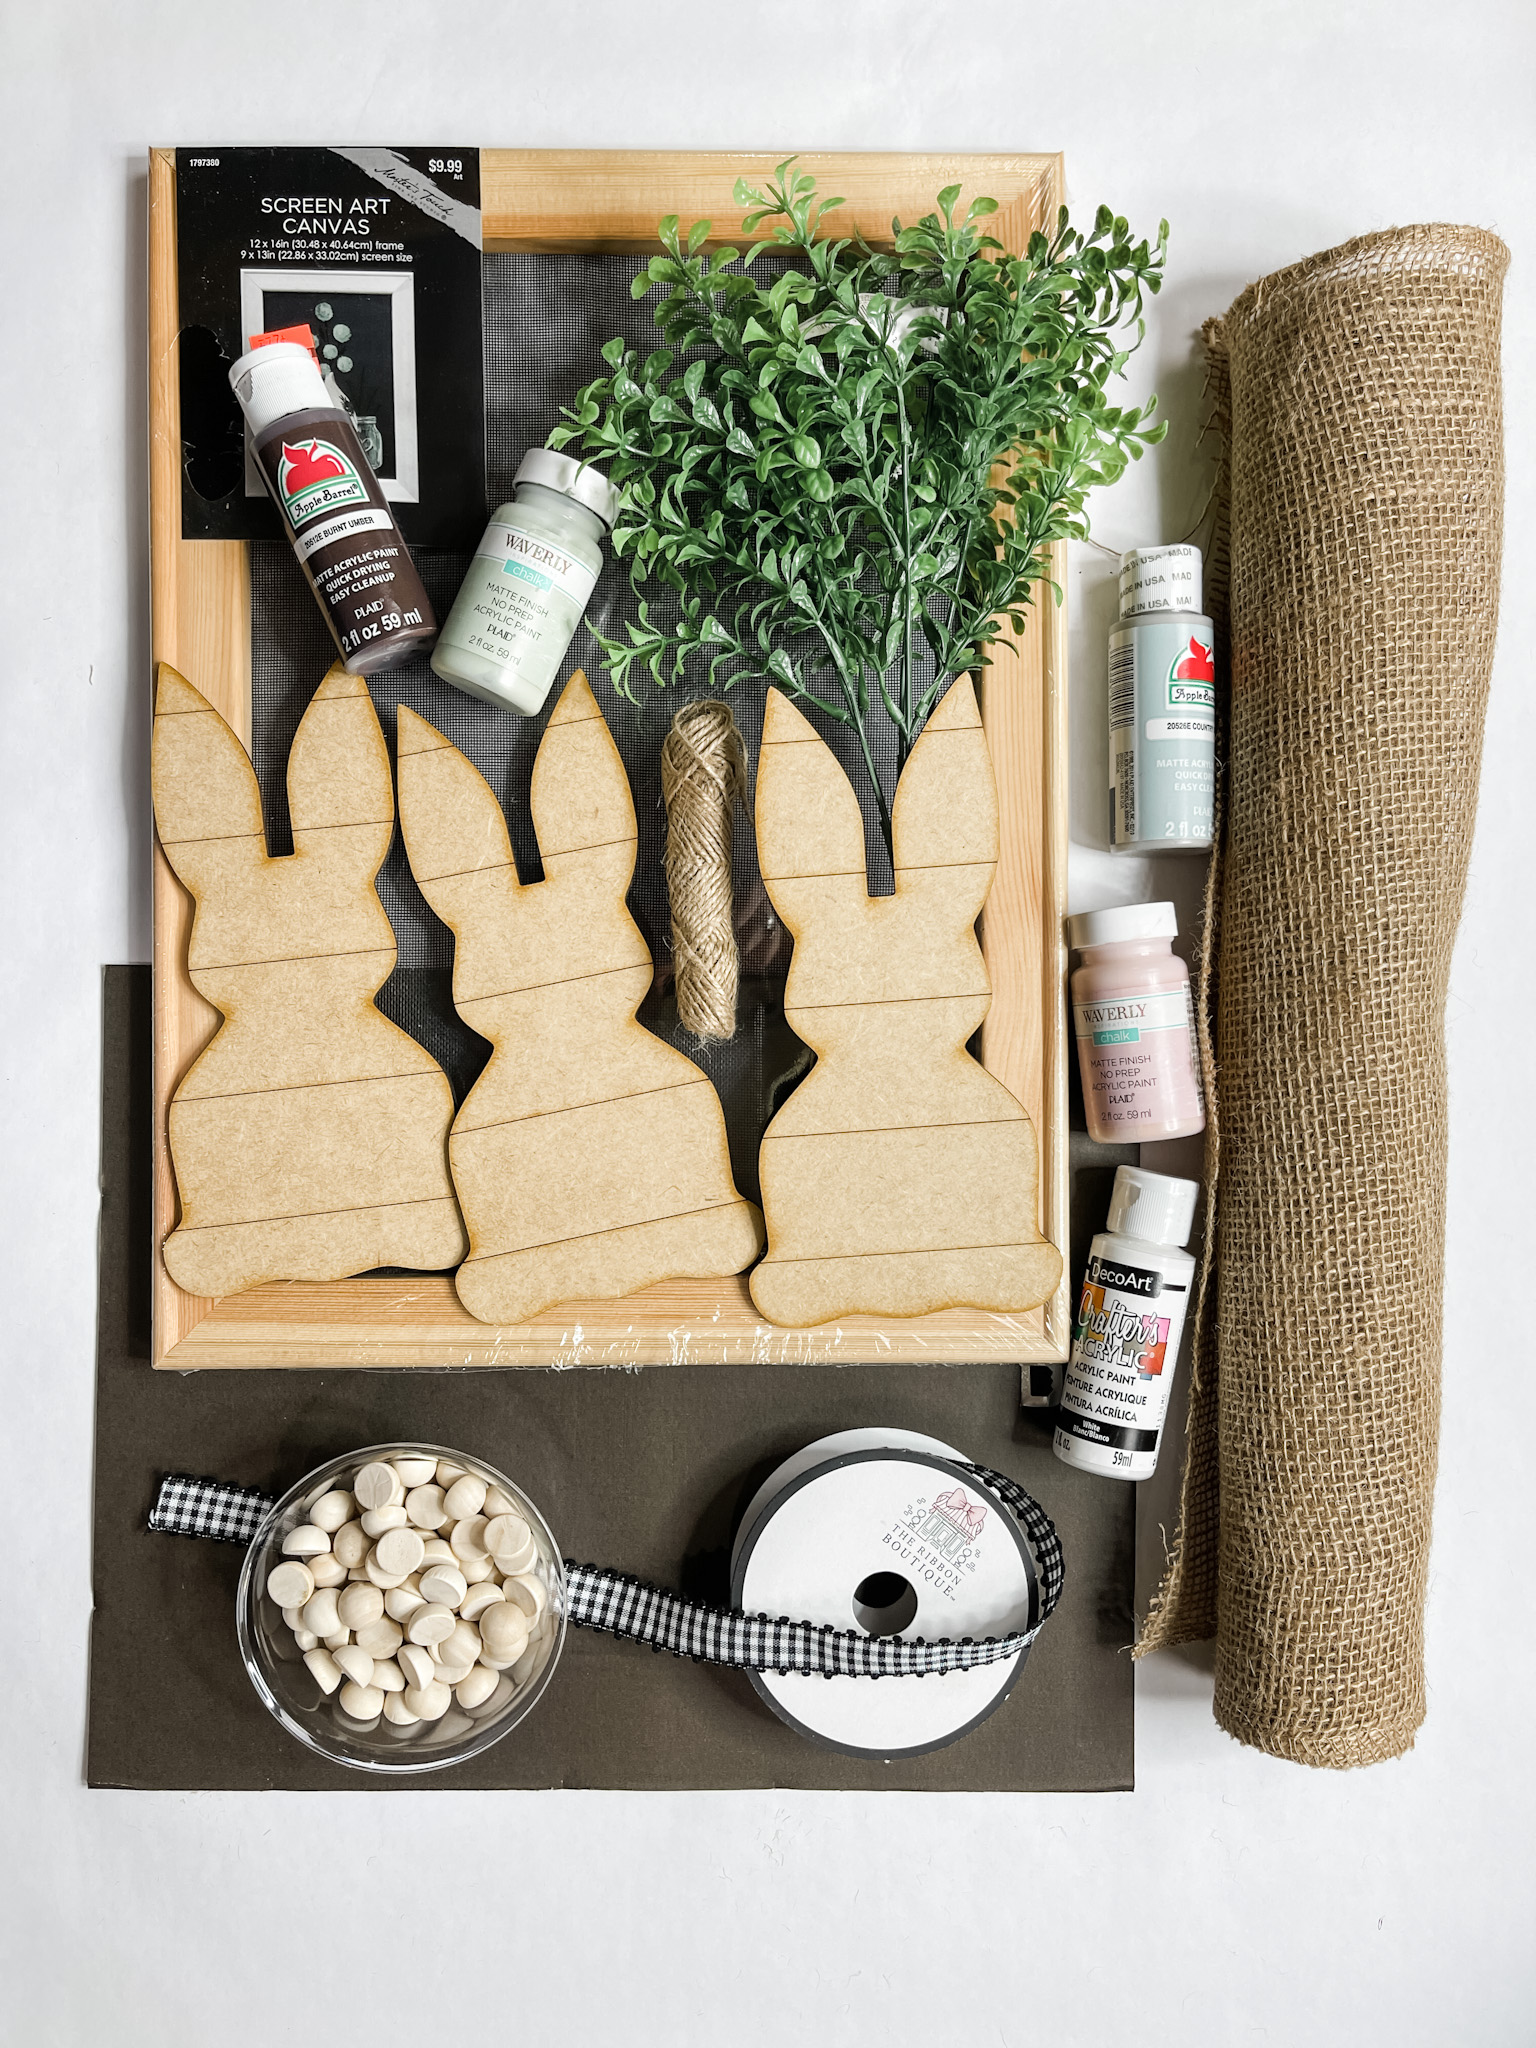
For this project, I will be using these items, but you can substitute where you want.
“As an Amazon Associate, I earn from qualifying purchases.”
- Shiplap Bunnies Craft Kit
- Black Buffalo Check Ribbon
- Dollar Tree Greenery/Floral of choice
- Dollar Tree Jute Twine
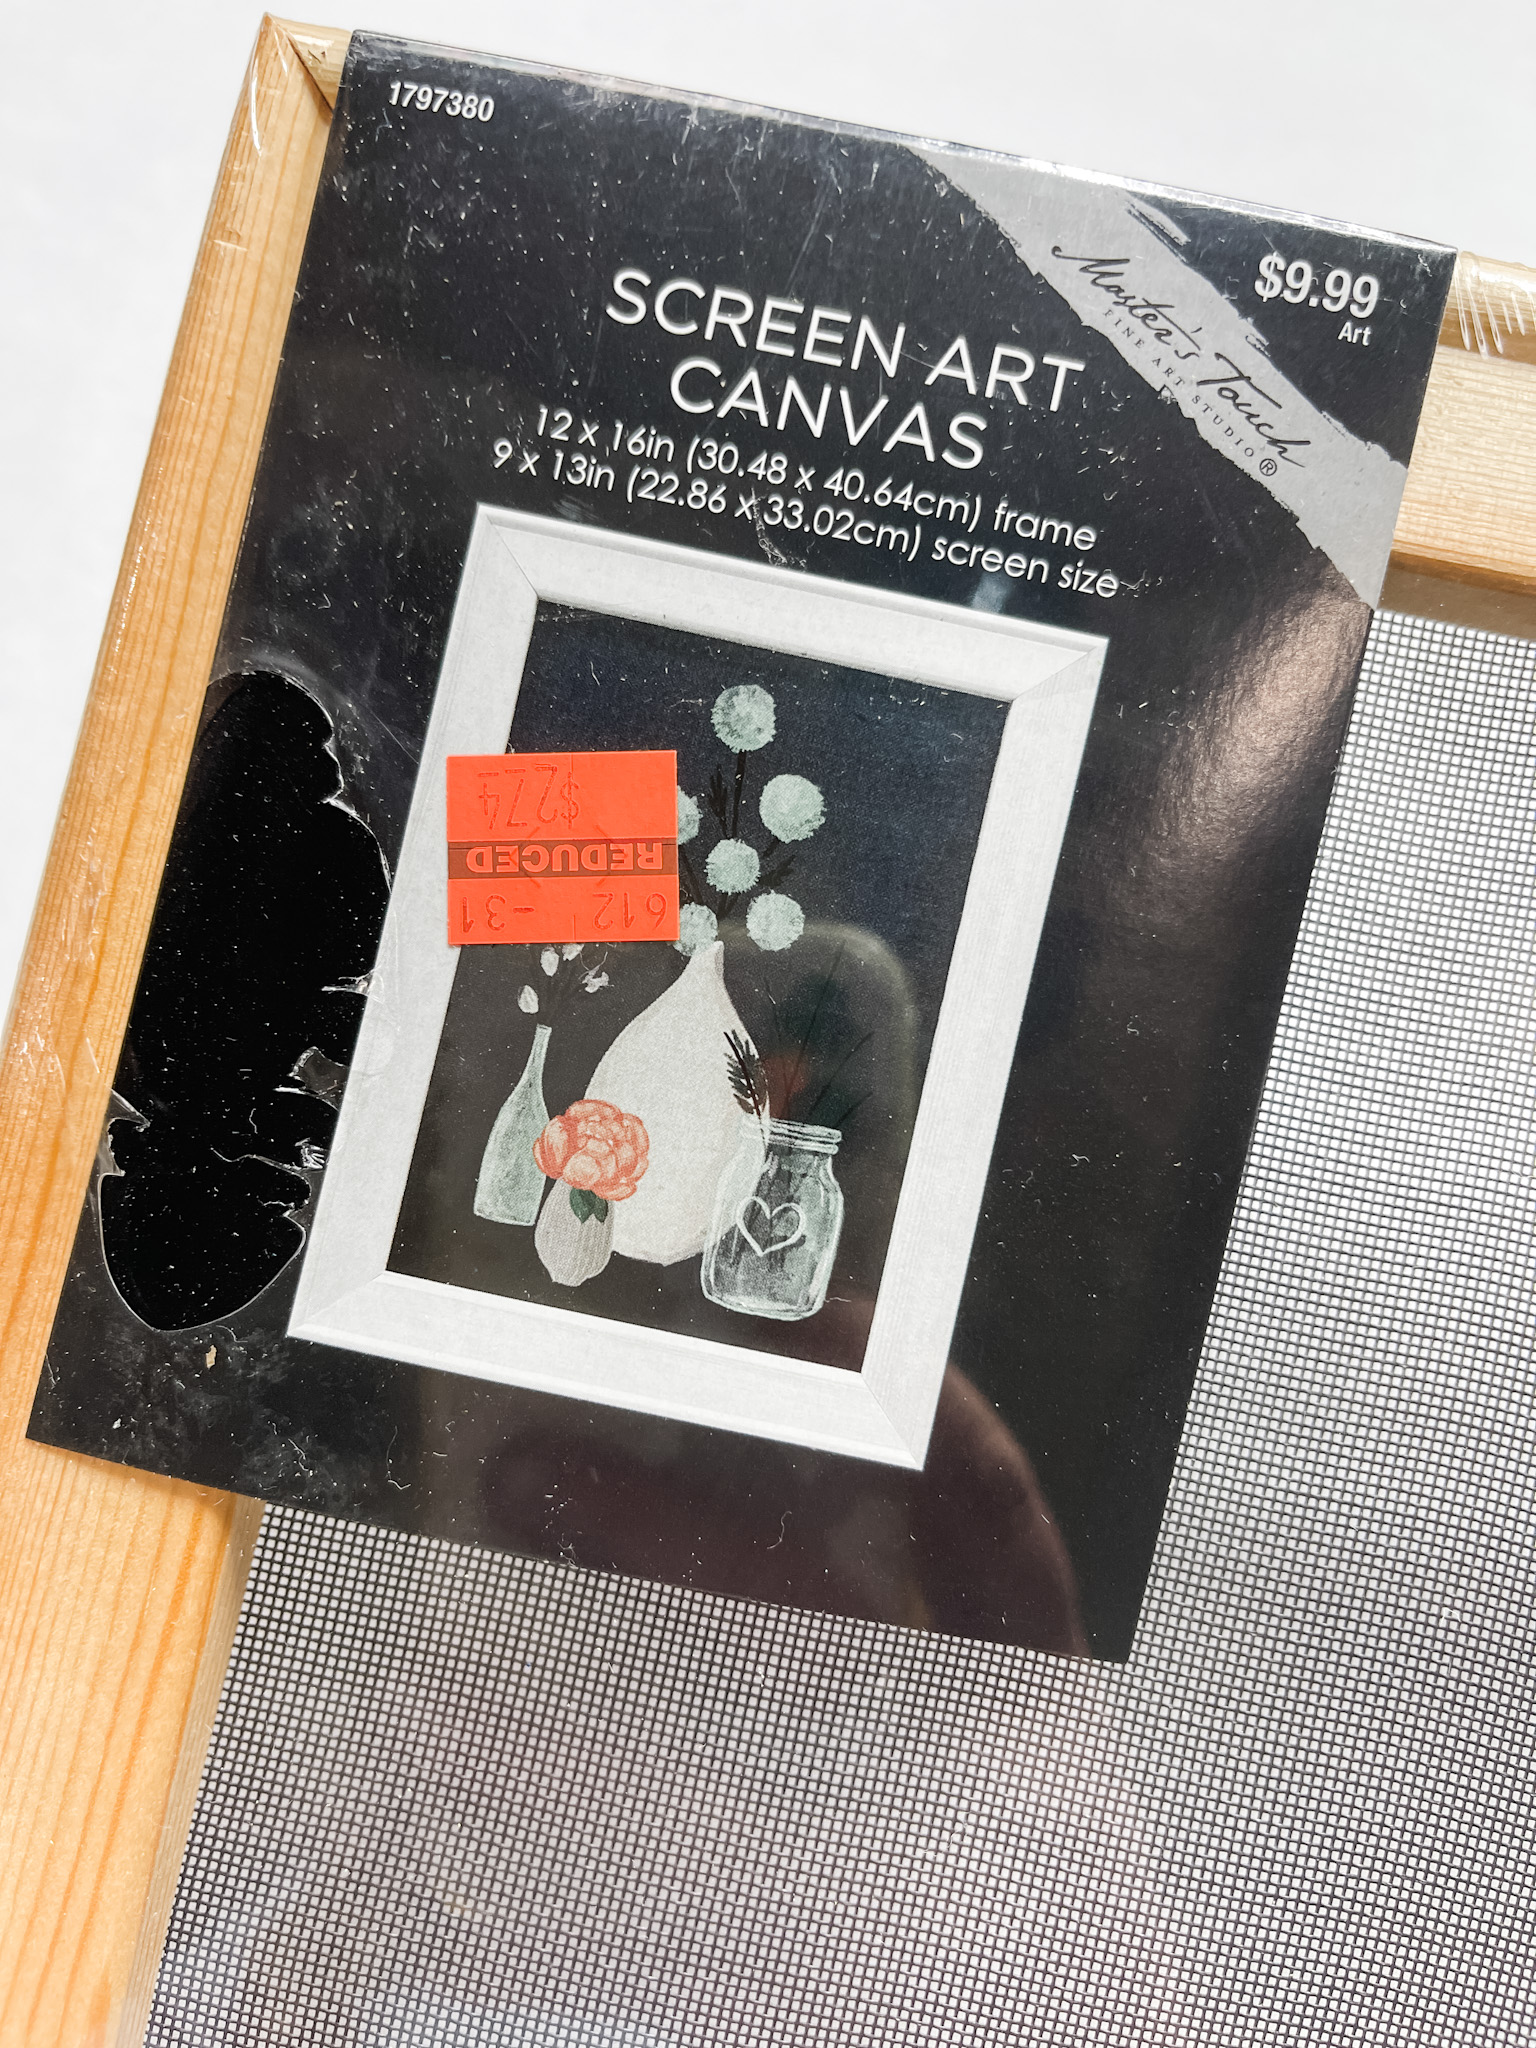
- Screen Art Canvas
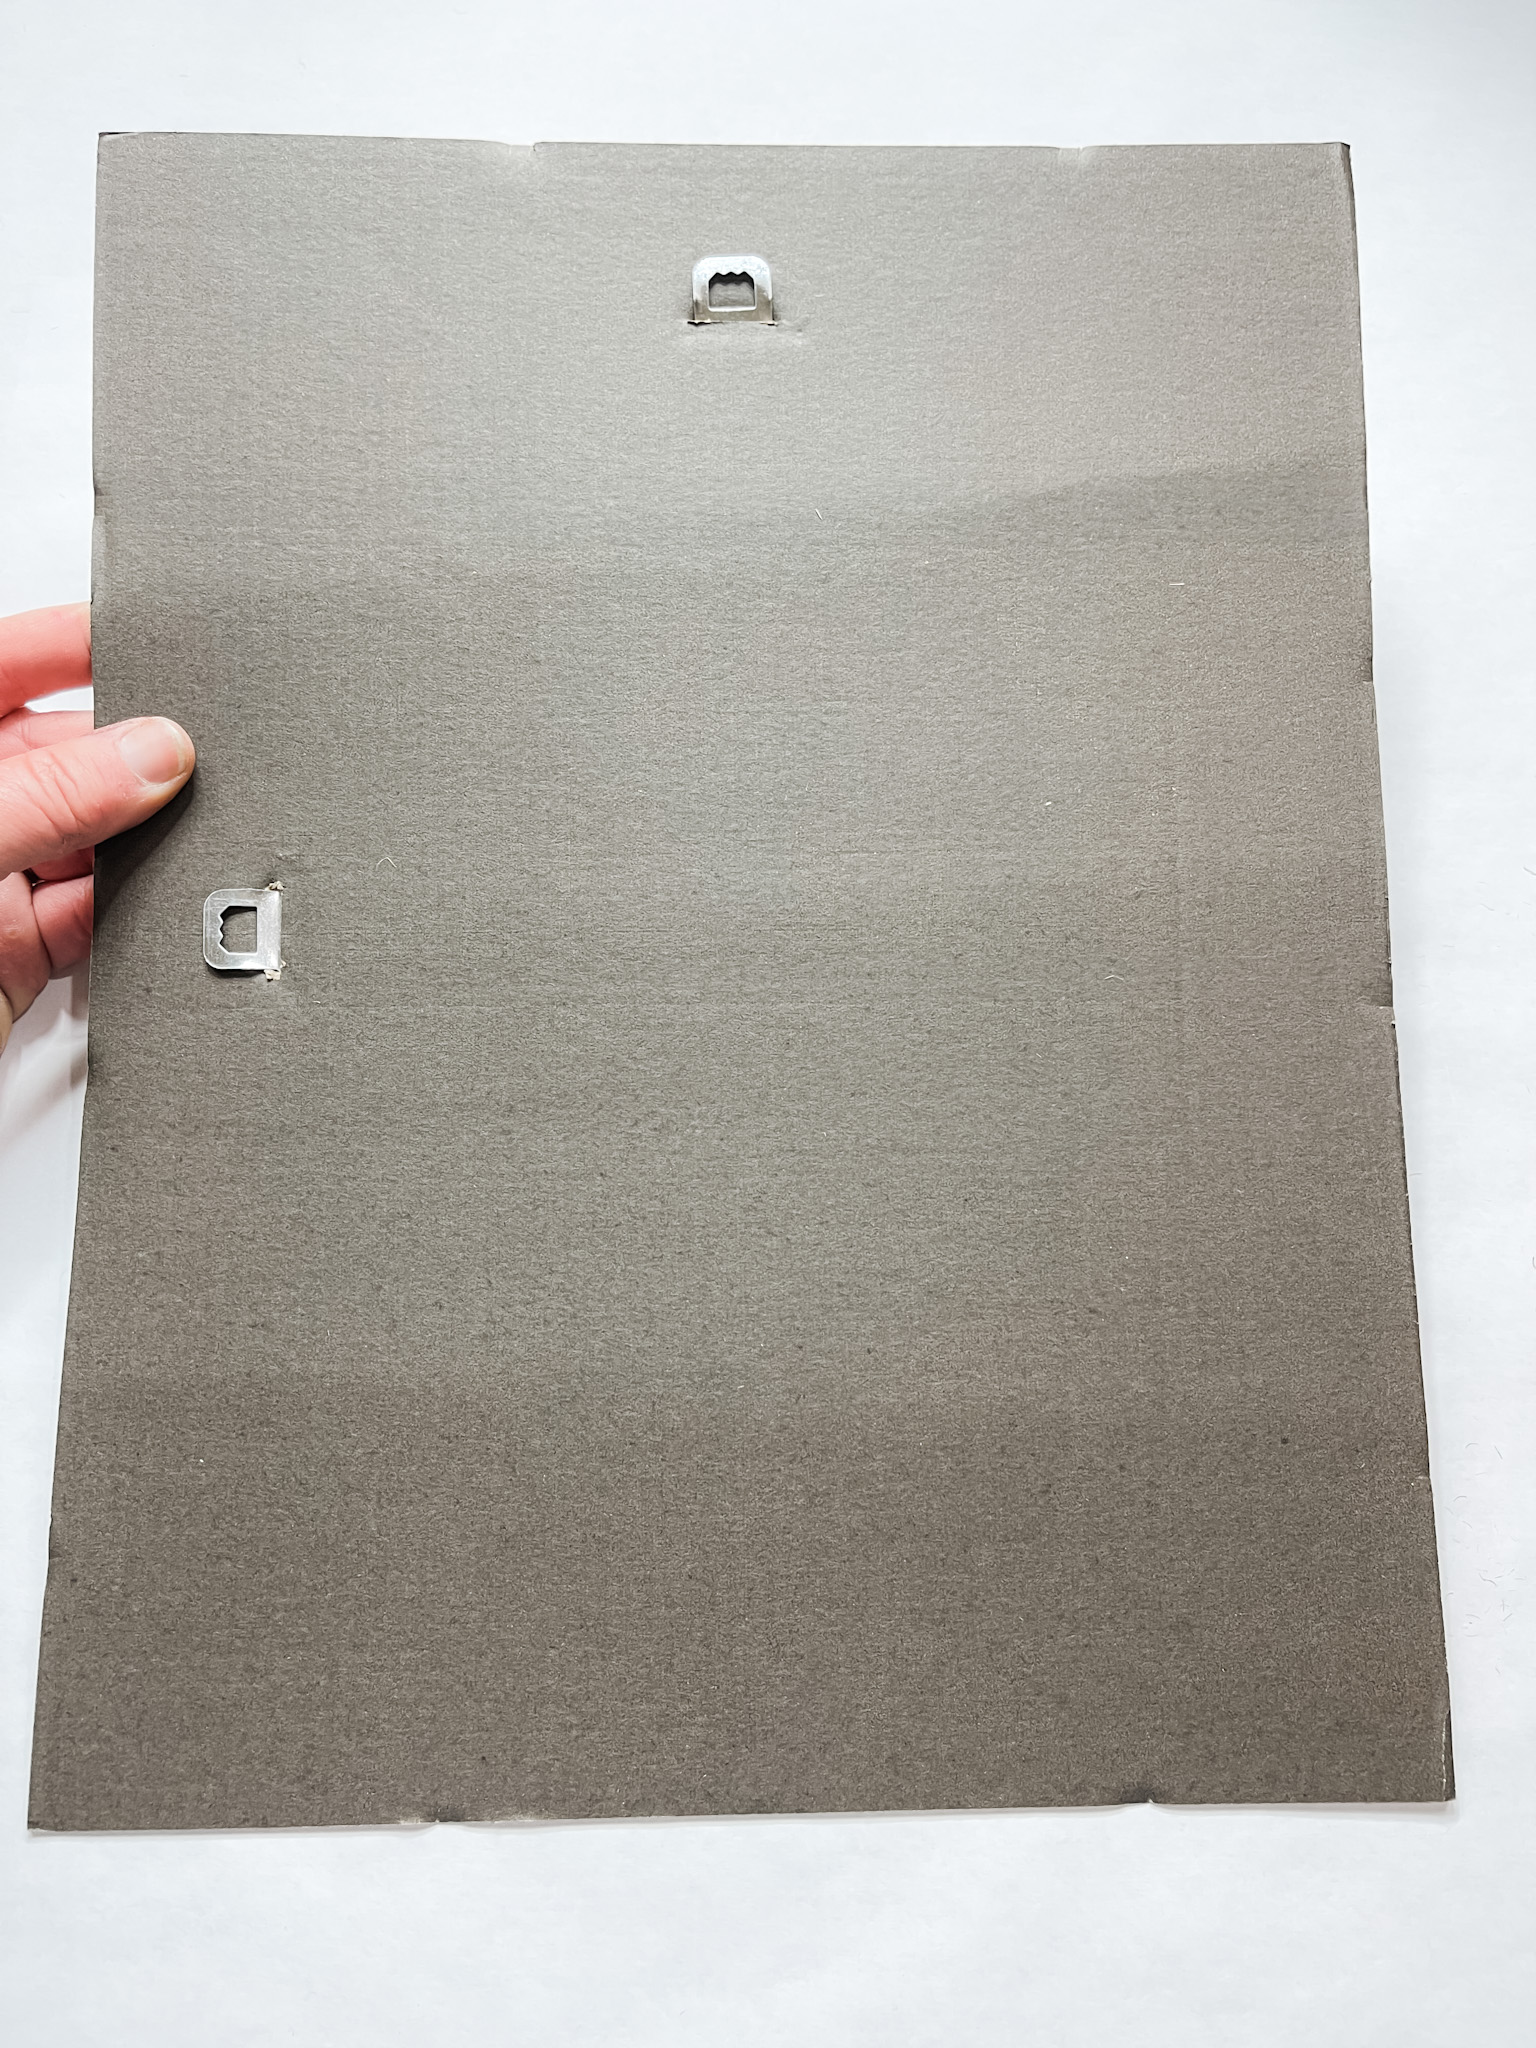
- Cardboard/Picture Frame backing
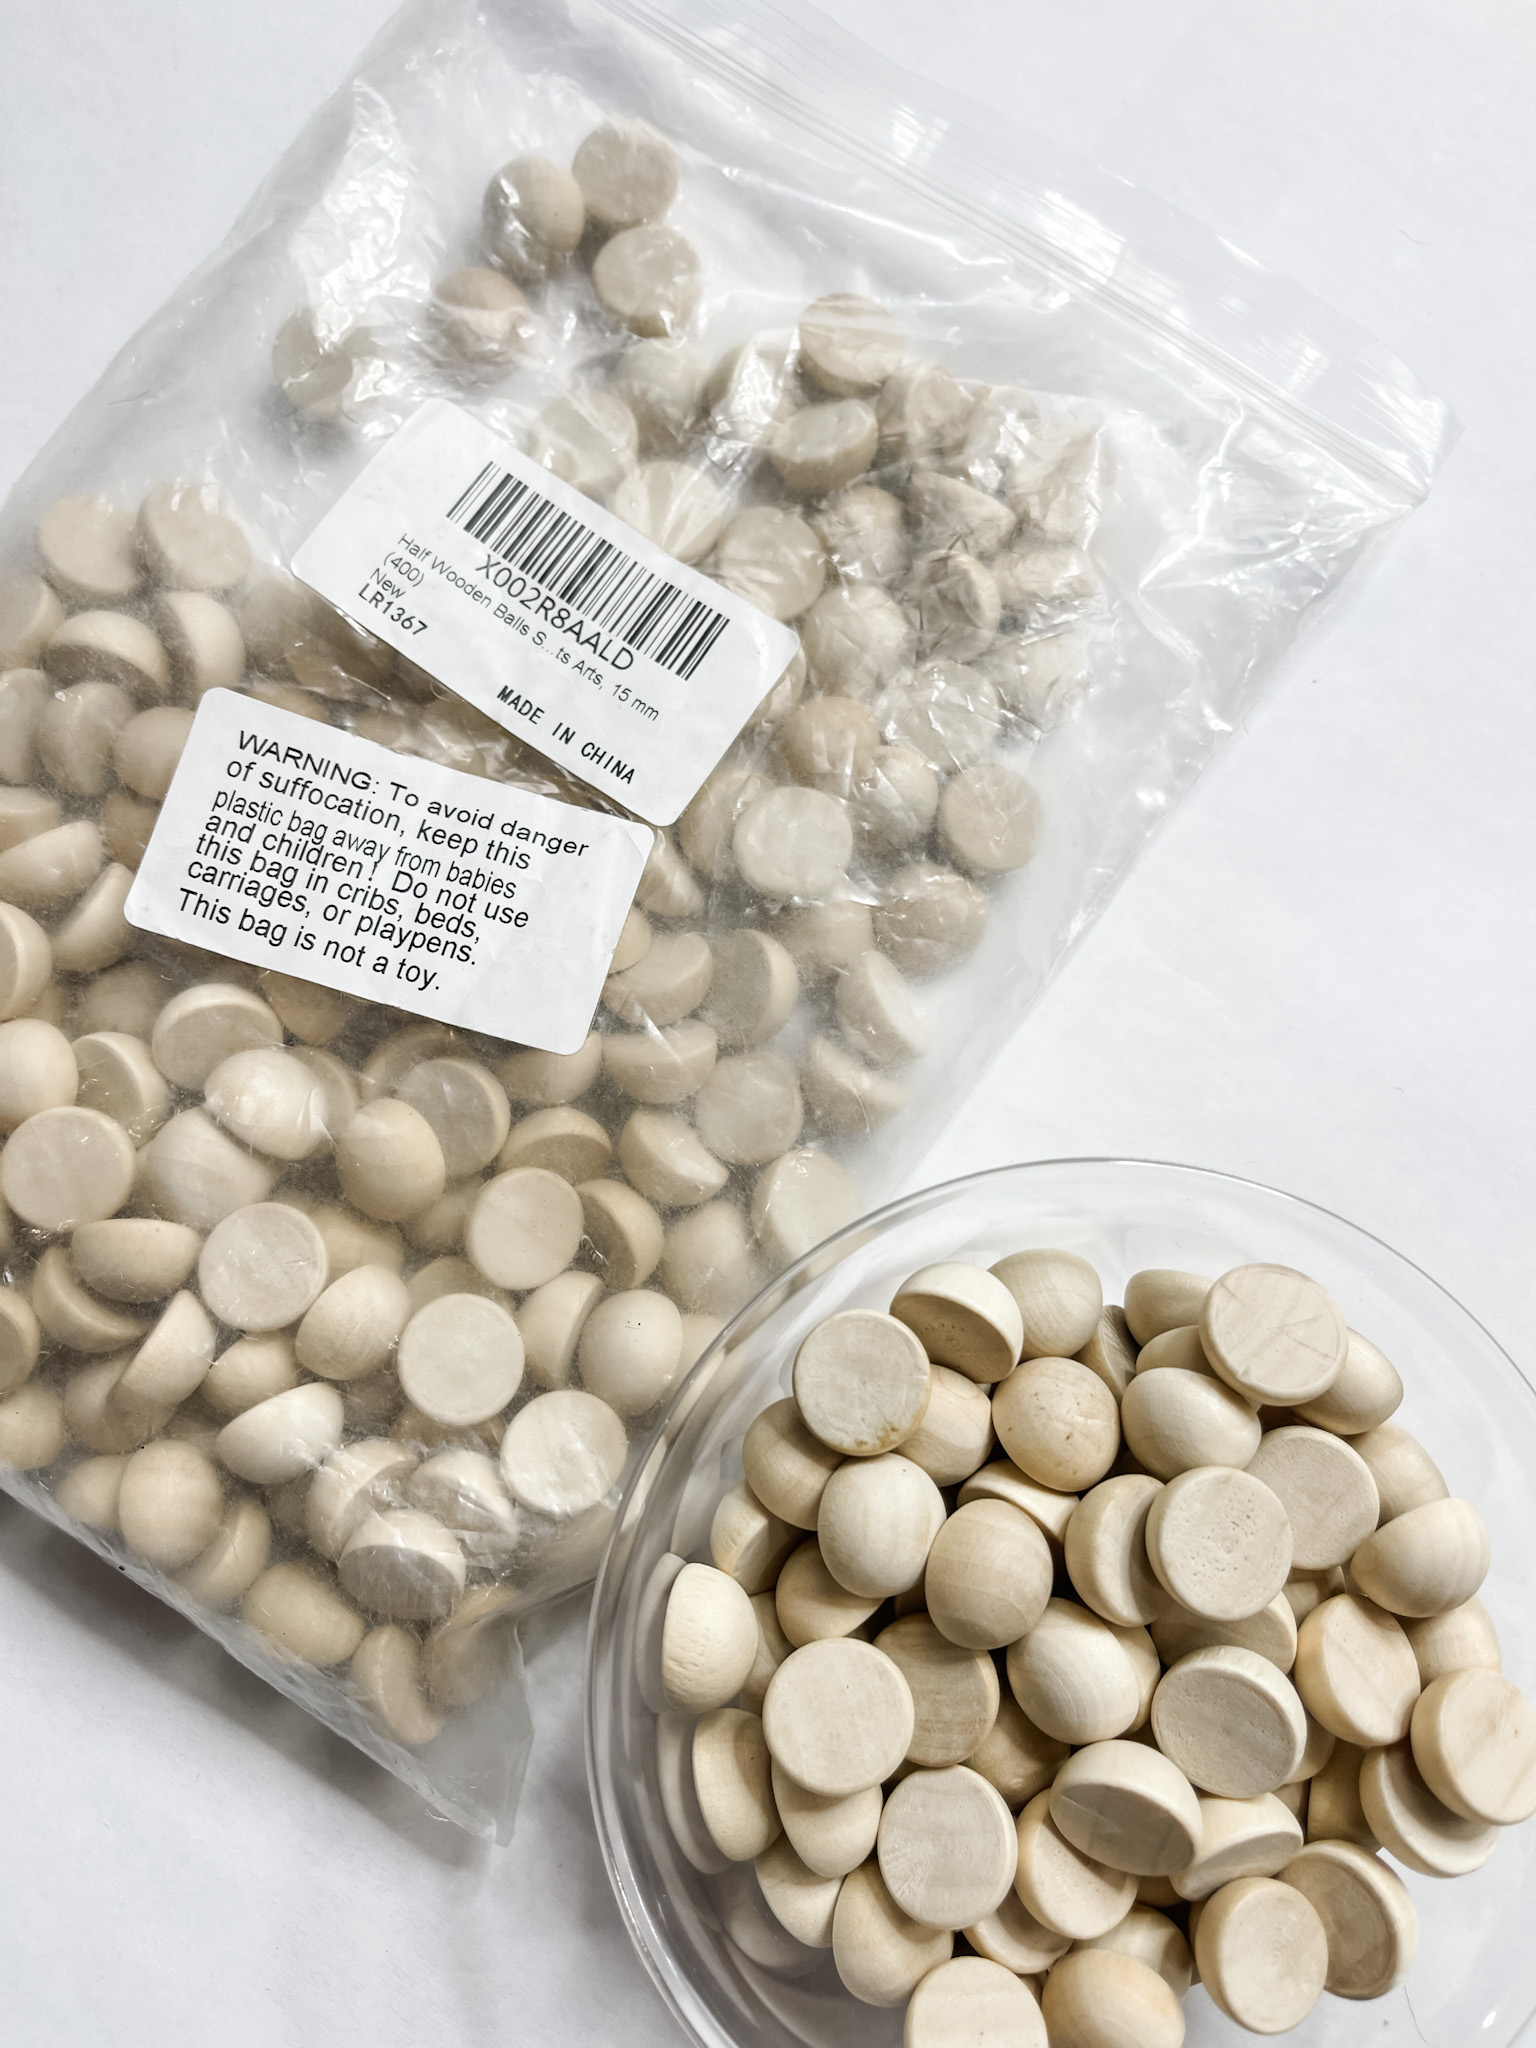
- Half wood beads
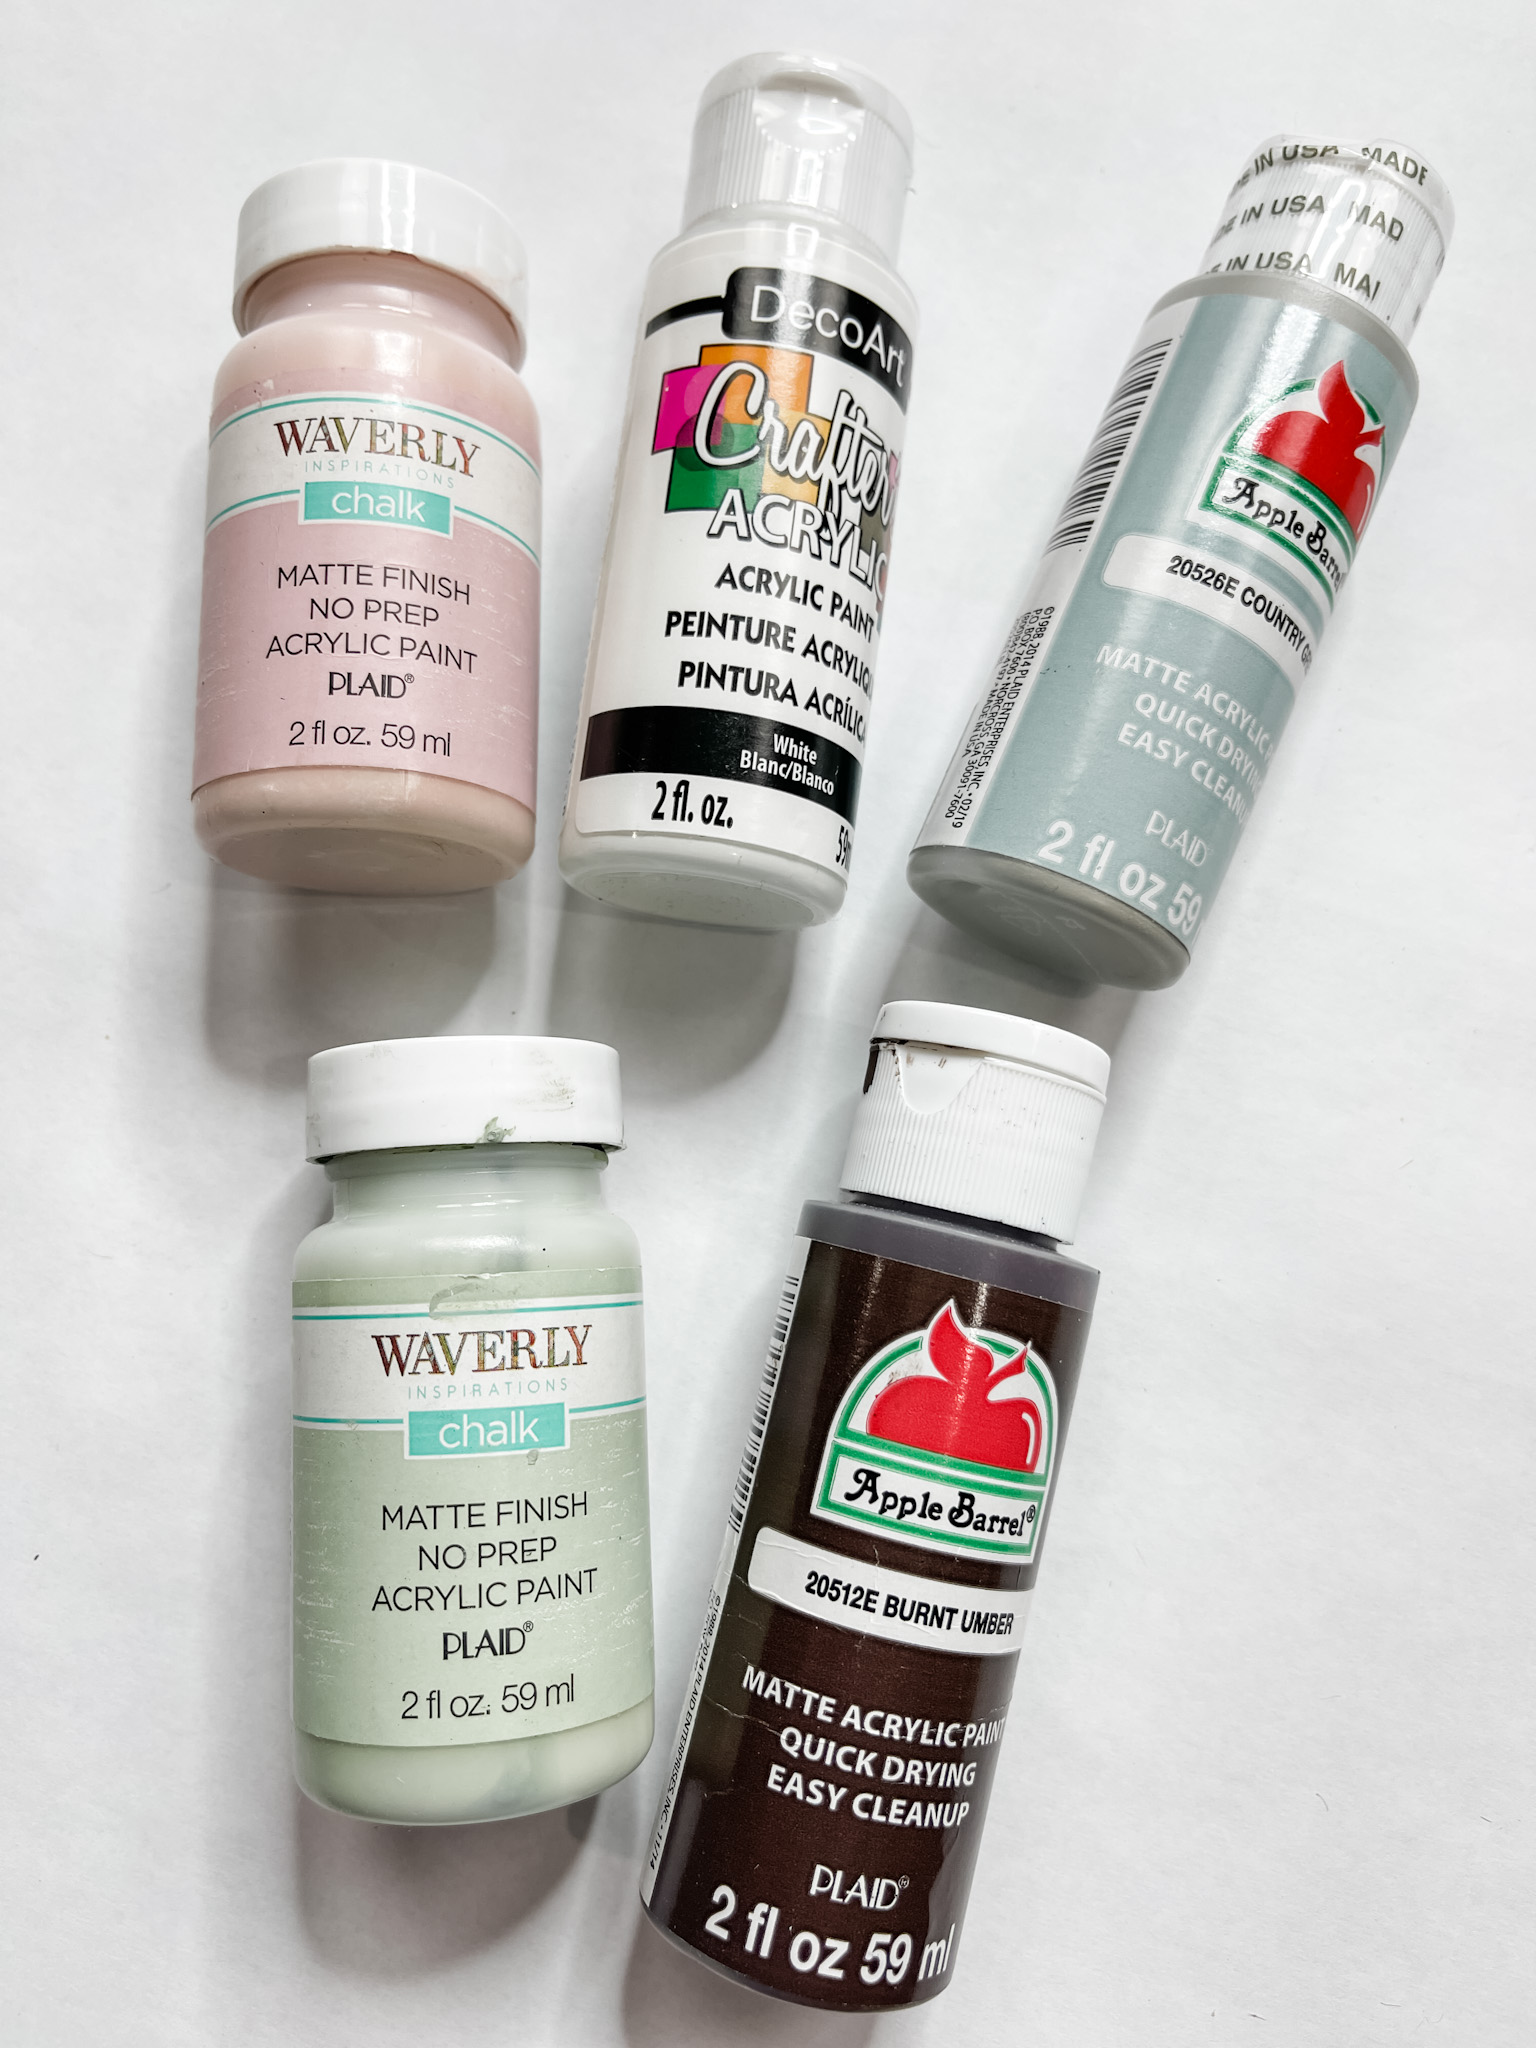
- Apple Barrel Burnt Umber Acrylic Paint
- Apple Barrel Country Grey
- Waverly Celery Chalk Paint
- Waverly Ballet Slipper Chalk Paint
- DecoArt White Acrylic Paint
- Hot Glue gun
- Glue Sticks
How to Make a Neutral Shiplap Bunnies Decor
I started this absolutely adorable neutral Easter decor craft by removing the mesh screen from its wooden frame. Then, I glued the cardboard picture frame backing to the back of the frame.
Then, I flipped the wooden frame over and glued half wood beads around the front of the frame. Once all the beads were secured in place, I stained the frame and beads brown.
To stain the wood, I mixed some brown paint and water together in a small bowl and used a paintbrush to spread the mixture onto the frame and beads.
Then, I wiped the excess paint/water mixture off with a wet wipe. I used my heat gun to quickly dry the frame and beads, then brush the Waverly celery chalk paint over the brown stain.
Keep a light hand and you’ll be able to see the brown stain slightly showing through the pastel green paint.
Next, I dry brushed white paint across the cardboard picture frame backing. If you use regular cardboard, I would recommend painting it black before applying the white paint.
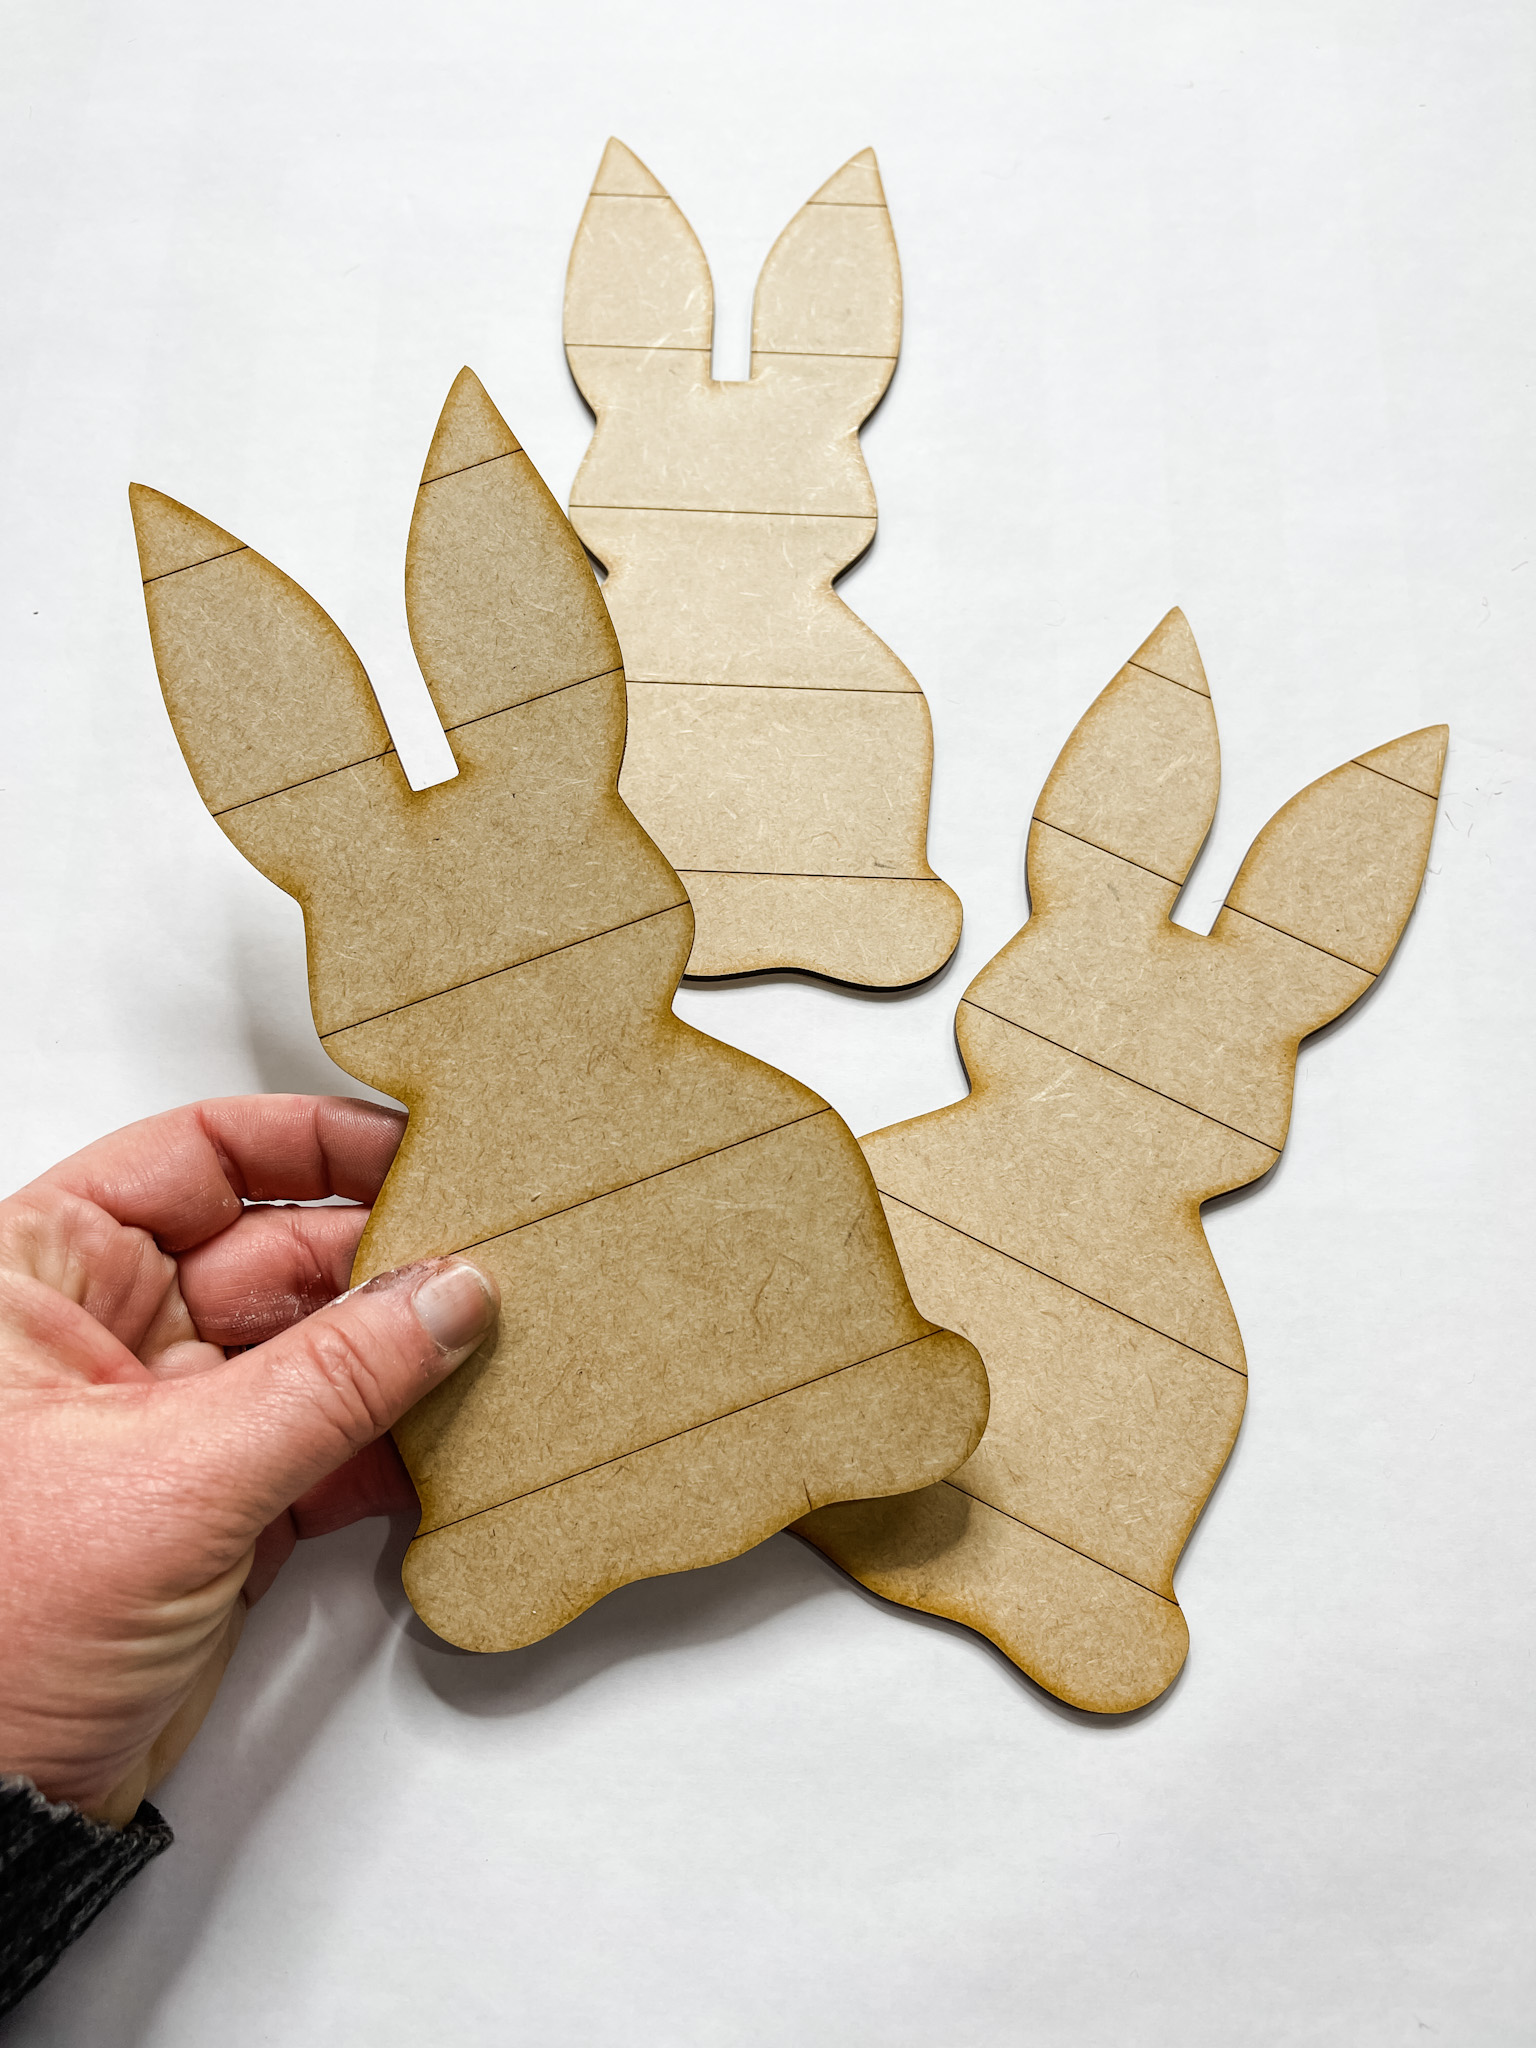
Shiplap Bunnies Craft Kit
Alright, next up I worked on the shiplap bunnies craft kit! I started by sanding each of the three bunnies with a sanding sponge to make sure they had a smooth surface.
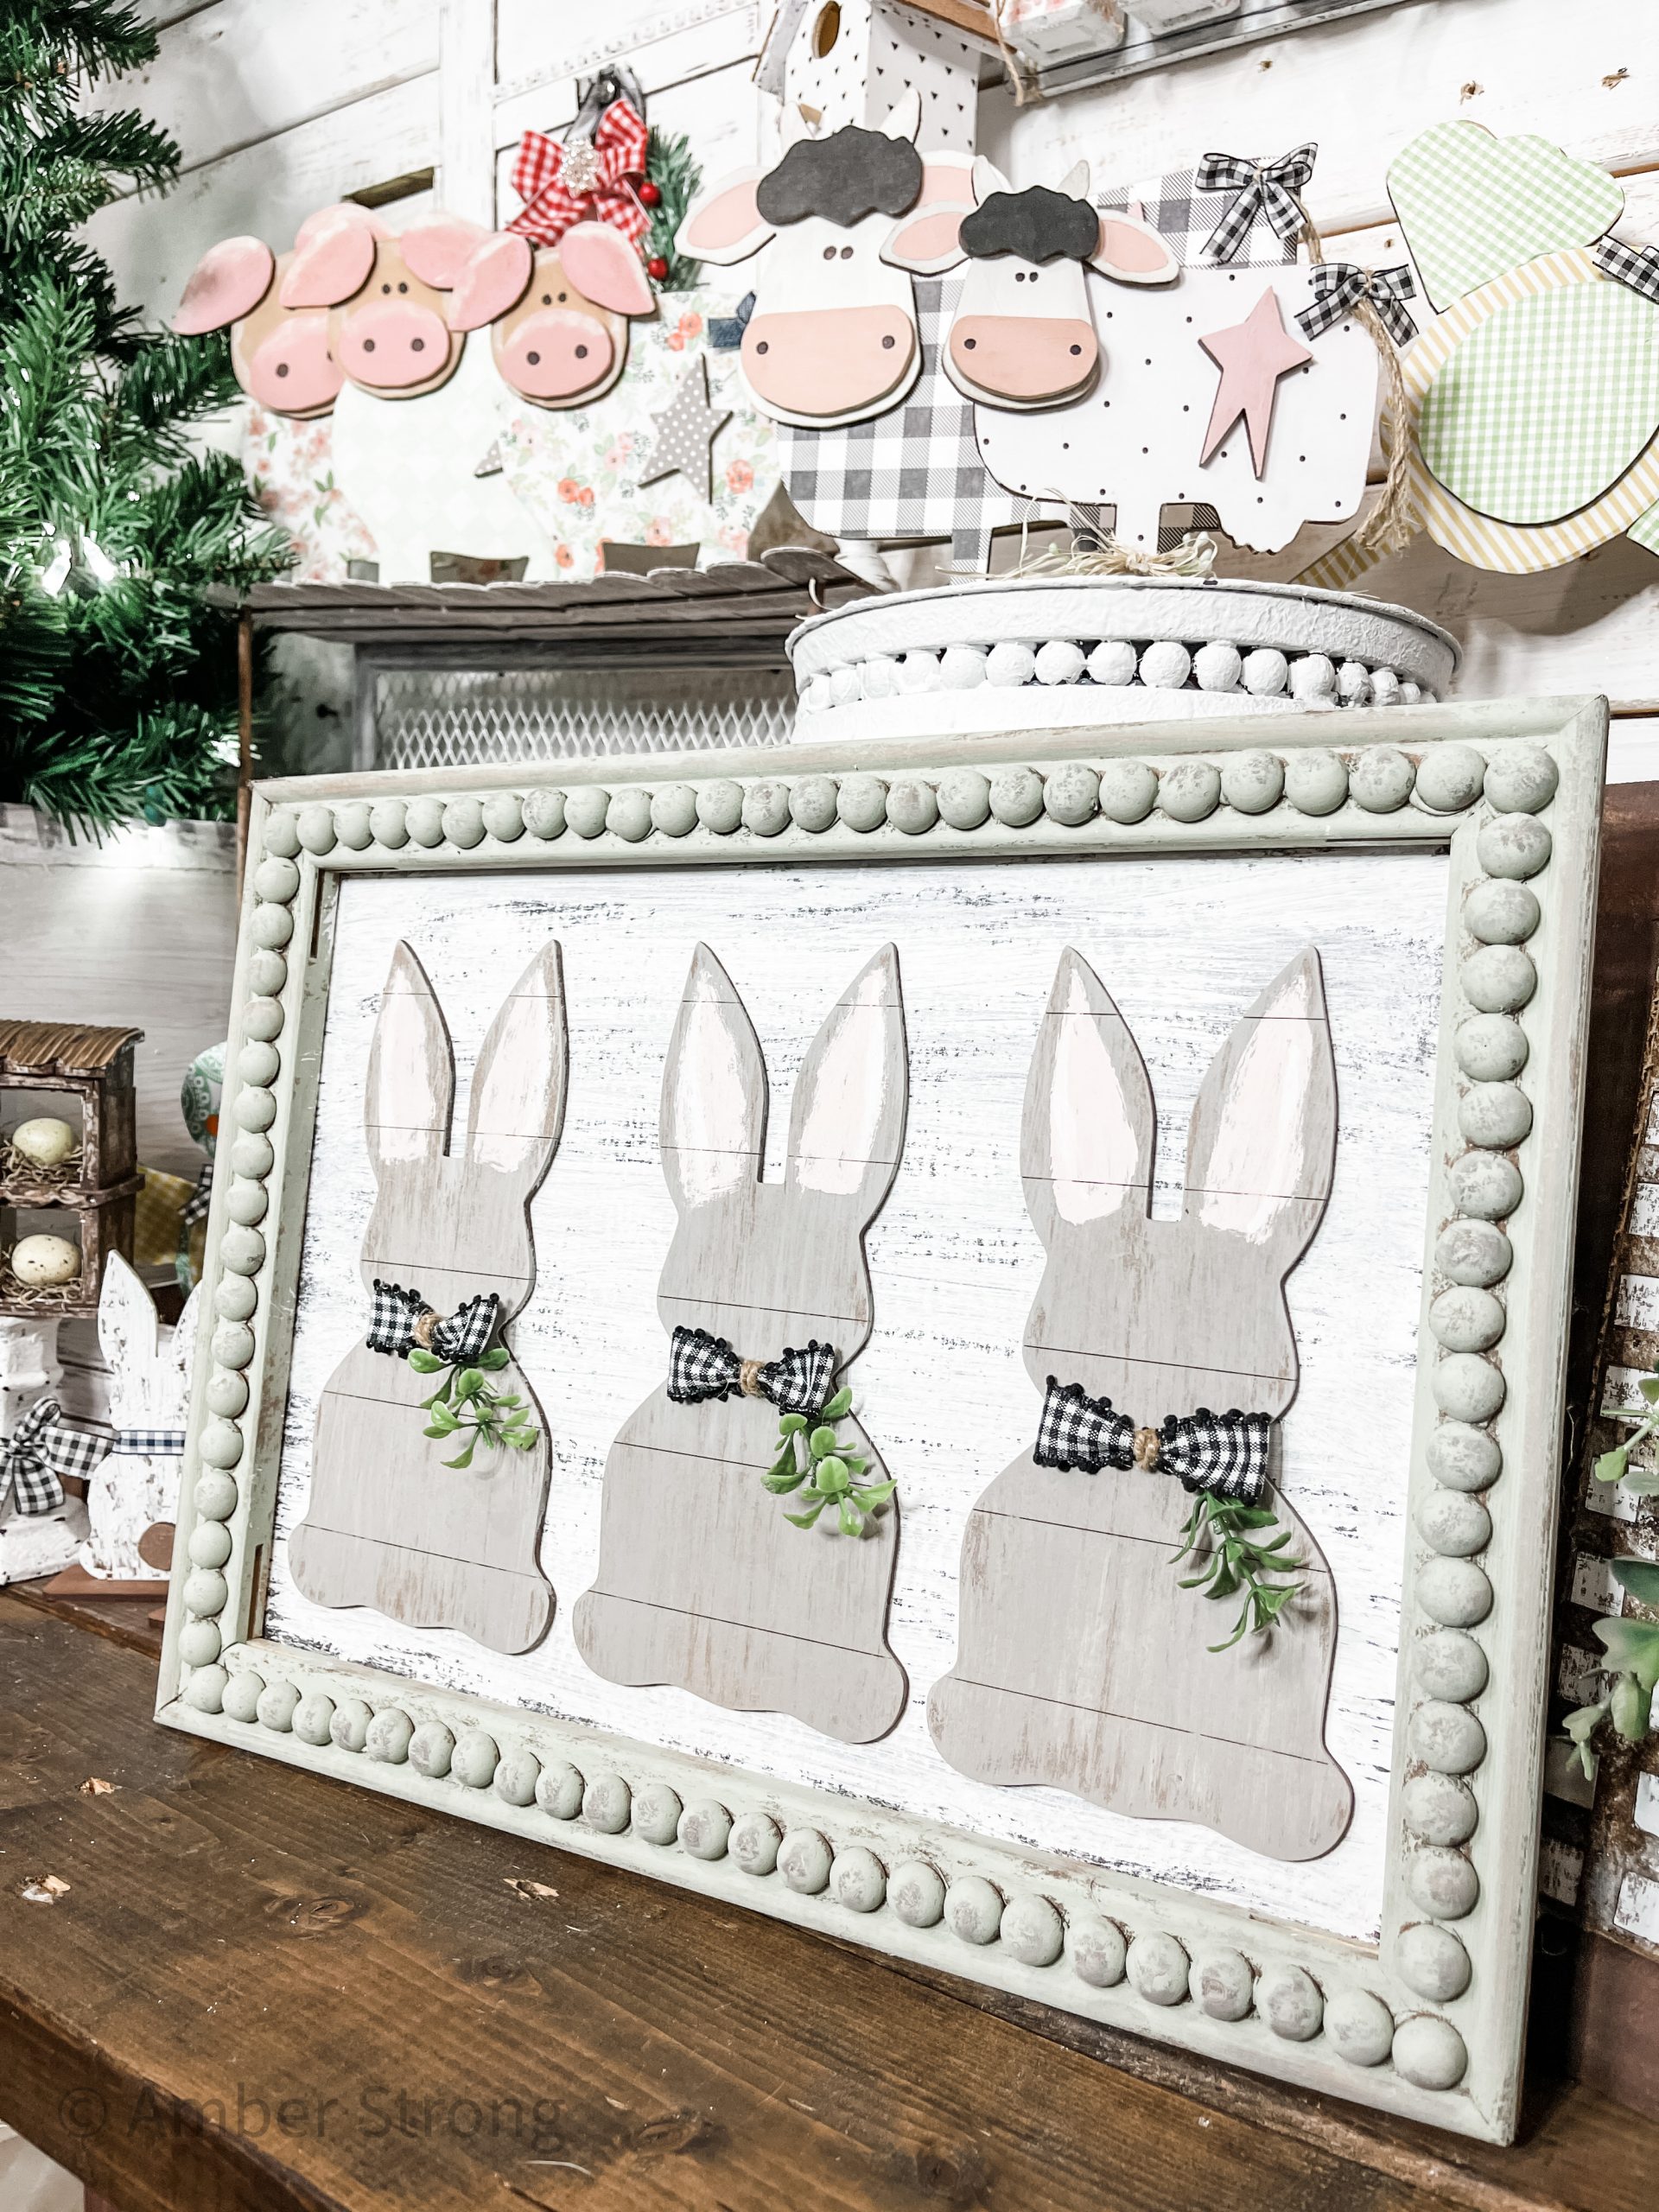
Then, I stained each of the three shiplap bunnies with brown paint and water. Allow the brown stain to dry completely, then dry brush the grey acrylic paint vertically on each bunny.
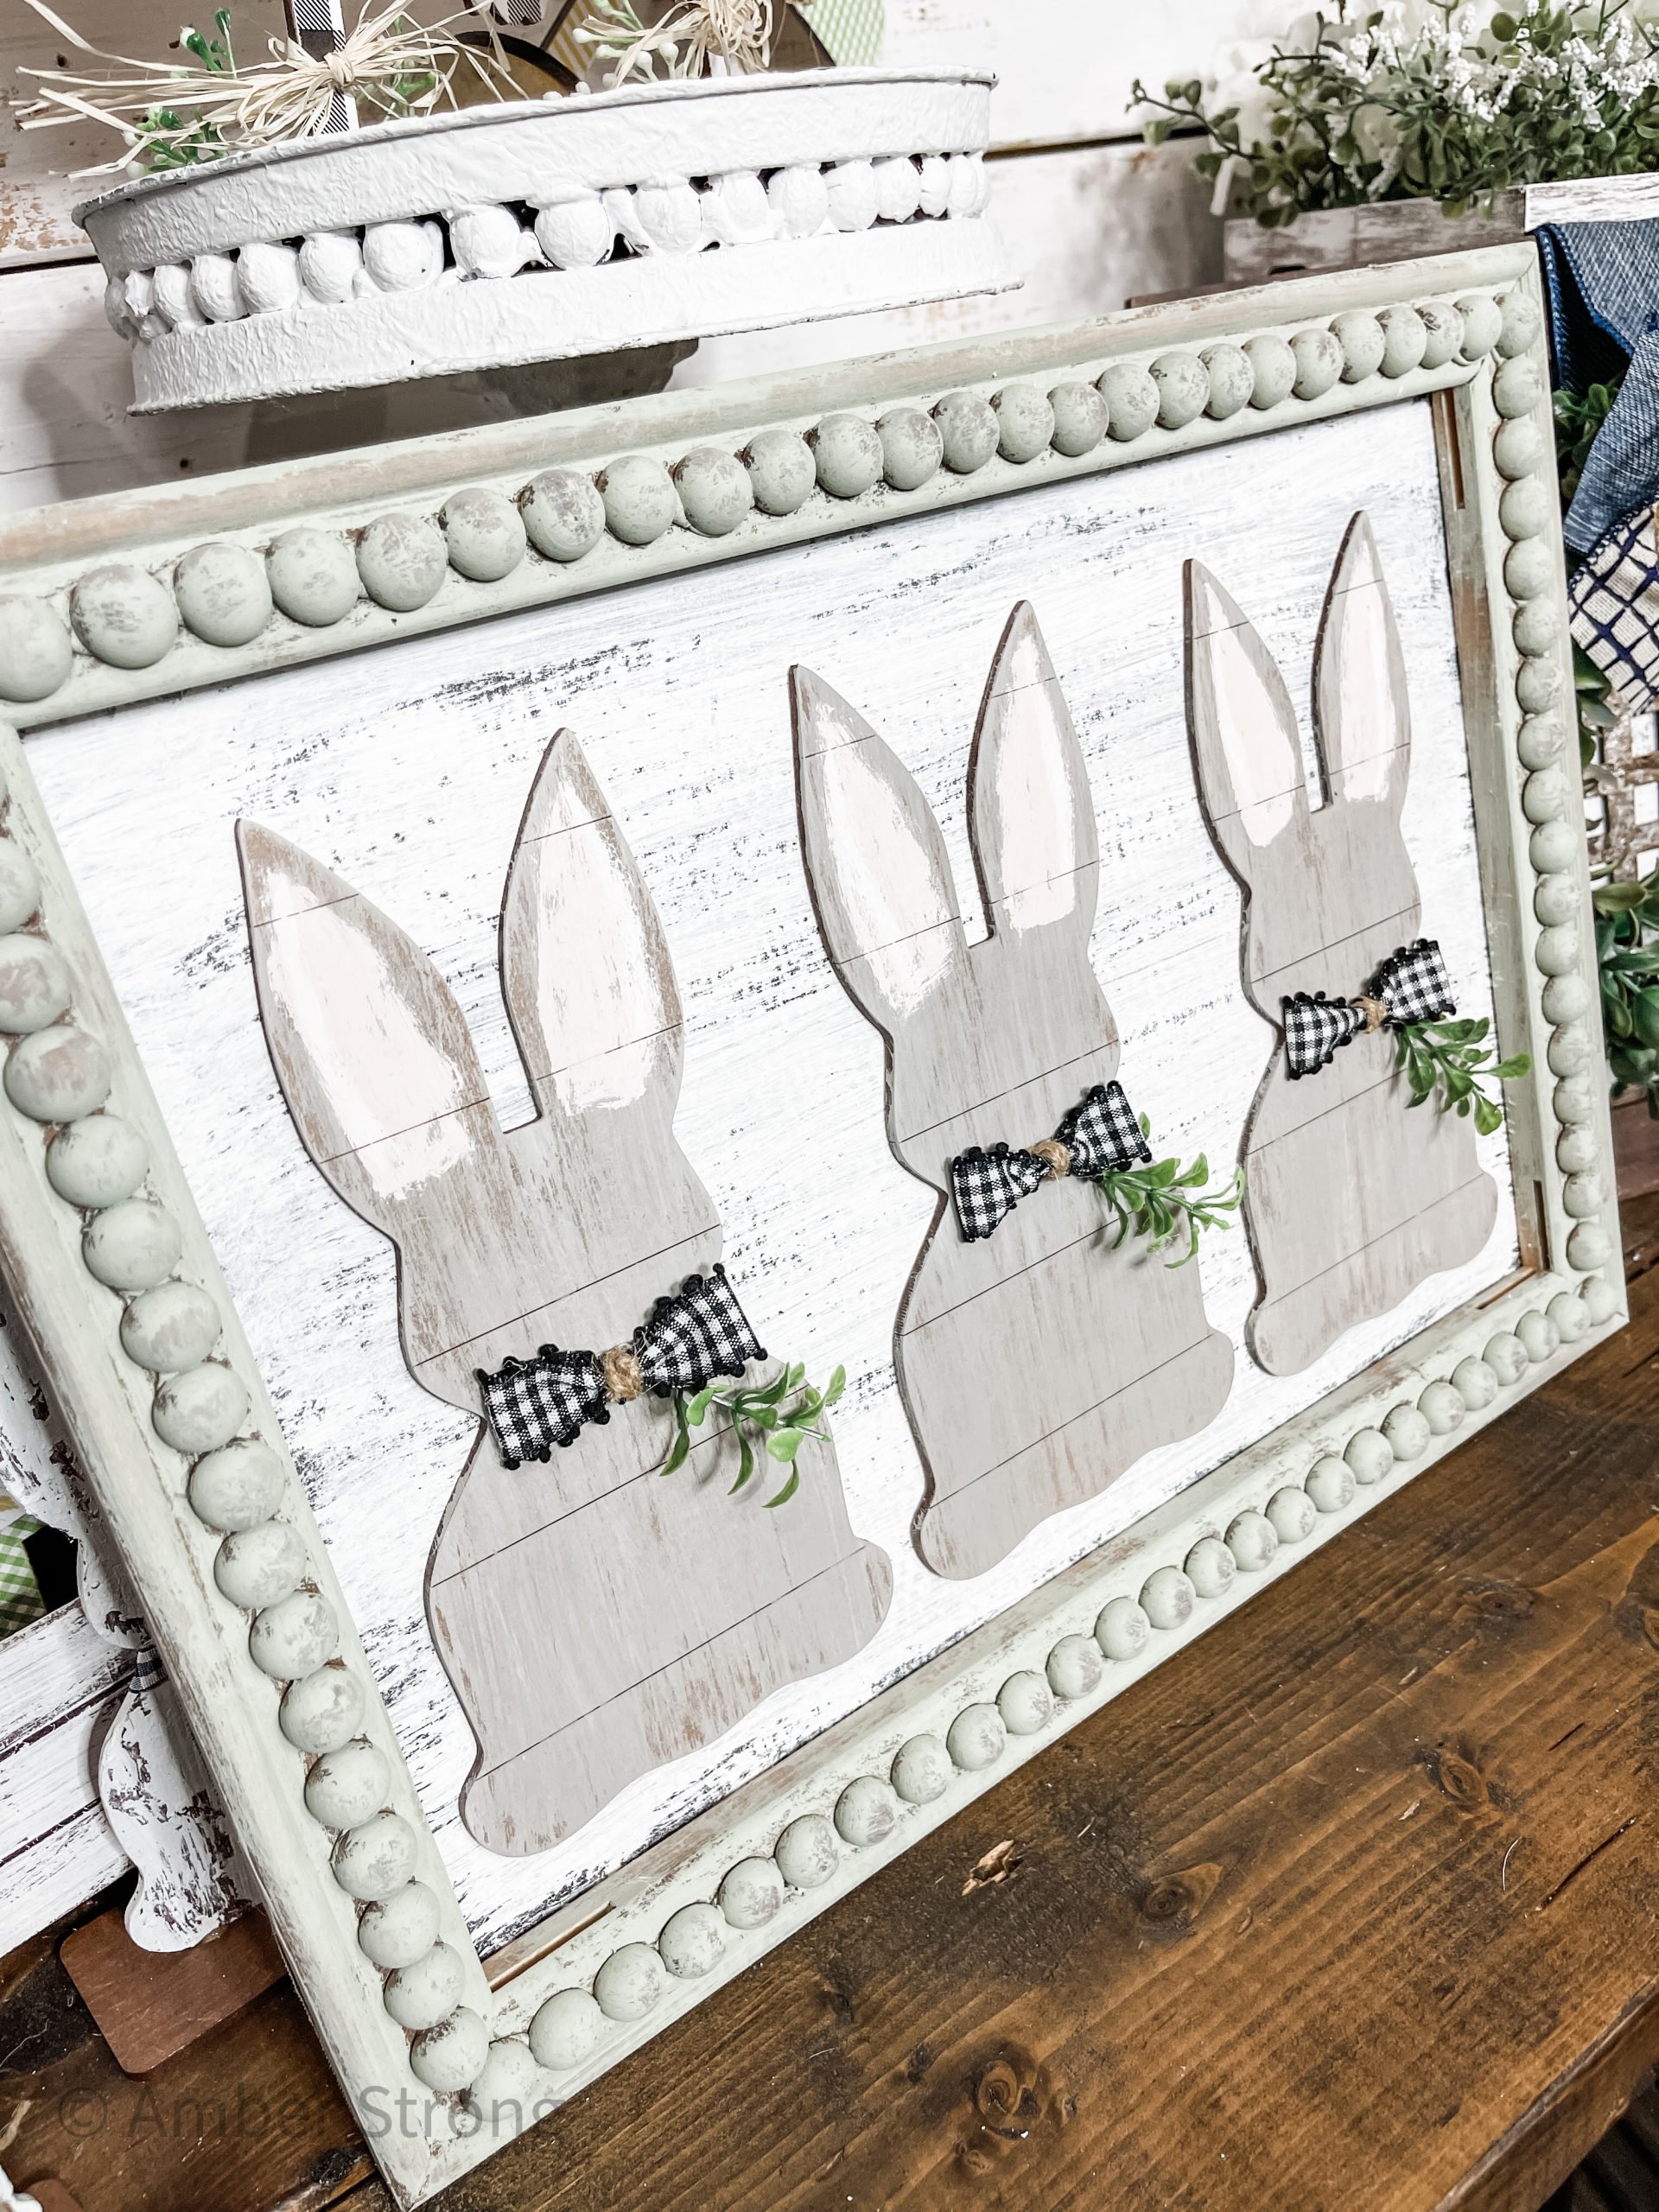
Keep a light hand when applying the grey paint so you can see the brown stain showing through slightly. This gives you the rustic, distressed finish on the bunnies.
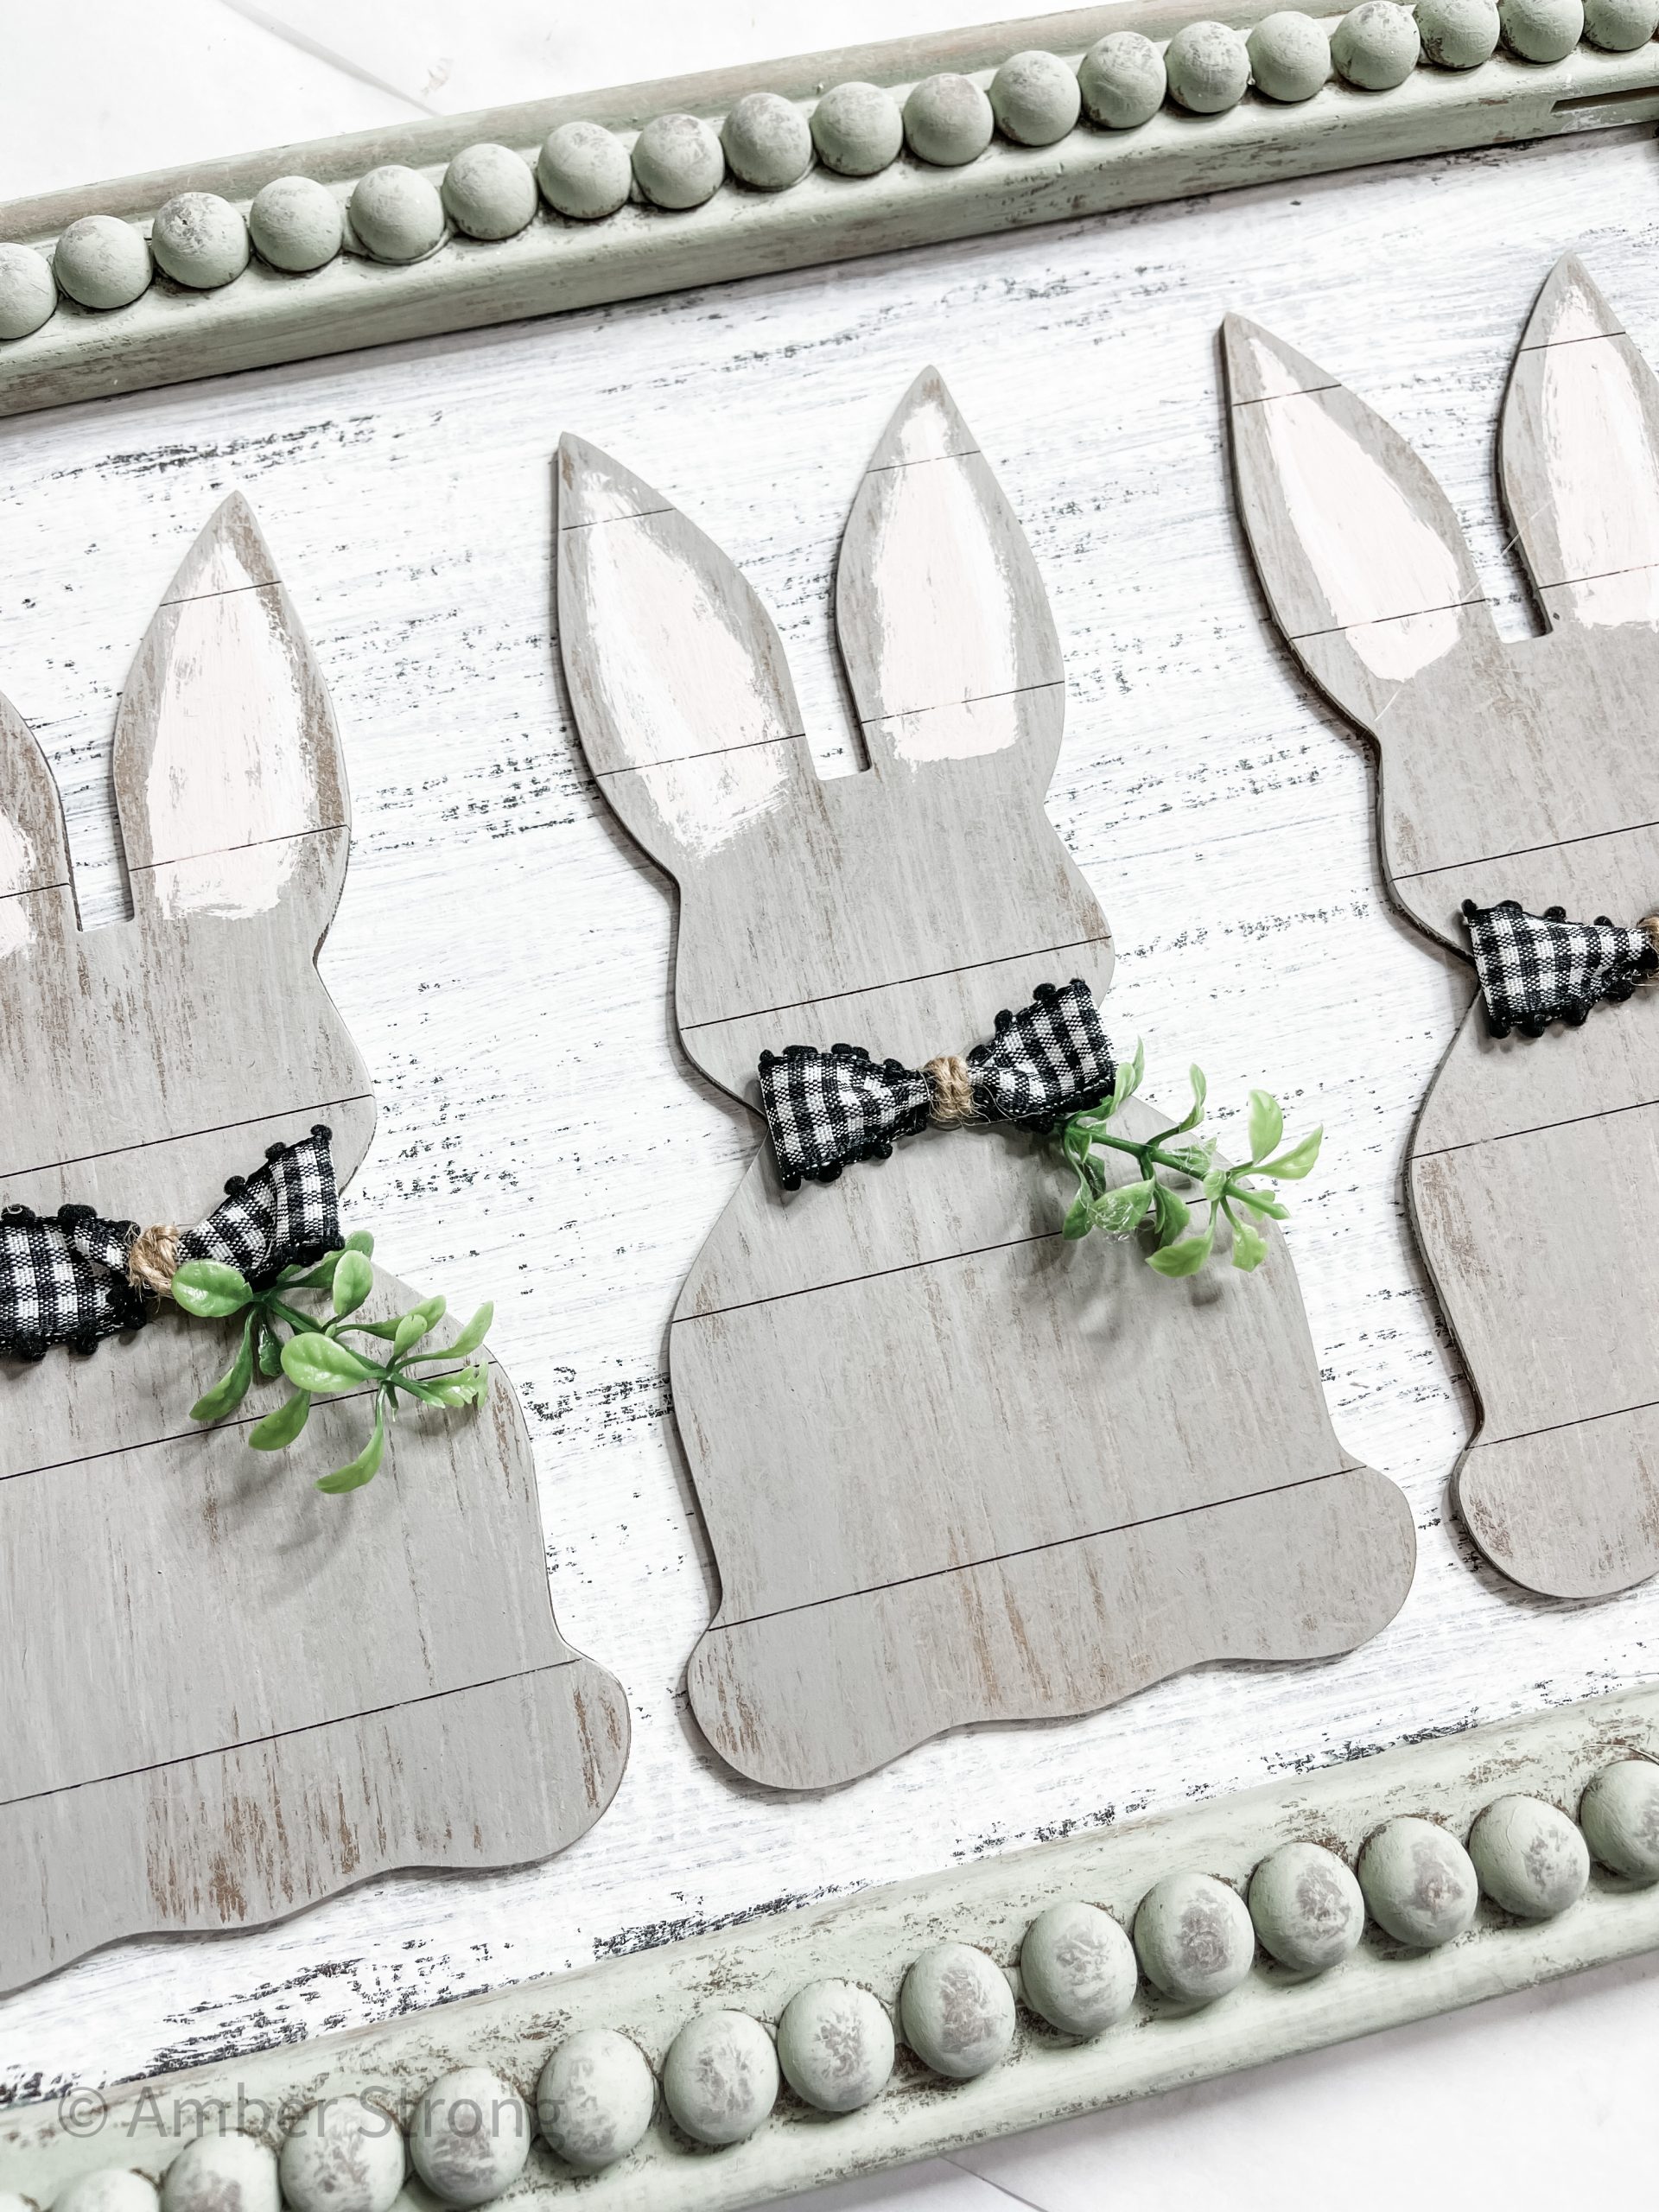
Once the grey paint was dry, I mixed a bit of Waverly ballet slipper paint (pink) with white paint to get a very light pastel pink and painted the ears on each of the bunnies.
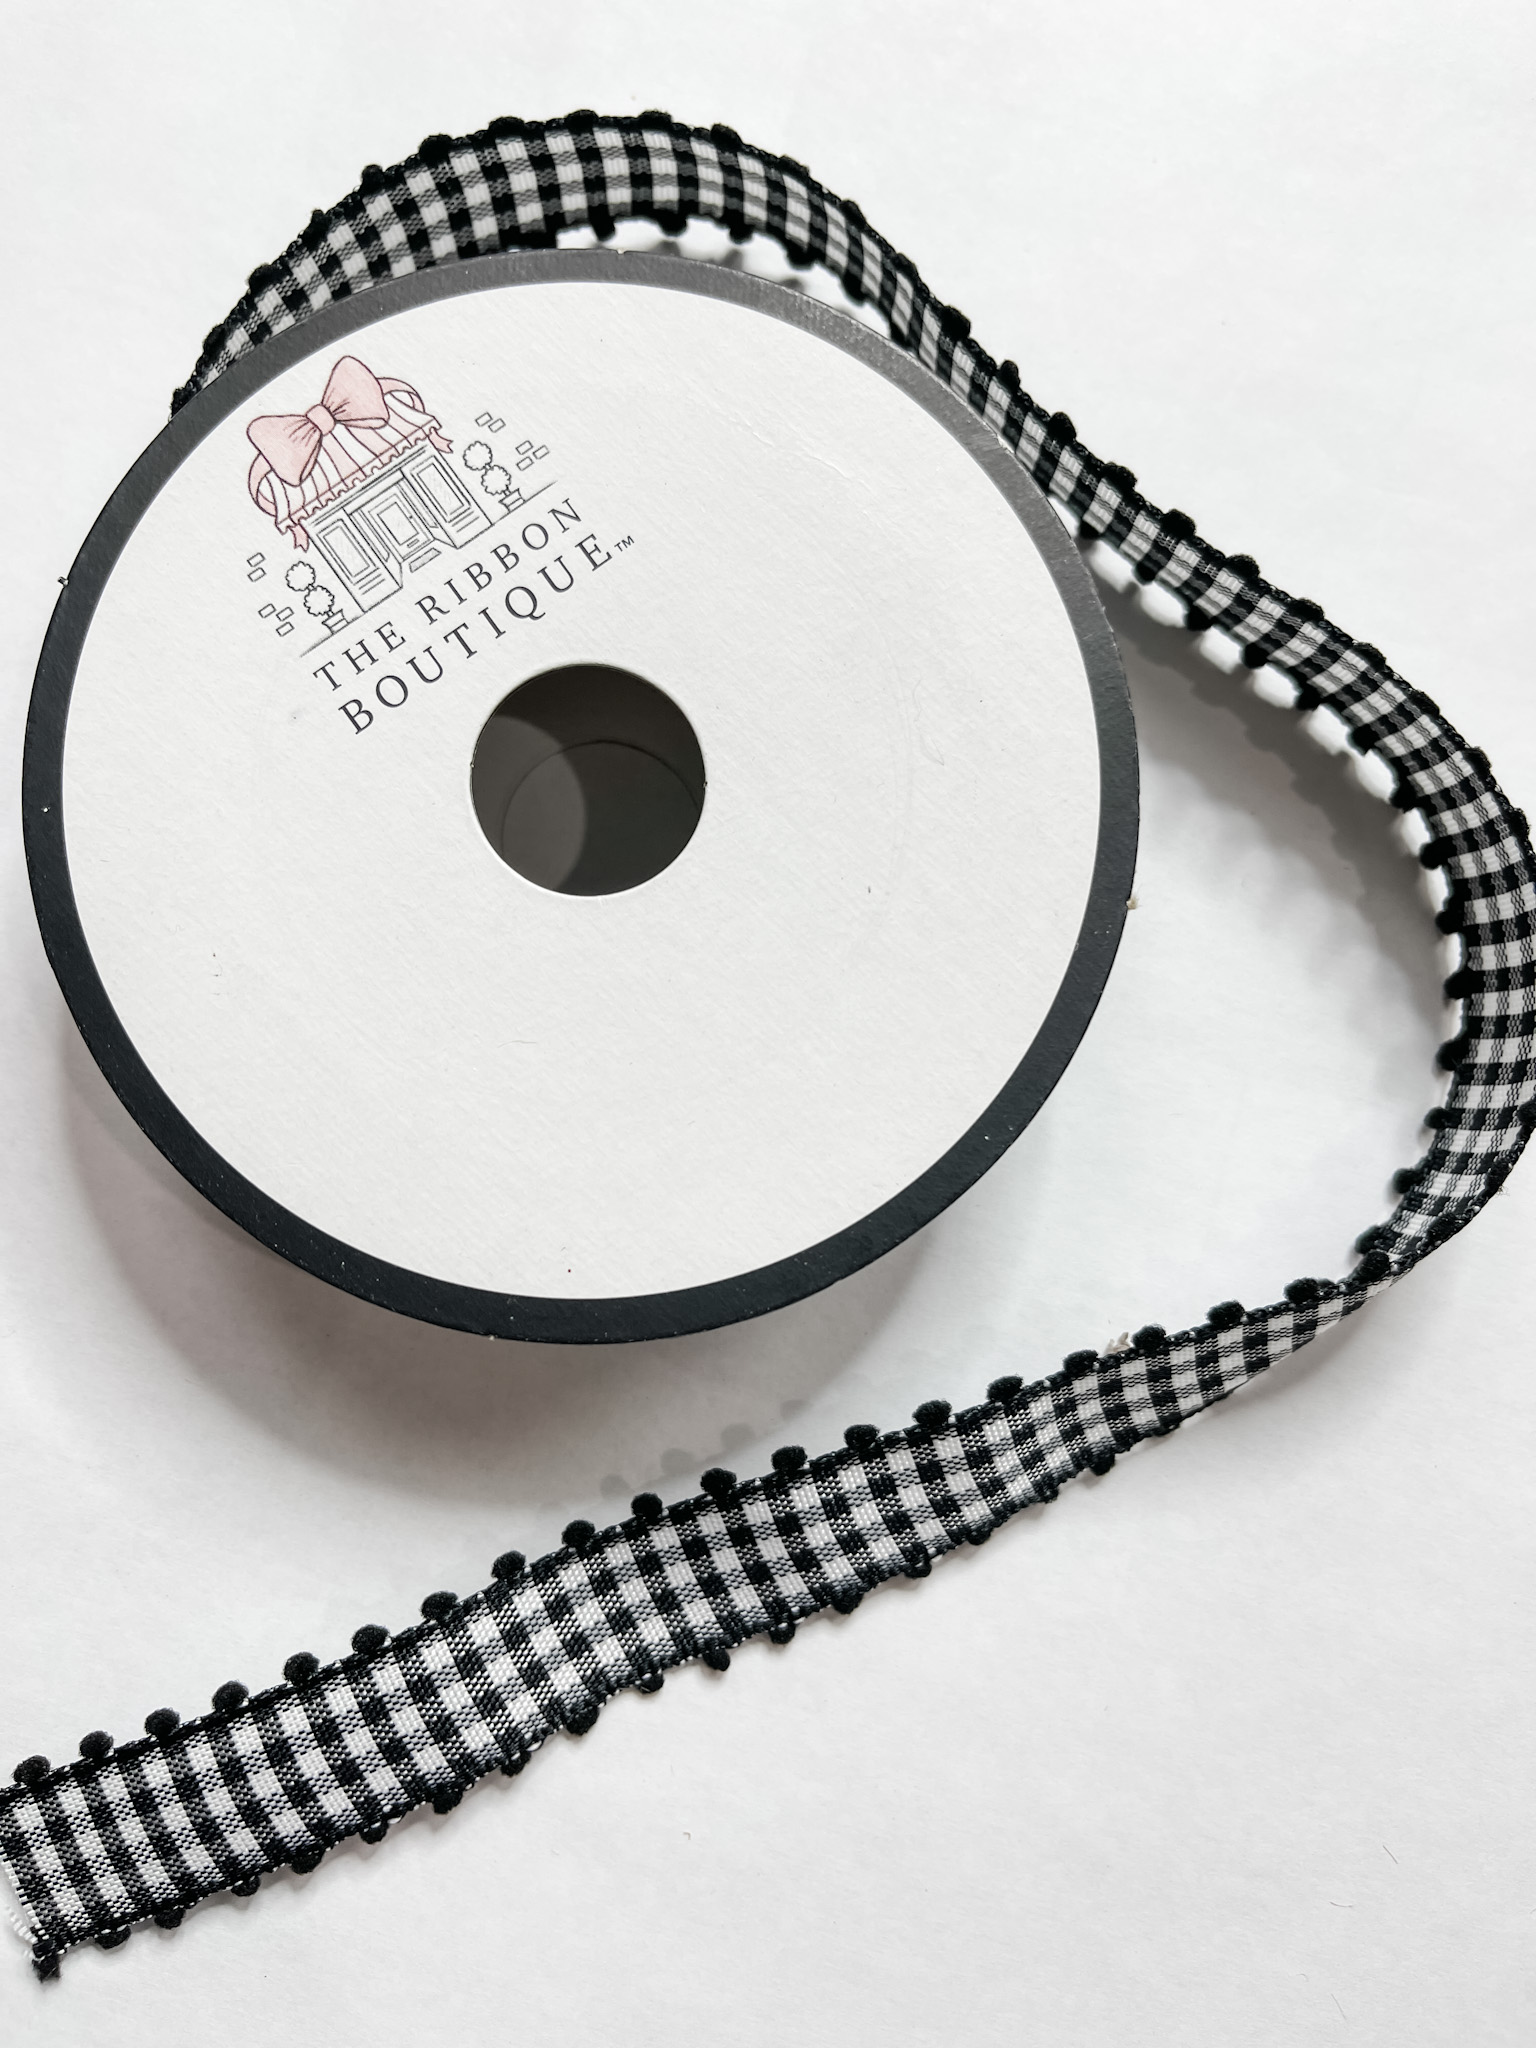
Next, I tied little bow ties out of the black buffalo check ribbon and jute twine and glued them on the necks of each of my shiplap bunnies.
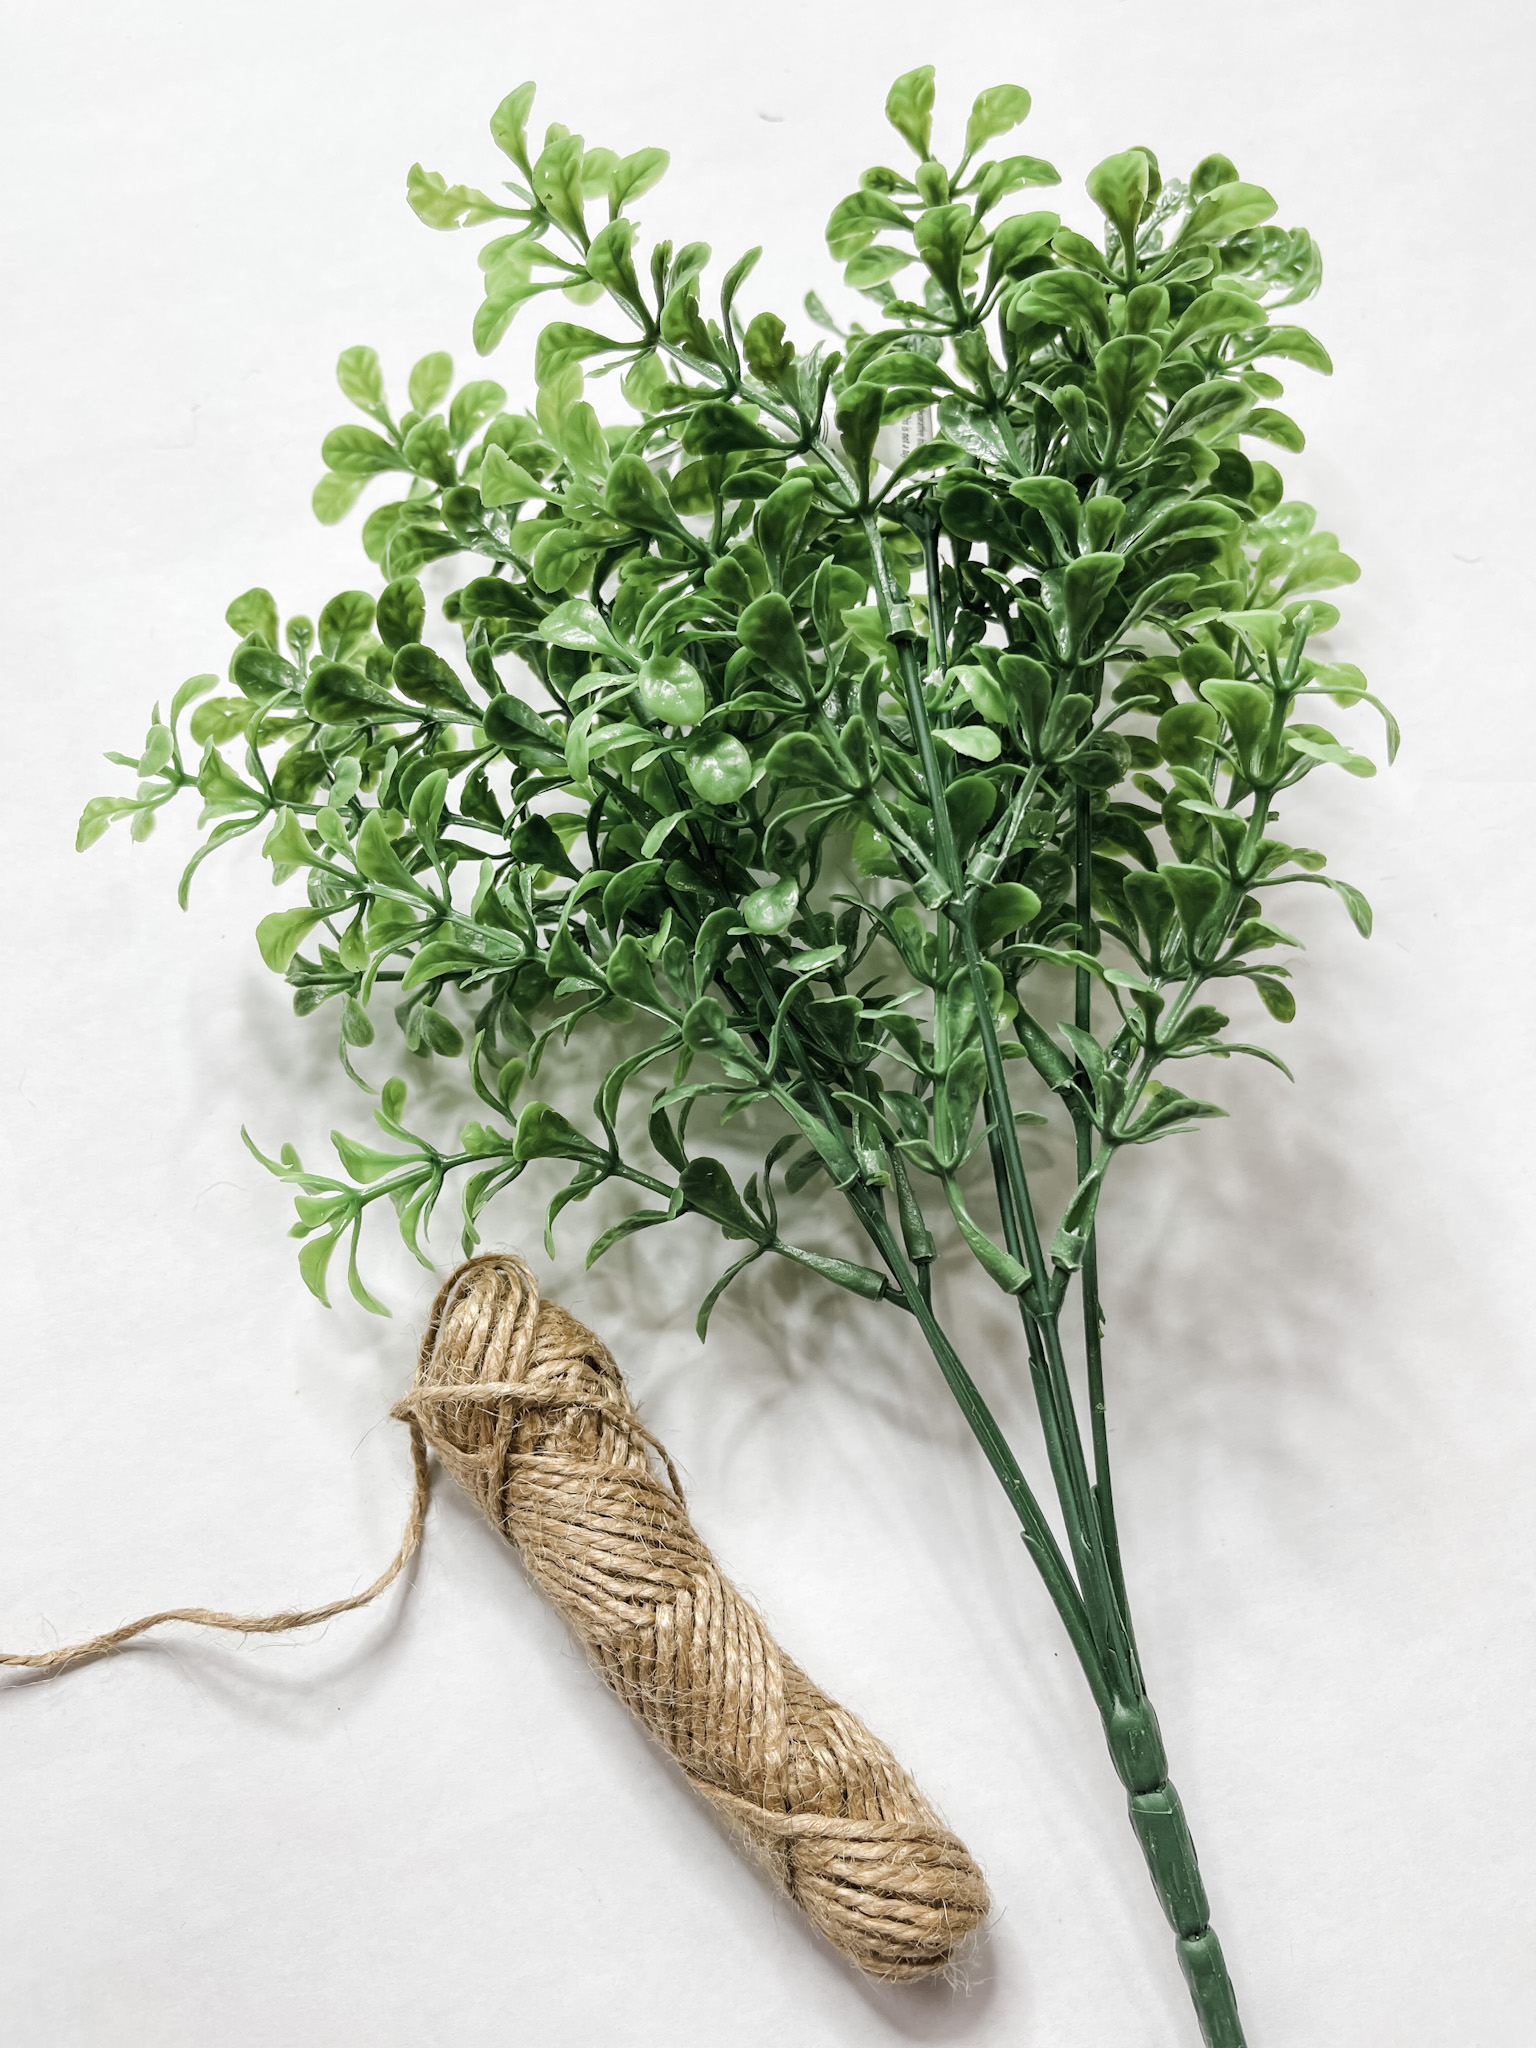
Lastly, I glued a small piece of greenery from underneath each of the bowties and glued each of the shiplap bunnies onto the framed sign.
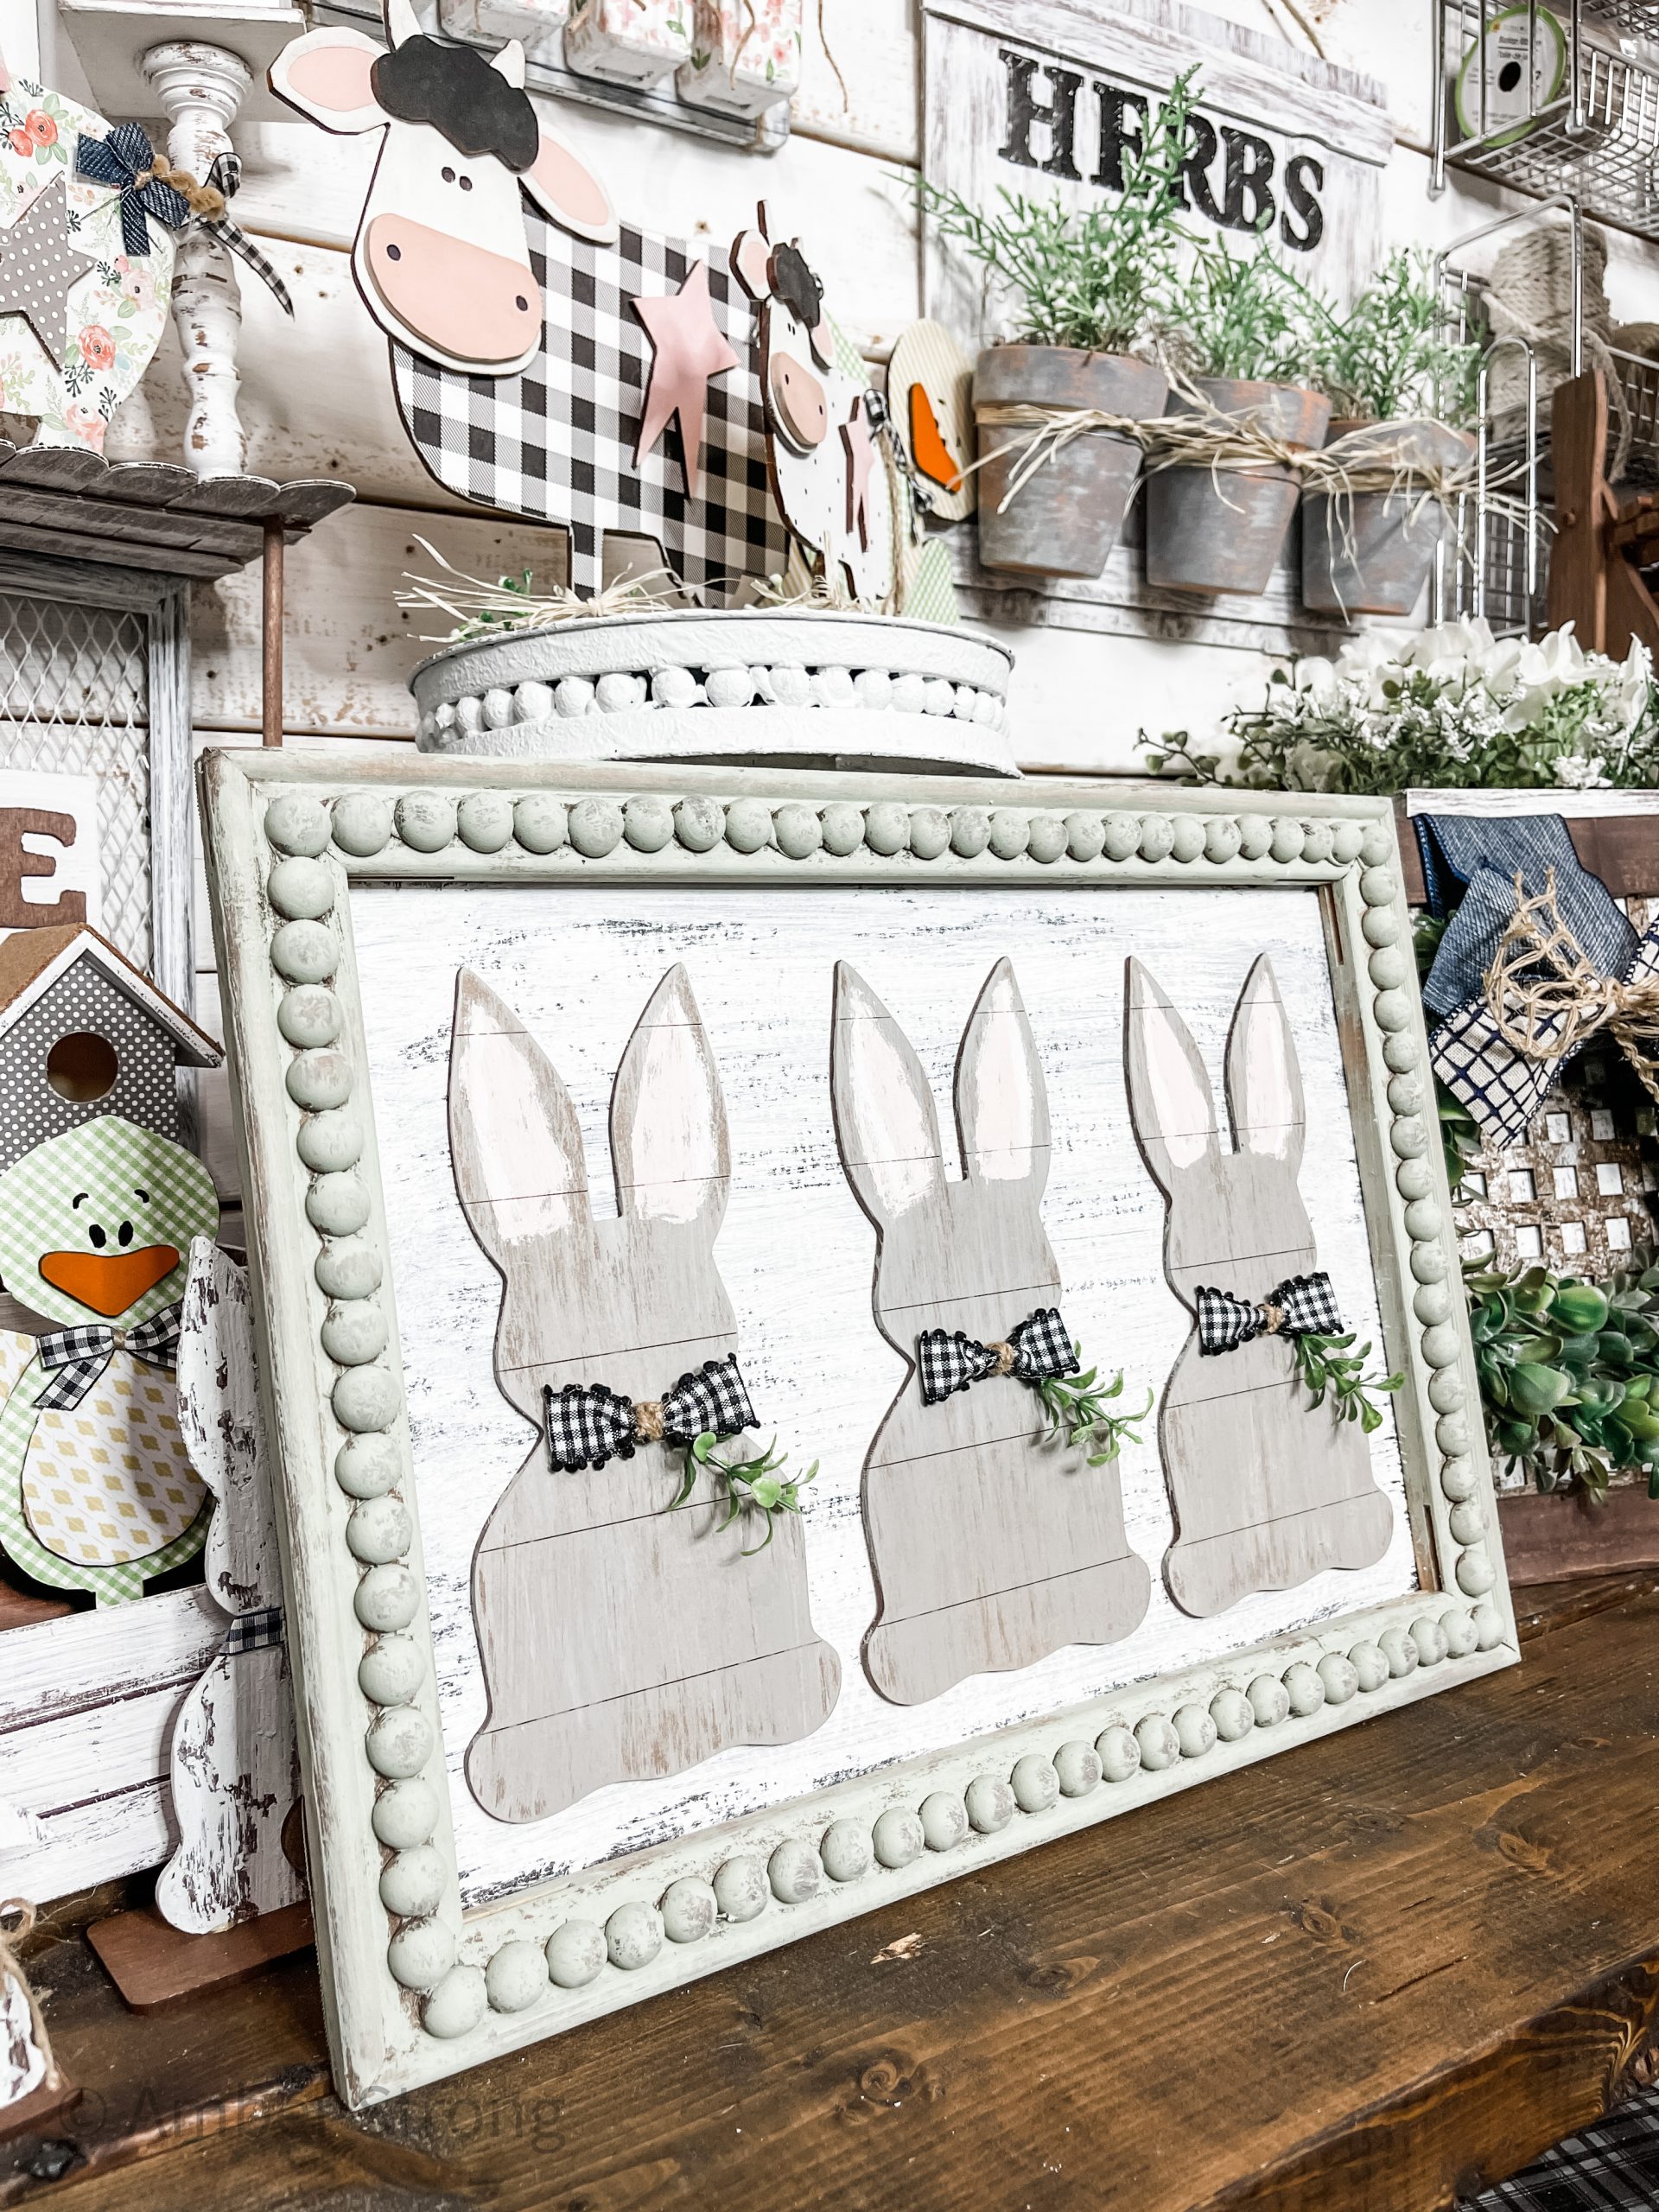
I hope you enjoyed this Neutral Shiplap Bunnies Decor as much as I did and decide to make it for yourself! If you do, I would love to see how yours turns out!
You should totally join my FREE Facebook group called On A Budget Crafts! It is a judgment-free community for DIY crafters to show off their projects and ideas.
If you loved this DIY, you might also like these DIY ideas!
- Hot Glue Mold DIY Home Decor
- Dollar Tree Trophy DIY Farmhouse Decor
- DIY Farmhouse Buffalo Check Gather Sign
- Simple Buffalo Check Farmhouse Plant Jar
Thanks for stopping by! XOXO Amber
You can also shop my ENTIRE AMAZON Favorites shop just click here! It’s packed full of all the things I use and love. Here is the supply list I highly recommend every creative have on hand!!
Would you also pin my blog for later and get on my newsletter alerts? I would love to have you join my #craftycrew.
I email alerts about new blogs like this Neutral Shiplap Bunnies Decor so you’re always up to date on fun, new DIY ideas!
Inspired? Leave me a comment below! I love hearing from my readers!

Join my free “ON A BUDGET CRAFTS” Facebook group!
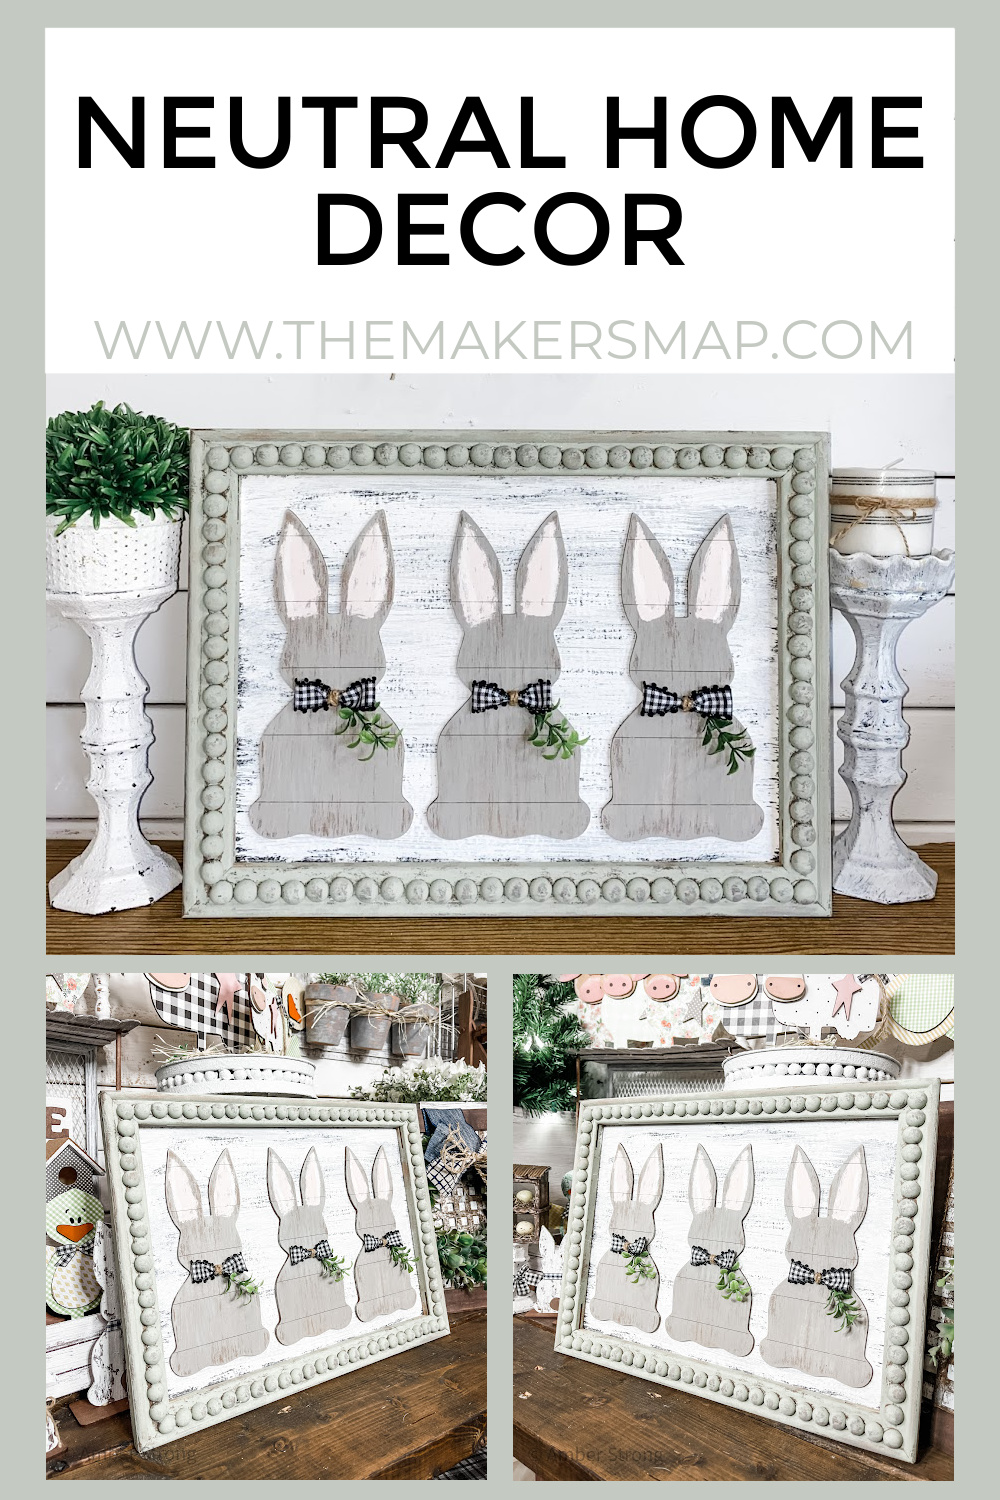

So precious