Mandala Wall Art Home Decor
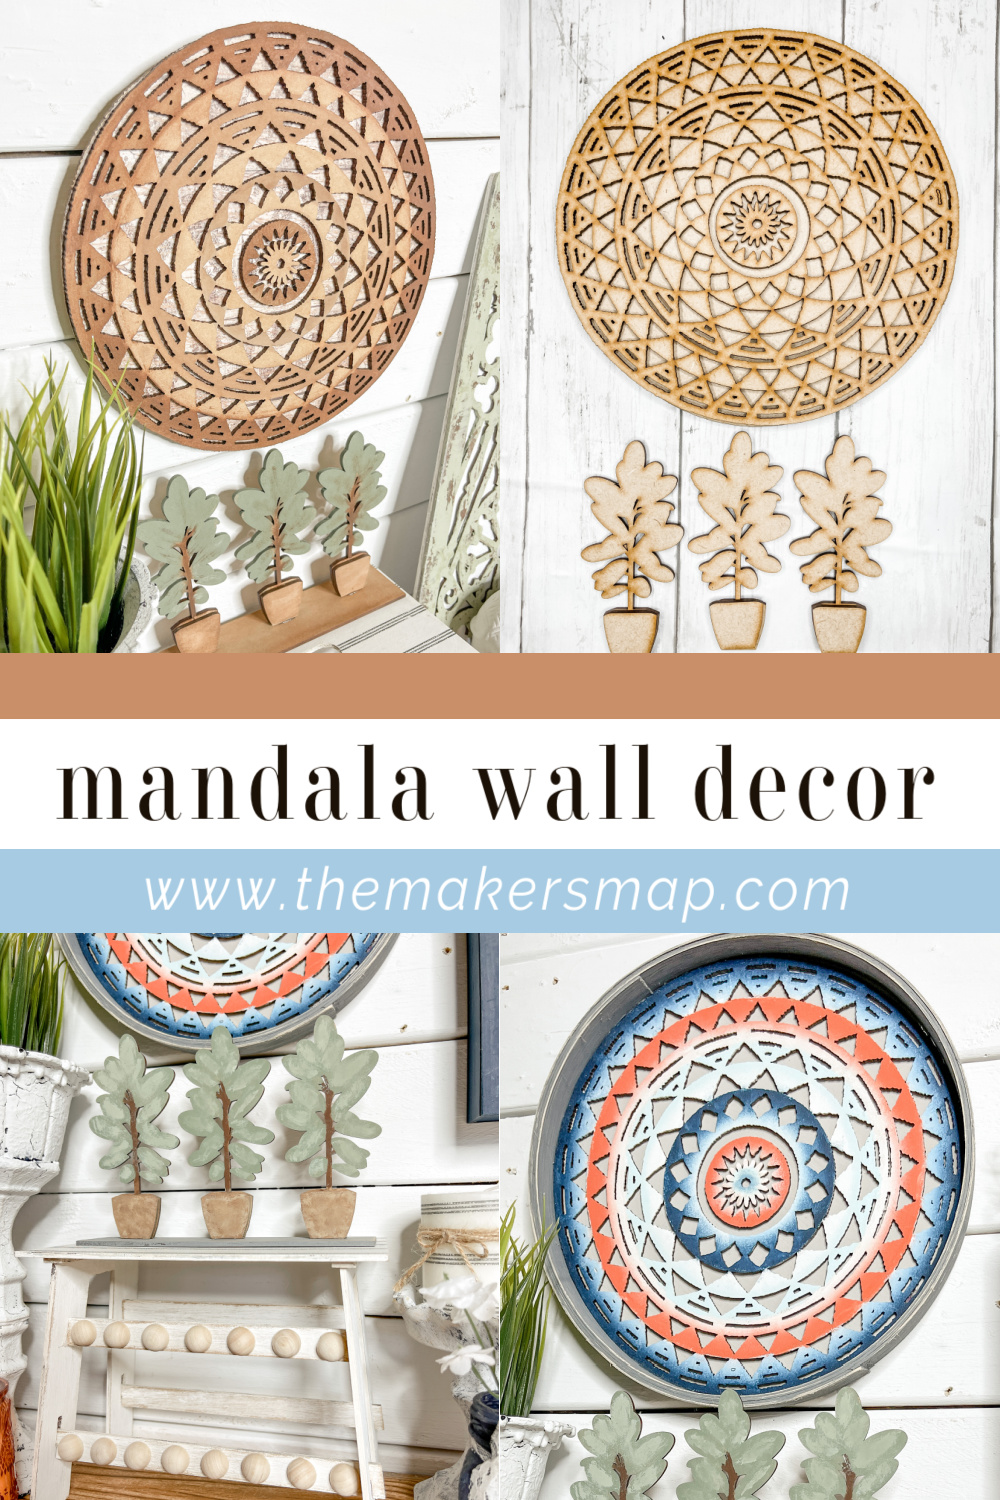
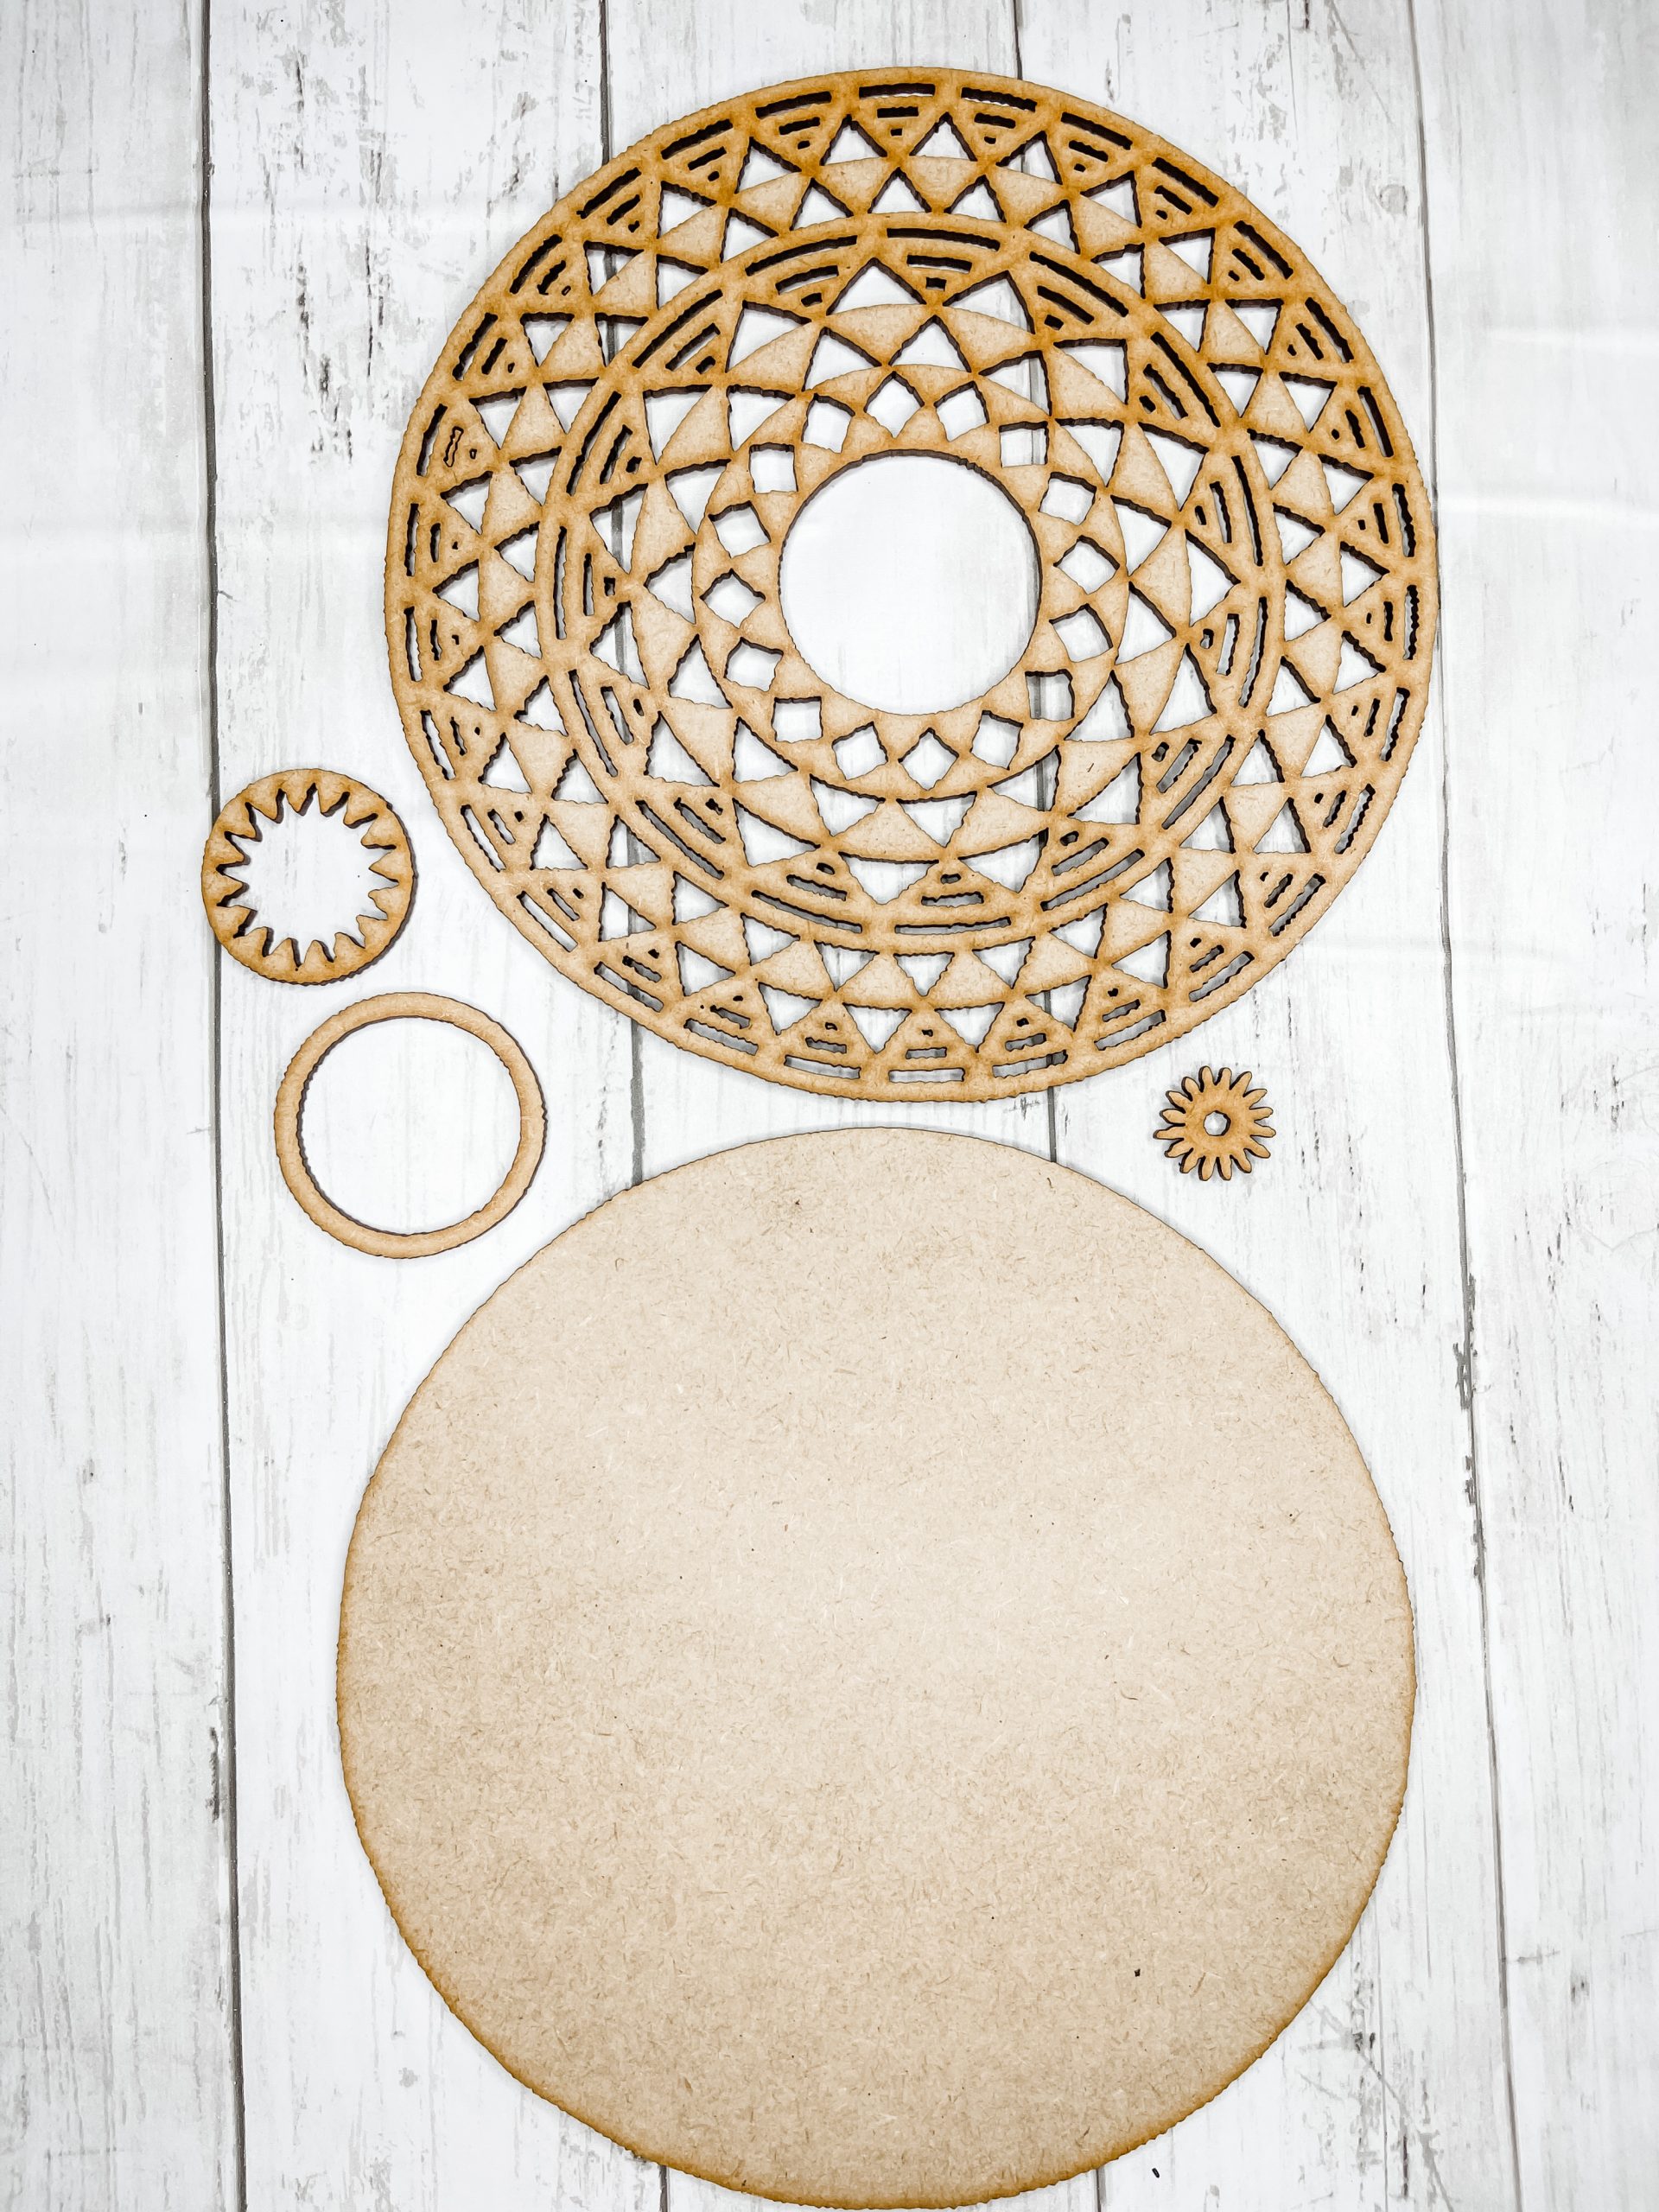
I am so excited to show you these two Mandala Wall Art Home Decor ideas I made with my sister, Angela! Both of these mandalas, even though they have very different styles, started as blank kits!
That means that you can decorate your mandala craft kit however you want to match your own decor style!
Check out the other craft kits available in my shop!
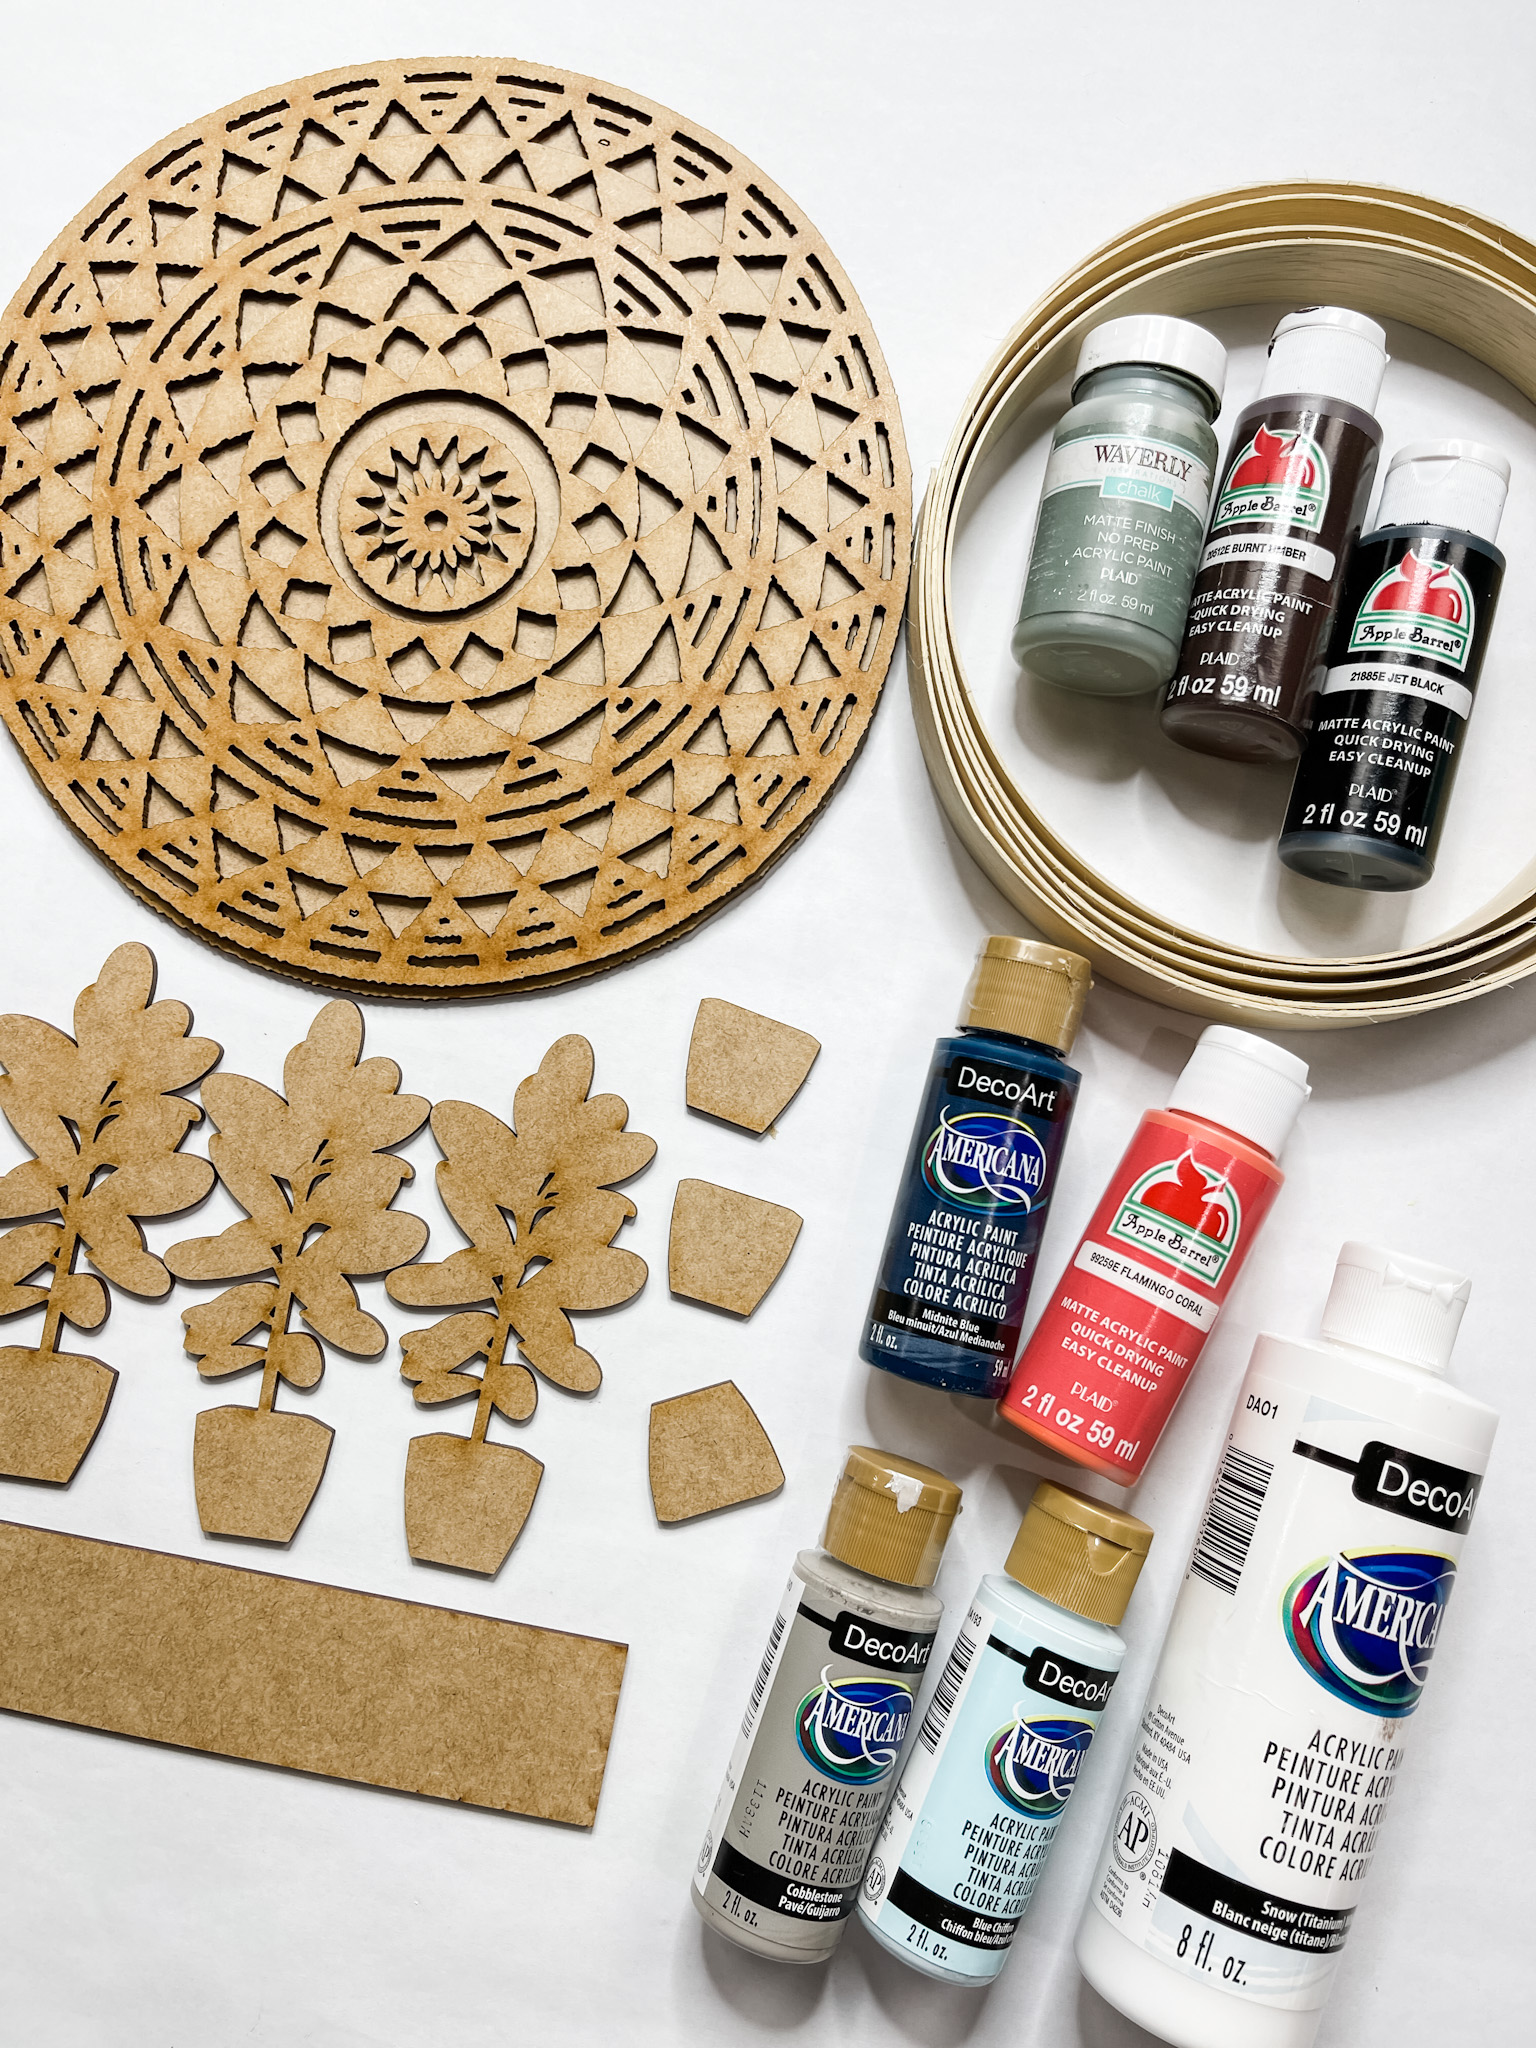
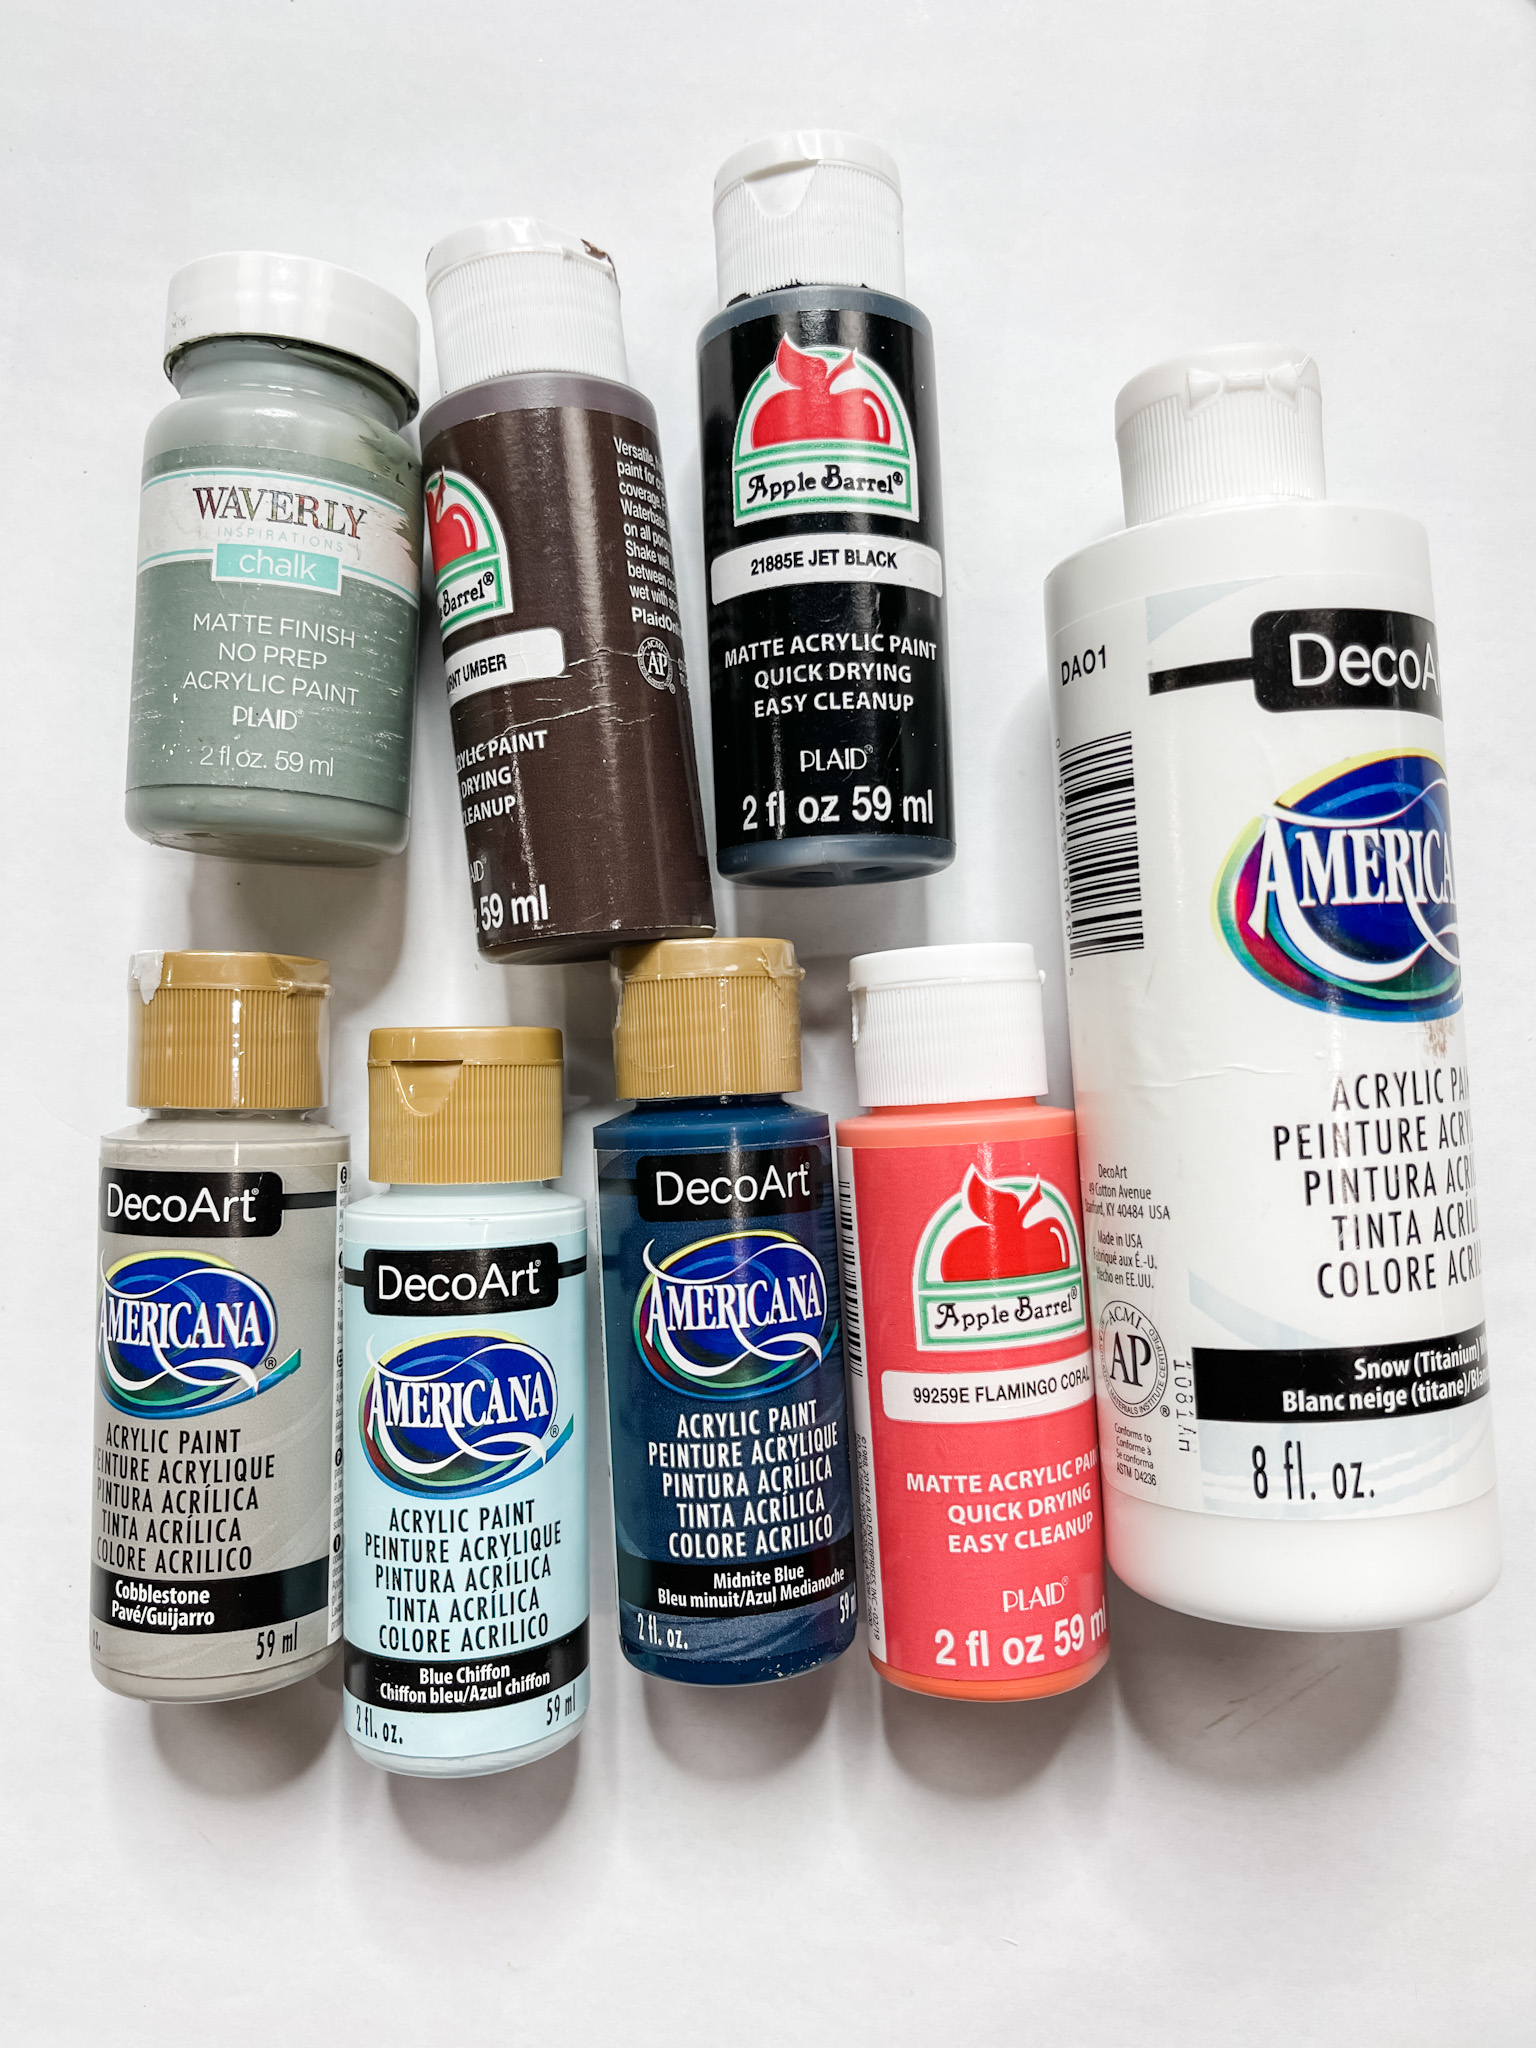
For the first idea, I used these items but you can substitute where you want.
“As an Amazon Associate, I earn from qualifying purchases.”
- Mandala Craft Kit
- Flat Reed
- Apple Barrel Jet Black Acrylic Paint
- Apple Barrel Burnt Umber Acrylic Paint
- DecoArt White Acrylic Paint
- DecoArt Midnight Blue Acrylic Paint
- Apple Barrel Flamingo Coral Acrylic Paint
- DecoArt Blue Chiffon Acrylic Paint
- DecoArt Cobblestone Acrylic Paint
- Waverly Moss Chalk Paint
- Wedge Sponges
- Hot glue gun and glue sticks
Mandala Wall Art Home Decor Idea #1
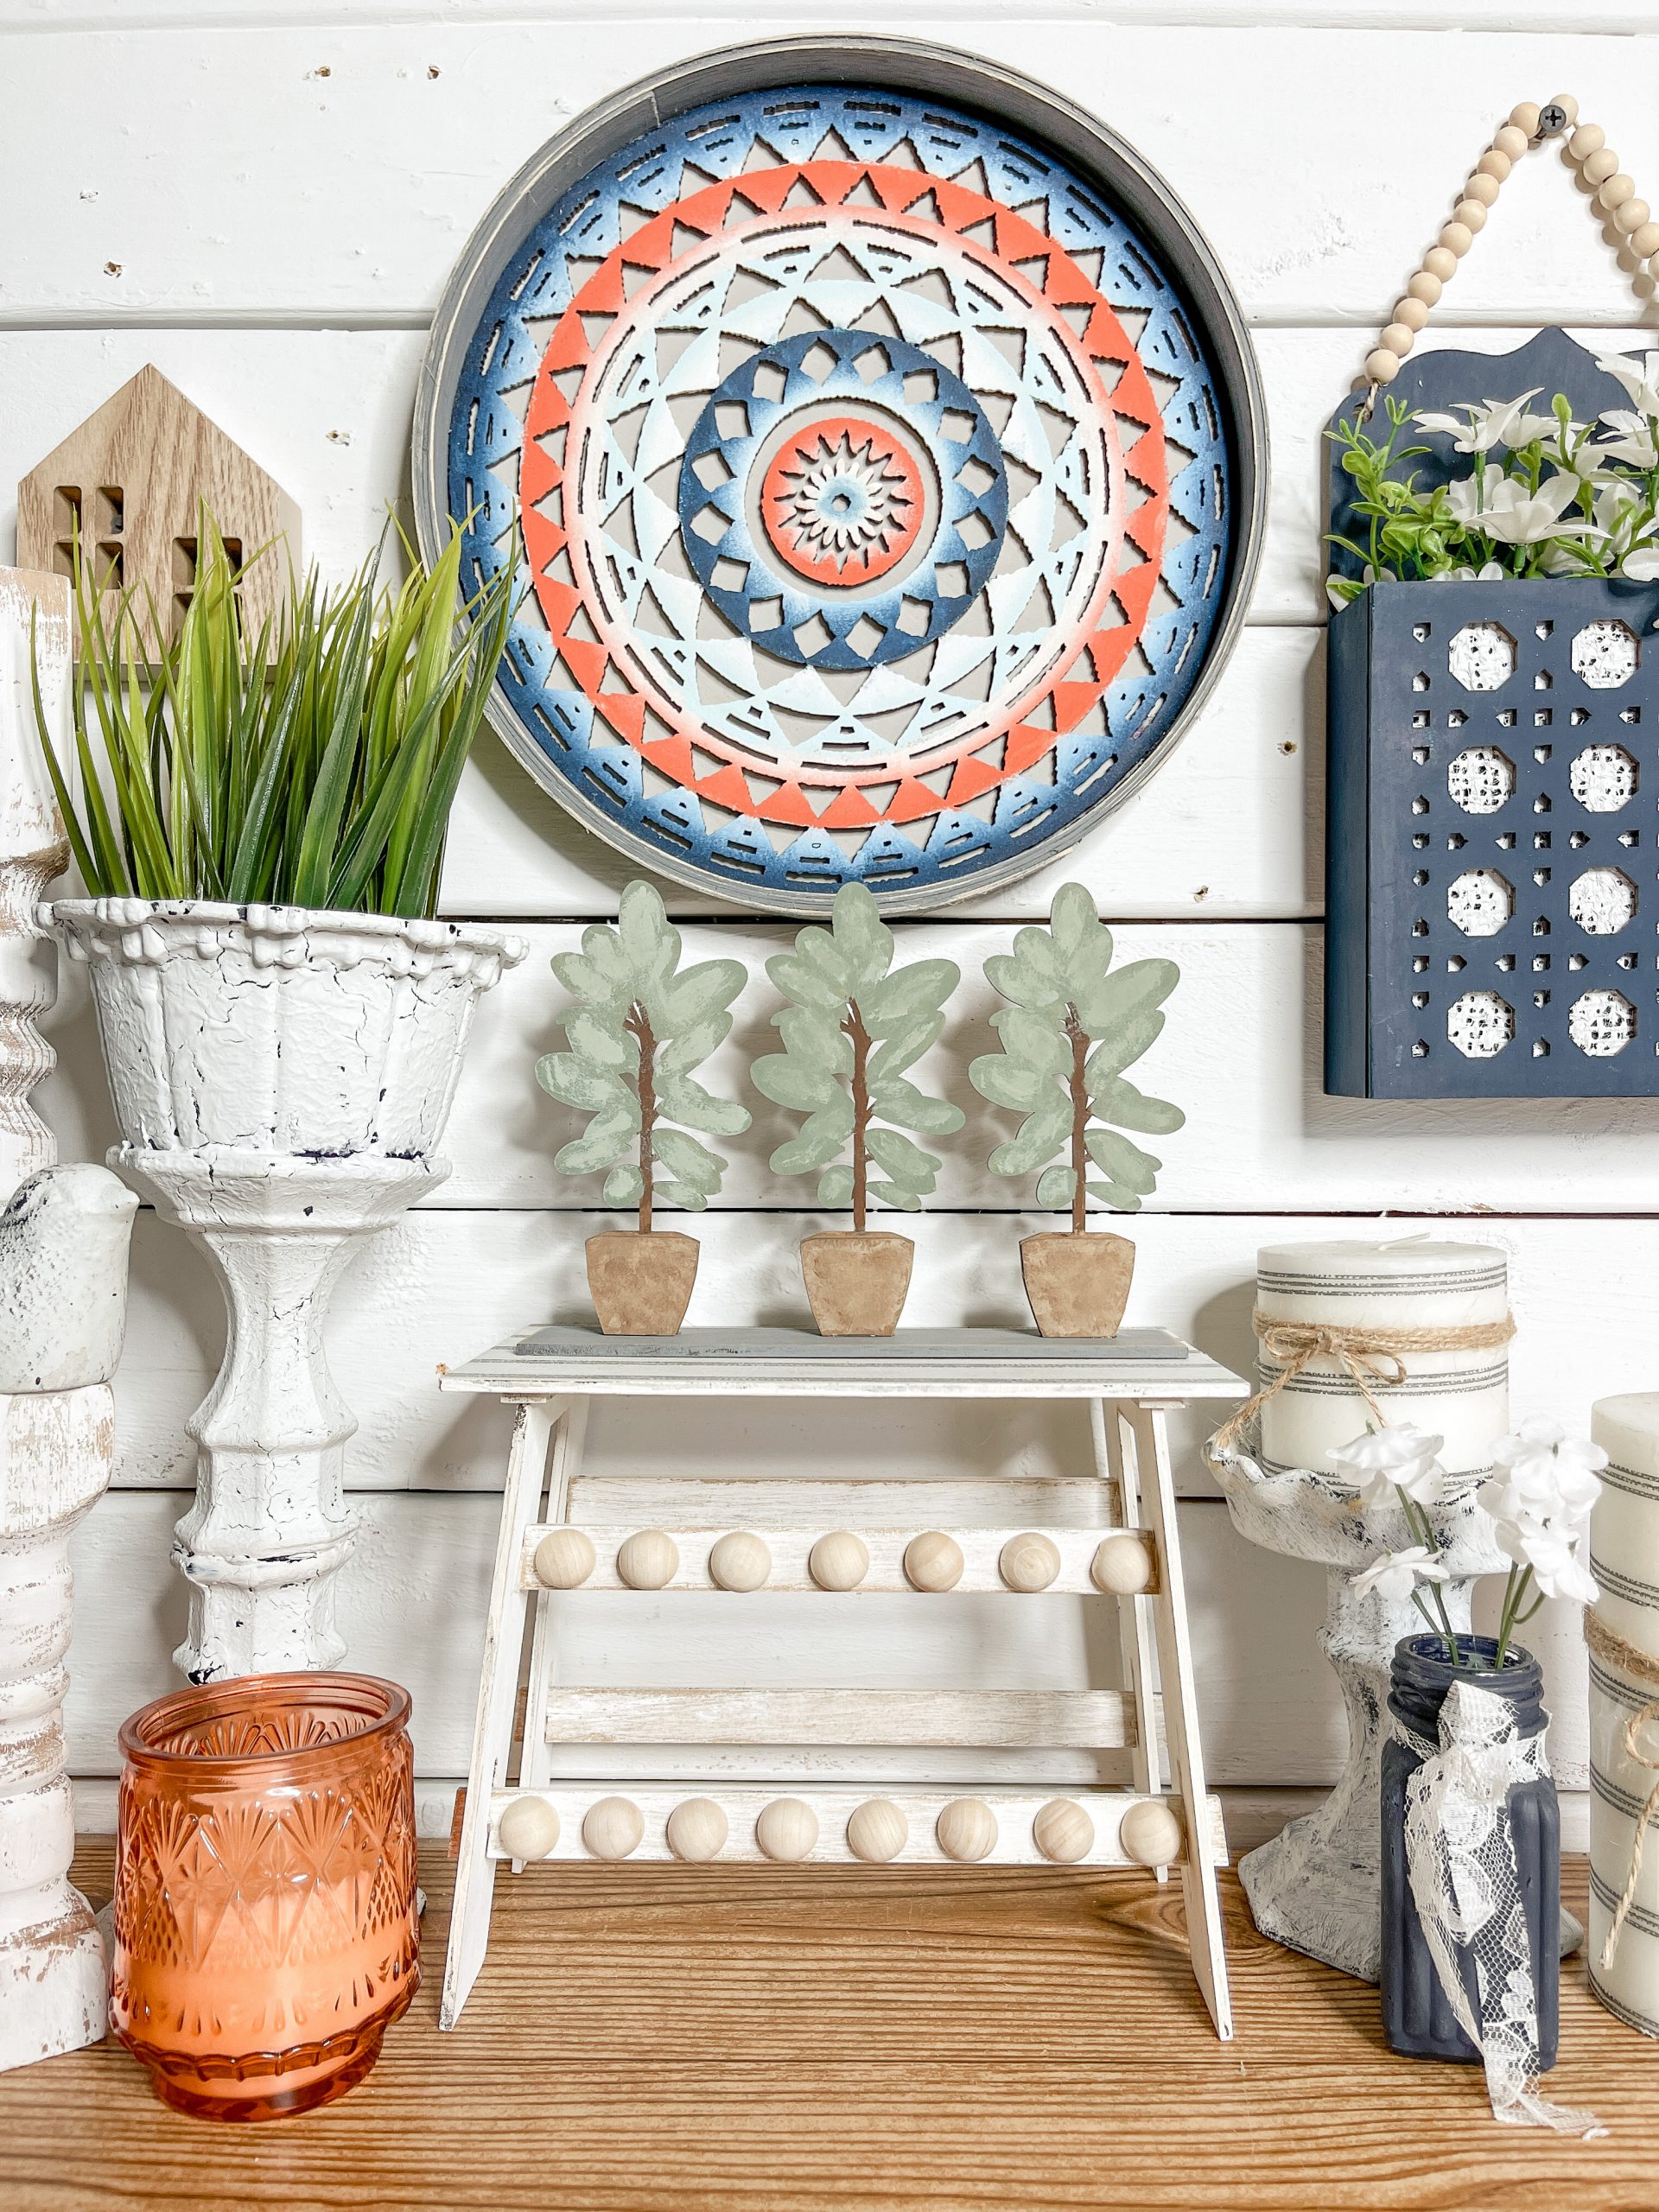
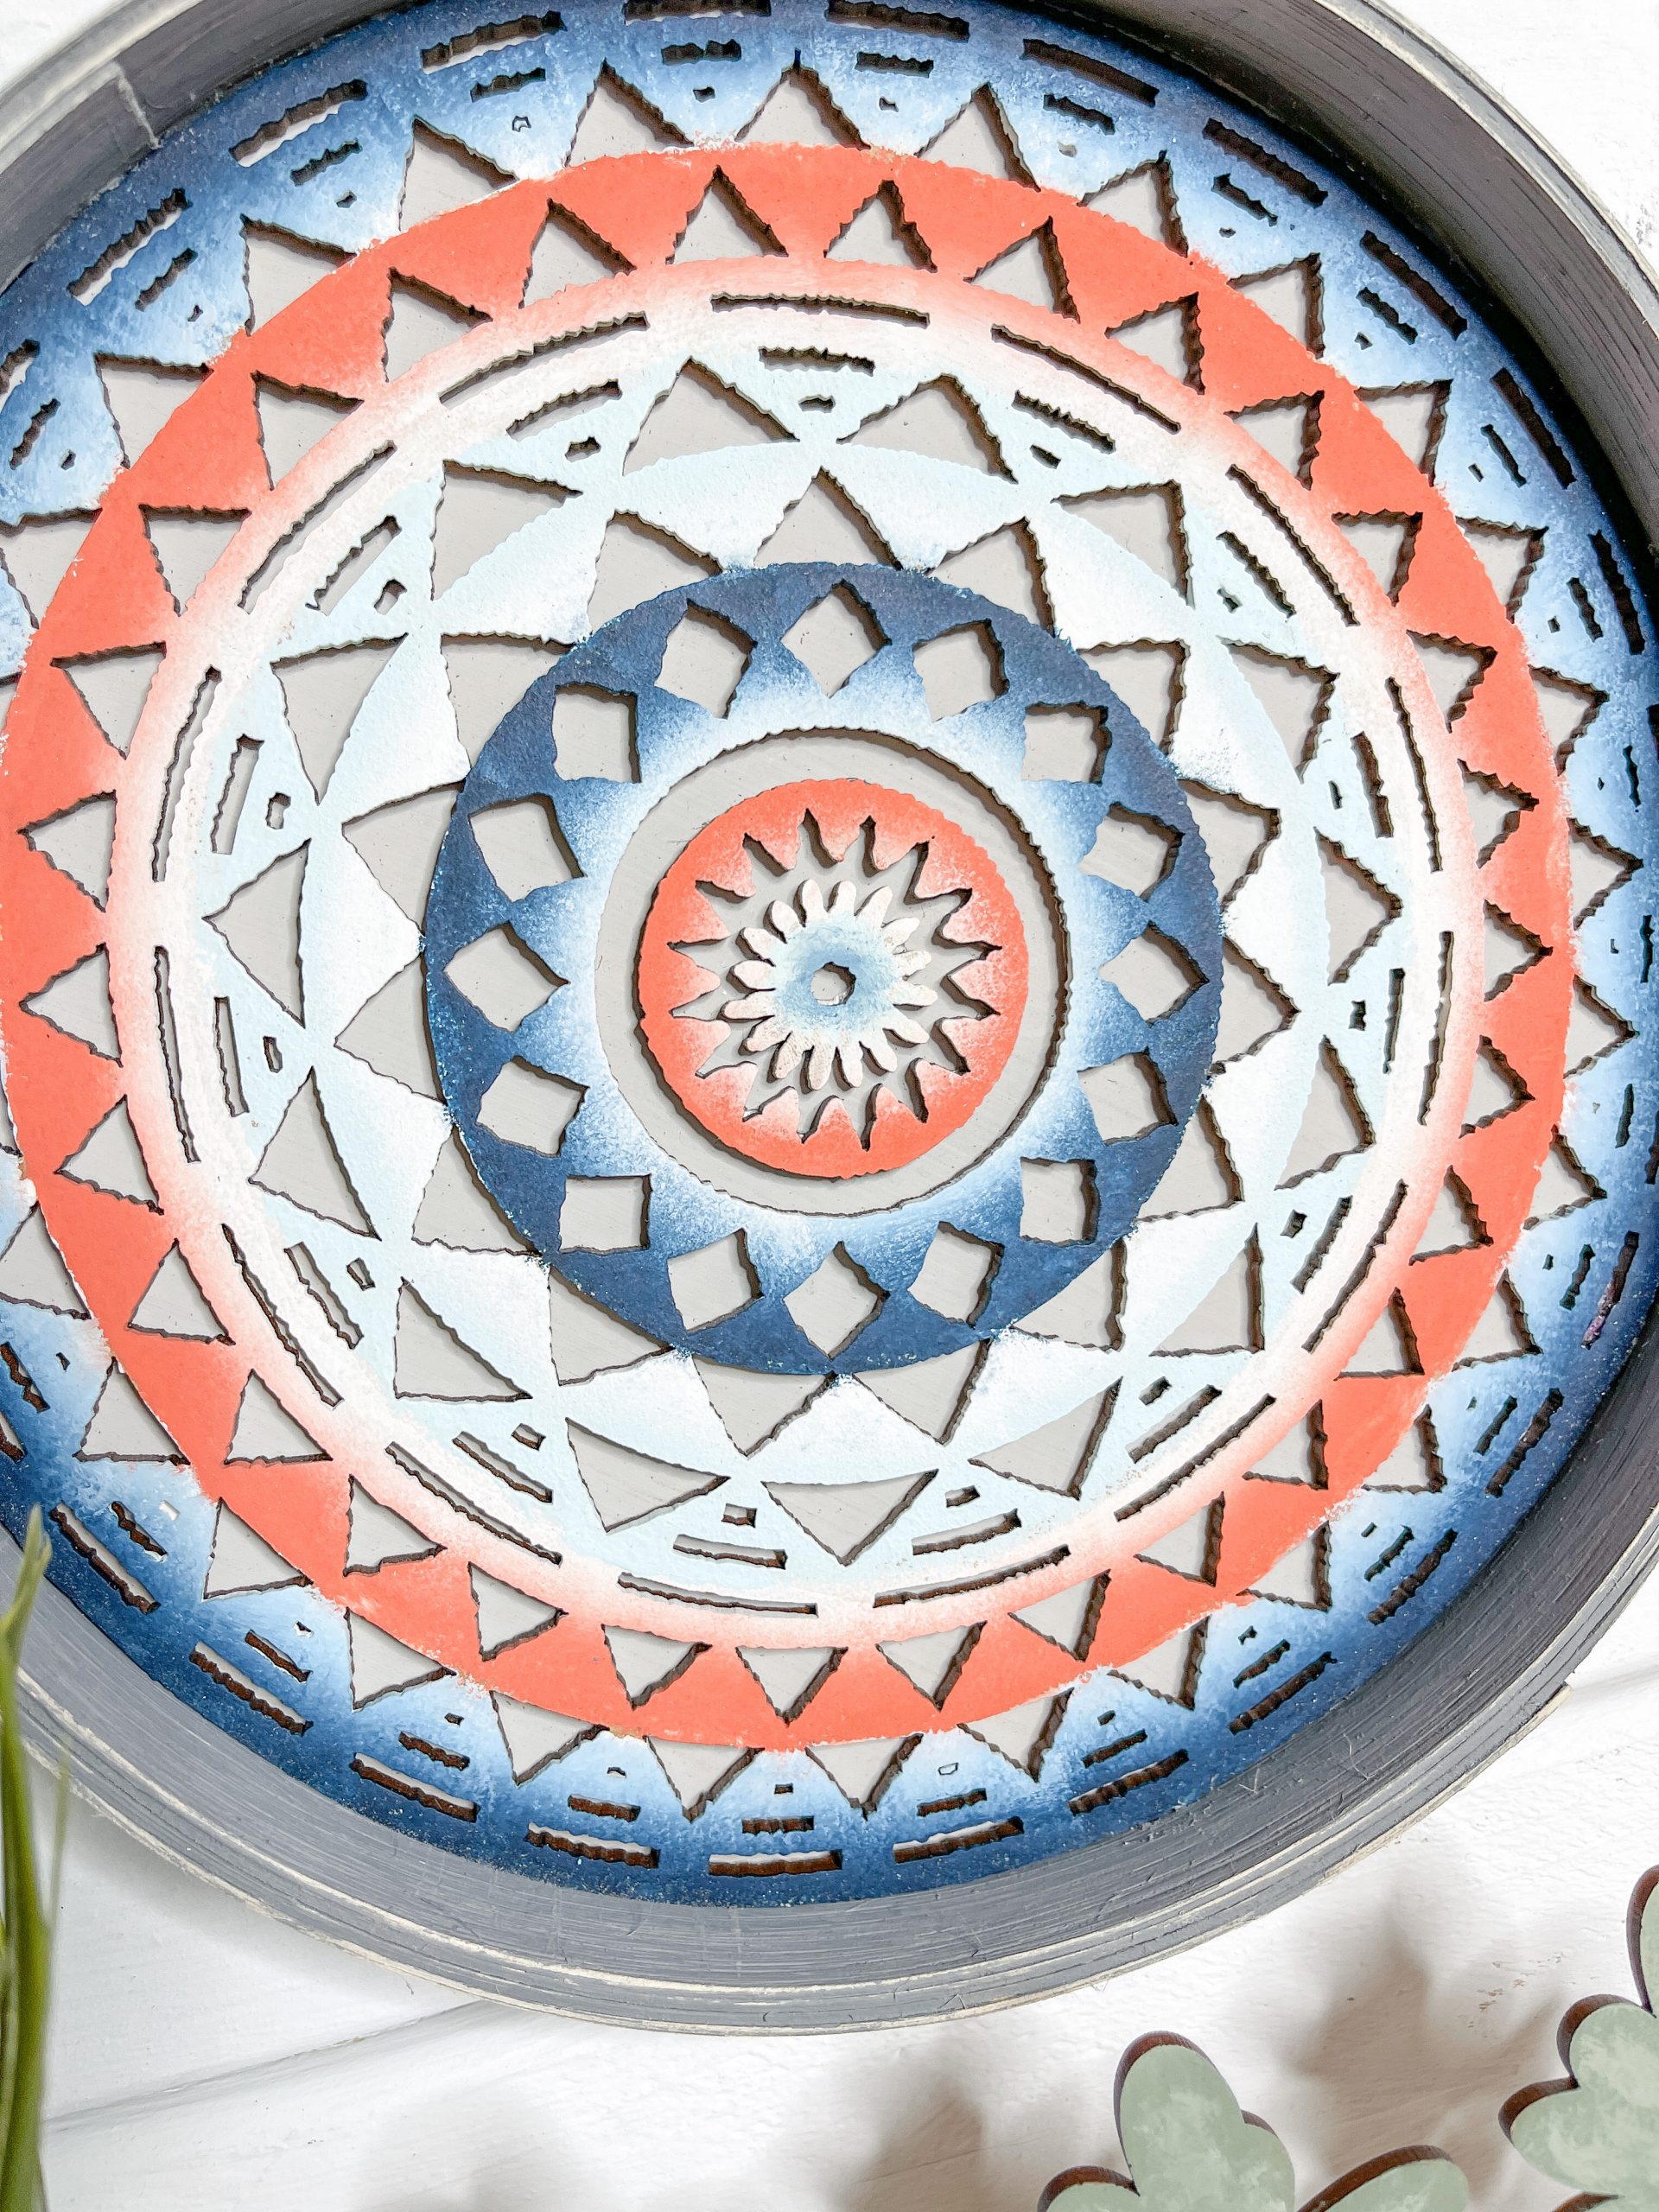
I decorated my mandala craft kit with navy, white and coral paint. To get the ombre/blended effect between the paint colors, I used wedge sponges.
For the backing, I mixed a bit of DecoArt cobblestone with white paint and applied an even coat of the mixture.
I used my heat gun to quickly dry the paint on both pieces of the mandala kit, then placed the reed around the edge of the circle backing and glued it to be the right size.
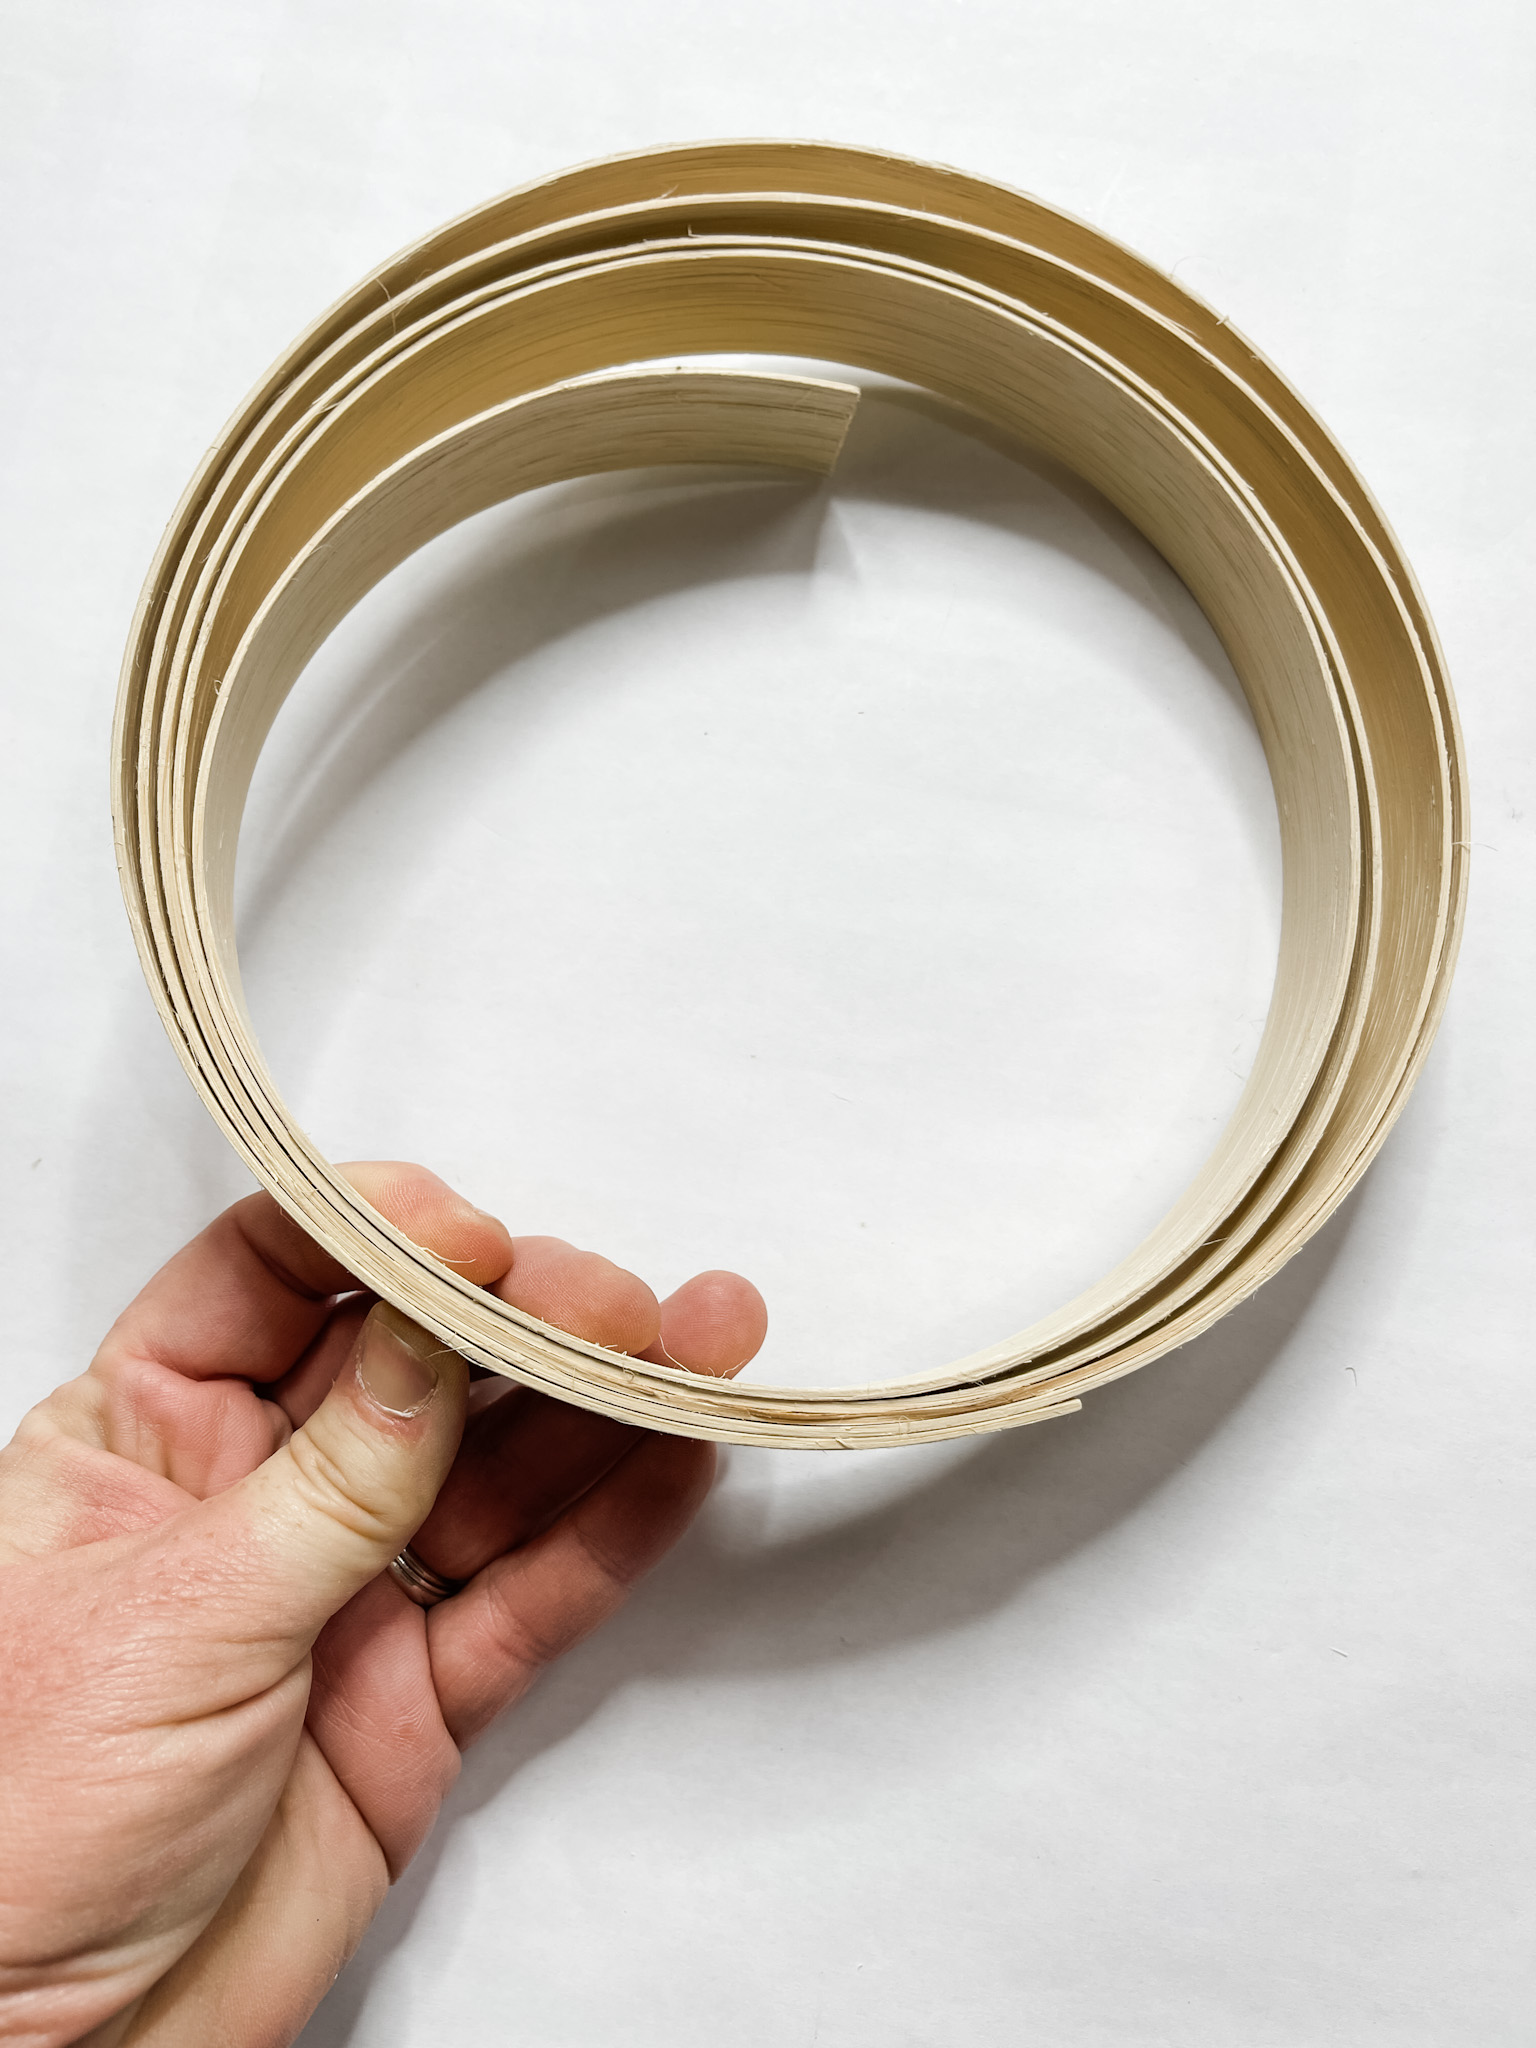
I mixed a bit of navy blue paint into the cobblestone/white mixture and used that to paint the reed circle. Once the paint was dry, I glued it onto the circle backing piece.
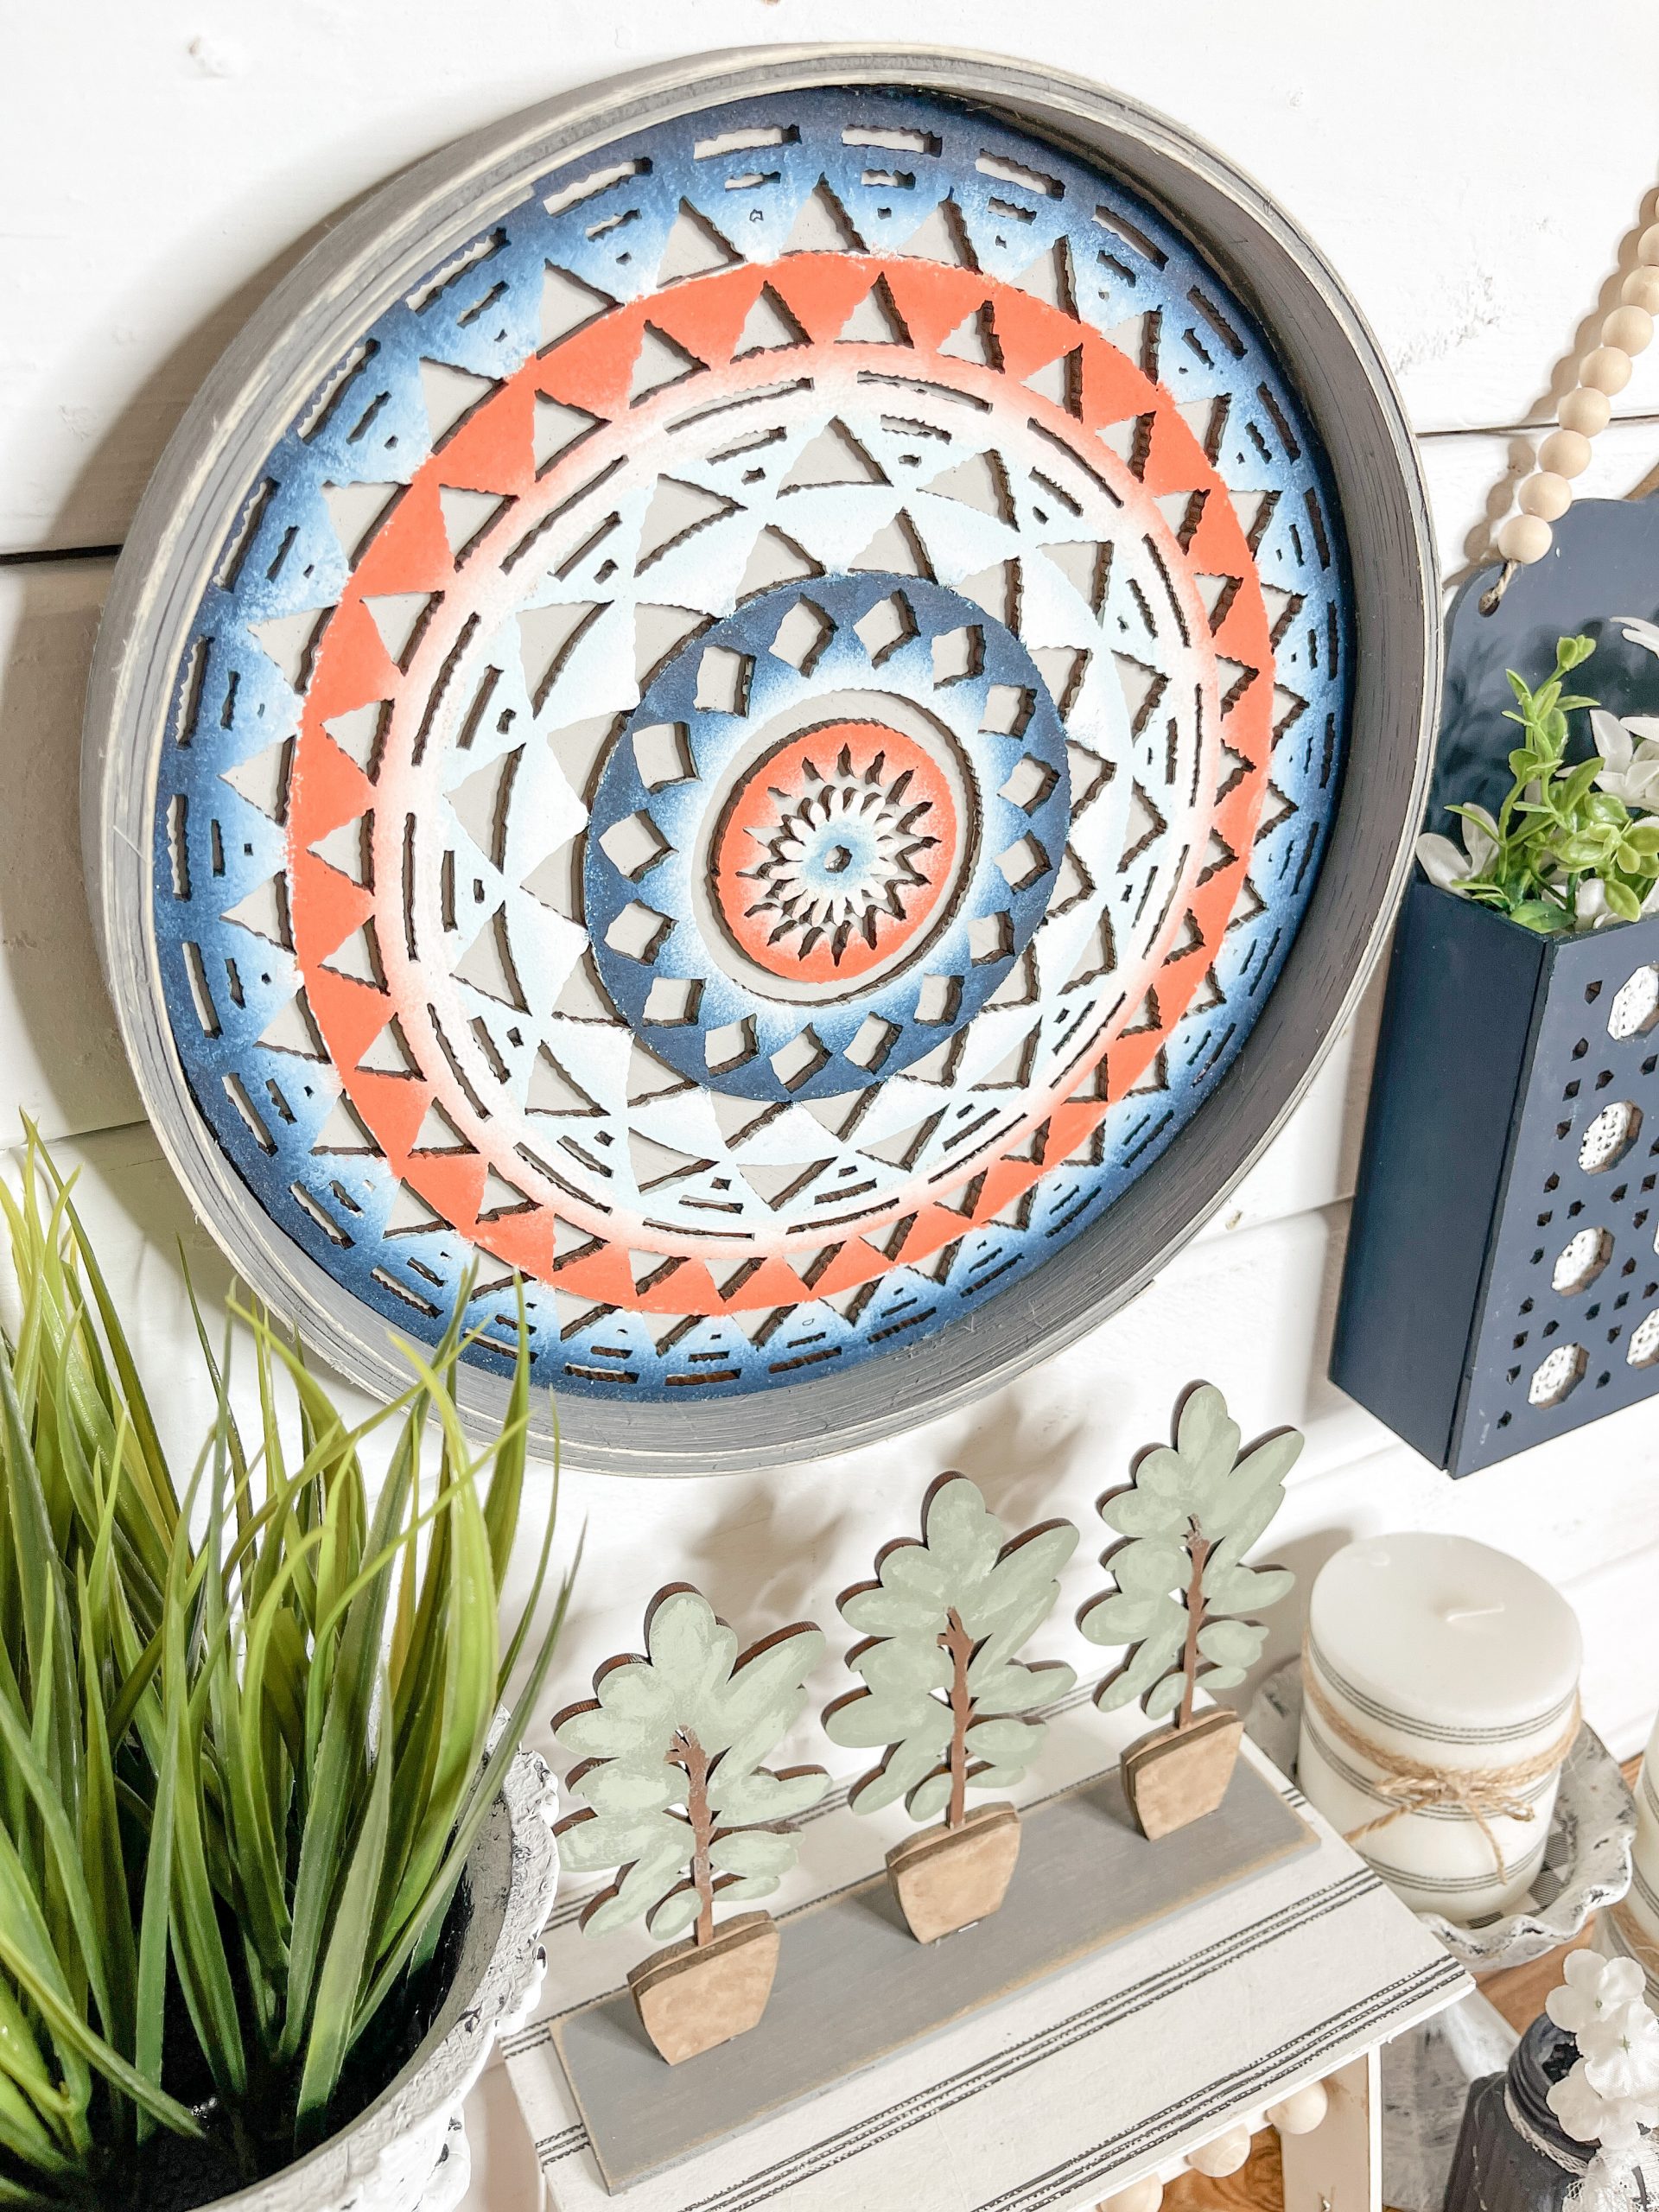
Then, I glued the mandala overlay pieces inside the reed circle. Next up are the little potted plants that come with the mandala craft kit.
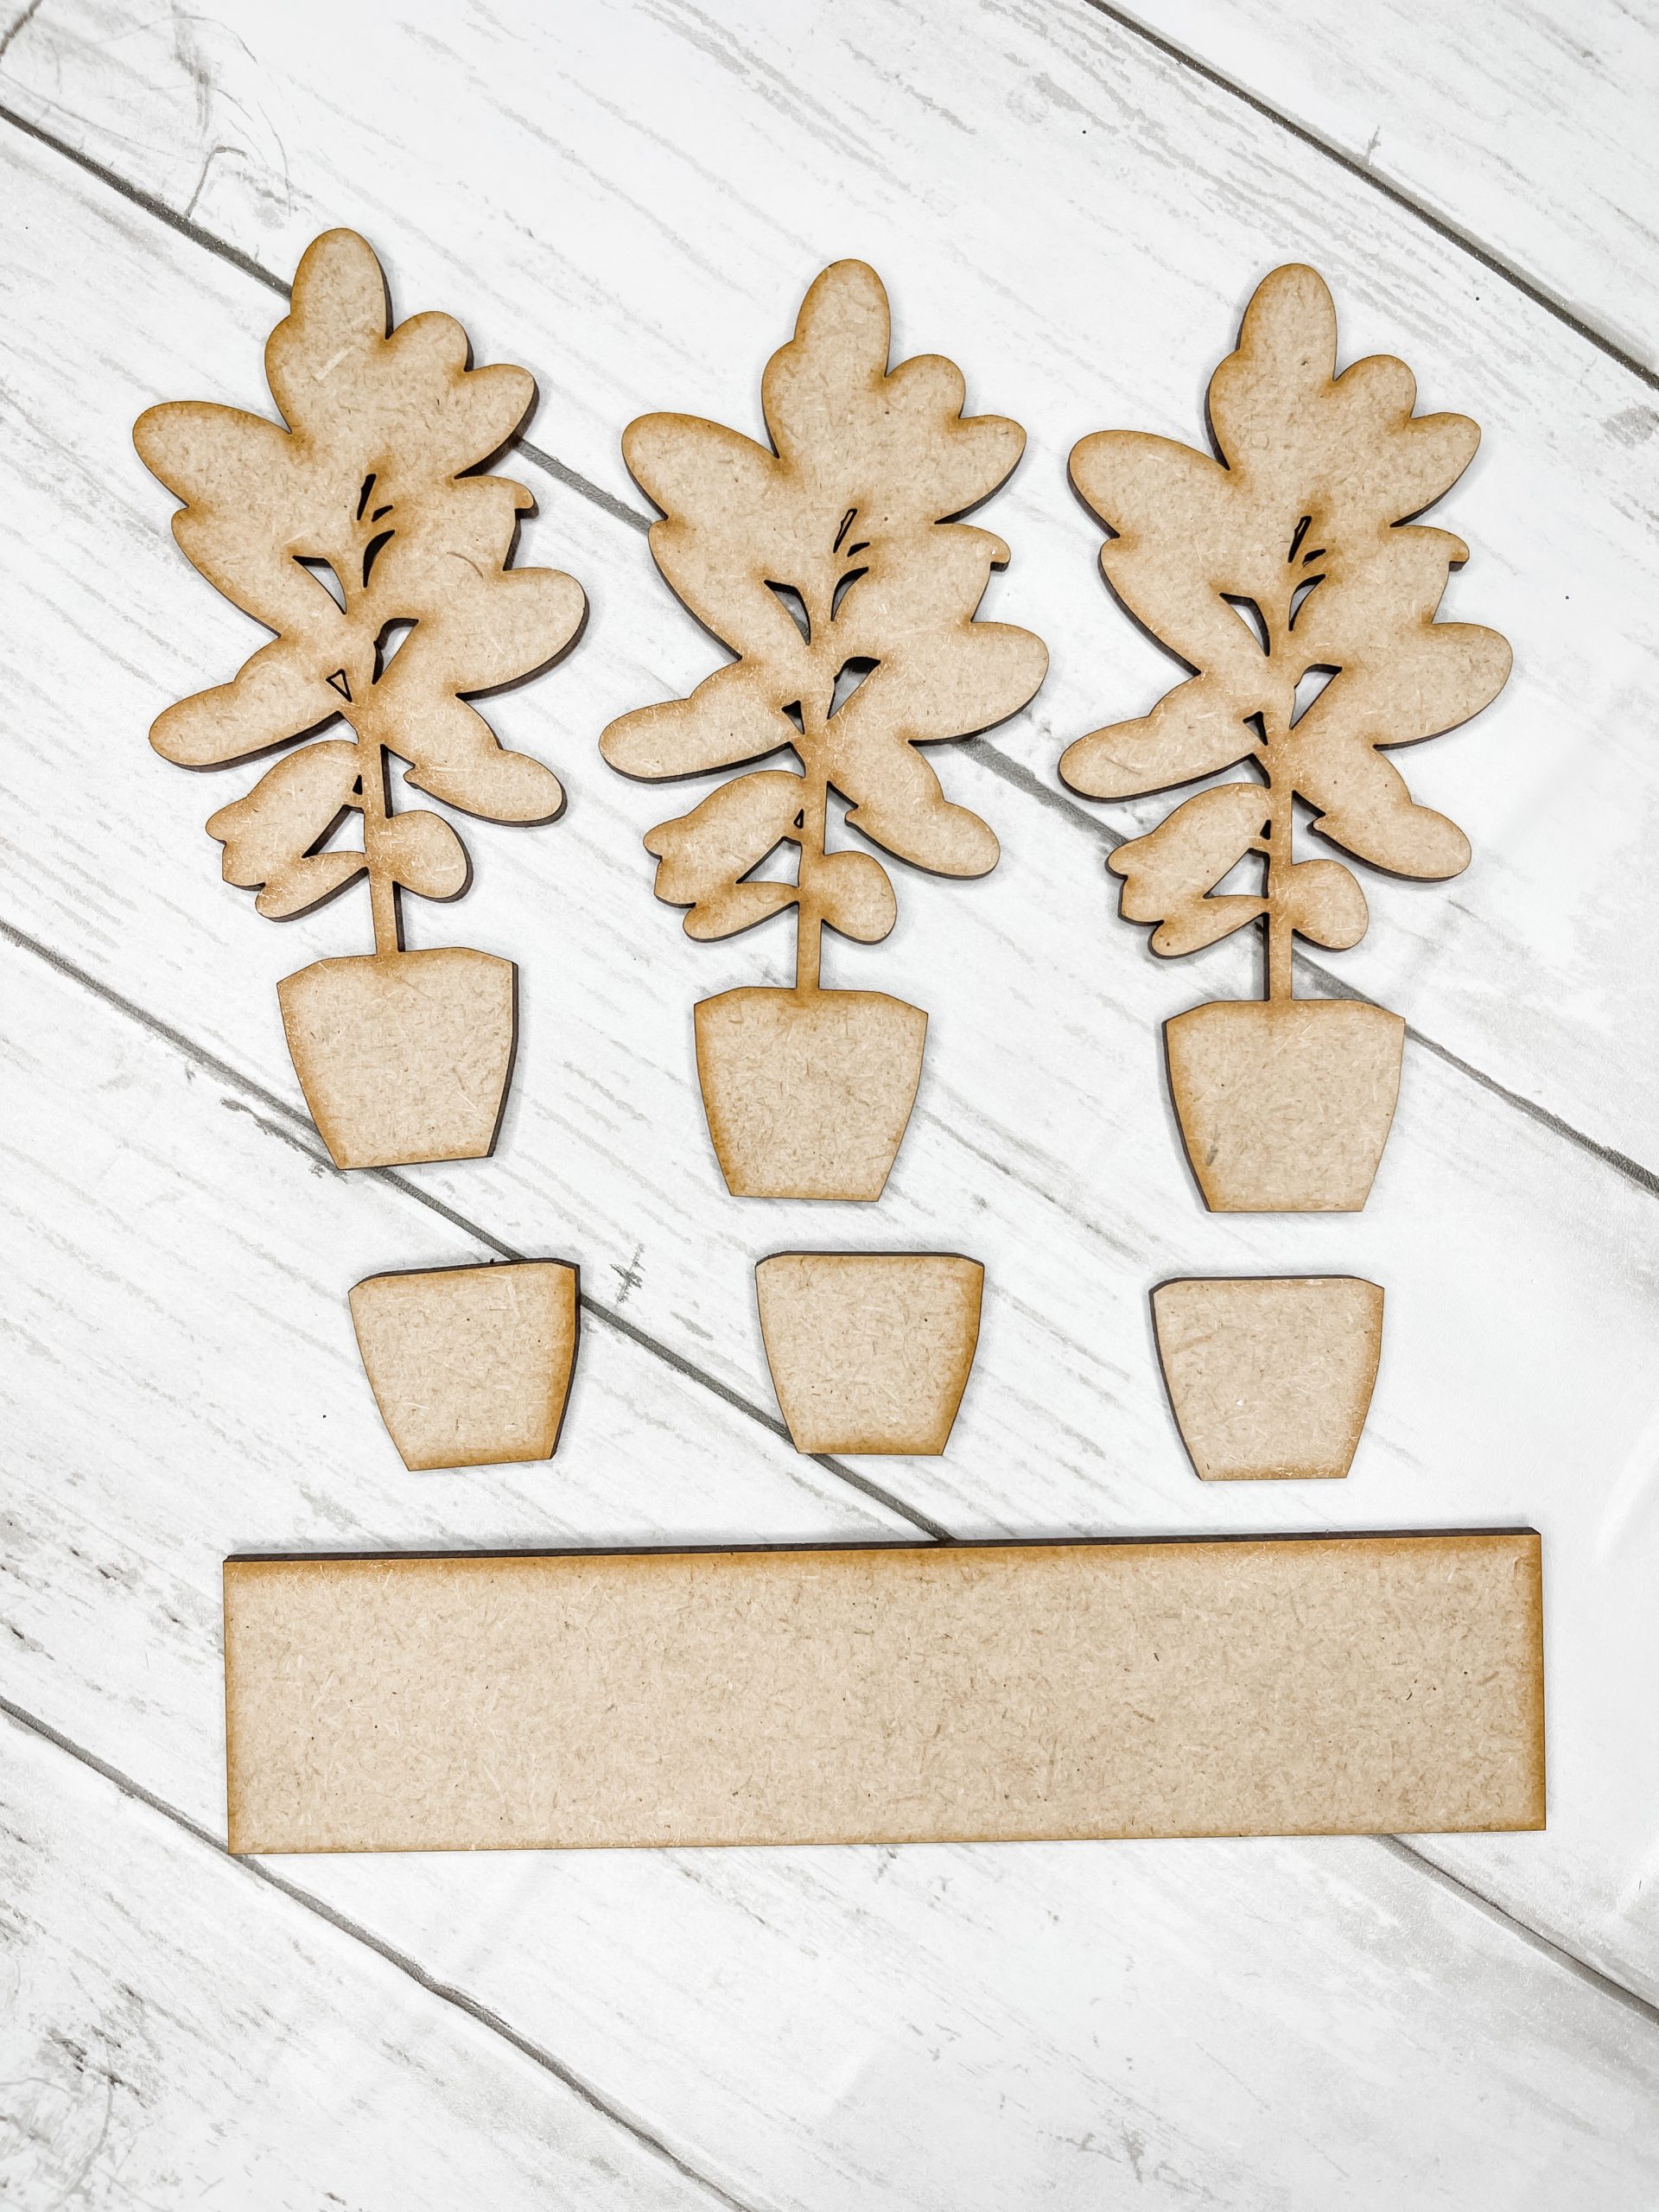
Mandala craft kit accent pieces
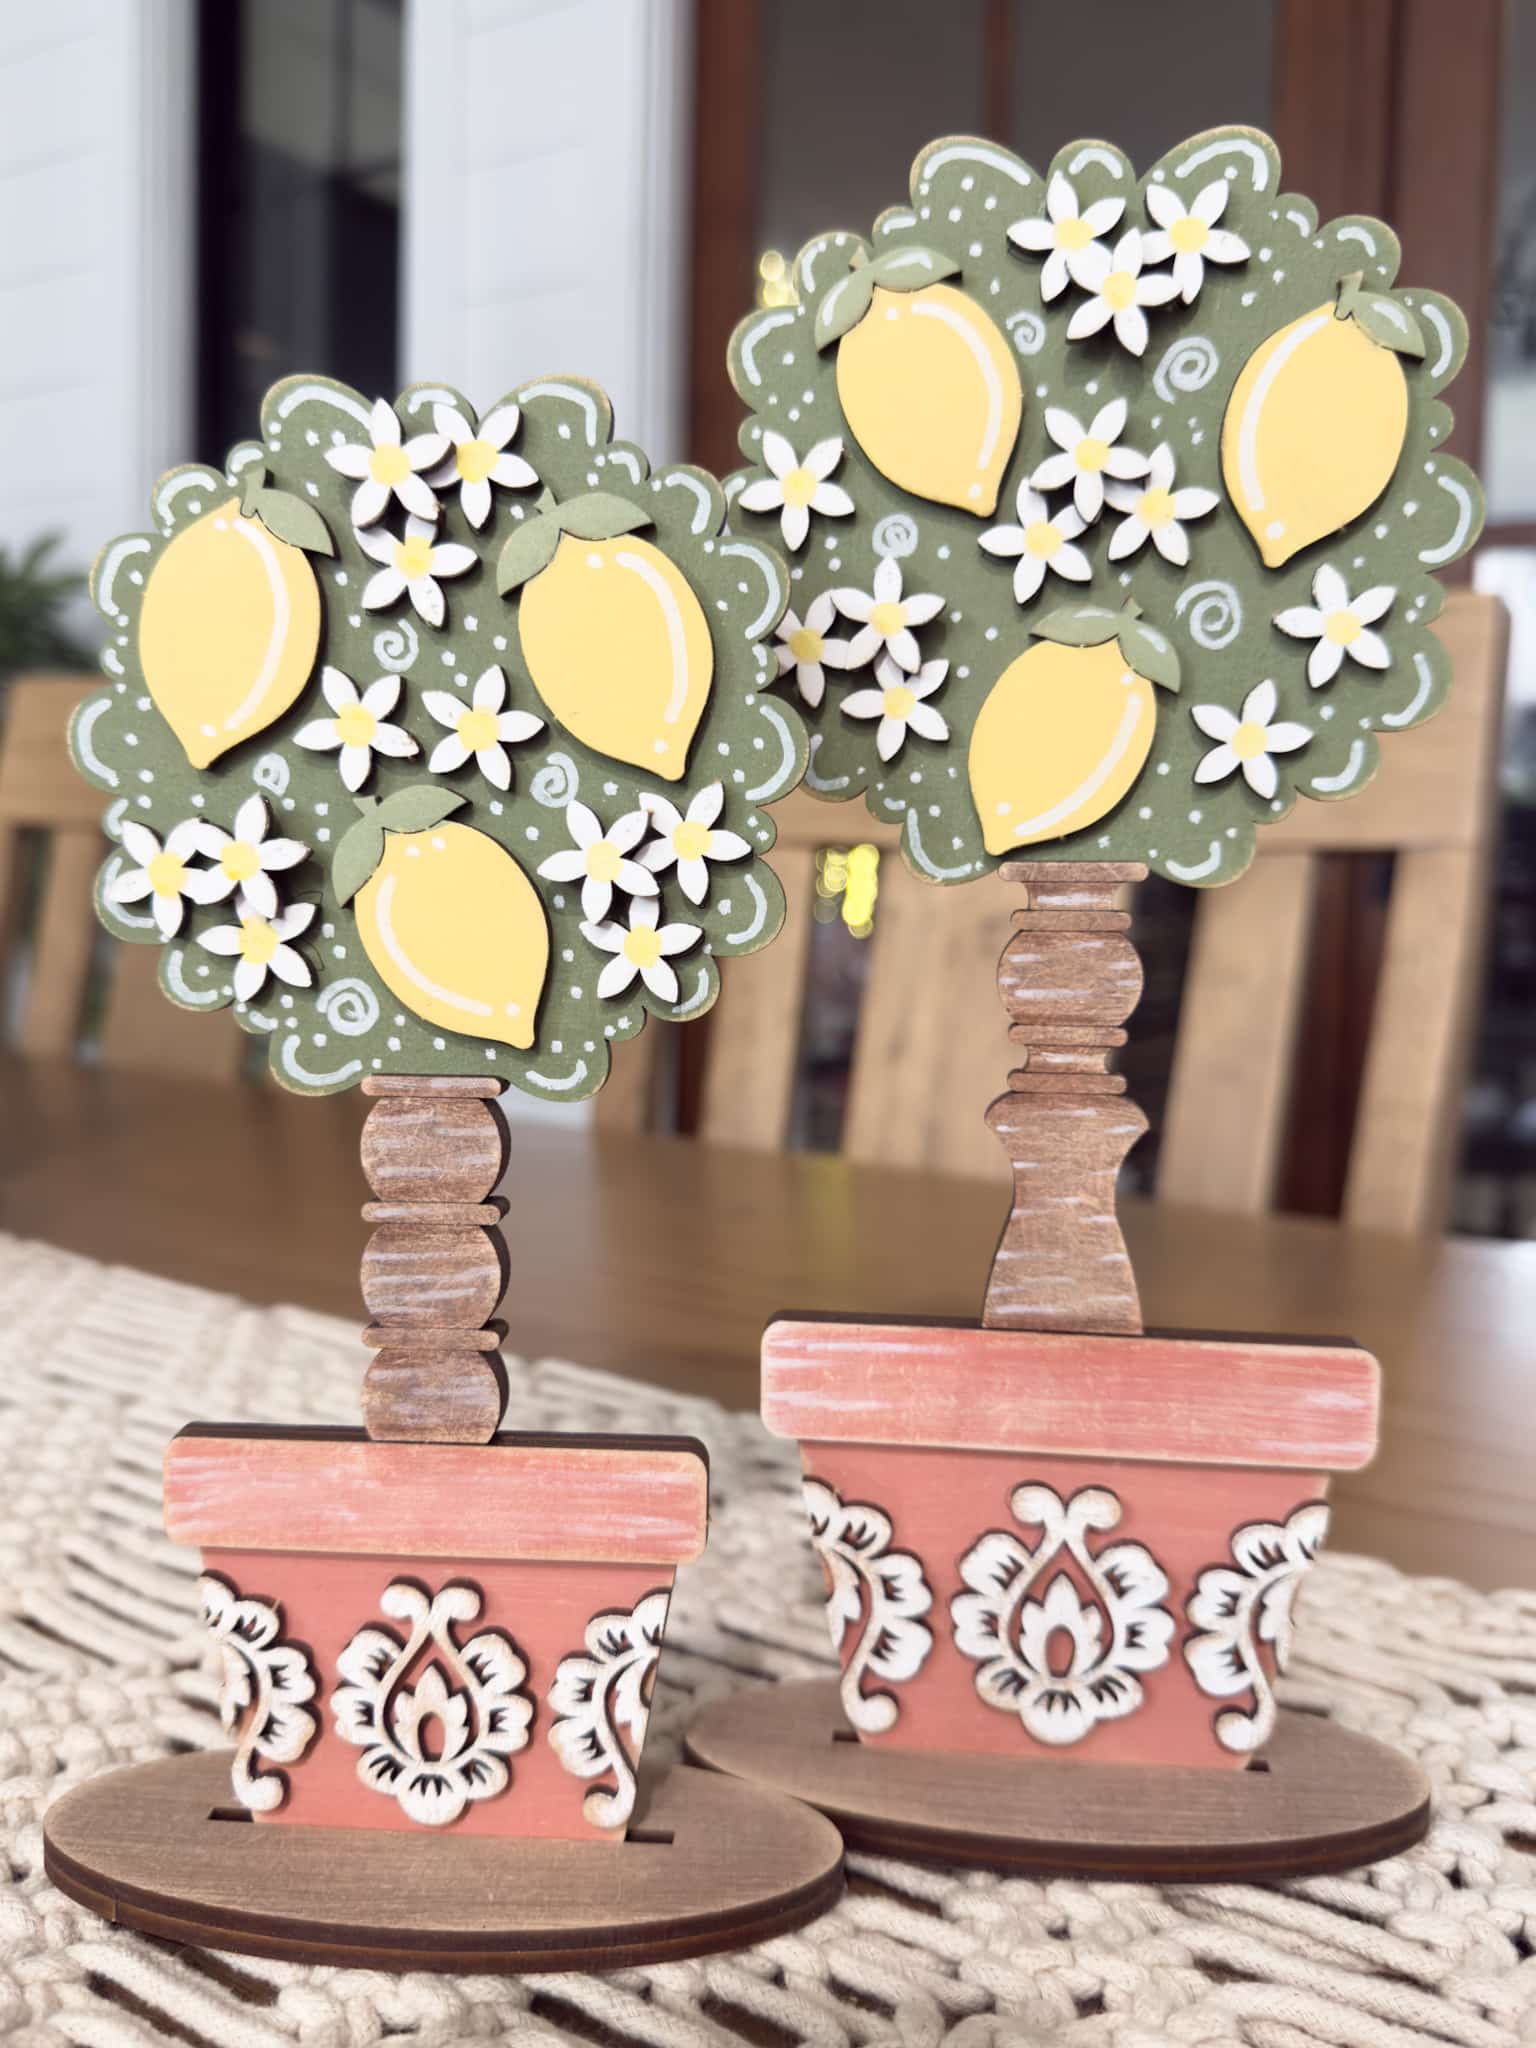
I stained the stems of each of the plants with brown paint. and I painted the foliage for the plants with Waverly Moss chalk paint.
I had to paint over the stems with brown paint because some of the green paint covered up where I had stained before.
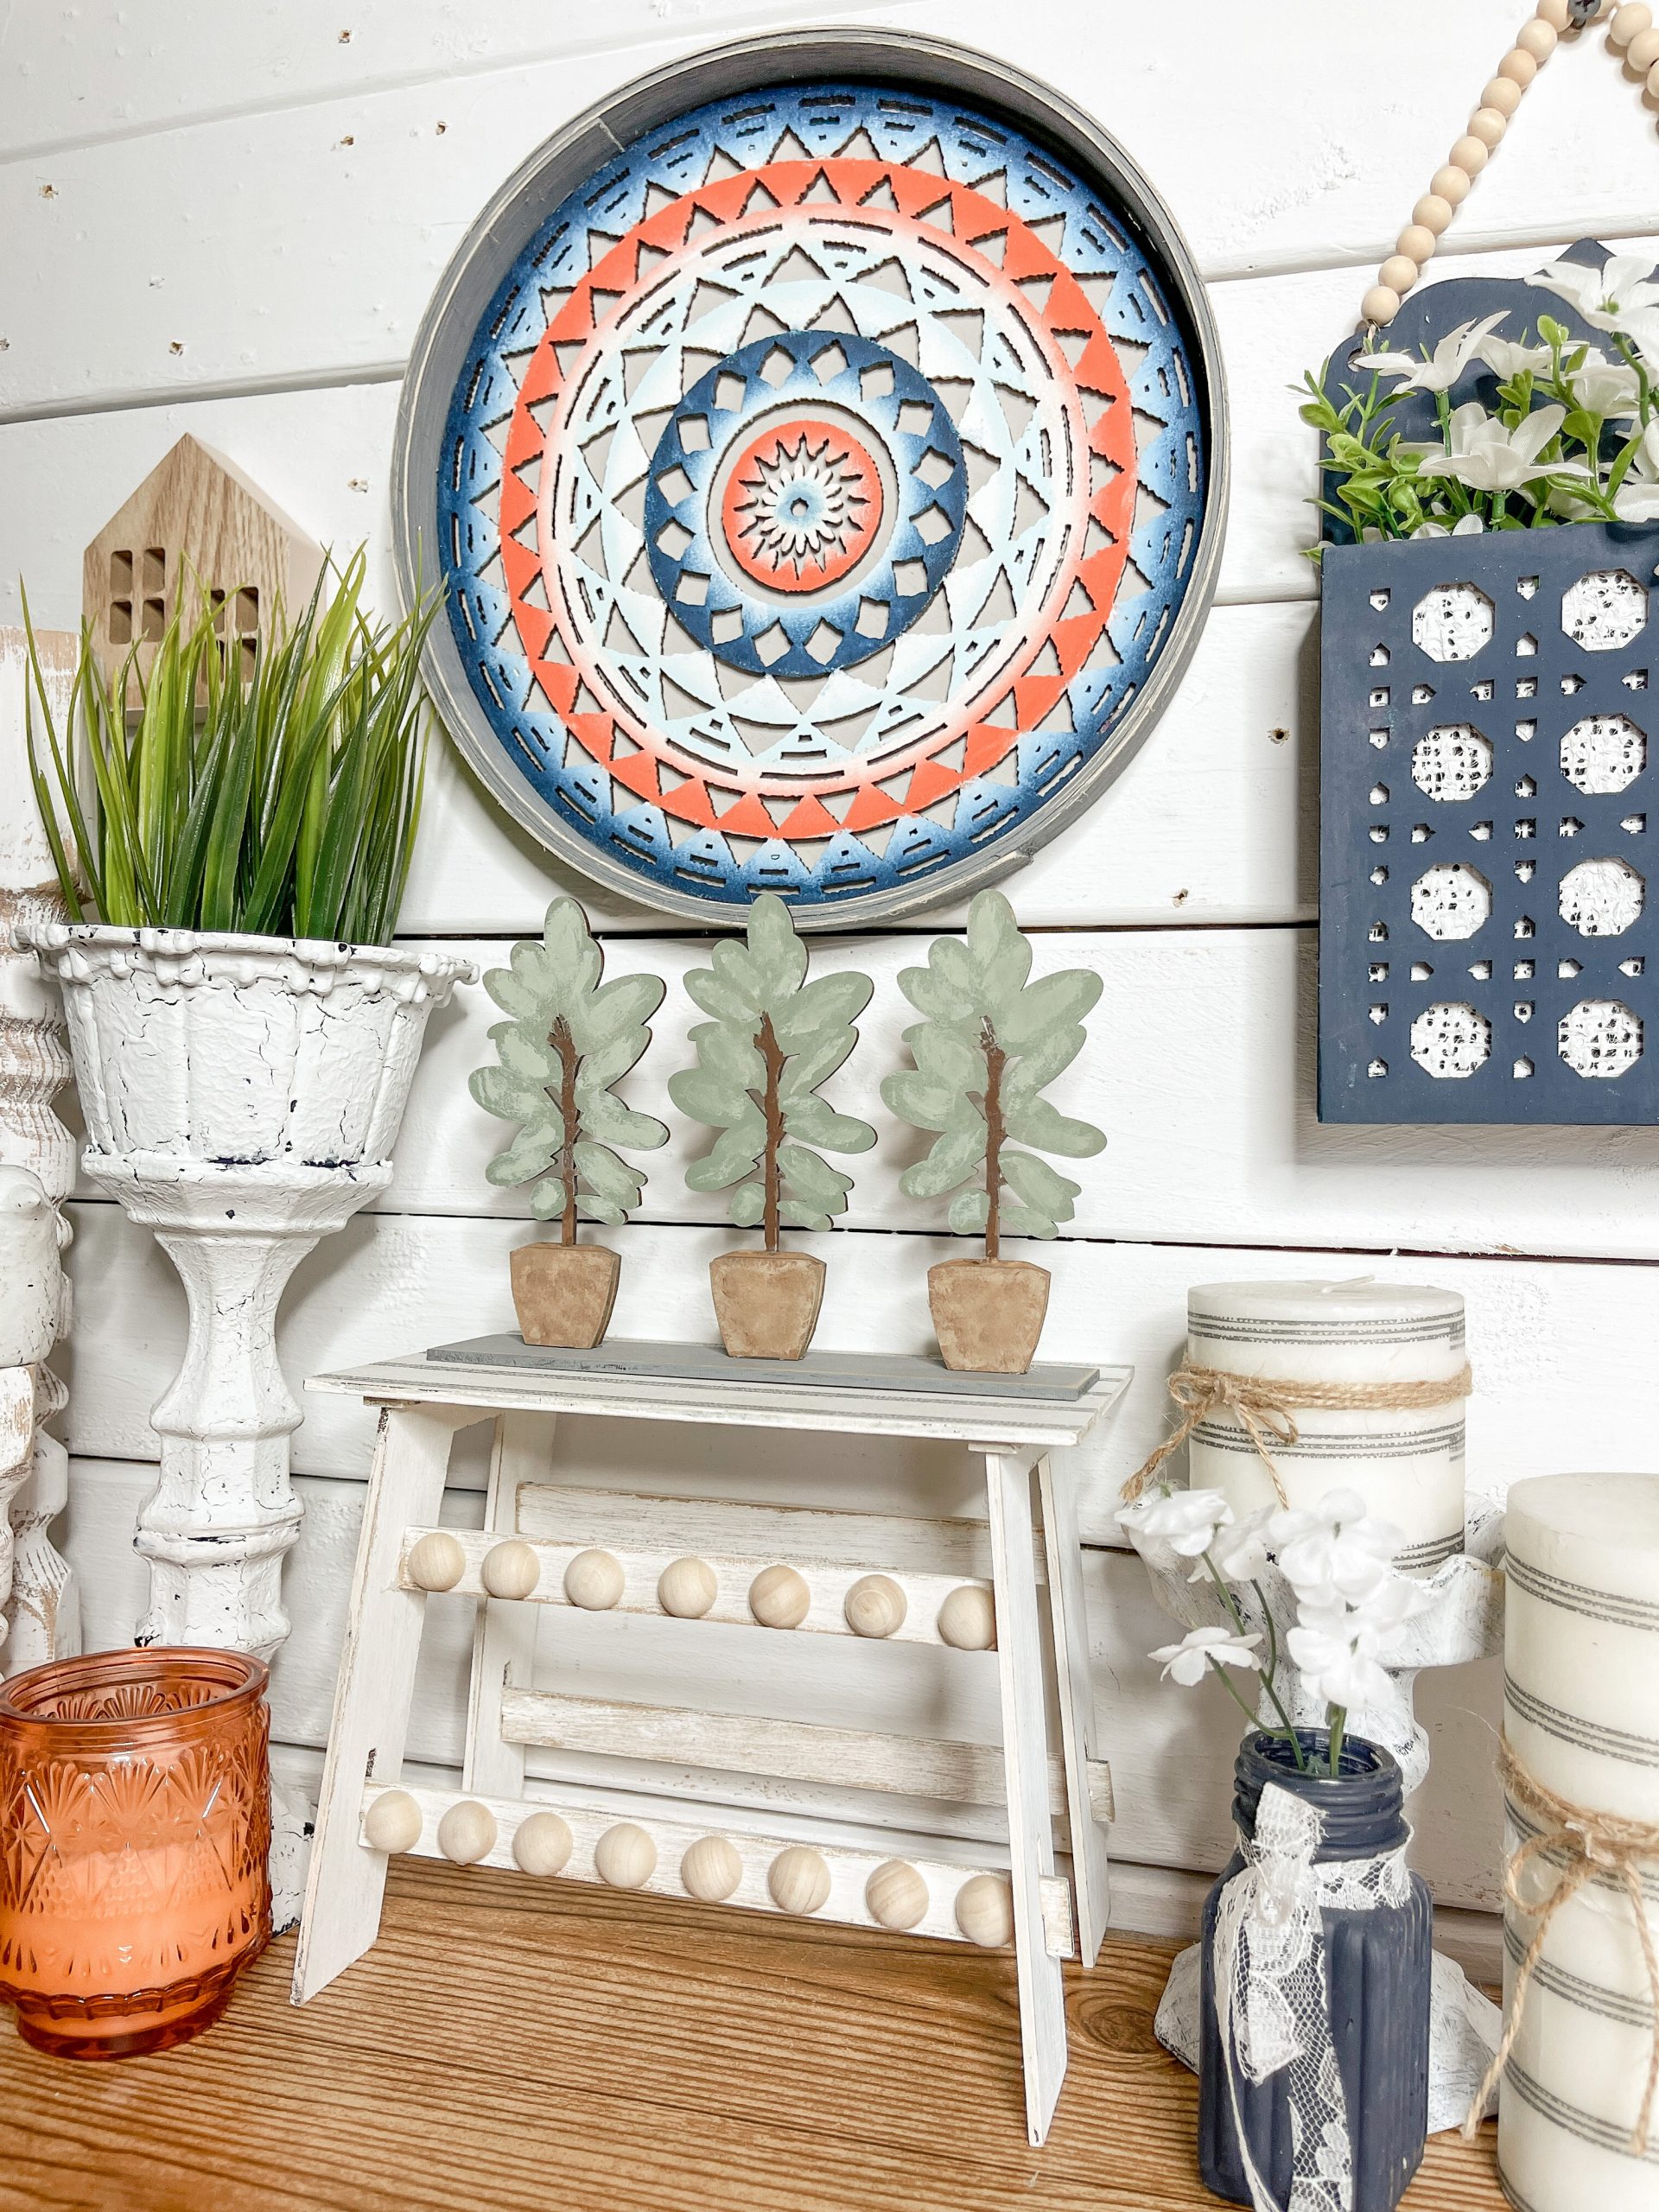
Next, I used Waverly celery chalk paint to highlight and add detailing to the foliage for each of the potted plants.
I painted the pots for the plants with tan paint and used darker brown to make the pots look dirtier/more detailed.
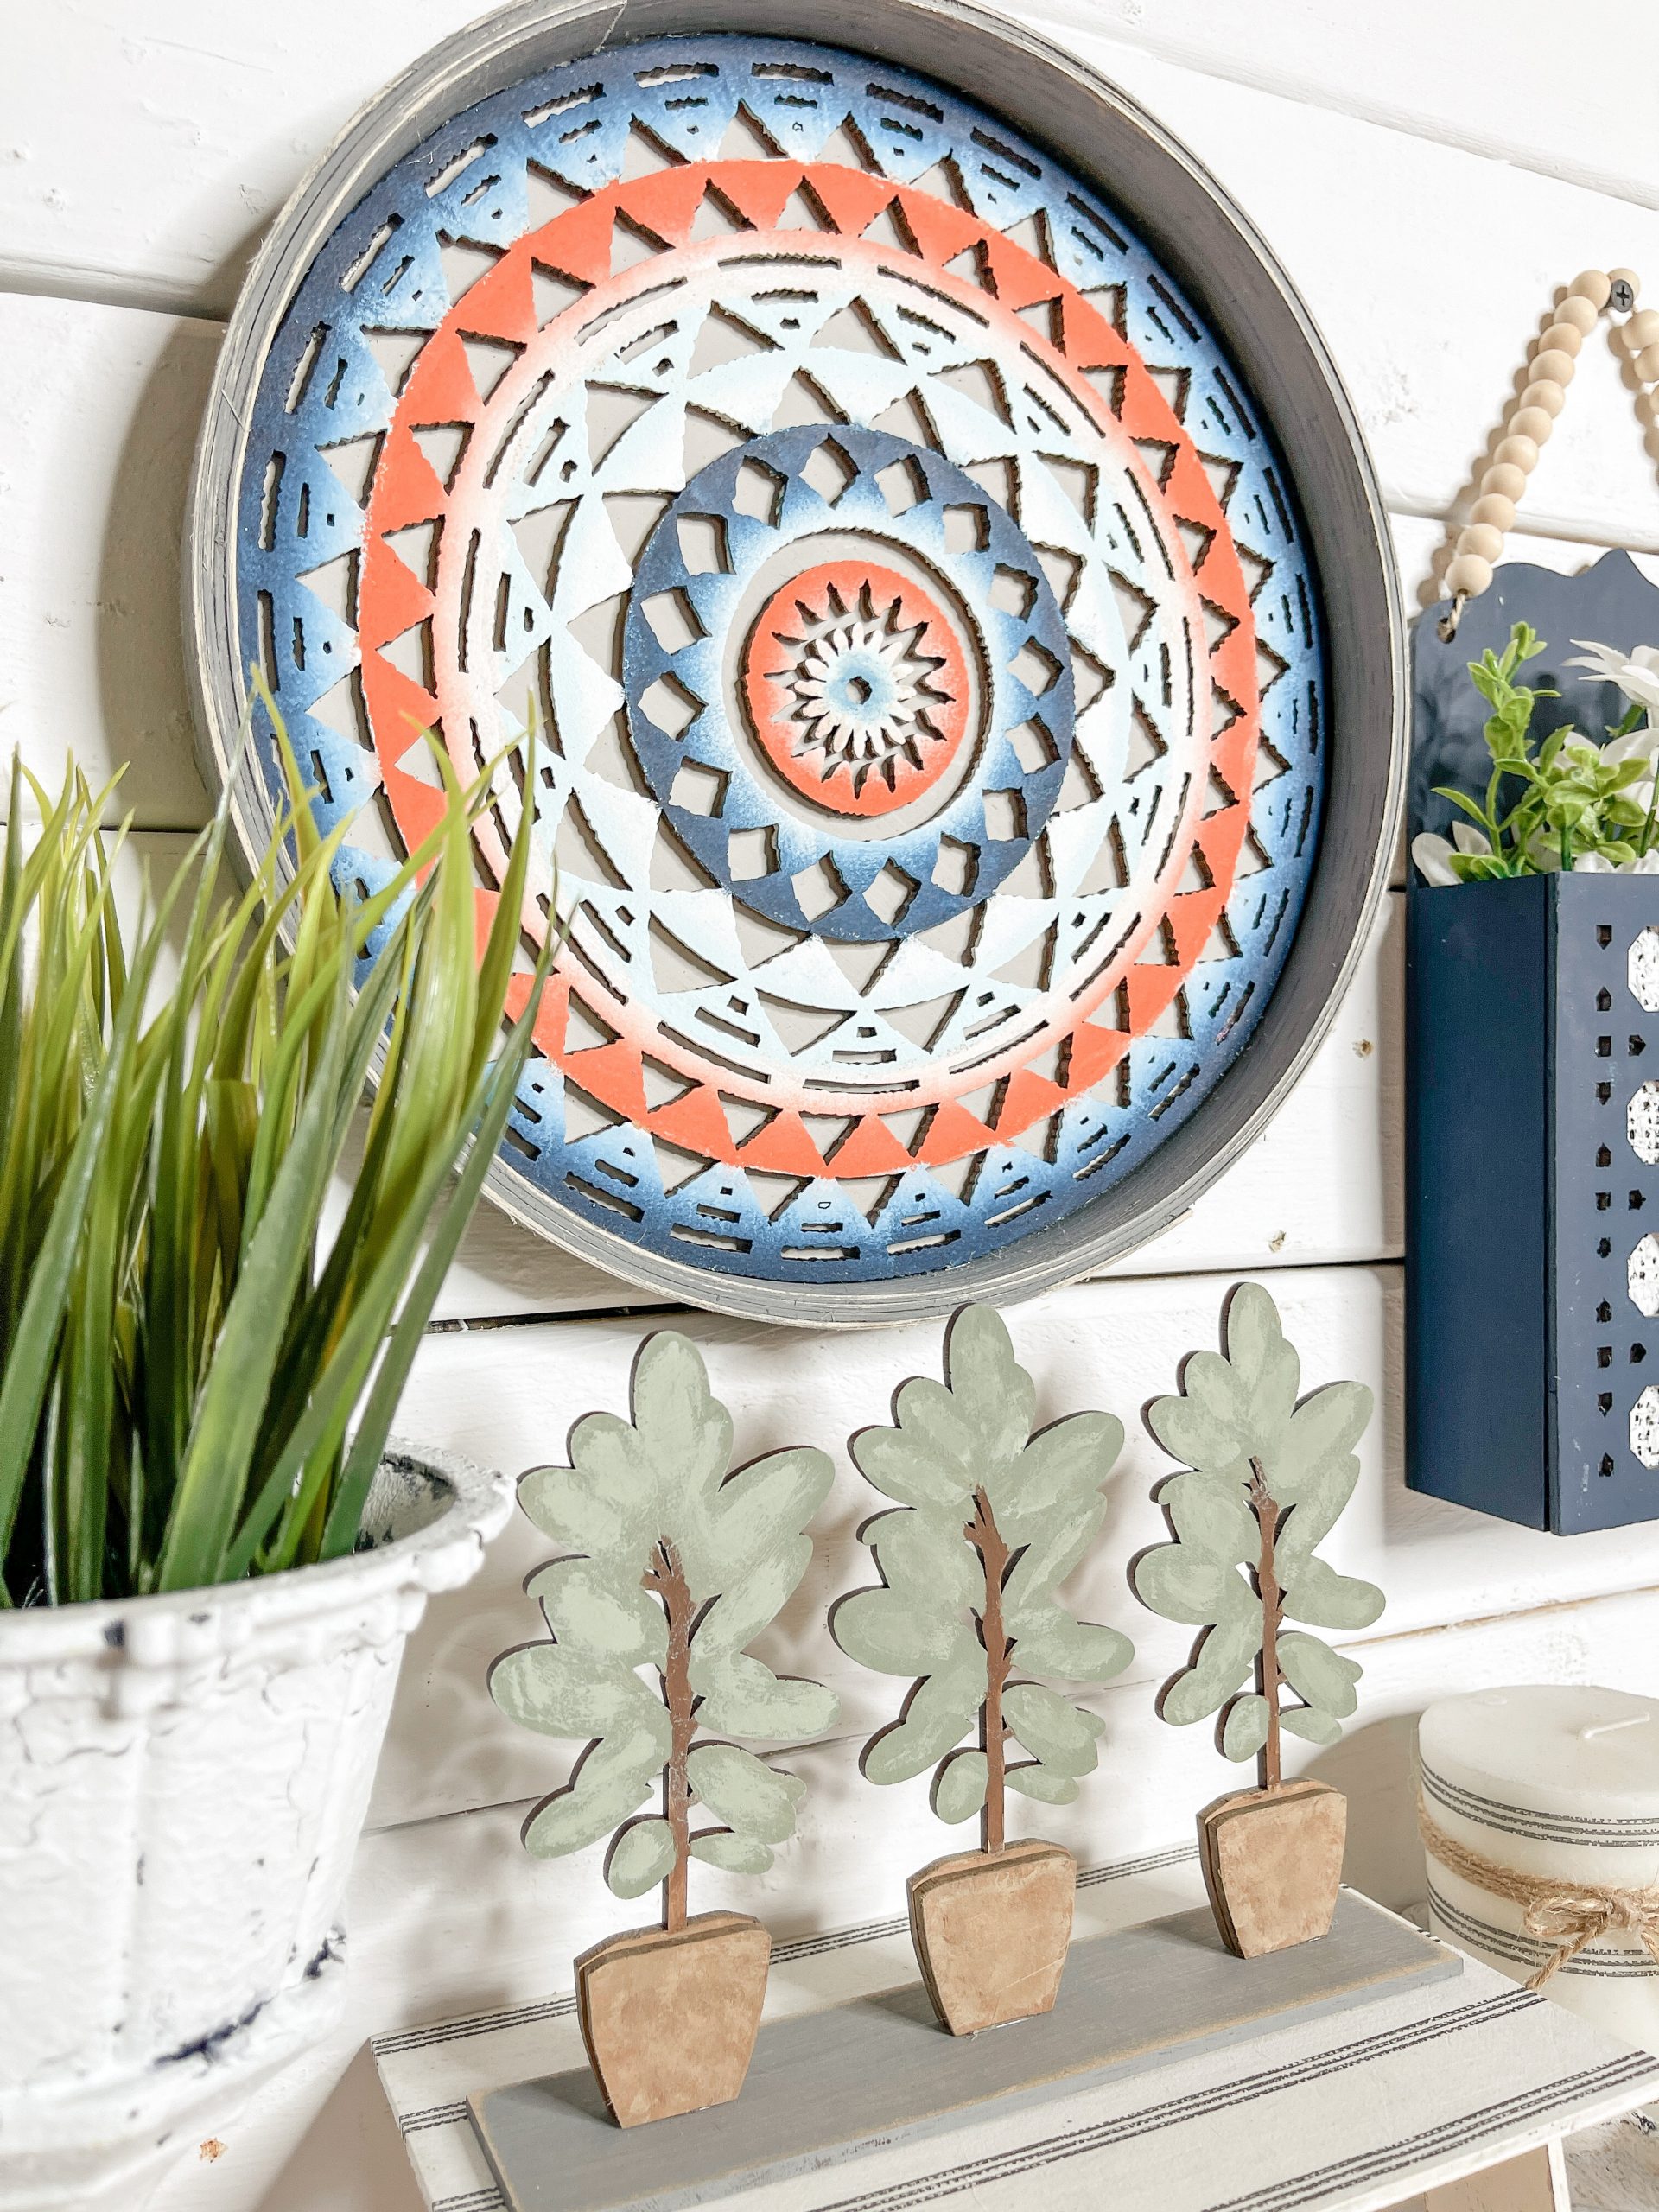
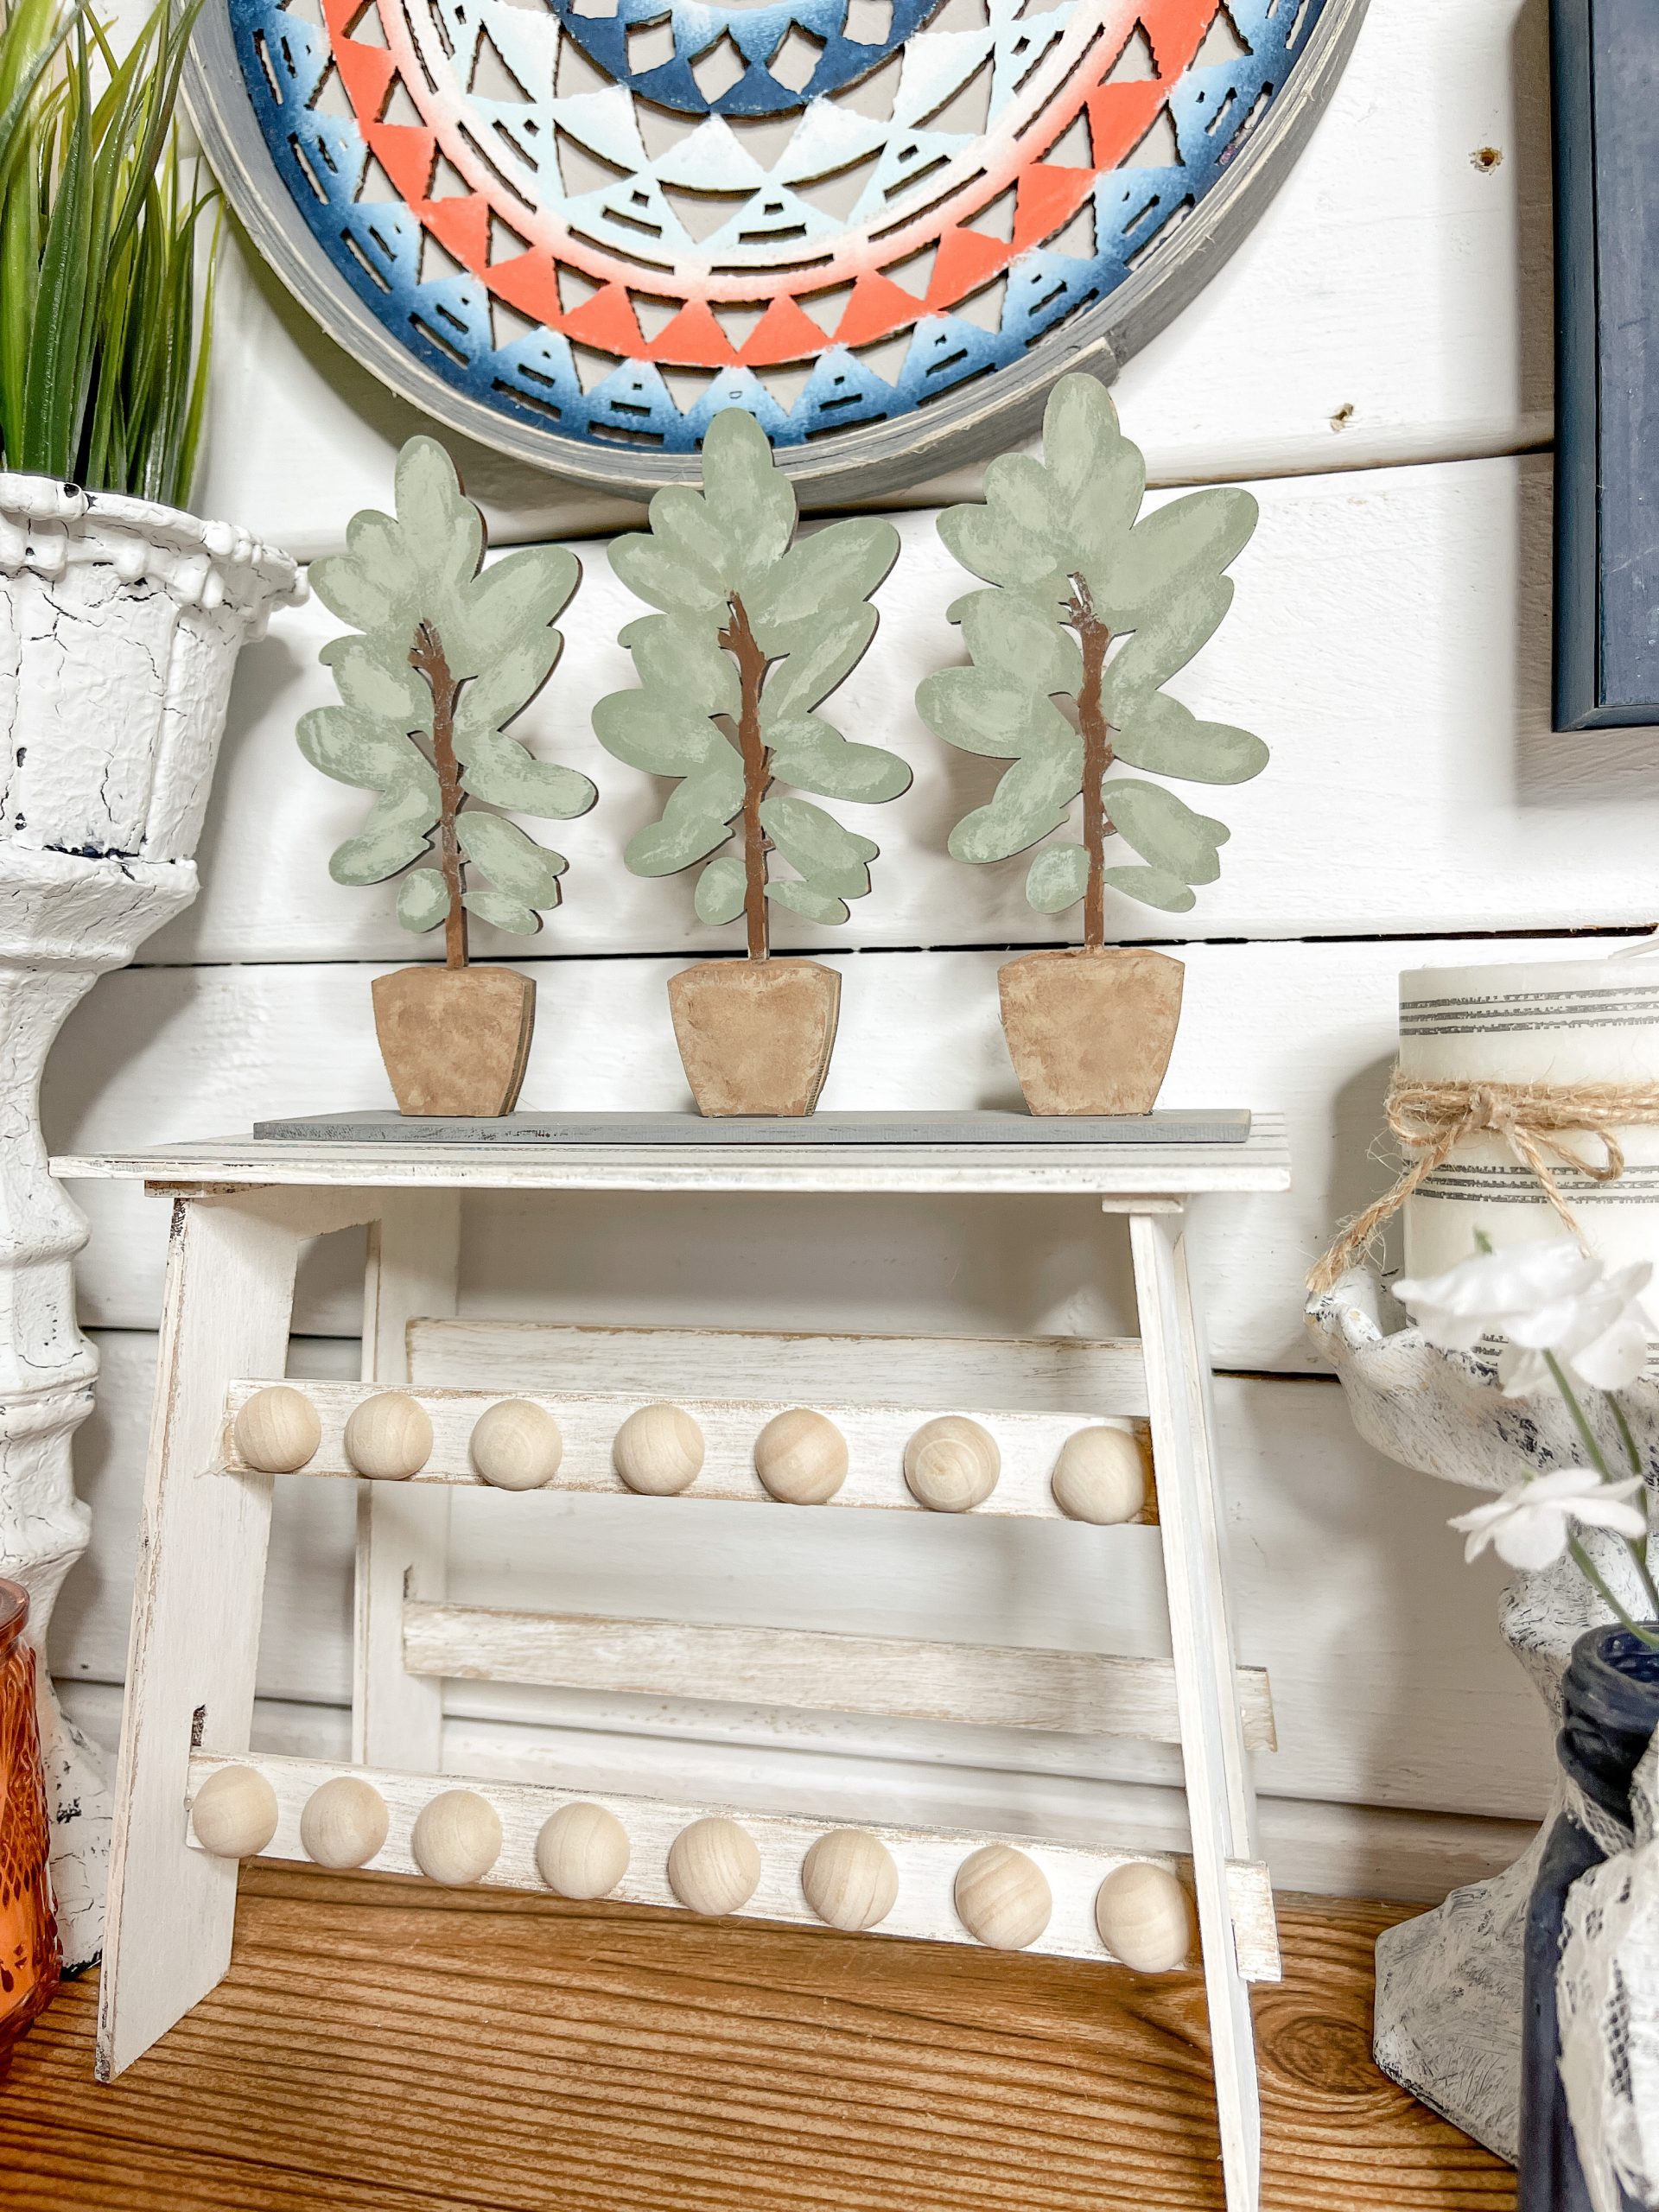
Paint the base piece of the potted plants with the same mixture you used to paint the reed piece from earlier. Allow all the paint to dry, then glue the potted plant pieces together.
Lastly, I glued a piece of jute twine to the back of the mandala so I could hang it. I recommend using finger protectors when gluing the twine. You can find some good ones on Amazon!
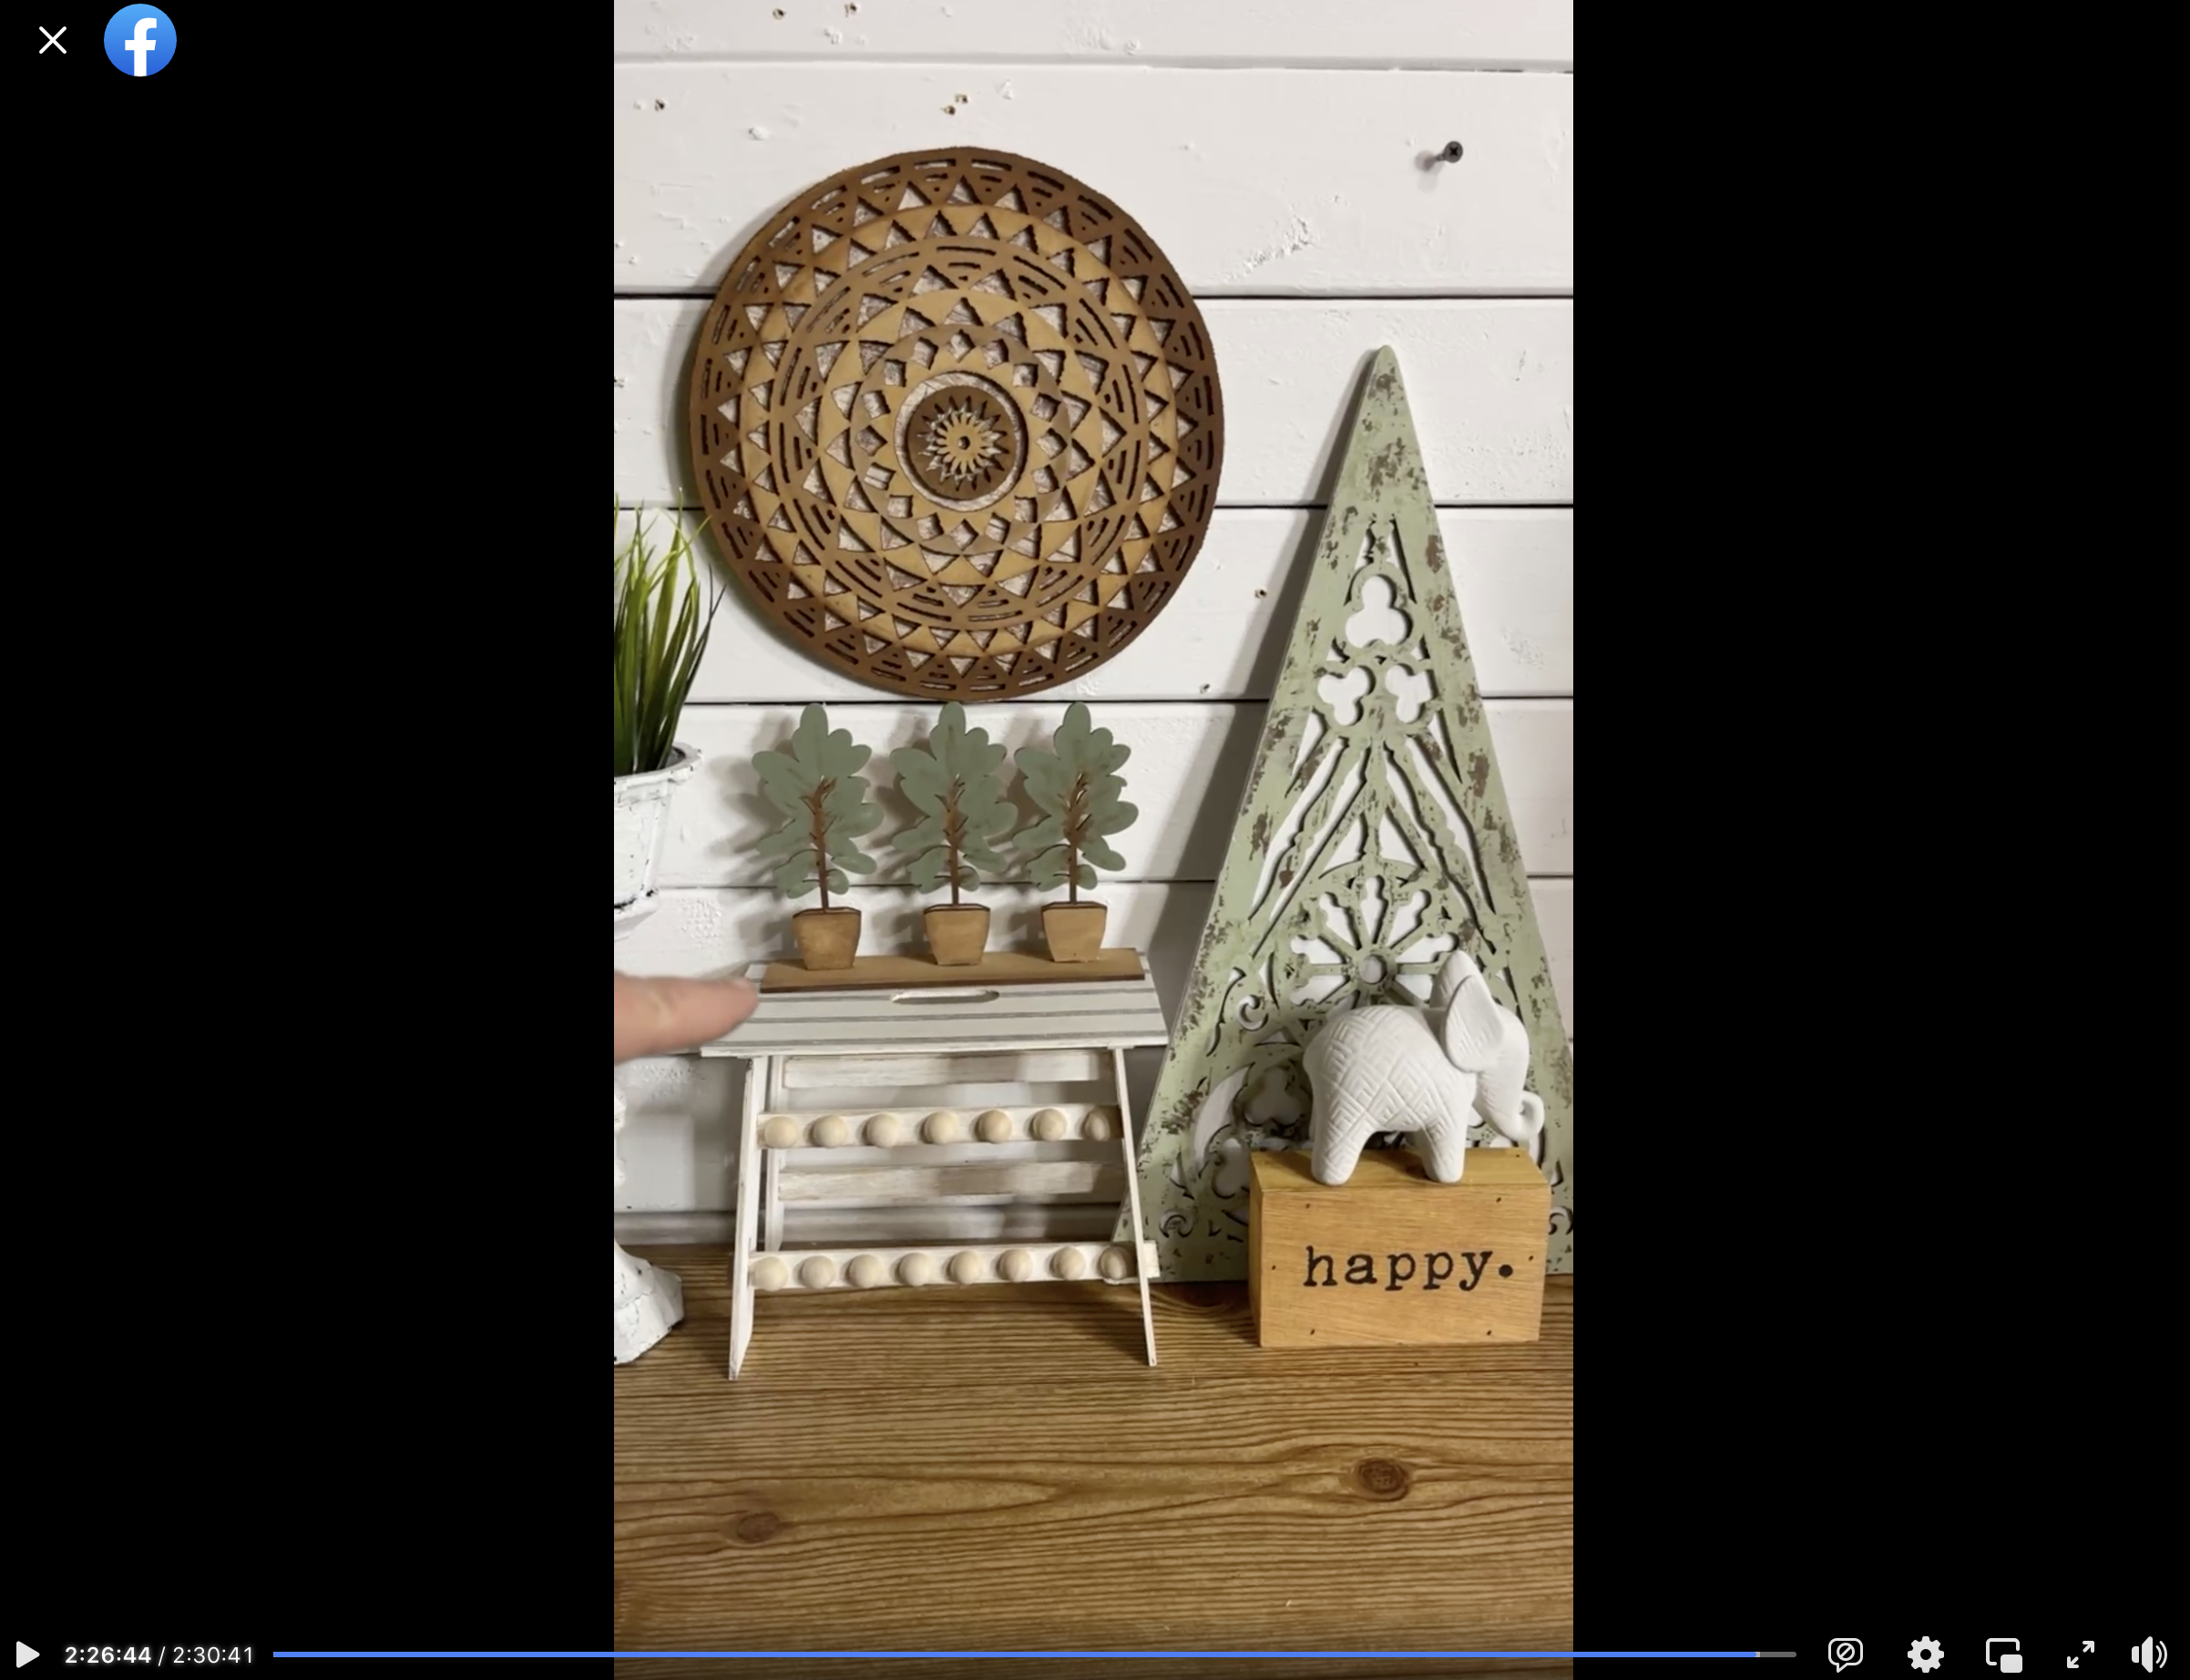
Watch the DIY tutorial
I shared two different ways to decorate with my mandala craft kit during a LIVE video with my sister Angela on my Facebook page.
If you want to see the DIY process, craft along, or just join in on the fun conversations you can watch the DIY tutorial on Facebook!
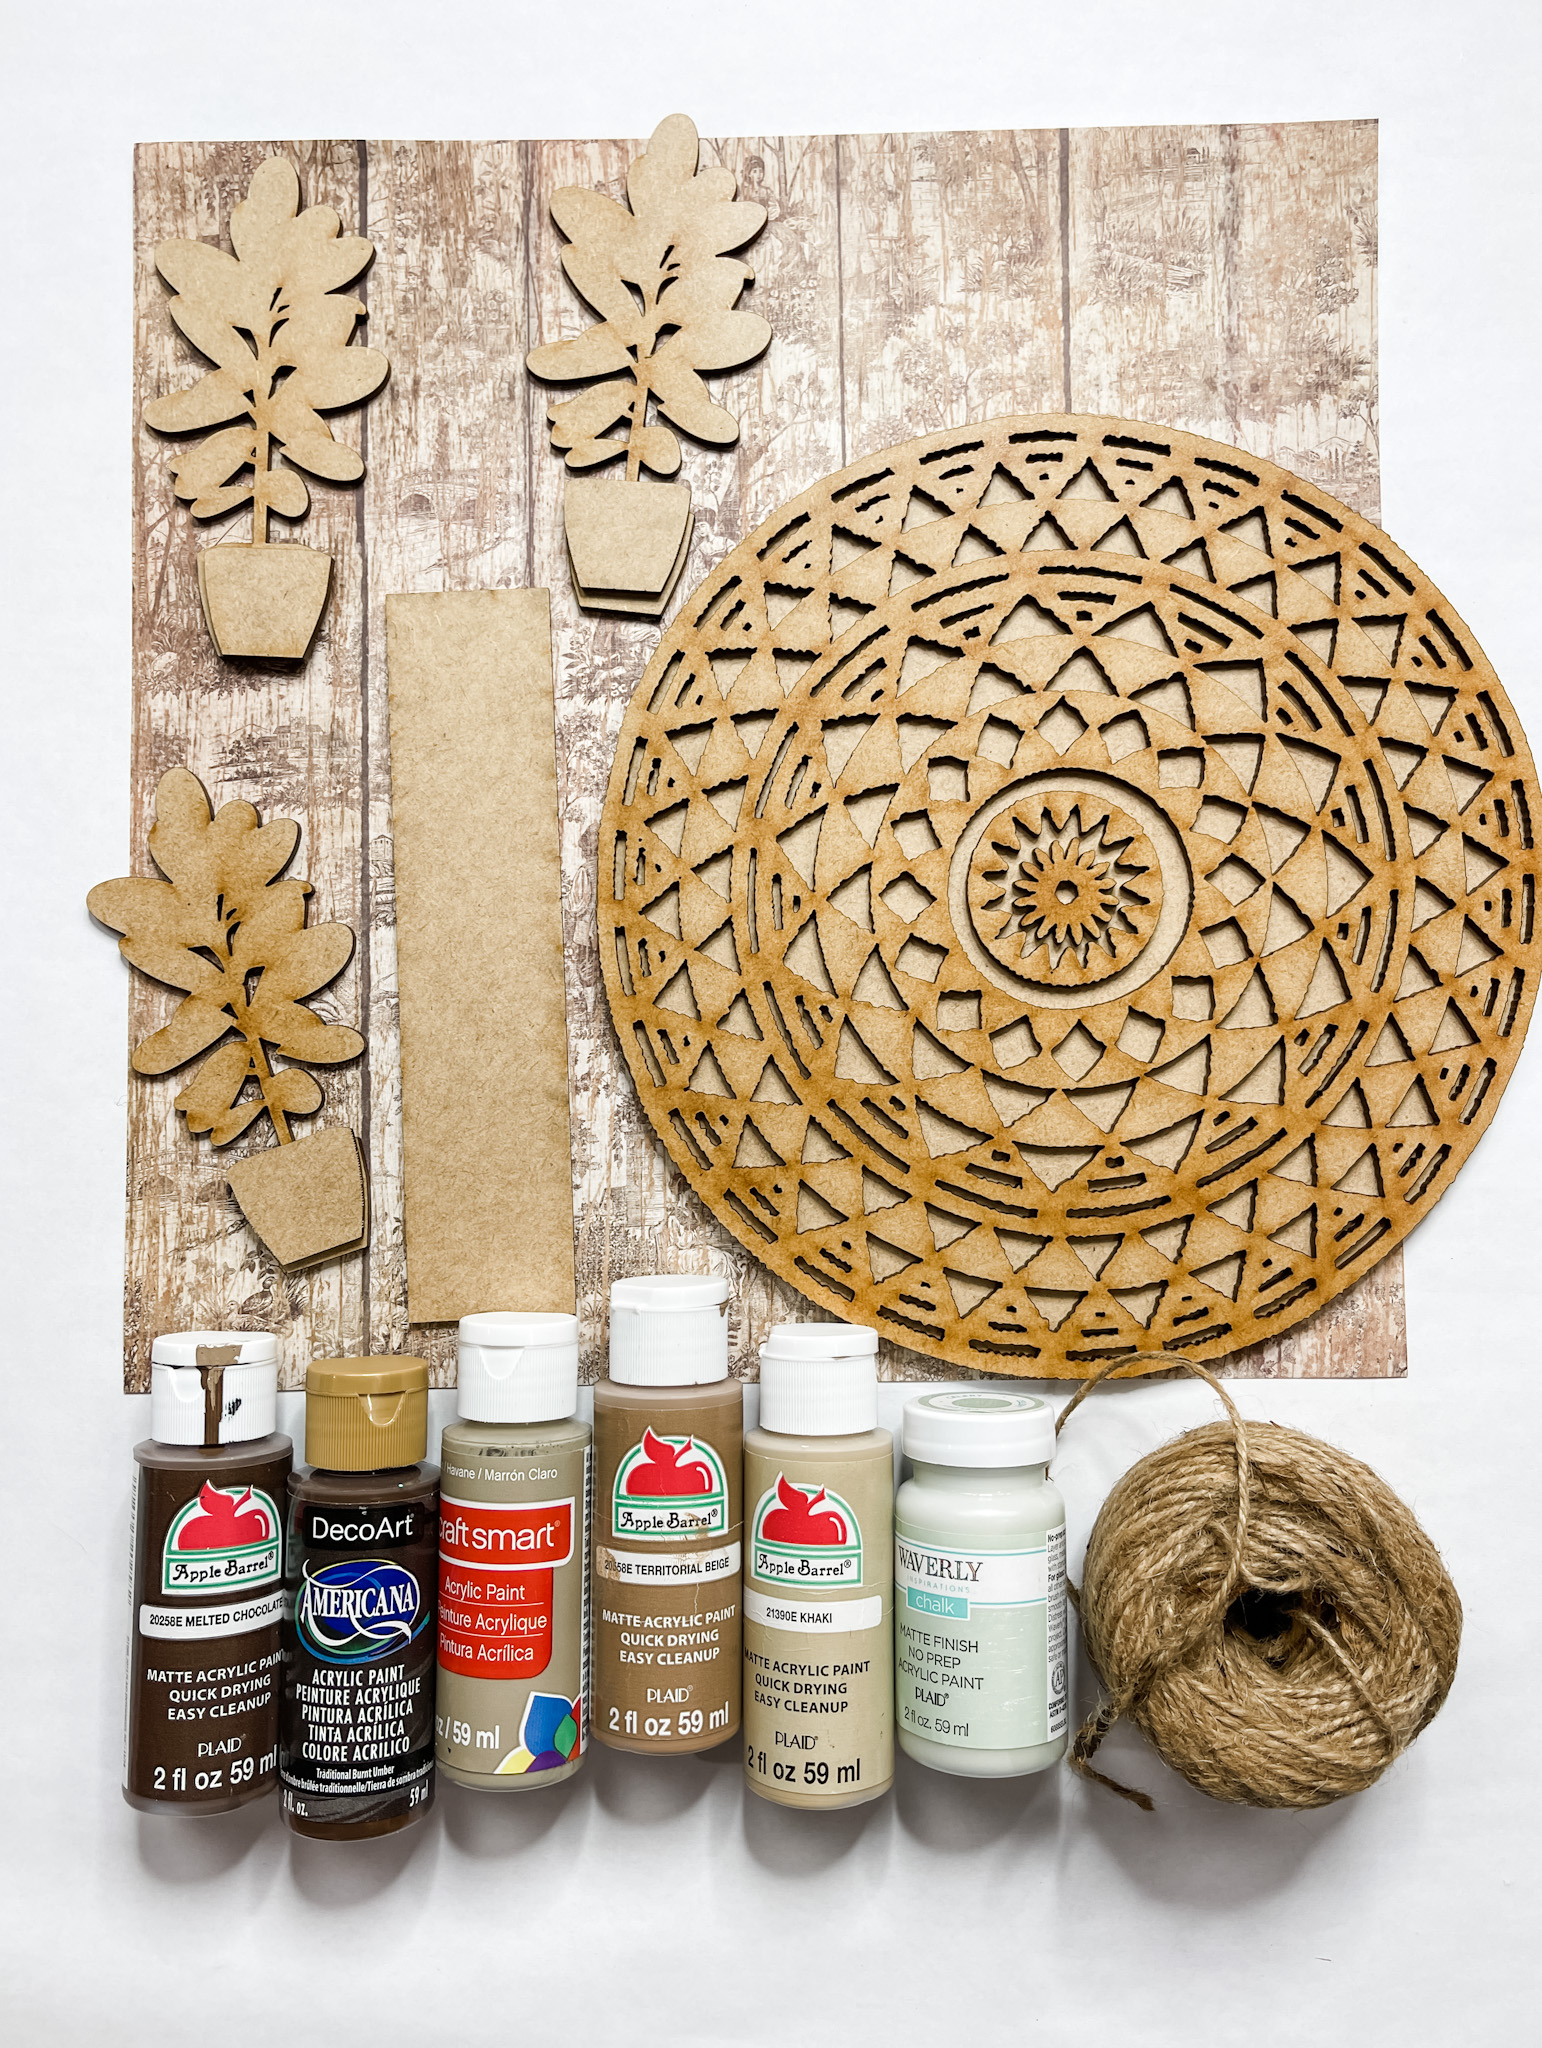
For the second idea, my sister Angela used these items but you can substitute where you want.
“As an Amazon Associate, I earn from qualifying purchases.”
- Mandala Craft Kit
- Scrapbook Paper
- Jute Twine
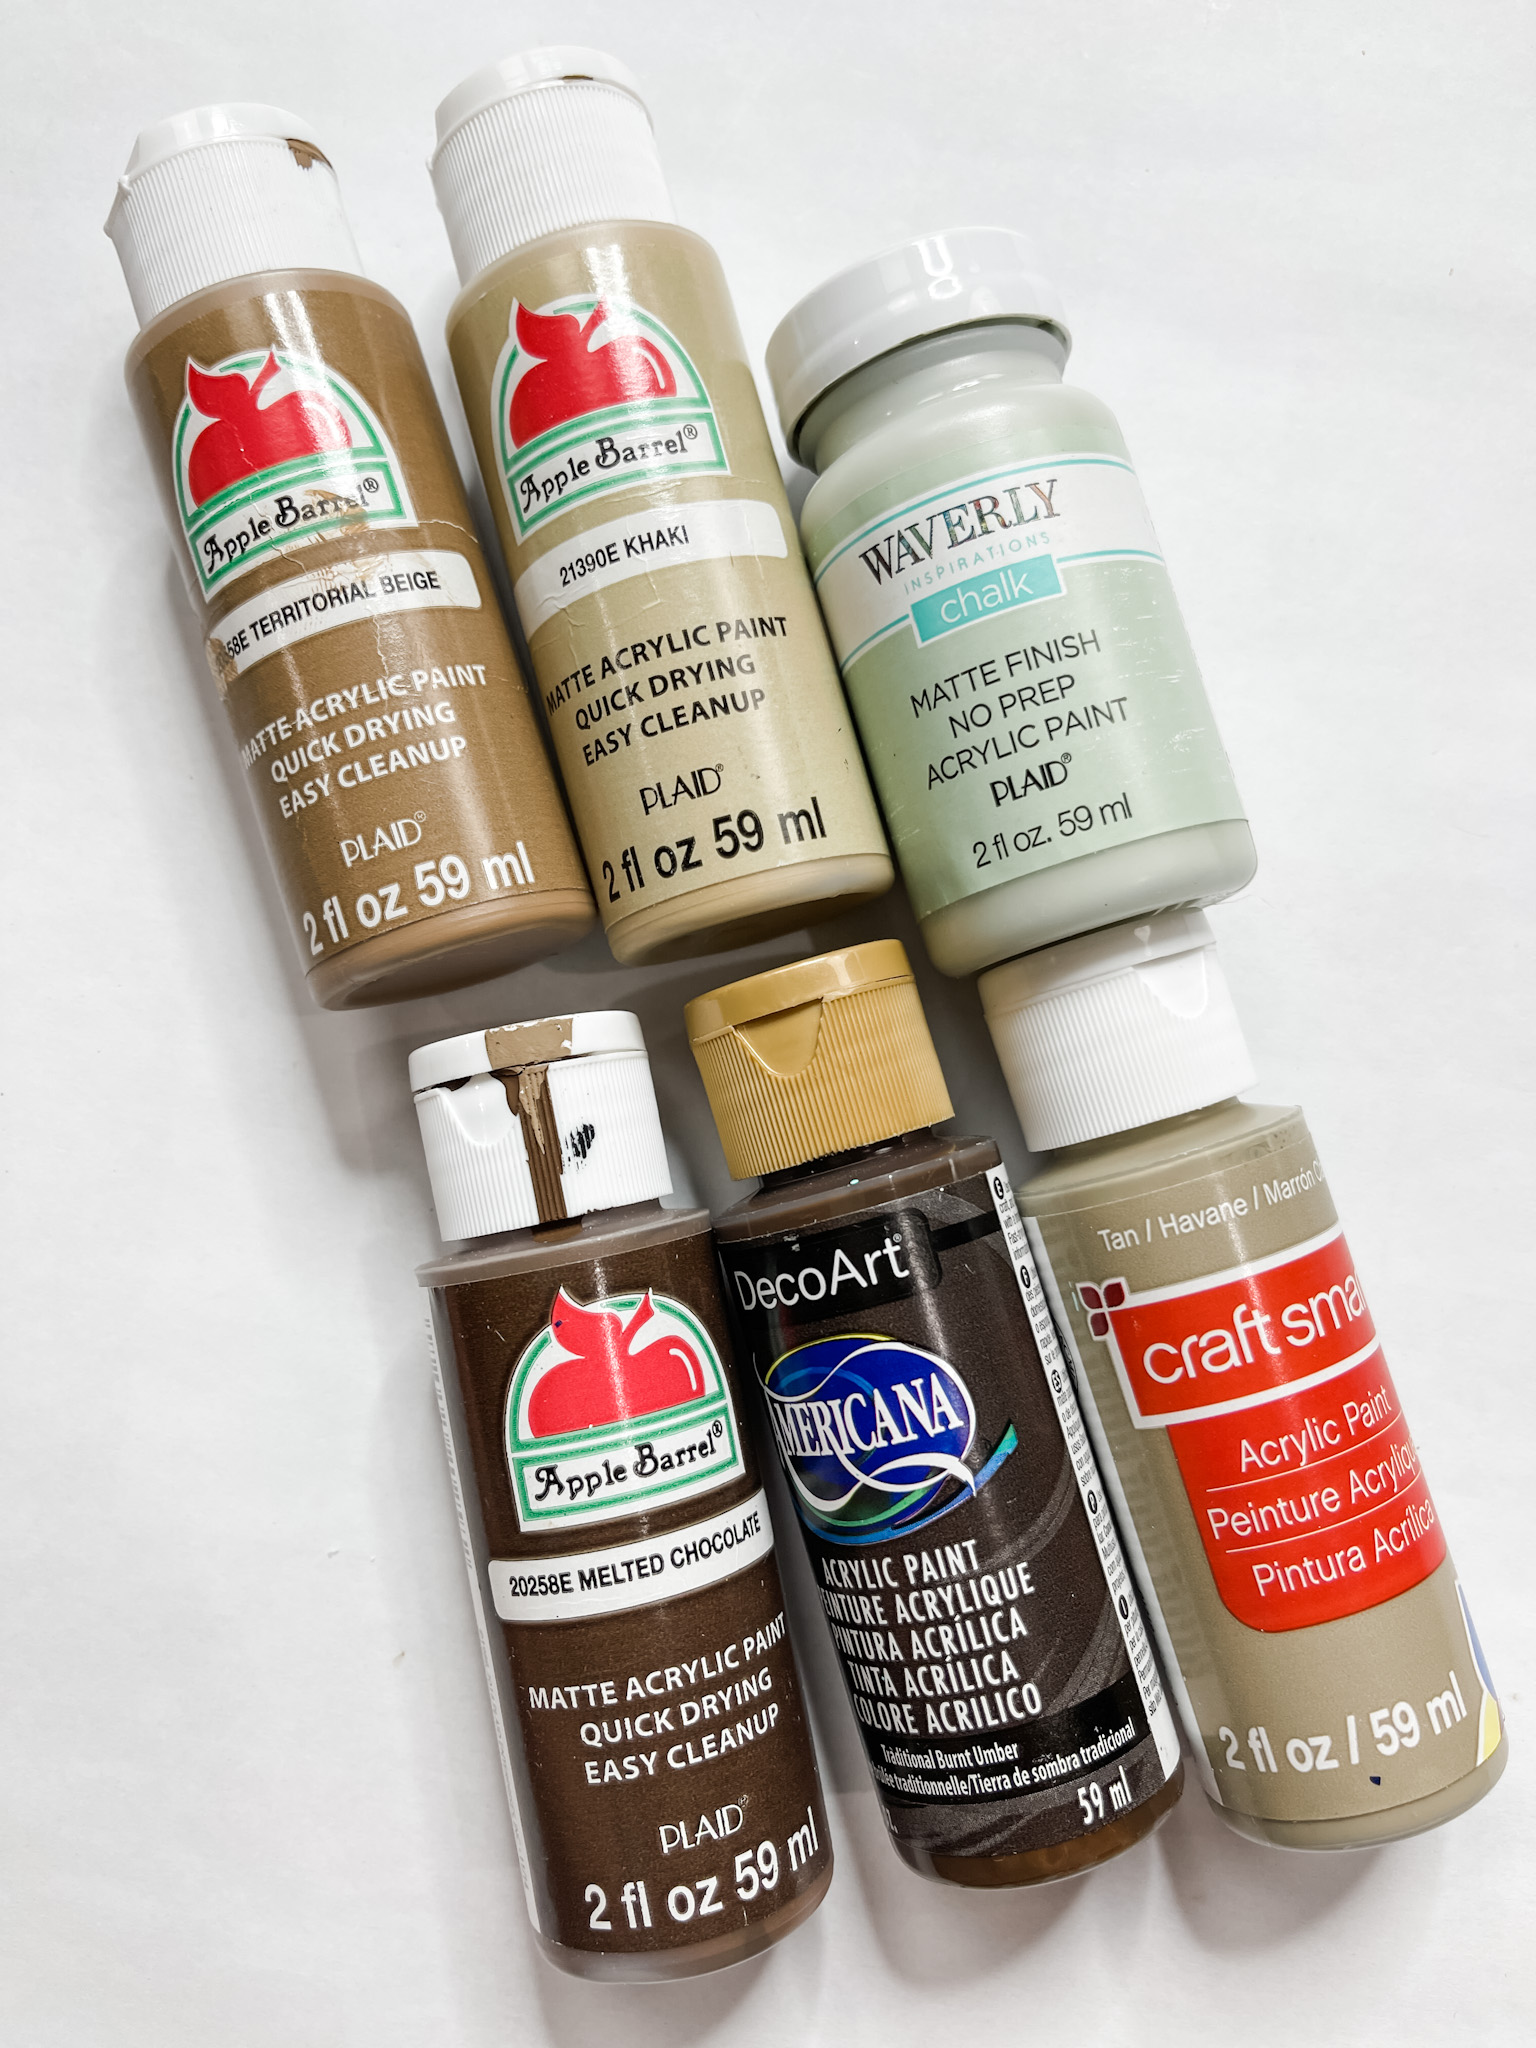
- Apple Barrel Melted Chocolate Acrylic Paint
- Apple Barrel Territorial Beige Acrylic Paint
- Craftsmart Tan Acrylic Paint
- Apple Barrel Khaki Acrylic Paint
- DecoArt Burnt Umber Acrylic Paint
- Waverly Celery Chalk Paint
- Hot glue gun and glue sticks
Mandala Wall Art Home Decor Idea #2
My sister Angela made the second mandala wall art home decor idea, and it turned out SO CUTE! If you want to make yours like hers, start by decoupaging the scrapbook paper onto the circle backing.
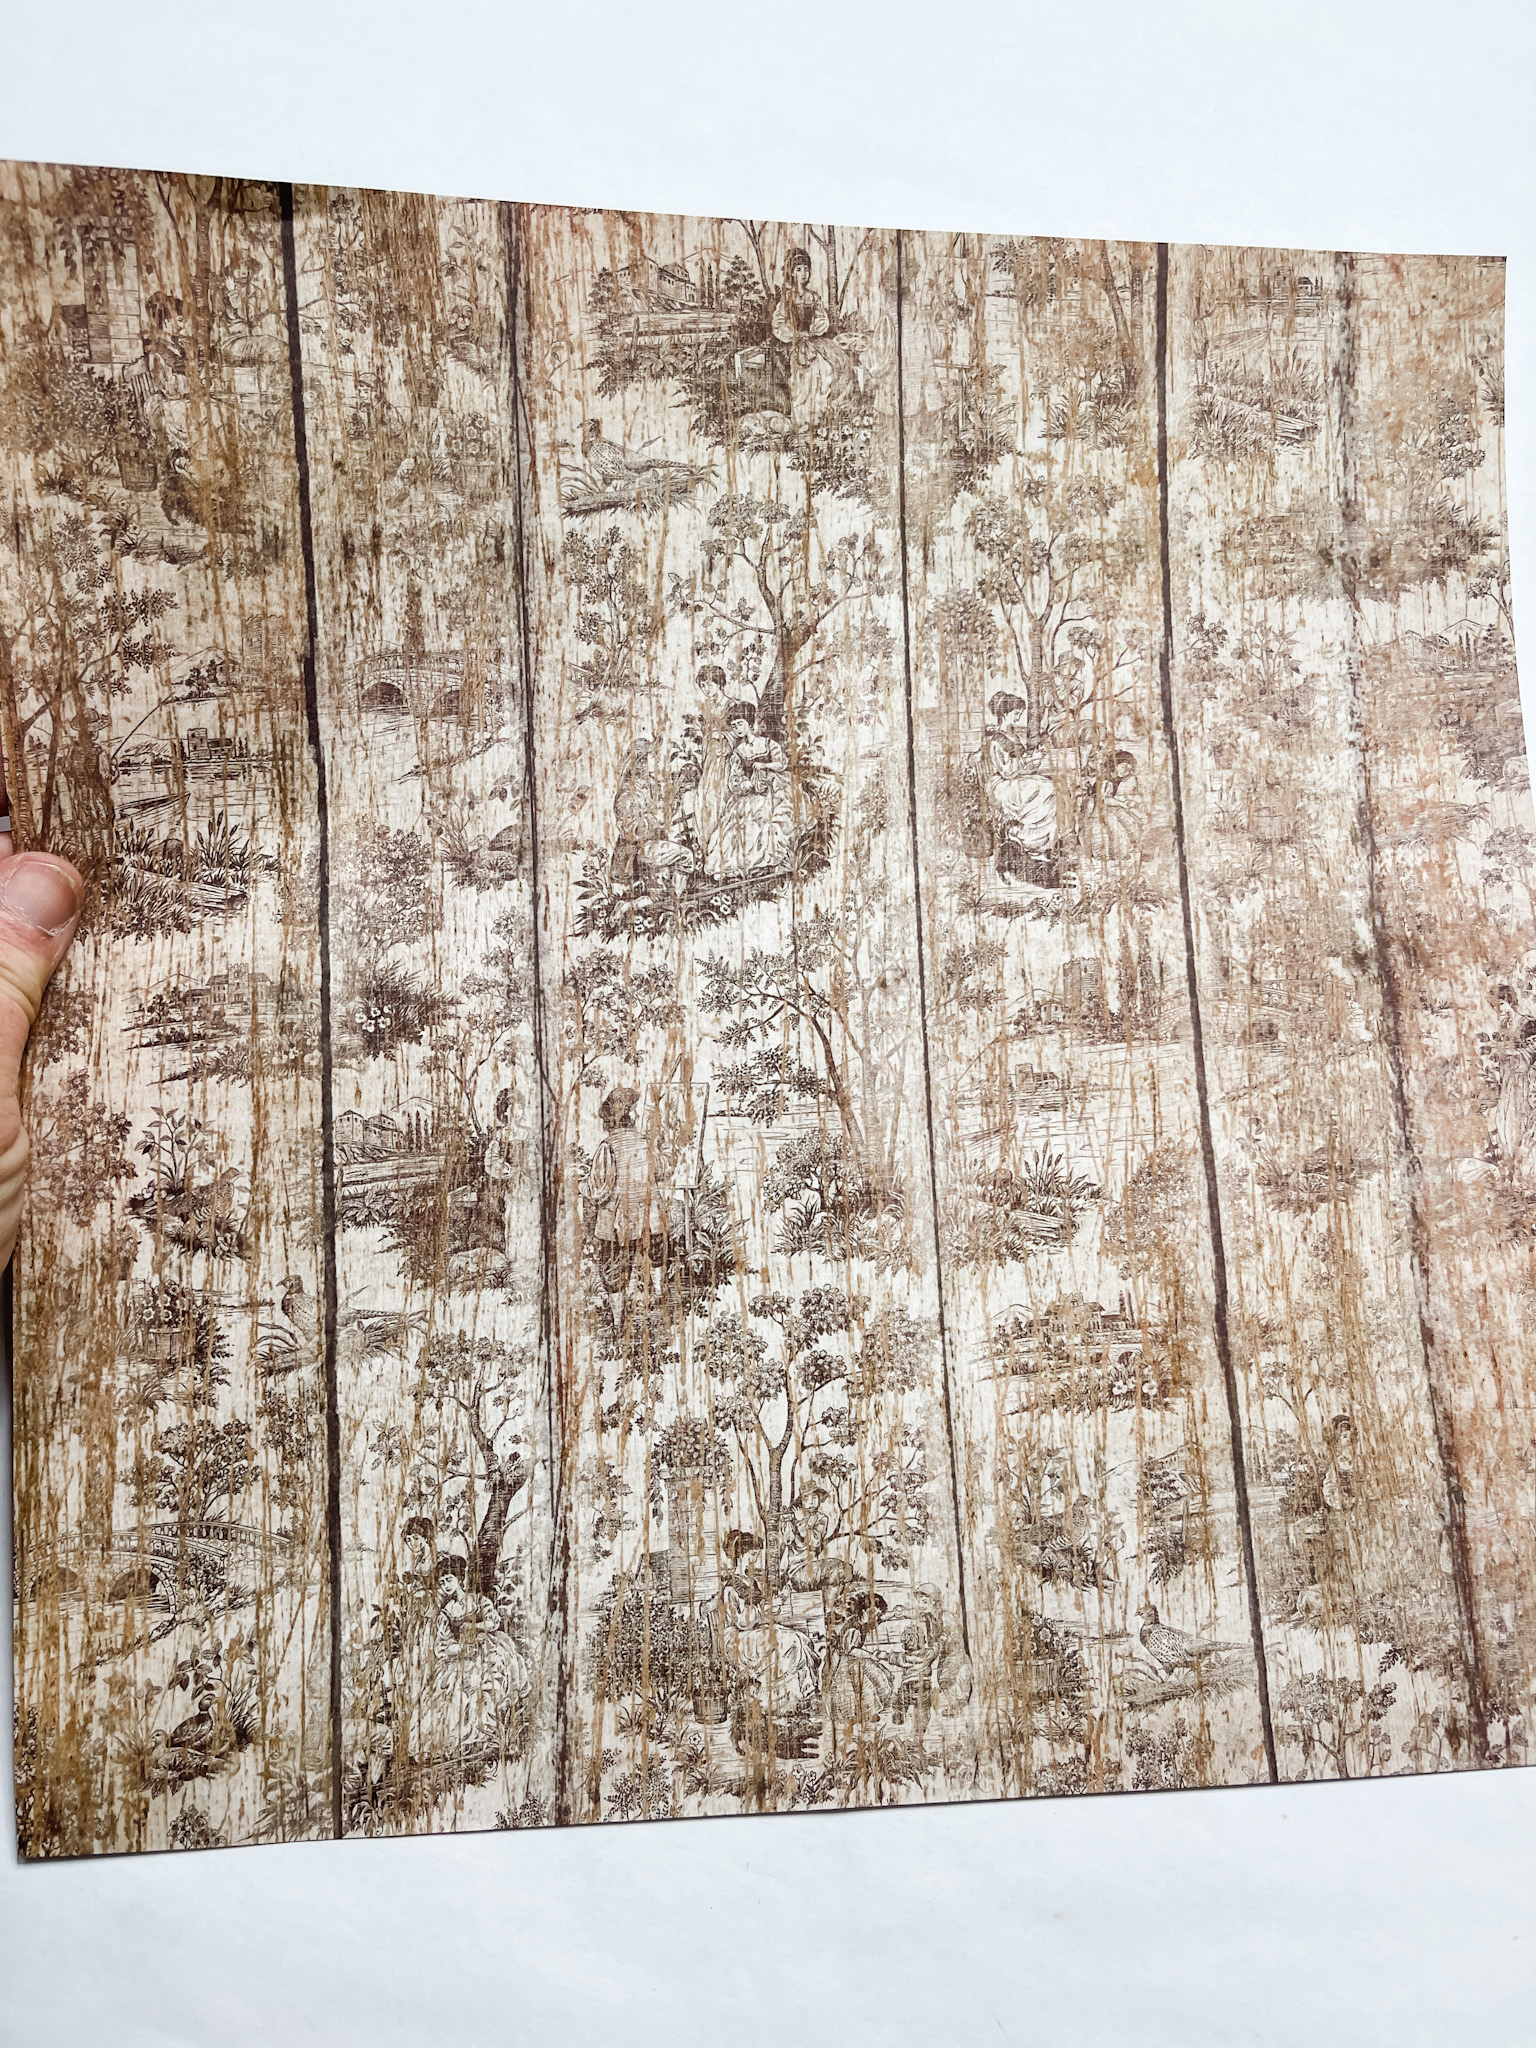
Apply a coat of Mod Podge to the circle and place the scrapbook paper onto the surface. Use a rolling pin to smooth out any wrinkles or bubbles in the scrapbook paper.
Next, get the mandala overlay piece, your paints, and some wet wipes. Use the wet wipes to apply dark brown paint around the outer edge of the mandala overlay piece.
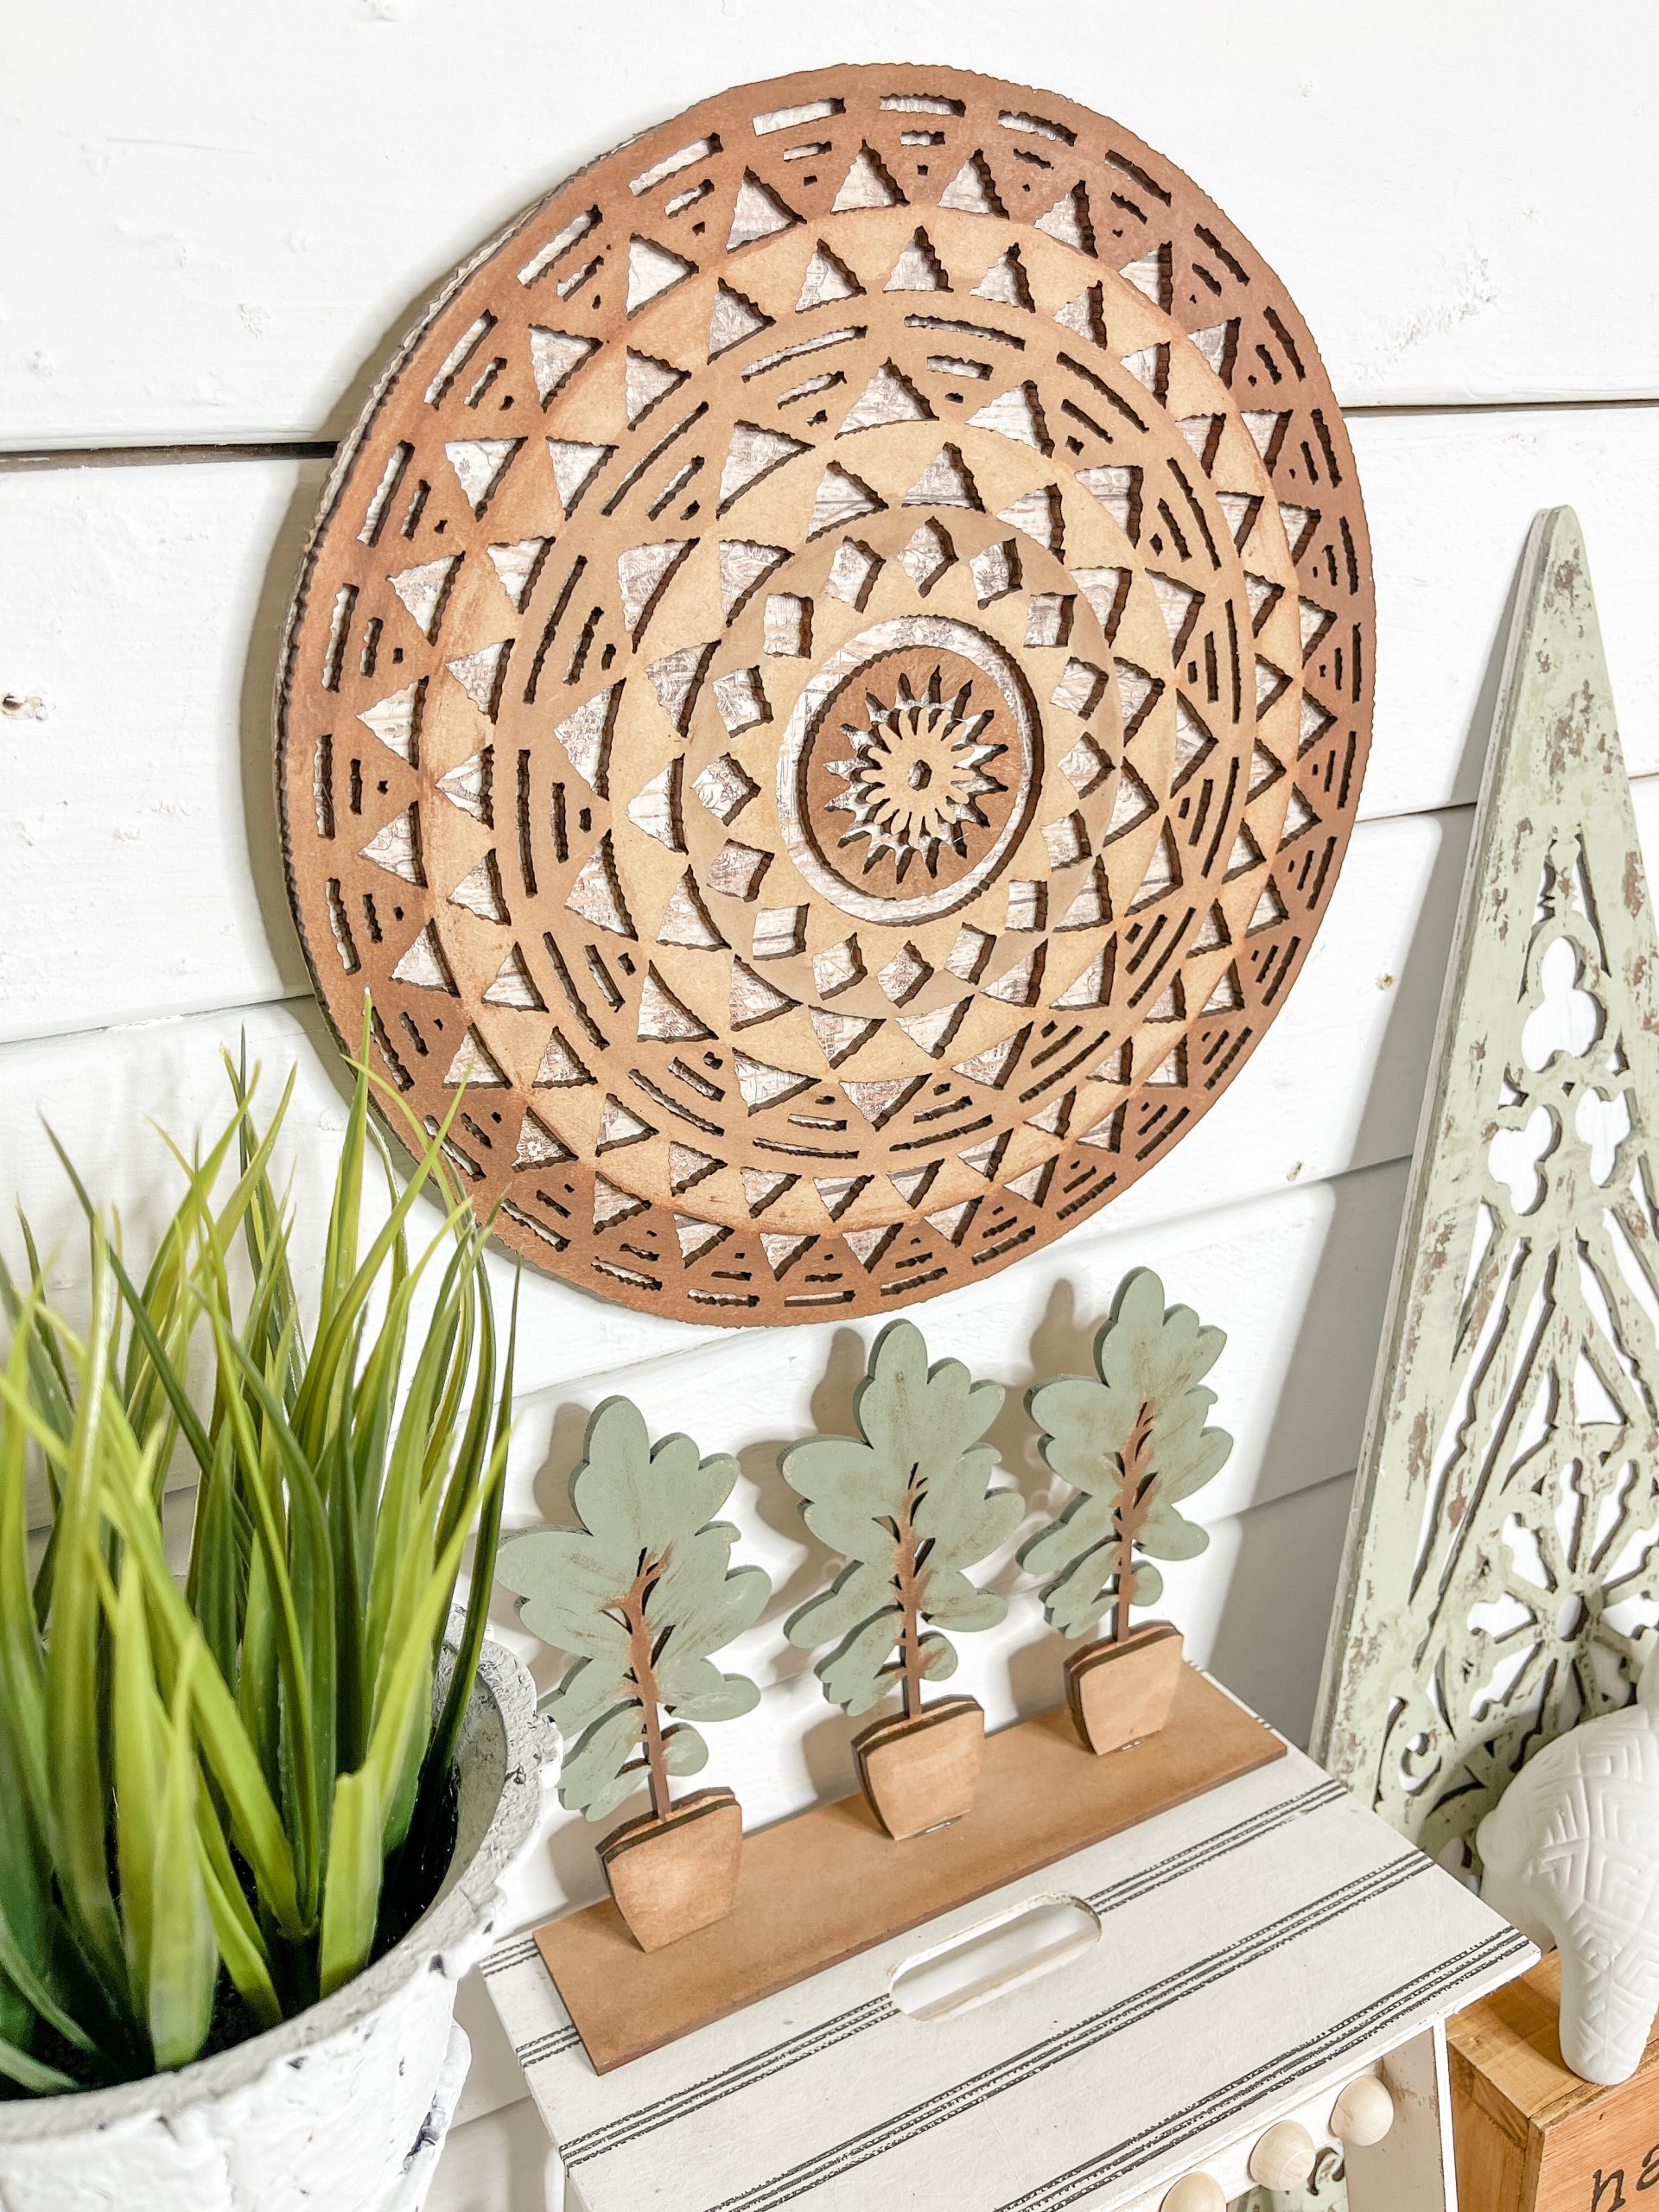
Use another wet wipe to apply and blend a lighter brown paint from the edge of the dark paint towards the center of the mandala.
Once the glue and mod podge are dry on both pieces of the mandala craft kit, glue them together.
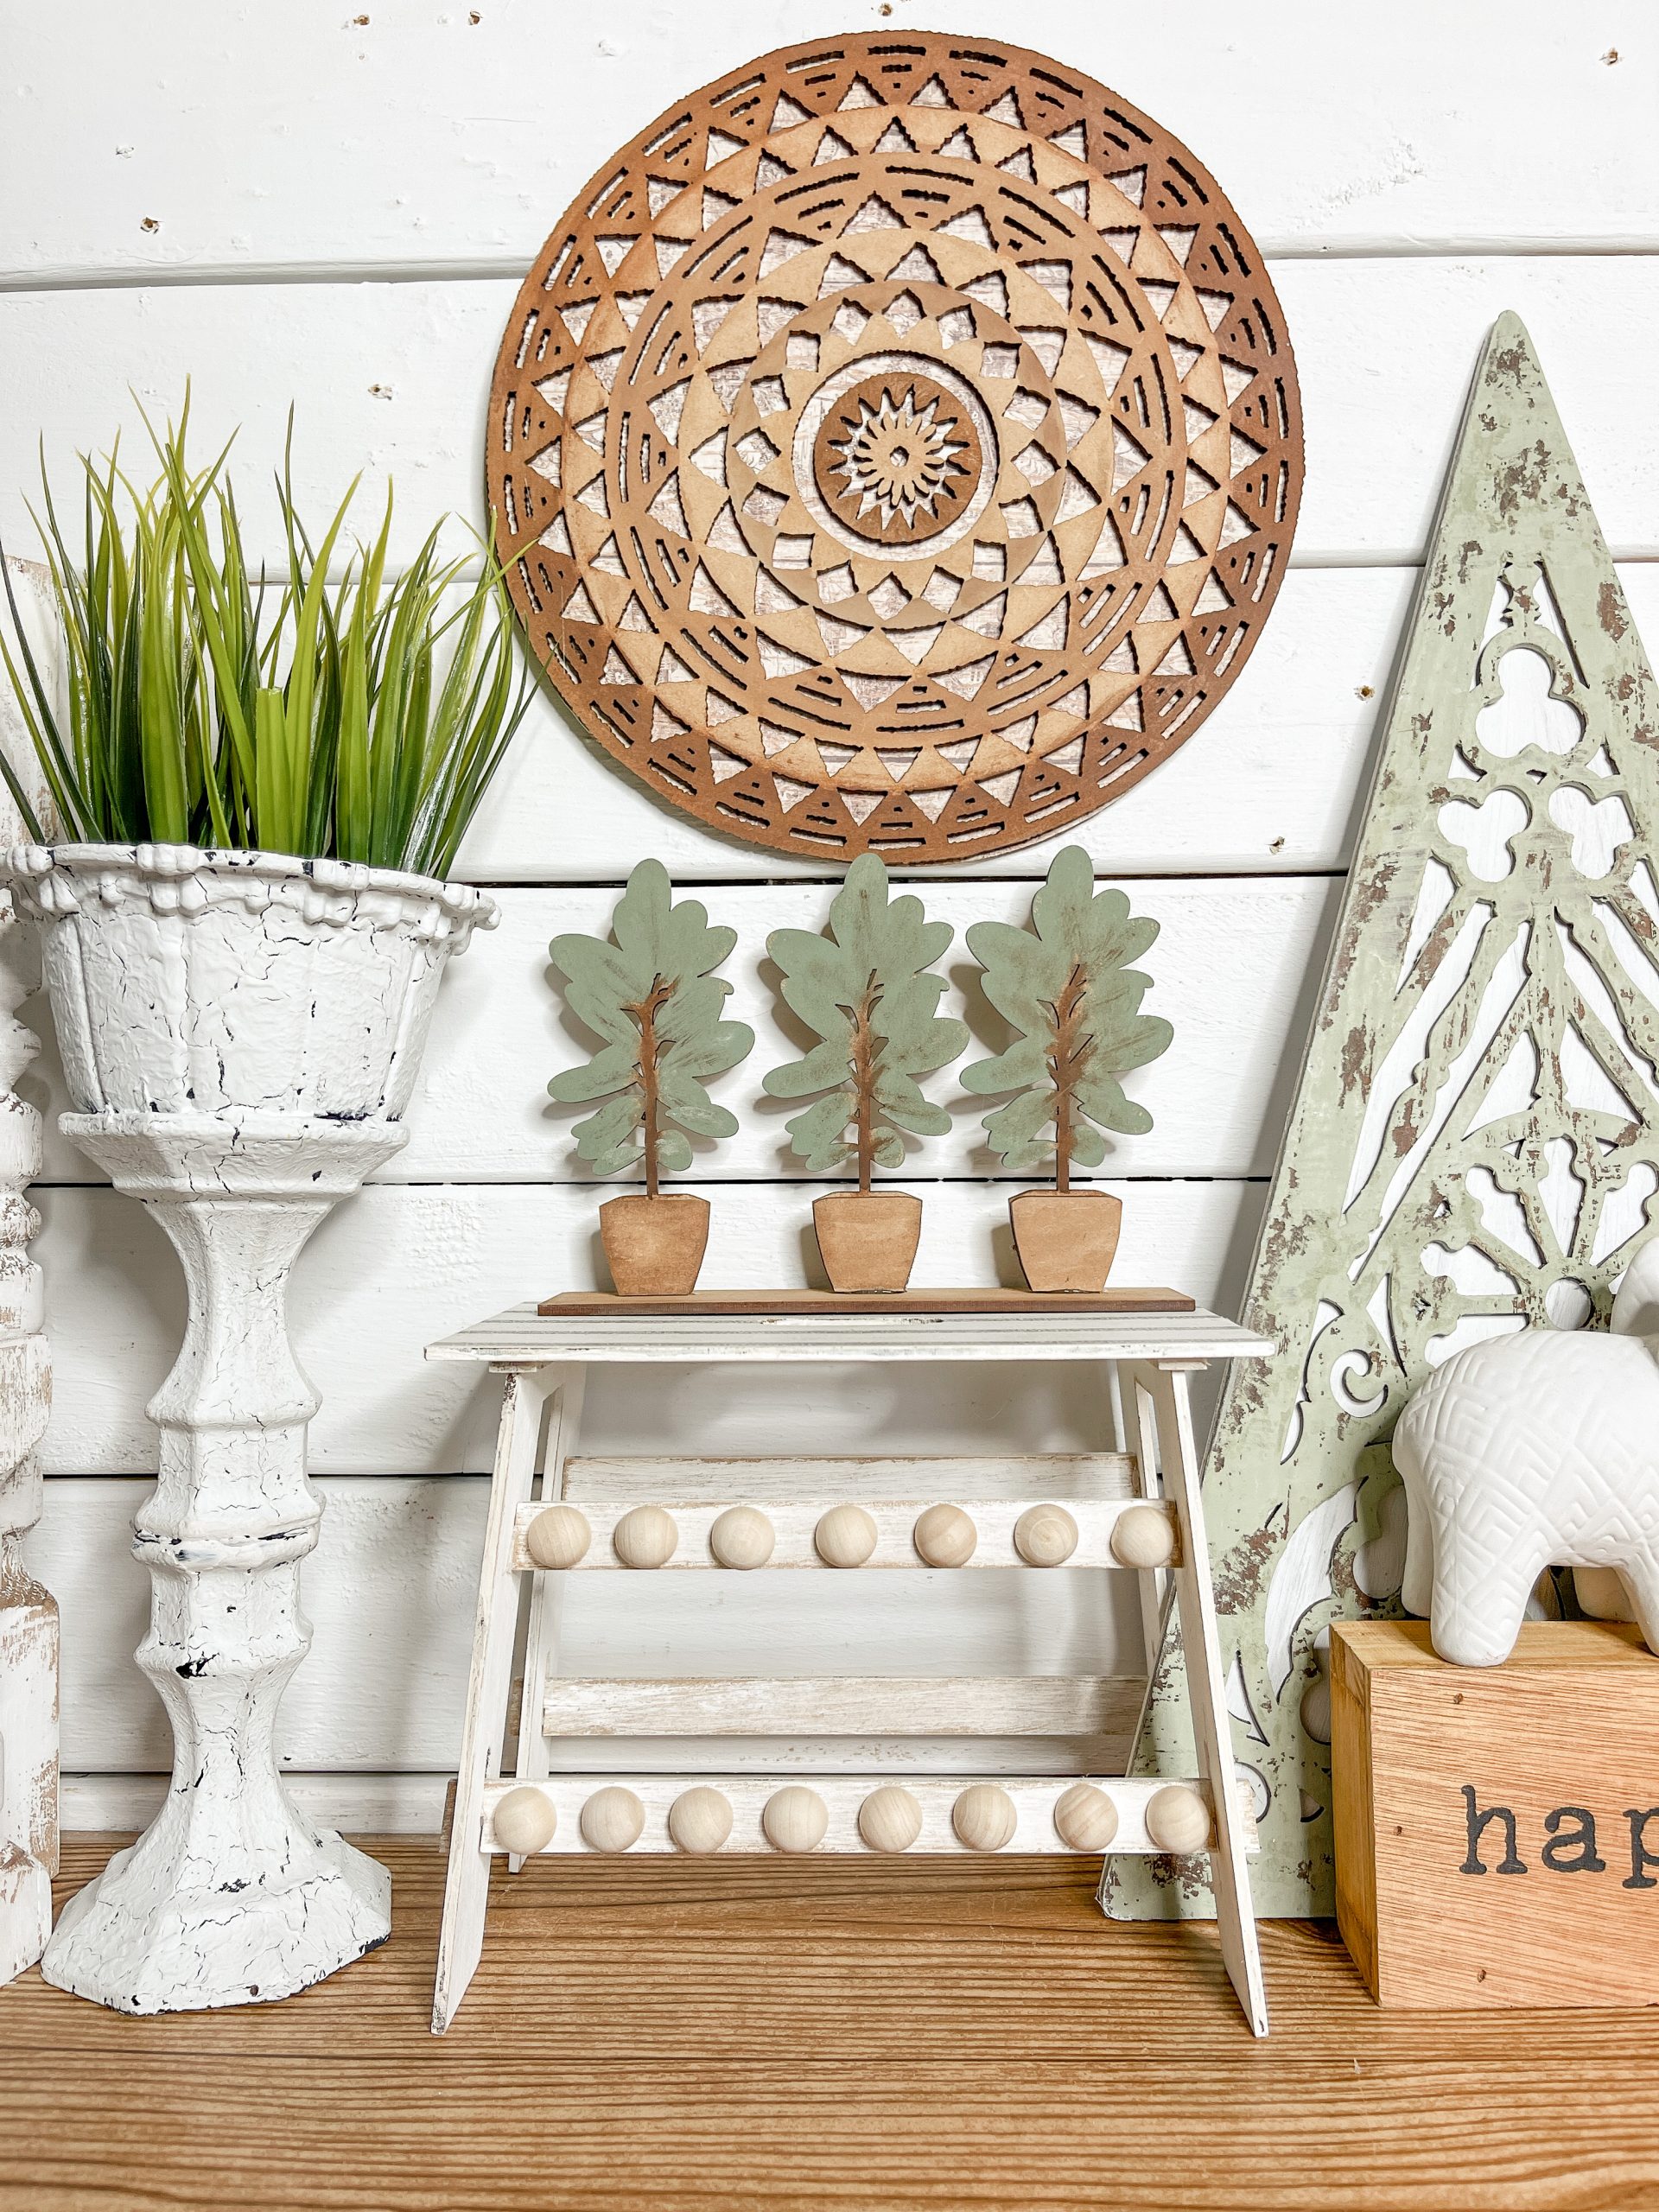
Angela painted her potted plants the same way I did, but she stained the base with a light brown instead of the paint mixture I used.
Let all the painted pieces dry, then glue them together. Lastly, glue a piece of jute twine to the back of the mandala and you’re ready to decorate!
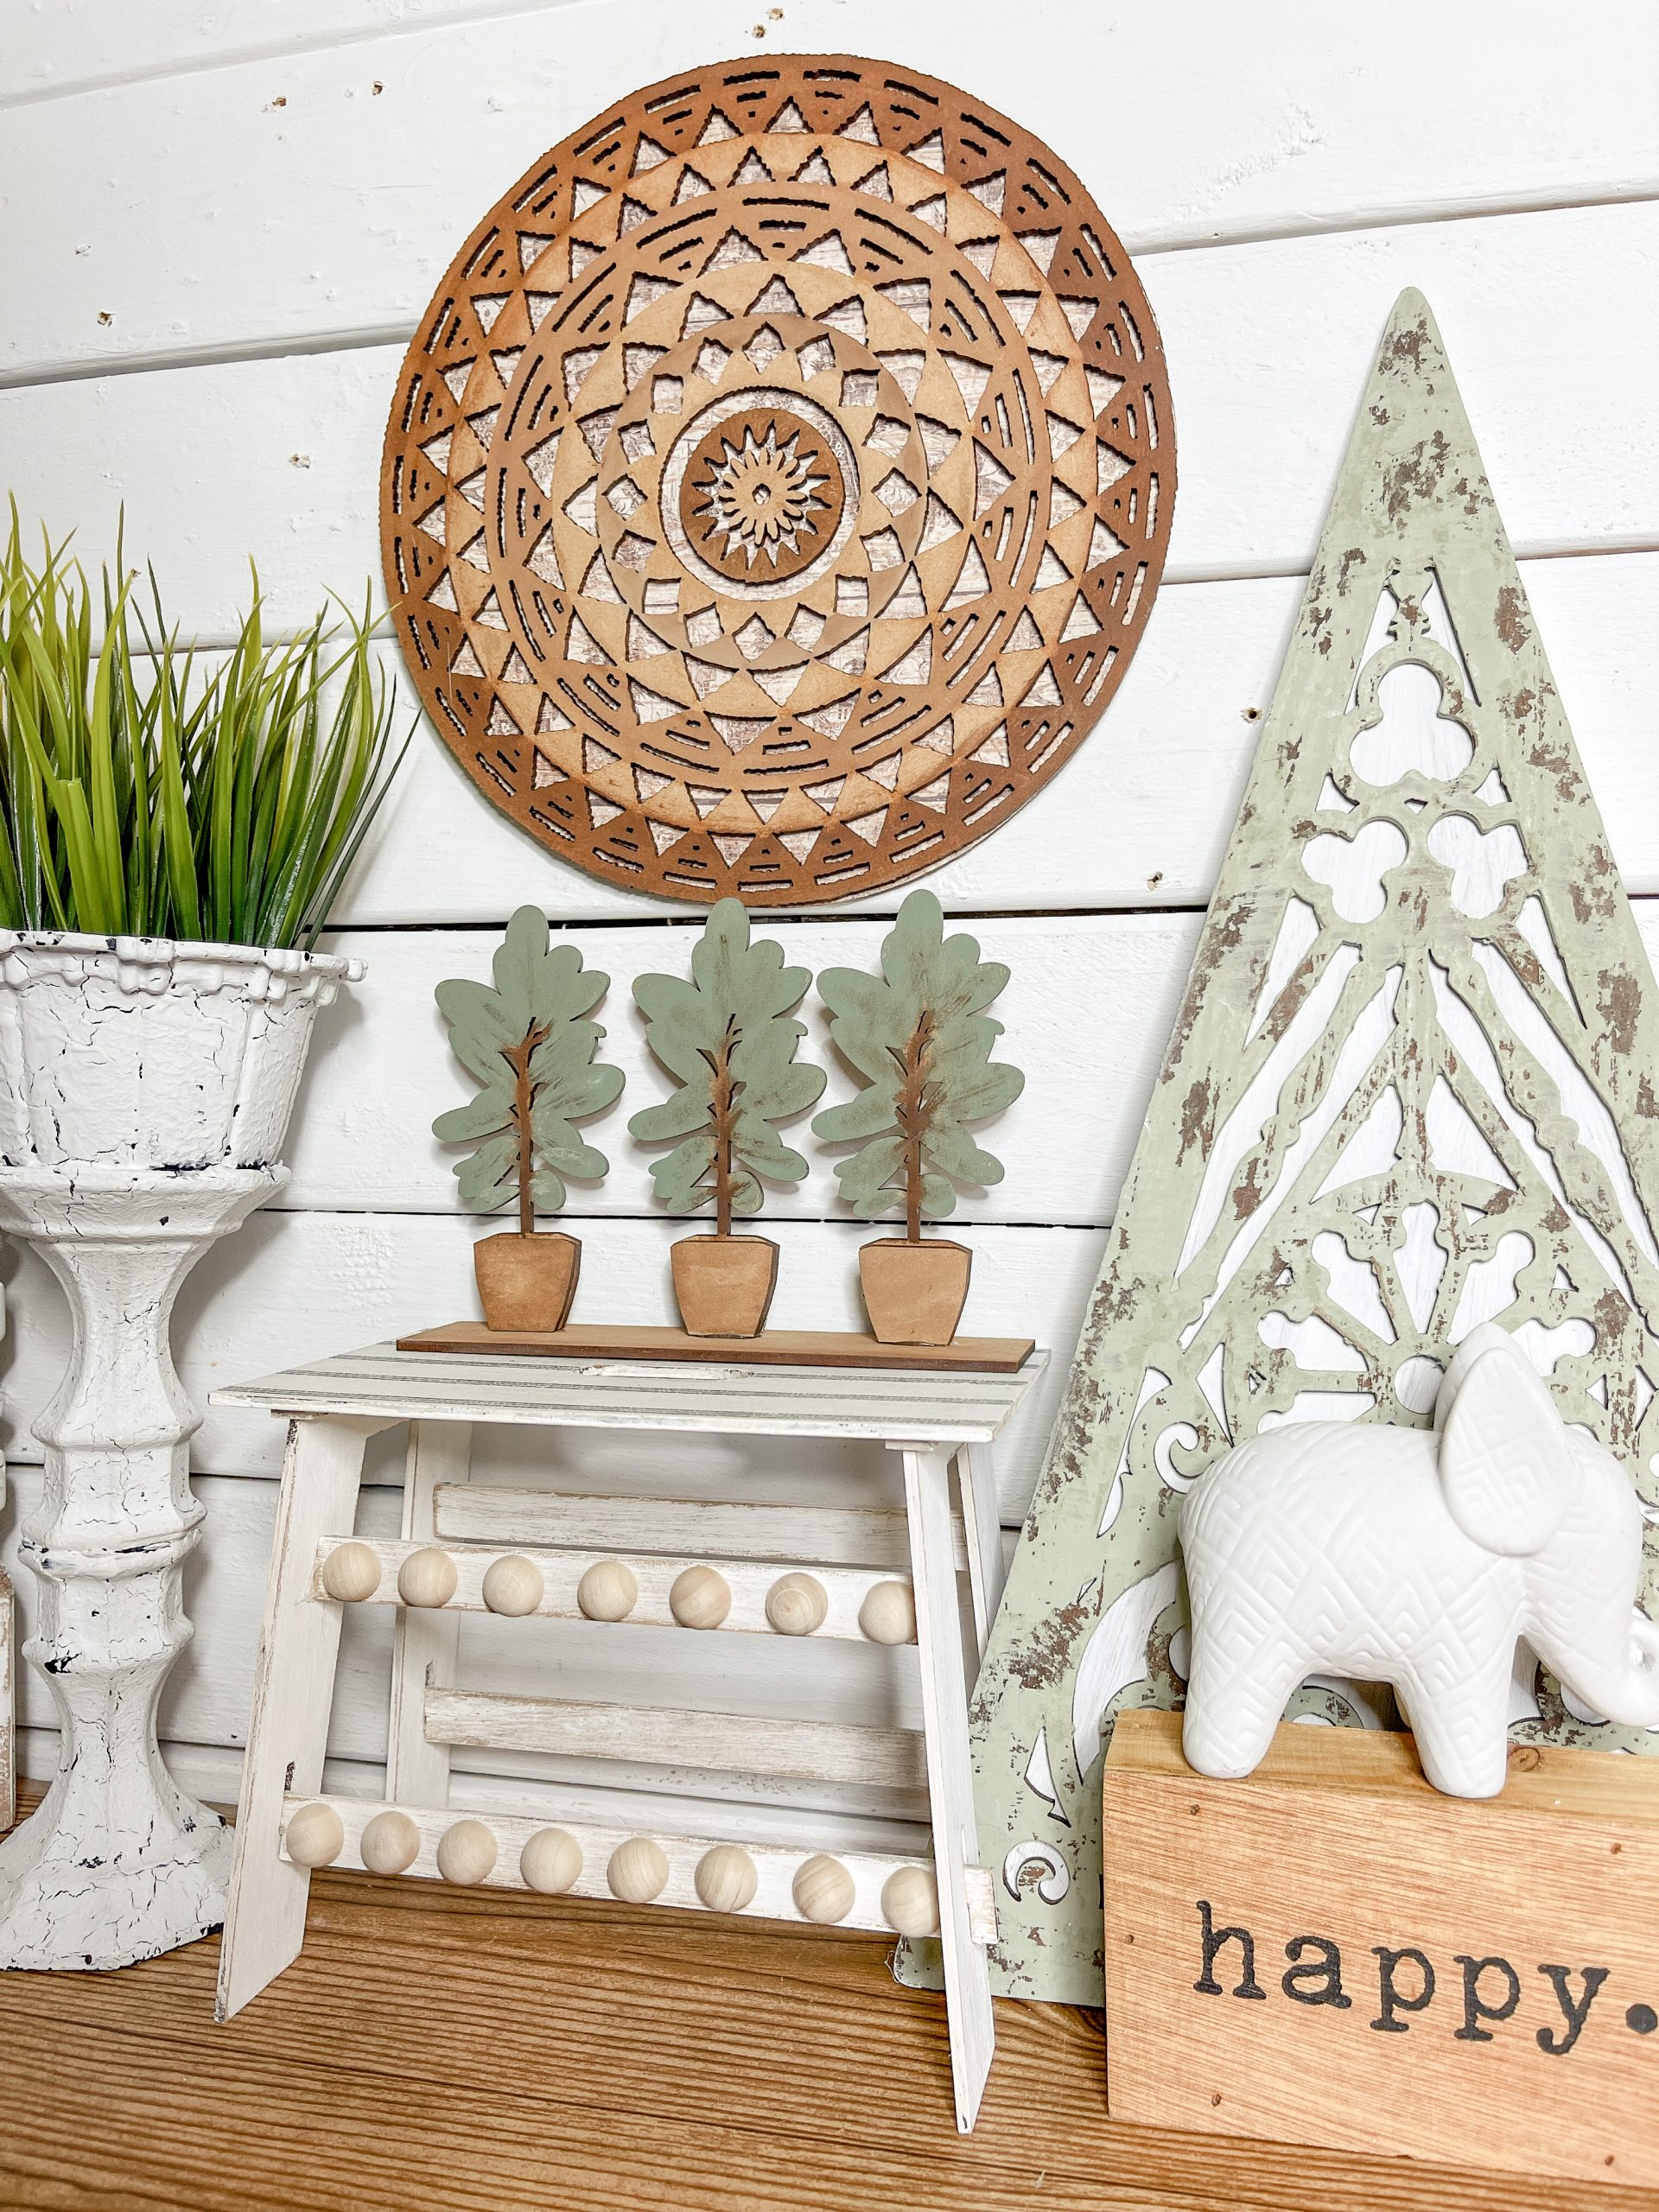
I hope you enjoyed these Mandala Wall Art Home Decor ideas as much as I did and decide to make one for yourself! I would love to see how yours turns out!
You should totally join my FREE Facebook group called On A Budget Crafts! It is a judgment-free community for DIY crafters to show off their projects and ideas.
If you loved this DIY you might also like these 3D tulips!
Thanks for stopping by! XOXO Amber
You can also shop my ENTIRE AMAZON Favorites shop just click here! It’s packed full of all the things I use and love. Here is the supply list I highly recommend every creative have on hand!!
Would you also pin my blog for later and get on my newsletter alerts? I would love to have you join my #craftycrew.
Inspired? Leave me a comment below! I love hearing from my readers!


Hello! Loved watching you two painting the mandala. Looked great! I would try doing a paint and macrame w/beads artistic kind of thing (leaving the back off). Hope you’re having fun this week.
Both of these are just GORGEOUS.i think if I done one I would try black, grey and white to match my deco I’m not too good at the ombre technique though