How to paint your bathroom cabinets in one weekend
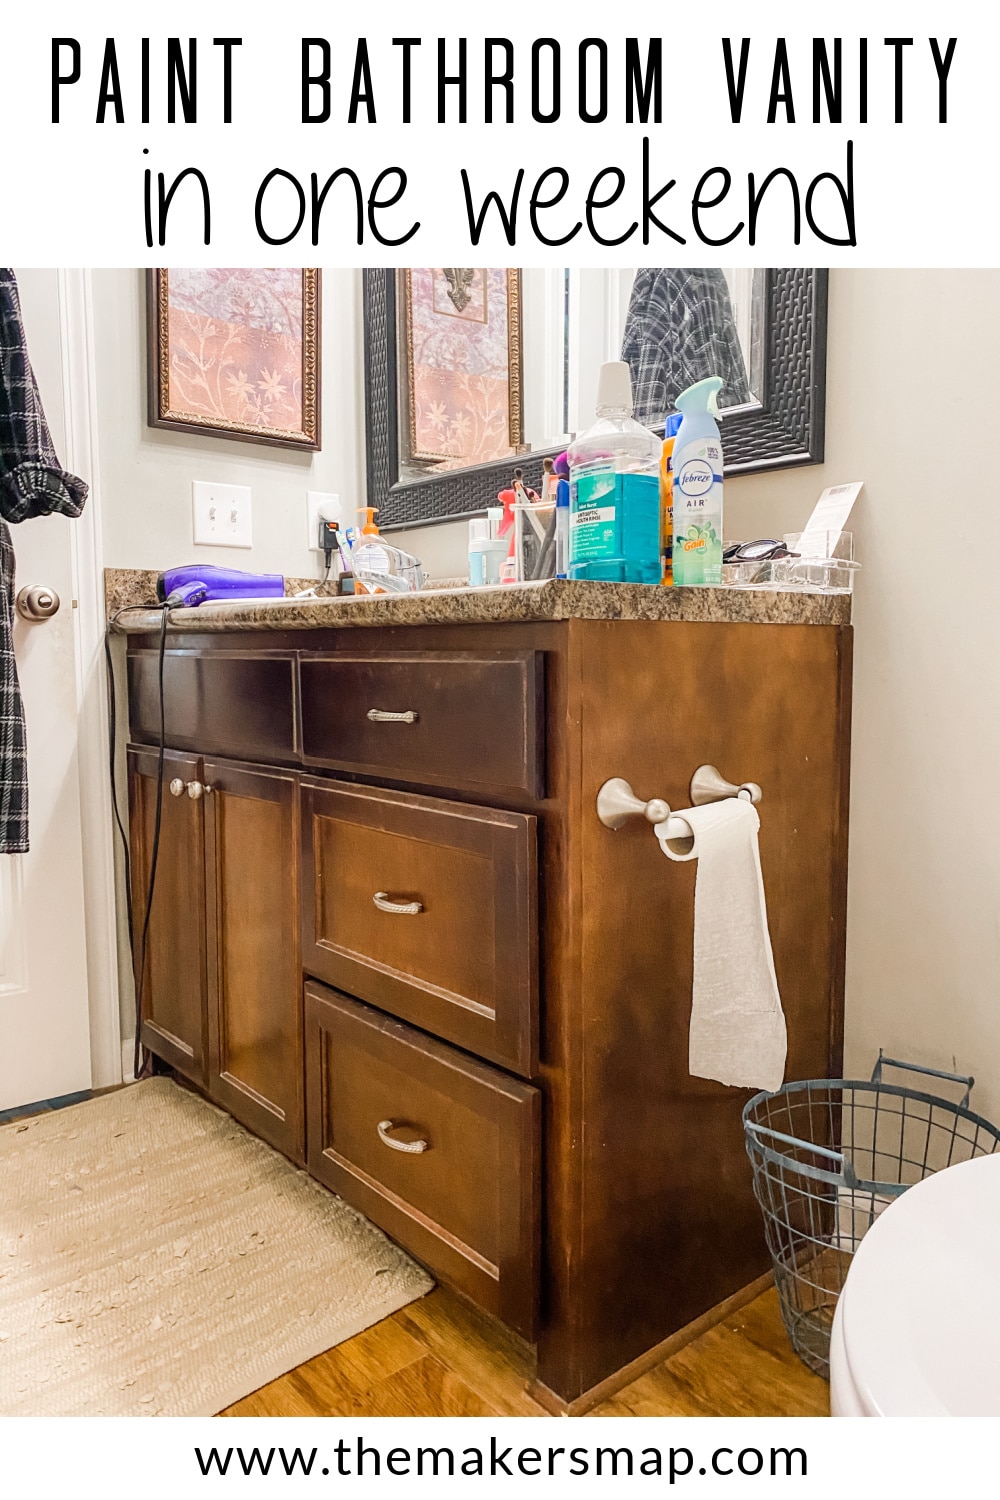
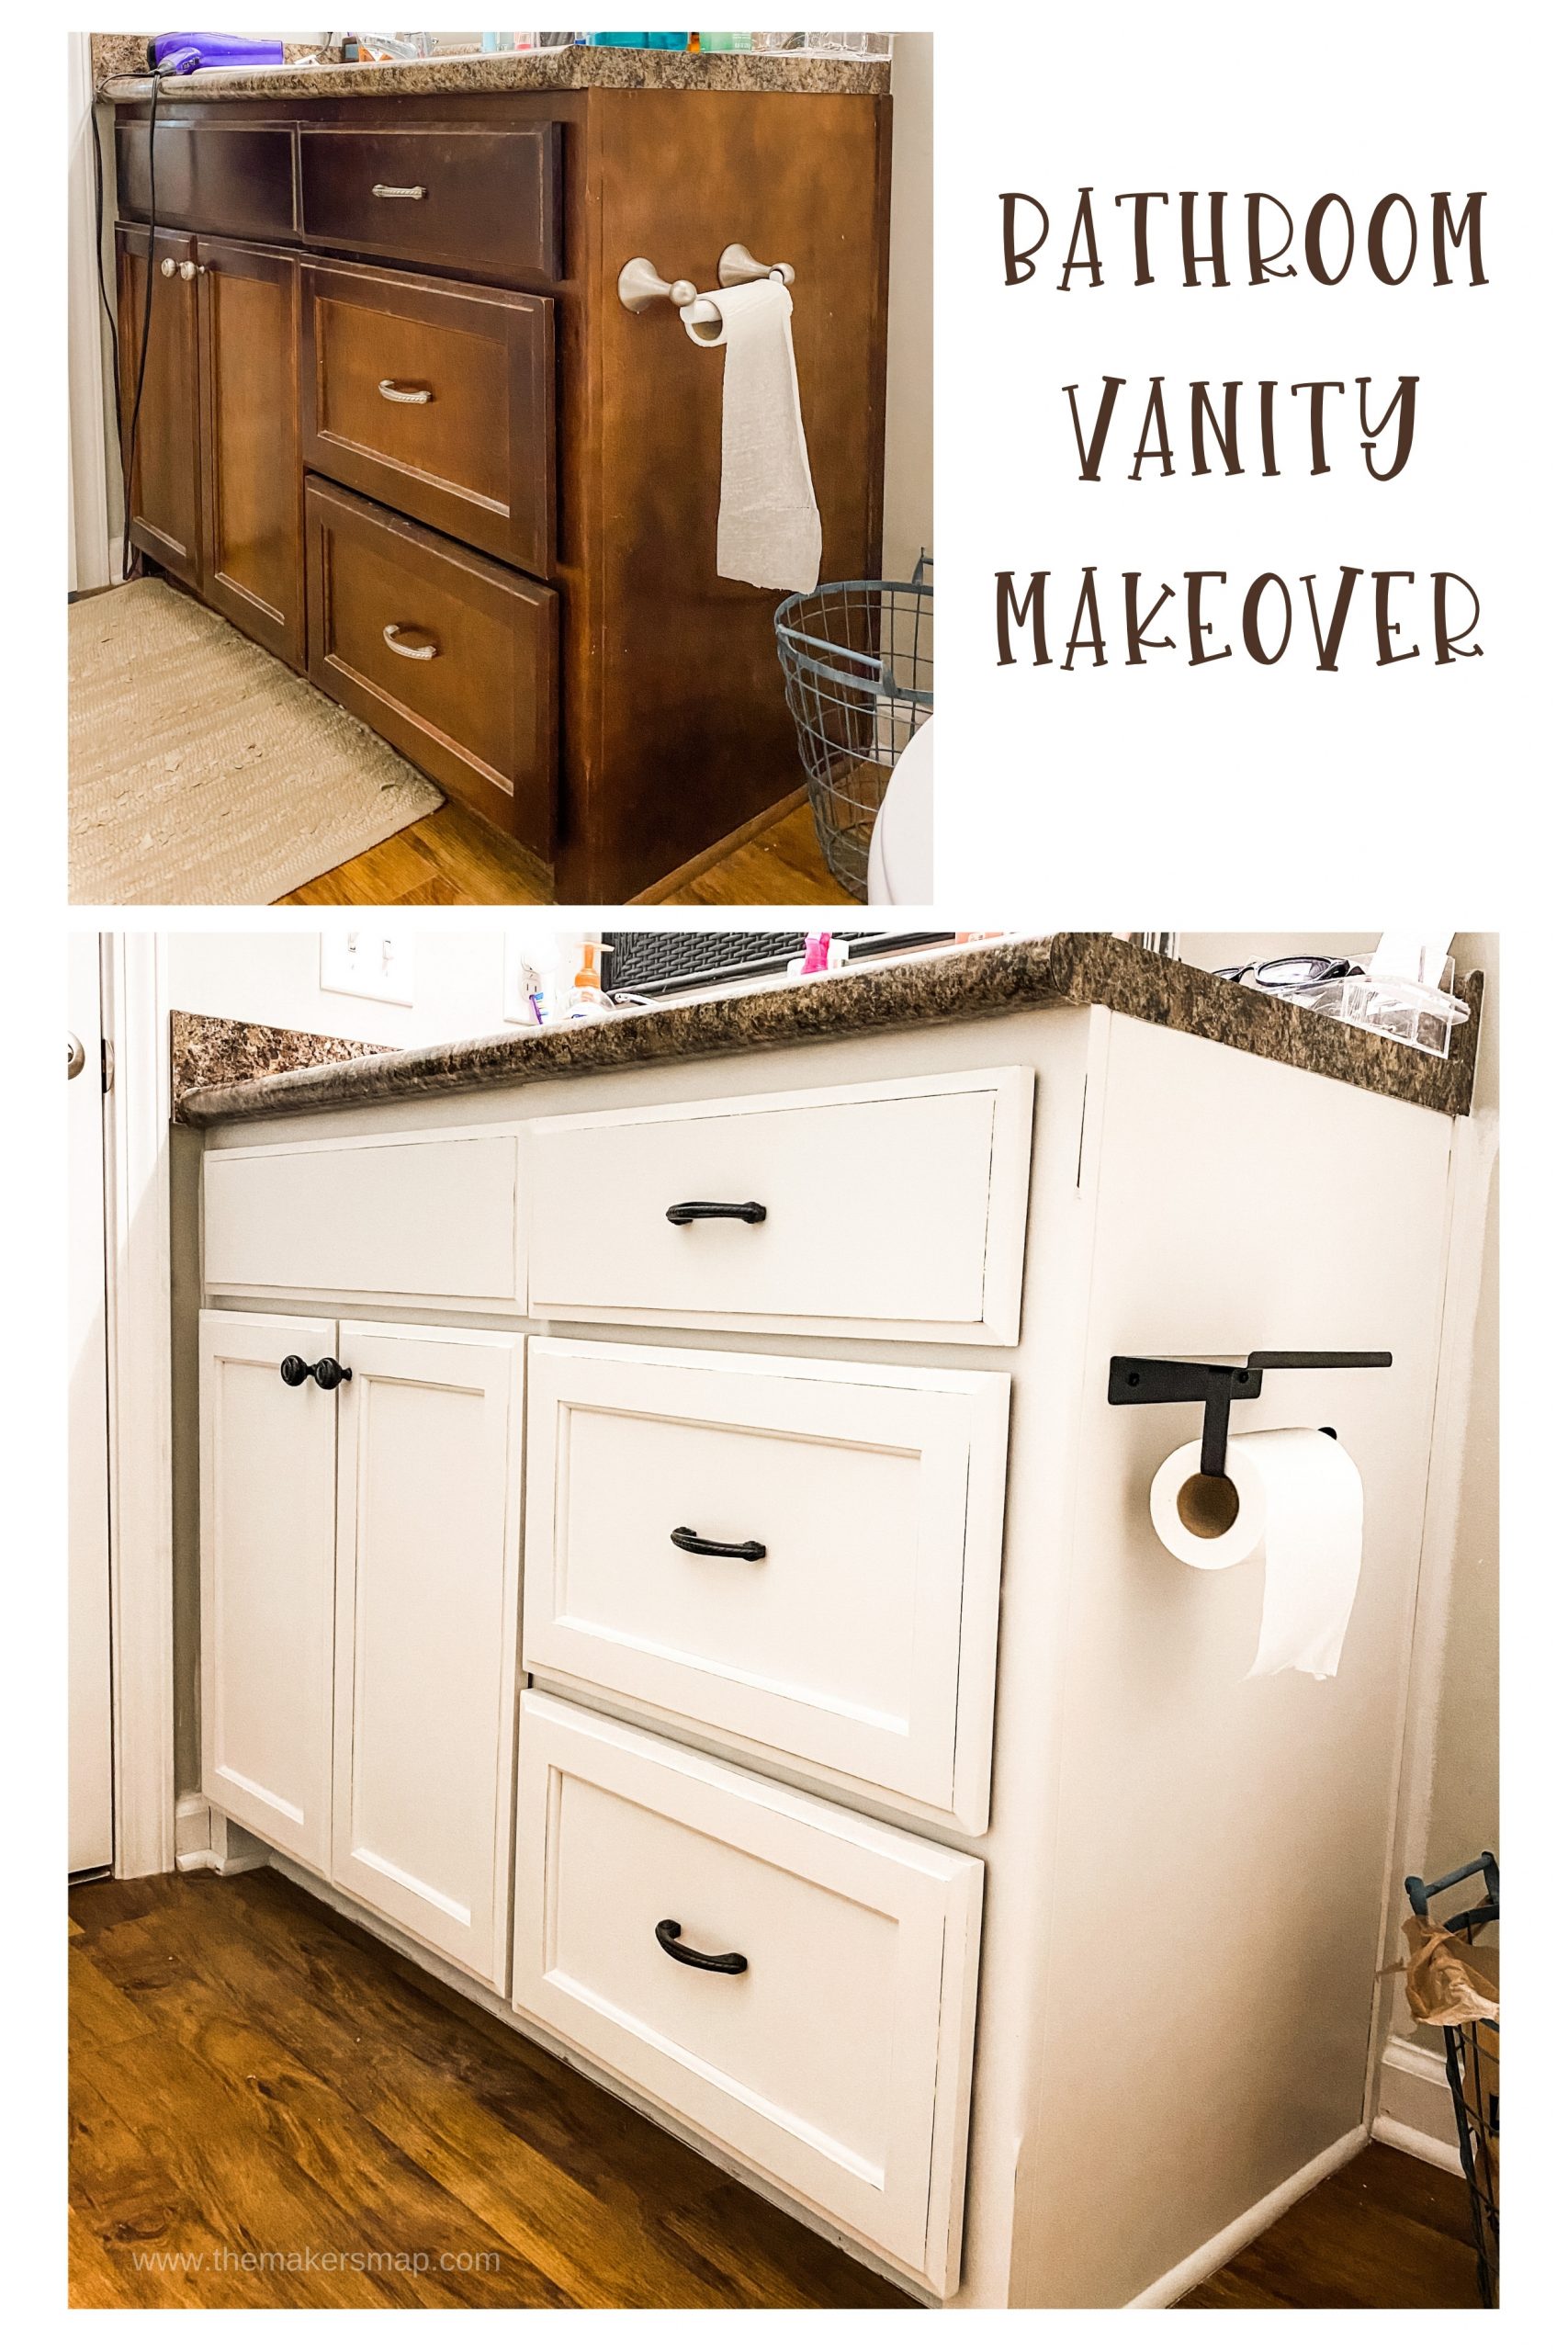
I’ve heard it before, and I’ve said it before, “I wish I could update ____” or “I really hate the way ____ looks in my home!” A common household feature that people ask me all the time how they can update or change is cabinets, whether bathroom or kitchen, so I wanted to share how to paint your bathroom cabinets in one weekend!
This DIY home update took me just two days to do, and it’s the same method I used to update my kitchen cabinets several years ago! If you want to see that project, you can check it out!
$62 Painted Kitchen Cabinets Makeover
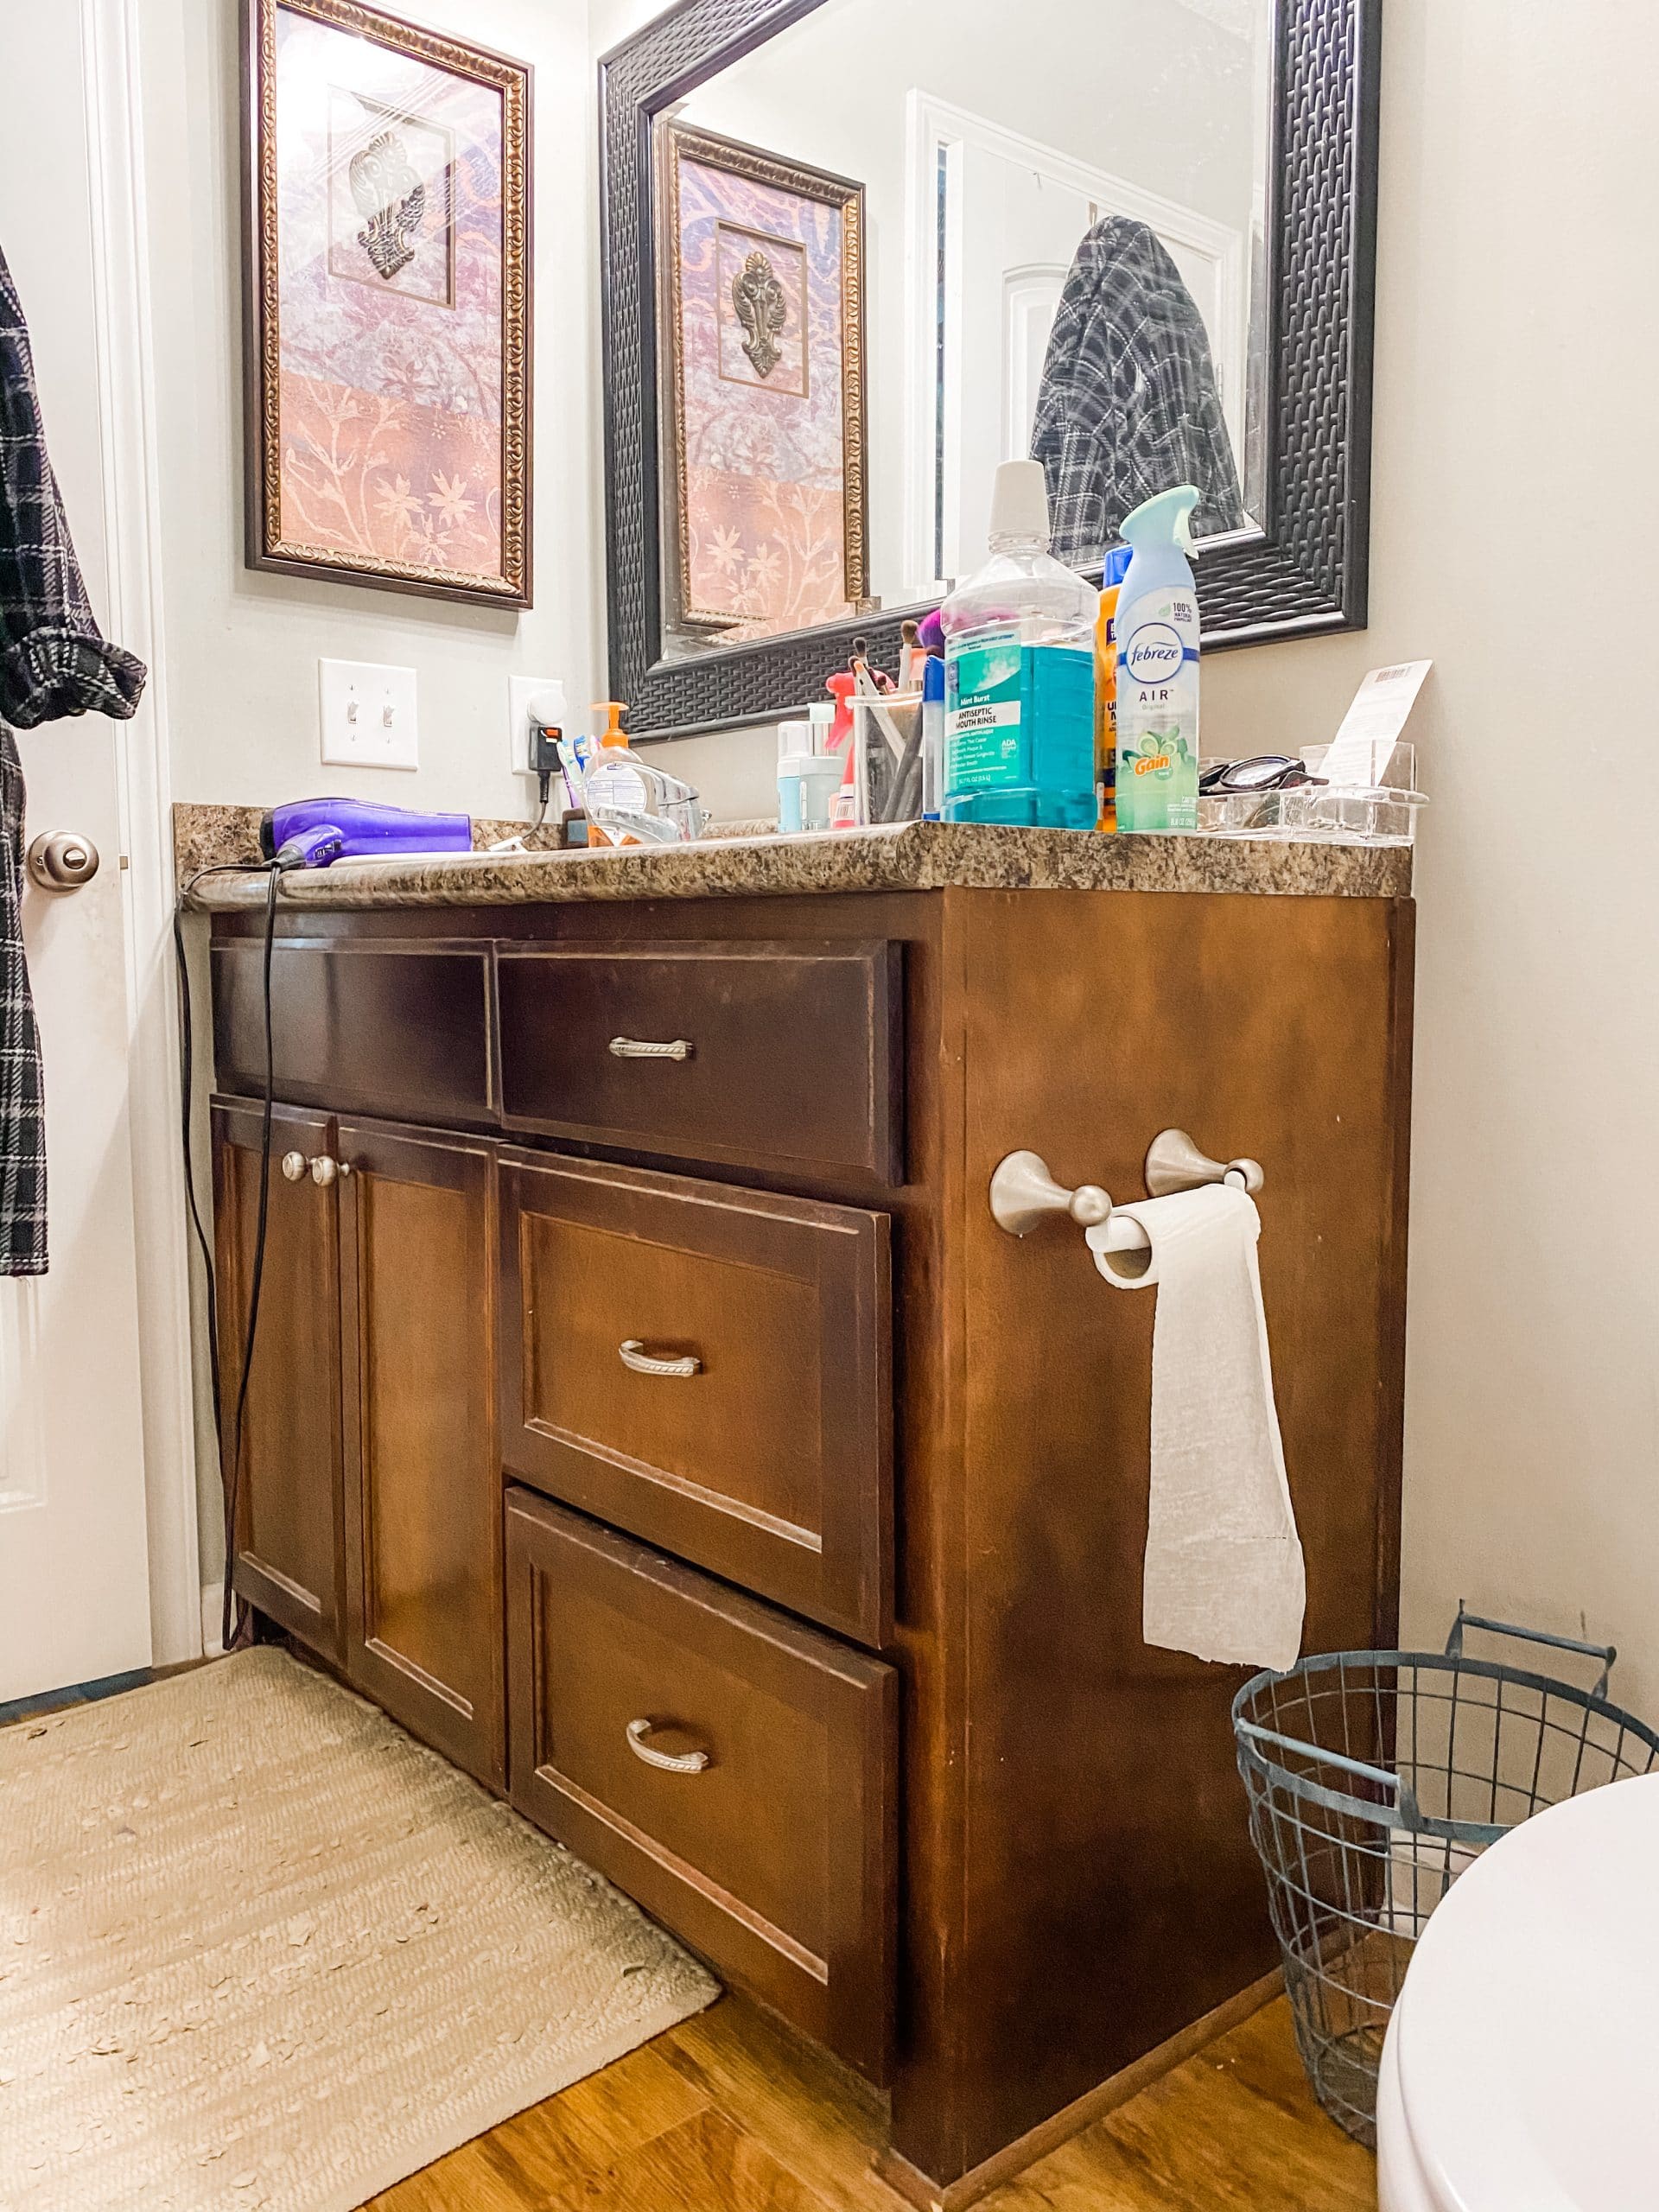
We built our house 7 years ago, so it is still fairly new, but the bathrooms were definitely looking a little outdated. Because we are in the process of selling our home to build a new one, I decided to do some much-needed updates to the bathrooms!
I’ve been working on updating the decor and changing the look of my bathroom, but the first step was to paint the bathroom vanity. I don’t know about you, but I love the fresh, clean feel of white cabinets, especially against the dark floors and countertops we have in our bathroom.
Watch the process
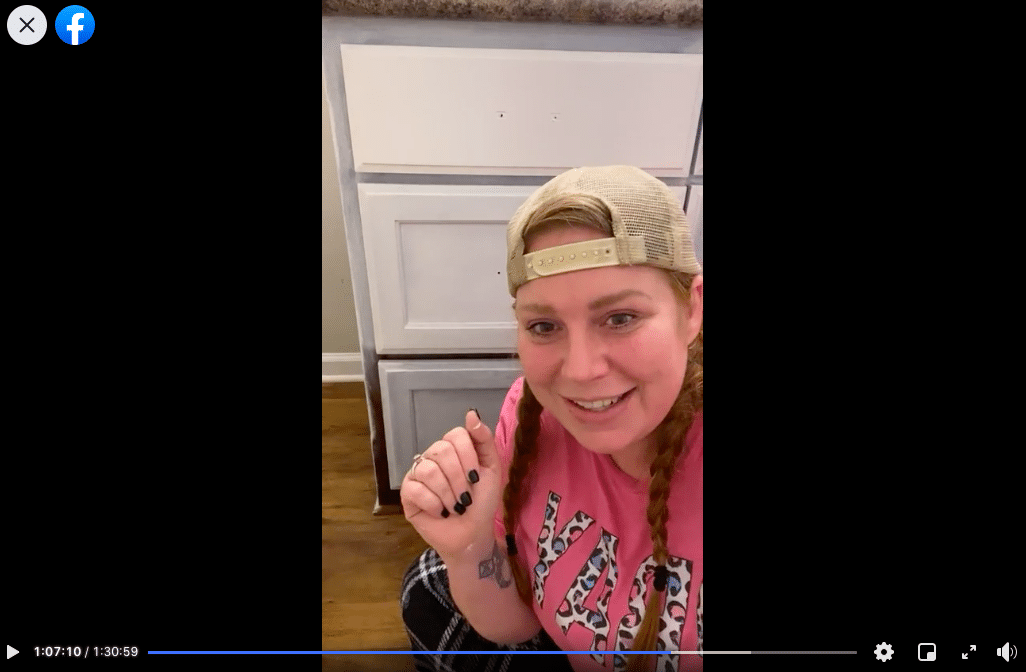
I brought my Crafty Crew along with me while I painted my bathroom vanity, and you can see how I did it and join in on the fun conversations by watching the two Facebook LIVE replays!
In the first video, I removed the hardware and painted the bathroom cabinets white. In the second video, I applied the wax to seal the paint!
For this project, I used these items but you can substitute where you want.
“As an Amazon Associate, I earn from qualifying purchases.”
- Dixie Belle Fluff Chalk Paint
- Waverly Clear Wax
- Rustoleum Ultra Matte Black Spray Paint
- Sprayway Glass Cleaner
- Sanding Sponge 120 grit
- T-shirt rags
- Paper towels
- Continuous Spray Water Bottle
- Round Wax Brush
- Synthetic Chalk Paint Brush
- French Tip Chalk Paint Brush
How to paint your bathroom cabinets in one weekend
I’m sure you’ve heard this bit of advice before: you have to sand your cabinets before you paint them. Well, in my experience of painting furniture, I’ve learned that you don’t actually have to sand anything!
Start your cabinet facelift by cleaning your cabinet surfaces very well. I love to use Sprayway Glass Cleaner to clean my furniture. It seriously picks up all the dirt and grime and makes painting so easy!
Take your Sprayway and spray it onto the surface of your cabinets. It is going to come out as foam on your cabinets. Then, wipe the foam across the cabinets with a paper towel.
The Sprayway dries up all the oils that could be on your cabinets and just gets rid of all the gunk. Clean your bathroom vanity as well as you can, then you’re ready to start painting!
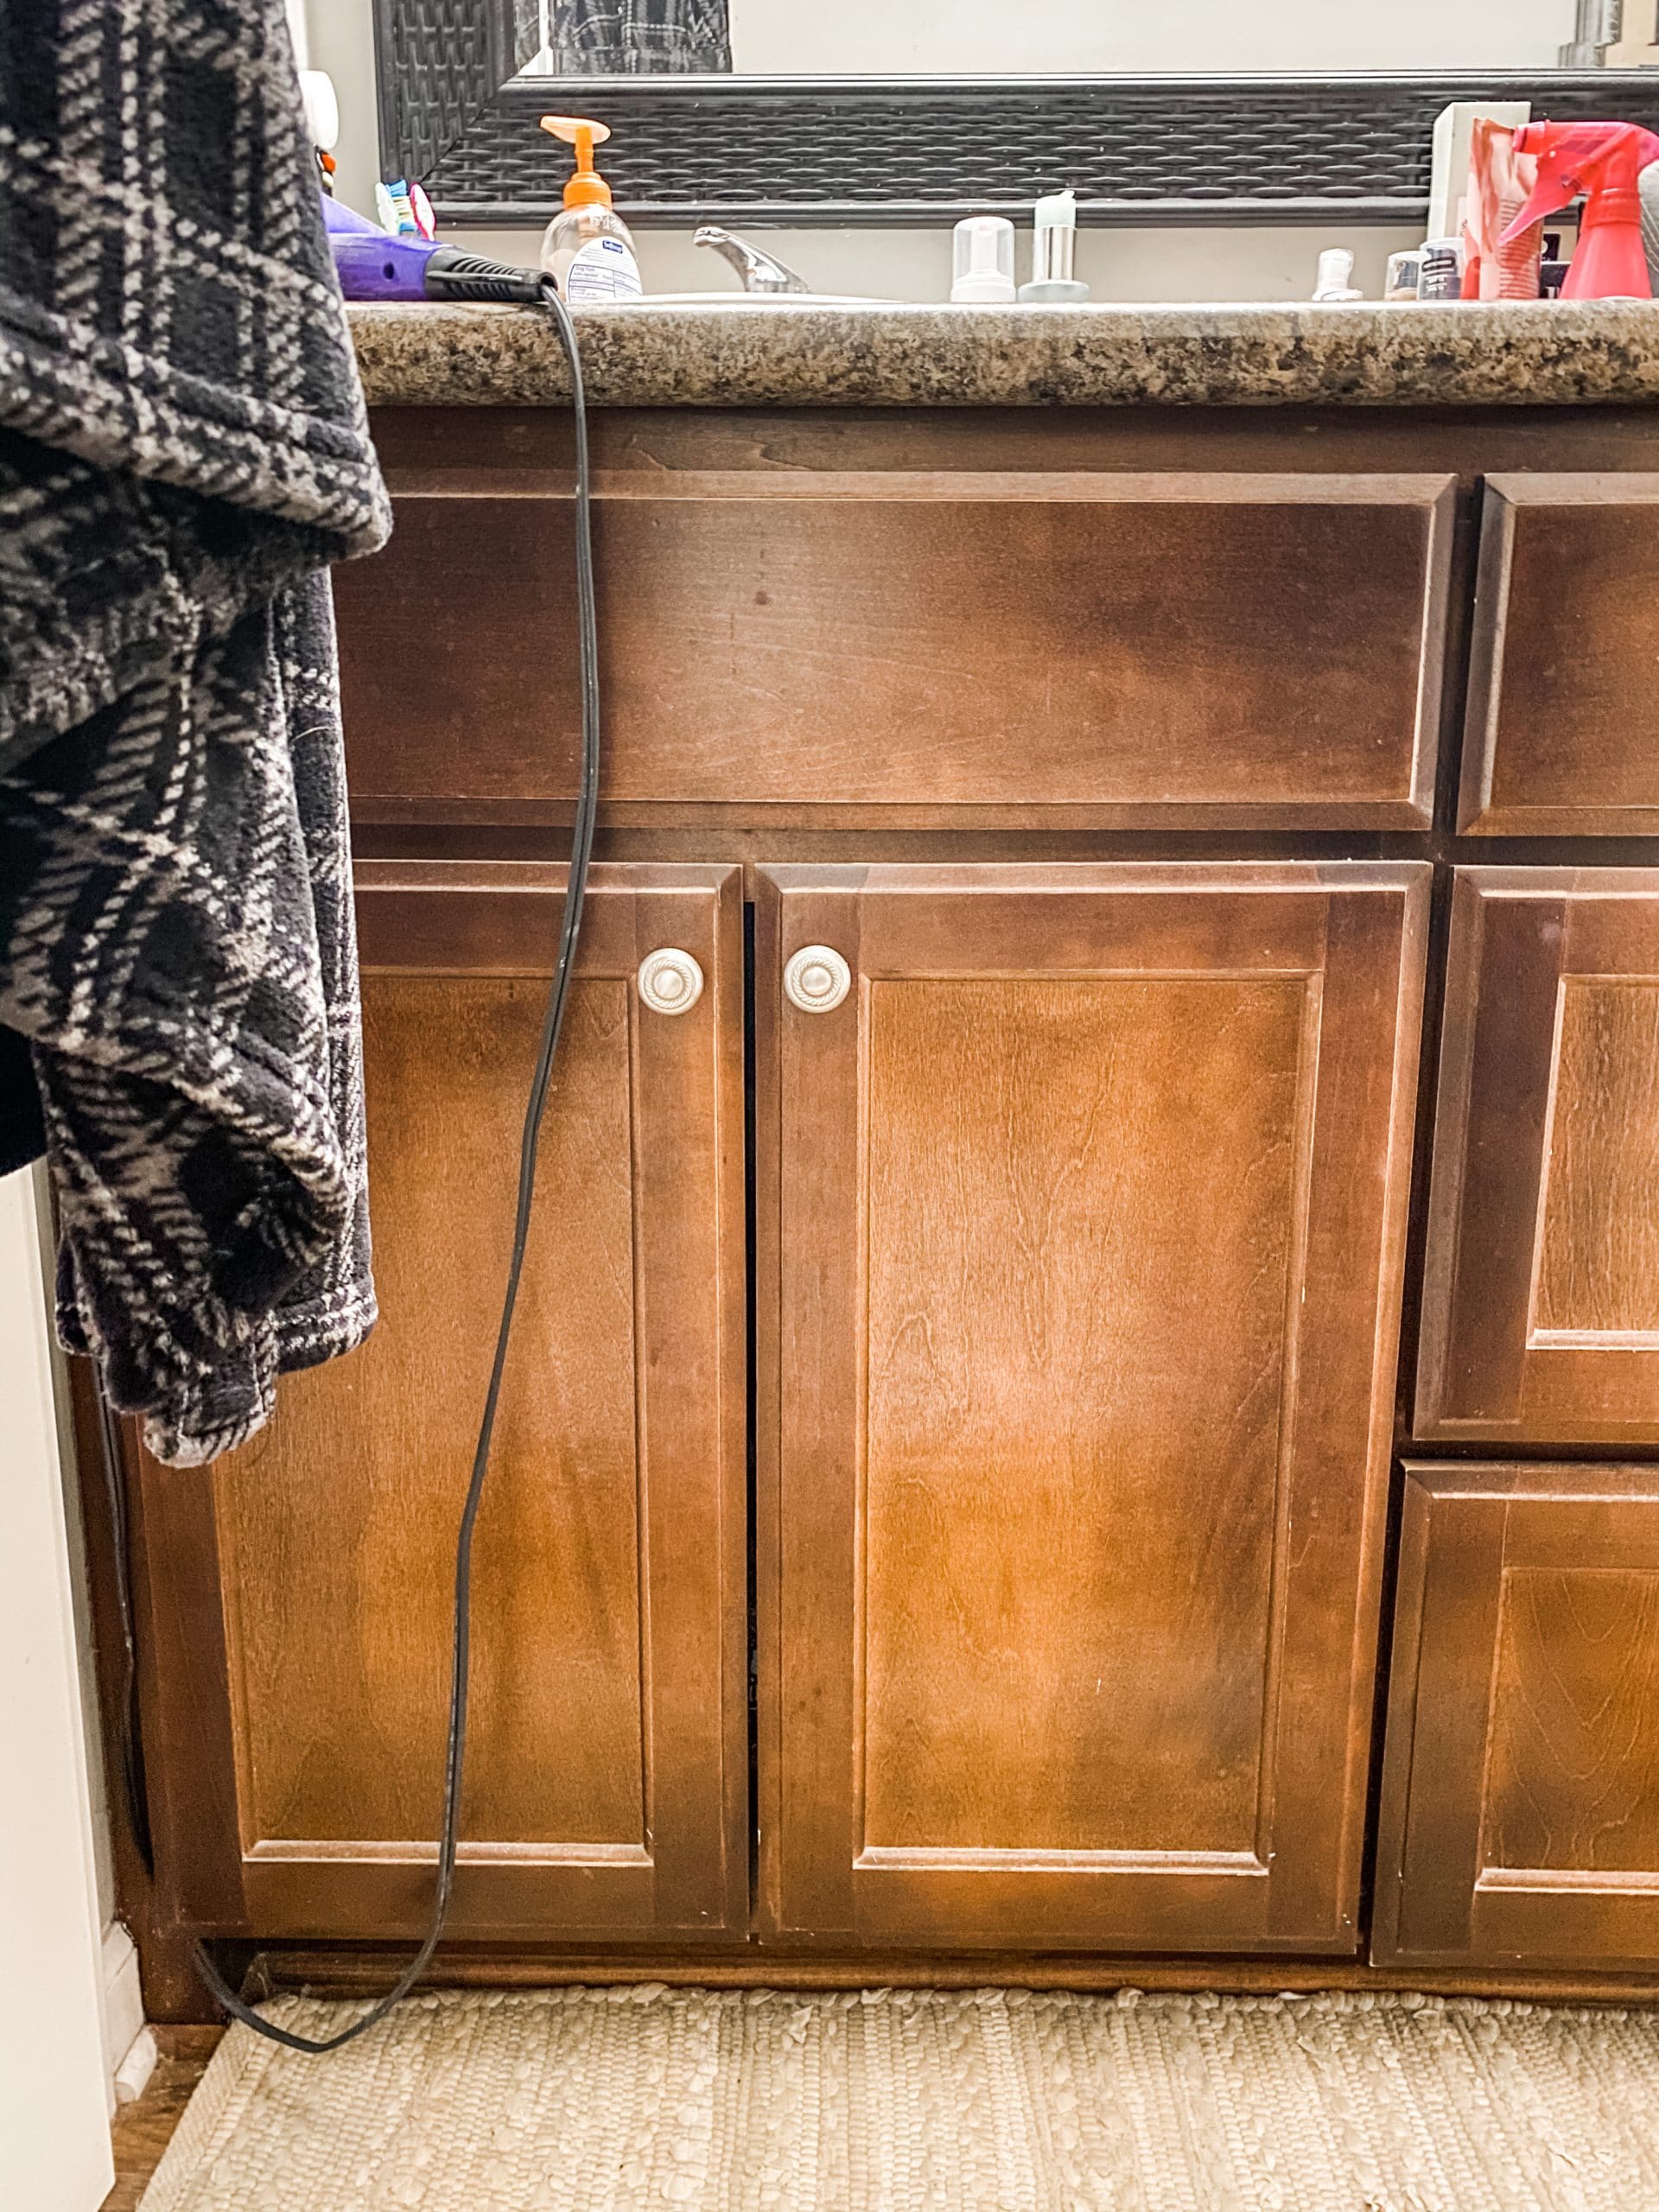
Next, you might think that you need to remove the drawers and doors from the cabinet, but I didn’t. Now, I’ve had a lot of painting experience, so I was confident in my painting abilities.
If you aren’t very confident in your painting abilities, you might want to remove the doors and drawers to make it easier for you to paint them and get in the nooks and crannies of the cabinets.
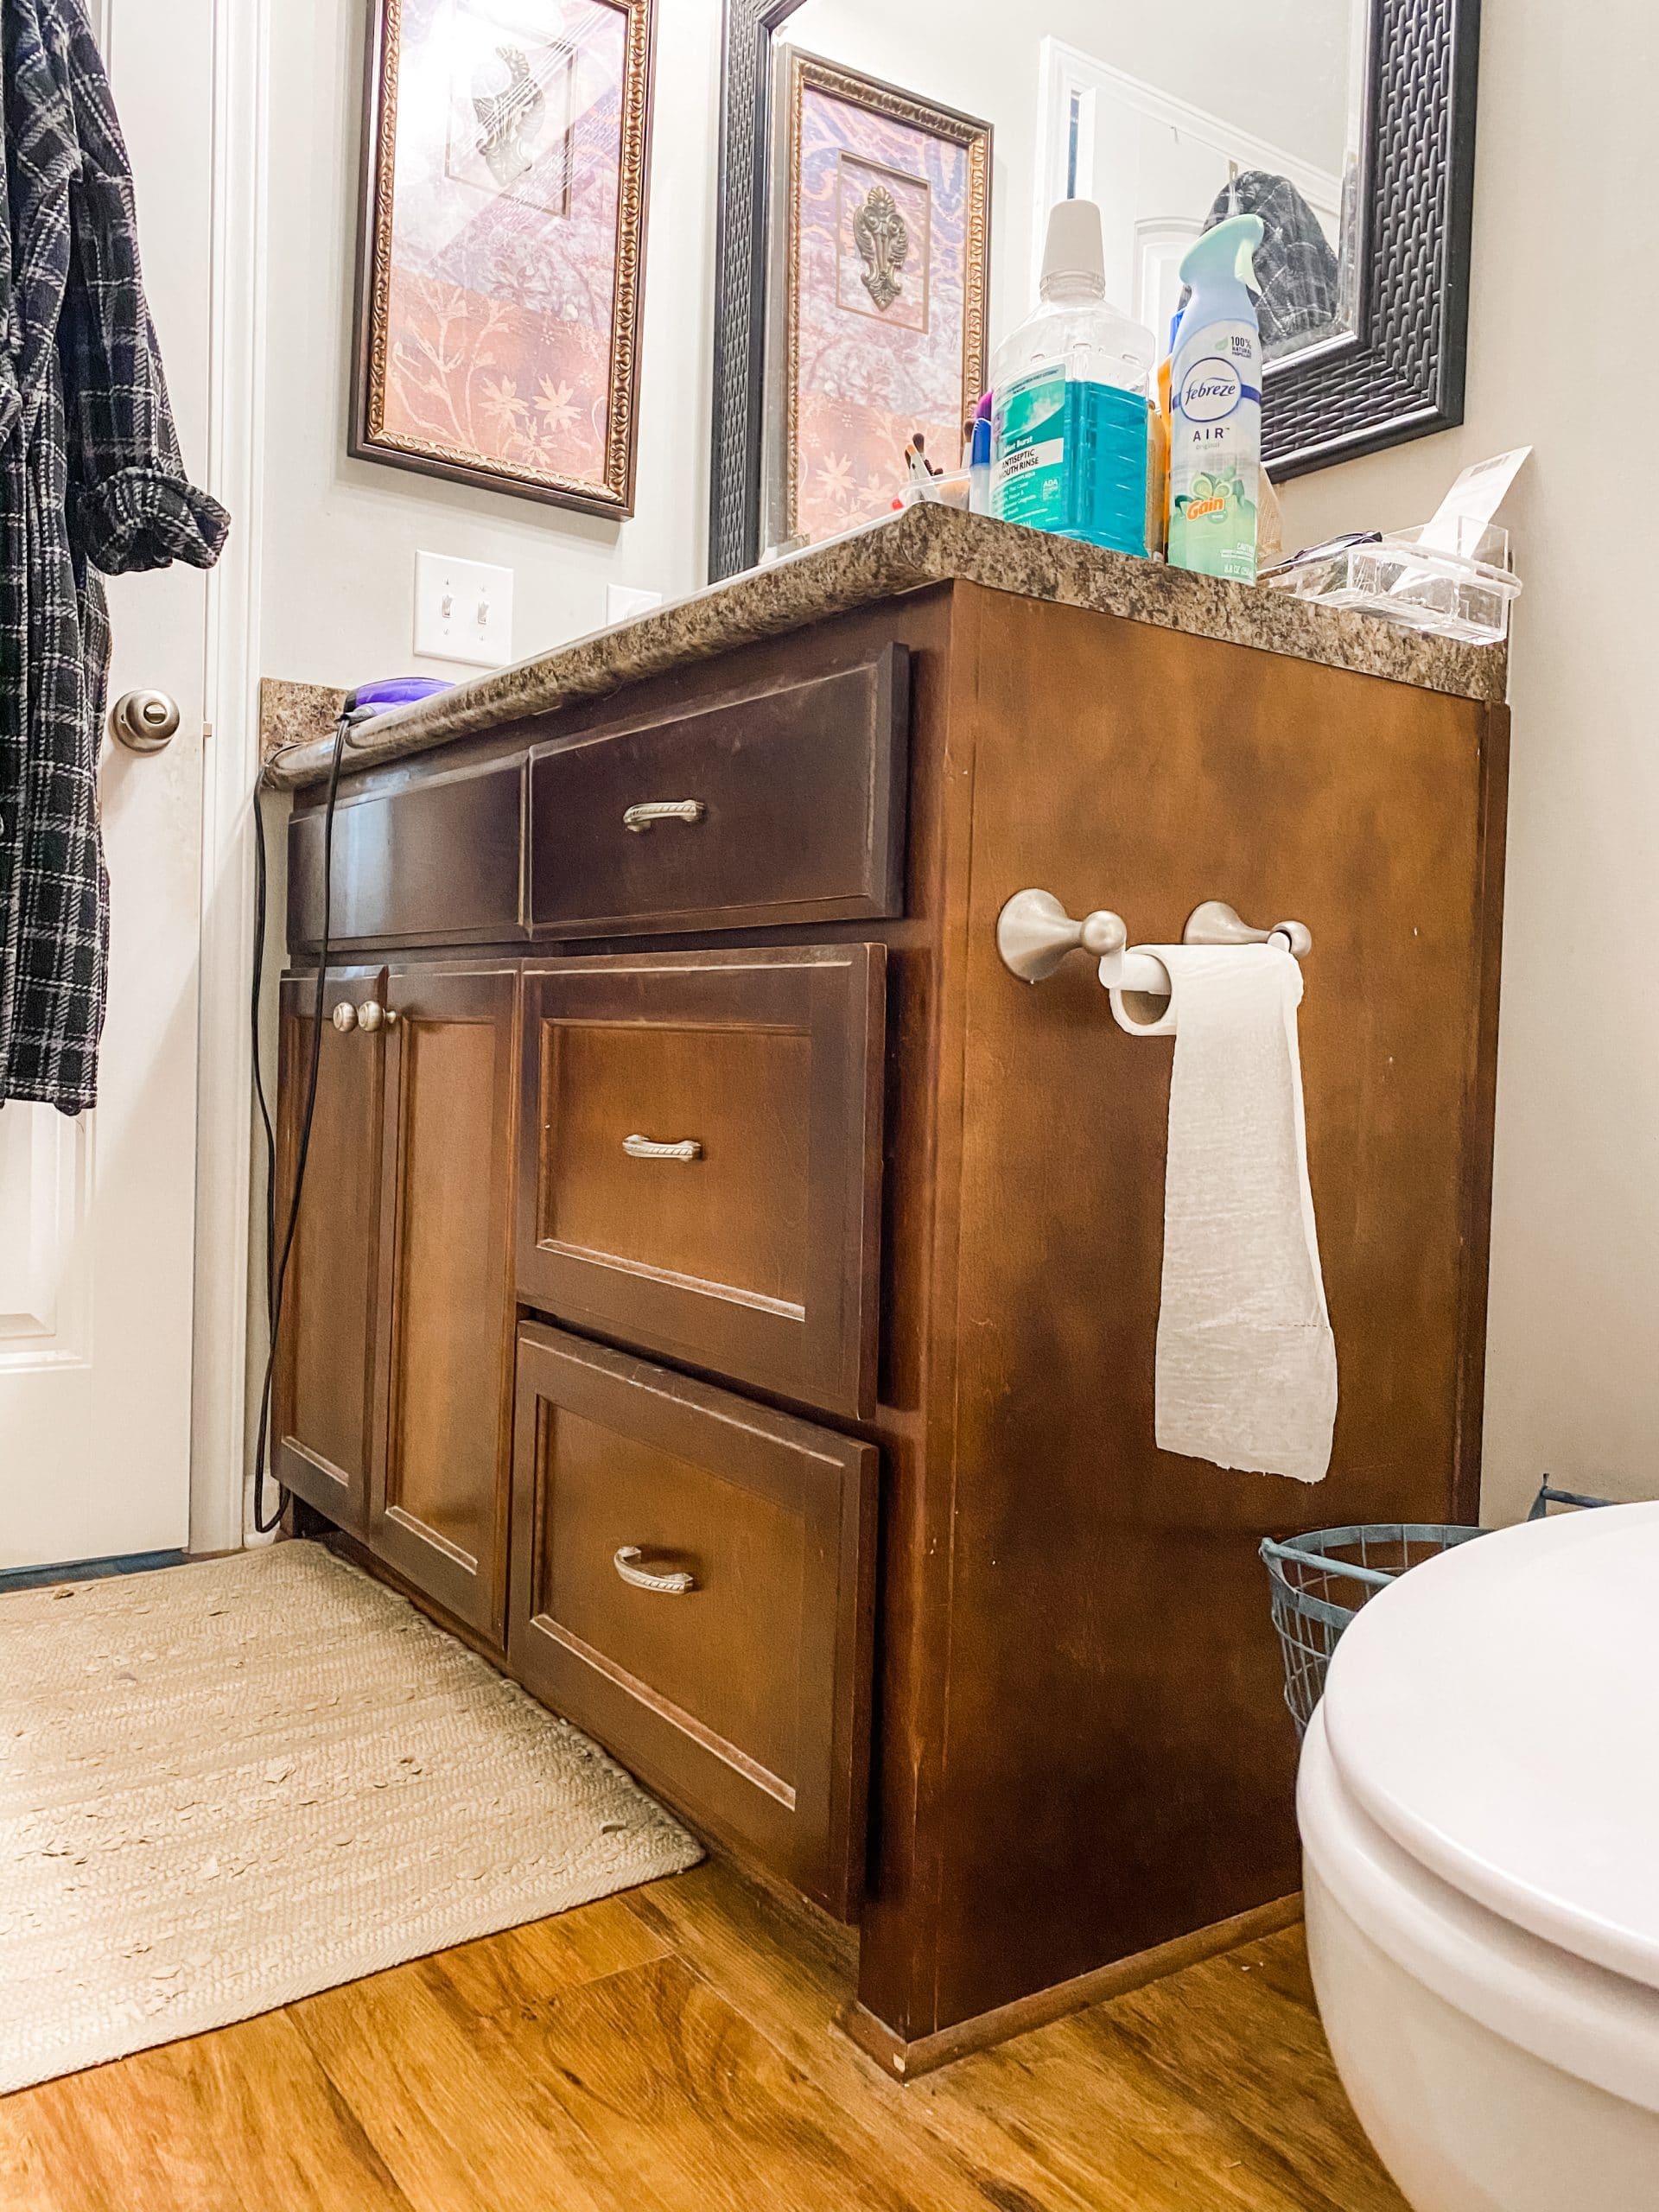
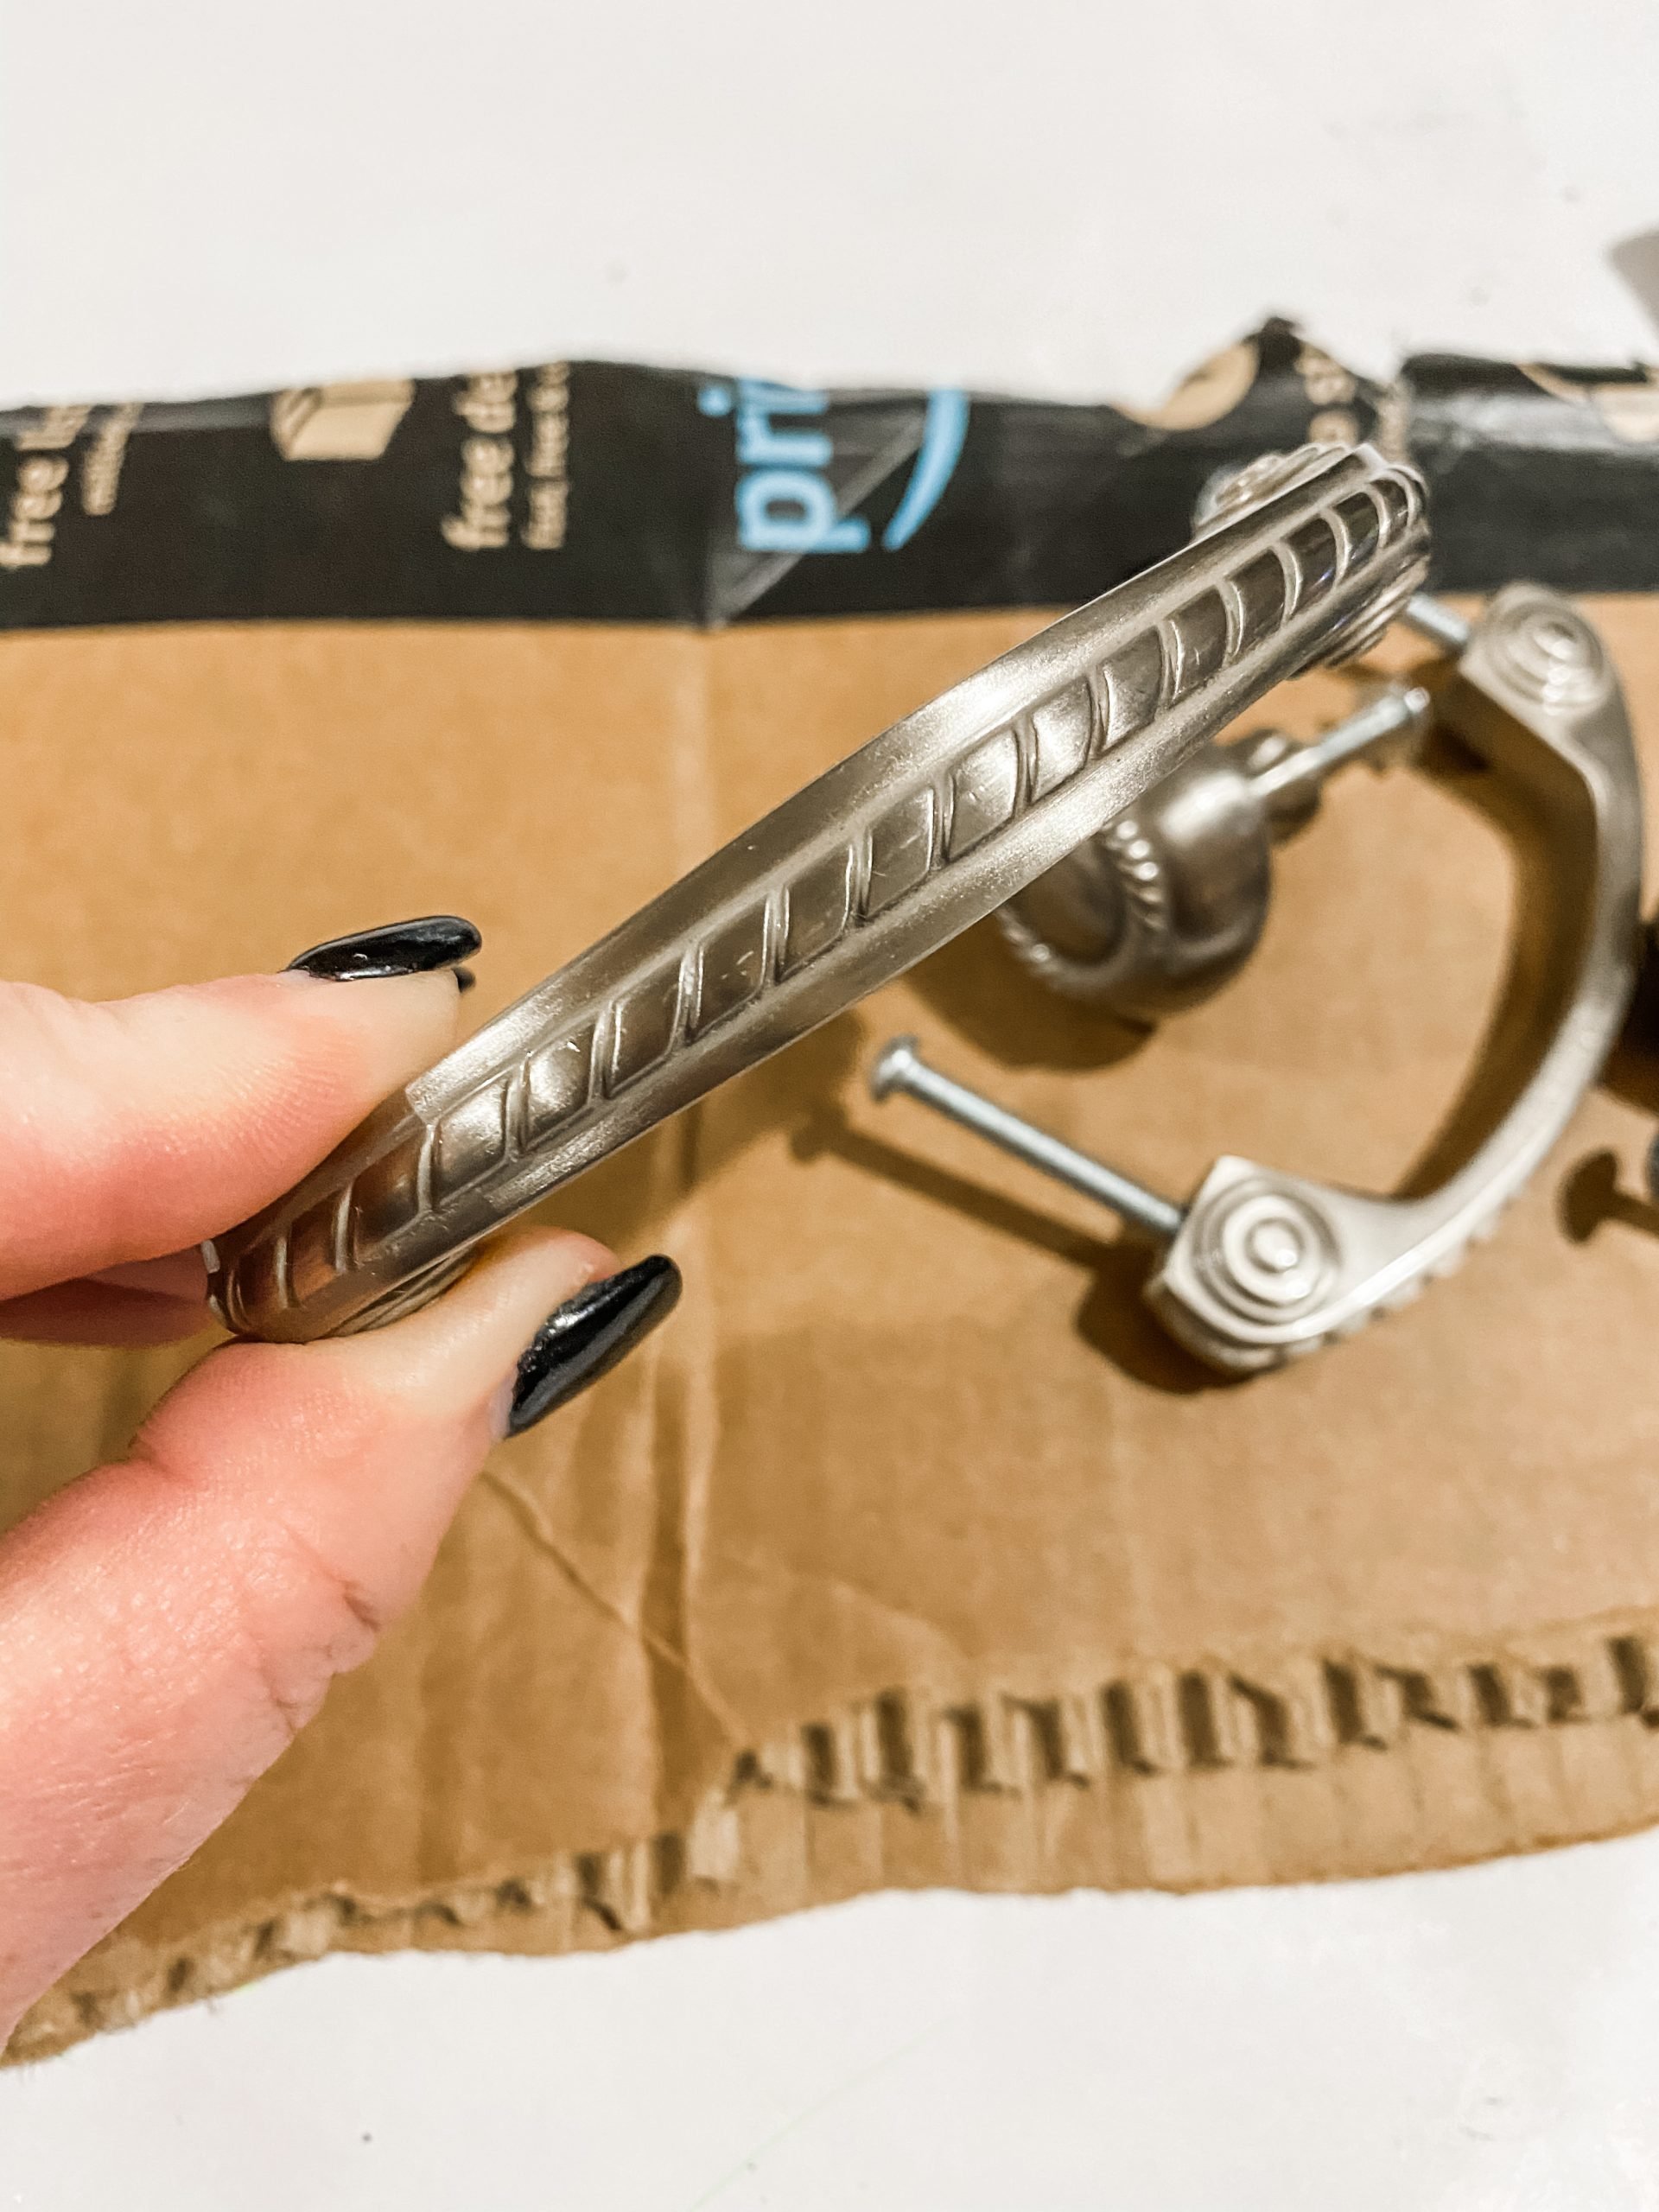
You absolutely want to remove your hardware though. I removed mine before the video because I was painting them black, and I didn’t want to spray paint them in my bathroom.
Paint your bathroom cabinets
Make sure that you have brushes of multiple different sizes to make it easier for you to reach different spots on your vanity.
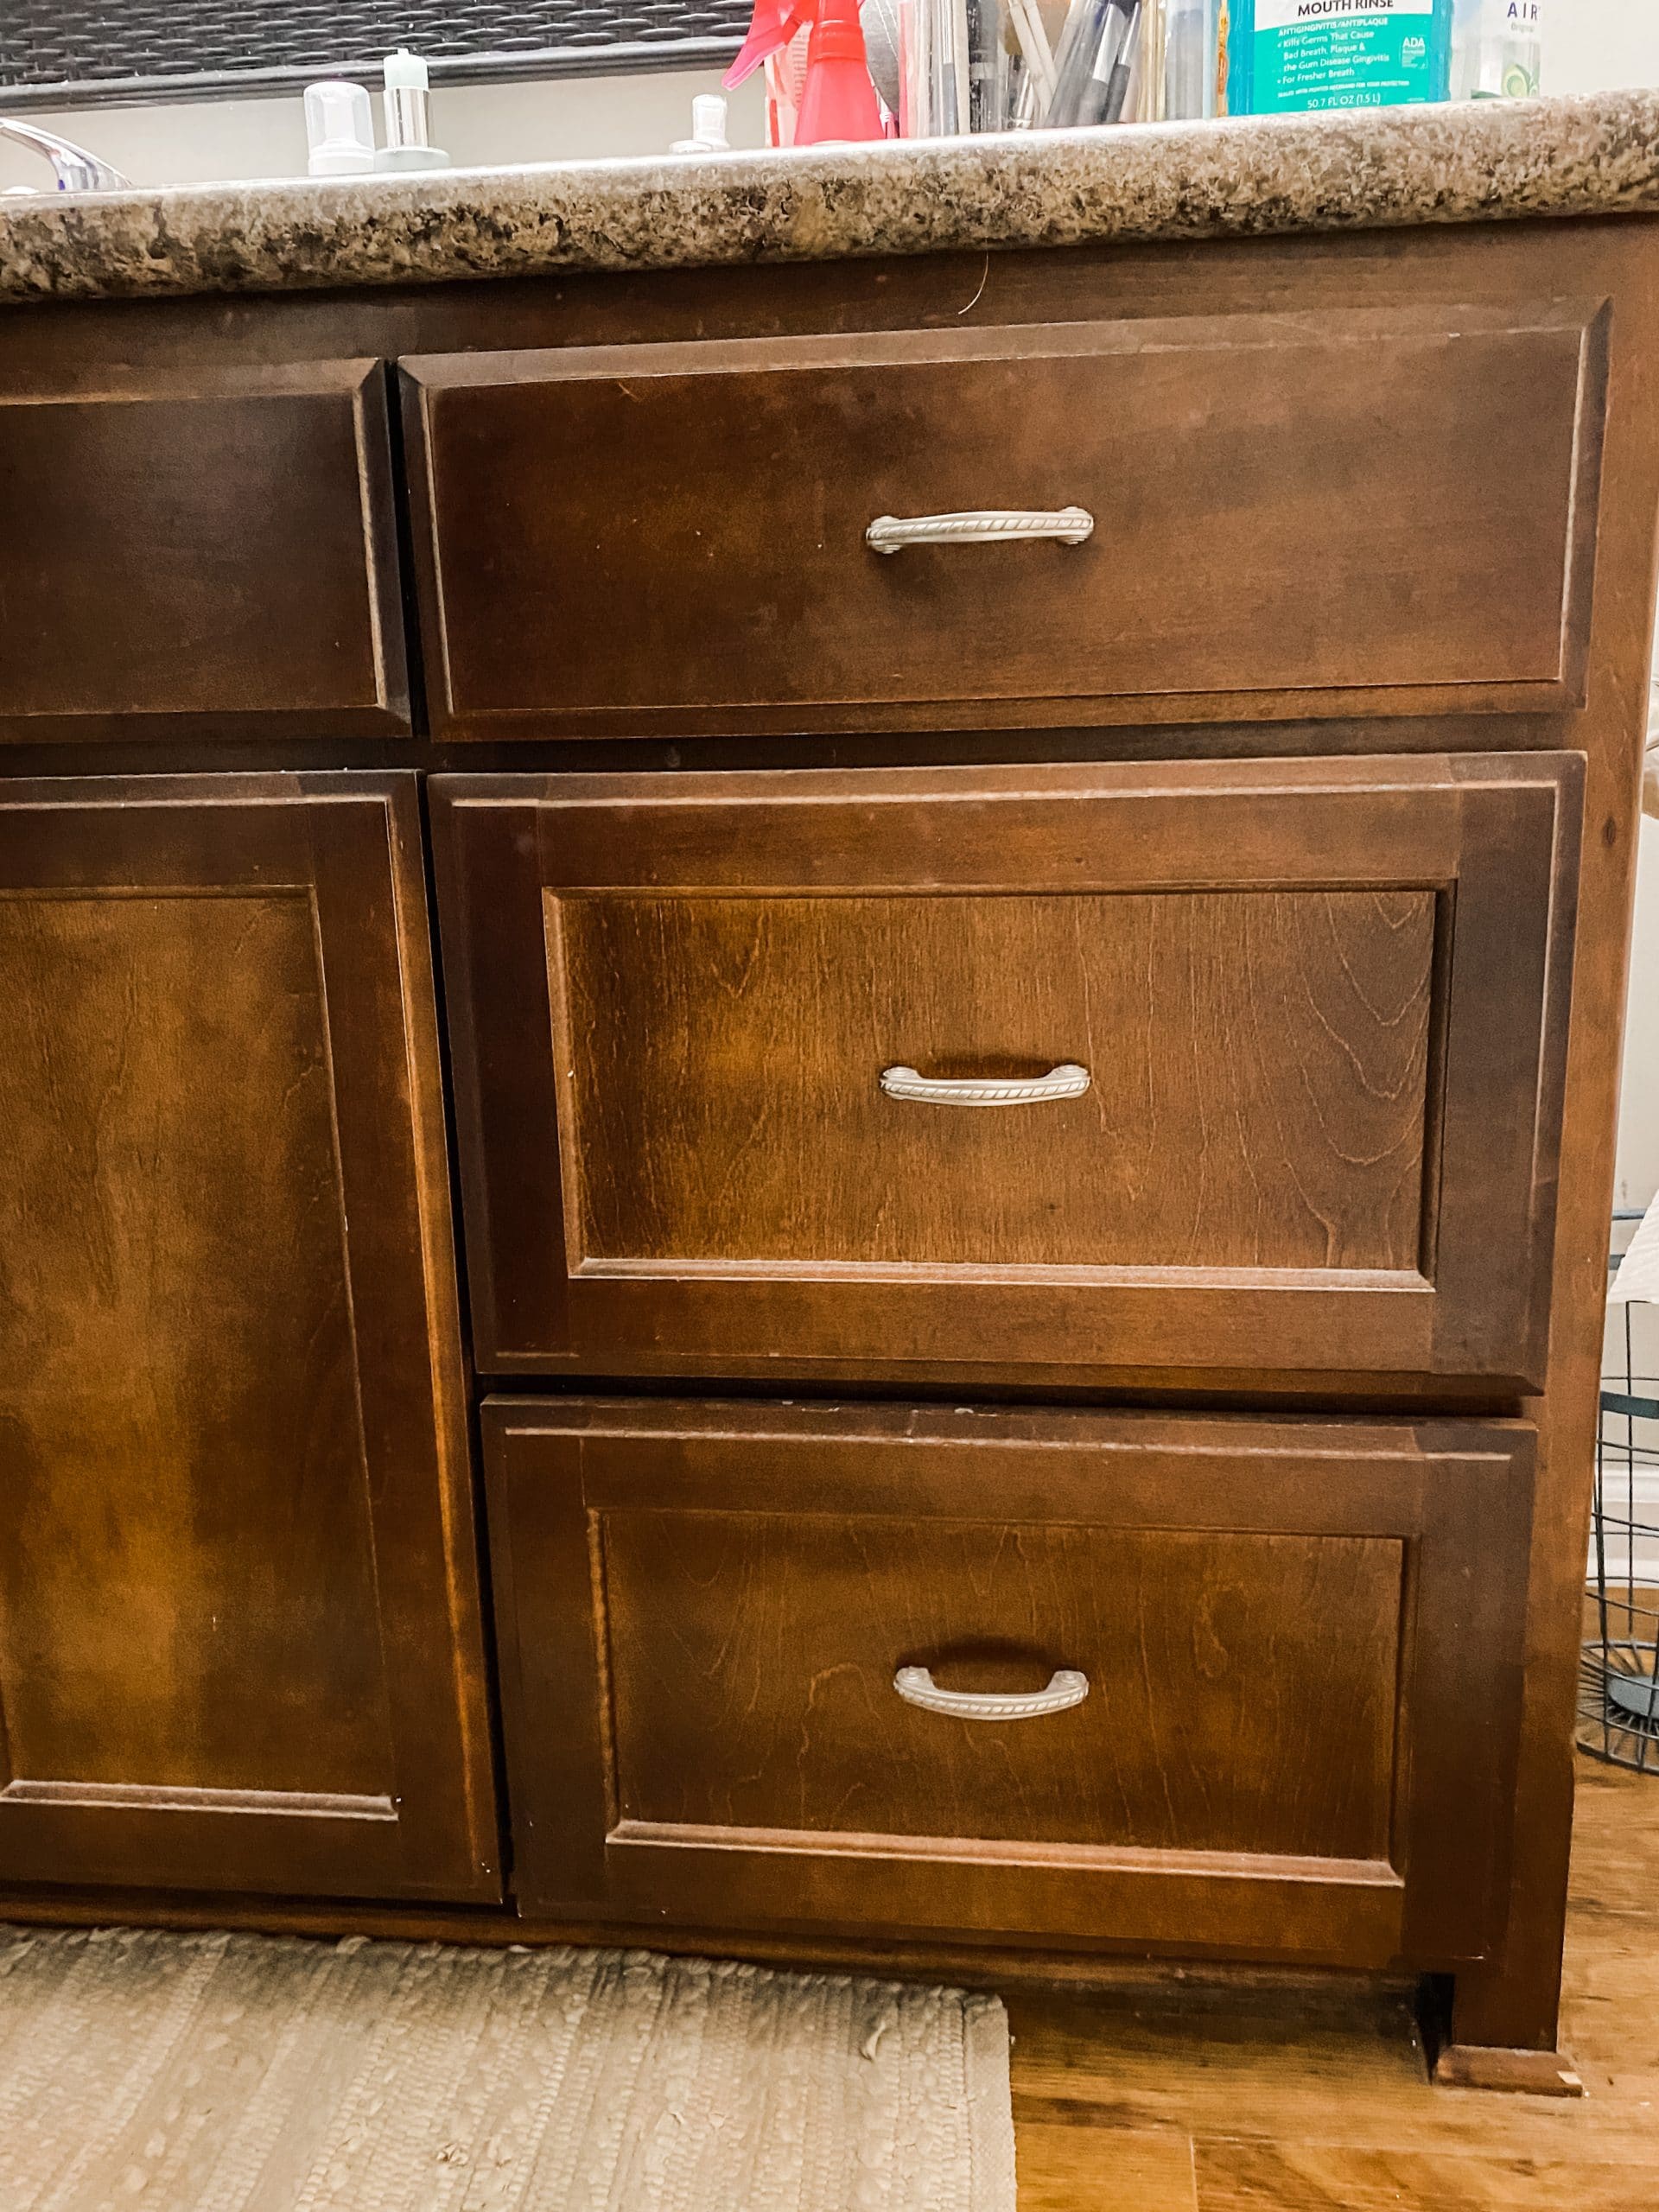
Start with a larger brush, dip it lightly into your chalk paint, and start in the center of the first section you’re going to paint. You want horizontal strokes for long sections and vertical strokes for short spots.
Keep your paint wet, otherwise, you’ll get transition spots where the paint doesn’t stick to the cabinet. I started with the top drawer of my cabinets, and after I lightly coated the front of the drawer, I pulled the drawer out (not removed) and painted around the outer edges of it.
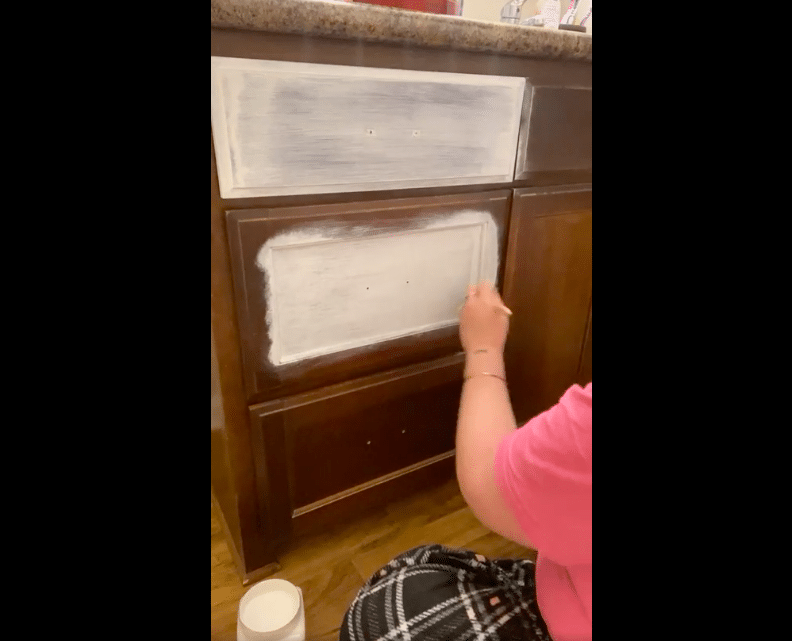
Your first coat of paint should look similar to this:
Keep painting your bathroom cabinets
Go ahead and paint all your drawers, doors, and sides of the cabinet with the same amount of technique and paint you just used on the first drawer.
If your paint starts to dry while your painting, you can use a water spray bottle to wet the surface and keep the paint wet. When you start painting the edges of the cabinet, where the cabinet meets another surface like the counter, floor, or wall, don’t stress about getting paint on the other surfaces.
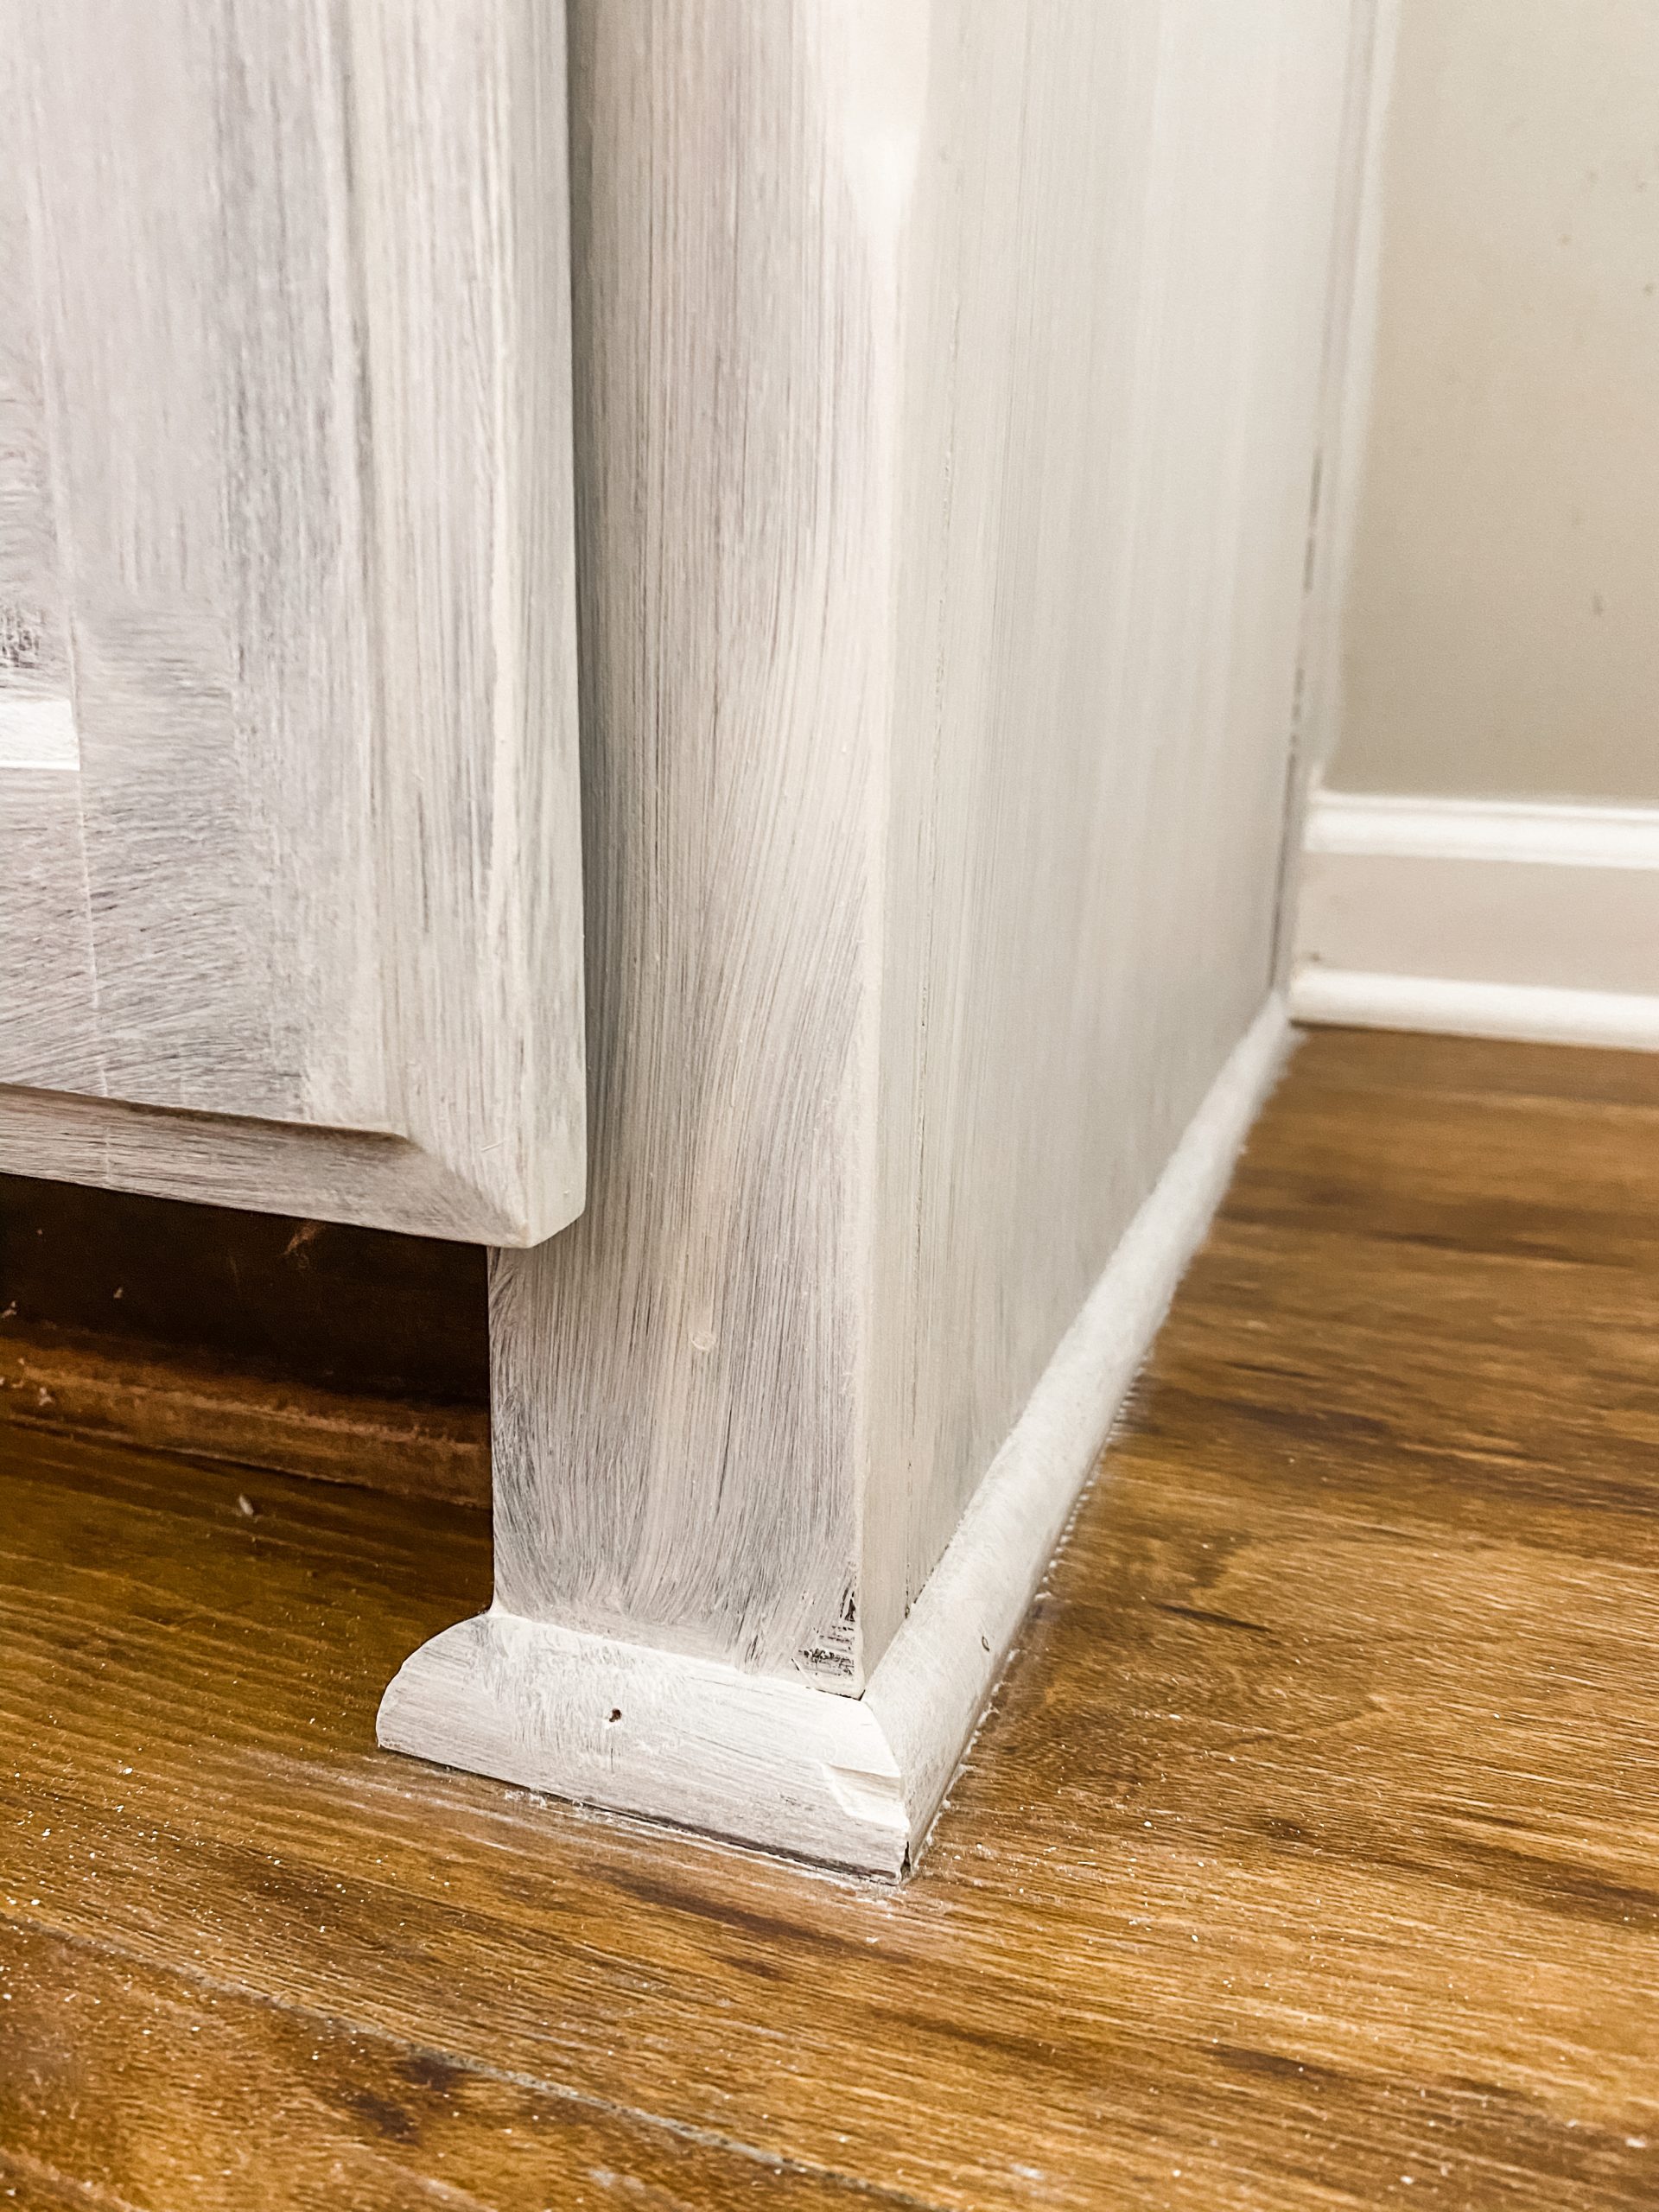
A great thing about Dixie Belle Chalk Paint is it is very easy to clean up! Spray the area with your Sprayway Glass Cleaner and use a paper towel to white the paint up.
I got paint on the floor while painting the side of my cabinet, and I show you just how easy it is to clean the paint up when it gets on a surface you don’t want it to be on!
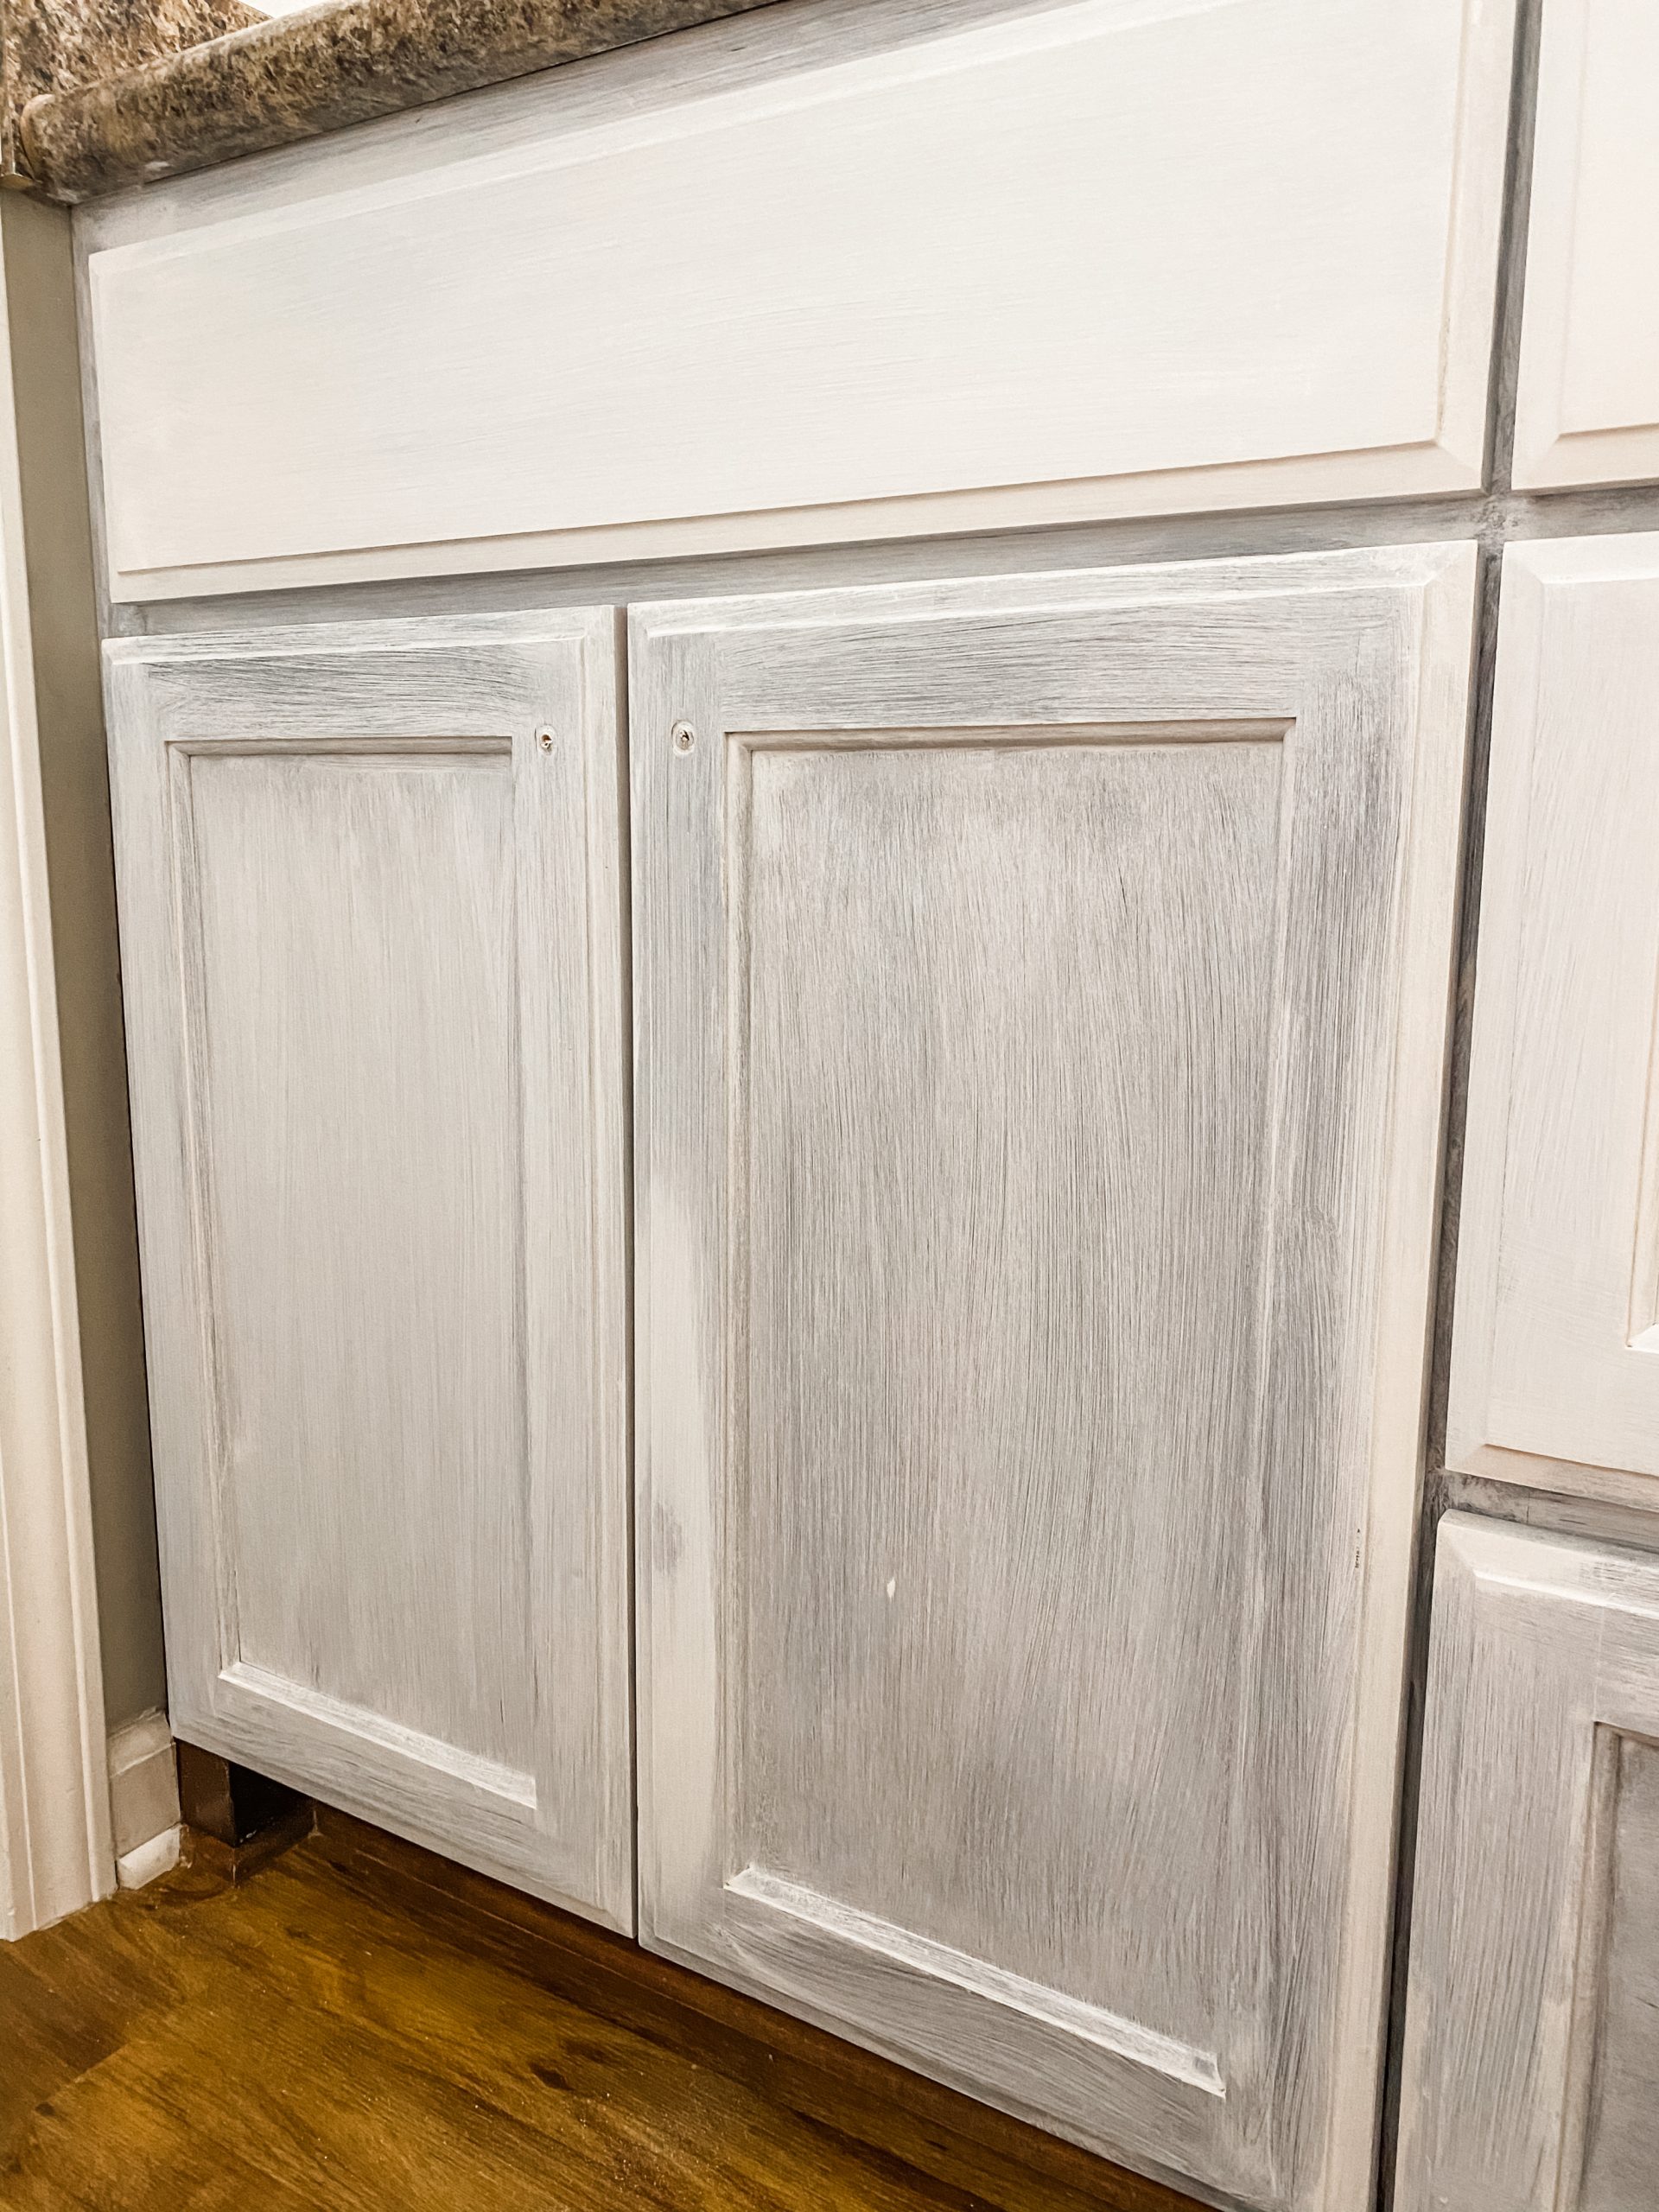
You could always tape off around the cabinet to make clean up a little easier, but I just don’t have the time for all of that!
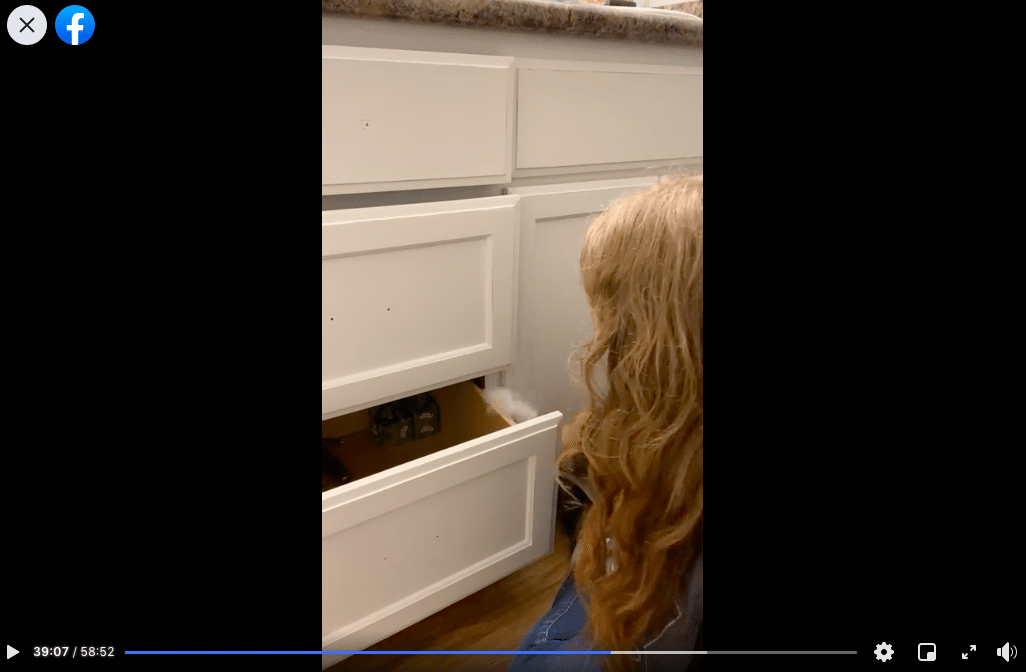
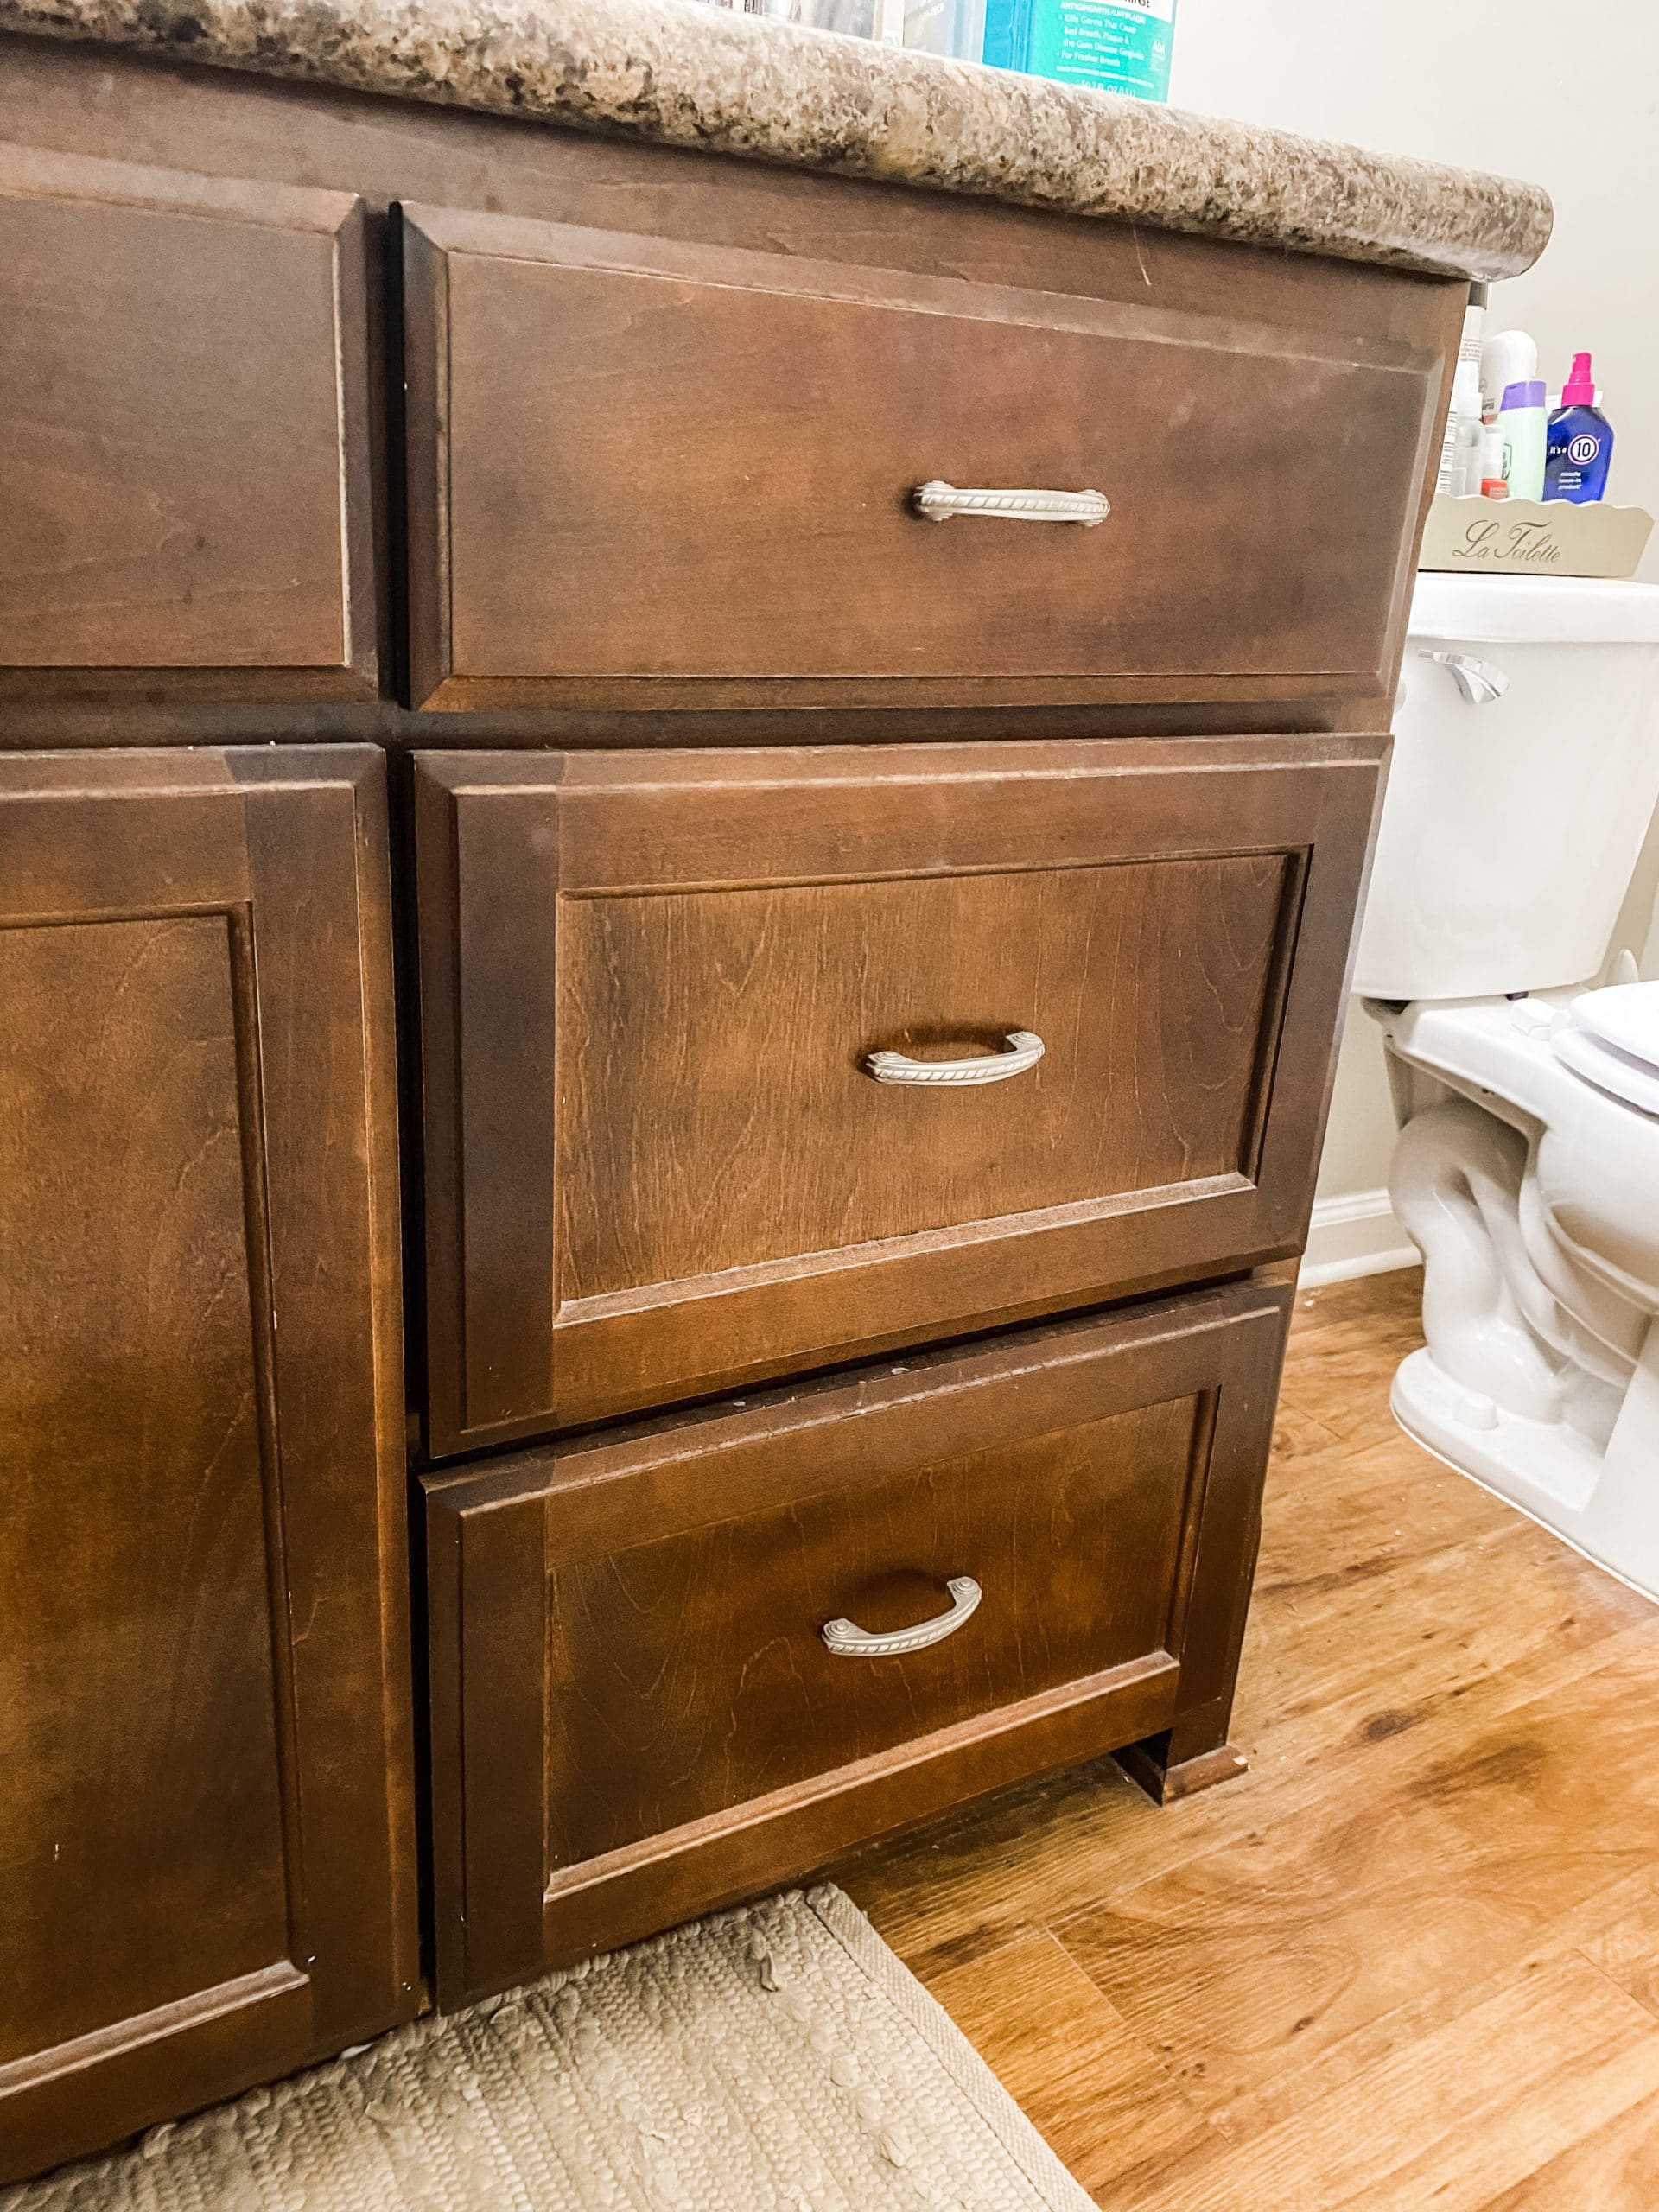
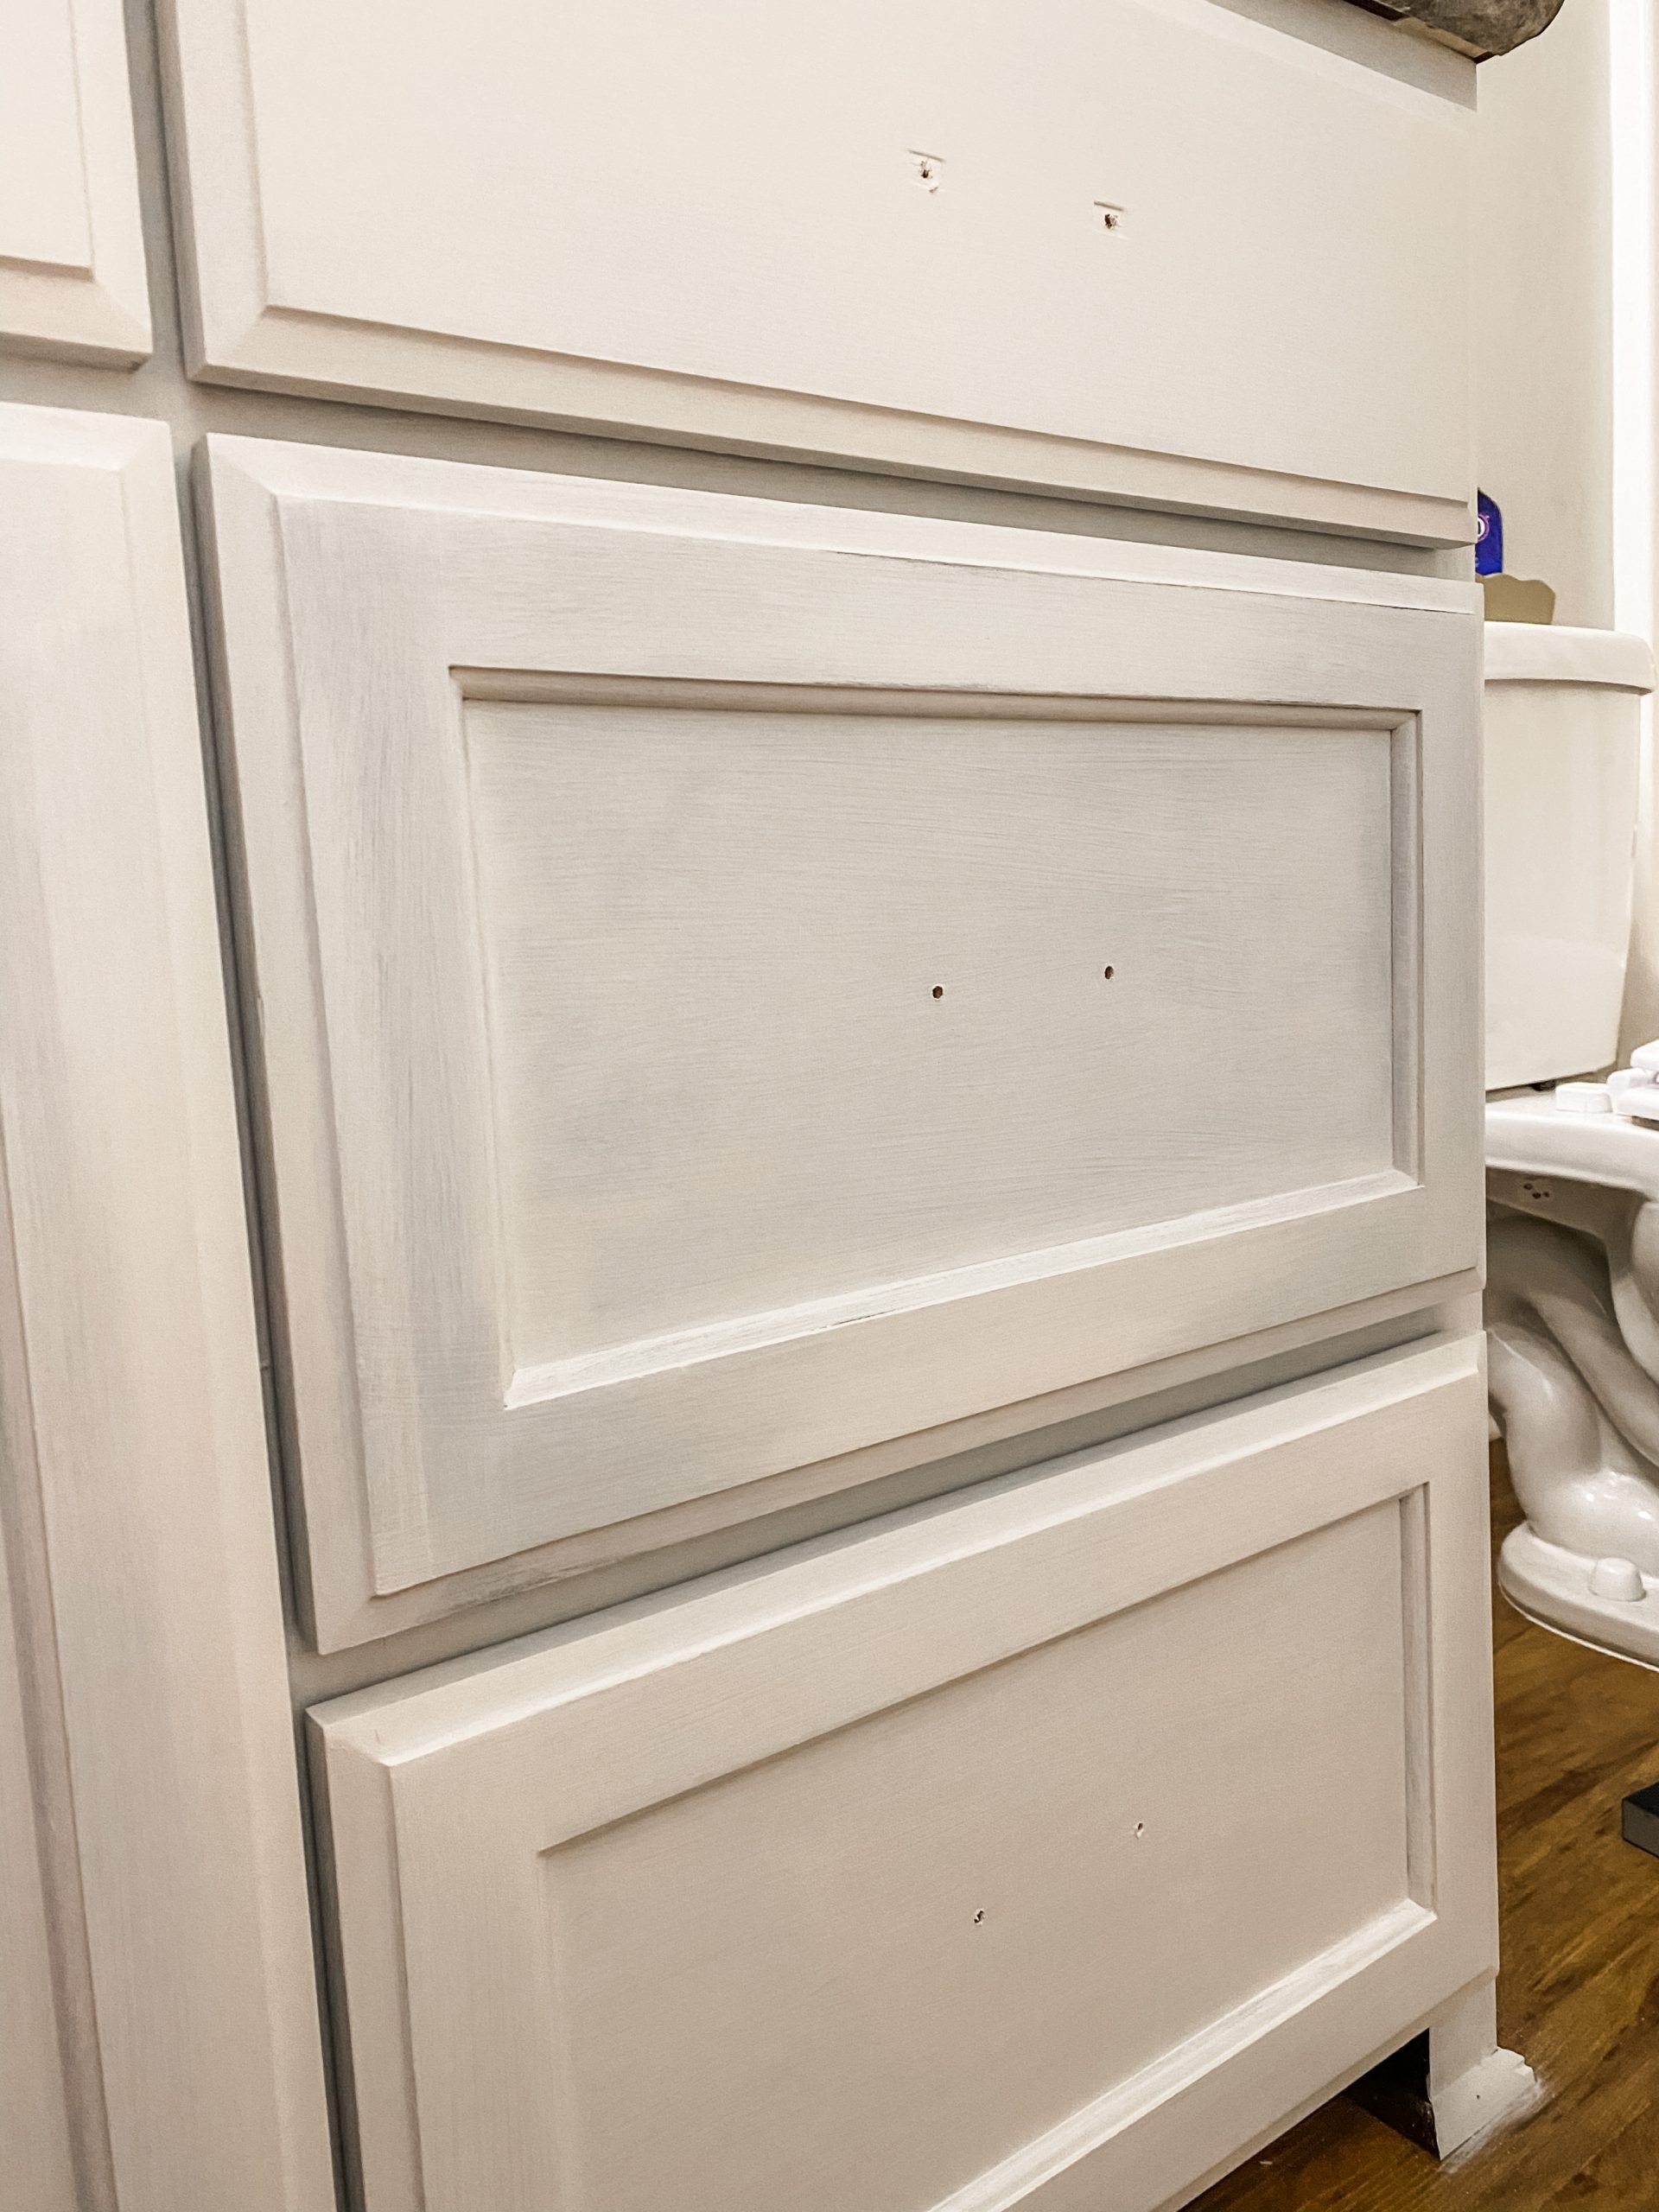
I ended up applying three coats of paint to my bathroom vanity to get the full coverage that I wanted. Once the third coat of paint was dry, I went over the edges of the drawers and cabinets with a sanding sponge to get a slightly distressed finish.
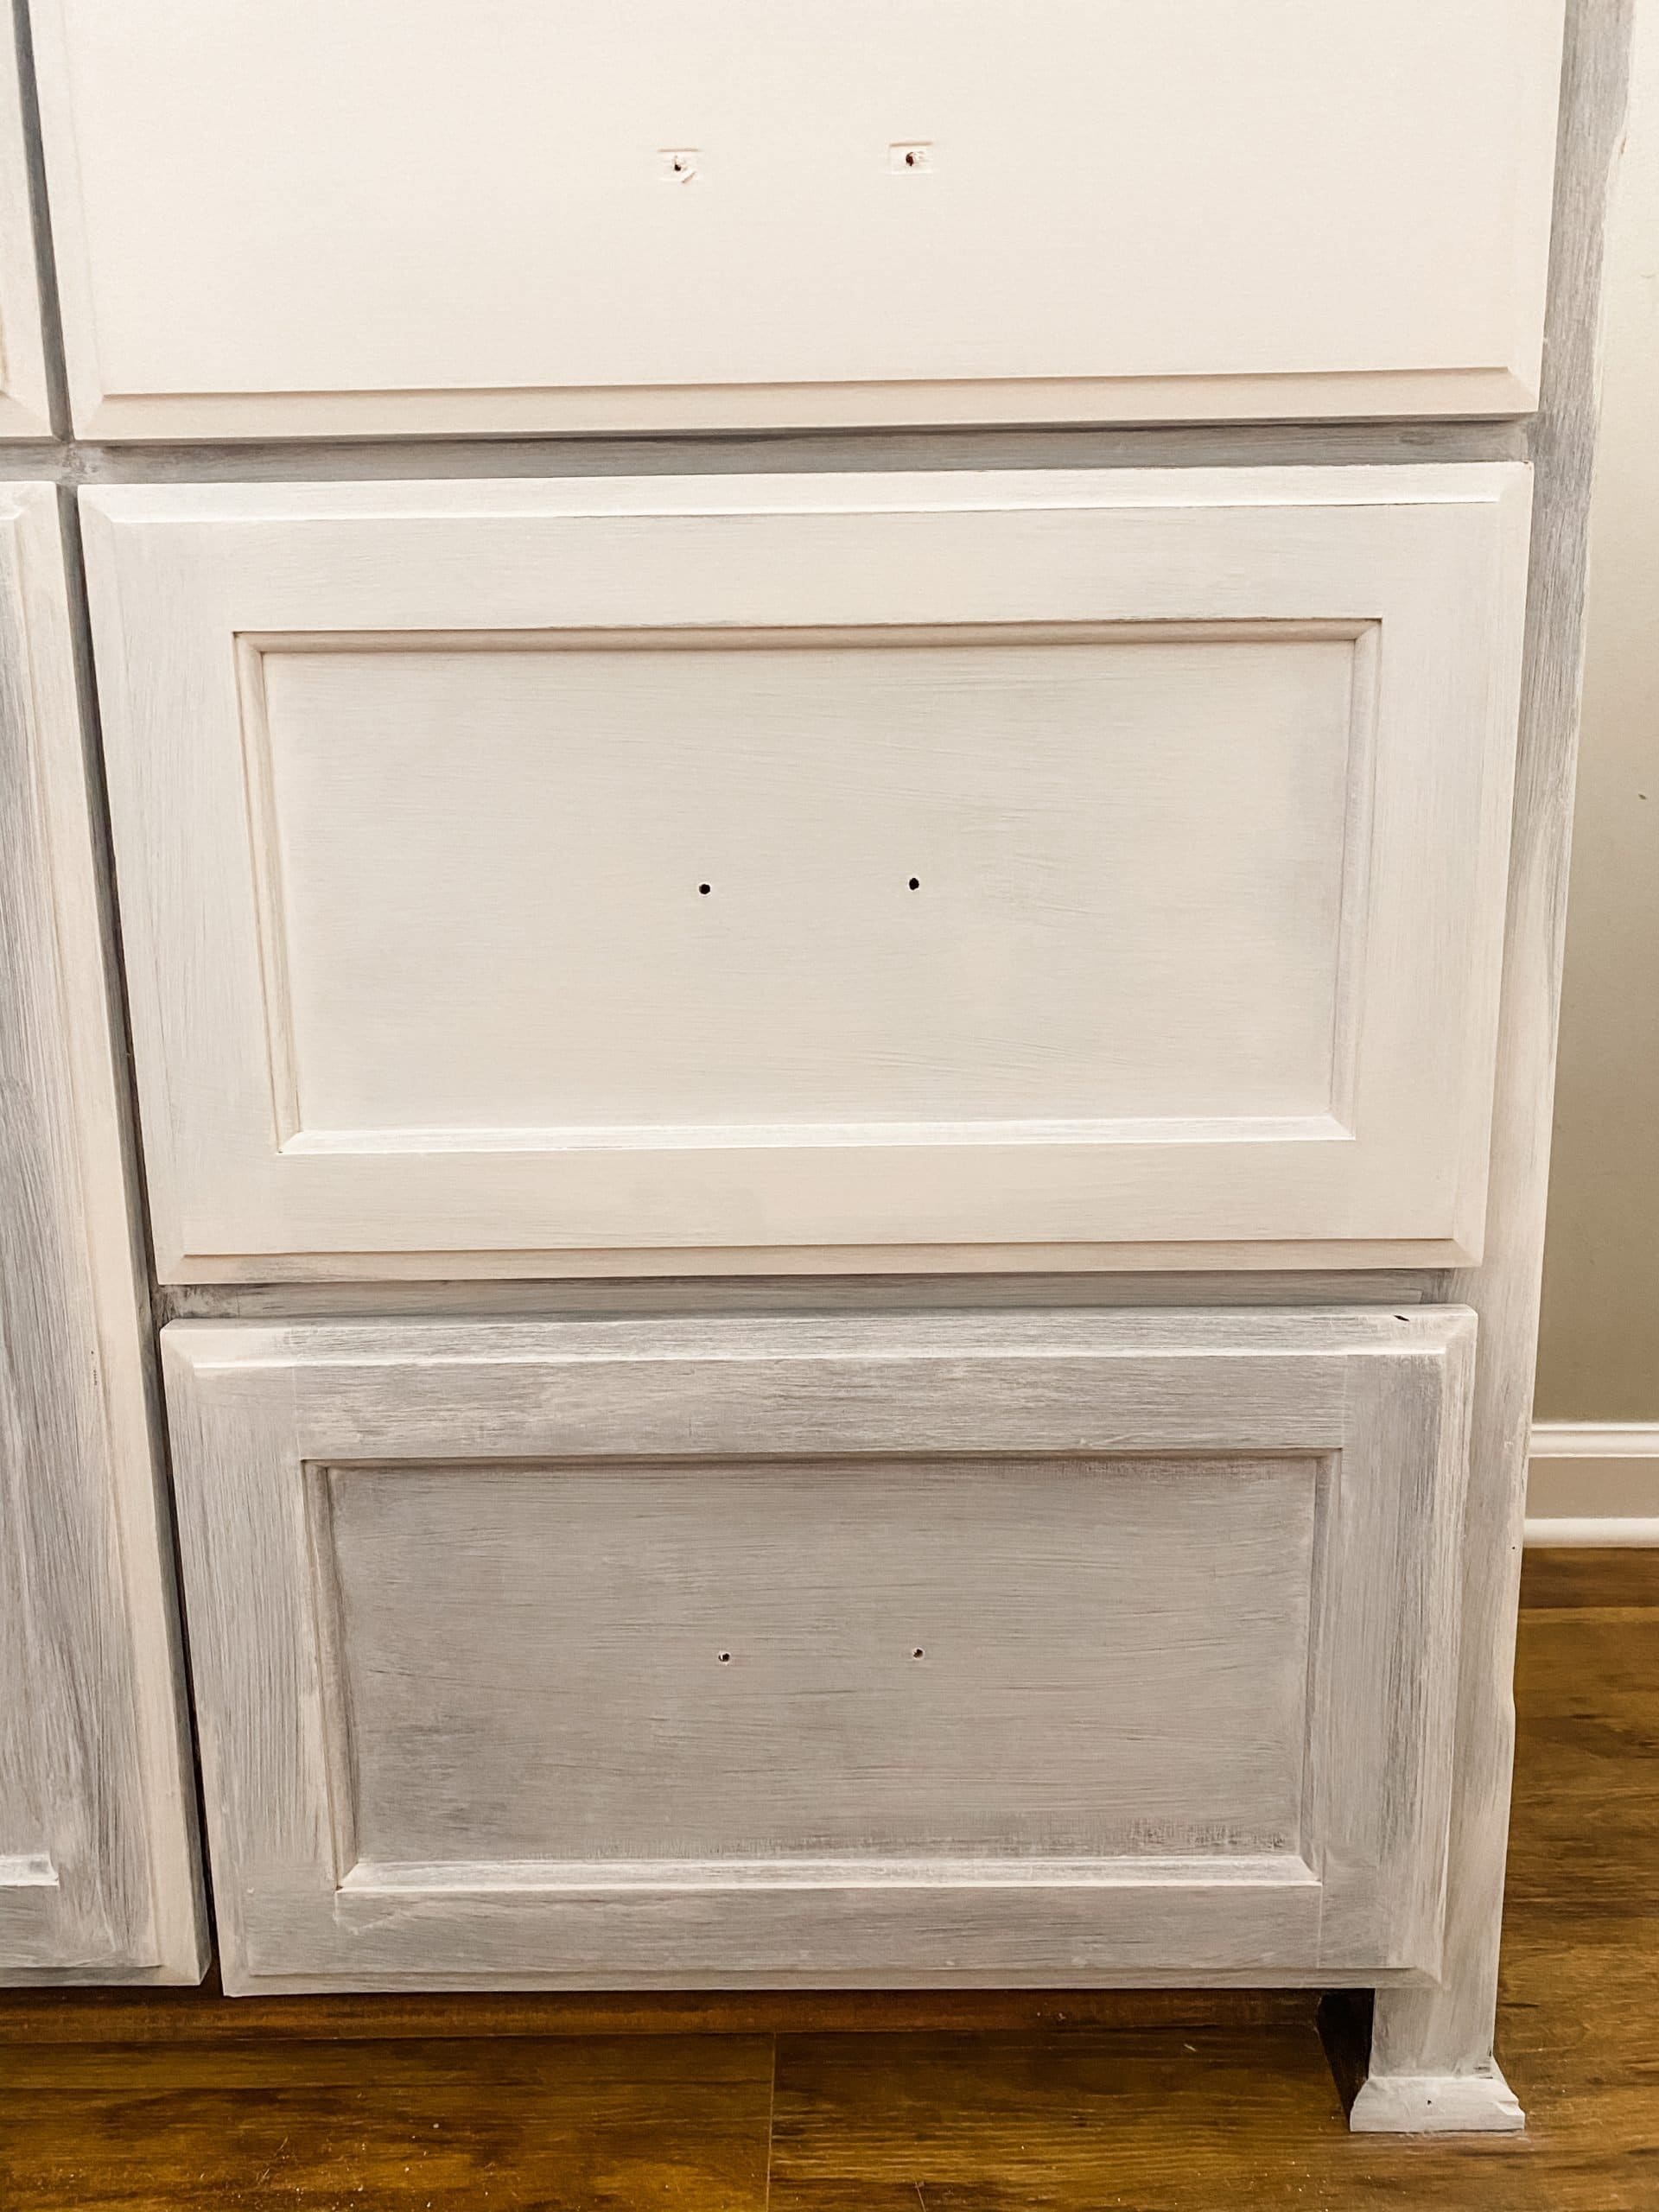
The picture above shows you one coat of paint on the bottom drawer, two coats of paint on the middle drawer, and three coats of paint on the top drawer.
Prep the cabinets for the wax
You also need to sand the entire face of the drawers and cabinets to smooth out the paint. You want a flat, even coat of paint before you apply your coat of wax.
Once you’ve smoothed out the paint, go back over with a dry paintbrush or a dry piece of cloth (you don’t want something rough that could scratch the paint before you apply the wax) and you’re just going to dust off any paint from the sanding.
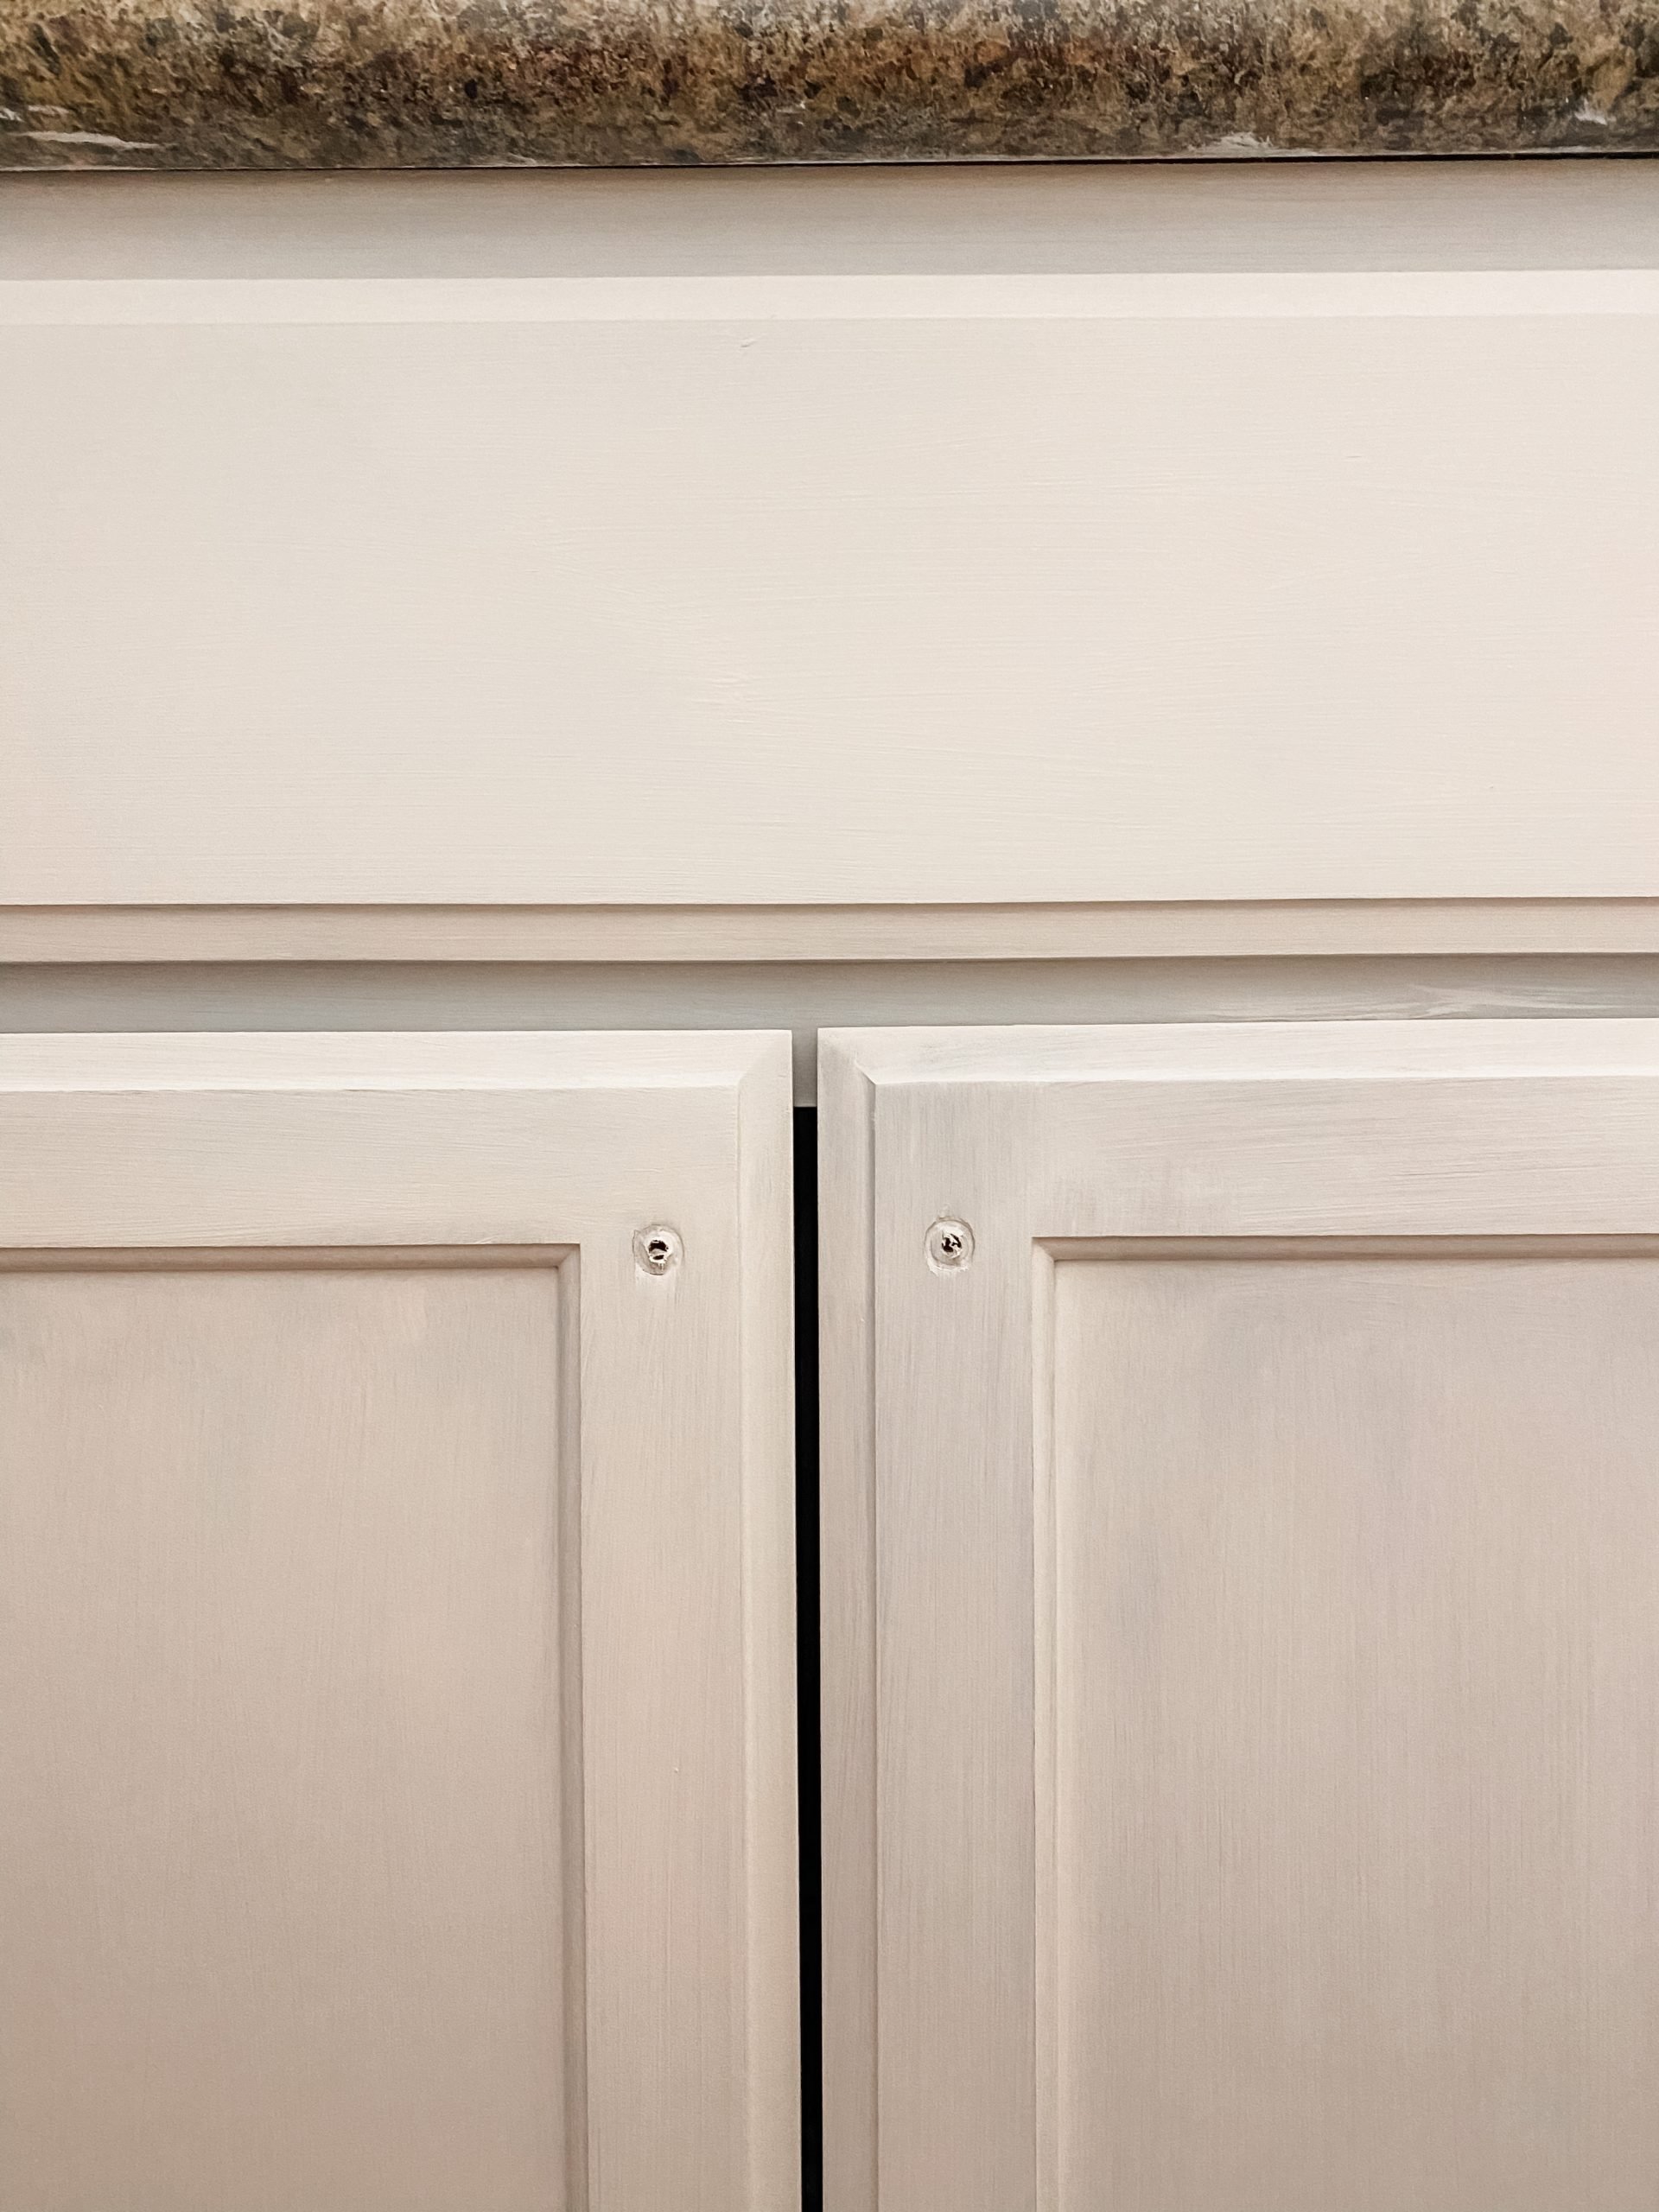
I used Waverly Clear Wax to seal my chalk paint and protect the cabinets from wear and tear. To apply the wax to the cabinets, I used a Paint Pixie Round Wax Brush, but I’ve linked the supply list to a comparable wax brush.
Apply a coat of wax across all surfaces of your cabinets. Make sure to work the wax onto the edges of the drawers and cabinets as well. I love using the Waverly Wax because it goes on clear, and it doesn’t yellow!
I used the same wax when I painted my kitchen cabinets, and they haven’t yellowed or chipped! After you’ve applied the wax, use a t-shirt rag to buff the wax onto the cabinets.
You’re trying to smooth out the wax and get rid of any bumpy or sticky areas. Once you’ve got the wax buffed and smoothed out, let the wax finish curing overnight!
Paint your bathroom cabinet hardware
I did these next steps off-camera, but they’re pretty simple, so don’t panic! Before I reattached my bathroom cabinet hardware, I cleaned them with Sprayway Glass Cleaner.
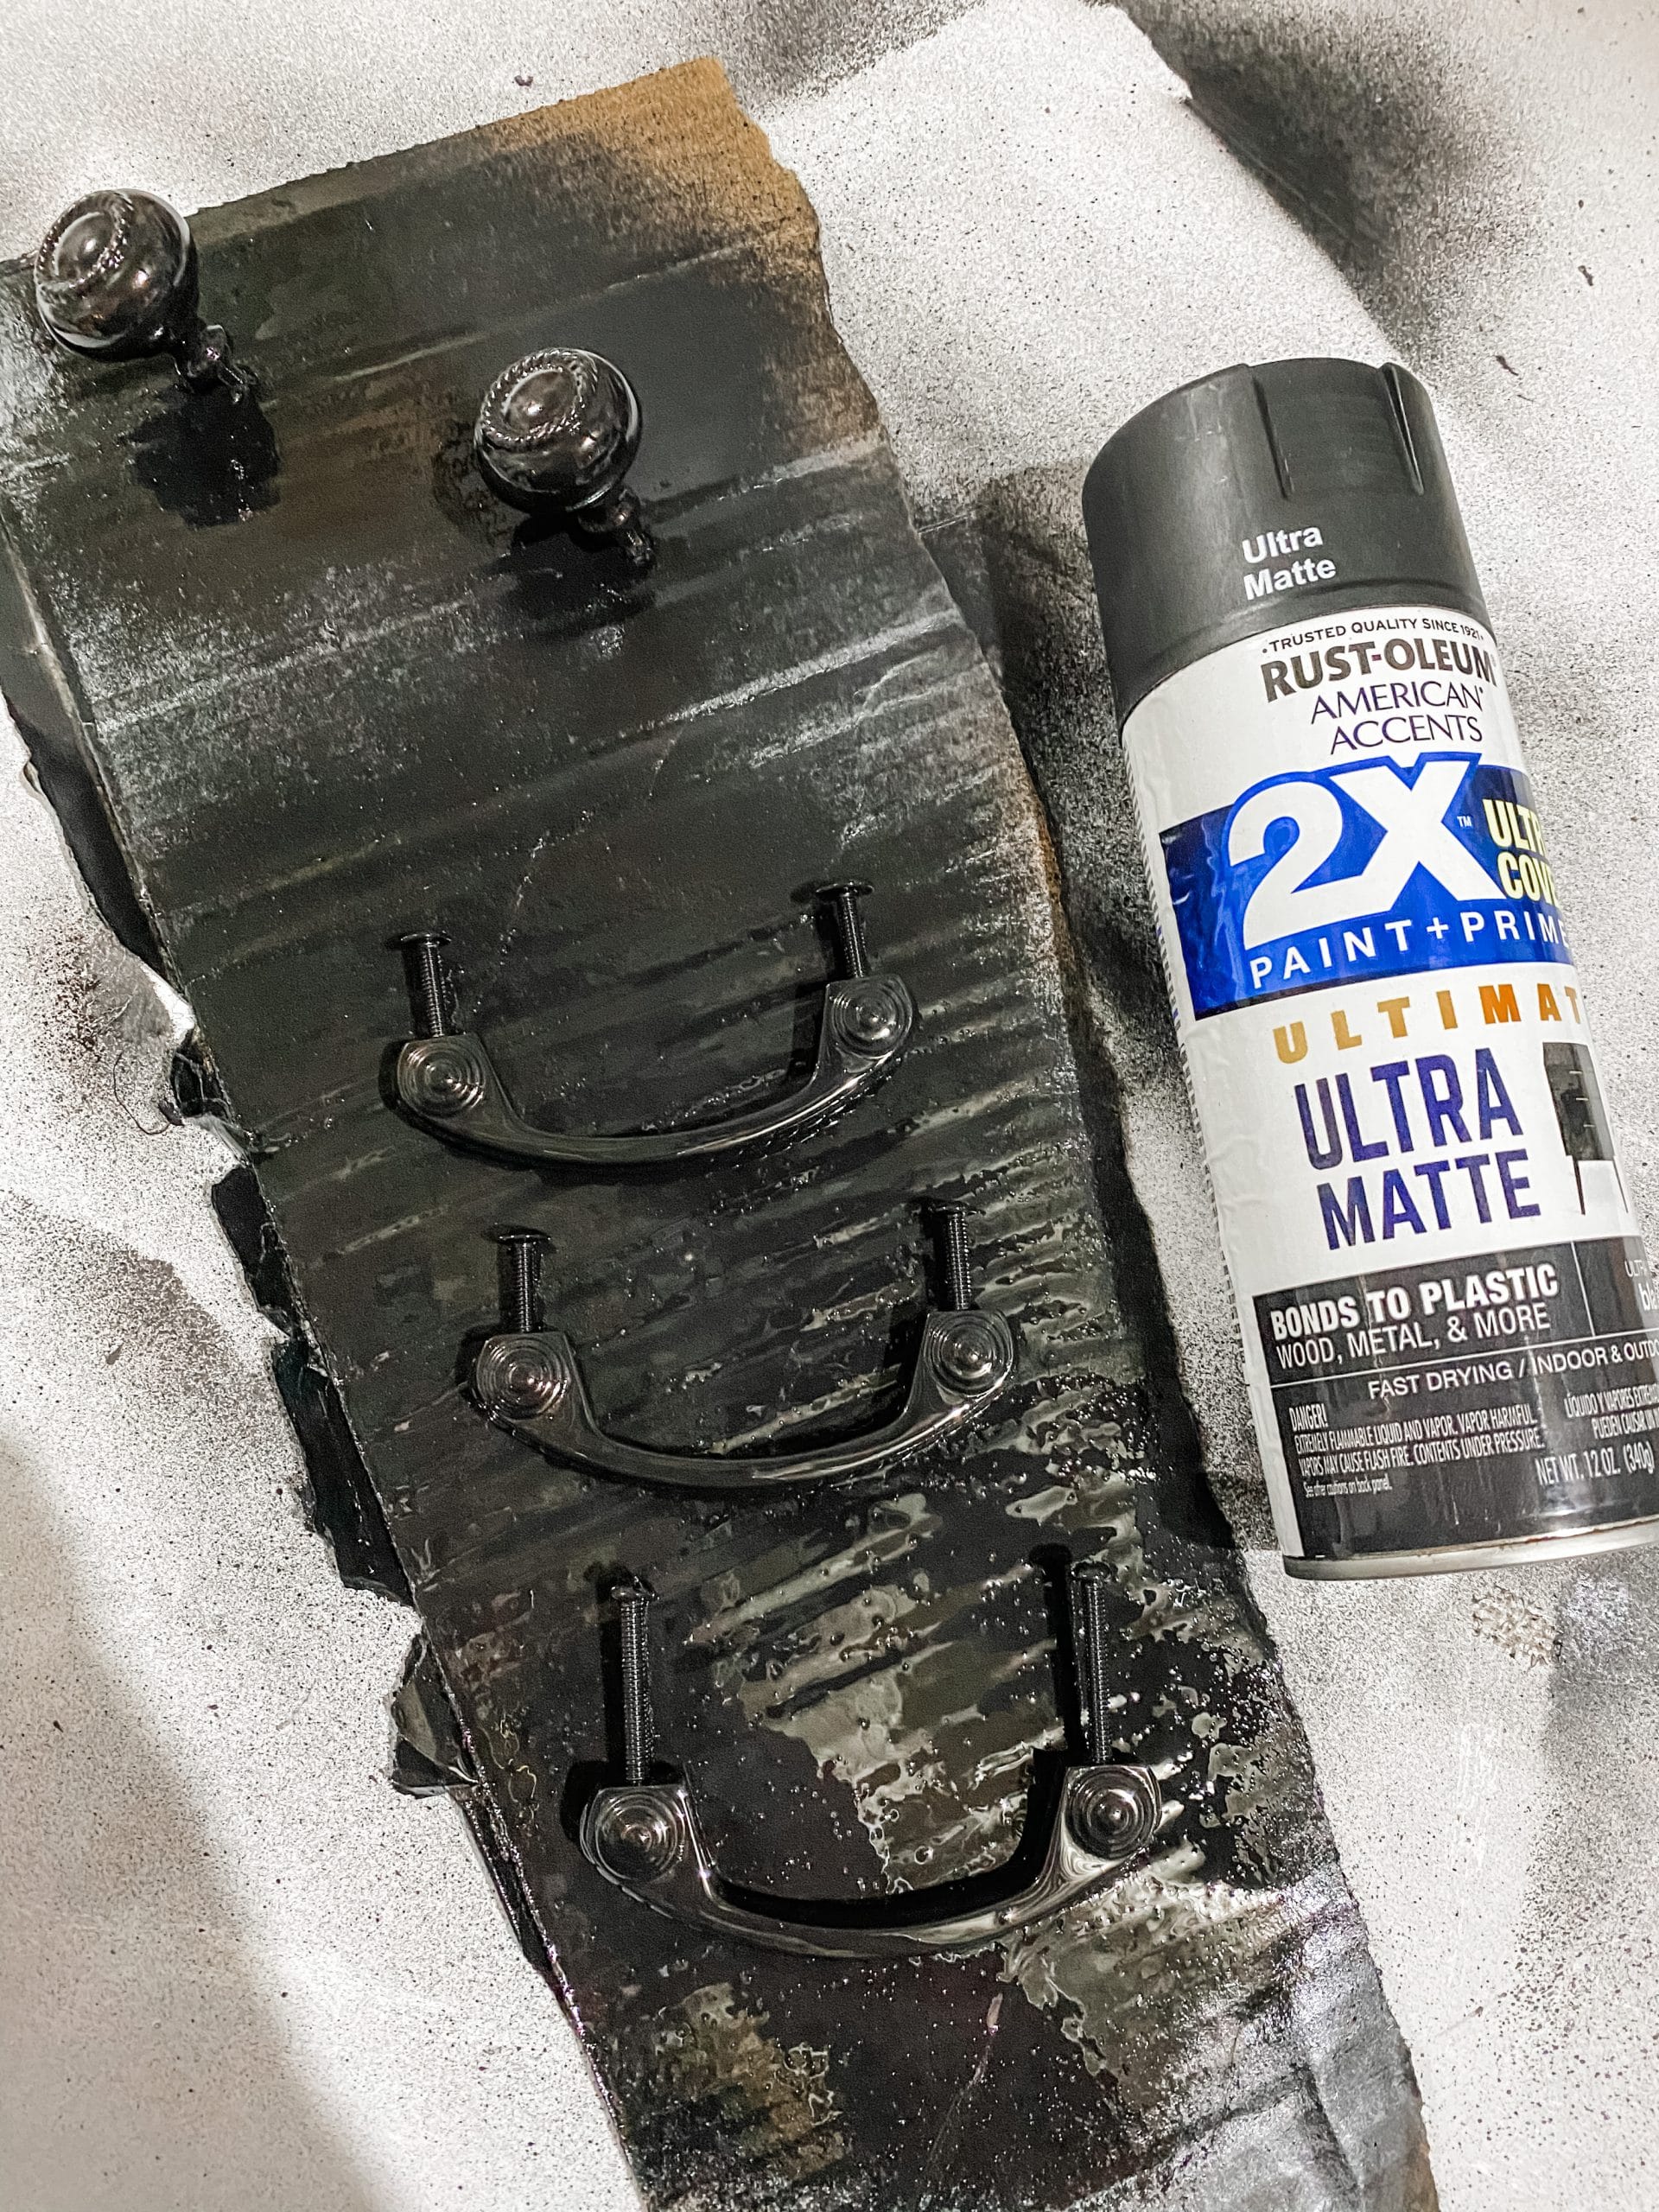
Then, I placed the hardware on a piece of cardboard and spray painted them with Rustoleum Ultra Matte Black Spray Paint. I applied two coats of black paint and made sure the hardware were completely covered with paint.
Once they were completely dry, I just reattached the spray-painted handles to my bathroom cabinet drawers and doors! I also switched out my toilet paper holder so it would match my newly painted bathroom cabinet!
This was such an easy home update, you just HAVE to paint your bathroom cabinets in one weekend!
I love my new bathroom cabinets!
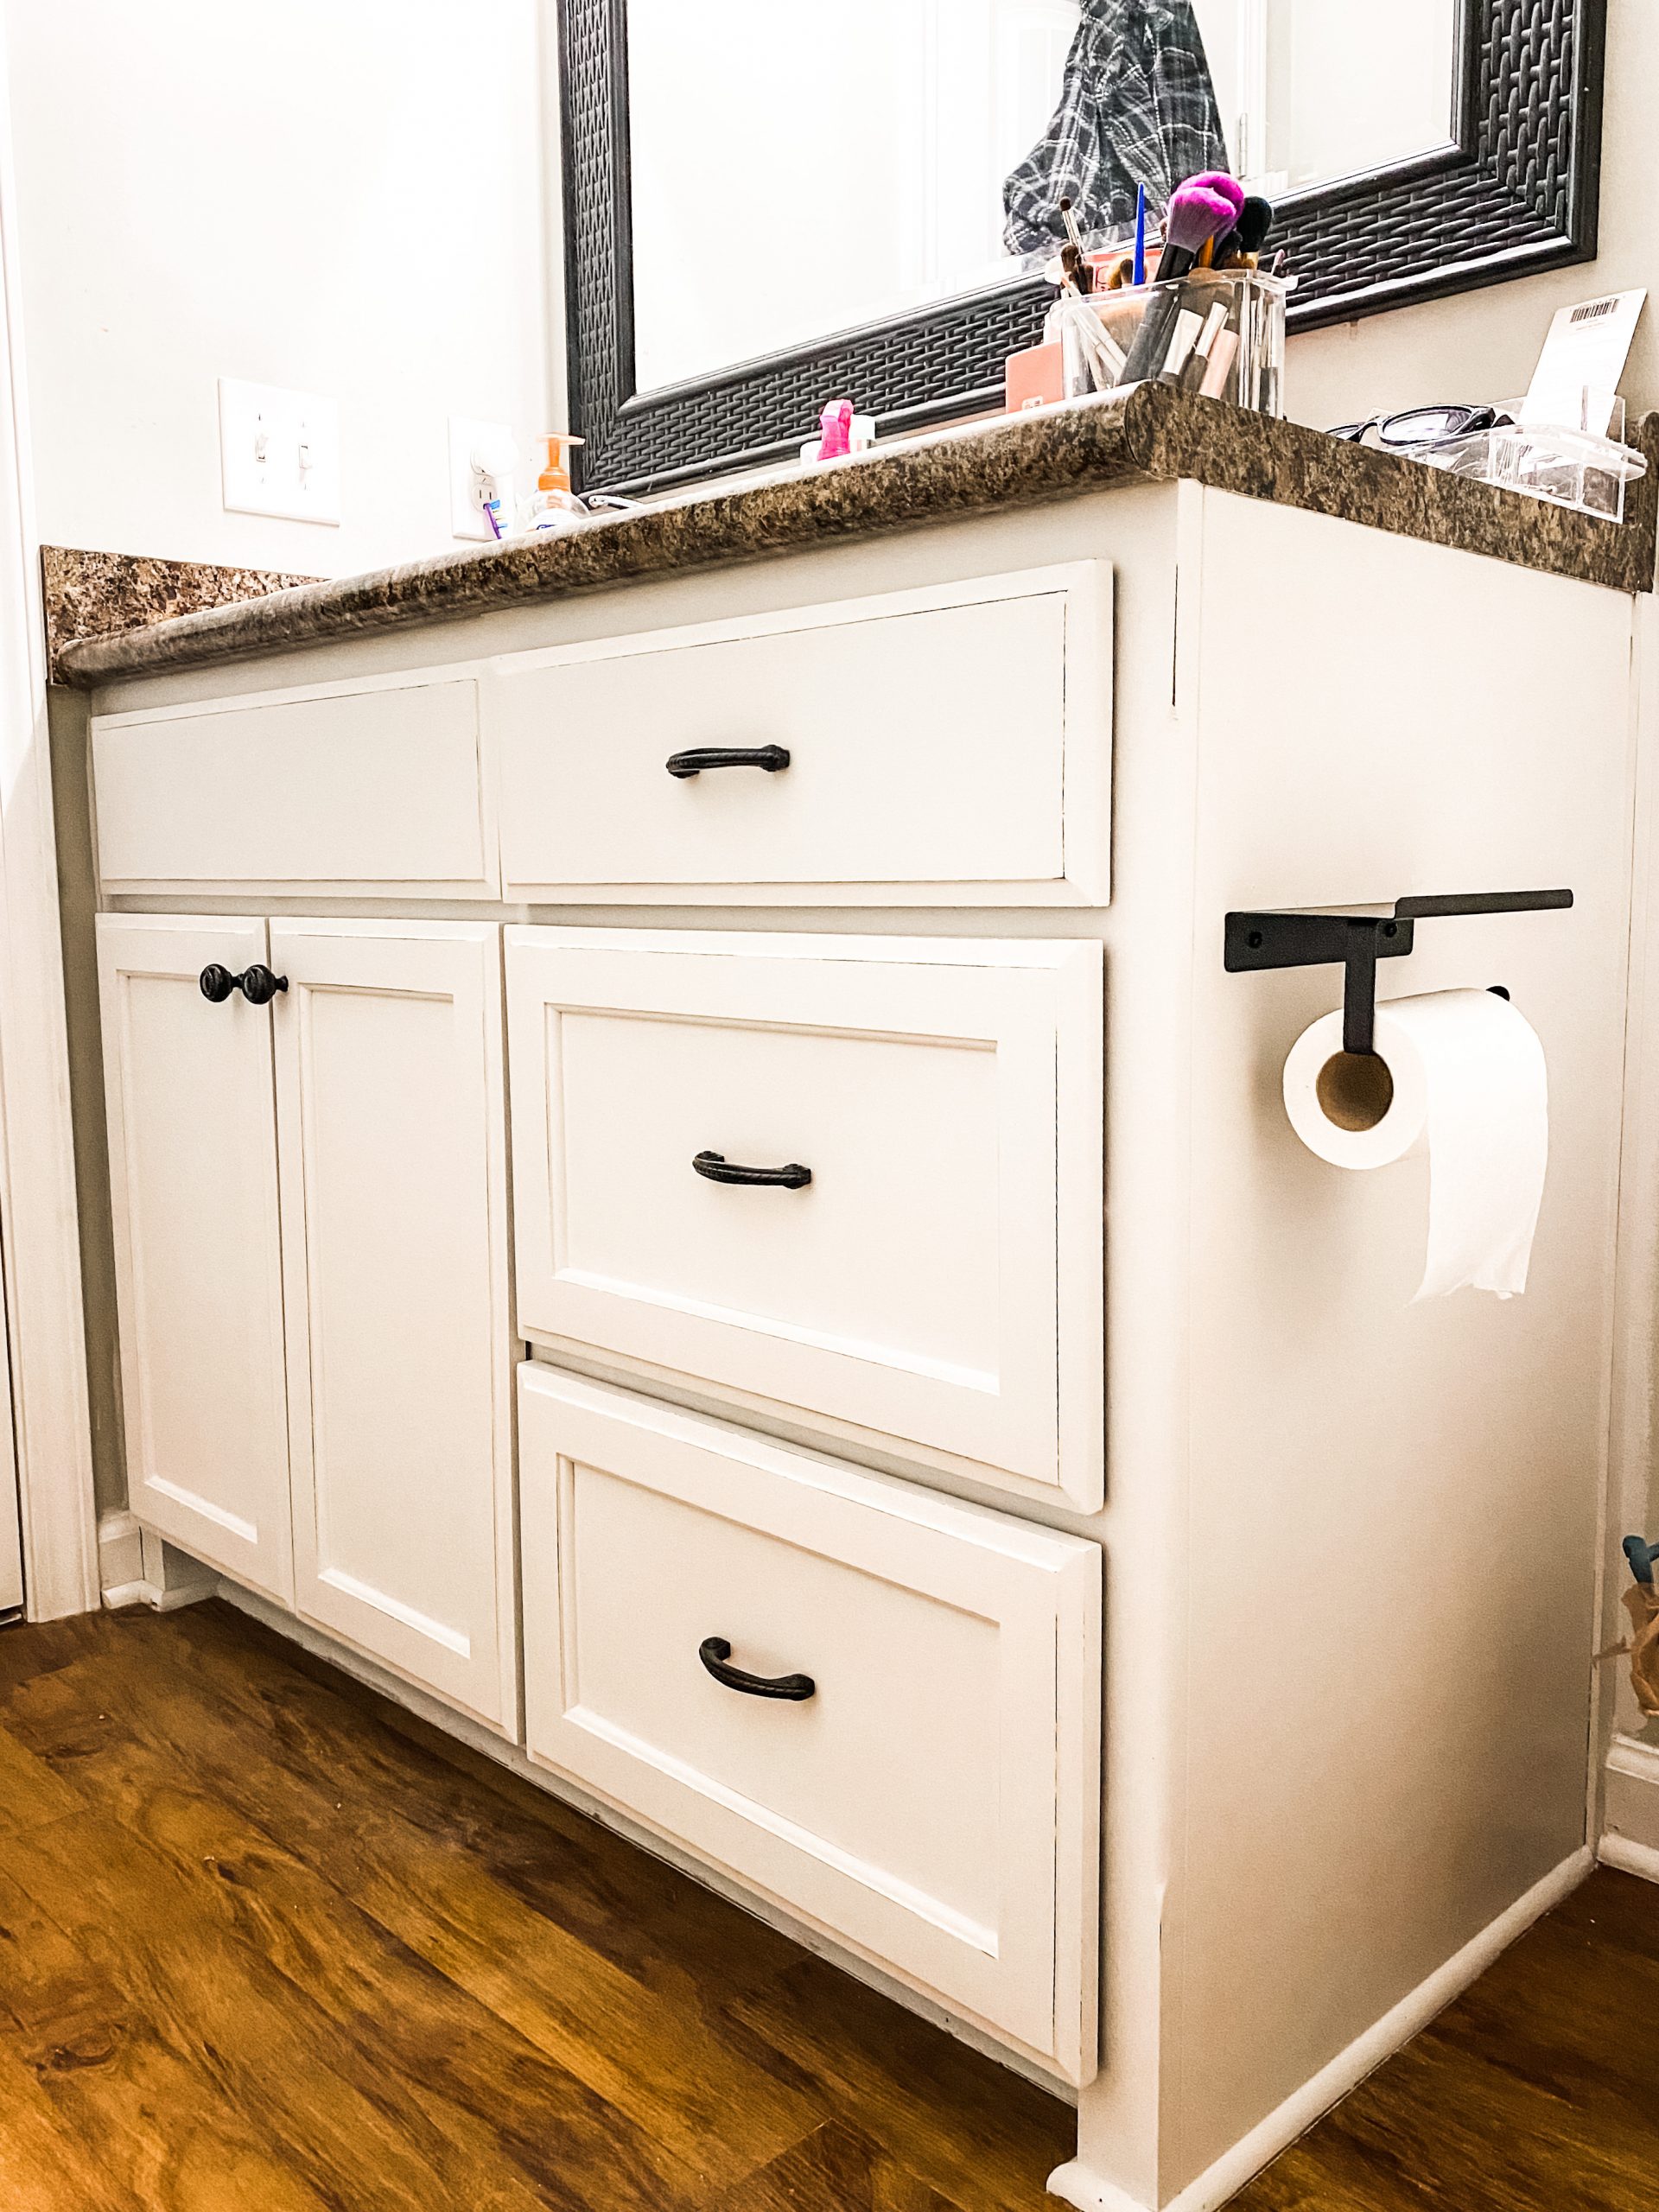
Remember how I told you it was super easy to clean the paint off the floor when you use Dixie Belle chalk paint? Well, here is what my floor looked like once I was all done painting my bathroom cabinets!
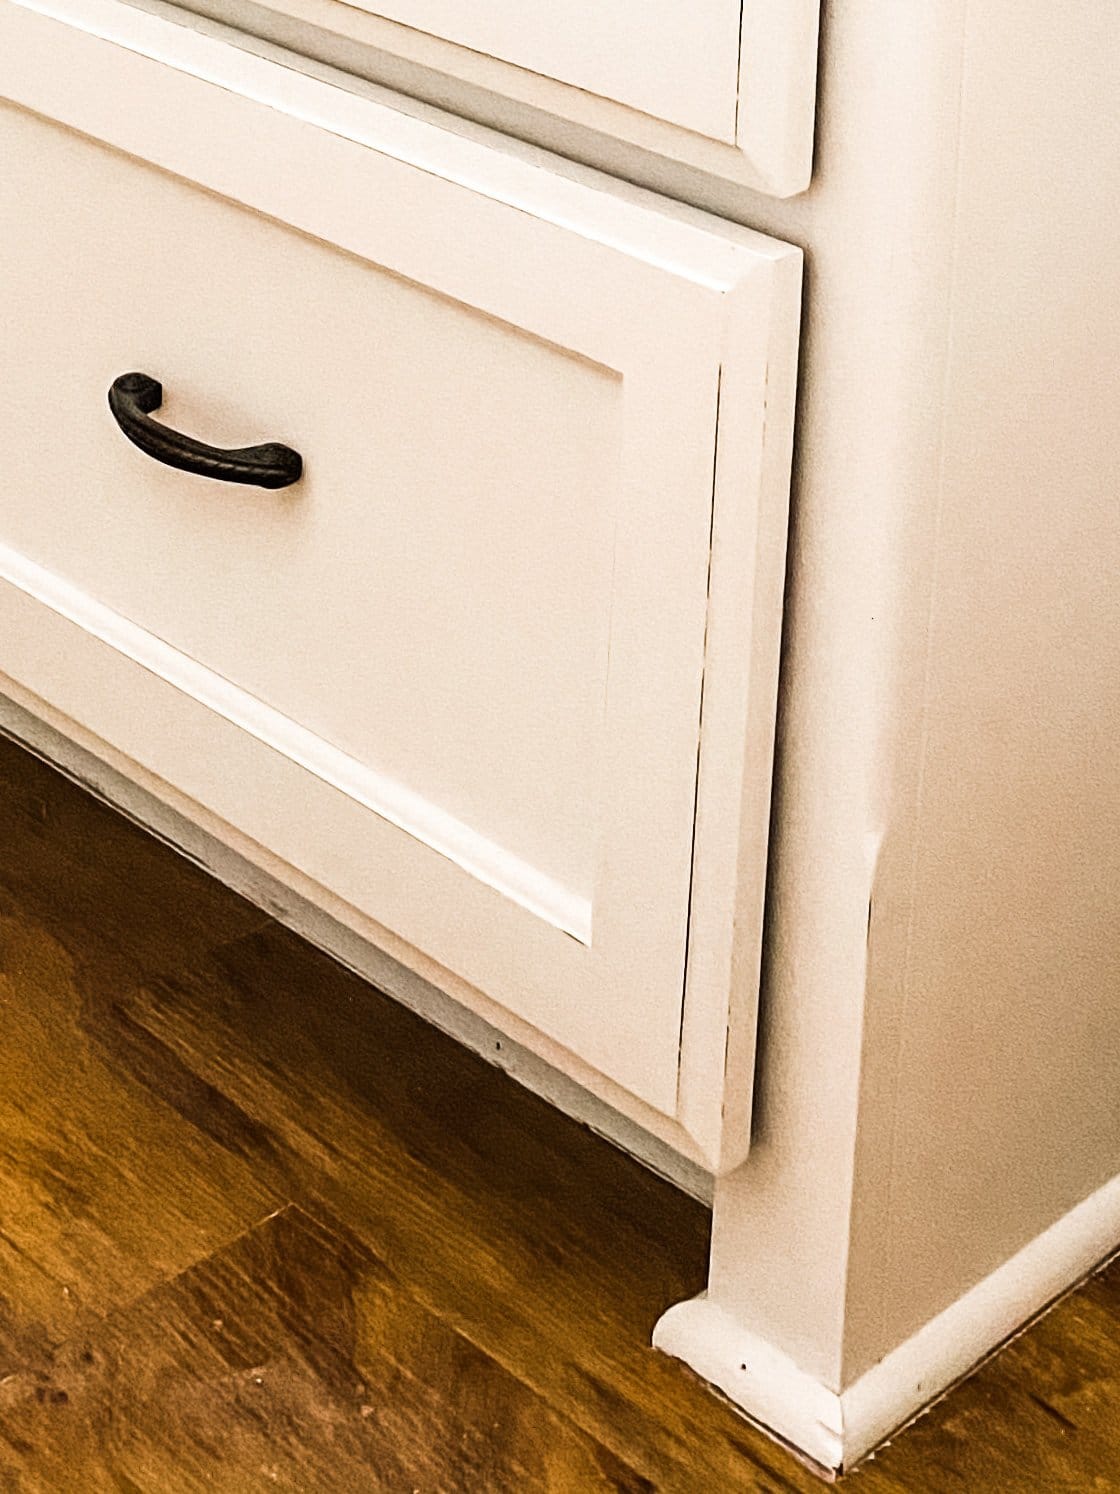
You can get closer to the cabinet with a toothbrush to really get all of the paint up off the floor, or wait until you’ve sealed the paint with wax and then just use a paper towel to get in the crease between the floor and the cabinet.
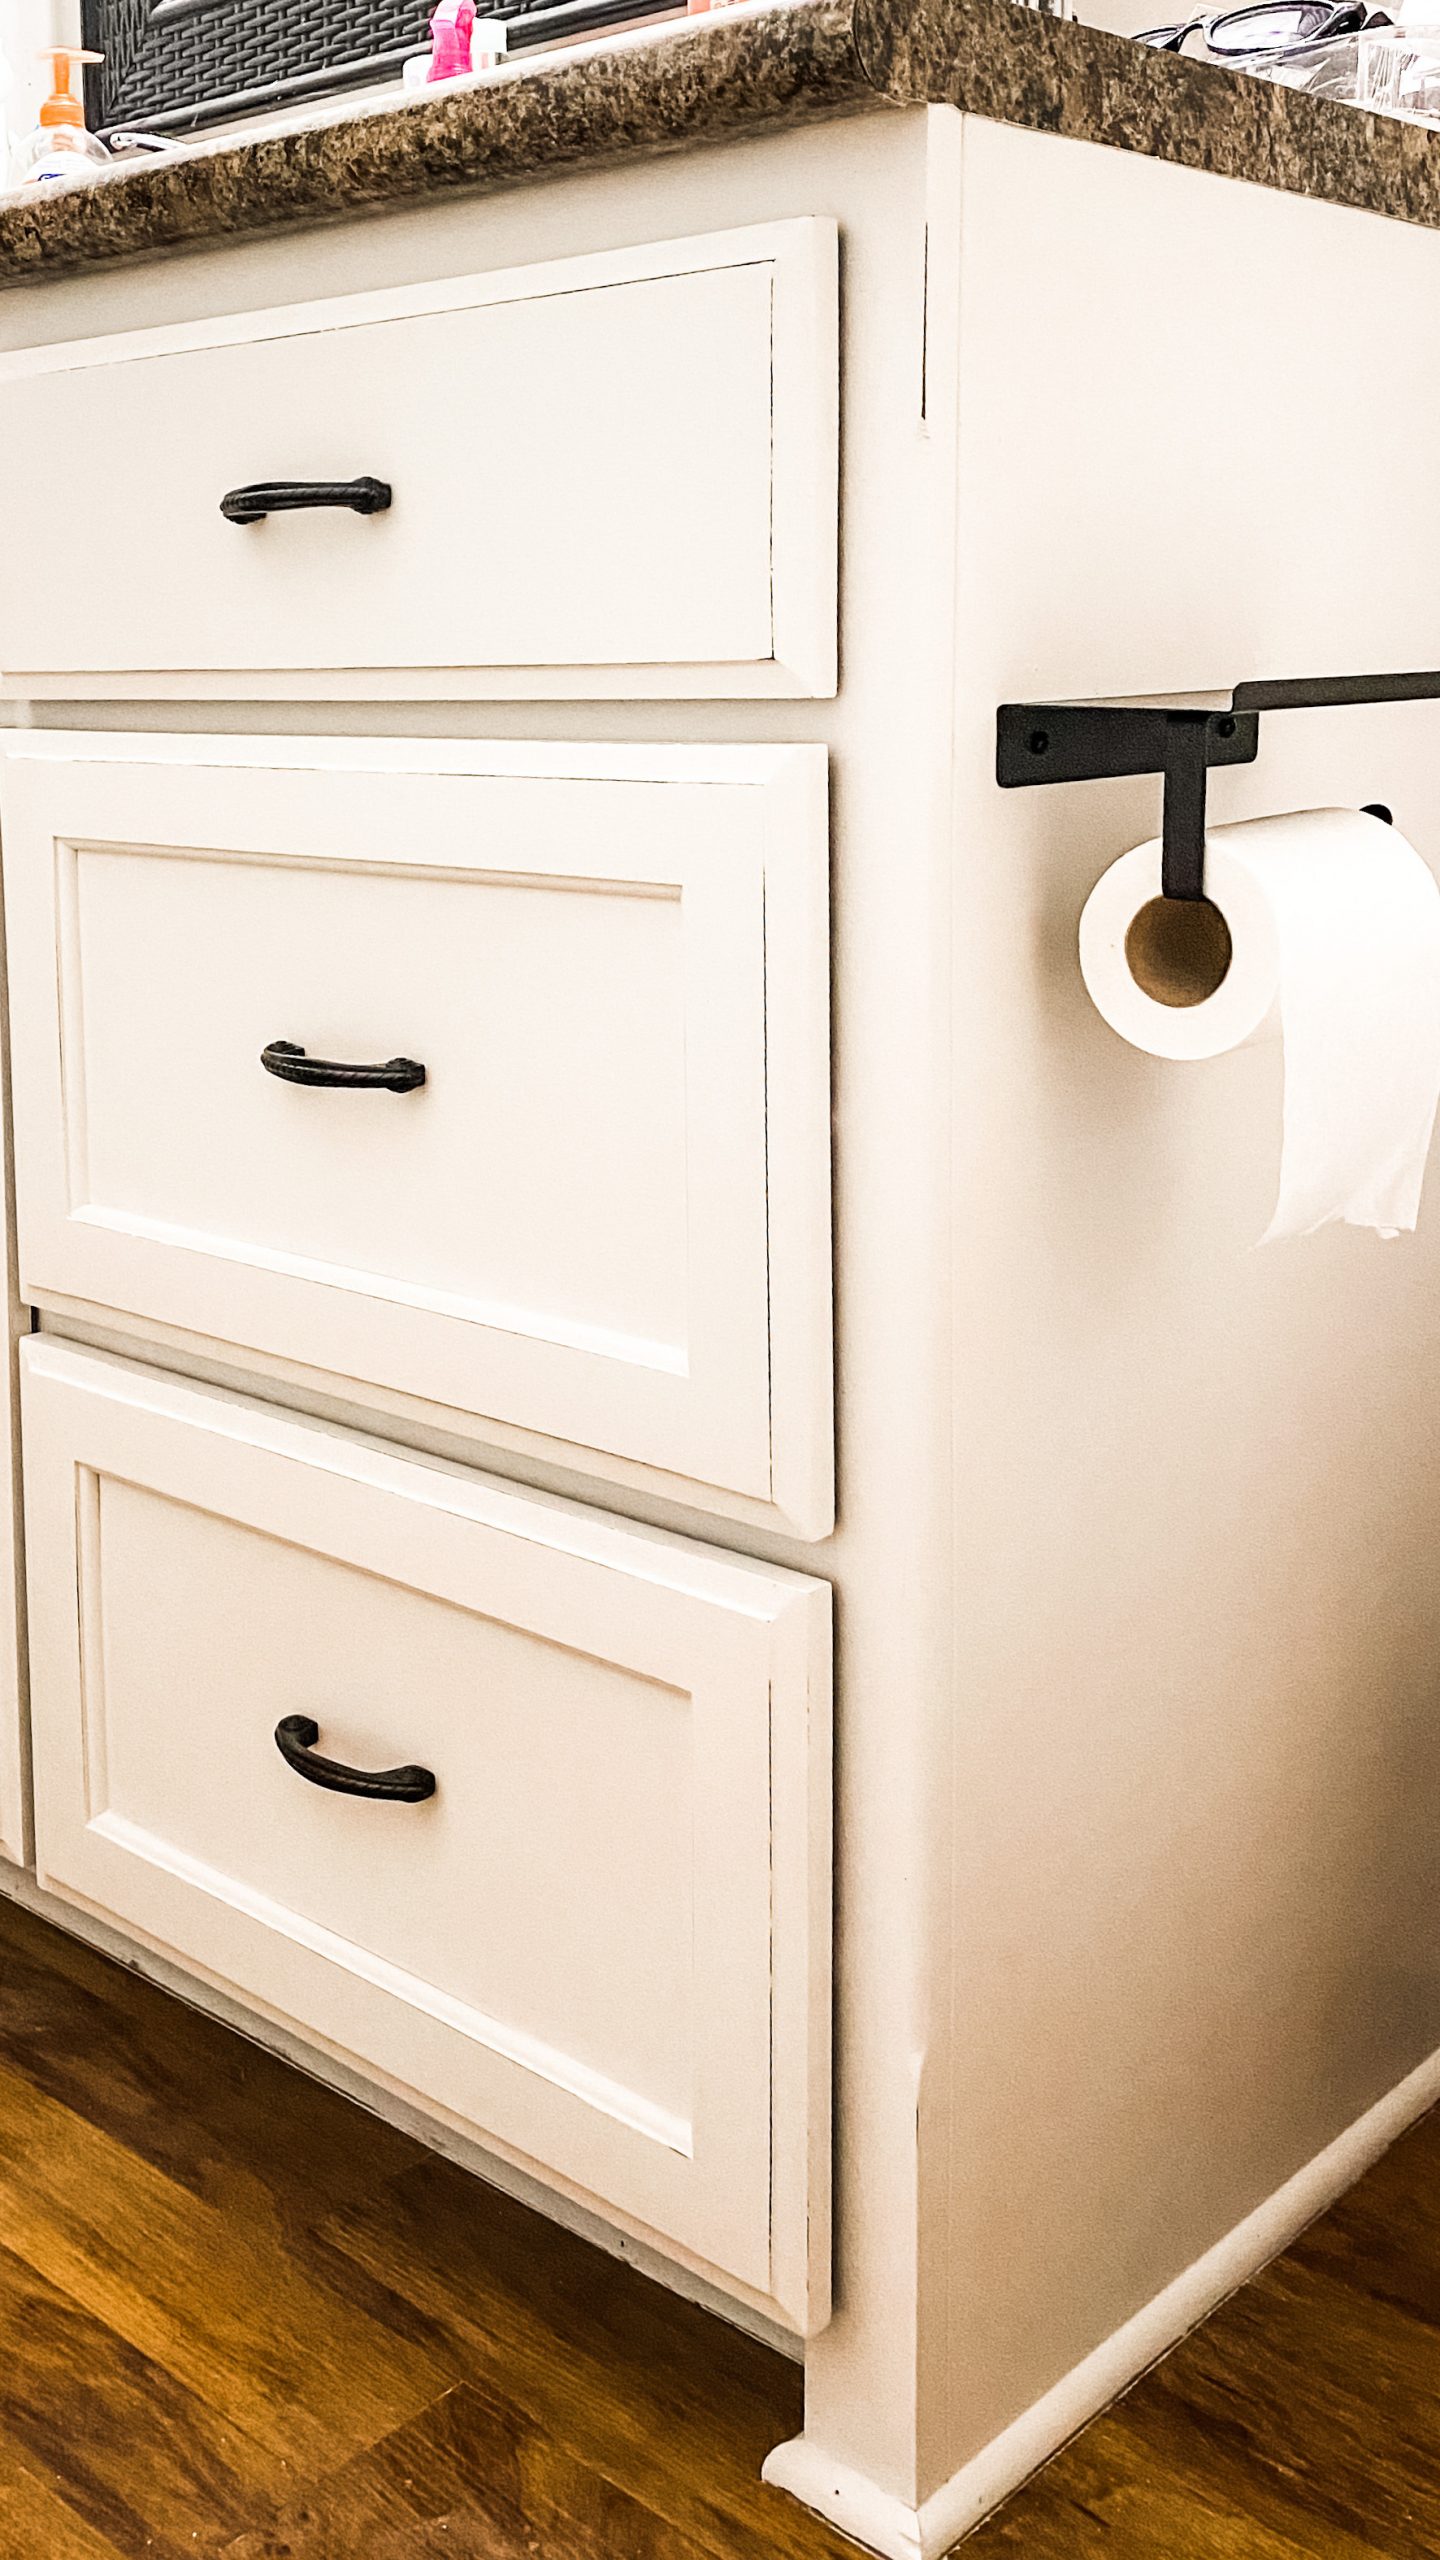
I hope you enjoyed learning how to paint your bathroom cabinets in one weekend! I hope you are inspired to finally make the changes you’ve been wanting to make so you can love your home!
If you loved this DIY you might also like this one too!
Thanks for stopping by! XOXO Amber
You can also shop my ENTIRE AMAZON Favorites shop just click here! It’s packed full of all the things I use and love. Here is the supply list I highly recommend every creative have on hand!!
Would you also pin my blog for later and get on my newsletter alerts? I would love to have you join my #craftycrew.
Be sure to join my email list so you can stay in the loop with budget decorating, DIY’s and home decorating.
PIN THIS FOR LATER!
