How to DIY: Dollar Tree Stacked Foam Blocks Home Decor
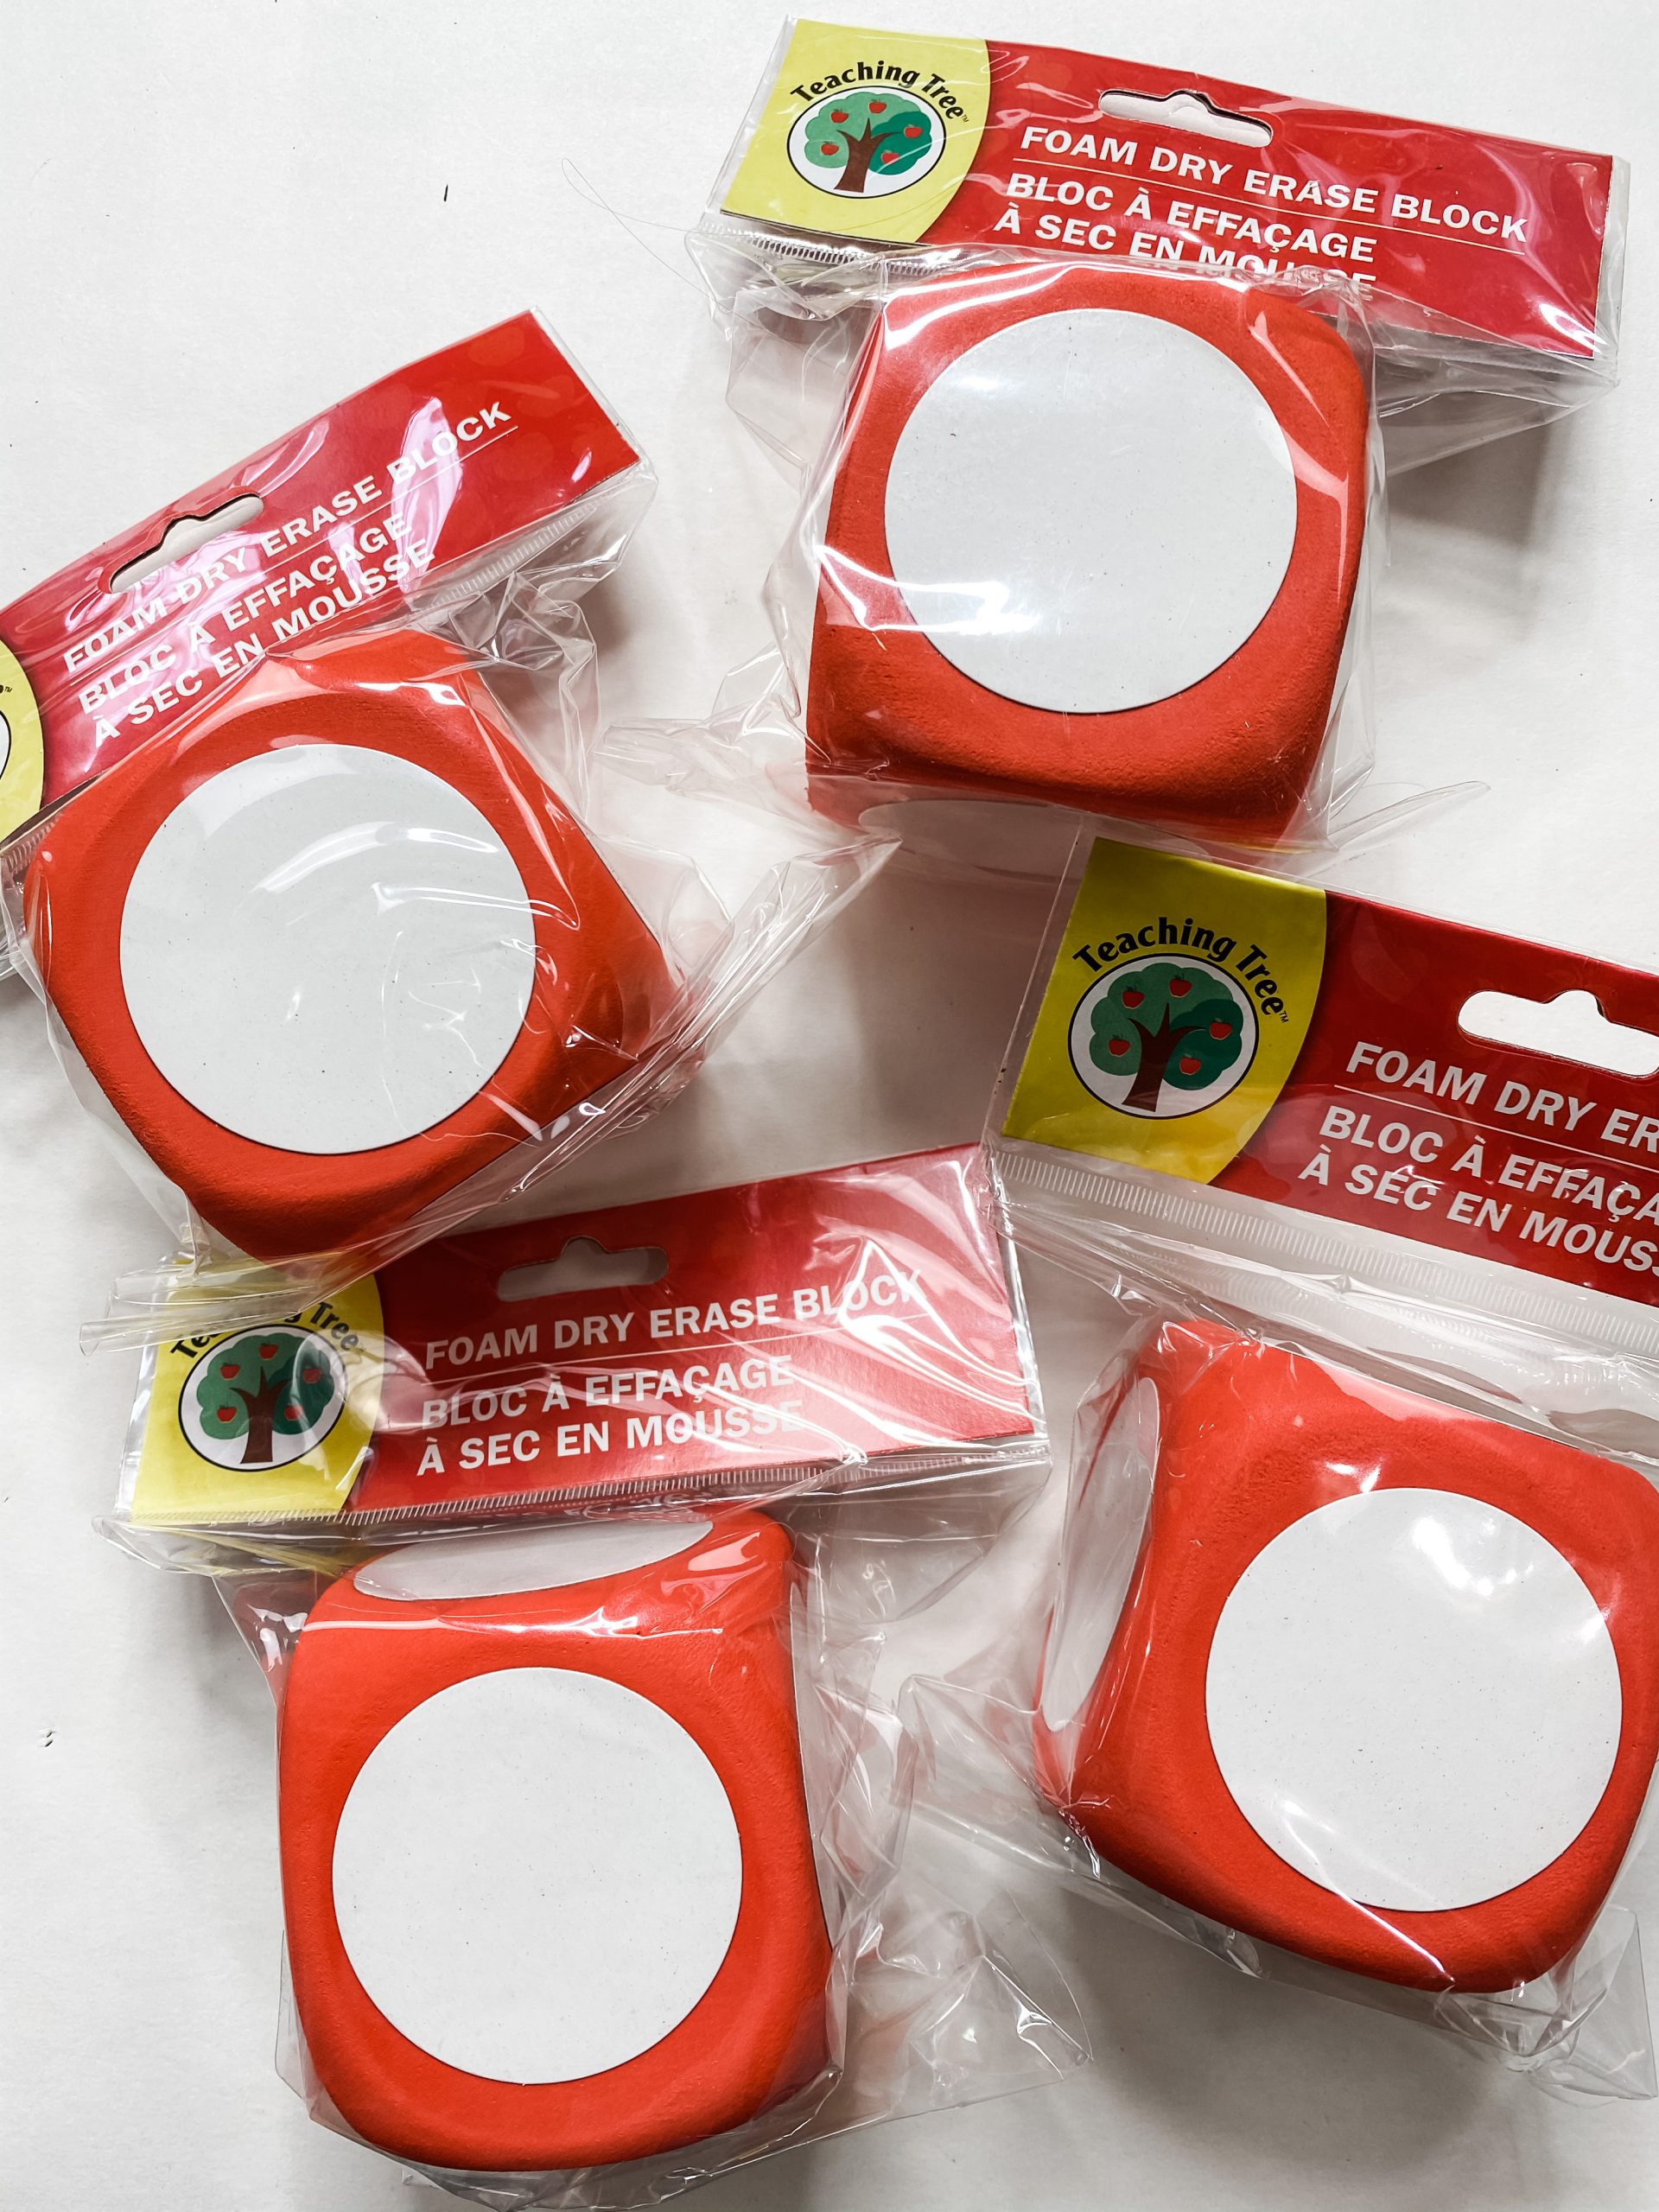
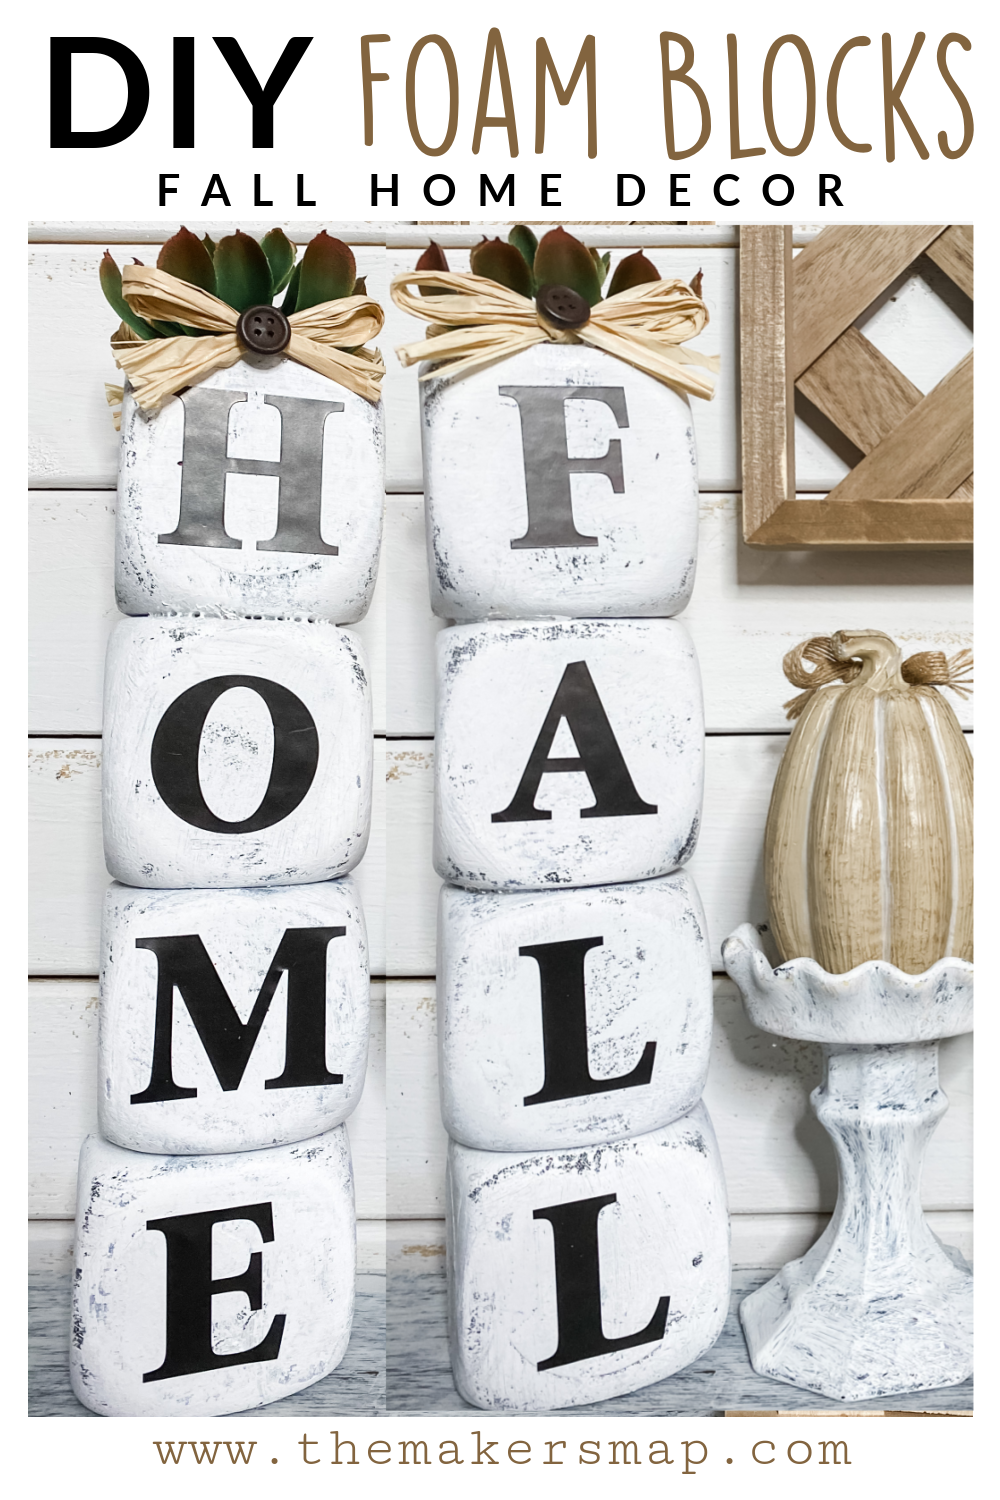
I did something fun when I first made this project, and I went to my Facebook page and asked my #craftycrew to guess what I was making based on the foam blocks. Some of the answers were great ideas, but nobody got it right! This was such a fun project to make, so I just have to show you How to DIY: Dollar Tree Stacked Foam Blocks Home Decor!
Check it out on Youtube
I love doing my crafts on Facebook LIVES so that my Facebook friends can craft along, but I made this project for Youtube only! So, if you want to watch exactly how I made this easy Dollar Tree Foam Blocks Home Decor, you can find the video on my Youtube channel.
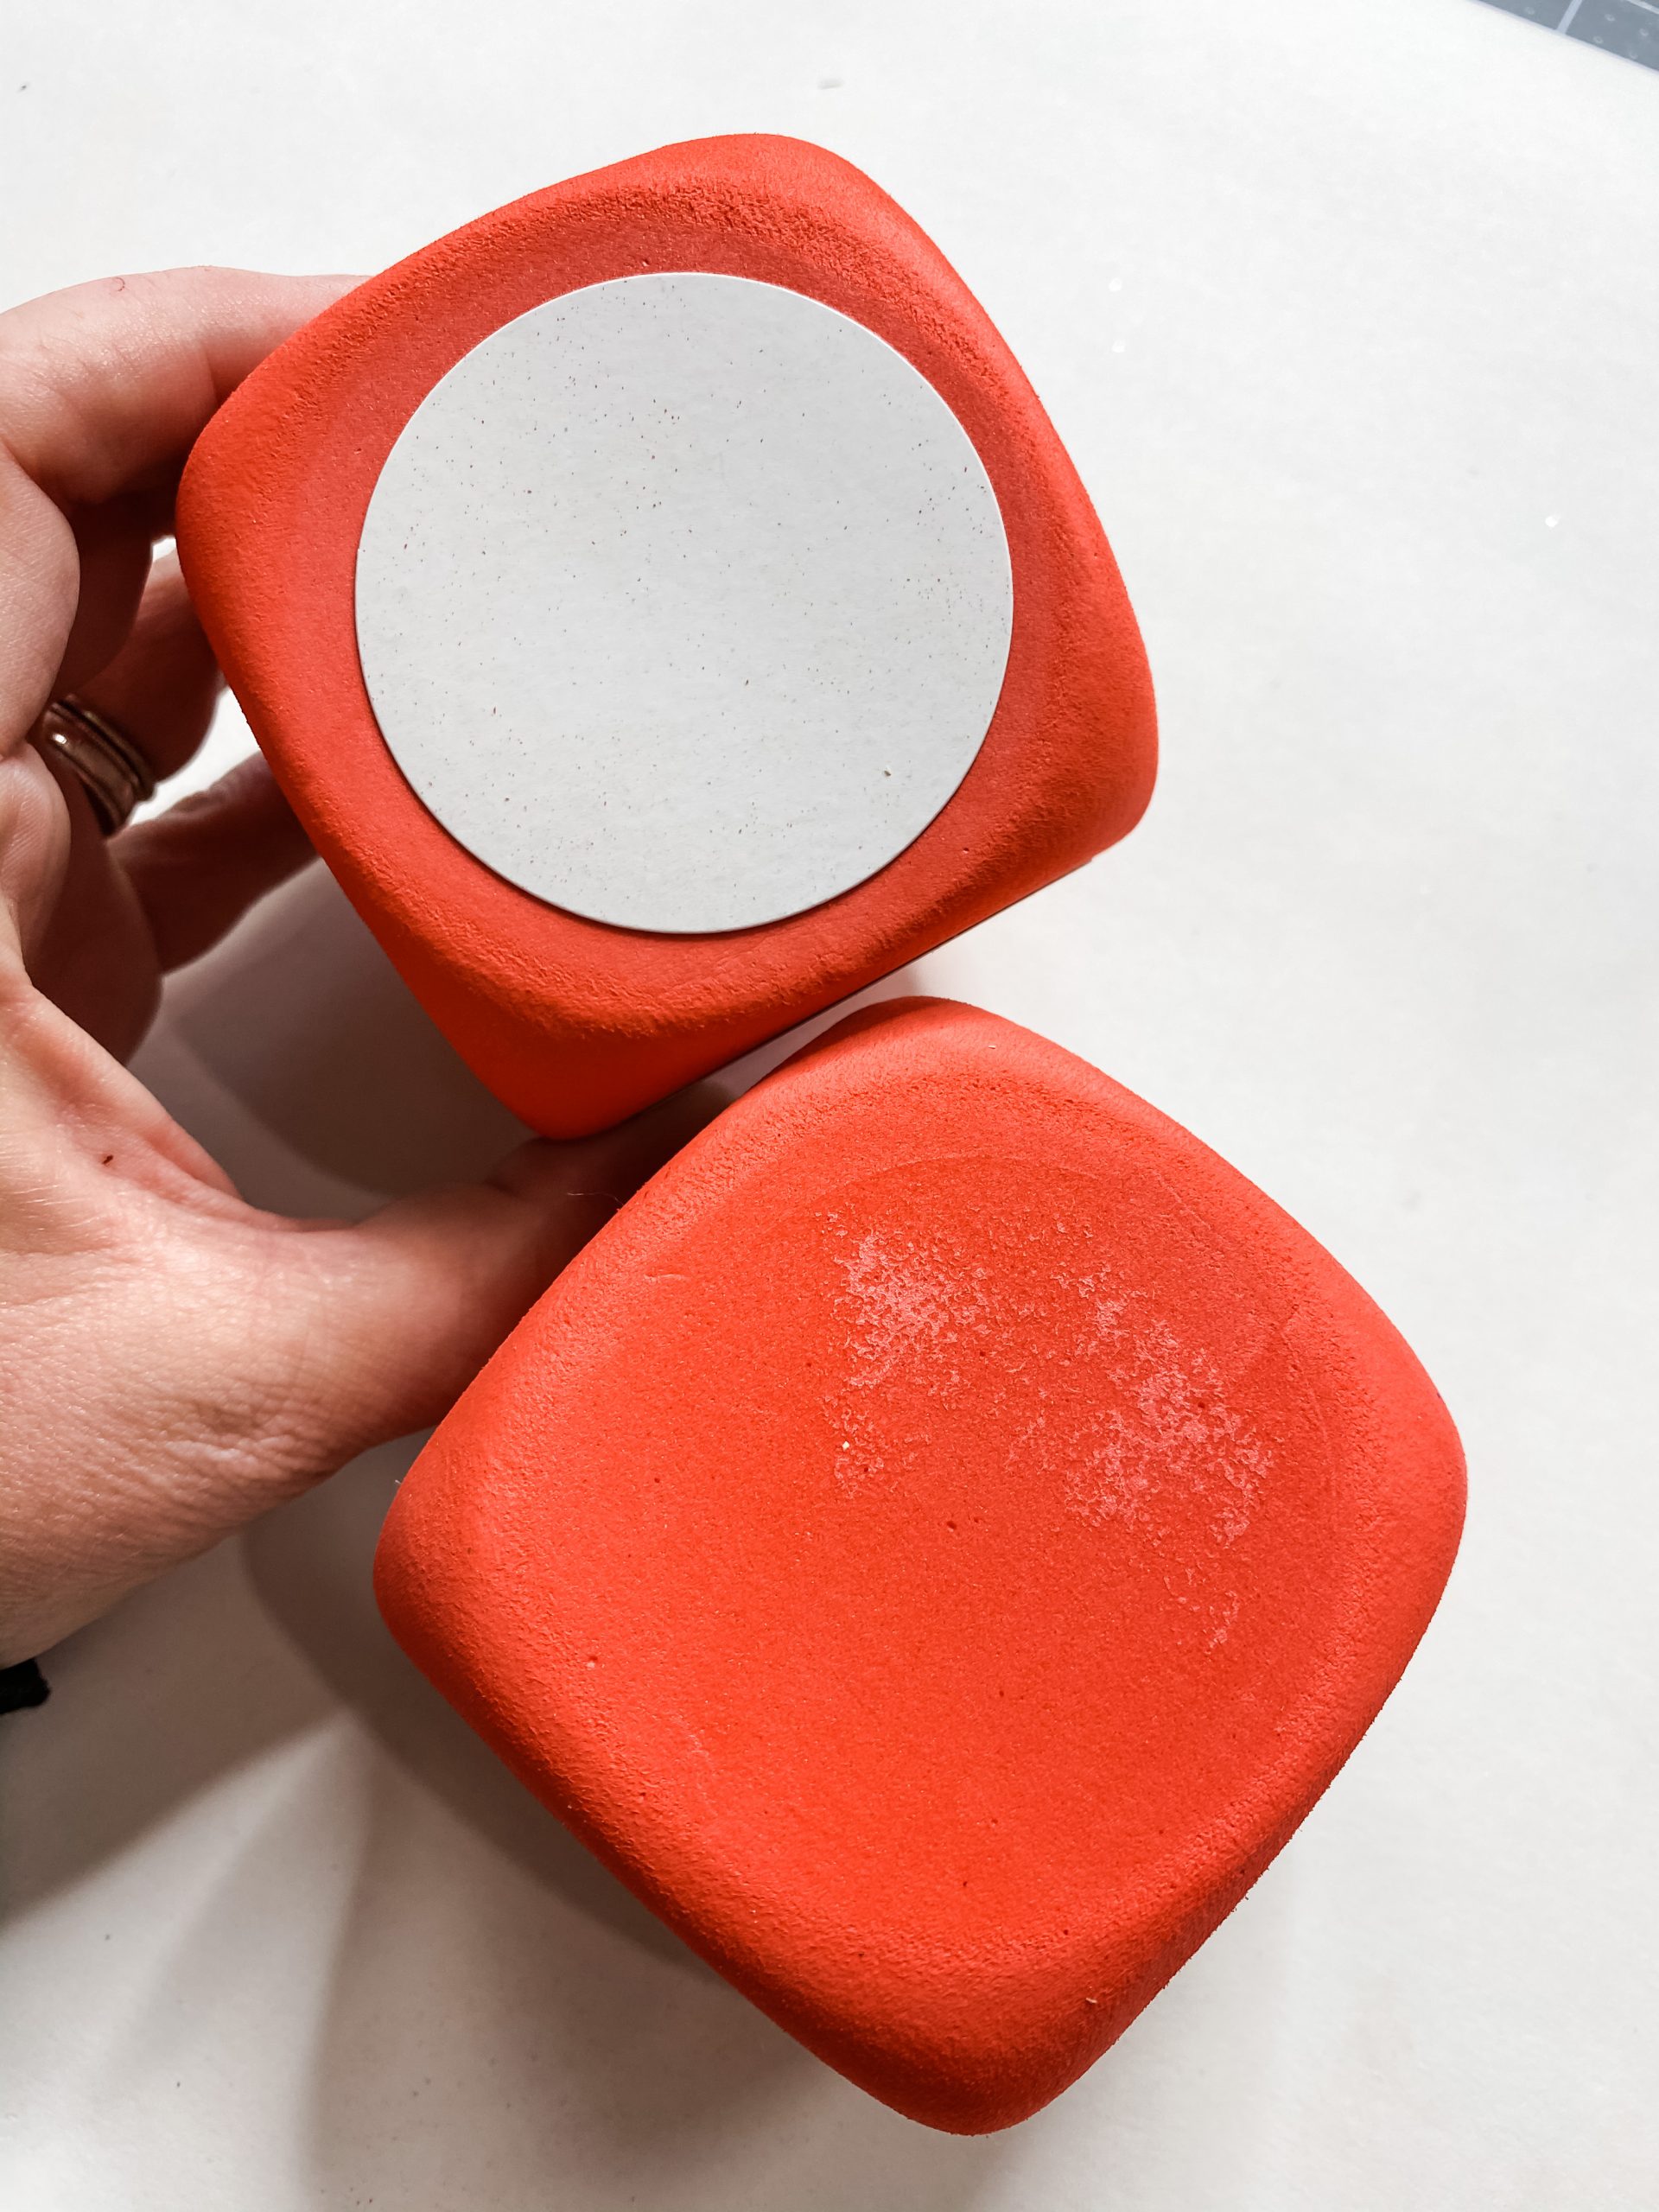
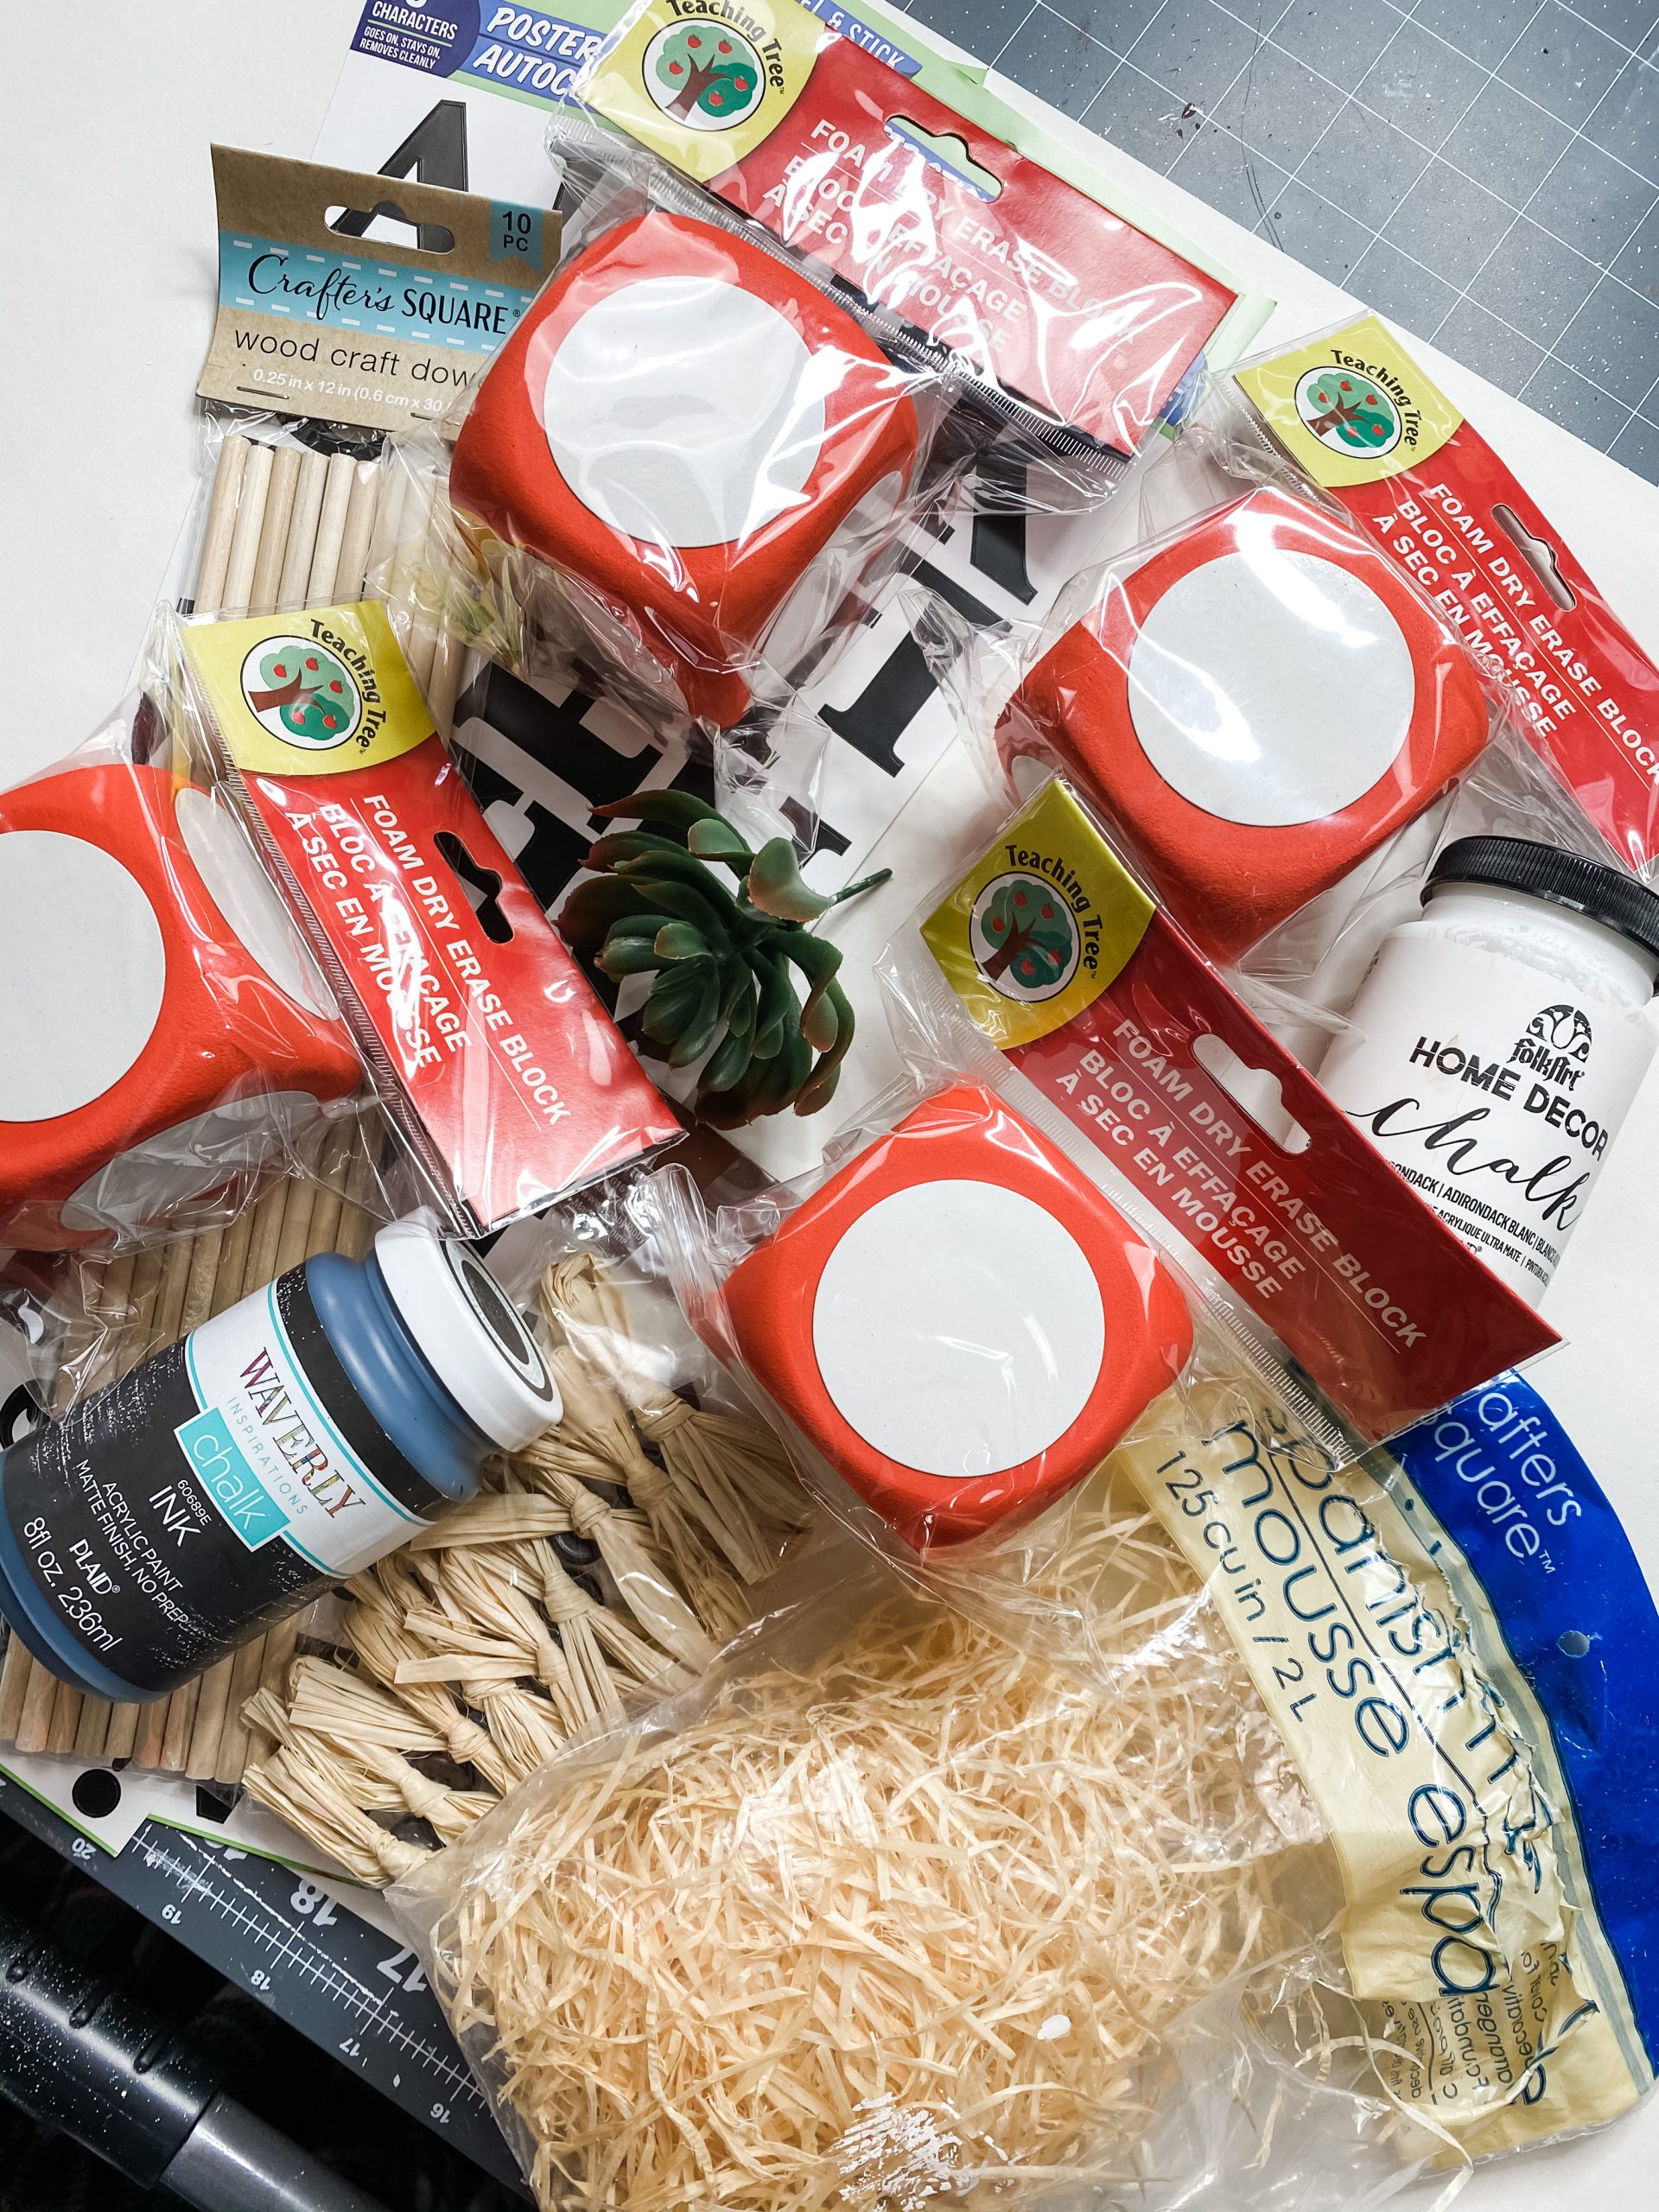
For this project, I will be using these items but you can substitute where you want.
“As an Amazon Associate, I earn from qualifying purchases.”
- Dollar Tree Spanish Moss
- Dollar Tree Raffia Bows
- Waverly Ink (Black) Paint
- Folkart White Chalk Paint
- Dollar Tree Letter stickers
- Dollar Tree Foam Blocks (x4)
- Chippy Brushes
- Dollar Tree Fake Succulent
- Dollar Tree Raffia
- Ribbon Pattern of your choice
- Dollar Tree Wood Dowels
- Hot Glue
- Glue gun
Let’s get started!
To start this project off, I painted each of the foam blocks with the Waverly Ink (Black) Paint. This is what allows me to give the blocks a distressed look when I paint them white. Otherwise, you would see the bright orange peeking through. NOT cute!
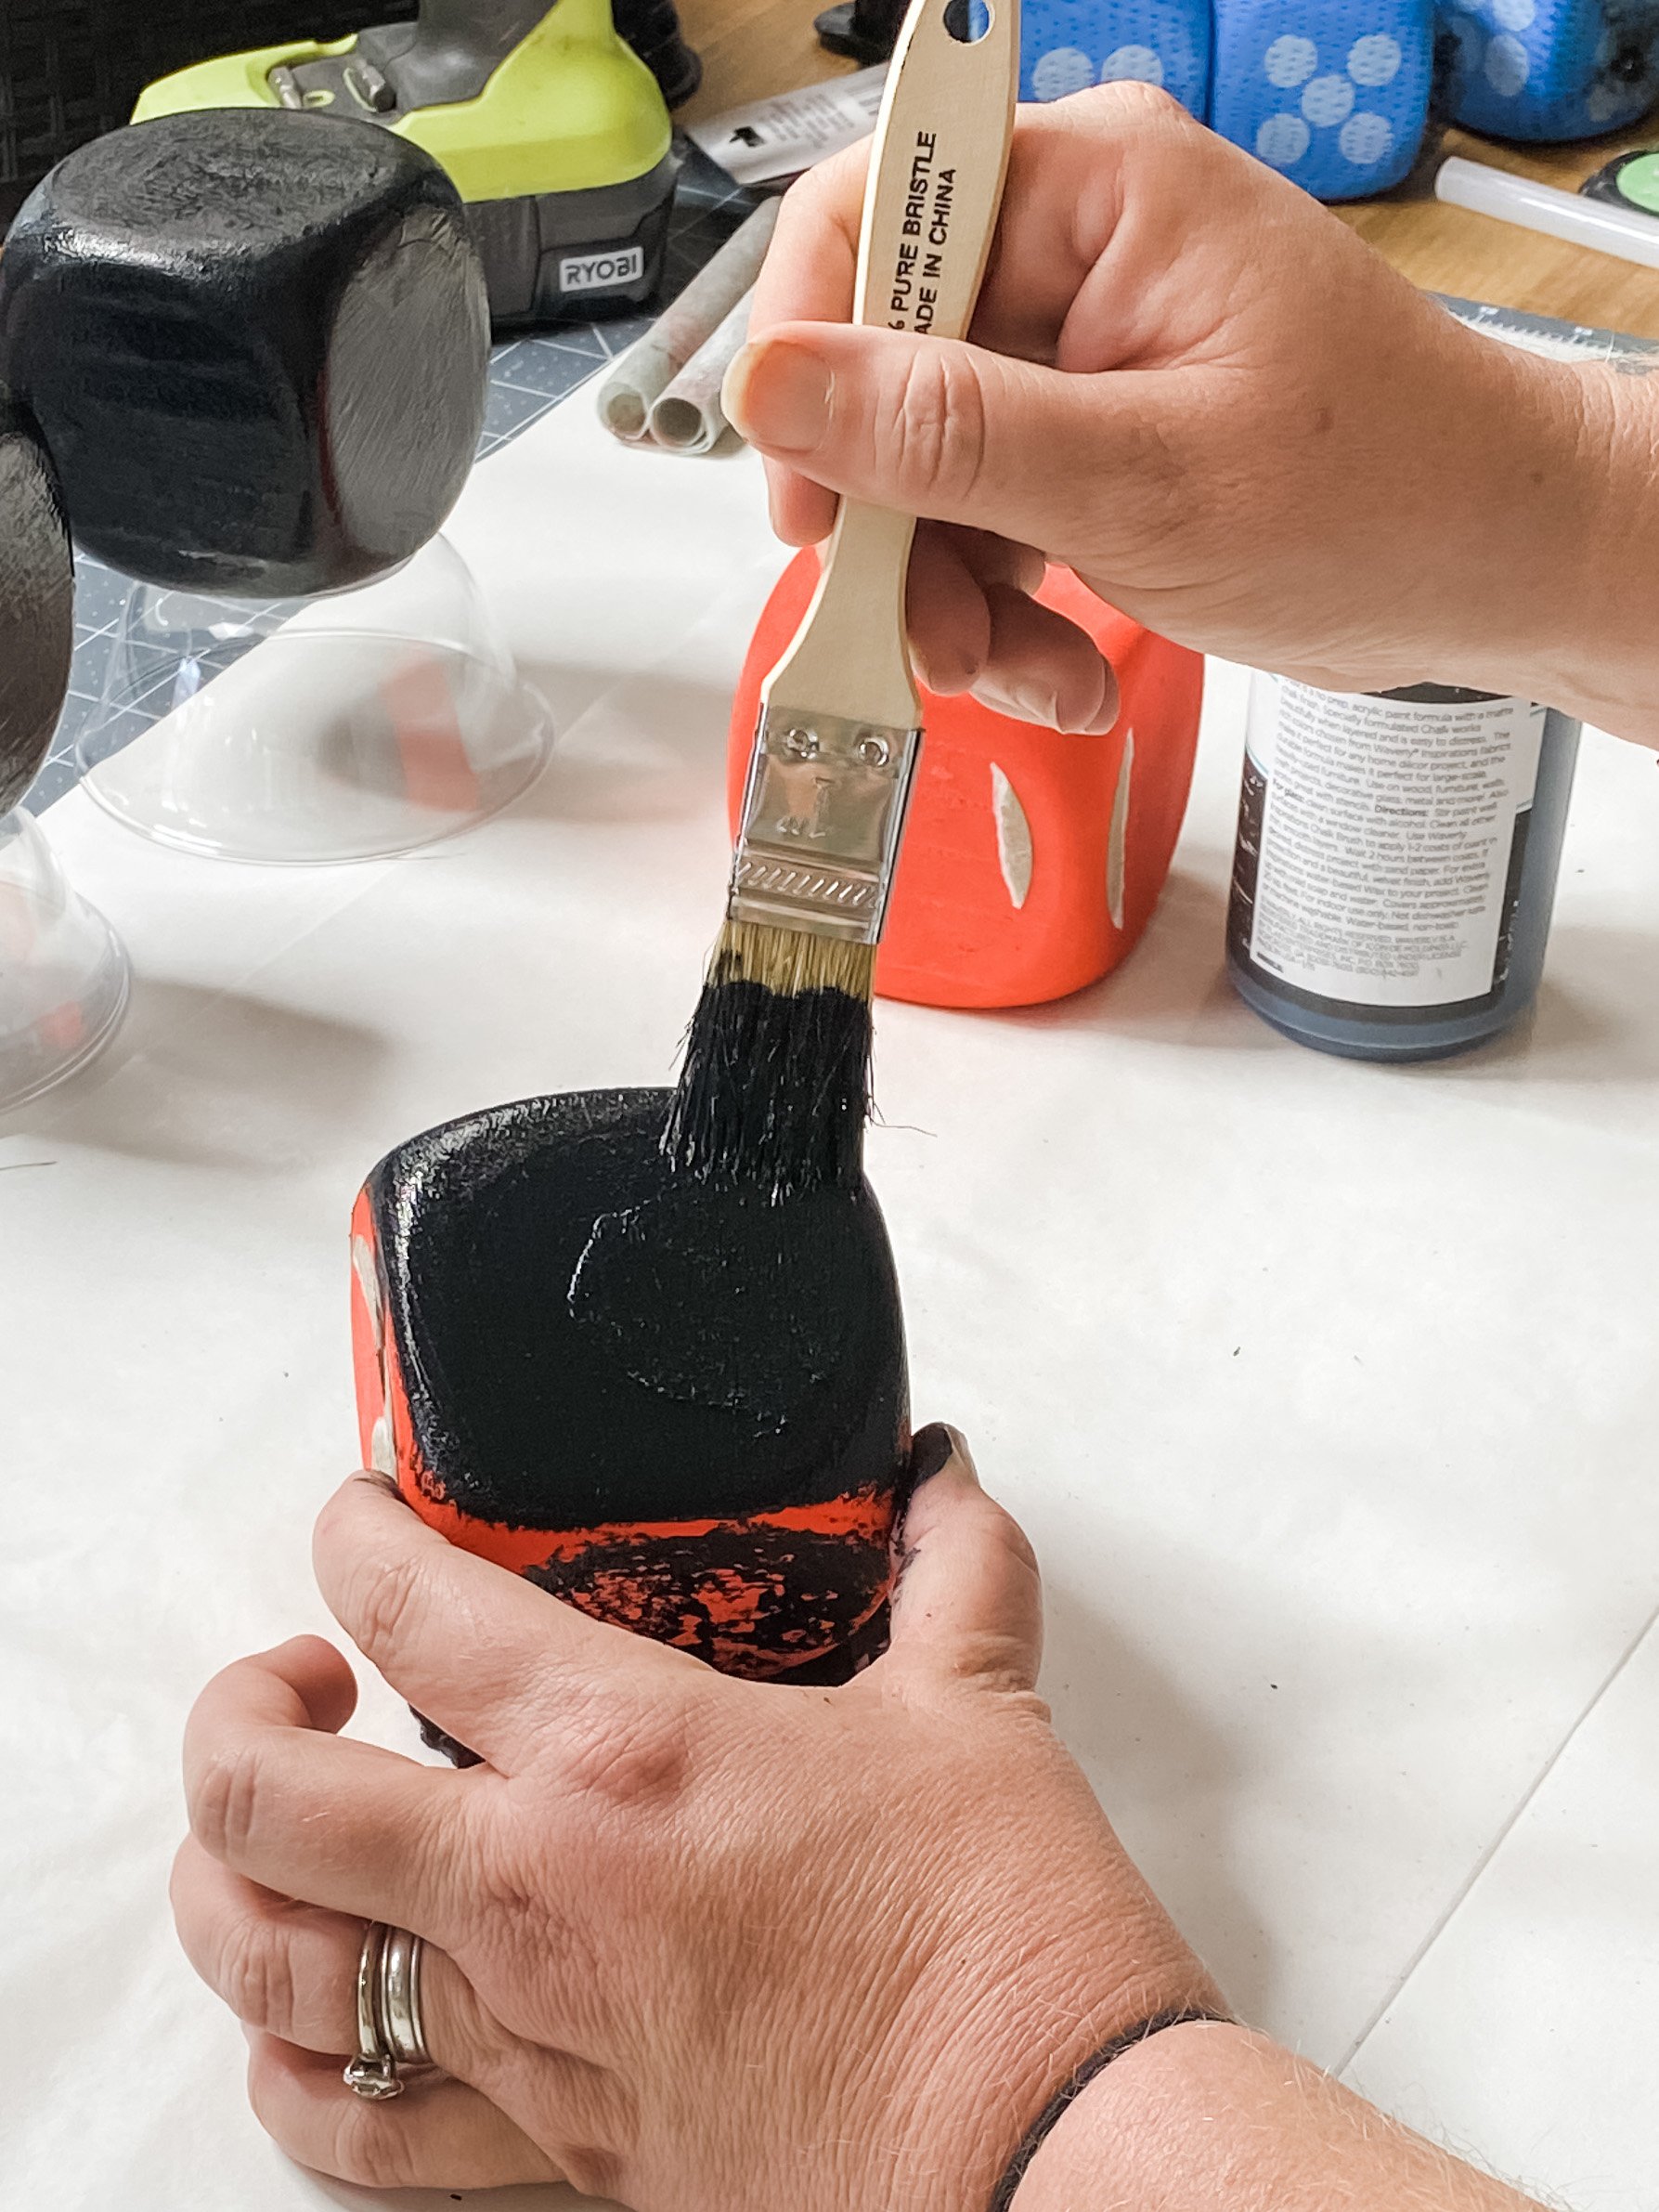
You’re going to have to set the blocks aside and let them dry before you can move on. I like to use my heat gun to speed up the drying process.
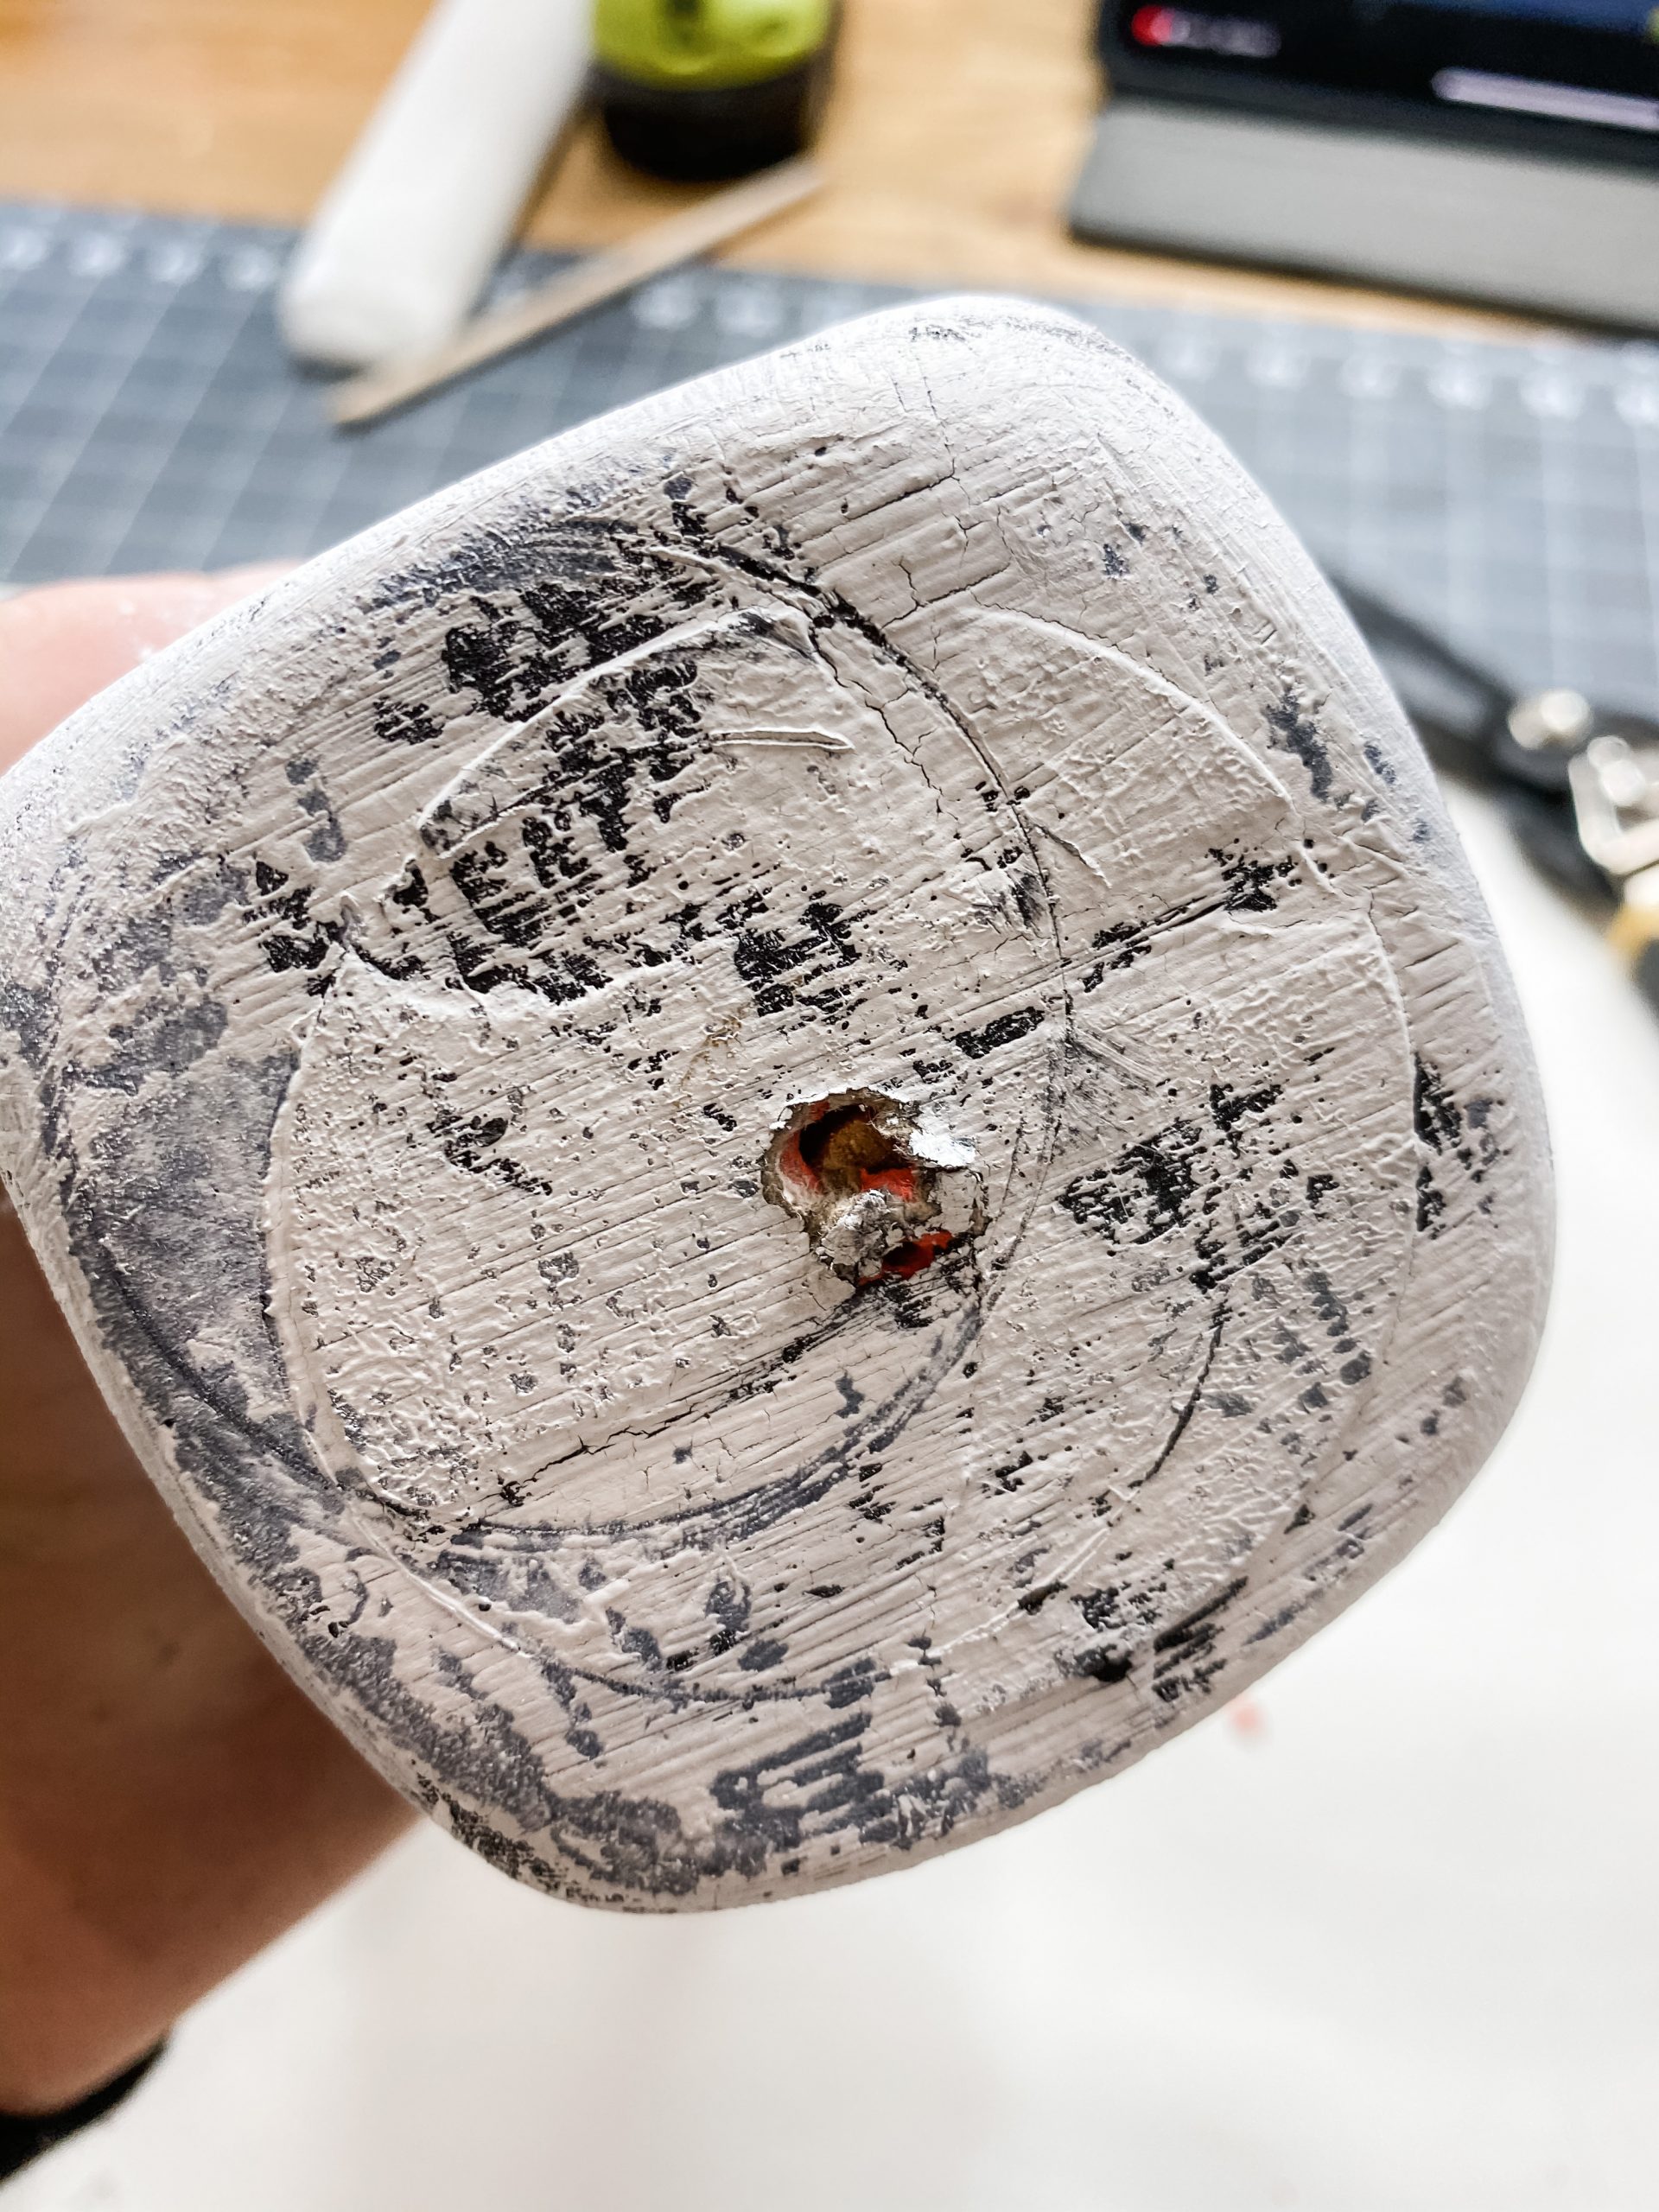
Once the black paint was dry, I painted the foam blocks with the Folkart White Chalk Paint. I used a chippy brush and didn’t try to get an even coating. Have a lighter hand on some parts of the foam blocks and it’ll give you a naturally distressed look!
Put them together
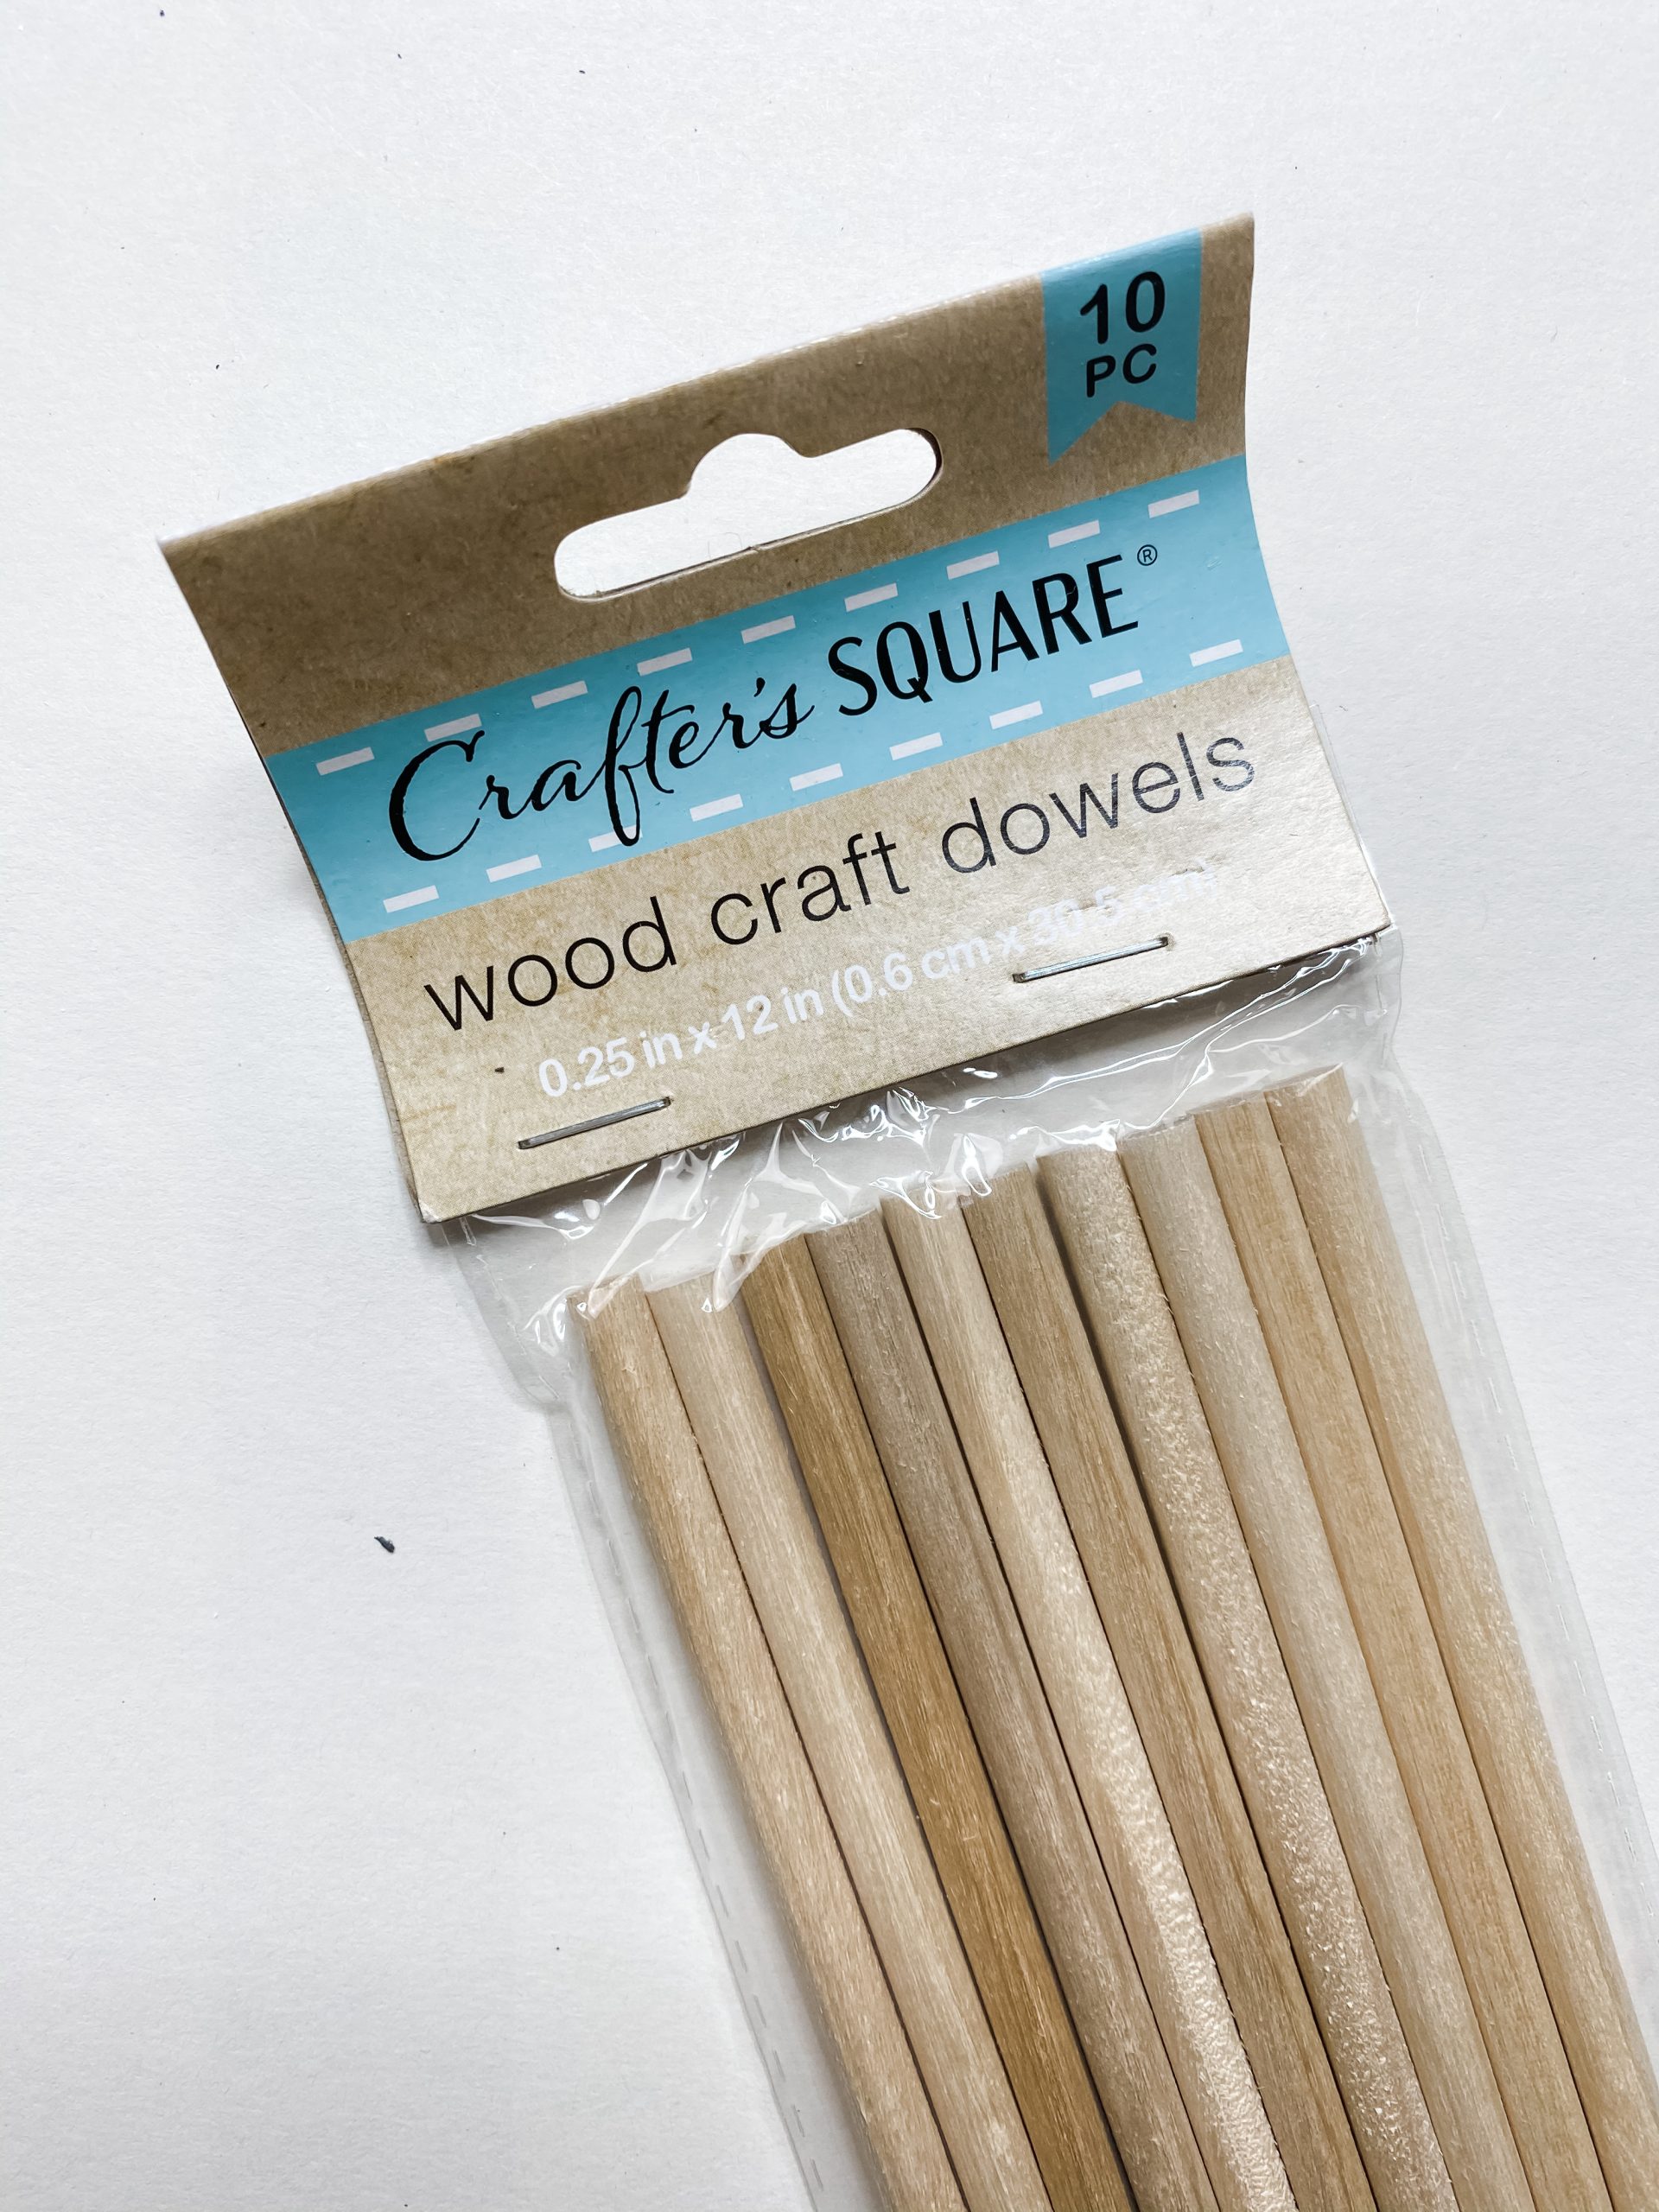
There are 2 ways you can stack these foam blocks. You can use a hot glue gun and just glue each one together, or you can do what I did. I took the Dollar Tree wood dowel and pretty much impaled the foam blocks! I used my drill to make a hole that the dowel would go into. This just gives the stacked blocks just a little more reinforcement.
The possibilities are endless!
One of the best things bout this DIY is that you can customize it for any season or everyday decor. I chose to do FALL on one side and HOME on the other to make it perfect for Fall decor or every day. I took the Dollar Tree letter stickers and just put one letter on each block to spell out the words.
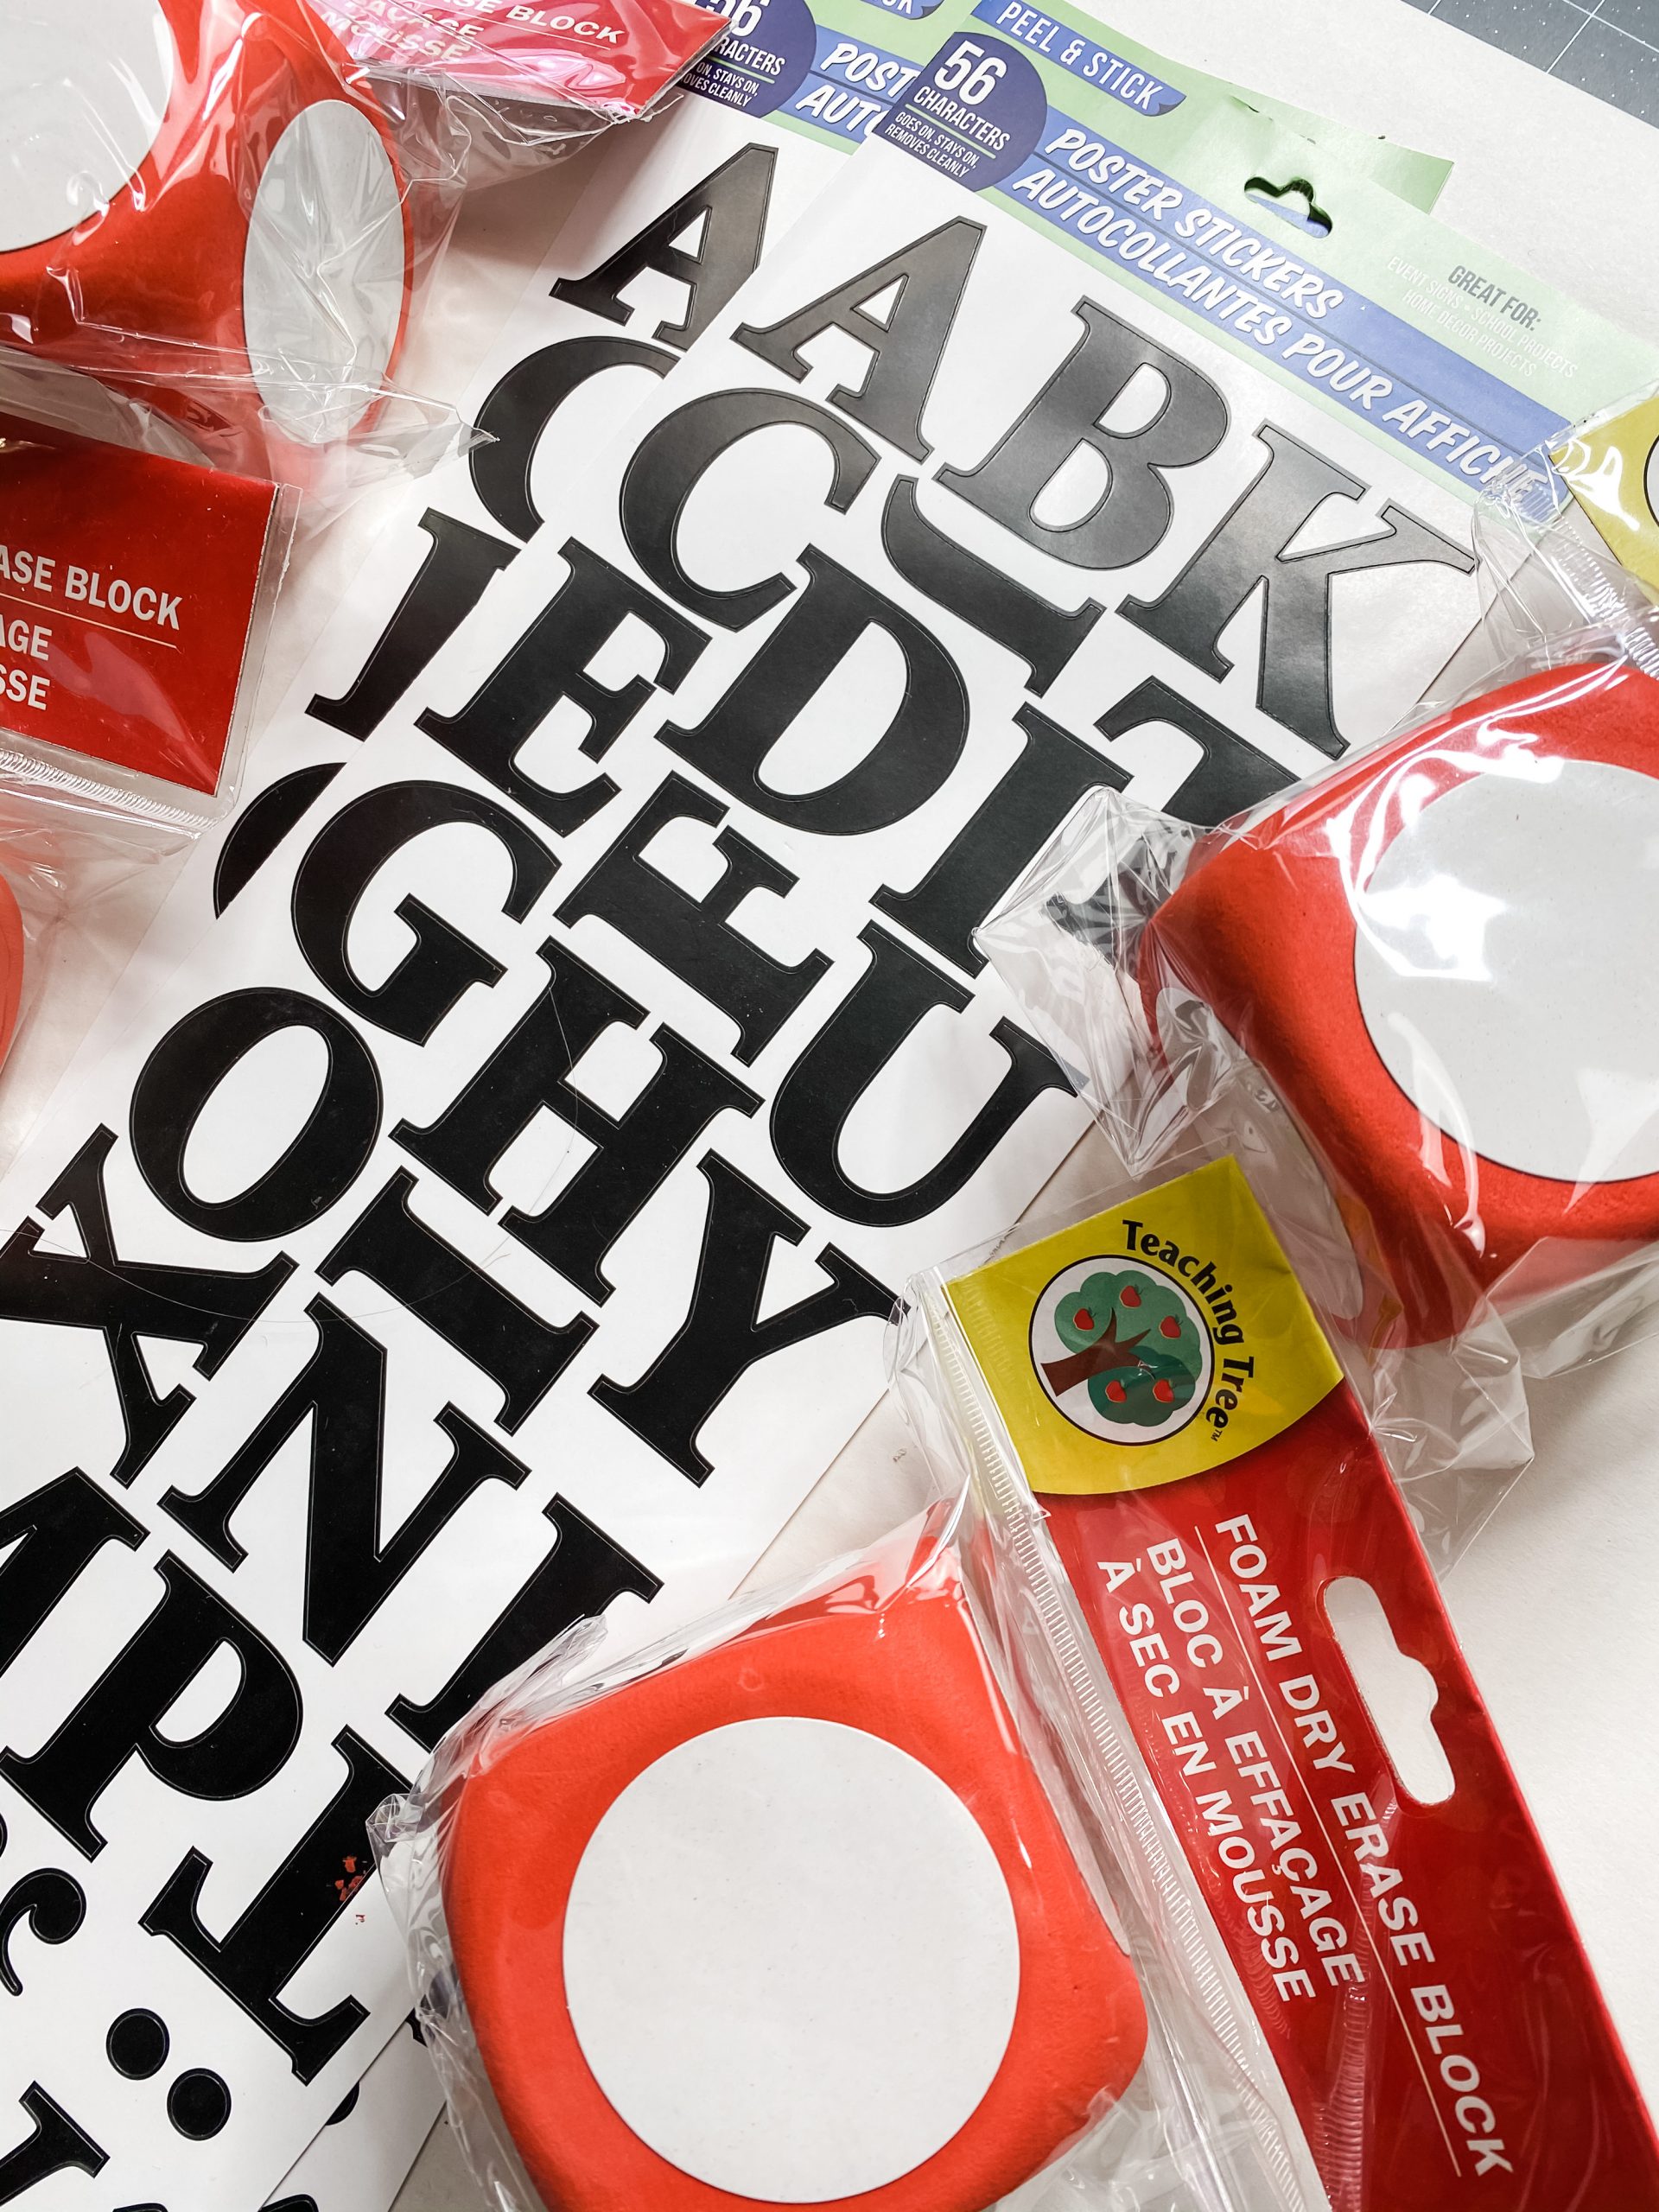
If you wanted to do a bigger word, like Jolly or HoHoHo for Christmas, you could easily add more foam blocks. As I said, the possibilities are endless!
The finishing touches
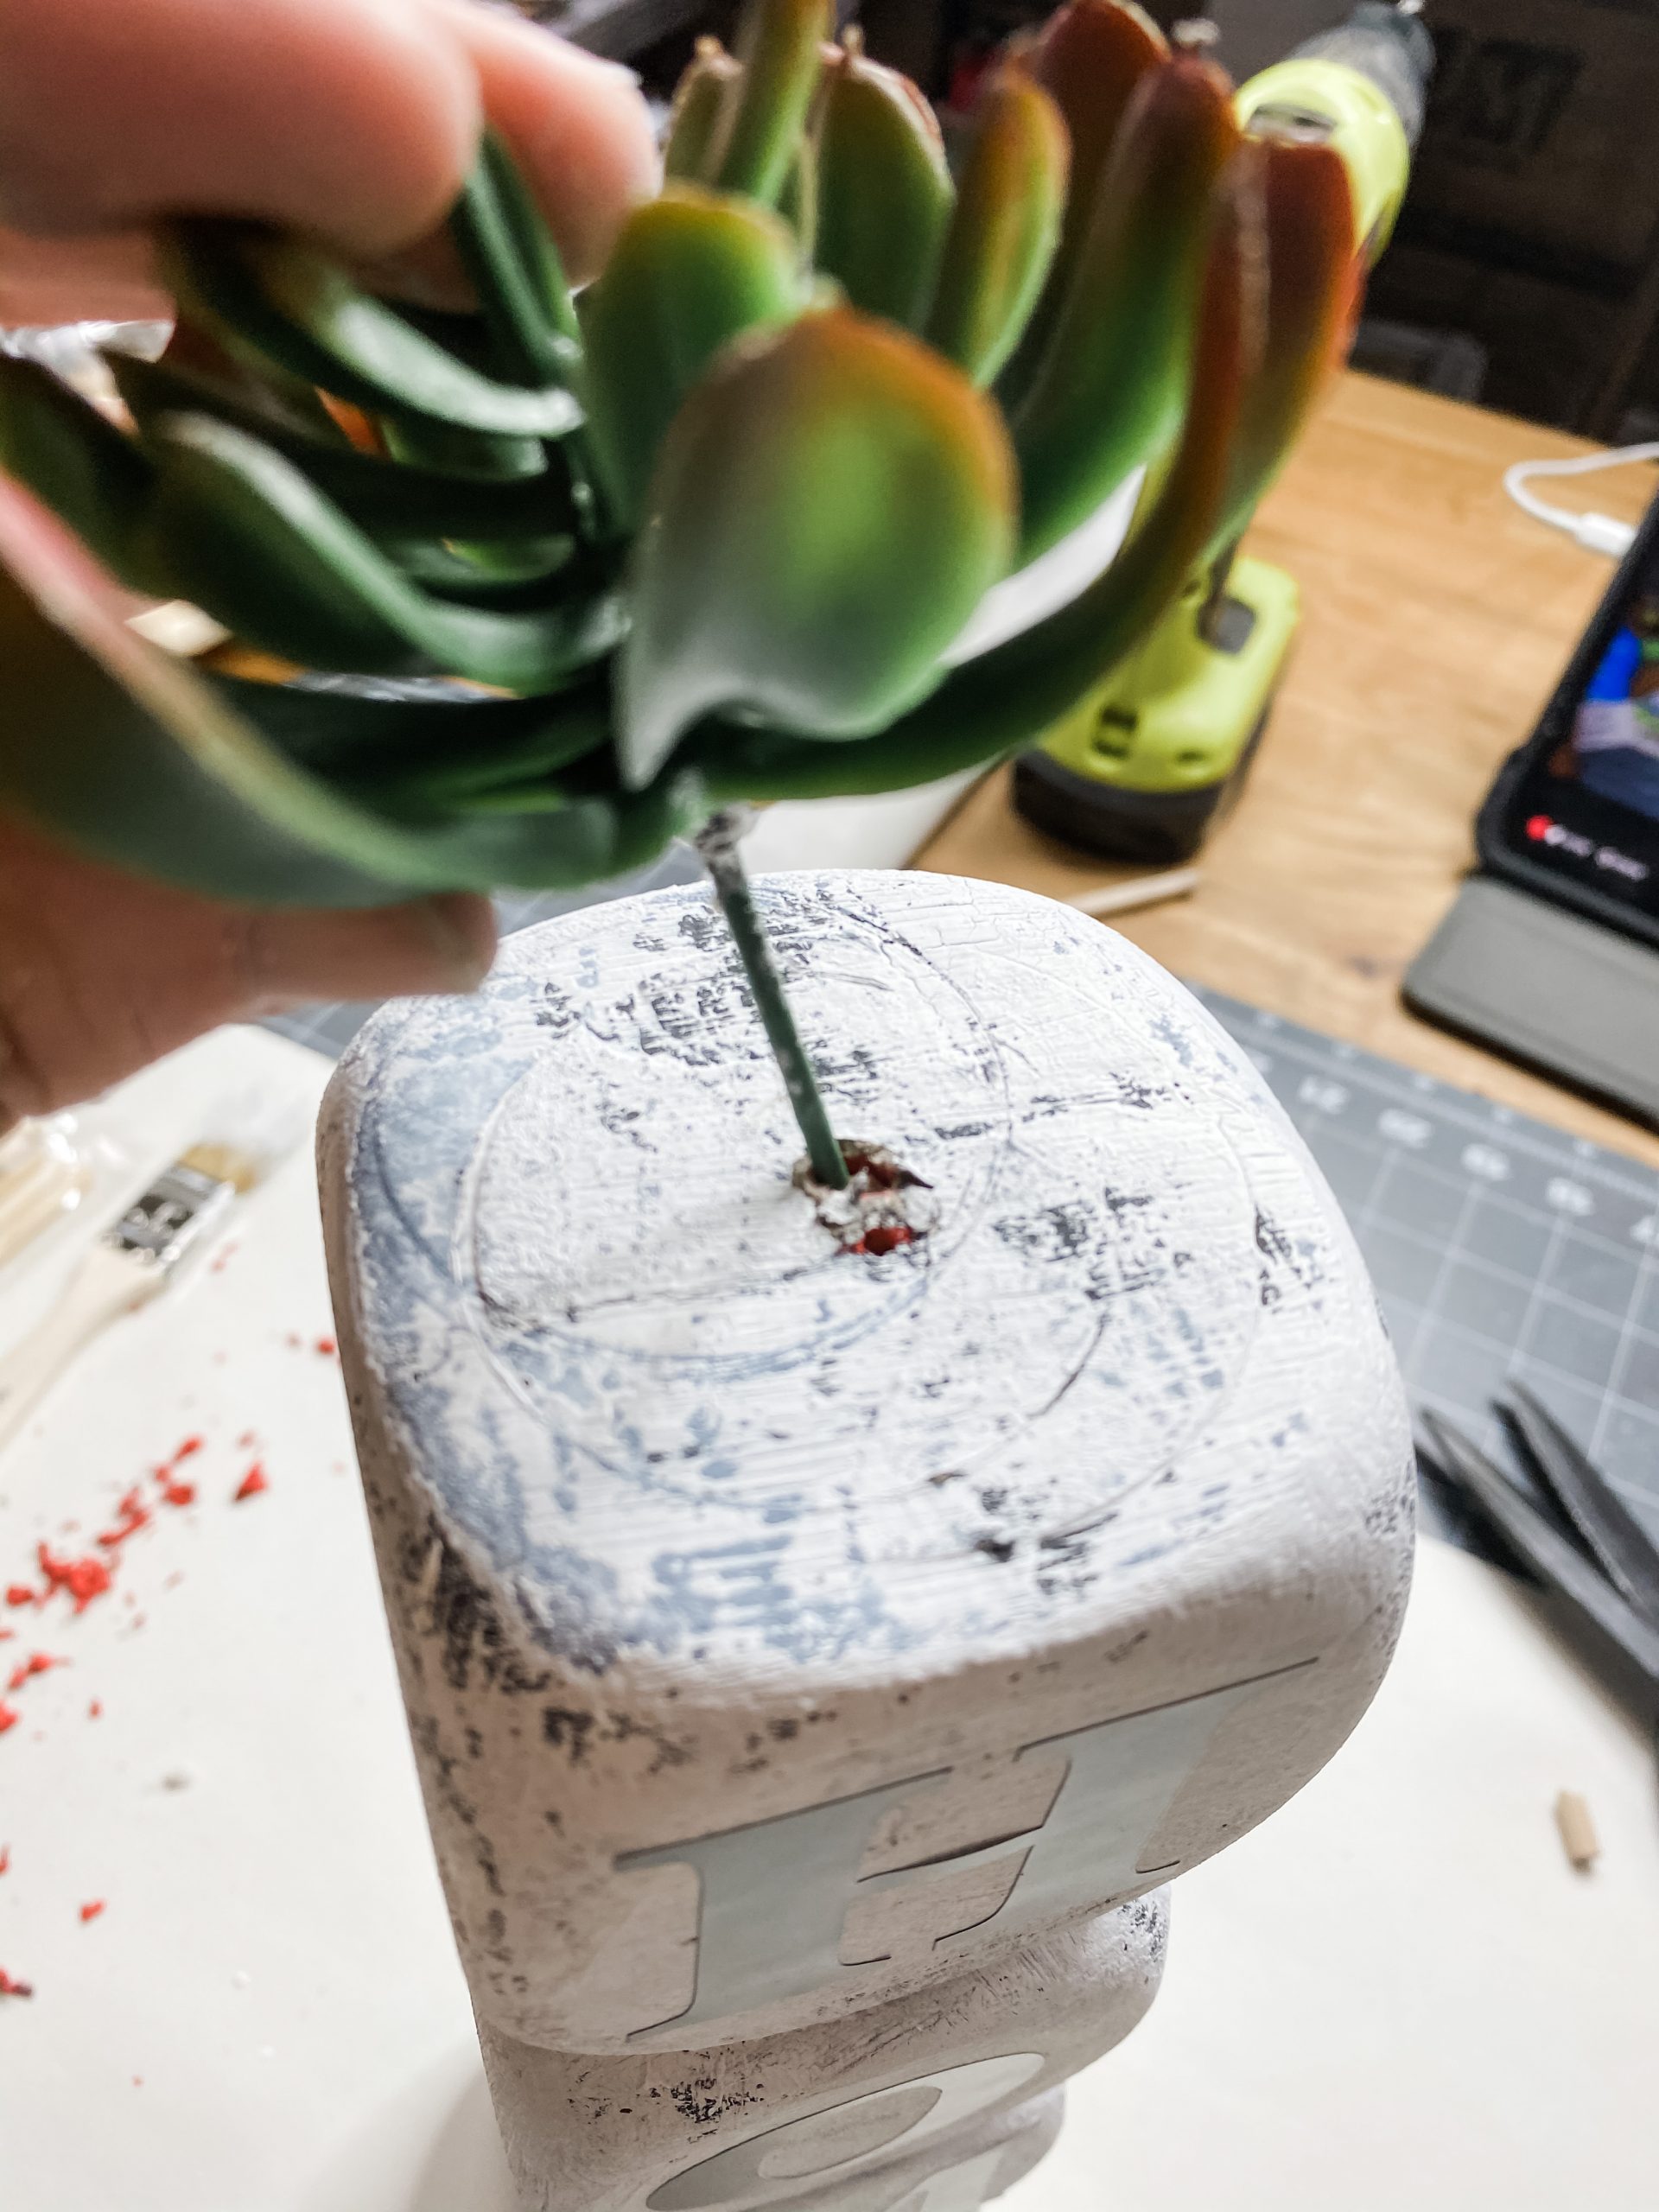
Next, I added the fake succulent from Dollar Tree at the top. Just like you did with the dowels, you’ll drill a hole in the very top block and then stick the stem of the fake succulent right into the hole.
Finally, grab your Dollar Tree raffia bow and hot glue it at the top!
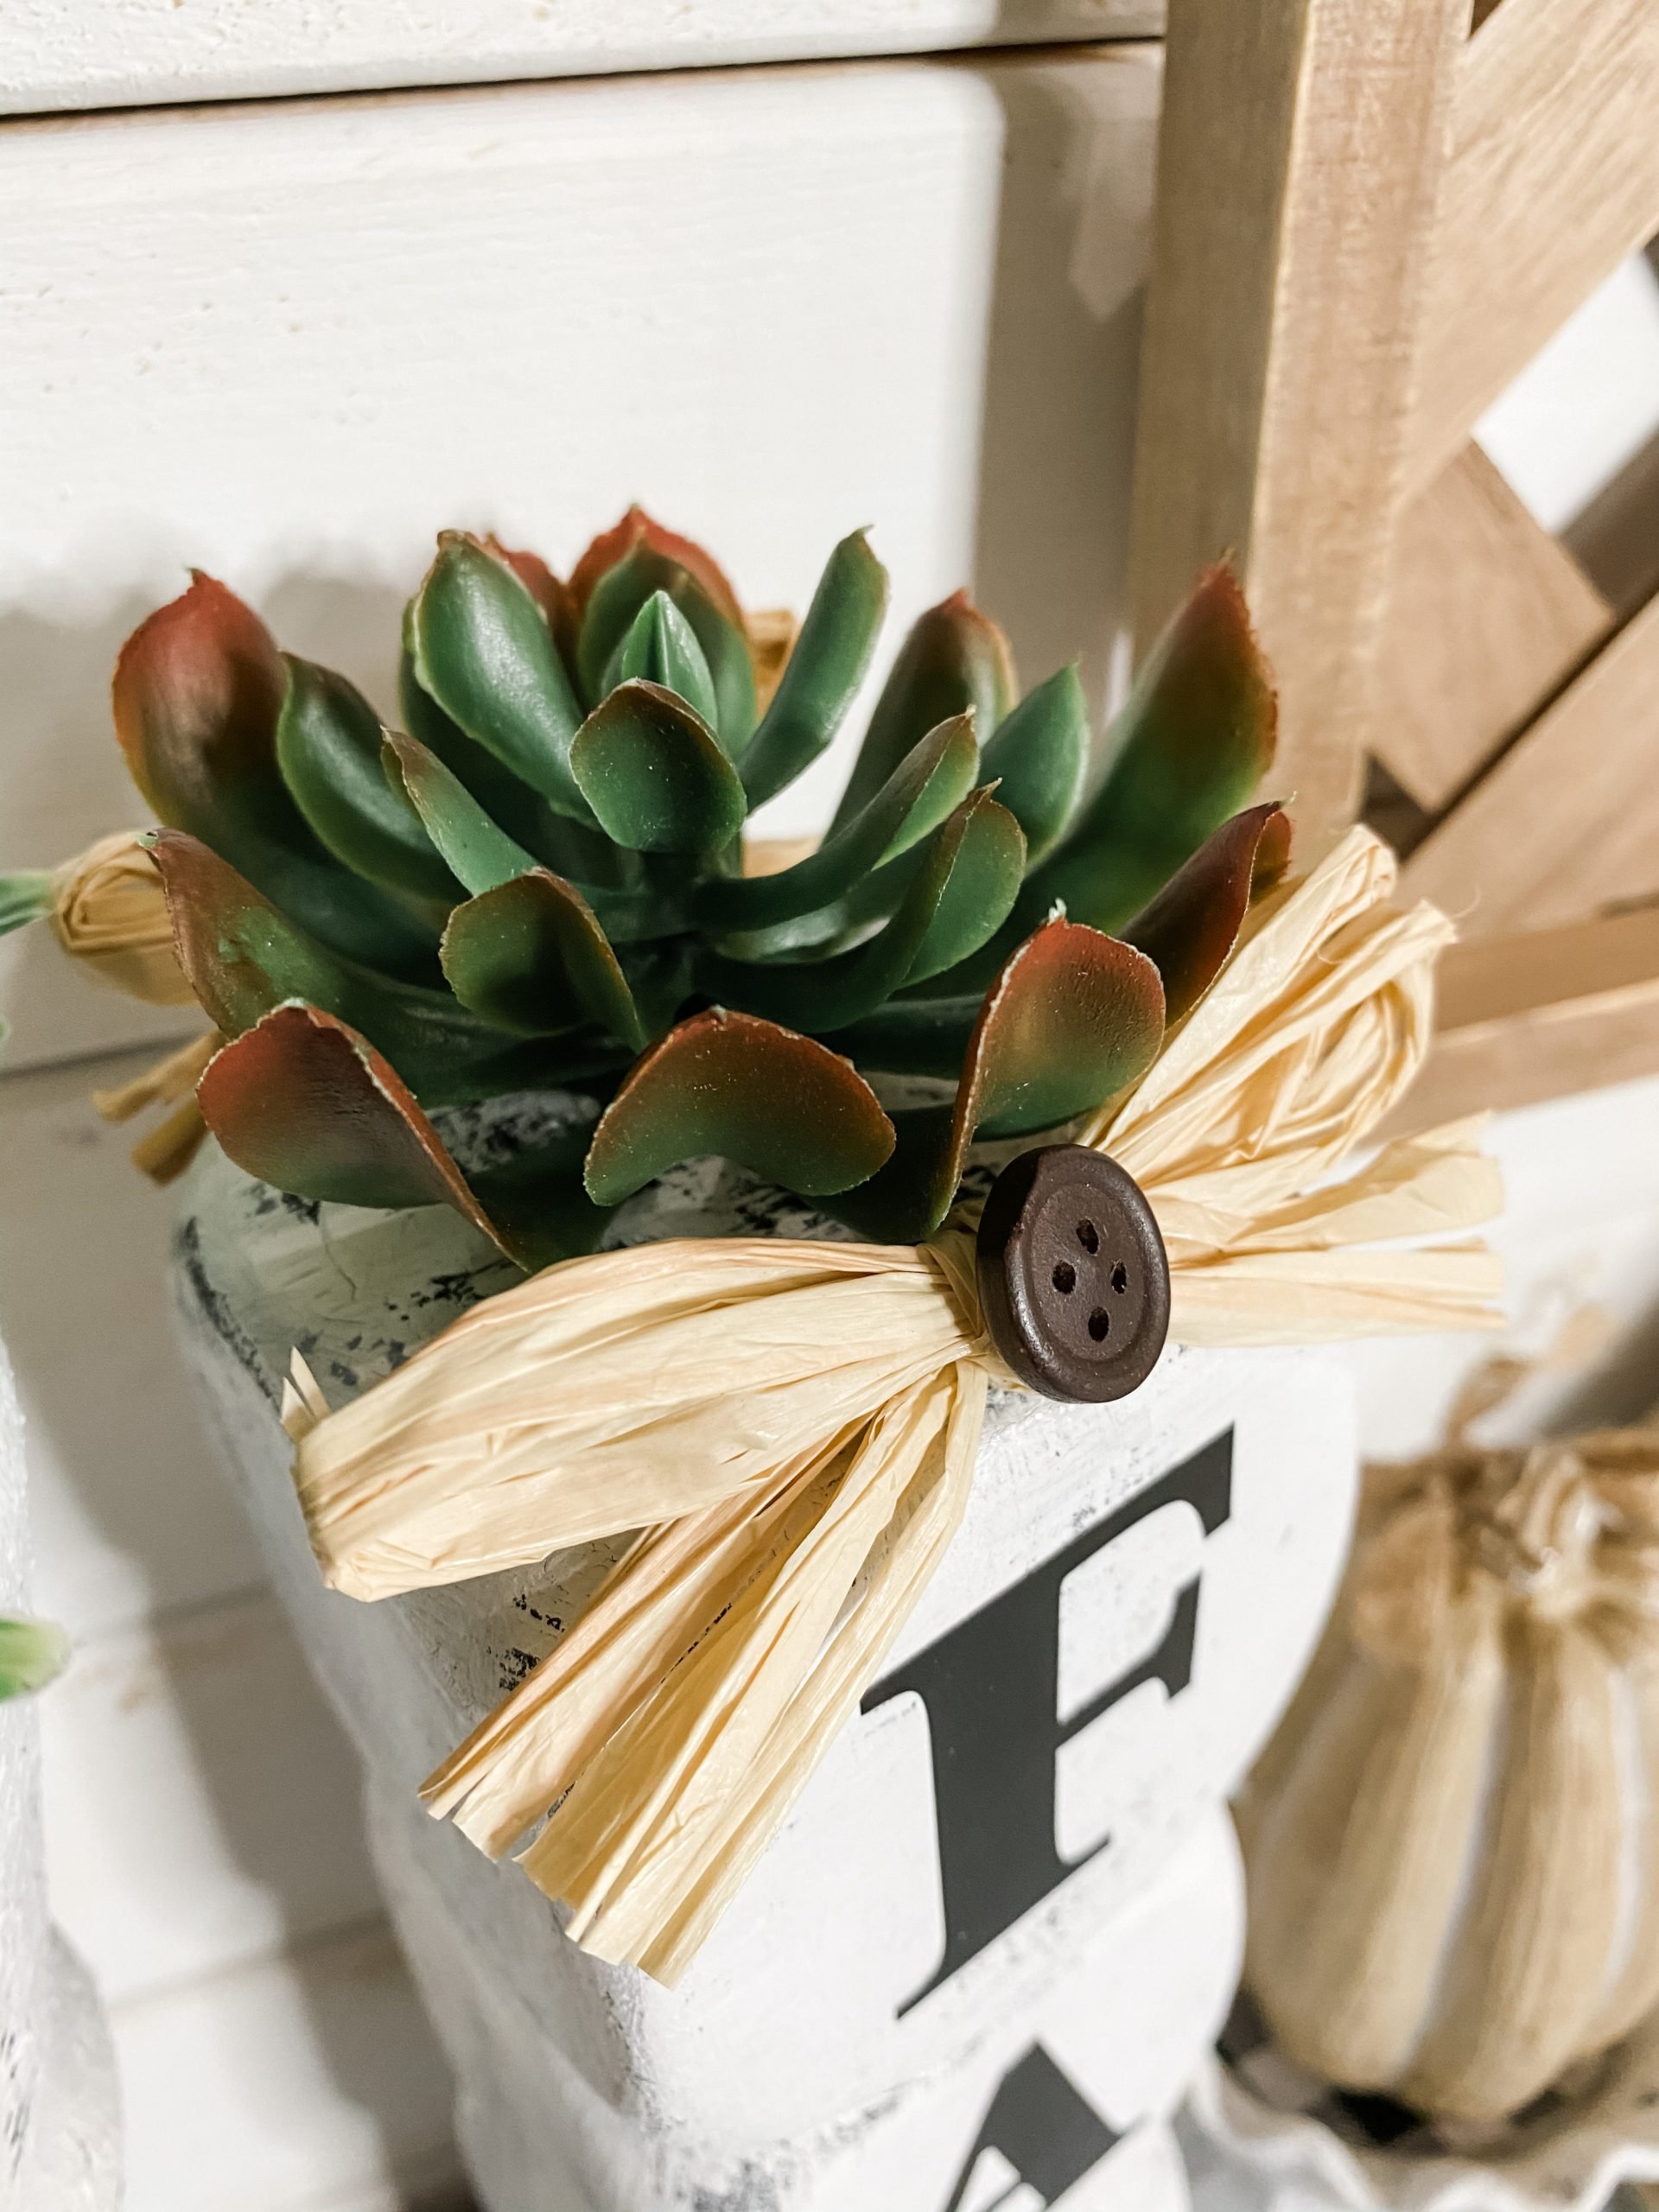
That’s it! That is how to DIY: Dollar Tree Stacked Foam Blocks Home Decor!
Check out these adorable Fall Decor DIY’s!
- Dollar Tree Rustic Fall Truck DIY
- Dollar Tree Fall Splatter Screen Pumpkin
- DIY Fall Home Decor with Pumpkin Spice Scented Broom
- Affordable DIY Farmhouse Fall Sign
Thanks for stopping by! XOXO Amber
You can also shop my ENTIRE AMAZON Favorites shop just click here! It’s packed full of all the things I use and love. Here is the supply list I highly recommend every creative have on hand!! Would you also pin my blog for later and get on my newsletter alerts? I would love to have you join my #craftycrew.

Join my free “ON A BUDGET CRAFTS” Facebook group!
PIN THIS POST FOR LATER!

Made this, one of first crafts. Great decor for living room
I love super cute they turned out!