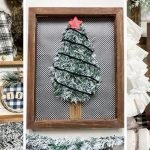
How to Make an Easy Dollar Tree DIY Christmas Sign
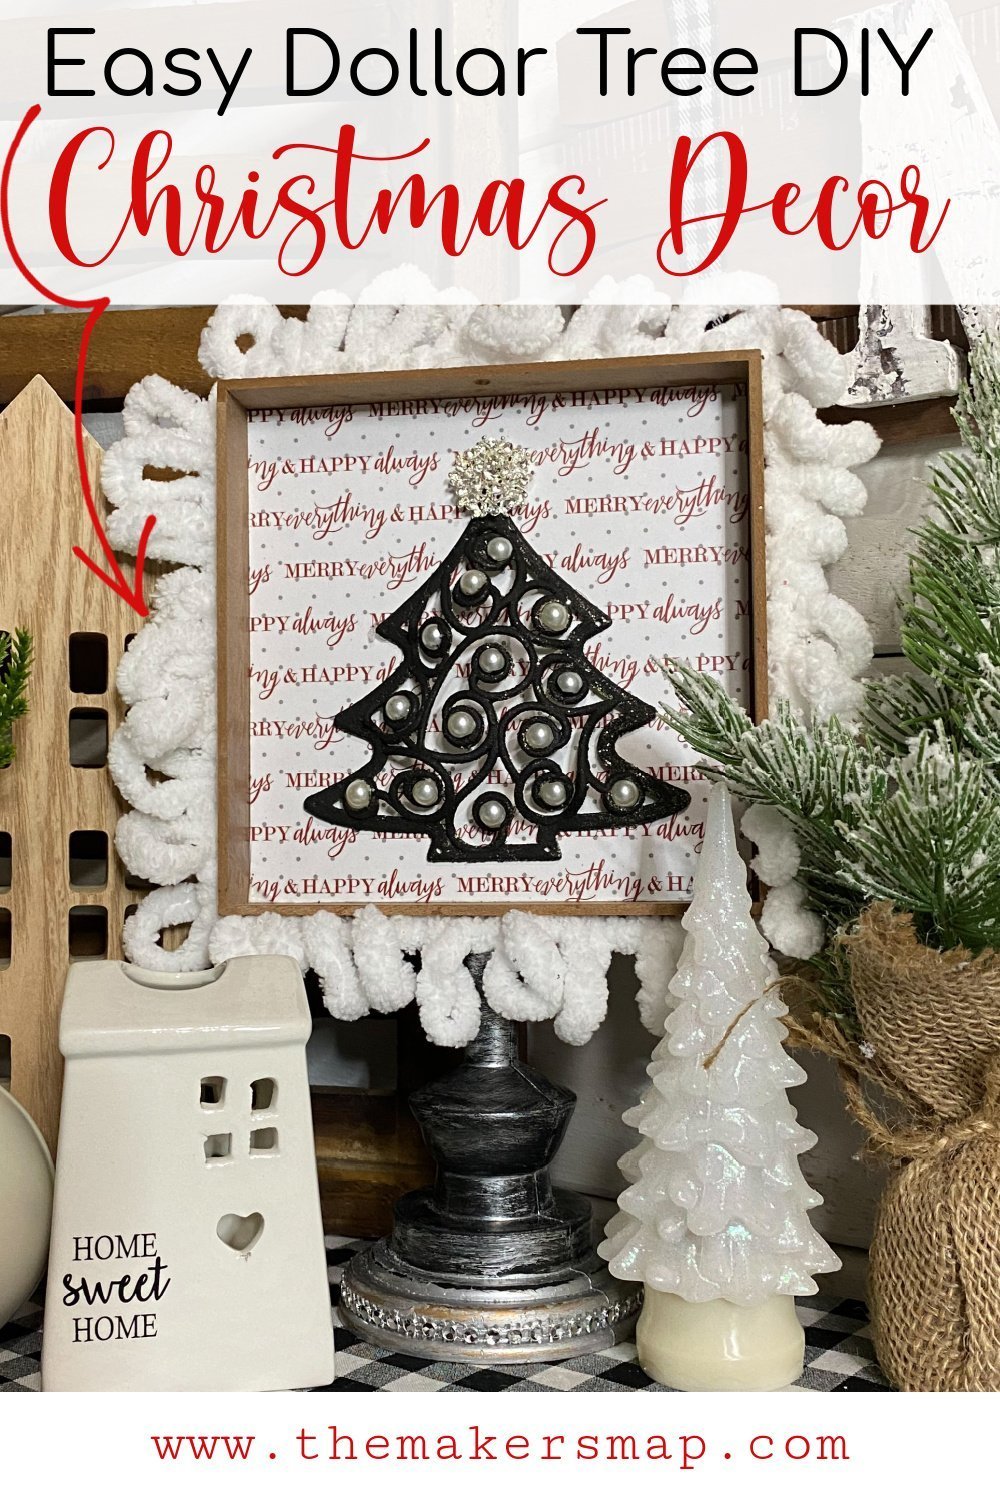
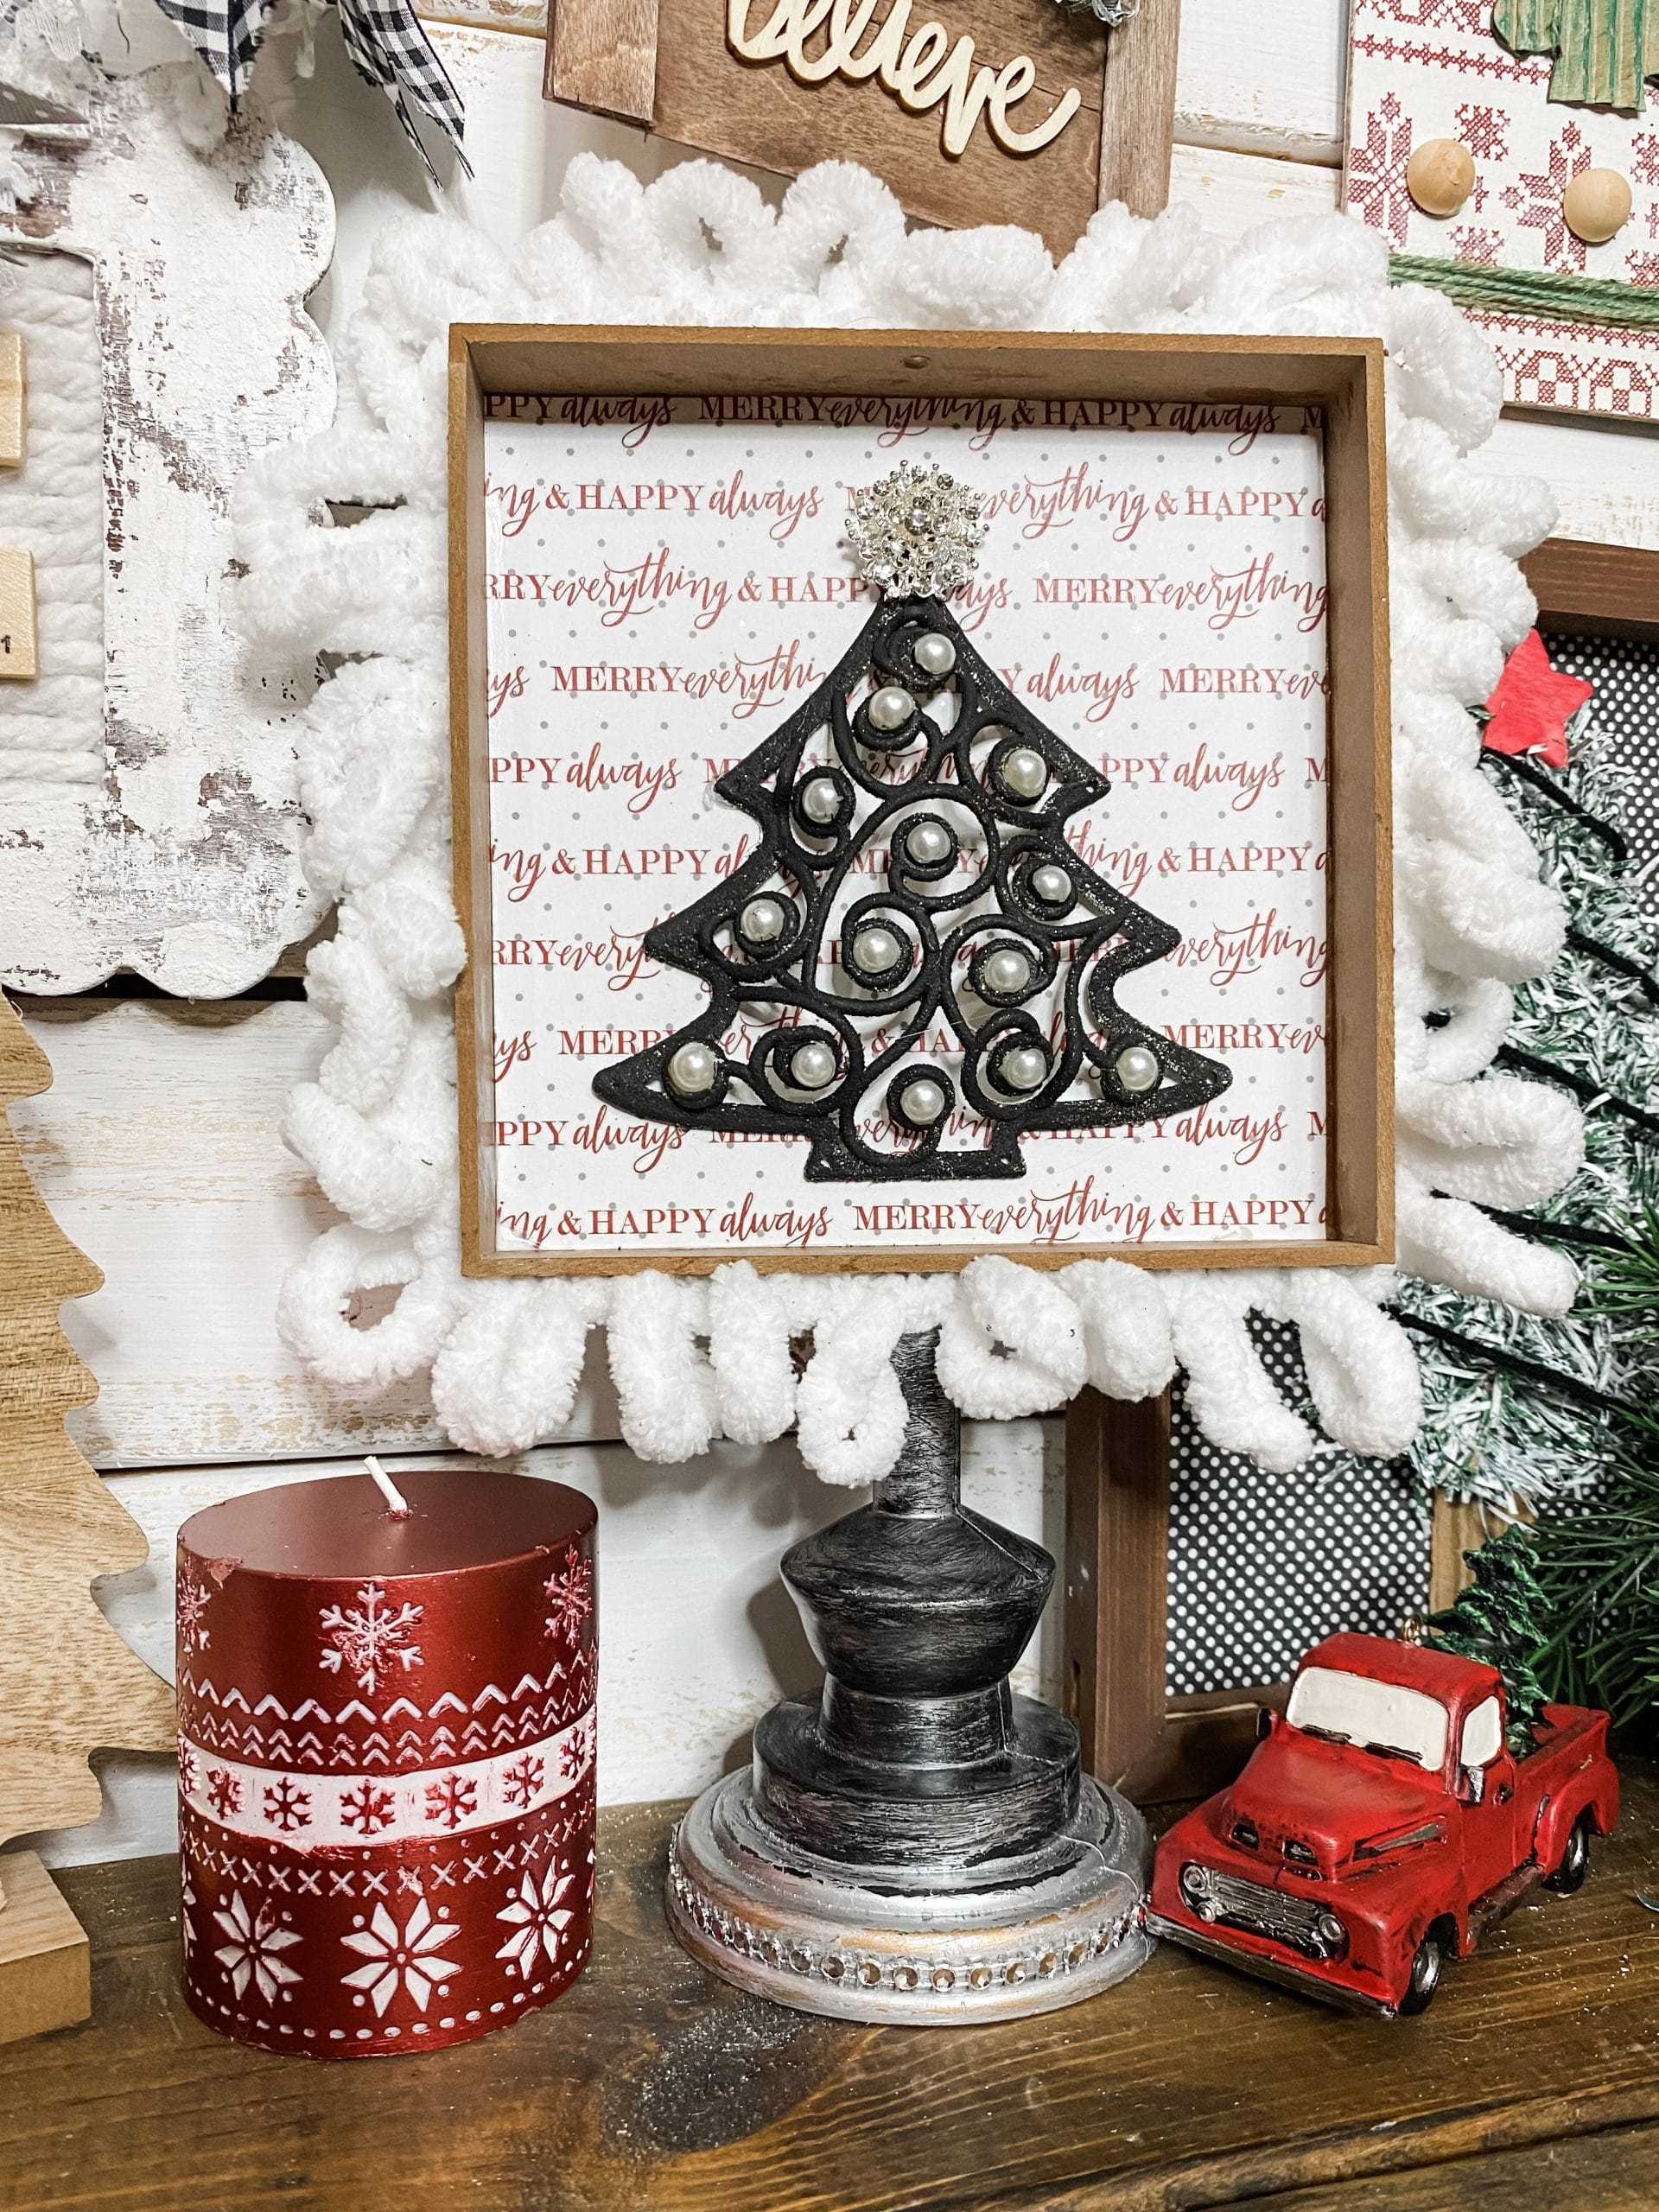
Are you looking for a unique Christmas DIY? Well, I think you’ve found it! I’ve made a lot of Christmas signs that you can hang anywhere in your house, but I really wanted to make something that would be perfect on any shelf or table during your Christmas redecoration. That’s why I am so excited to tell you How to Make an Easy Dollar Tree DIY Christmas Sign!
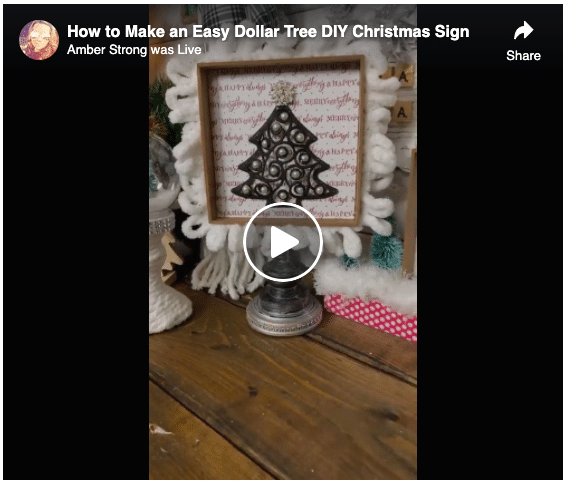
Watch the replay
Want to craft along or see the step-by-step process of how to make an easy Dollar Tree DIY Christmas sign?
You’re in luck! I recorded how I made this easy Christmas DIY during a Facebook LIVE video, and you can watch the replay.
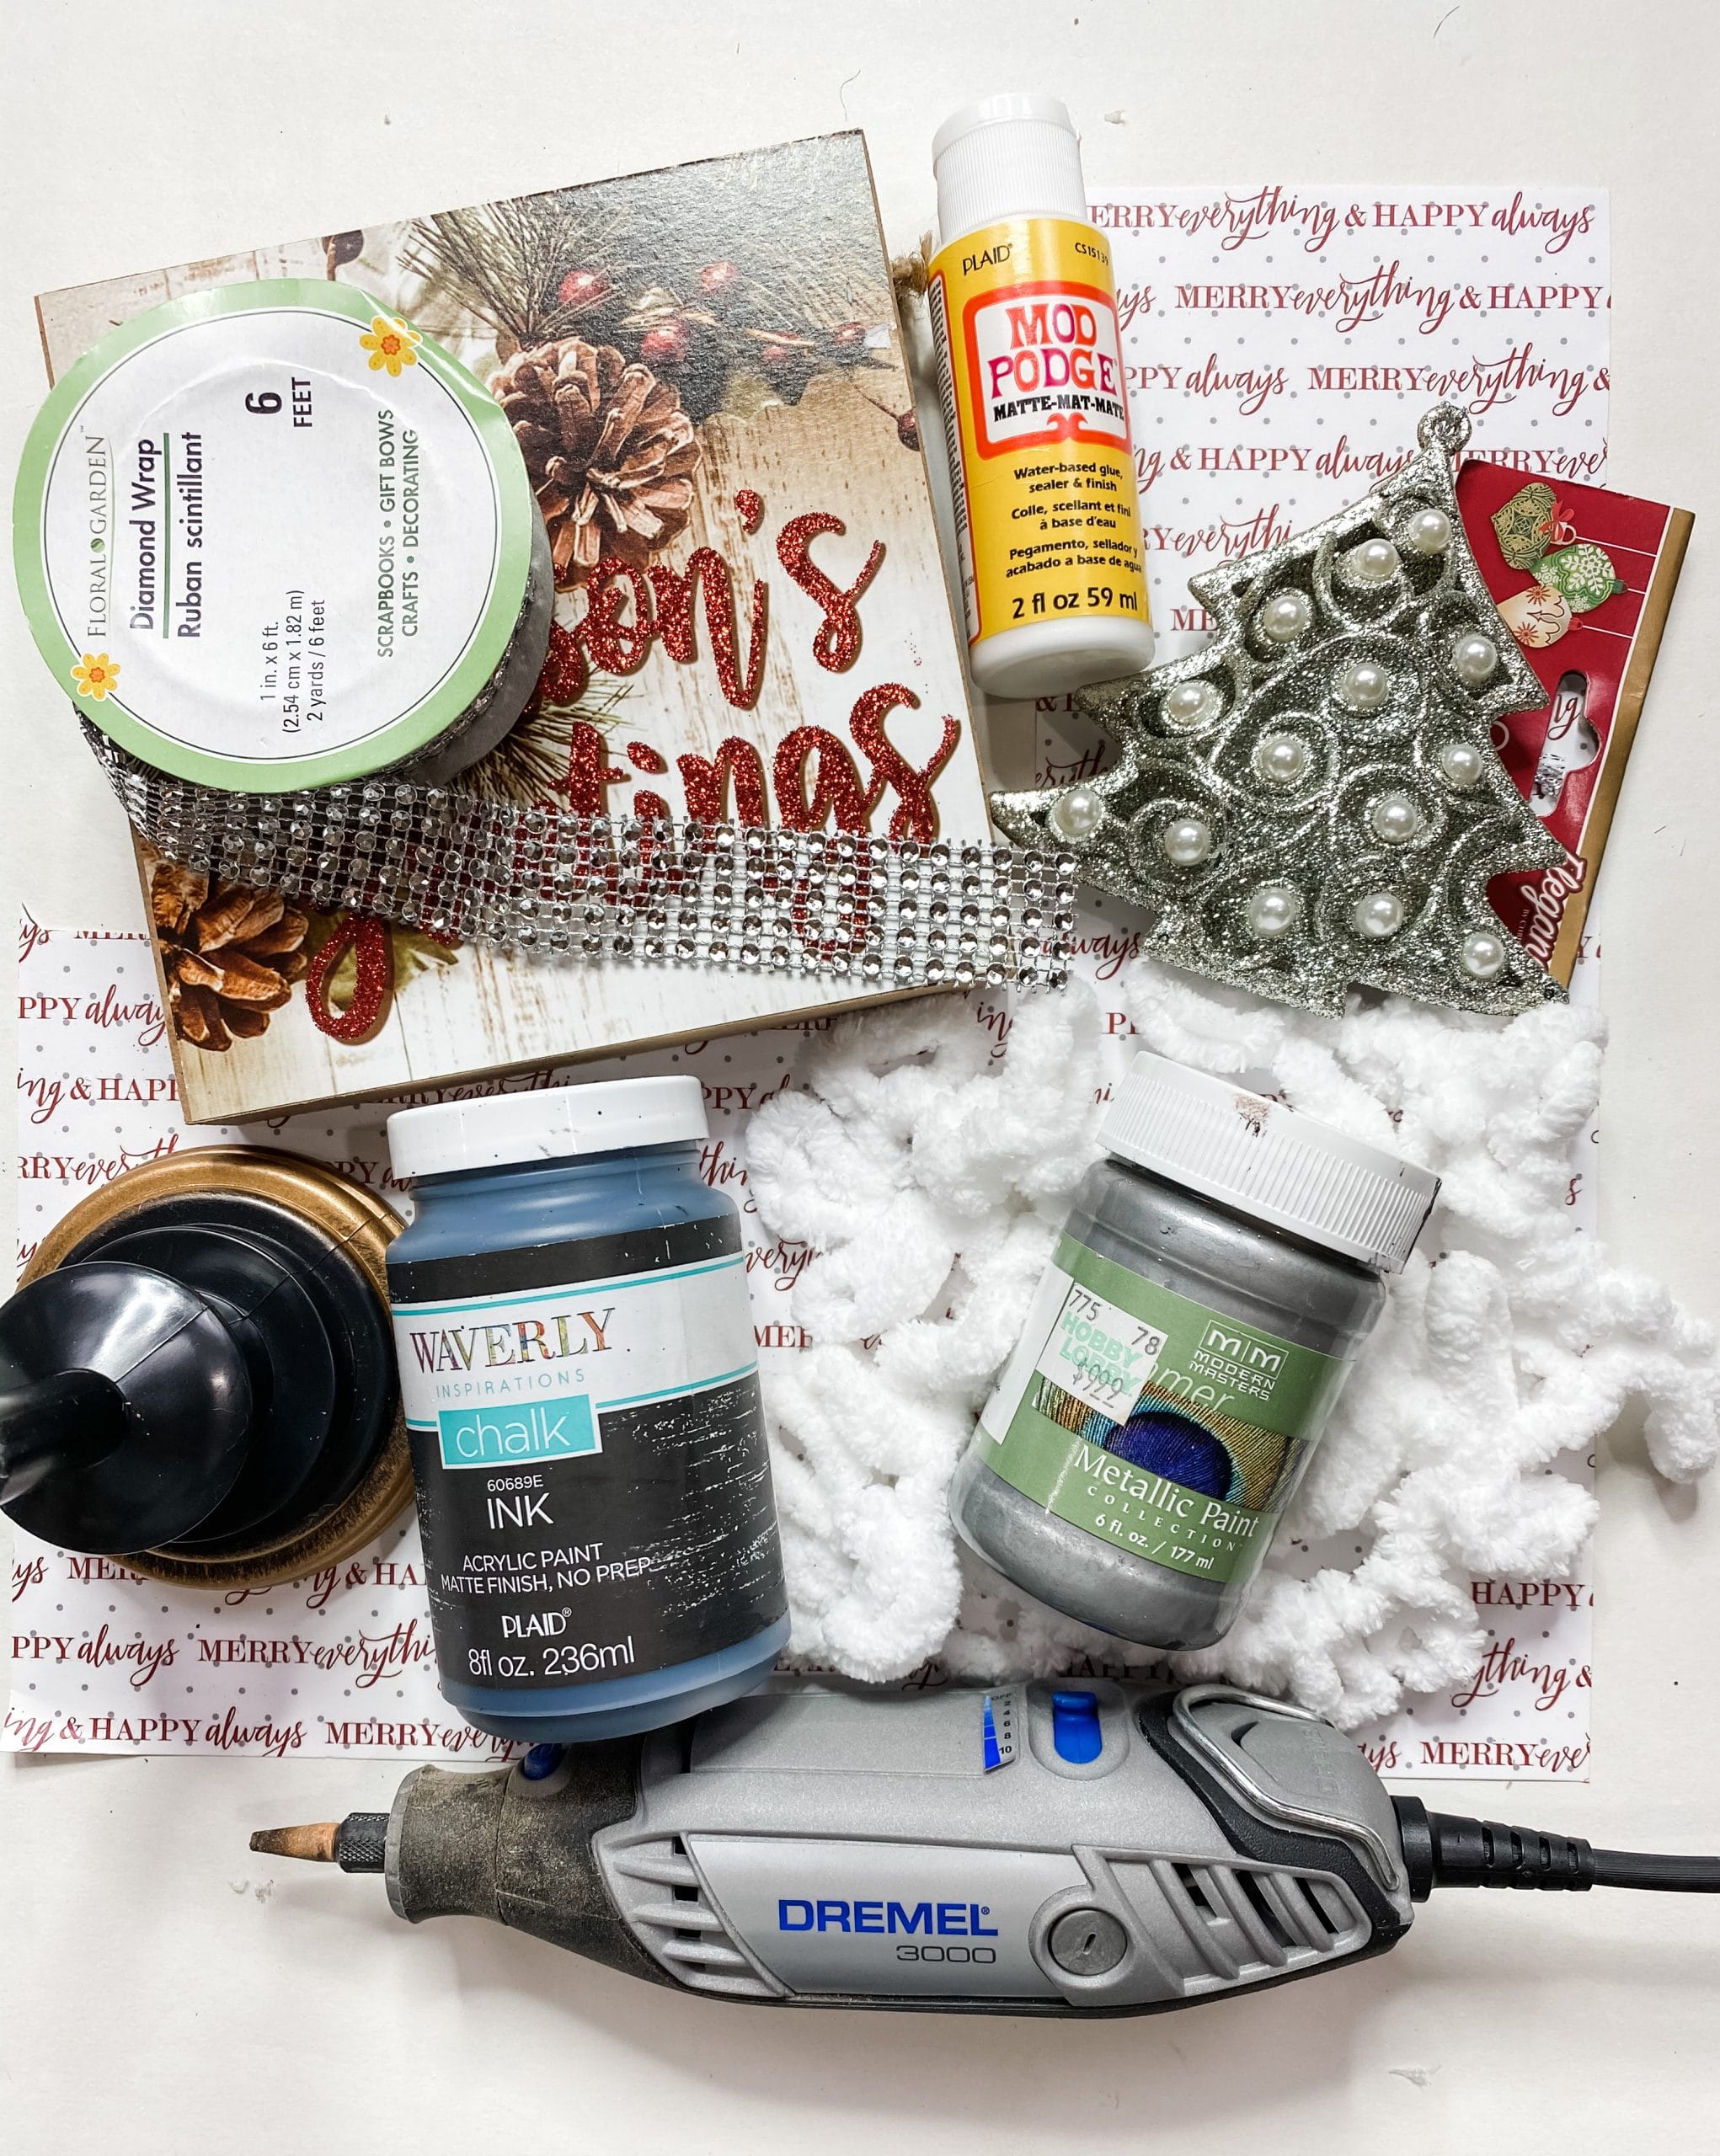
For this project, I will be using these items but you can substitute where you want.
“As an Amazon Associate, I earn from qualifying purchases.”
- Dollar Tree Wood sign box
- Dollar Tree Diamond Wrap ribbon
- Christmas Scrapbook paper
- Dollar Tree Christmas Tree ornament with pearls
- Hobby Lobby White Loop-it Yarn
- Modern Master’s Metallic Grey Paint
- Dollar Tree Stand (or Candle Holder)
- Mod Podge
- Waverly Ink Chalk Paint
- Mod Podge
- E6000 glue
- Putty Knife
- Drill
- Glue Gun
- Heat gun
Let’s get to the good stuff
Dollar Tree wood sign boxes are perfect for crafters like me! There are so many different things you can make just but turning the sign around and decorating the back! That’s what I did for this Christmas DIY craft.
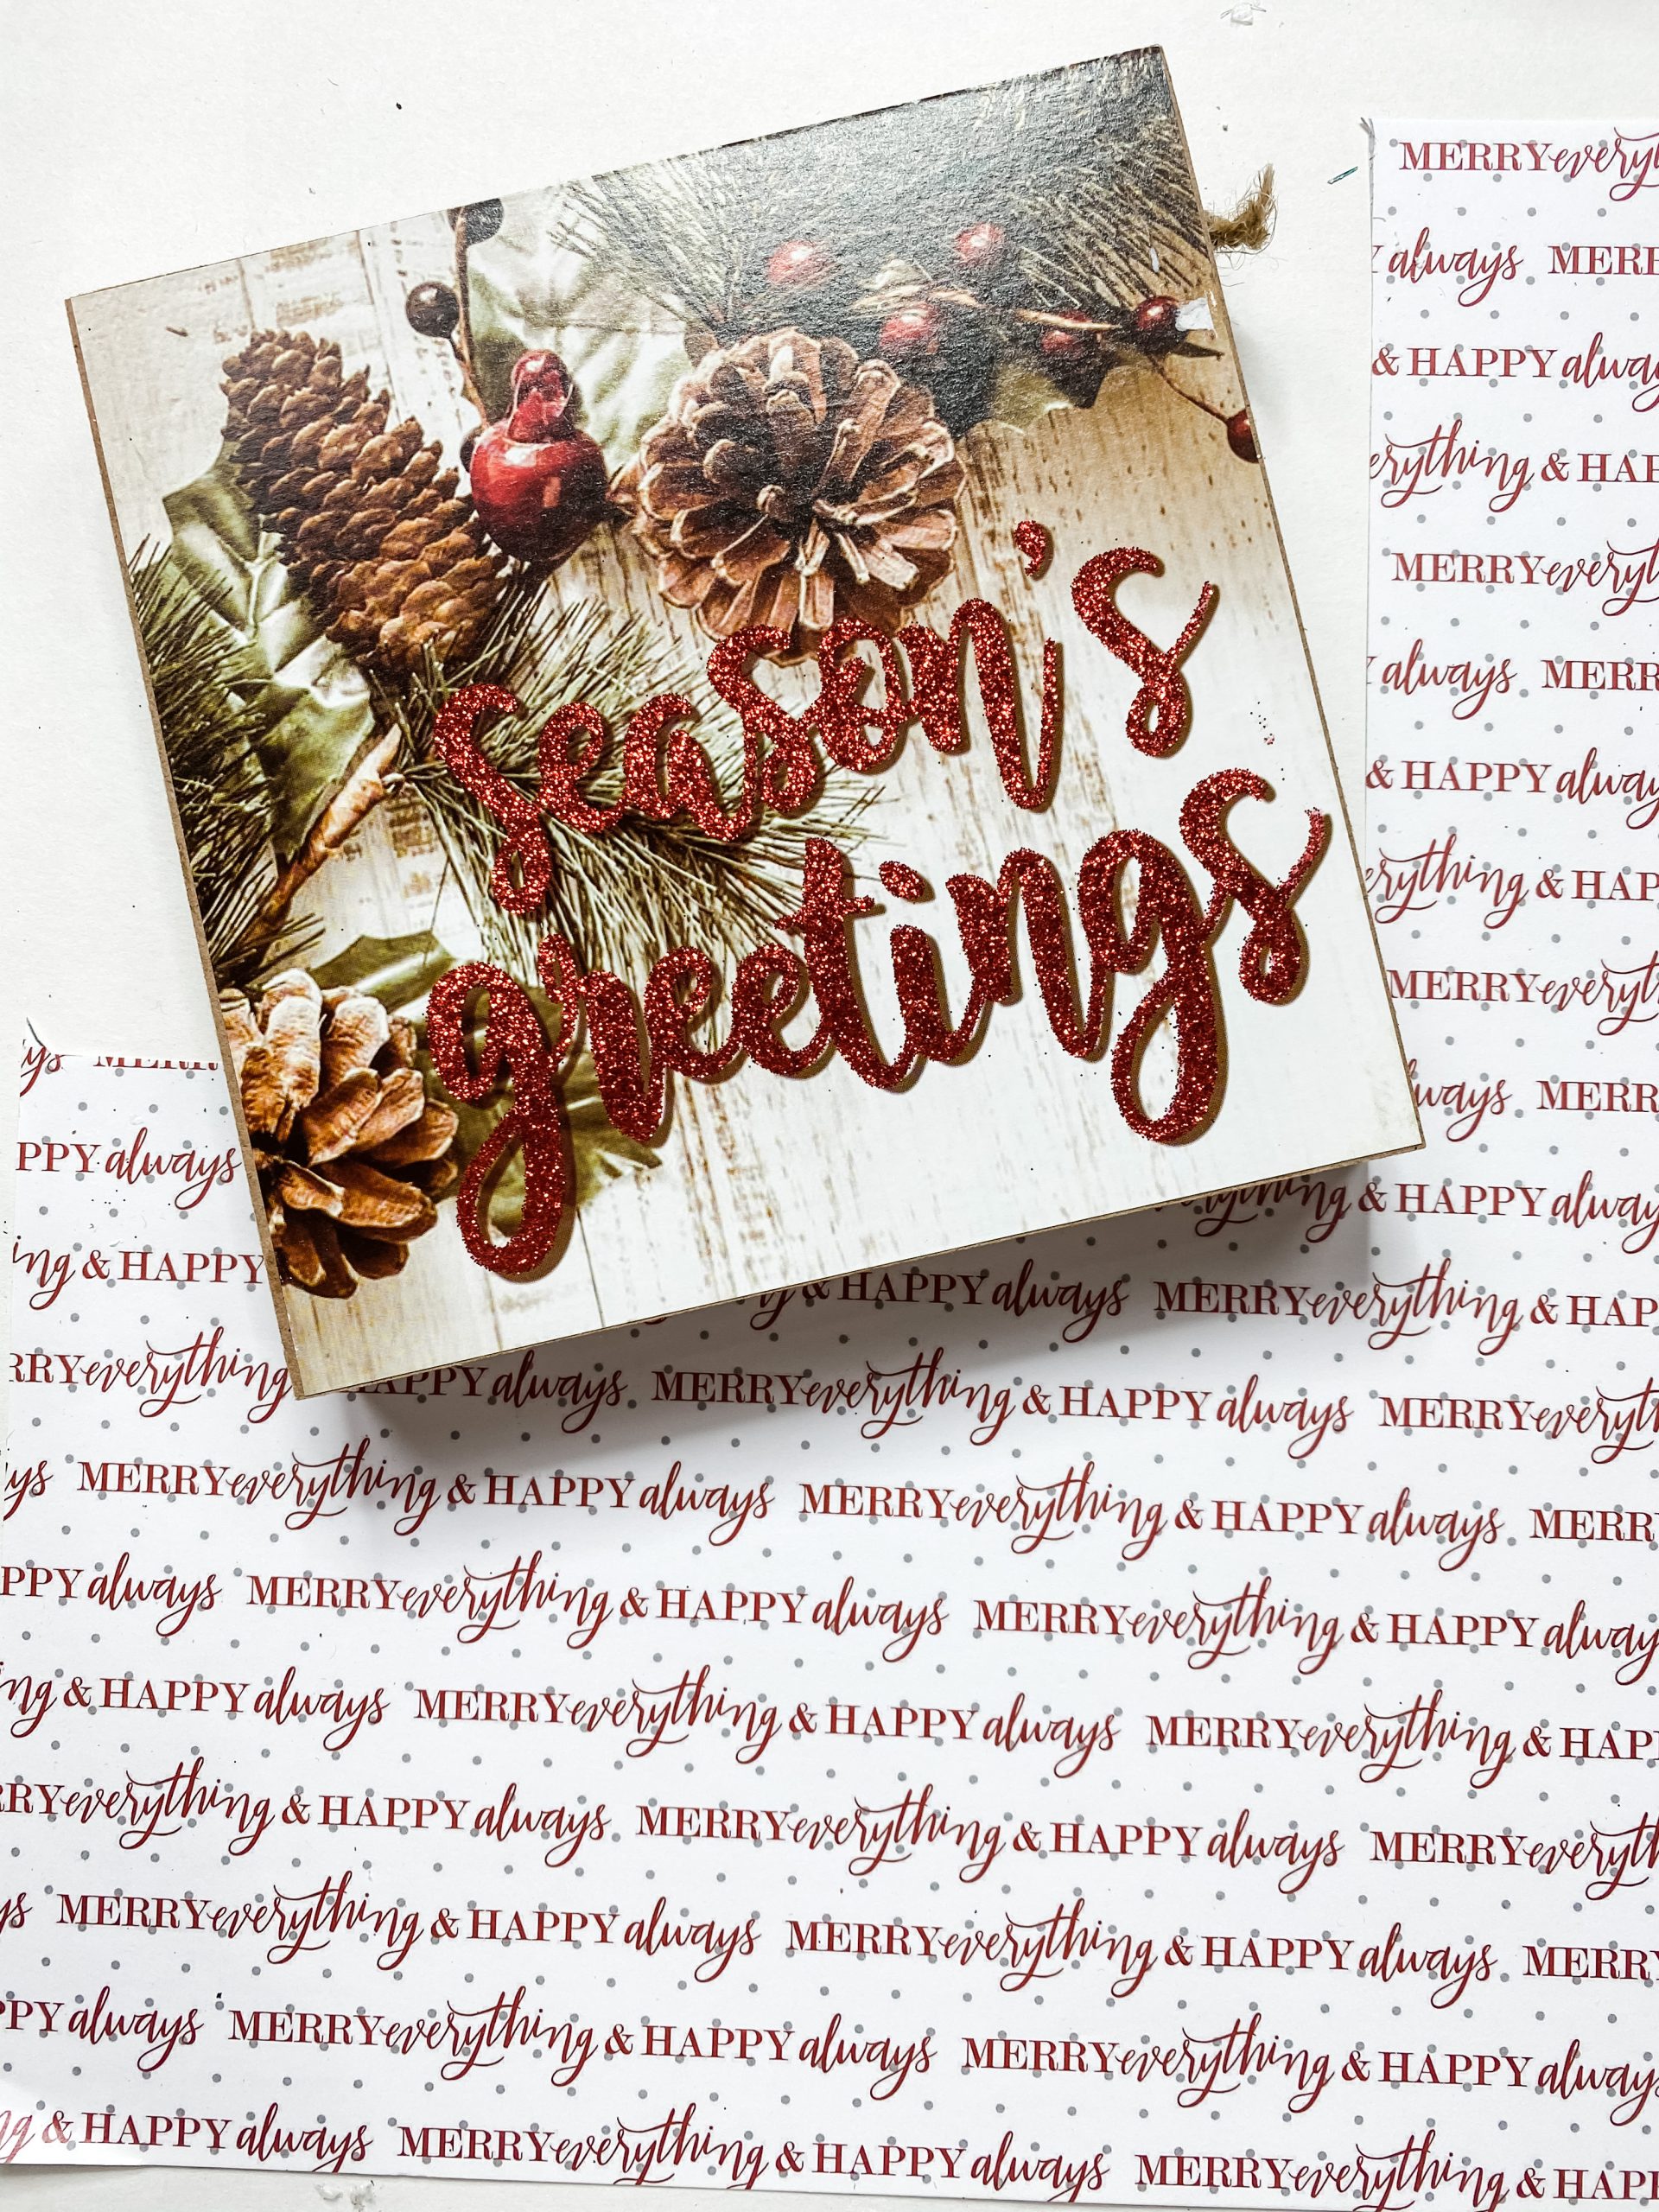
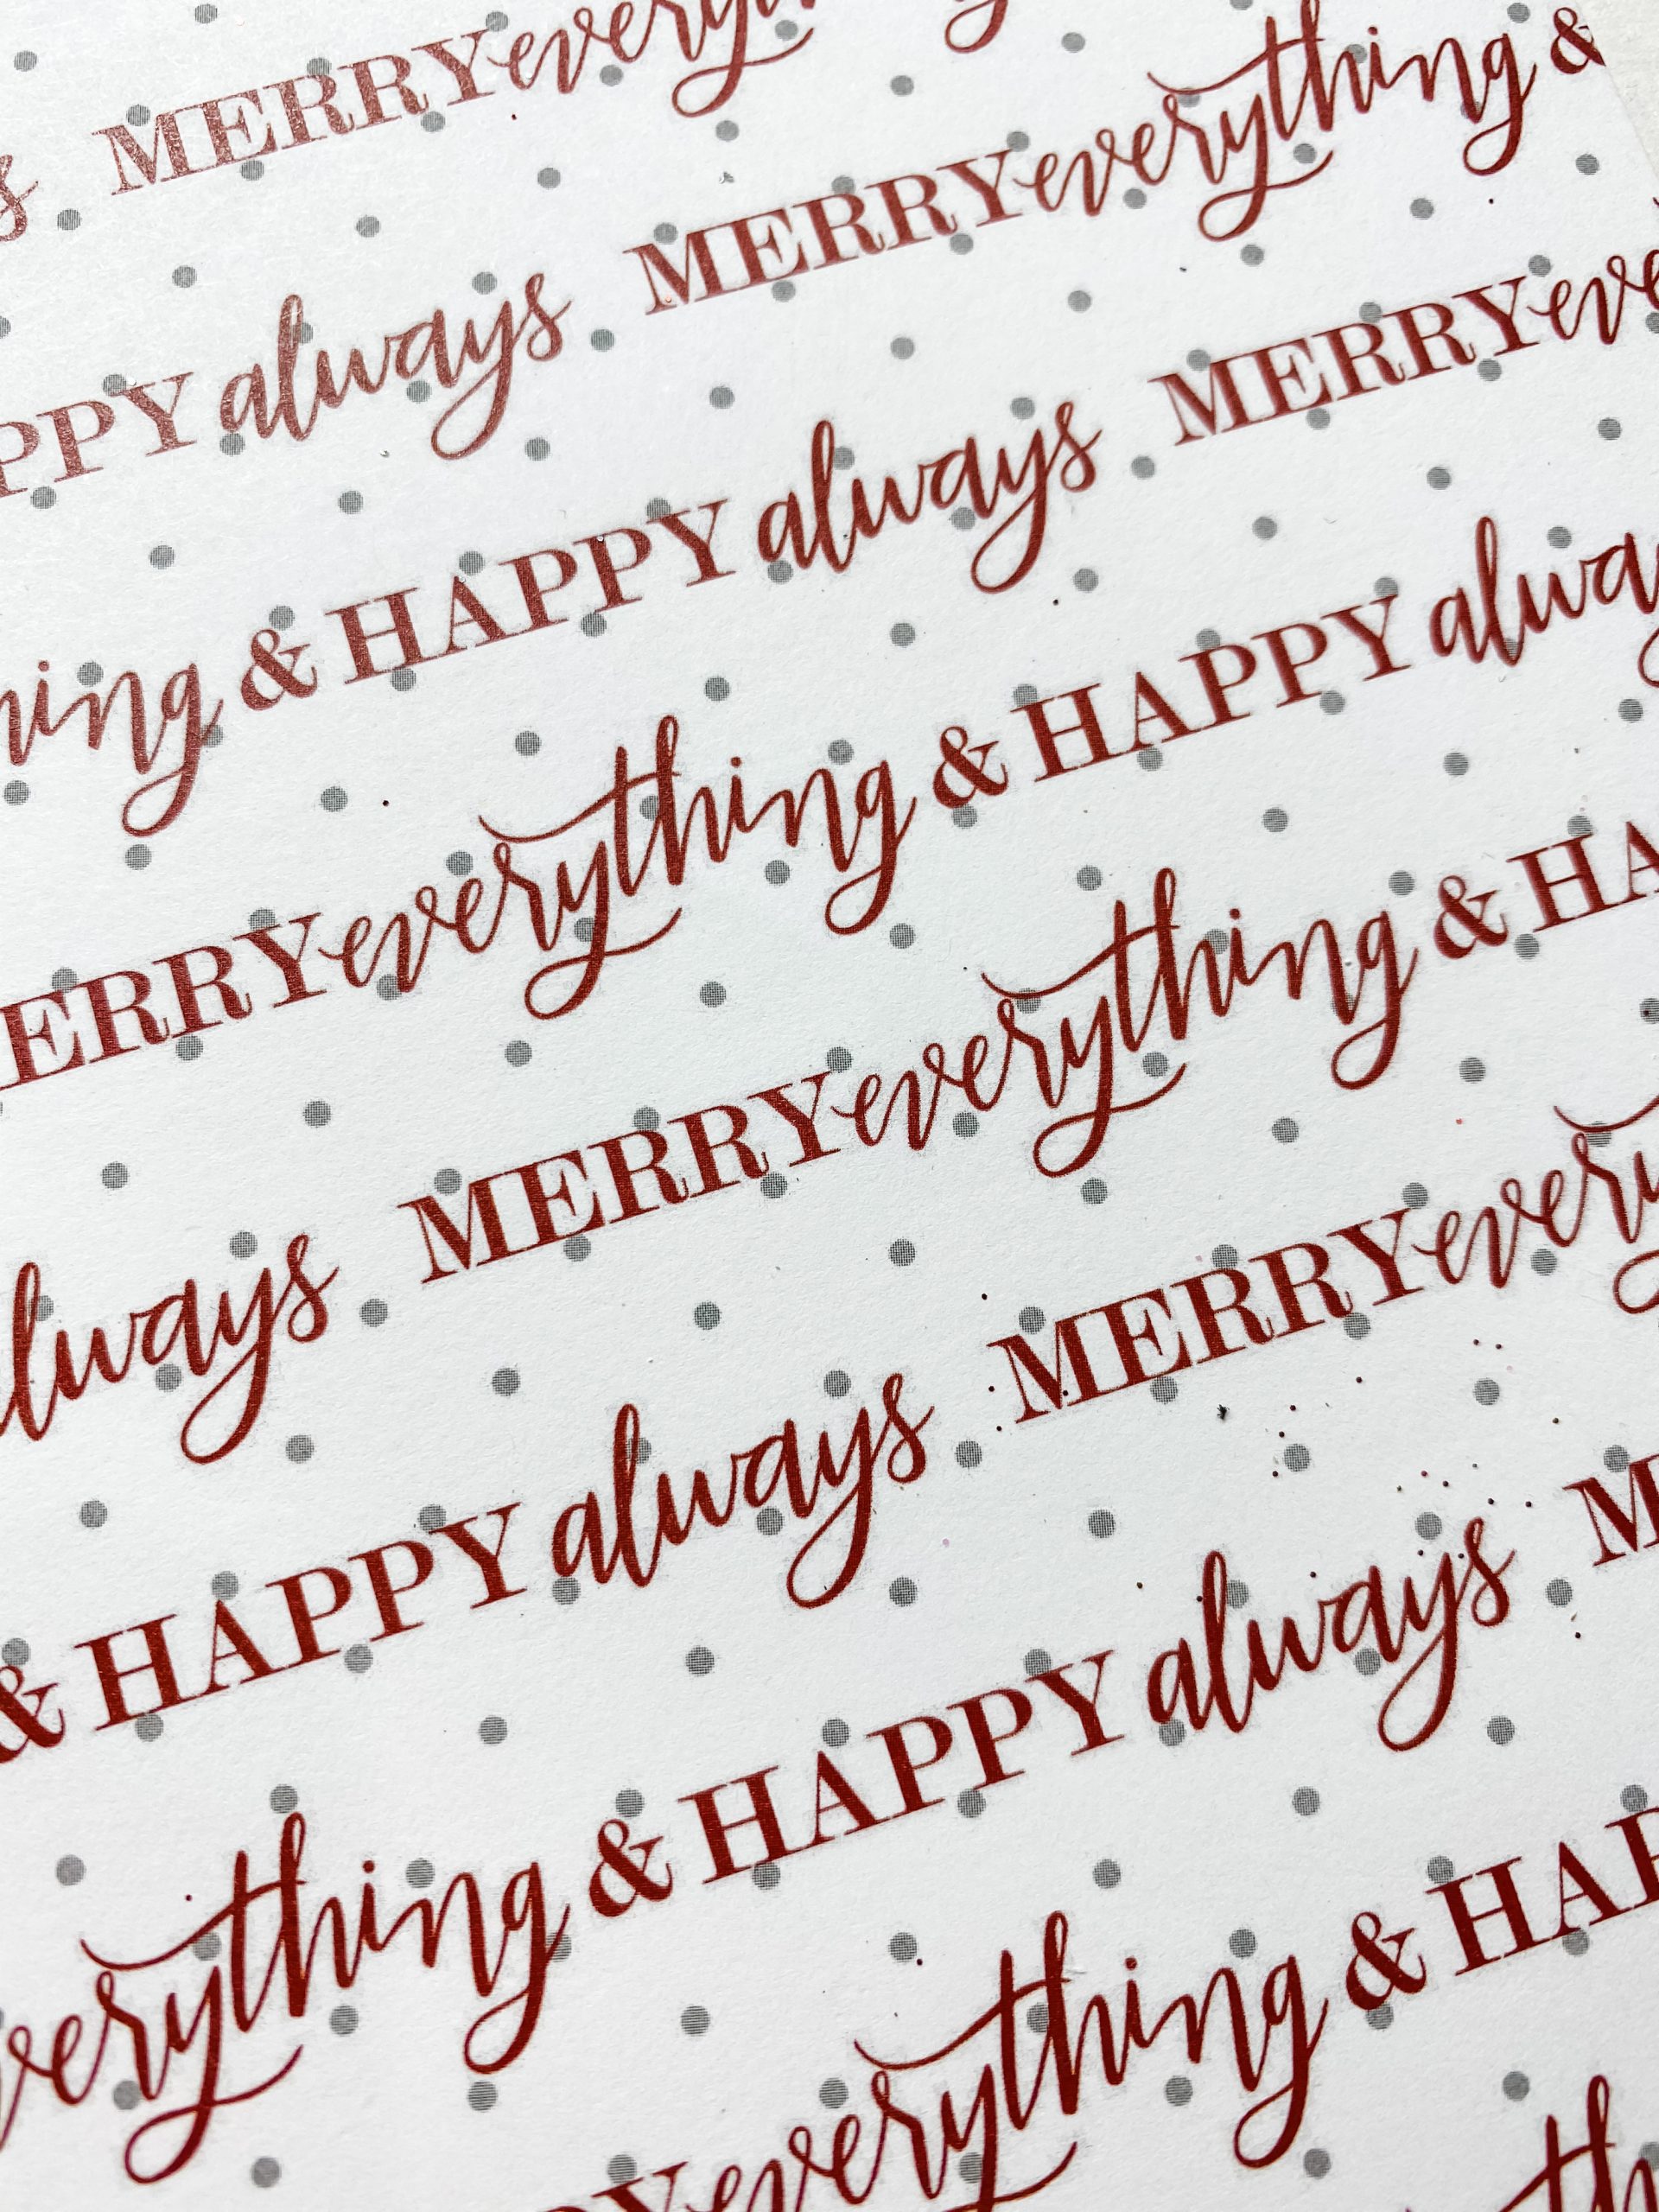
I started by peeling the sticker off the back and cutting the Christmas scrapbook paper to fit inside the back of the wood sign box.
Remember, it is better to cut the scrapbook paper larger than needed rather than smaller. You can always trim more off!
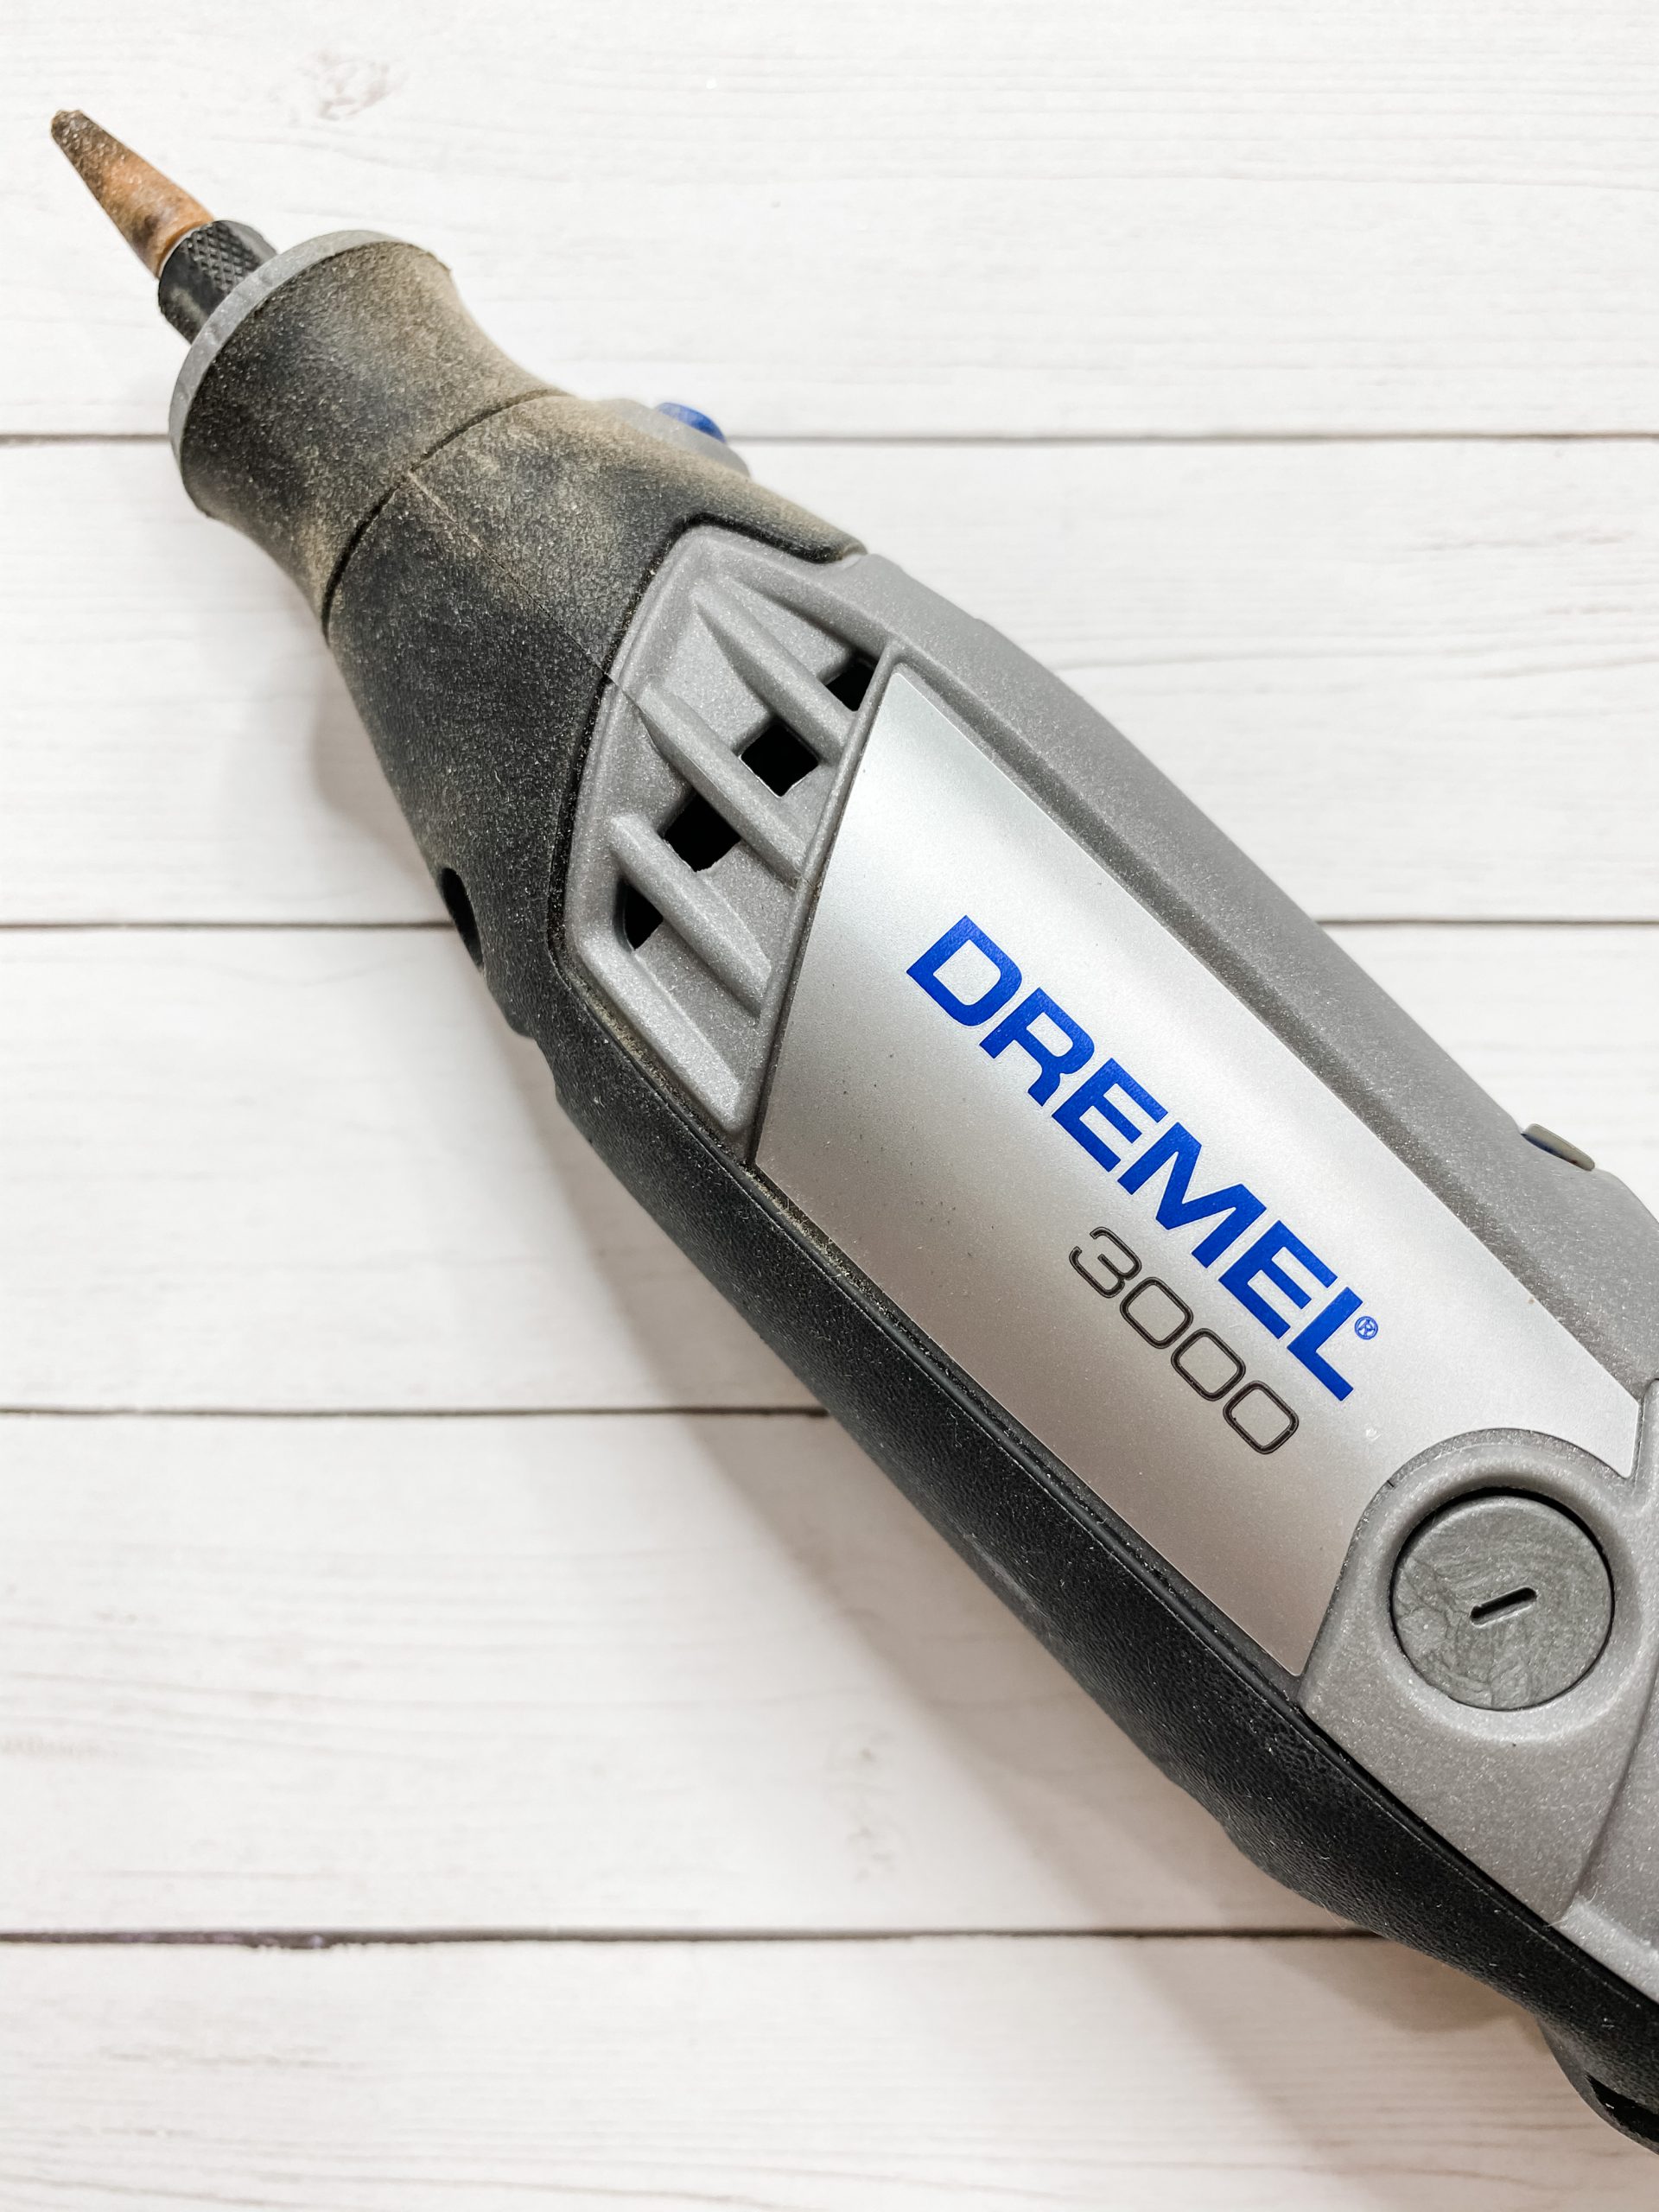
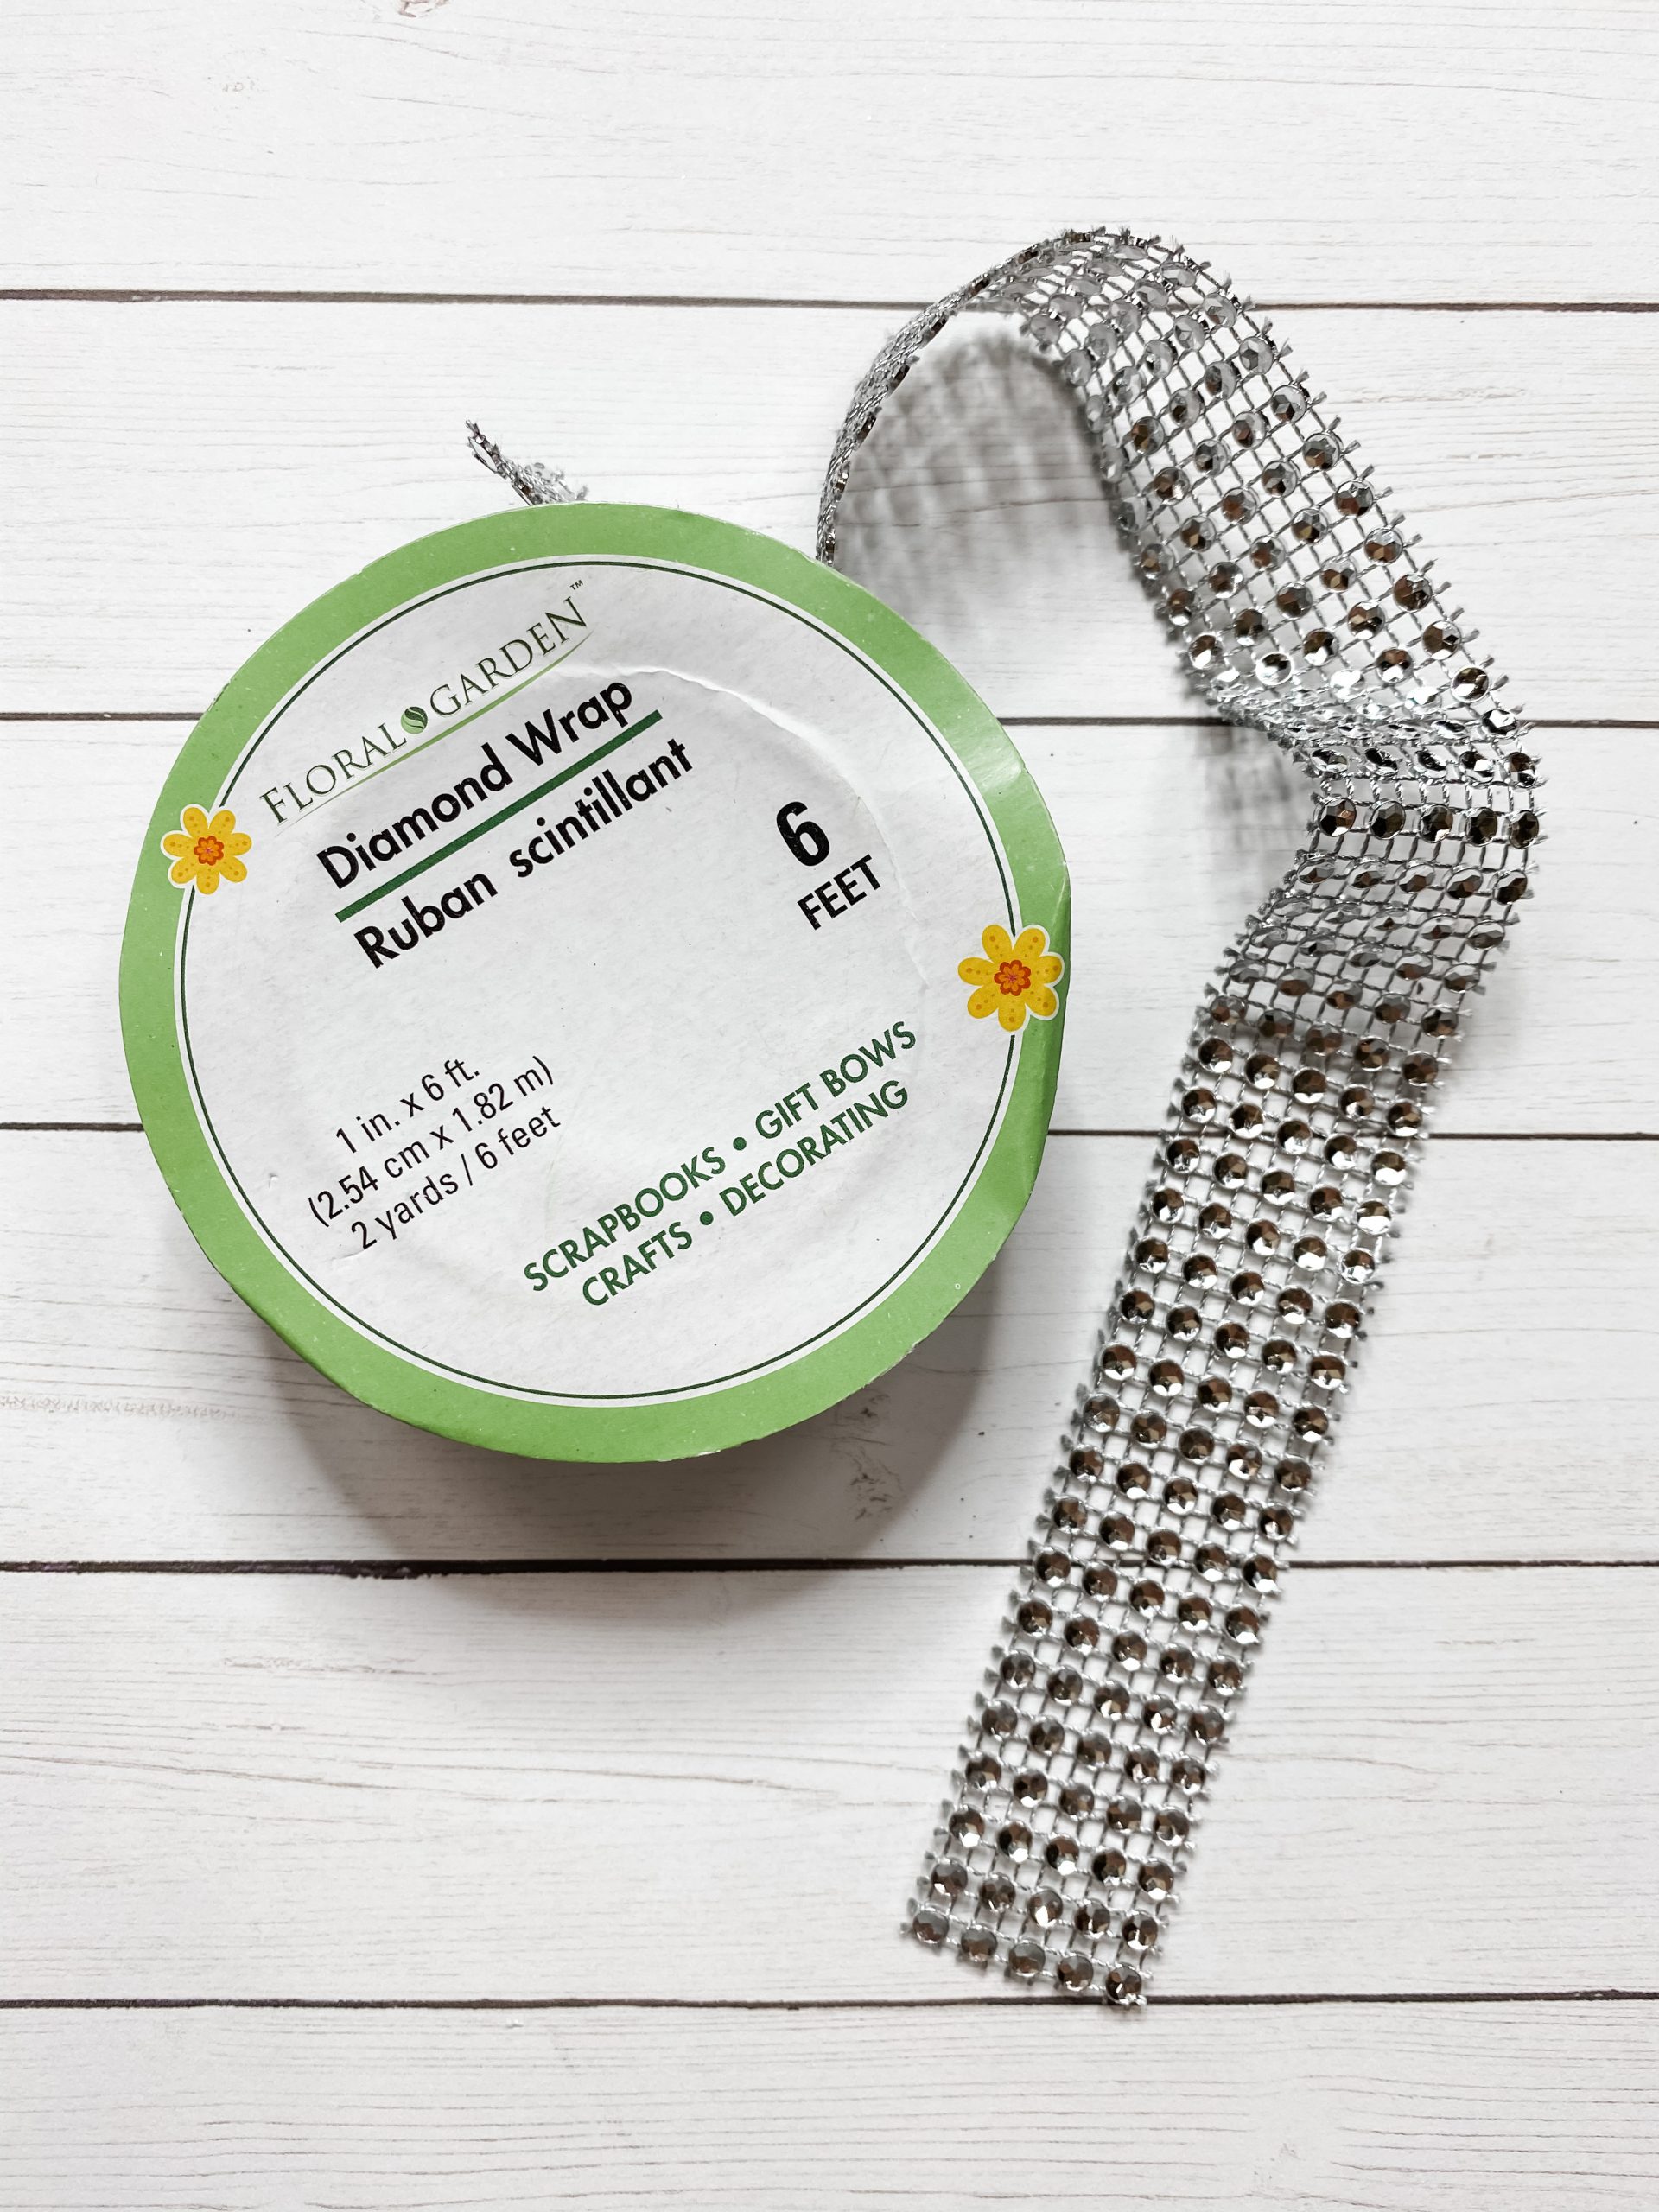
The stand that I used came from a Dollar Tree Halloween decoration that originally had a skull on the top of it. I removed the skull and used my Dremel to sand down the edges at the top of the stand.
If you don’t have the stand that I used or the tools to make the item work, you can always use a Dollar Tree candle holder in its place.
Paint the stand
I used the Modern Master’s Metallic Grey paint and covered the orange base of the stand with an even coat of paint.
Then, I lightly and unevenly brushed around the rest of the stand with the same metallic. Next, I wiped the entire stand with a baby wipe and it made the stand look like old metal.
Embellish it
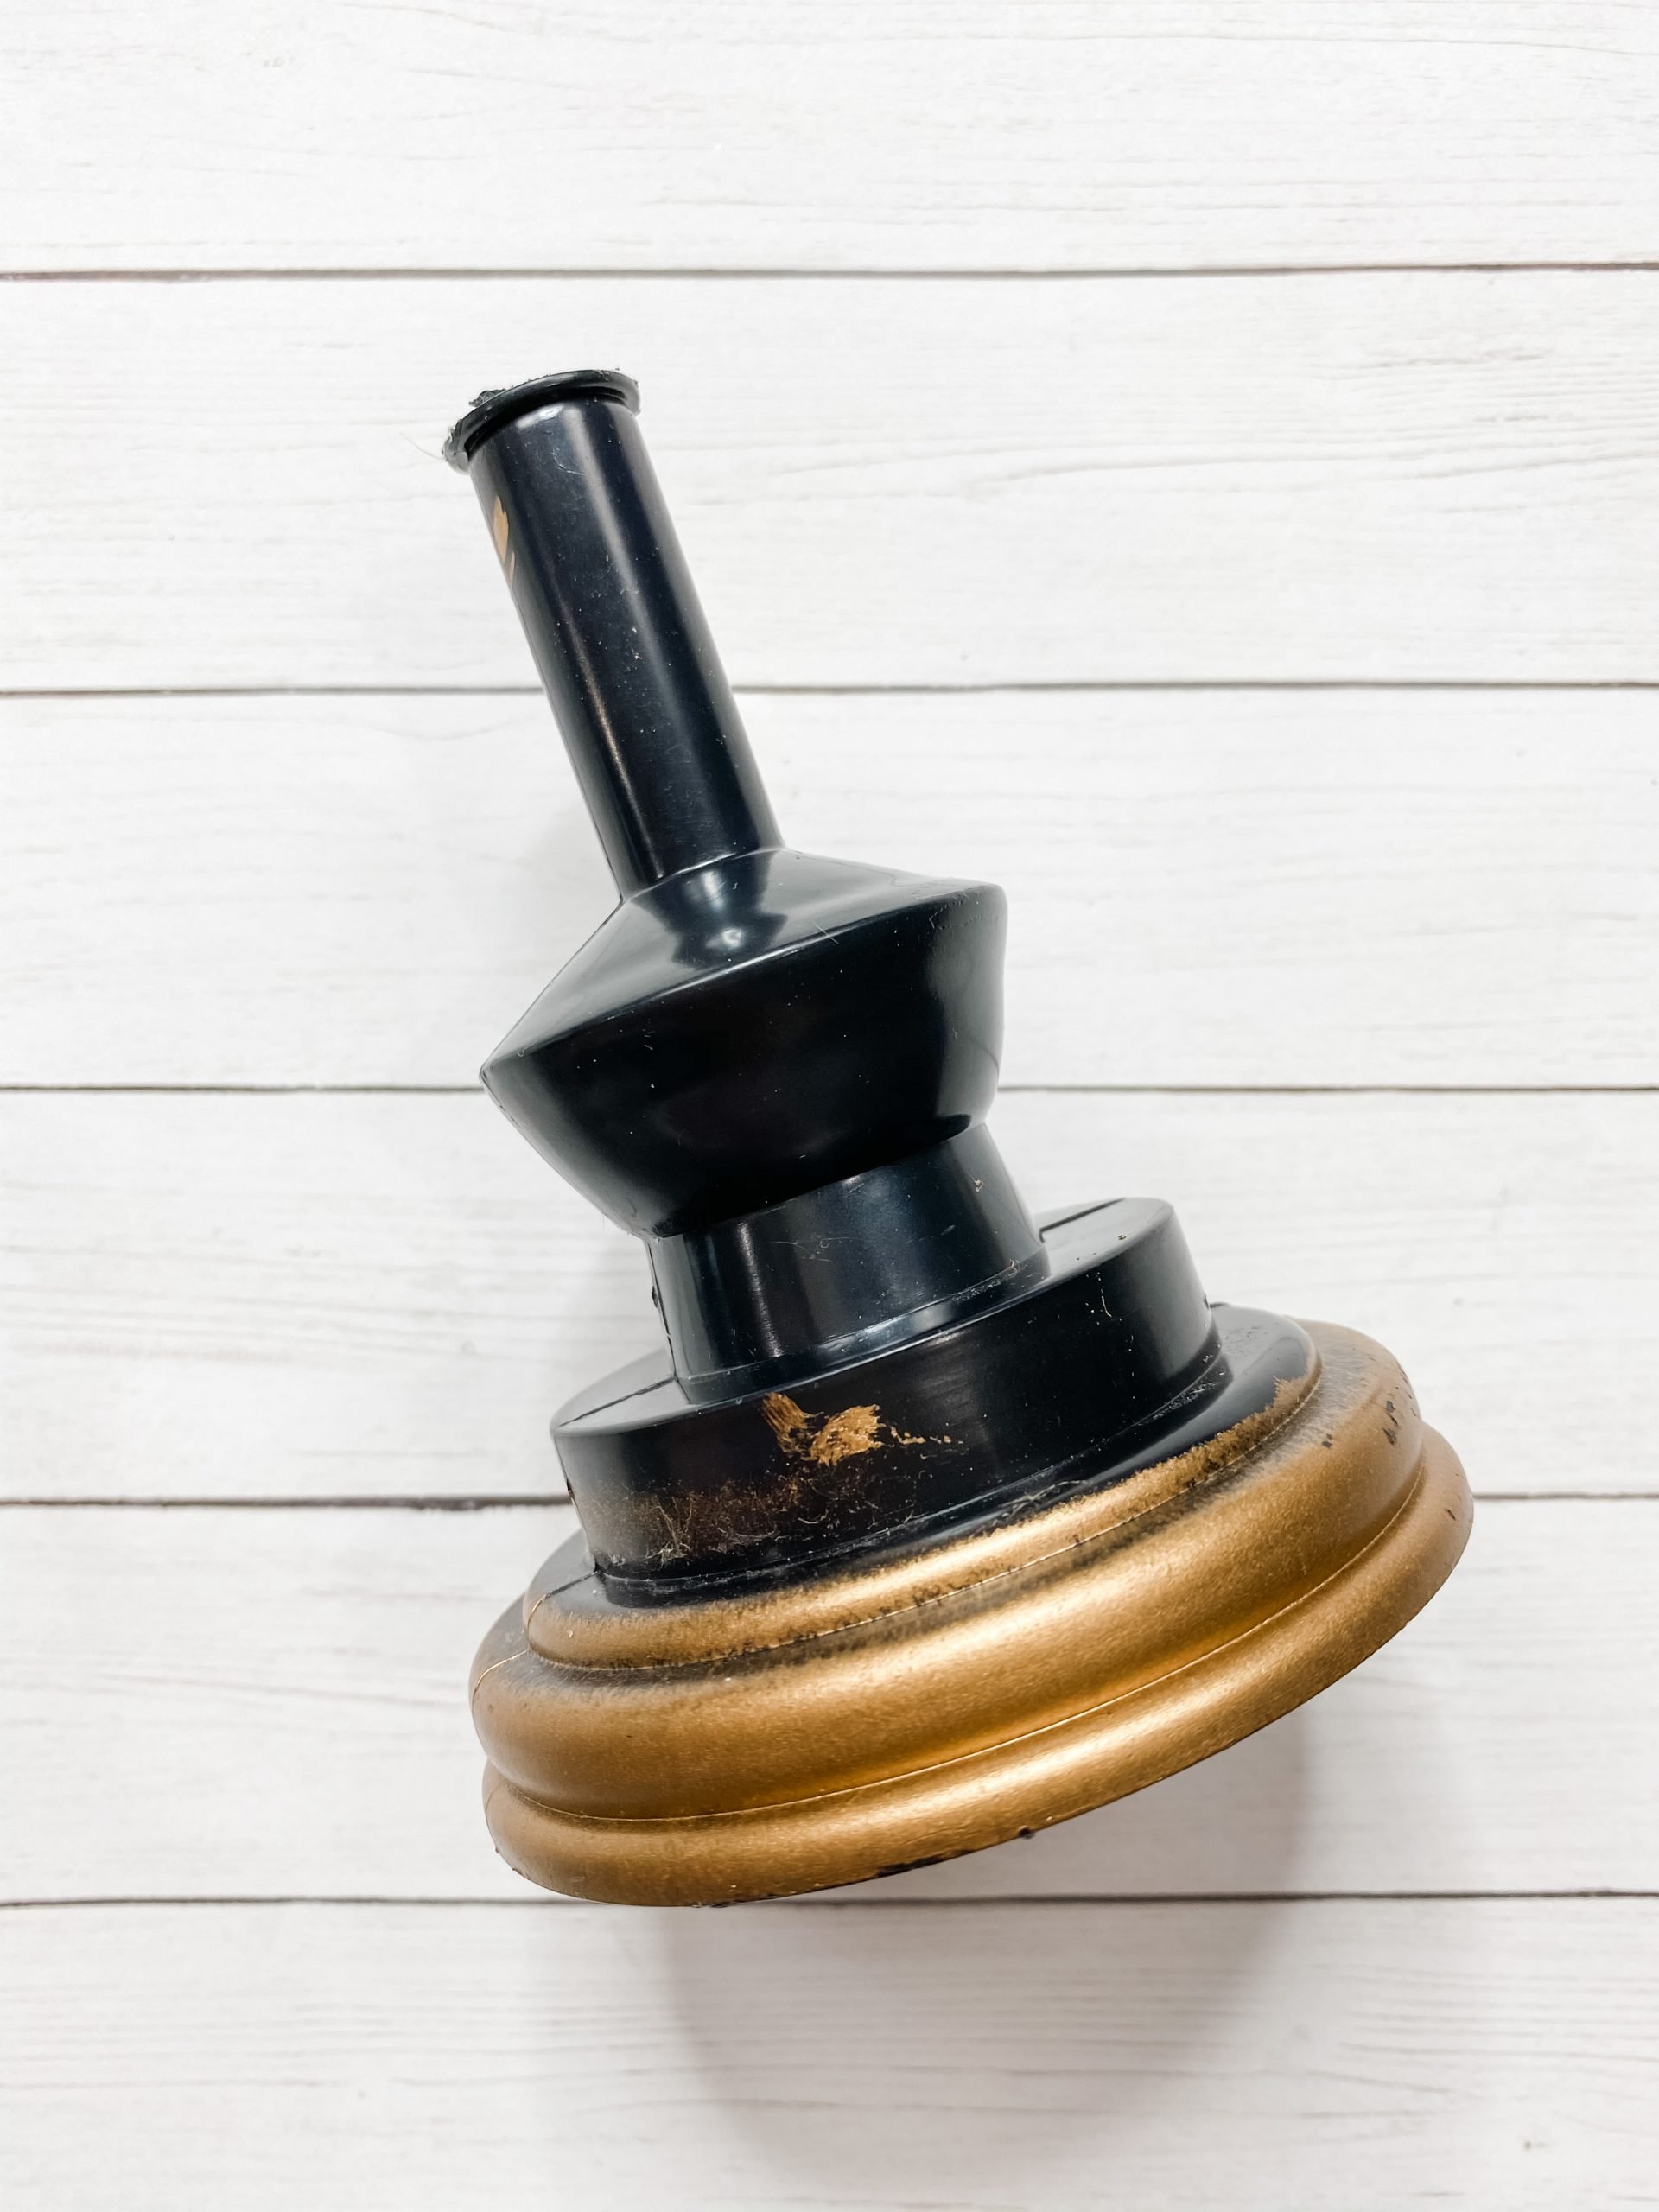
Next, I embellished the stand with a single strand of the Dollar Tree diamond wrap ribbon. Te Floral Garden Diamond Wrap ribbon has 5 strands of diamonds, so I had to trim the ribbon to a single strand and hot glued it in place.
I used this same ribbon on another Christmas DIY: Dollar Tree Candle Holder DIY Snow Globe
Get the tree ready
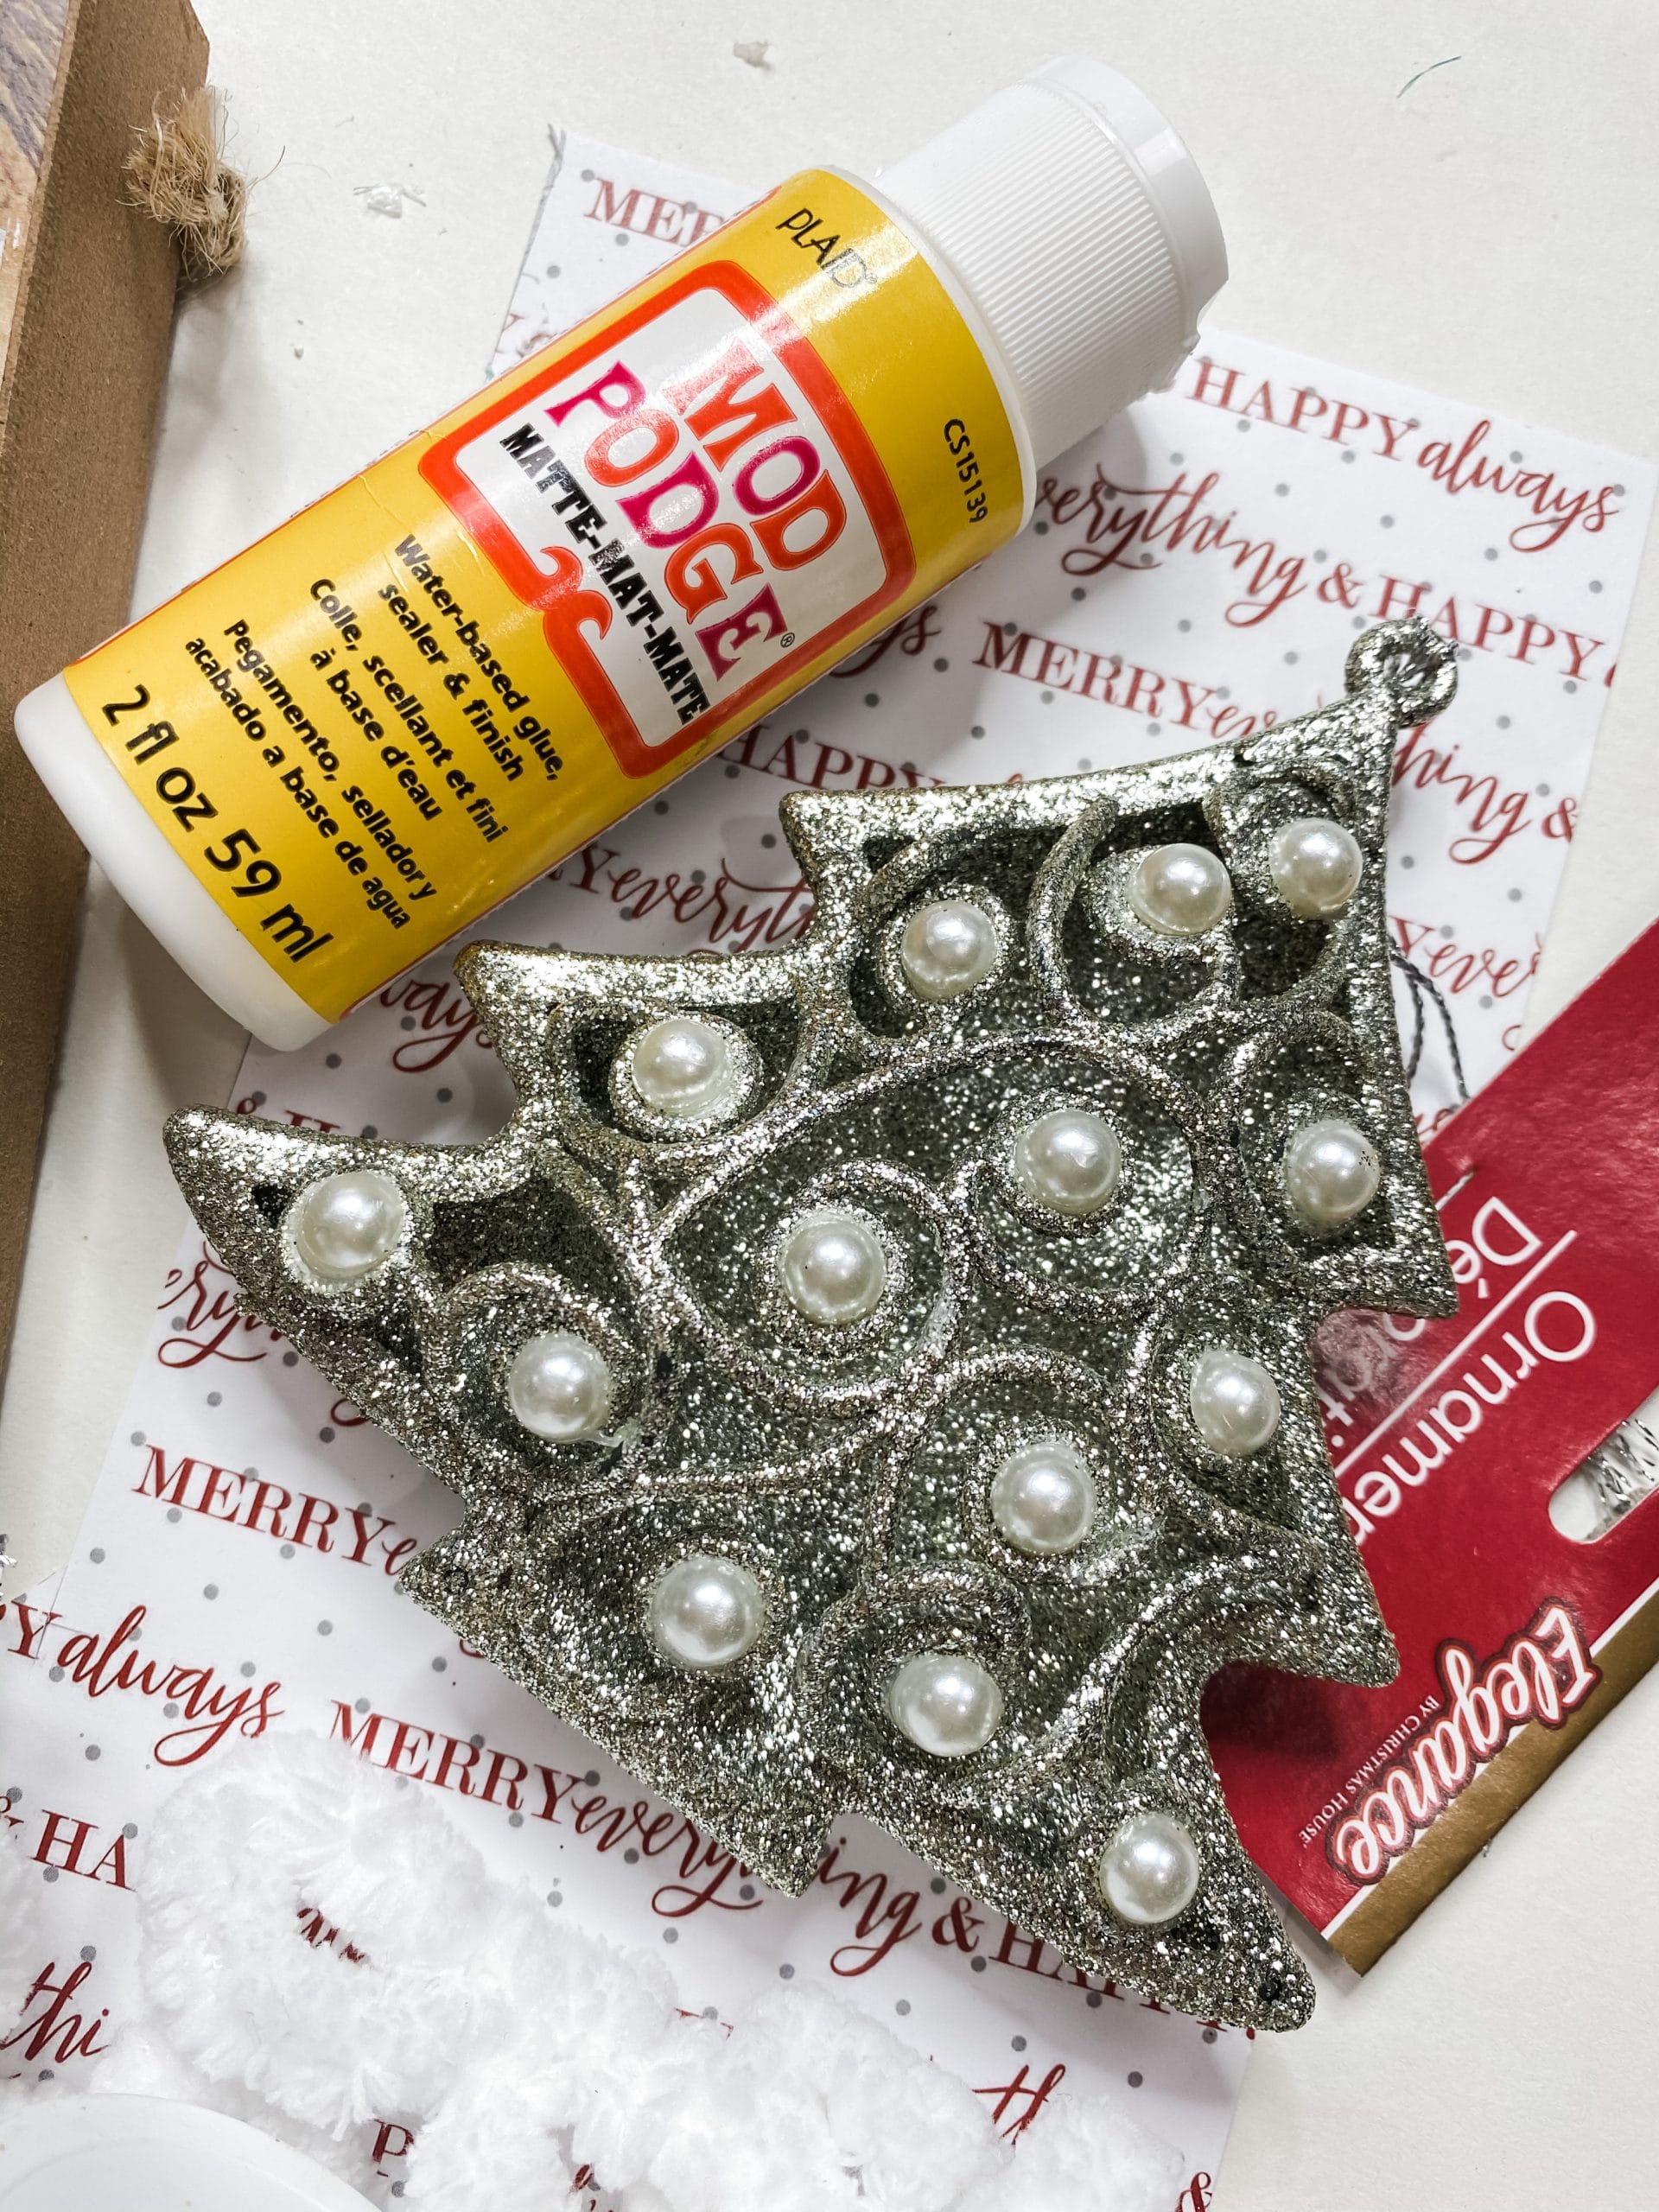
A lot of time when I am shopping for craft supplies, I will see things that I think are not cute at all, but that I know I could make something cute out of. That’s why I bought this Dollar Tree Christmas Tree ornament.
By itself, it is not cute, but with a little bit of love, it turns out perfect for this Christmas DIY.
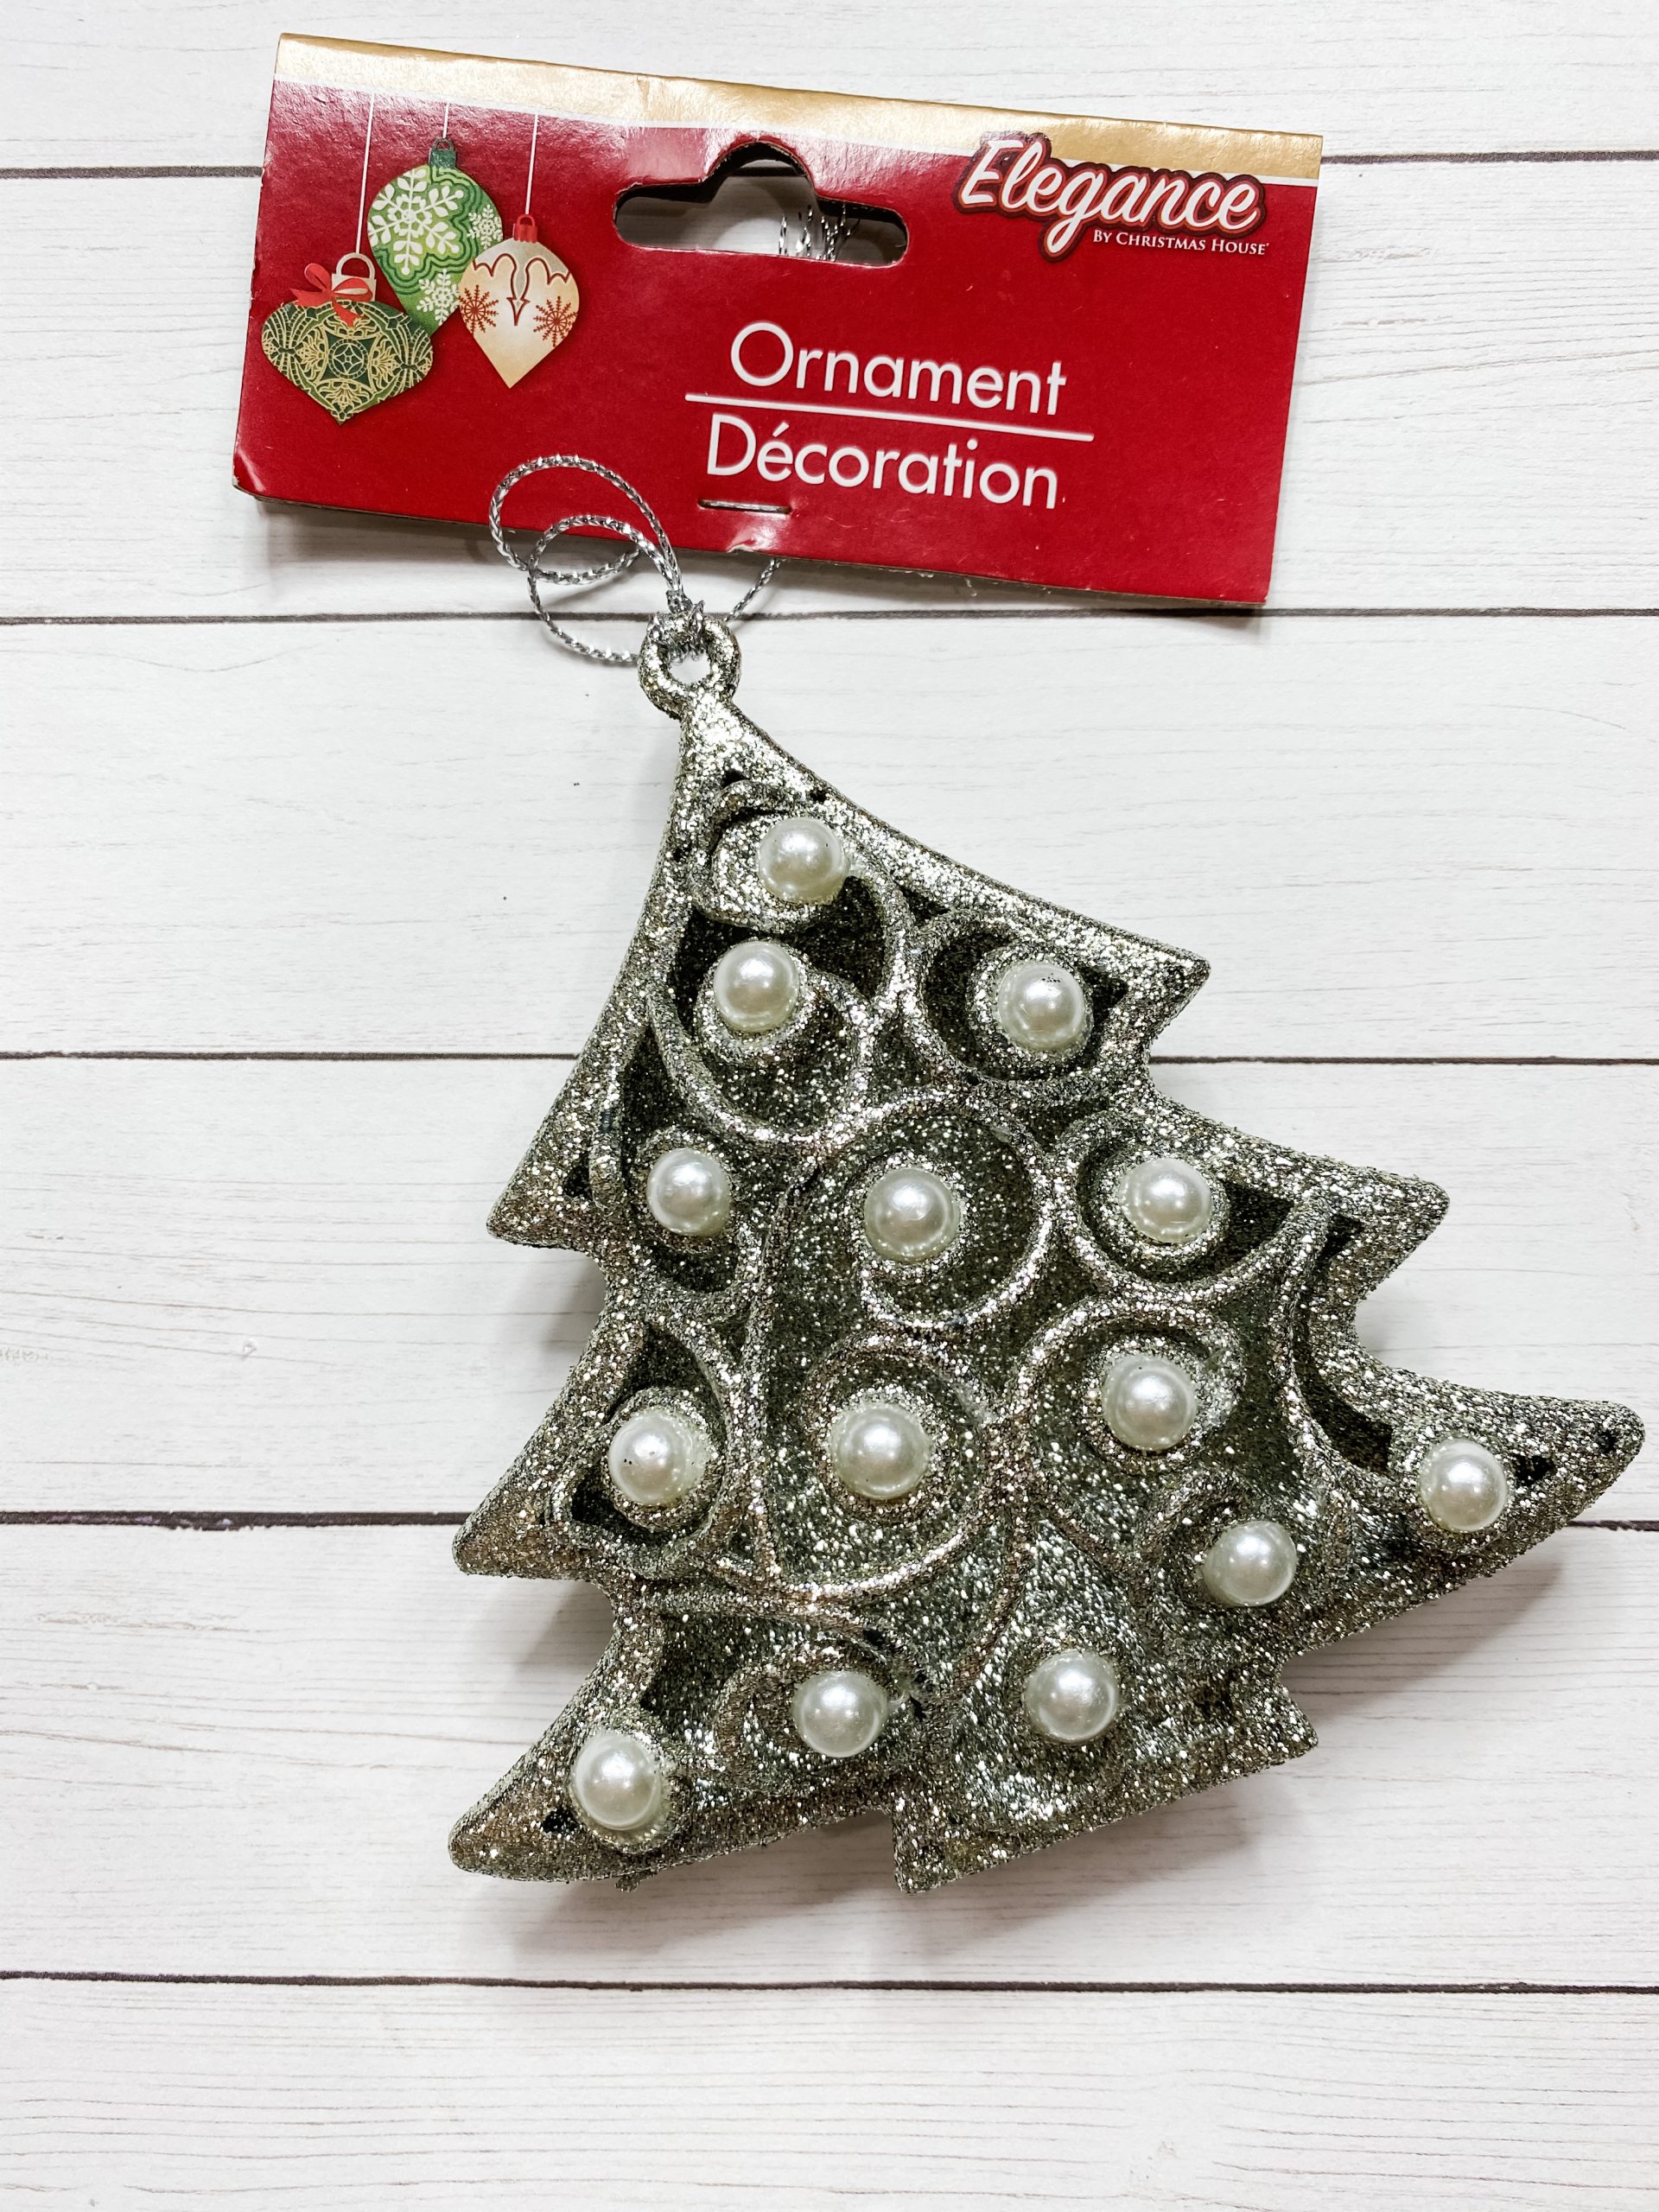
This ornament has 2 pieces of plastic stuck together. The front has glitter, pearls, and the design, but the back was just plain plastic.
I used my putty knife to separate the two pieces of plastic from each other. Just pry the putty knife between the two pieces and pop them apart.
Next, I painted around the pearls on the front piece of plastic with Waverly Ink Chalk Paint. Set the Christmas Tree ornament to the side to dry.
Time to decoupage
Grab the wood sign and piece of scrapbook paper that you cut earlier. Apply a coat of Mod Podge directly onto the back of the wood sign box and carefully place the scrapbook paper onto the Mod Podge.
Lay a piece of plastic wrap over the scrapbook paper and smooth out any wrinkles or creases. The plastic wrap protects the paper and prevents it from ripping.
Loop-it
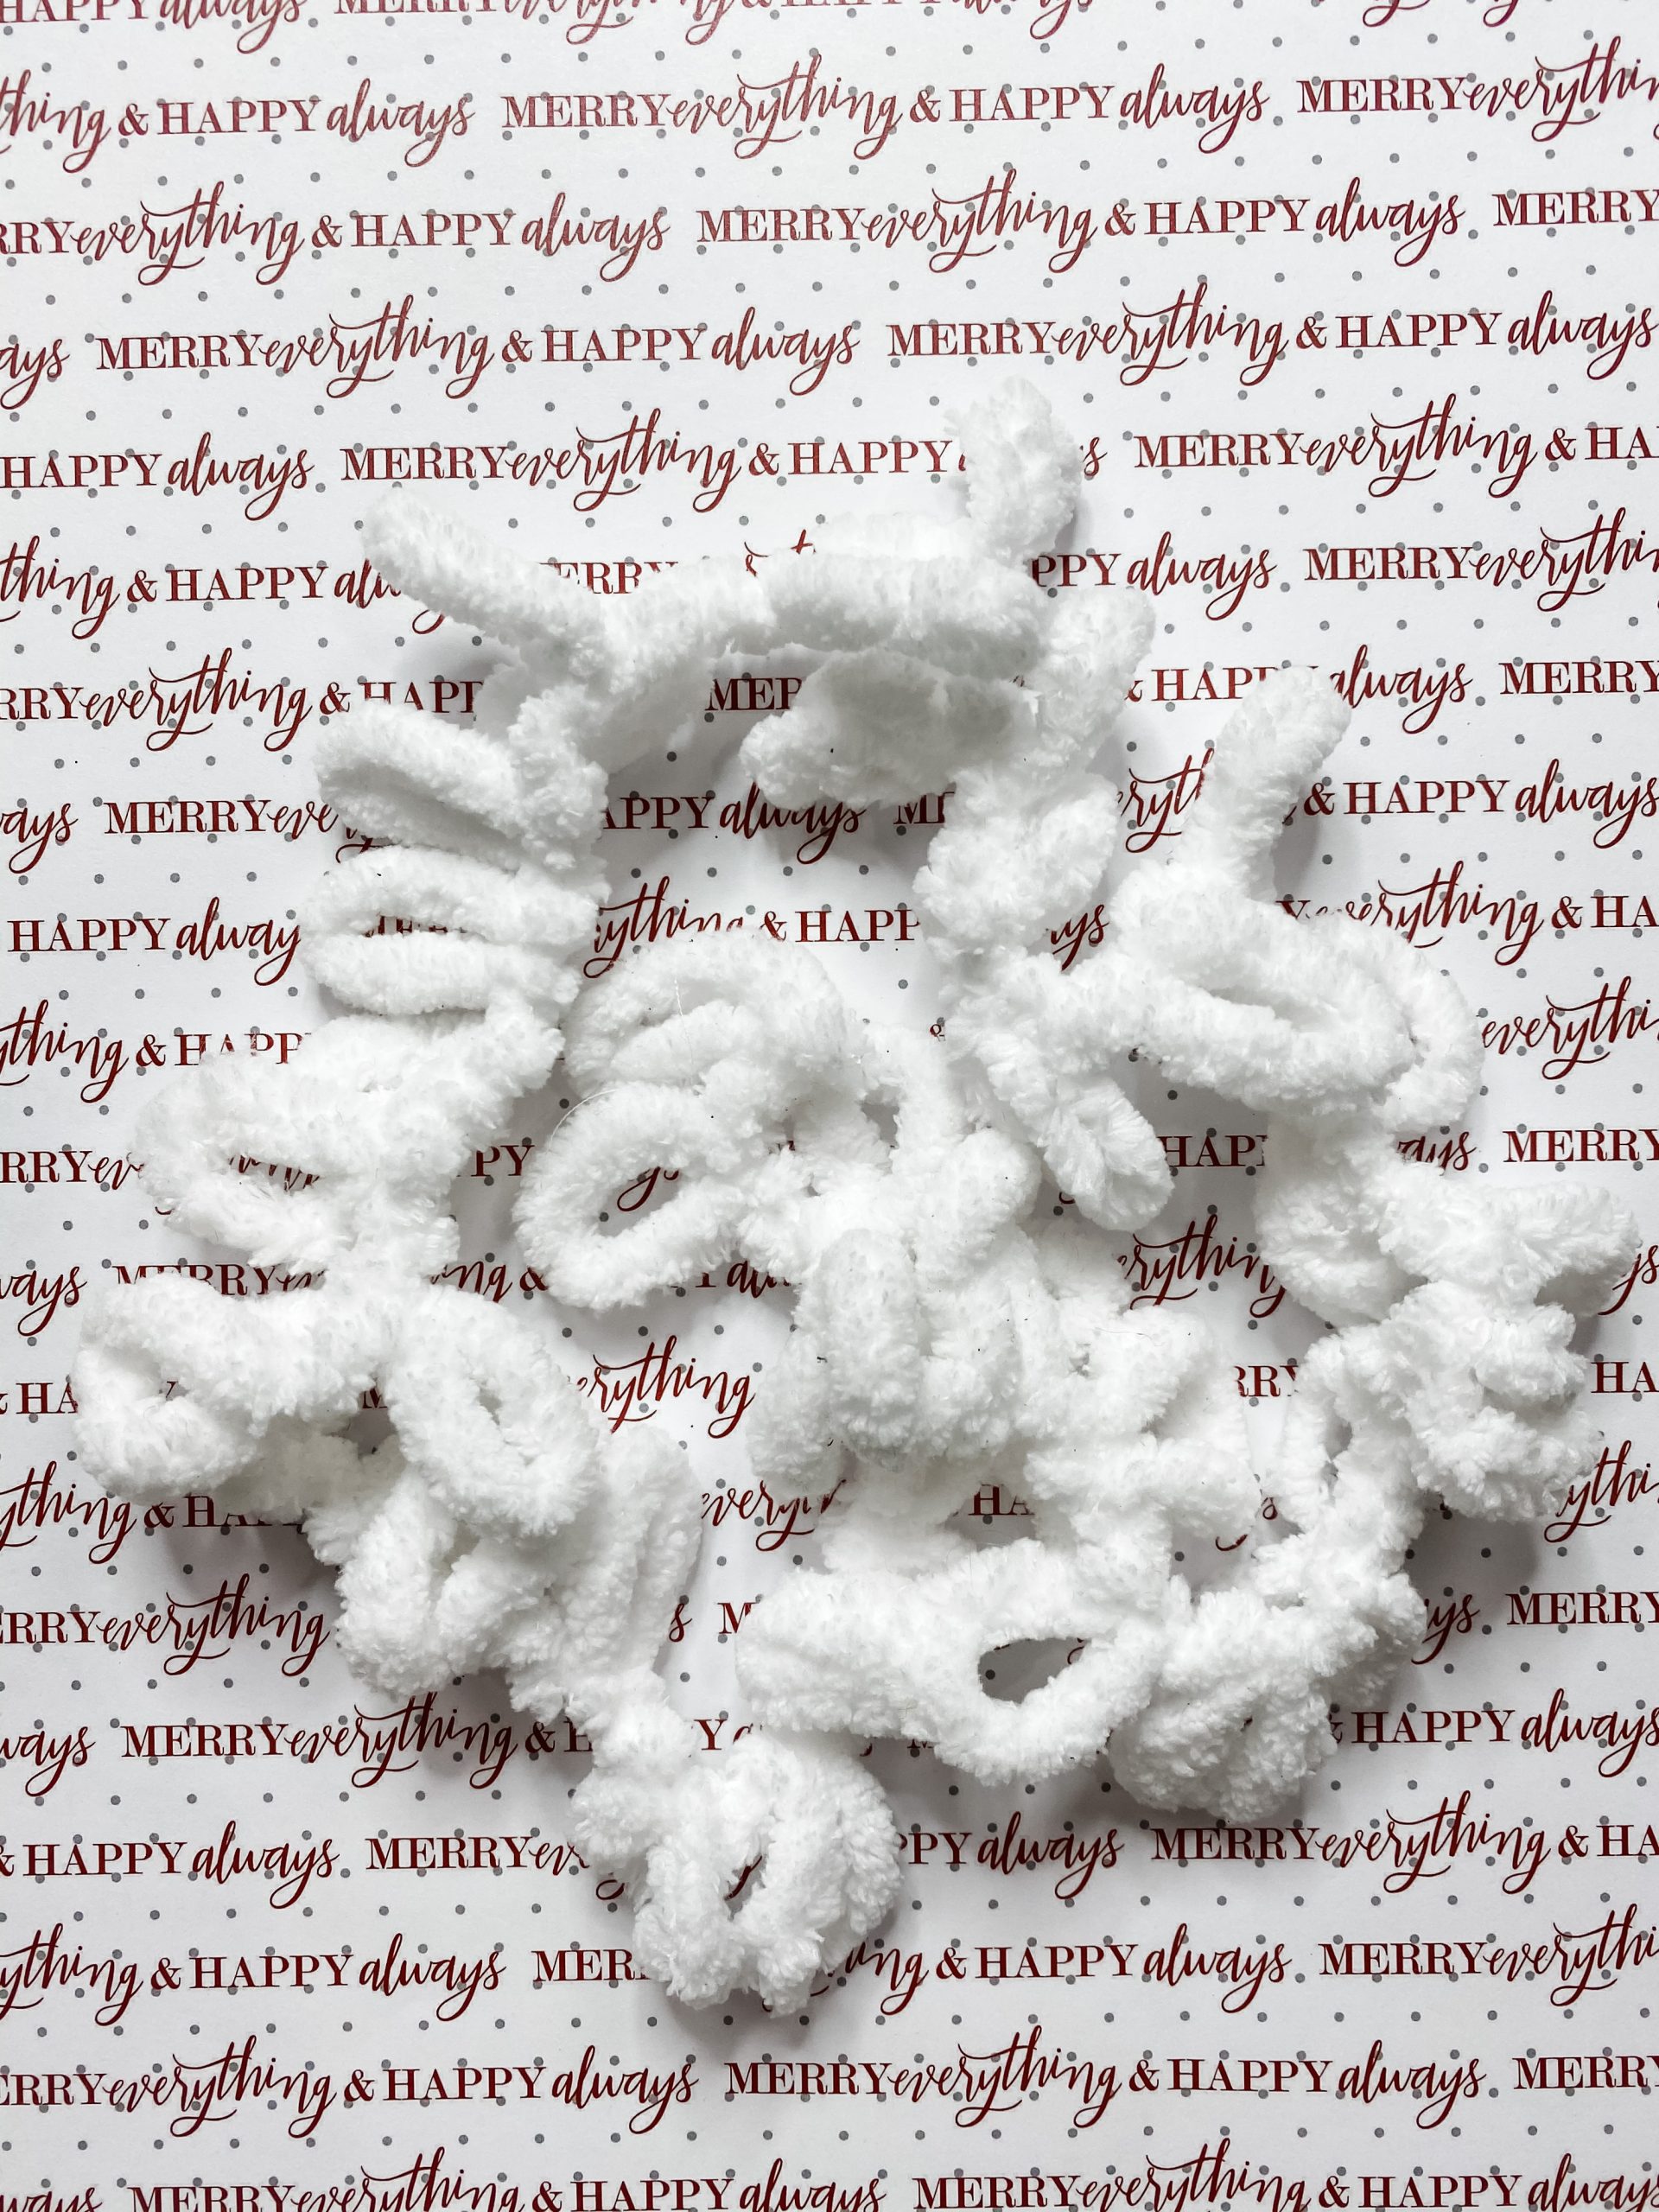
Next, I took a strand of loop-it yarn that I bought at Hobby Lobby and hot glued it around the edges of the wood sign box. You could also use Dollar Tree mop strings if you wanted to!
Your Christmas tree ornament should be dry by now, so go ahead and hot glue it onto the wood sign box.
Add some bling
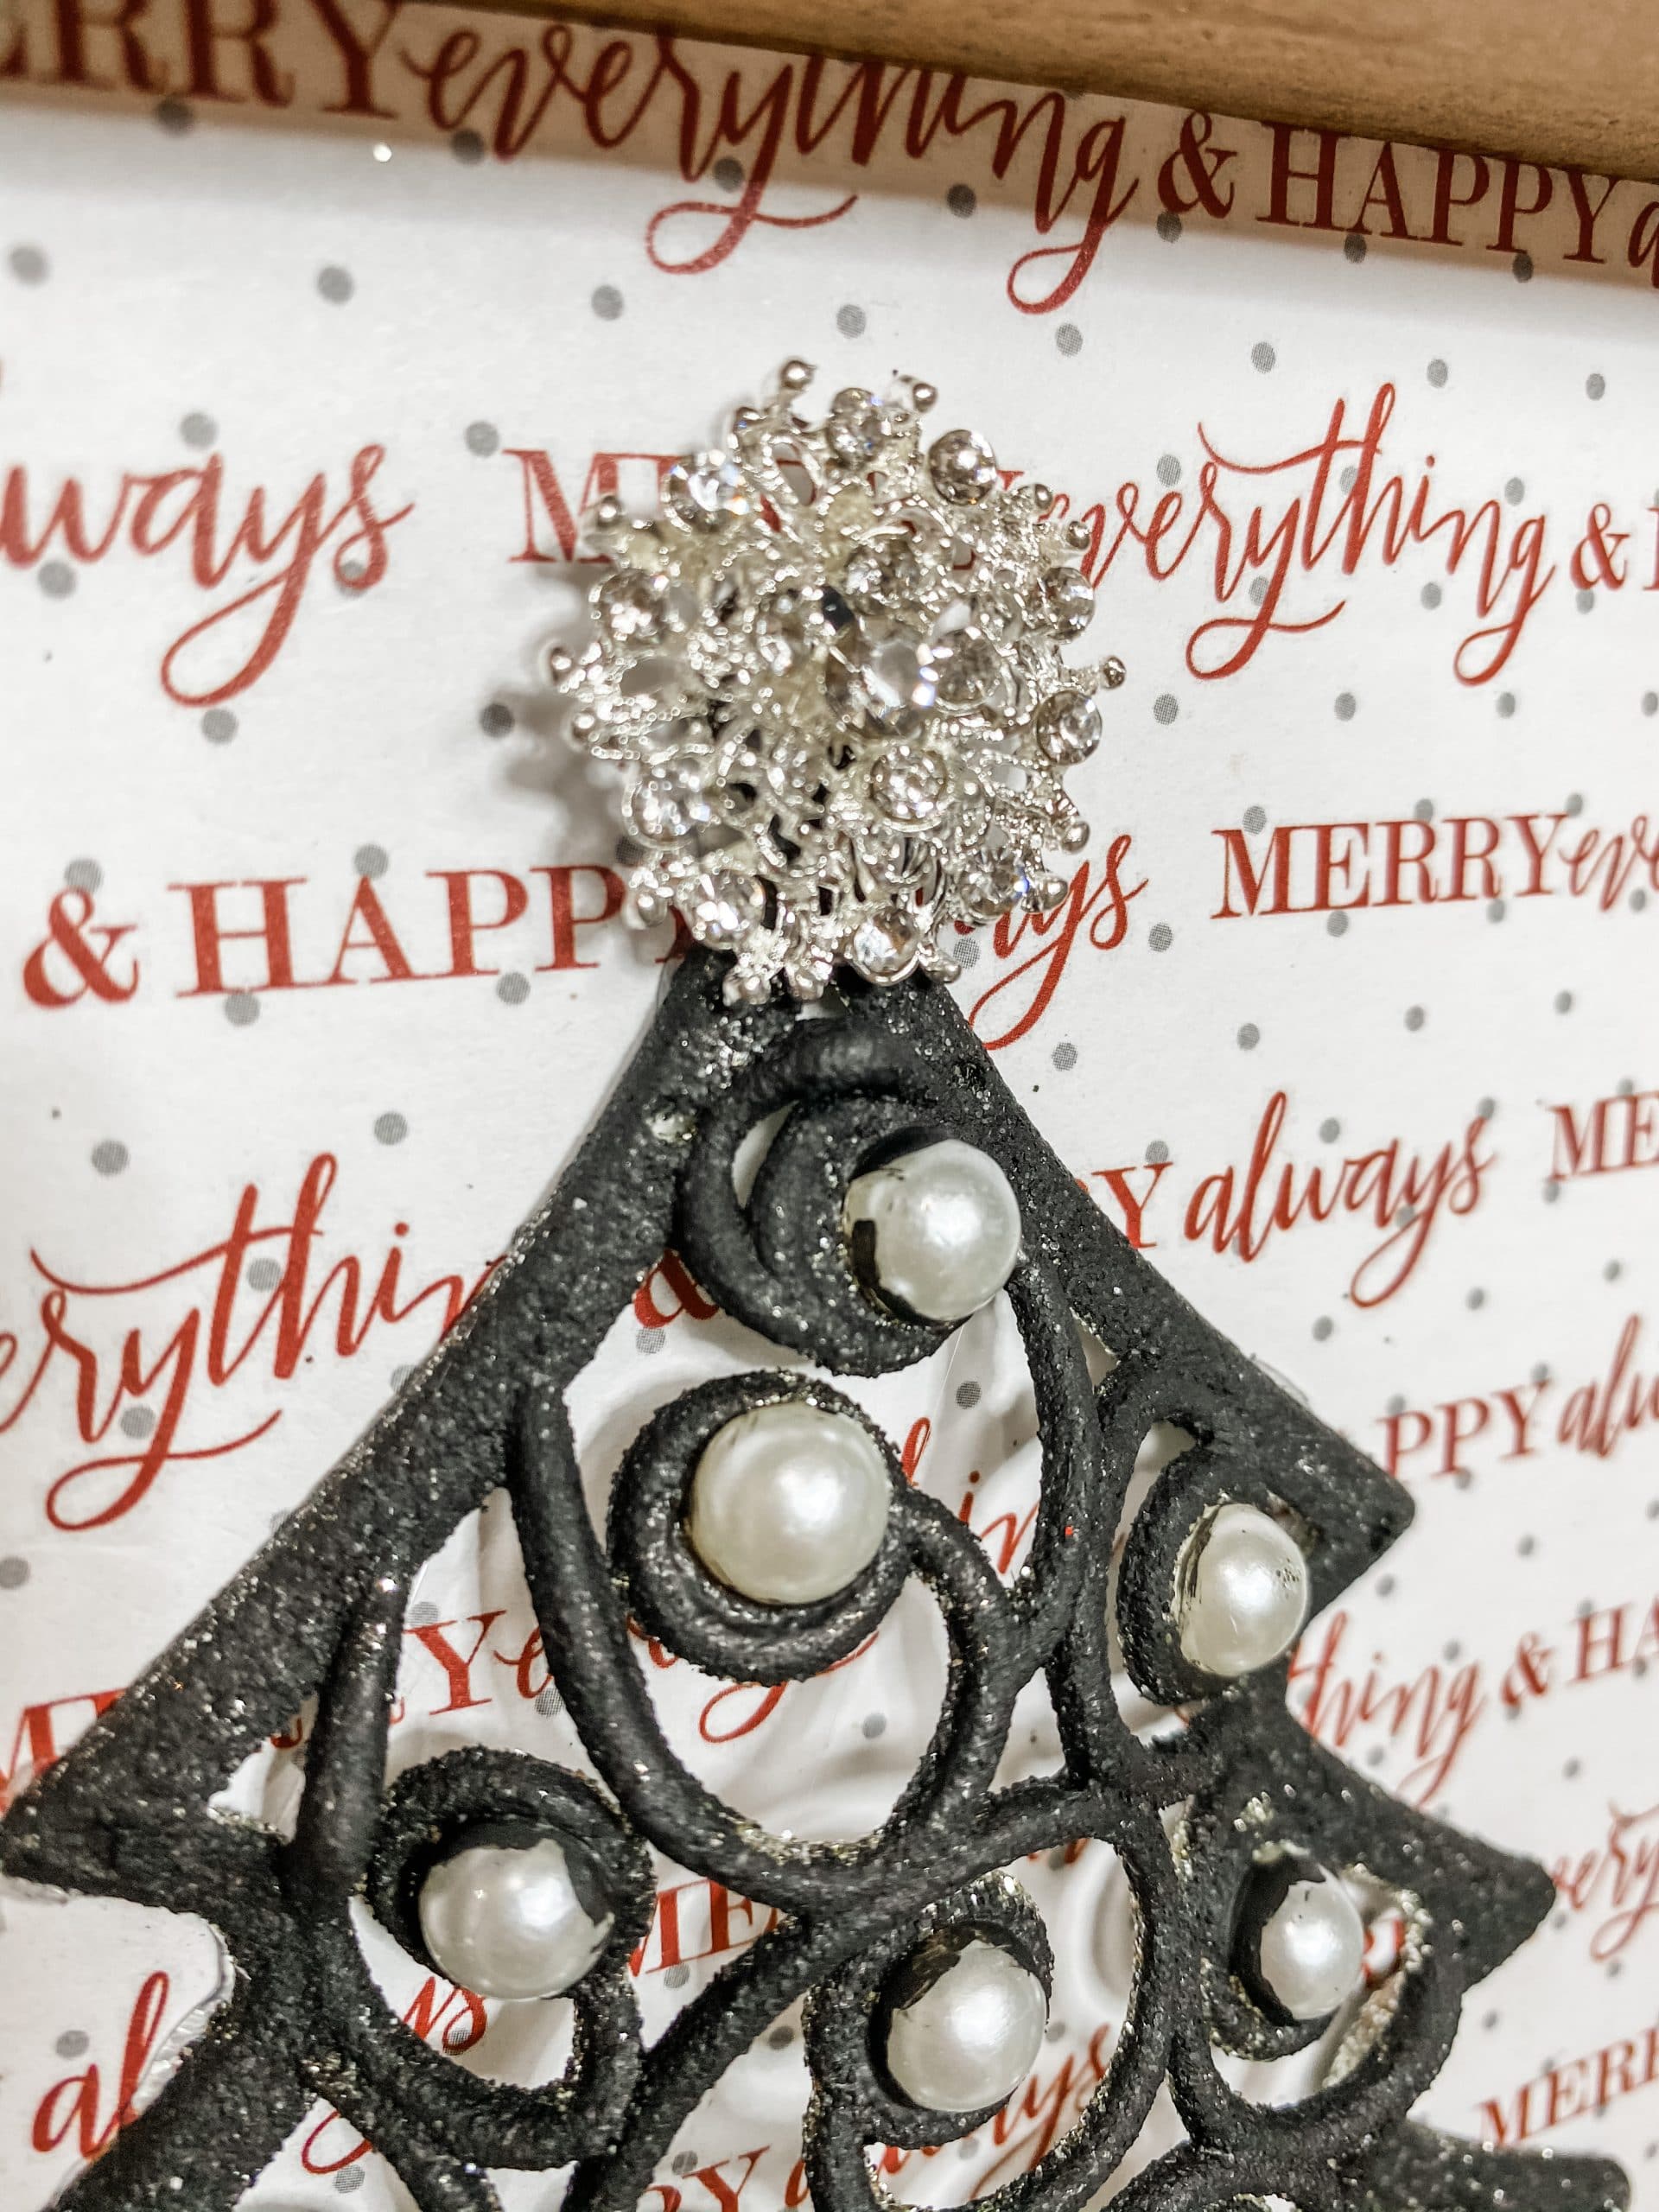
I usually go for a messy bow, but I wanted to do something a little different with this Christmas decor DIY, and I thought bling from Totally Dazzled would go perfectly with the pearls on the Christmas tree ornament! They have a ton of different styles and sizes that are perfect for any DIY!
Stand it up!
All that is left to do is glue the painted stand to the wood sign box! I put just a dab of E6000 glue on the top of the plastic stand and then added some hot glue and pressed the stand and the wood sign box together.
The E6000 helps bond the wood and plastic together better, but it can take about 24 hours to dry.
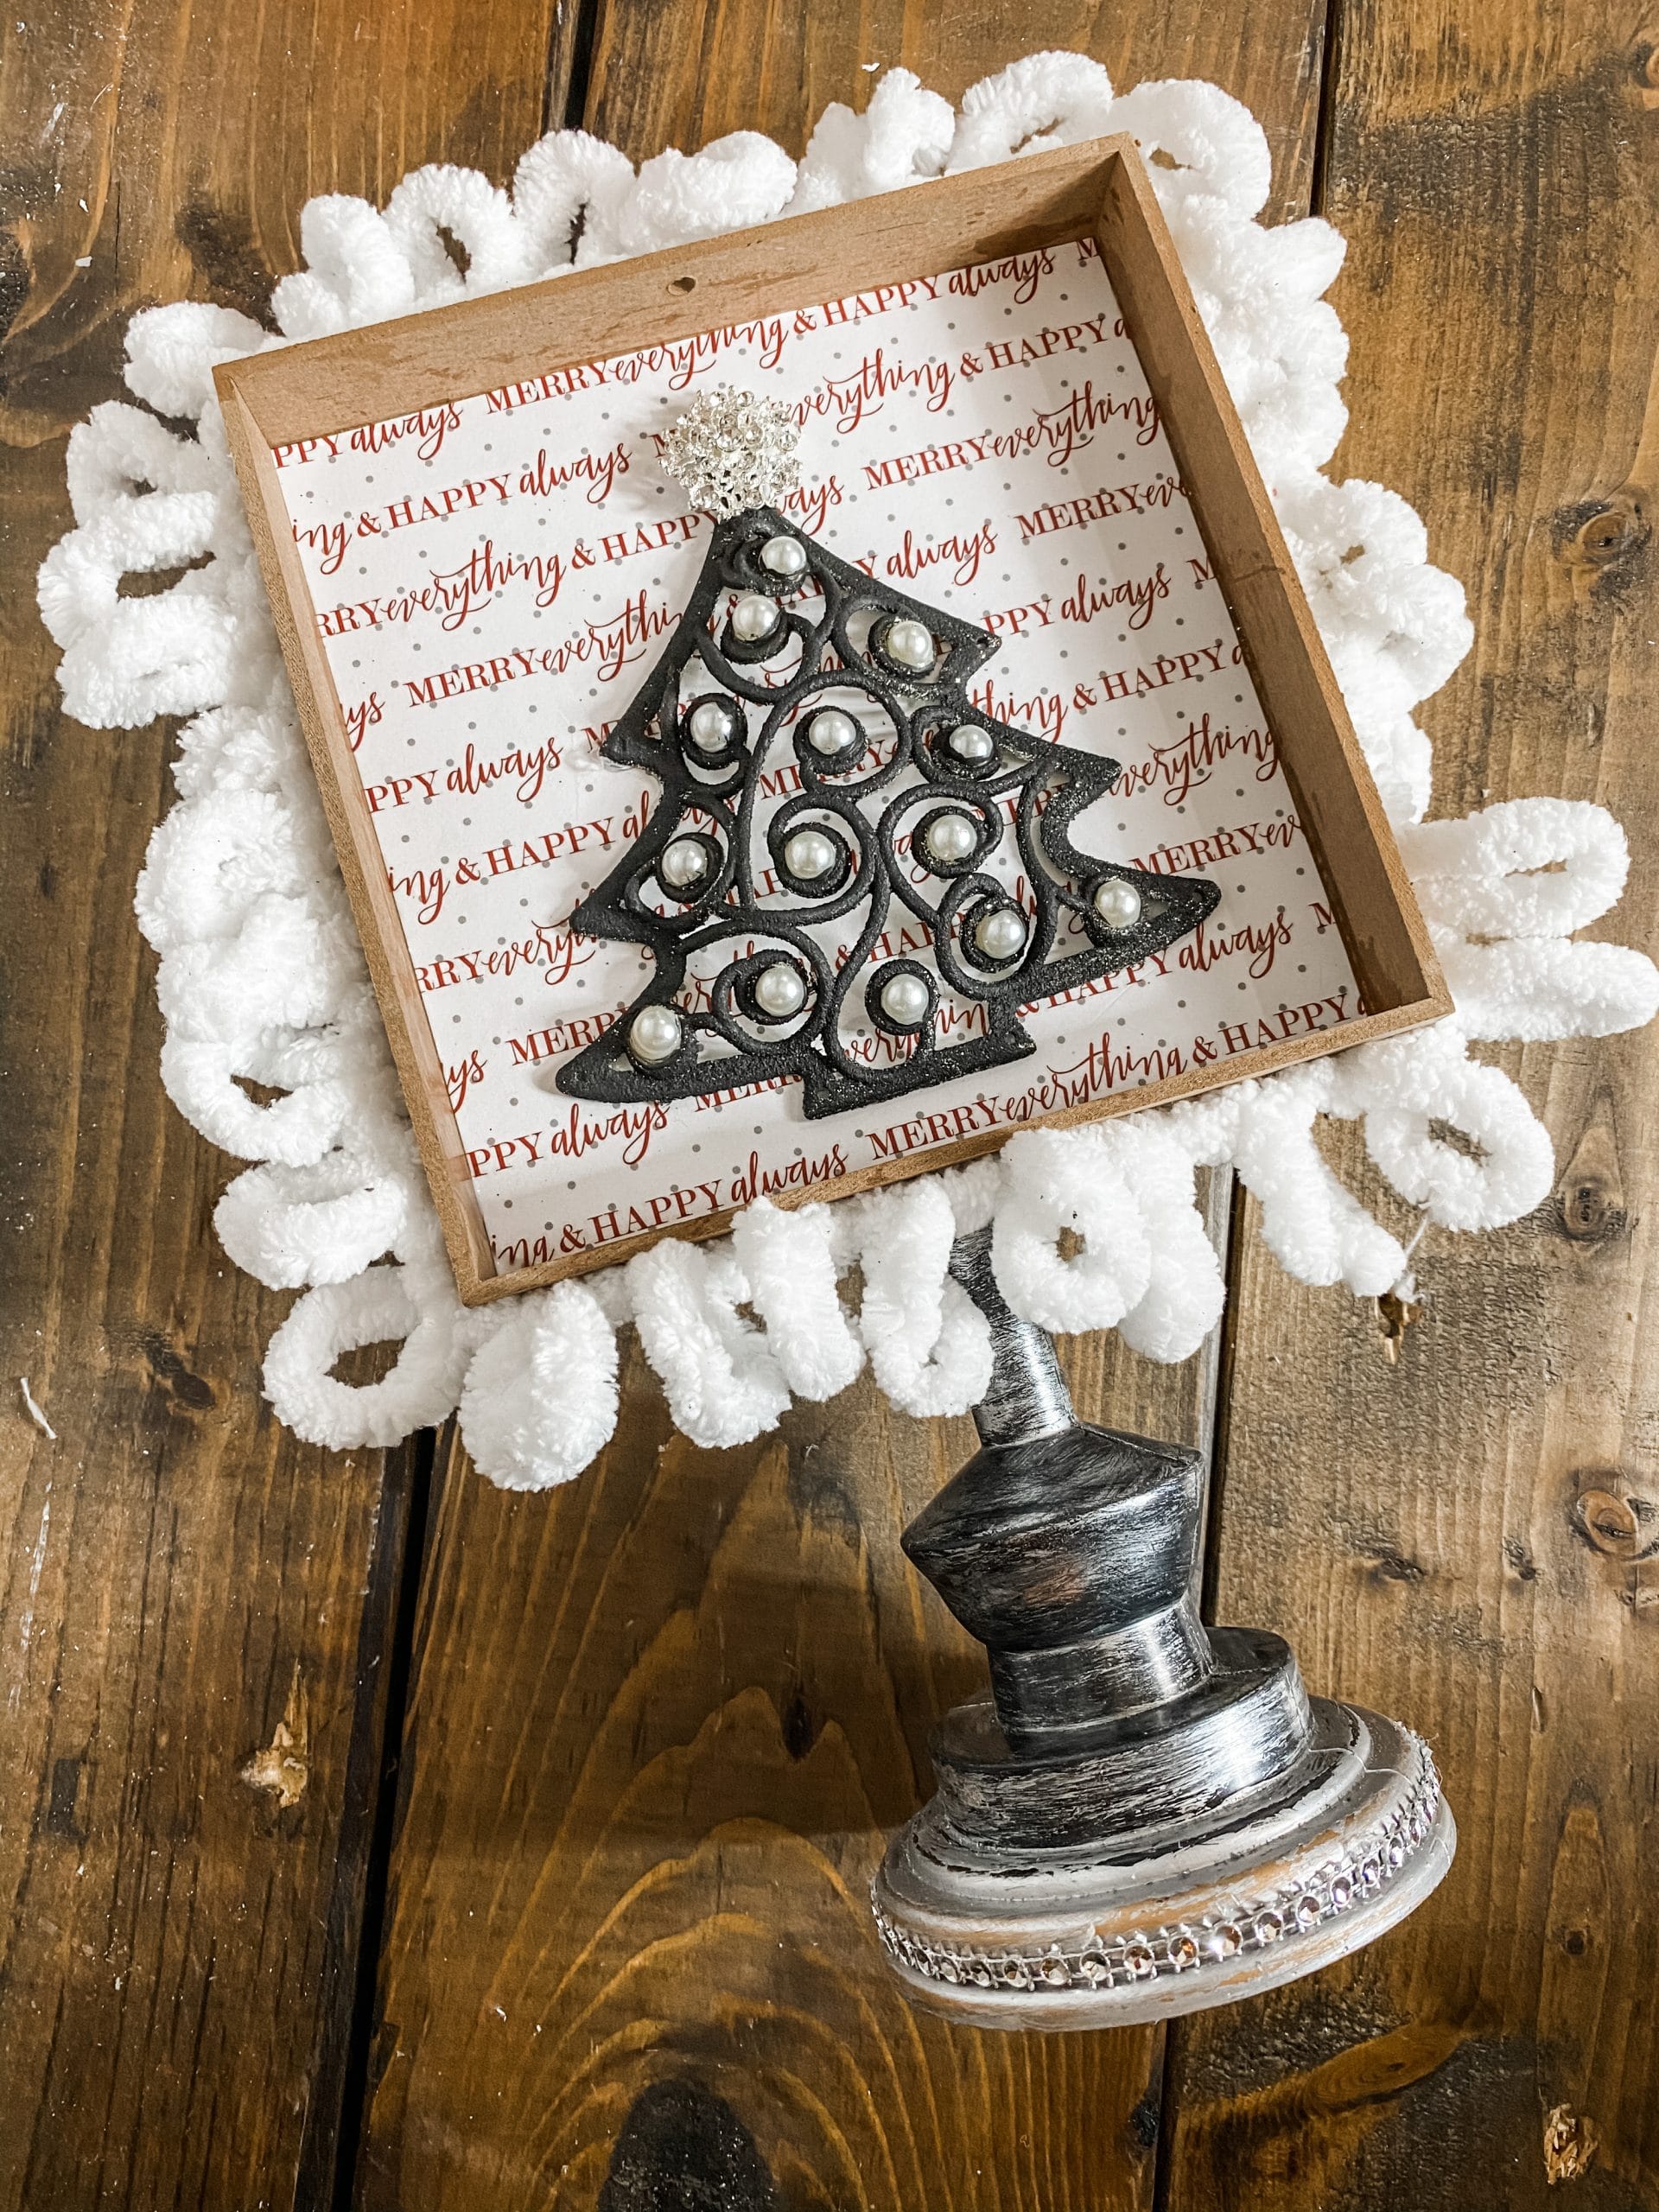
I hope you enjoyed learning how to make an Easy Dollar Tree DIY Christmas Sign as much as I did and decide to make it for yourself!
I would love to see how yours turns out! You should totally join my FREE Facebook group called On A Budget Crafts! It is a judgment-free community for DIY crafters to show off their projects and ideas.
If you loved this DIY you might also like this Christmas Ornament DIY with Cardboard!
Thanks for stopping by! XOXO Amber
You can also shop my ENTIRE AMAZON Favorites shop just click here! It’s packed full of all the things I use and love.
Here is the supply list I highly recommend every creative have on hand!! Would you also pin my blog for later and get on my newsletter alerts? I would love to have you join my #craftycrew.

Join my free “ON A BUDGET CRAFTS” Facebook group!
PIN THIS POST FOR LATER!
