Easy DIY Bumble Bee Farmhouse Home Decor
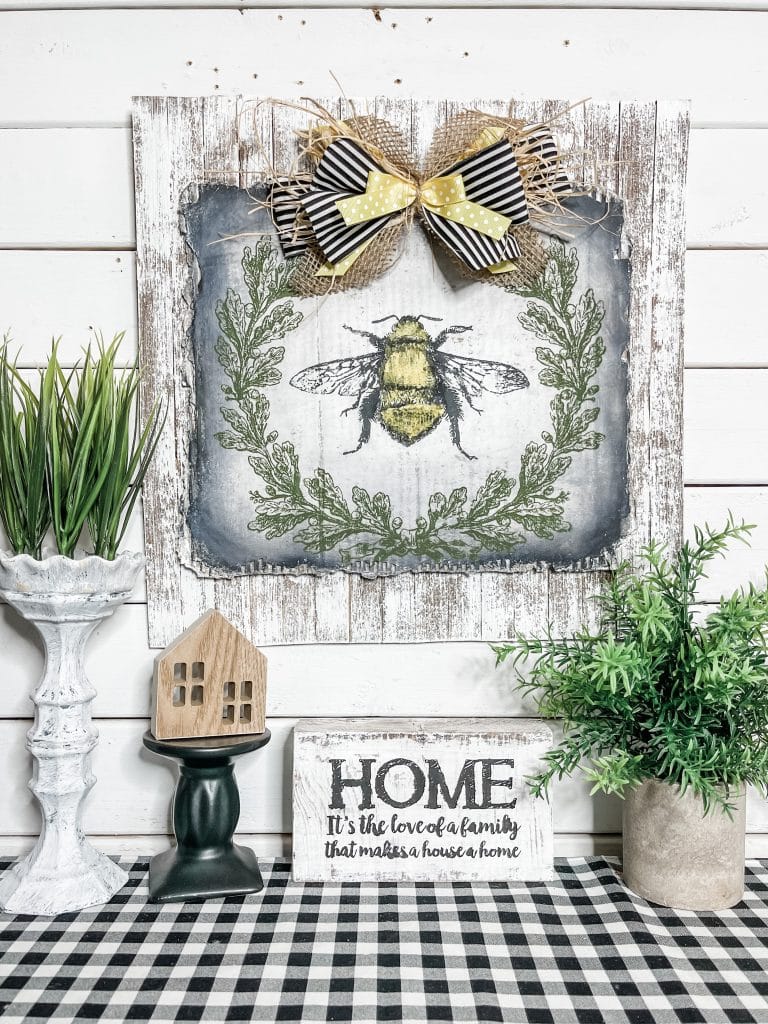
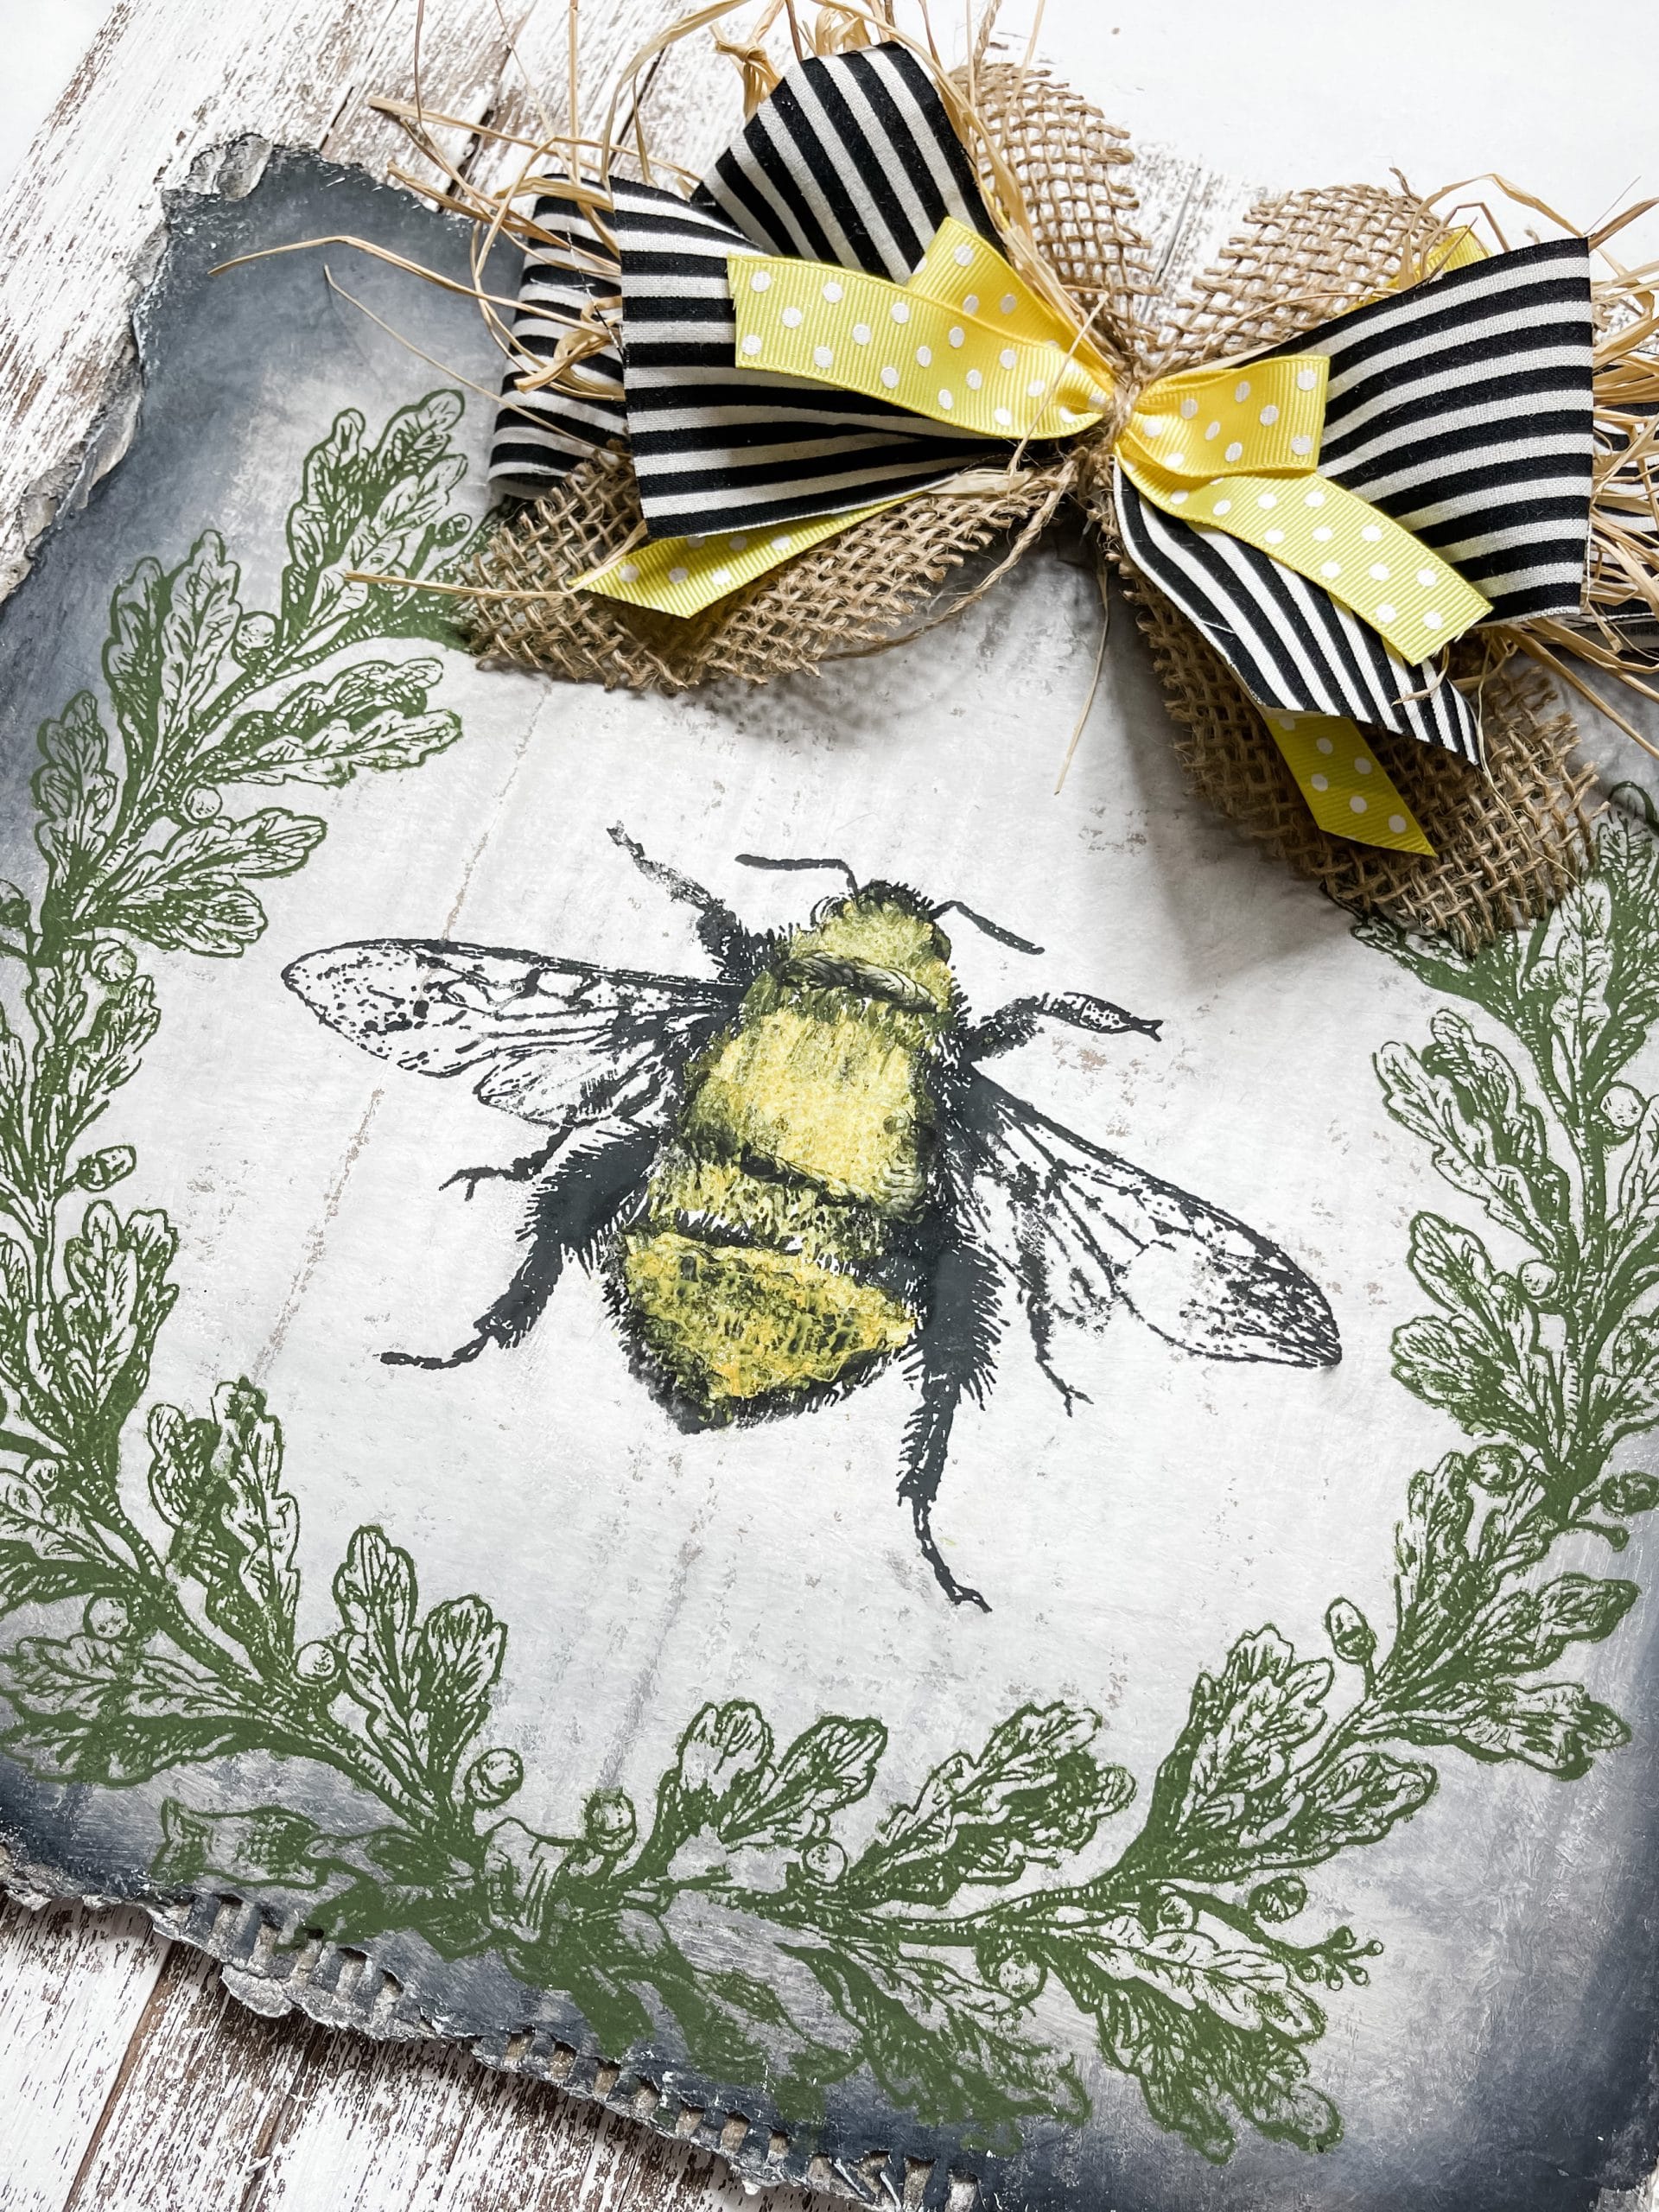
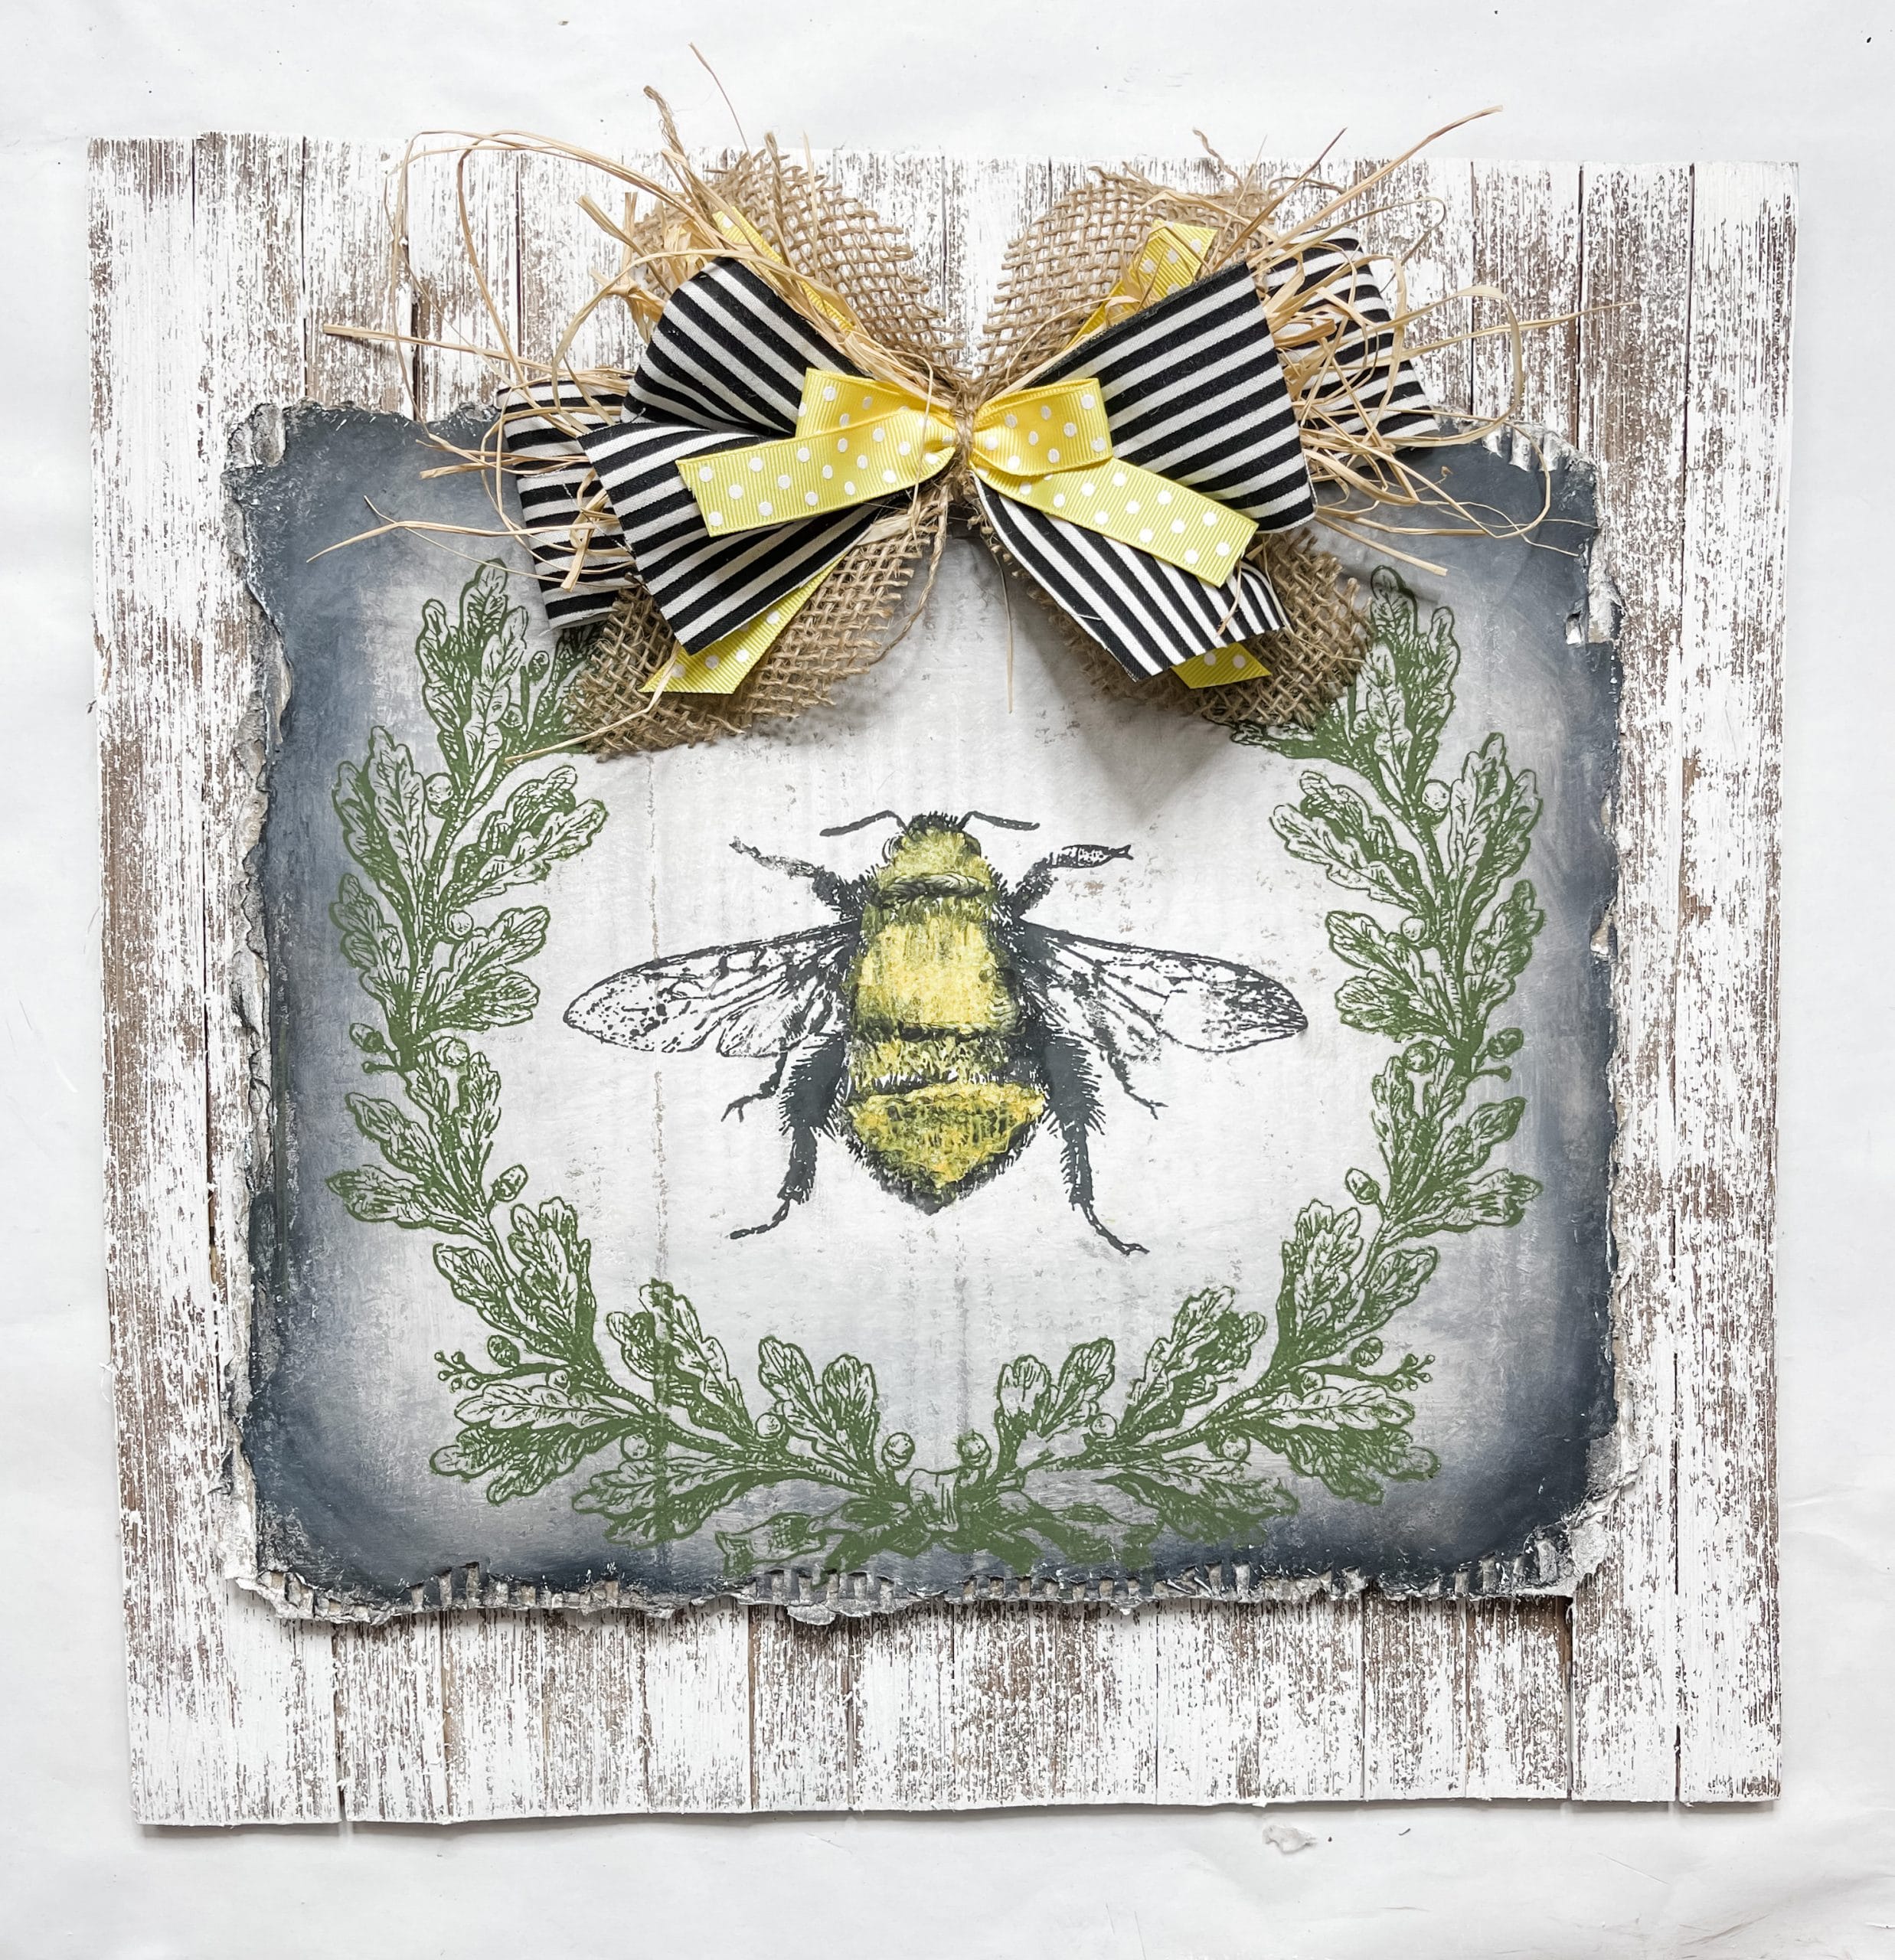
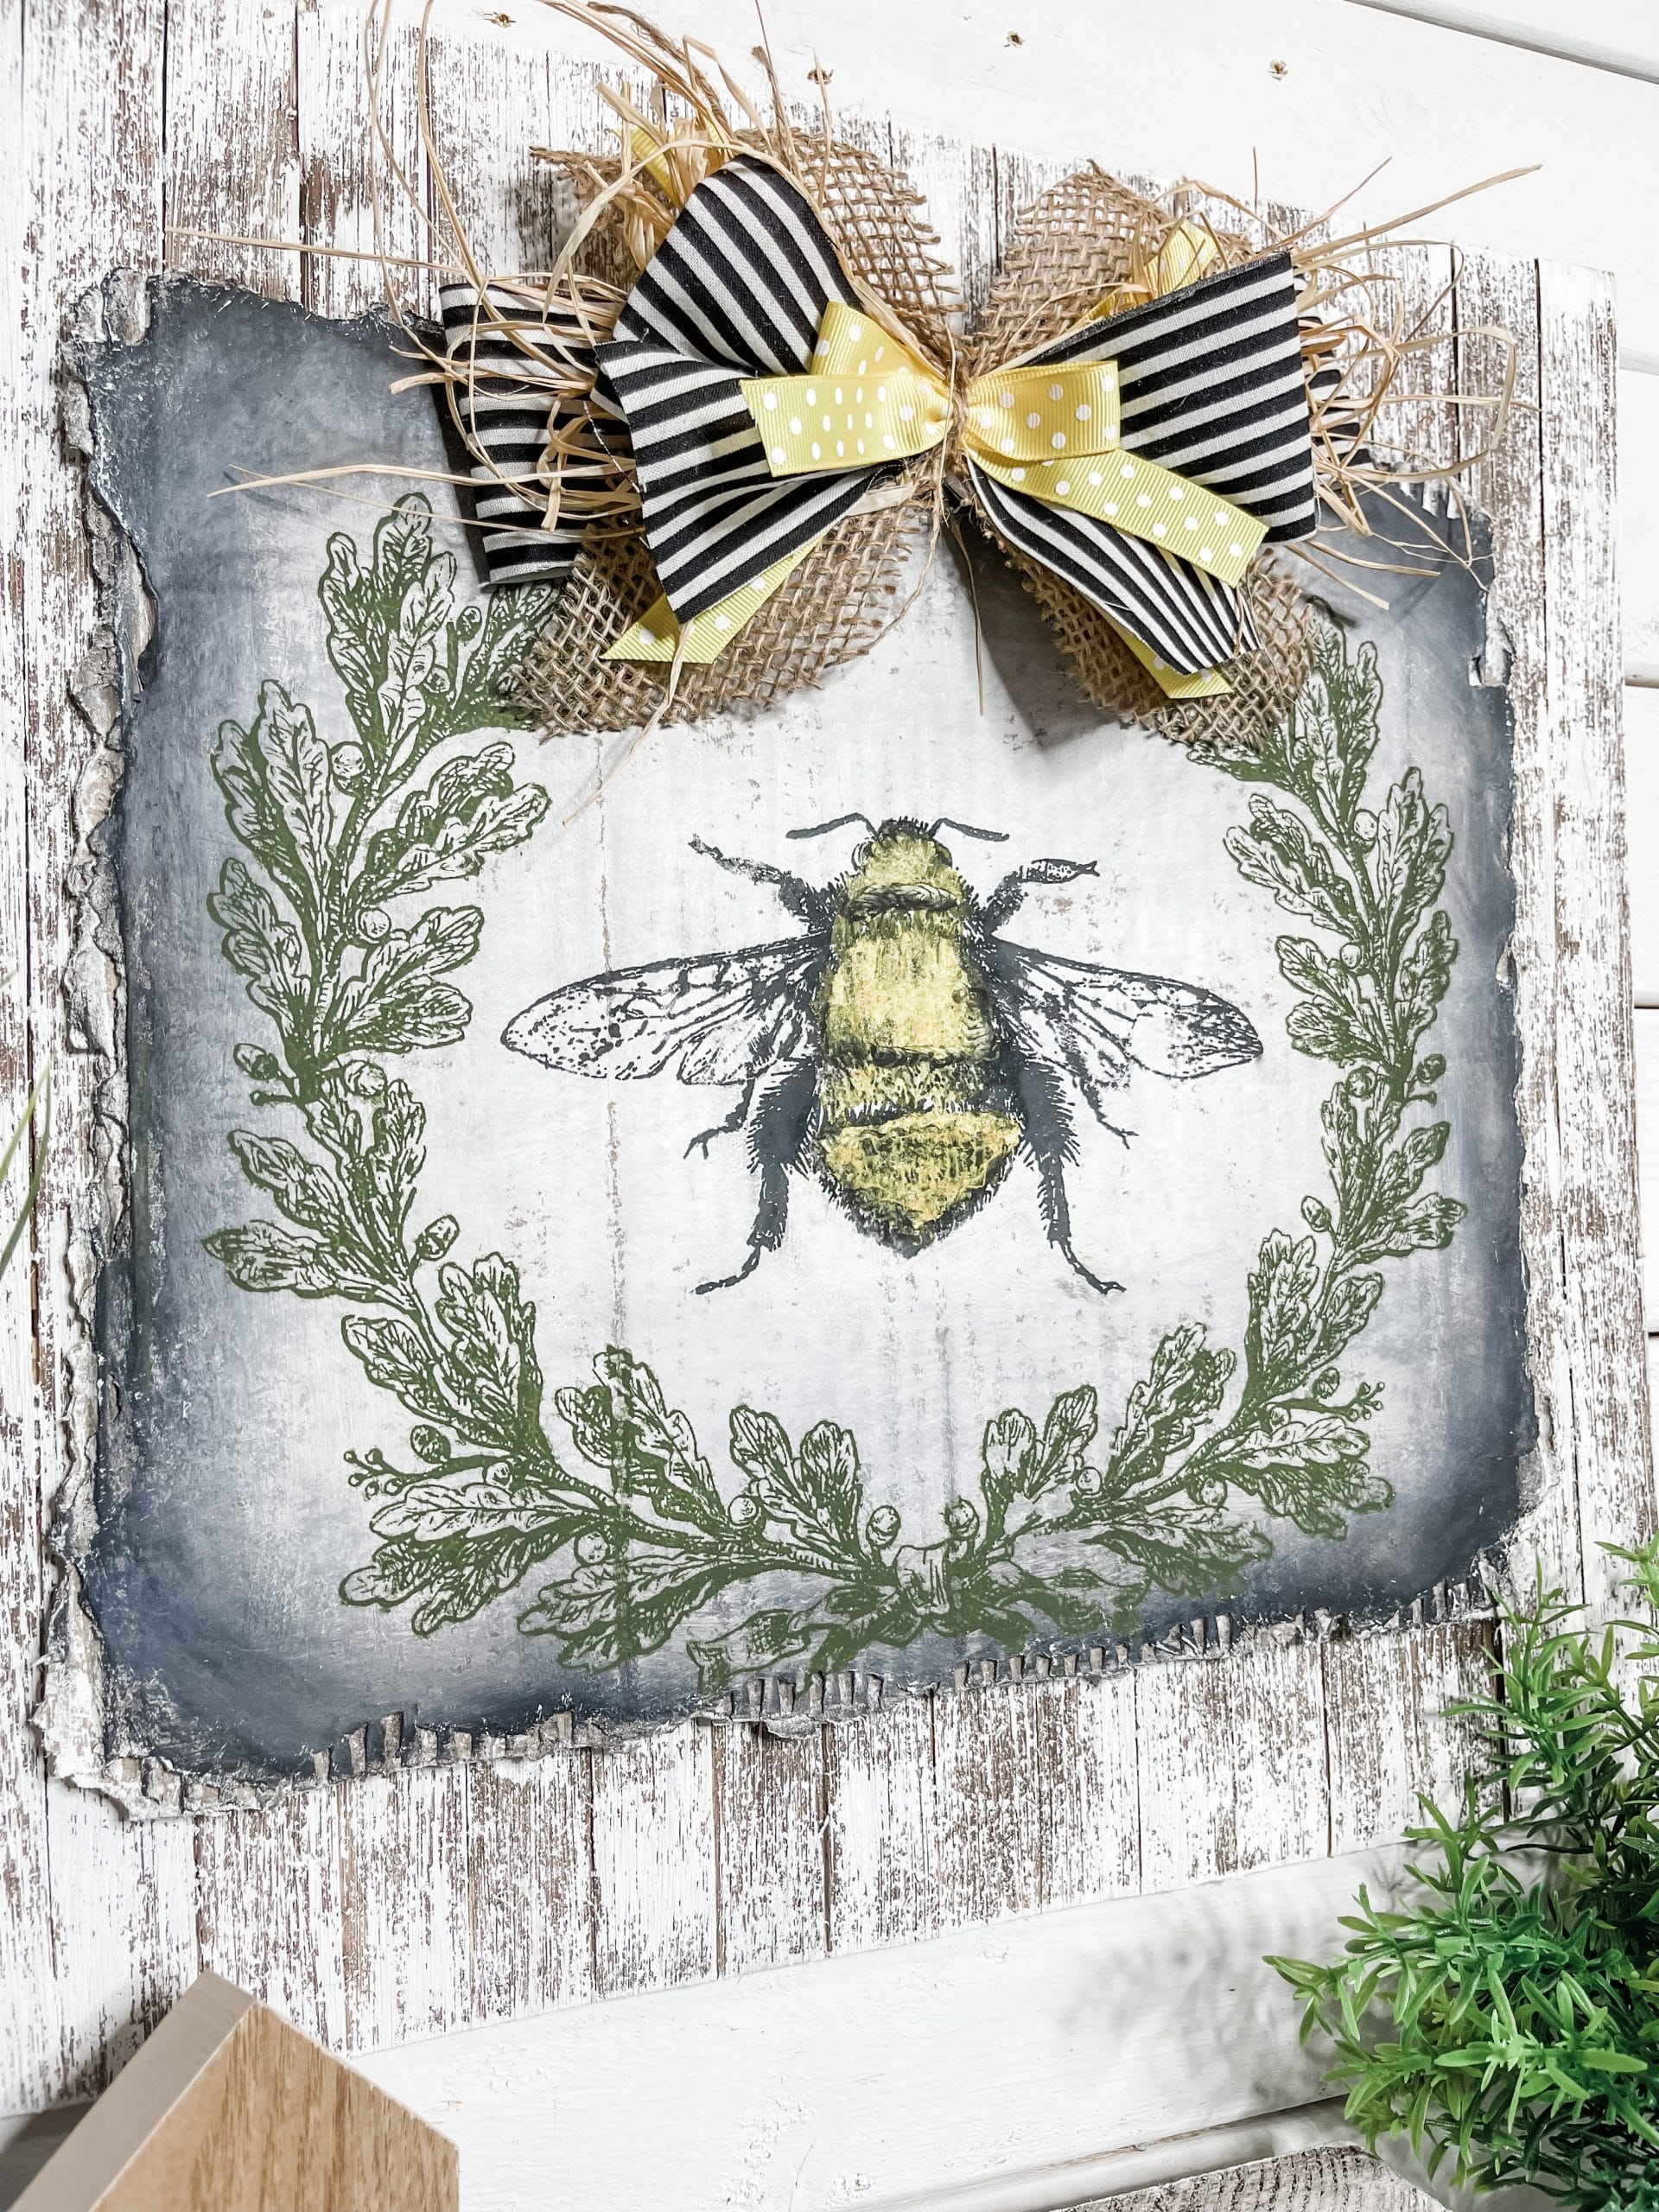
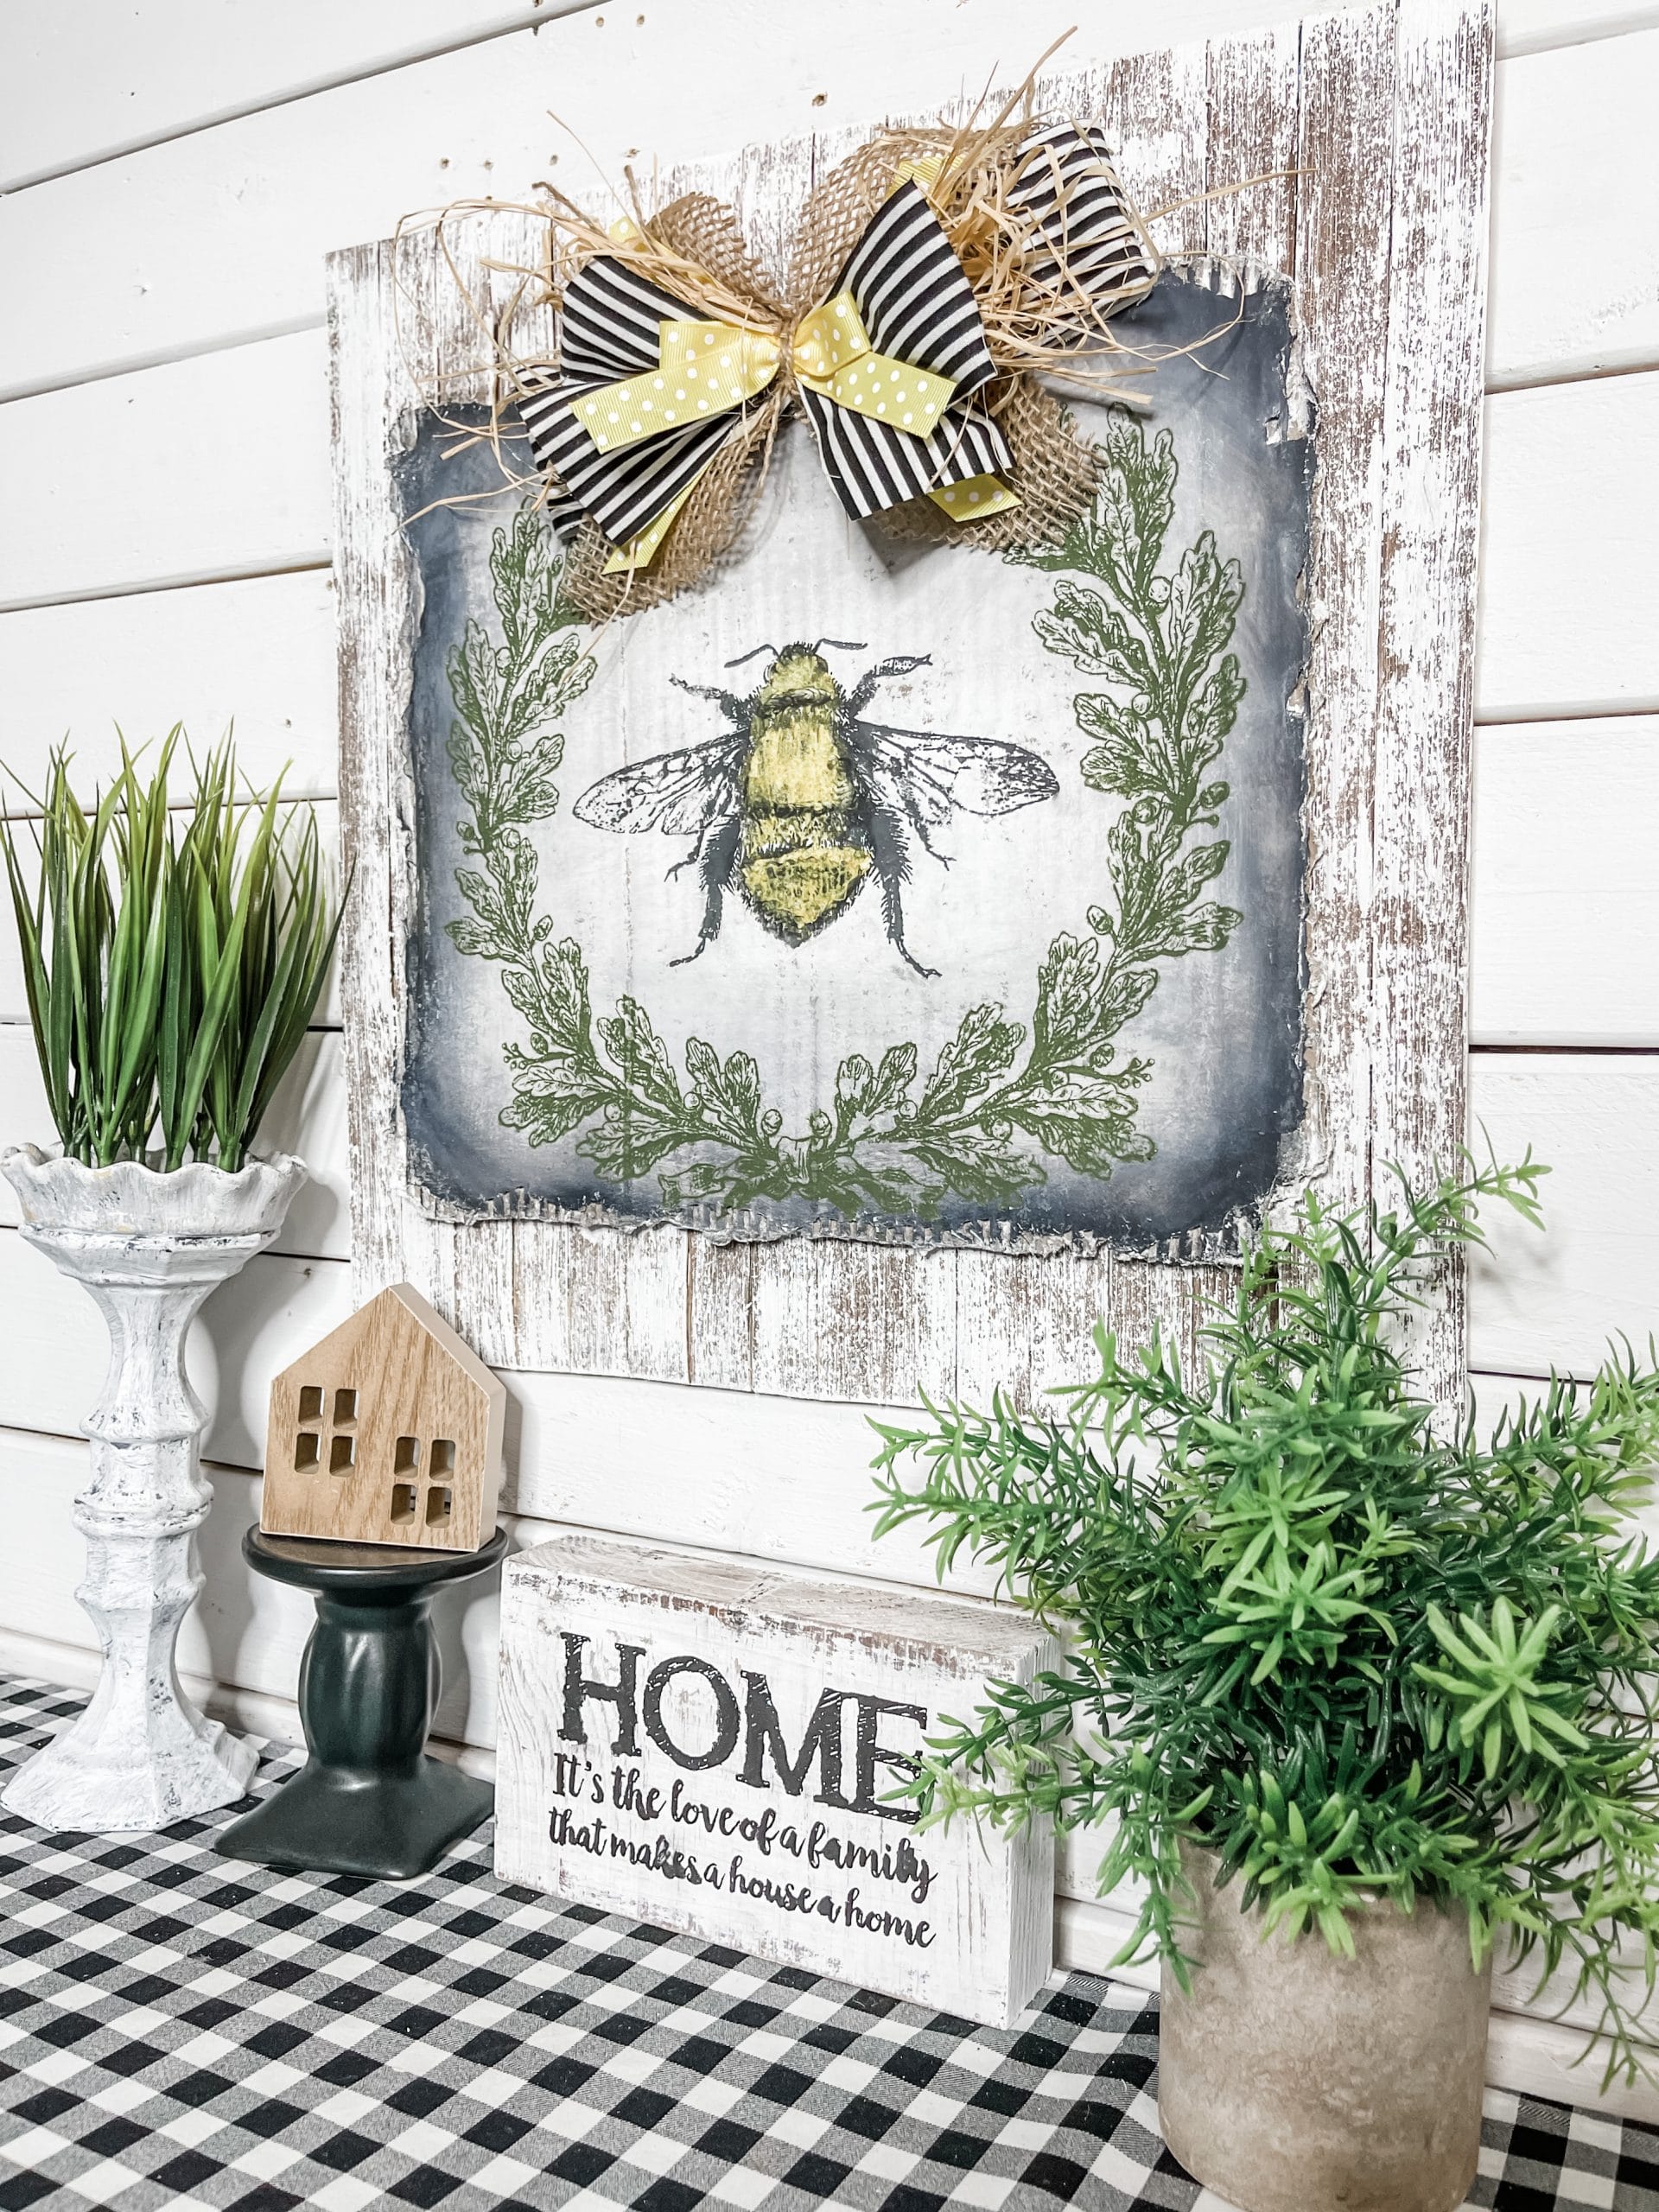
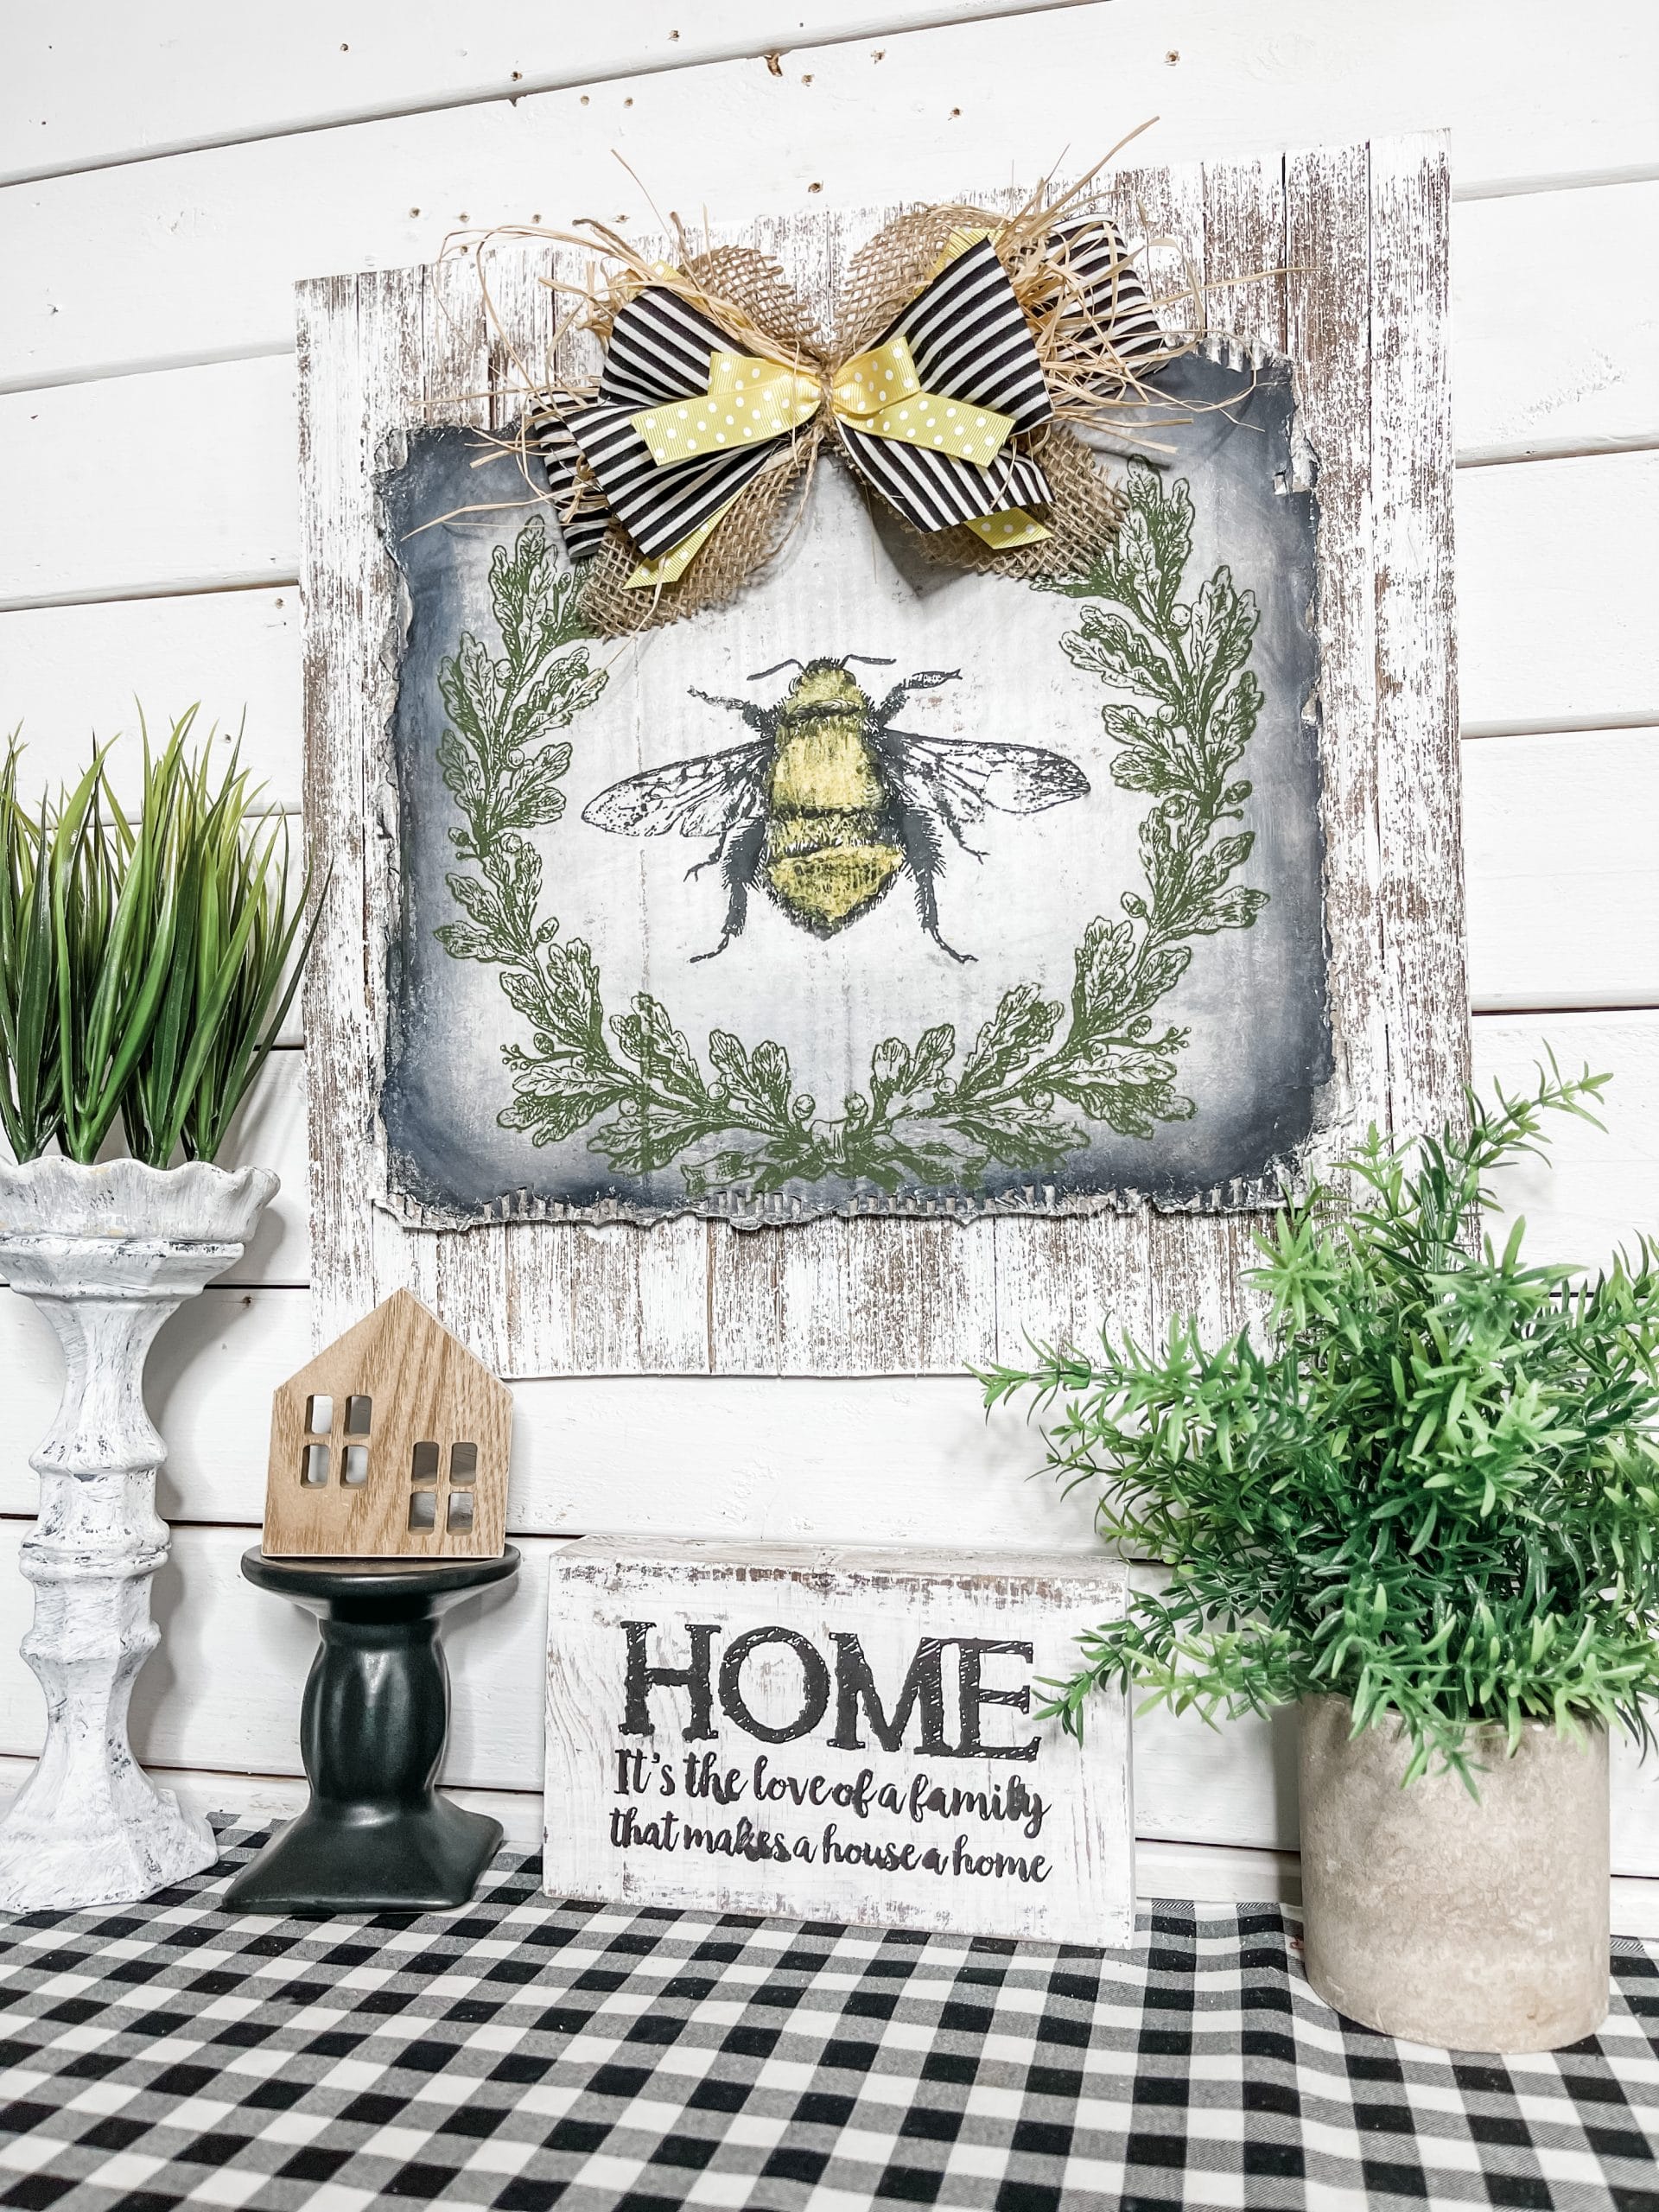
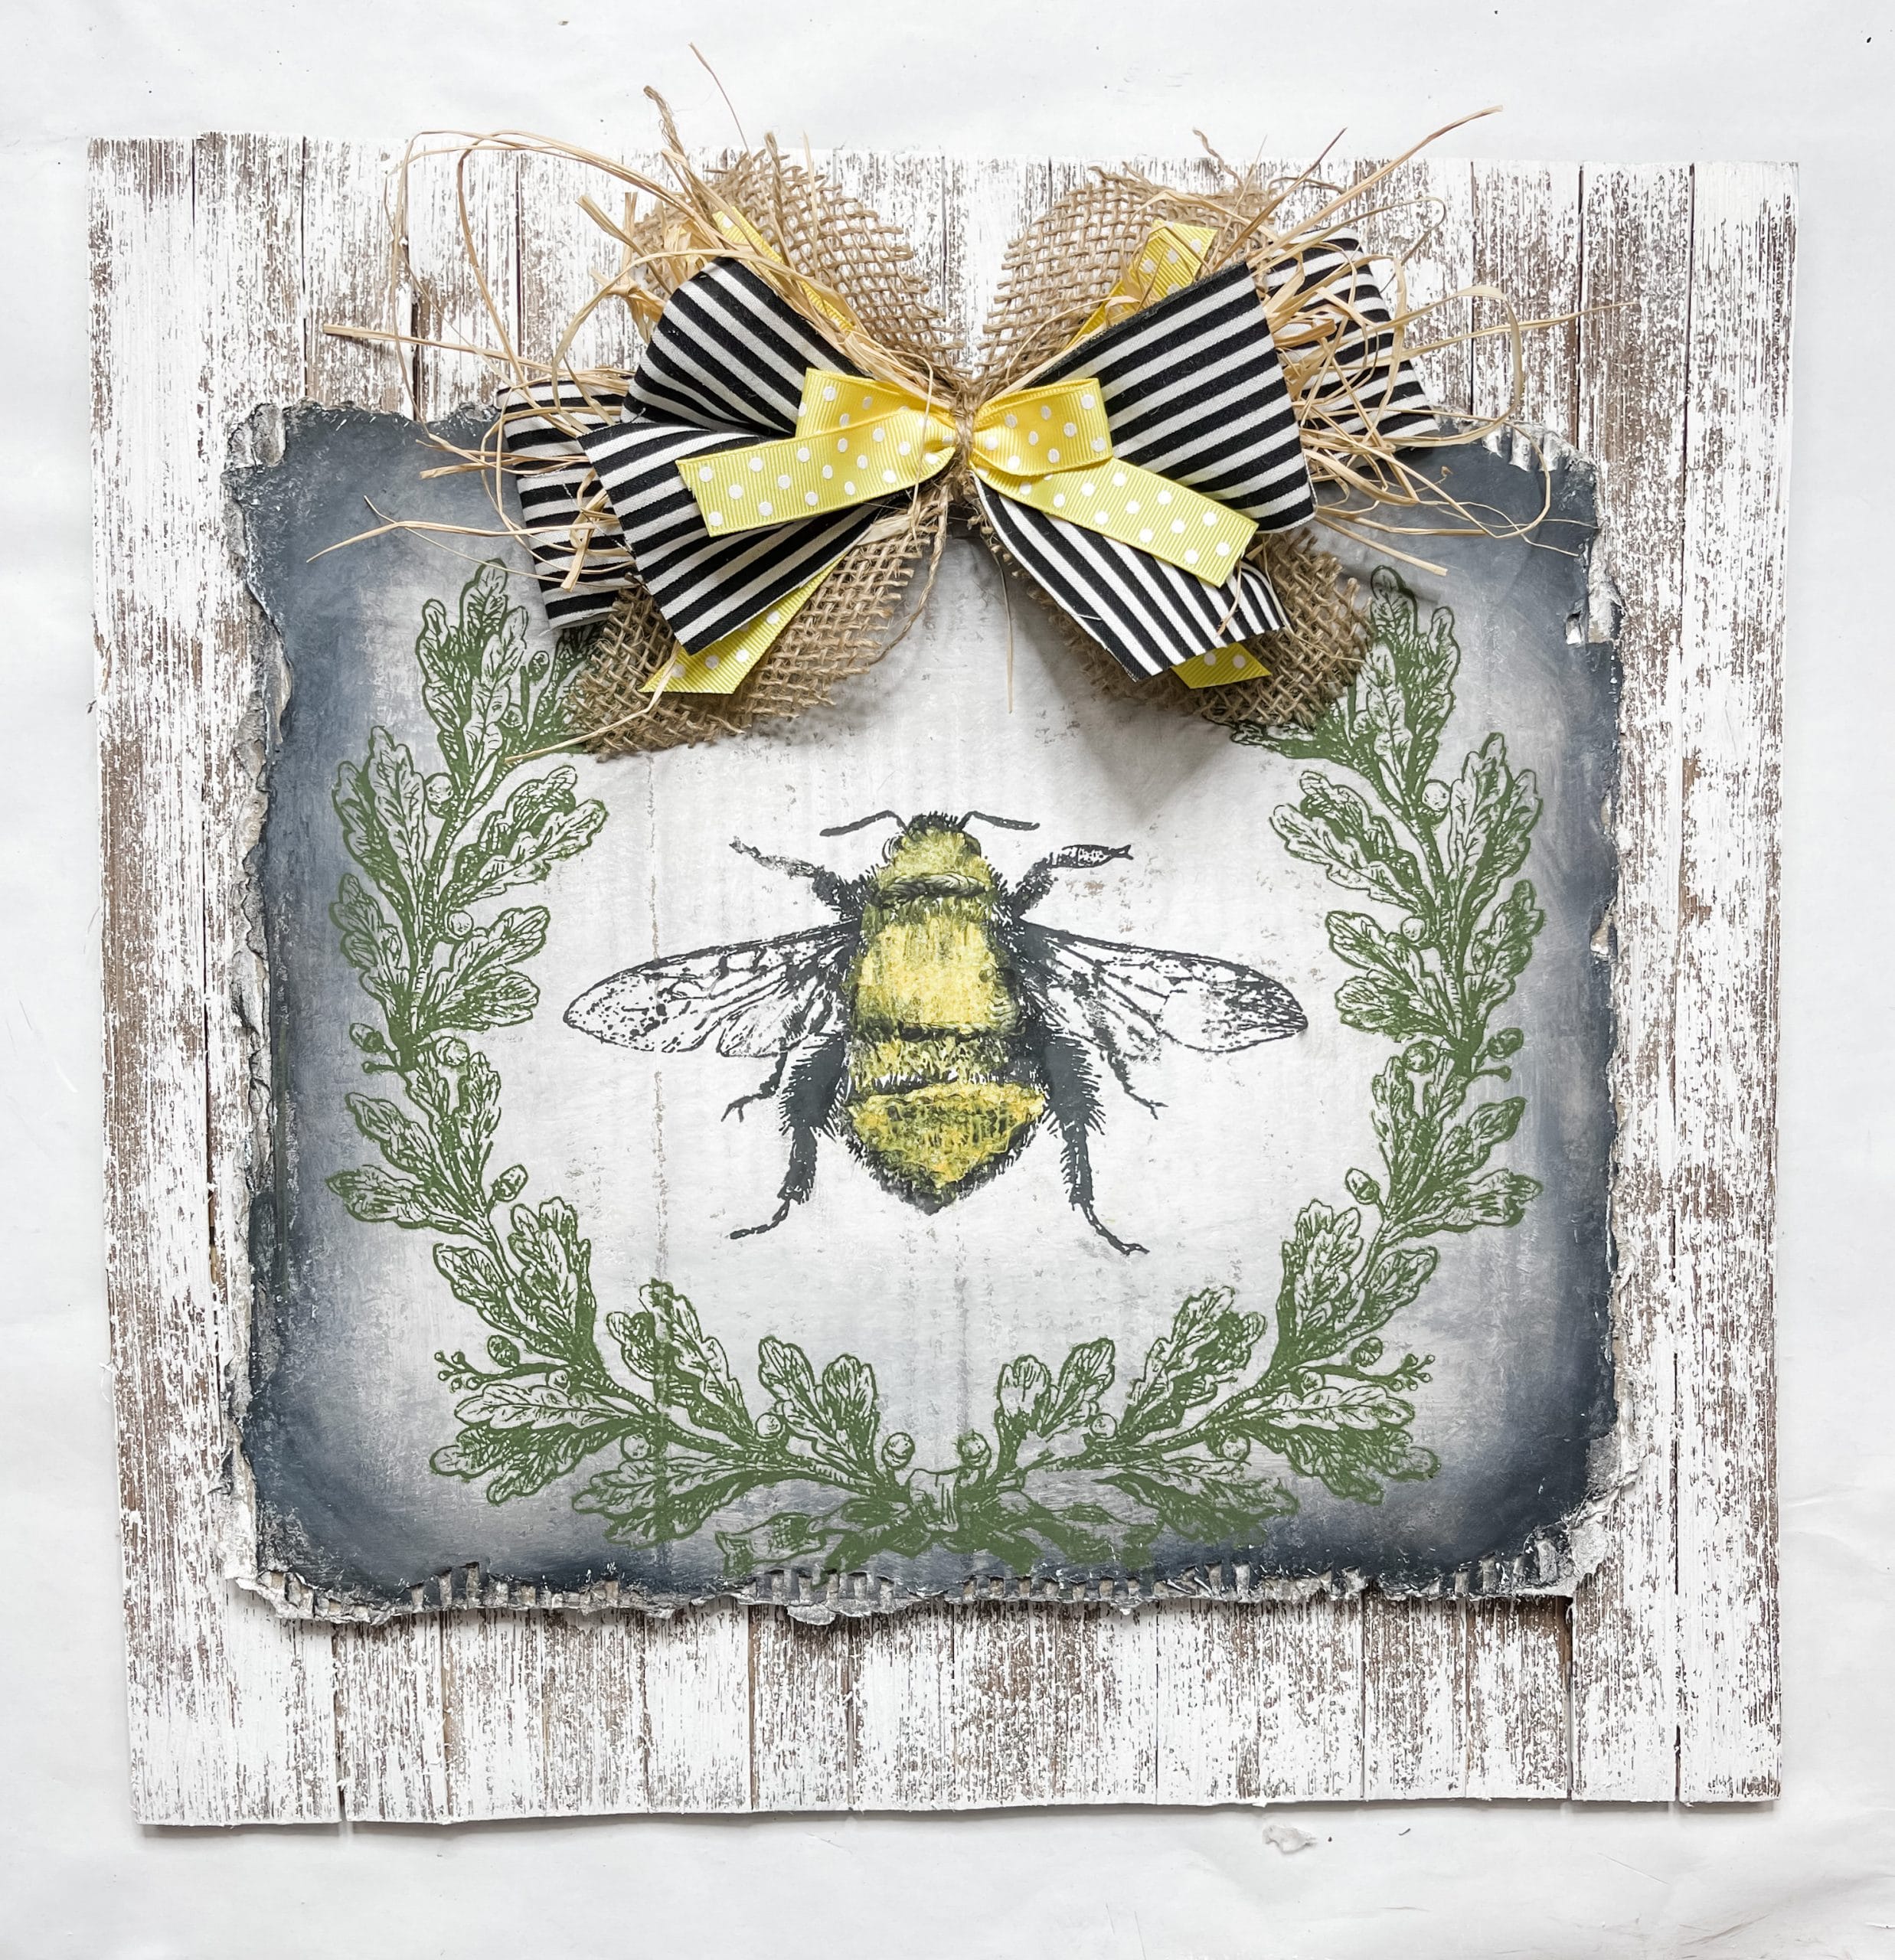
This Easy DIY Bumble Bee Farmhouse Home Decor was SO much FUN to make, and I am absolutely OBSESSED with how amazing this project turned out!
I love turning ordinary items into amazing home decor, and that is exactly what I did for this adorable farmhouse DIY project!
Watch the DIY tutorial
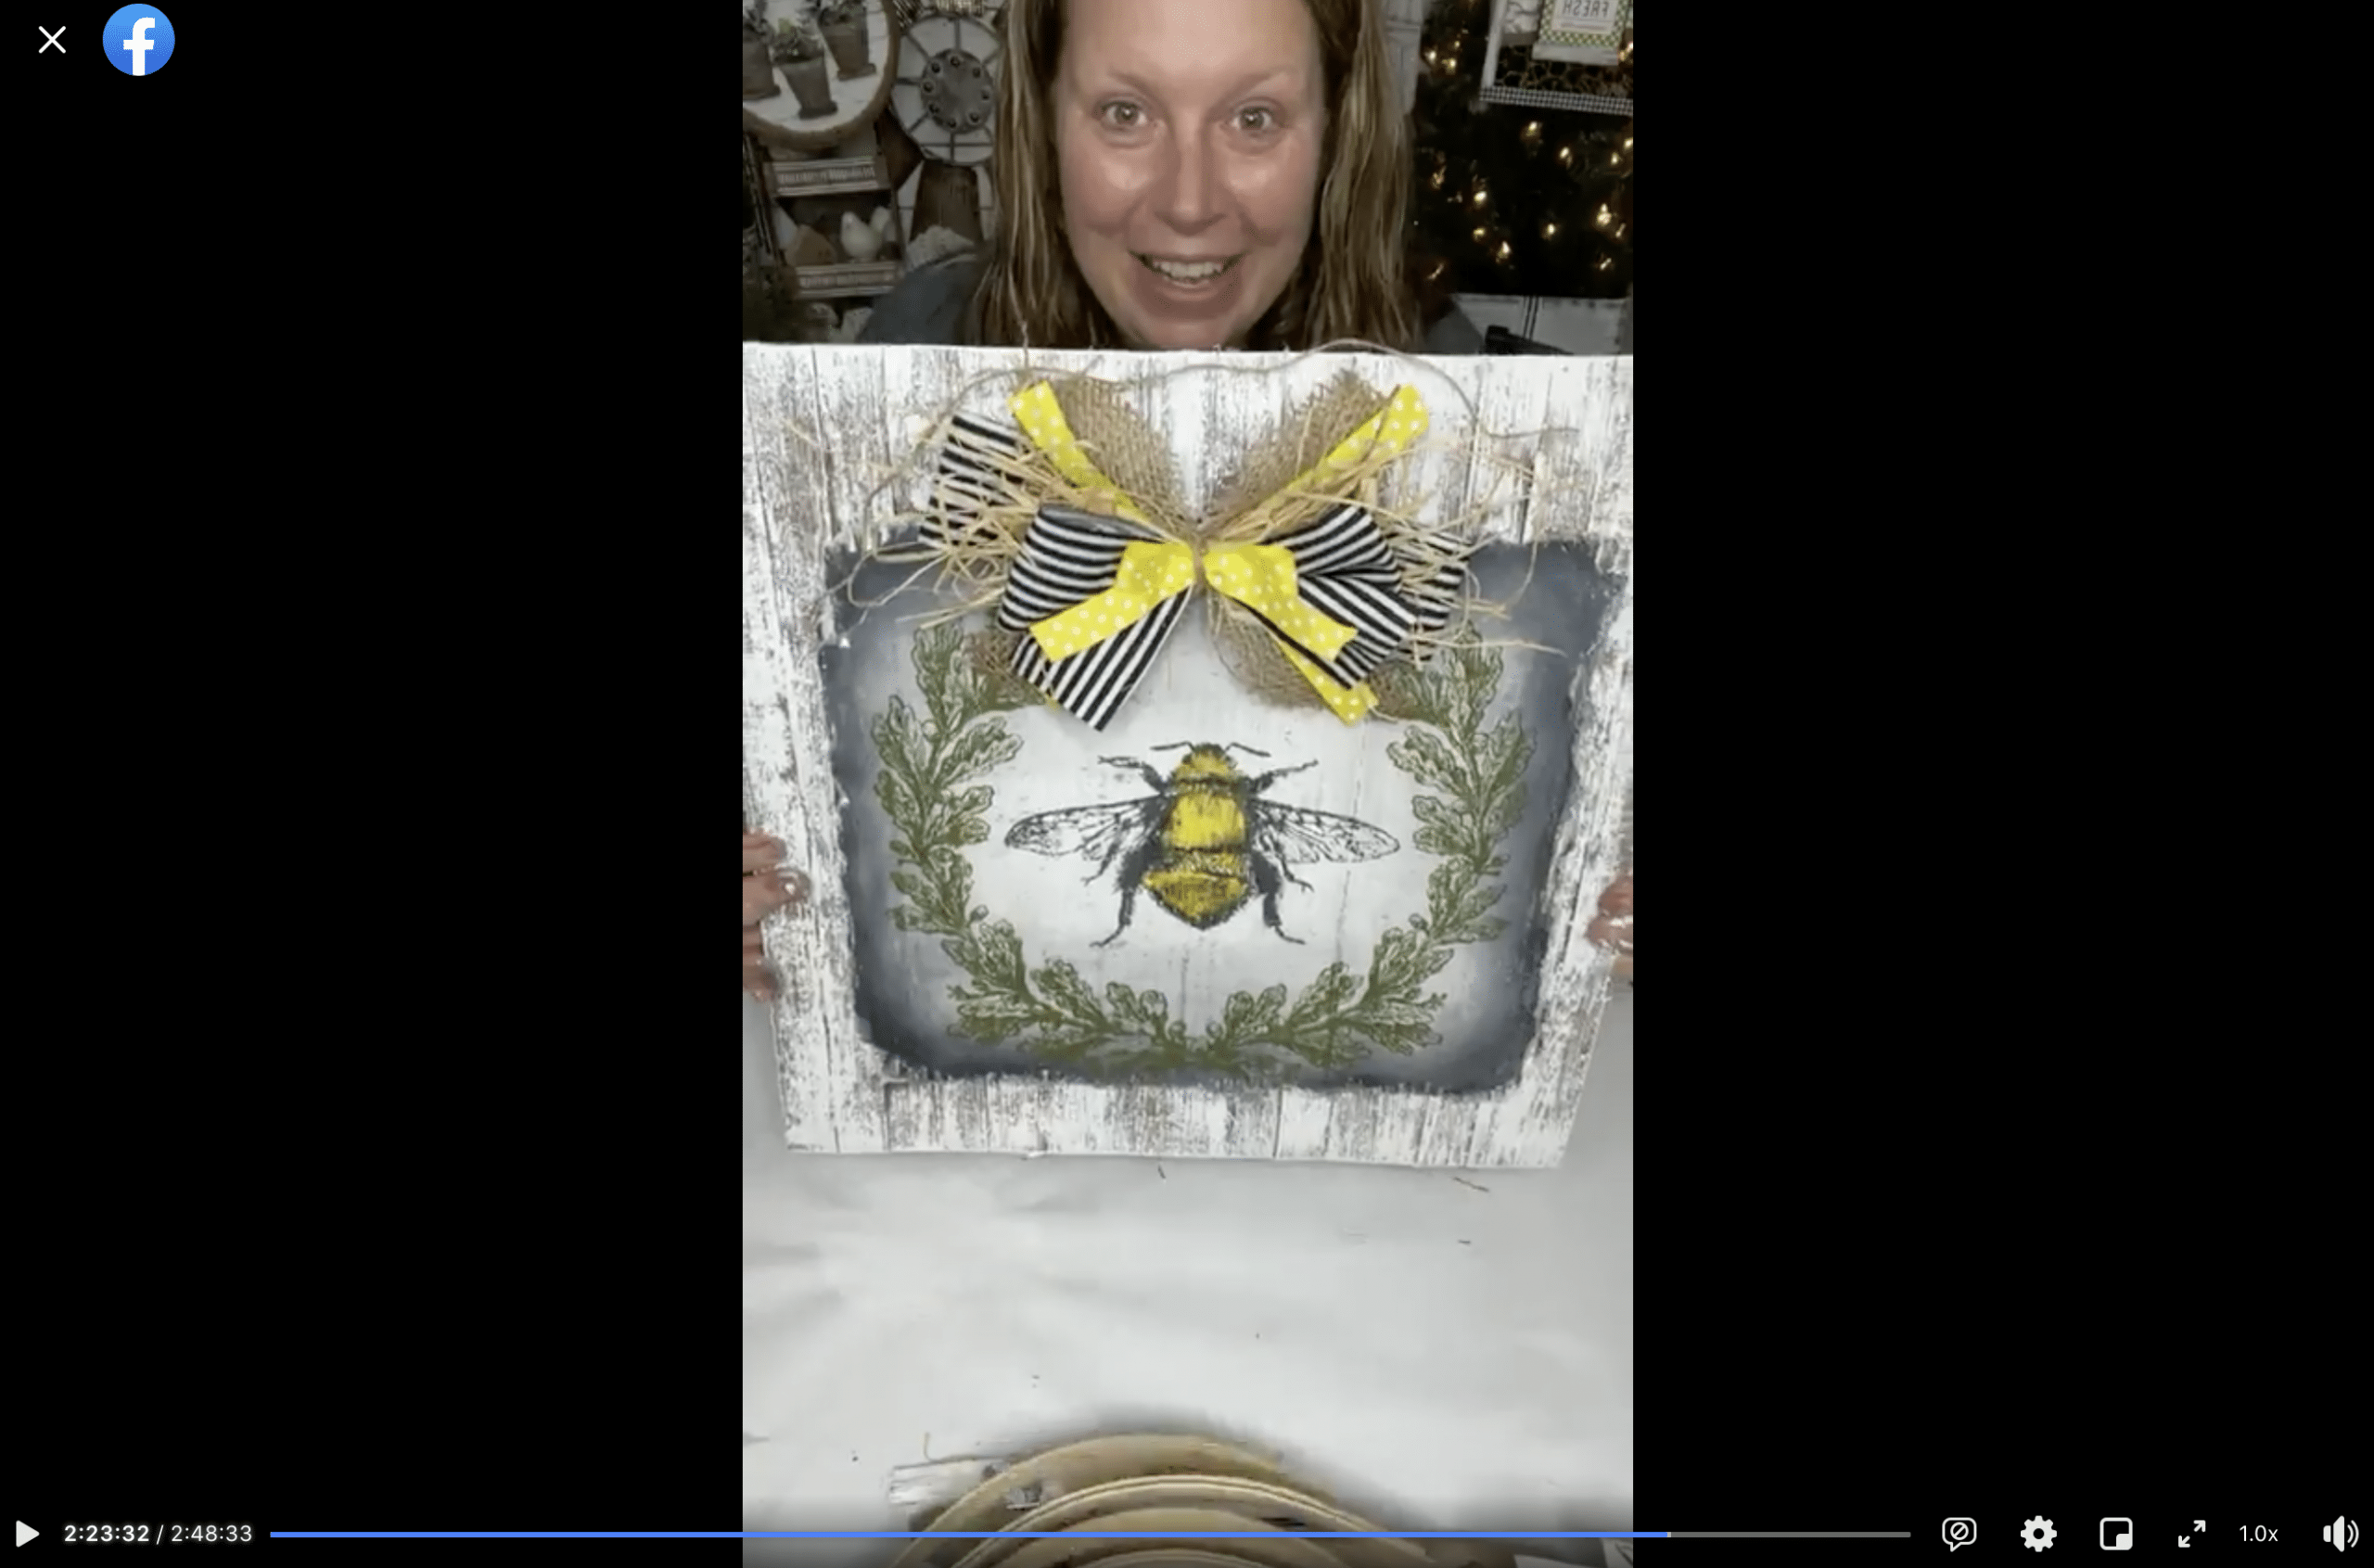
I recorded the how-to steps of making this Easy DIY Bumble Bee Farmhouse Home Decor during a LIVE video on my Facebook page.
If you want to see the DIY process, craft along, or just join in on the fun conversations, you can watch the DIY tutorial replay!
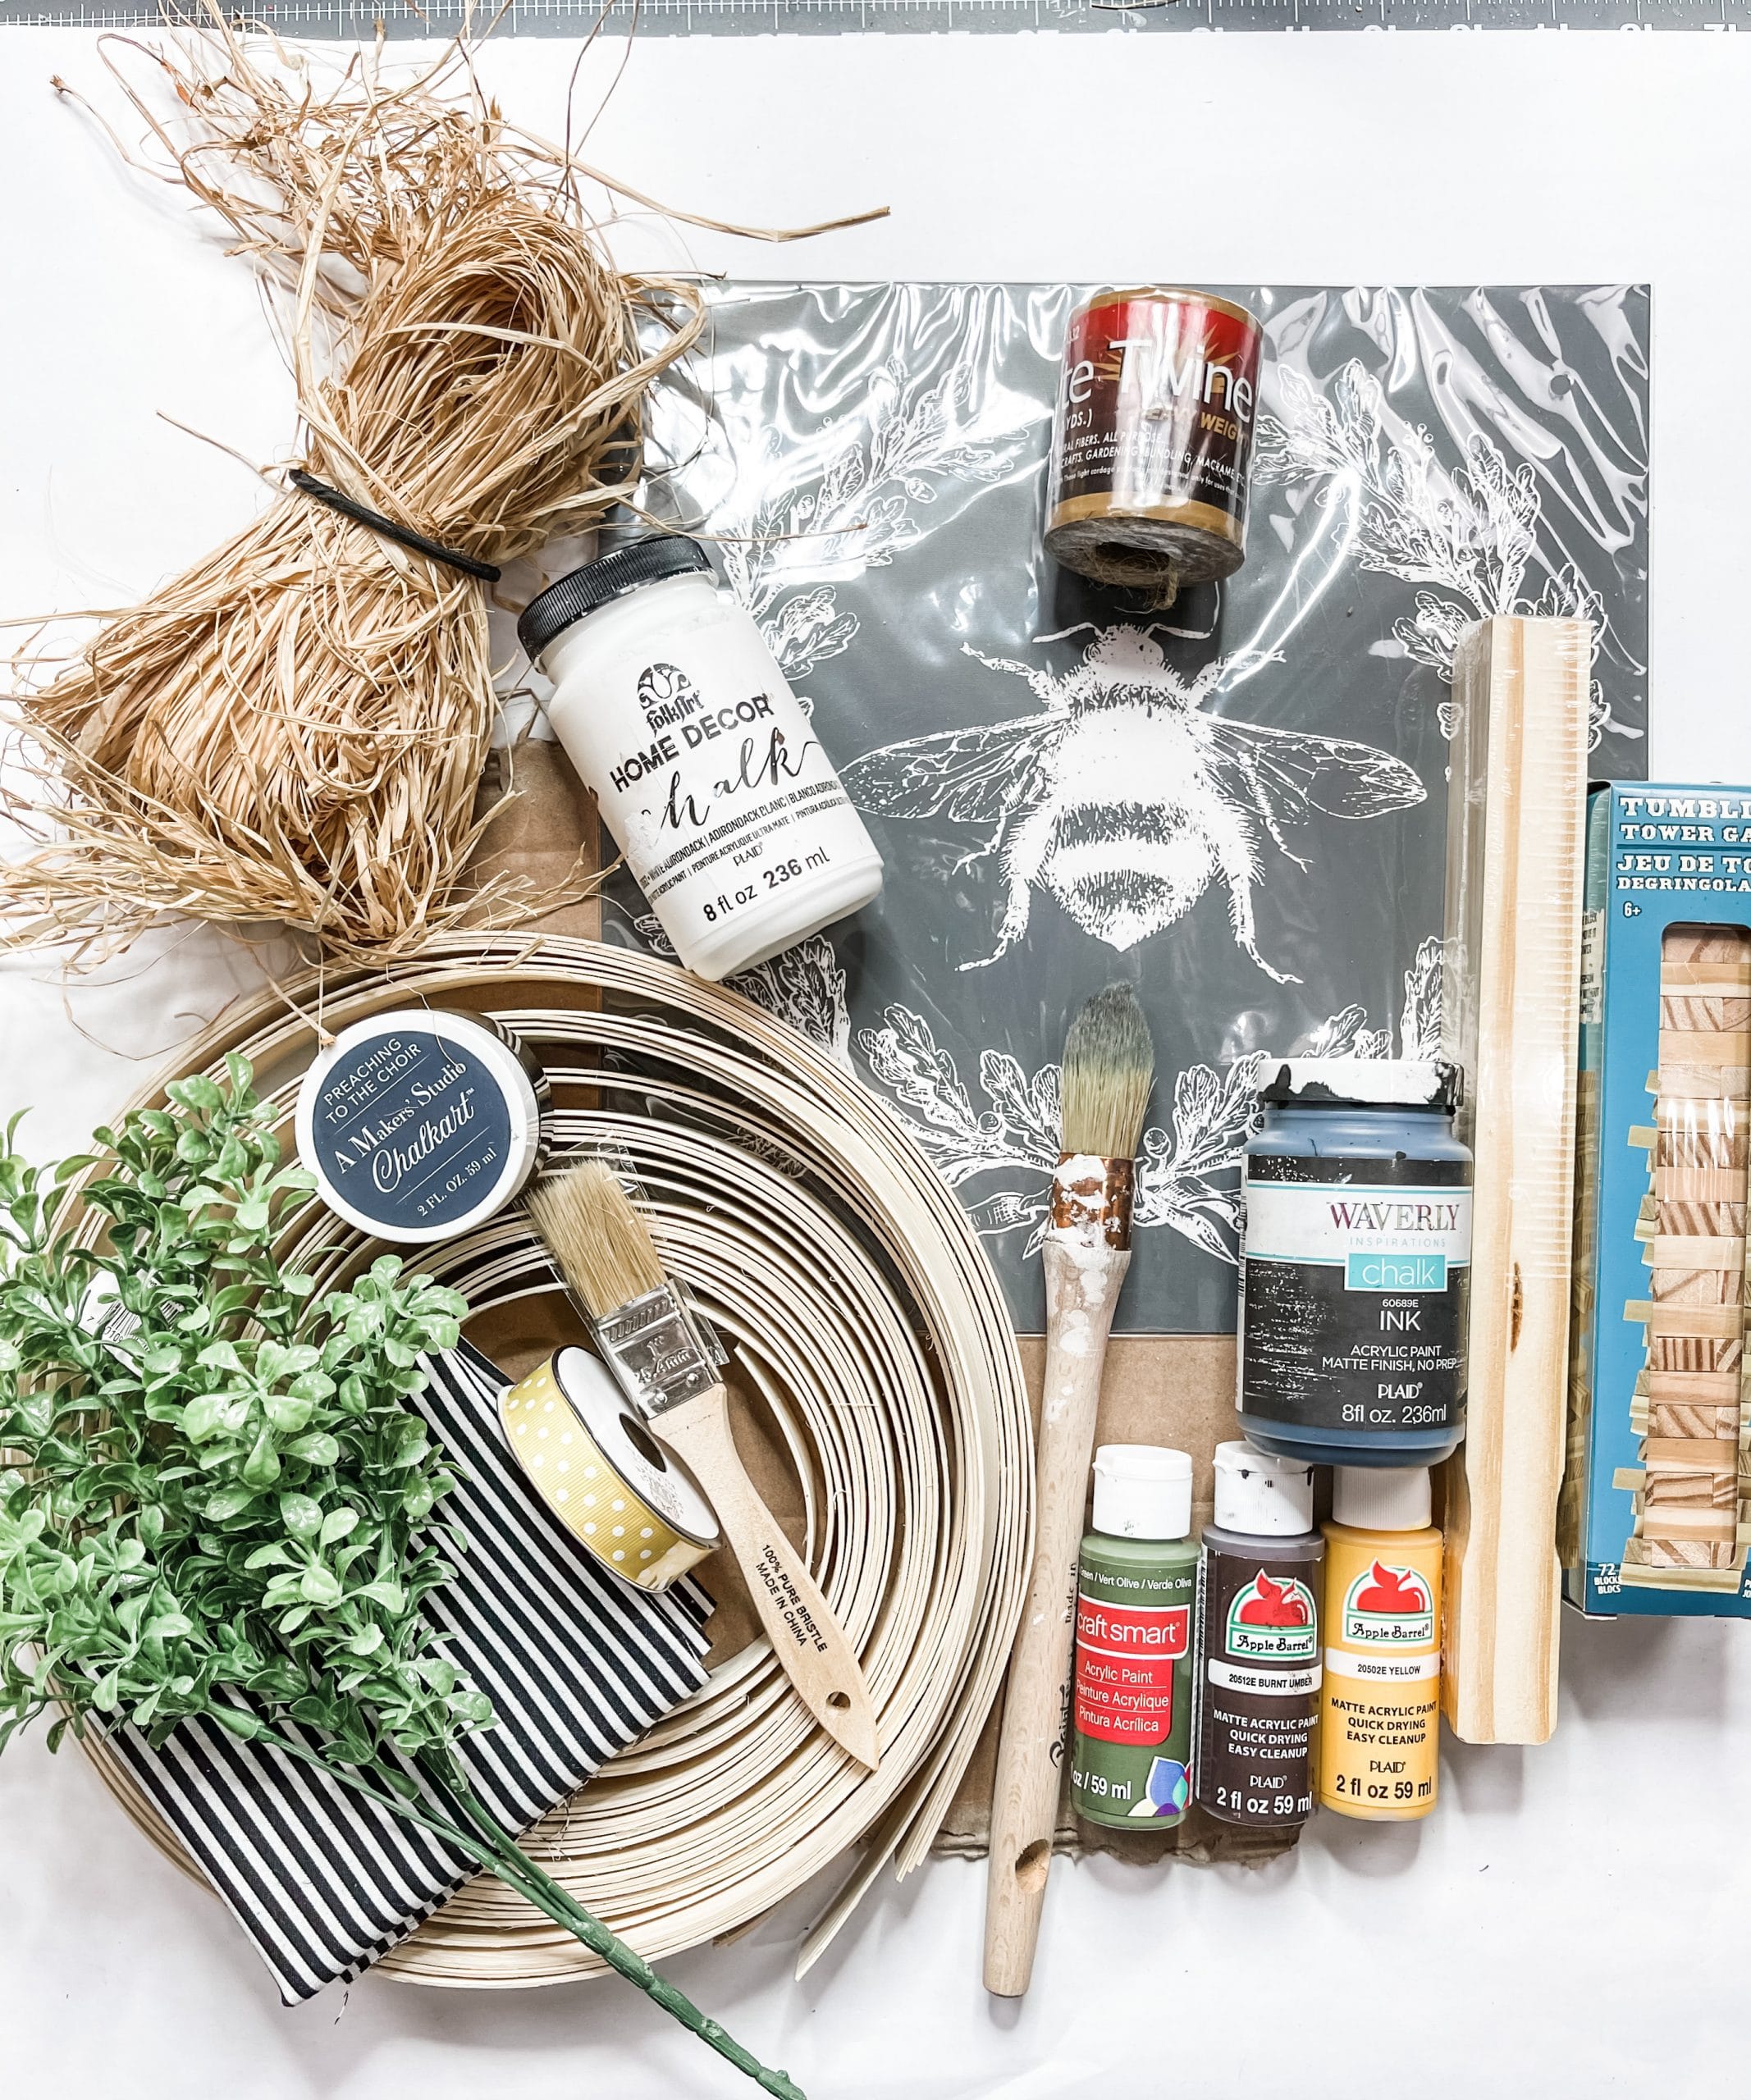
For this project, I will be using these items but you can substitute where you want.
“As an Amazon Associate, I earn from qualifying purchases.”
- A Maker’s Studio Queen Bee Mesh Stencil
- Dollar Tree Tumbling Tower Blocks
- Dollar Tree Sign
- Boxwood Greenery
- Raffia
- Cardboard
- Paint Sticks
- Black/White Striped Fabric
- Yellow/White Polka Dot Ribbon
- Jute Twine
- Reed
- Apple Barrel Olive Acrylic Paint
- Apple Barrel Yellow Acrylic Paint
- Waverly Ink Chalk Paint
- Folkart White Chalk Paint
- Apple Barrel Snow White Acrylic Paint
- Apple Barrel Burnt Umber Acrylic Paint
- DIY Paint Bee’s Wax
- Hot Glue gun
- Glue Sticks
How to Make an Easy DIY Bumble Bee Farmhouse Home Decor
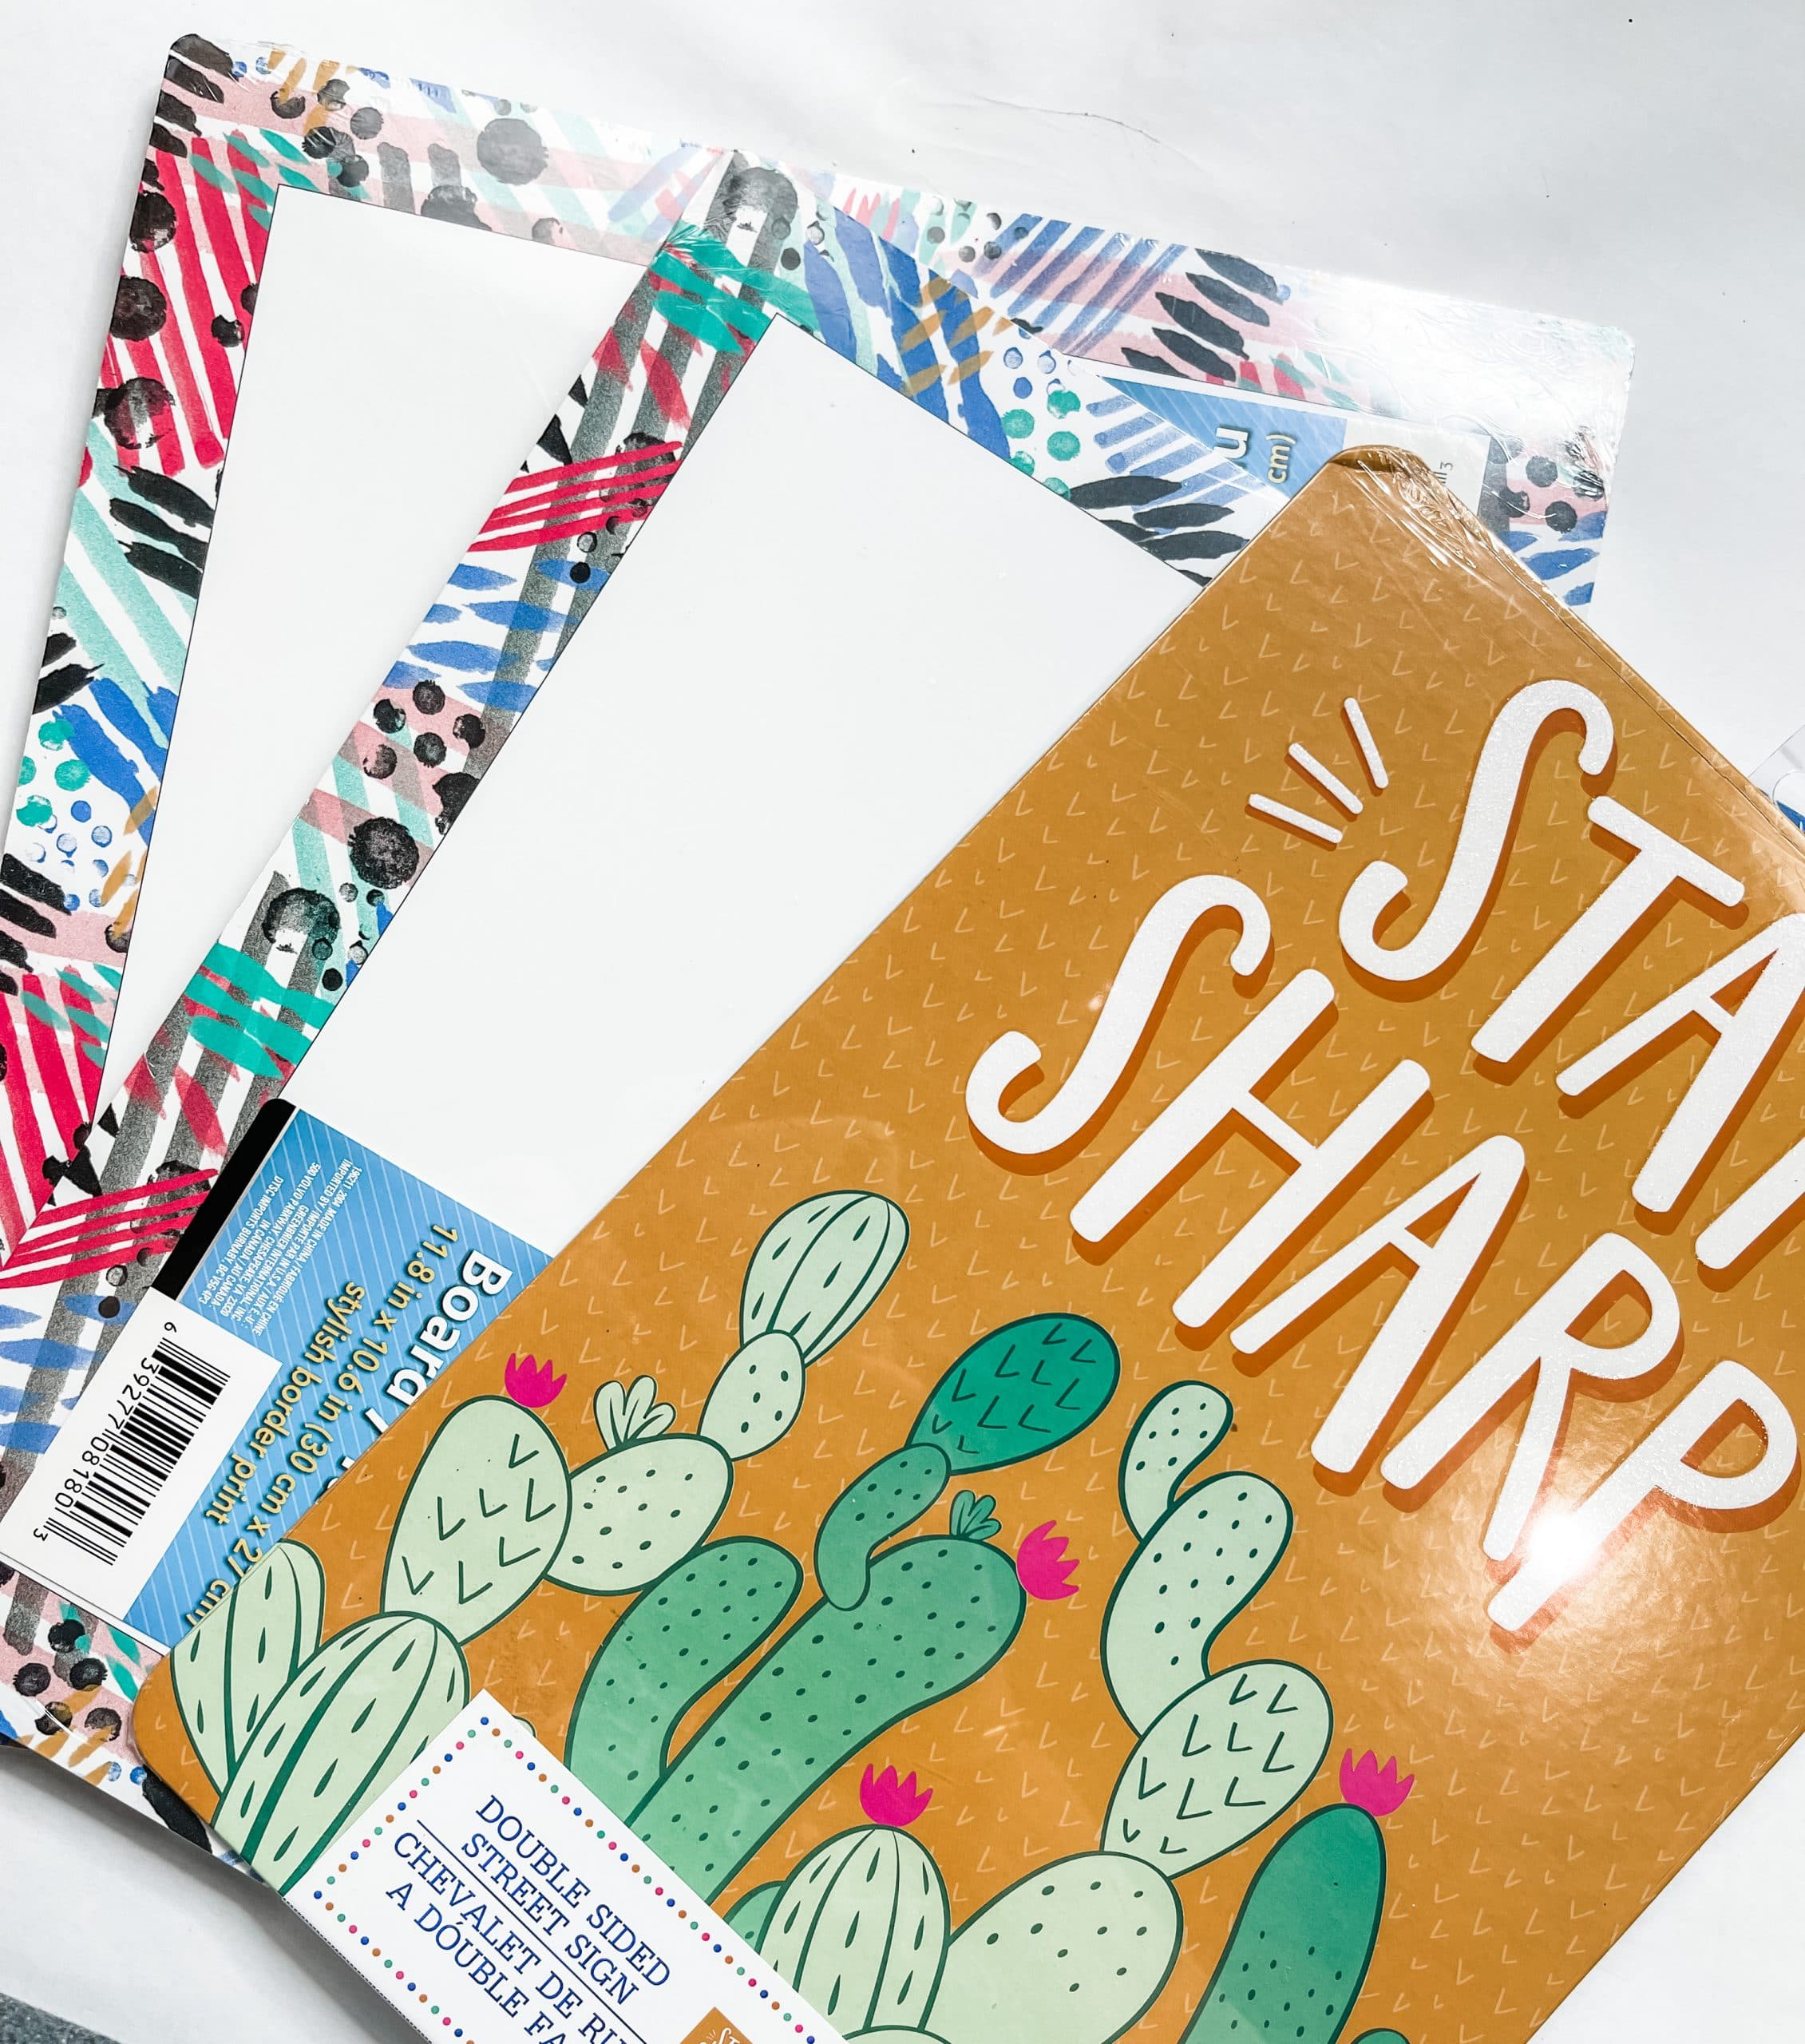
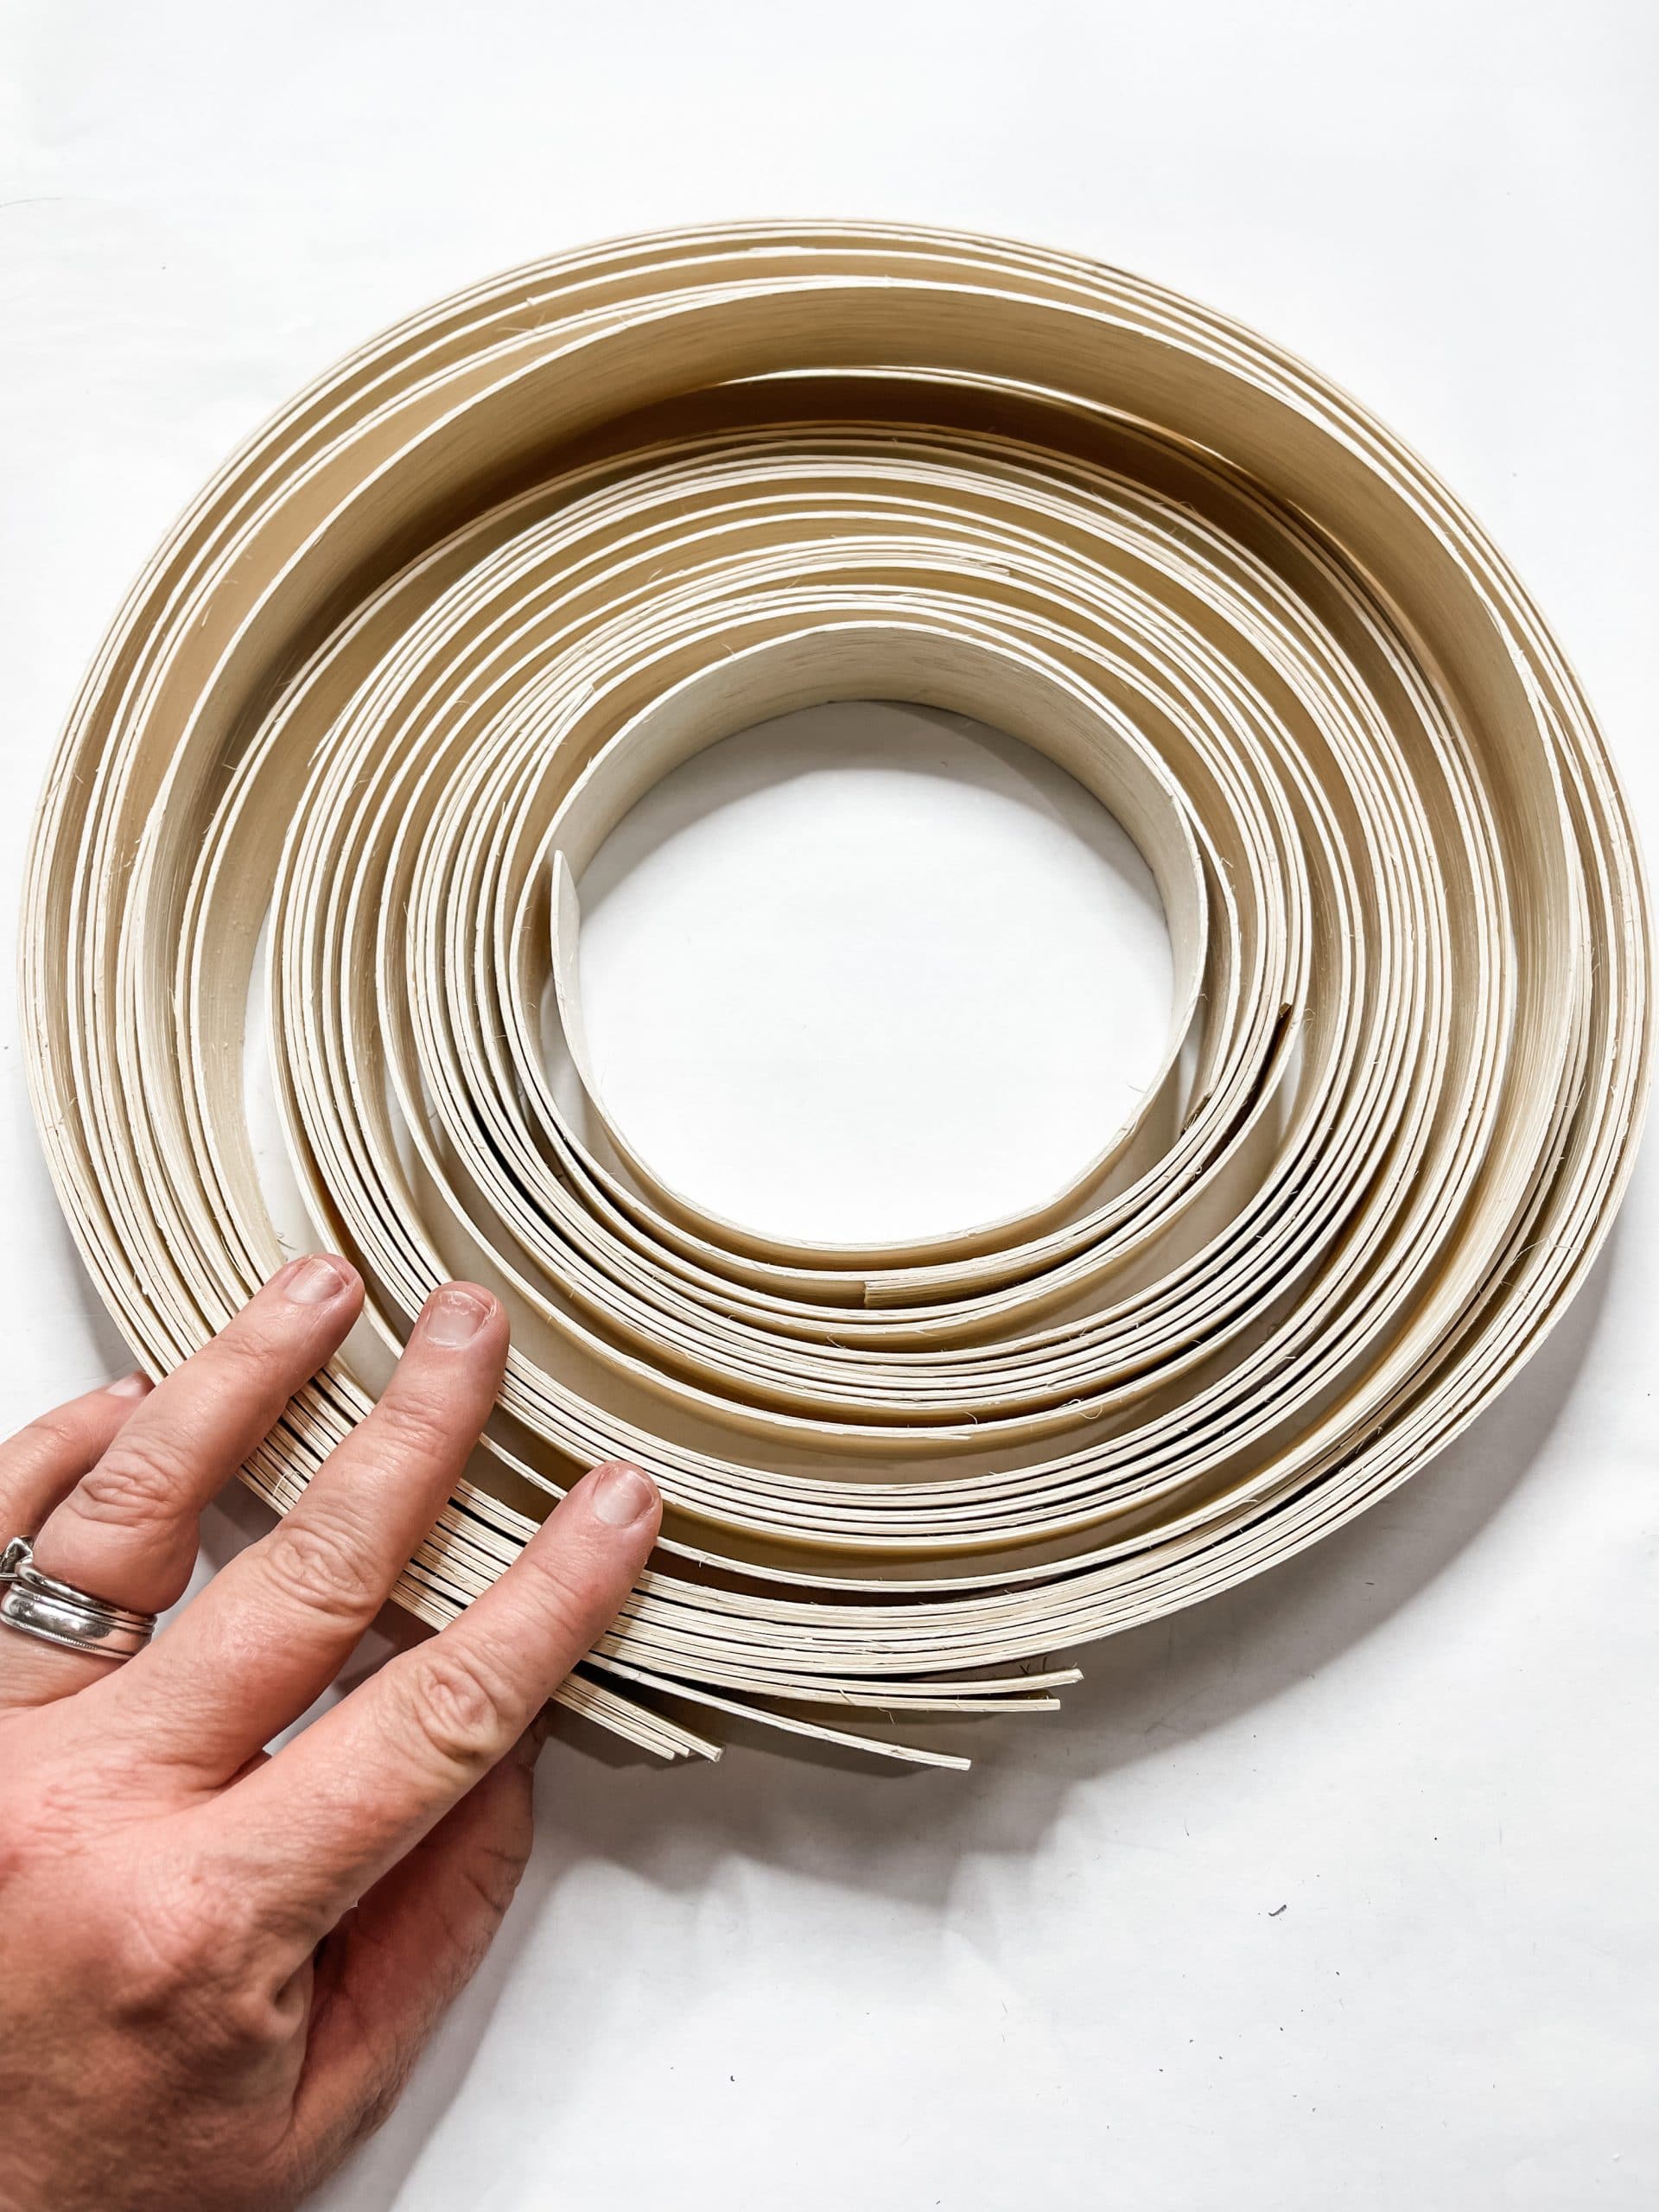
The first thing you need to do for this adorable farmhouse DIY project is attach the reed to the Dollar Tree sign. I hot glued pieces horizontally onto the Dollar Tree sign.
Next, hot glue four paint sticks onto the back of the Dollar Tree sign. You can see exactly how I glued them onto the sign, but you want two hanging over the top and two hanging over the bottom.
I cut another Dollar Tree sign to fit on the back of the reed on either side of the Dollar Tree sign. This makes the project sturdier.
Once you have the pieces of the sign measured and cut, hot glue them on the sides of the sign (the back of the reed.
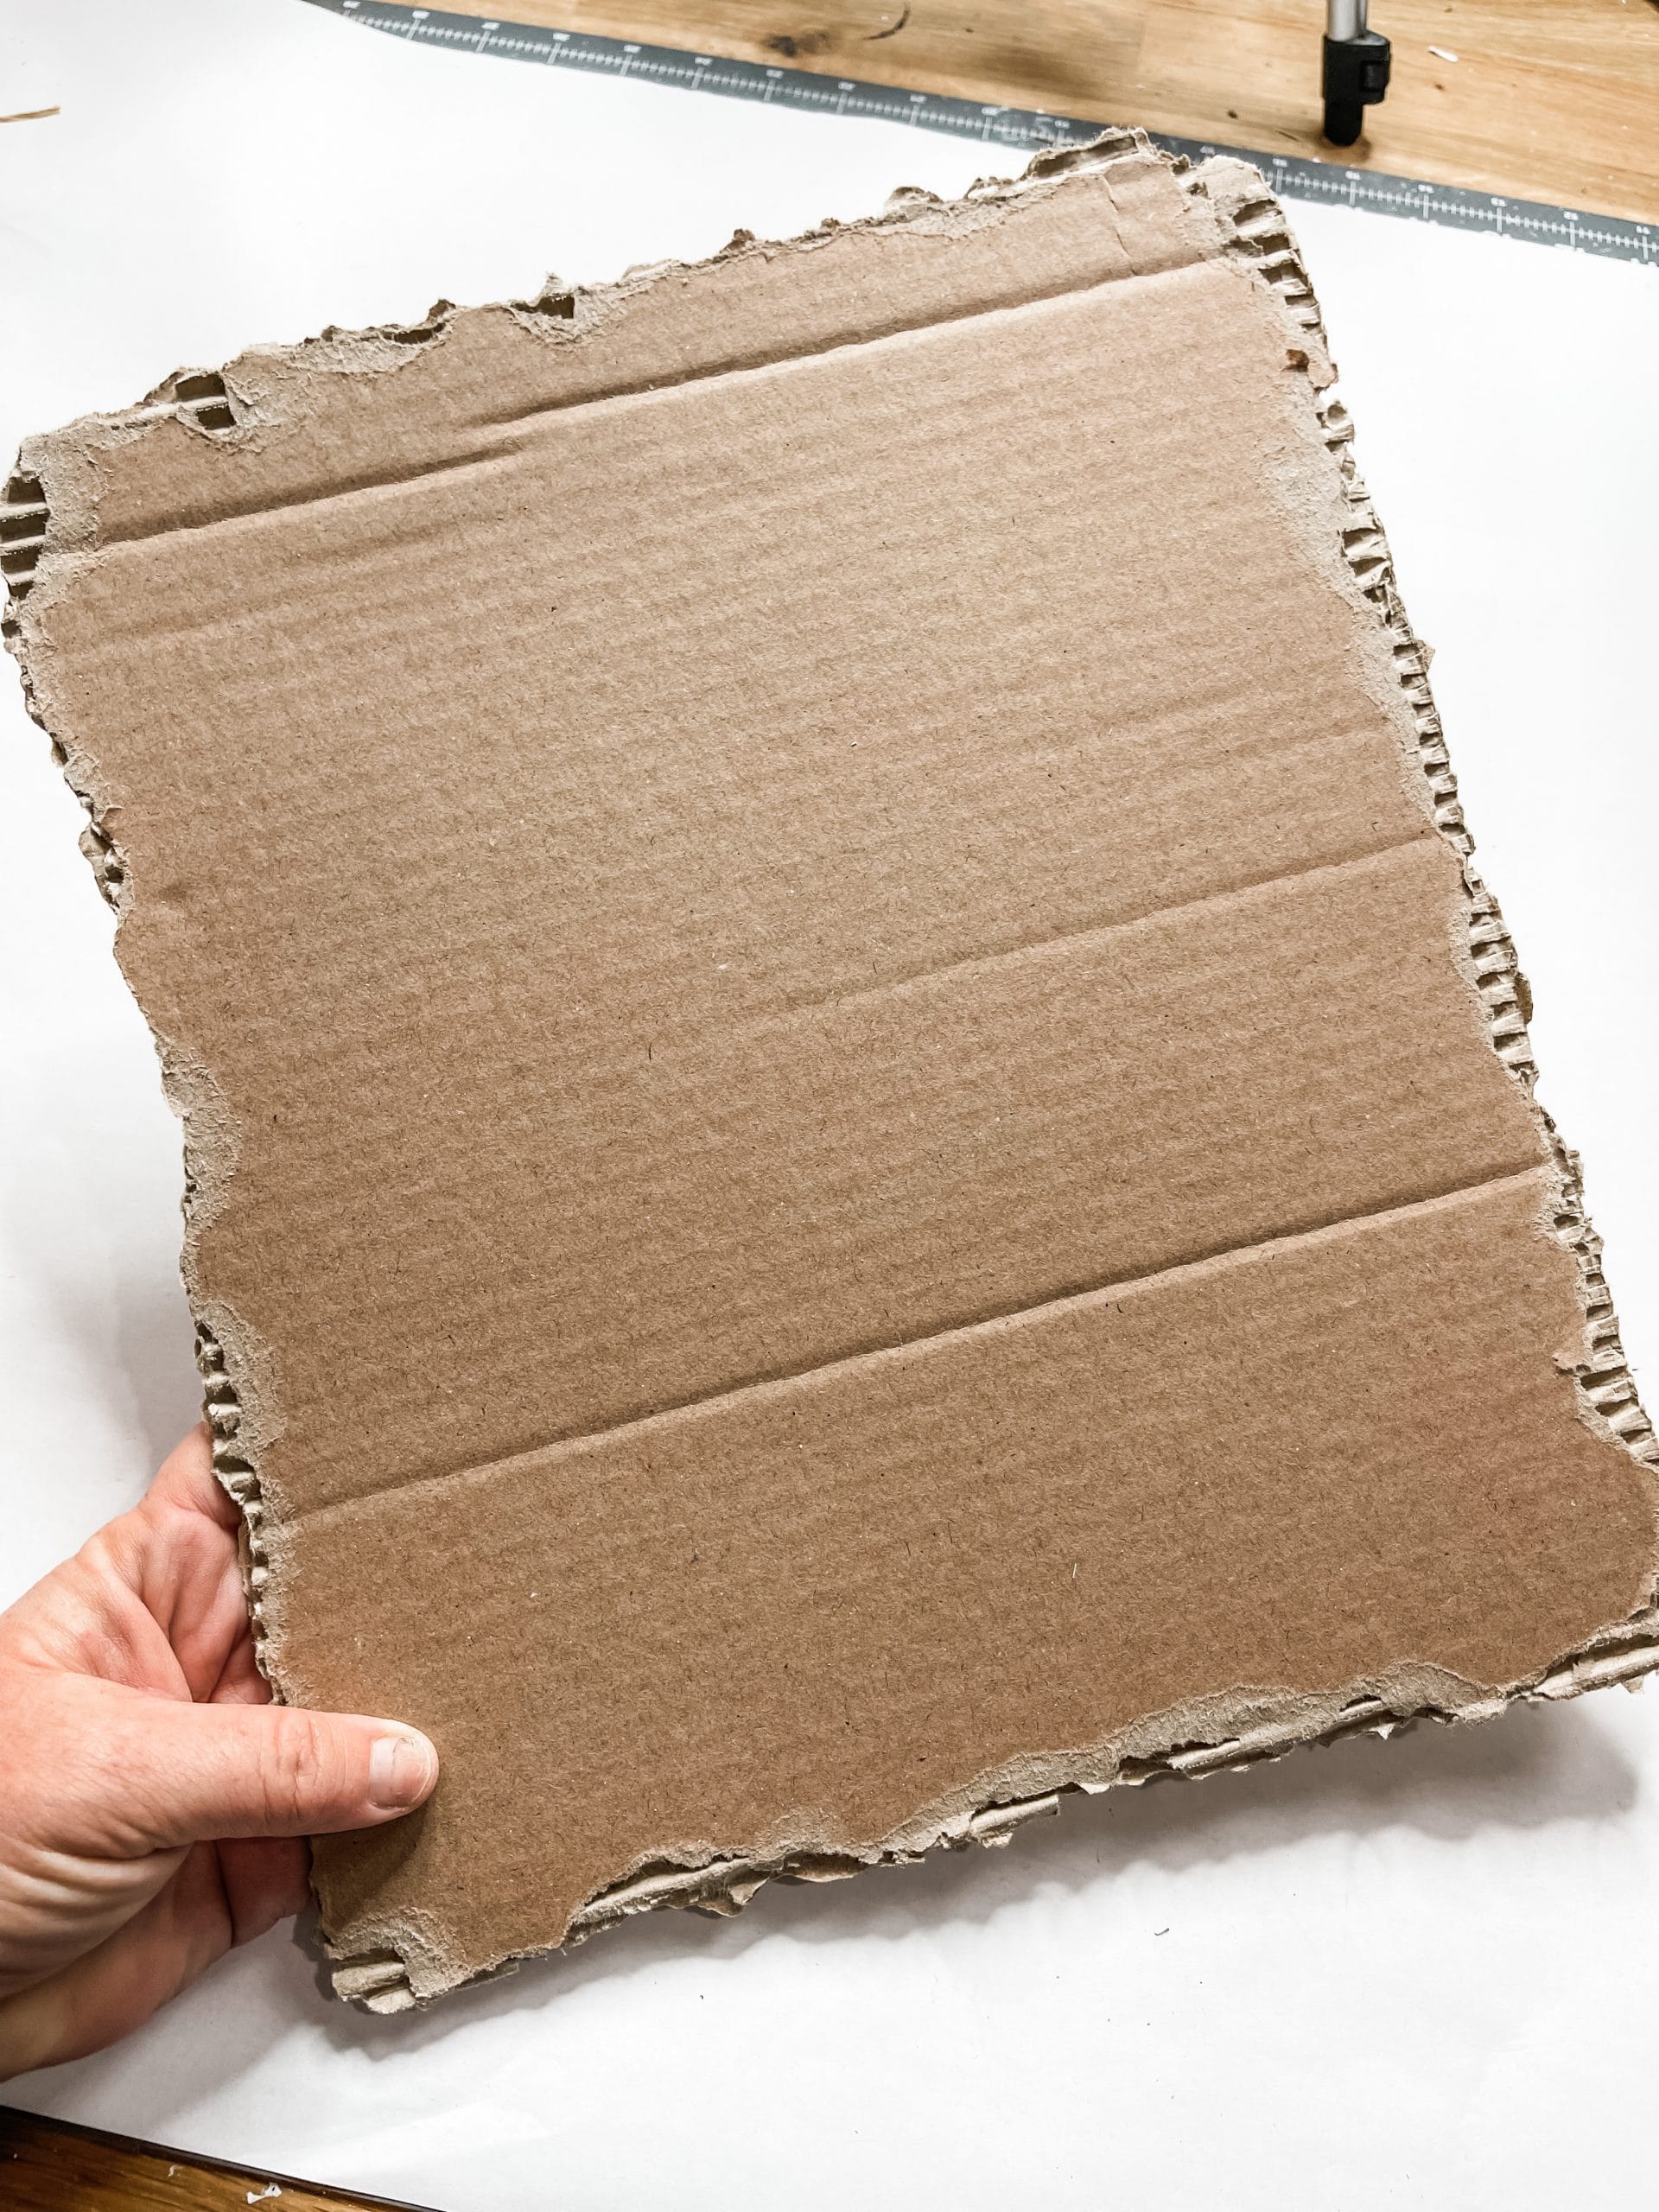
Now you need to get your cardboard. Get a piece of cardboard that is larger than you need and tear the edges to make it the right size without perfect edges.
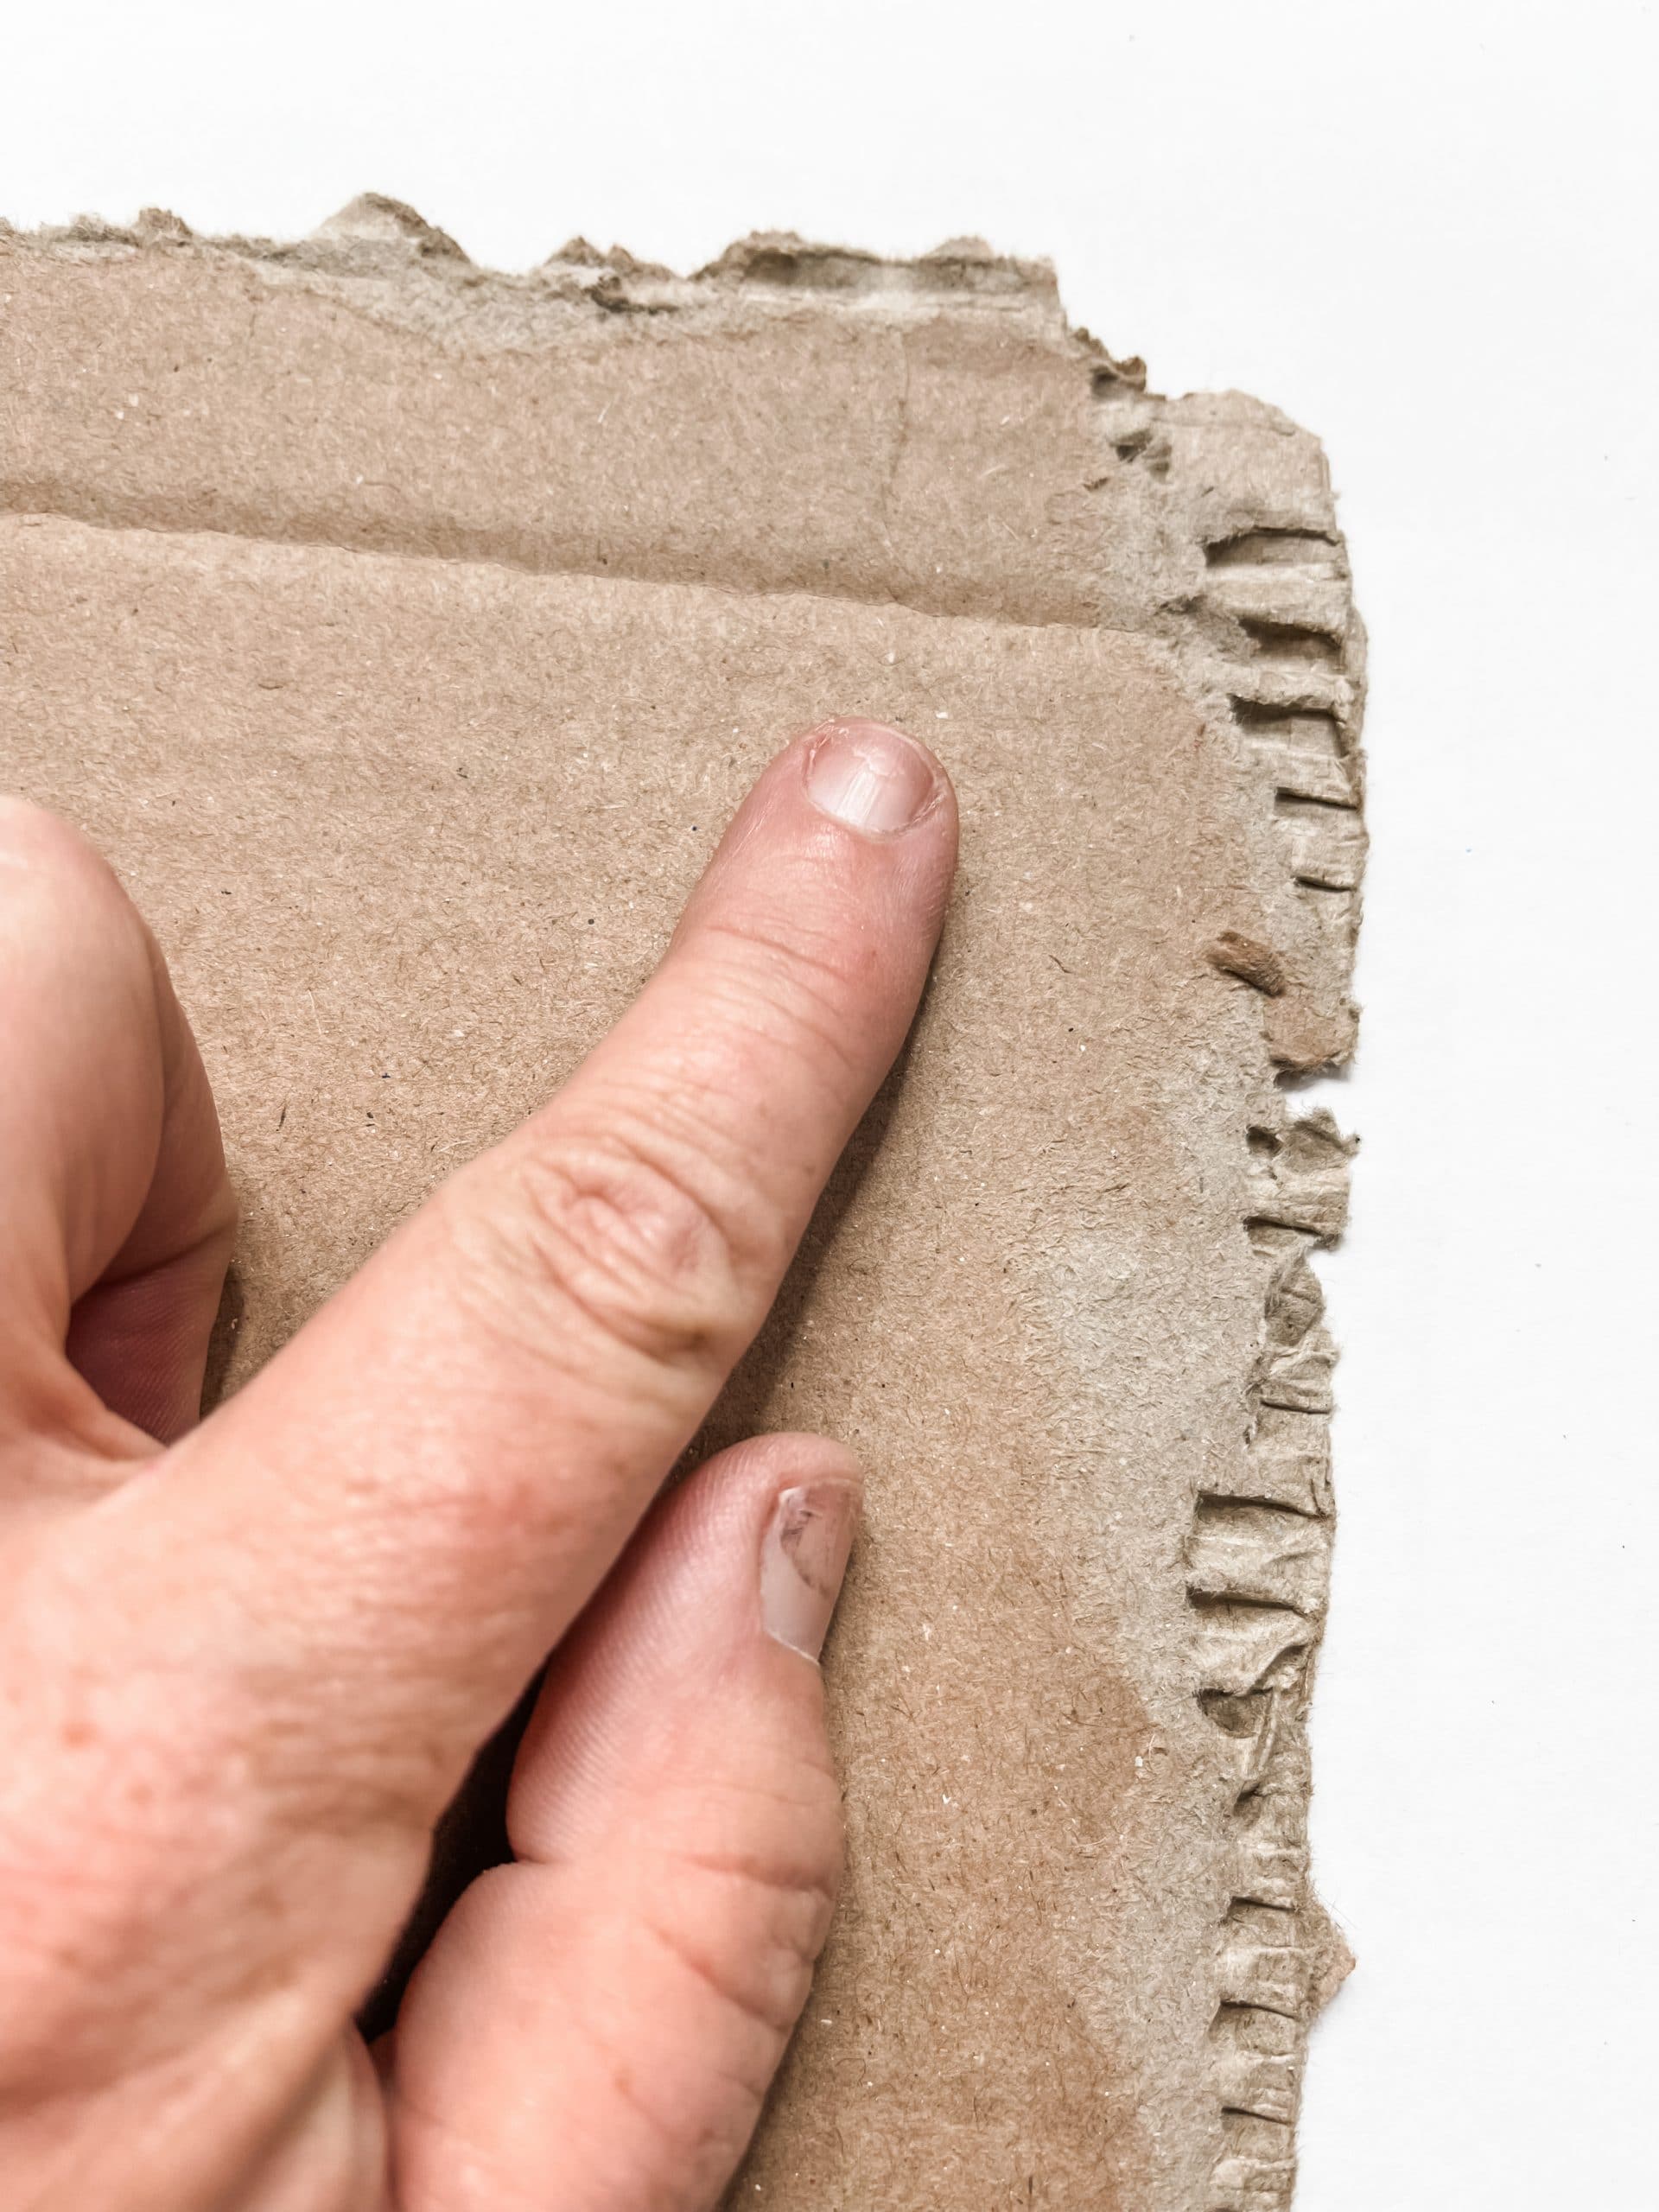
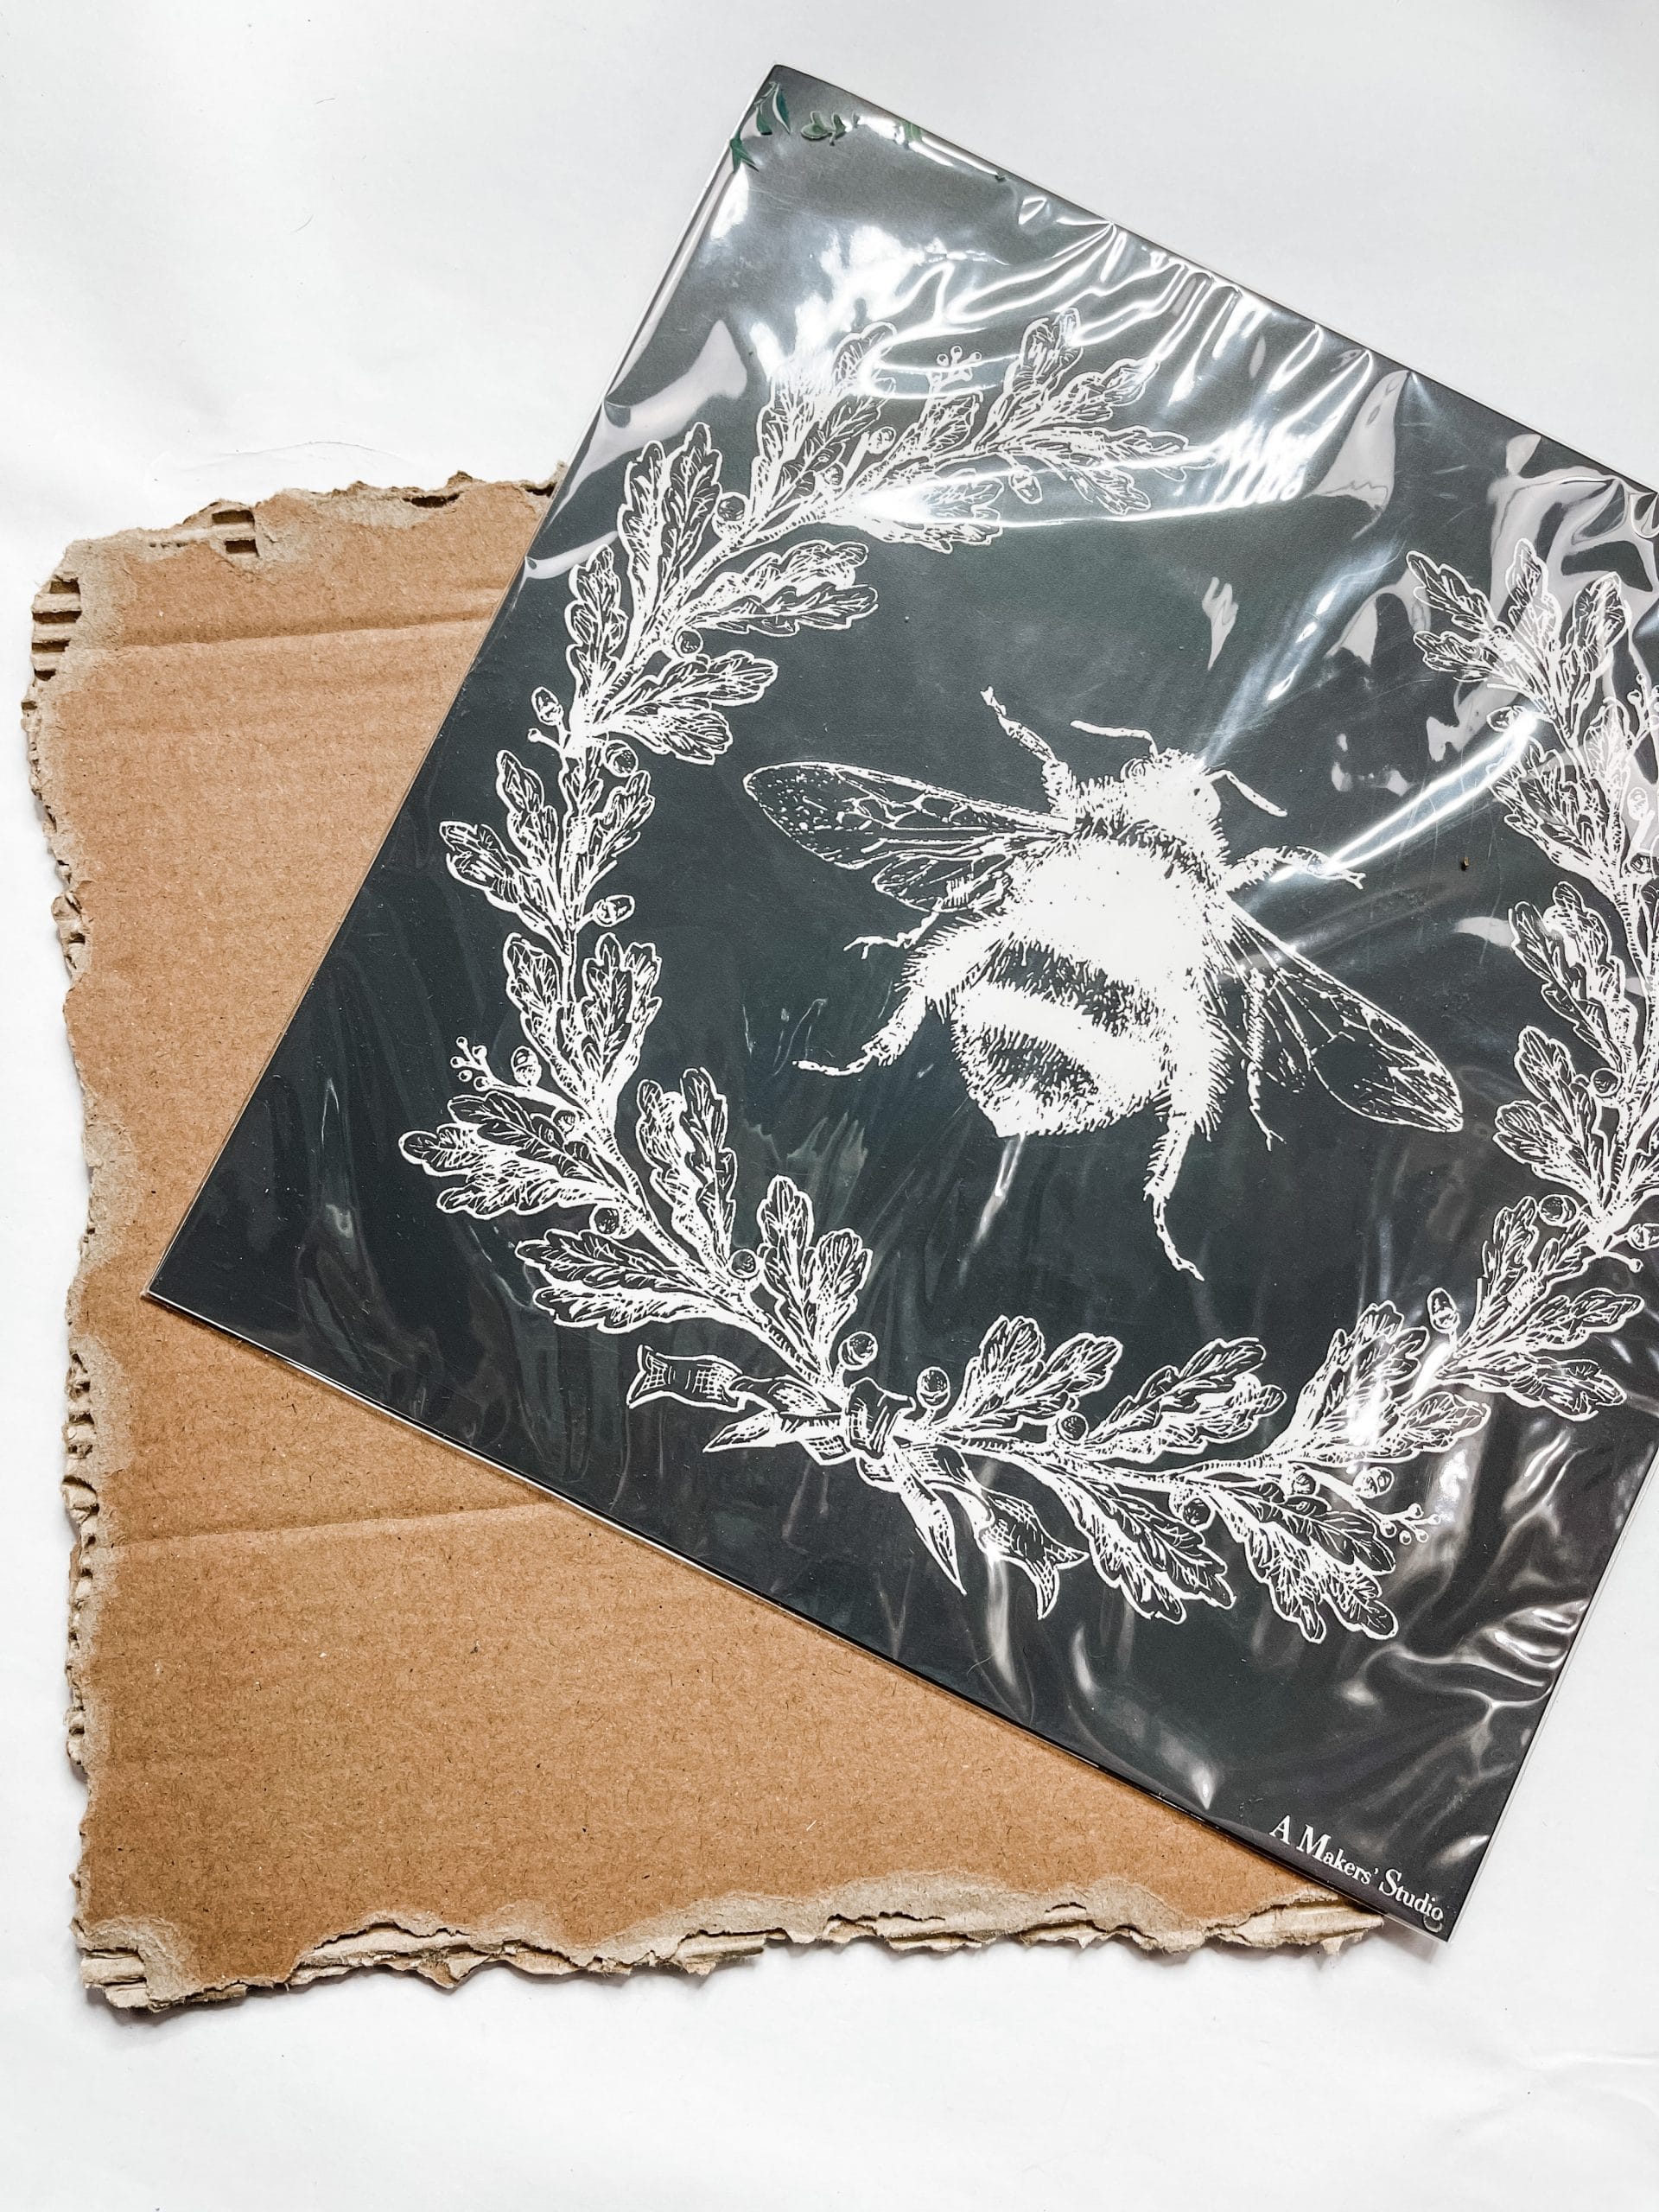
Keep in mind the size of your stencil. You want to make sure the cardboard is large enough for the stencil and the reed backing is larger than the cardboard piece.
Once you have the size nailed down, go ahead and trim any excess of the reed or paint sticks. I used aviation snips to cut the paint sticks.
DIY with Cardboard
Next, you need to get your cardboard ready for your beautiful bee stencil! To do that, paint a coat of white paint onto the cardboard (I used Folkart White Chalk Paint).
I didn’t do an even coat of paint, and I allowed the brown cardboard color to show through just a little bit. This adds to the aged, farmhouse feel of this Easy DIY Bumble Bee Farmhouse Home Decor.
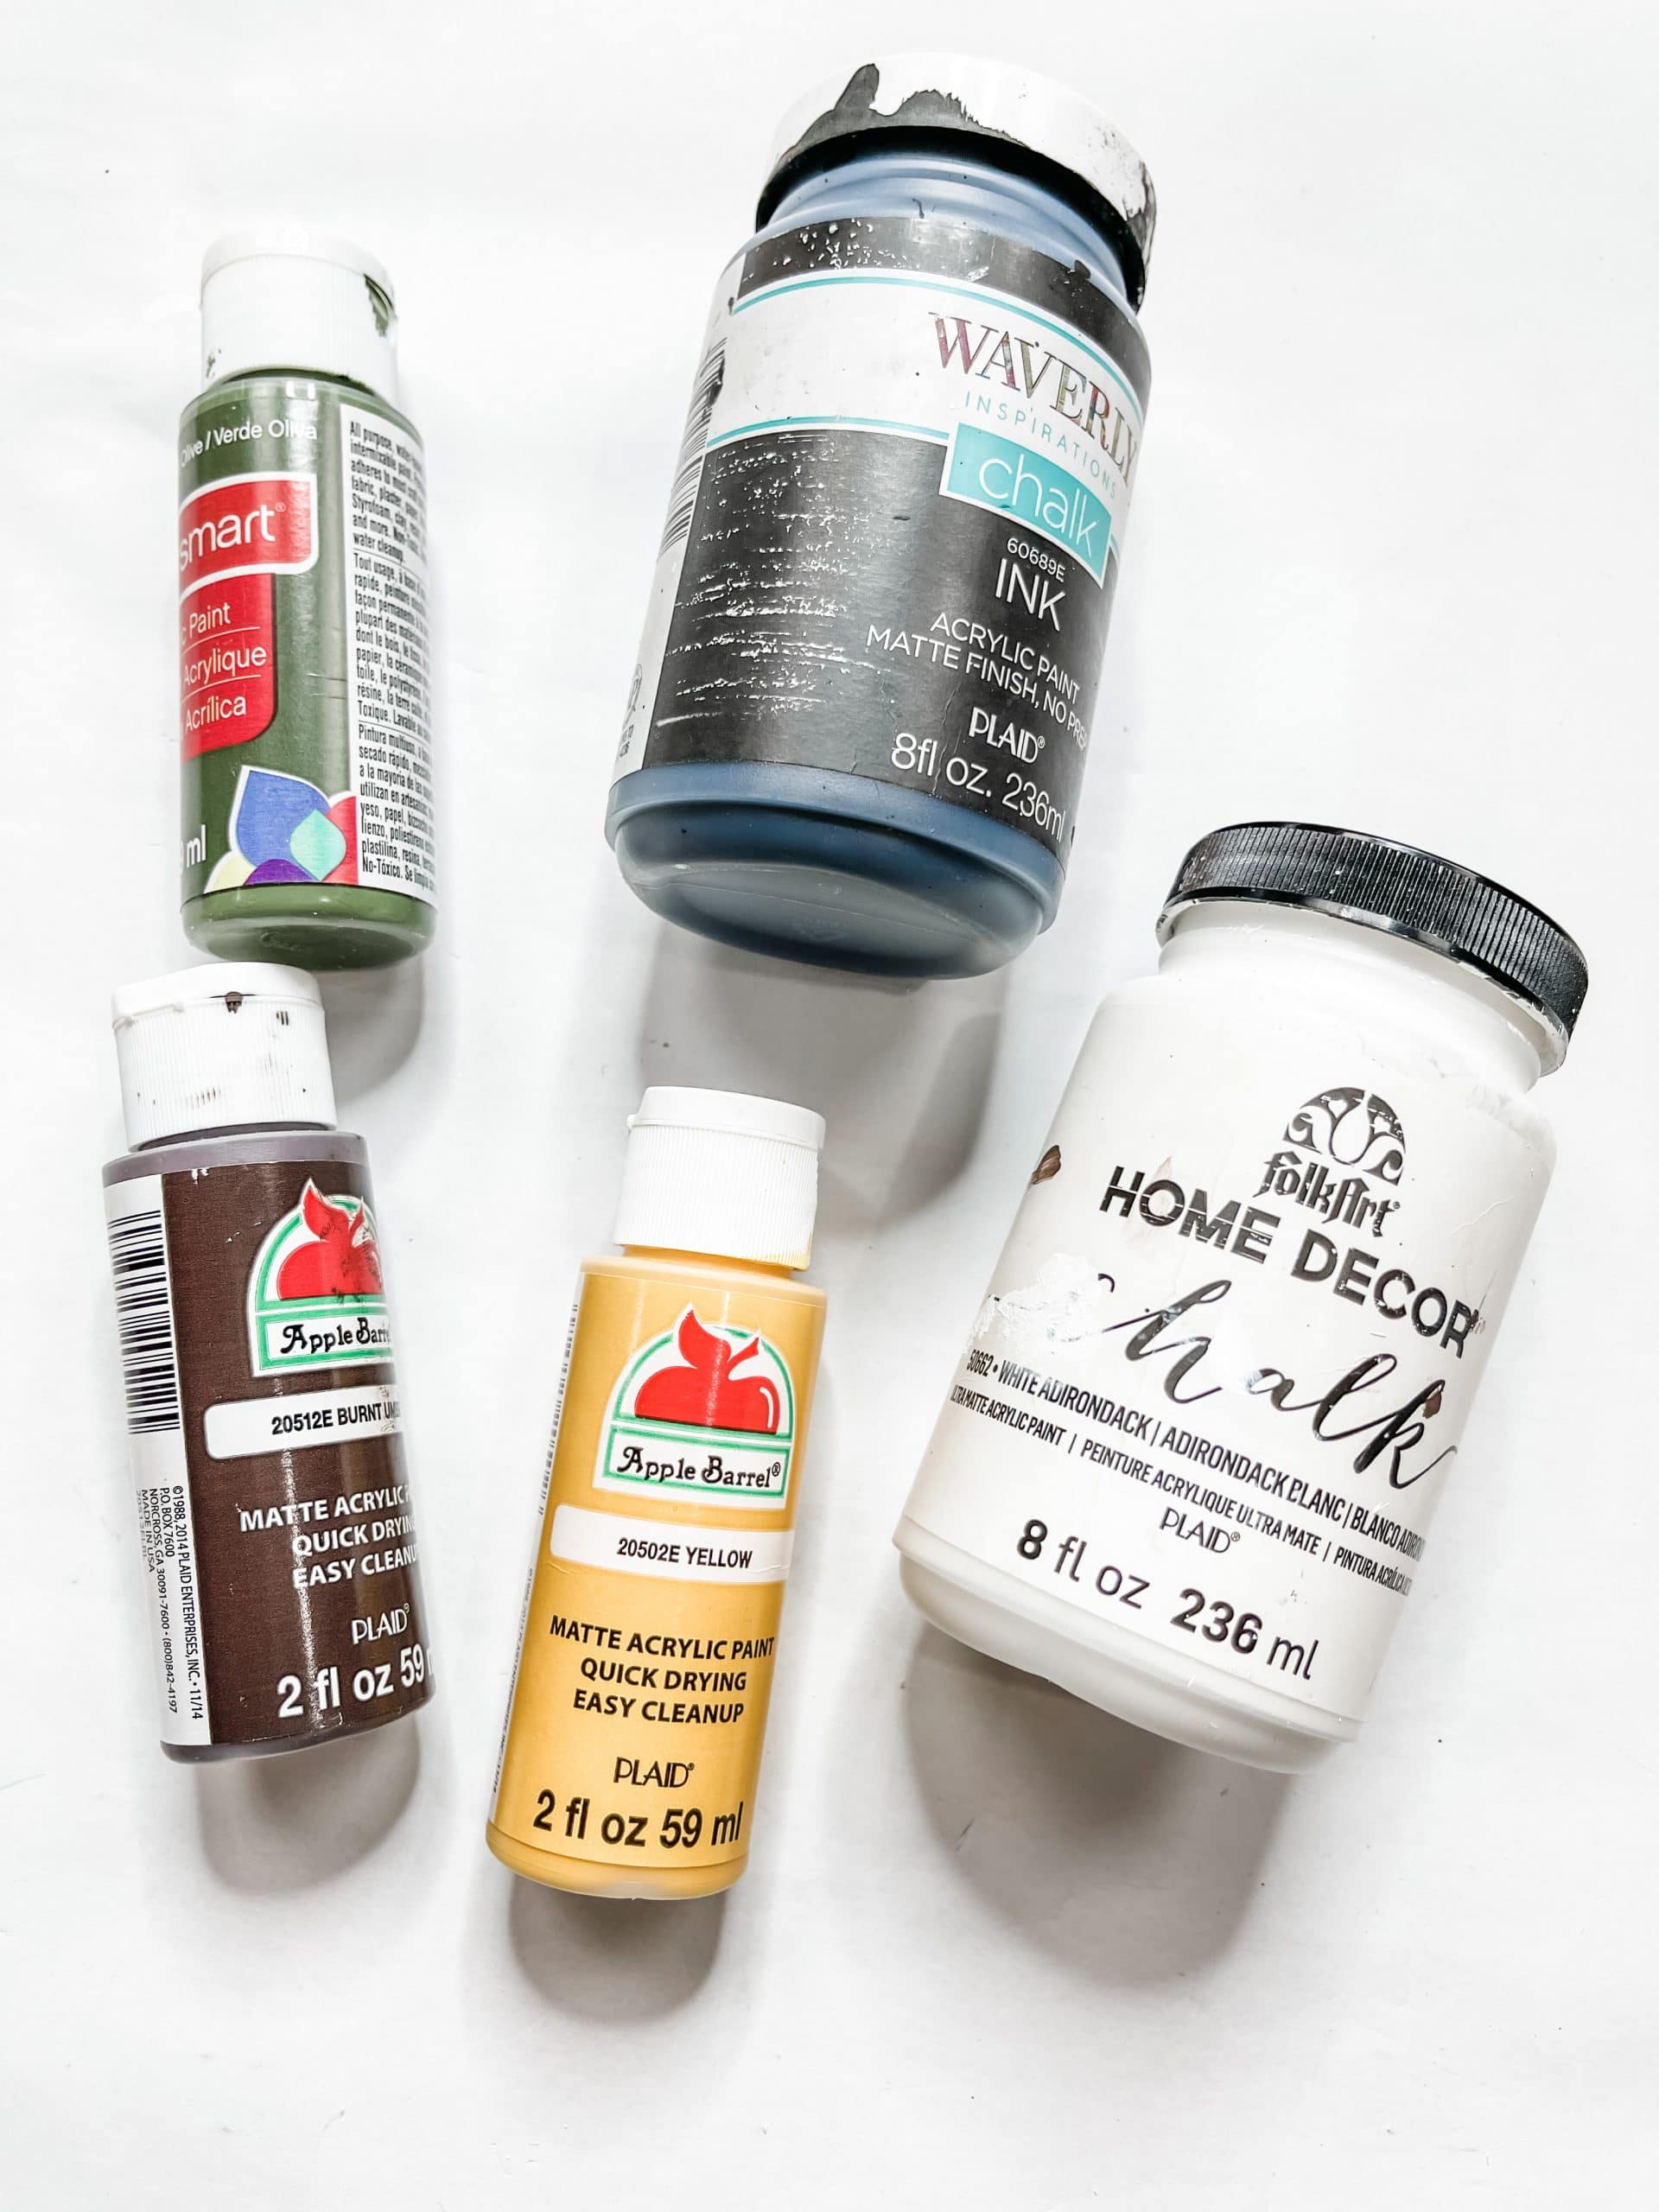
Allow the white paint to dry, then get your black paint. Dab your paintbrush into the black paint, spray the brush with a bit of water, blend it out on your hand just a little, and blend the black paint around the edges of the cardboard square.
Make sure you let the black paint dry completely, then brush the wax across the cardboard. This will help prevent the stencil from bleeding once you start painting it onto the cardboard.
You can use Waverly Wax instead of the DIY Paint because it can be a little bit pricey. But, I promise it is worth the money!
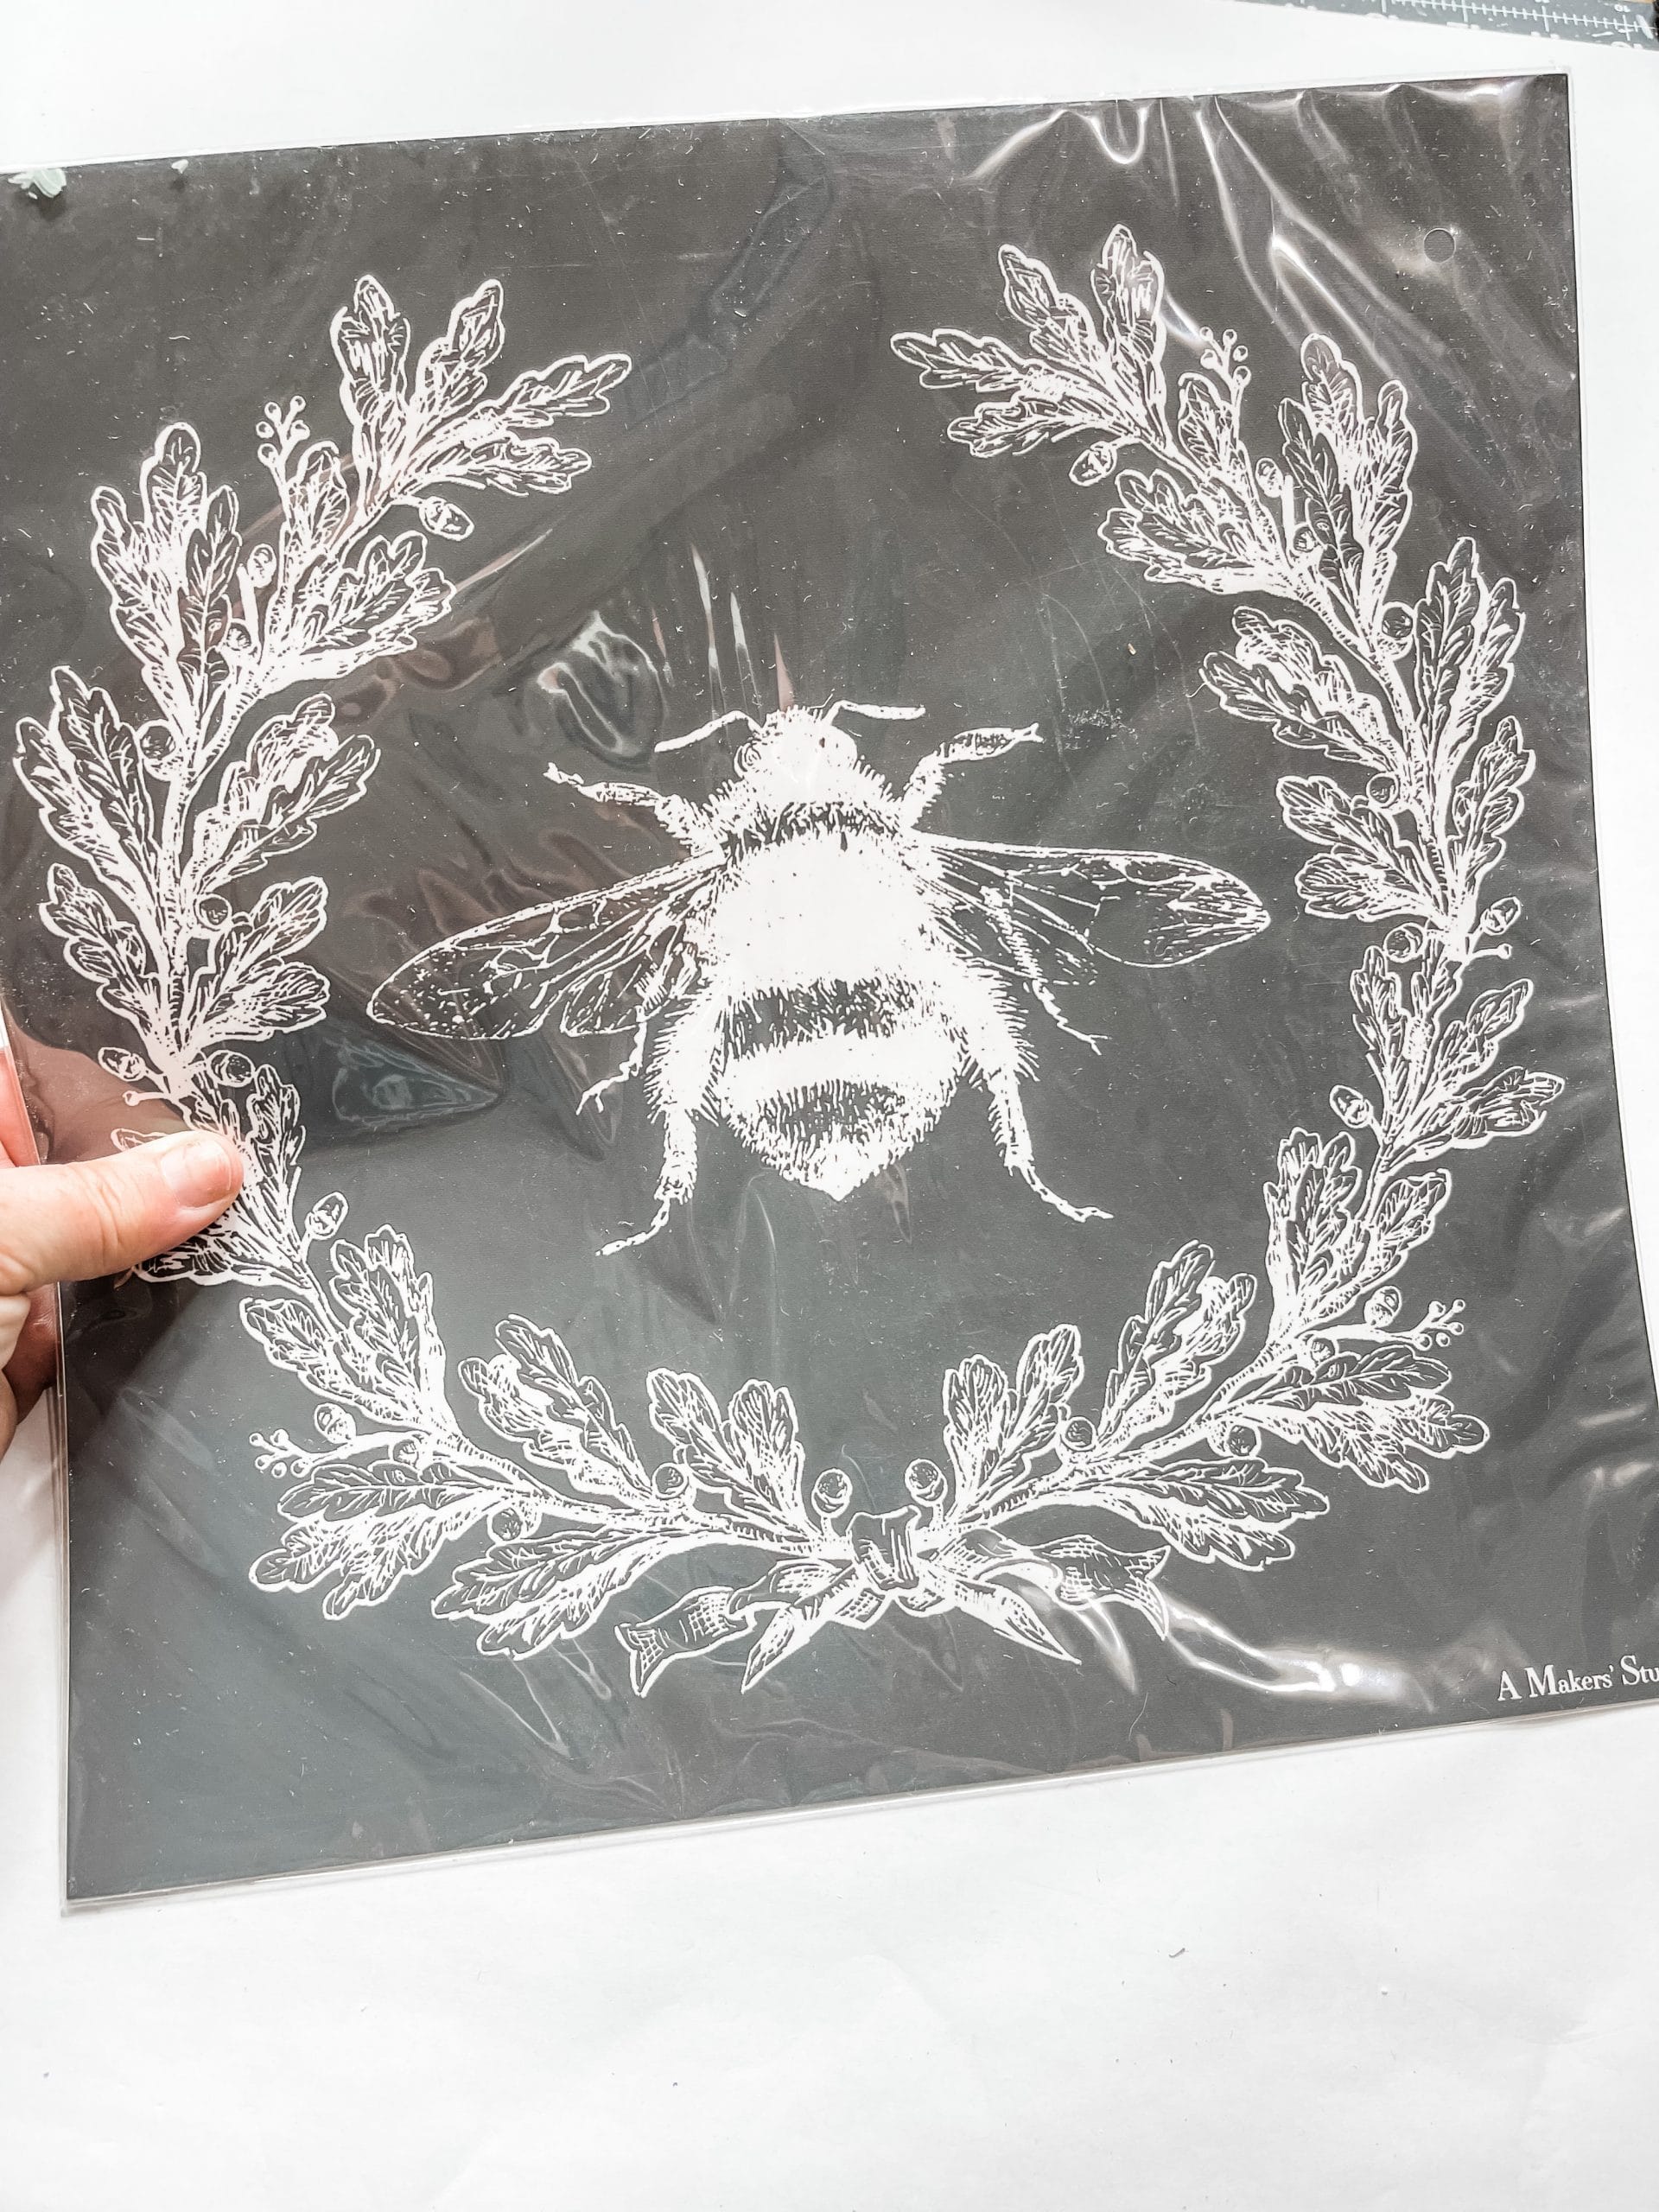
How to use A Maker’s Studio Queen Bee Stencil
I used A Maker’s Studio’s Queen Bee Stencil to make this Easy DIY Bumble Bee Farmhouse Home Decor, but you can use whatever stencil you want for yours!
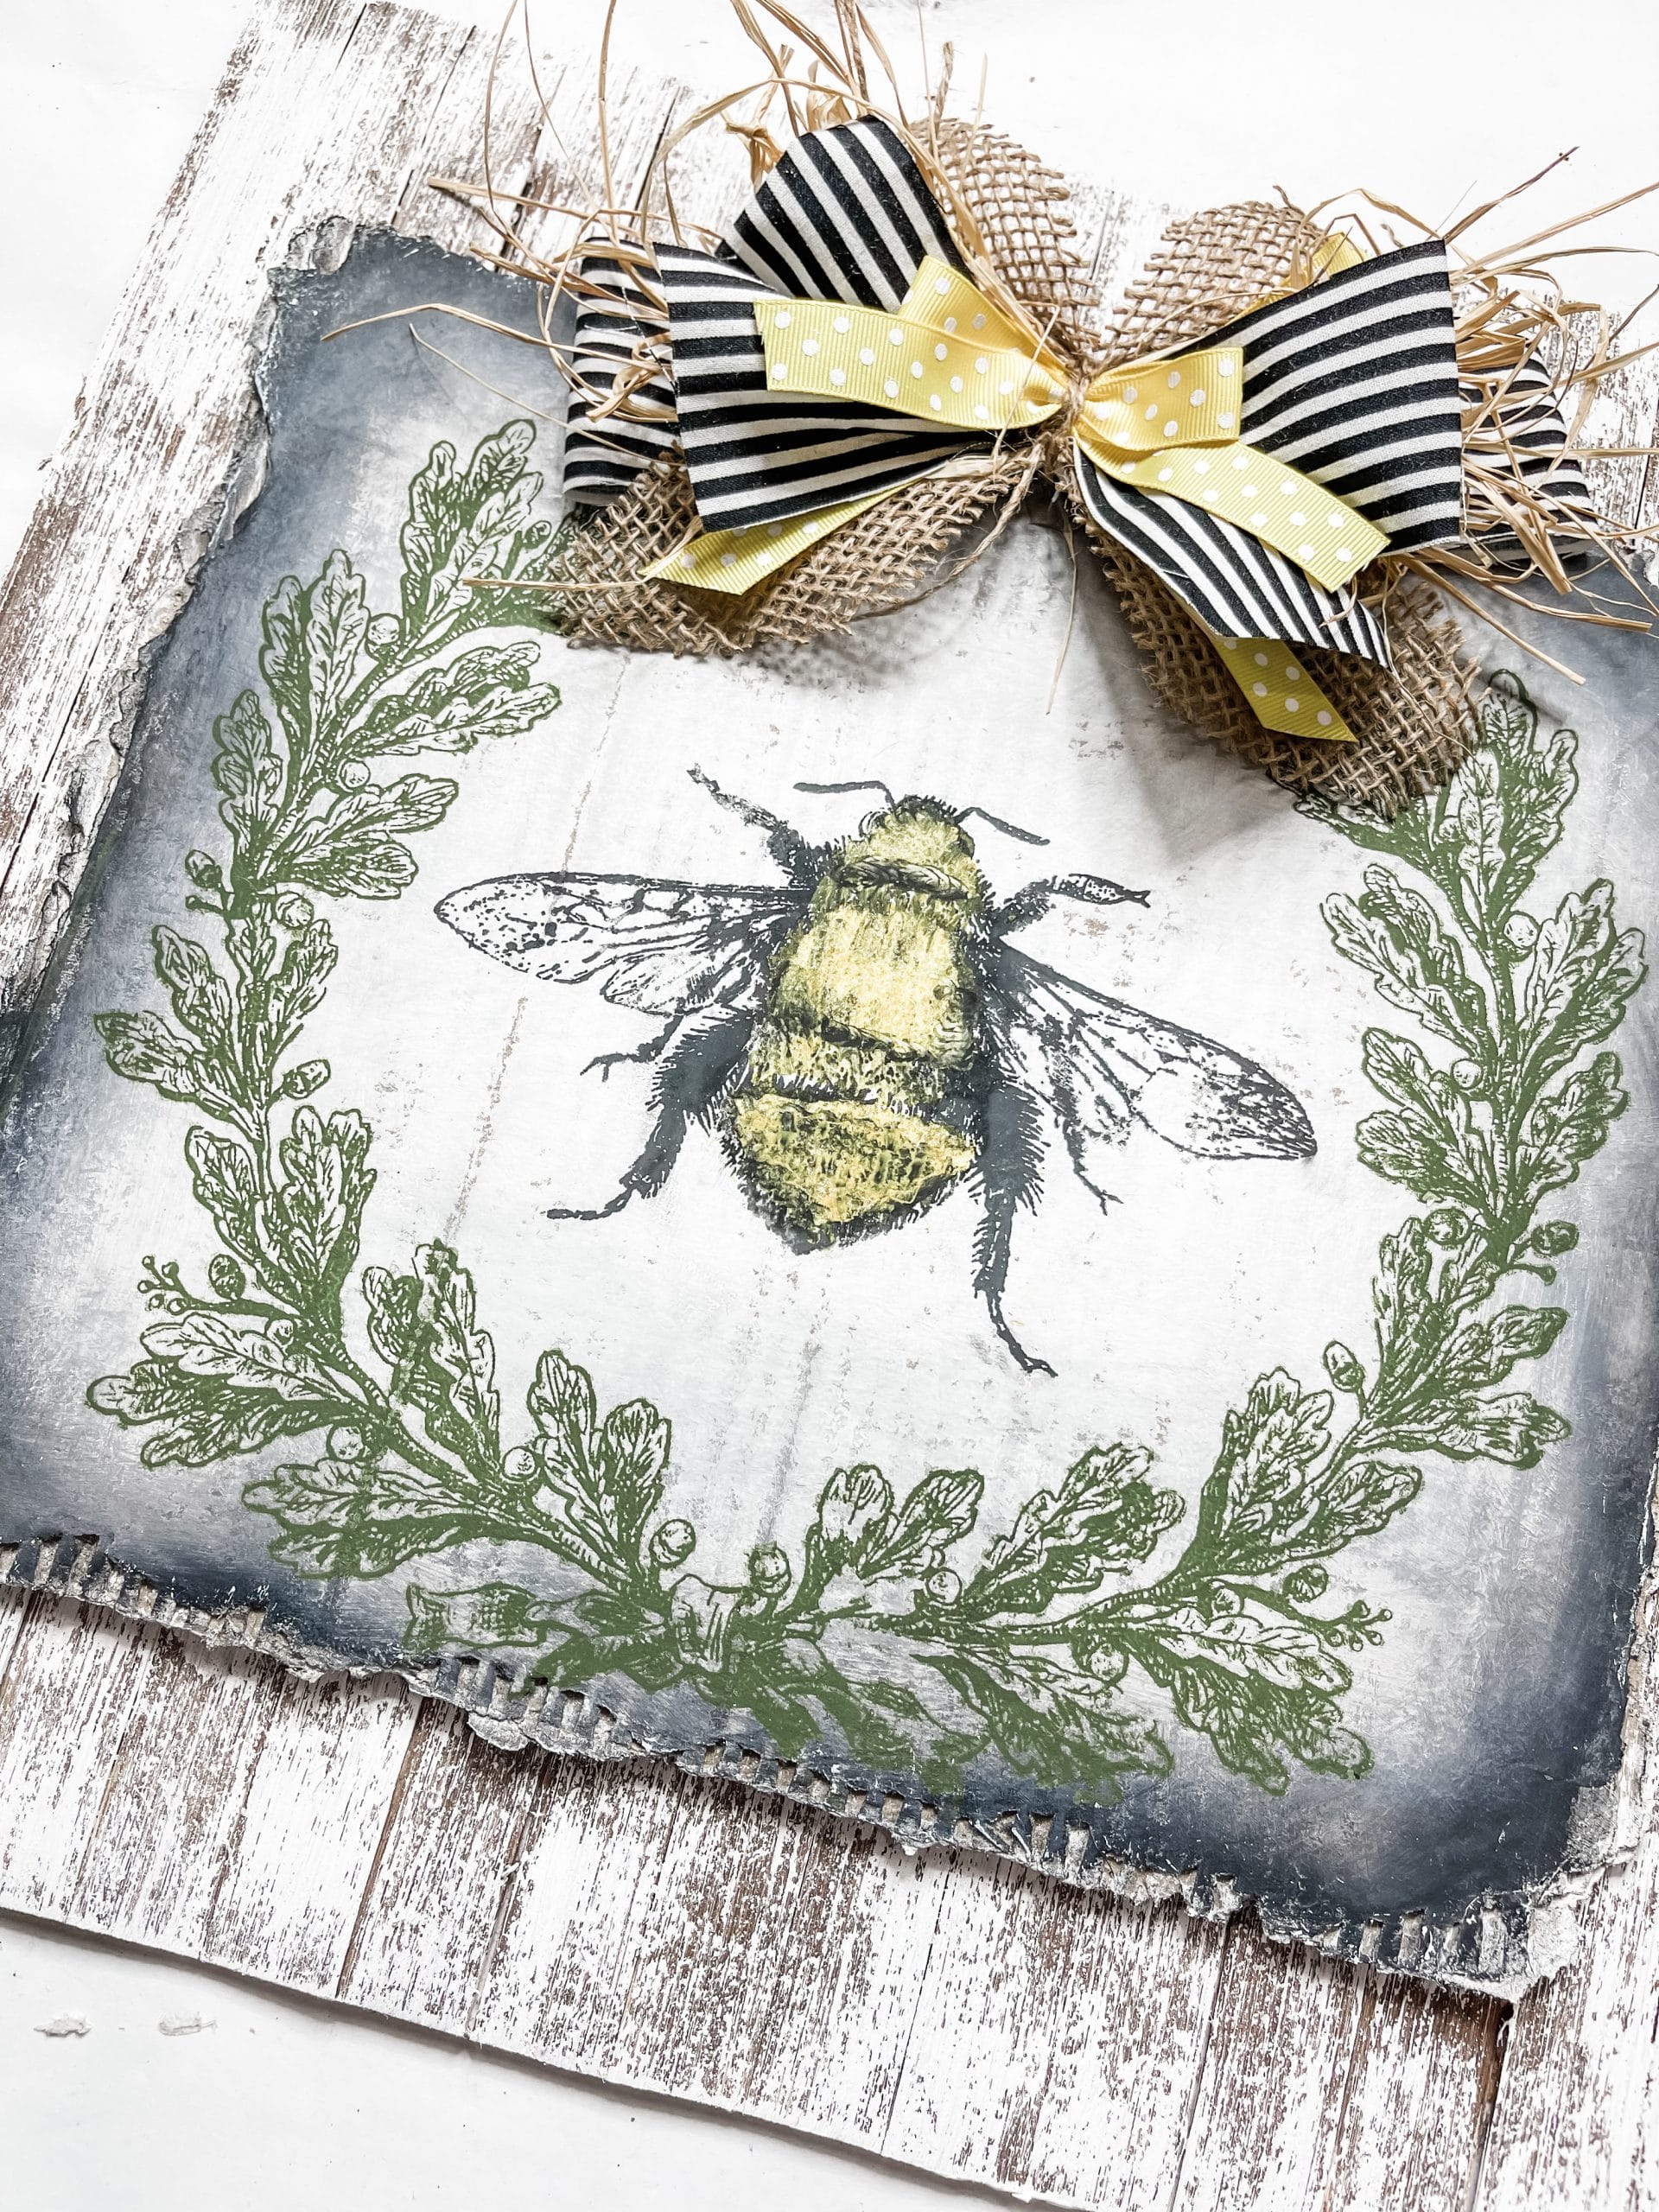
Now, place the stencil on the cardboard! You can use different colors when you paint the stencil, but for this, I am going to explain with the colors that I used and the stencil I had.
First, paint the wreath portion of the stencil with green paint. My exact paint colors are in the supply list at the top of this post.
Once I had the wreath painted, I pulled the stencil up, cleaned it, and dried the green paint with my heat gun.
Then, I painted the black portions of the bee. I dried the paint a little with my heat gun, cleaned my brush, and got my yellow paint.
Now, go in and paint where the yellow needs to be. Then, I pulled the stencil off and used a small paintbrush to blend the edges between yellow and black paint and add some detailing on the bee.
Create a Farmhouse Background
First, spray the reed with water. I like to use a continuous mist spray bottle that I ordered off of Amazon. Then, mix a bit of brown paint and water in a small bowl.
Use wet wipes to spread the paint/water mixture across the reed surface. The reed with absorb the mixture and will have an amazing and effortless stained finish!
Completely dry the reed (this is where my heat gun came in handy again!), then lightly dry brush white paint across the reed.
Don’t go for a solid coat of white paint so you can get the perfect farmhouse distressed finish on the reed! If you add too much white paint, you can go back in with a sanding sponge to distress it more.
How to make a DIY bow
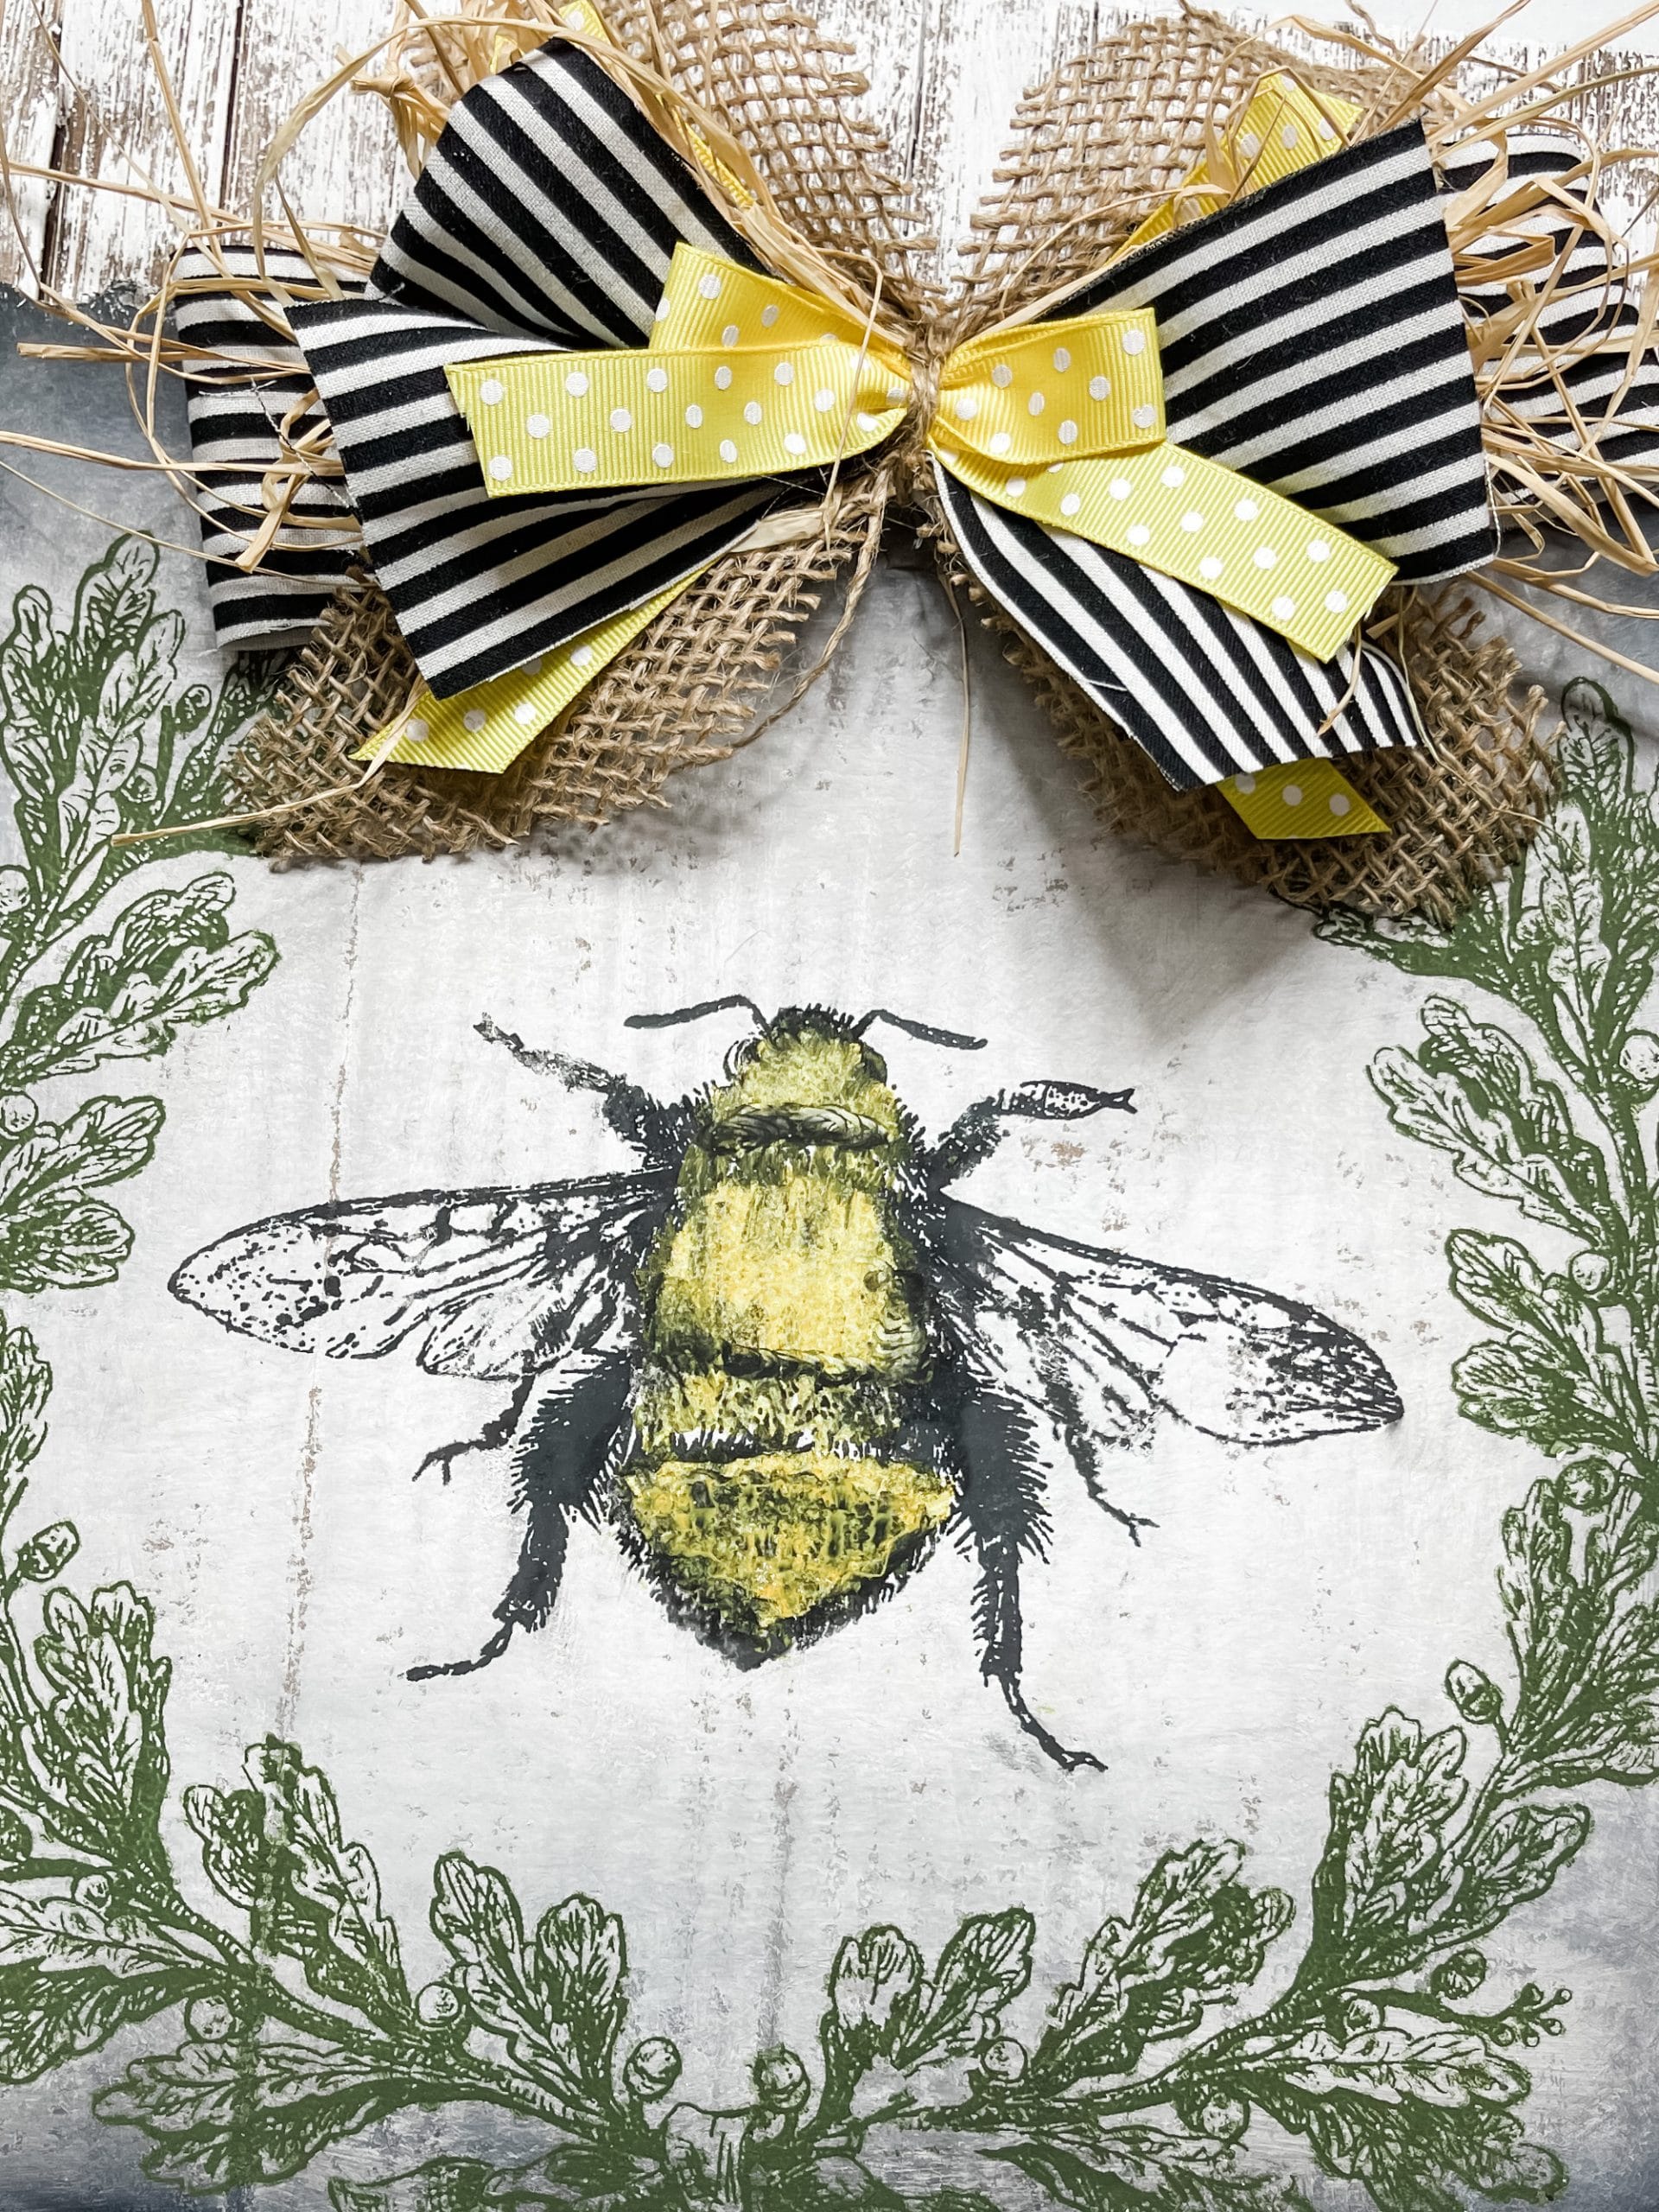
A bow makes everything better, so next I made a bow to go on this Easy DIY Bumble Bee Farmhouse Home Decor!
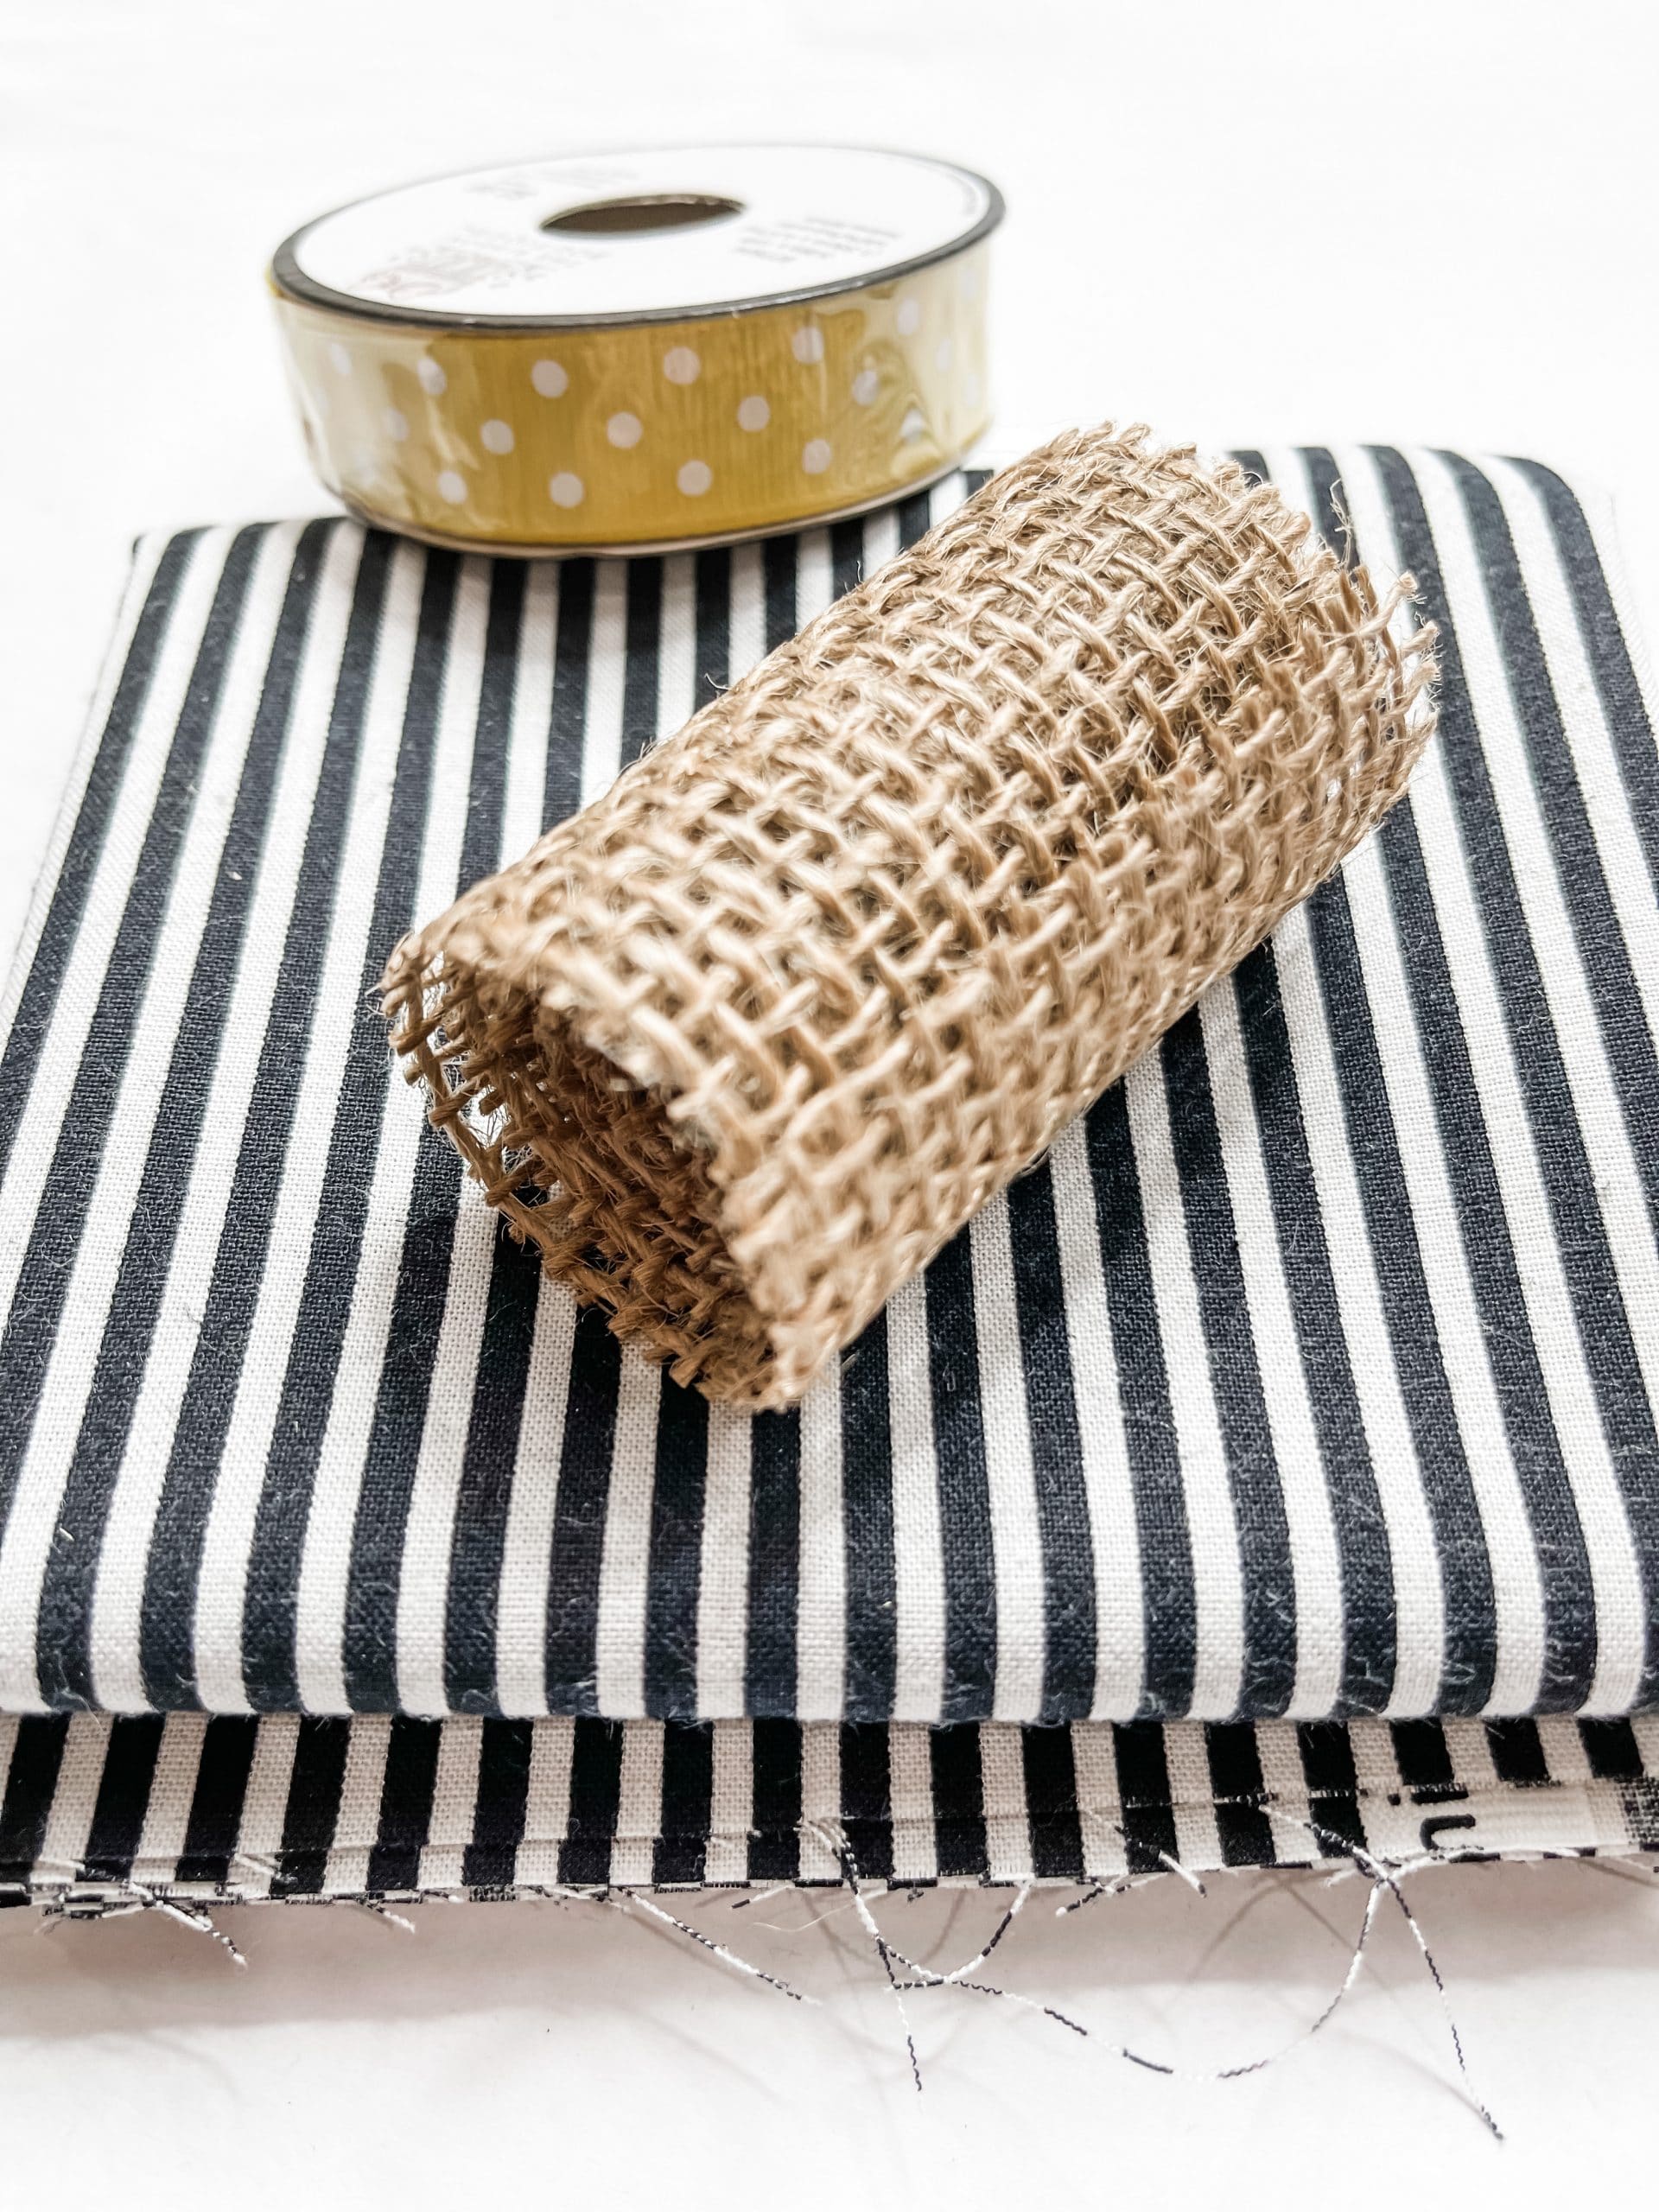
I got my burlap ribbon and cut it in half horizontally to create two strips that weren’t so wide. Then, I cut strips of black and white striped fabric, yellow polkadot ribbon, and raffia.
Loop one strip of black and white striped fabric into a circle and press it flat. Lay the burlap pieces in an X on top of the fabric.
Then, lay two strips of yellow polka dot ribbon in an X on top of the burlap ribbons. I placed something on top of that stack to keep them in place and made a small bow out of striped fabric.
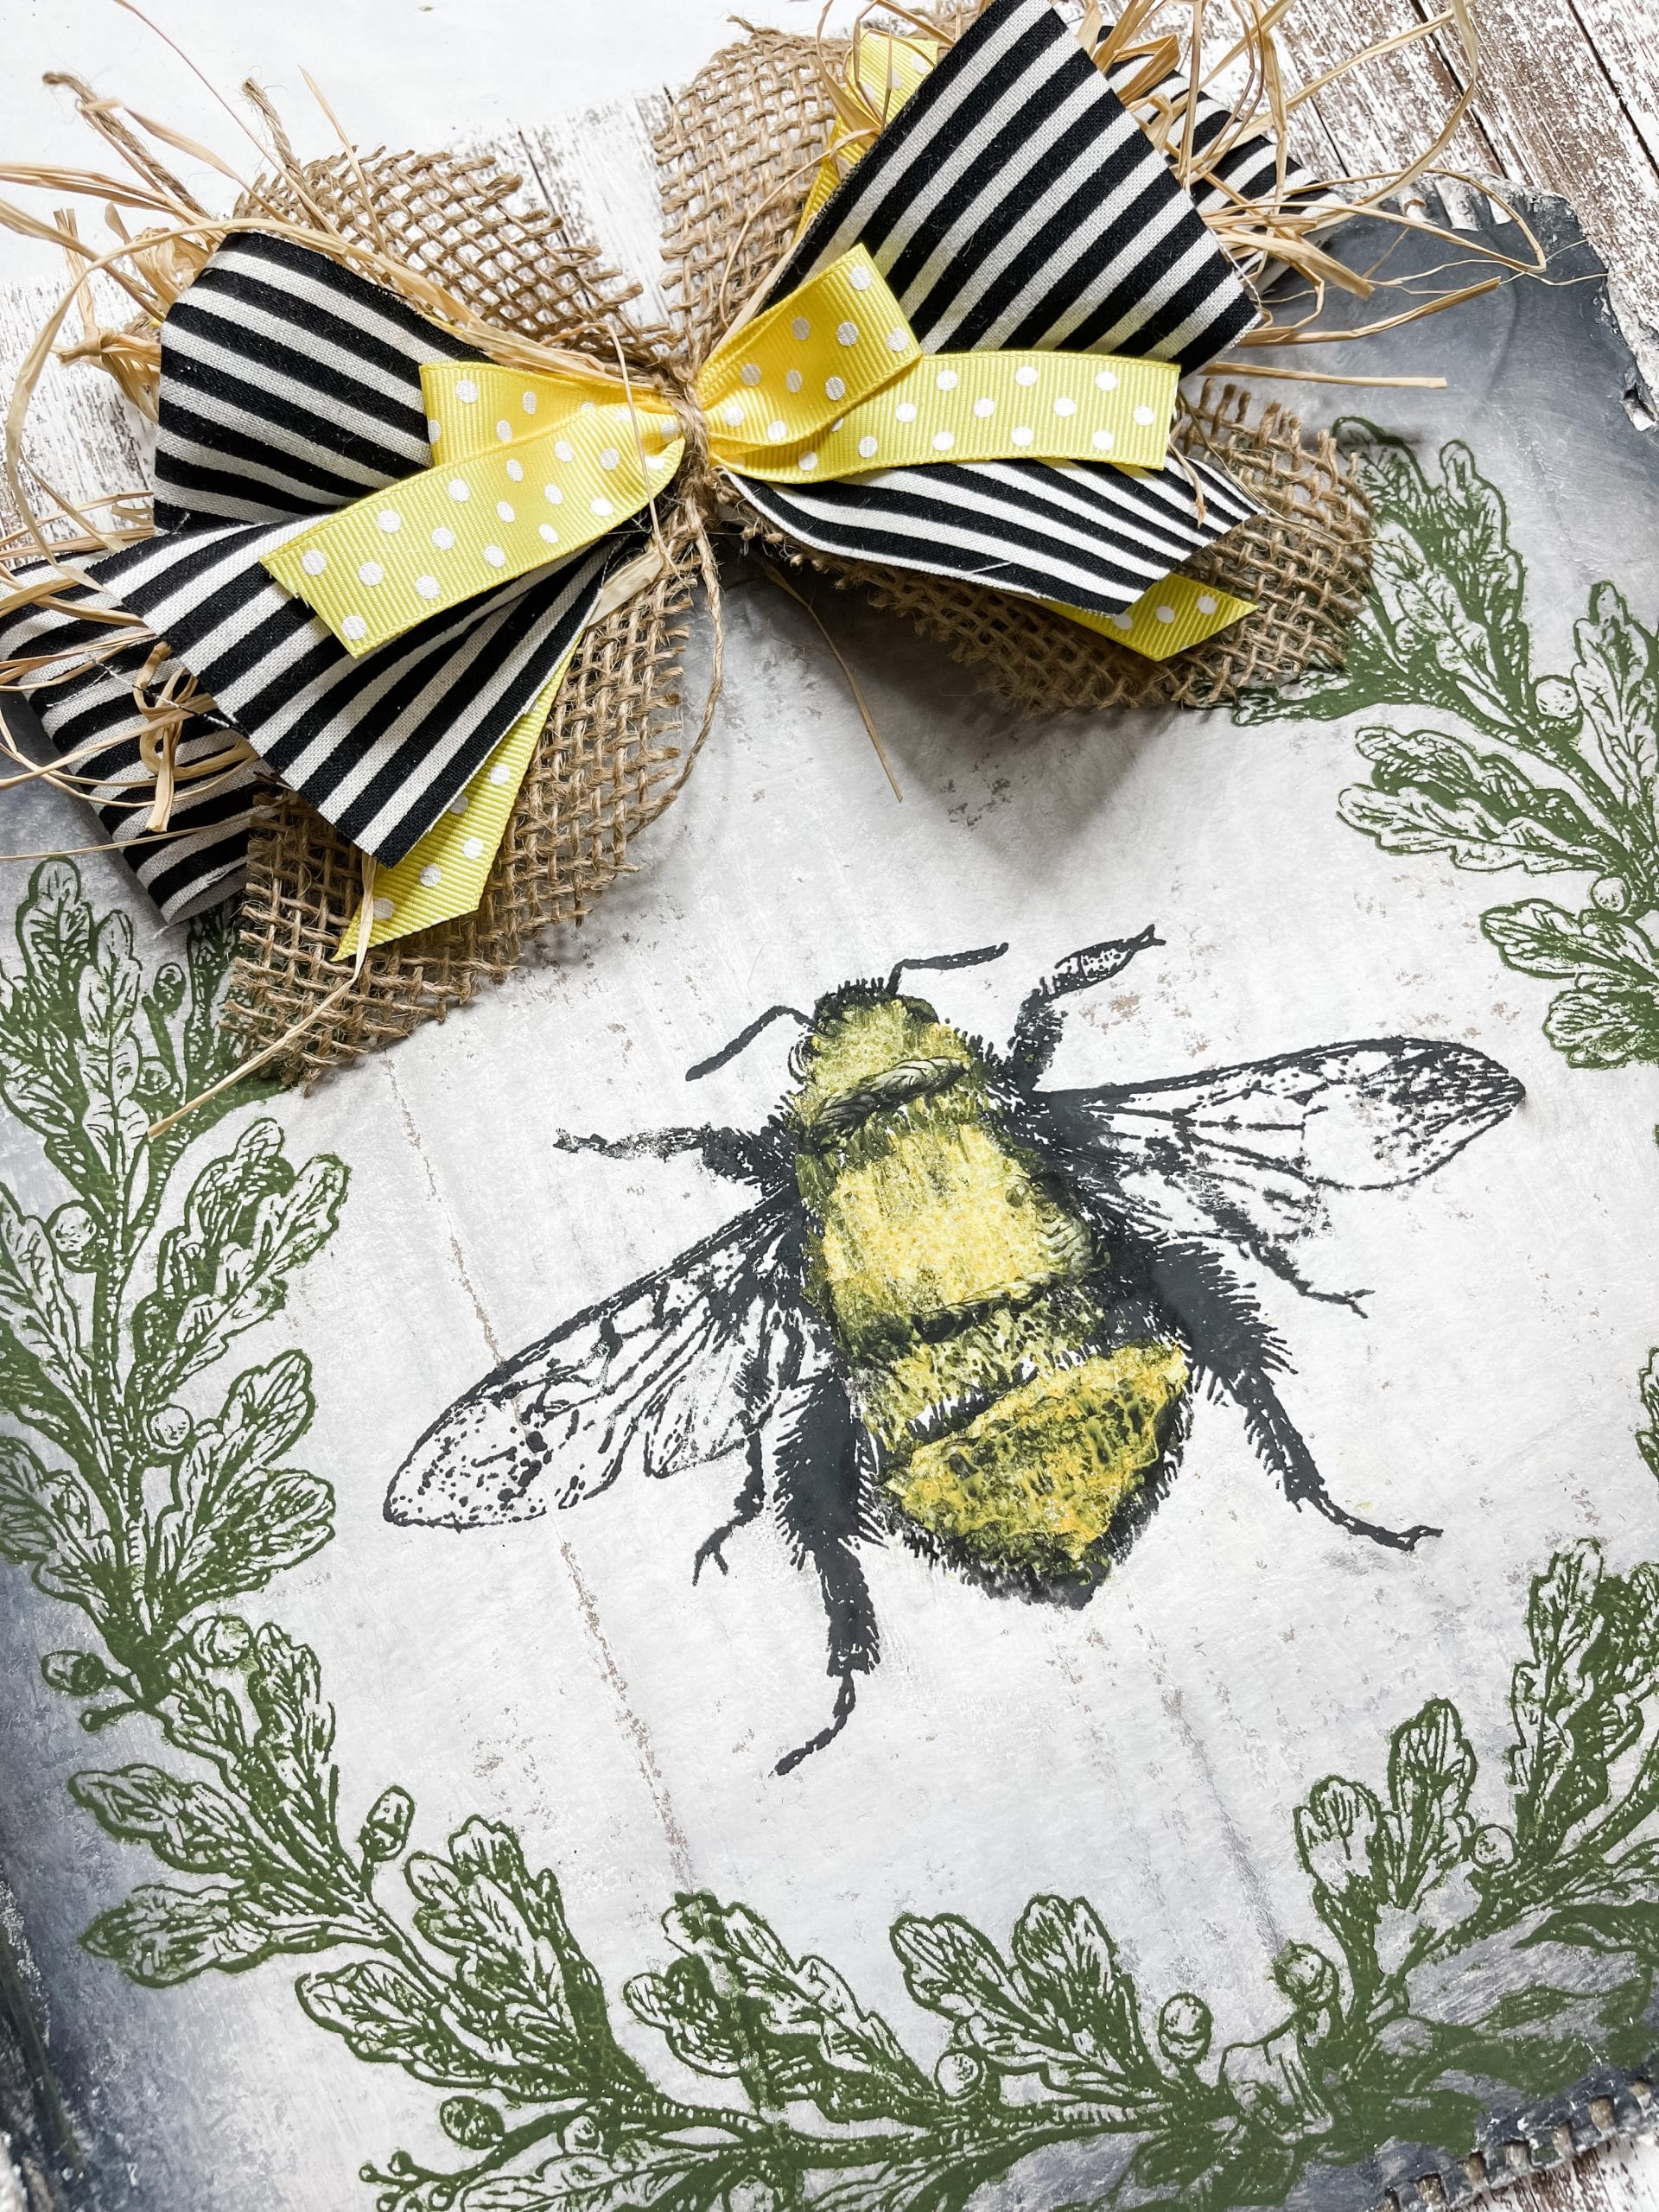
Fold the fabric into the shape of a bow and secure it with a piece of jute twine tied around the middle of the bow.
Do the same thing with a strip of the yellow polkadot ribbon, but make it a smaller bow than the fabric bow.
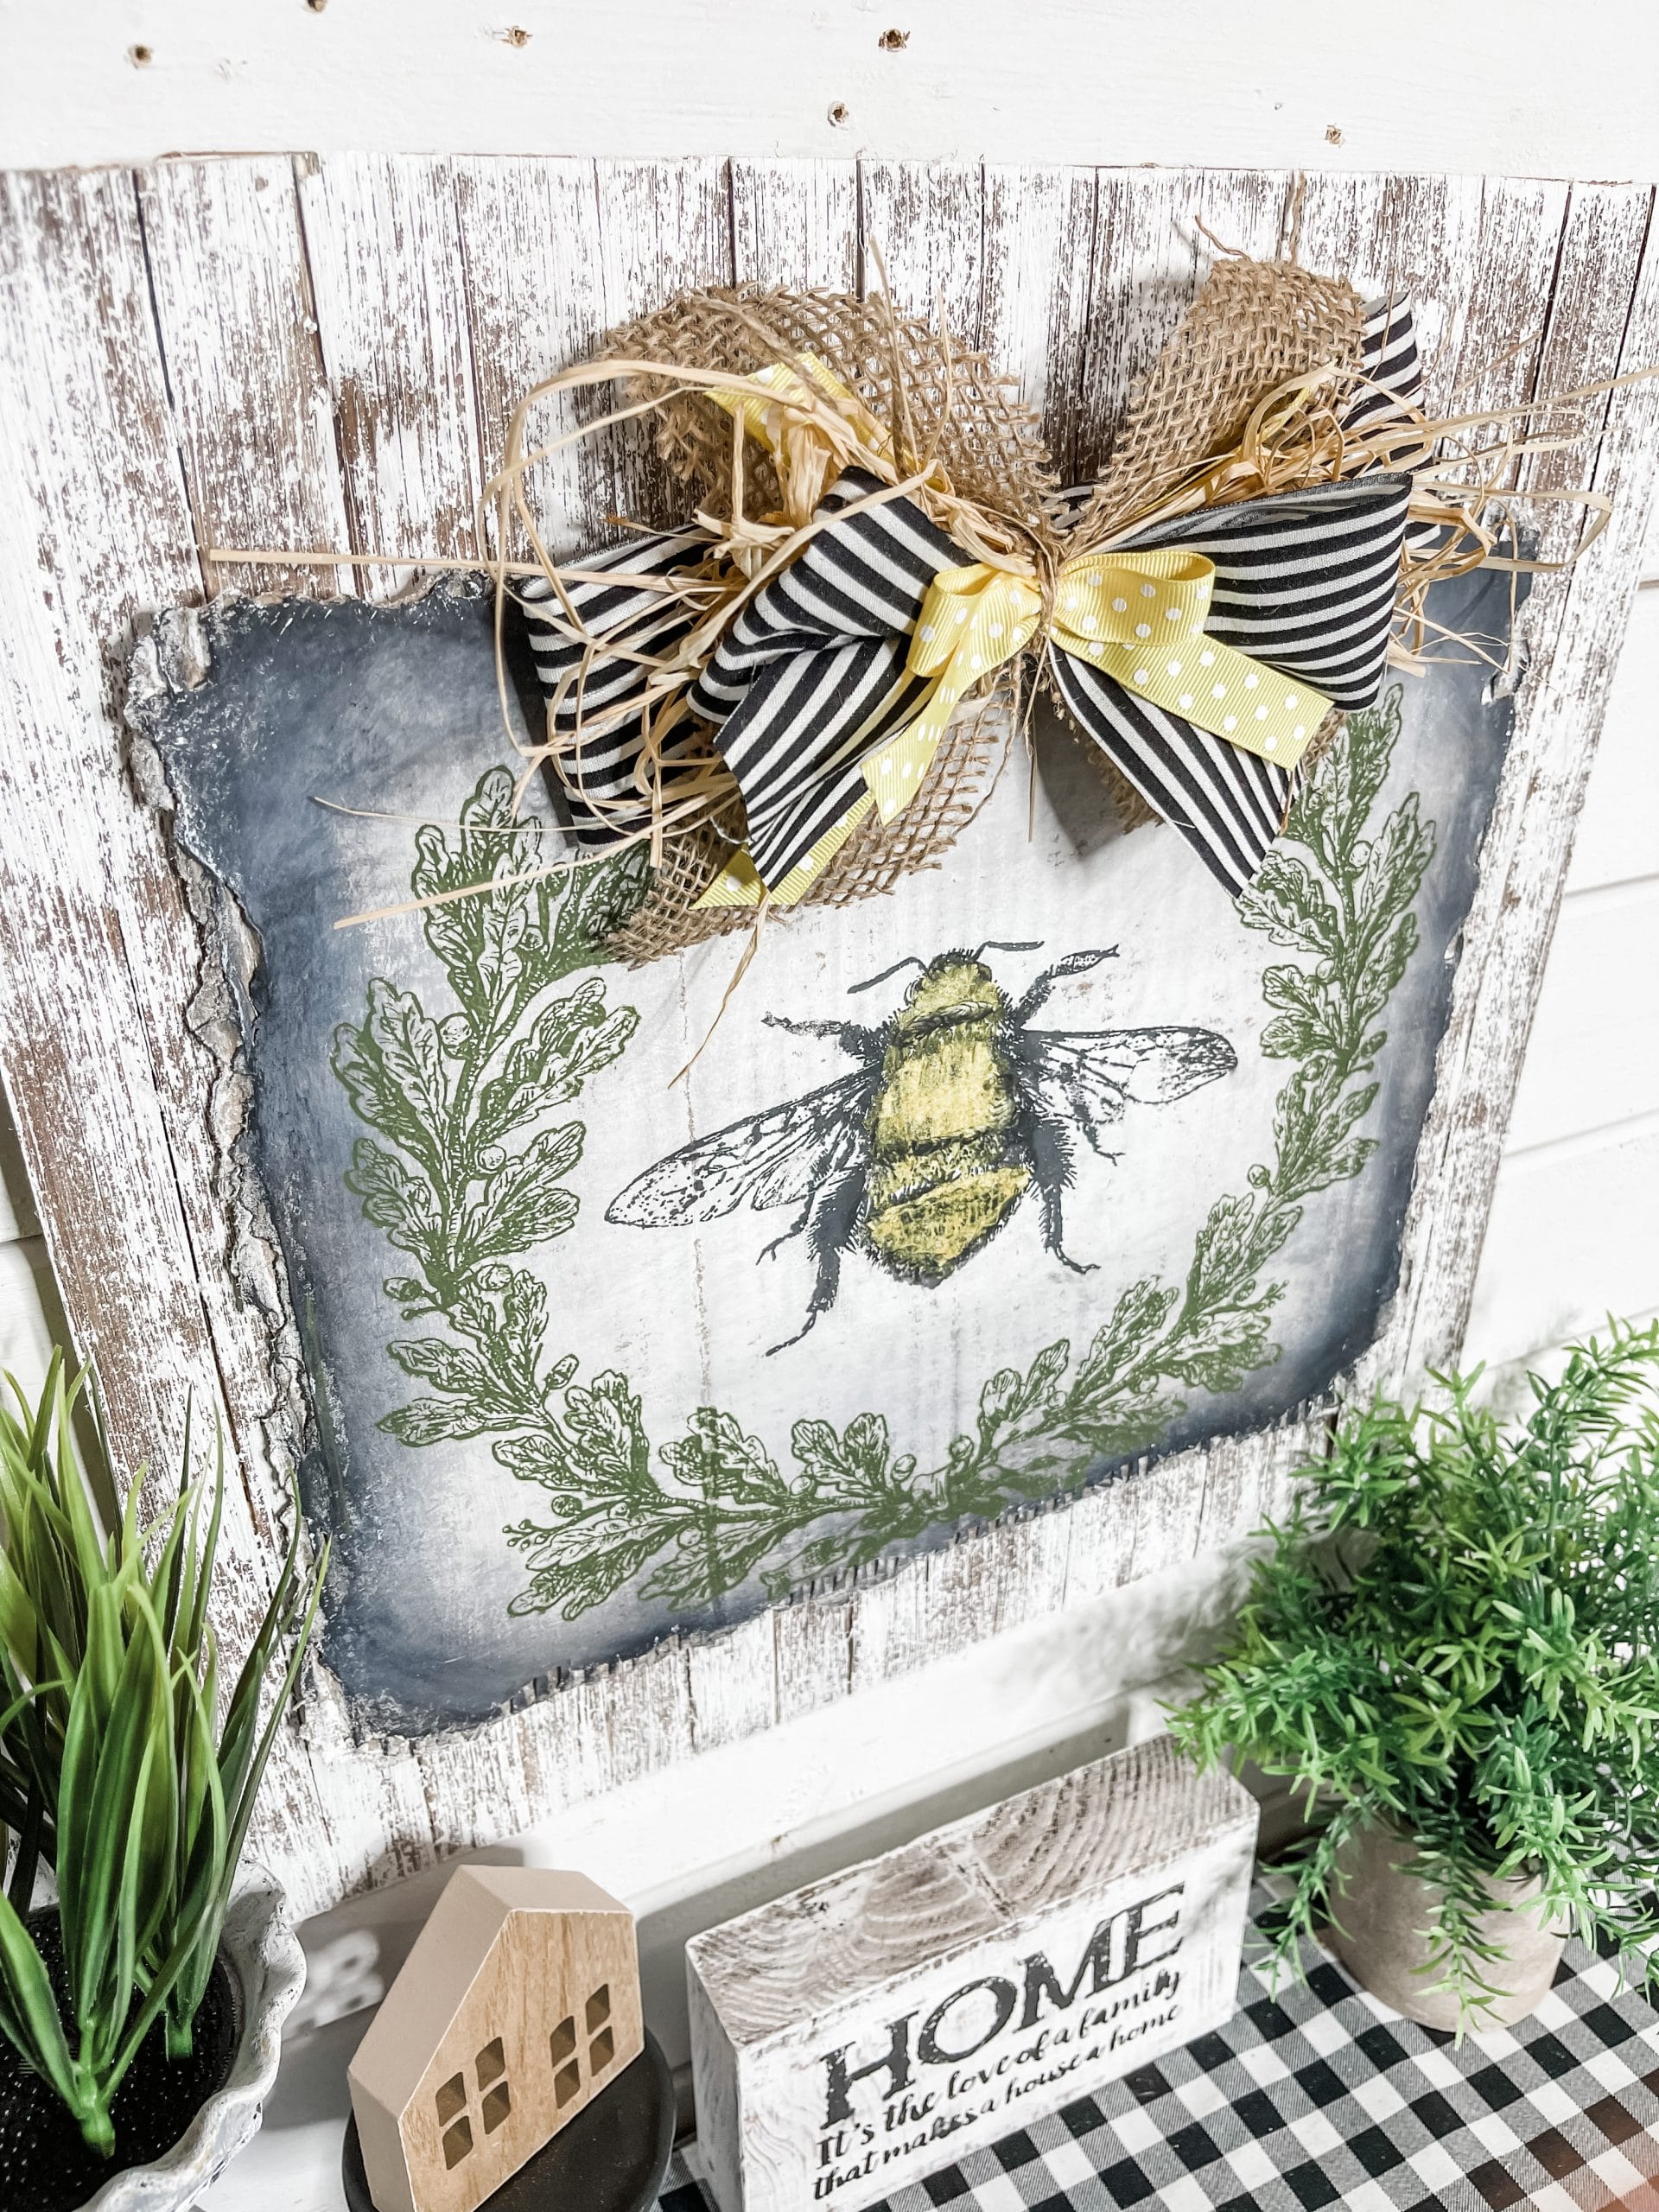
Get your stacked strips out from underneath whatever you put on them and put some raffia on top of them. Then, place the fabric bow with the ribbon bow on top onto the stack.
Secure all of it together with a piece of jute twine. Finally, trim up the edges of the raffia and clean up your bow until you’re happy with how the DIY bow looks!
Bring it all together
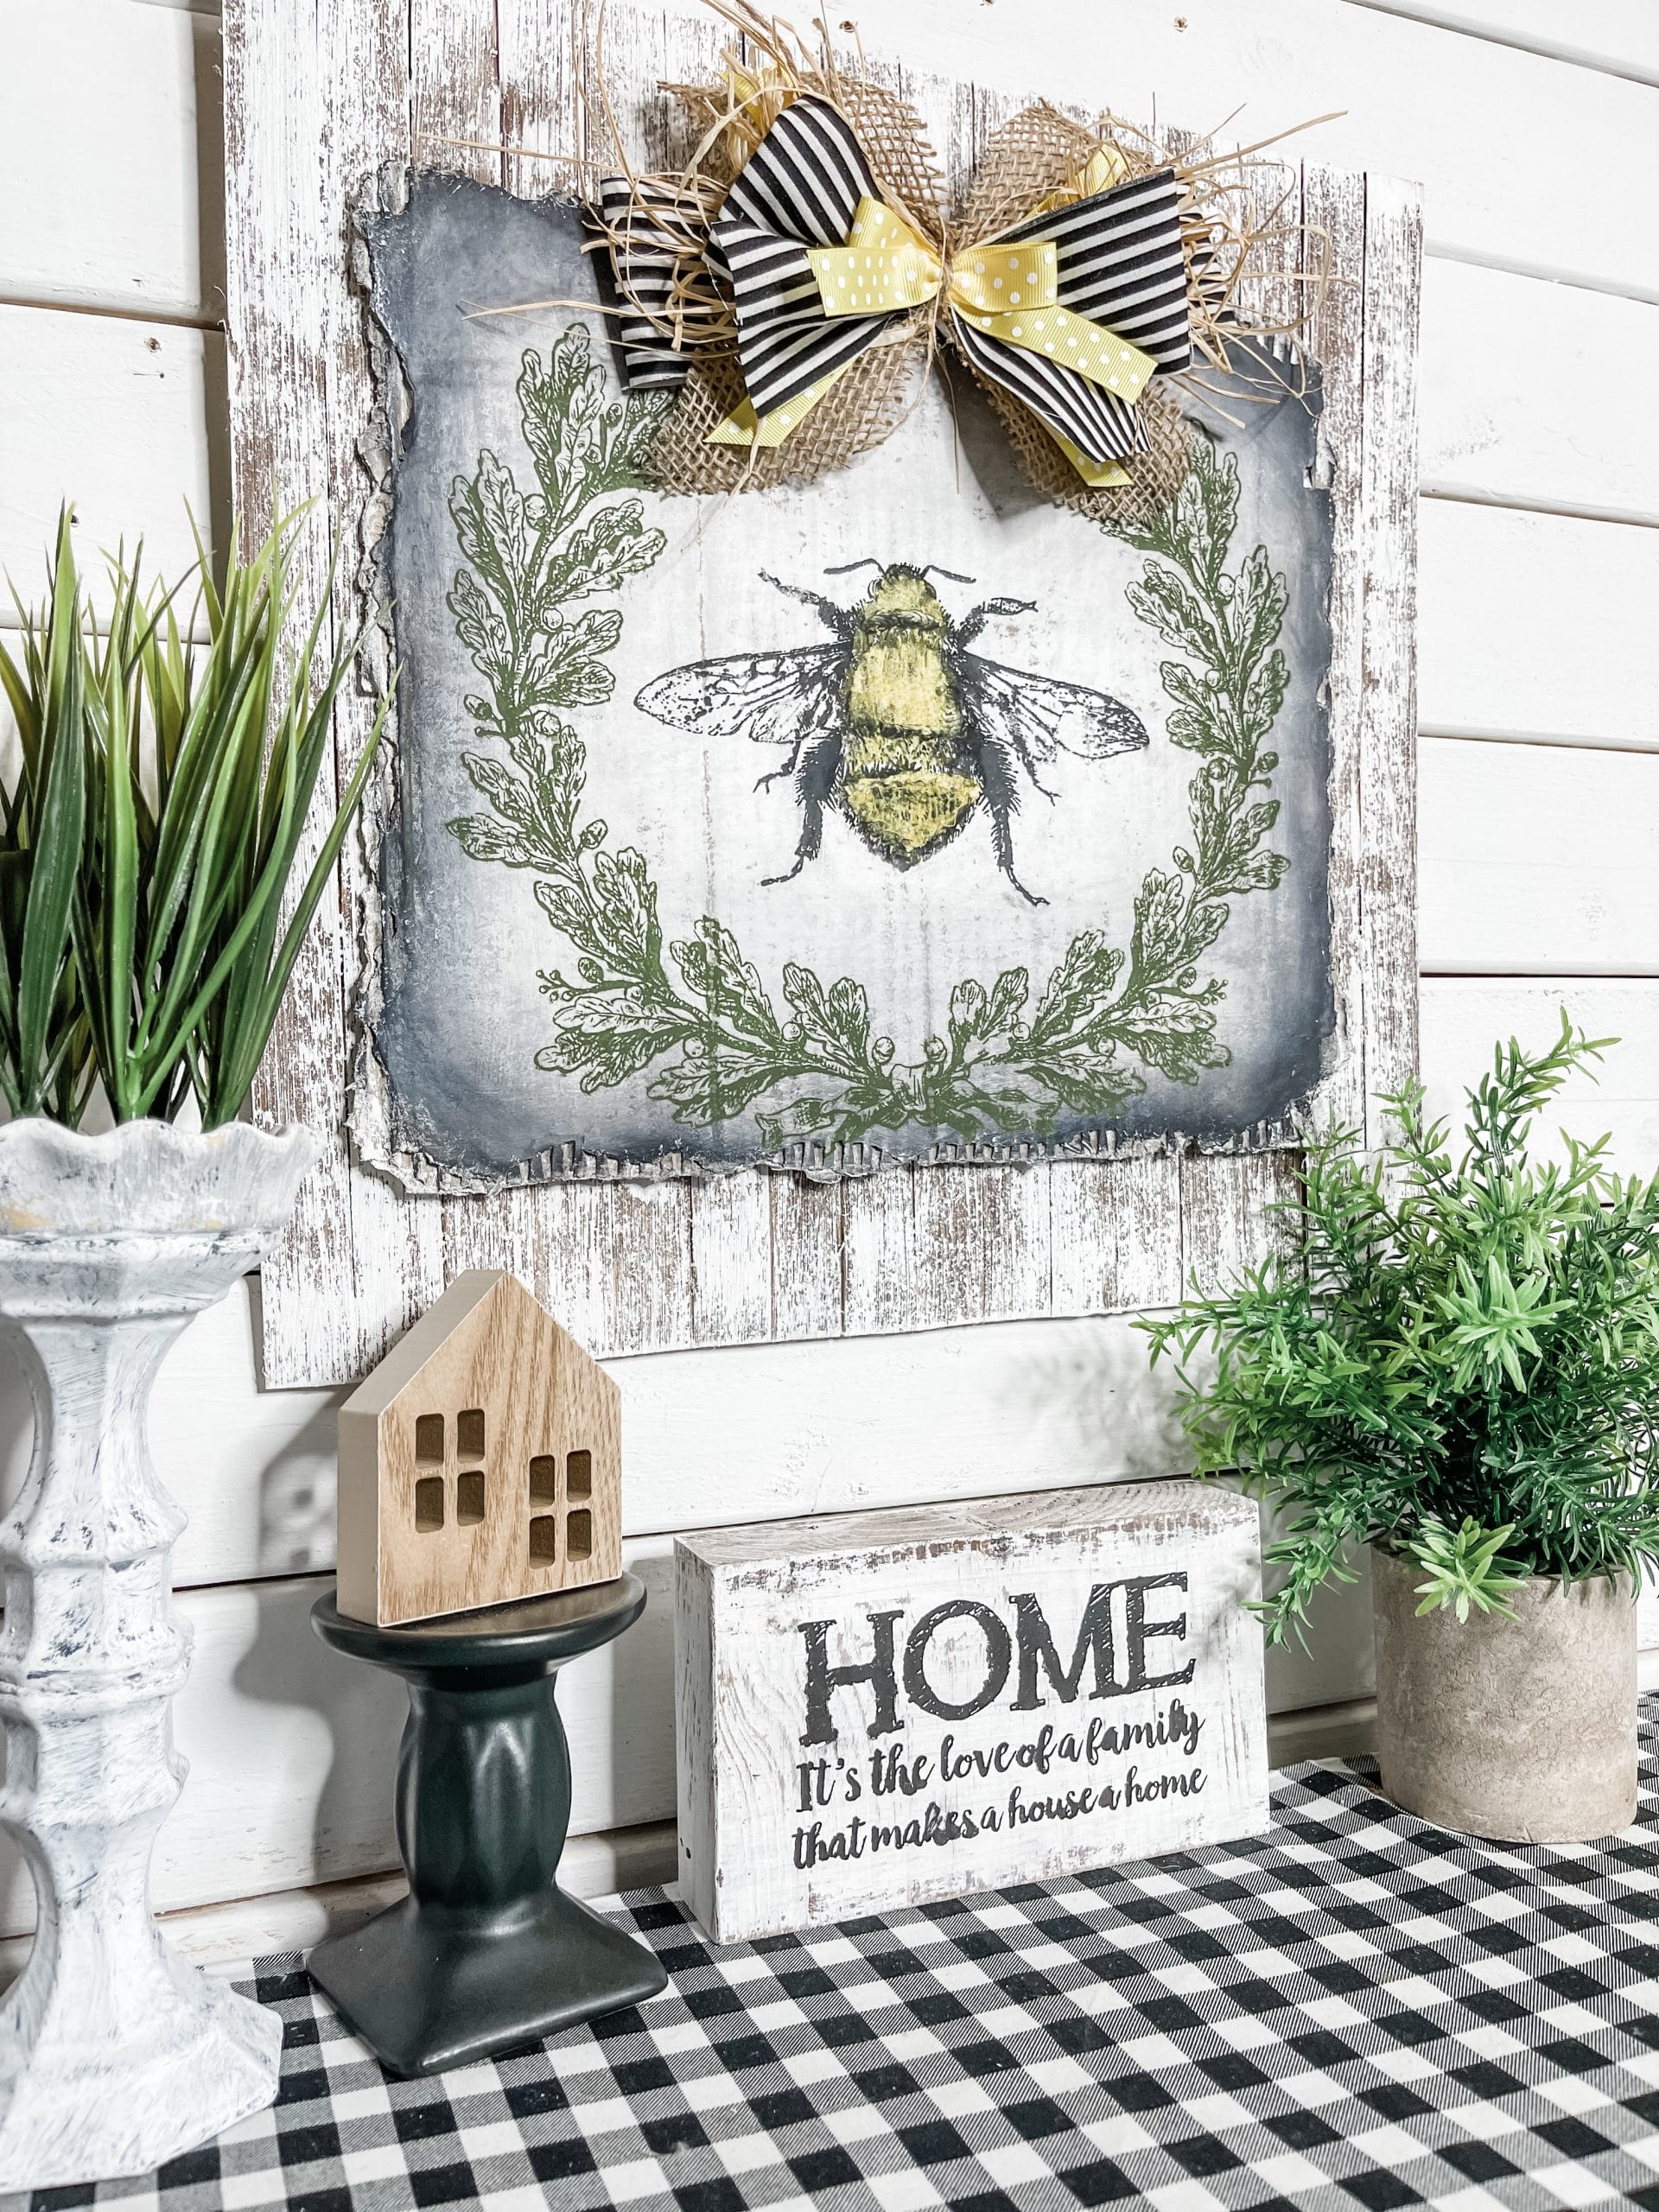
Now it is time to bring all of the pieces of this easy DIY bumble bee farmhouse decor together! Start by hot gluing a paint stick to the back of the reed to create a lip for hanging this sign.
Then, hot glue the cardboard with the stenciled bee to the center of the reed surface. Lastly, hot glue your DIY bow to the top of the cardboard square!
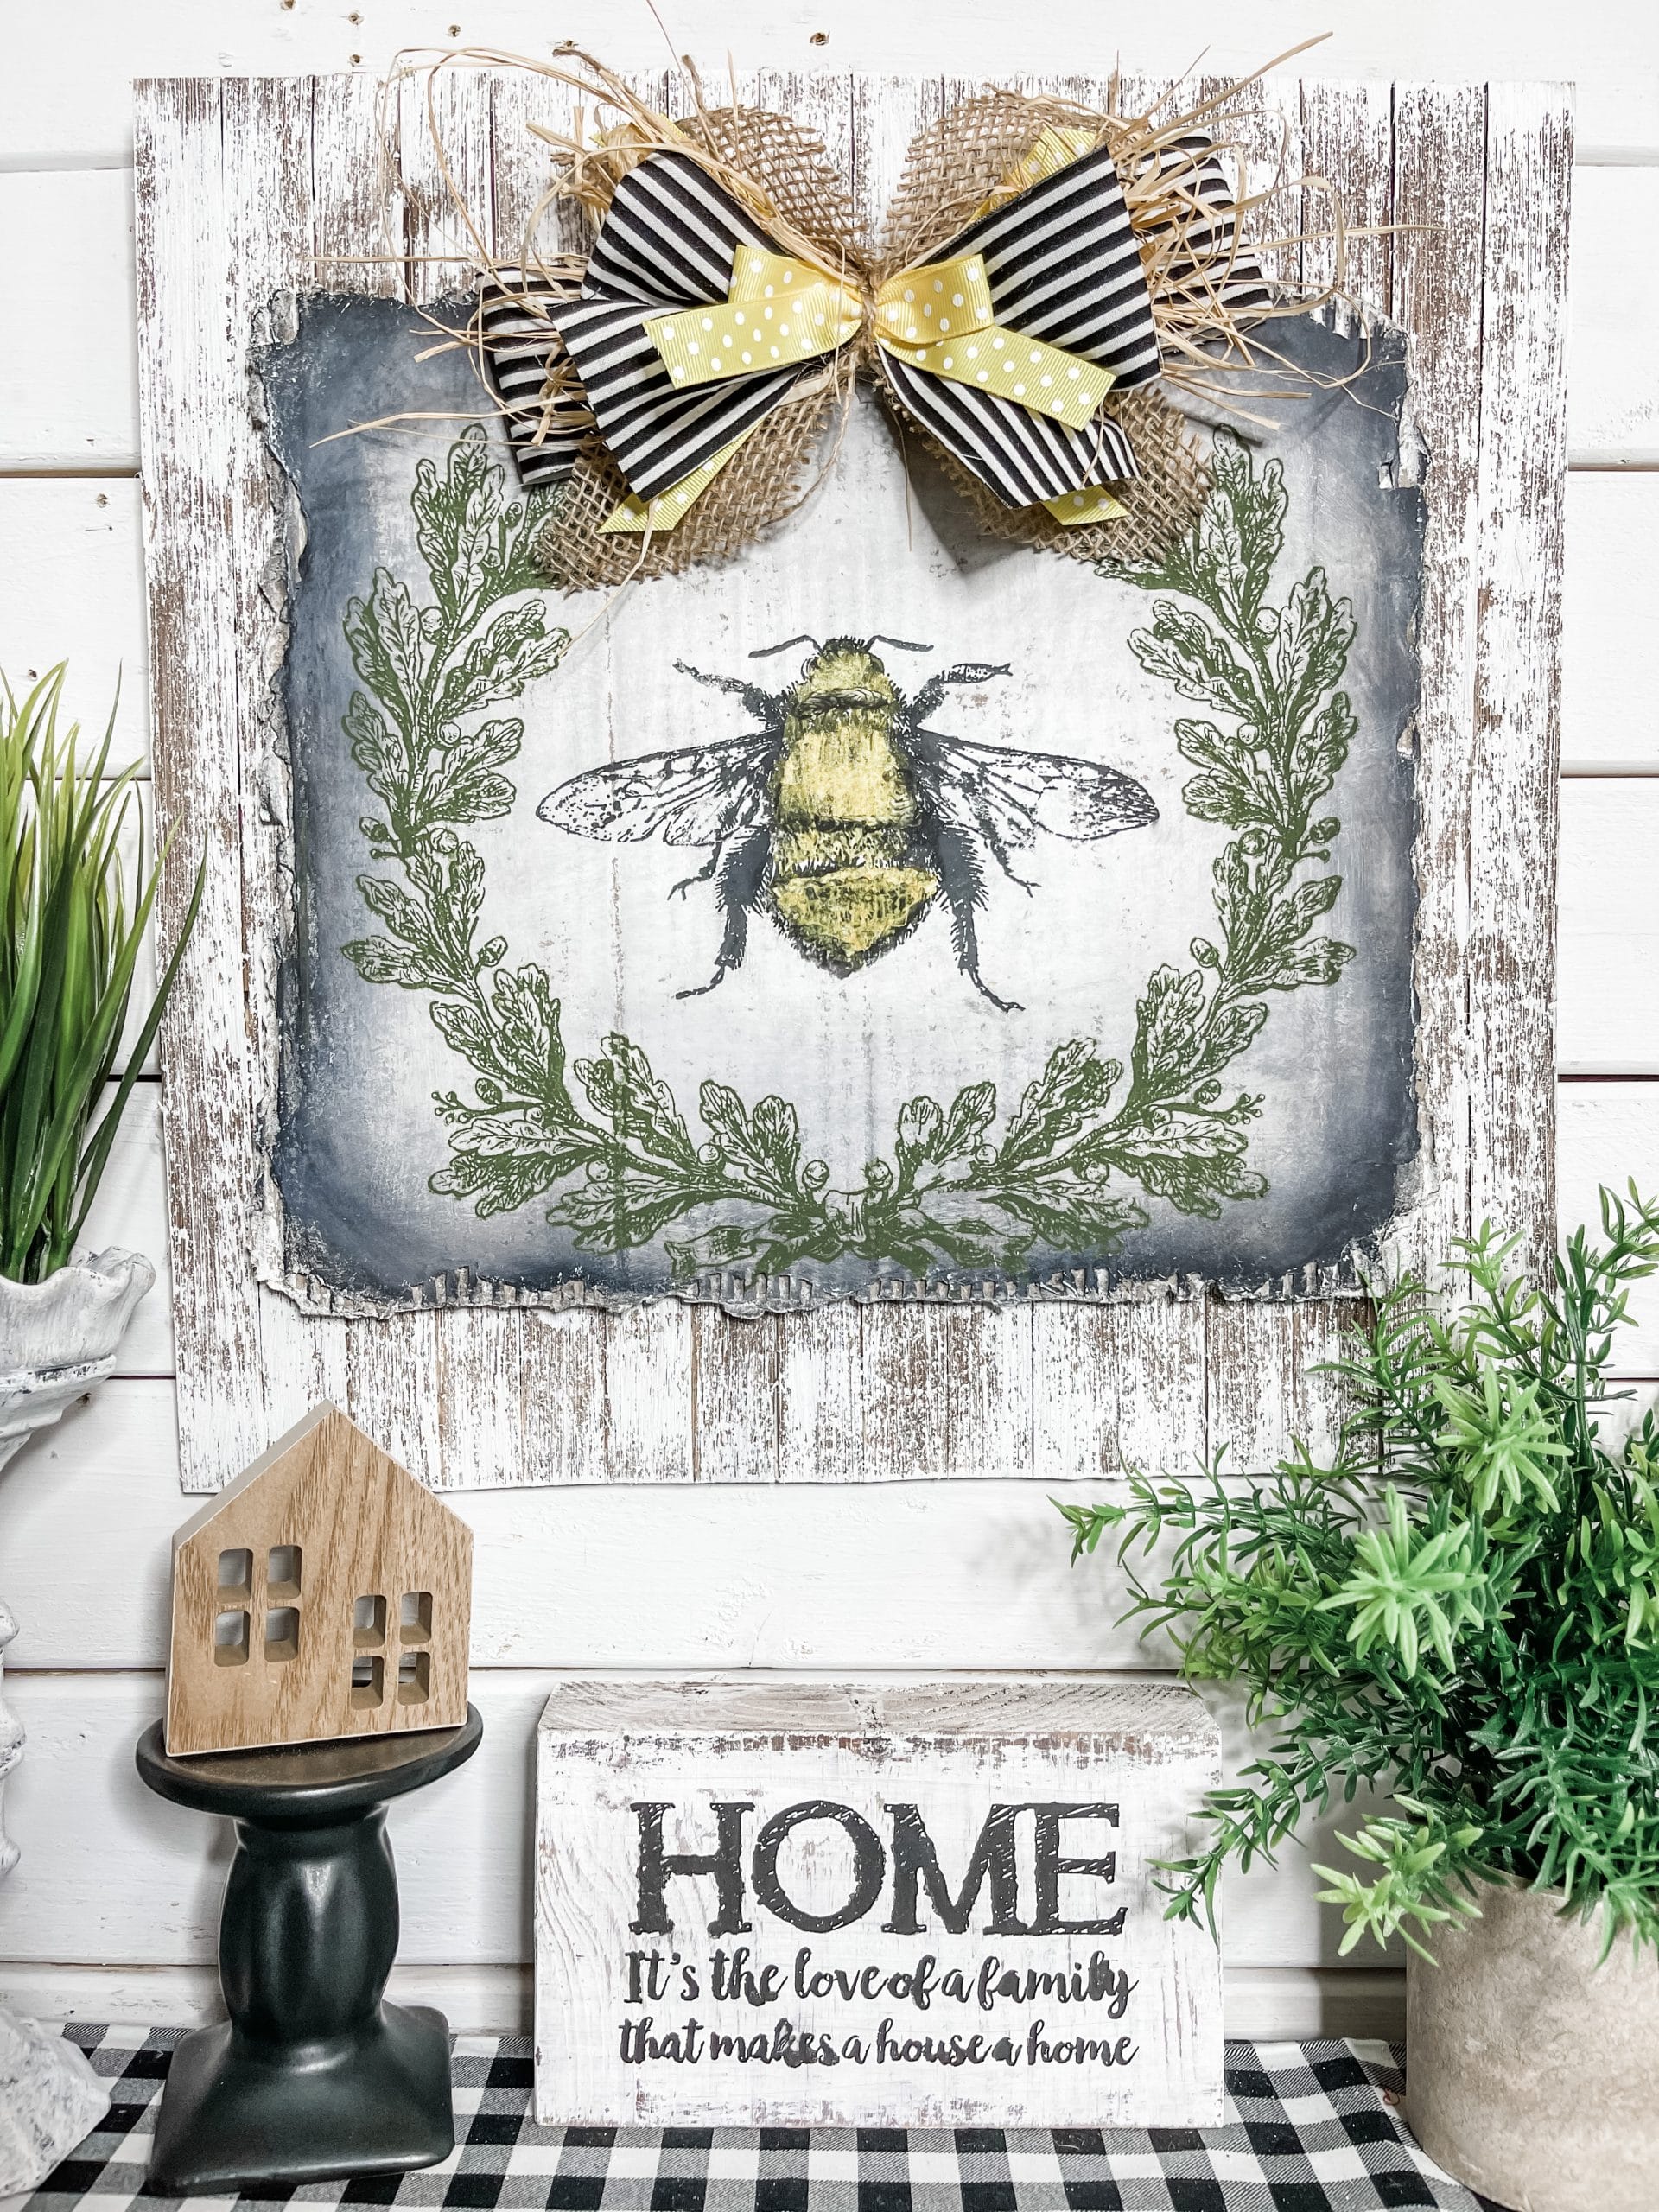
I hope you enjoyed this Easy DIY Bumble Bee Farmhouse Home Decor as much as I did and decide to make it for yourself! If you do, I would love to see how yours turns out!
You should totally join my FREE Facebook group called On A Budget Crafts! It is a judgment-free community for DIY crafters to show off their projects and ideas.
If you loved this DIY, you might also like these Dollar Tree Windmill DIY Home Decor Ideas
Thanks for stopping by! XOXO Amber
You can also shop my ENTIRE AMAZON Favorites shop just click here! It’s packed full of all the things I use and love. Here is the supply list I highly recommend every creative have on hand!!
Would you also pin my blog for later and get on my newsletter alerts? I would love to have you join my #craftycrew.
Inspired? Leave me a comment below! I love hearing from my readers!

Join my free “ON A BUDGET CRAFTS” Facebook group!

This turned out amazing!!!!