Easy Chippy Farmhouse Home Decor Sign
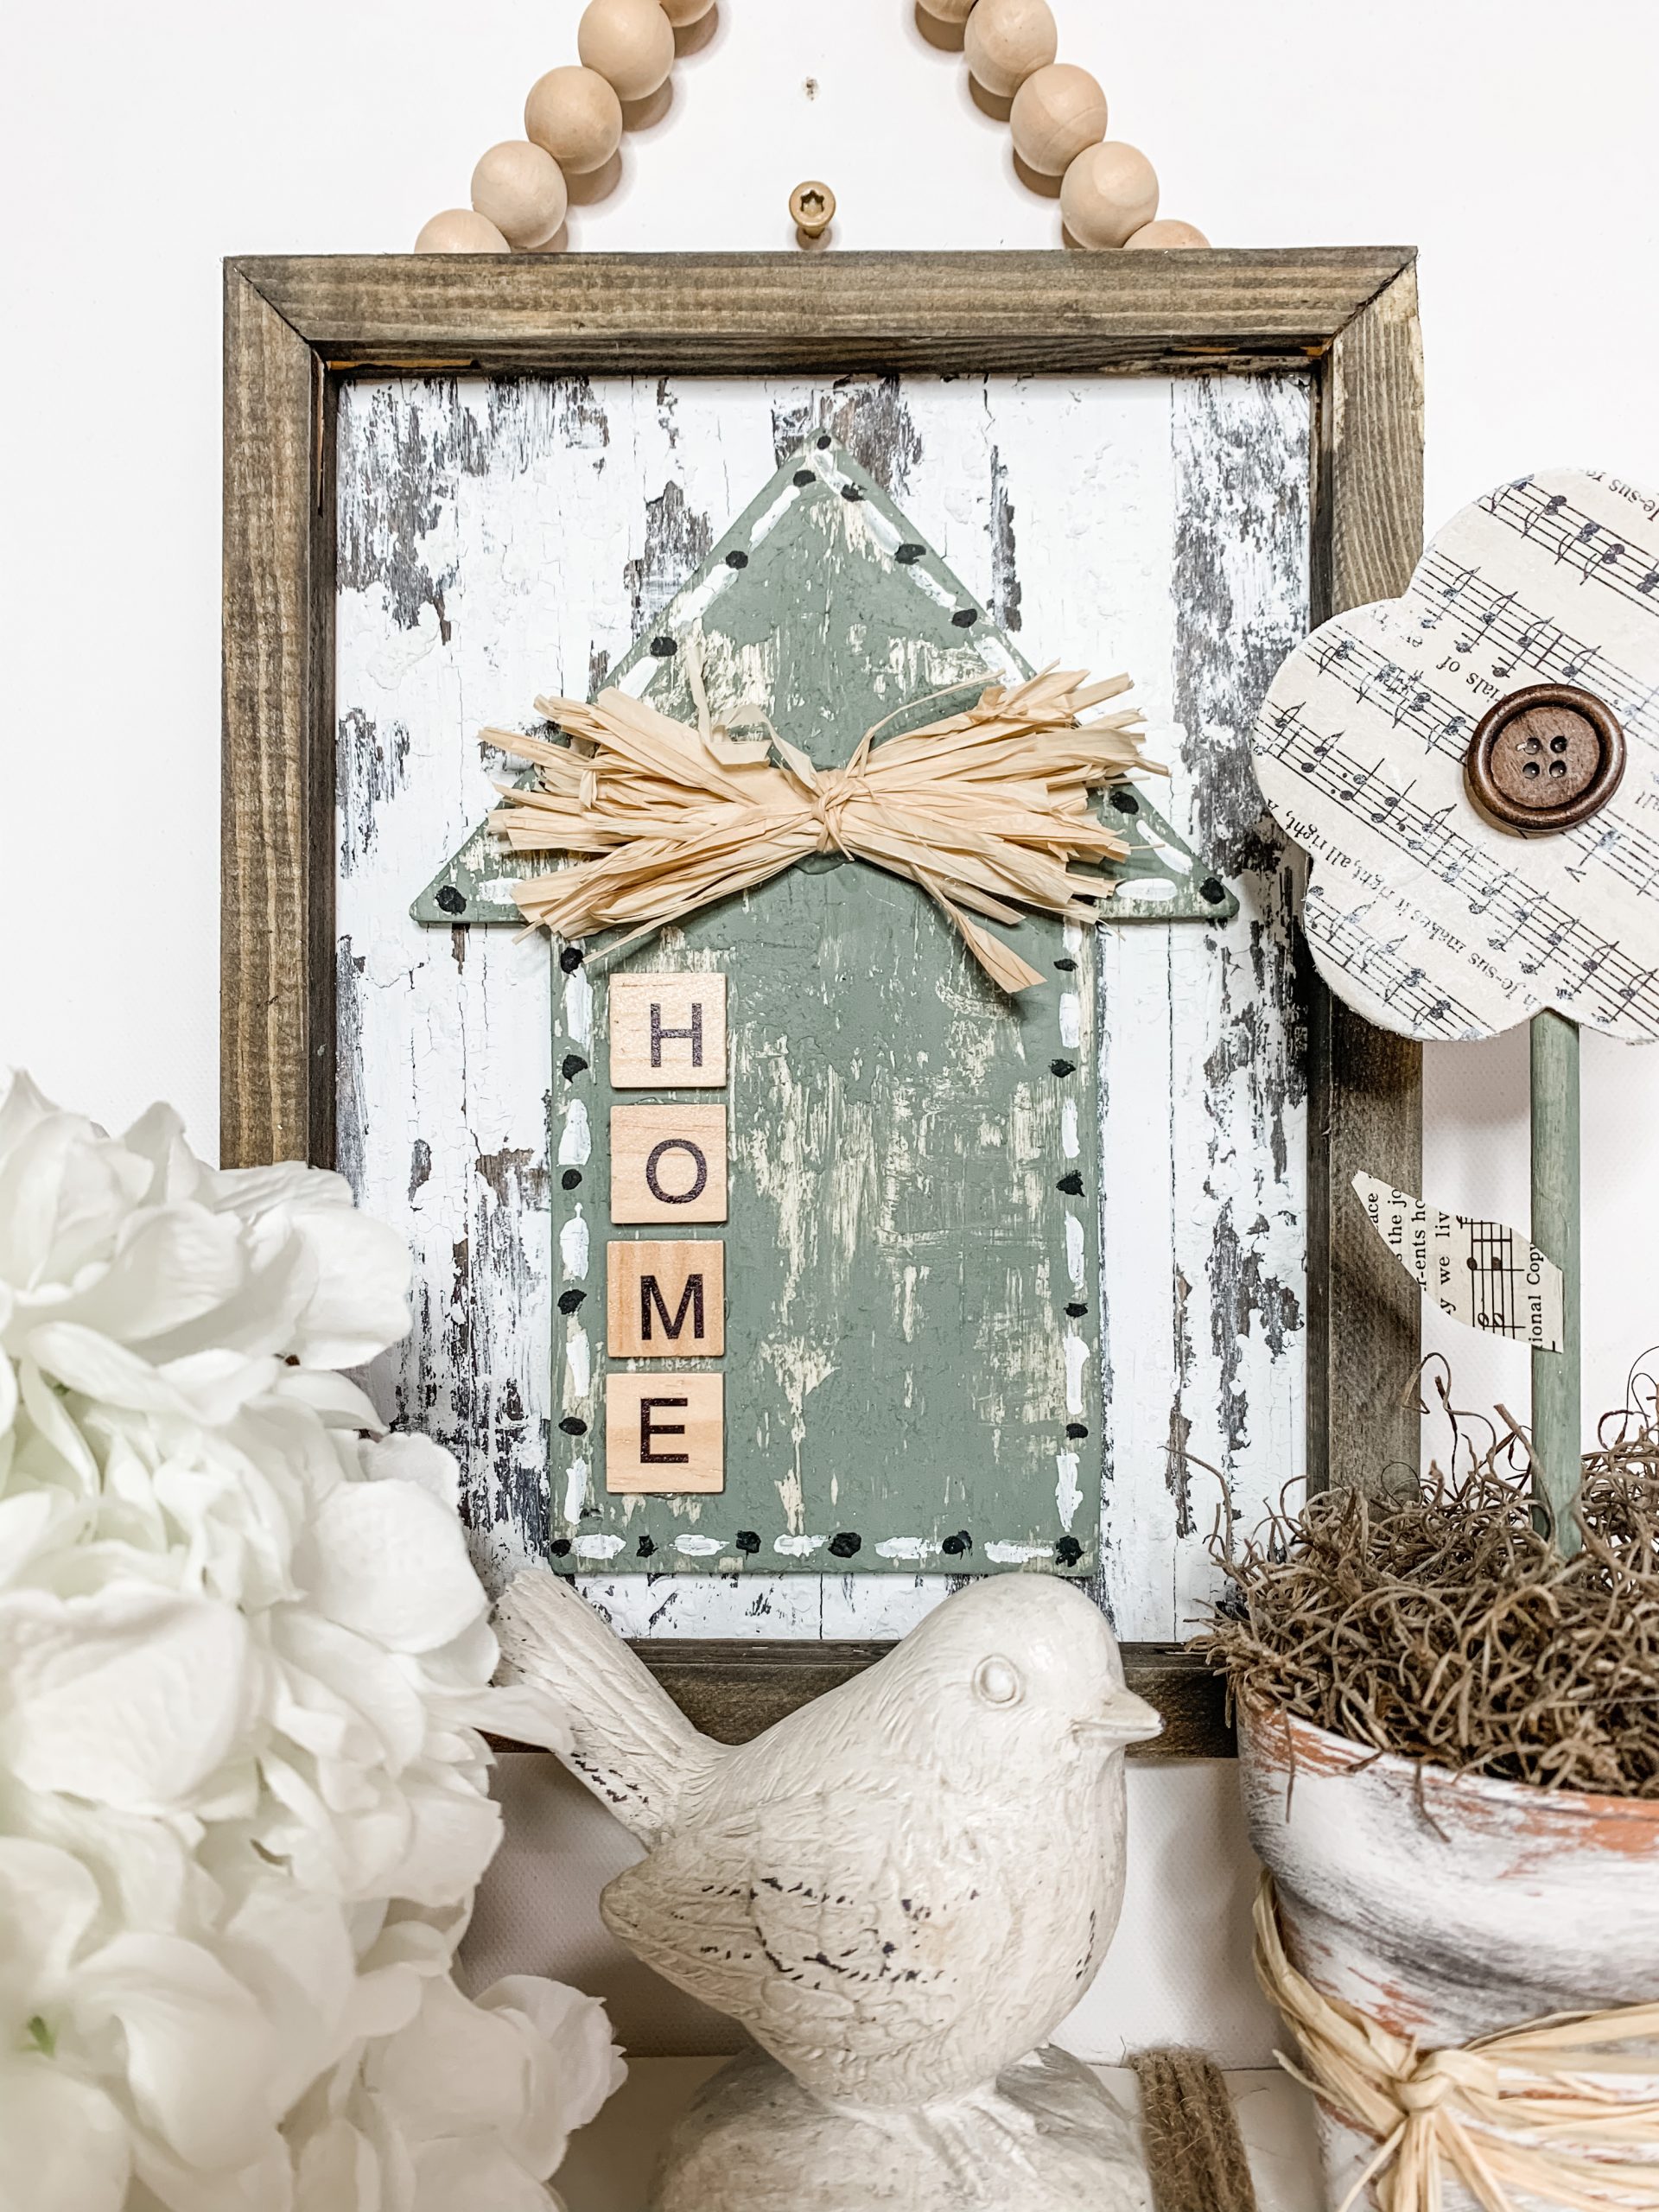
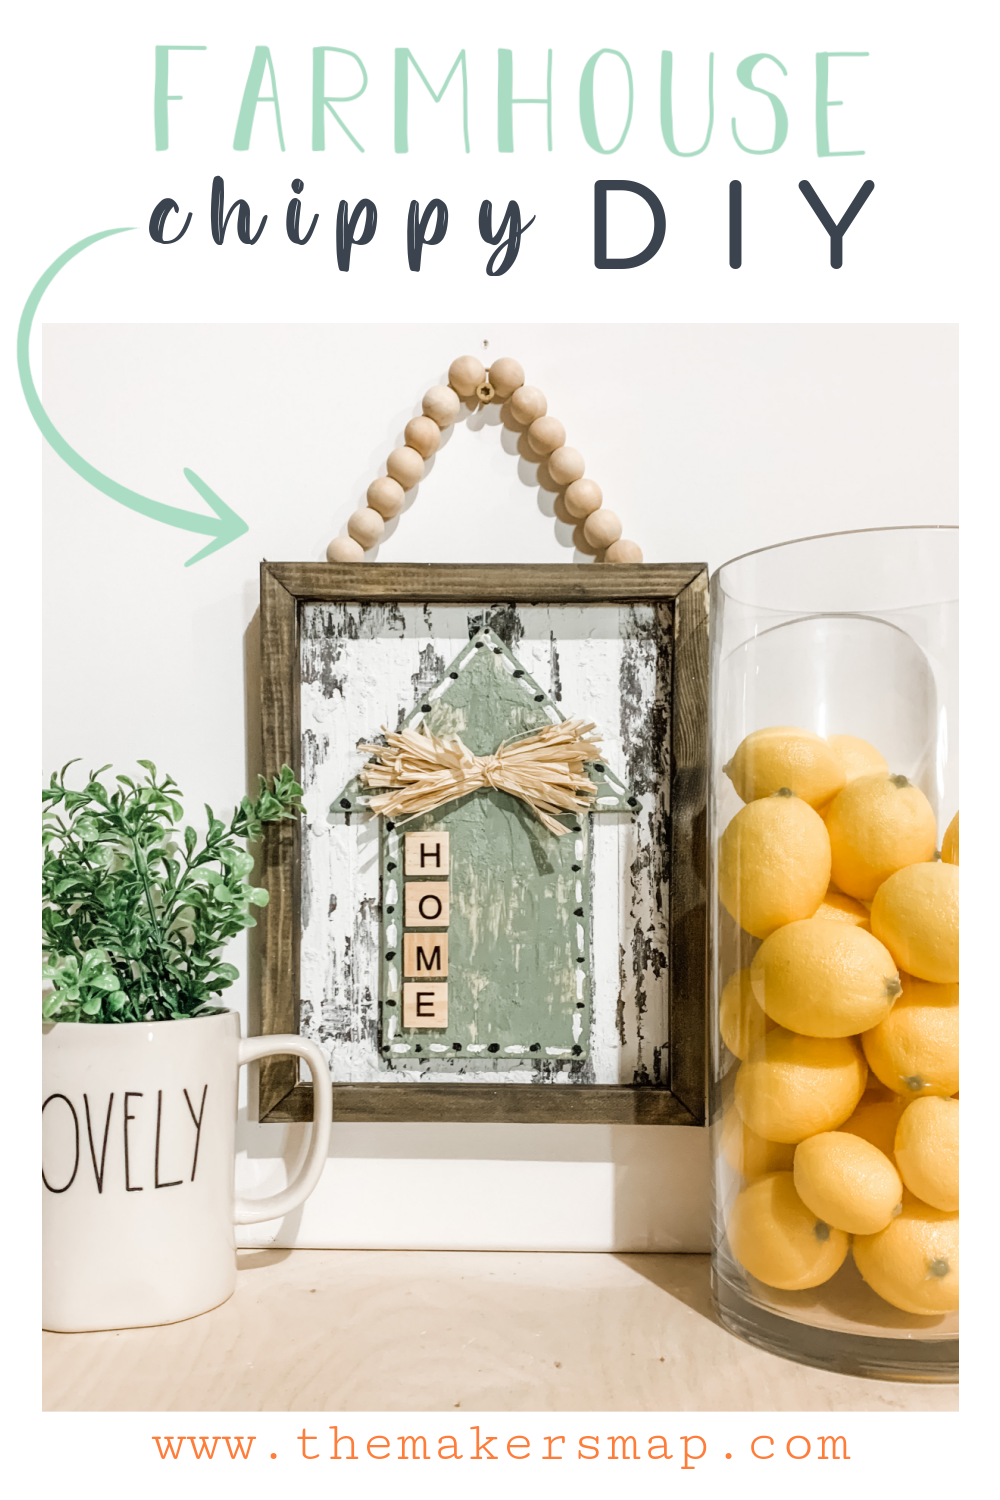
If you love a chippy paint finish as much as I do, then this Easy Chippy Farmhouse Home Decor Sign is the DIY craft for you!
I just absolutely LOVE using this technique in my DIY craft projects, but it always shocks me how so many of my #craftycrew don’t know how to recreate the chippy paint finish.
That is one of the reasons why I am always like “let’s do a chippy finish” because I want to take the time to teach this easy chippy paint technique to as many people as I can!
Watch the replay
I am a visual learner, for sure, so I love to teach my craft ideas and techniques through Facebook Live videos and my Youtube videos.
I’m going to do my best to walk you step-by-step on how to recreate this adorable chippy farmhouse home decor sign, but if you’re like me and would rather watch it be done, you can catch the Facebook Replay!
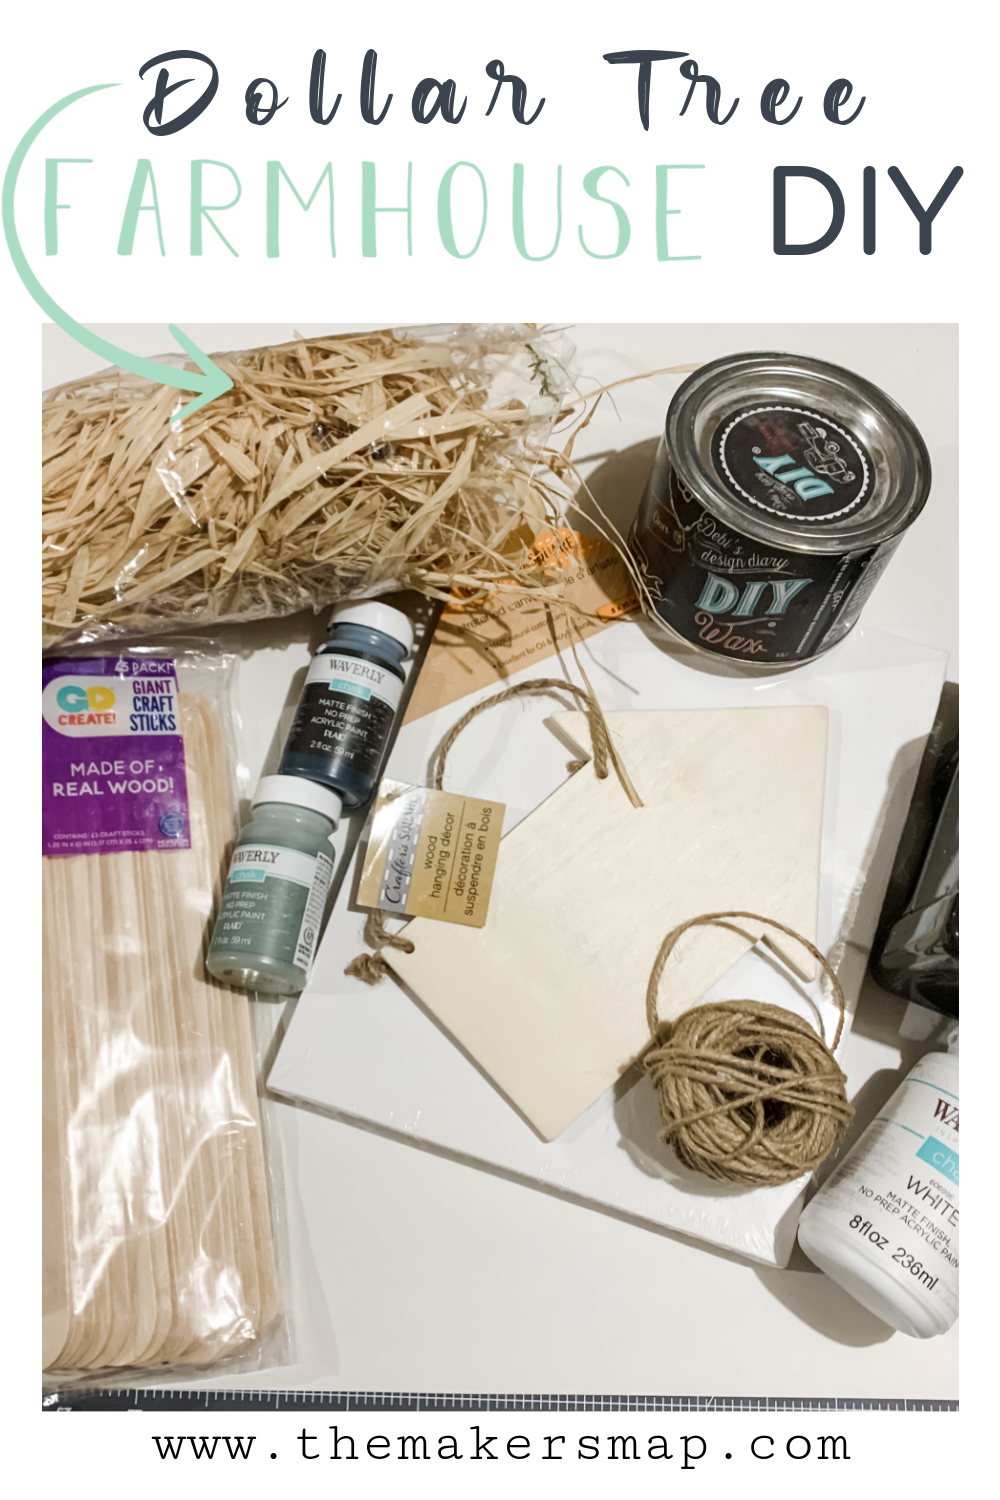
For this project, I will be using these items but you can substitute where you want.
“As an Amazon Associate, I earn from qualifying purchases.”
- Dollar Tree Giant Craft Sticks
- Dollar Tree Canvas
- Scrabble Letters
- Dollar Tree Raffia
- Dollar Tree Wood Arrow
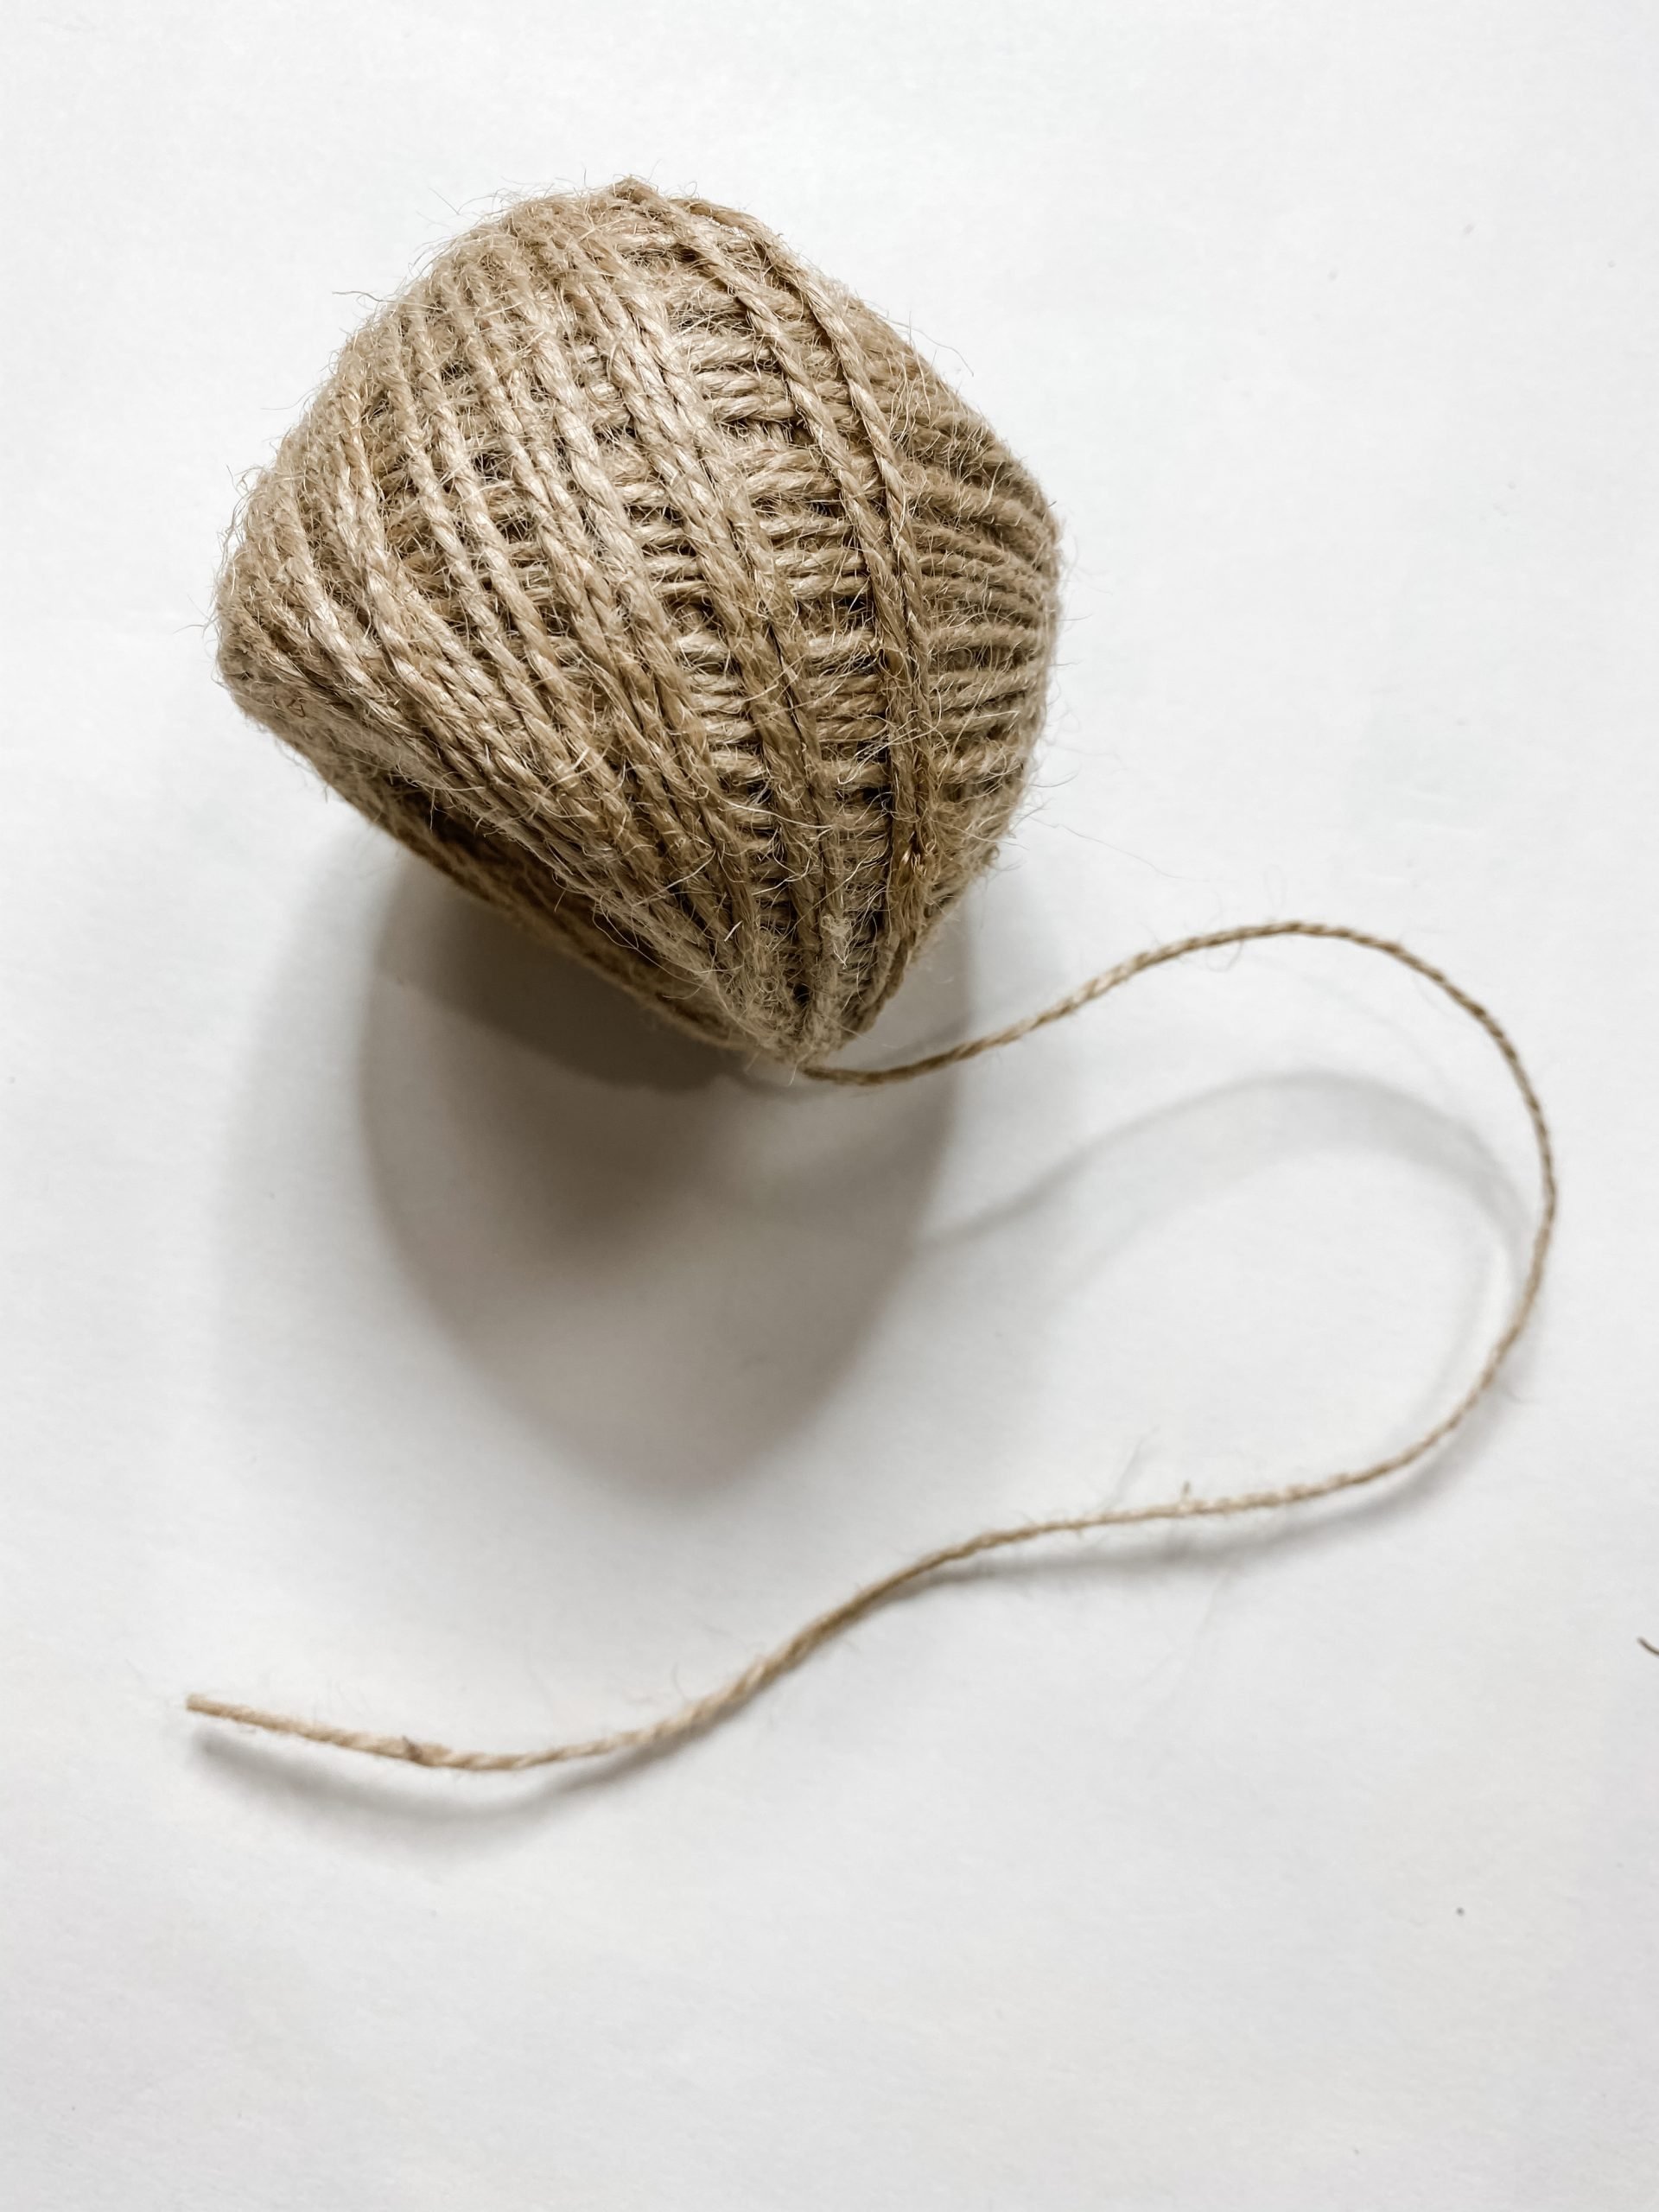
- Jute Twine
- Wax
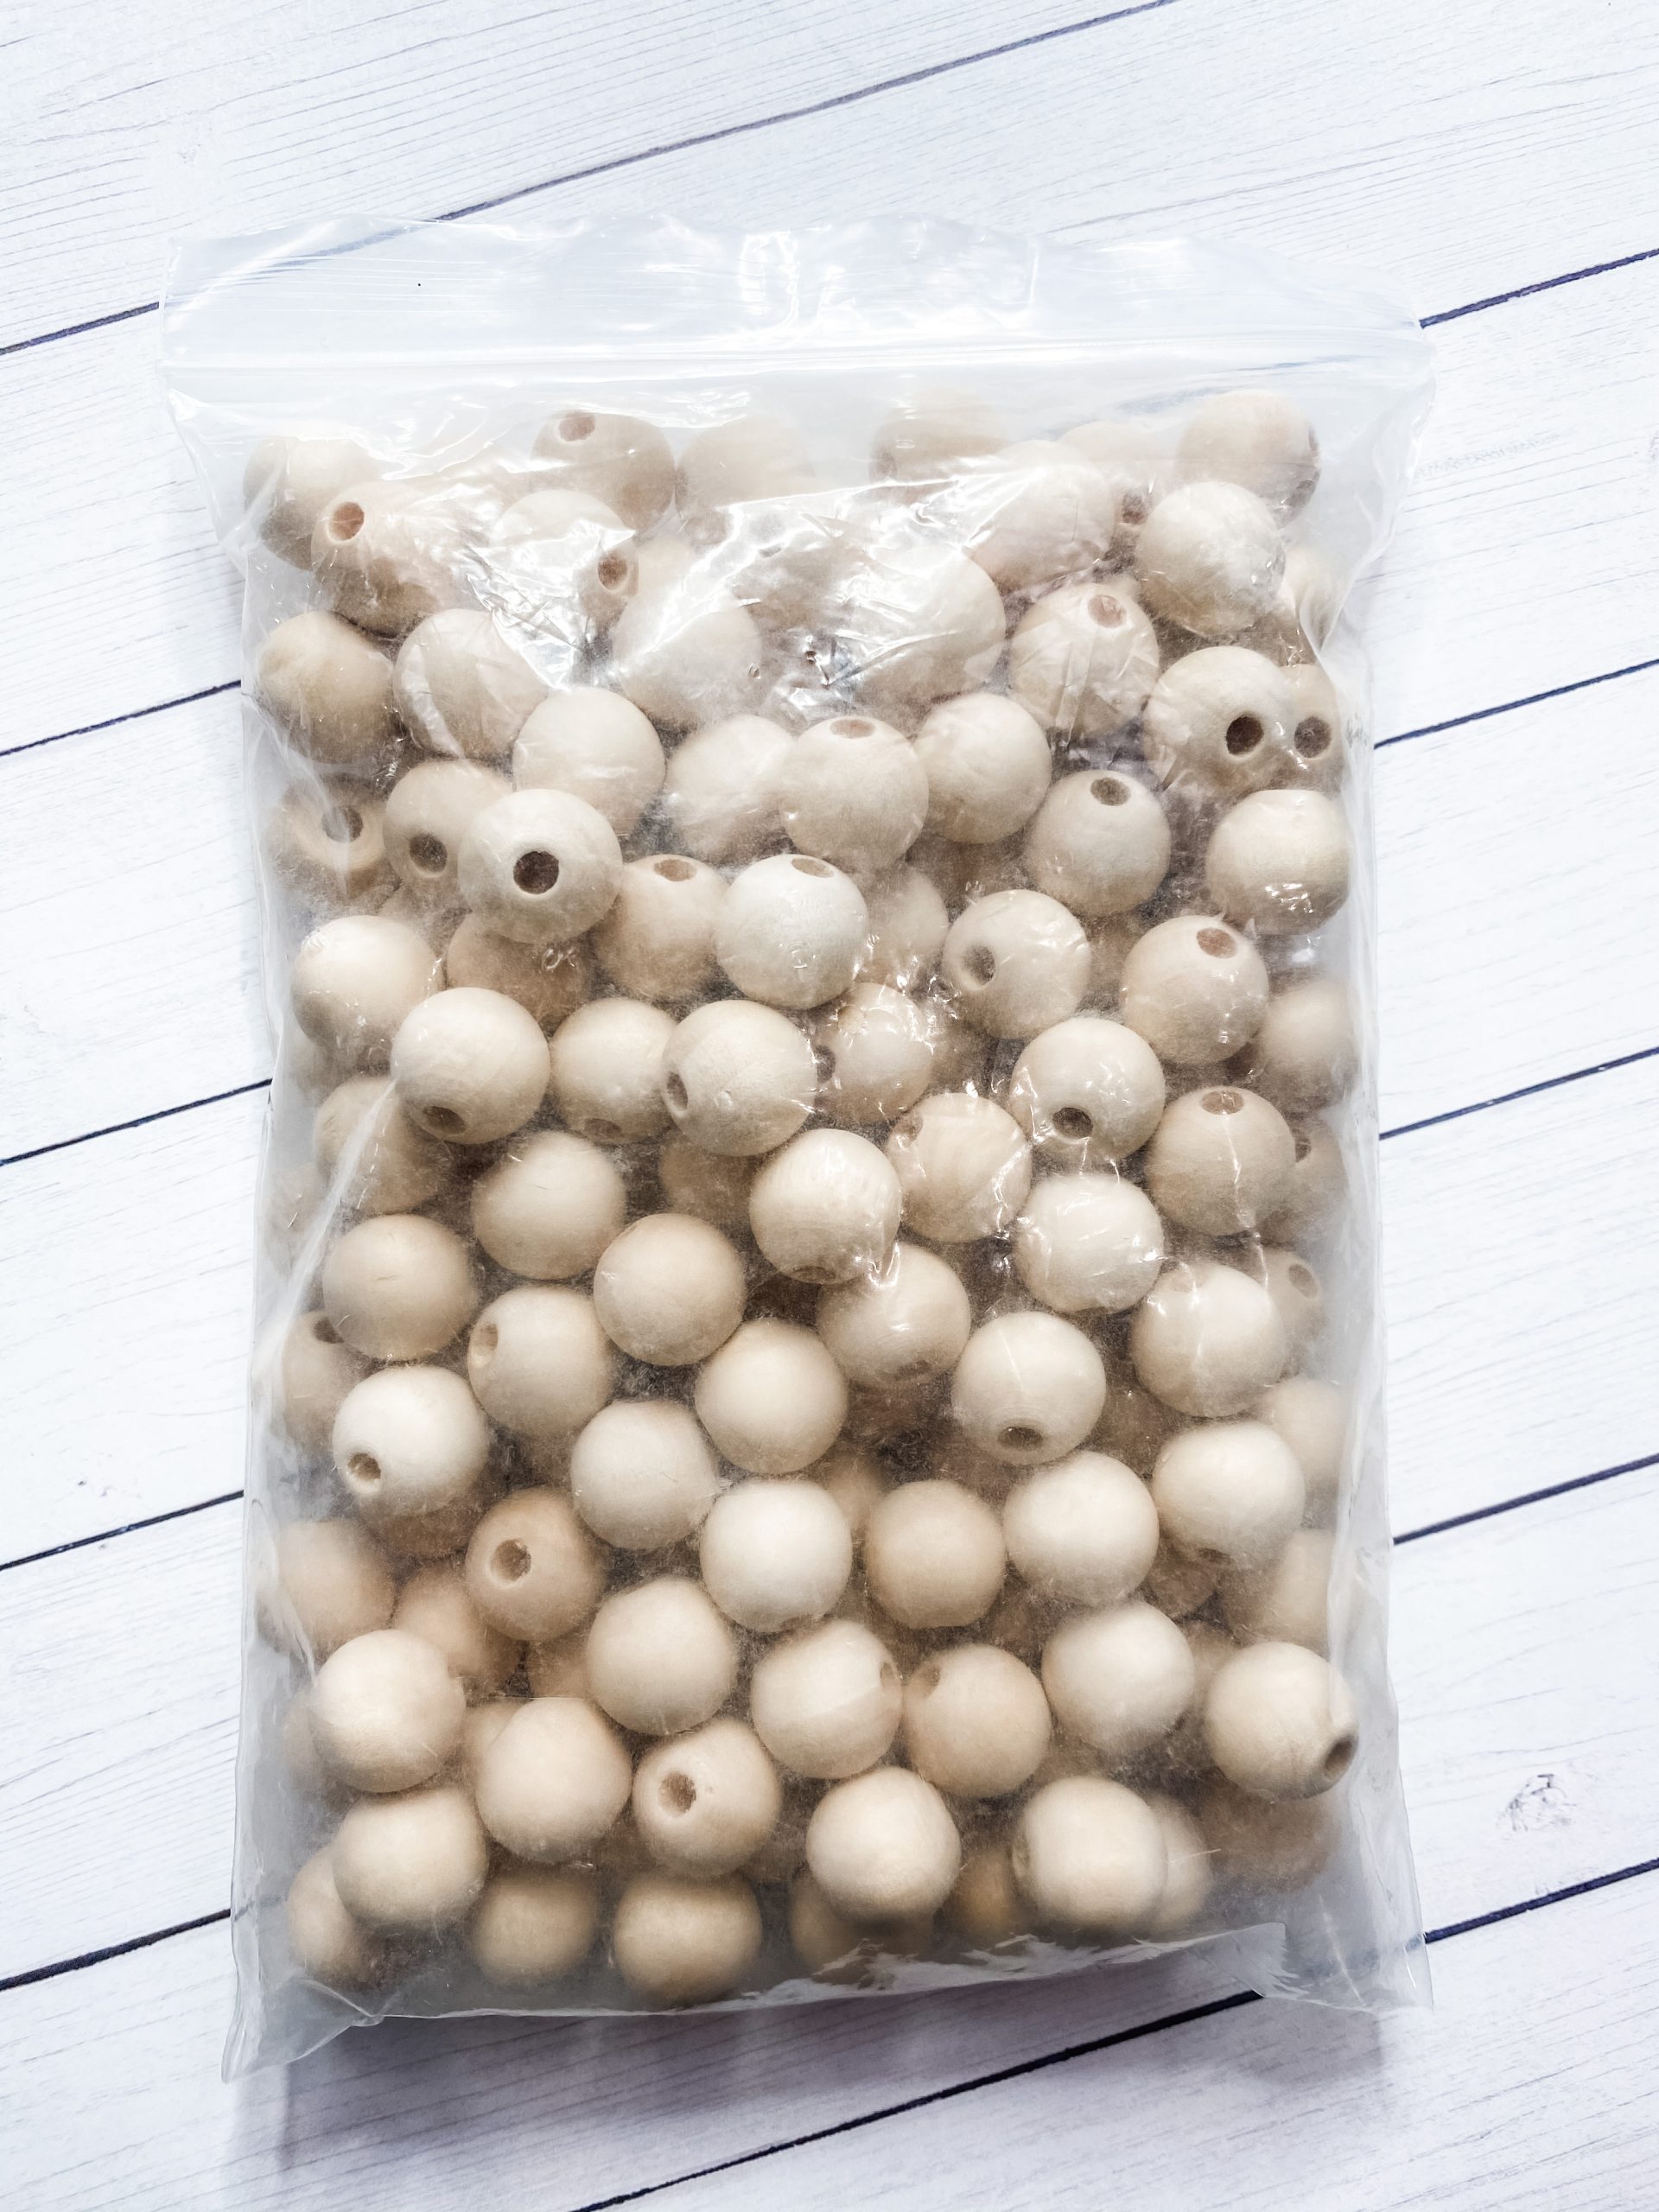
- Wood Beads
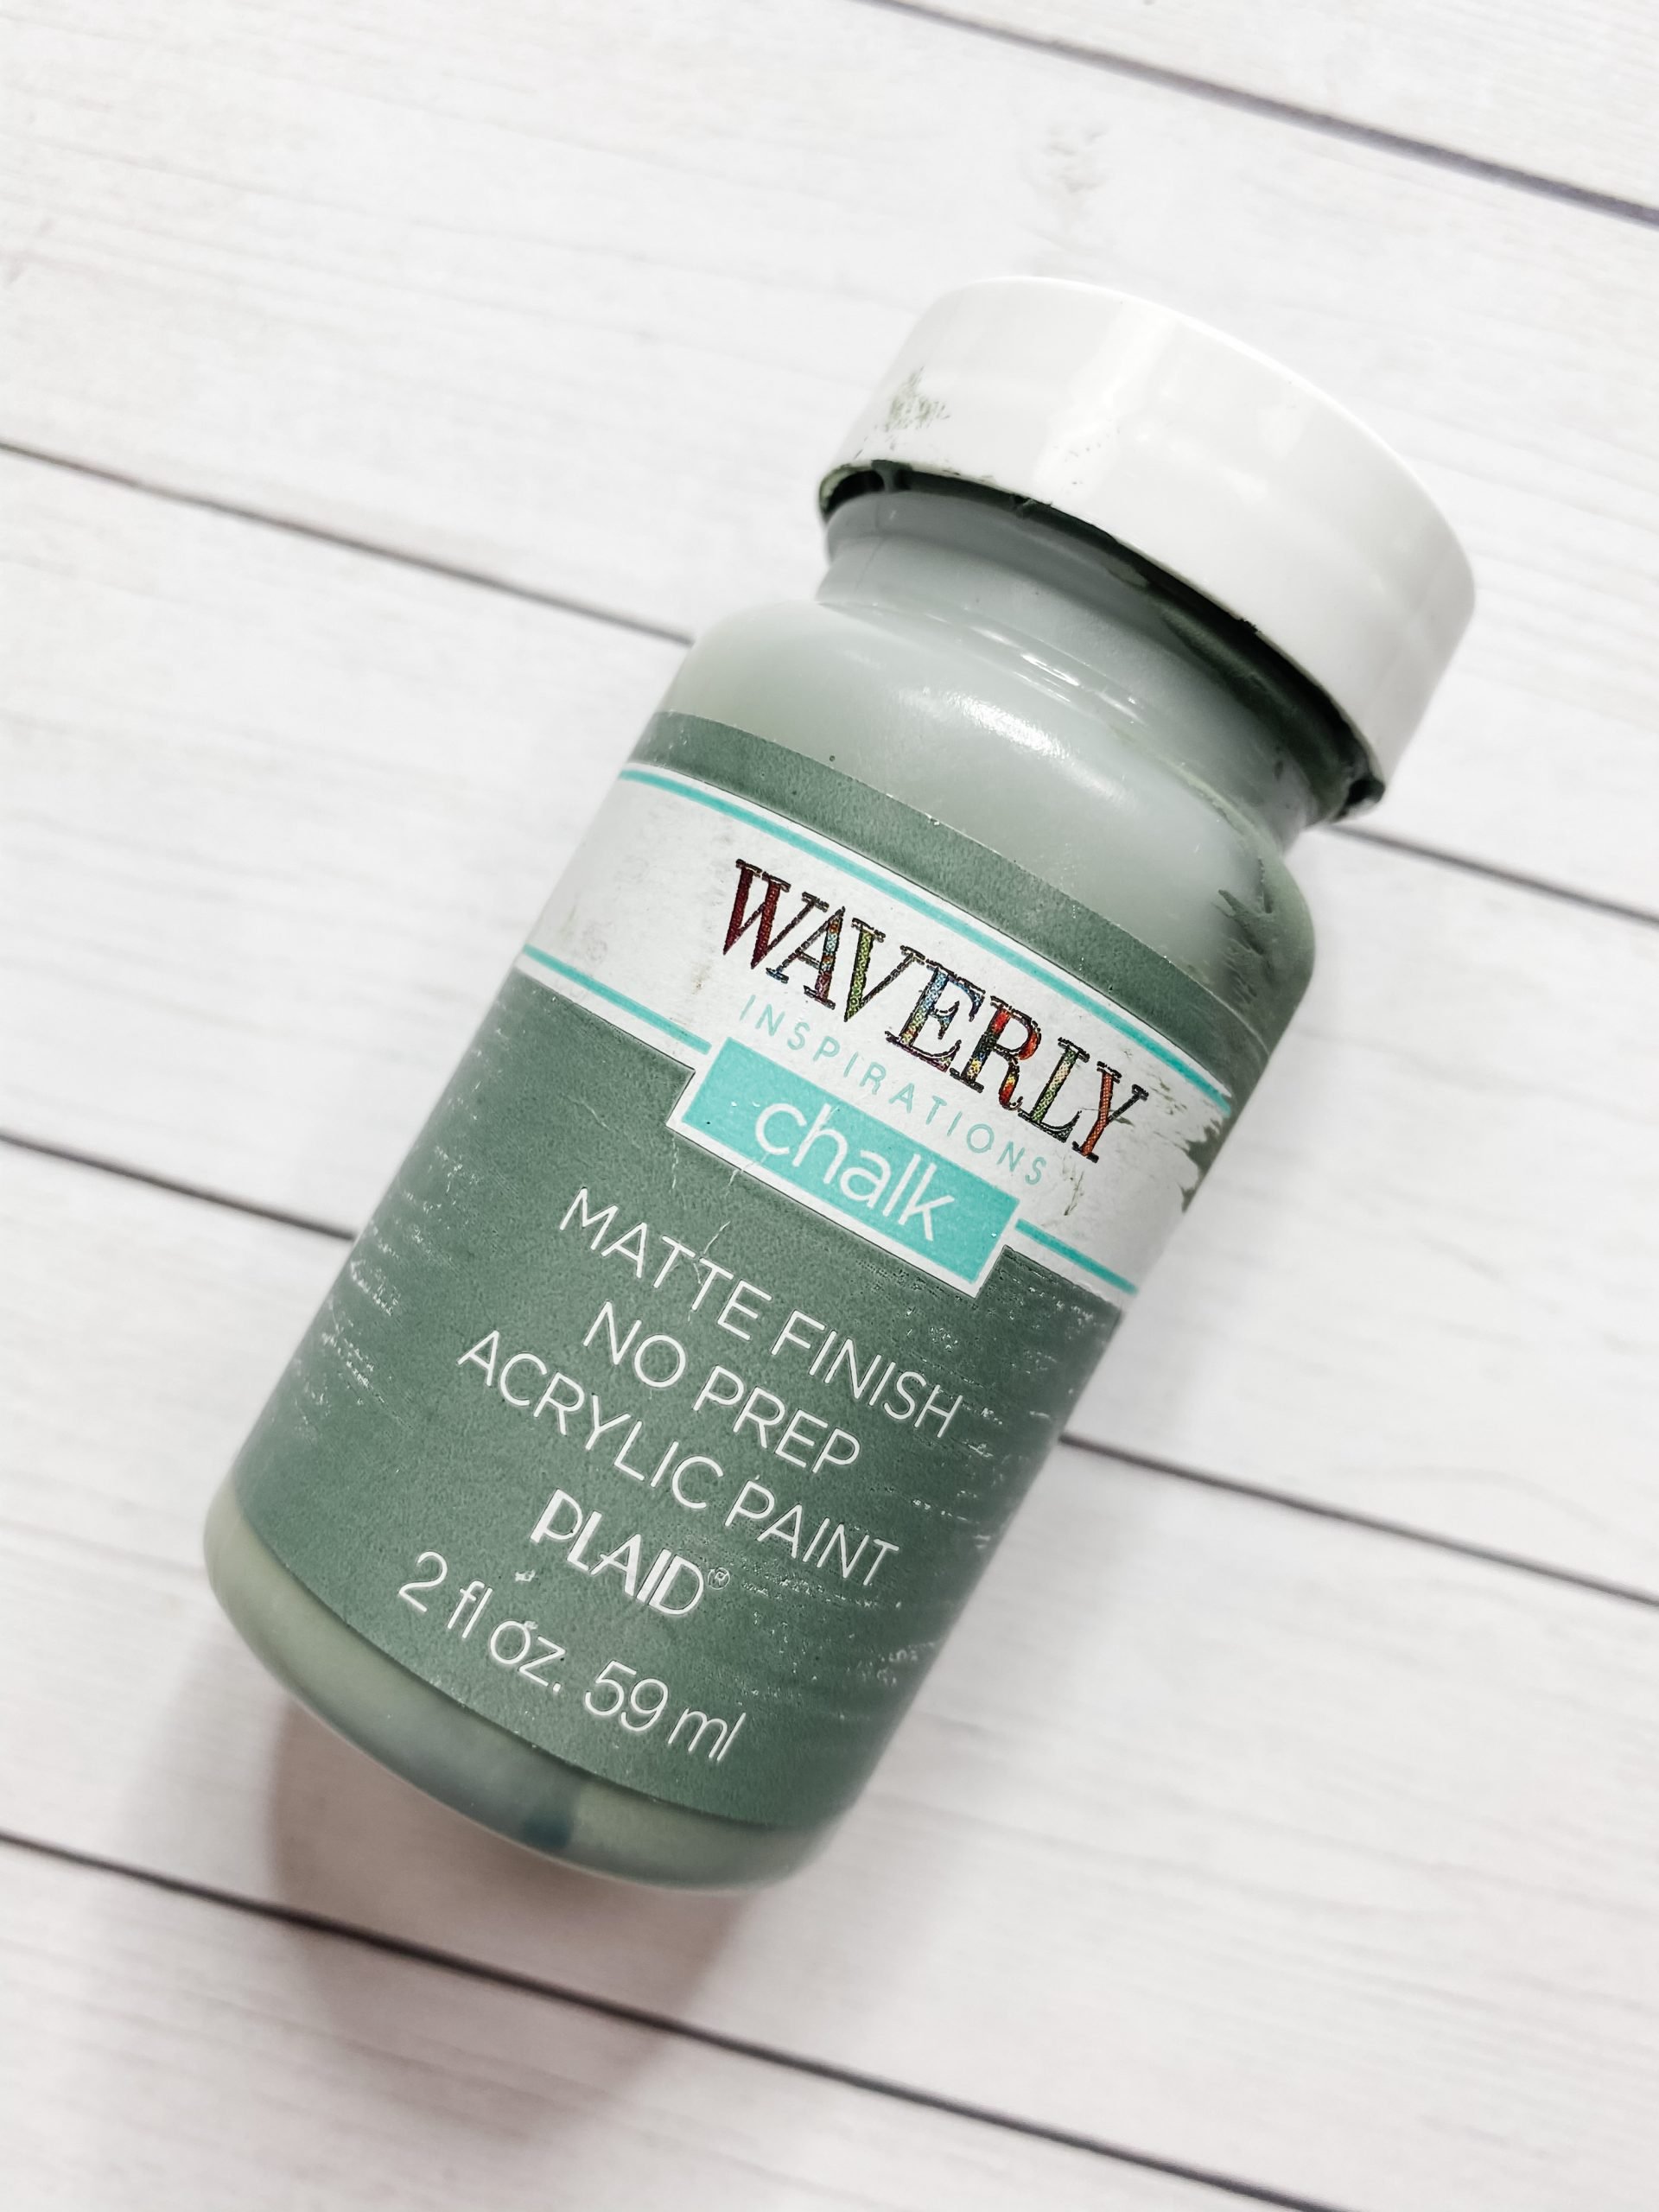
- Waverly Moss (green) Paint
- Dixie Belle Coffe Brown Paint
- Waverly Ink (black) Paint
- Waverly White Paint
- Hot Glue
- Glue gun
- Chip Brushes
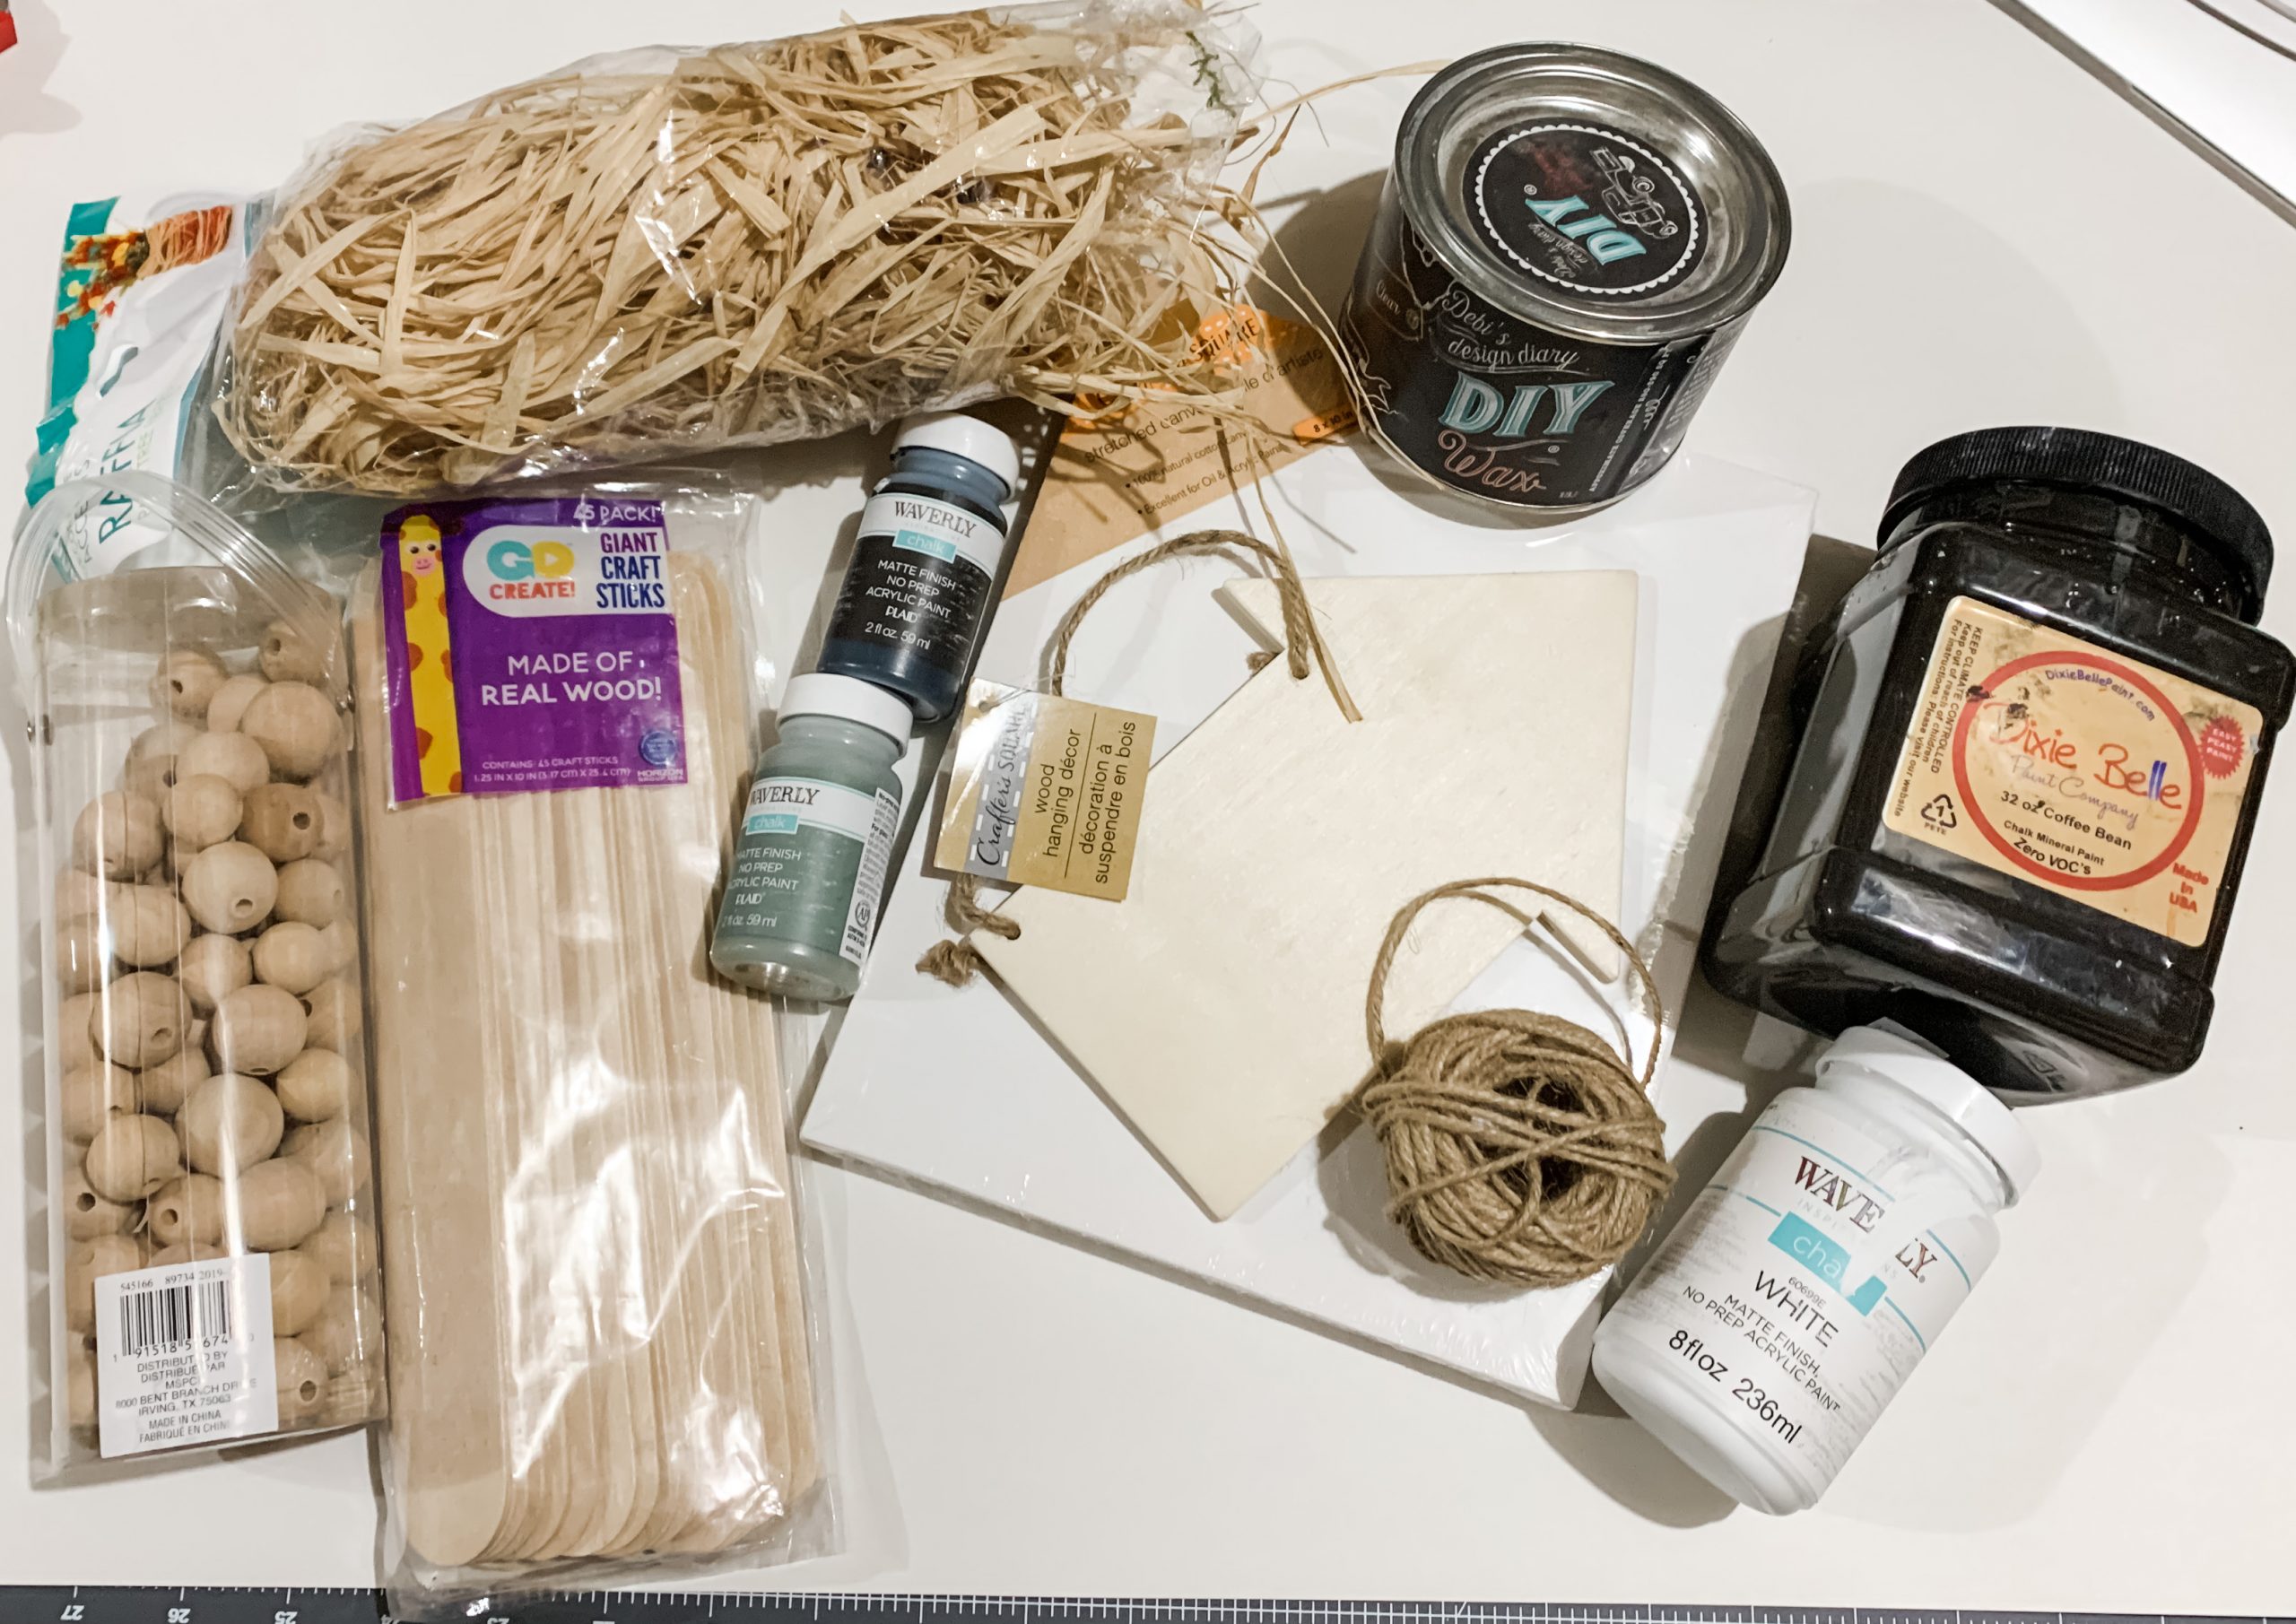
Let’s get started
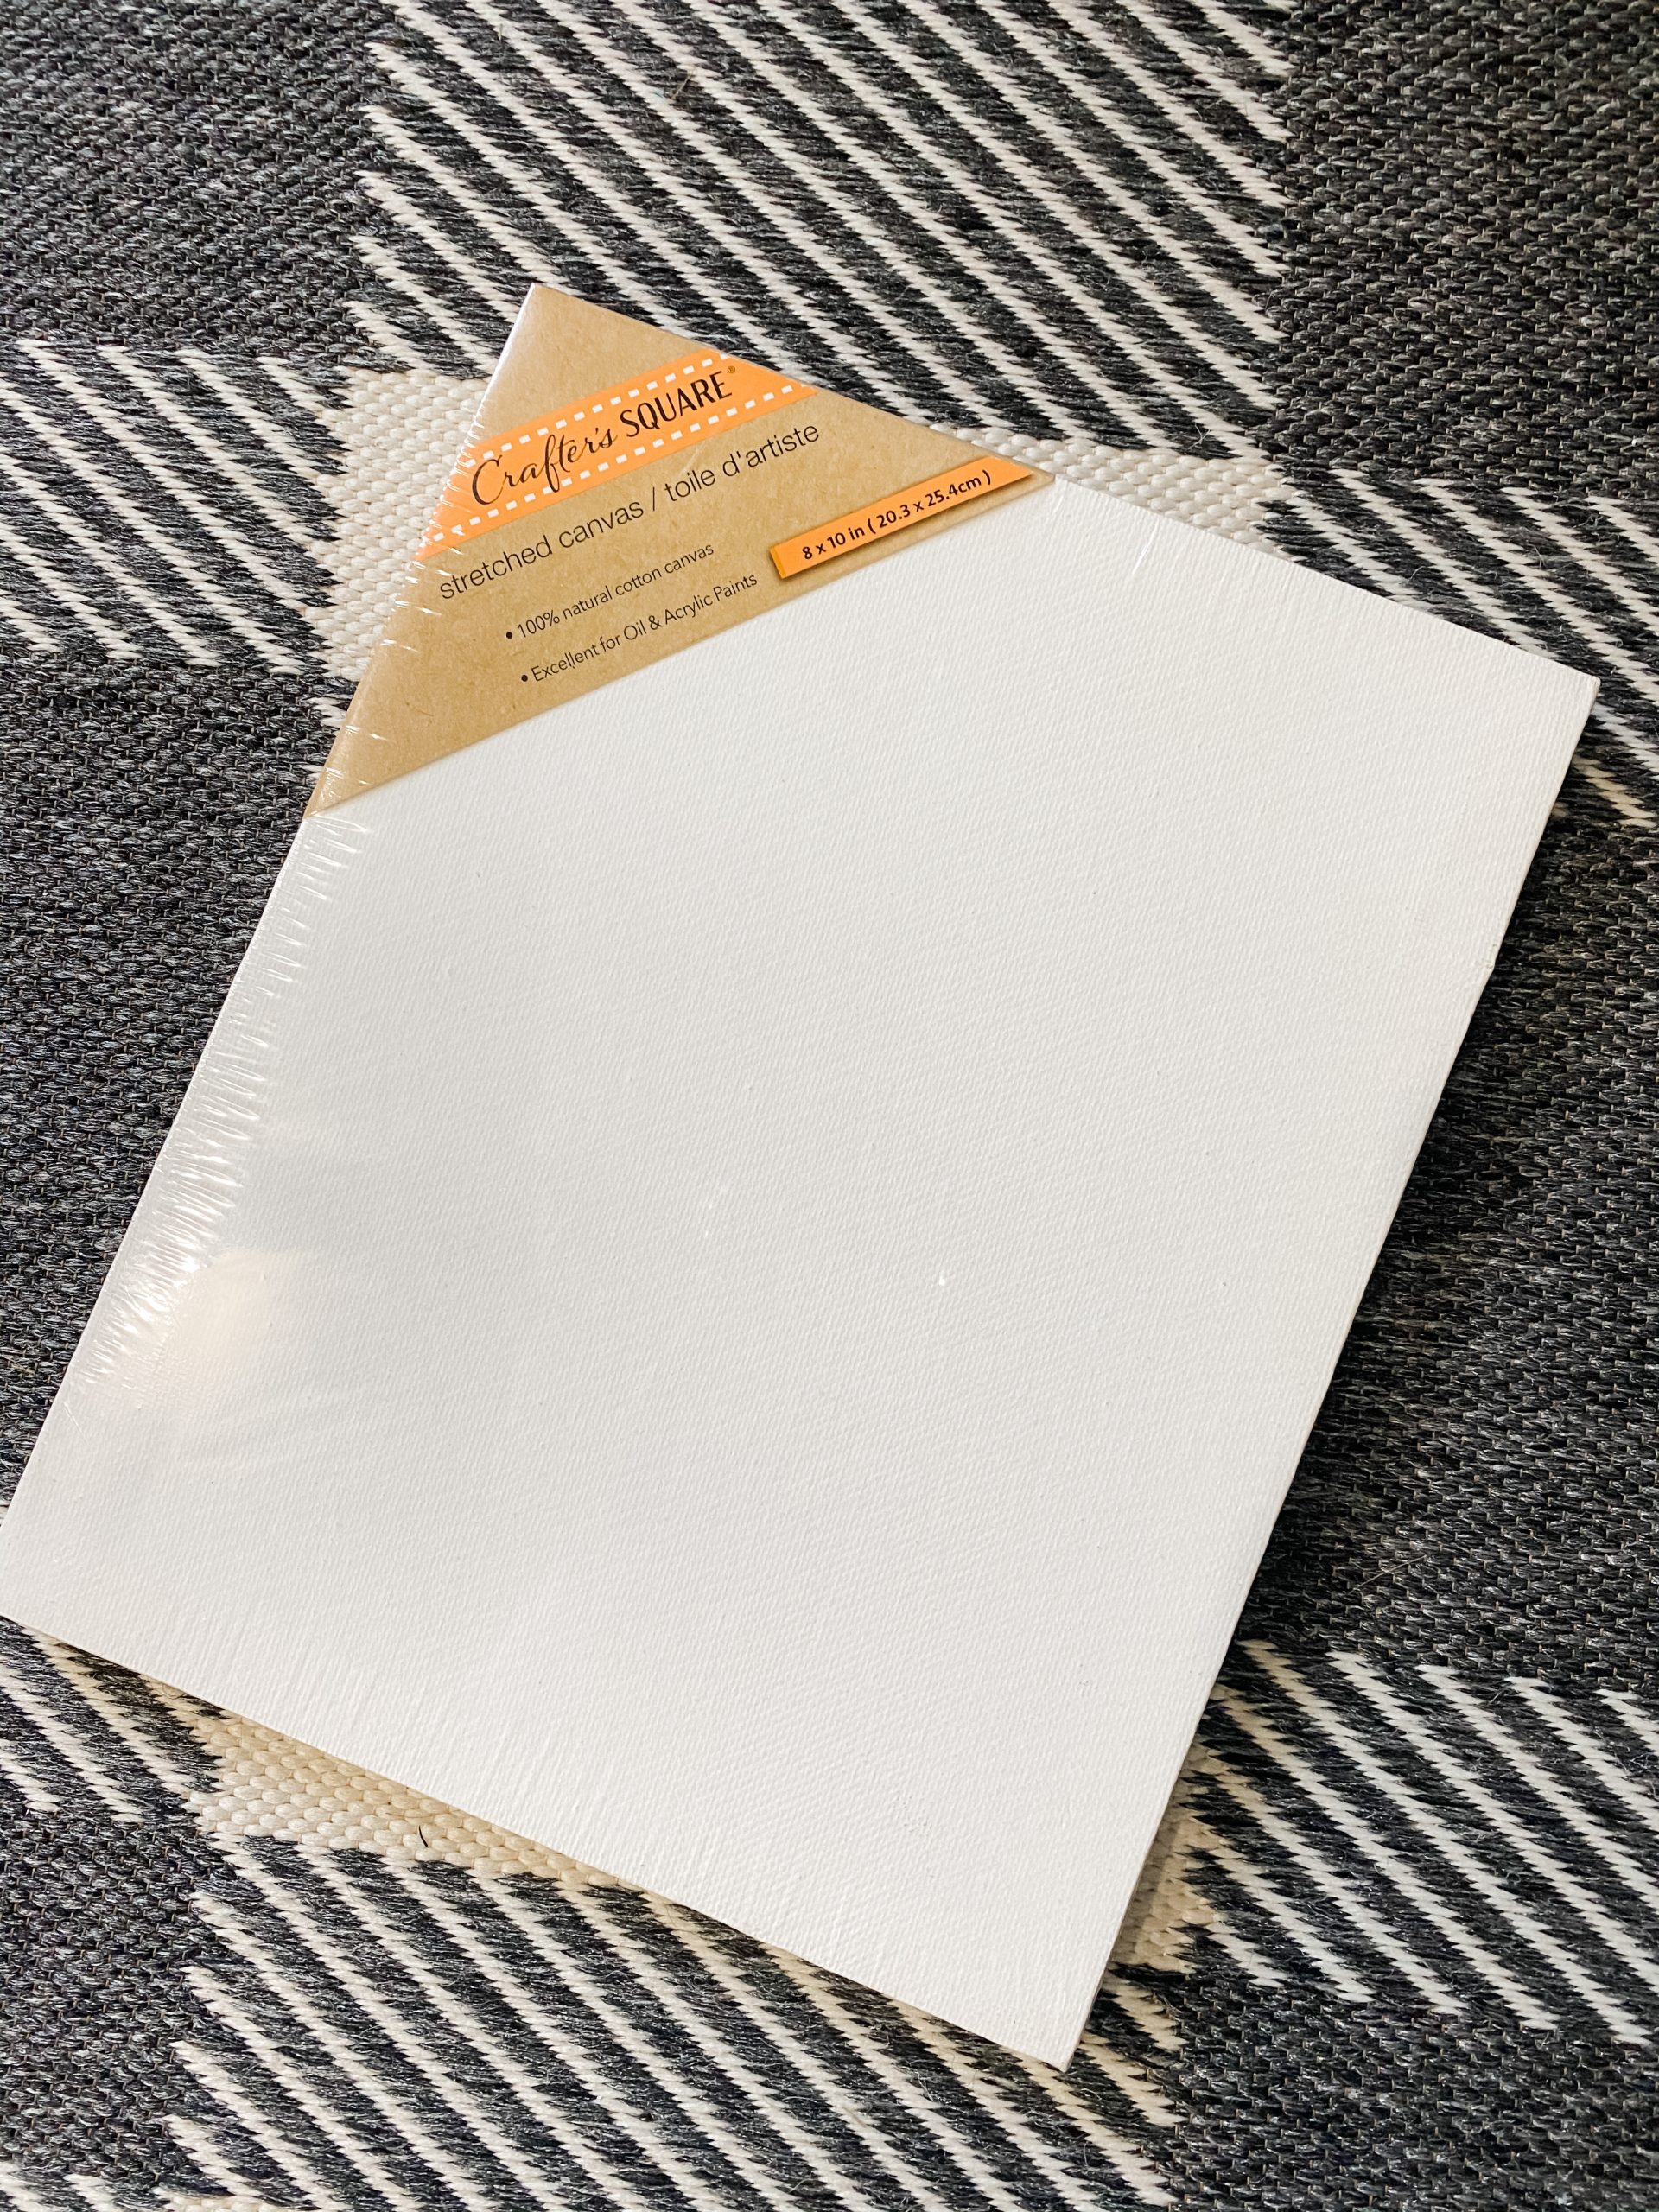
Alright, guys. To get started making this Easy Chippy Farmhouse Home Decor Sign, I removed the Dollar Tree canvas from the wood frame.
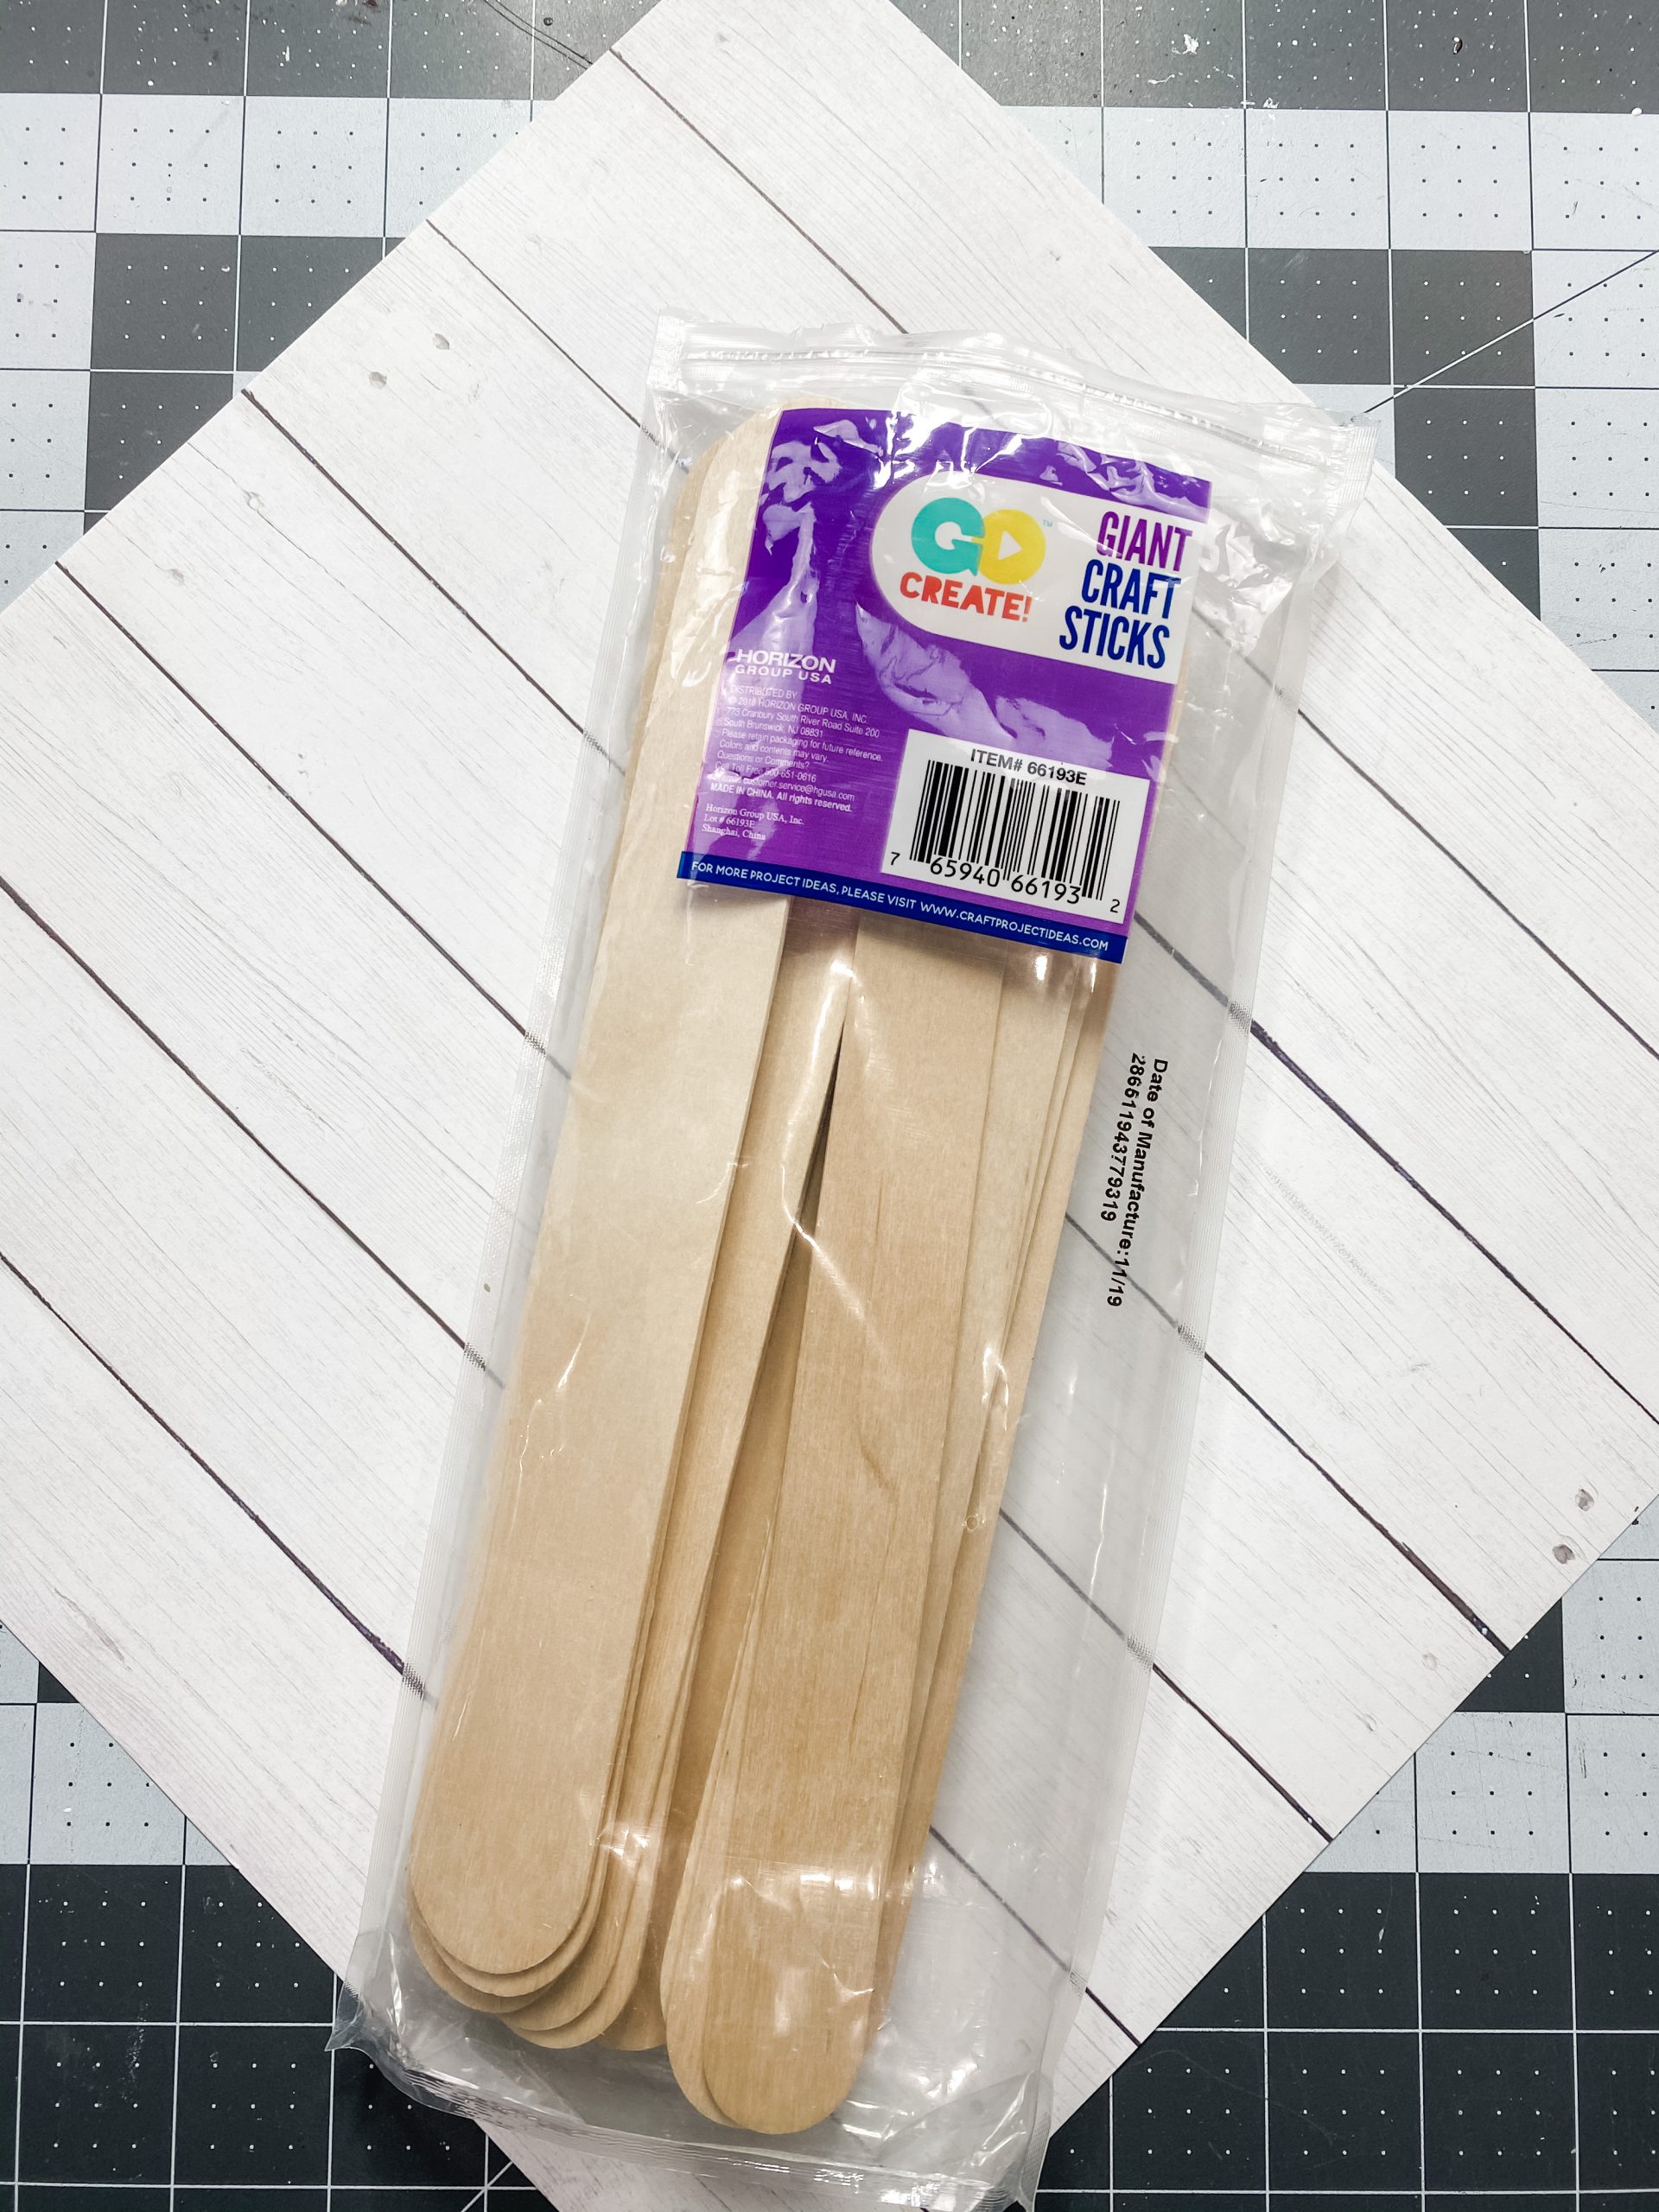
 Next, I laid out how many giant craft sticks it would take to cover the canvas frame. I hot glued them together by attaching a stick across the back of them. Don’t glue them to the frame yet!
I knew I was going to give these the “chippy” look, so I needed to stain the brown first. I used the Dixie Belle Coffee Brown paint.
First, I wet the craft sticks with water to help the wood absorb the paint. Then, I used a baby wipe to cover the craft sticks with the brown paint.
Get chippy with it
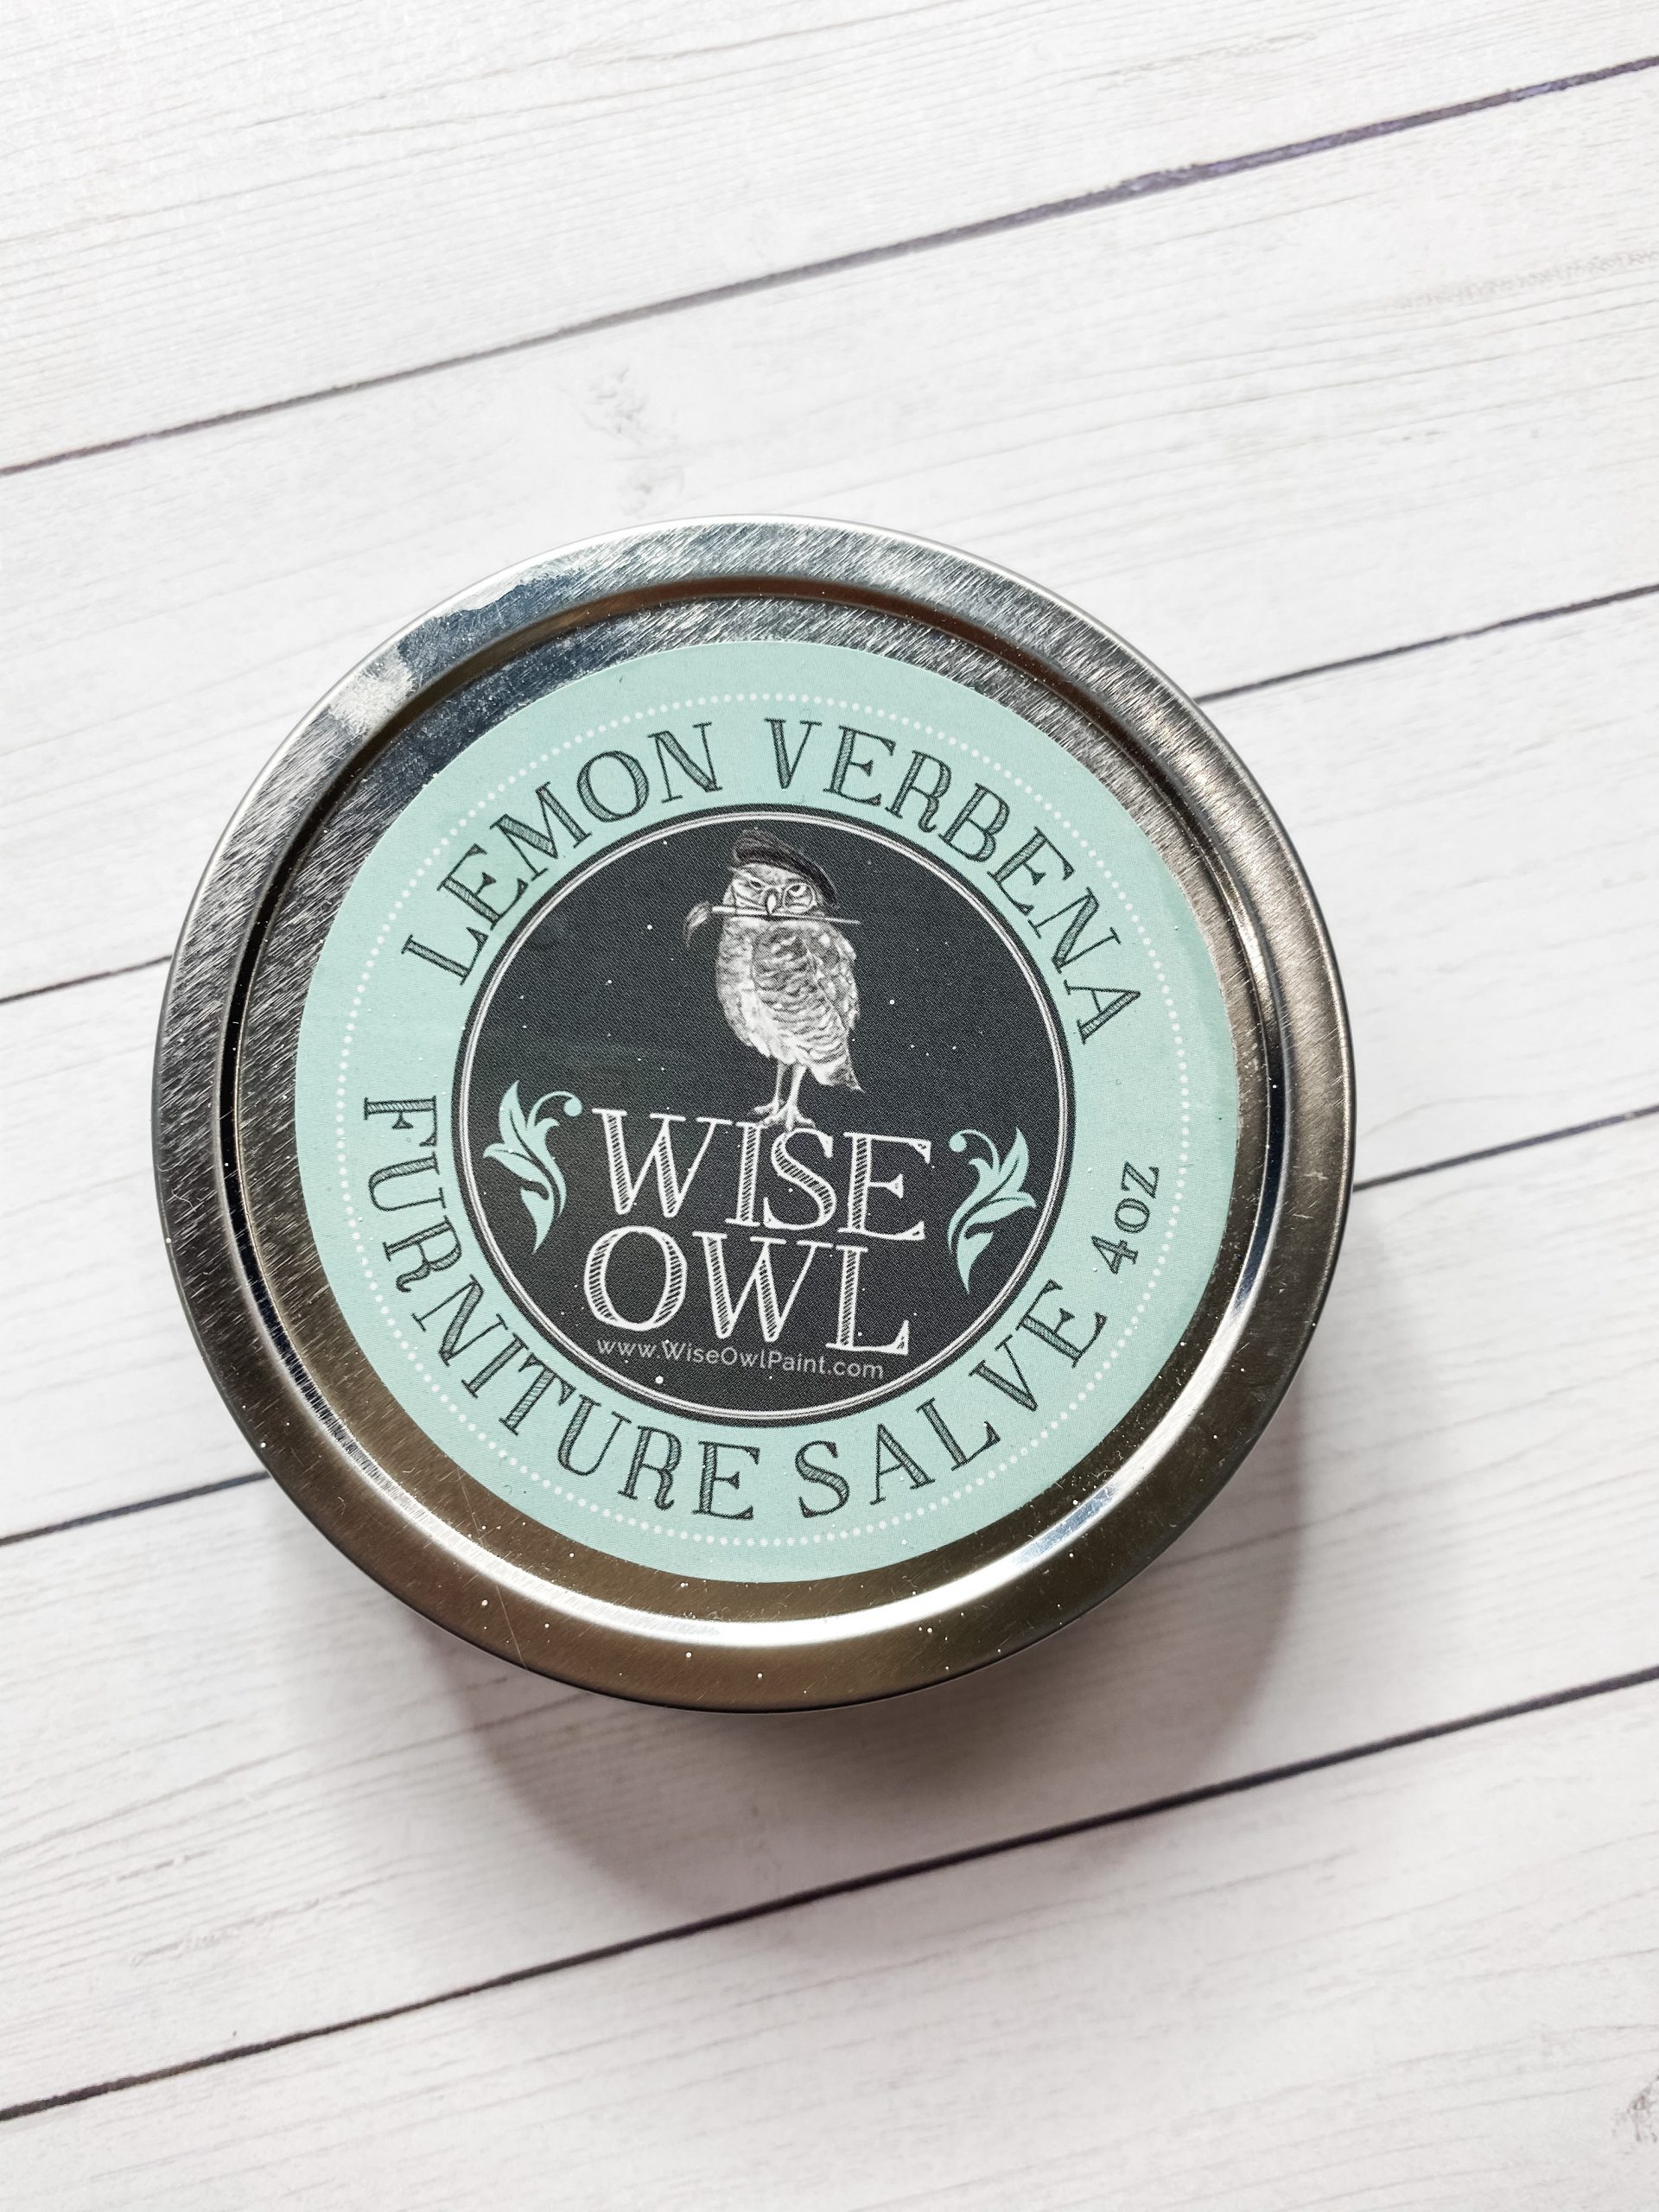
The key to getting my chippy finish is using a wax. I love to use the Wise Owl Furniture Salve, but you can use Waverly Wax, Folkart Wax, or any other clear, colorless craft wax.
What you’ll do is apply the wax to the wood with a chippy paintbrush, but do it in random places that you want the top paint to “peel” off. Basically, where ever you want the wood to look chippy.
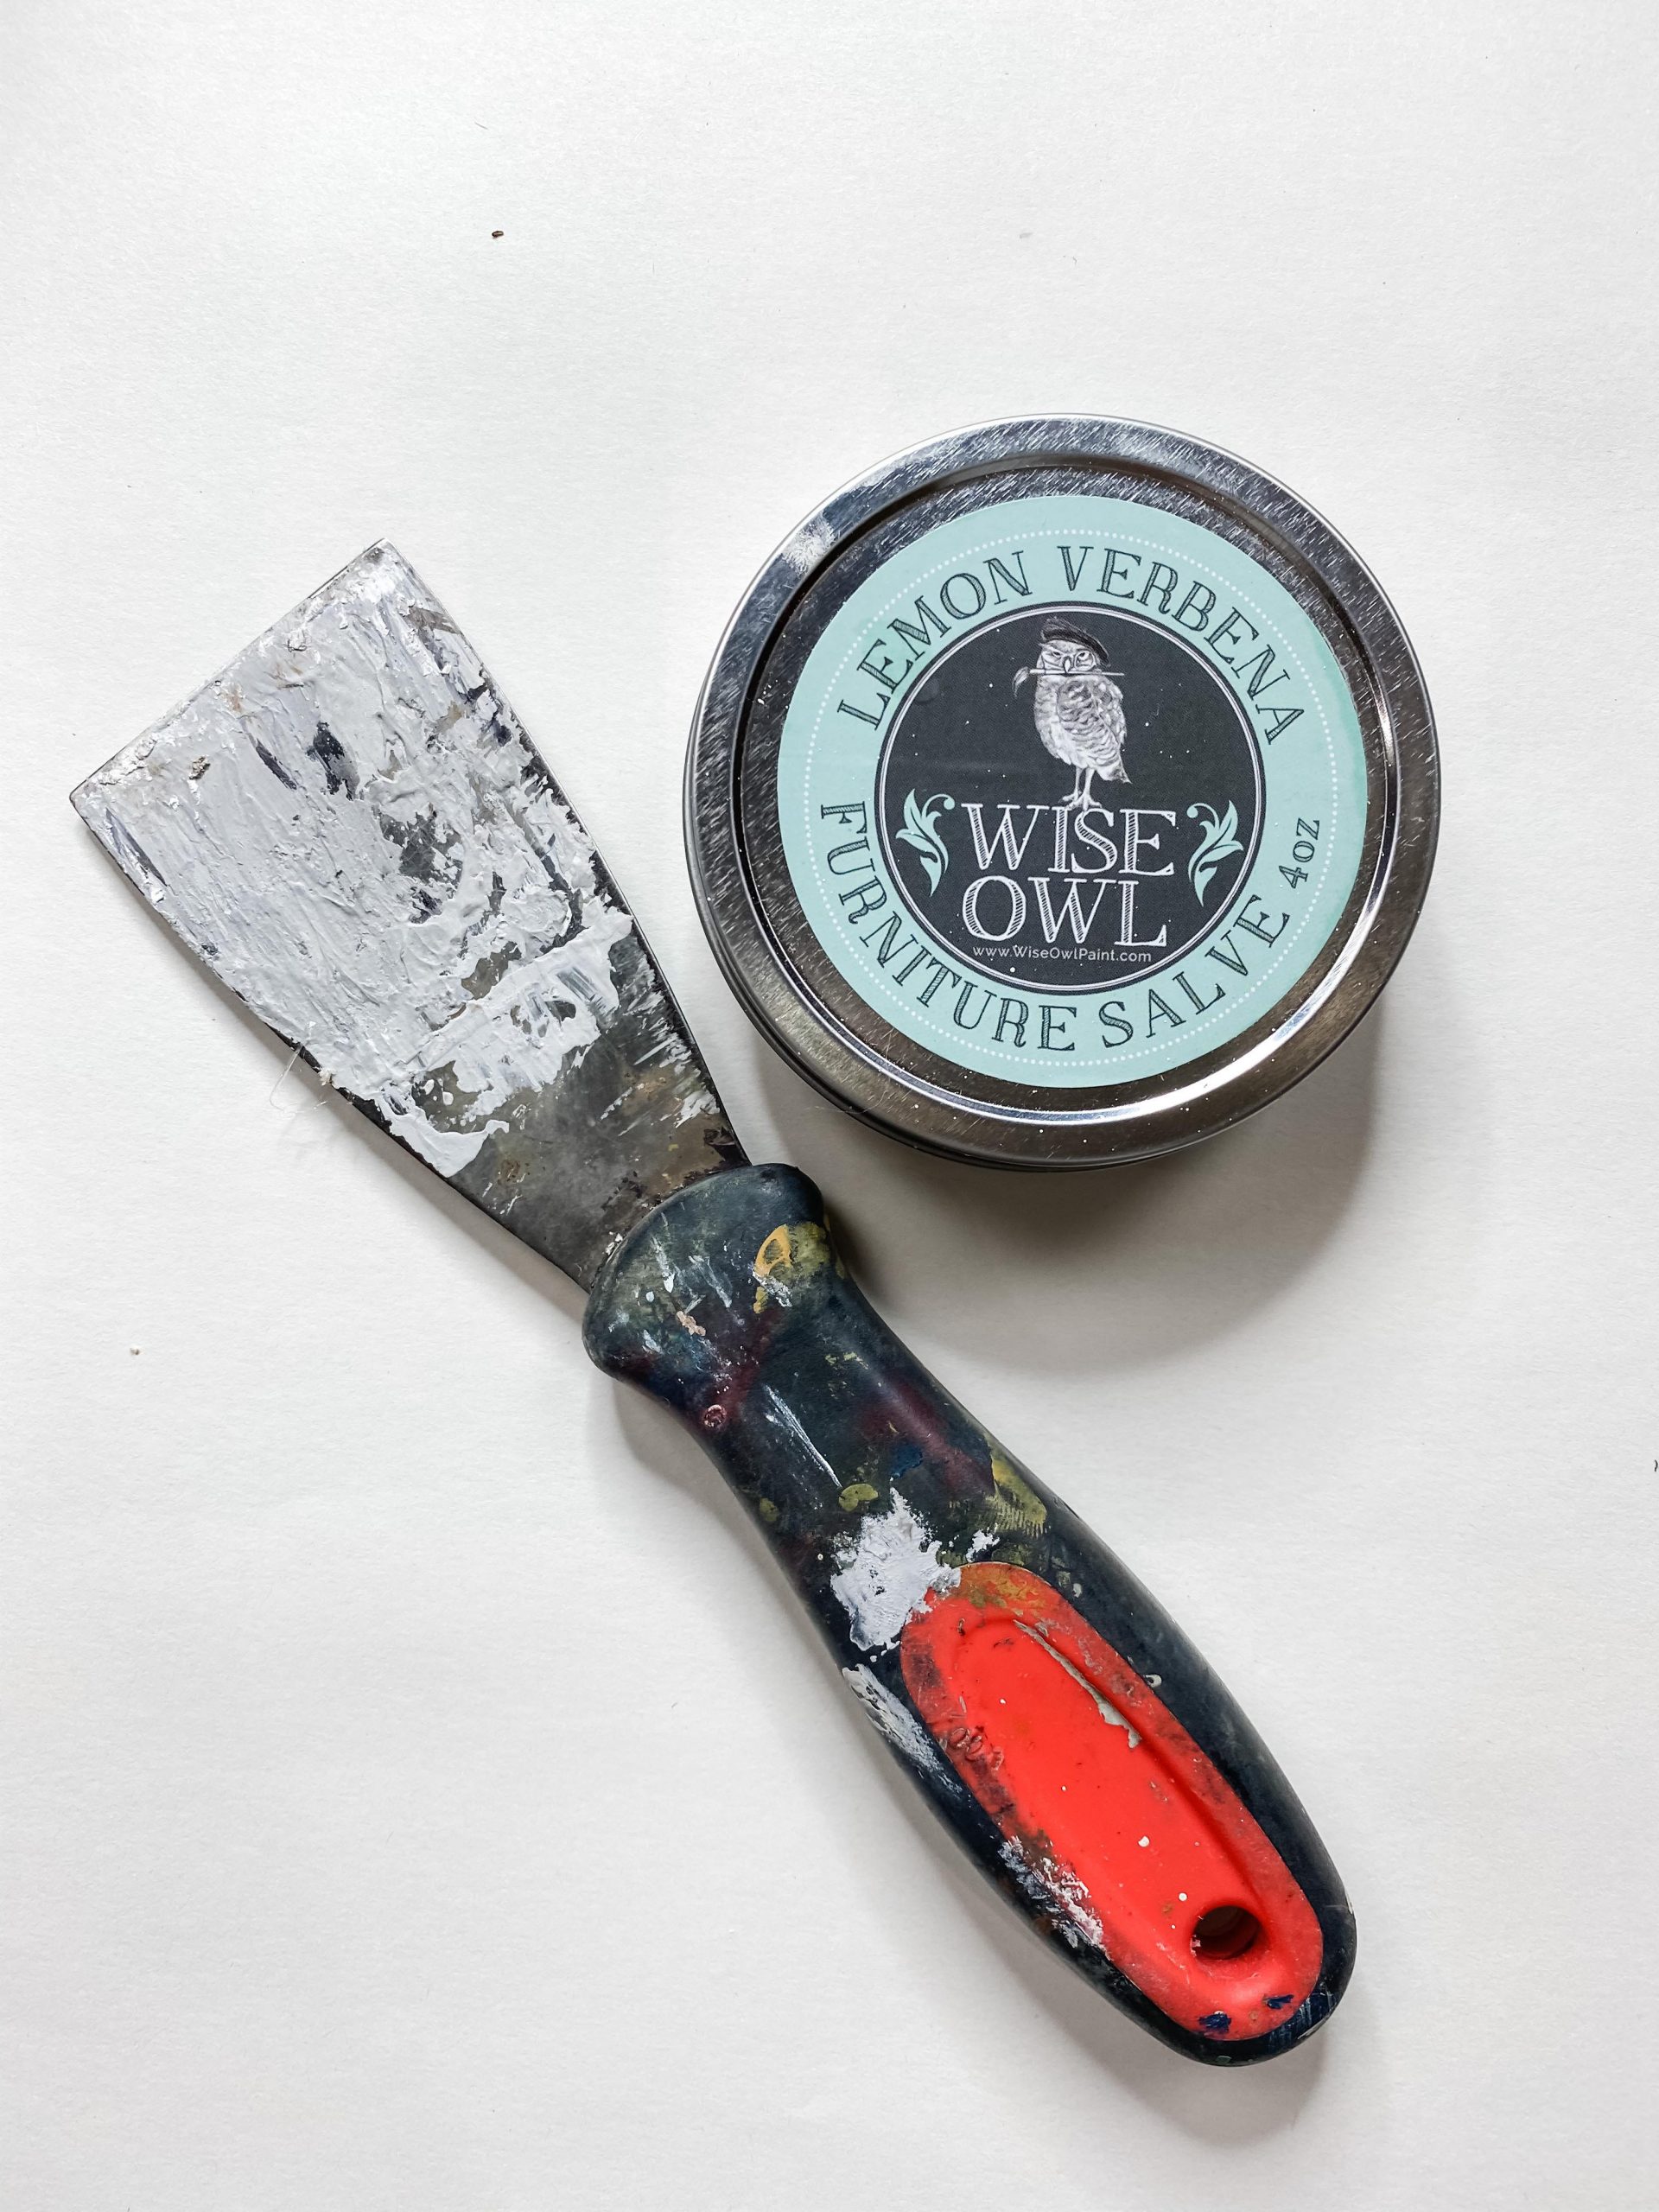
Next, paint over the wax with white paint. I use a heat gun to speed up the drying process, but once the paint is mostly dry (it will still be wet where you put the wax) you’ll take your paint scraper and pull it across those wet places.
This is going to peel up the wet paint and really give your project the chippy look. Repeat this as many times as you want until you have the chippy look you were going for!
Make your house
I used a Dollar Tree wood arrow for the “house” part of this craft. You’re going to repeat the process from above, but without staining the wood first.
So, apply the wax to random places, paint over it with the Waverly Moss Paint, allow it to mostly dry, then pull over the wet areas with a paint scraper. Easy, right?!
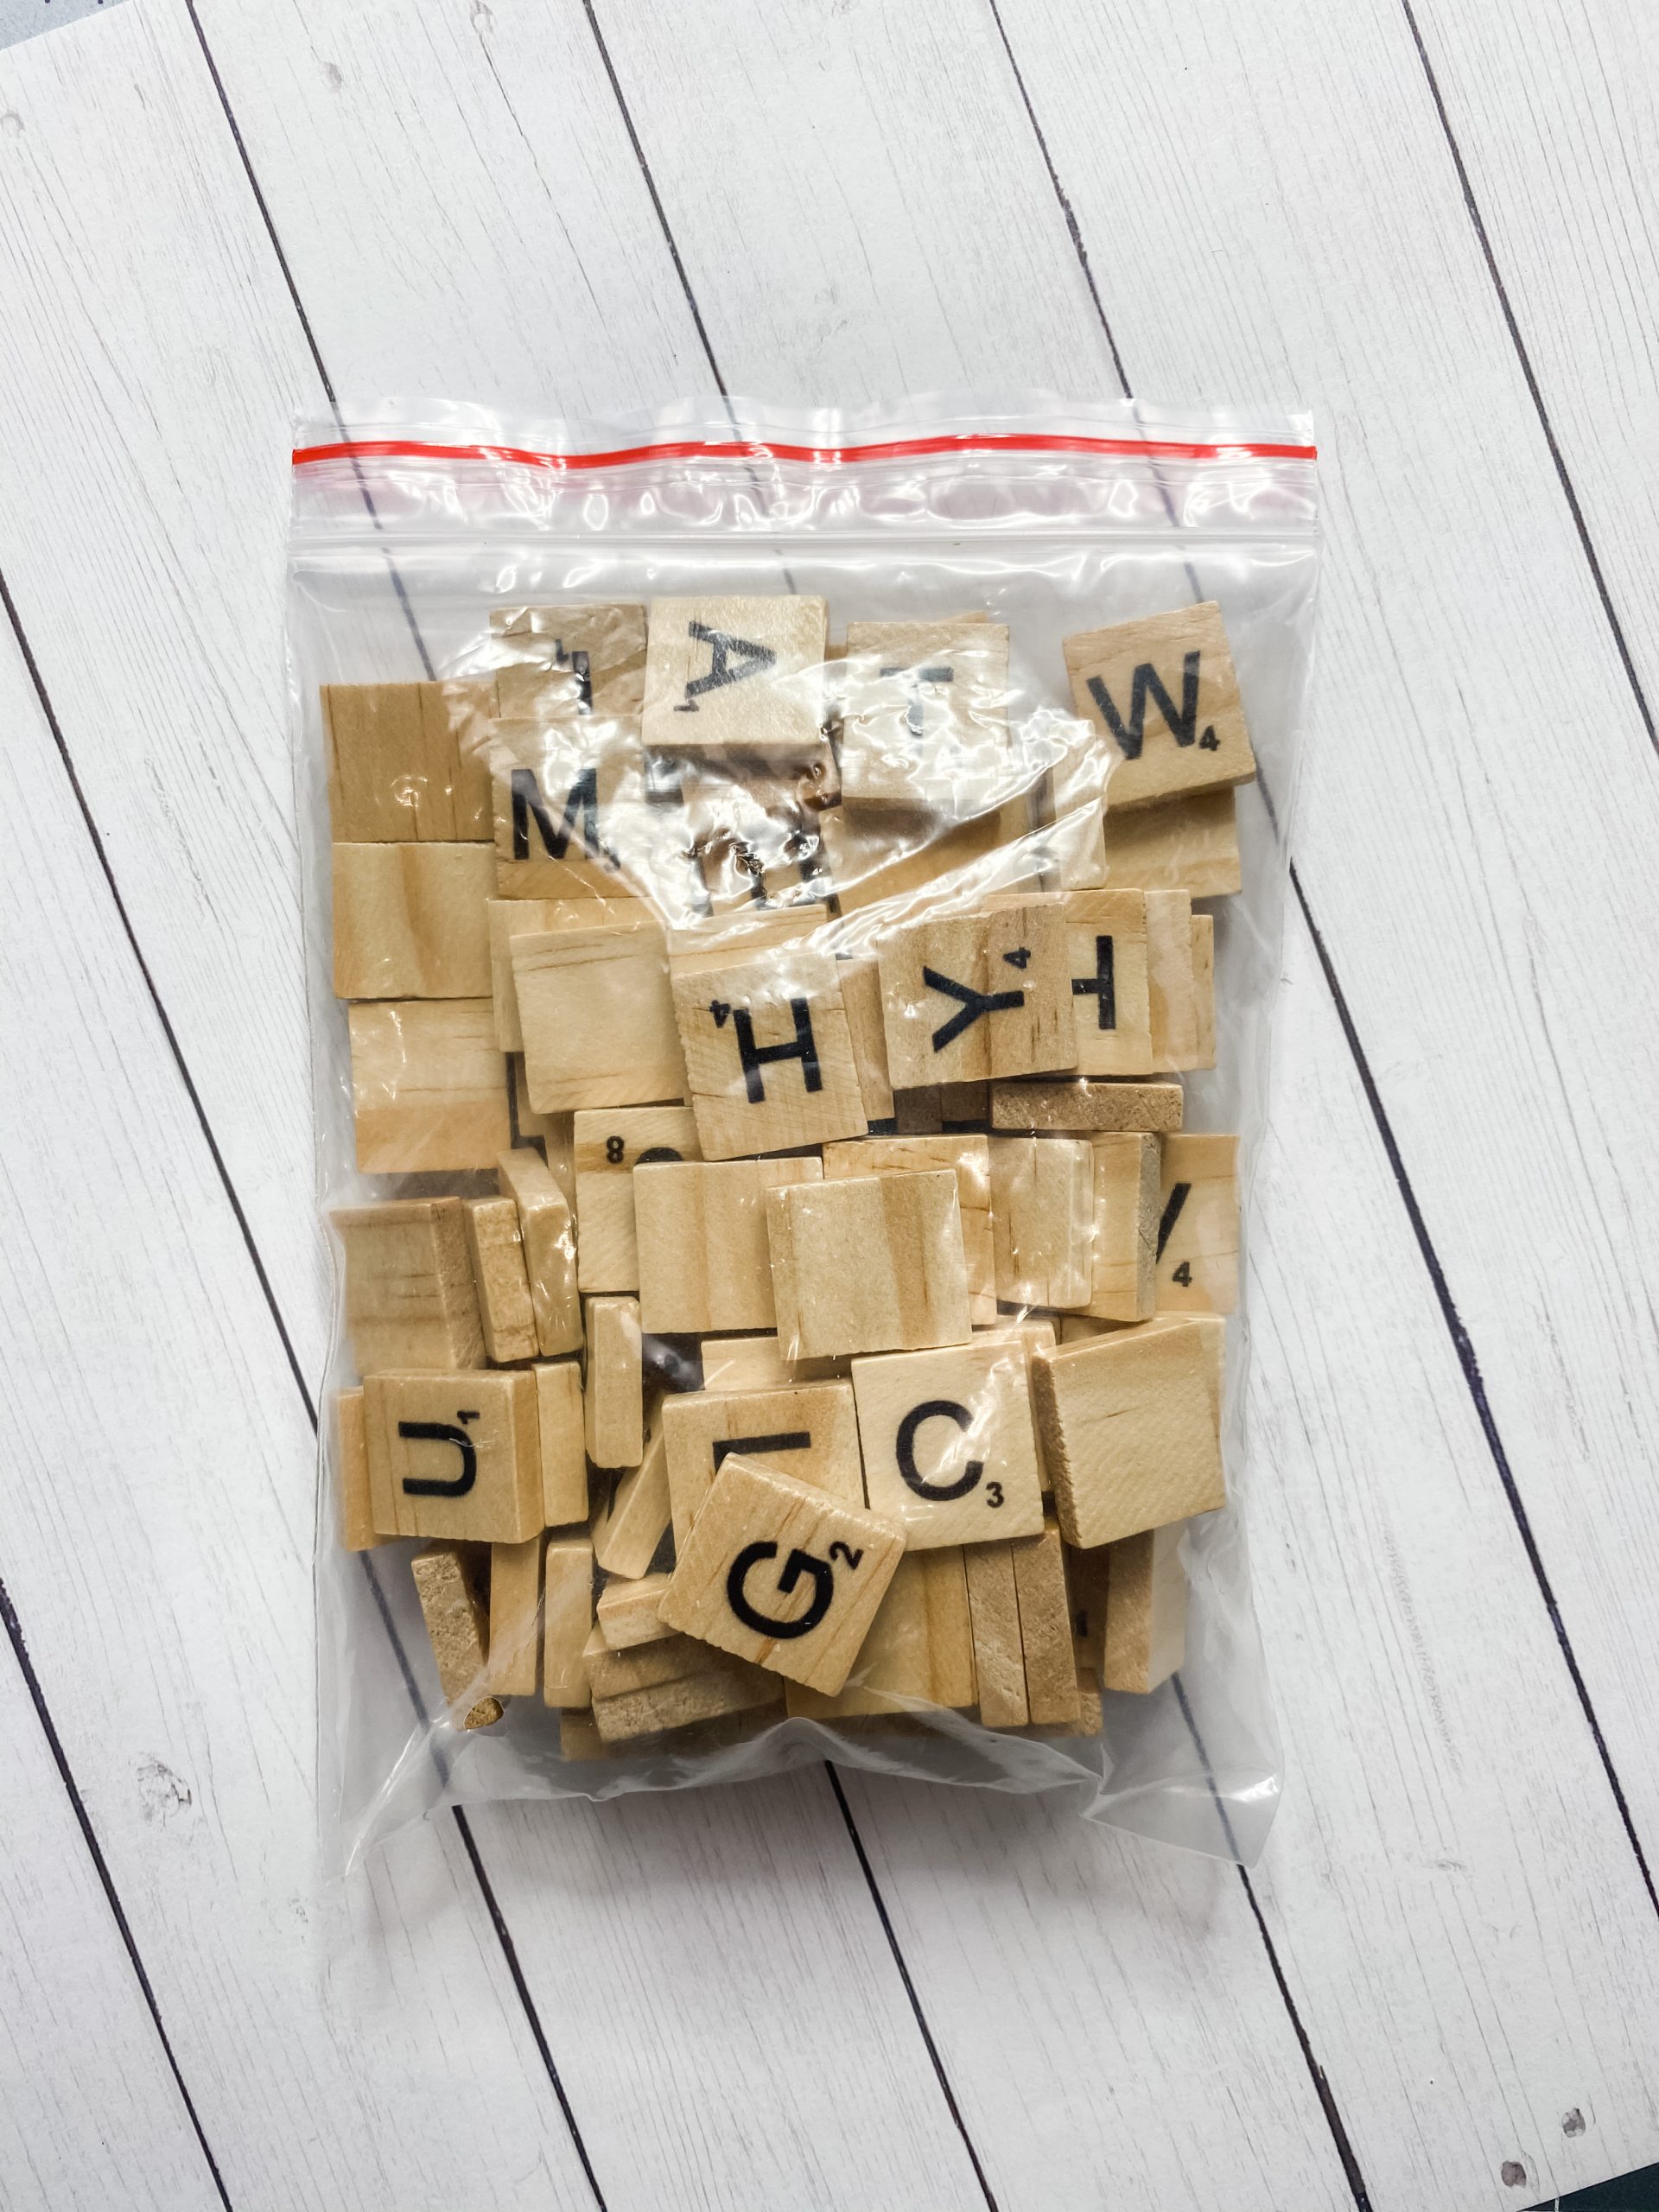
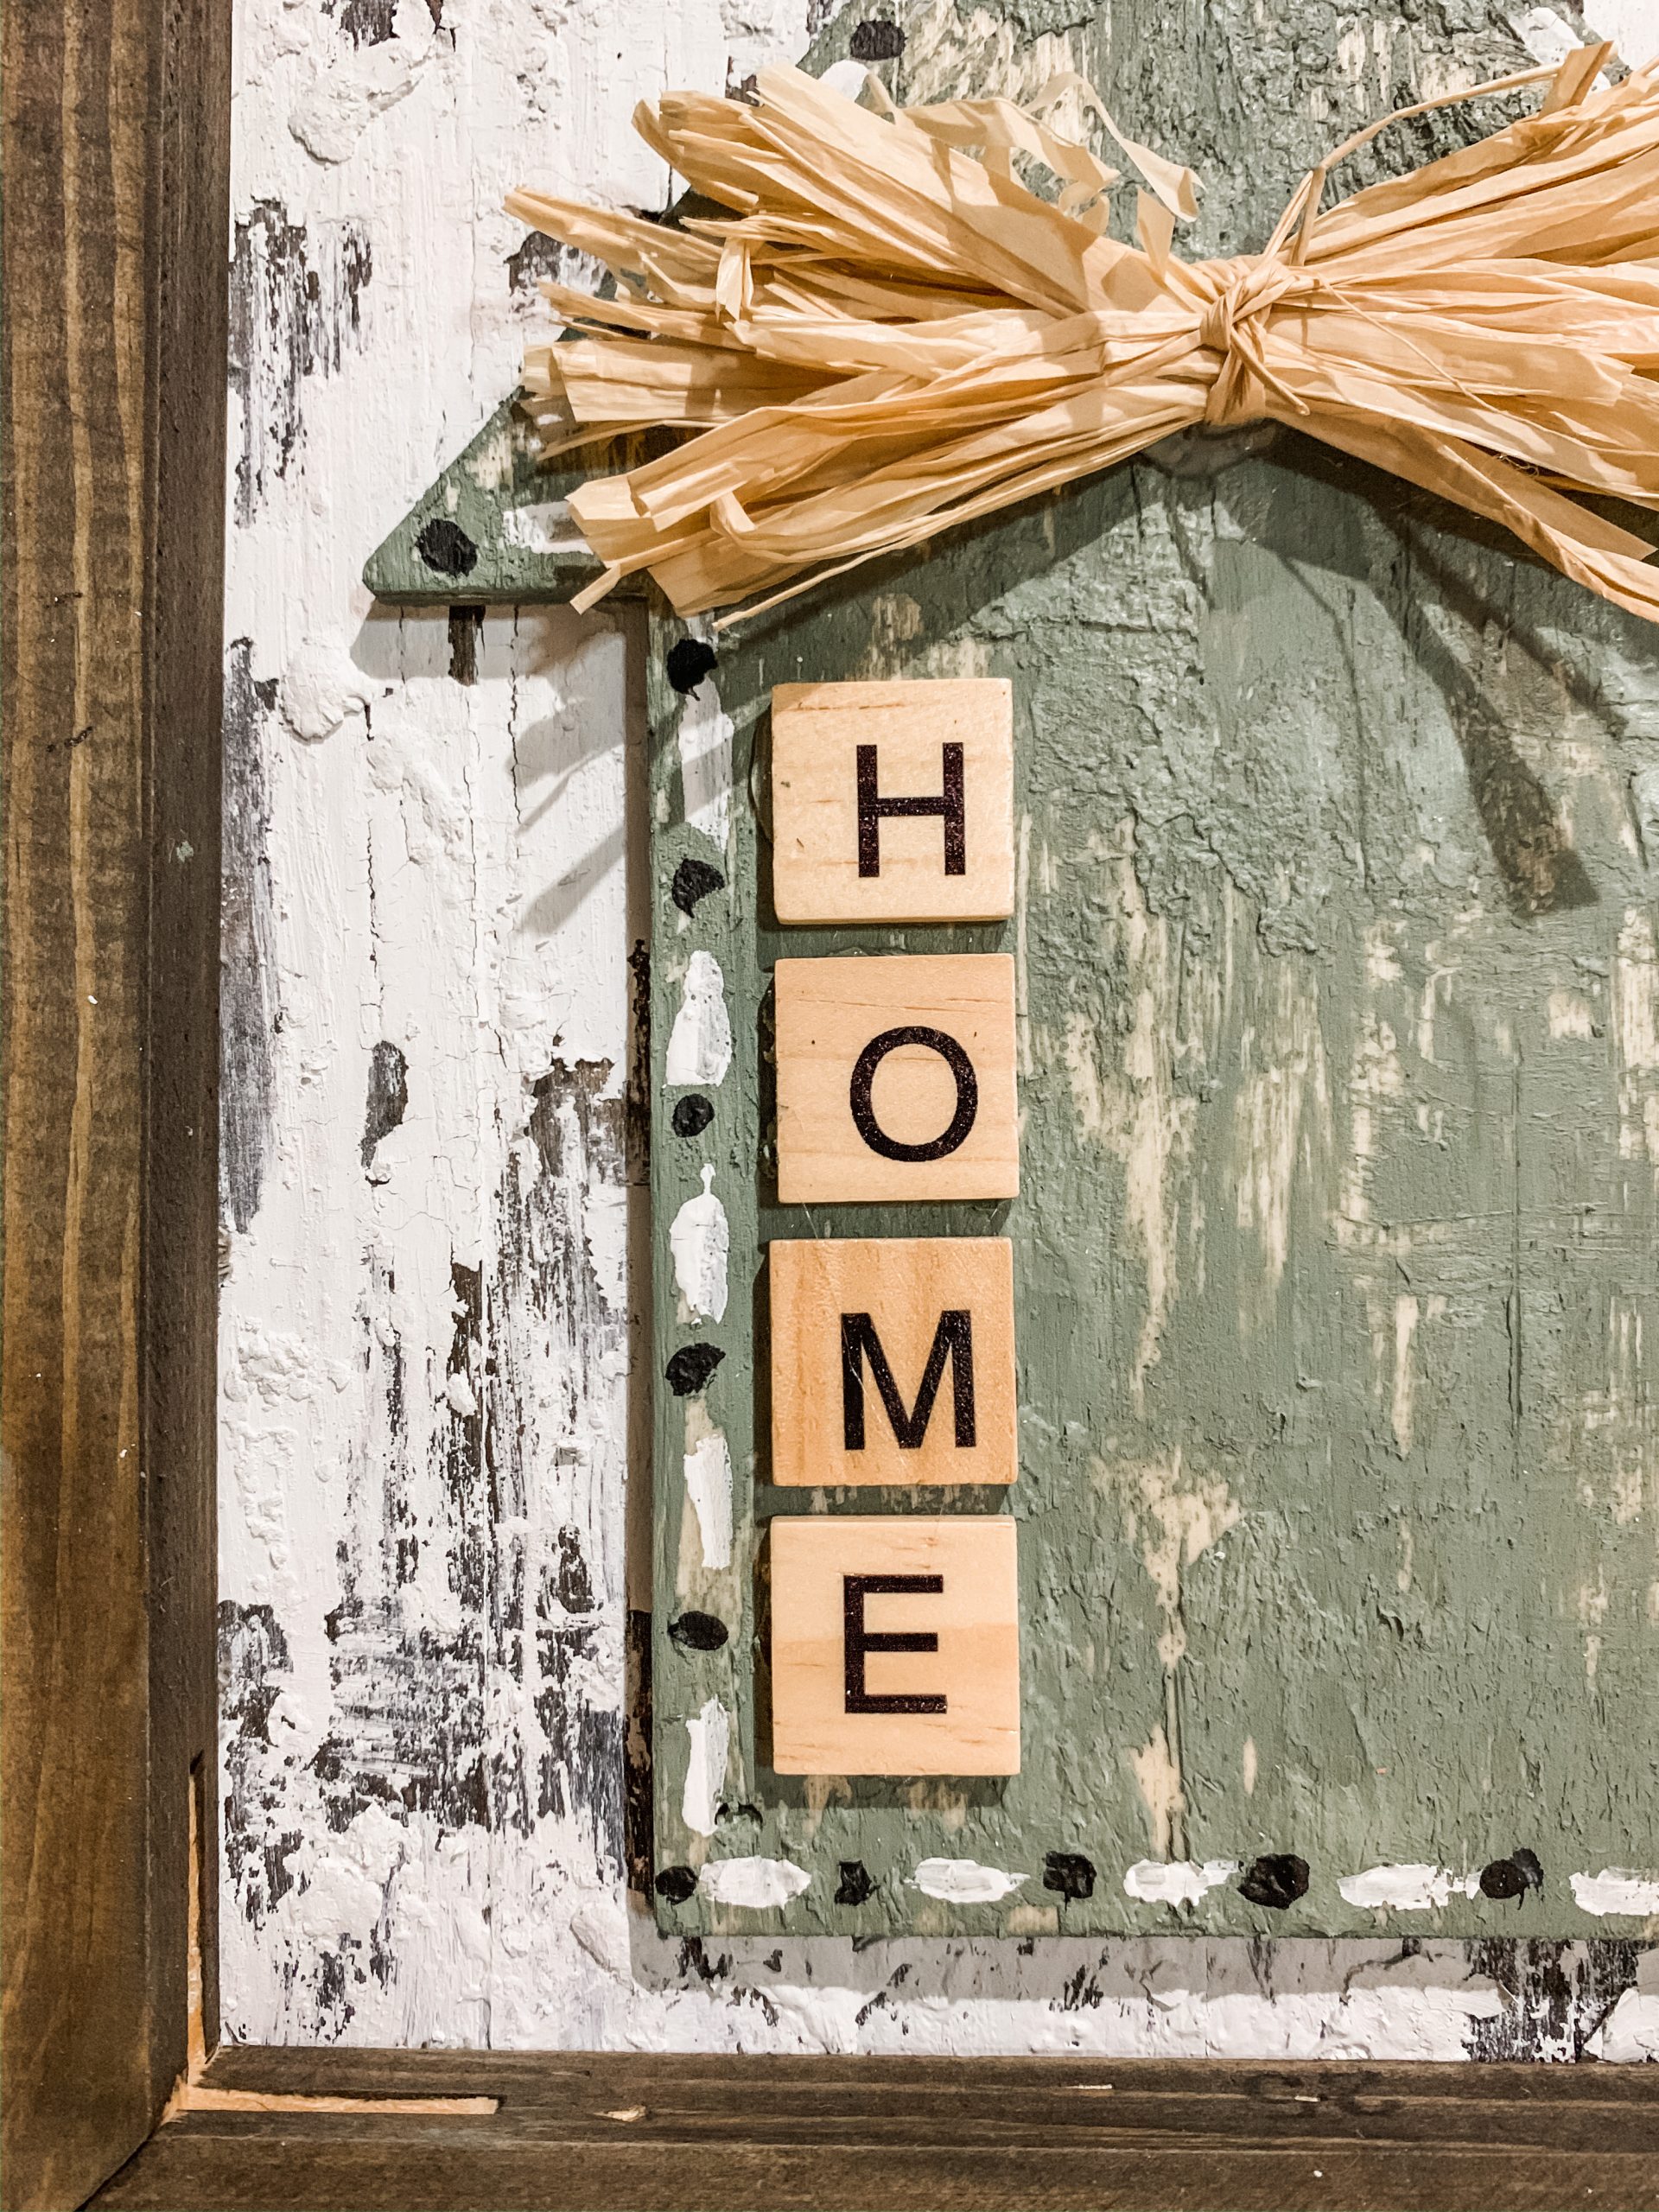
Next, I just added the scrabble letters to spell HOME and hot glued those down. You can get some really cheap scrabble letters on Amazon!
Stain the Frame
Remember the canvas frame from the beginning? It’s time to bring that back. I stained the frame the same way that I stained the giant craft sticks earlier on. Make sure you get the edges, too!
Put it all together
Once all of the pieces are dry, it is time to put them all together! Hot glue the giant craft sticks to your canvas frame, then hot glue the painted house to the front of the giant craft sticks.
I love how the 2 different chippy finishes compliment each other, don’t you!? I added some detailing to the house shape by painting a “sewed” design around the edges.
The finishing touches
You’re almost done! The last step is to add the hanger! To do this, I took some twine and threaded it through some wood beads.
You can make the hanger as long or short as you want just by adjusting the length of the twine. I stapled the ends of the twine to the back of the canvas frame.
Raffia bow
Now it is time to add the adorable little raffia bow to the house. It is so easy to make! All I do is take some Dollar Tree raffia and manipulate it into the shape of a bow, and hot glue it down. That’s it! You can always add a little button or some bling if you wanted!
(Check out these other projects that have a cute raffia bow! Faux Rust Metal Pumpkin Decor, Dollar Tree Fall Pumpkin DIY, Dollar Tree Rustic Fall Truck DIY, Dollar Tree Fall Foam Pumpkin DIY)
I hope you have loved this project as much as I do and plan to make one of your own! If you do, I have a FREE Facebook group for crafters where we all just share pictures of our projects!
It’s called On A Budget Crafts, and I would love to see how you make this Easy Chippy Farmhouse Home Decor Sign your own!
If you loved this DIY you might also like this Popsicle Stick Pumpkin Fall Decor DIY!
Thanks for stopping by! XOXO Amber
You can also shop my ENTIRE AMAZON Favorites shop just click here! It’s packed full of all the things I use and love.
Here is the supply list I highly recommend every creative have on hand!! Would you also pin my blog for later and get on my newsletter alerts? I would love to have you join my #craftycrew.

Join my free “ON A BUDGET CRAFTS” Facebook group!


Love the chippy finish, I’m not to good at it, but you do a fantastic job
Just cant get chipping look not sure what i am doing wrong
Love the weathered look! 🙂
Love the chippy