Double-Sided Fall Pumpkin Shelf Decor
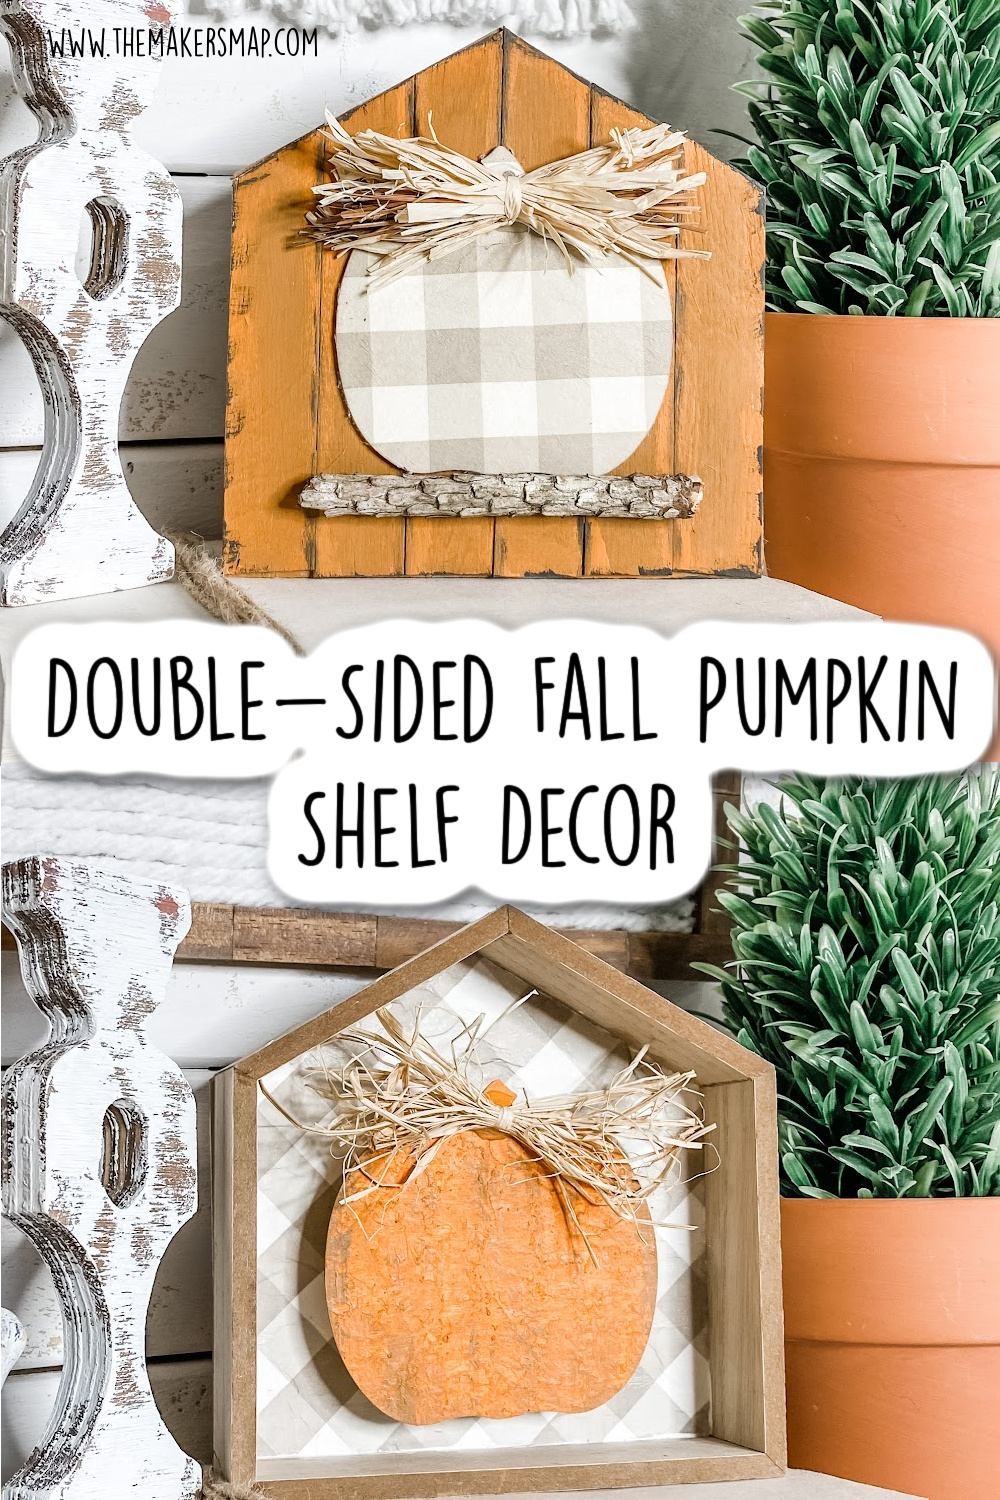
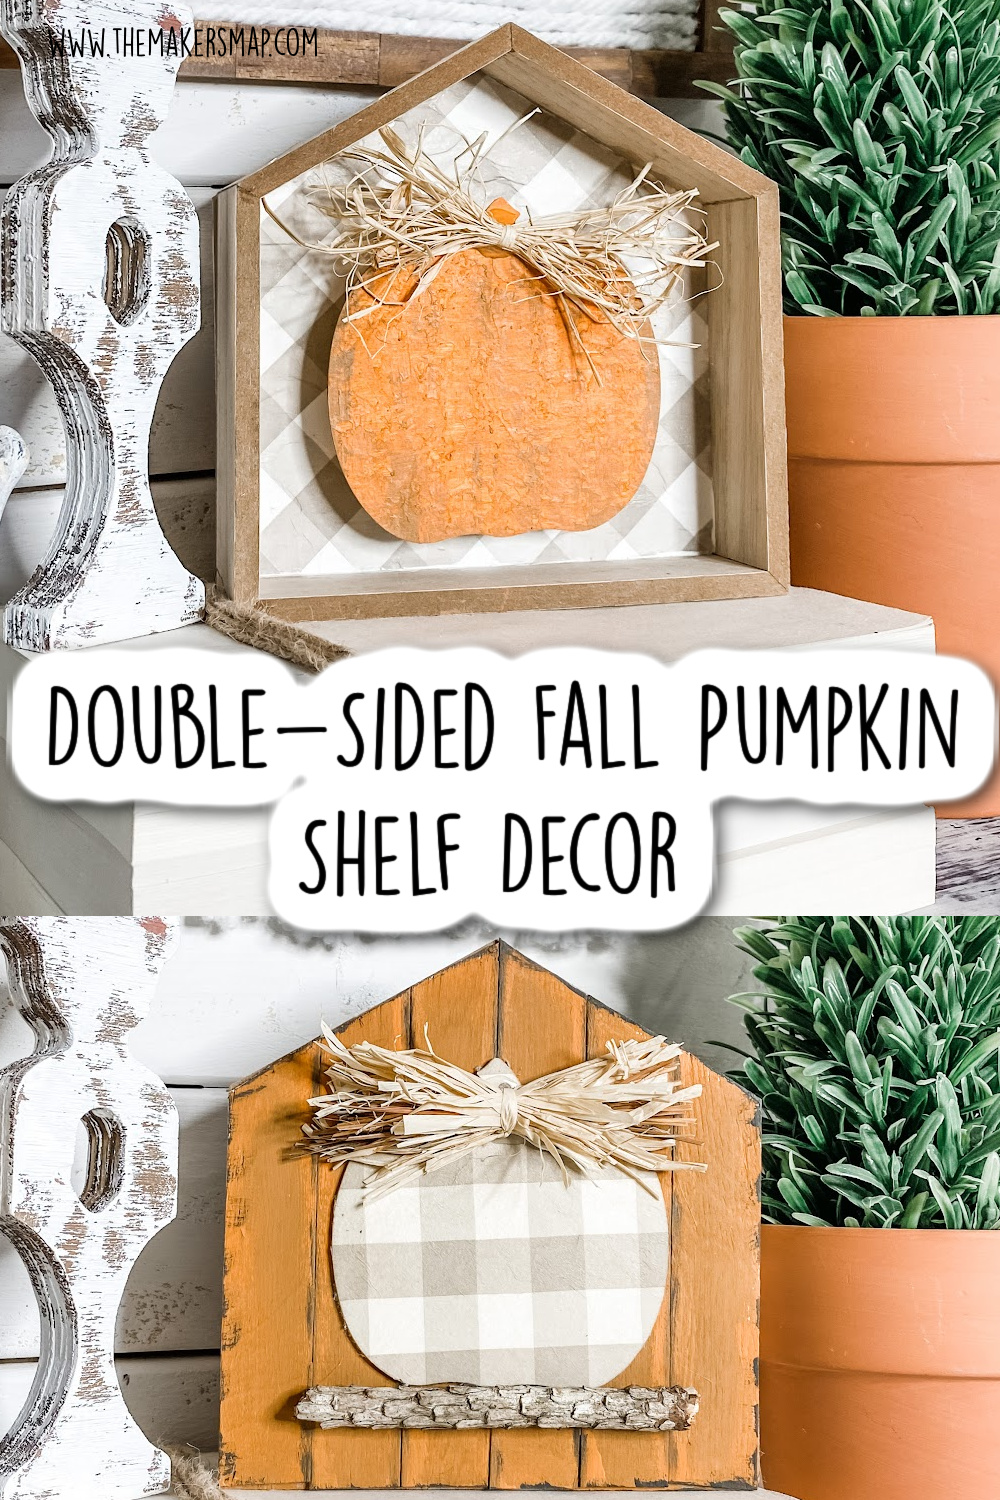
Who doesn’t love a god two-for-one DIY like this adorable Double-Sided Fall Pumpkin Shelf Decor?? I love this DIY idea because it is not only perfect for any Fall decor style, but it is also so affordable to make!
I’m always looking for ways to decorate my home while on a tight budget, so I got a little creative with this project to make it two pieces of decor in one!
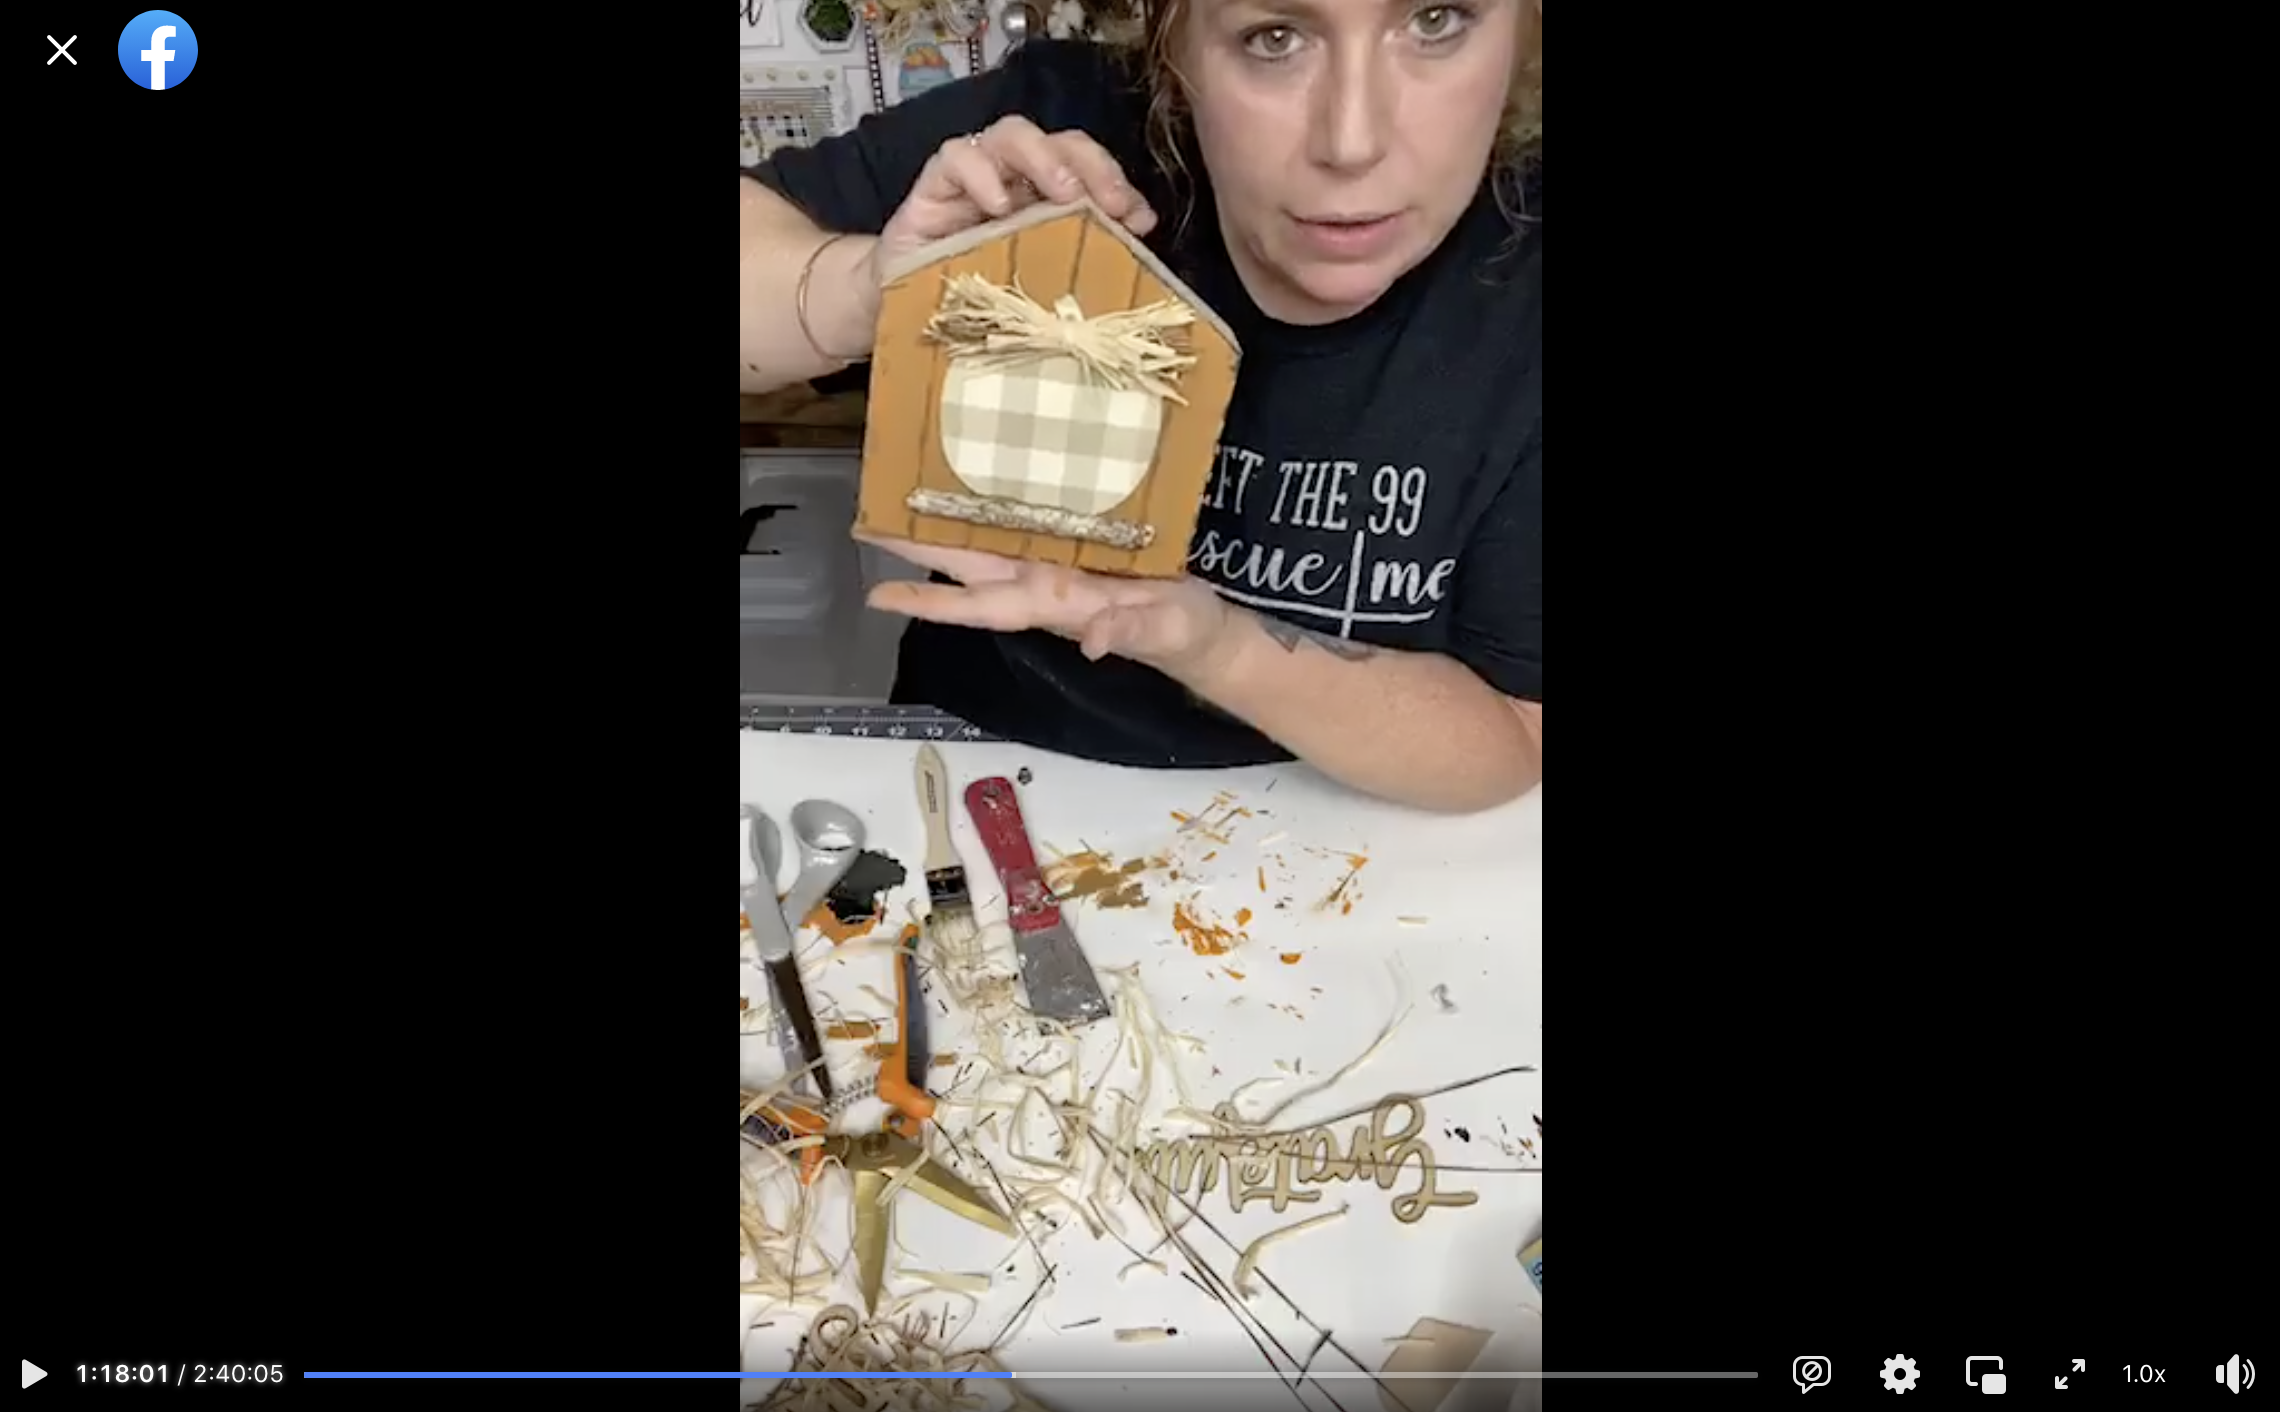
Watch the DIY tutorial replay
I recorded the how-to steps of making this adorable Double-Sided Fall Pumpkin Shelf Decor during a LIVE video on my Facebook page.
If you want to see the DIY process, craft along, or just join in on the fun conversations, you can watch the DIY tutorial replay!
For this project, I will be using these items, but you can substitute where you want.
“As an Amazon Associate, I earn from qualifying purchases.”
- Dollar Tree House Shaped Sign Box
- Dollar Tree Mini Wood Pumpkins (x2)
- Beige Buffalo Check Napkin
- Dollar Tree Wood Craft Cubes
- Giant Craft Sticks
- Mod Podge
- Dollar Tree Raffia
- Waverly Orange Paint
- Waverly Hazelnut Paint
- Apple Barrel White Acrylic Paint
- Waverly Black Paint
- Stick
- Hot Glue gun
- Glue Stick
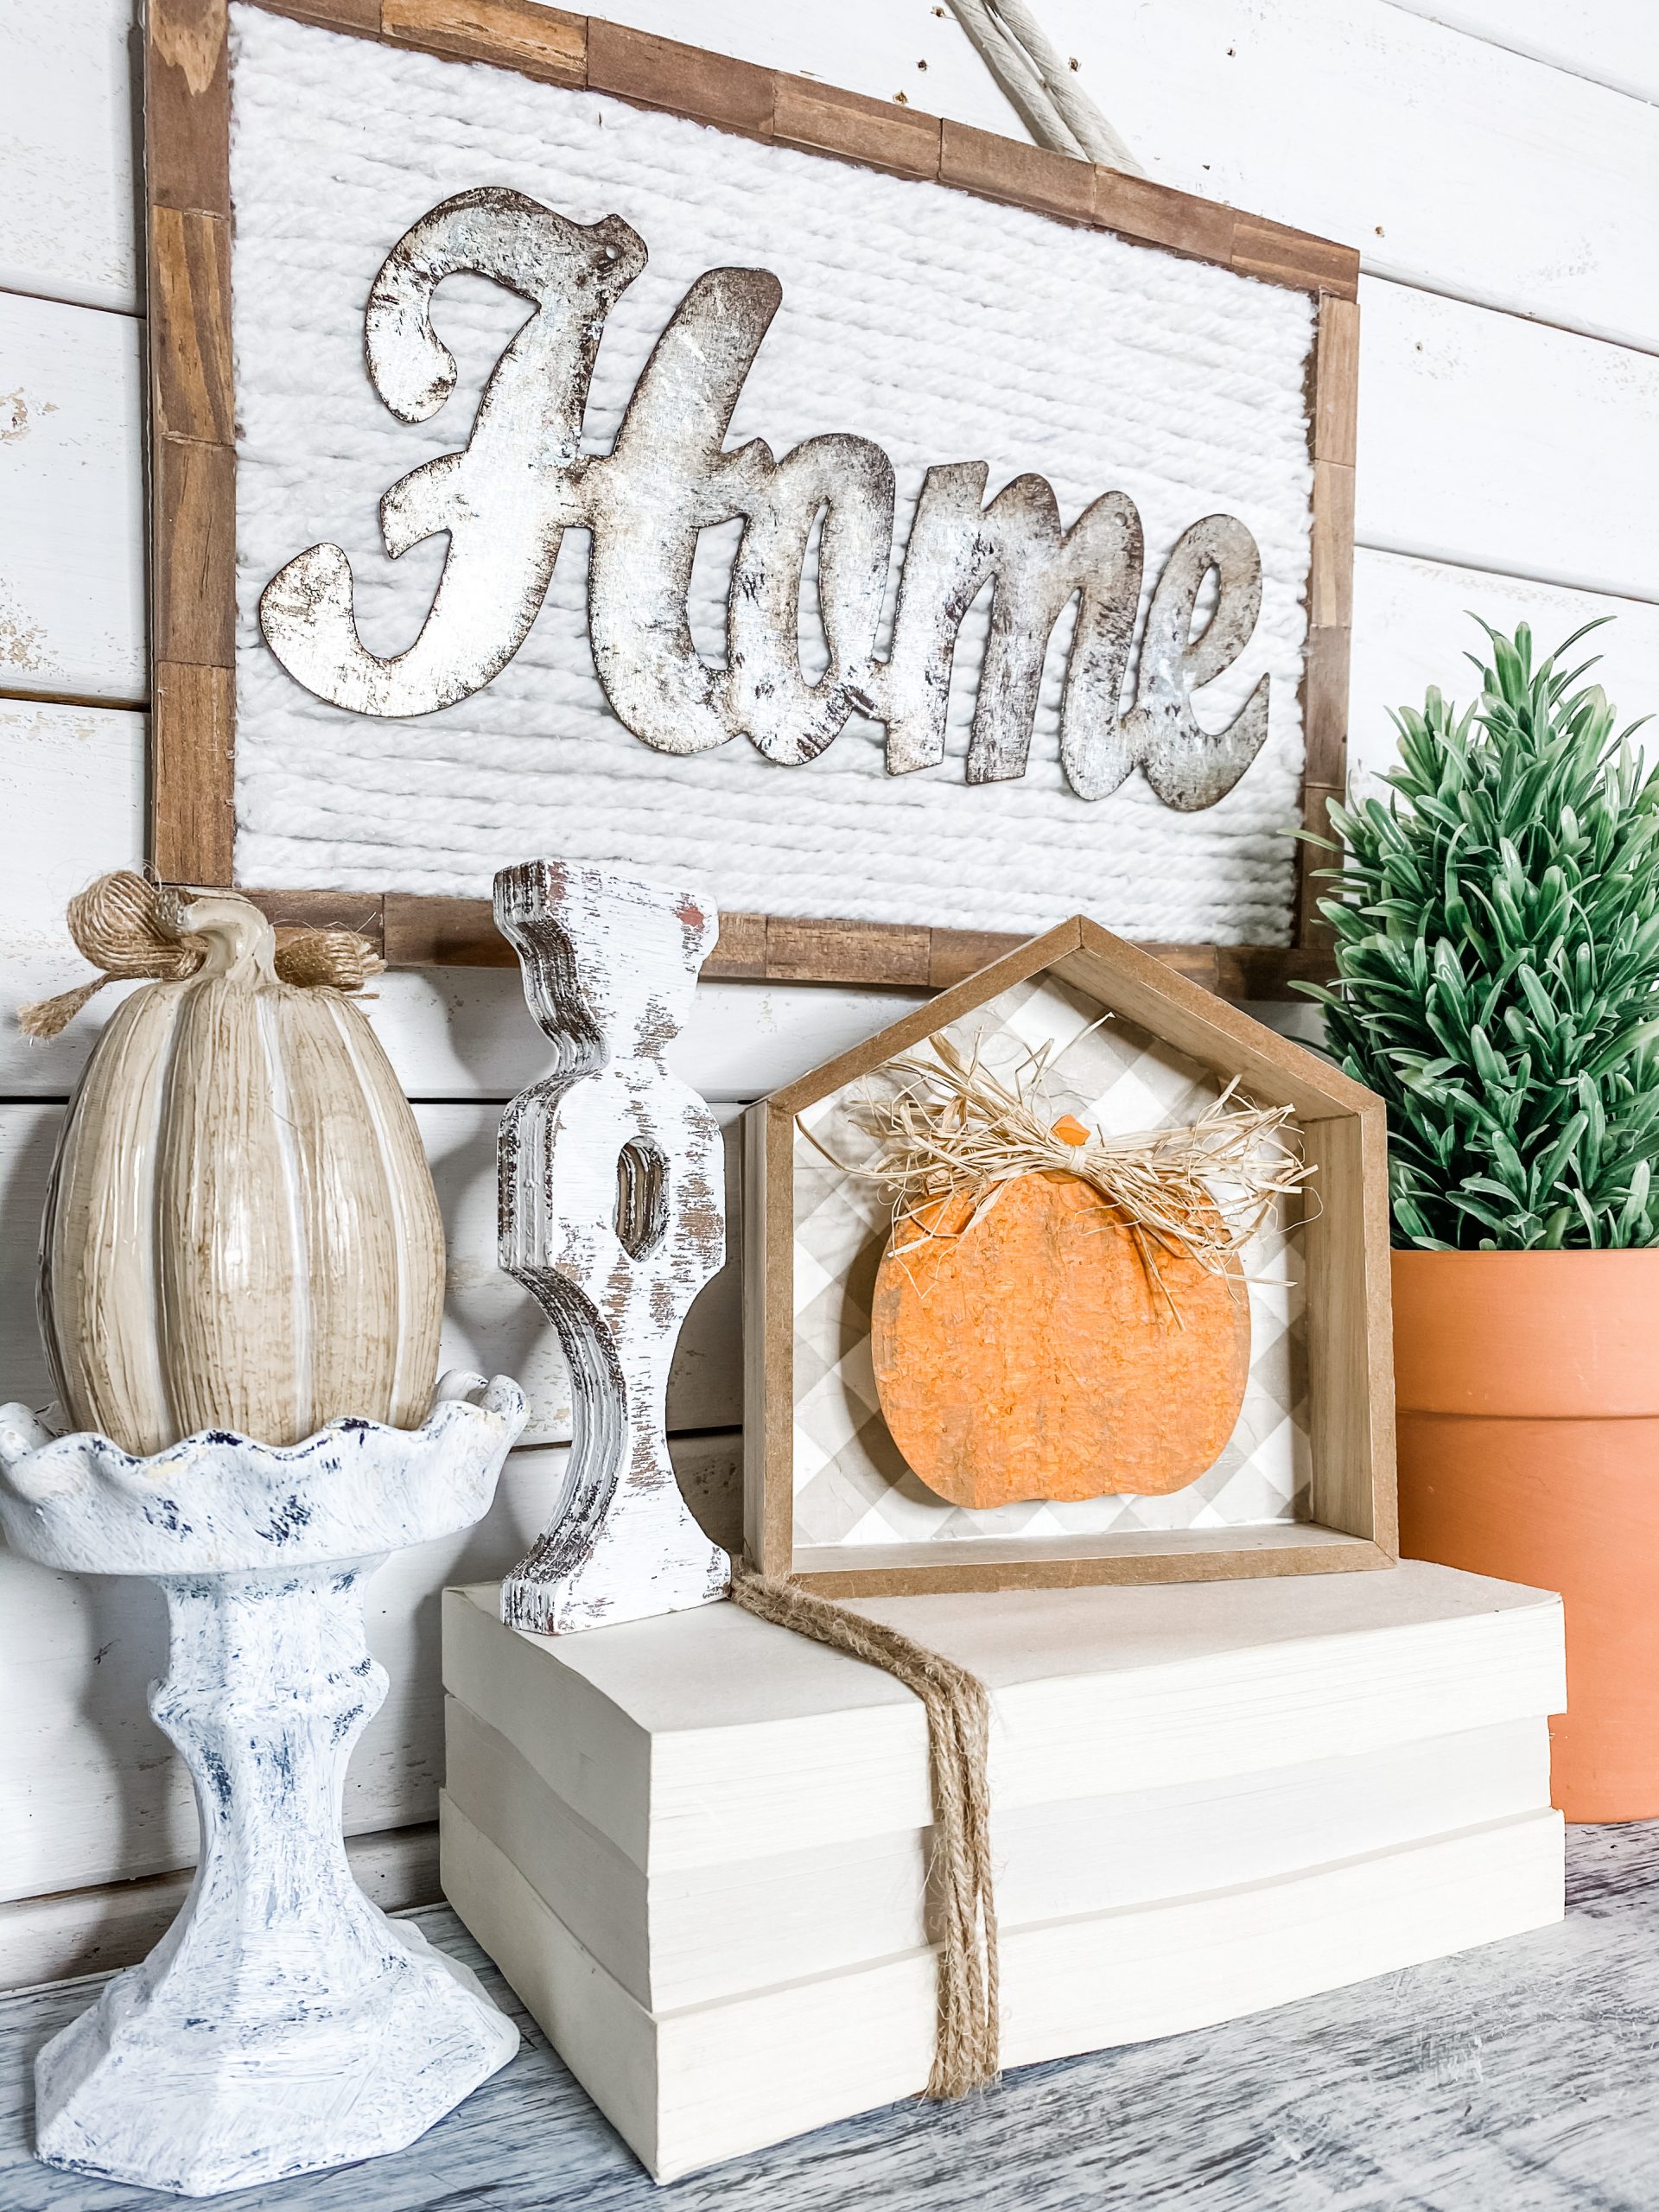
How to Make a Double-Sided Fall Pumpkin Shelf Decor
First, we’re going to decorate the inside of the Dollar Tree house. You’re going to have to separate the plies of your napkin before anything else.
Then, place the house on the ply with the design on it and trace the shape of the house onto the napkin. Cut the house shape out of the napkin.
Now, paint the inside of the Dollar Tree house with white paint. I used Apple Barrel Snow White Paint because it is affordable and still good quality.
You have to cover up the original color of the inside of the house before you can decoupage the napkin onto the surface.
Allow the white paint to dry, then apply a coat of Mod Podge over the white paint. Carefully place the buffalo check napkin onto the Mod Podge.
Ball up a bit of plastic saran wrap and use it to smooth out any wrinkles or creases in the napkin. Be careful not to tear the napkin or pull it off the surface.
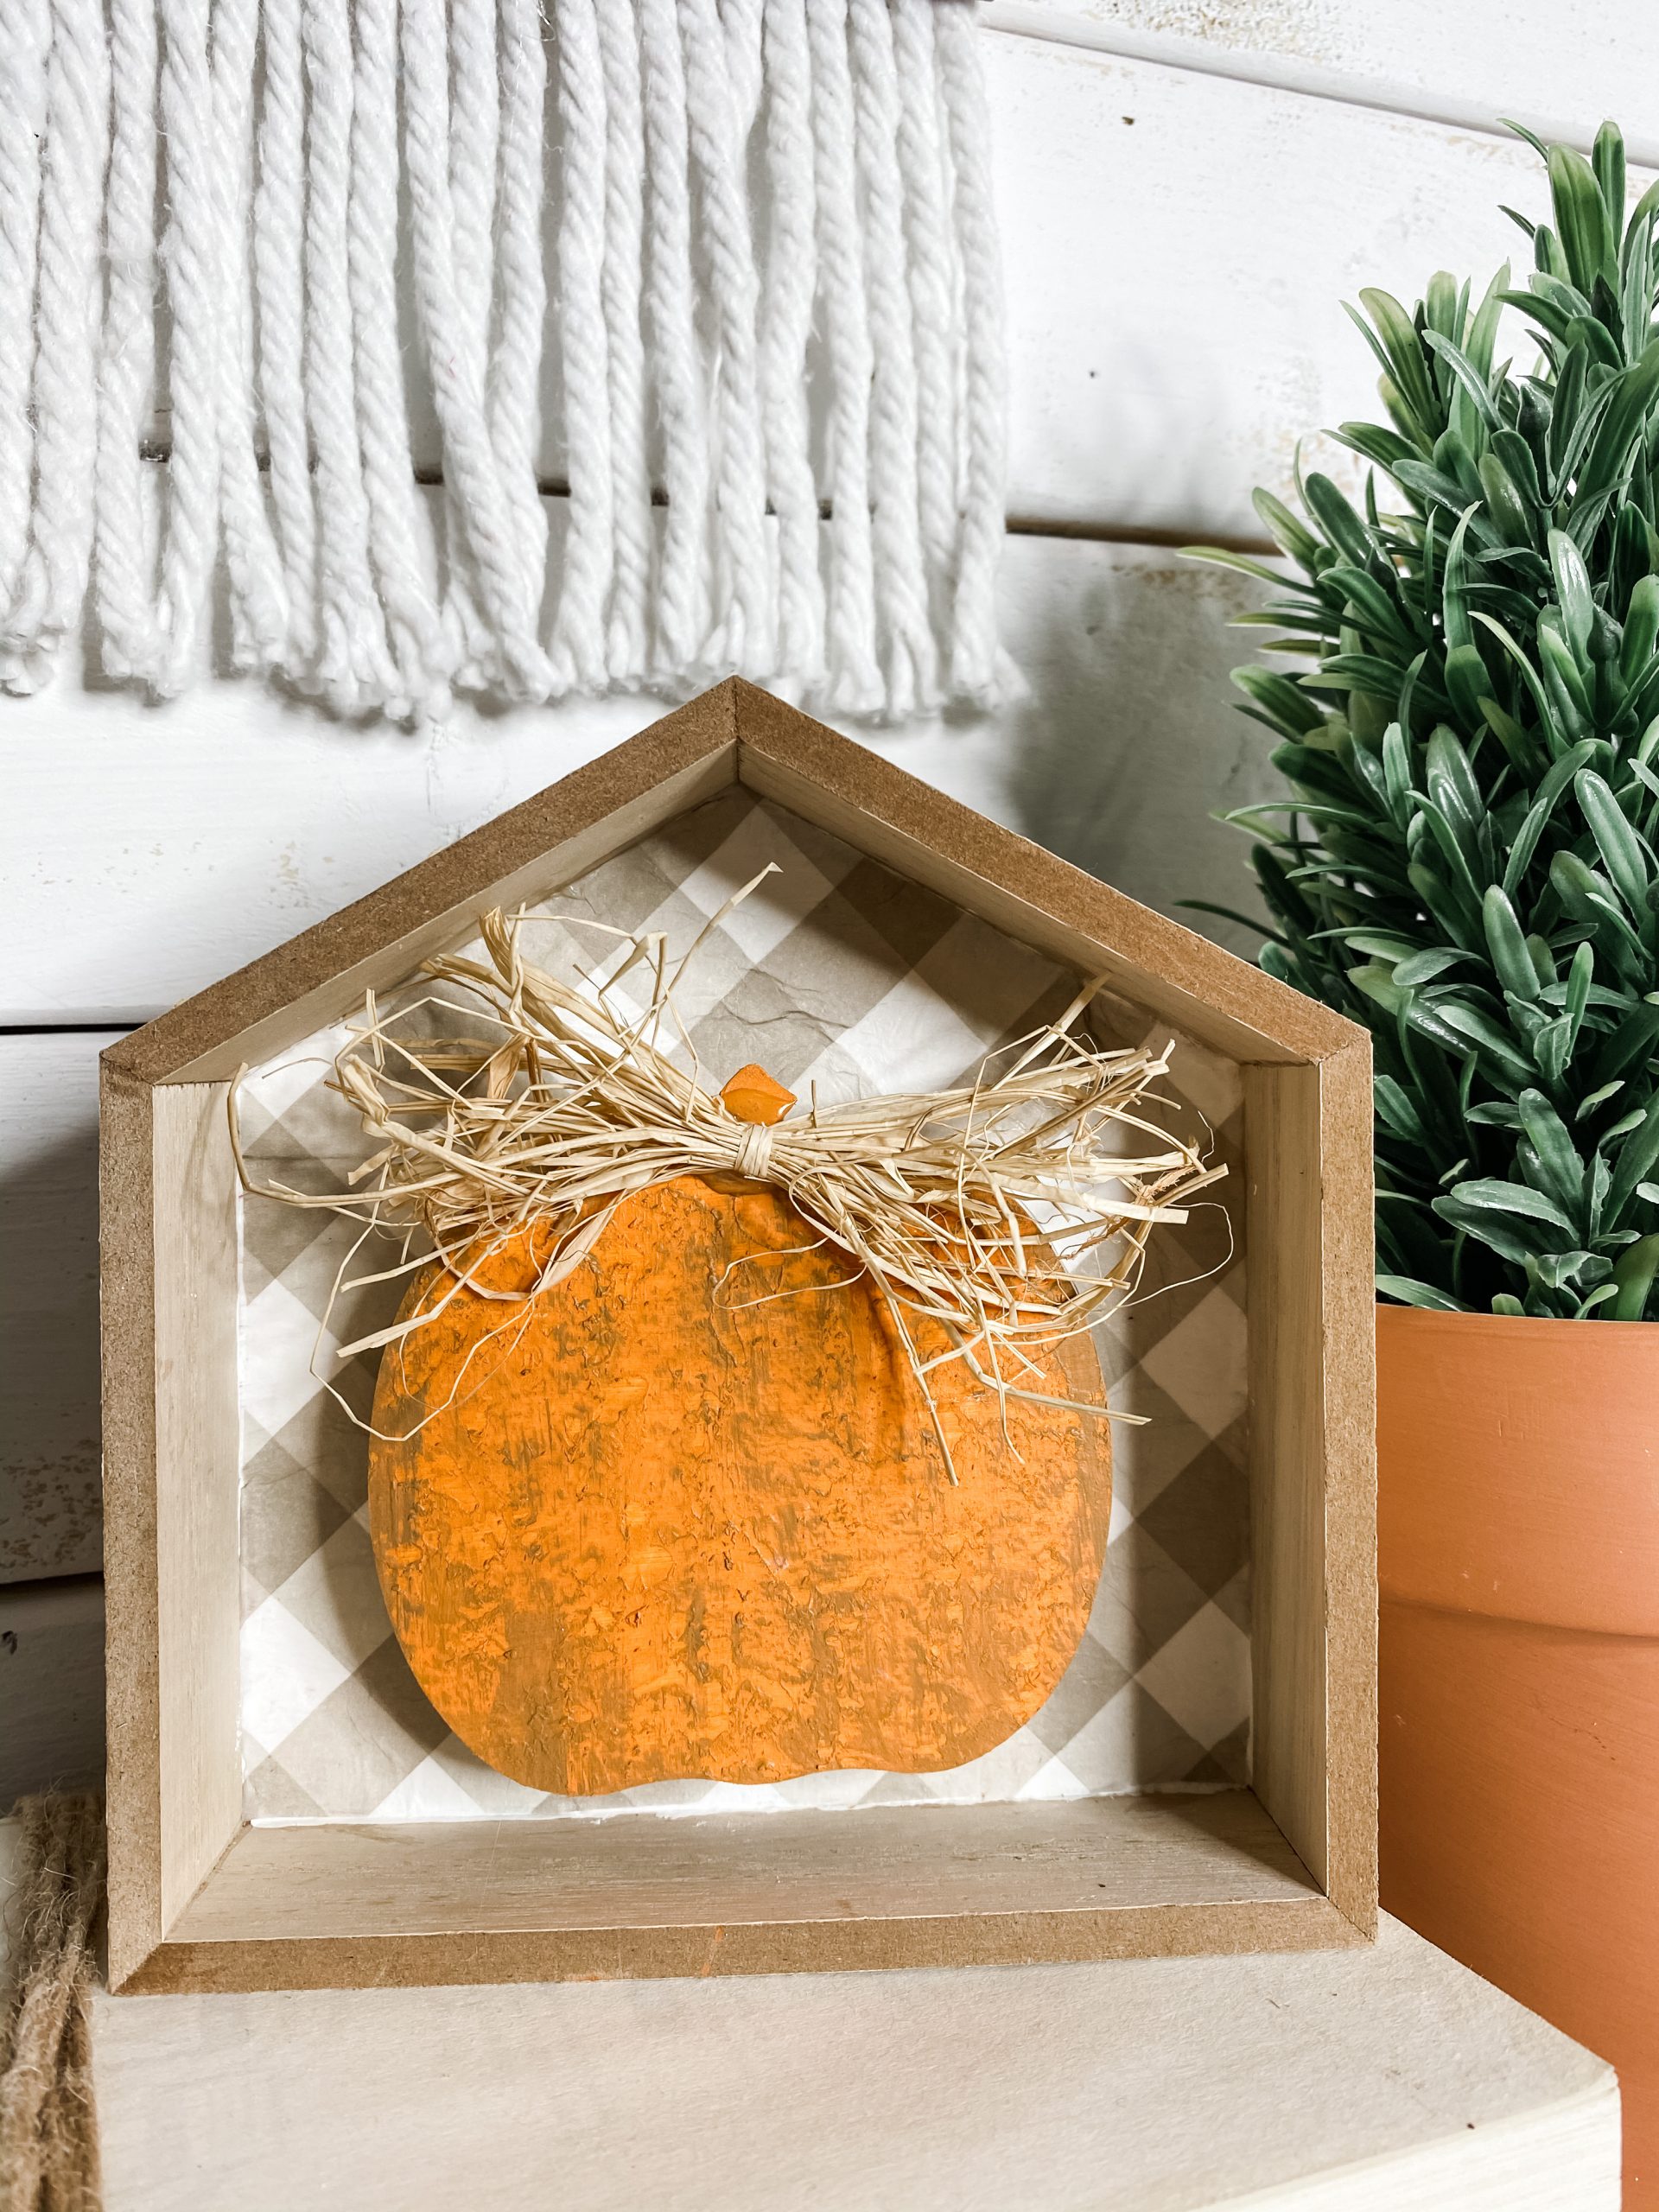
Finish up this side of the shelf decor
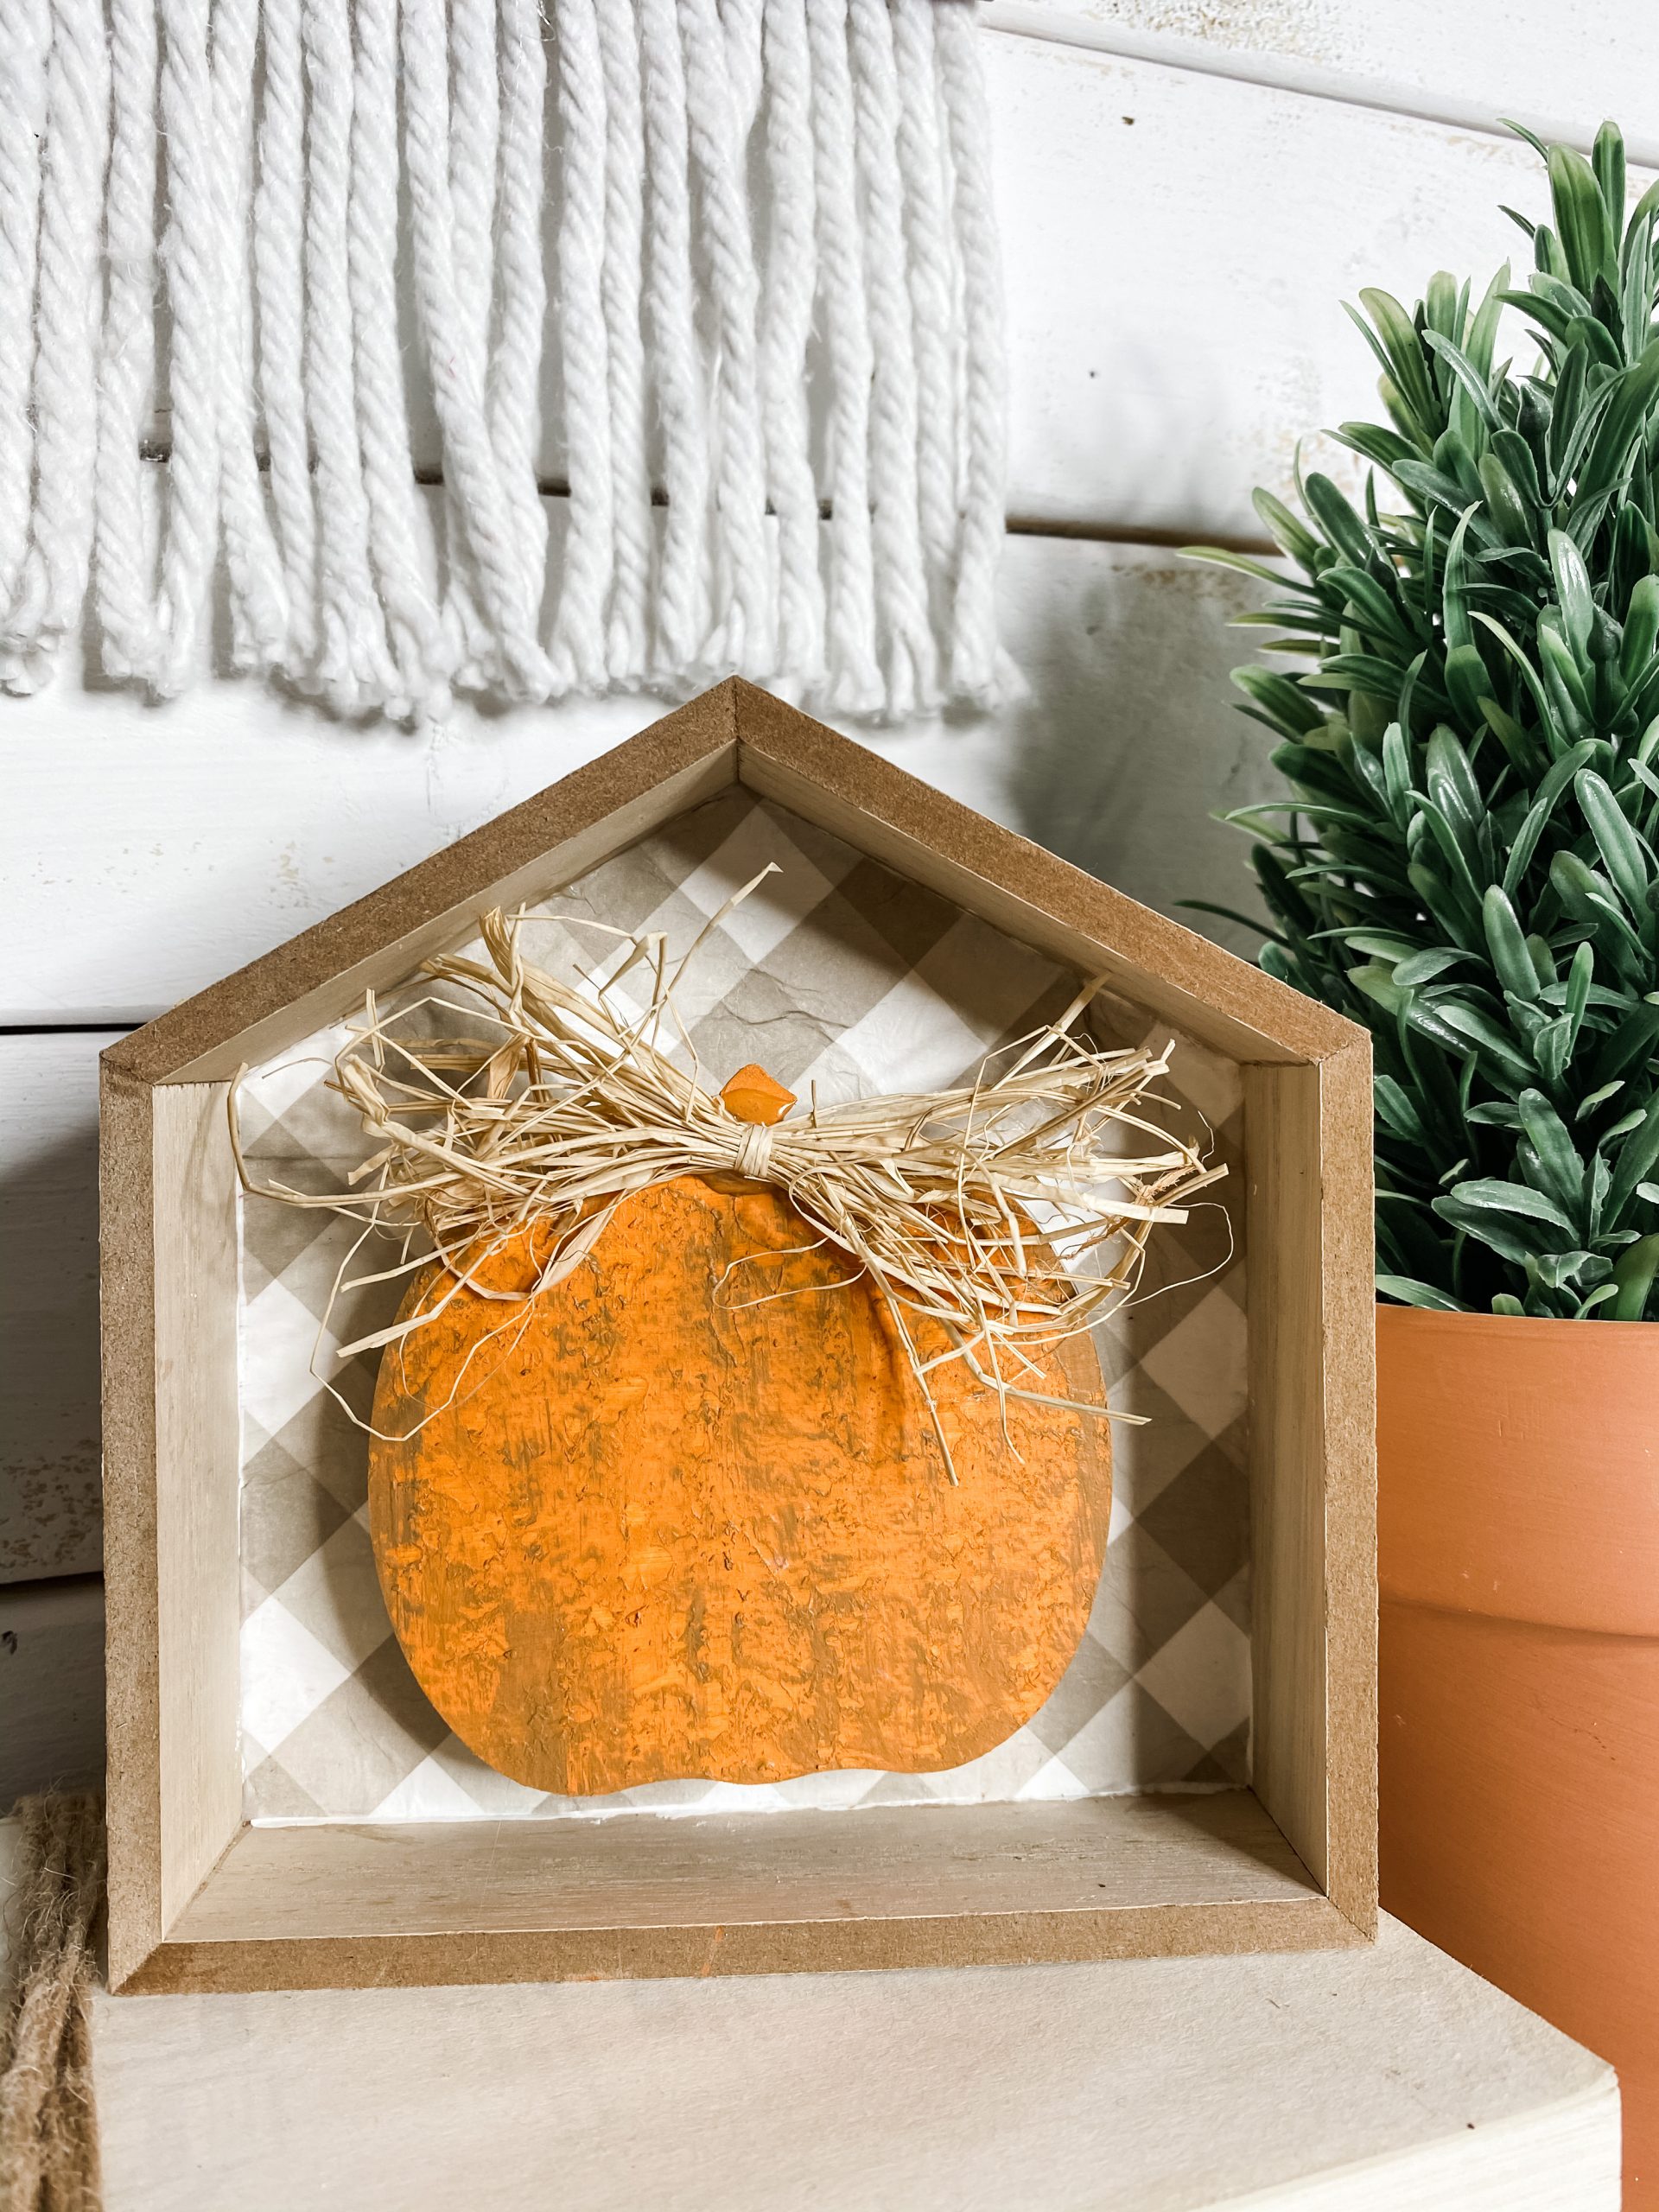
Next, you’re going to paint one of the mini Dollar Tree wooden pumpkins. I mixed a bit of Mod Podge with the paint to create a texture on the pumpkin.
Dab the brush instead of dragging it in strokes to really create a textured surface on the pumpkin. Mix a bit of Hazelnut Waverly paint with the orange and used it to add detail to the mini pumpkin.
Let the paint dry completely, then get your raffia to make a little bow. Hot glue the raffia bow to the stem of the pumpkin
Hot glue the wooden craft cubes to the back of the Dollar Tree pumpkin and hot glue it to the inside of the house.
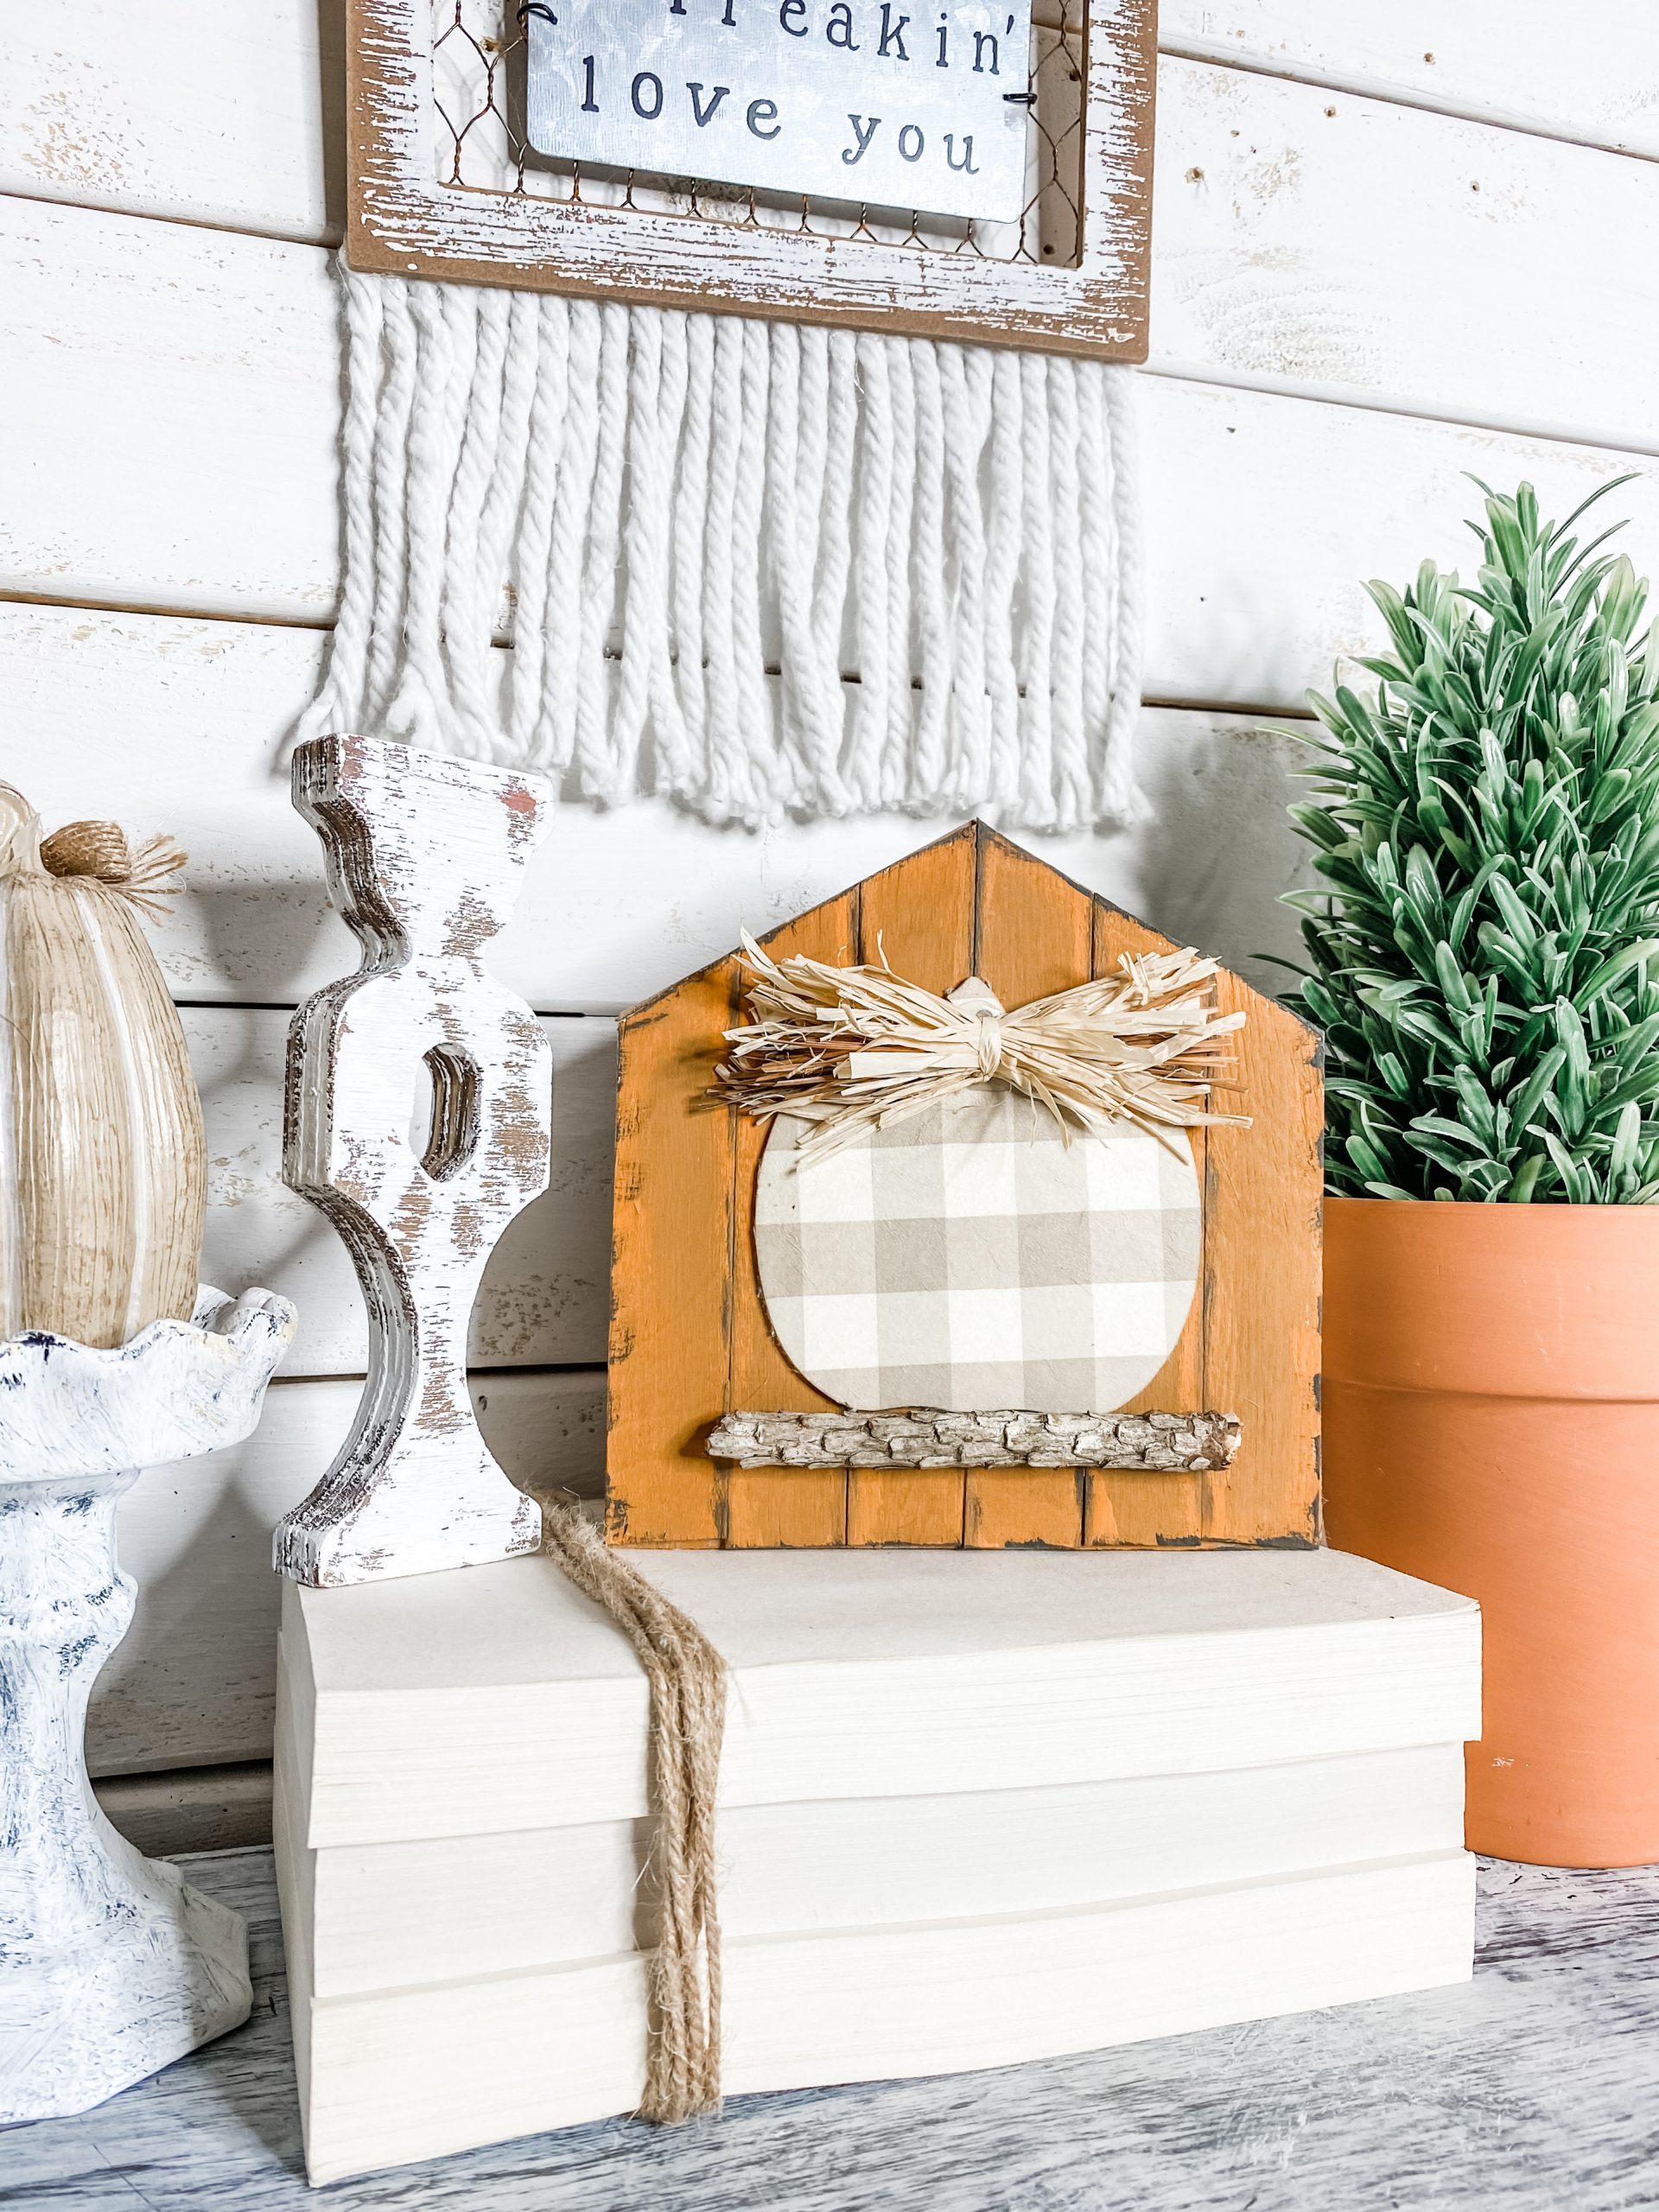
The second side of your reversible pumpkin shelf decor
Flip the Dollar Tree house over and lay 6 craft sticks on the surface. Trace out the shape of the house on the sticks so you know where you’re going to have to trim them.
I numbered my craft sticks so I could make sure they were in order later. Trim each of the craft sticks and hot glue them in place on the back of the house.
Use Waverly Hazelnut and dab it onto the craft sticks. Use a paintbrush to spread the orange/hazelnut mixture onto the craft sticks.
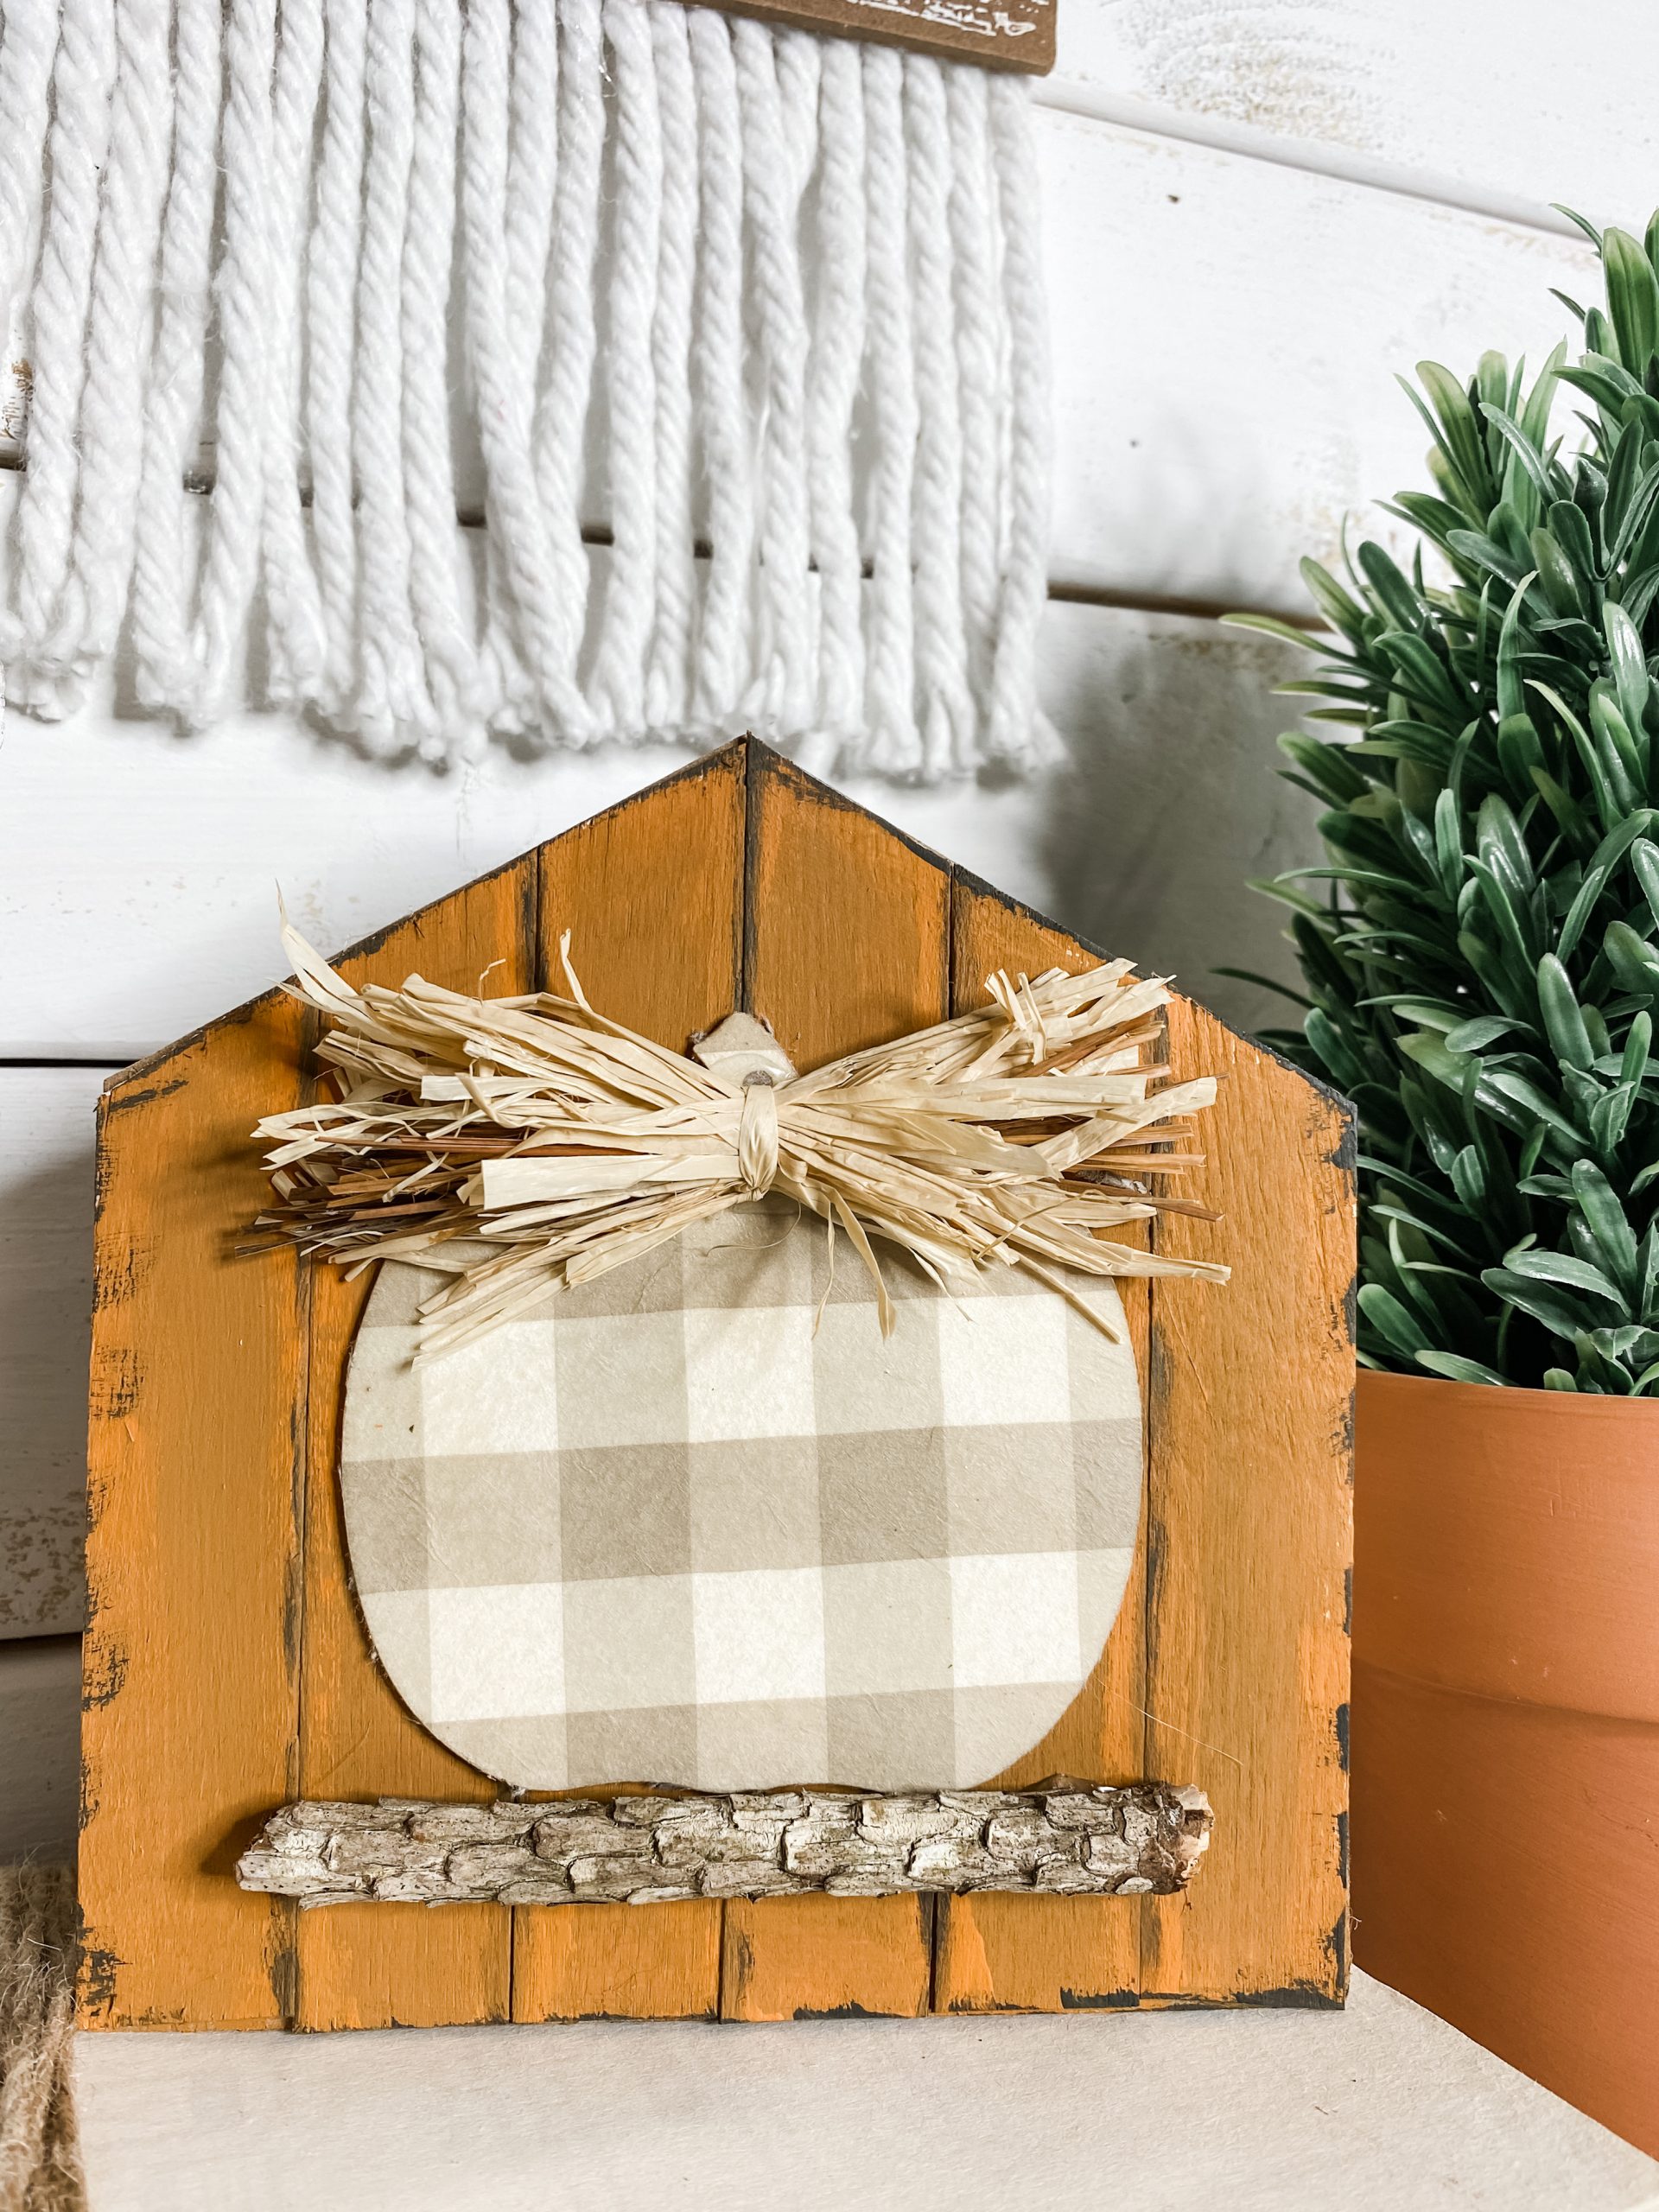
Start mixing in some of the orange paint as you’re painting until you’re happy with the color. I lightly painted a line of orange down each crack between the craft sticks.
Use a finite tip paintbrush to paint thin lines with black paint down the cracks between the craft sticks. This embellishes the planked look I wanted.
Brush some black around the edges of the house and smudge it out a bit to create an aged finish on the house.
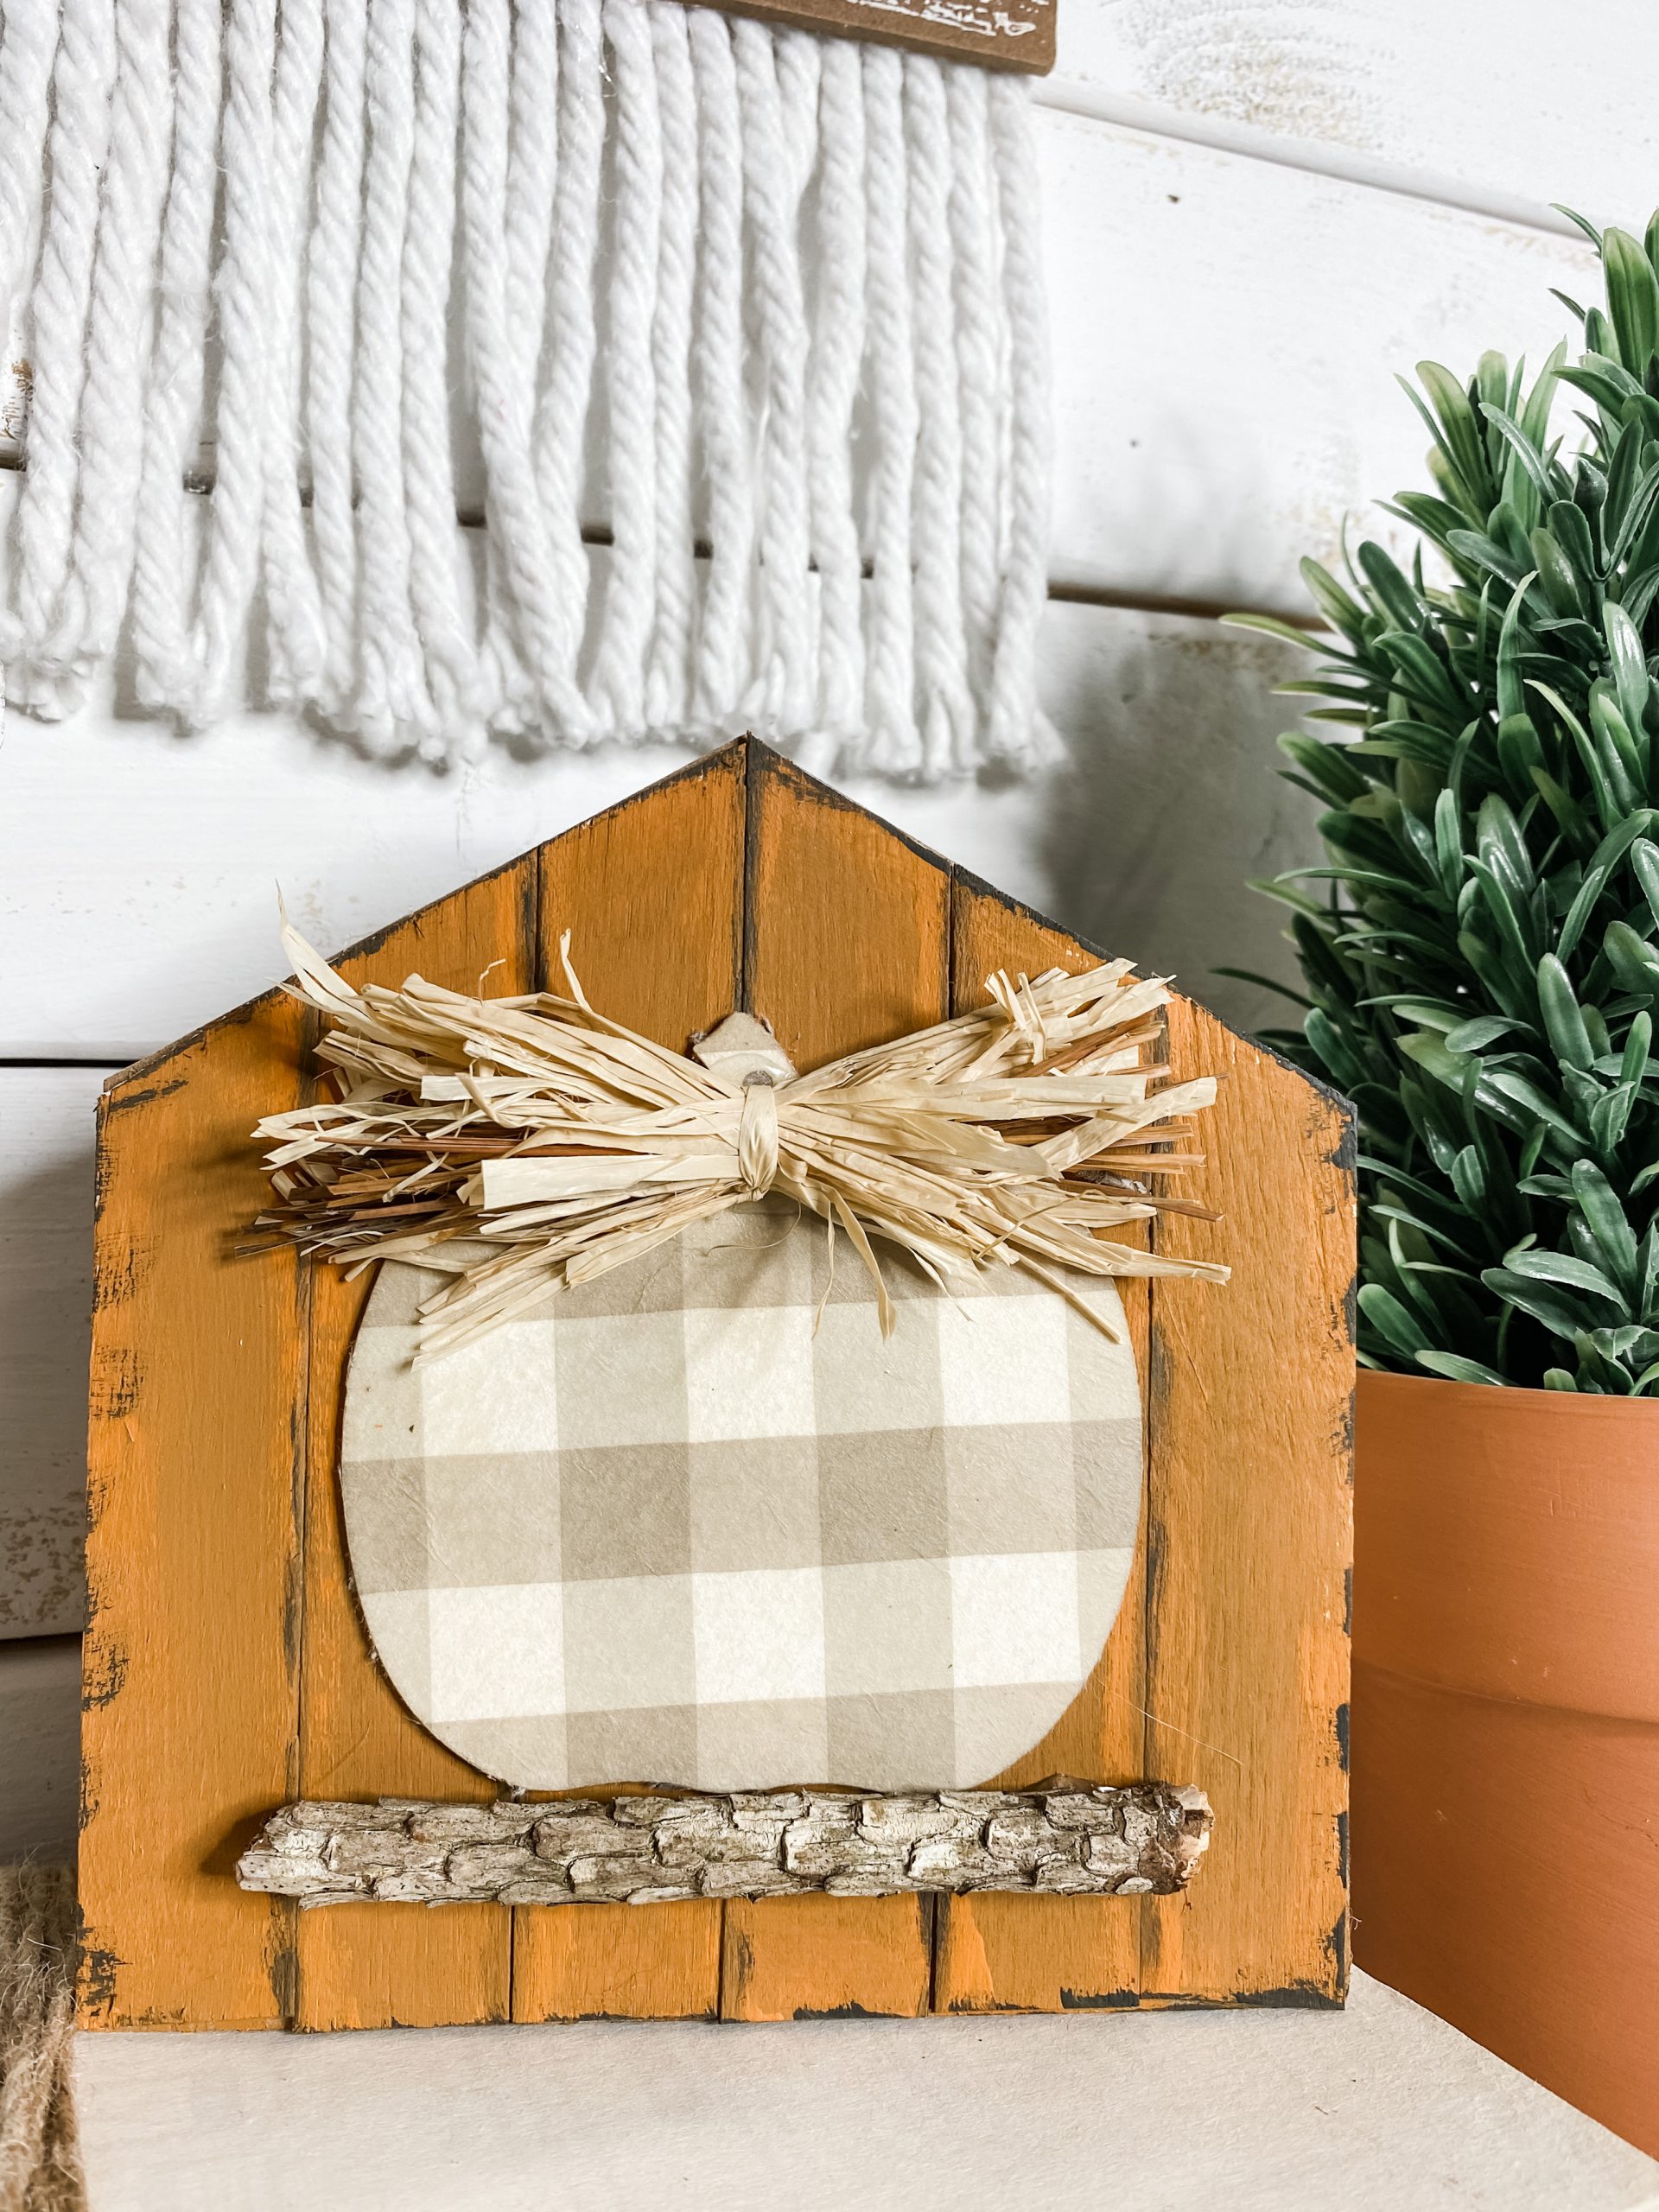
Finish up this side of the shelf decor
Next, decoupage the same beige buffalo check napkin onto the second mini Dollar Tree pumpkin. Allow the Mod Podge to dry then remove the excess napkin from the pumpkin.
Trim the stick to be just a little longer than the width of the pumpkin. Make another raffia bow, as you did for the front of the shelf decor.
Hot glue the pumpkin to the house and hot glue the stick just beneath it, as if the pumpkin is sitting on the stick. Lastly, hot glue the raffia bow onto the pumpkin!
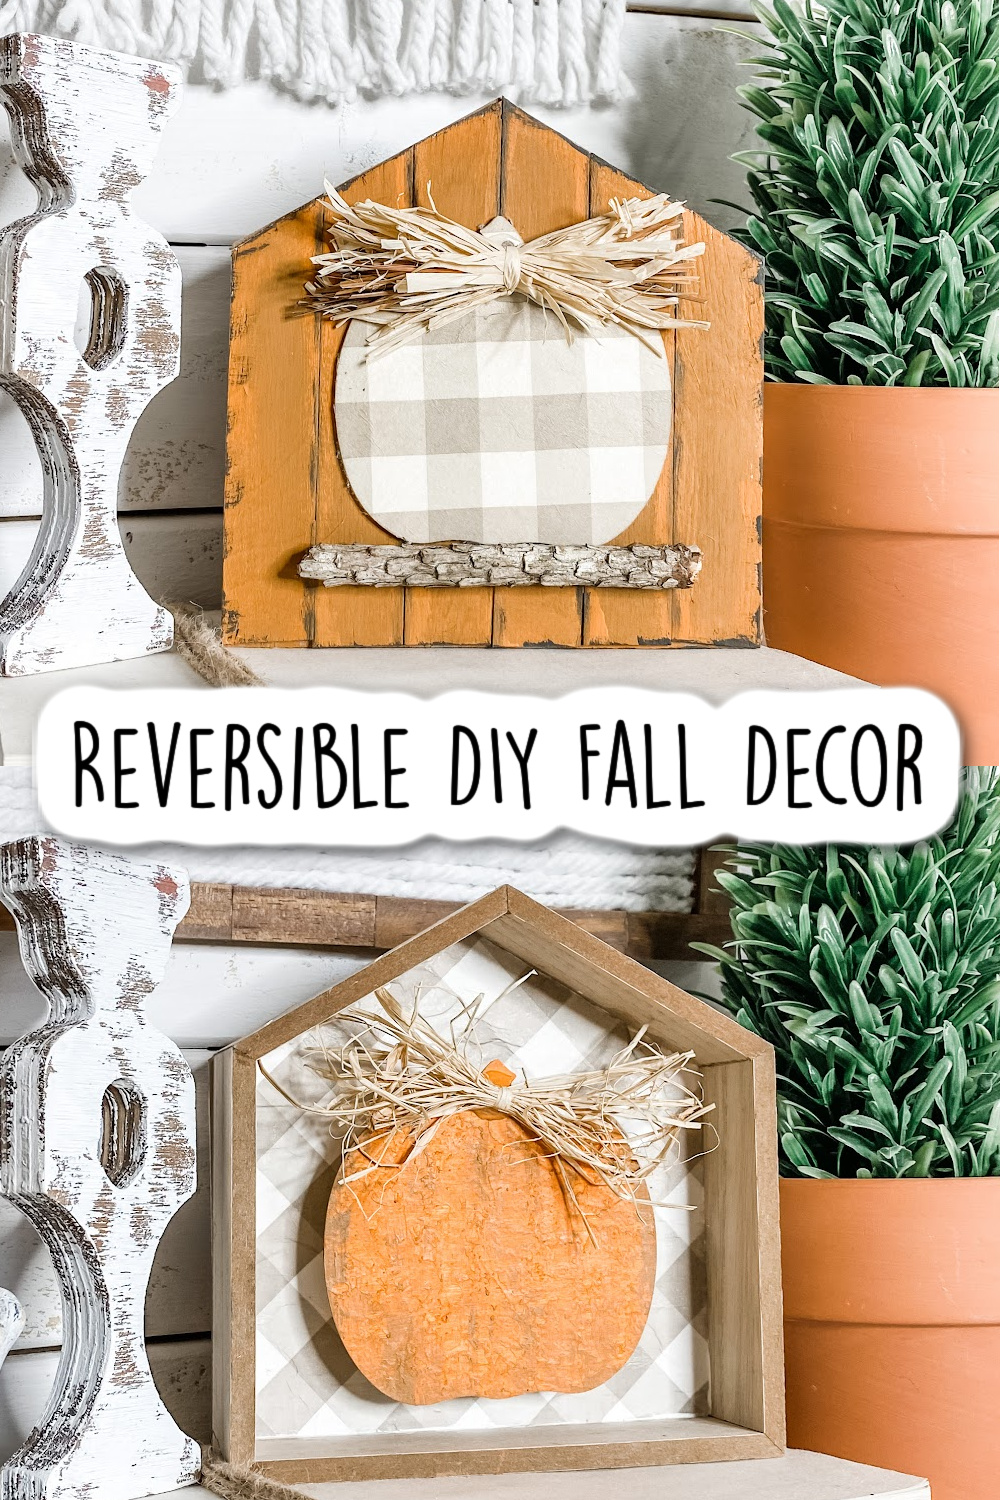
I hope you enjoyed this Double-Sided Fall Pumpkin Shelf Decor as much as I did and decide to make it for yourself! If you do, I would love to see how yours turns out!
You should totally join my FREE Facebook group called On A Budget Crafts! It is a judgment-free community for DIY crafters to show off their projects and ideas.
If you loved this easy fall home decor, you might also like these DIY ideas!
- Fall Foamboard Pumpkin Template
- Dollar Tree Stacked Foam Blocks DIY Fall Decor
- Dollar Tree DIY Fall Bead Candy Corn
- DIY Scarecrow Shelf Sitter
Thanks for stopping by! XOXO Amber
You can also shop my ENTIRE AMAZON Favorites shop just click here! It’s packed full of all the things I use and love. Here is the supply list I highly recommend every creative have on hand!!
Would you also pin my blog for later and get on my newsletter alerts? I would love to have you join my #craftycrew.
I email alerts about new blogs like this Double-Sided Fall Pumpkin Shelf Decor so you’re always up to date on fun, new DIY ideas!
Inspired? Leave me a comment below! I love hearing from my readers!

Join my free “ON A BUDGET CRAFTS” Facebook group!

Super cute