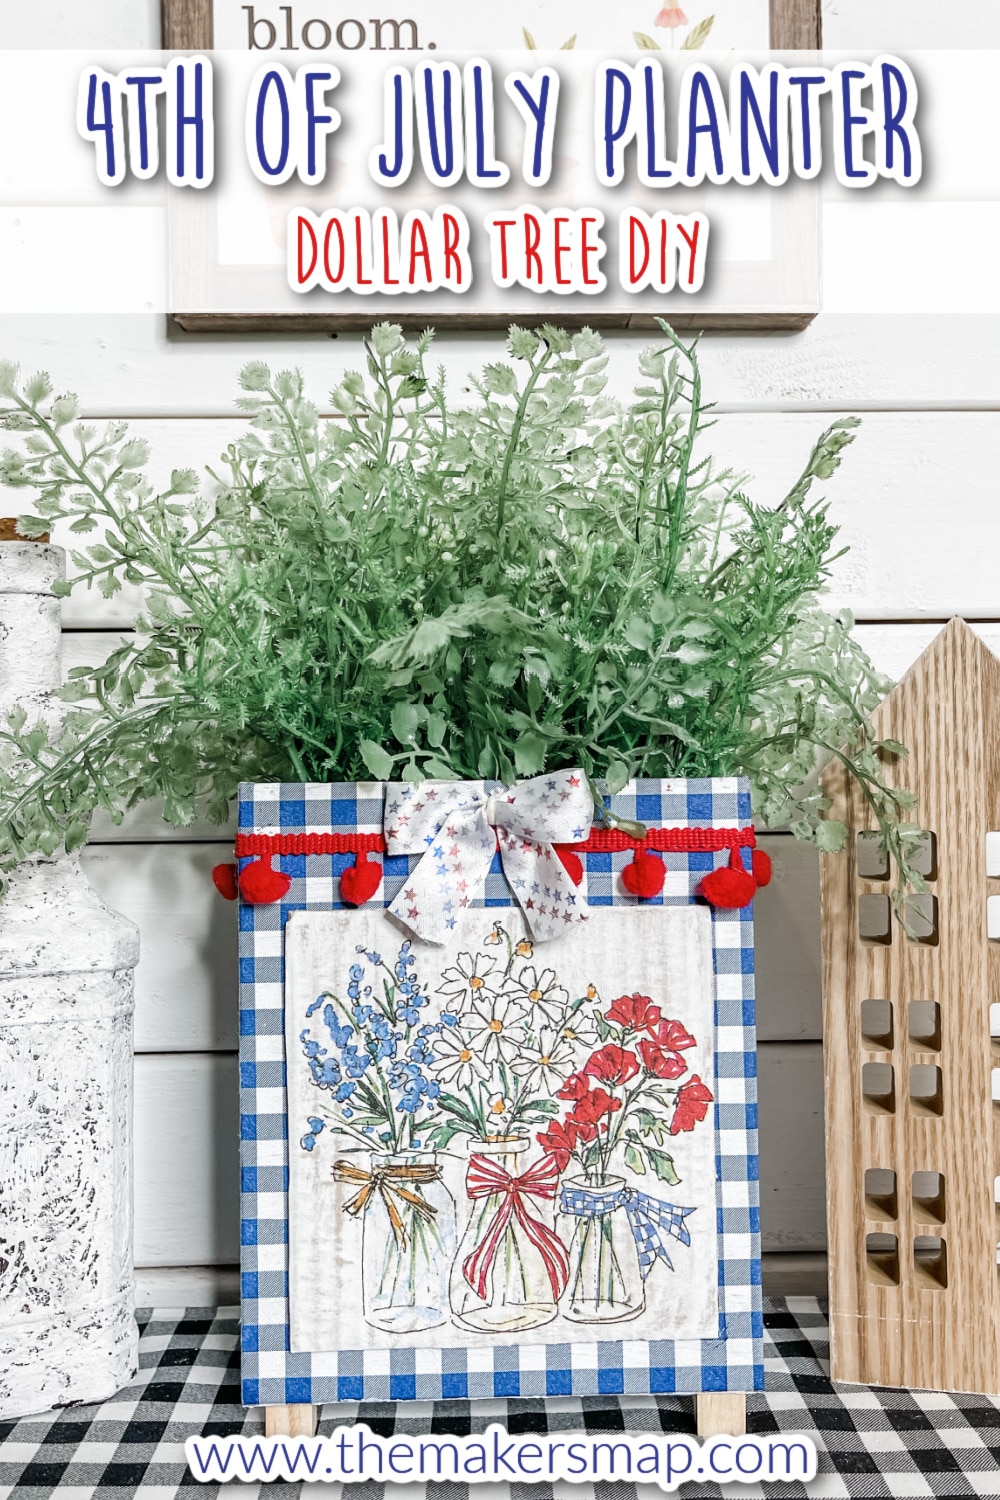
Dollar Tree DIY 4th of July Planter
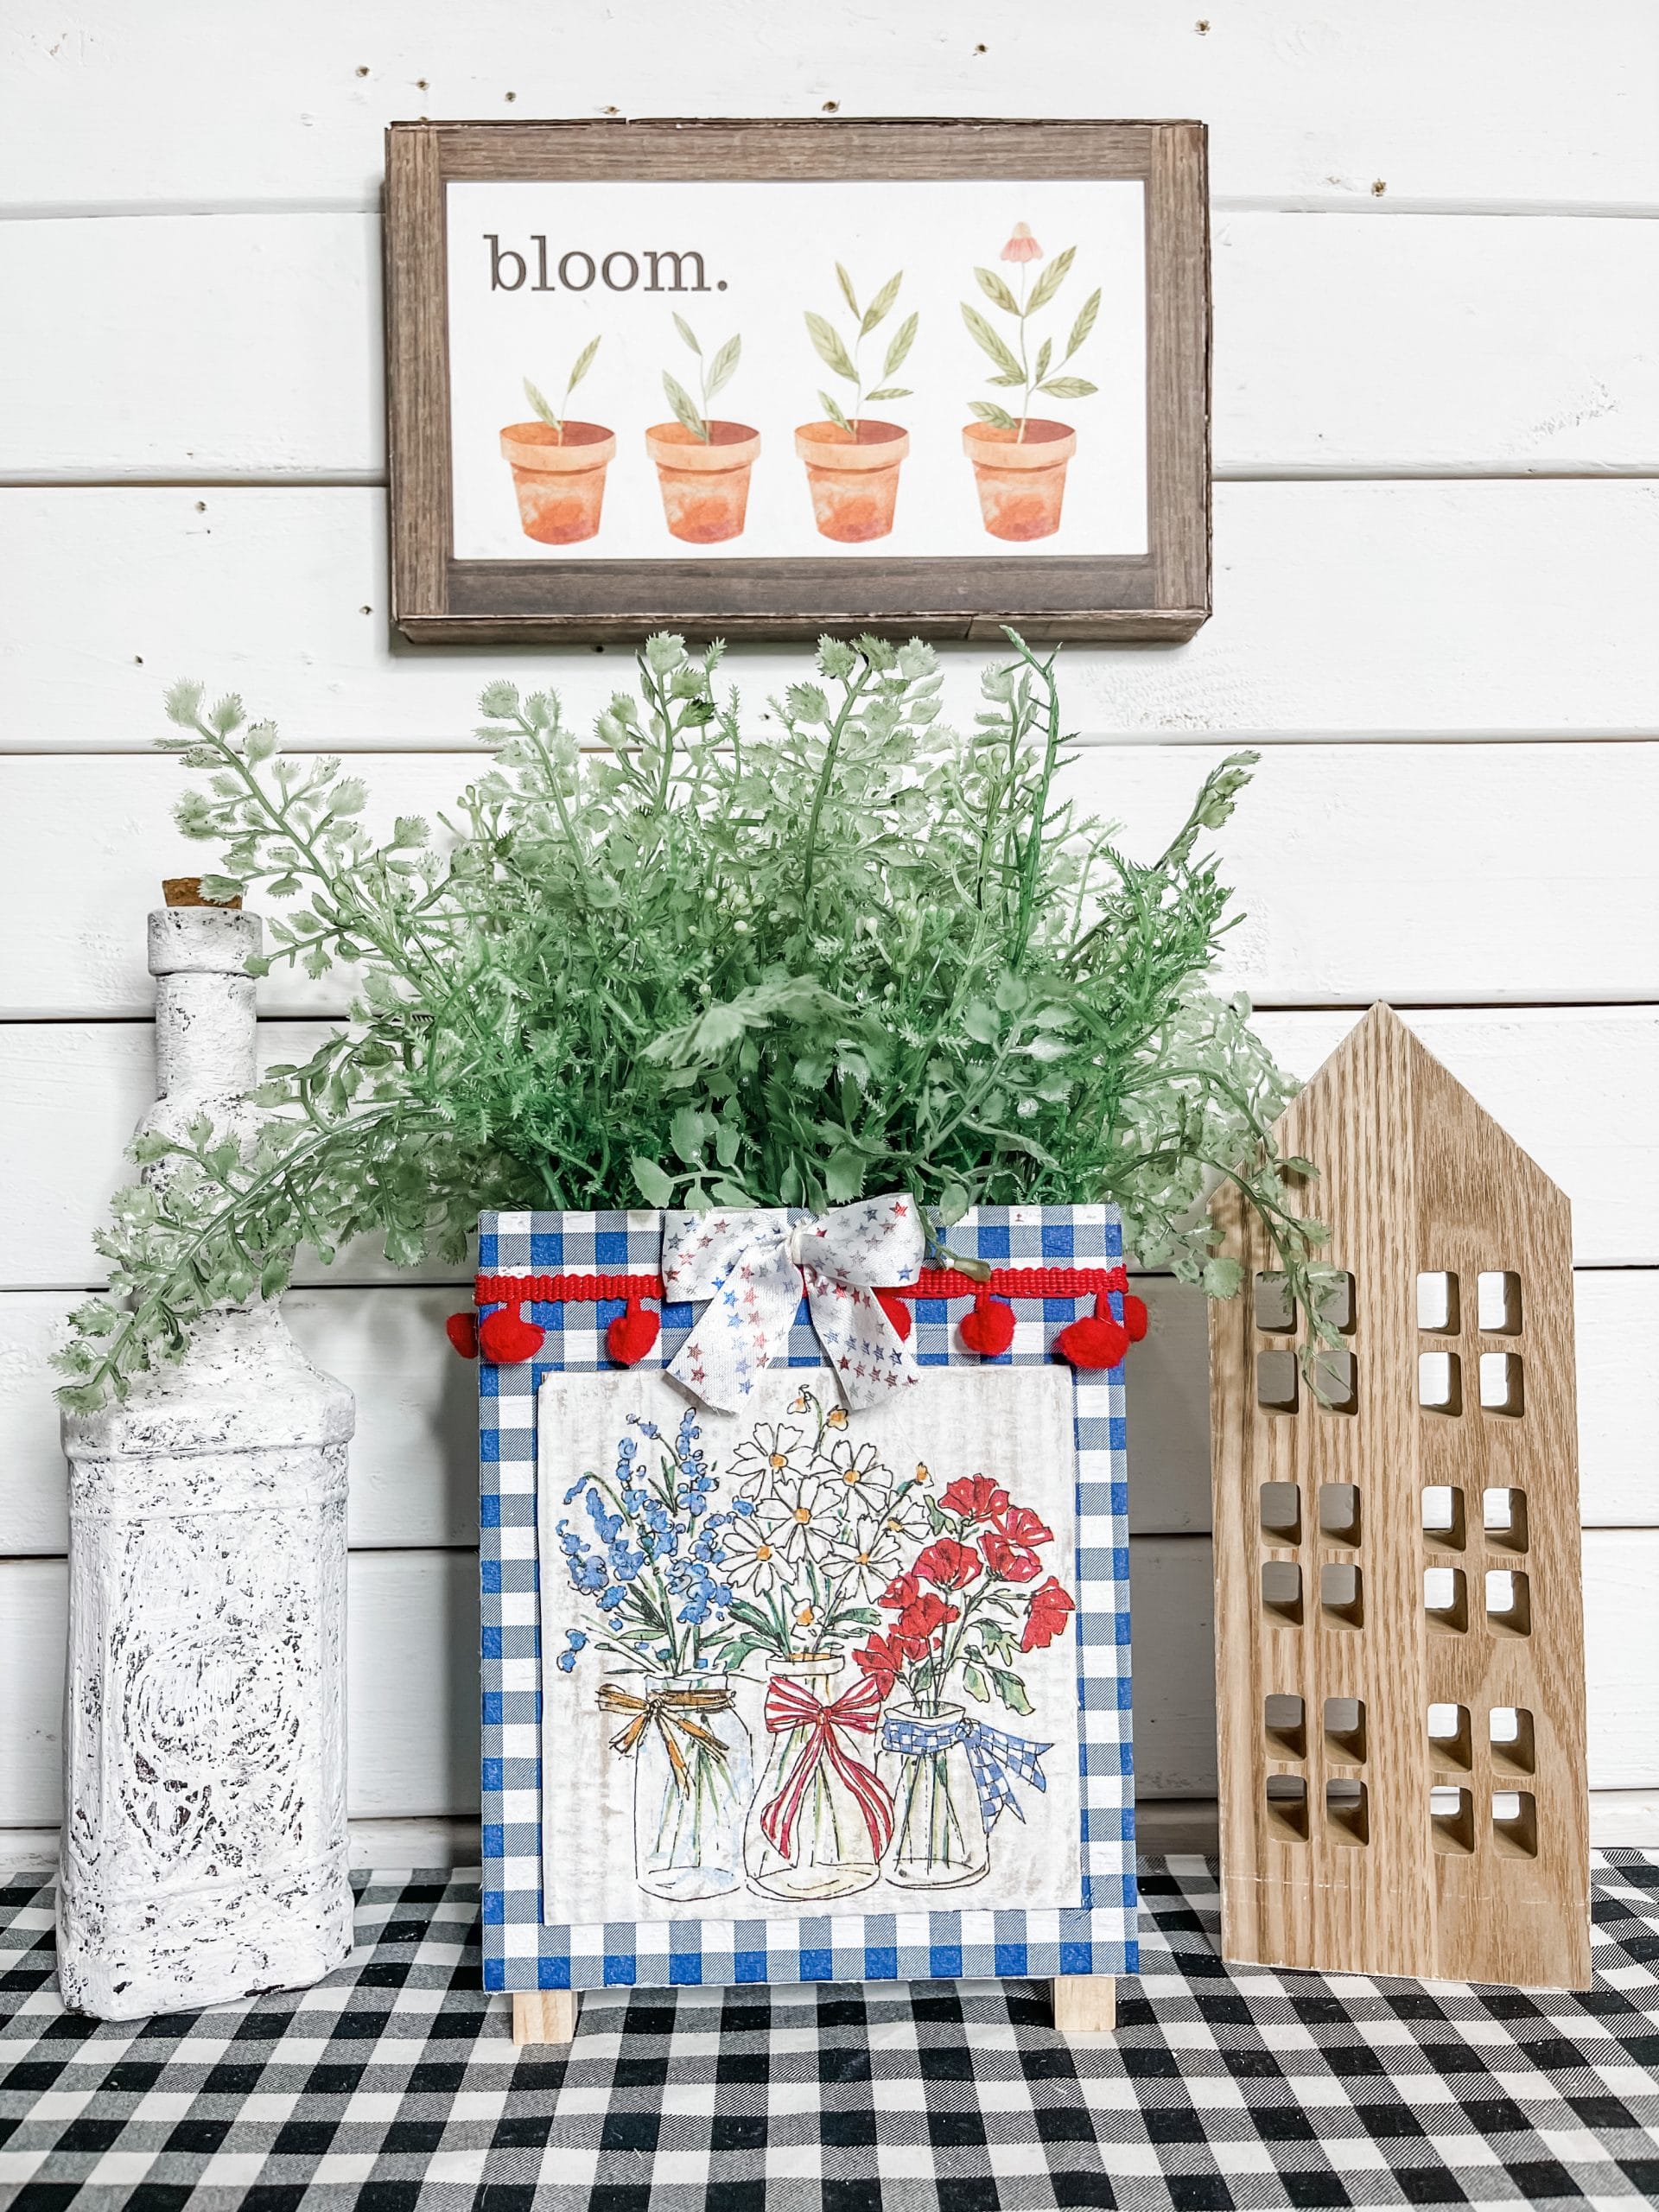
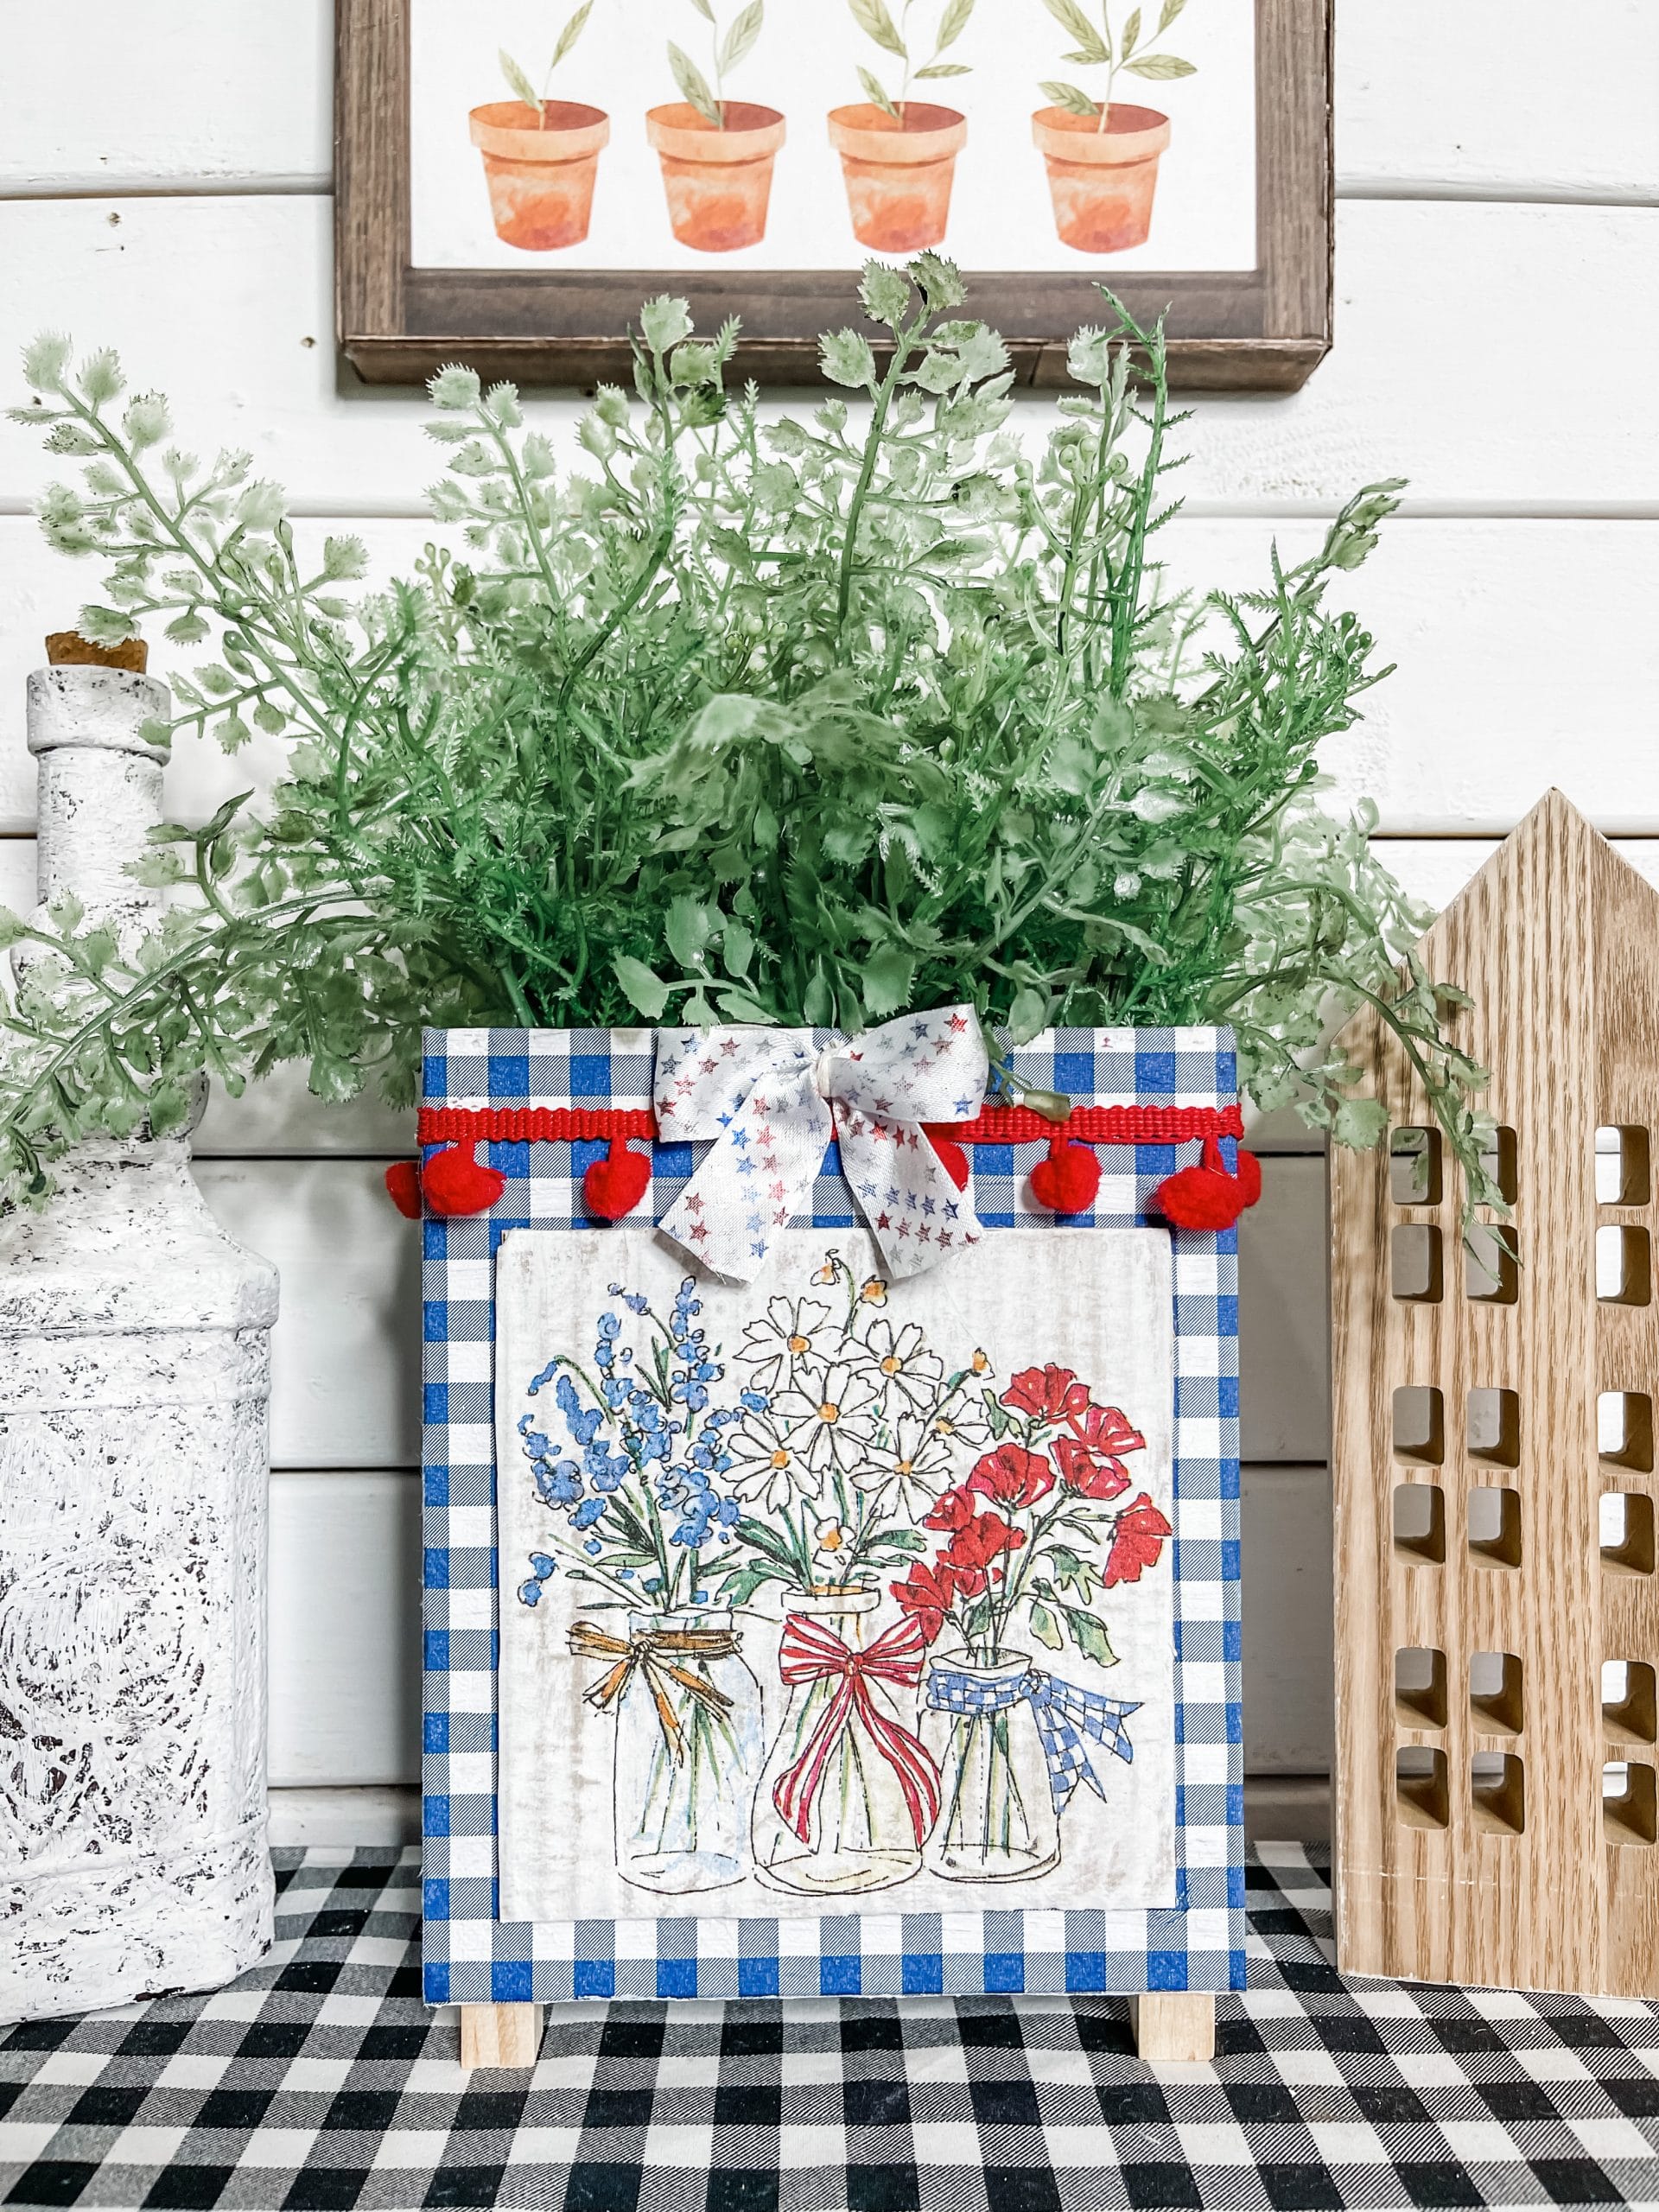
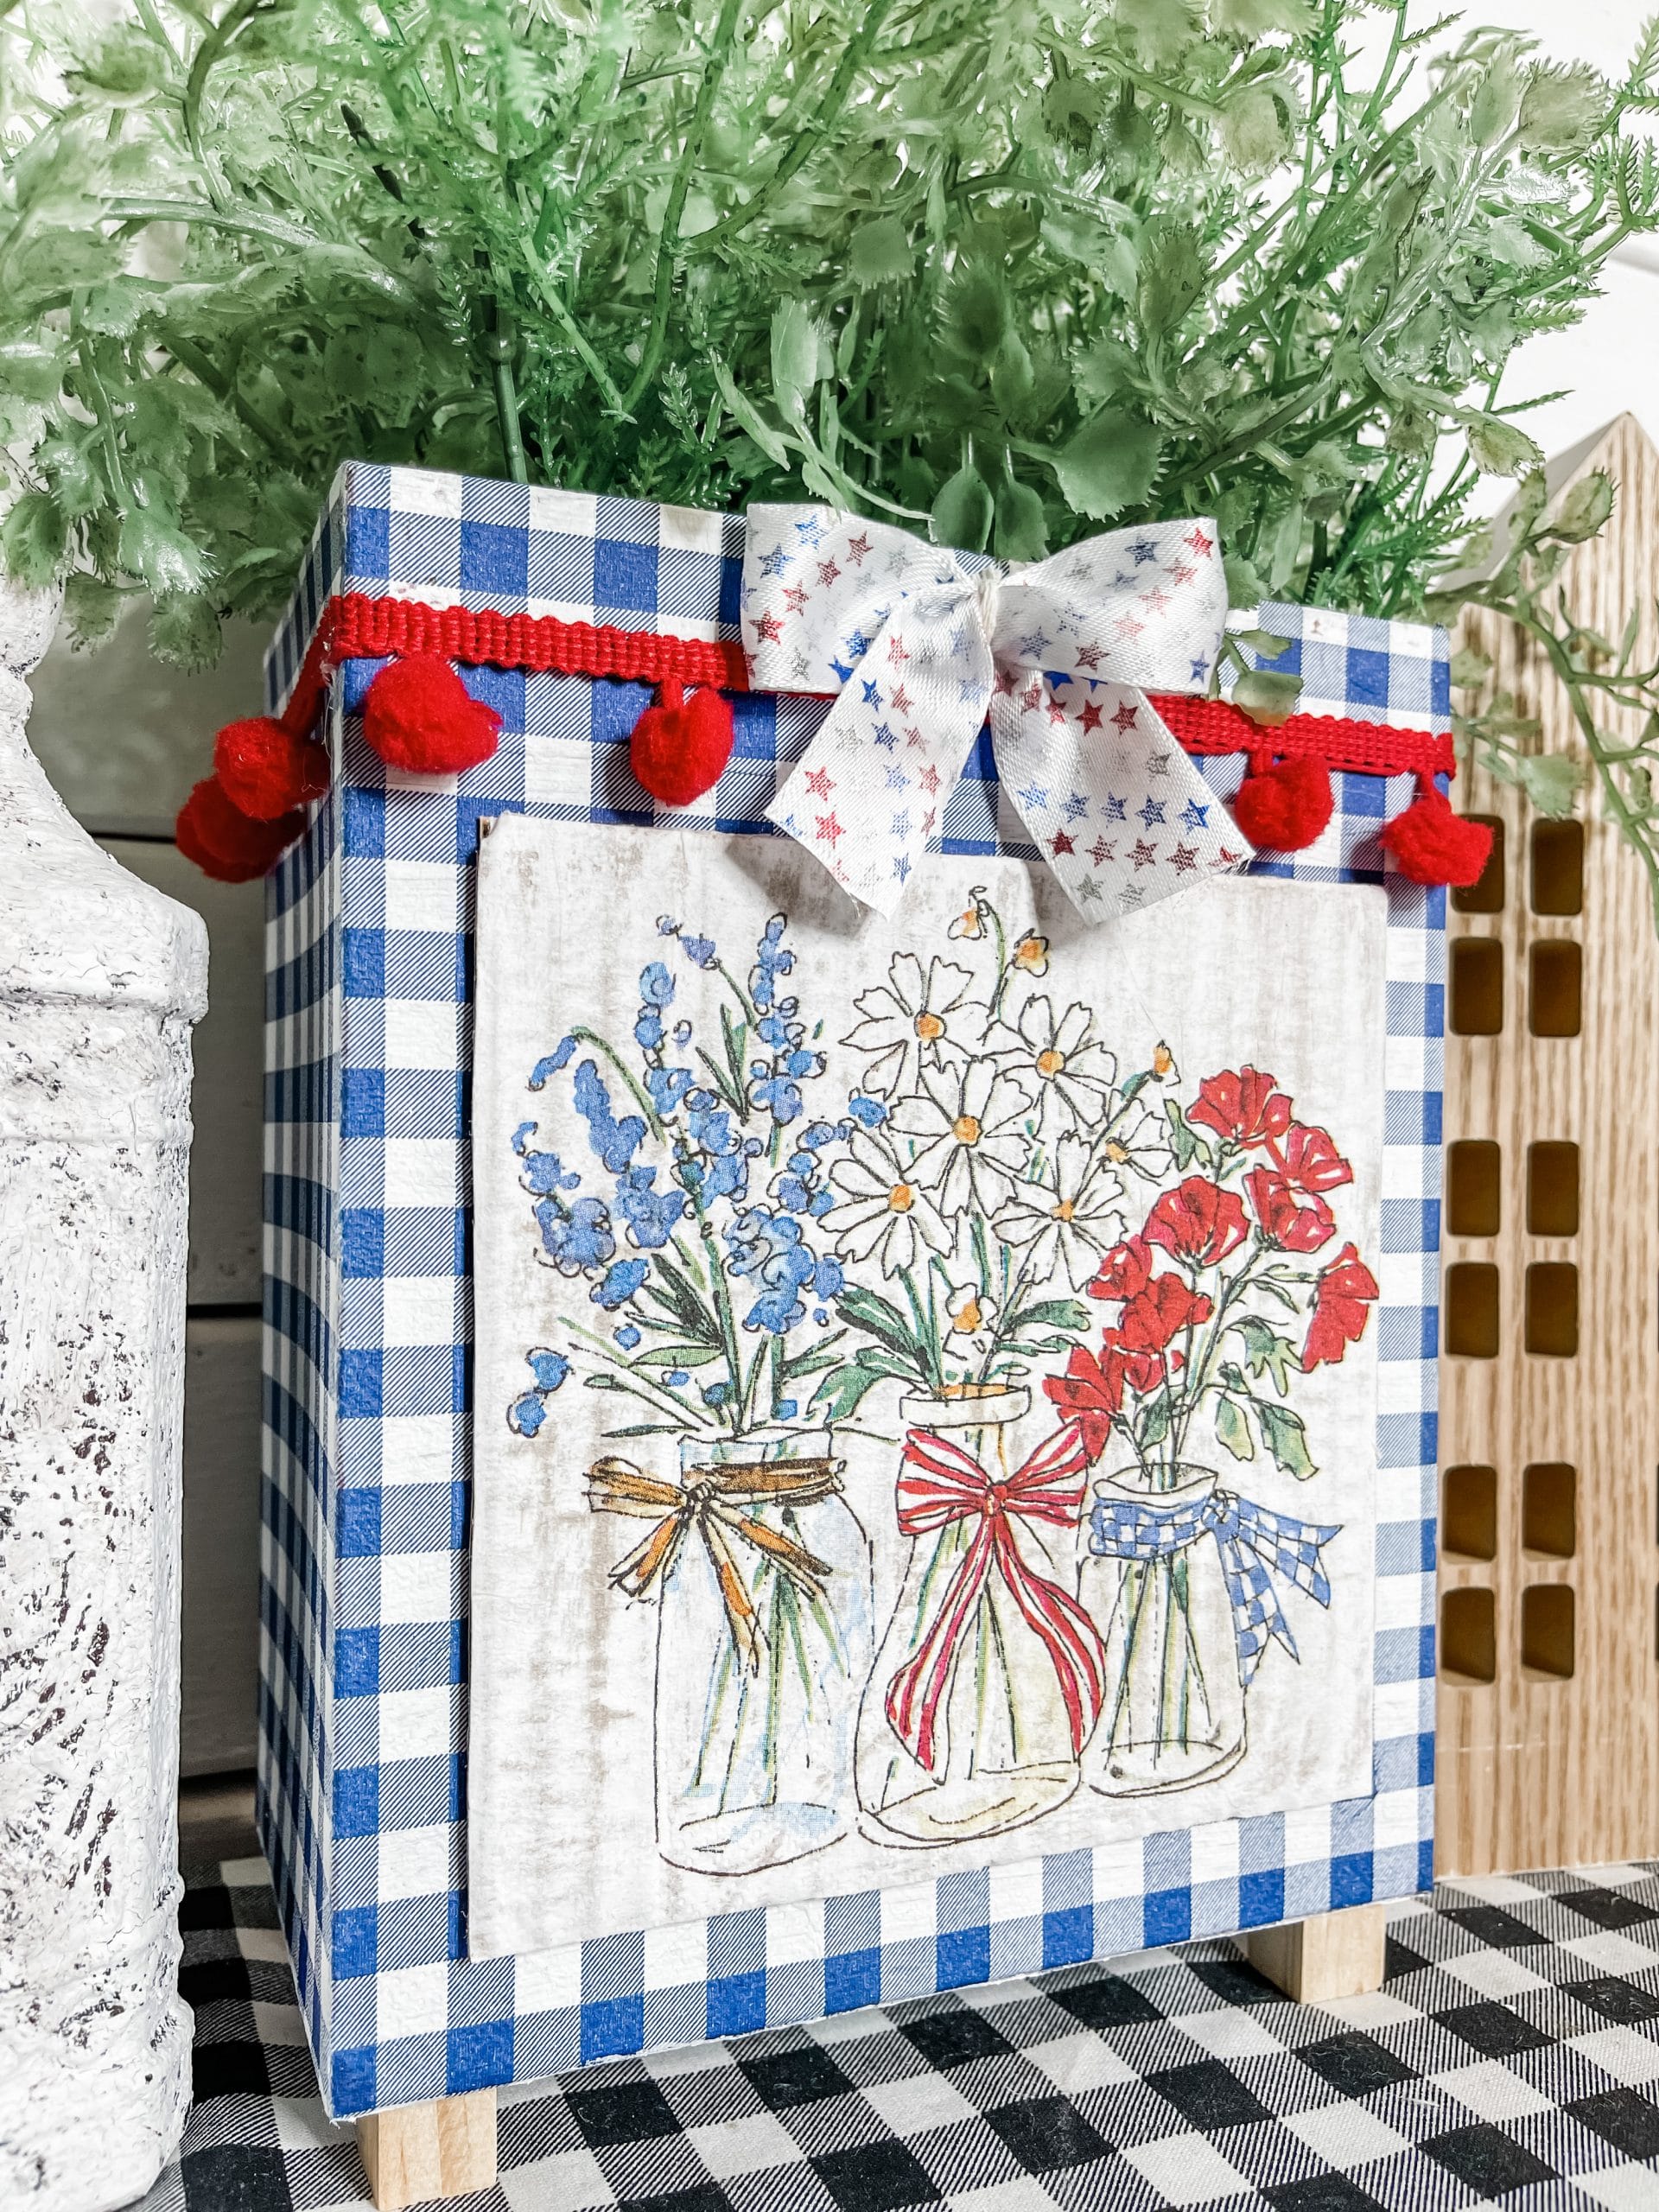
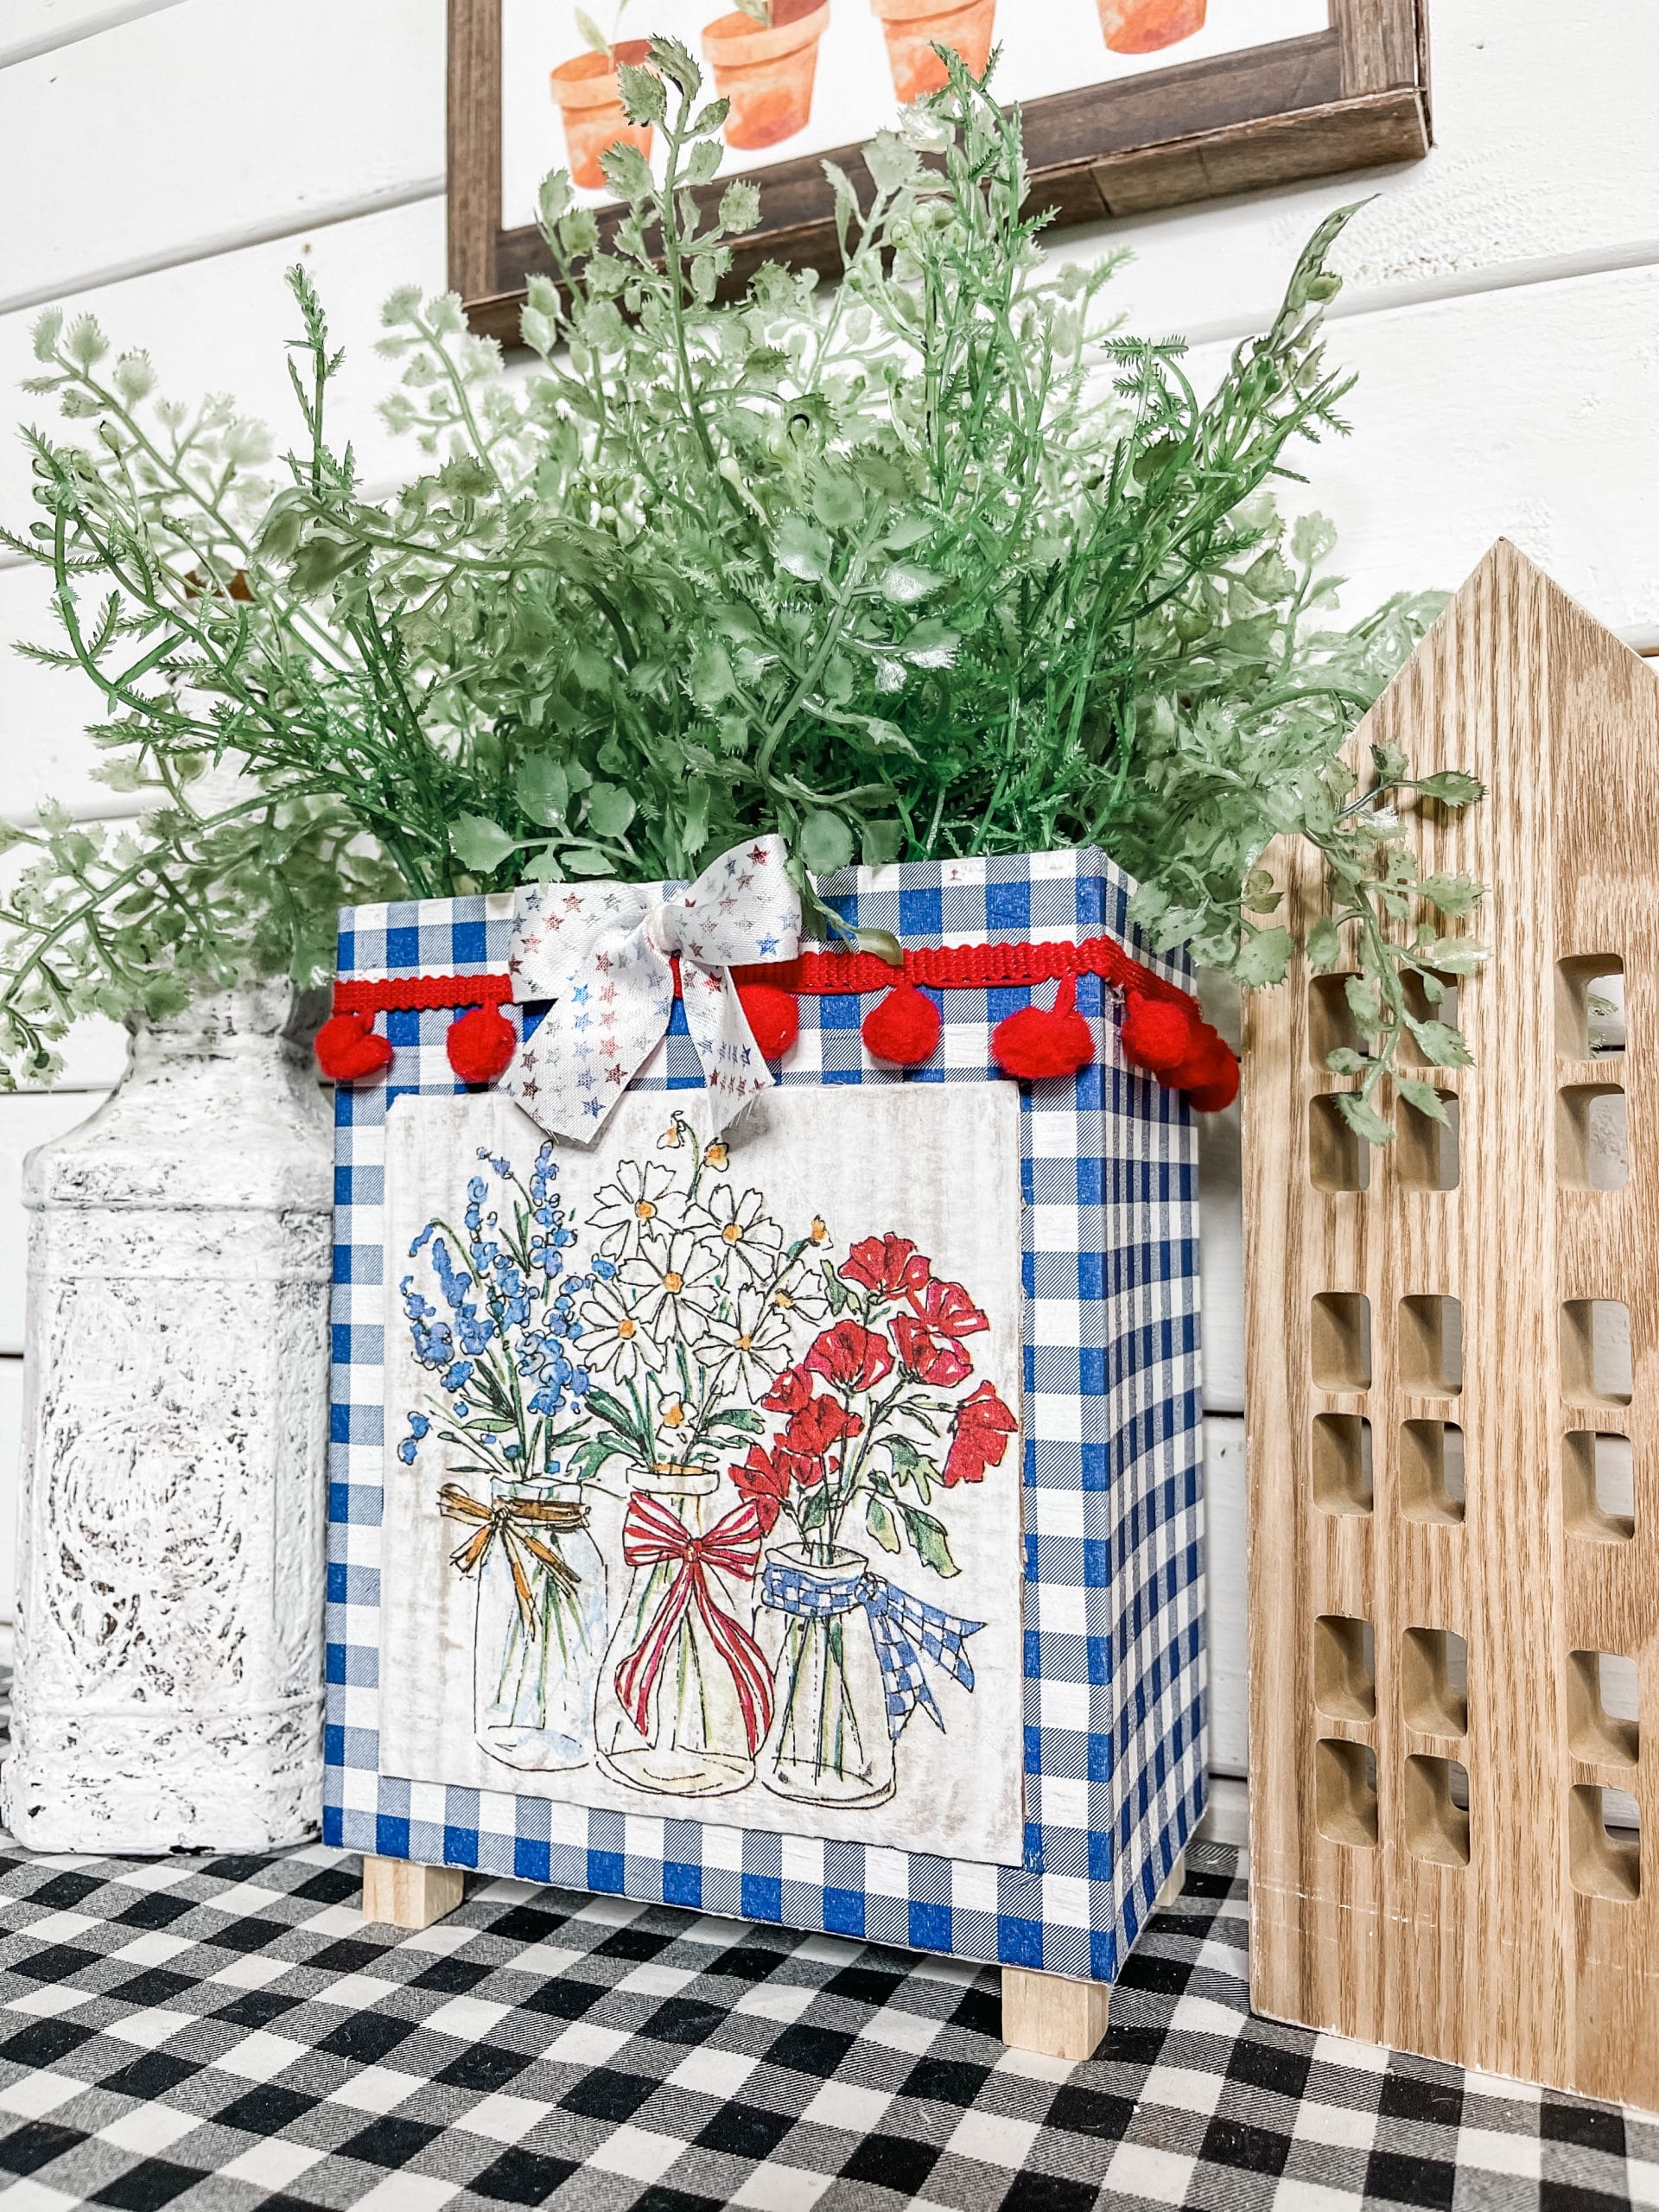
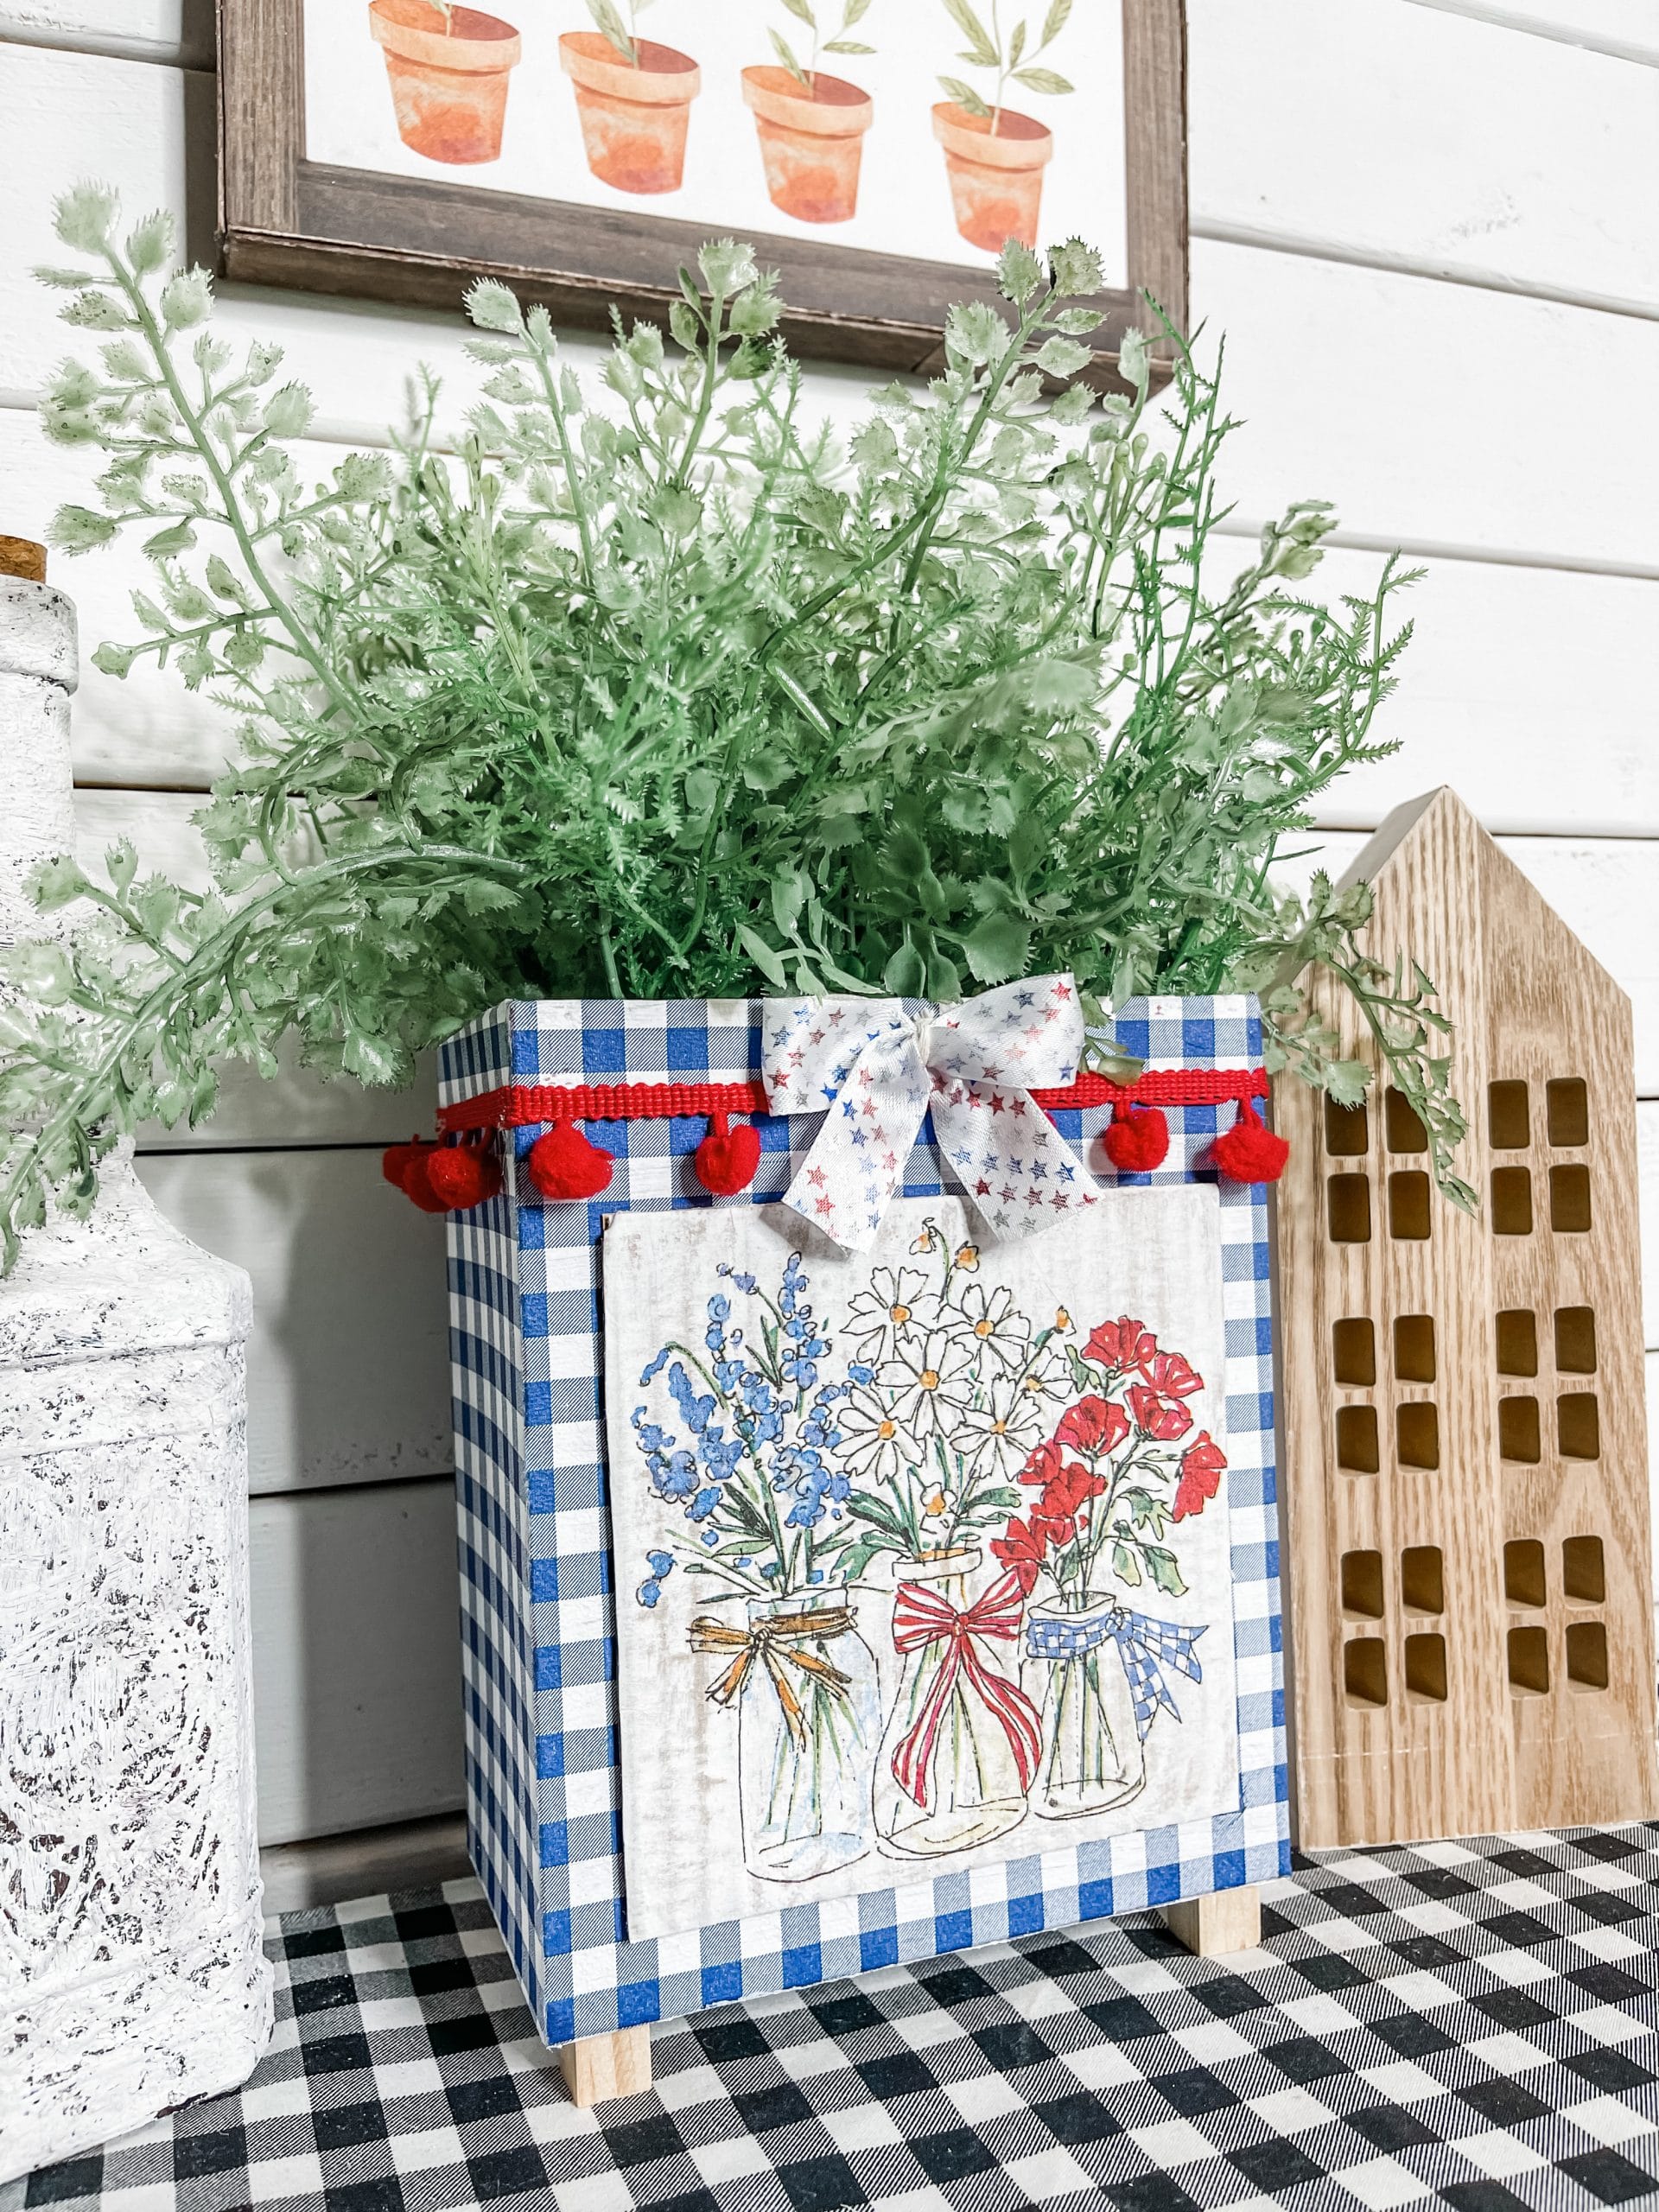
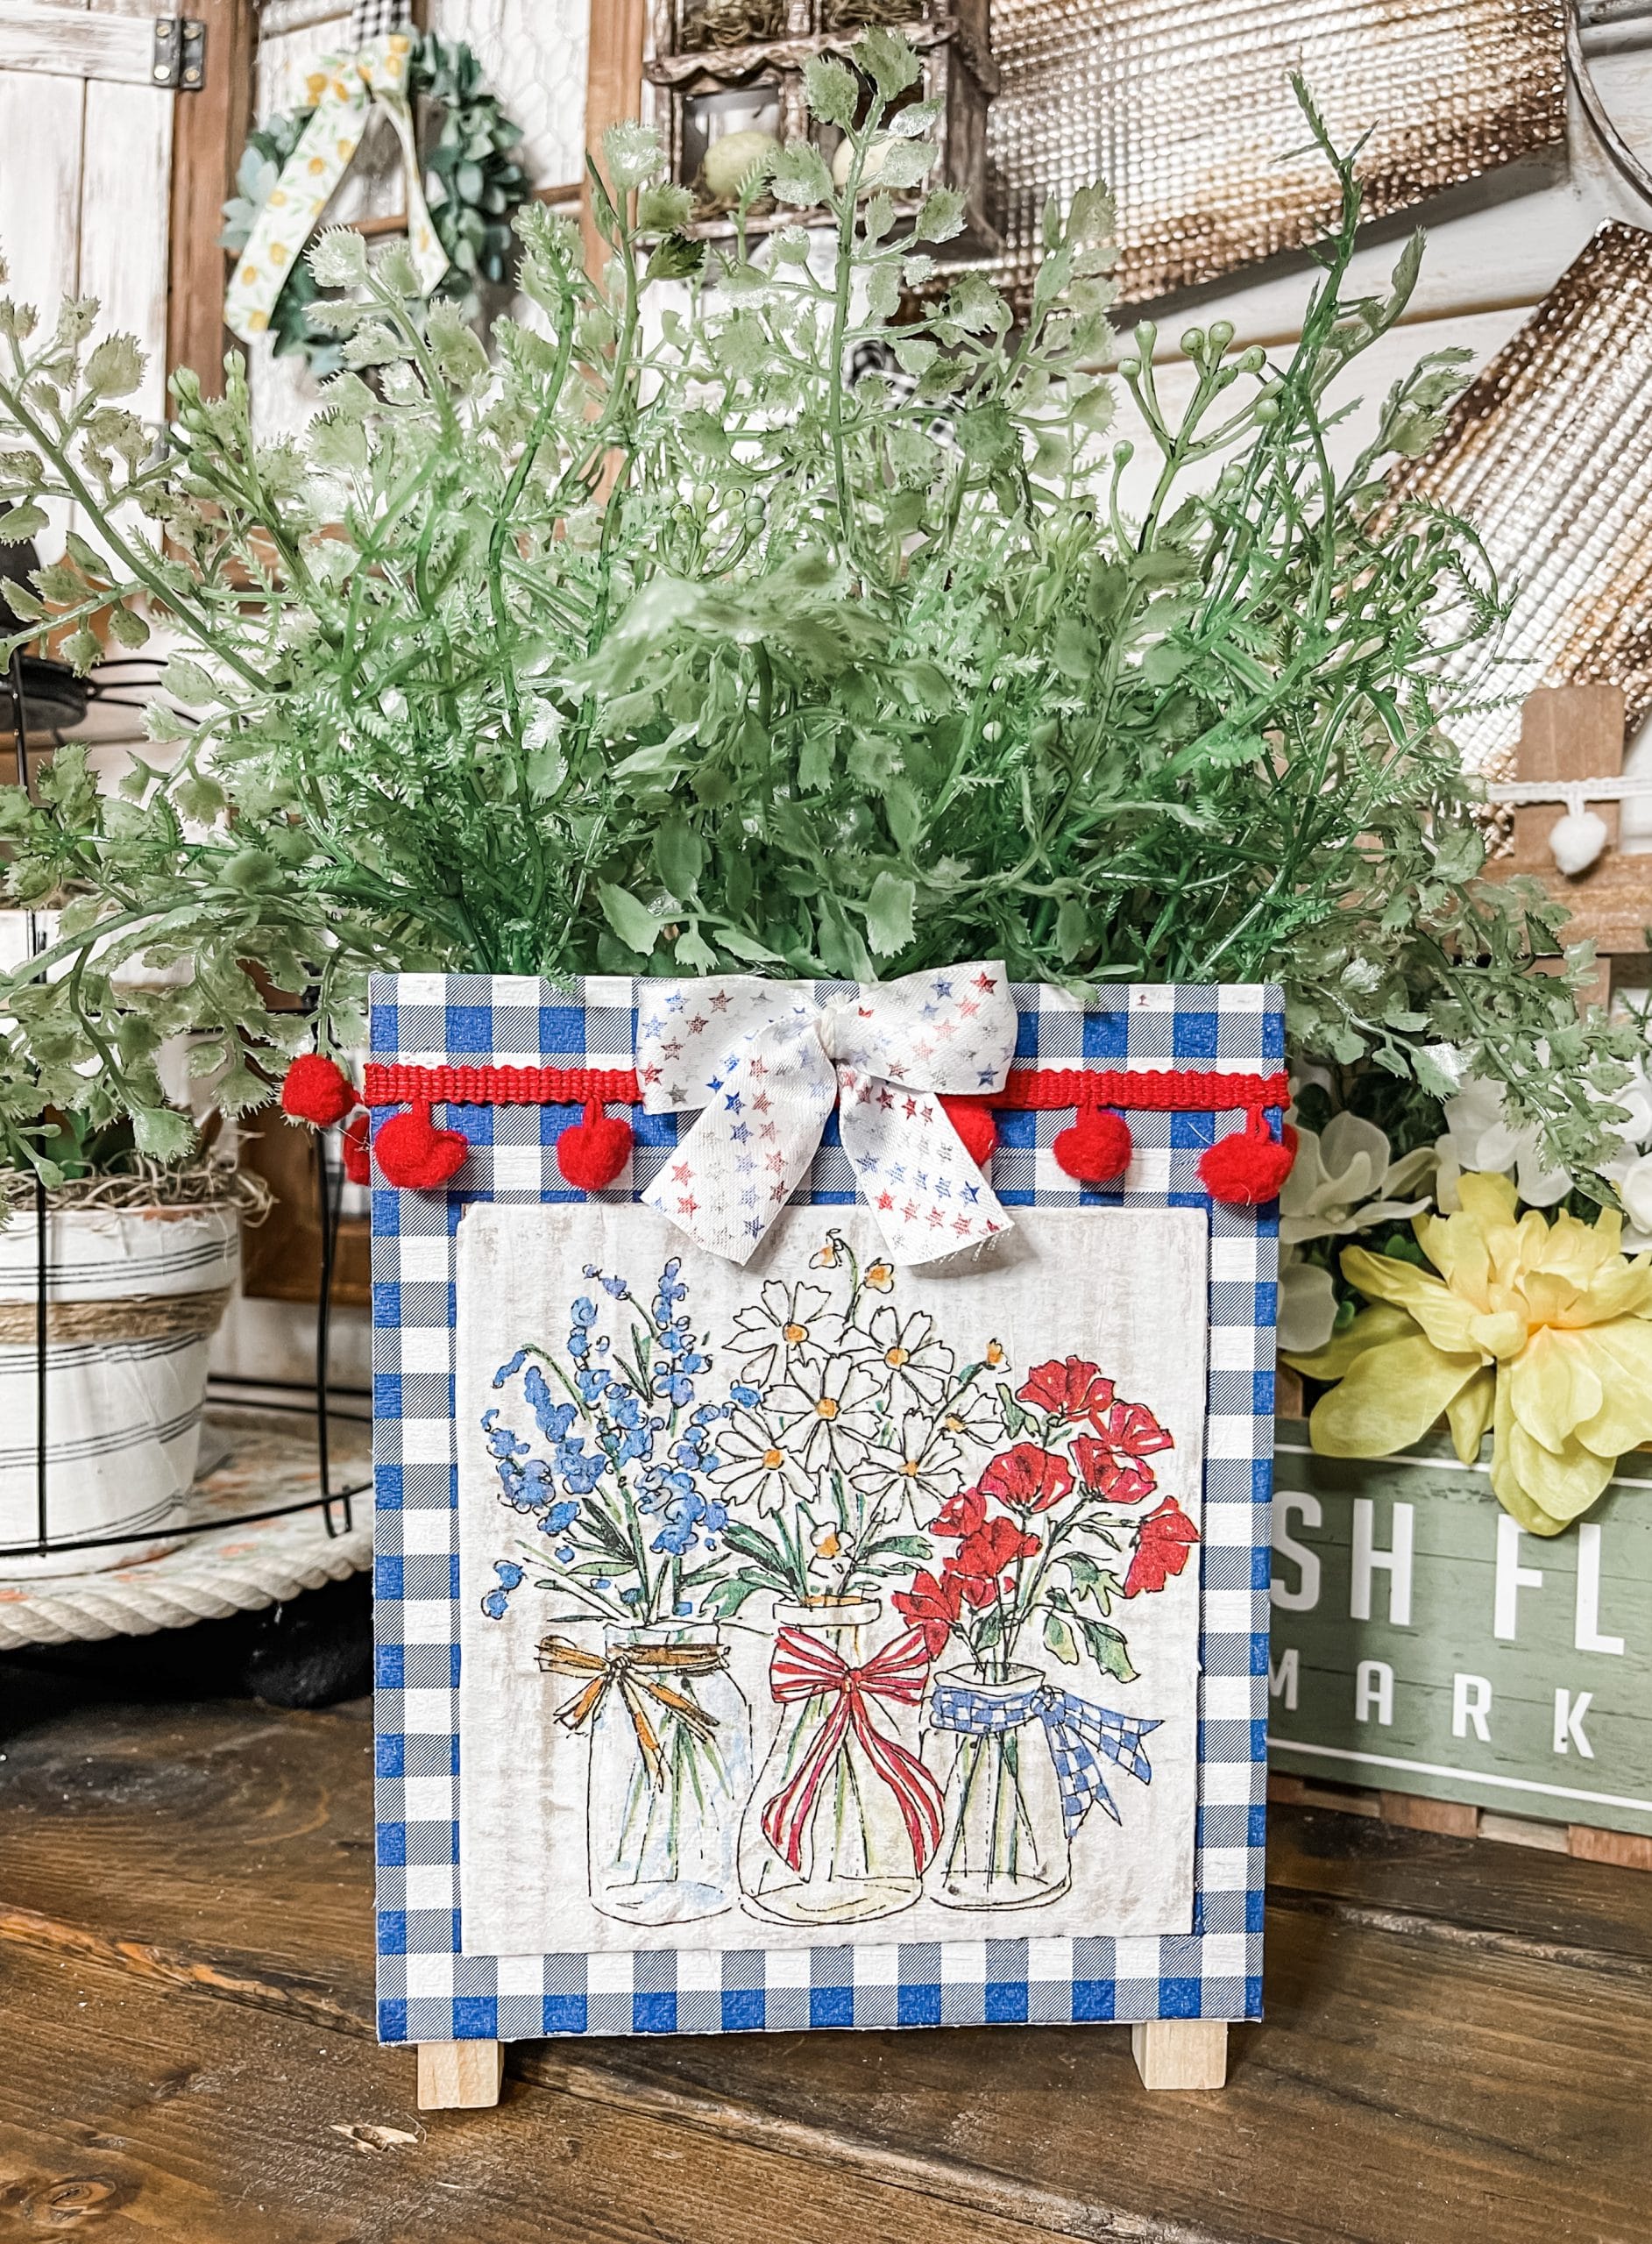
I don’t know if I’ve said this before, but I am not very good at keeping real plants alive. That’s why I love making planters like this Dollar Tree DIY 4th of July Planter that I can fill with FAKE plants!
I think this adorable patriotic DIY idea would be perfect as a table centerpiece for your 4th of July holiday celebrations!
Watch the DIY tutorial
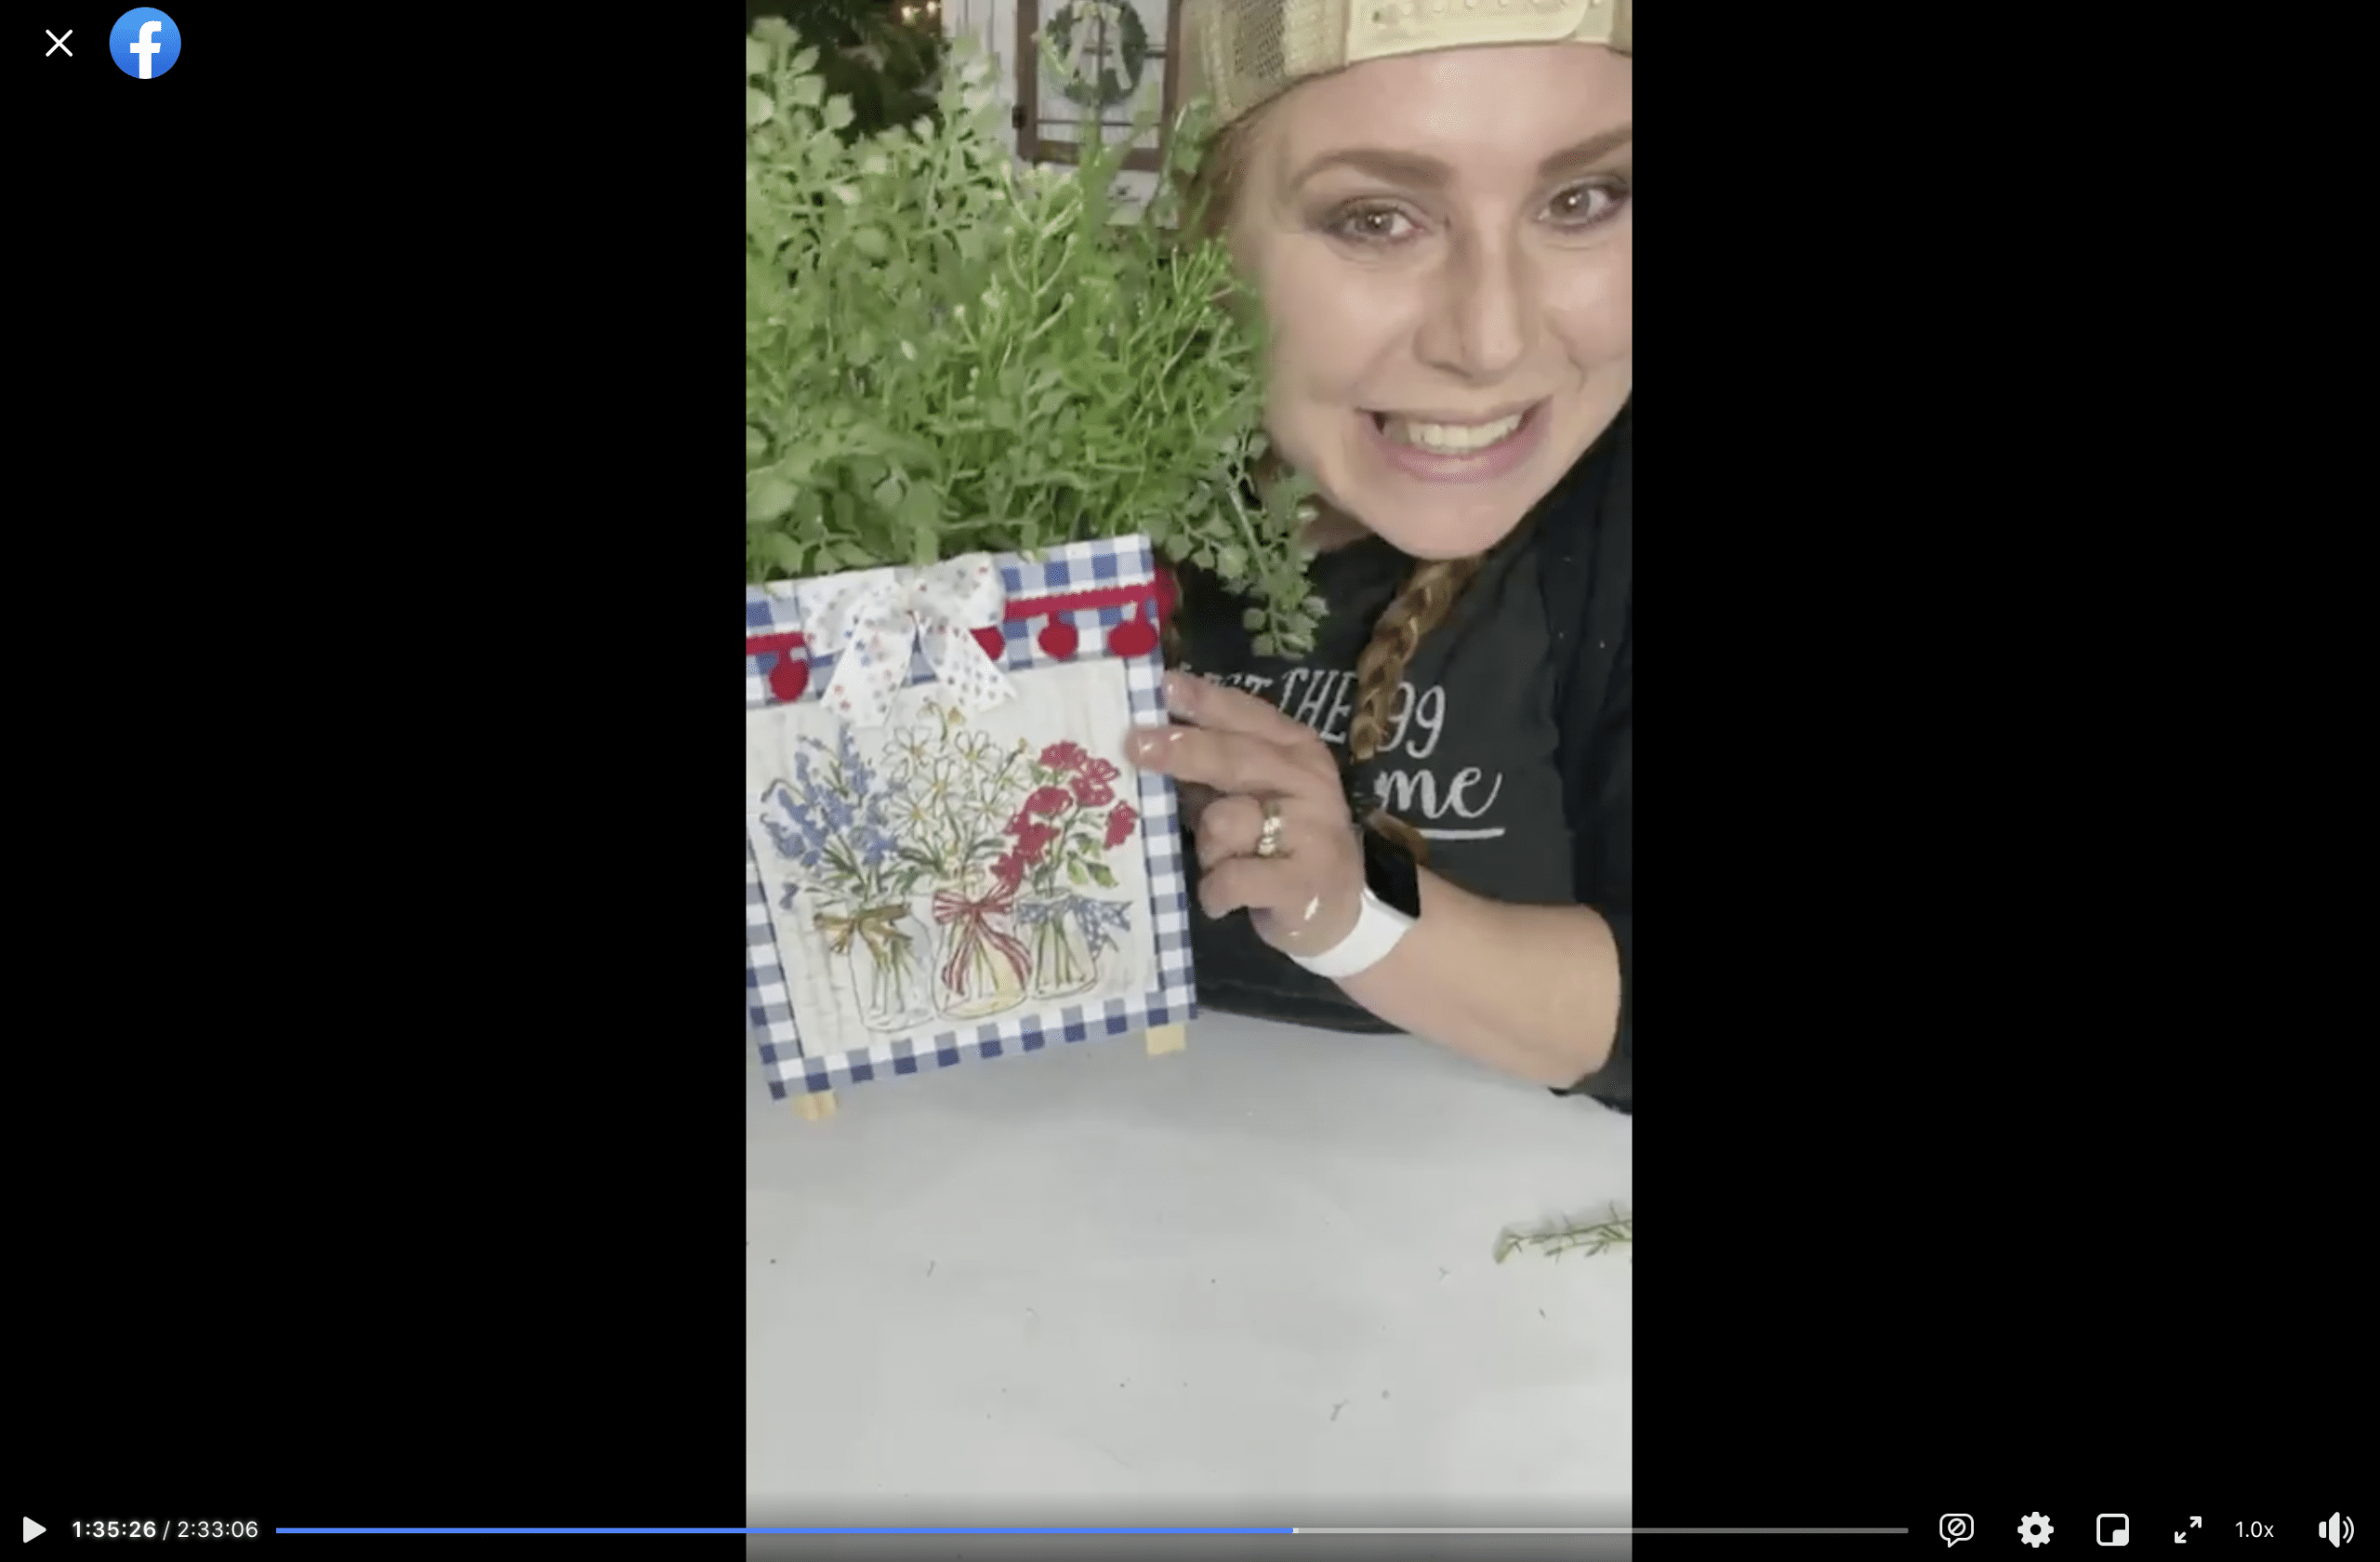
I recorded the how-to steps of making this adorable Dollar Tree DIY 4th of July Planter during a LIVE video on my Facebook page.
If you want to see the DIY process, craft along, or just join in on the fun conversations, you can watch the DIY tutorial replay!
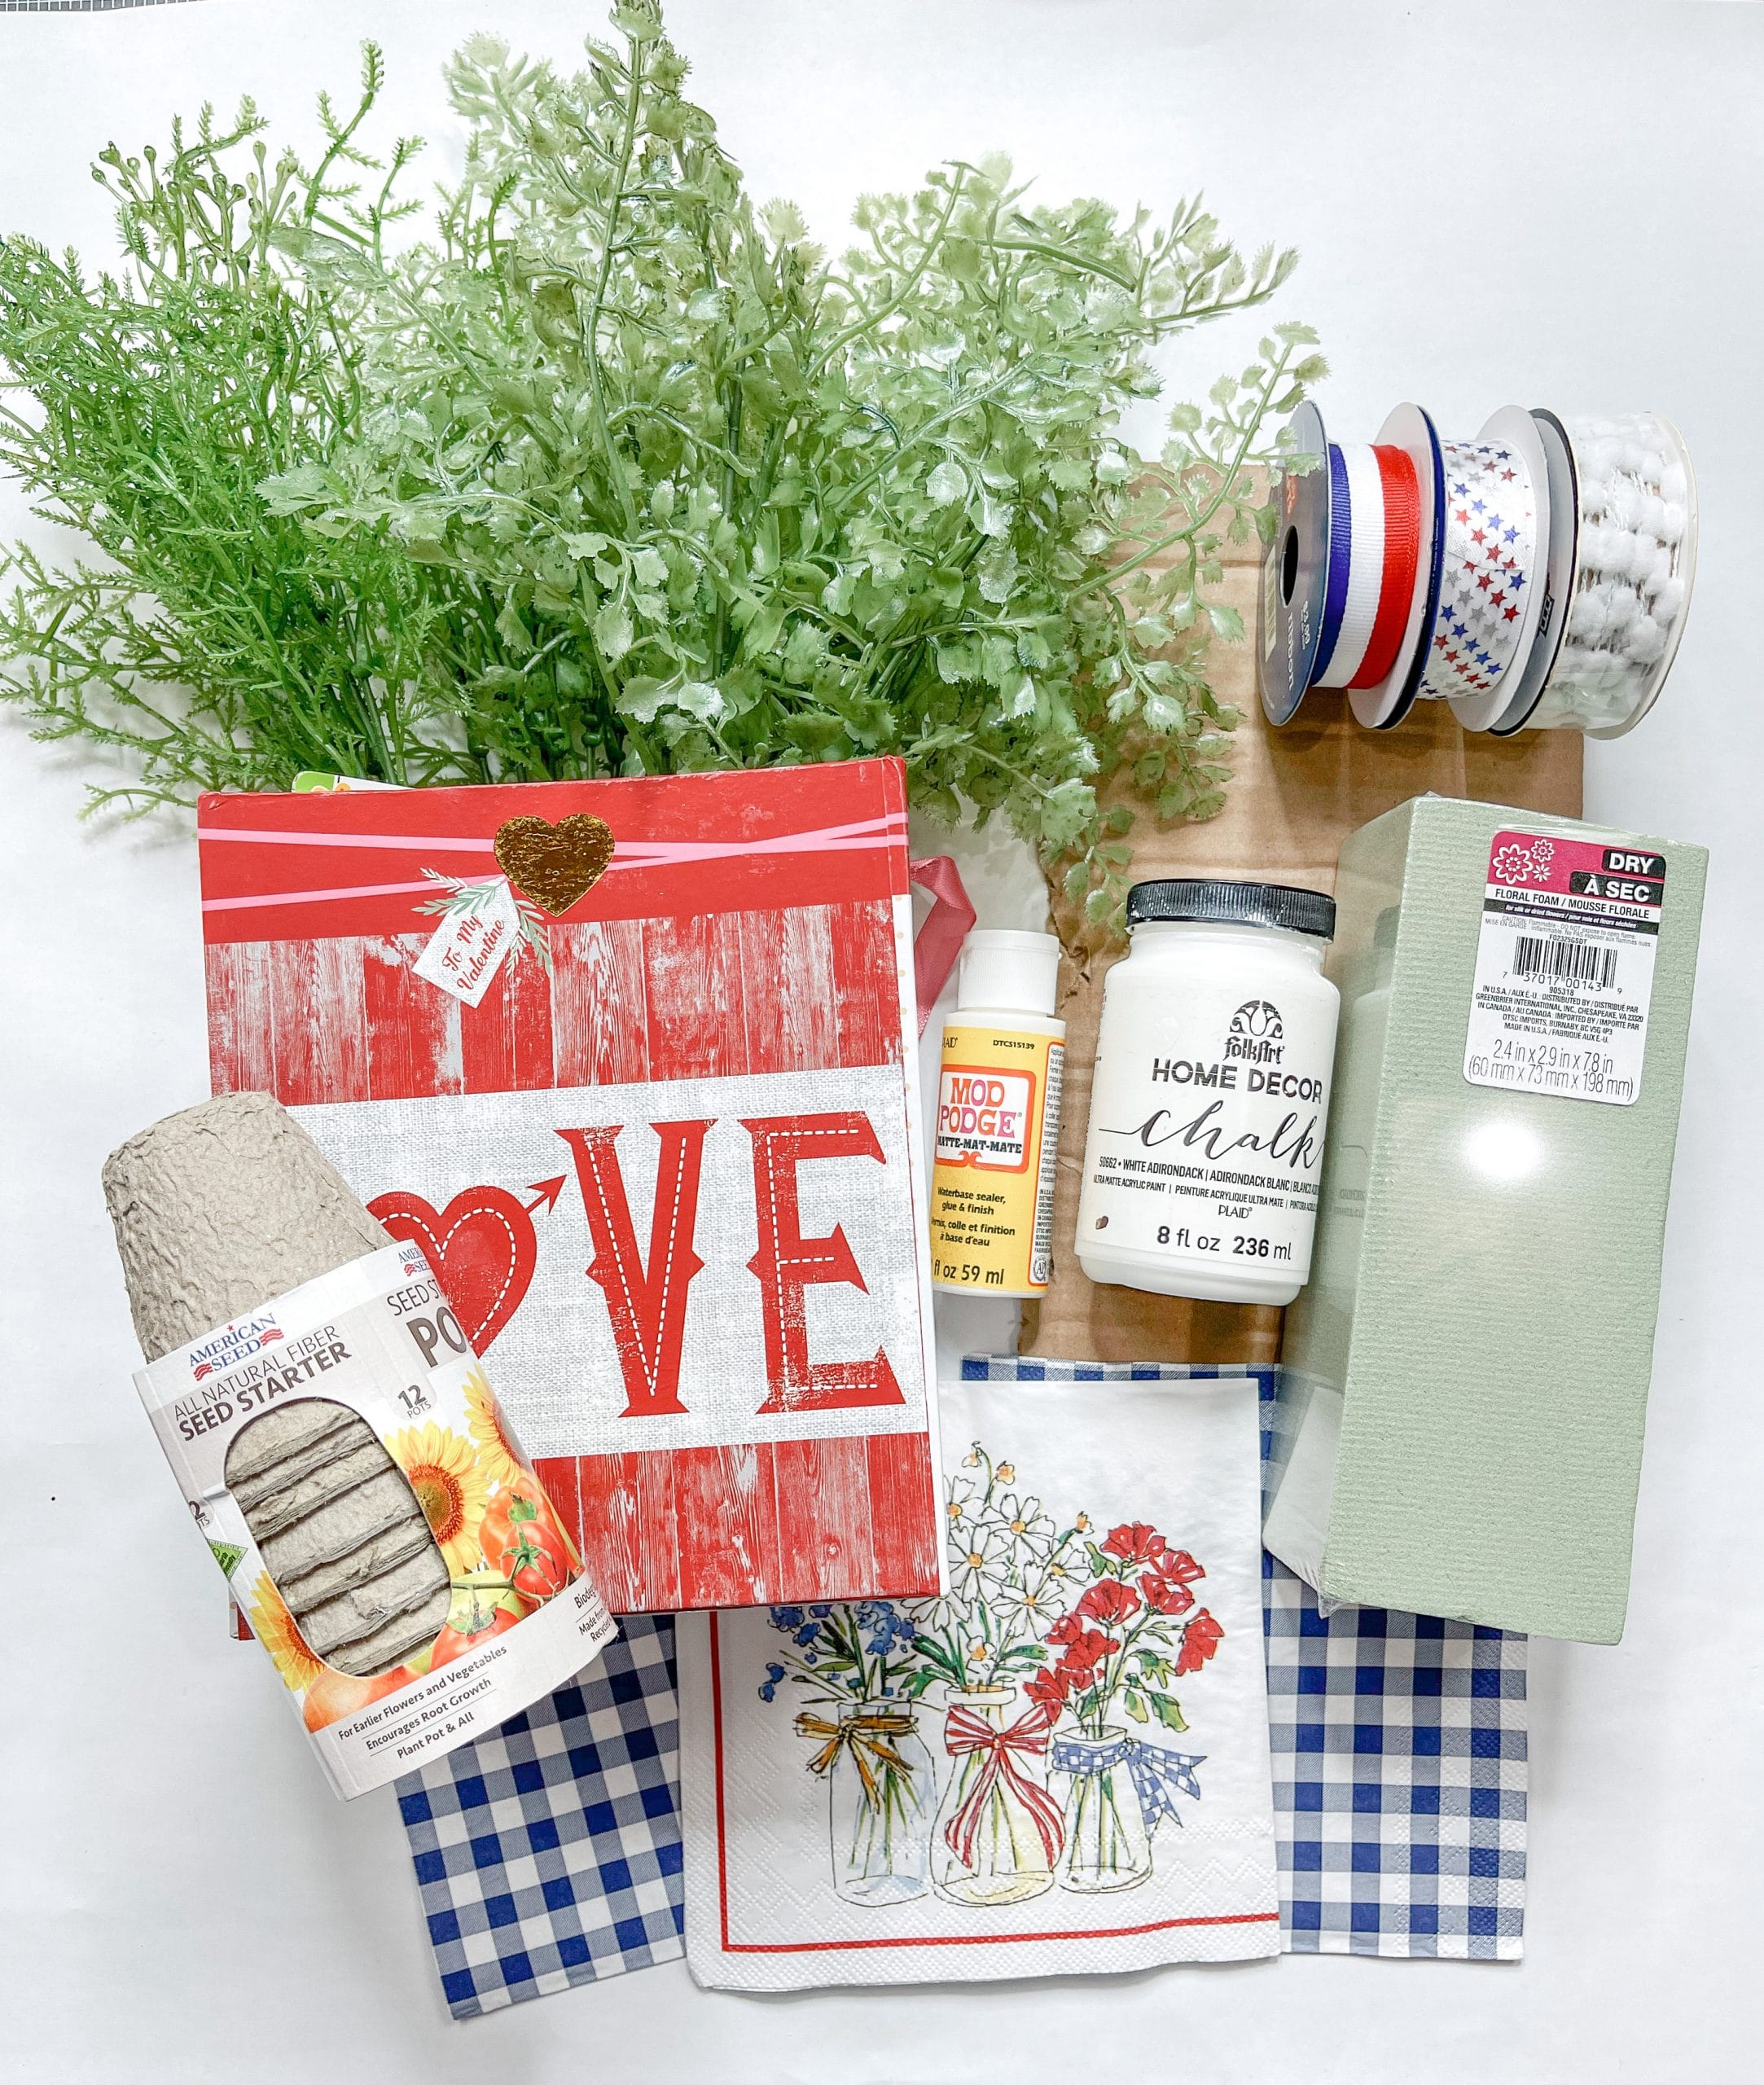
For this project, I will be using these items but you can substitute where you want.
“As an Amazon Associate, I earn from qualifying purchases.”
- Dollar Tree Valentine’s Day Box
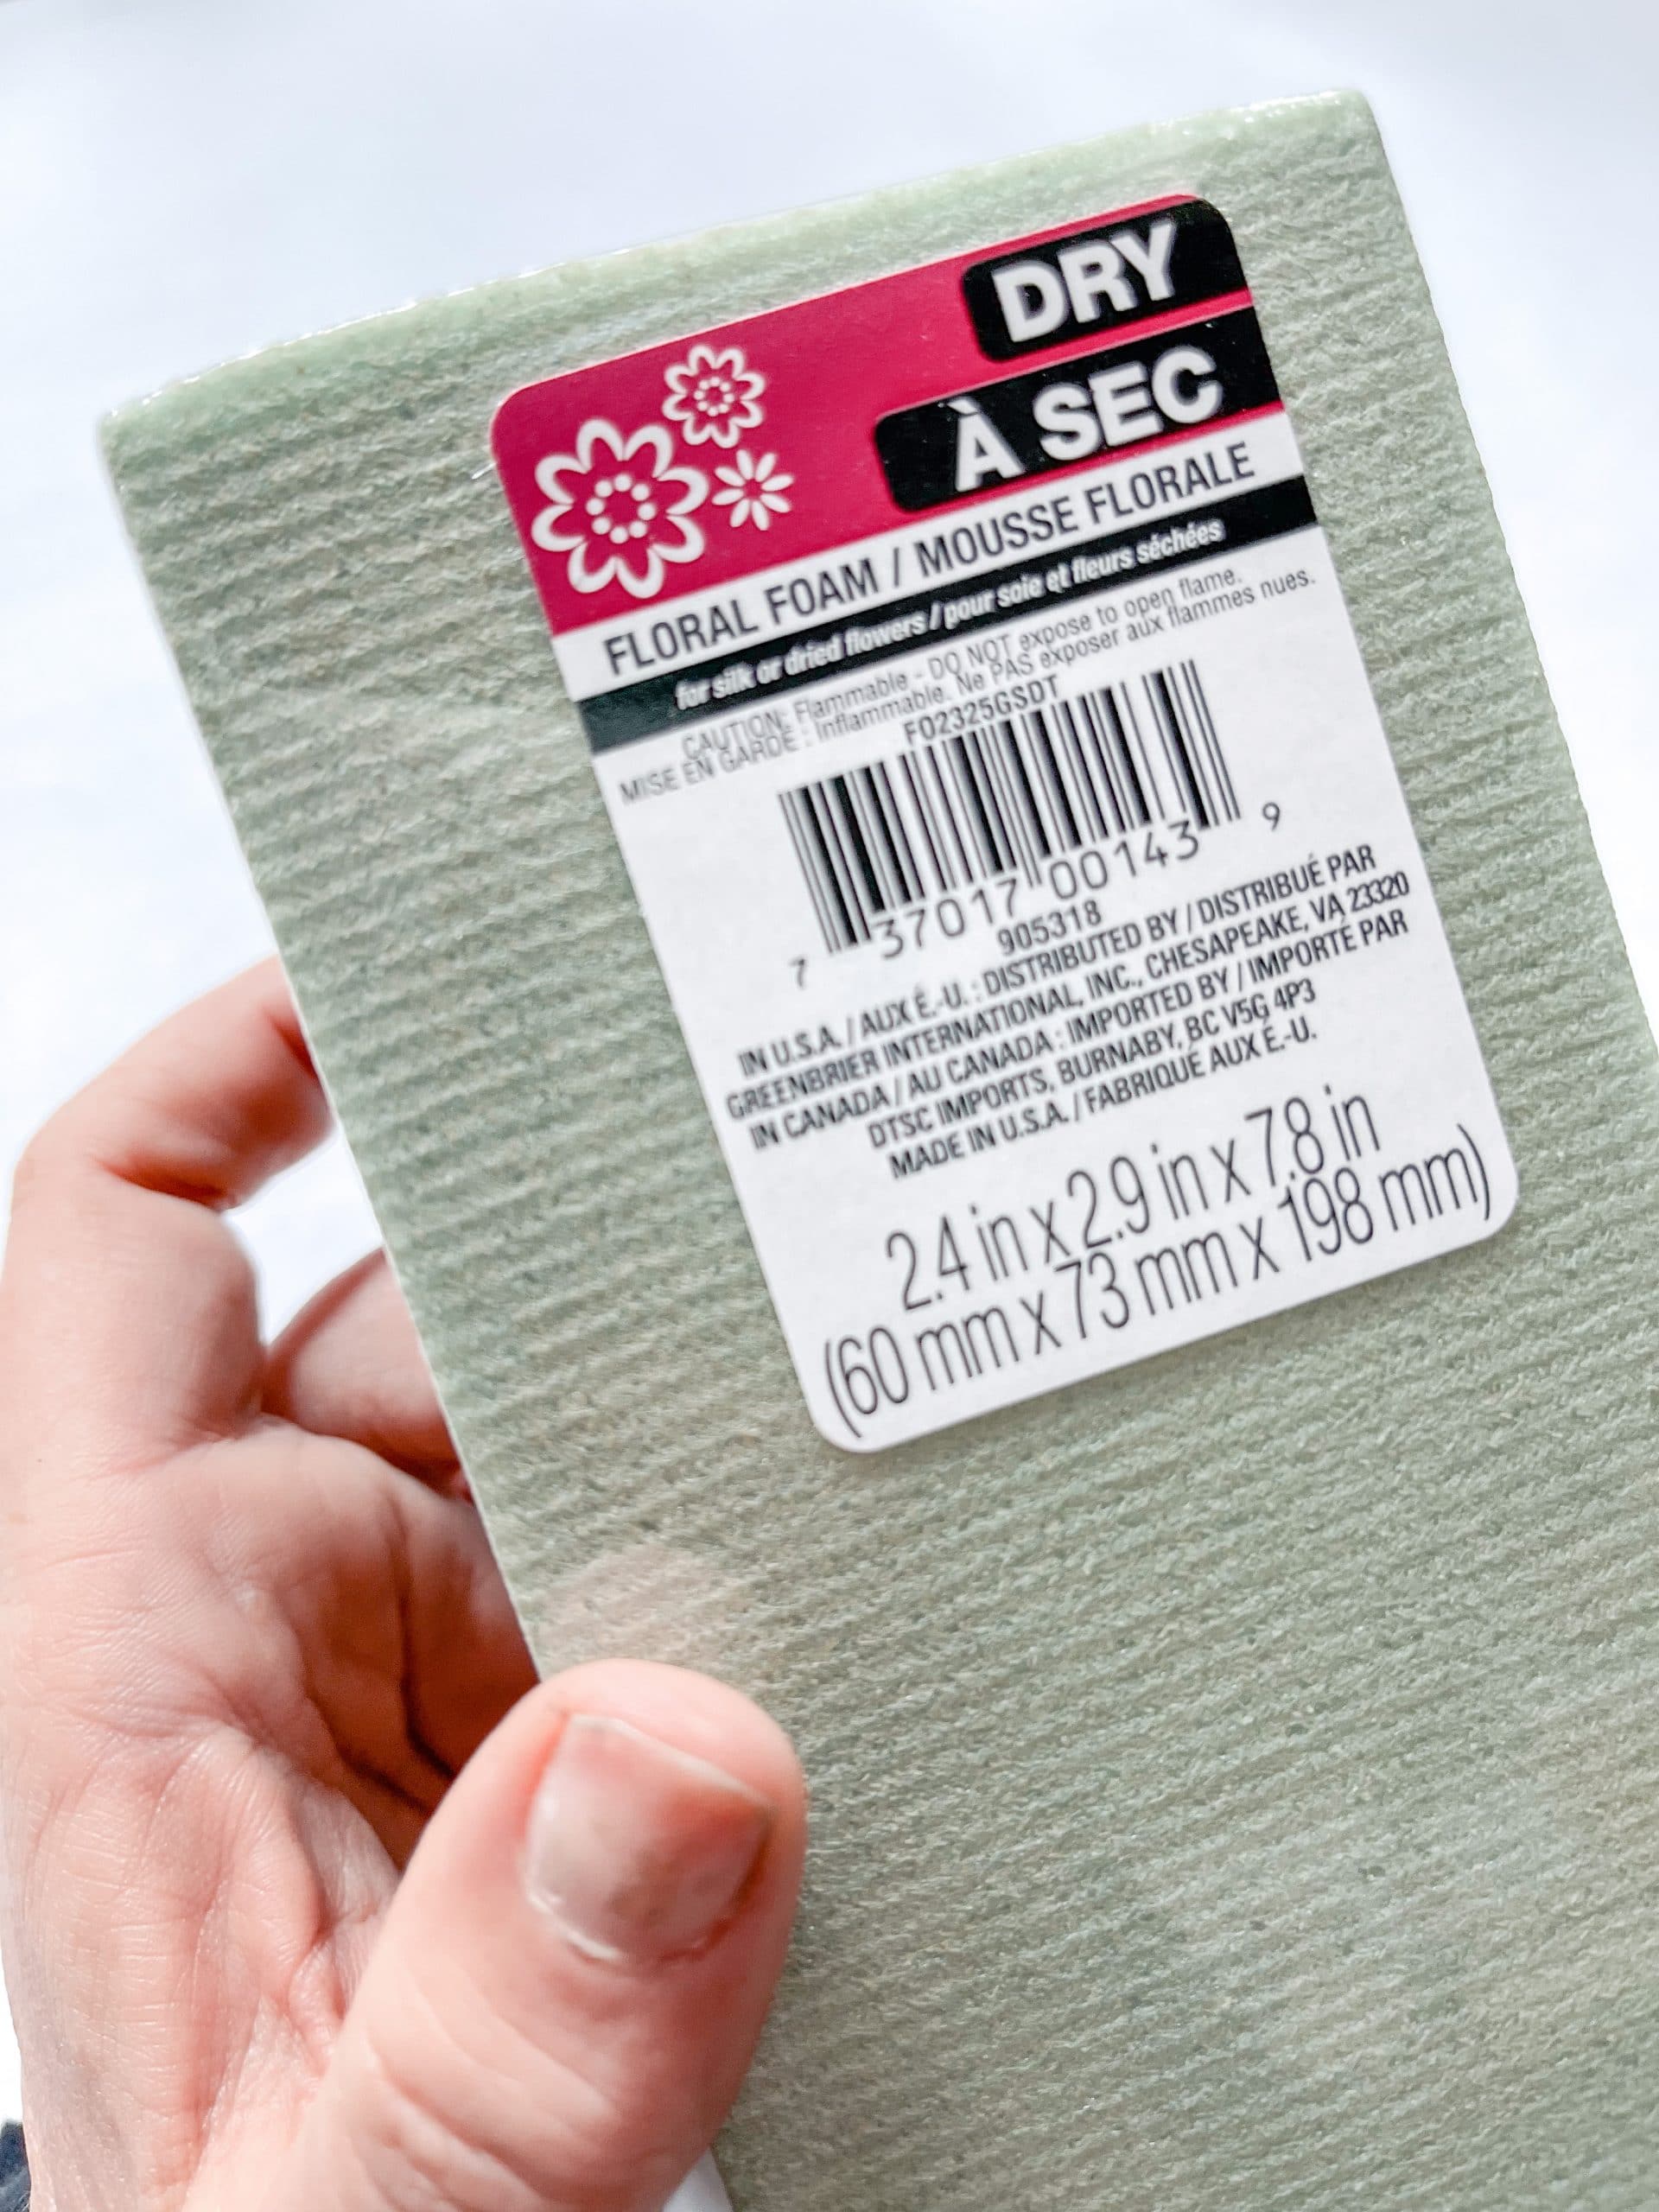
- Dollar Tree Floral Foam
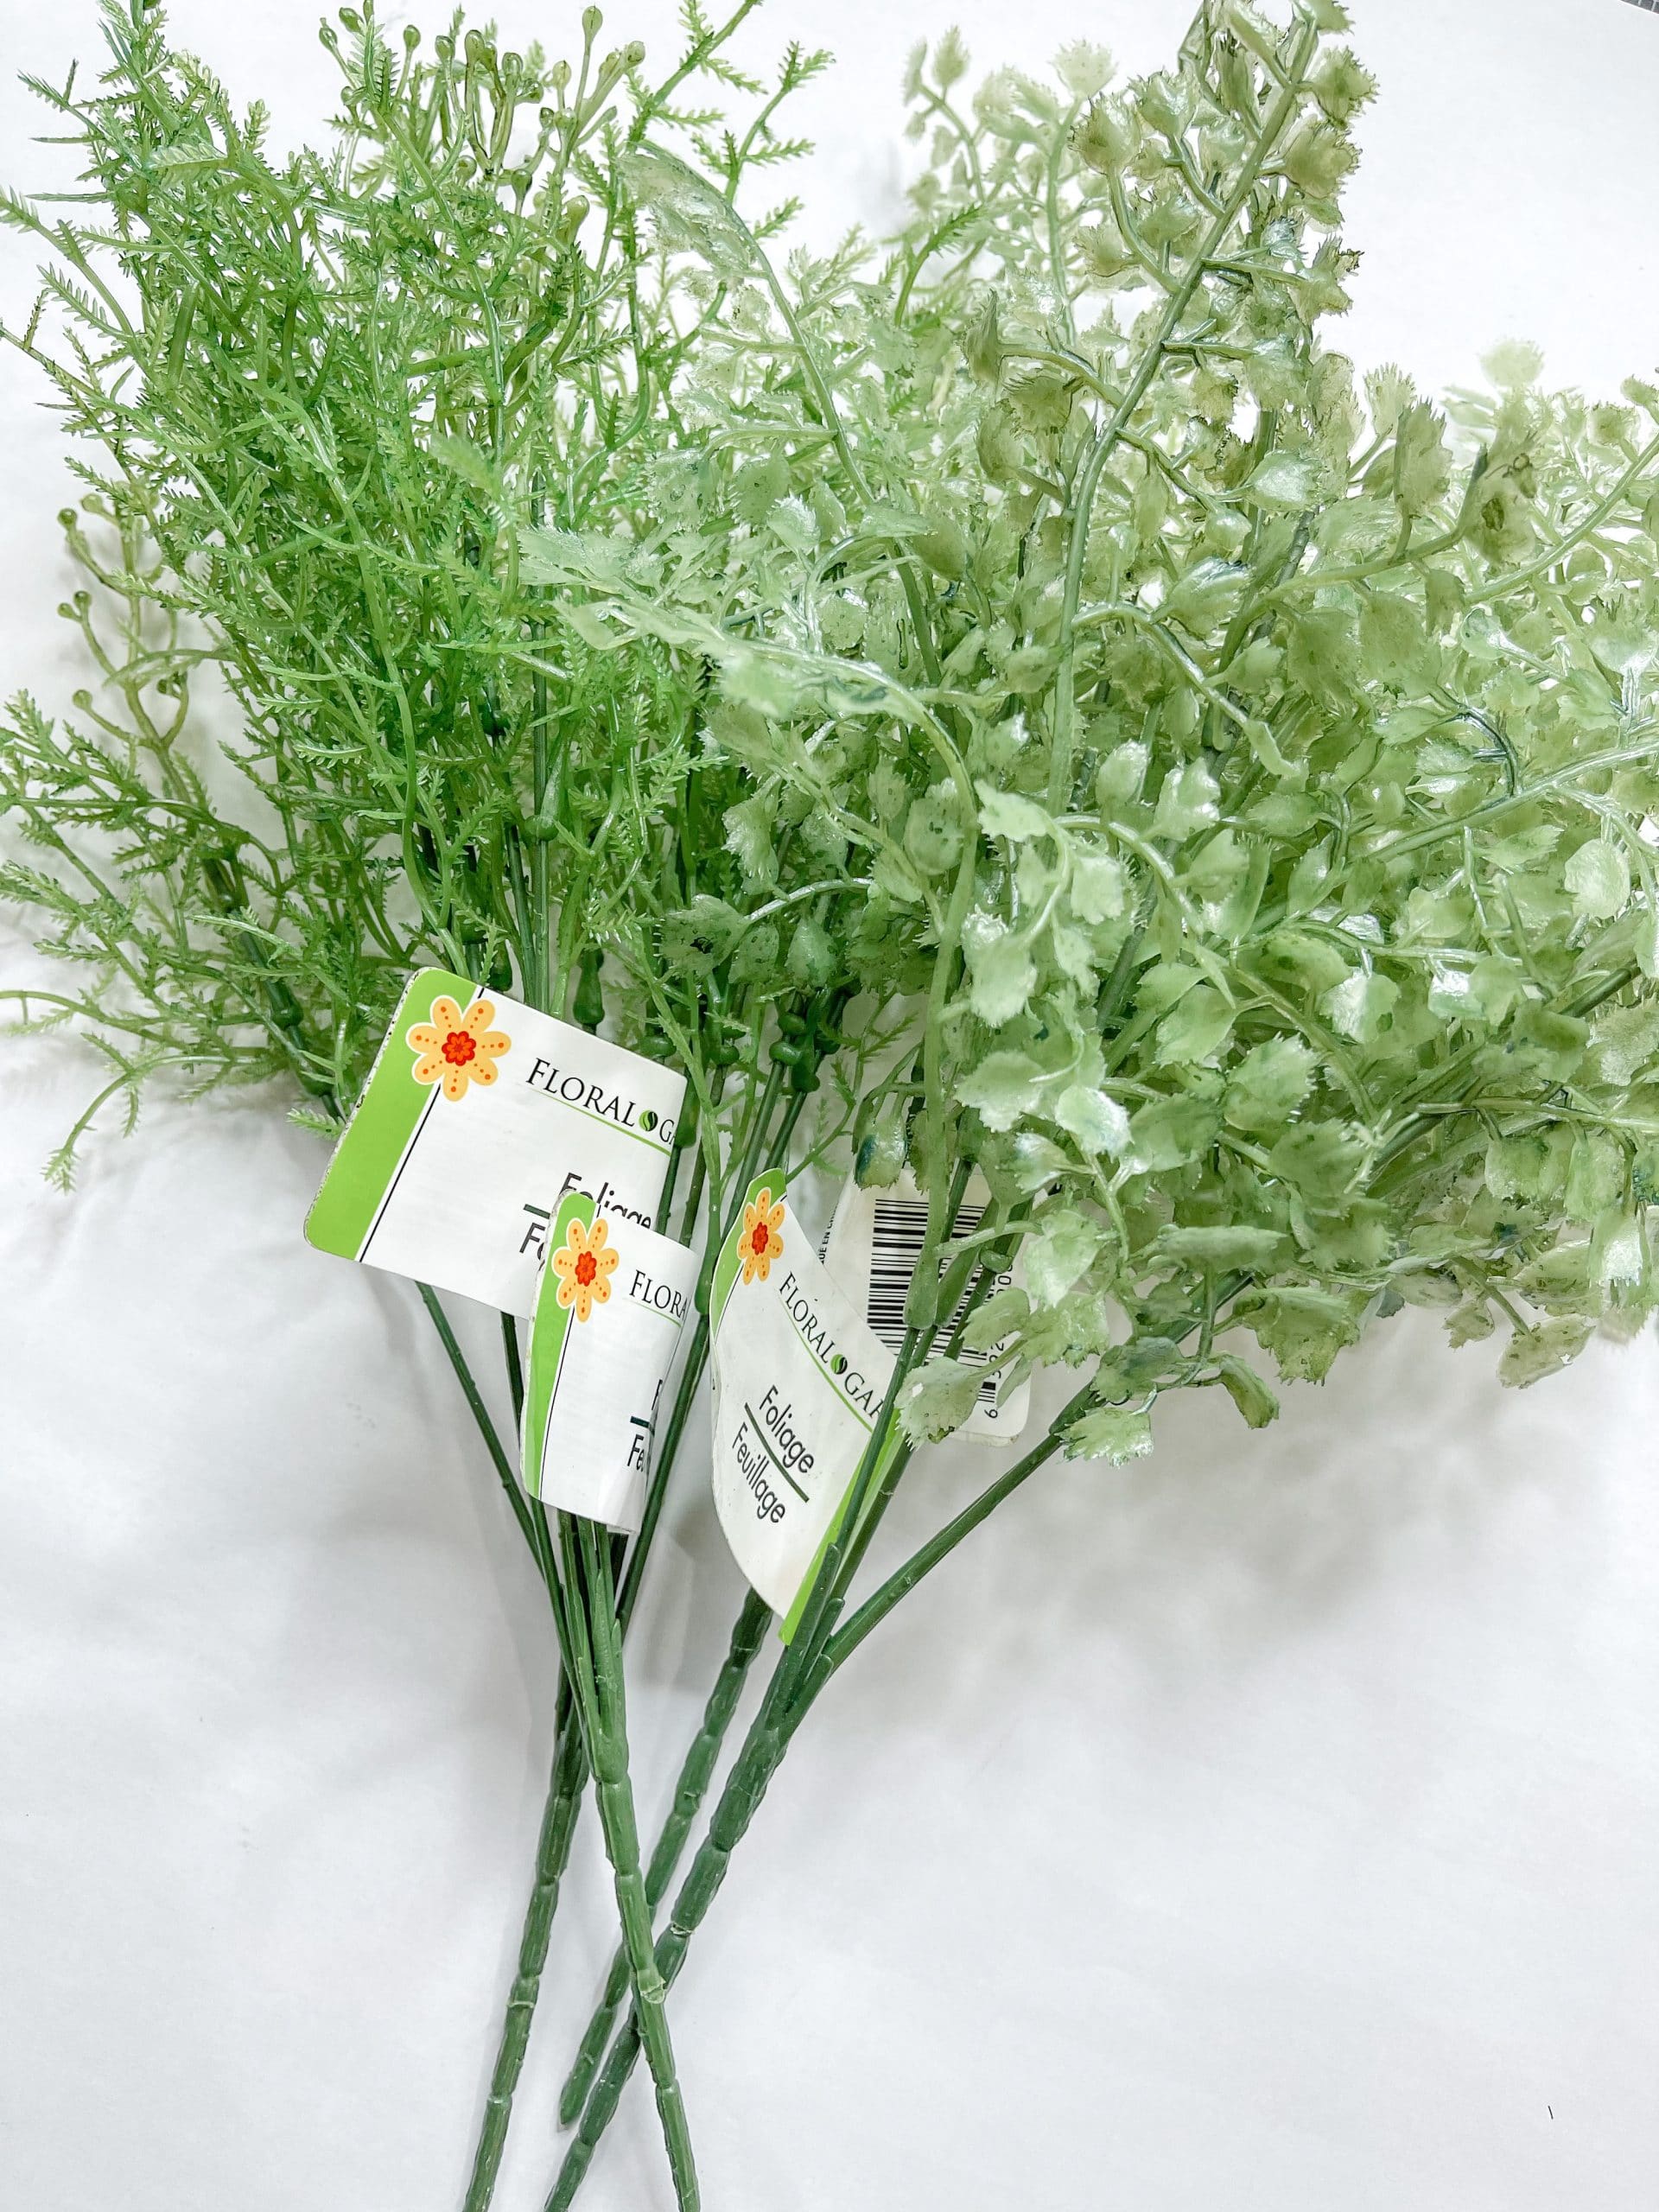
- Greenery
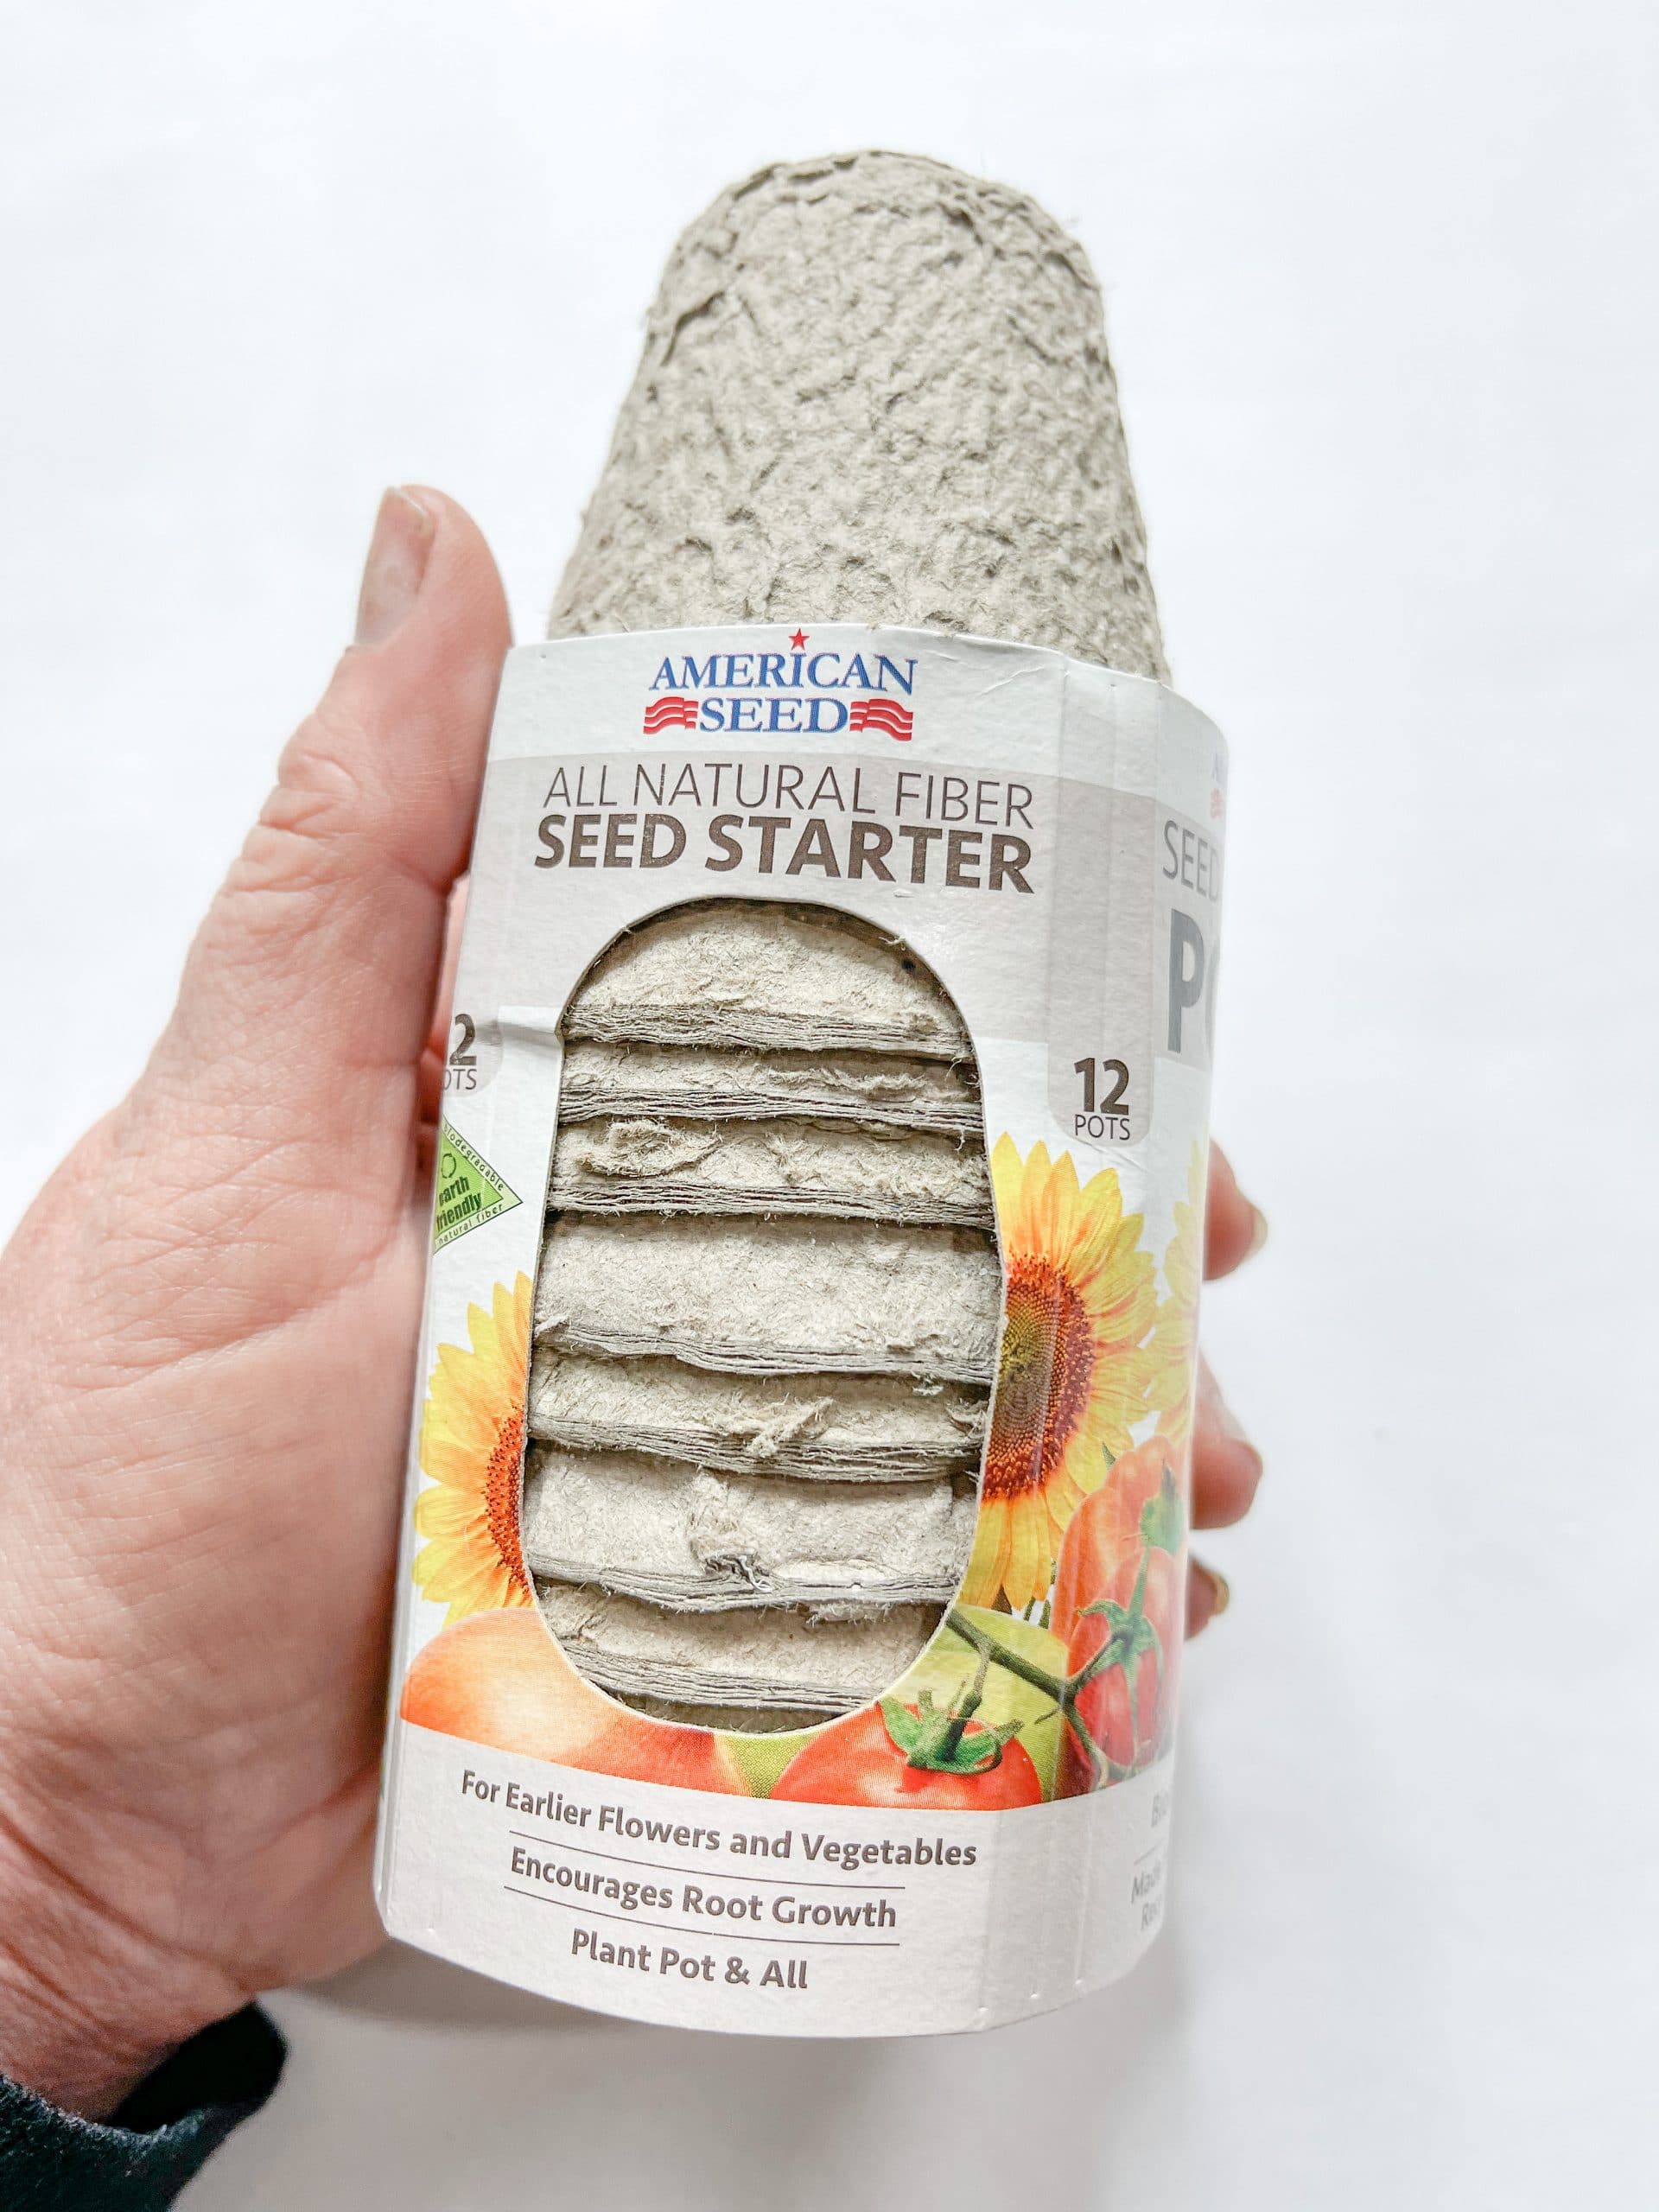
- Dollar Tree Seed Starters
- Dollar Tree Wood Craft Cubes
- Blue Buffalo Check Napkin
- Patriotic Flower Vase Napkin
- White Ribbon with Blue/Red/Silver Stars
- White Pom Pom Ribbon
- Folkart White Chalk Paint
- Mod Podge
- Cardboard
- Hot Glue gun
- Glue Sticks
How Make a Dollar Tree DIY 4th of July Planter
First, you need to cut the floral vase design out of the napkin. When you unfold that napkin, the design is on each of the four quarters, but you only need one.
Then, separate the napkin plies. Because we are going to decoupage the napkin, you need to separate the plies, or the top ply might not adhere properly to the surface.
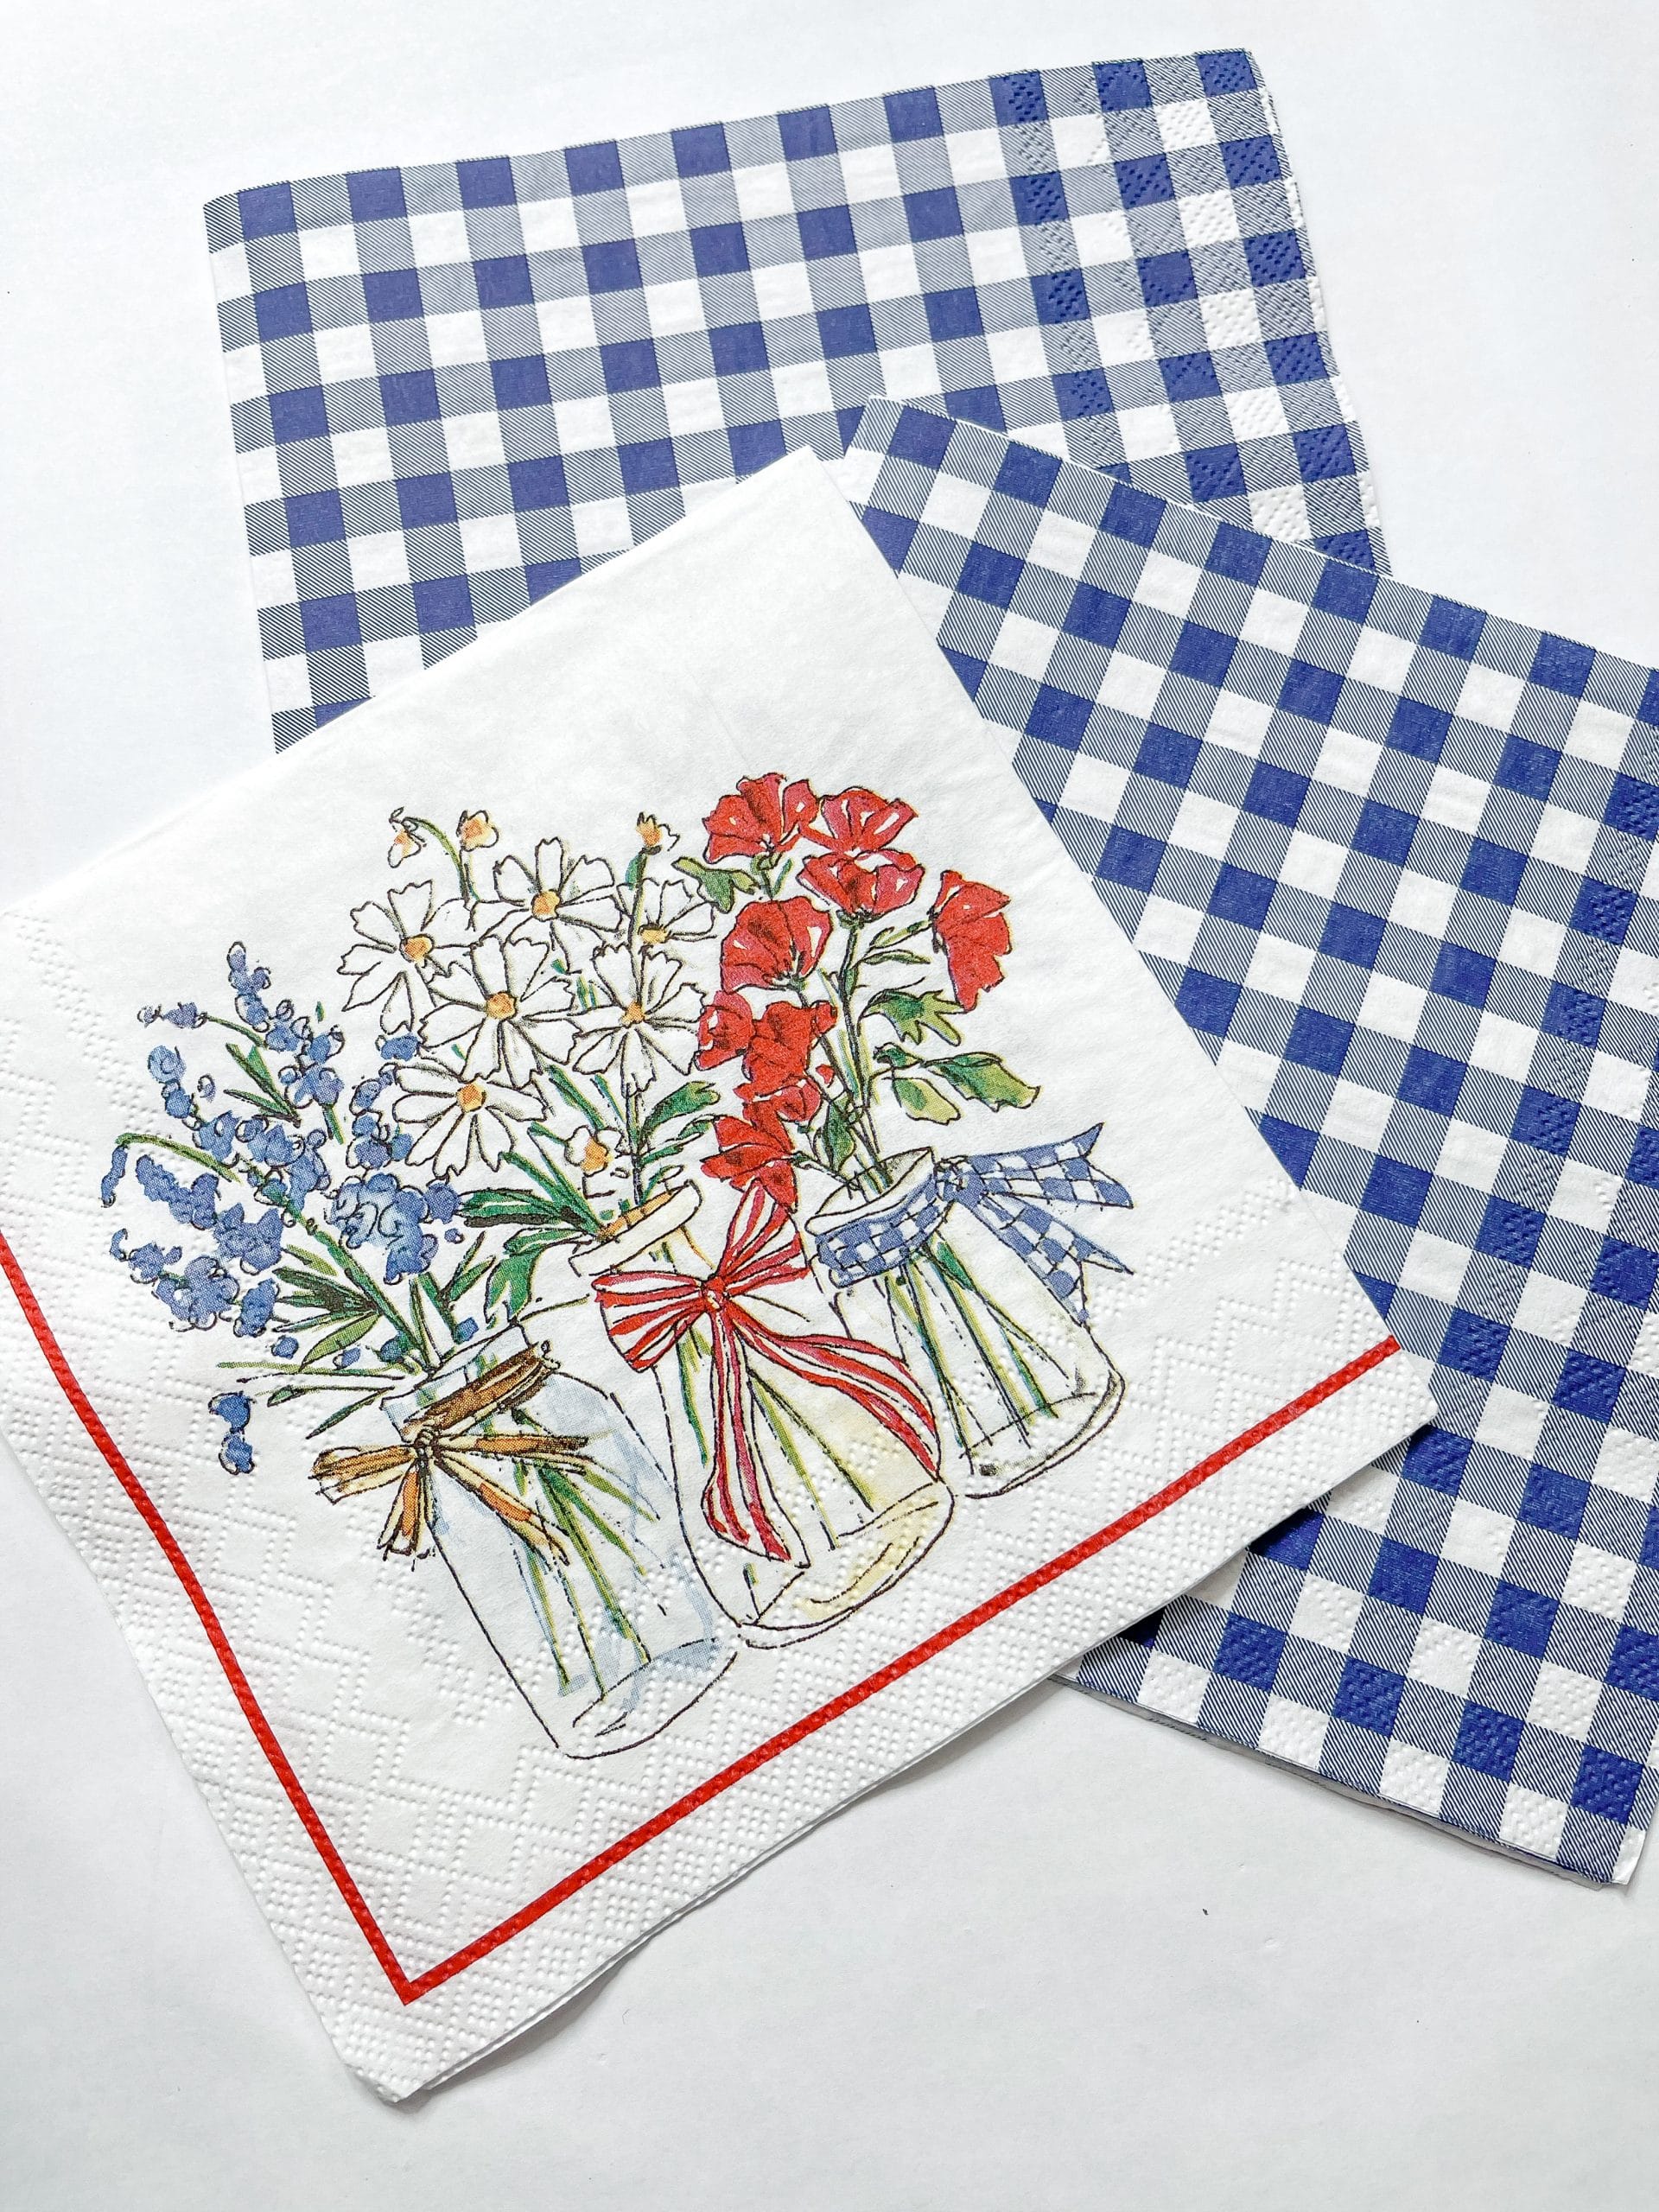
You’re also going to separate the plies of the blue buffalo check napkin. I used two of the blue buffalo check napkins.
Next, dry place the floral vase napkin onto the box so you can measure out the size the napkin needs to be. Trim if necessary, then get your cardboard.
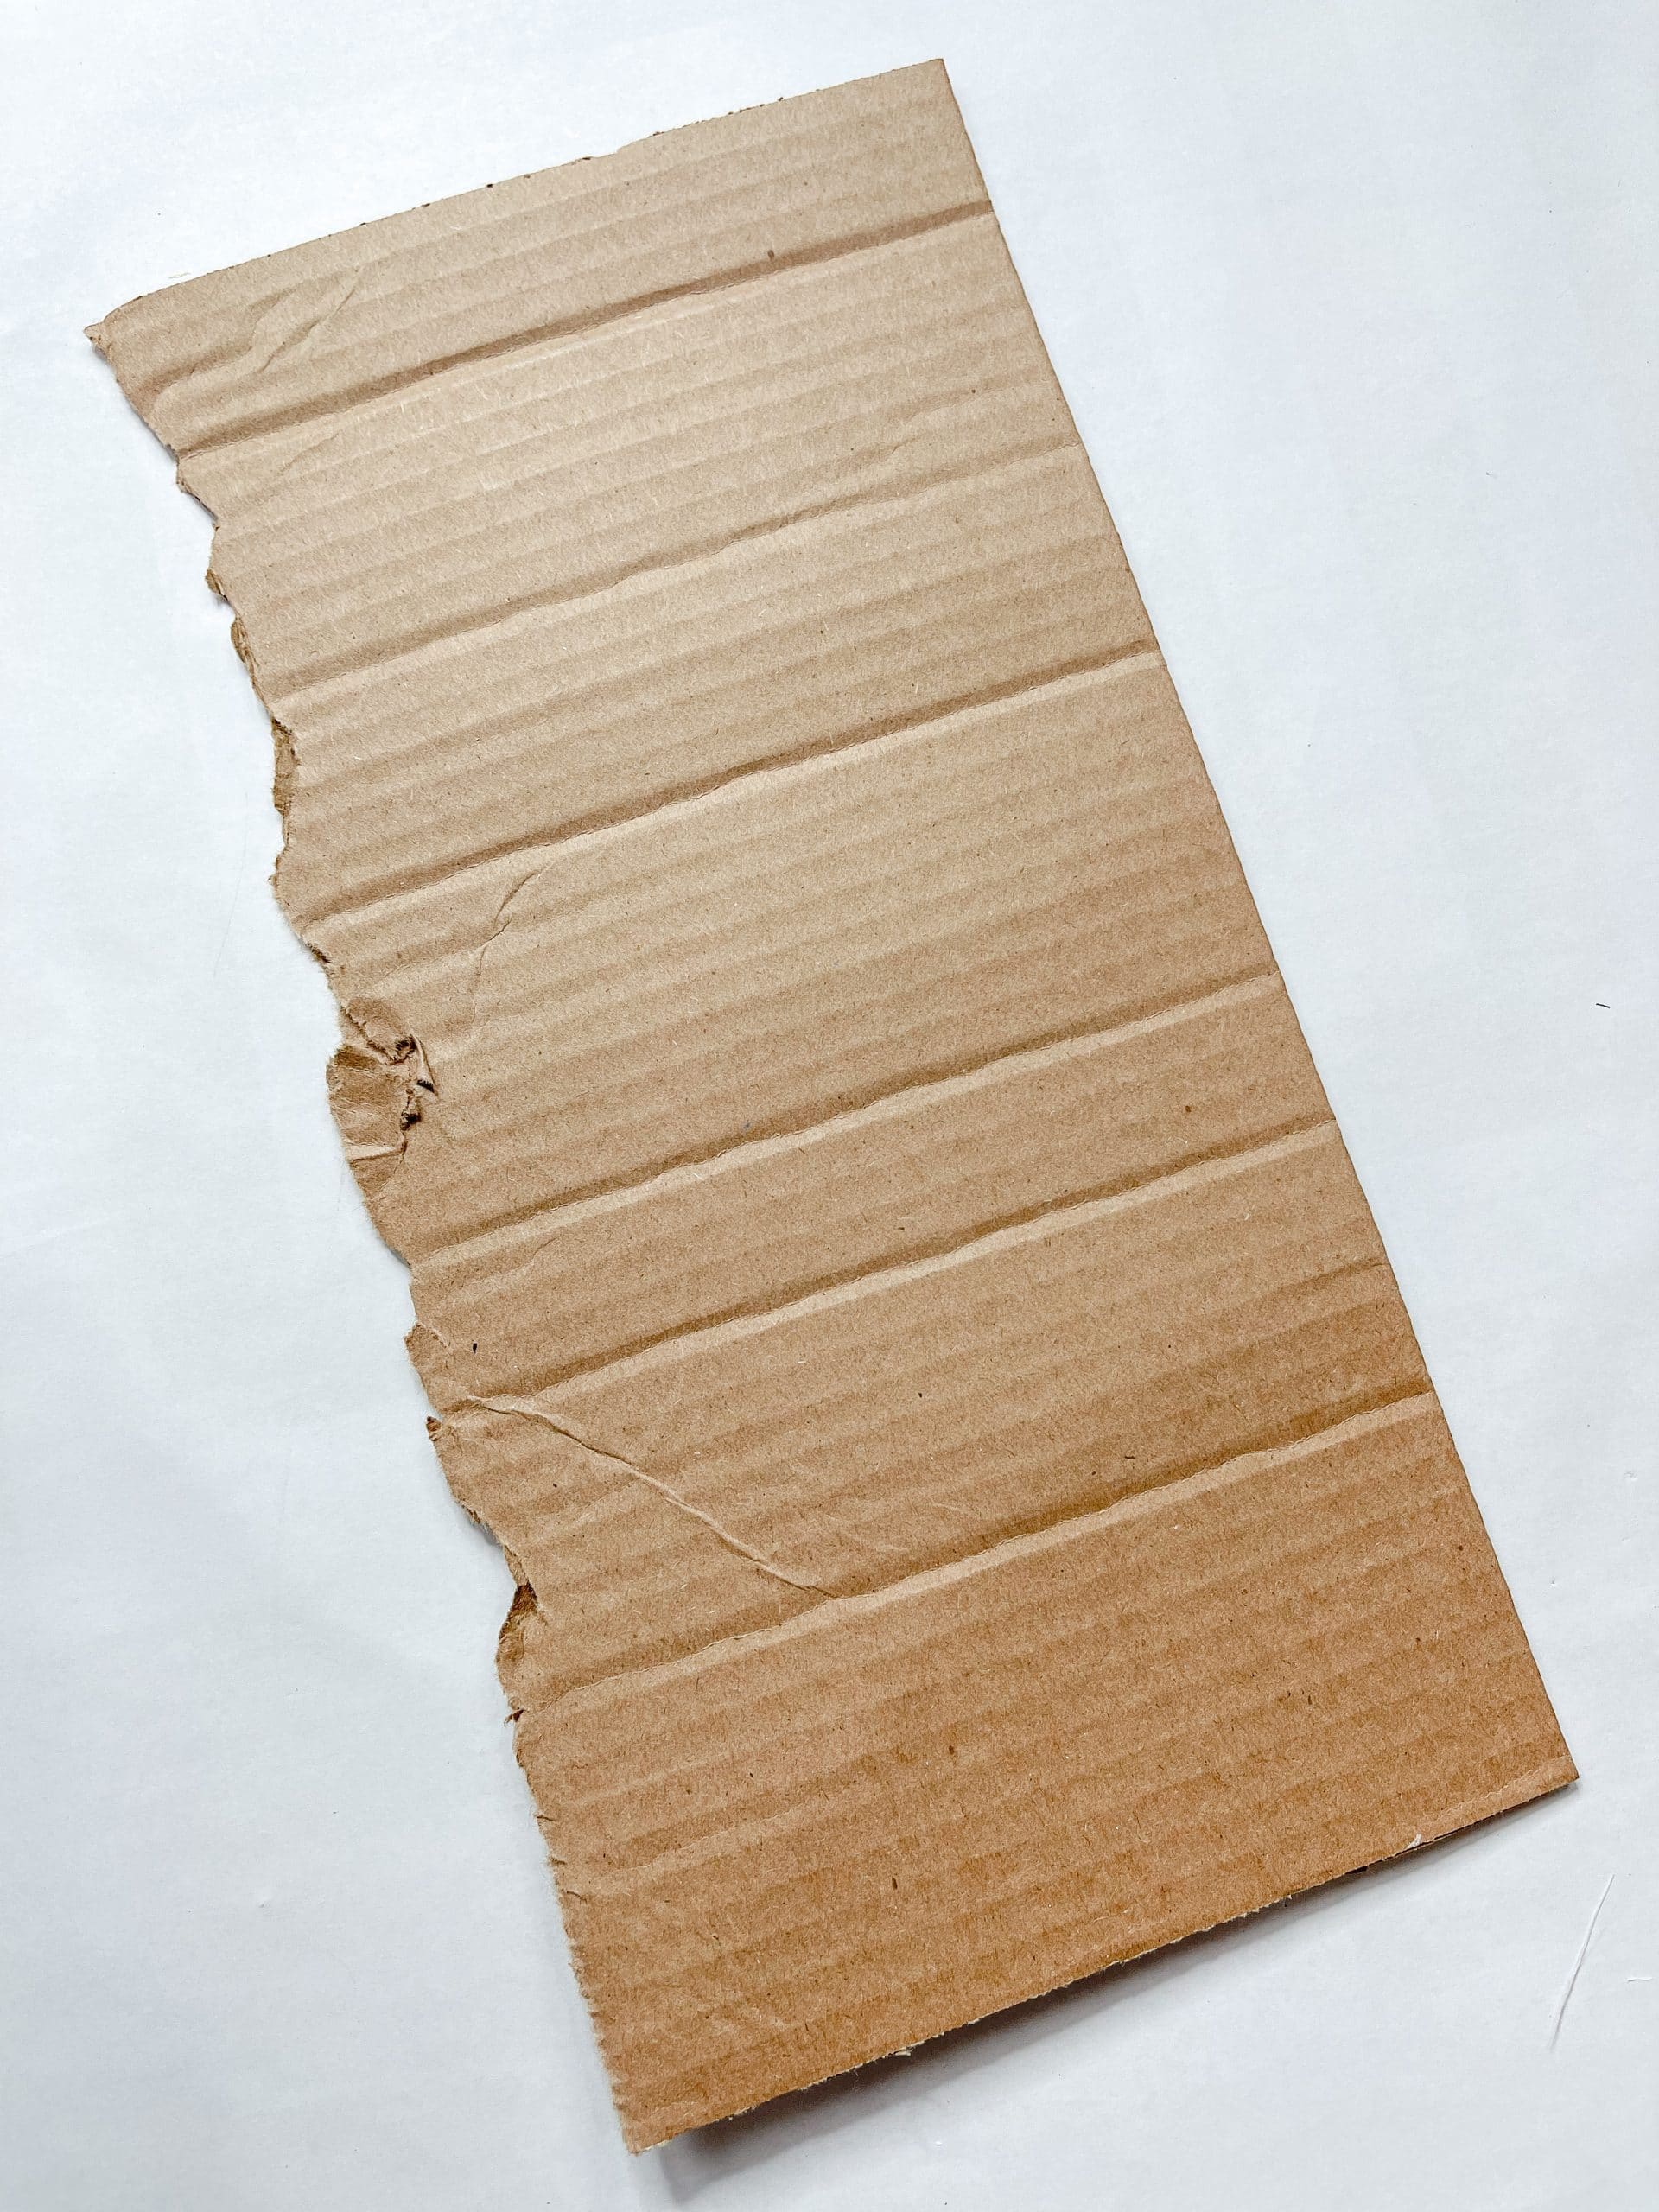
Place the napkin design cutout onto the cardboard and trace around it. Then, paint the cardboard white where you traced the napkin.
I then lightly sanded over the cardboard with a sanding sponge, applied a coat of Mod Podge over the white paint, and placed the napkin cutout onto the Mod Podge.
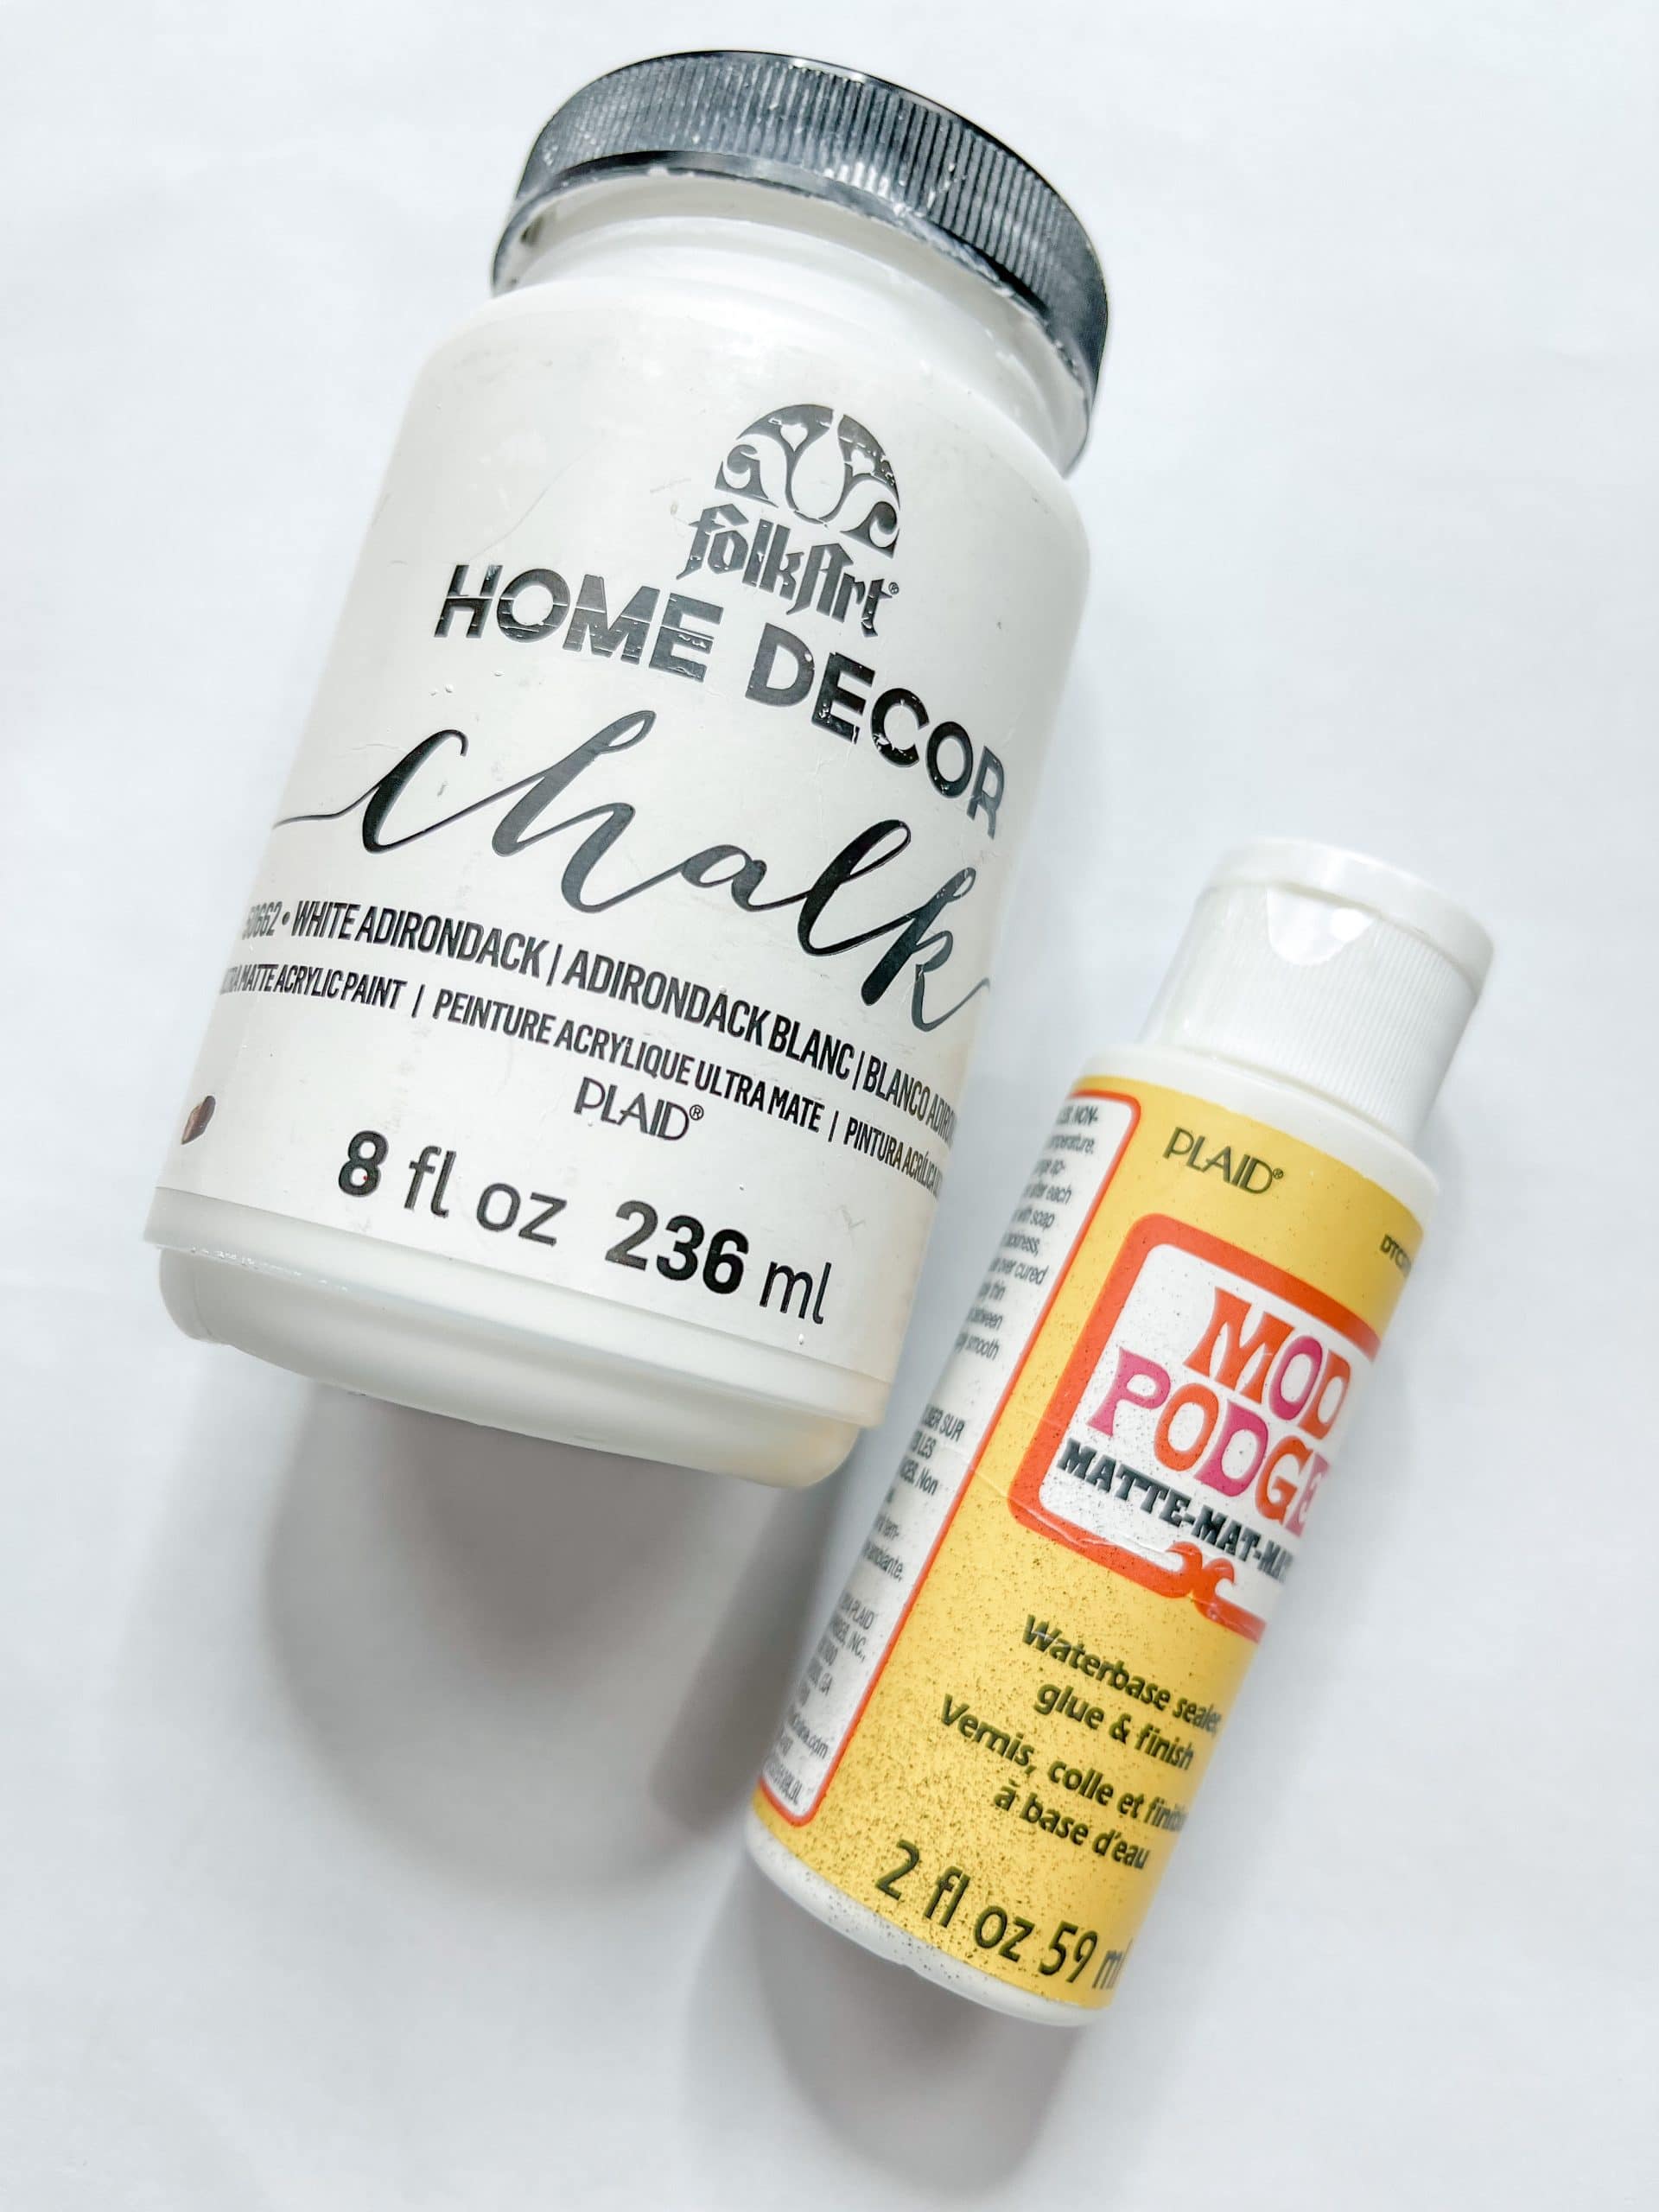
Let the Mod Podge dry (I used my heat gun to speed up the drying process), then cut the cardboard to the right size.
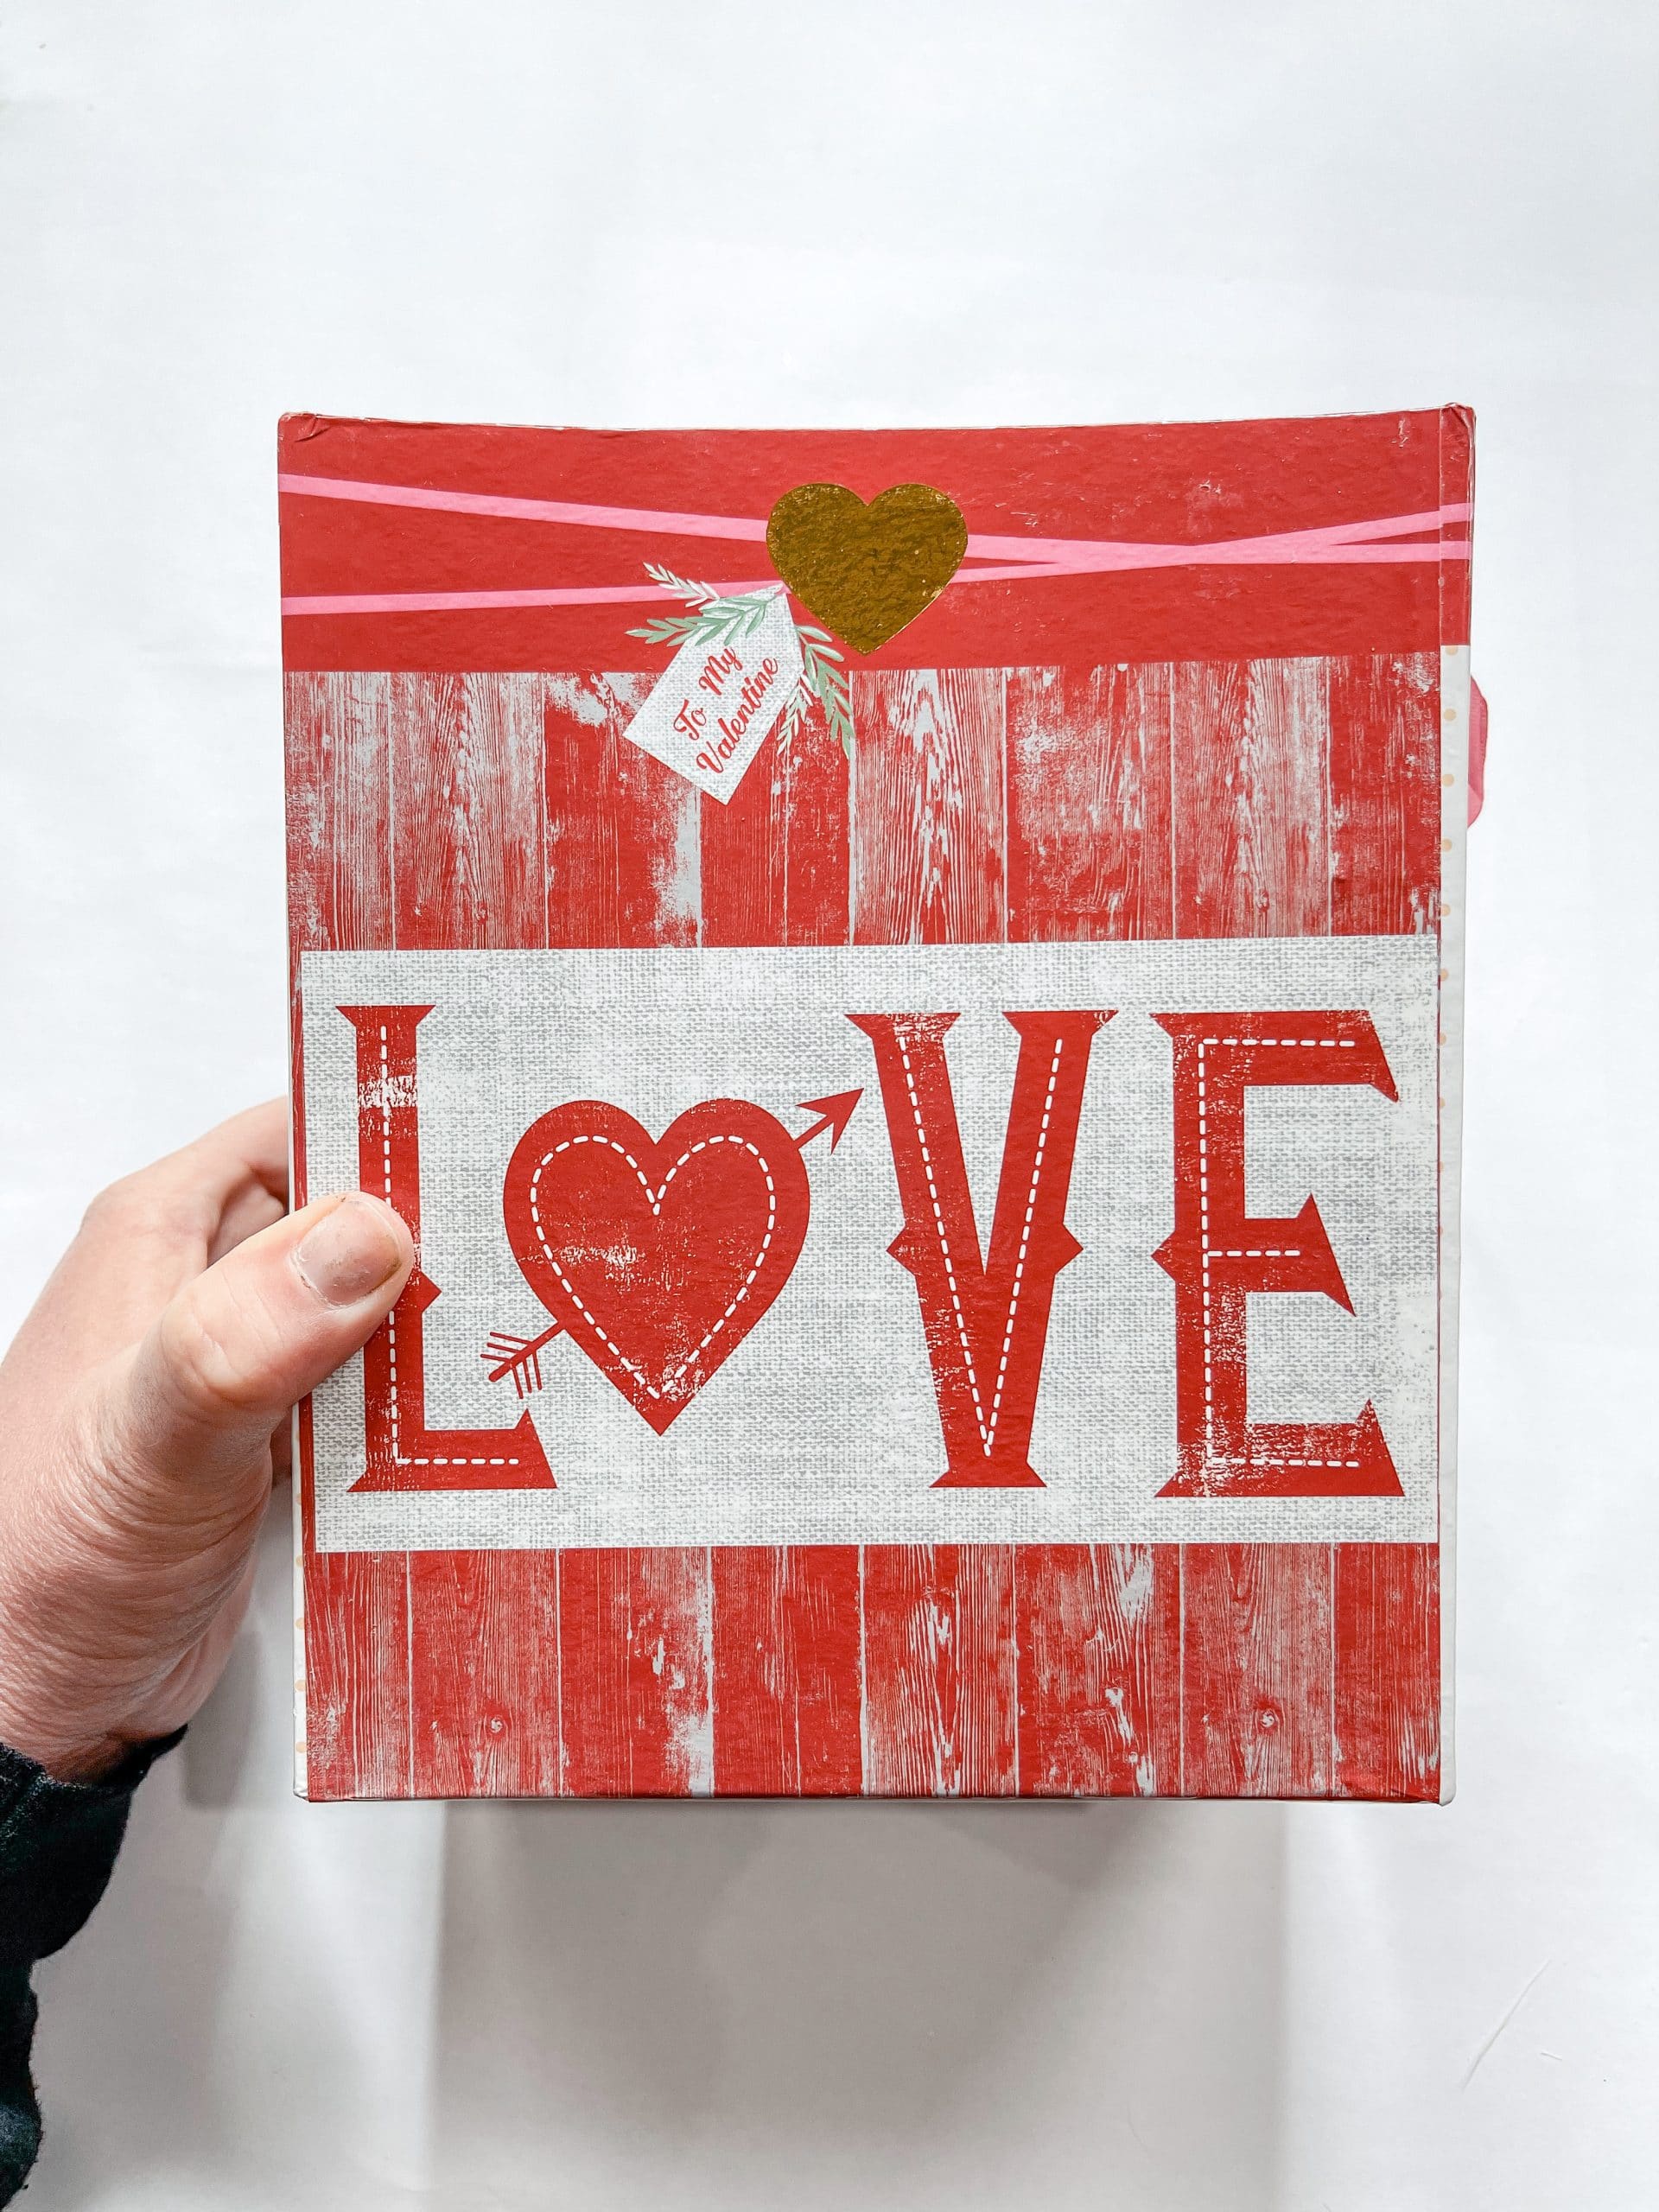
Dollar Tree Valentine’s Day Gift Box/Bag
Before we can decoupage the blue buffalo check napkin onto the Dollar Tree DIY 4th of July Planter, we have to paint the entire box white. Otherwise, the original colors of the box will show through the napkin.
I dried the paint, then applied Mod Podge to the box, one side at a time, and placed the buffalo check napkin one side at a time.
You want to be careful and methodical when placing the napkin to make sure the design isn’t crooked.
Instead of wrapping the napkin around as I applied Mod Podge, I removed the excess from each side. This helps make sure that the design doesn’t end up crooked and there is no empty space on the box.
I painted the bottom of the box white, then hot glued Dollar Tree wood craft cubes in each corner of the box to create little feet for this DIY planter.
Once the feet were secured, I hot glued three Dollar Tree seed starers to raise the bottom of the box on the inside so I could insert the floral foam.
Cut your floral foam to fit inside of the box and press it down so it is sitting on the Dollar Tree seed starters.
Bring the Dollar Tree DIY 4th of July Planter together
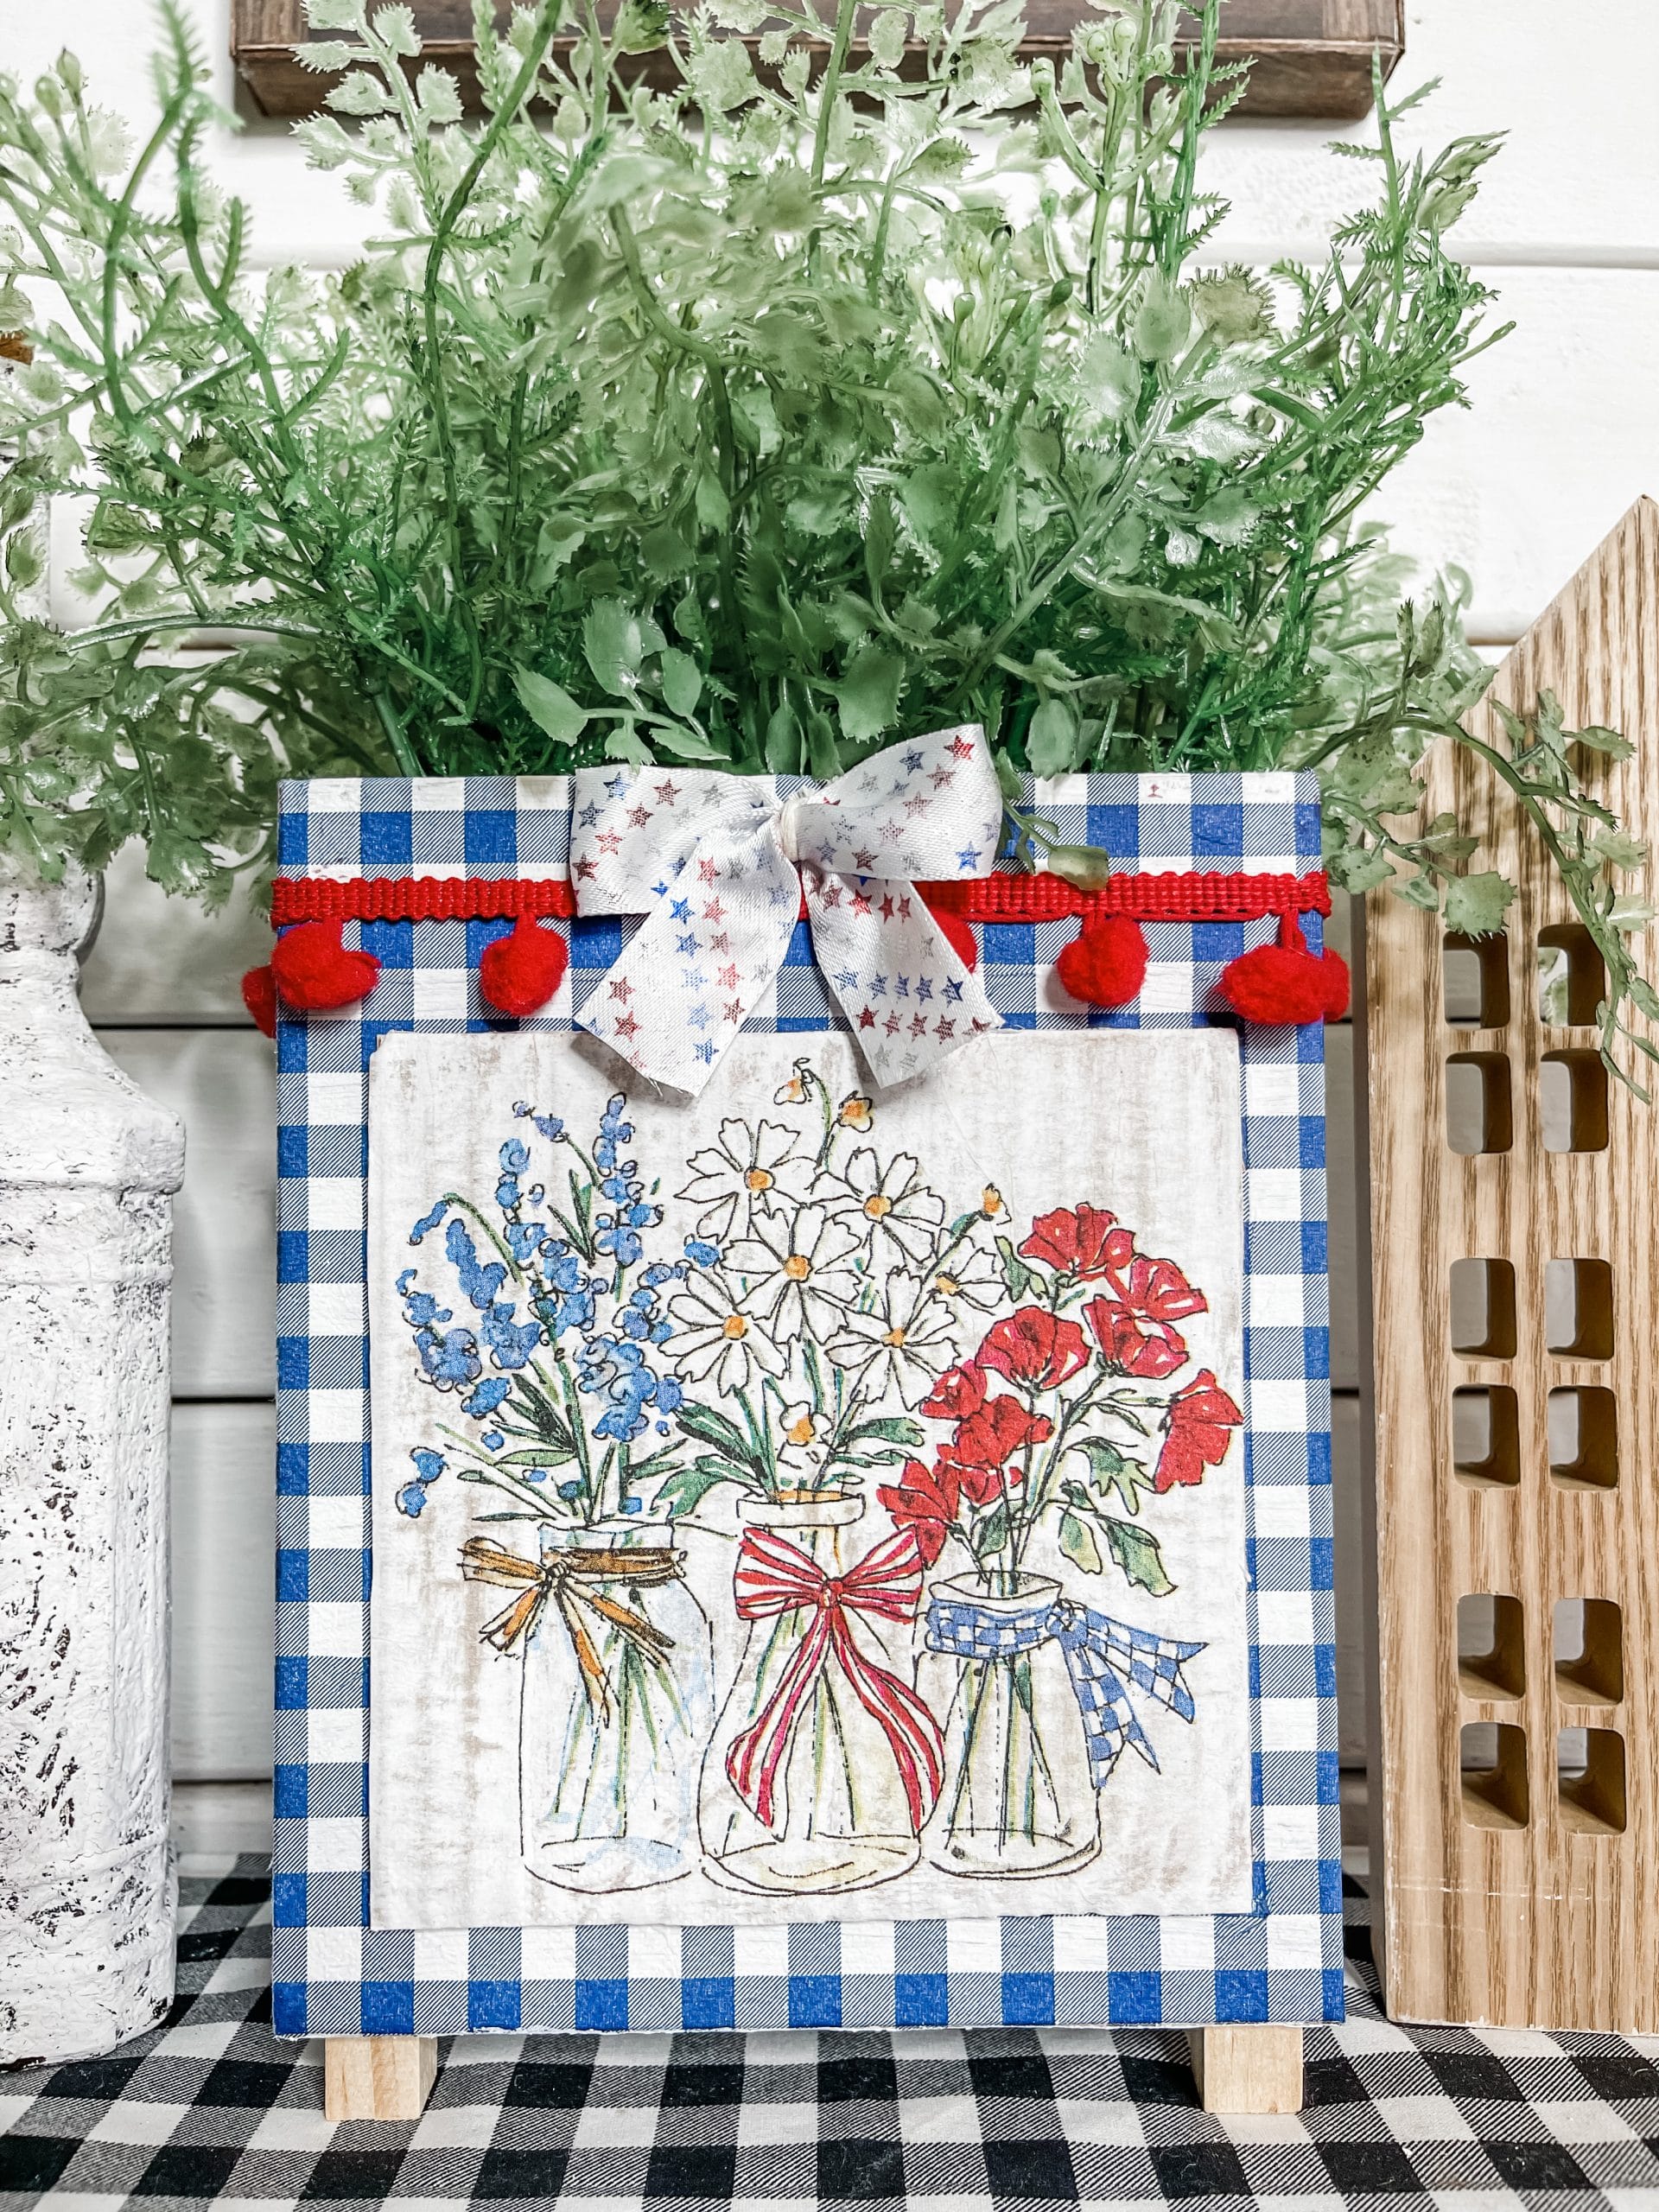
Now, hot glue the decoupaged cardboard to the front side of your decoupaged box. I centered it lower on the box so that I could add embellishments towards the top.
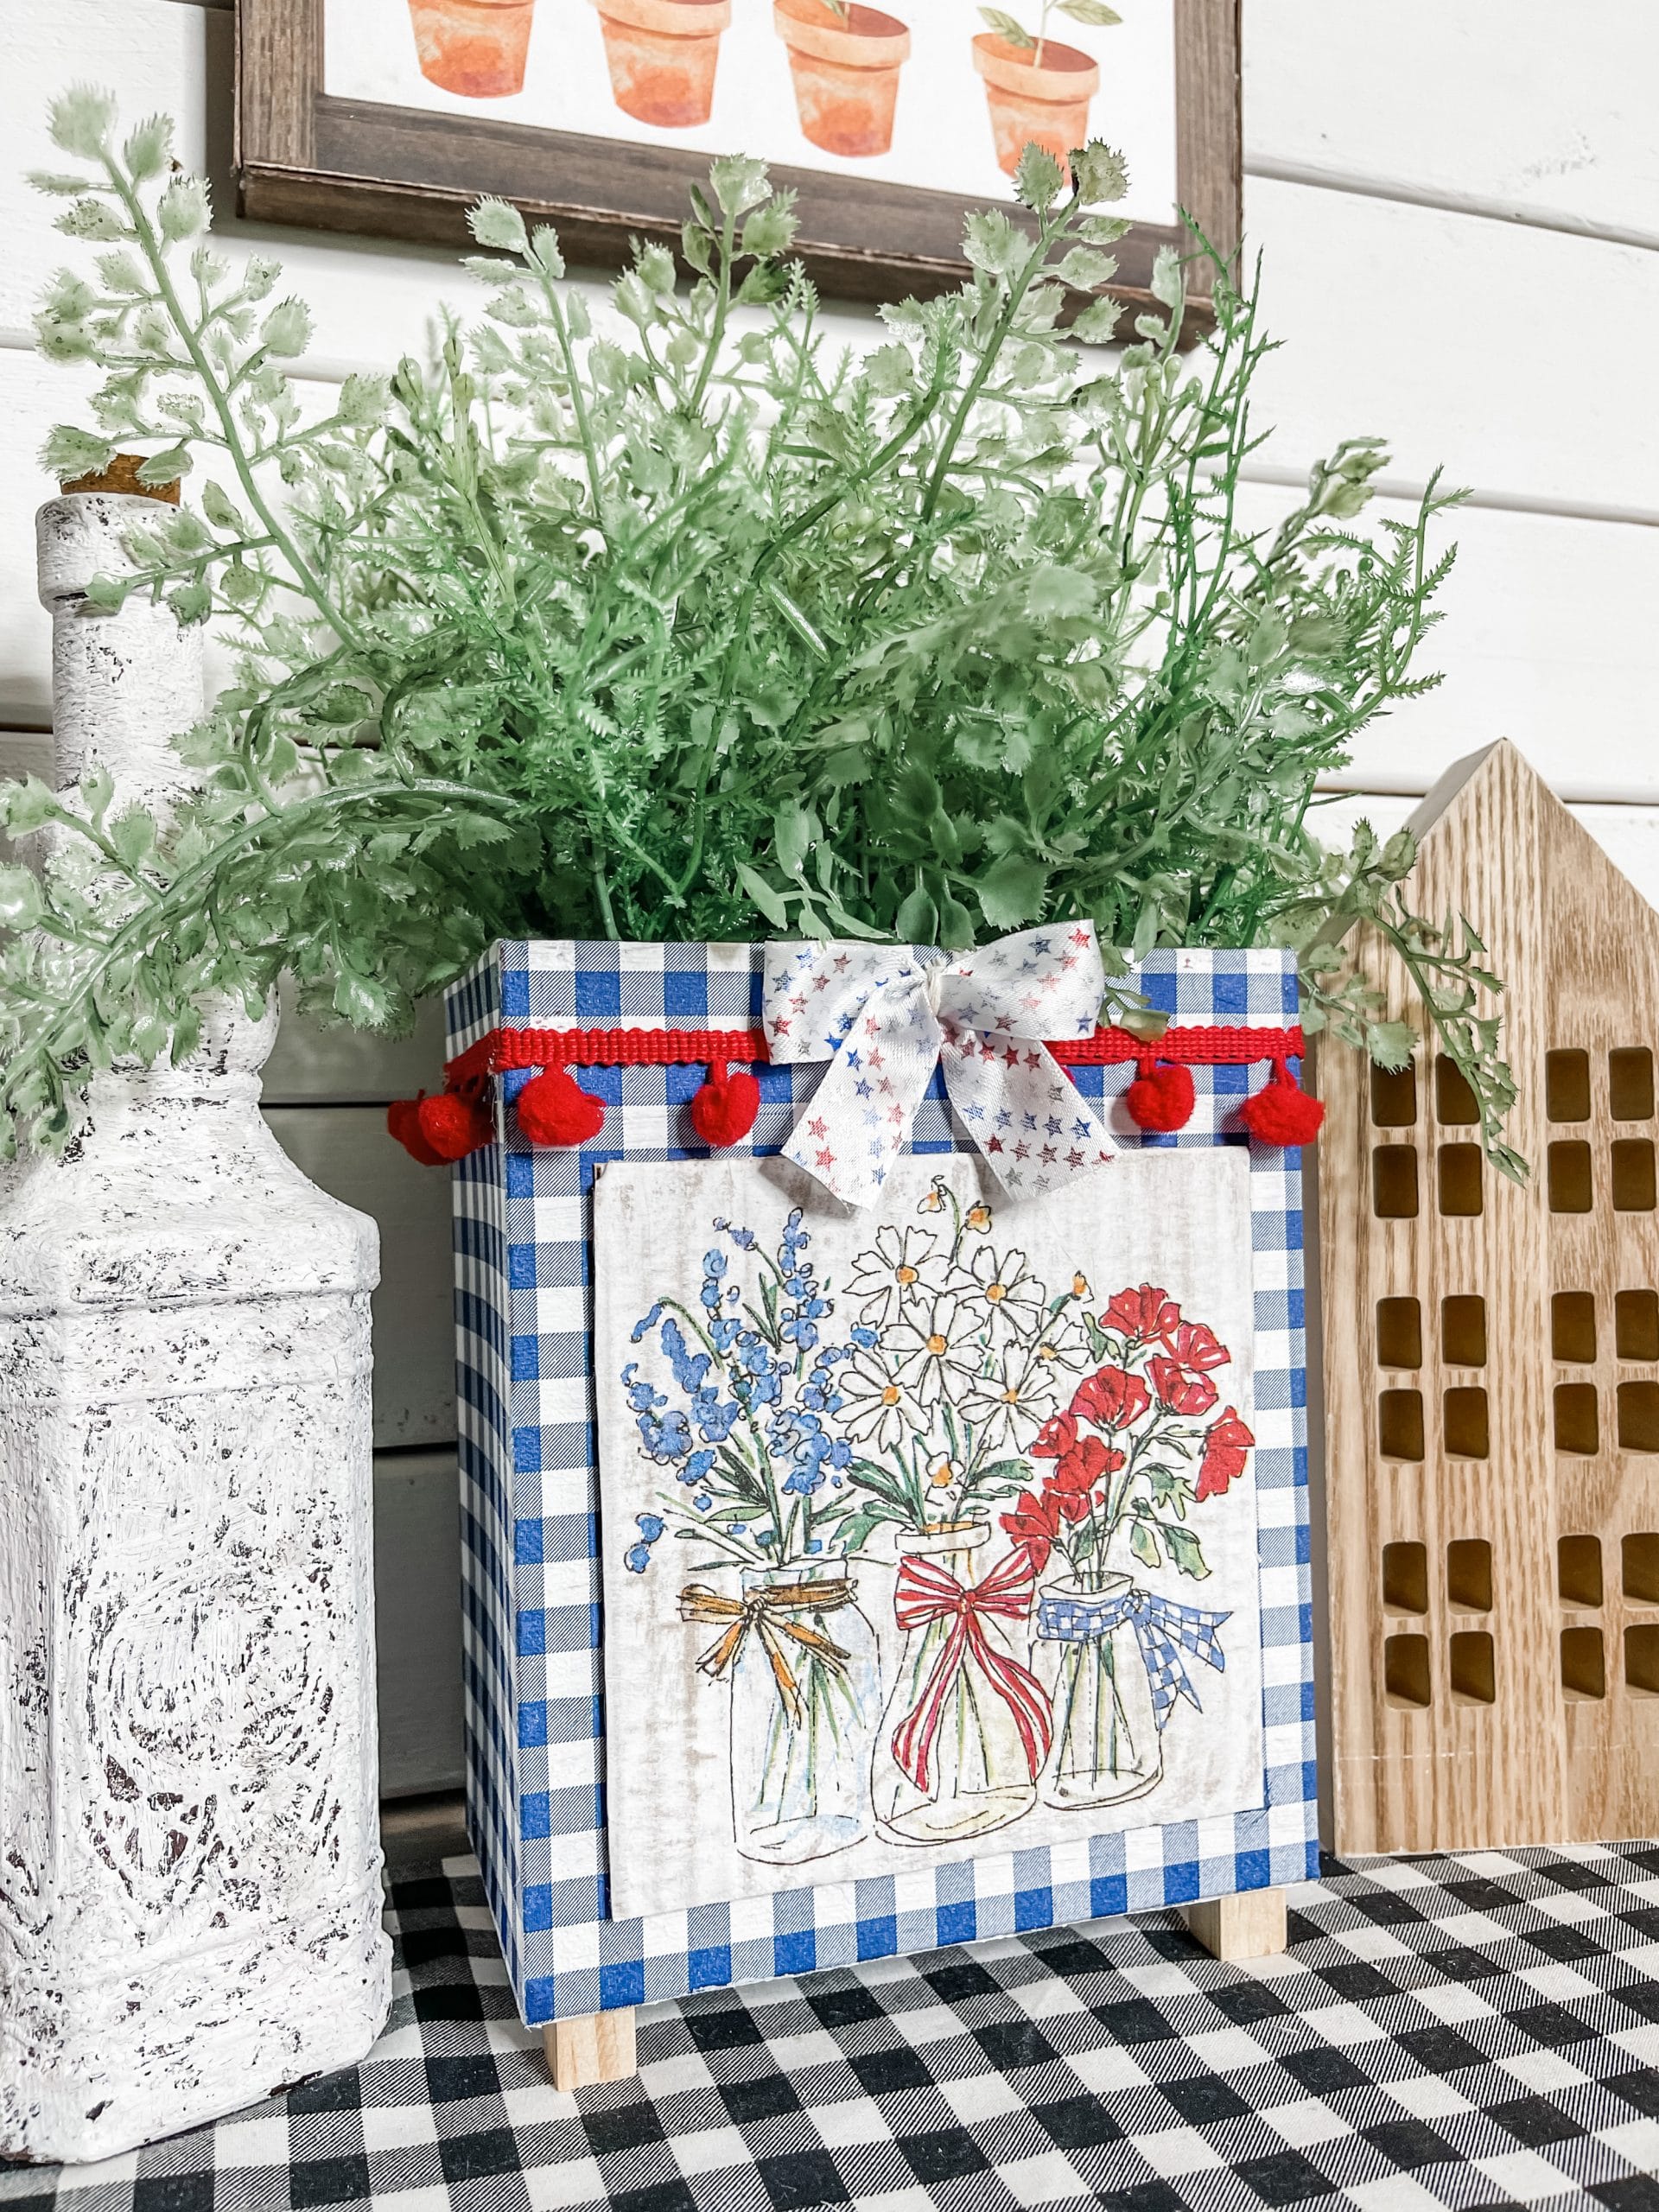
I wrapped the red pom pom ribbon around the top of the box and hot glued it in place. Then, I made a little bow out of the white ribbon with red/blue/silver stars.
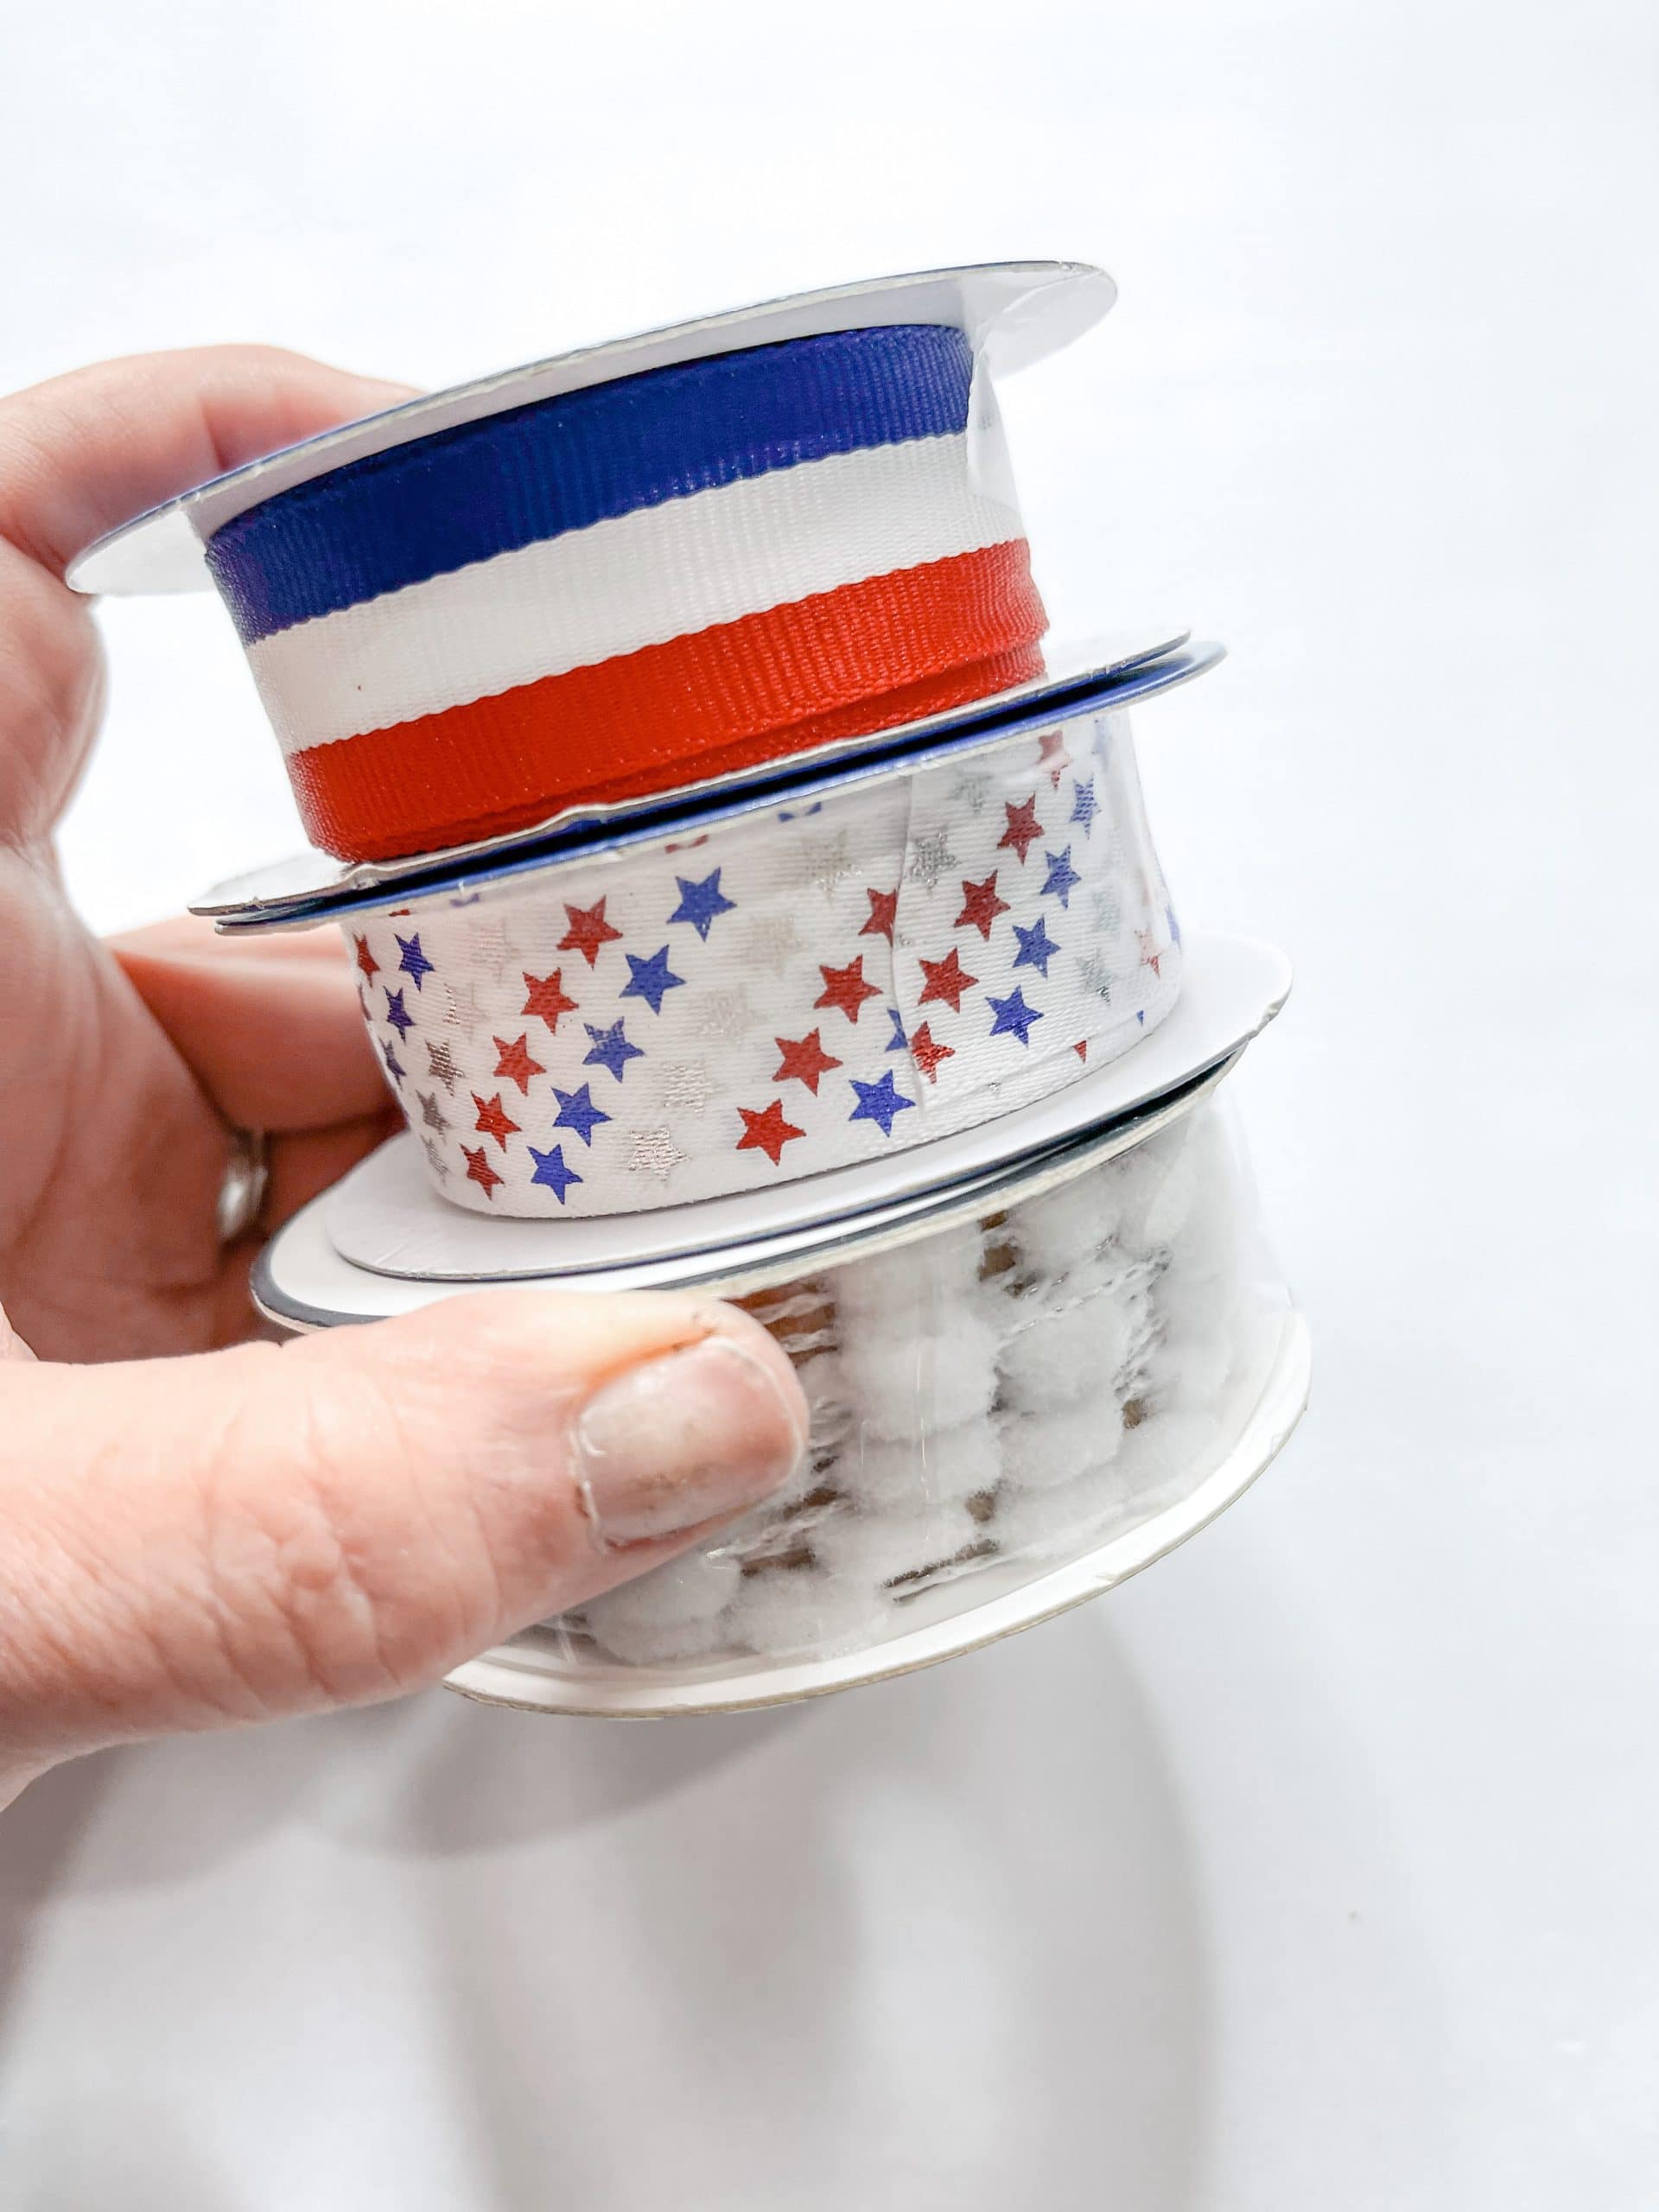
I secured the little bow with a piece of white jute twine, then hot glued the bow on the front of the box, just above the red pom pom ribbon so it was slightly hanging over the pom pom ribbon.
Finally, get your greenery and press the stems into the floral foam inside the DIY 4th of July planter! You can choose any greenery or floral arrangement you want, and switch them out as you want!
I hope you enjoyed this Dollar Tree DIY 4th of July Planter as I did and decide to make it for yourself! If you do, I would love to see how yours turns out!
You should totally join my FREE Facebook group called On A Budget Crafts! It is a judgment-free community for DIY crafters to show off their projects and ideas.
If you loved this DIY you might also like these DIY ideas!
- DIY 4th of July Shirt Idea
- DIY Dollar Tree American Flag Decor
- Simple Buffalo Check Farmhouse Plant Jar
- DIY Faux Concrete Planter
- DIY Patriotic Dollar Tree Mason Jar
Thanks for stopping by! XOXO Amber
You can also shop my ENTIRE AMAZON Favorites shop just click here! It’s packed full of all the things I use and love. Here is the supply list I highly recommend every creative have on hand!!
Would you also pin my blog for later and get on my newsletter alerts? I would love to have you join my #craftycrew.
Inspired? Leave me a comment below! I love hearing from my readers!

Join my free “ON A BUDGET CRAFTS” Facebook group!

I love the planter but I would like to do the framed bloom craft hanging above it. Is that possible?
It’s beautiful and so patriotic. Adding red, white and blue flowers would be pretty too or just white.
It just really
Cute I like it
Love it
Amber, I just love the planter that you created 💗 You always create such beautiful works of art💗 I am here to vouch for your Facebook group “On A Budget Crafts”💗It’s a wonderful, supportive, kind and caring group of crafters that love to inspire, create, and help others in their journey through crafting and life. Your group is welcoming to all creative people whether it’s their first craft project or their 100th. All ages are welcome. We celebrate our creative wins and learn from each other. I am very thankful to be a part of your creative crafting group on Facebook. GOD BLESS YOU 💗💗💗💗💗💗
Much love from:
Grandma Nikki Morgan
💗💗💗💗💗💗💗💗💗💗
Super cute!!! 🥰😍
Love this