Dollar Tree Christmas Decor DIY With Cardboard
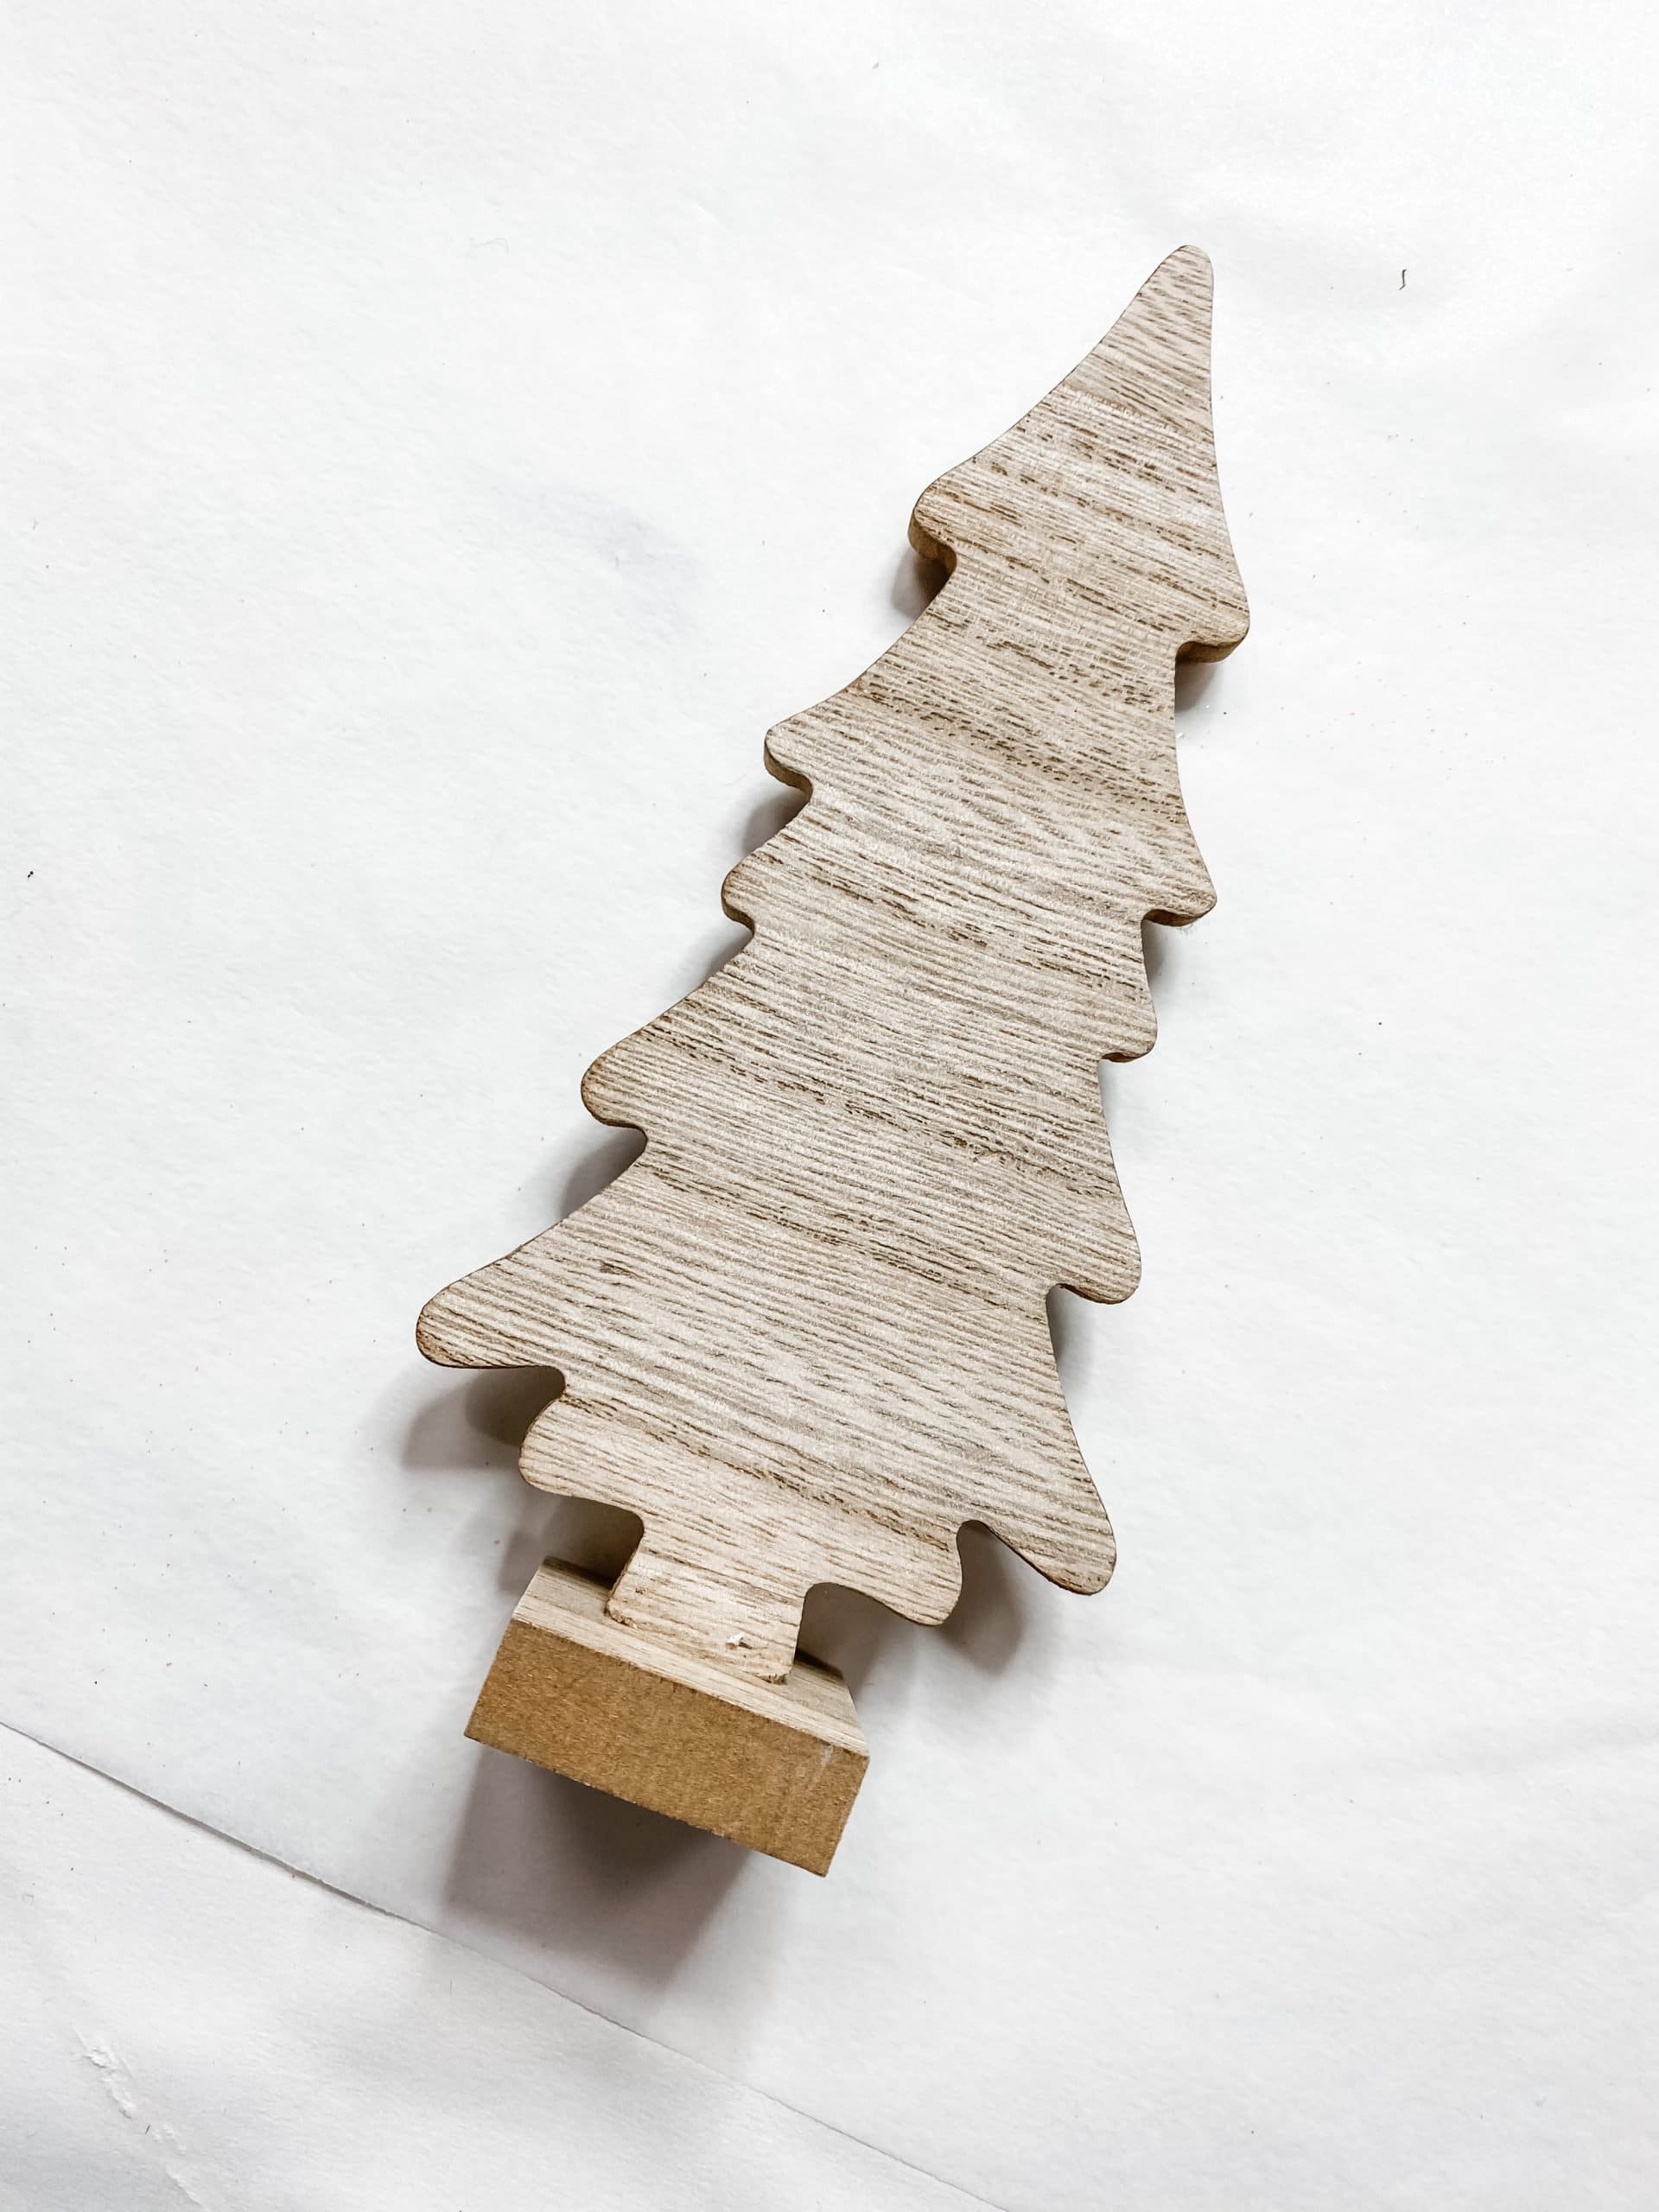
I really love this Dollar Tree Christmas Decor DIY With Cardboard because it is a great way to substitute a craft item that you may not have with something that I’m sure you have laying around your house, apartment, or dorm RIGHT NOW!
Watch the tutorial
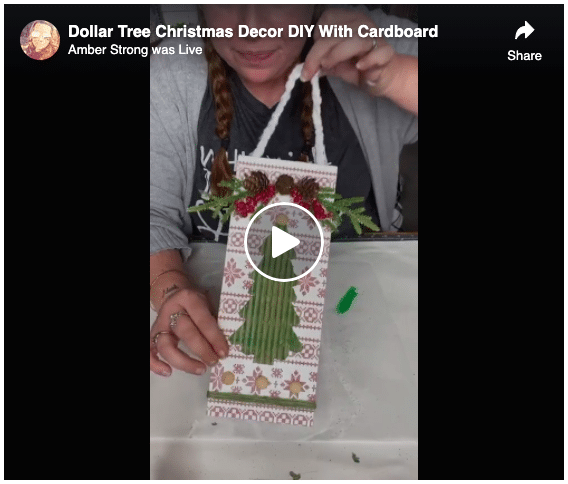
Want to craft along or see the step-by-step video tutorial? I recorded how to make this Dollar Tree Christmas Decor DIY With Cardboard during a Facebook Live video, so you can check out the replay!
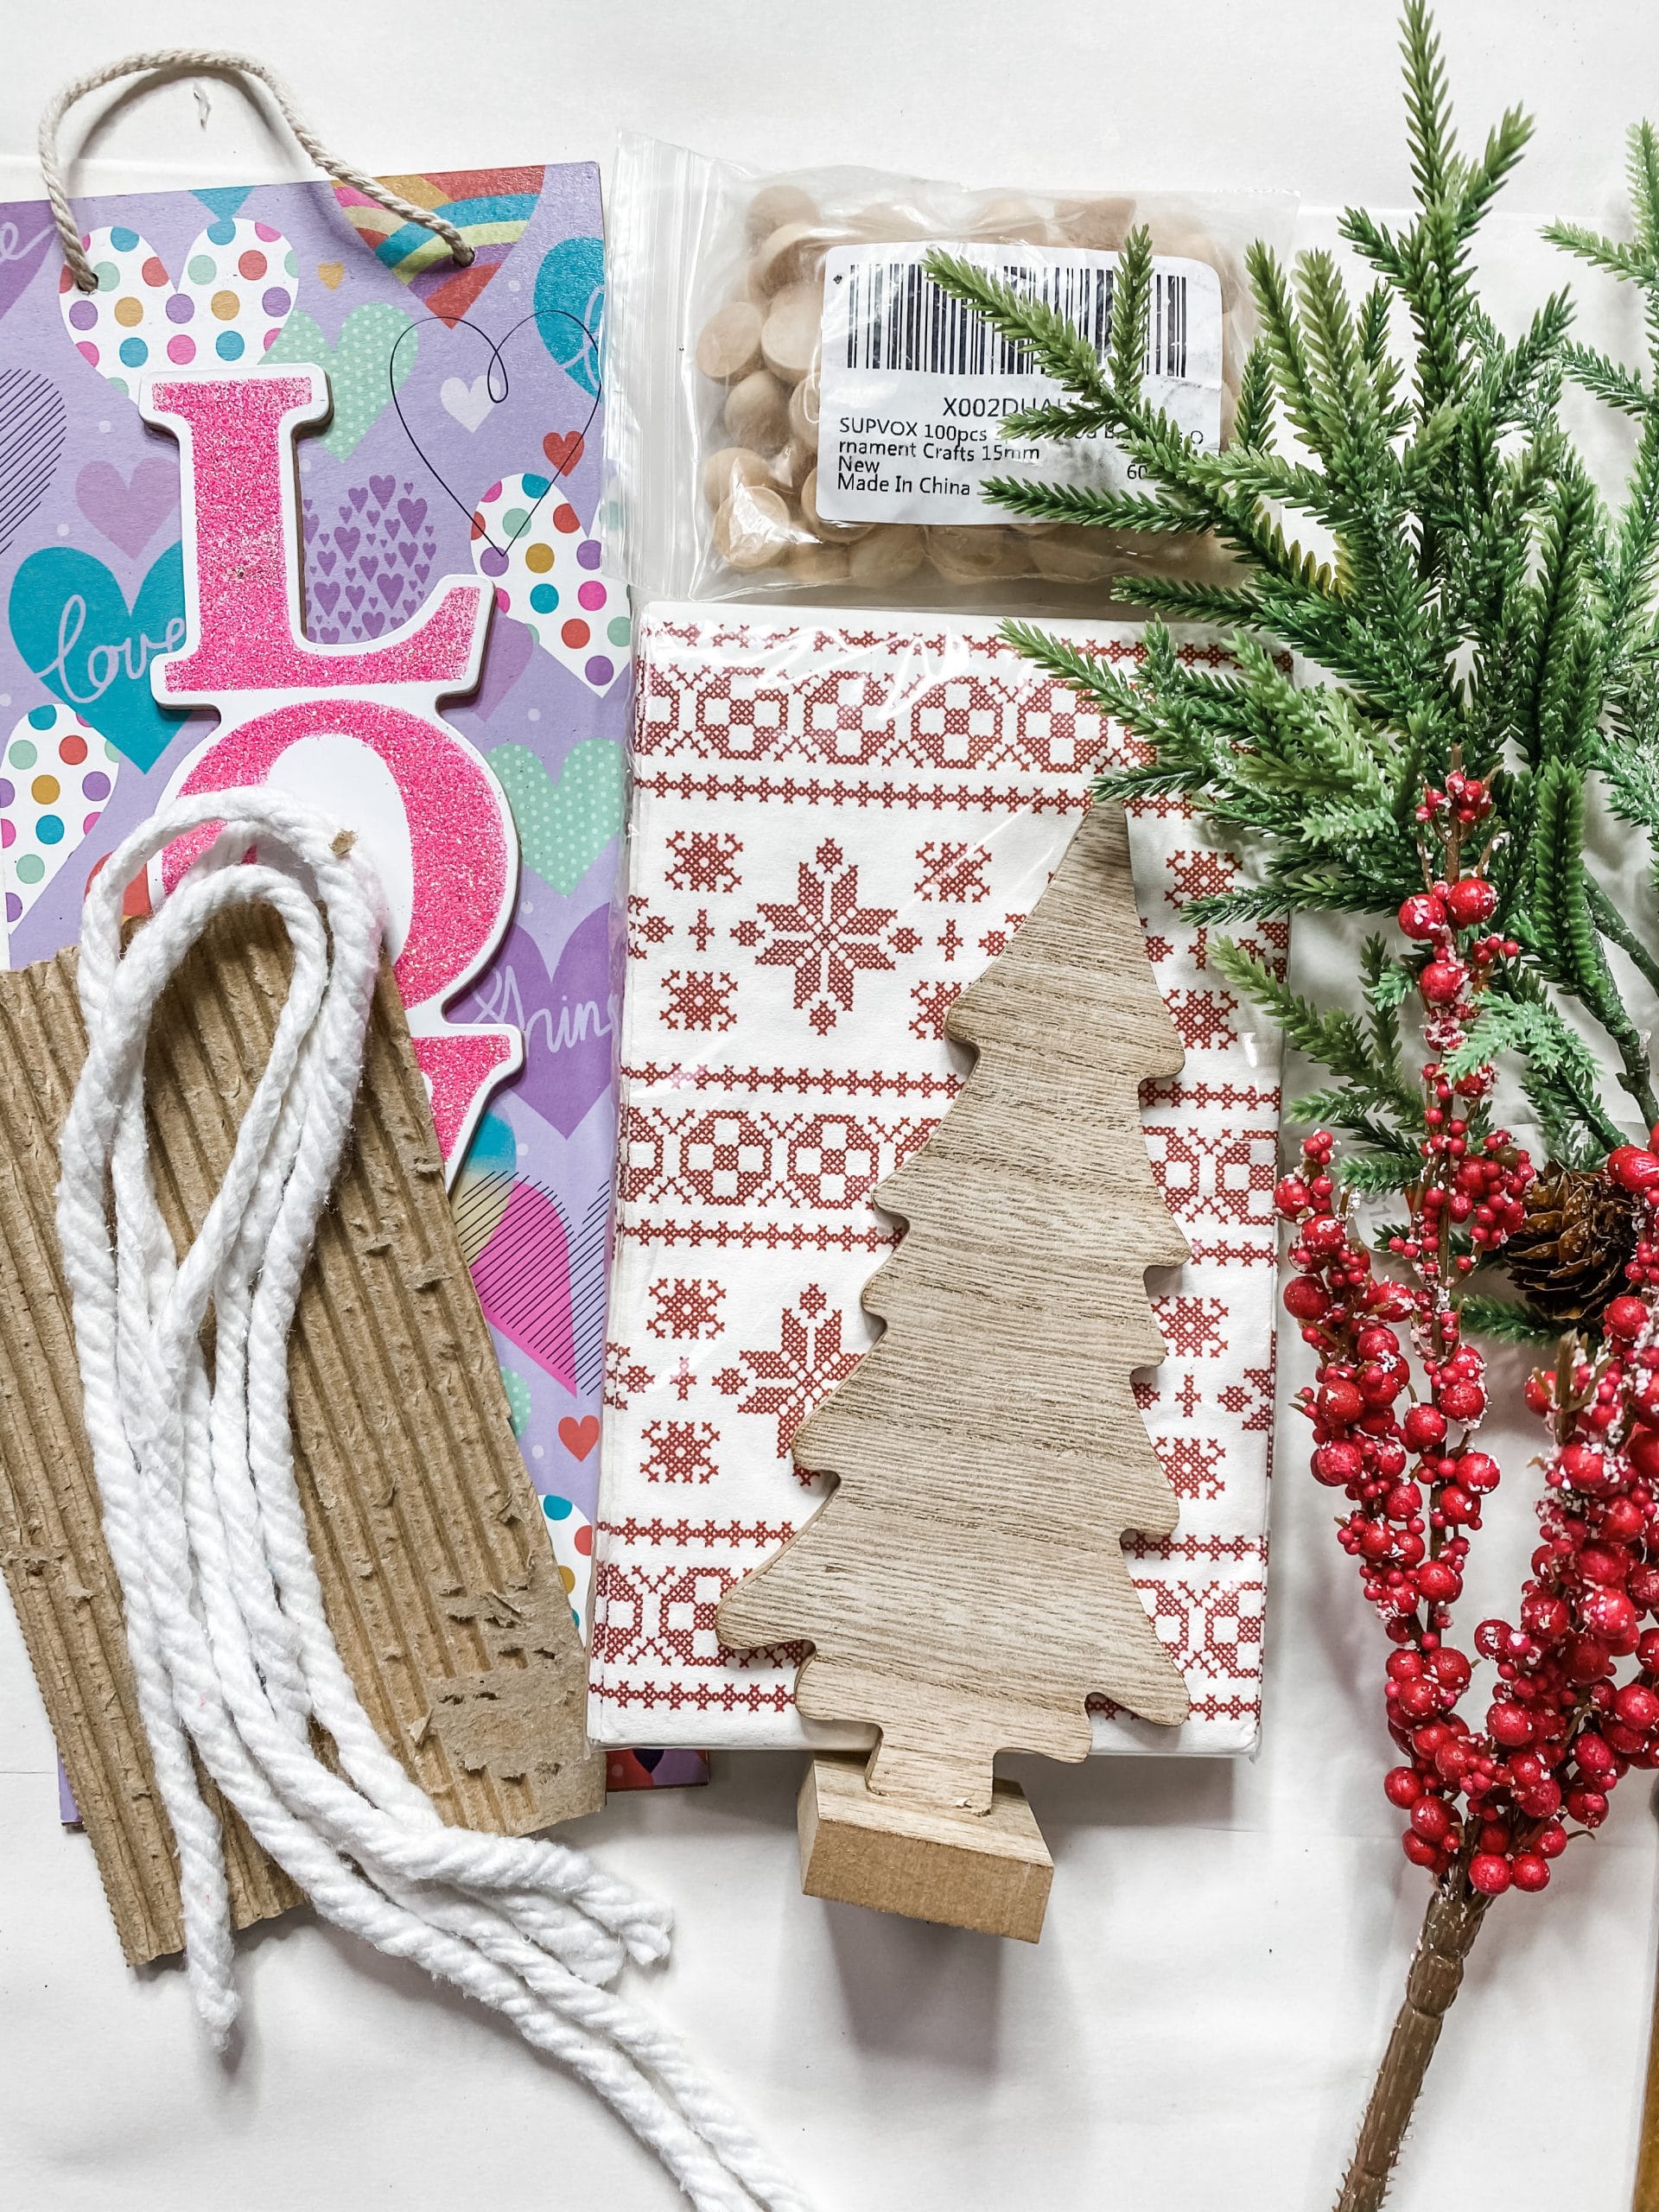
For this project, I will be using these items but you can substitute where you want.
“As an Amazon Associate, I earn from qualifying purchases.”
- Christmas Tree Printable Template
- Dollar Tree Wood Sign
- Dollar Tree Christmas Greenery Spray
- Half Wood Beads
- Piece of Cardboard
- Jute Twine
- Apple Barrel Christmas Tree Green Acrylic Paint
- Dollar Tree Mop Strings
- Napkins
- Folkart White Chalk Paint
- Mod Podge
- Glue Gun
- Heat gun
- 1-inch Chippy Paintbrush
Let’s get started!
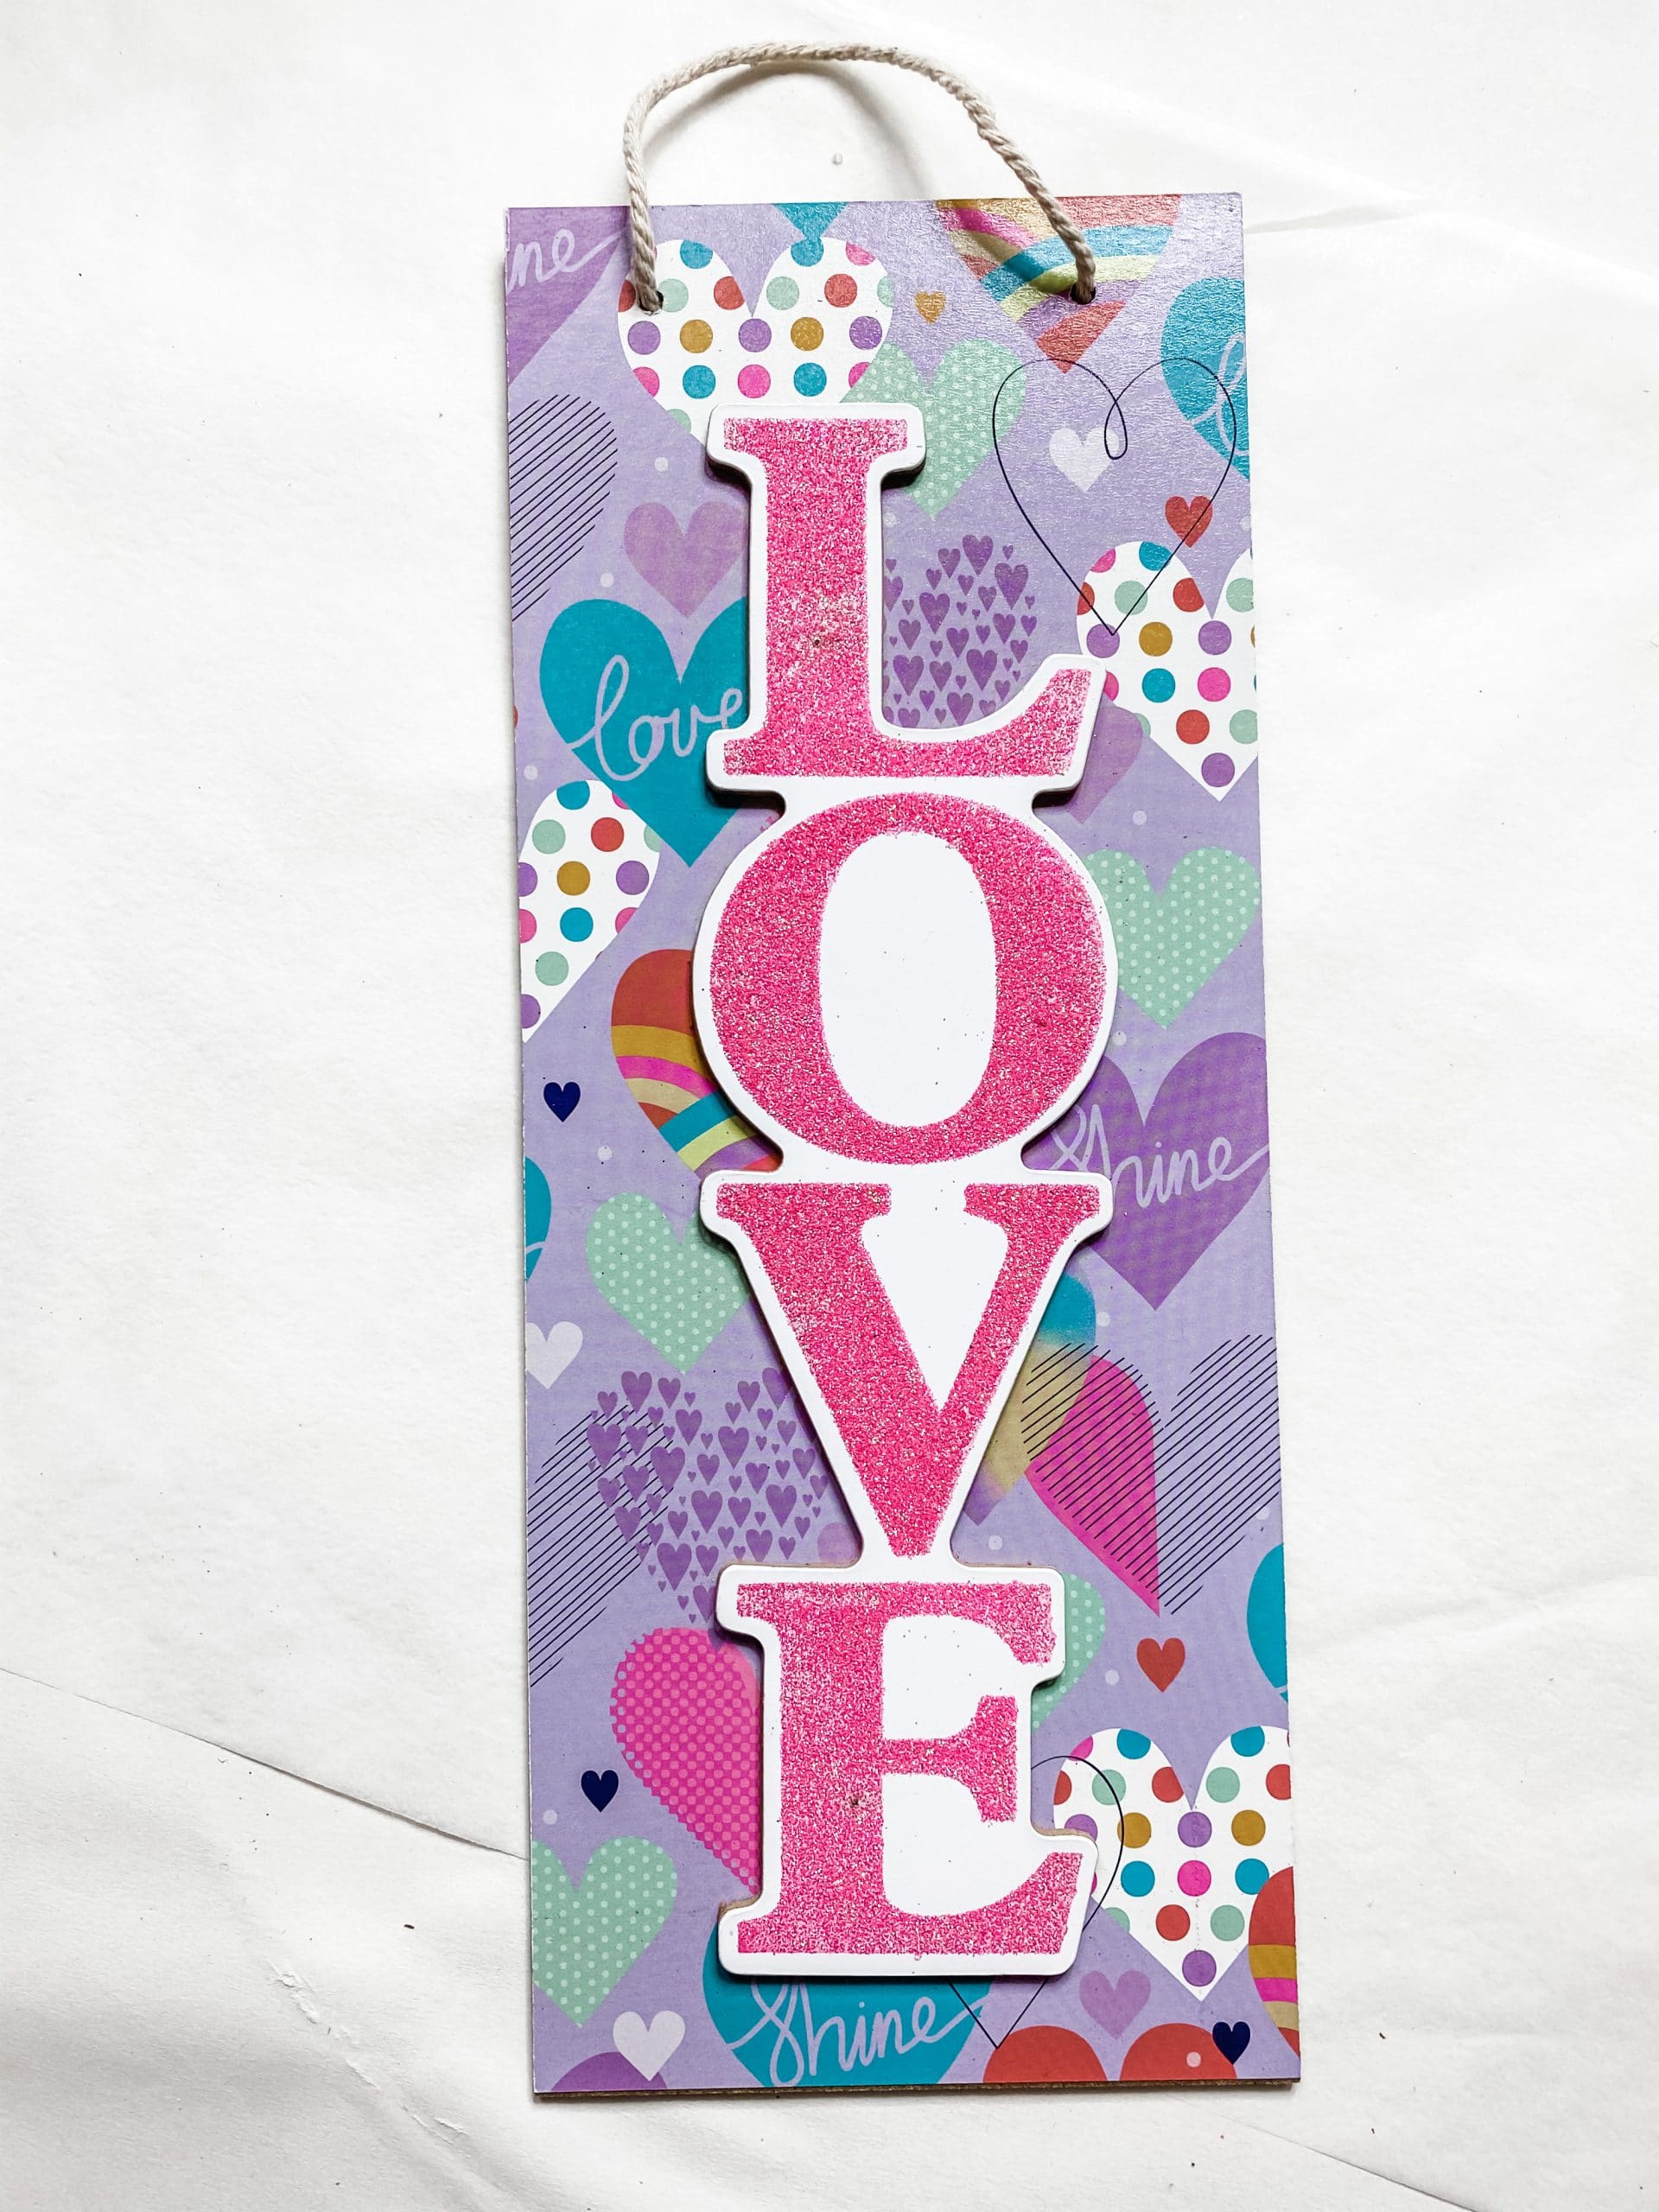
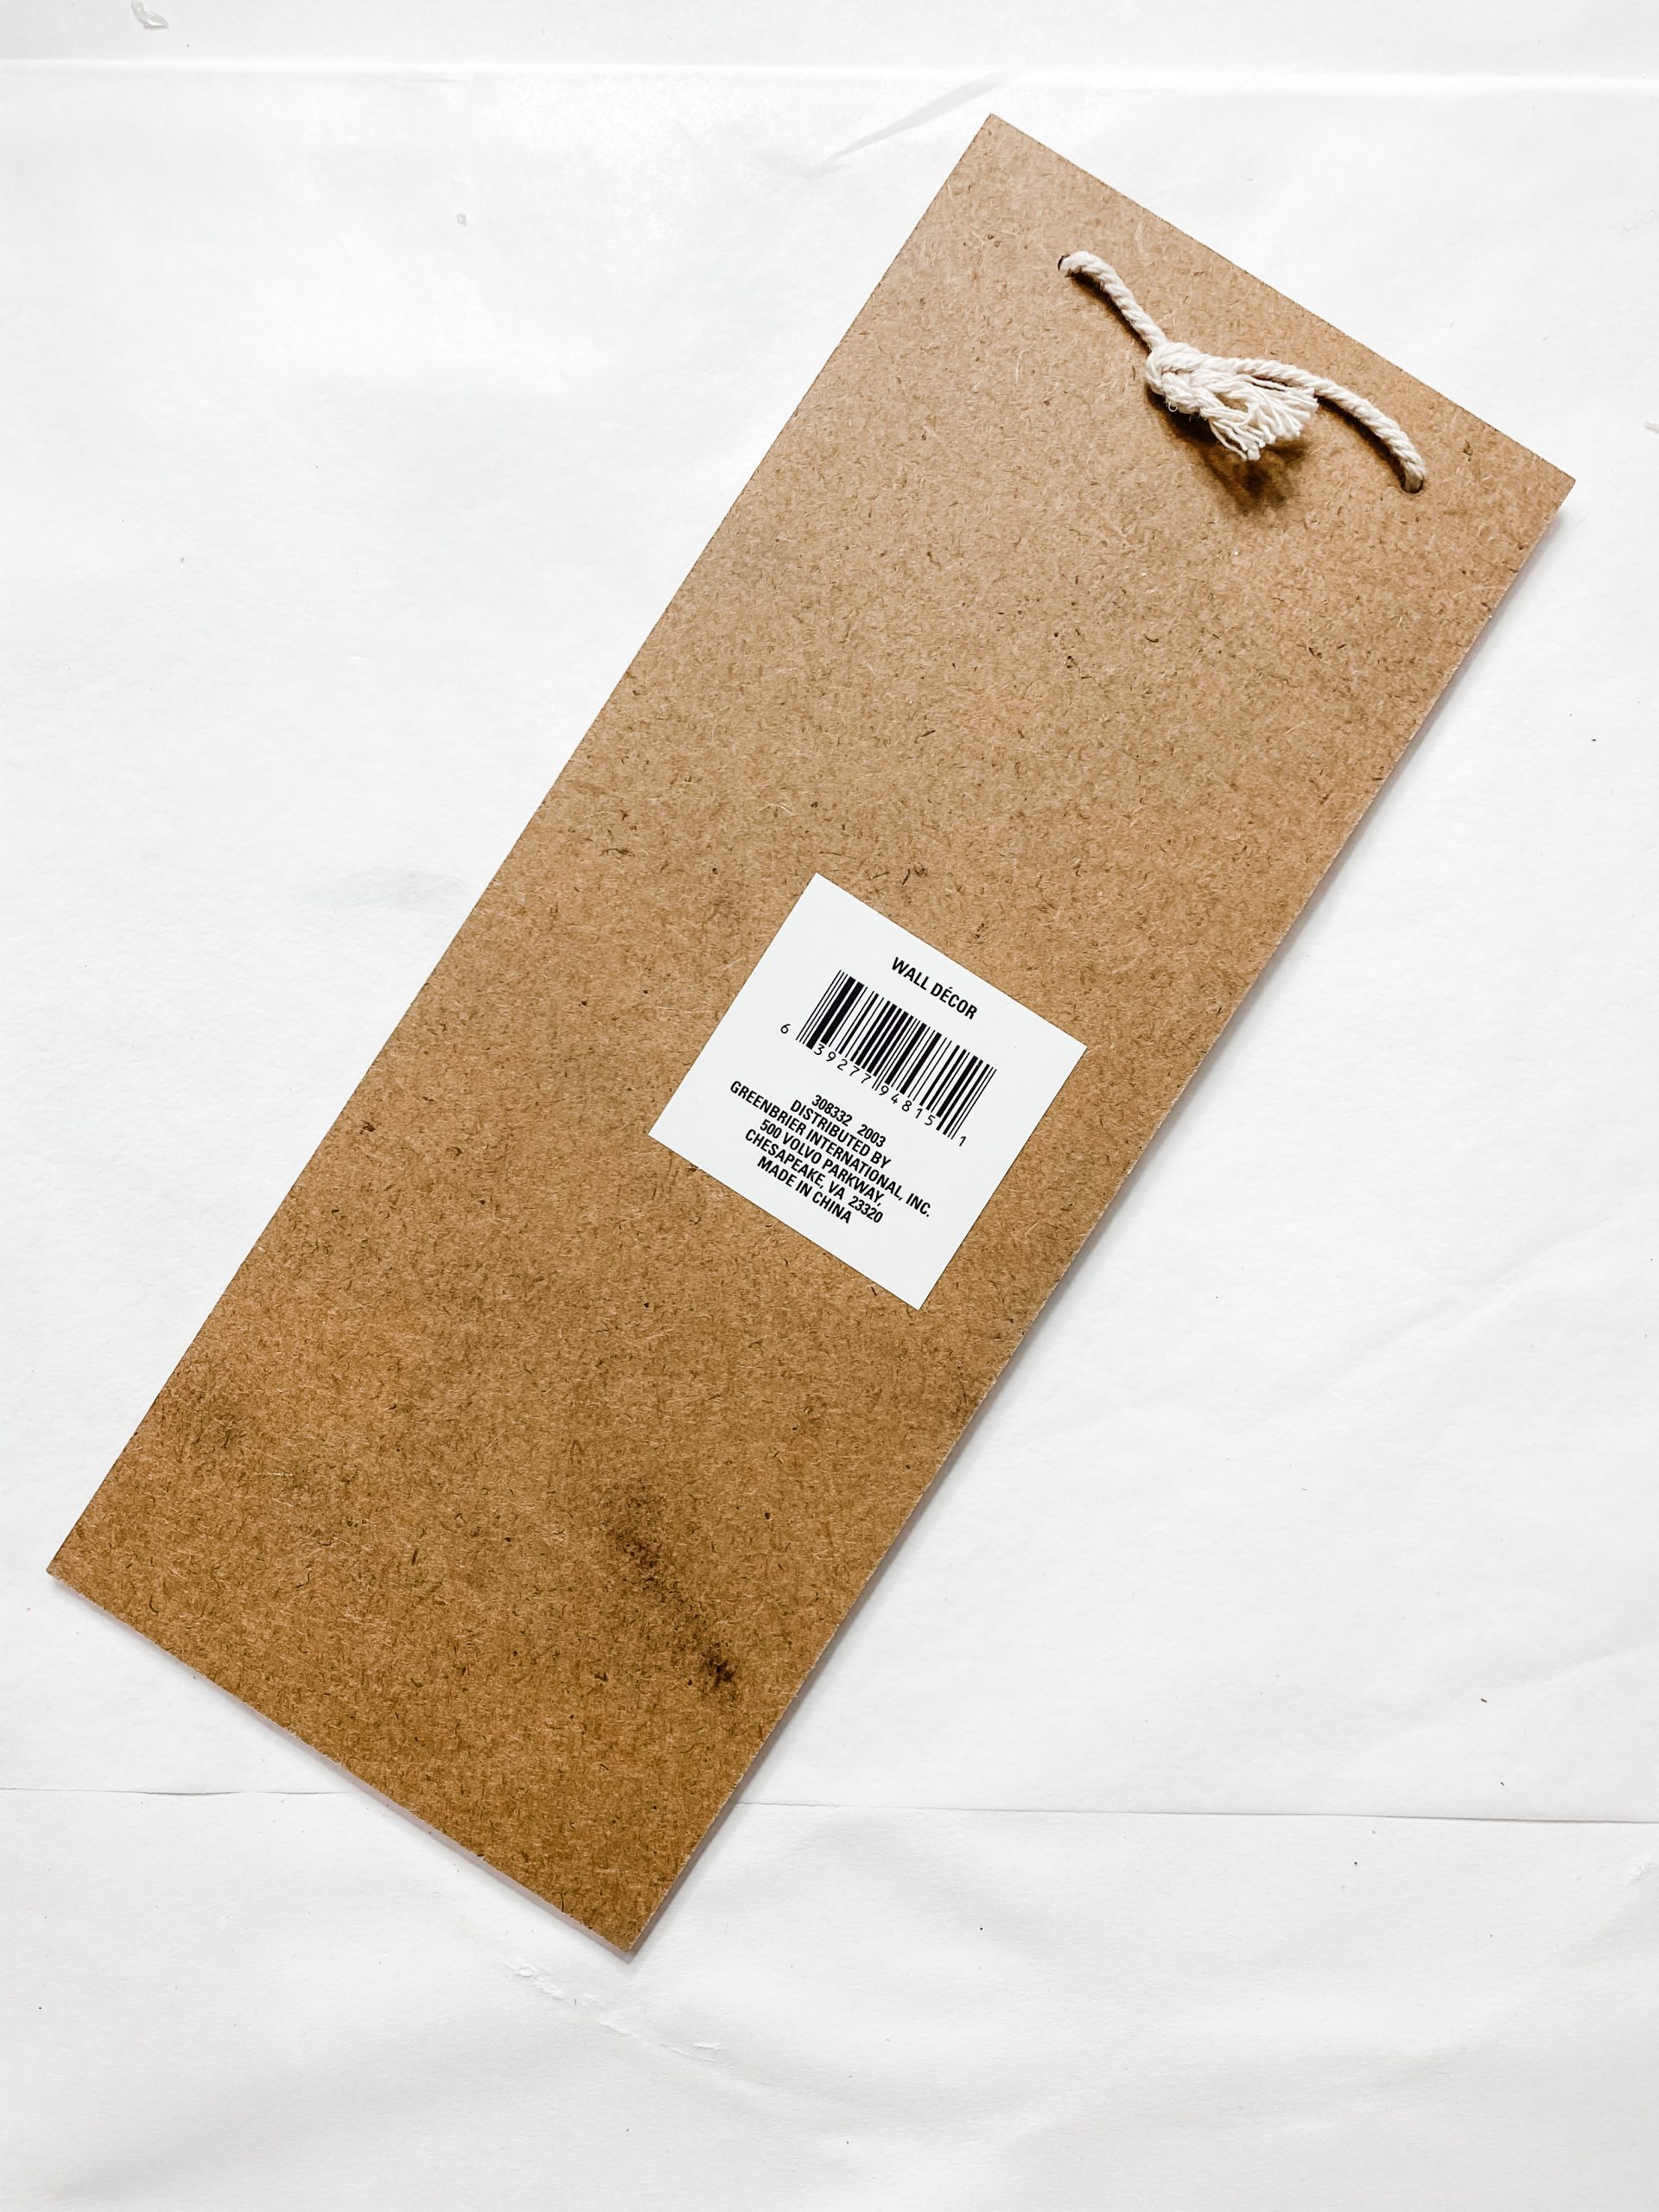
Alright, y’all. The first step to making this easy Christmas decor DIY with cardboard is to prep the Dollar Tree wood sign. The one that I used had the wood LOVE attached on top.
Even though I’m going to use the back of this board, I needed to remove the LOVE from the front. You can use a putty knife to just pry it off.
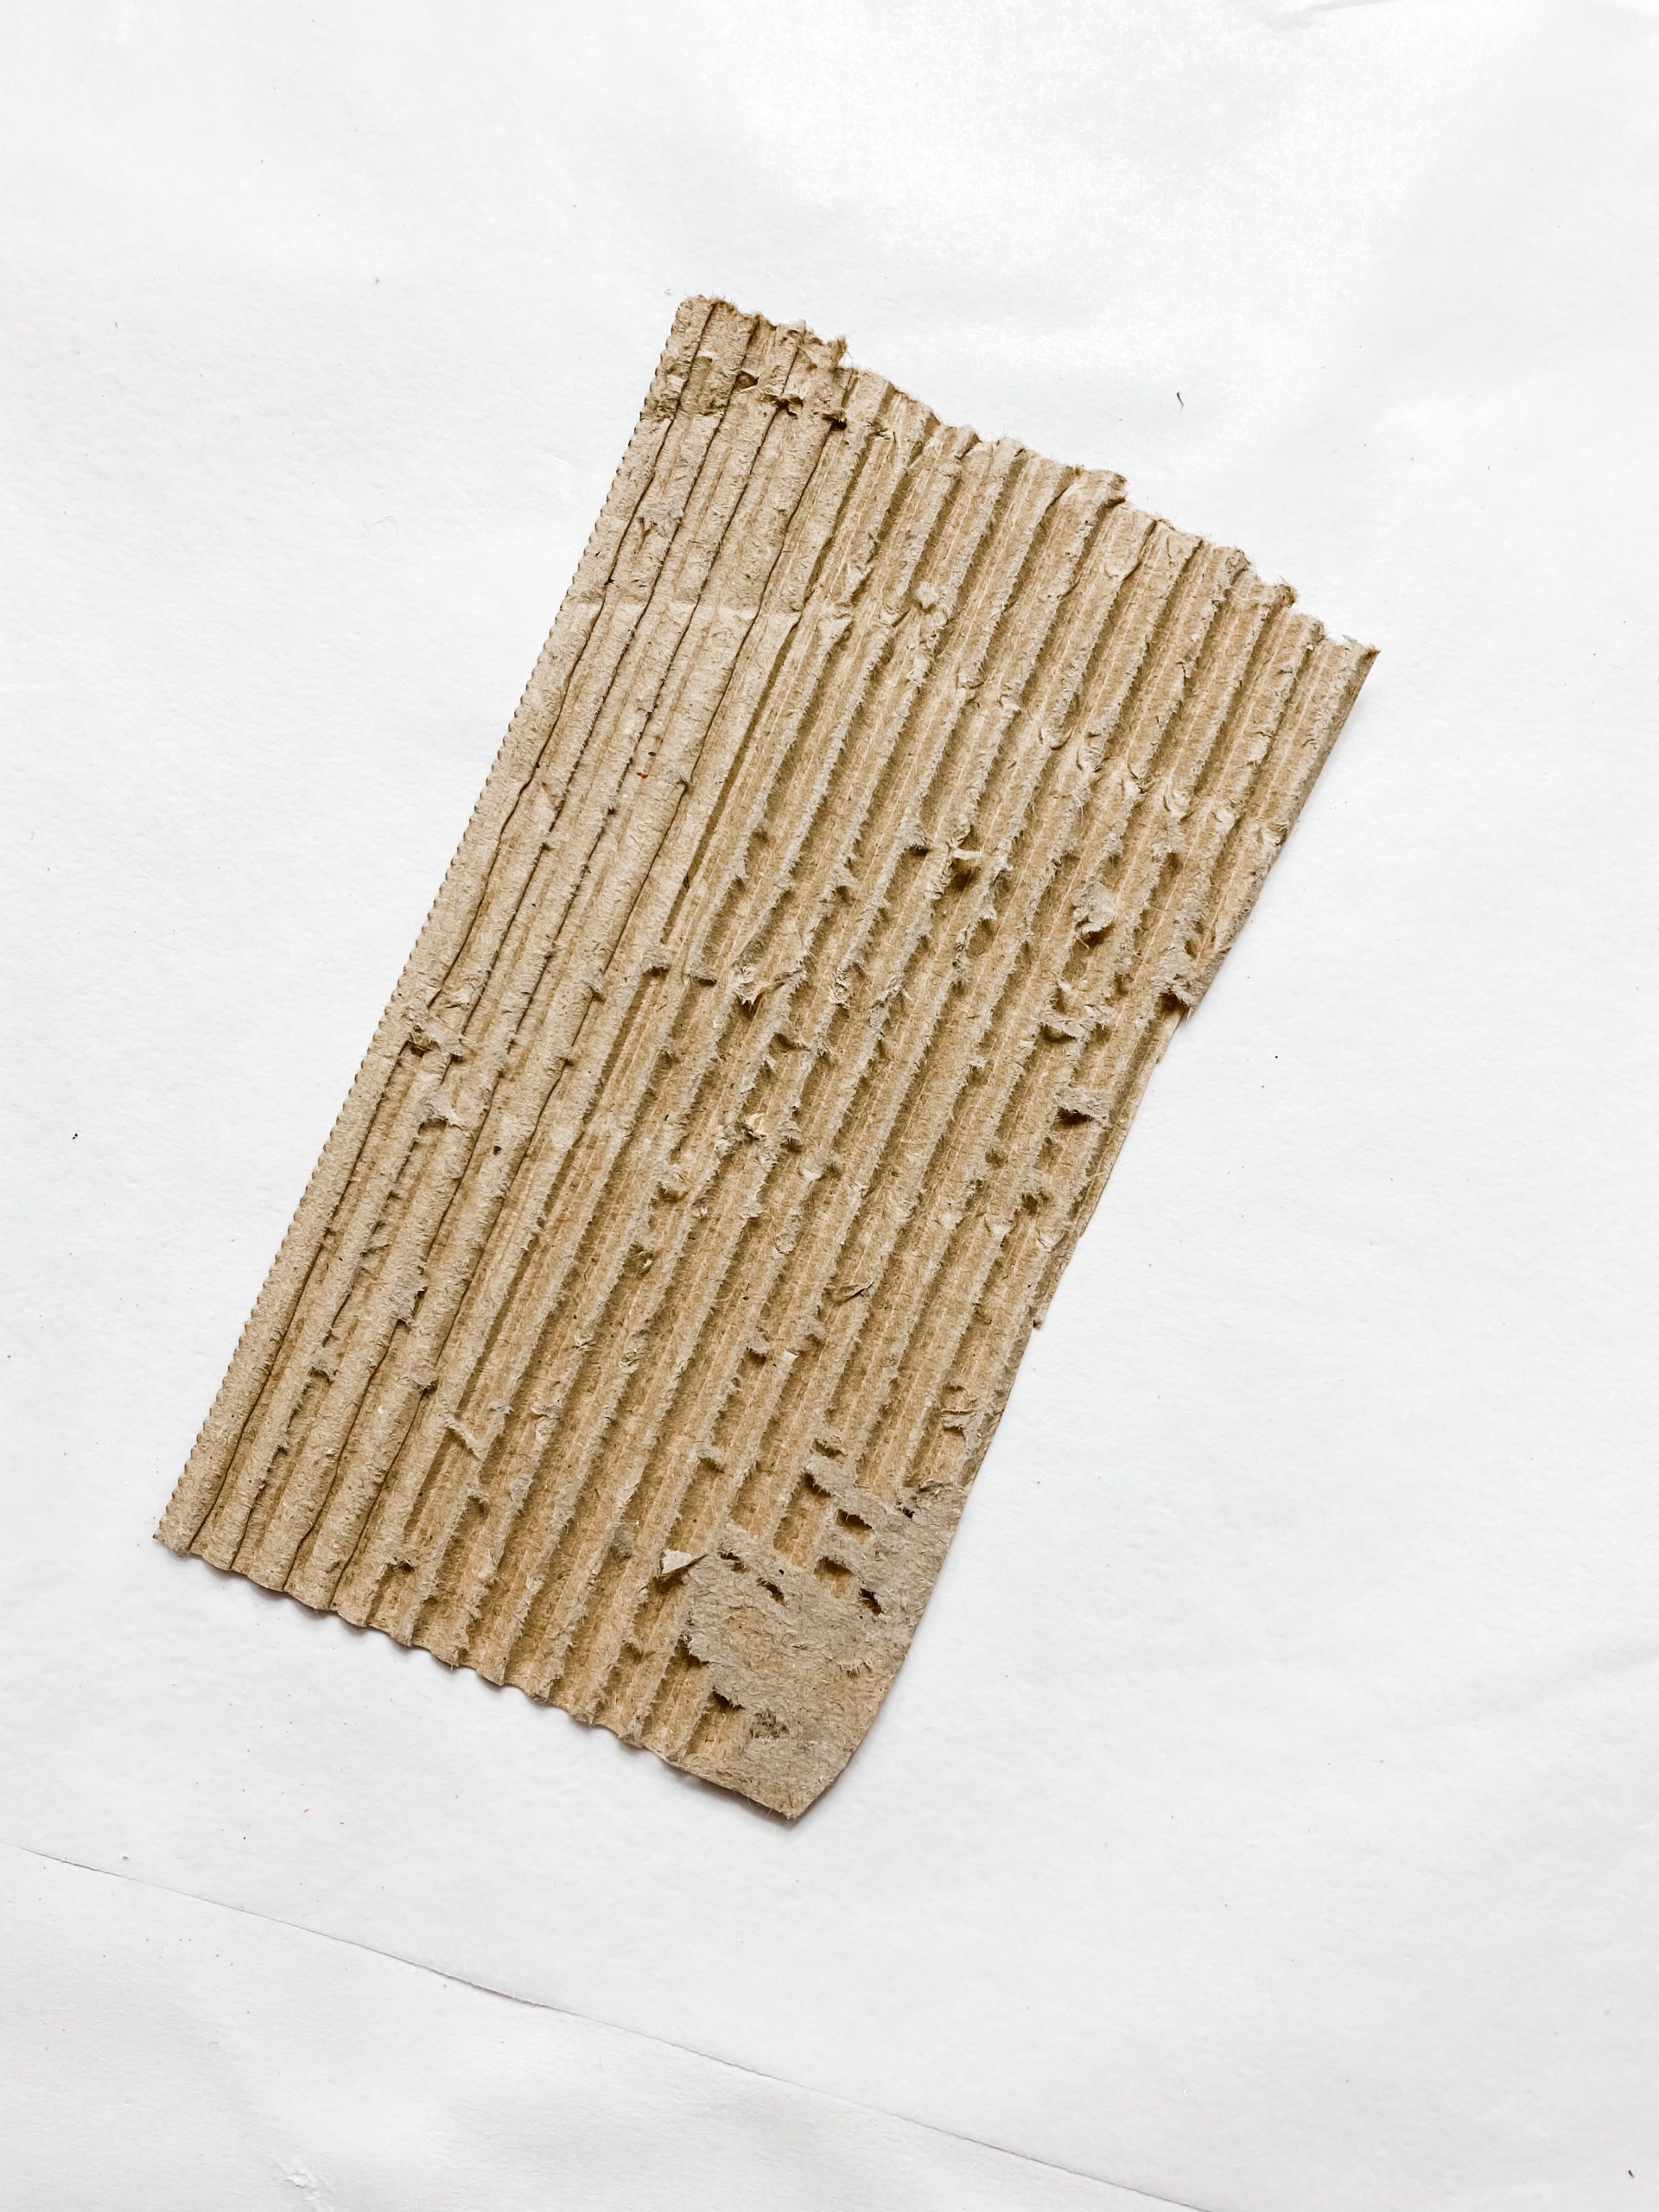
Next, get the Christmas Tree cutout. I created this Christmas Tree Printable Template by tracing the shape of a Target wood Christmas Tree onto a piece of cardboard.
You can get the Christmas Tree Printable Template for FREE! All you have to do is print it out!
Enter your info below to get a FREE copy of the Christmas Tree Printable Template sent right to your email!
Once you have the template, trace it onto a piece of cardboard and cut the shape out of the cardboard.
Get to painting
Set your Christmas Tree Cardboard cutout to the side for now, and grab the Dollar Tree wood sign. I love to use the back of these signs because they are great, clean surfaces for DIY projects!
Paint the back of the Dollar Tree wood sign with a coat of Folkart White Chalk Paint. I had to do 2 coats because I didn’t remove the sticker from the back so it was peeking through the first coat of paint.
How to Decoupage
I got these adorable Christmas napkins from Target, but they were only like $3! I don’t usually get my craft supplies from Target, but these were too cute to pass up!
To decoupage these Christmas napkins onto the wood sign, you need to separate the two plies first. Be careful not to rip or tear the patterned ply.
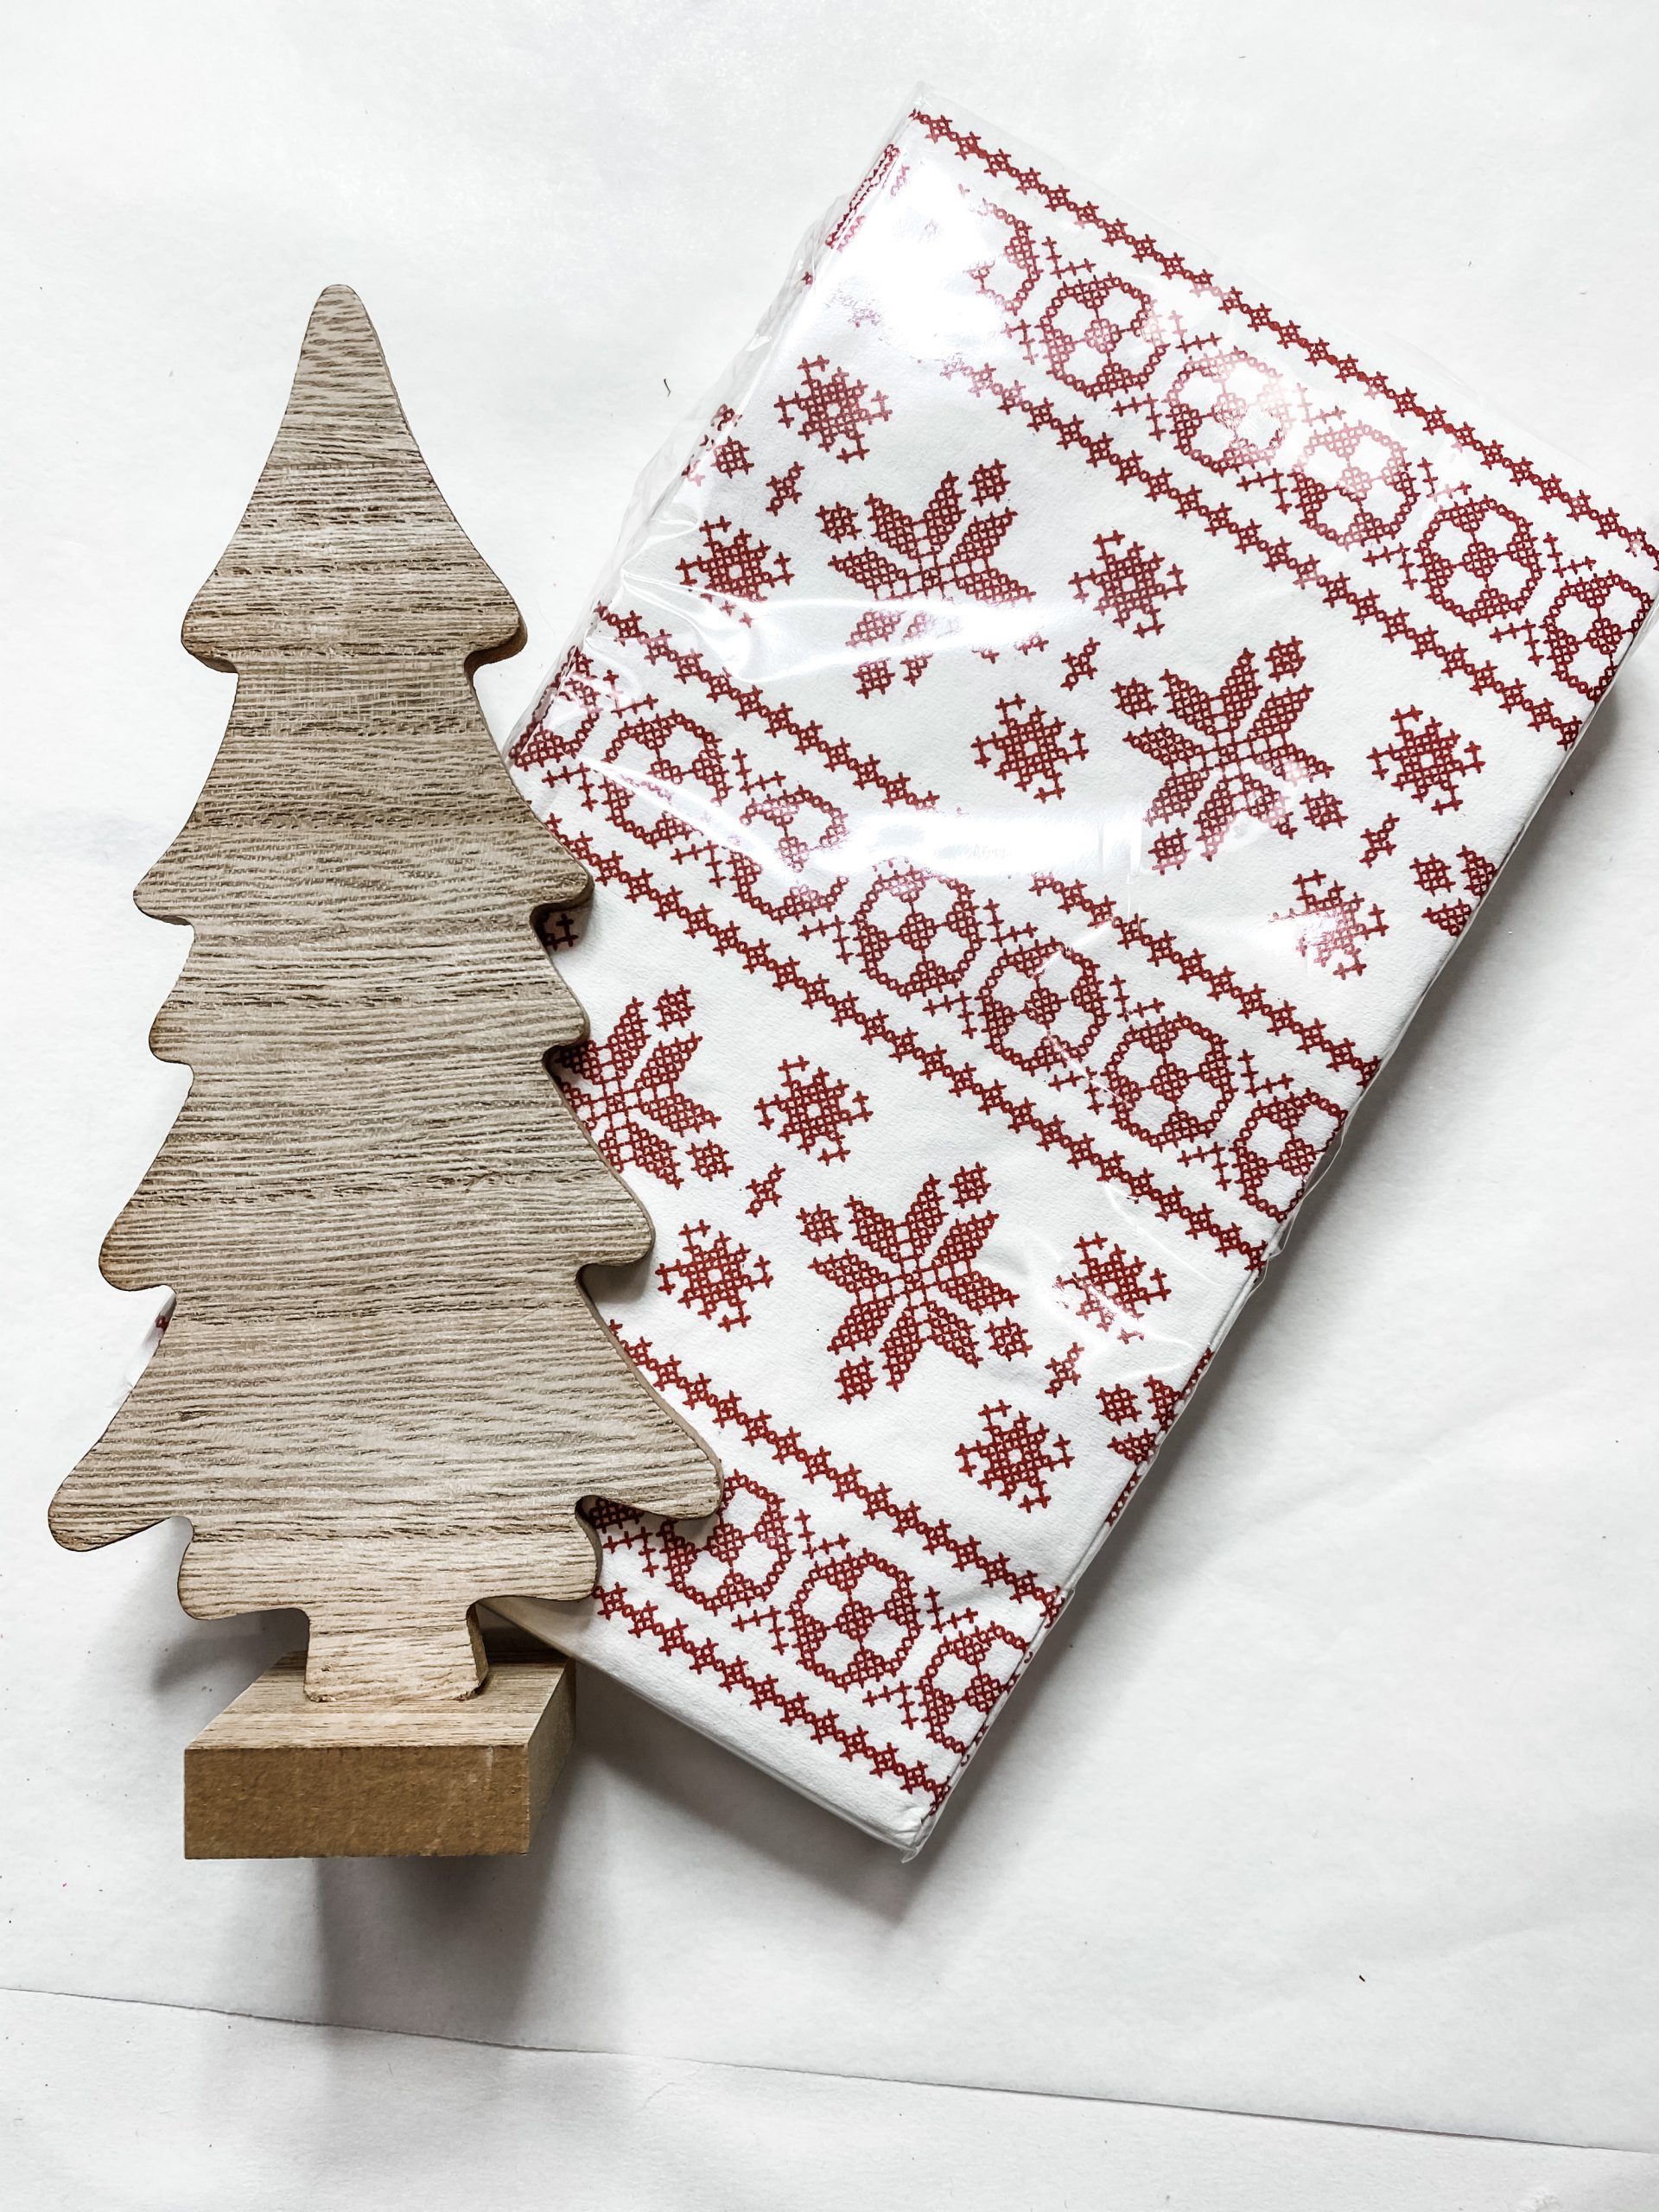
Make sure the paint is dry on the sign and apply a coat of Mod Podge and carefully place the napkins onto the wood sign.
If there are any wrinkles or creases, place a piece of plastic wrap onto op the napkin and use a rolling pin to smooth out any wrinkles or creases.
The plastic wrap protects the napkin from tearing while you smooth out the imperfections.
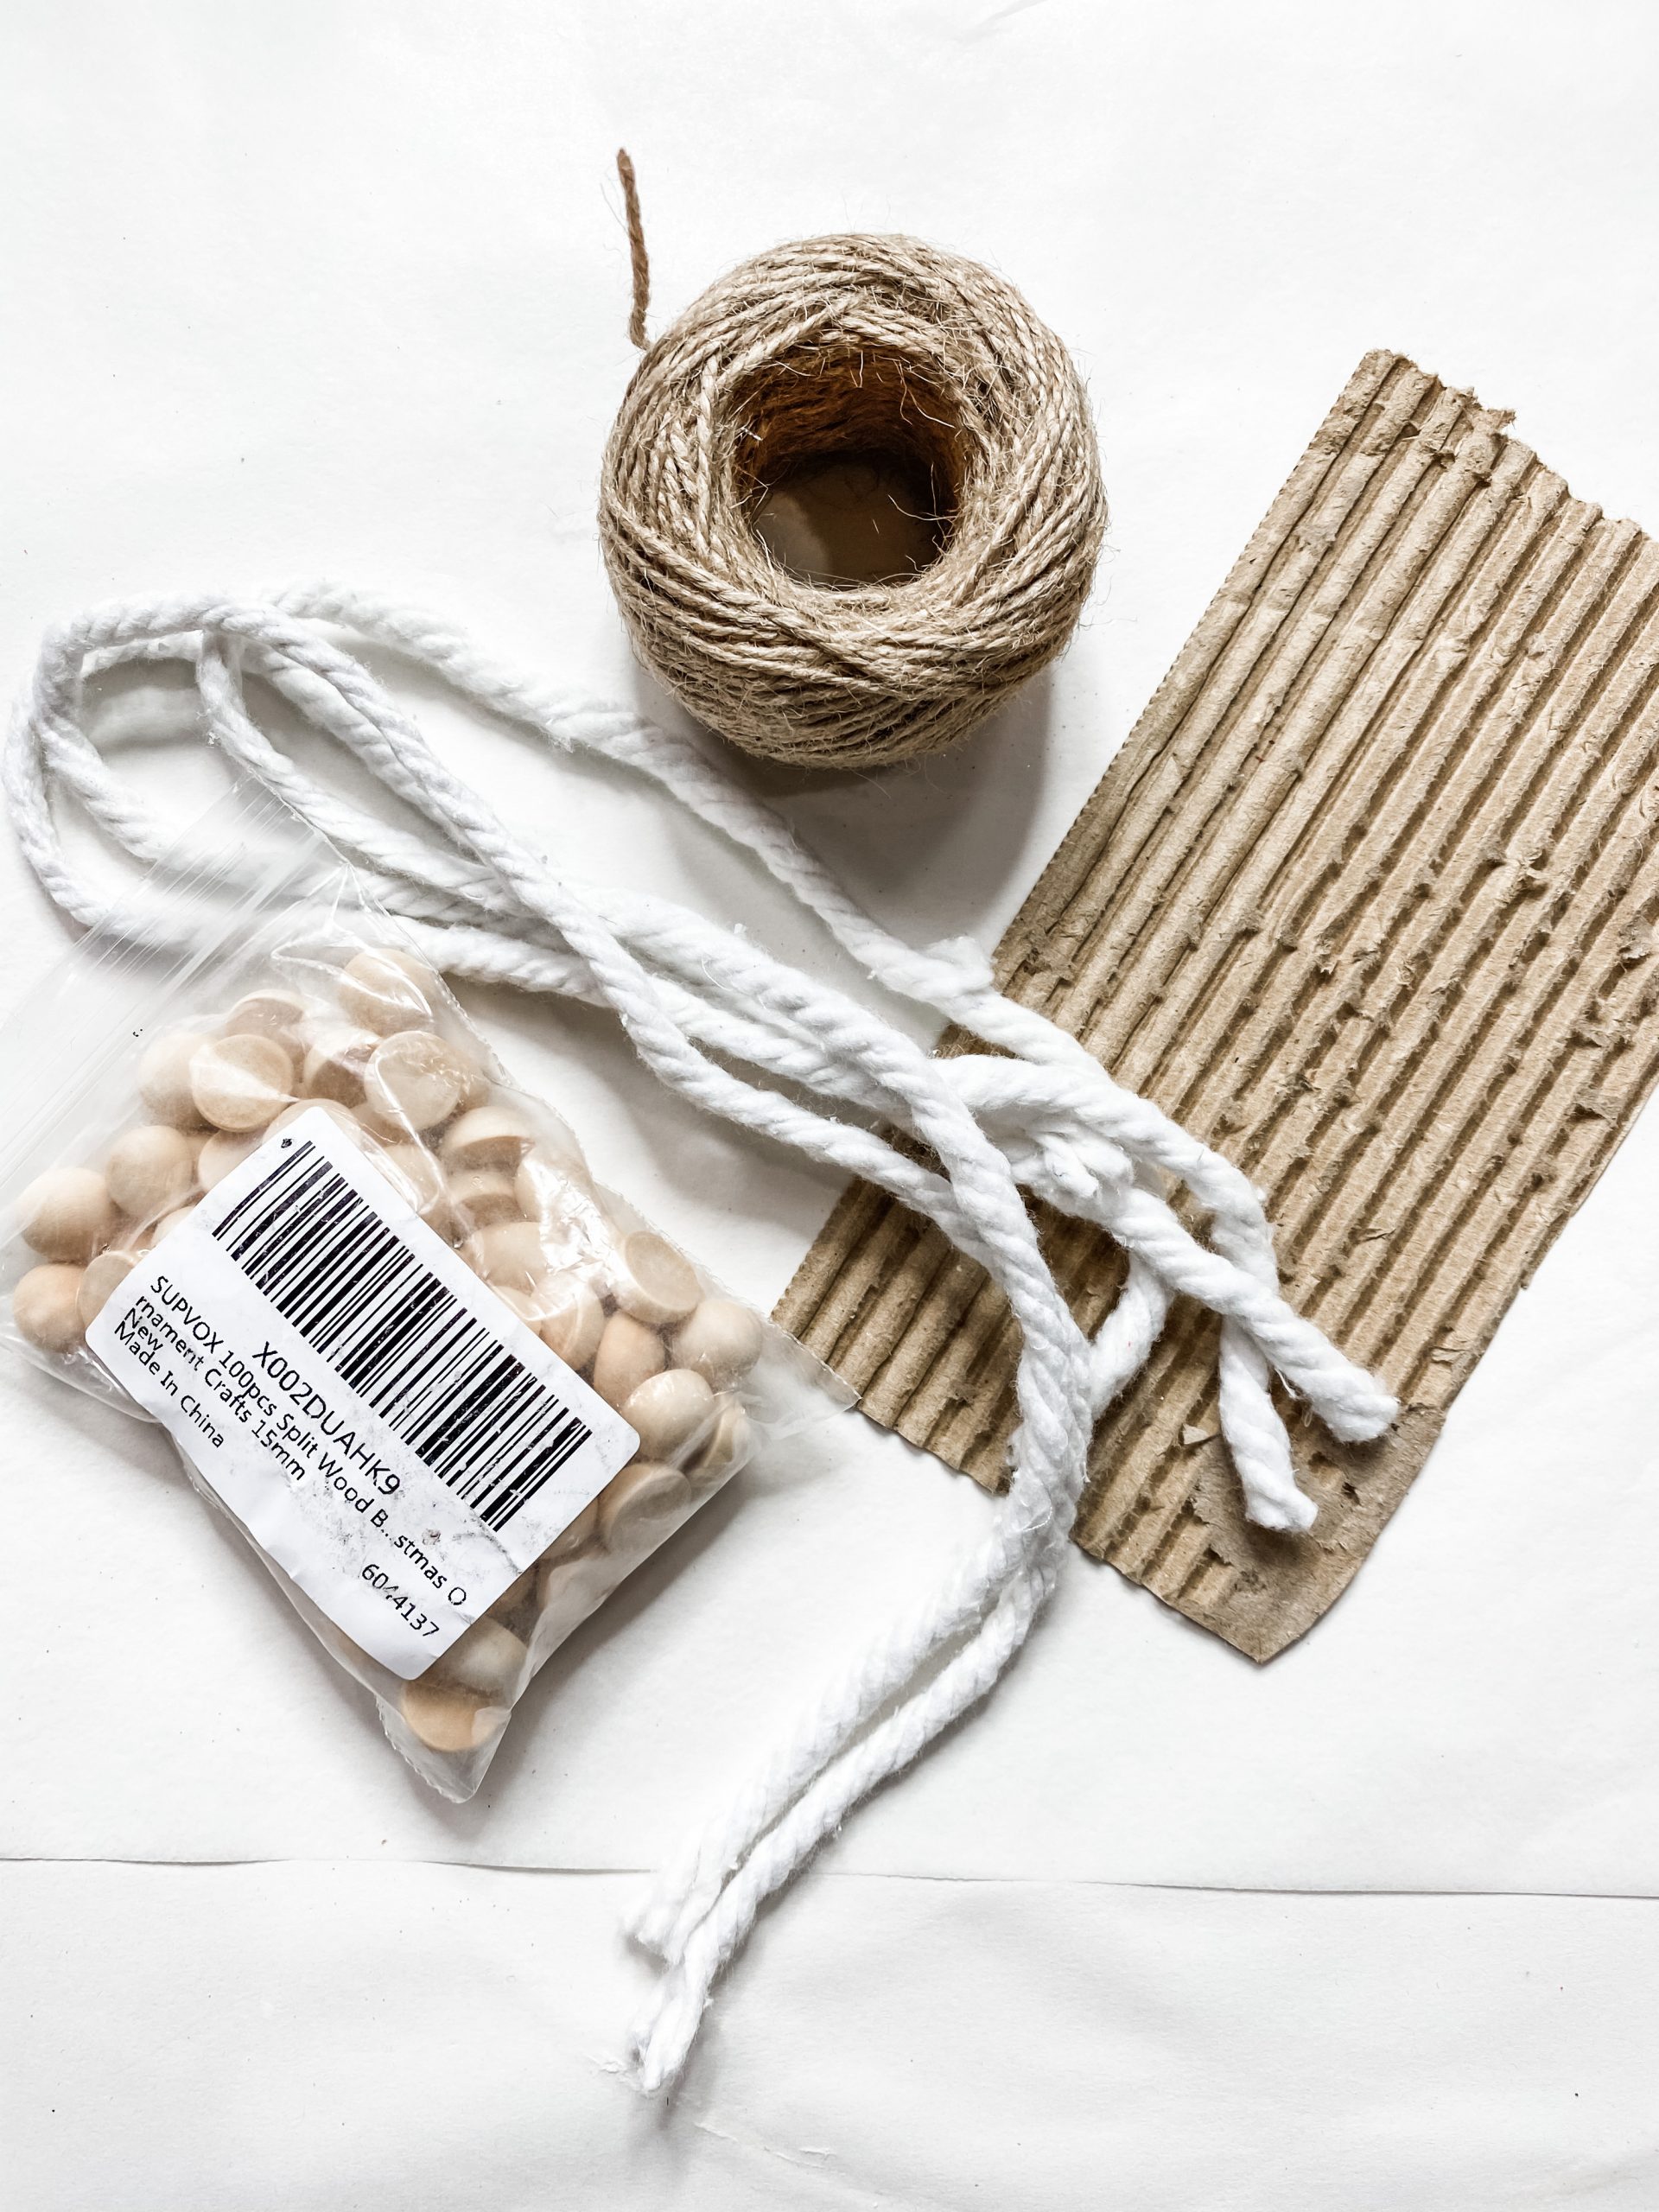
I wrapped some jute twine around the bottom of the sign and hot glued it into place. I really feel like this step gives this simple cardboard DIY decor some extra detail!
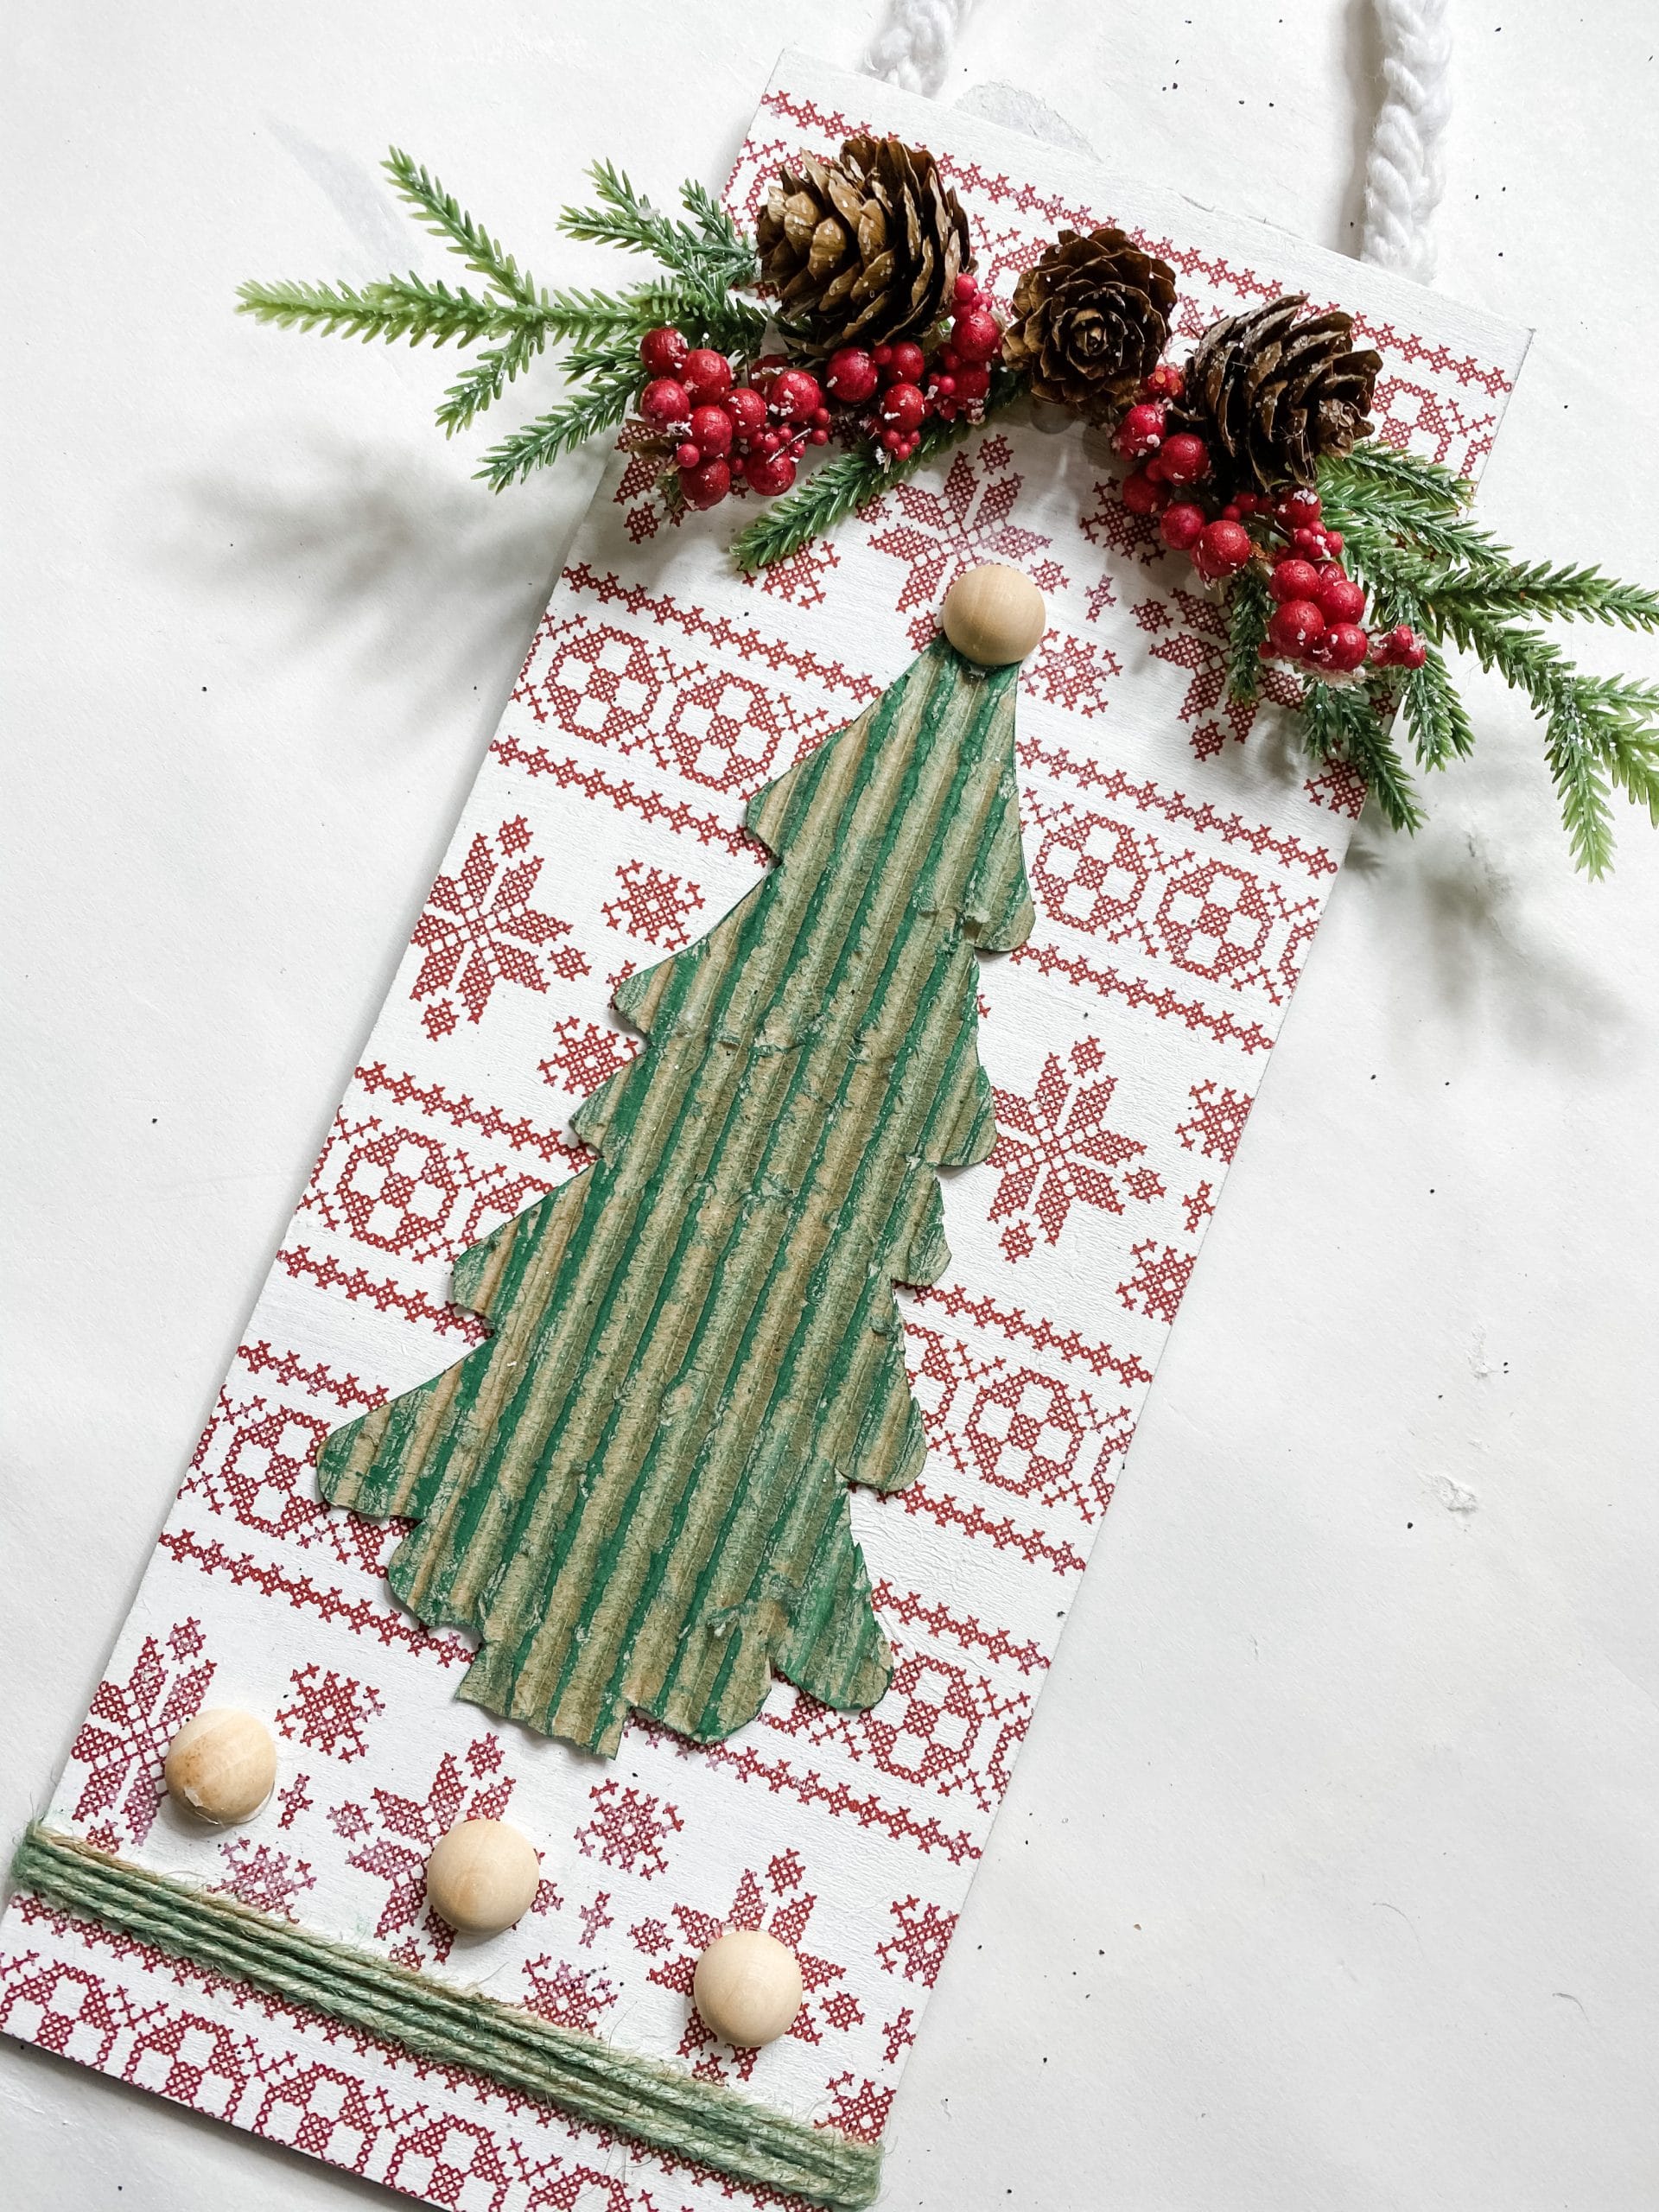
In the end, I decided to paint the jute twine with the Apple Barrel Christmas Tree Green Acrylic Paint, but it is still cute if you decide not to paint it!
Decorate your tree
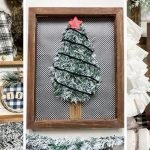
I painted the cardboard Christmas Tree with Apple Barrel Christmas Tree Green Acrylic Paint. You can apply as many coats as you want to get the shade of green you’re looking for.
You could also paint the cardboard Christmas Tree white first to help hide the cardboard color.
Time to embellish
I’ve said it before, and I’ll say it again. I LOVE using half wood beads to add extra detailing to my DIY projects! Half wood beads are so easy to use and they go with EVERYTHING! You can even paint or stain them if you wanted to!
I hot glued 3 half wood beads just above the twine at the bottom and one as the tree topper on the cardboard Christmas tree.
The finishing touches
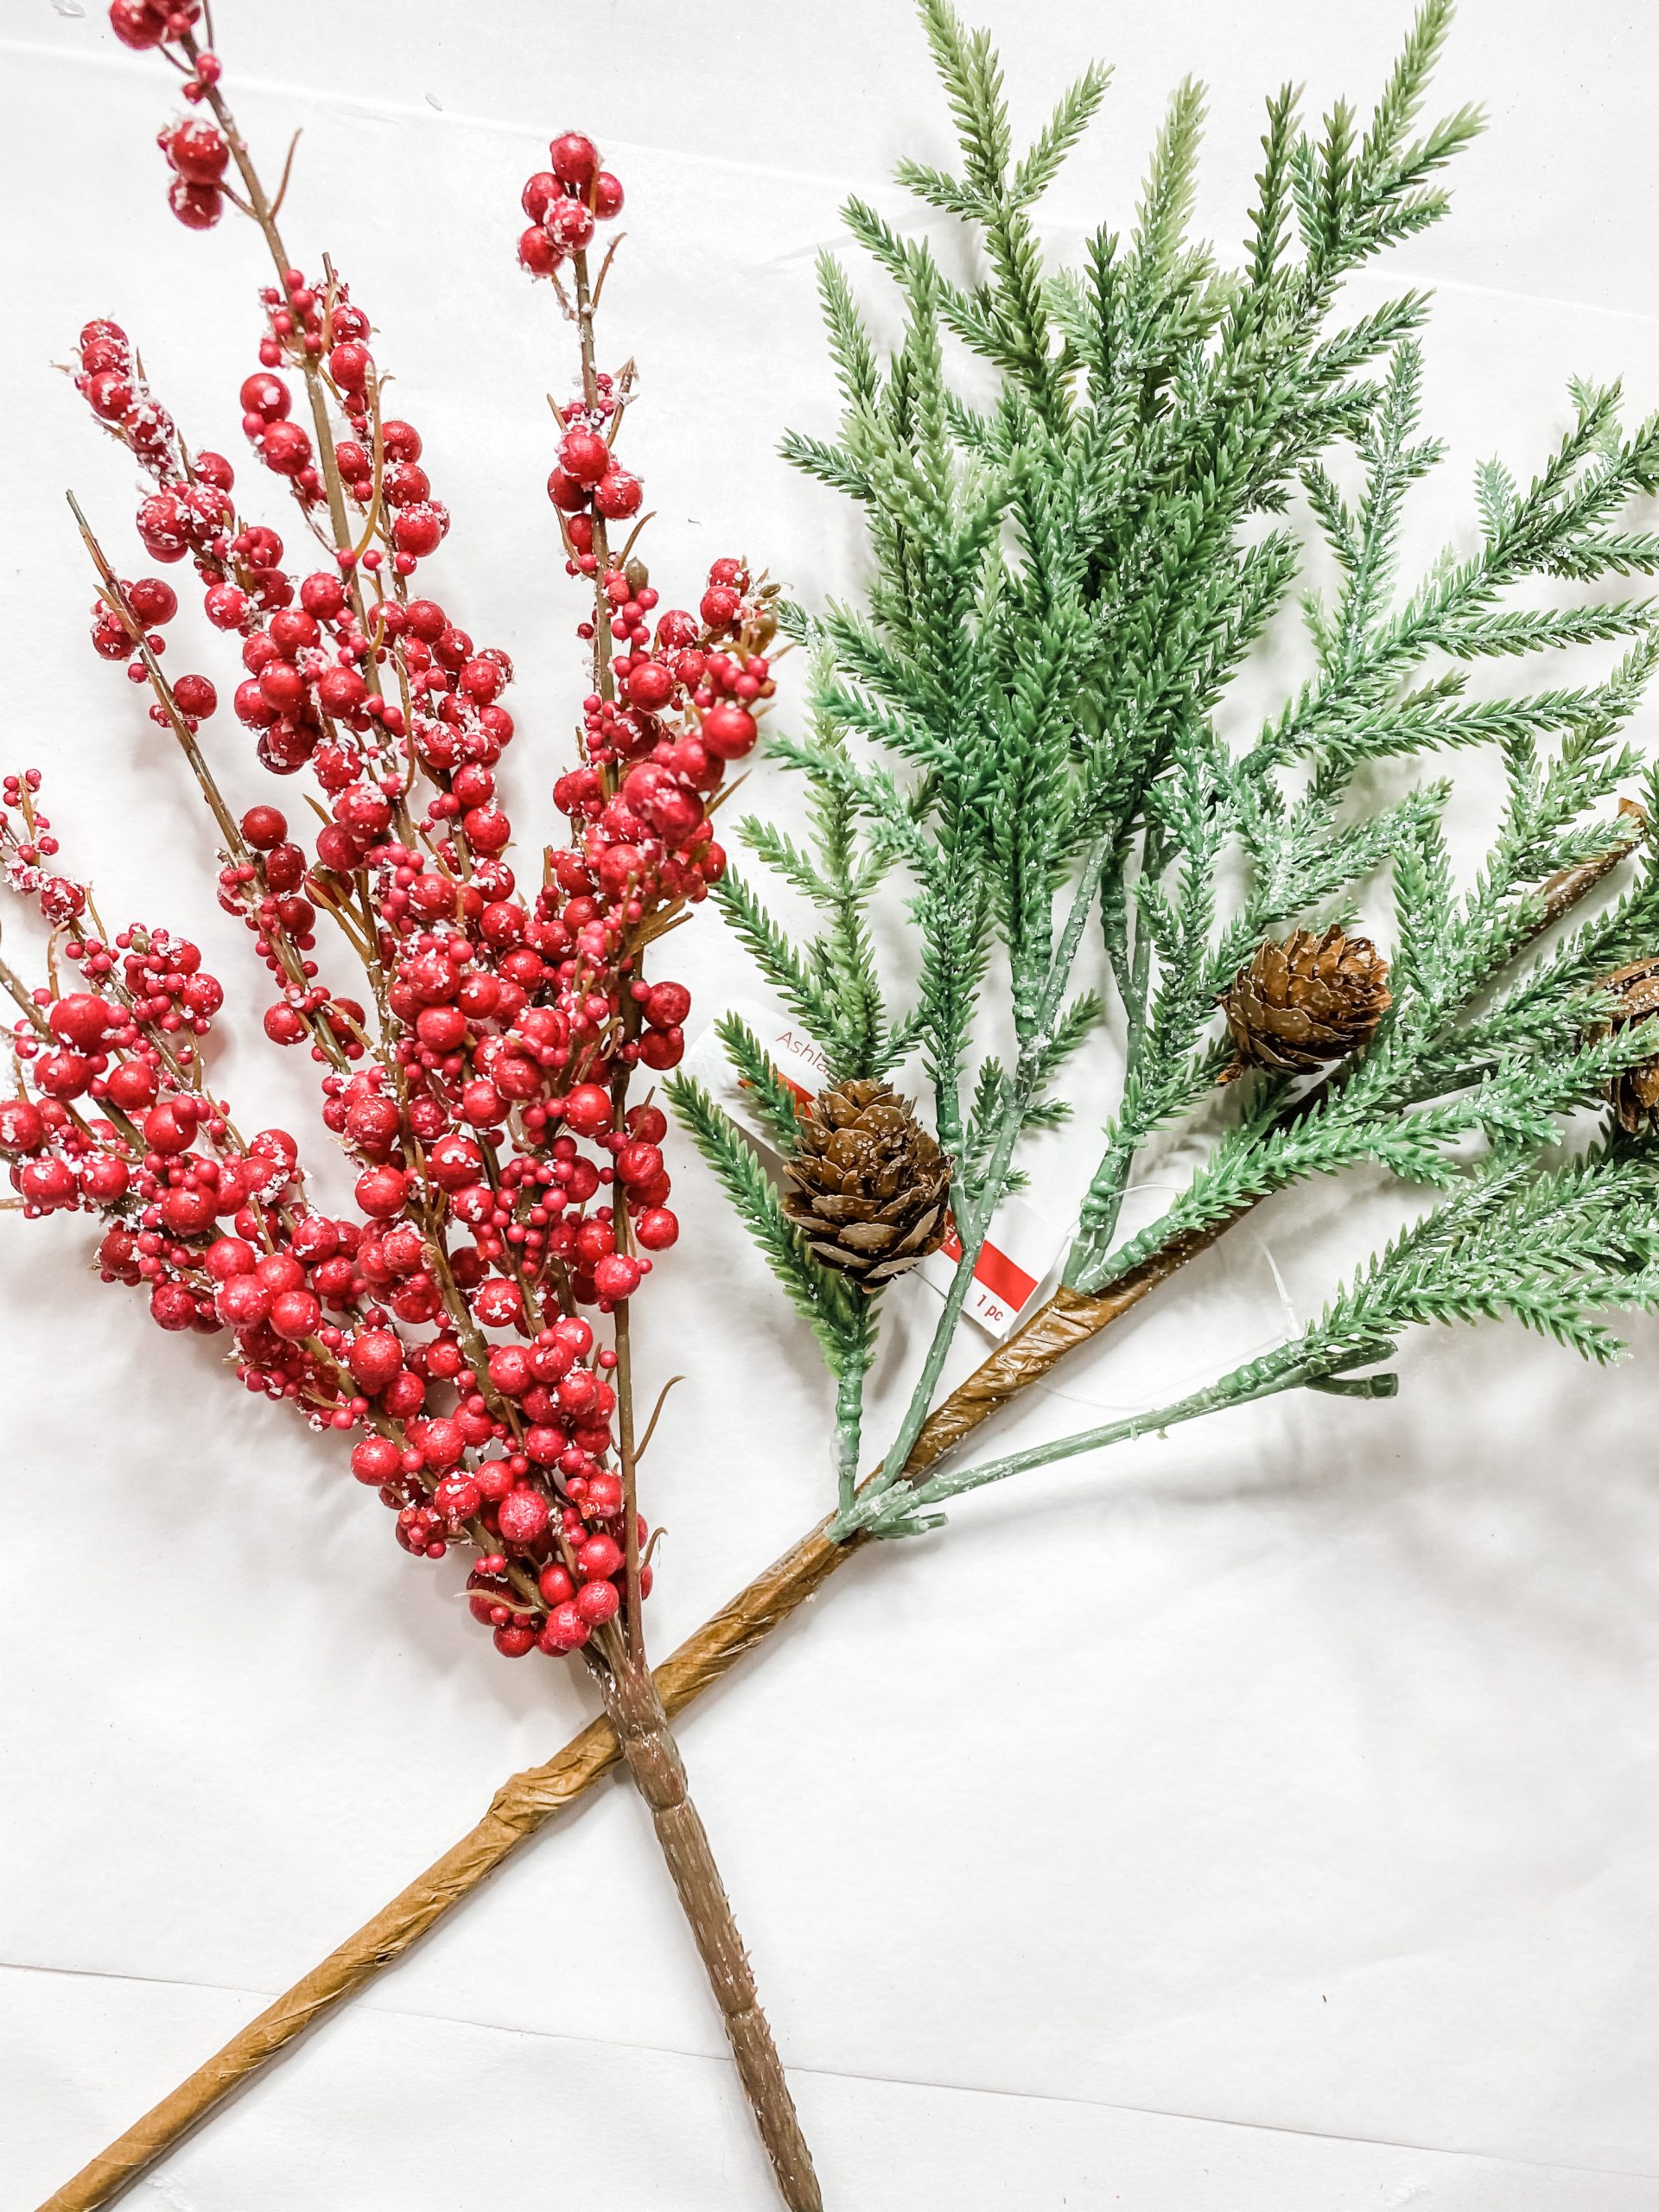
I used 2 different Christmas sprays from the Dollar Tree. One is a Christmas berry spray and the other is a Christmas greenery spray with little pinecones. Just snip the pieces off that you want to use and hot glue them at the top of the wood sign.
Finally, I used some Dollar Tree mop strings as the hanger. I braided 3 of the strings together and tied the ends to secure the braid.
Just hot glue them to the top of the back of the wood sign and you are ready to hang it anywhere in your house, apartment, or dorm room!
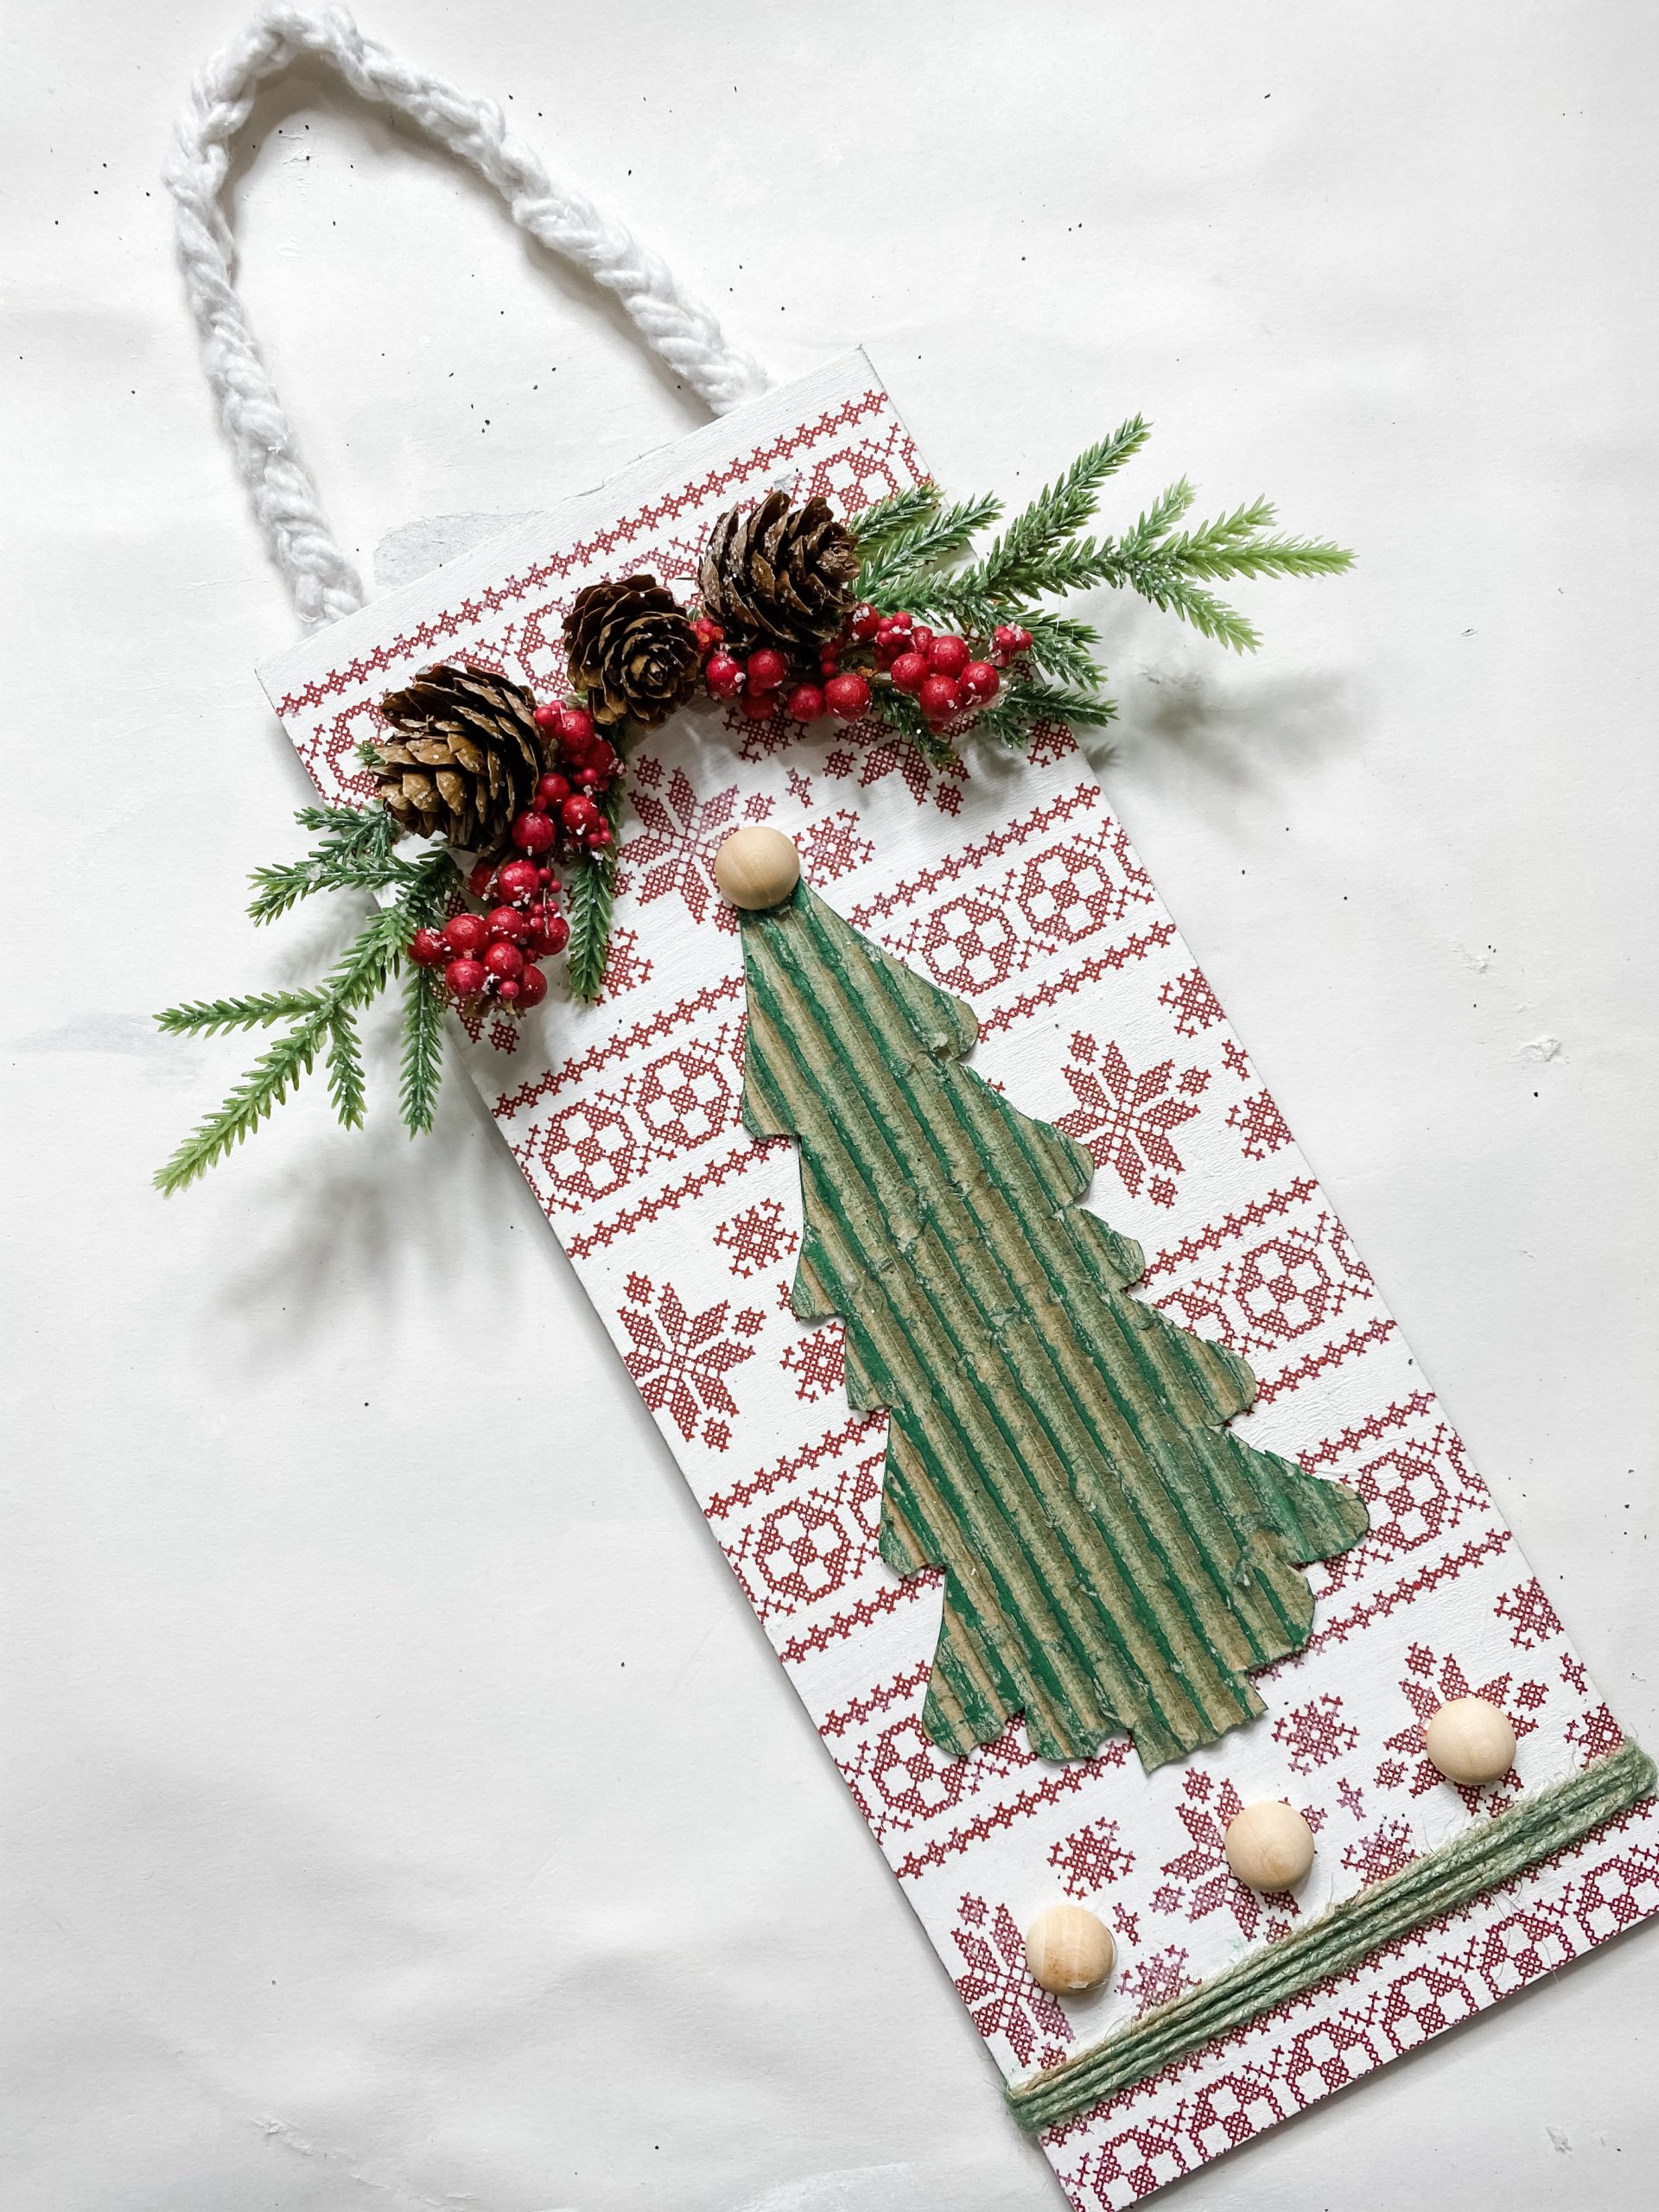
I hope you enjoyed learning How to Make a Dollar Tree Christmas Decor DIY With Cardboard as much as I did and decide to make it for yourself!
I would love to see how yours turns out! You should totally join my FREE Facebook group called On A Budget Crafts! It is a judgment-free community for DIY crafters to show off their projects and ideas.
If you loved this DIY, check out these cardboard crafts!
- Easy Dollar Tree Christmas Loot Bag DIY Decor
- Jolly Farmhouse Printable Christmas Decor DIY
- DIY Dollar Tree Reverse Canvas Christmas Tree Decor
- How to DIY a Christmas Merry and Bright Sign with Cardboard
Thanks for stopping by! XOXO Amber
You can also shop my ENTIRE AMAZON Favorites shop just click here! It’s packed full of all the things I use and love.
Here is the supply list I highly recommend every creative have on hand!! Would you also pin my blog for later and get on my newsletter alerts? I would love to have you join my #craftycrew.

Join my free “ON A BUDGET CRAFTS” Facebook group!
PIN THIS POST FOR LATER!


2 Comments