Dollar Tree Candle Holder DIY Plant Stands
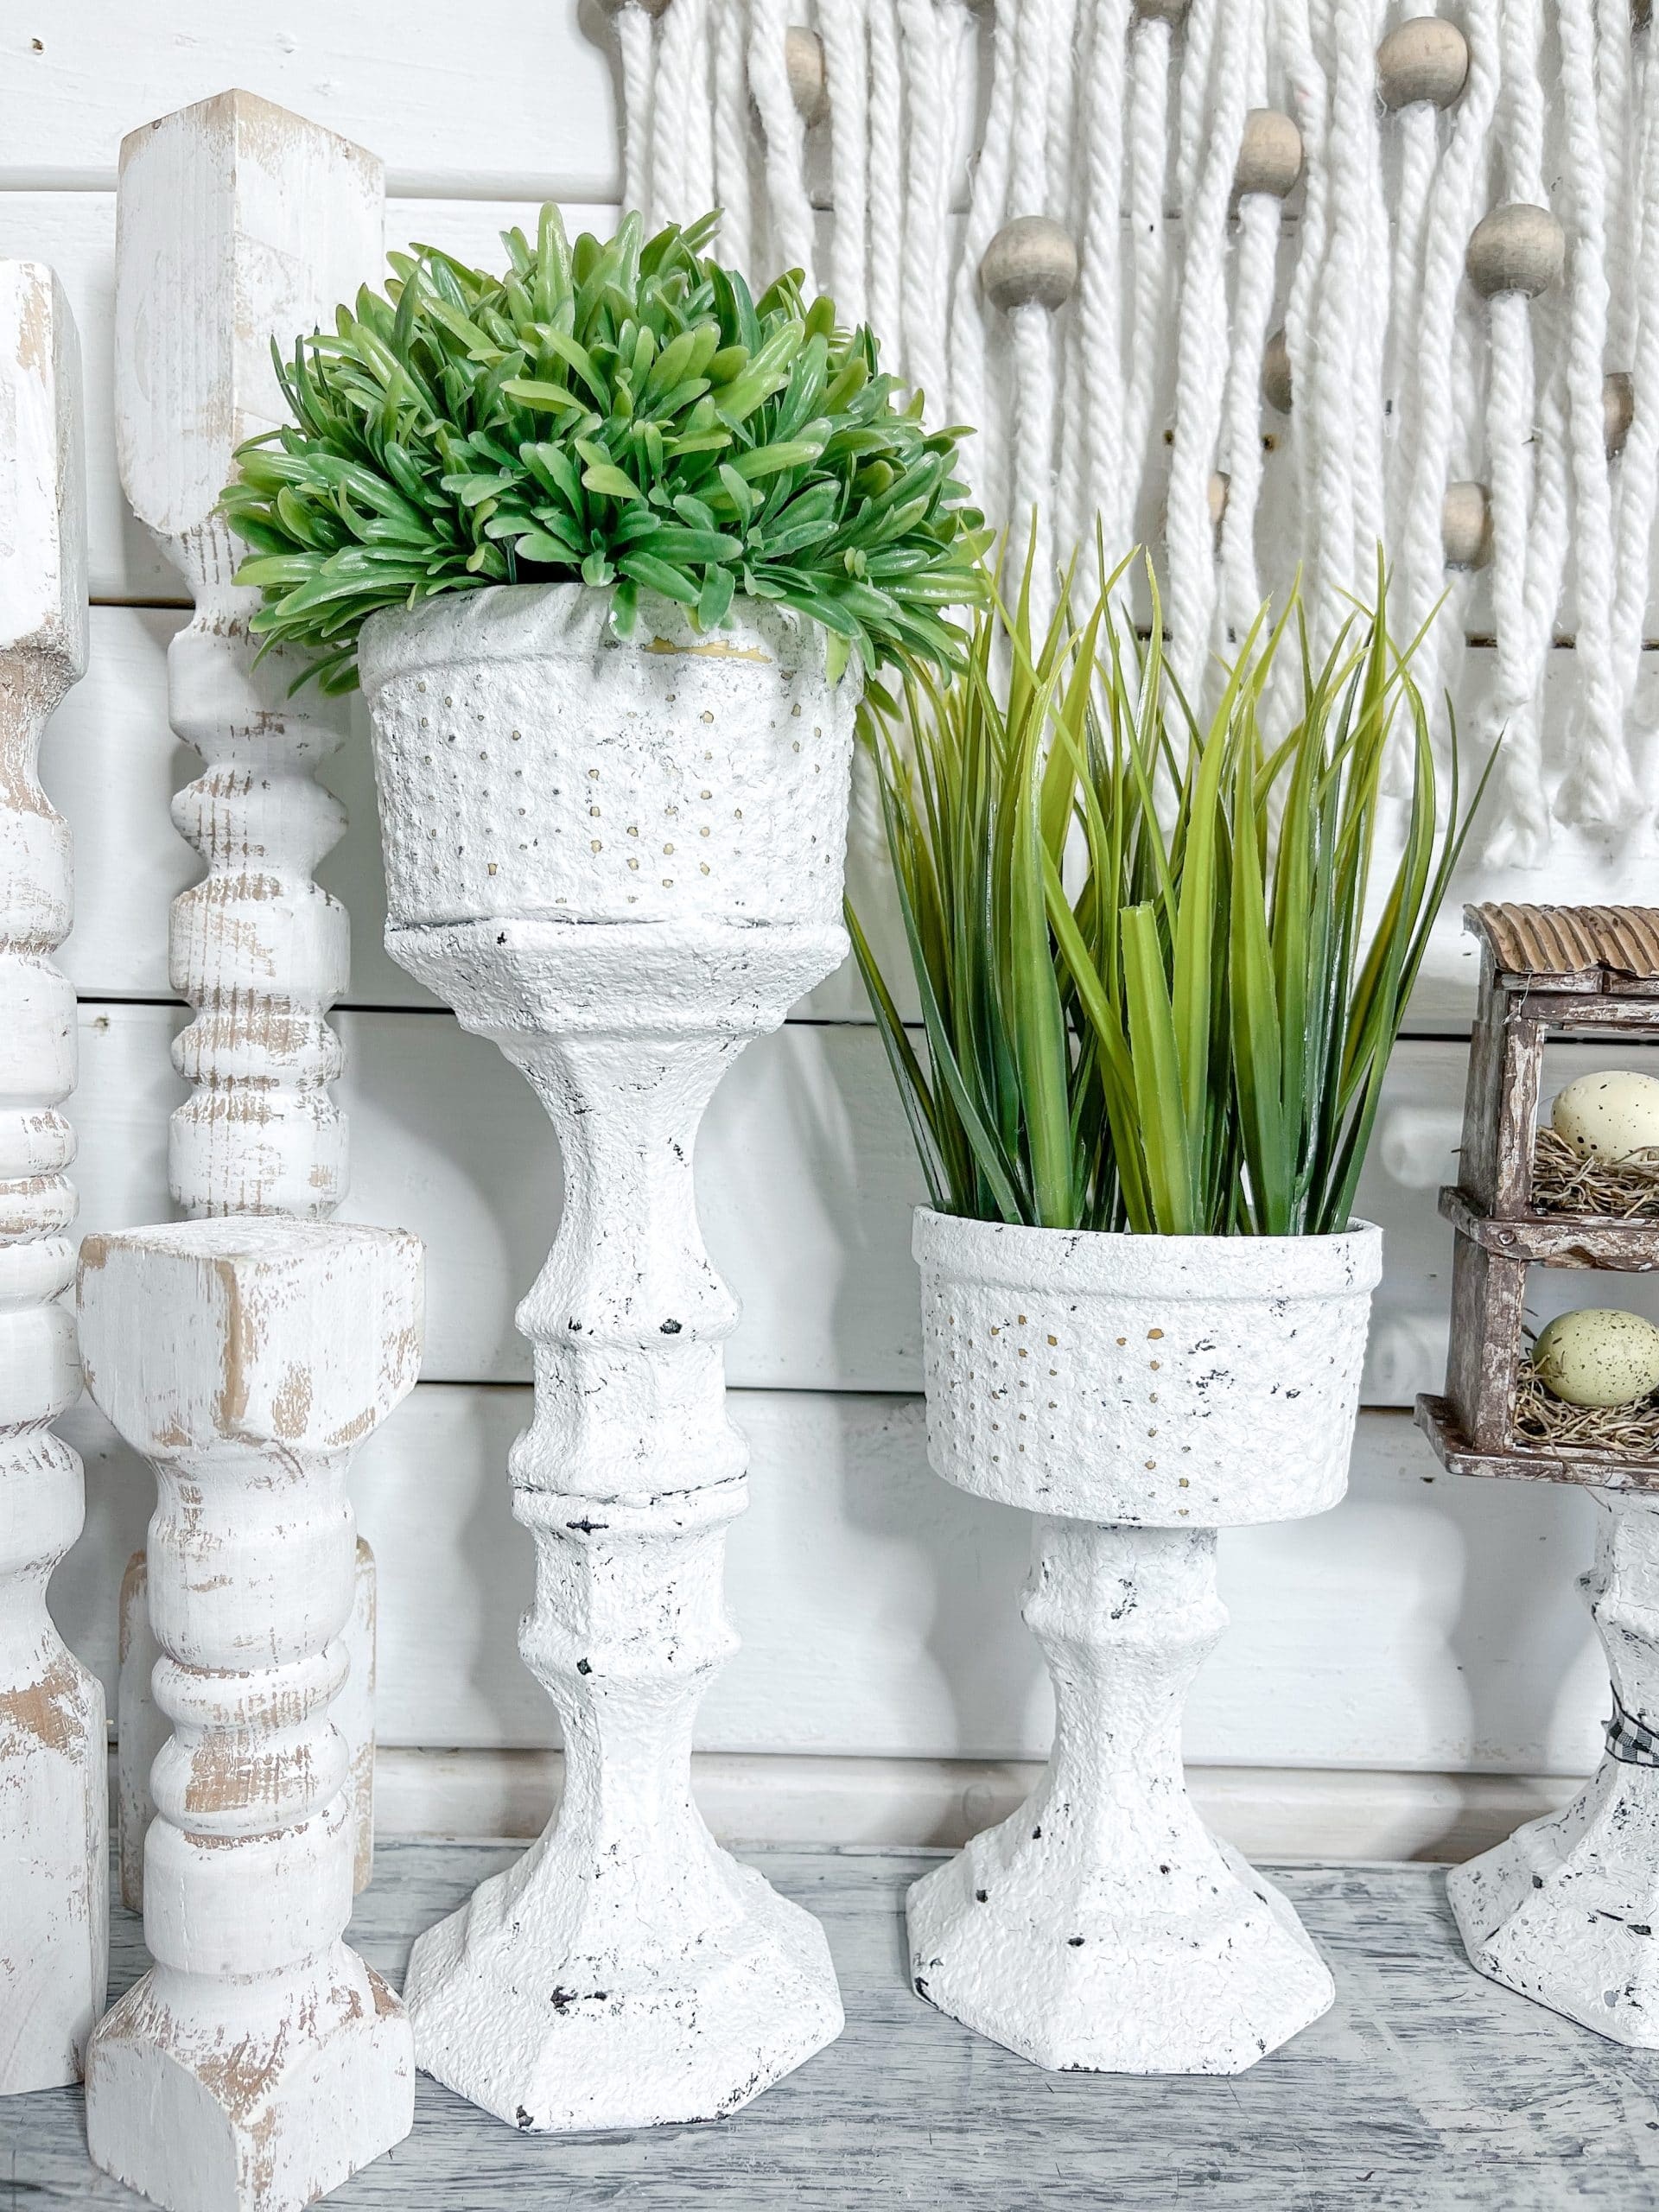
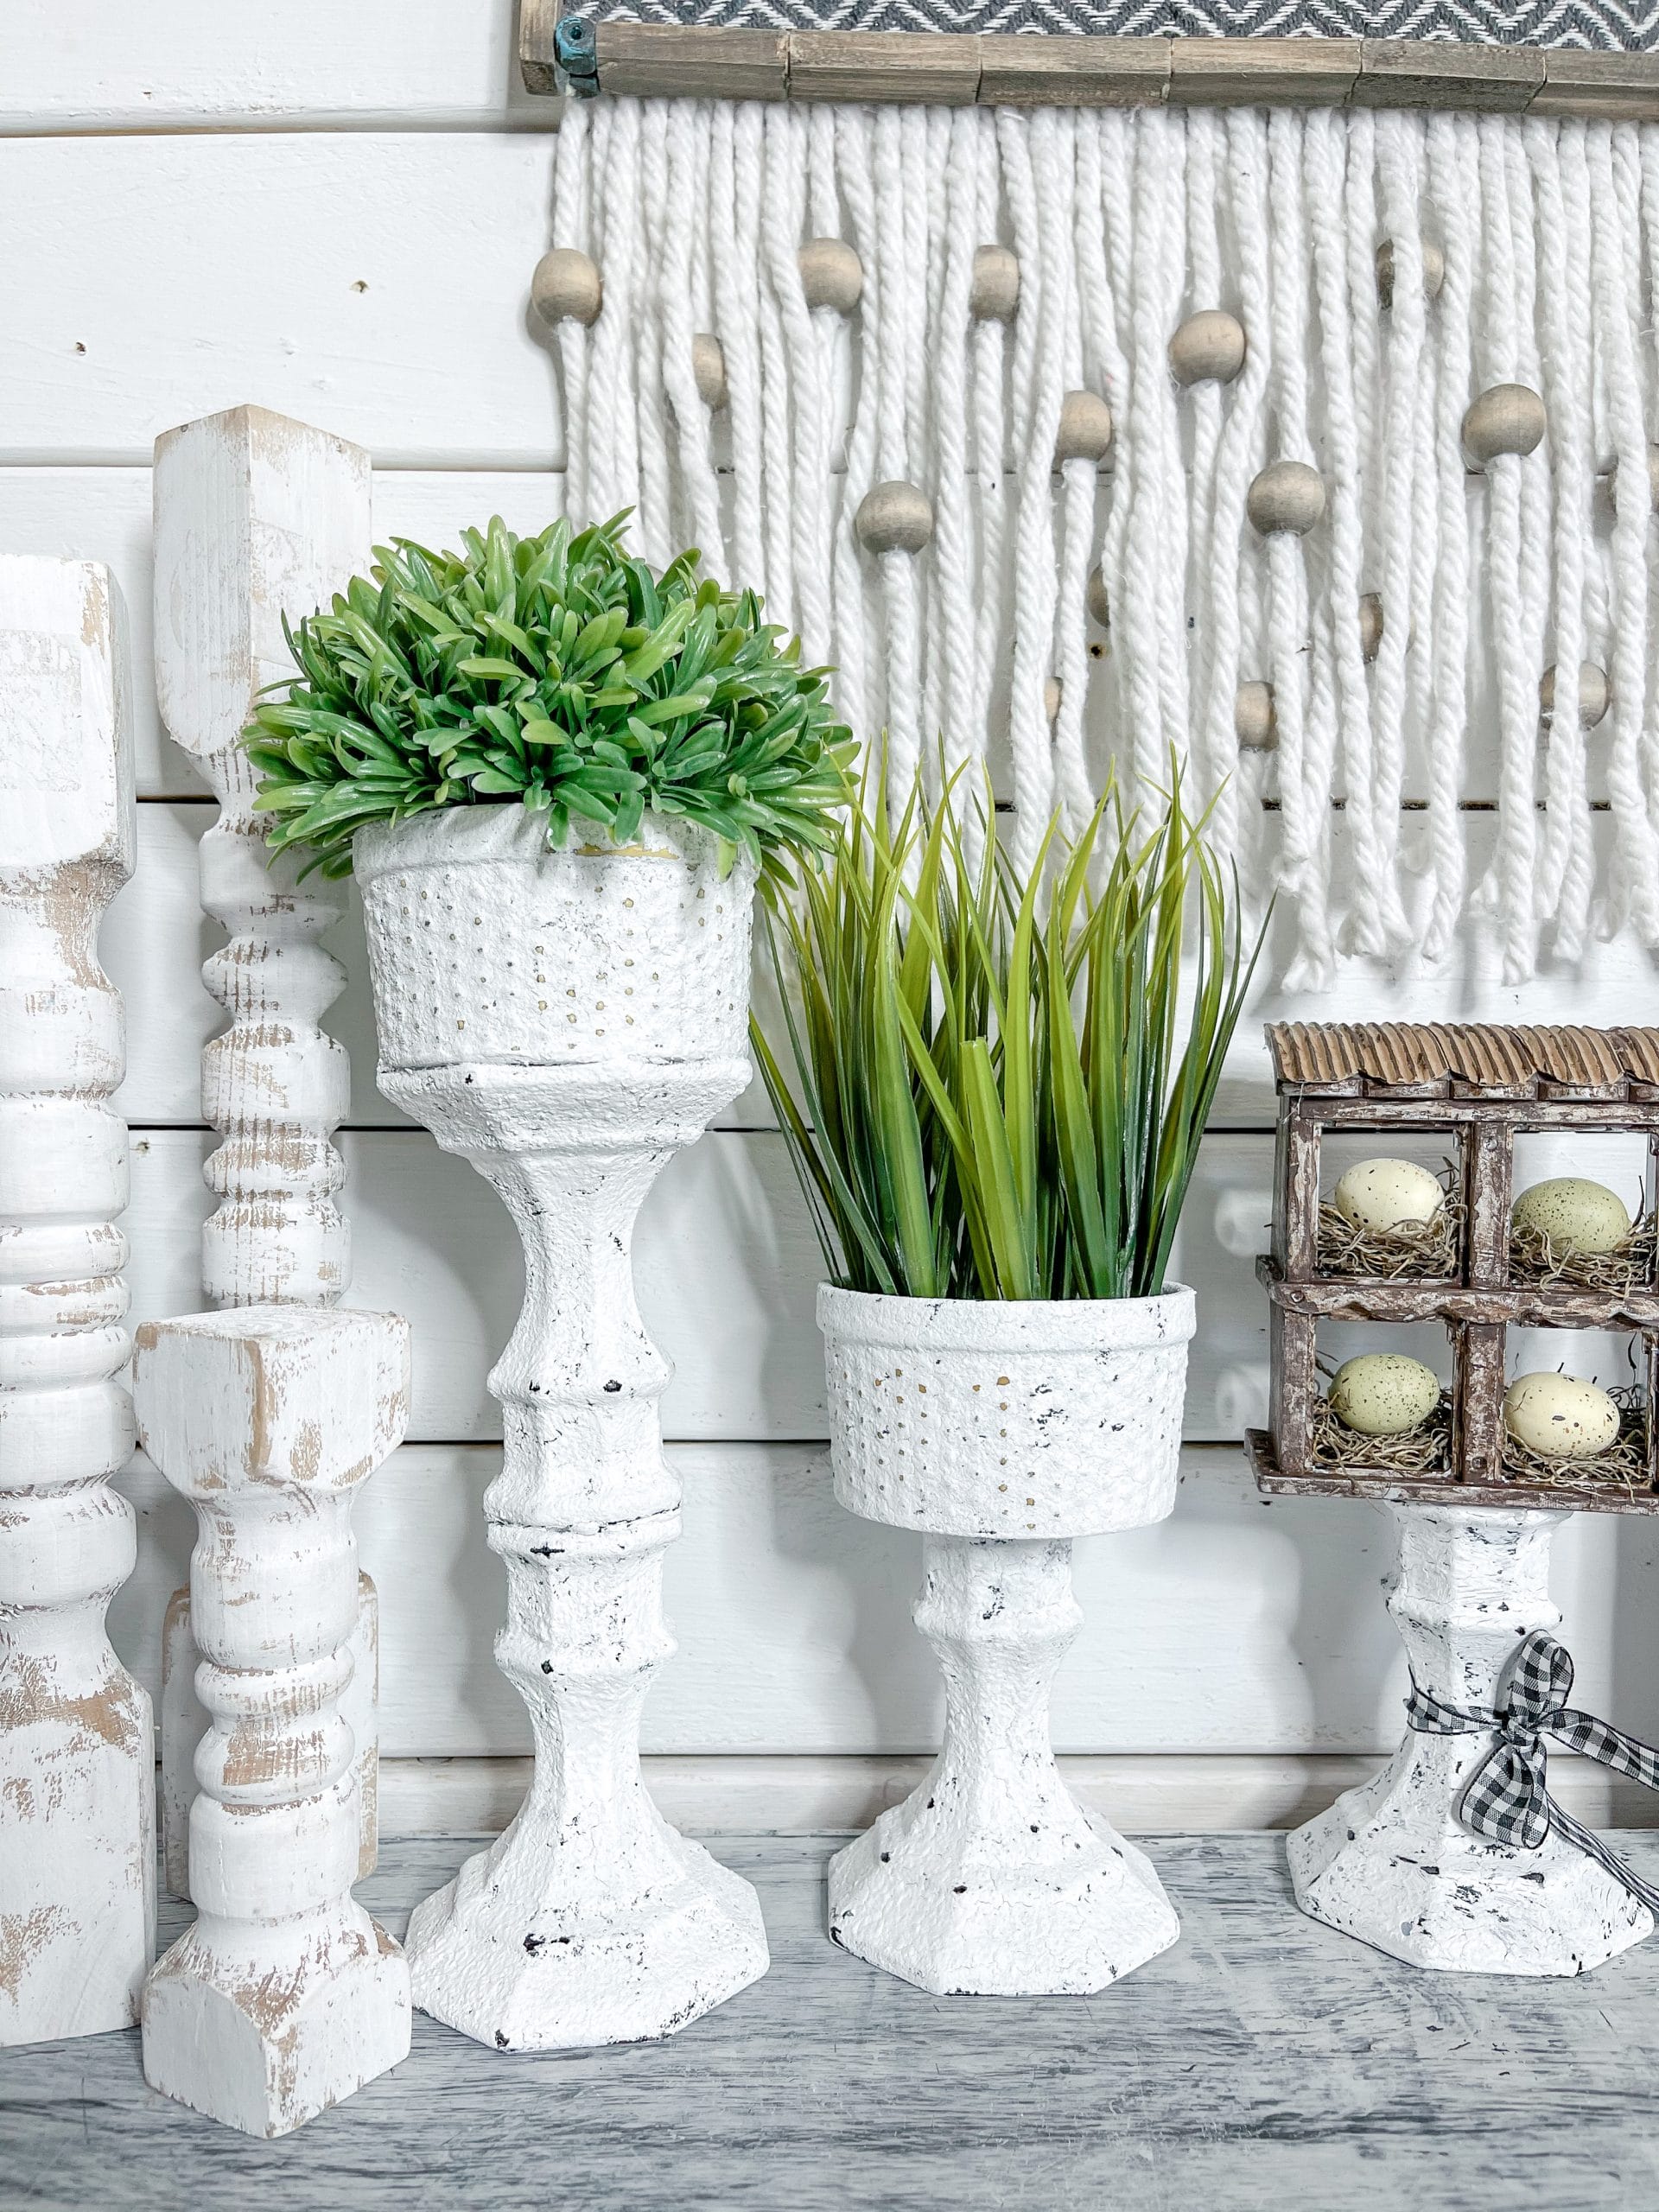
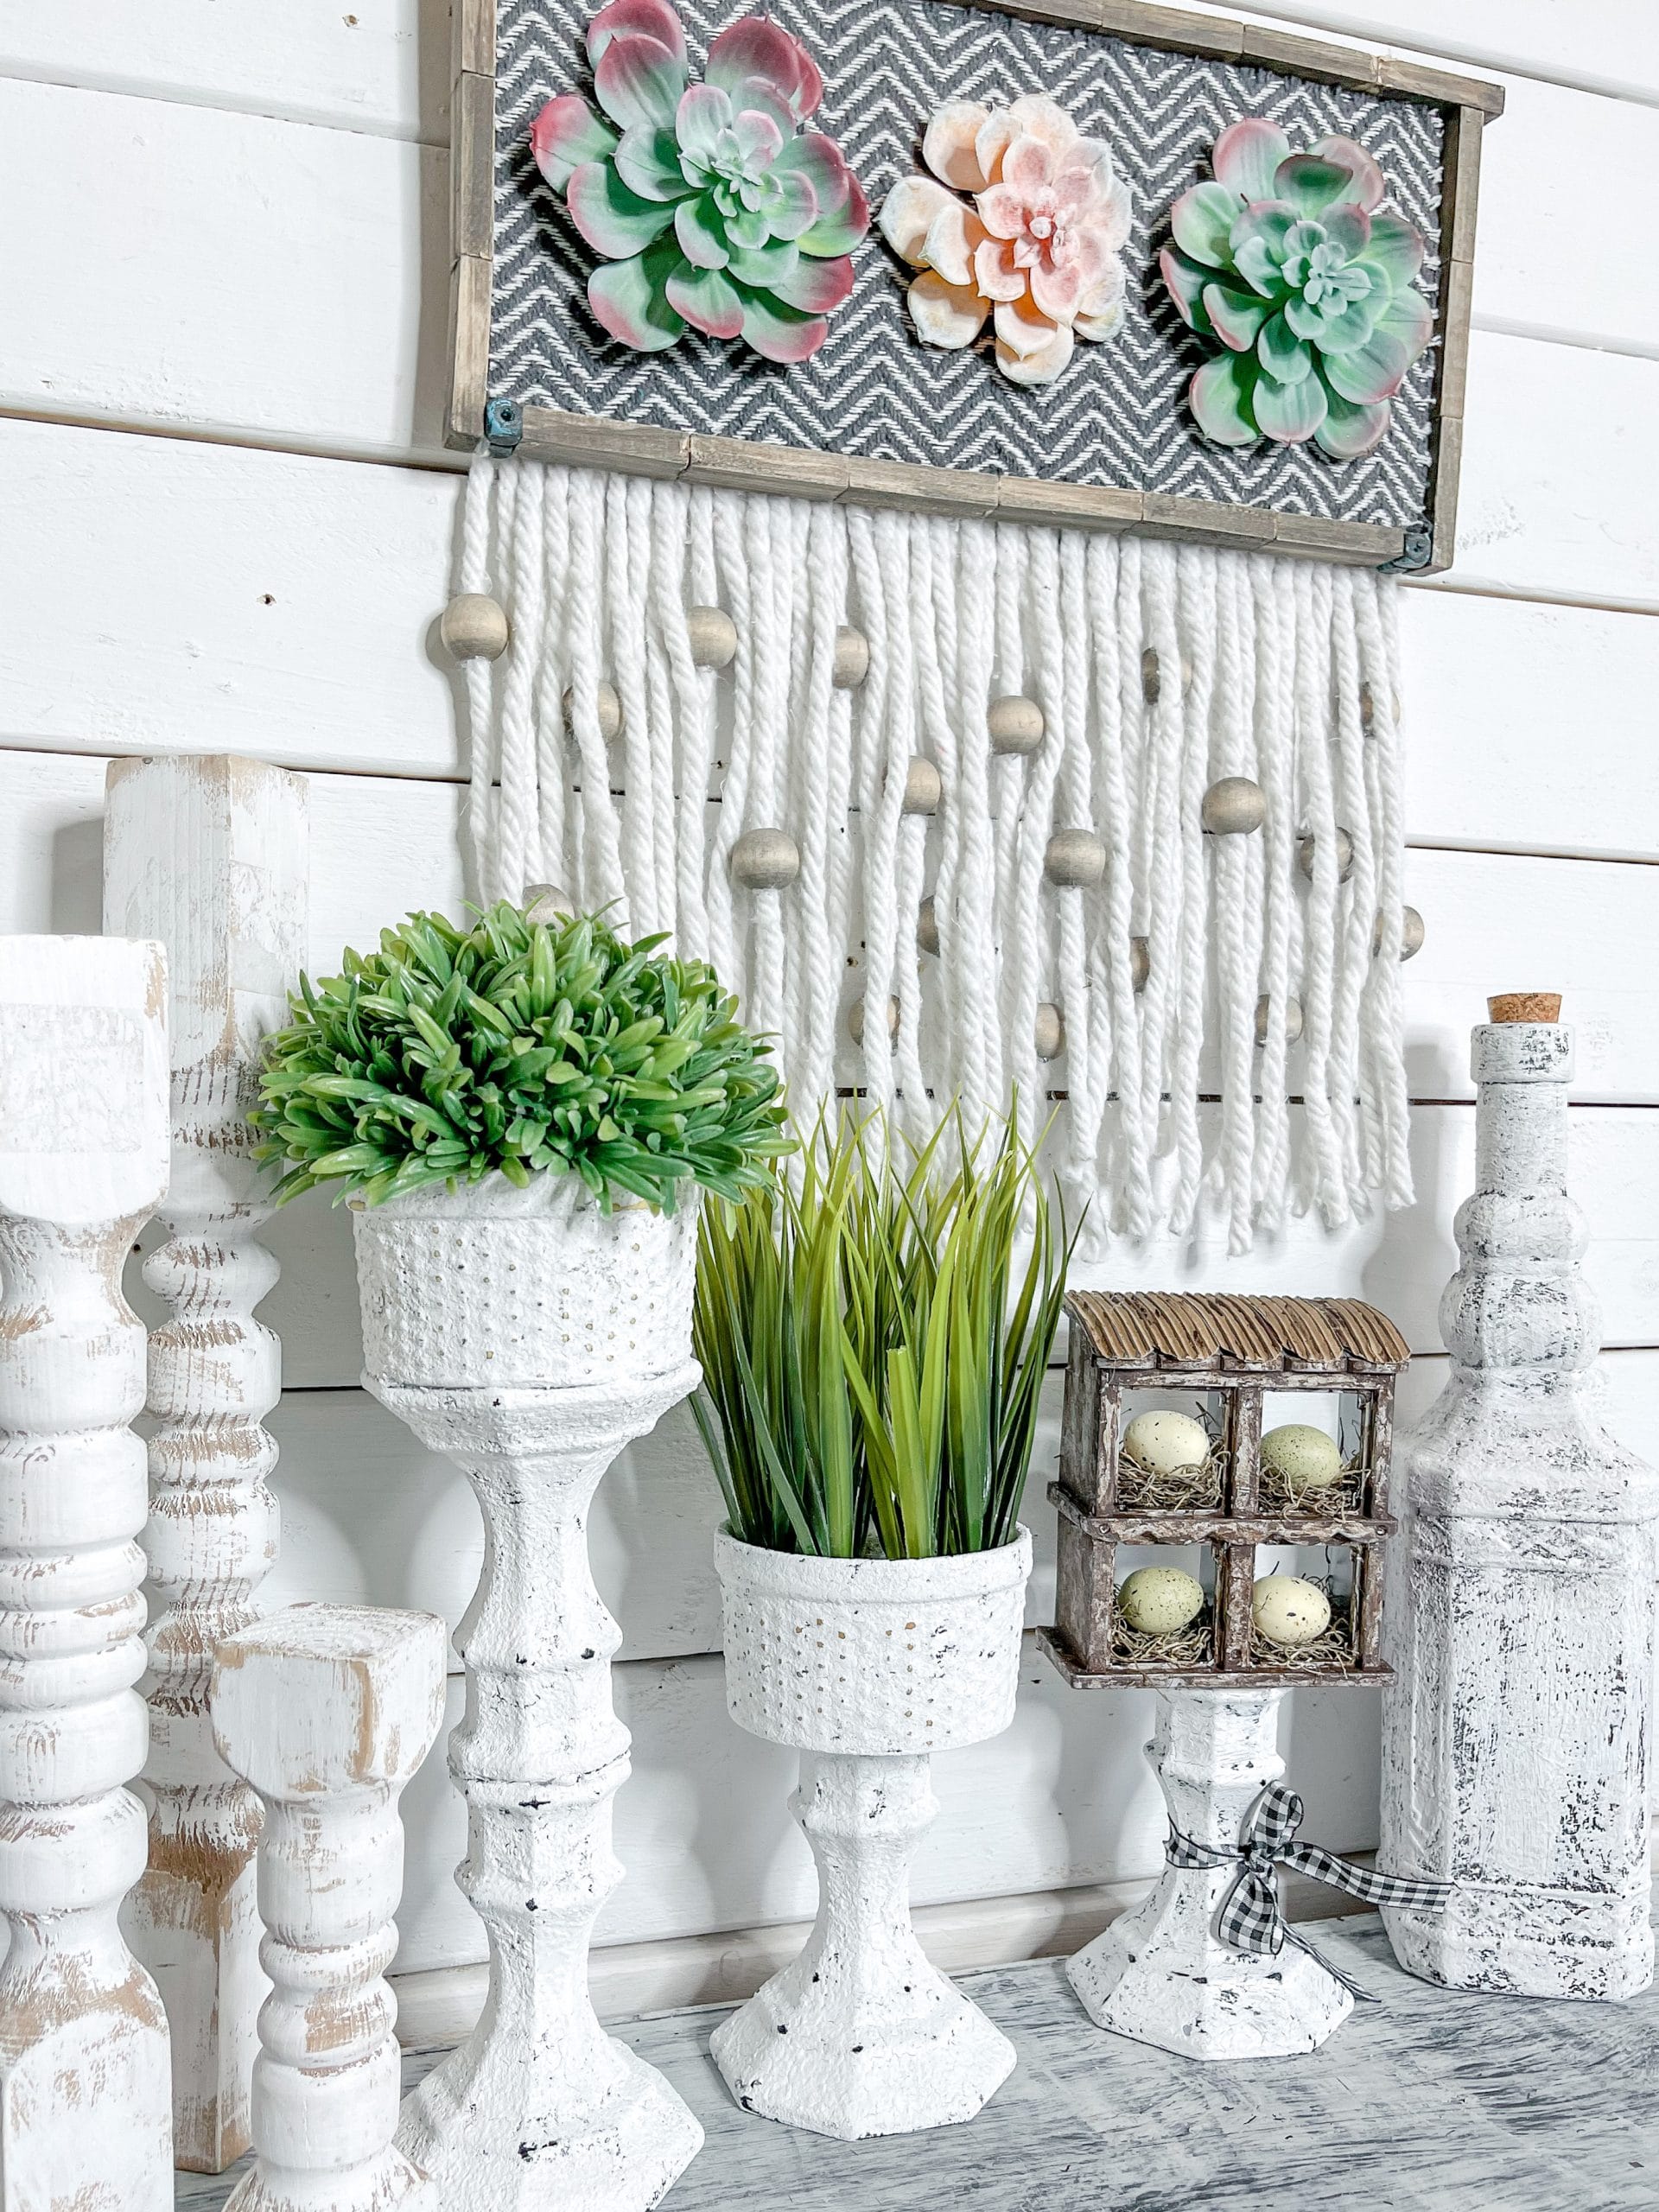
I am so excited to share these Dollar Tree Candle Holder DIY Plant Stands with you. I’ve used Dollar Tree glass candle holders in my DIY decor projects before, like when I made a DIY Dollar Tree burner cover tiered tray and also with the DIY chicken coop decor!
This is a super simple DIY and a great way to fill counter space in your kitchen, bathroom, or bedroom!
Watch the replay
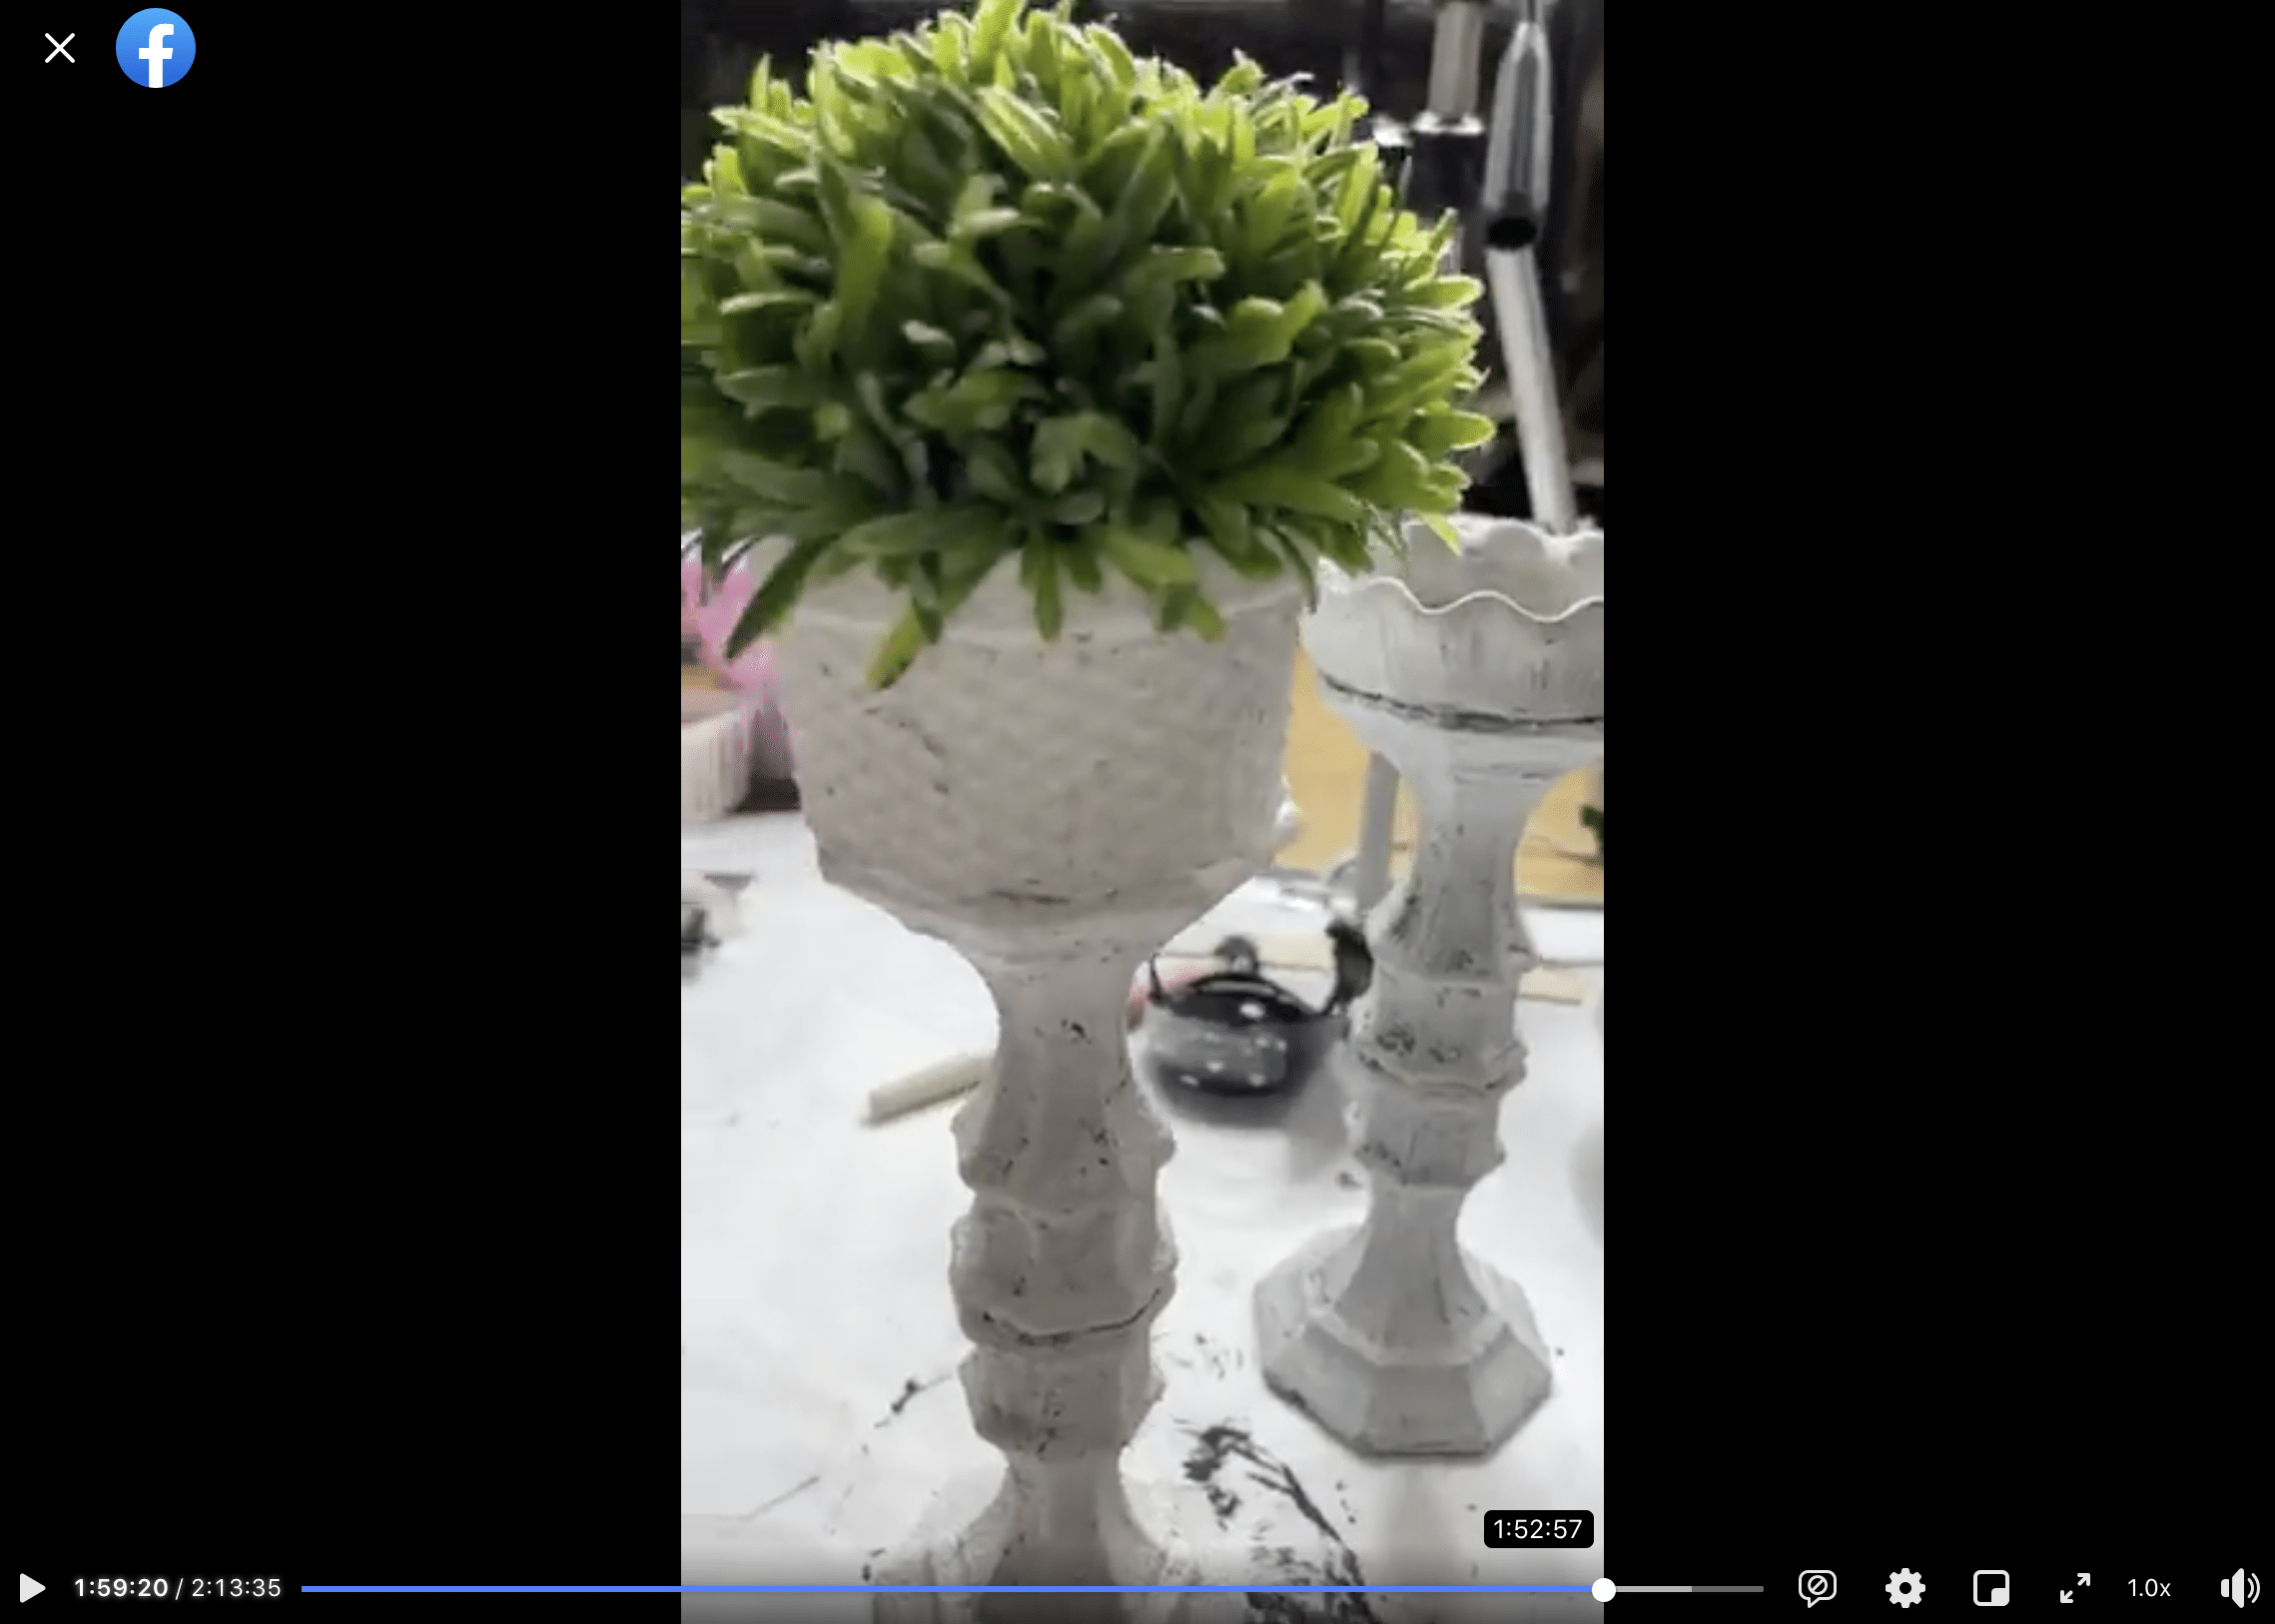
I recorded how to make these DIY plant stands during a LIVE video on my Facebook page!
If you want to see the process, craft along, or just join in on the fun conversations, you can watch the replay!
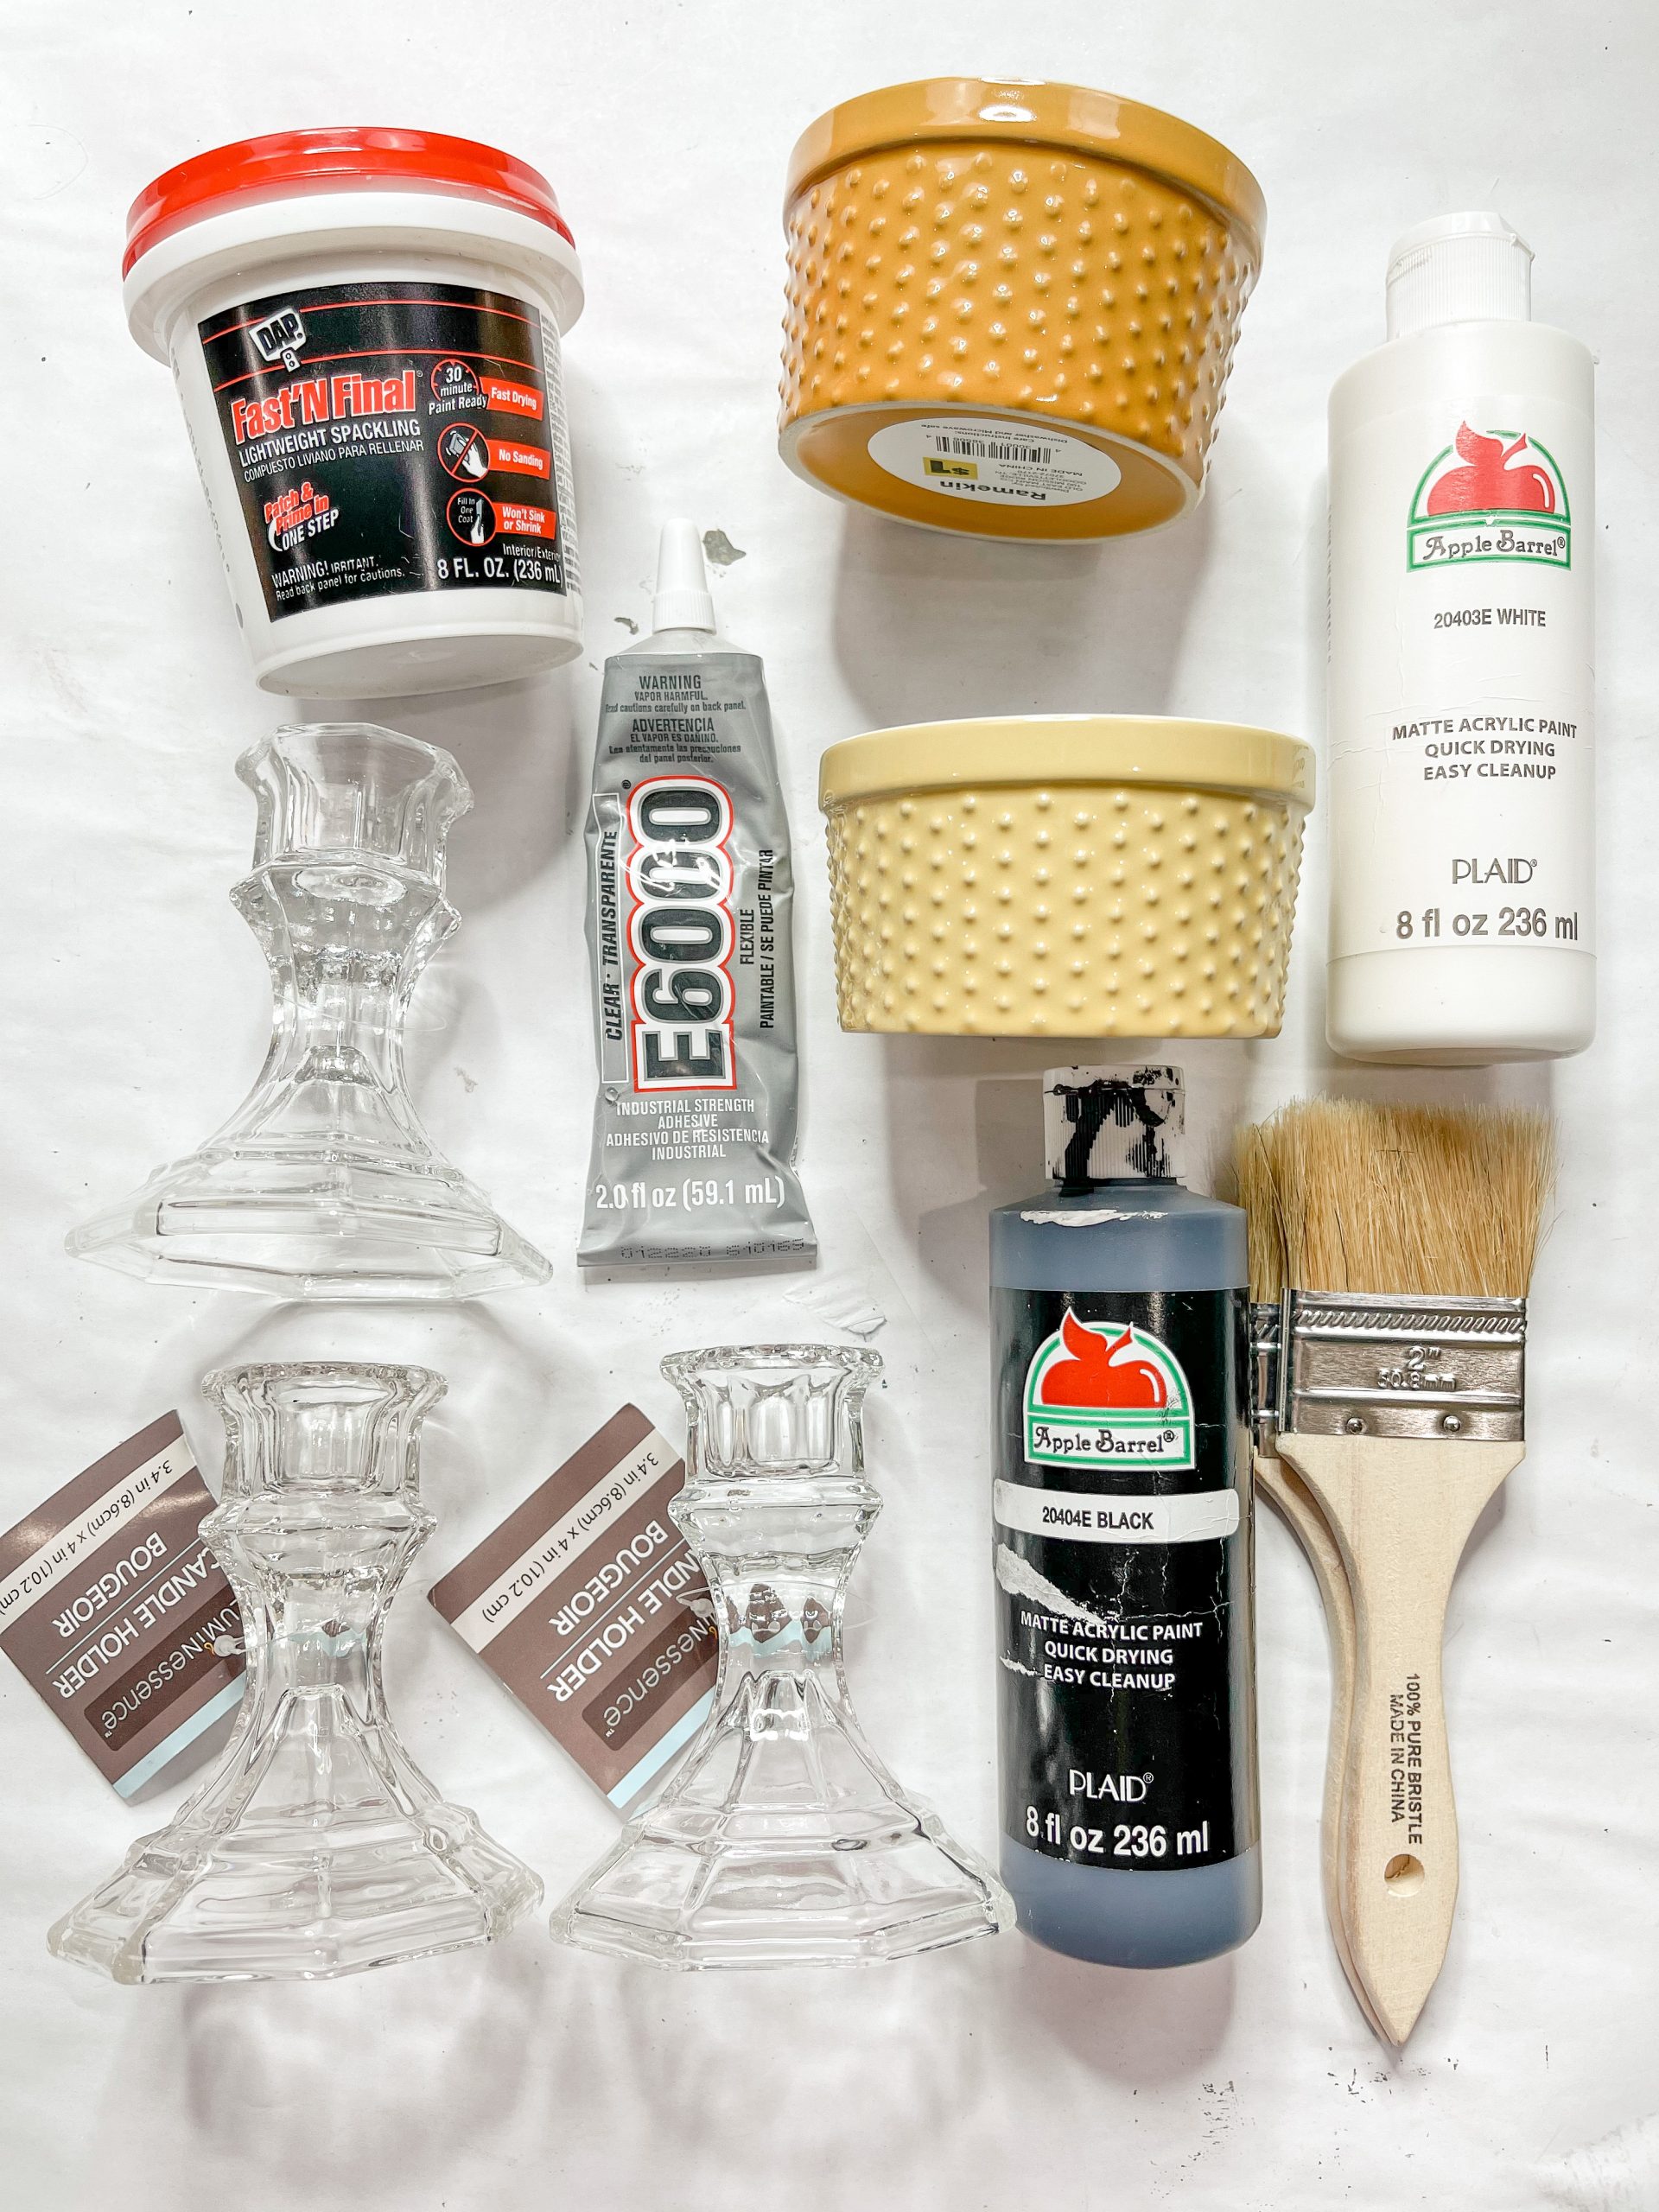
For this project, I will be using these items but you can substitute where you want.
“As an Amazon Associate, I earn from qualifying purchases.”
- Dollar Tree Glass Candle Holders
- Dollar Tree Spackling
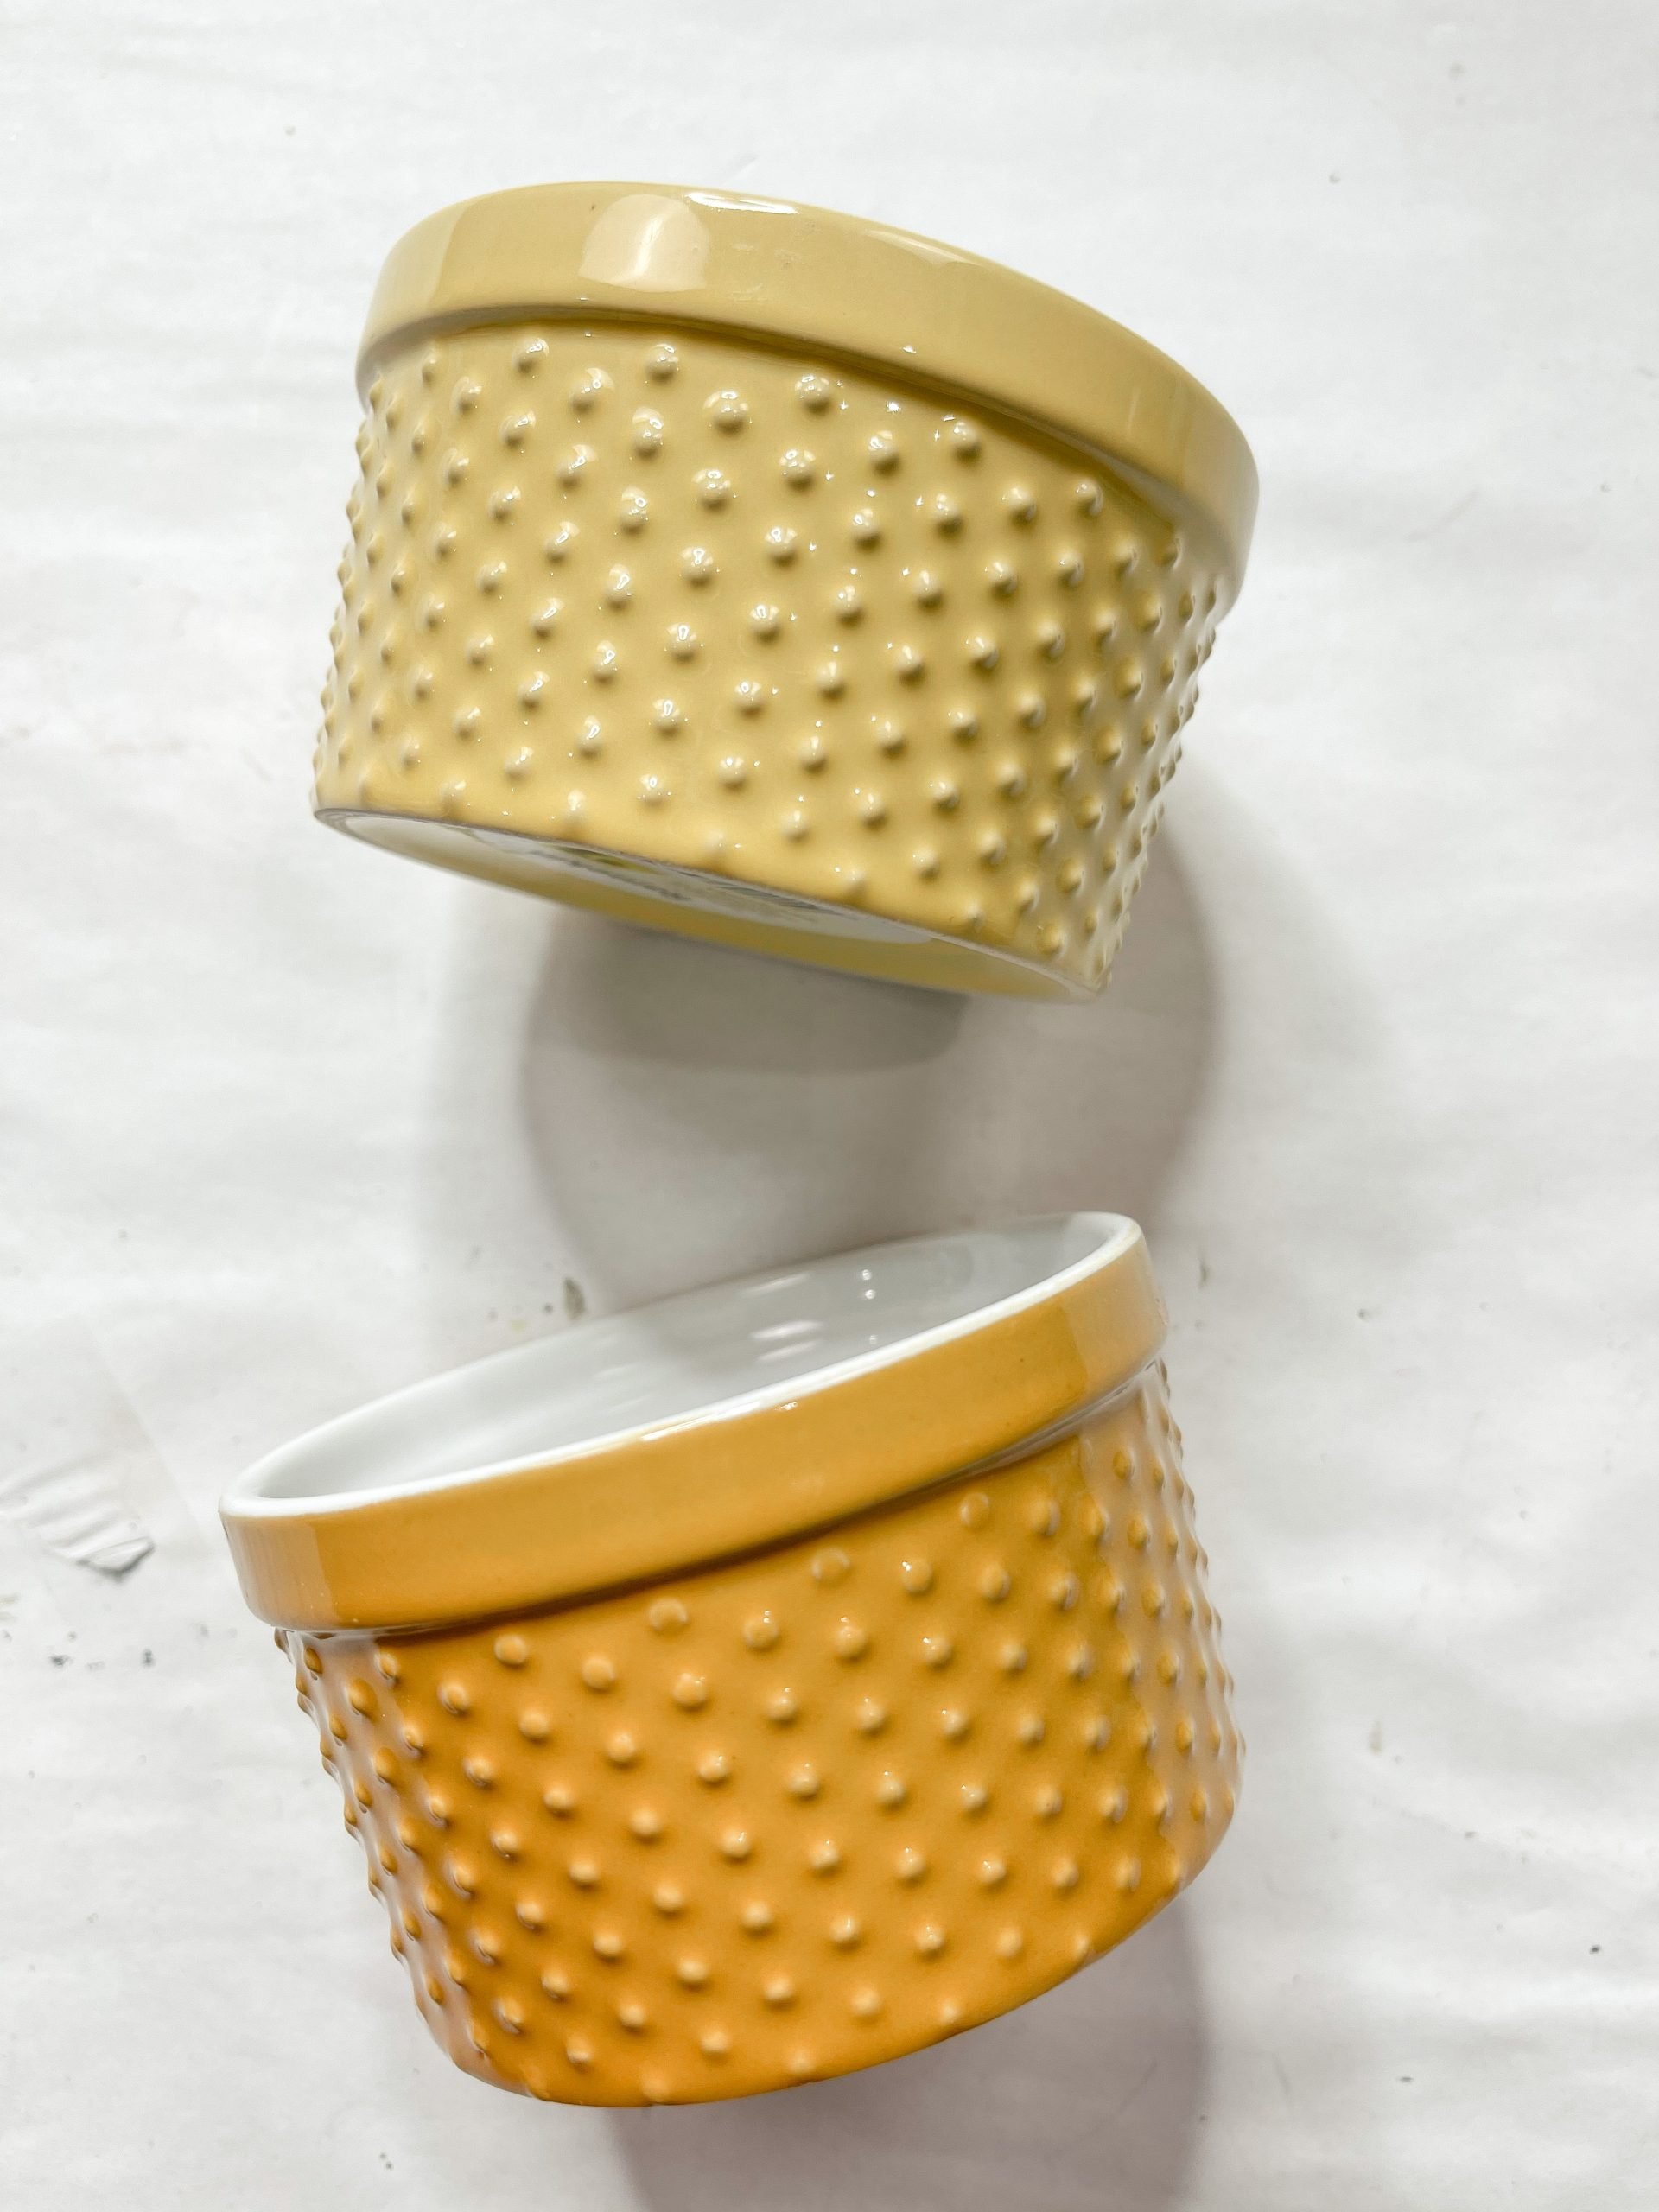
- Ceramic Ramekins (Family Dollar)
- Apple Barrel Black Acrylic paint
- Apple Barrel White Acrylic Paint
- Paintbrushes
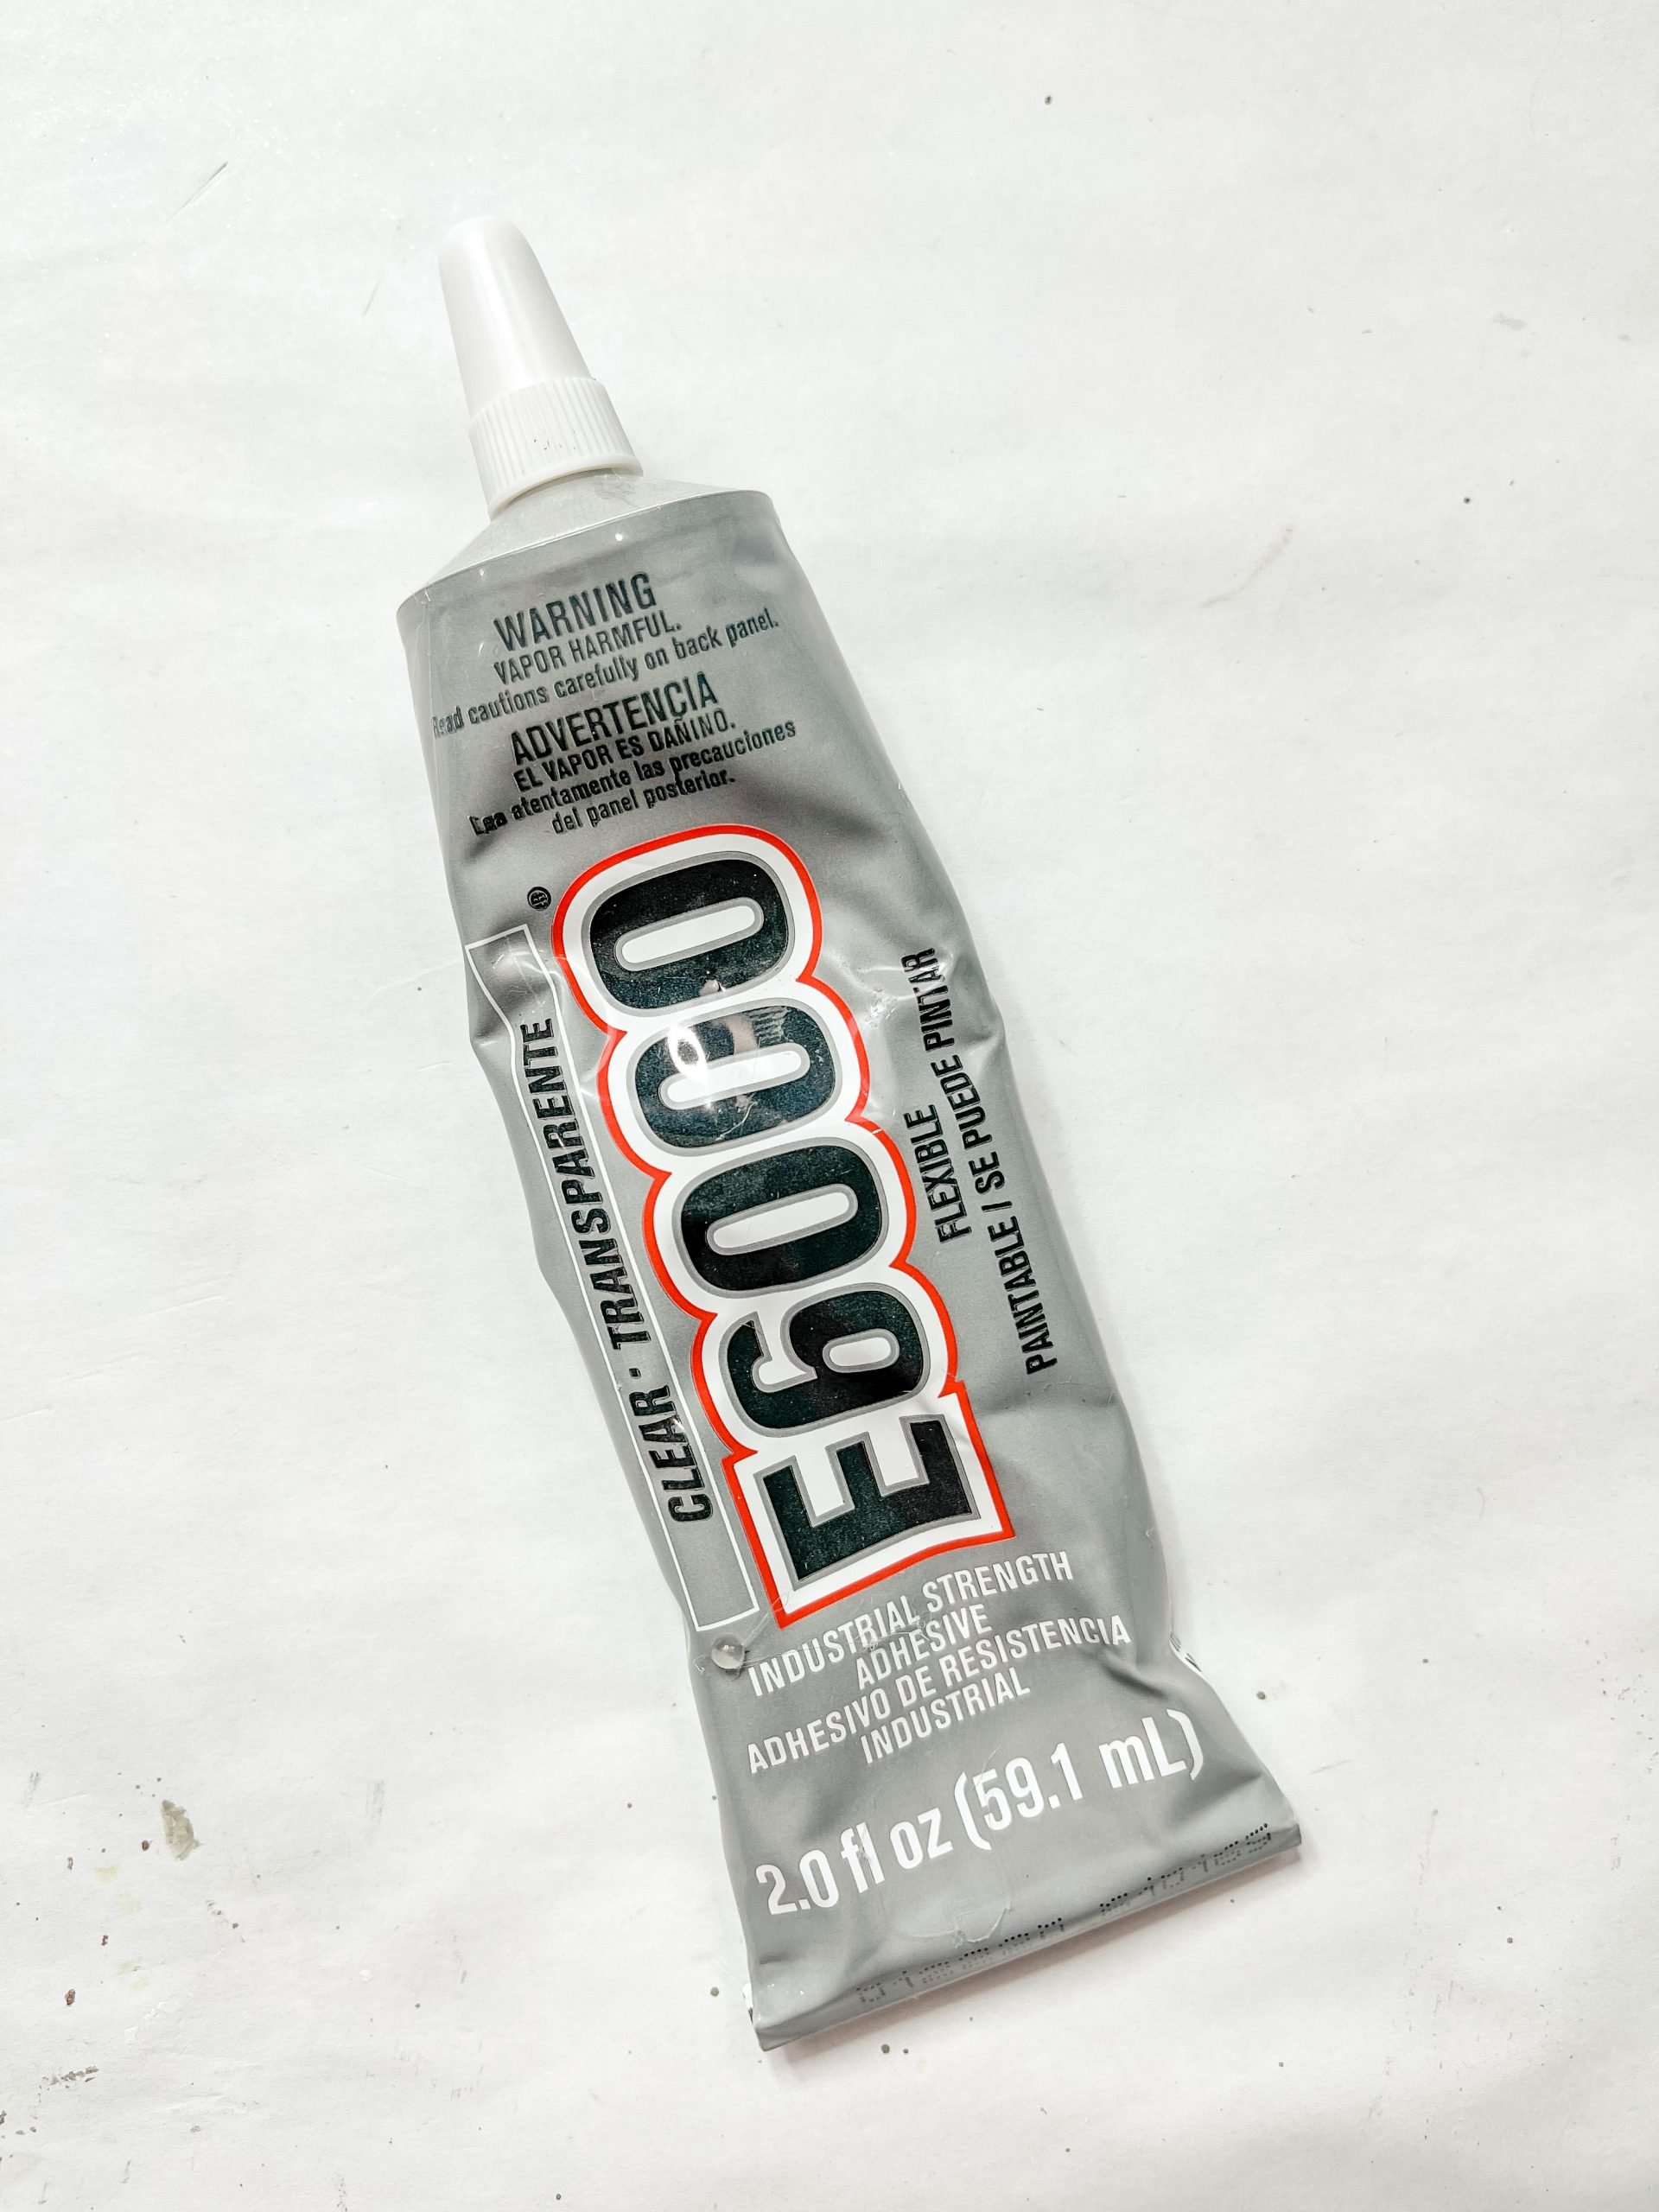
- E6000 Glue
- Hot glue gun and glue sticks
How to make Dollar Tree Candle Holder DIY Plant Stands
Alright, to start making these adorable DIY plant stand holders you need to mix some black paint with spackling. I used Apple Barrel Black Acrylic Paint and Dollar Tree spackling.
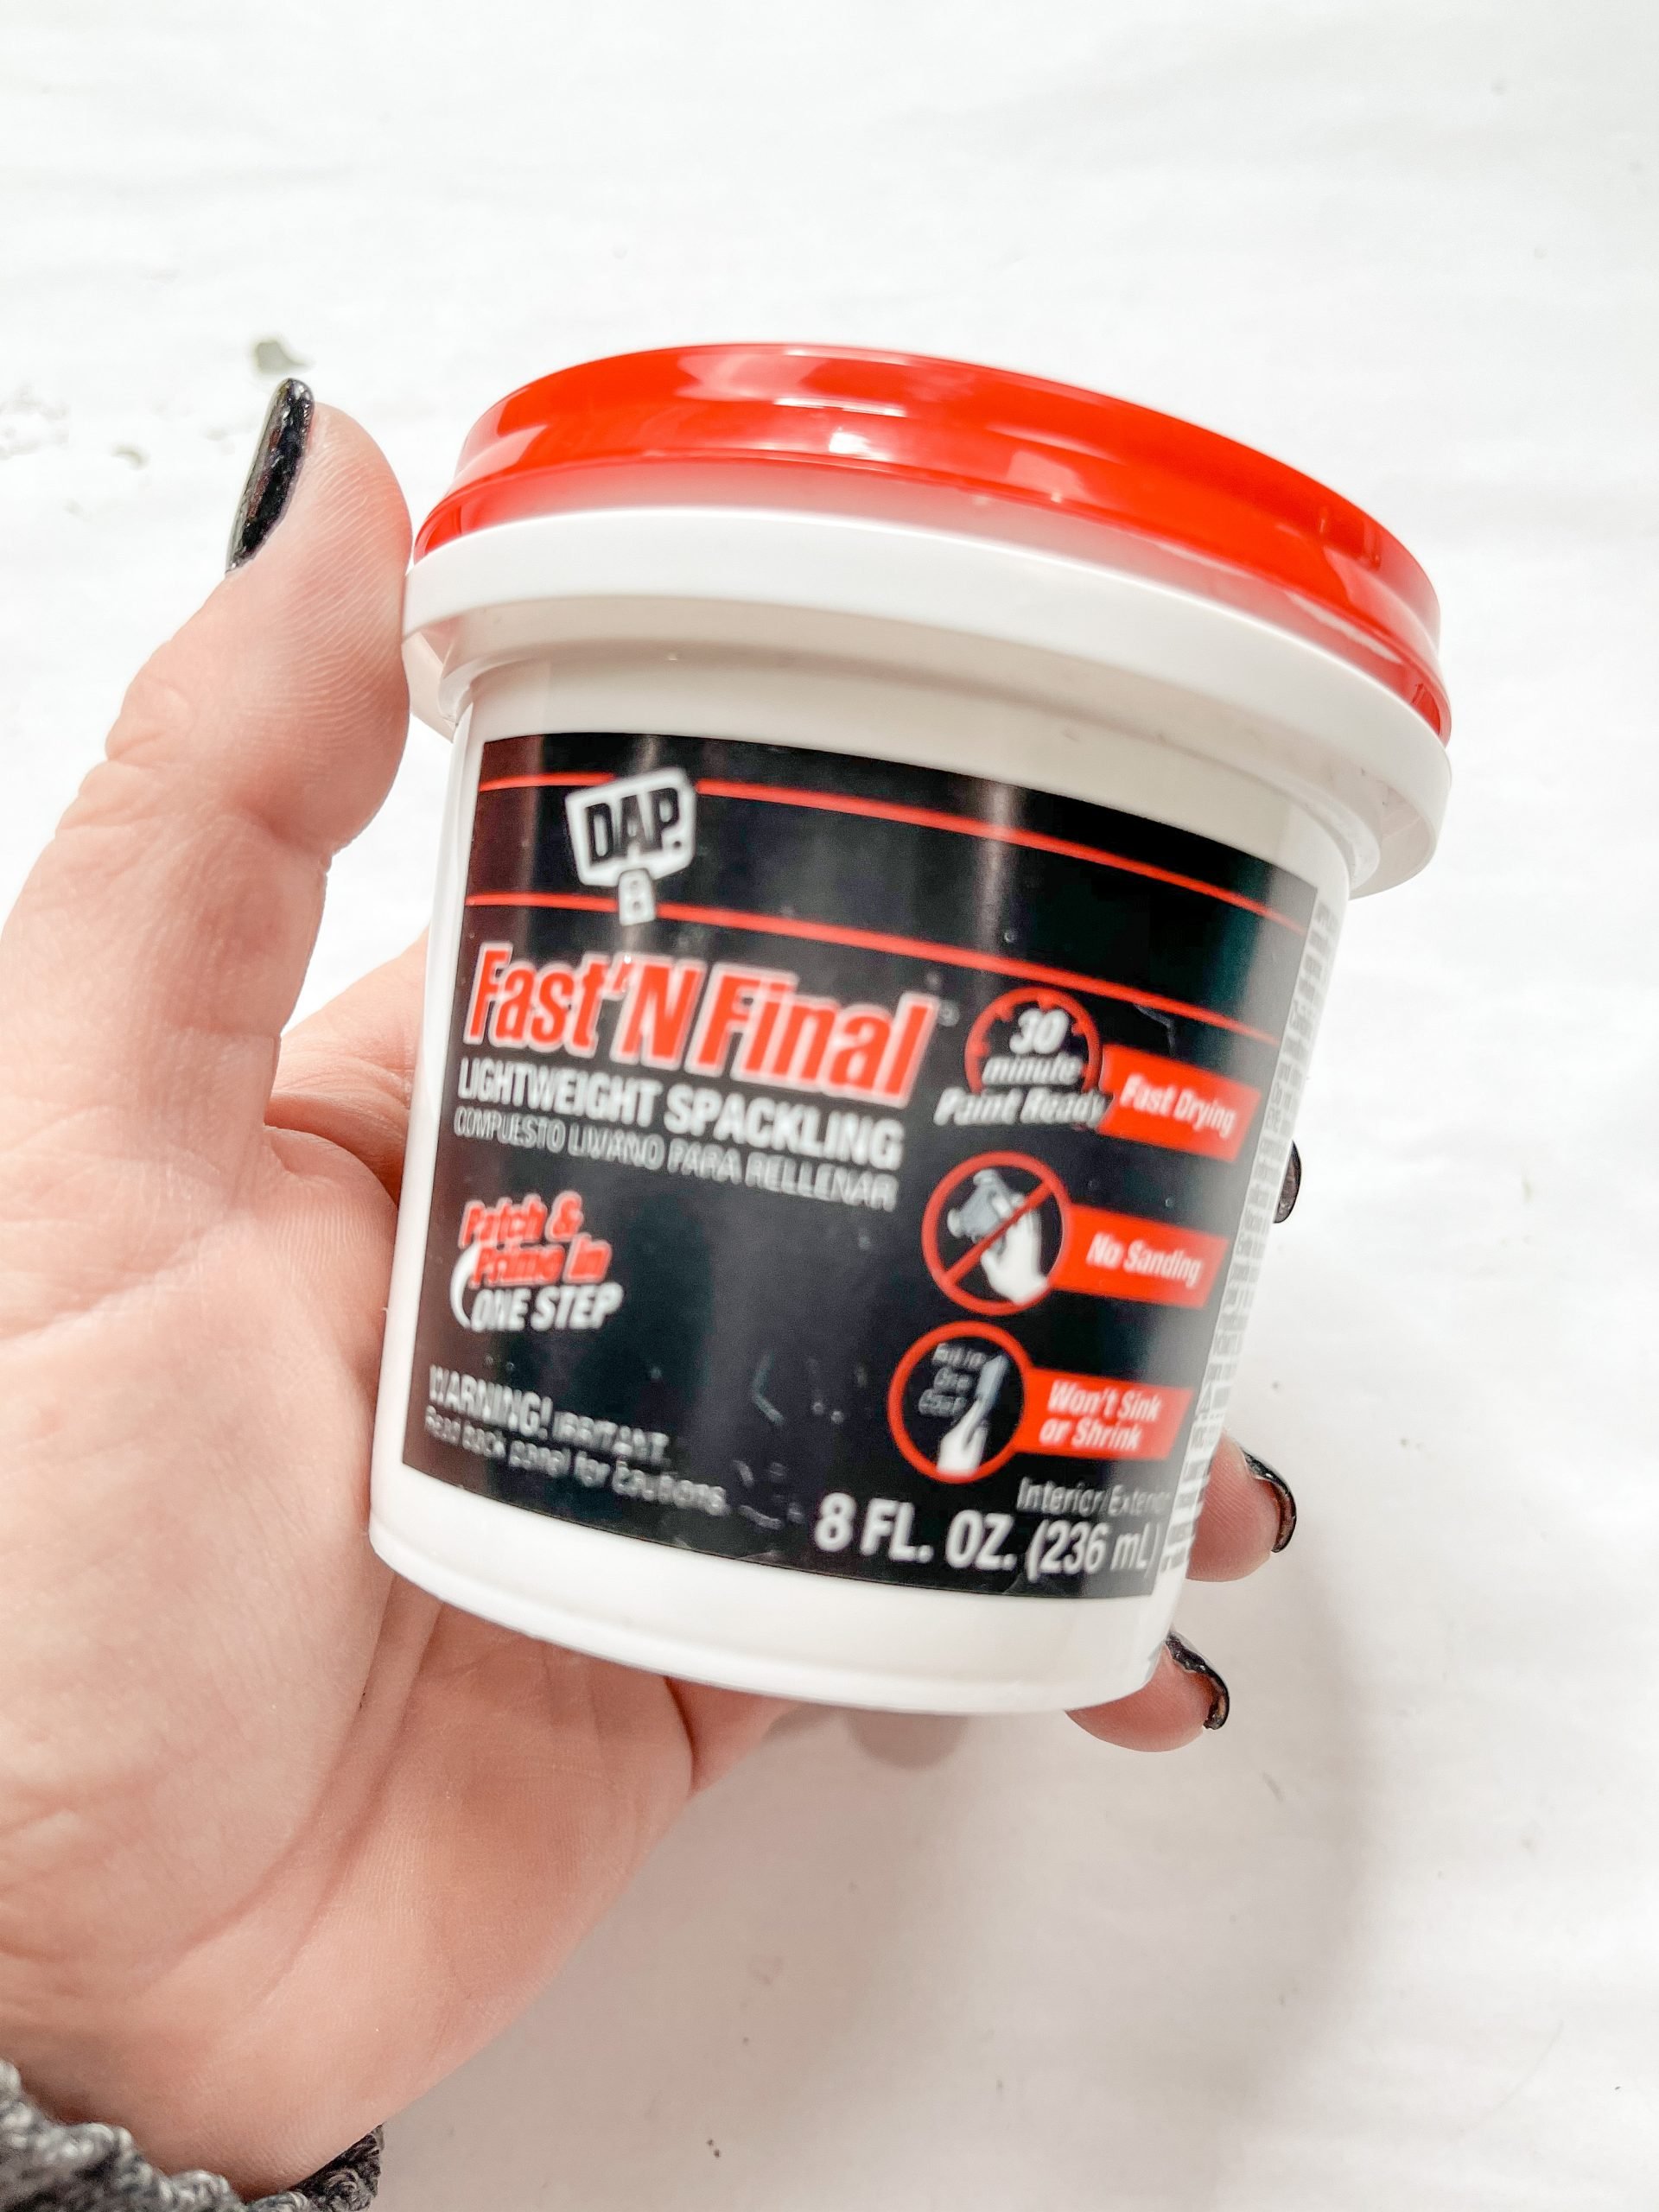
The spackling gives the glass texture and creates a faux concrete finish on the Dollar Tree glass holders. Once you have the paint and spackling mixed together, use a paintbrush to dab the mixture onto the glass candle holders.
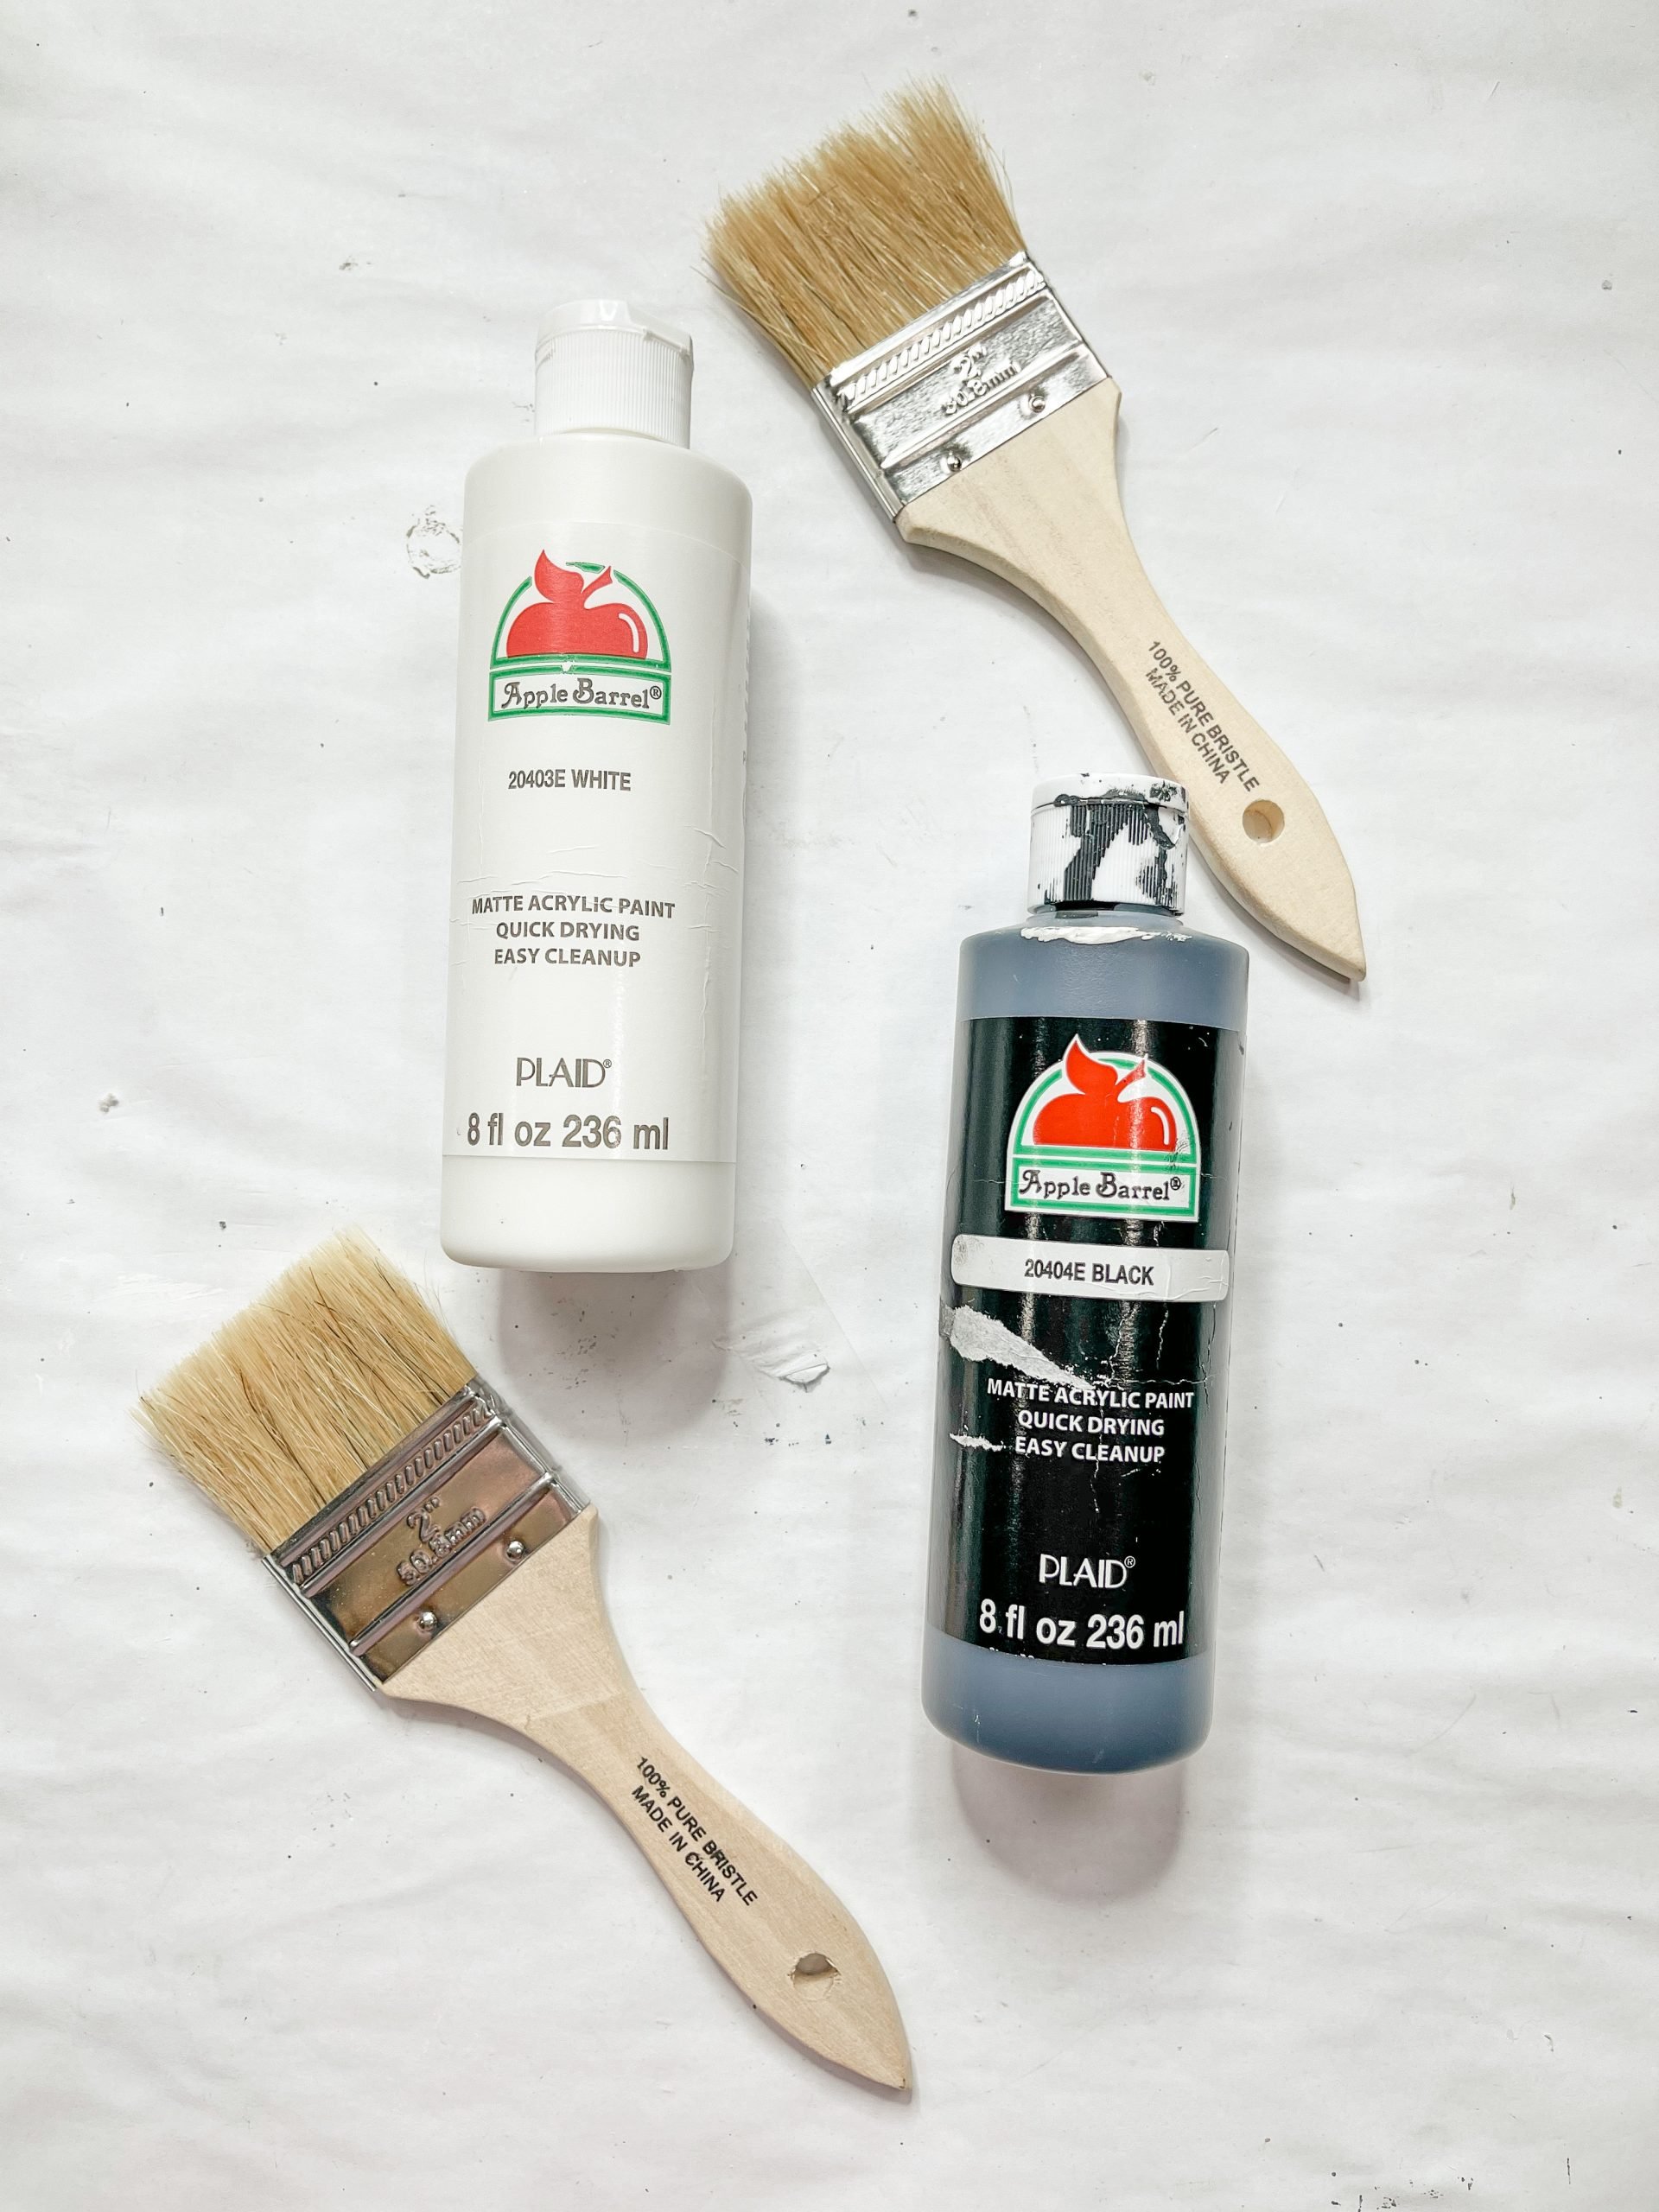
Dabbing the paint instead of brushing it is going to create the textured finish. Use the same paint/spackling mixture to cover the ceramic ramekins as well. They are already slightly textured, but you want the texture to match the glass candle holders.
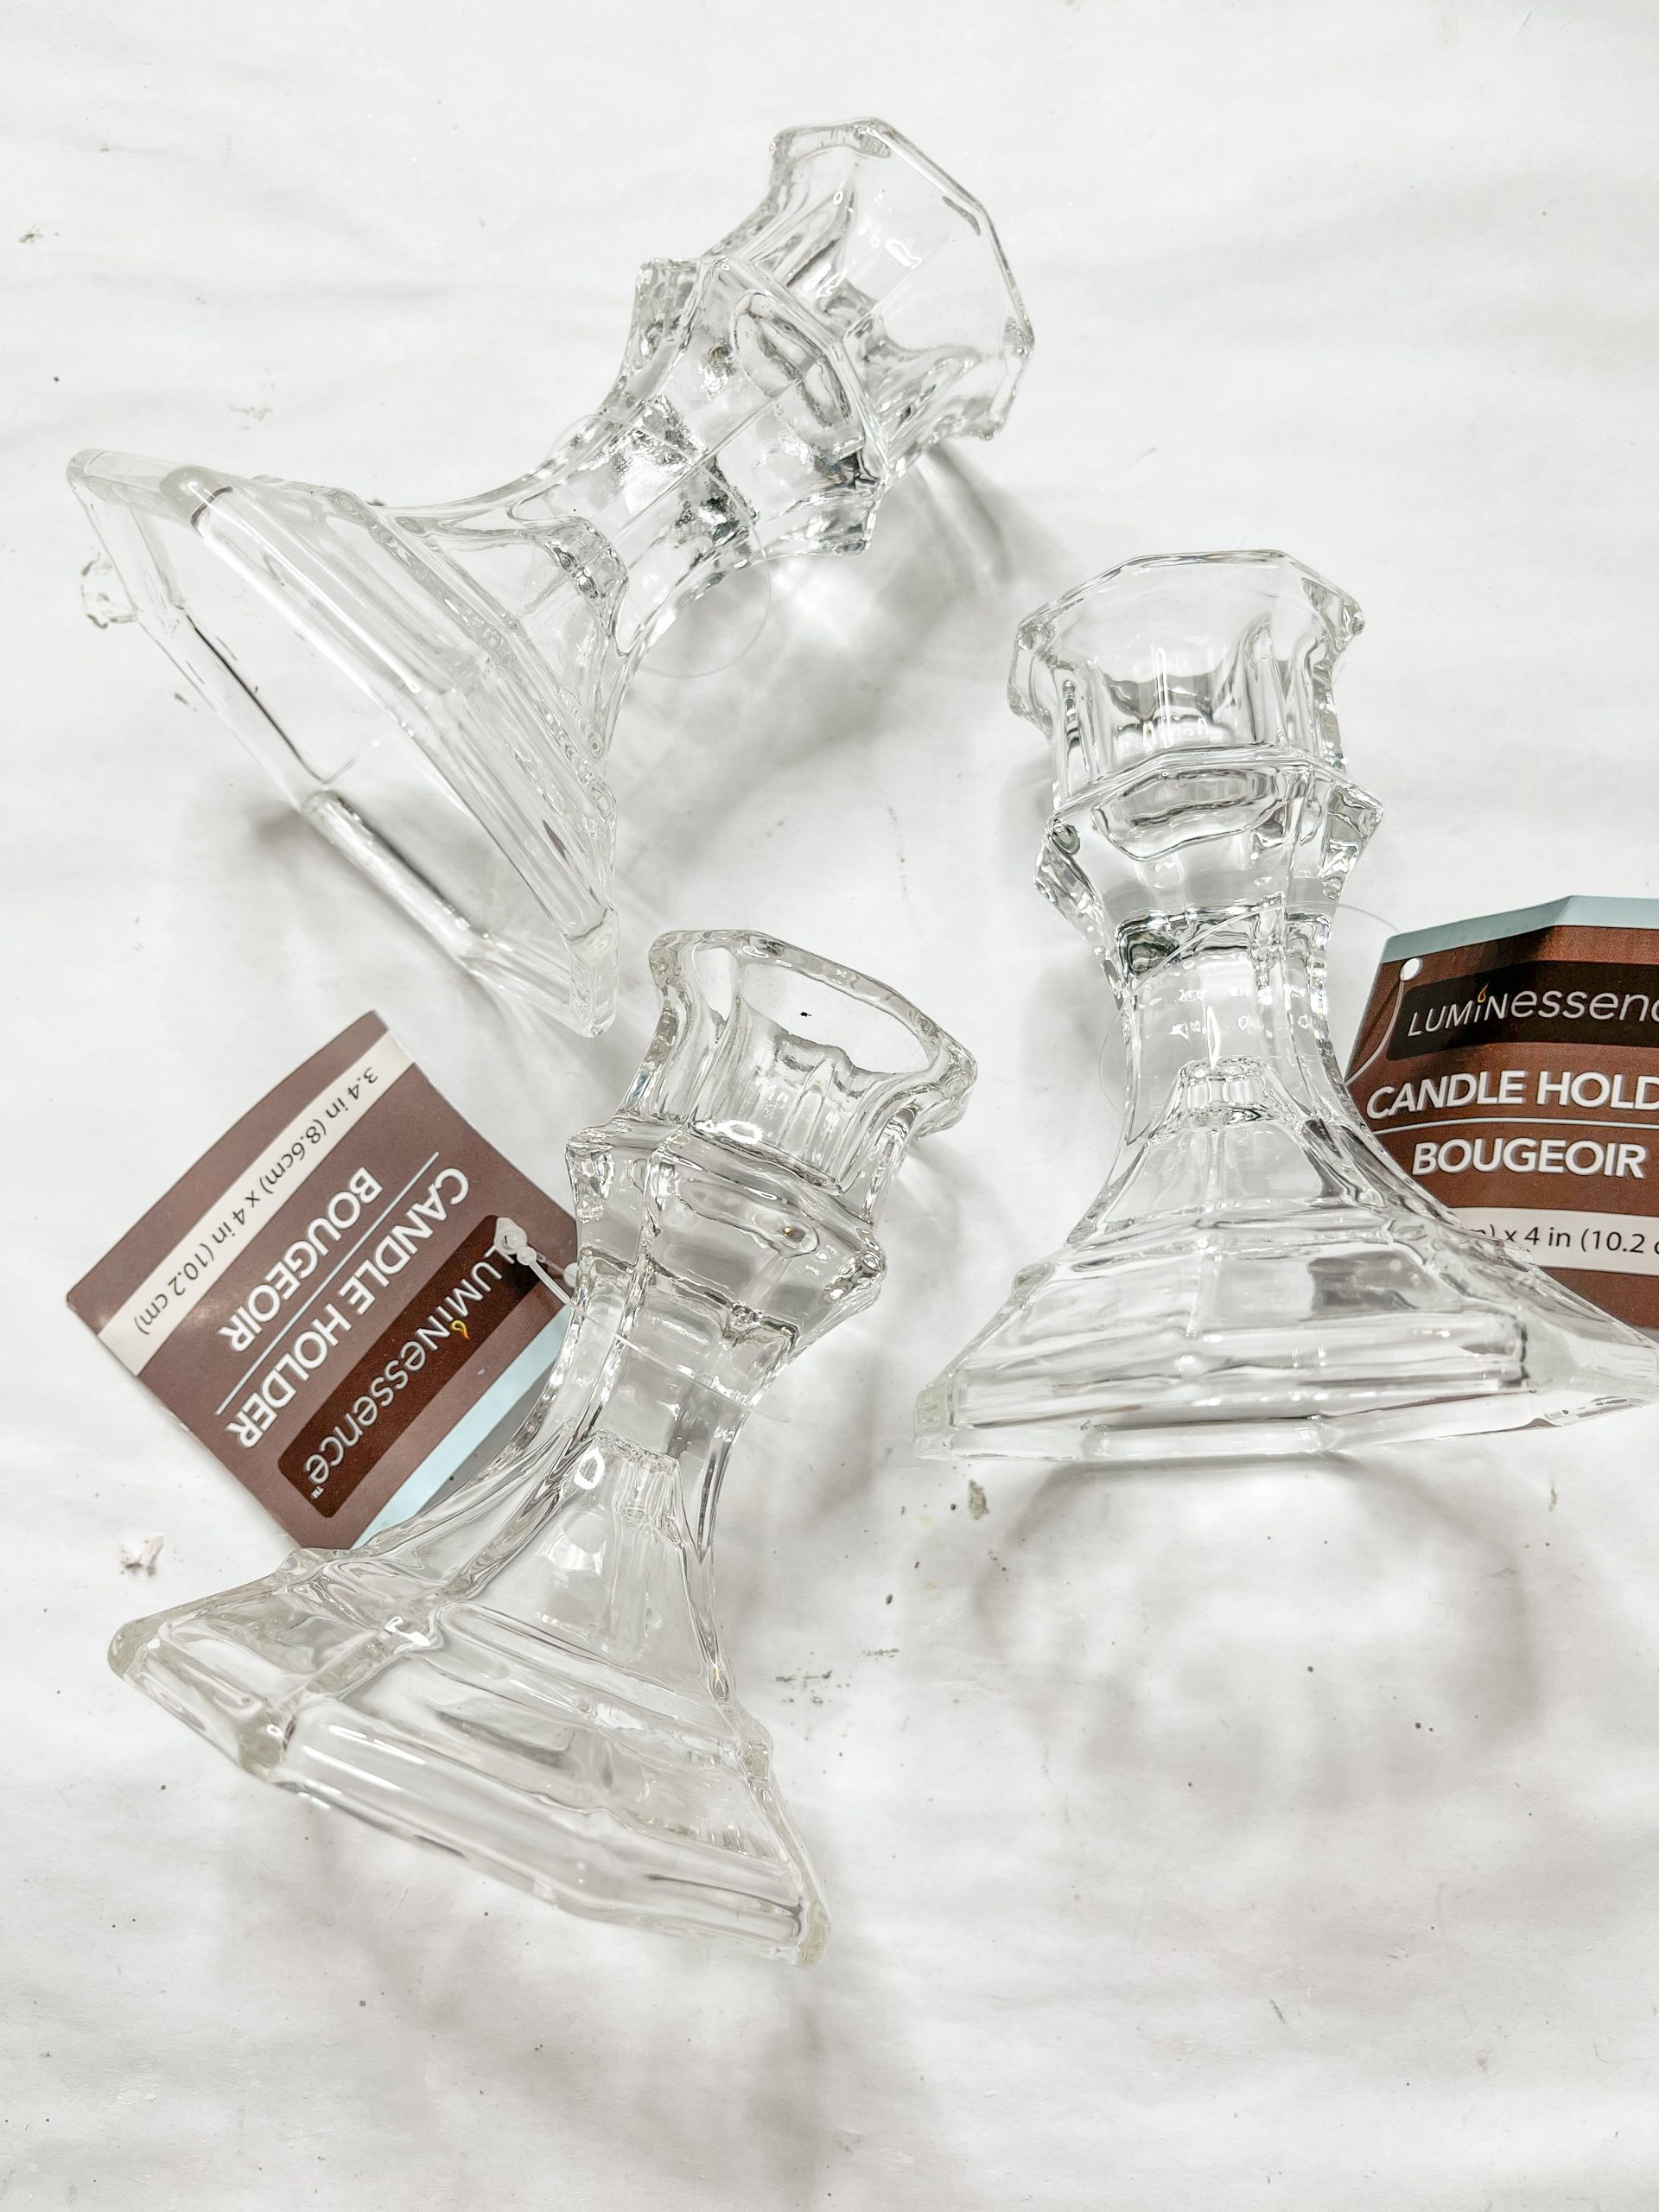
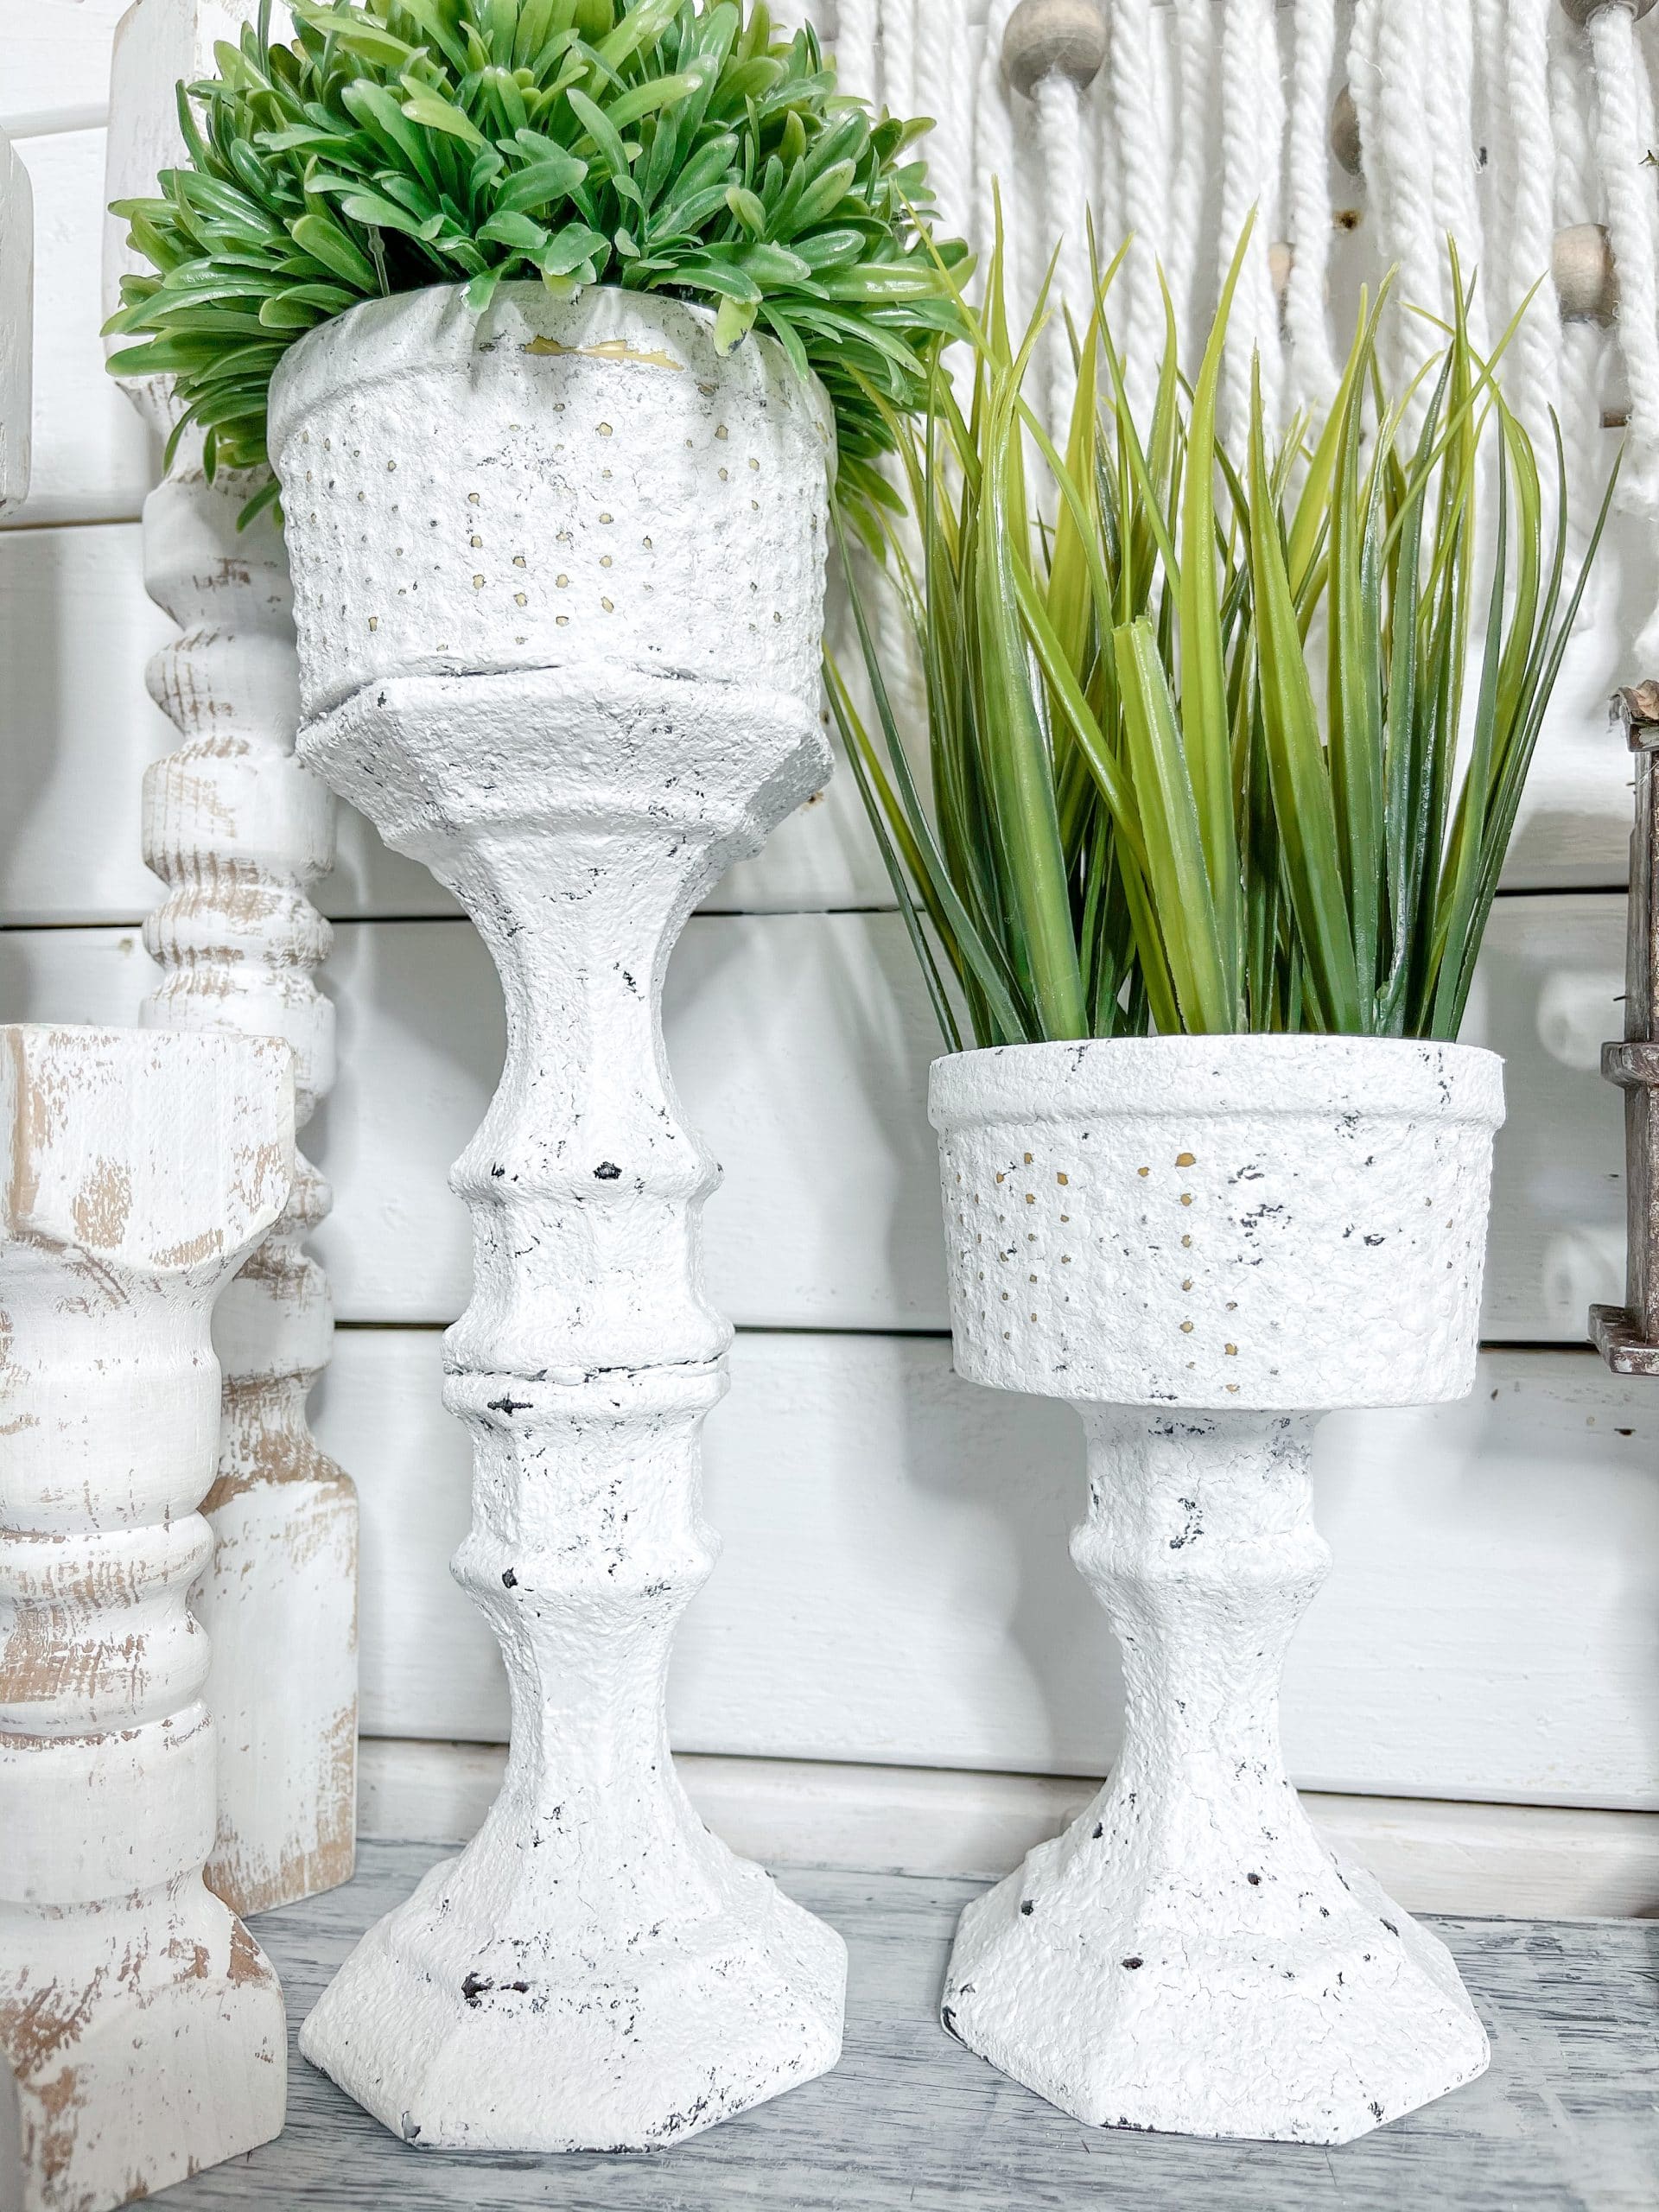
Allow the glass candle holders and ramekins to dry completely before you move on. I painted 3 glass candle holders and two of the ramekins. This way, I can have two plant stands that are different sizes.
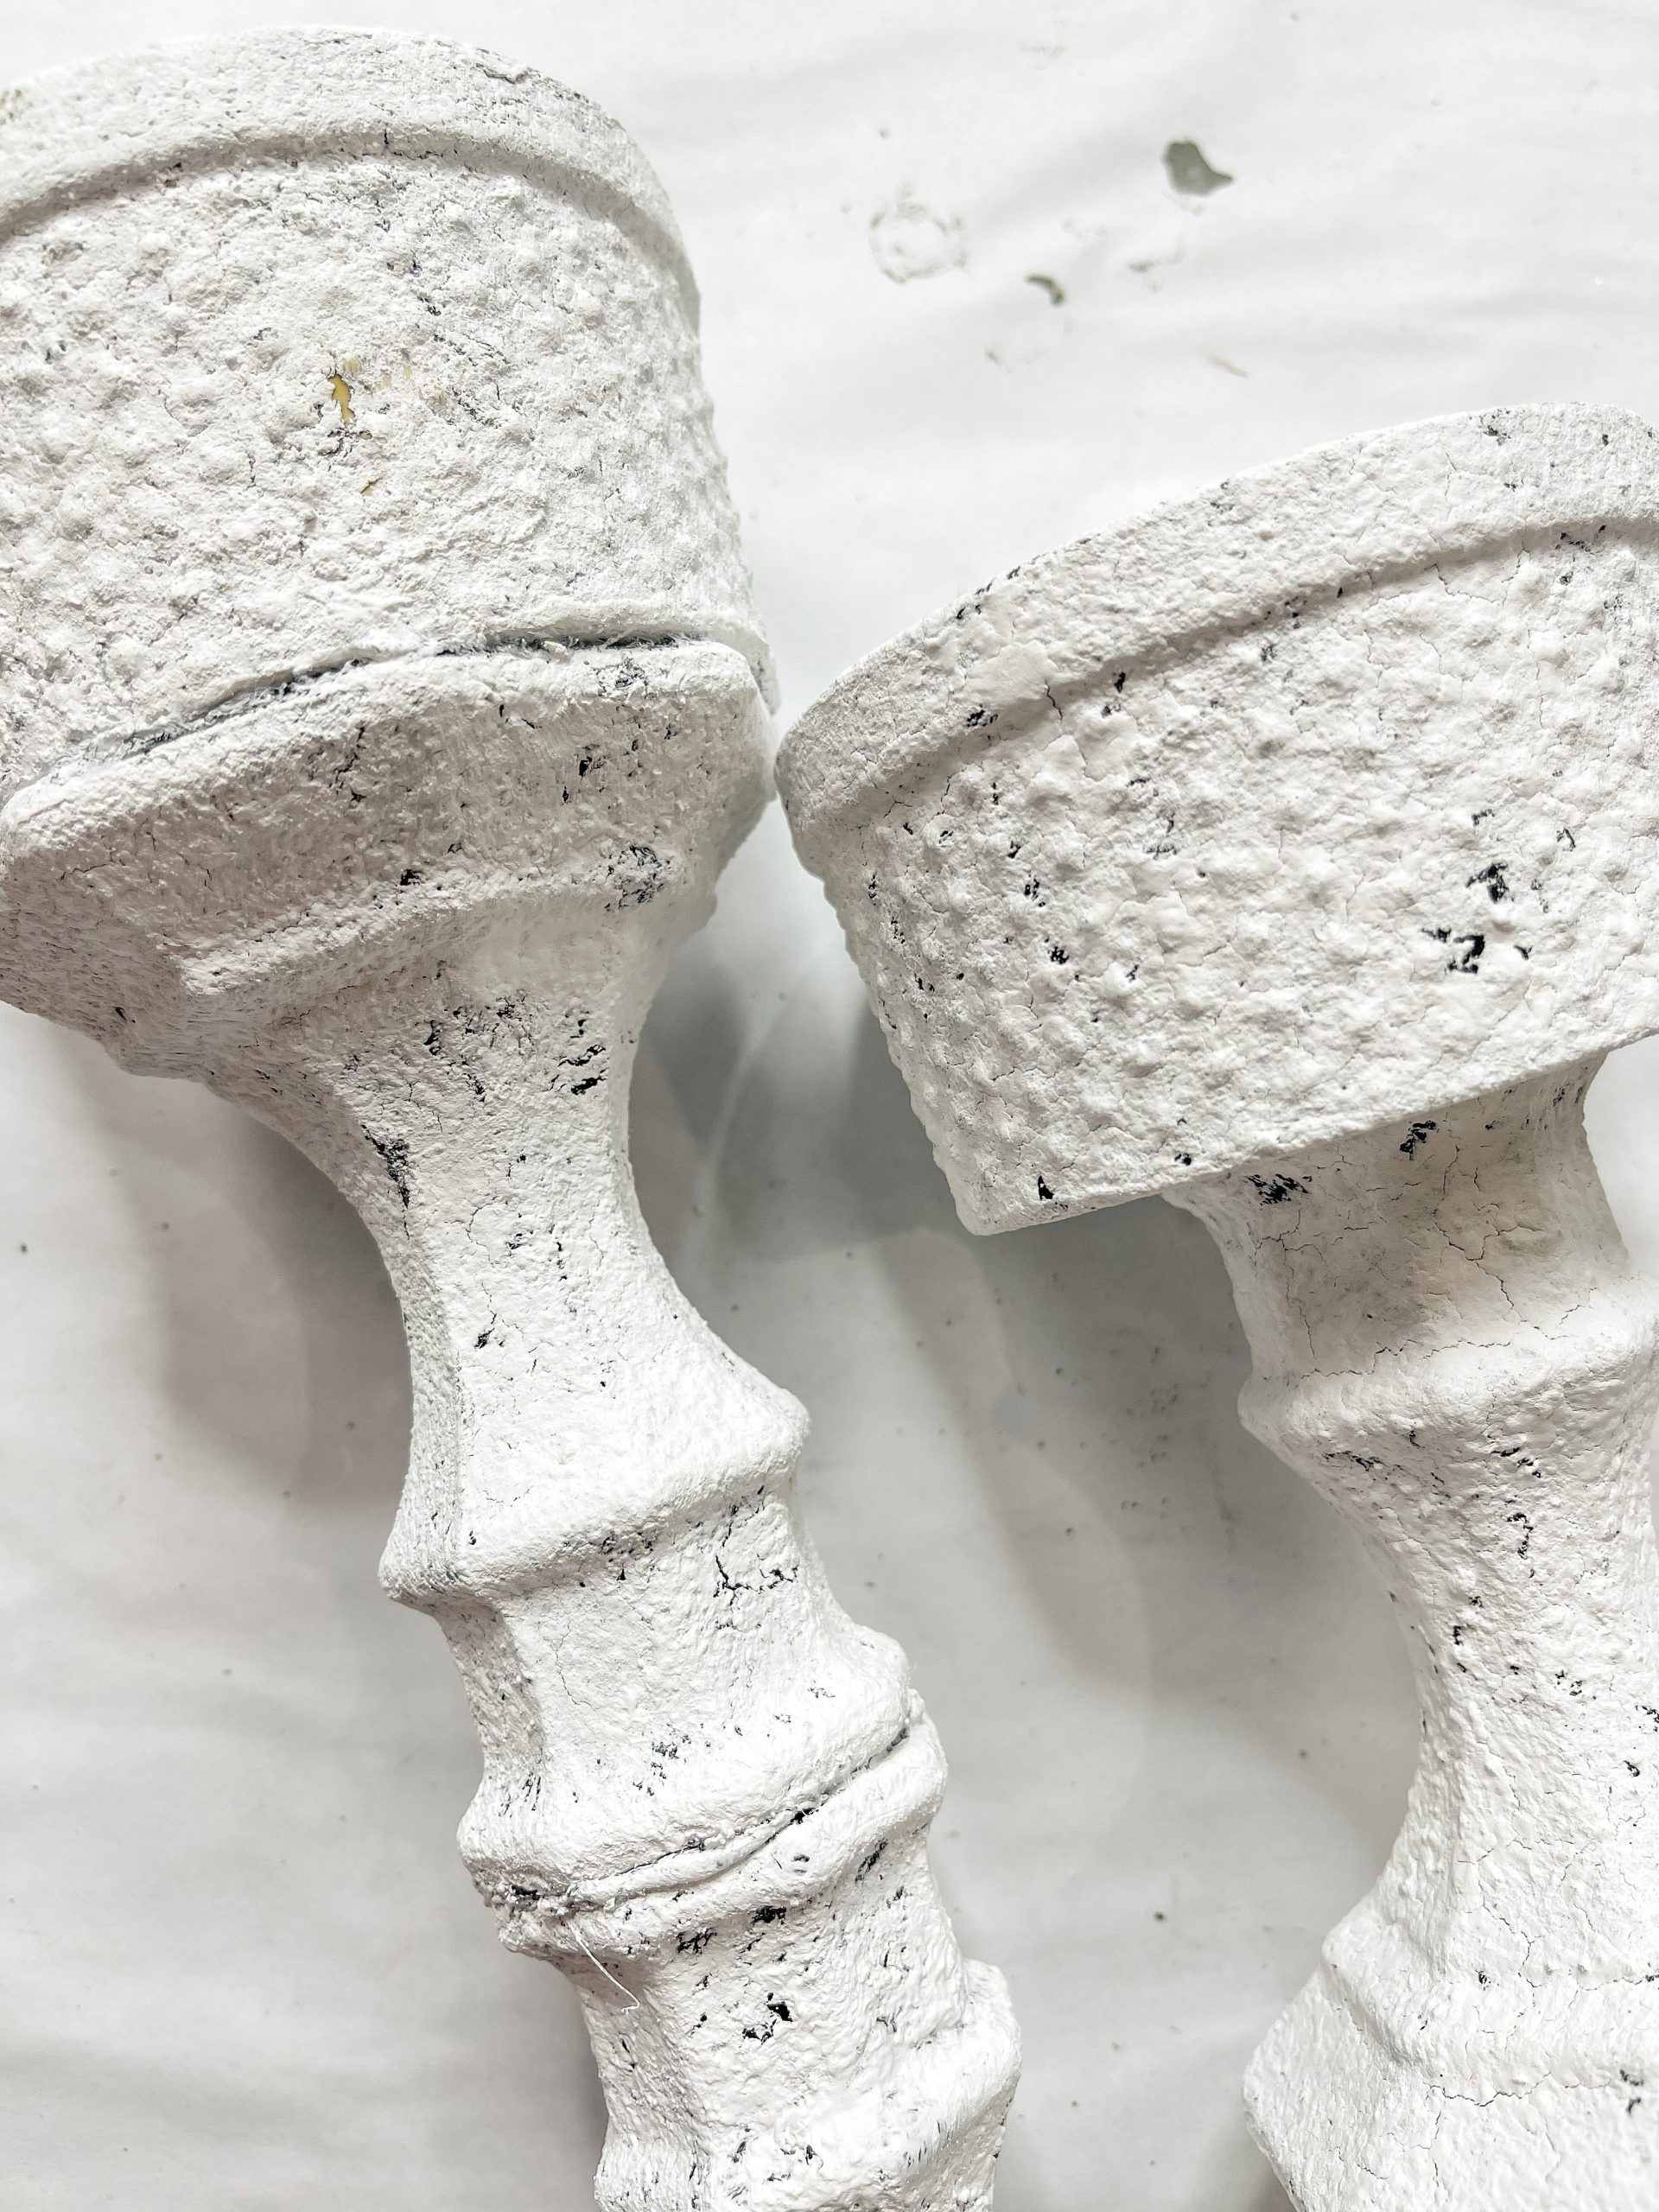
Next, mix white paint (I used Apple Barrel Acrylic Paint) and spackling just like you did with the black paint. Get a clean paintbrush and dab the white paint/spackling mixture onto the glass candle holders and ramekins.
Bring it all together
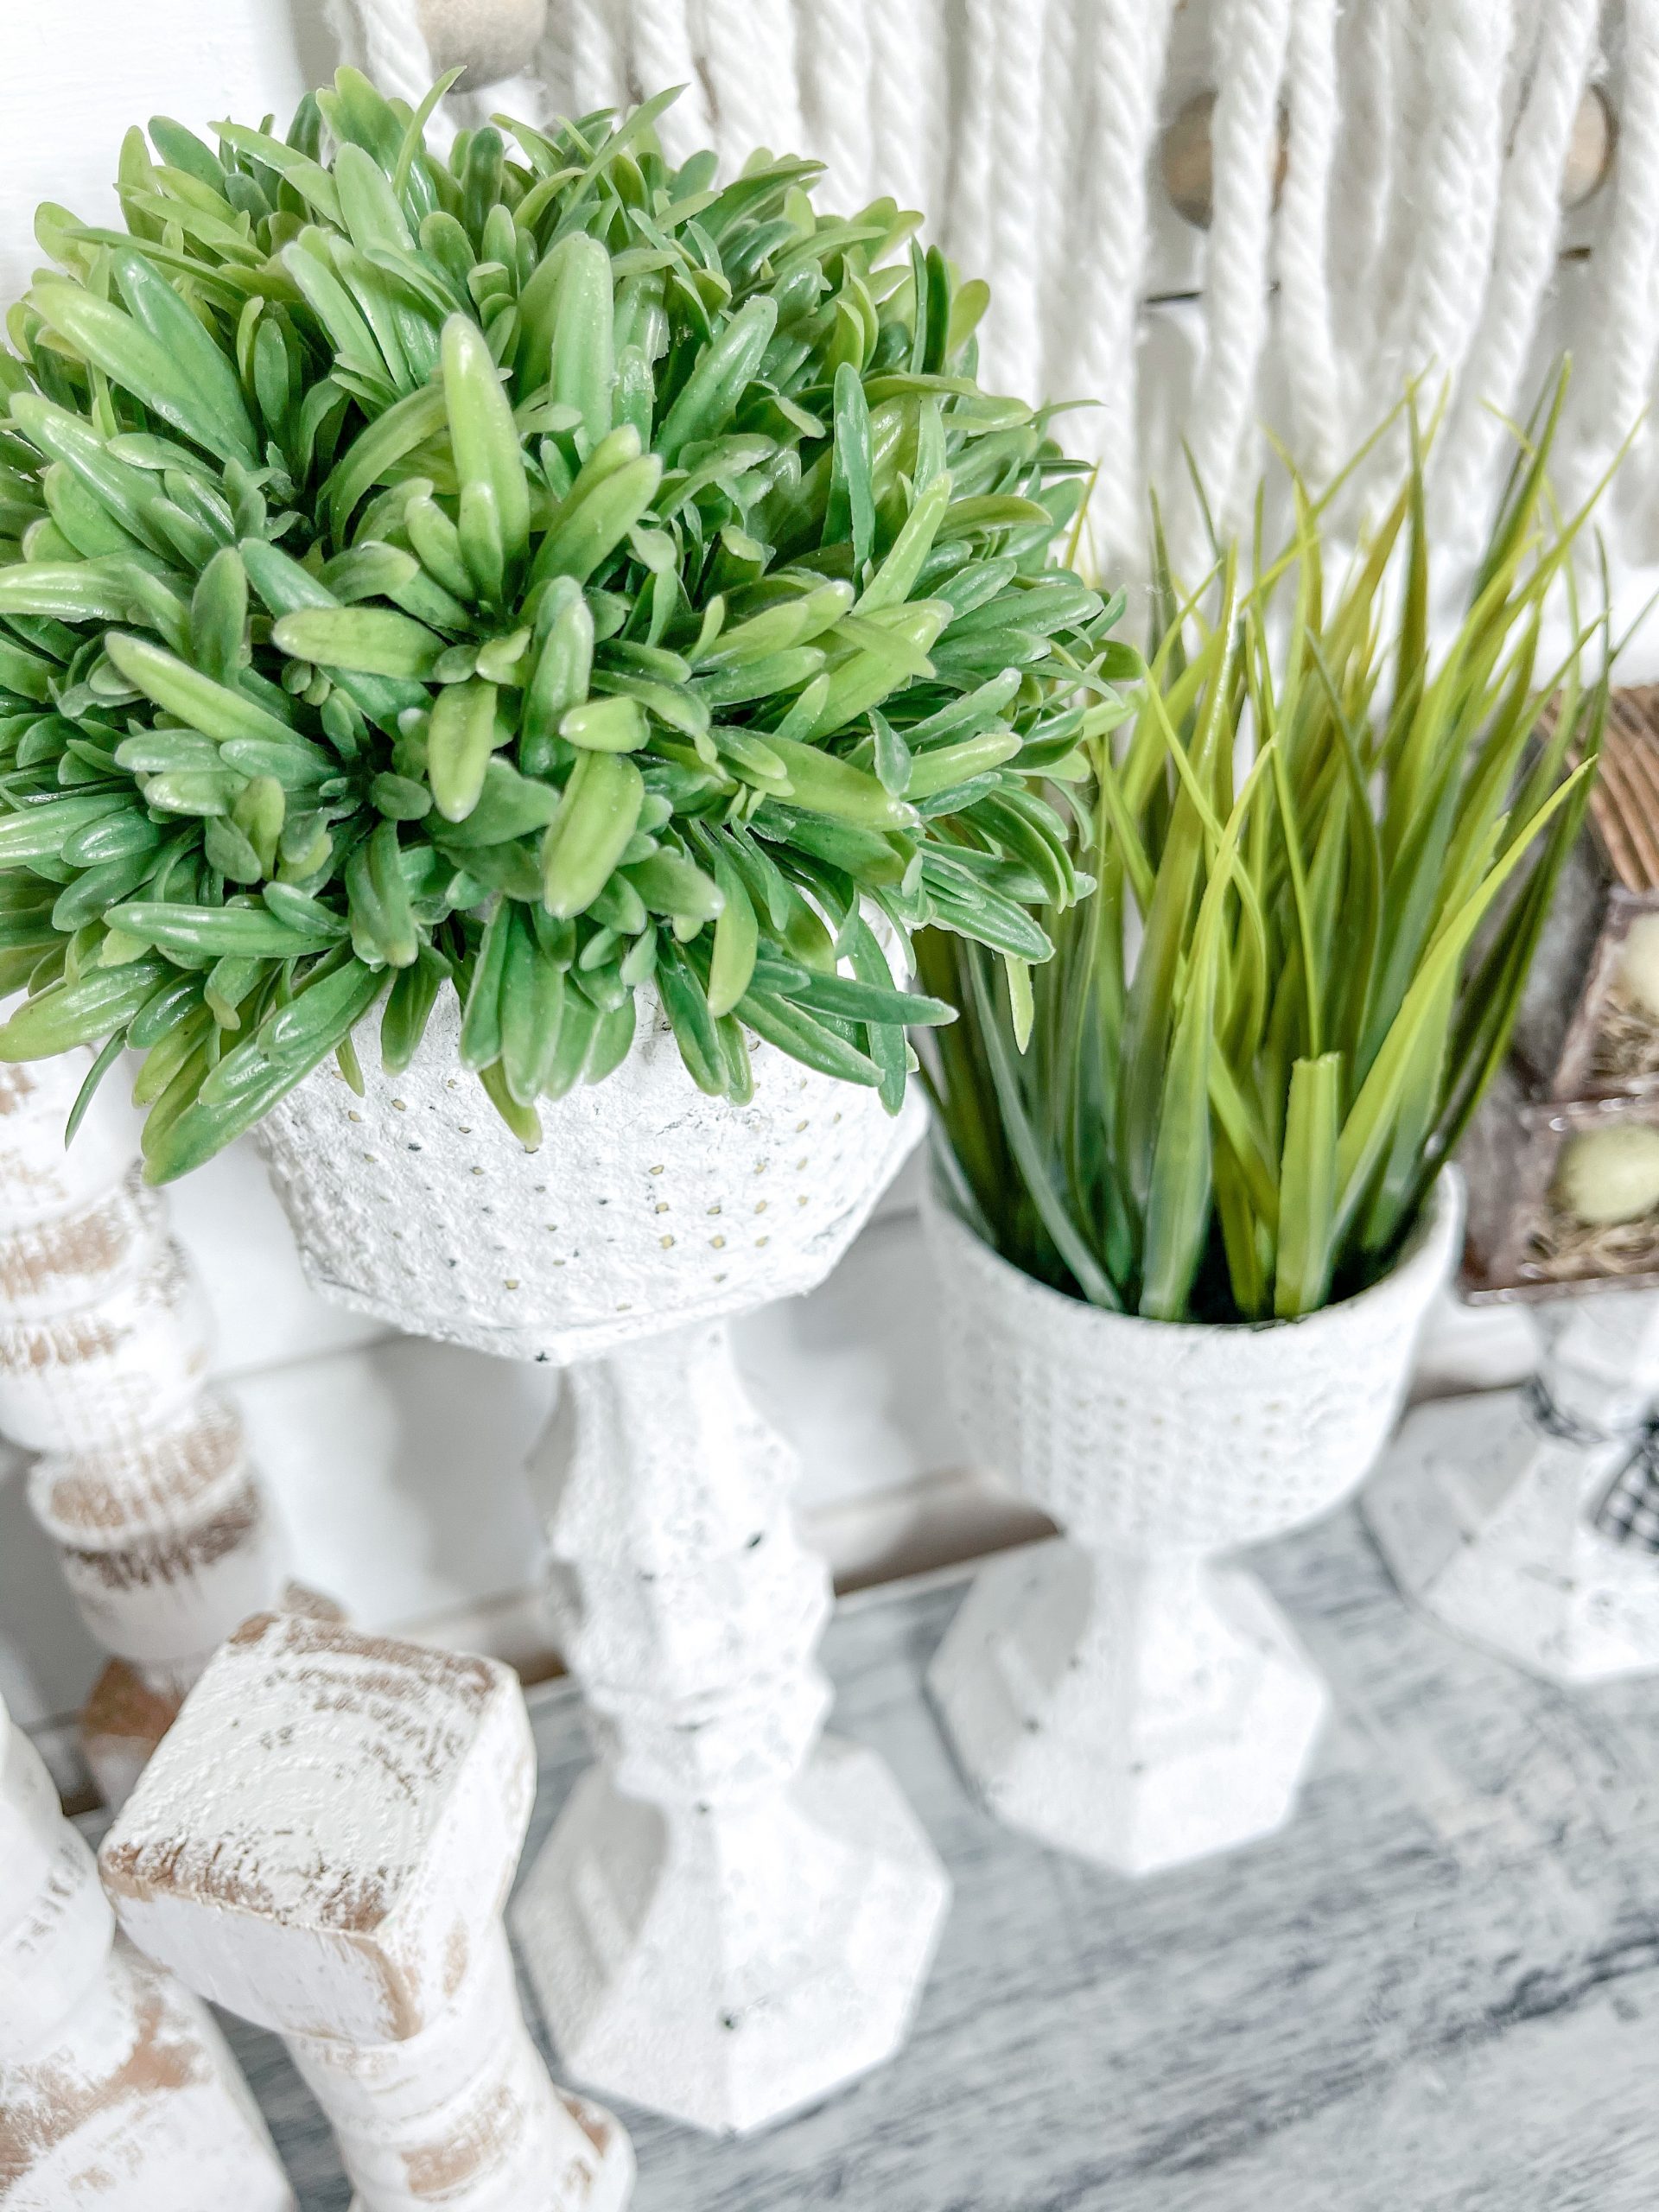
Once the white paint has dried, you can start assembling your DIY plant holders! For the shorter stand, you only need one glass candle holder. Hot glue a painted ramekin to the top of one glass candle holder.
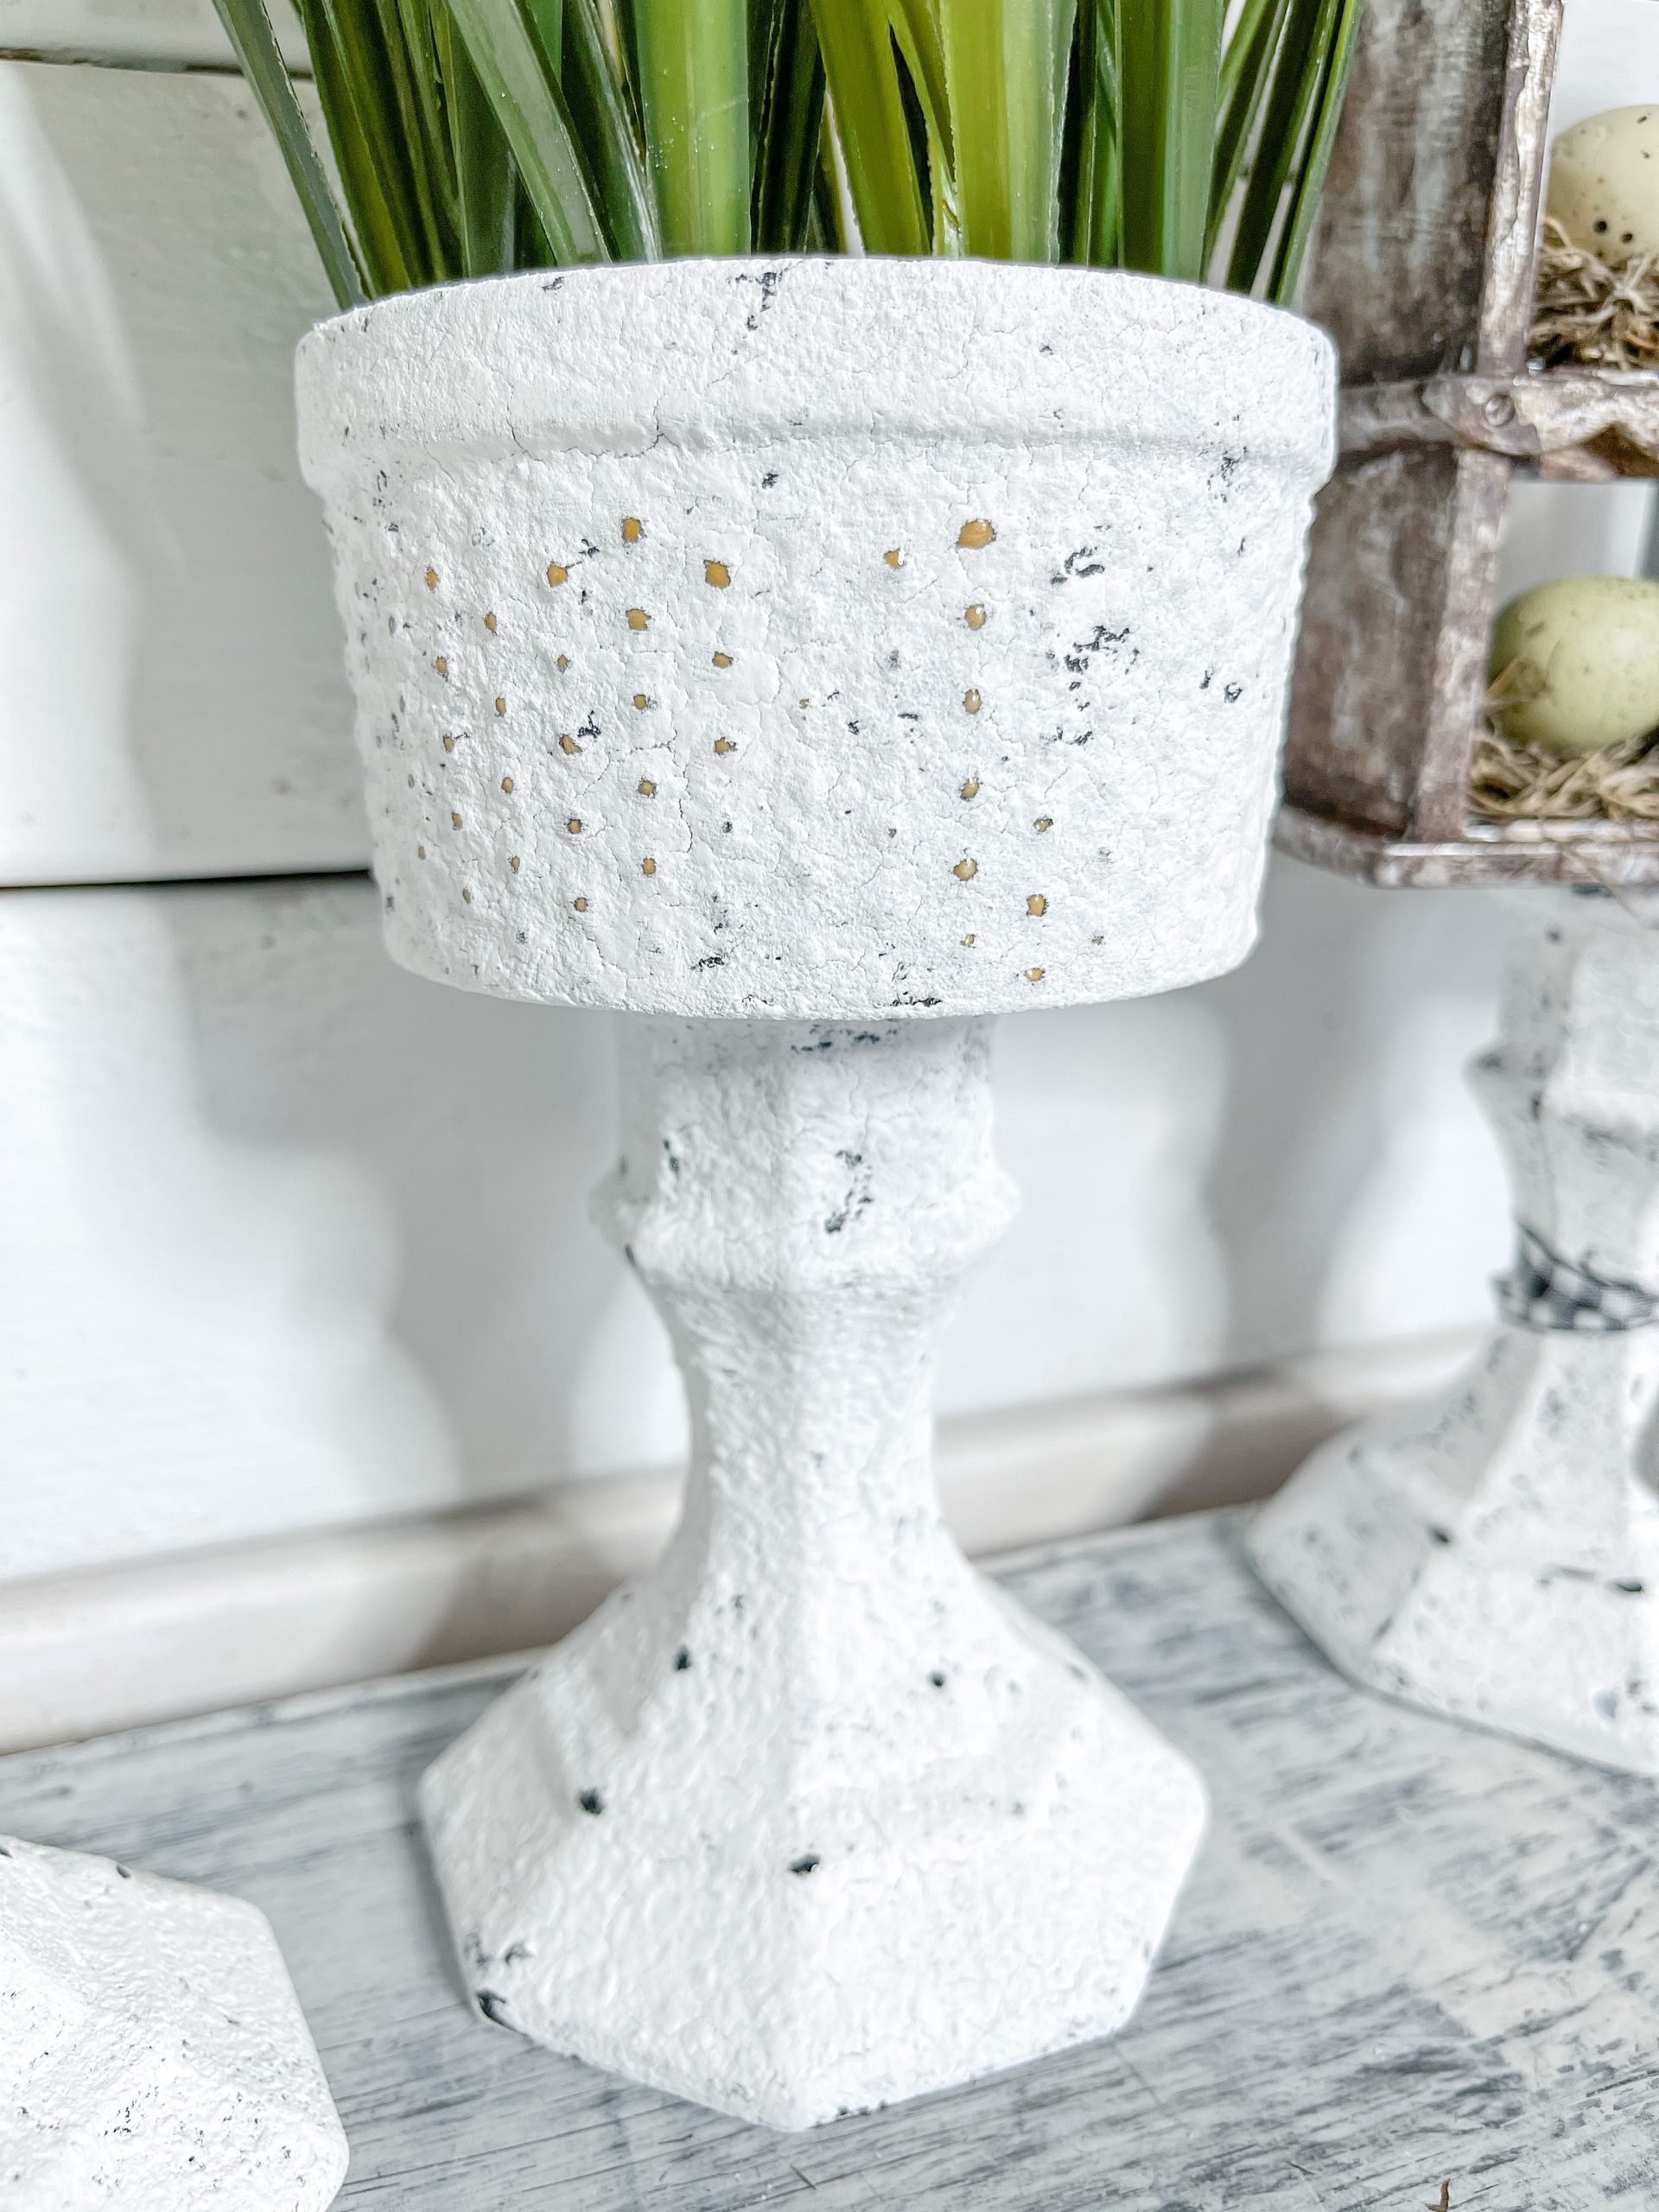
Because you are gluing glass together, I would recommend using E6000 glue as well. It is going to ensure a more secure bond. Just remember, you have to allow 24 hours for the E6000 glue to set and secure.
For the taller plant stand, you’ll glue the other two glass candle holders together. Flip the top one upside down and hot glue the two smaller ends of the glass candle holders together.
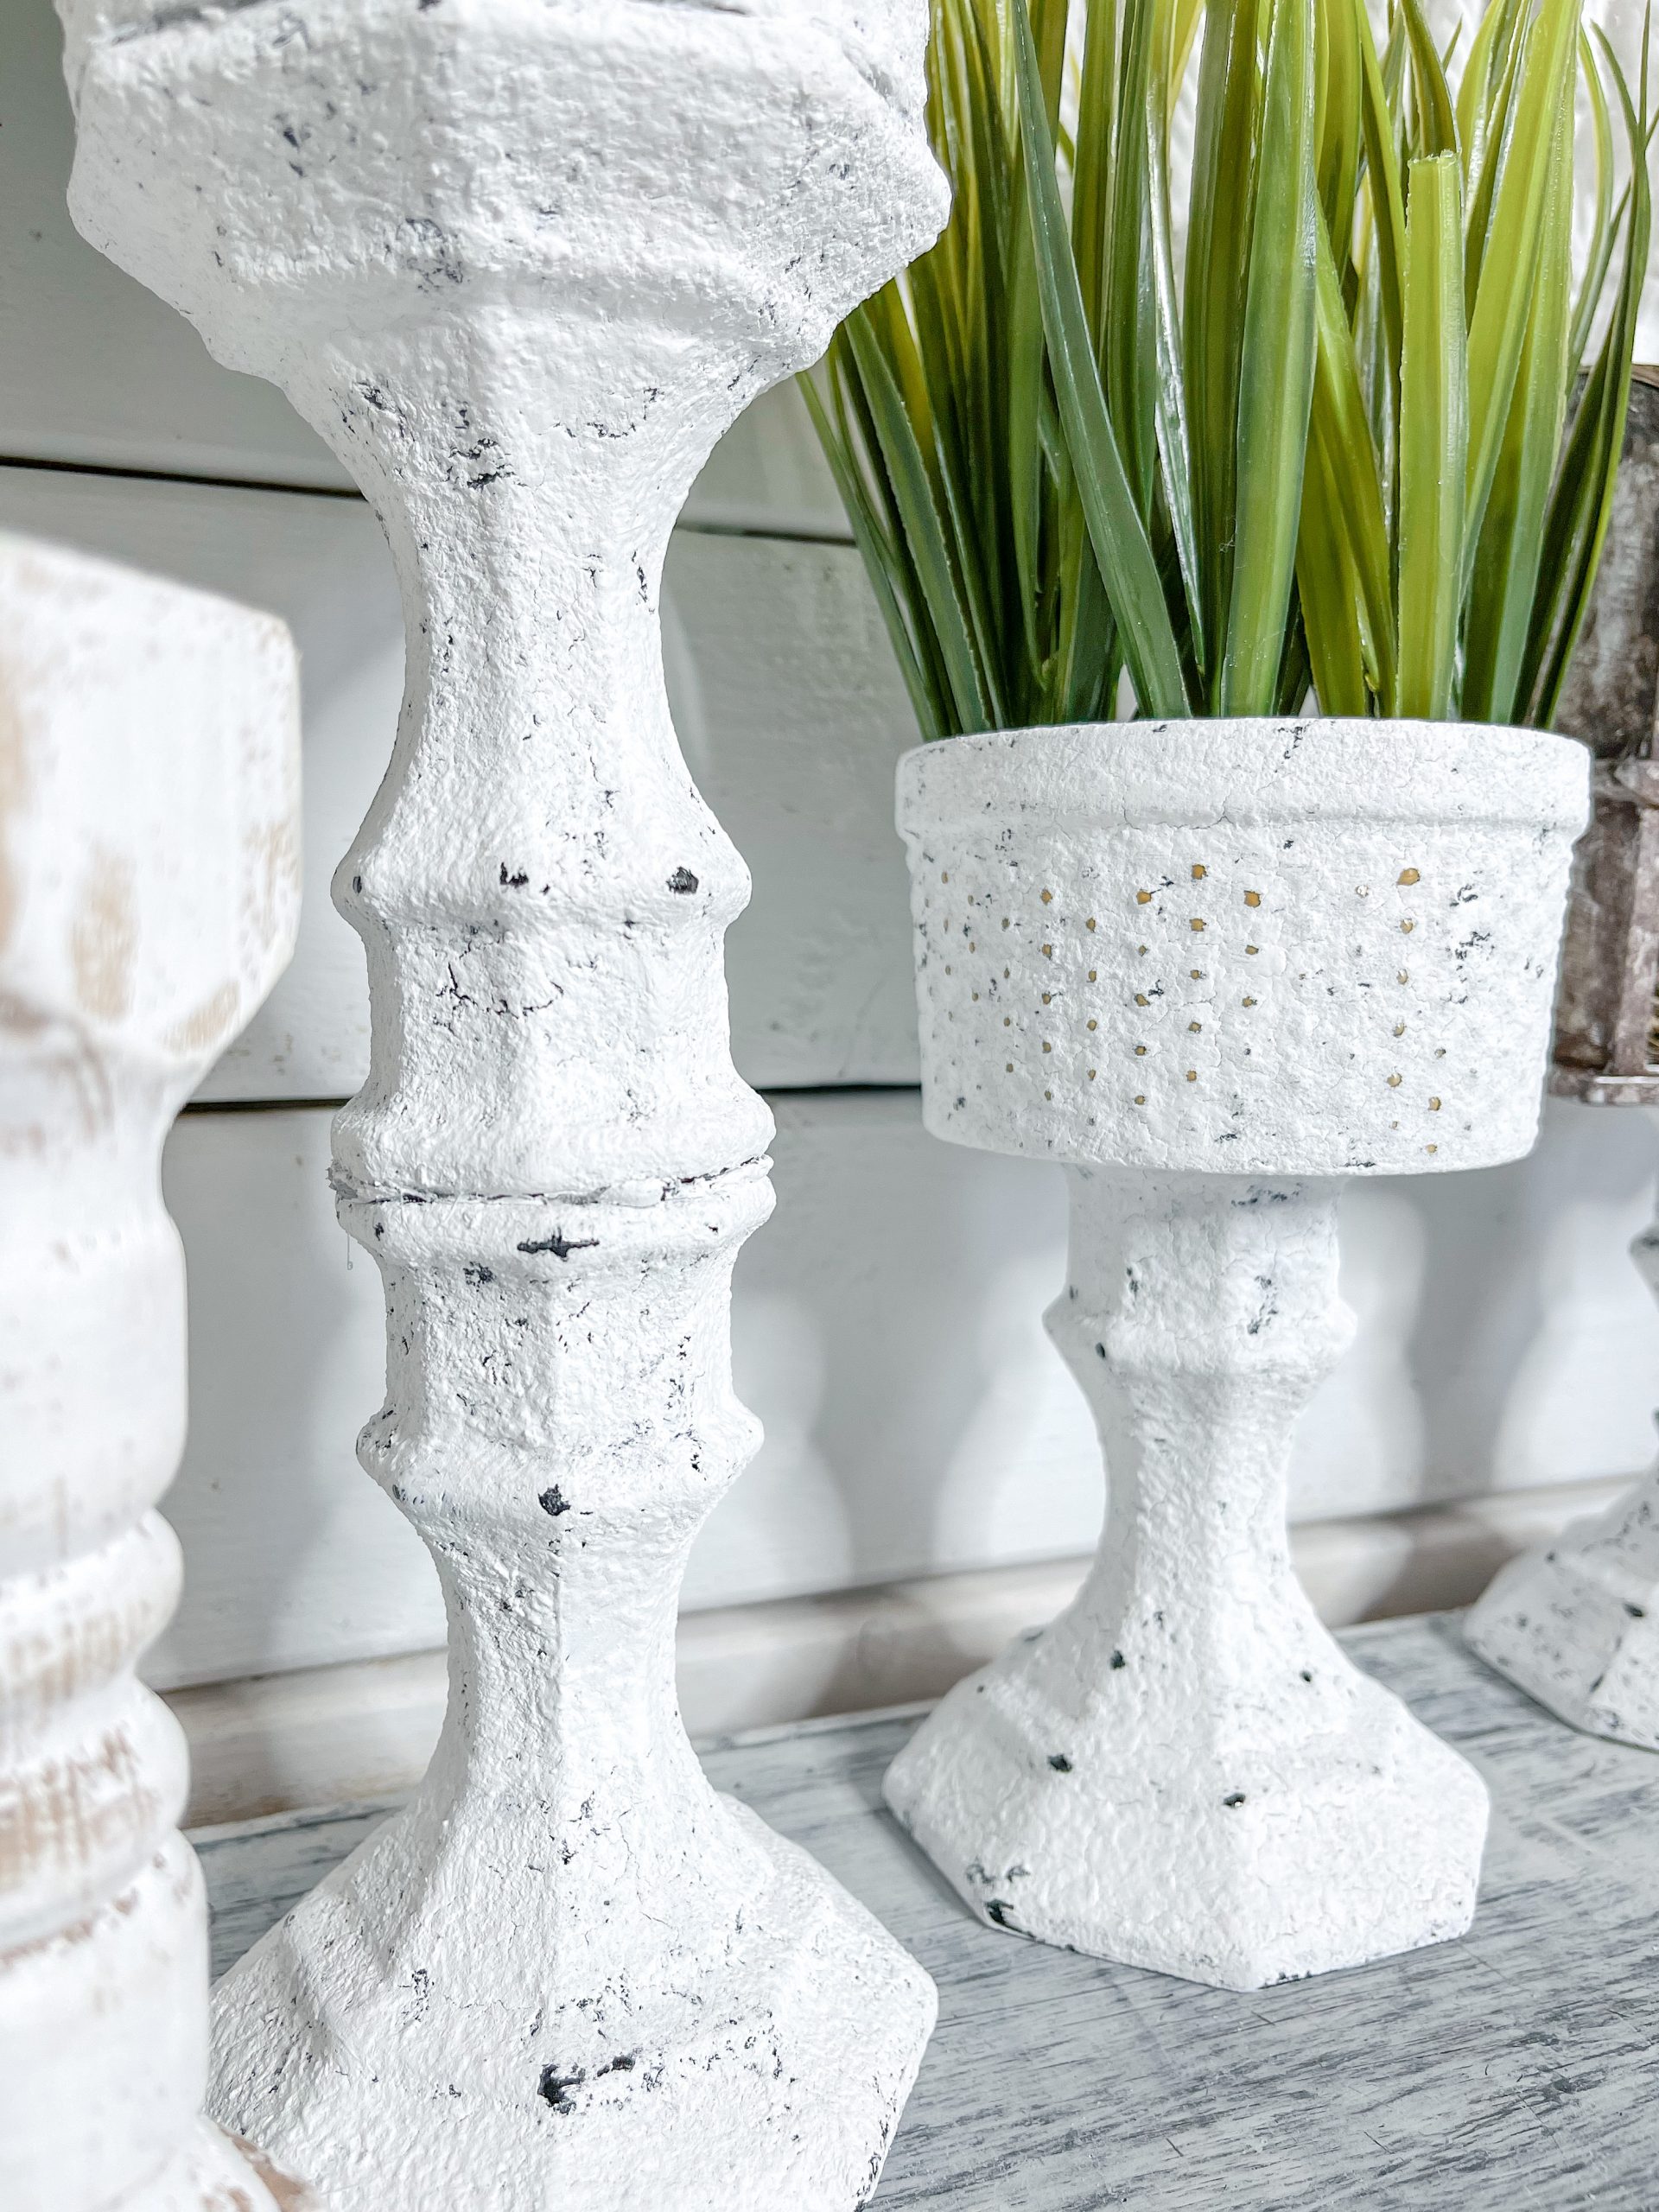
Then, glue the second painted ramekin to the top of those glass candle holders. Once the glue is hardened and the pieces are secured together, all you have to do is add in the plants!
I hope you enjoyed these Dollar Tree Candle Holder DIY Plant Stands as much as I did and decide to make them for yourself! I would love to see how yours turn out!
You should totally join my FREE Facebook group called On A Budget Crafts! It is a judgment-free community for DIY crafters to show off their projects and ideas.
If you loved this DIY you might also like this one too!
Thanks for stopping by! XOXO Amber
You can also shop my ENTIRE AMAZON Favorites shop just click here! It’s packed full of all the things I use and love. Here is the supply list I highly recommend every creative have on hand!!
Would you also pin my blog for later and get on my newsletter alerts? I would love to have you join my #craftycrew.
Inspired? Leave me a comment below! I love hearing from my readers!

Join my free “ON A BUDGET CRAFTS” Facebook group!

Love the, turned out great