Dollar Tree Banner DIY Valentine’s Day Decor
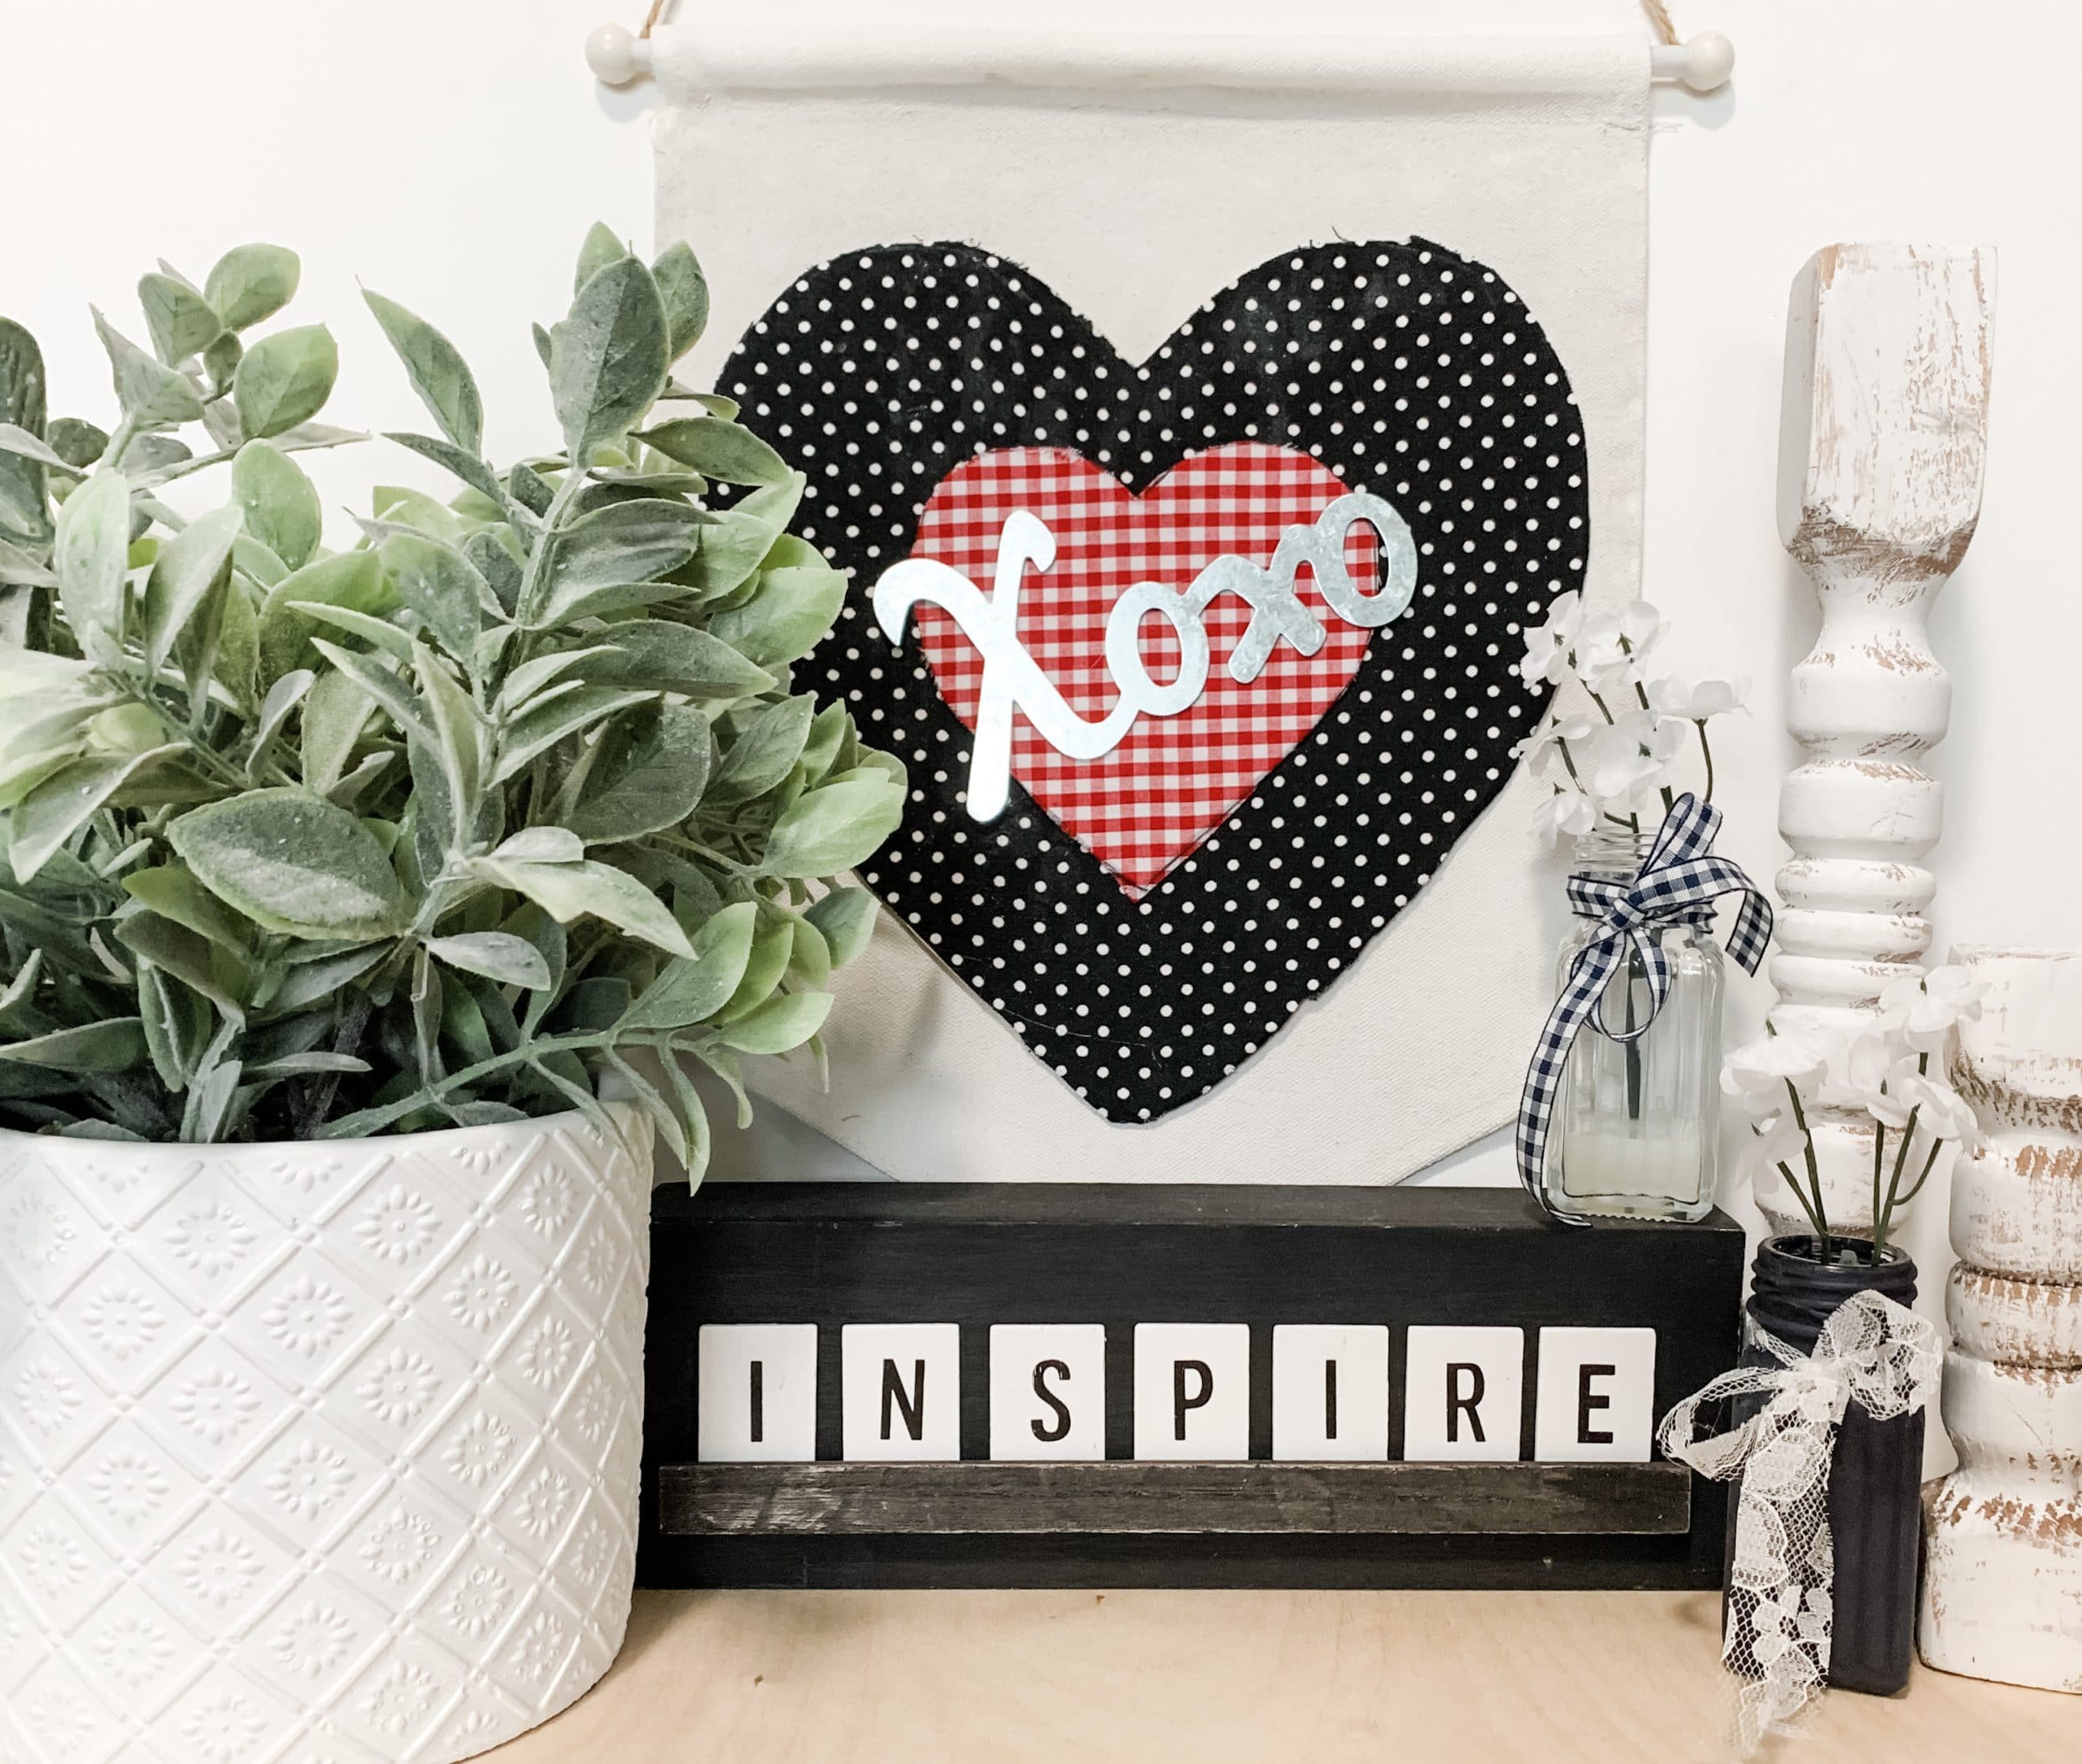
Anyone else tired of the tacky red and pink cliche Valentine’s Day decor? Well, I know I am, so that’s why I came up with this Dollar Tree Banner DIY Valentine’s Day Decor!
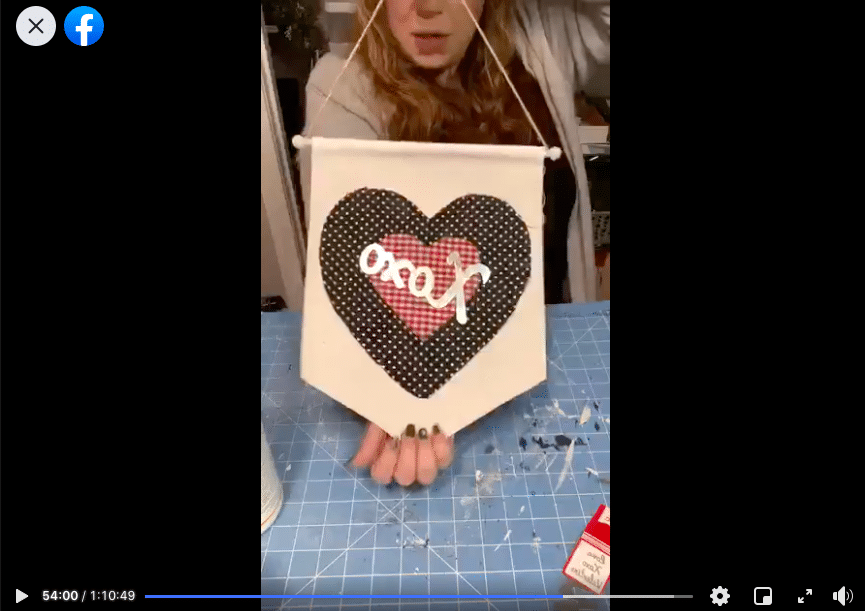
I love how classic black and red are together, and I am so happy with how simplistic this adorable Valentine’s Day decor turned out!
Watch the replay
Even though this video is an oldie, it can still be a great resource for you if you want to remake my Dollar Tree banner DIY Valentine’s Day decor.
I recorded the DIY process during a LIVE video on my Facebook page, but you can still watch the replay!
For this project, I will be using these items but you can substitute where you want.
“As an Amazon Associate, I earn from qualifying purchases.”
- Dollar Tree Gonfalon Banner
- Dollar Tree Wood Heart
- Cardboard
- Black Polka Dot Fabric
- Red Buffalo Check Fabric
- White Fabric
- XOXO metal lettering
- Dixie Belle Fluff Chalk Paint
- Mod Podge
- Hot Glue gun
- Glue Sticks
- Scissors
Let’s get to the good stuff
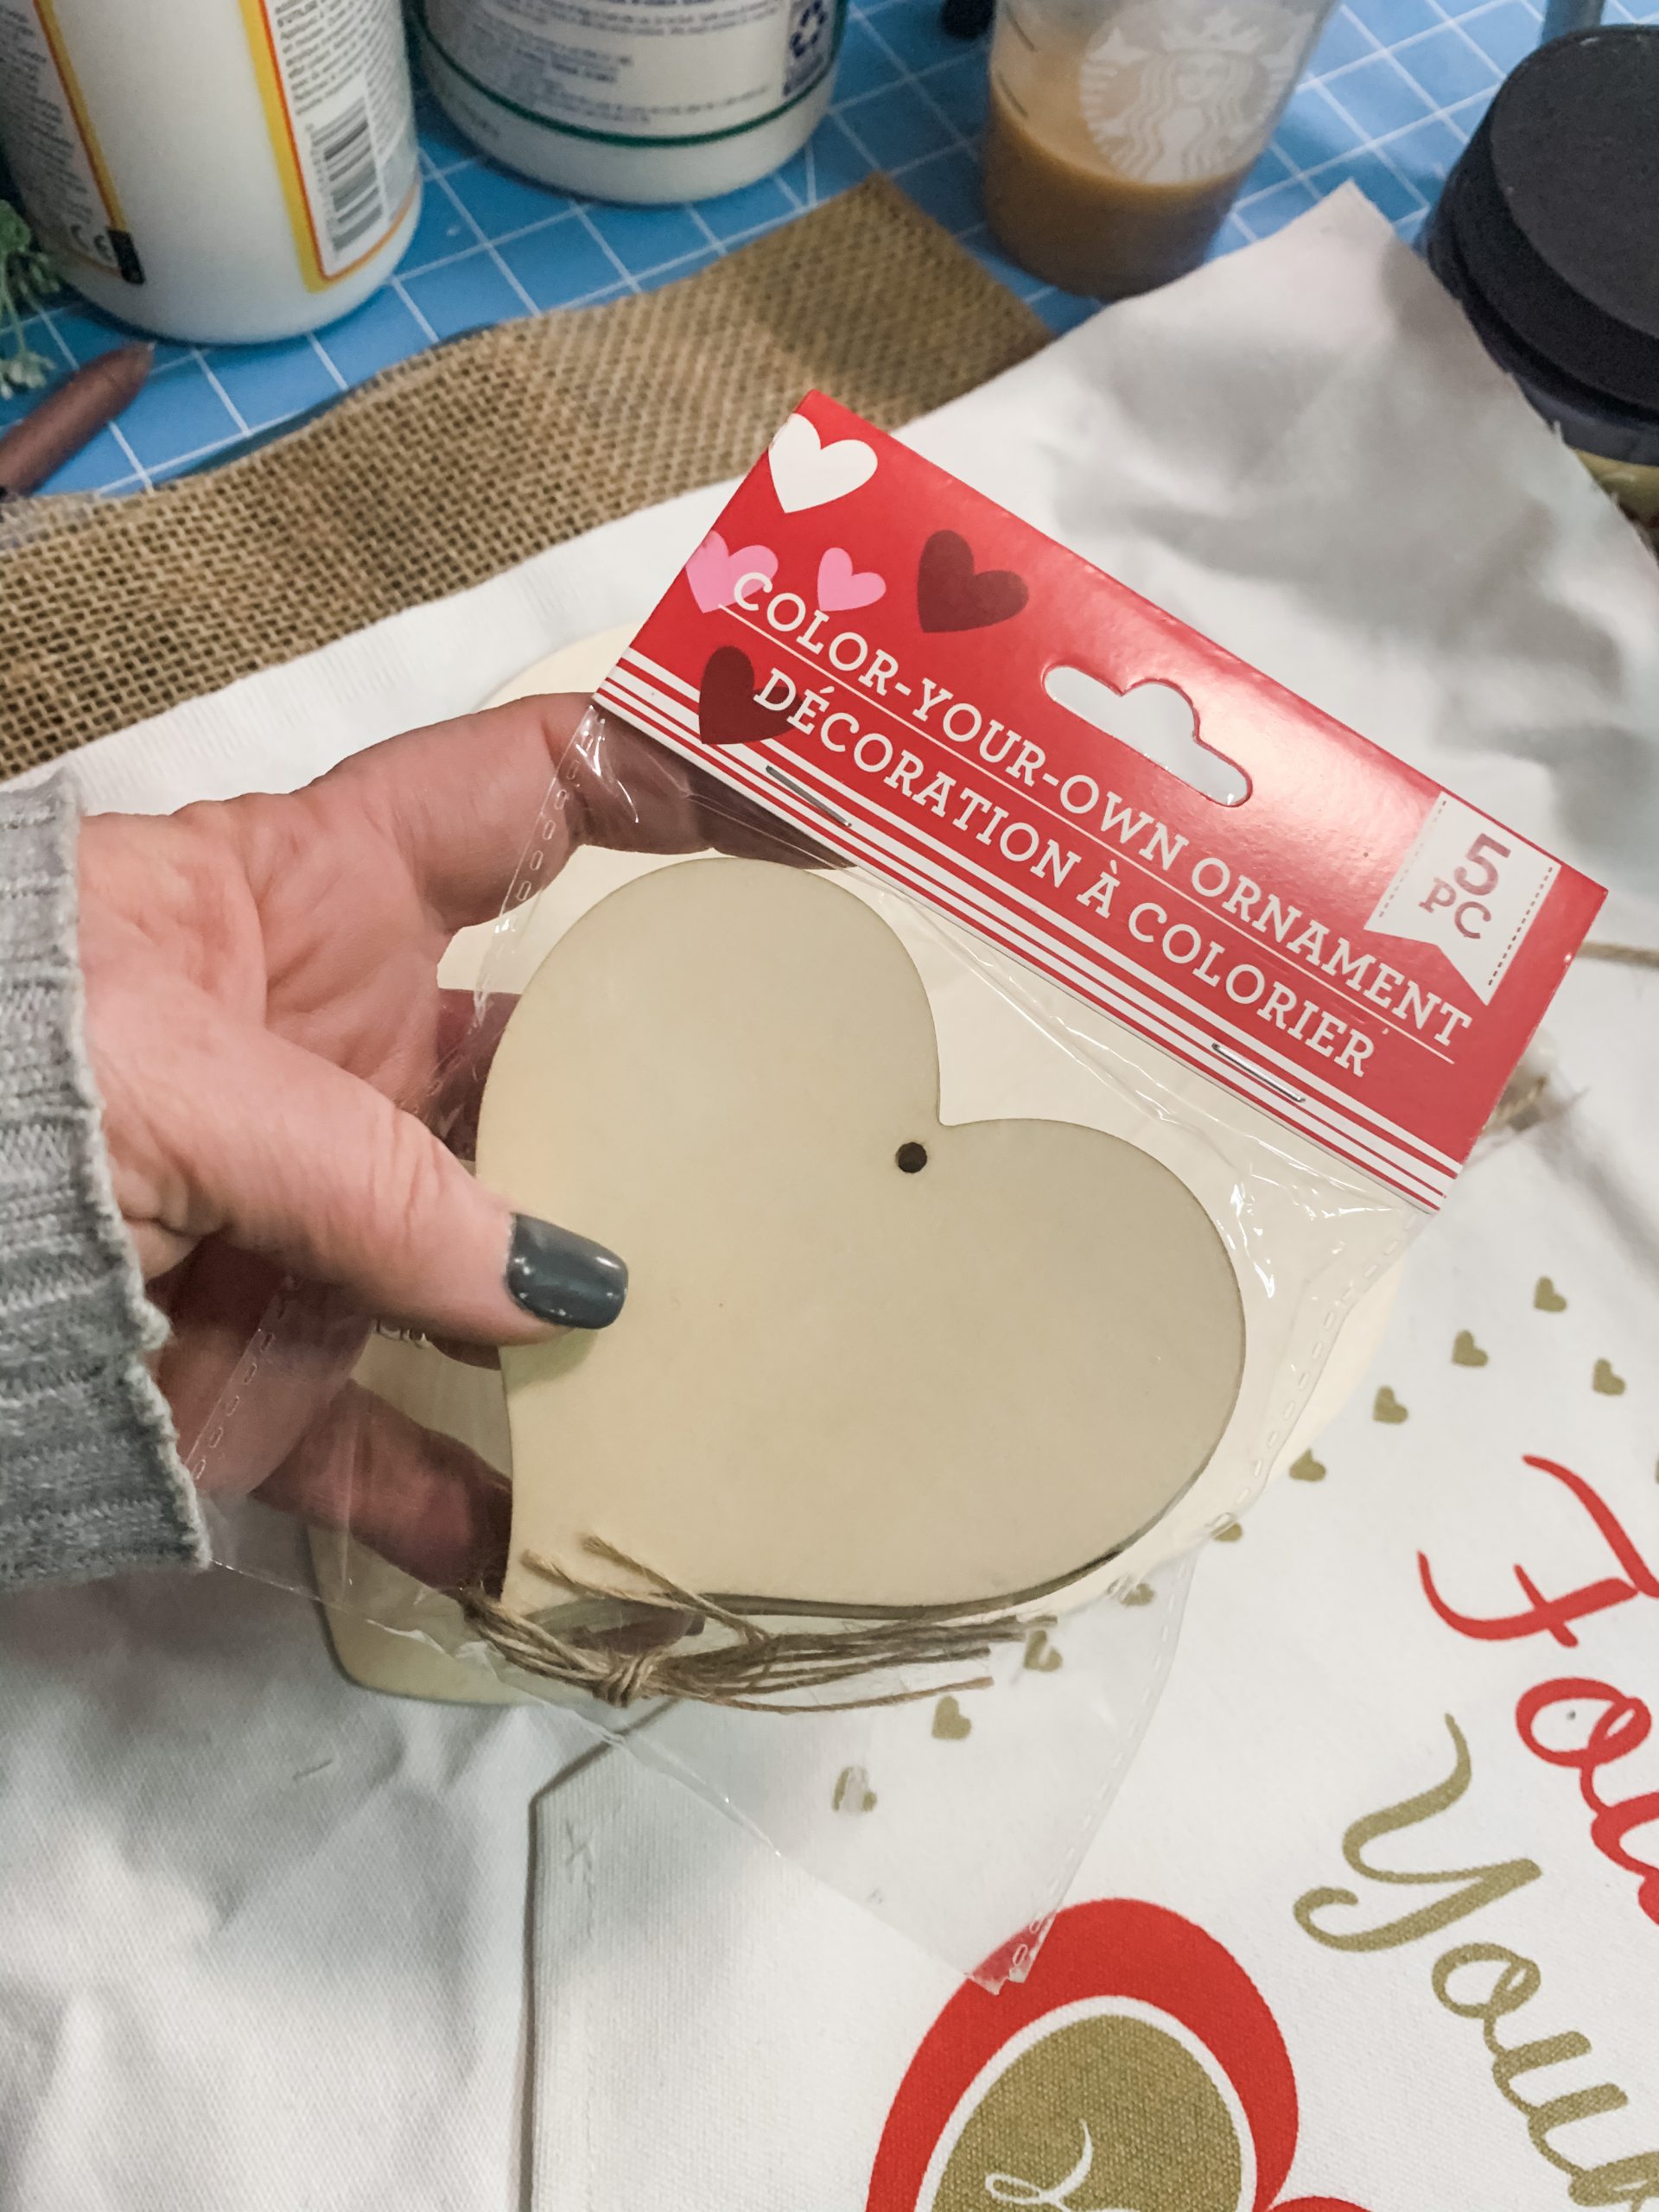
Alright, y’all. The first thing you have to do is get a small heart cut out in cardboard. I used a small Dollar Tree wood heart ornament as the template for my cardboard heart.
If you would rather use the Dollar Tree wood heart ornament, you absolutely can. I just wanted to show how you can substitute cardboard for this project!
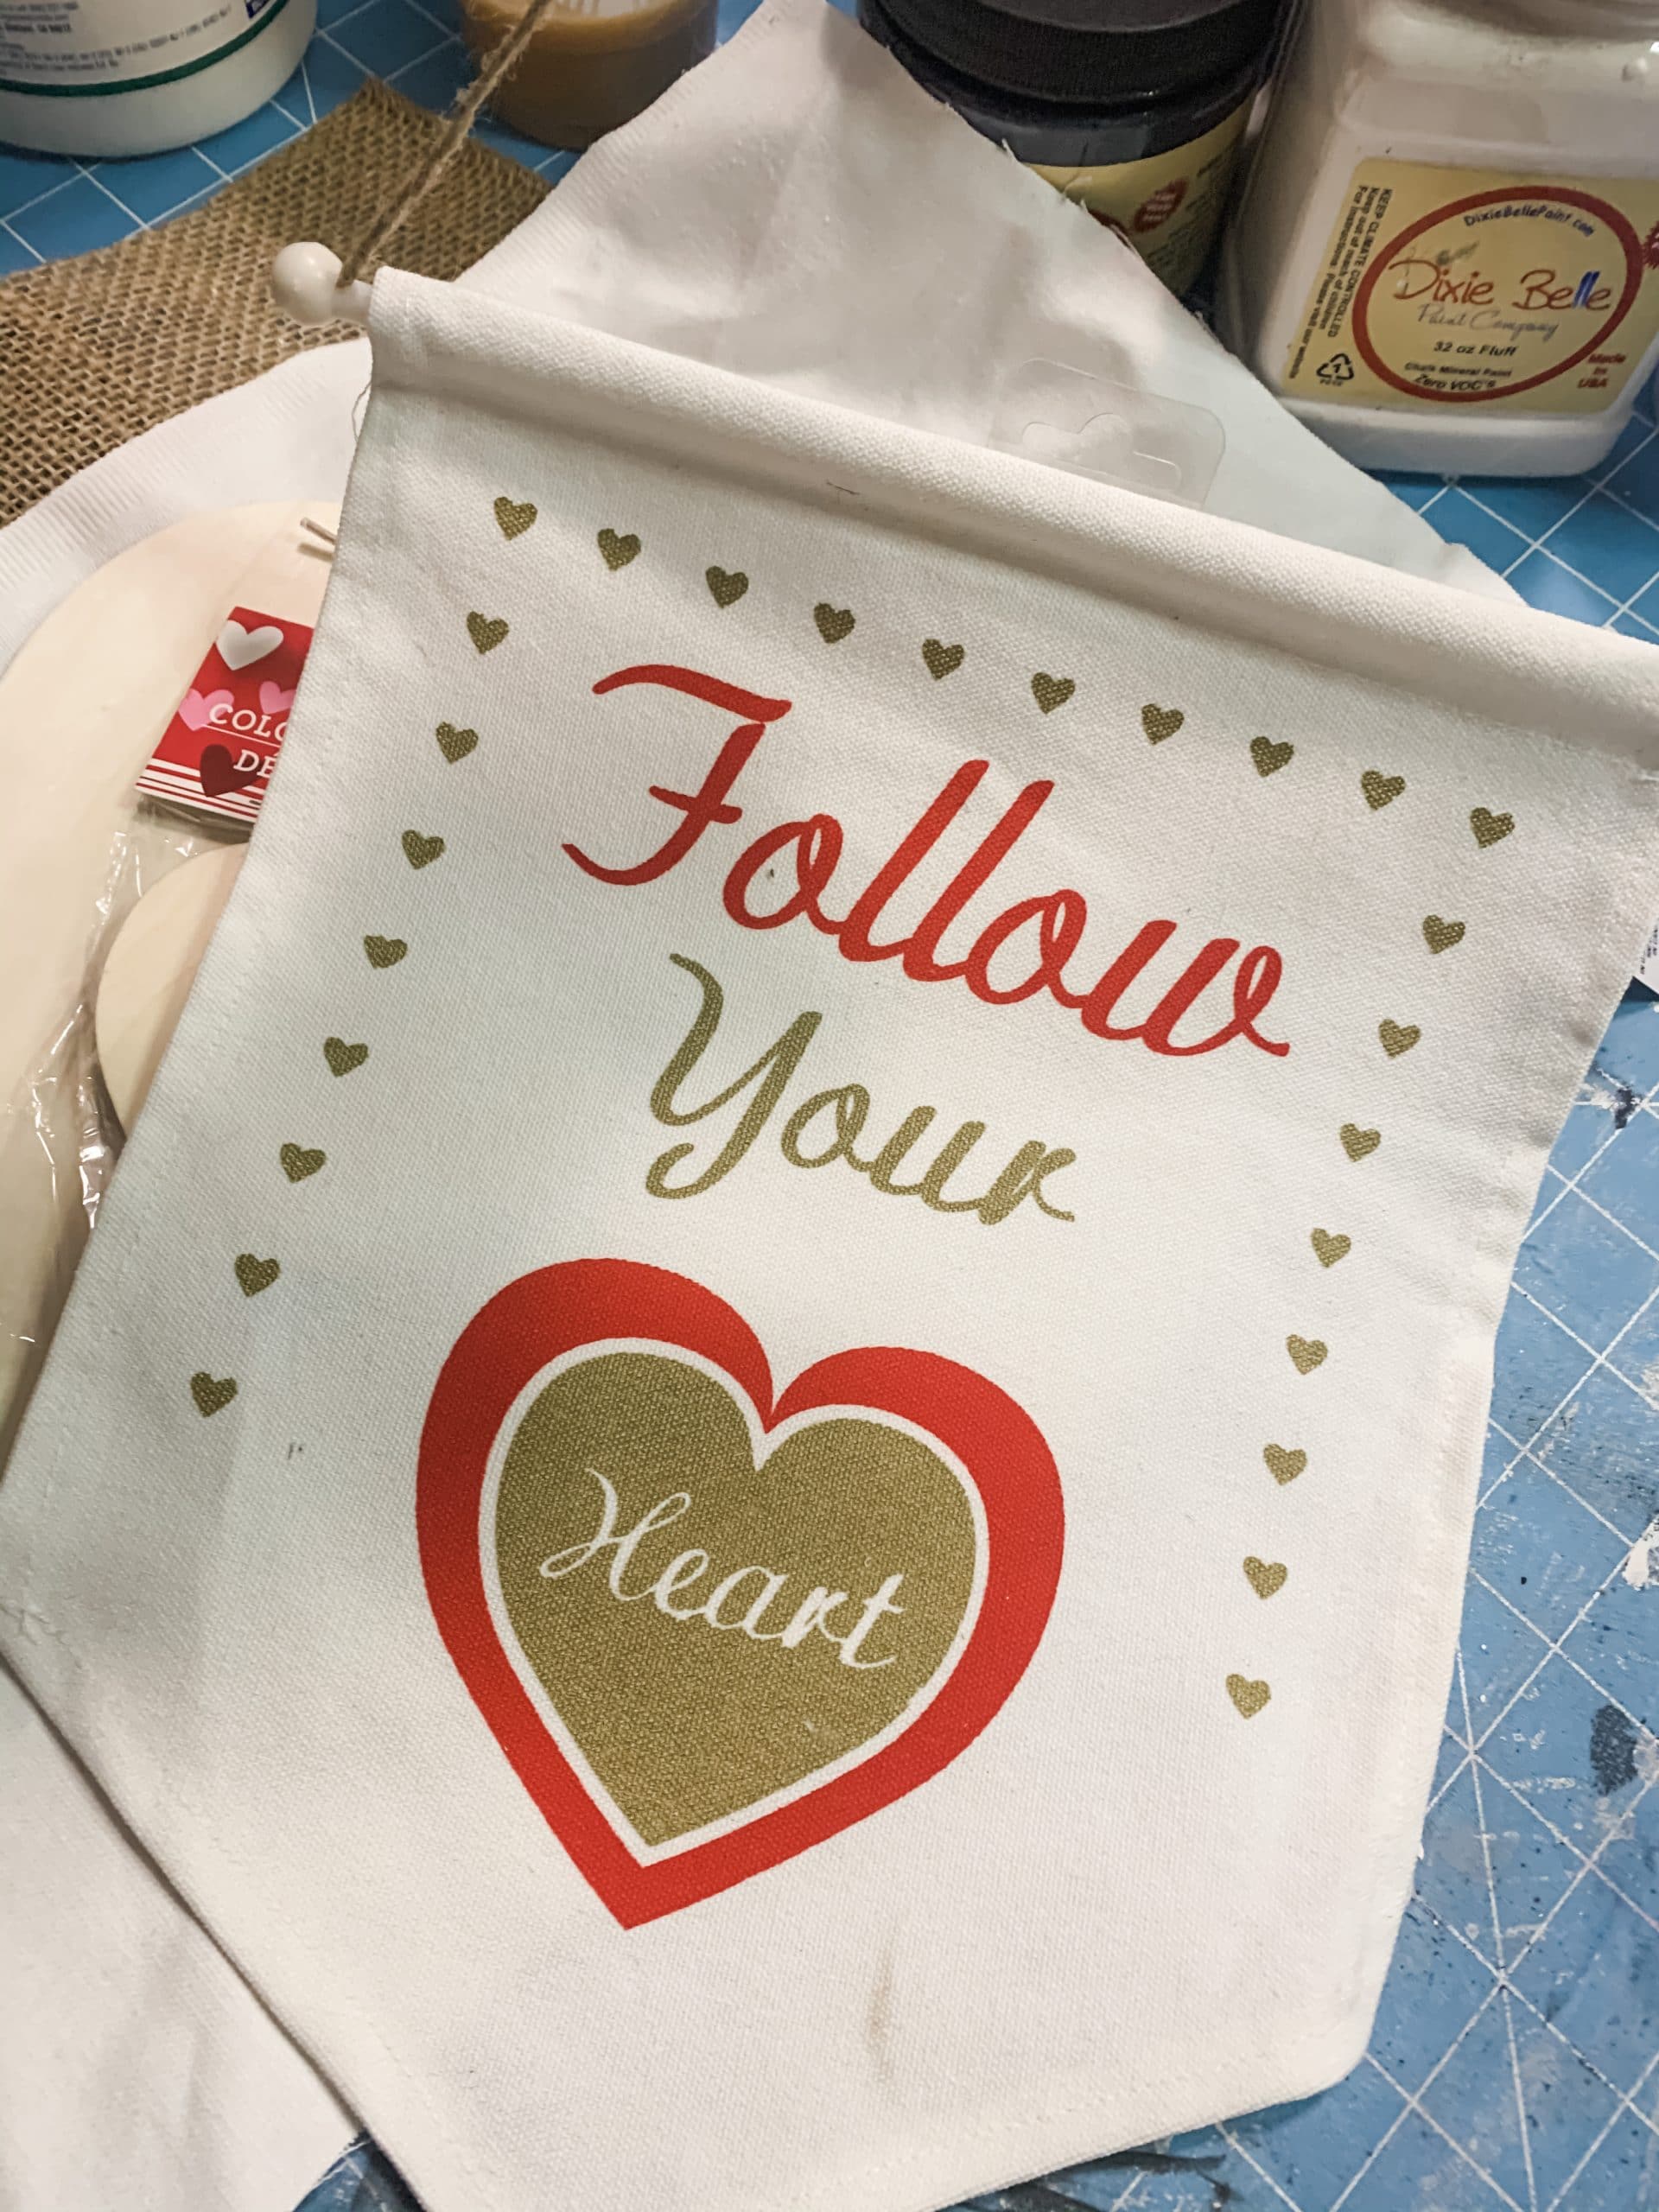
Next, you’re going to grab your Dollar Tree banner and some white paint. I used Dixie Belle Fluff Chalk Paint for this DIY project.
I painted over the words and design on the front of the Dollar Tree banner with white paint. You may have to do a couple of coats of paint to fully cover the banner’s design.
How to decoupage
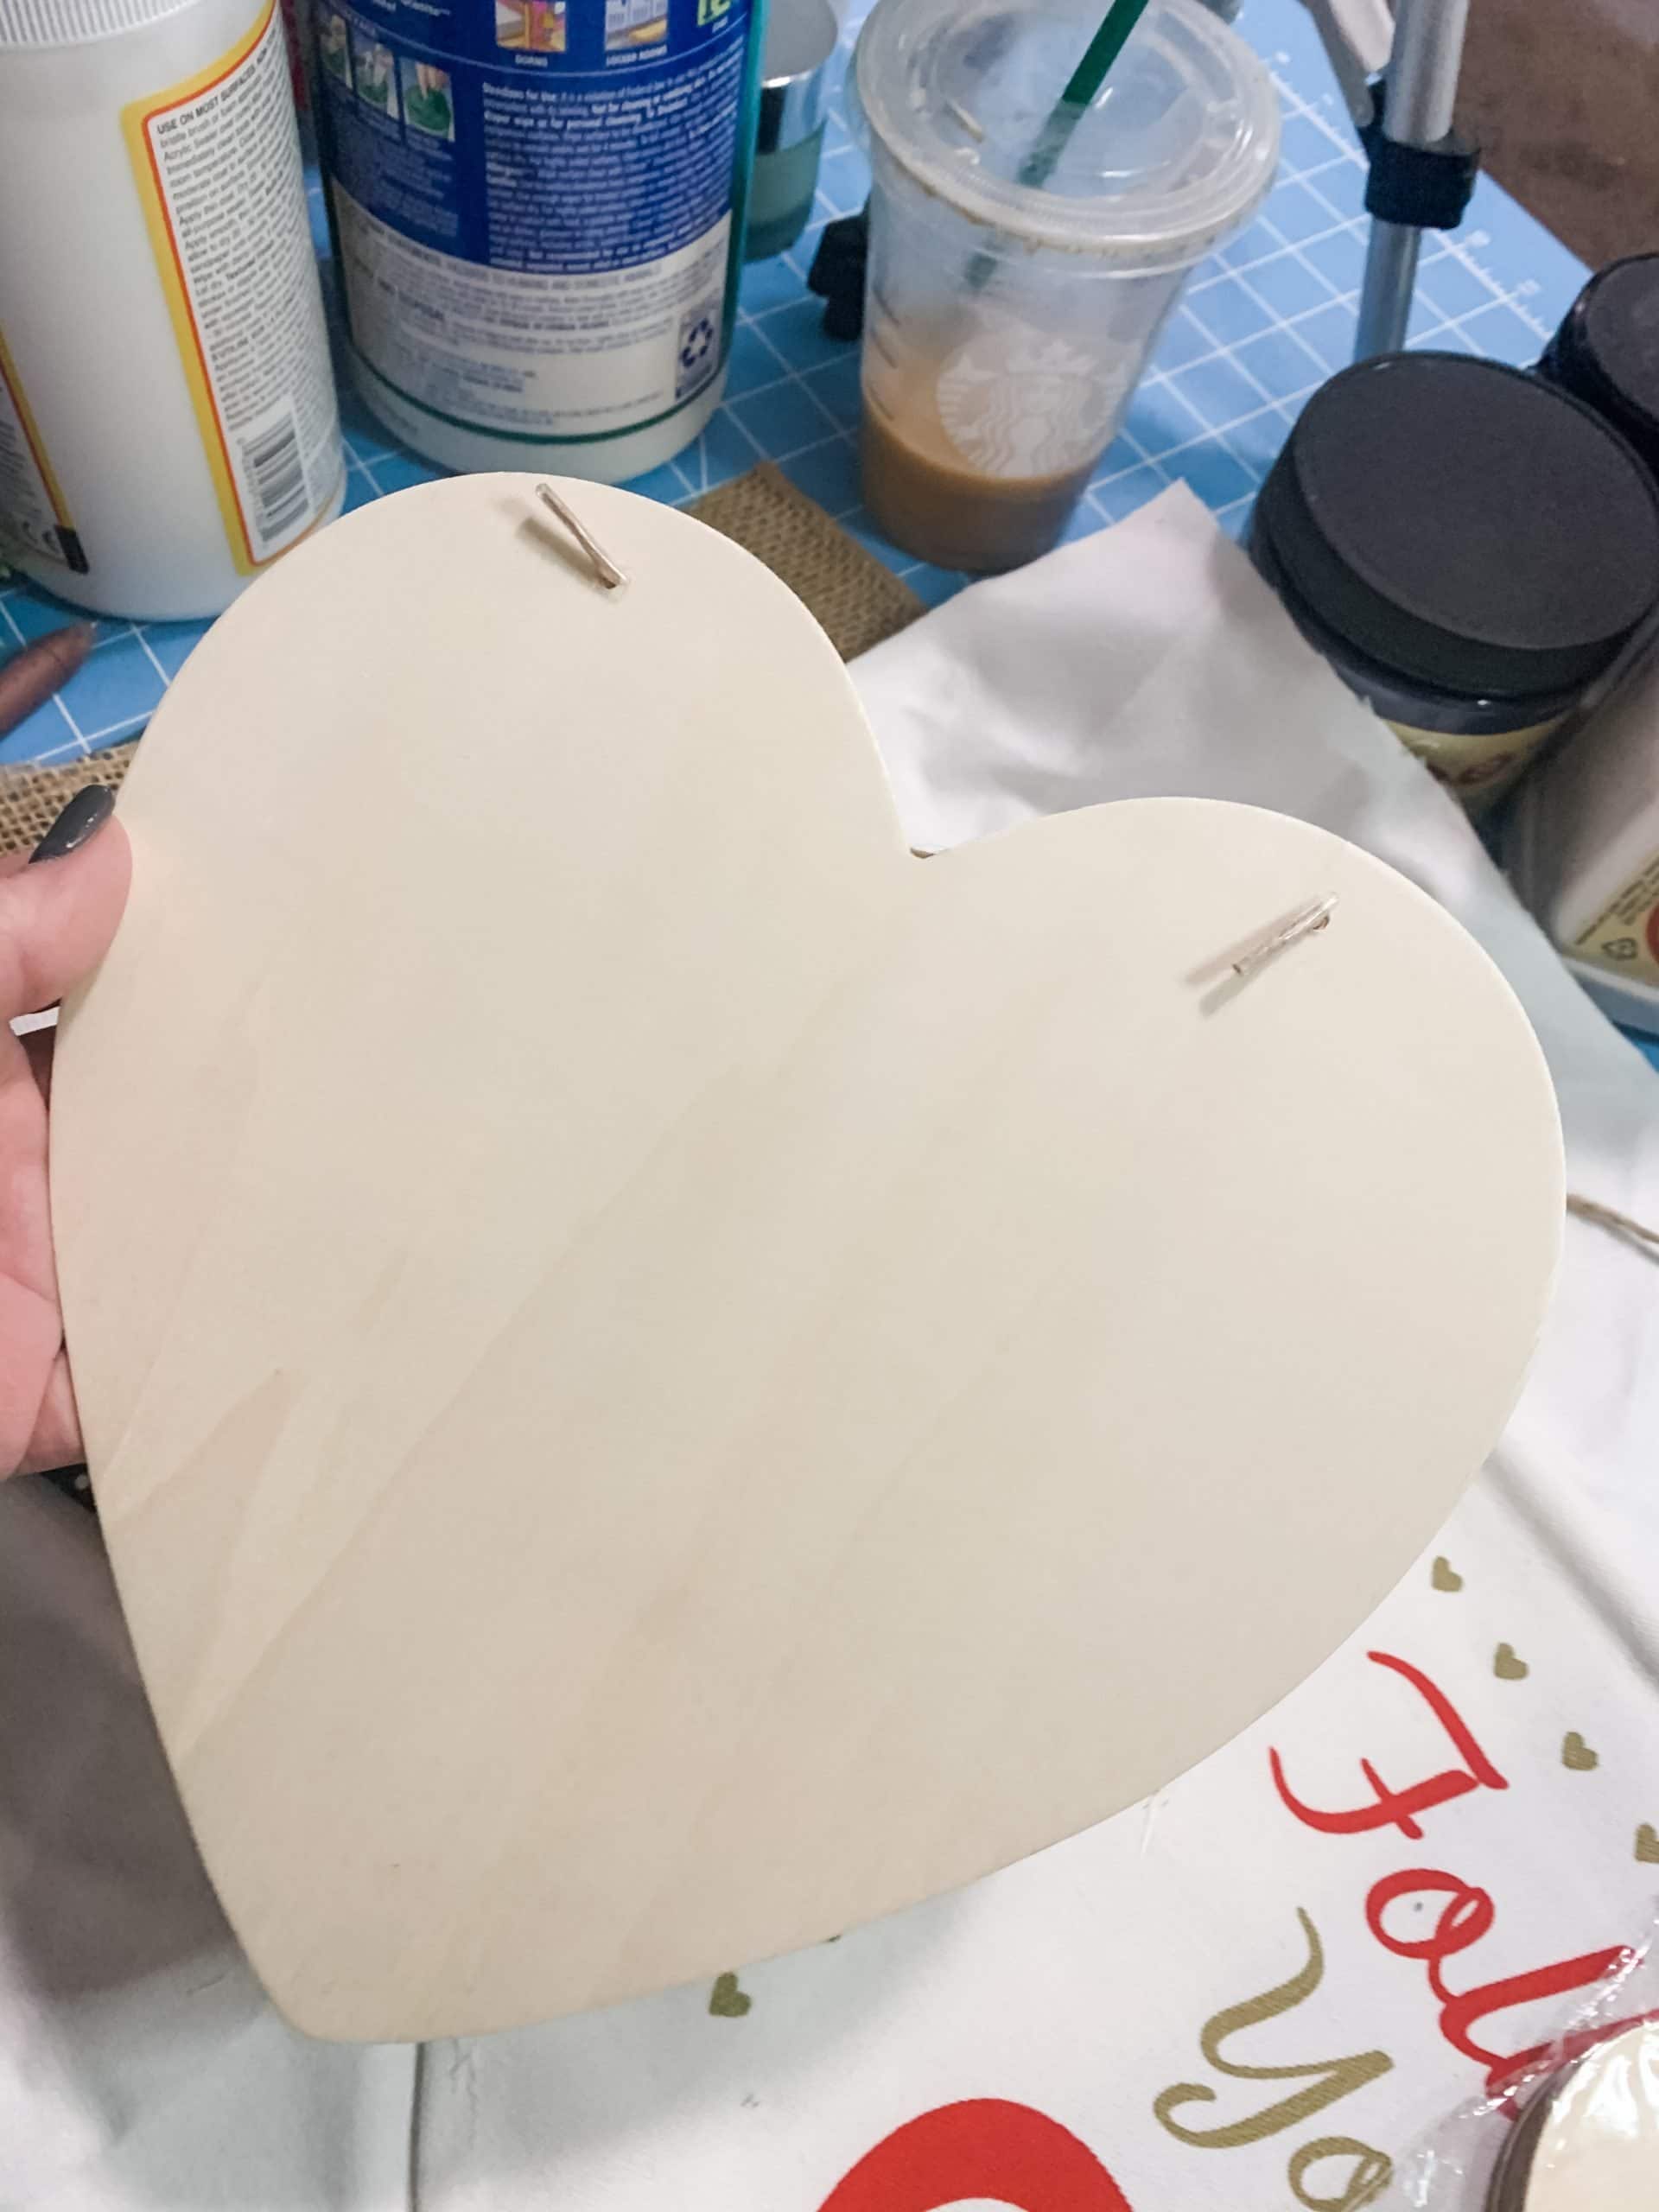
While your banner dries (I used my heat gun to speed up the drying process) you can go ahead and decoupage the large Dollar Tree wooden heart. I first traced the heart on the black polka dot fabric and cut the shape out.
Then, I applied a coat of Mod Podge to the surface of the wood heart. Make sure to get good coverage so the fabric gets a good bond onto the heart.
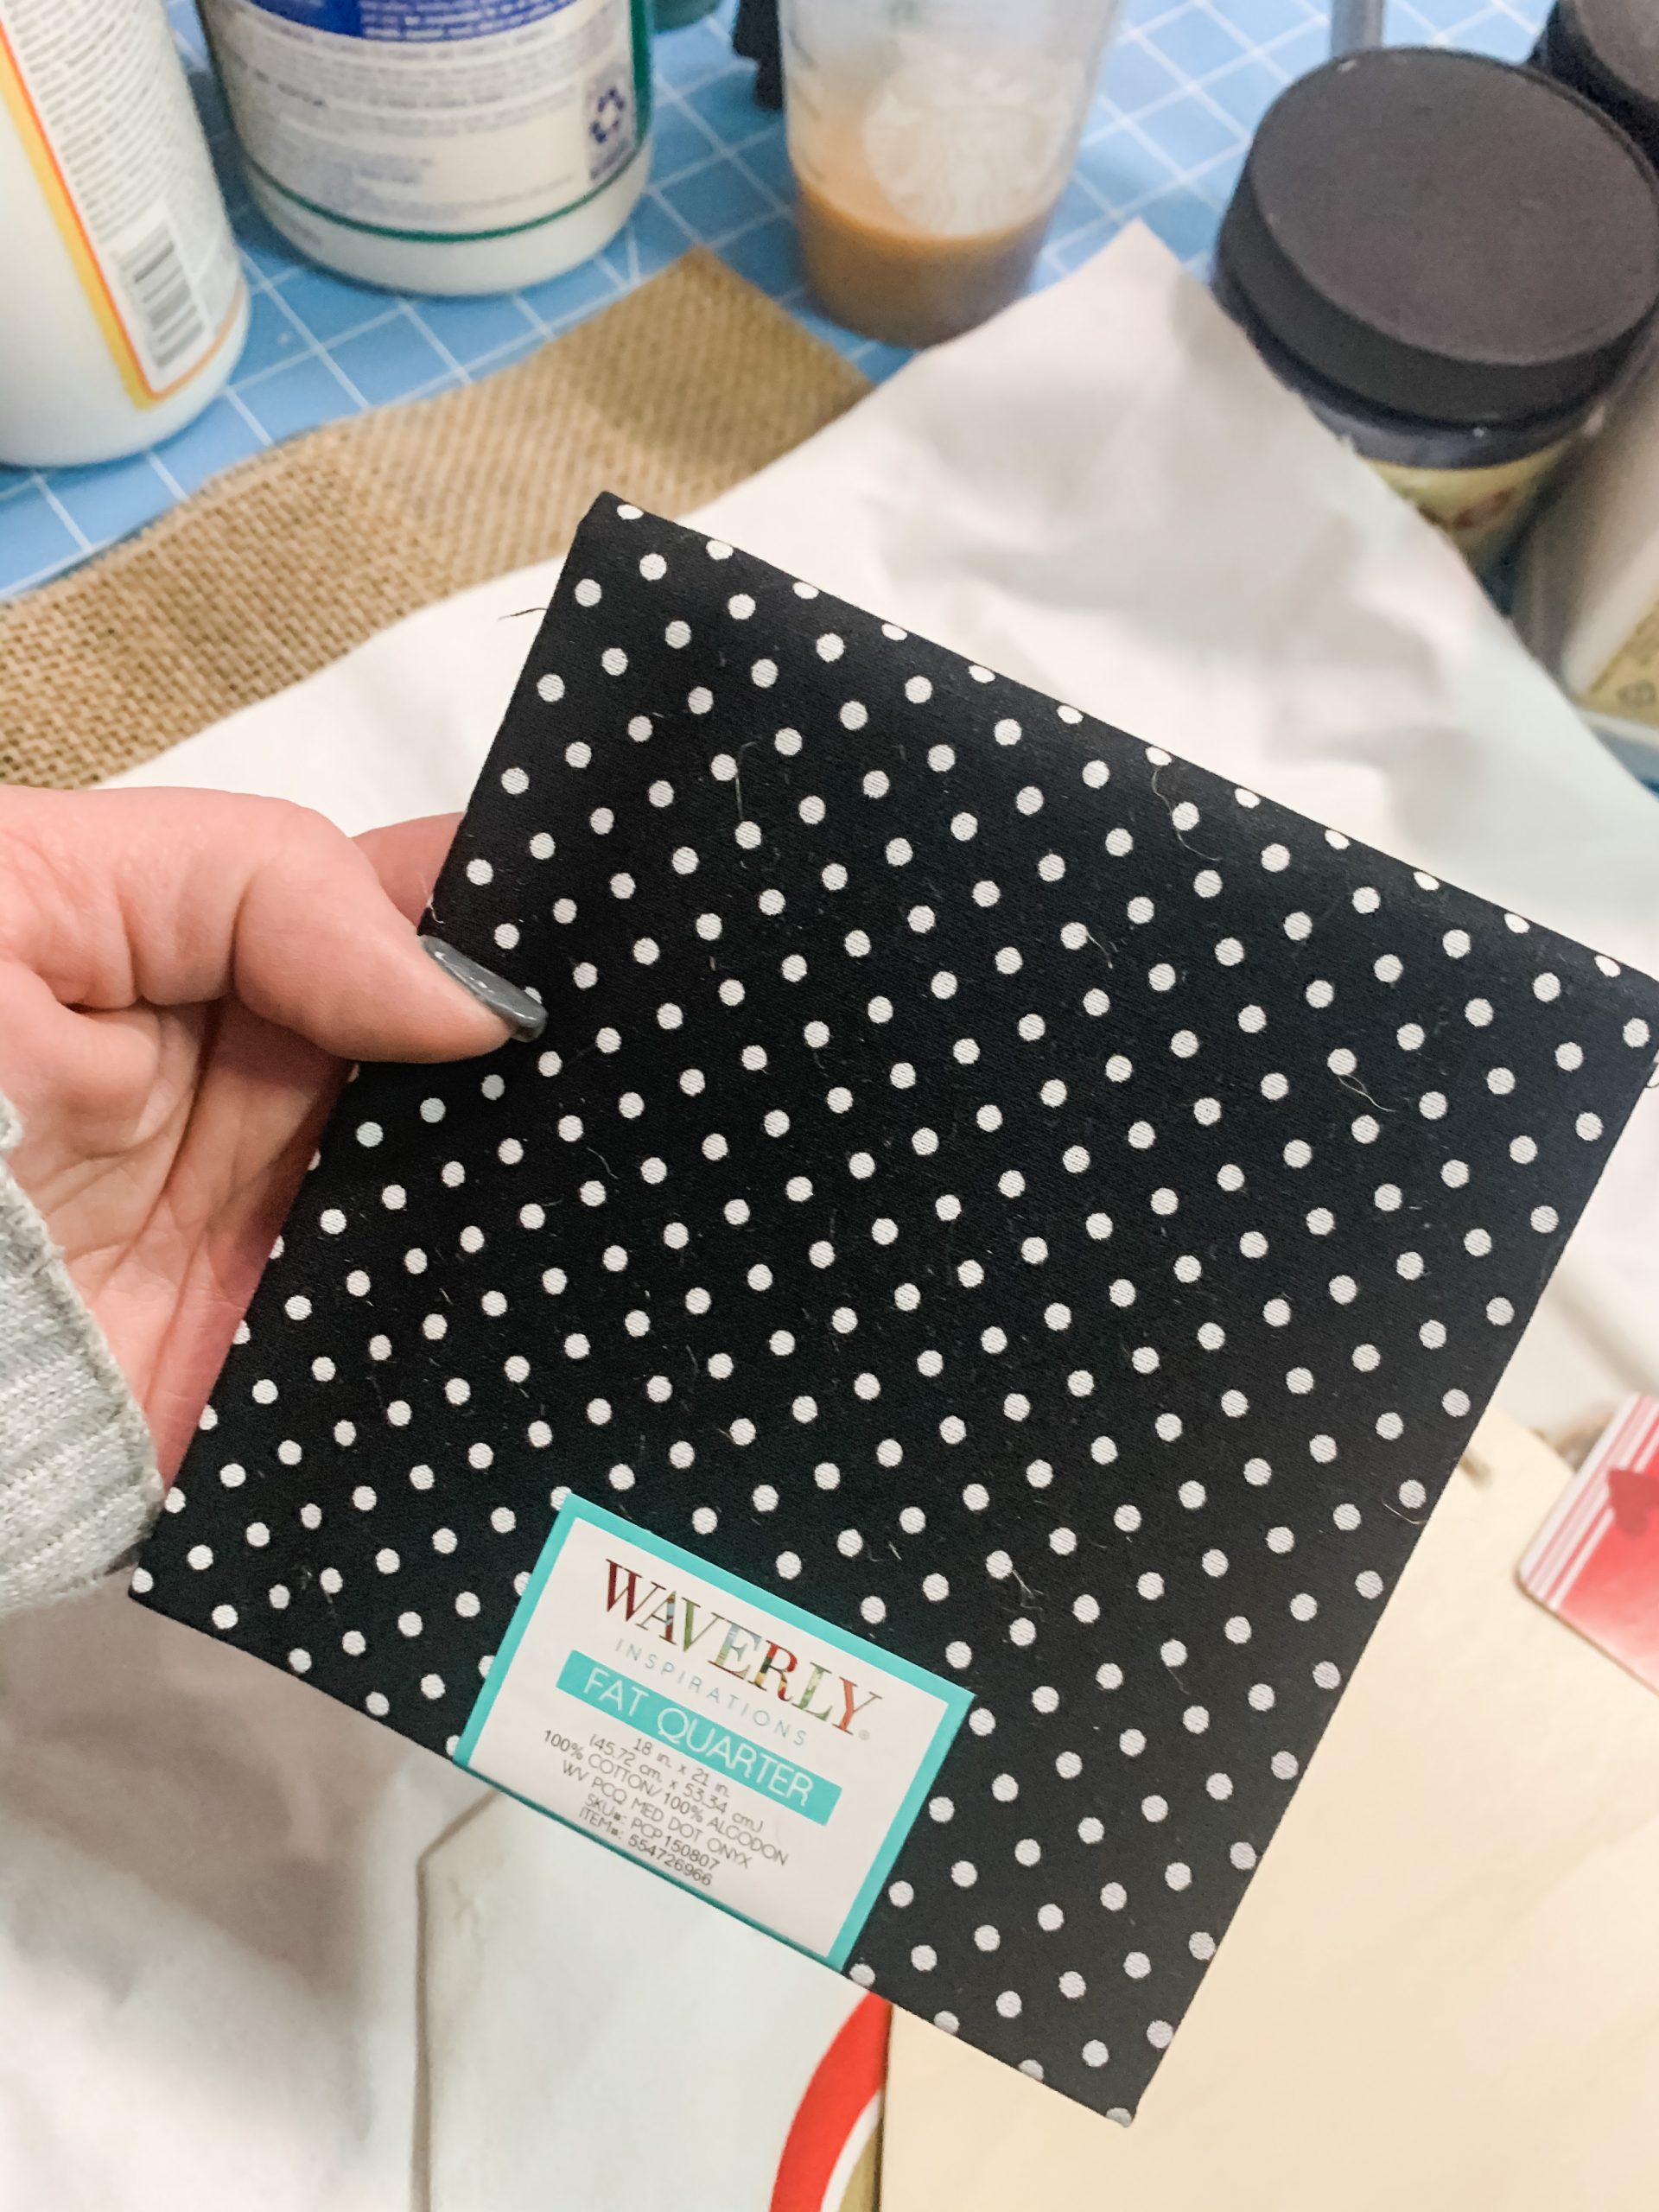
When you have the Mod Podge applied, carefully place the cutout fabric heart onto the surface of the wood heart. You want to avoid creating any wrinkles or creases.
If any form, you can use a rolling pin to smooth out the imperfections. If you were decoupaging paper or a napkin, you would want to cover the surface with plastic saran wrap before you smooth it out.
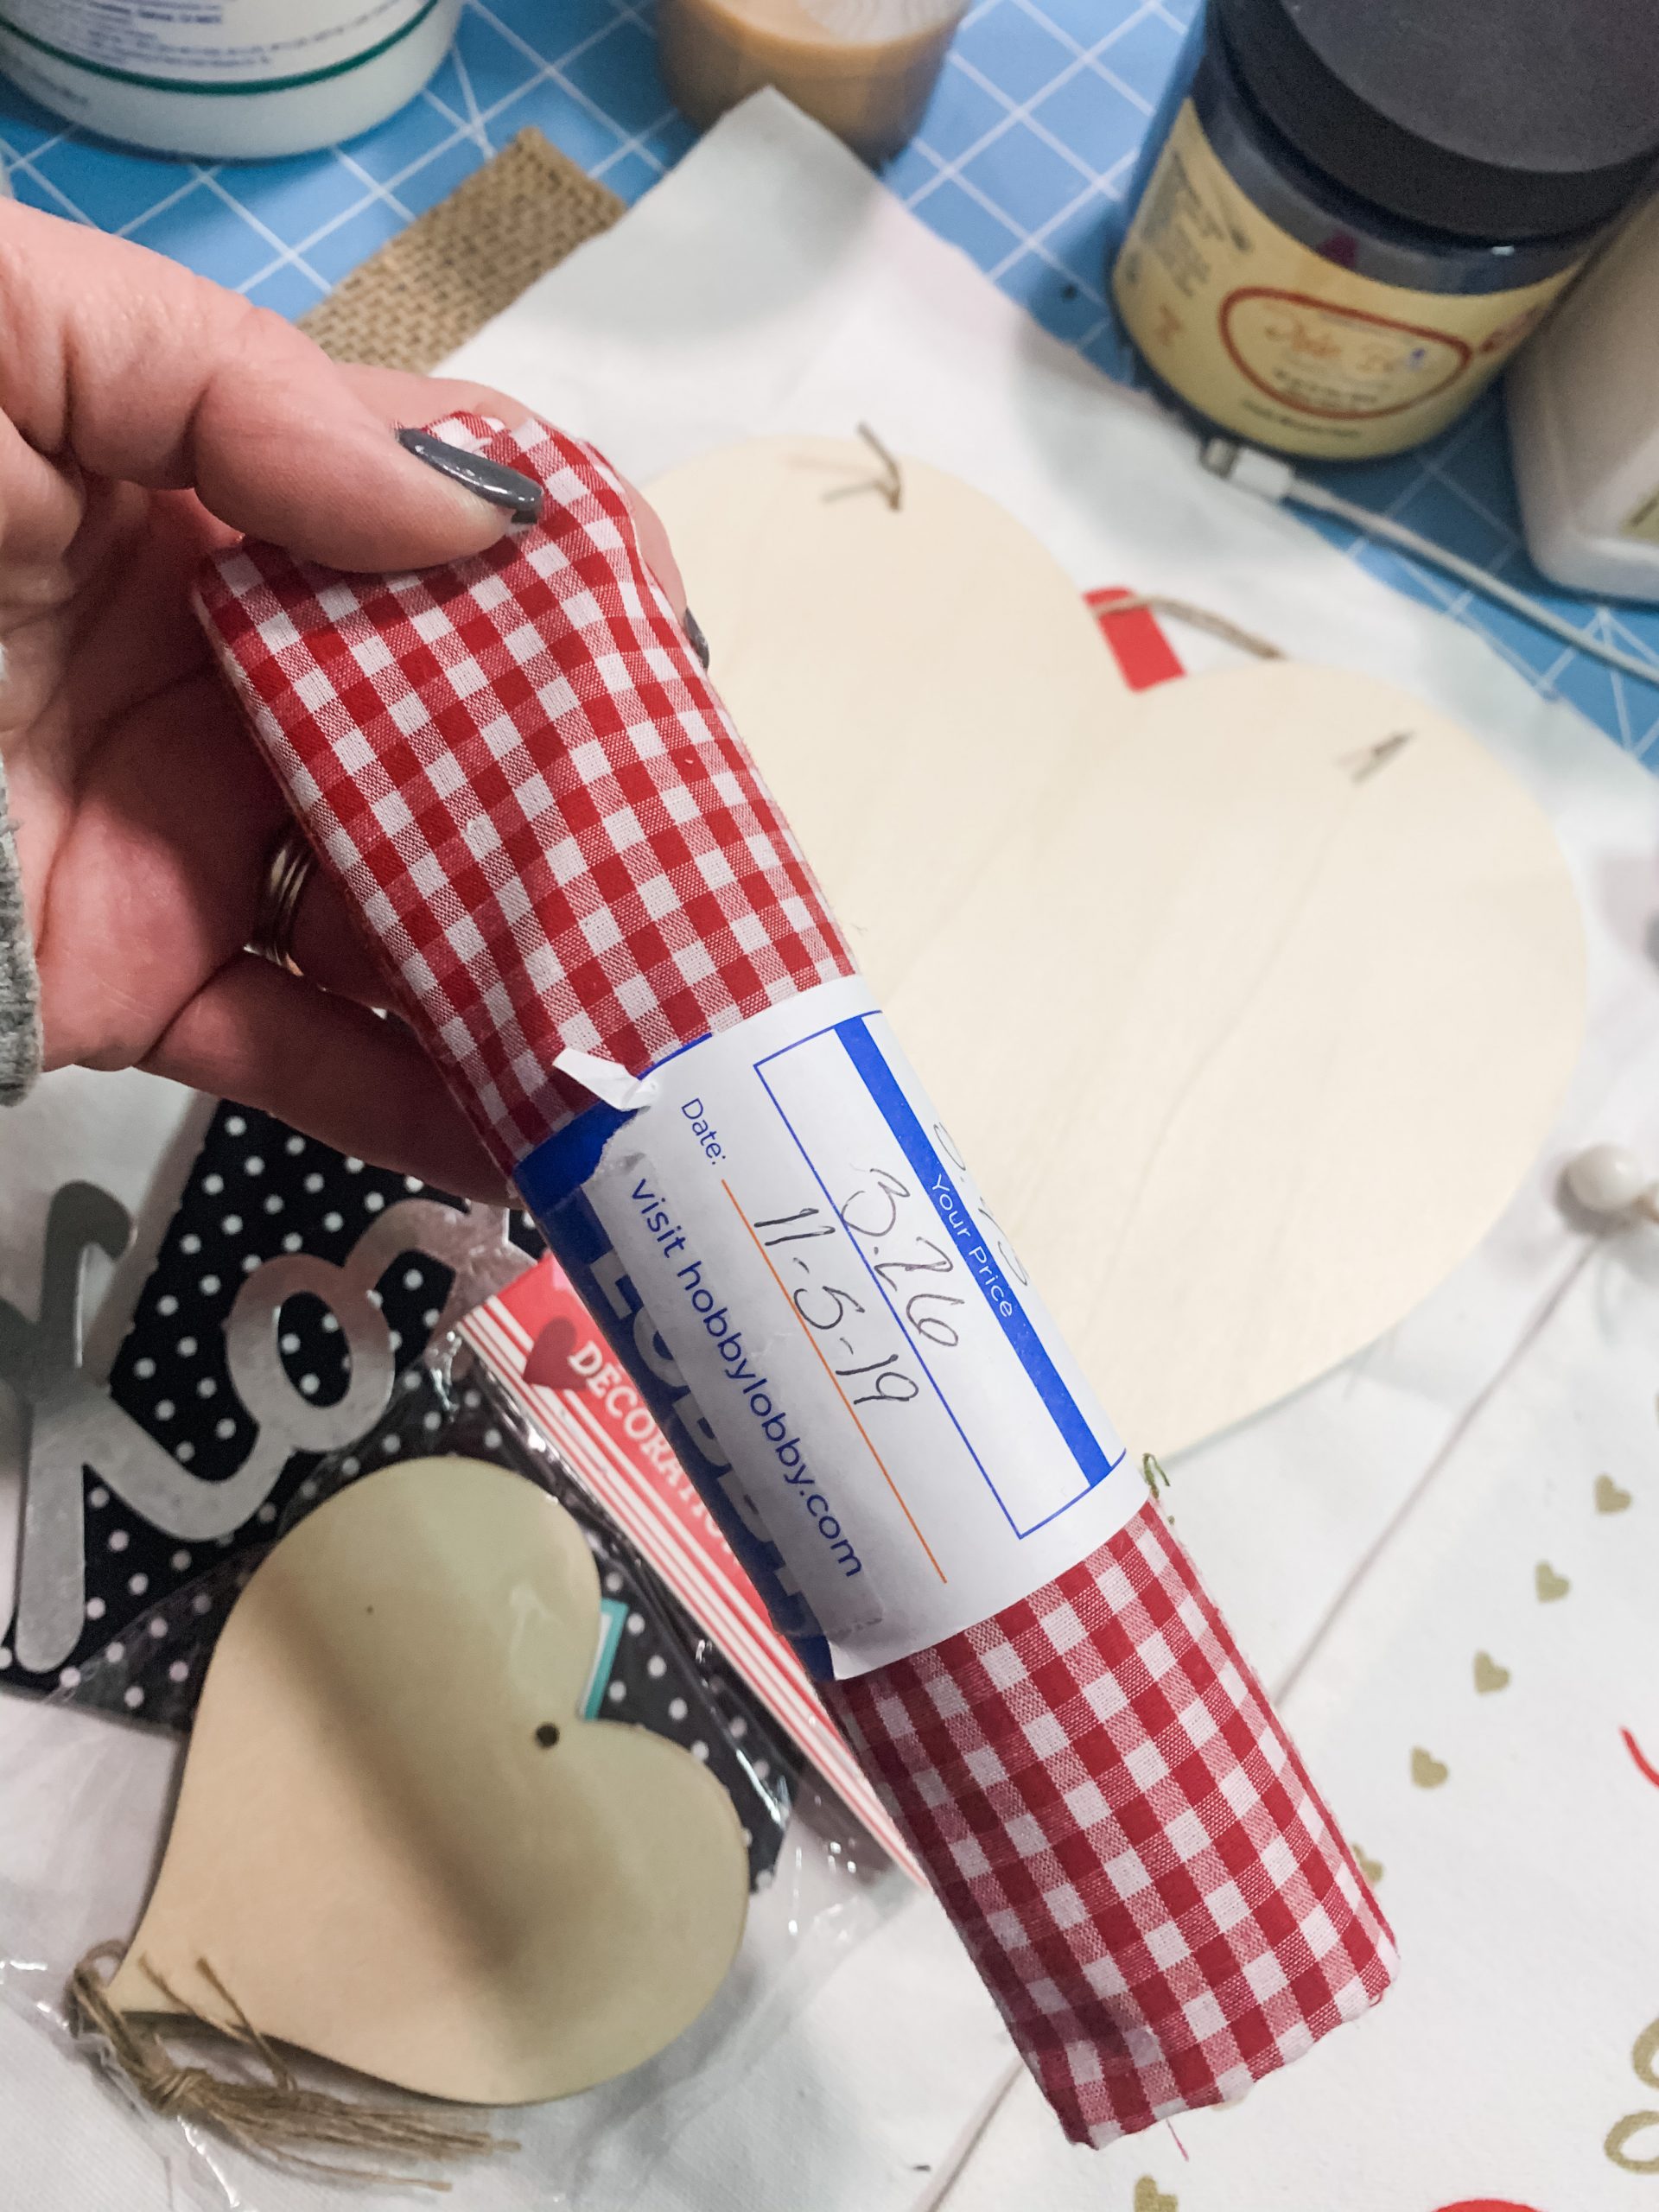
You’re going to repeat the decoupaging process with the small heart (the process is the same regardless if you use the Dollar Tree wooden heart ornament or a piece of cardboard).
I decoupaged red buffalo check fabric onto the smaller heart. Allow the Mod Podge to dry, then lightly run a sanding sponge around the edges of each of the hearts to remove the excess fabric.
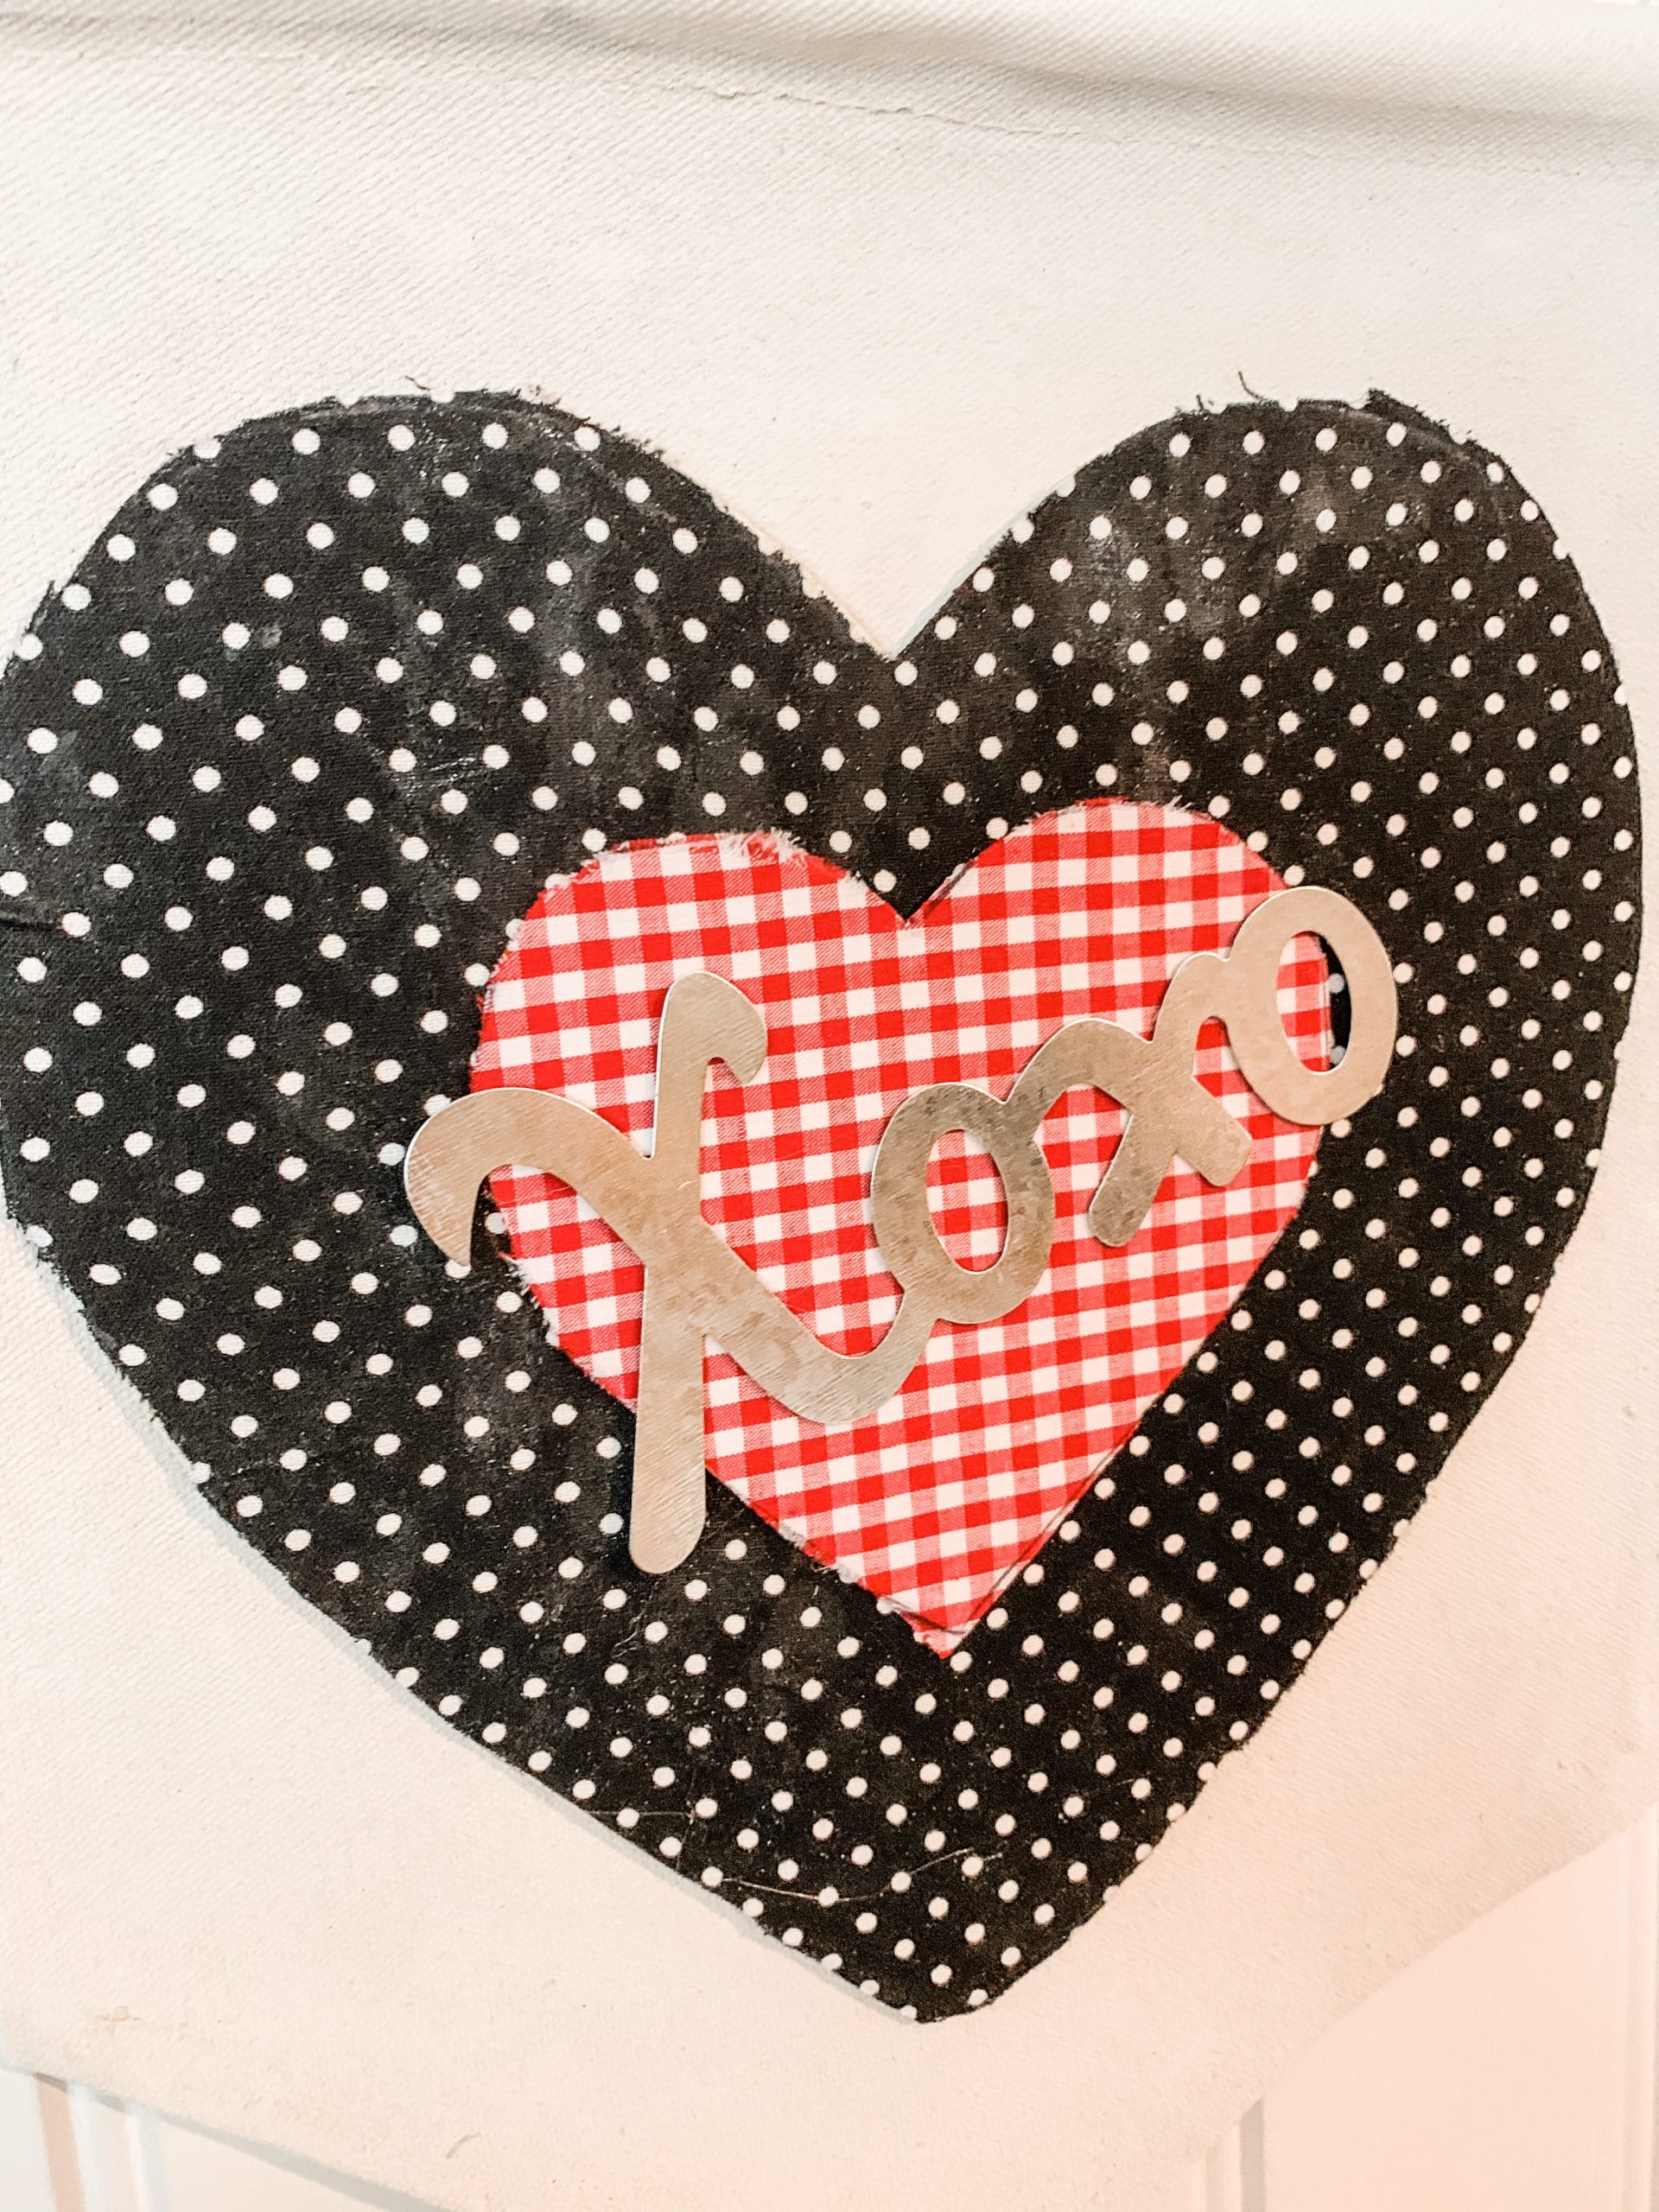
Bring it all together
Hot glue the larger decoupaged heart to the center of the Dollar Tree banner. Then, hot glue the smaller heart to the center of the larger heart.
Finally, all you have to do is hot glue the XOXO metal lettering to the center of the small heart. Thankfully, the Dollar Tree banner already had a hanger, so I didn’t have to make one myself!
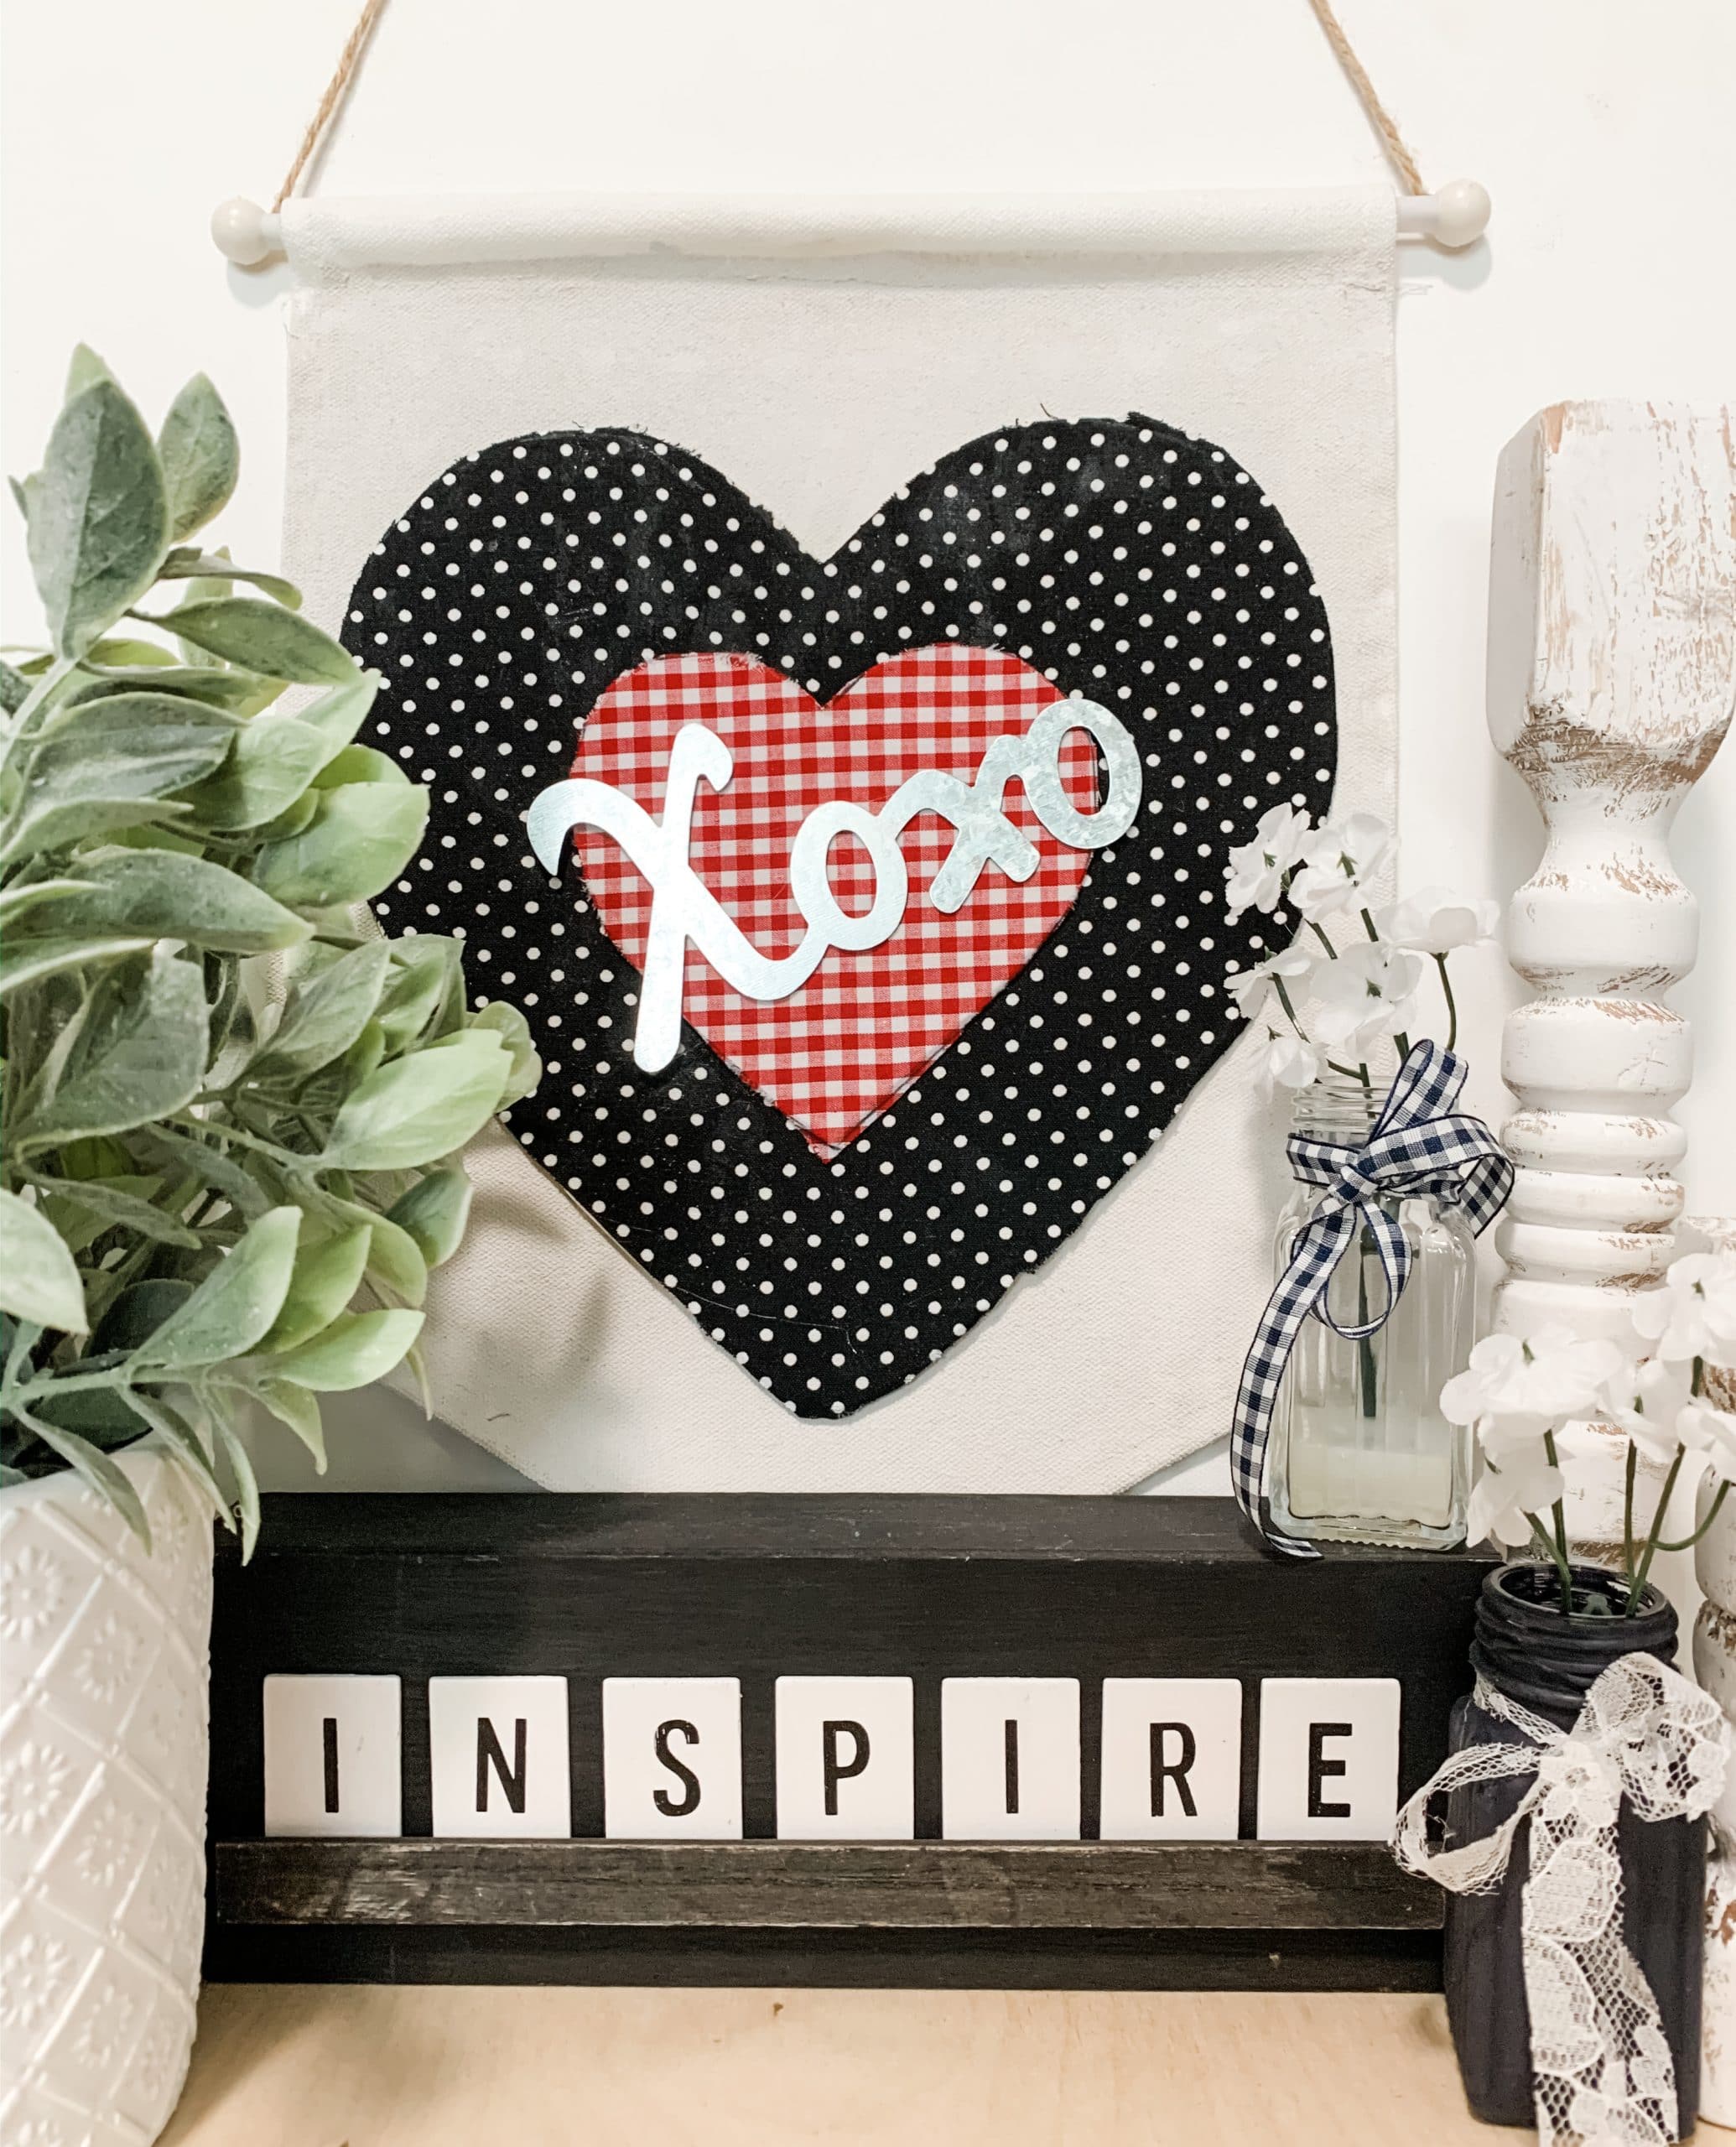
I hope you enjoyed this Dollar Tree Banner DIY Valentine’s Day Decor as much as I did and decide to make one for yourself! I would love to see how yours turns out!
You should totally join my FREE Facebook group called On A Budget Crafts! It is a judgment-free community for DIY crafters to show off their projects and ideas.
If you loved this DIY you might also like this Fun and Easy DIY Spring Door Hanger!
Thanks for stopping by! XOXO Amber
You can also shop my ENTIRE AMAZON Favorites shop just click here! It’s packed full of all the things I use and love. Here is the supply list I highly recommend every creative have on hand!!
Would you also pin my blog for later and get on my newsletter alerts? I would love to have you join my #craftycrew.
Inspired? Leave me a comment below! I love hearing from my readers!

Join my free “ON A BUDGET CRAFTS” Facebook group!

It’s ADORABLE