DIY Wooden Triangle Christmas Tree
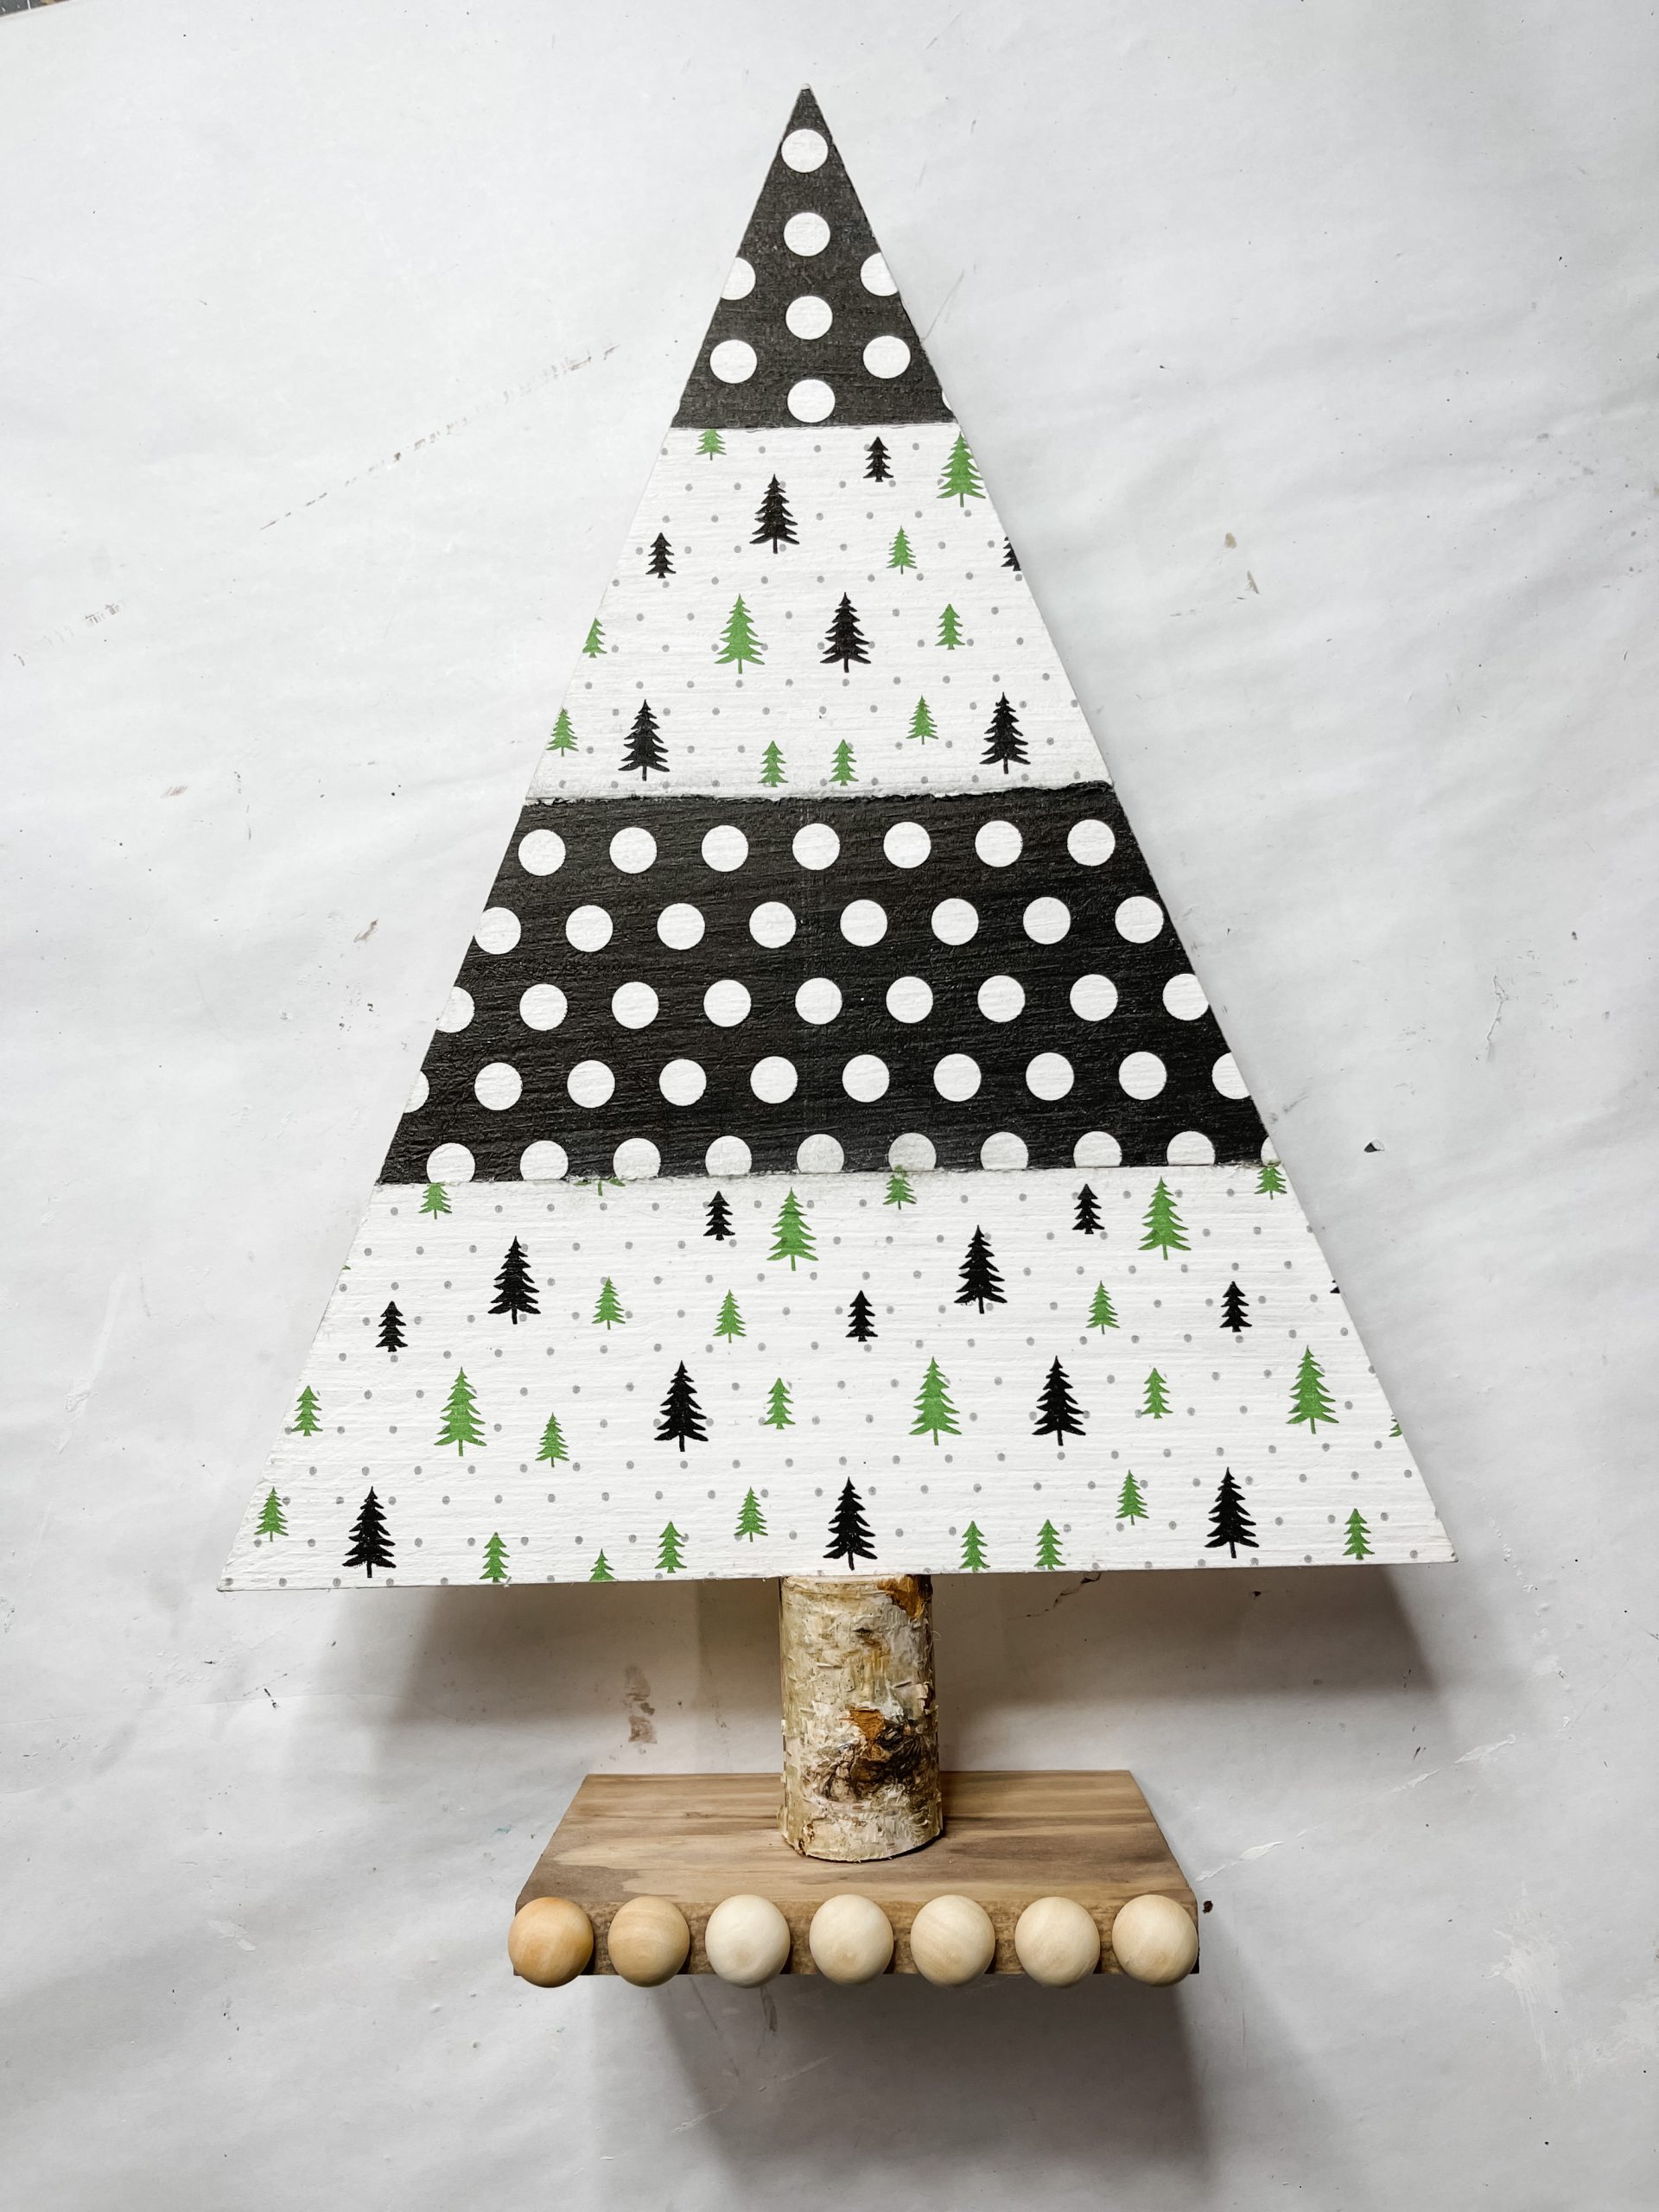
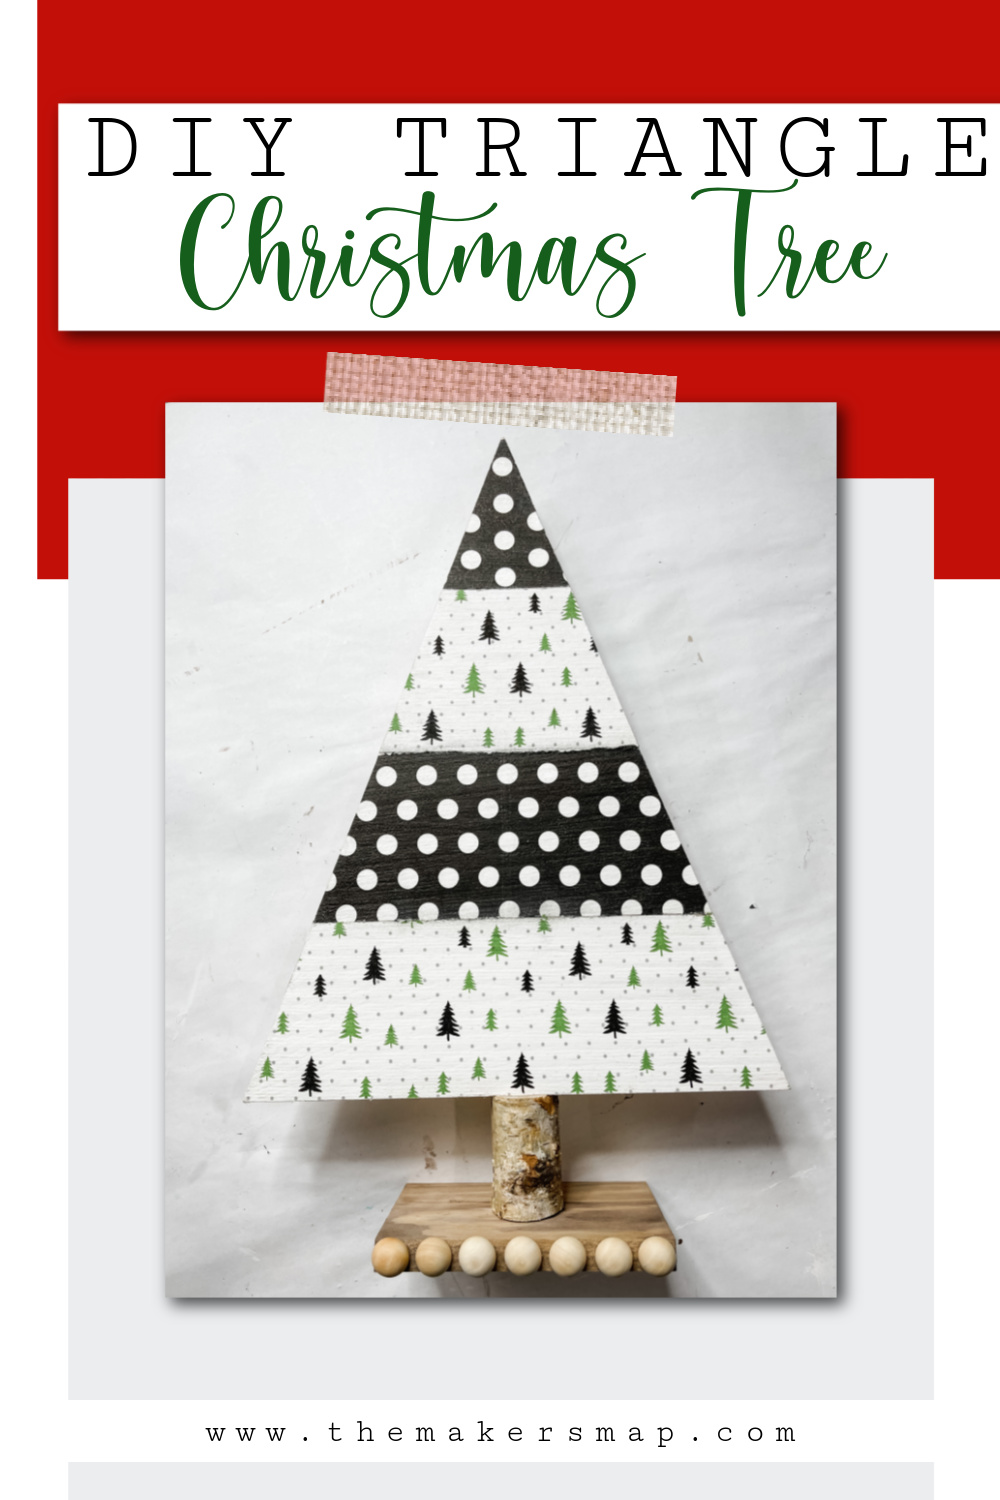
What I love most about this DIY wooden triangle Christmas tree is probably its simplicity! Seriously, this Christmas craft was so easy to make, and it is even easier to customize it to your own style!
I used two different Christmas napkins to make this adorable Christmas tree, and even if you can’t get the exact ones I used (I sell them in my shop), you can use whichever napkins you have on hand!
Watch the DIY tutorial replay
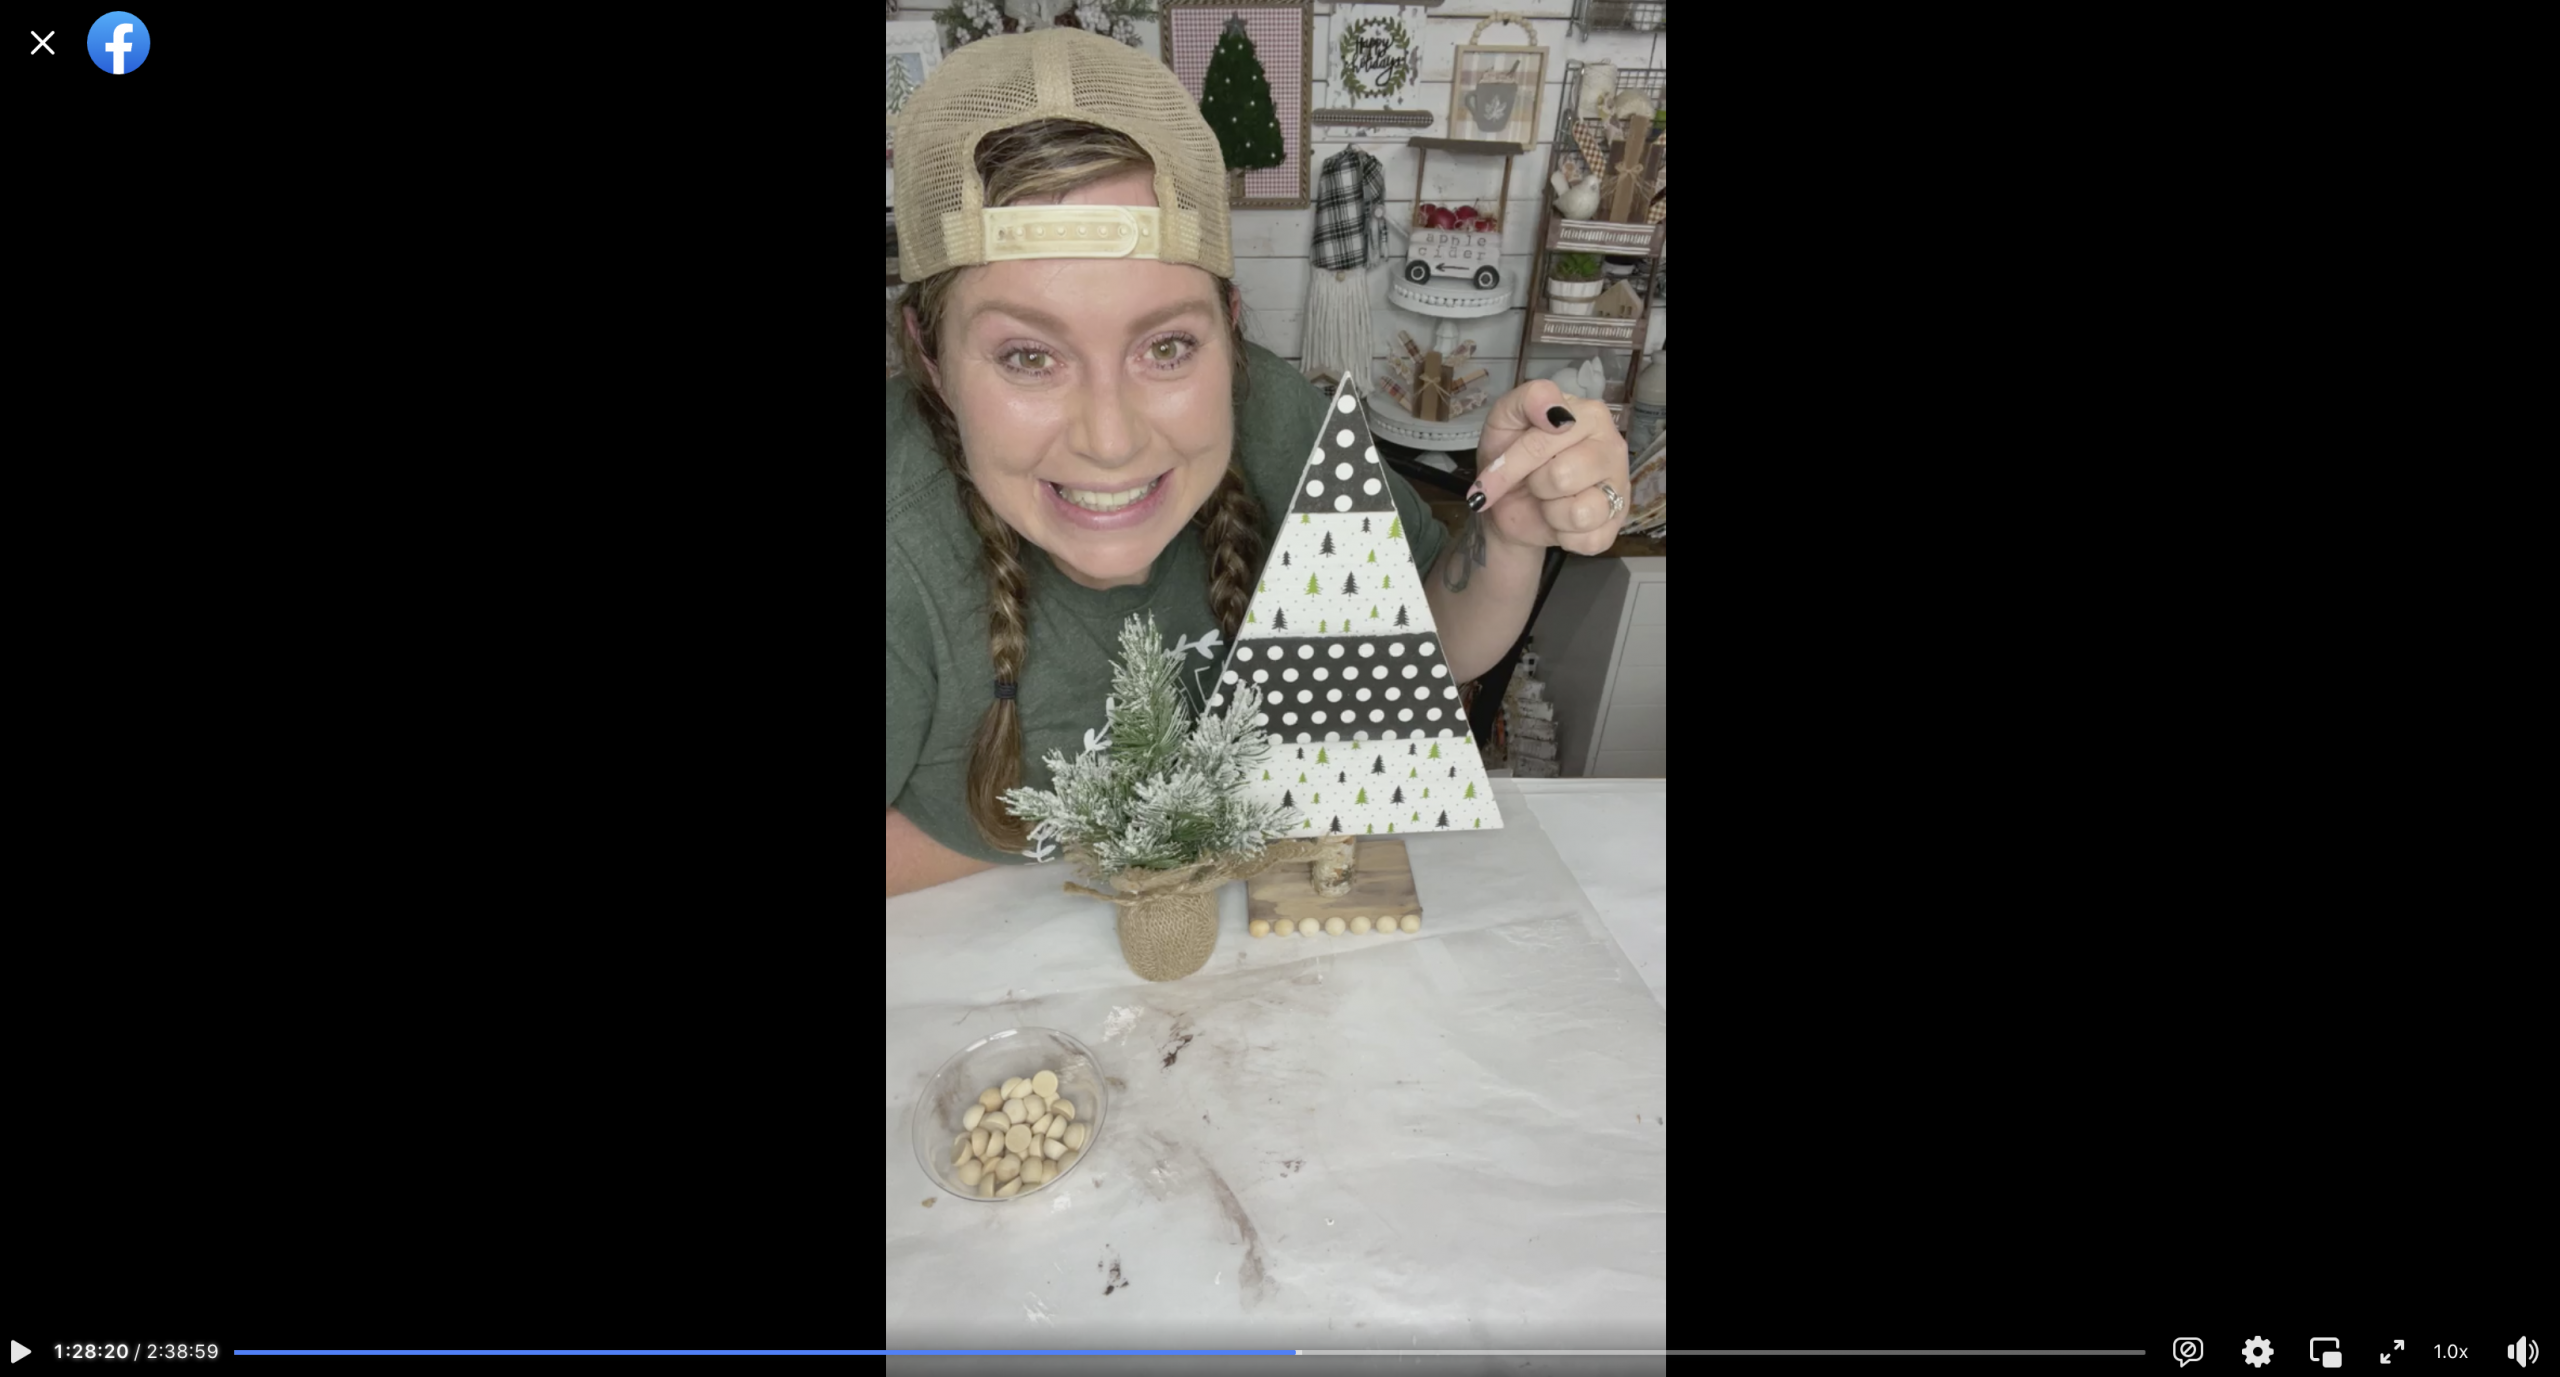
I recorded how to make this adorable DIY wooden triangle Christmas tree during a LIVE video on my Facebook page.
If you want to see the DIY process, craft along, or just join in on the fun conversations, you can watch the Facebook LIVE replay!
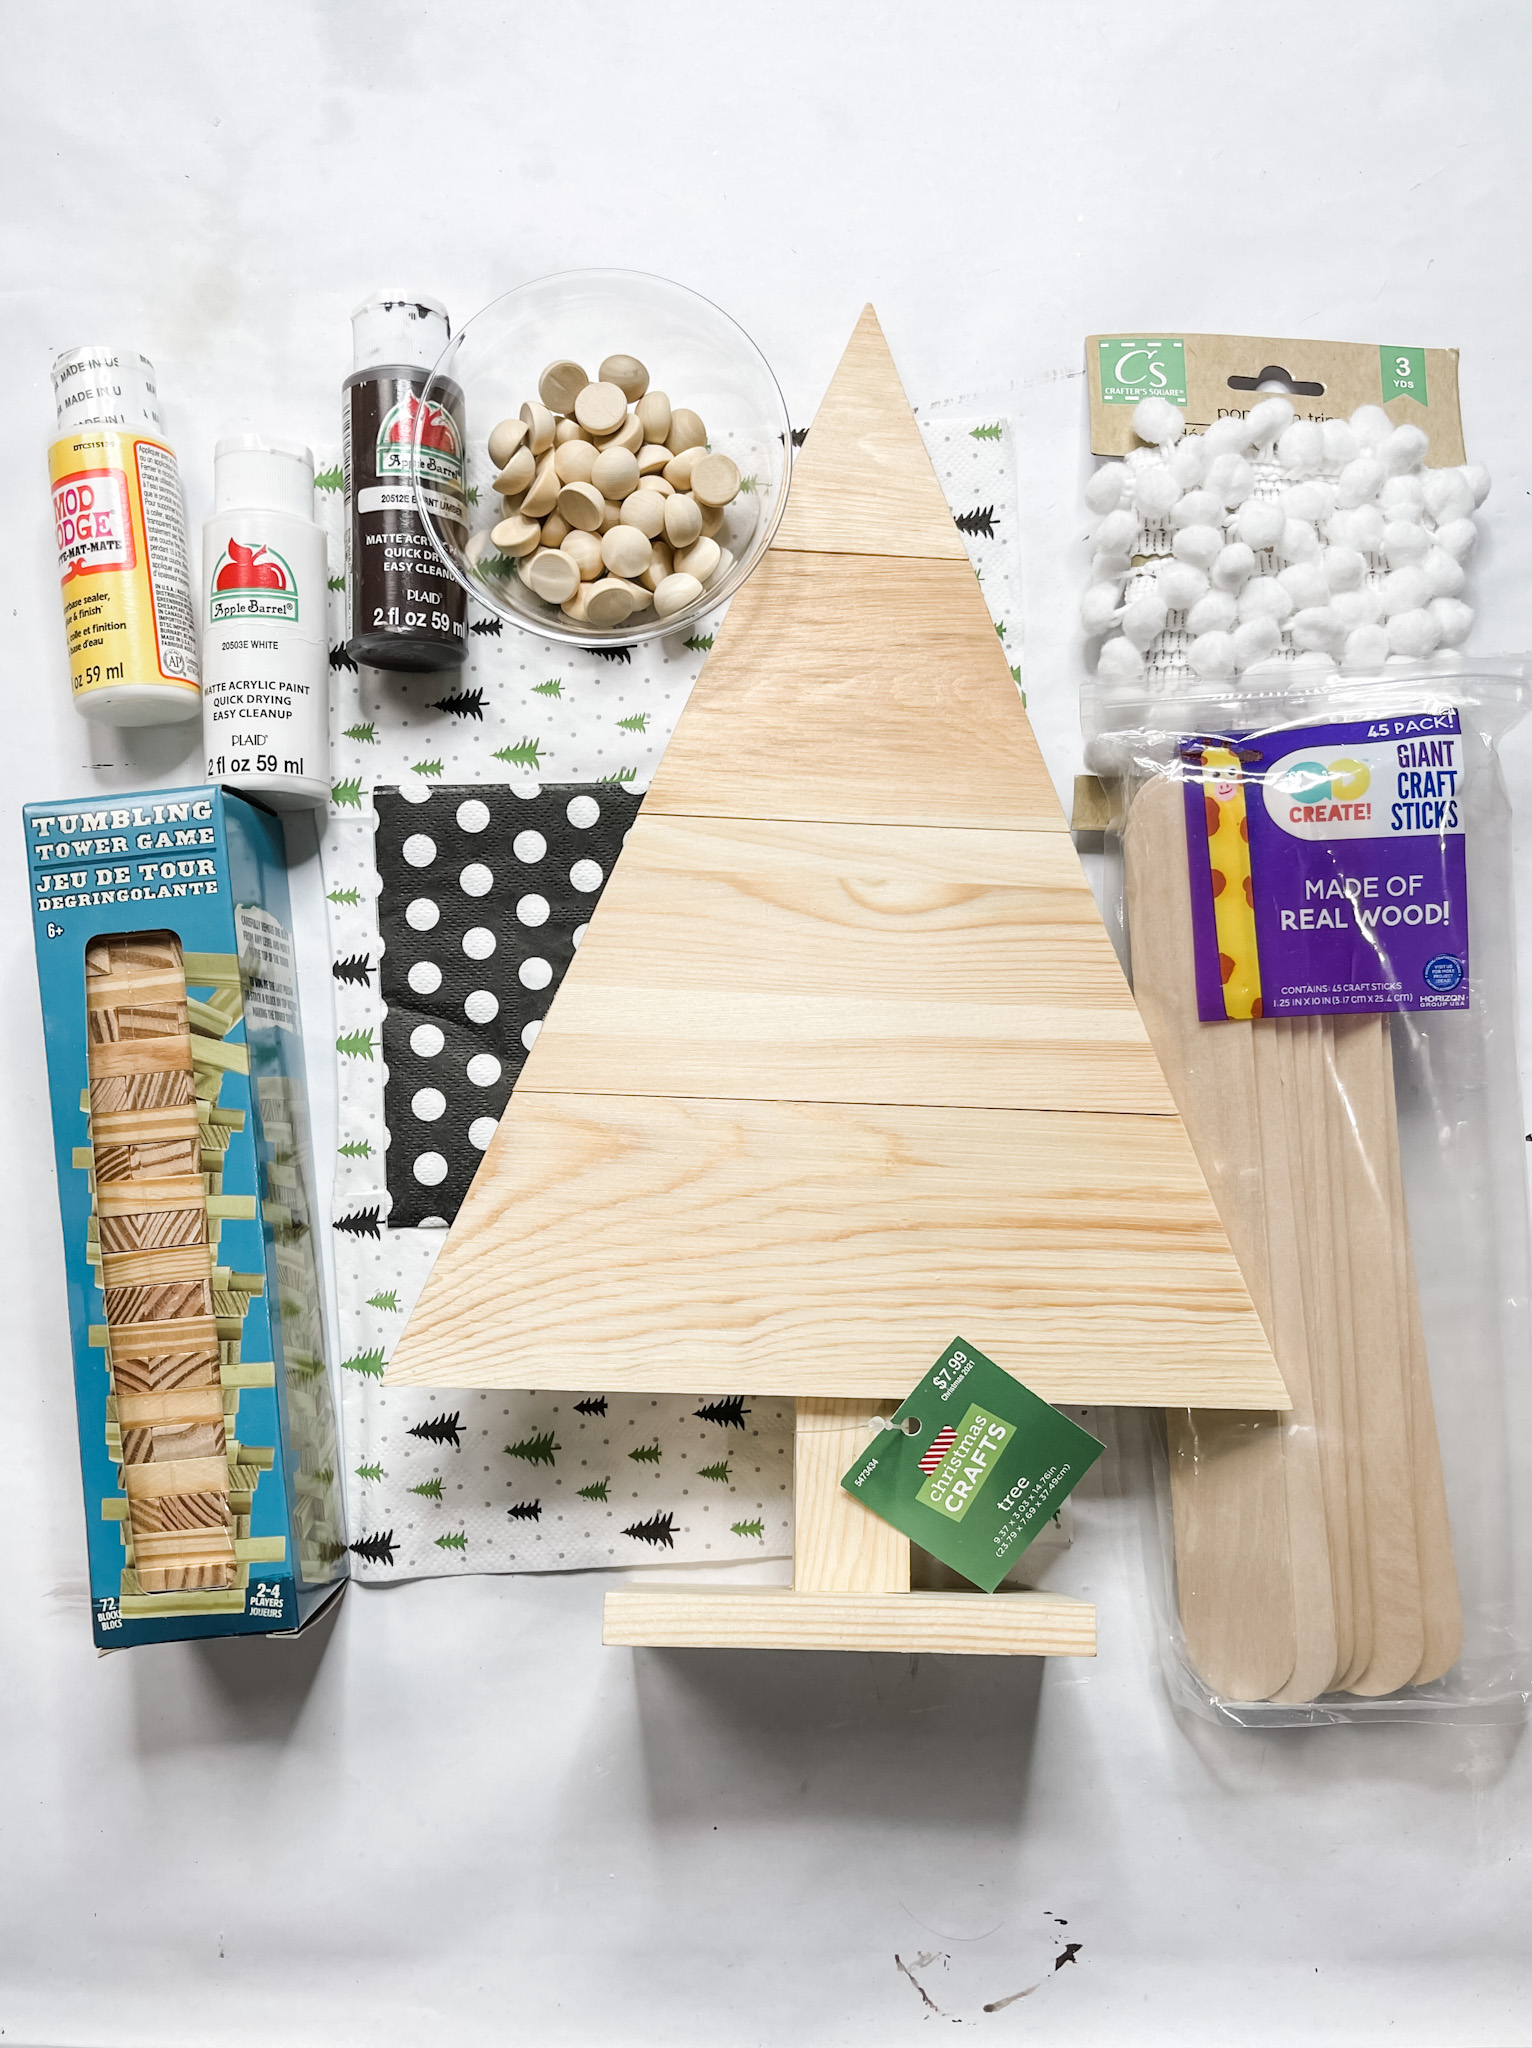
For this project, I will be using these items but you can substitute where you want.
“As an Amazon Associate, I earn from qualifying purchases.”
- Mini Christmas Trees Pattern Napkin
- Black with white dots napkin
- Wooden Triangle Tree from Hobby Lobby
- Giant Craft Sticks
- Wood Stem from Hobby Lobby
- Half wood beads
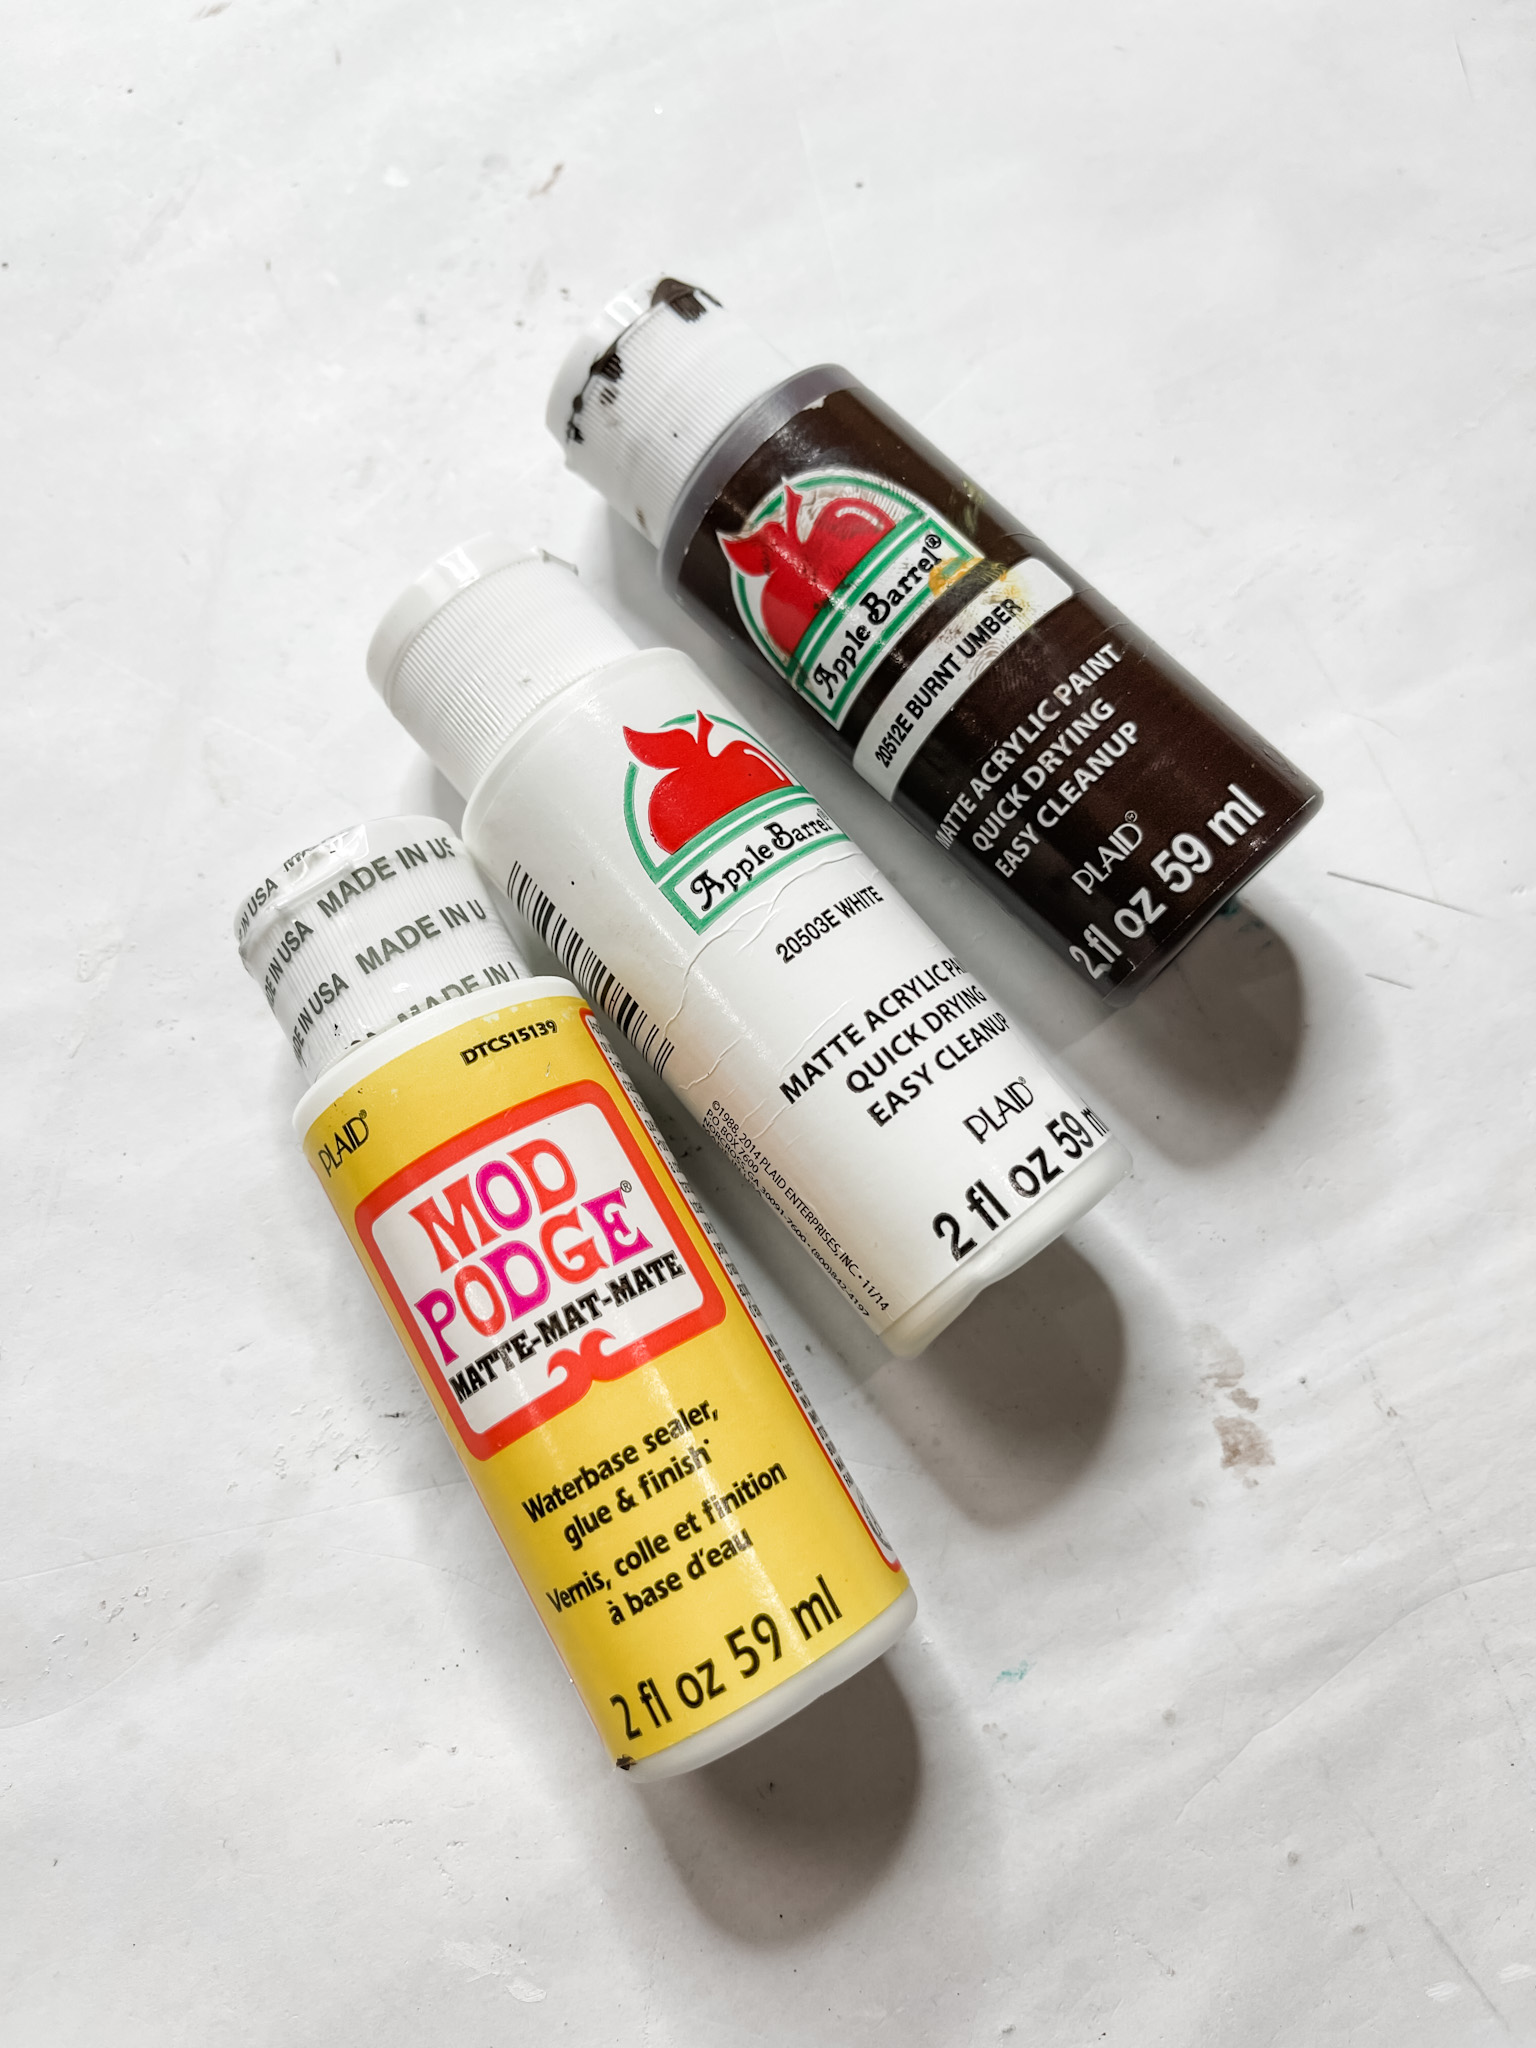
- Burnt Umber Acrylic Paint Apple Barrel or DecoArt
- White Acrylic Paint Apple Barrel or DecoArt
- Mod Podge
- Glue Gun and Glue Sticks
- Heat gun
- Scissors
* I did not use the Dollar Tree Tumbling Tower blocks or white pom pom trim pictured below.
How to Make a DIY Wooden Triangle Christmas Tree
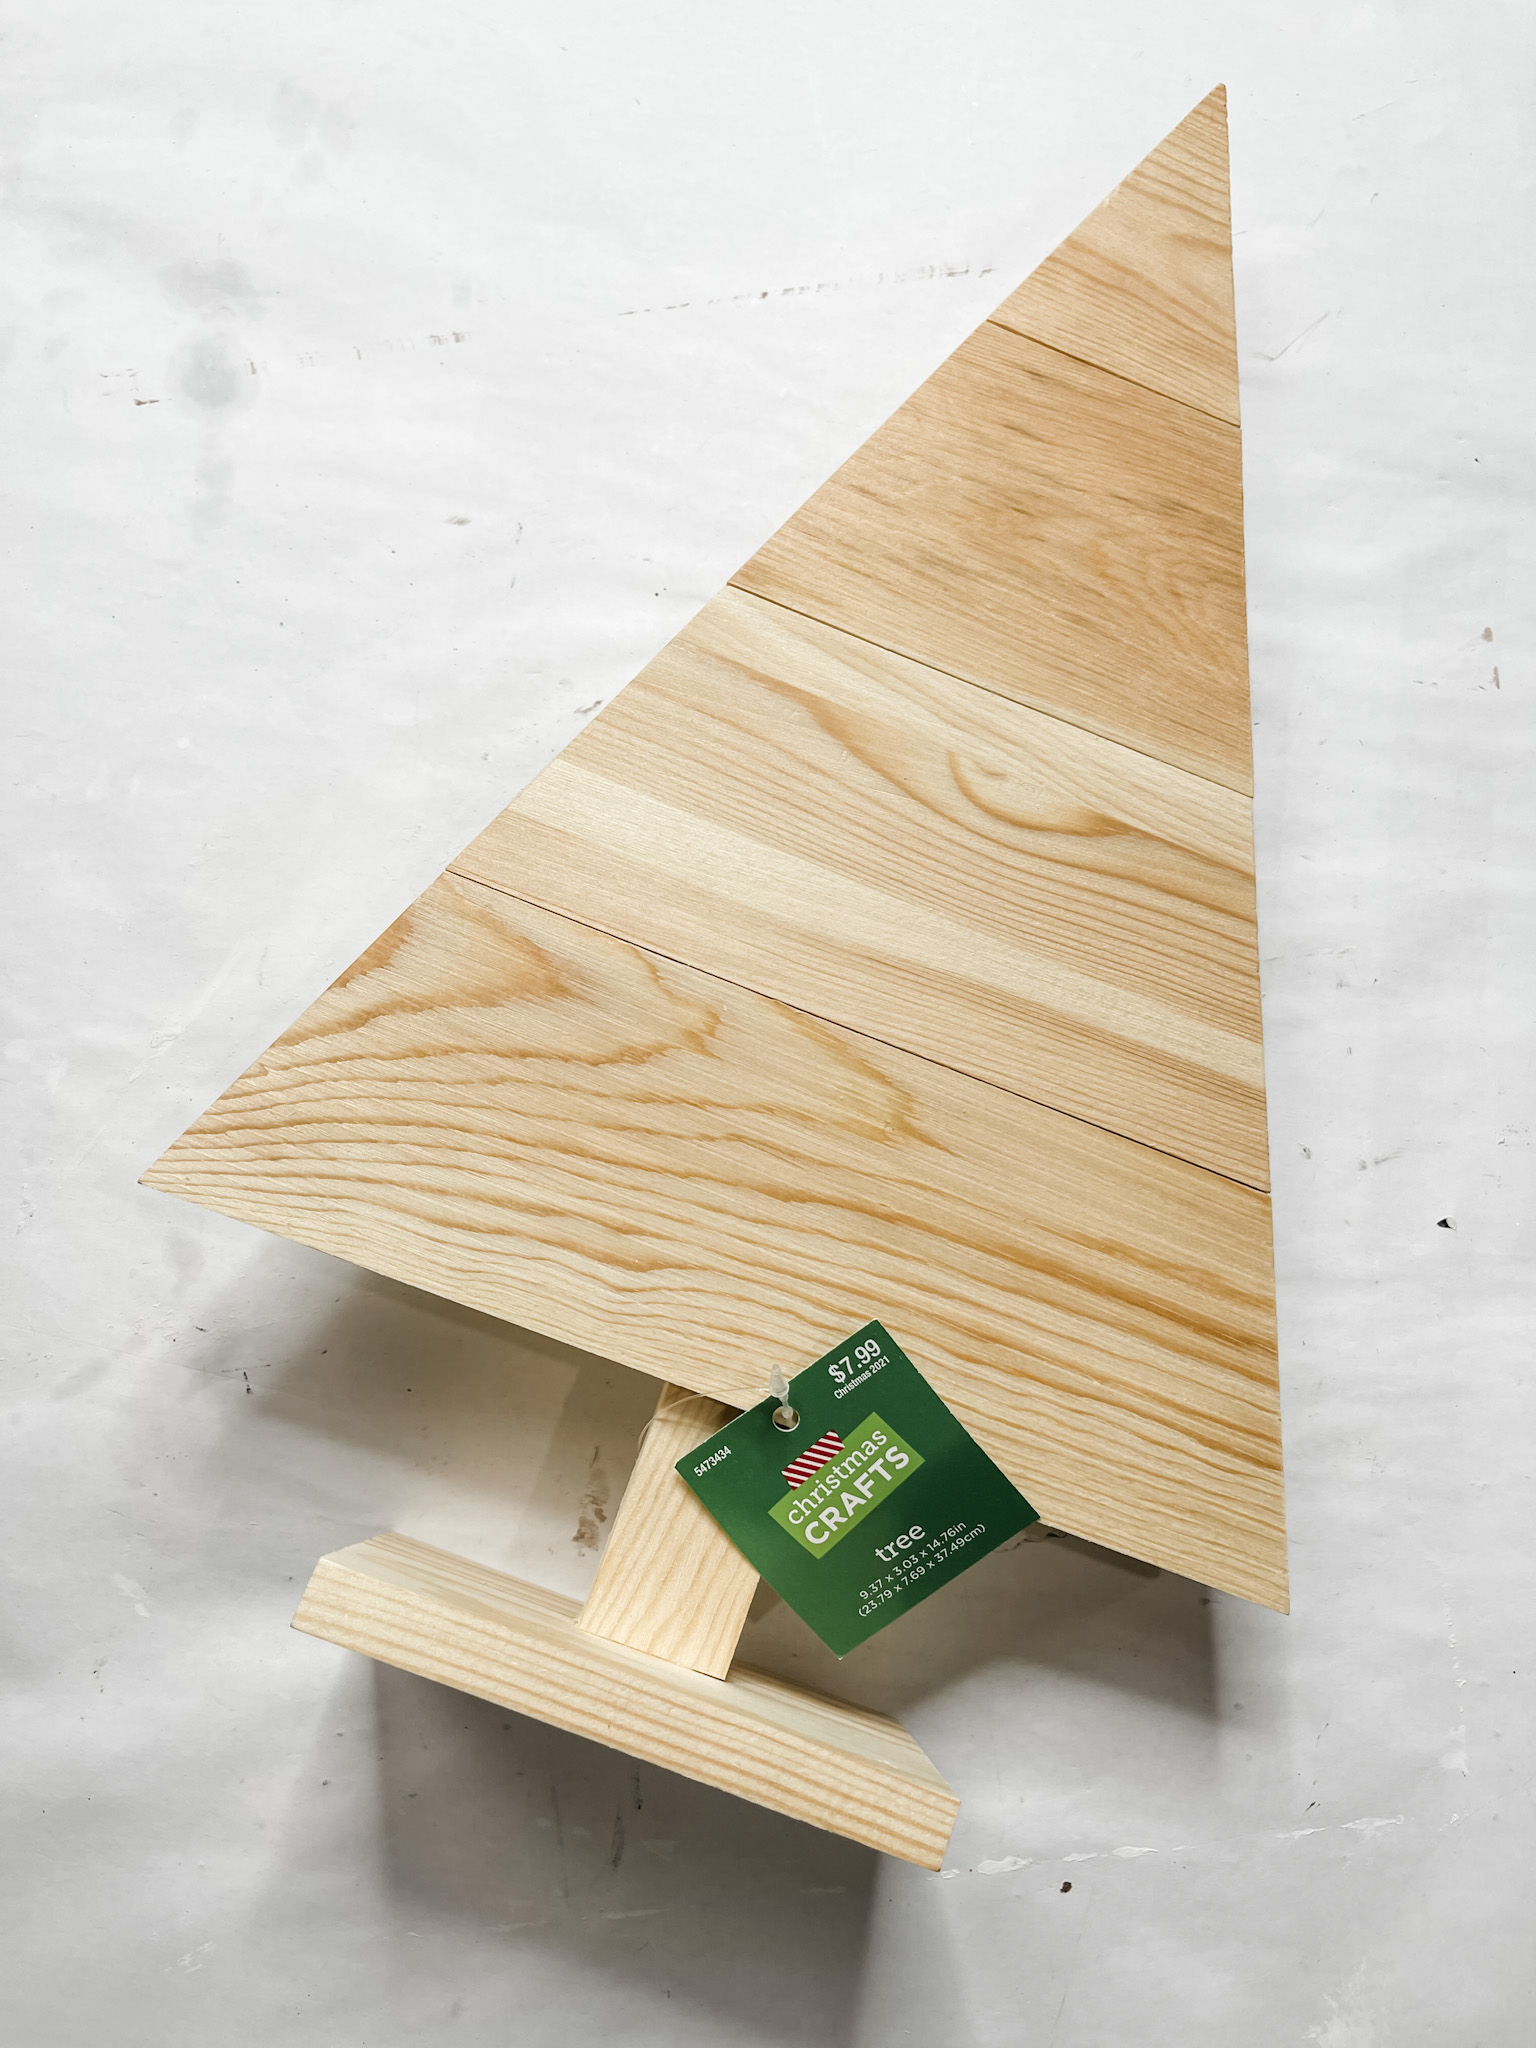
I started this easy Christmas decor project by painting the triangle piece of my wooden triangle tree with Apple Barrel white acrylic paint. Make sure you paint the sides of the triangle as well.
Let the white paint dry completely before you move on. I used my heat gun to speed up the drying process, but you can use a hairdryer on the low-cool setting.
How to decoupage napkins
Next, you’re going to decoupage the two napkin patterns onto the wooden triangle tree. To do that, you will first need to separate the napkin plies for each napkin. You can shop napkins to decoupage with in my shop! There are tons of cute ones!
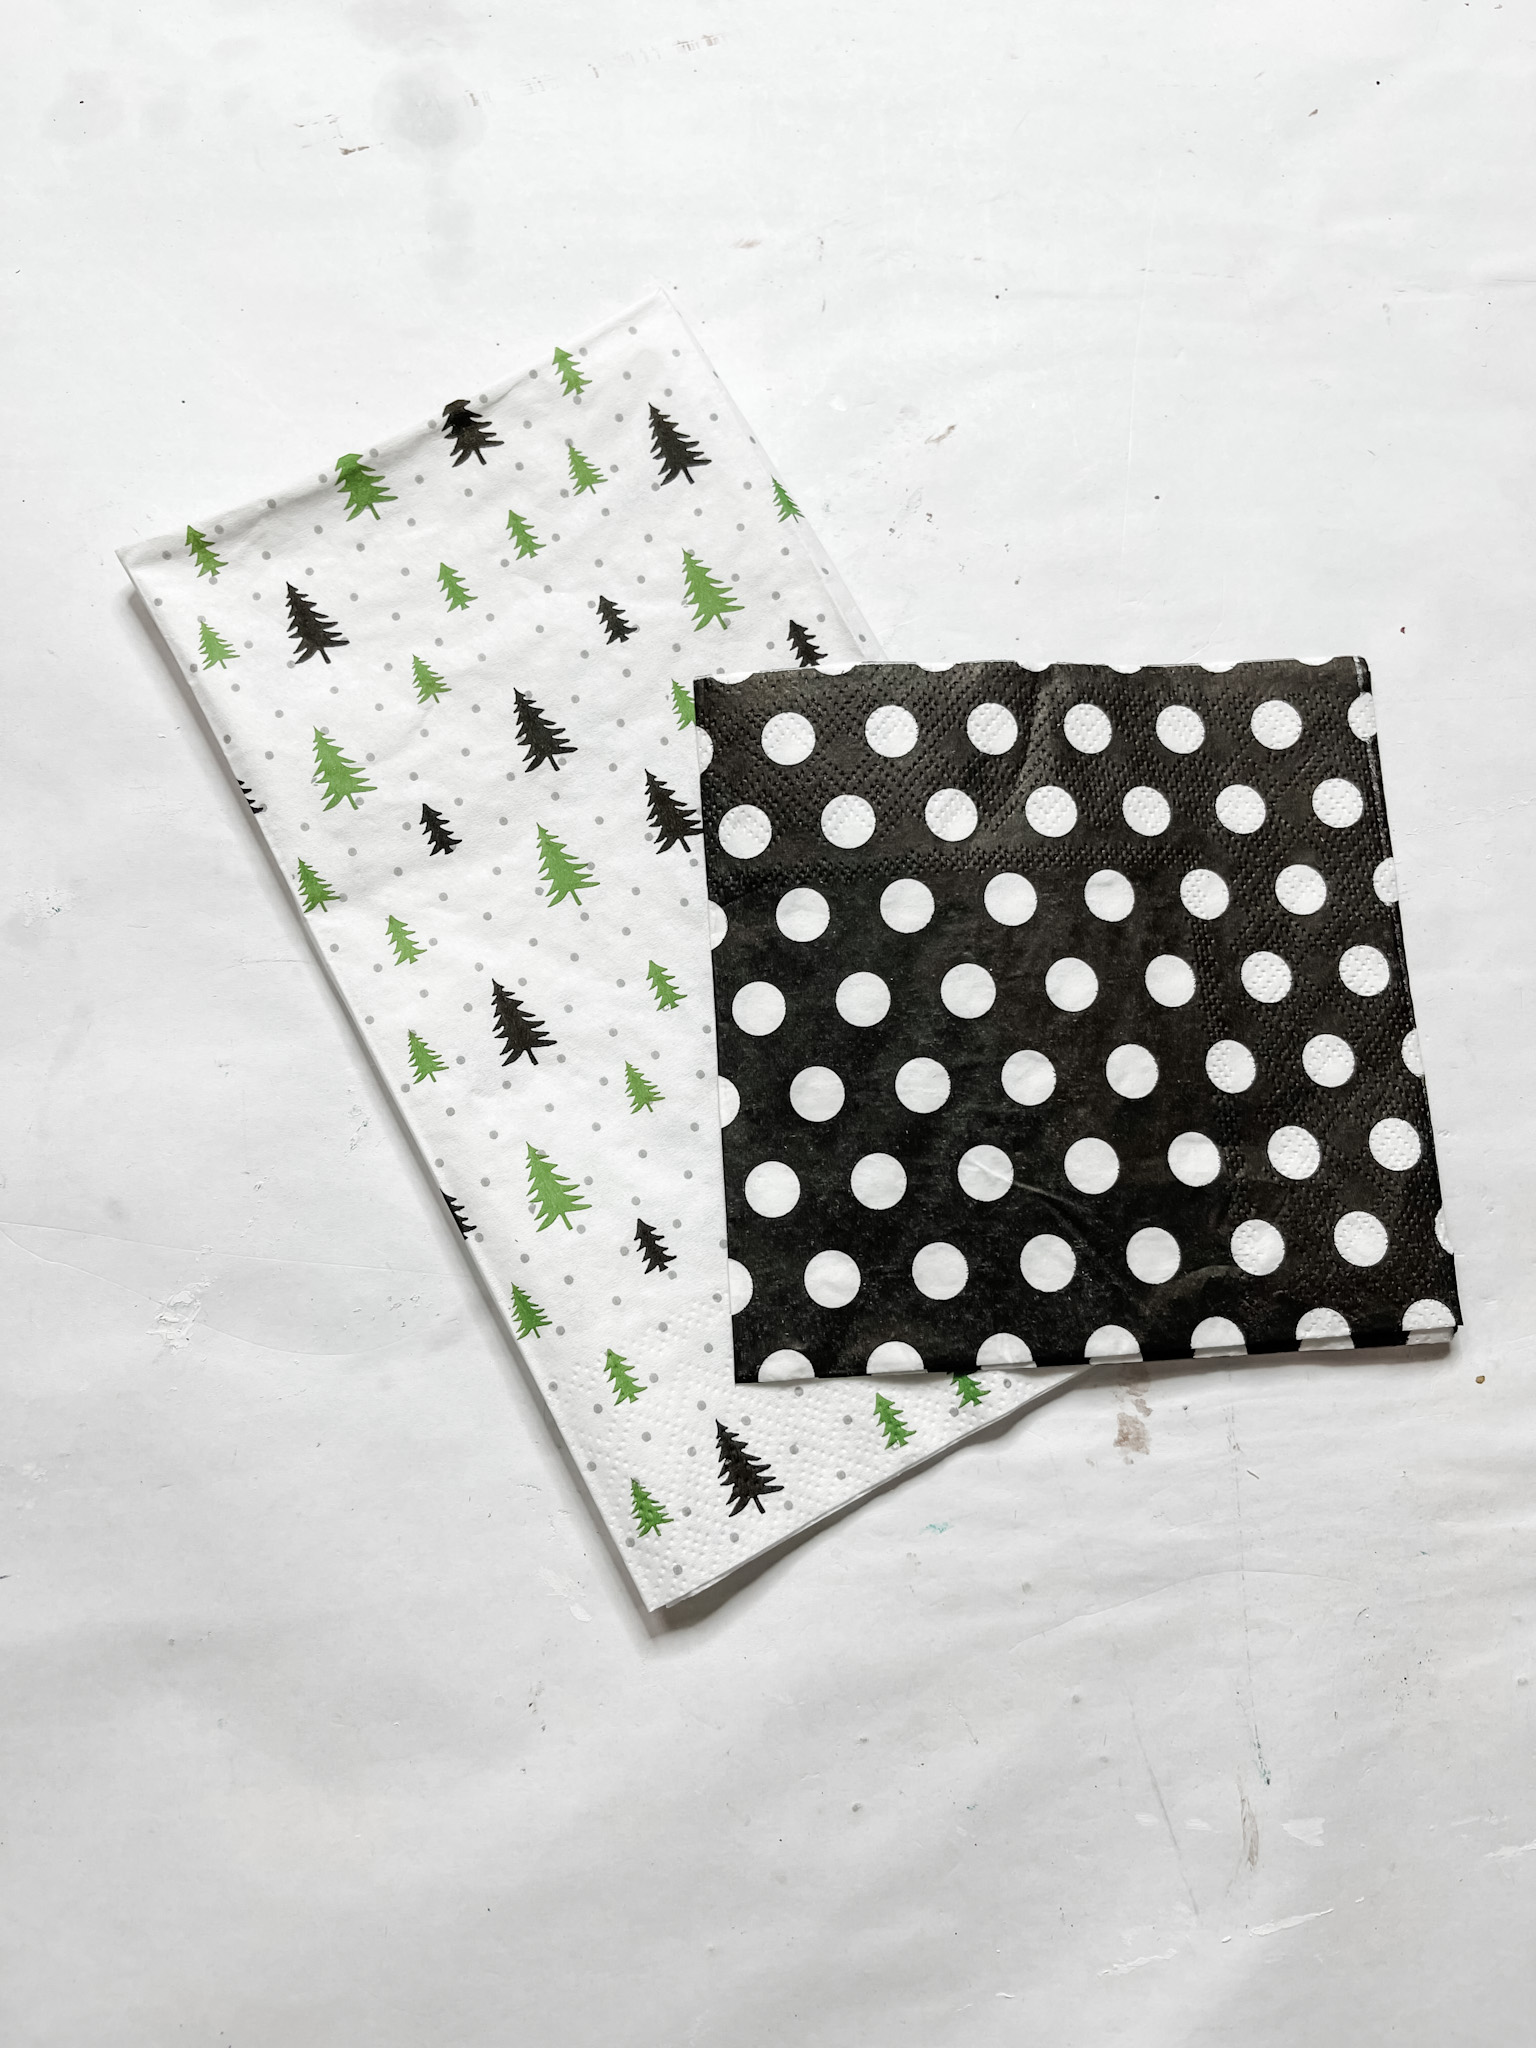
I used two different napkin patterns (black with white polka dots and mini Christmas trees pattern) and alternated them horizontally across the tree.
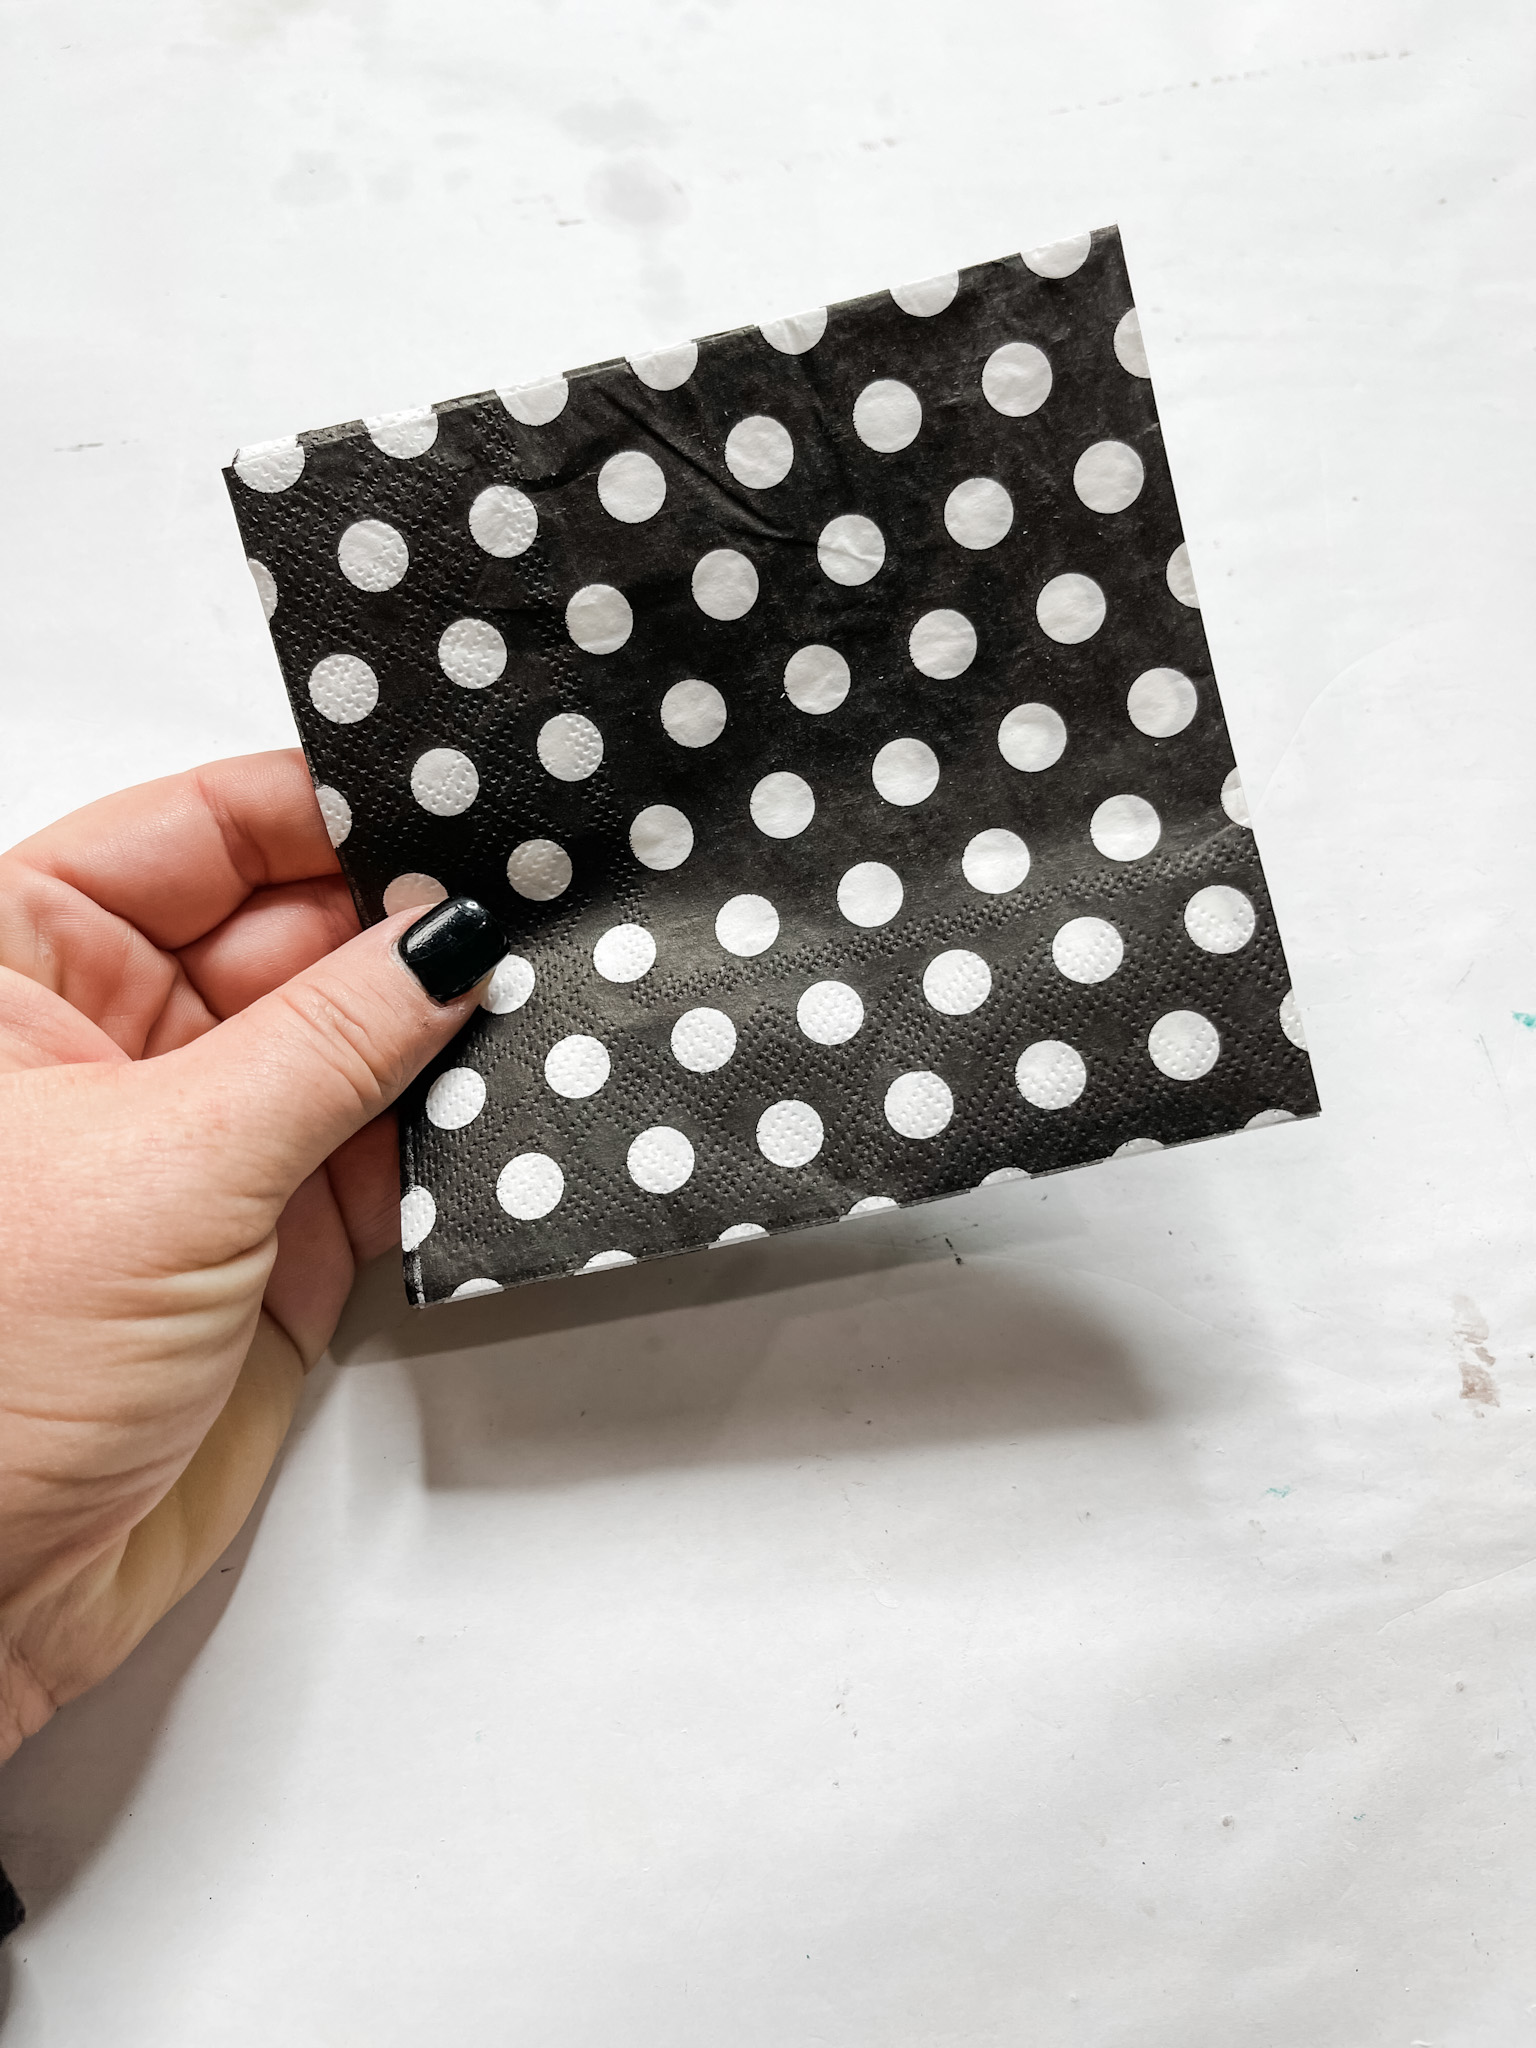
First, apply Mod podge to the top portion of the tree (where you want the first napkin pattern to be) and place the napkin onto the surface.
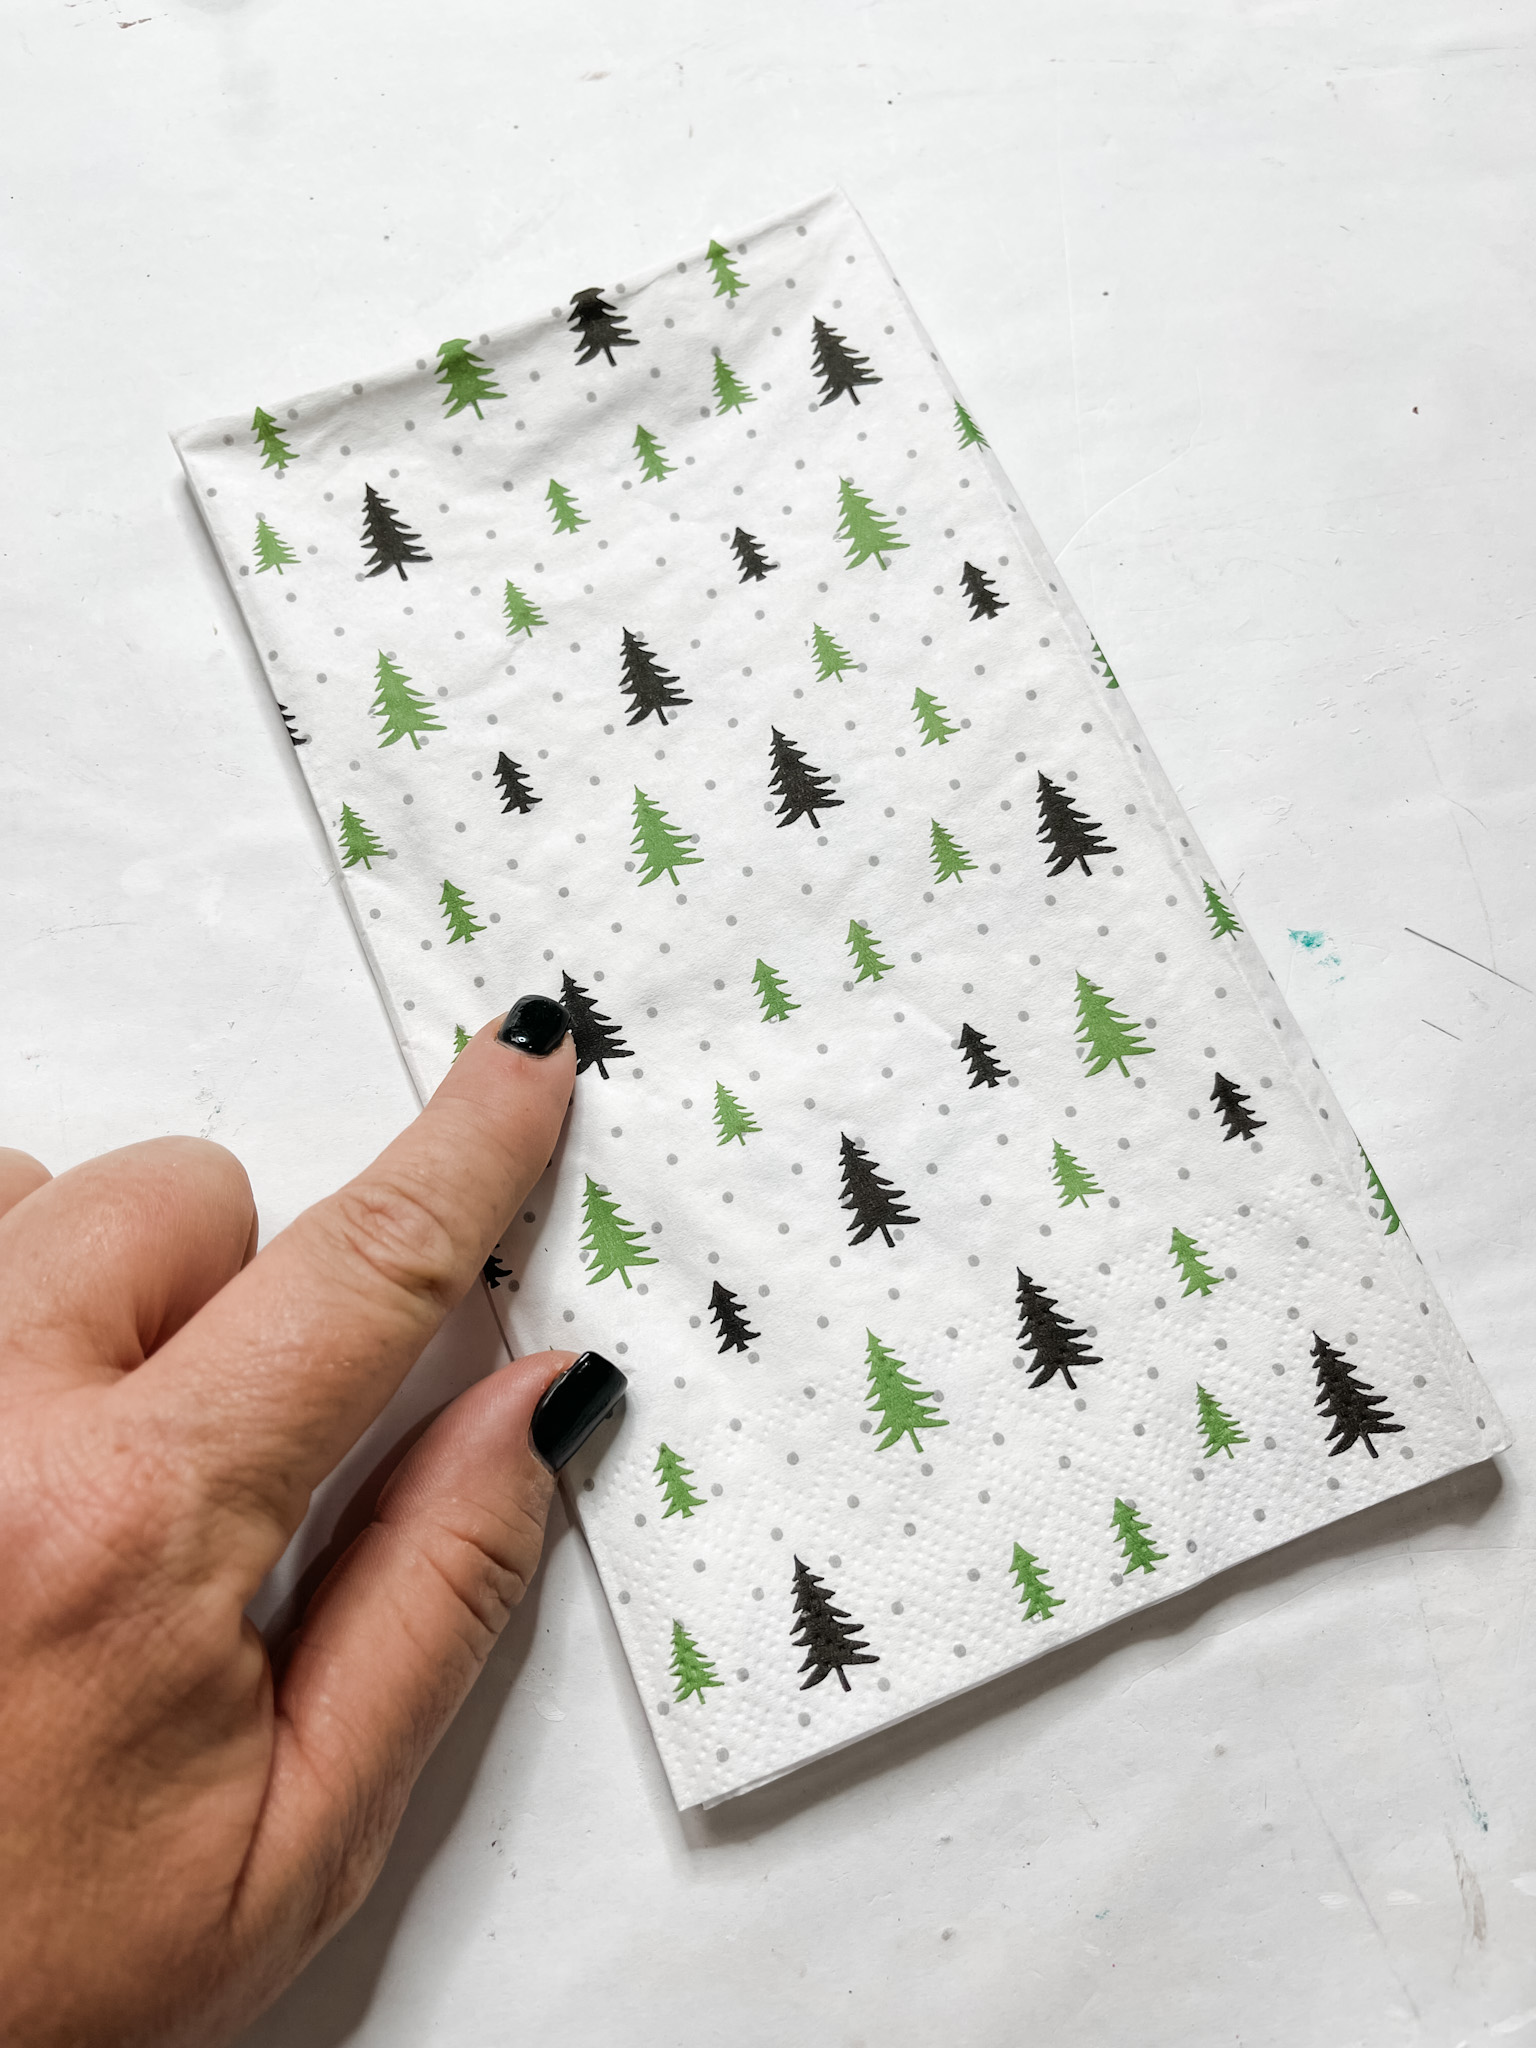
Cover with a piece of plastic saran wrap and smooth out any wrinkles or bubbles in the napkin. Then, repeat for each section of the tree with alternating napkin patterns until it’s covered.
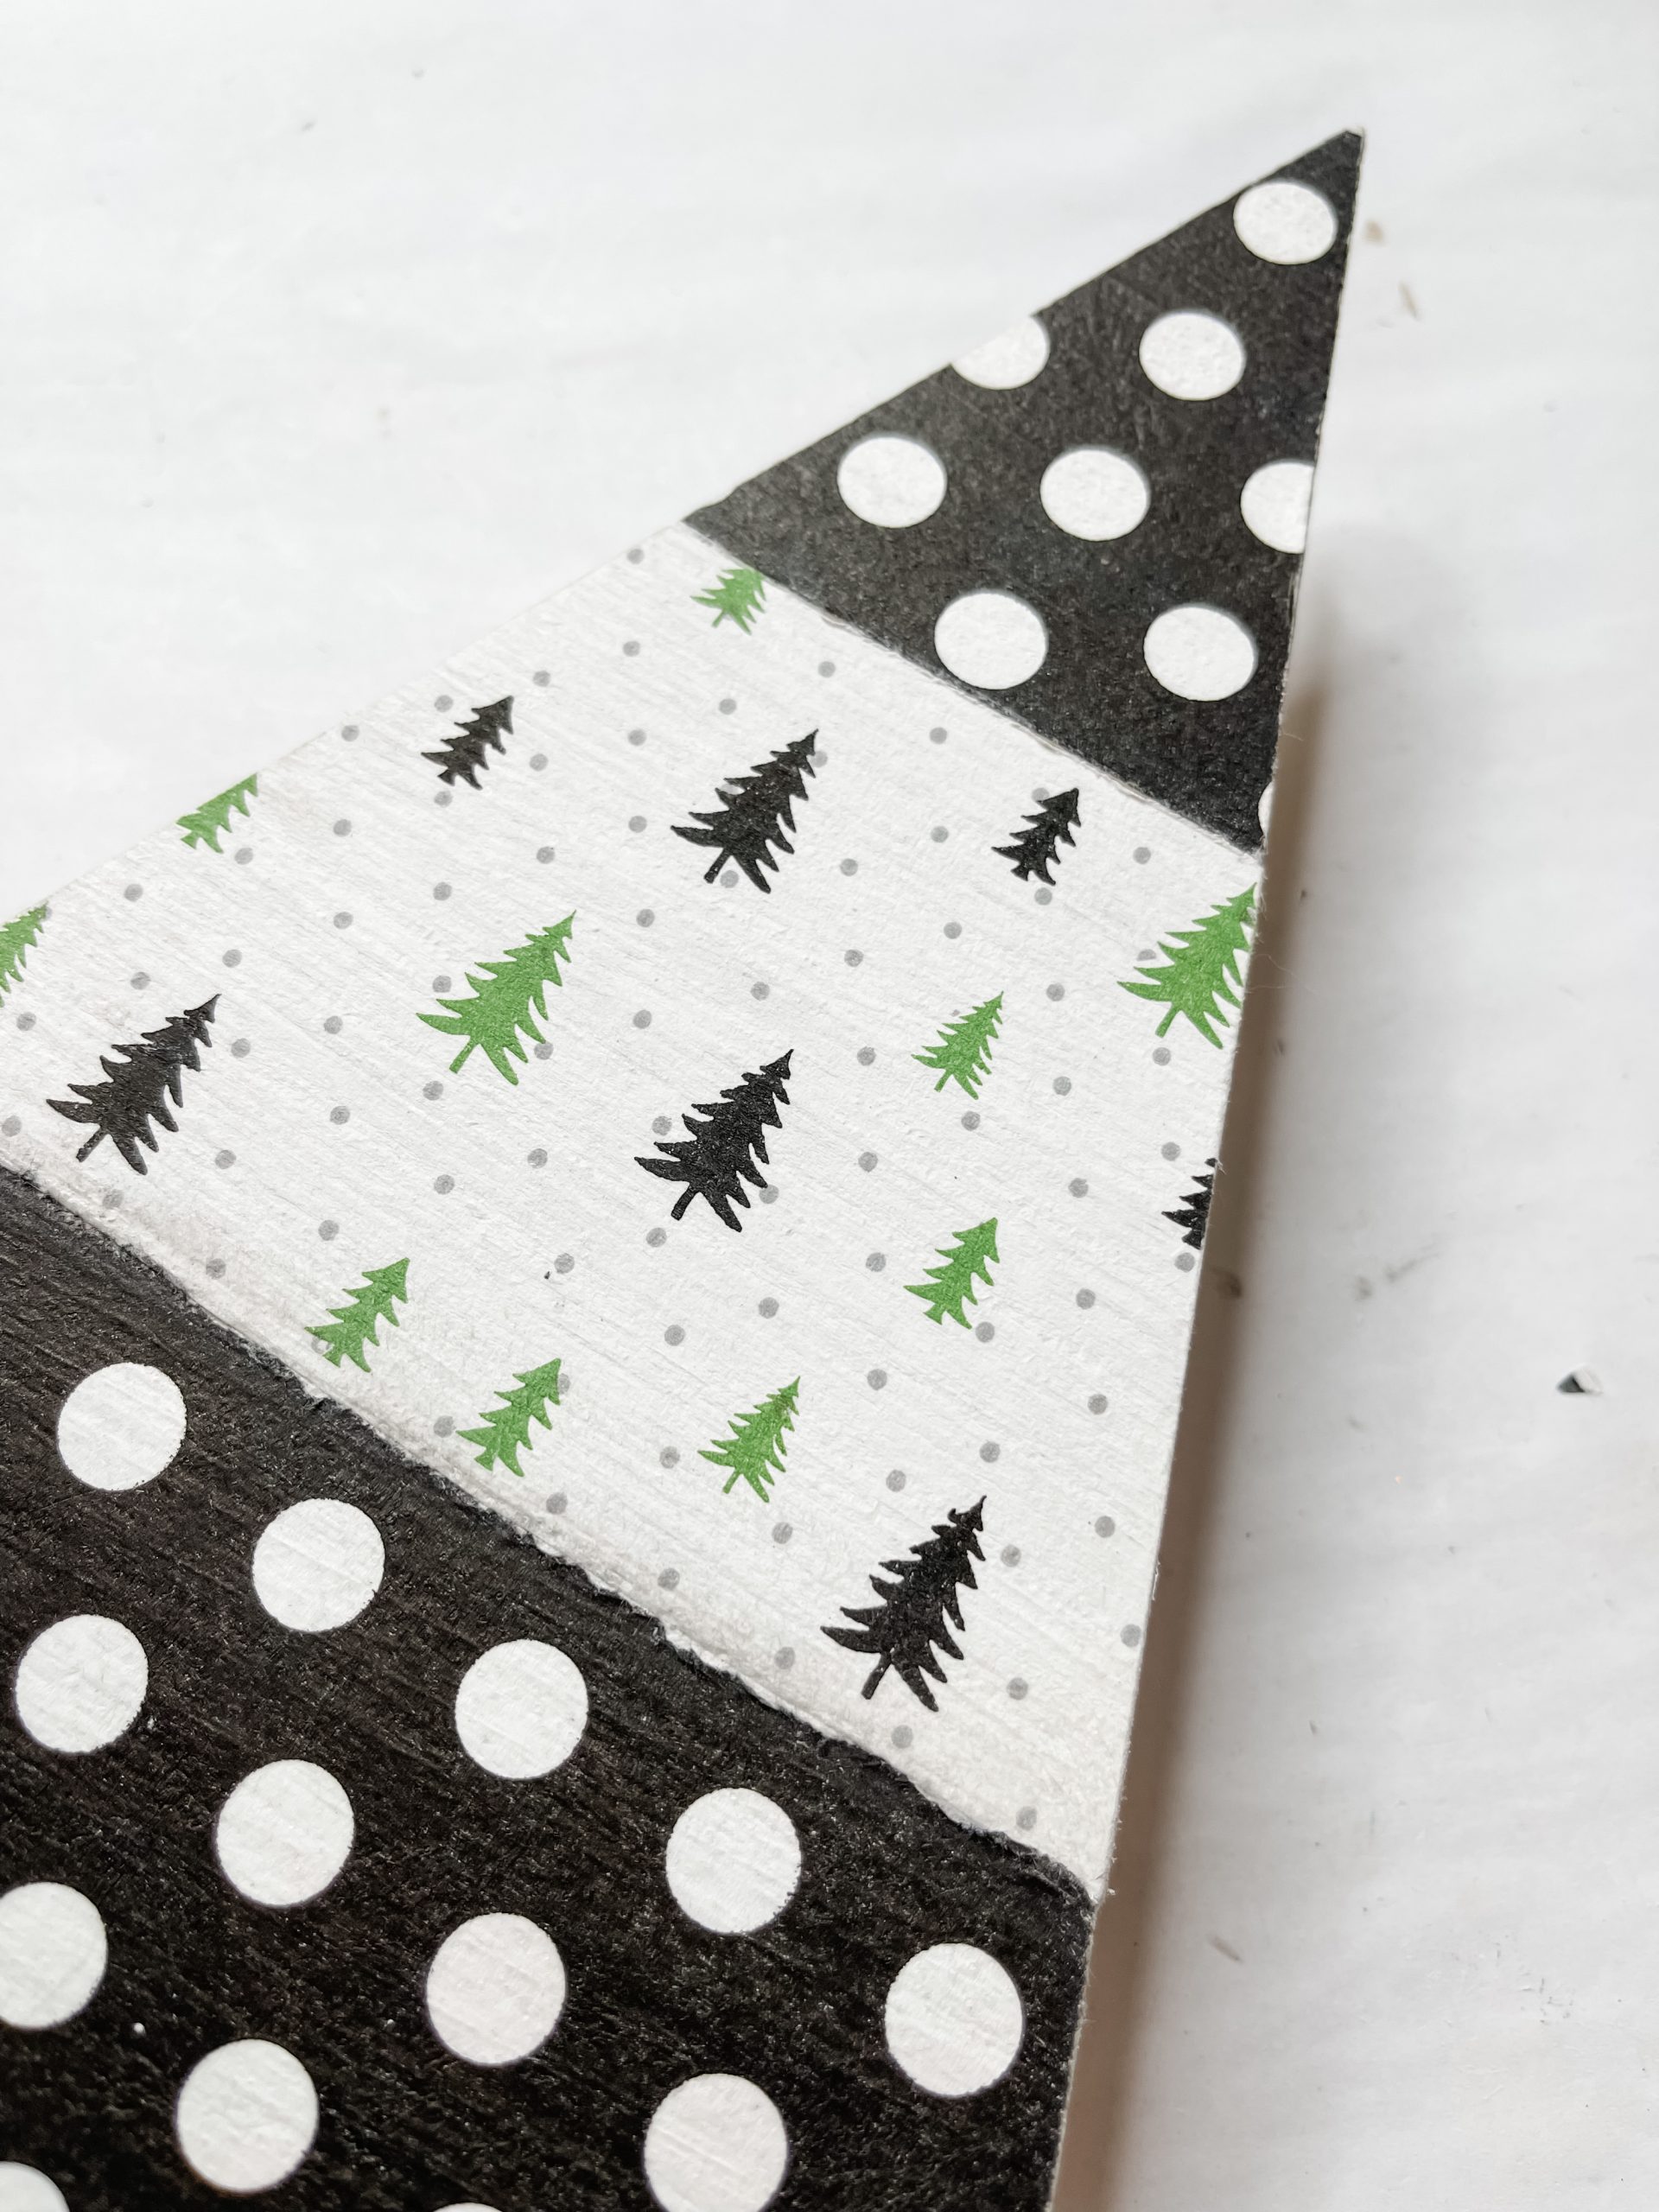
Use a sanding sponge to remove the excess napkin from around the triangle tree, but make sure the Mod Podge is completely dry before you do.
The finishing touches
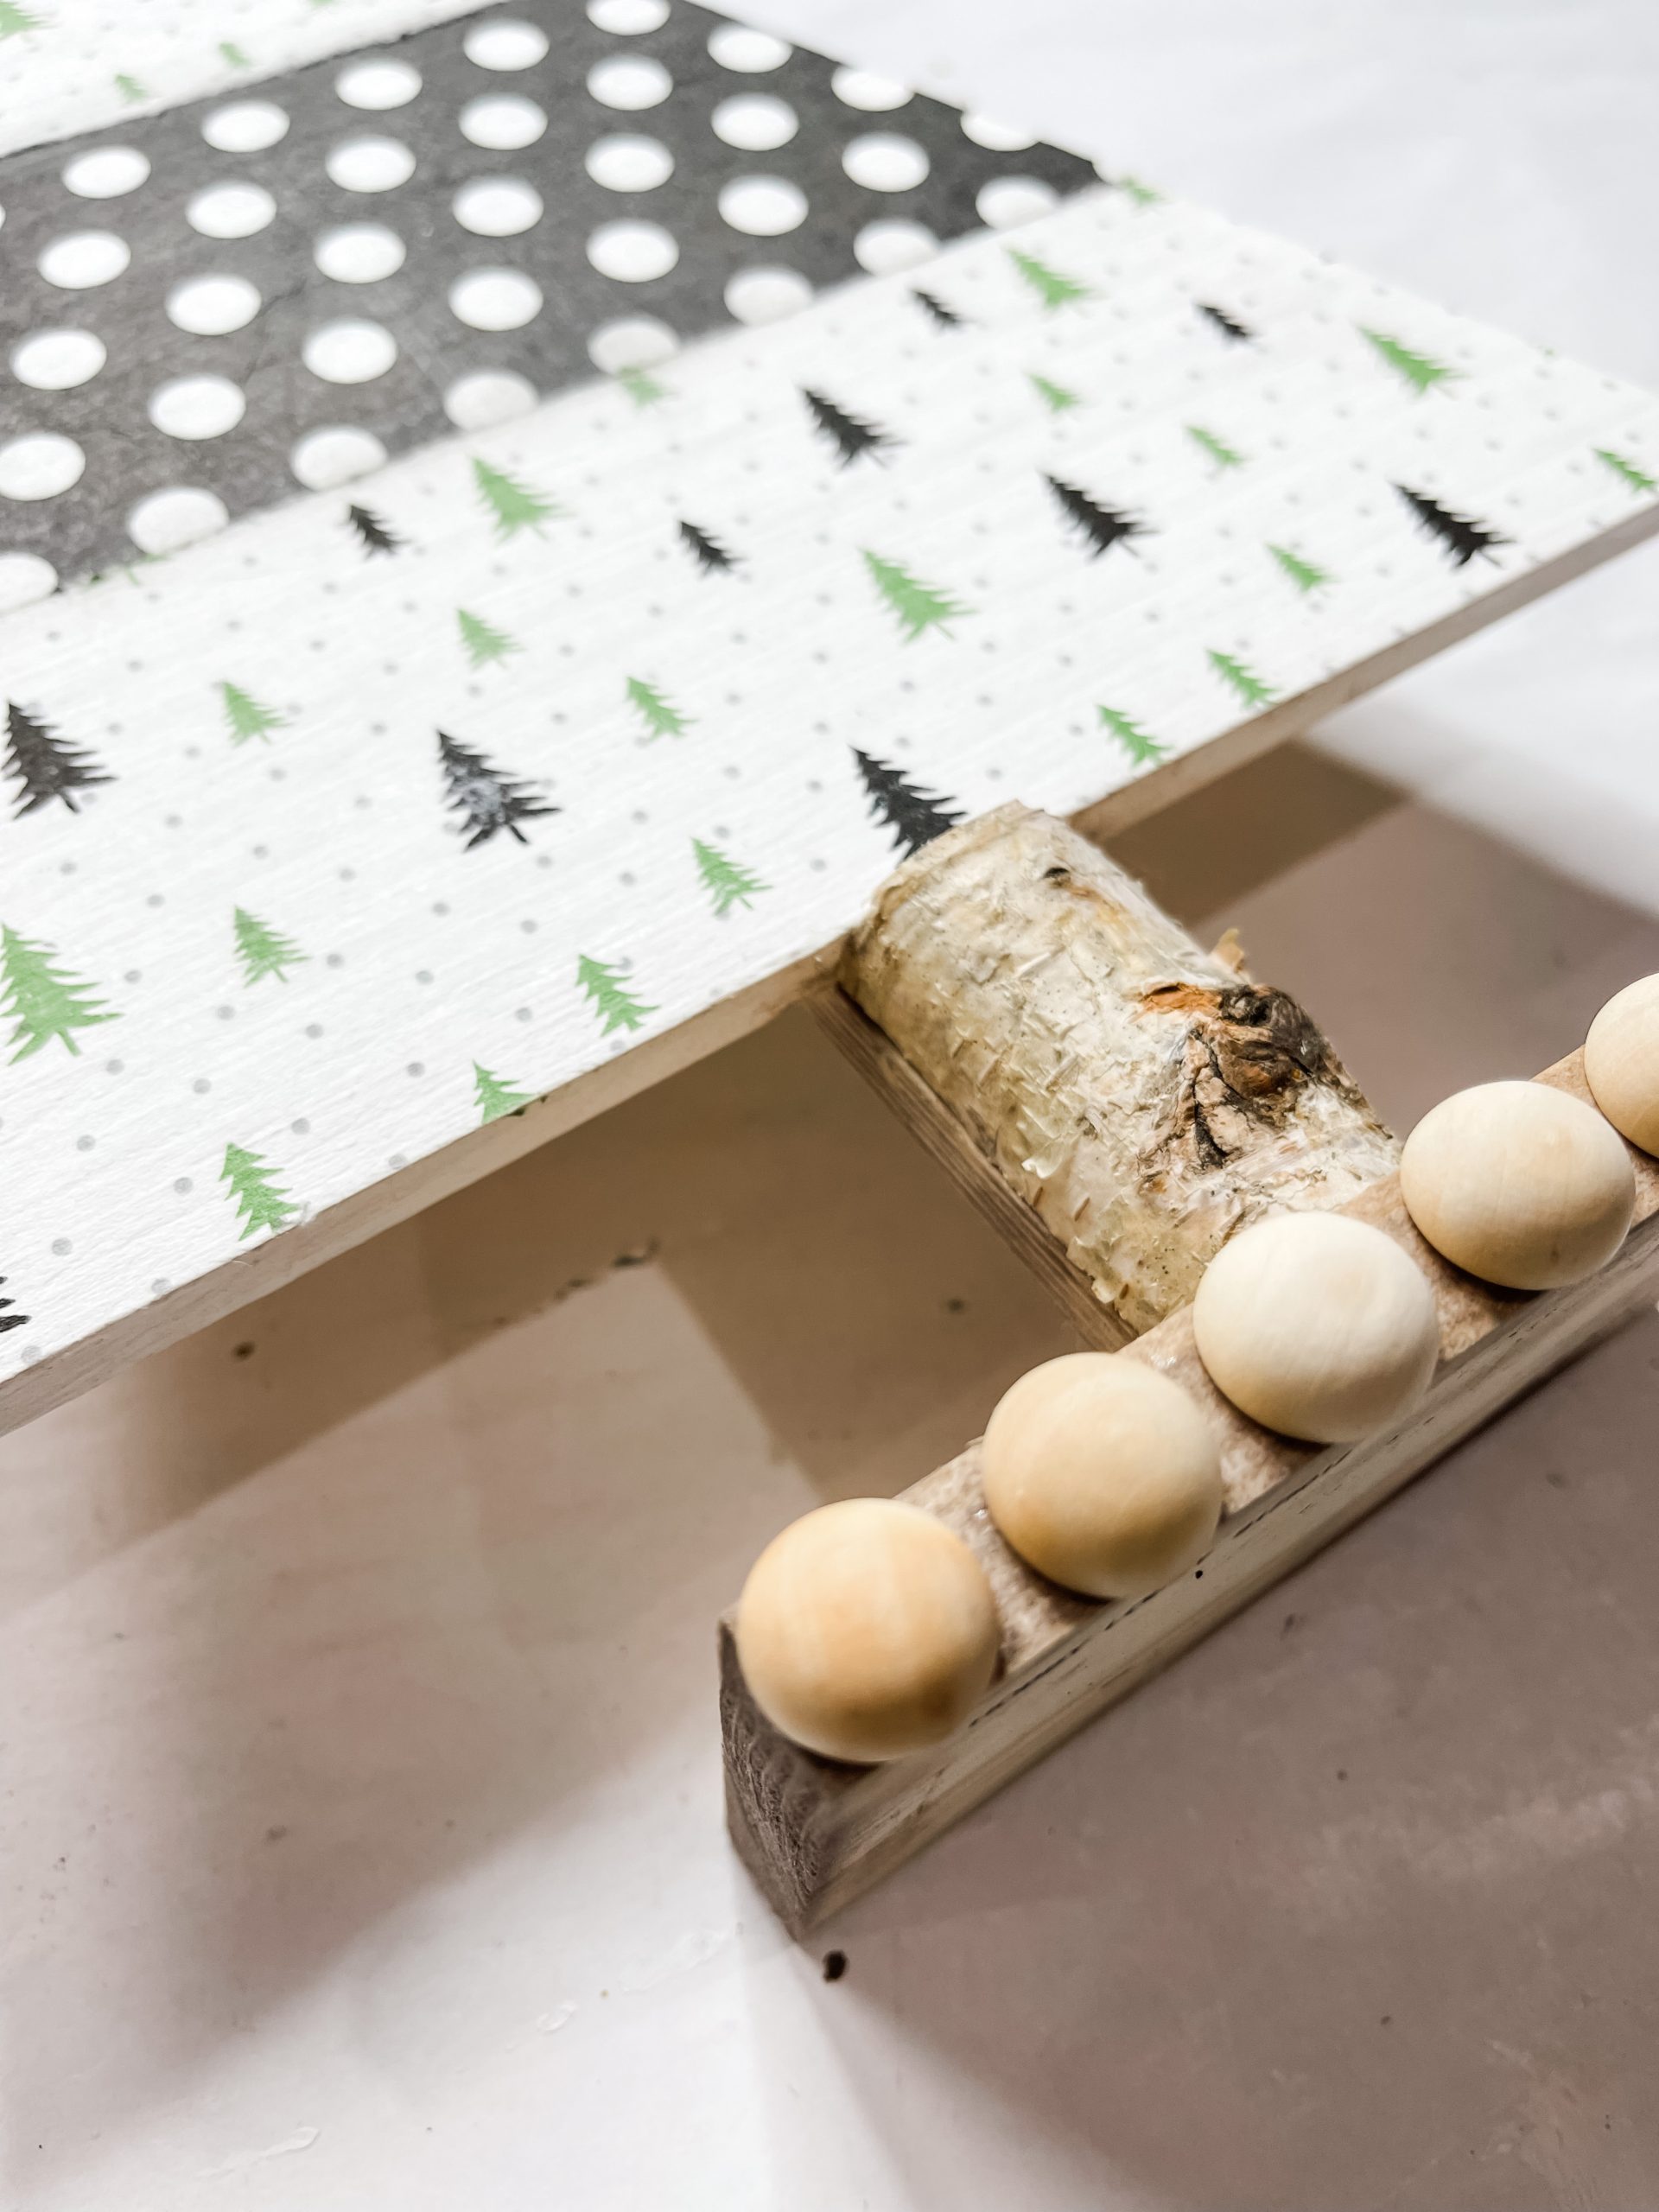
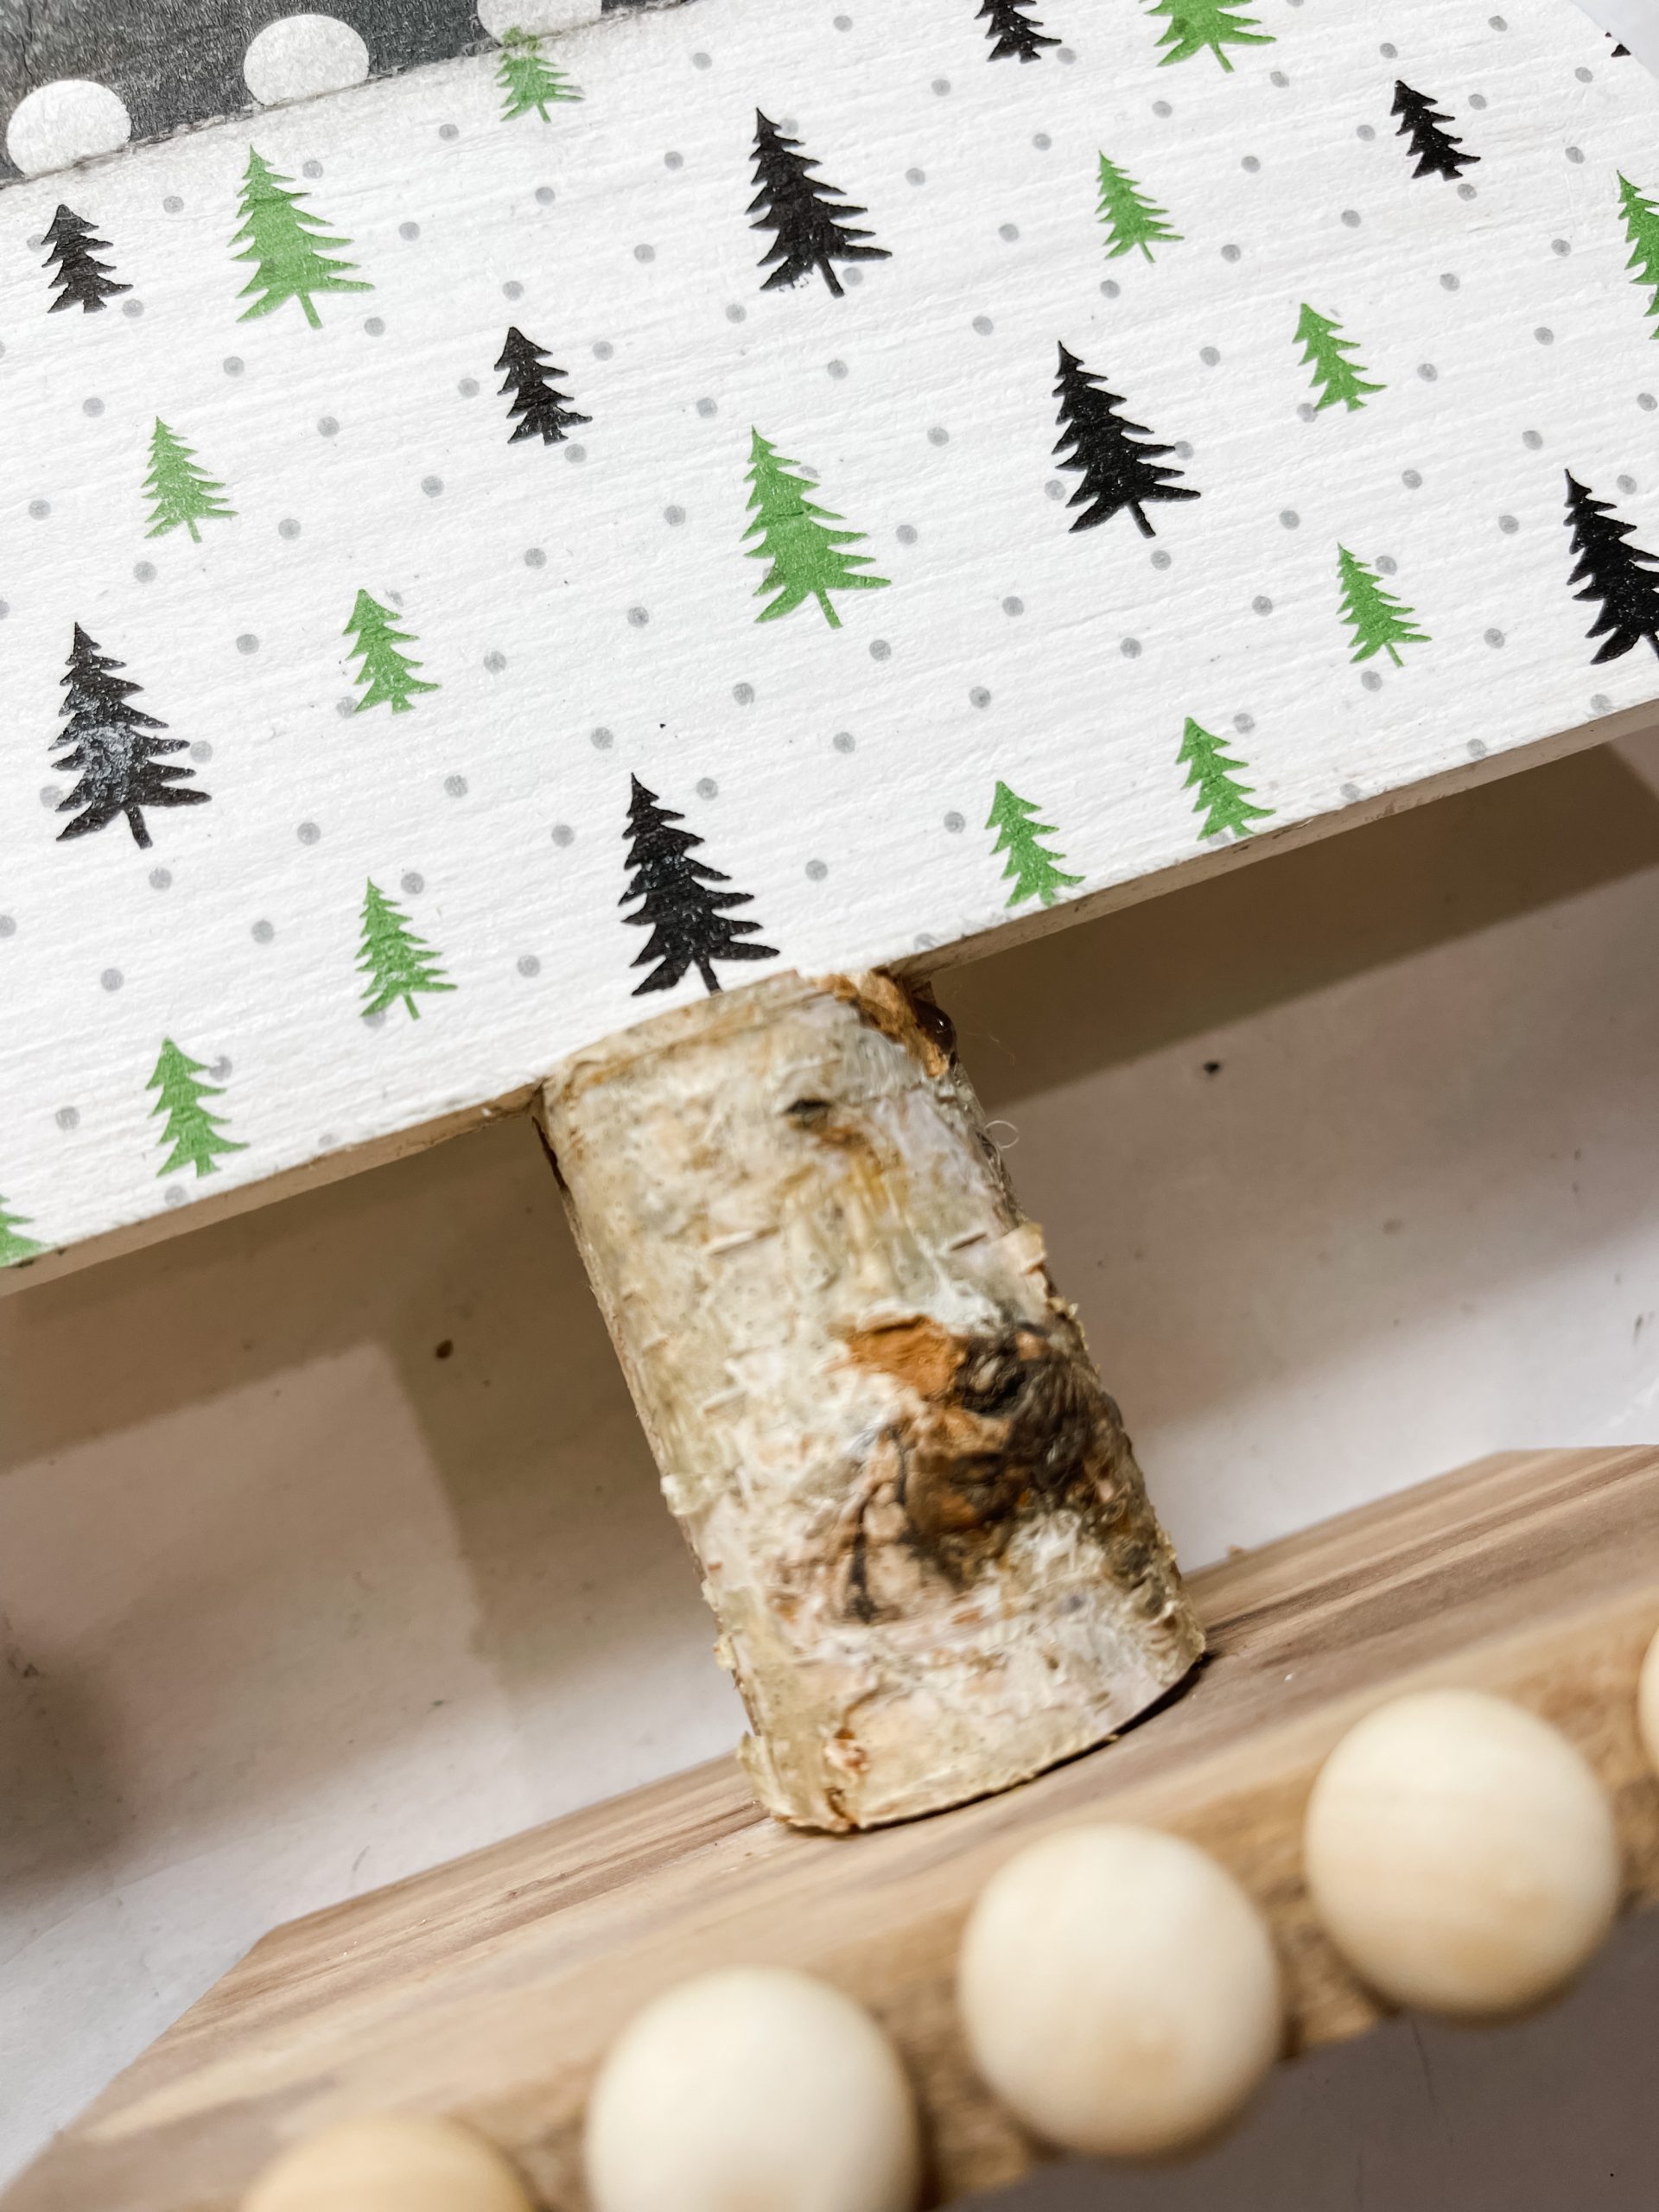
Next, I made the trunk for my tree. I took a wood stem and trimmed it to fit onto the trunk of the wooden triangle tree.
Before you attach the wood stem to the trunk of the tree, you’ll need to stain it and the base first. I poured a small dot of brown paint onto the wood and sprayed it with water.
Then, I used a wet wipe to spread the paint/water mixture across the base of the triangle tree. Add more paint as needed and keep going until the entire base is stained.
Once the base was dry (I used my heat gun again) I hot glued half wood beads around the front of the base, then hot glued the wood stem onto the trunk.
I thought about hot glueing the white pom pom trim around the edge of the triangle tree but ultimately decided against it.
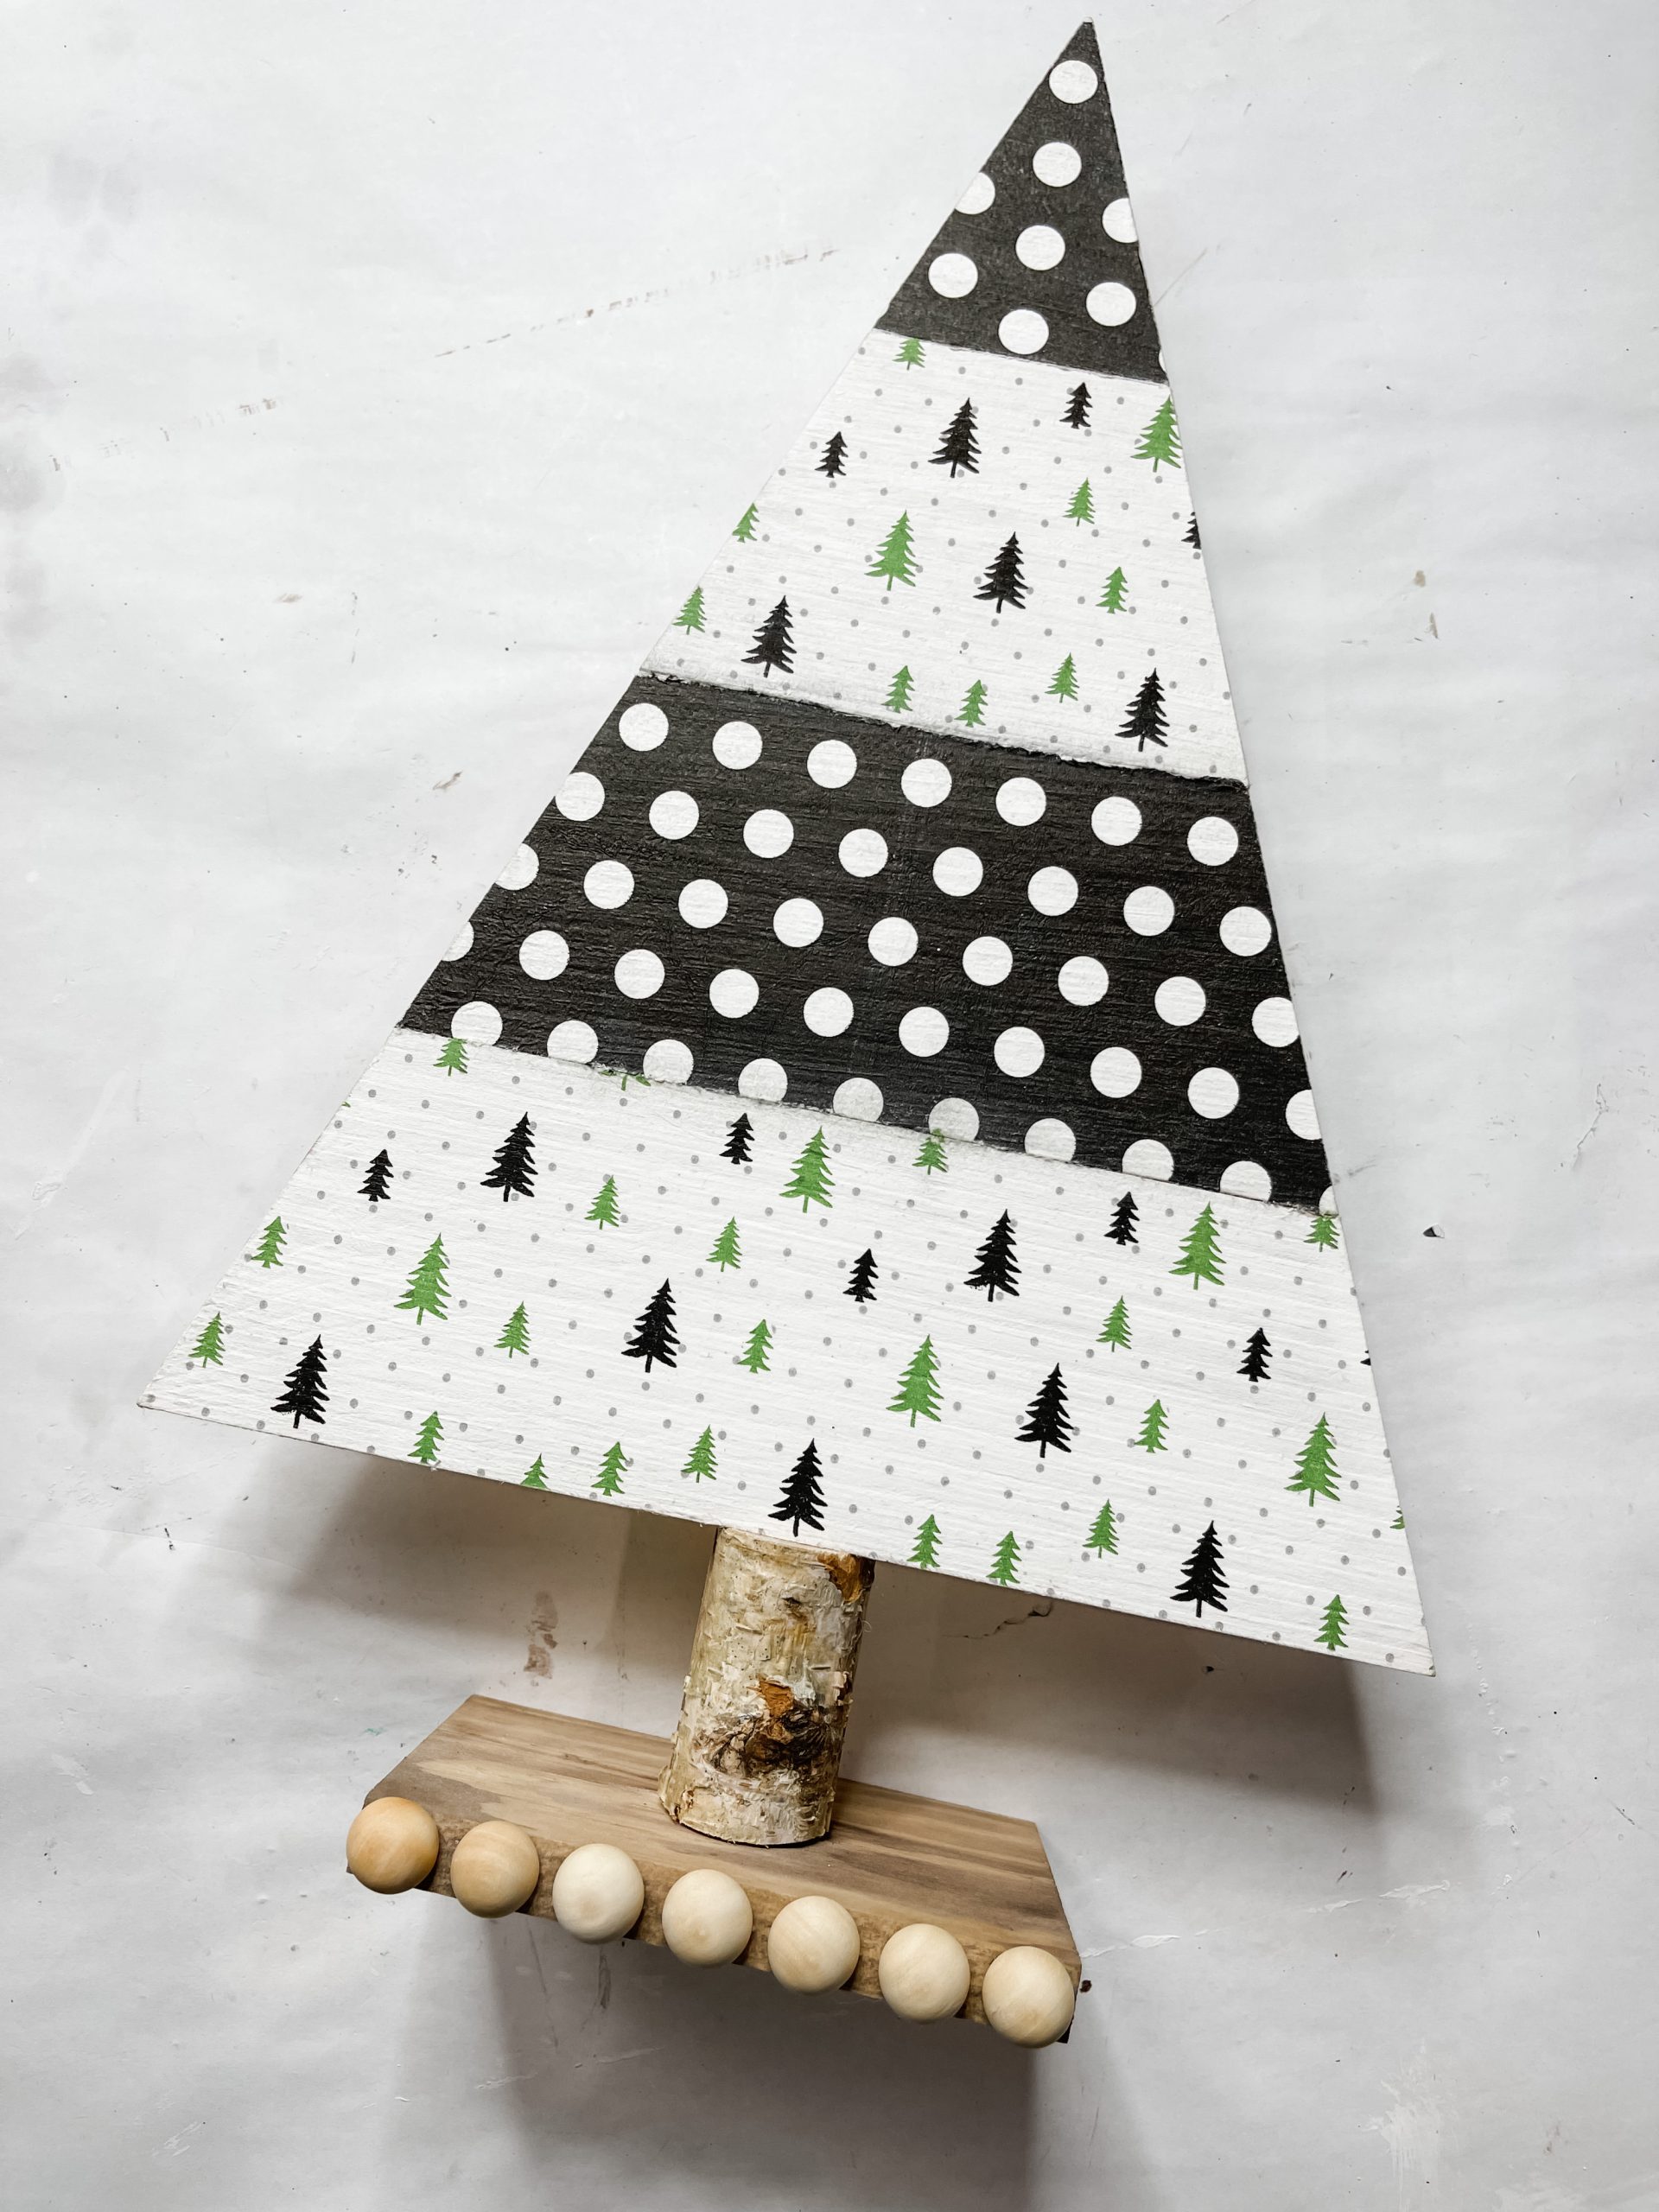
I hope you enjoyed this DIY Wooden Triangle Christmas Tree as much as I did and decide to make one for yourself! If you do, I would love to see how yours turns out!
You should totally join my FREE Facebook group called On A Budget Crafts! It is a judgment-free community for DIY crafters to show off their projects and ideas.
If you loved this DIY Wooden Triangle Christmas Tree, you might also like this Dollar Tree Gift Box DIY Christmas Decor!
Thanks for stopping by! XOXO Amber
You can also shop my ENTIRE AMAZON Favorites shop just click here! It’s packed full of all the things I use and love.
Here is the supply list I highly recommend every creative have on hand!! Would you also pin my blog for later and get on my newsletter alerts? I would love to have you join my #craftycrew.

Join my free “ON A BUDGET CRAFTS” Facebook group!
PIN THIS POST FOR LATER!

Super cute
Love it!❤️