How to Make a DIY Rustic Bucket Planter
When I first shared how to make a DIY rustic bucket planter, we were in the beginning stages of building our new home and getting ready to sell our old one.
Well, a lot of time has passed since then! We’ve officially been living in our new dream home for almost an entire year, and we’re in the process of adding a pool to the back yard!
Even though it’s been more than 2 years since I first shared this project LIVE on my Facebook page, I STILL USE IT! This DIY rustic bucket planter is truly standing the test of time!
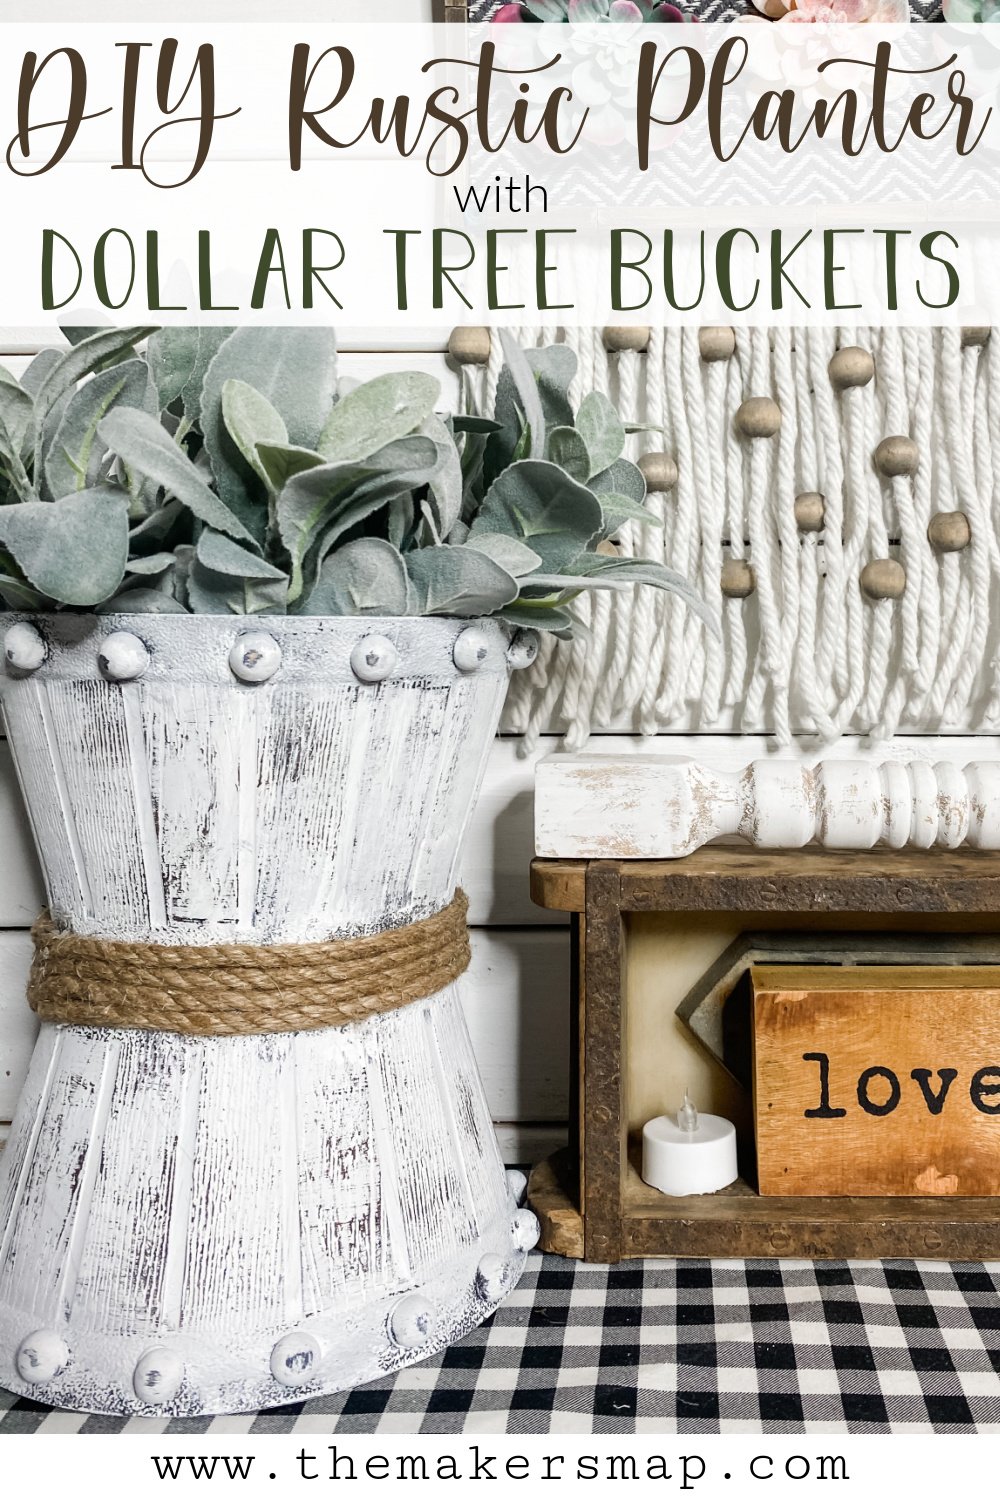
When I first came up with this idea, I was looking at my front door trying to get it ready to sell, and I thought, “I need something here,” so I put together this adorable DIY rustic bucket planter!
I absolutely love making decor for my home, but I love sharing my ideas and inspiring other people so much more. So, here is how I’ve made this super easy DIY Rustic Bucket Planter!
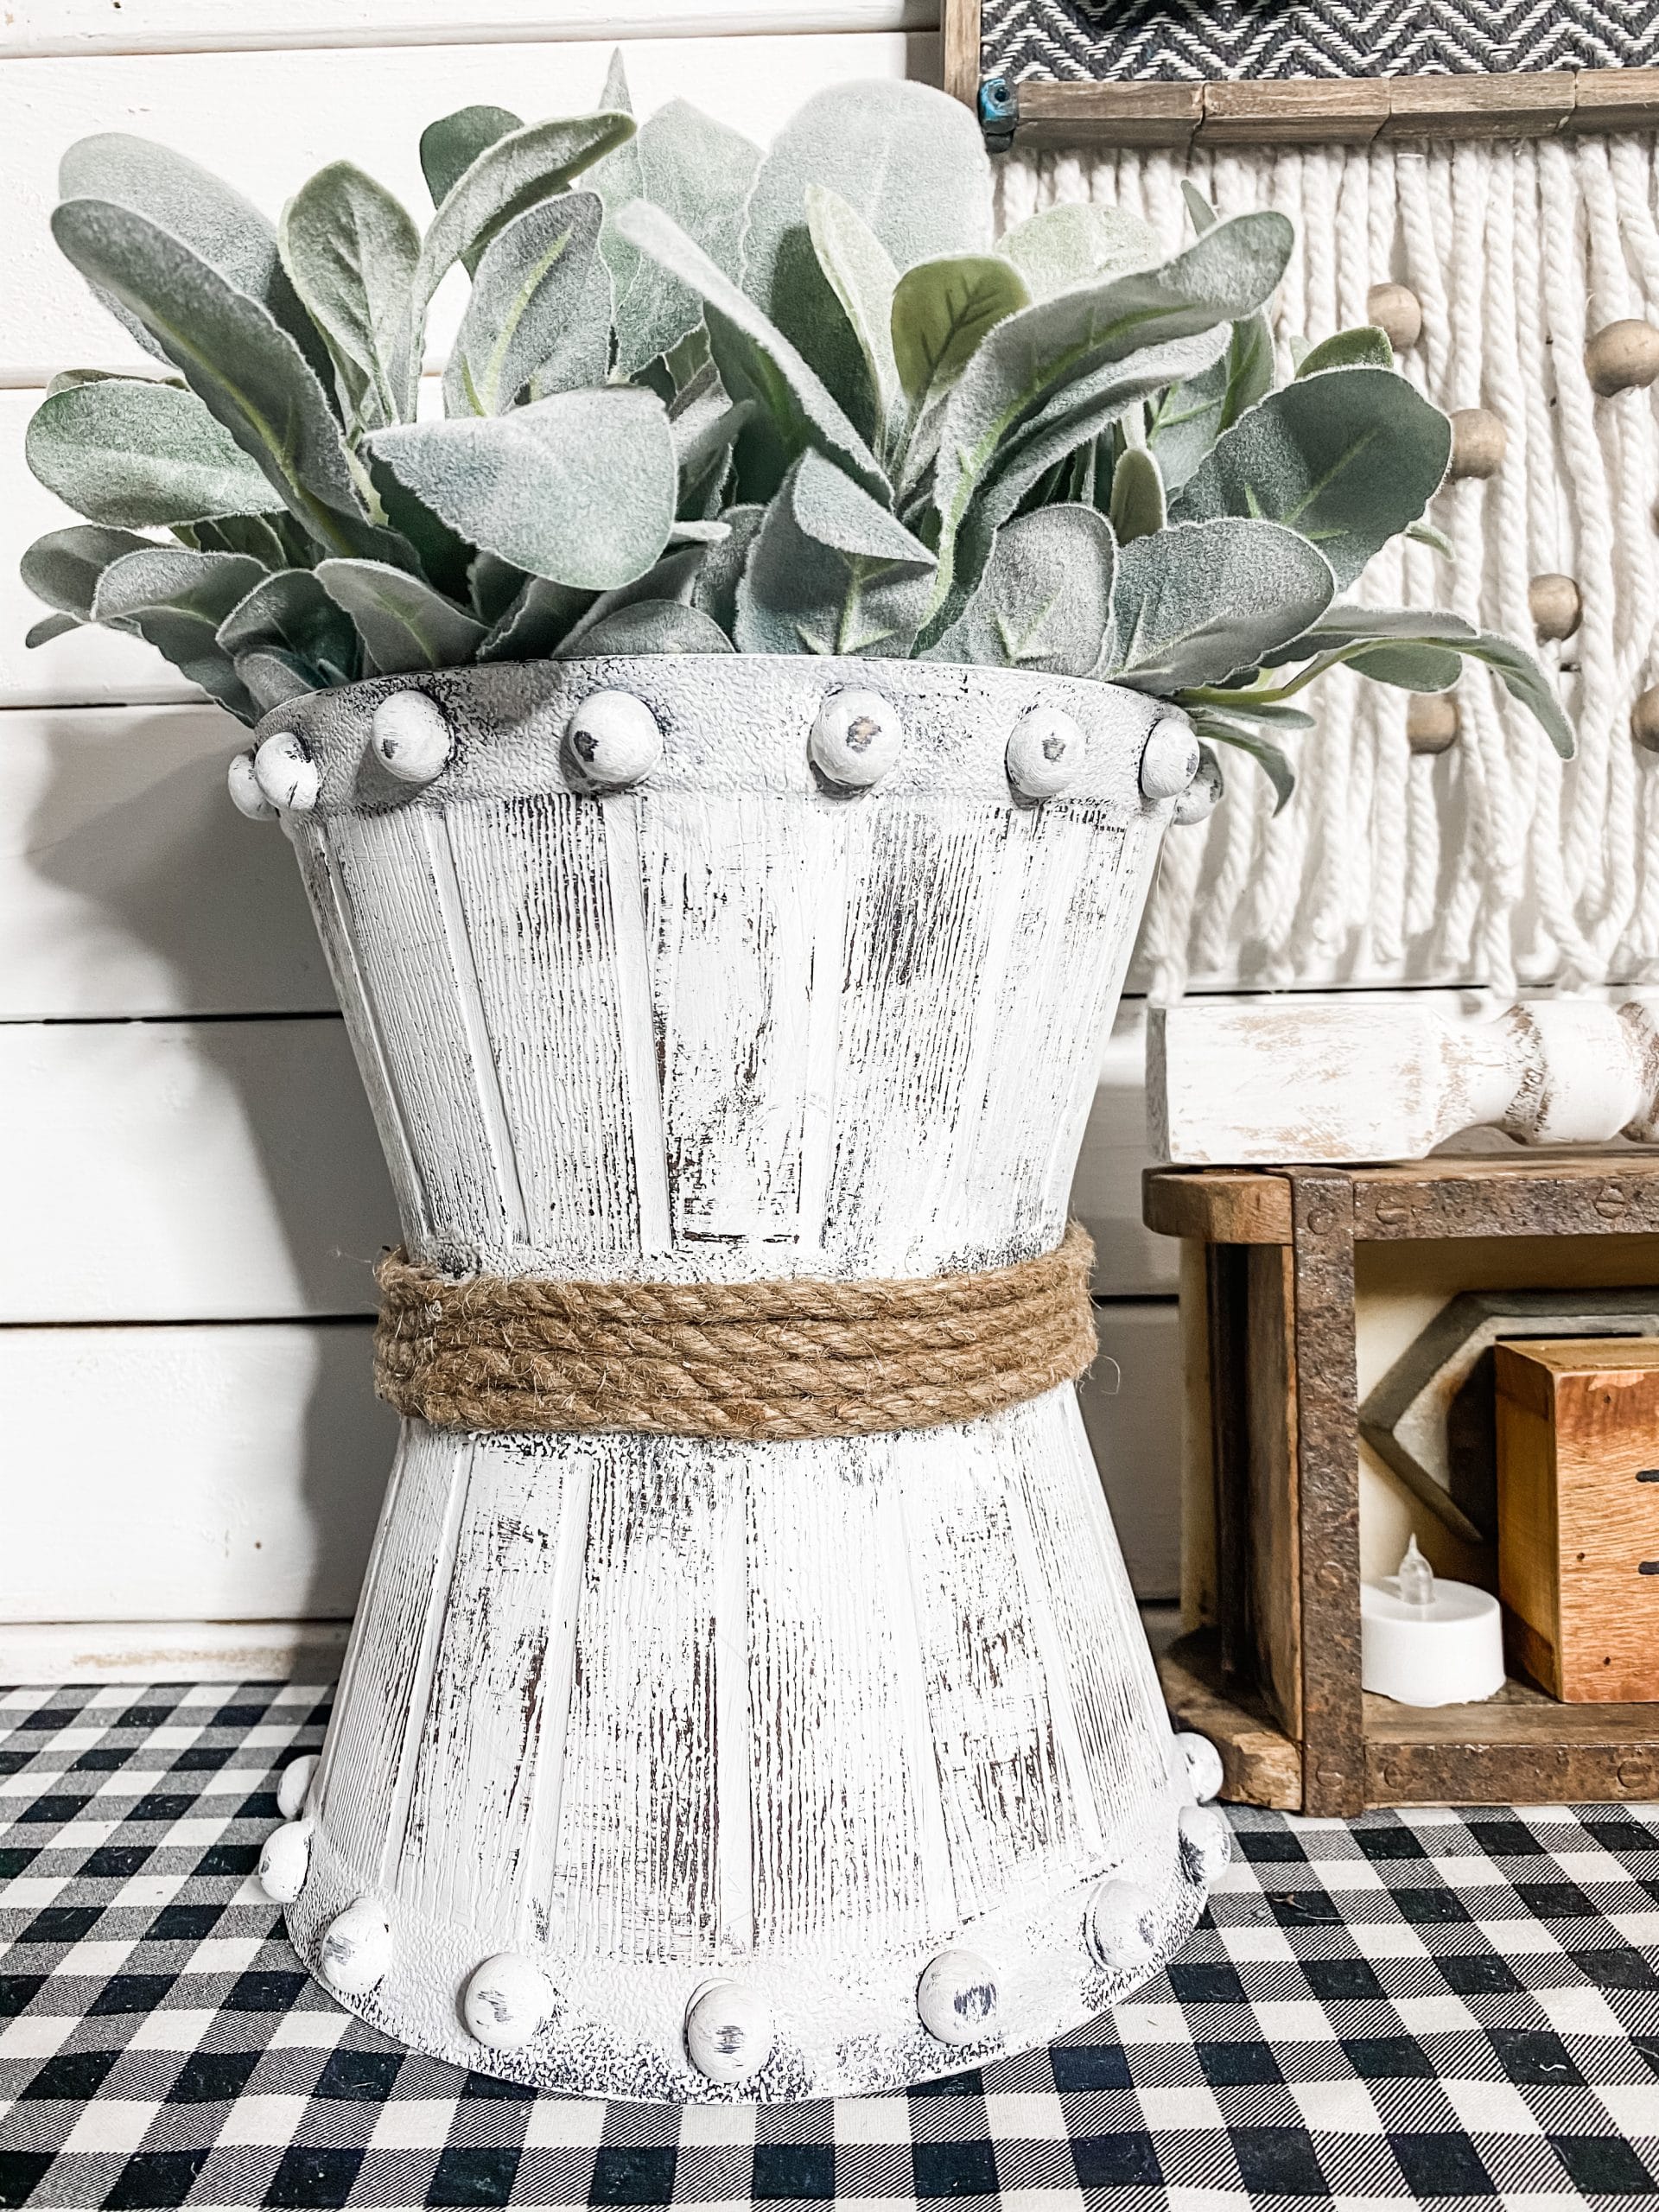
Let’s get started!
Okay, I made this adorable rustic bucket planter with two Dollar Tree plastic buckets, so first, I hot glued the bottoms of the two buckets together.
We are hot gluing them together before we paint because we also have to add half wood beads around the top and bottom trims of our planter.
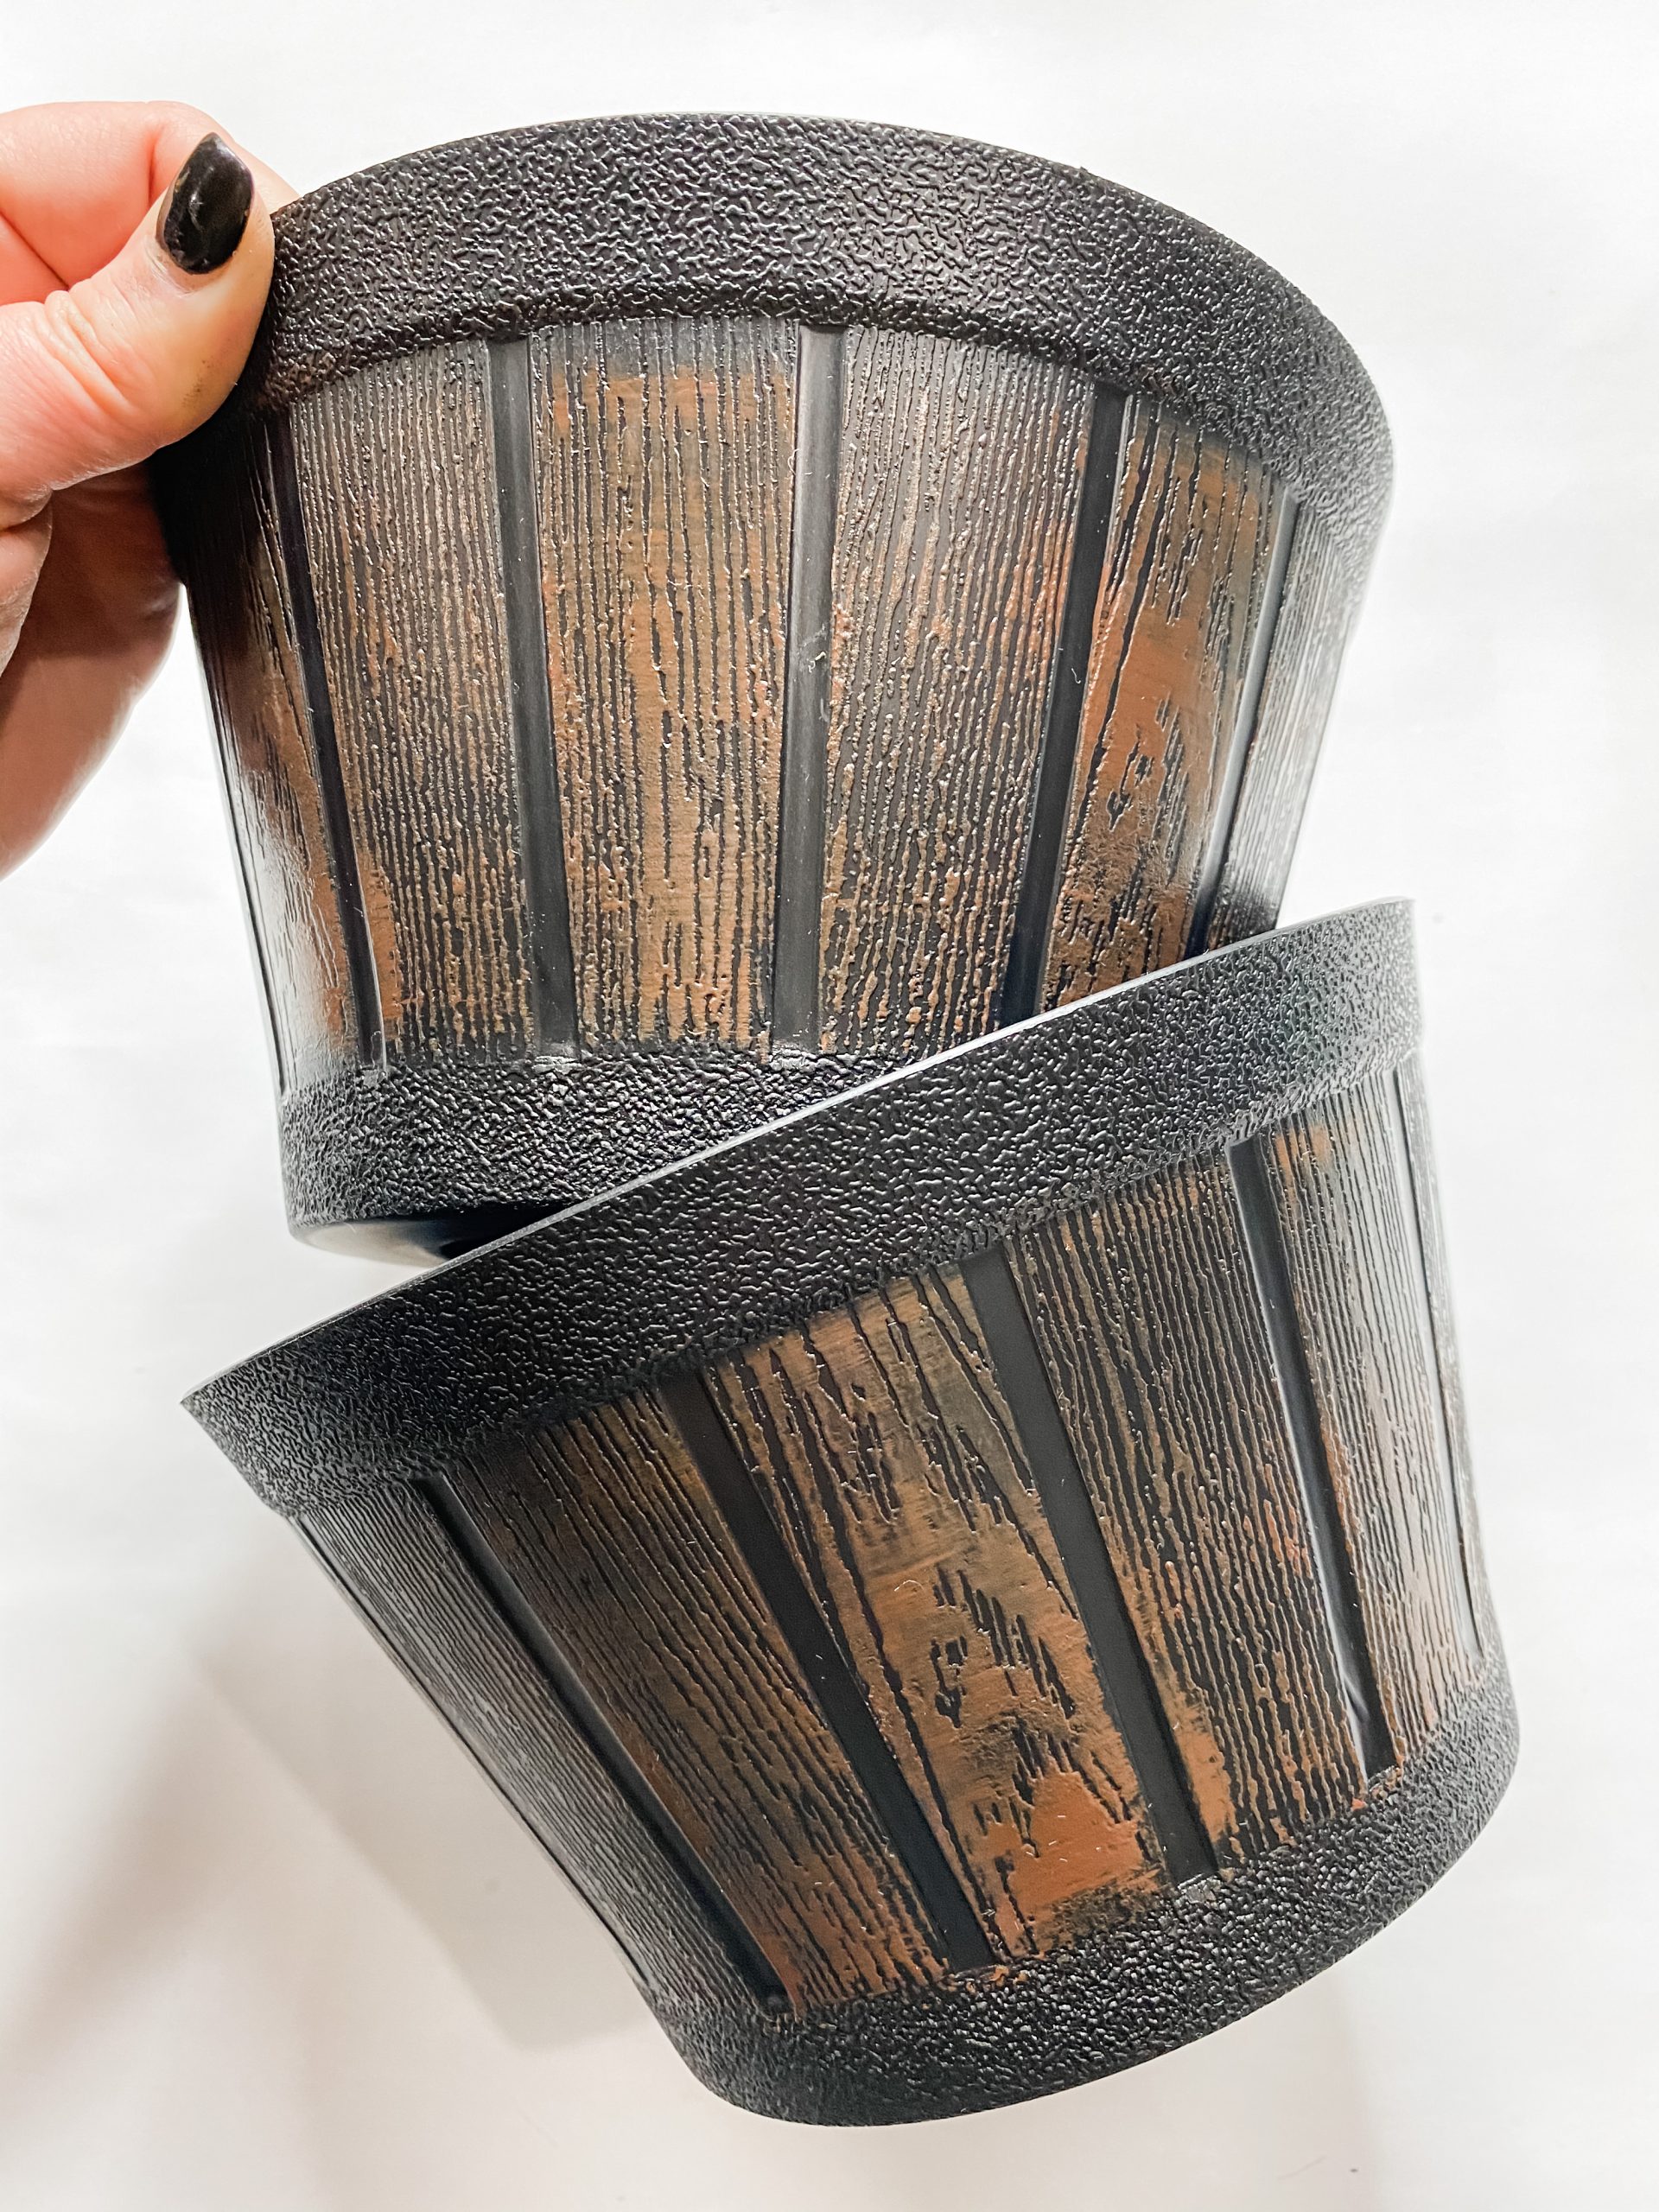
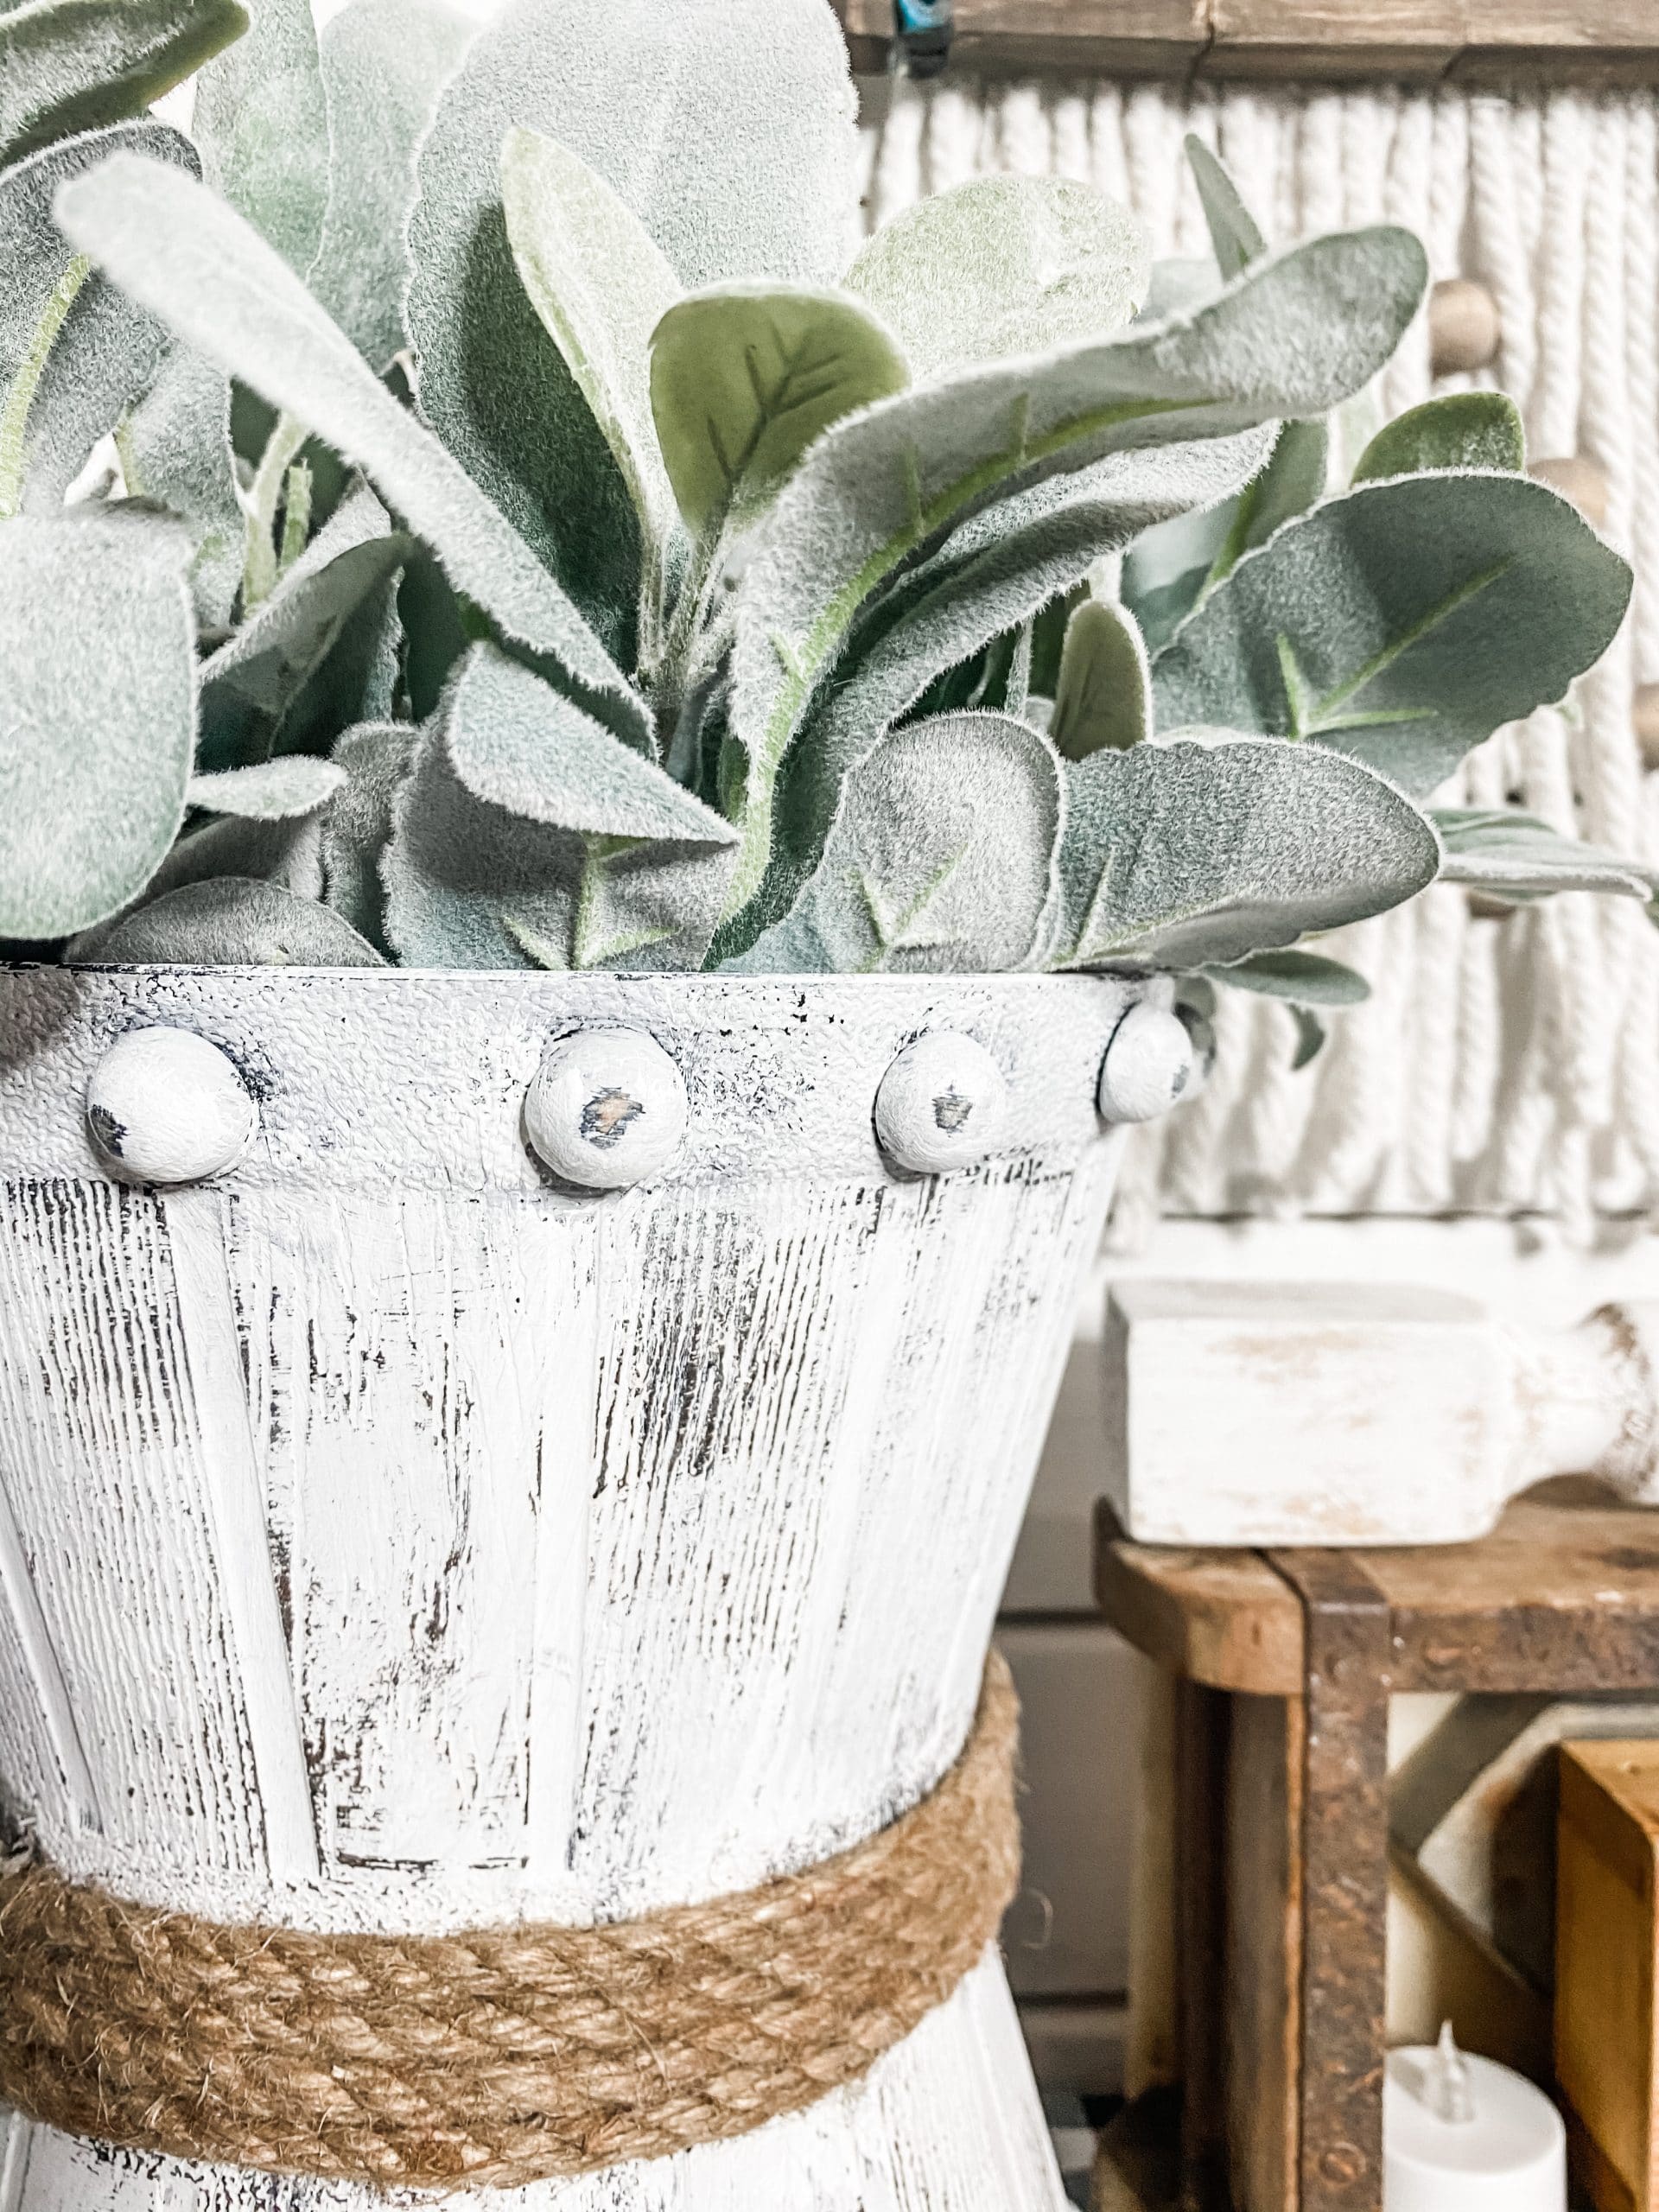
As you can see, the buckets have paneling on them. I hot glued a wood bead above each line on the buckets. This helped me make sure I had even spacing when I was placing the beads.
Once all your half wood beads are glued in place, paint over them with black paint. I used Apple Barrel Black Acrylic Paint.
Add embellishments
Painting the wood beads first allows us to give them a distressed finish after we paint our buckets white. Otherwise, the natural wood color wouldn’t be dark enough to get the contrast needed to match the bucket’s distressed finish.
Allow the black paint to completely dry before you move on. I used my heat gun to speed up the drying process, but if you don’t have one, you can use a hairdryer on the low cool setting.
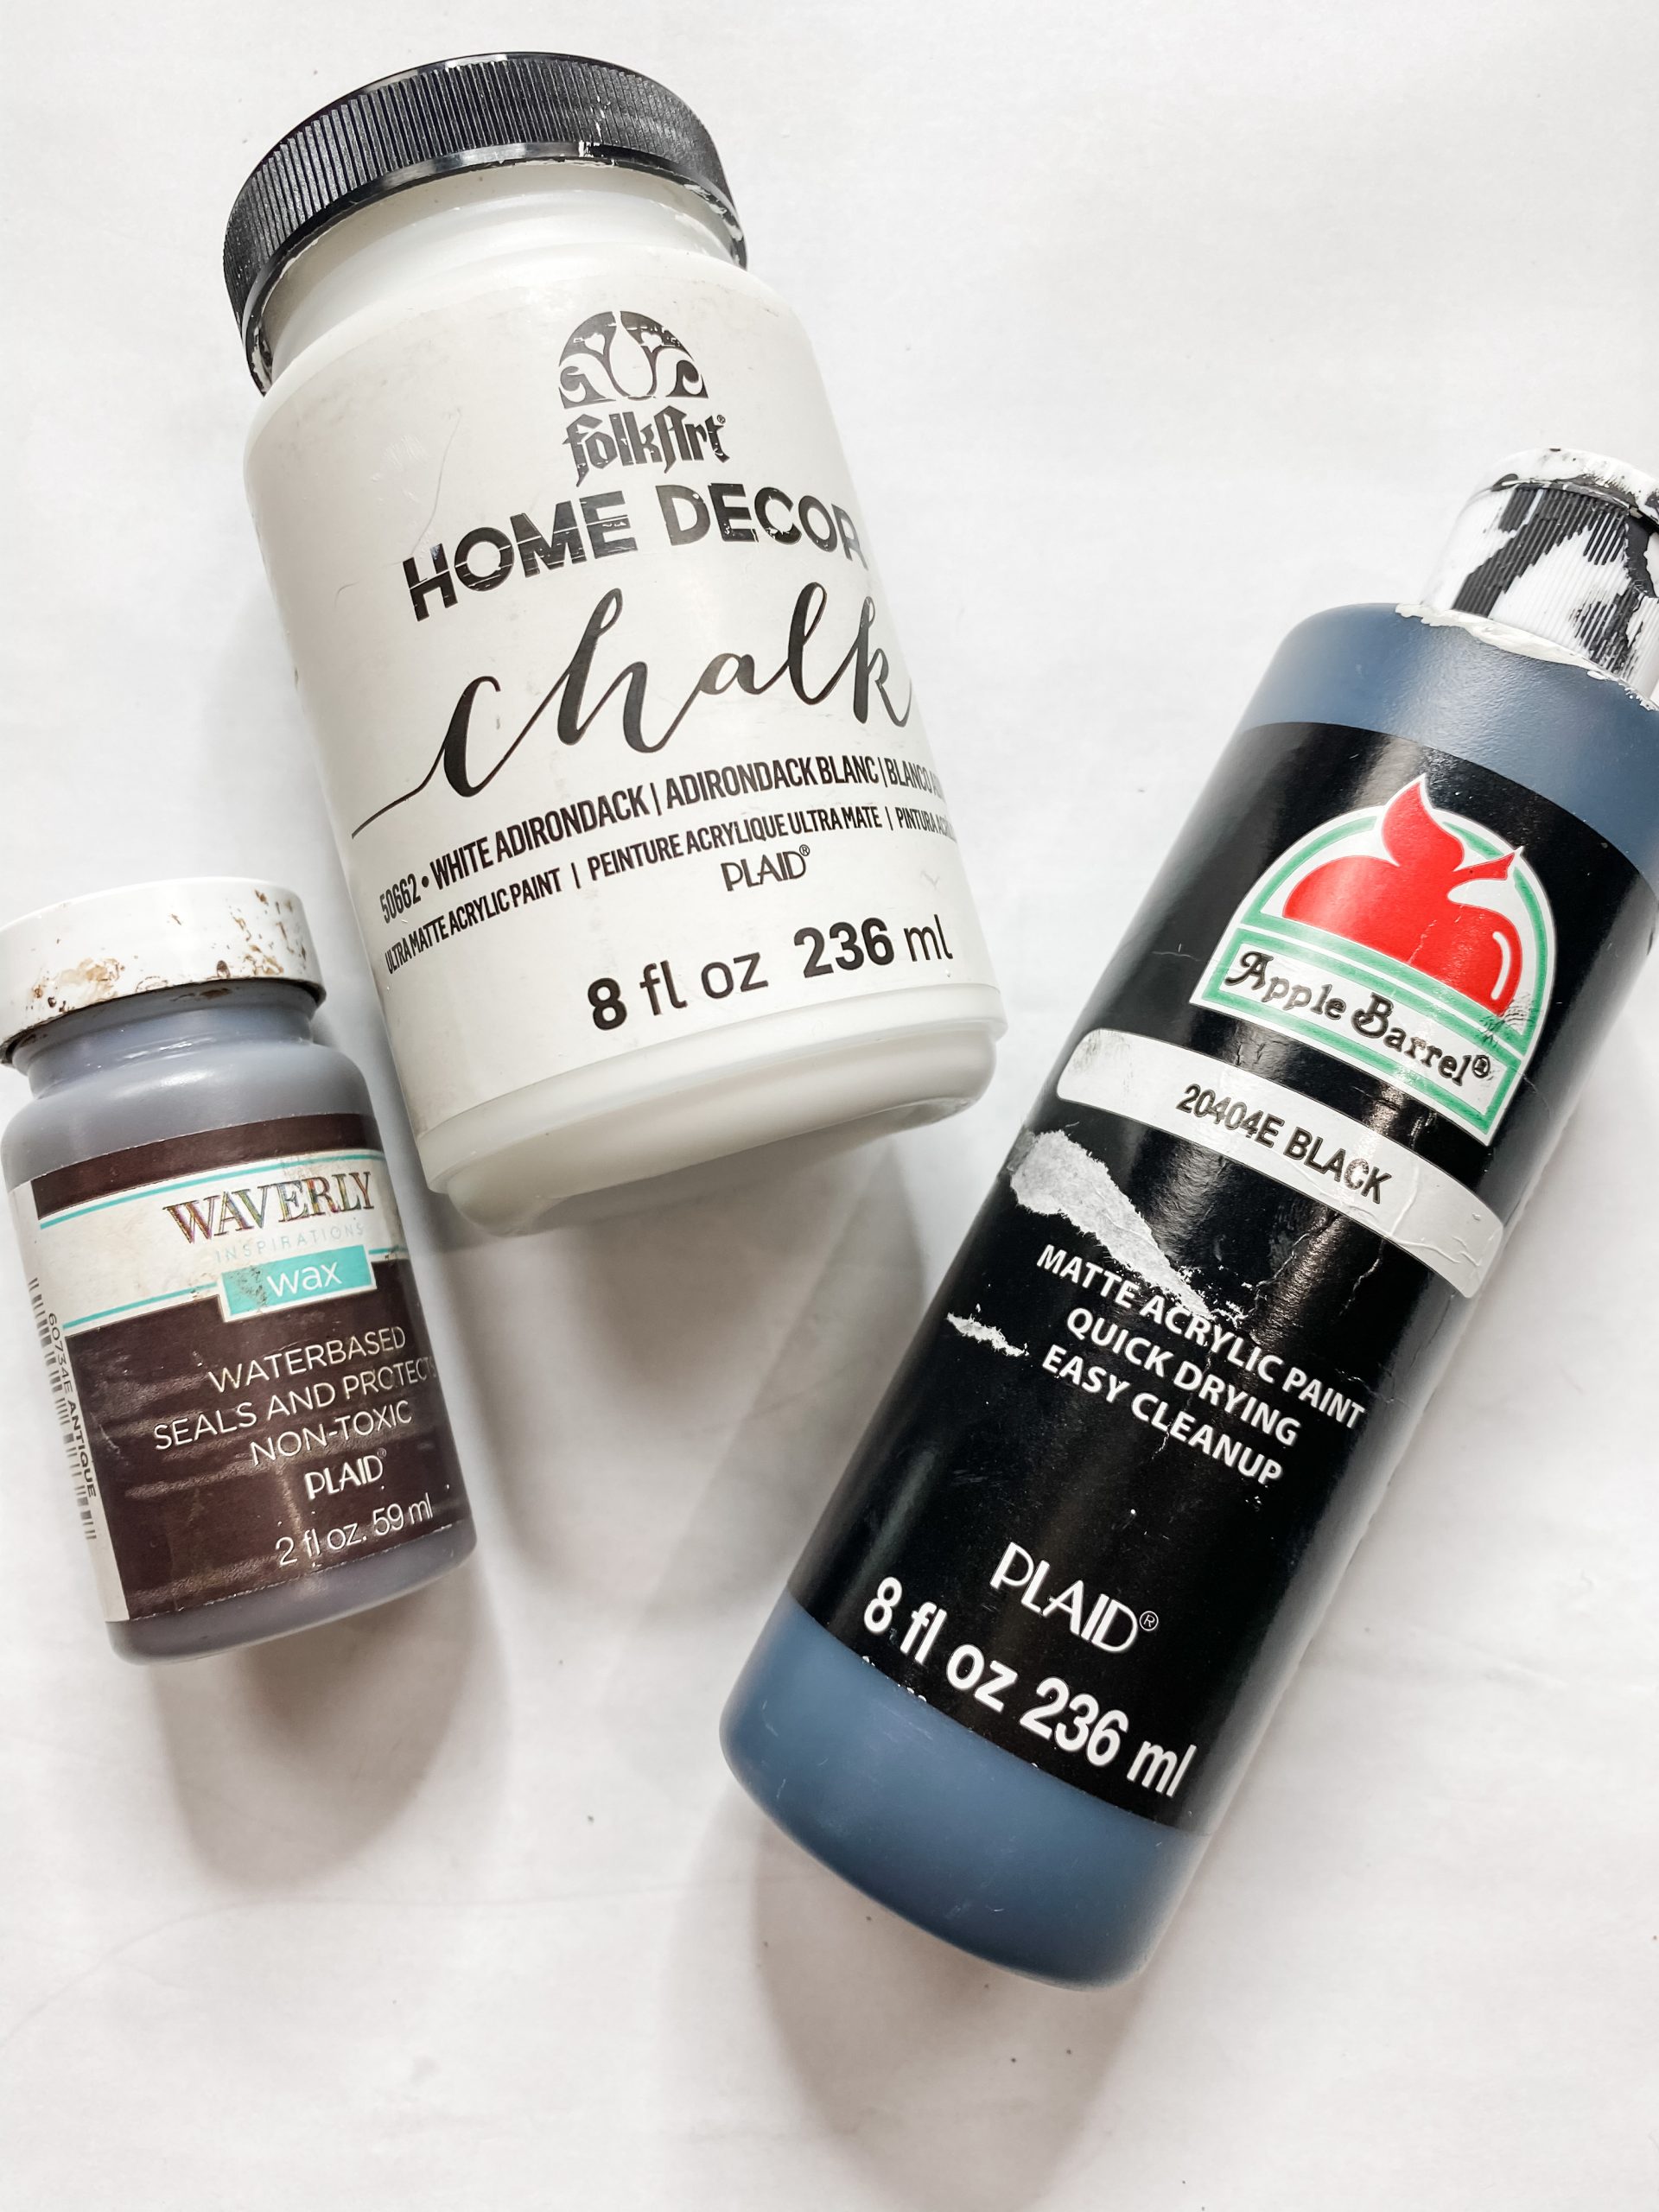
Once all the beads are dry, you’re going to need a chippy paintbrush and white paint. I used Folkart White Chalk Paint for this next step.
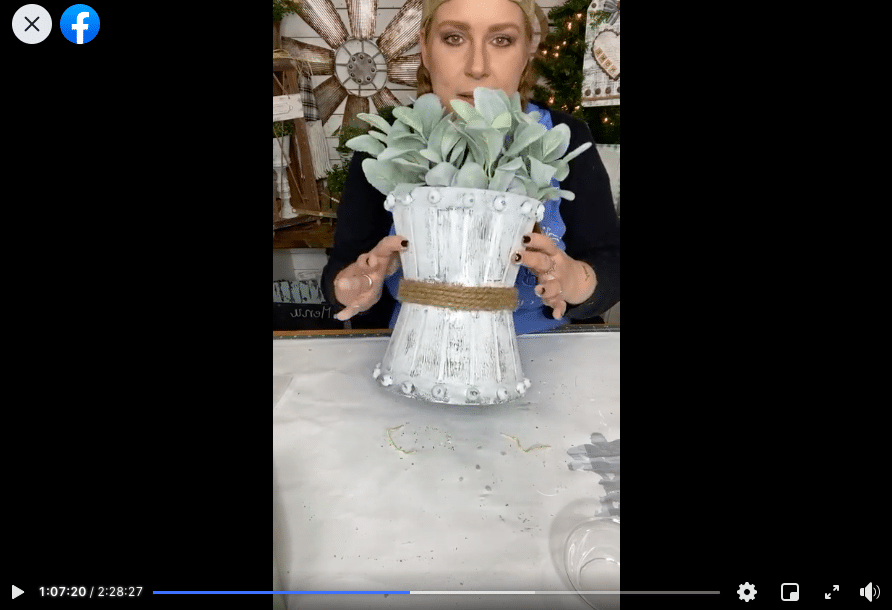
Lightly dry brush the white paint across the entire outer surface of the buckets. If you keep a light hand, you’ll get an effortless distressed finish!
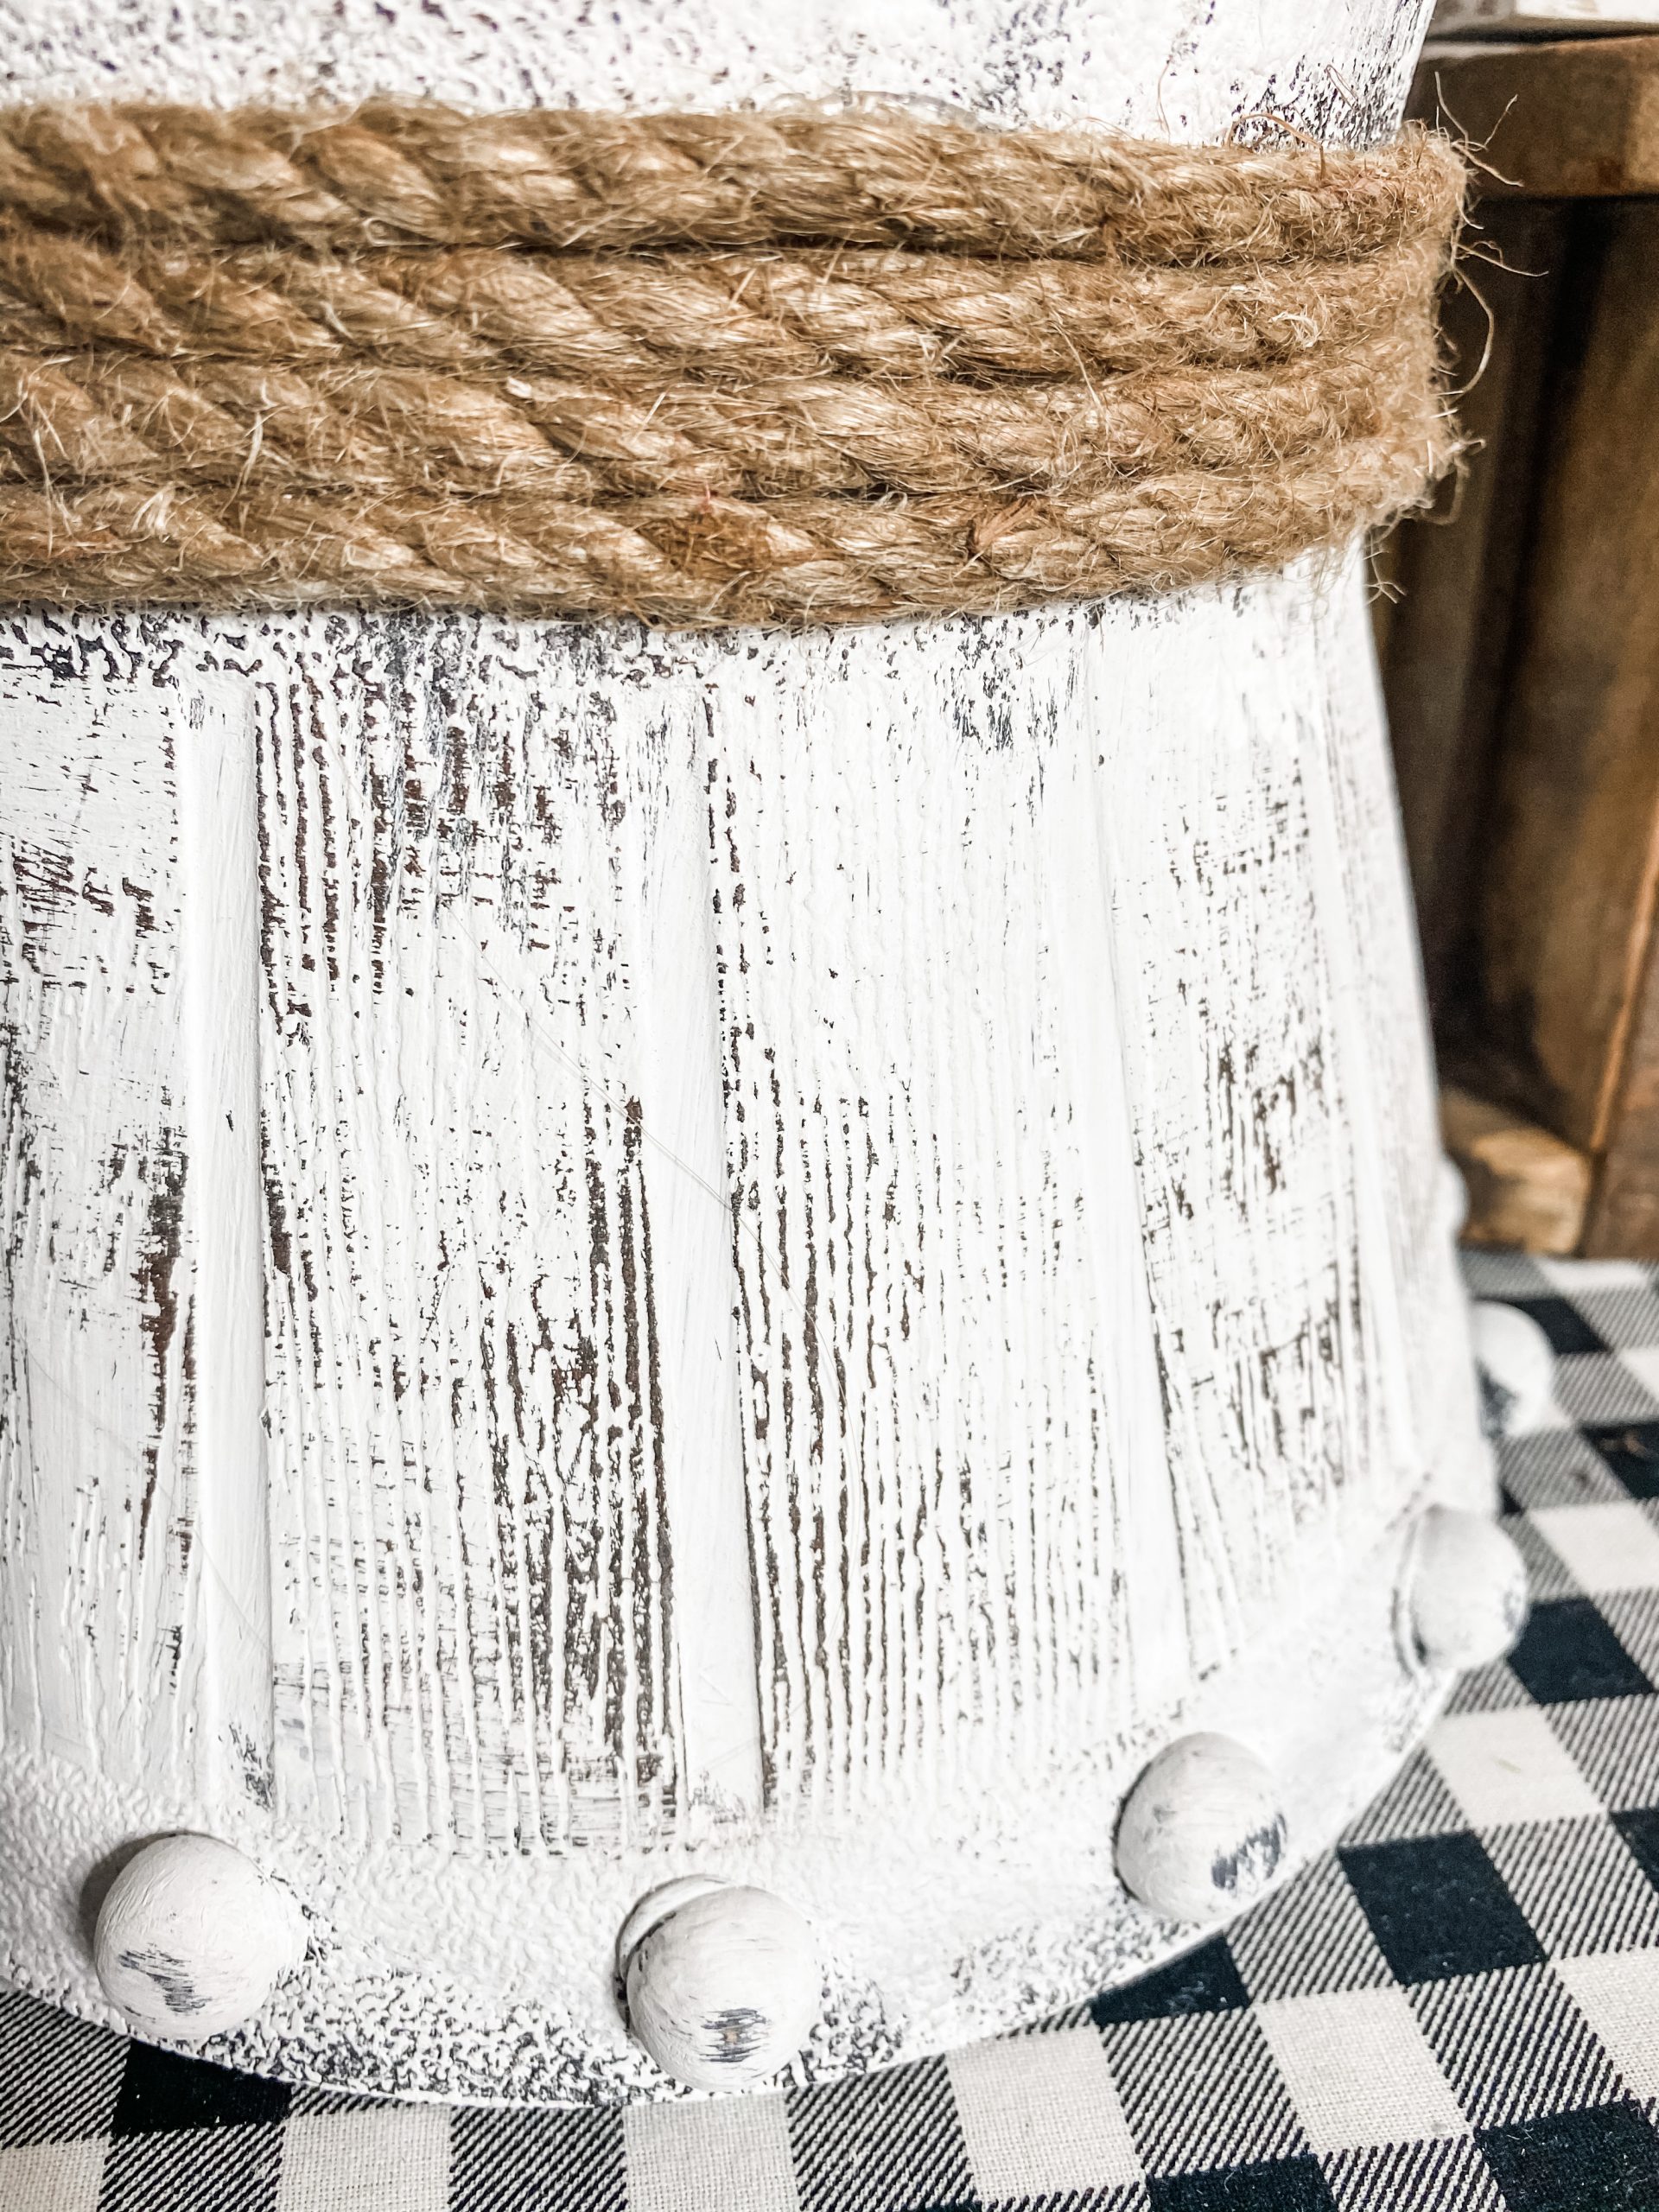
If you want your DIY rustic bucket planters more distressed, you can go over them with a sanding sponge. Keep a very light hand when you’re distressing the wood beads because you don’t want them to pull off the buckets.
Next, you’re going to wrap Dollar Tree nautical rope around the middle of the buckets. This is going to cover up where the buckets meet and make the project look like it is just one solid piece.
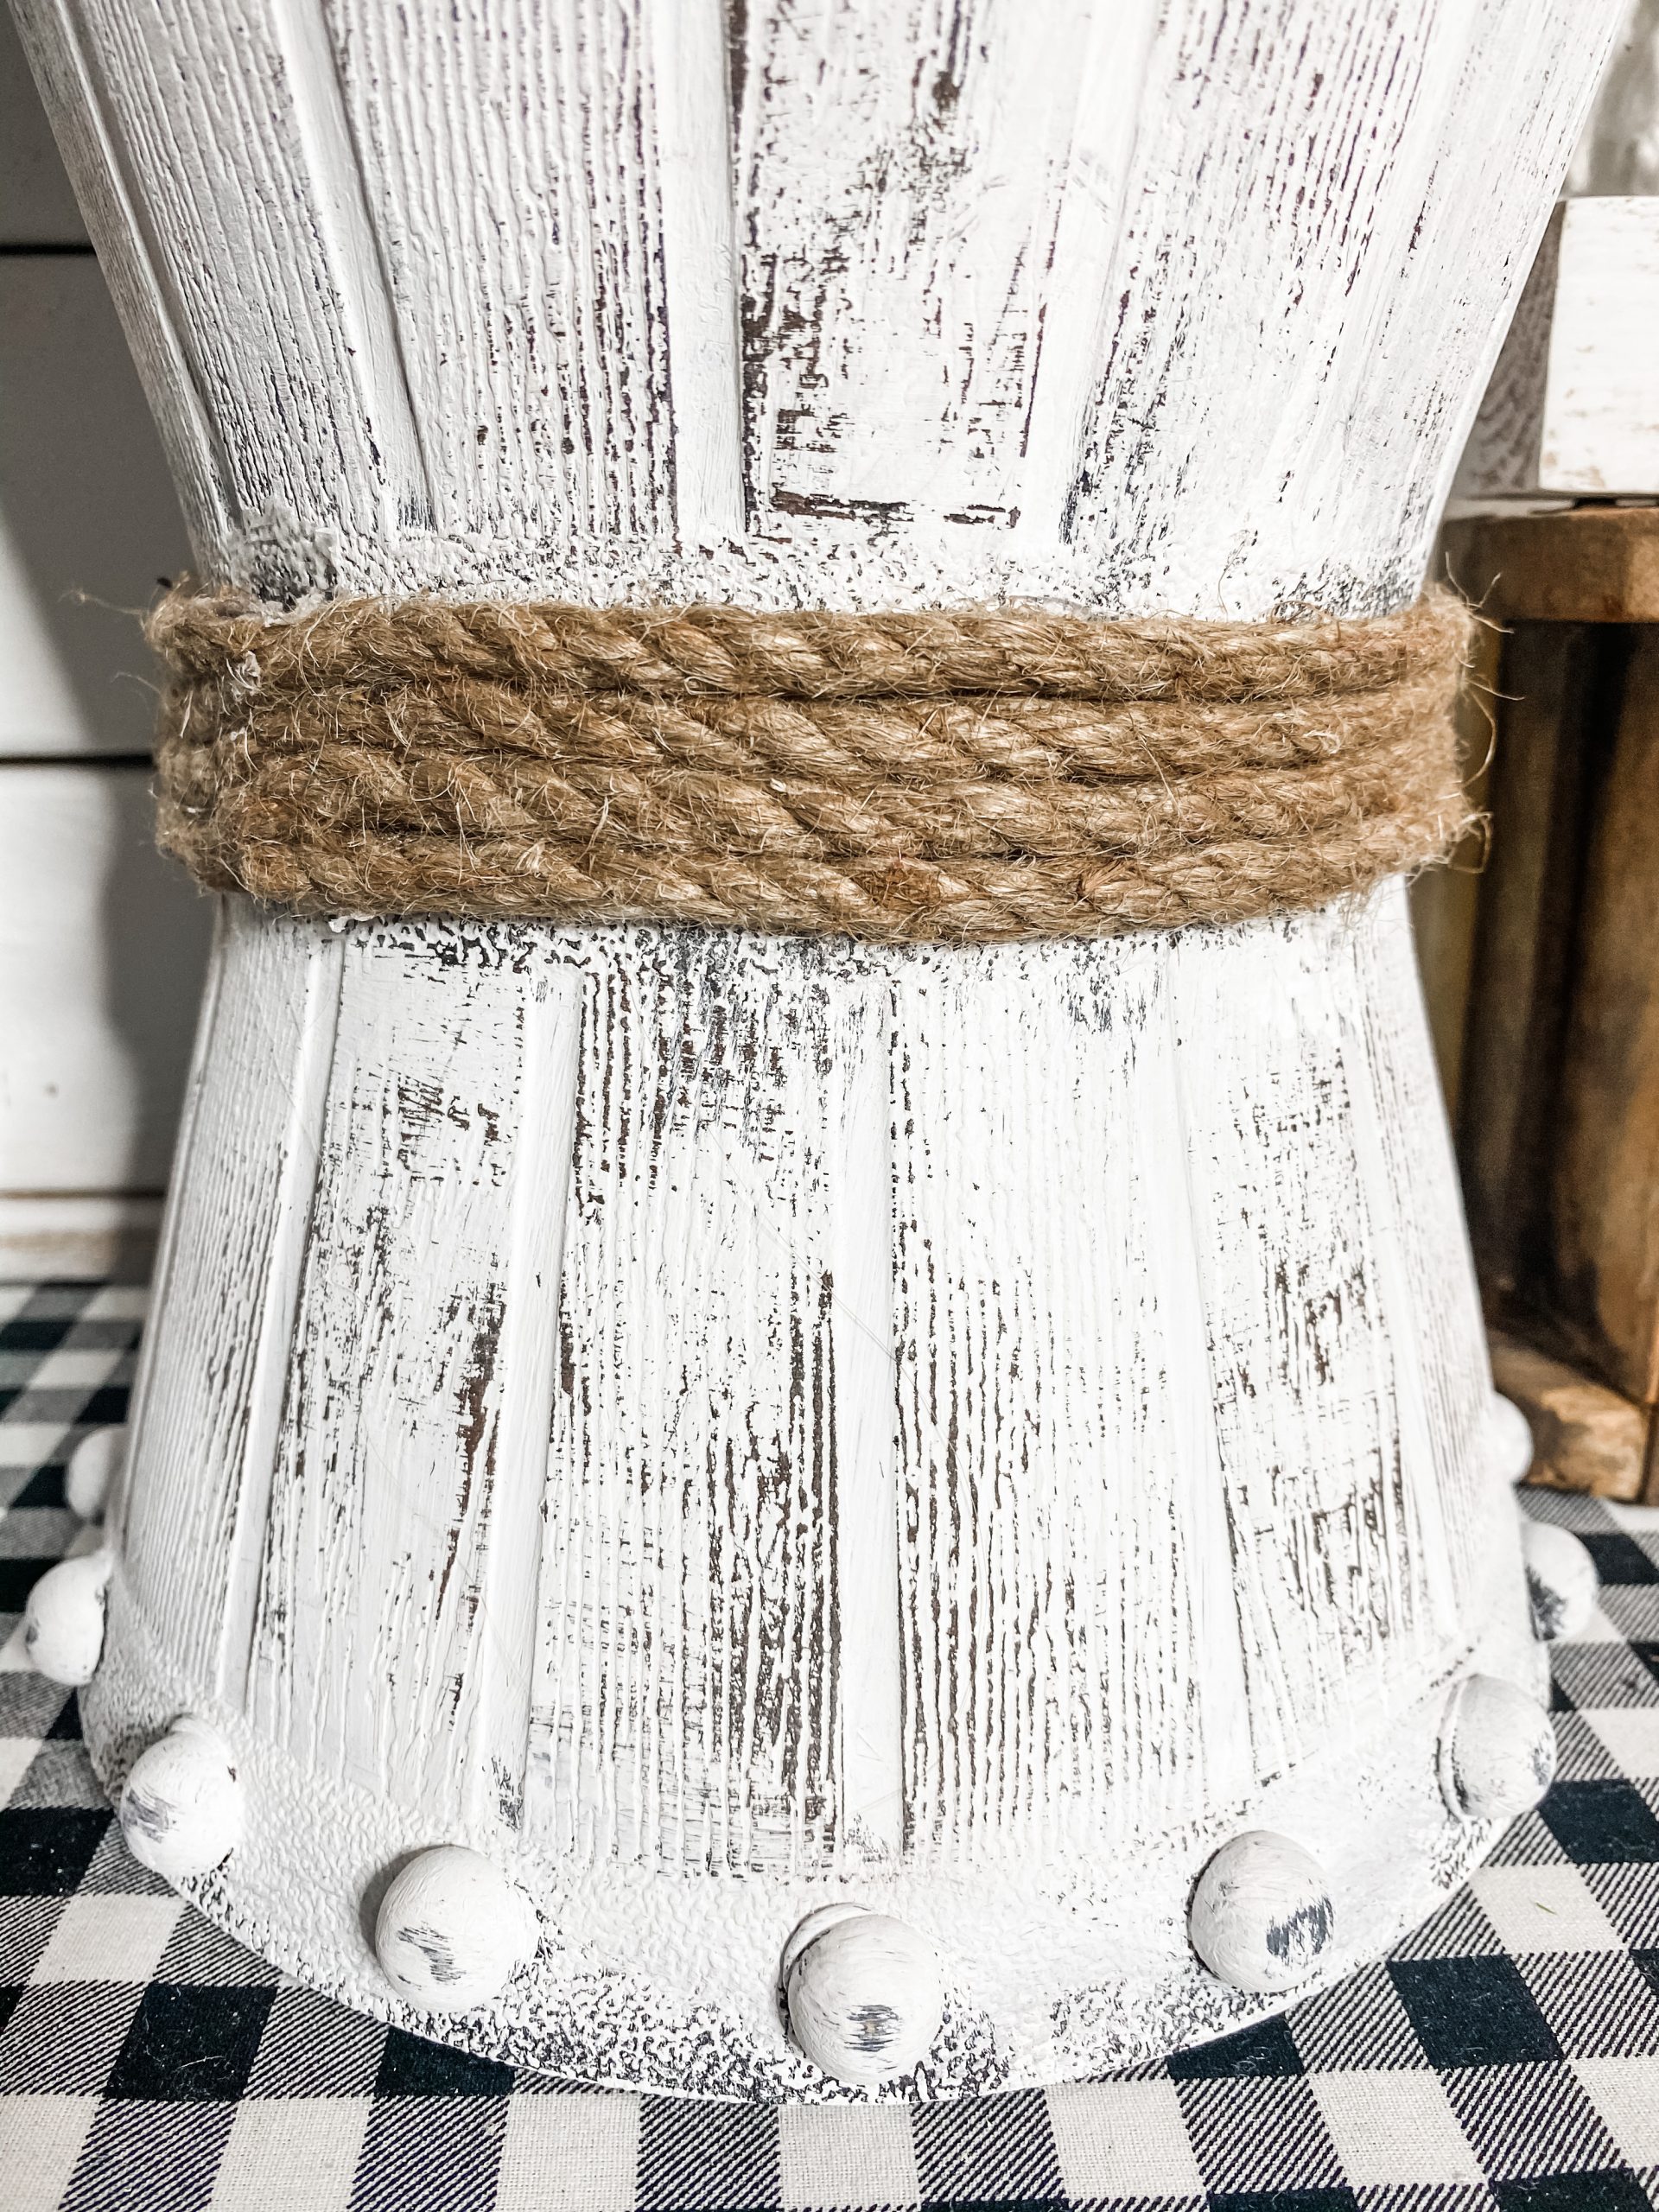
Finish it up
All that is left to do is add your plants! I used some Lamb’s Ear greenery from Walmart, but you could add whatever floral or greenery spray you want! I just placed my greenery in the bucket so I could swap it out when I wanted to.
If you want yours to be a bit more permanent, you can add in some floral foam to the DIY rustic bucket planter. I am so excited to put this adorable decor by my front door! Where will you put yours??
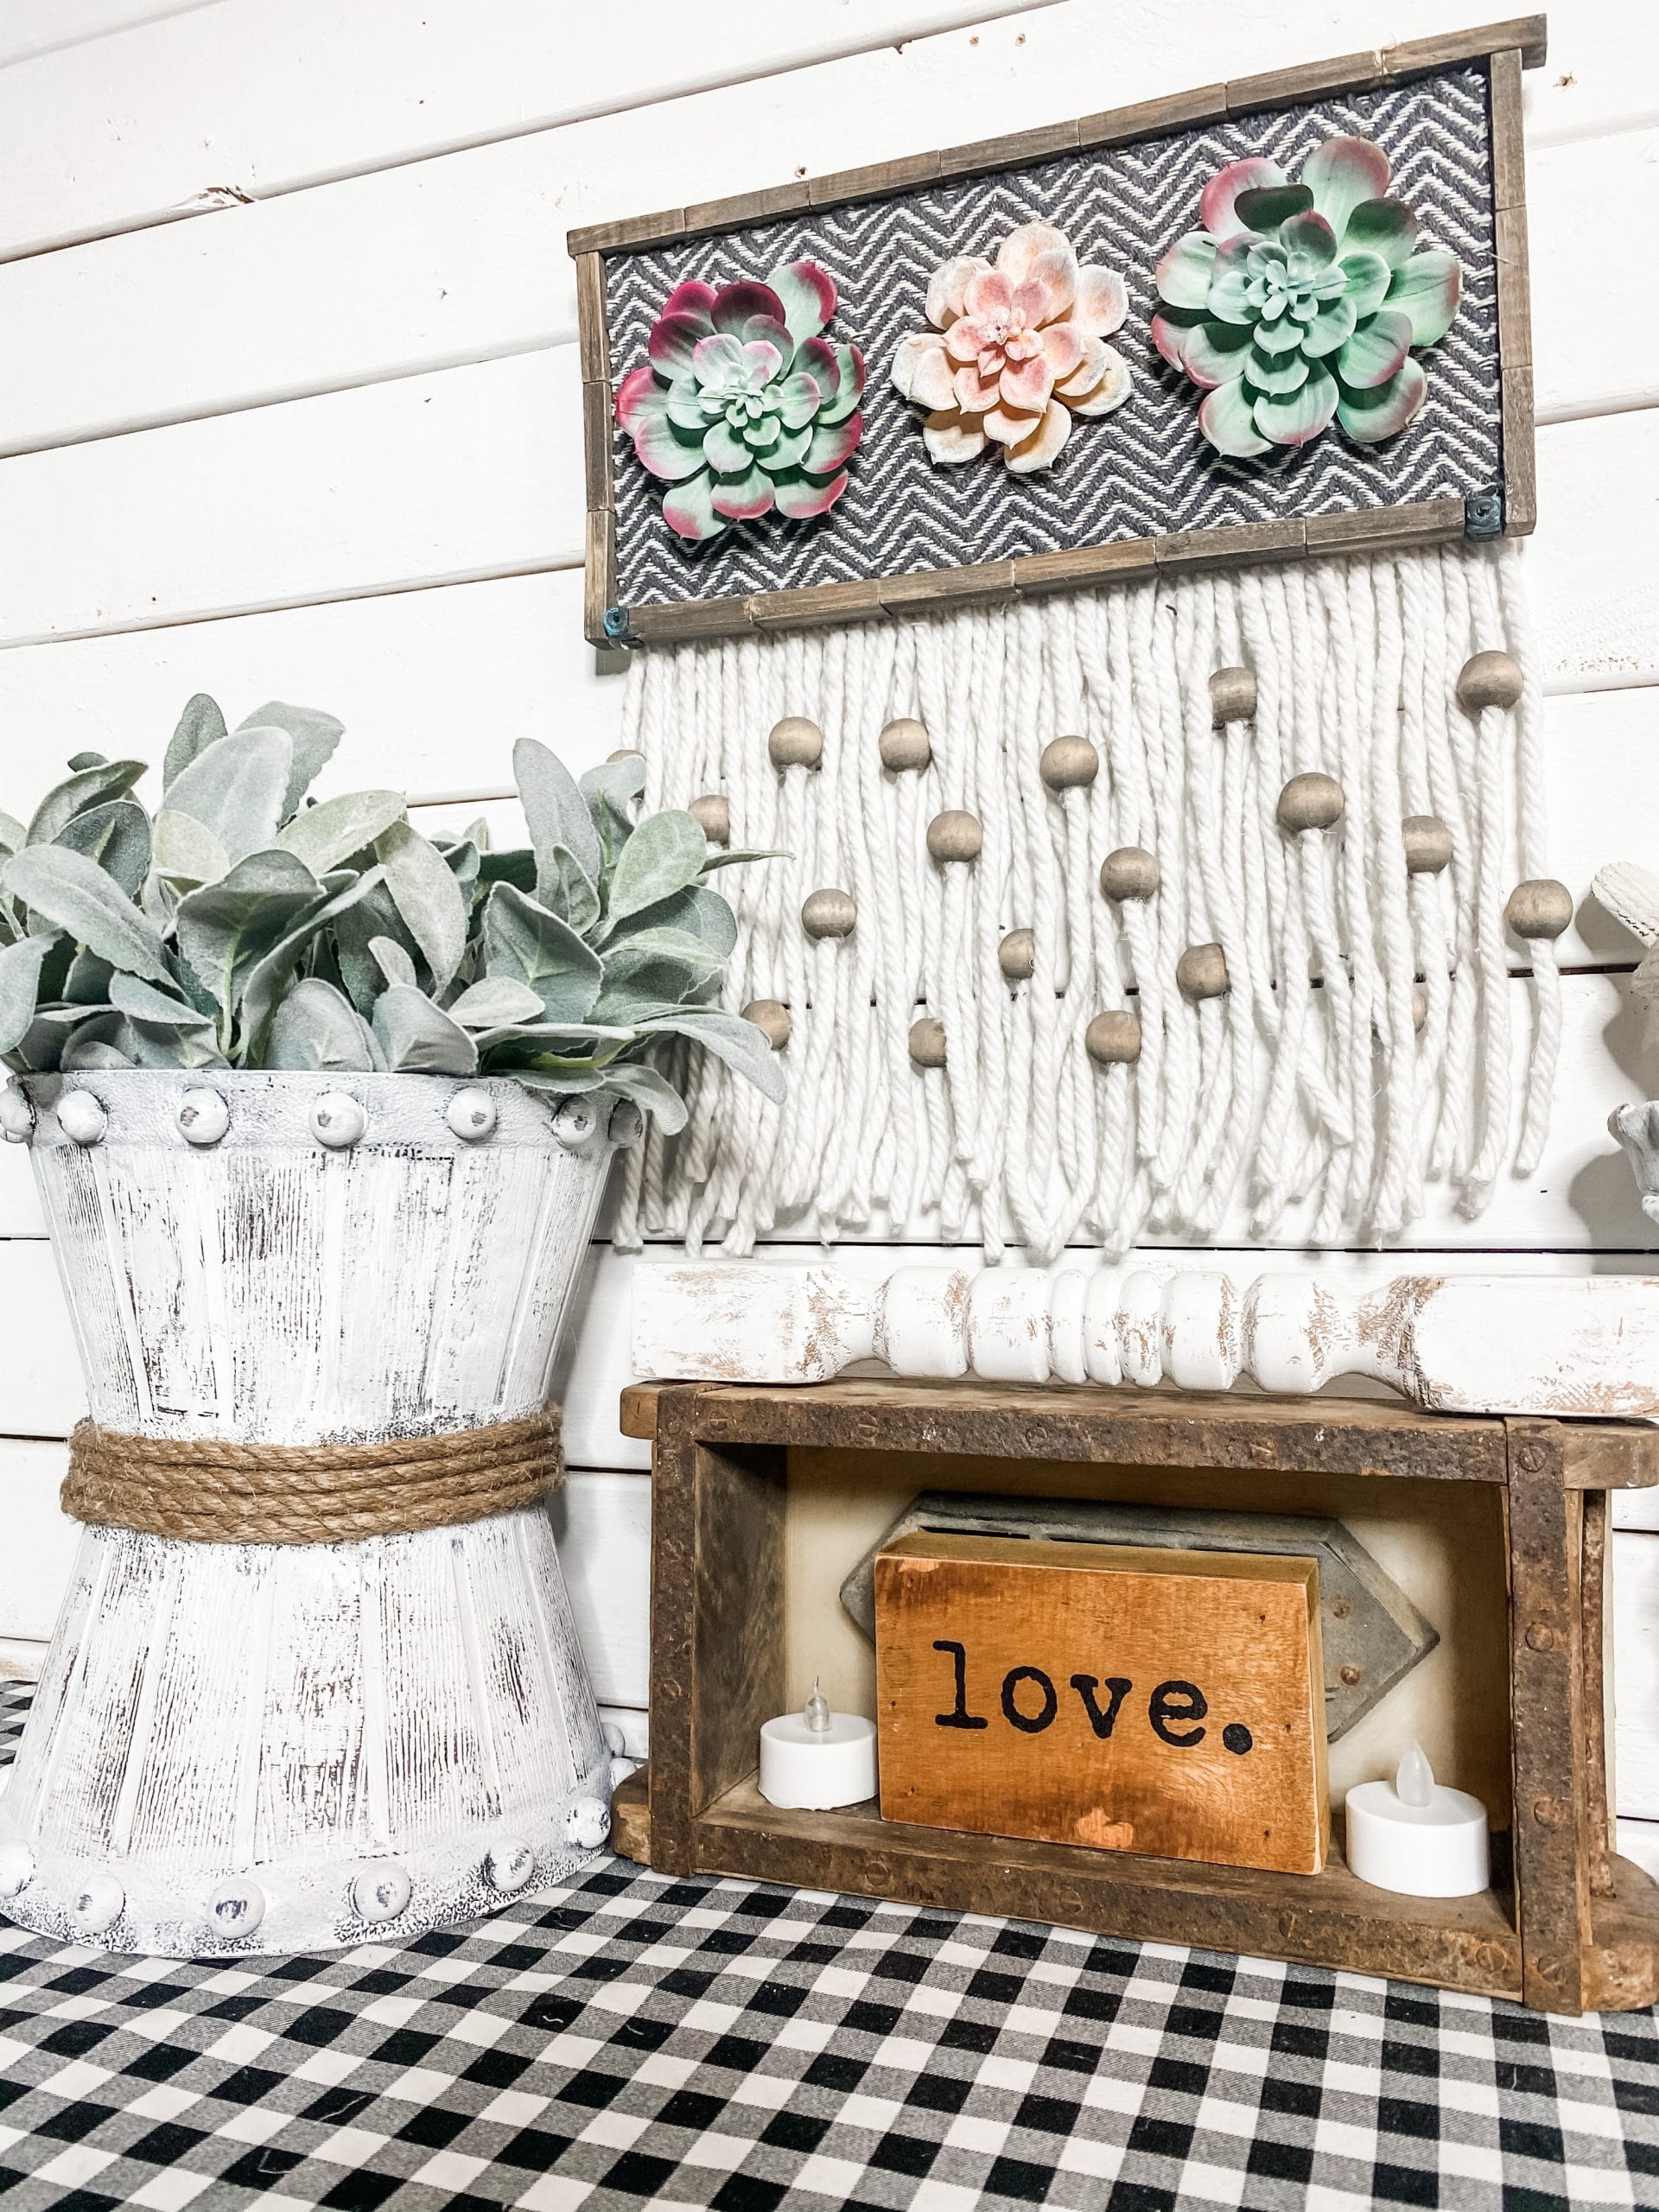
I hope you enjoyed this DIY Rustic Bucket Planter as much as I did and decide to make one for yourself! I would love to see how yours turns out!
Watch the replay
I recorded the how-to process during a live video on my Facebook page, and you can watch the replay if you want to see my techniques, craft along, or just join in on the fun conversations!
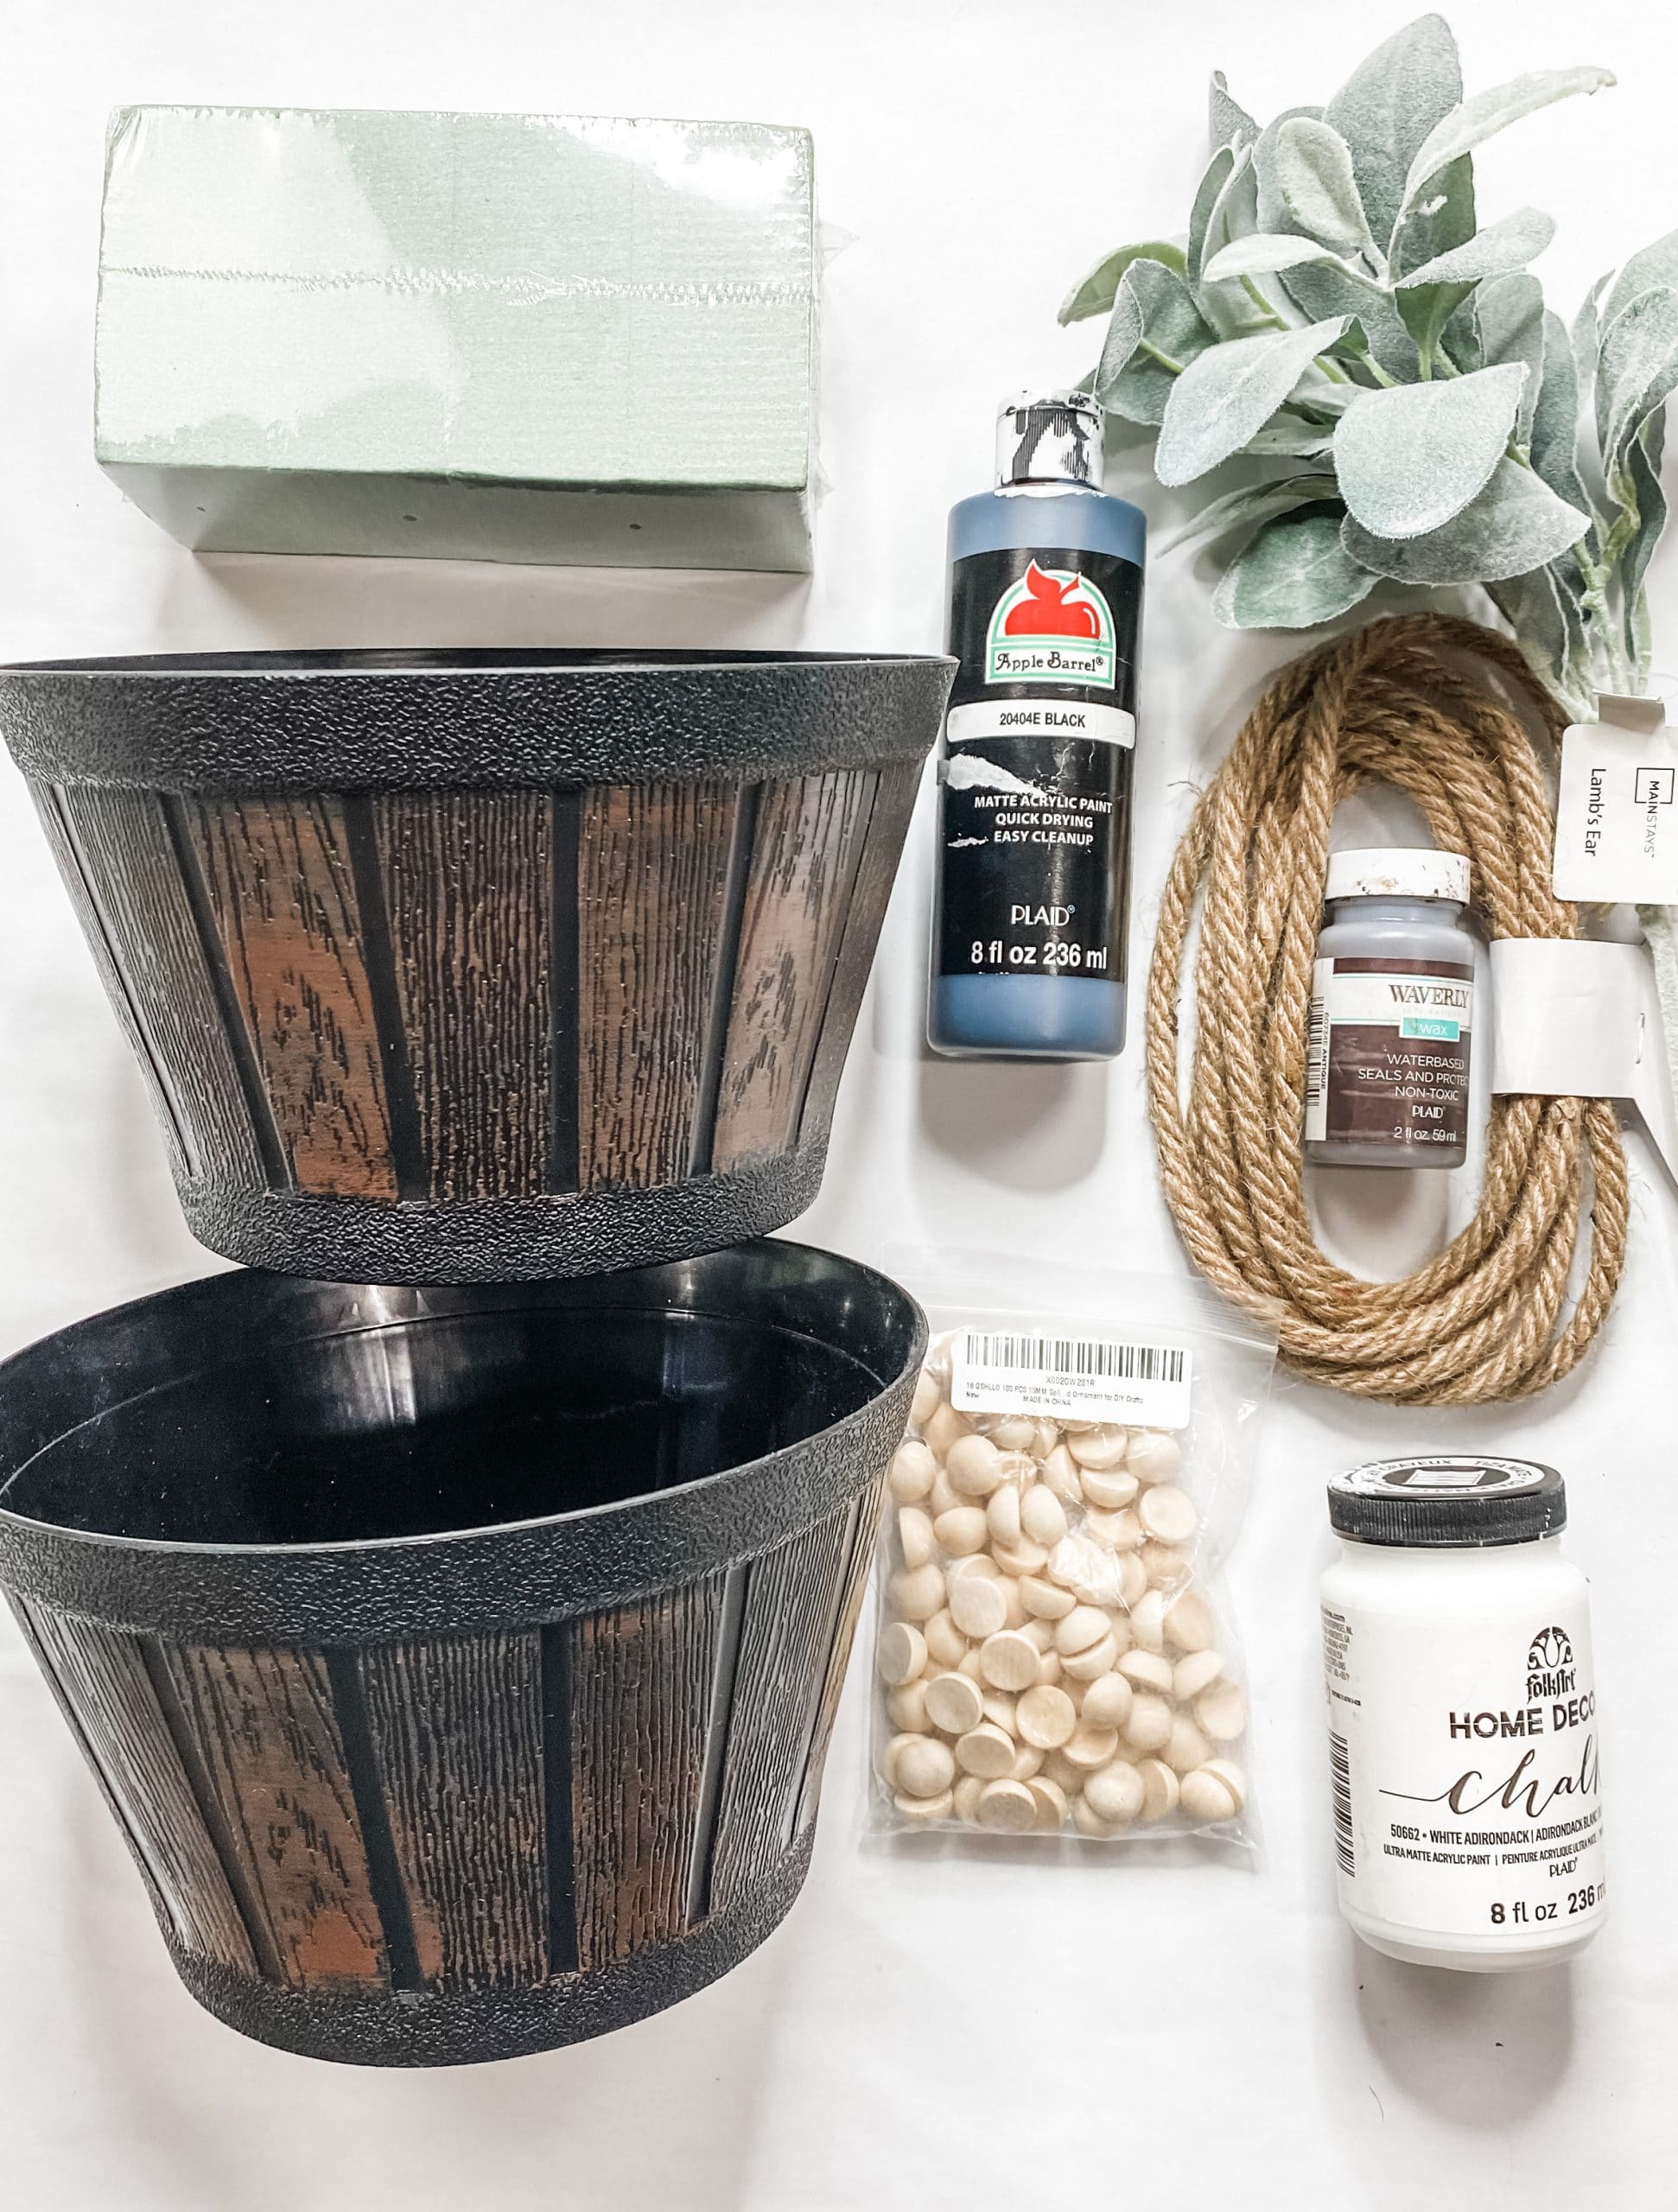
For this project, I will be using these items but you can substitute where you want.
“As an Amazon Associate, I earn from qualifying purchases.”
- Dollar Tree Buckets (x2)
- Dollar Tree Nautical Rope
- Half Wood Beads
- Lamb’s Ear Greenery Spray
- Apple Barrel Black Acrylic Paint
- Folkart White Chalk Paint
- Waverly Antique Wax
- Hot glue gun and glue sticks
- OPTIONAL: Floral Foam
You should totally join my FREE Facebook group called On A Budget Crafts! It is a judgment-free community for DIY crafters to show off their projects and ideas.
If you loved this DIY you might also like this one too!
Thanks for stopping by! XOXO Amber
You can also shop my ENTIRE AMAZON Favorites shop just click here! It’s packed full of all the things I use and love. Here is the supply list I highly recommend every creative have on hand!!
Would you also pin my blog for later and get on my newsletter alerts? I would love to have you join my #craftycrew.
Inspired? Leave me a comment below! I love hearing from my readers!


Do you think putting soil & a plant in there would make it too top heavy?
My favorite planter.
Your creativity astounds me. All the time I think to Amber can’t out do her last craft idea(s). And yet you do!!!
This so stinking cute!
Since you chose to call this a substitute Christmas tree… why not decorate it a tad bit more Christmasy.? Just a suggestion
Charlotte Post
This planter was one of my first crafts that I made after seeing yours! I have it in our bedroom and I absolutely love it! Thank you for inspiring always! ❤️
Love this, I made one and get so many compliments