DIY Red White and Blue Rag Wreath
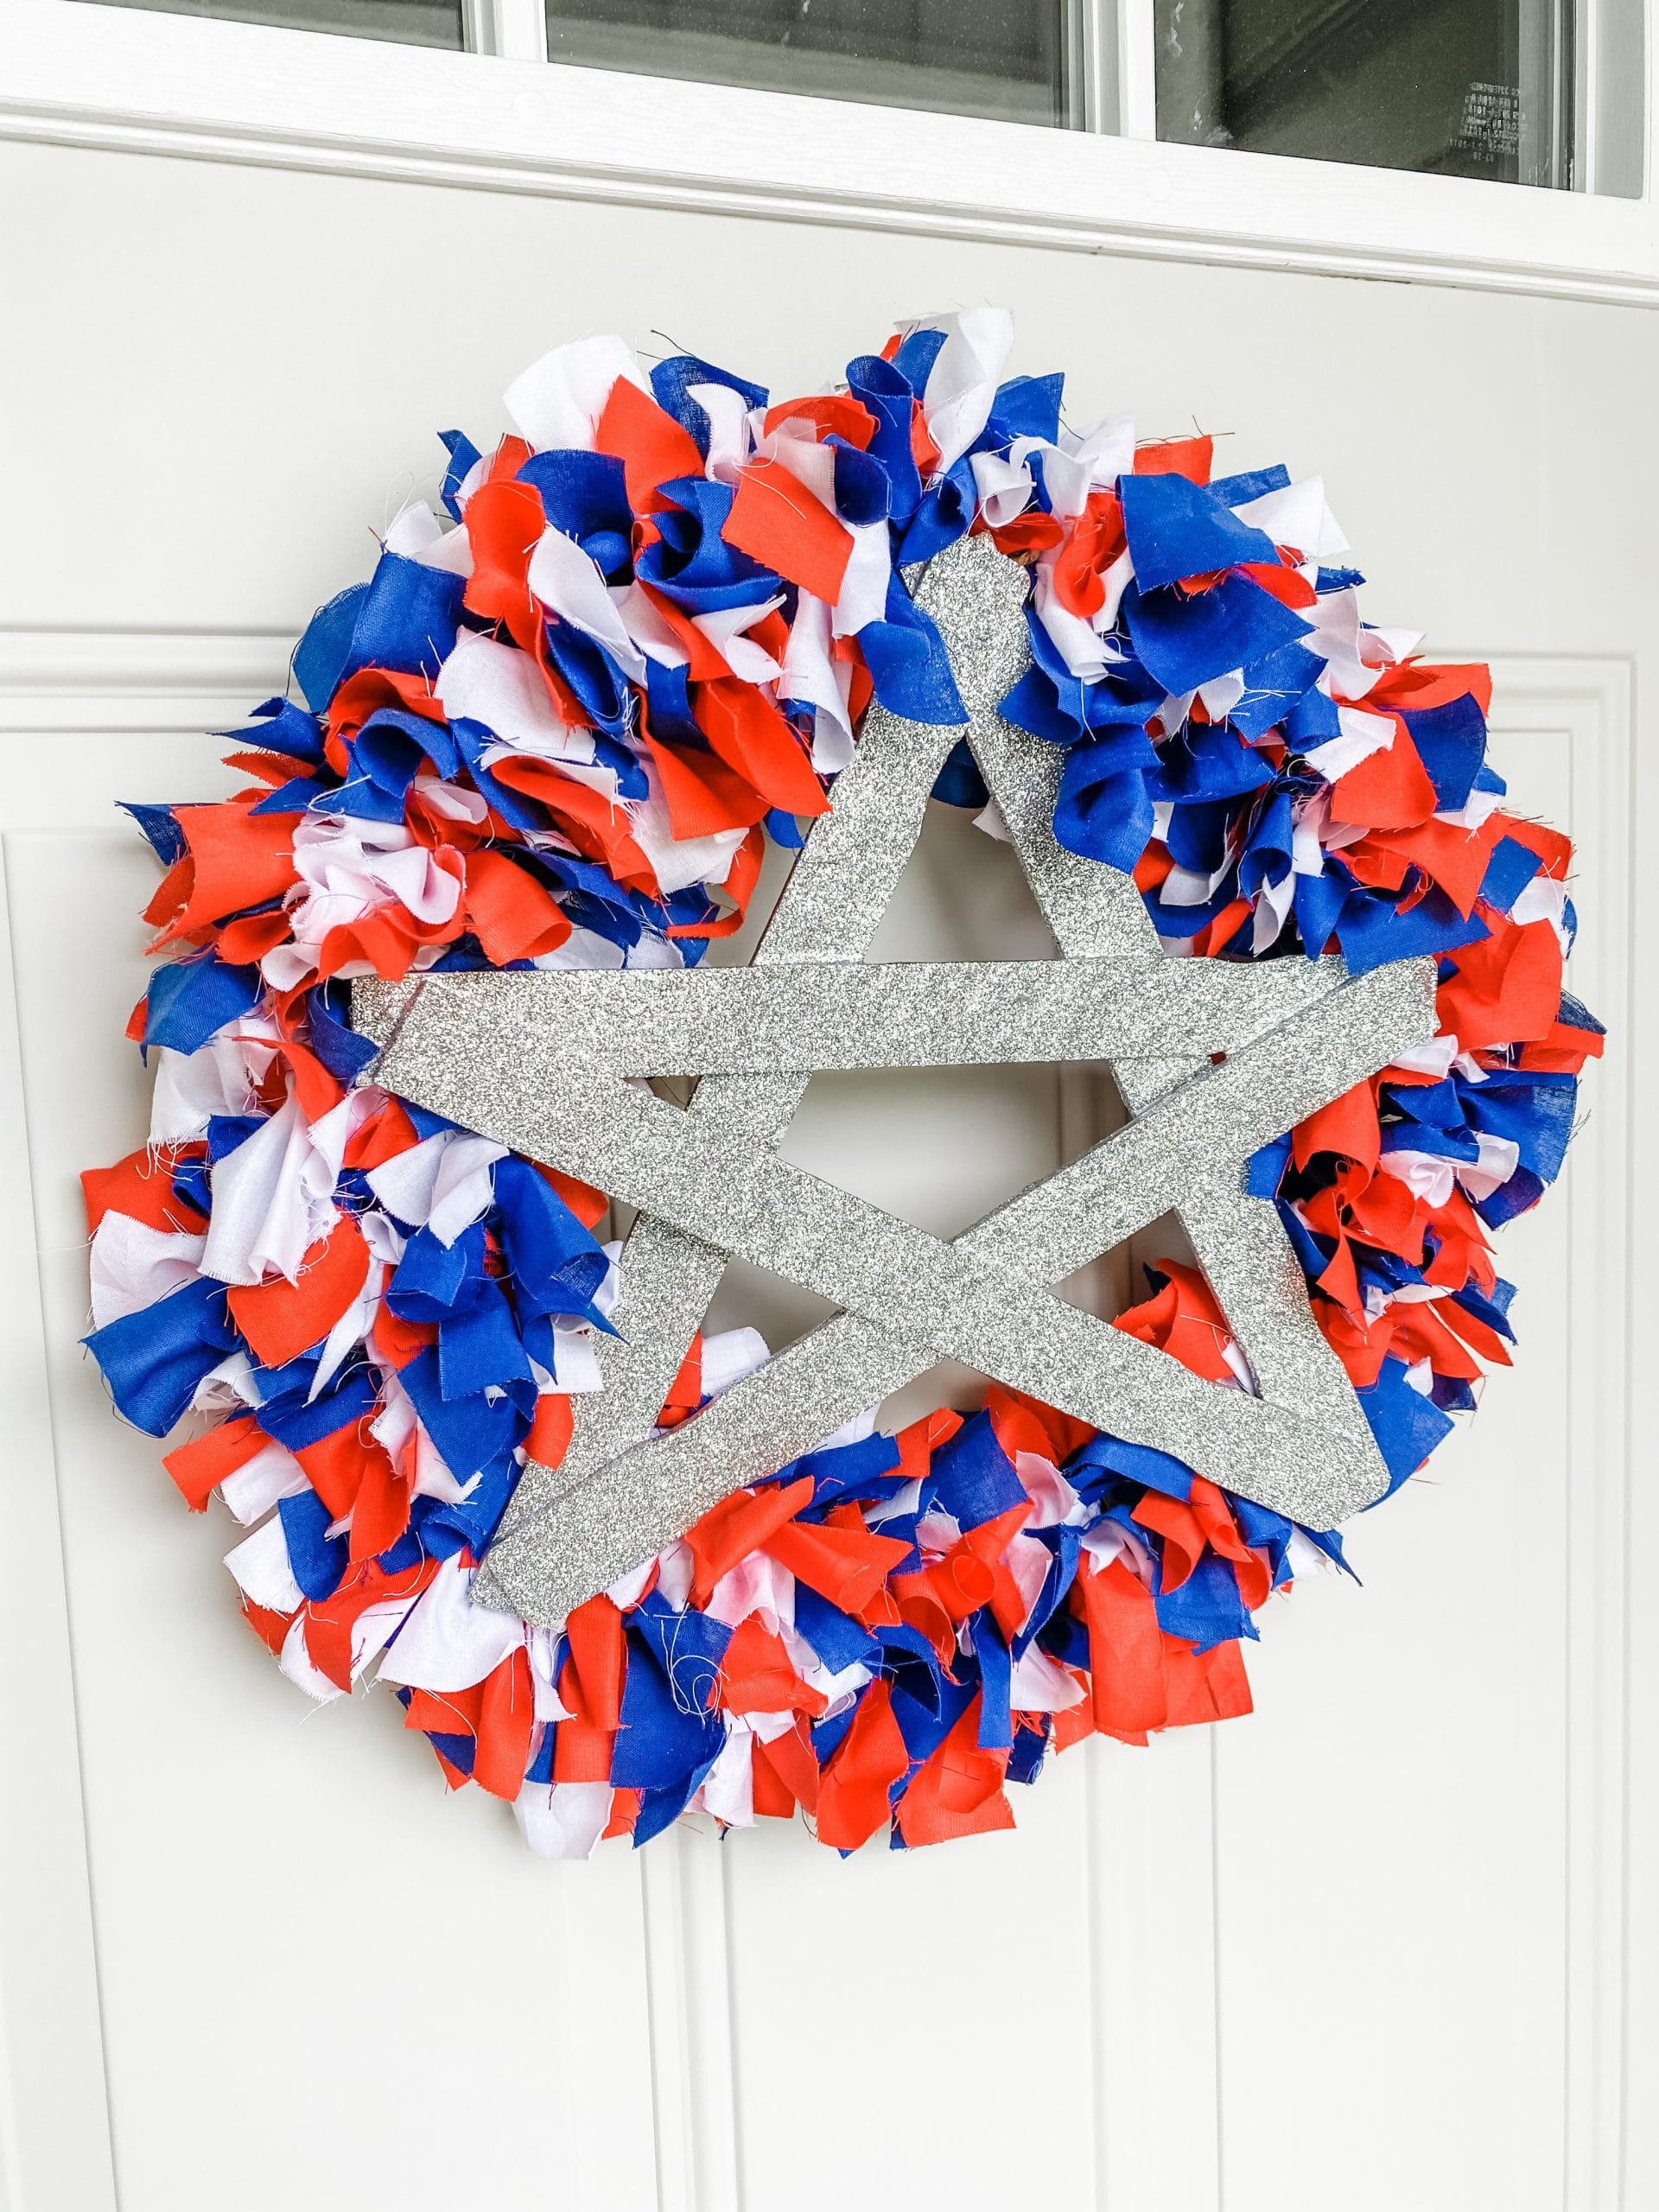
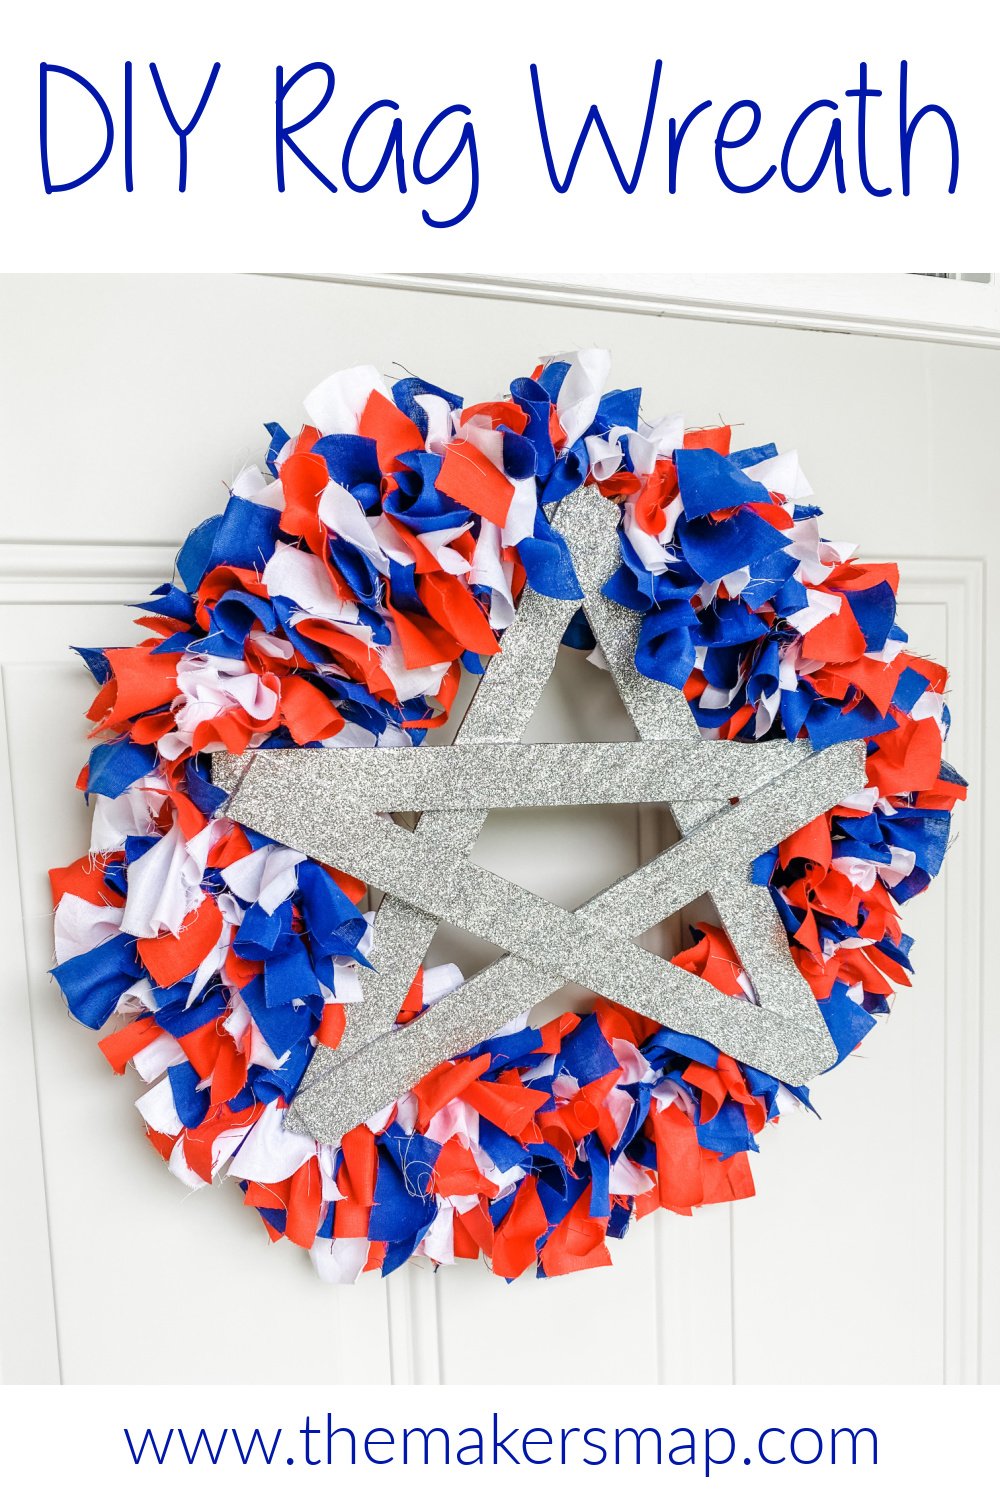
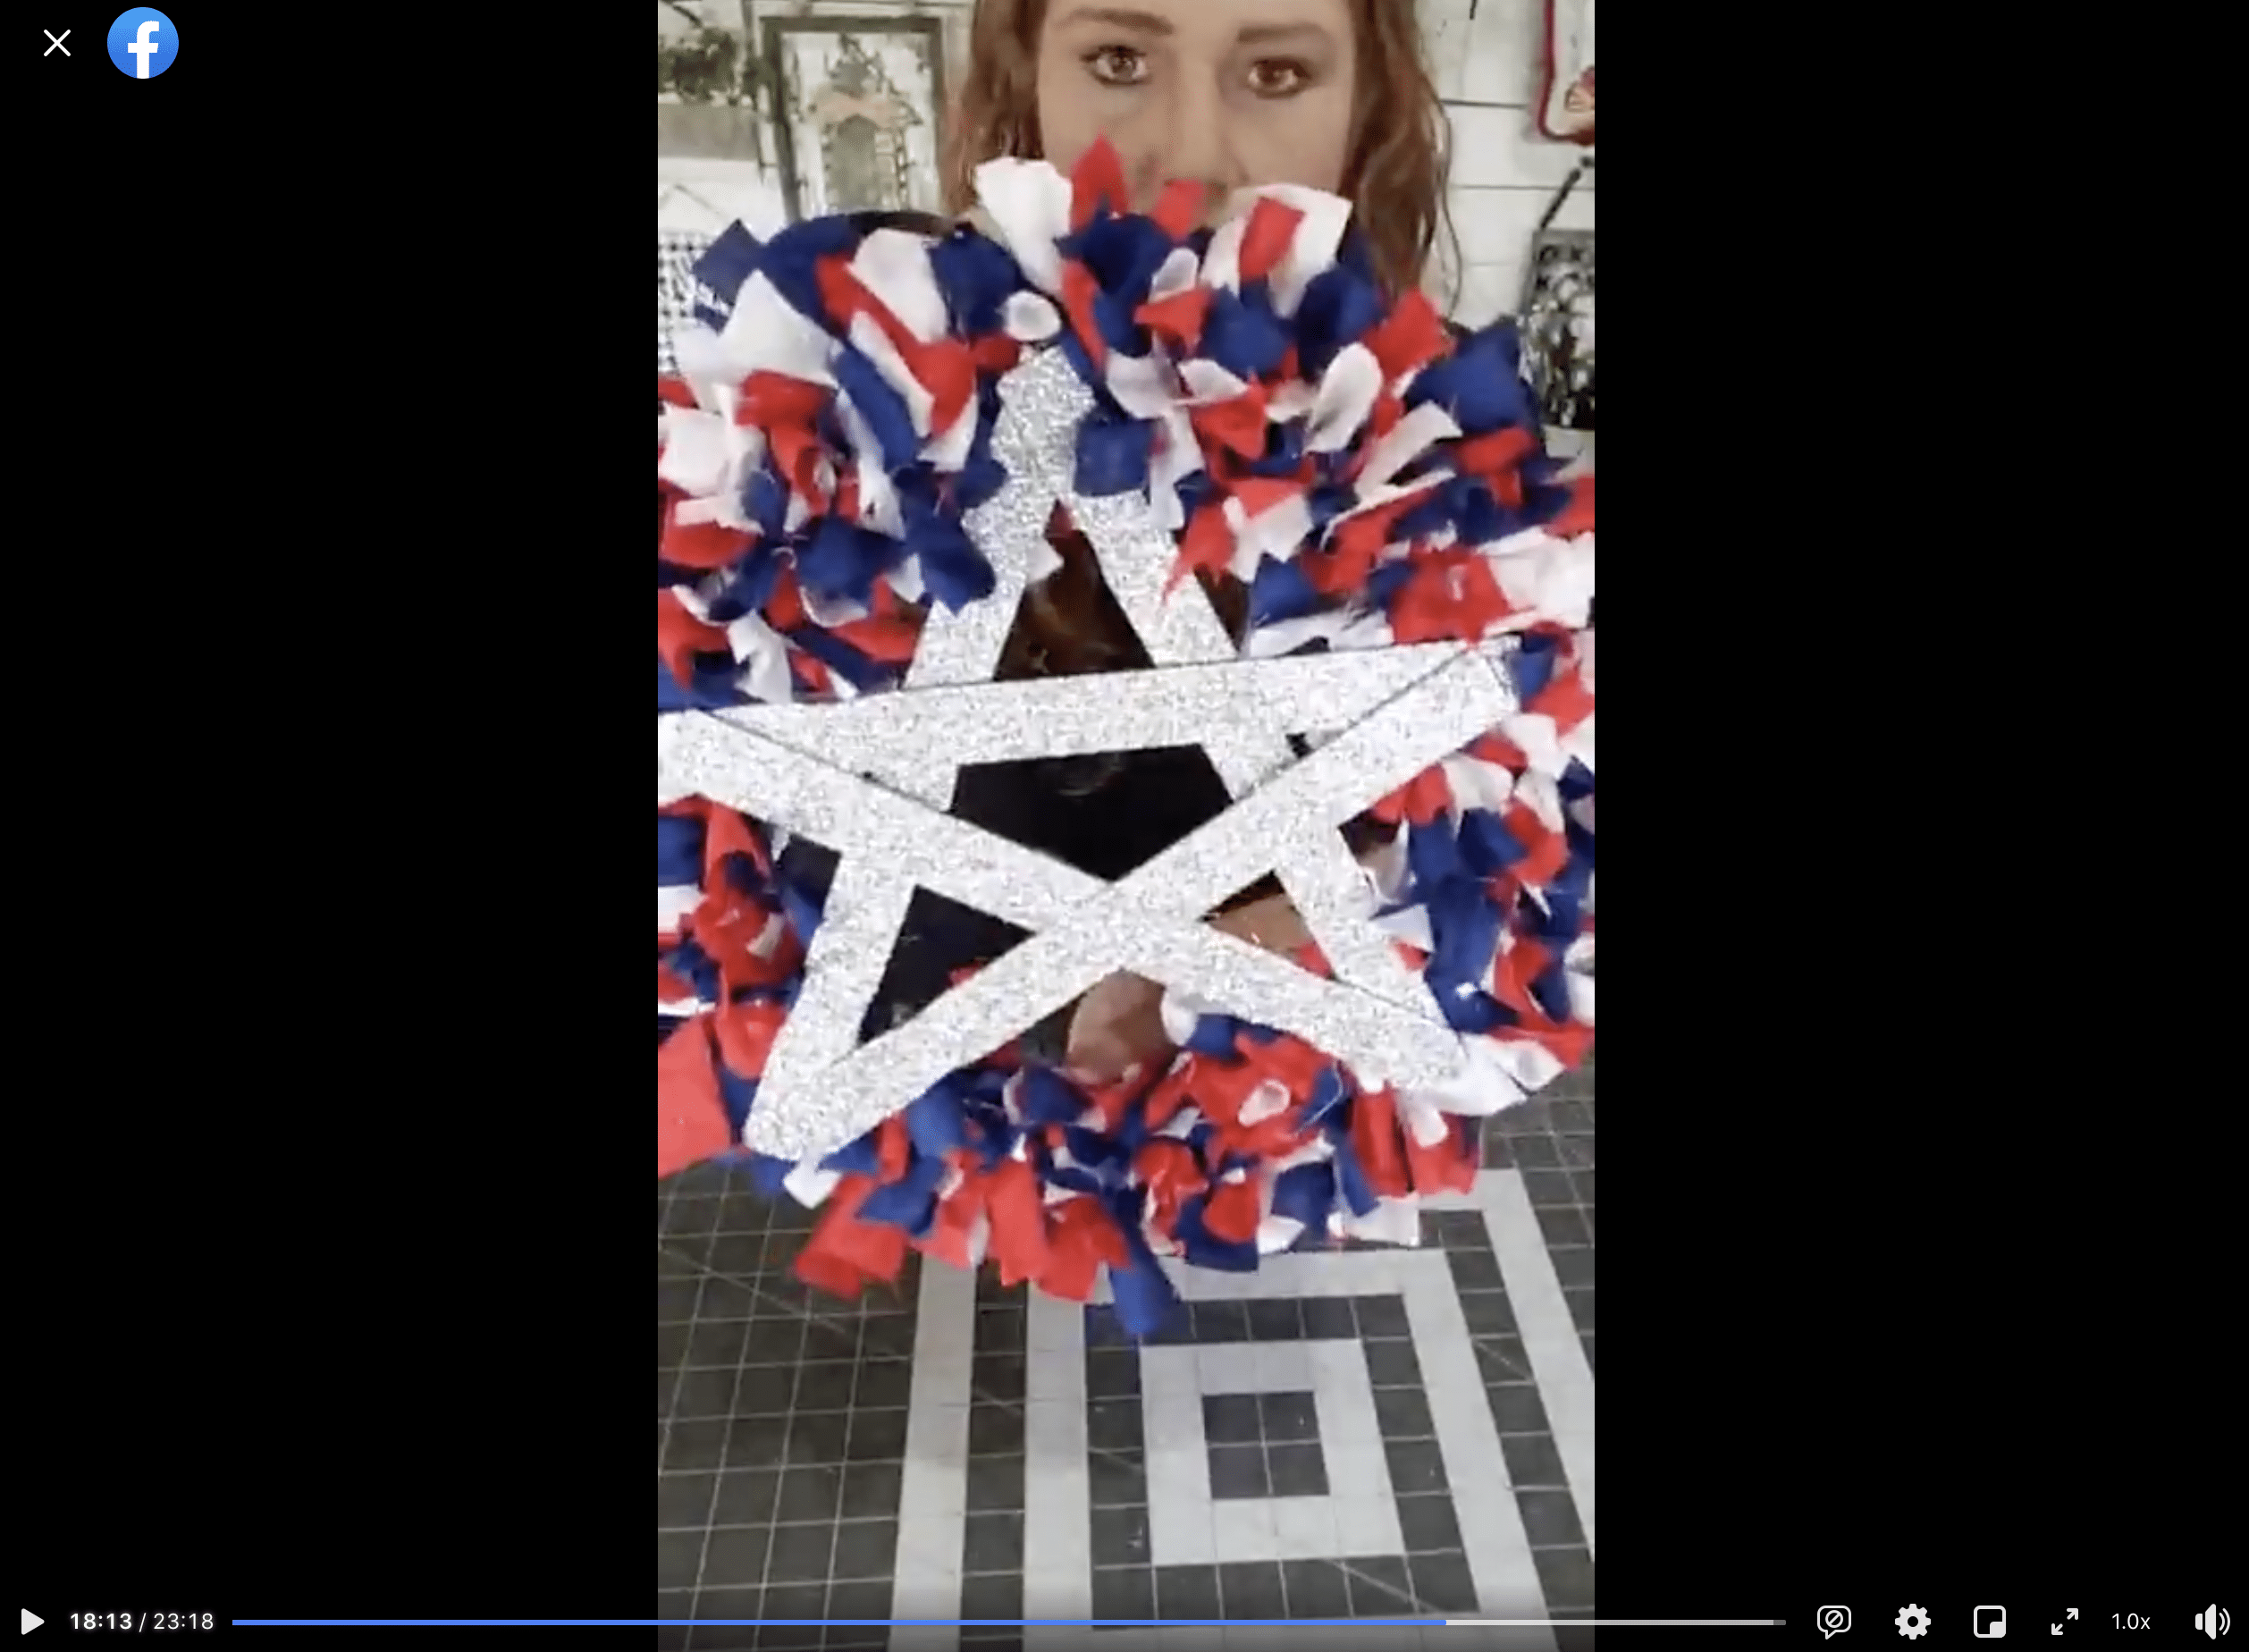
This DIY red, white, and blue rag wreath is a super easy and affordable DIY project to fill that empty space on your front door this summer!
I love doing rag wreaths because they are so easy to do and don’t require any DIY experience! Just cut the fabric and tie it onto the wreath!
Watch the replay
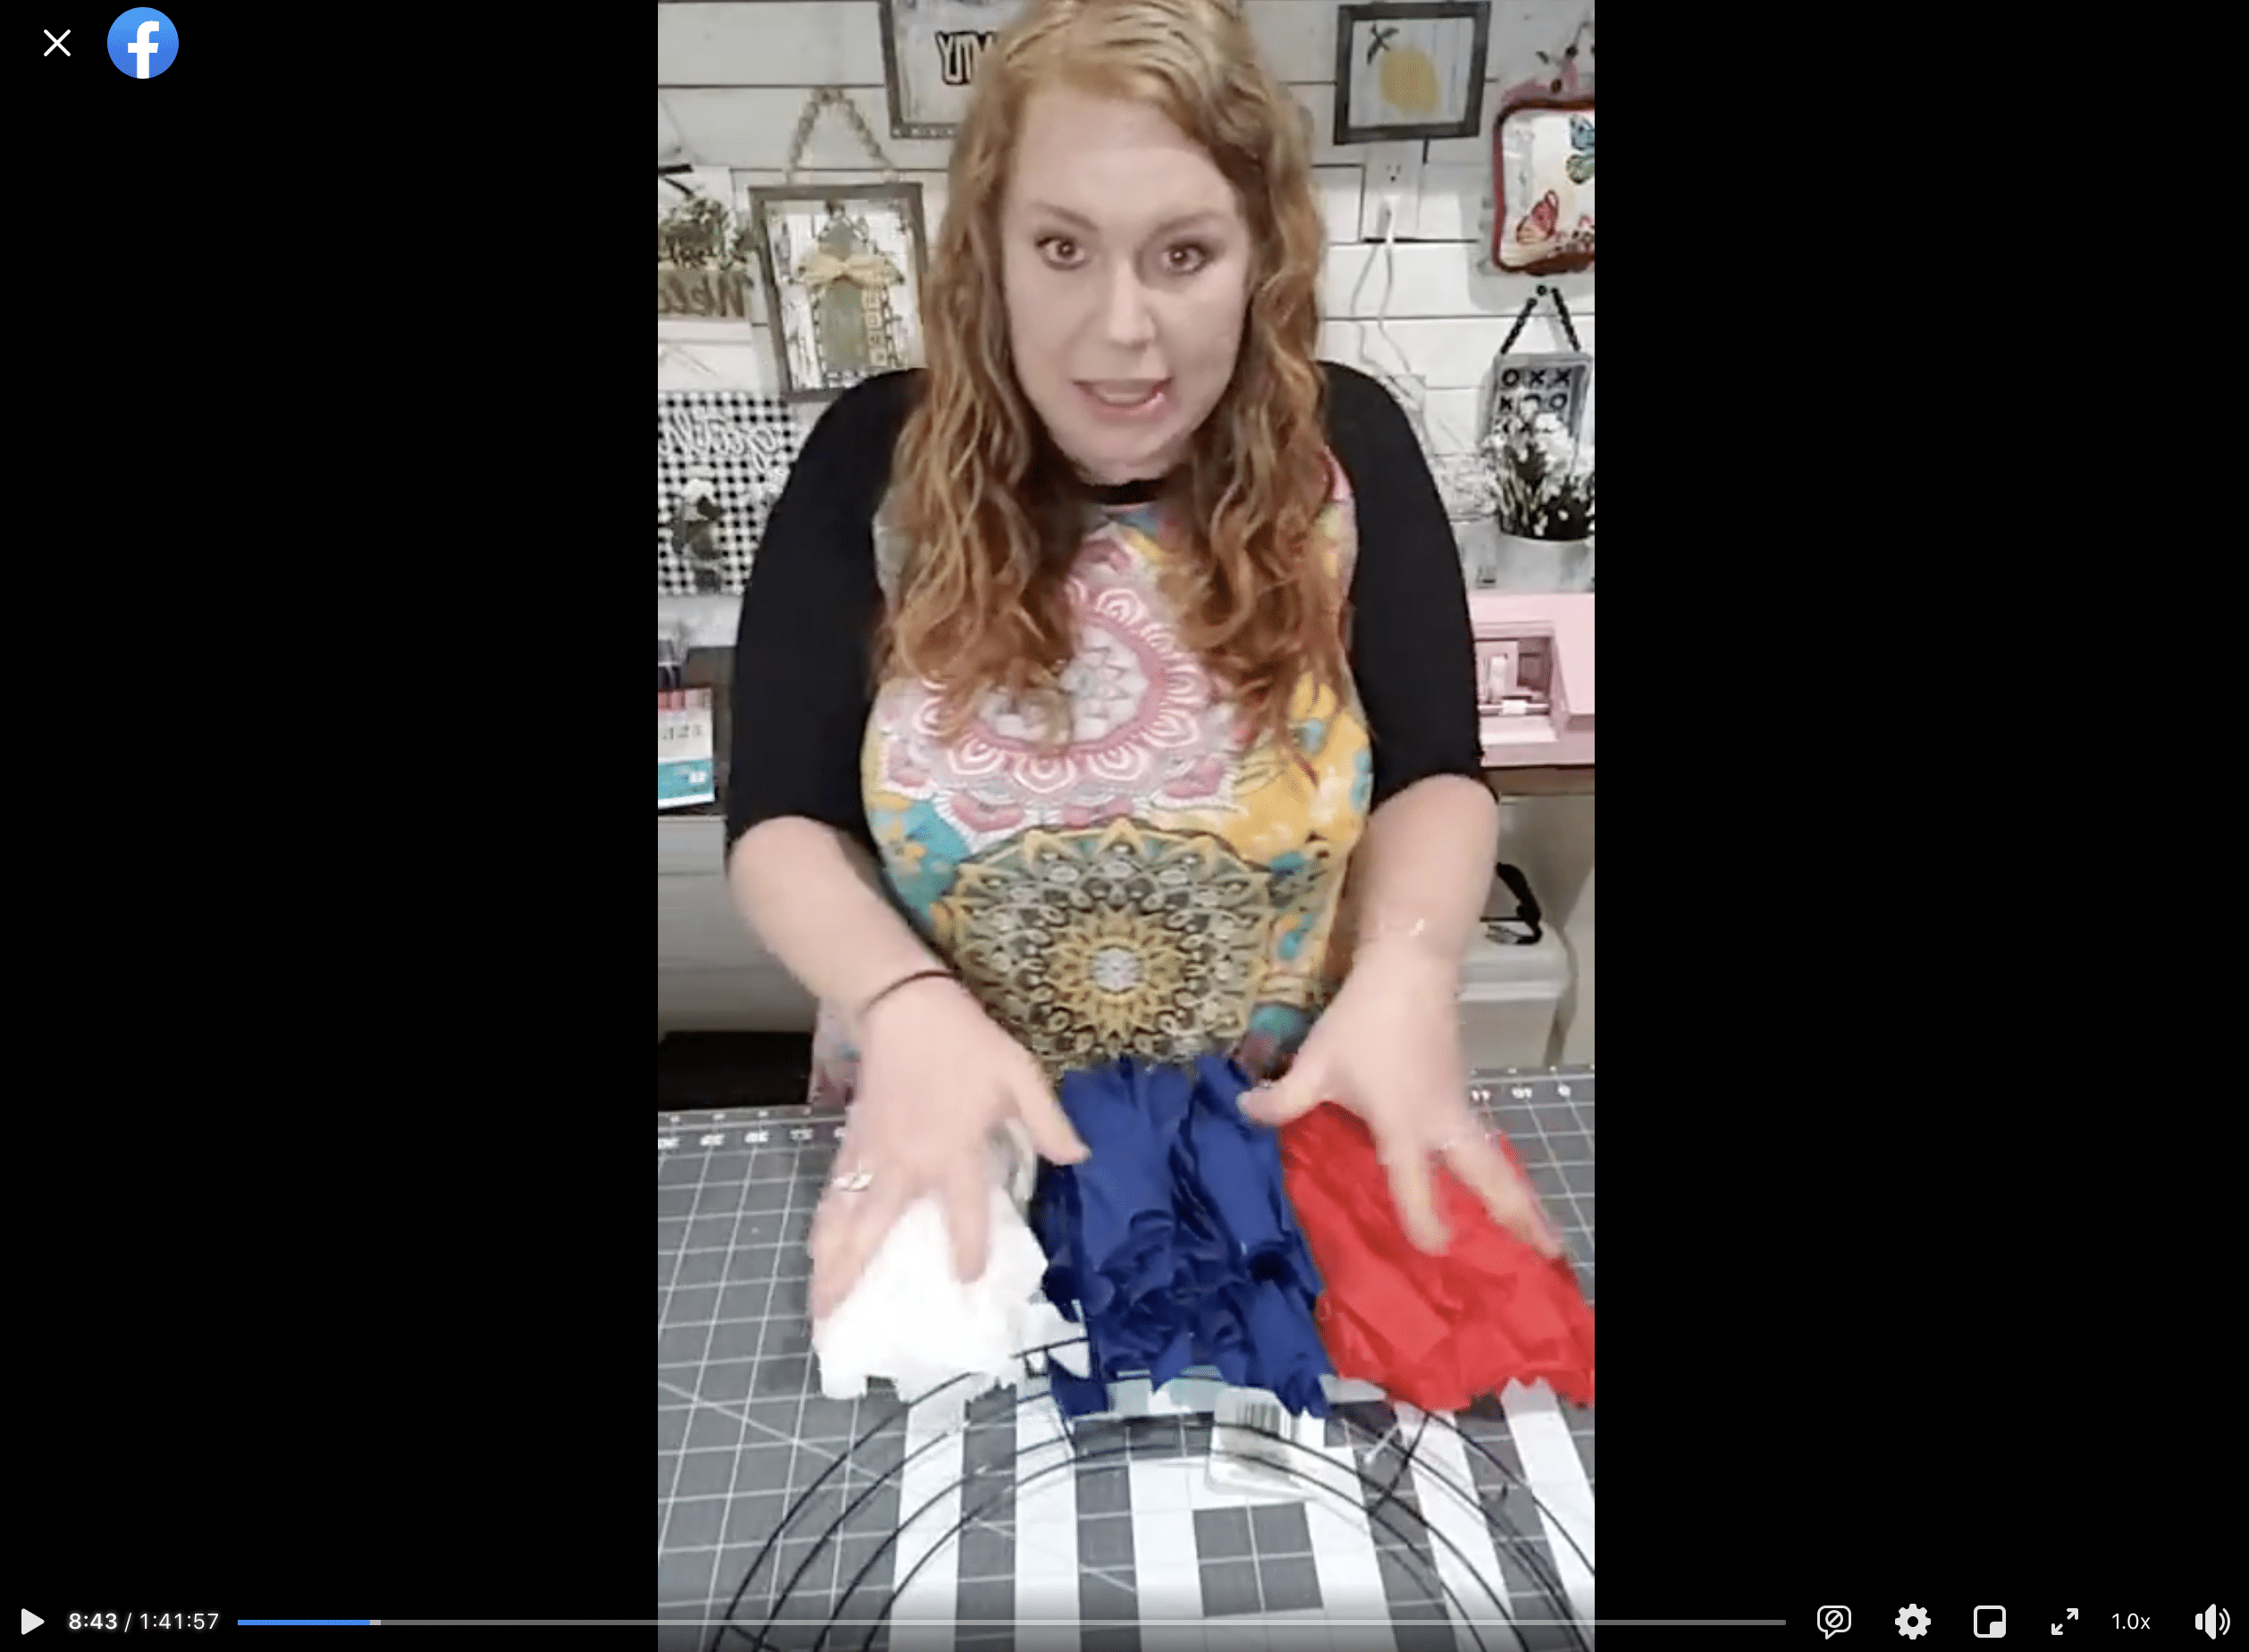
I recorded the how-to steps of making this easy DIY rag wreath during two LIVE videos on my Facebook page.
If you want to see the process, craft along, or just join in on the fun conversations, you can watch the DIY tutorials below.
WATCH THE DIY TUTORIAL REPLAY PART 1
WATCH THE DIY TUTORIAL REPLAY PART 2
For this project, I will be using these items but you can substitute where you want.
“As an Amazon Associate, I earn from qualifying purchases.”
- Dollar Tree Wreath Form
- Paint Sticks
- Red Fabric
- White Fabric
- Blue Fabric
- Modern Masters Silver Metallic Paint (Hobby Lobby)
- Extra Fine Silver Glitter
- Mod Podge
- Hot Glue gun
- Glue Sticks
How to make a DIY Red, White, and Blue Rag Wreath
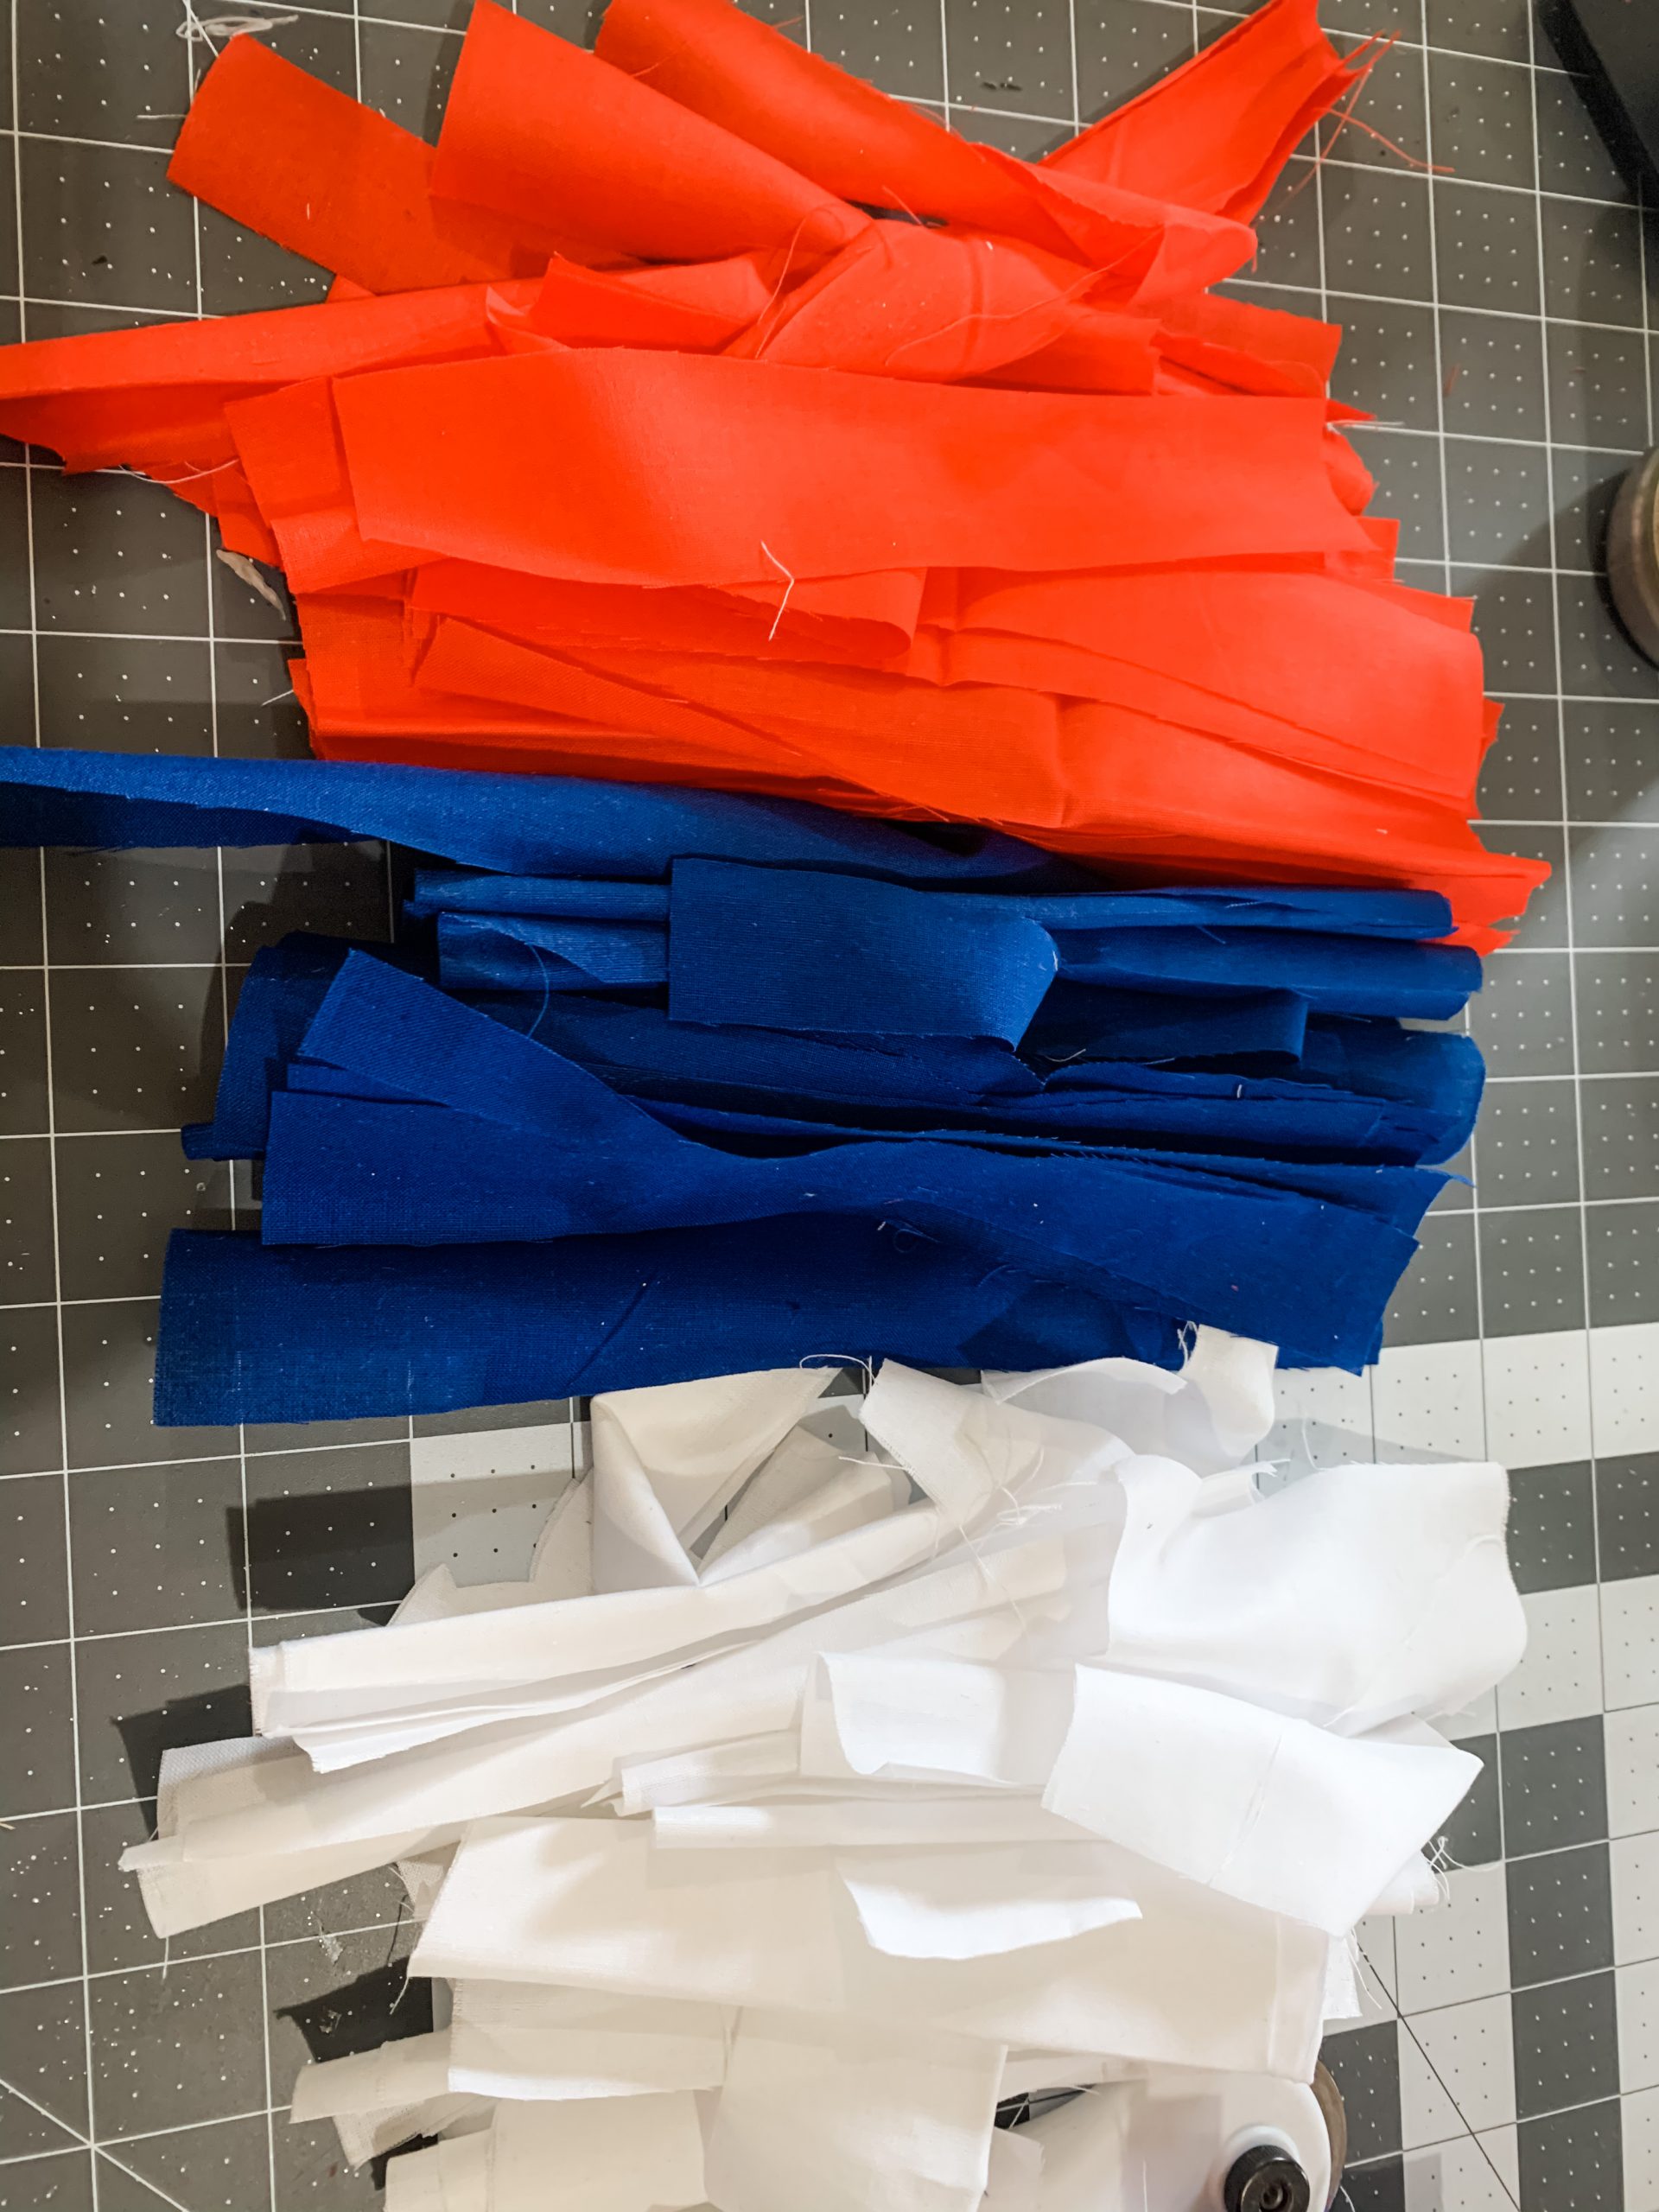
You’re going to start making this adorable patriotic wreath by cutting several strips of your red, white, and blue fabrics. If you want a frayed edge on the fabric strips, you can rip each of the strips instead of cutting them.
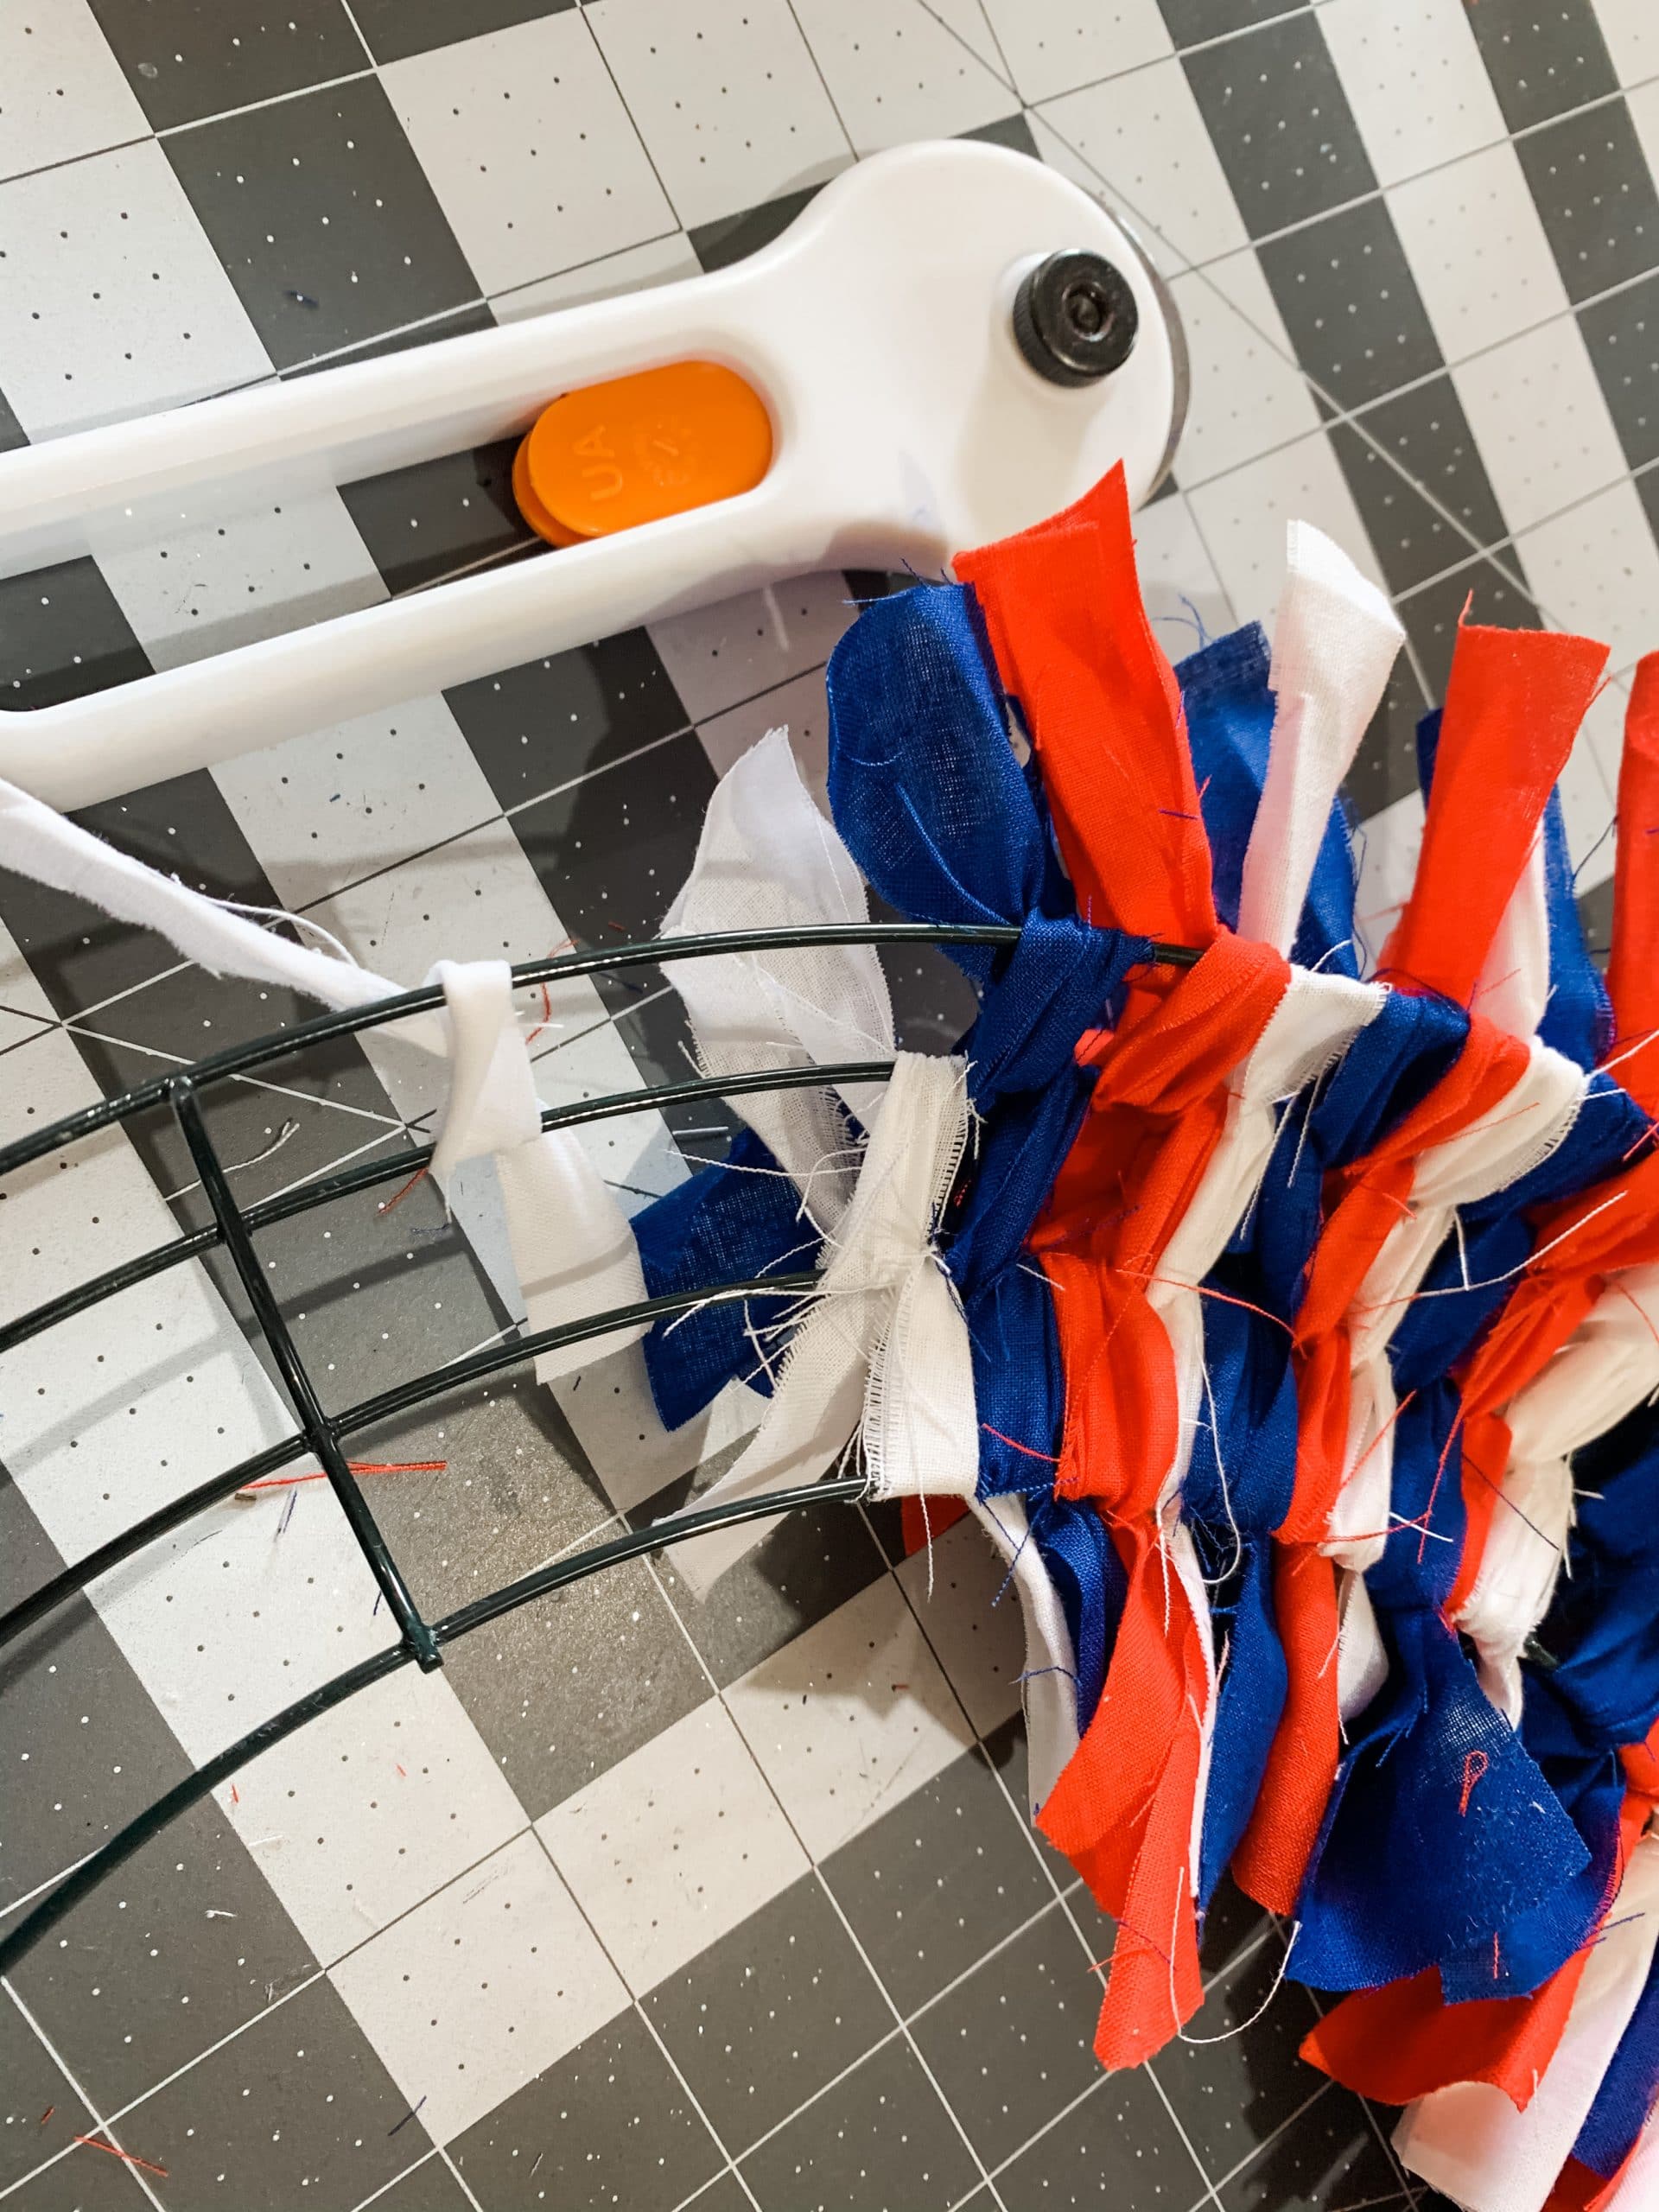
Then, you’re going to start tying them onto your wreath form. Alternate colors so that you don’t have two pieces of the same color fabric side by side.
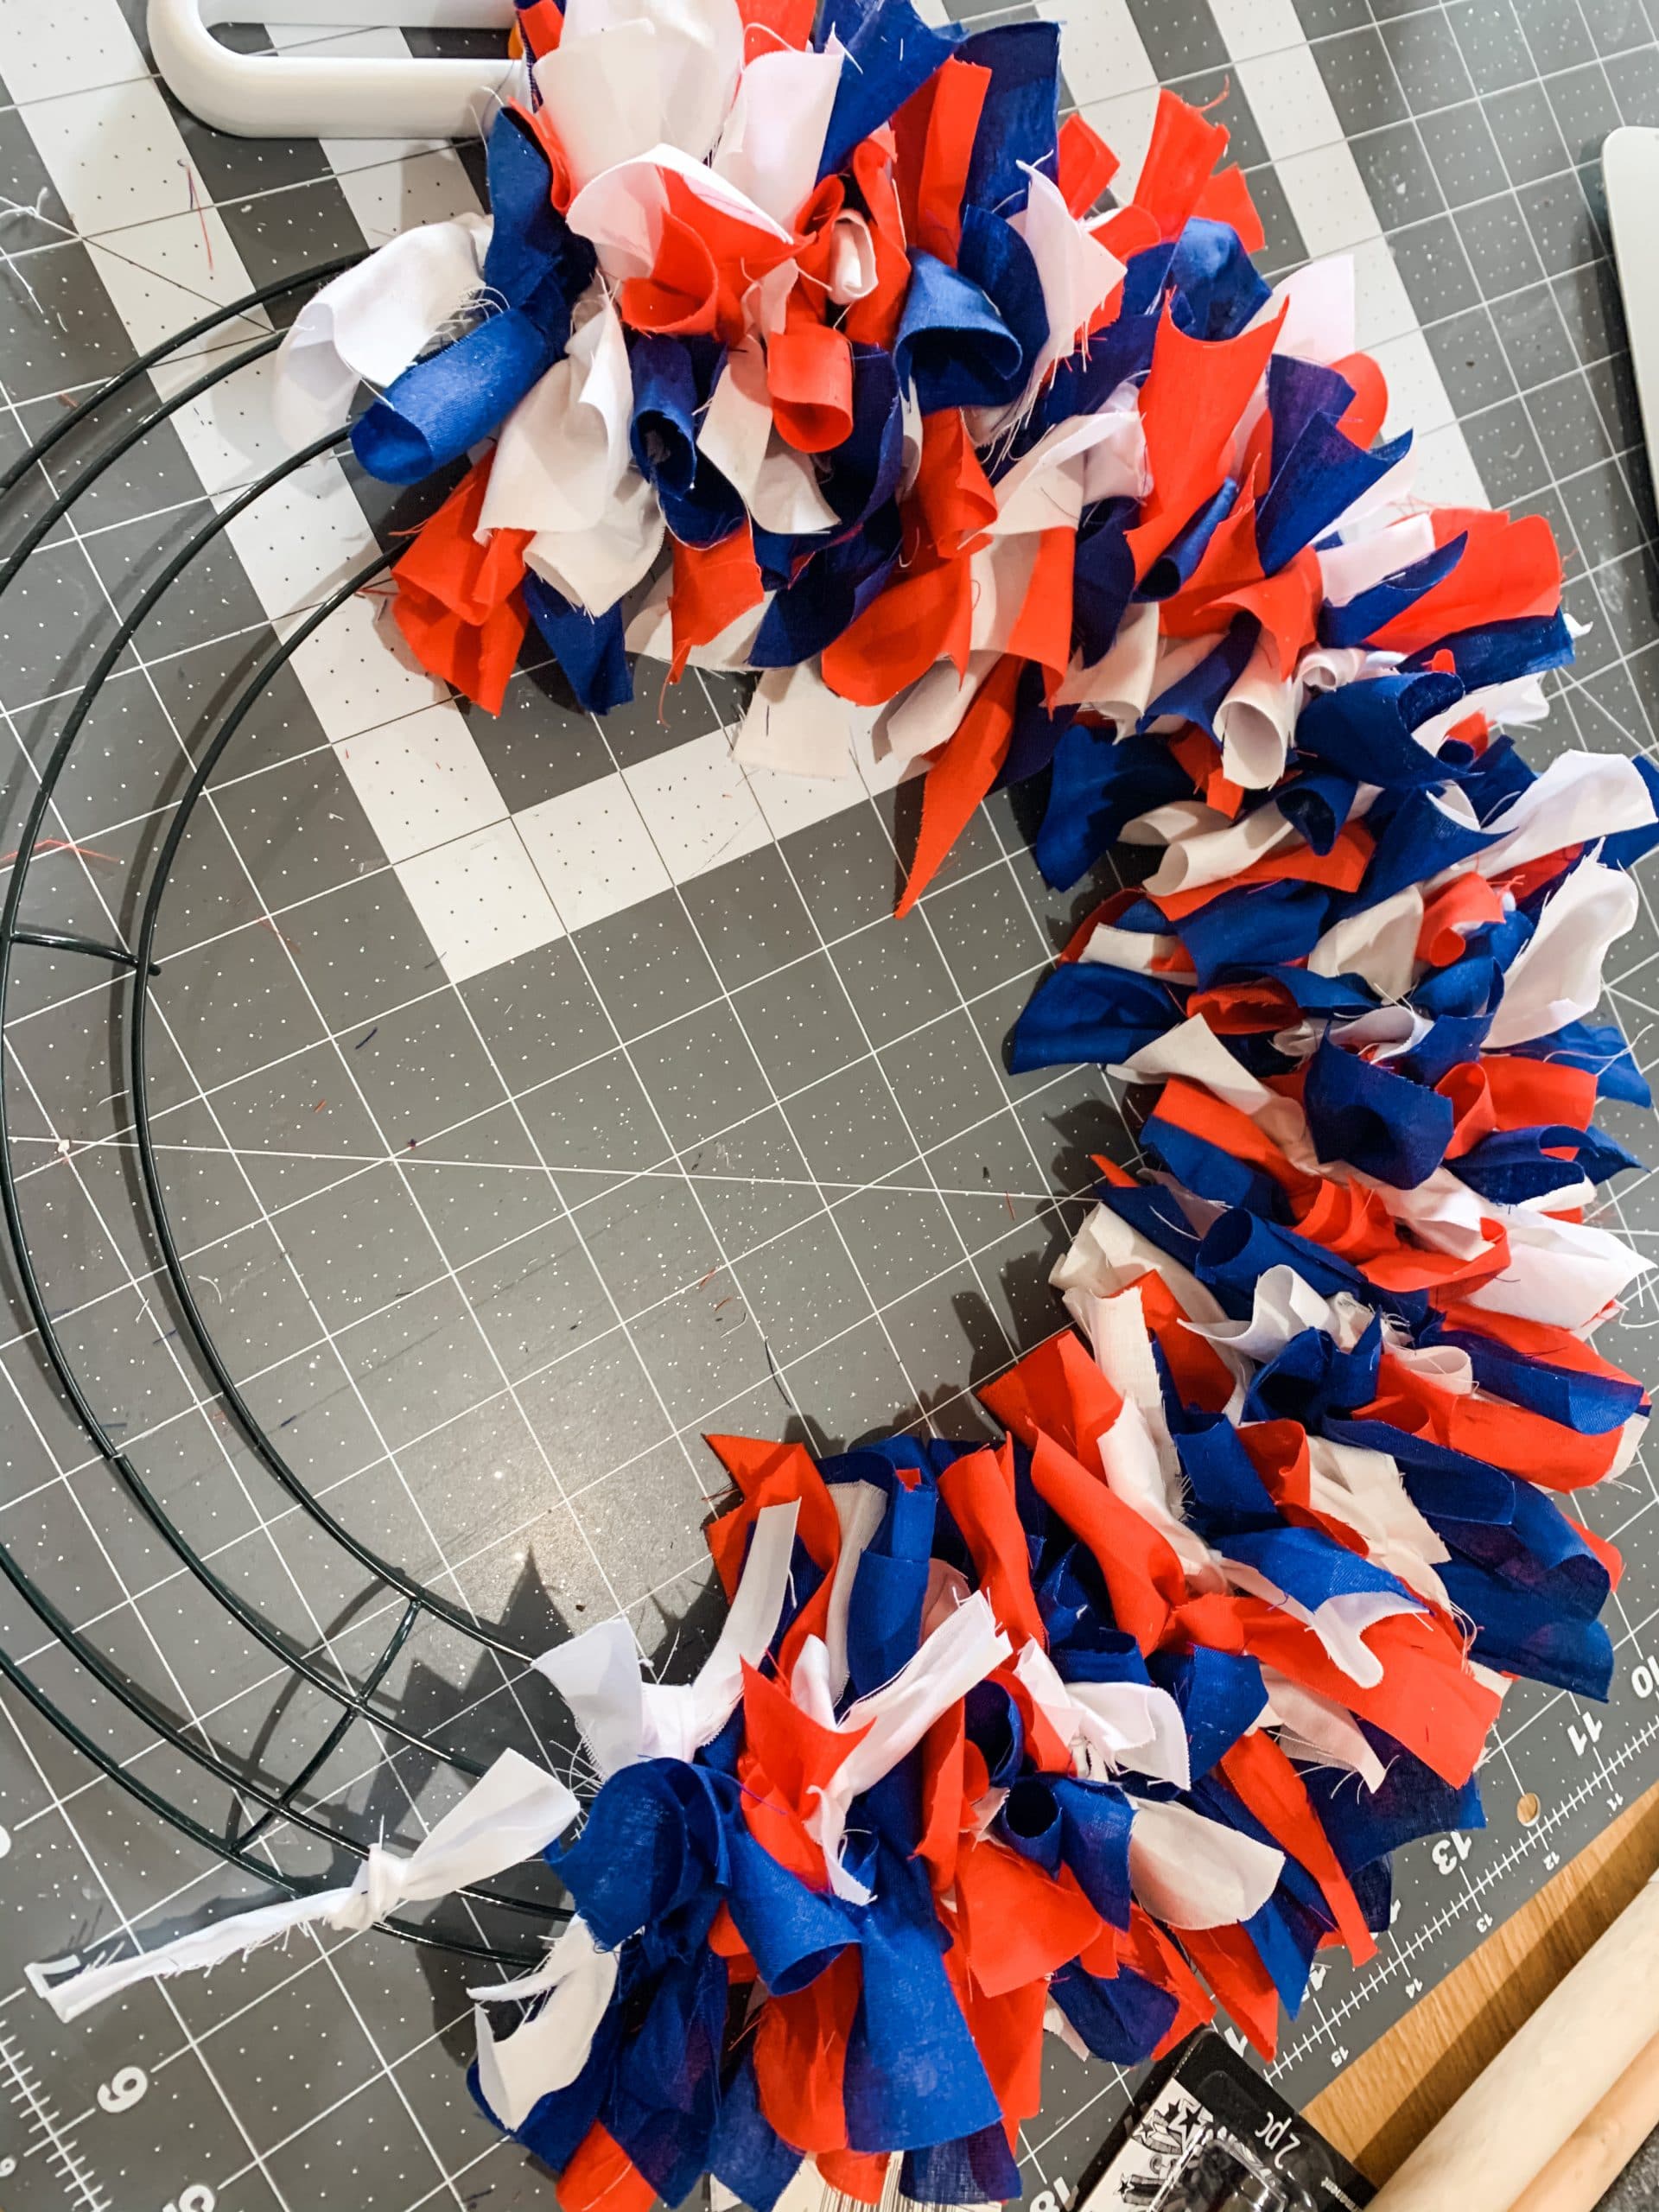
It’s going to be tedious, but keep tying the fabric strips, alternating colors, until the entire wreath form is covered. Then, you’re going to make the centerpiece for your wreath!
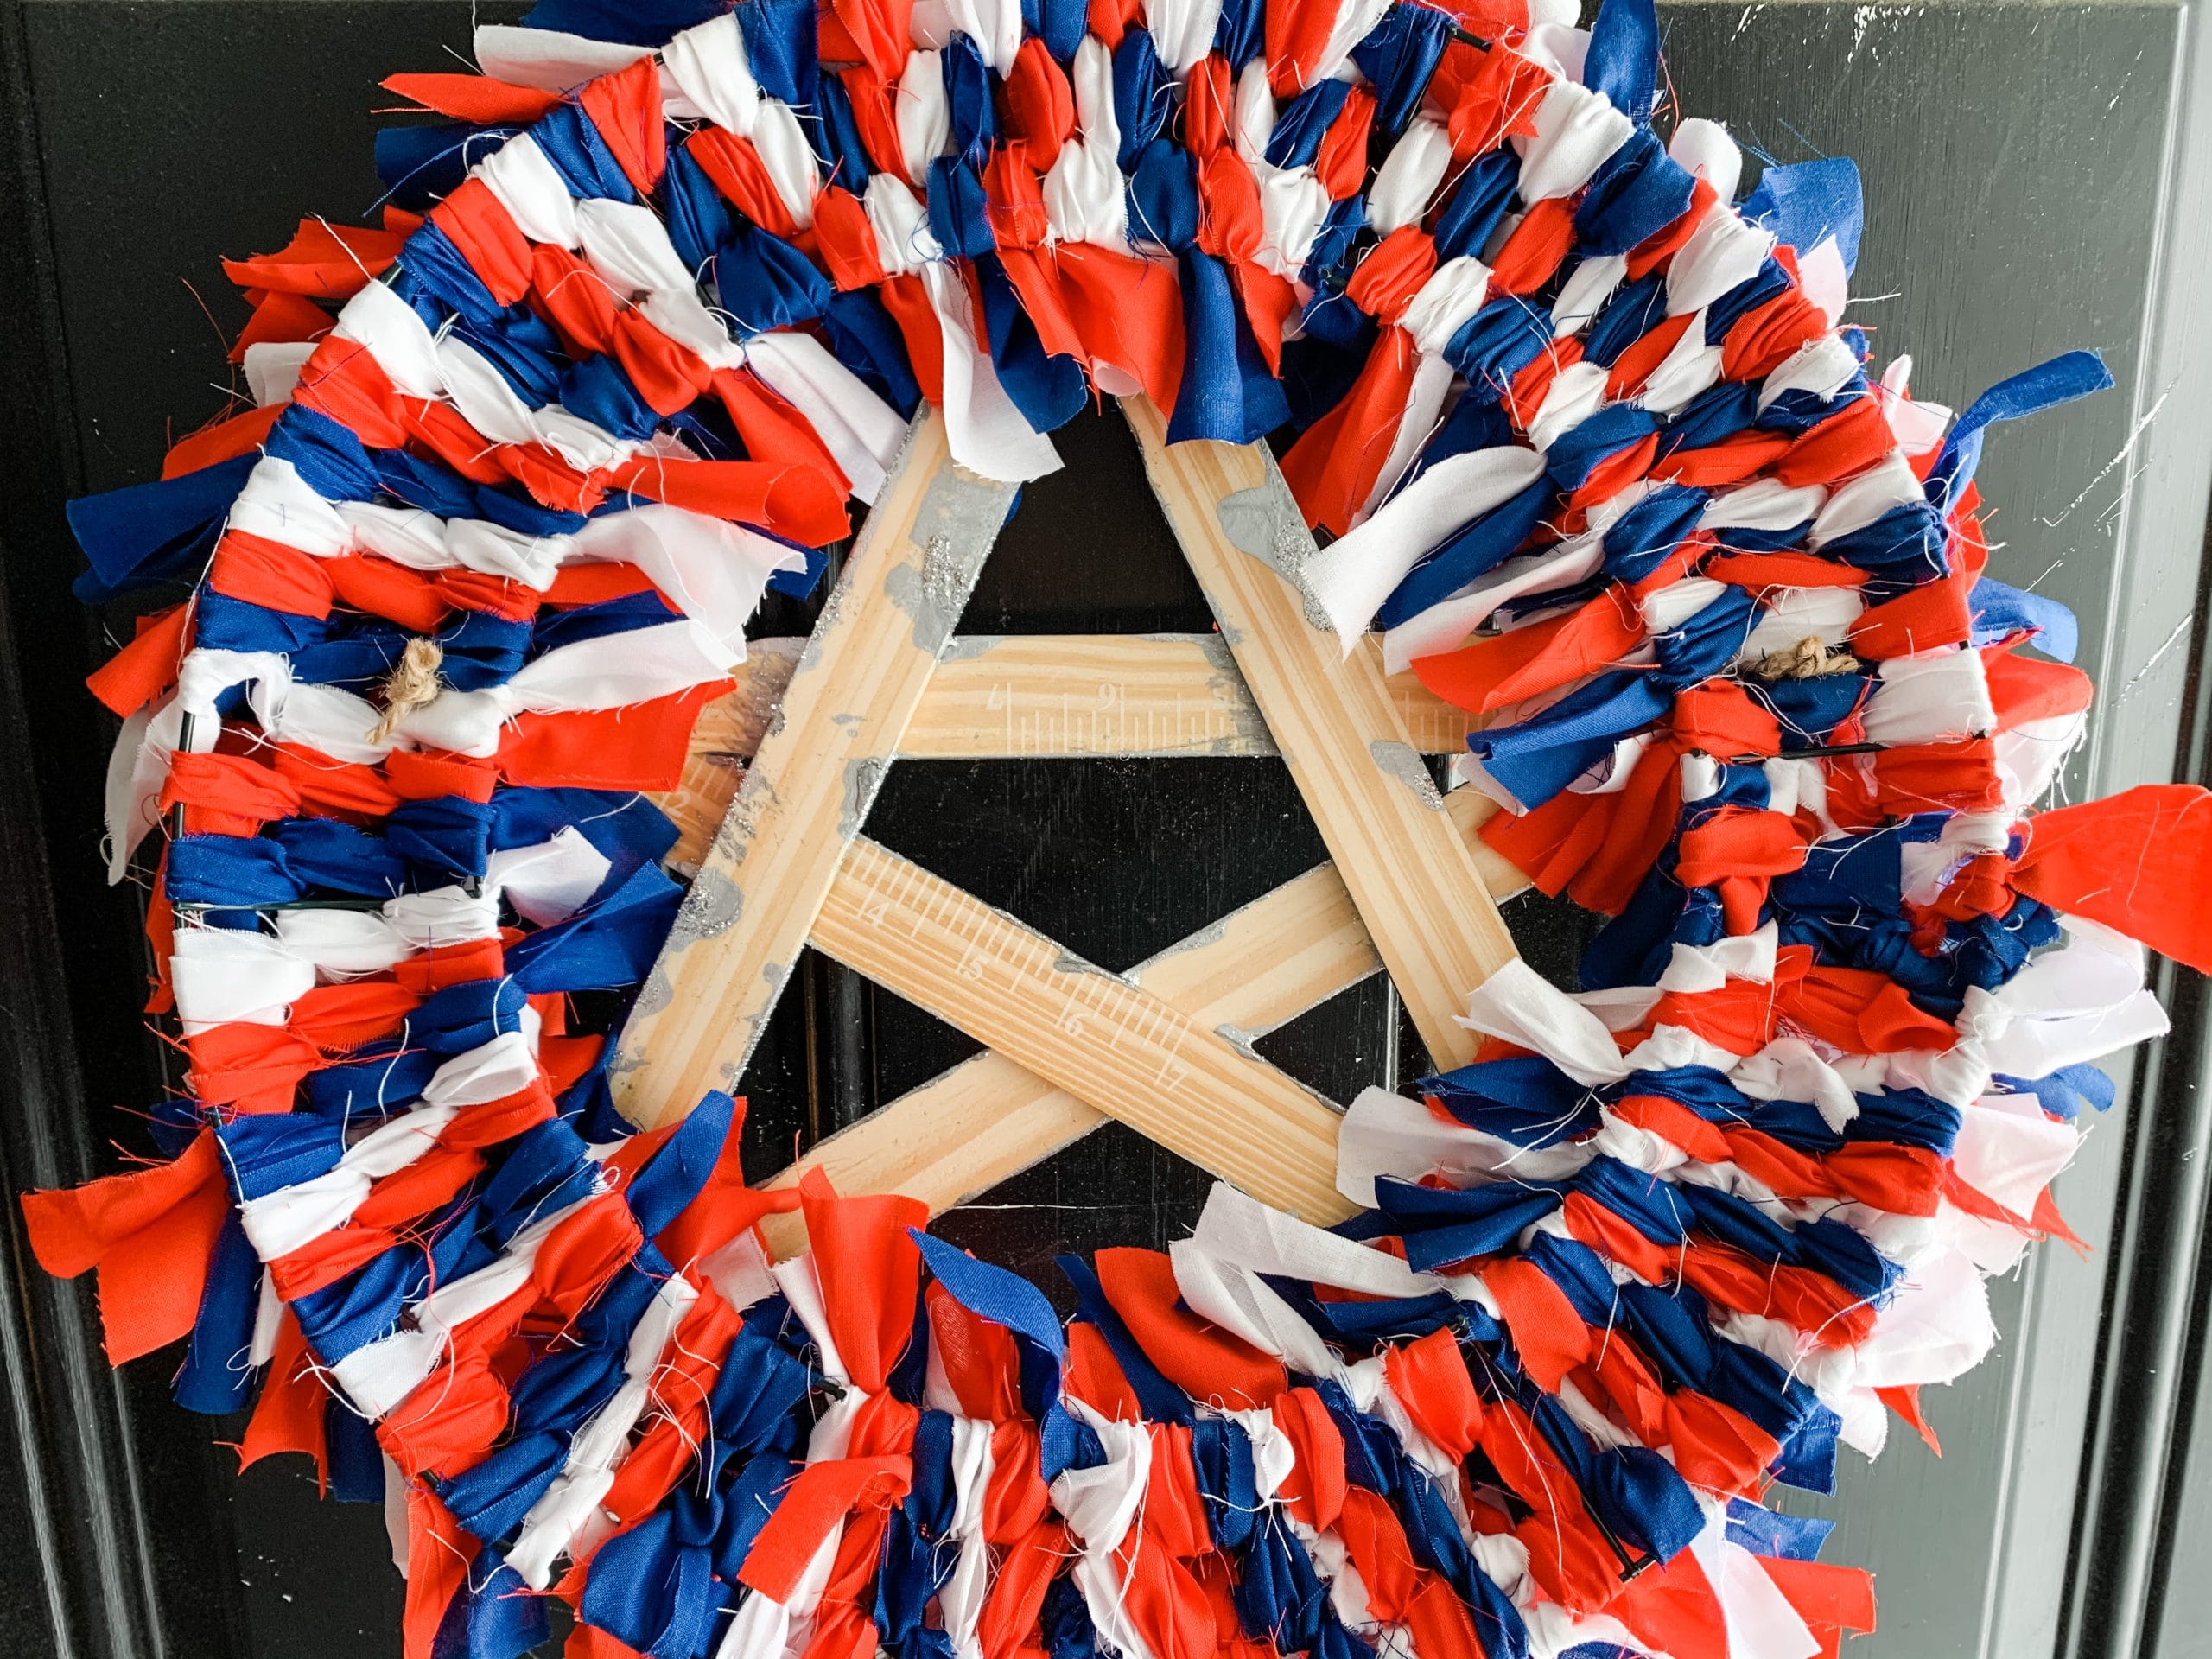
I made a star out of paint sticks, but you can choose to put something different in the center of yours. If you decide to do a star as I did, here is how I made mine.
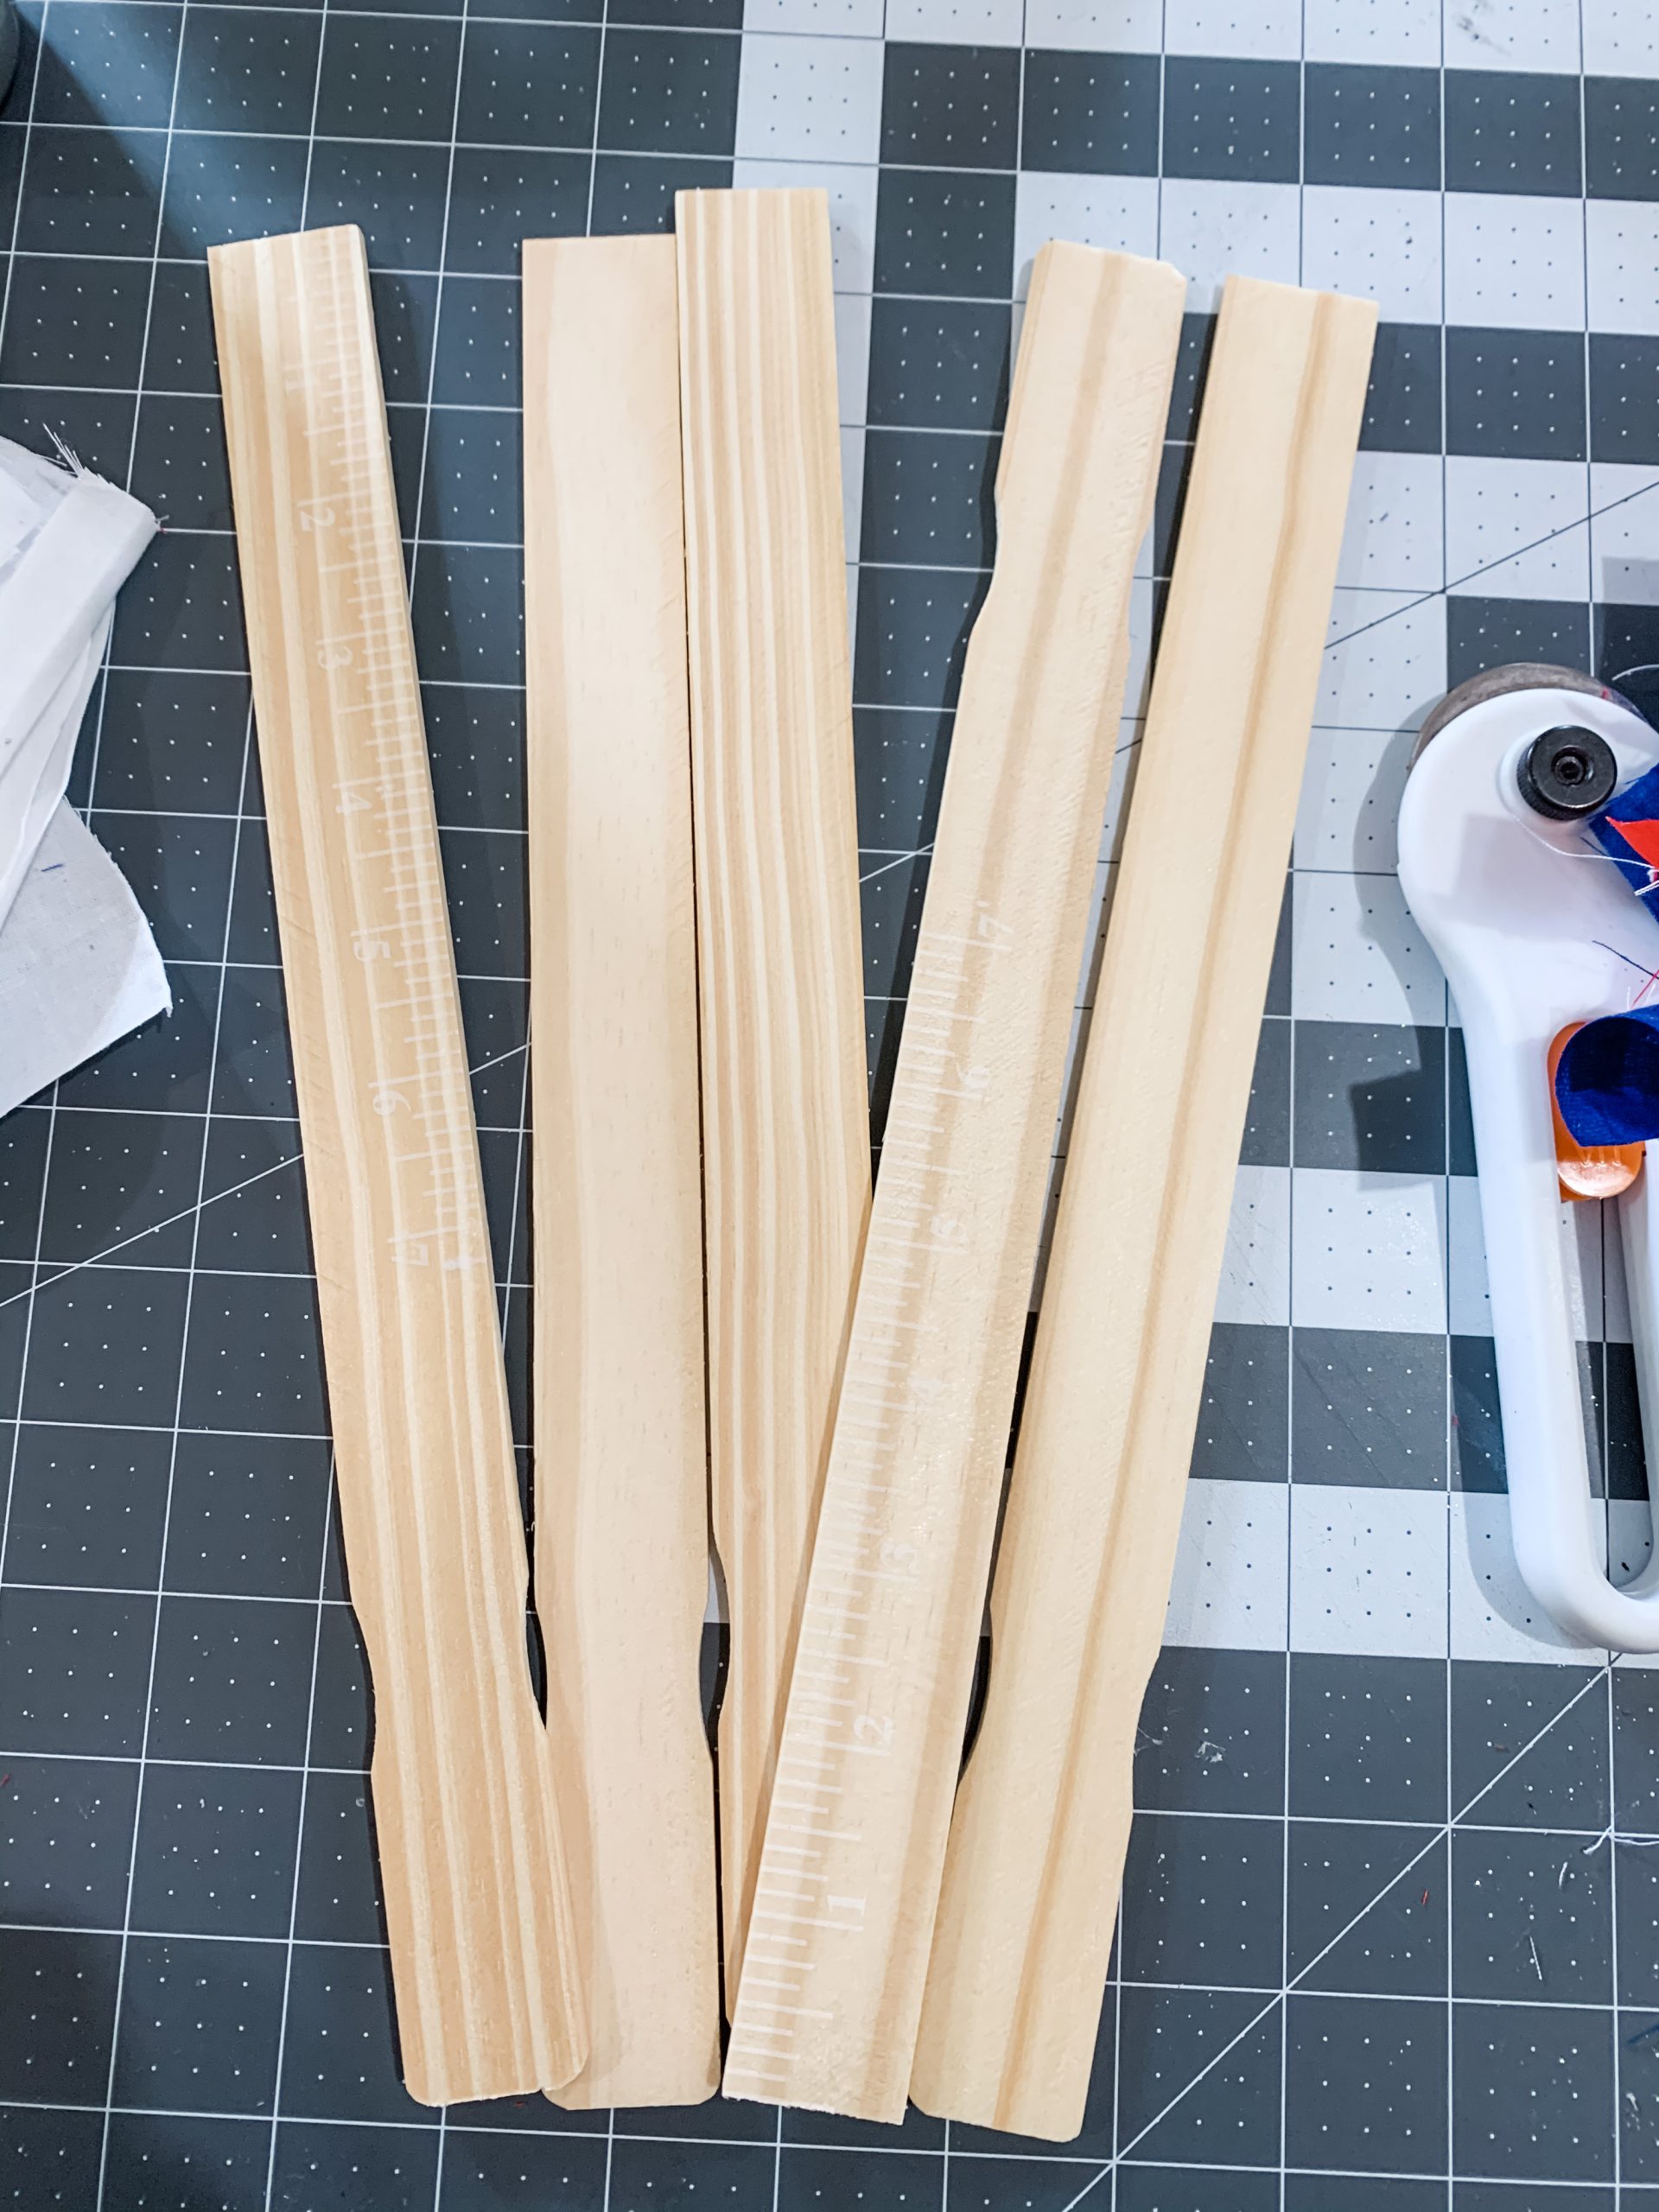
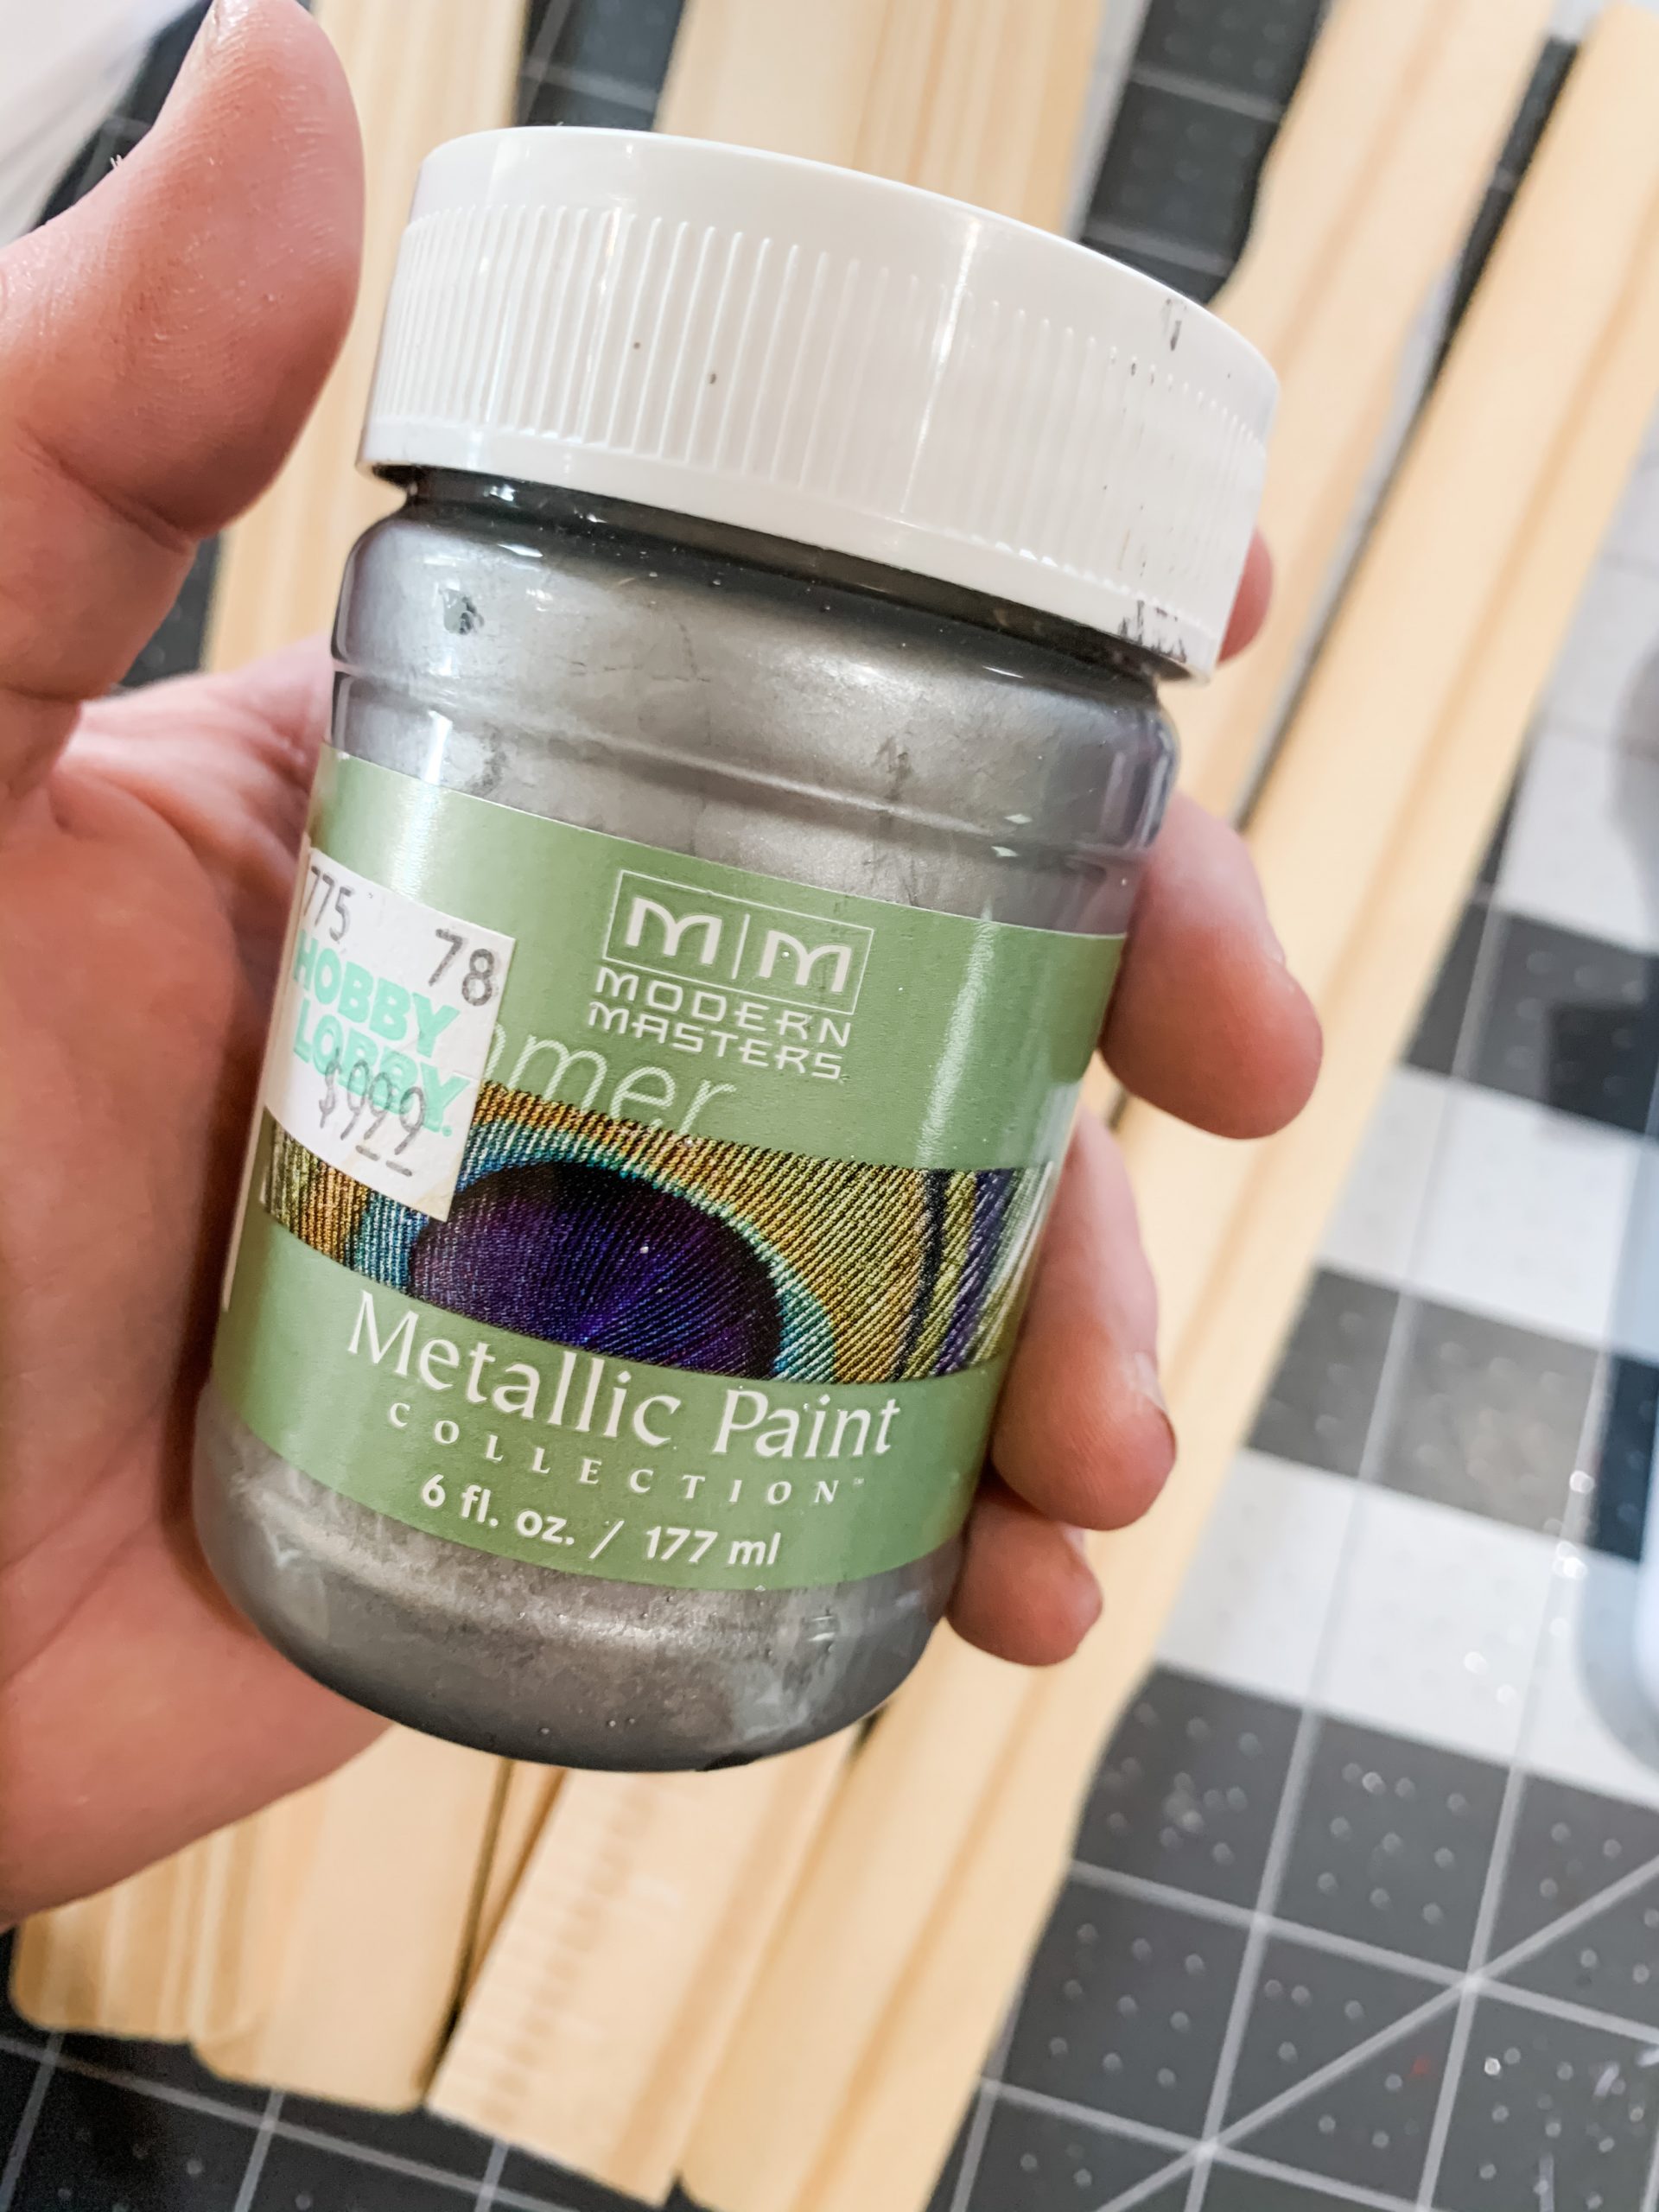
Start by laying your paint sticks in the shape of a star. Once you’re happy with the shape, hot glue them together. Next, use metallic silver paint and cover the entire star, including the sides.
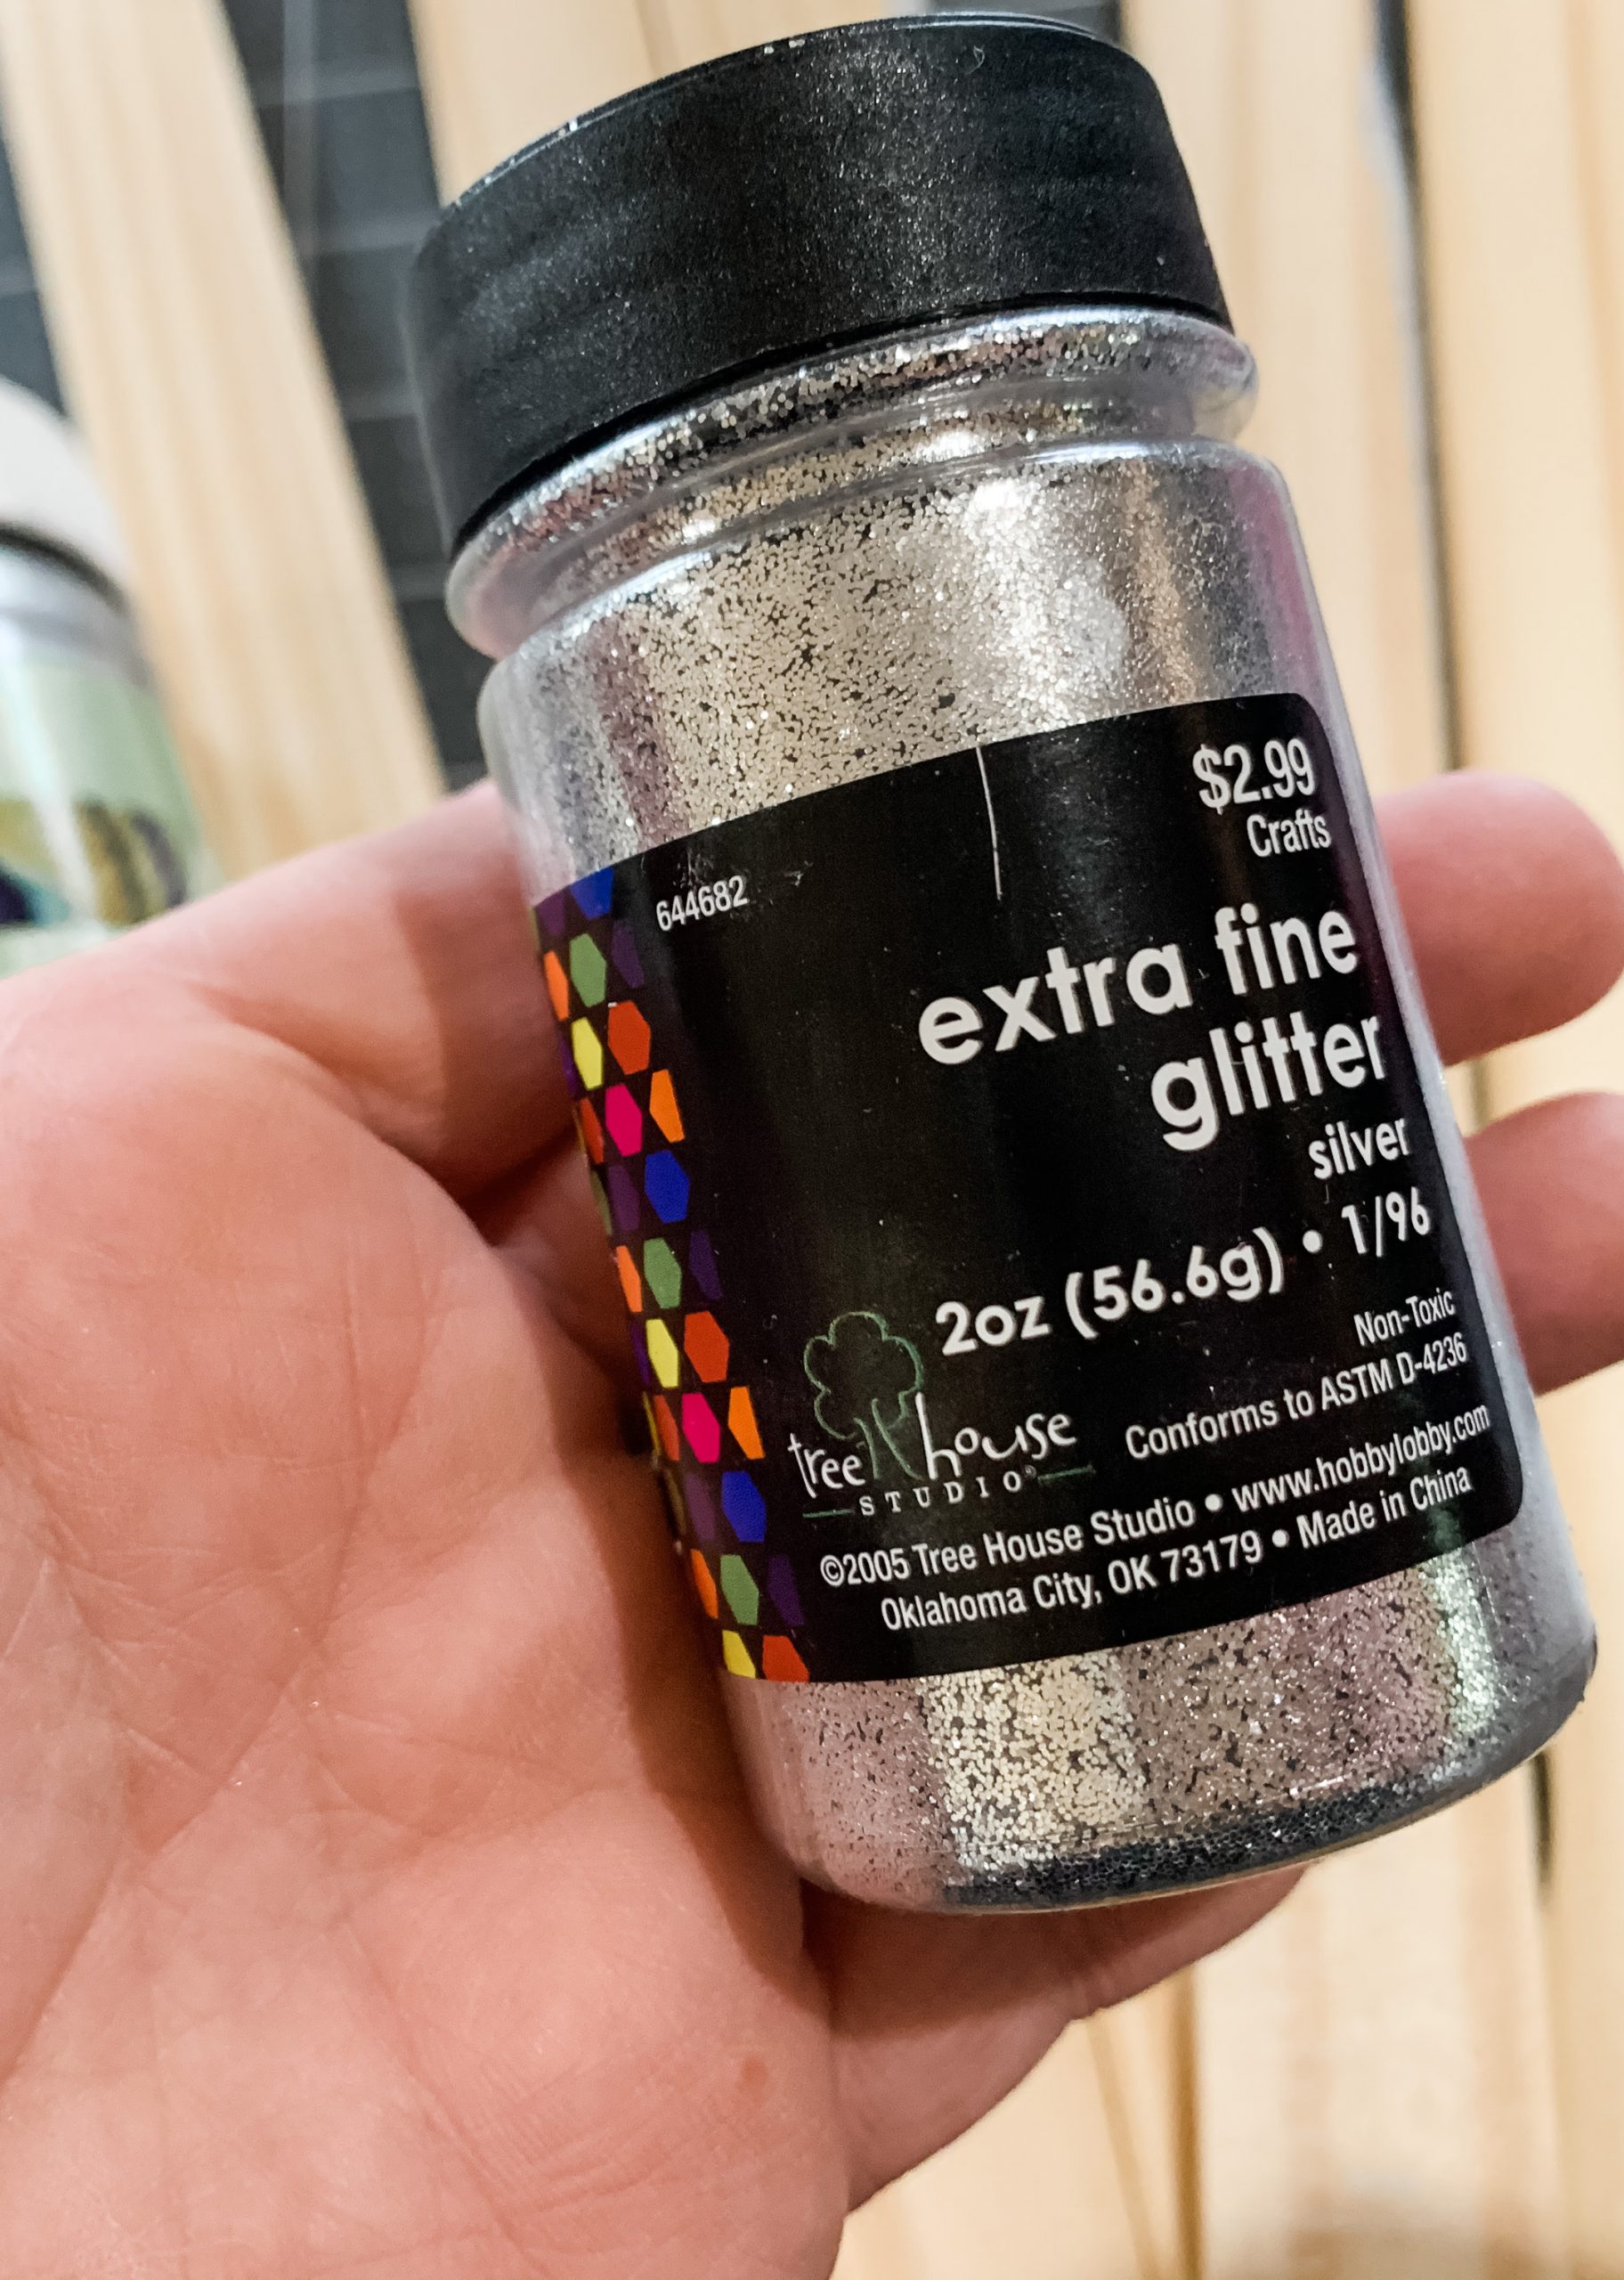
Now, apply a coat of Mod Podge over the coat of metallic silver paint, and sprinkle the extra fine silver glitter onto the star. You want to have a tray or sheet of paper underneath the star to catch the glitter that doesn’t attach to the star. We don’t want to be wasteful!
The finishing touches
Finally, you need to attach the star to the wreath! I hot glued a piece of jute twine (in a V shape) onto the back of each point of the star. Keep the twine pieces long so you can tie them together behind the wreath.
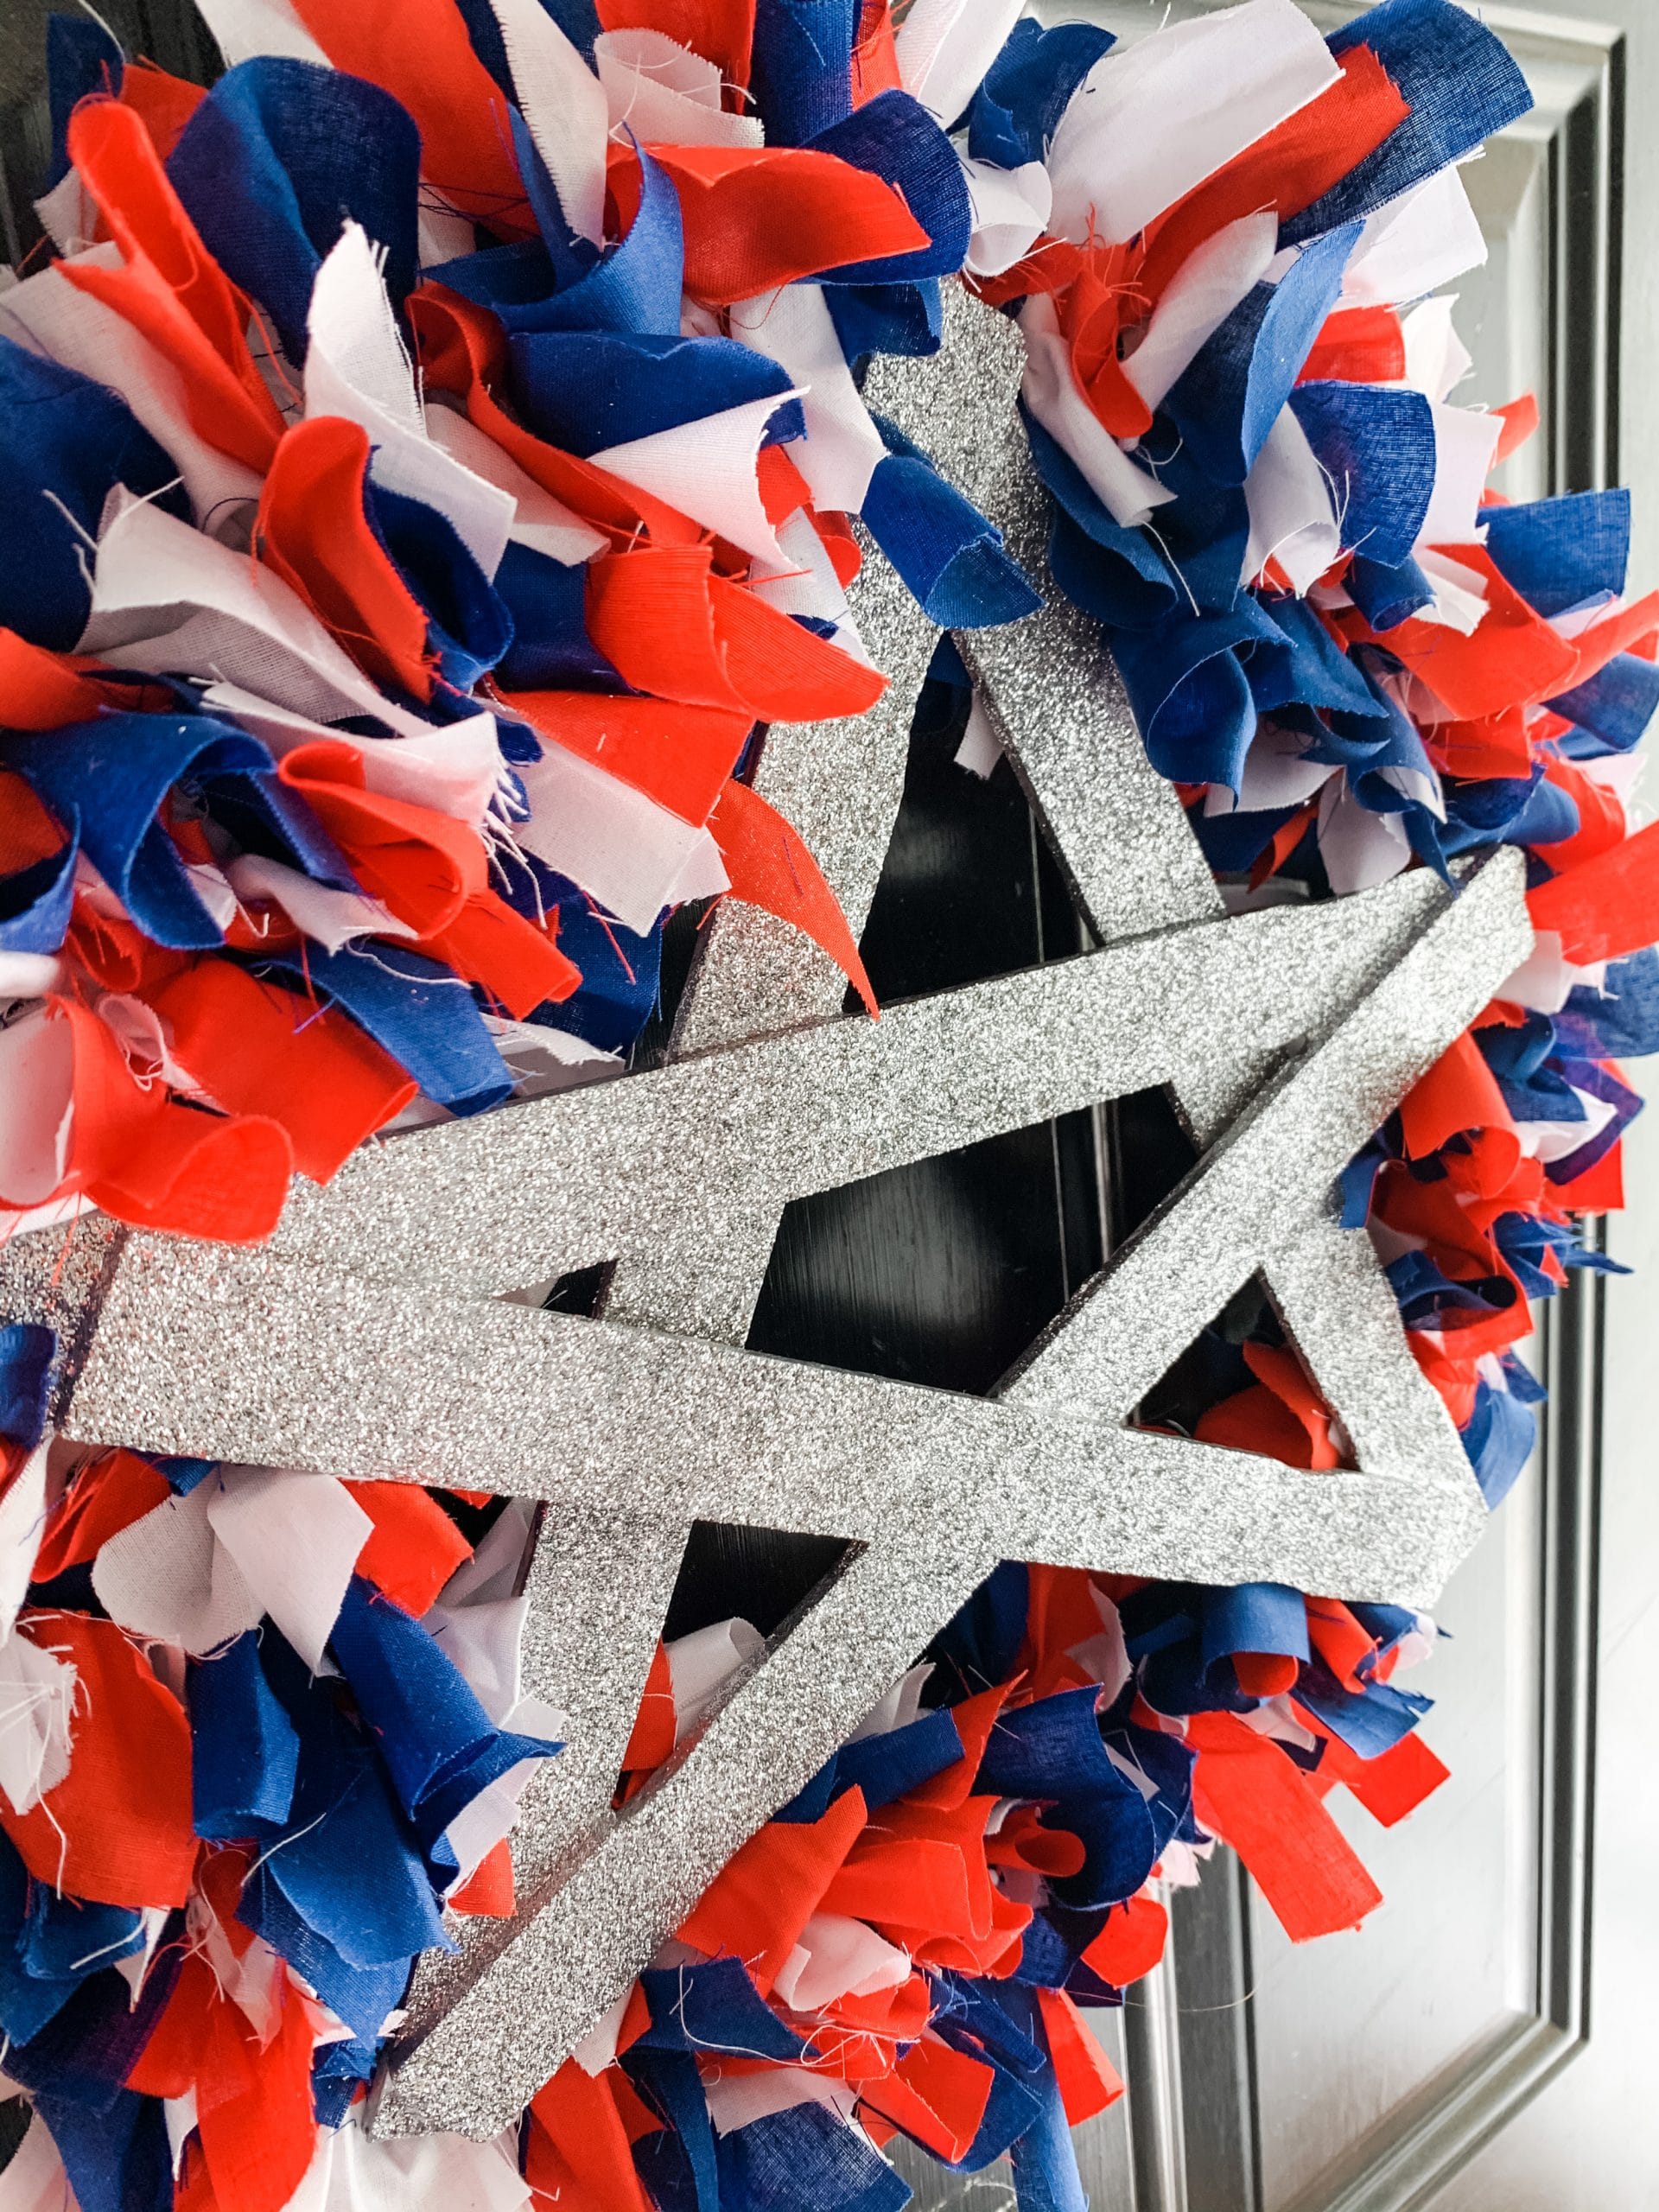
Place the star on the wreath and flip them both upside down. One end of the twine should go above the form and the other end should go below the form. Then, tie the ends together around the wreath to hold the star in place.
Now all you need is a command hook and you’re ready to hang this adorable DIY patriotic rag wreath on your front door for the summer!
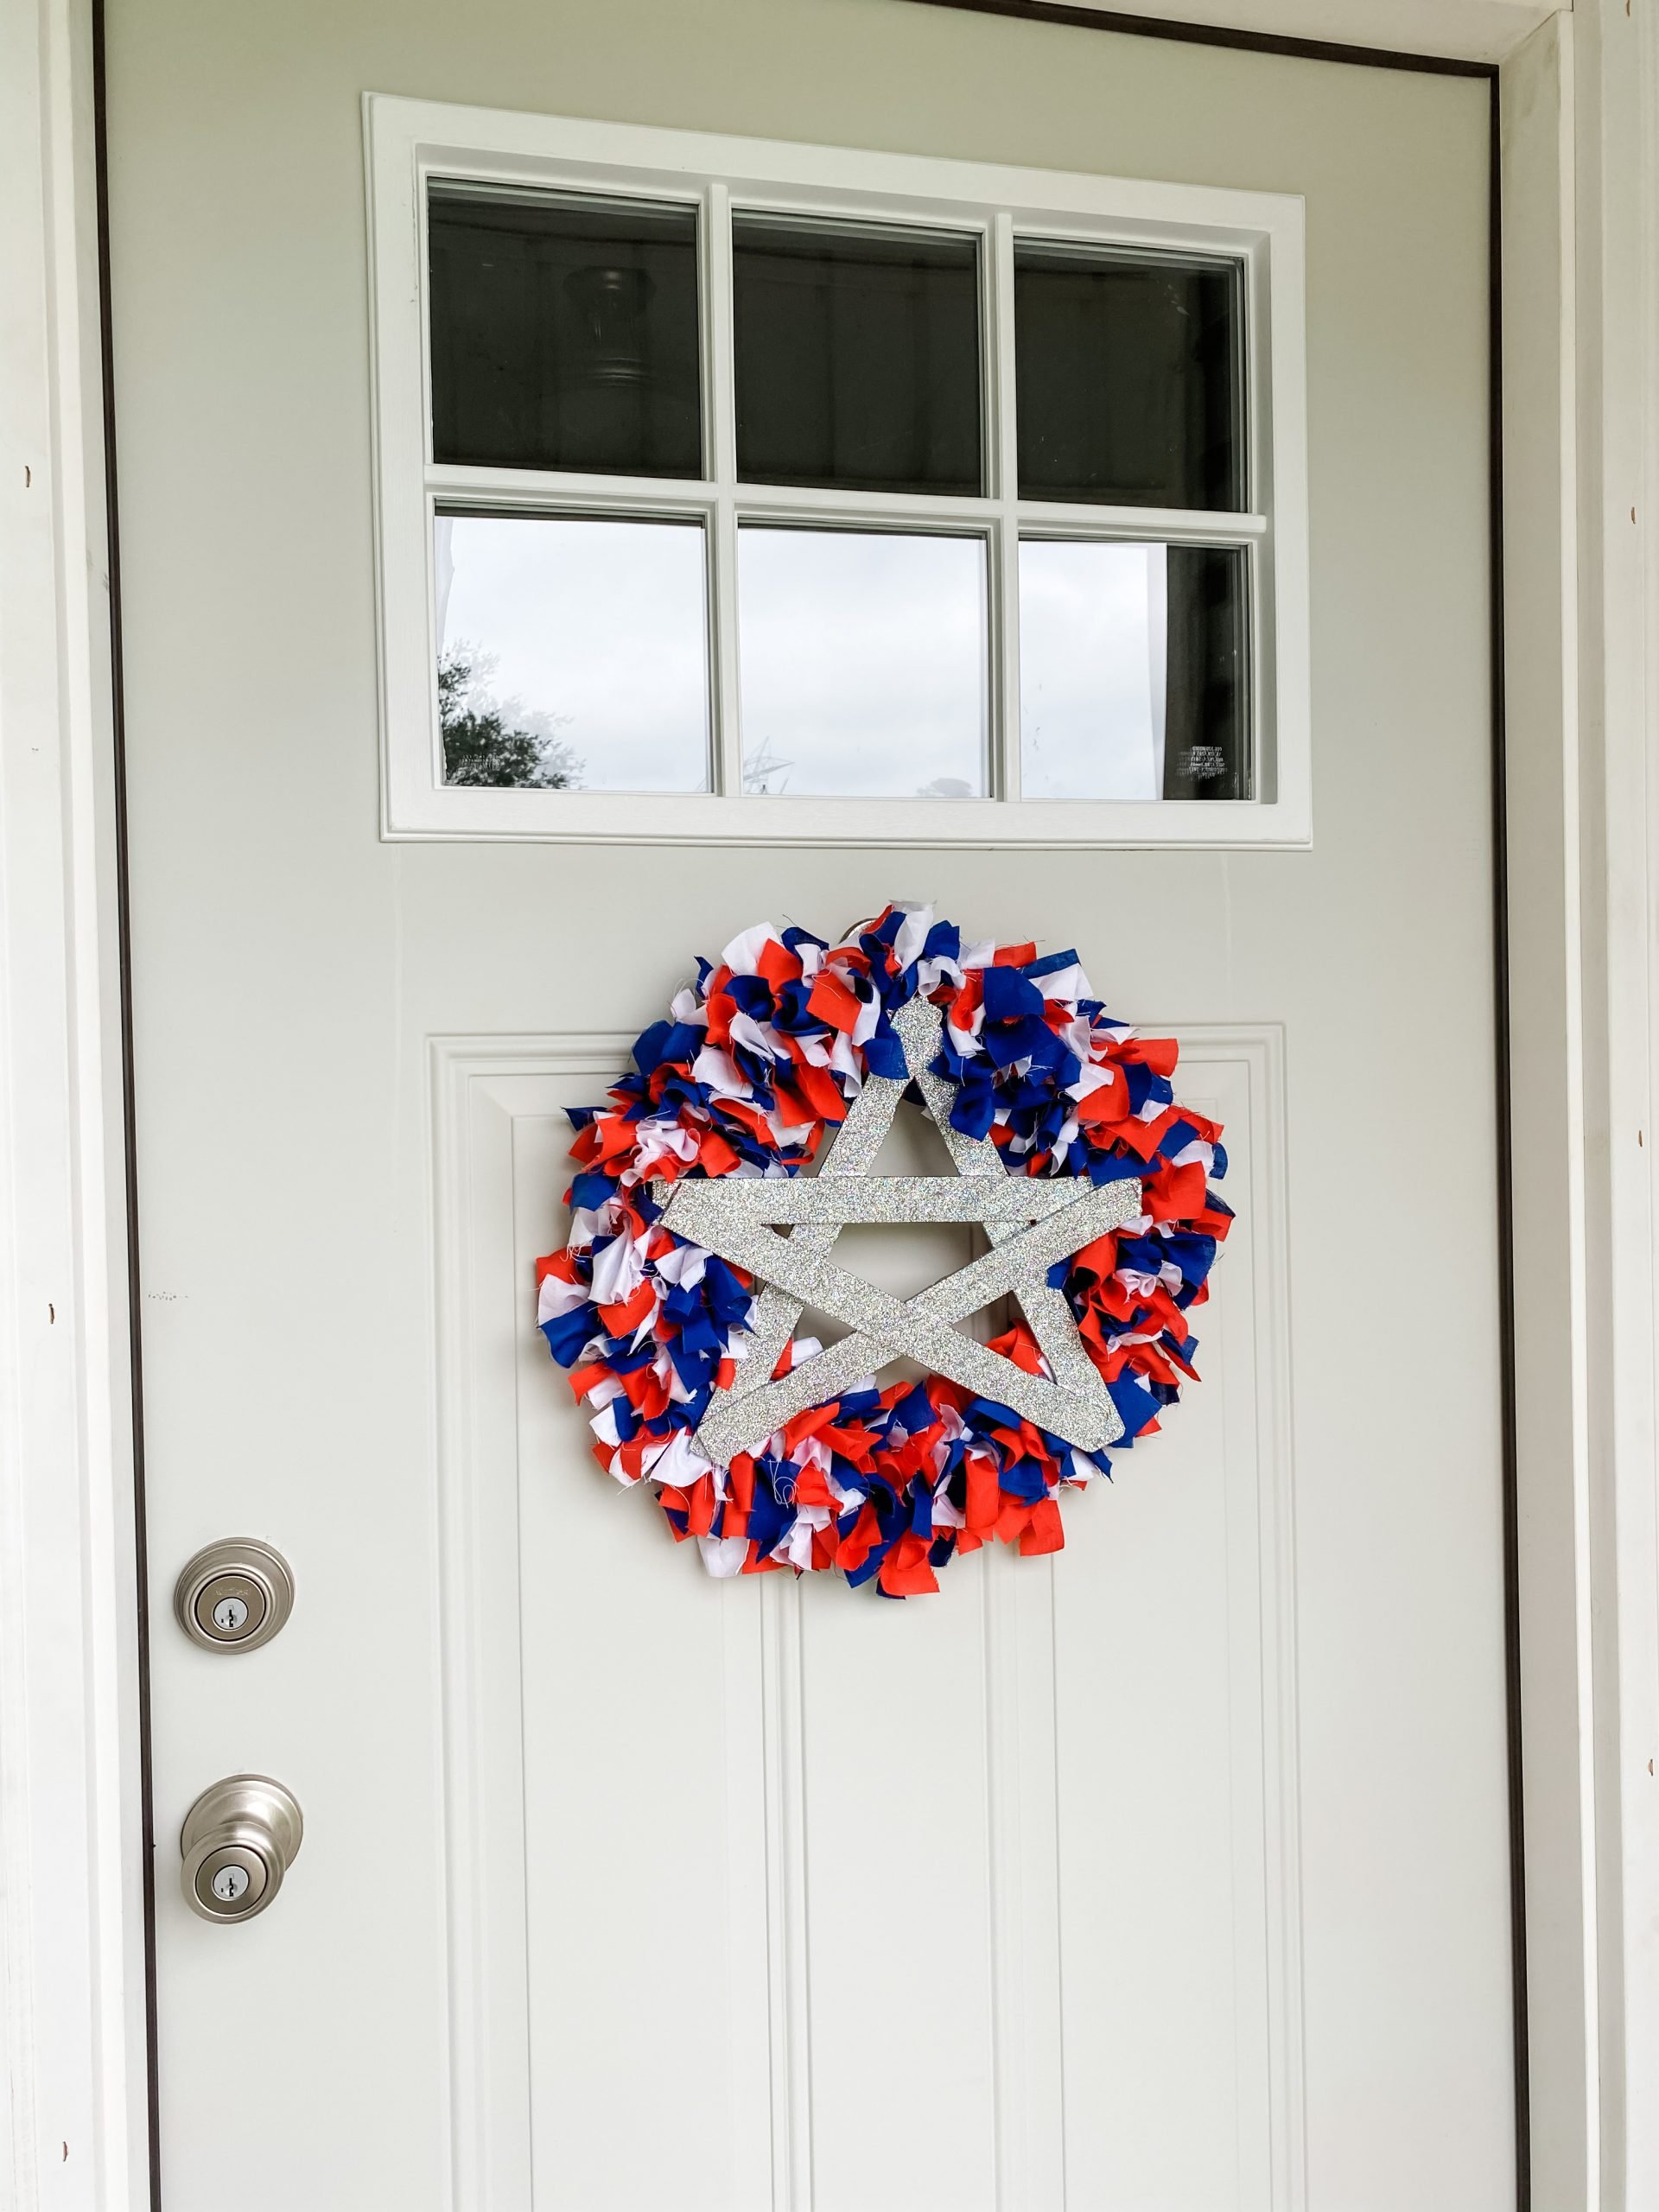
I hope you enjoyed this DIY Red, White, and Blue Rag Wreath as I did and decide to make it for yourself! If you do, I would love to see how yours turns out!
You should totally join my FREE Facebook group called On A Budget Crafts! It is a judgment-free community for DIY crafters to show off their projects and ideas.
If you loved this DIY you might also like these patriotic DIYs!
- Repurposed Tablecloth DIY Patriotic Decor
- DIY Dollar Tree Patriotic Door Hanger
- American Flag Anchor DIY Patriotic Decor
- DIY Ribbon American Flag
- DIY 4th of July Shirt Idea
- Blue Jean American Flag
- DIY Dollar Tree American Flag Decor
- DIY Patriotic Dollar Tree Mason Jar
Thanks for stopping by! XOXO Amber
You can also shop my ENTIRE AMAZON Favorites shop just click here! It’s packed full of all the things I use and love. Here is the supply list I highly recommend every creative have on hand!!
Would you also pin my blog for later and get on my newsletter alerts? I would love to have you join my #craftycrew.
Inspired? Leave me a comment below! I love hearing from my readers!

Join my free “ON A BUDGET CRAFTS” Facebook group!

So creative, I’ve been wanting to make a rag wreath
I love the rag wreath
Luckily my mom saved all kinds of scrap fabric..going to give this a try after I heal .. something I’ll make for my son’s new house..
as always you are an inspiration to me and all the crafters
“AMBERIFFIC”