DIY Latte Fall Decor
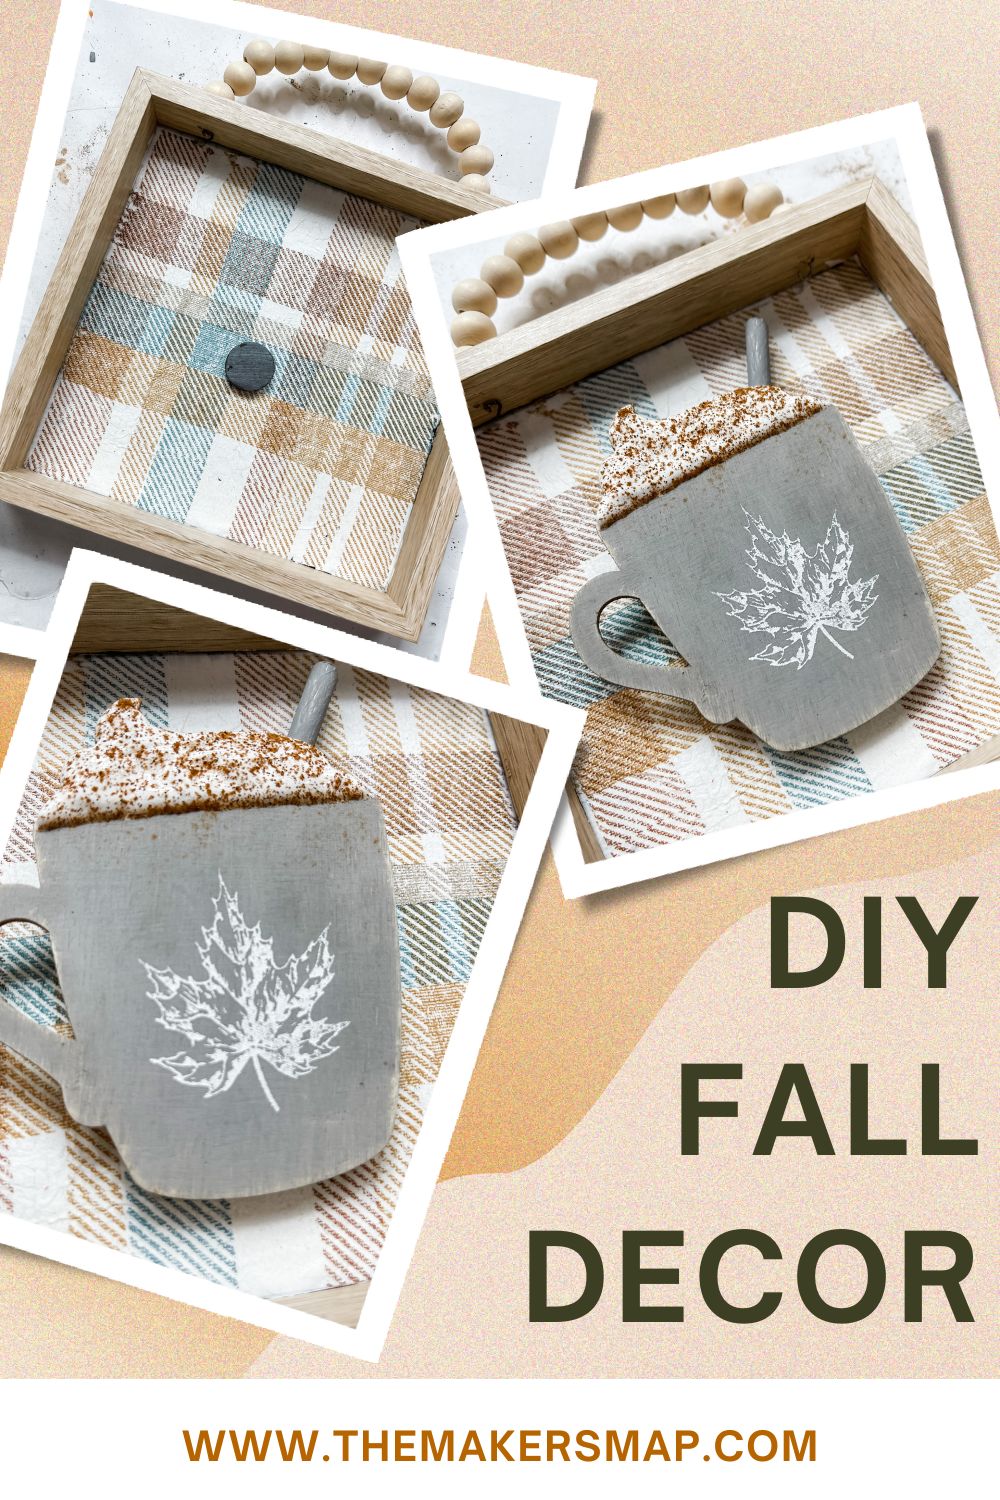
This cute little DIY latte fall decor was so much fun to make and it is so affordable. One of my favorite parts of this autumn DIY decor idea is the magnet on the back of the latte!
That makes it an intercahngeable project that you can use year round! Swap out the fall latte for a Christmas tree, Easter egg, heart, shamrock, and so much more!
The possibilities are endless when you’re crafting your own home decor, and that is one of the reasons I love it so much!
How to make DIY Latte Fall Decor
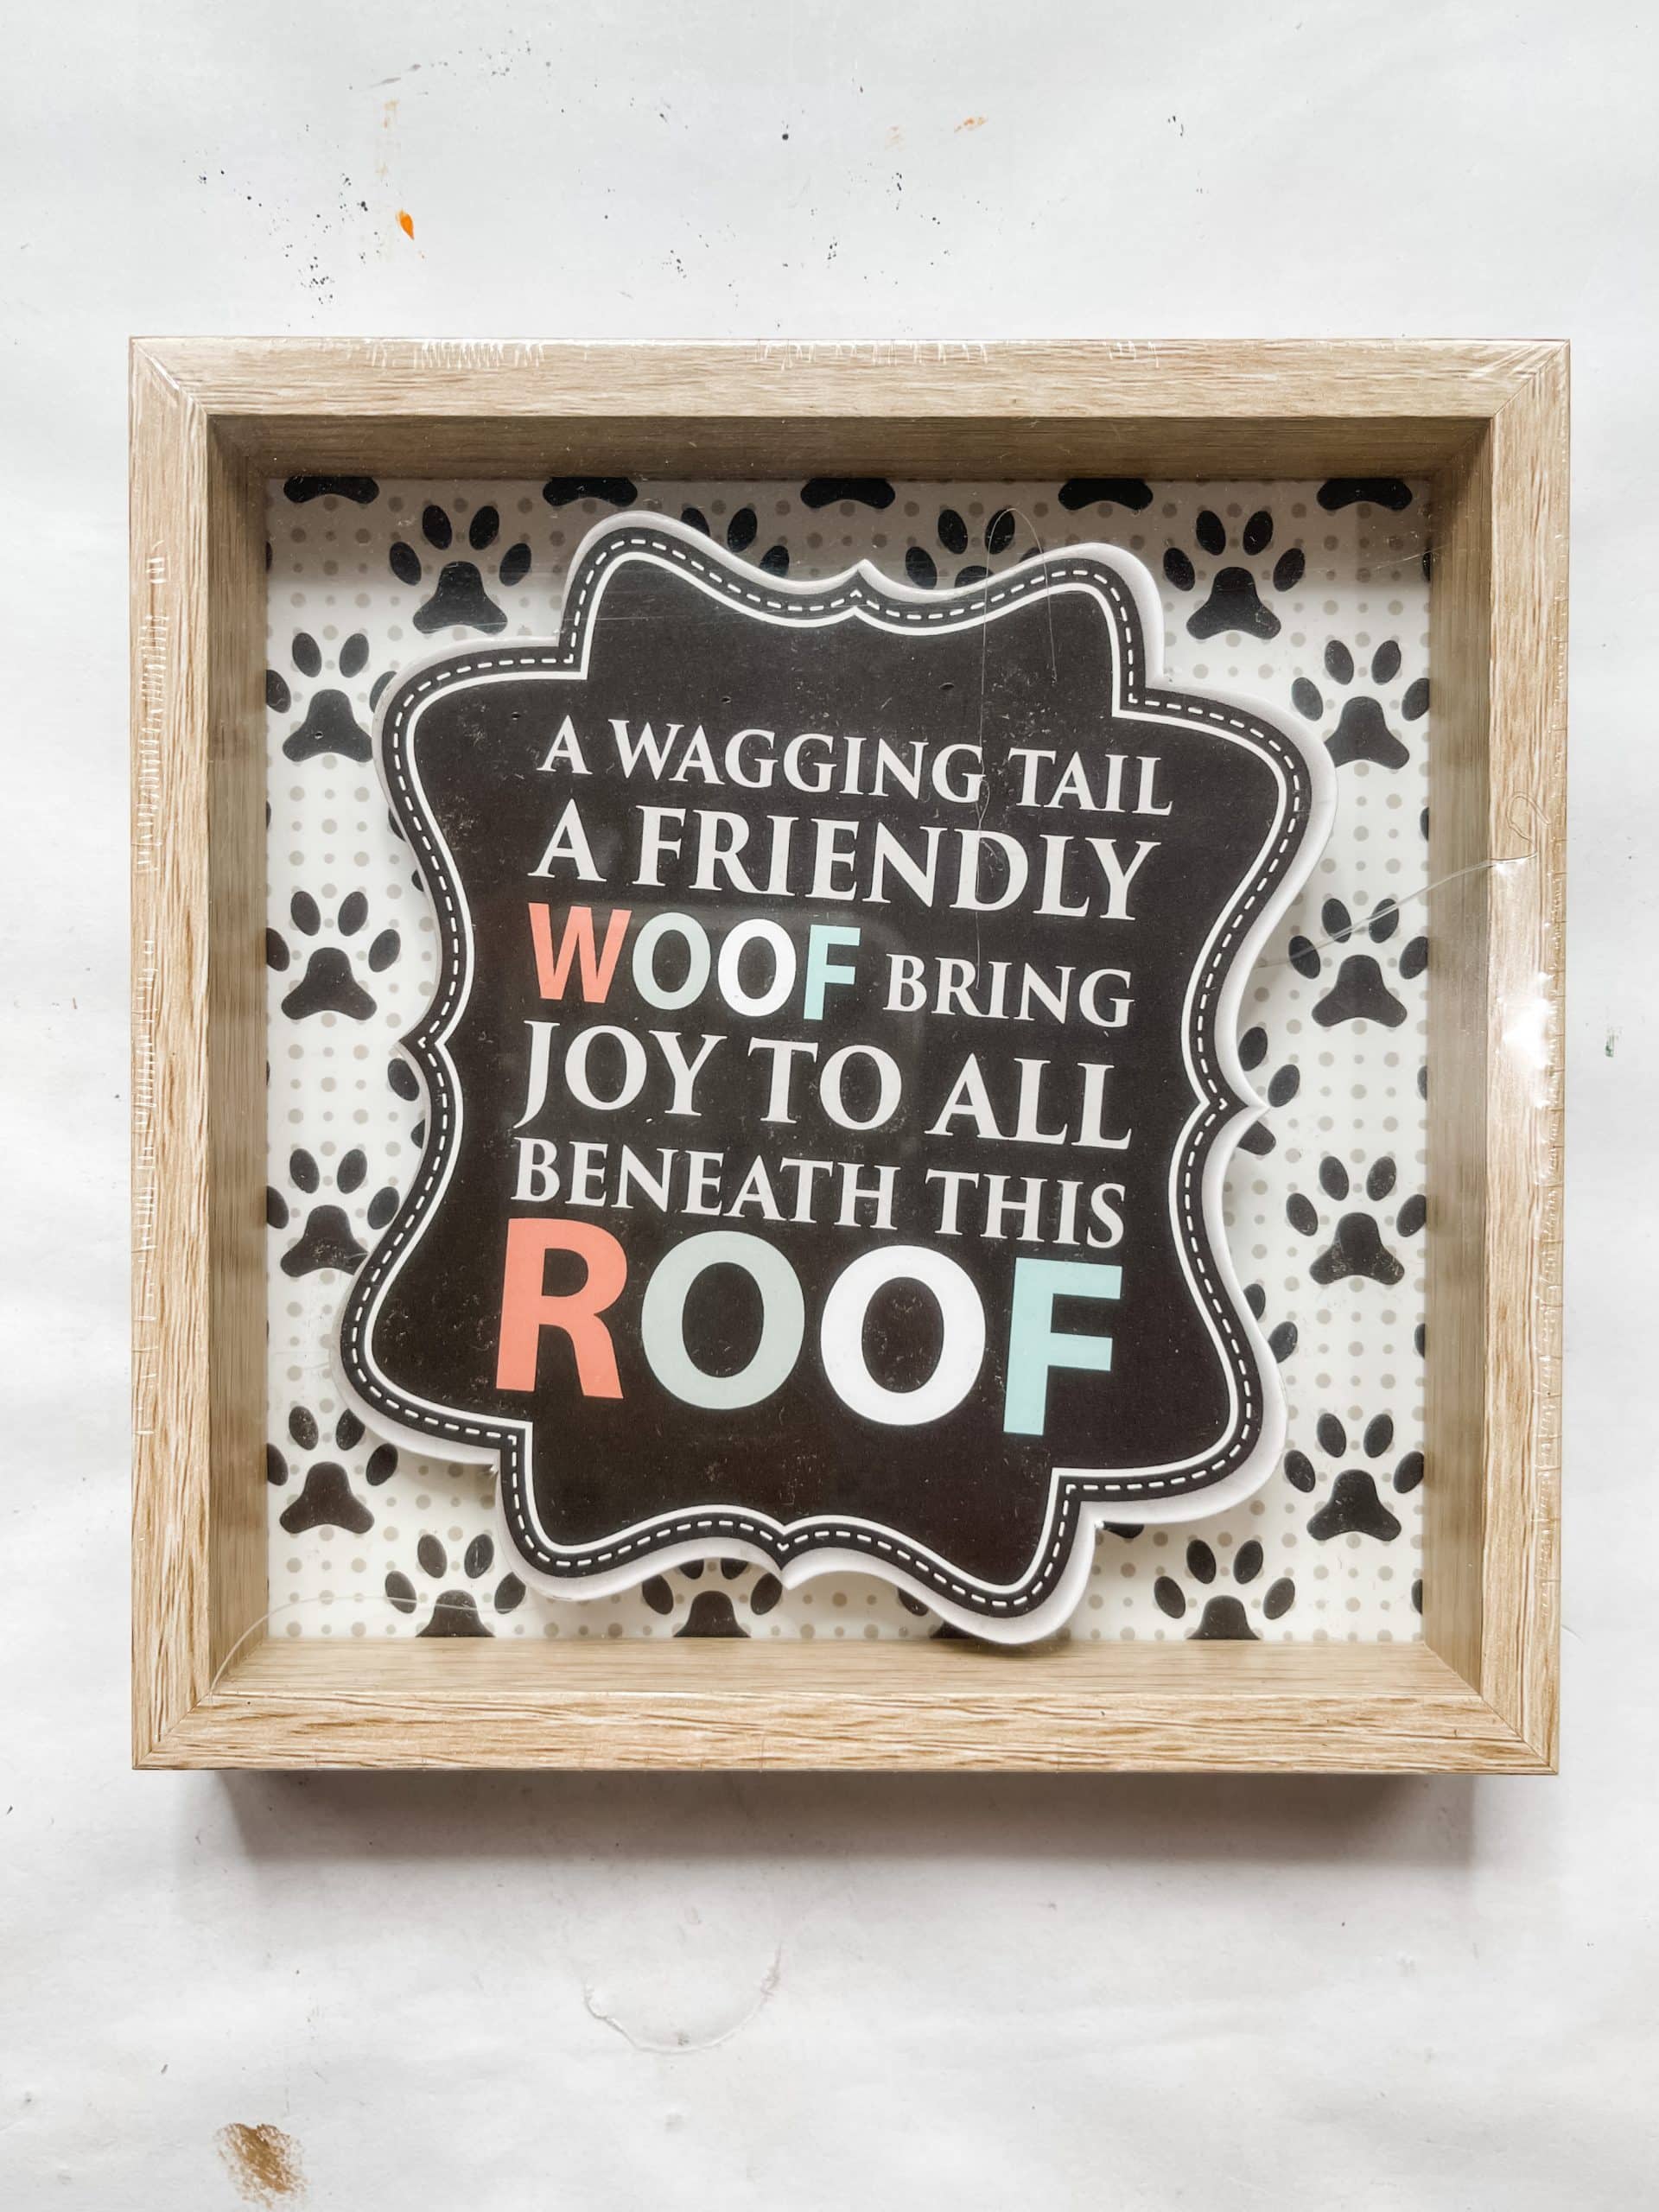
I started this easy decorative Fall craft by removing the raised insert from the Dollar Tree framed square sign. You can usually pry off the inserts very easily, just be careful with whatever tool you’re using!
Next, I painted the inside square of the framed sign with brown paint. I like to use Apple Barrel Burnt Umber, but you can use whichever color or brand you prefer.
The brown is to cover the pattern on the inside of the square so it doesn’t show through the next coat of white paint. Once the brown paint is dry completely, apply an even coat of white paint.
Painting the inside square white ensures that we have a bright background to show through the thin napkin we are going to decoupage for this DIY Latte Fall Decor.
Allow the white paint to dry completely. I like to use my heat gun to speed up this process because I’m impatient! You can also use a hairdryer on the low, cool setting.
How to decoupage a napkin
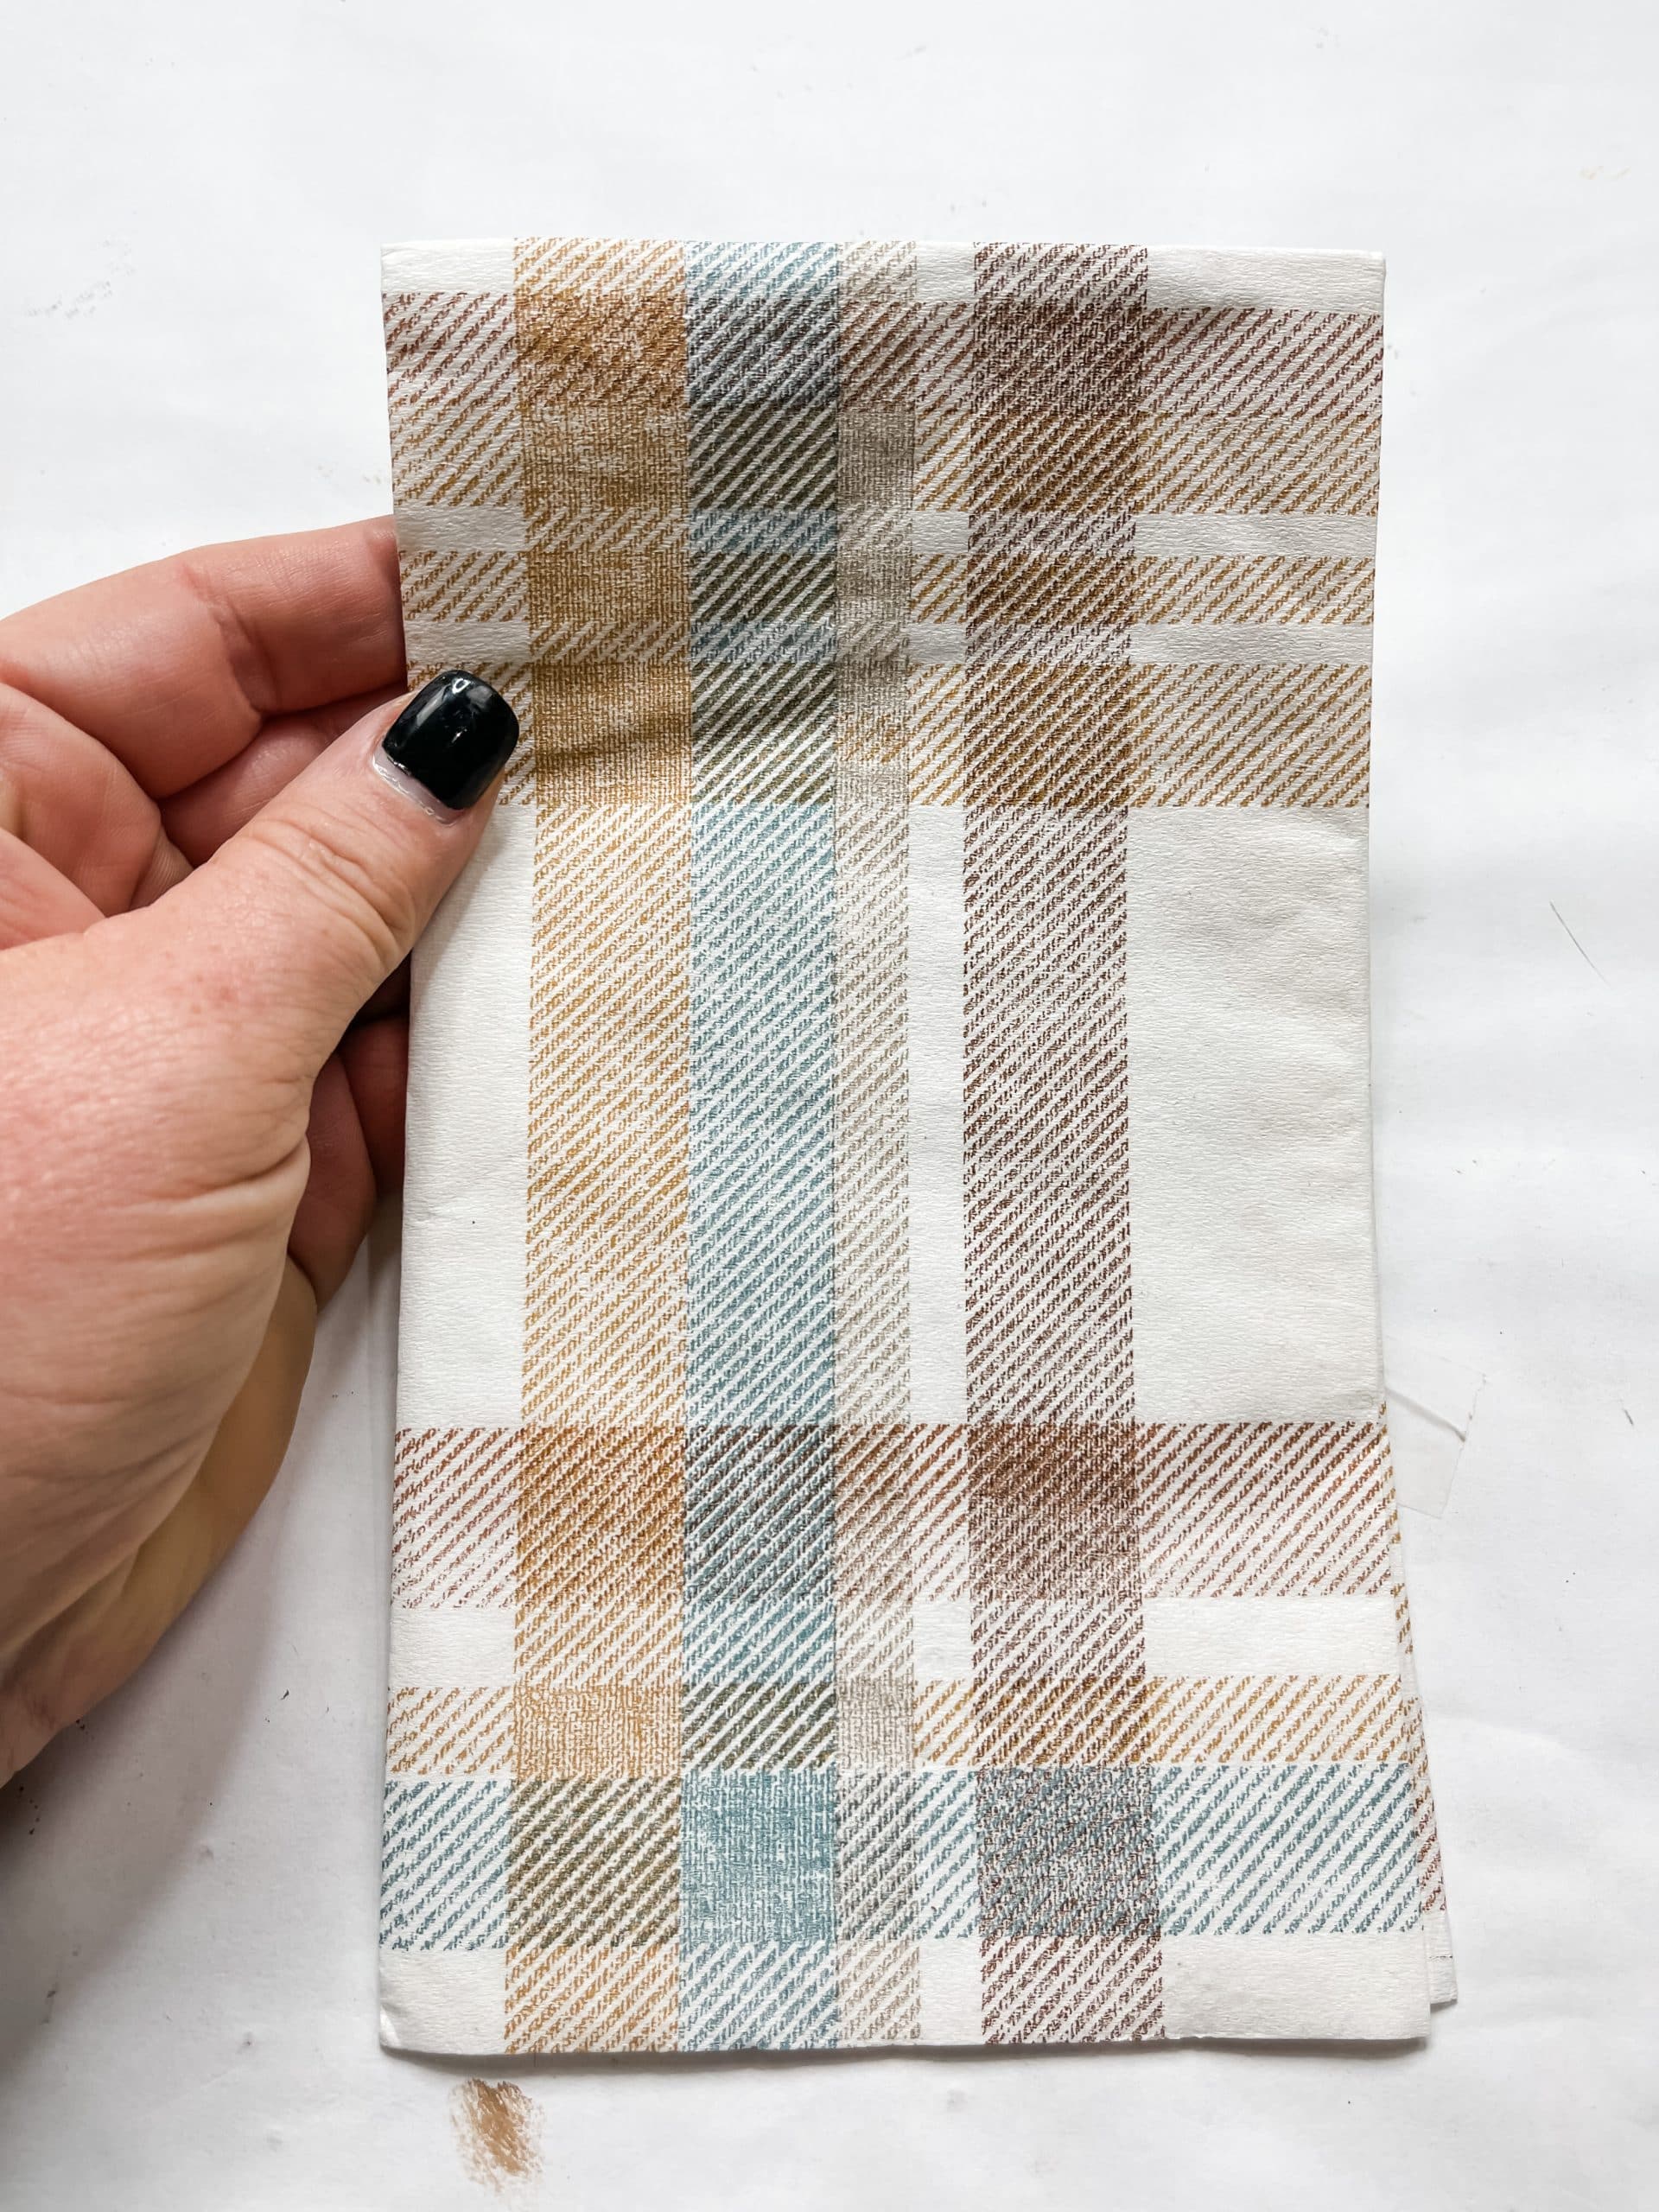
Next, apply an even coat of Mod Podge to the inside square of the framed sign. Separate your napkin plies so that you have the layer with the design by itself.
Carefully place the napkin ply onto the Mod Podge. Cover it with a piece of plastic saran wrap and use your fingers or a card to smooth out any bubbles or wrinkles in the napkin.
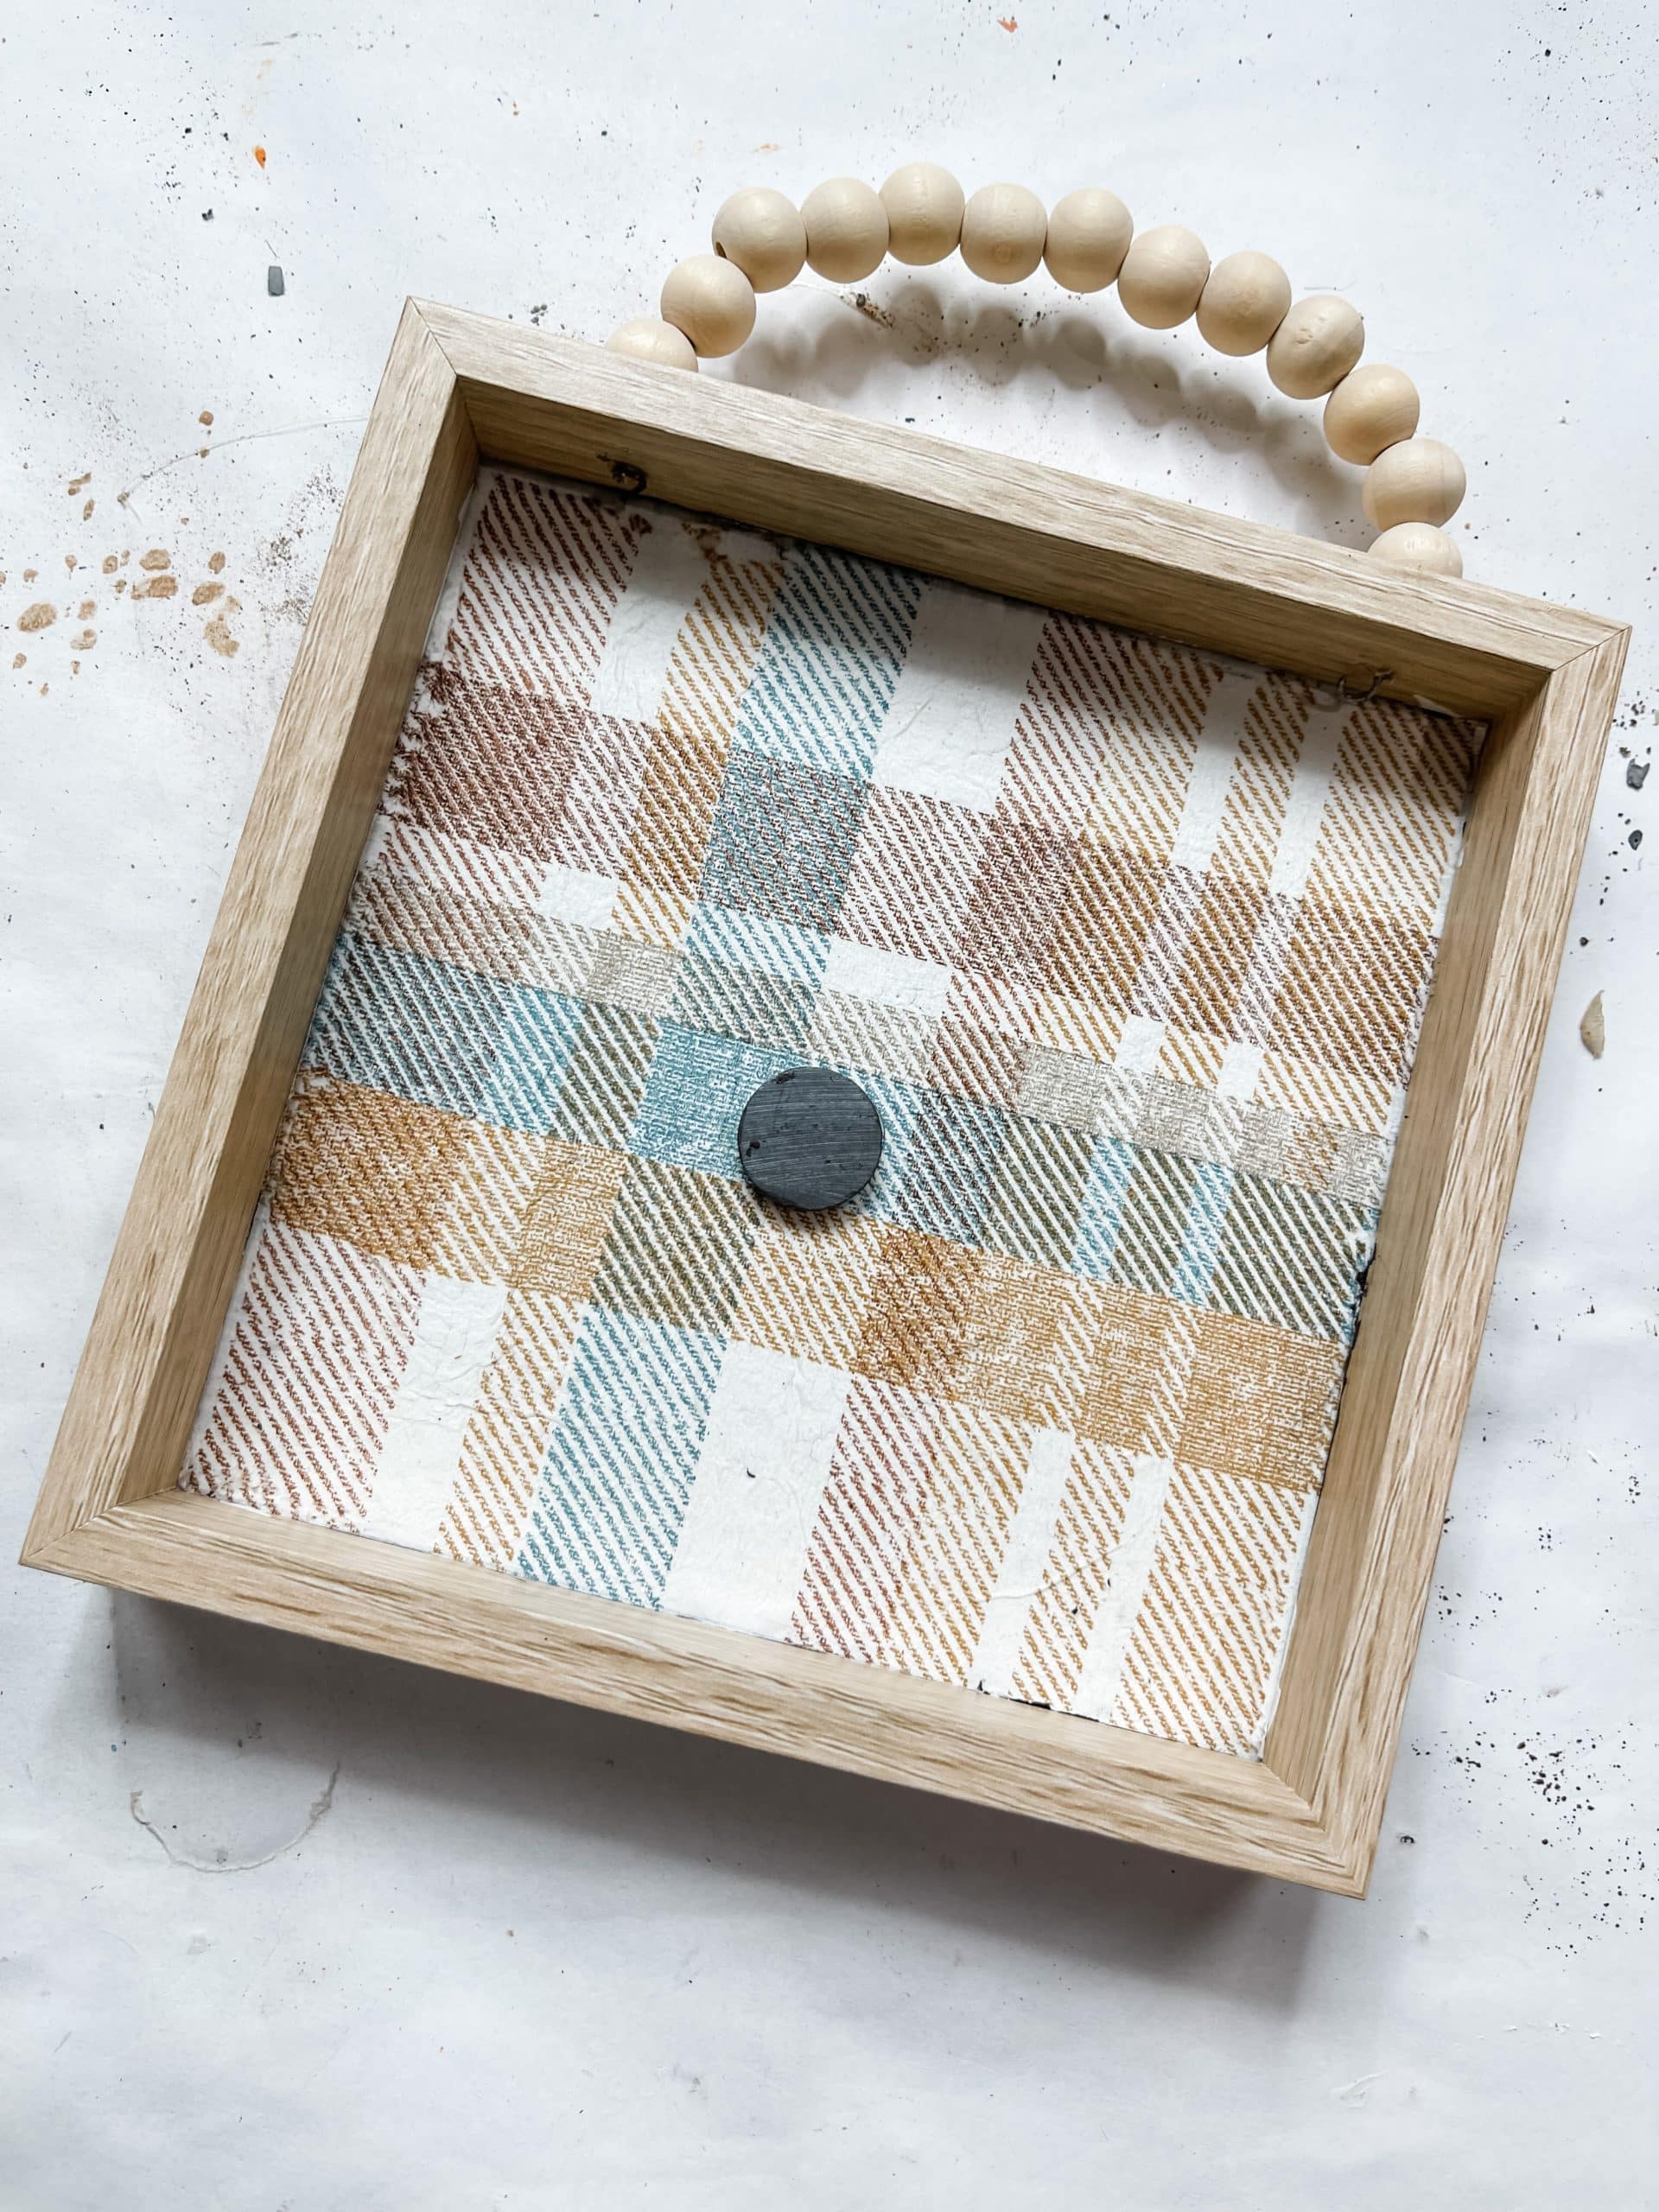
Using the saran wrap protects your fingers and prevents the napkin from sticking to you and pulling up out of the sign.
Once you’re happy with the placement of the napkin, allow the Mod Podge to dry completely and remove the excess napkin by either cutting with an Exacto knife or gently ripping the extra off.
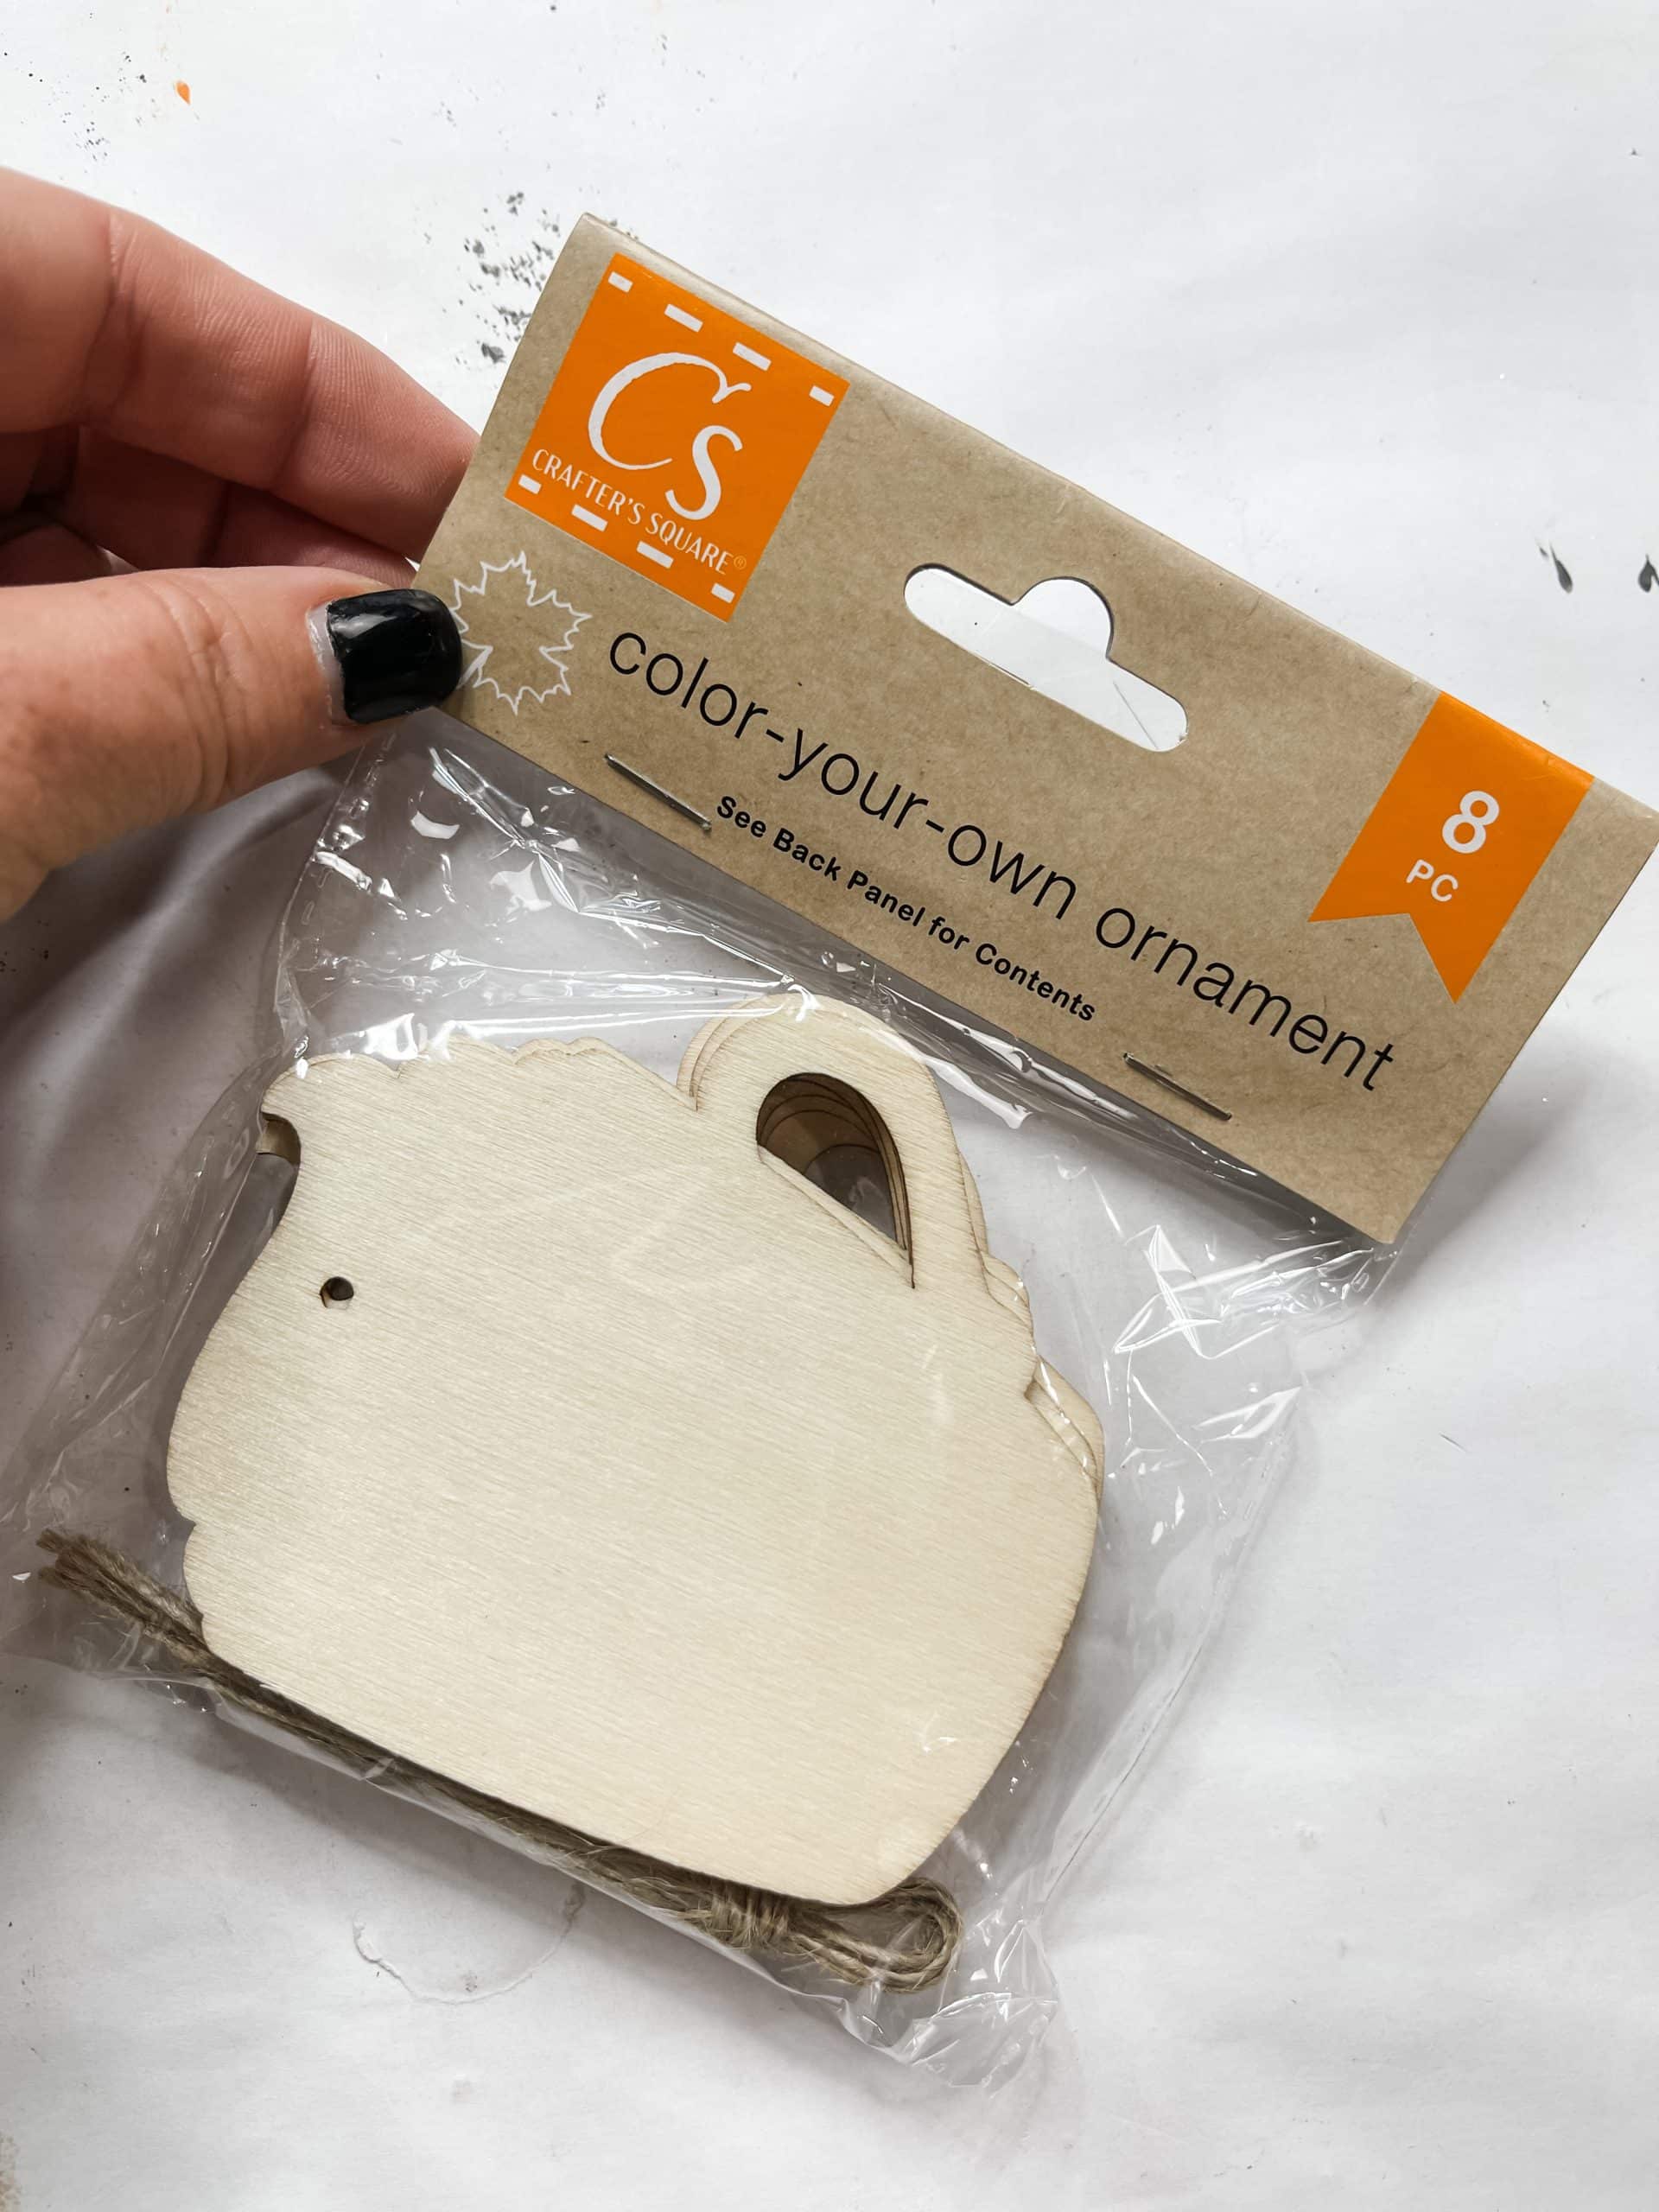
Decorate your coffee cups
The next thing I worked on for this DIY Latte Fall Decor was the little coffee cups for the middle of the sign. For the first cup, I painted a gradient using orange, green and yellow paint.
Use foam sponges to seamlessly blend the colors together and prevent harsh lines in between colors. I didn’t paint the handle or the “whipped cream” portion at the top of the cup yet.
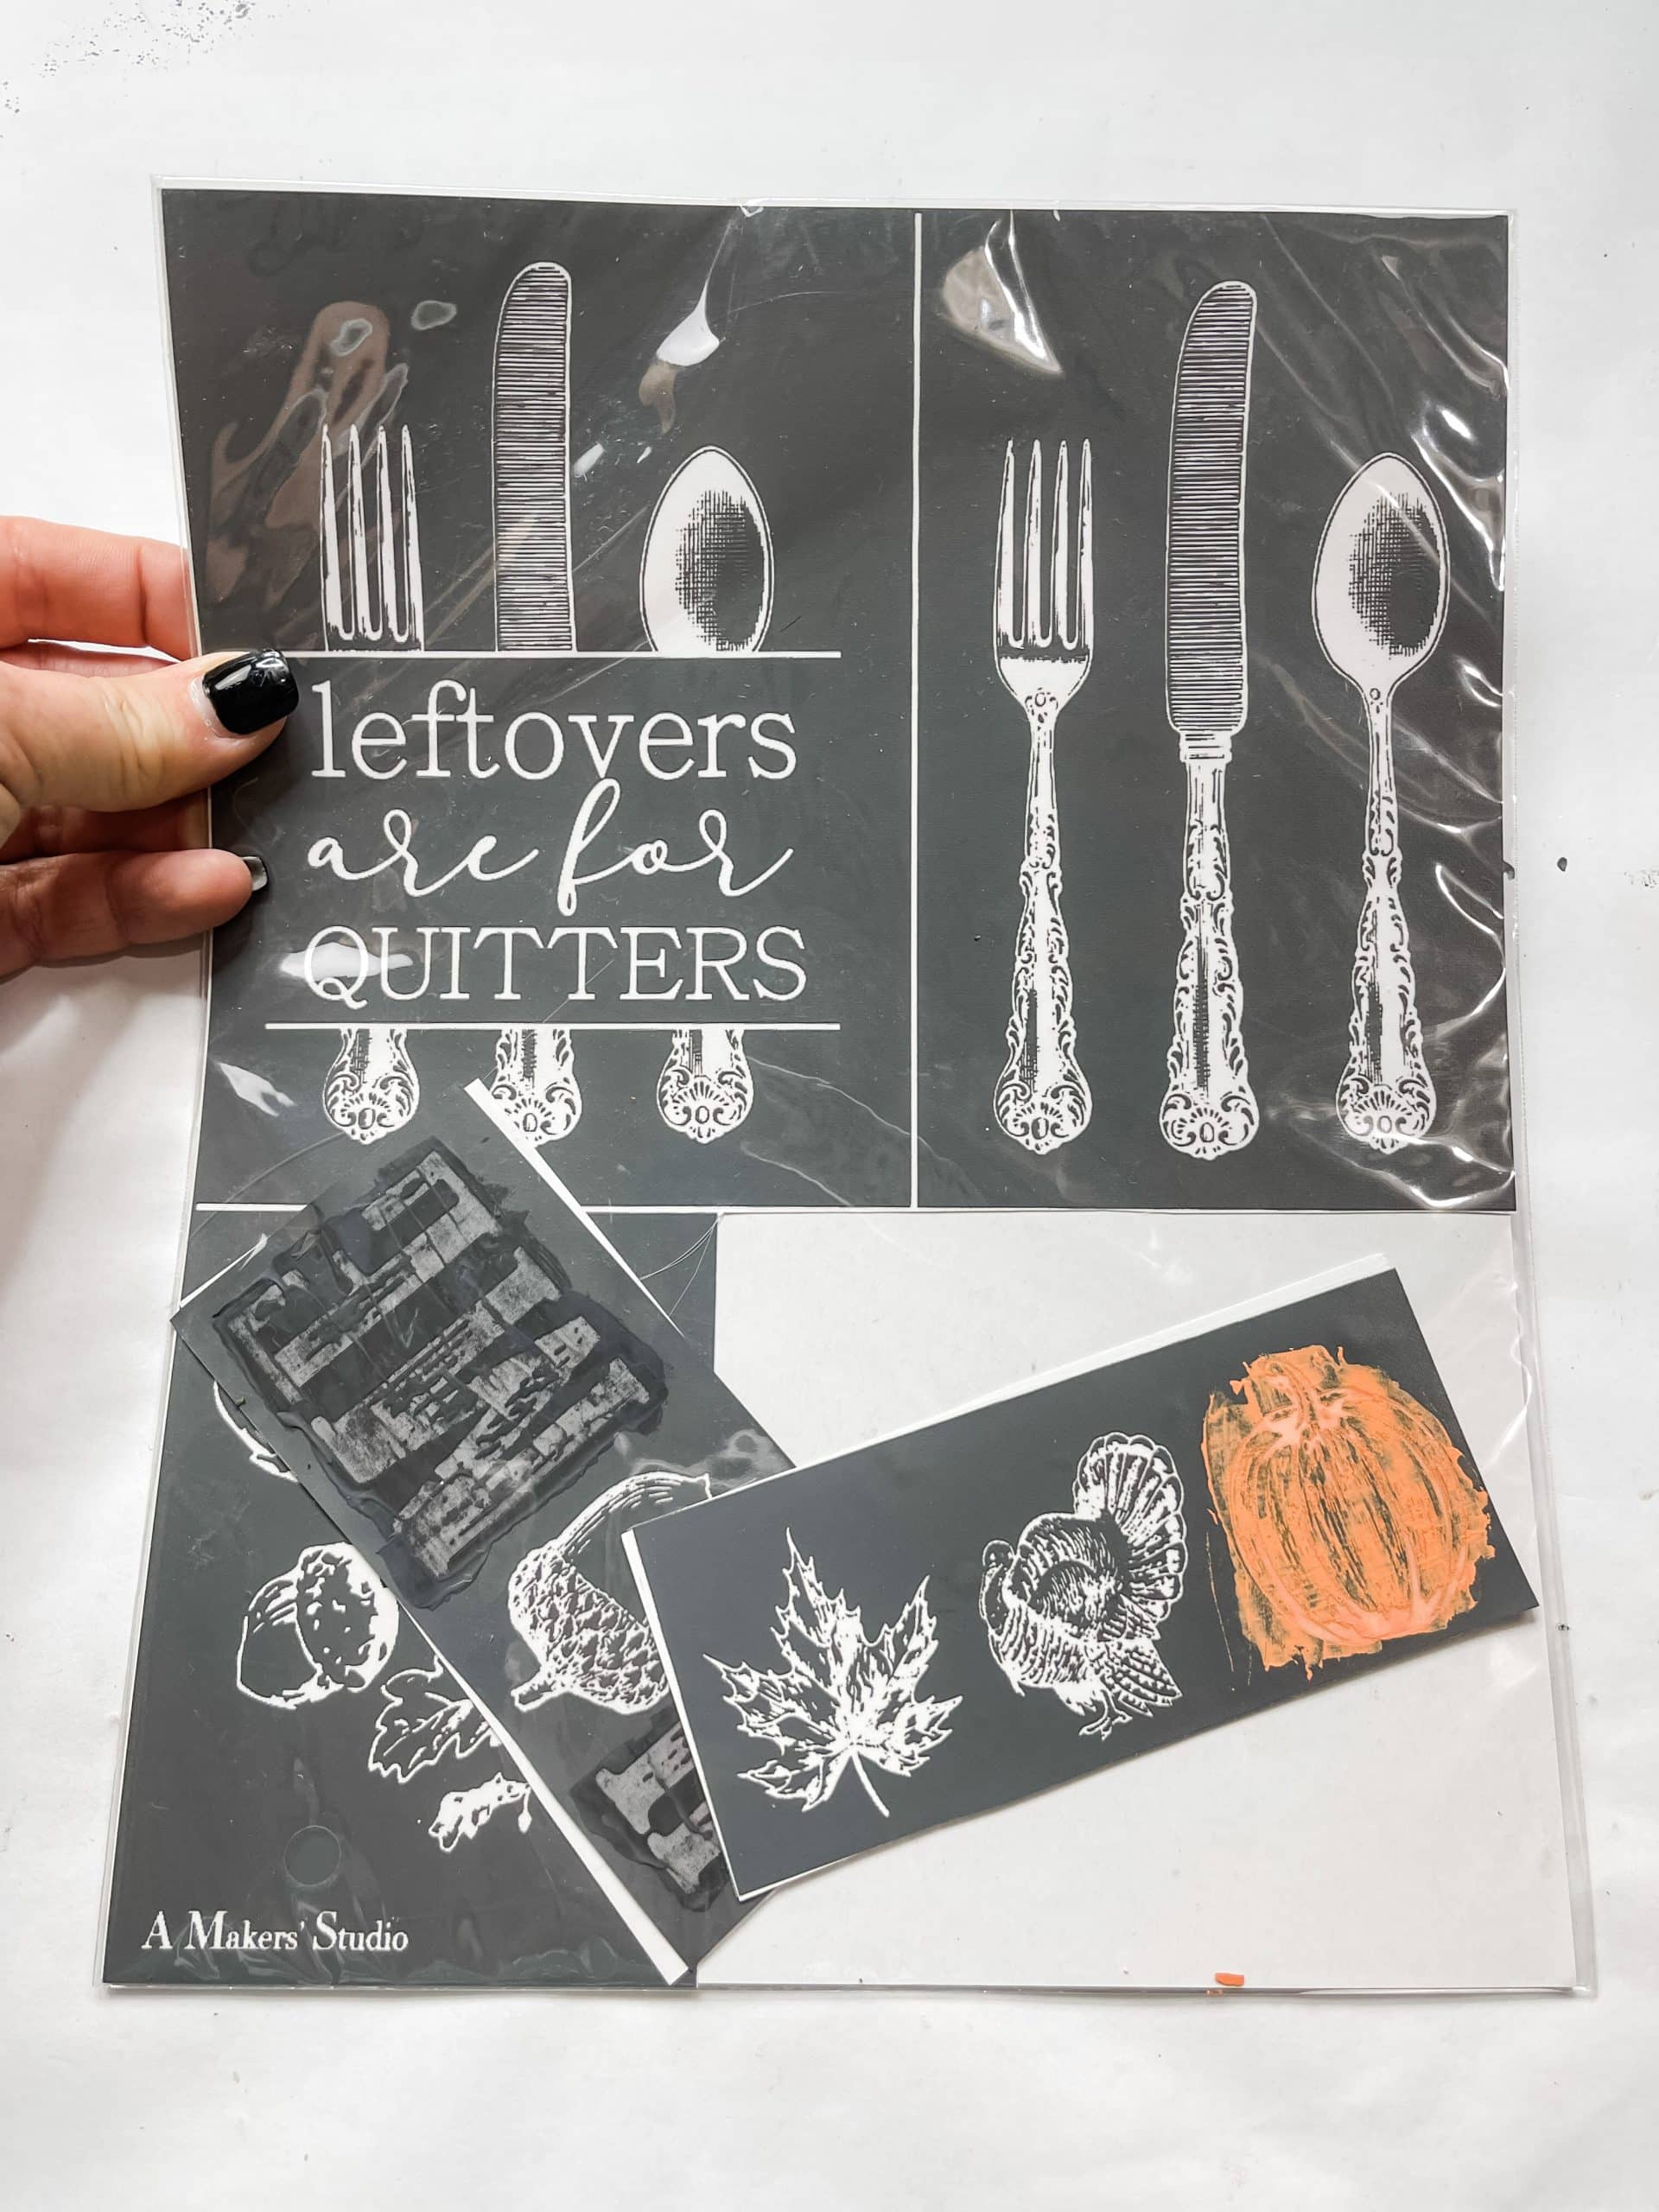
I painted the handle of the cup with a dark blue paint, then I placed my stencil on the center of the cup. For this cup, I chose to use a pumpkin stencil and painted it the same blue as the handle.
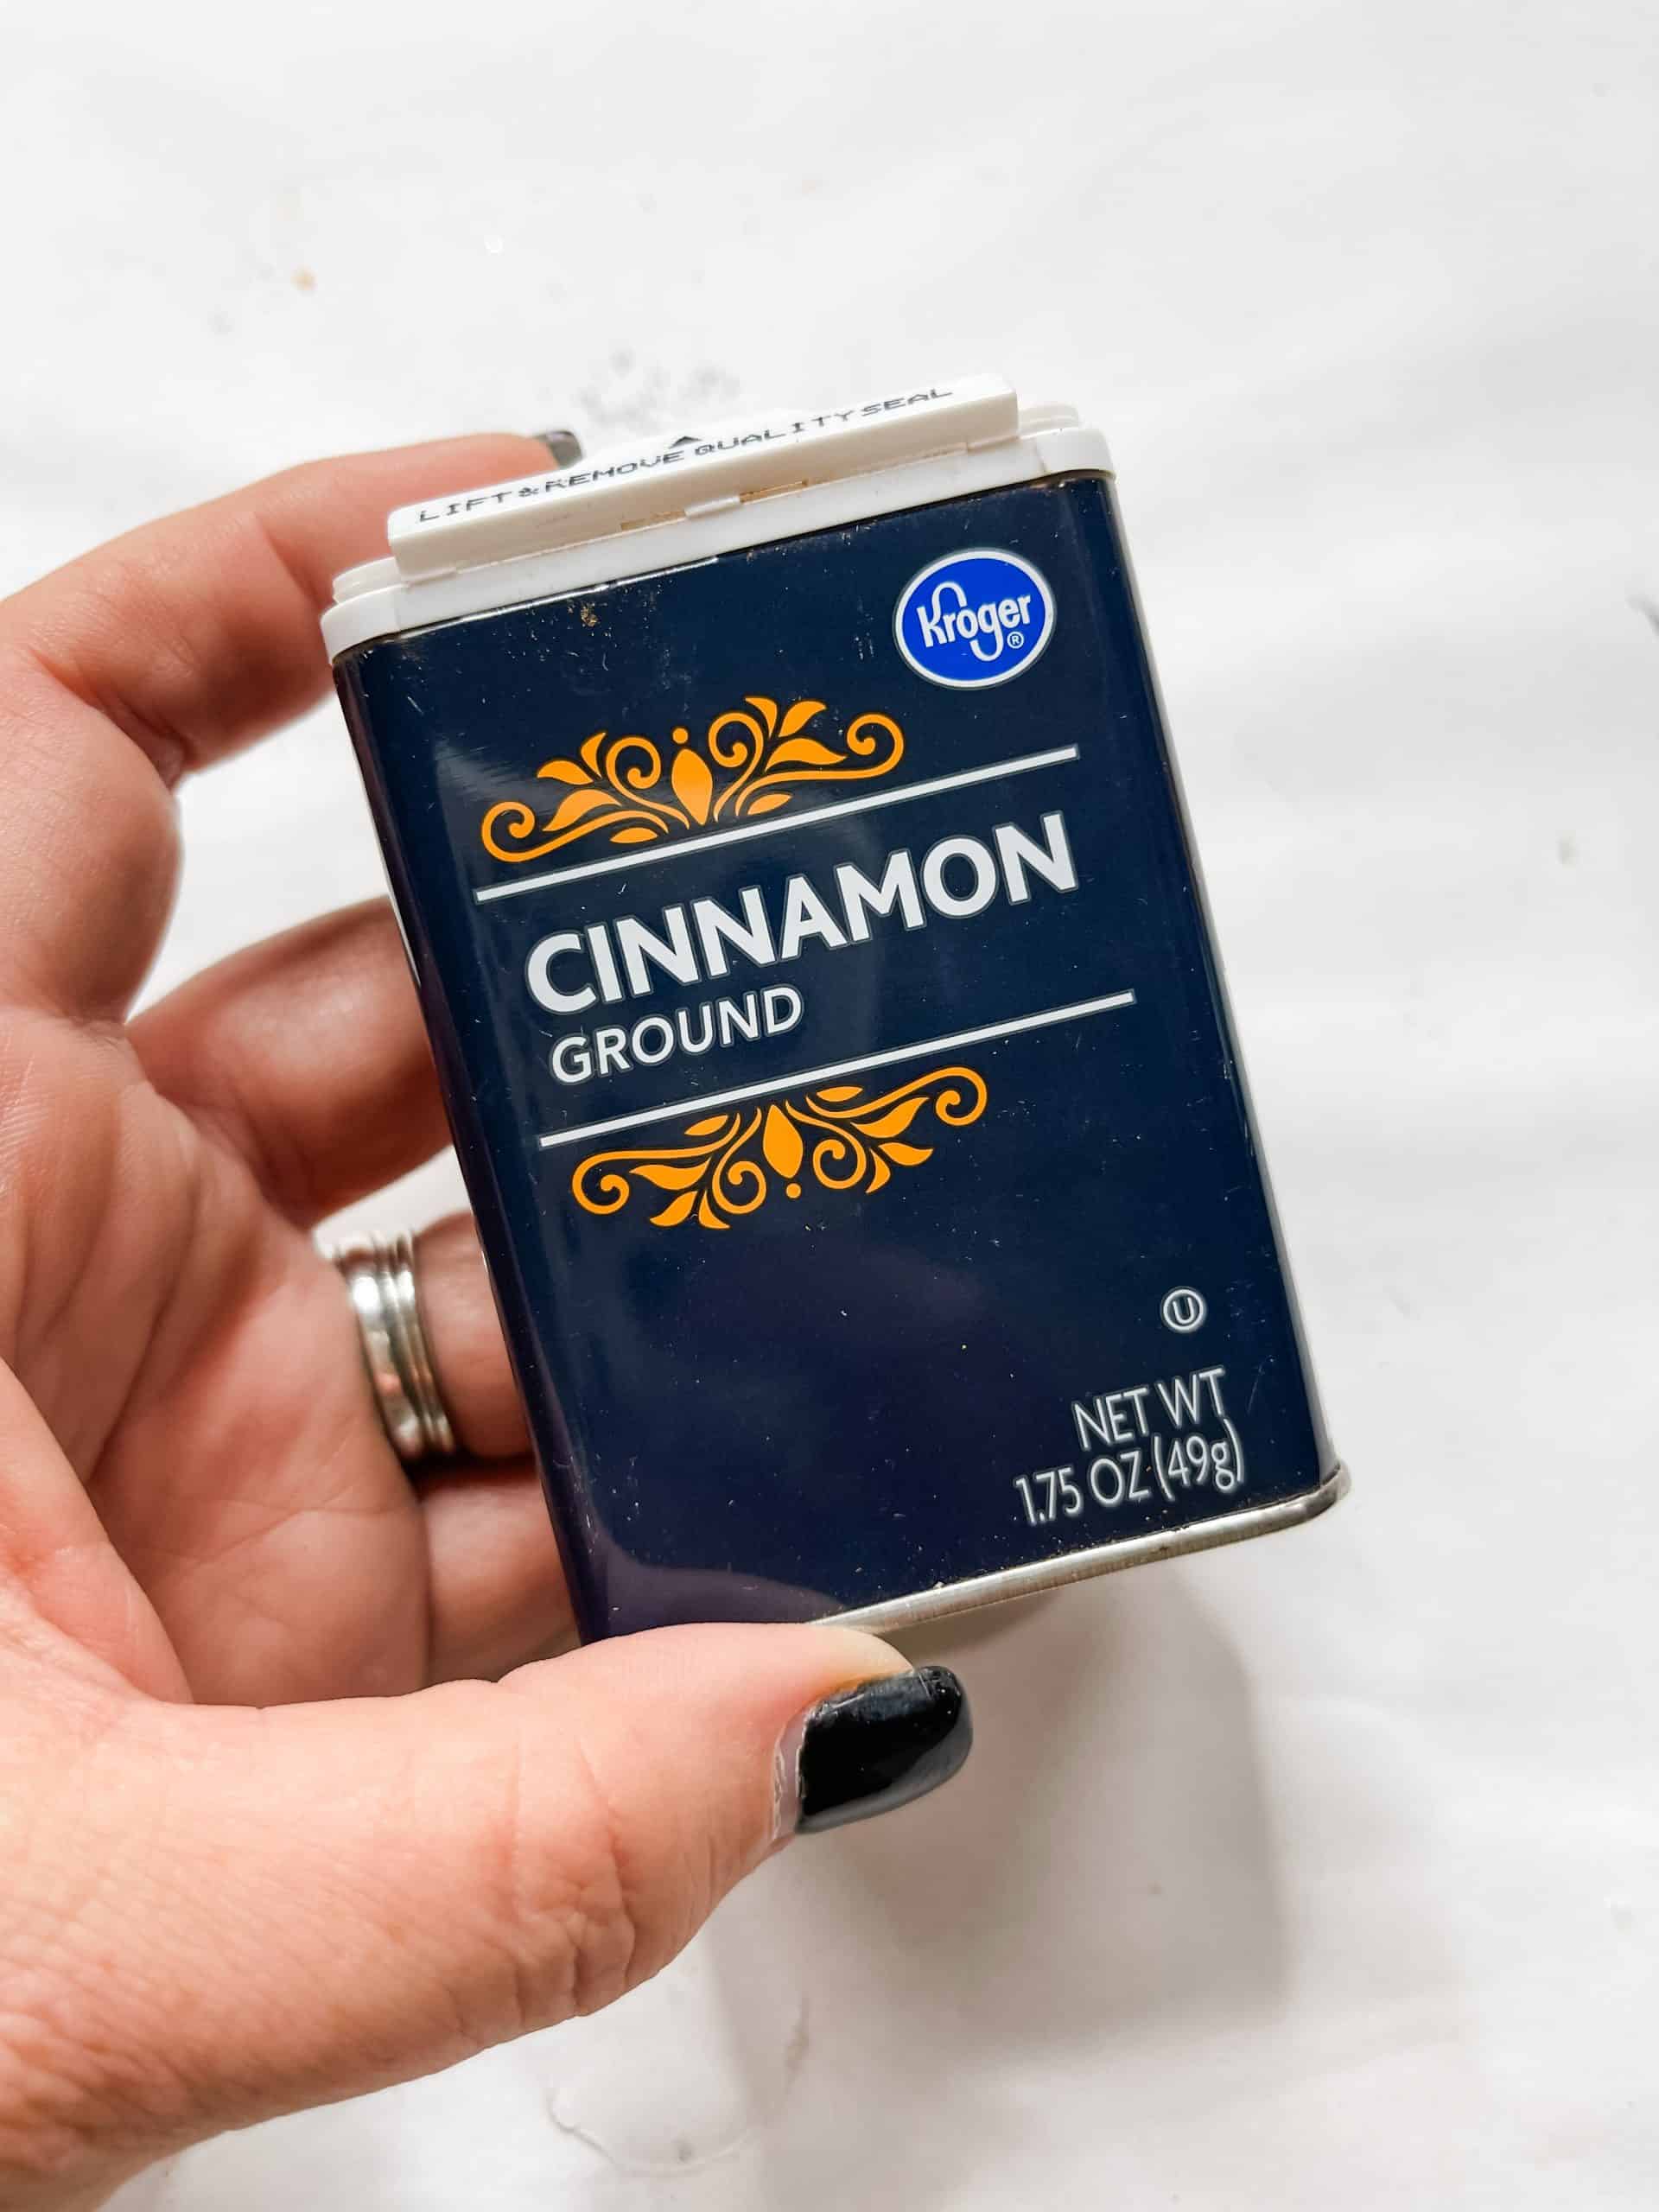
I used my puffy white paint to fill in the whipped cream portion and while the paint was still wet, I lightly sprinkled some cinnamon onto the cup.
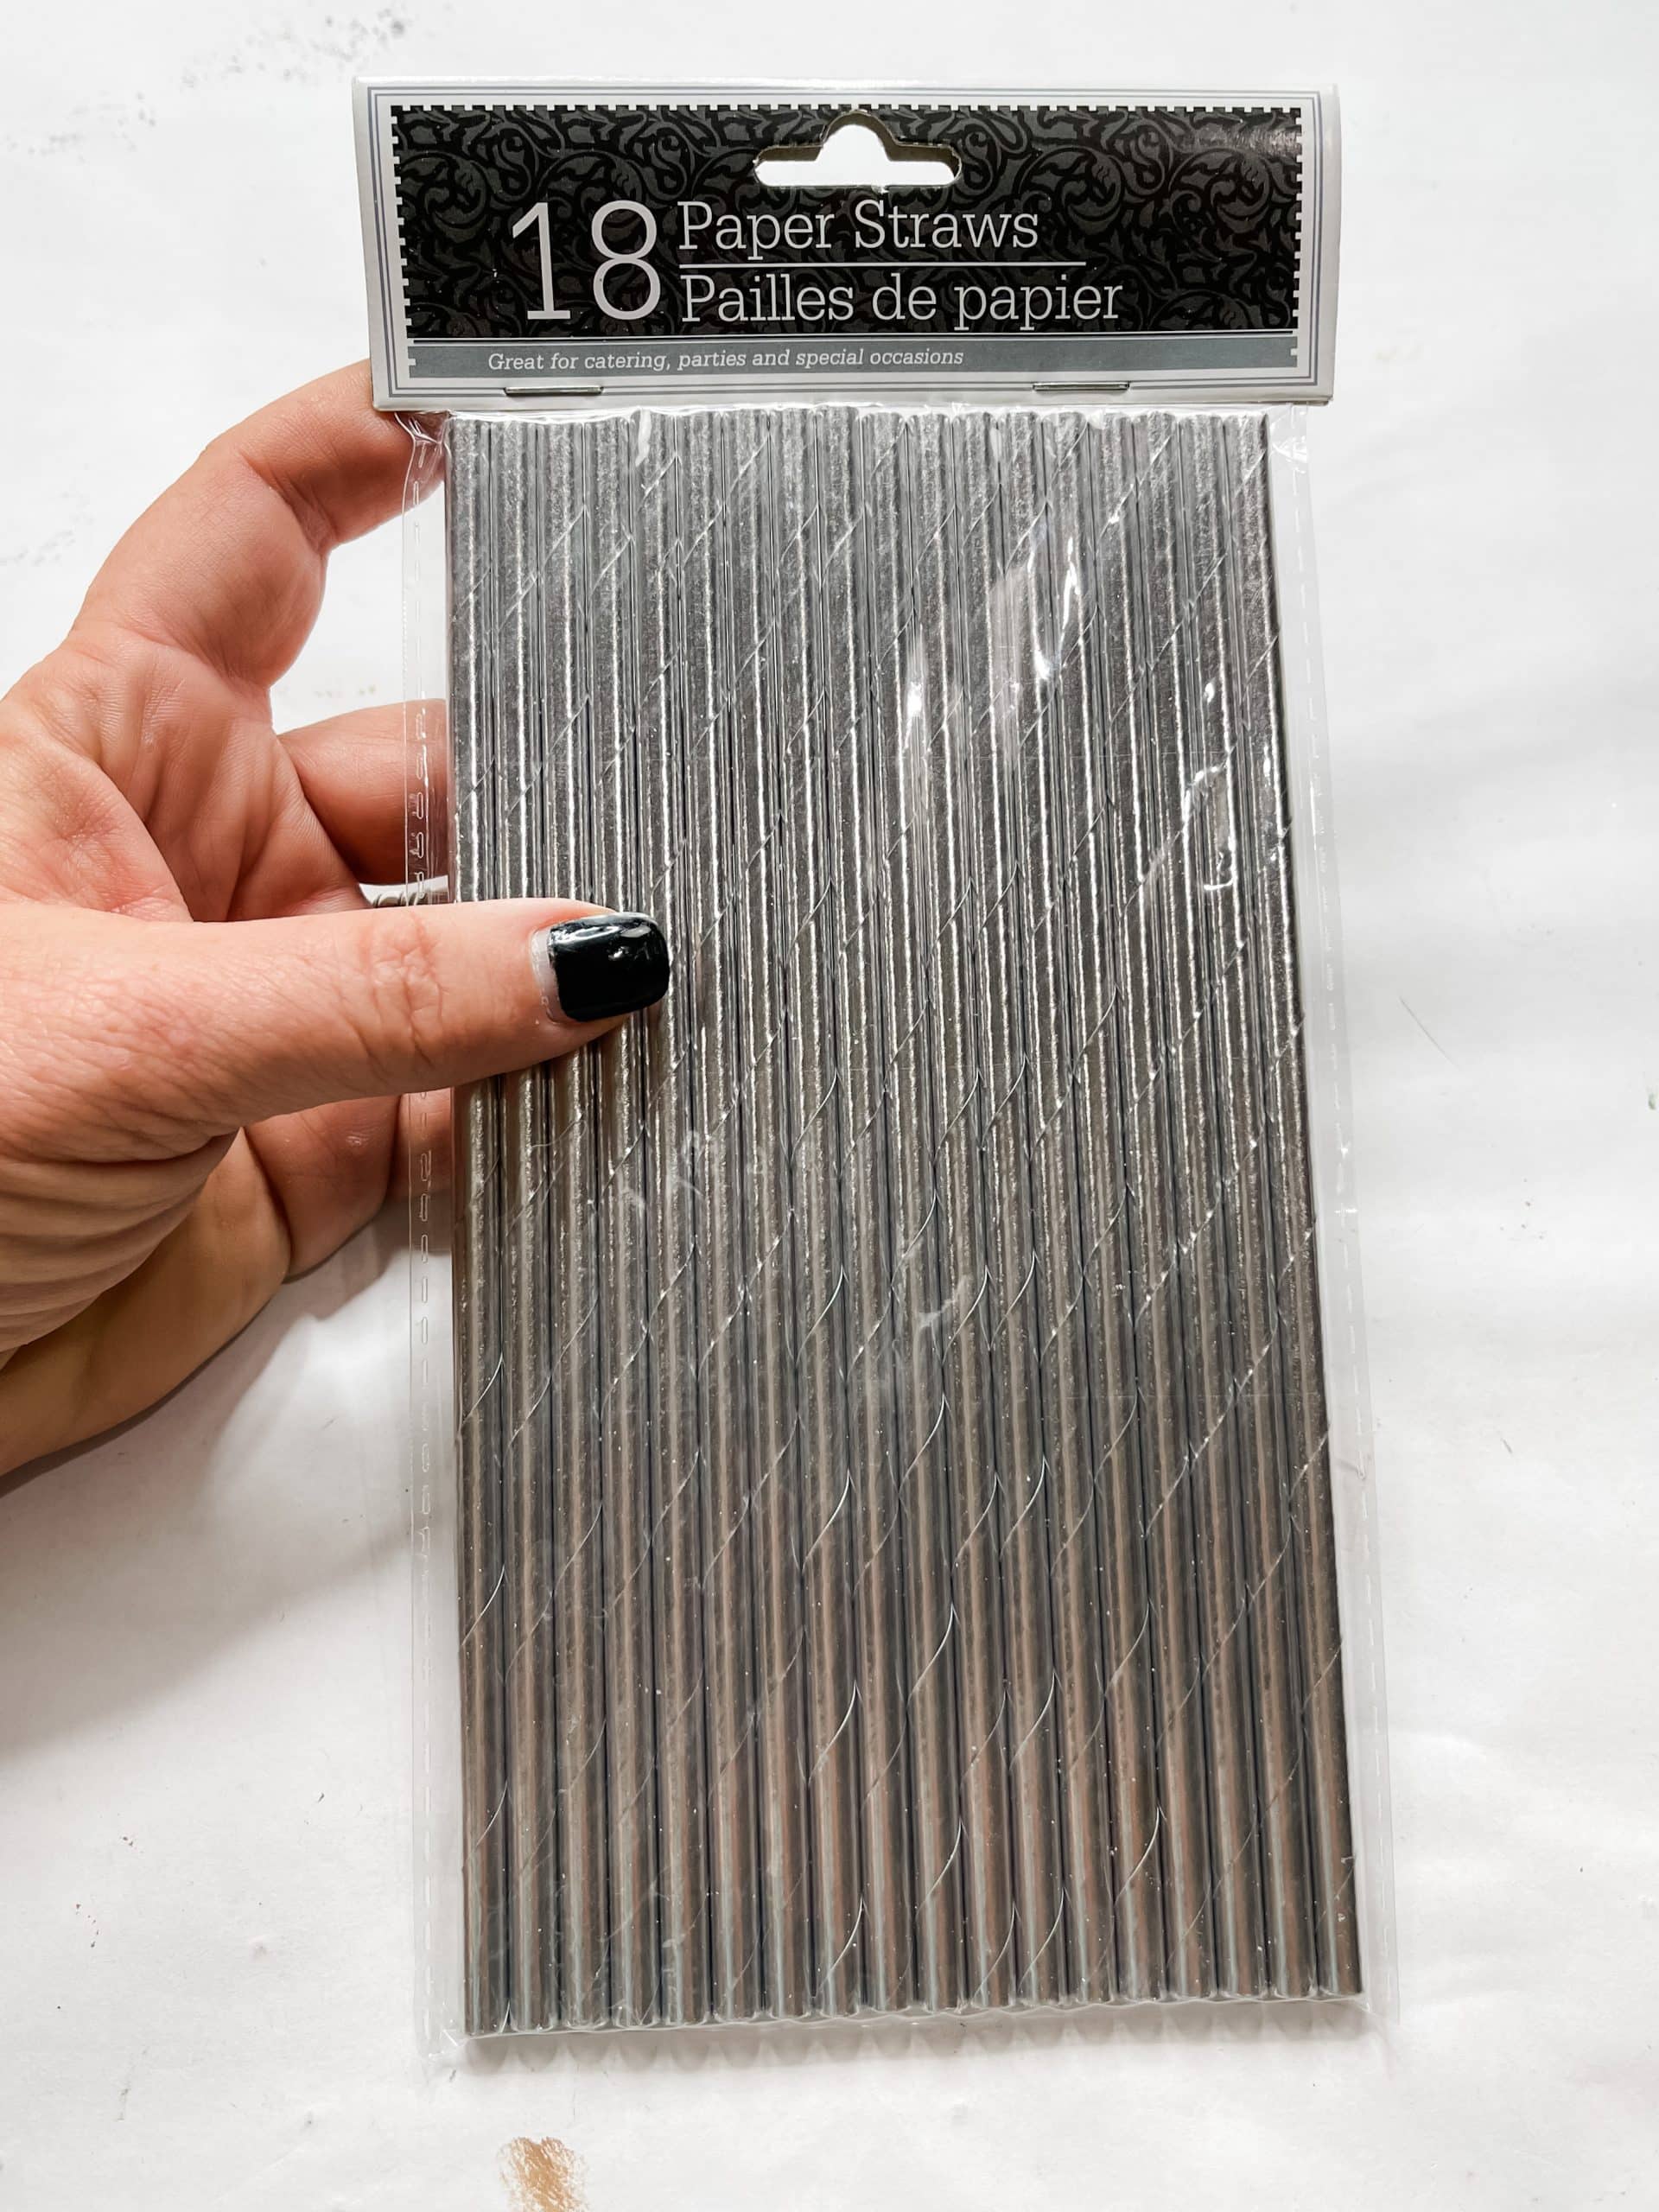
Next, I used a small piece of paper straw to create a little straw for this cup. I painted it to match the cup and glued it at an angle to the back of the cup, coming up out of the top of the whipped cream.
Lastly, I glued a little magnet to the back of the cup so that I could secure it to the framed sign. I still have to add the magnet to the sign, but that’s coming!
Option #2
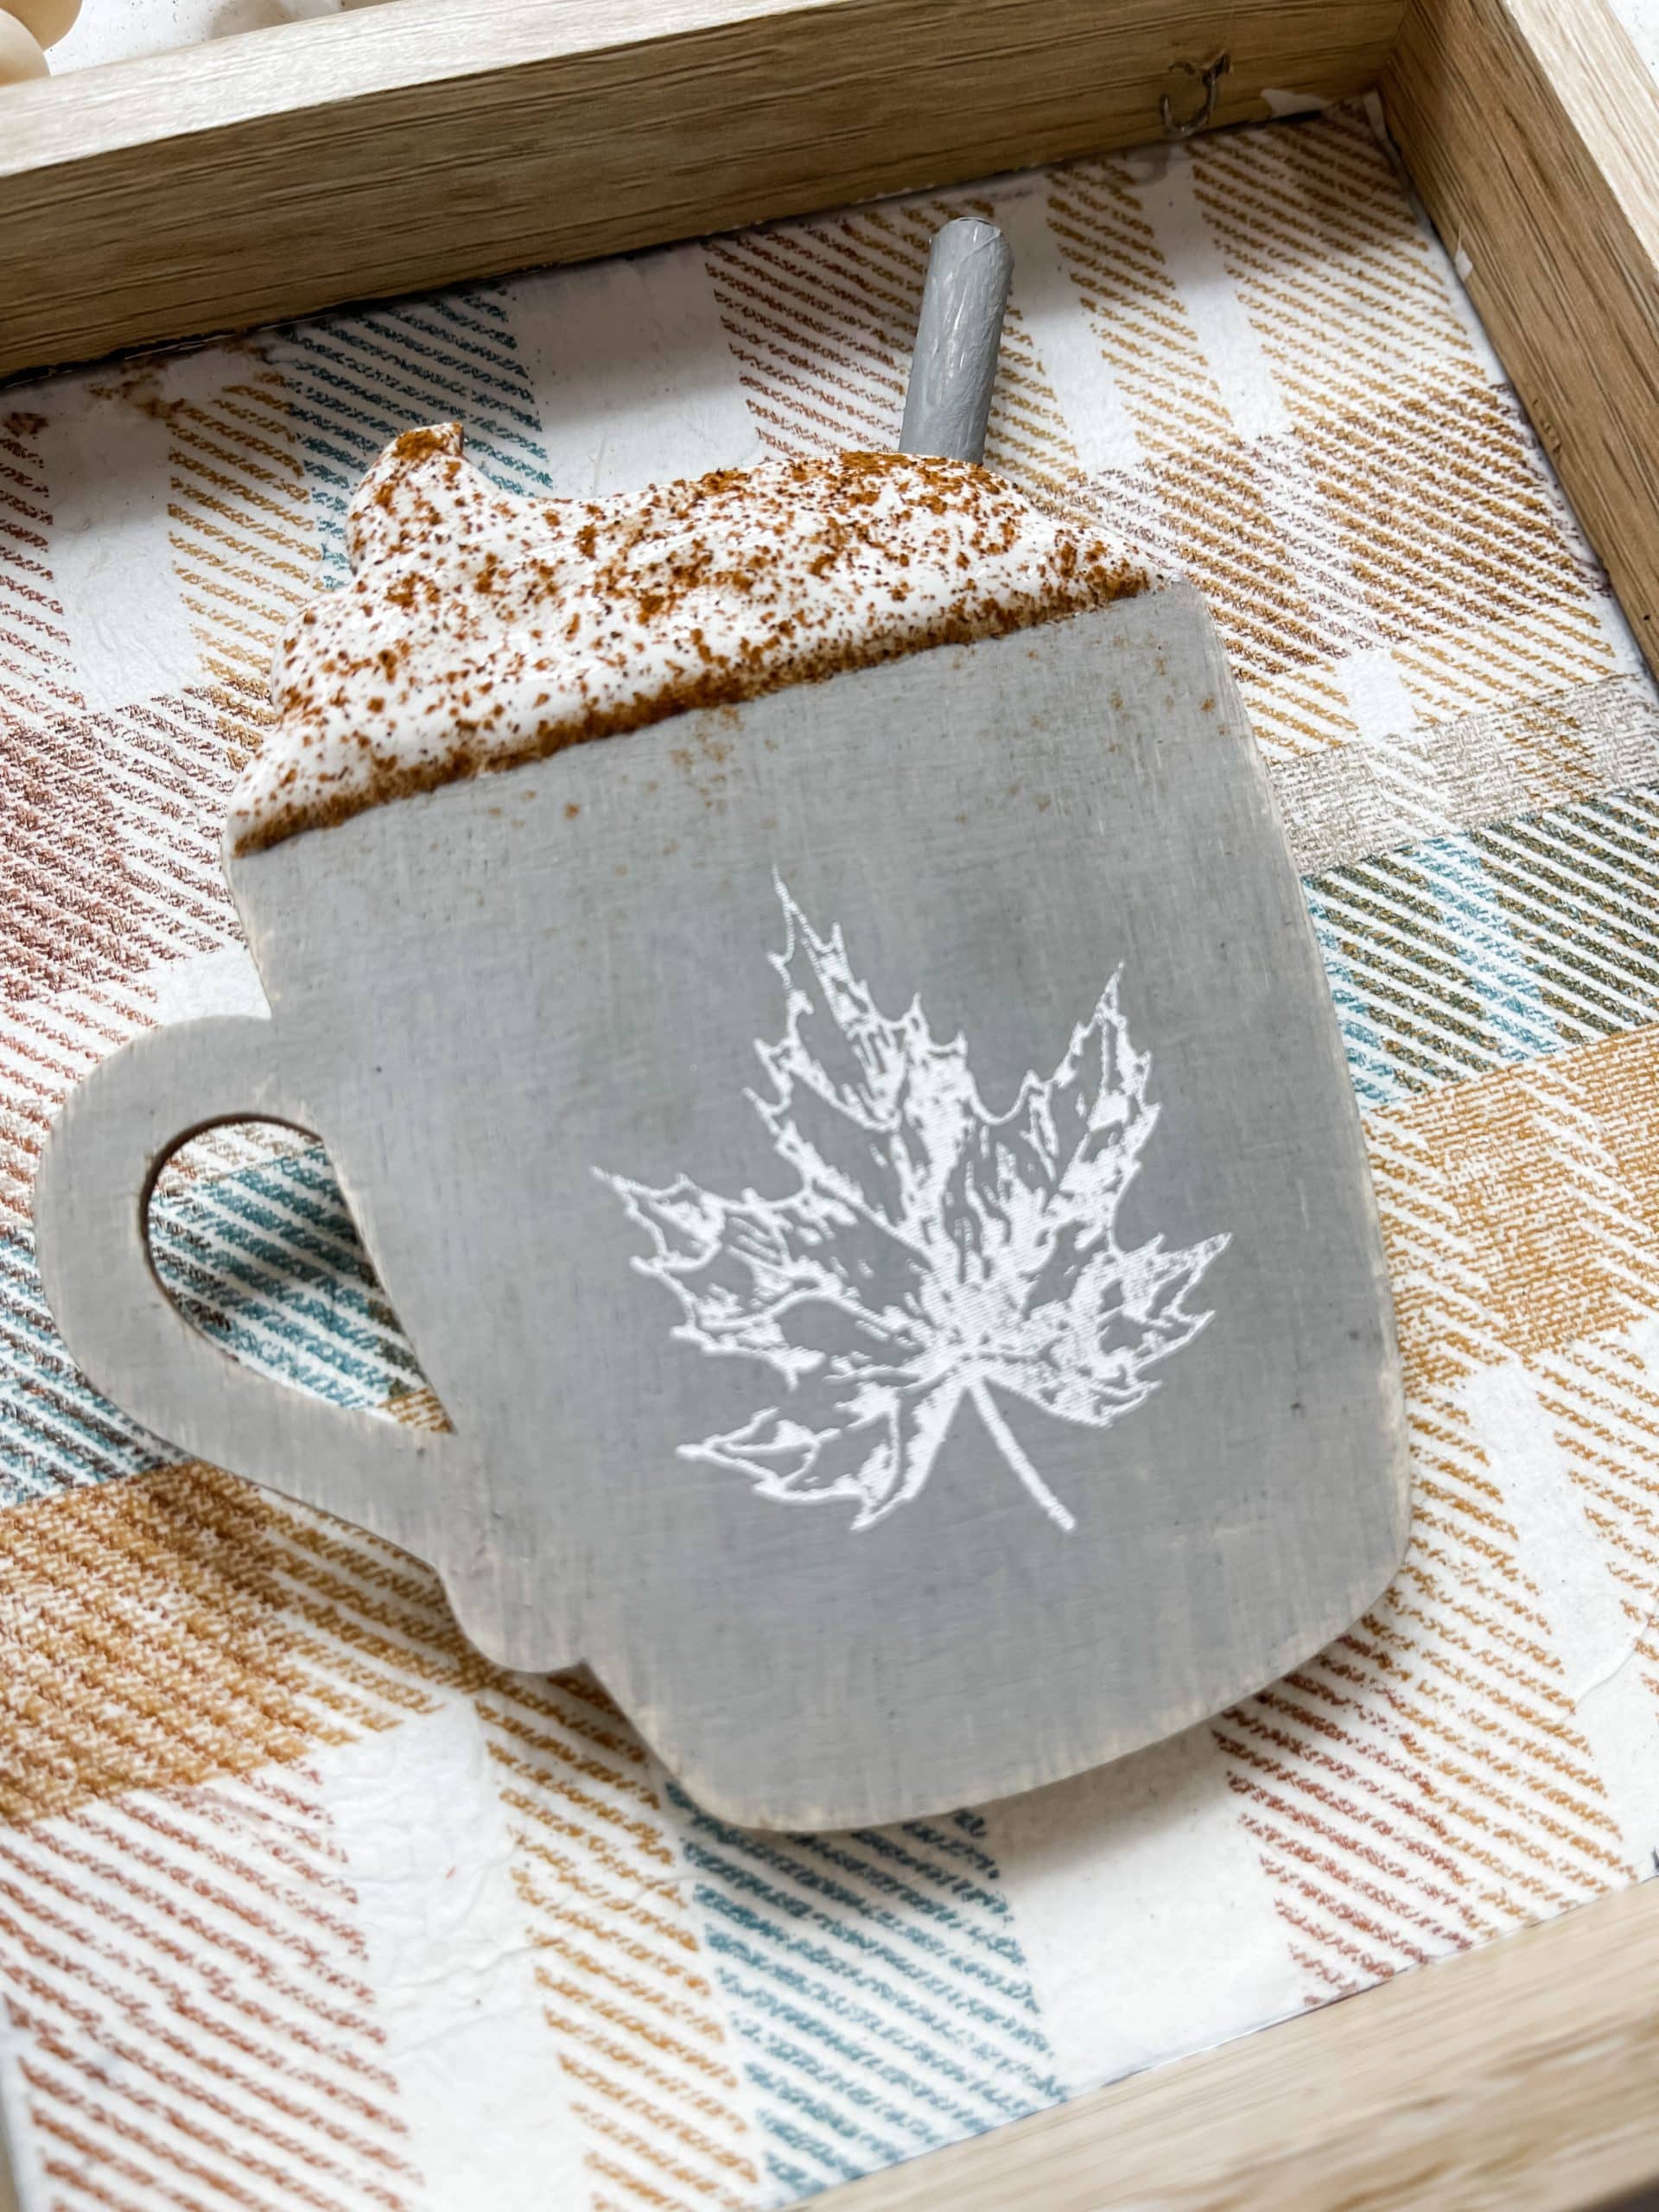
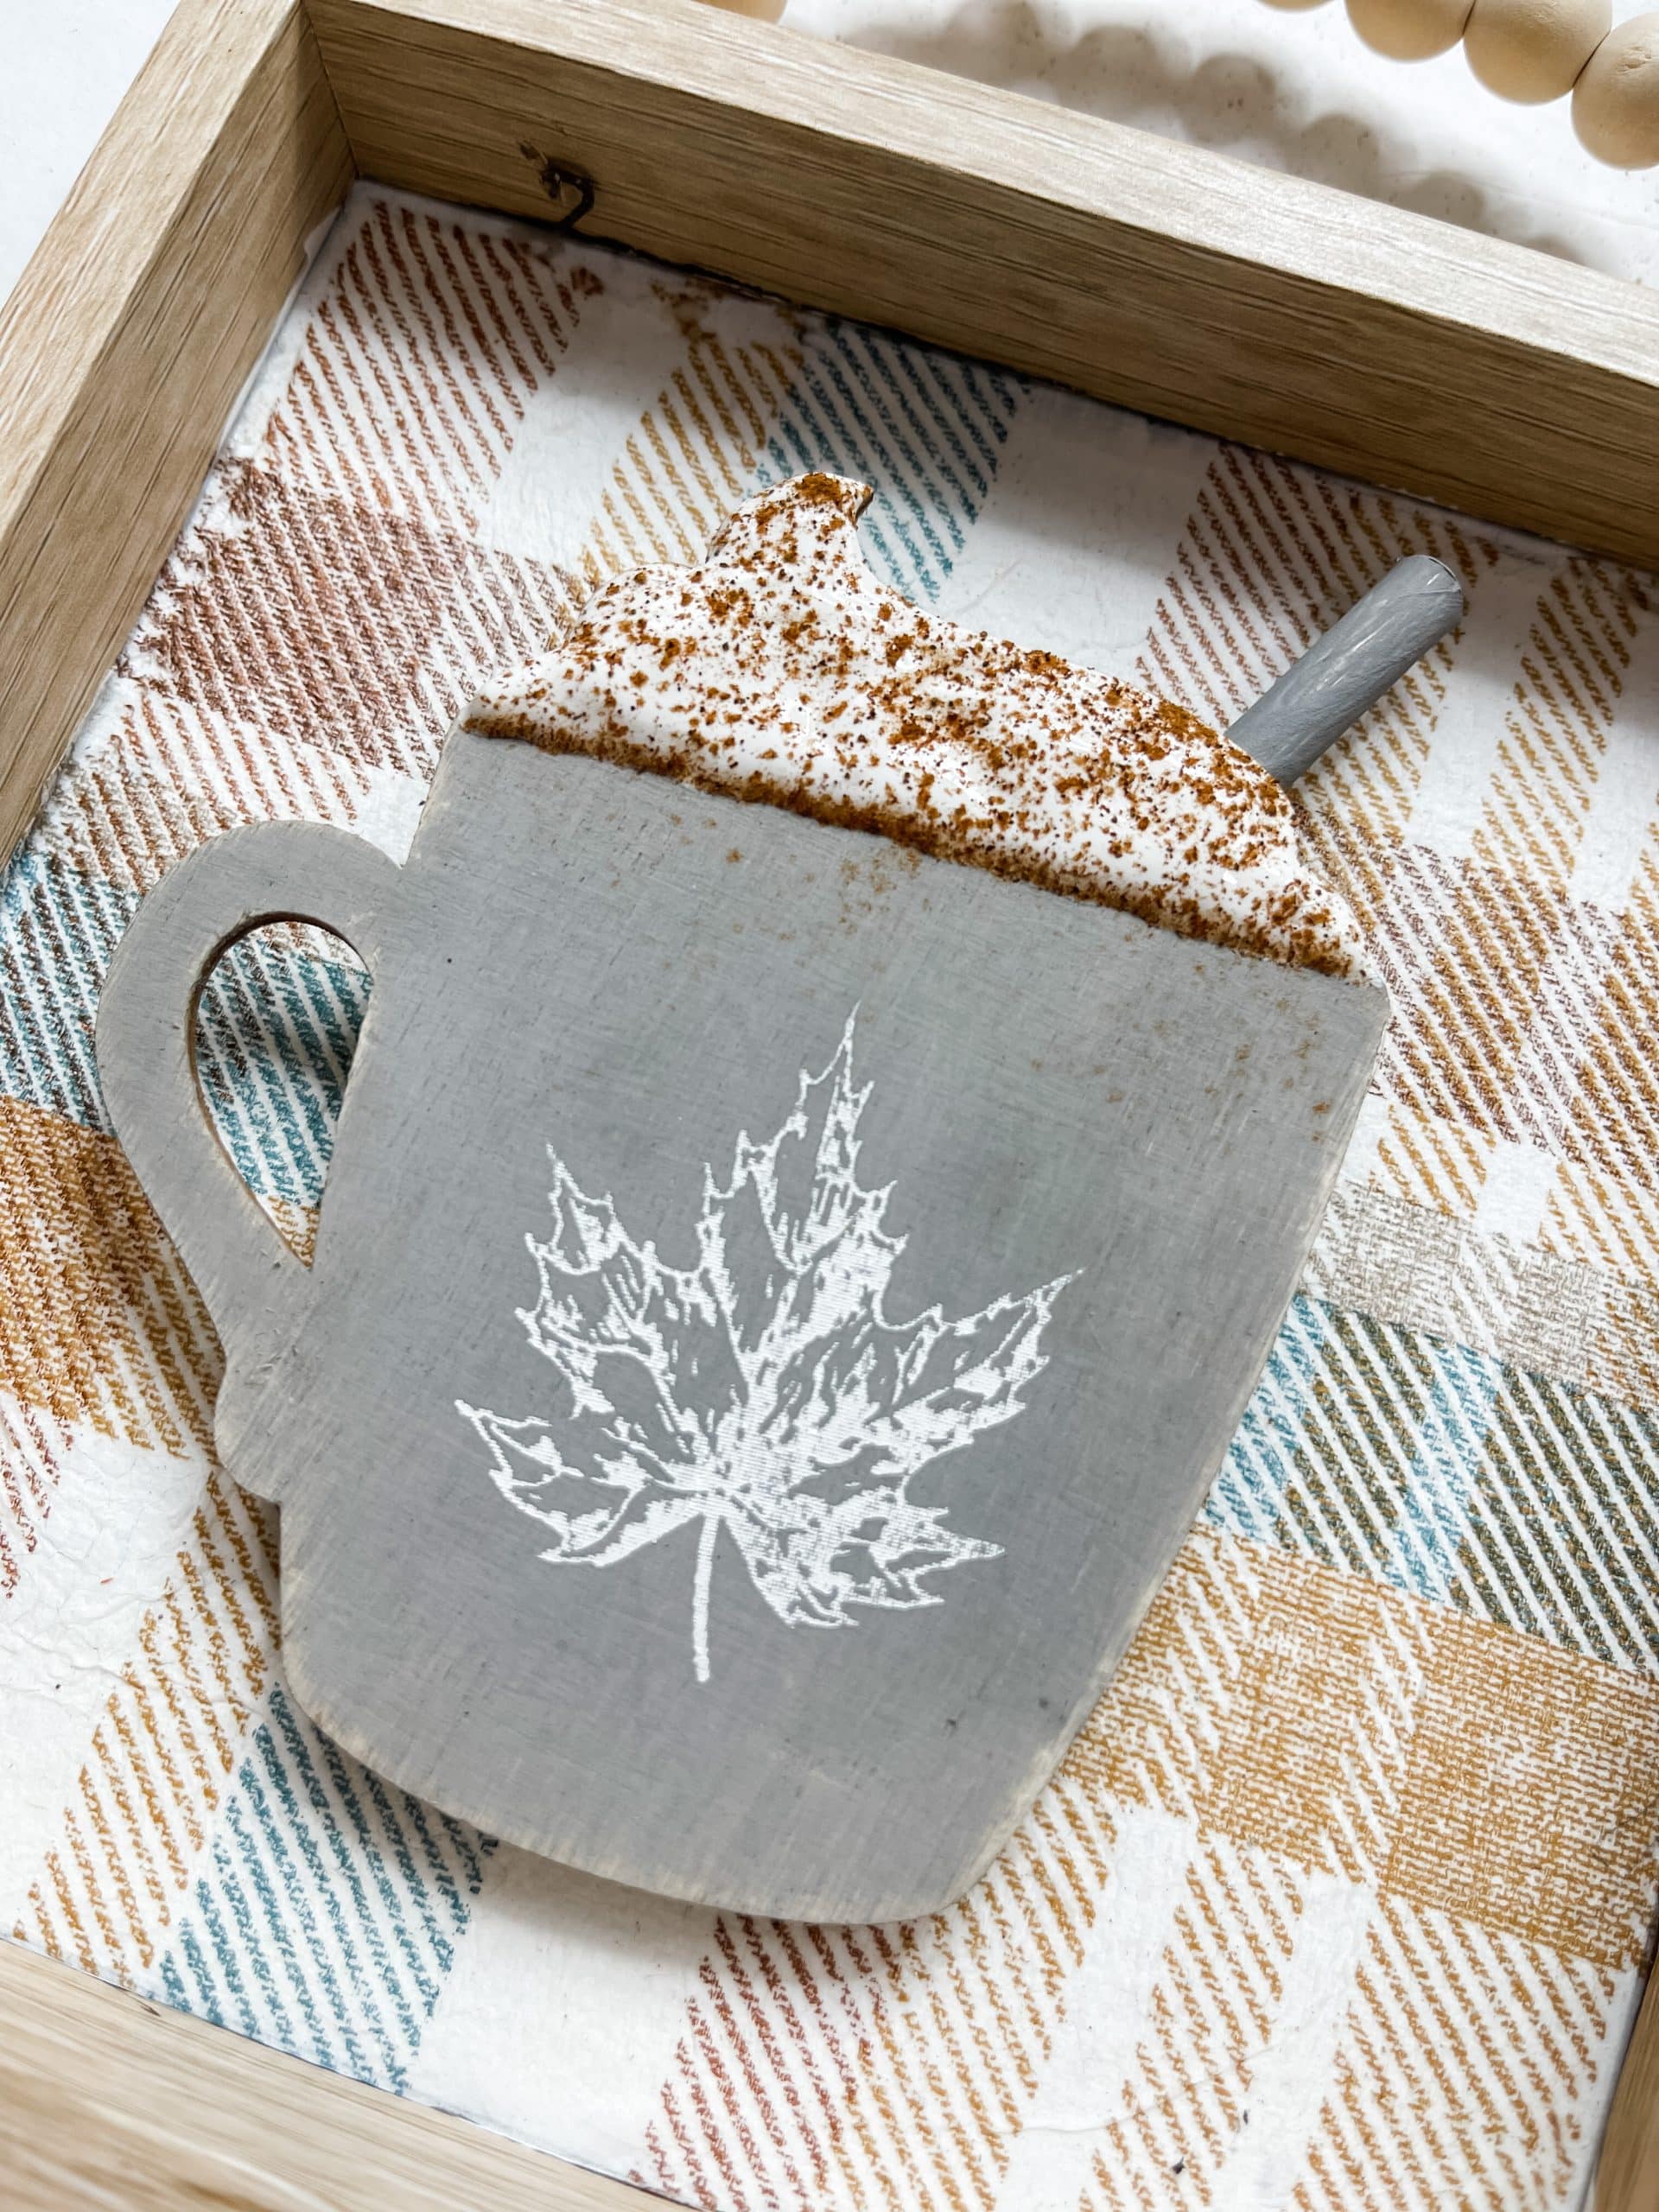
My second latte cup I painted silver and used the same puffy white paint on the whipped cream portion. While the white paint was wet I sprinkled the cinnamon over it gently.
For the stencil, I chose to go with a leaf instead of a pumpkin and used white paint for it. I made a silver straw to go with this cup same as I did for the first cup and glued a magnet to the back.
Bring it all together
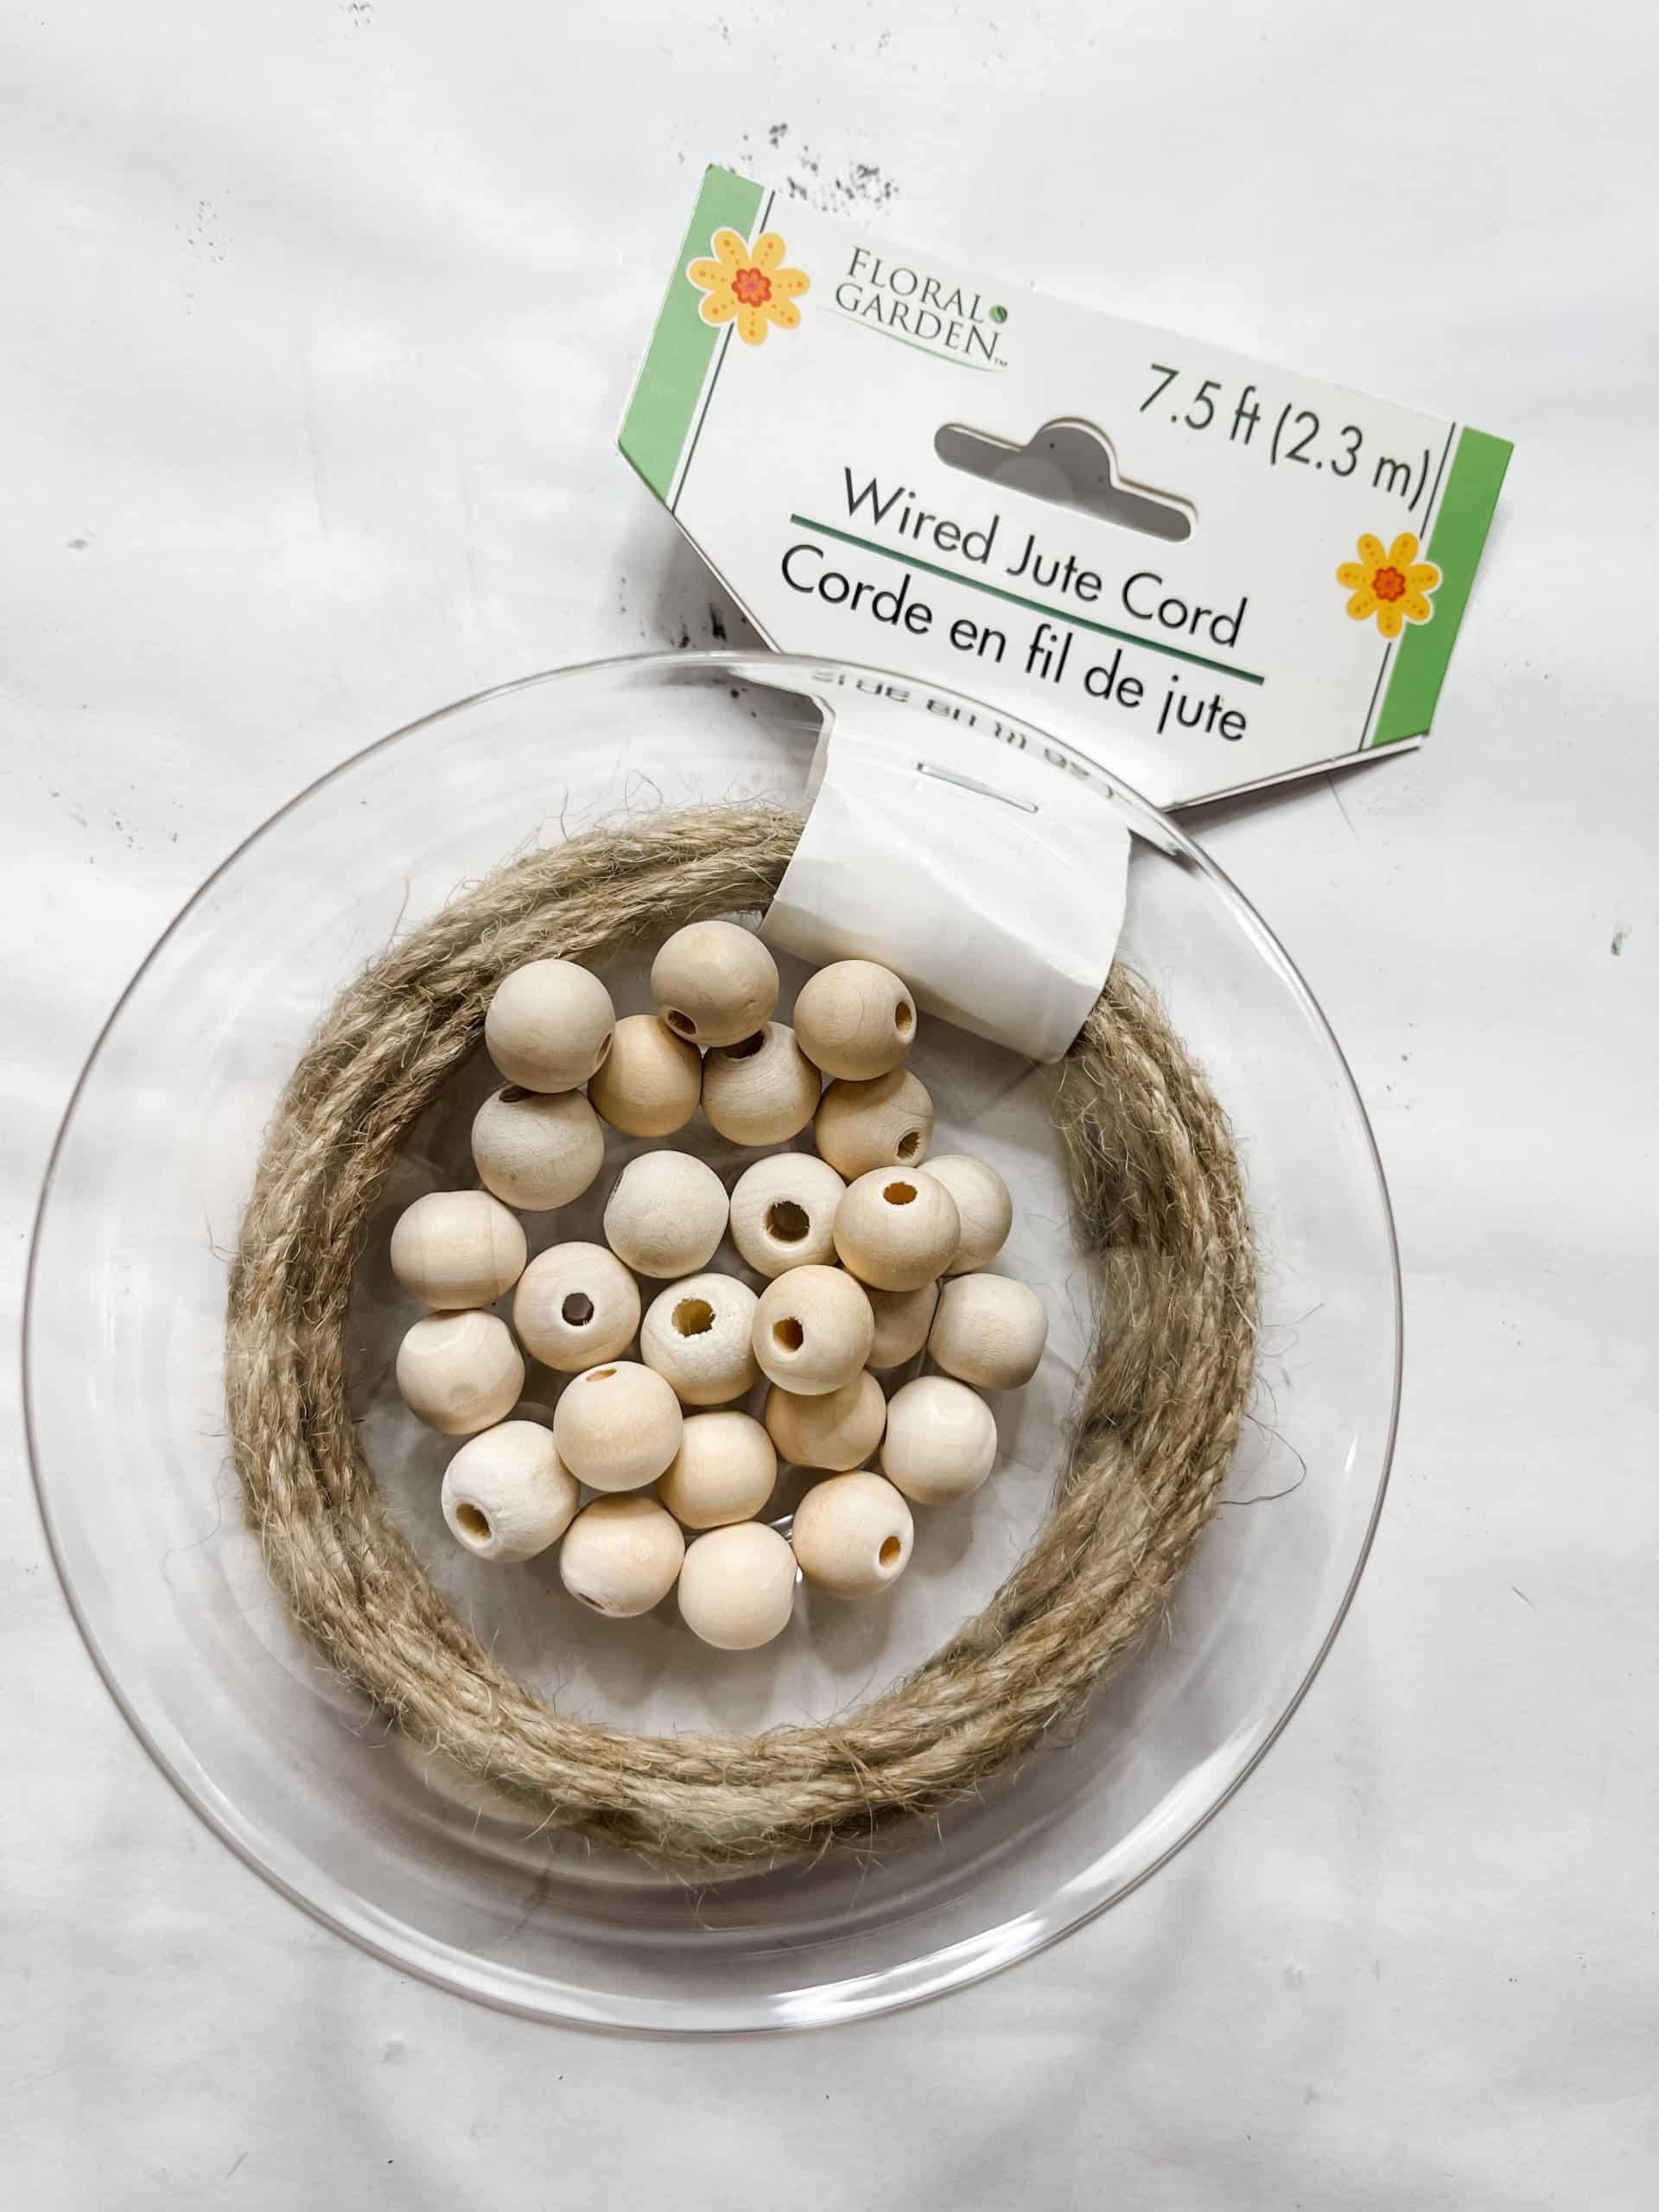
To create the hanger for this fun DIY fall latte decor, I took the jute off the wired jute cord and threaded some wood beads onto the wire.
Once it was to the length that I wanted for this sign, I drilled two holes in the top of the sign’s frame and pushed the wires through the holes.
Place a small dot of glue on top of the holes before you push the wire through to secure the end beads to the top of the frame.
Then, twist the ends of the wires into knots or fold them flat across the inside of the frame and glue them in place to keep the wire from slipping out of the beads.
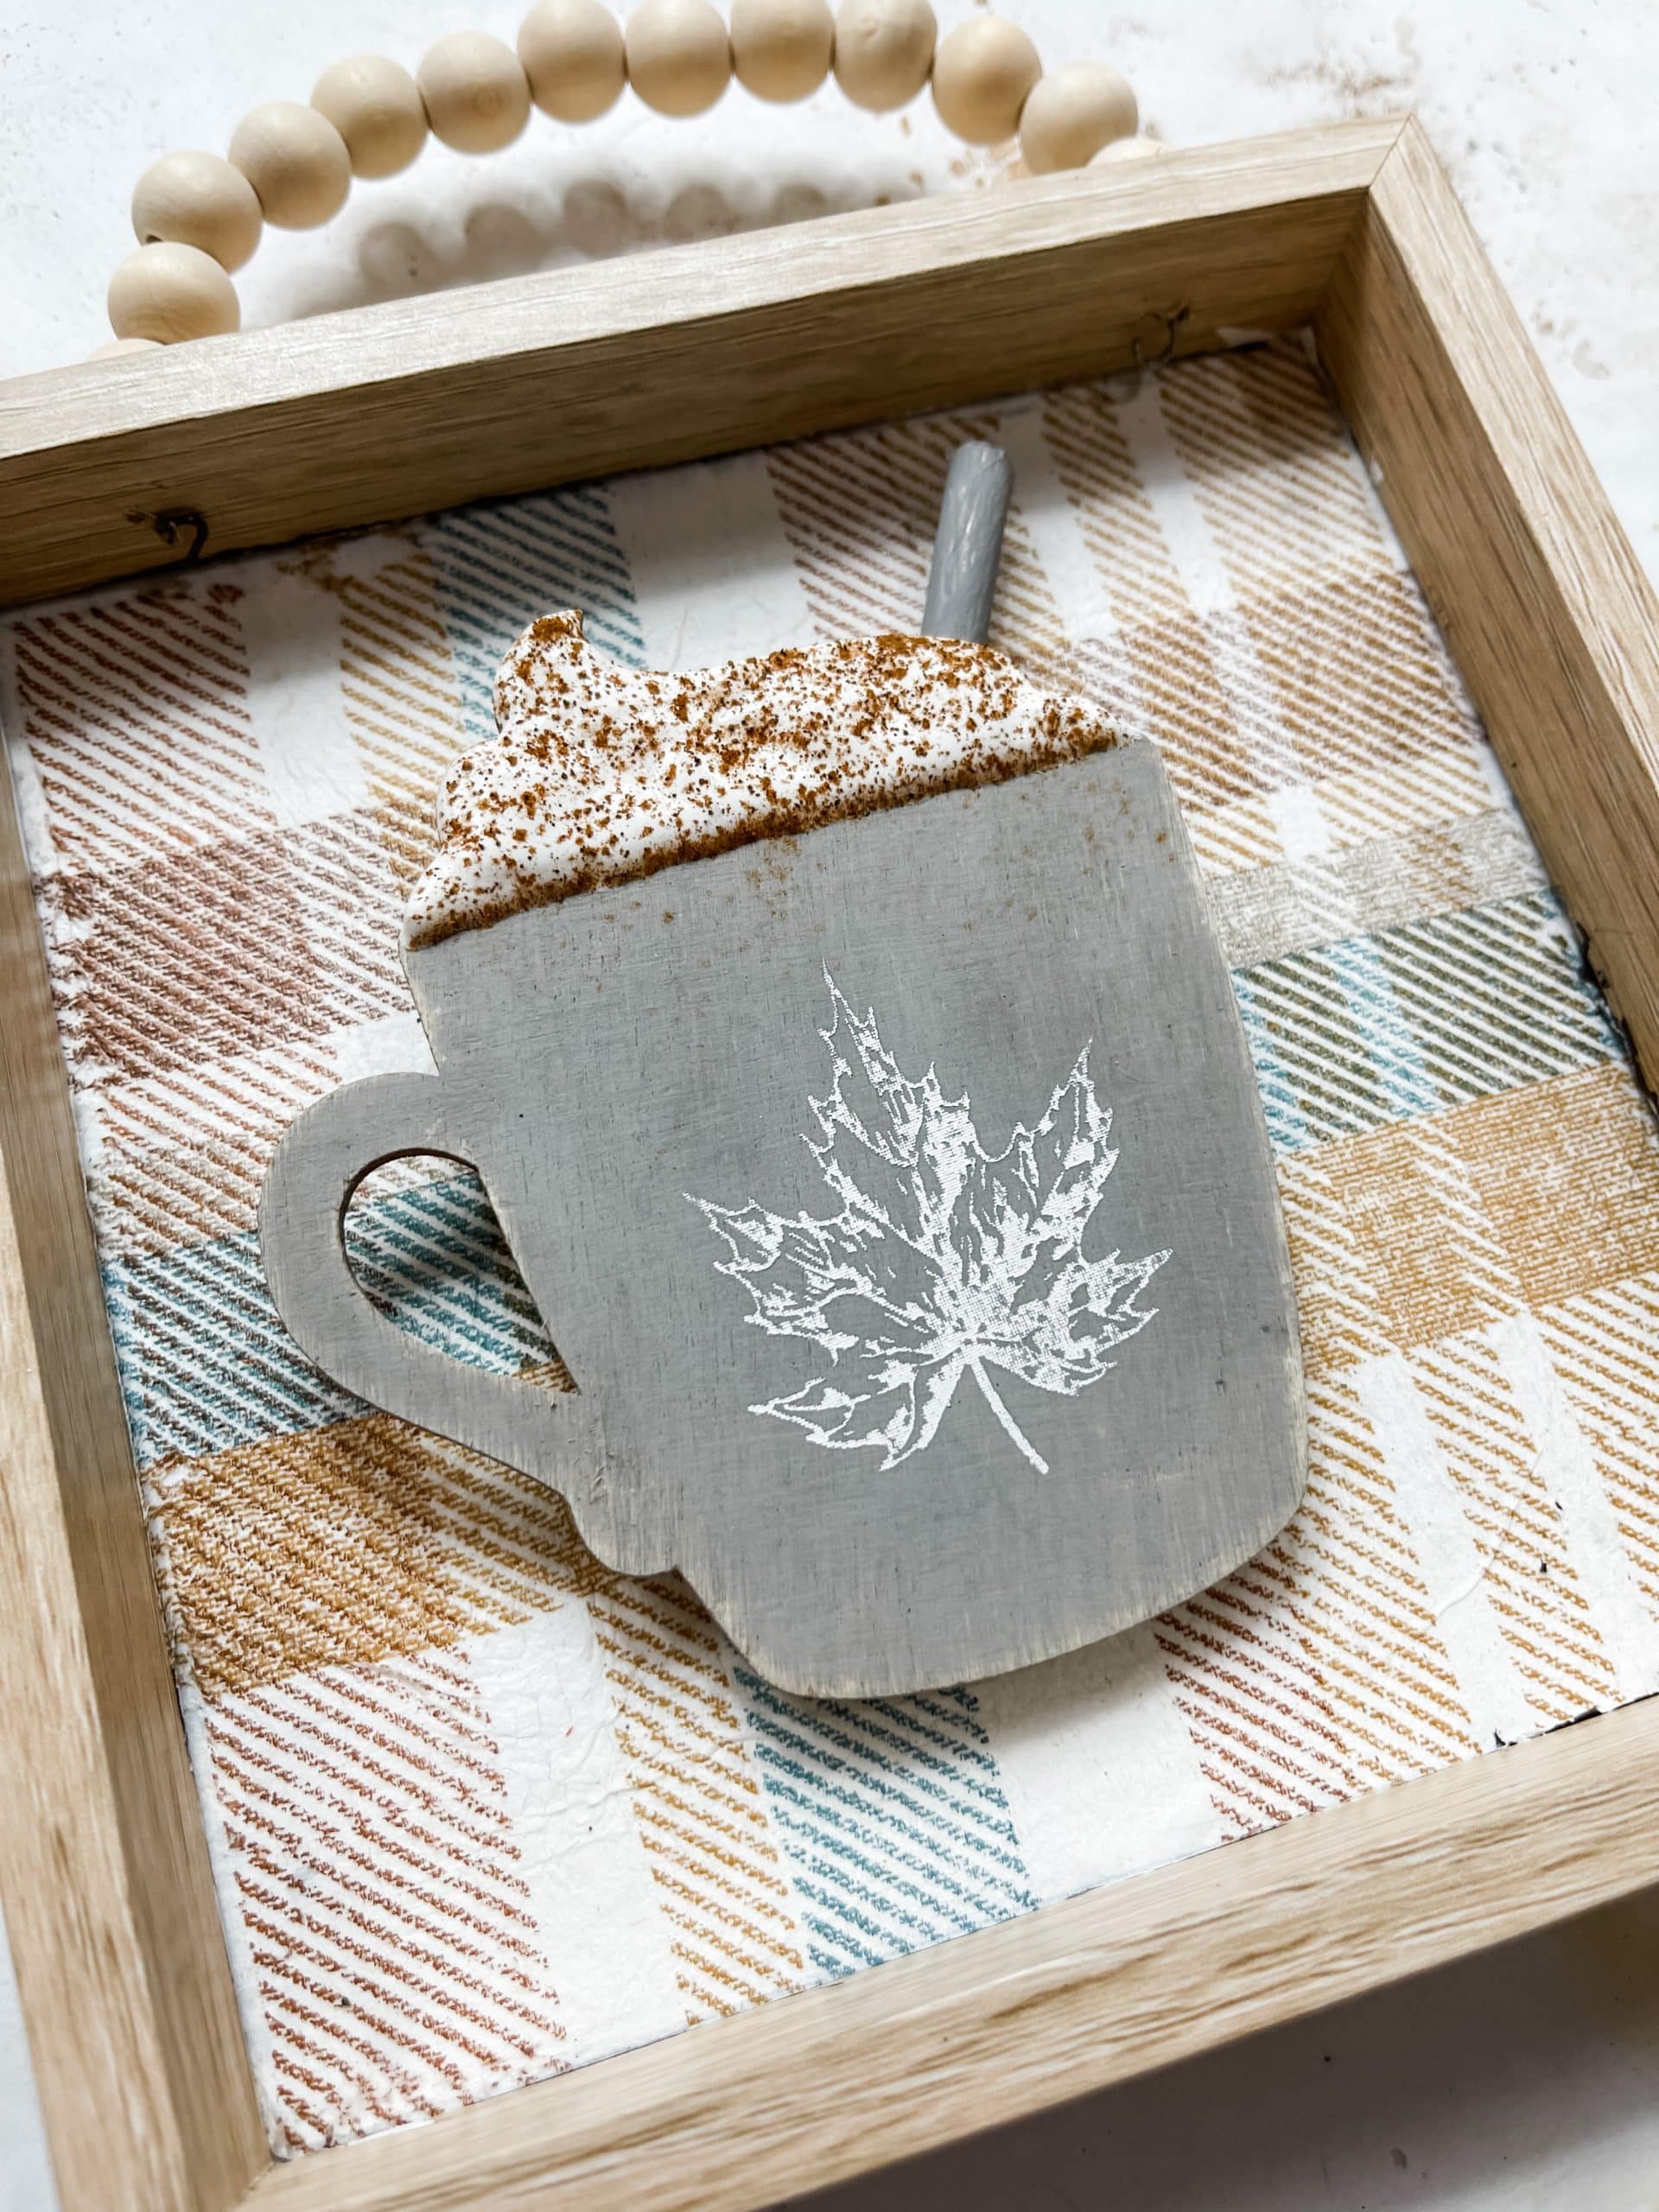
Lastly, glue a little magnet to the center of the framed sign so you can secure your latte cups or any other decor piece of choice to the middle of the framed sign!
I hope you enjoyed this DIY Latte Fall Decor as much as I did and decide to make them for yourself! If you do, I would love to see how yours turns out!
You should totally join my FREE Facebook group called On A Budget Crafts! It is a judgment-free community for DIY crafters to show off their projects and ideas.
Watch the DIY tutorial
I shared how to make this DIY Latte Fall Decor during a LIVE video on my Facebook page.
If you want to see the tutorial, craft along, or join in the fun conversations, you can watch the replay!
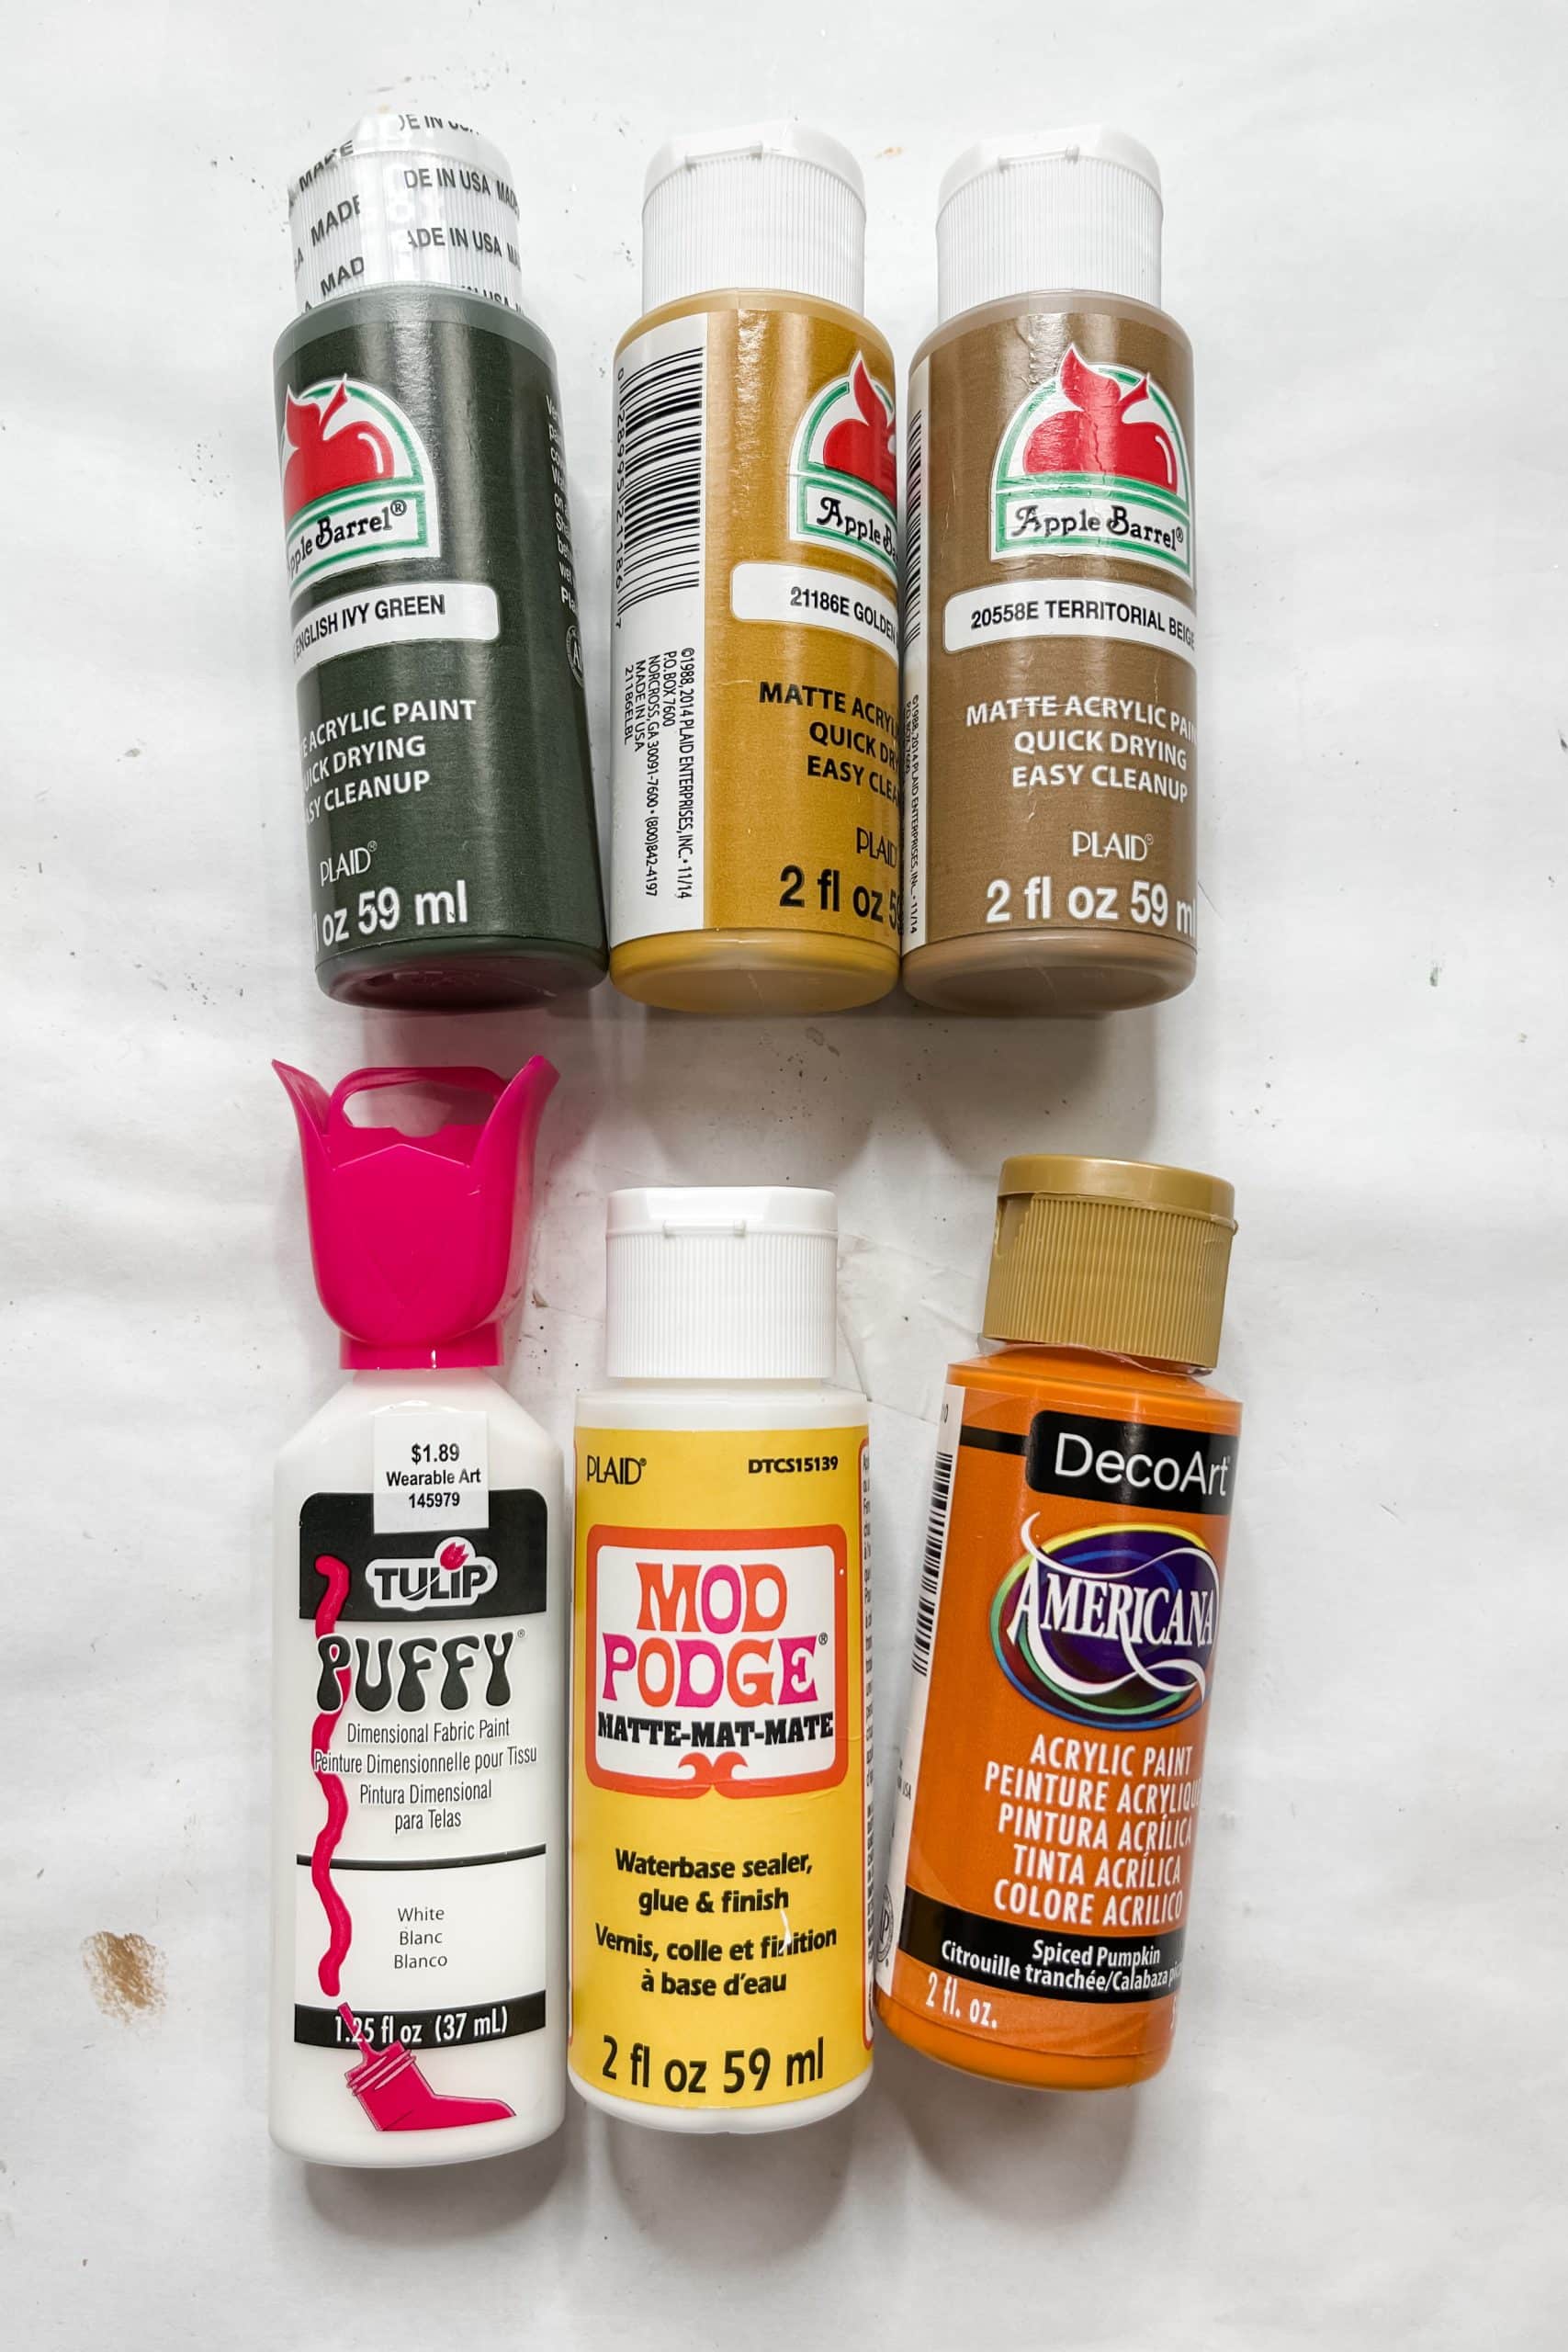
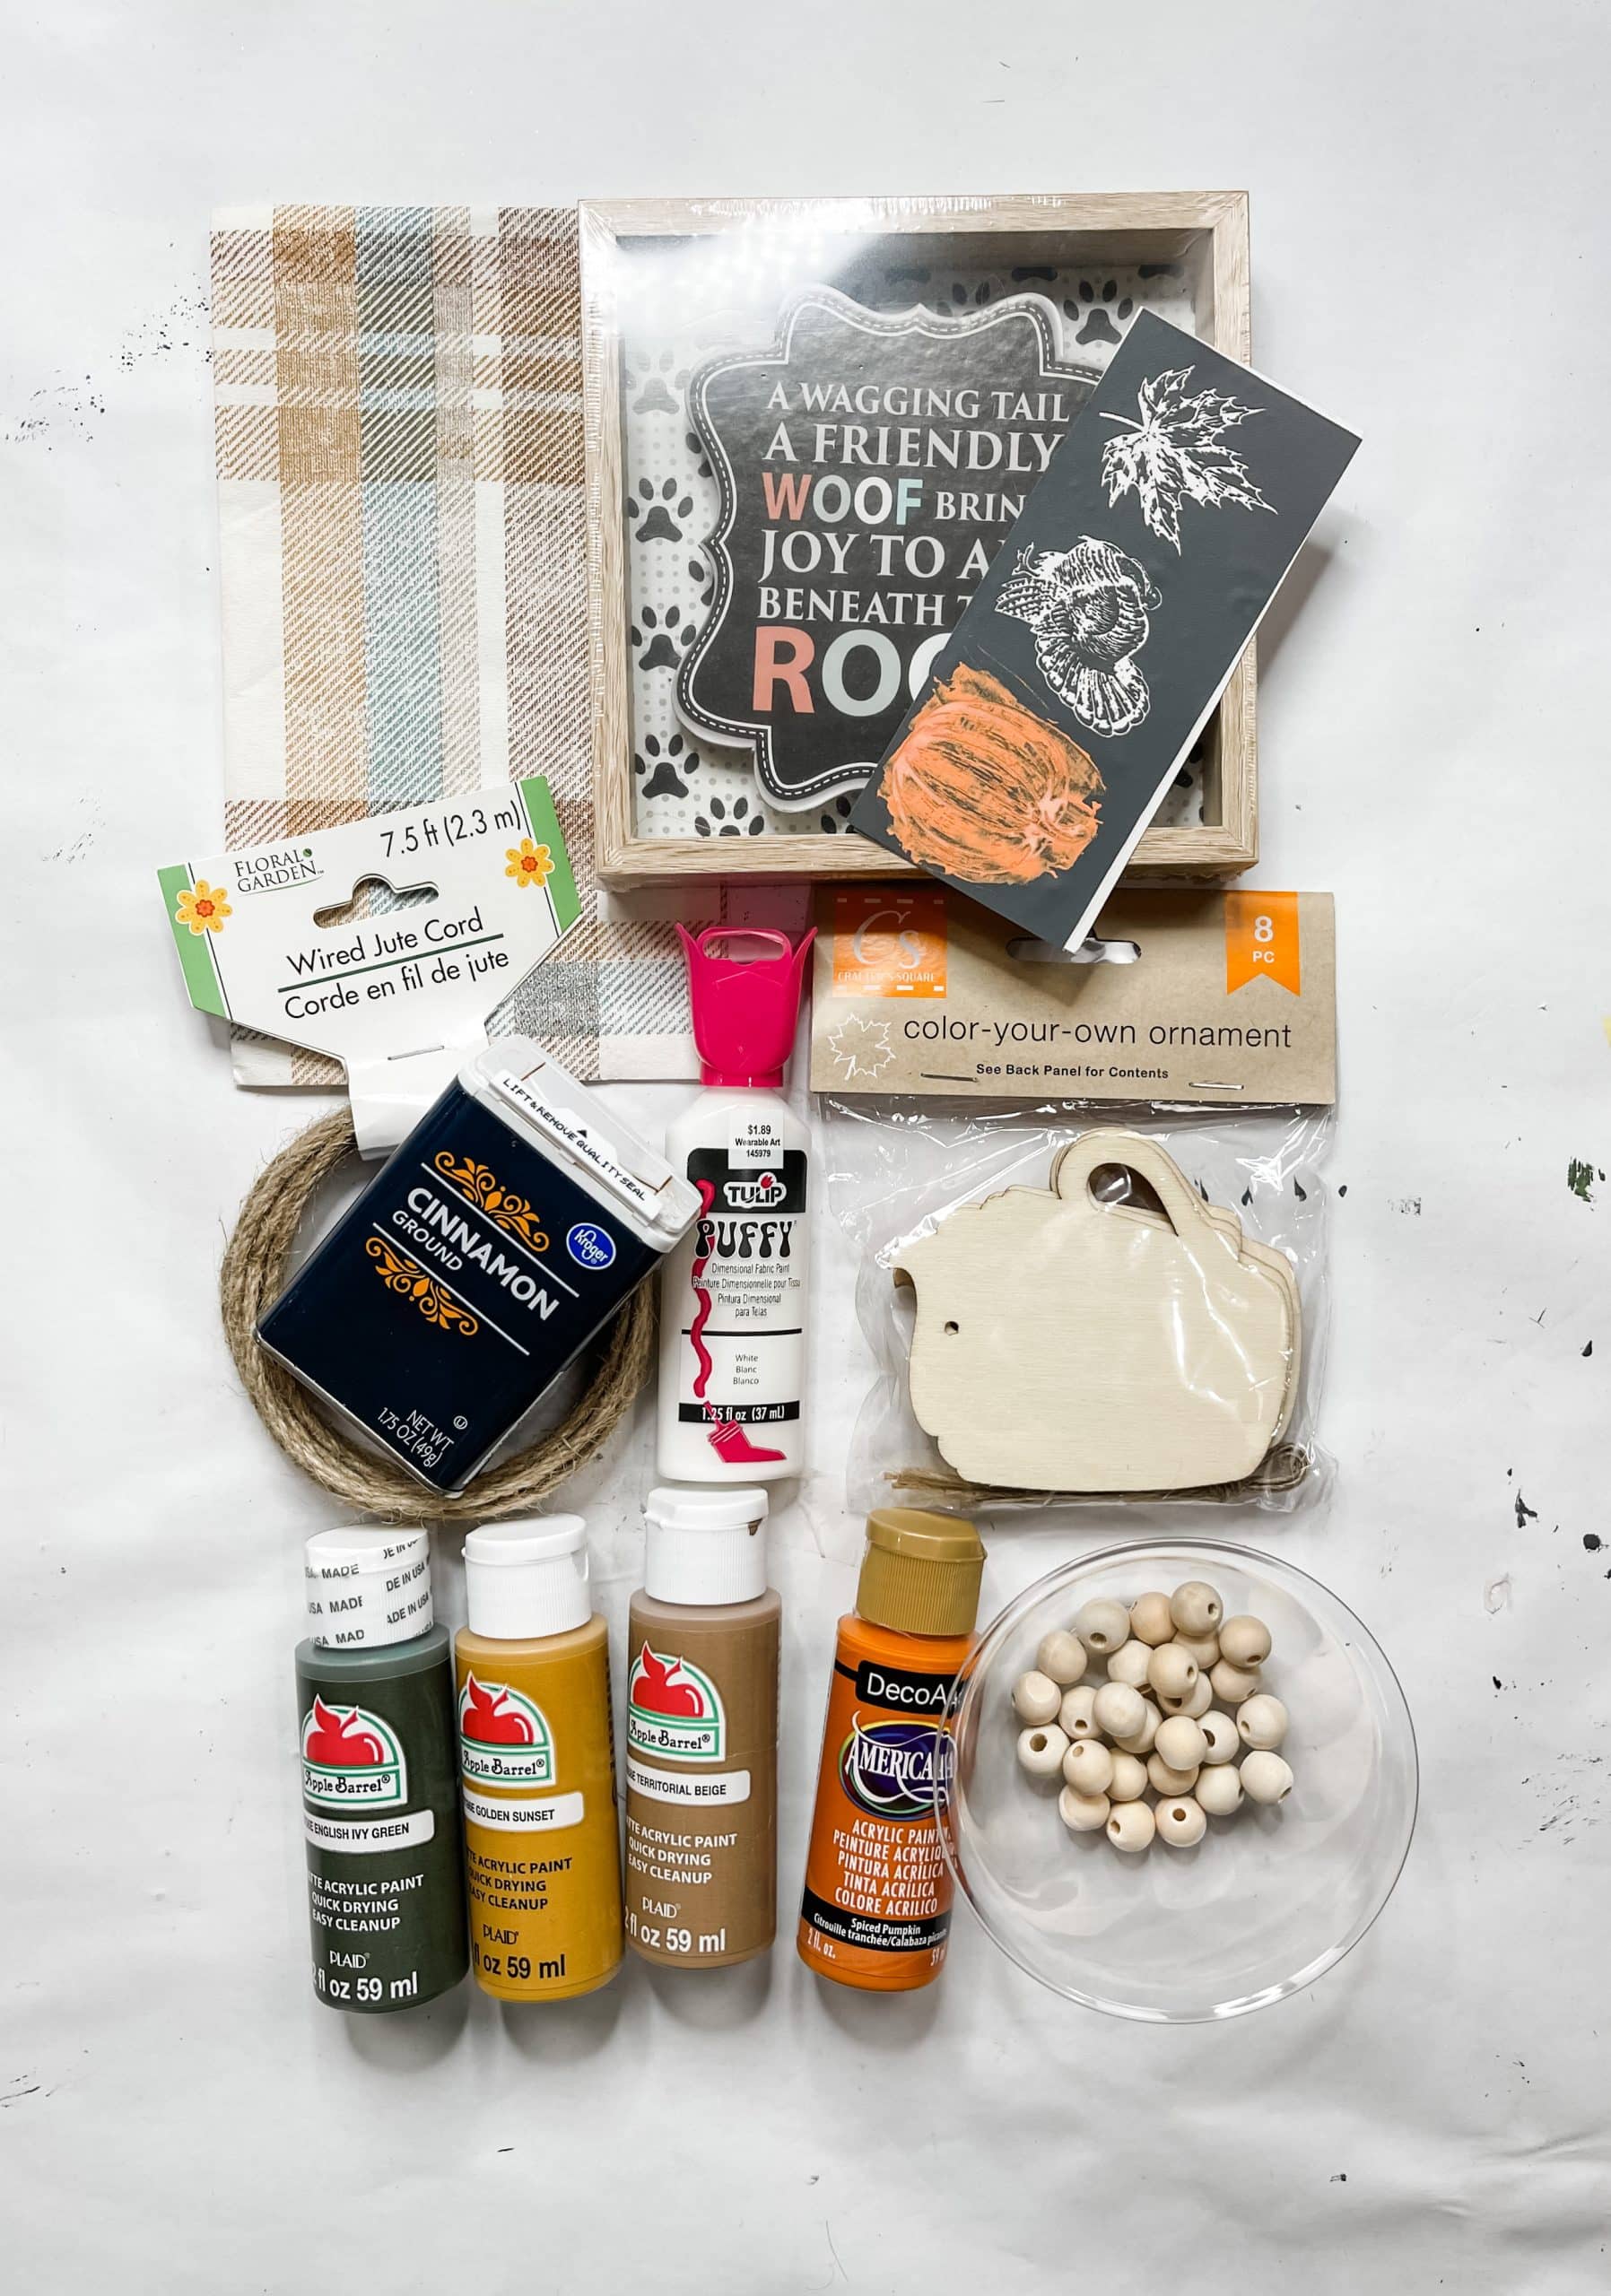
For this project, I will be using these items but you can substitute where you want.
“As an Amazon Associate, I earn from qualifying purchases.”
- Dollar Tree framed square sign
- Dollar Tree wired jute cord
- Napkin of choice
- Dollar Tree color your own ornament coffee mugs
- Dollar Tree wood dowel
- Wood beads
- Small Pumpkin Stencil
- Small Leaf Stencil
- Cinnamon
- White puffy paint
- Apple Barrel English Ivy Green
- Apple Barrel Golden Sunset
- DecoArt Spiced Pumpkin
- Apple Barrel Territorial Beige
- Apple Barrel Burnt Umber
- Silver paint
- Dark Blue paint
- Mod Podge
- Hot glue gun and glue sticks
If you loved this DIY Latte Fall Decor you might also like this DIY topiary!
Thanks for stopping by! XOXO Amber
You can also shop my ENTIRE AMAZON Favorites shop just click here! It’s packed full of all the things I use and love. Here is the supply list I highly recommend every creative have on hand!!
Would you also pin my blog for later and get on my newsletter alerts? I would love to have you join my #craftycrew.
Inspired? Leave me a comment below! I love hearing from my readers!



Where can I get the supplies for the dog picture shown. I love it! Thank you
The dog sign was purchased at Dollar Tree and used to create the Latte Decor.