DIY Herb Planter Decor
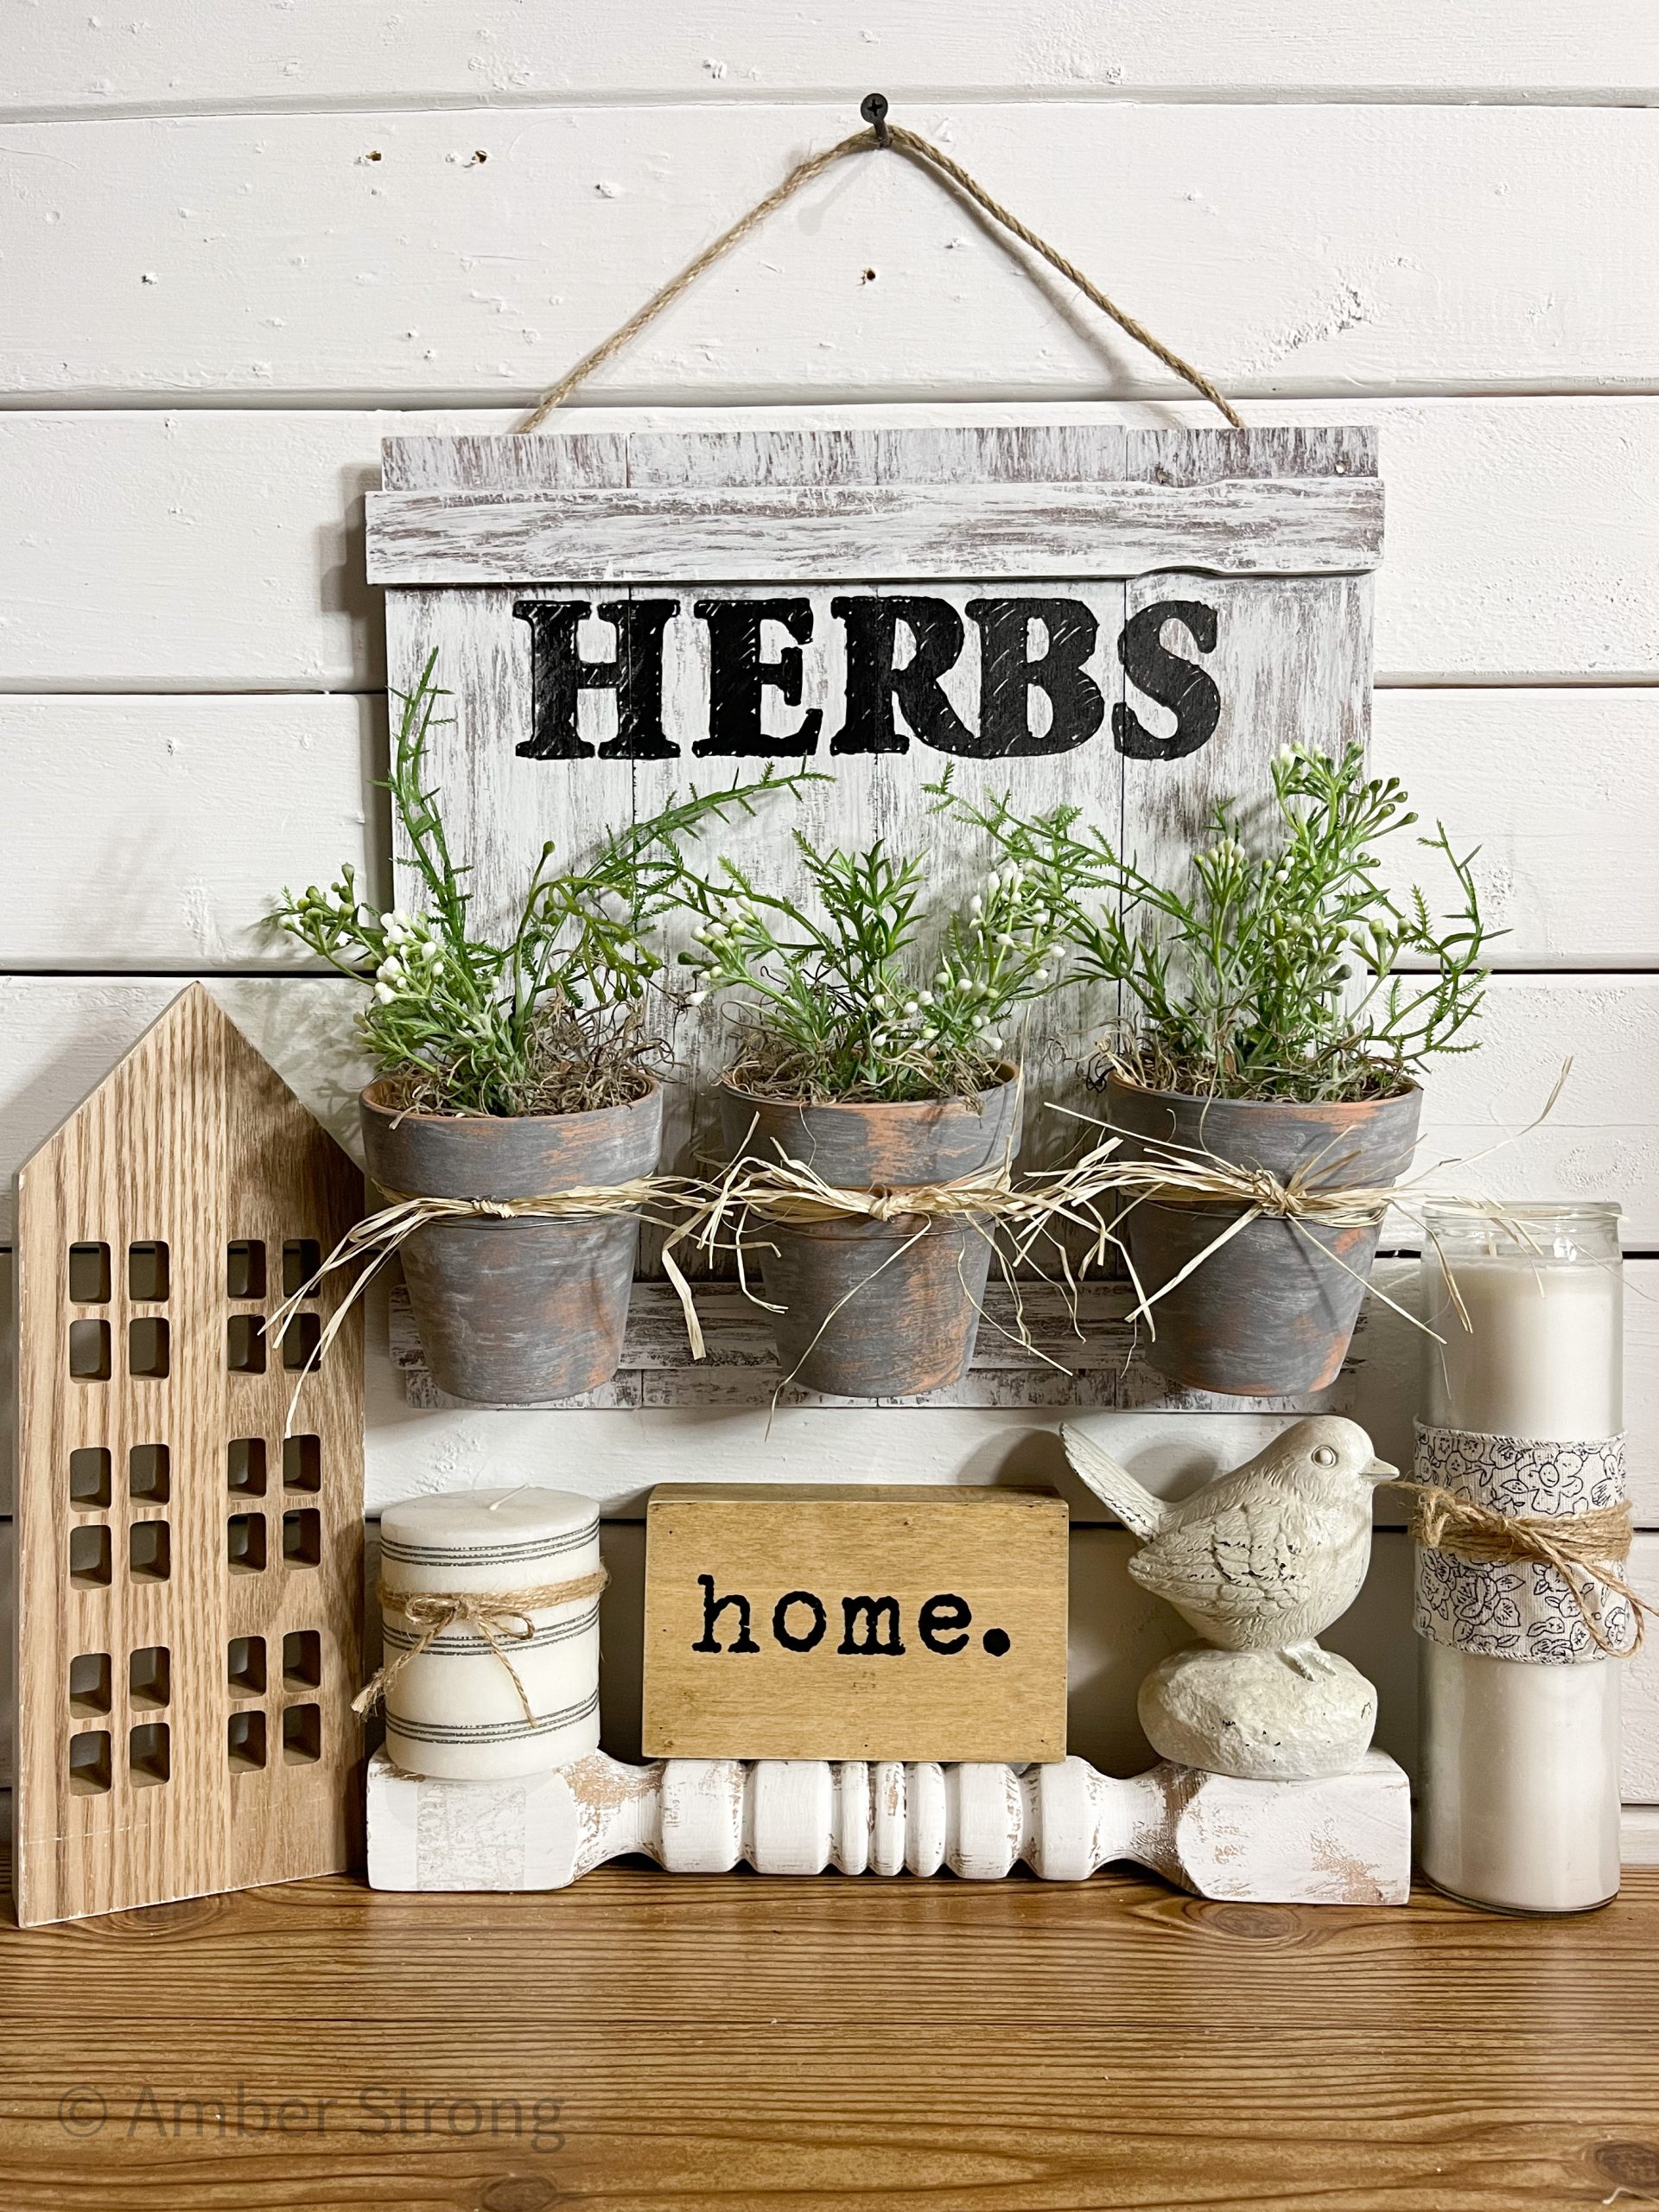
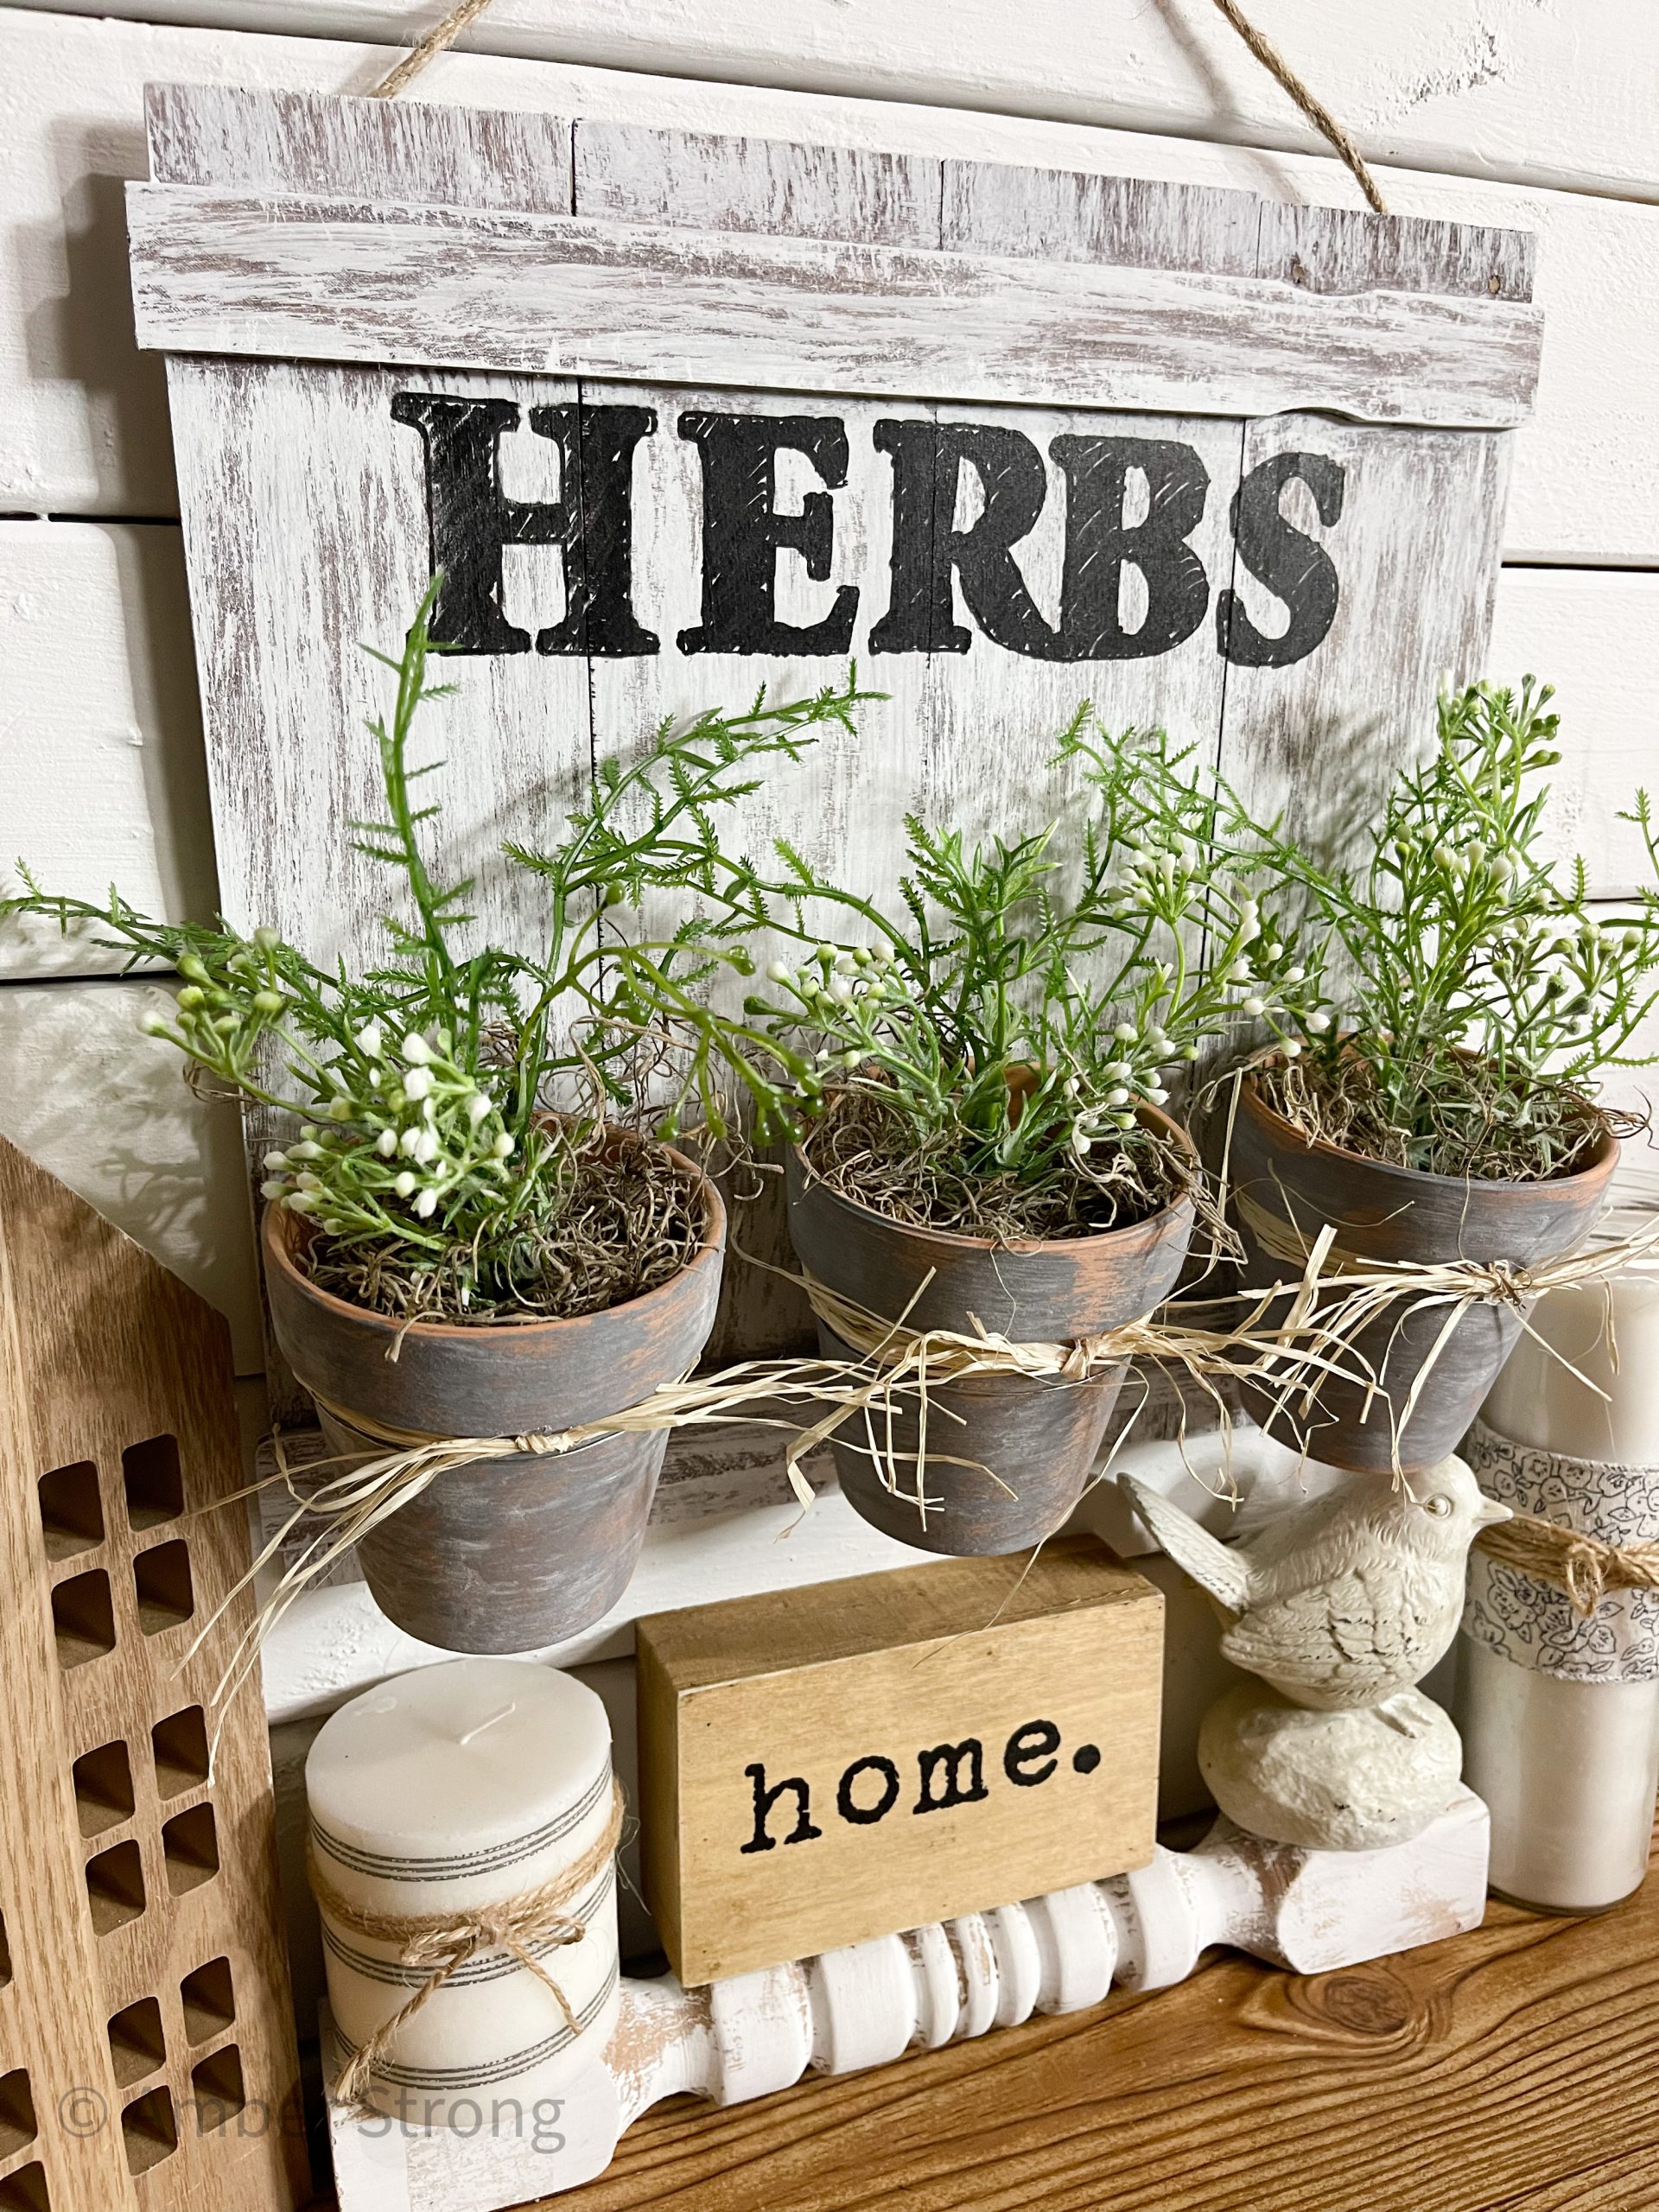
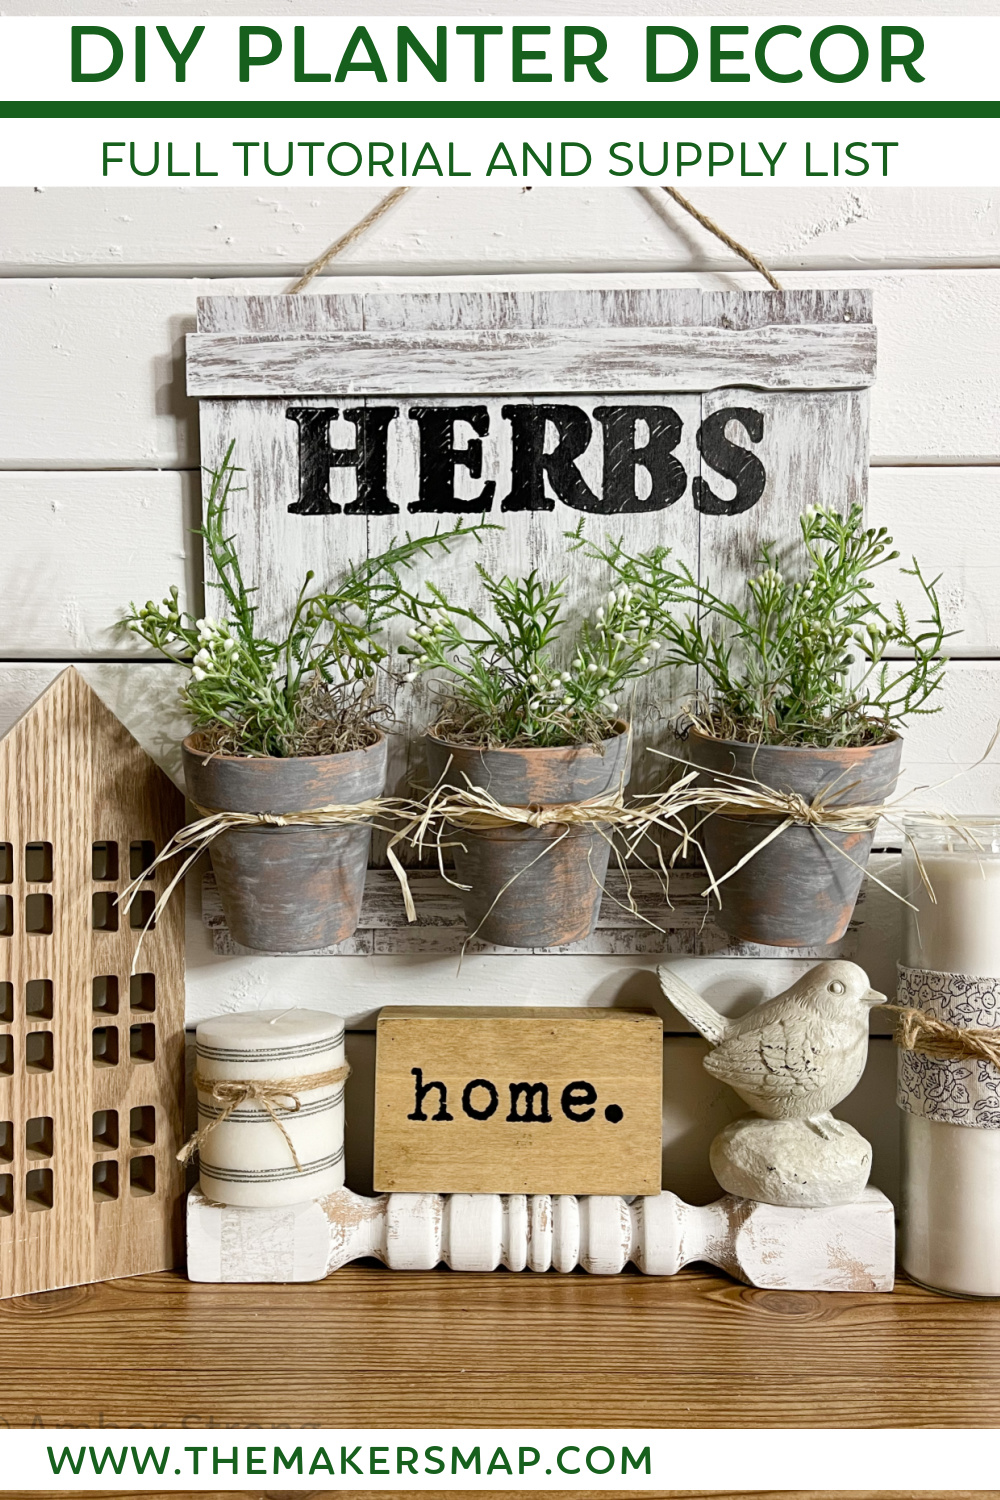
Making this DIY Herb Planter Decor was so much fun! While I am not one to have real plants that I actually have to water and tend to, you could absolutely use this for your actual herbs!
Even if you choose to grow your herbs or plants in these pots, this is a super affordable DIY project!
Check out these Farmhouse DIYs!
- DIY Mop String Planter
- Target Tile DIY Farmhouse Decor
- DIY Farmhouse Decor with Corkboard Cow
- Dollar Tree File Folder DIY Toolbox
Watch the DIY tutorial
I recorded how to make this adorable DIY Herb Planter Decor during a LIVE video on my Facebook page.
If you want to see the DIY process, craft along, or just join in on the fun conversations, you can watch the DIY tutorial video on Facebook!
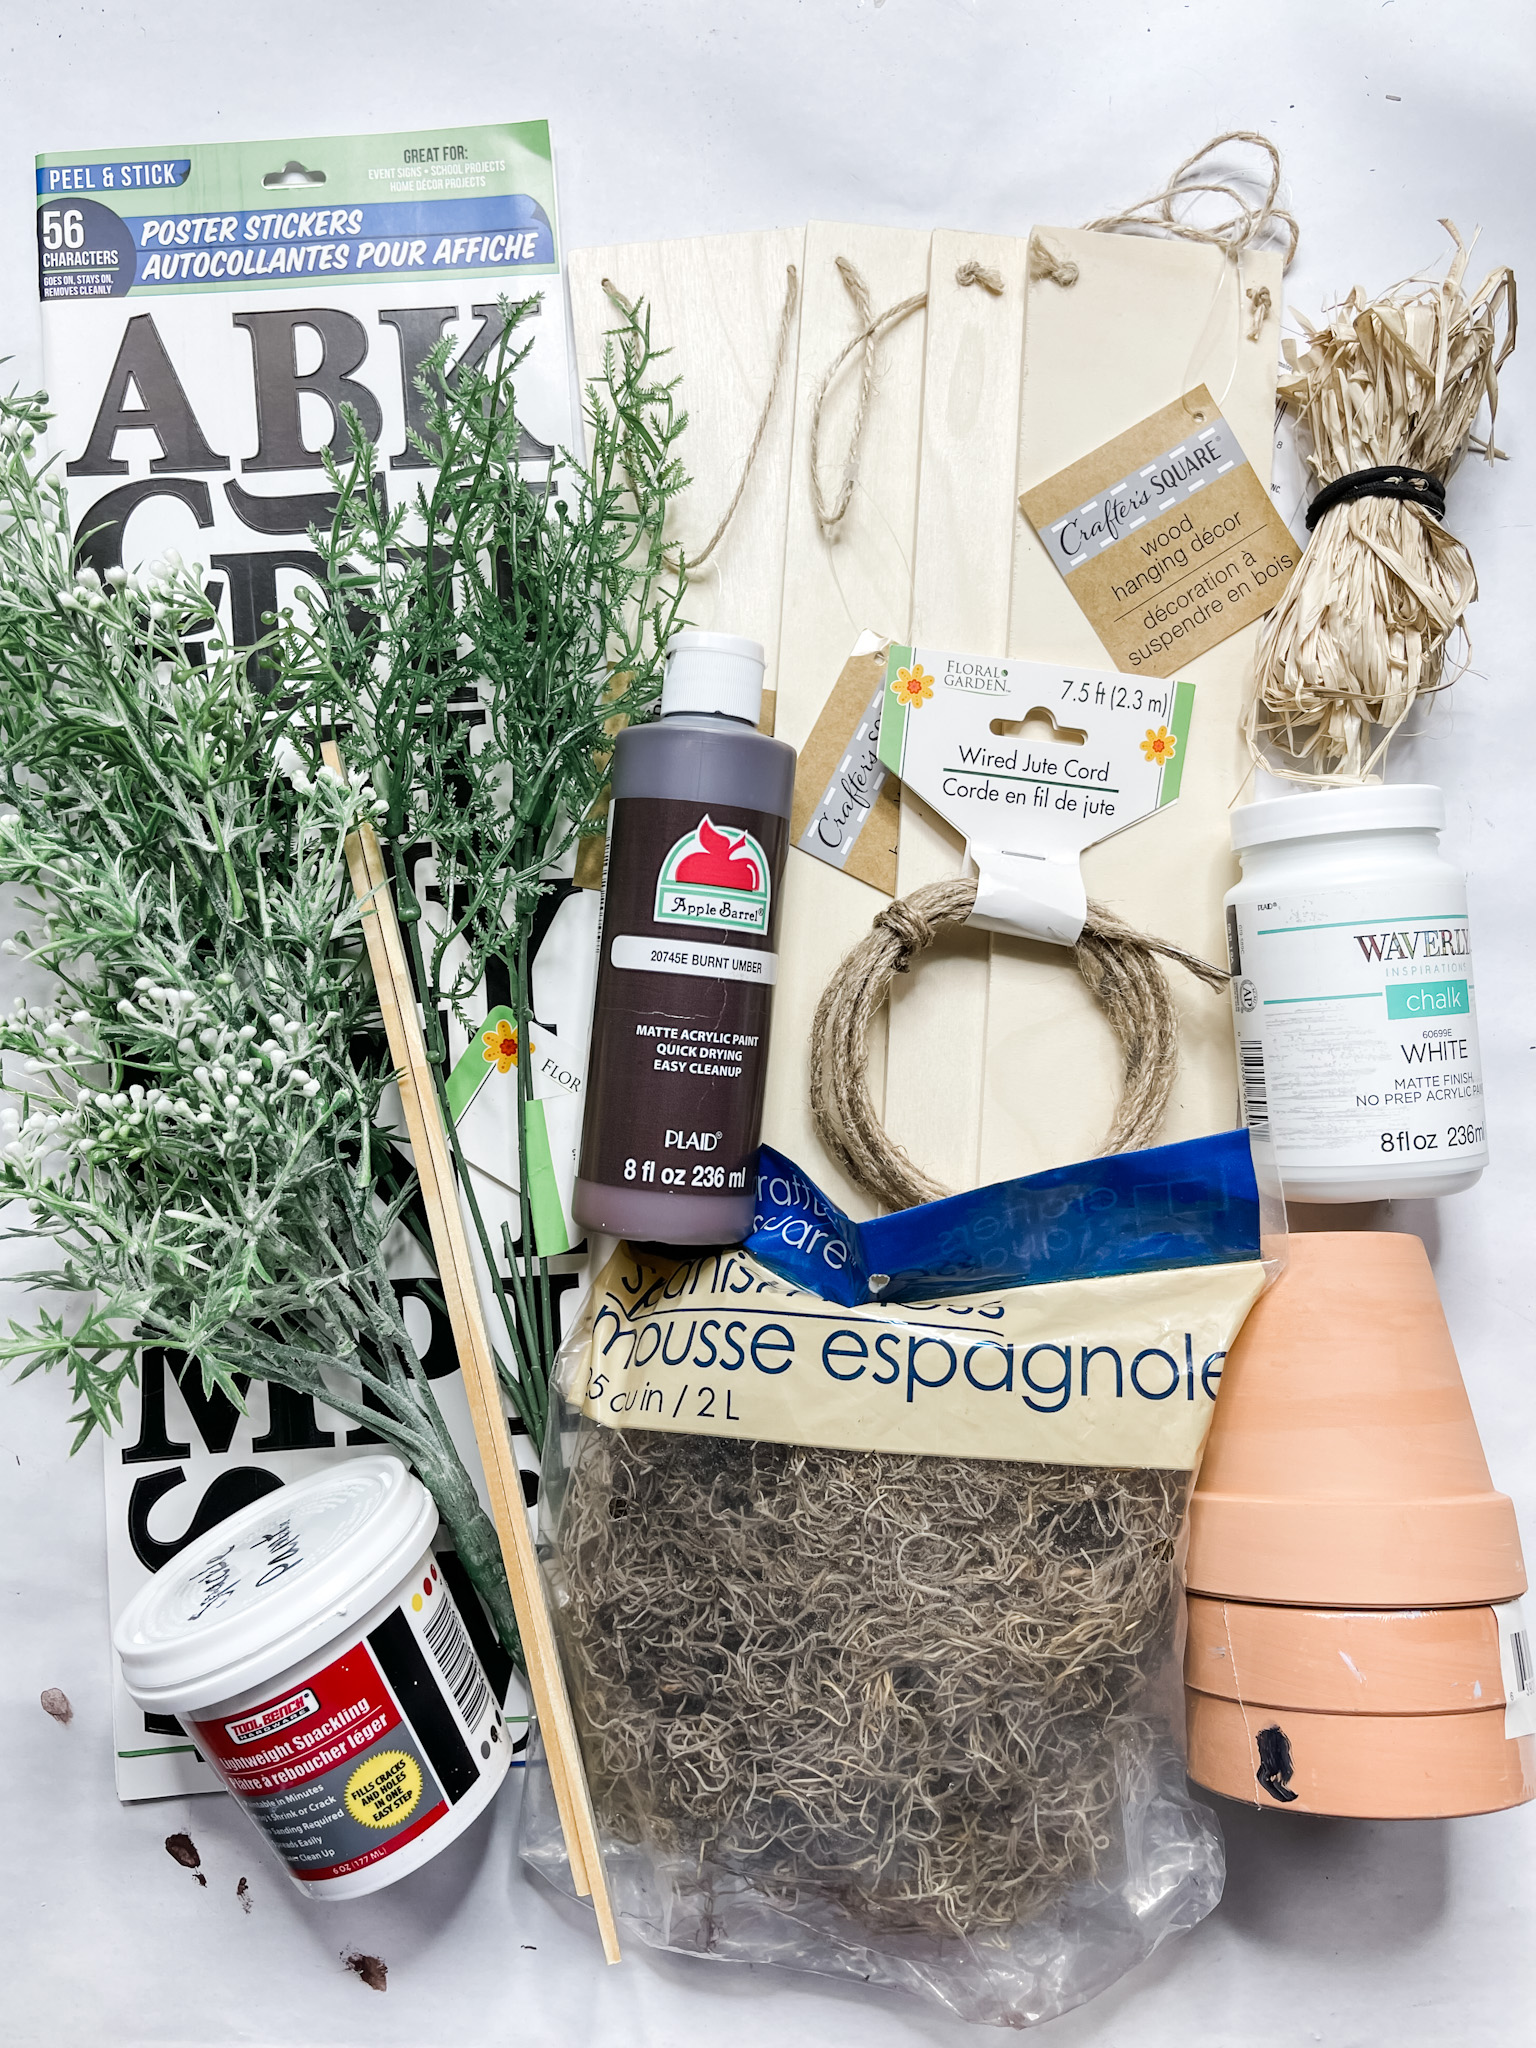
For this project, I will be using these items but you can substitute where you want.
“As an Amazon Associate, I earn from qualifying purchases.”
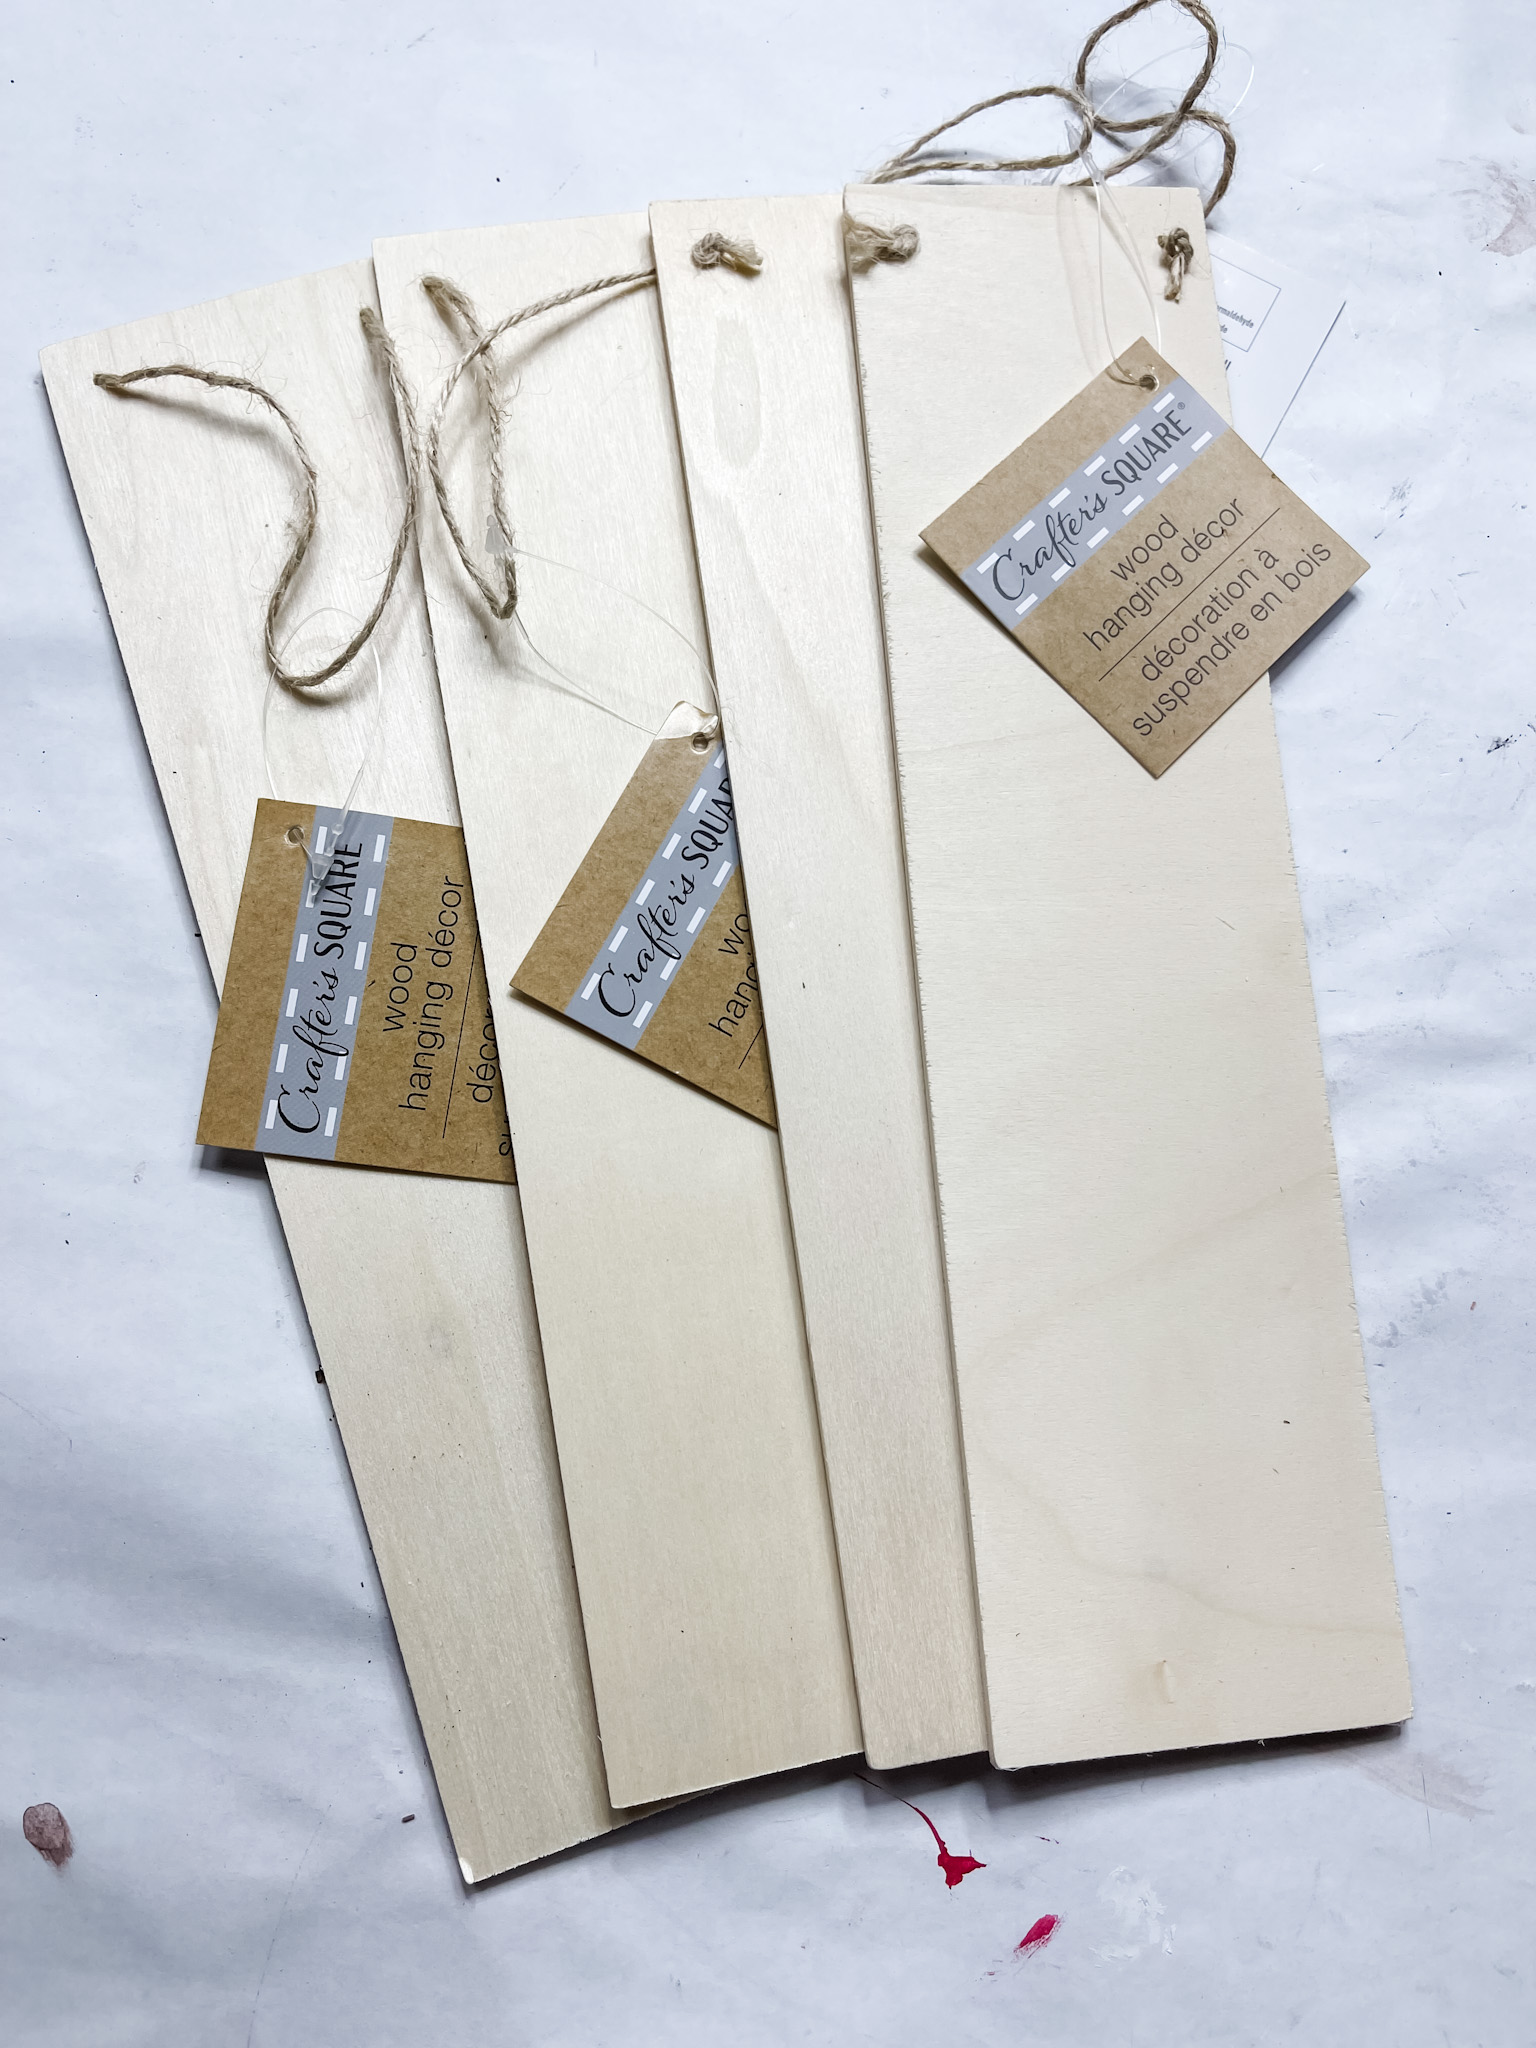
- Dollar Tree Hanging wood planks (x4)
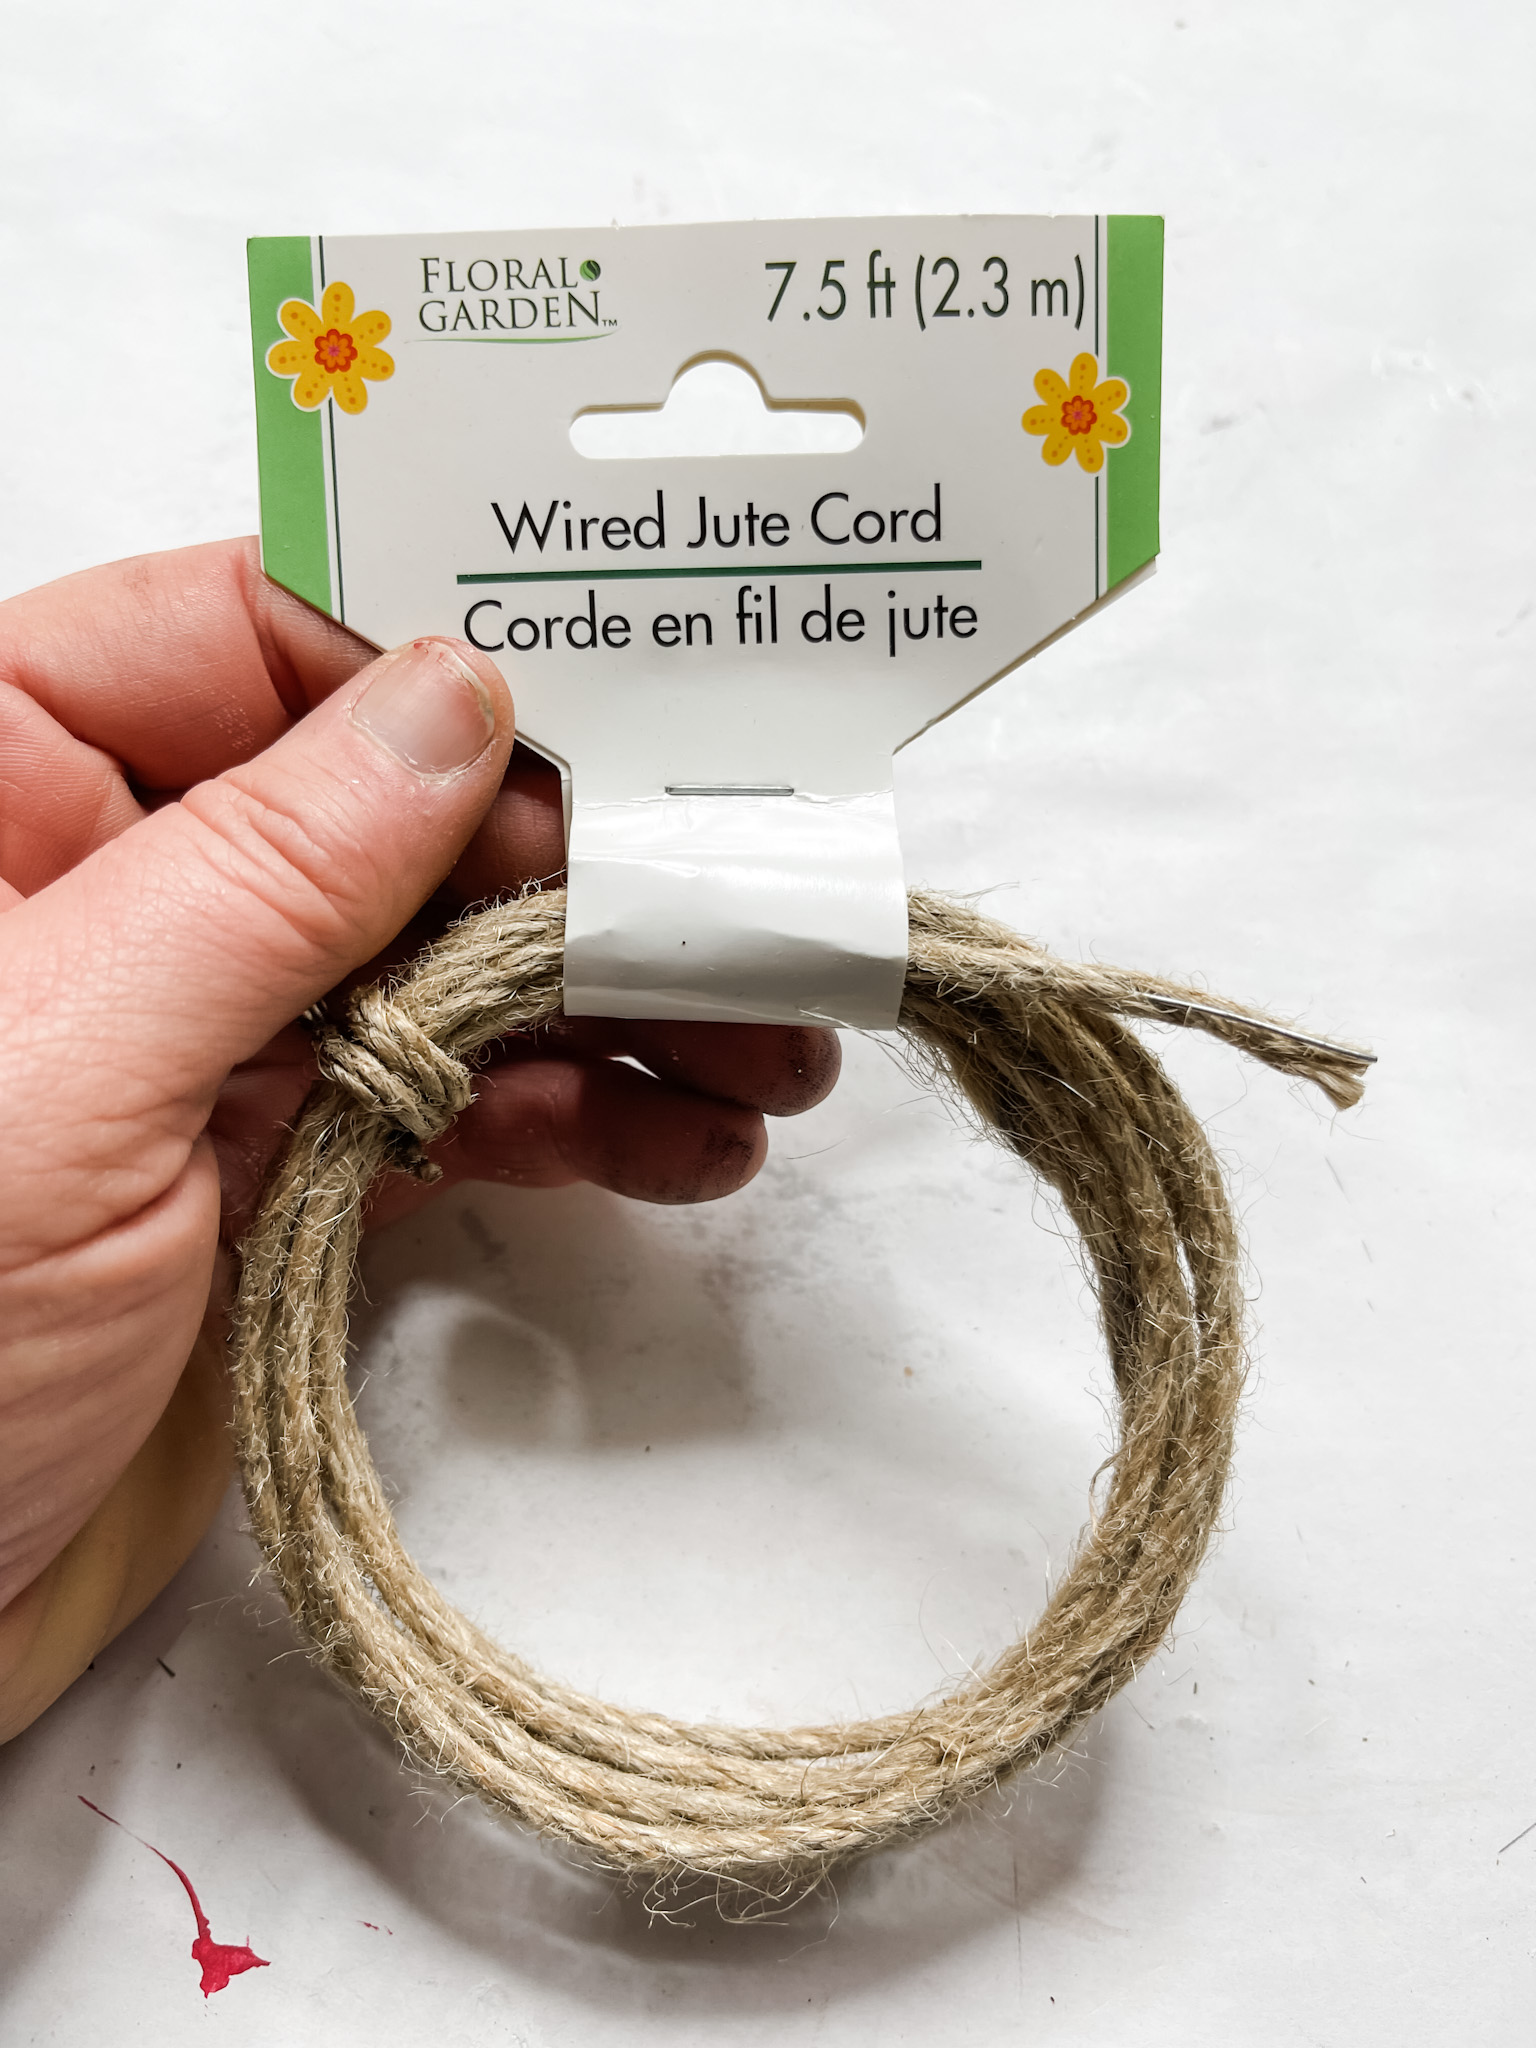
- Dollar Tree Wired Jute Cord
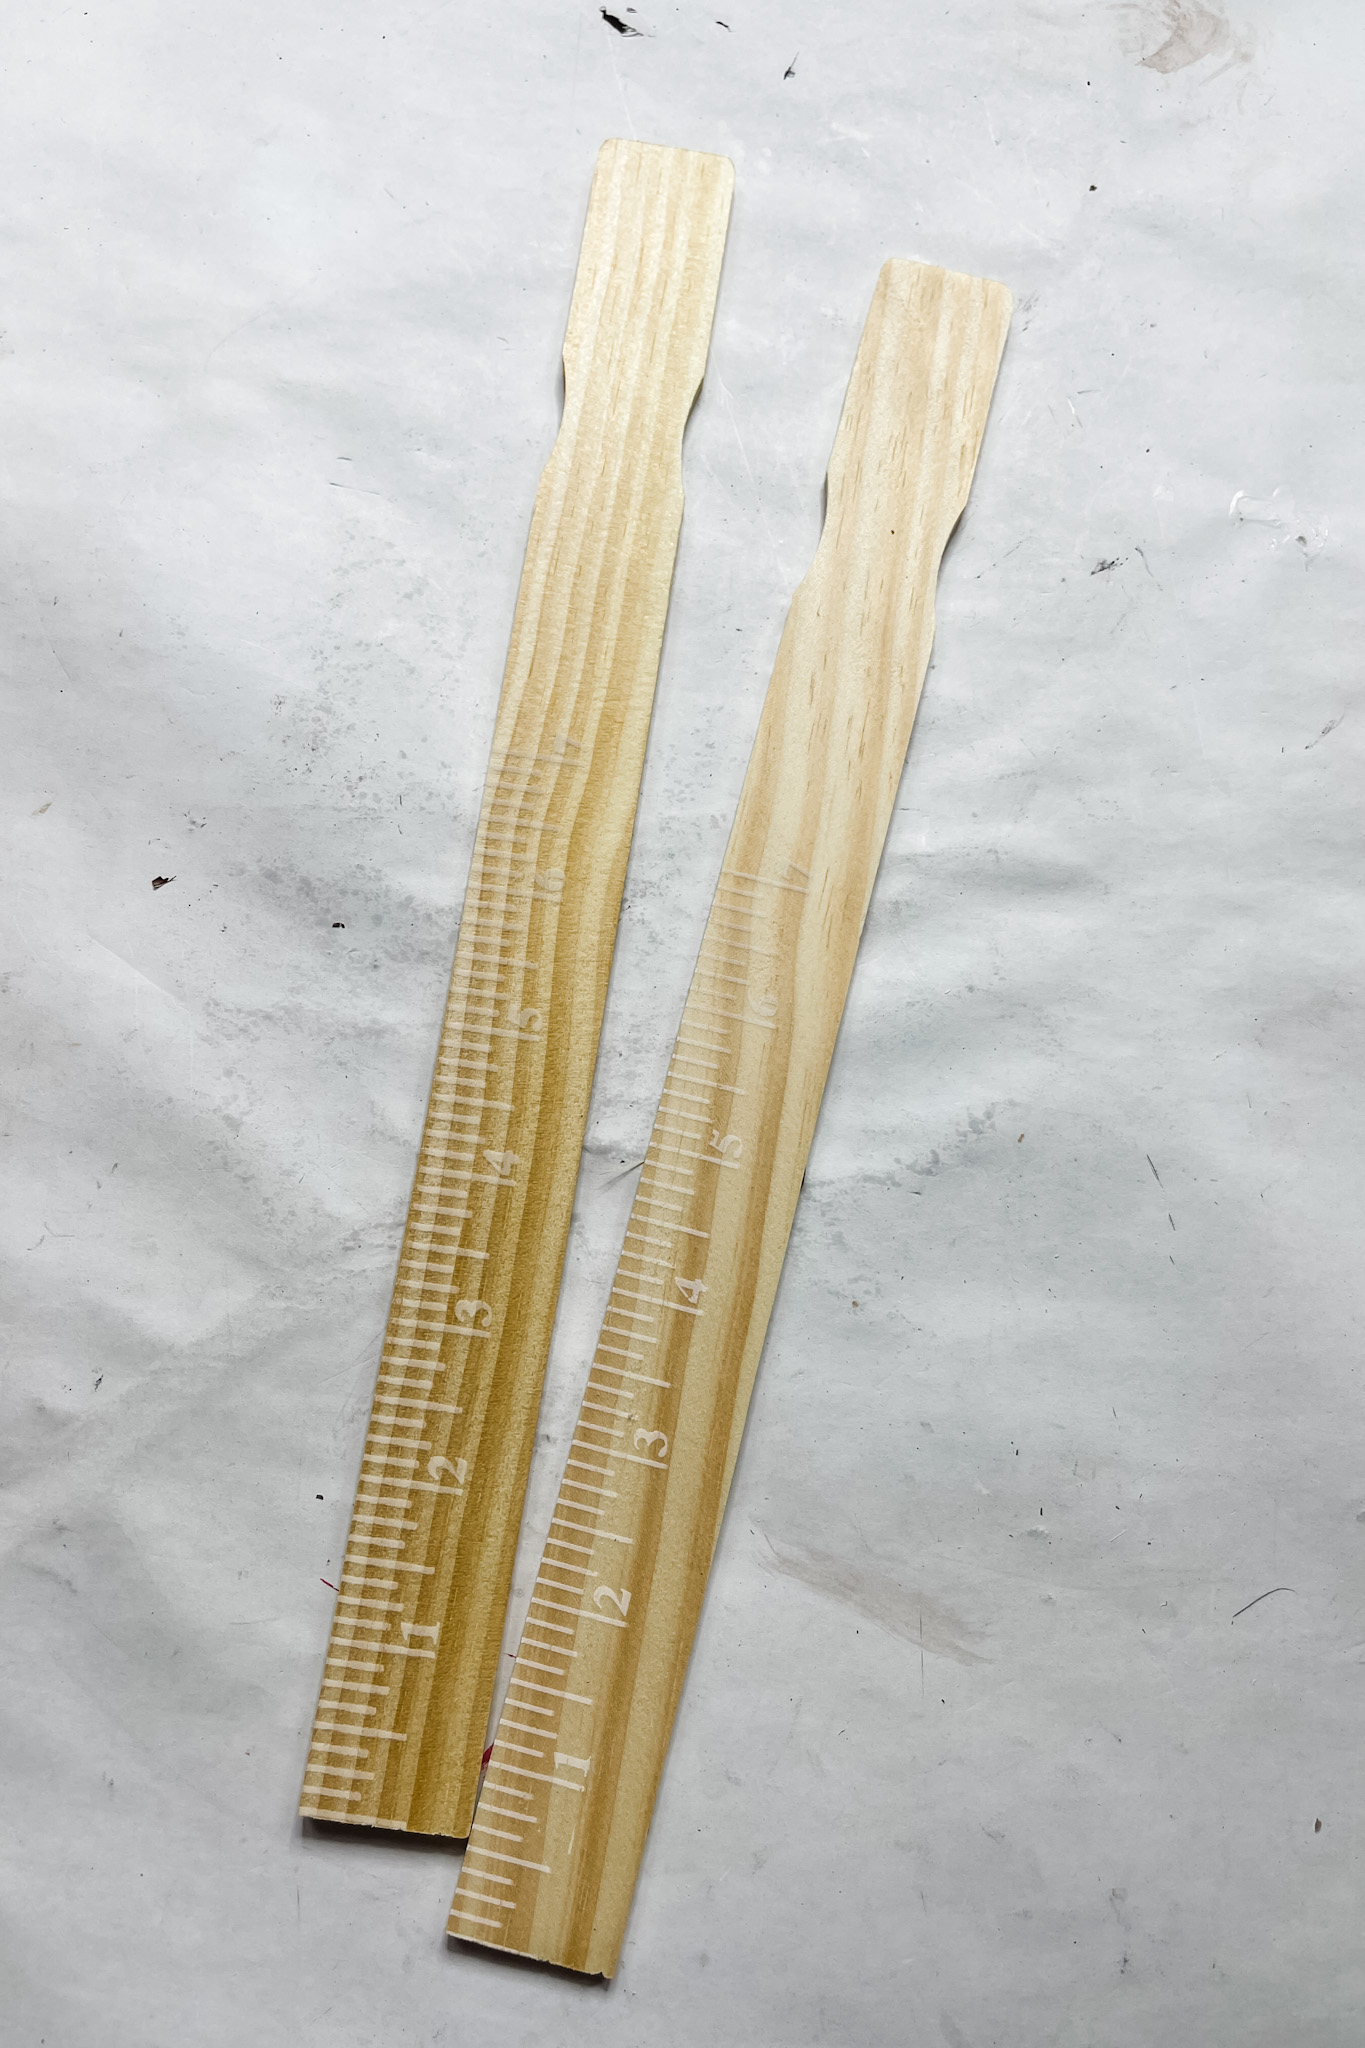
- Ruler paint sticks (x2)
- Dollar Tree Raffia
- Dollar Tree Terra Cotta Pots (x3)
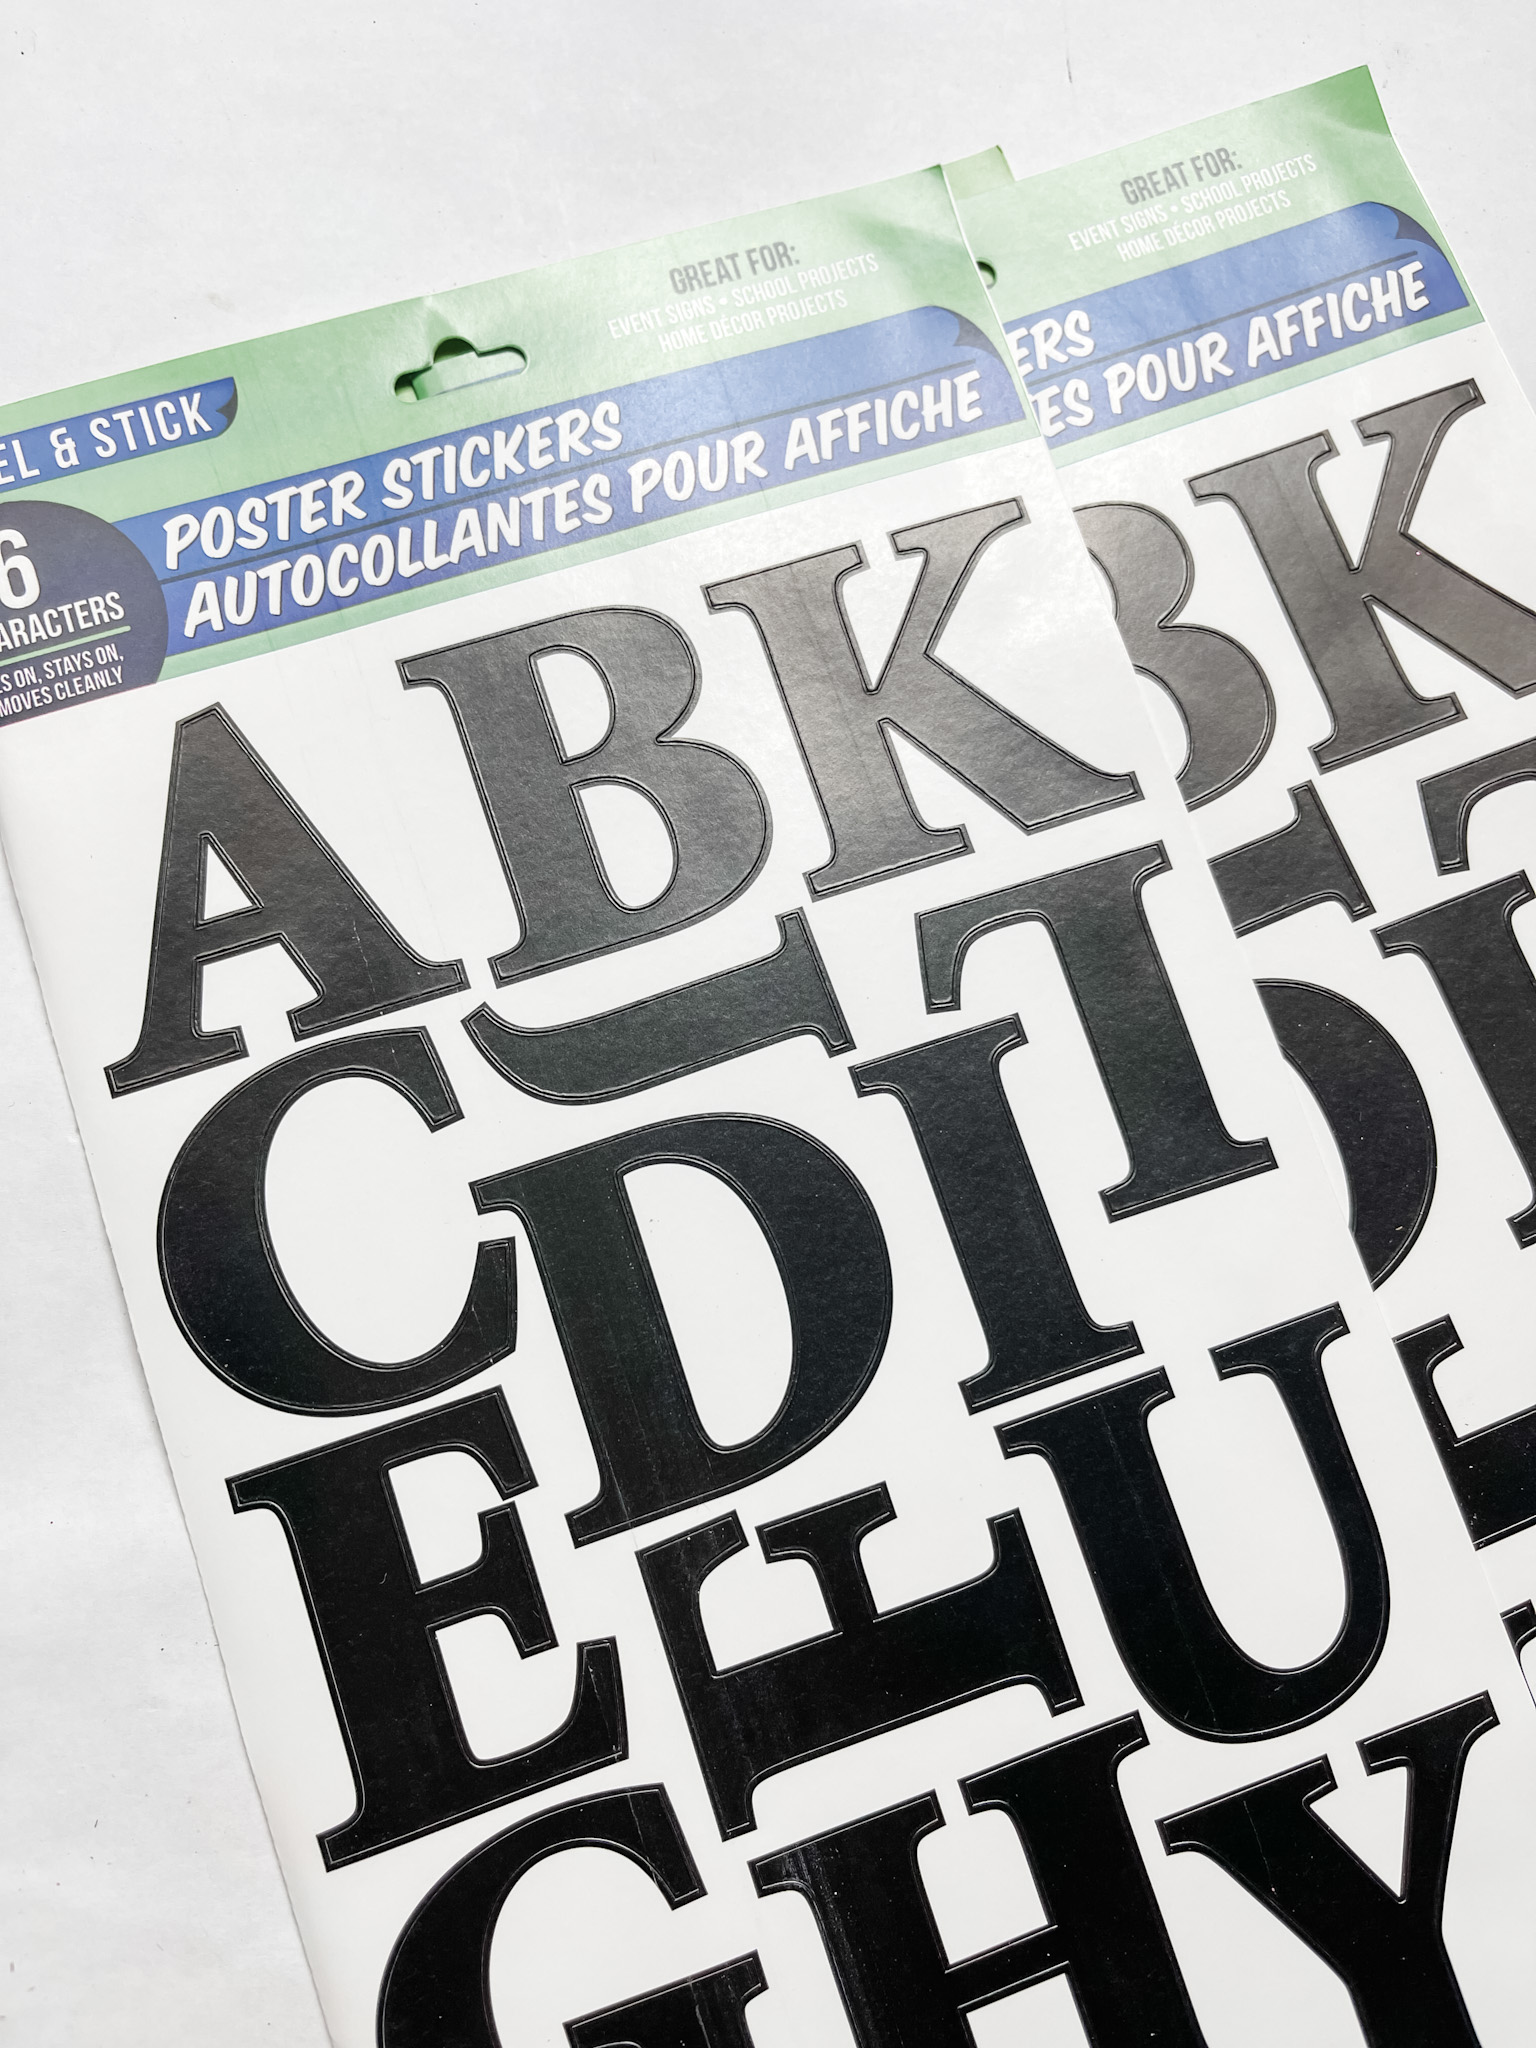
- Alphabet poster stickers
- Dollar Tree Greenery
- Dollar Tree Spanish Moss
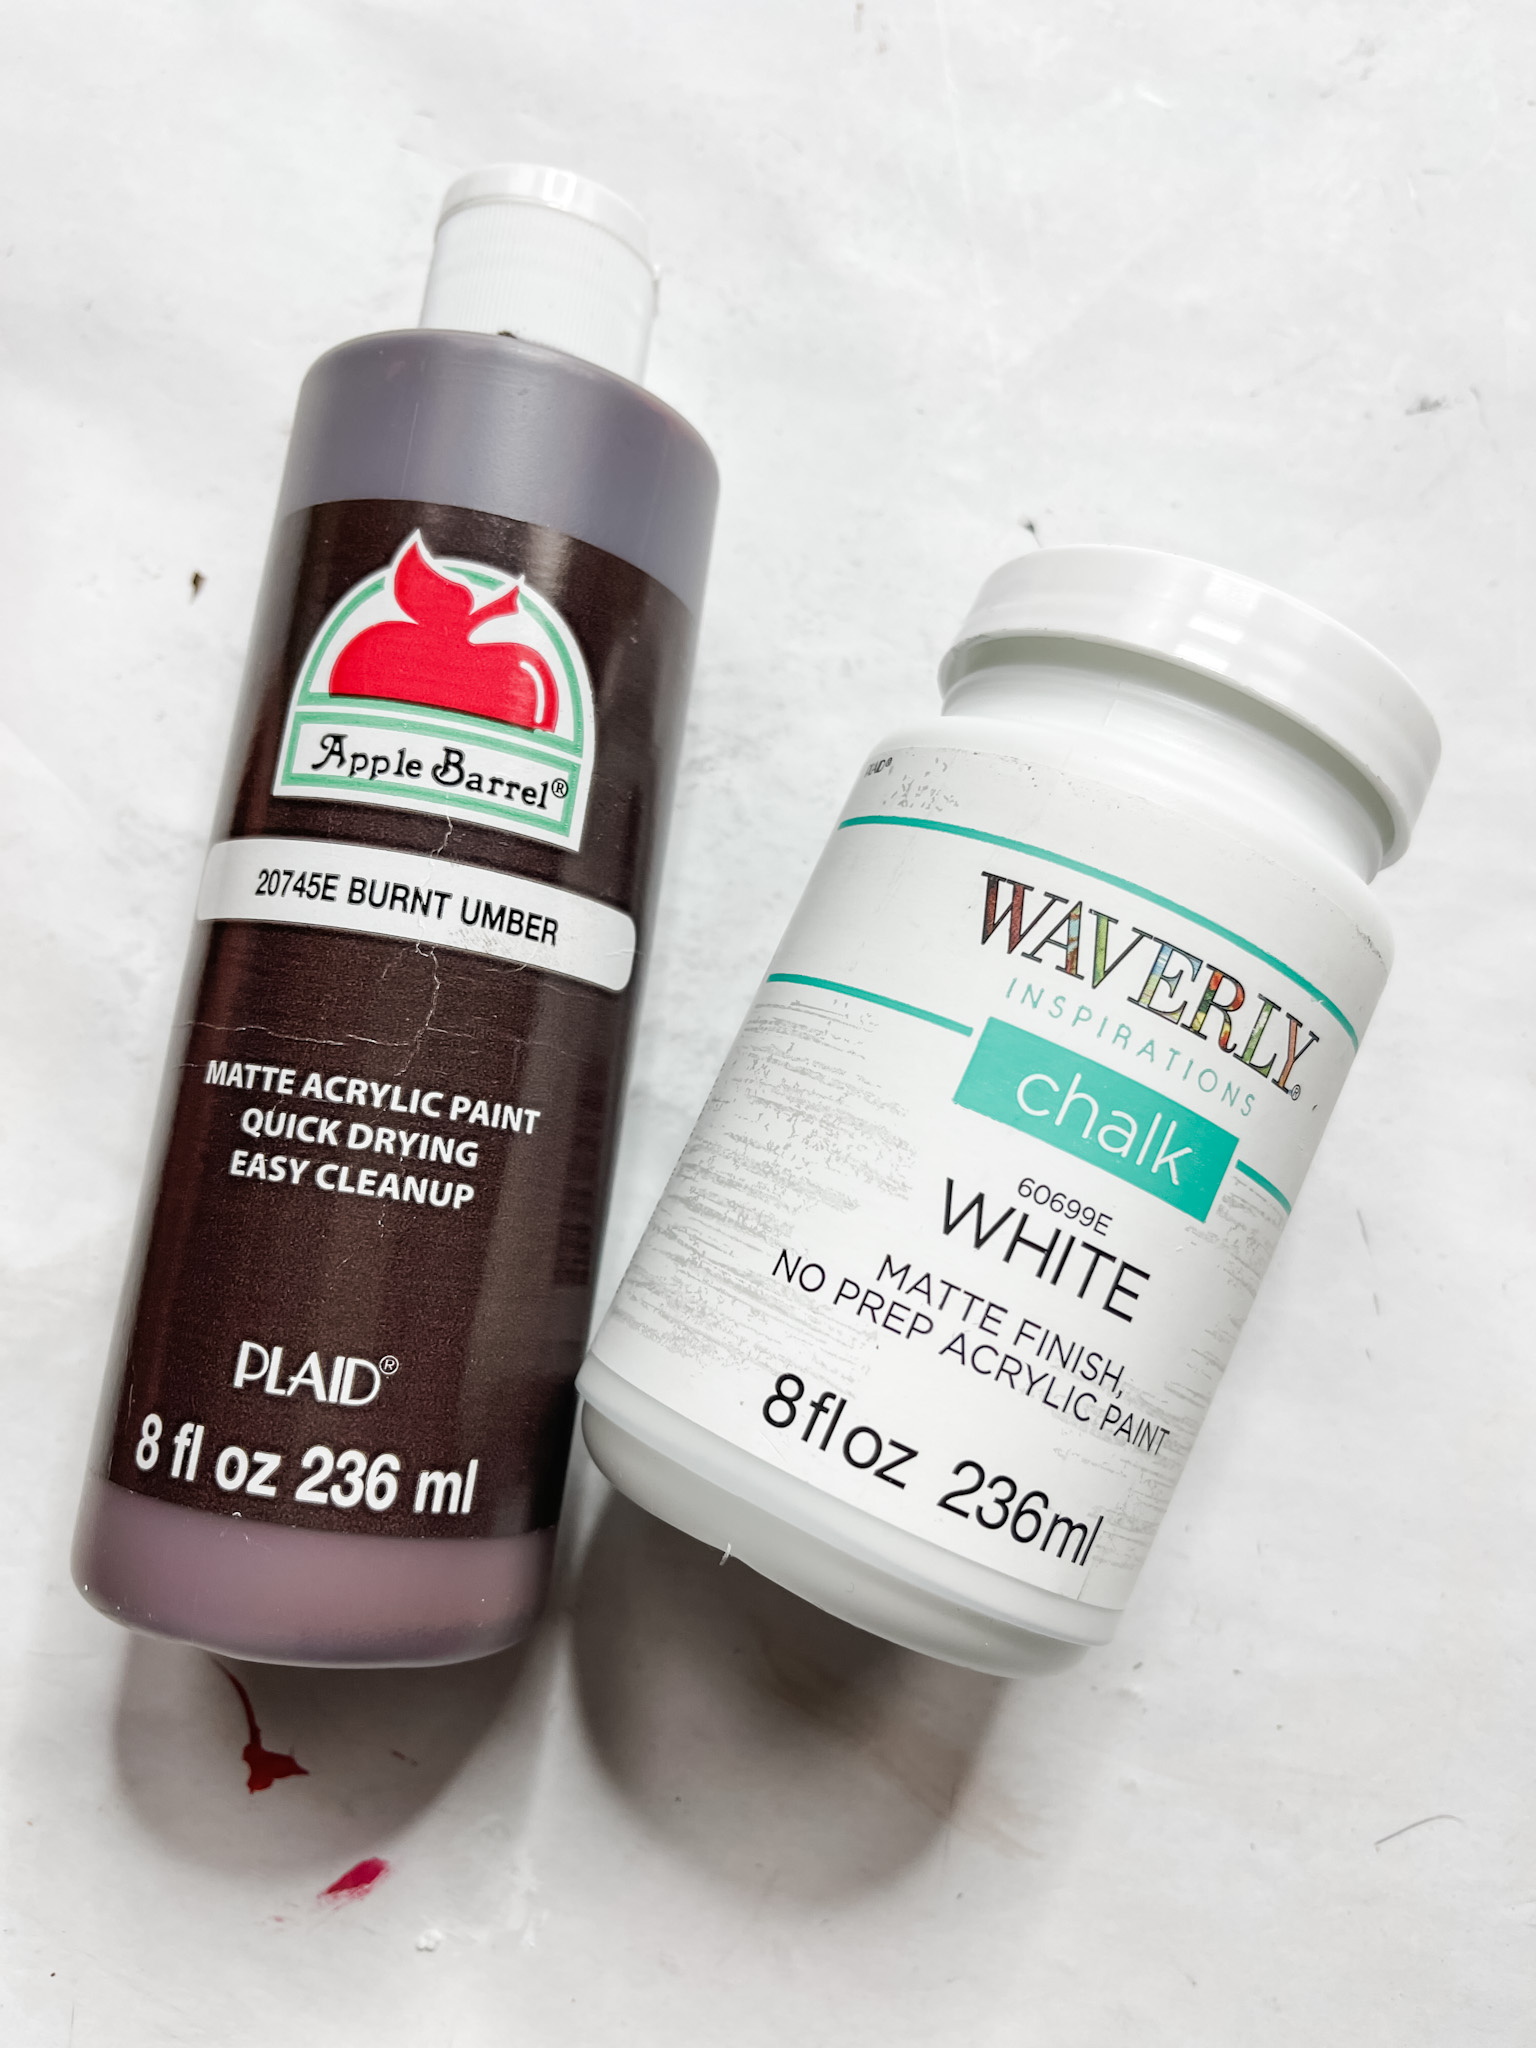
- Brown Paint
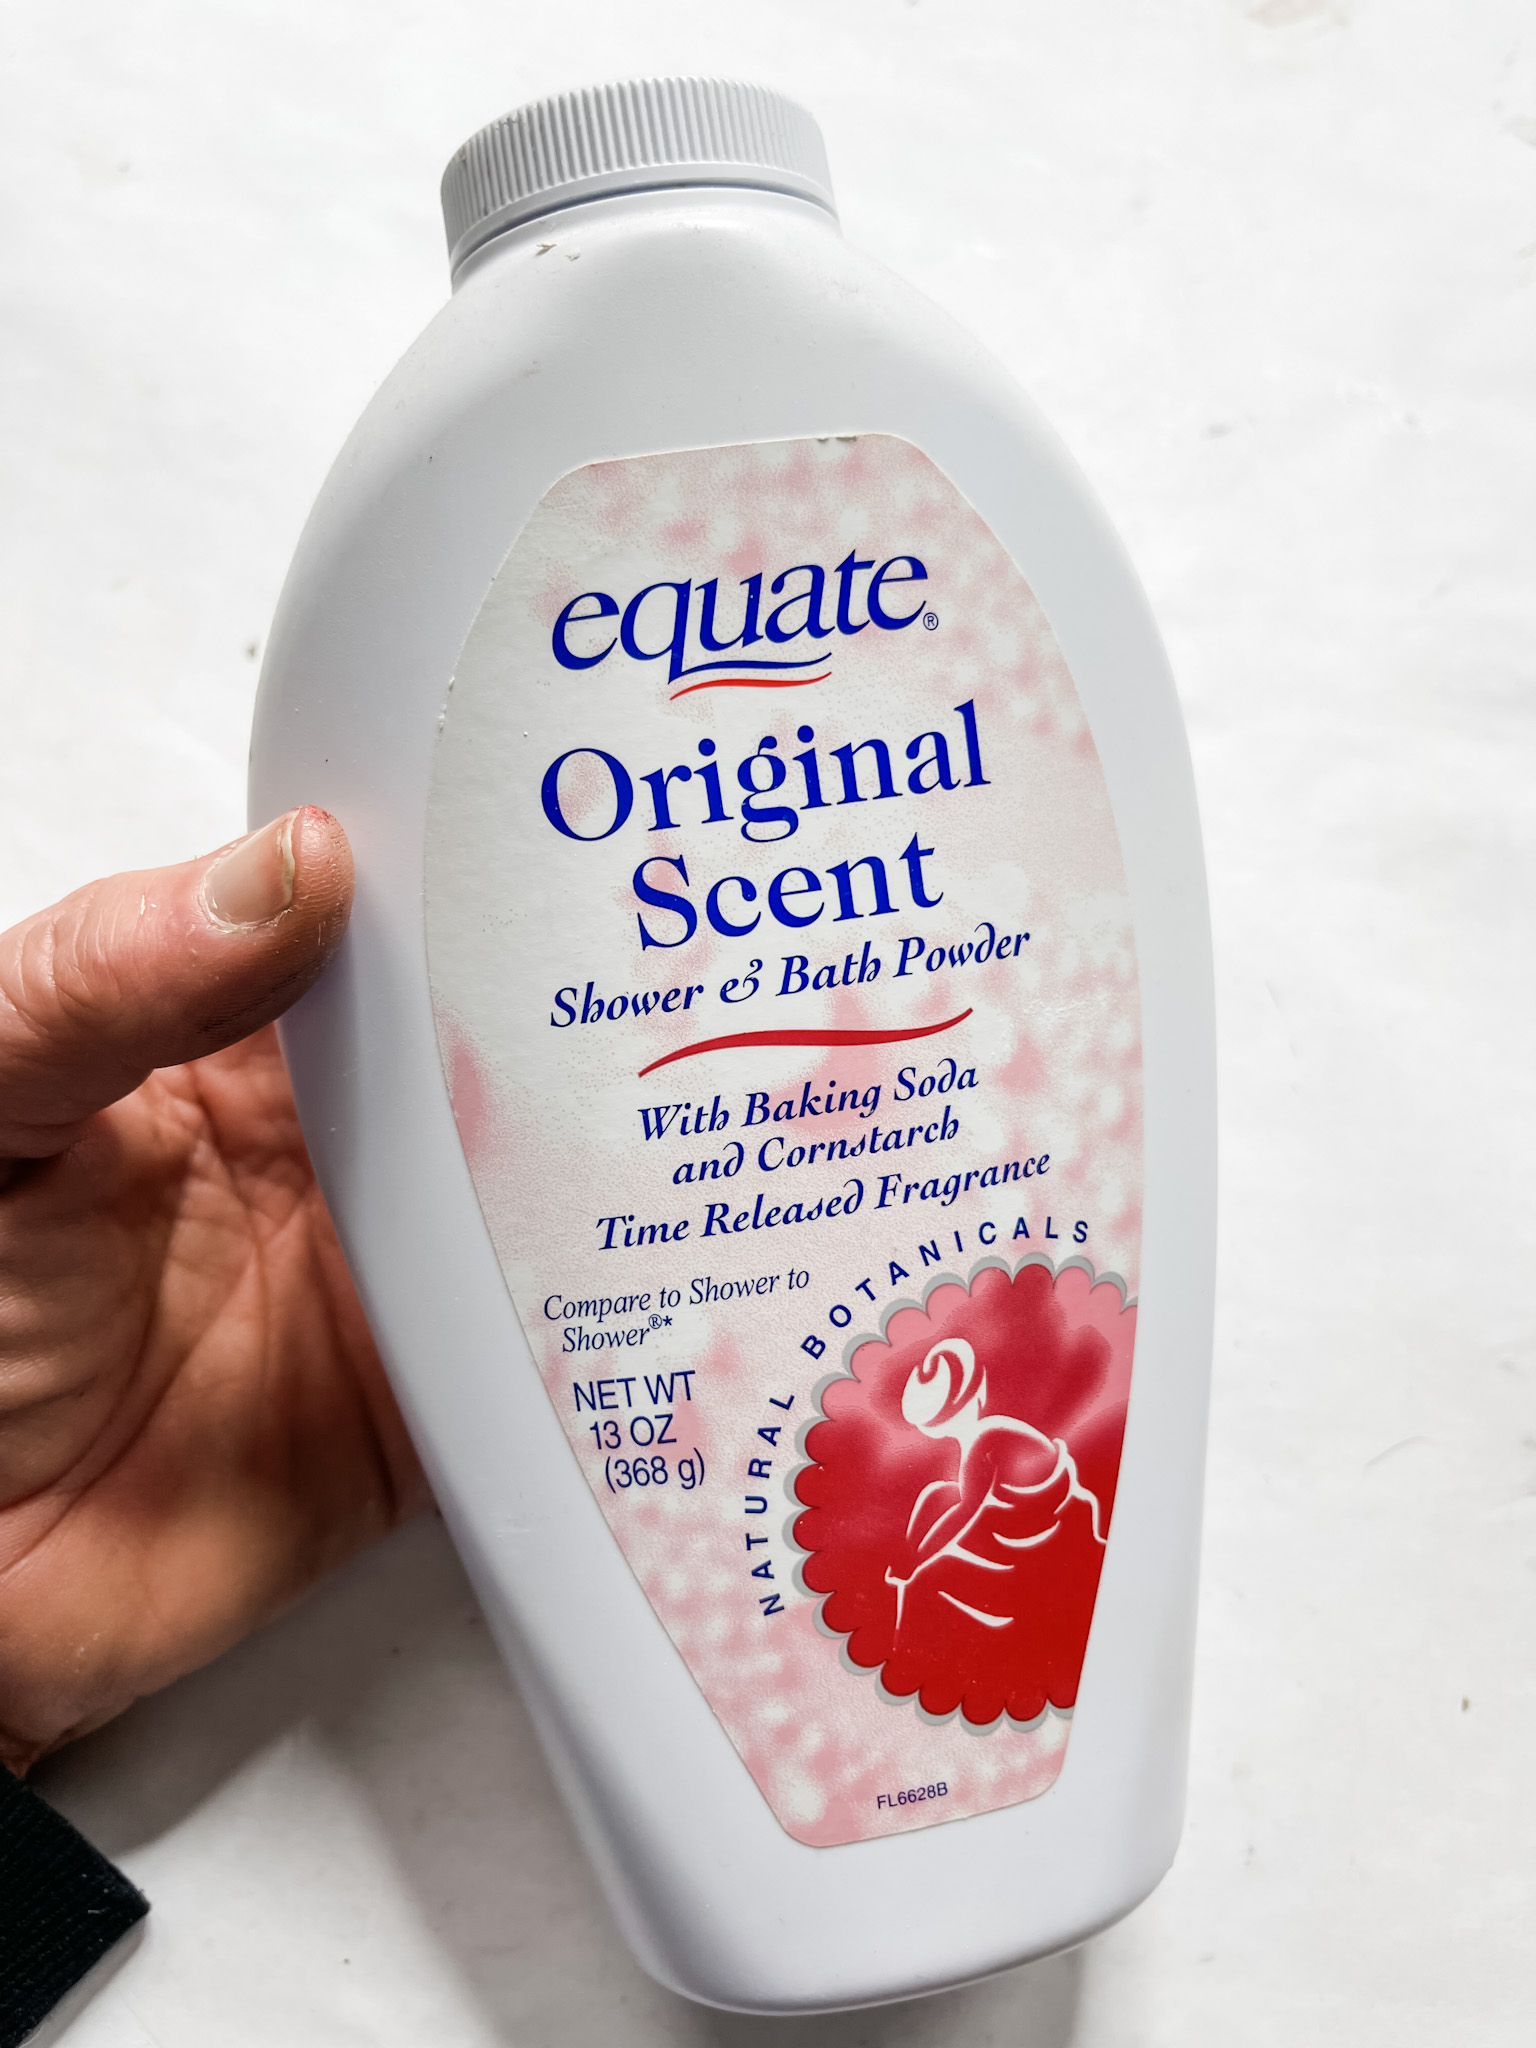
- Equate Shower and Bath Powder
- Black Marker
- White Paint
- Black Paint
- Cardboard
- Drill
- Hot Glue gun
- Glue Sticks
How to Make DIY Herb Planter Decor
Start this super easy and adorable DIY by staining your wooden pieces – the four Dollar Tree wood planks and two ruler paint sticks.
Pour the brown paint onto the wood planks and spray the paint with water. Use a wet wipe to spread the paint across the wood surfaces. Use a clean wet wipe to remove any excess paint.
Allow the paint to dry on all the wooden pieces. I like to use my heat gun to speed up the drying process. You can use a hairdryer in the low-cool setting if you don’t have a heat gun.
Once each piece is dry, you can secure them together. Lay the wooden planks side-by-side vertically and glue a paint stick horizontally across the top and bottom of the planks.
Next, lightly dry brush white paint over the stained wood. Keeping a light hand gets you an effortless distressed finish. If you apply too much white paint, lightly sand the surface.
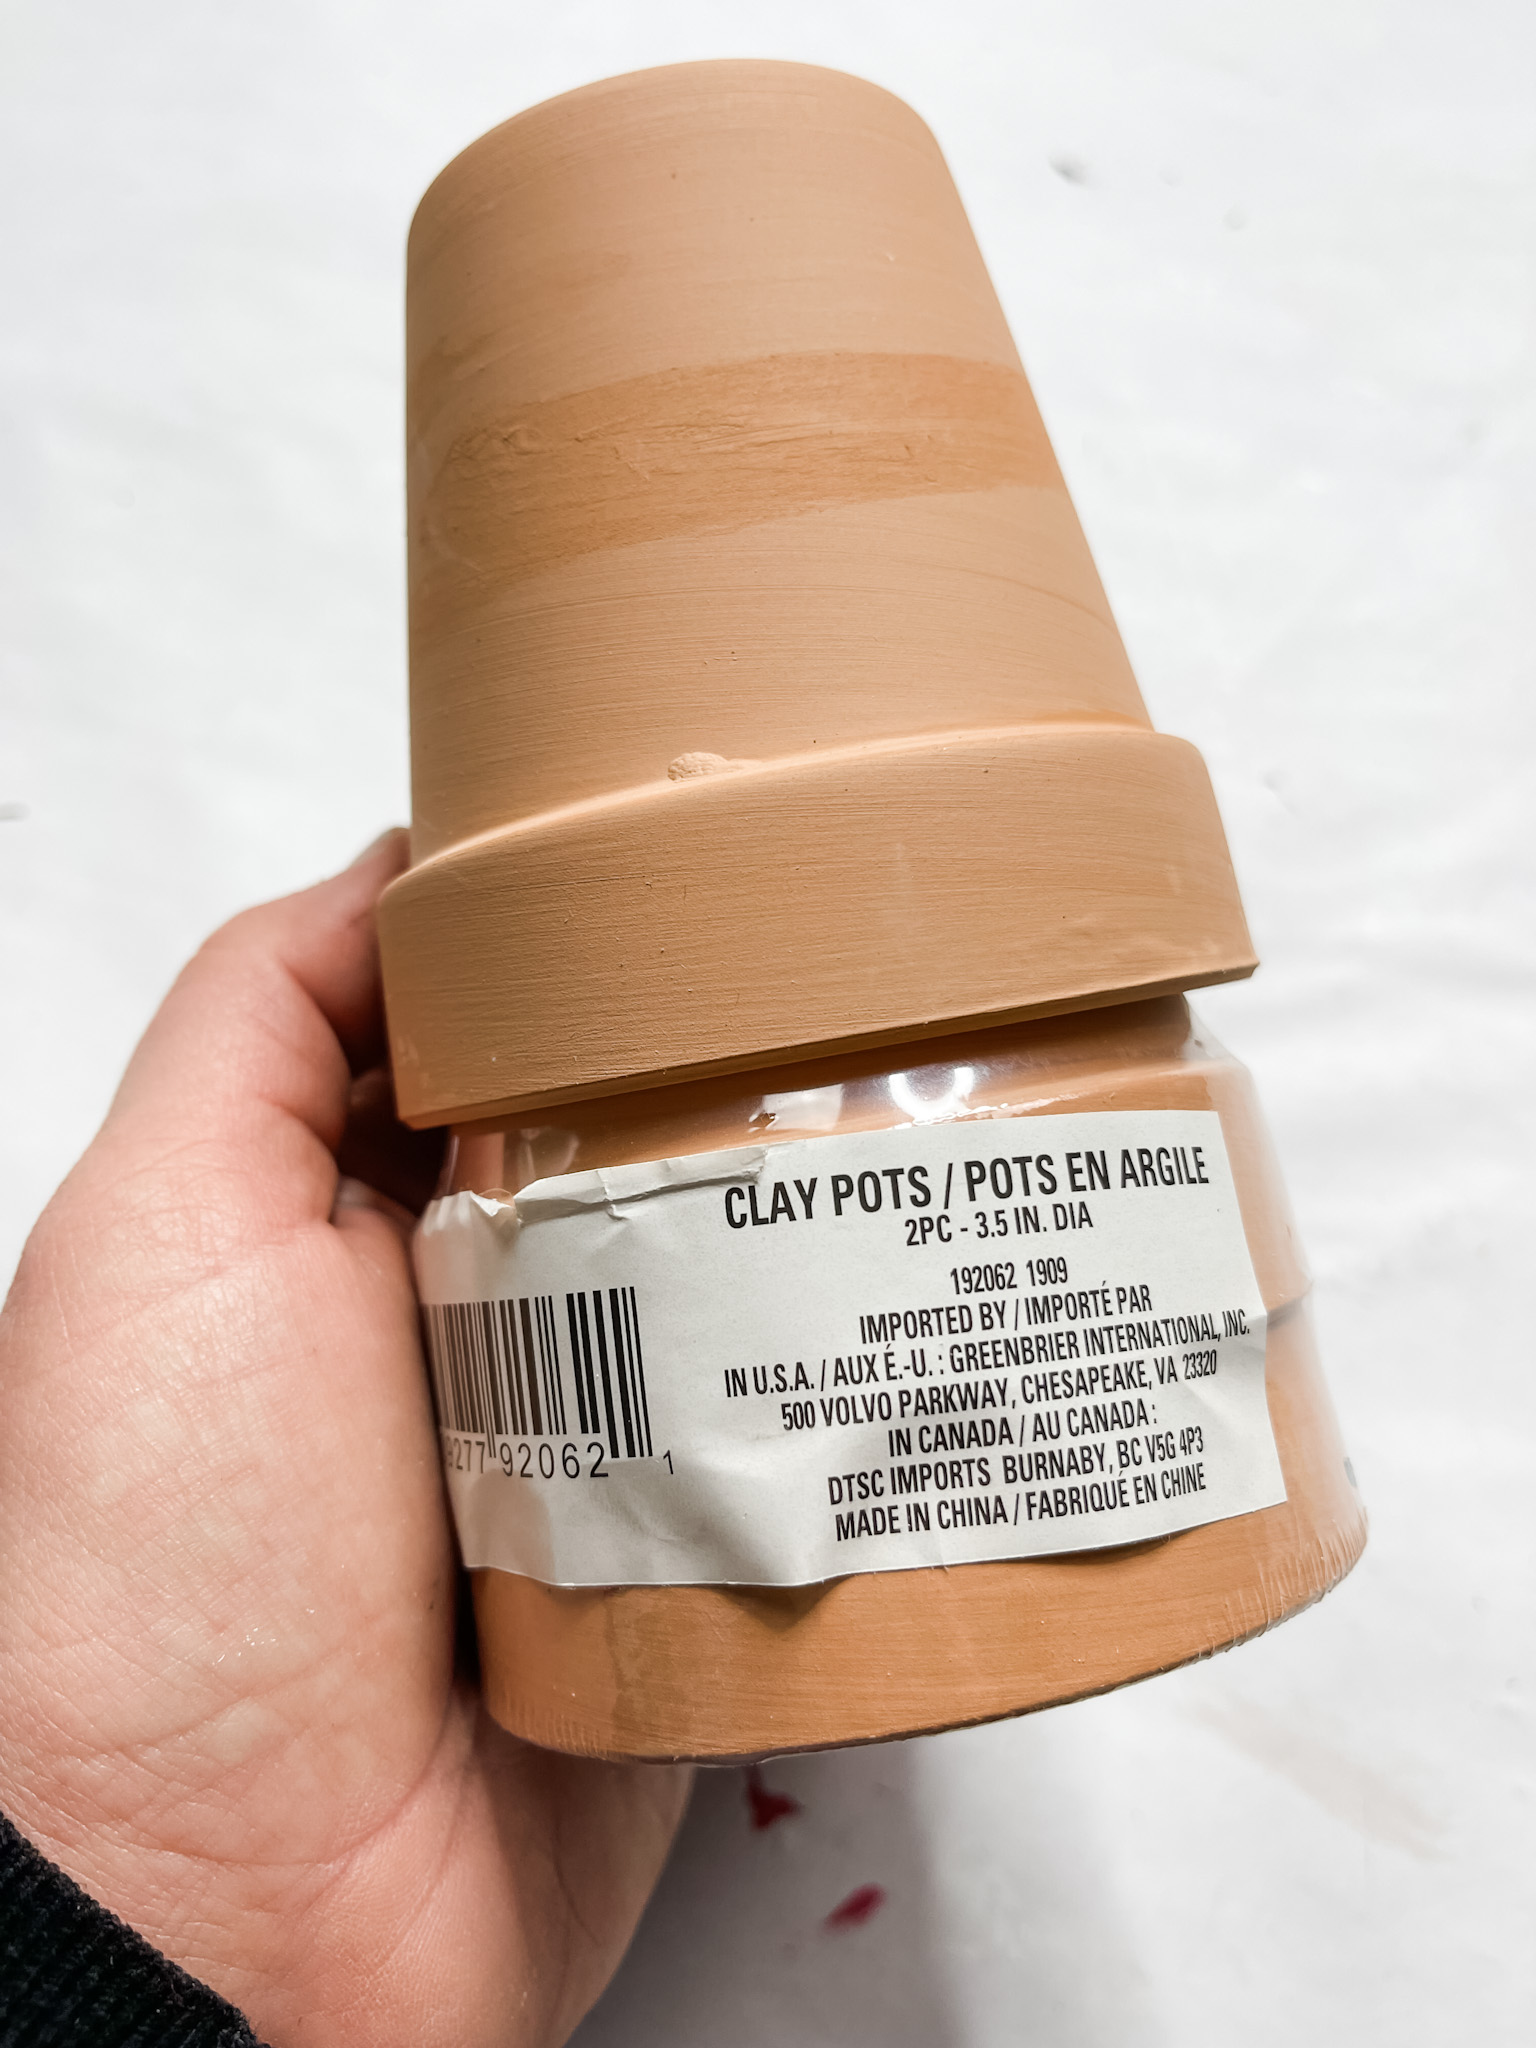
You can set the distressed wood to the side for now, because now it’s time to paint the terra cotta pots.
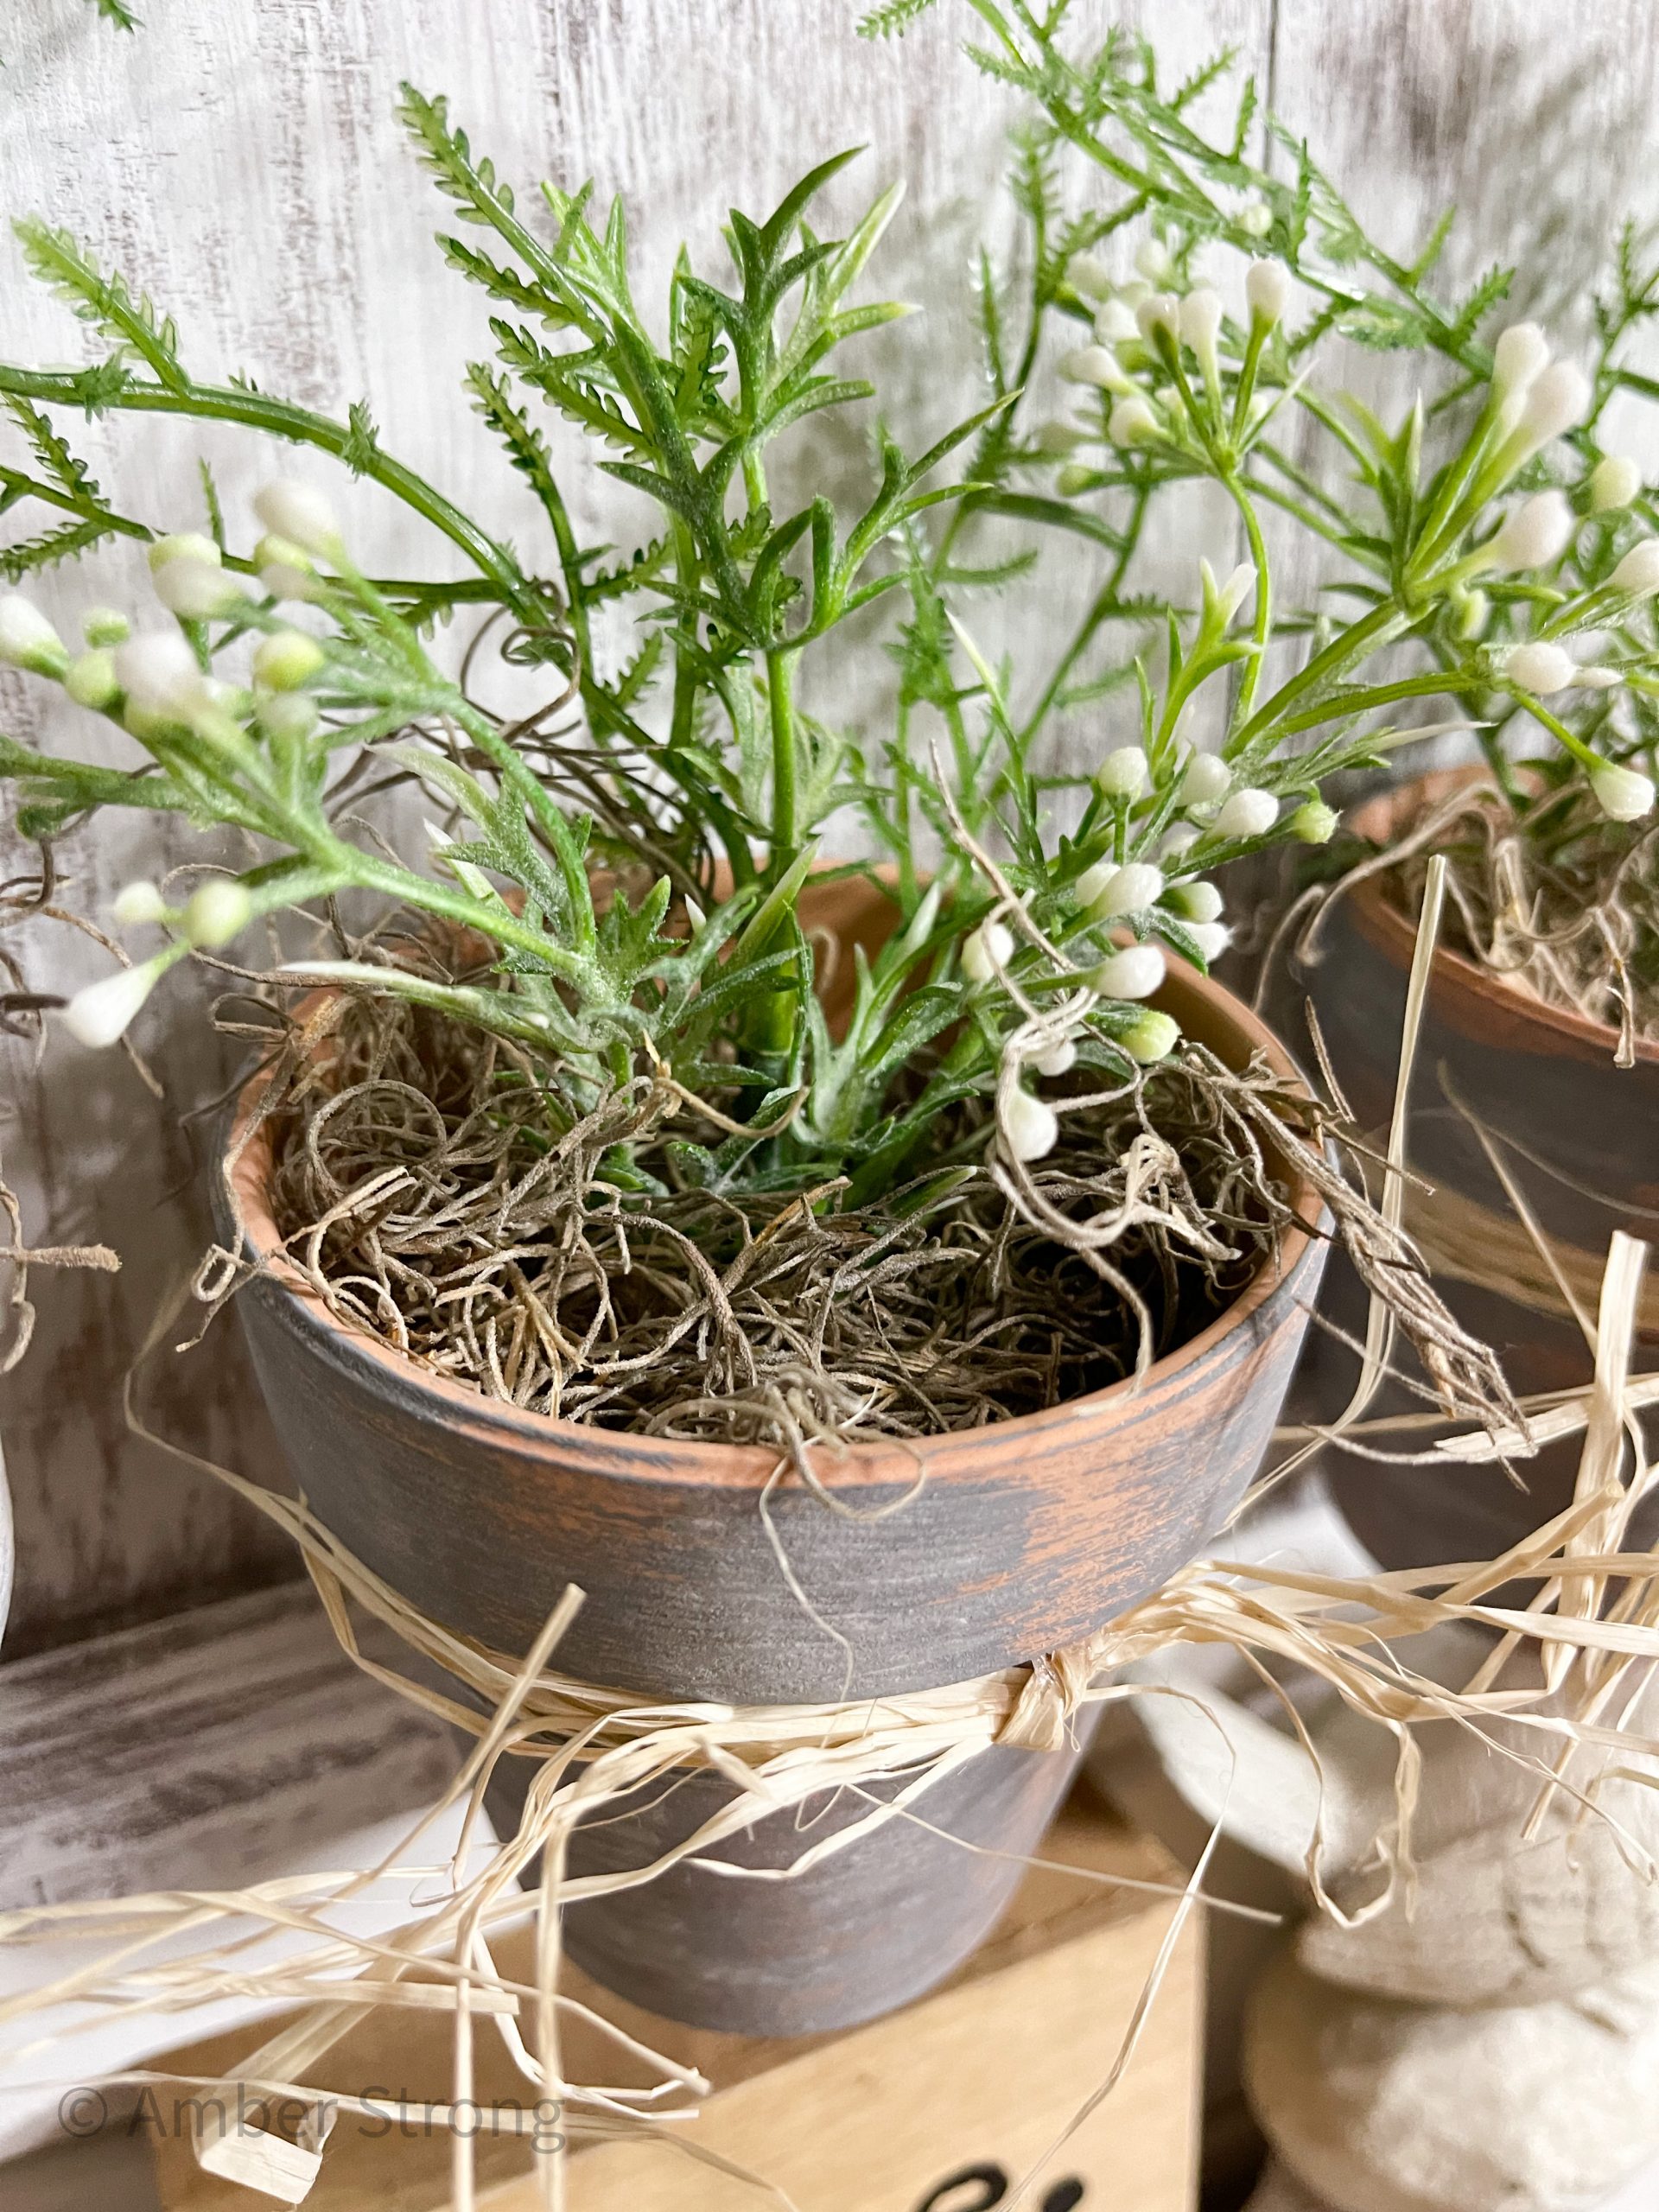
I mixed black and white paint to get the perfect grey that I wanted. Then, I brushed the mixture onto the terra cotta pots. While the paint was wet, I used my hand to smear the bath powder onto the pots.
Bring it all together!
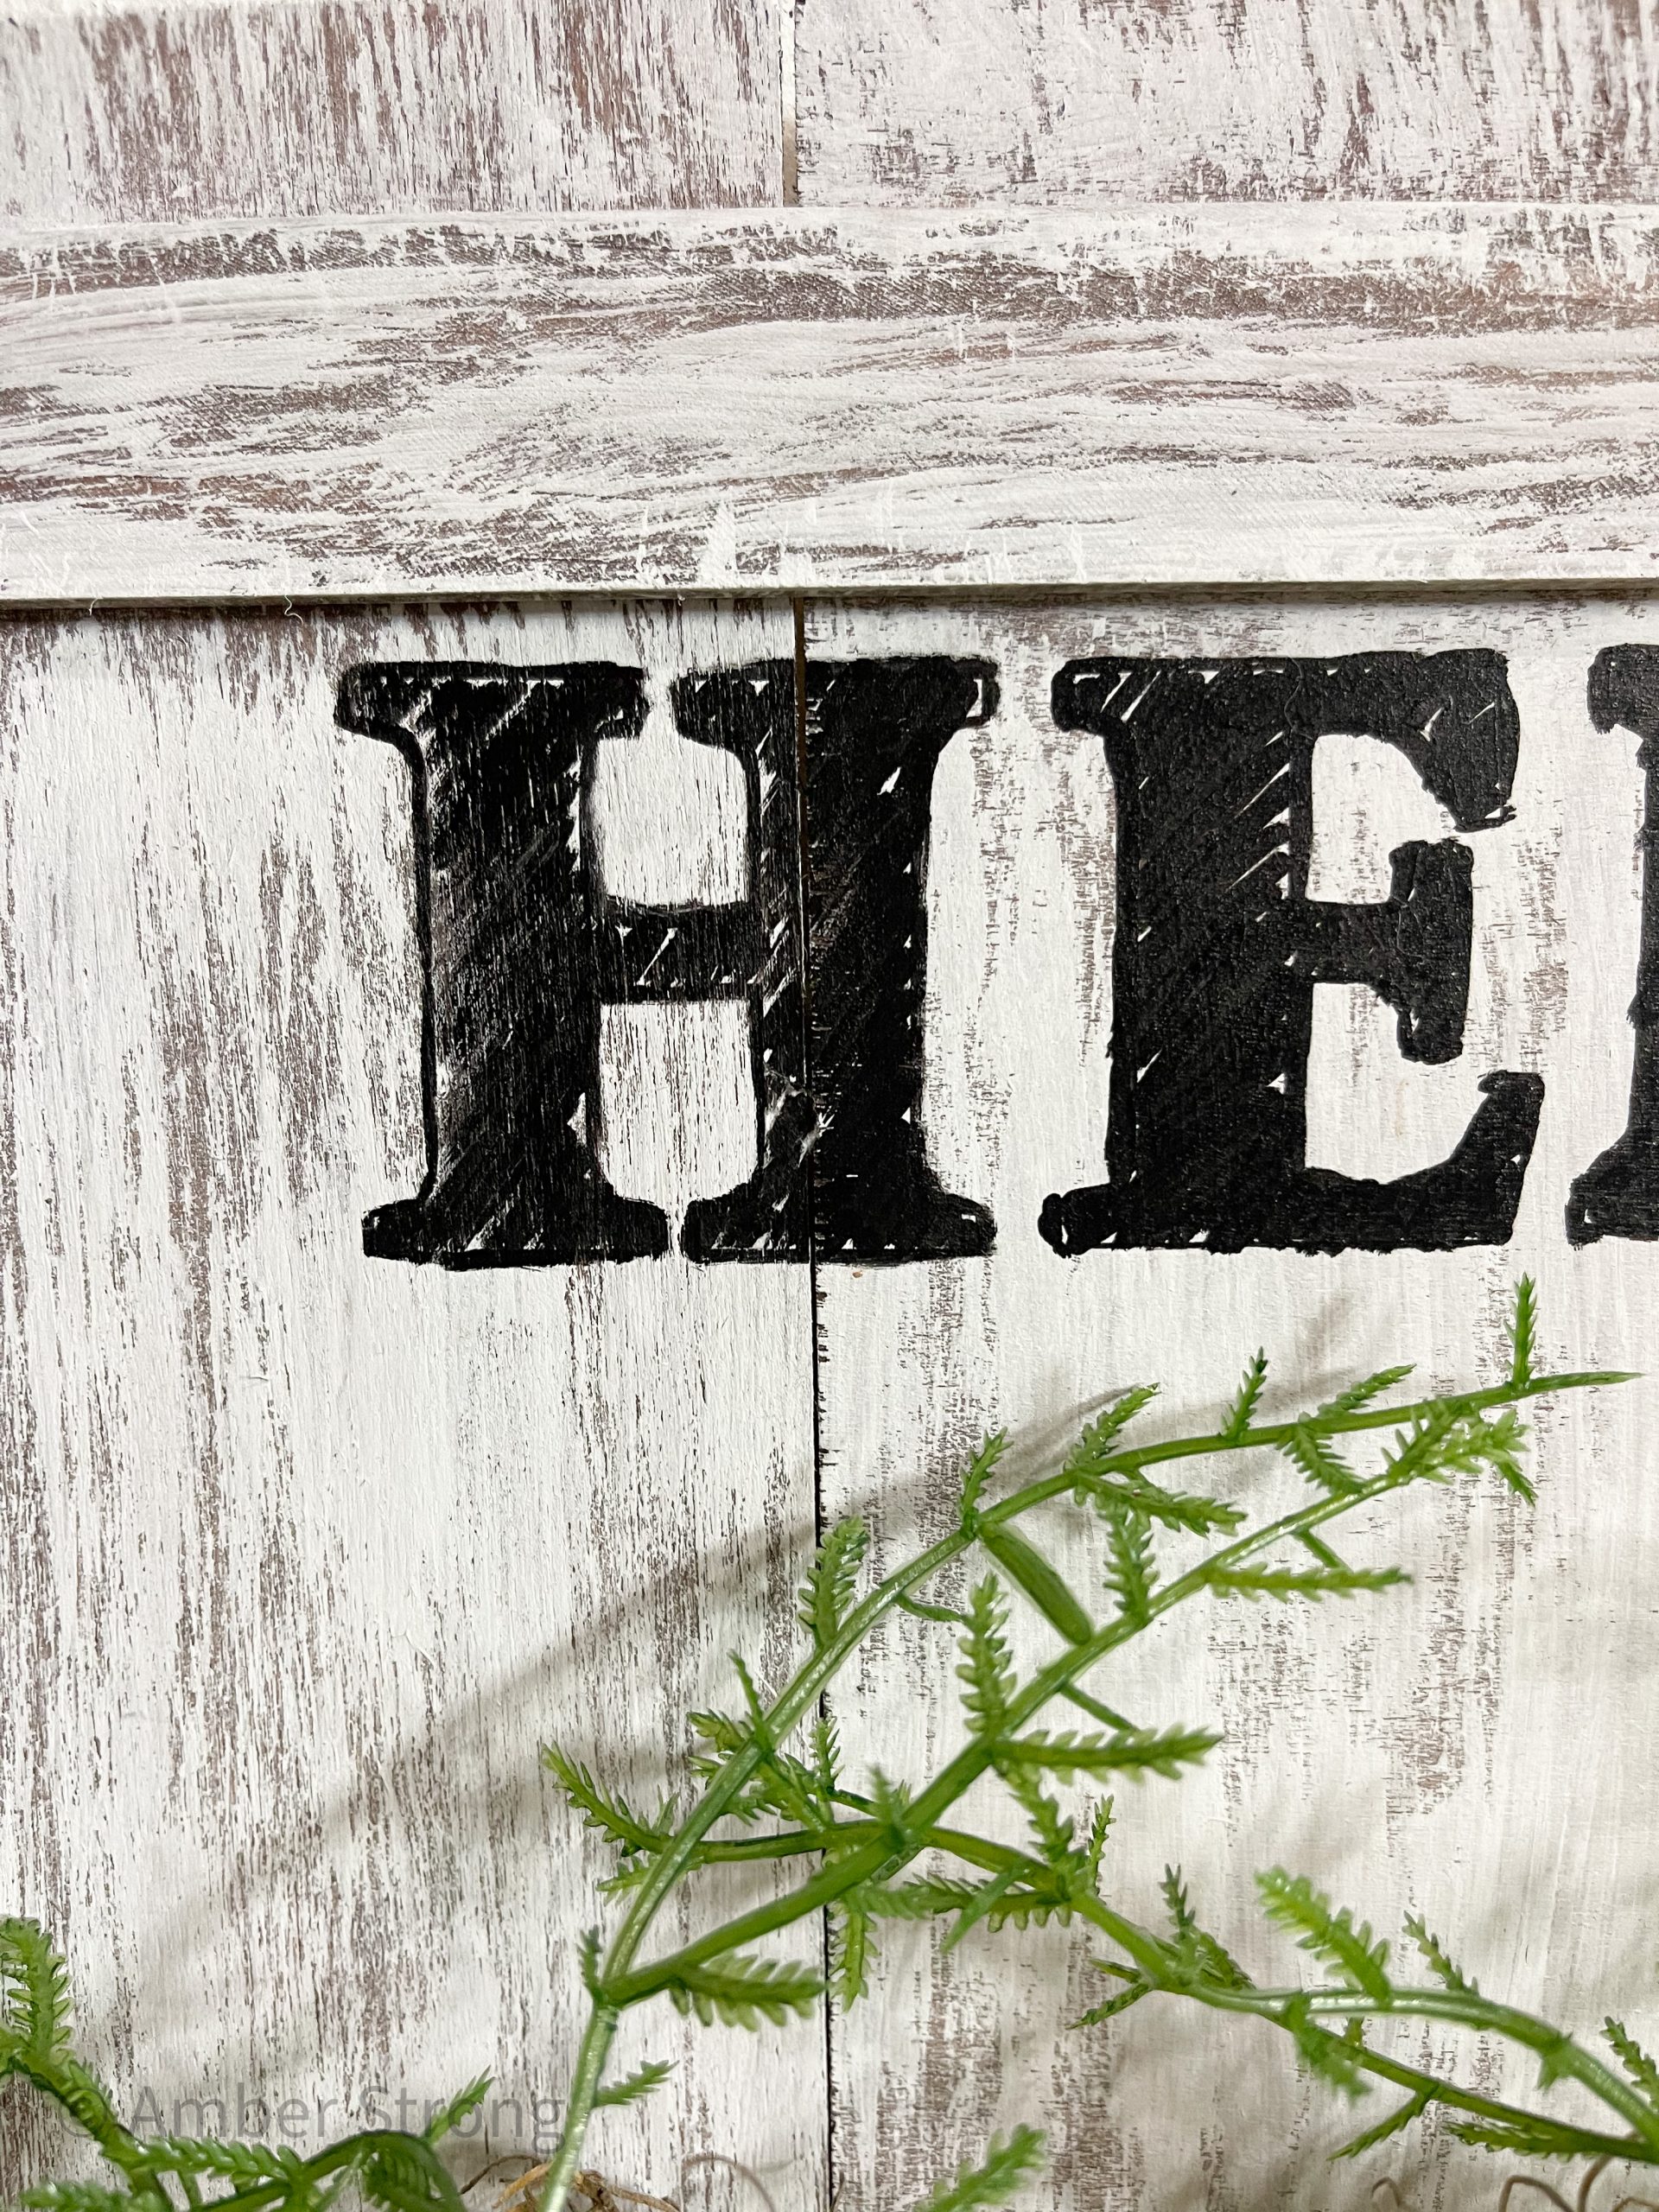
Next, place your alphabet stickers on the wood surface. Trace around each of the letters with your black marker, then remove each of the letter stickers.
Lightly color in the letters with the same black marker. Line up where you want the terra cotta pots to be, then drill a hole in the wood surface where the center of each pot will be.
Remove the jute from the wired jute cord. Wrap the wire around the terra cotta pot to shape it, then push the ends through the hole and secure it in place. Do this for each hole.
Fill each of the terra cotta pots with Spanish moss. Push your greenery of choice into the moss for each pot.
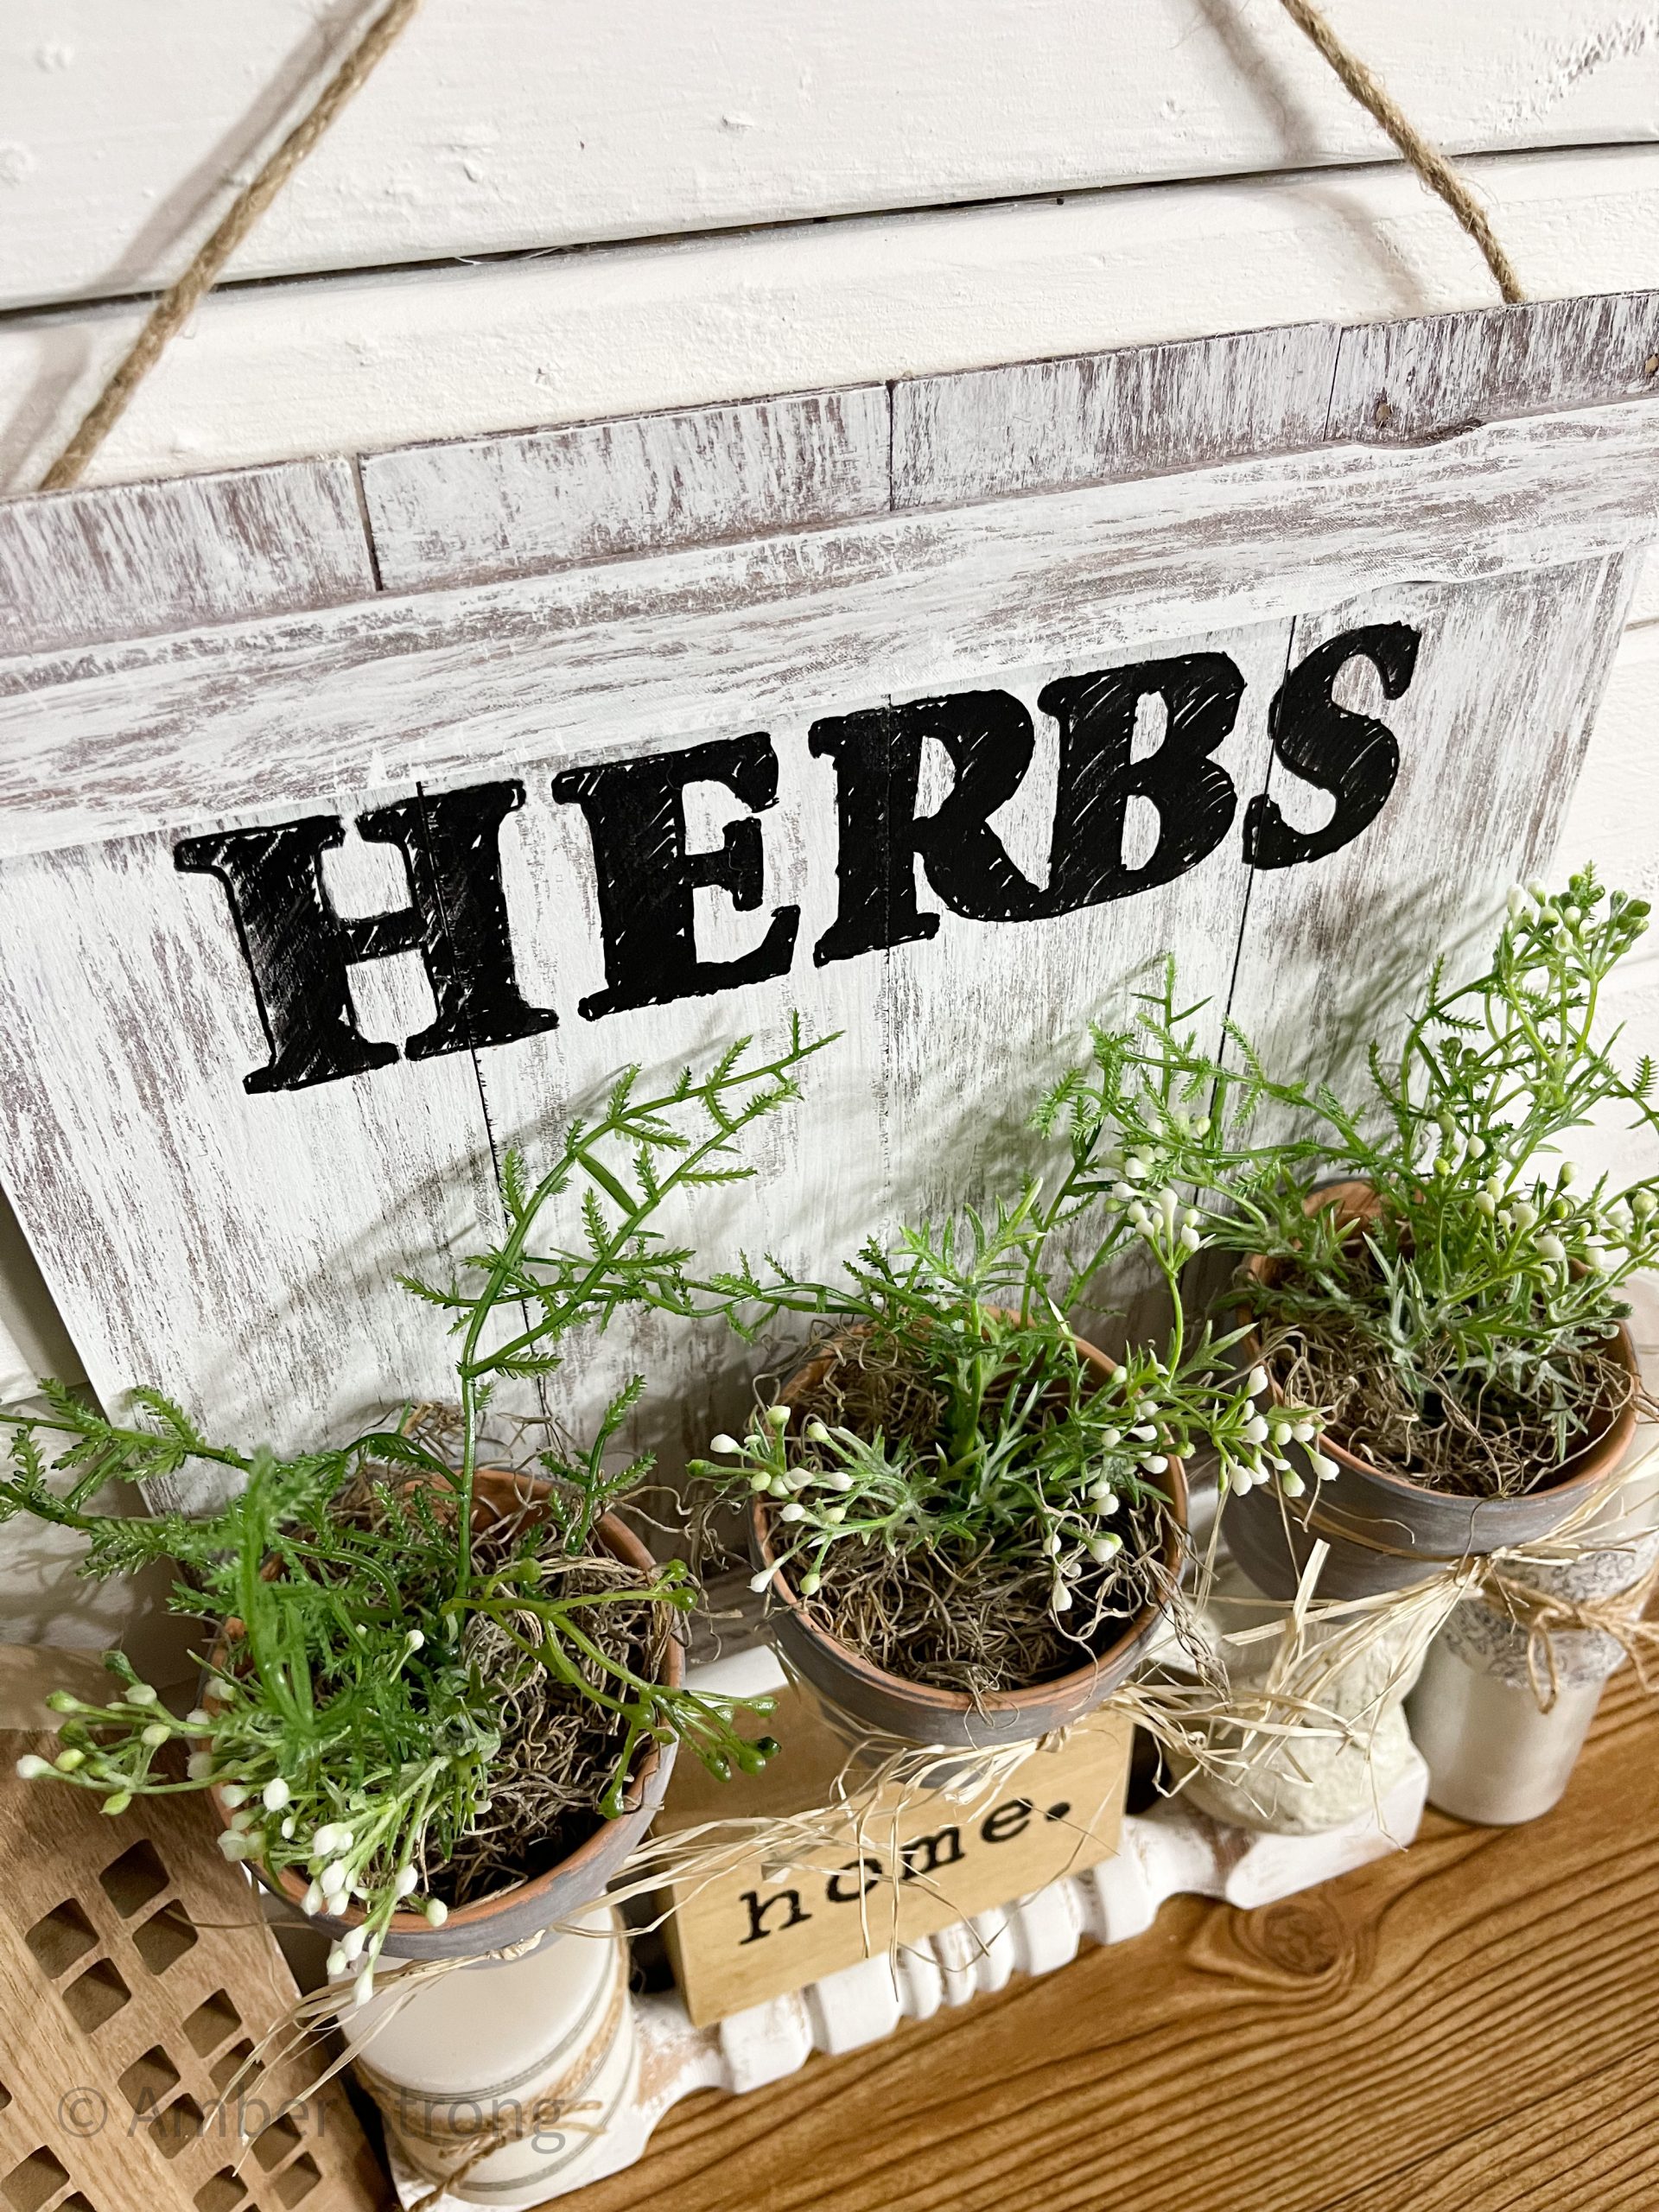
Then, separate the several strands of raffia and wrap them around each of the pots. Tie the raffia in a cute little bow!
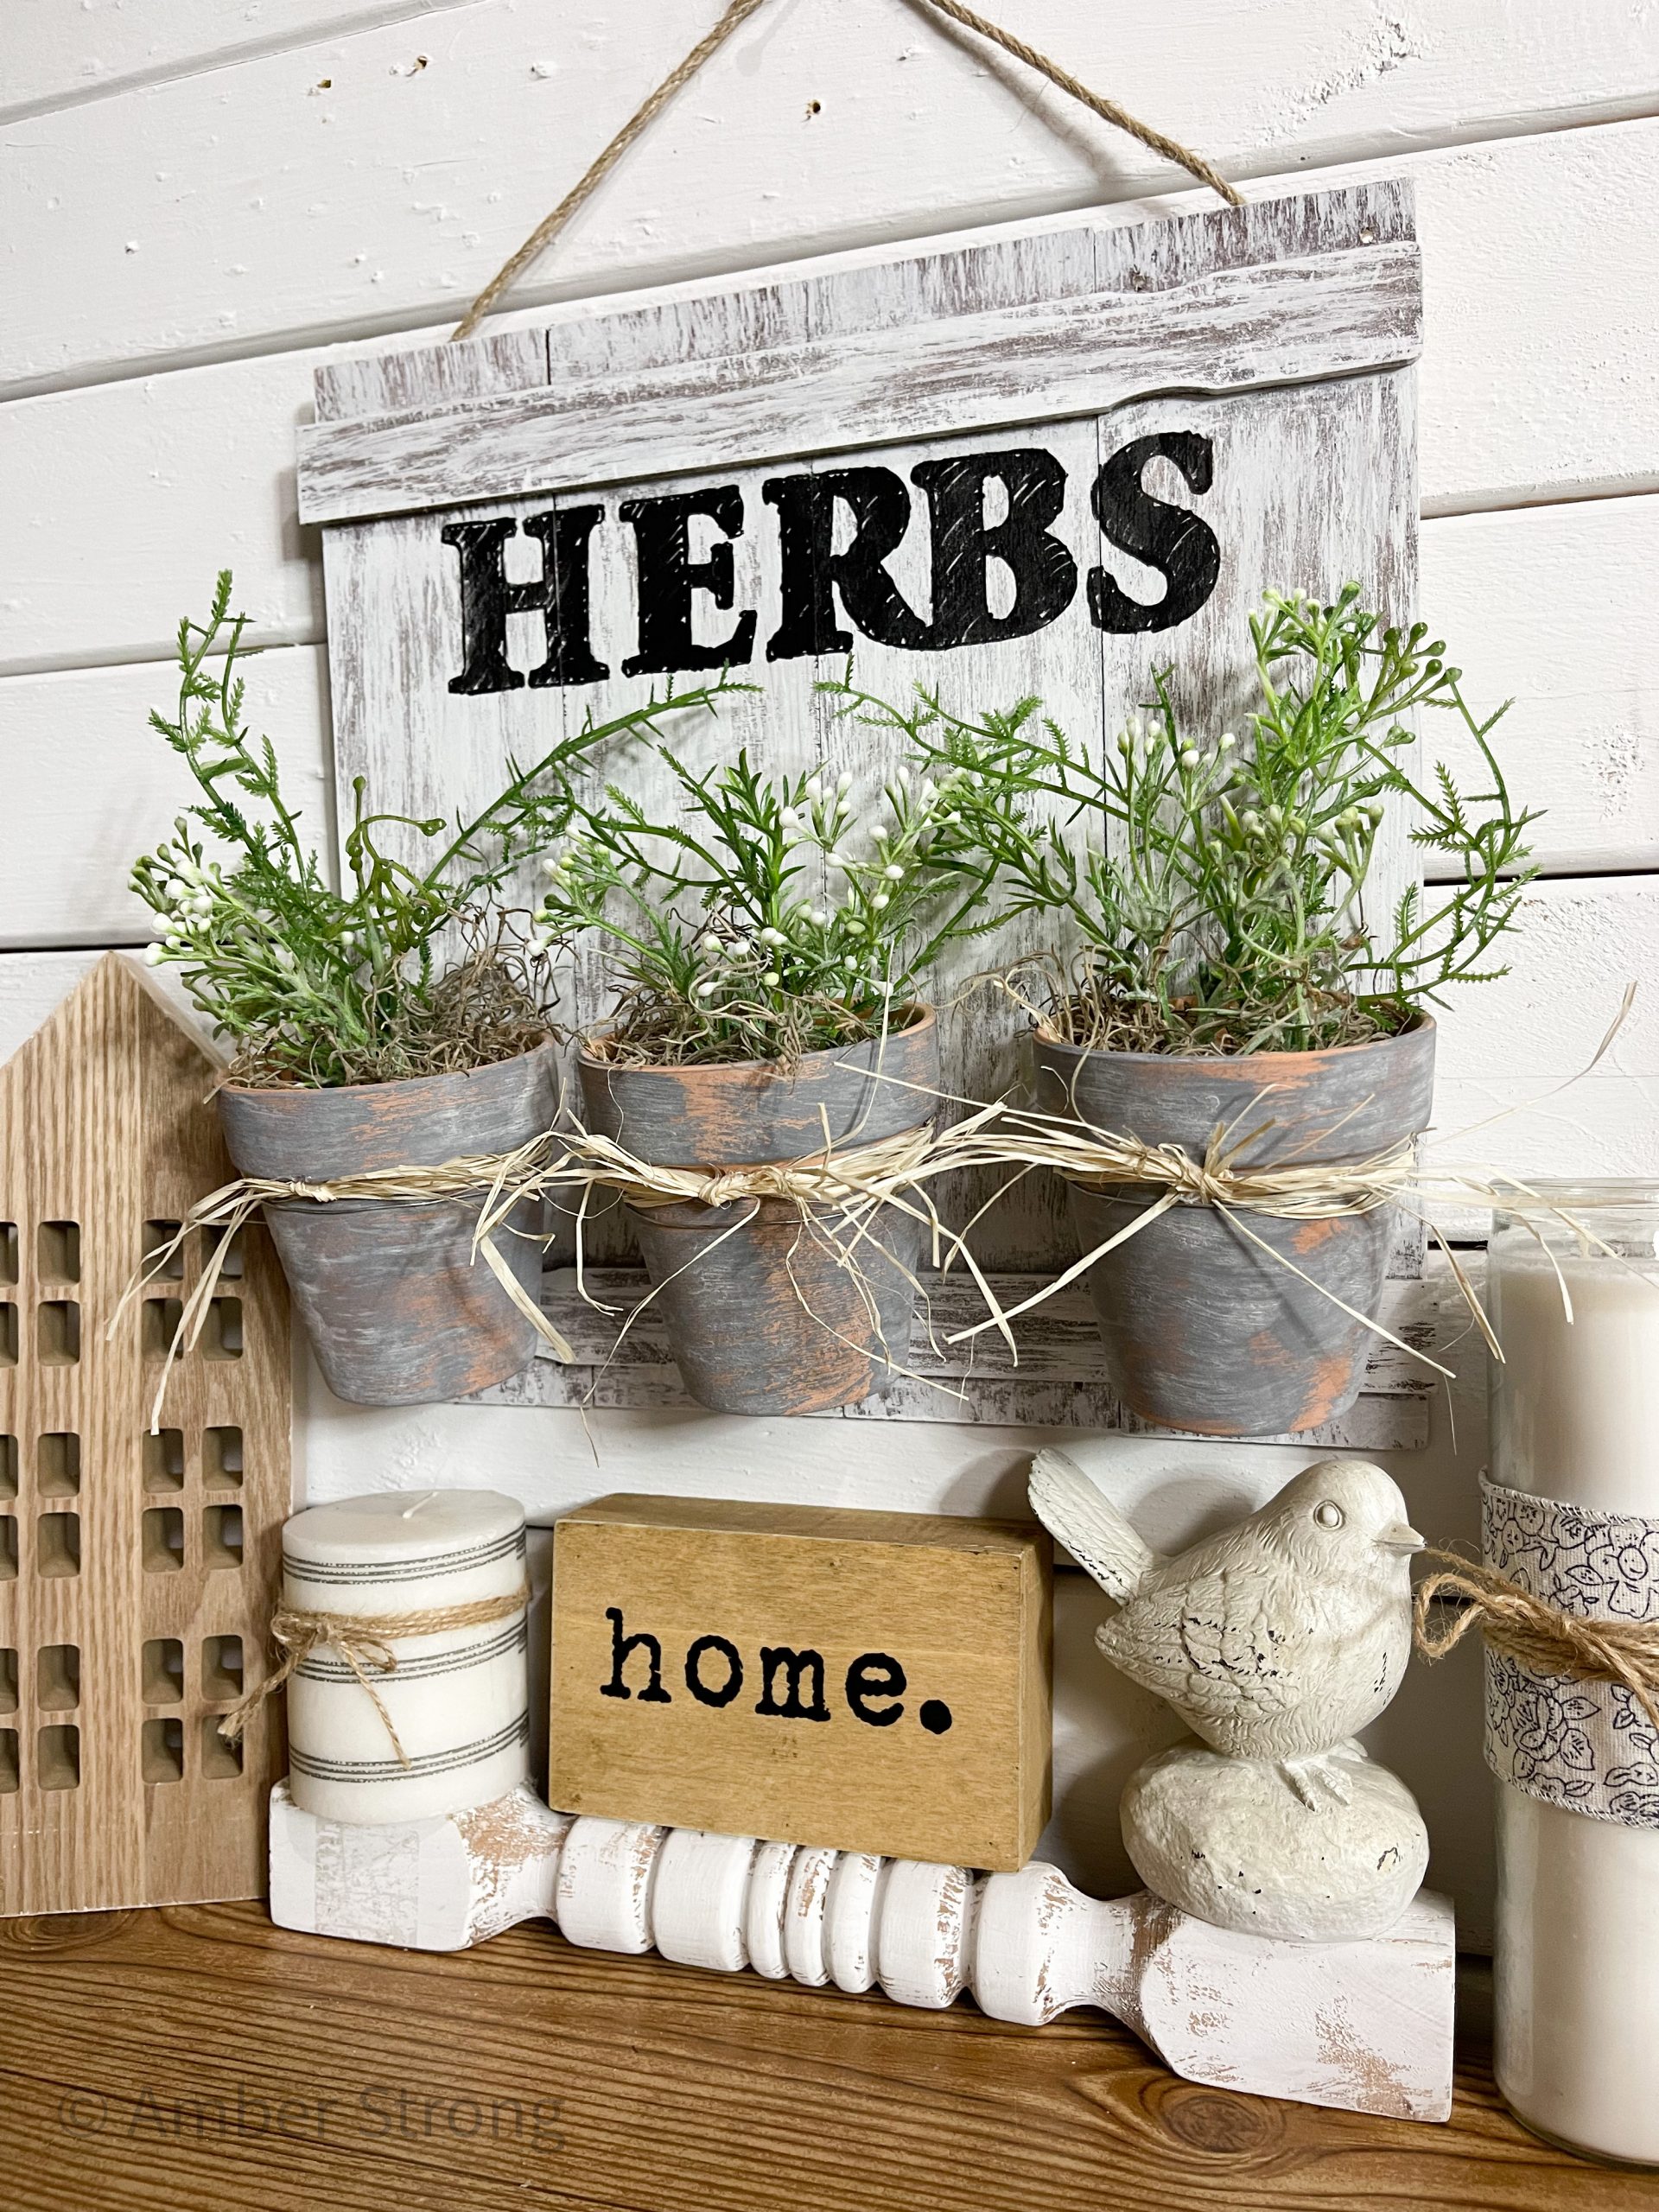
Finishing up! Glue a piece of the wired jute cord at the top of the wood planks to create the hanger. Then, place your terra cotta pots in each of their spots on the front of the sign.
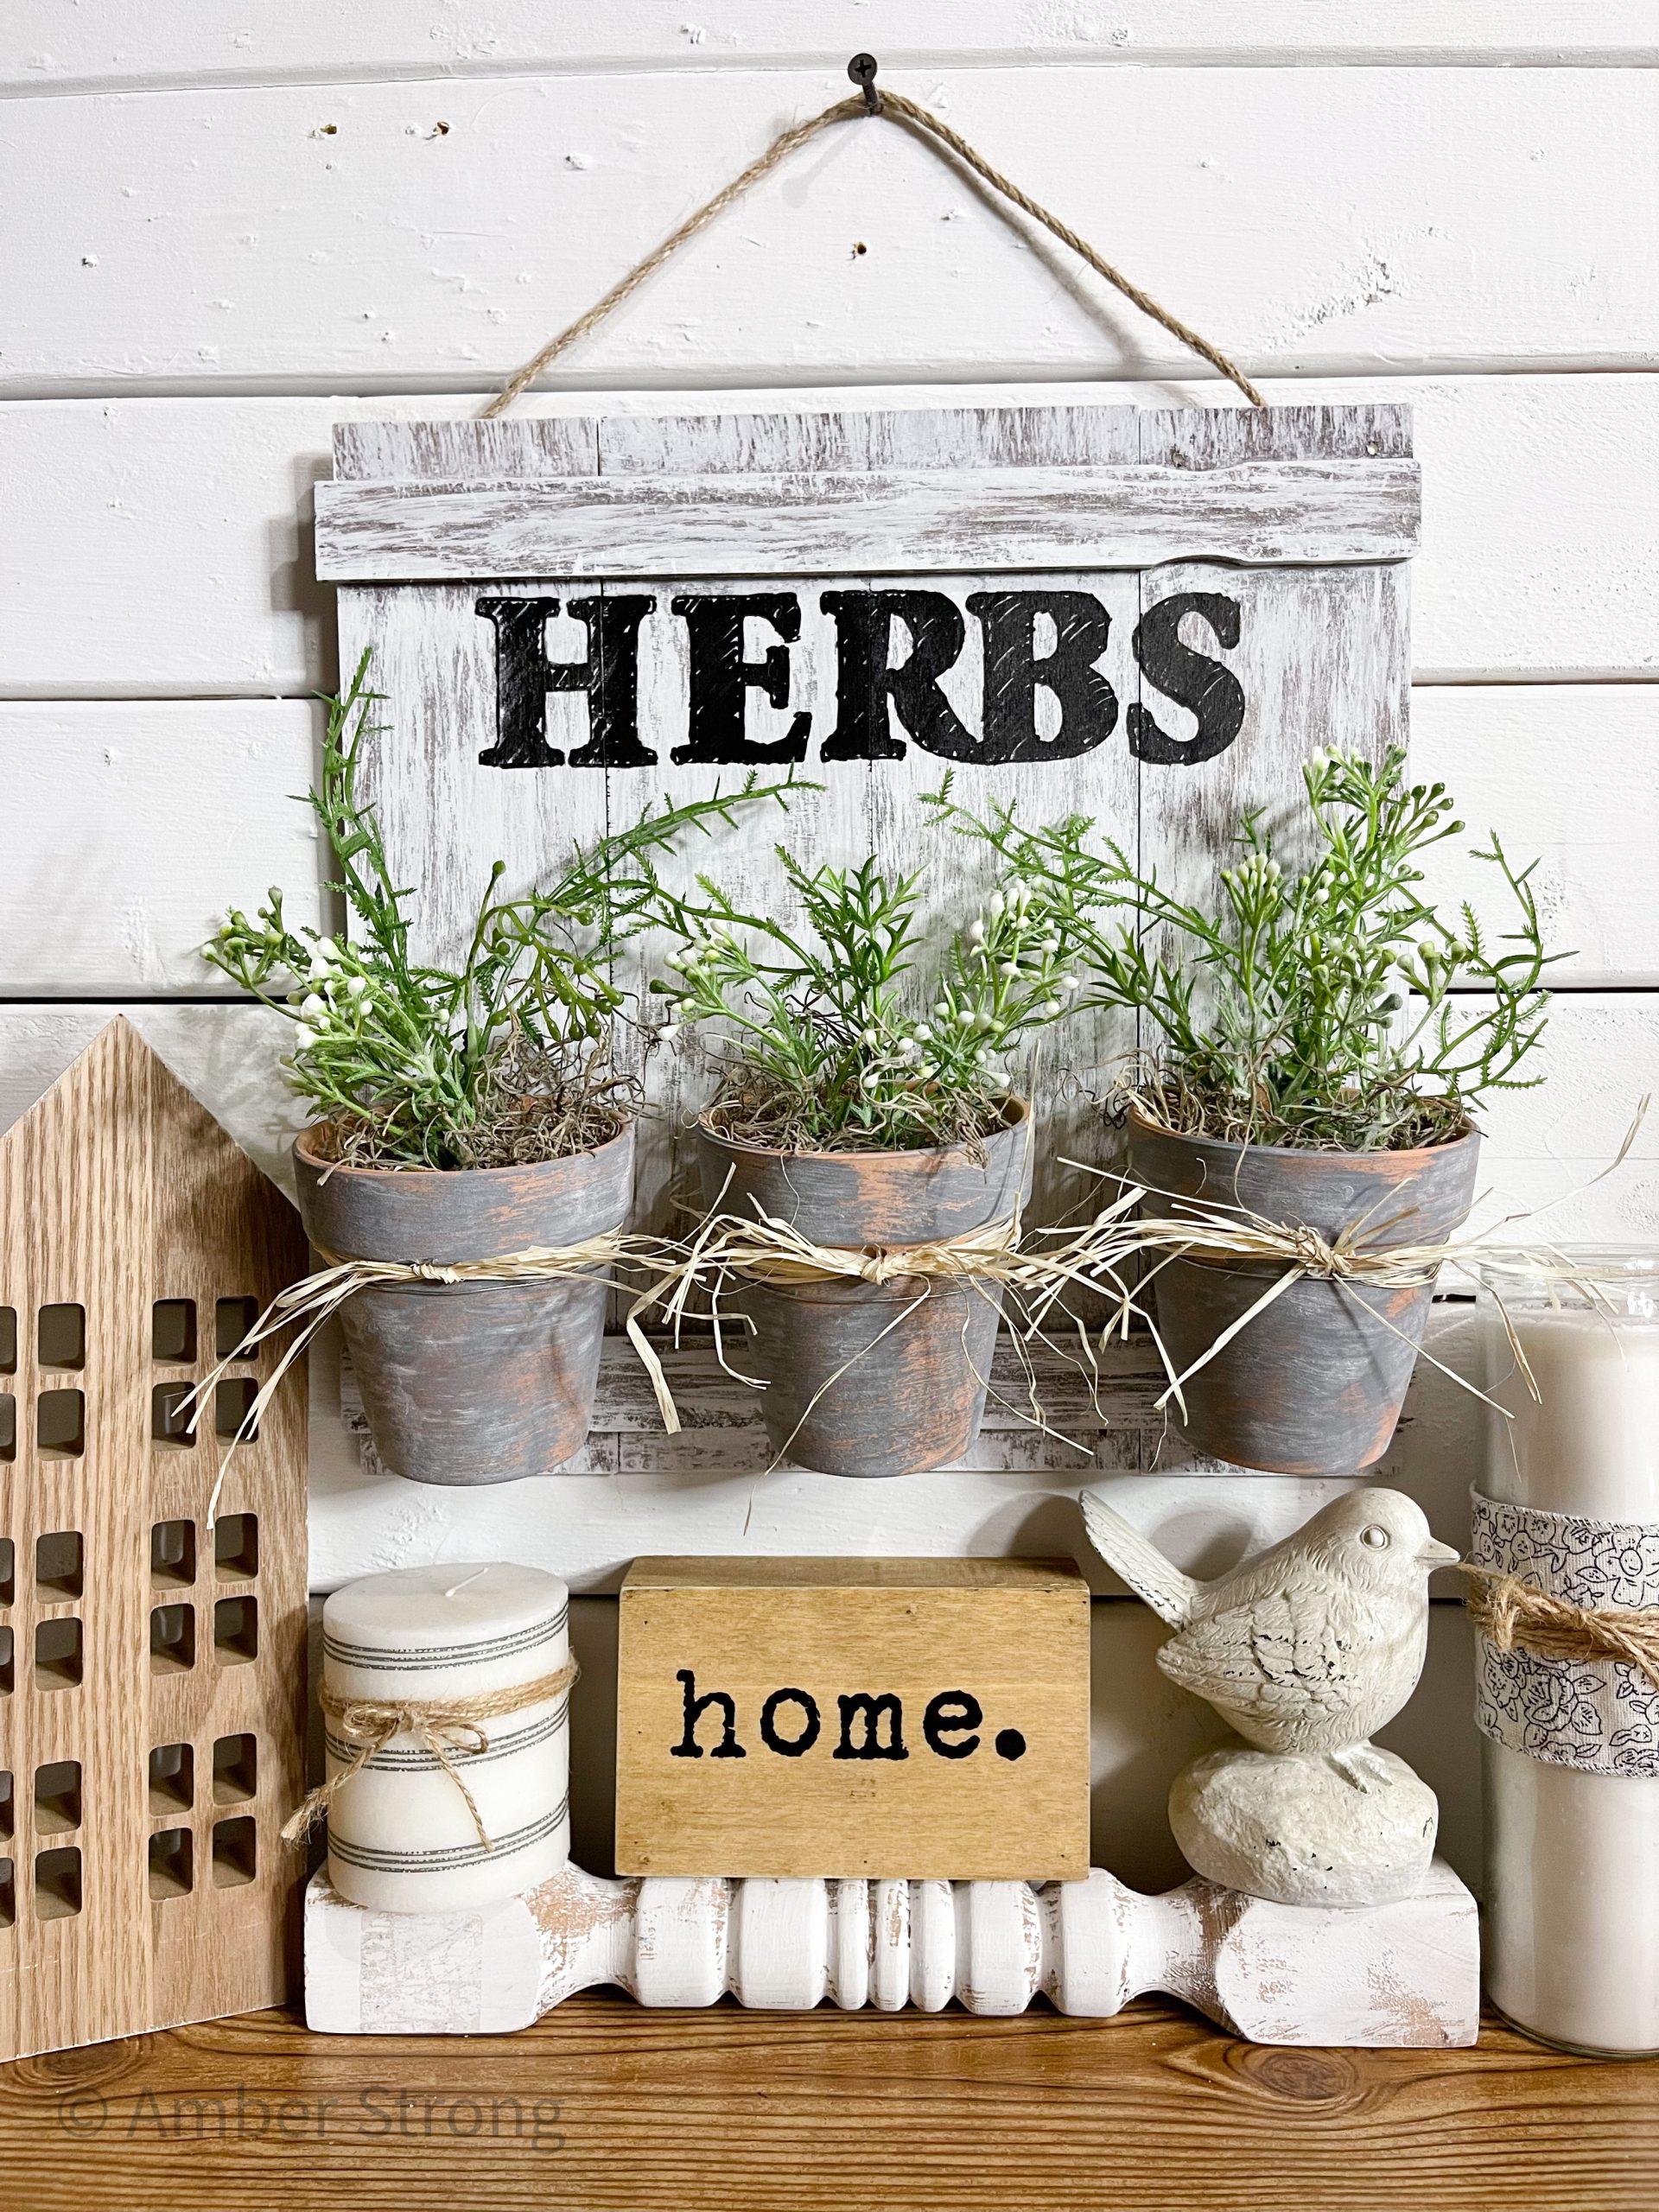
I hope you enjoyed this DIY Herb Planter Decor as much as I did and decide to make it for yourself! If you do, I would love to see how yours turns out!
You should totally join my FREE Facebook group called On A Budget Crafts! It is a judgment-free community for DIY crafters to show off their projects and ideas.
If you loved this DIY, you might also like these DIY ideas!
- Dollar Tree DIY Faux Metal Bucket Spring Decor
- DIY Rustic Decor with Dollar Tree Cactus Succulent Stickers
- How to Make a DIY Rustic Bucket Planter
- DIY Faux Concrete Planter
Thanks for stopping by! XOXO Amber
You can also shop my ENTIRE AMAZON Favorites shop just click here! It’s packed full of all the things I use and love. Here is the supply list I highly recommend every creative have on hand!!
Would you also pin my blog for later and get on my newsletter alerts? I would love to have you join my #craftycrew.
Inspired? Leave me a comment below! I love hearing from my readers!

Join my free “ON A BUDGET CRAFTS” Facebook group!

Hello! I missed the live for this Herb Decor so I’ve wanted to watch it everytime you showed it or when I could see it in the background of your other lives. But honestly, I thought it was a small craft and could put one together easy, peasy. But no, it is a nice BIG crafty and I love it more! Def on my to do list! Thank you!
So stinking cute