How to make a DIY Flower Basket Spring Decor
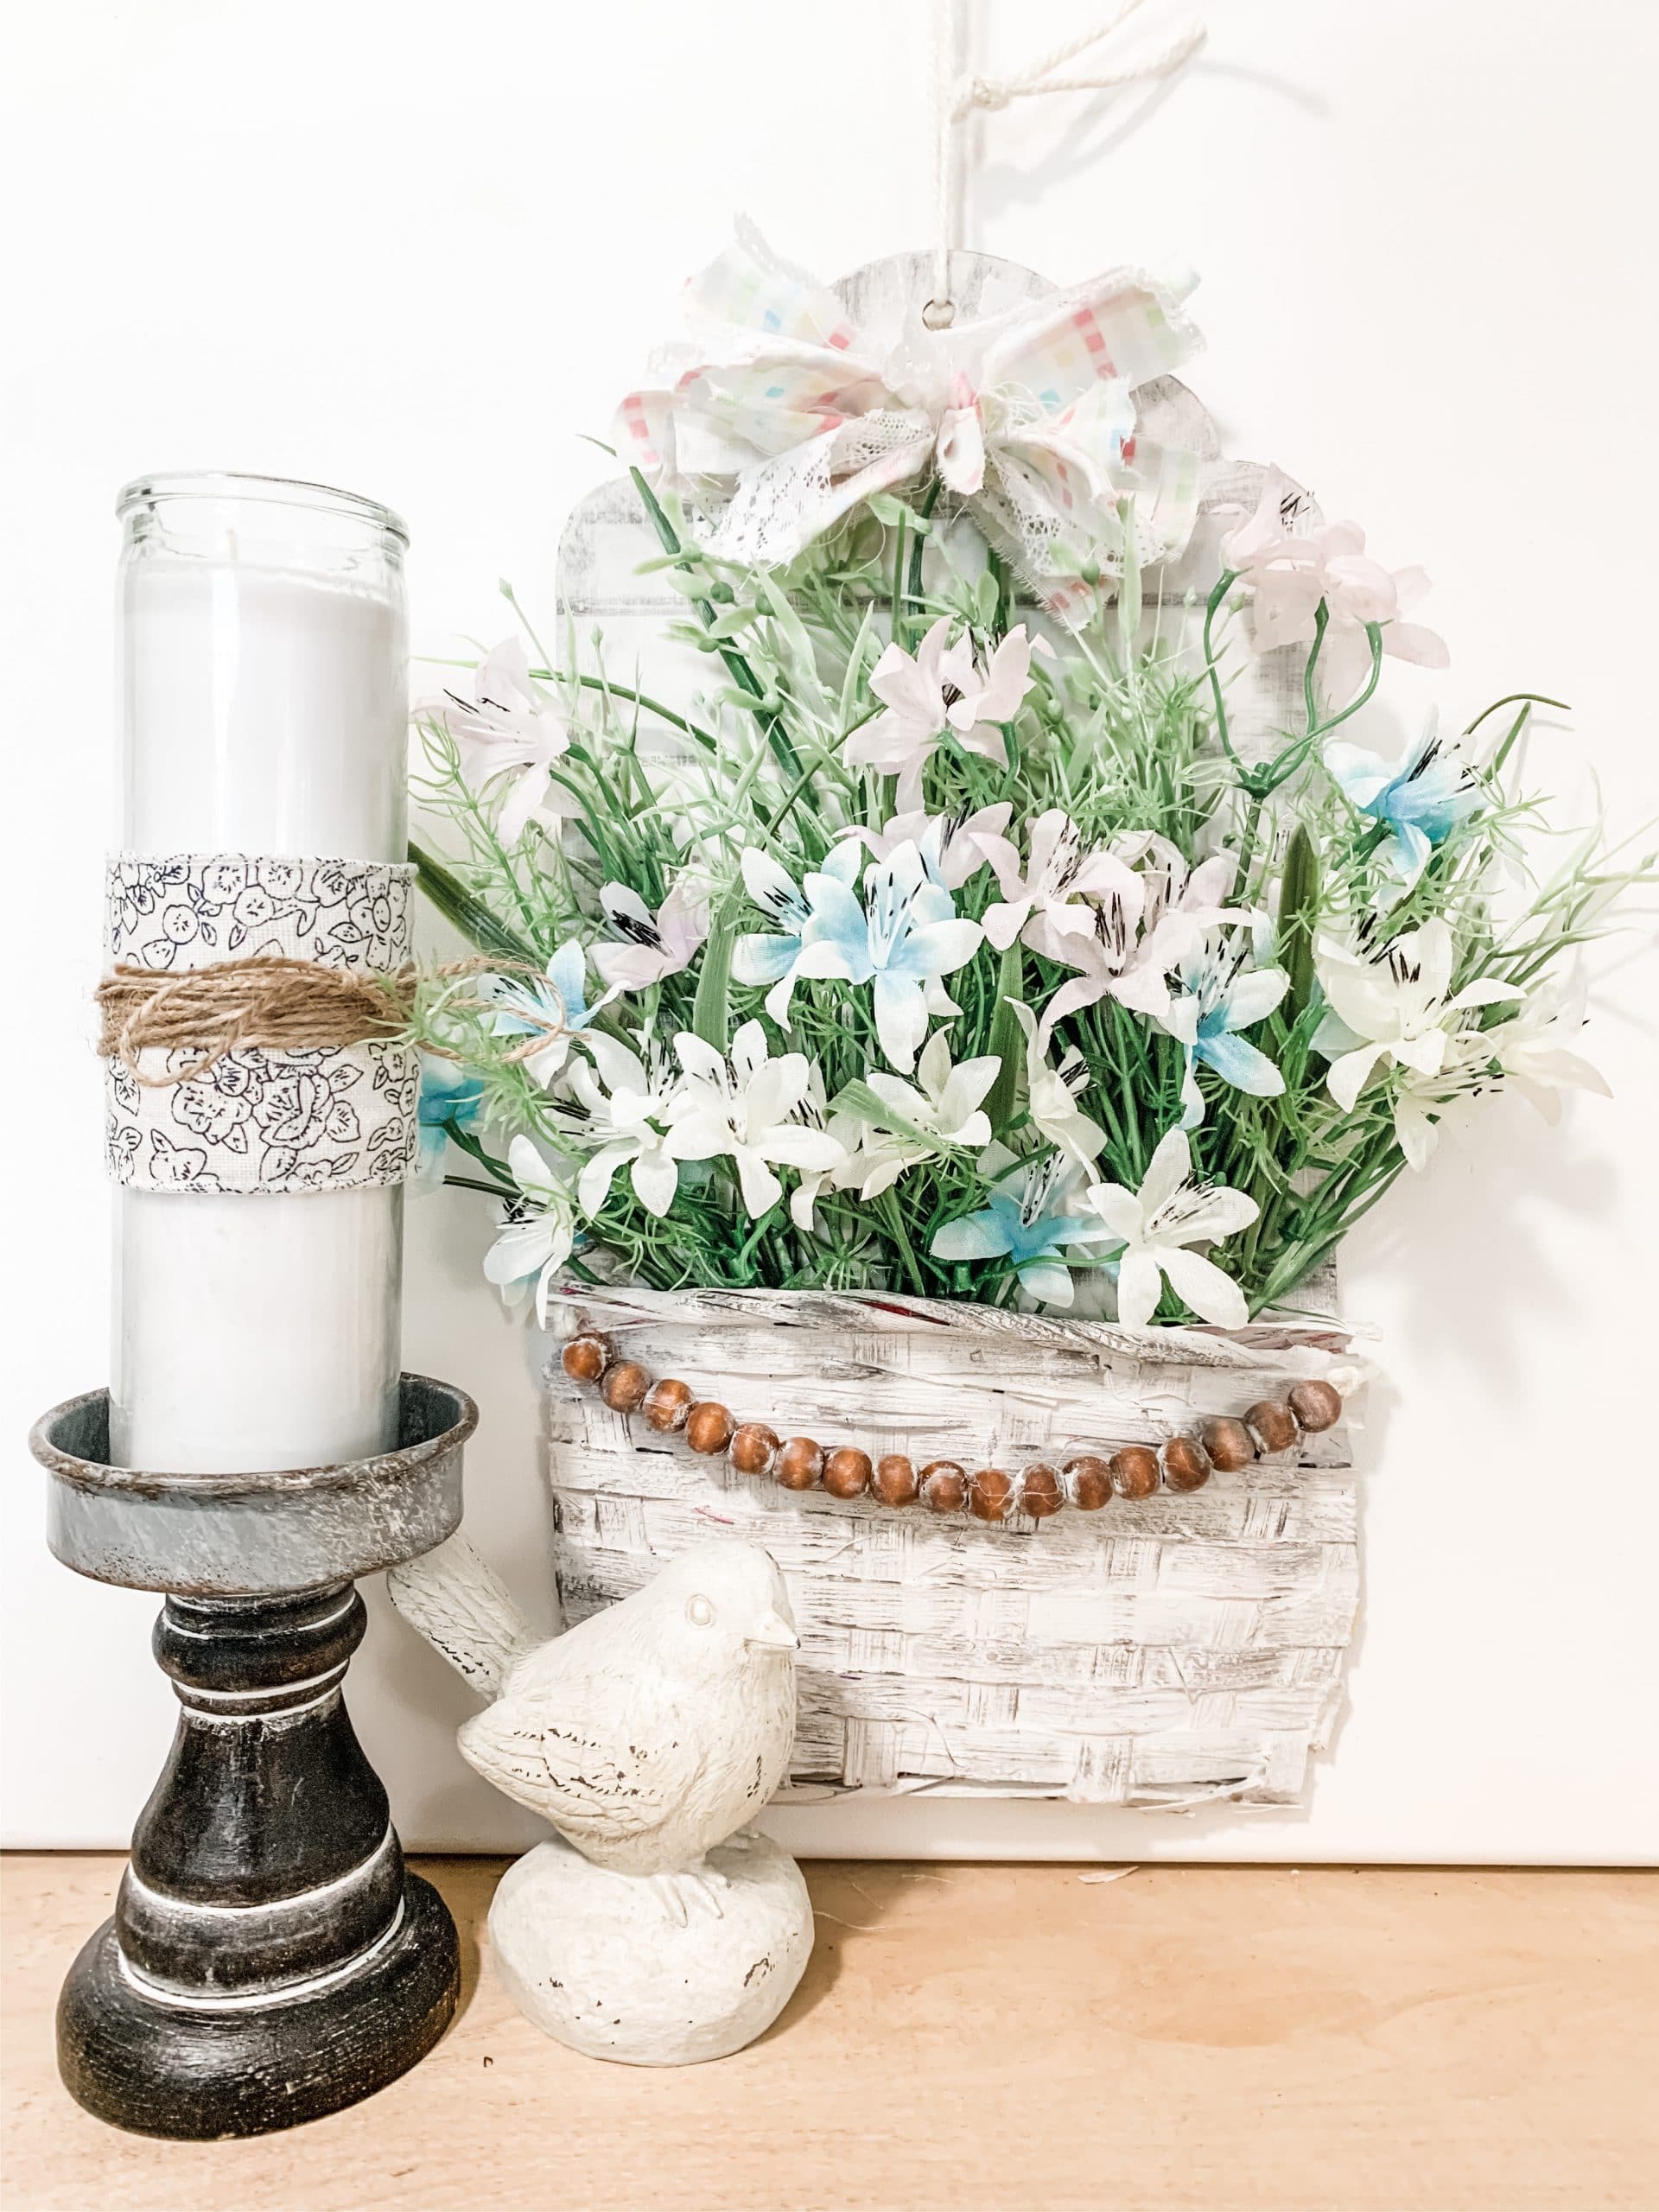
I always say that I’m making decor from home, and I can honestly say that this DIY Flower Basket Spring Decor has hung on my pantry door for over a year! Yes, I love it that much!
This is a super easy DIY project, and I am so excited to show you how to make your own DIY Flower Basket Spring Decor!
Watch the replay
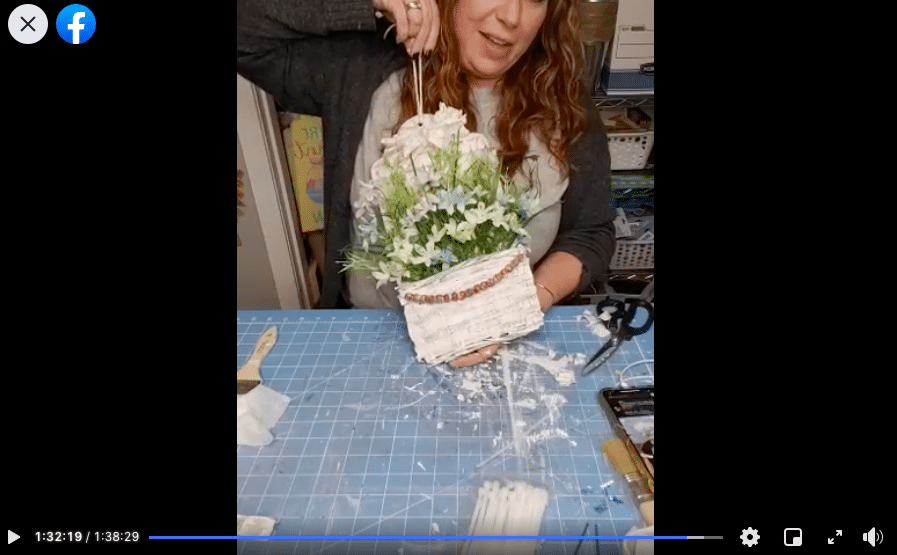
Want a video tutorial? I’ve got you covered! I recorded how to make a DIY Flower Basket Spring Decor during a LIVE video on my Facebook page. You can watch the replay if you want!
For this project, I will be using these items but you can substitute where you want.
“As an Amazon Associate, I earn from qualifying purchases.”
- Dollar Tree Easter Basket
- Dollar Tree Tag Sign
- Floral Foam
- Dollar Tree Spring Plaid Fabric
- Dollar Tree Spring Fake Flowers
- Dixie Belle Fluff Chalk Paint
- Dixie Belle Midnight Sky Chalk Paint
- Wood Beads
- White Jute Twine
- Ruler
- Scissors
- Hot glue gun and glue sticks
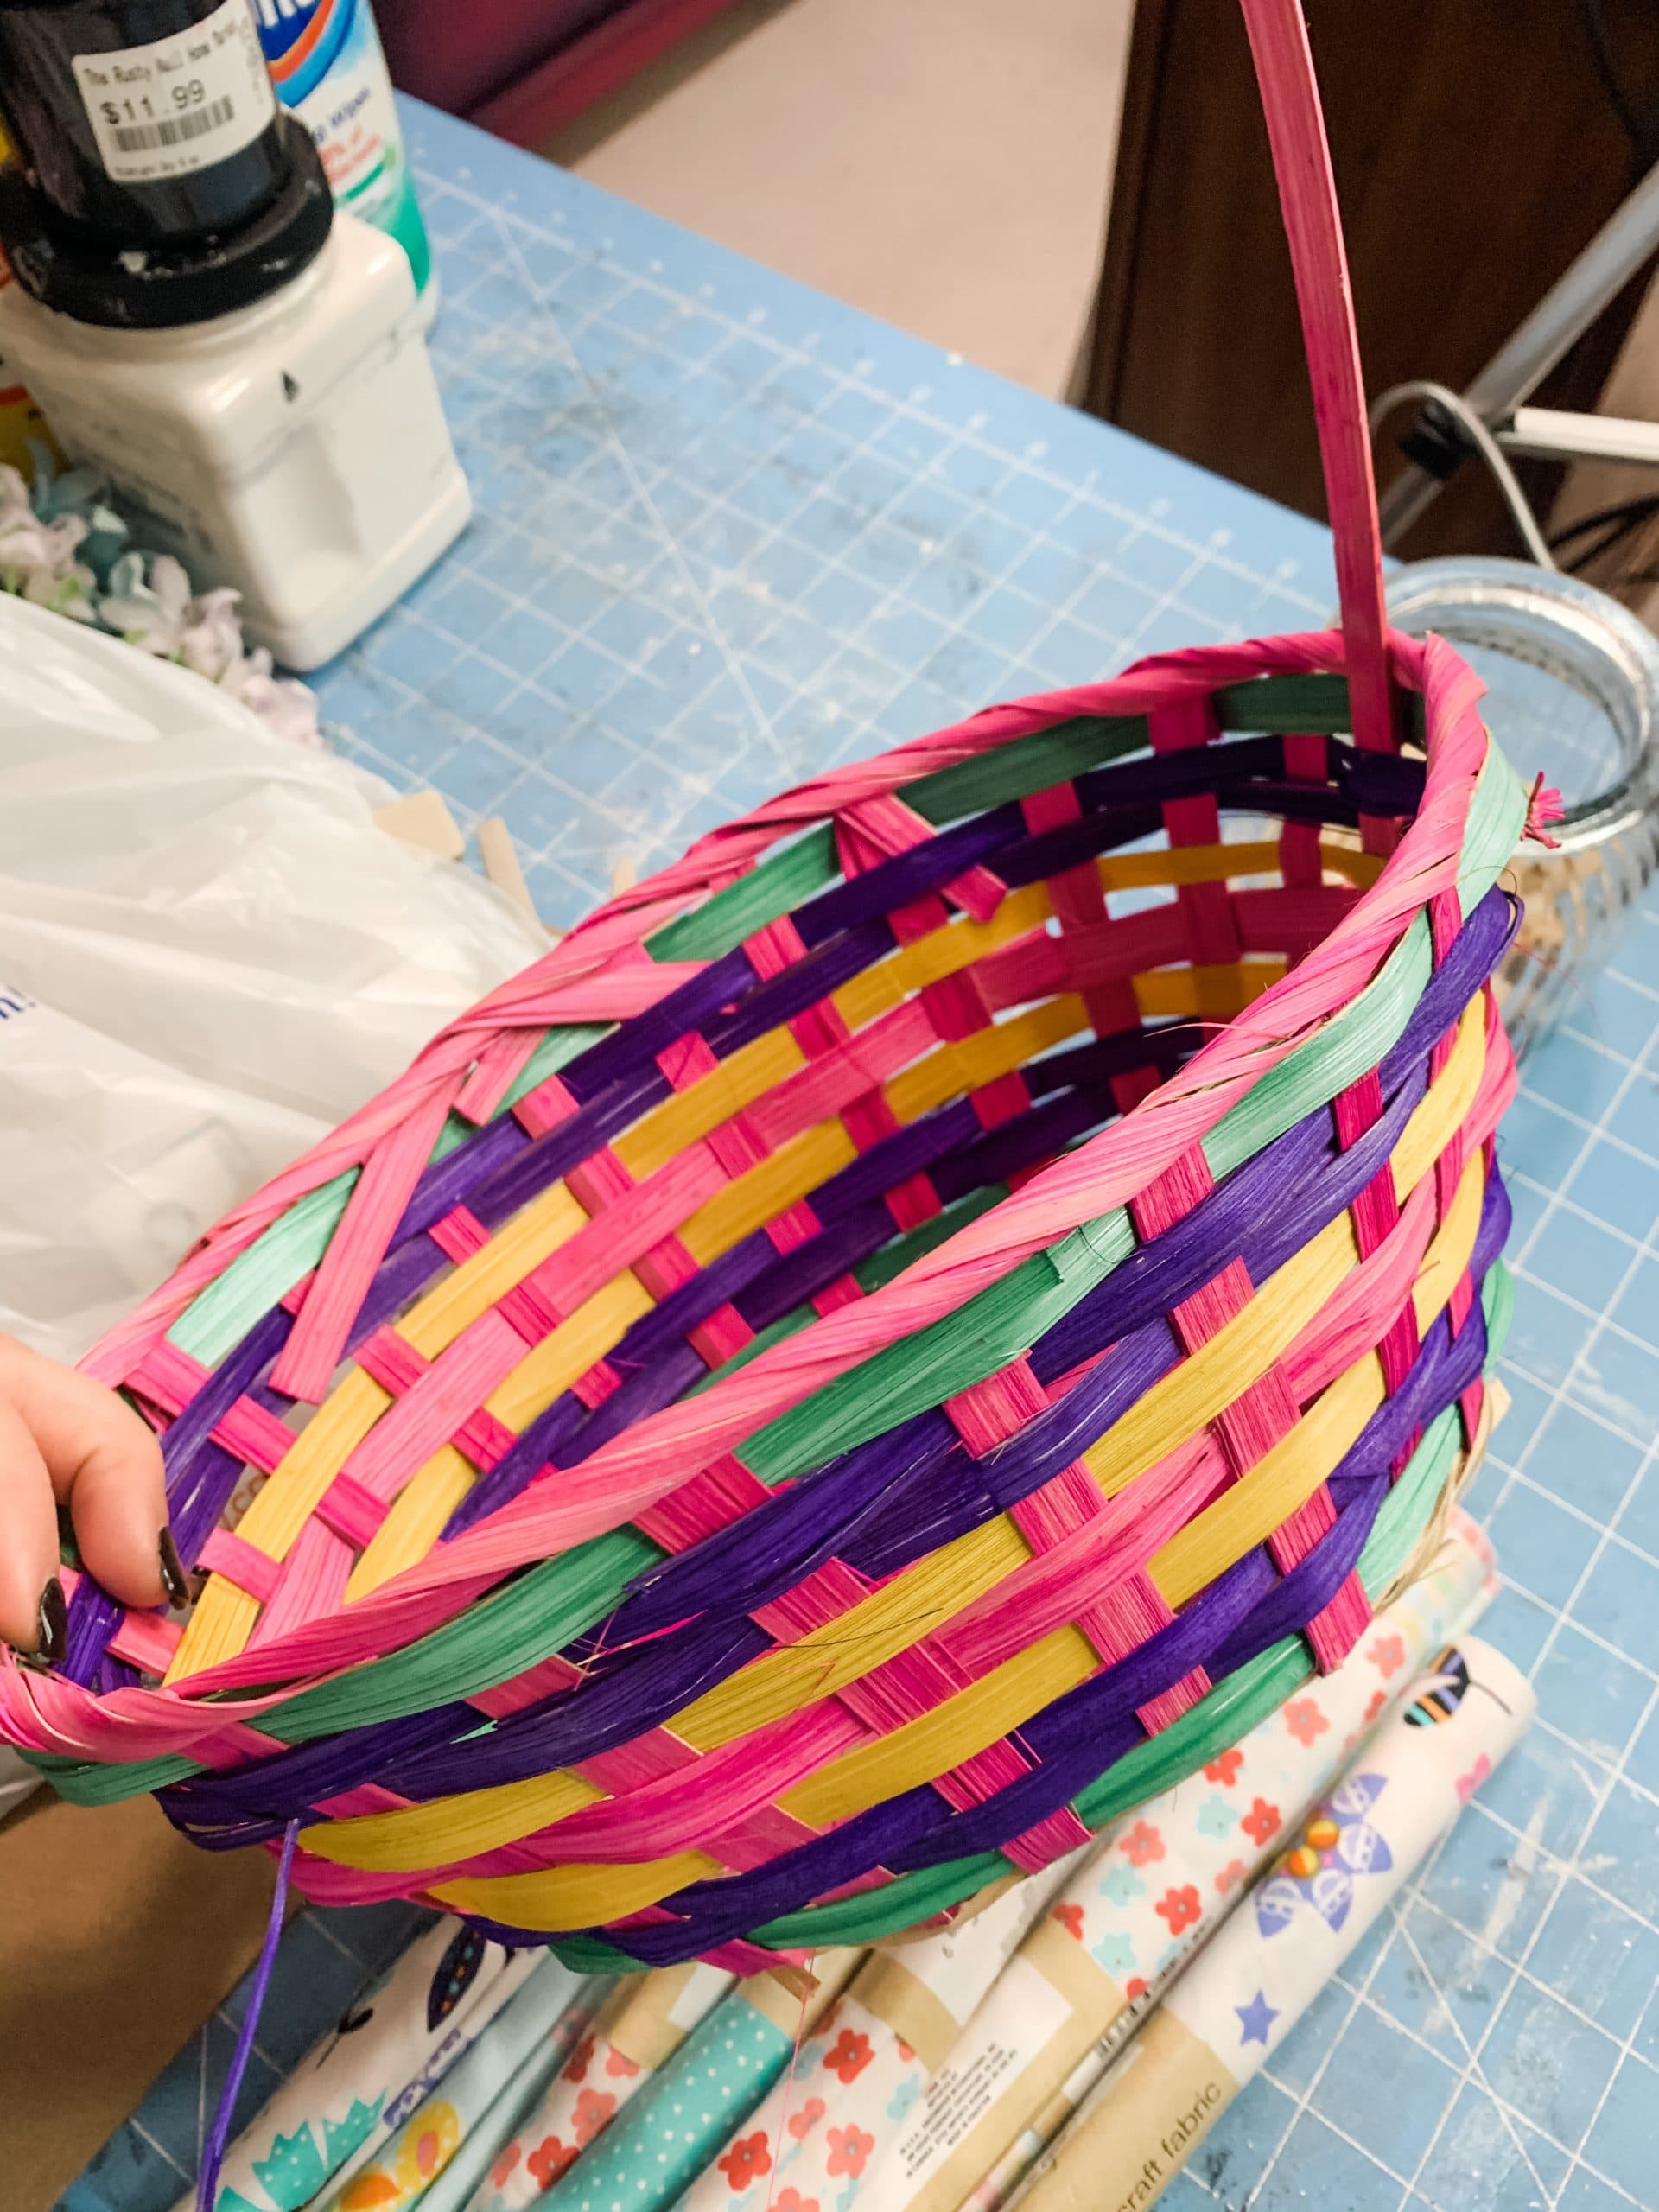
Let’s get started
Alright, y’all! The first step to making an adorable spring flower basket is to cut your Dollar Tree Easter basket! Cut it in half next to where each end of the handle meets the basket.
When you’re finished, you’ll be left with half a basket with a handle and half a basket without a handle. We are using the piece without the handle, so set the other half to the side. You can use that later!
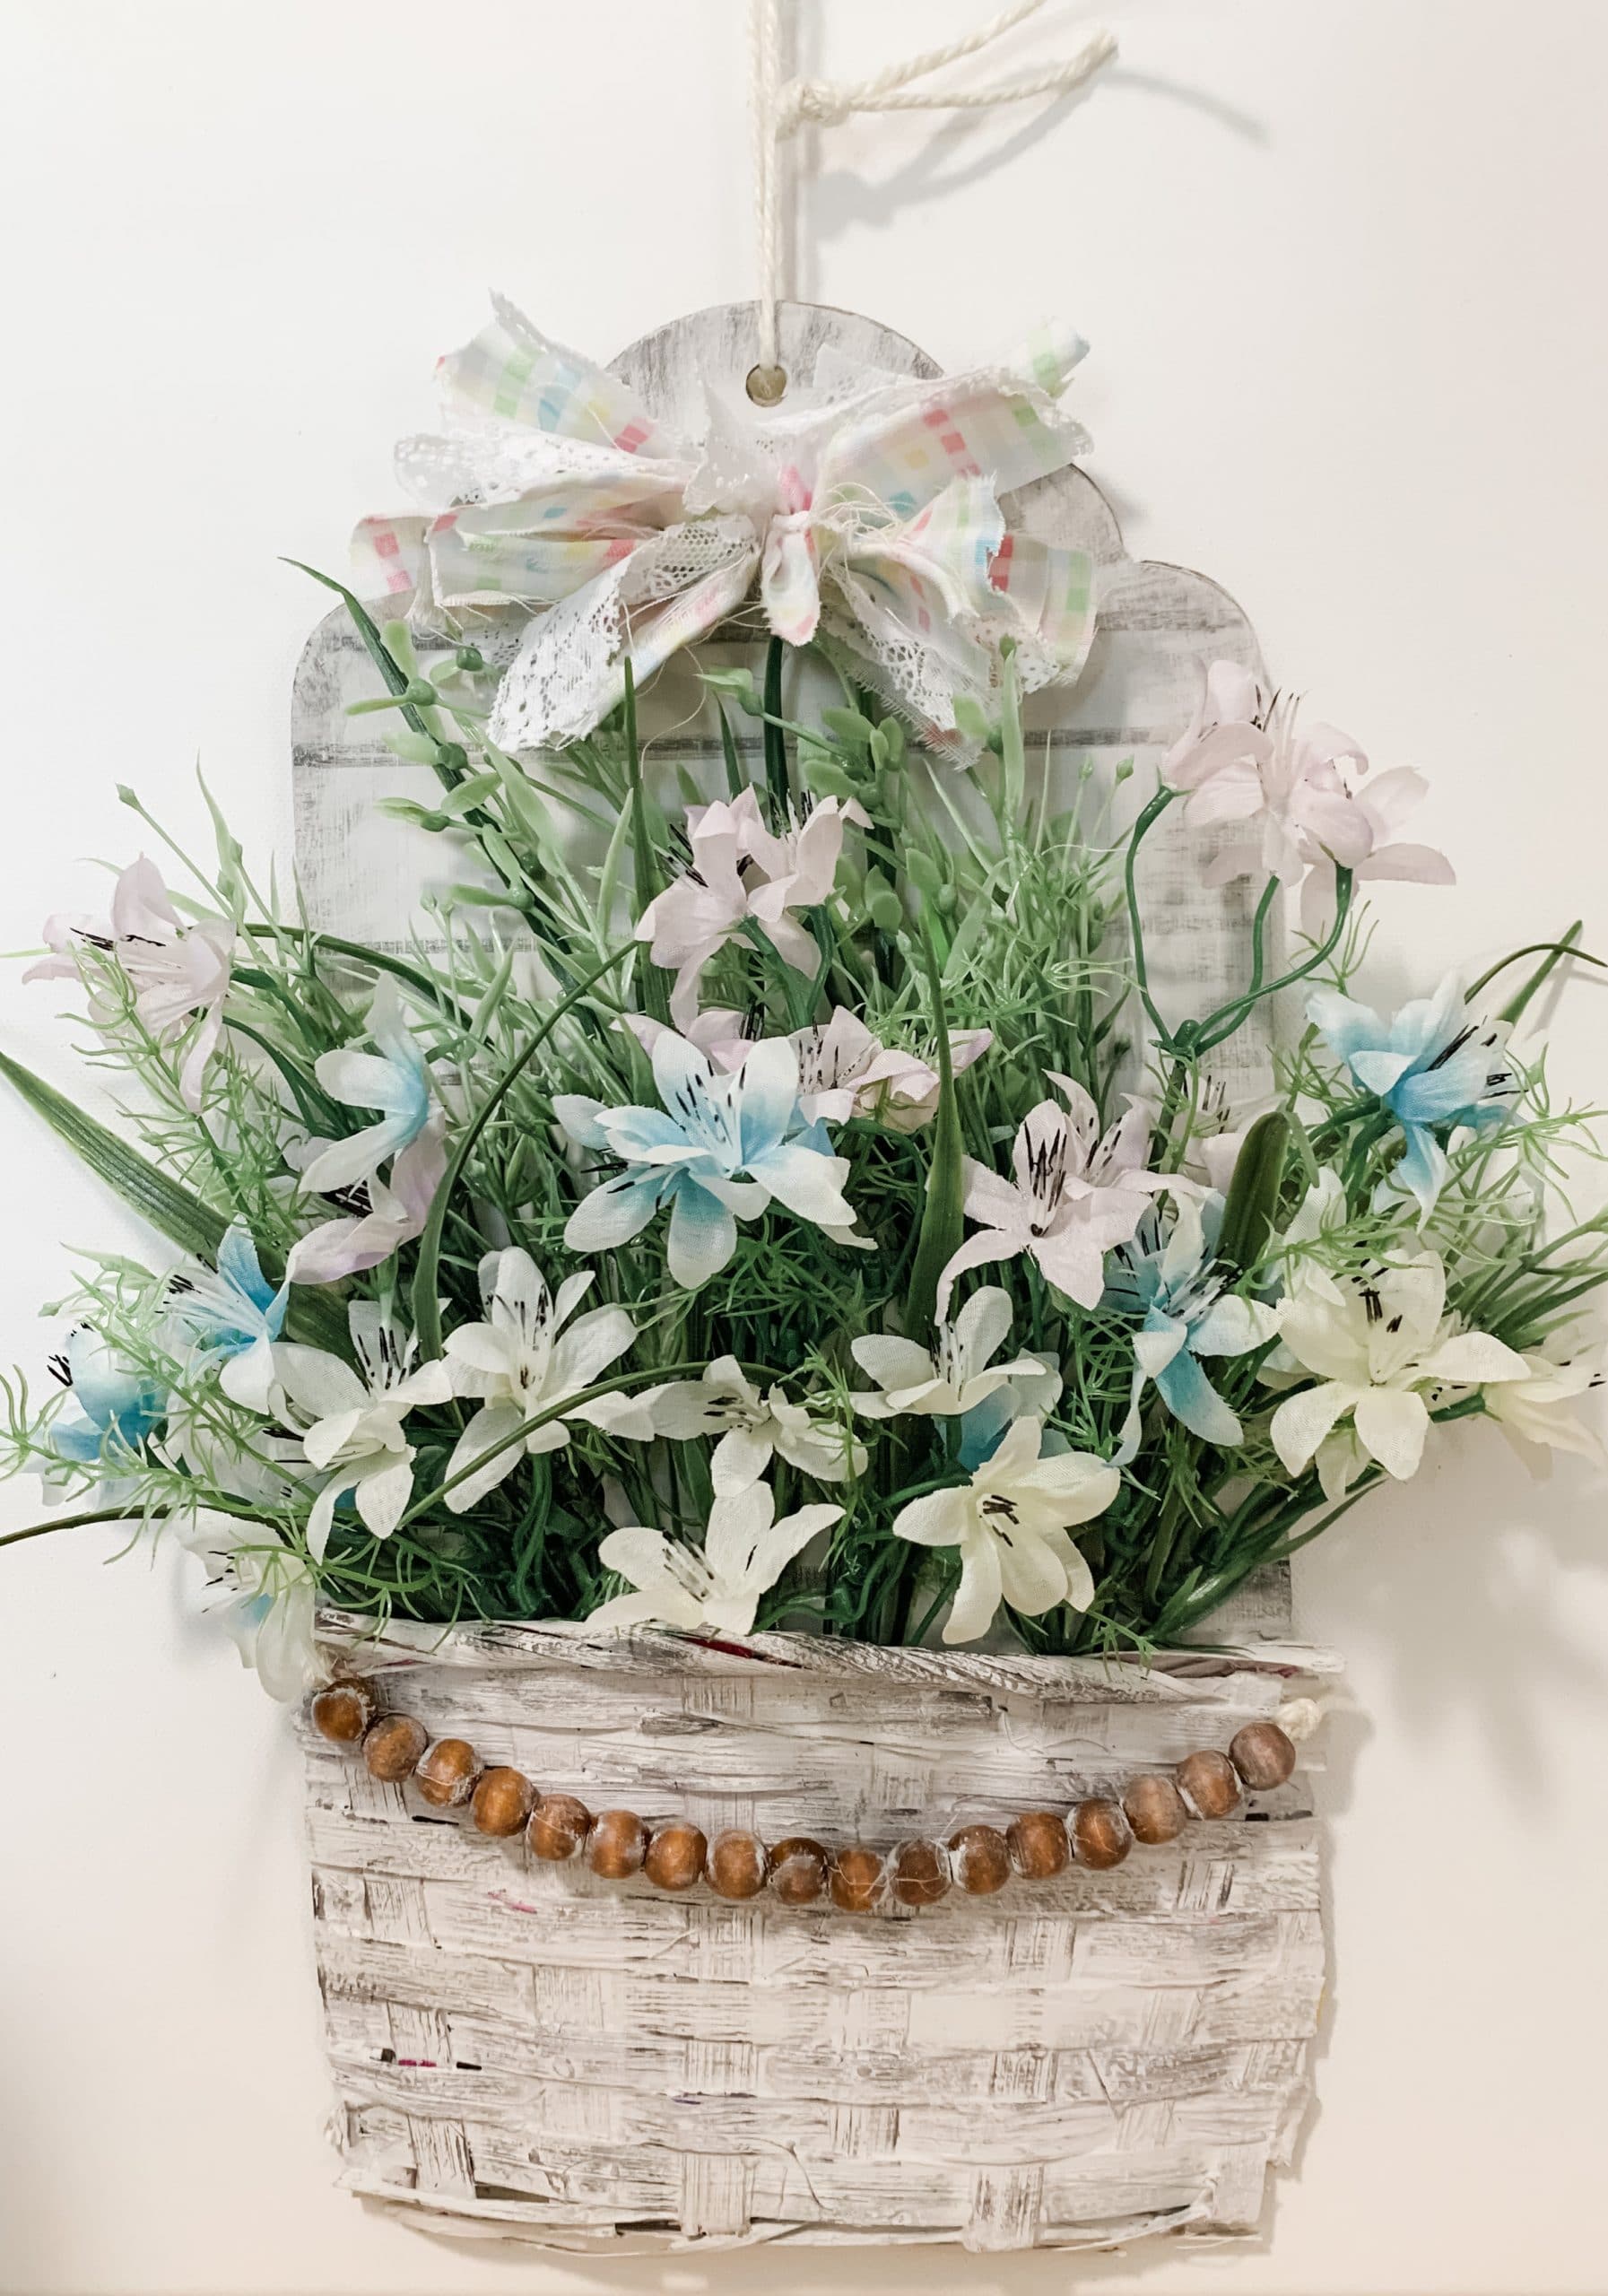
Next, I pressed the half of the basket I am using down onto the Dollar tree tag. Then, I trimmed the edges of the basket so it didn’t hang over the sides of the Dollar Tree tag.
The bottom of the basket is going to slide underneath the Dollar Tree tag and make the basket look like it was always meant to be on the tag sign!
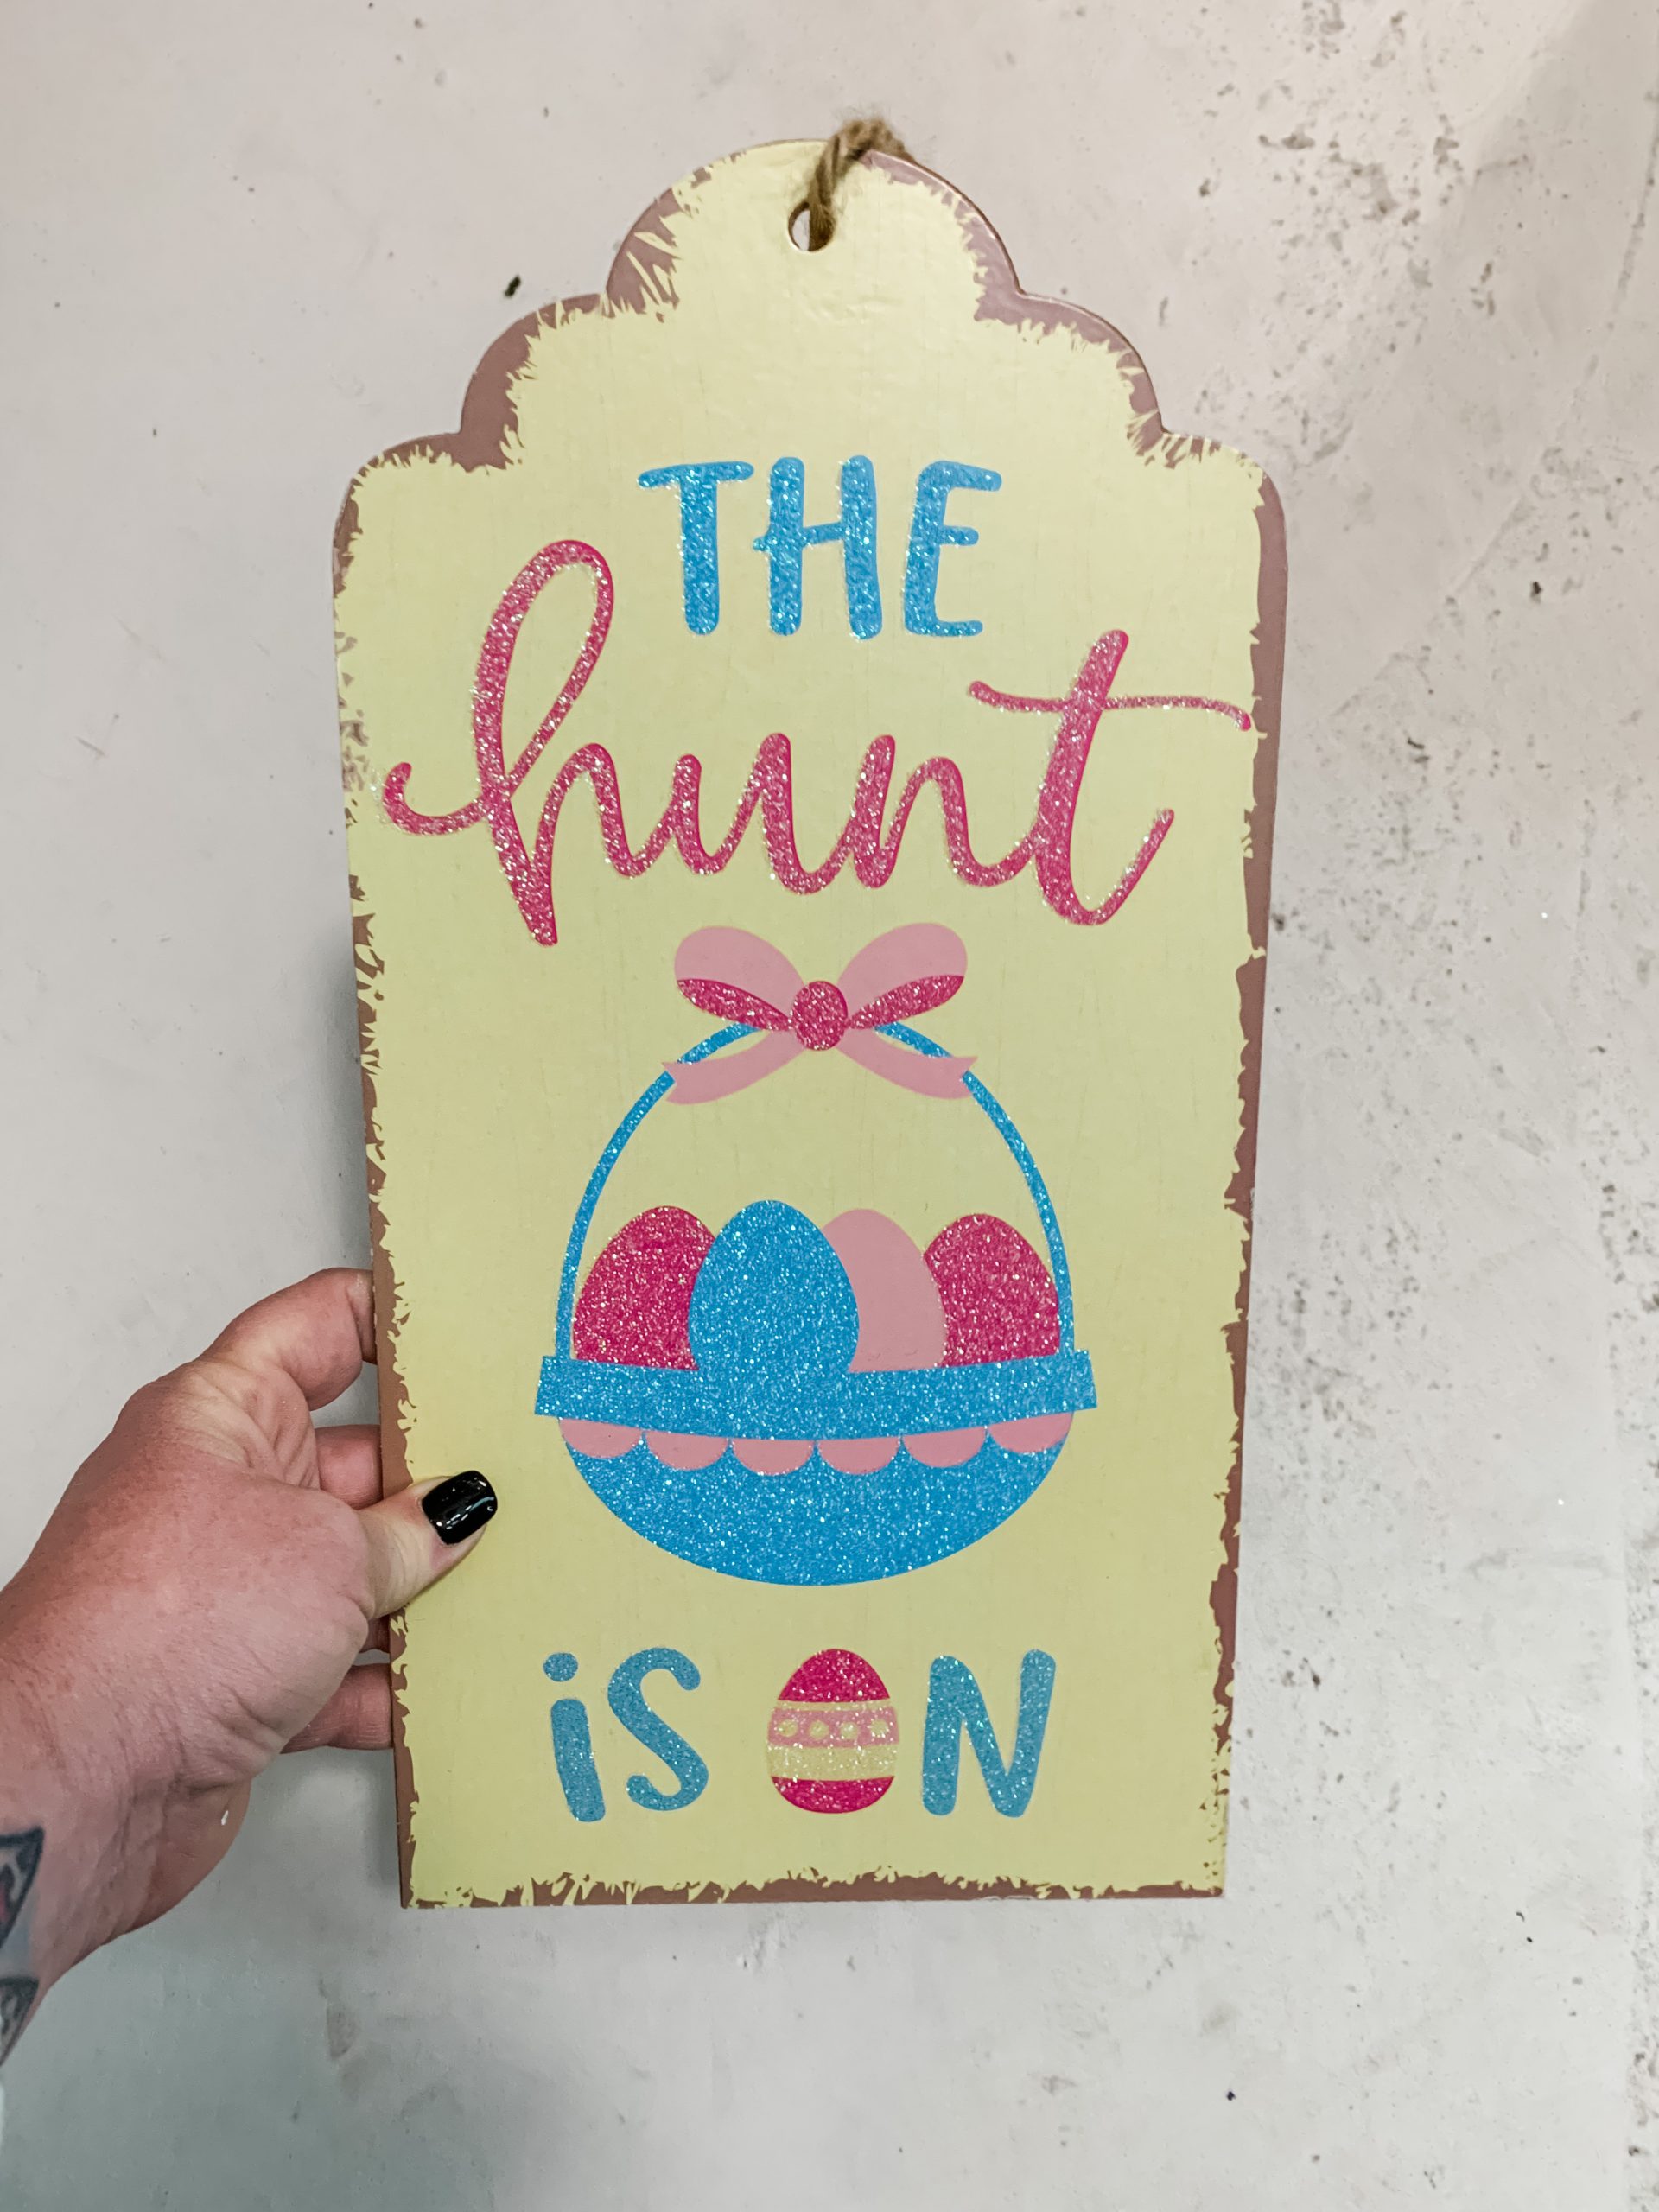
Start painting
Before we attach the basket, we have to paint the tag first! I used Dixie Belle Fluff Chalk Paint to paint the back of the Dollar Tree tag.
I also painted the inside of the basket half with Dixie Belle Fluff Chalk Paint. Make sure you get the paint between the woven pieces of the basket so you don’t have the bright colors showing through.
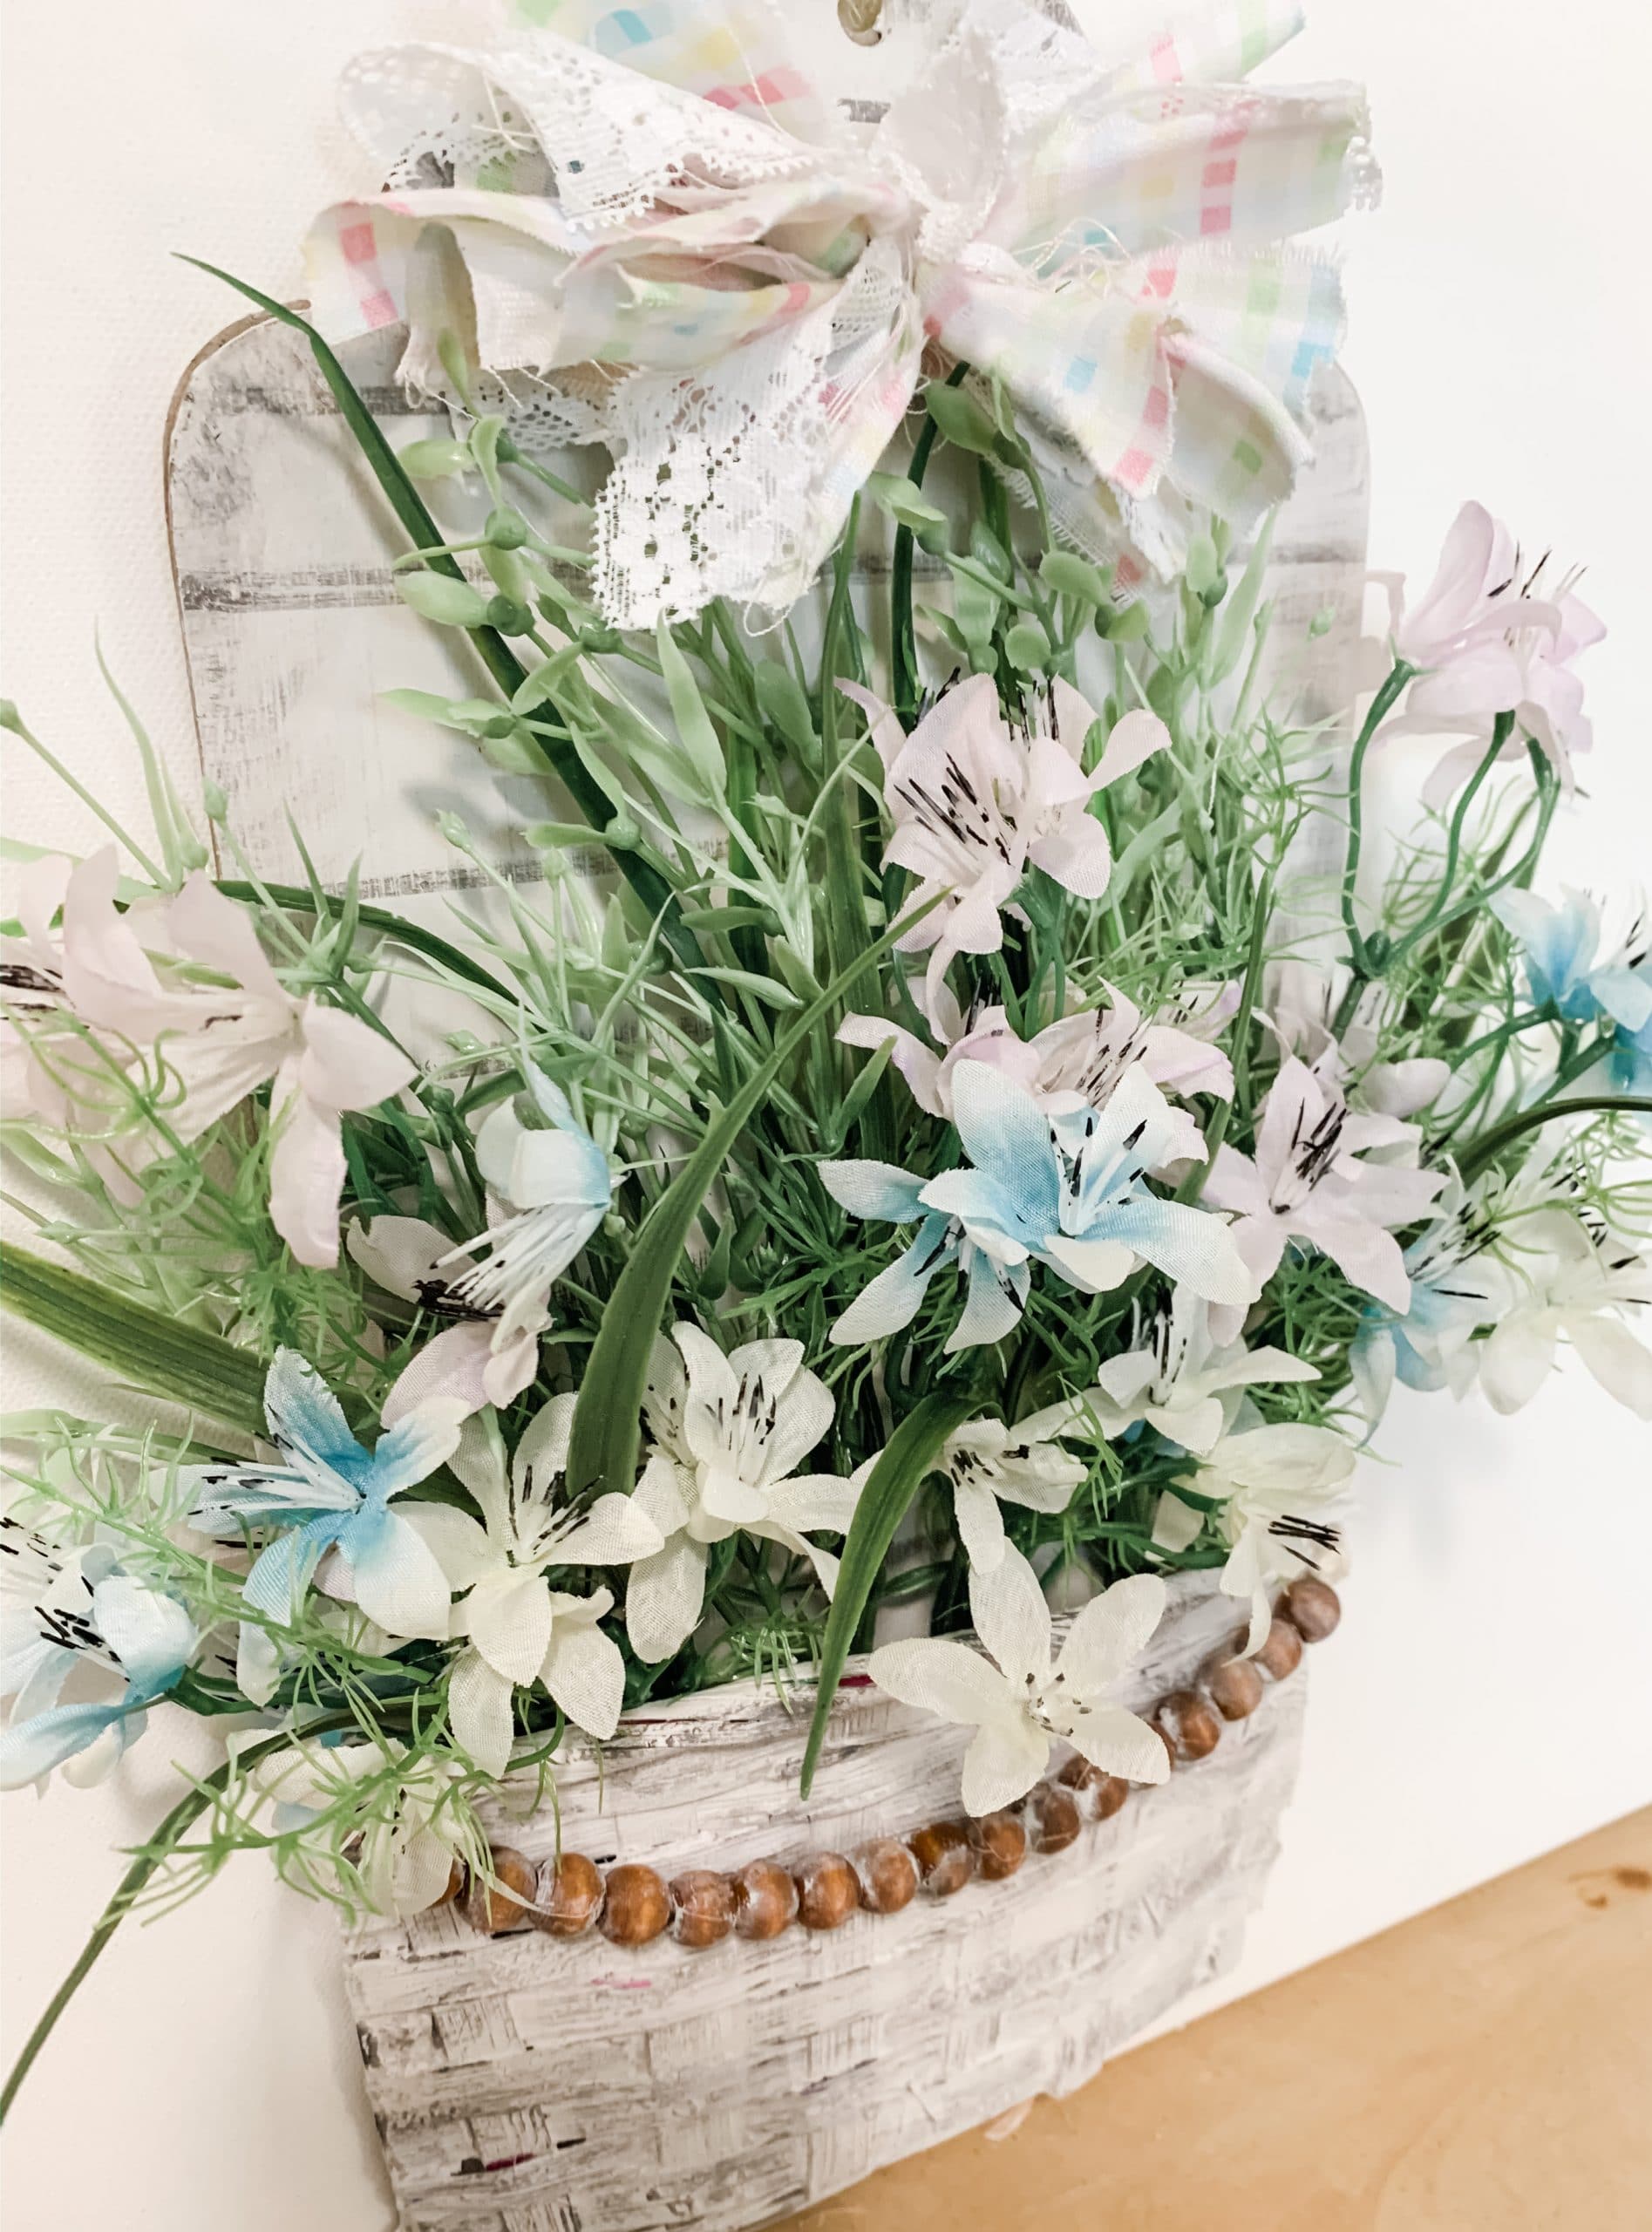
Once the paint was dry, I hot secured the basket onto the tag by applying hot glue to the edges of the basket and pressing it down onto the edge of the tag.
Once the basket is secure in place, go ahead and paint the front of the basket as well. Next, we are going to add the faux shiplap finish to the Dollar Tree tag!
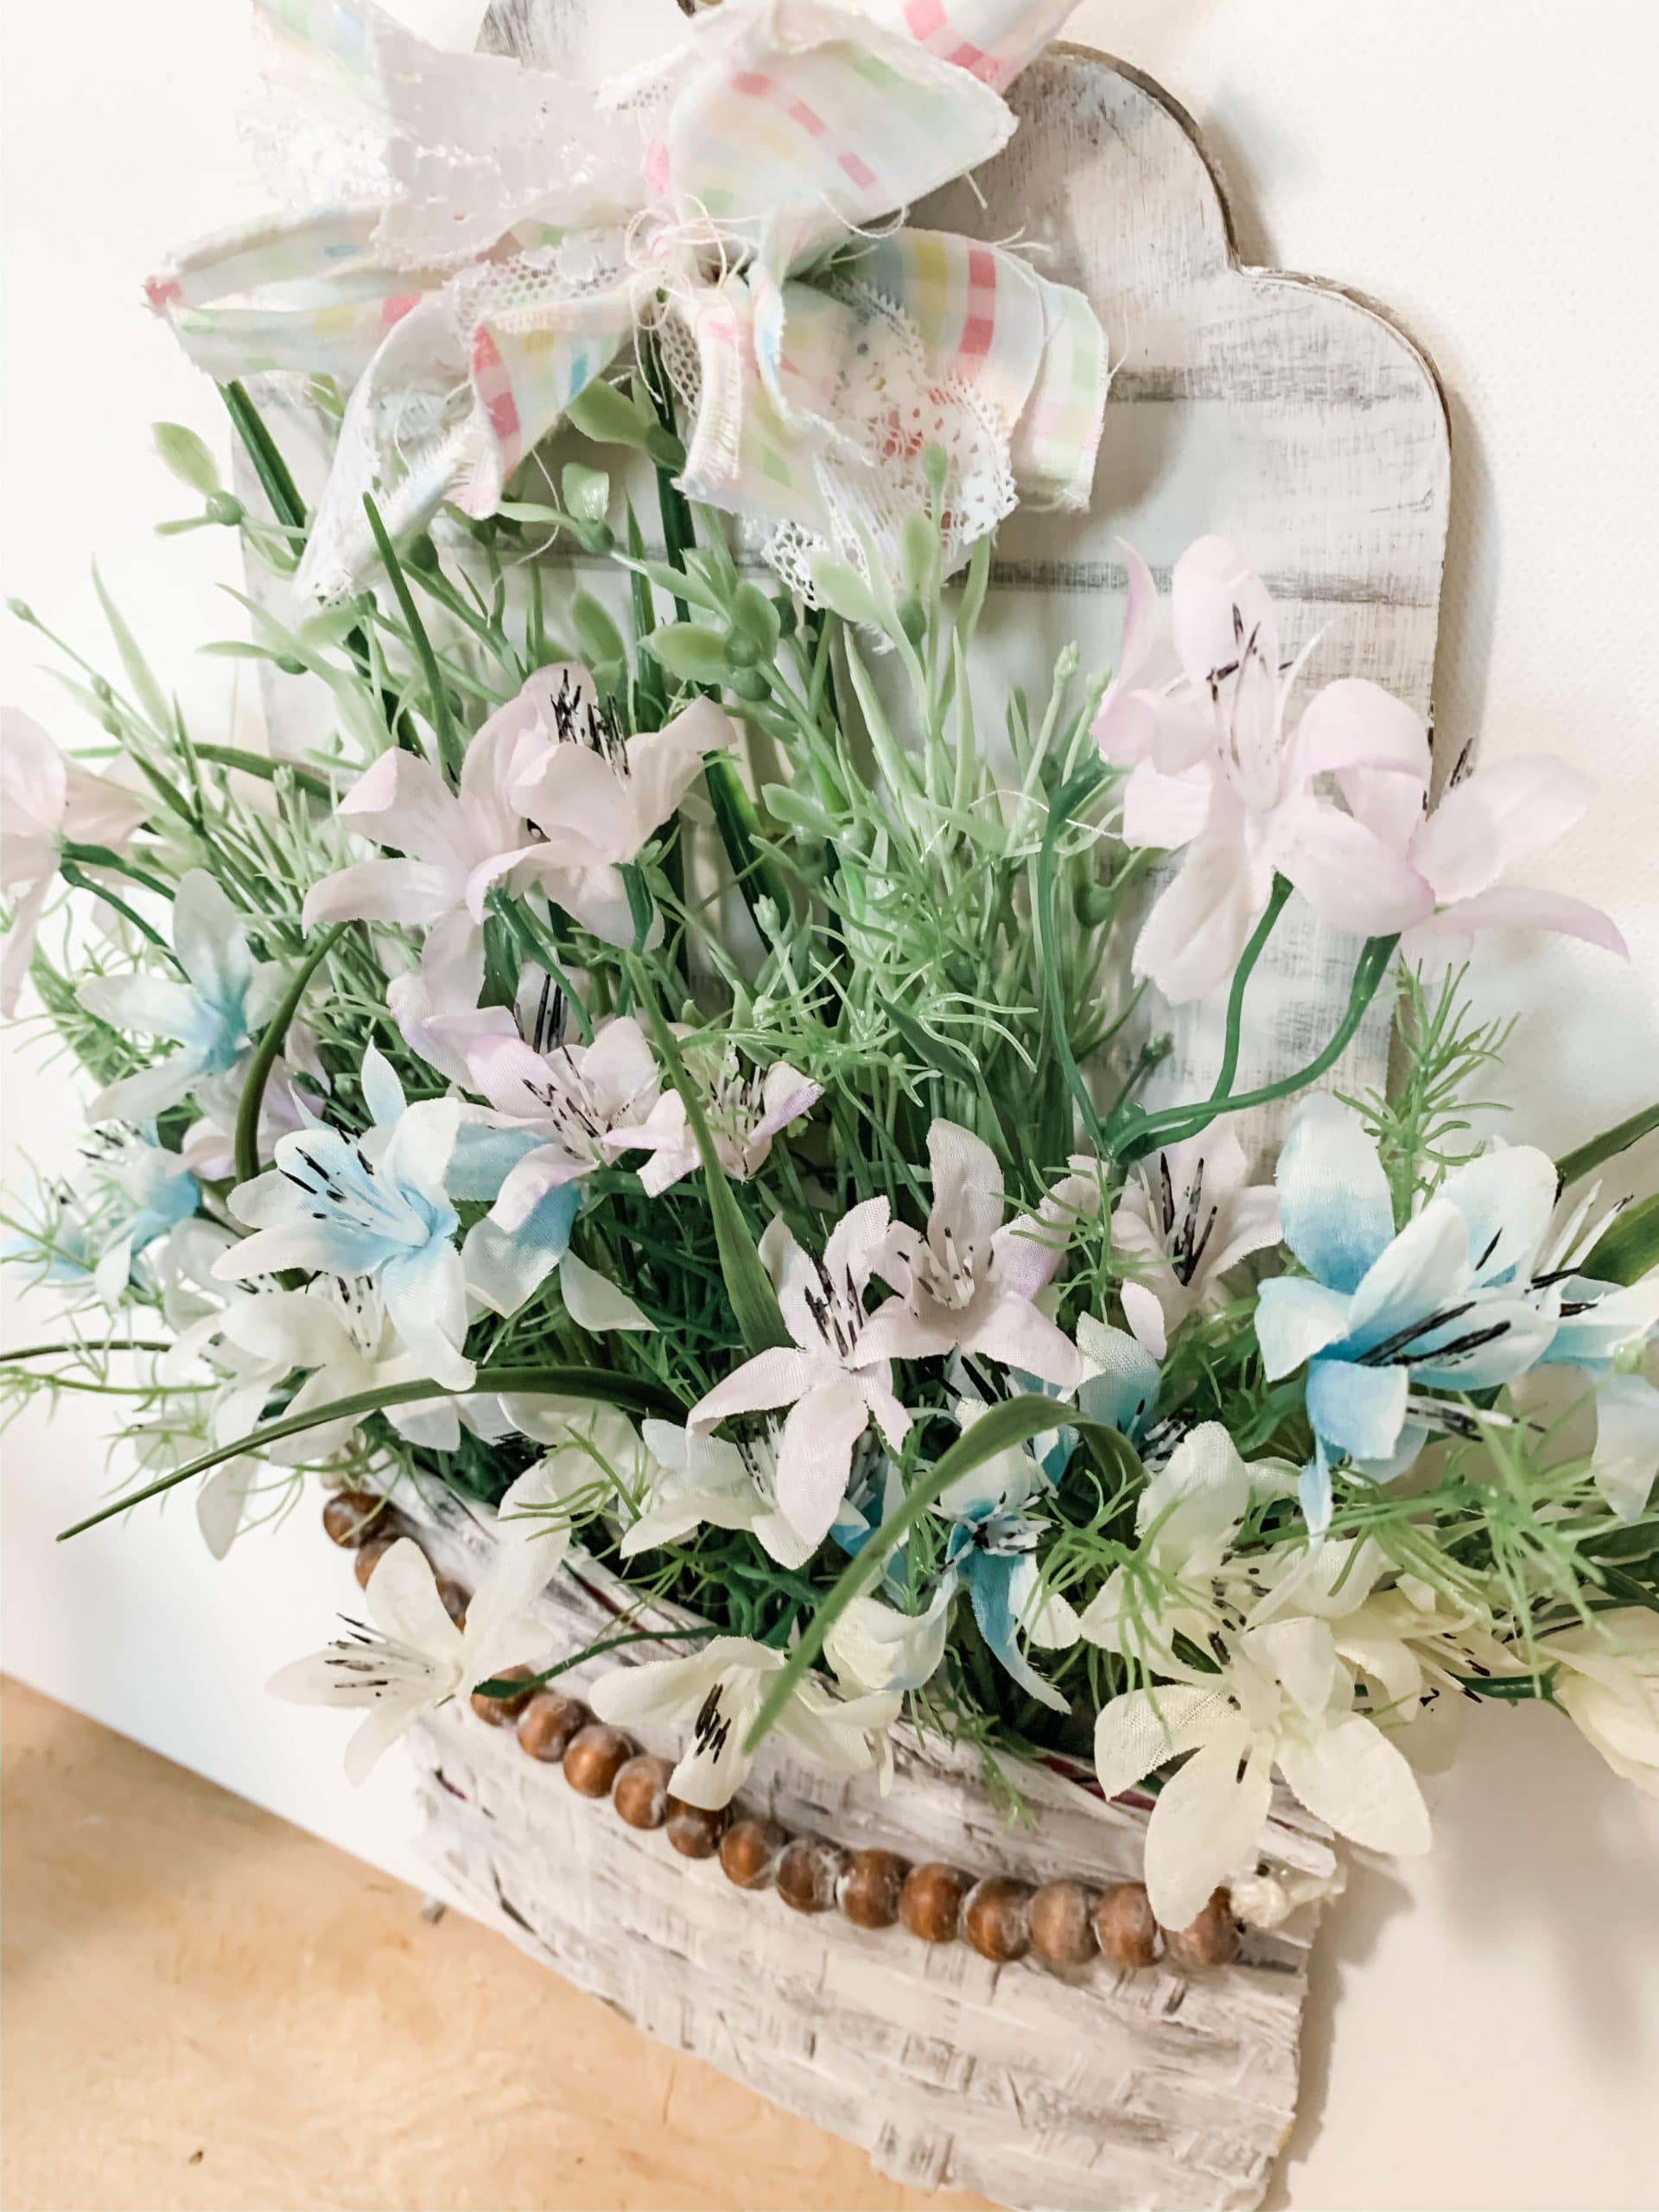
Faux Shiplap
To add a faux shiplap finish to the Dollar Tree tag, you’re going to need a dark paint. I used Dixie Belle Midnight Sky Chalk Paint, an artist’s brush, and a metal ruler.
Get a small bit of paint onto the artist’s brush, lay the ruler down, and paint across the tag at the edge of the ruler. Then, move the ruler down in increments until the board looks like faux shiplap.
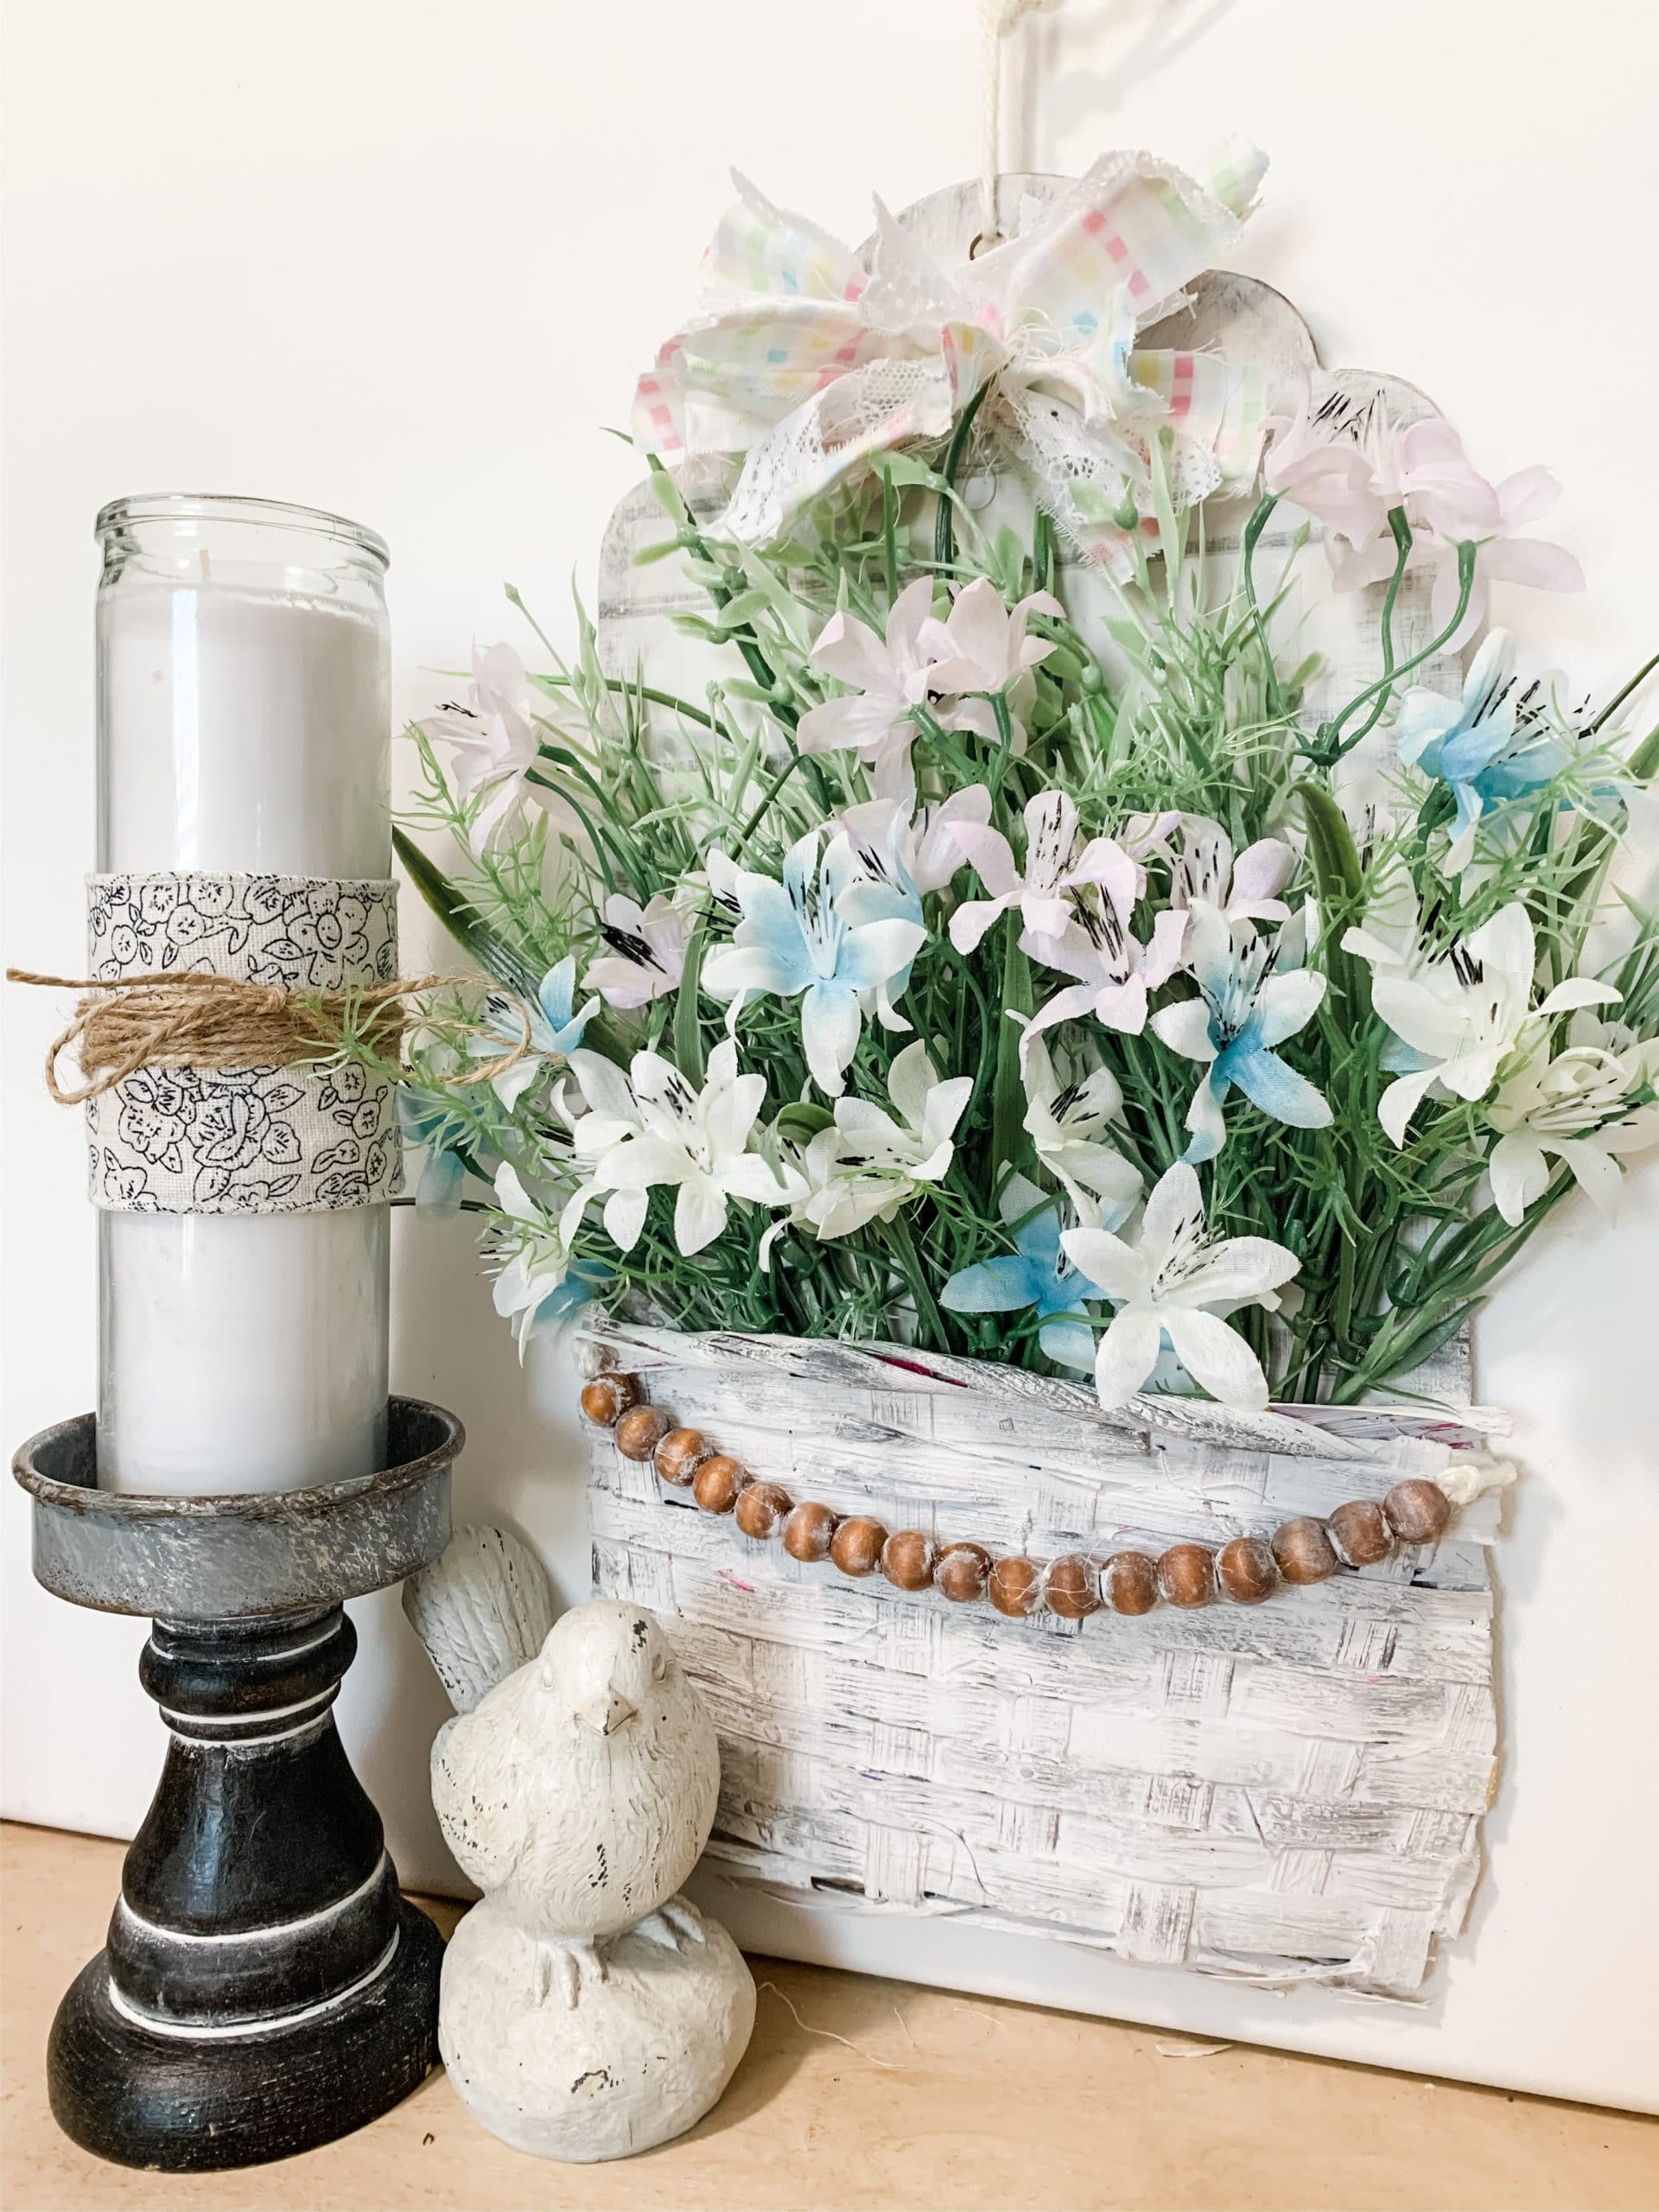
Next, lightly brush the dark paint onto the basket to give it an aged look and paint around the edges of the tag sign as well. Brush inward from the edges of the tag very lightly. Then, lightly distress with a sanding sponge.
Add your flowers
I planned on using floral foam to hold the flowers in the basket, but I realized after I had glued on the basket that it was a tight enough space so I only had to slide them into the basket.
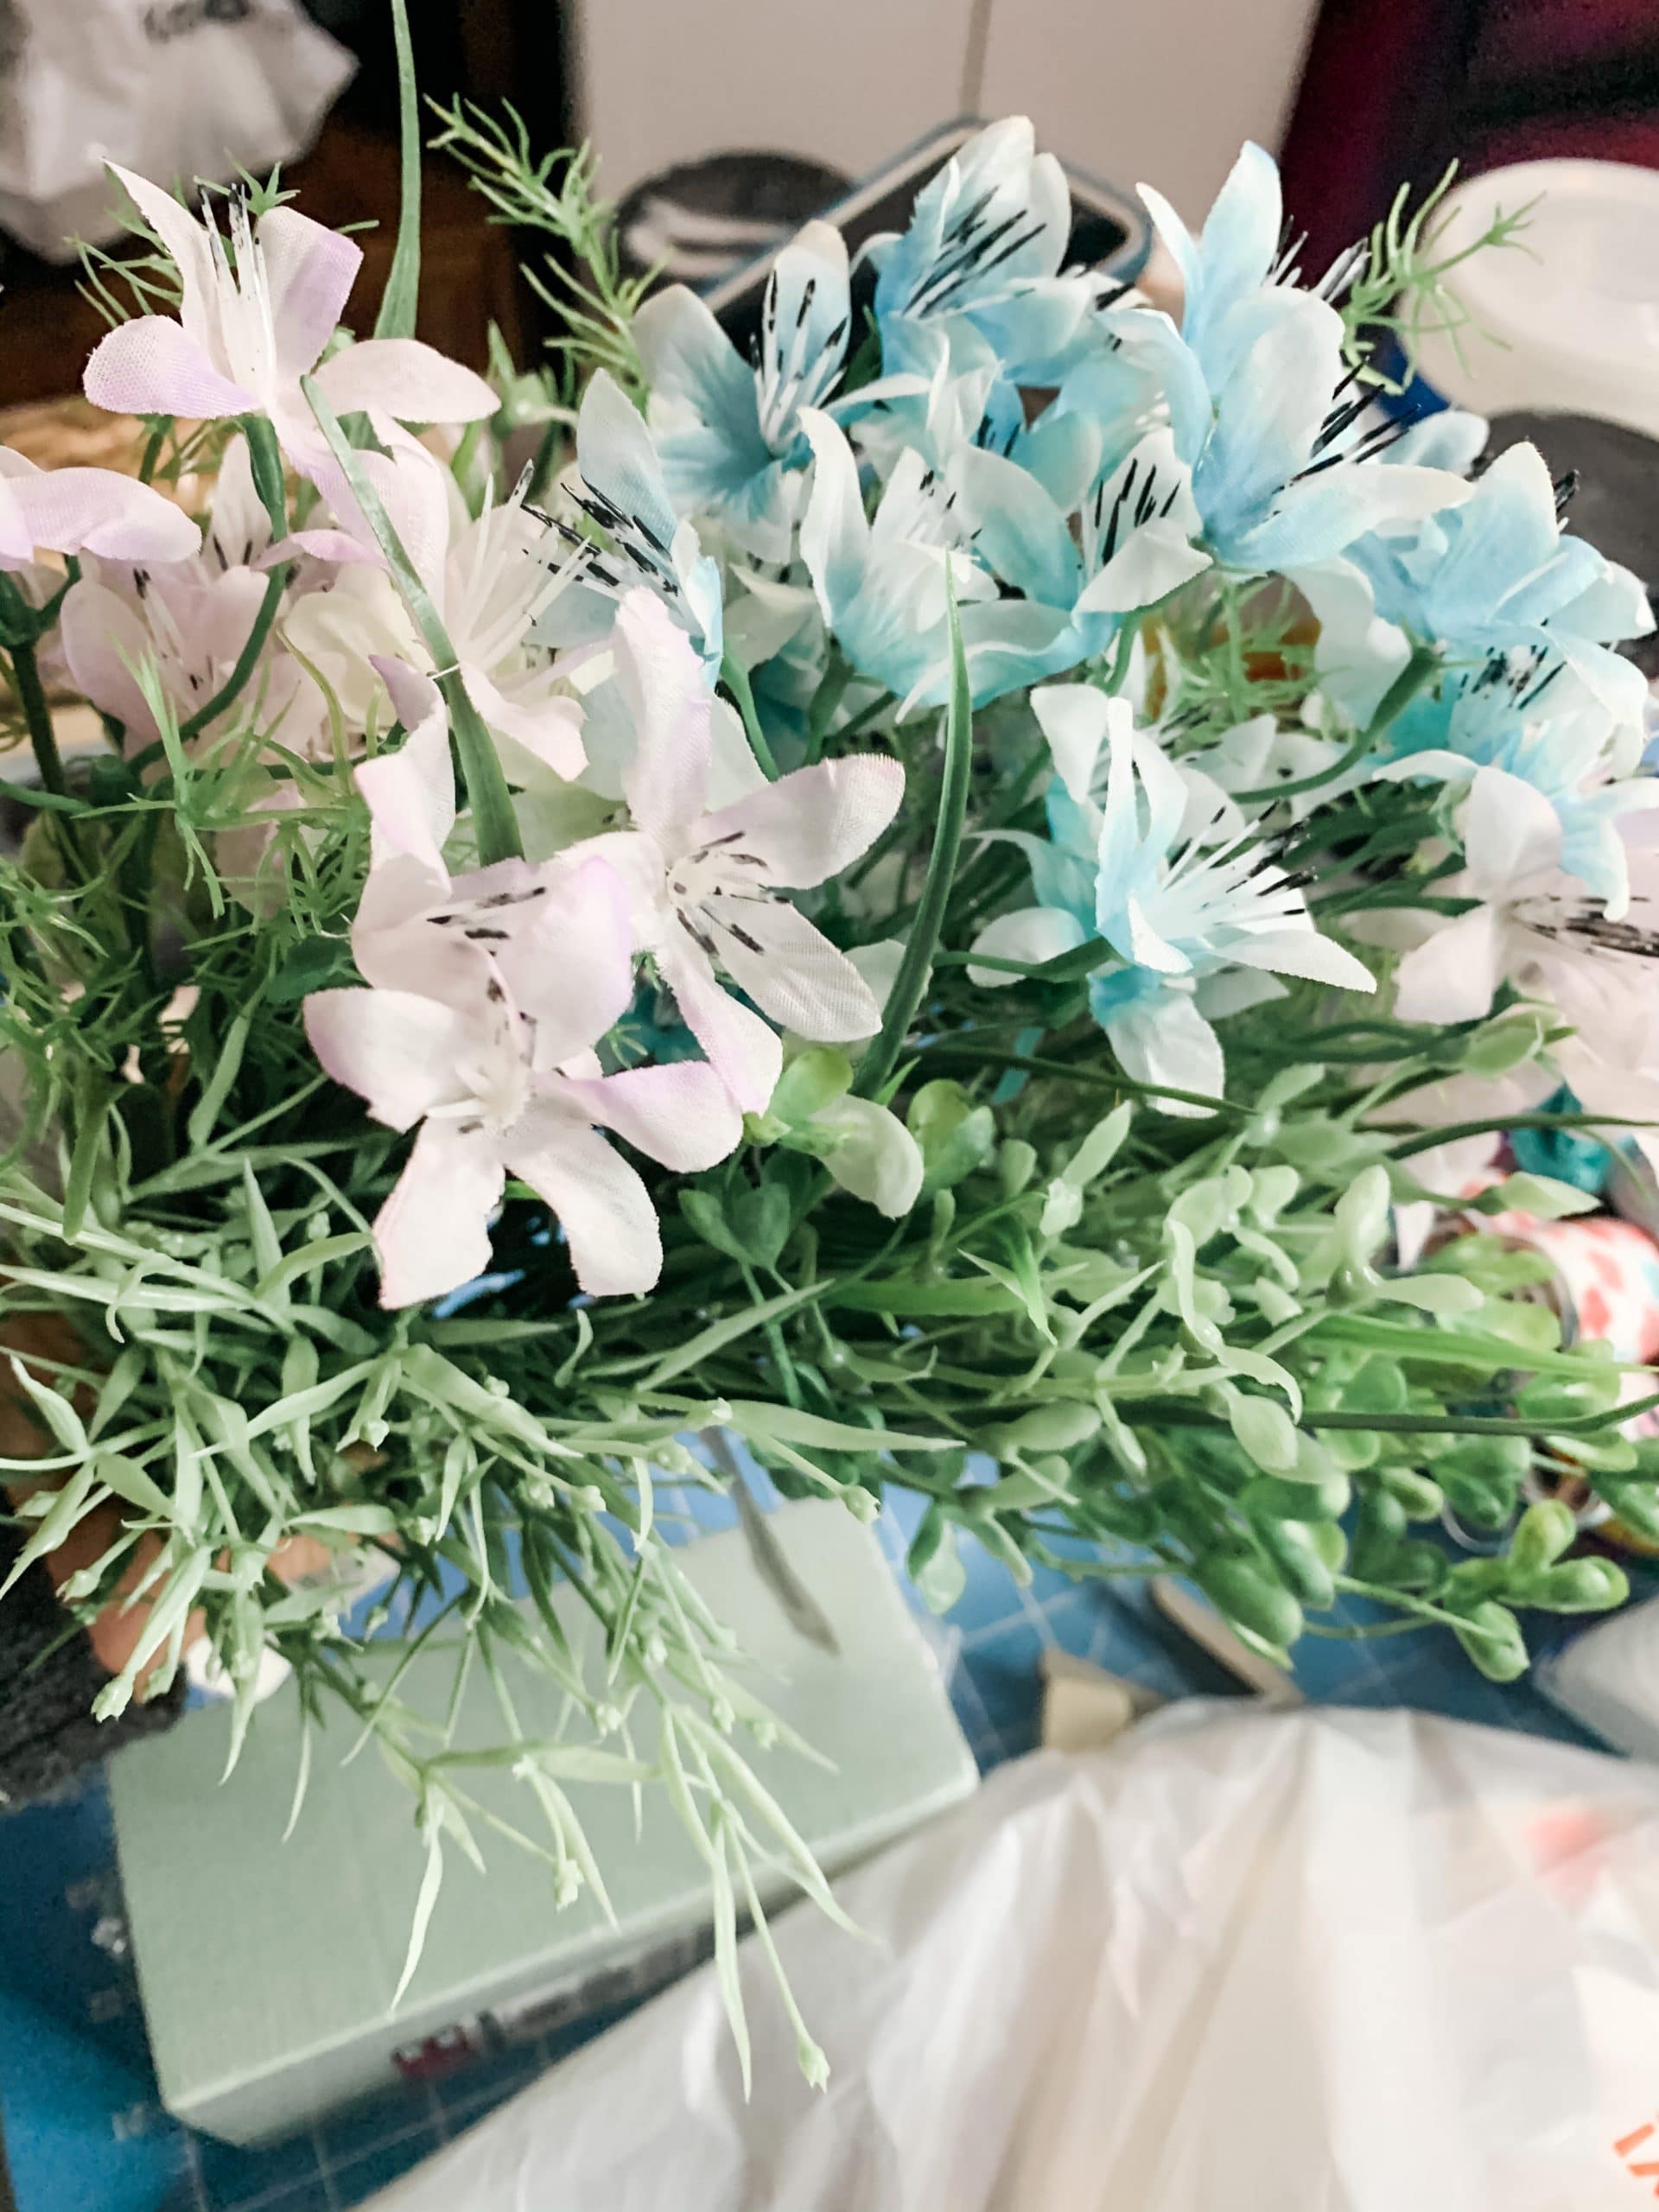
I used flowers from Dollar Tree, but you can use whatever flowers you like. Slide your flowers into the basket until you’re happy with the arrangement. If you want them more secured, you can always hot glue them in place as well.
Next, you’re going to add a bit of detail with some wood beads and a piece of white jute twine. Thread enough beads to span the front of the basket onto the white jute twine. Then, secure the ends beads by either hot gluing them in place or tying knots next to them.
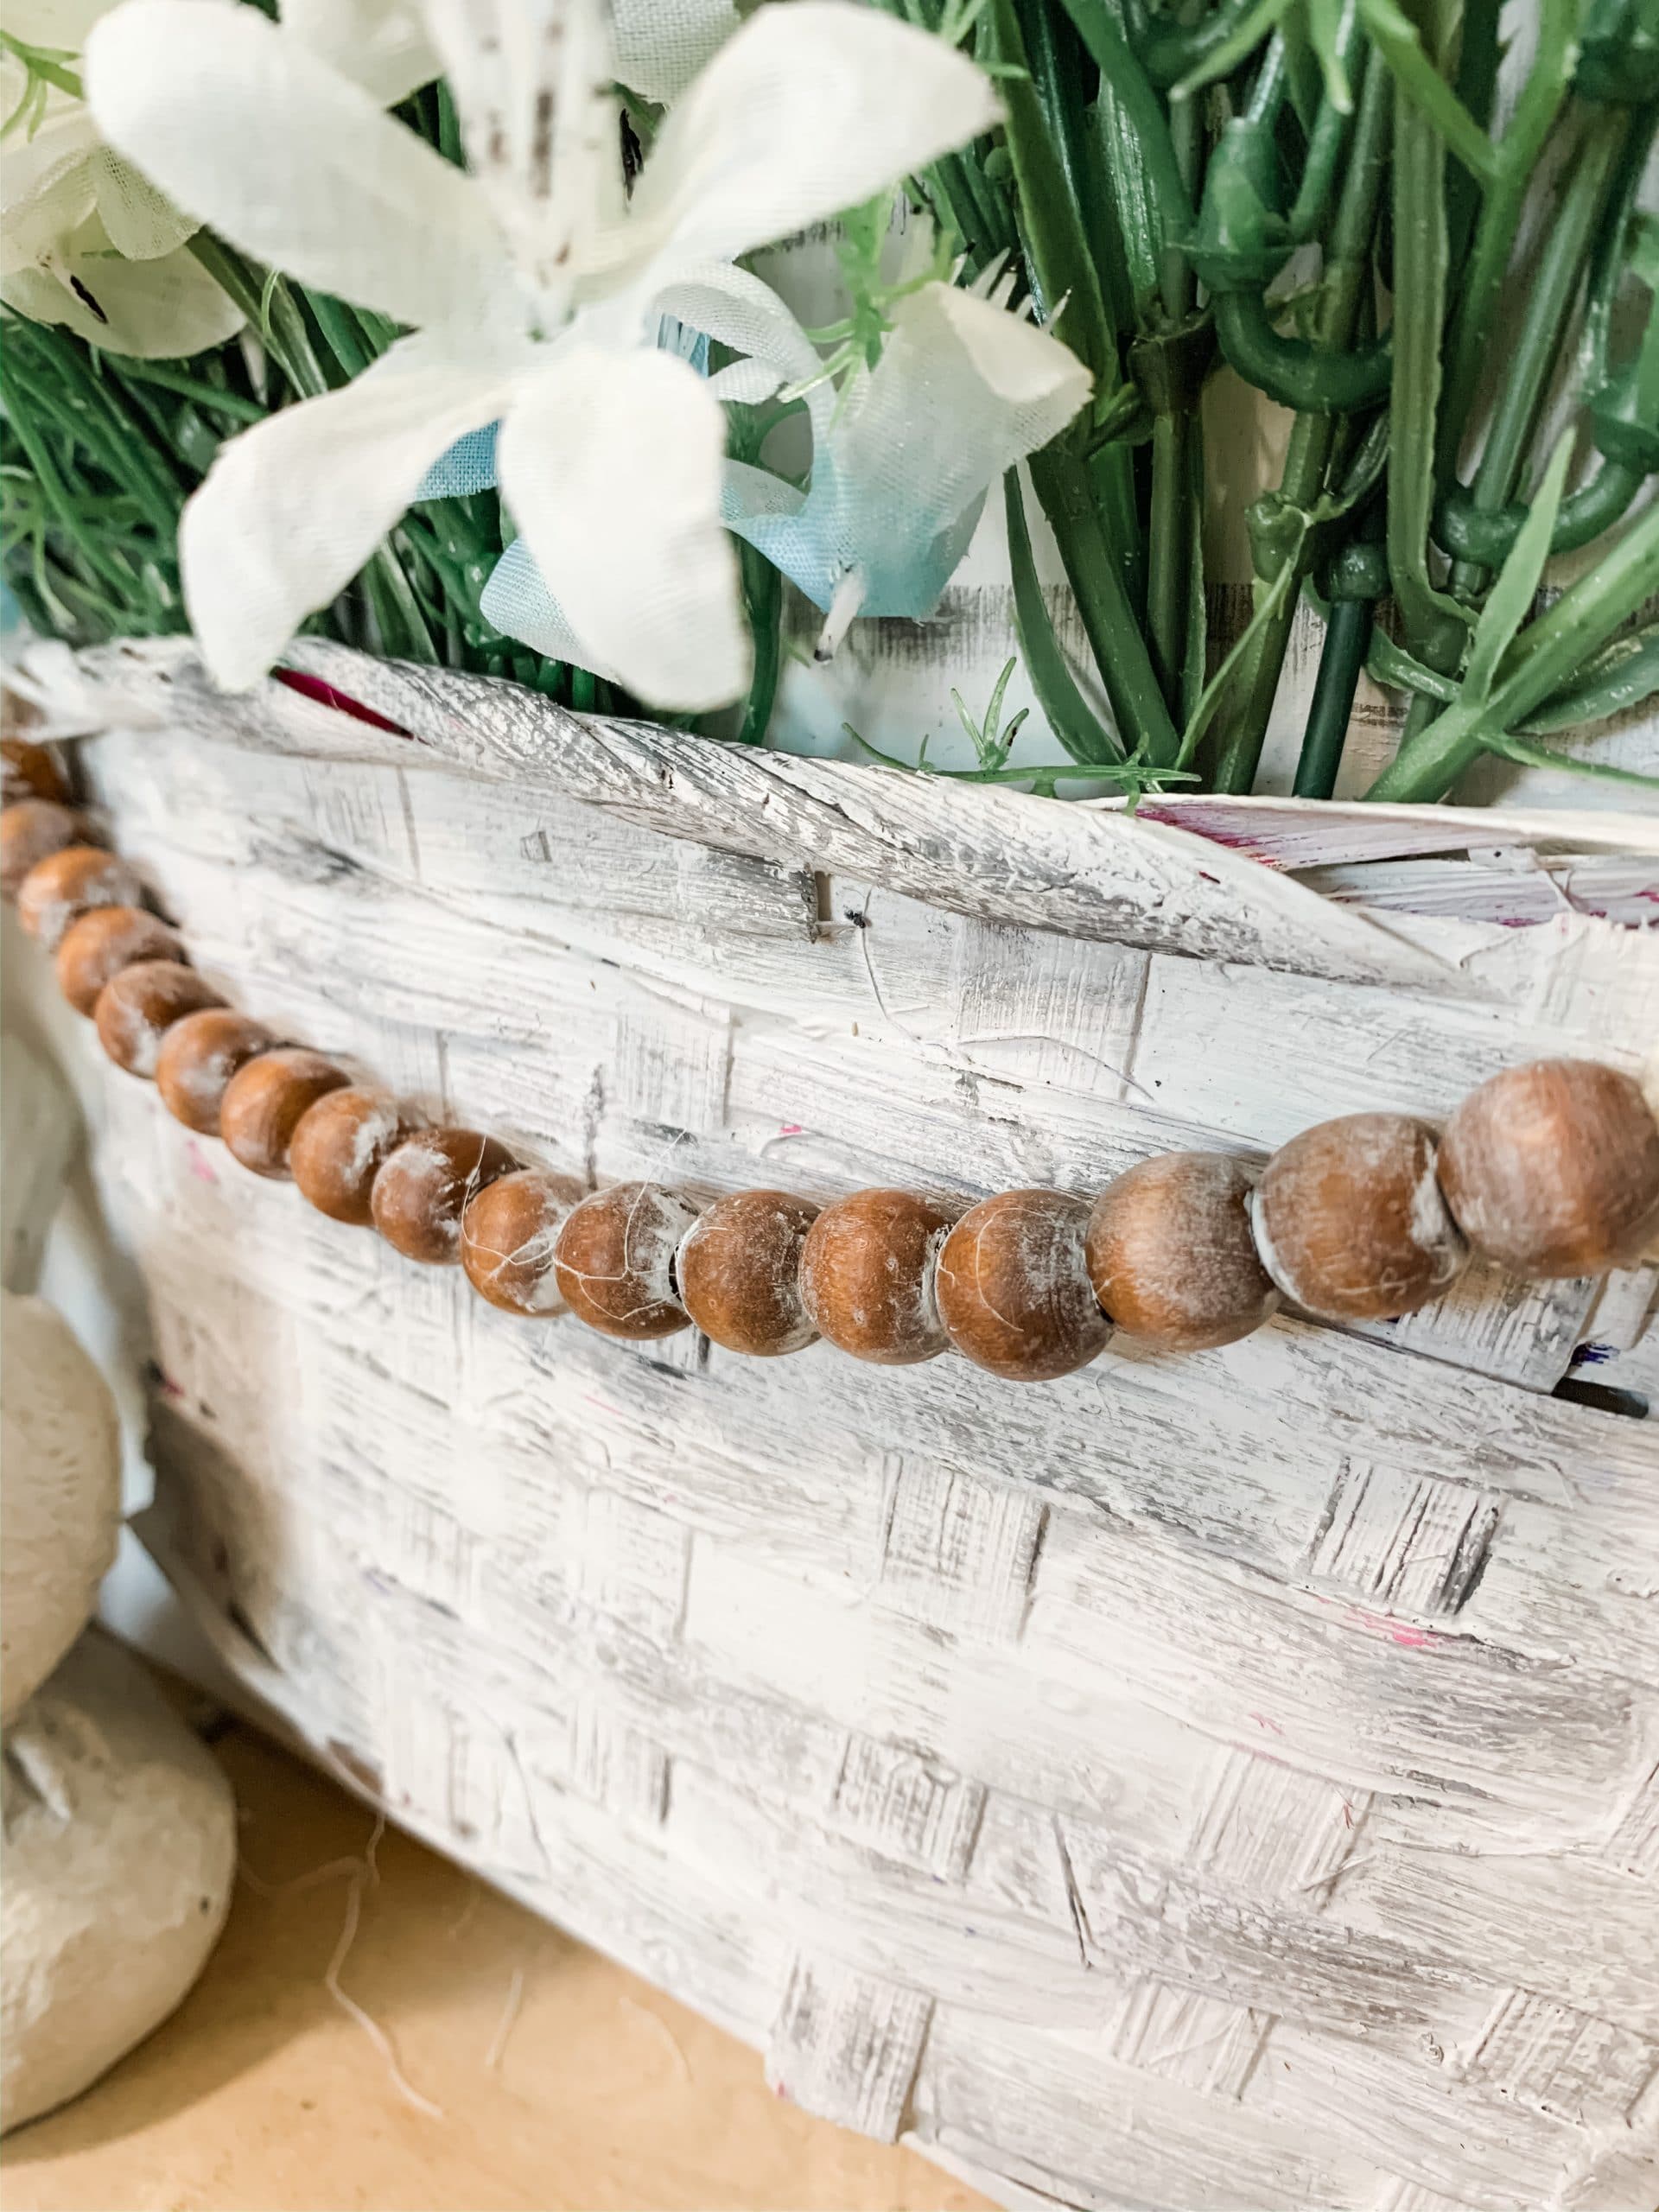
Hot glue the ends of the twine to the front edges of the basket. After that, I painted the wood beads with Dixie Belle Fluff Chalk Paint and wiped most of the paint off with a baby wipe. This helps them look washed and aged and makes them match the basket better.
While you have the white jute twine out, go ahead and make your hanger. I looped it through the hole in the top of the Dollar Tree wood tag and tied the ends in a knot.
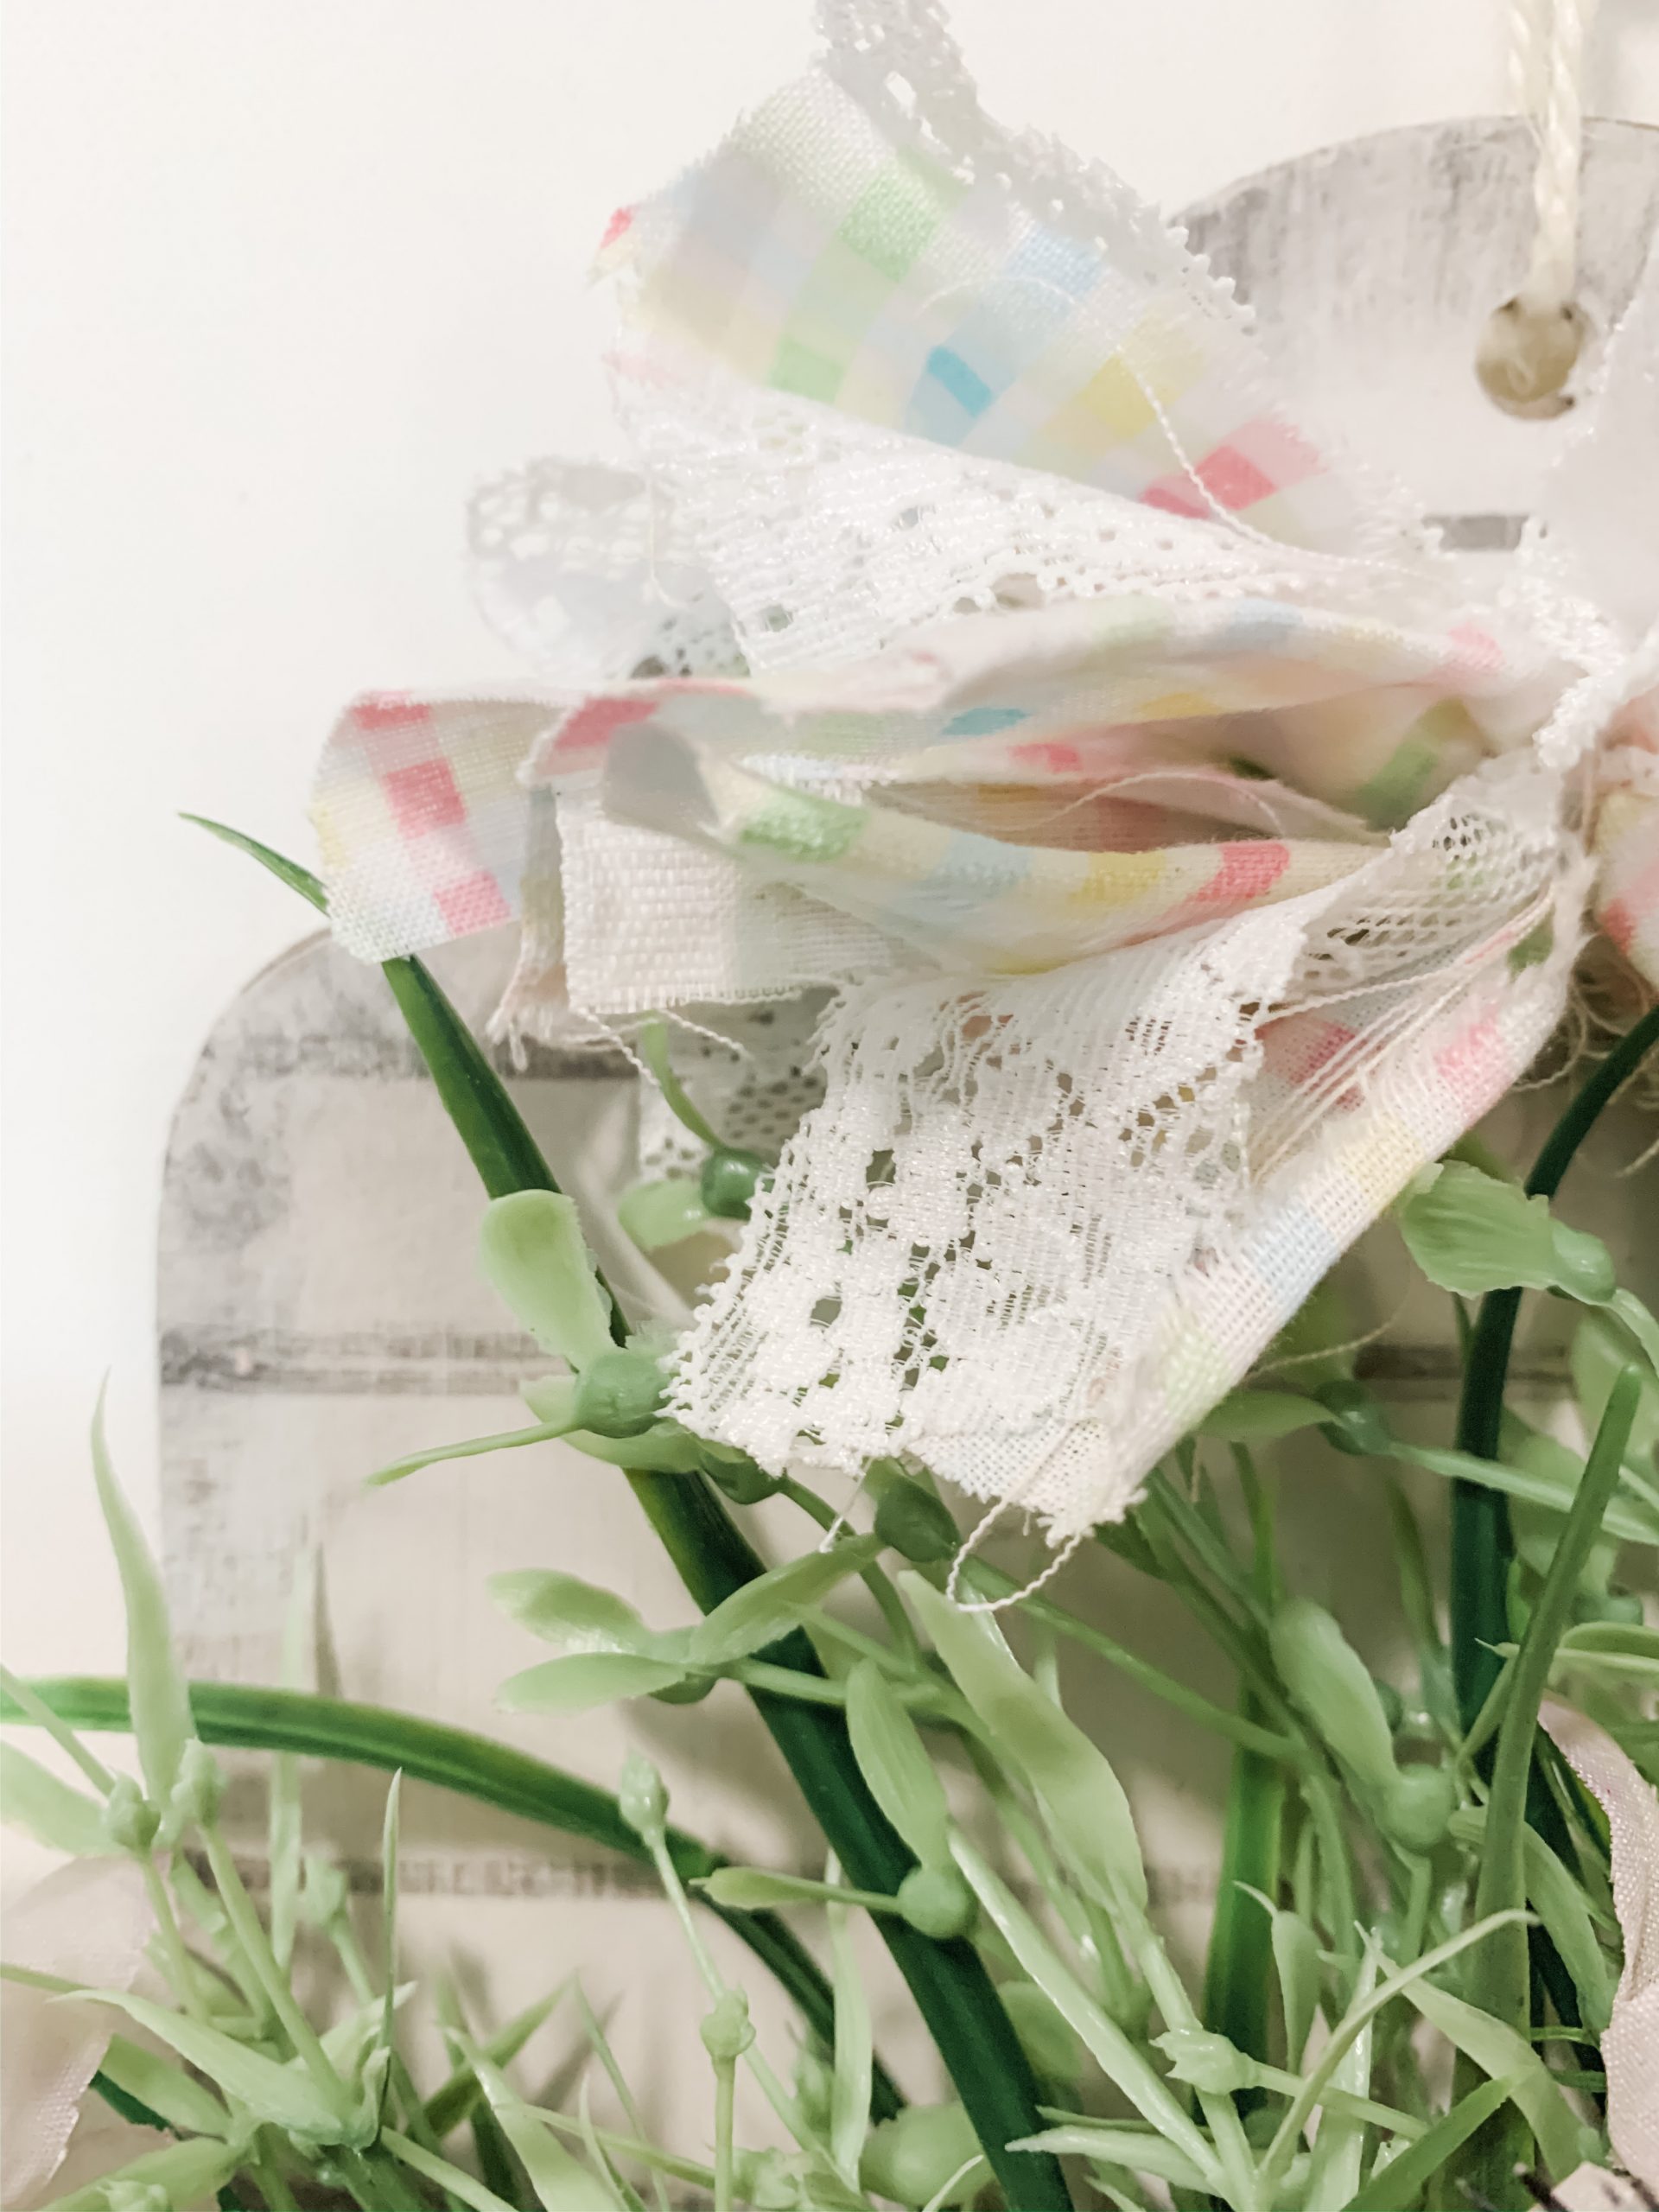
How to make a messy bow
The last step of making this adorable DIY spring decor is making a messy bow! I used multi-colored plaid fabric from Dollar Tree and white lace ribbon.
Tear the fabric into strips and cut the lace ribbon into strips about the same lengths as the fabric ones. I used a thicker ribbon, so I also cut the strips in half longways.
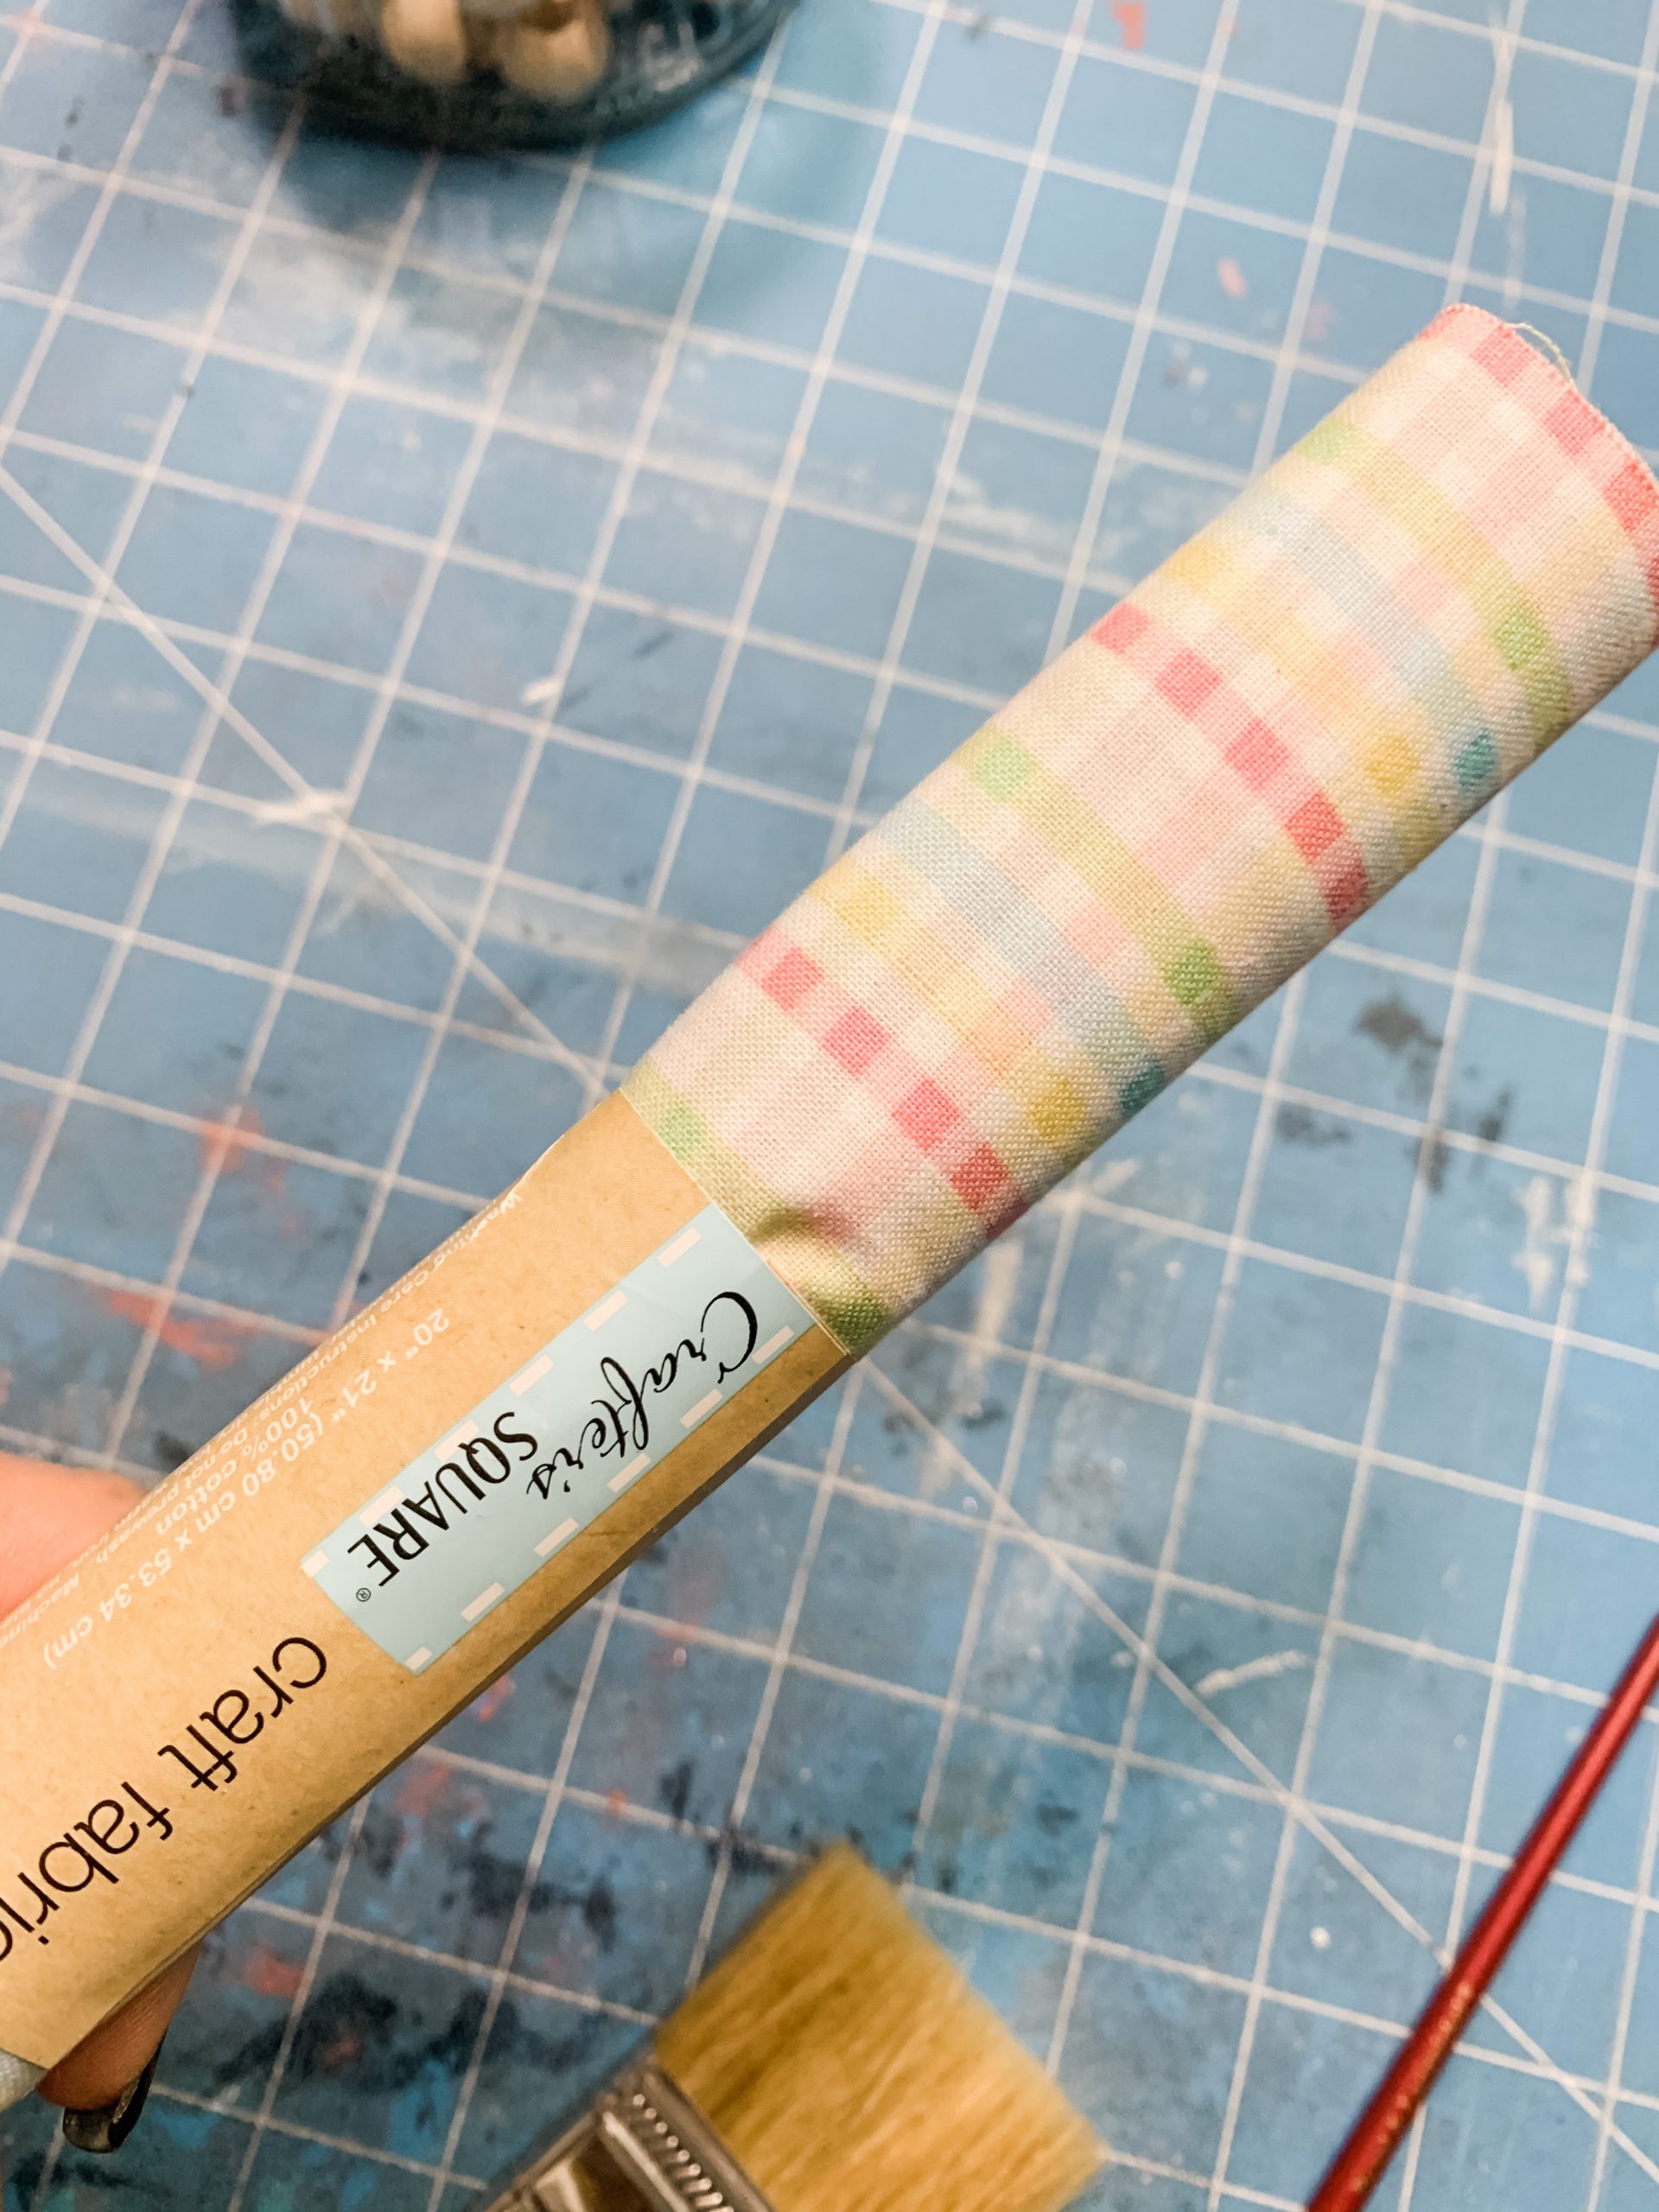
I laid them in a pile, alternating patterns as I went, and overlapped them partially instead of putting them directly on top of one another. Then, I pinched the center and secured it with a zip tie.
Squeeze all the strips upward, like you’re making a pom-pom, and trim the ends to make them more even. Finally, trim the tail of the zip tie and hot glue the bow in place above the flowers, just below the jute twine hanger.
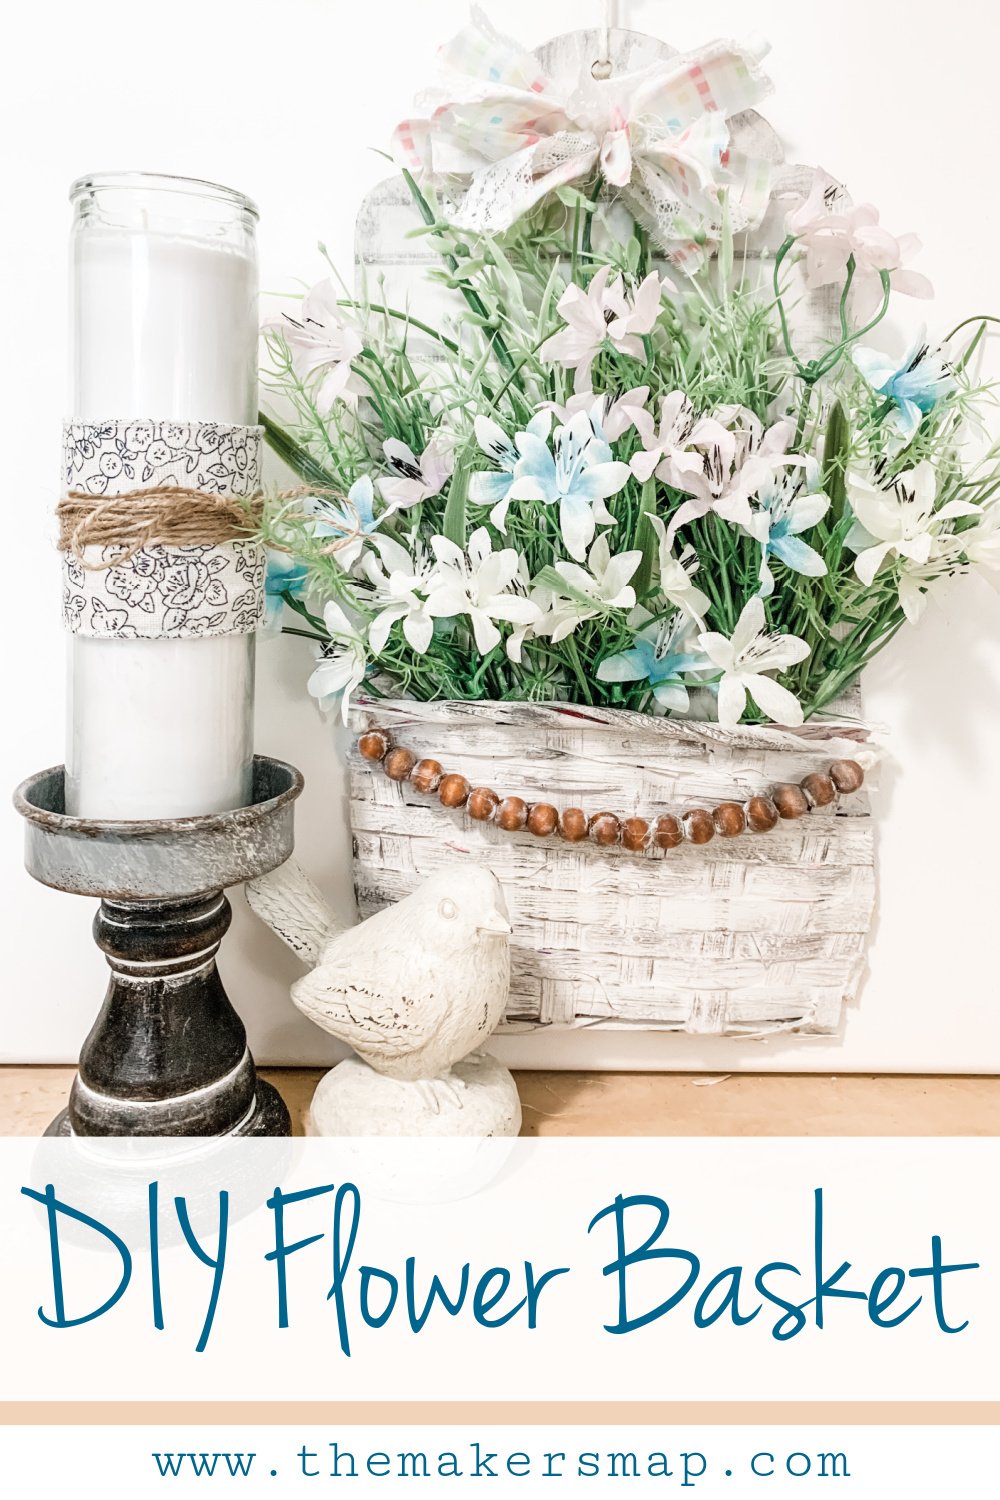
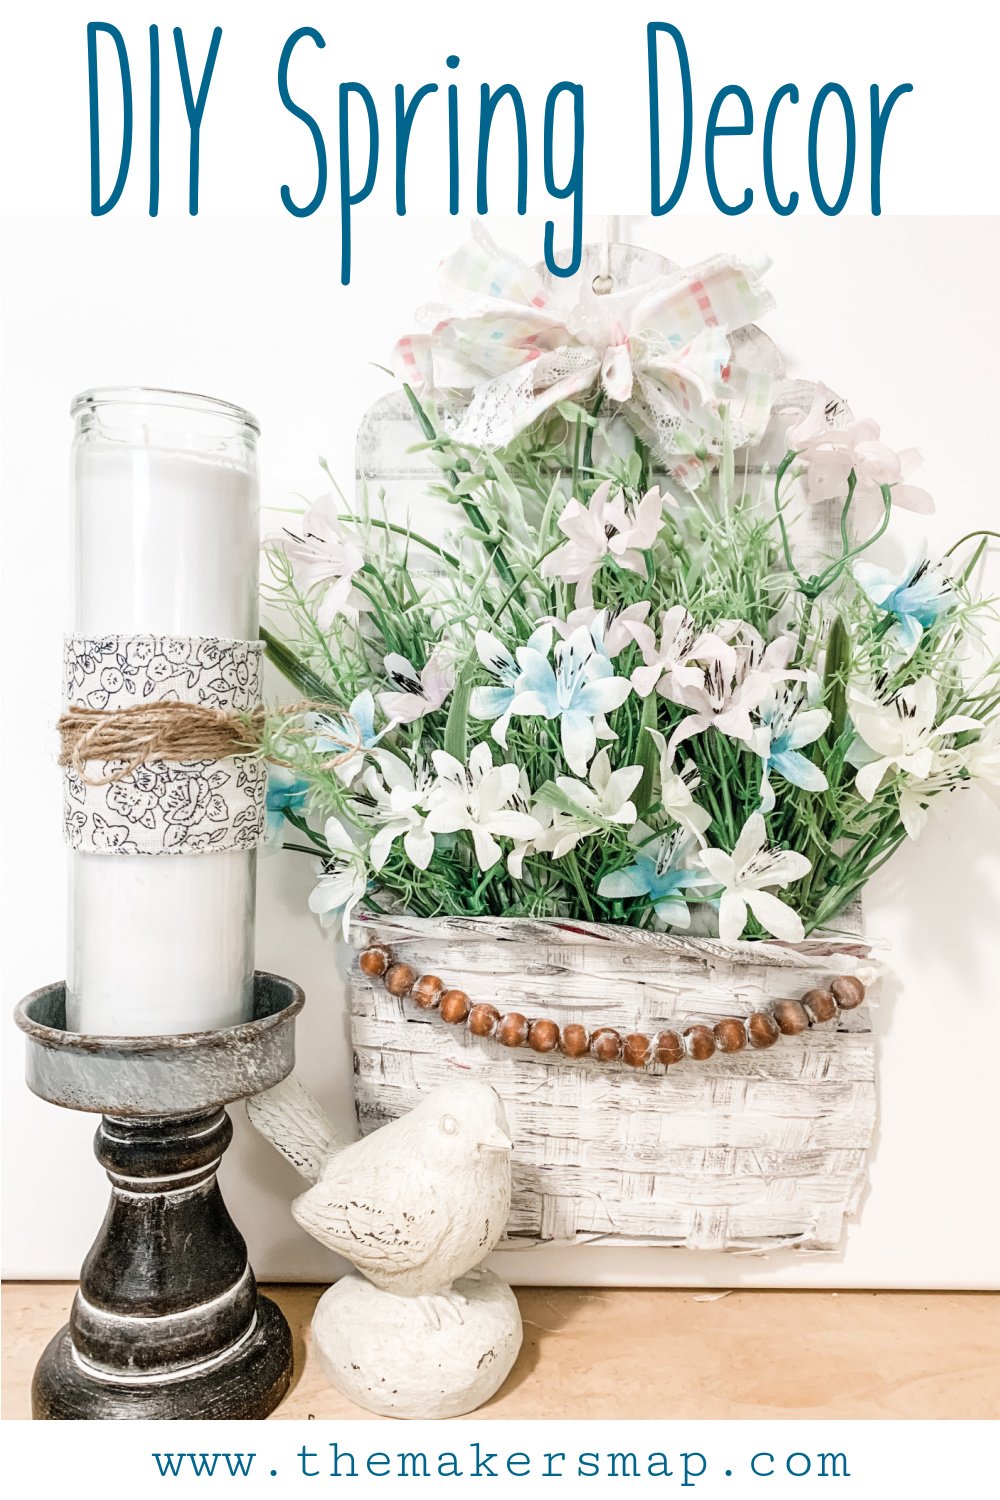
I hope you enjoyed this Easy DIY Flower Basket Spring Decor as much as I did and decide to make one for yourself! I would love to see how yours turns out!
You should totally join my FREE Facebook group called On A Budget Crafts! It is a judgment-free community for DIY crafters to show off their projects and ideas.
If you loved this DIY you might also like this one too!
Thanks for stopping by! XOXO Amber
You can also shop my ENTIRE AMAZON Favorites shop just click here! It’s packed full of all the things I use and love. Here is the supply list I highly recommend every creative have on hand!!
Would you also pin my blog for later and get on my newsletter alerts? I would love to have you join my #craftycrew.
Inspired? Leave me a comment below! I love hearing from my readers!

Join my free “ON A BUDGET CRAFTS” Facebook group!

Precious
Where can I find the craft for the candle holder in this craft. Maybe I missed it in this craft Is there is a link just for it ?