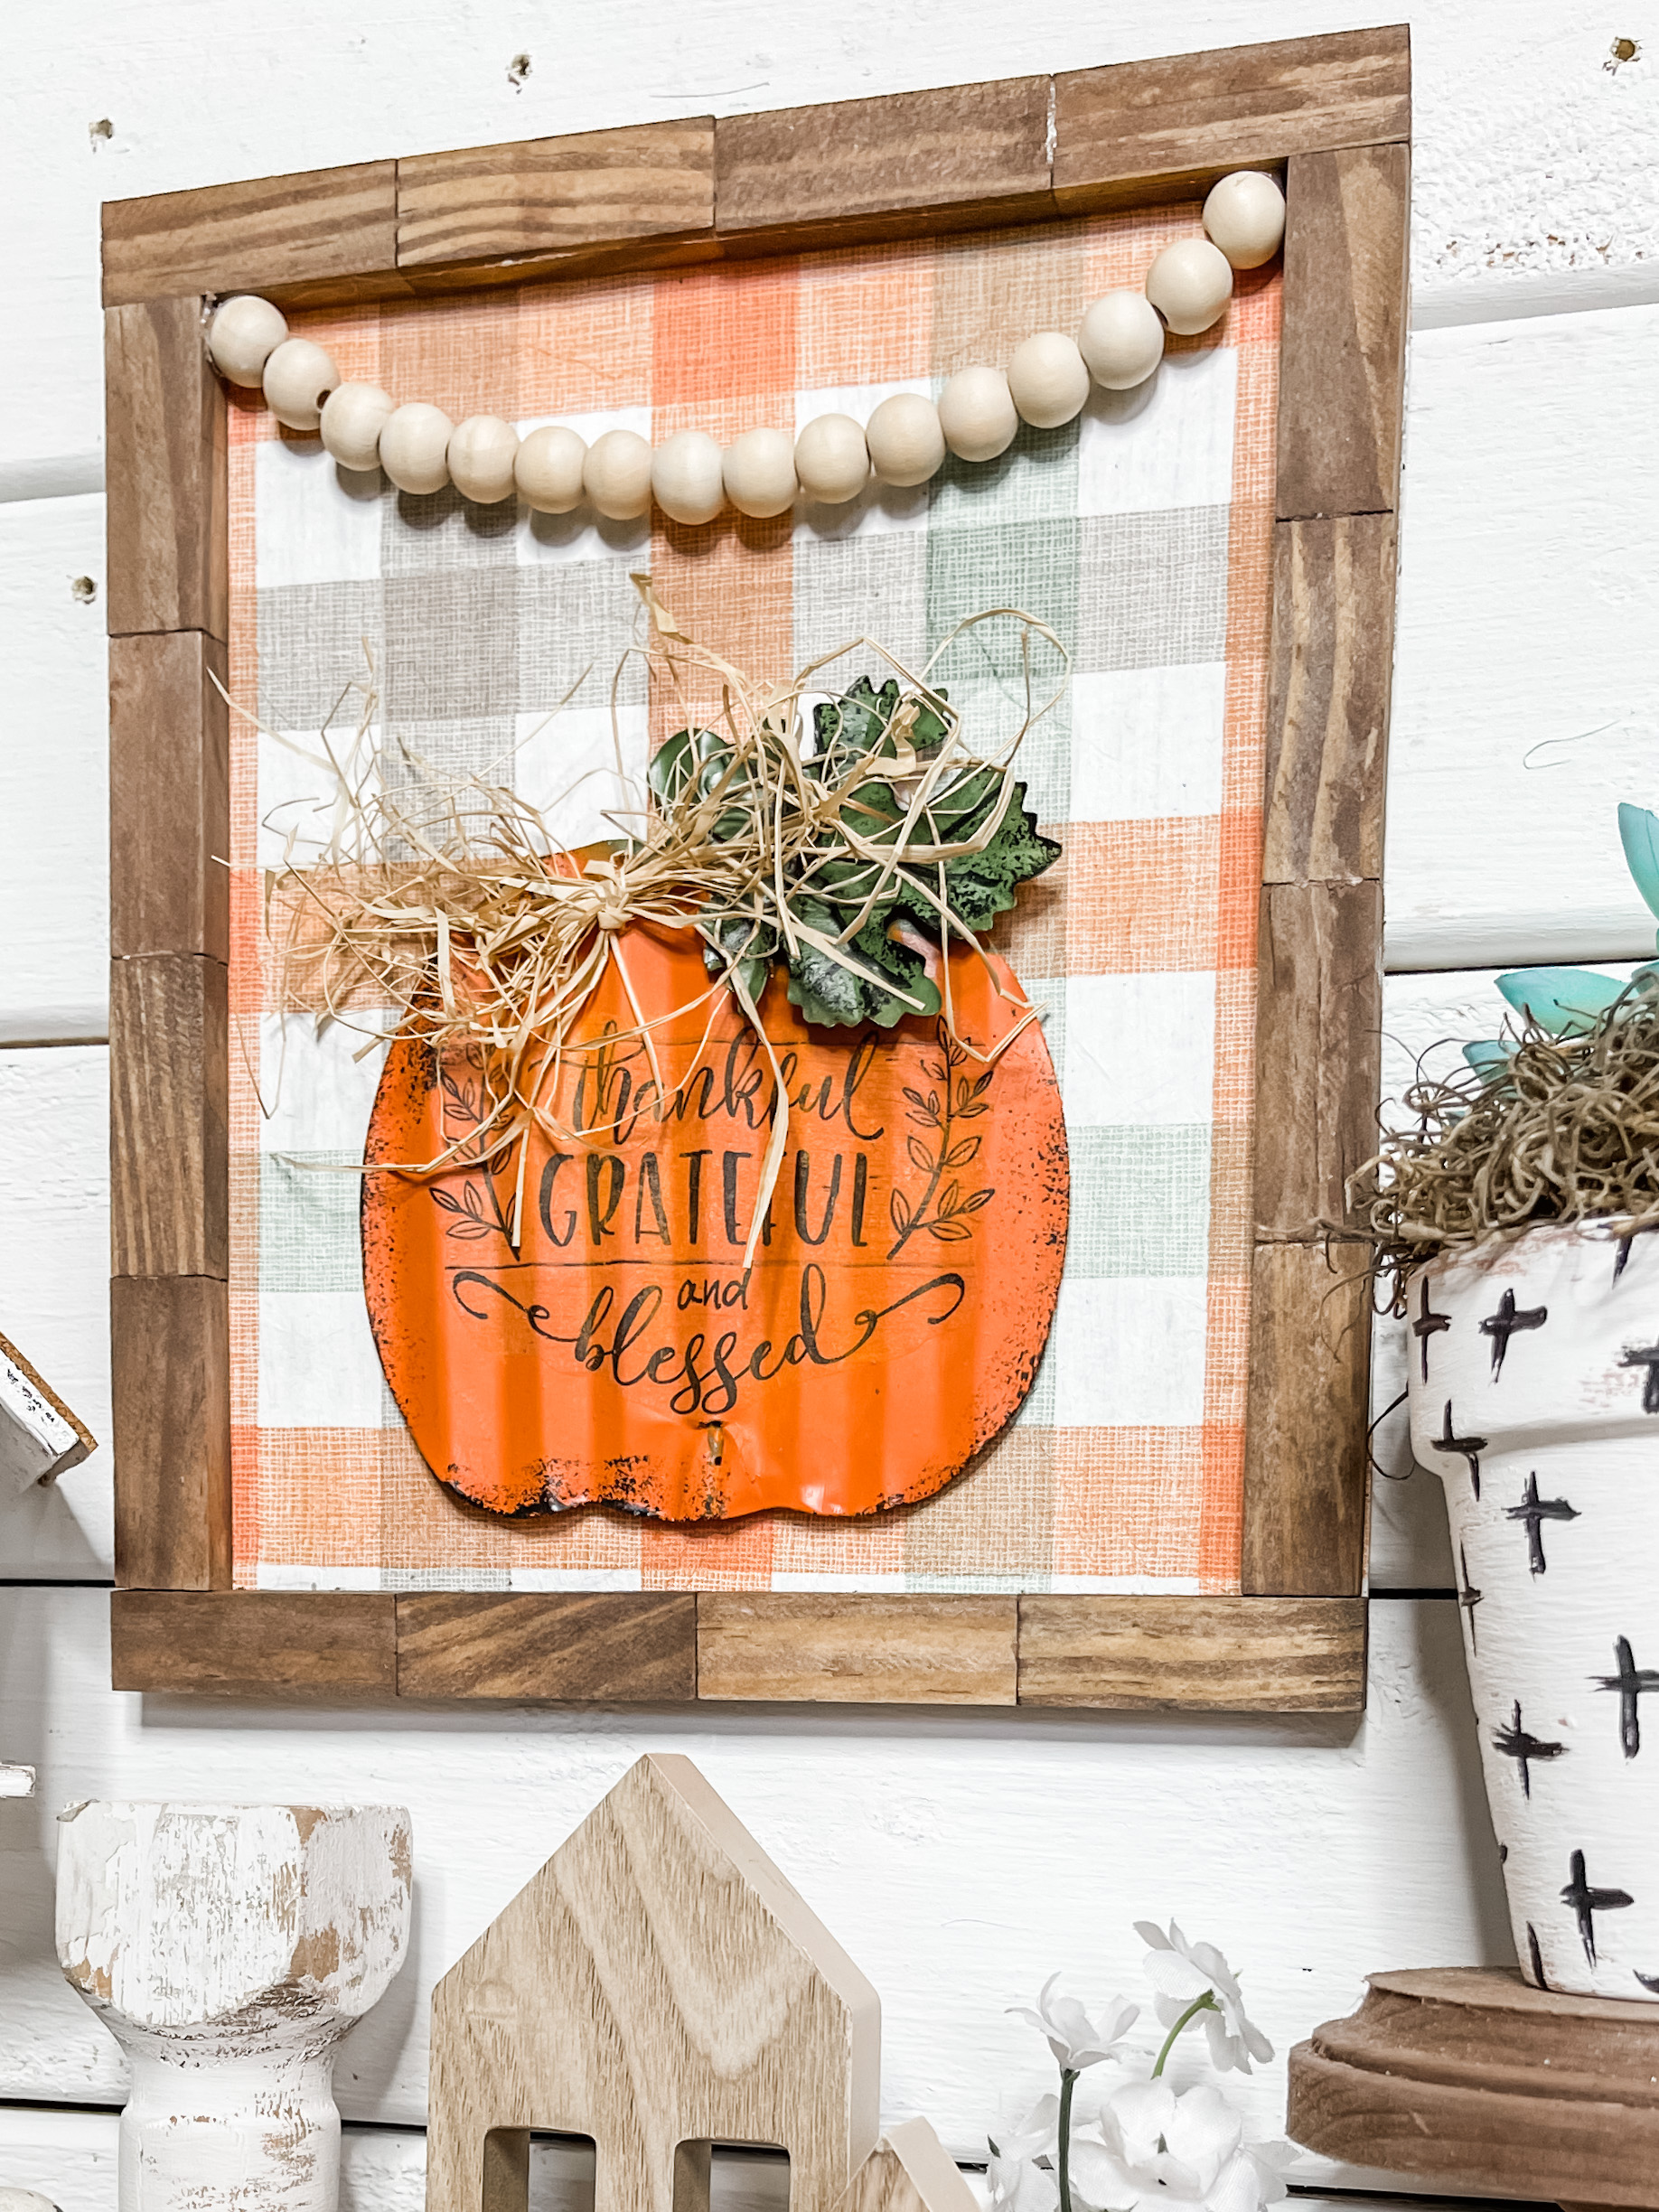
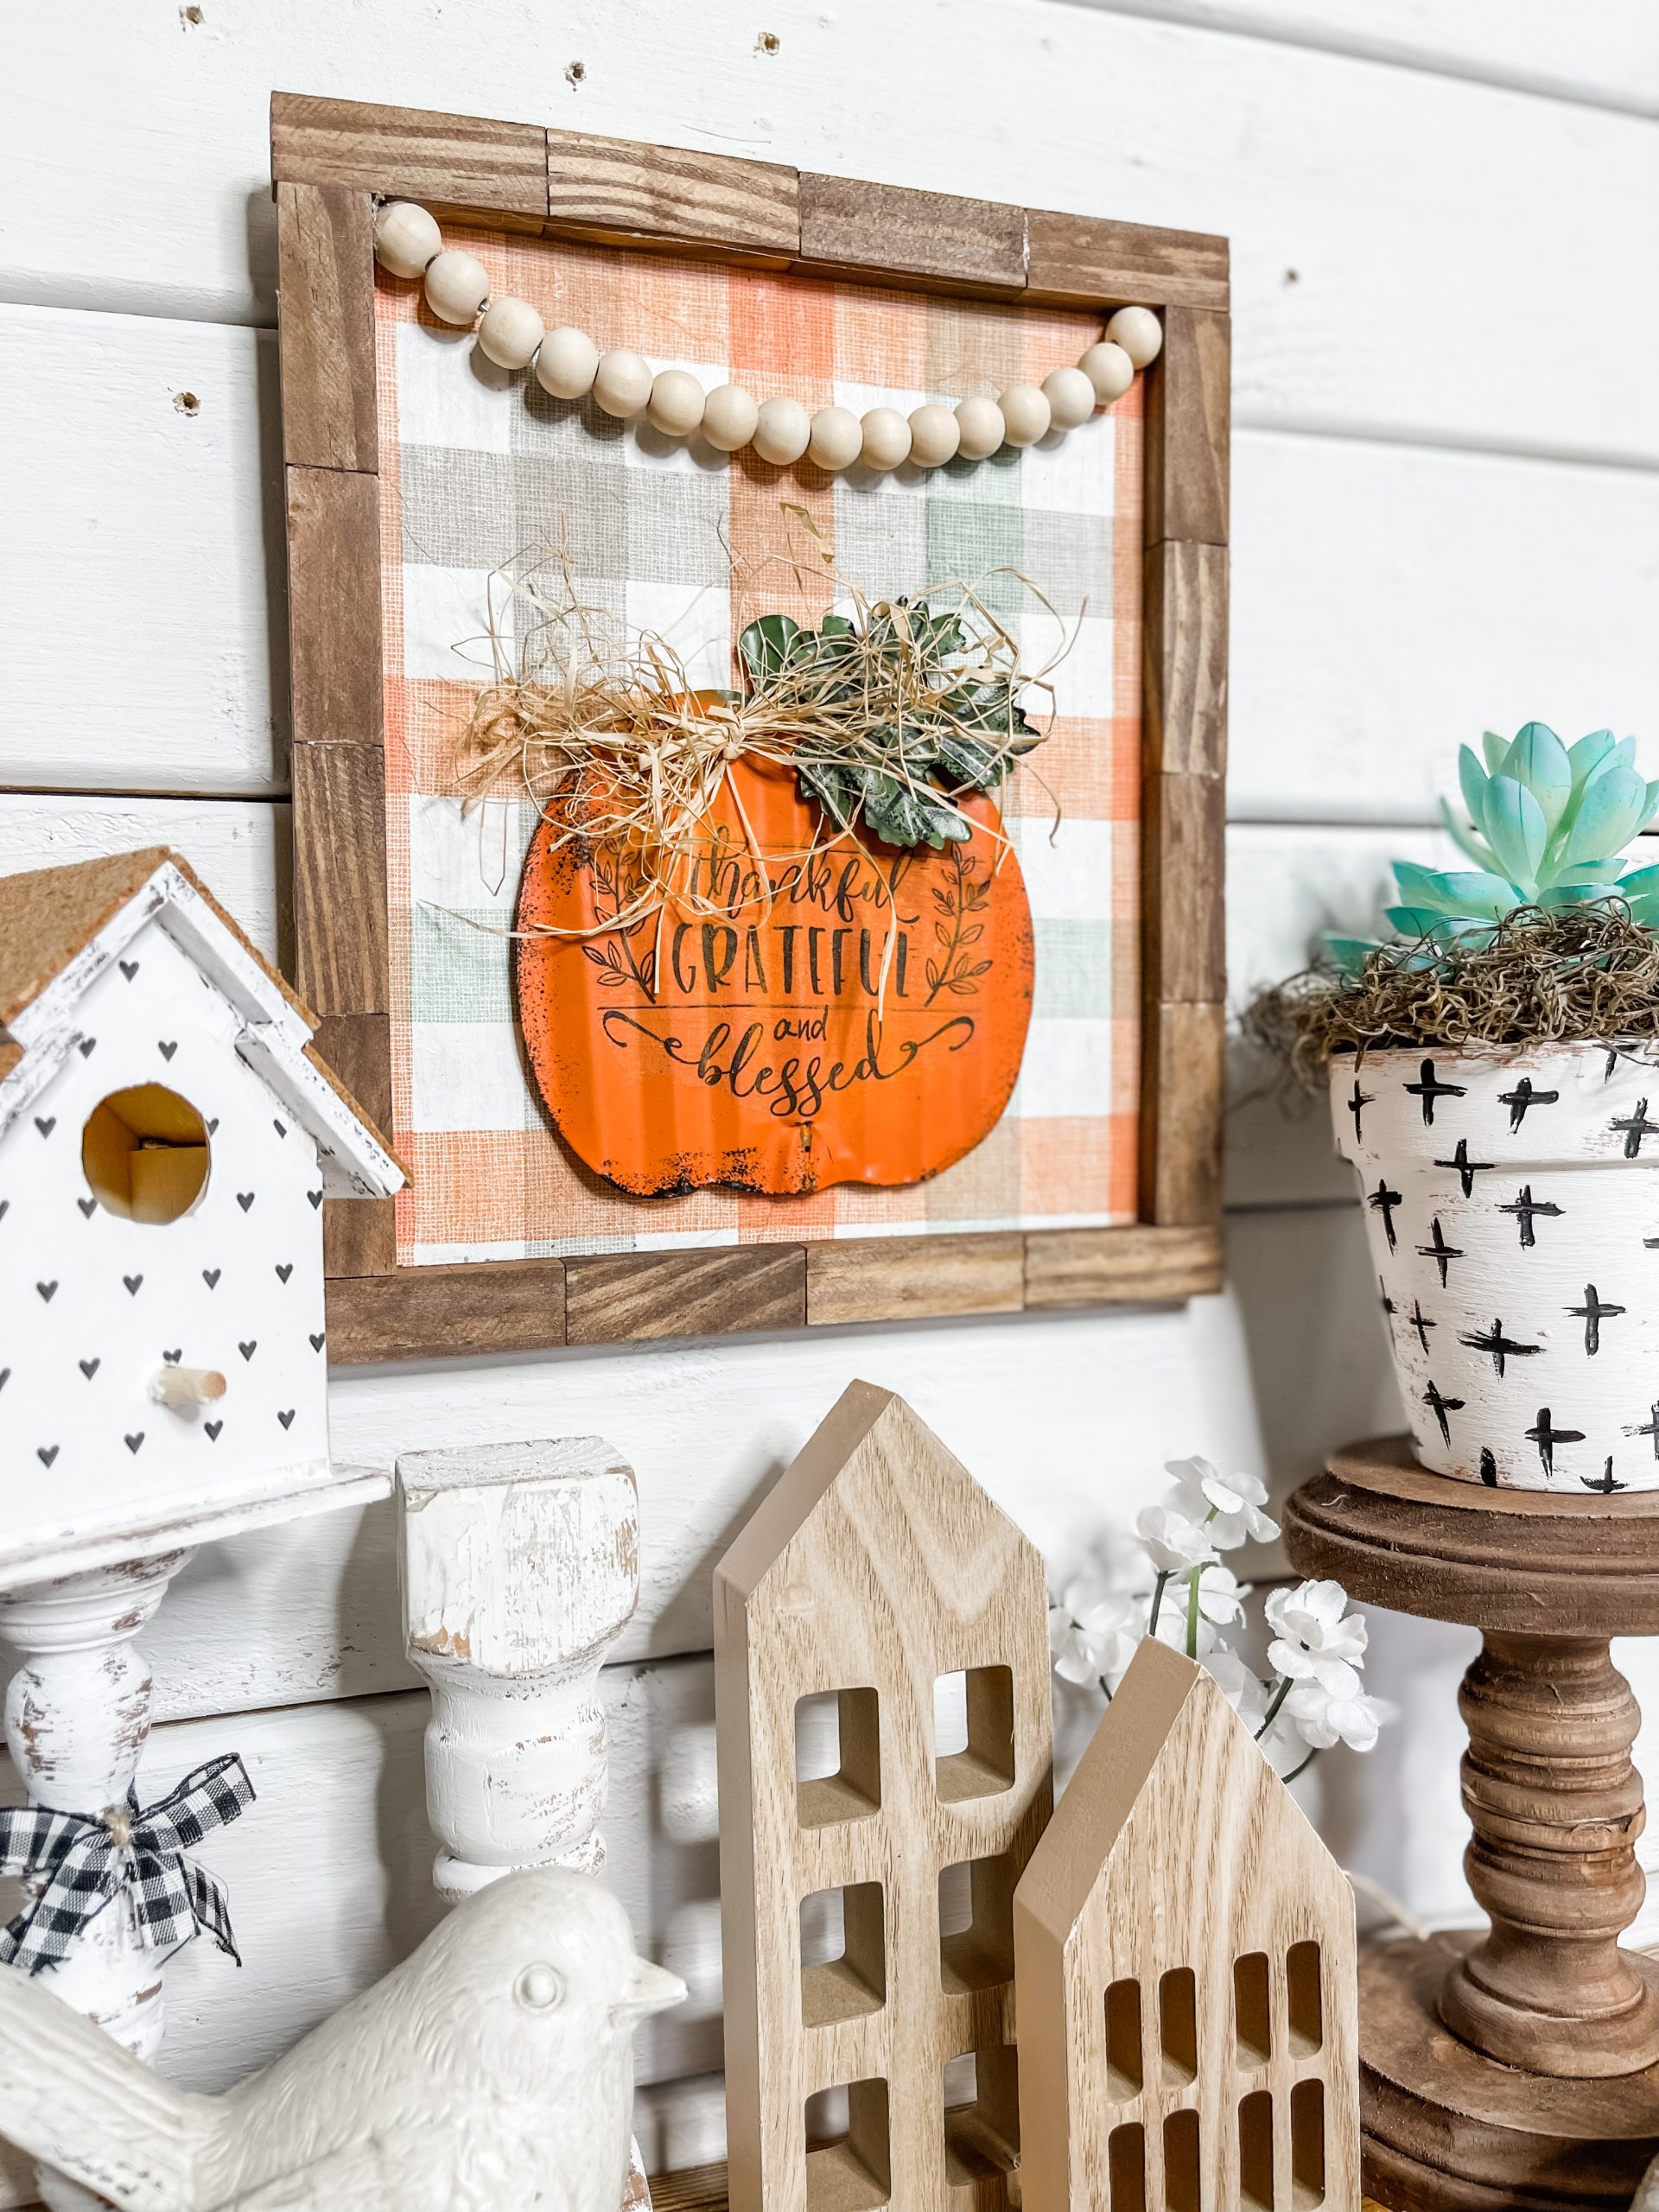
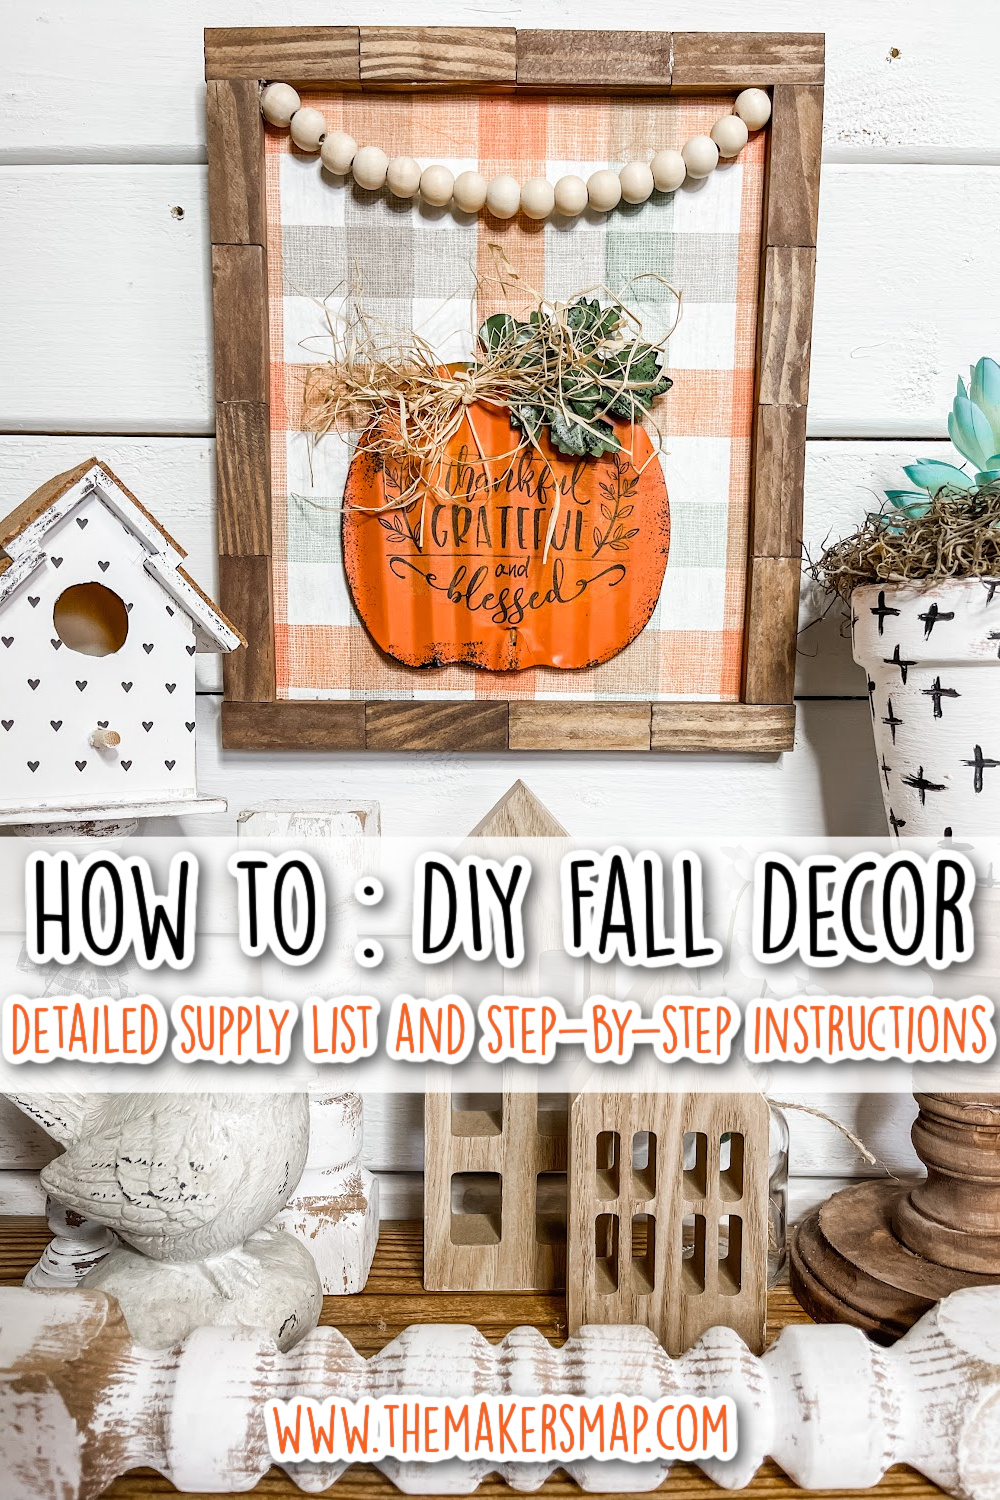
DIY Fall Pumpkin Rustic Home Decor
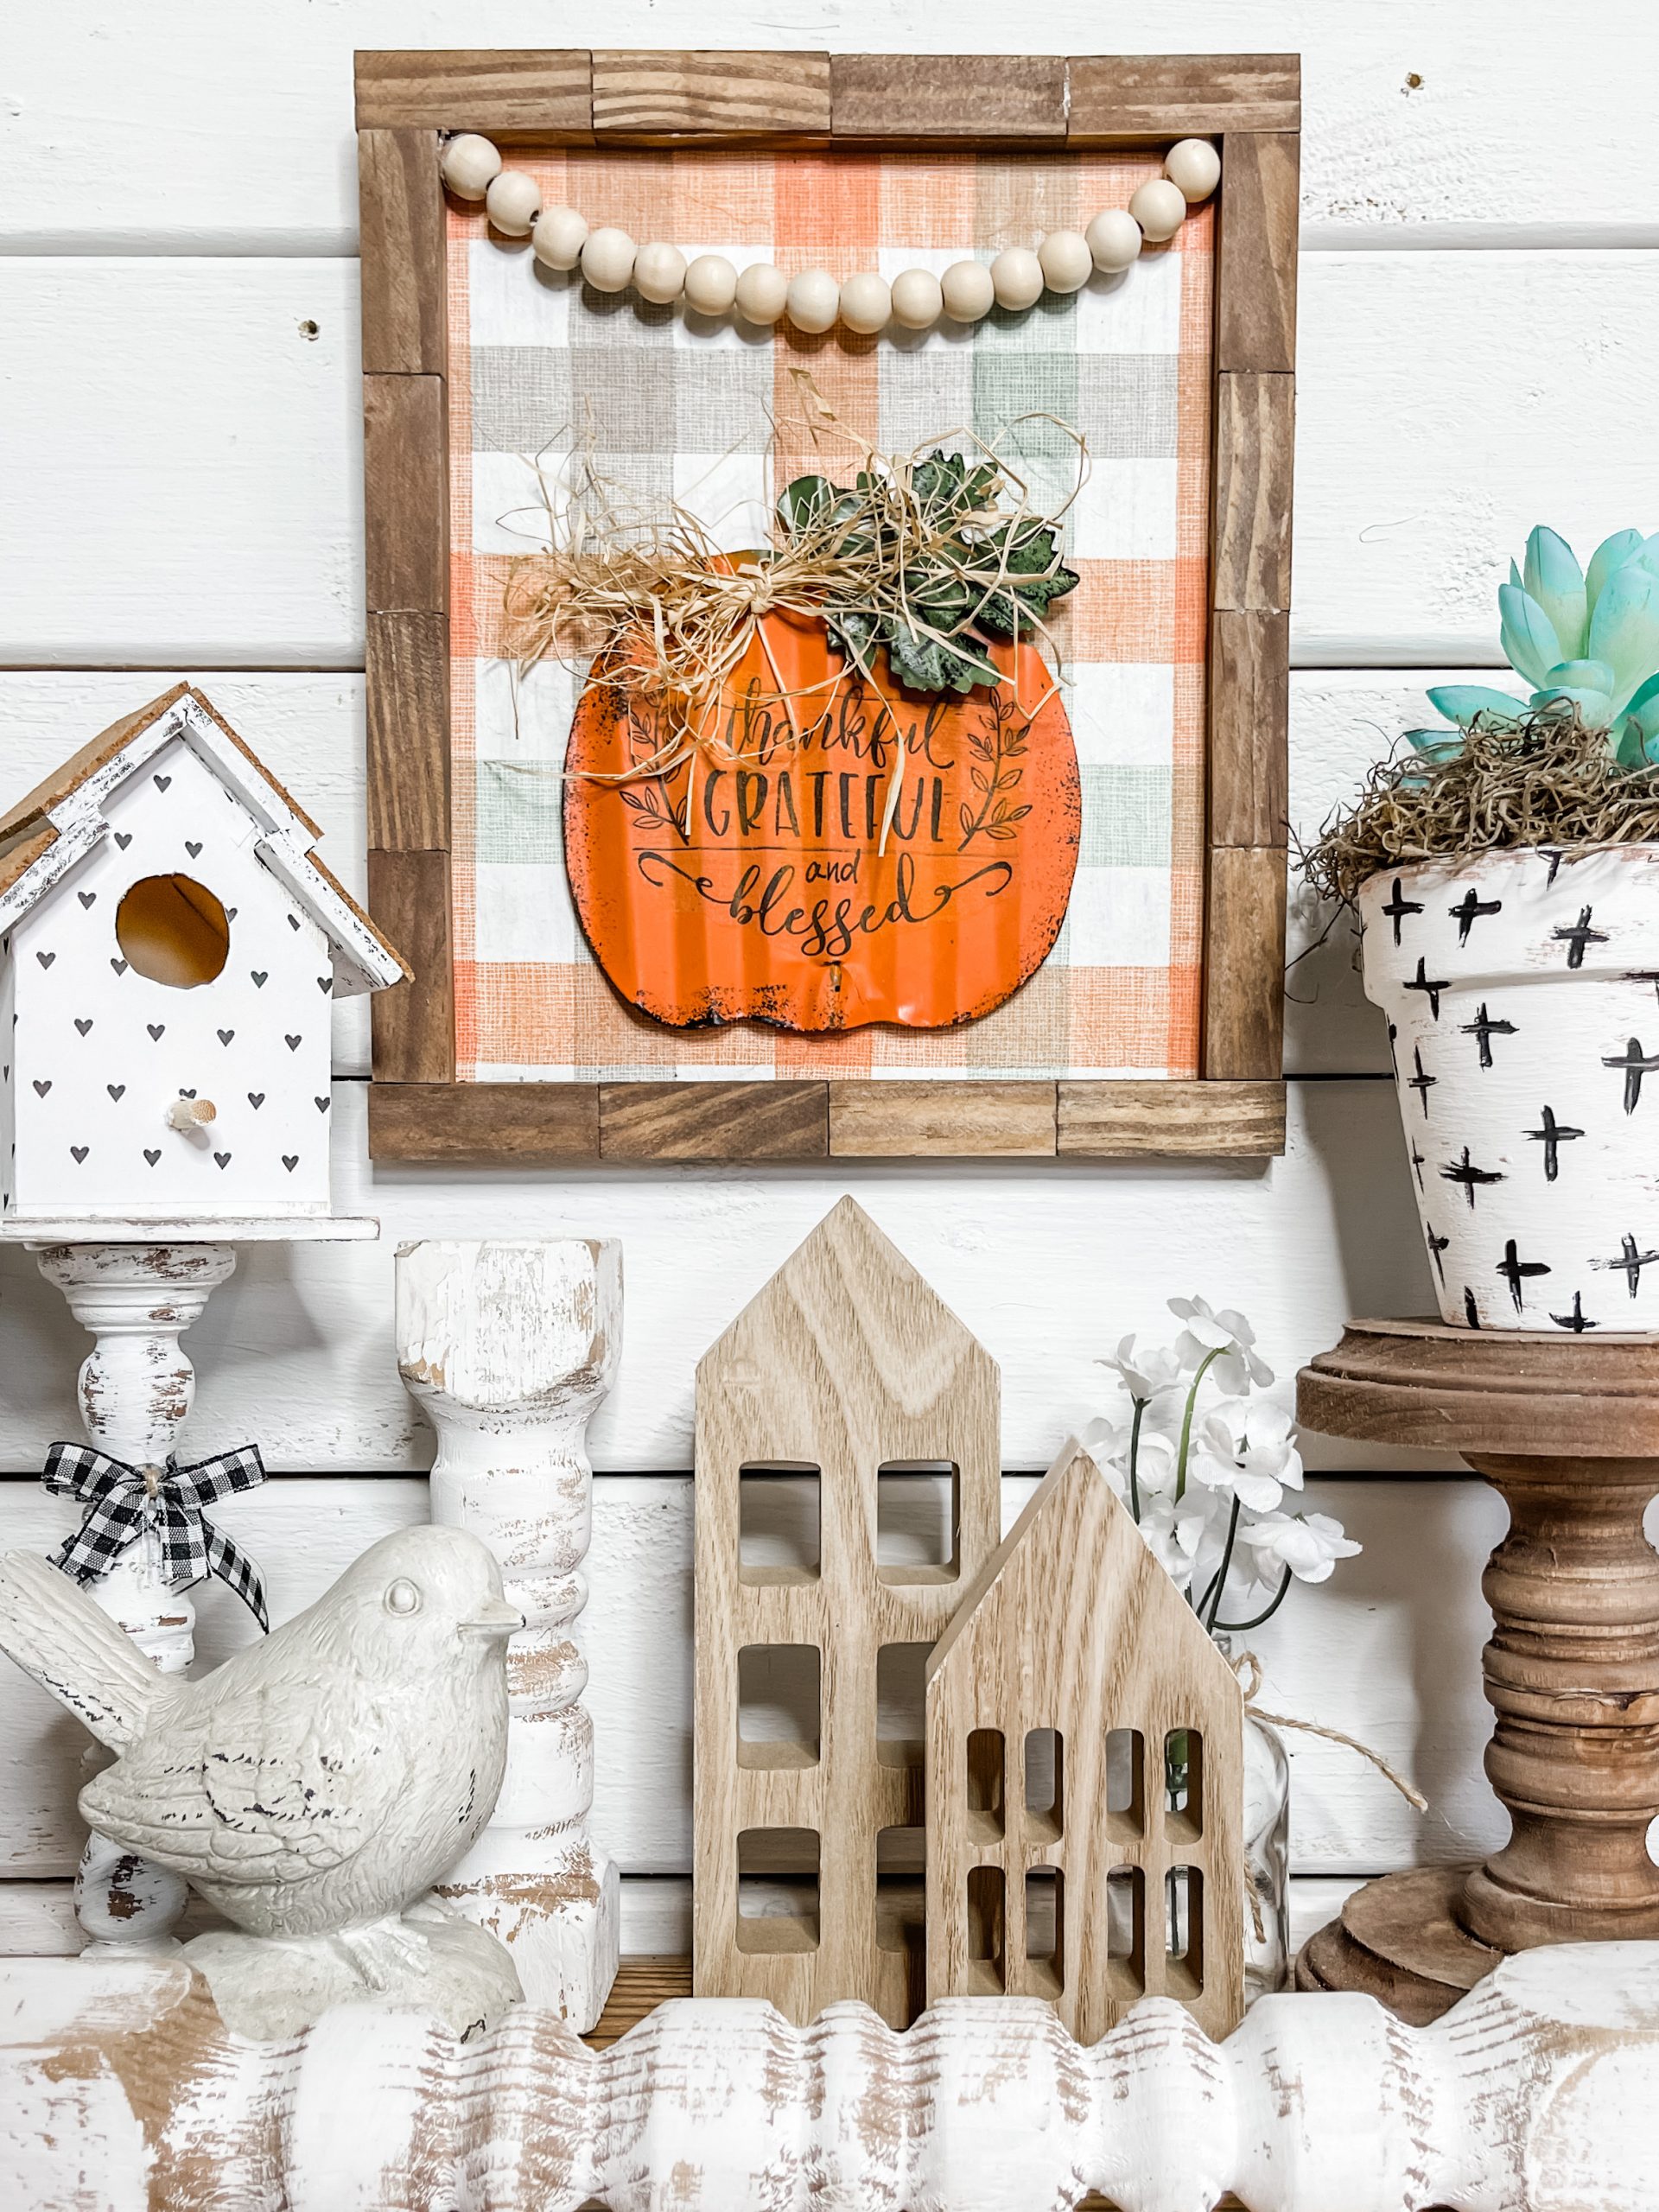
There is a secret supply that I used to make this DIY Fall Pumpkin Rustic Home Decor! Can you guess what it is??
I’m not going to tell you, but it’s listed in my supply list! I had so much fun making this easy and affordable DIY fall decor, and I am so proud of how it turned out!
Watch the DIY Tutorial
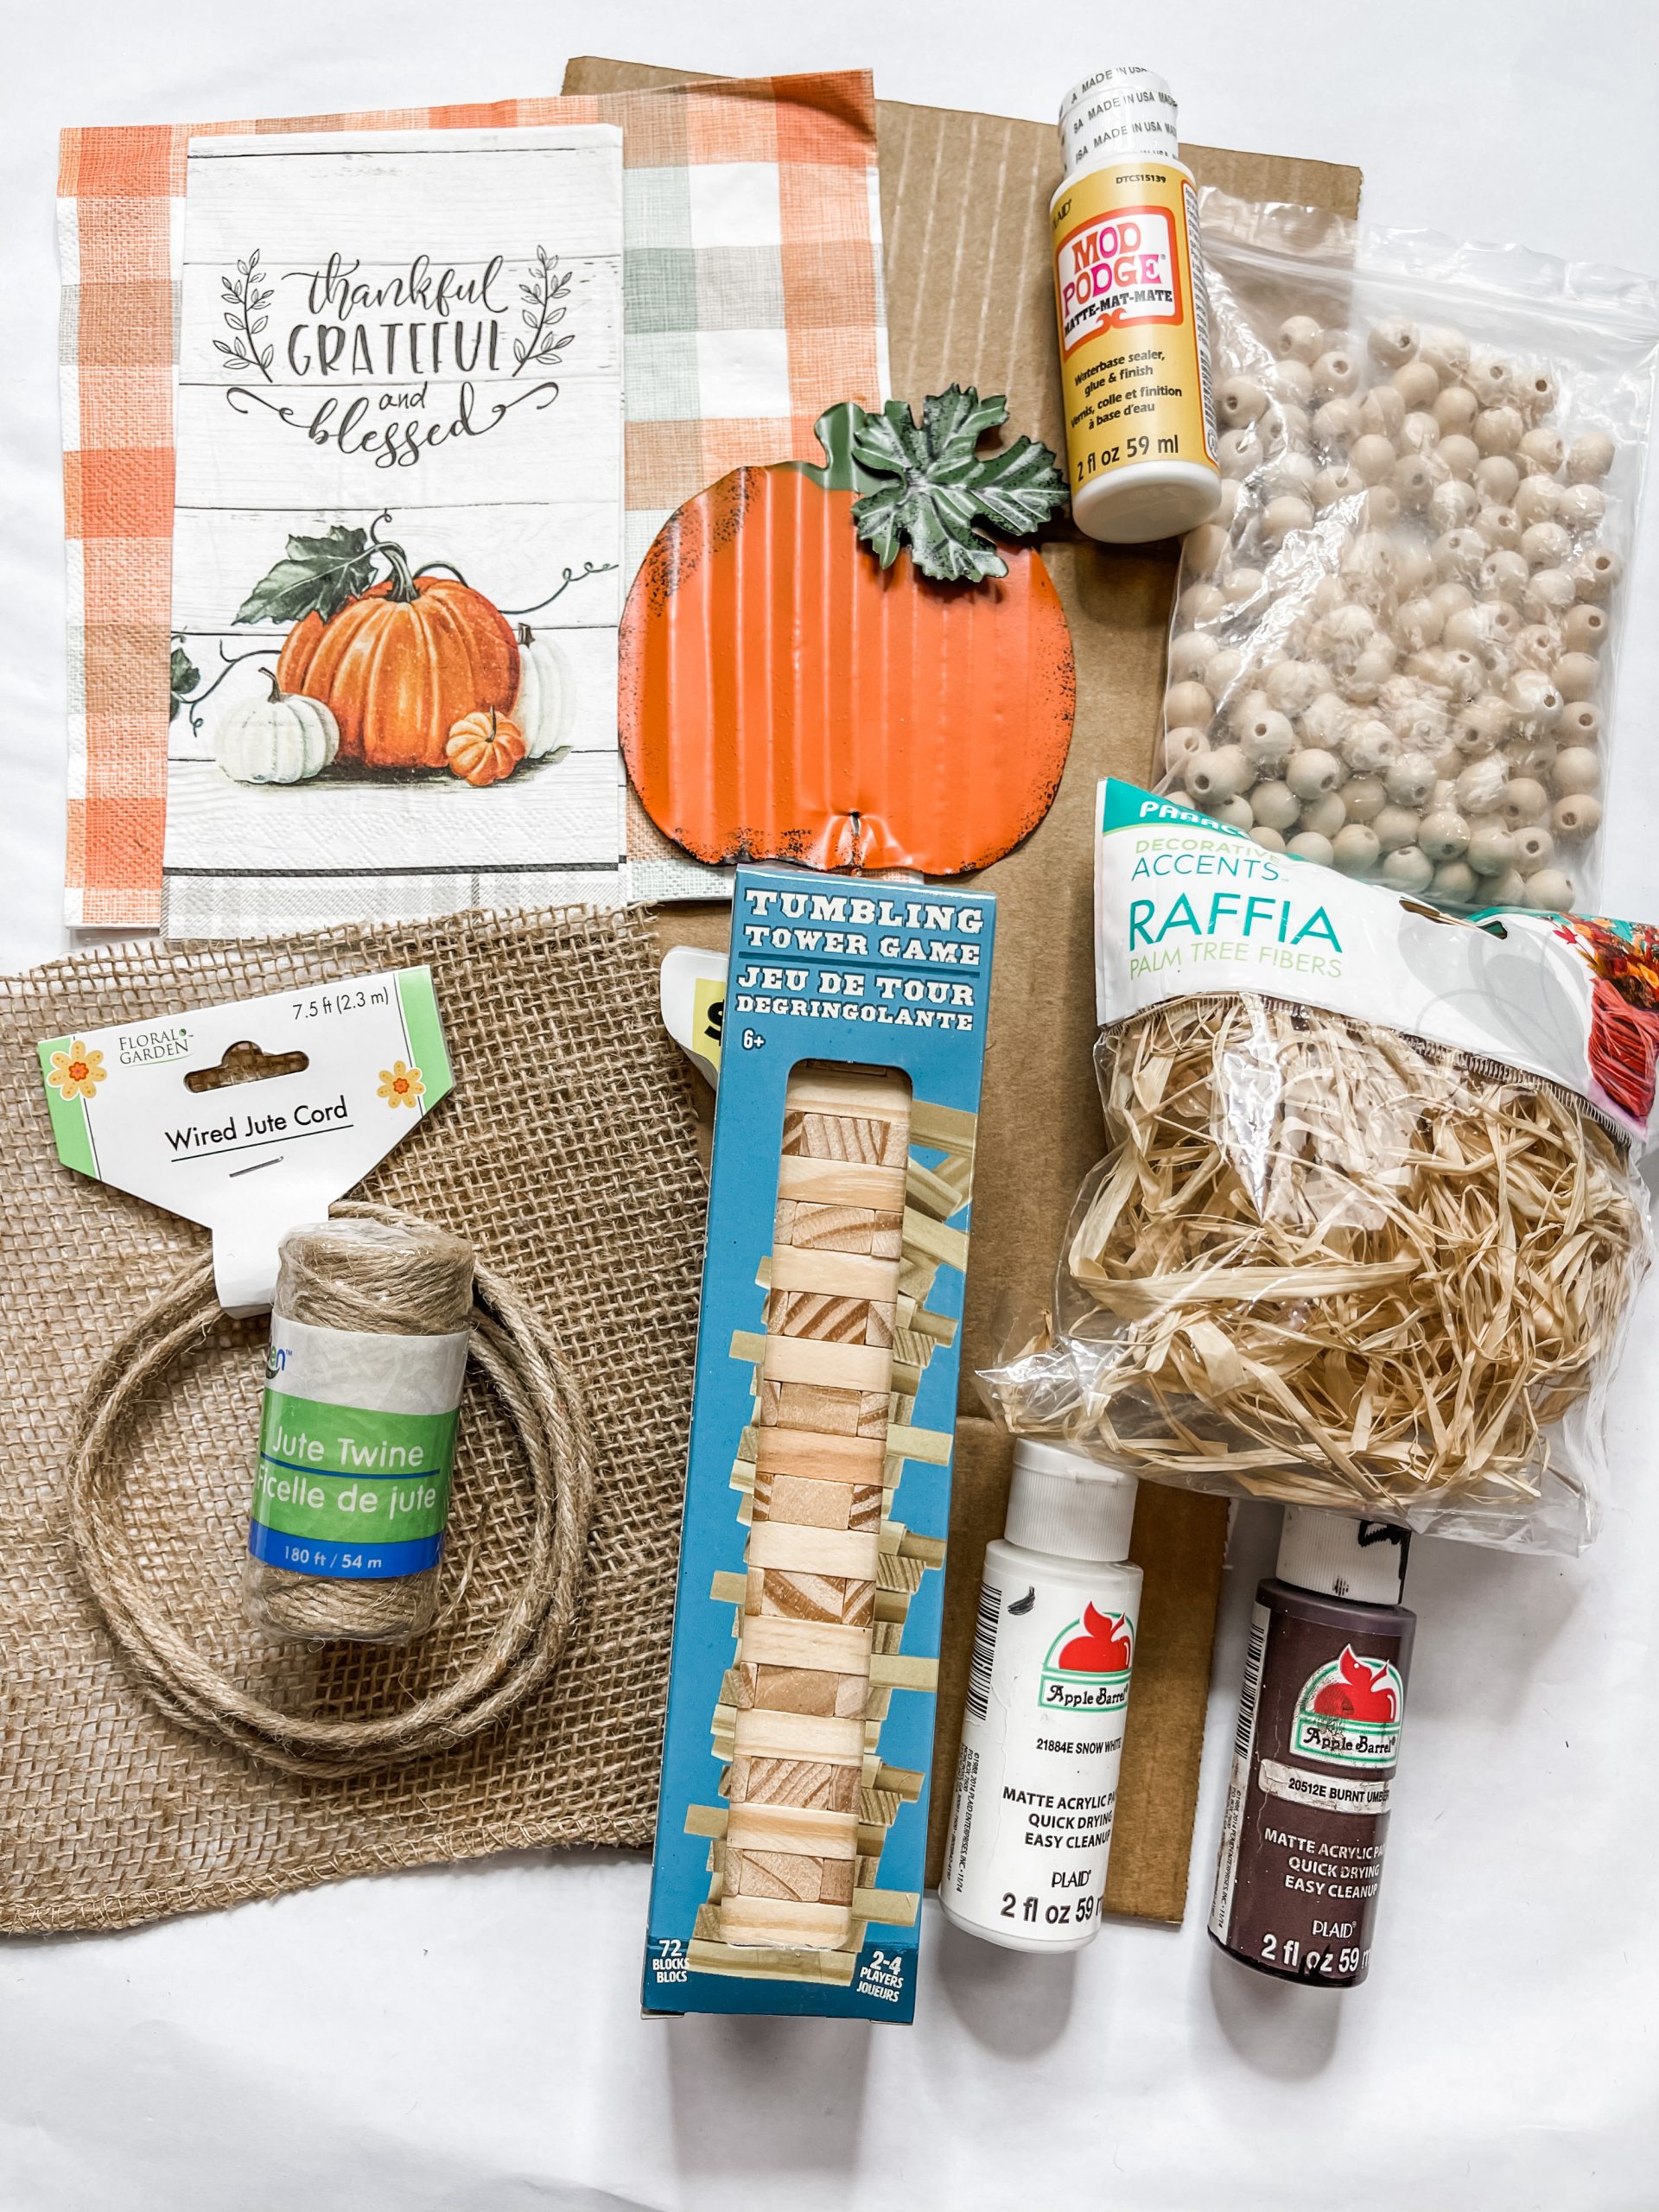
I shared the quick tutorial of making this affordable rustic fall decor (along with three other fall decor ideas) on my Youtube channel!
Check out these three Fall DIY tutorials!
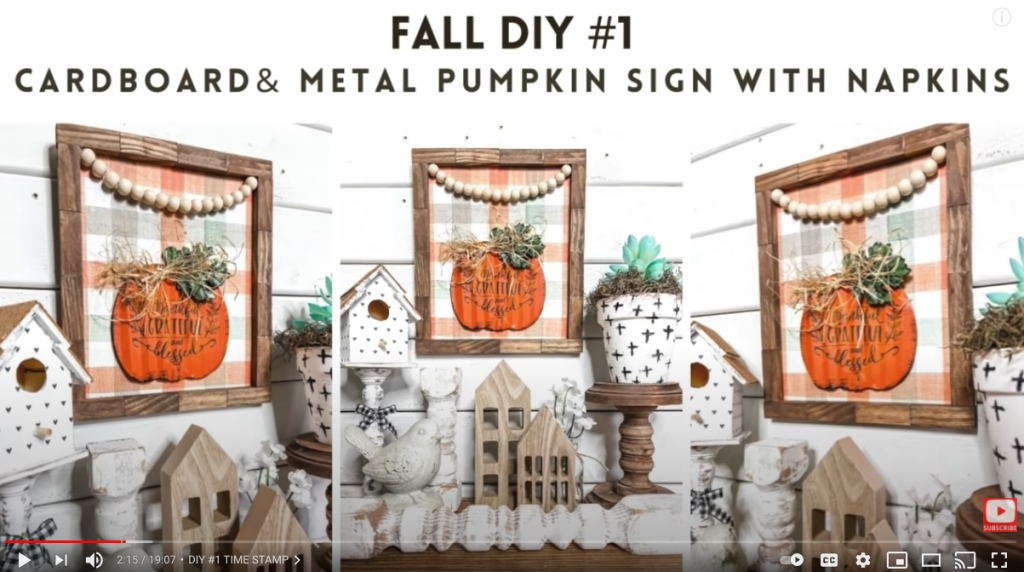
I recorded the how-to steps of making this adorable DIY Fall Pumpkin Rustic Home Decor during a LIVE video on my Facebook page.
If you want to see the DIY process, craft along, or just join in on the fun conversations, you can watch the DIY tutorial repay!
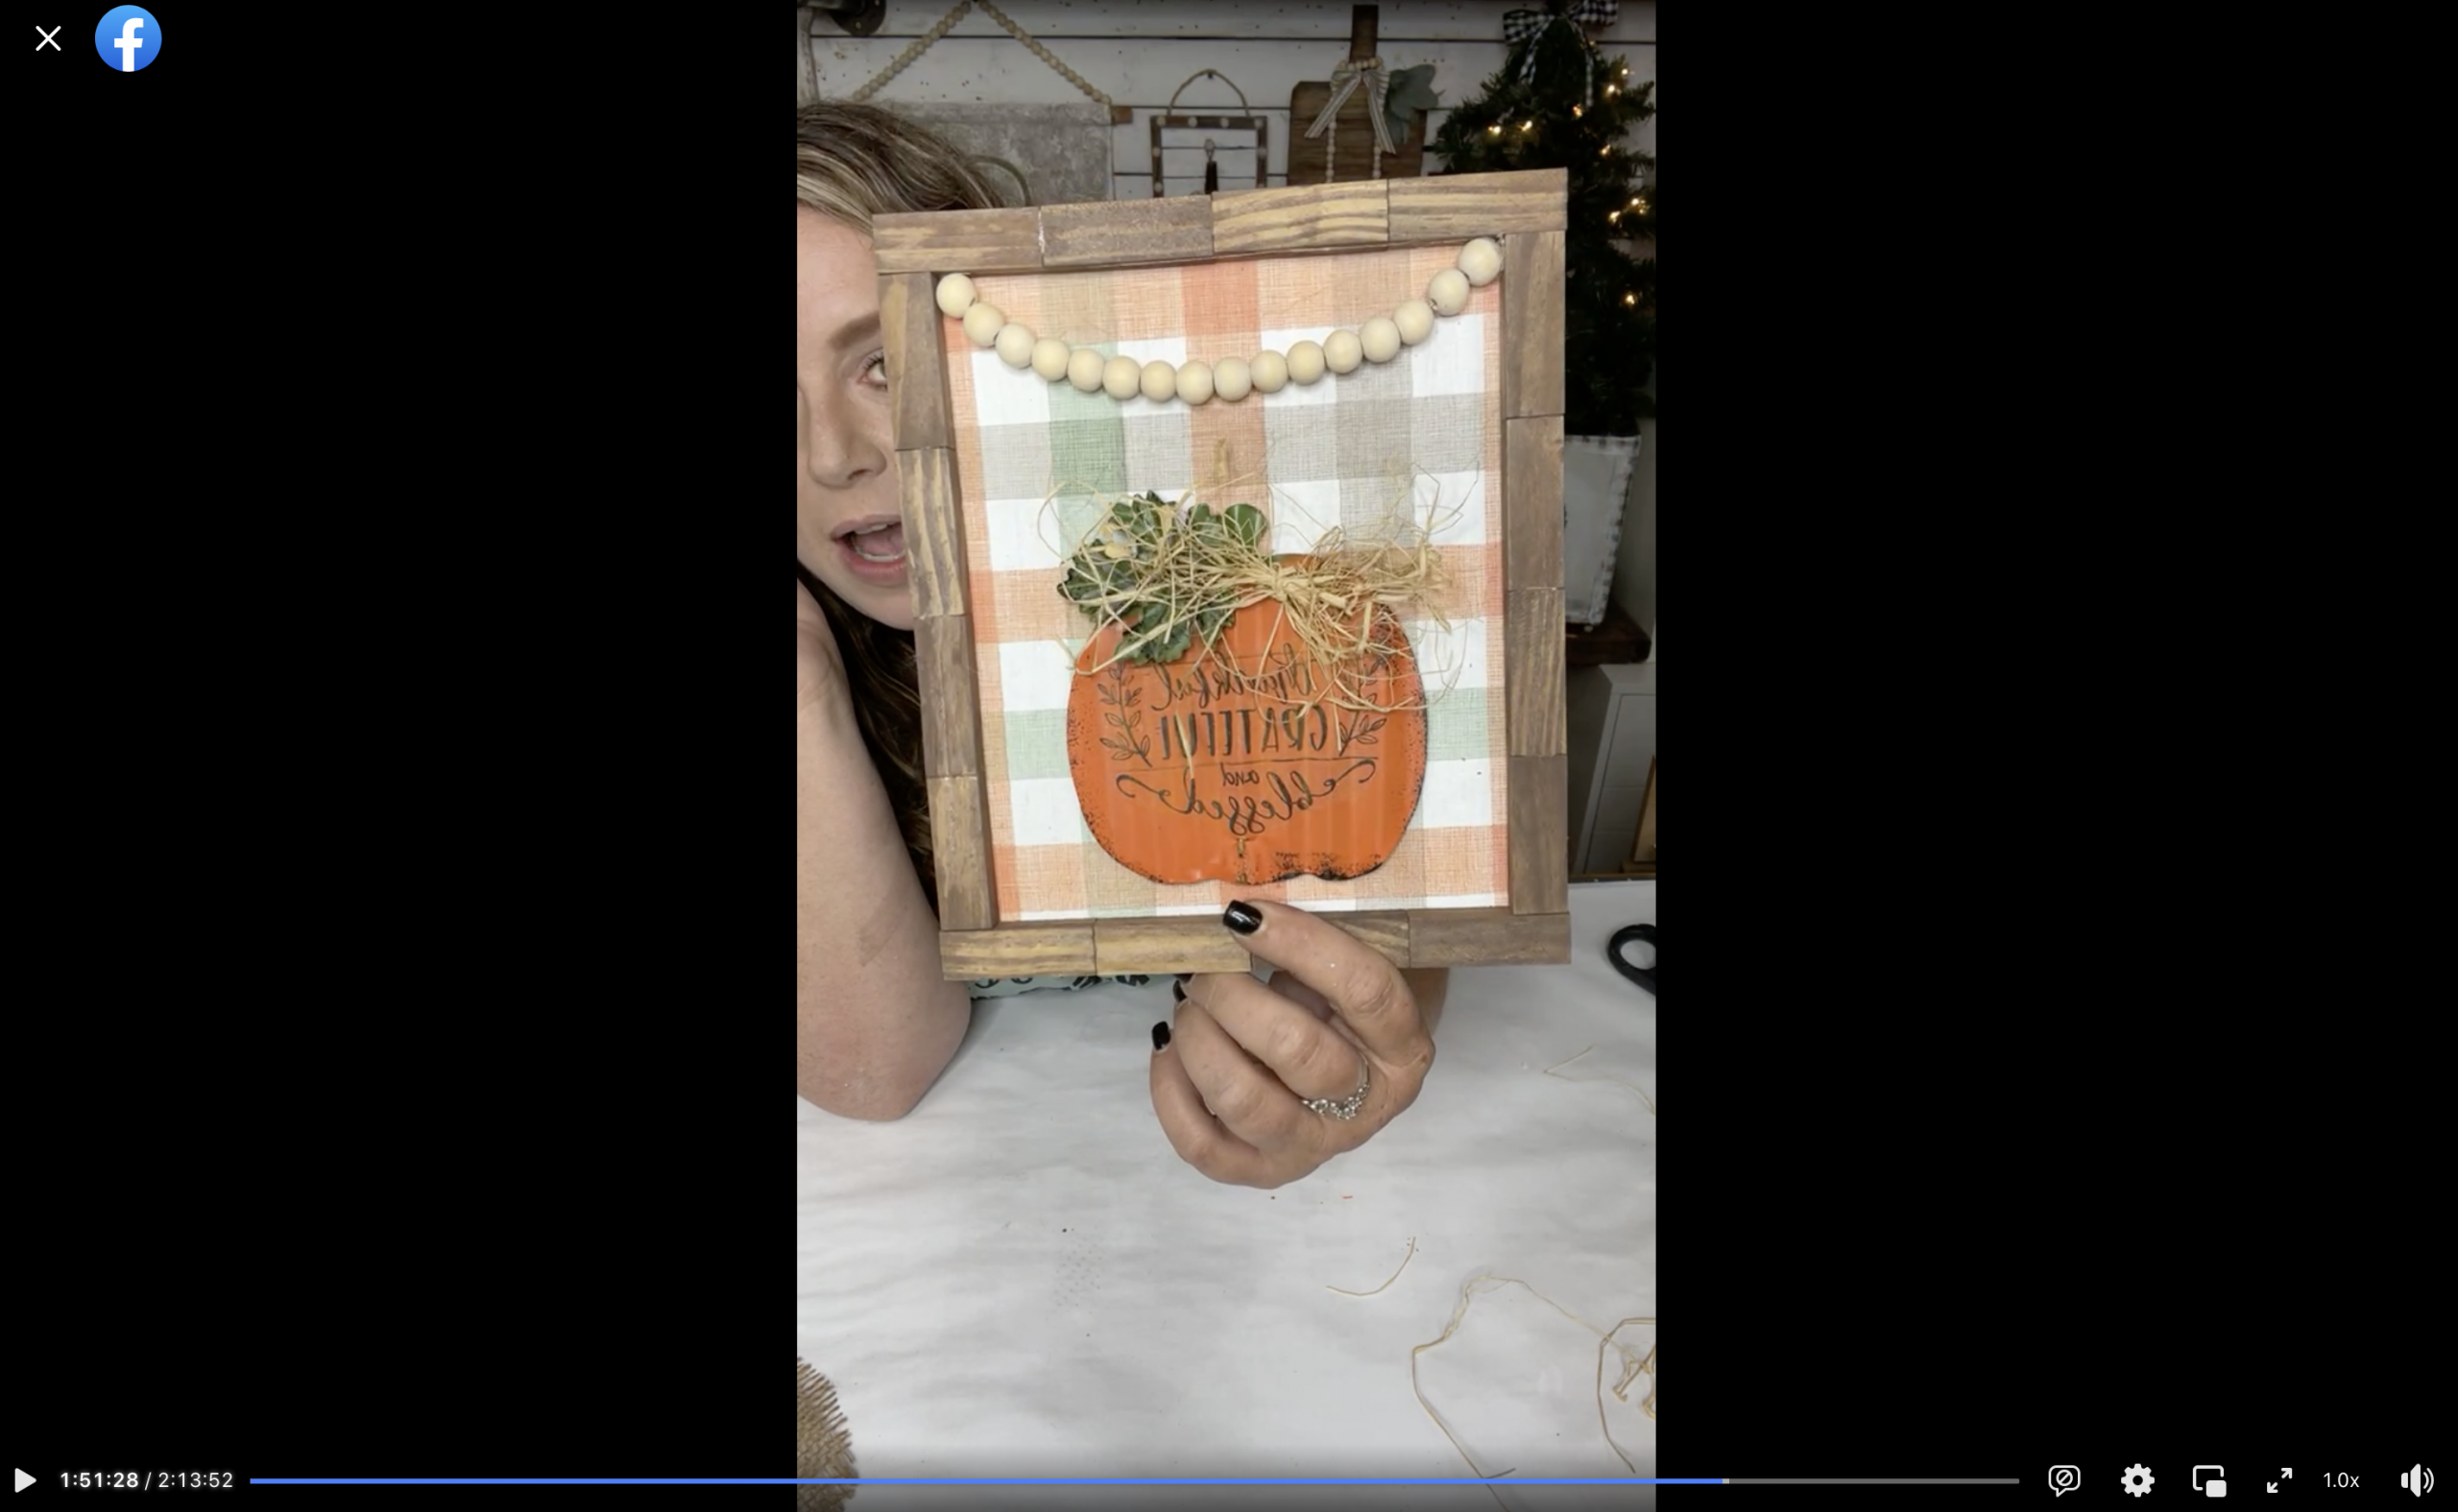
For this project, I will be using these items, but you can substitute where you want.
“As an Amazon Associate, I earn from qualifying purchases.”
- Orange Plaid Napkin
- Fall Thankful, Grateful, Blessed Napkin
- Dollar Tree Raffia
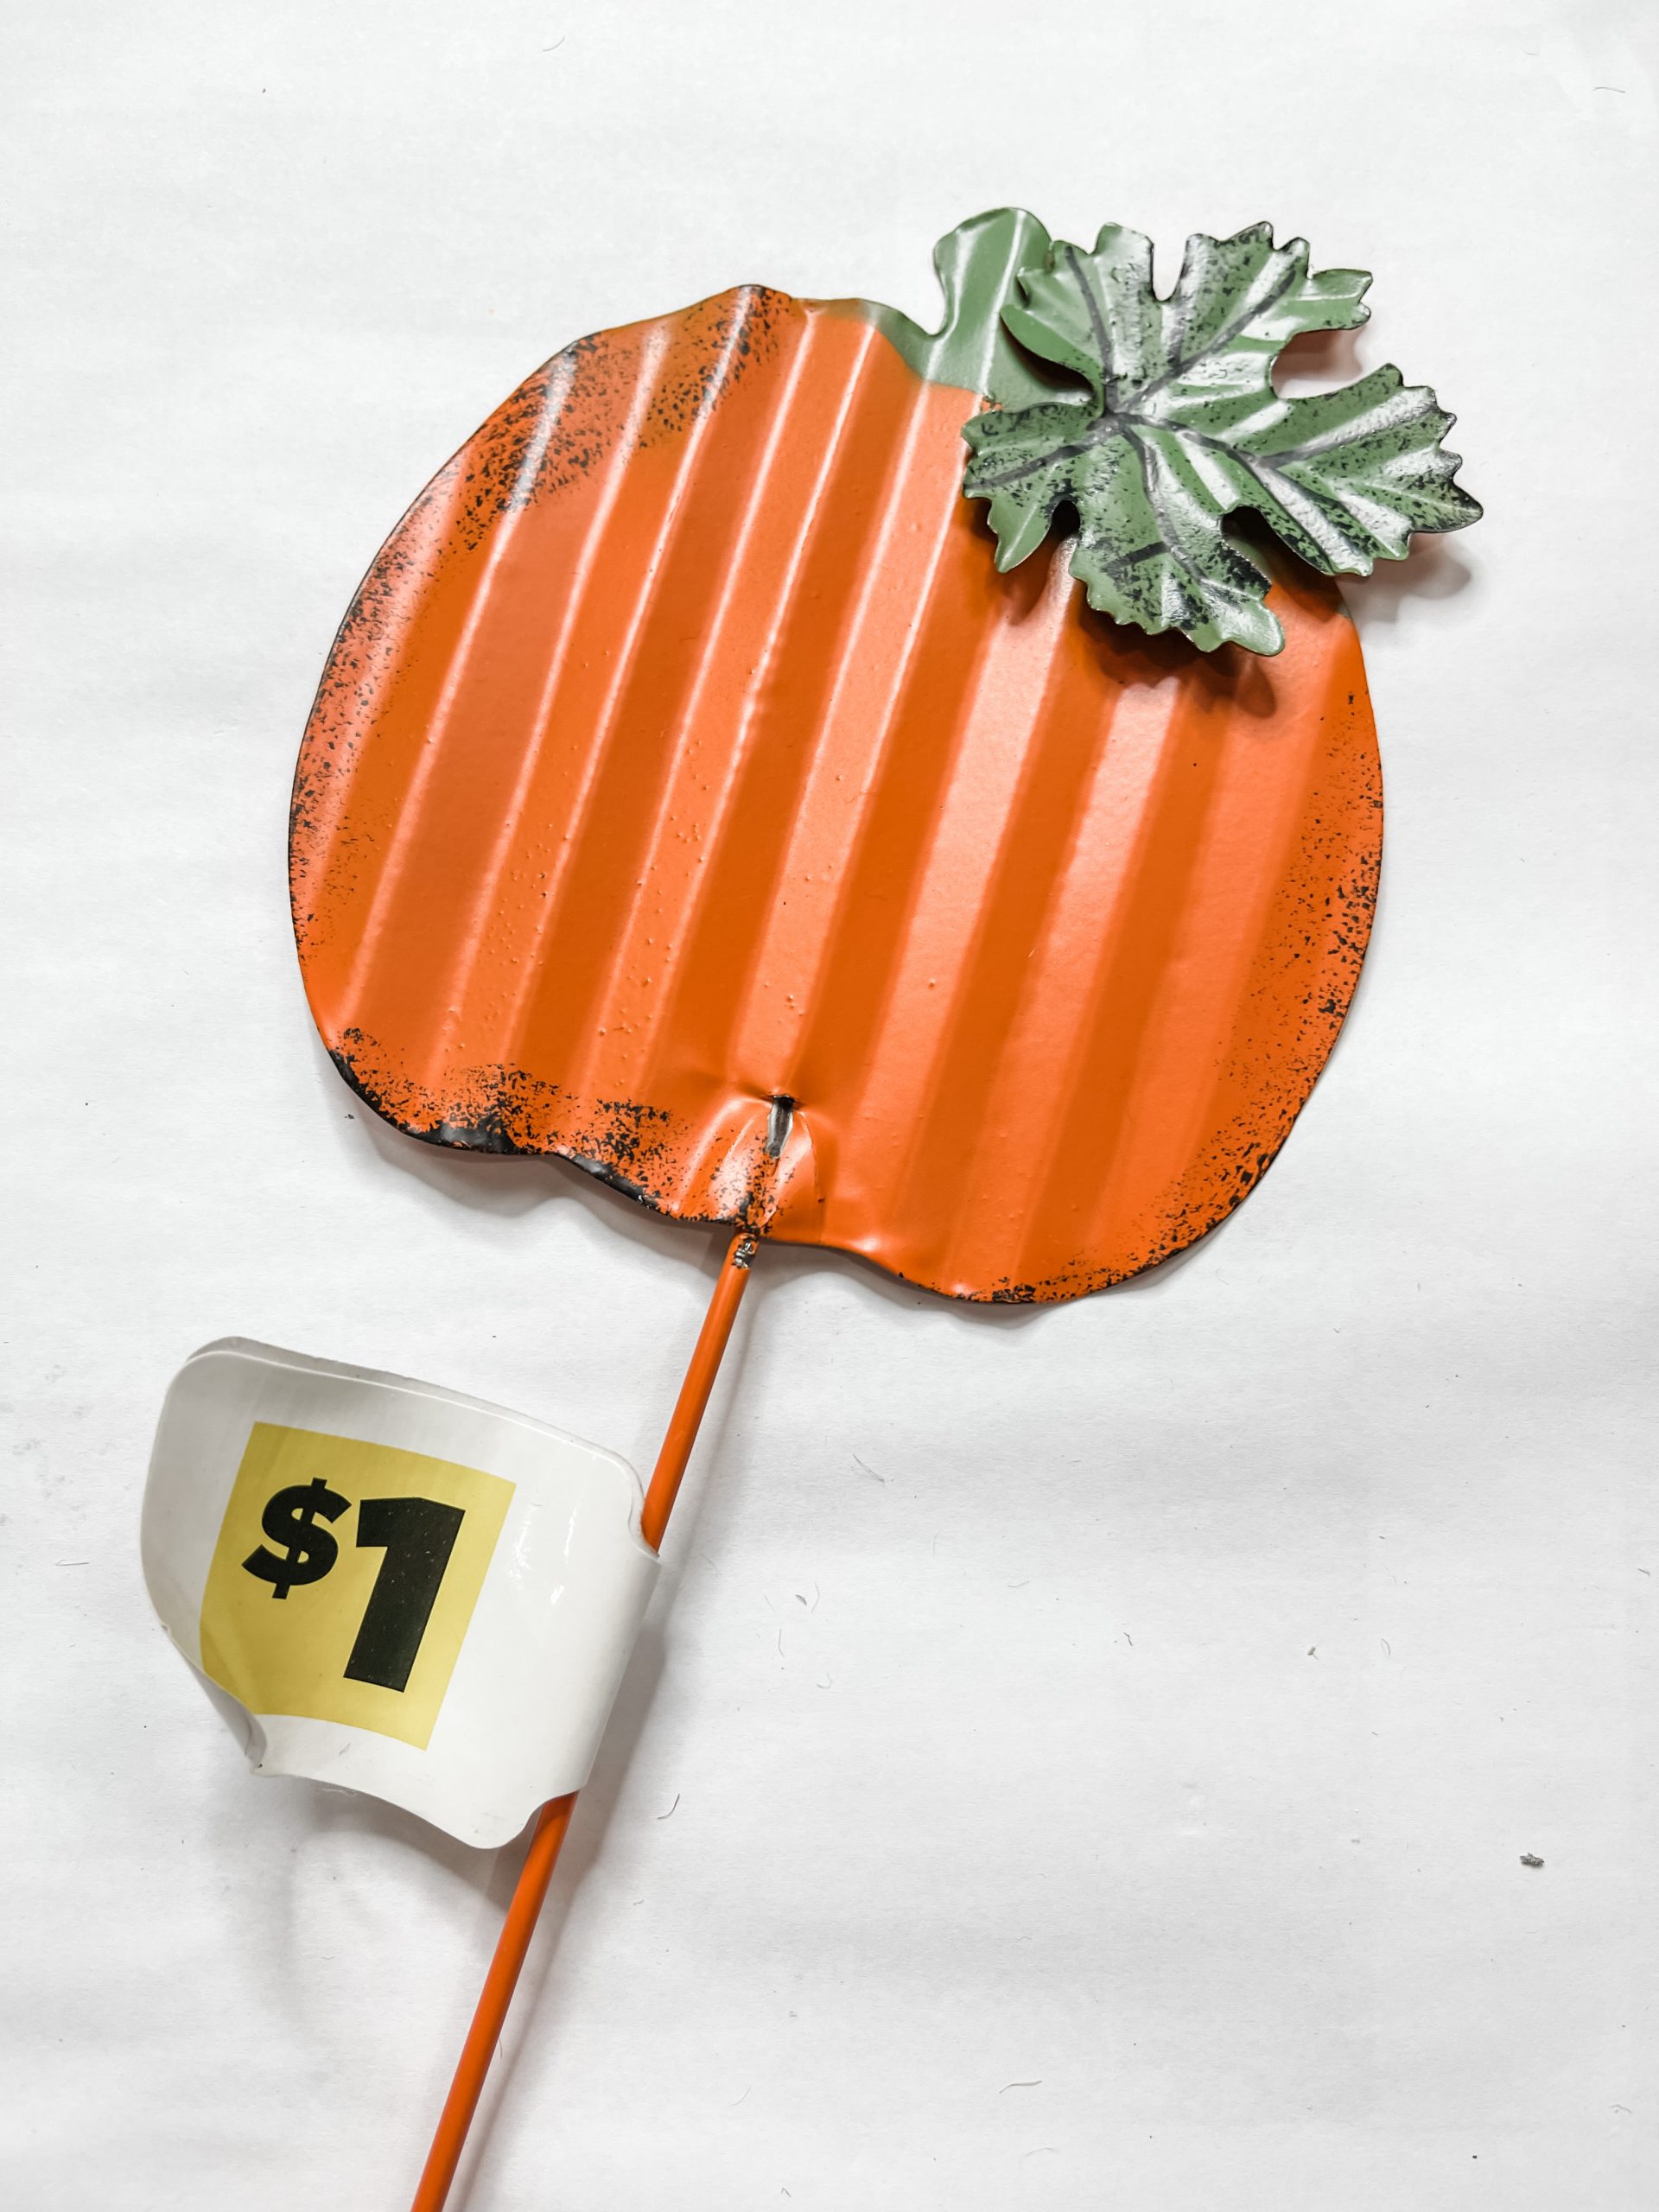
- Dollar Tree Metal Pumpkin Stake
- Burlap
- Dollar Tree Jute Twine
- Dollar Tree Wired Jute Cord
- Cardboard
- Dollar Tree Tumbling Tower Blocks
- Wood Beads
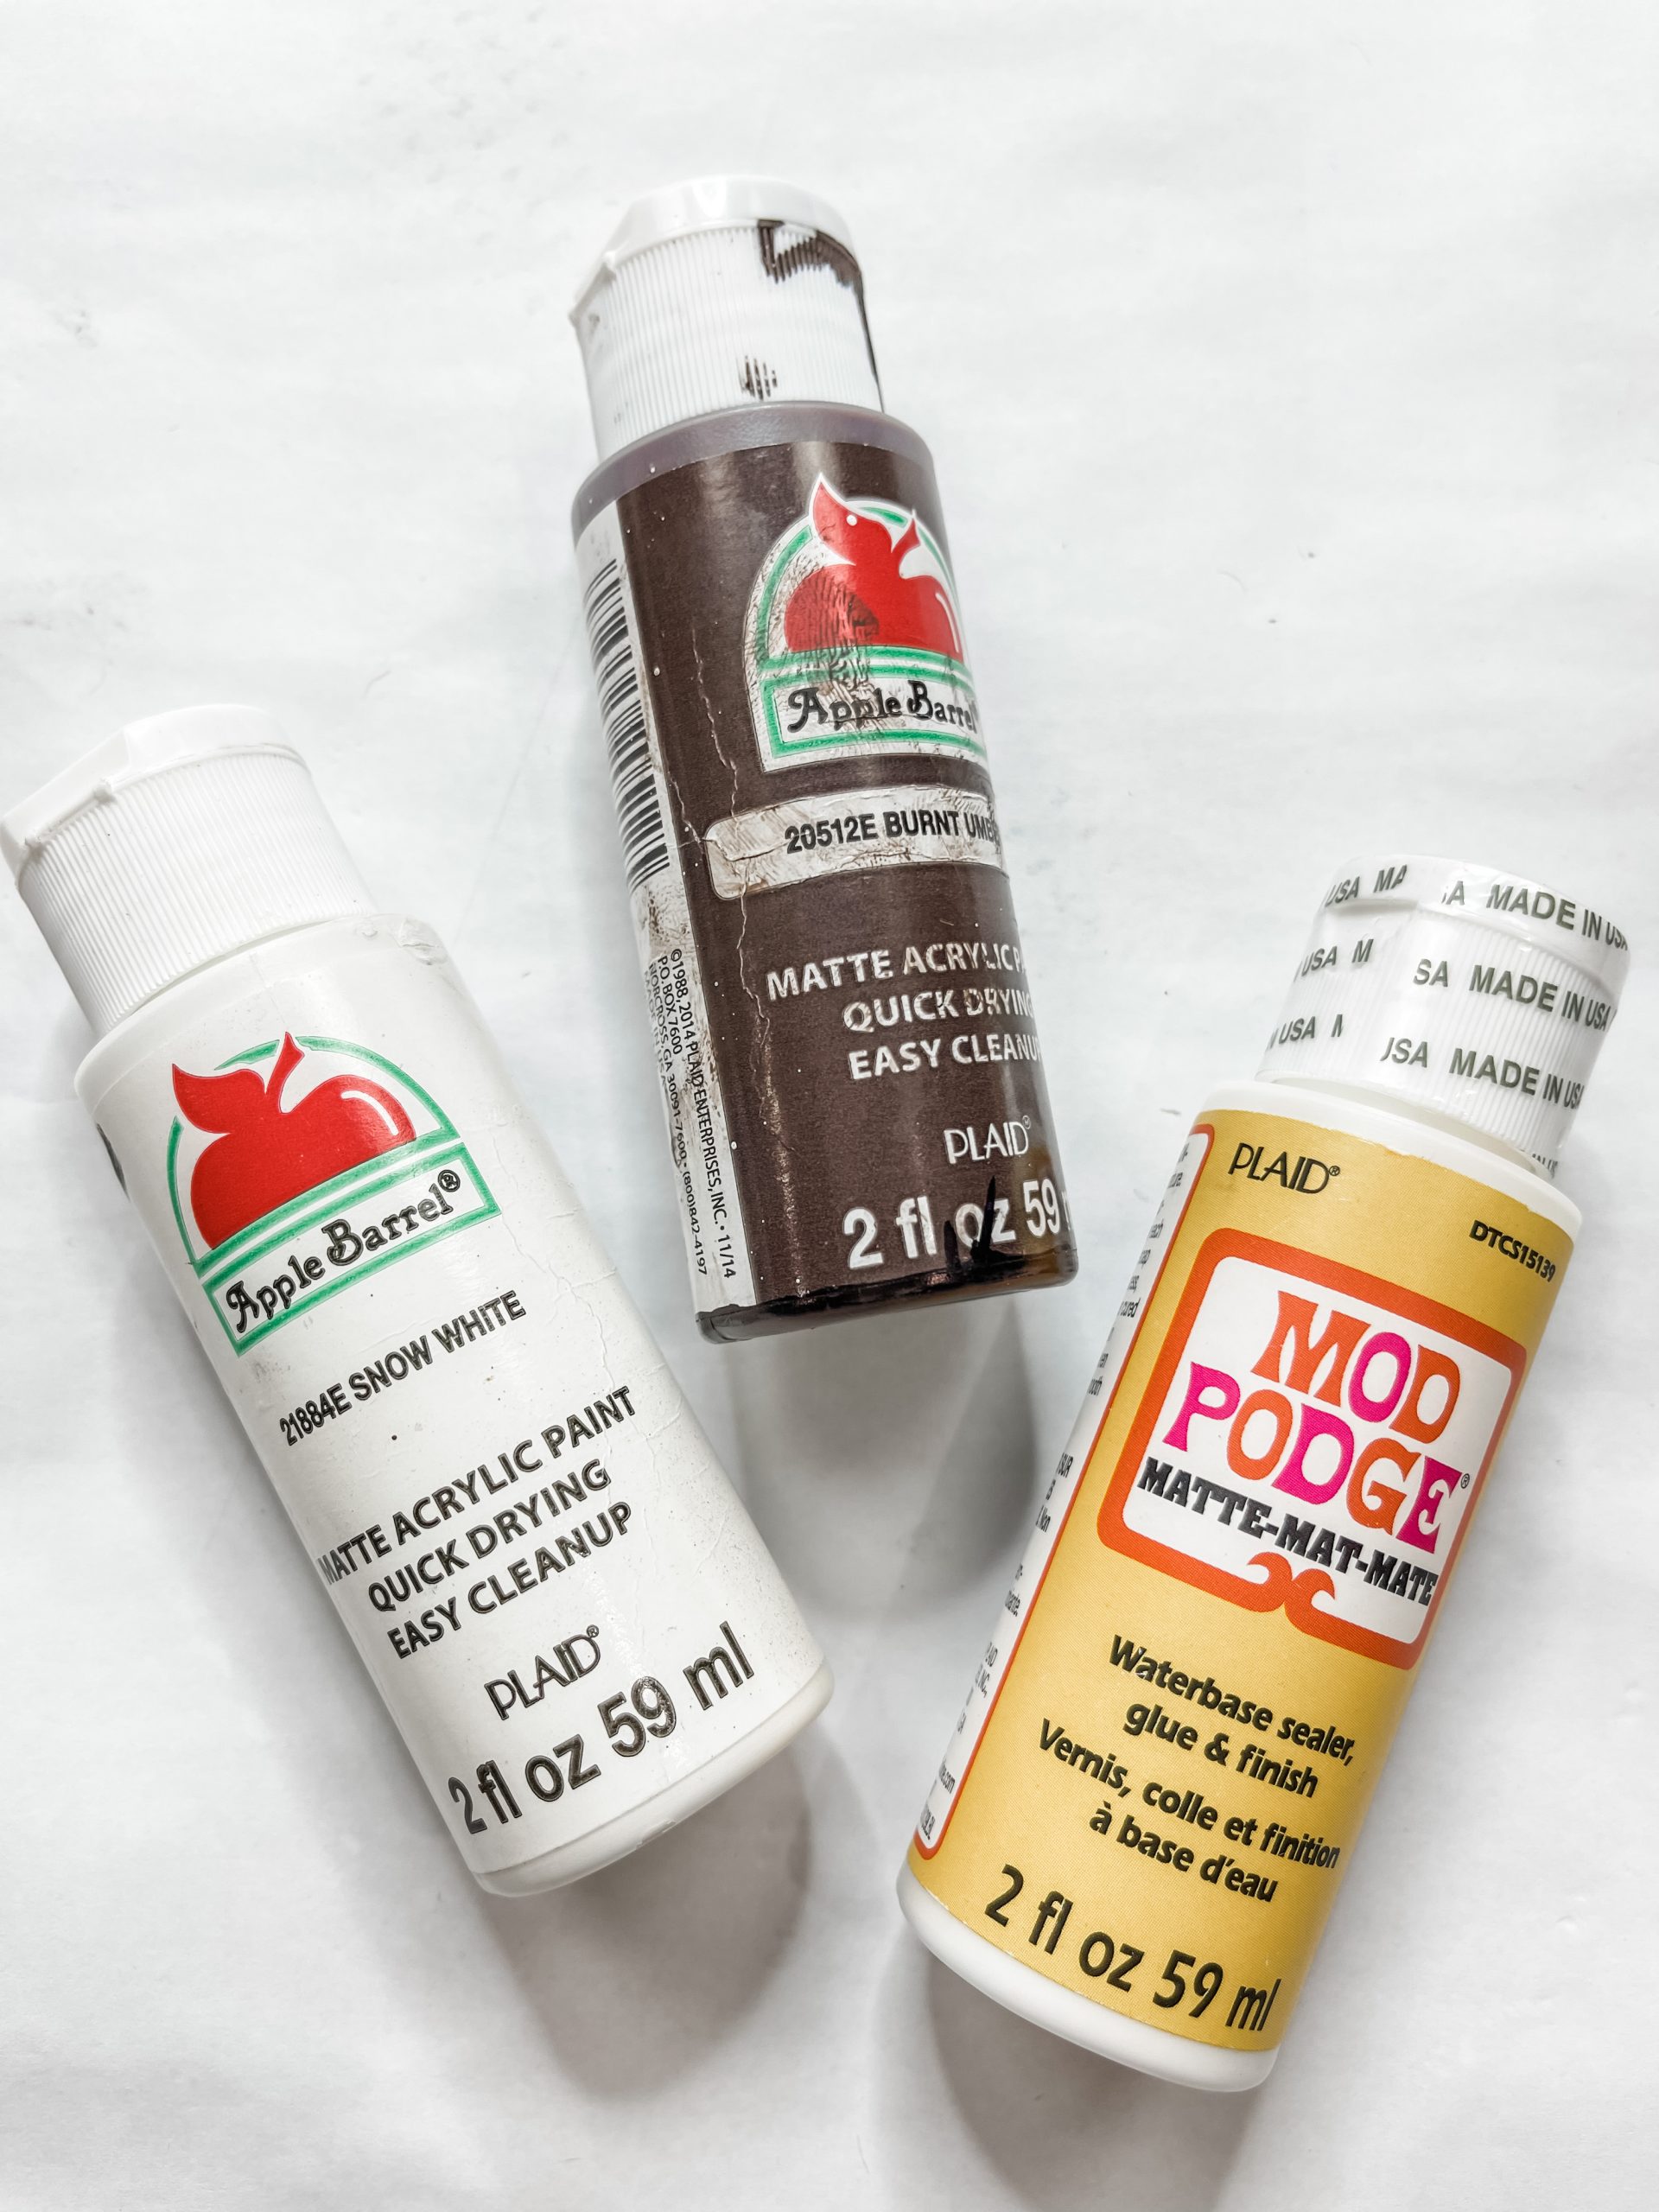
- Mod Podge
- Apple Barrel Snow White Acrylic Paint
- Apple Barrel Burnt Umber Acrylic Paint
- Hot Glue gun
- Glue Sticks
How to Make a DIY Fall Pumpkin Rustic Home Decor
Start by picking the design that you want to use for the background of your DIY Fall sign. I used an orange plaid napkin as my background.
I cut the patterned square out of the napkin and separated the napkin plies so that I could decoupage the napkin onto the cardboard.
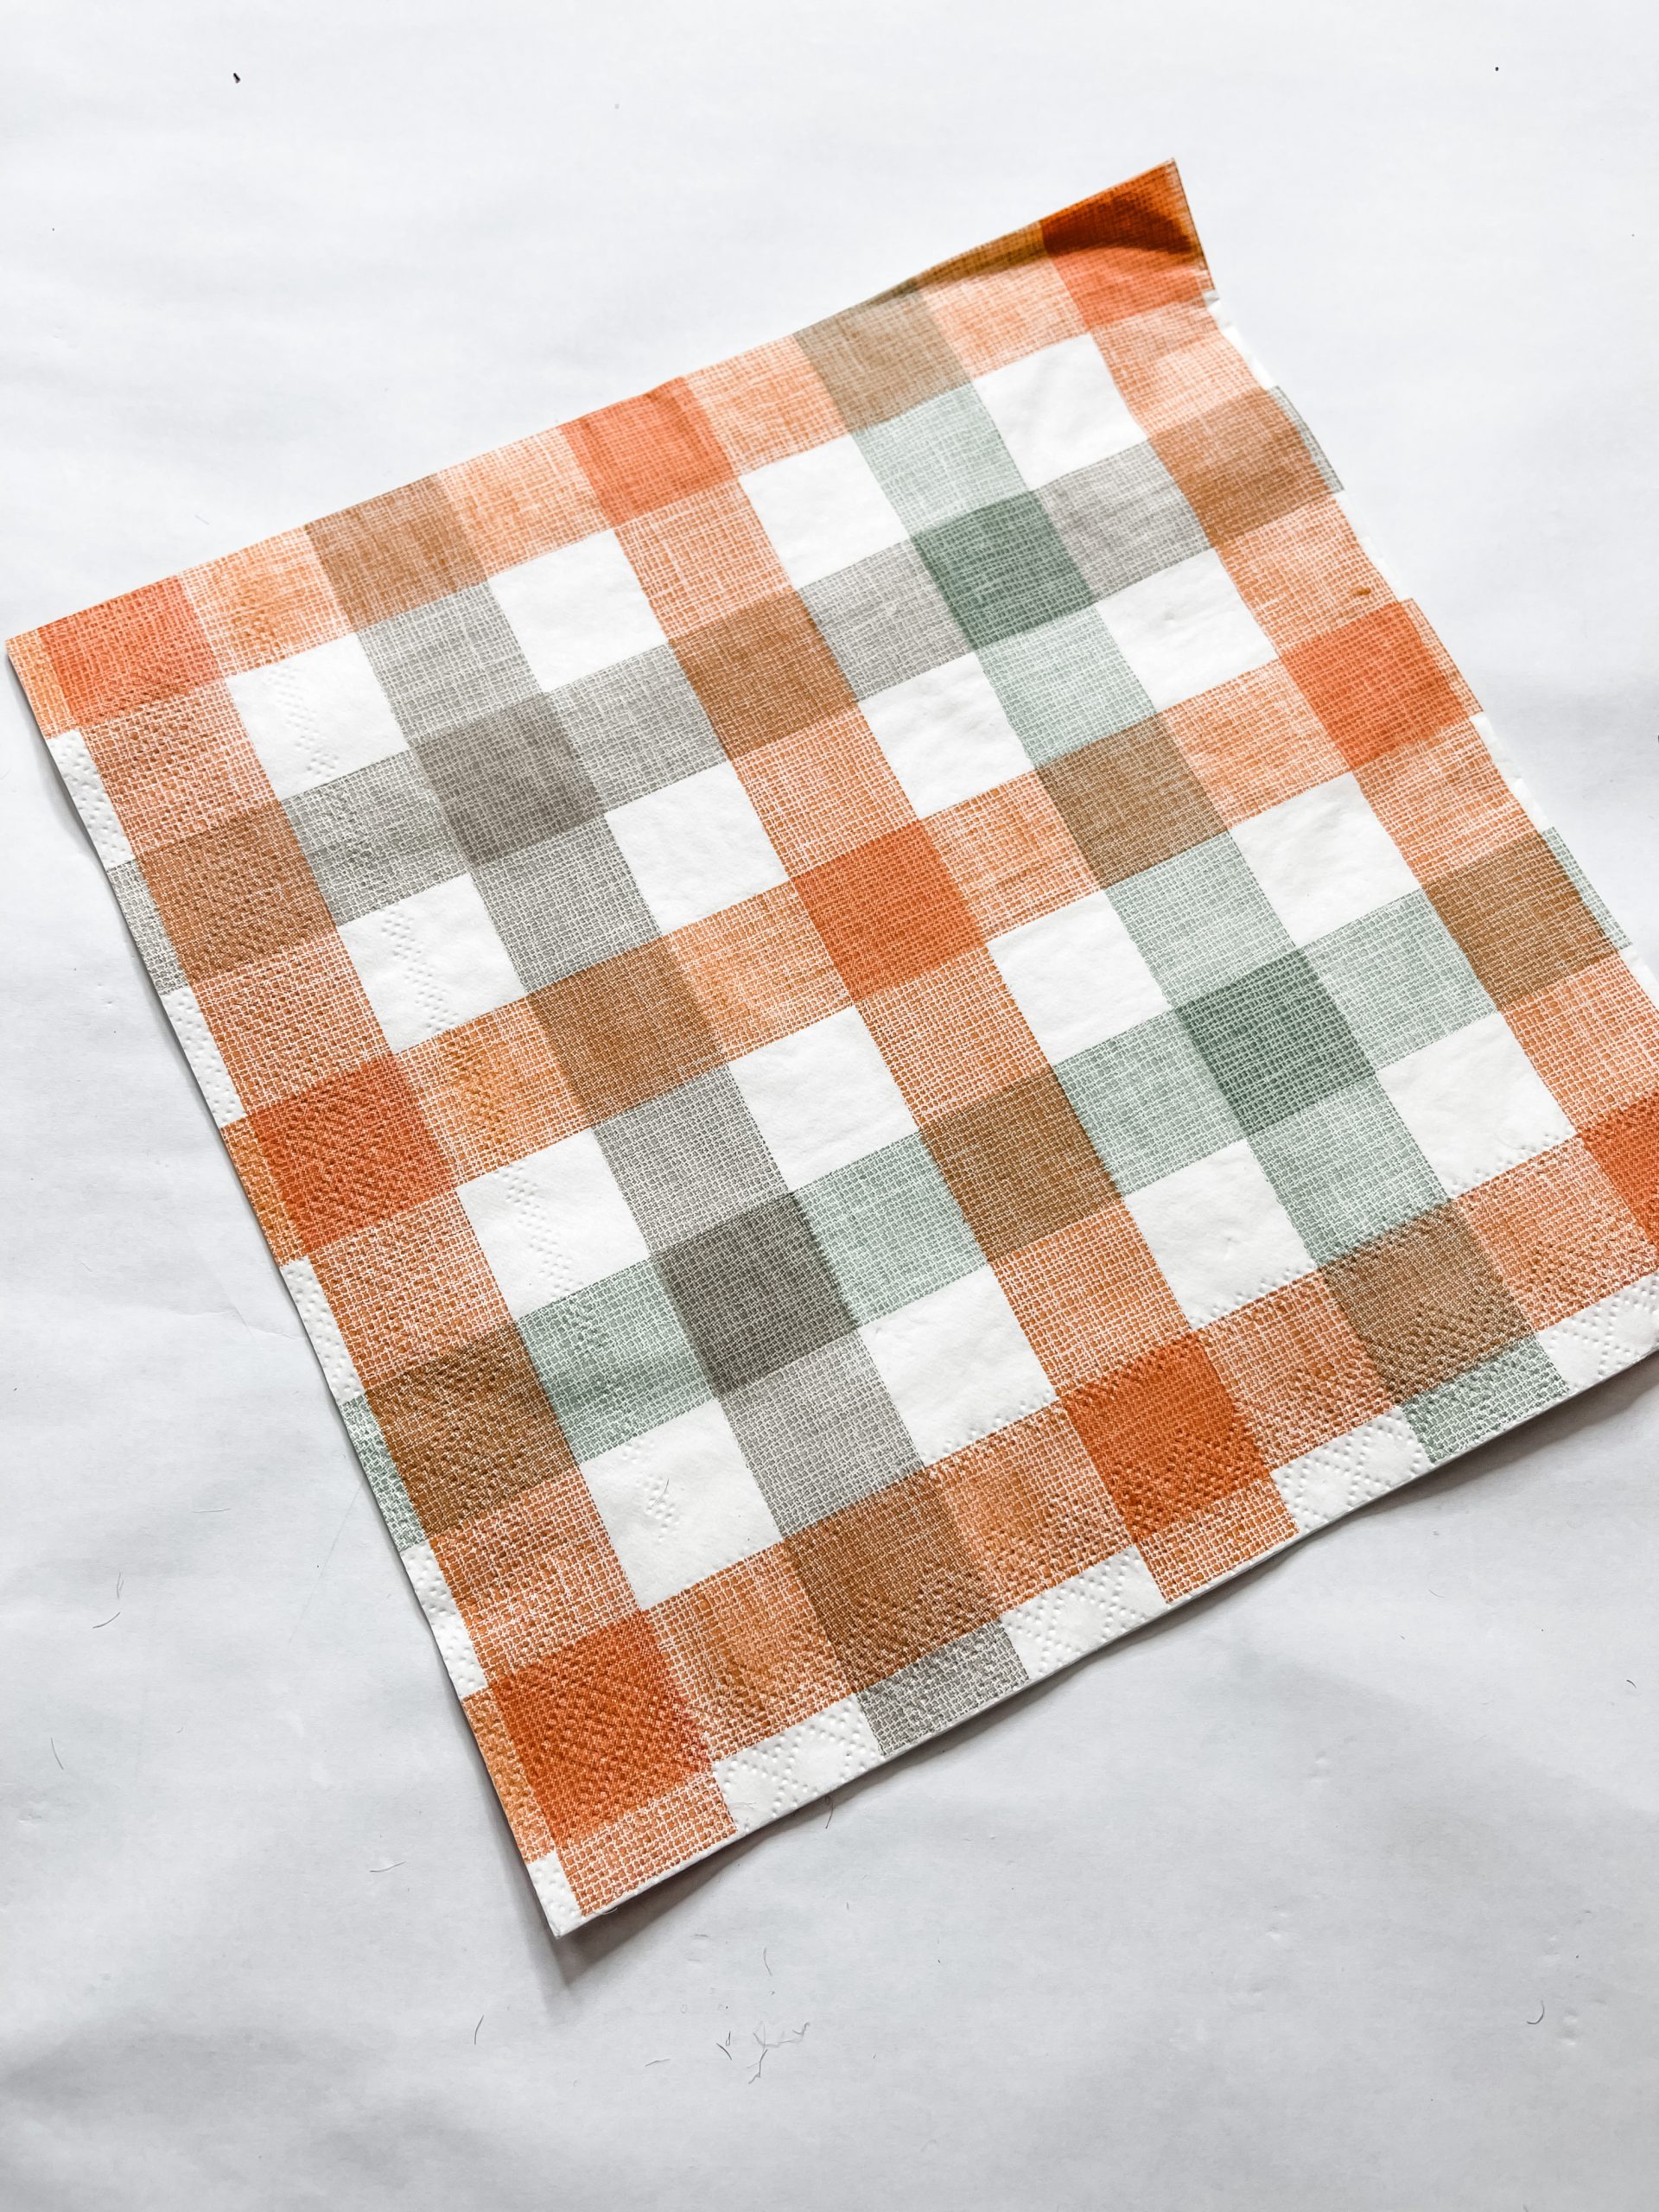
When you’re decoupaging napkins, you have to separate the plies first, or the top ply might not adhere properly and could start to pull up from the surface later.
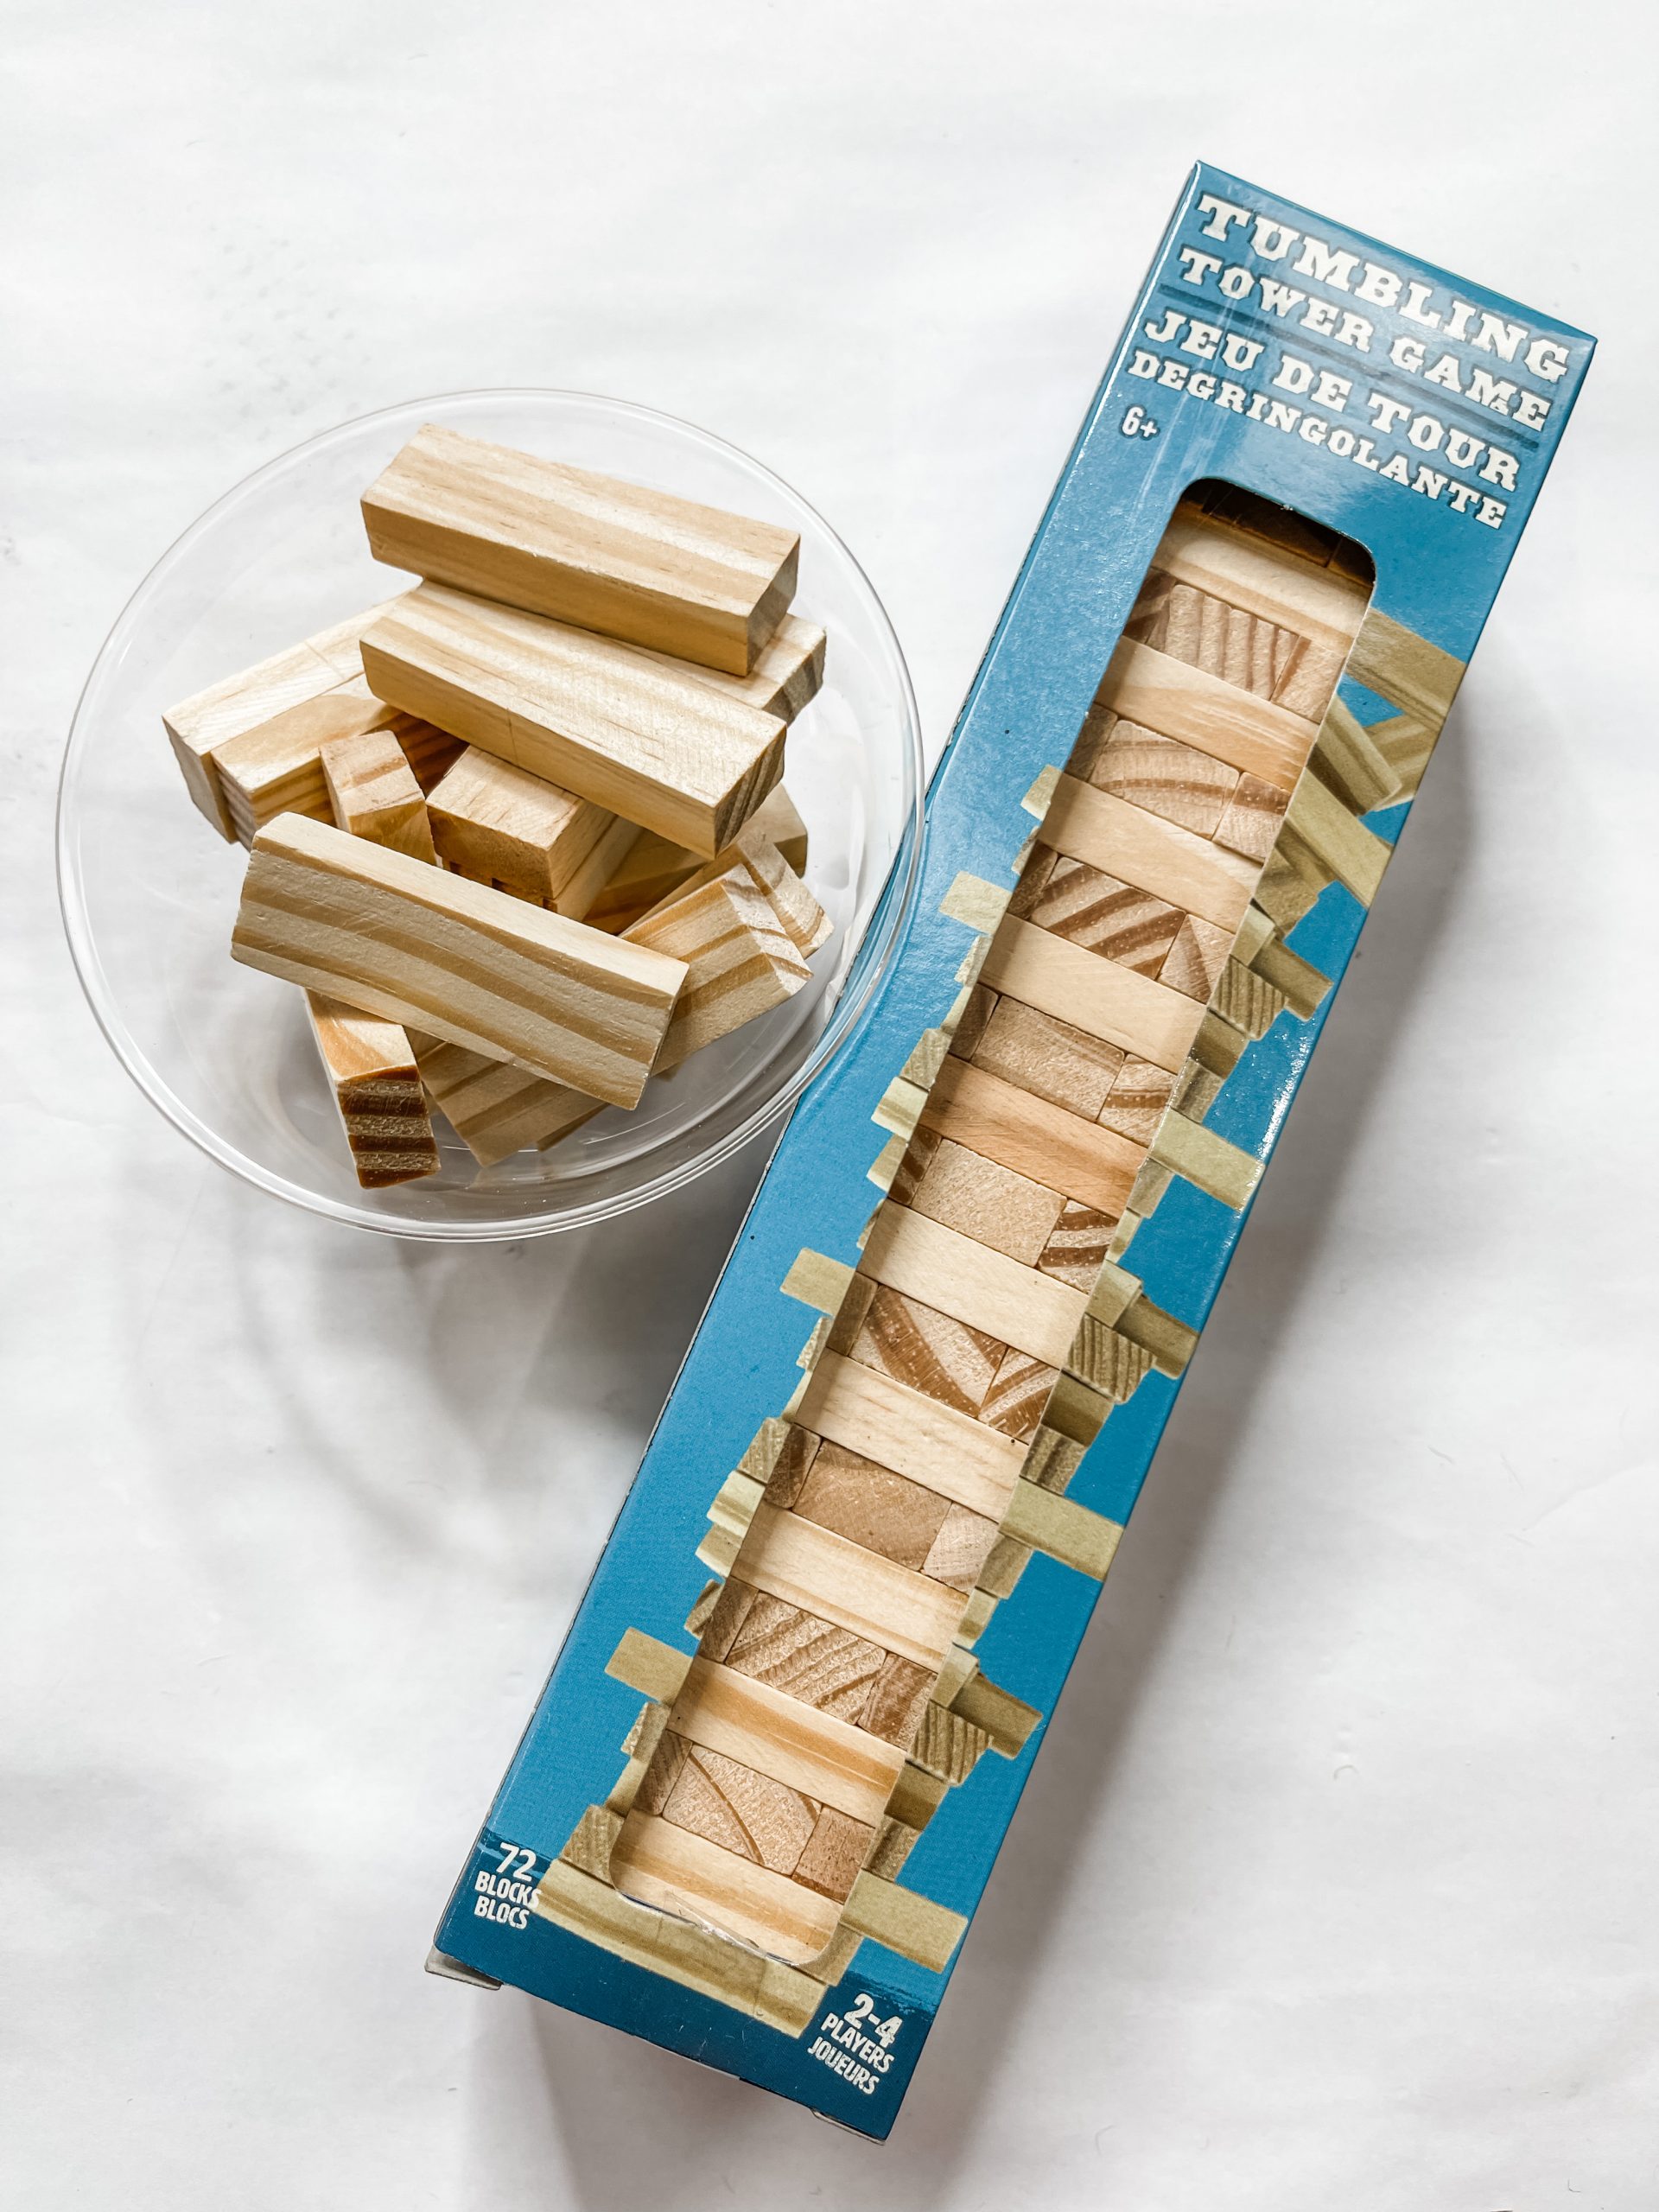
Then, I laid my napkin piece on the cardboard and dry placed Dollar Tree Tumbling Tower blocks to frame around the napkin.
Mark the edges of the block frame so you know where you need to trim the cardboard. Cut the cardboard to the right size.
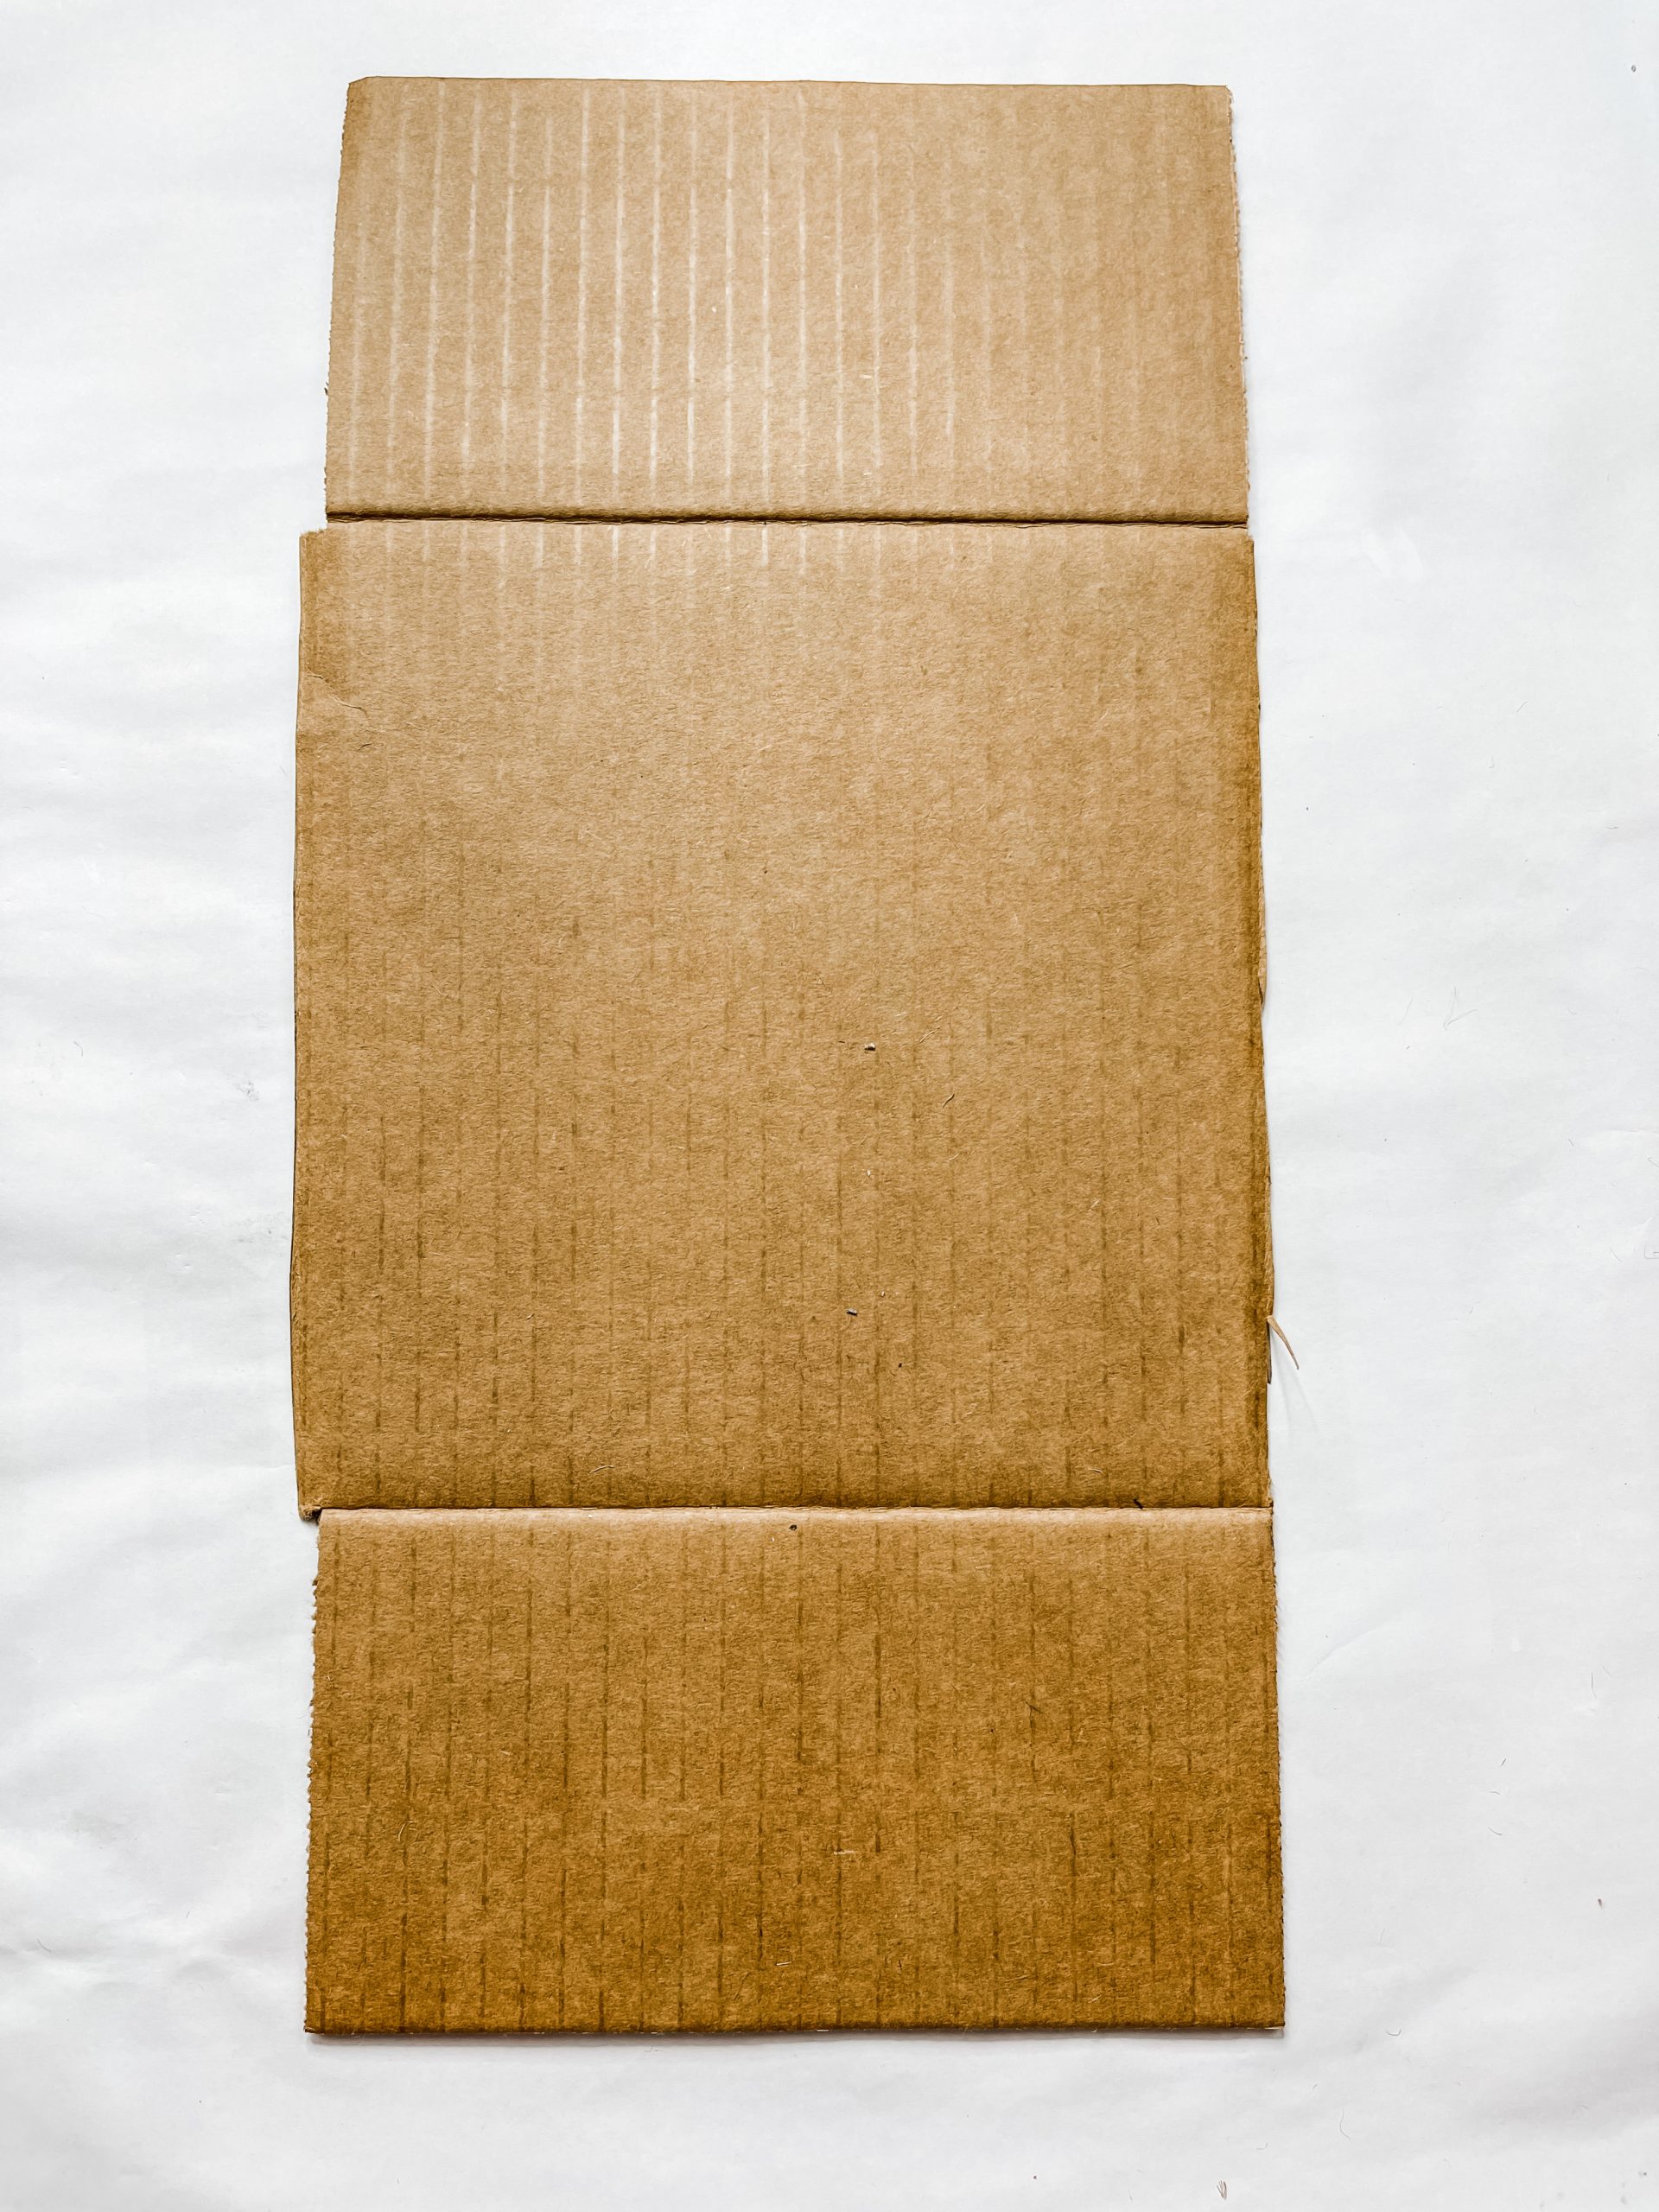
How to DIY with cardboard
Before you can decoupage the napkin onto the cardboard, you need to paint it white. Otherwise, the brown color of the cardboard might show through the napkin.
Allow the white paint to dry completely (I used my heat gun to speed up the drying process). I had to hot glue two craft sticks across the back of the cardboard to make it sturdier.
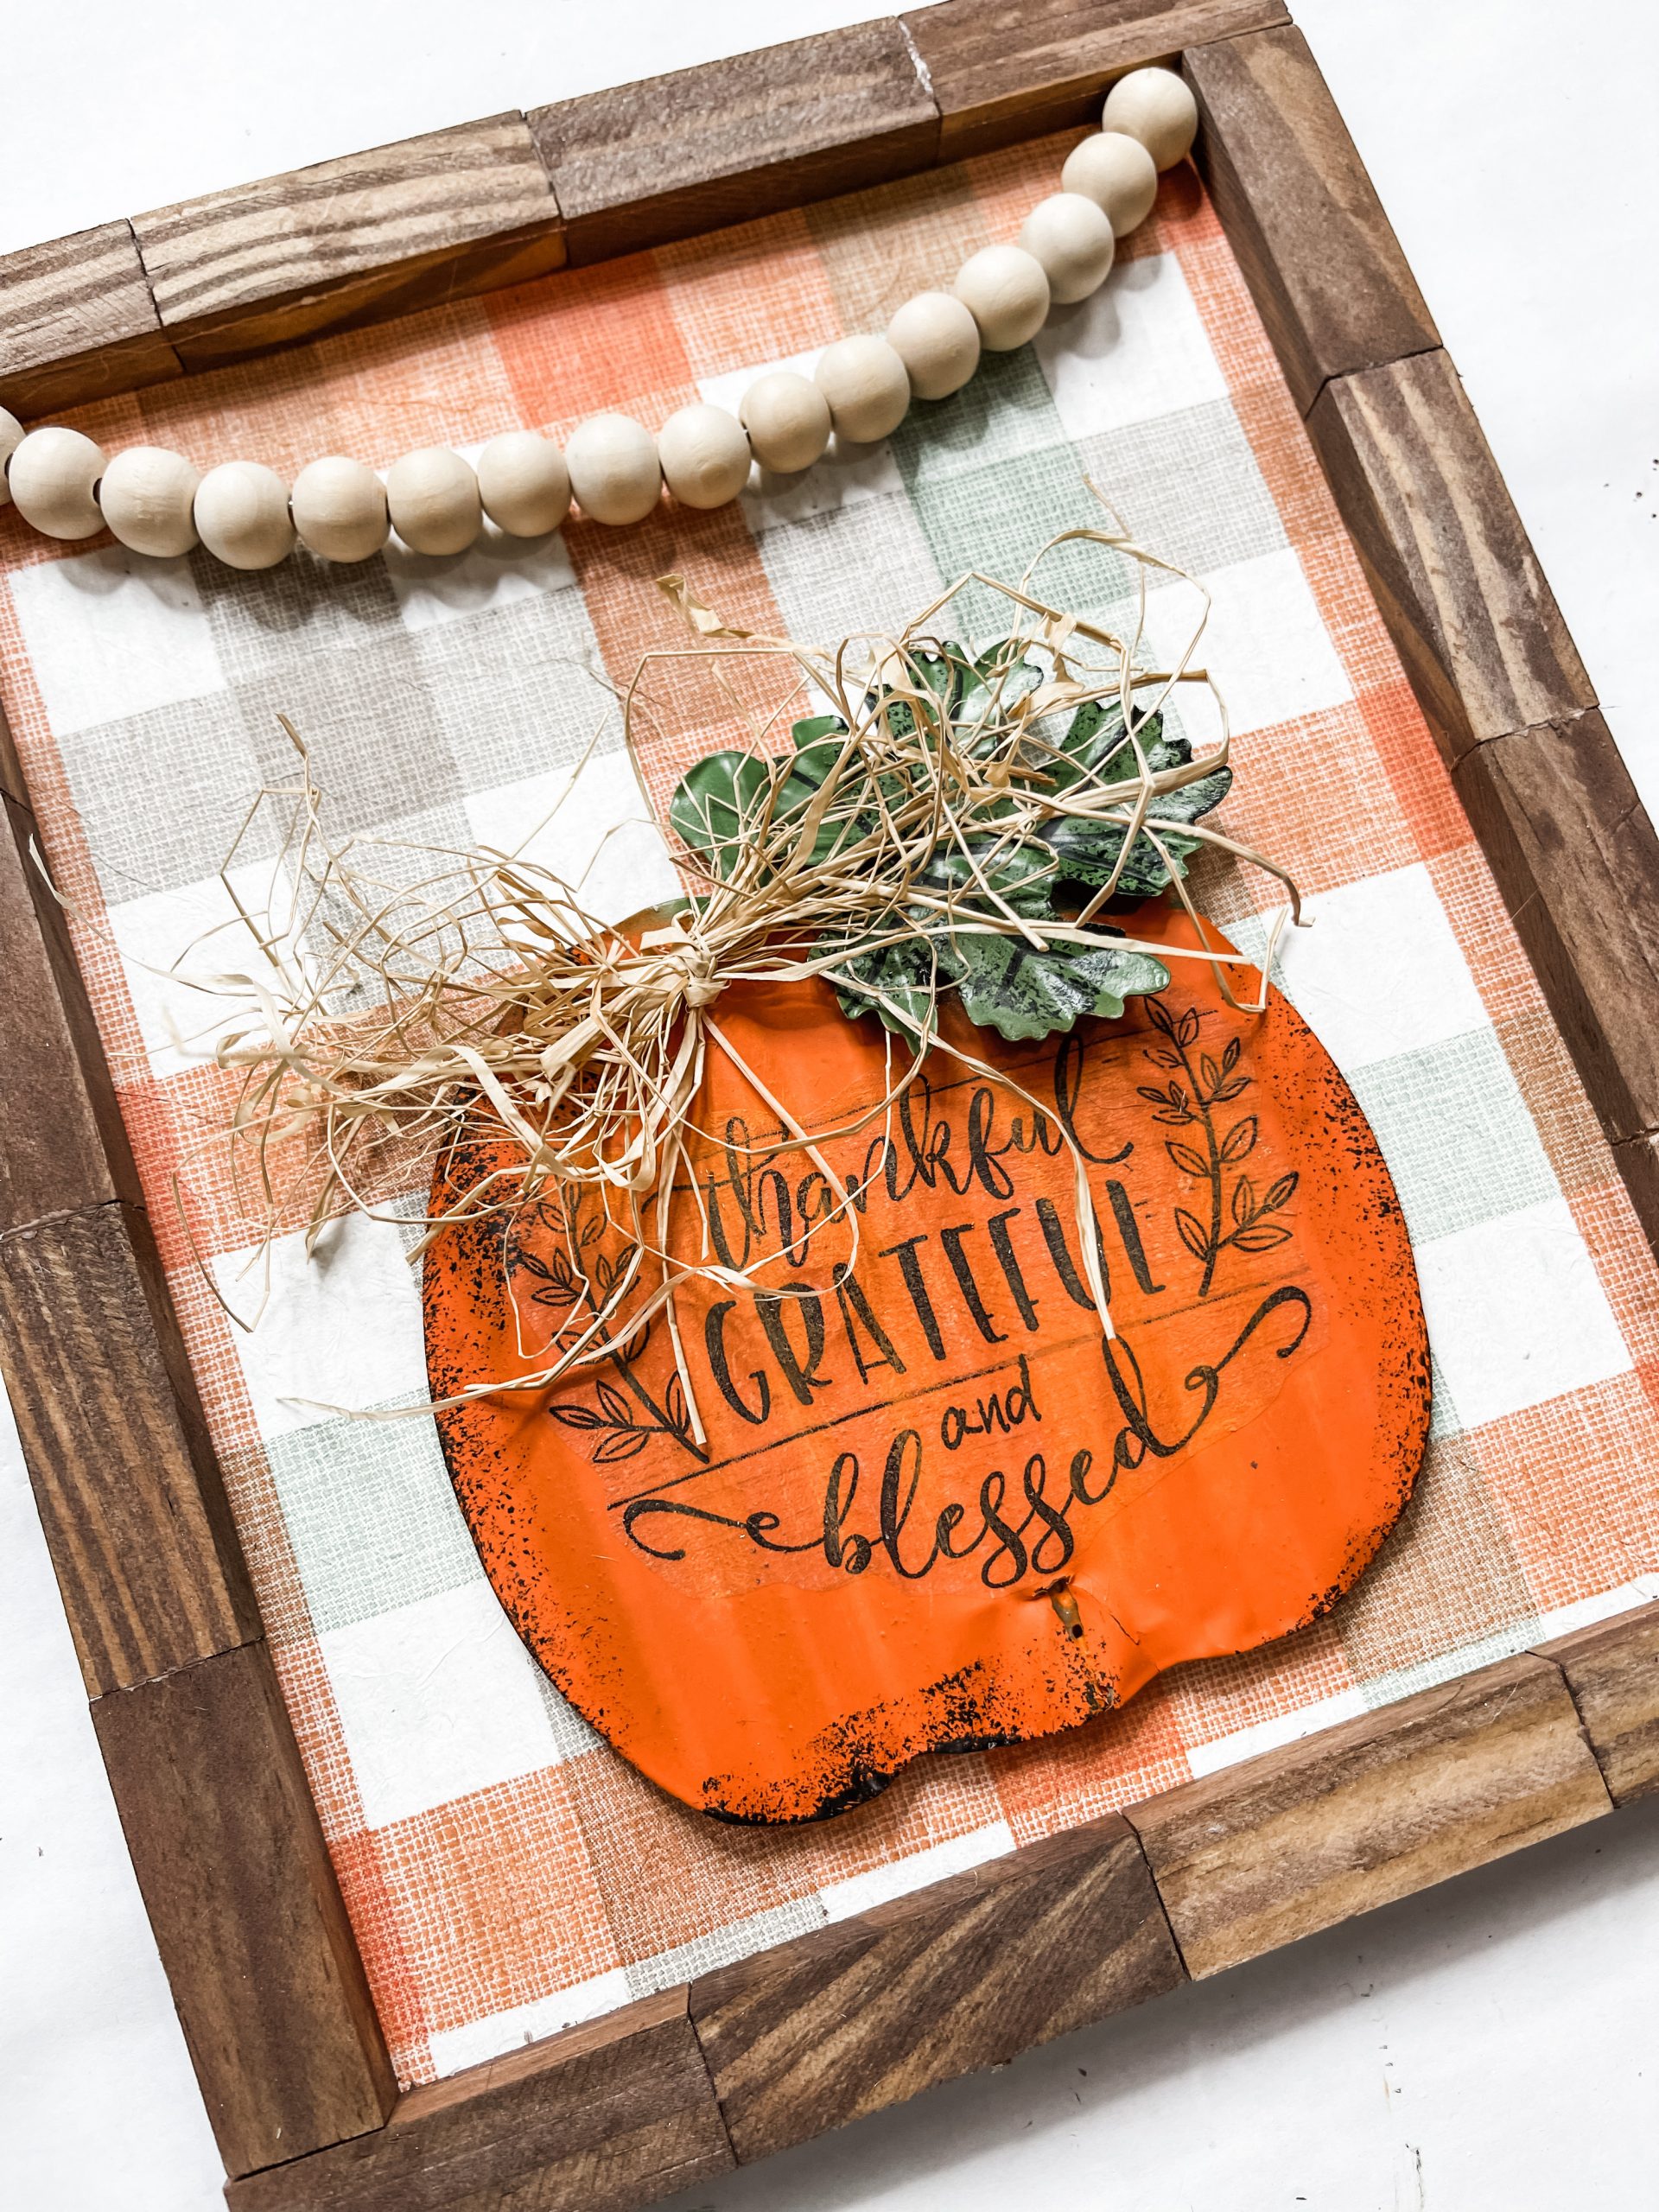
Next, you’re going to create the frame for your DIY rustic Fall sign. Hot glue the Tumbling Tower blocks together to create each side of your frame.
Use a sanding sponge to remove any hot glue from the surfaces of the blocks, then set them to the side for now.
How to decoupage napkins
Apply a coat of Mod Podge on the cardboard. Make sure to get even coverage so the napkin adheres evenly across the cardboard.
Place the napkin onto the Mod Podge and use a piece of plastic saran wrap to smooth out any wrinkles or bubbles in the napkin.
Sand off any excess napkin from the edges of the cardboard, and set the decoupaged cardboard to the side for now.
How to stain wood with Apple Barrel paint
Pour a bit of Apple Barrel Burnt Umber Acrylic Paint into a small mixing bowl and stir in a small amount of water.
Use a paintbrush to spread the paint/water mixture onto the wood block strips and wipe the excess off the surface with a wet wipe.
Keep going until each side of all the blocks are stained, then allow them to dry completely. I like to use my heat gun, but you can use a hairdryer on the low cool setting as well.
Craft with Dollar Tree’s metal pumpkin stake
To use a Dollar Tree metal pumpkin stake for this easy Fall DIY home decor, you need to remove the metal stake.
You can bend the stake back and forth to break it off or use a pair of aviation snips to cut the metal stake. Either way, be careful not to injure your hands on the metal.
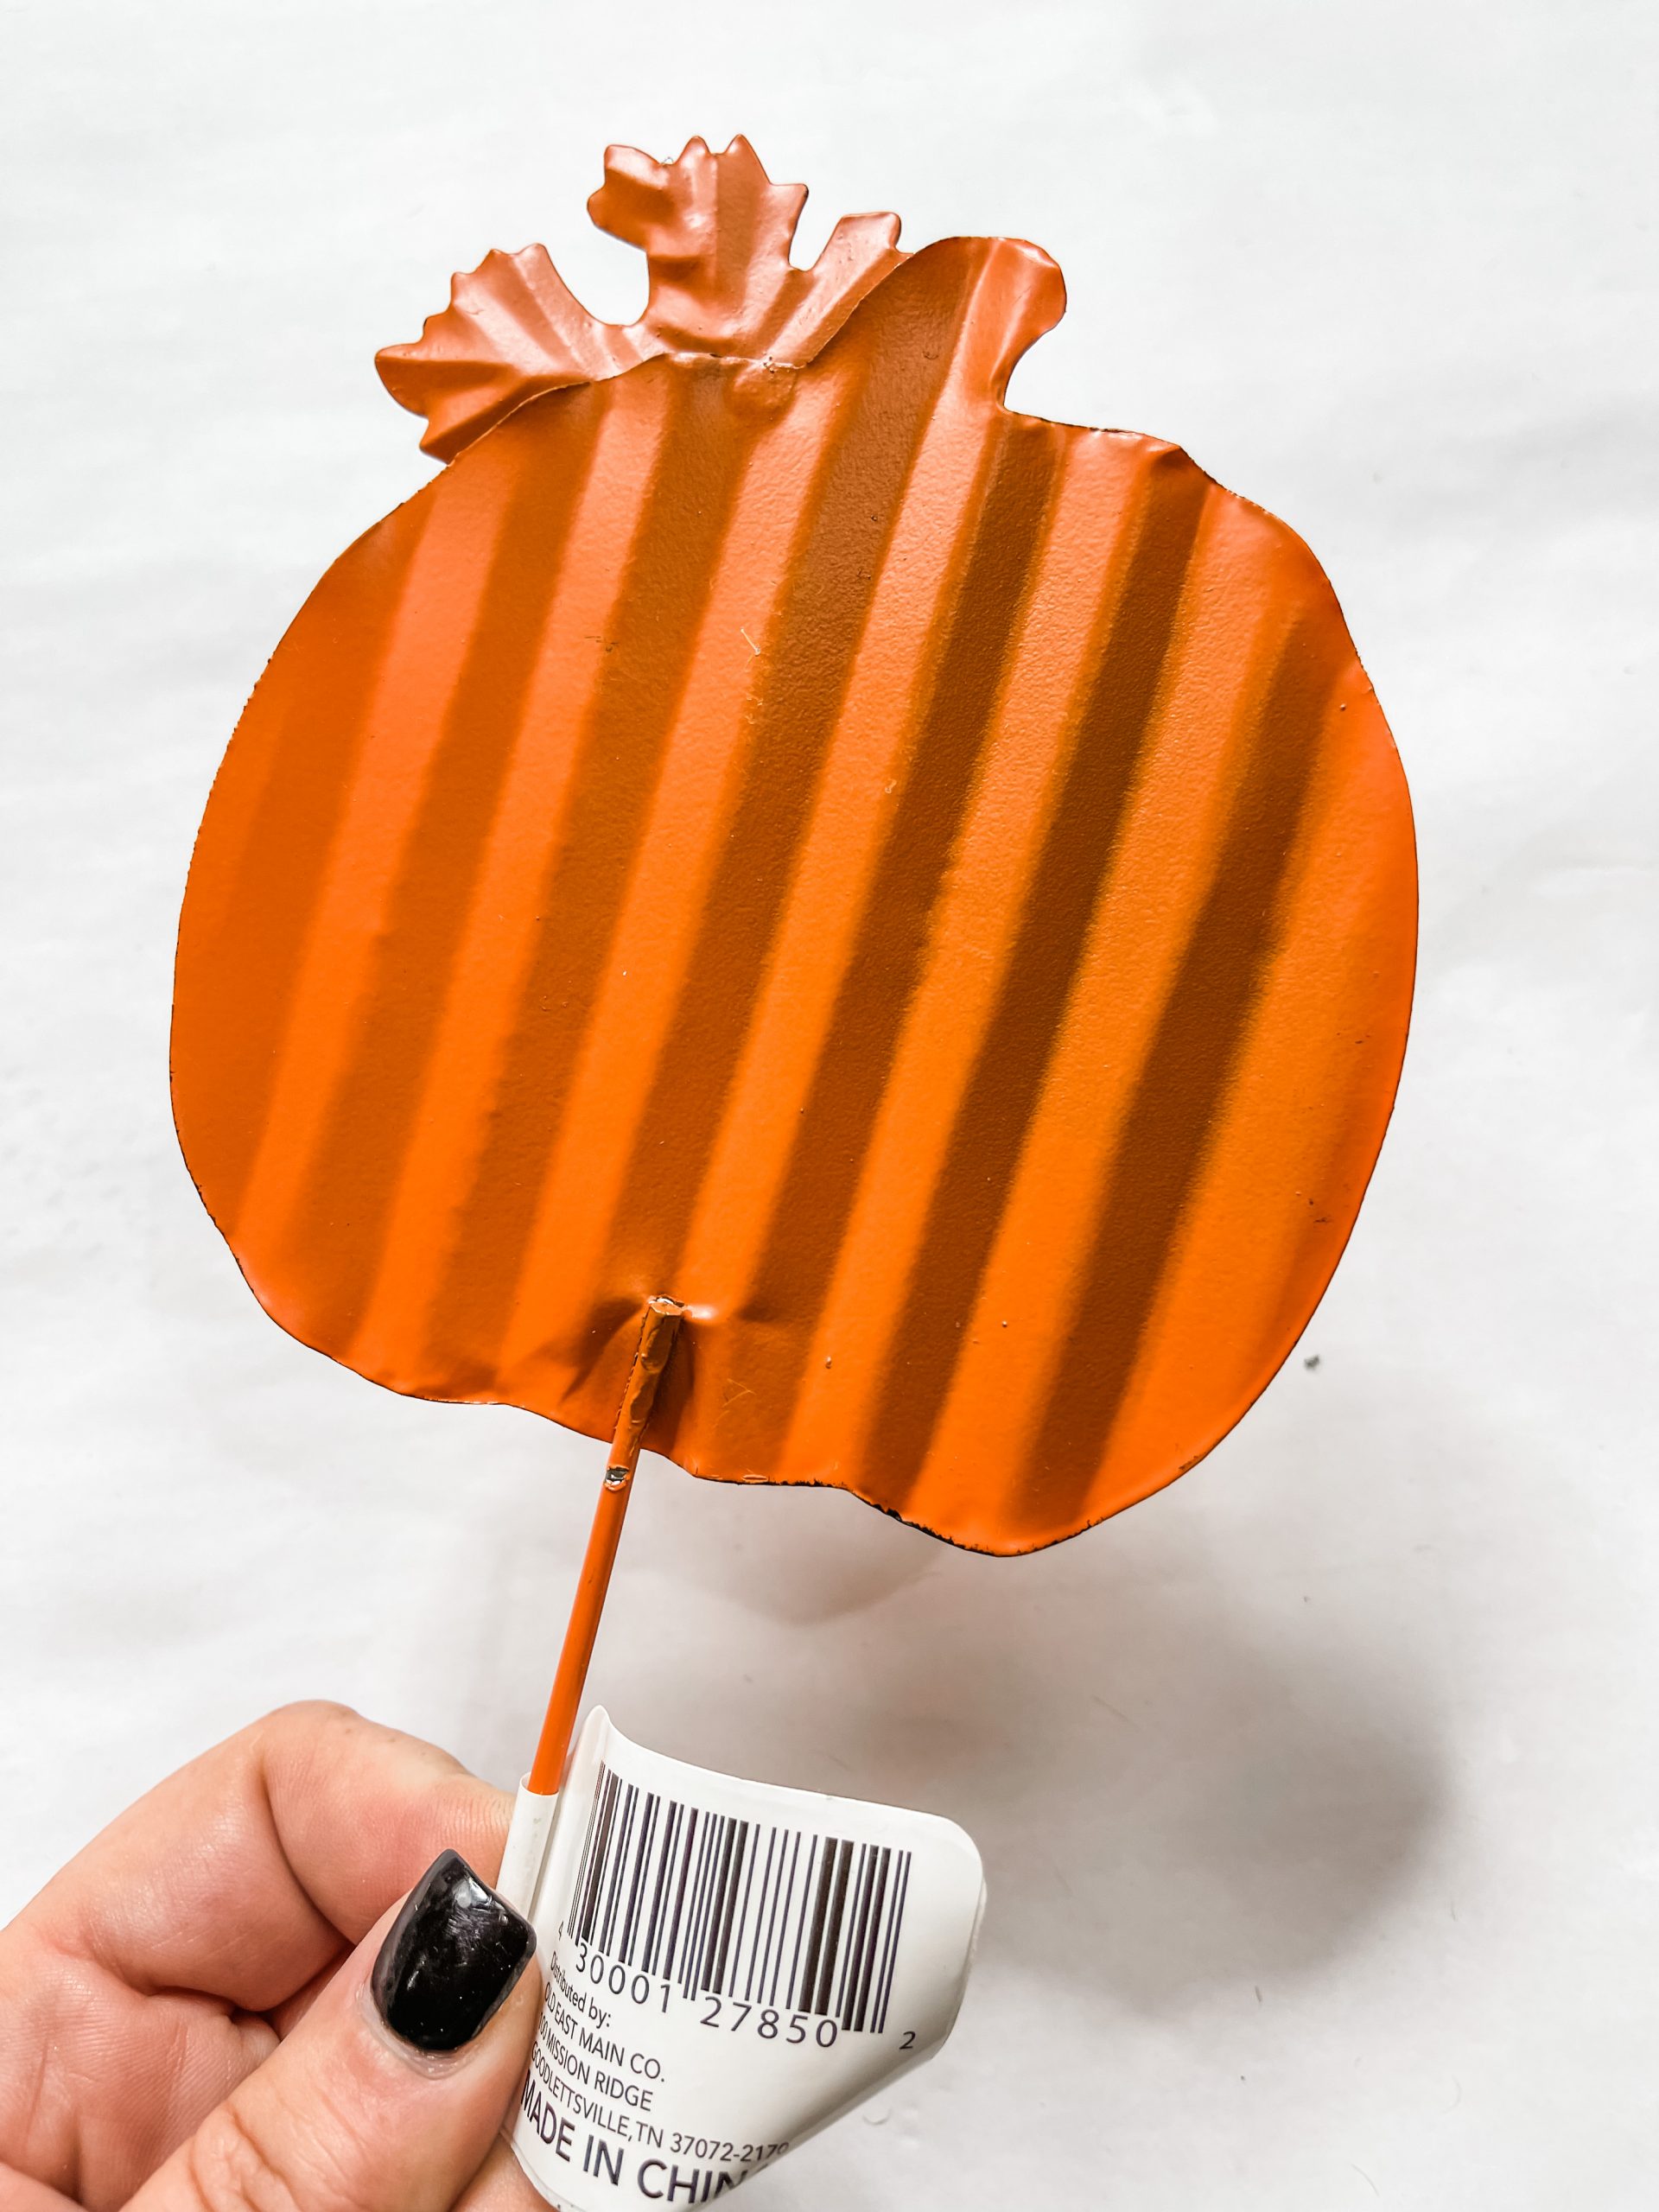
To decoupage the napkin phrase onto the metal pumpkin, you need to separate the plies just like you did to decoupage the plaid napkin on the cardboard.
Cut out the phrase that you want to decoupage, mix some Mod Podge with water in a small bowl and coat the metal pumpkin with the mixture.
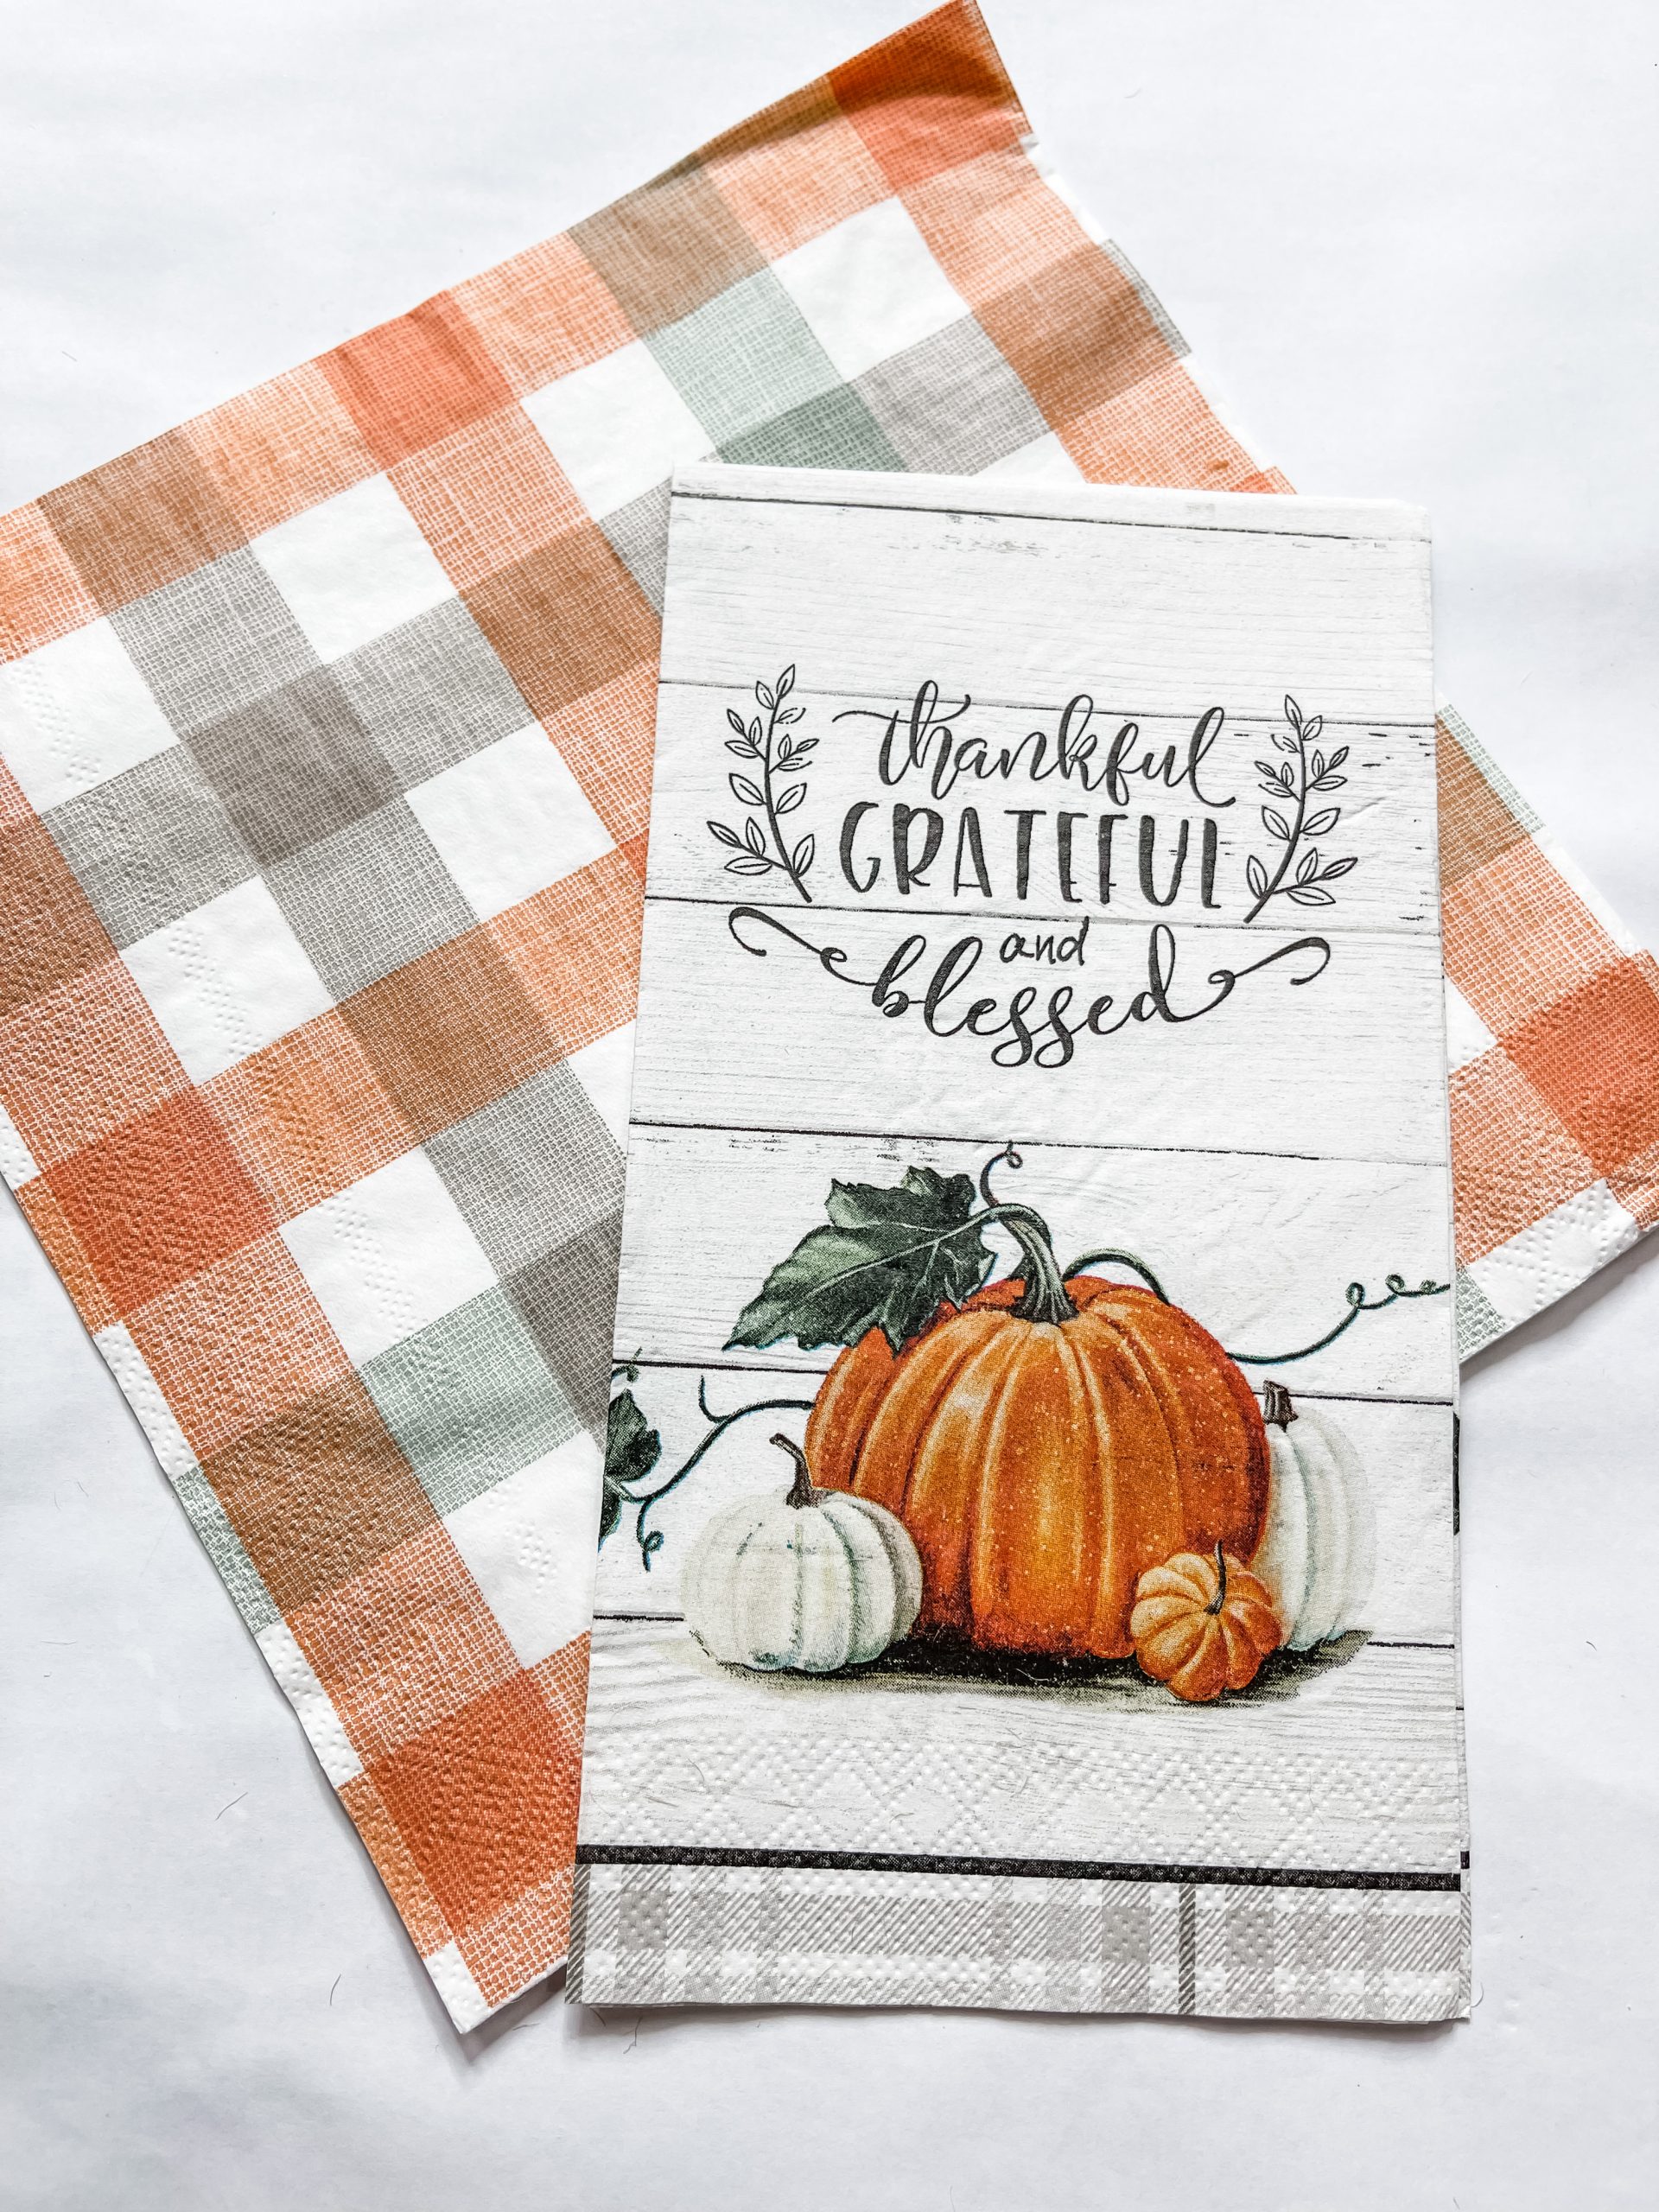
Place the napkin phrase cut out onto the pumpkin and brush the Mod Podge/water mixture over top the napkin. Allow the Mod Podge to dry completely.
I then painted over the napkin with a bit of orange paint to help blend it with the metal pumpkin and look like the saying was always there!
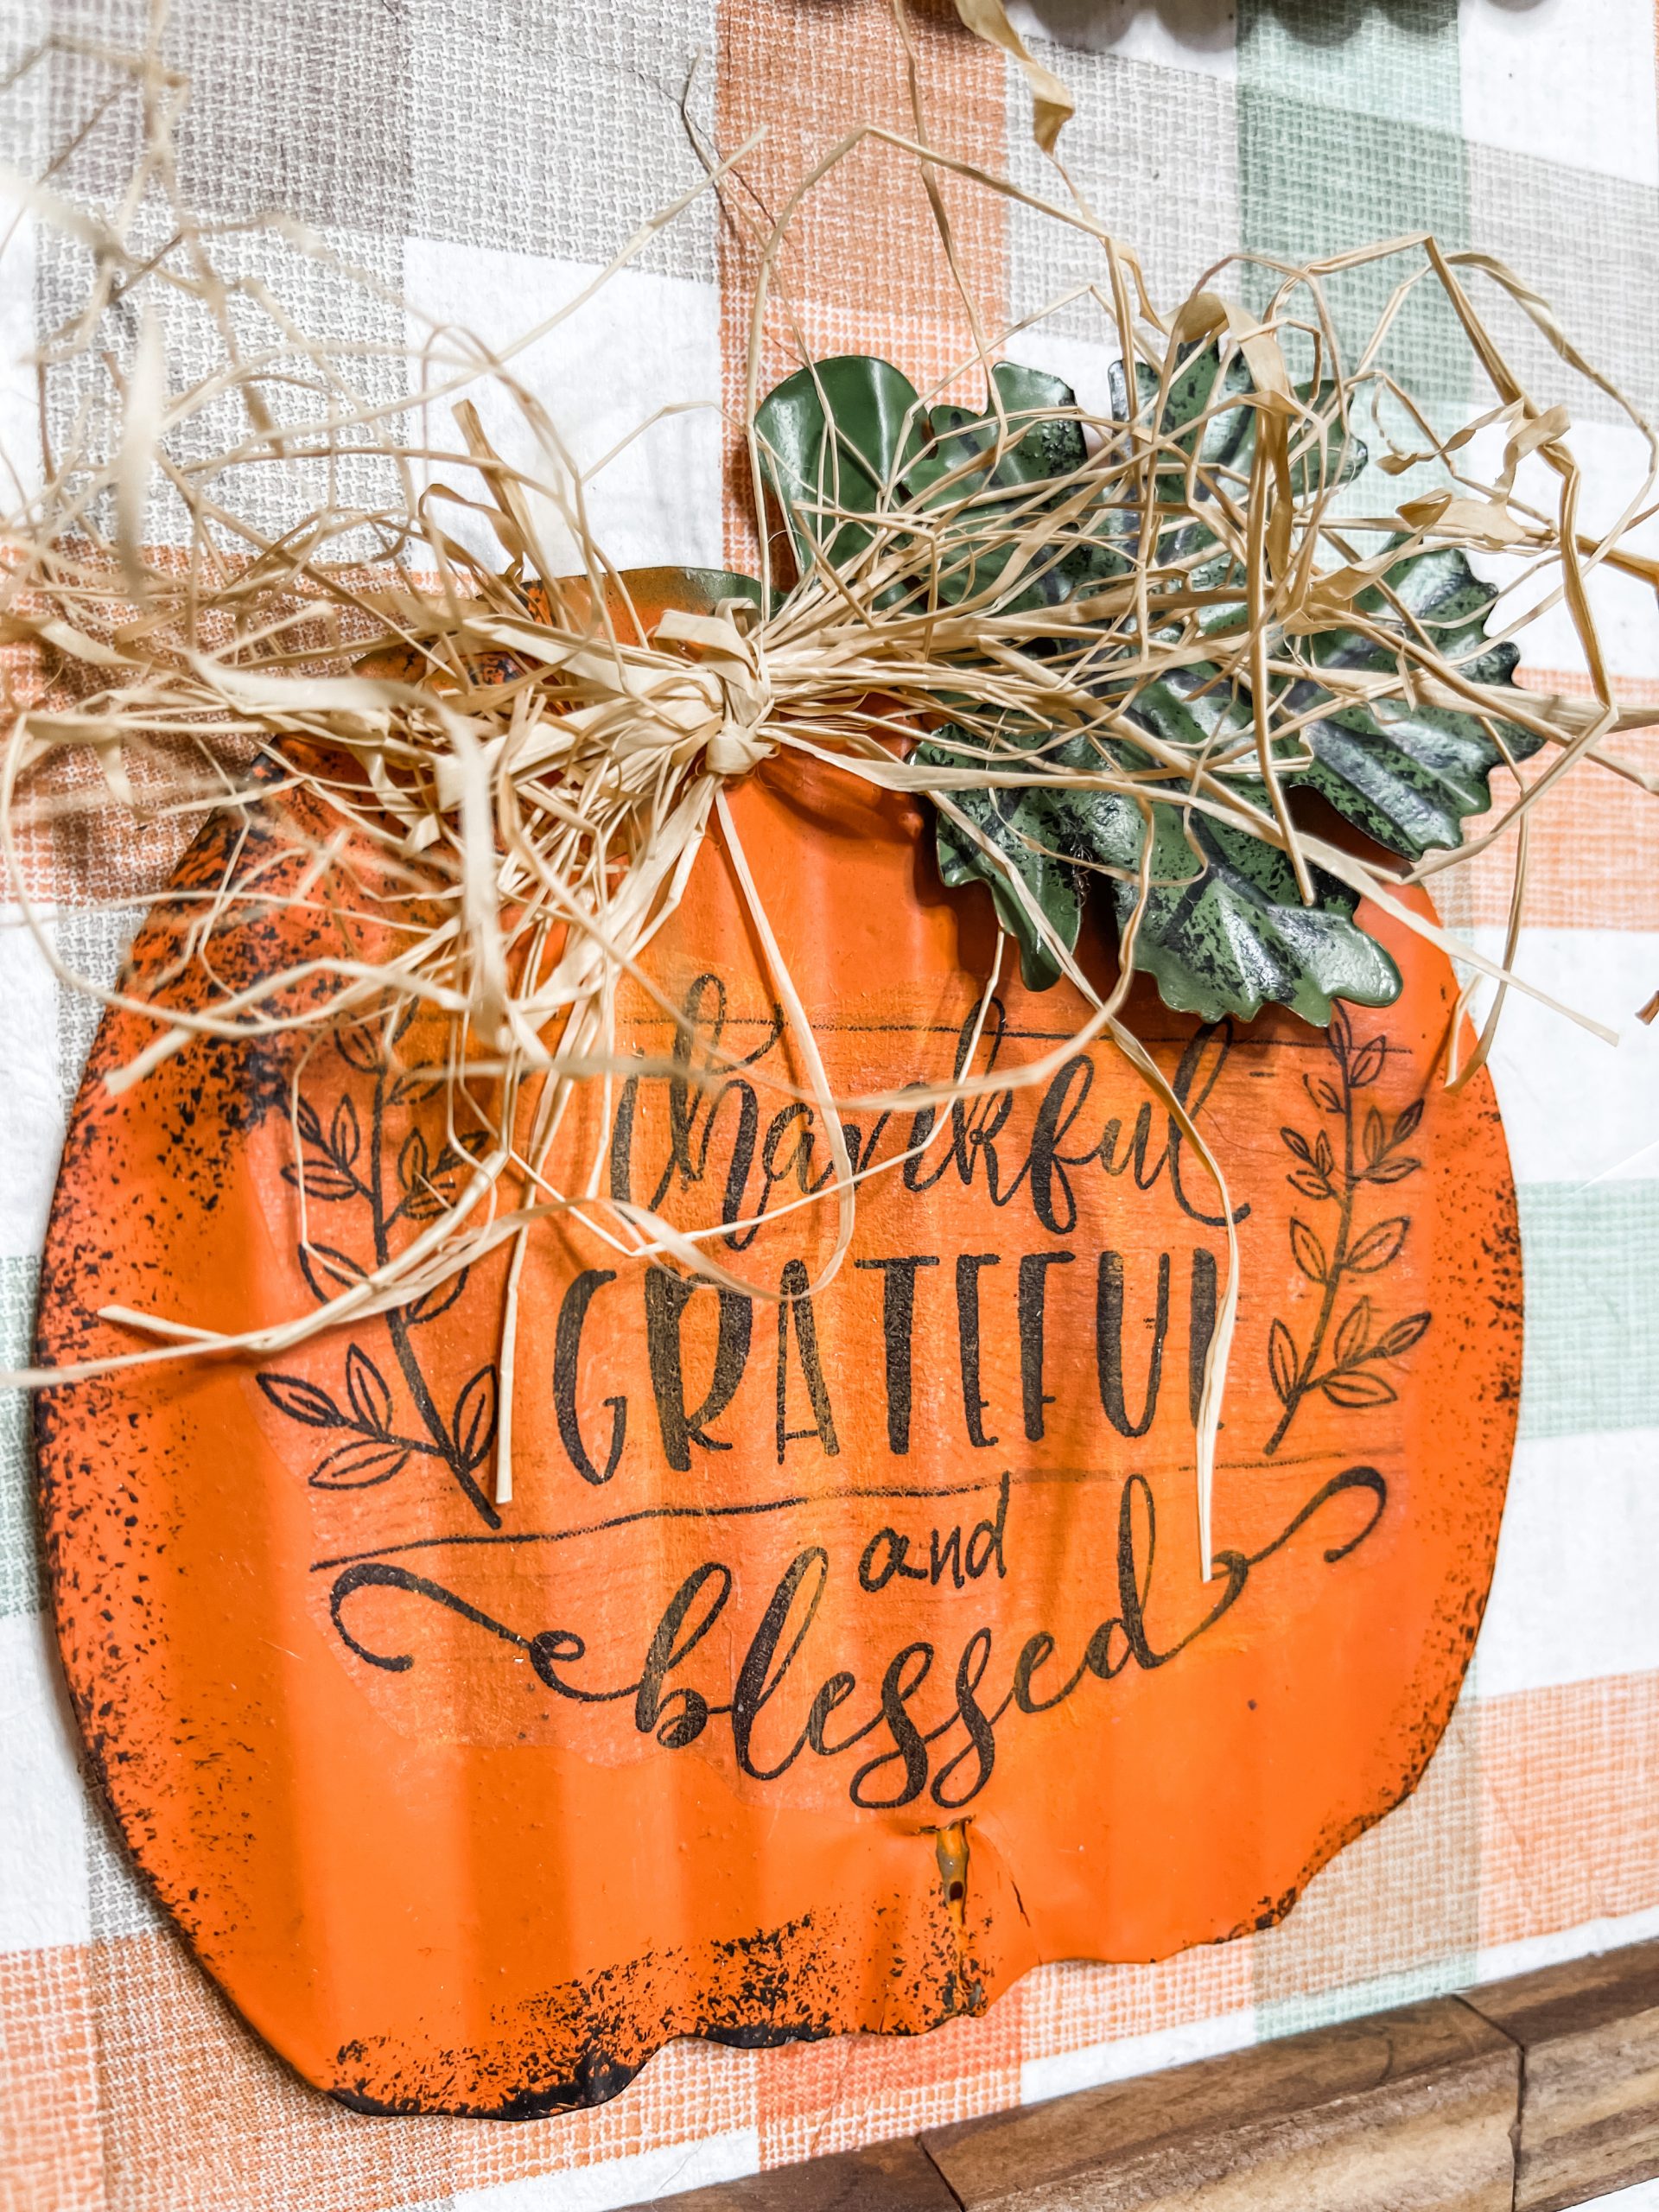
Bring it all together
Hot glue the stained Tumbling Tower blocks around the outer edges of the decoupaged cardboard and hot glue a few pieces of craft sticks to the back of the metal pumpkin.
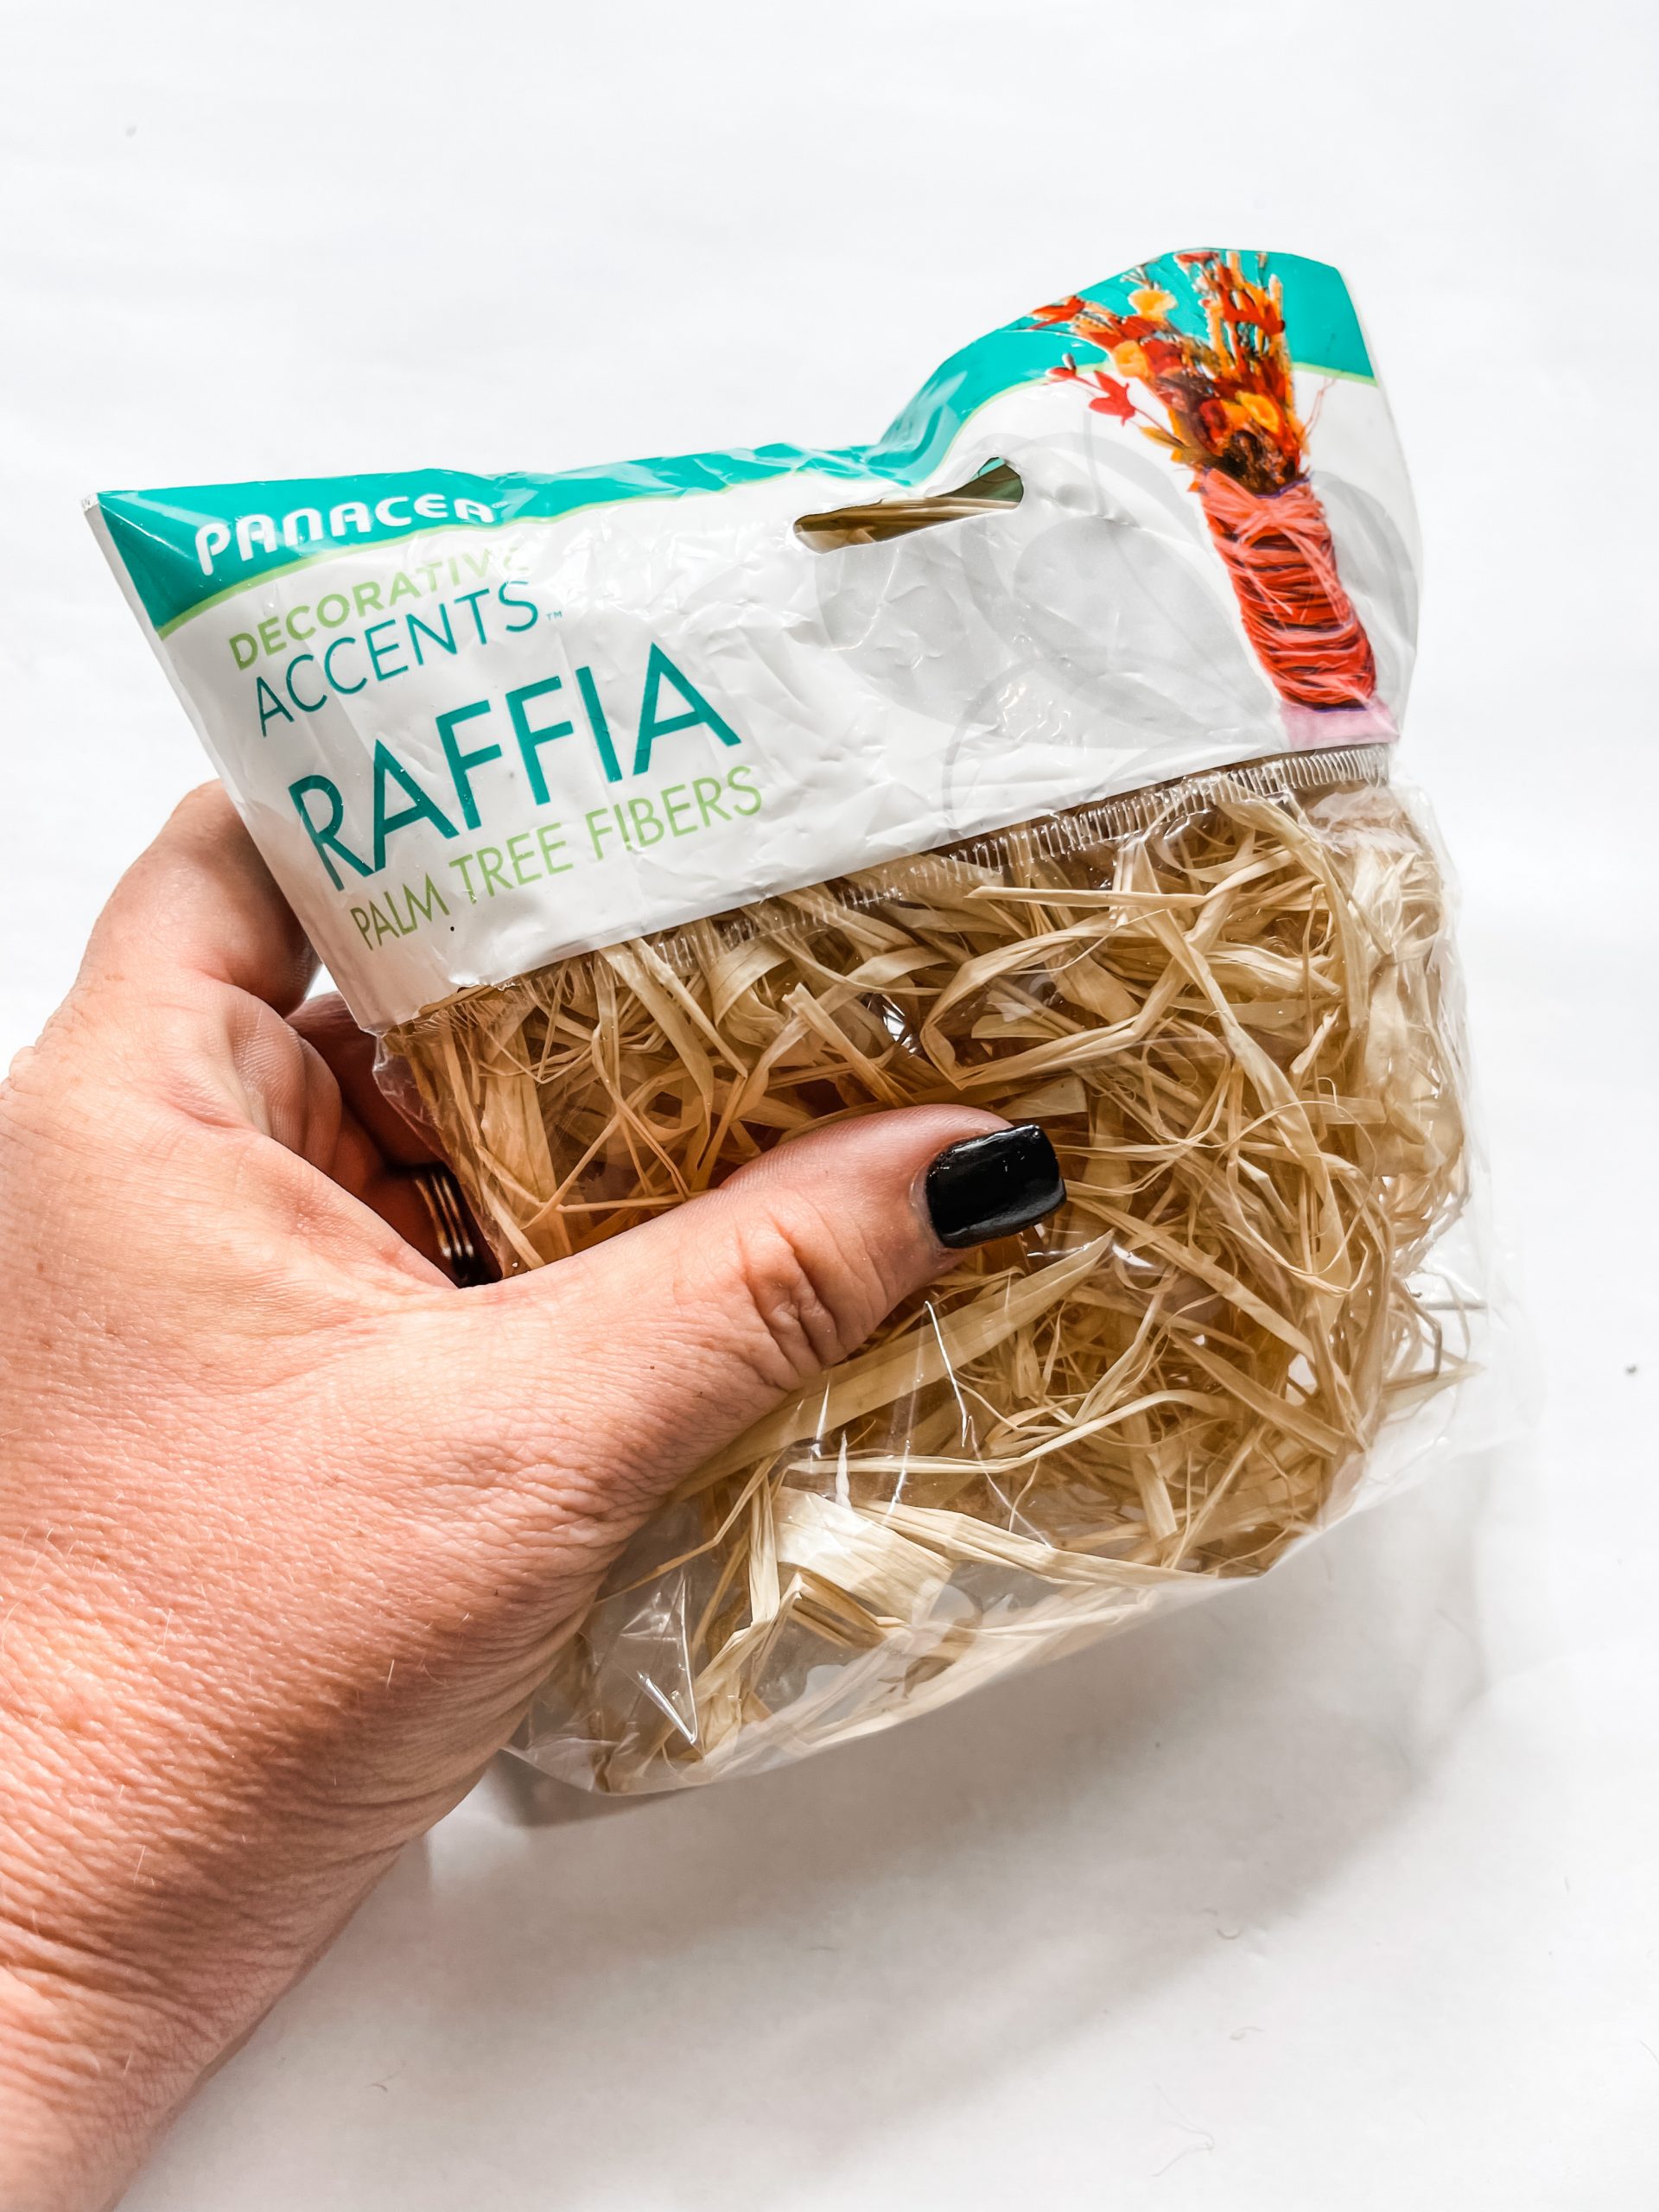
Next, I made a small raffia bow. Loop the raffia into a bundle and secure the center with either another piece of raffia or some jute twine.
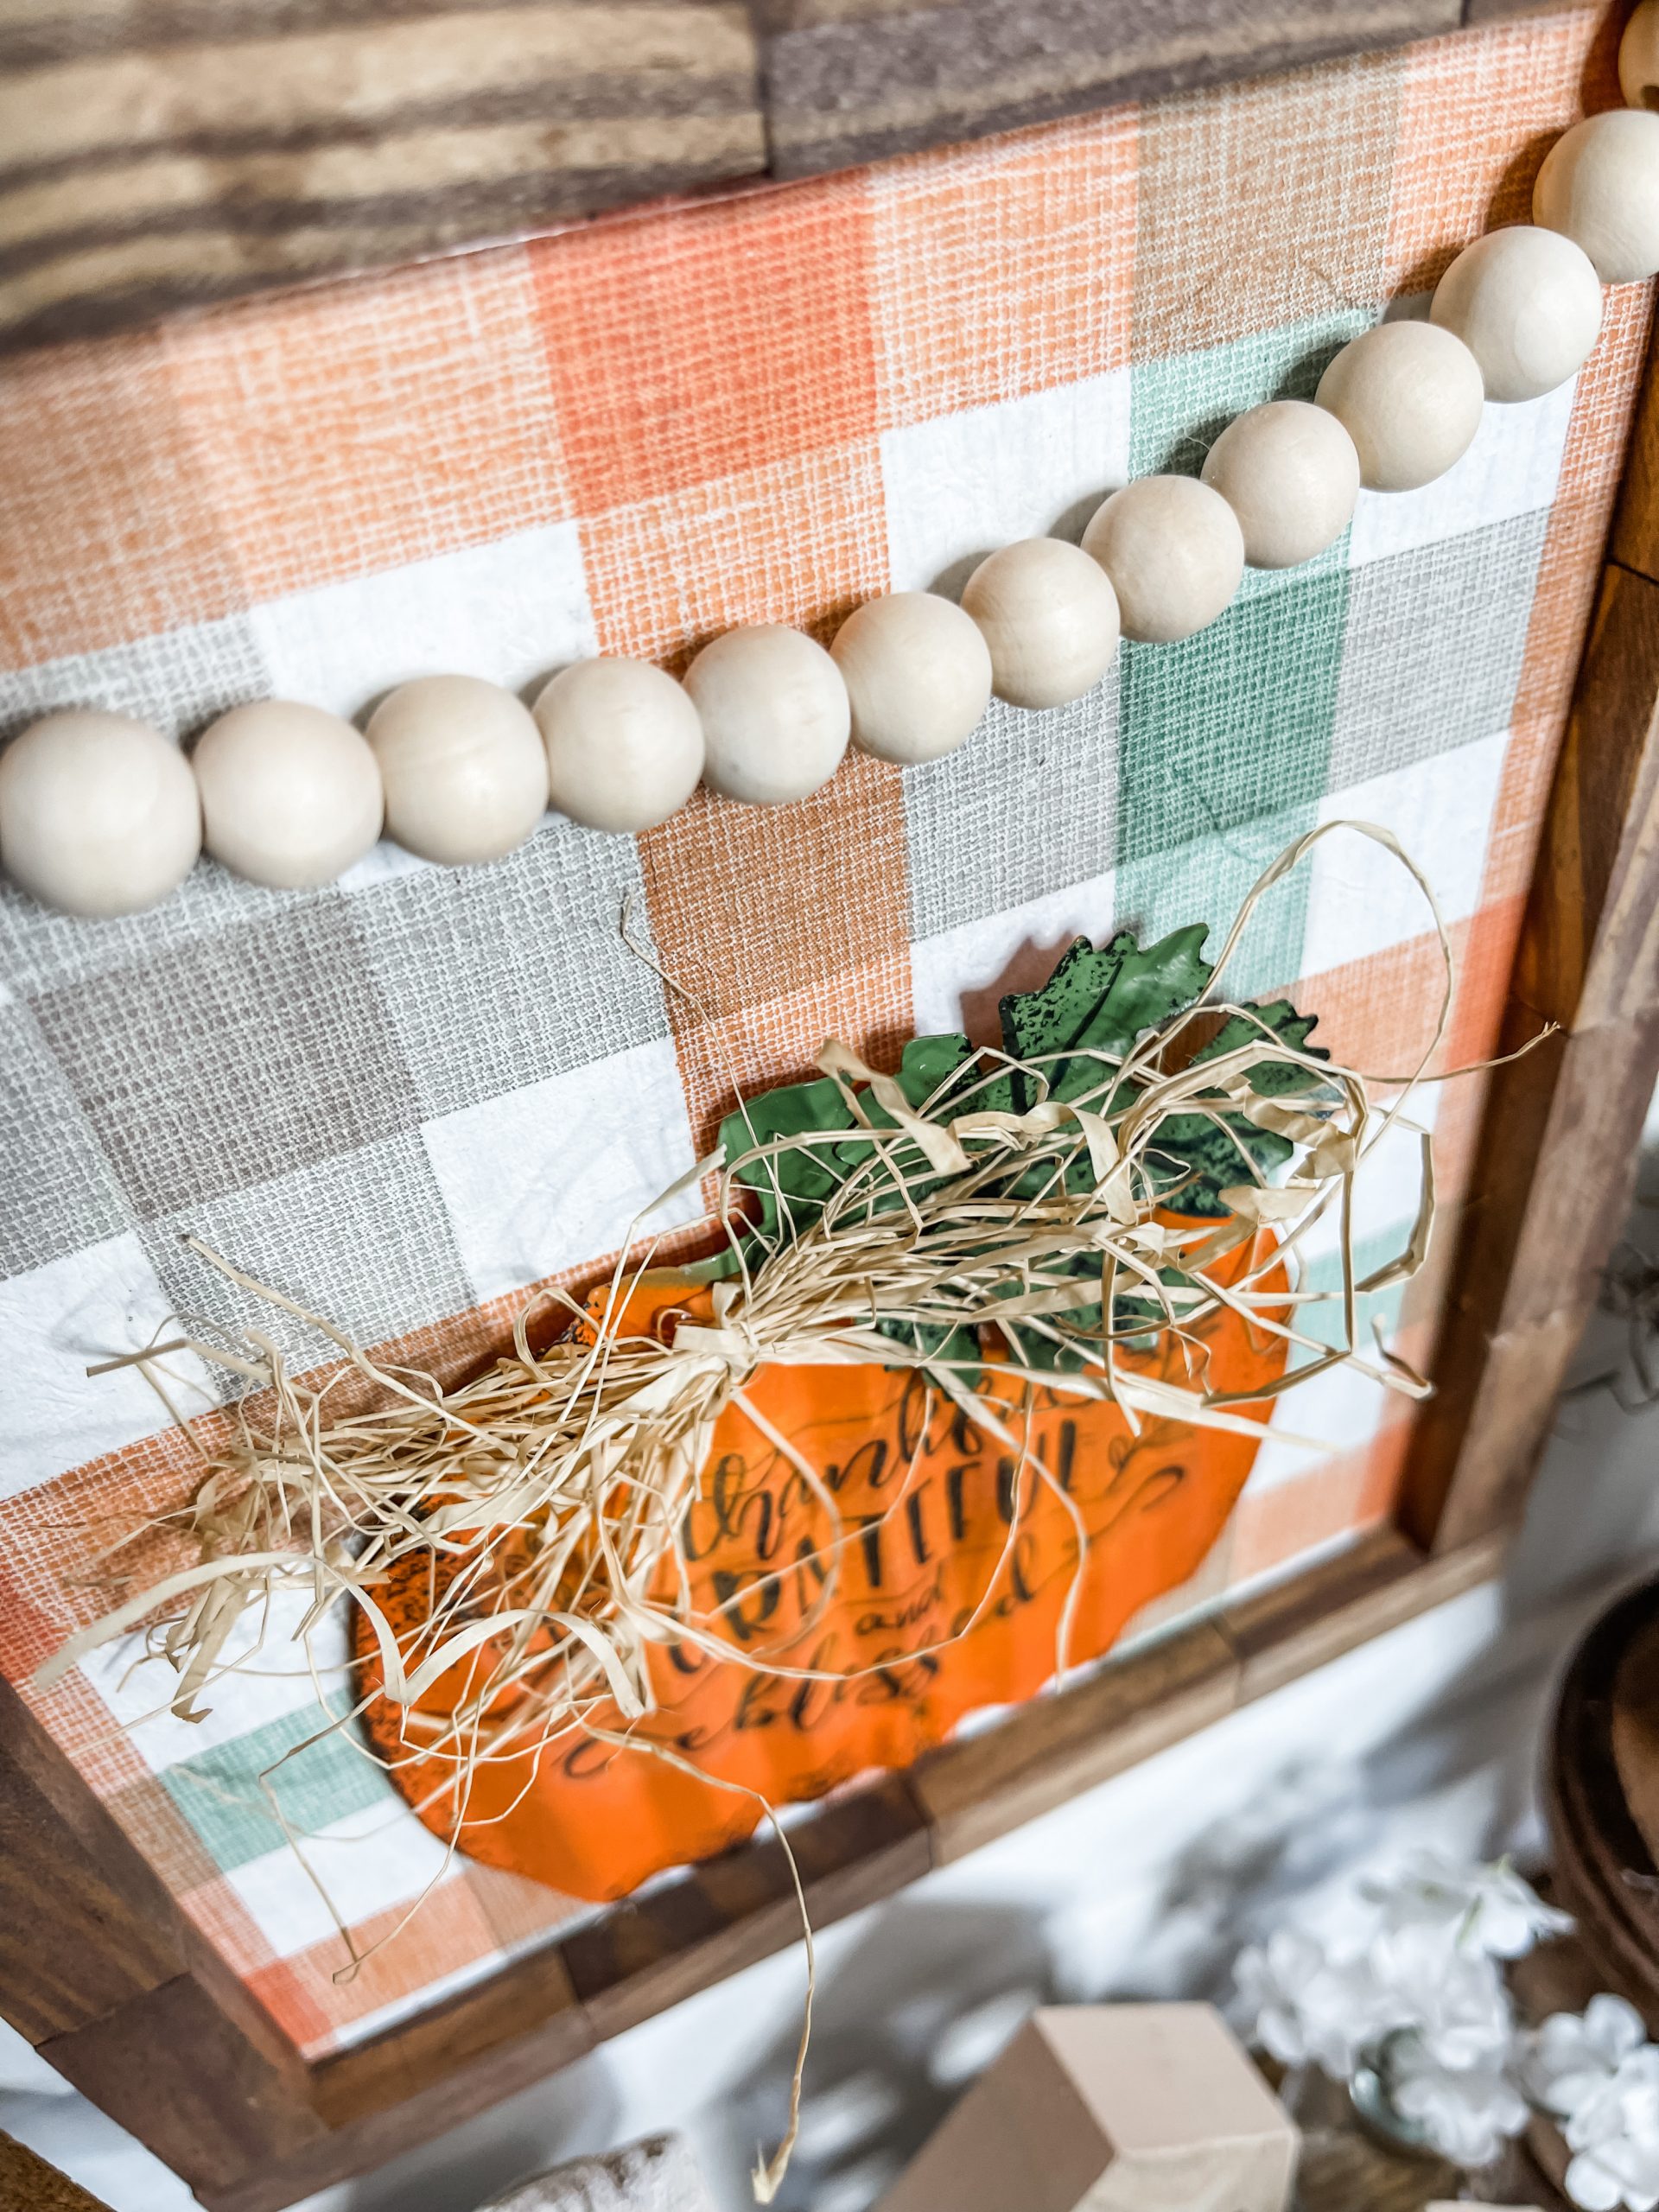
Then cut the ends to create a “bow” effect. To make the “garland”, remove the jute from the wired jute cord and thread wood beads onto the wire.
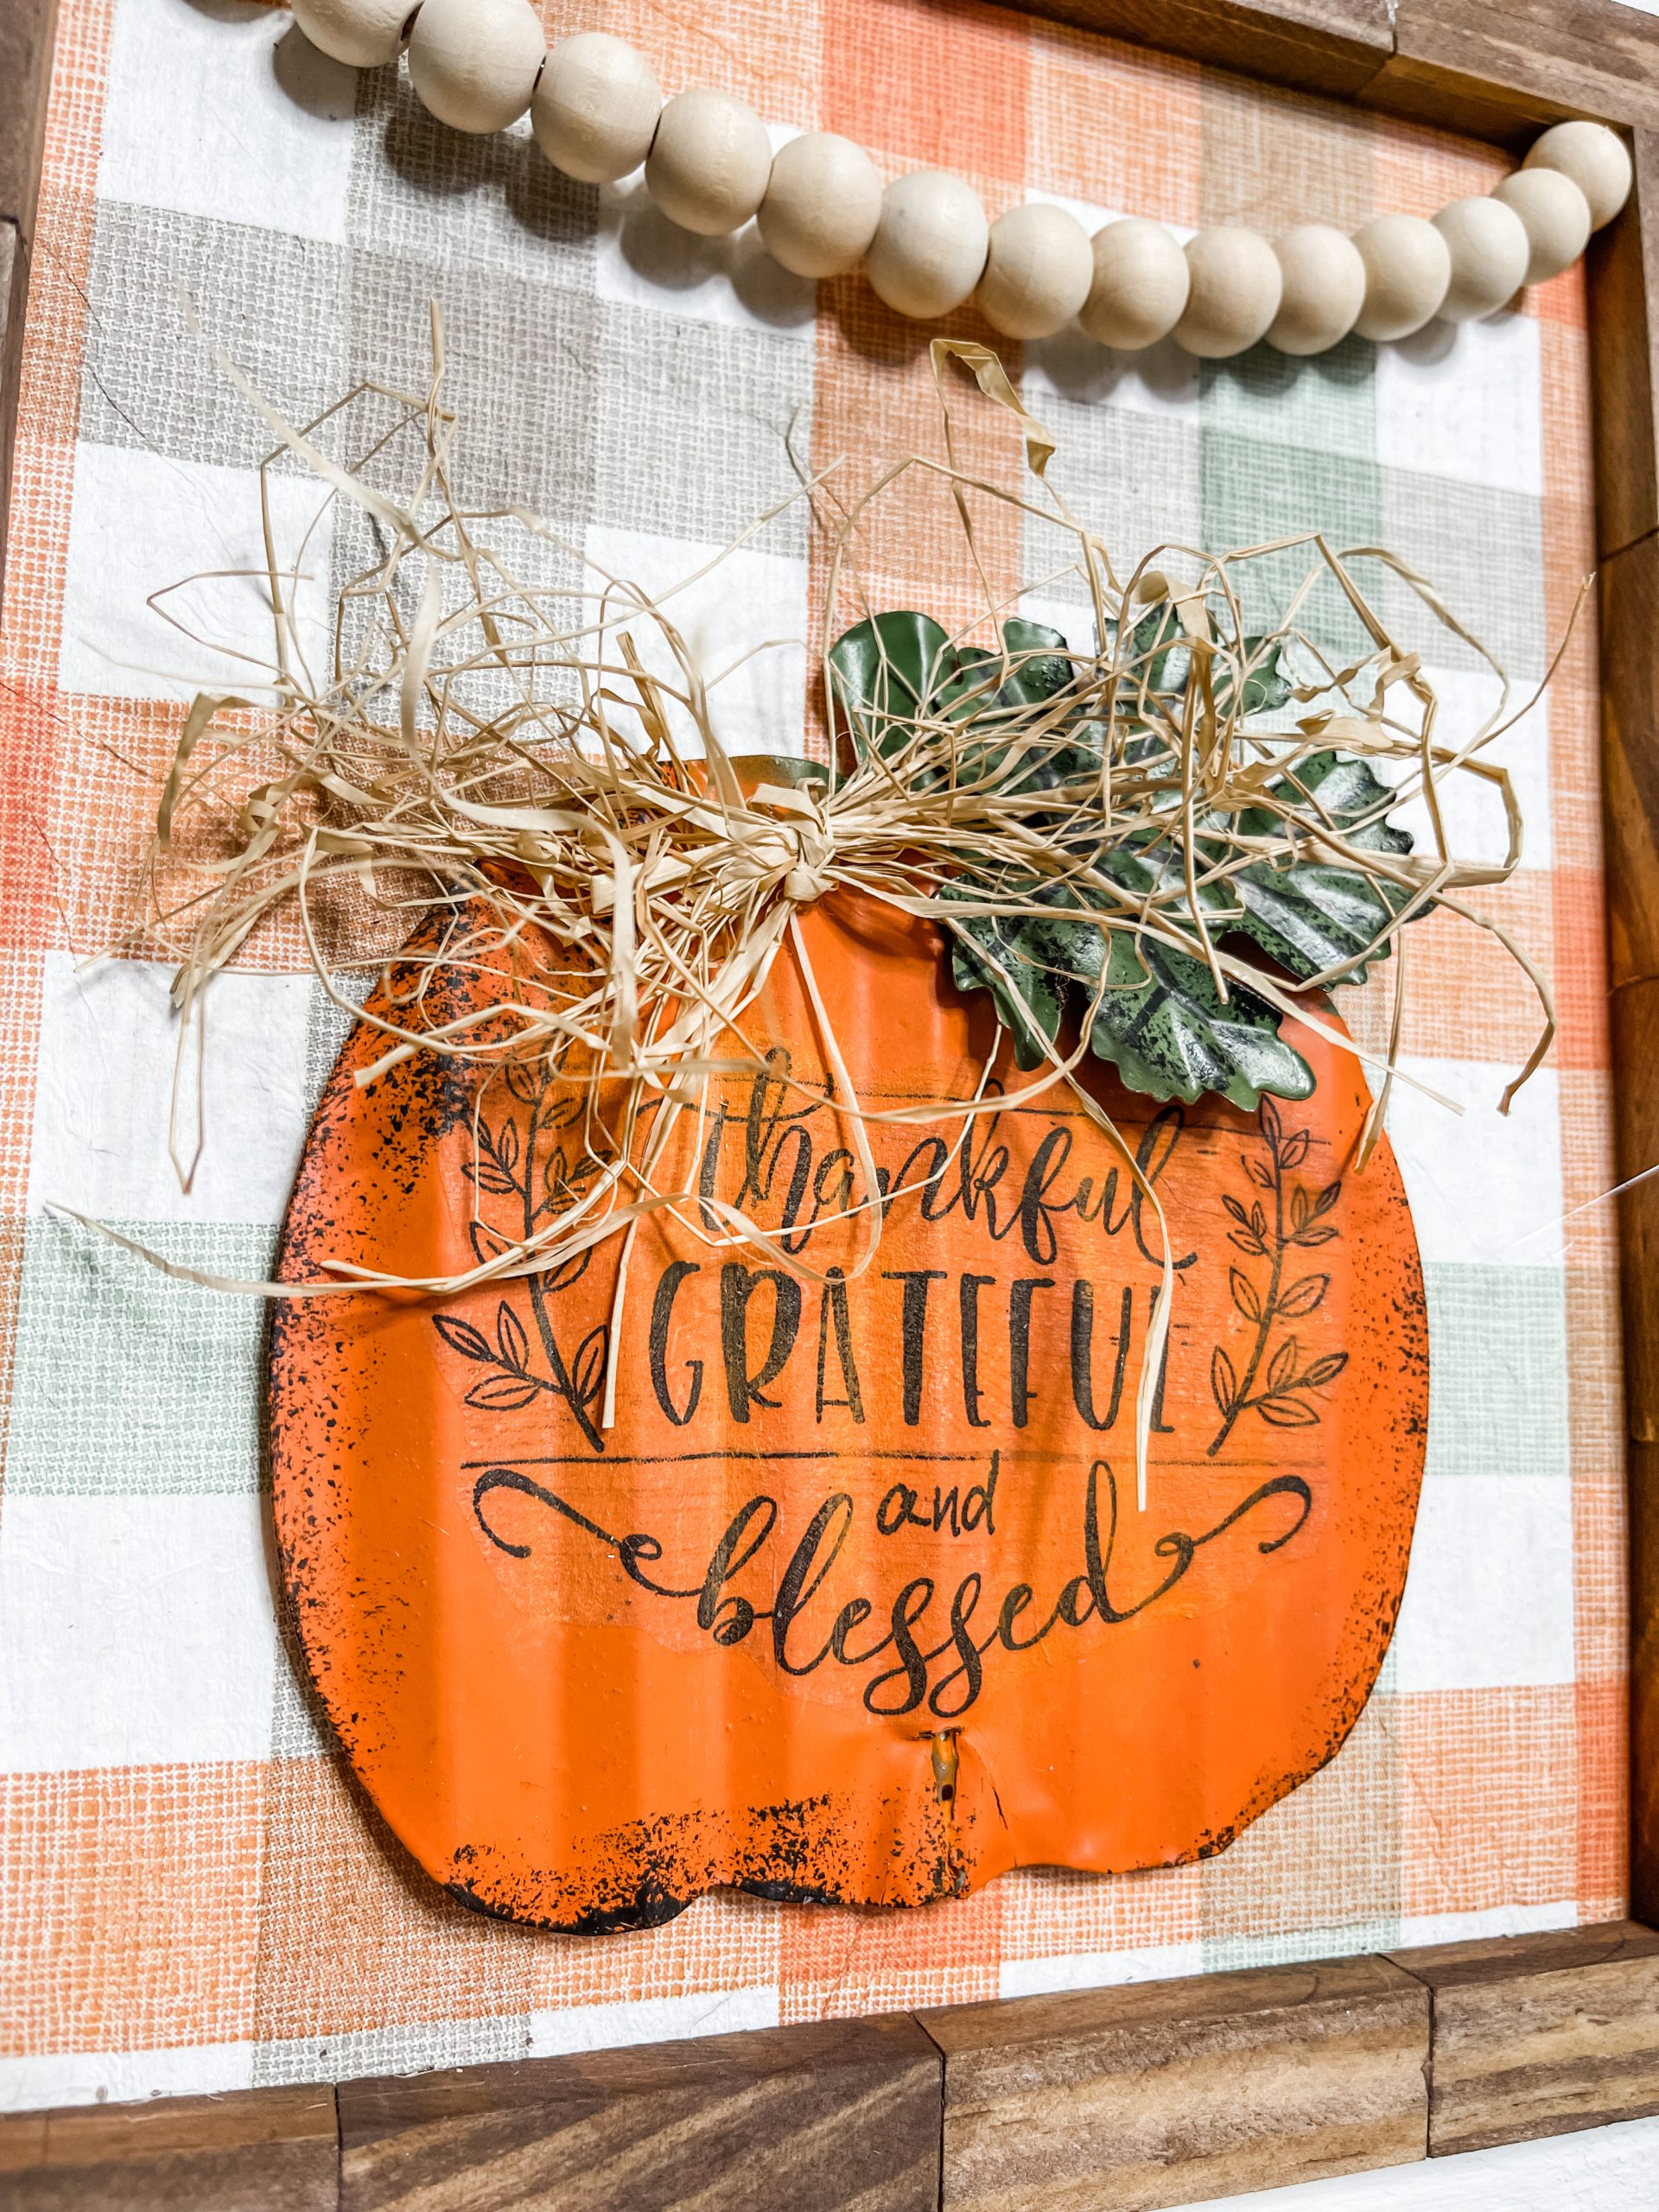
Twist the ends of the wire to secure the beads and hot glue the wood bead garland as if it was draped from the top two corners of the frame.
Finally, hot glue the little raffia bow to the top of the decoupaged metal pumpkin!
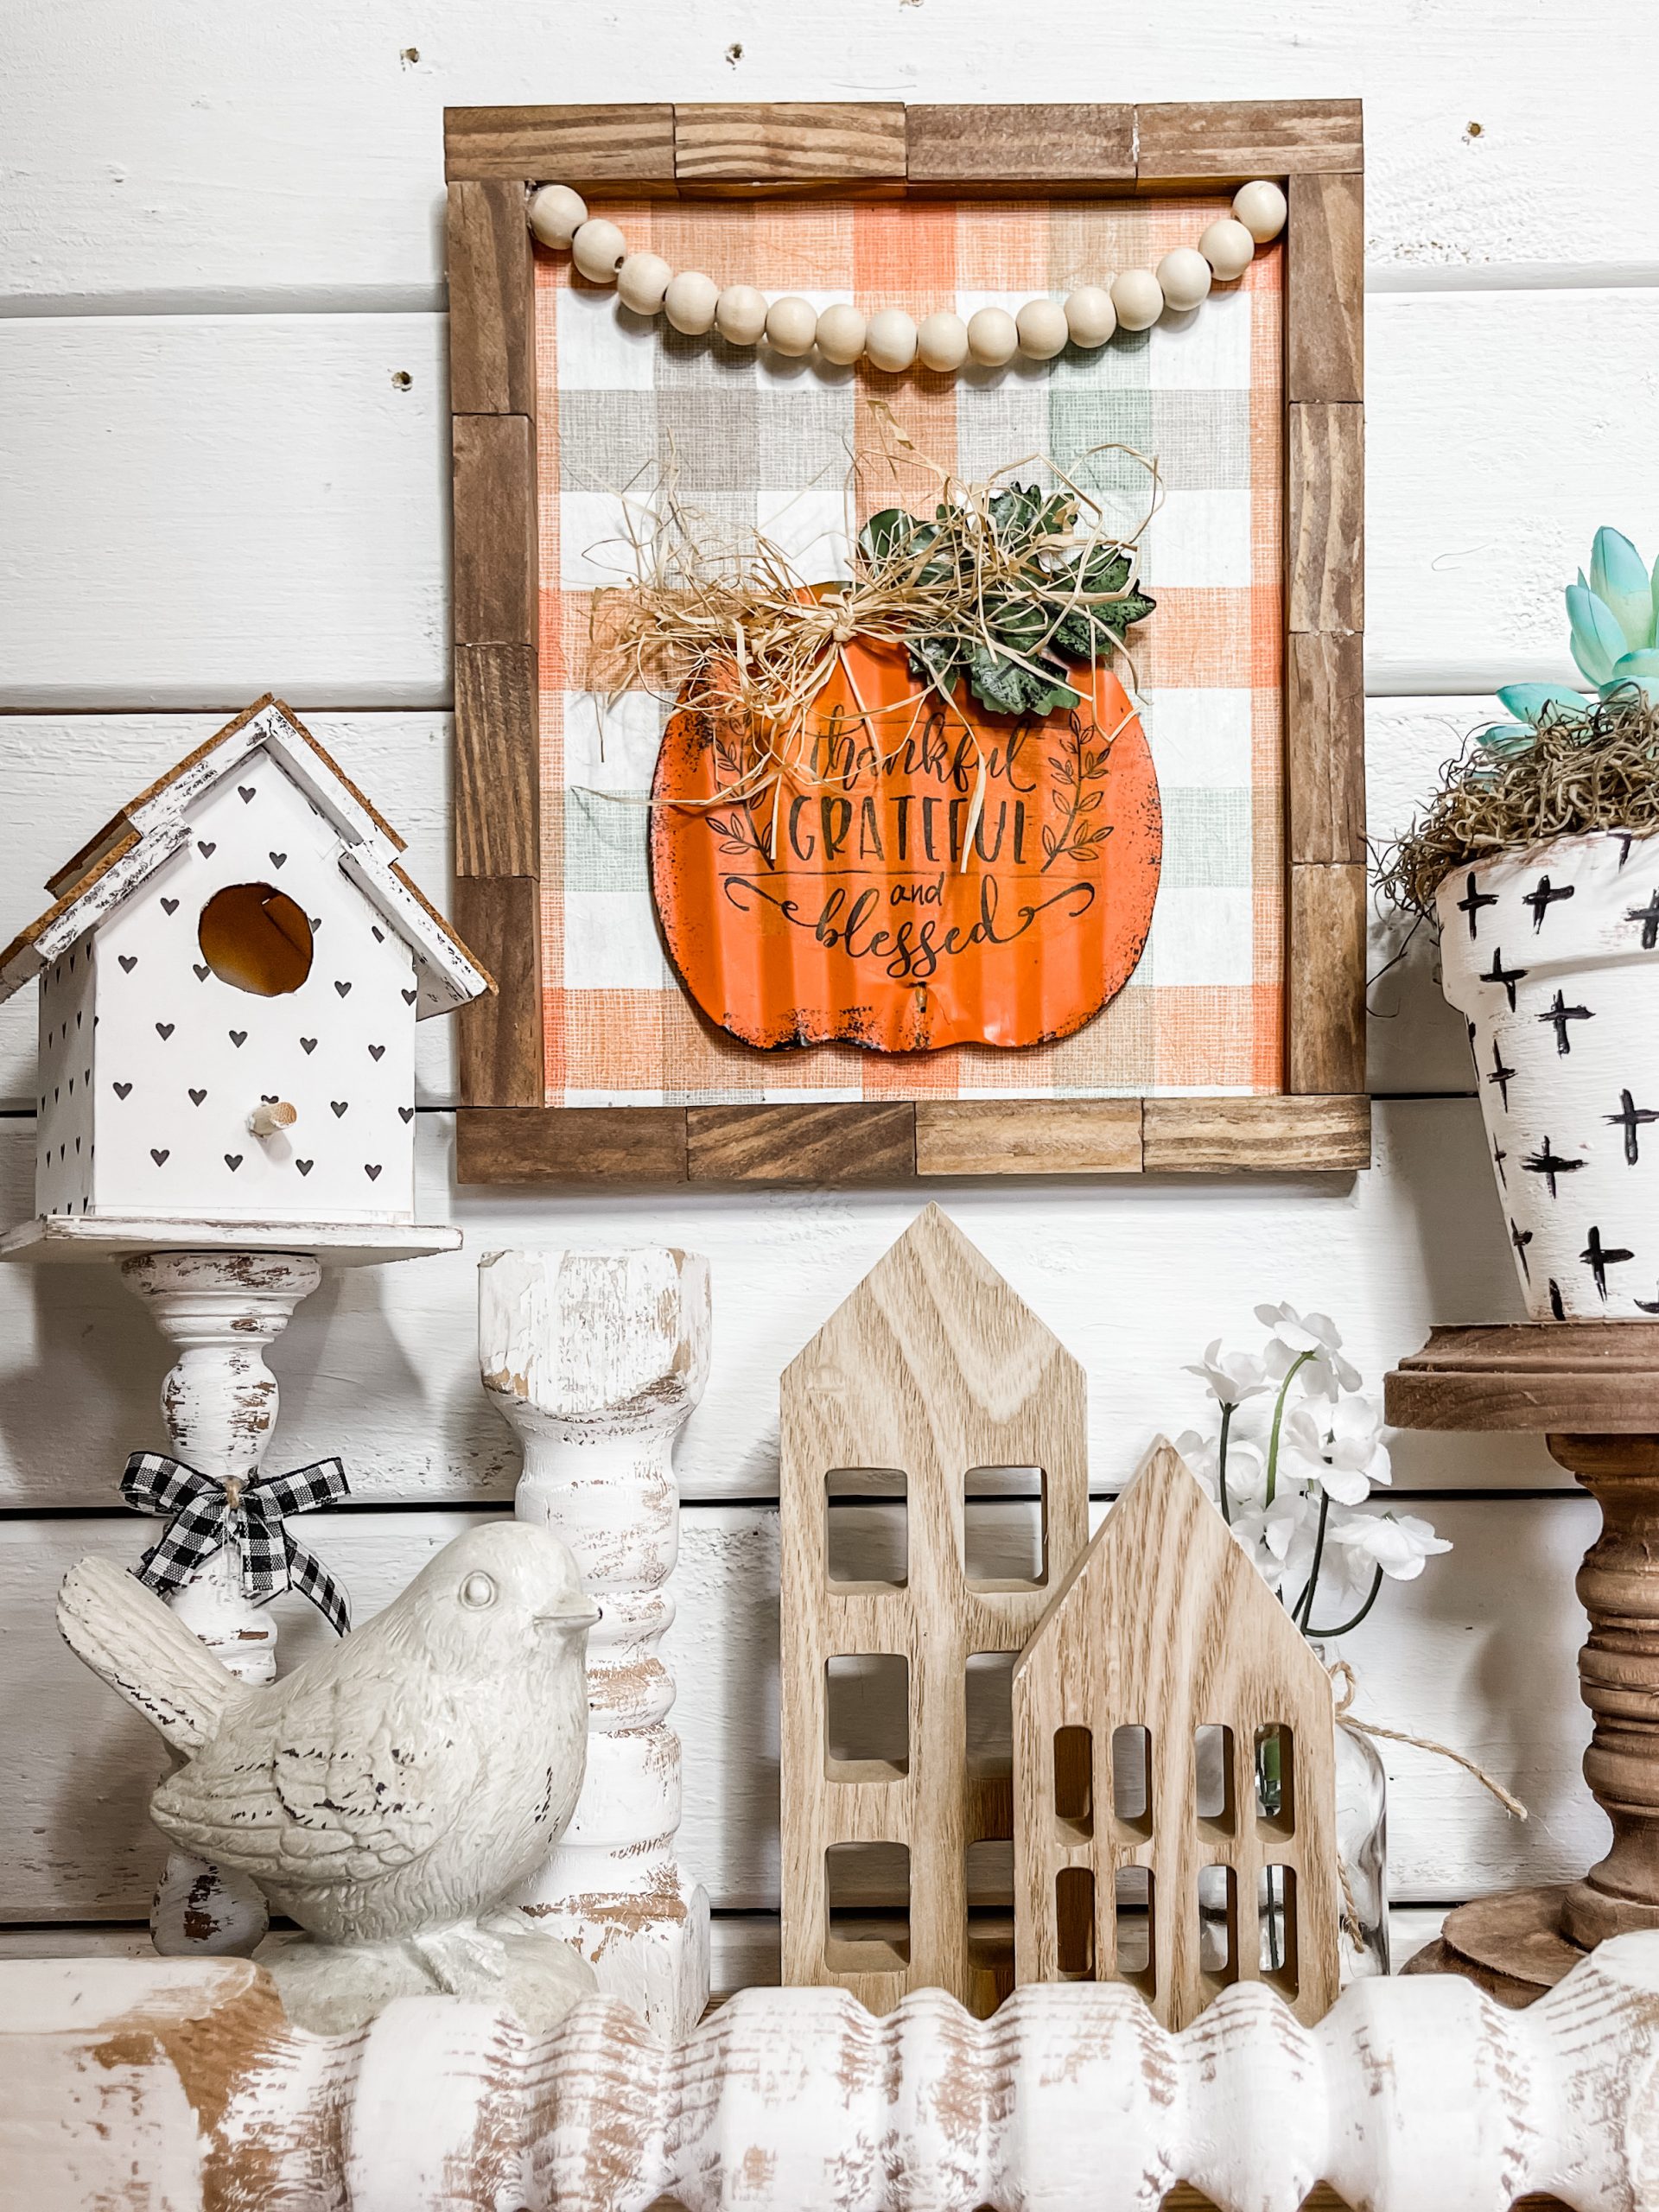
I hope you enjoyed this DIY Fall Pumpkin Rustic Home Decor as much as I did and decide to make it for yourself! If you do, I would love to see how yours turns out!
You should totally join my FREE Facebook group called On A Budget Crafts! It is a judgment-free community for DIY crafters to show off their projects and ideas.
If you loved this DIY, you might also like these DIY ideas!
- Fall Foamboard Pumpkin Template
- Dollar Tree Stacked Foam Blocks DIY Fall Decor
- Dollar Tree DIY Fall Bead Candy Corn
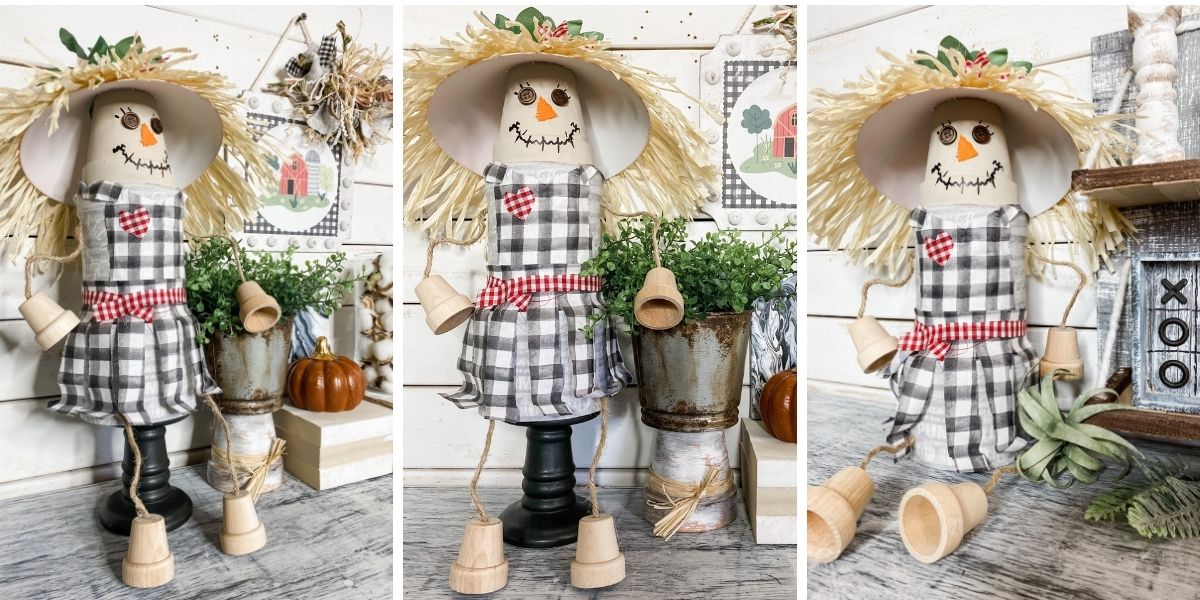
- DIY Scarecrow Shelf Sitter
Thanks for stopping by! XOXO Amber
You can also shop my ENTIRE AMAZON Favorites shop just click here! It’s packed full of all the things I use and love. Here is the supply list I highly recommend every creative have on hand!!
Would you also pin my blog for later and get on my newsletter alerts? I would love to have you join my #craftycrew.
I email alerts about new blogs like this DIY Fall Pumpkin Rustic Home Decor so you’re always up to date on fun, new DIY ideas!
Inspired? Leave me a comment below! I love hearing from my readers!

Join my free “ON A BUDGET CRAFTS” Facebook group!

Love the napkin choice
Join