DIY Dollar Tree Shabby Chic Birdcage
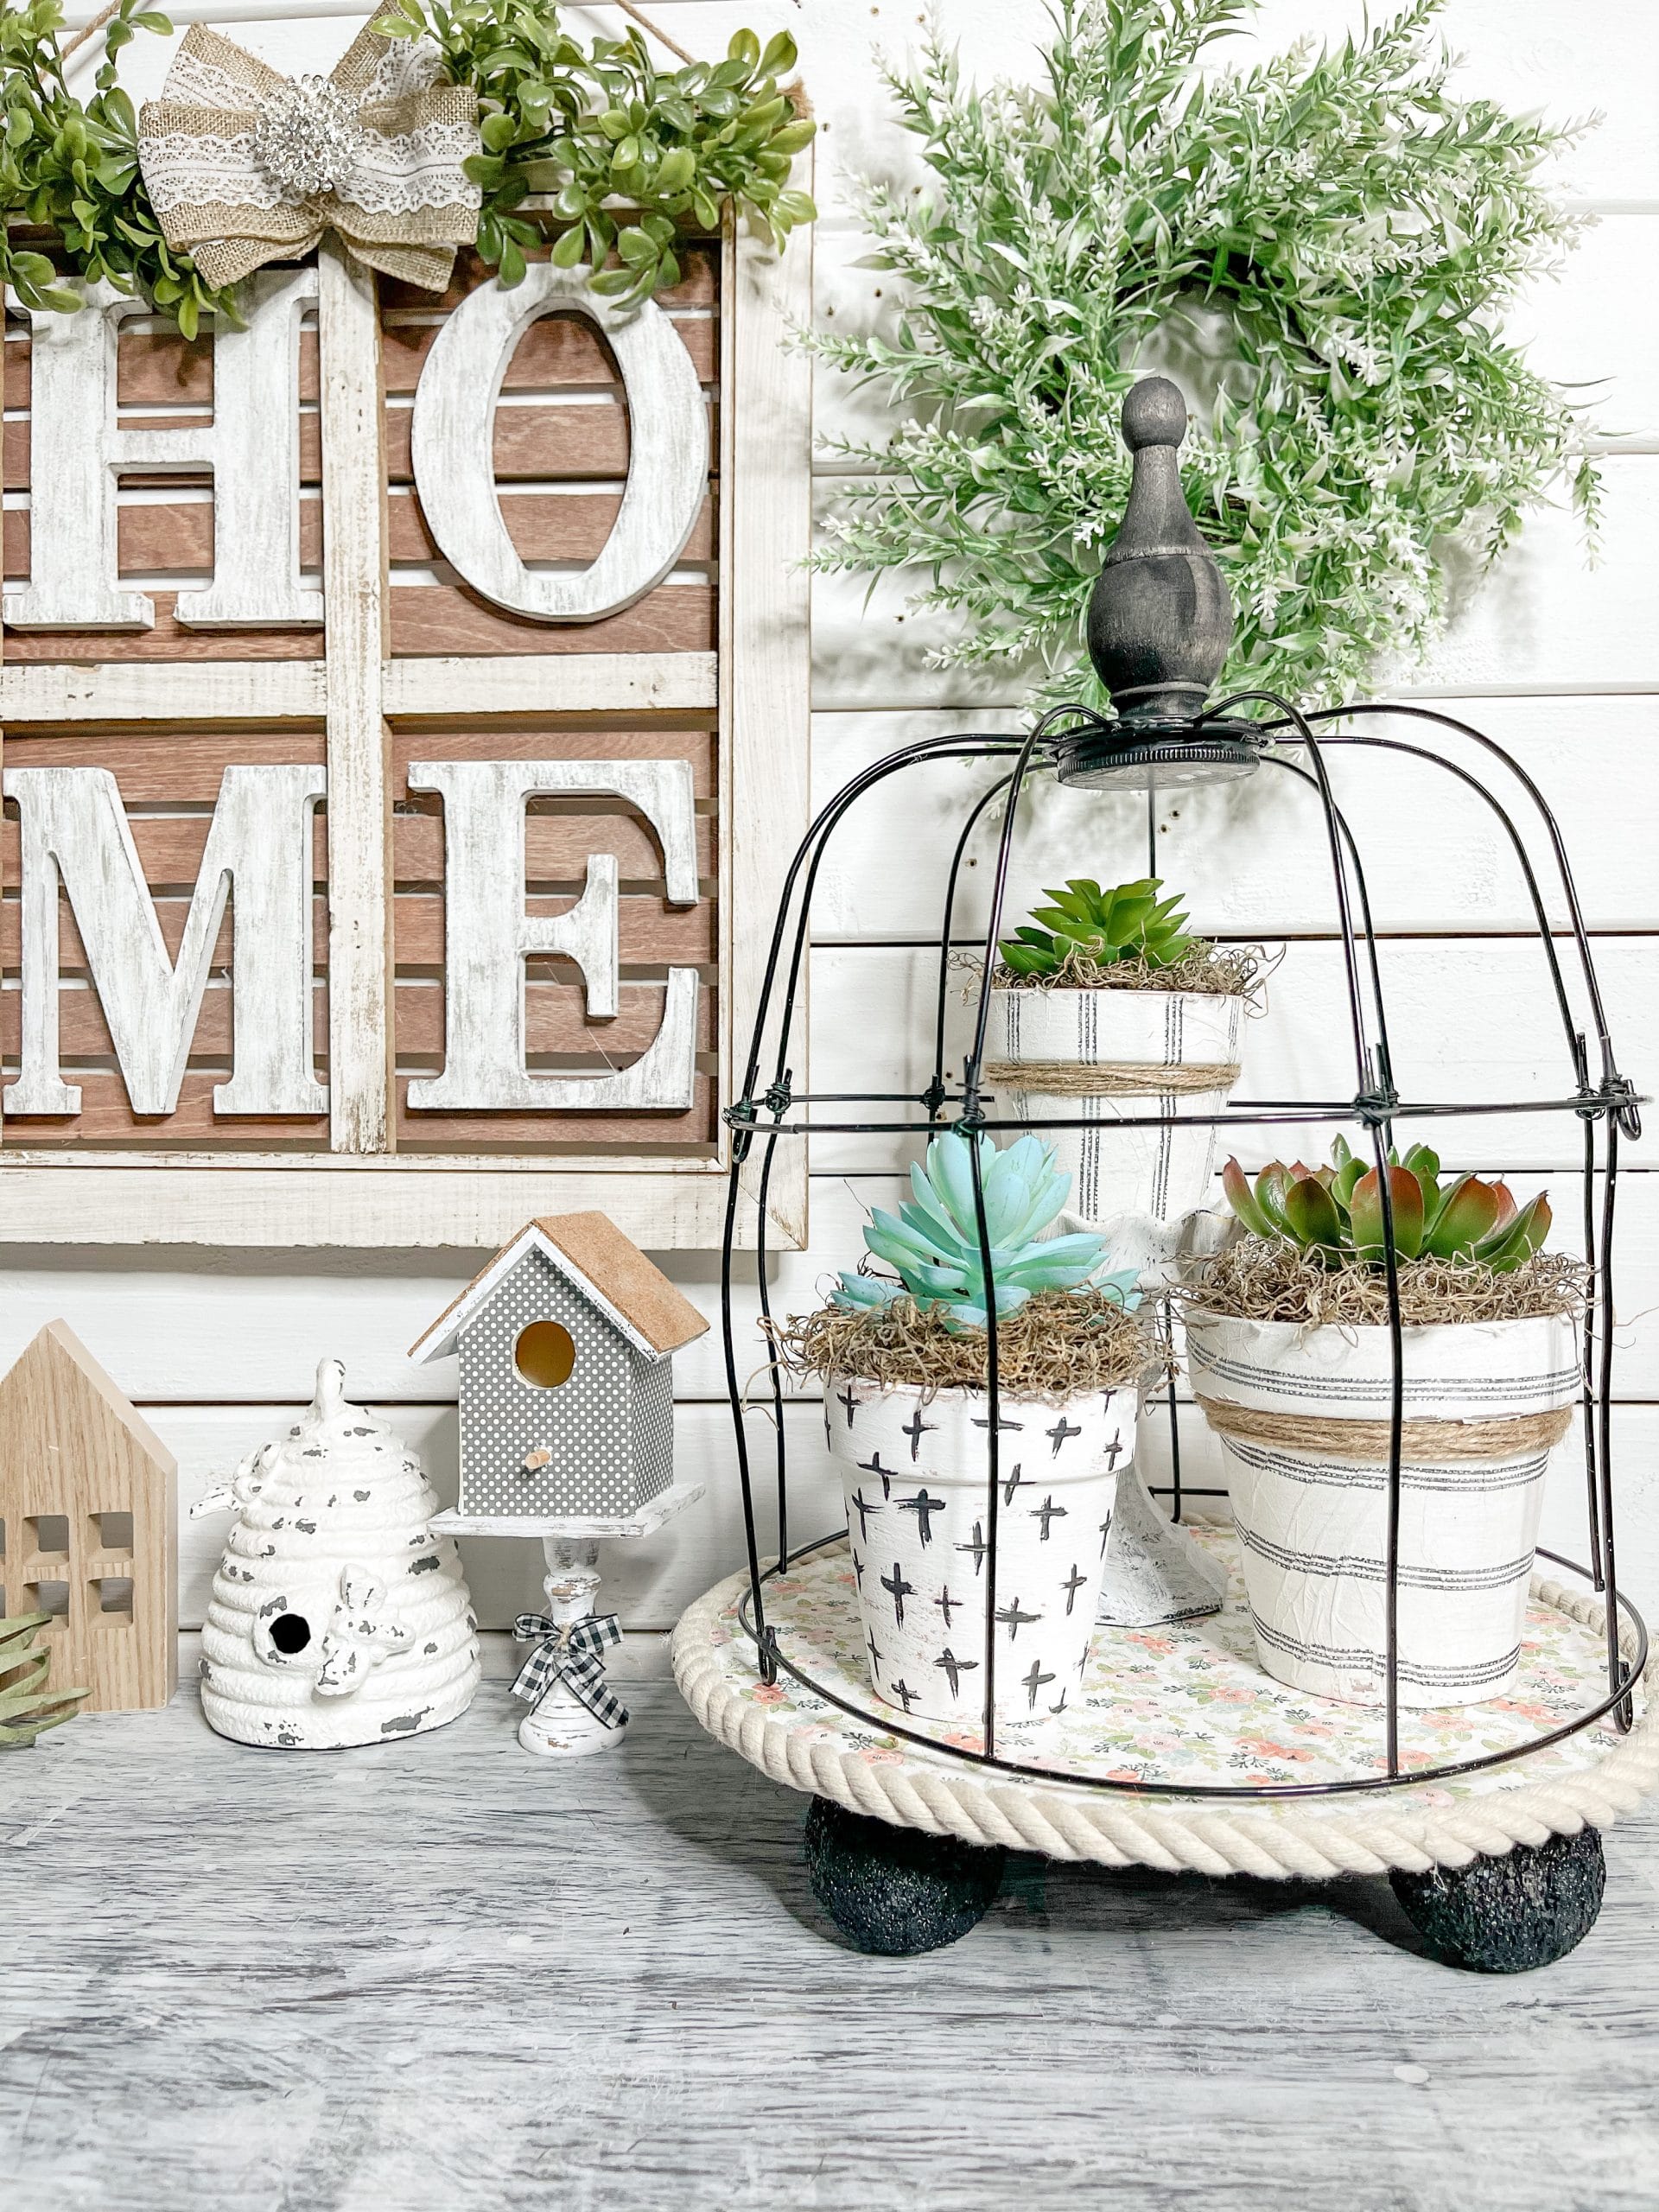
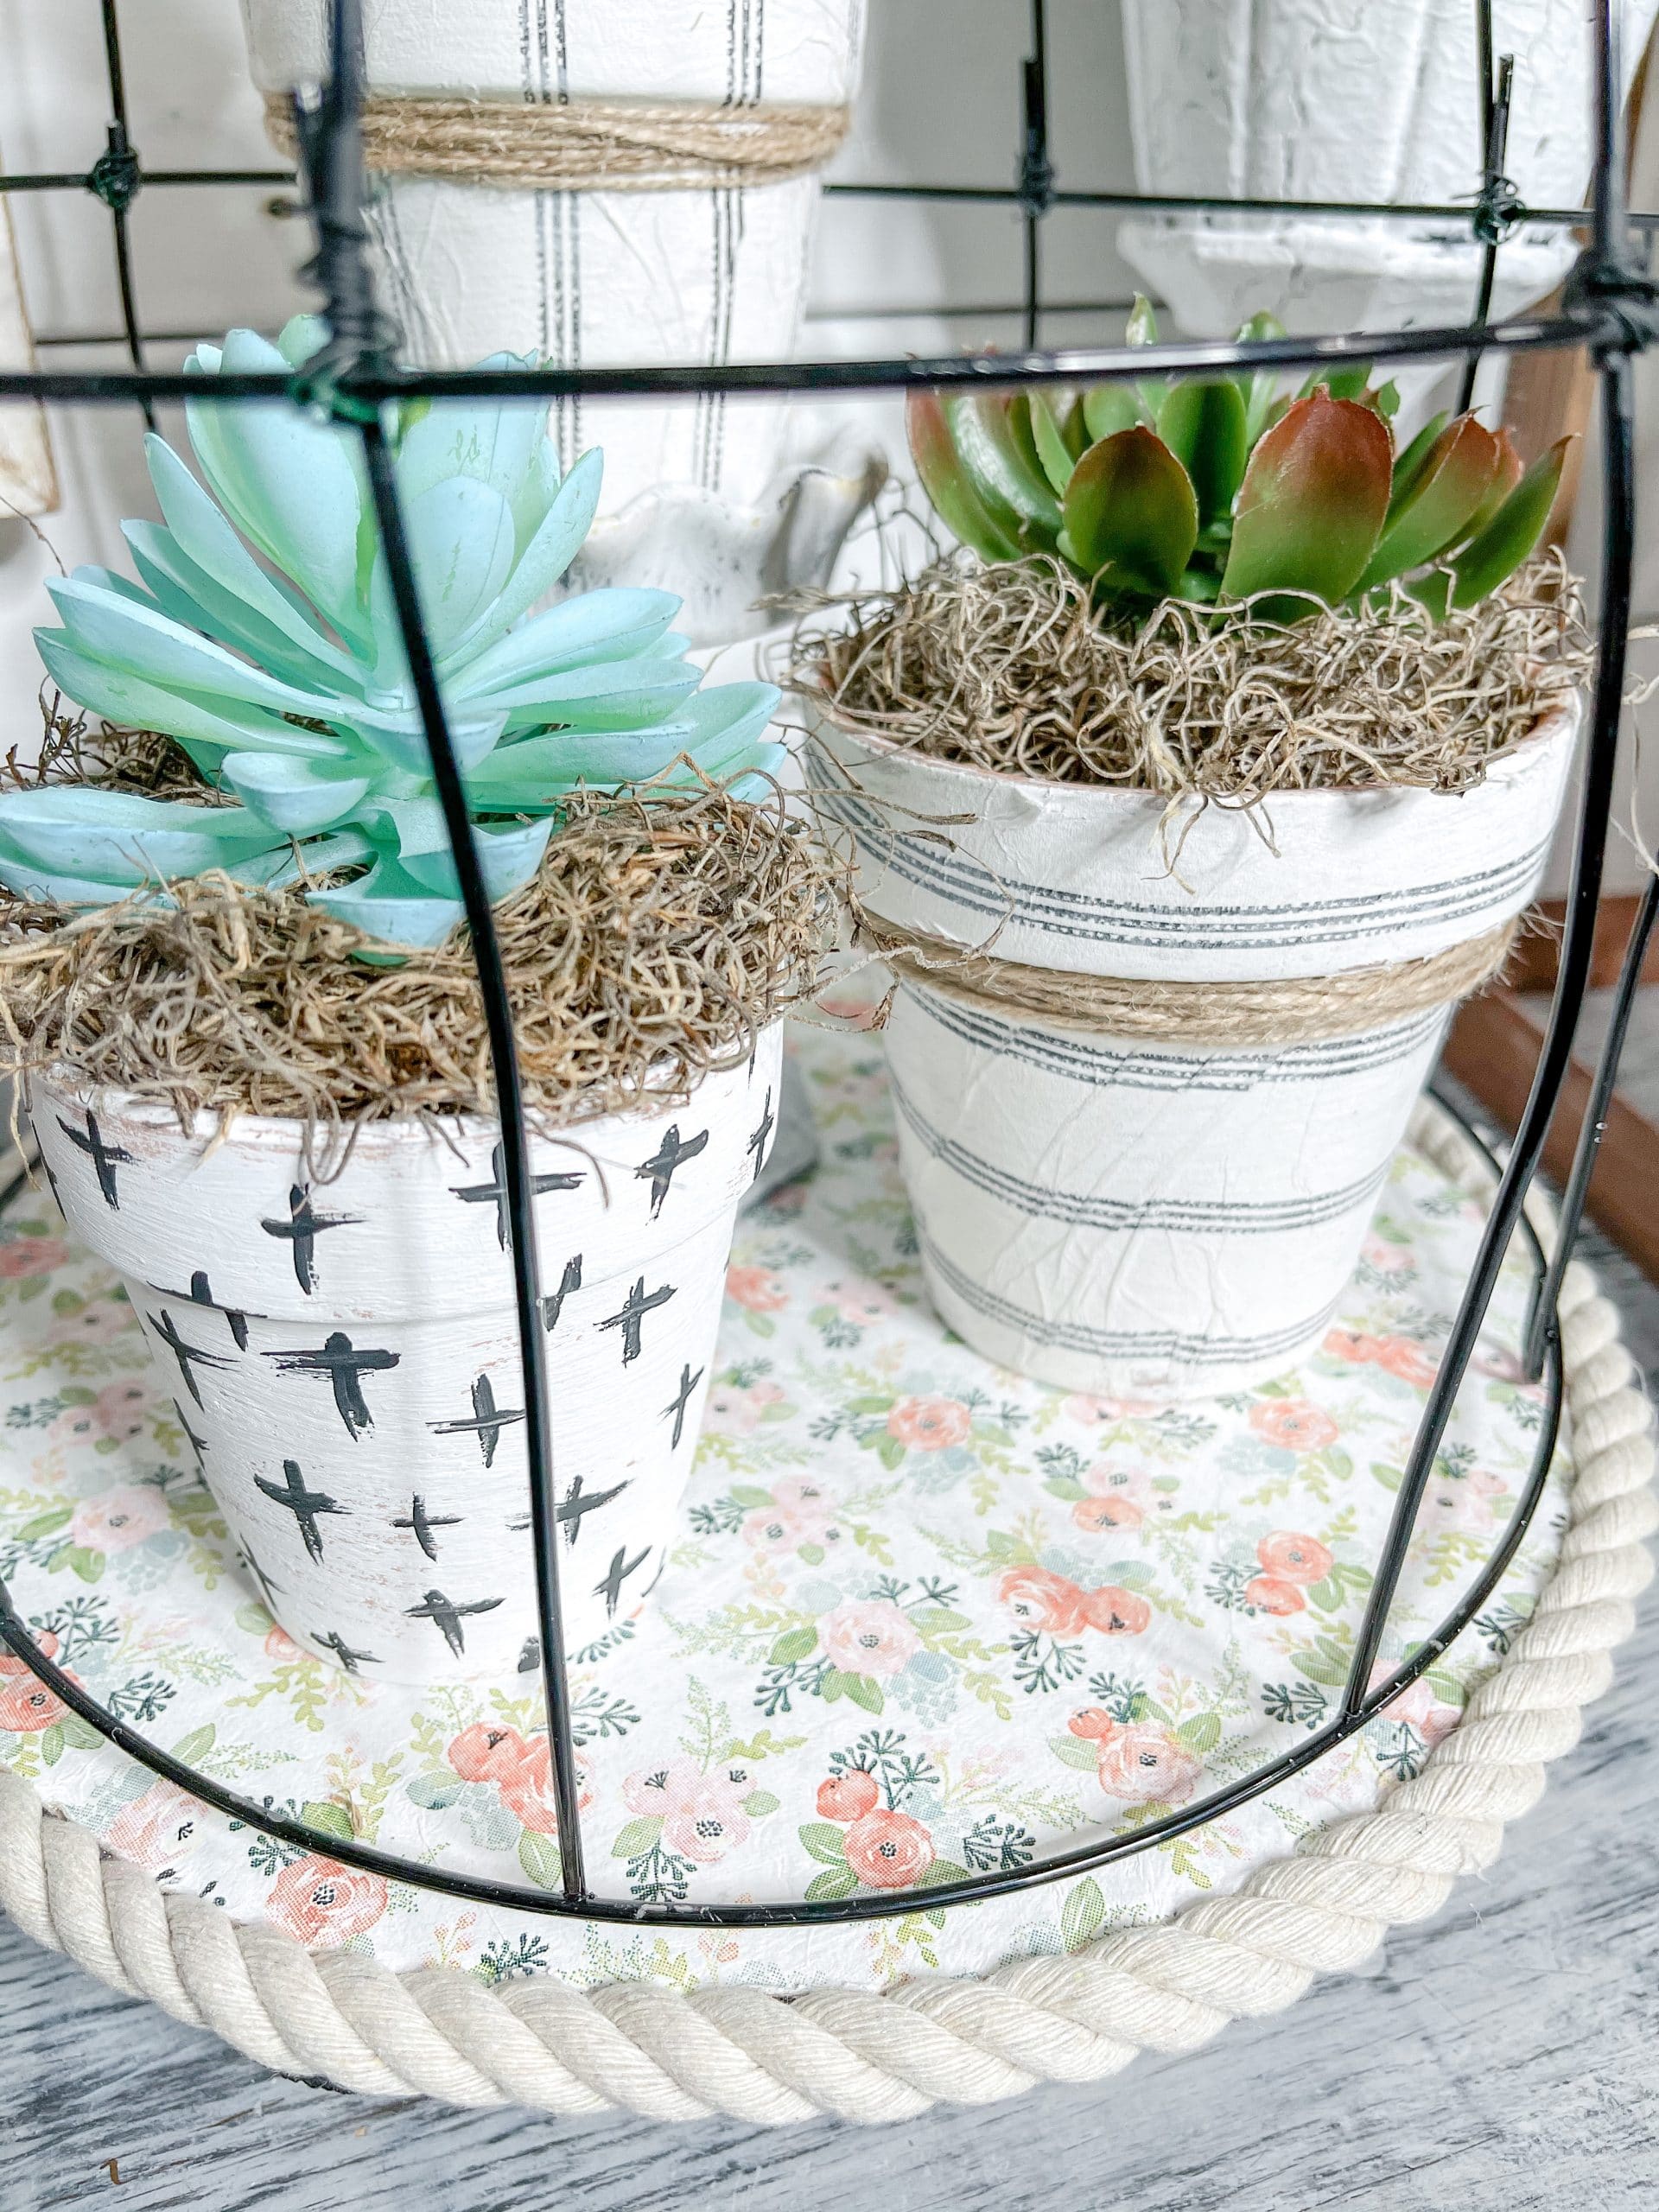
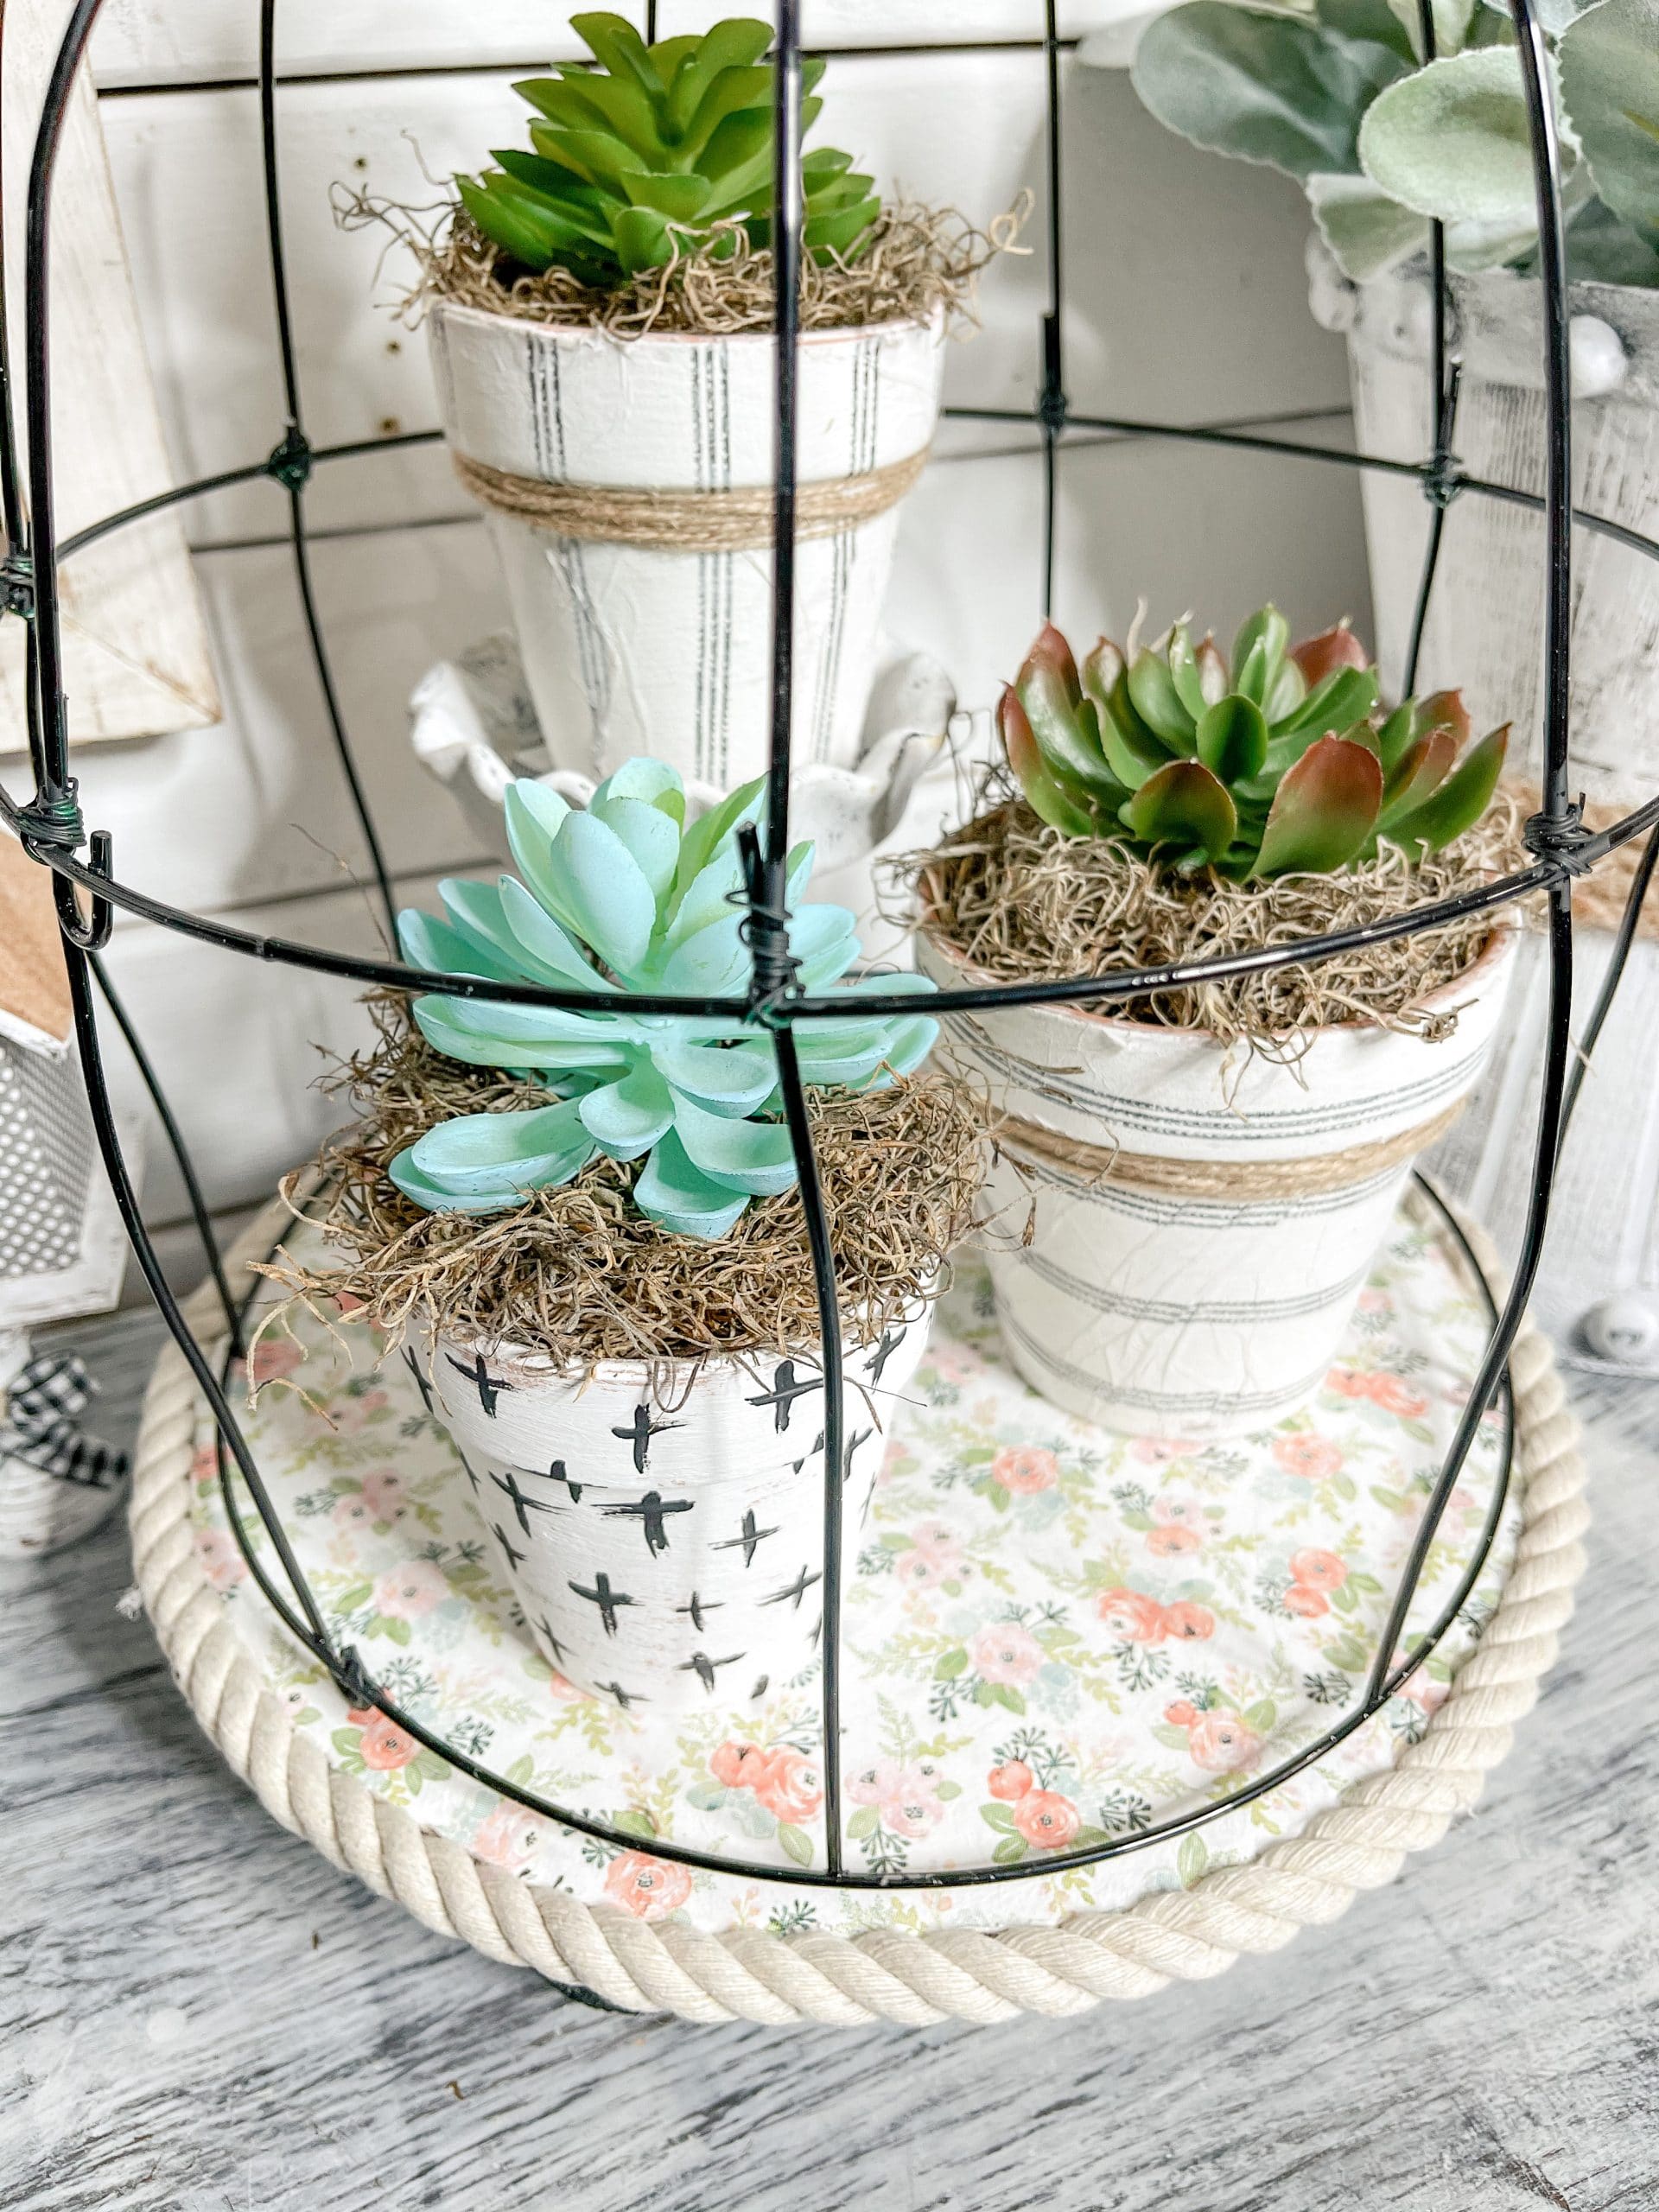
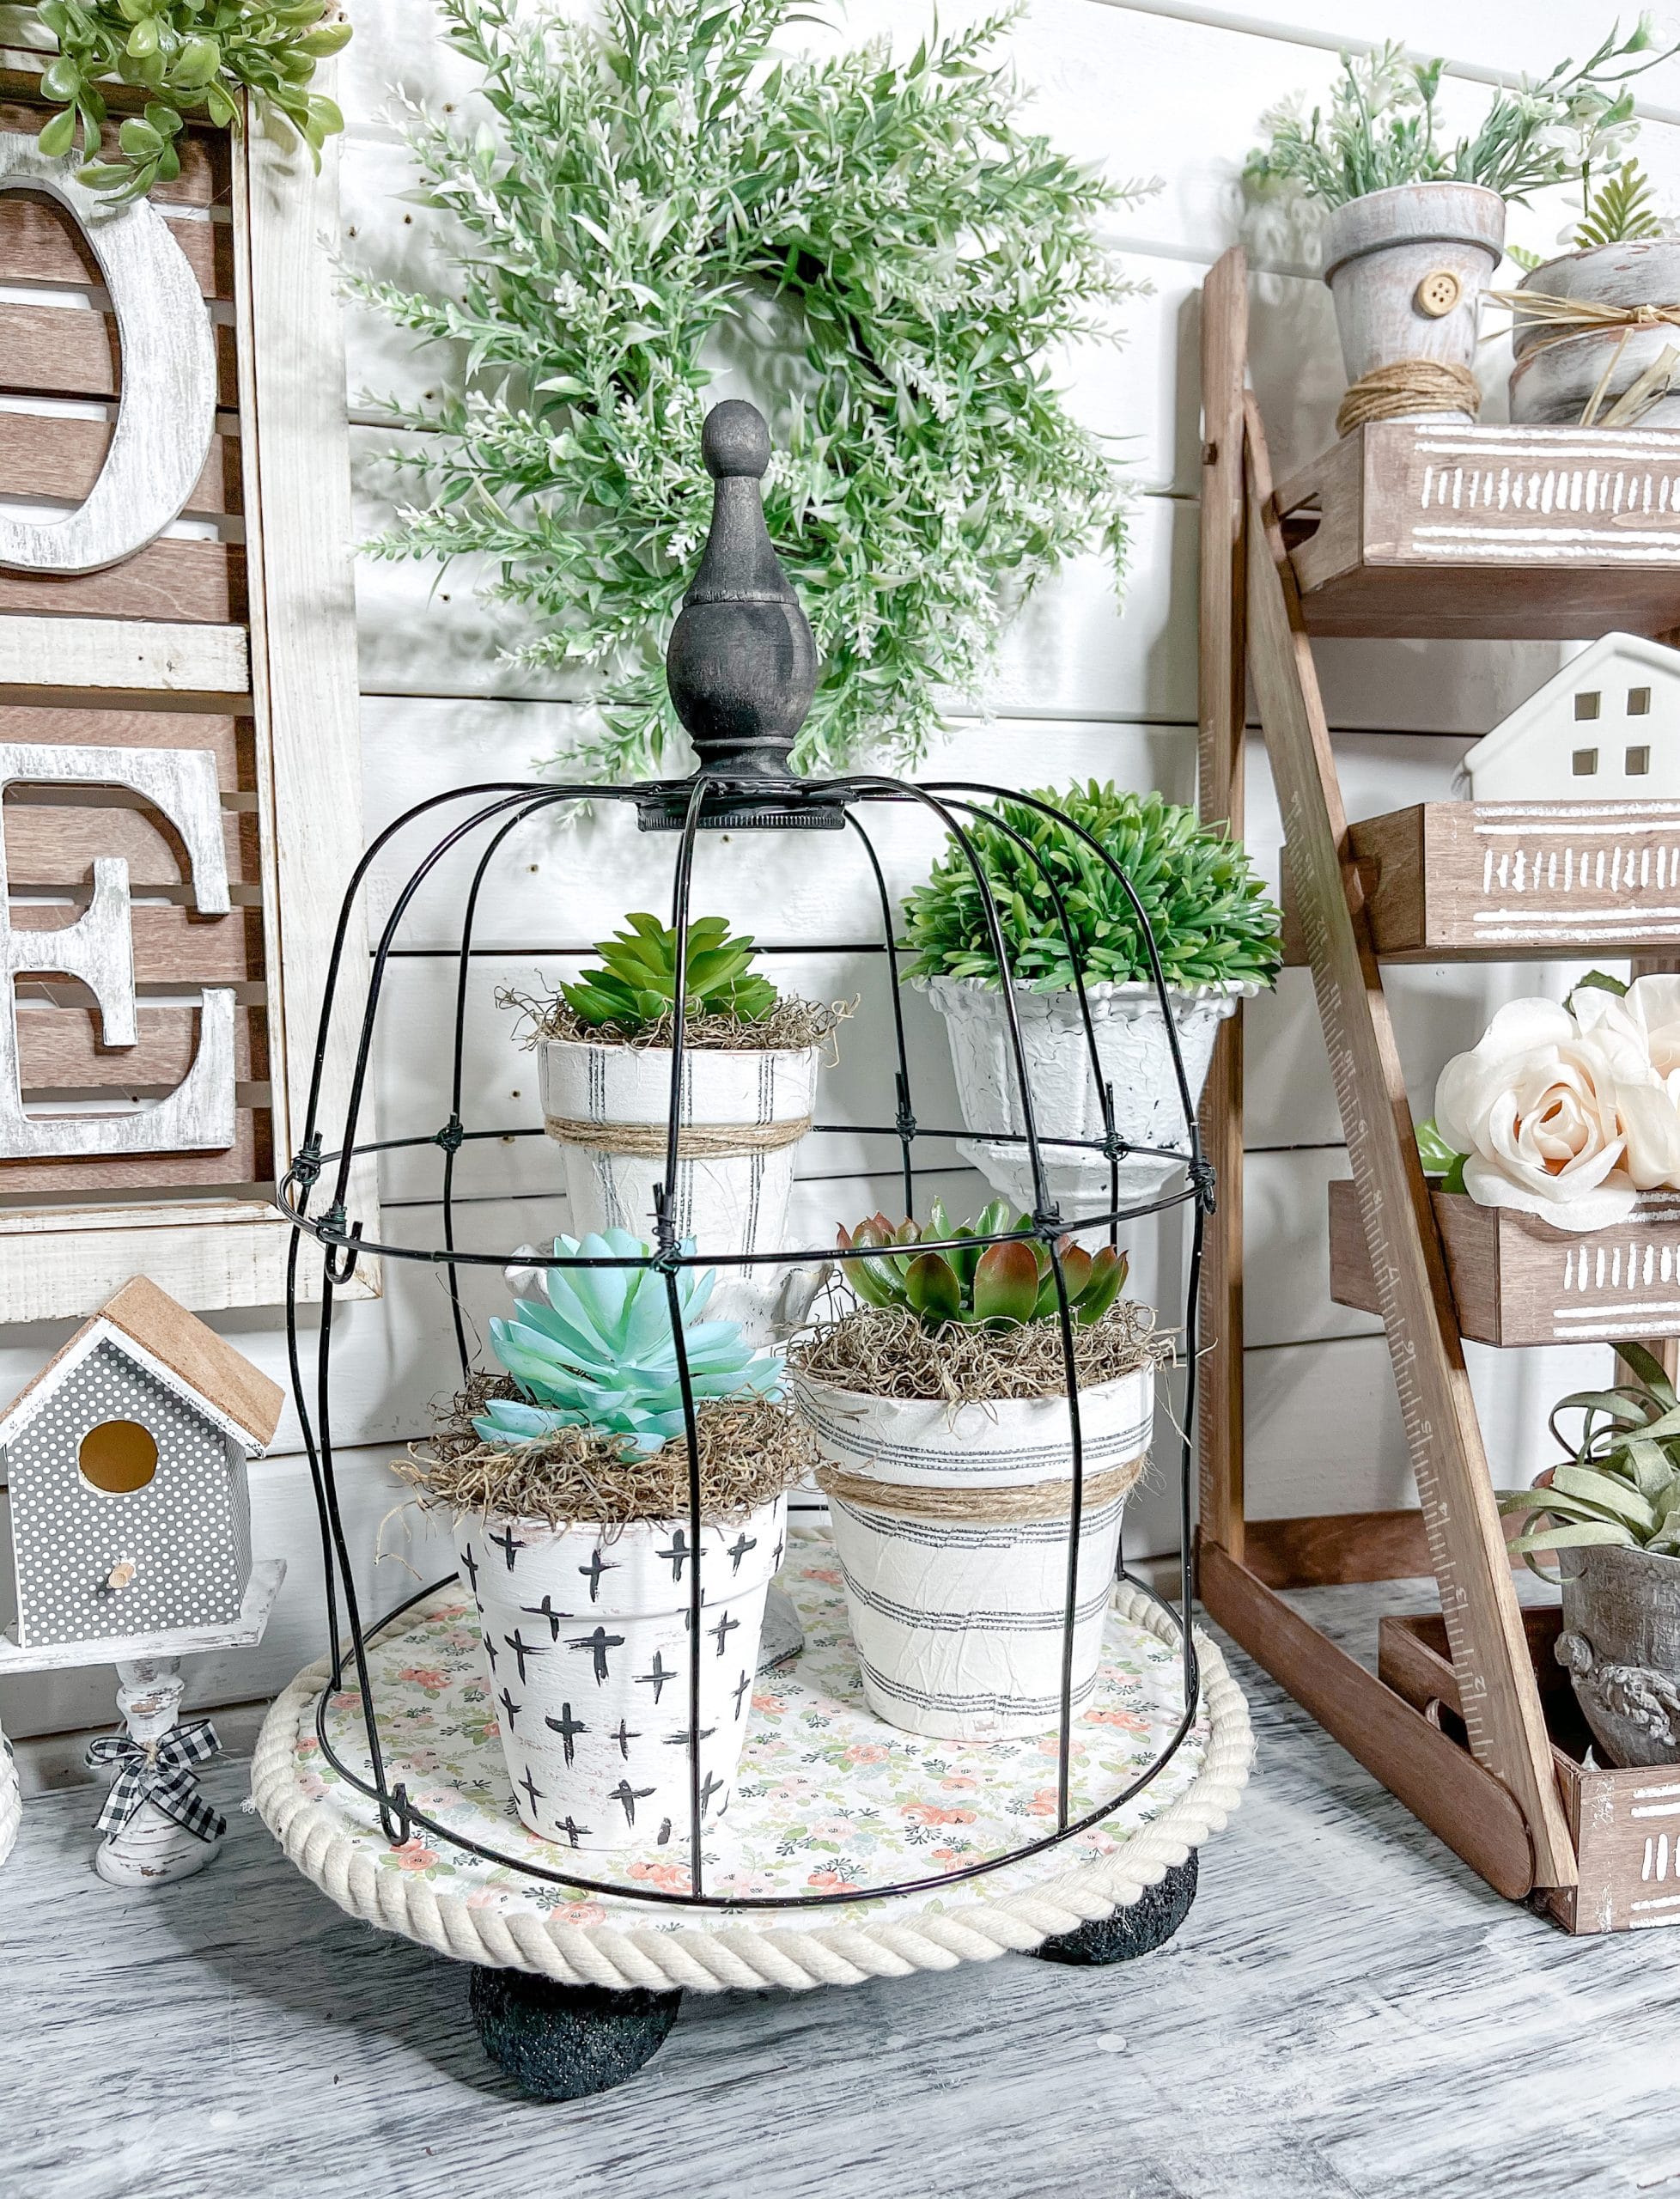
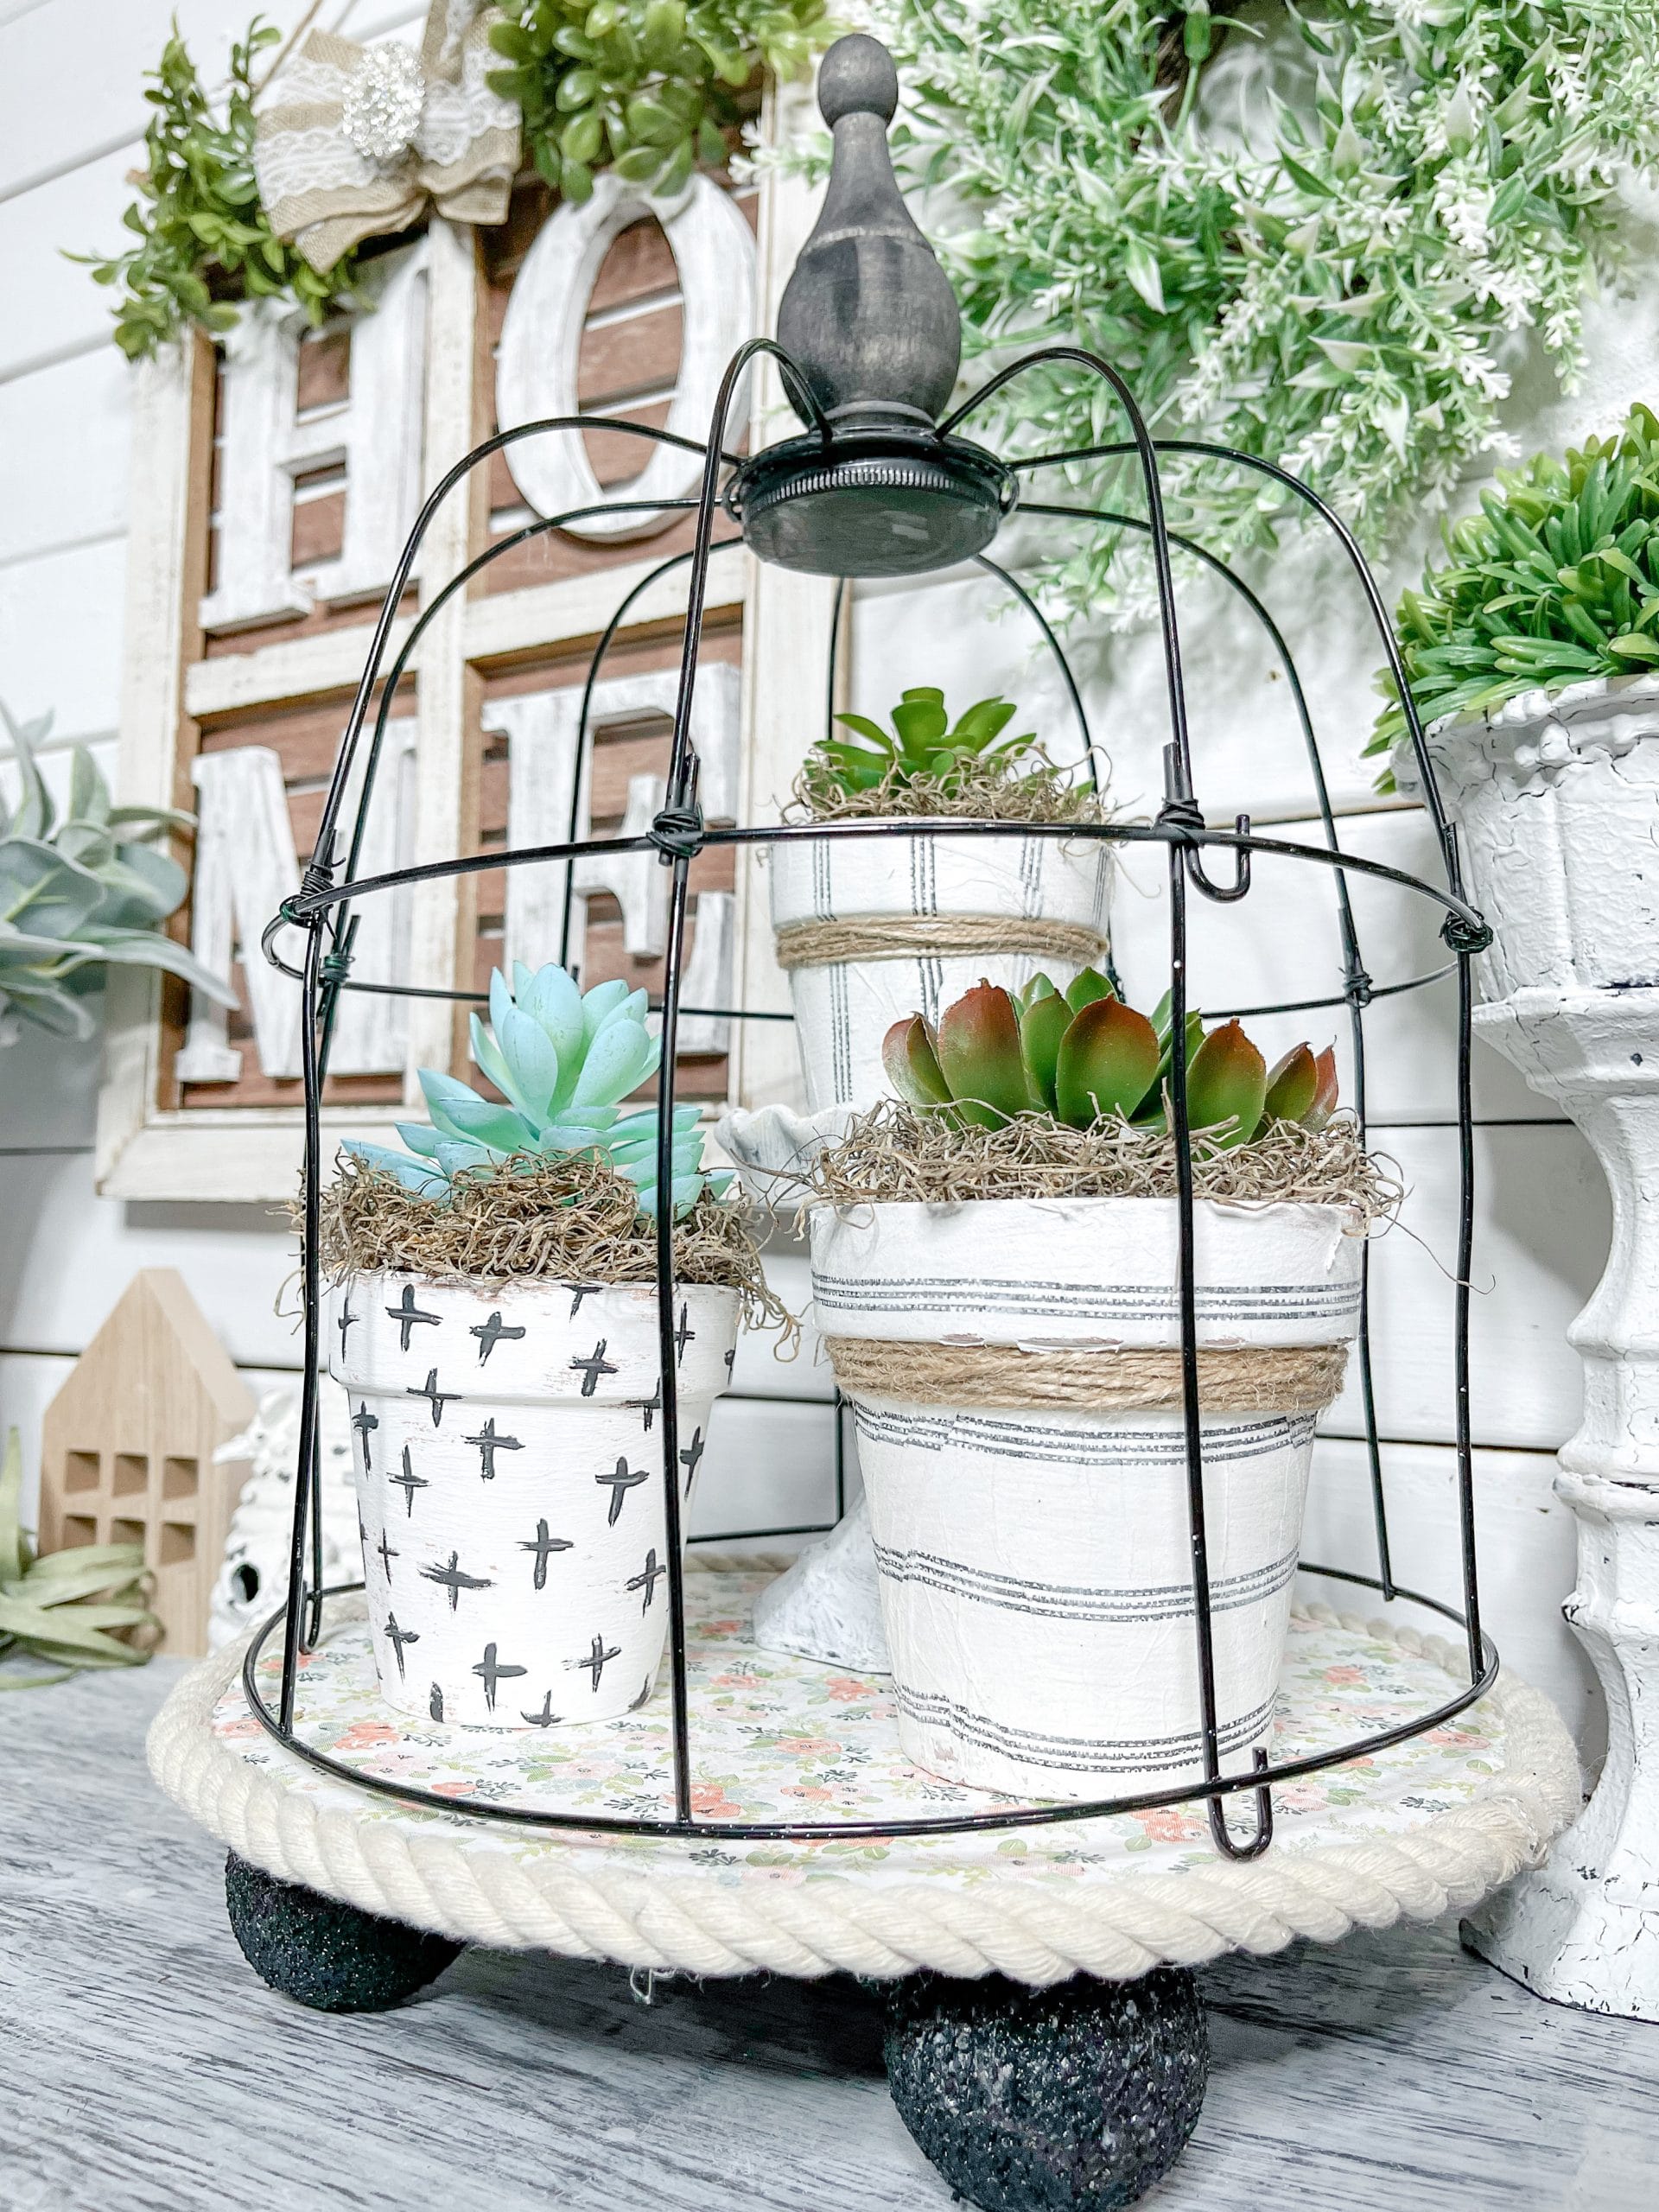
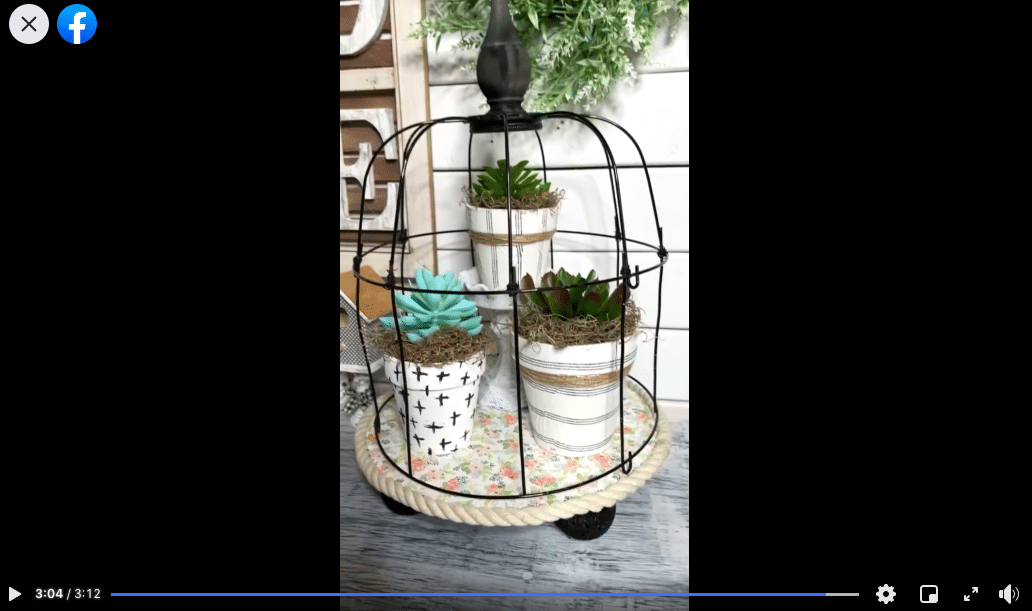
This DIY Dollar Tree Shabby Chic Birdcage was so much fun to make, and it turned out so adorable! I love finding ways to repurpose Dollar Tree items and make them into incredible home decor, so when I got the idea to turn Dollar Tree wire hanging baskets into a birdcage/dome/cloche, I just had to give it a try!
Watch the tutorial
I recorded a quick, how-to DIY tutorial video for you to make this easy DIY Dollar Tree Shabby Chic Birdcage! I go step-by-step and show how I turned Dollar Tree wire hanging baskets into super cute shabby chic DIY home decor!
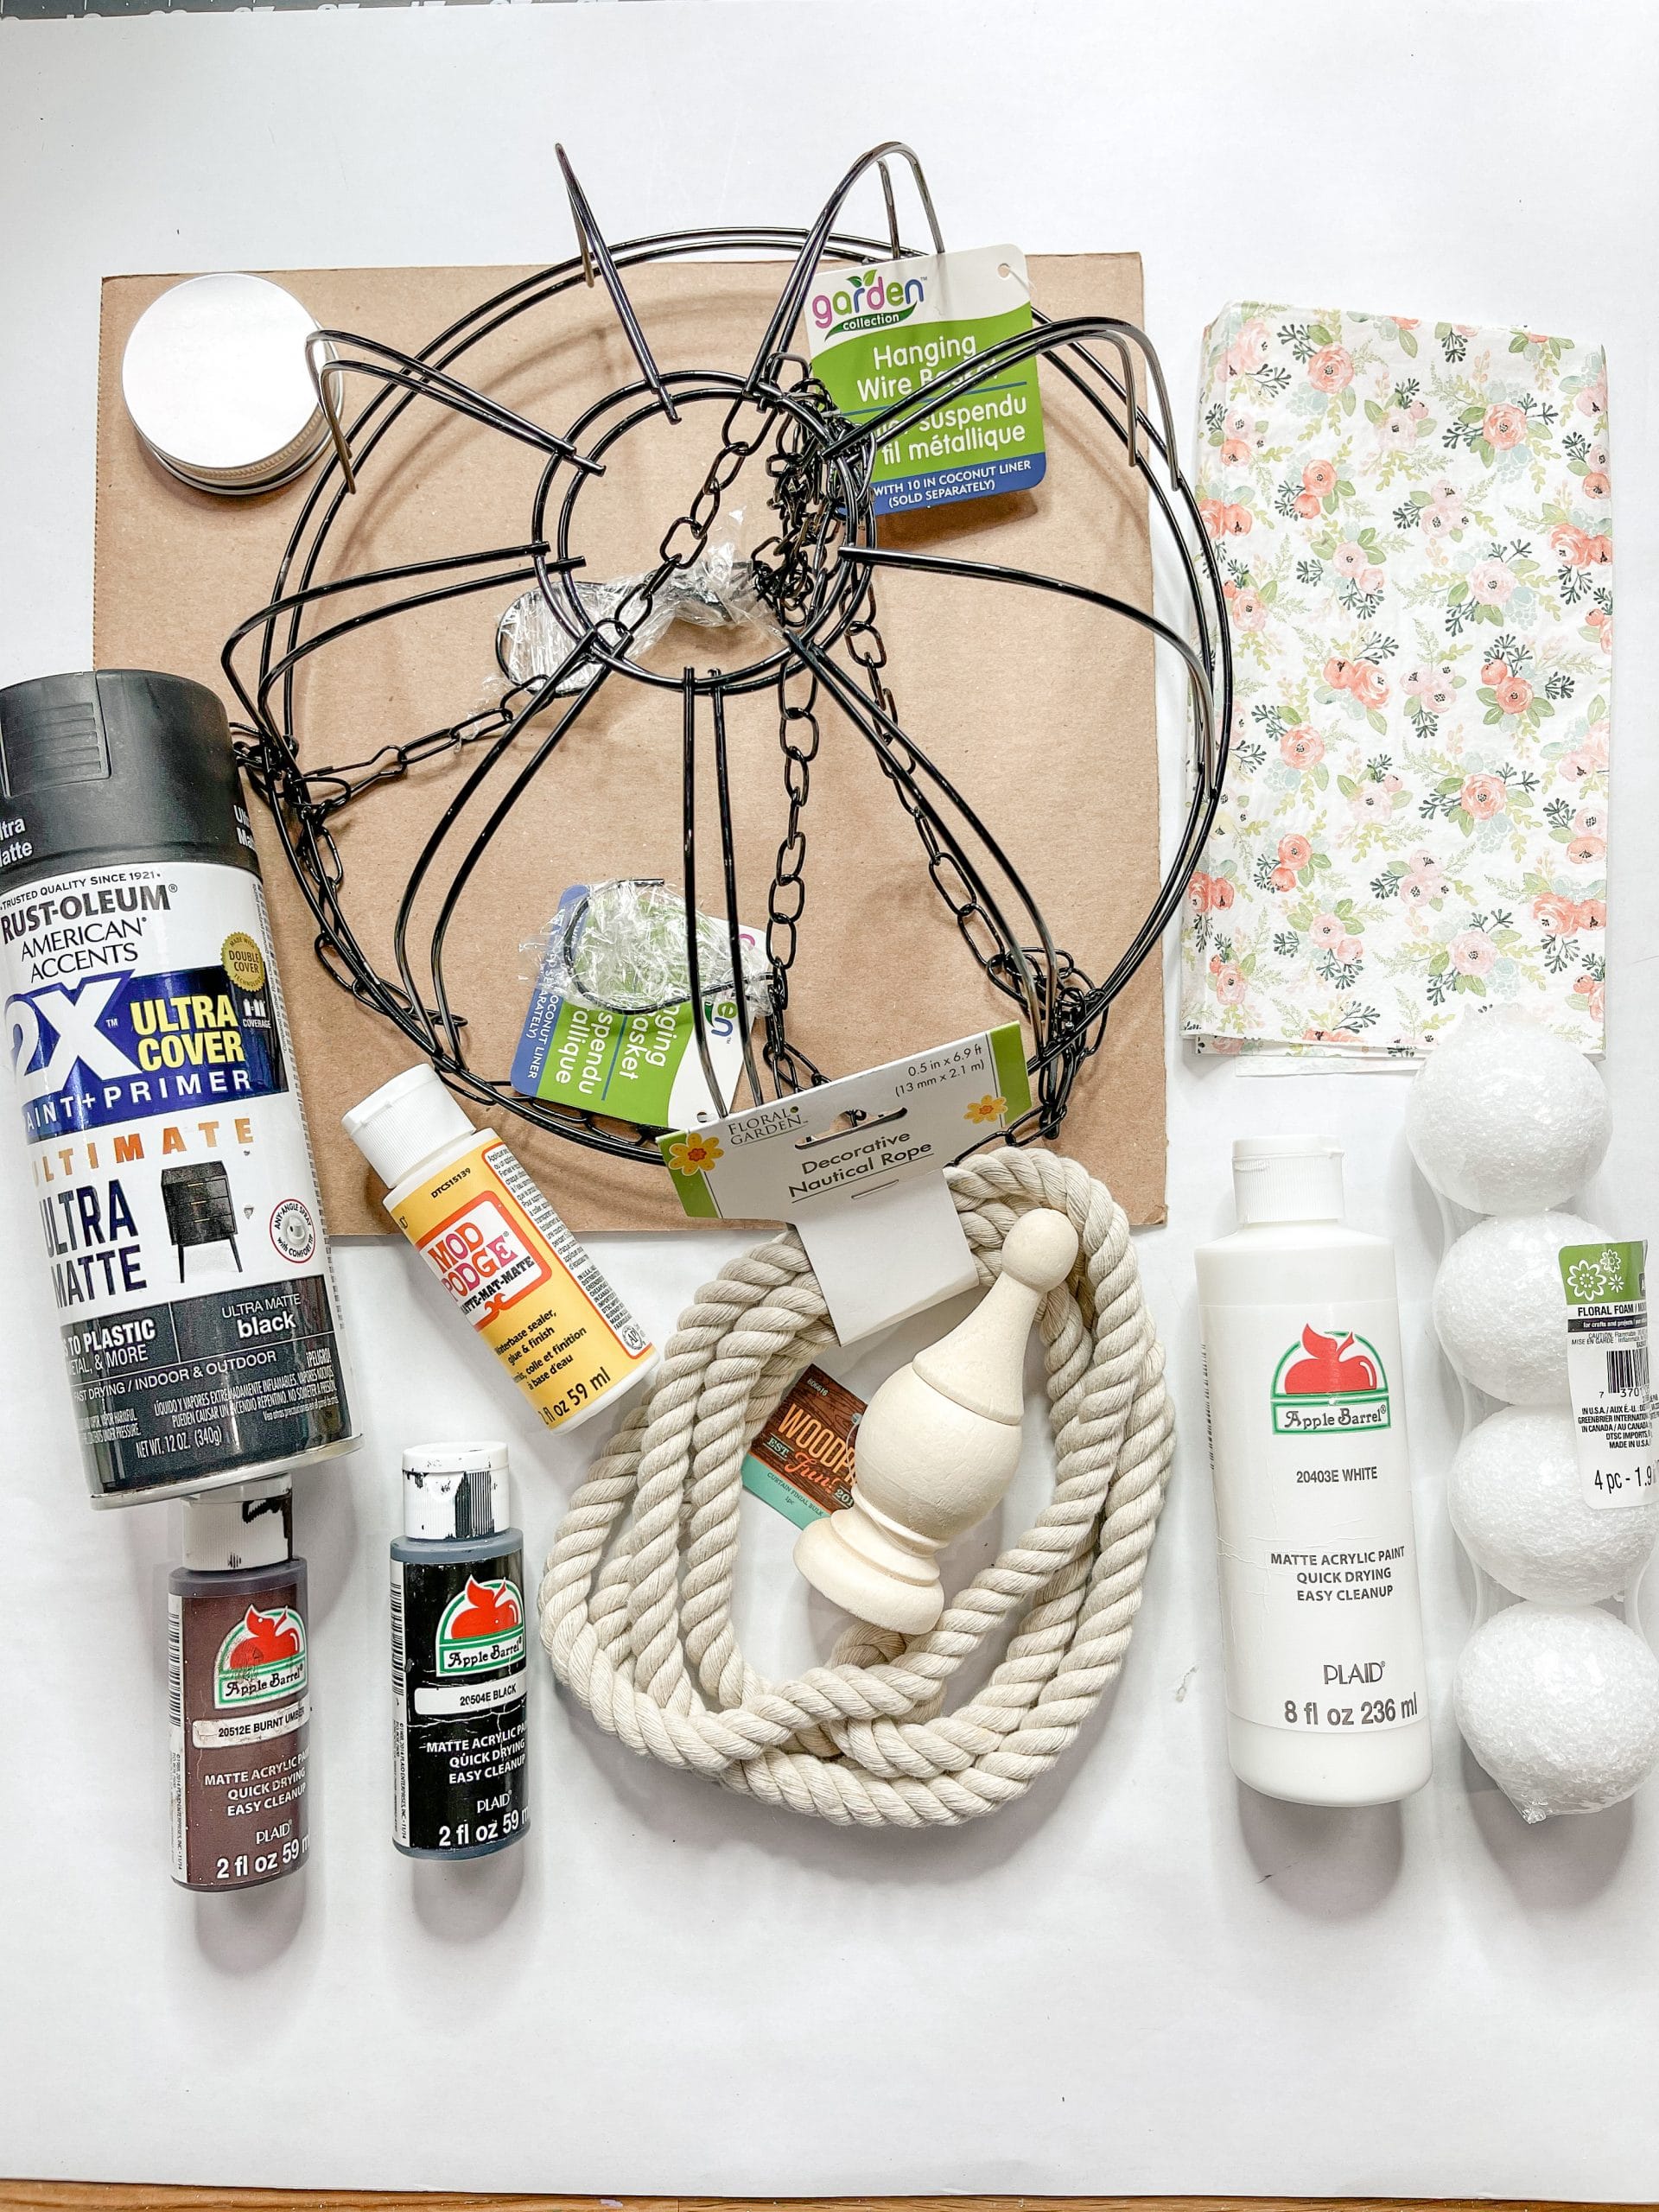
For this project, I will be using these items but you can substitute where you want.
“As an Amazon Associate, I earn from qualifying purchases.”
- Dollar Tree Hangin Wire Baskets (x2)
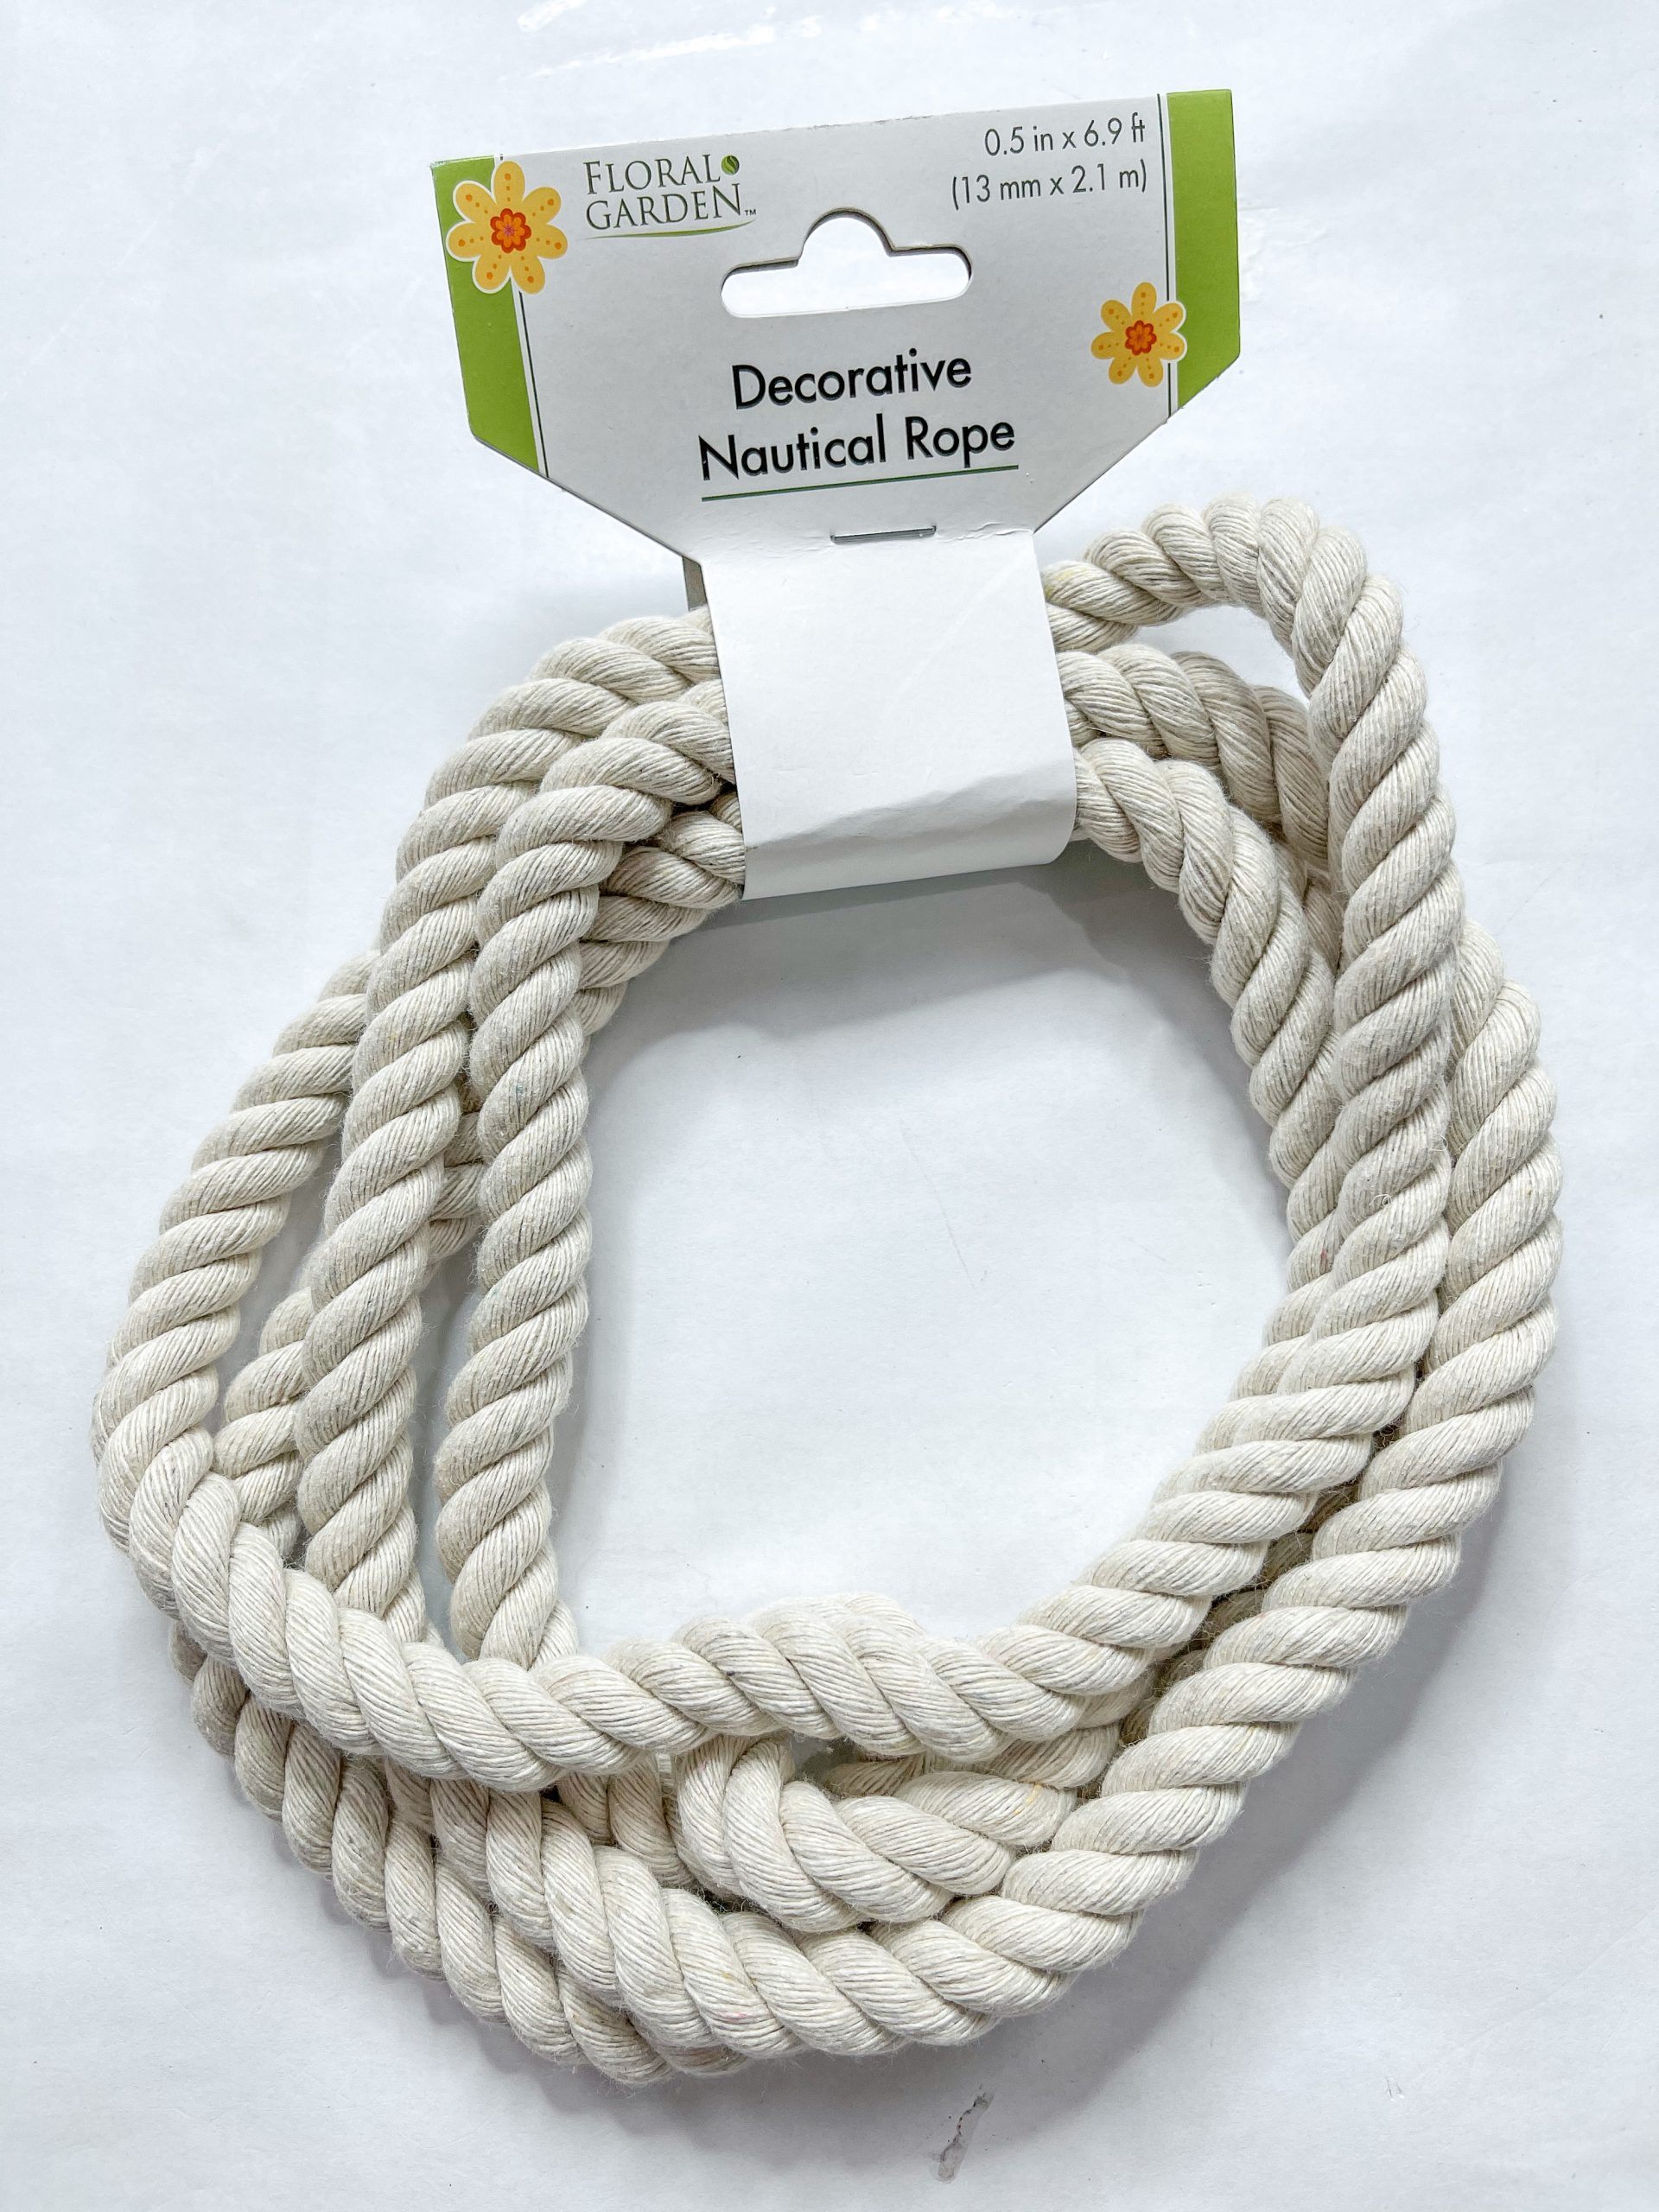
- Dollar Tree Decorative Nautical Rope
- Floral Napkins
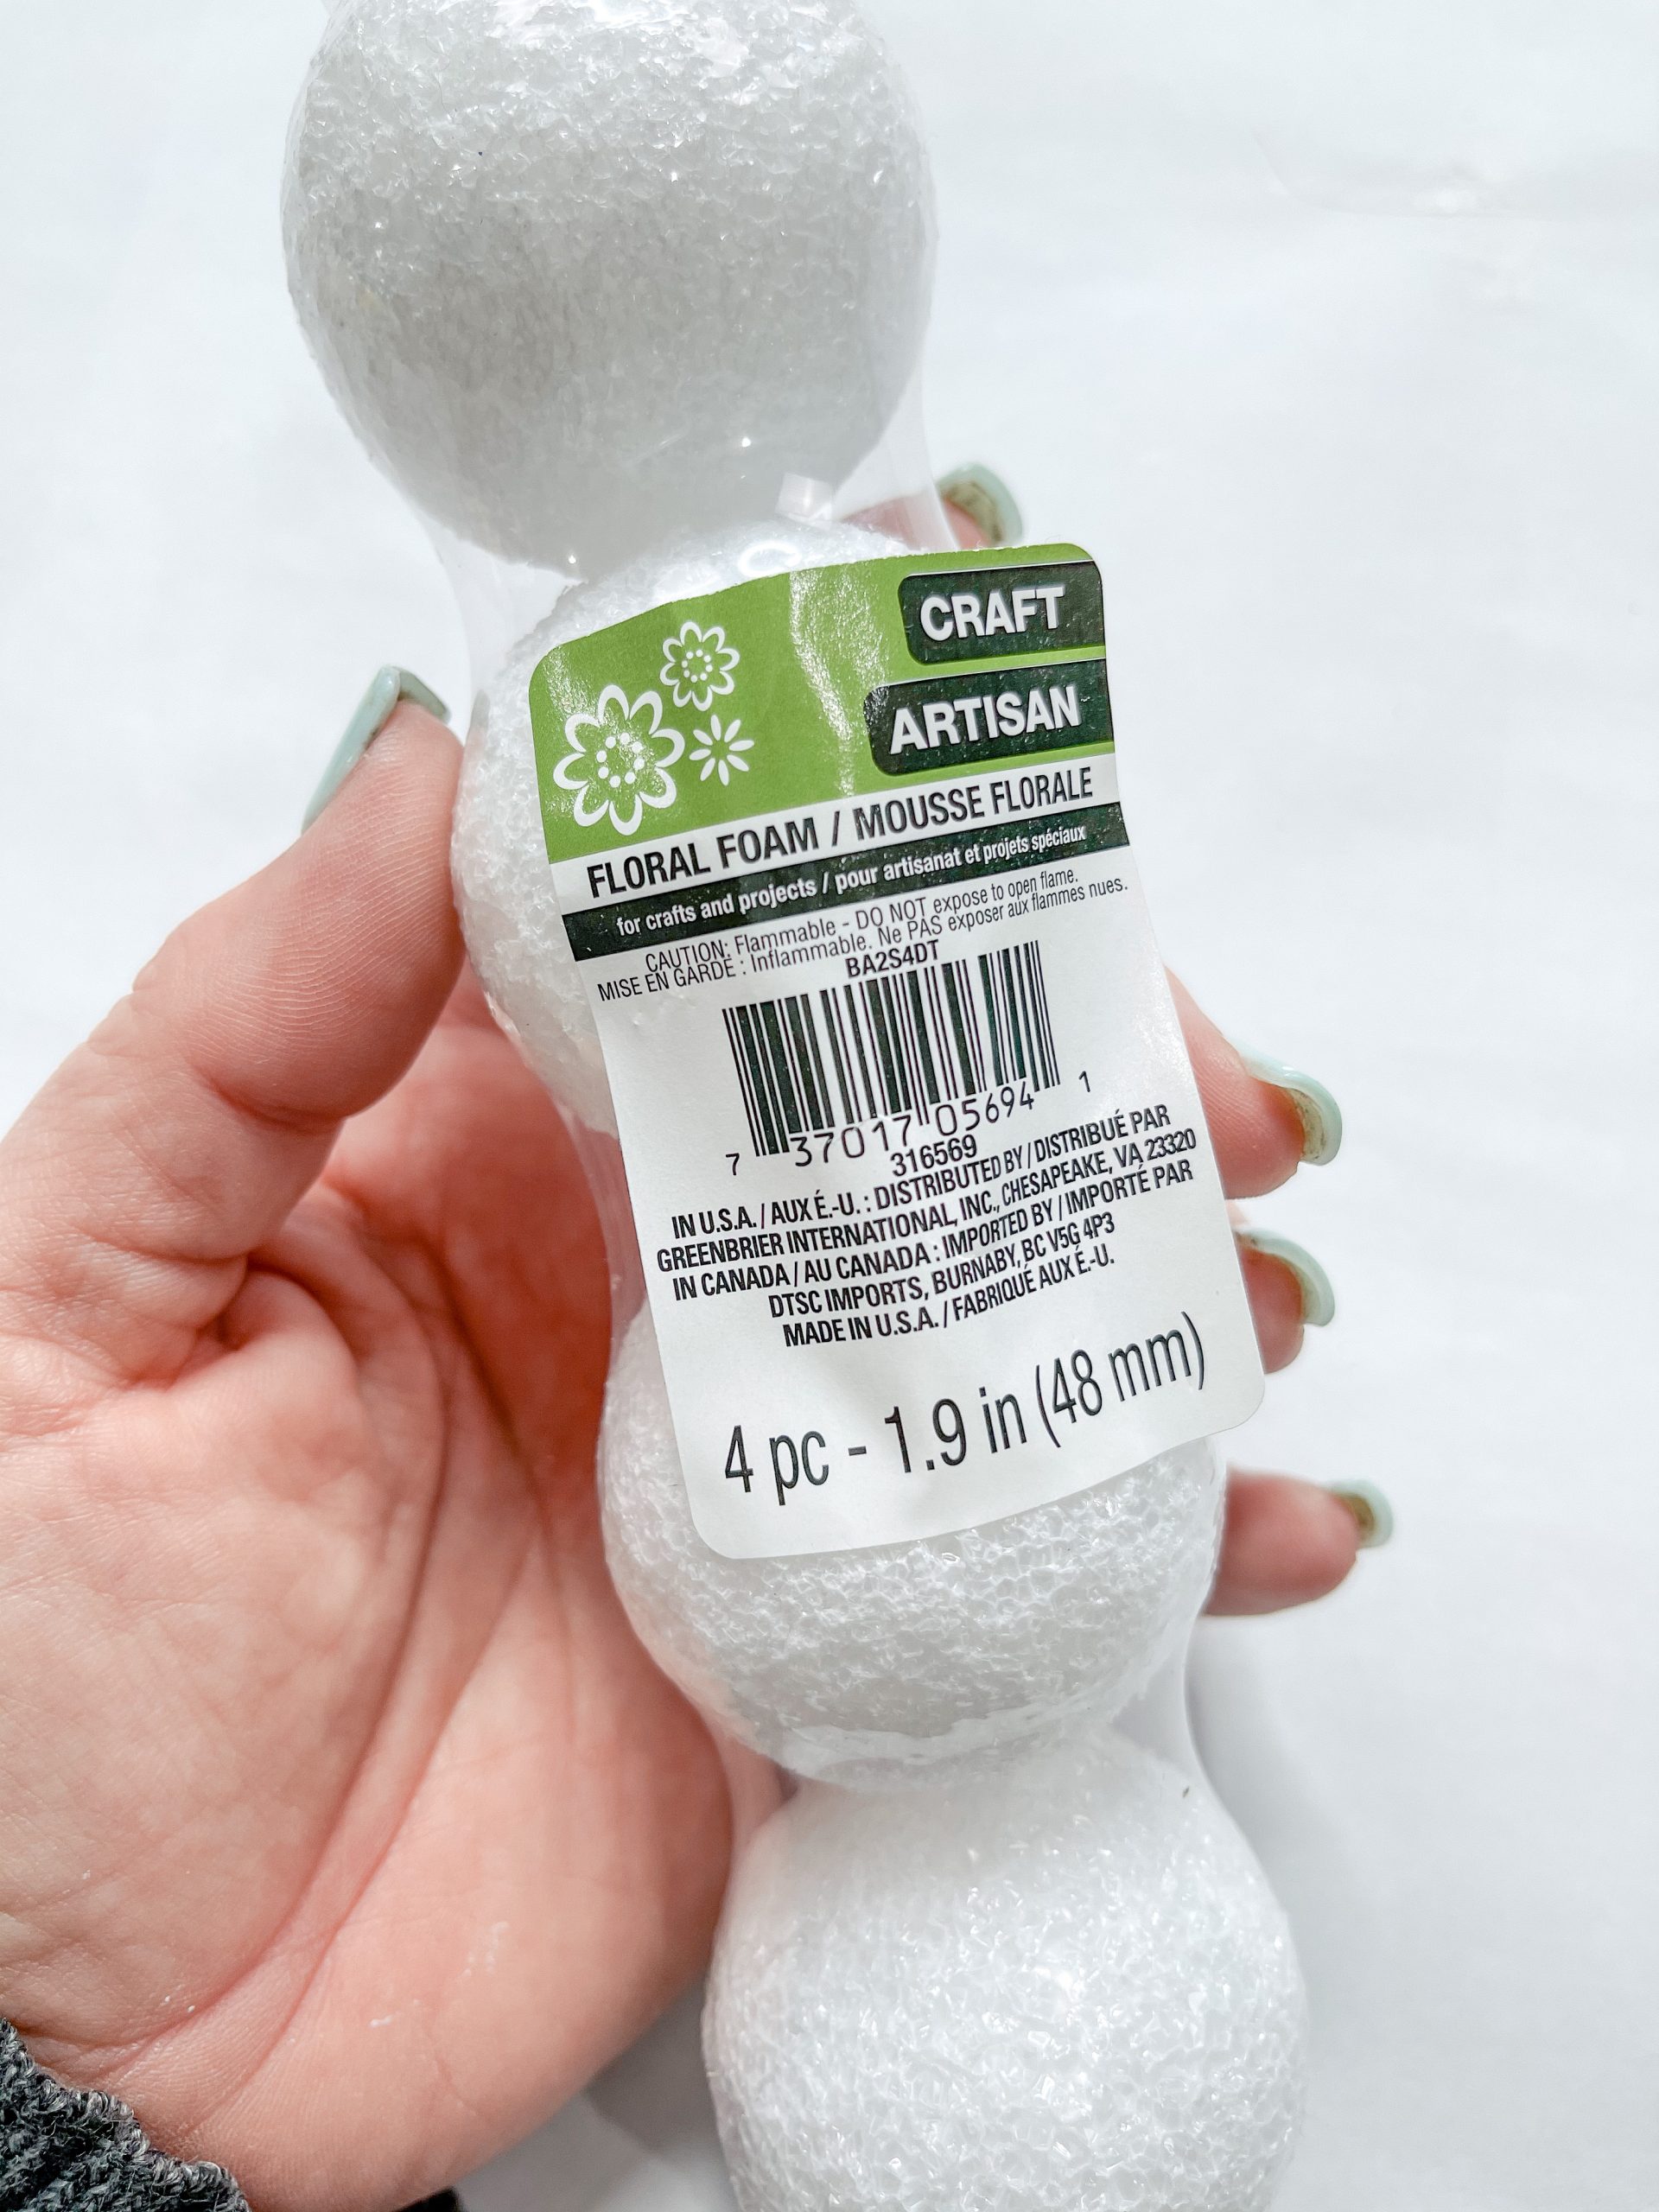
- Dollar Tree Floral Foam Balls
- Dollar Tree Craft Jar Lid
- Piece of cardboard
- Dollar Tree Floral Wire
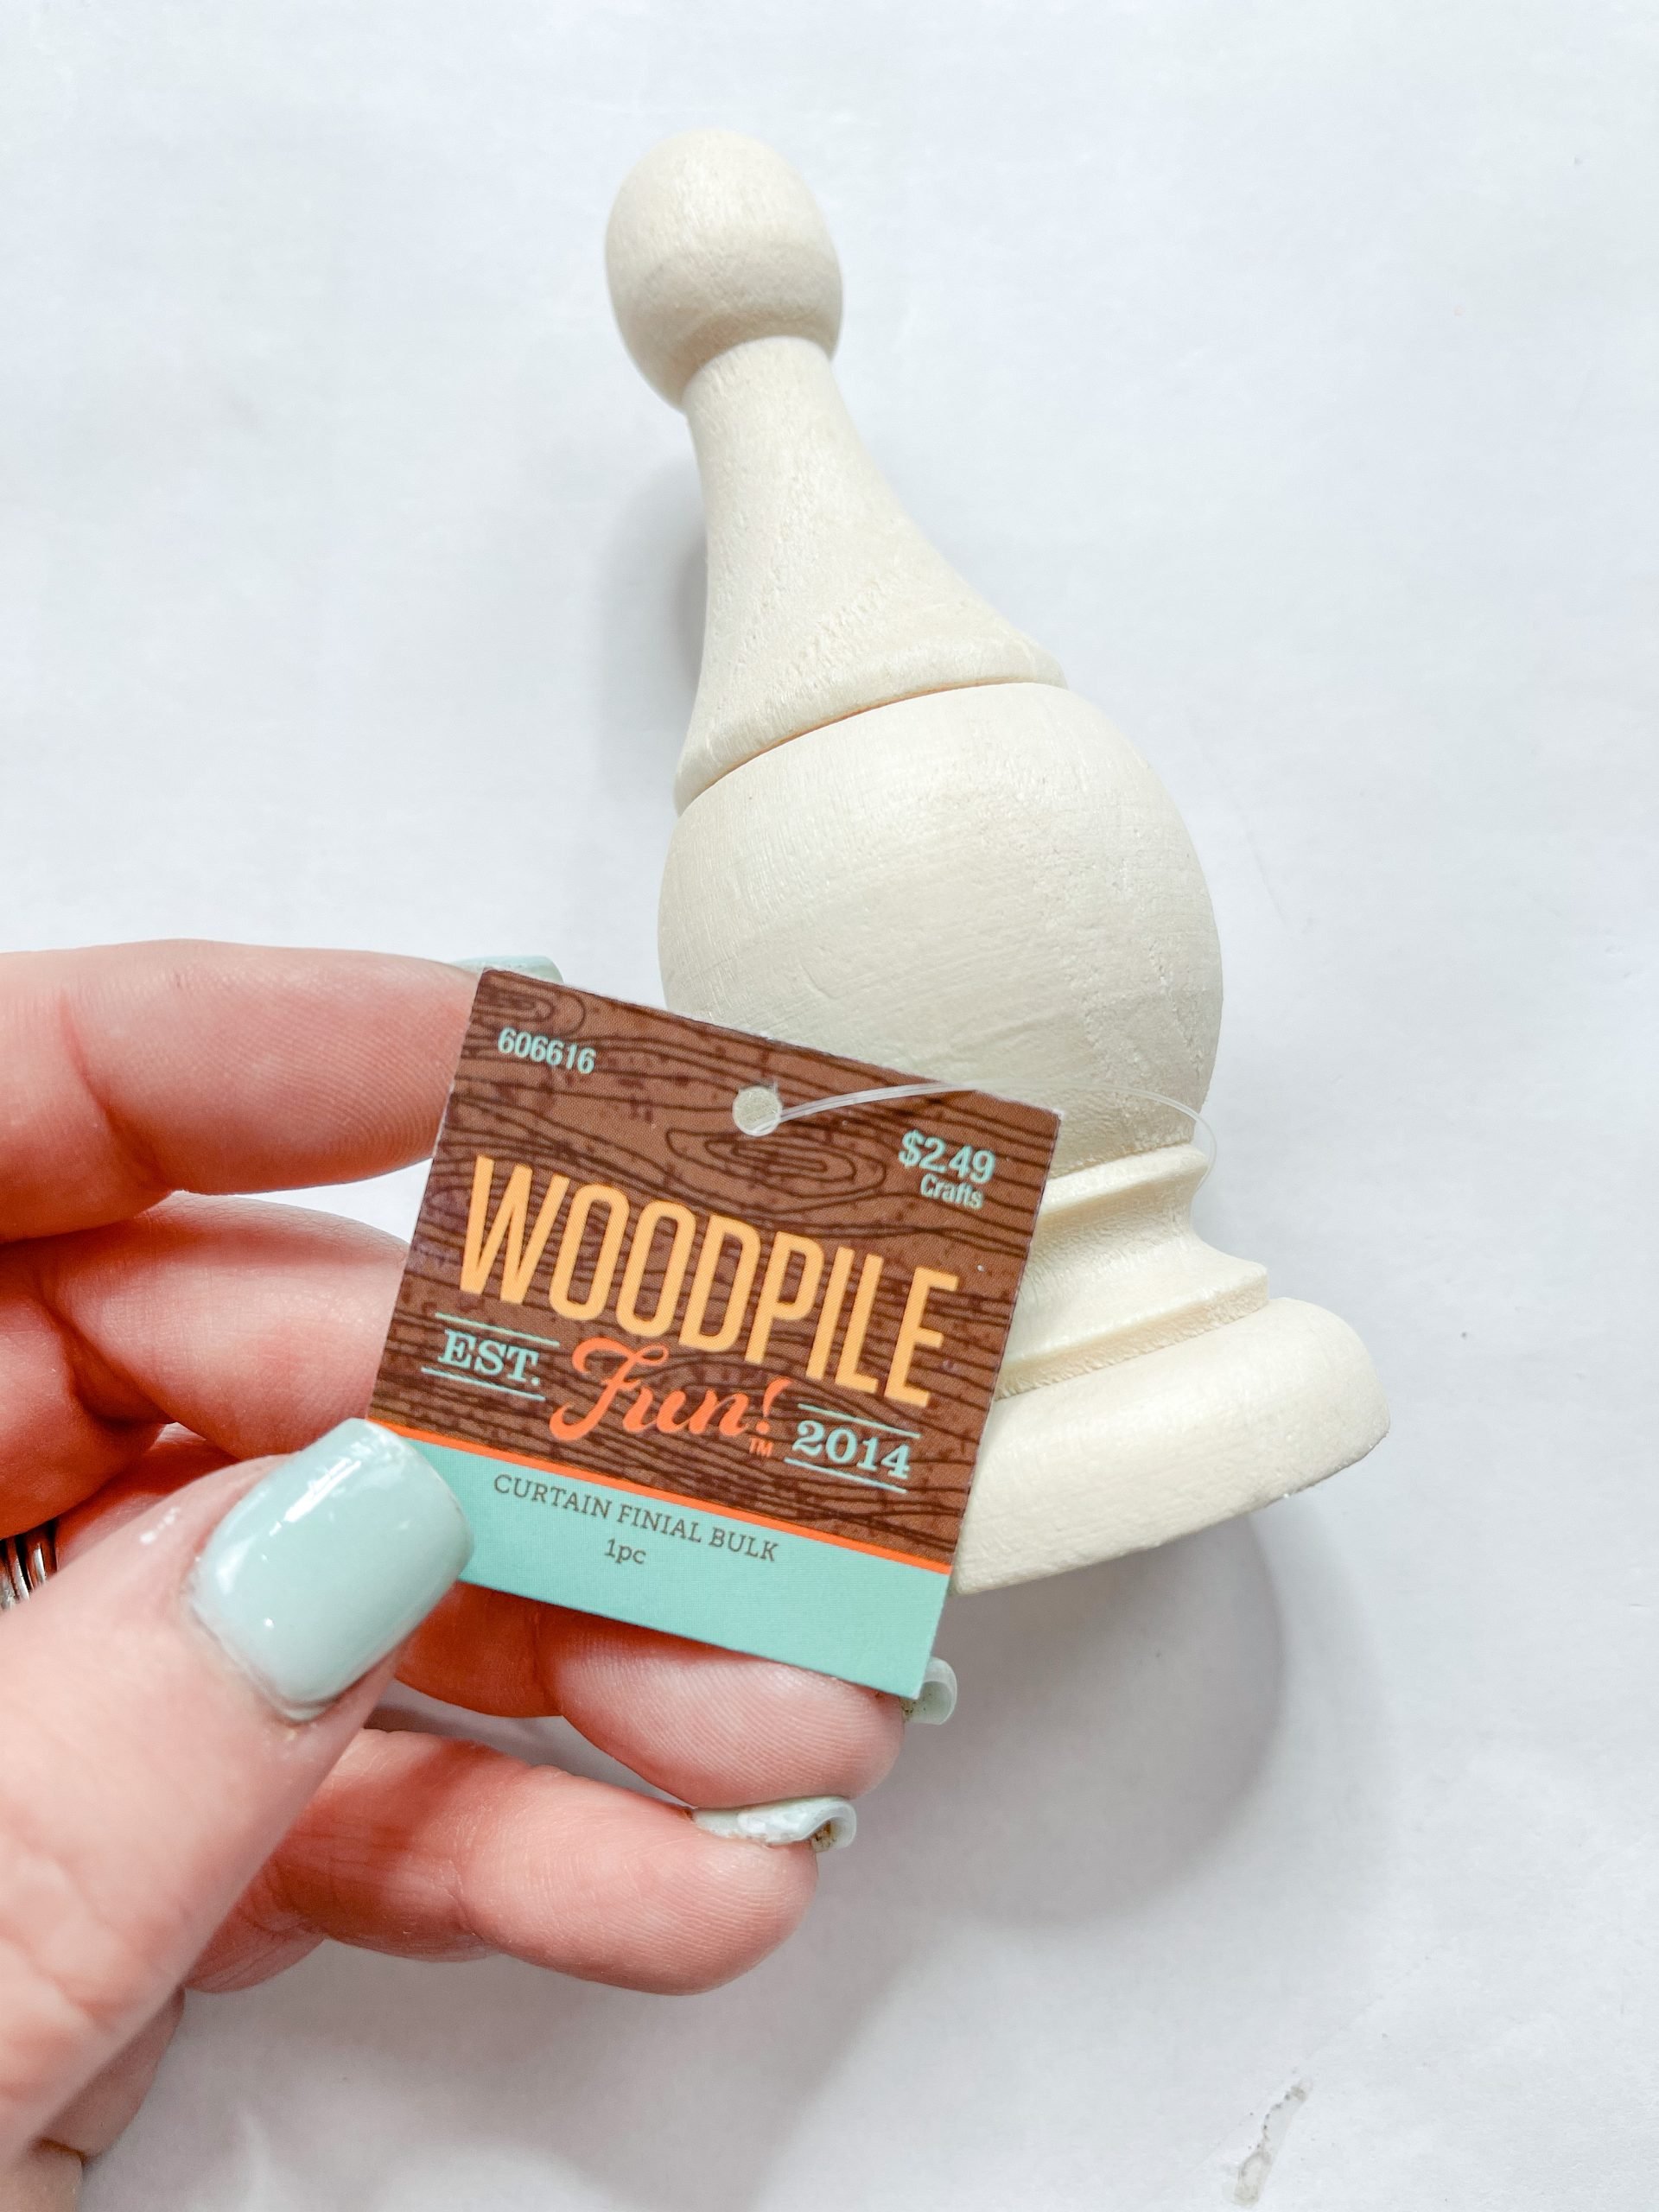
- Wooden Finial
- Apple Barrel Black Acrylic Paint
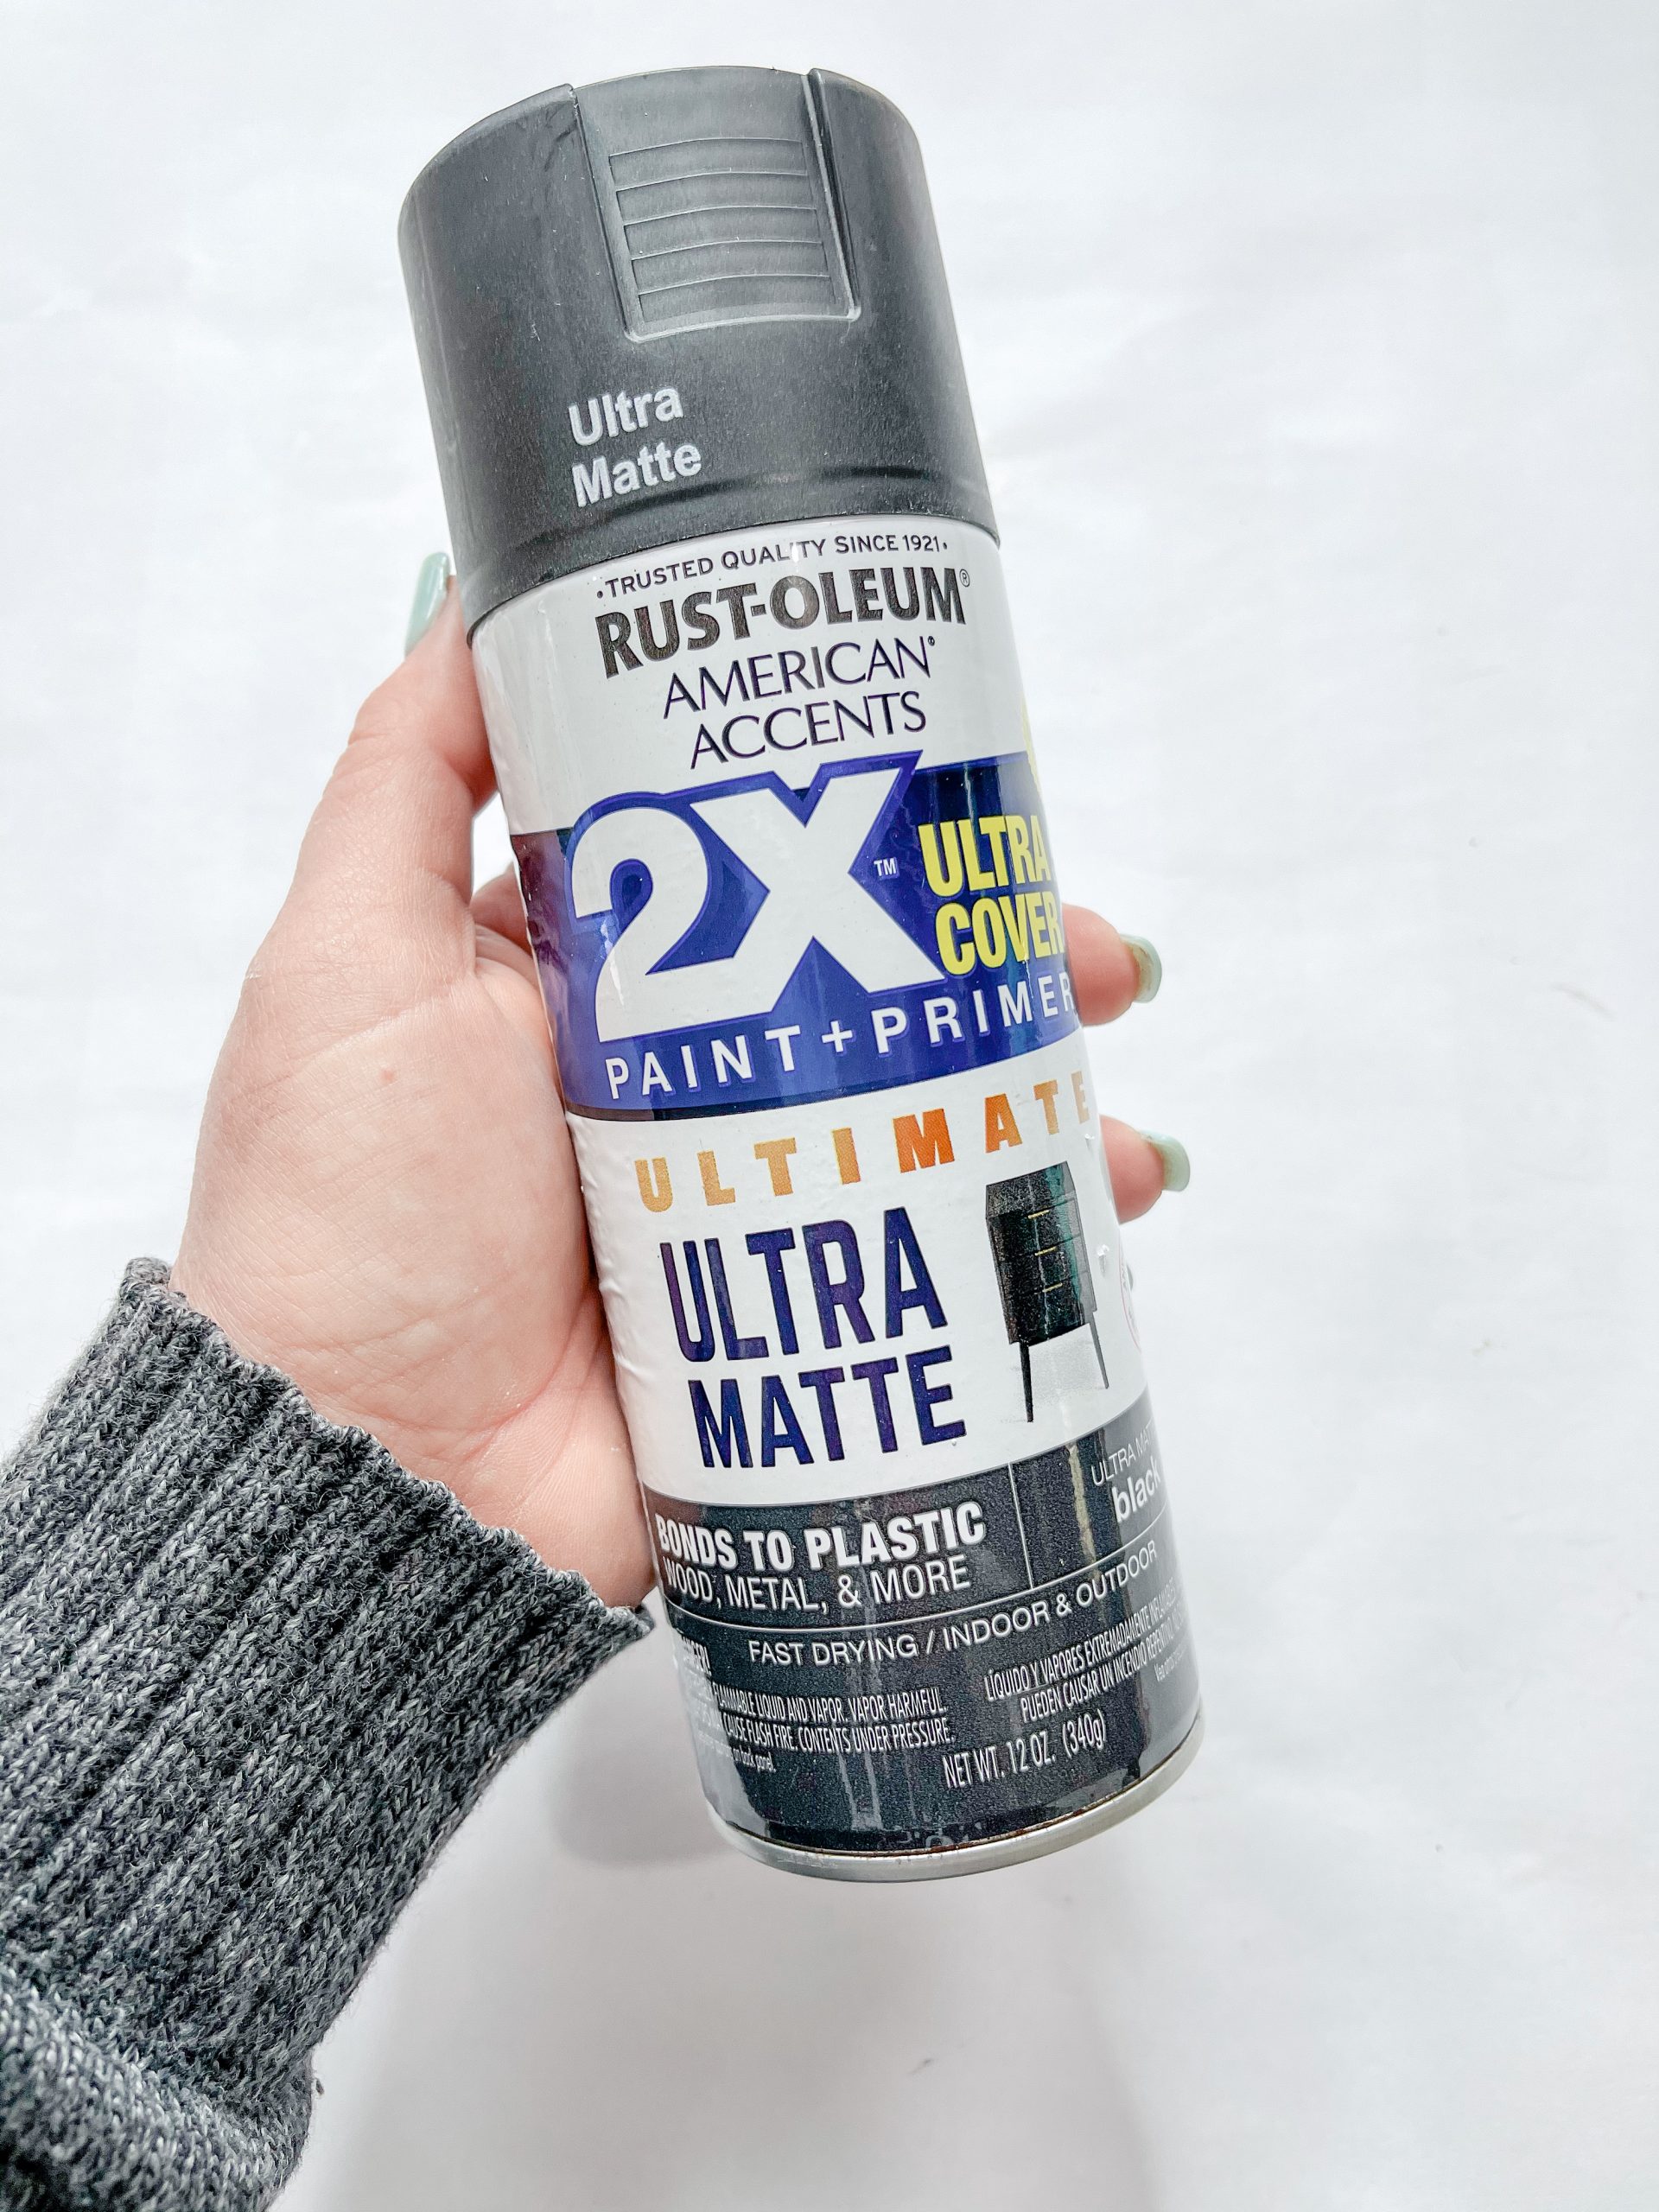
- Rustoleum Ultra Matte Black Spray Paint
- Apple Barrel Burnt Umber Acrylic Paint
- Apple Barrel White Acrylic Paint
- Mod Podge
- Pliers
- Aviation Snips
- Hot Glue gun
- Glue Sticks
How to Make a DIY Dollar Tree Shabby Chic Birdcage
Remove the hanging chains from one of your baskets, and use your aviation snips to cut the circle off the bottom of the basket. Then, bend the wires to straighten them.
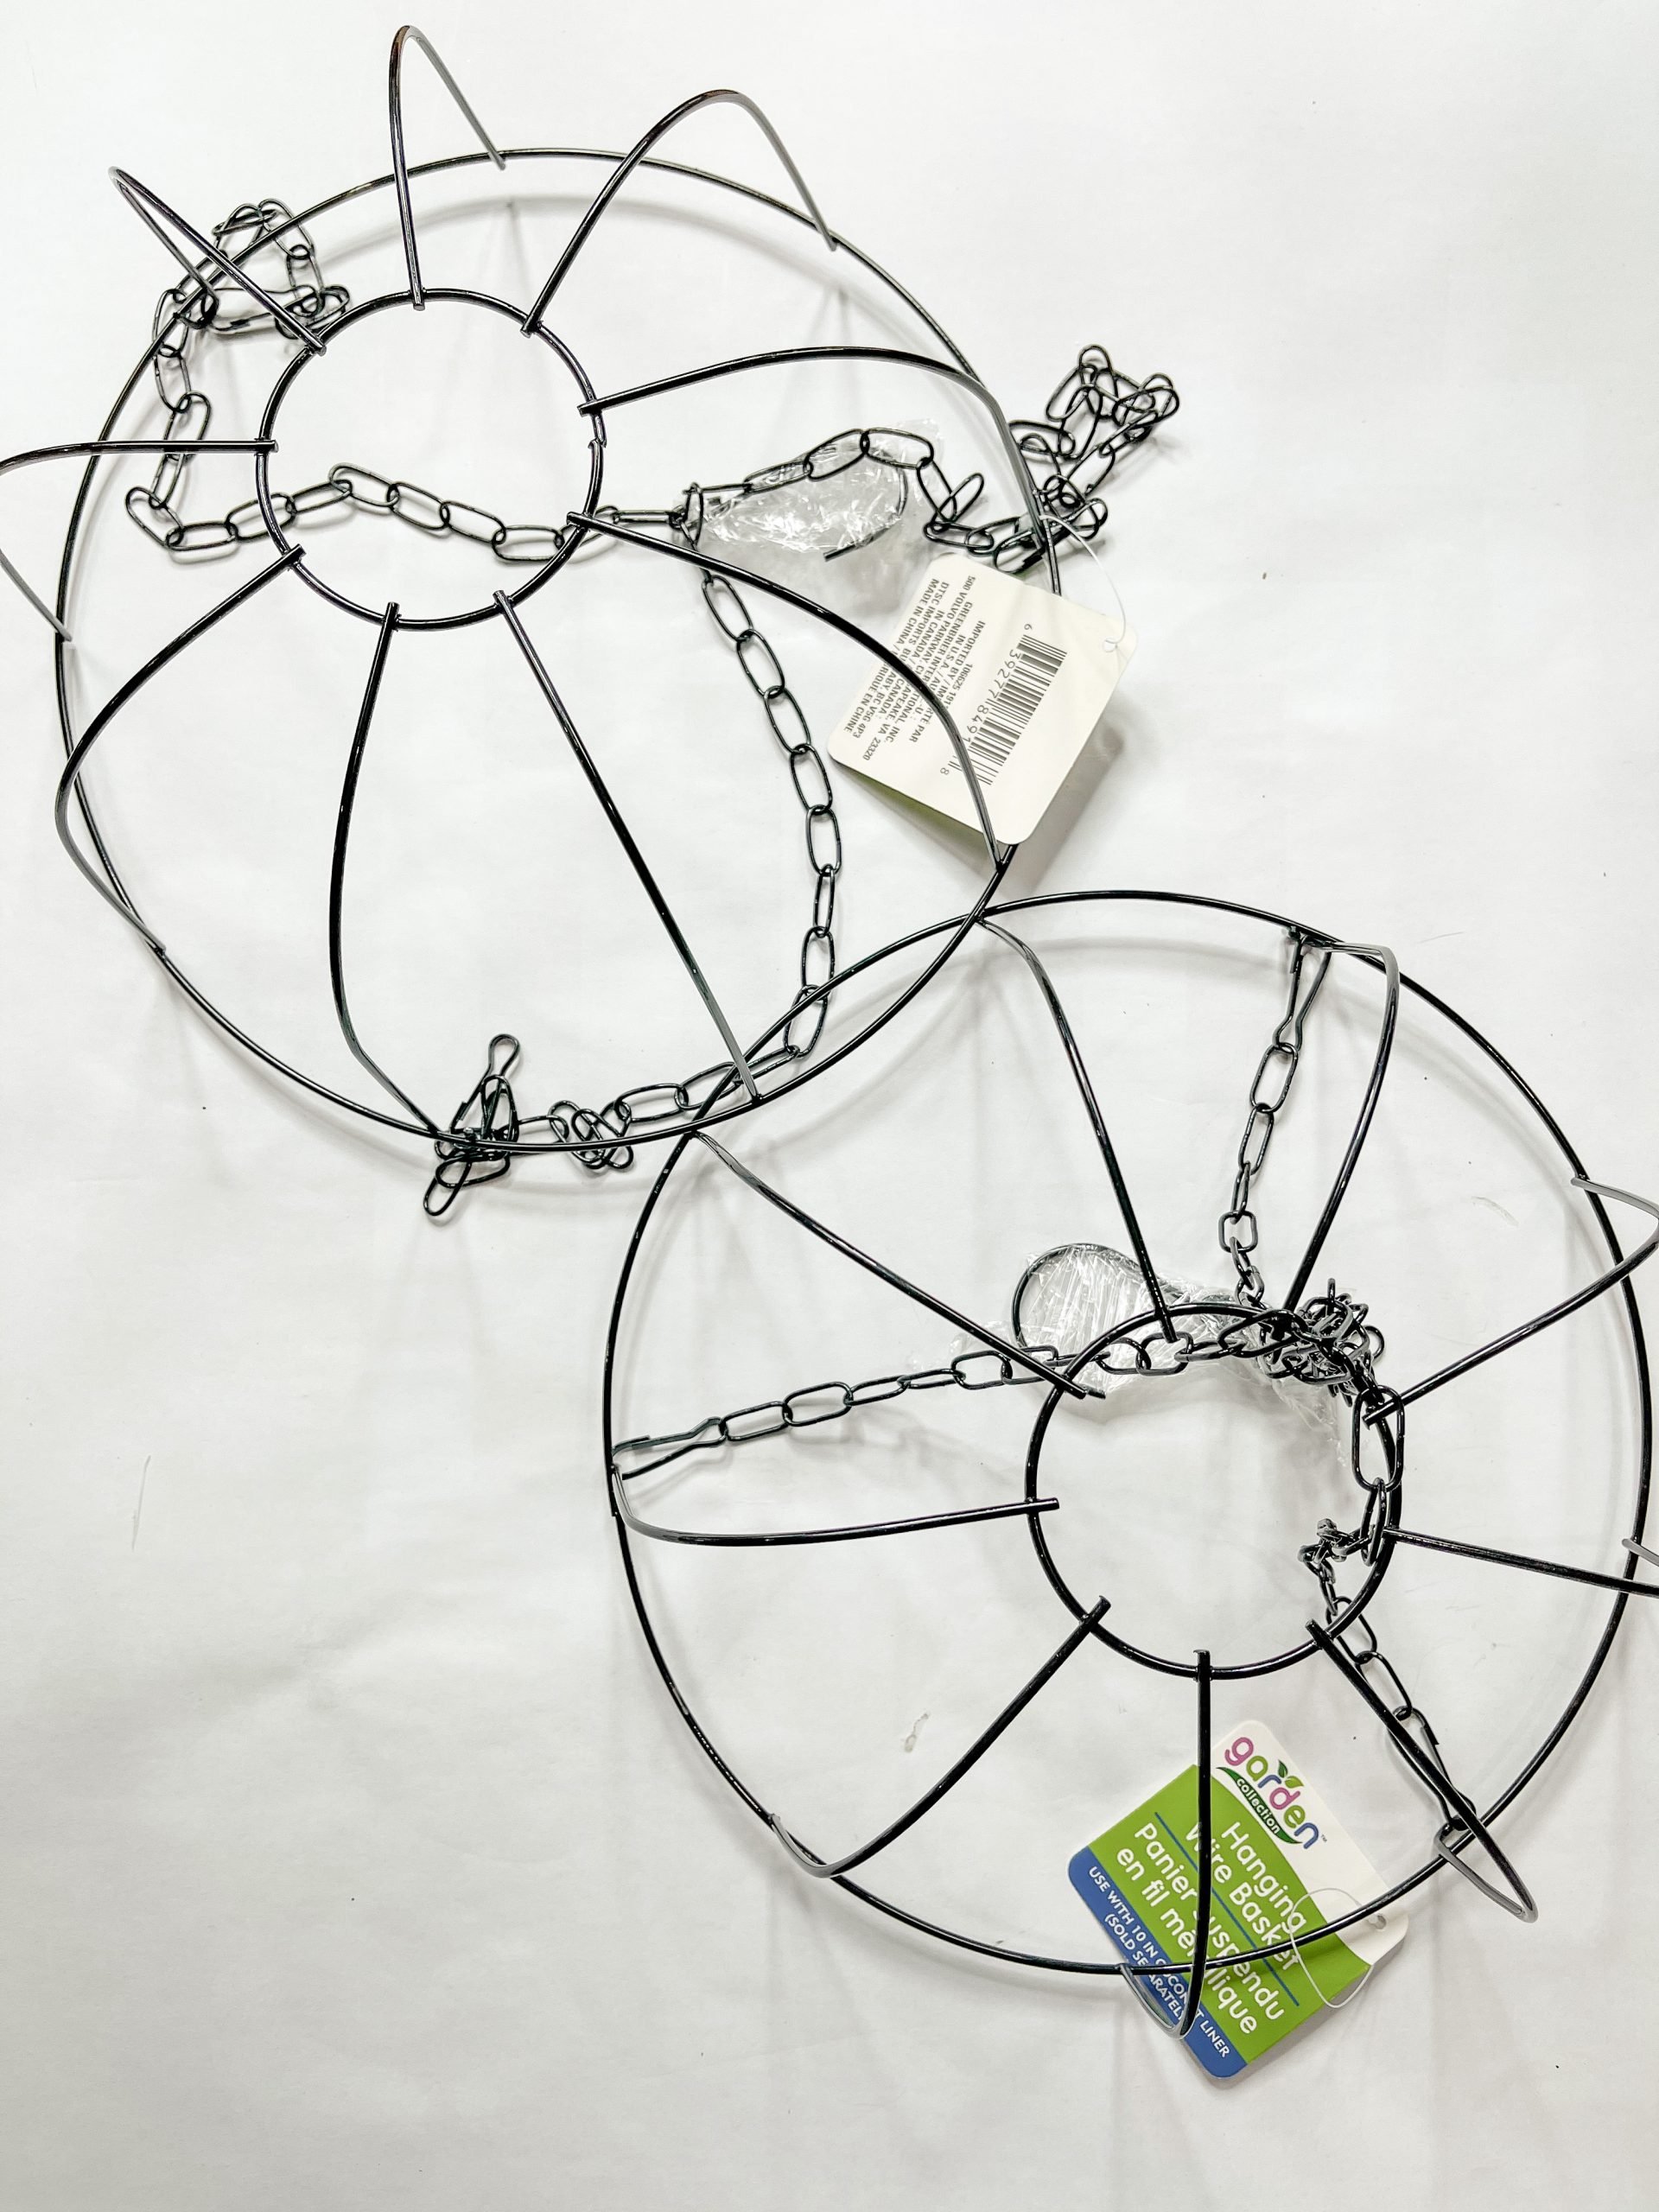
You’re going to use floral wire to connect the wires from your deconstructed basket to the top of the second Dollar Tree hanging wire basket. This is going to create one large cage.
Place your DIY cage on your piece of cardboard and trace the size of the bottom of the cage onto the cardboard. Then, use a pair of scissors to cut the circle out of the cardboard.
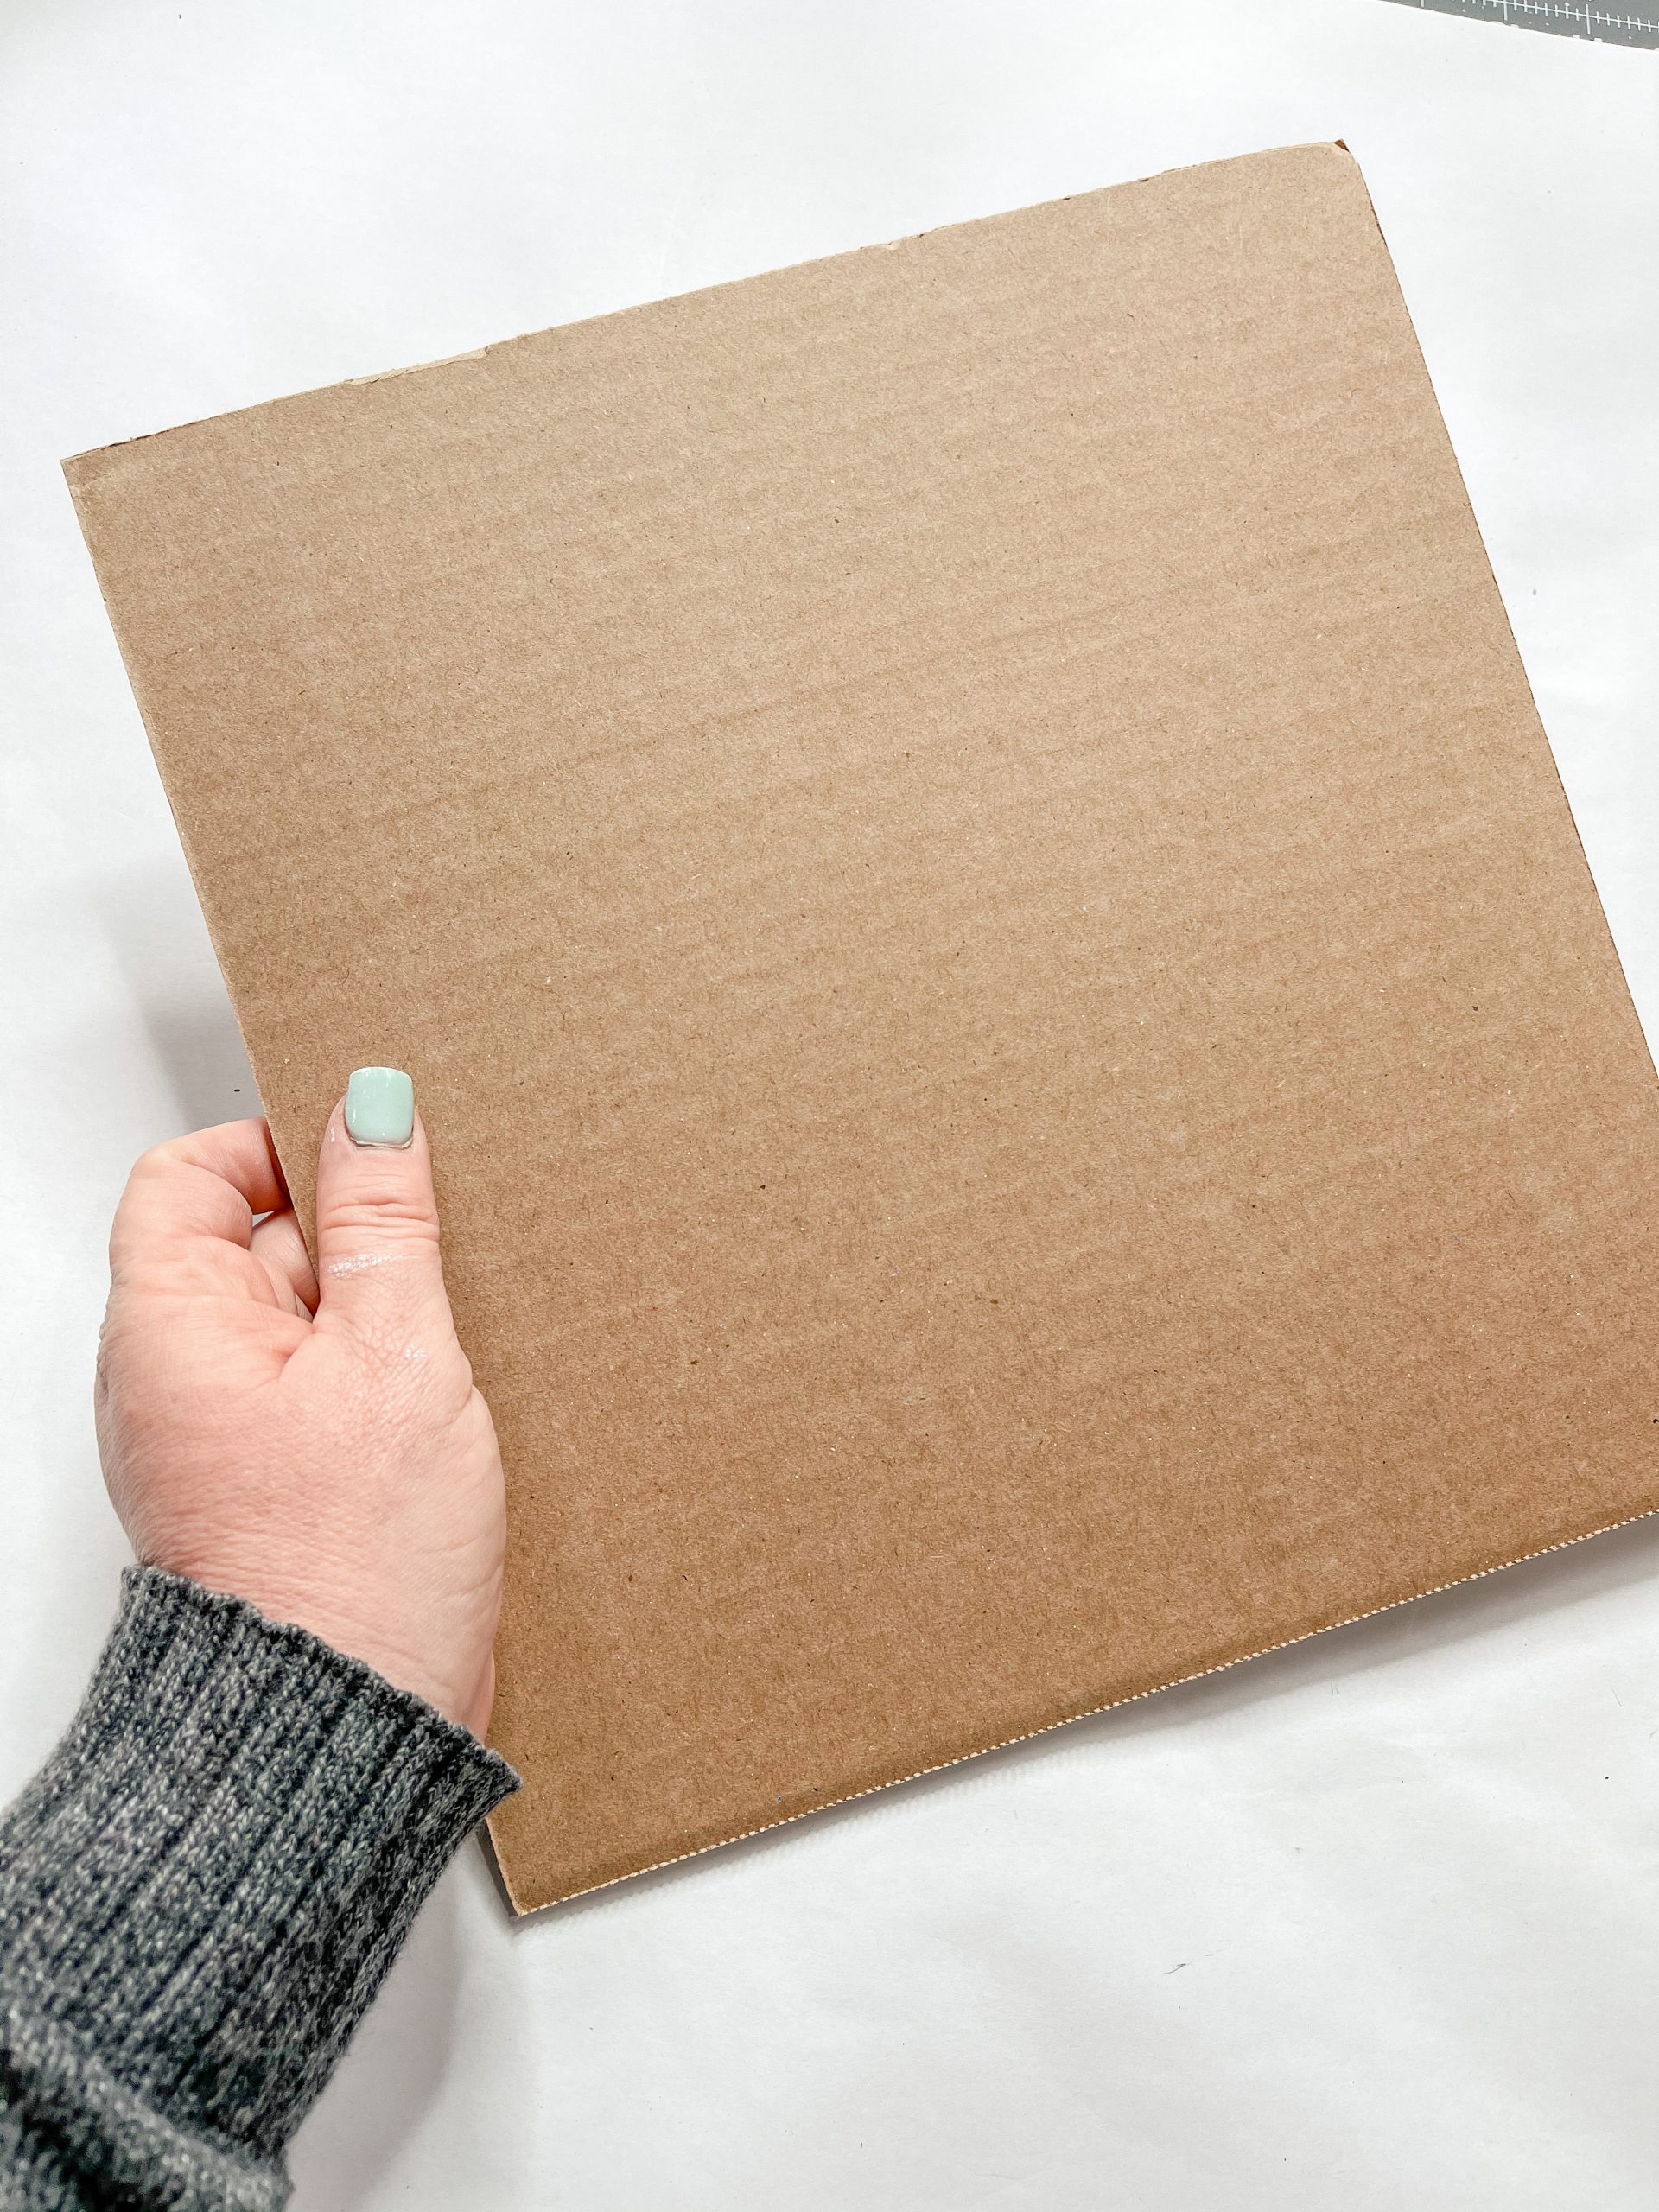
How to decoupage
I decoupaged a napkin onto the cardboard circle. To decoupage a napkin, you have to first separate the napkin plies, otherwise, the top ply might not adhere properly to the surface and could start to peel up later.
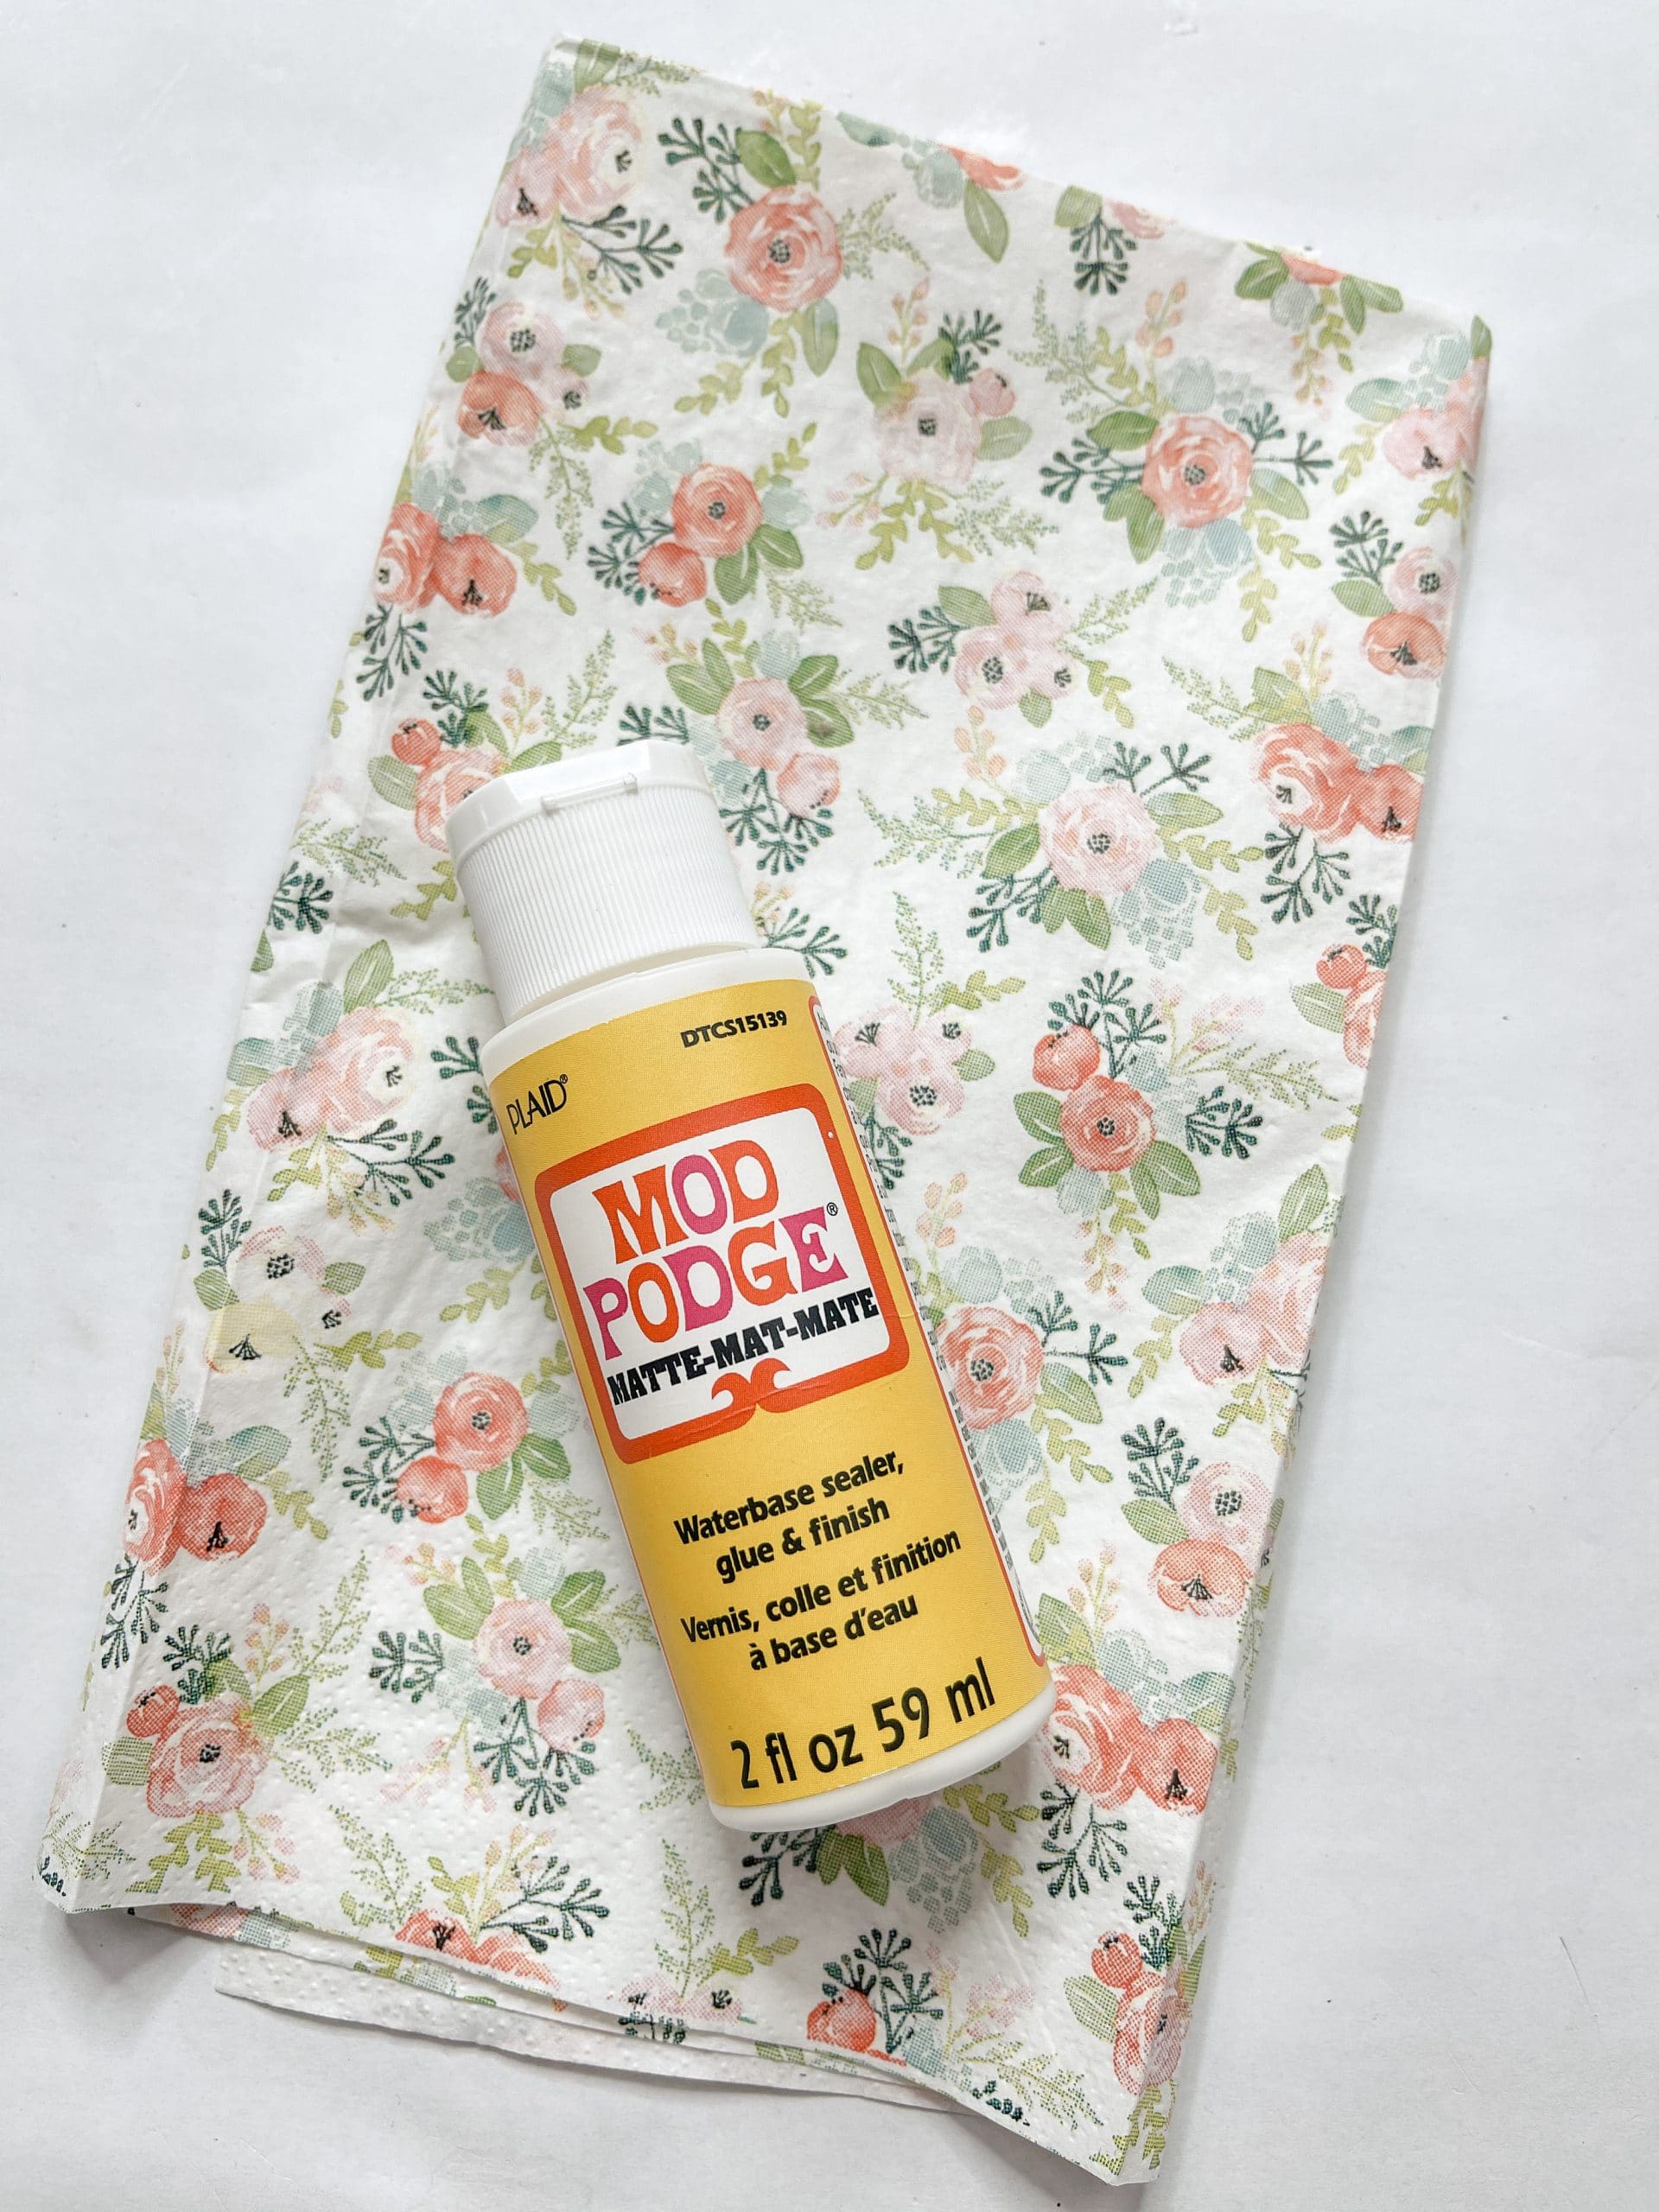
Paint the cardboard white so the brown doesn’t show through underneath the napkin. Allow the white paint to dry, then apply a coat of Mod Podge over the paint.
Place the napkin onto the Mod Podge and use a rolling pin to smooth out any wrinkles or bubbles. I then used my heat gun to quickly dry the napkin.
If you don’t have a heat gun, you can use a hairdryer on the low cool setting instead! Once the napkin is dry, go around the edges with a sanding sponge to remove the excess napkin.
Trace your decoupaged cardboard circle onto another piece of cardboard. Attach the second circle to the bottom of the decoupaged circle to increase the sturdiness of the cardboard.
Bring it all together
Now, hot glue the Dollar Tree decorative nautical rope around the edge of the cardboard circles. The rope will cover the seam of the two cardboard circles and make the DIY project look more put together.
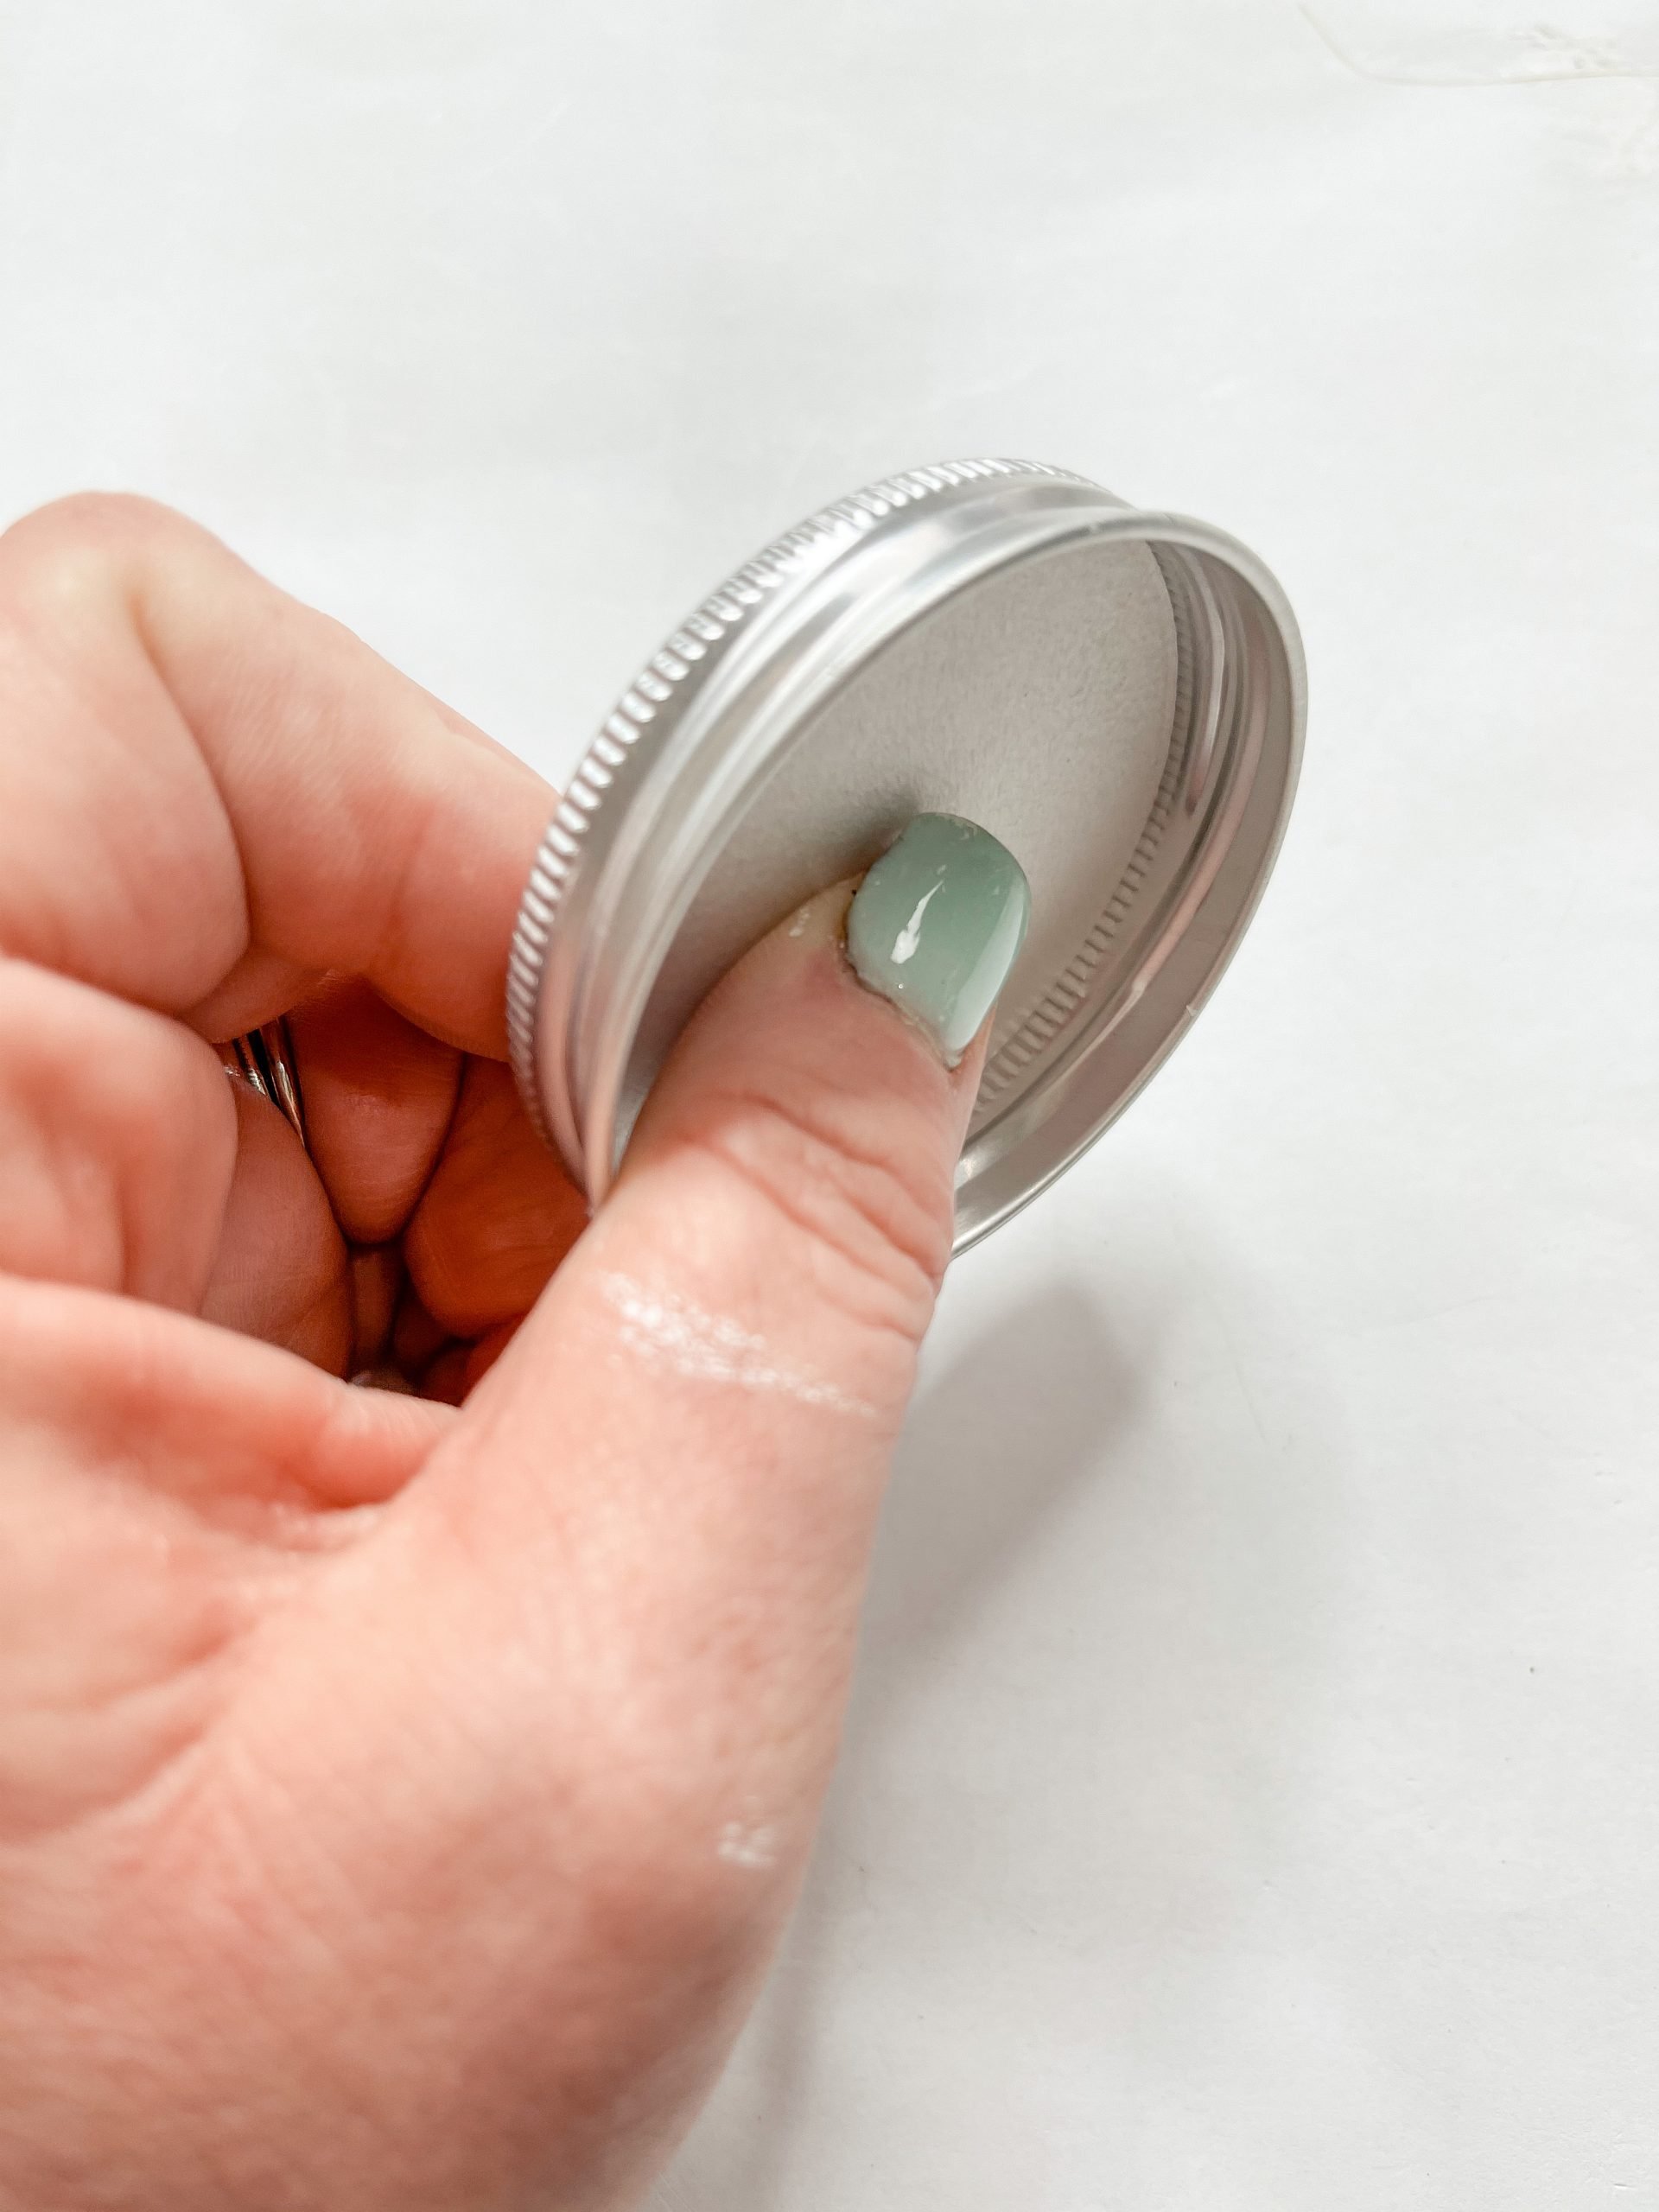
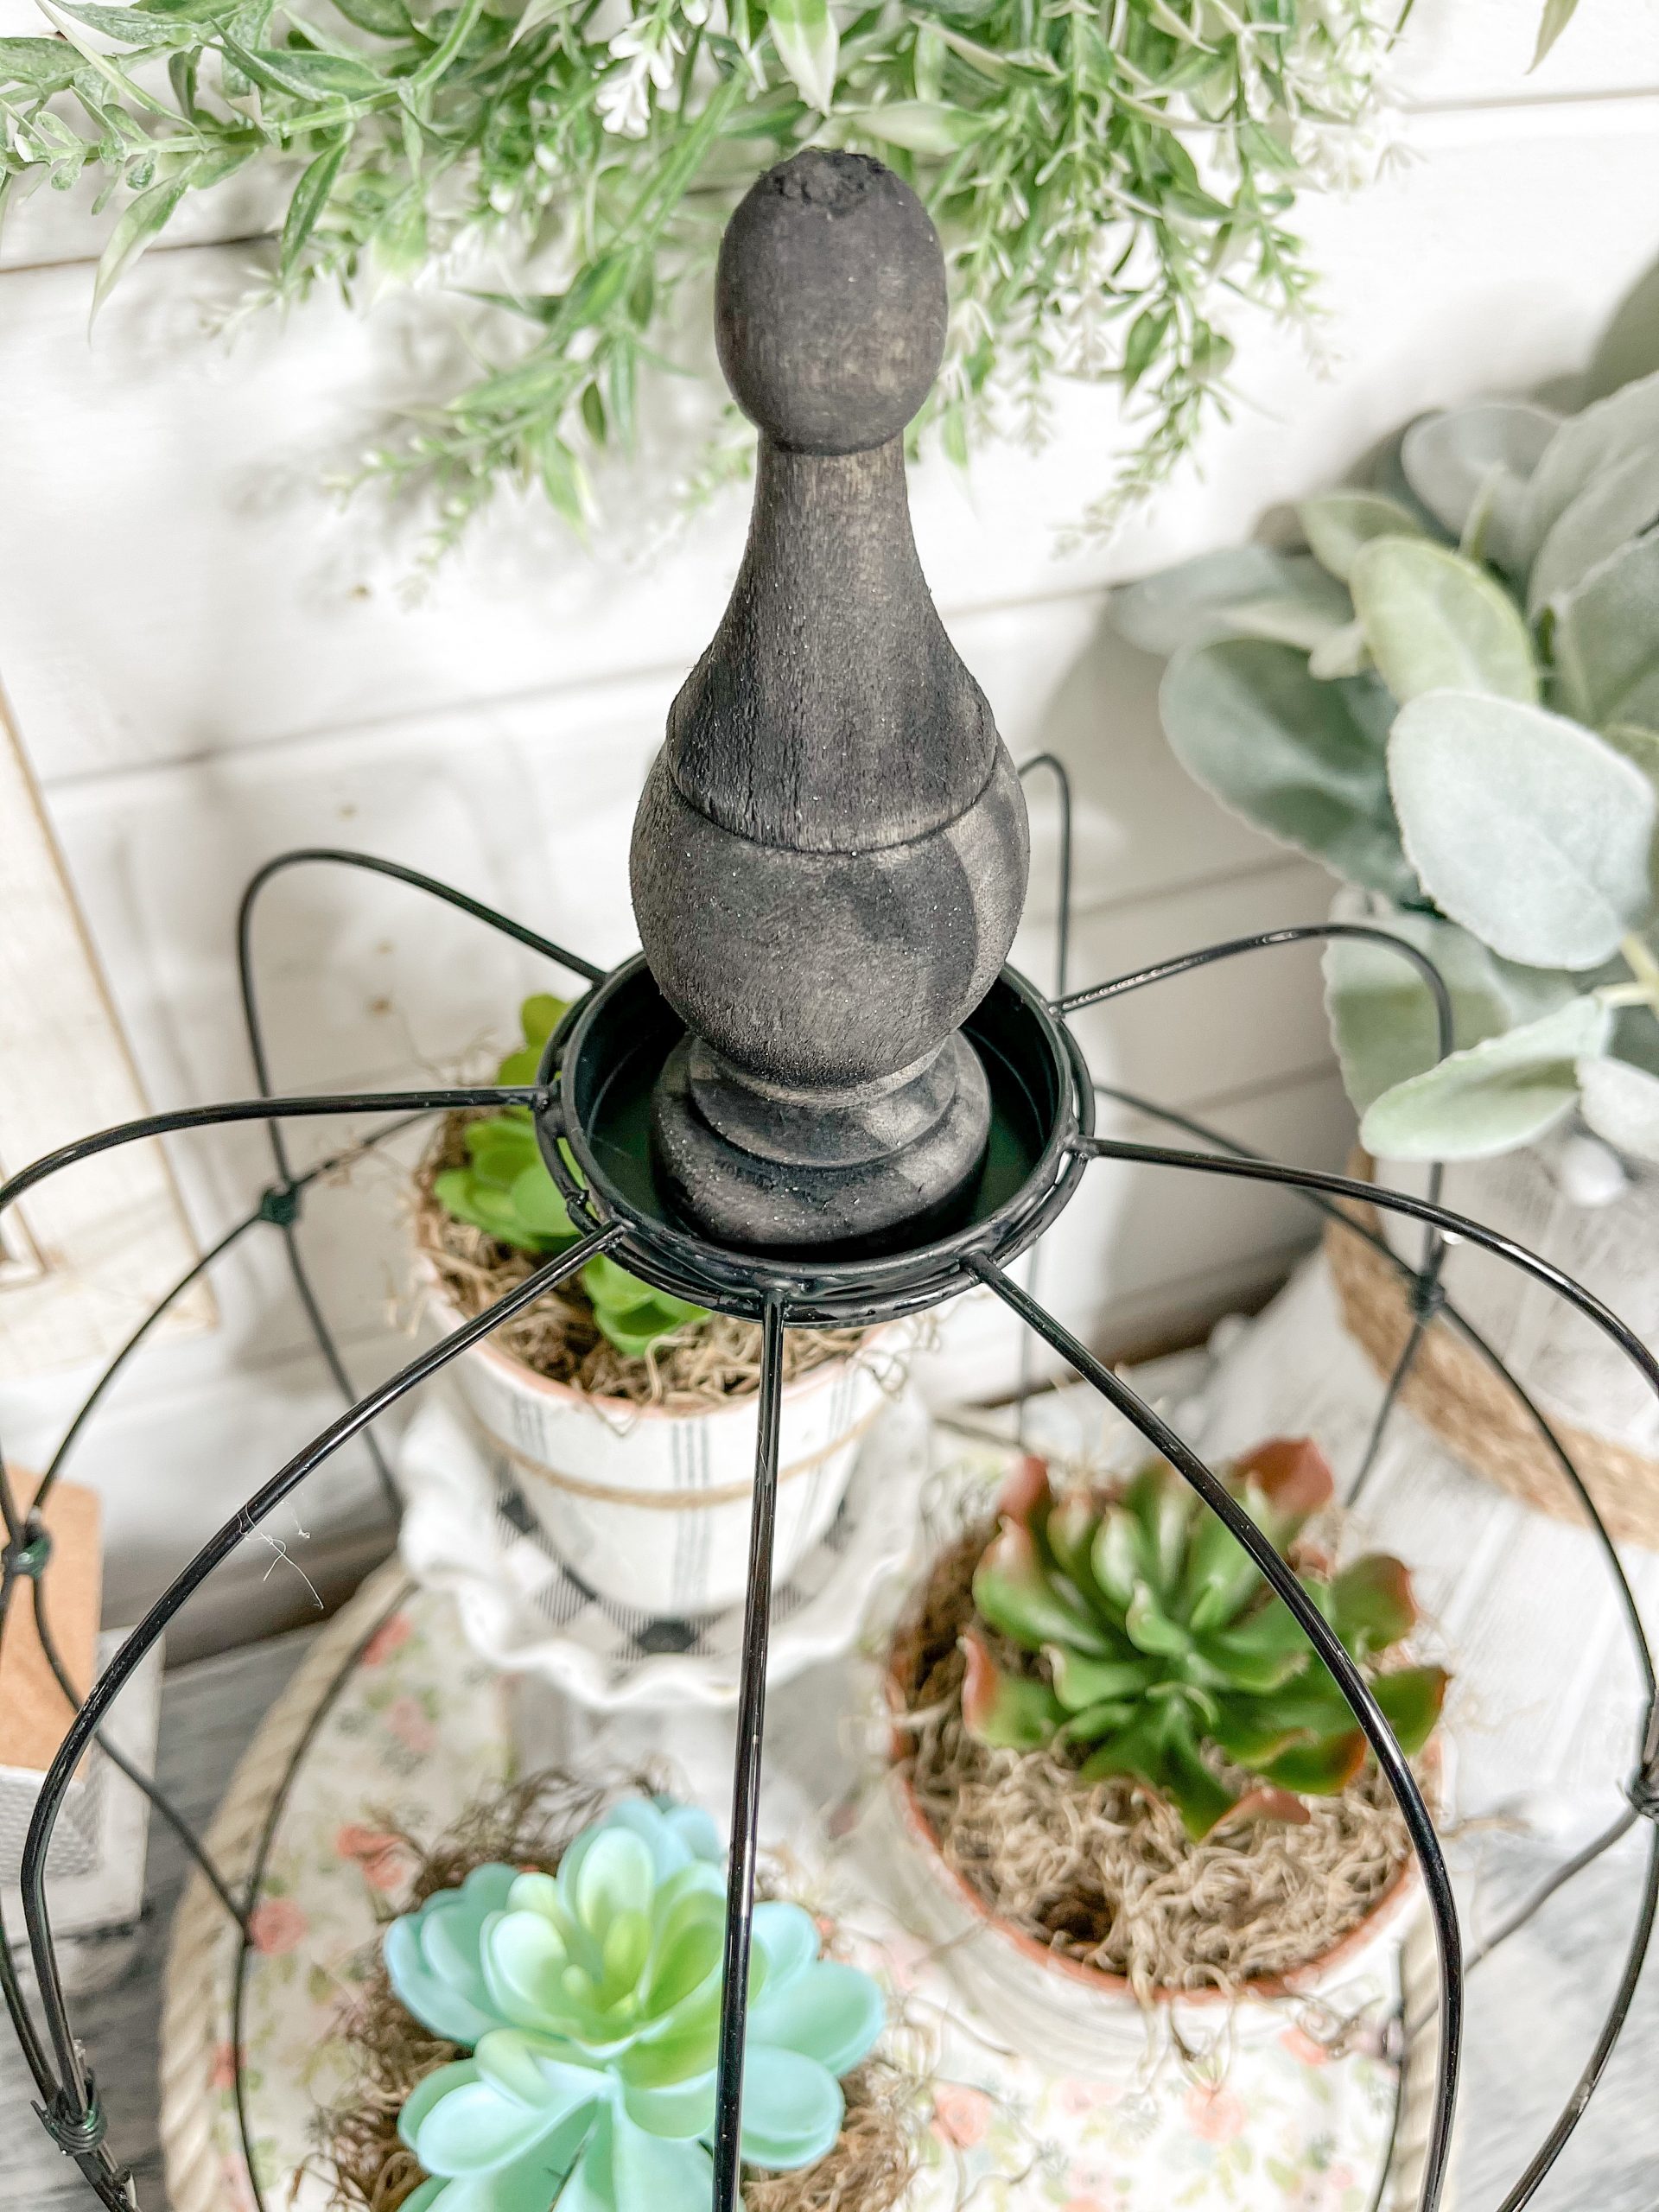
Set your cardboard circle to the side, and grab the Dollar Tree craft jar lid. A mason jar lid will work as well. Whichever you use, paint it black. I used Rustoleum Ultra Matte Black Spray Paint to paint my lid.
Next, I stained the wooden curtain finial with Apple Barrel Black Acrylic Paint. I poured the black paint onto the wooden finial, sprayed it with water, then used a wet wipe to spread the paint across the finial until it was completely covered.
Allow the finial to dry, and hot glue the four floral foam balls to the bottom of the cardboard. Then, paint the floral foam balls and the entire bottom of the cardboard black.
Place the craft jar lid upside down, then hot glue the wooden finial onto the jar lid. Next, you’re going to hot glue the craft jar lid inside the little circle at the top of your cage/dome.
I hope you enjoyed this DIY Dollar Tree Shabby Chic Birdcage as much as I did and decide to make one for yourself! If you do, I would love to see how yours turns out!
You should totally join my FREE Facebook group called On A Budget Crafts! It is a judgment-free community for DIY crafters to show off their projects and ideas.
If you loved this DIY you might also like this one too!
Thanks for stopping by! XOXO Amber
You can also shop my ENTIRE AMAZON Favorites shop just click here! It’s packed full of all the things I use and love. Here is the supply list I highly recommend every creative have on hand!!
Would you also pin my blog for later and get on my newsletter alerts? I would love to have you join my #craftycrew.
Inspired? Leave me a comment below! I love hearing from my readers!

Join my free “ON A BUDGET CRAFTS” Facebook group!

Love it, turned out awesome
I love all of your crafts and ideas. Thank you for sharing. You are a delight.