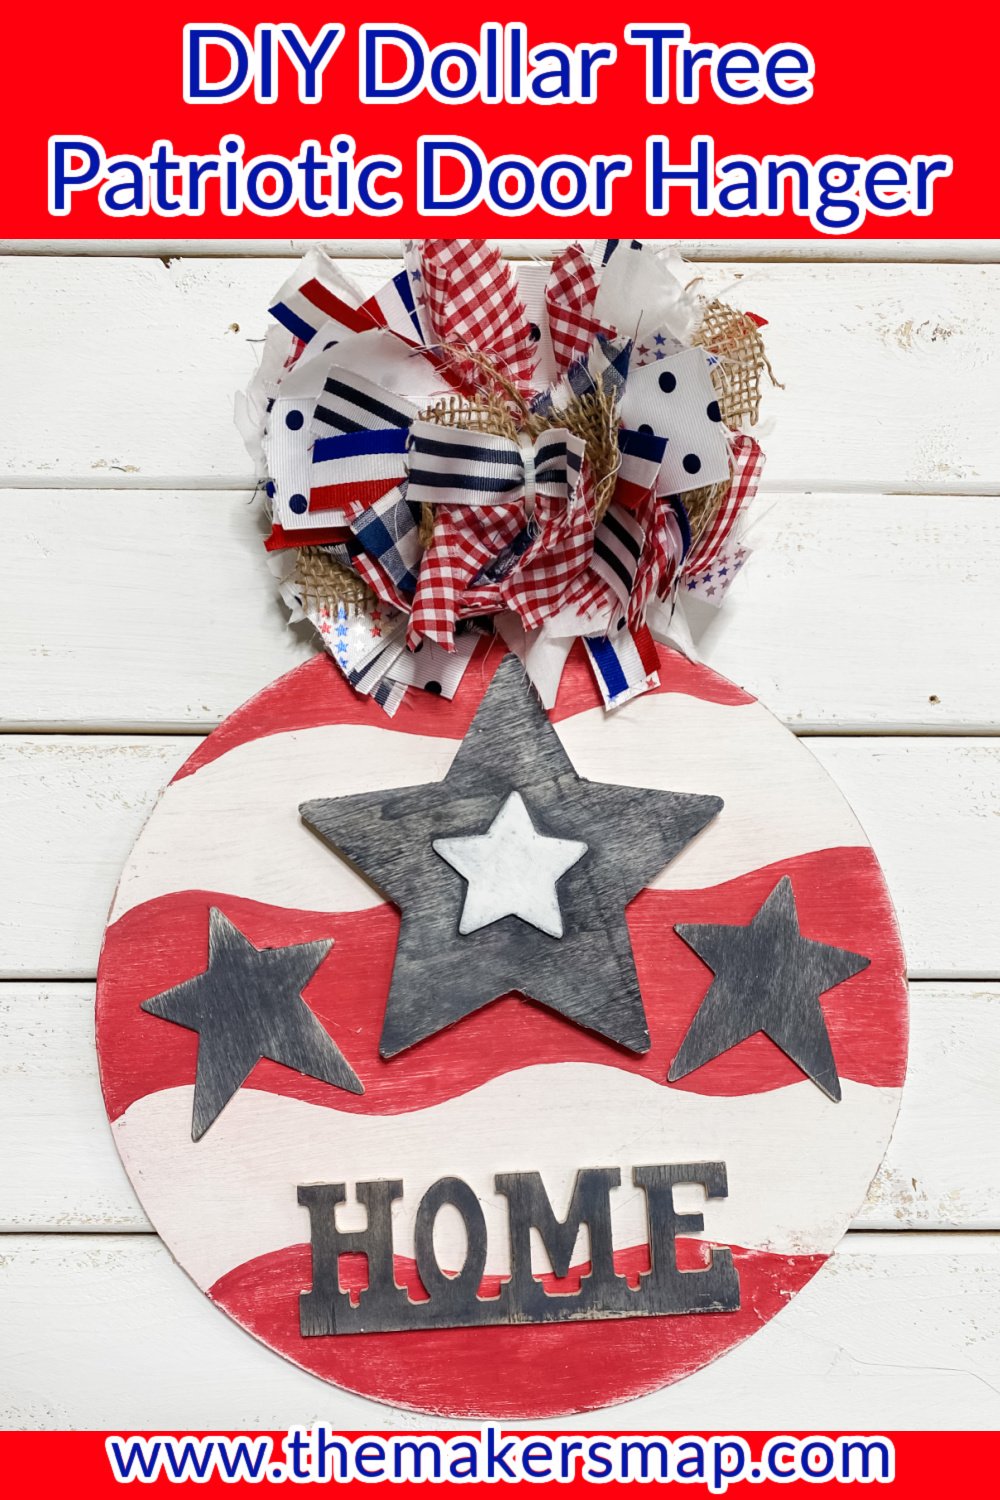
DIY Dollar Tree Patriotic Door Hanger
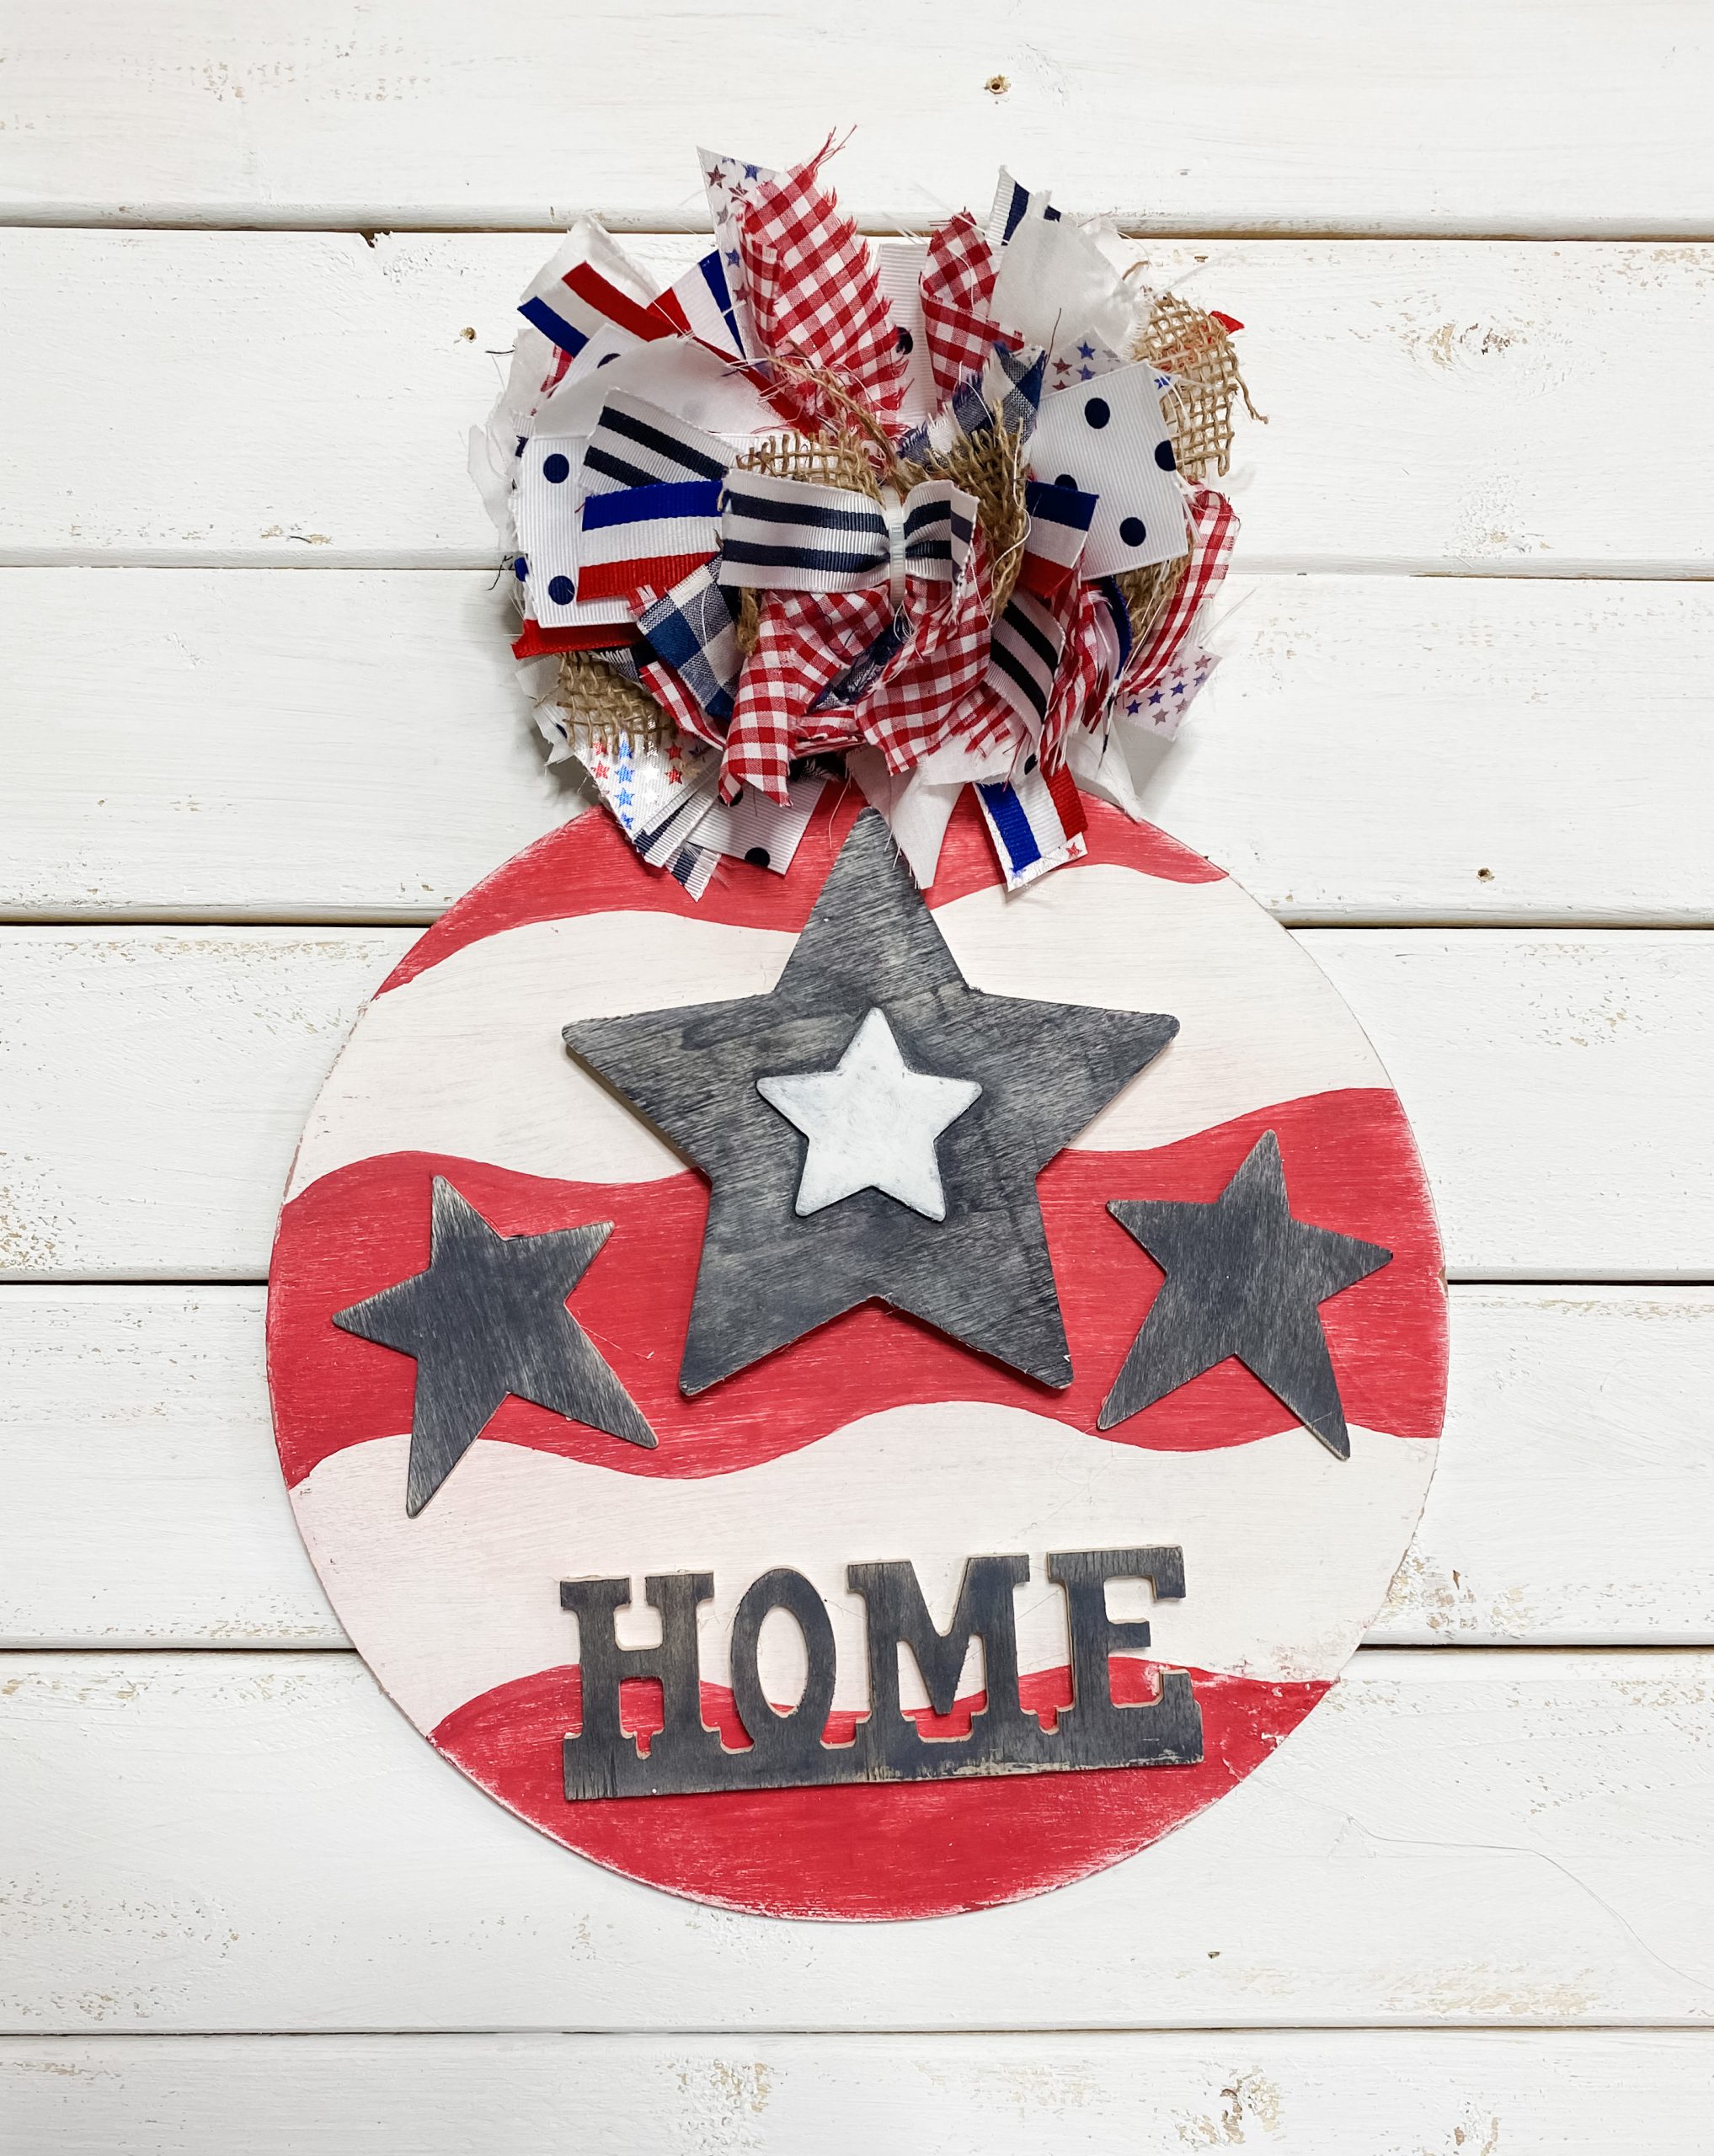
I had so much fun making this adorable DIY Dollar Tree Patriotic Door Hanger with my husband, Mark, during a Facebook Live video! This is a super easy and affordable DIY decor, just in time for summer!
Watch the replay
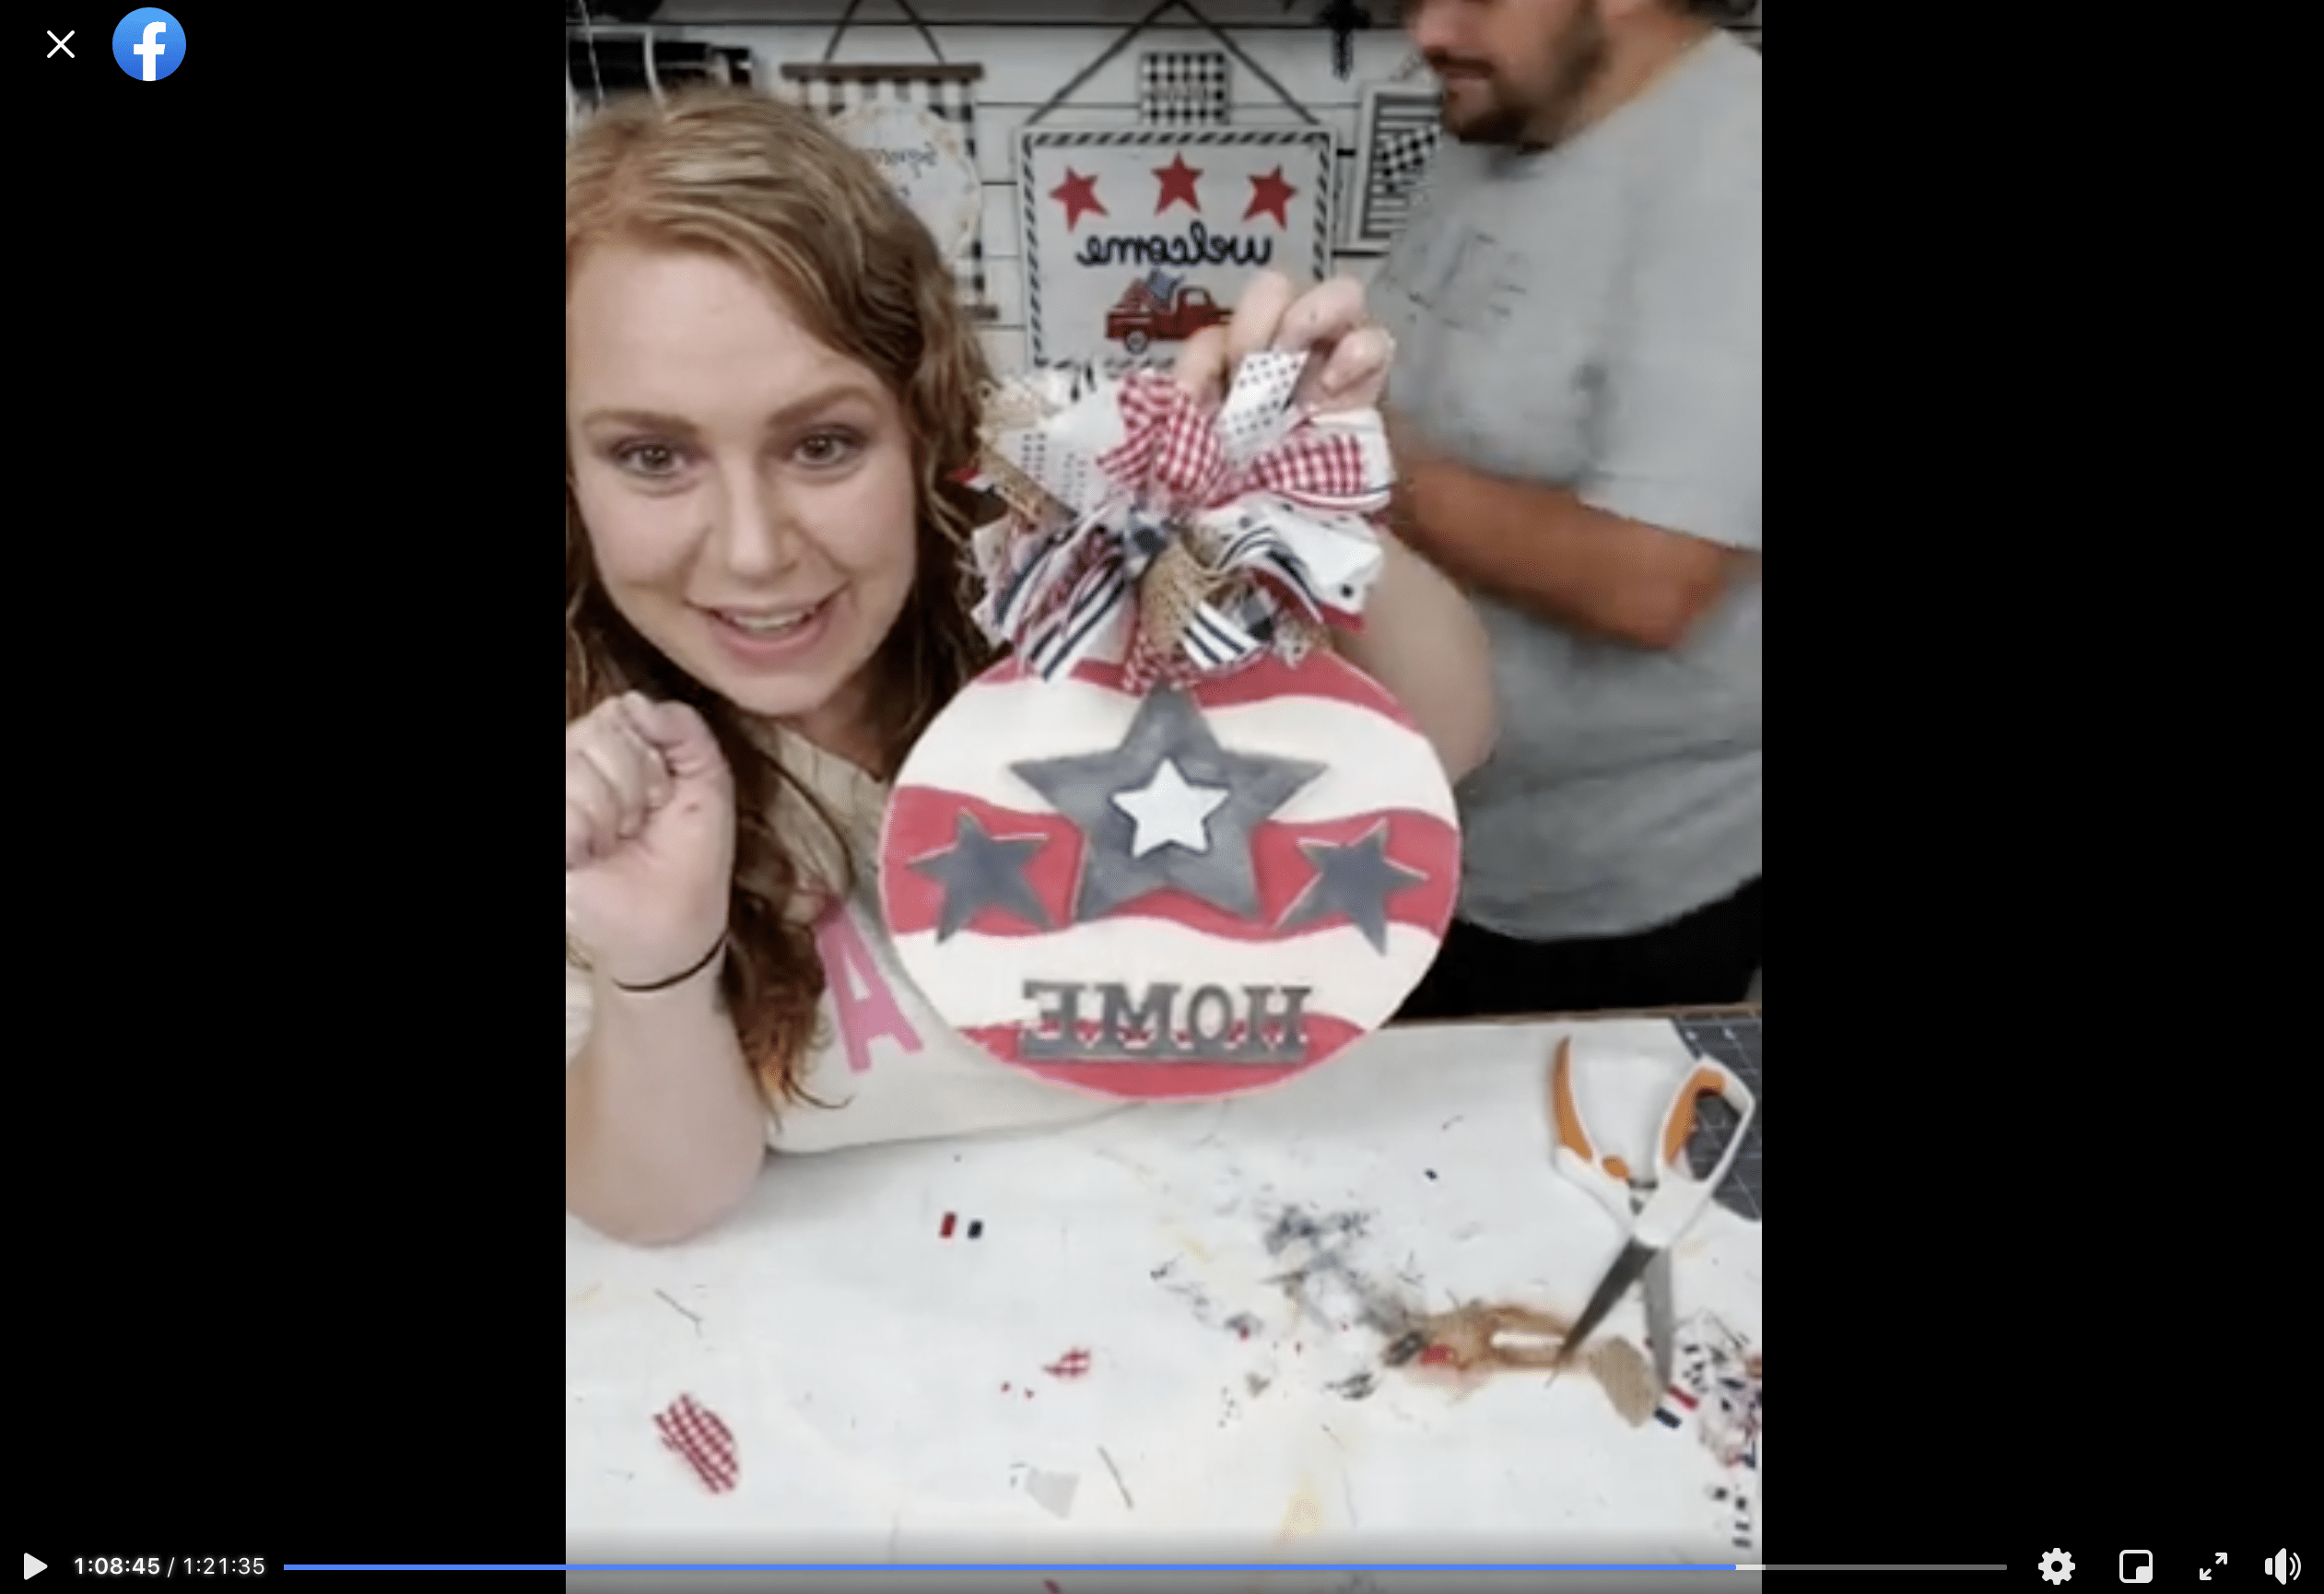
I recorded the how-to steps of making this DIY Dollar Tree Patriotic Door Hanger during a LIVE video on Facebook.
If you want to see the process, craft along, or just join in on the fun conversations, you can watch the DIY tutorial replay!
WATCH THE DIY TUTORIAL
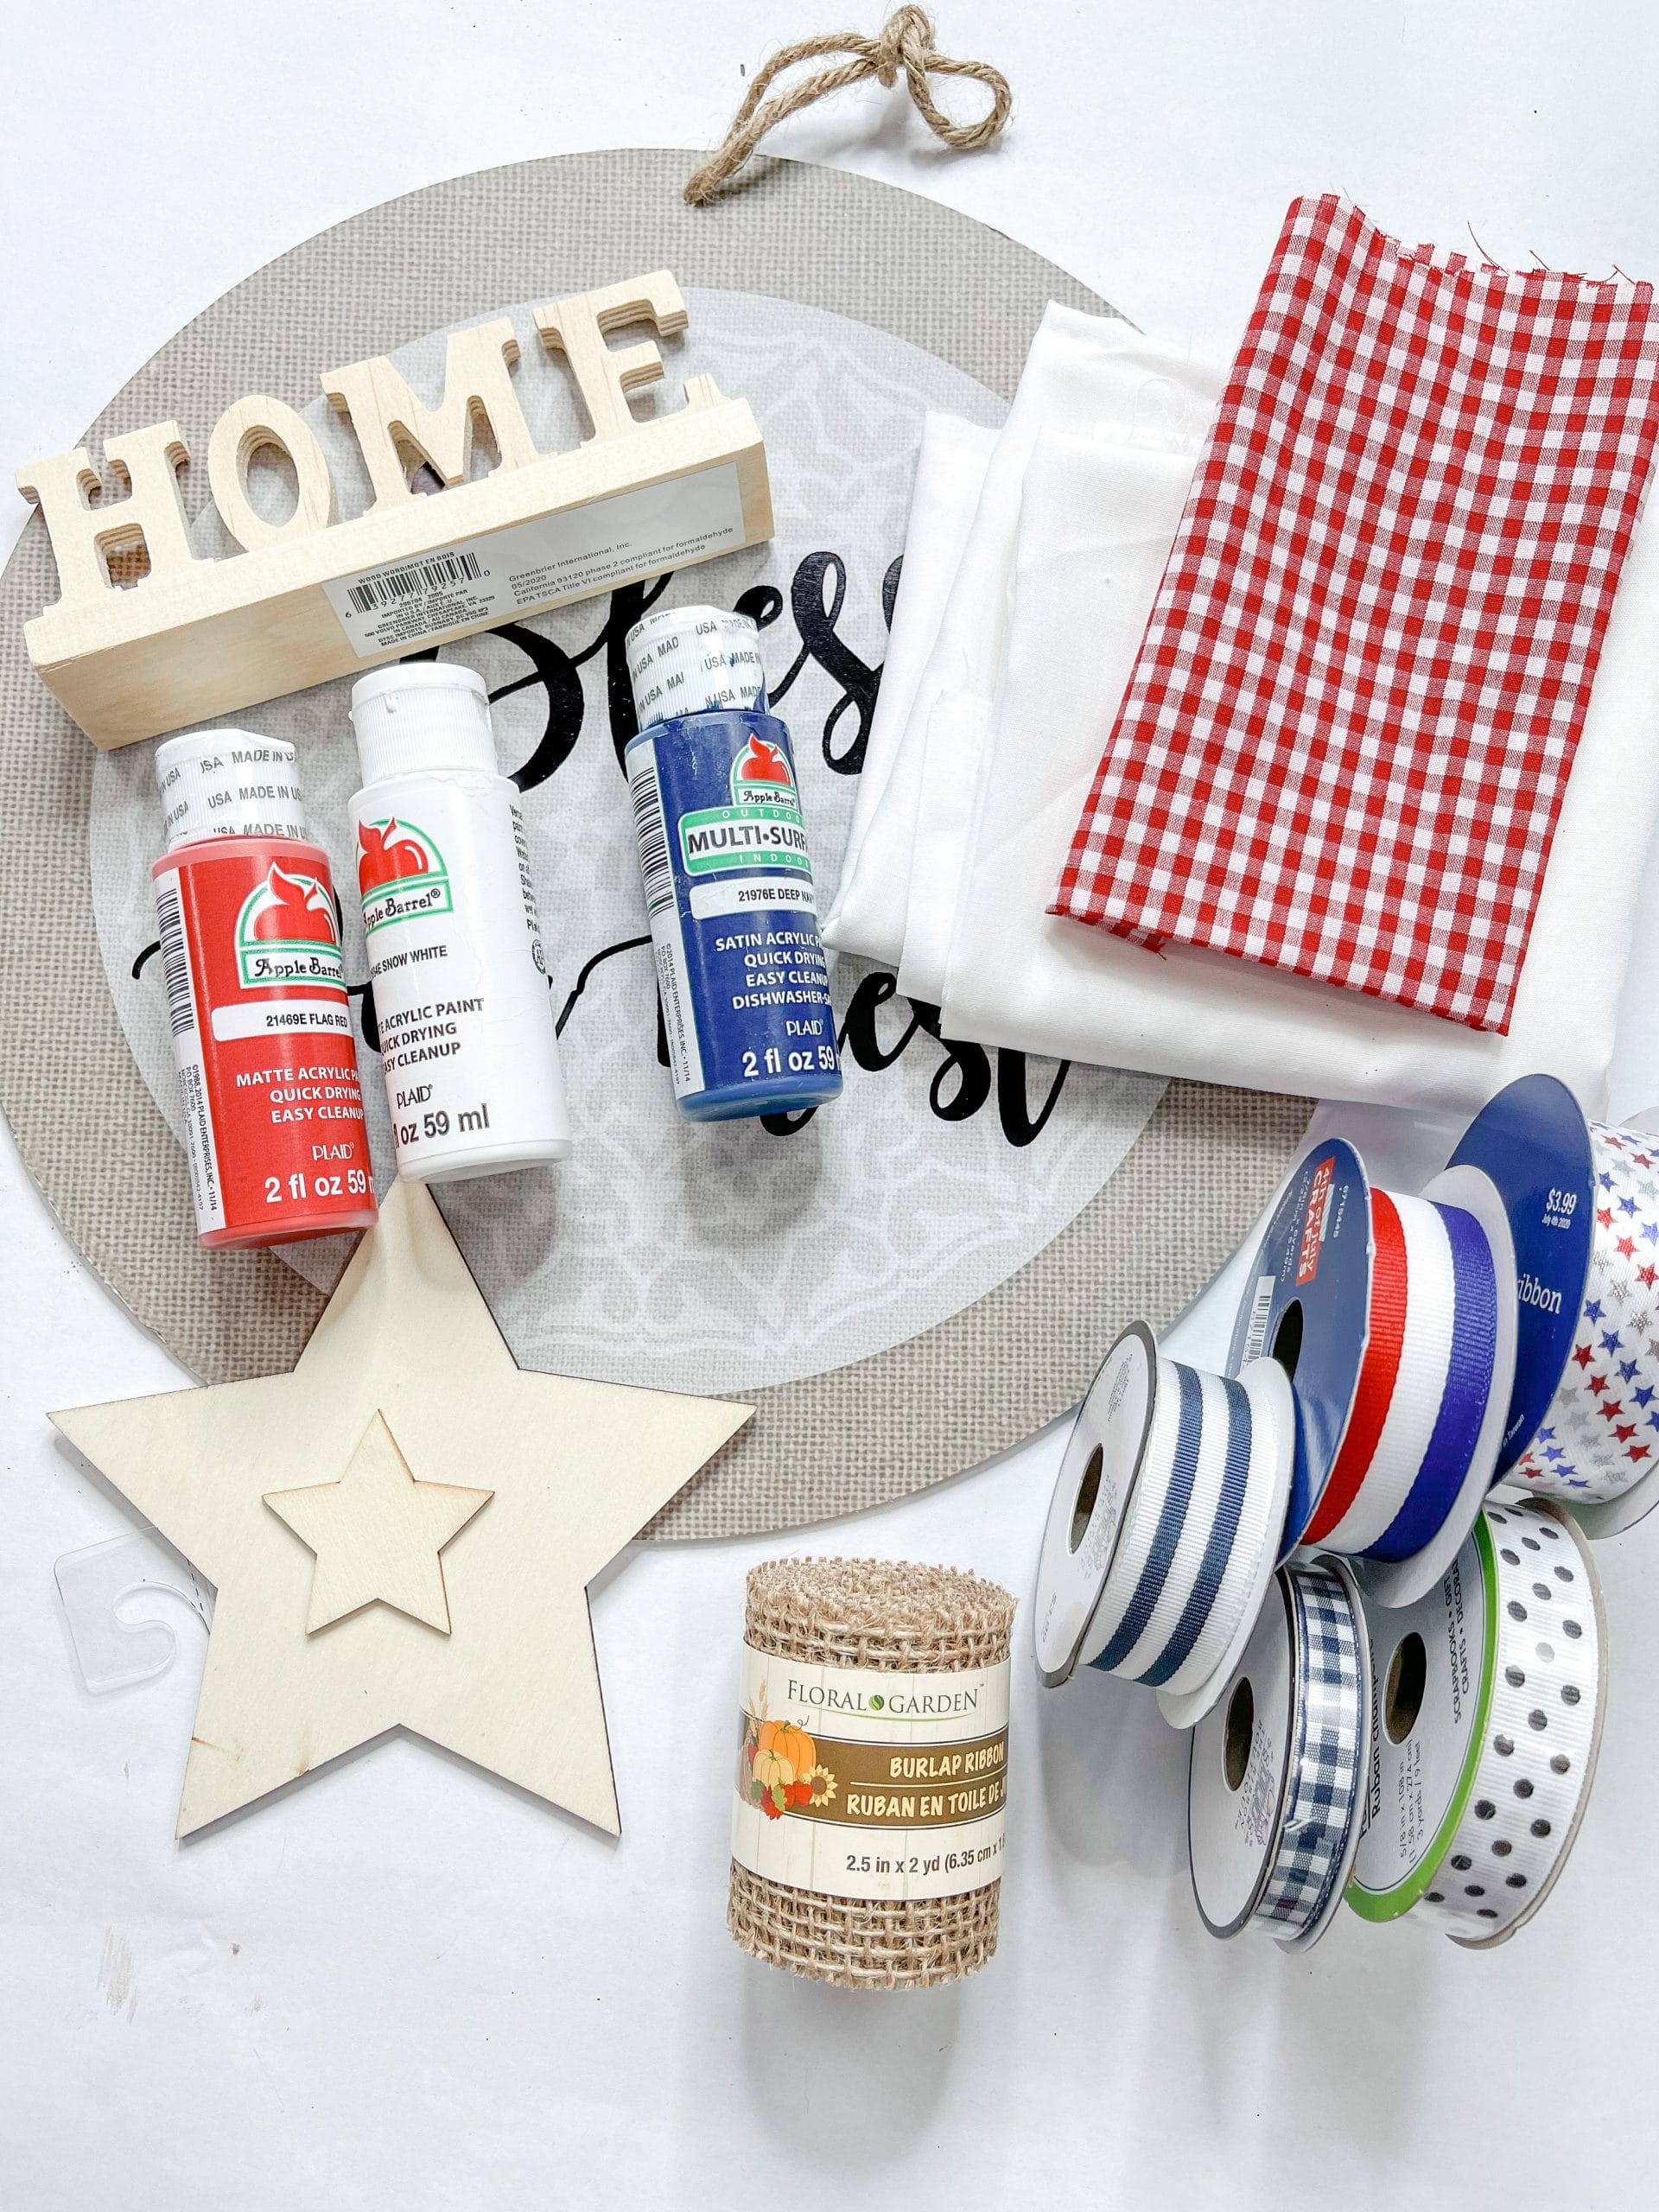
For this project, I will be using these items but you can substitute where you want.
“As an Amazon Associate, I earn from qualifying purchases.”
- Dollar Tree Circle Sign
- Dollar Tree Burlap Ribbon
- Wooden Star
- Red Buffalo Check Fabric
- White Fabric
- Home Sign
- Apple Barrel Deep Navy Acrylic Paint
- Apple Barrel Flag Red Acrylic Paint
- Blue and white striped ribbon
- Apple Barrel Snow White Acrylic Paint
- Blue buffalo check ribbon
- Red white and blue striped ribbon
- White ribbon with black polka dots
- White ribbon with red, silver, and blue stars.
- Hot Glue gun
- Glue Sticks
How to Make a DIY Dollar Tree Patriotic Door Hanger
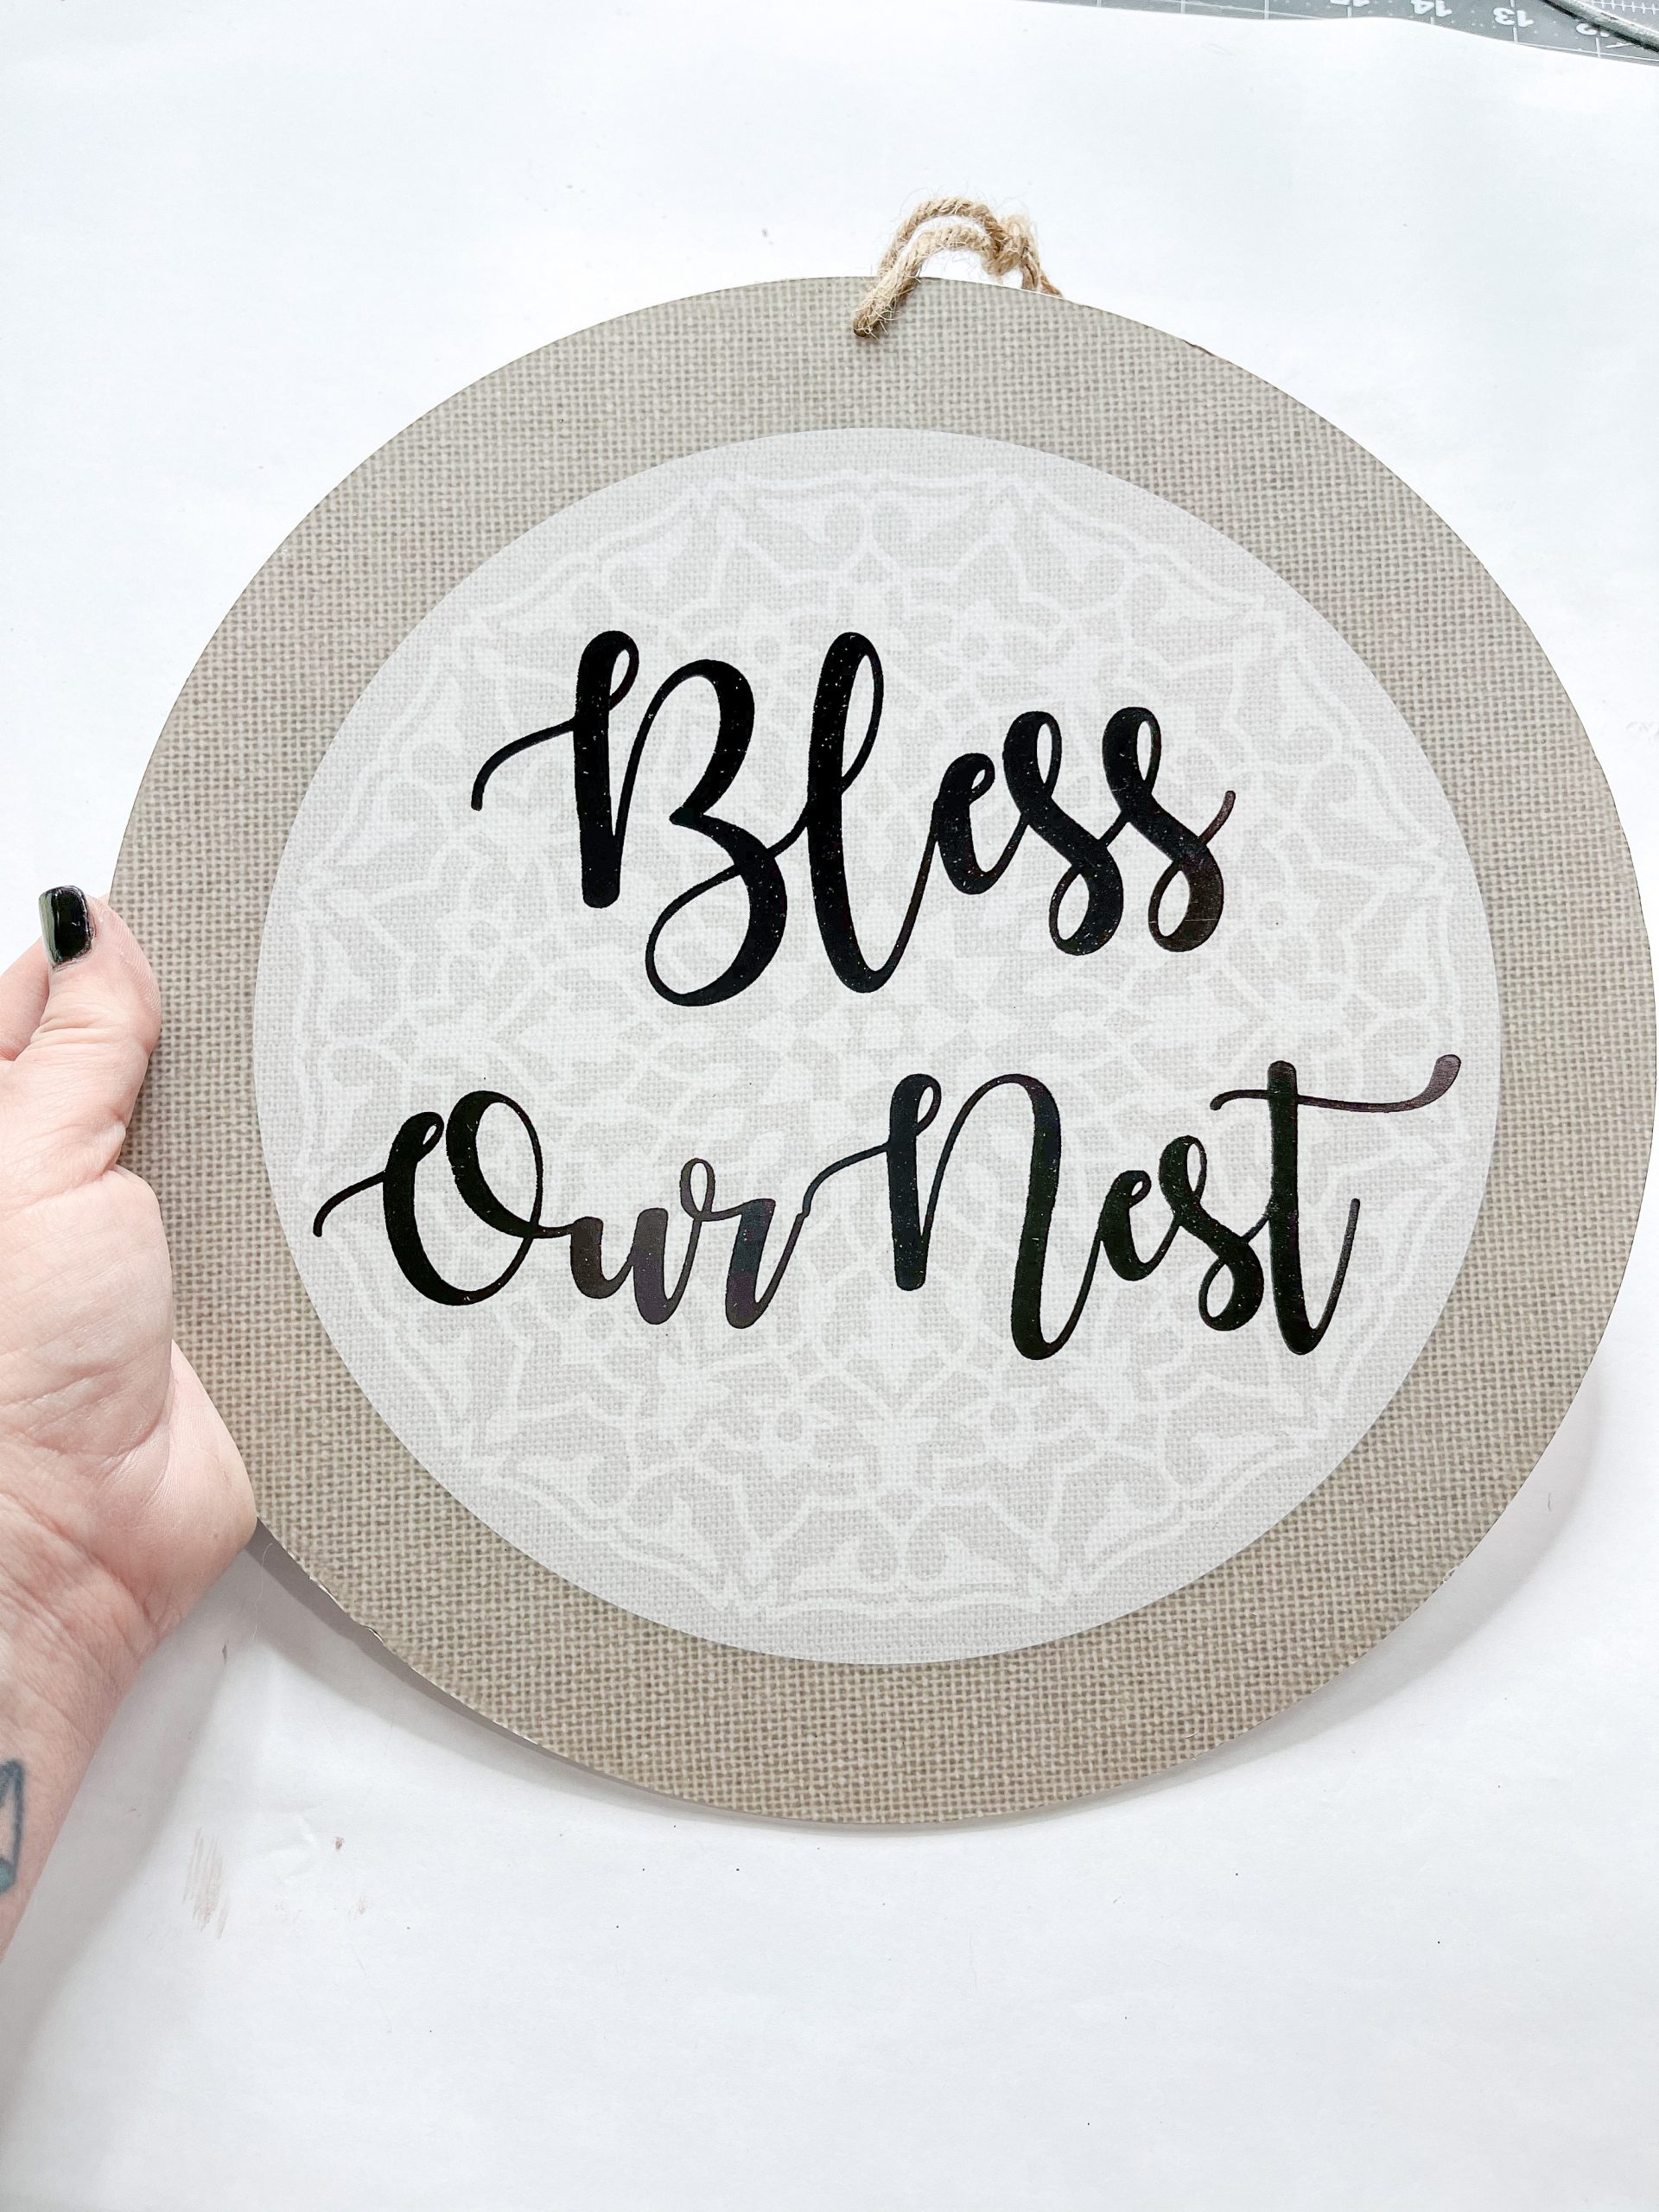
I started this easy patriotic decor by removing the stick from the back of the circle sign. You can use a heat gun or a blow dryer to easily remove the sticker. If any of the adhesive is left on the sign, just lightly go over the area with a sanding sponge.
Then, paint the back of your circle sign with white paint. This is going to make it easier to paint the red and white stripes on the back of the sign. Allow the white paint to dry completely before moving on.
I like to use my heat gun to speed up the drying process. If you don’t have a heat gun, you can always use a hairdryer on the low cool setting. Once the white paint is dry, use a small paintbrush to paint the edges of the red stripes onto the sign.
Go back in with a larger paintbrush and fill in each of the red stripes. Allow the sign to dry by either setting it to the side or using your heat gun. Next, you’re going to paint the home sign with blue paint.
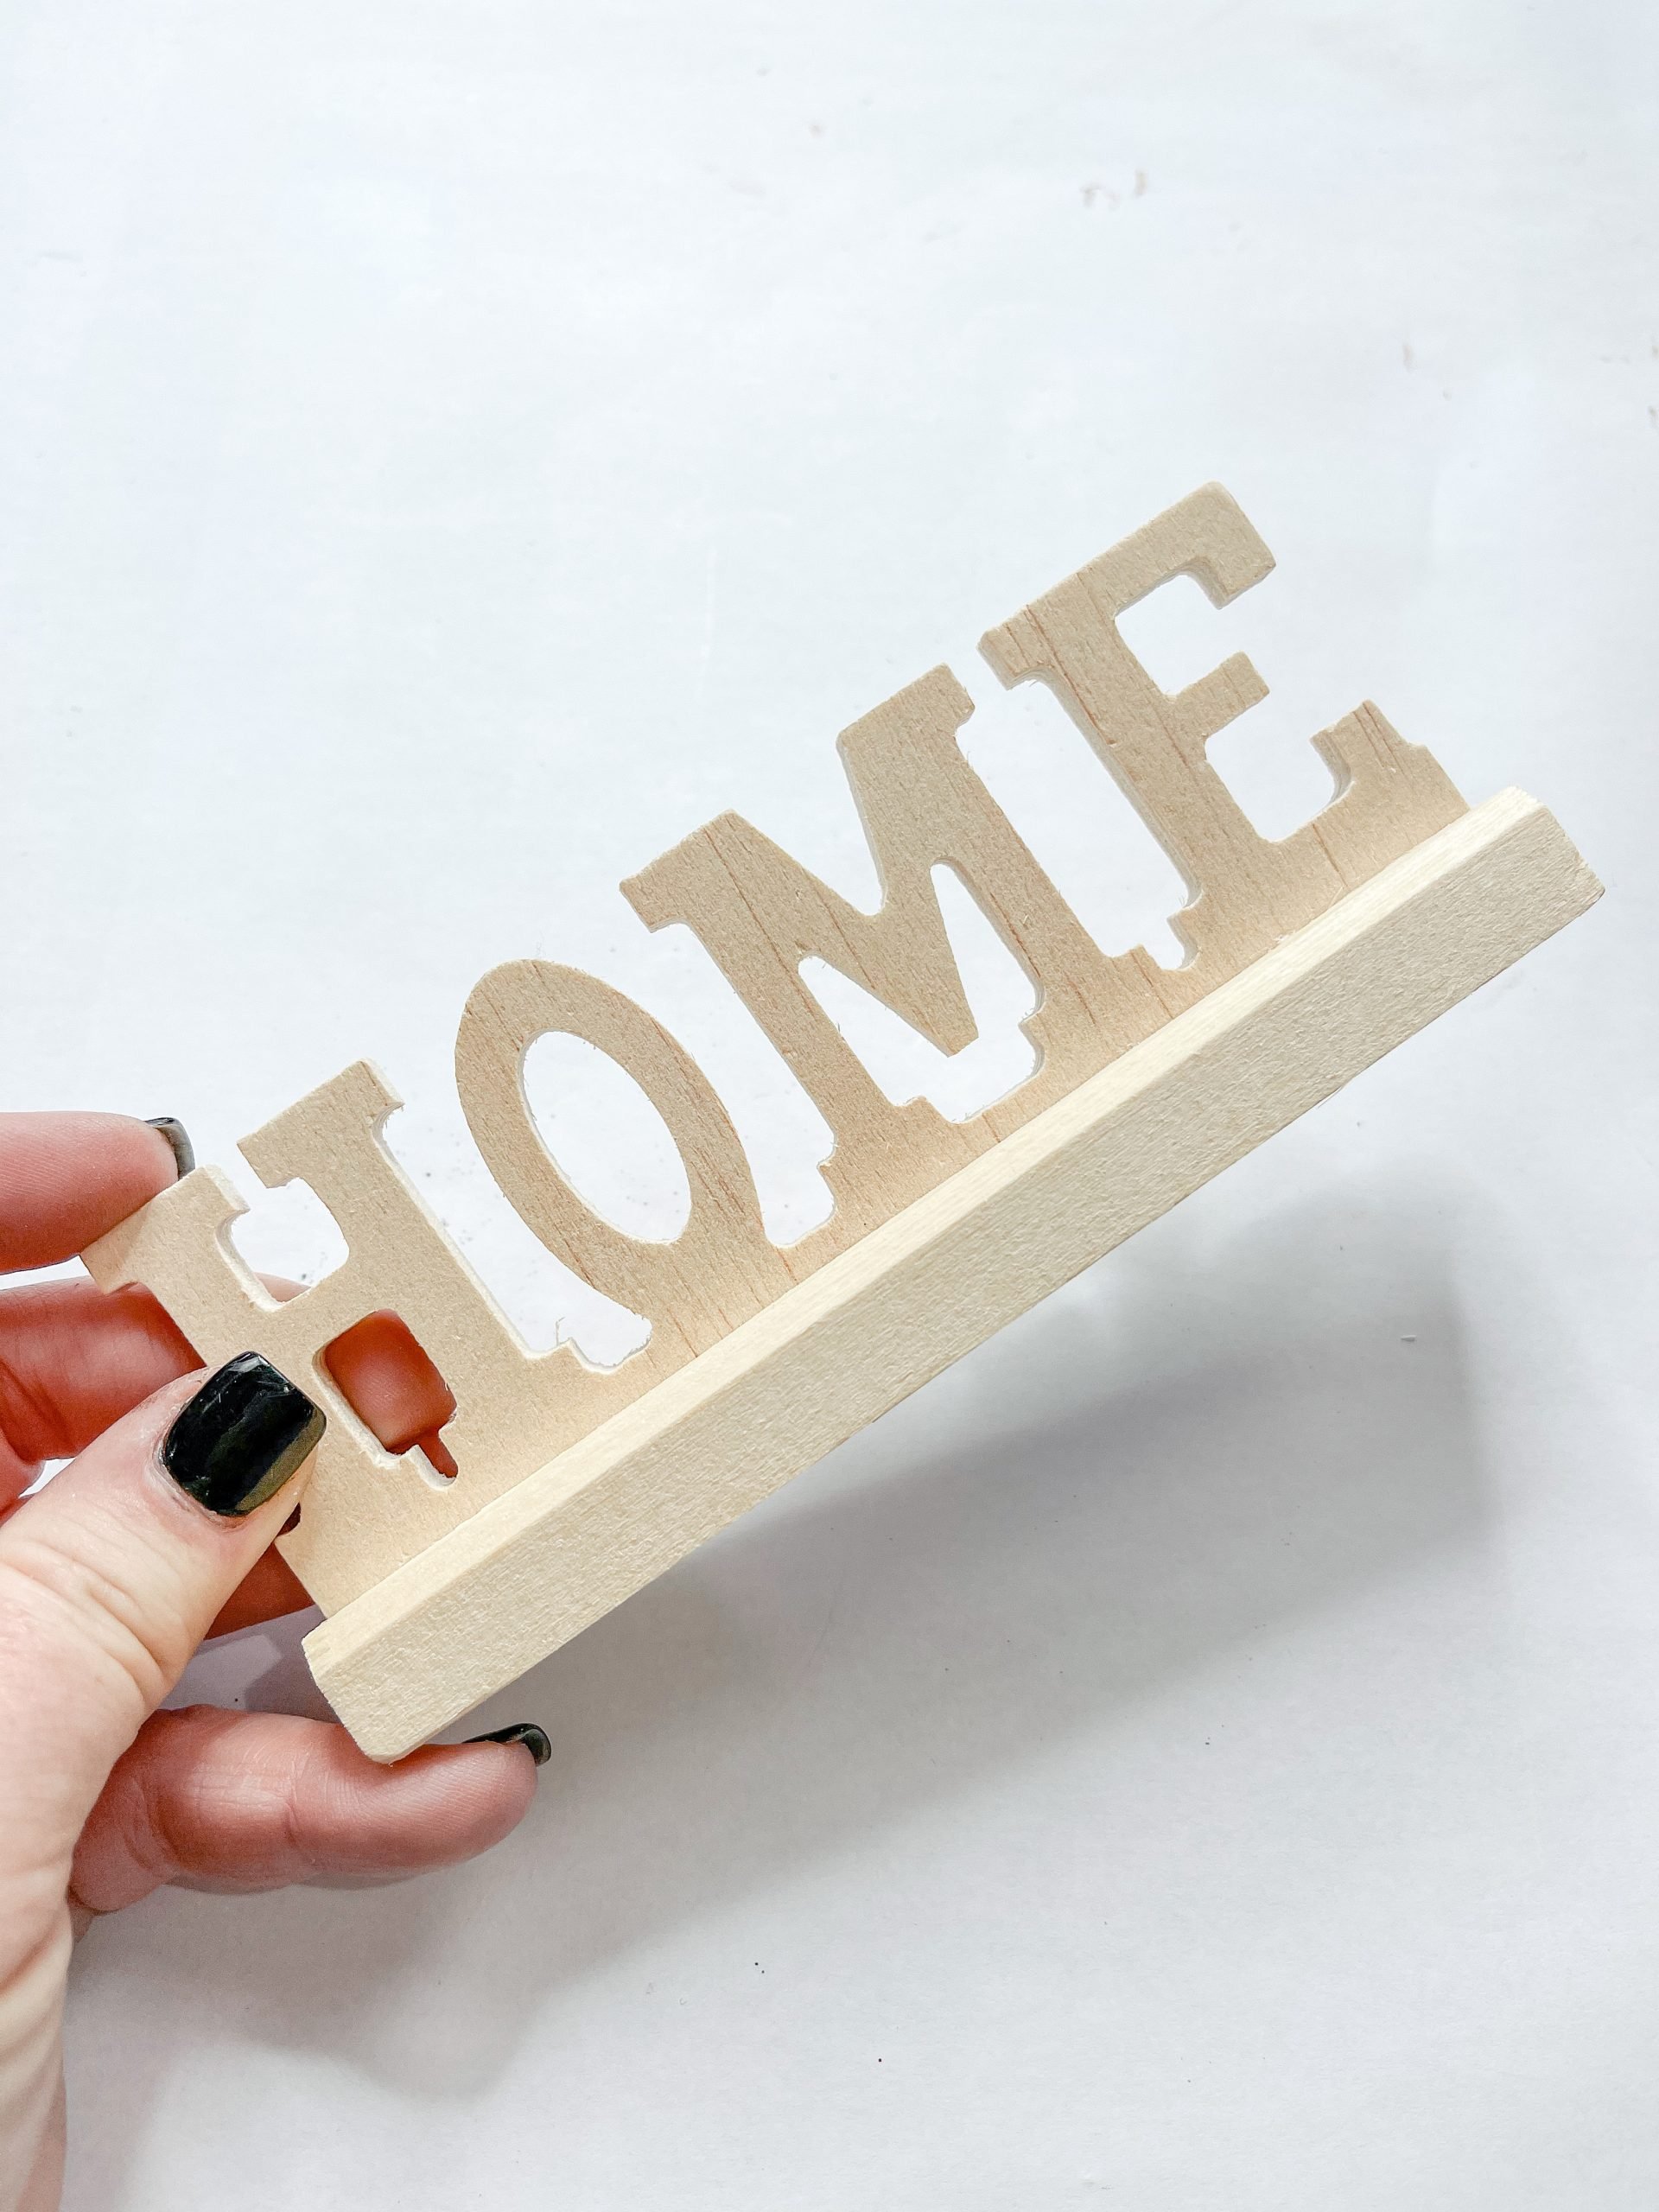
The home lettering that I used came from a shelf sitter, so I had to pry off the bottom pieces of it to get just the letters. You can use a putty knife to separate them, but PLEASE be careful not to cut your fingers!
How to stain wood
Use a wet wipe to spread the blue paint on the home lettering as well as your stars. The water in the wet wipe helps the wood absorb the paint pigments and gives them a stained finish rather than a painted look.
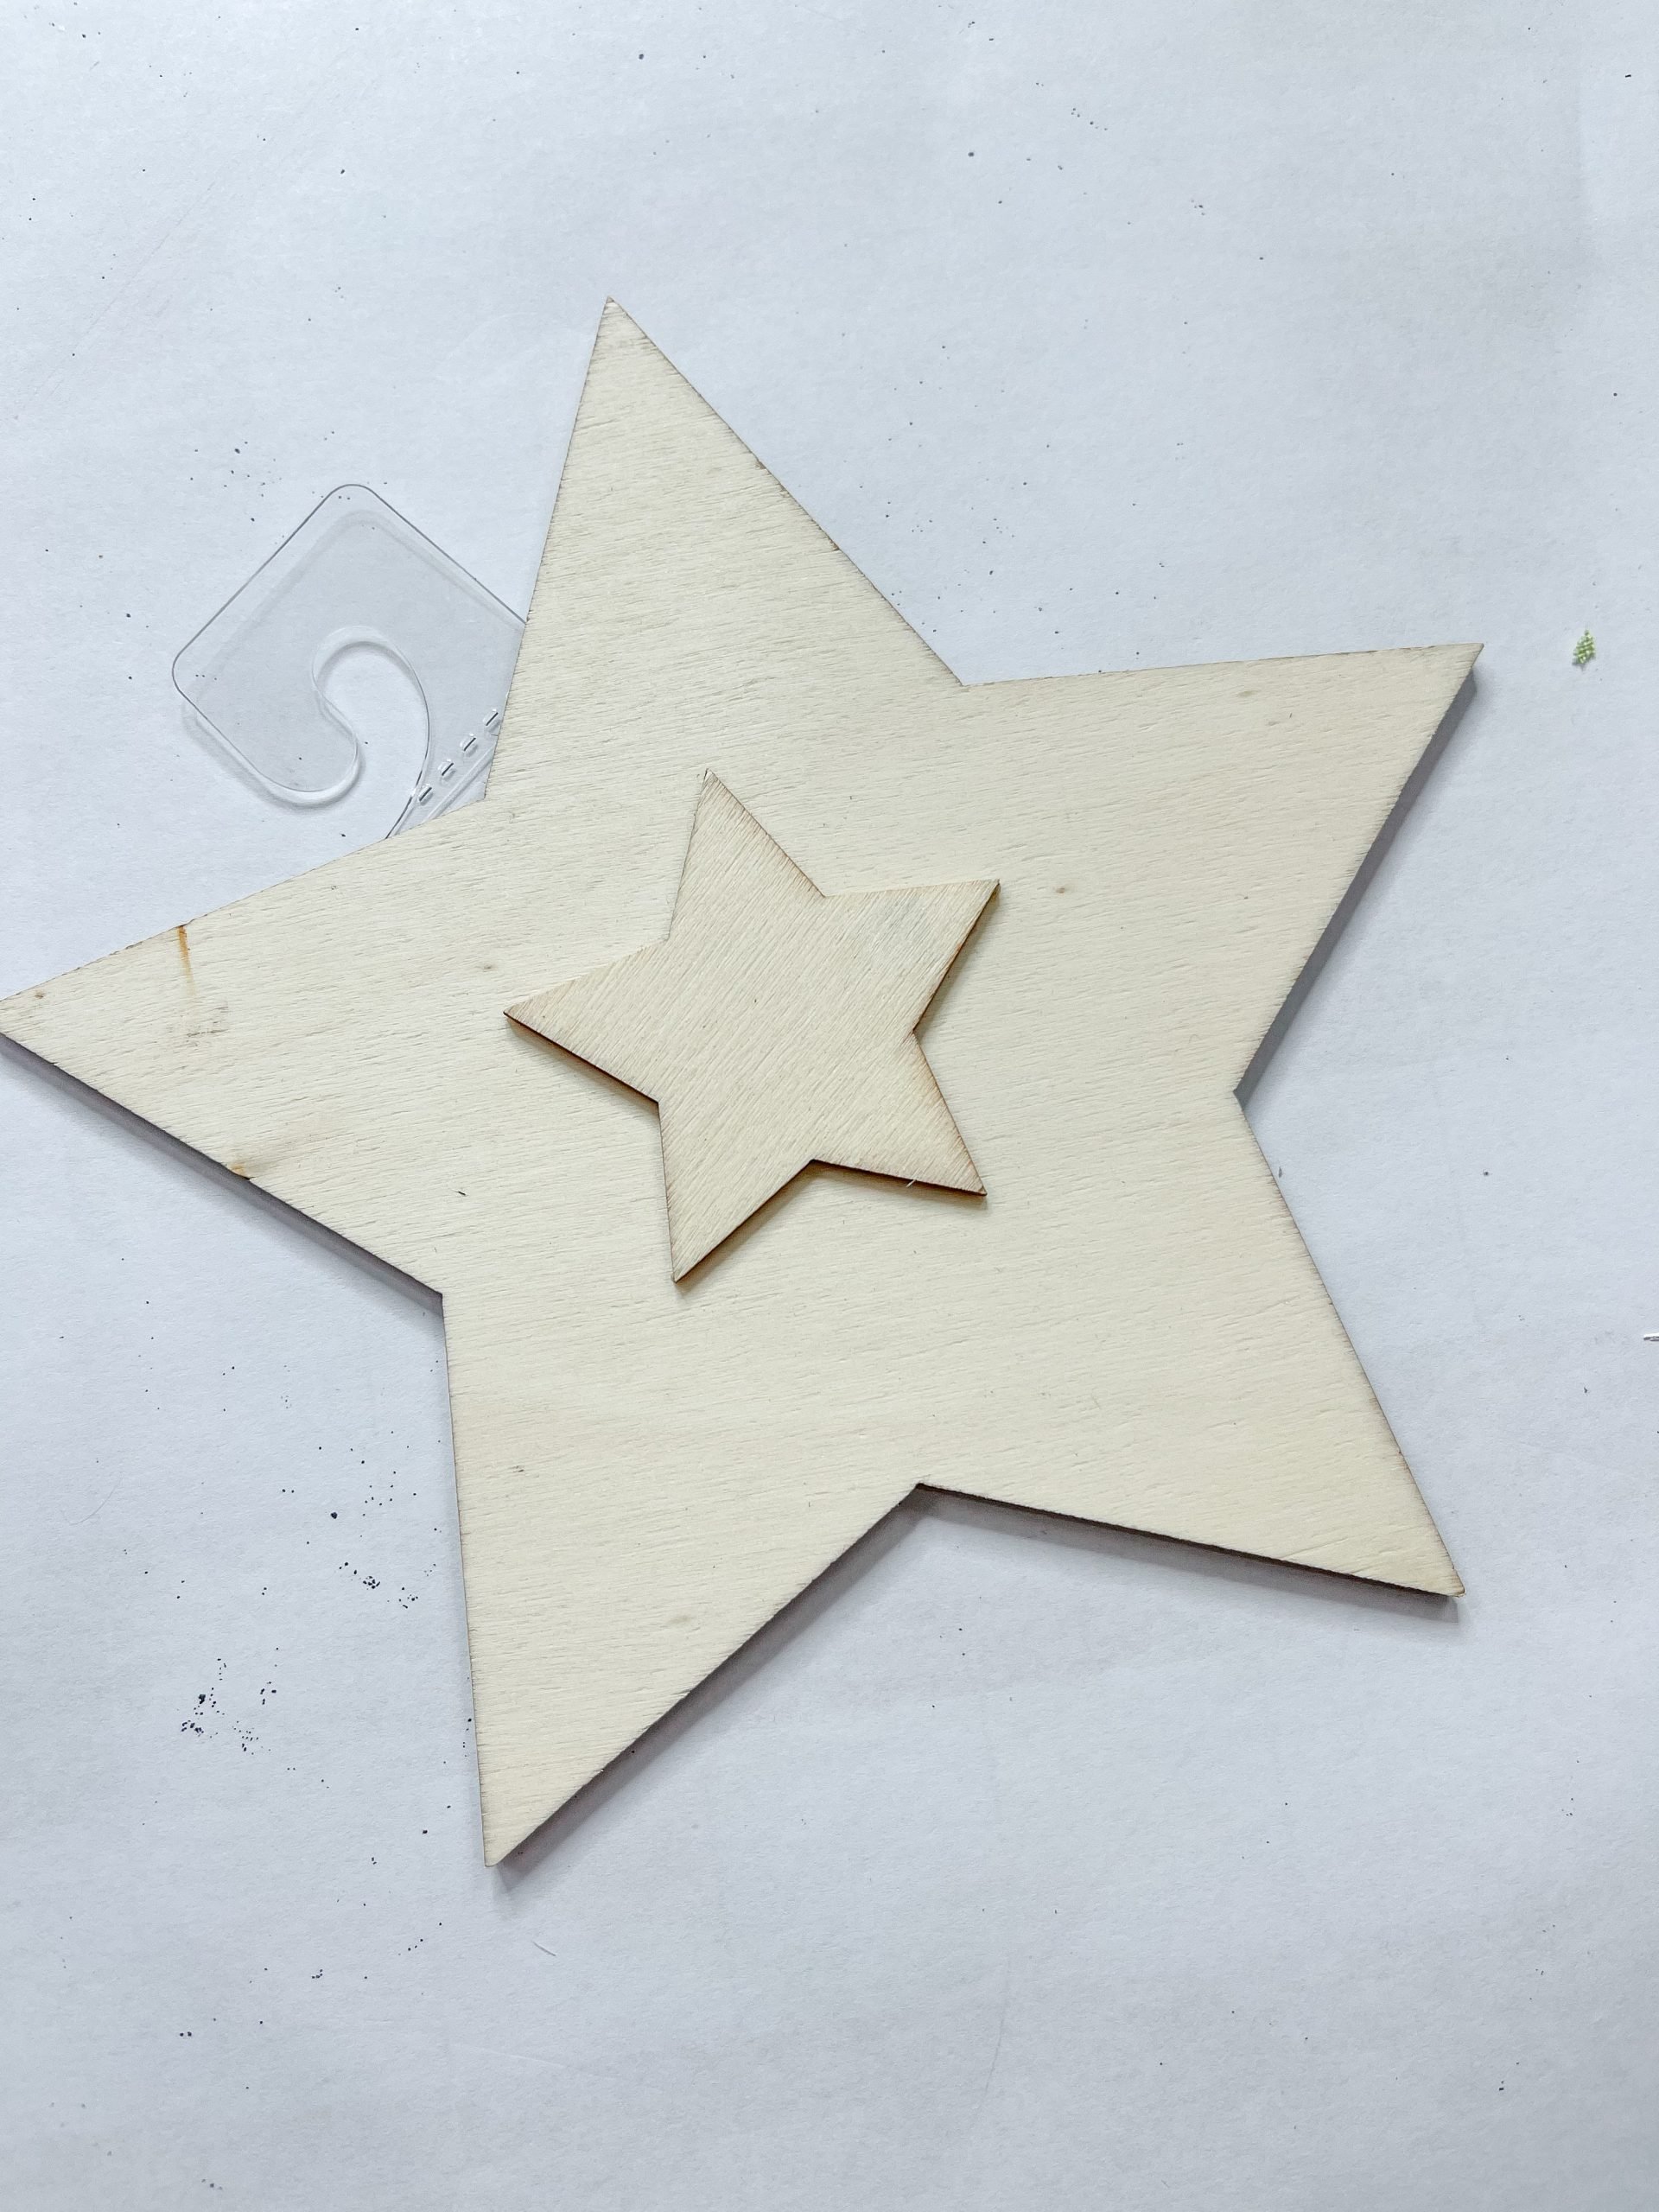
Once all of the paint was dry on the circle sign, home lettering, and stars, I went over each of them with a sanding sponge to kind of age and distress them. Then, on the layered wood star, I painted the smaller center star with white paint. Again, let the paint dry, then go over it with a sanding sponge.
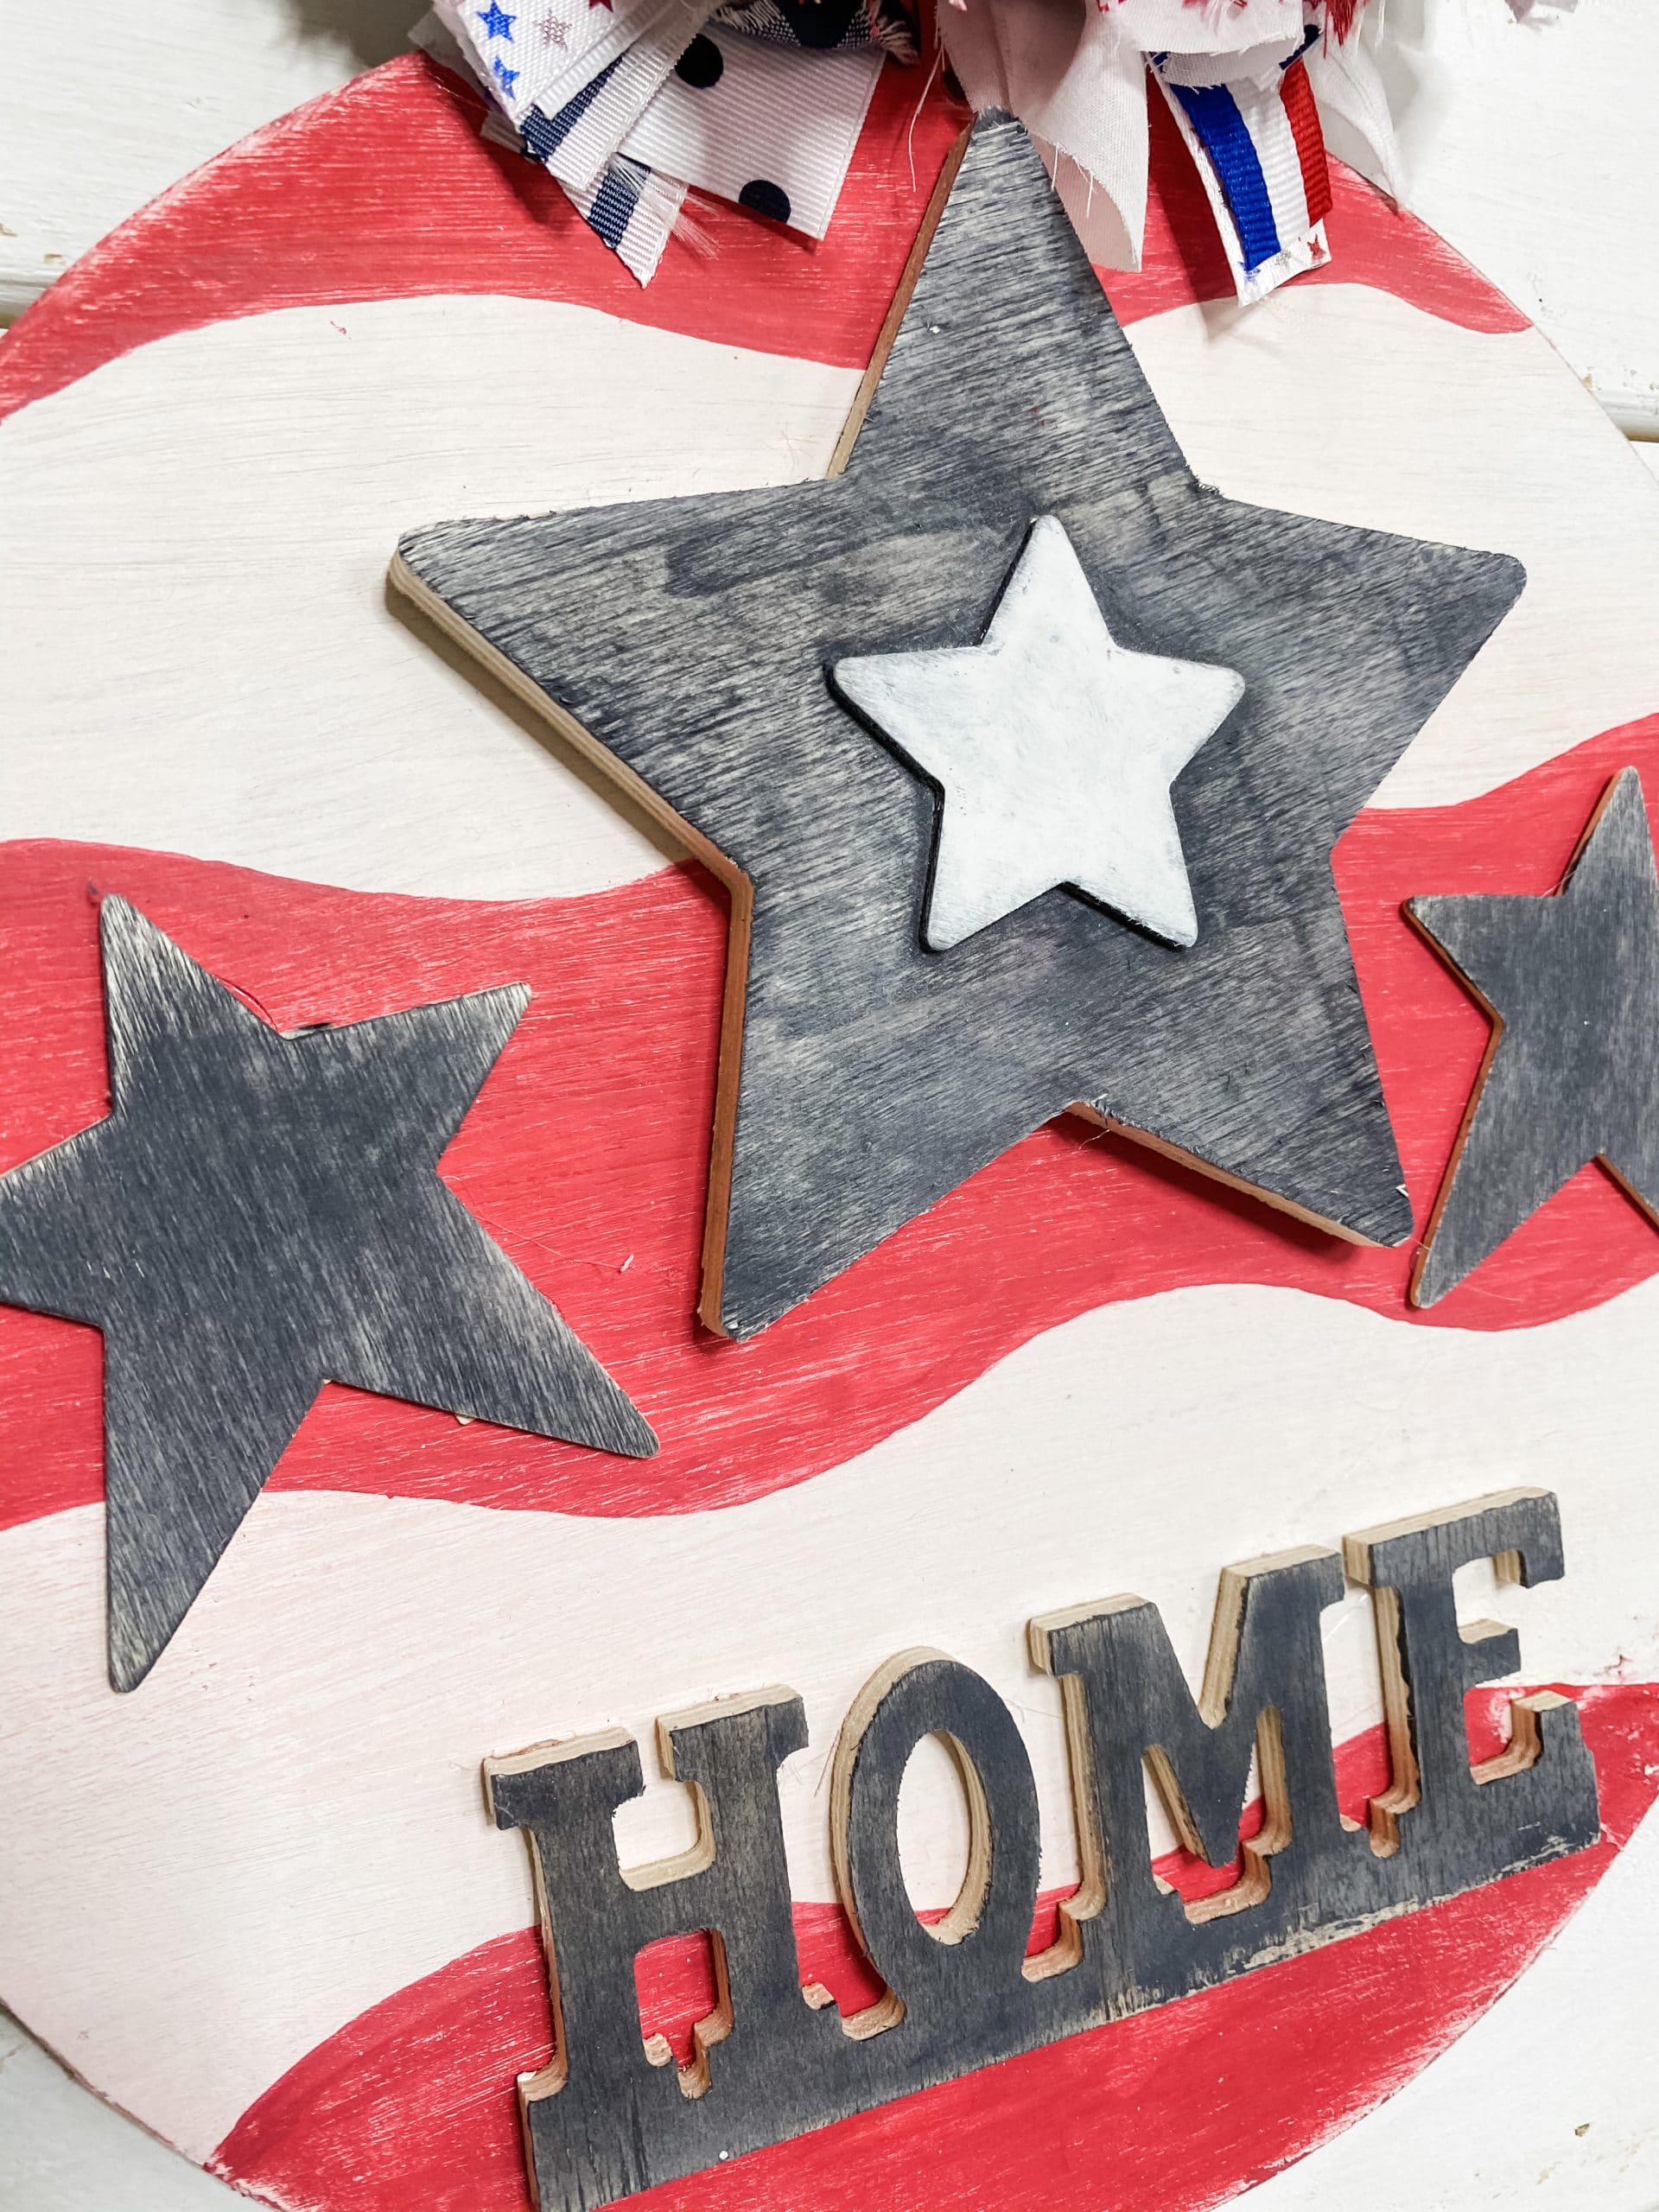
Hot glue the home lettering at the bottom of the circle sign, the large layered stars in the top center of the sign, and each of the small stars on either side of the large layered stars. You can now reattach the original jute twine from the circle sign or you can use something different to make the hanger for this Dollar Tree decor.
How to make a messy bow
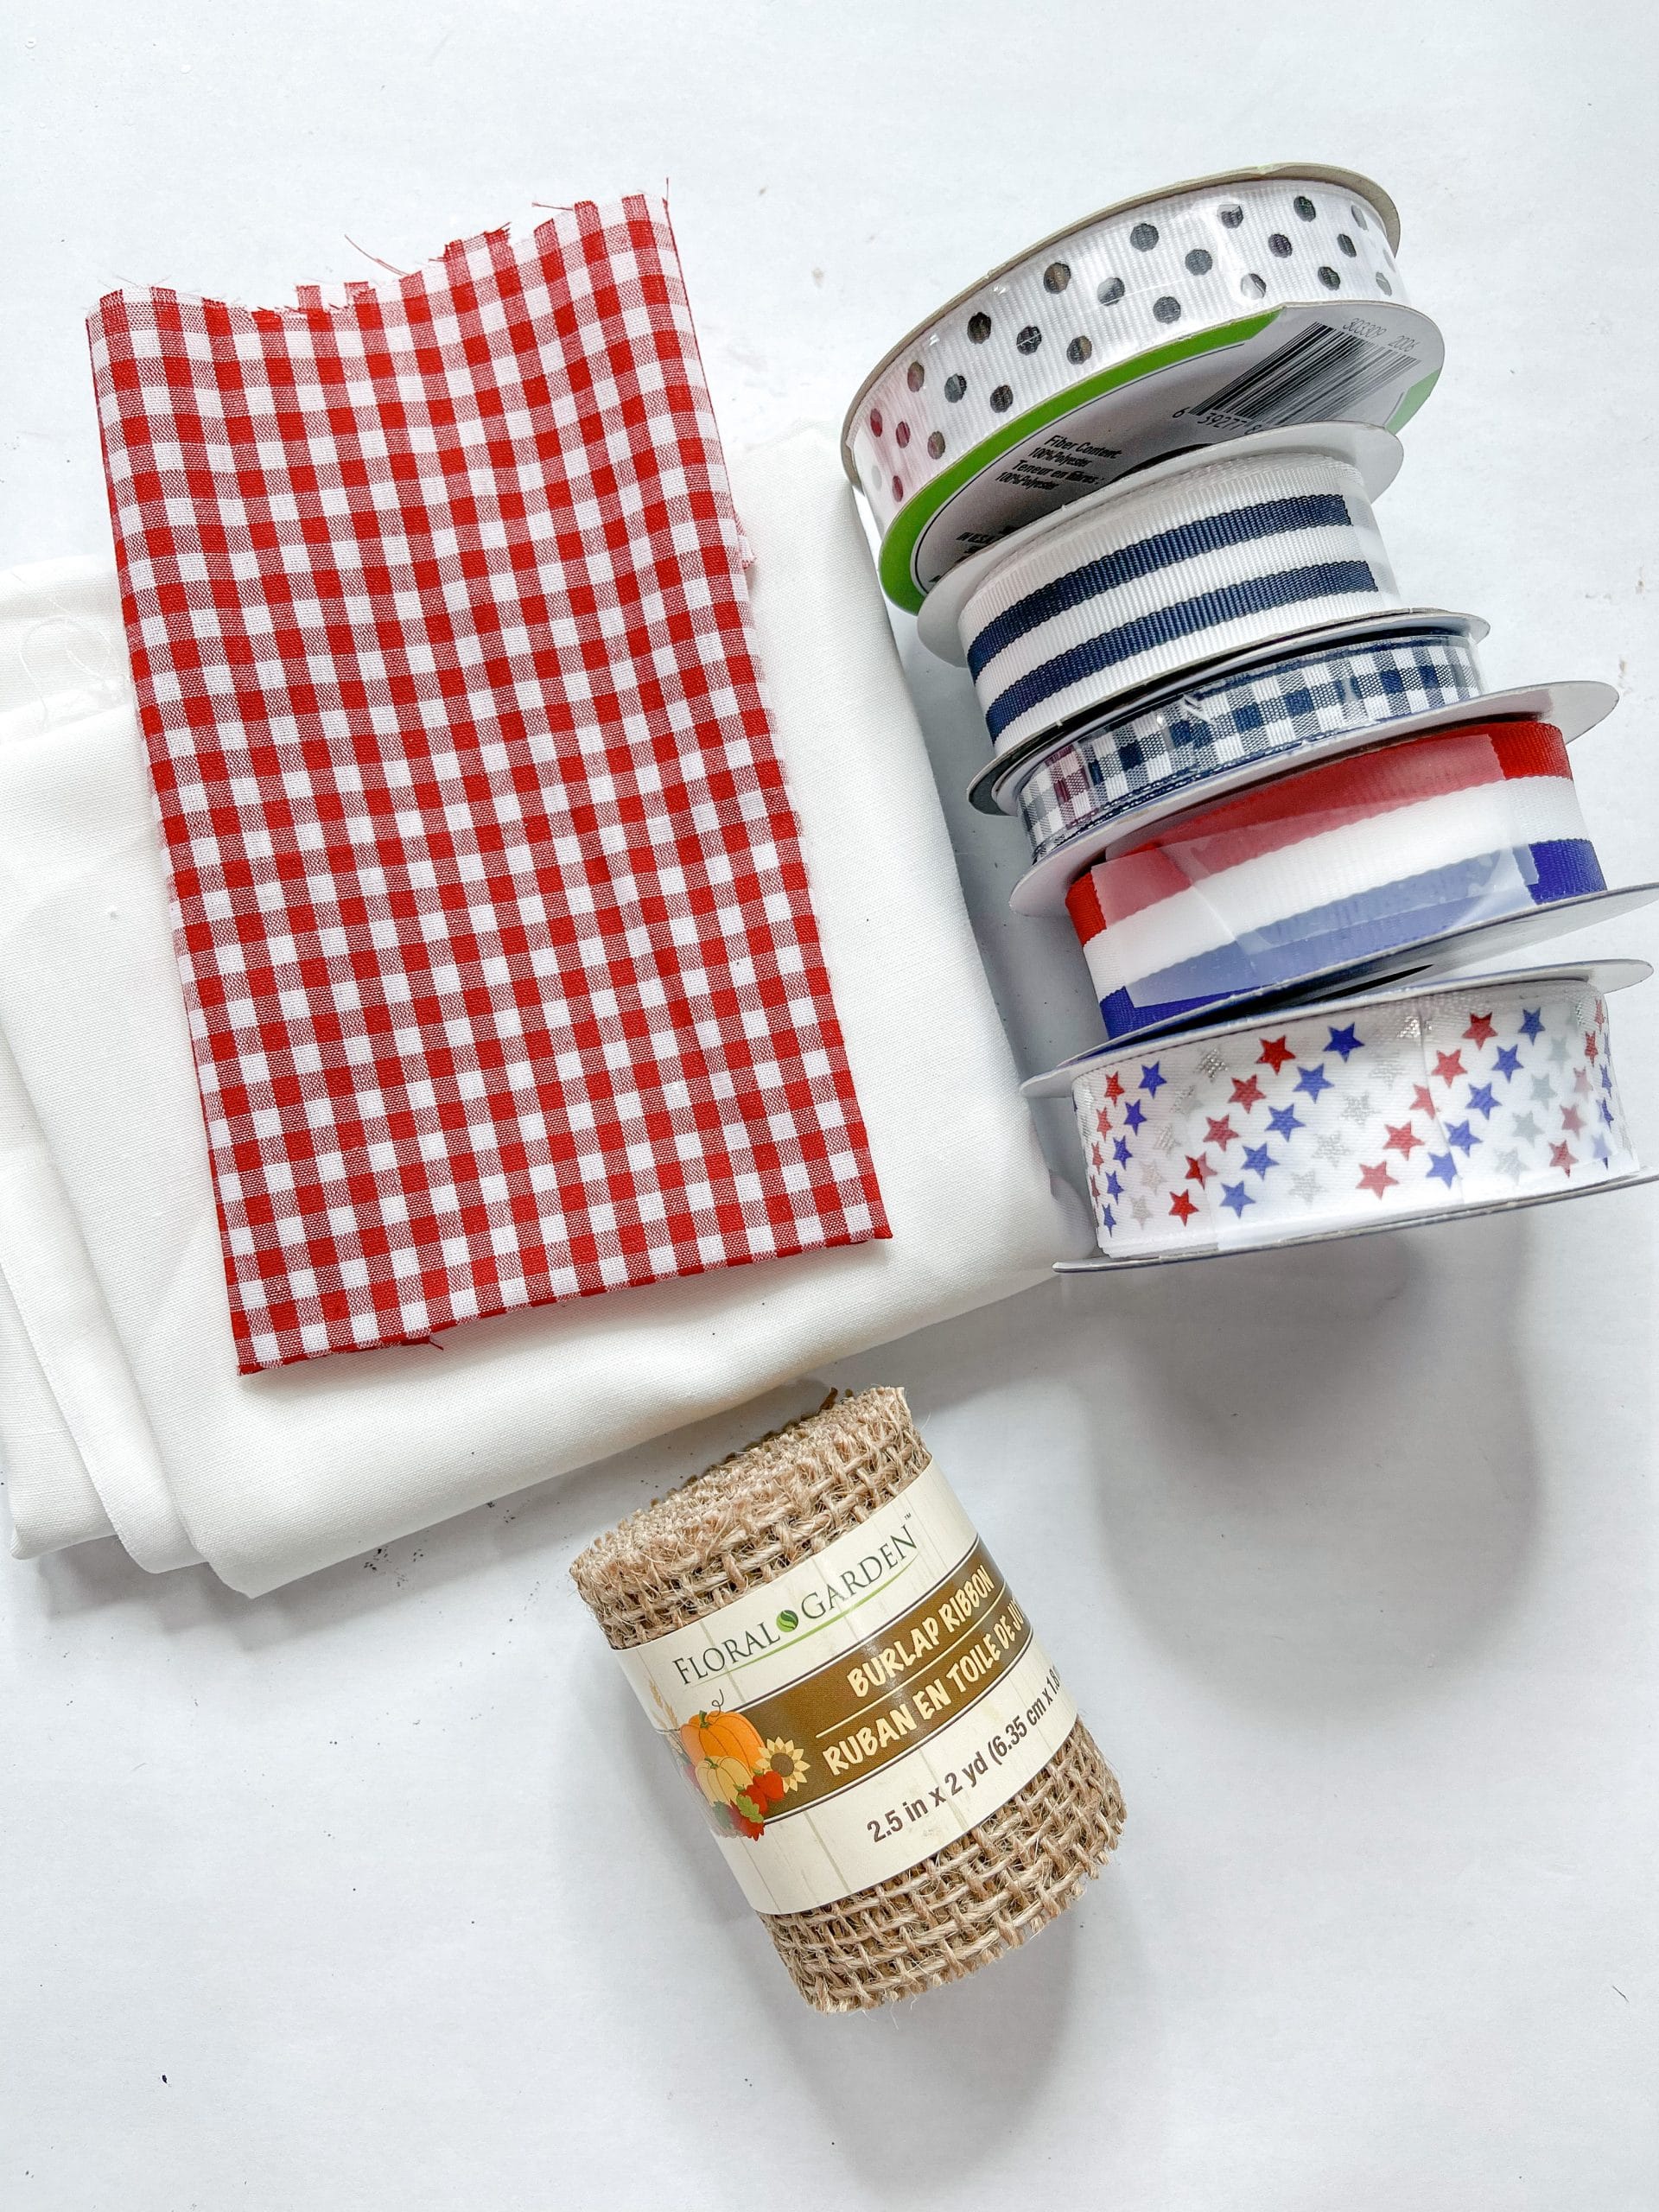
To make your messy bow, get a variety of fabric and ribbon patterns. You can see the ones I used in the picture above. Then, cut several strips of each pattern. They don’t have to be perfectly the same length but make them pretty close in size. Here are some more Messy Bow DIYs too!
Then, you’re going to lay them in an xbow pattern, alternating the fabric/ribbon patterns as you go. Keep layering them until you’re happy with the amount. Pinch the center of the X and secure it with either a piece of ribbon, fabric, twine or a zip tie.
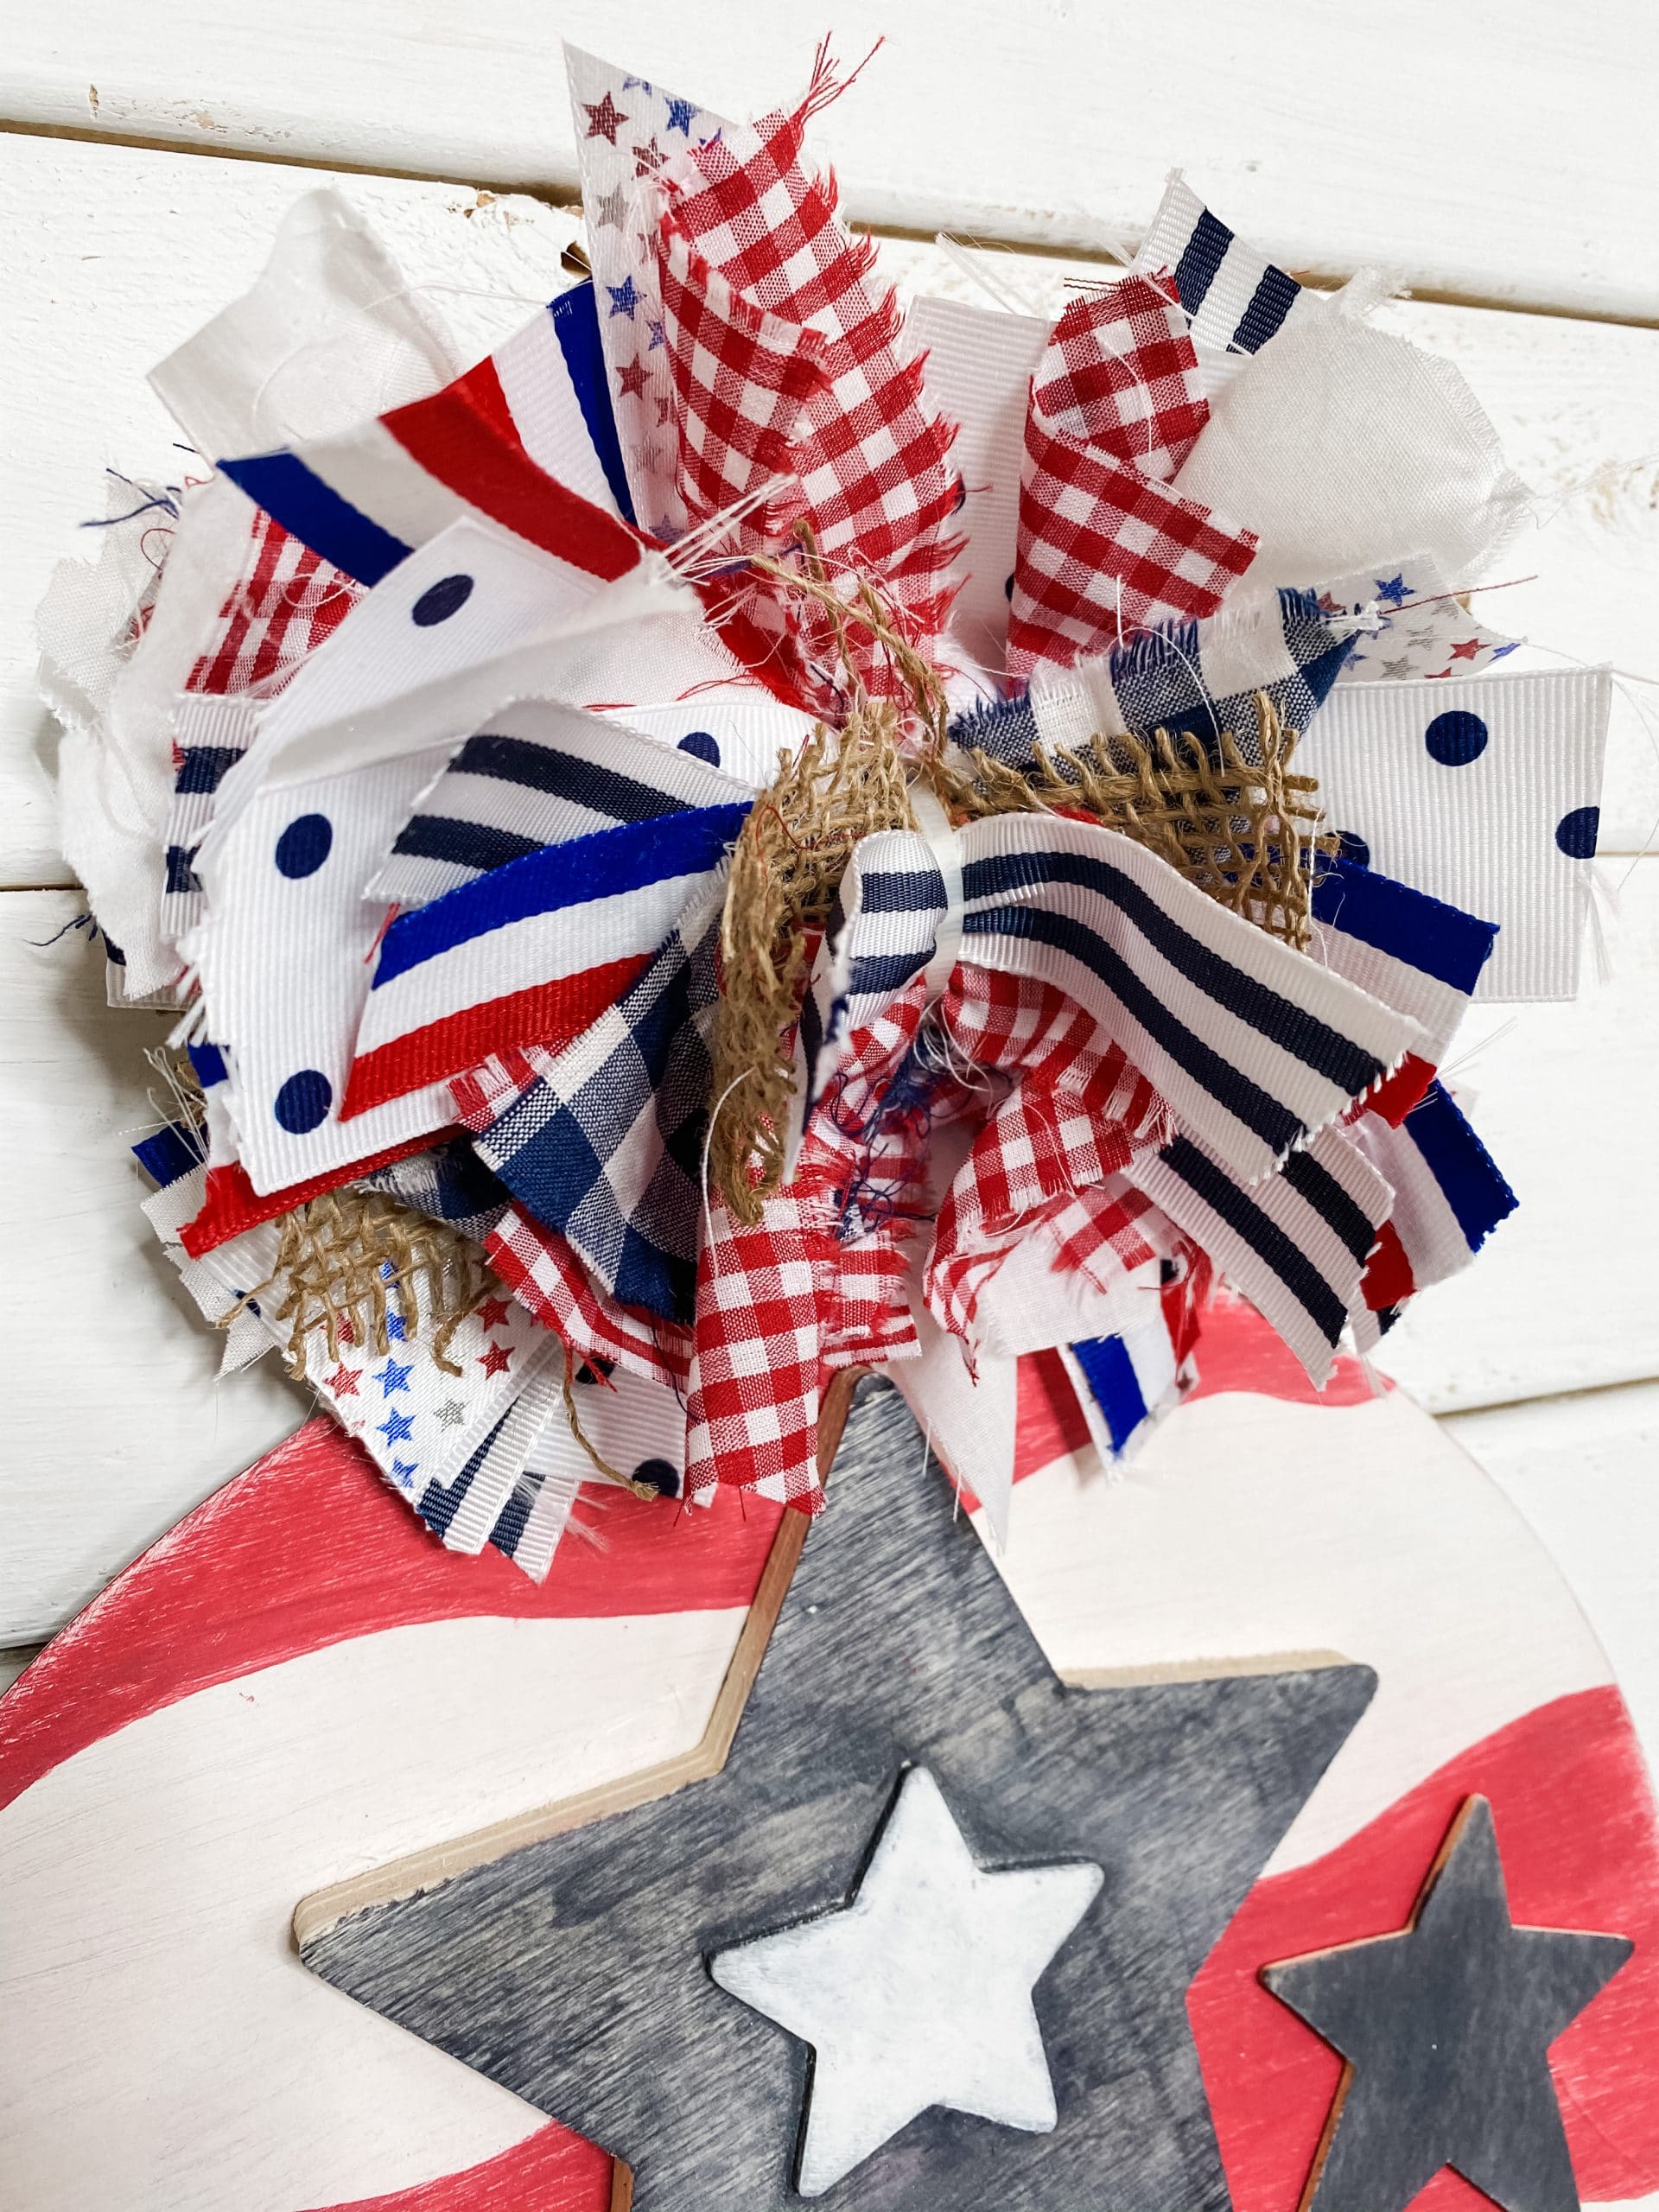
Now, push all the pieces up, like a pom-pom, and trim the ends to make them all the same length. Finally, fluff out your bow and trim and pieces that you need to in order to create a bow that you’re happy with!
I used a zip tie to secure my bow together, and it made this next step pretty easy. To secure the bow to my sign, I pushed the twine hanger through the zip tie on the back of the bow and added a dot of hot glue to secure it in place.
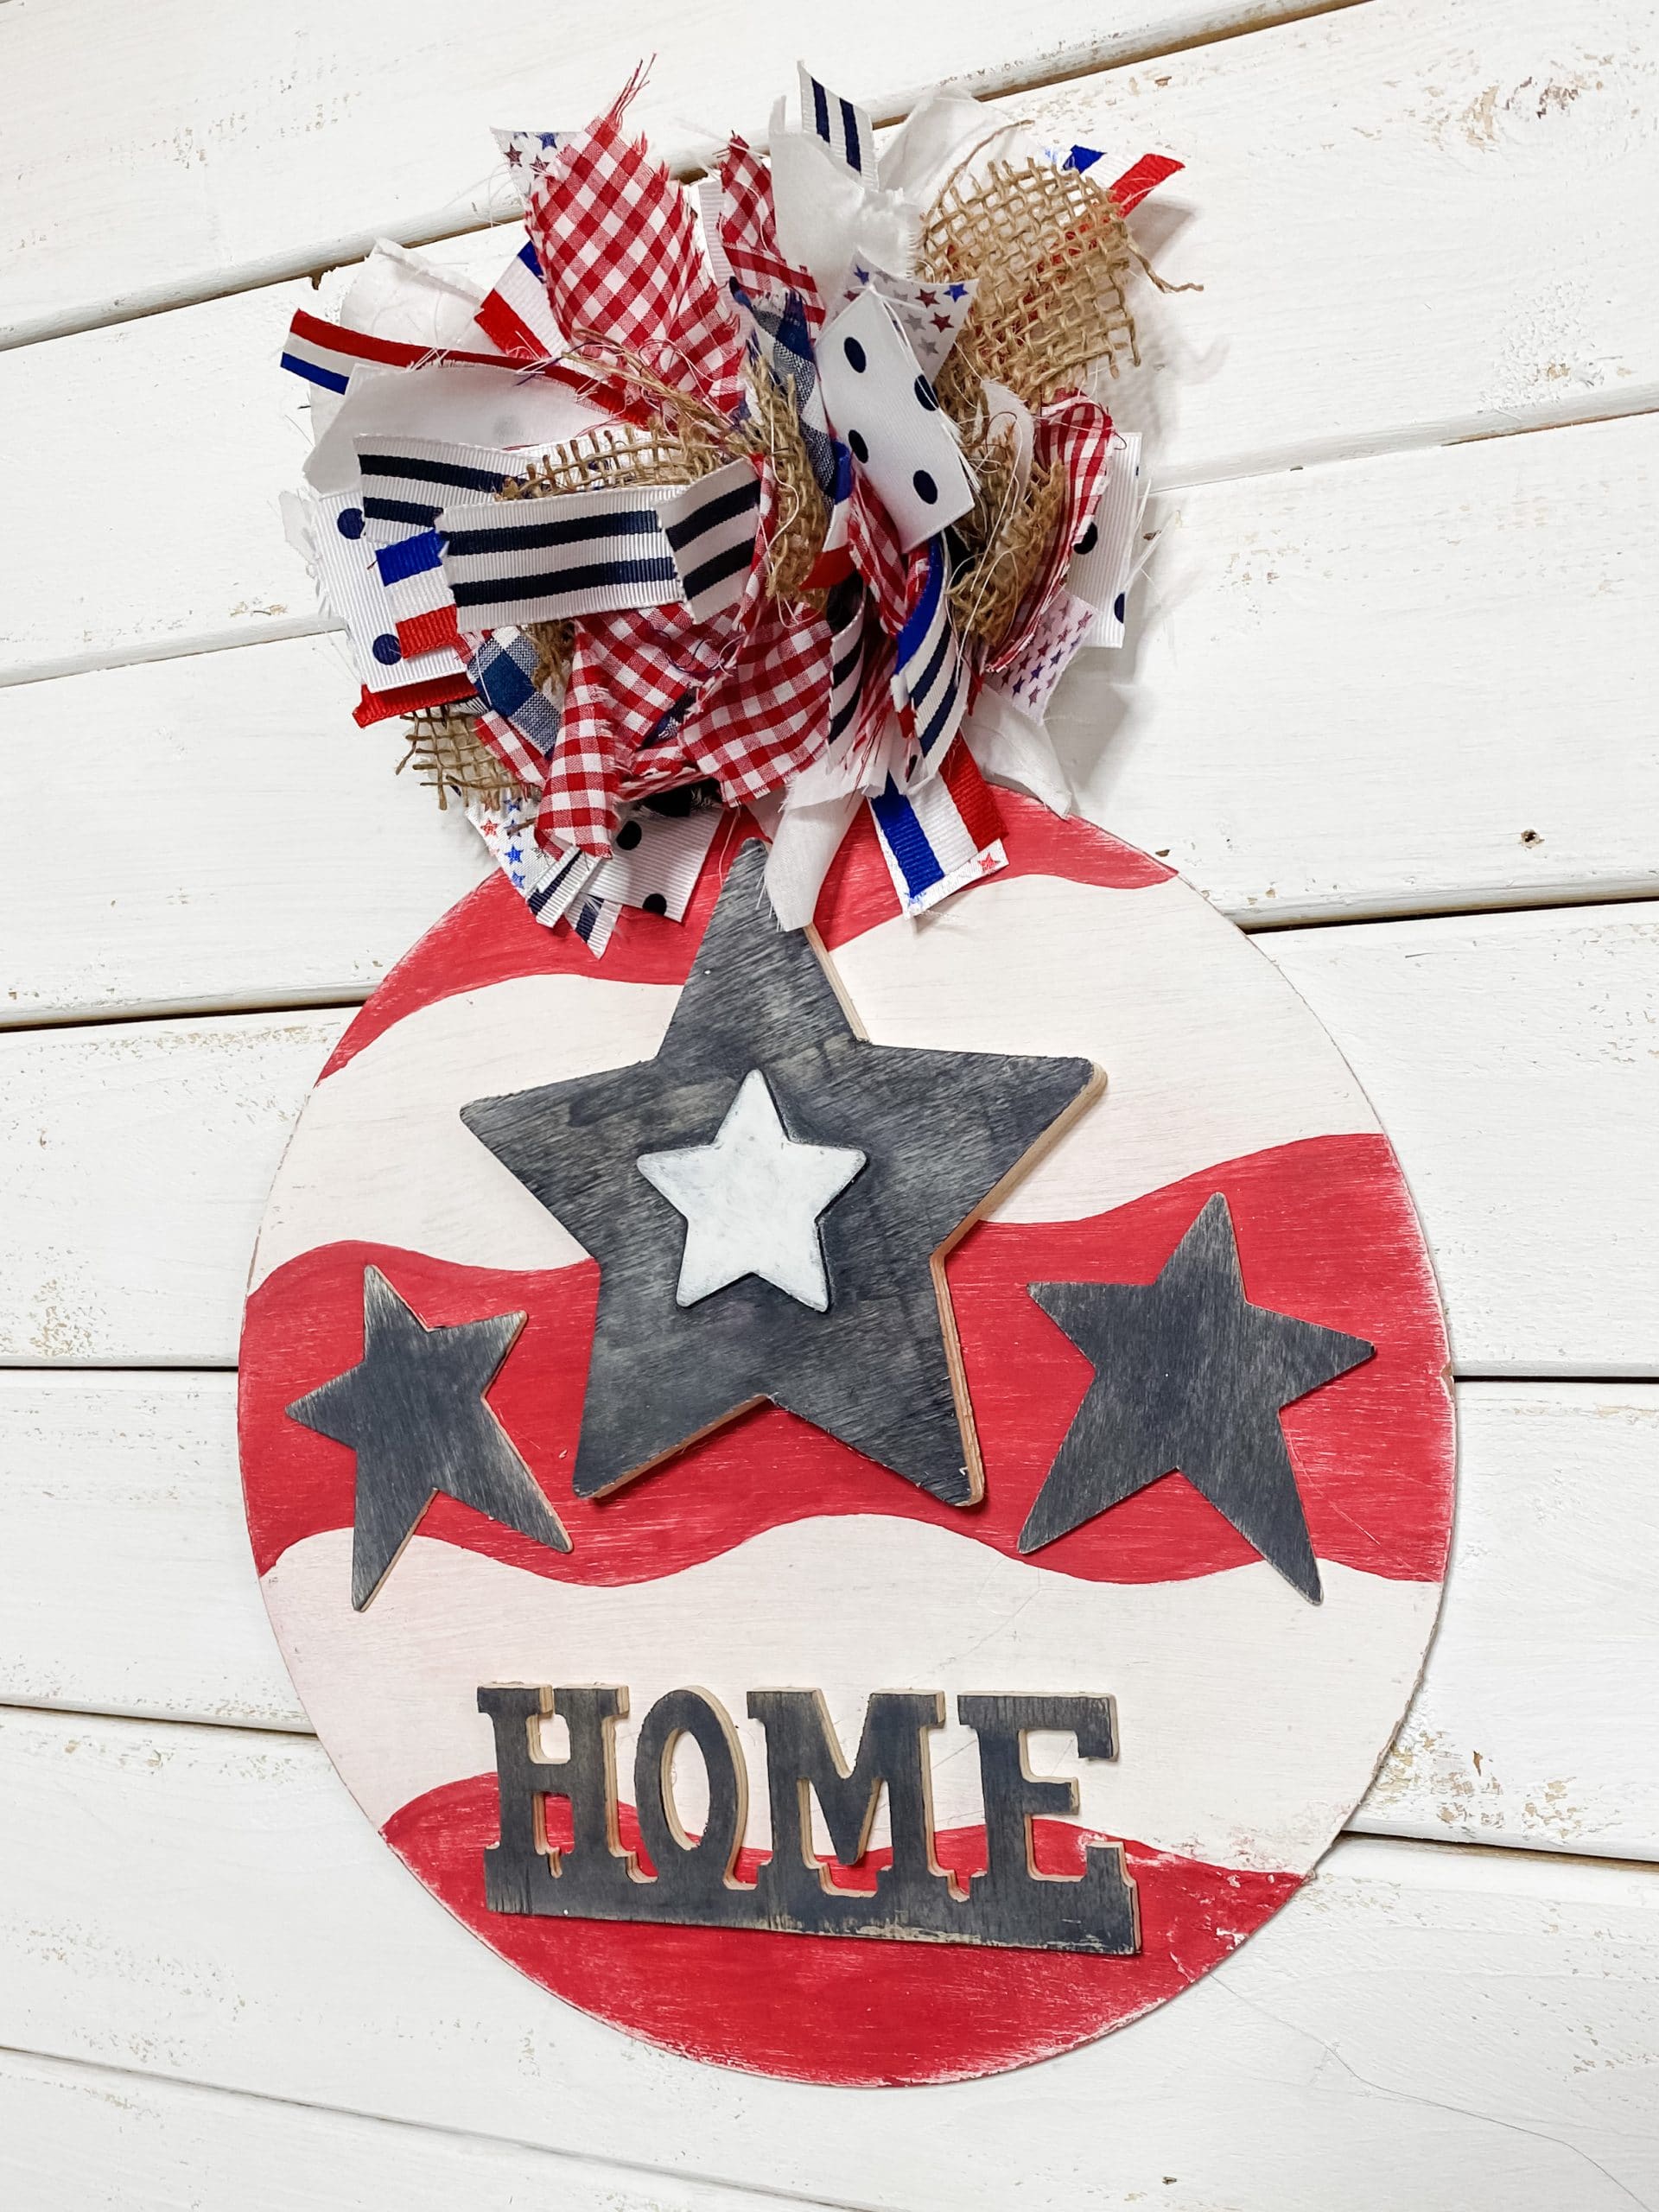
I hope you enjoyed this DIY Dollar Tree Patriotic Door Hanger as I did and decide to make it for yourself! If you do, I would love to see how yours turns out!
You should totally join my FREE Facebook group called On A Budget Crafts! It is a judgment-free community for DIY crafters to show off their projects and ideas.
If you loved this DIY you might also like these patriotic DIYs!
- Repurposed Tablecloth DIY Patriotic Decor
- DIY Red White and Blue Rag Wreath
- American Flag Anchor DIY Patriotic Decor
- DIY Ribbon American Flag
- DIY 4th of July Shirt Idea
- Blue Jean American Flag
- DIY Dollar Tree American Flag Decor
- DIY Patriotic Dollar Tree Mason Jar
Thanks for stopping by! XOXO Amber
You can also shop my ENTIRE AMAZON Favorites shop just click here! It’s packed full of all the things I use and love. Here is the supply list I highly recommend every creative have on hand!!
Would you also pin my blog for later and get on my newsletter alerts? I would love to have you join my #craftycrew.
Inspired? Leave me a comment below! I love hearing from my readers!

Join my free “ON A BUDGET CRAFTS” Facebook group!

Live this and the bow us beautiful