DIY Dollar Tree Paddle Board Easter Bunny
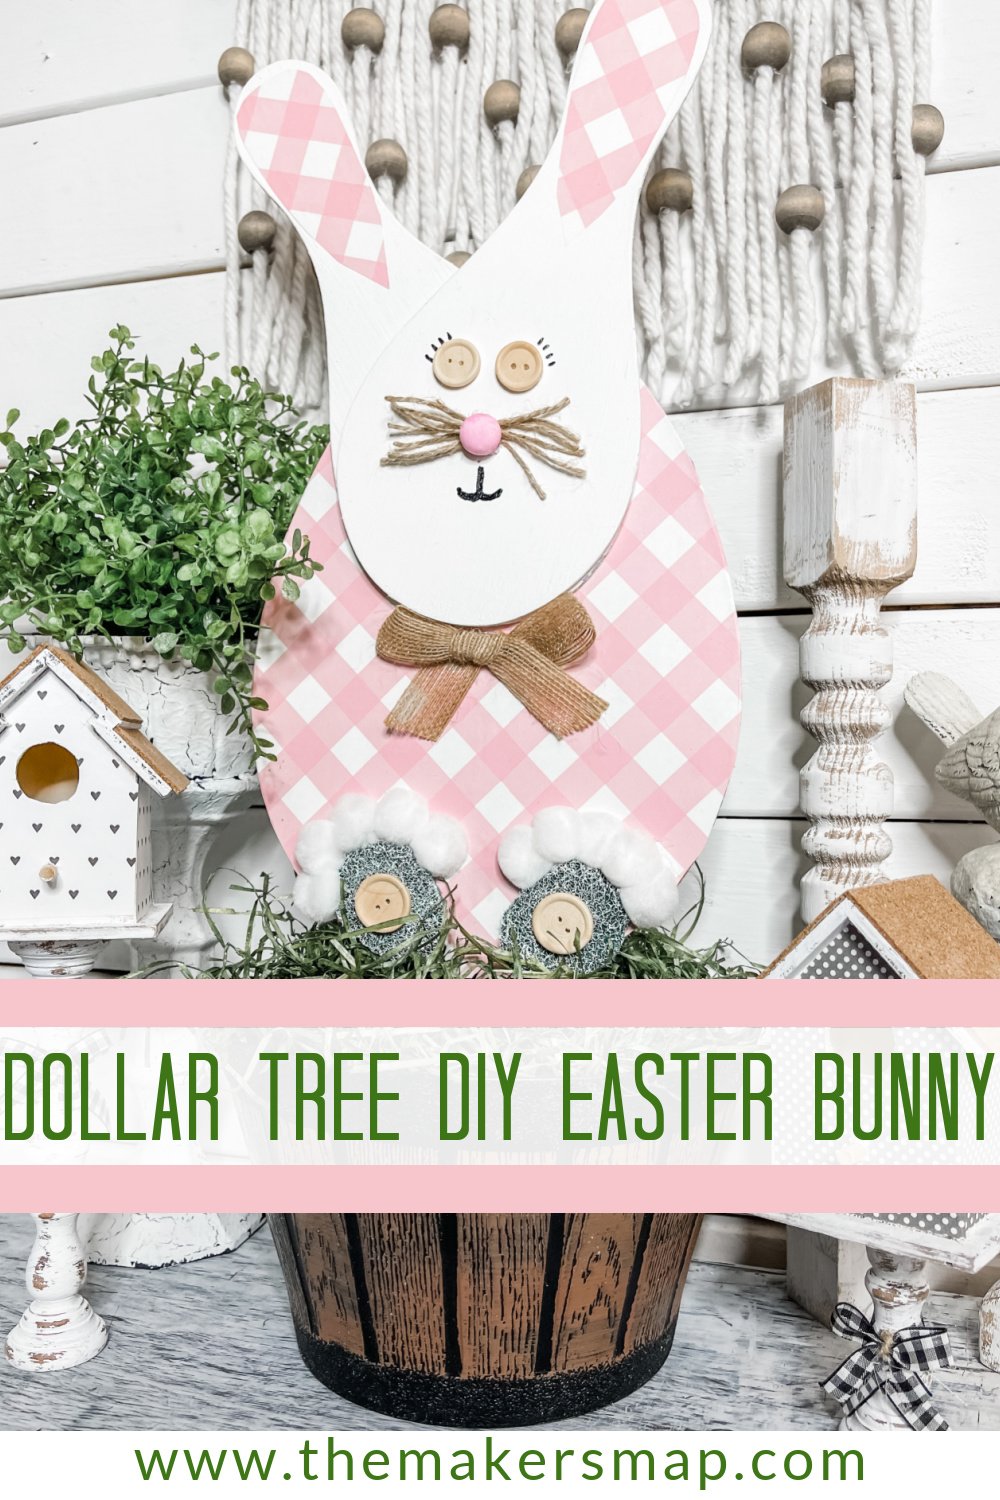
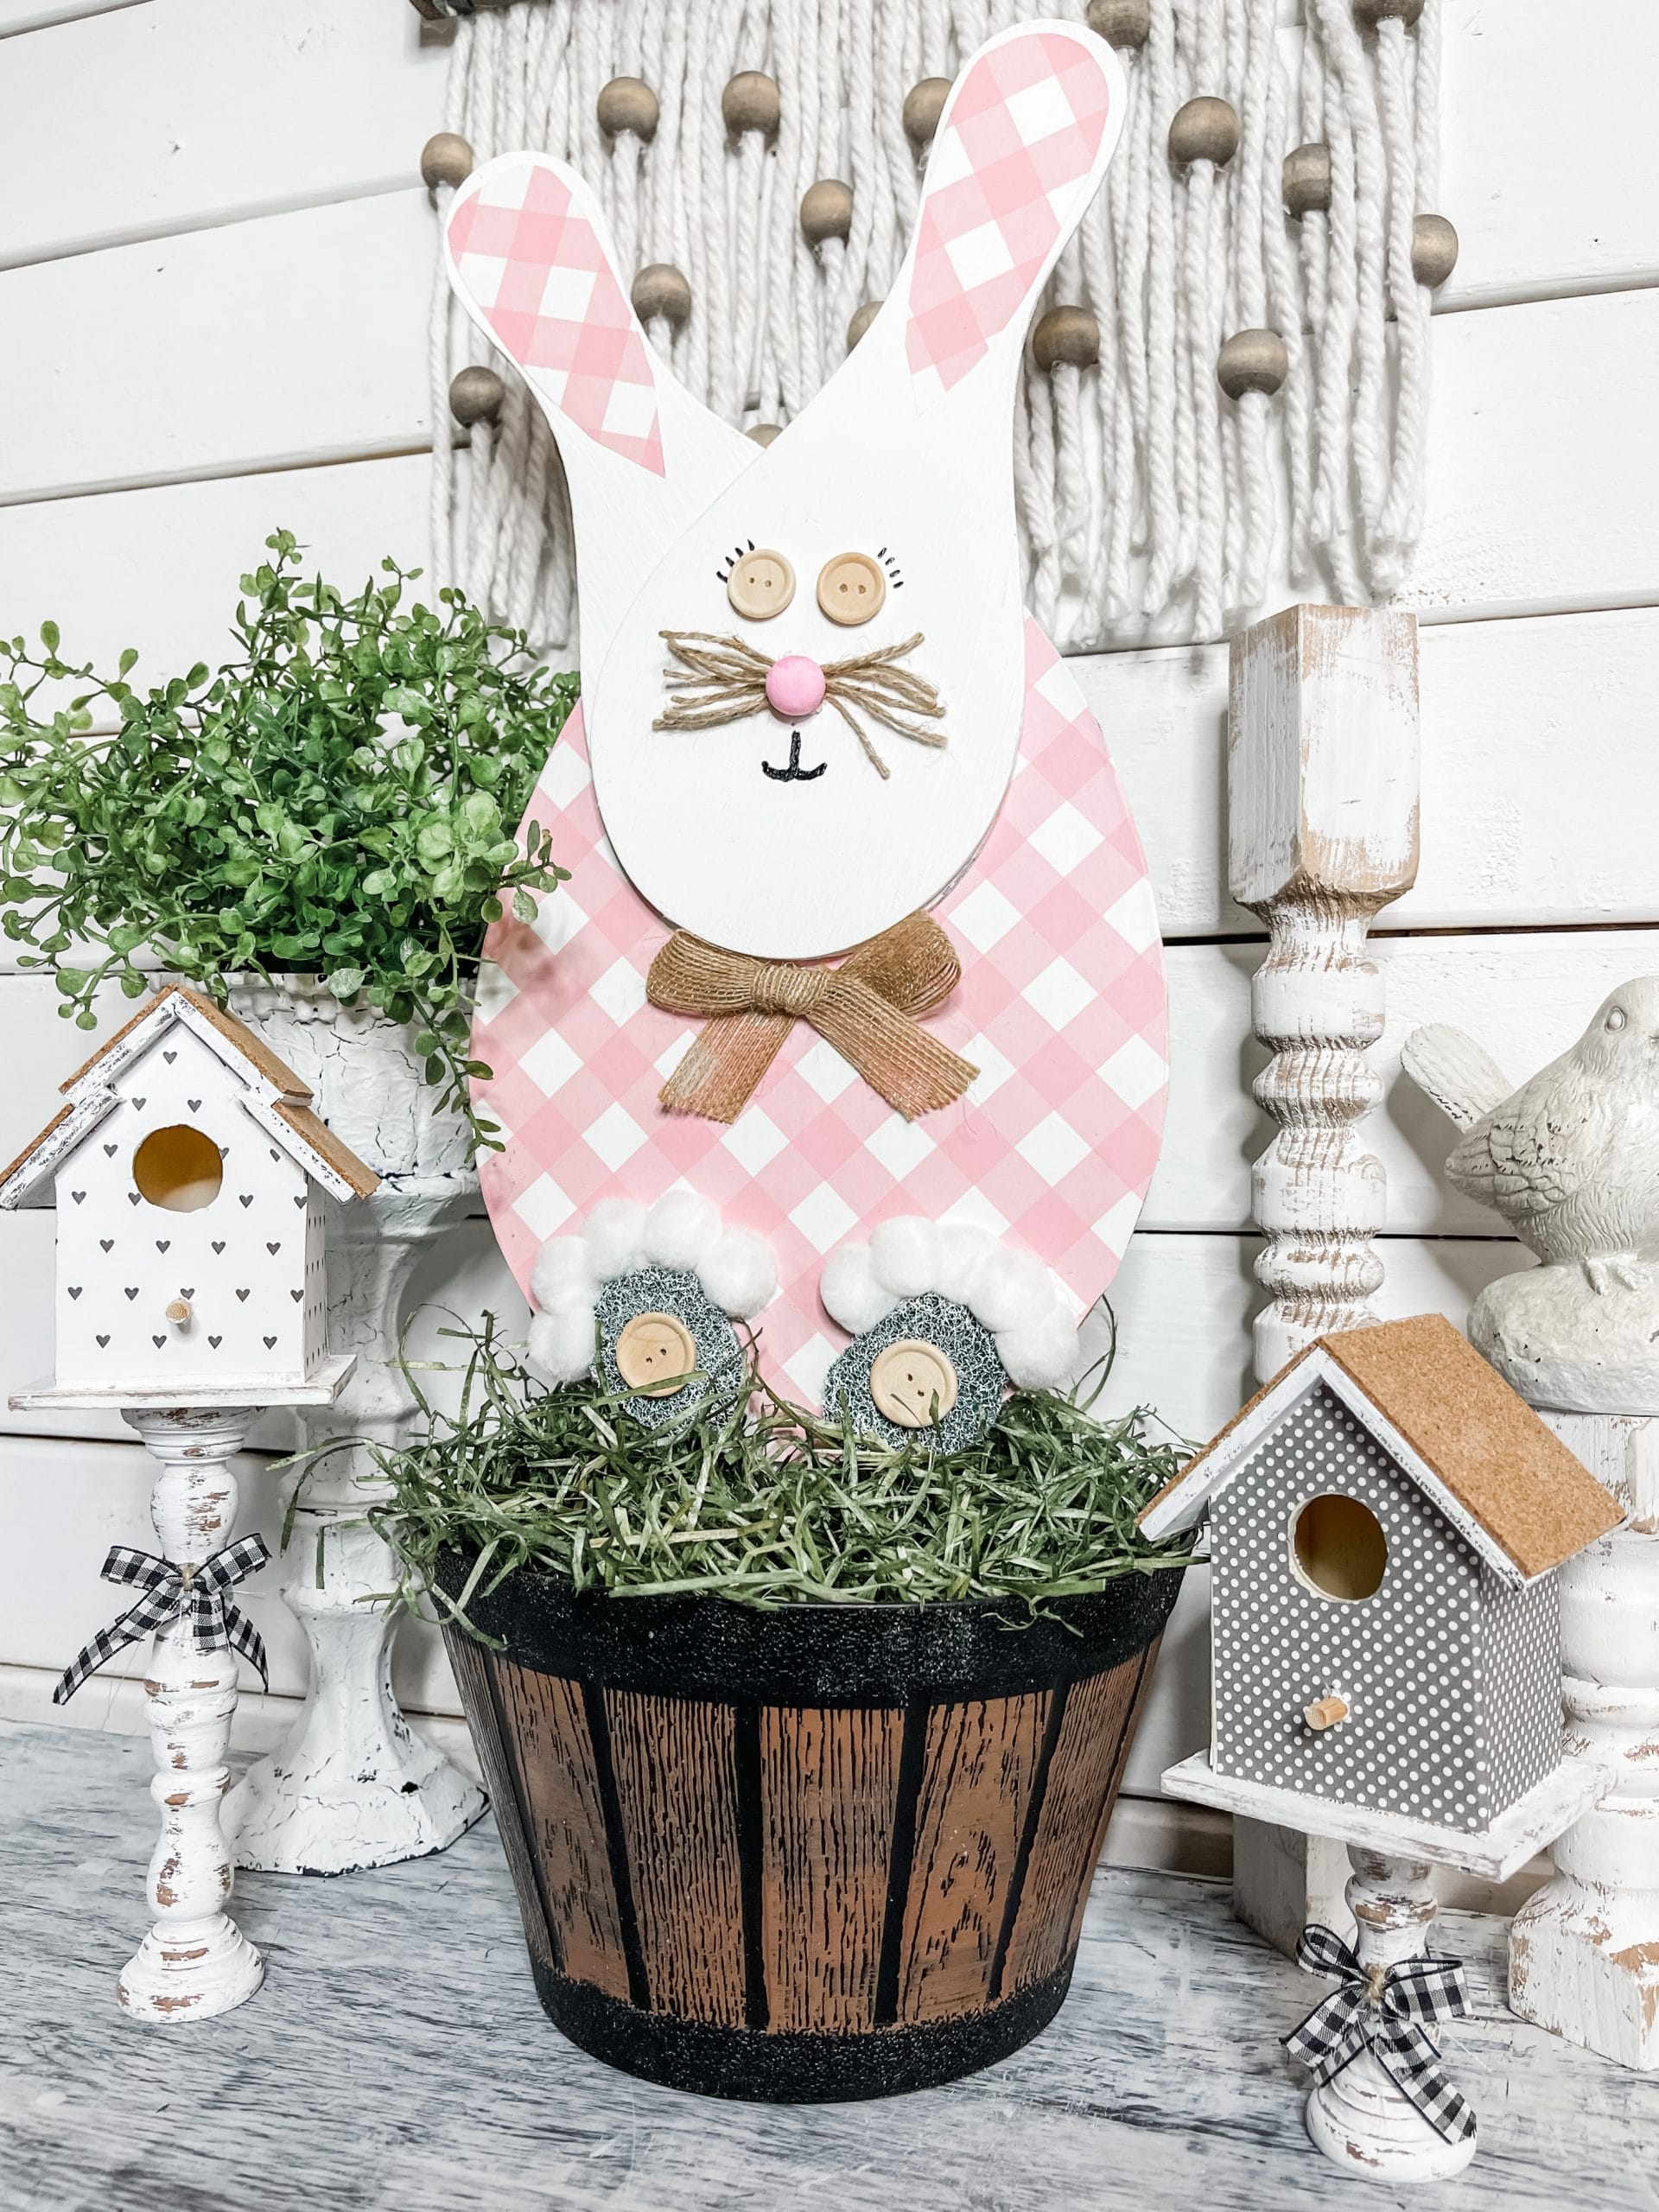
This DIY Dollar Tree Paddle Board Easter Bunny is a super easy DIY that you can make without hurting your wallet! With just a little bit of paint, Mod Podge, and hot glue, you can turn a pile of Dollar Tree supplies into an adorable DIY bunny!
Watch the tutorial
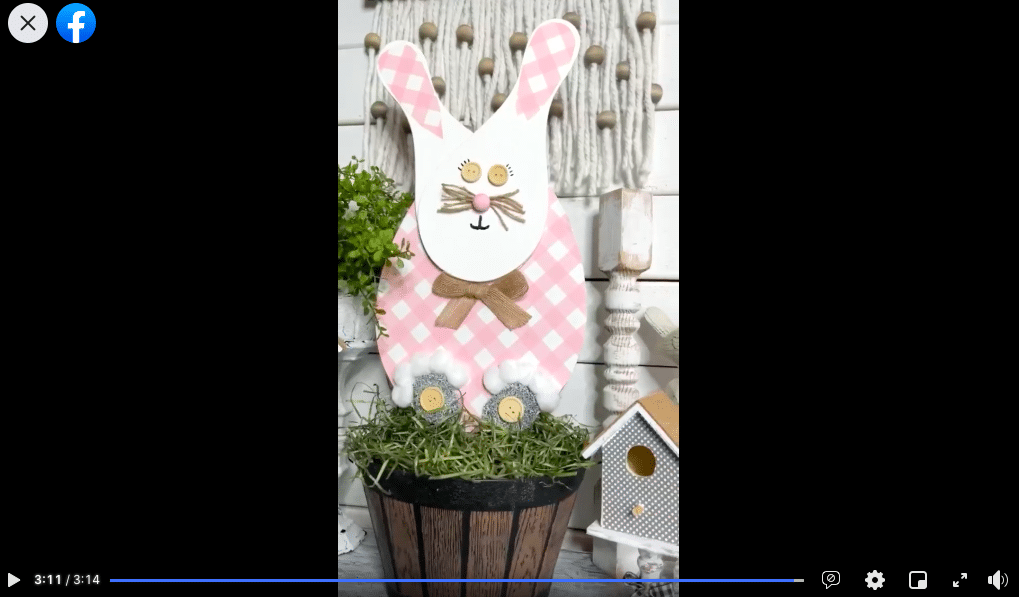
I recorded a very quick DIY tutorial video to show you how I brought this DIY idea to life! If you want to see the how-to steps, you can watch the DIY tutorial on my Facebook page.
For this project, I will be using these items but you can substitute where you want.
“As an Amazon Associate, I earn from qualifying purchases.”
- Dollar Tree Egg Sign on a stake
- Dollar Tree Paddle Balls (x2)
- Pink Buffalo Check Gift Bag
- Dollar Tree Bucket
- Dollar Tree Green Sponge
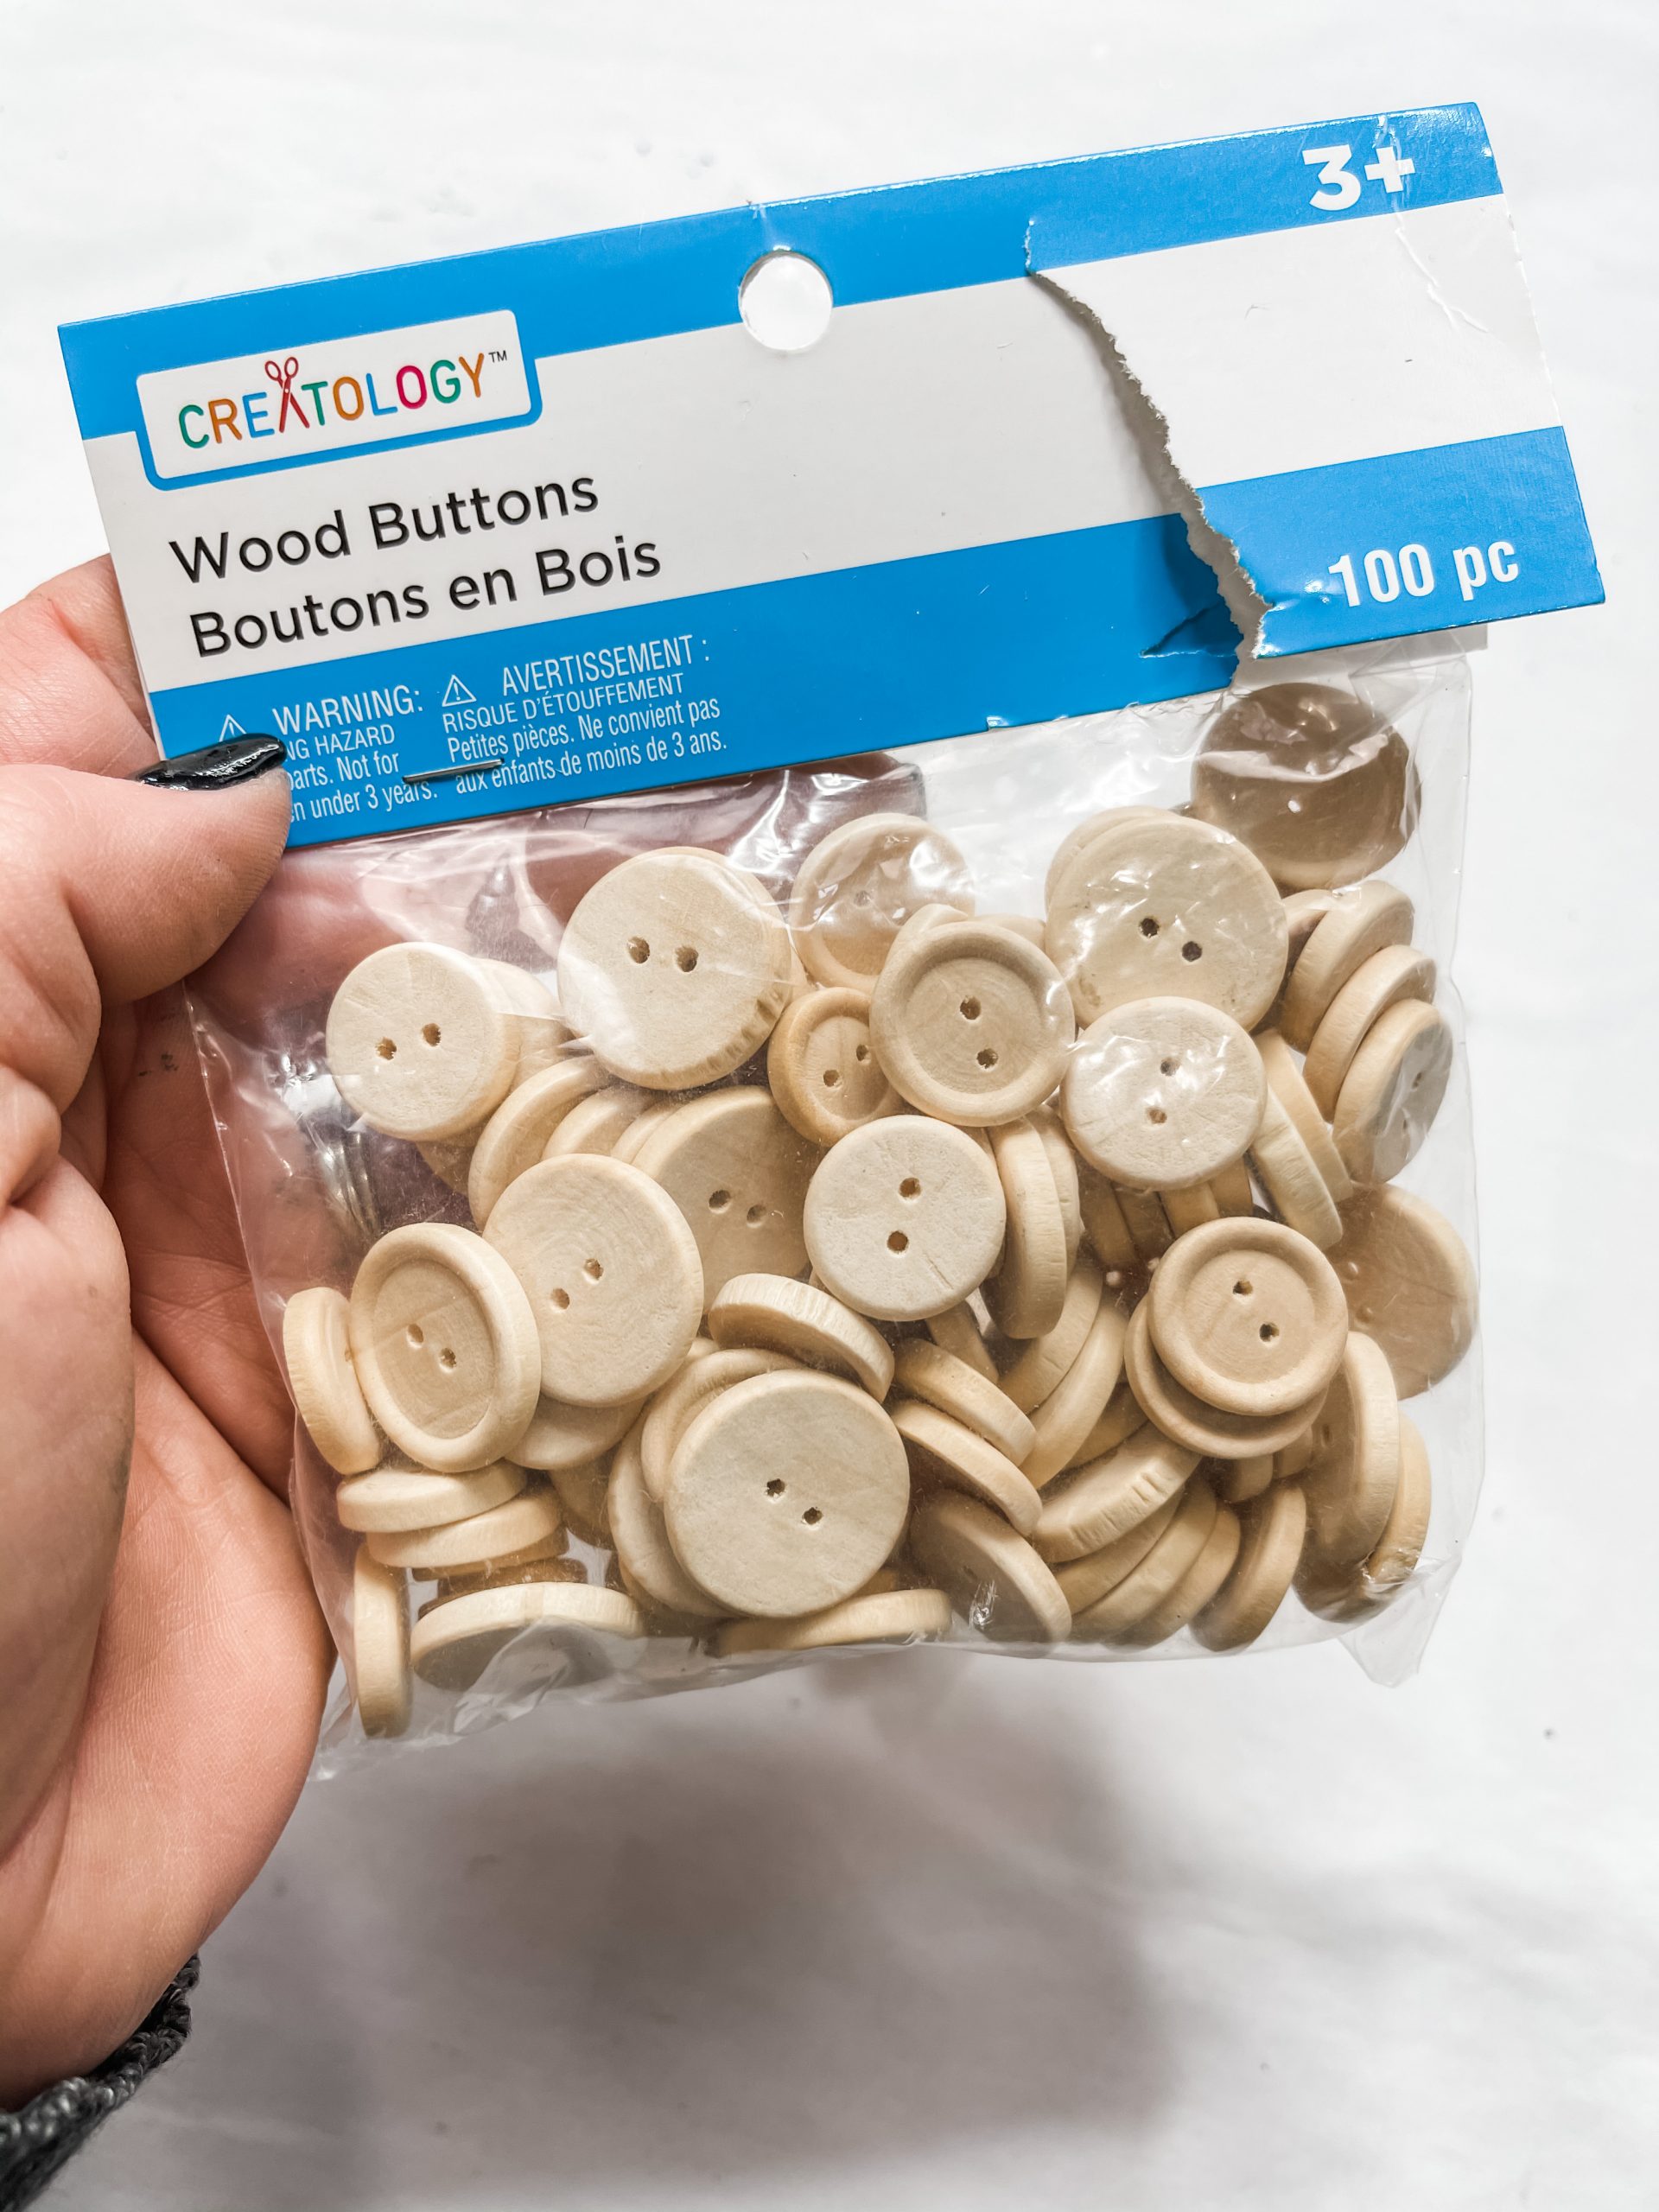
- Wood Buttons (x2 small/x2 large)
- Dollar Tree White Pom Poms
- Dollar Tree Jute Twine
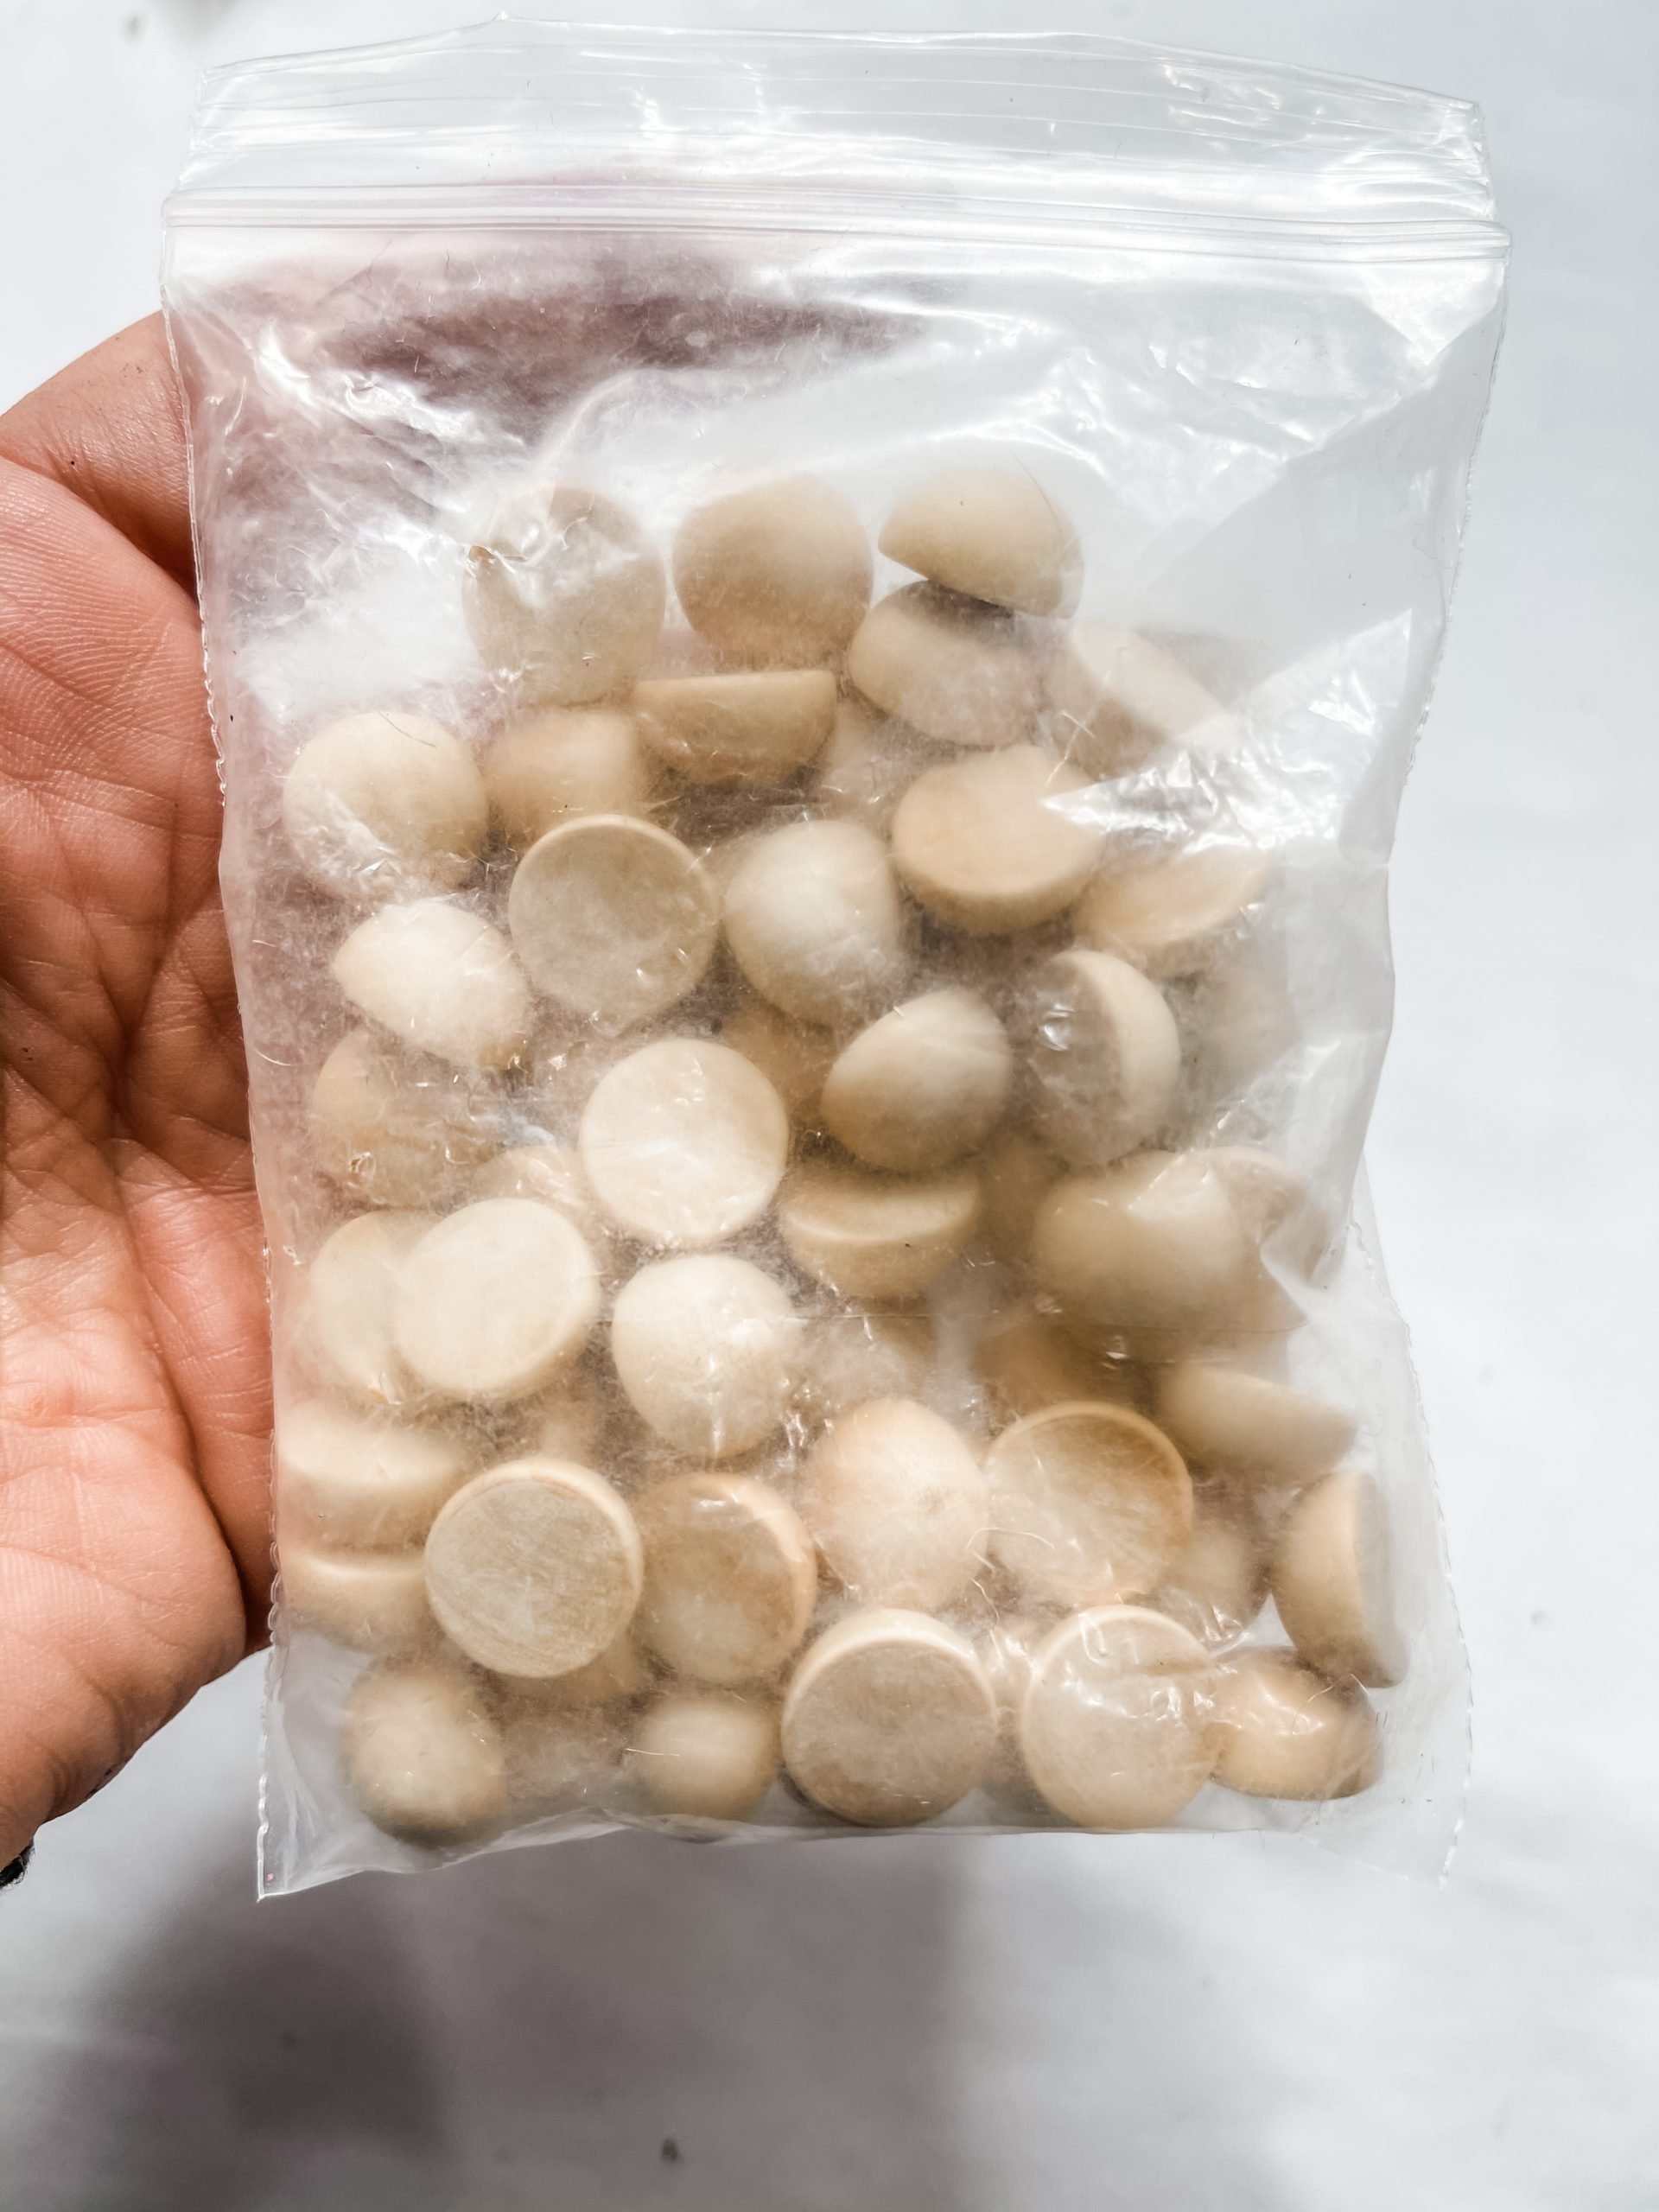
- Half wood beads
- Dollar Tree Floral Foam
- Excelsior
- Apple Barrel Pink Parfait Acrylic Paint
- Apple Barrel White Acrylic Paint
- Mod Podge
- Hot Glue gun
- Glue Sticks
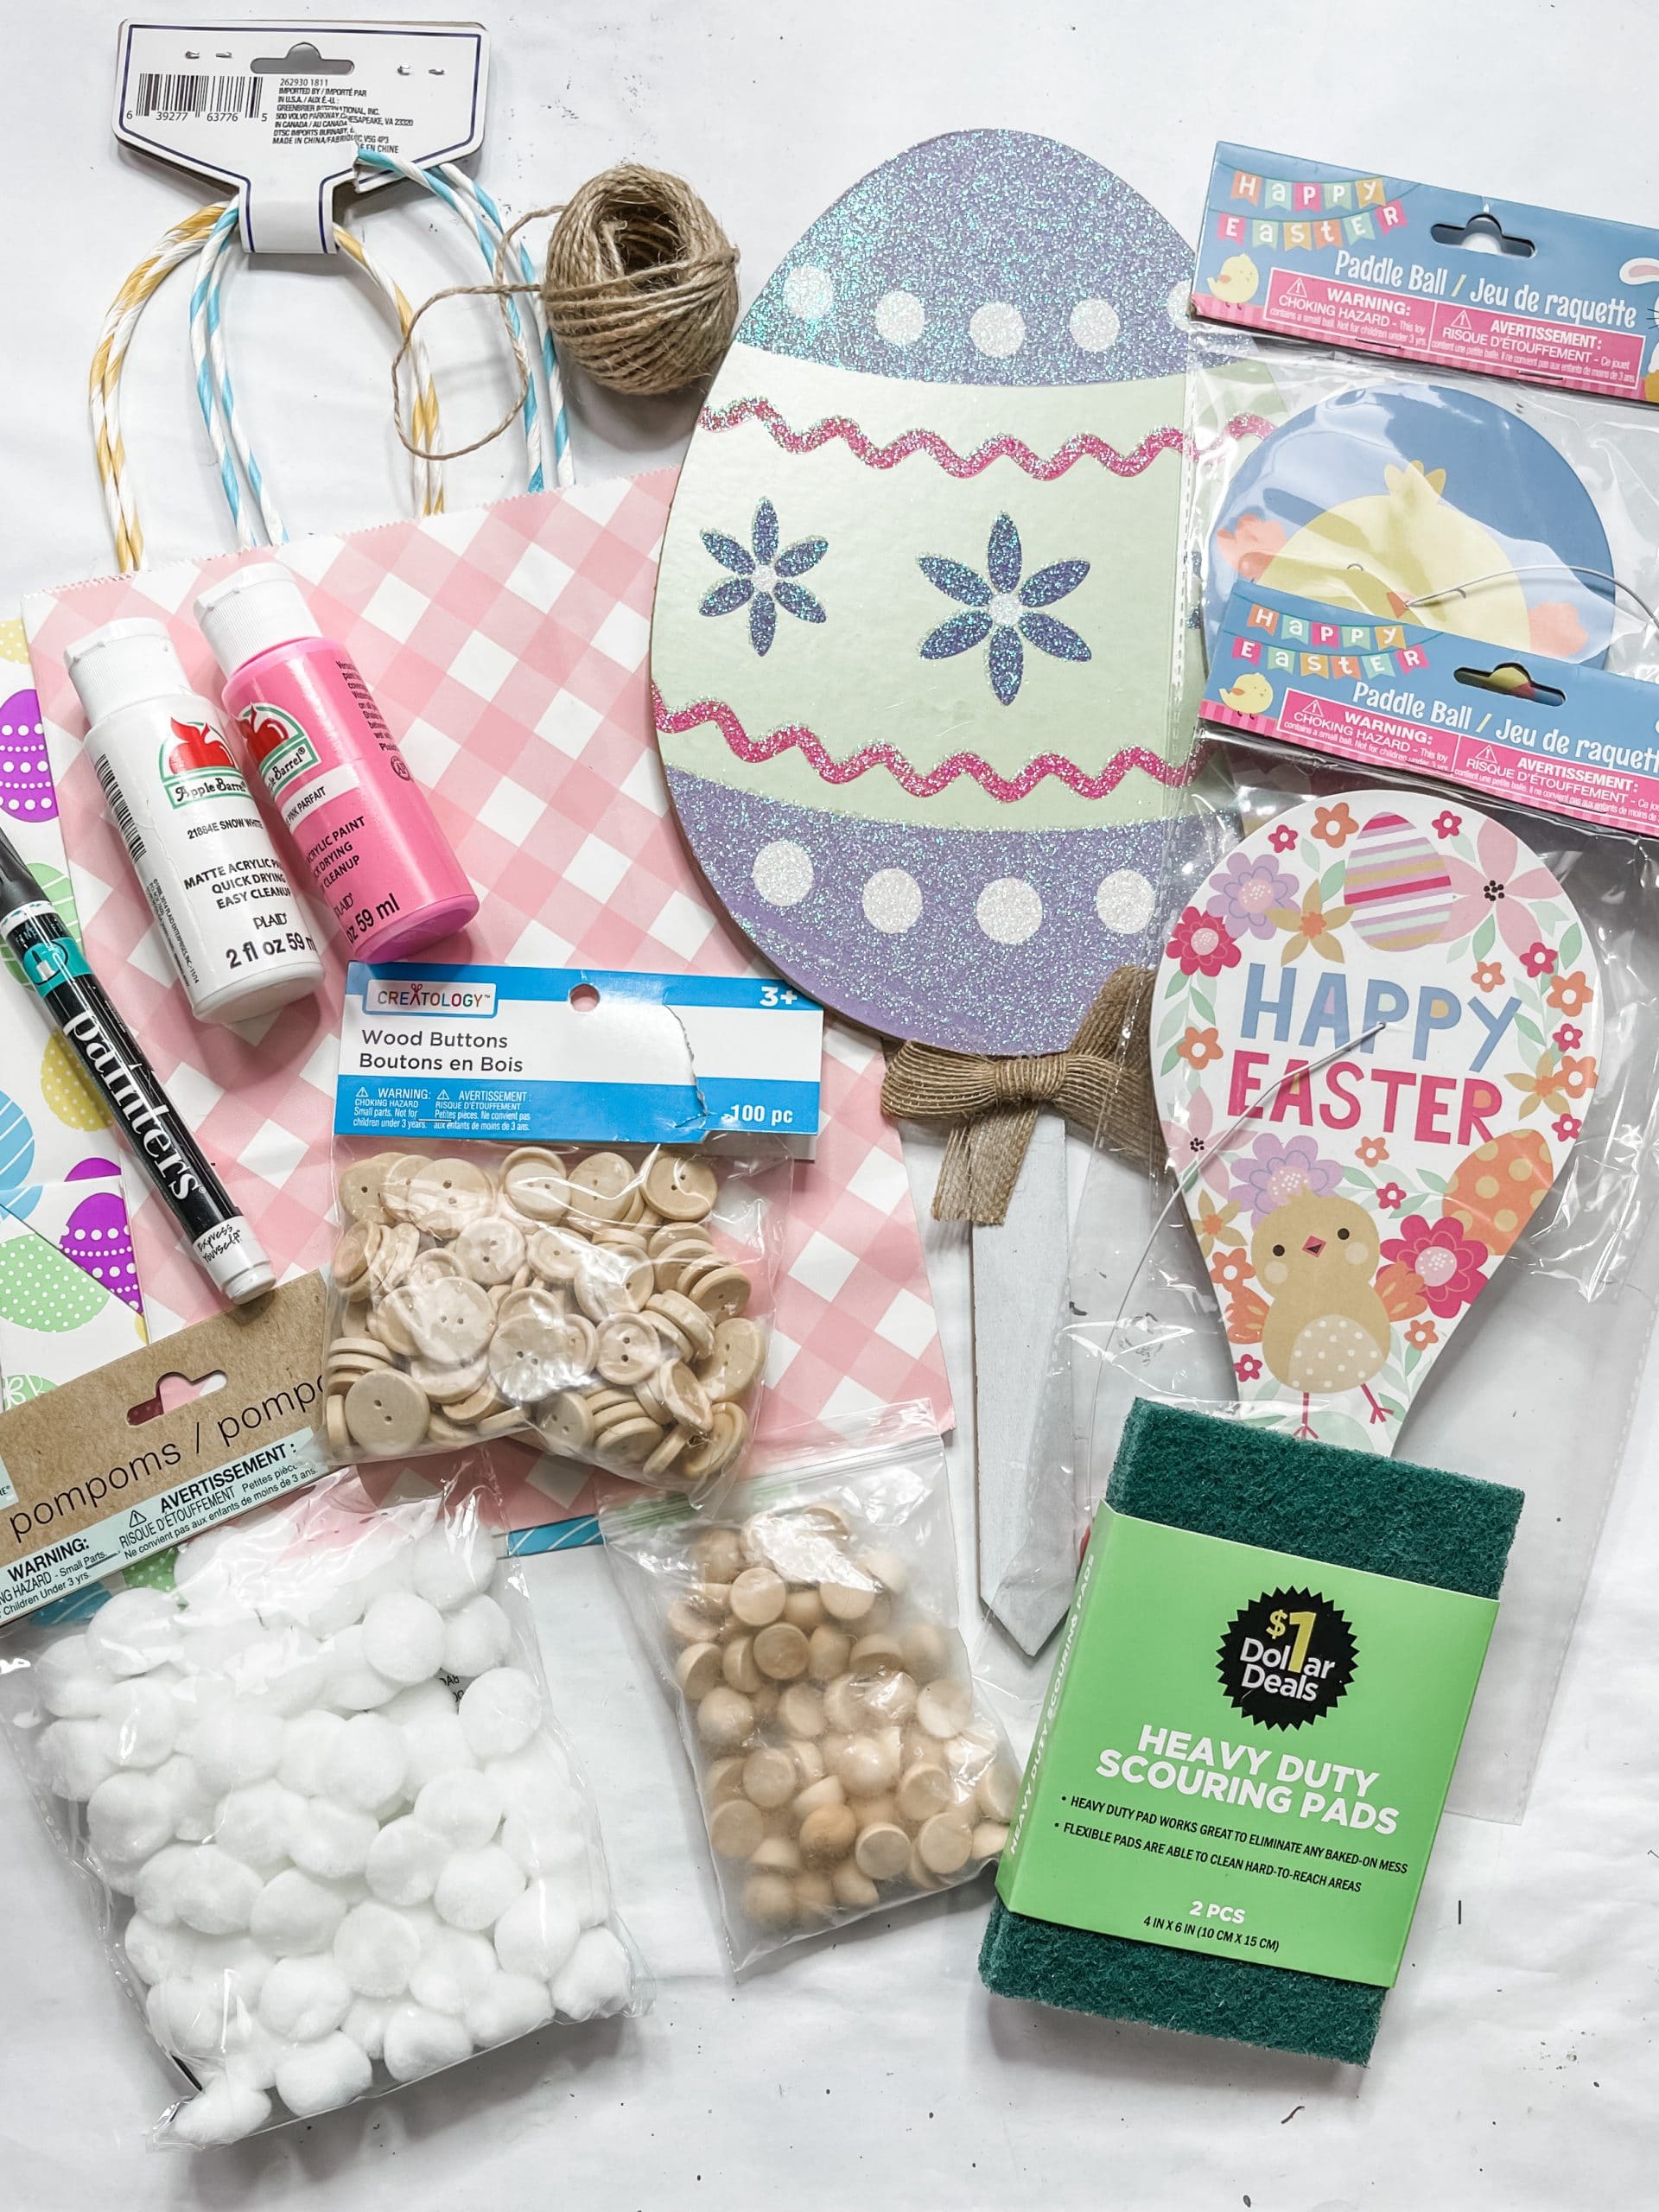
How to Make a DIY Dollar Tree Paddle Board Easter Bunny
Start by tracing the egg part of your egg on a stake onto one side of the pink buffalo check gift bag. Then, cut the egg shape out of the bag.
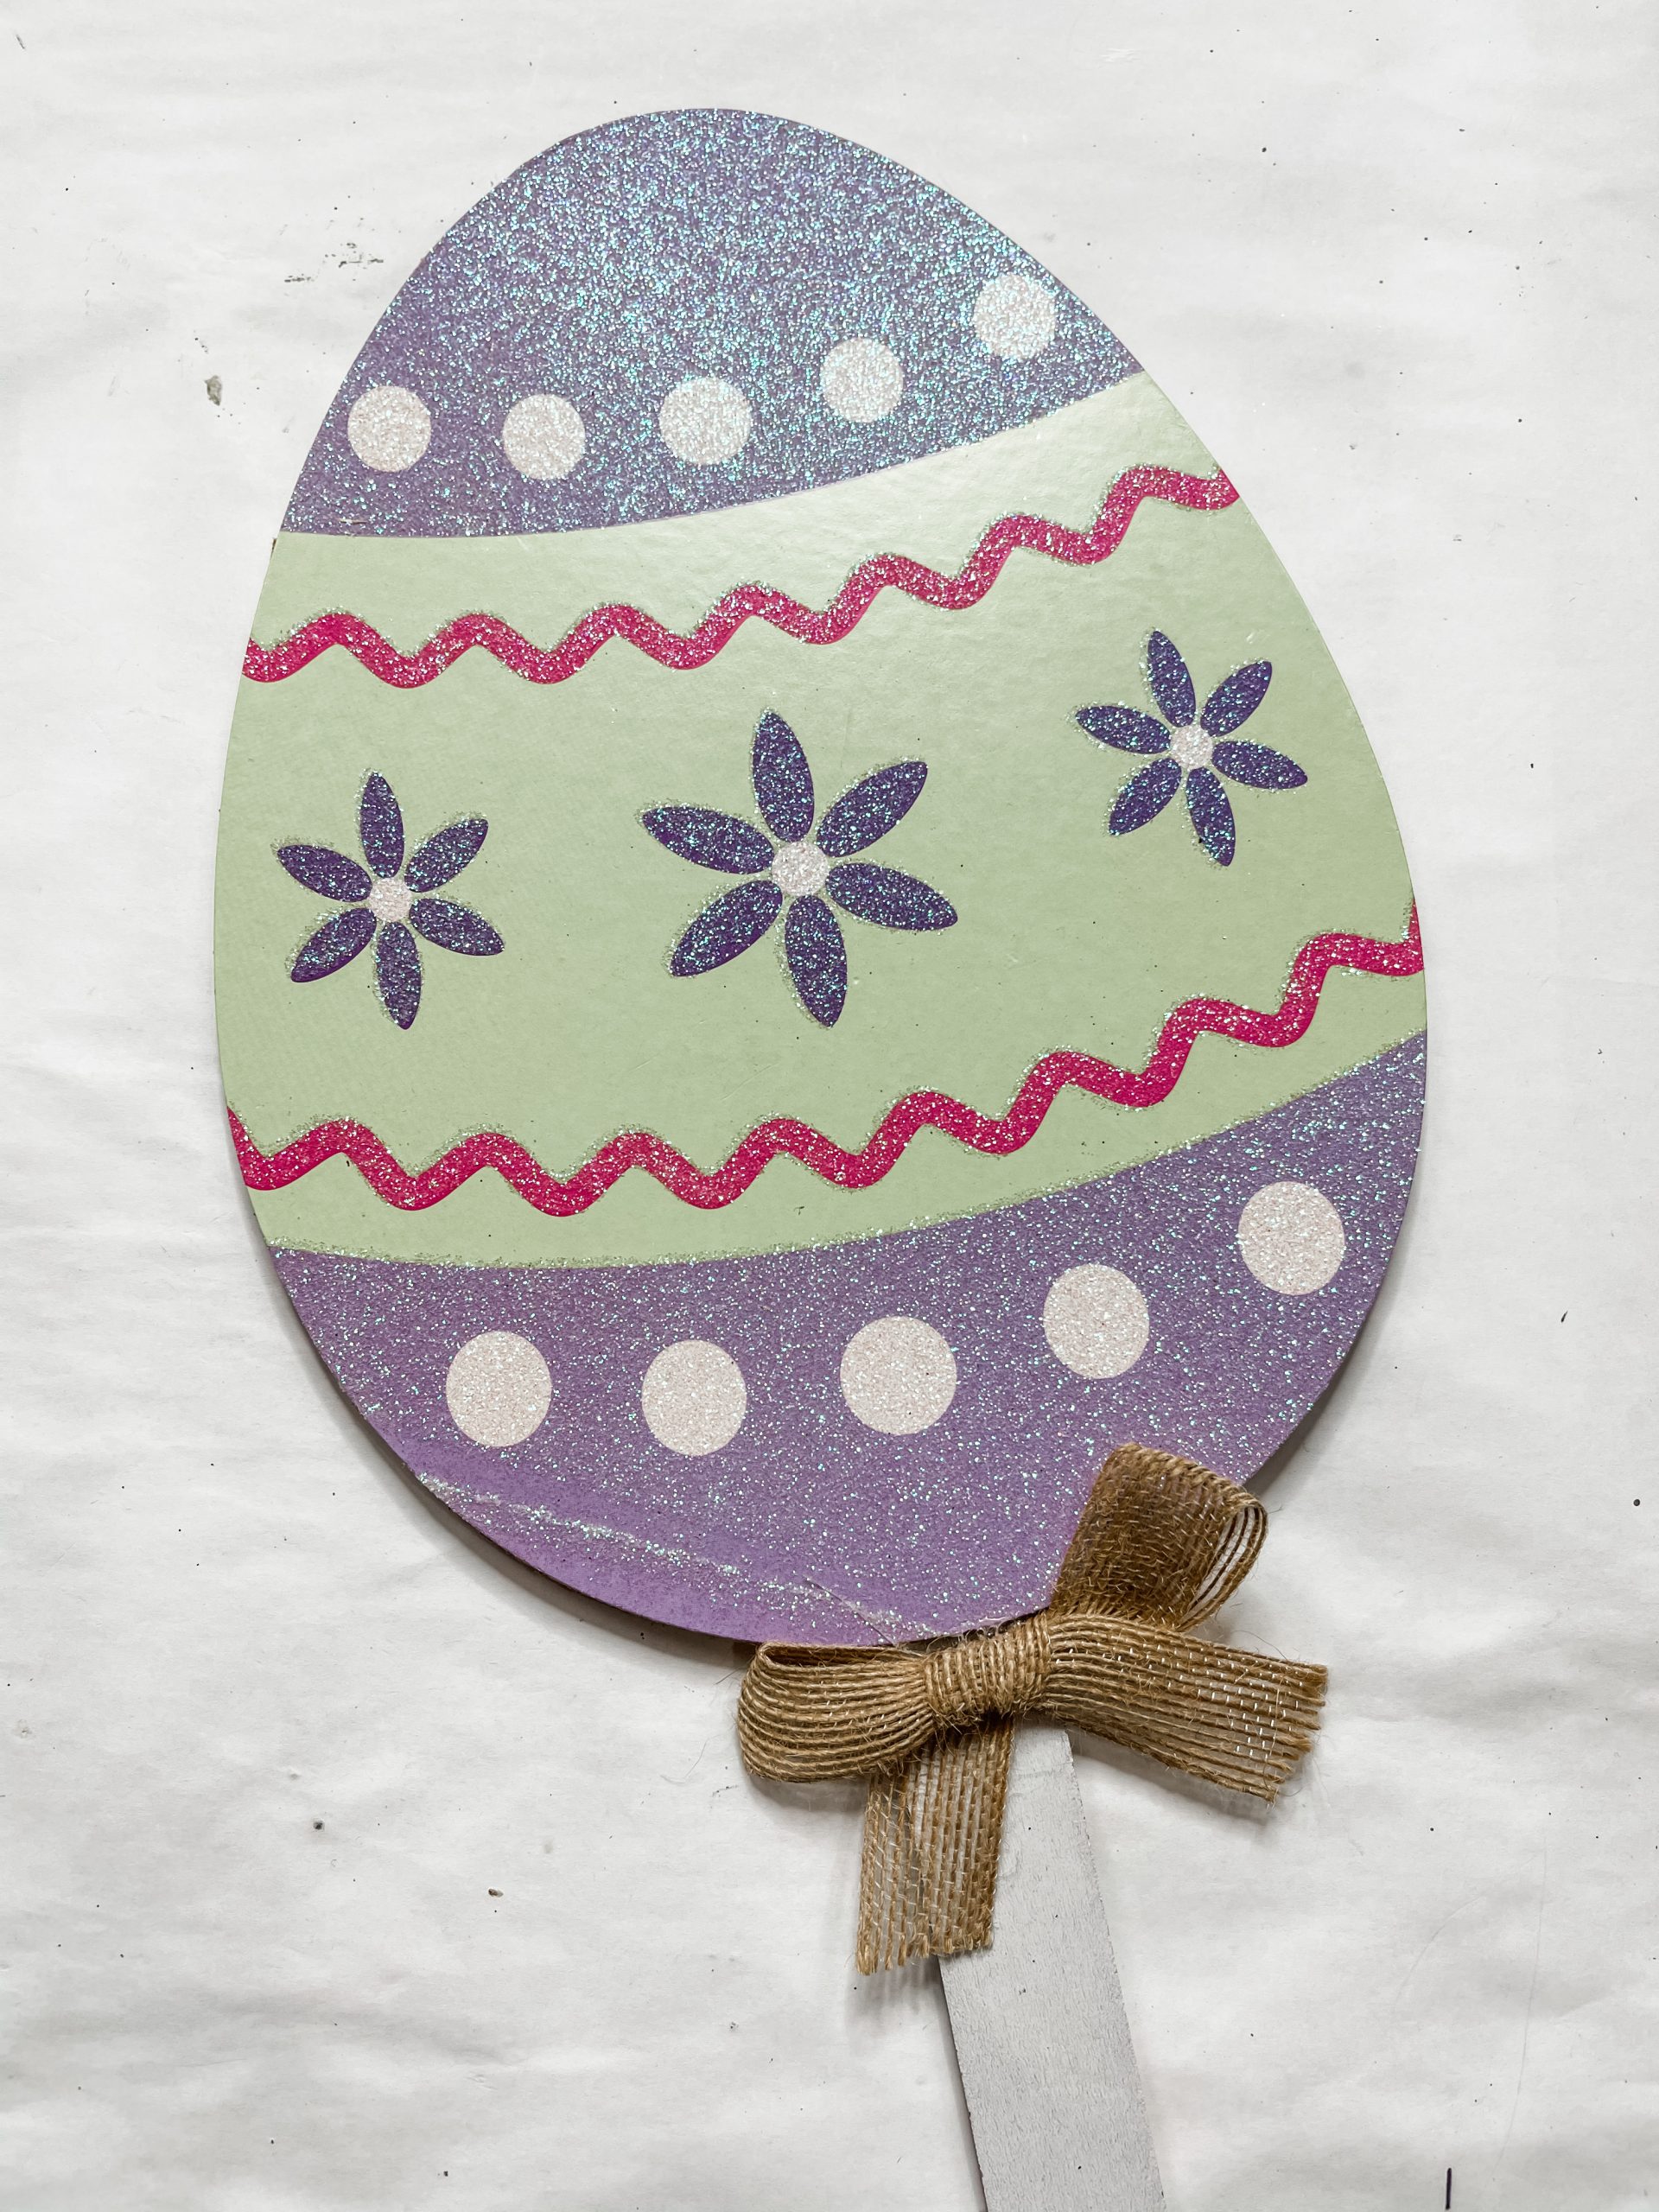
Remove the egg from the stake and the burlap ribbon from the egg. Flip the egg with the design face down, and apply a coat of Mod Podge to the back of the egg.
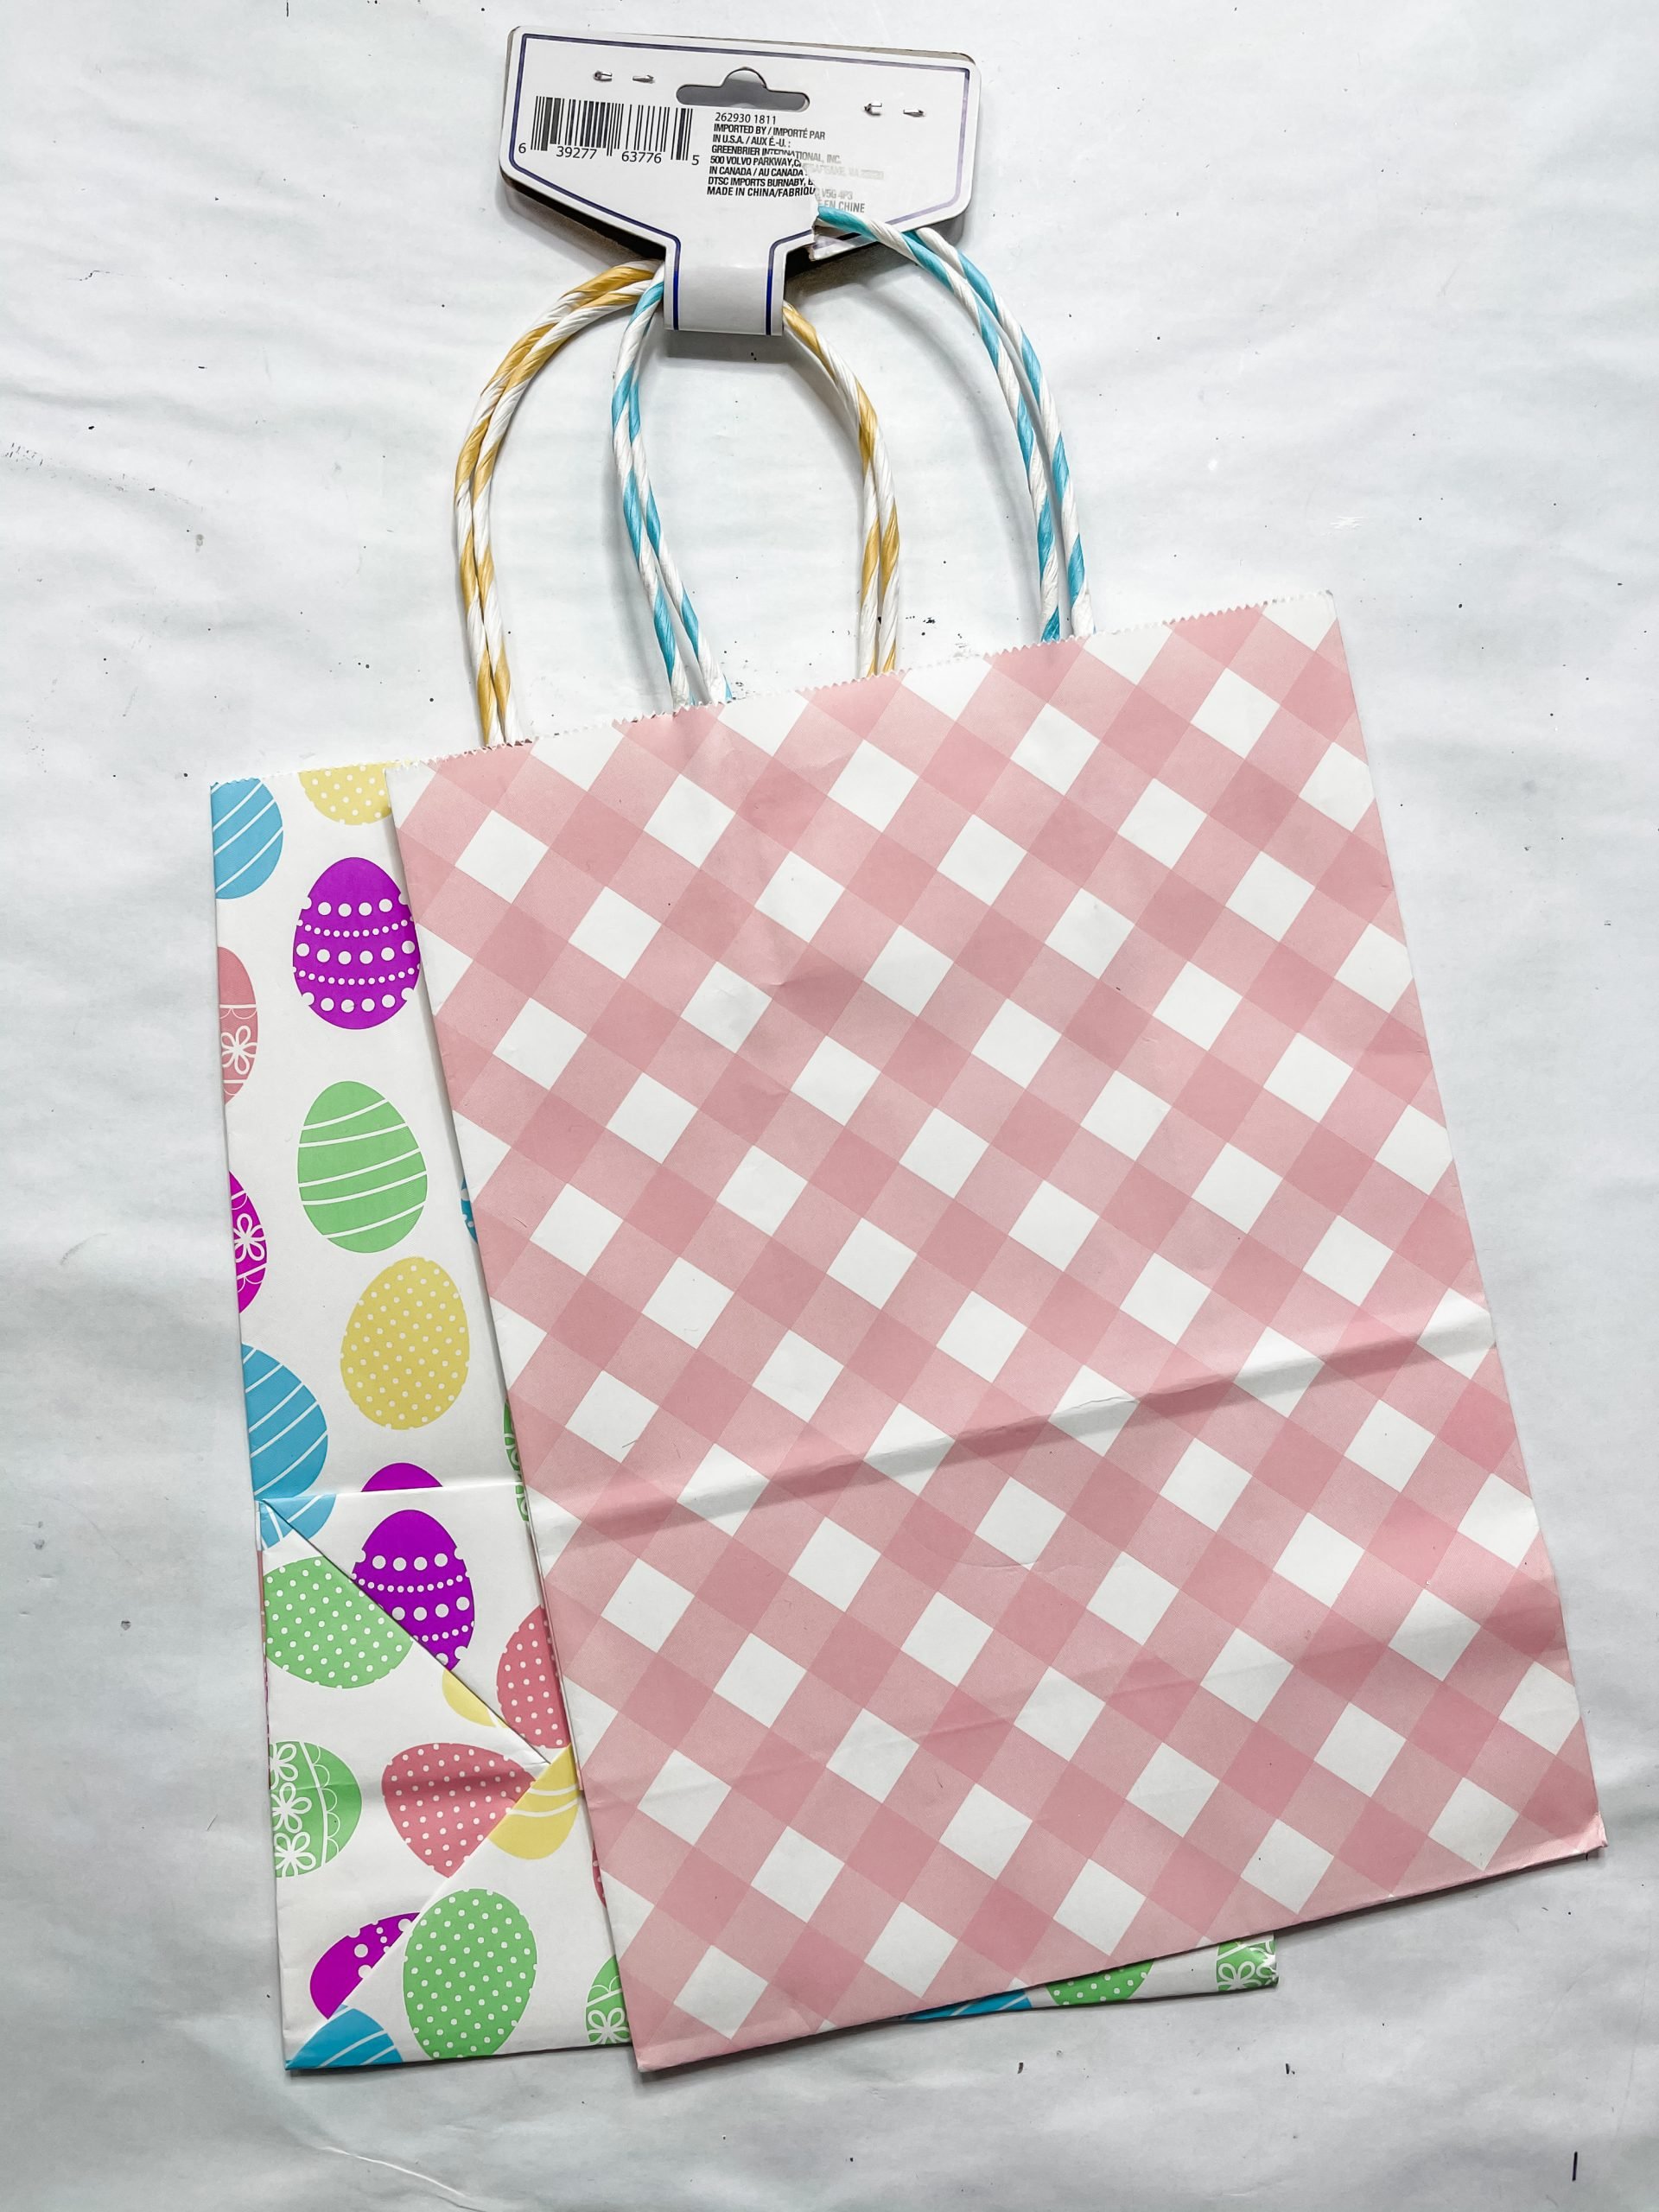
Place the egg-shaped gift bag cut out onto the Mod Podge and use a rolling pin to smooth out any bubbles or wrinkles in the gift bag.
Next, you’re going to remove the string and ball from the paddleboards and paint over the designs on each of them with white paint. I used Apple Barrel white acrylic paint, but you can use whichever paint you already have on hand.
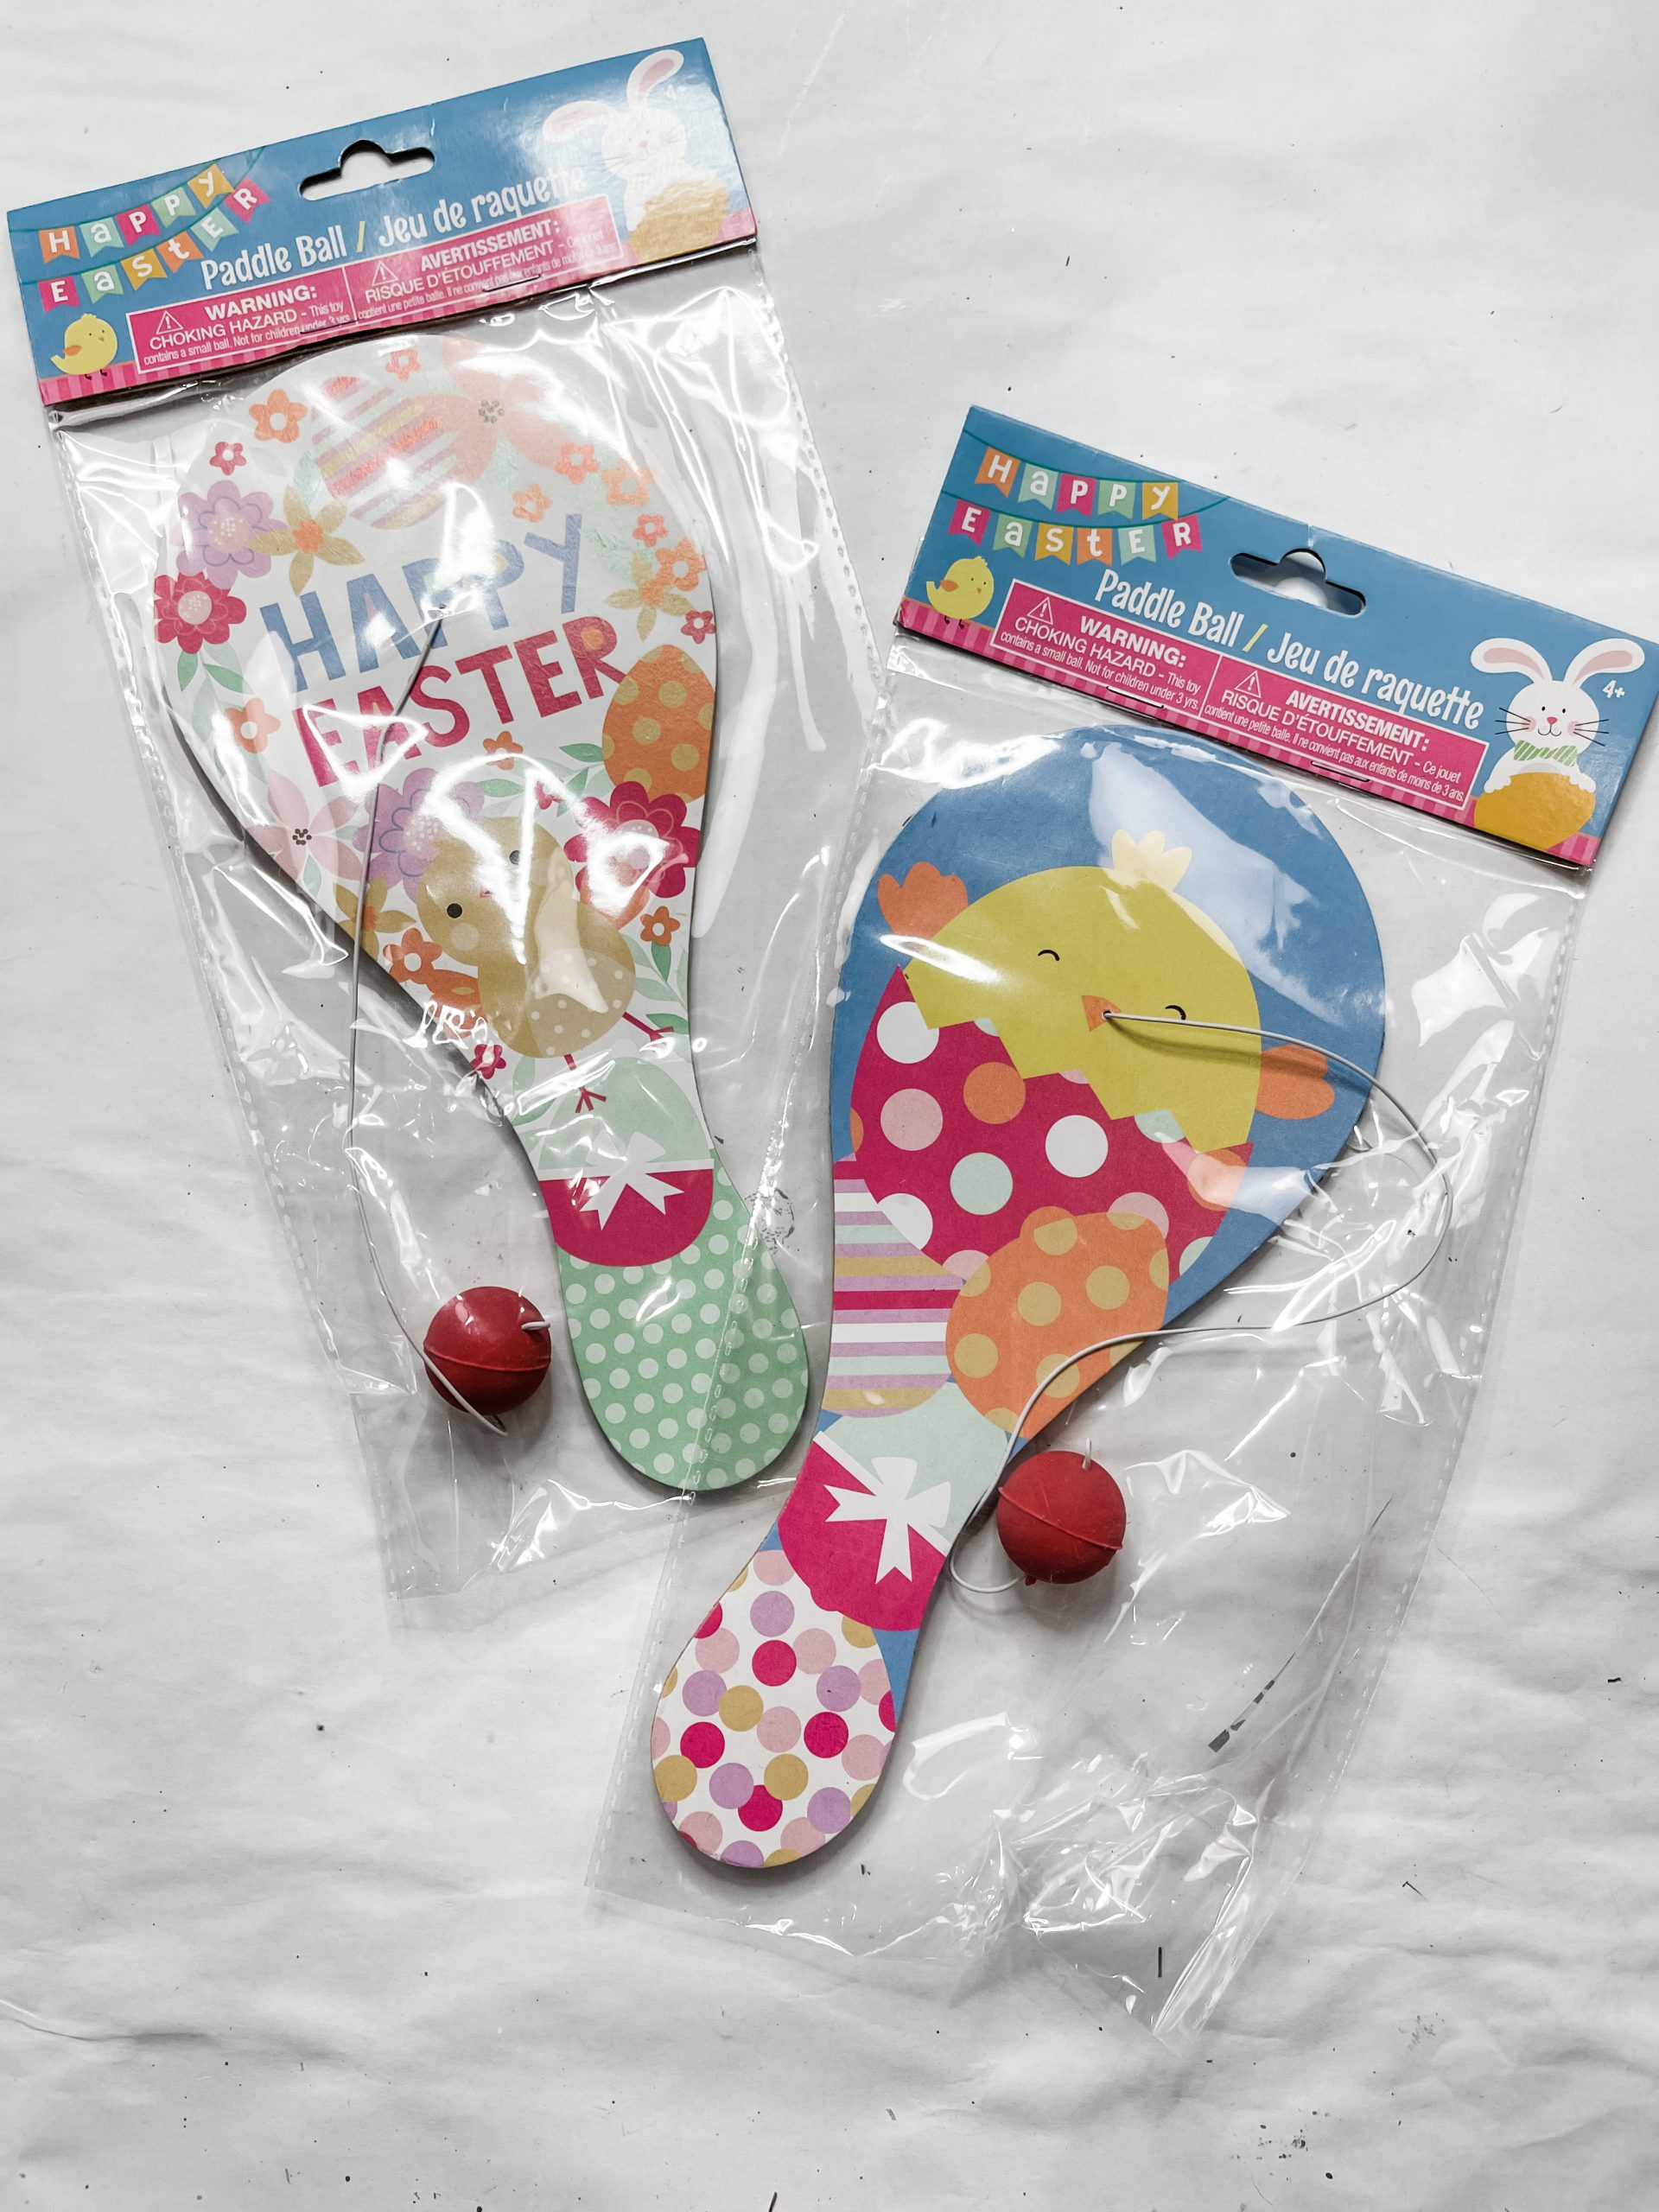
Cut two ovals out of the other side of the pink gift bag that will fit on the slimmest part of the paddleboards. Apply Mod Podge to the back of the ovals and press them onto the paddleboard handles.
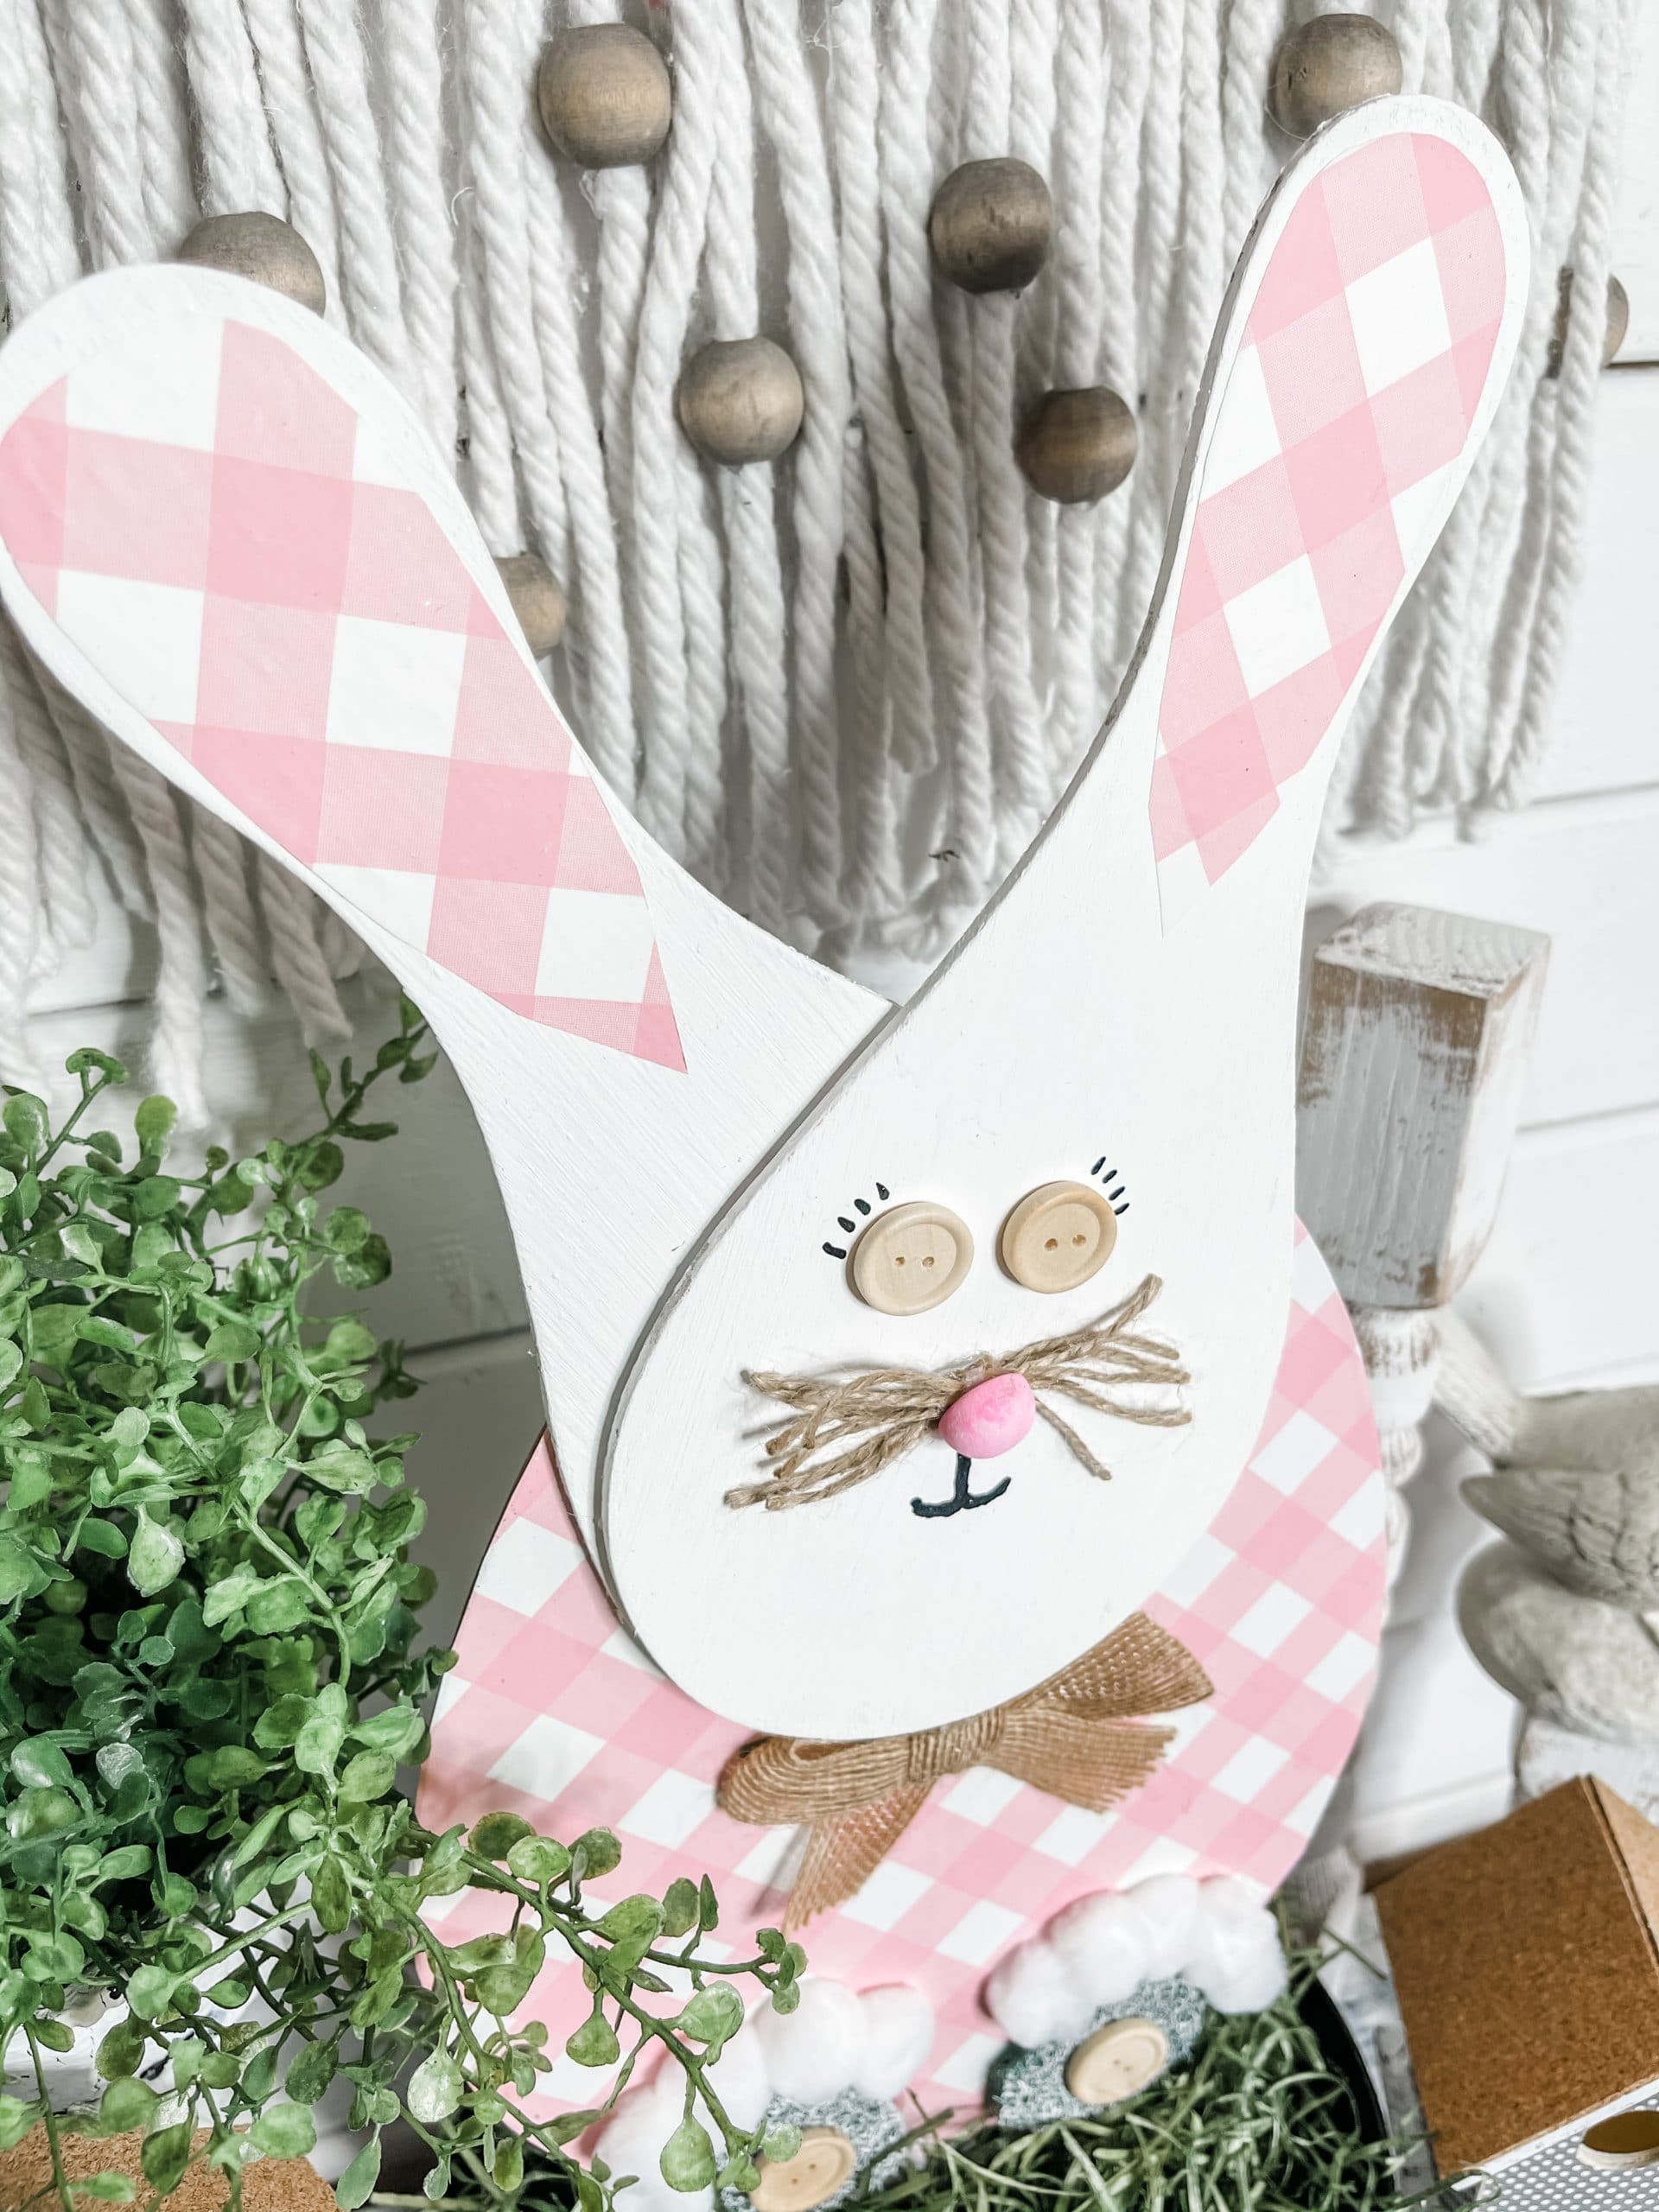
Hot glue one of the paddleboards onto the other one with the largest part overlapping. Make the handles create a V so they can be your bunny’s ears!
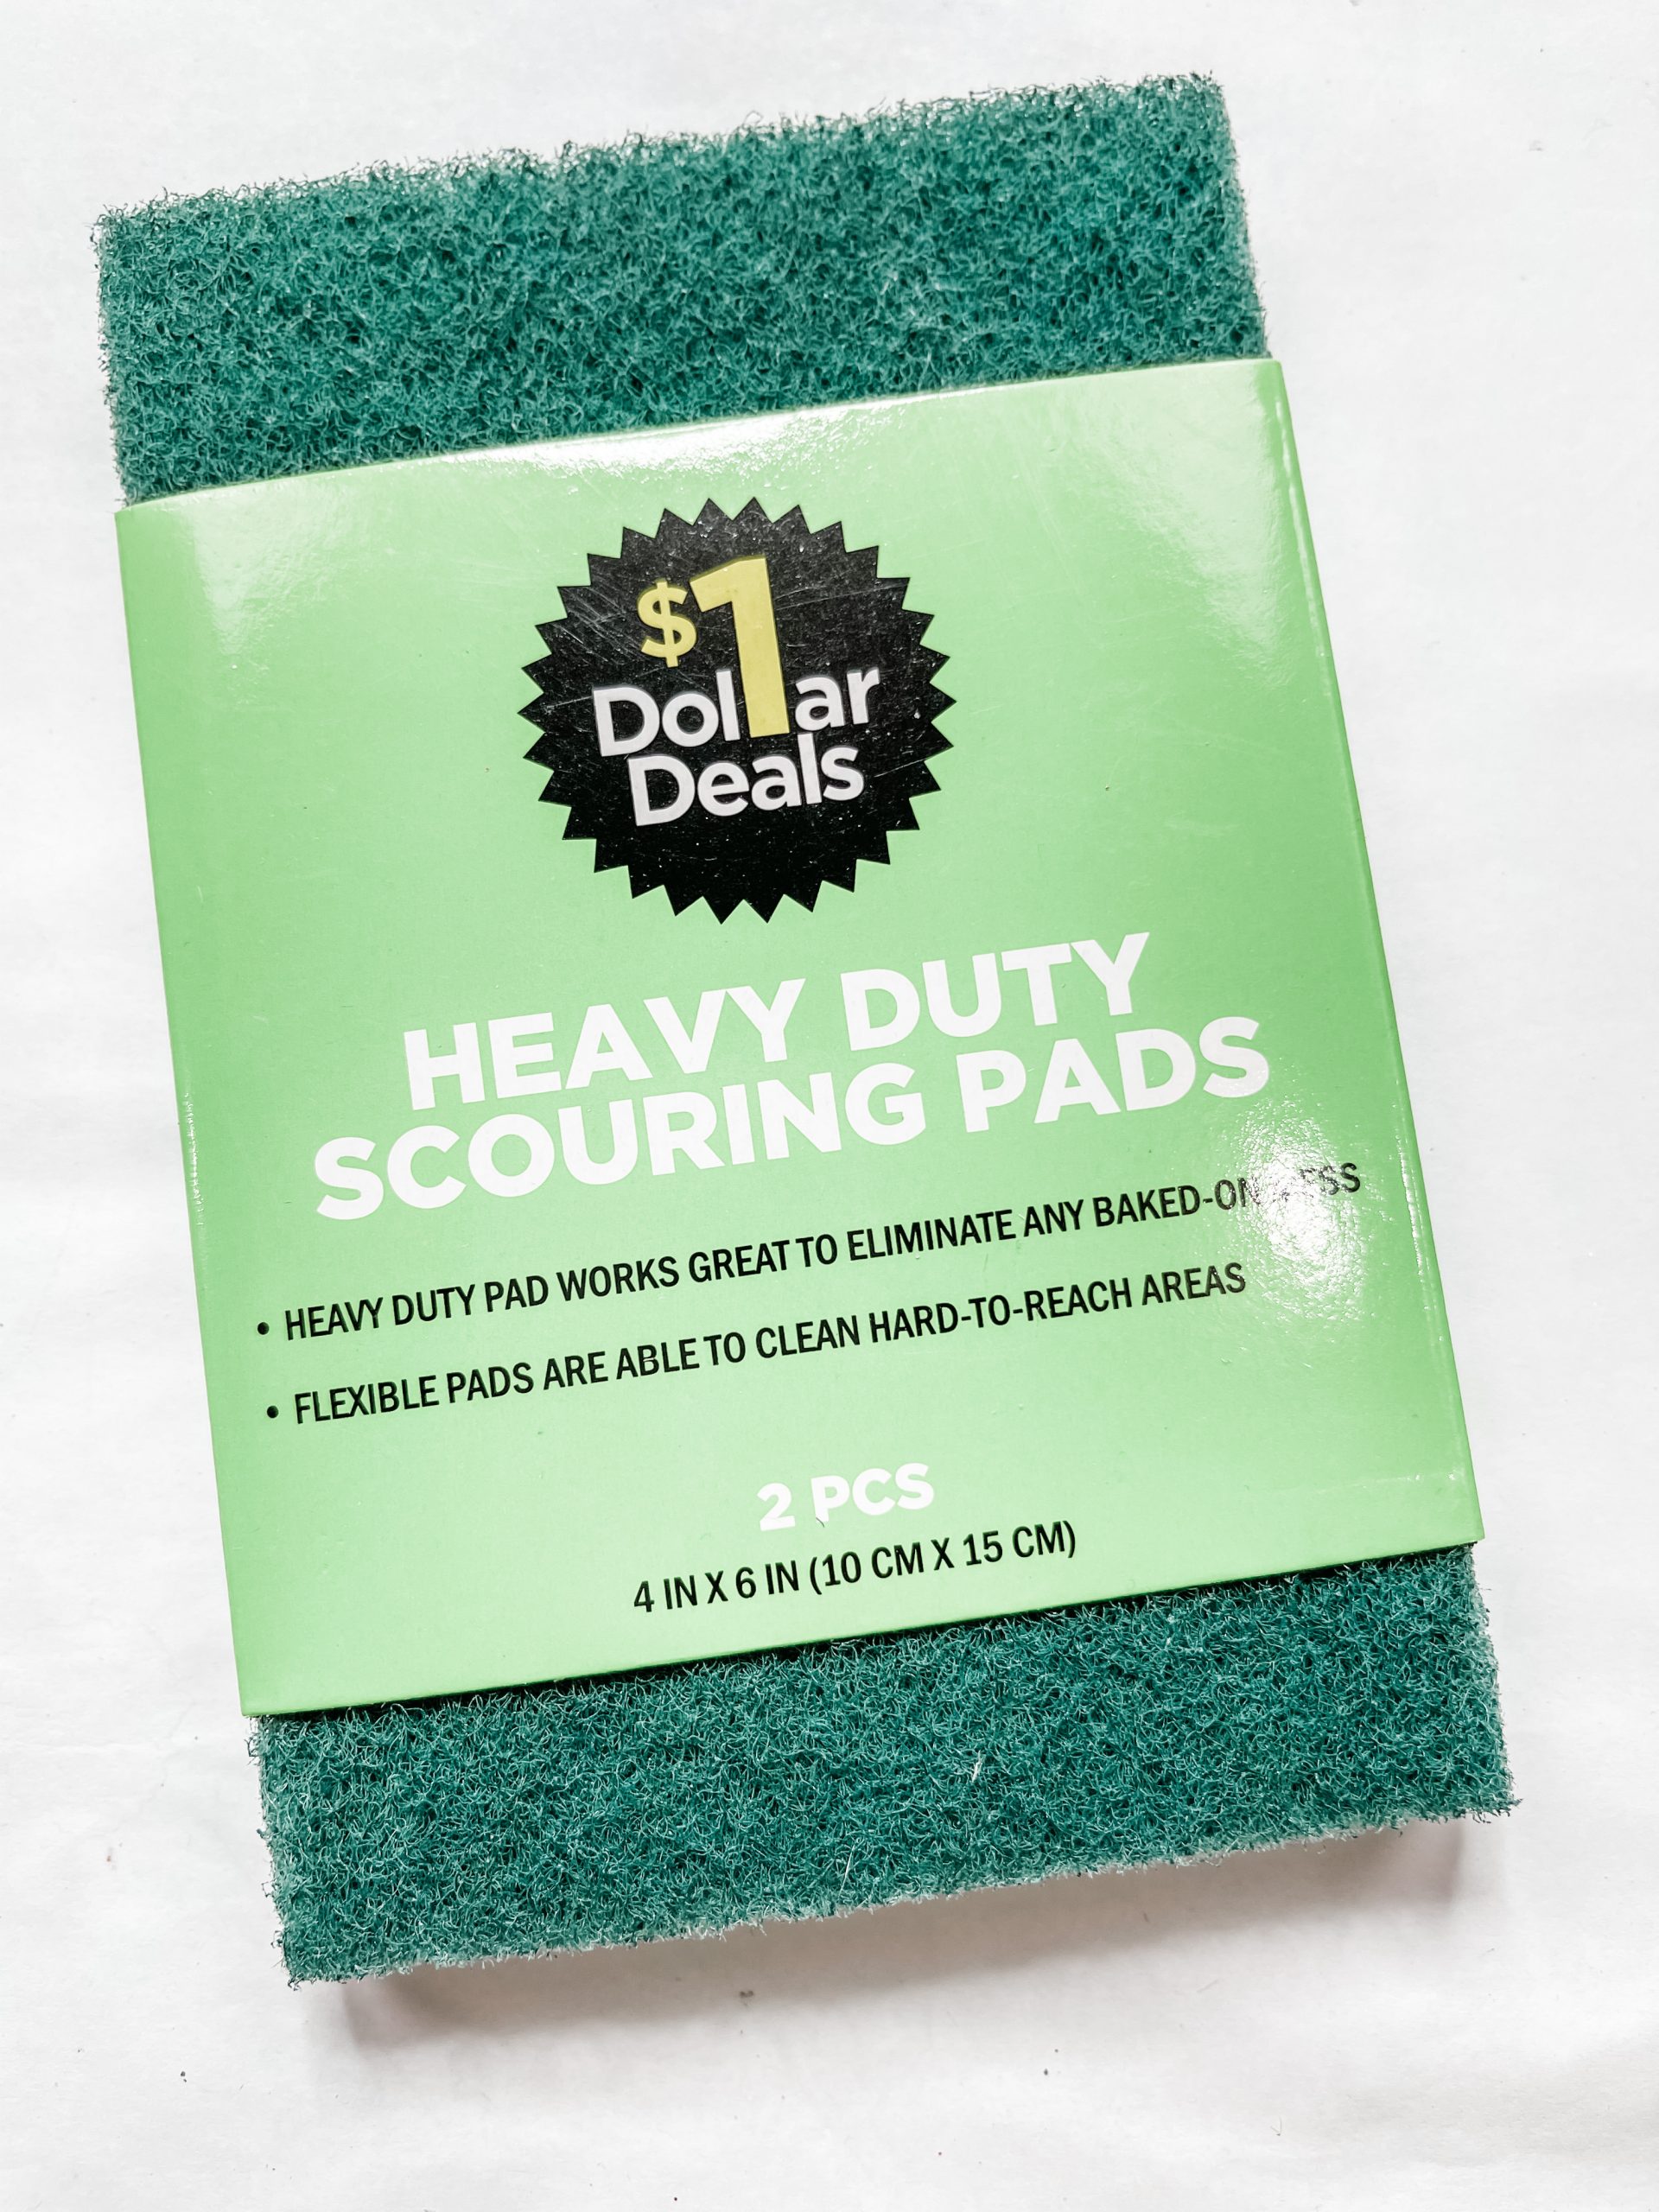
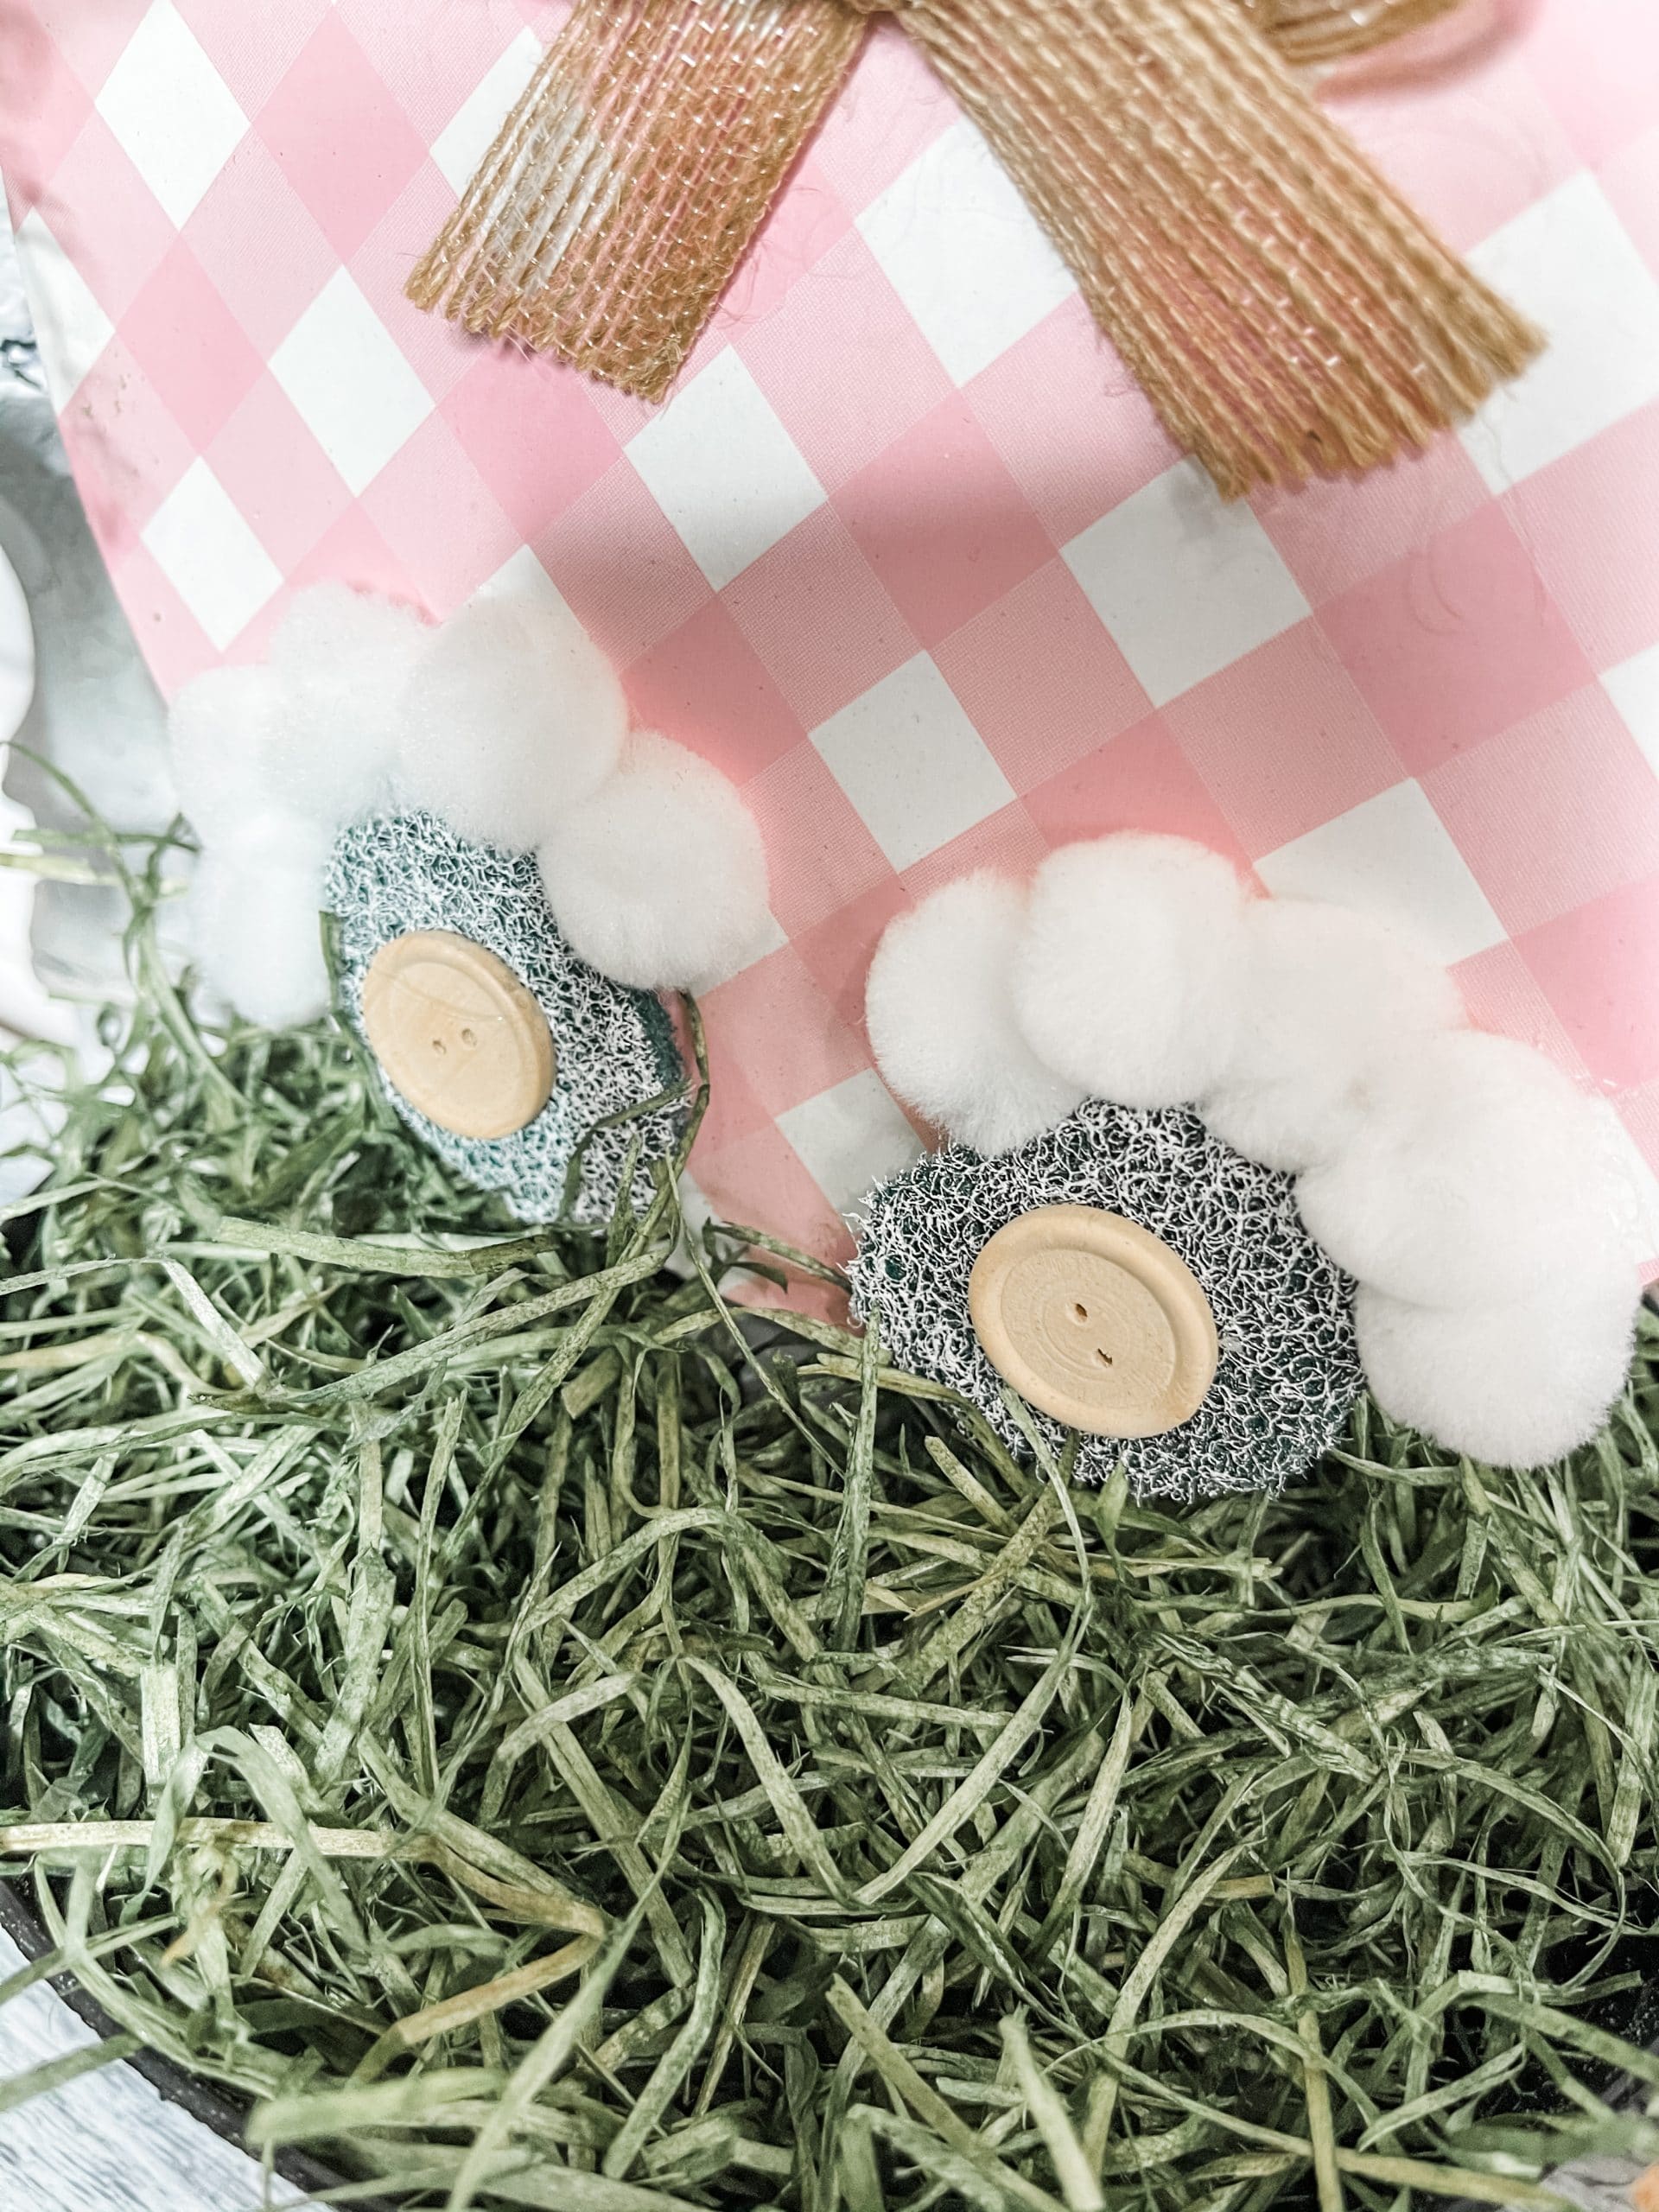
Next, you’re going to cut two circles out of the green sponge to make the bunny’s feet. Paint them with white paint then attach them to the bottom of your large egg.
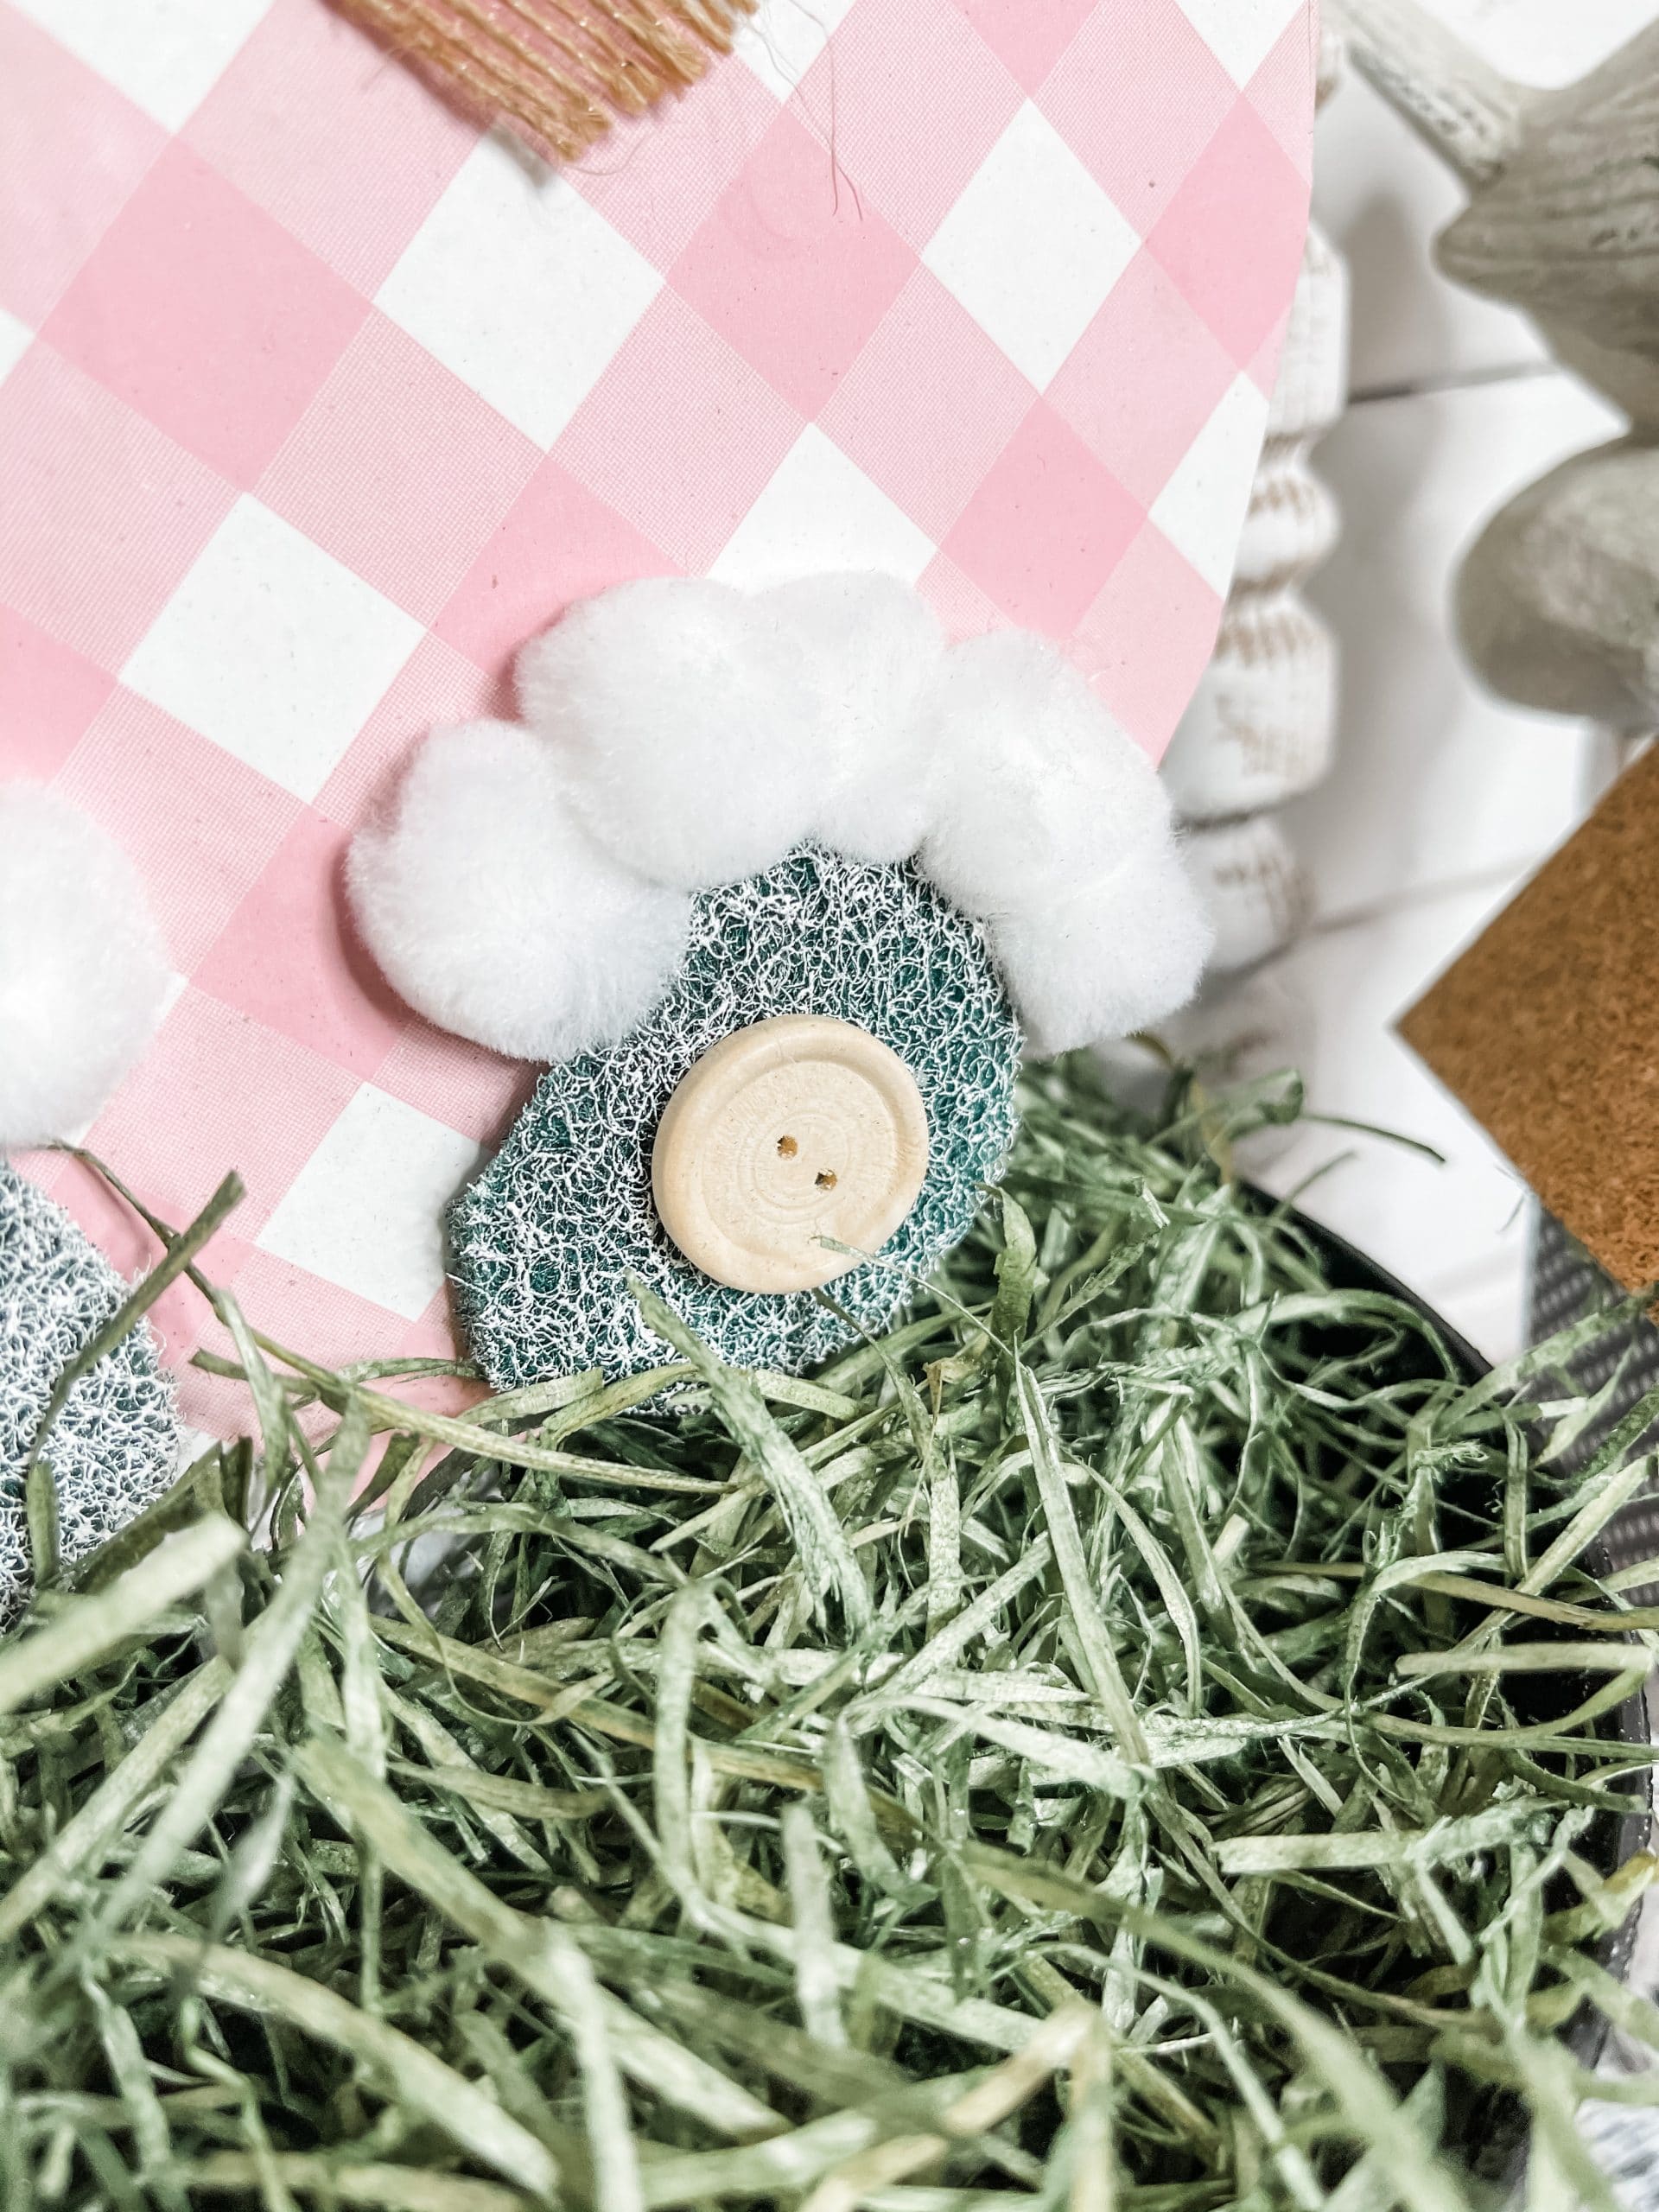
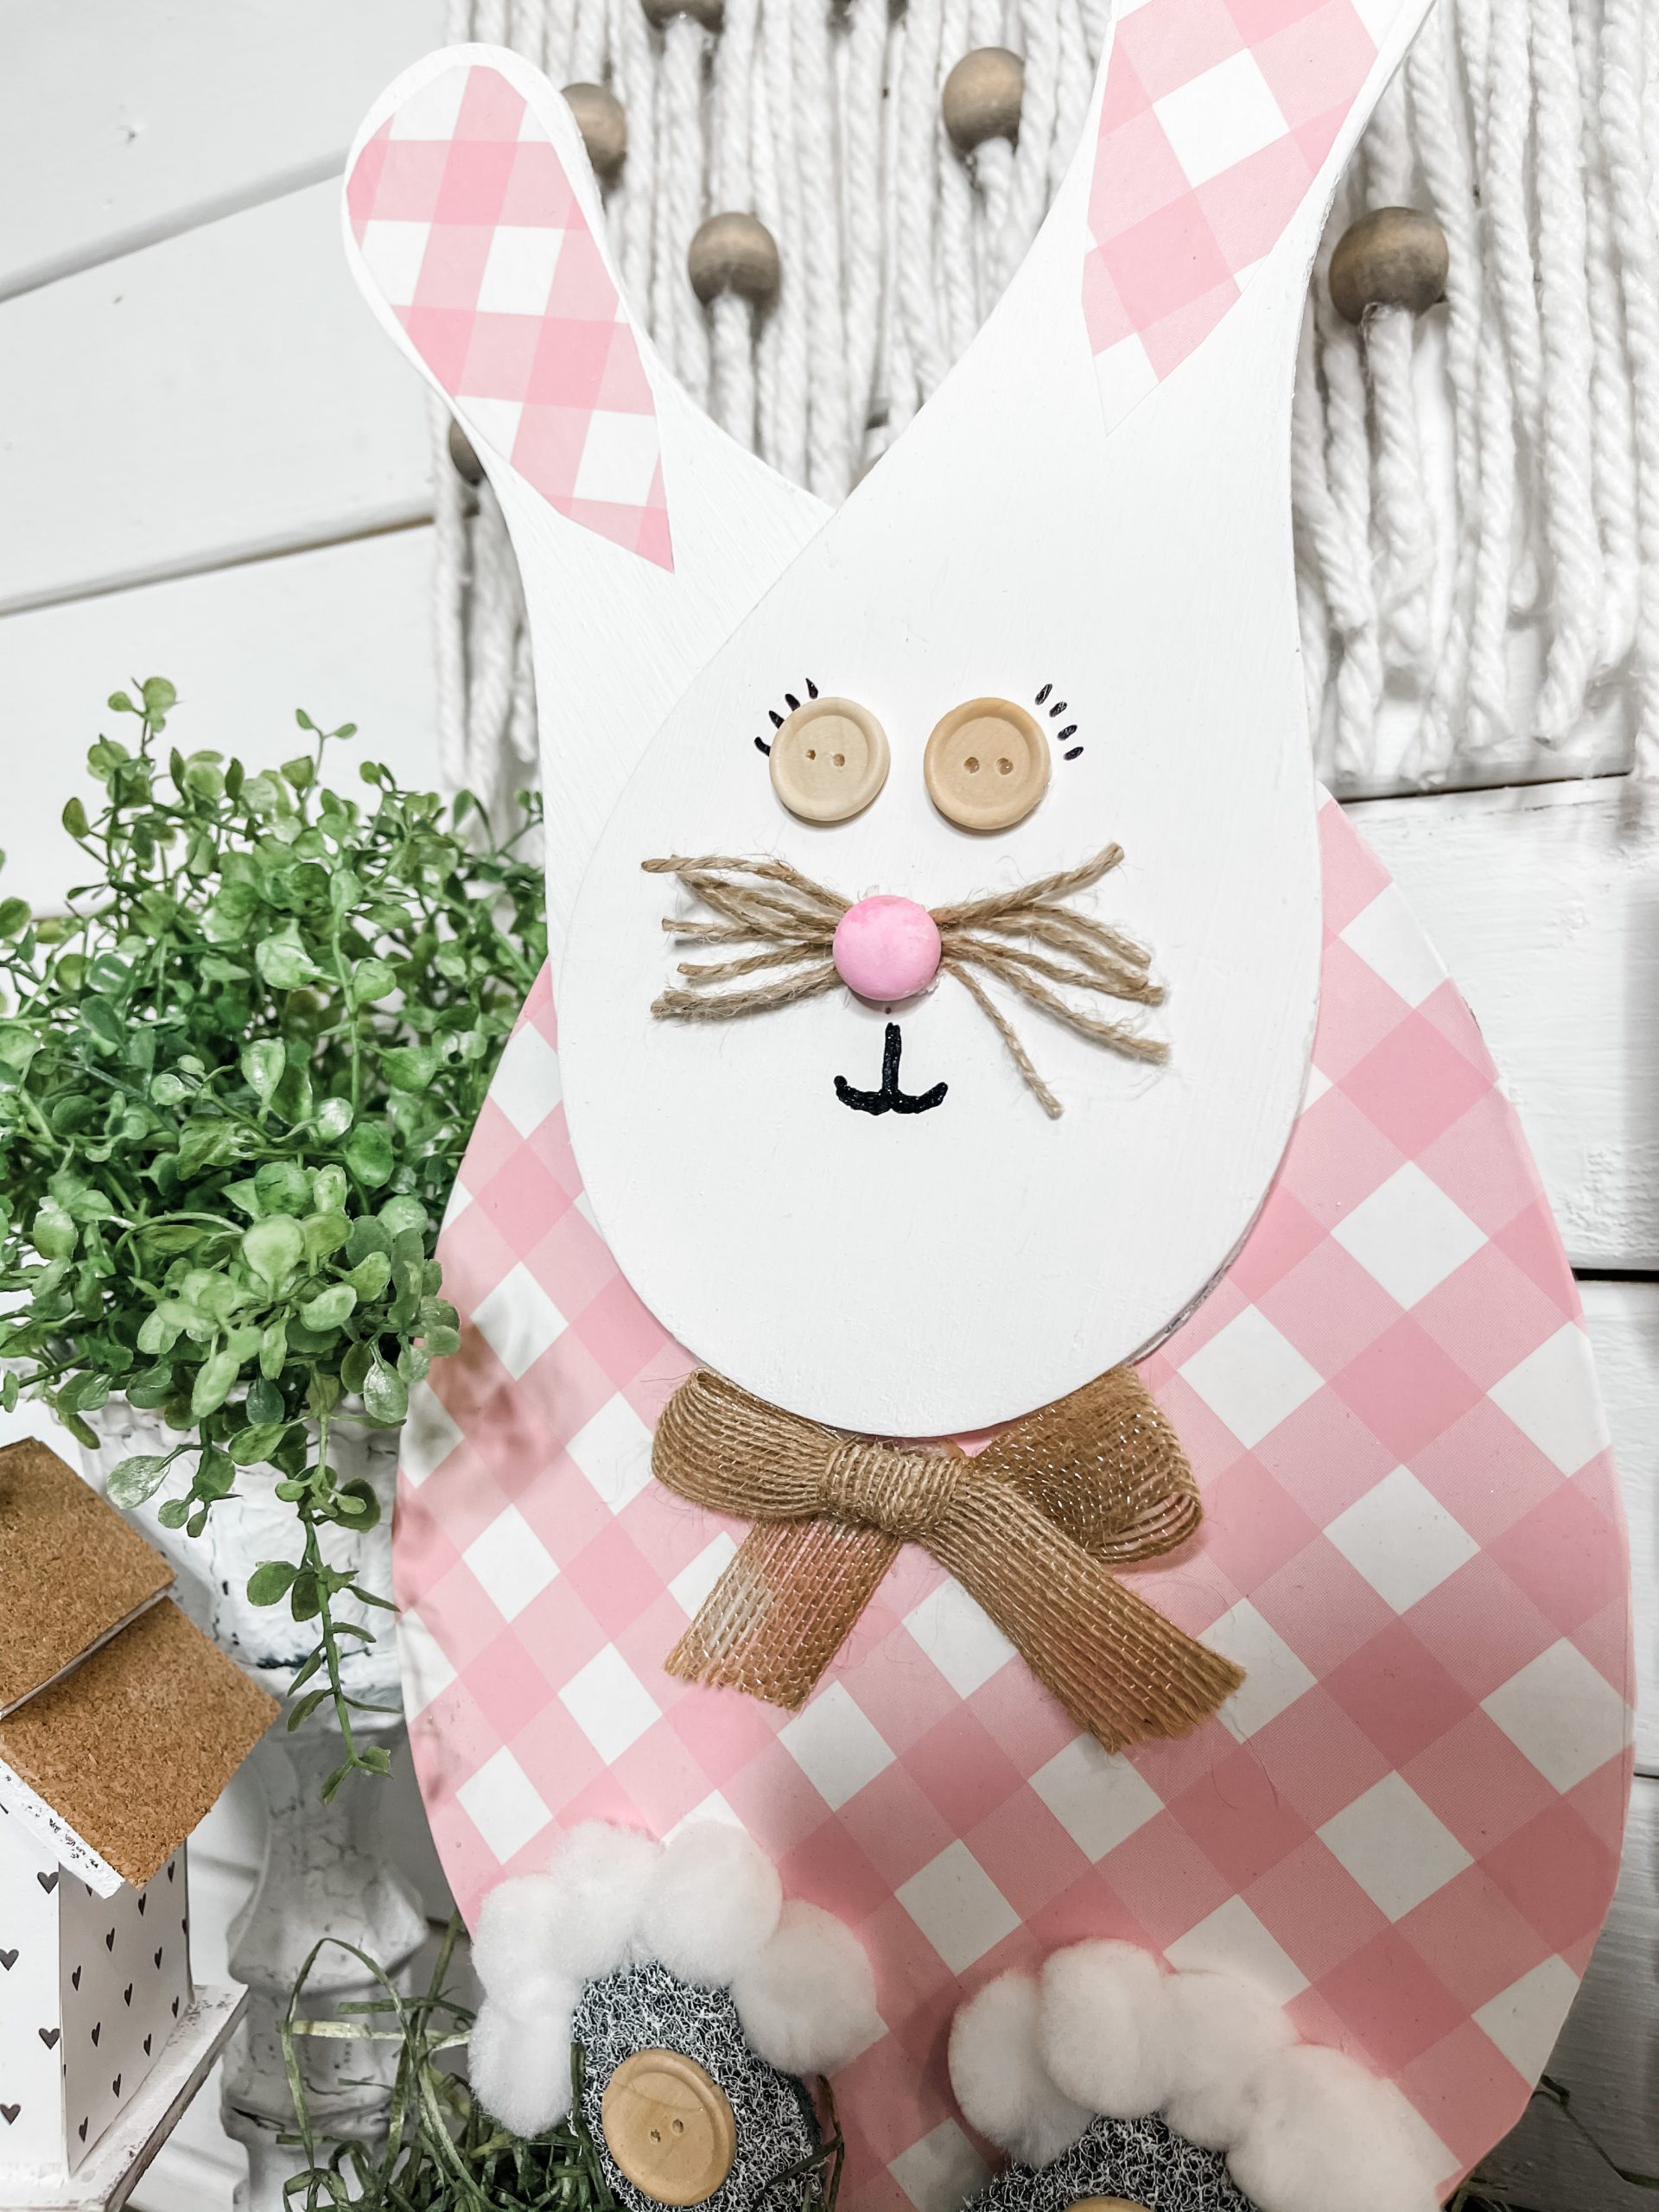
To make your bunny’s little toes, hot glue Dollar Tree white pompoms above the top half of the sponge circles. For your bunny’s nose, paint a half wood bead with pink paint.
Next, make whiskers out of jute twine. I wrapped the twine several times and tied the center of the loops with jute twine. Then, cut the ends of the loops, and you have whiskers!
Make your bunny’s face
Hot glue the two small buttons onto the top paddleboard, and hot glue the whiskers just beneath the eyes. Then, hot glue the painted half wood bead over the center of the whiskers.
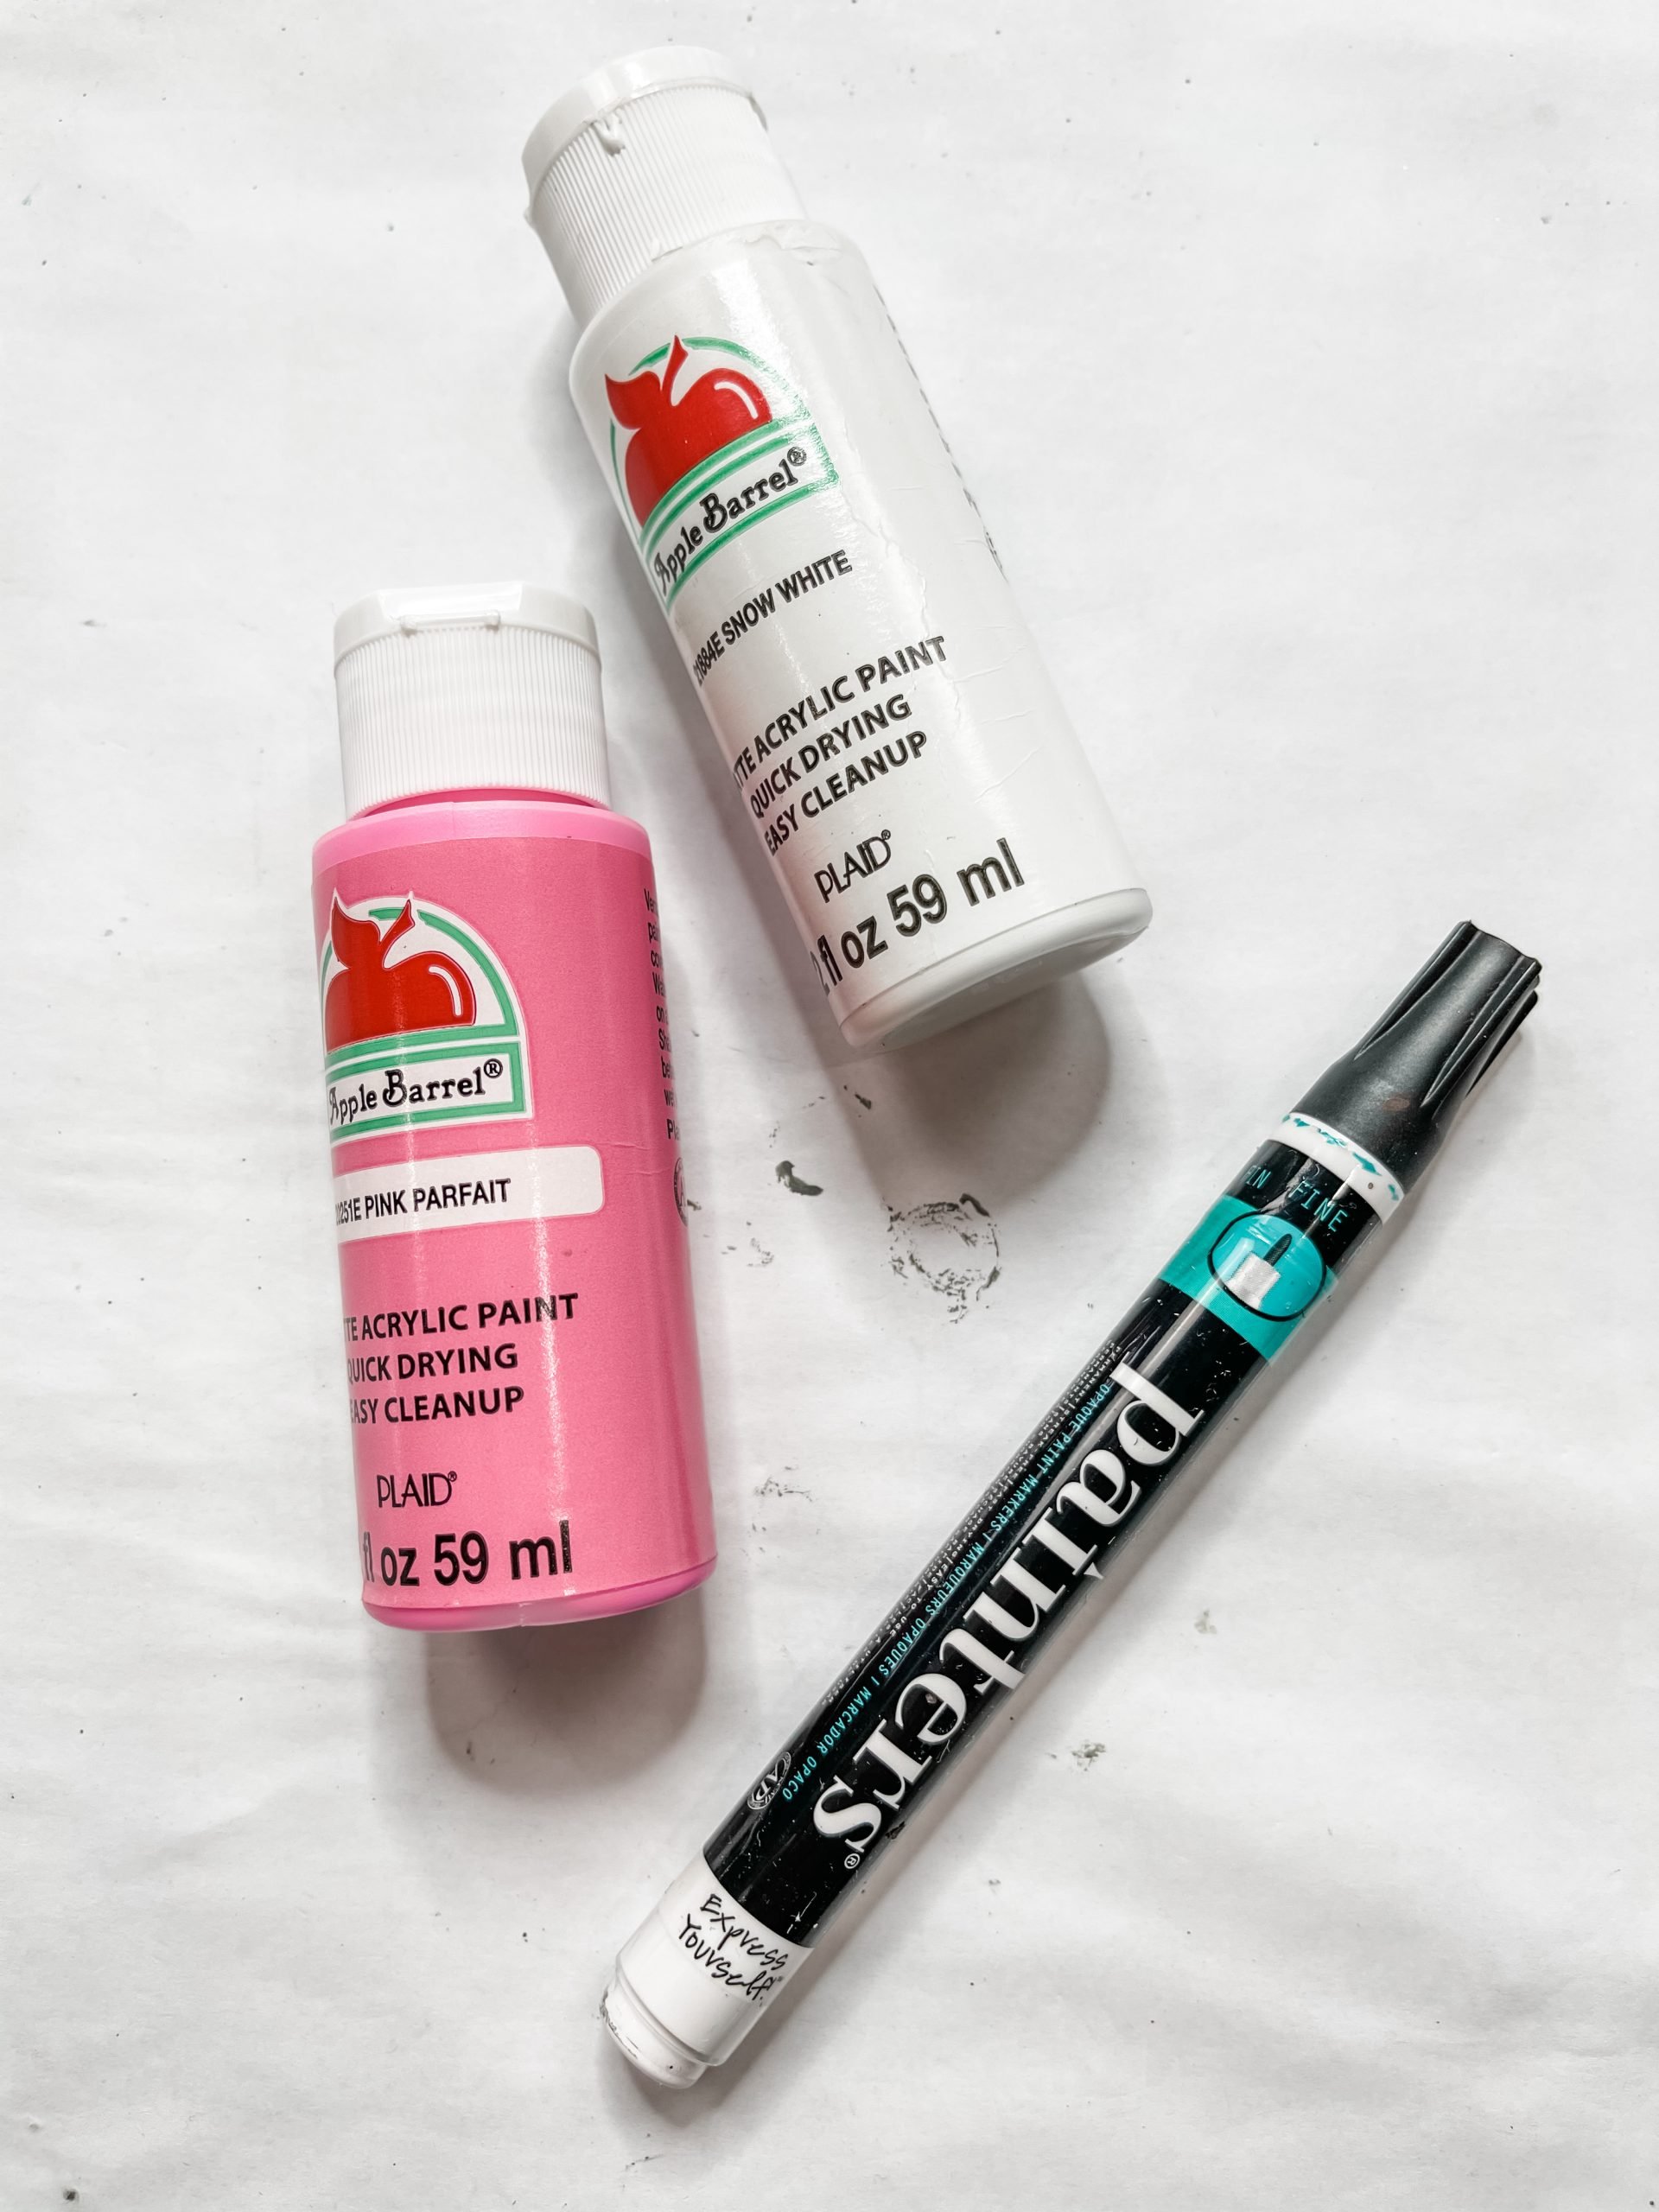
Use your Painter’s black paint marker to draw on your bunny’s mouth and some eyelashes. Then, hot glue the bunny’s head to the top of the egg.
Remember the burlap ribbon you removed from the egg on the stake? Hot glue it underneath your bunny’s head! Then, hot glue your two larger buttons over the center of the sponge feet.
Flip the egg over and reattach the wooden stake that you removed at the beginning. Now it is time to get your bucket ready to add in your DIY Easter bunny.
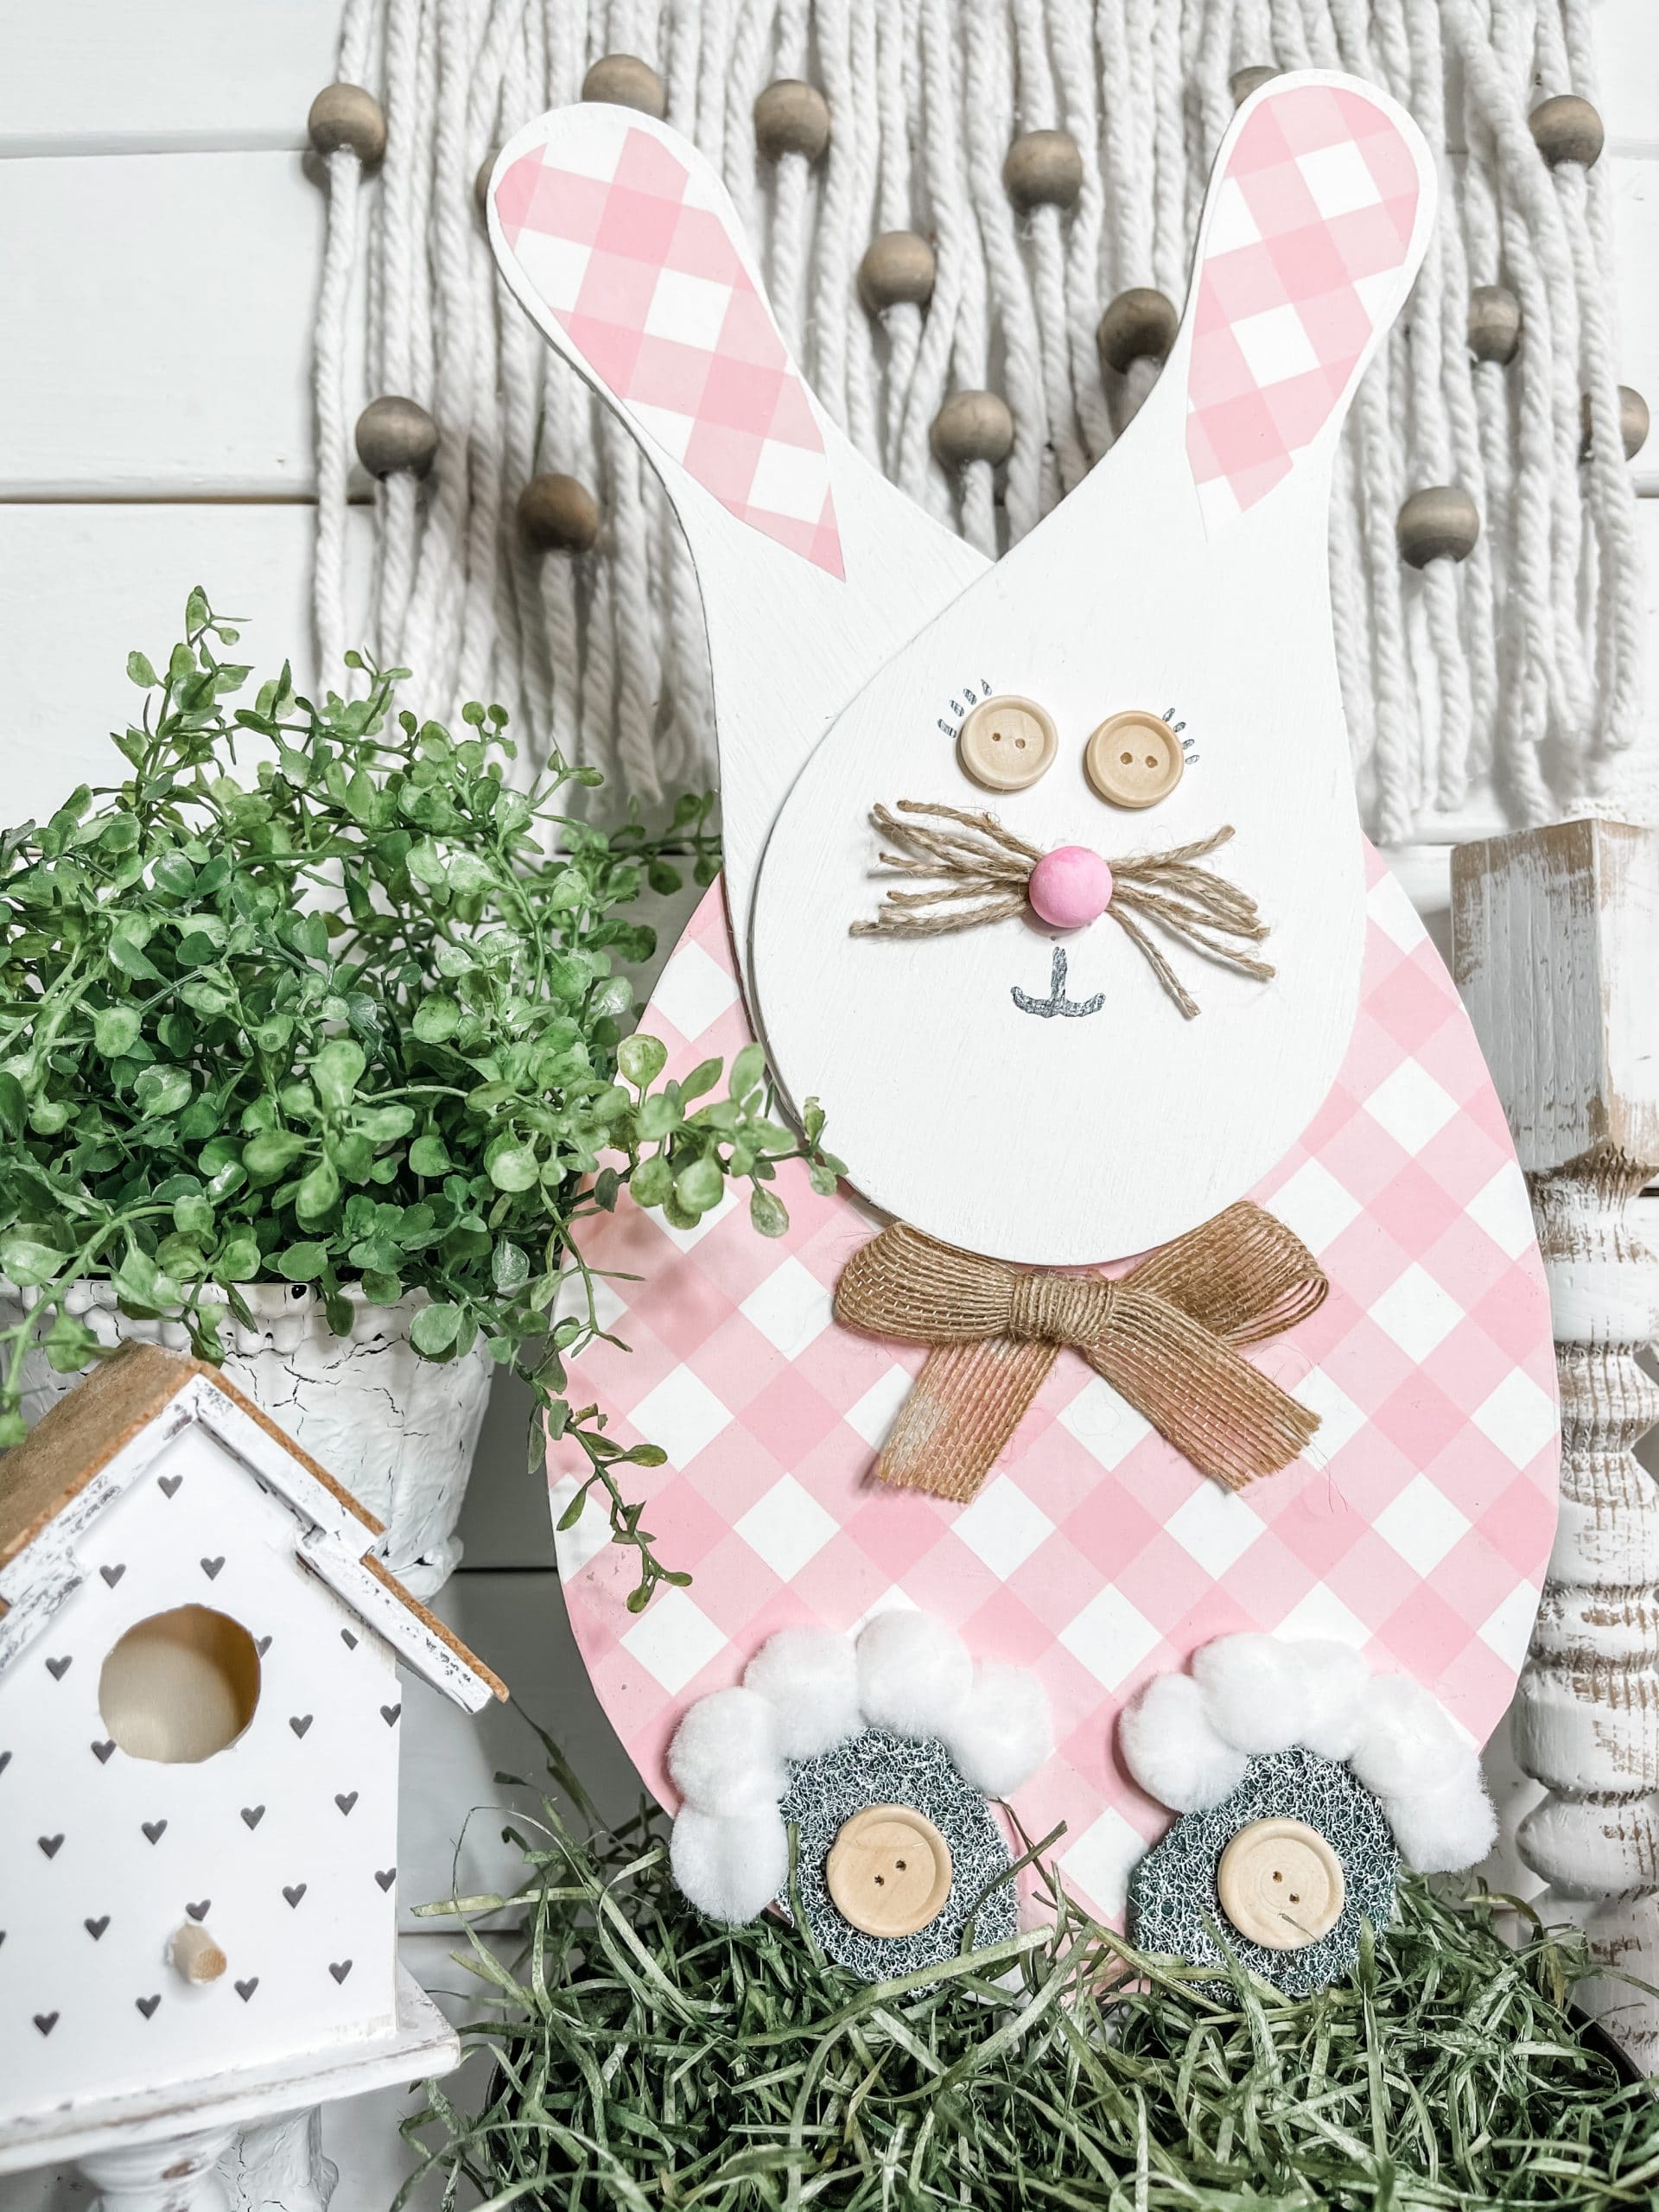
Cut your floral foam to fit inside the Dollar Tree bucket. I highly recommend hot gluing the floral foam to the bottom of your bucket, otherwise, the bunny will most likely make it fall over.
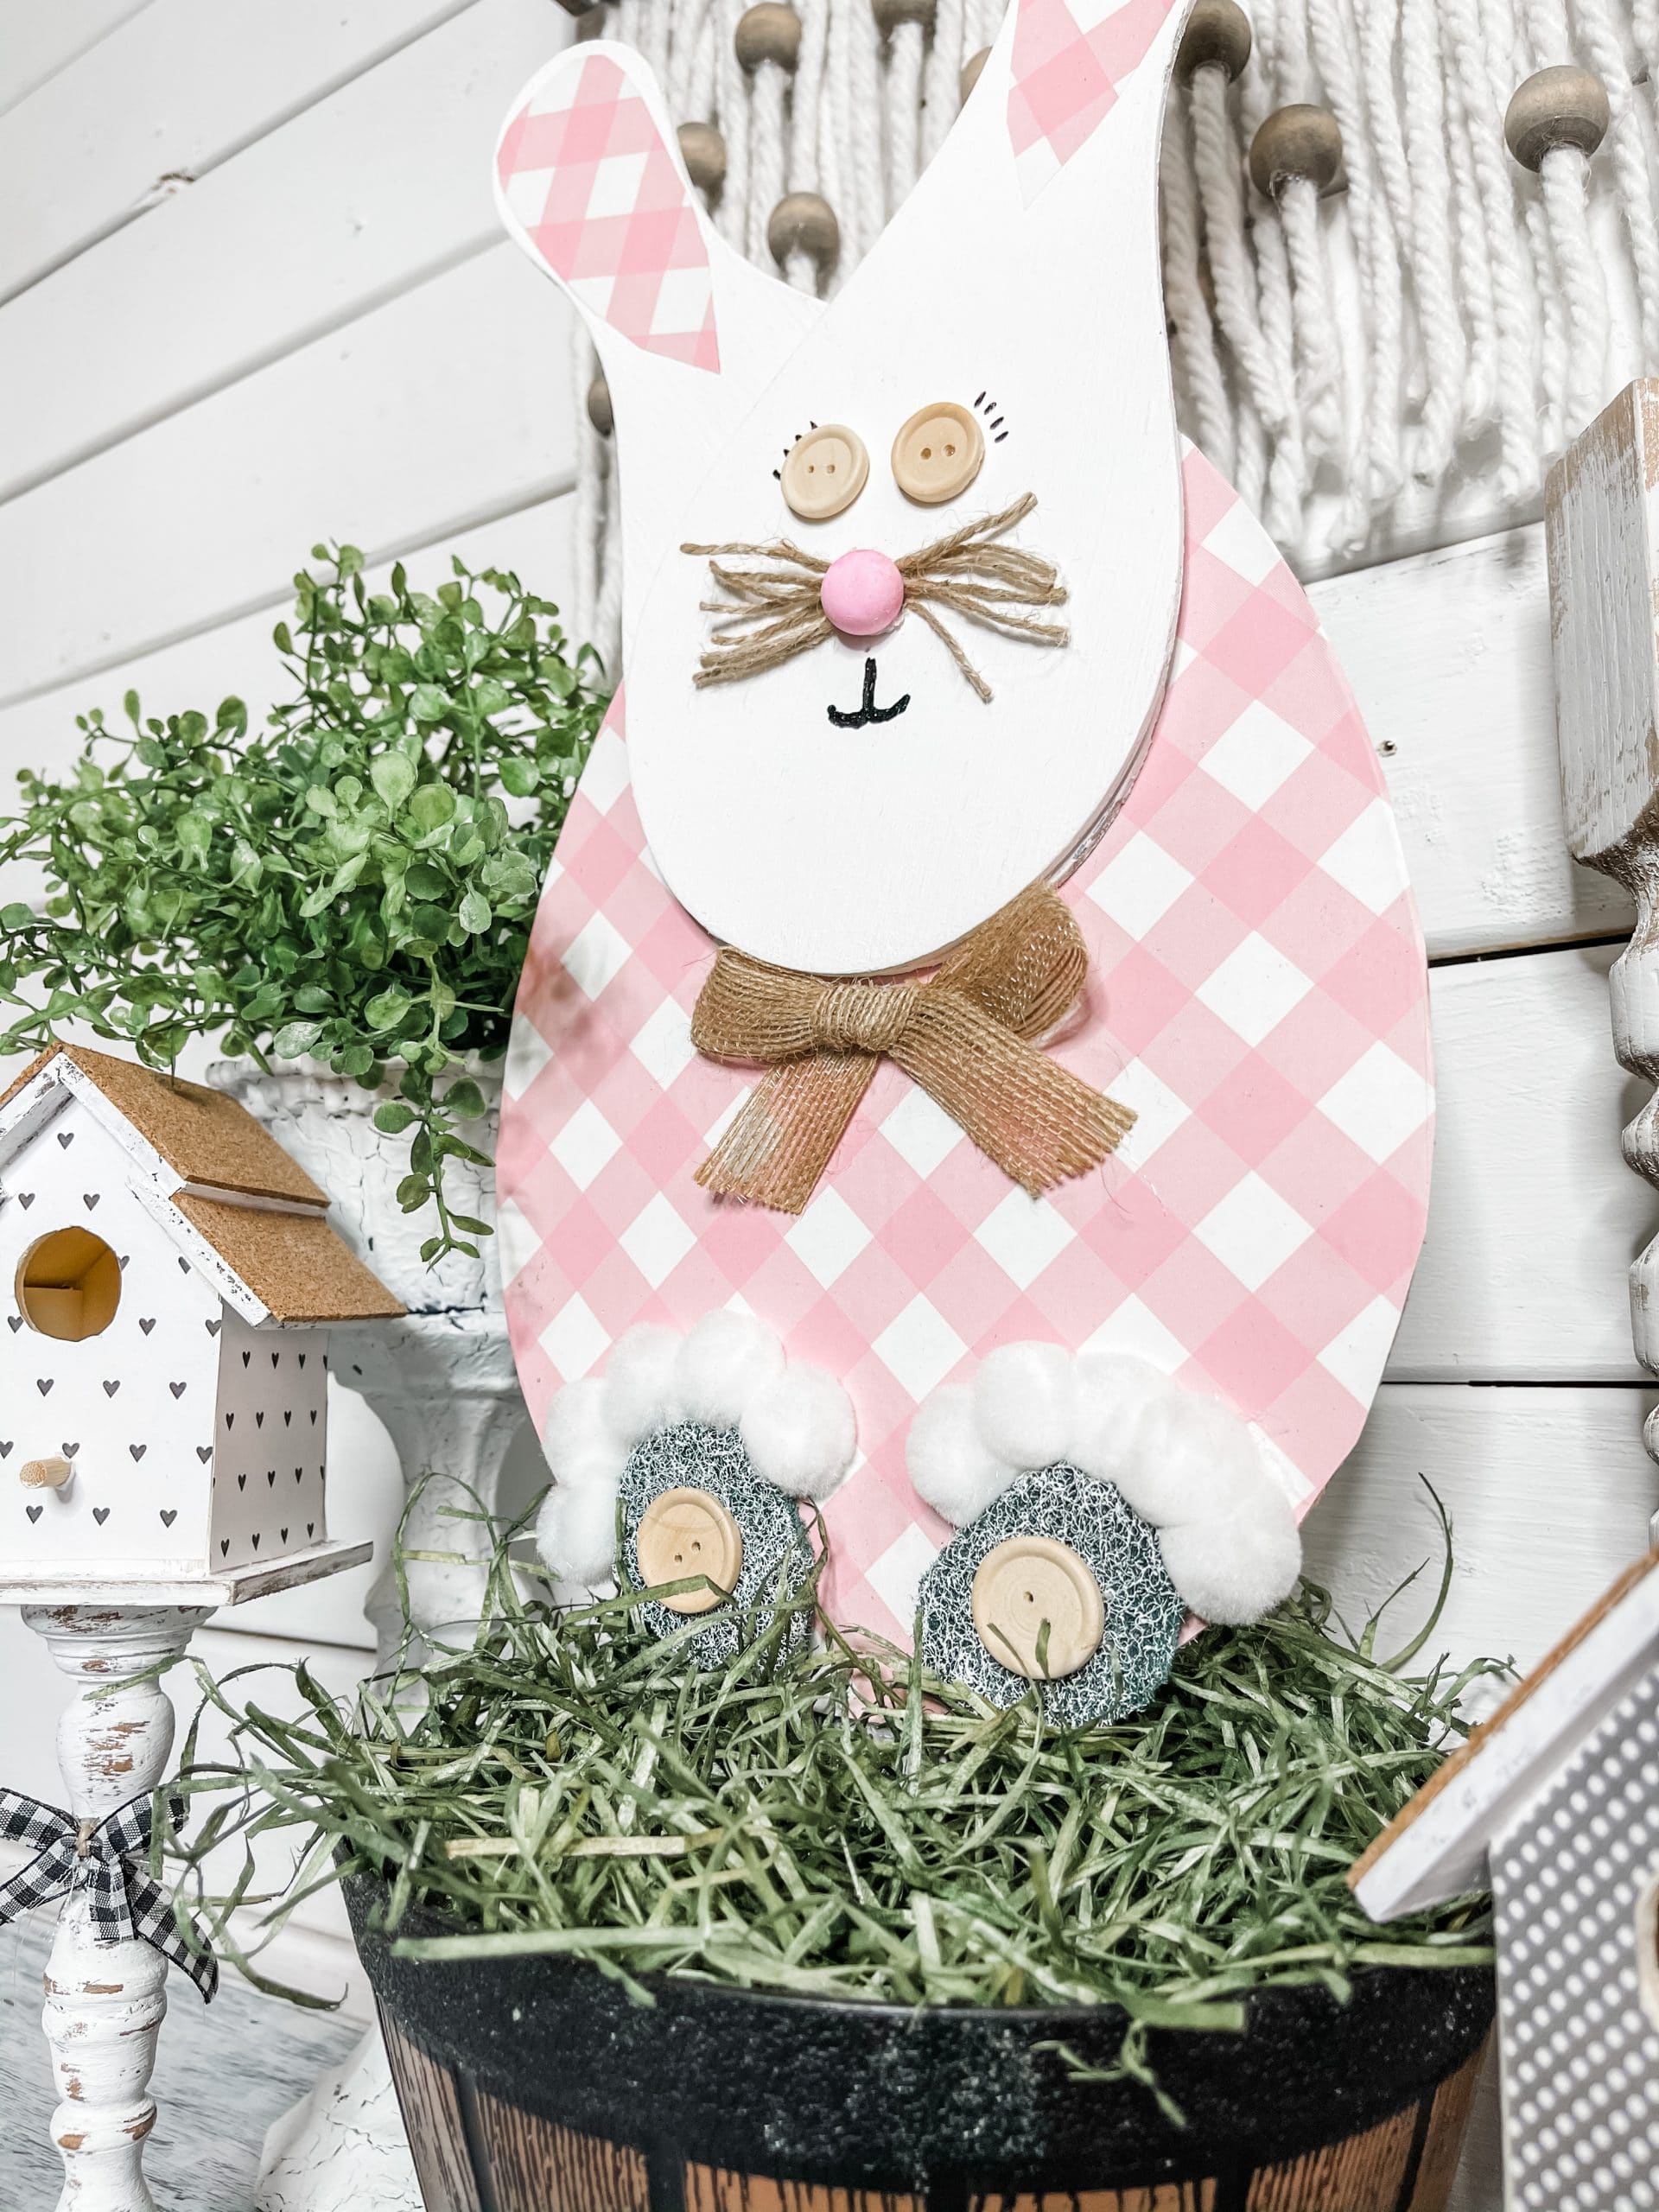
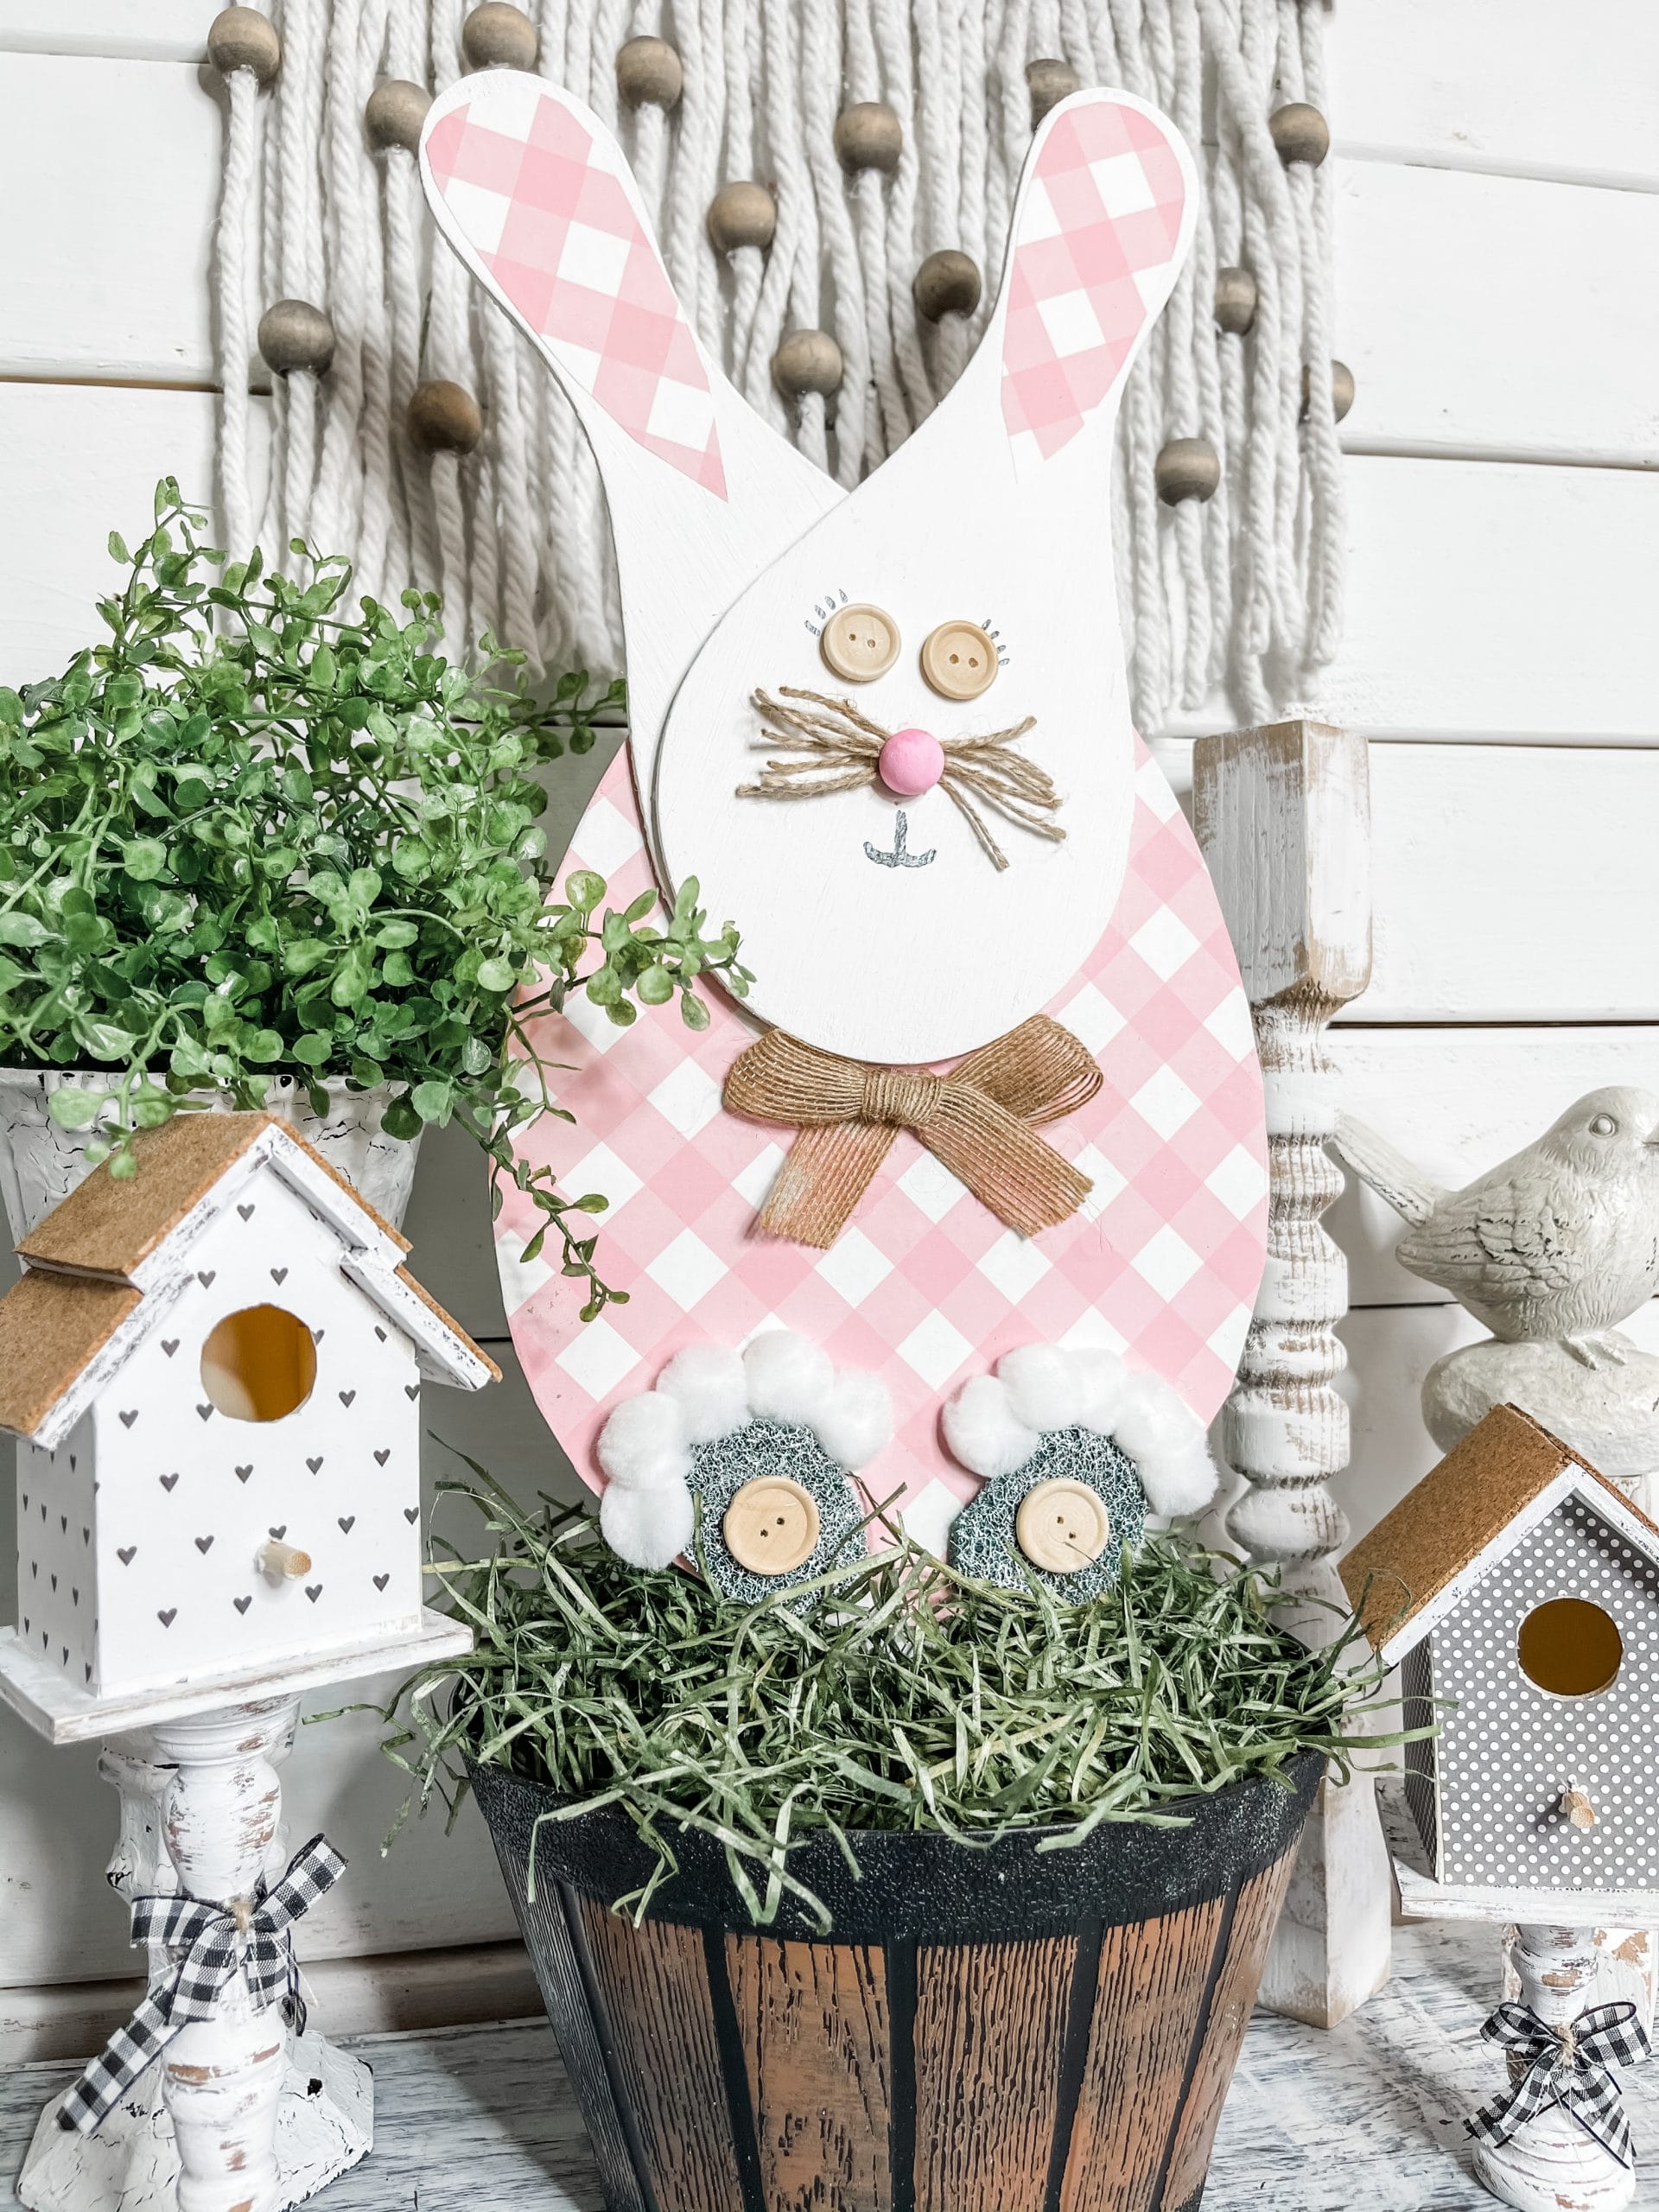
Once the floral foam is secured inside the bucket, push the stake firmly into the center of the floral foam. Now all that is left to do is cover your floral foam with fake grass, and you’re ready to decorate!
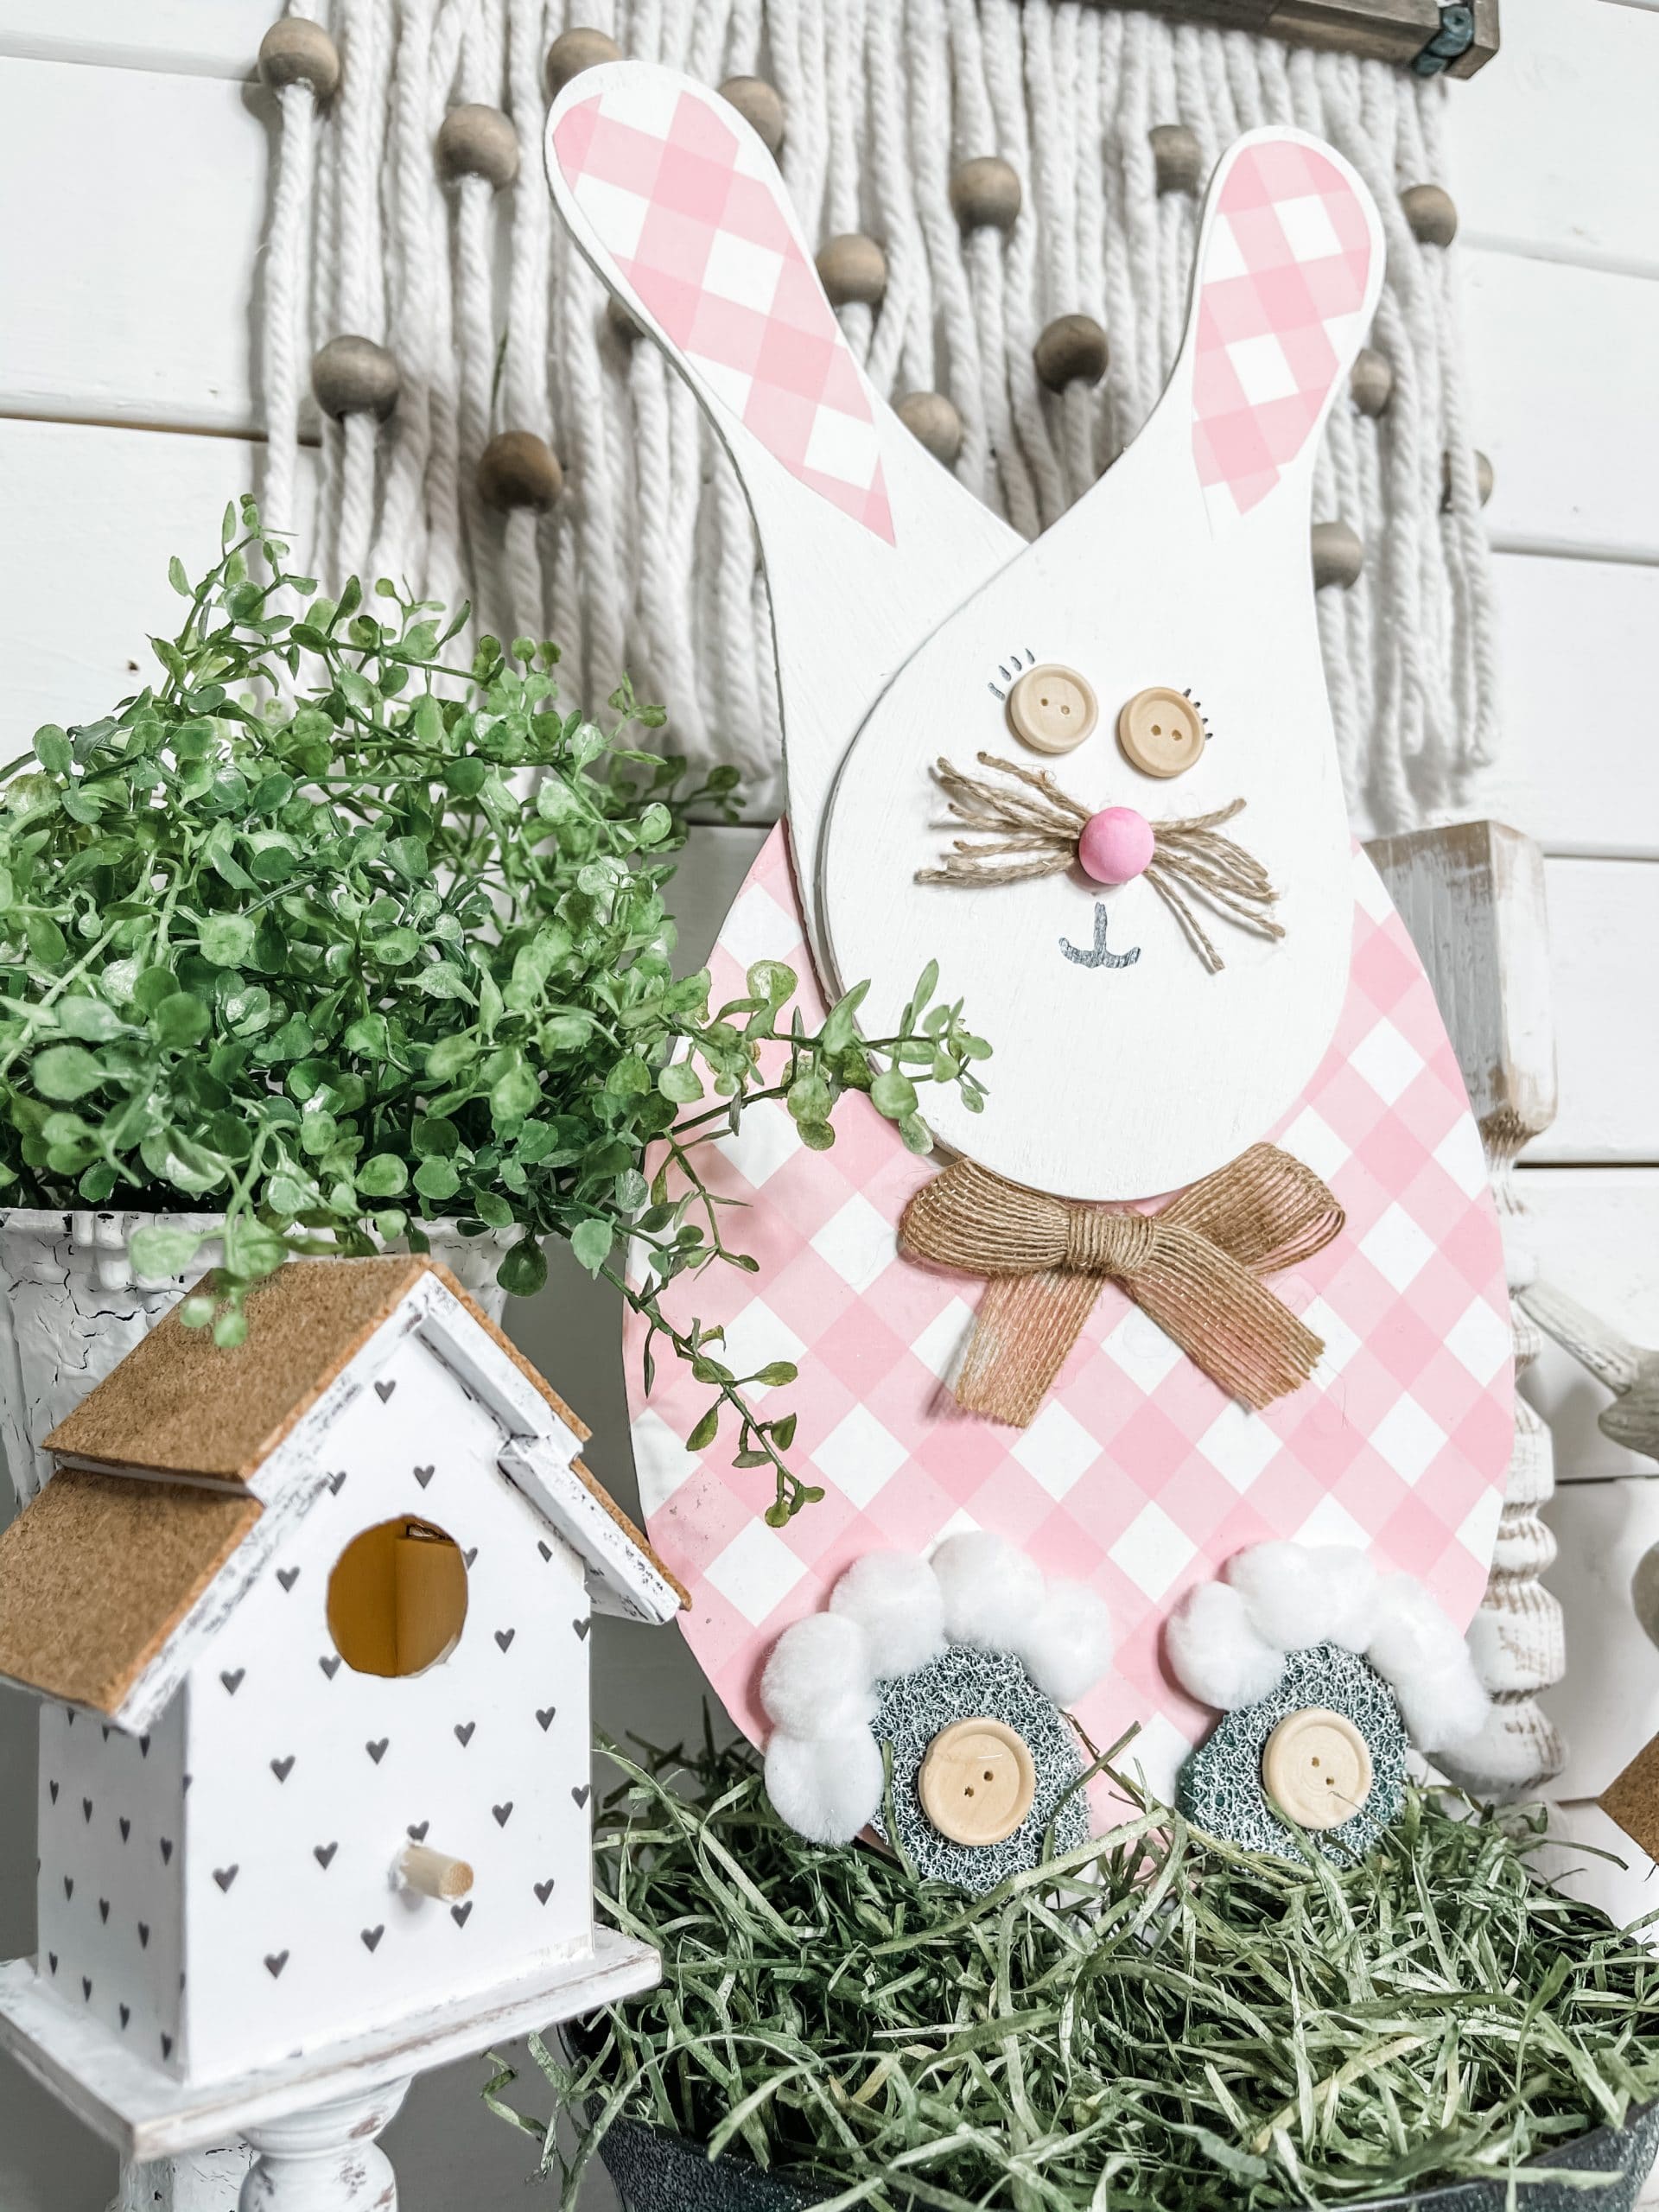
I hope you enjoyed this DIY Dollar Tree Paddle Board Easter Bunny as much as I did and decide to make one for yourself! If you do, I would love to see how yours turns out!
You should totally join my FREE Facebook group called On A Budget Crafts! It is a judgment-free community for DIY crafters to show off their projects and ideas.
If you loved this DIY you might also like this one too!
Thanks for stopping by! XOXO Amber
You can also shop my ENTIRE AMAZON Favorites shop just click here! It’s packed full of all the things I use and love. Here is the supply list I highly recommend every creative have on hand!!
Would you also pin my blog for later and get on my newsletter alerts? I would love to have you join my #craftycrew.
Inspired? Leave me a comment below! I love hearing from my readers!

Join my free “ON A BUDGET CRAFTS” Facebook group!

Bunny is adorable.
Maybe paint the buttons black or a grey. Also make his eyelashes longer and wispier
You could use buttons but let them be green or blue.
I think something that is black and puffs out instead of lying flat. Maybe a black half bead or round button. It’s adorable way it is,
Cute! Maybe DT eyelashes. ☺
For the eyes. Which I think are cute…add small pink button to center of the ones you already have on for eyes…we had two bunnies with pink eyes 🐰
I really like it the way it is. If I had to change the eyes they would be dark or painted.
So cute