DIY Dollar Tree Mop String Christmas Ornaments
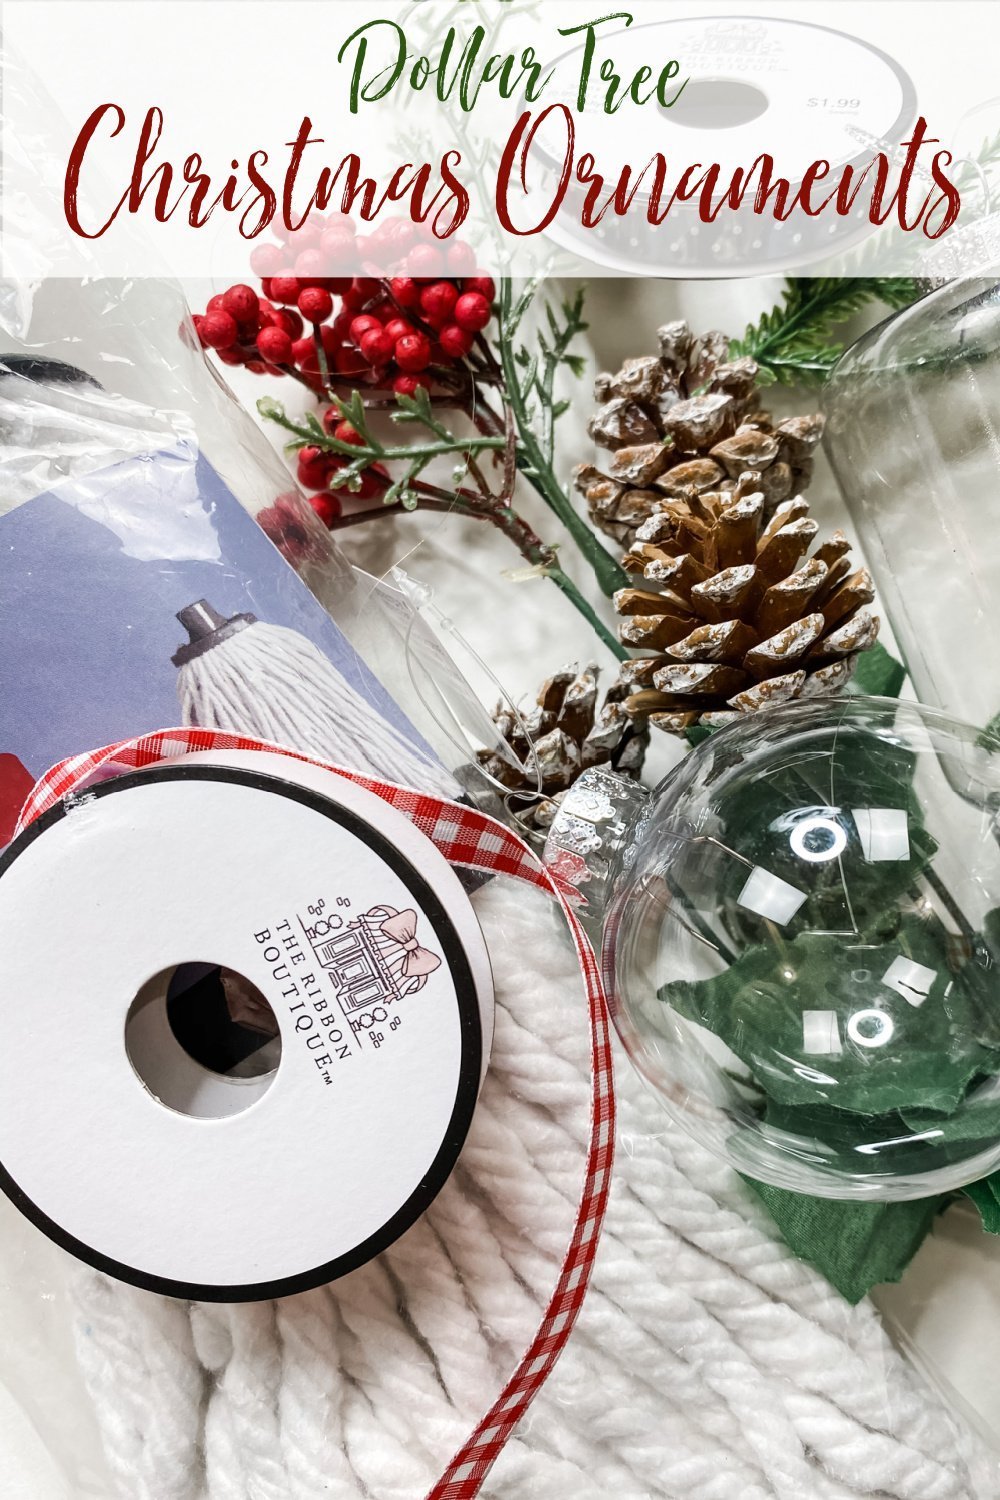
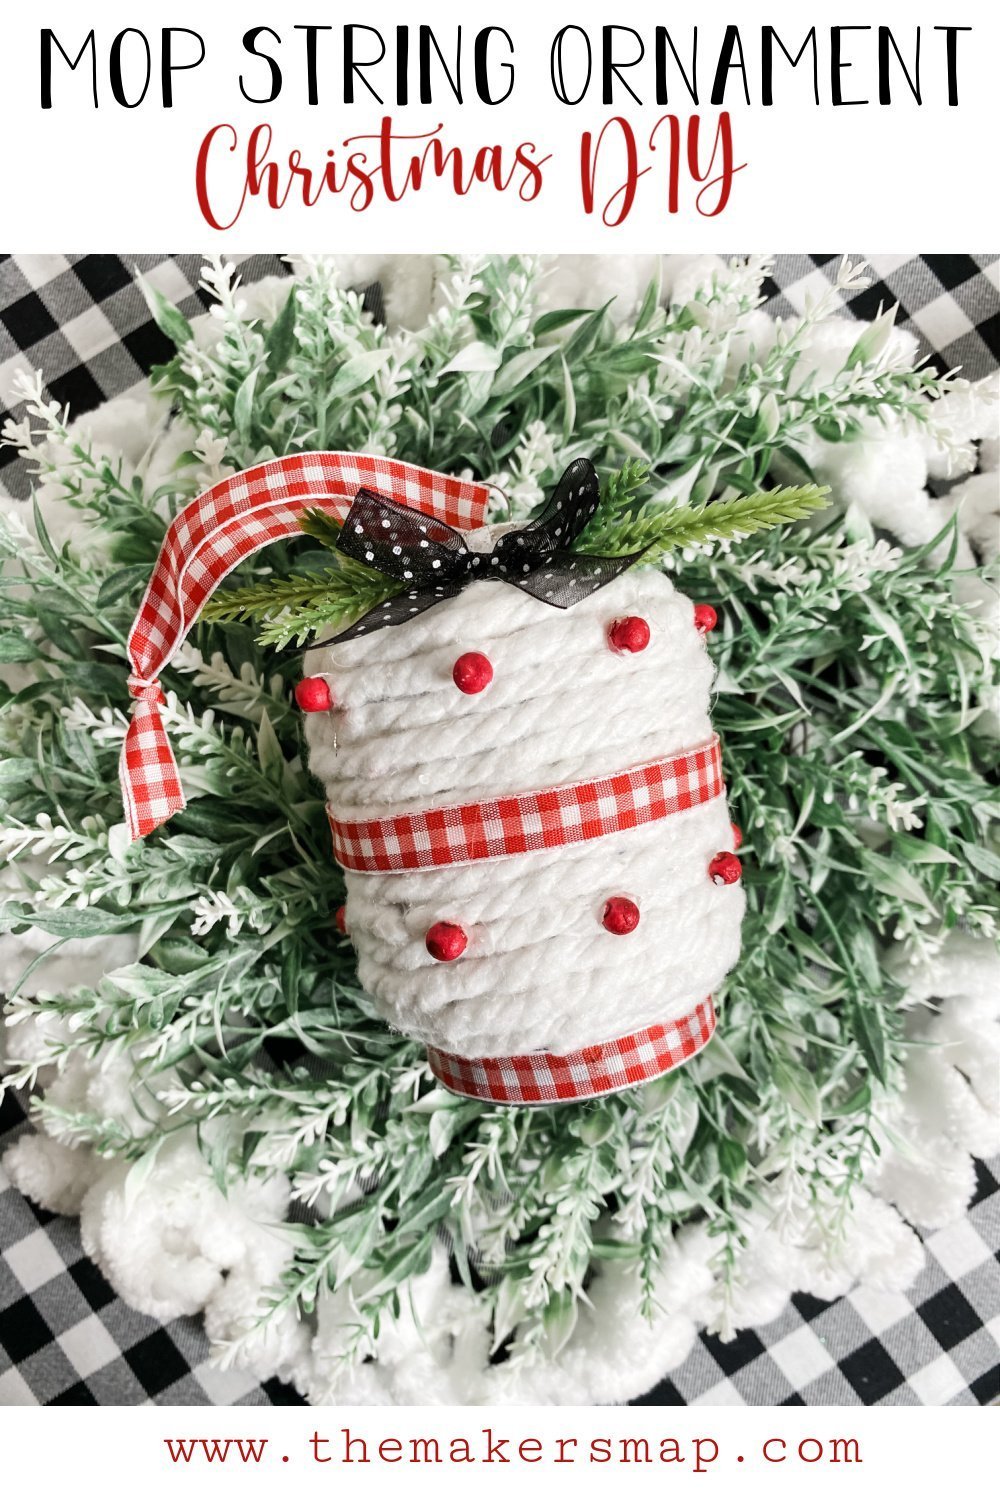
These DIY Dollar Tree Mop String Christmas Ornaments are two of my favorite things- easy AND affordable! What more could you ask for!? Follow along with me to learn how to make these easy DIY Christmas ornaments!
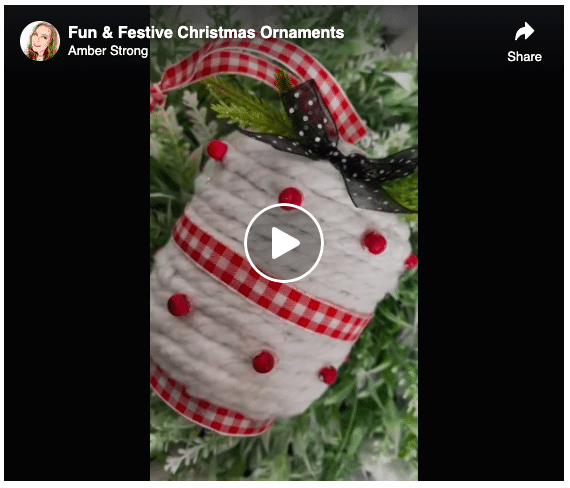
Watch the replay
Even though making these DIY Ornaments is very simple, it always helps to watch a video! This is why I made this step by step tutorial to follow along with if you’d like! It’s only about 3 minutes long and is super helpful!
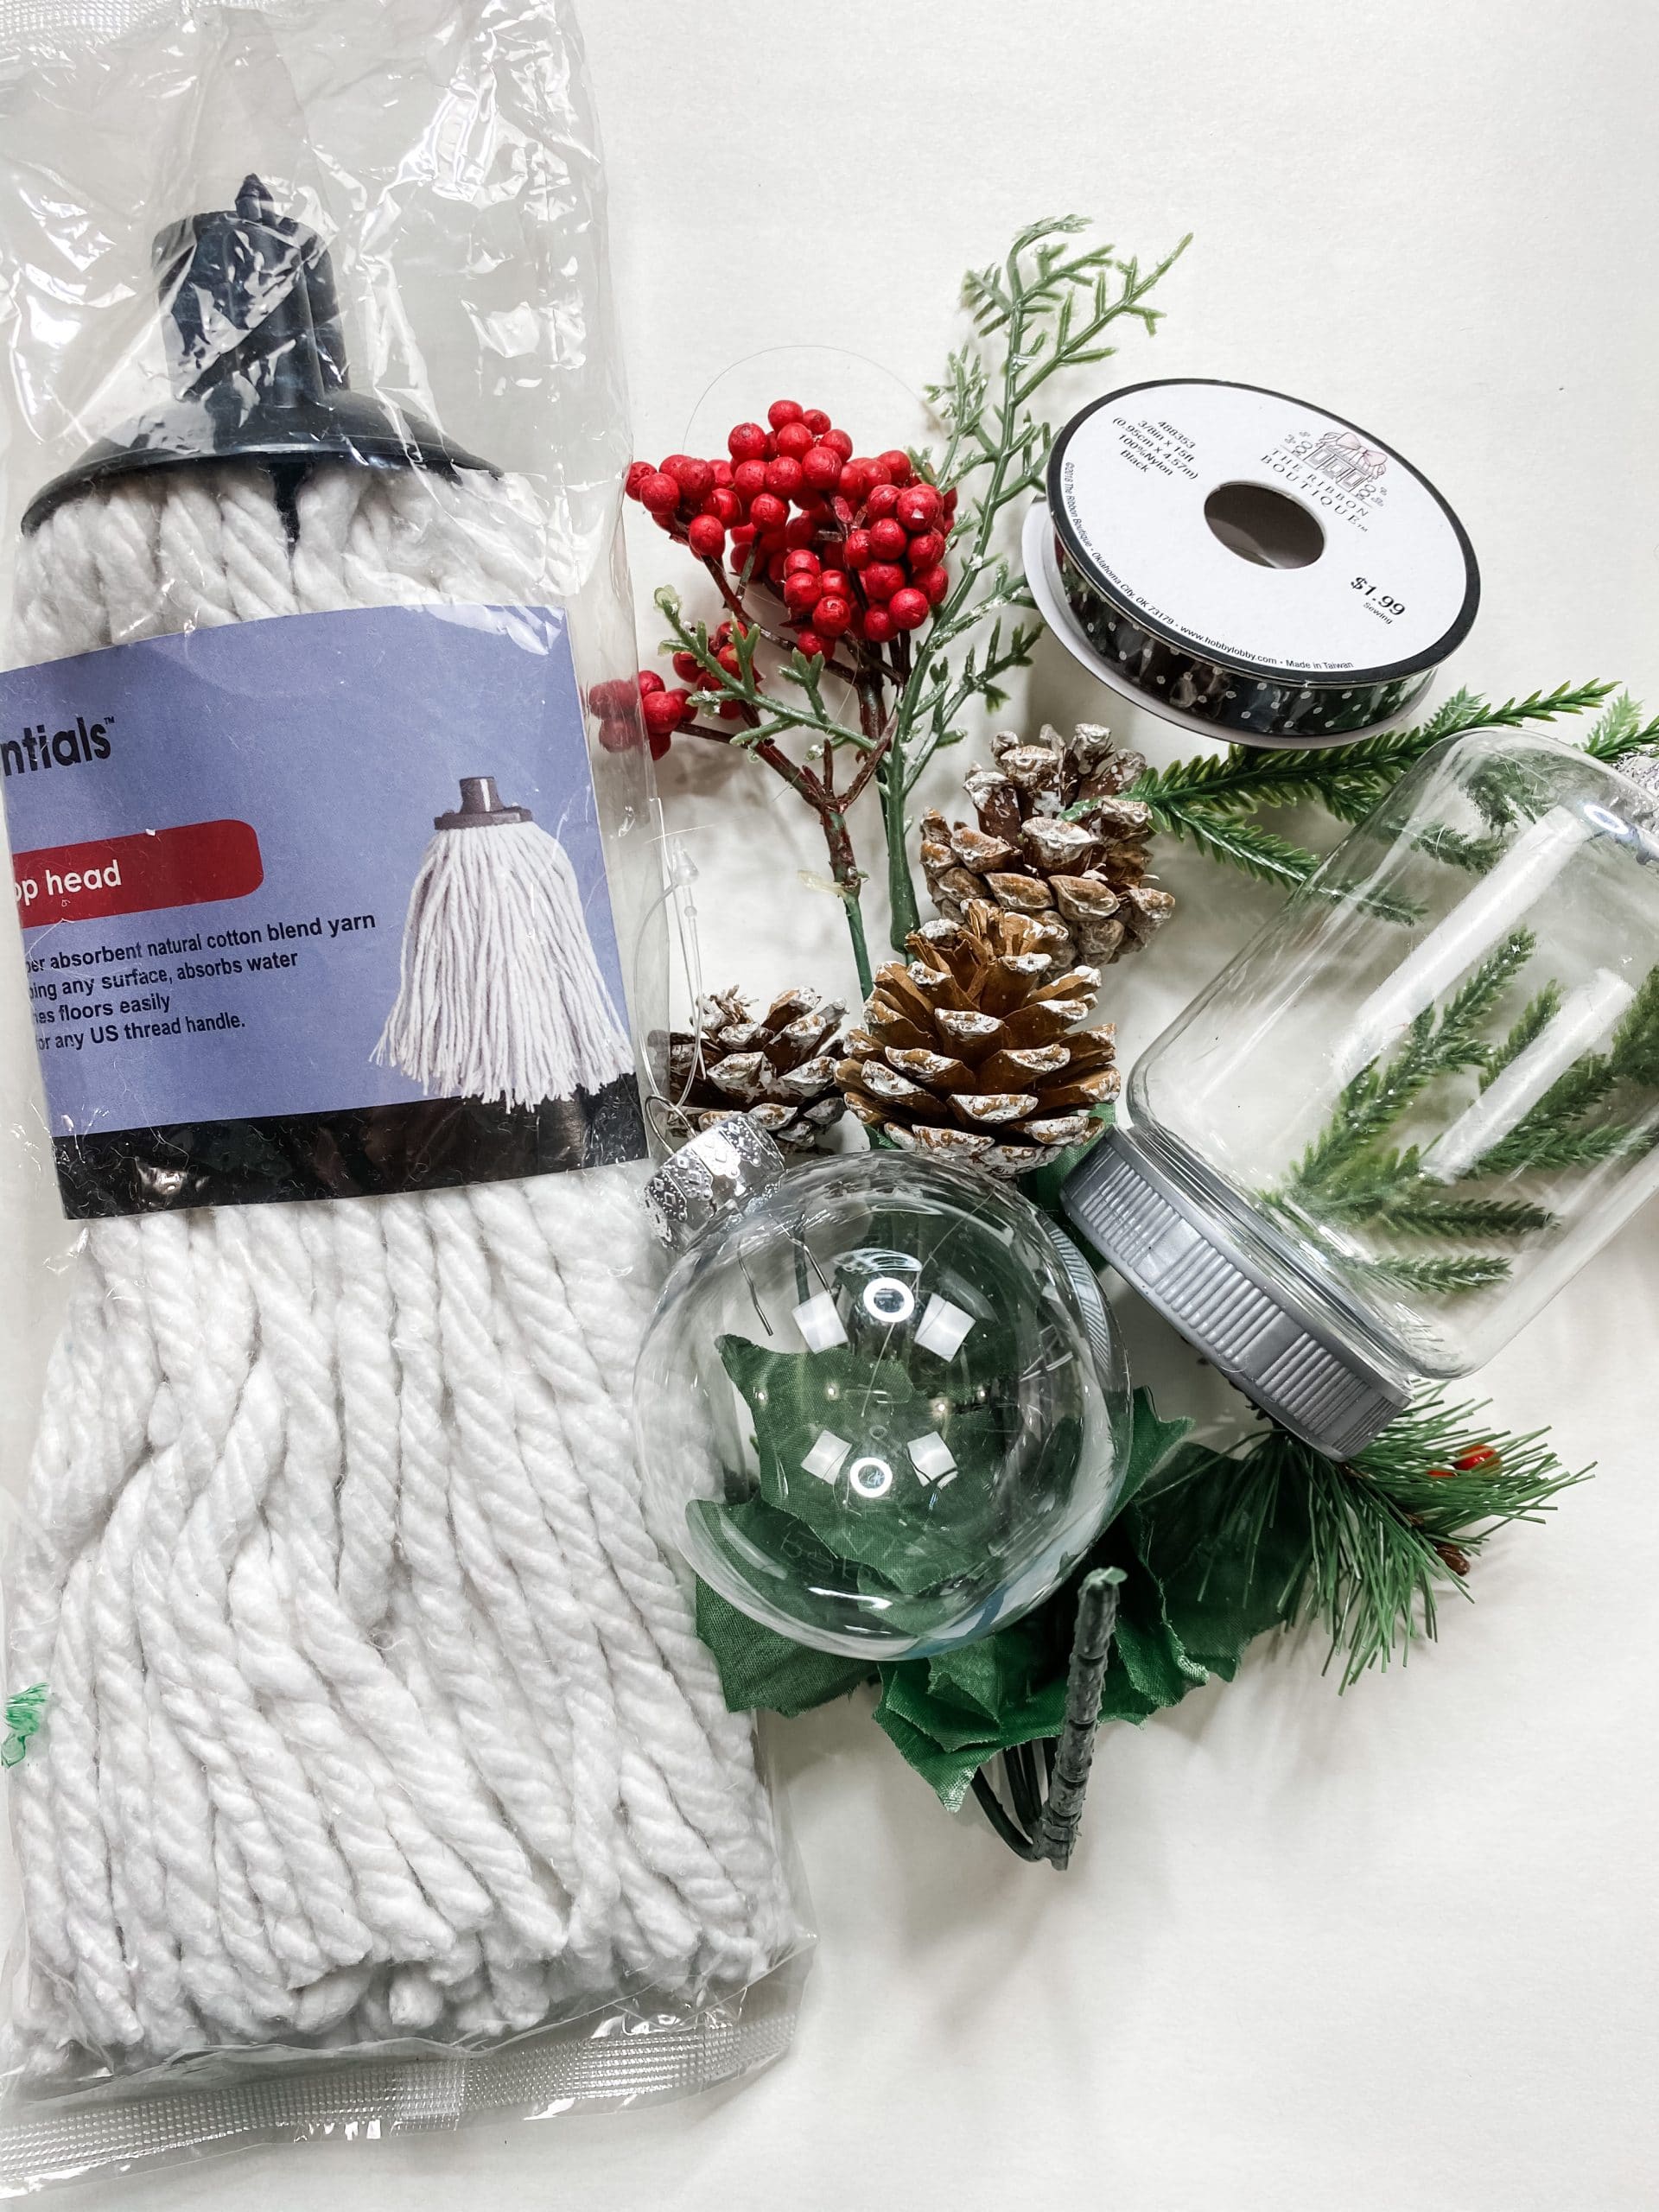
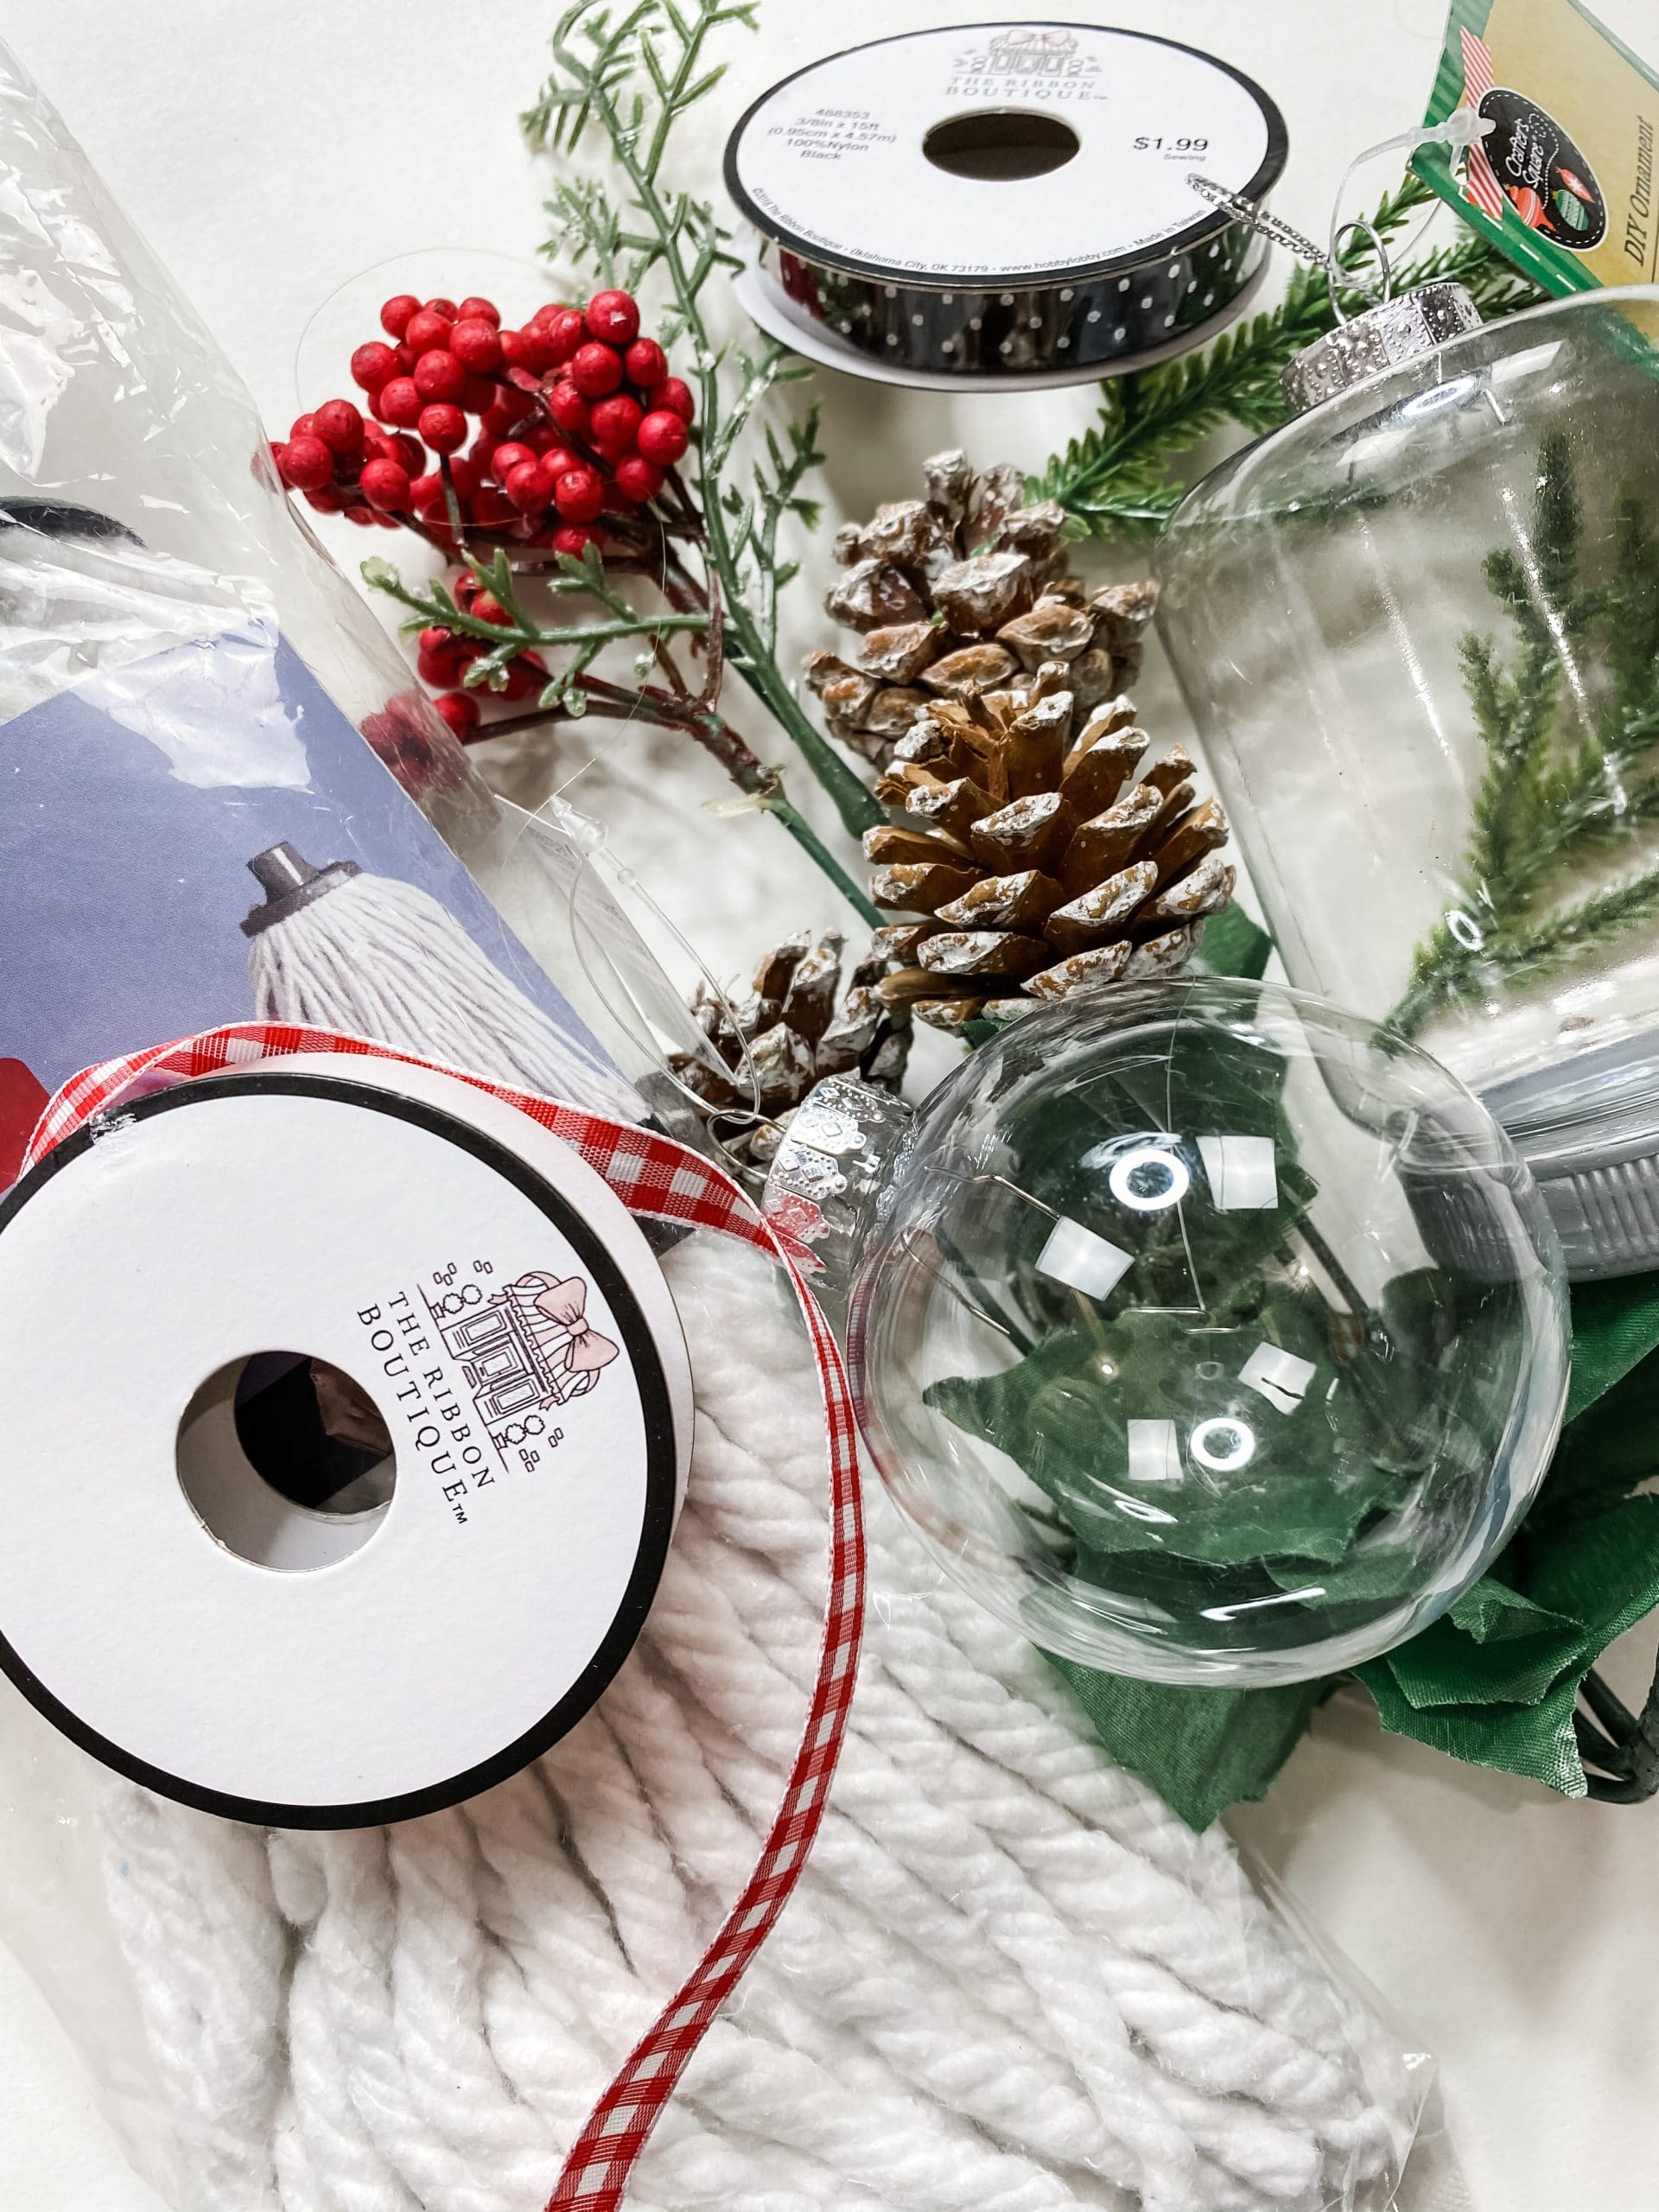
The supplies you will need for this craft:
Most of the items I will use are from Dollar Tree but I did include my amazon affiliate links for you. (I earn a small commission but it does not cost you any extra!)
- Dollar Tree Plastic Ornaments
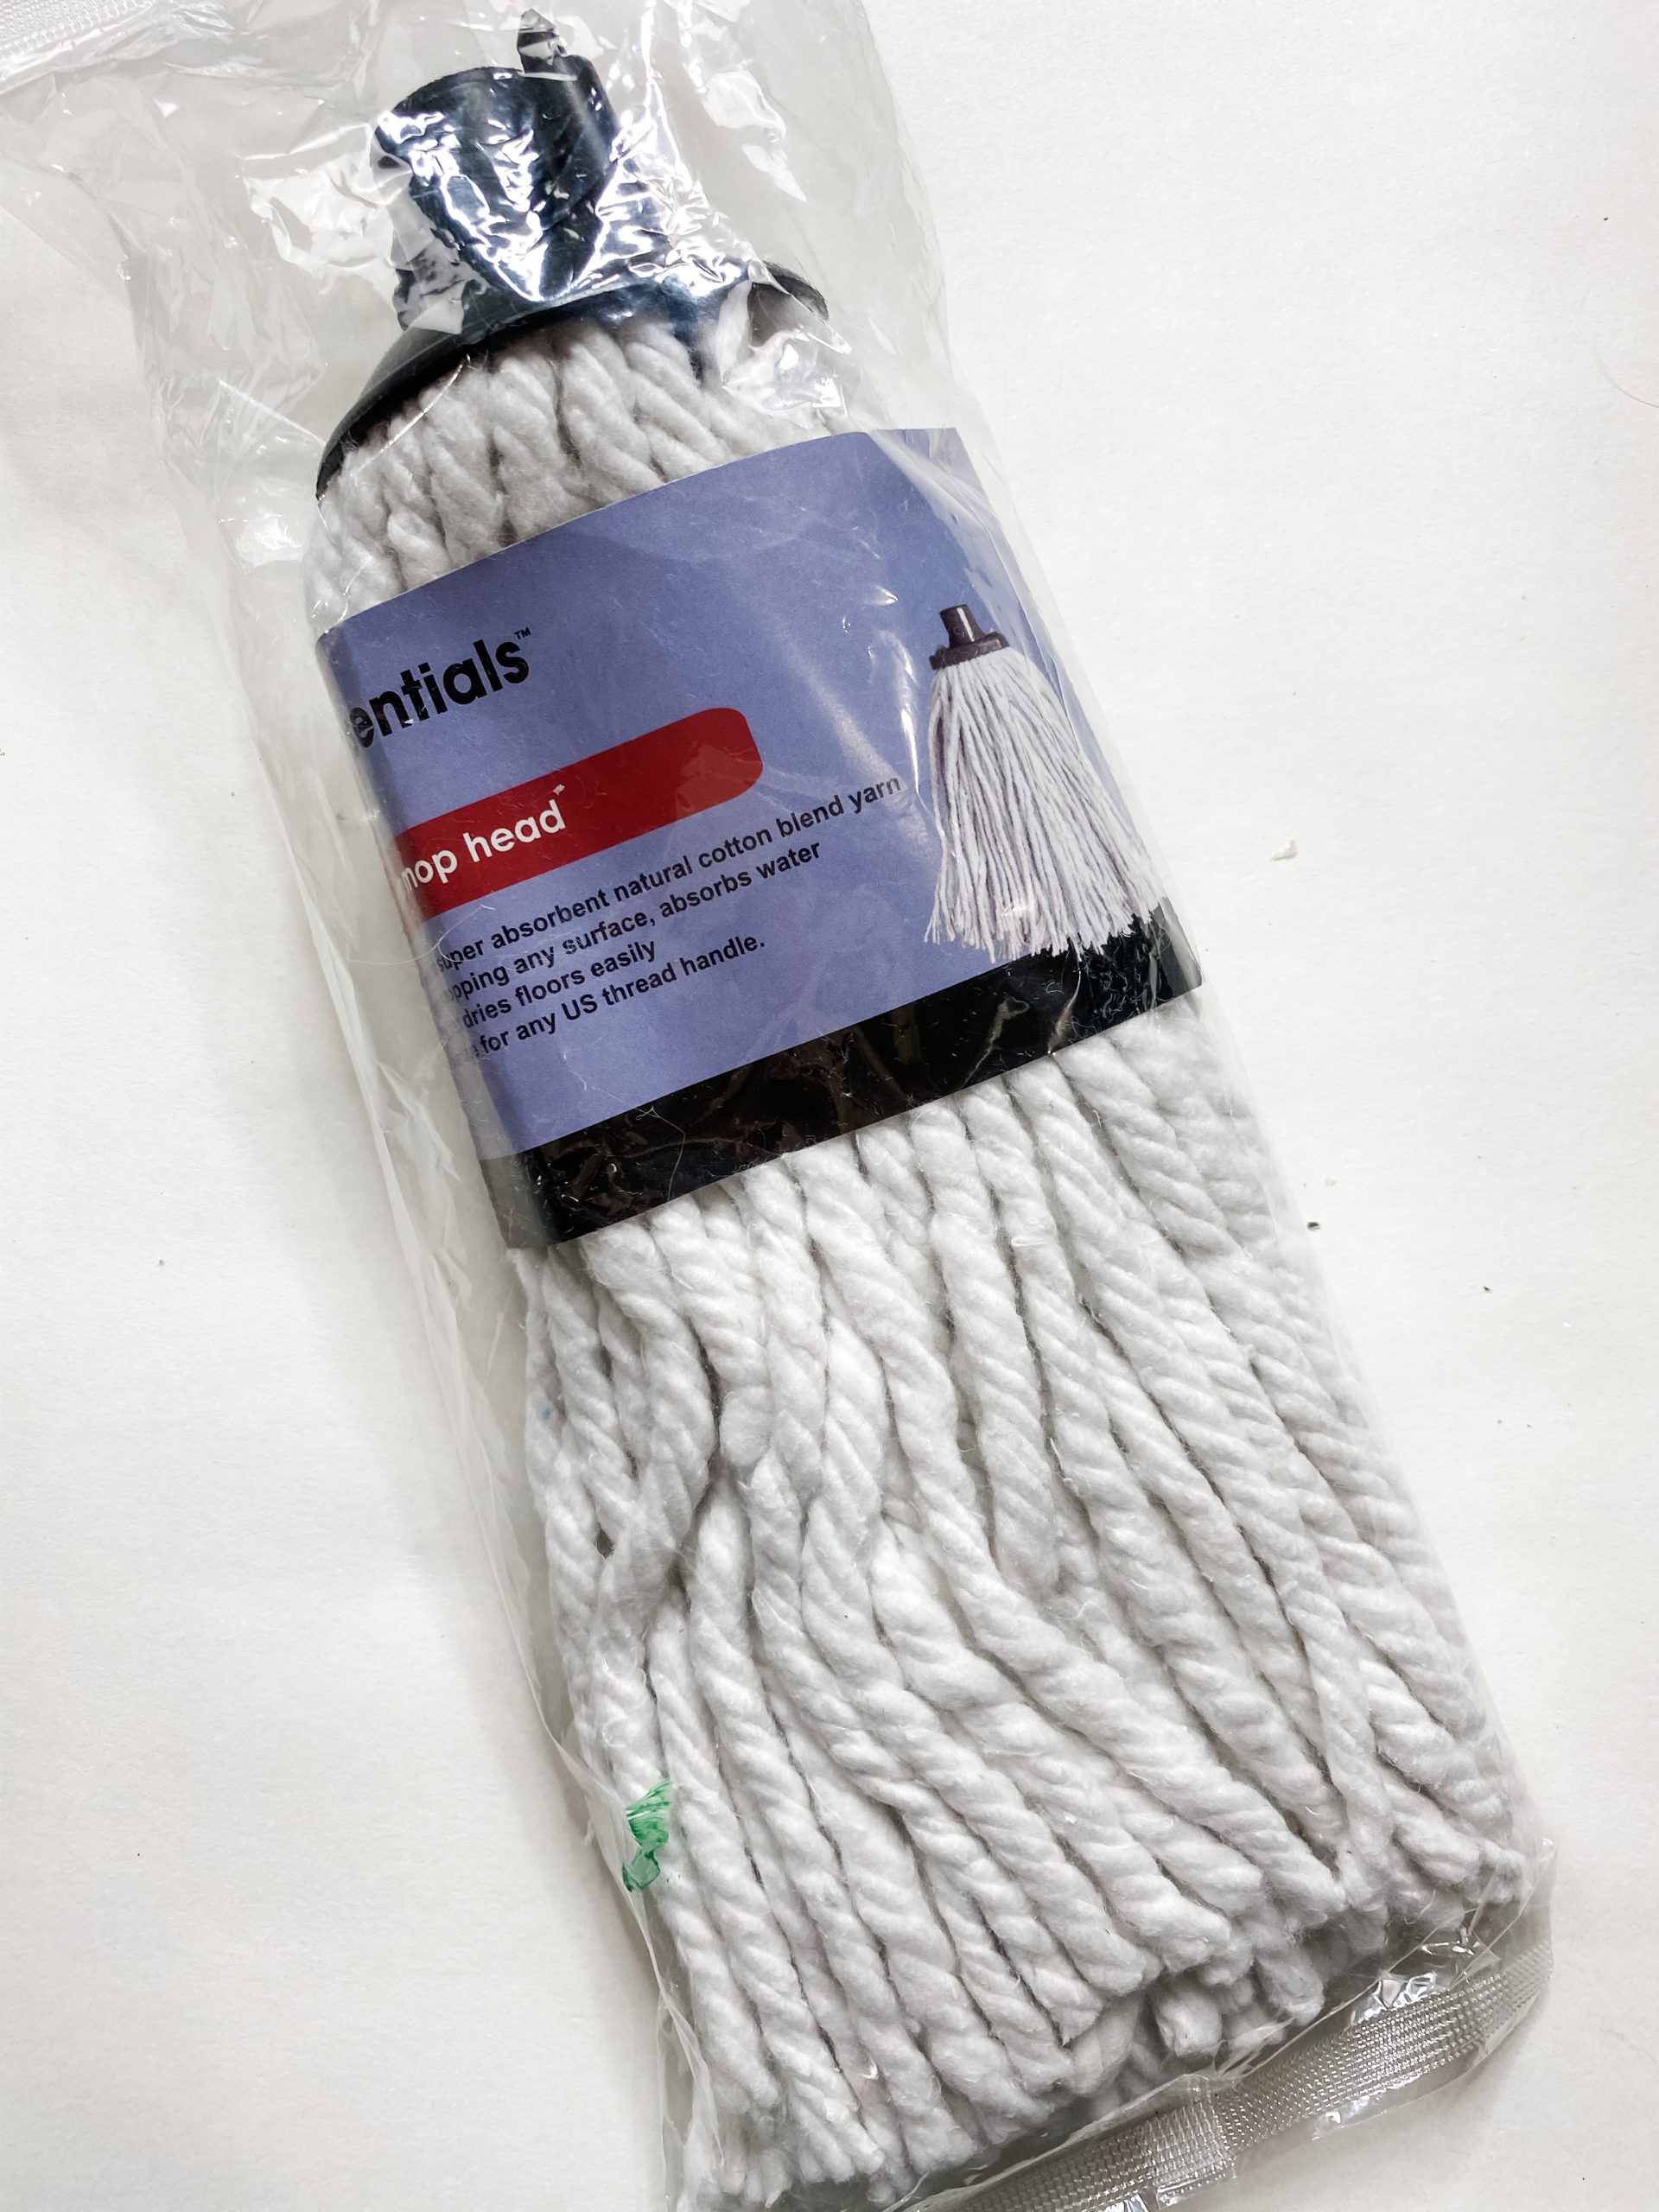
- Dollar Tree Mop Strings
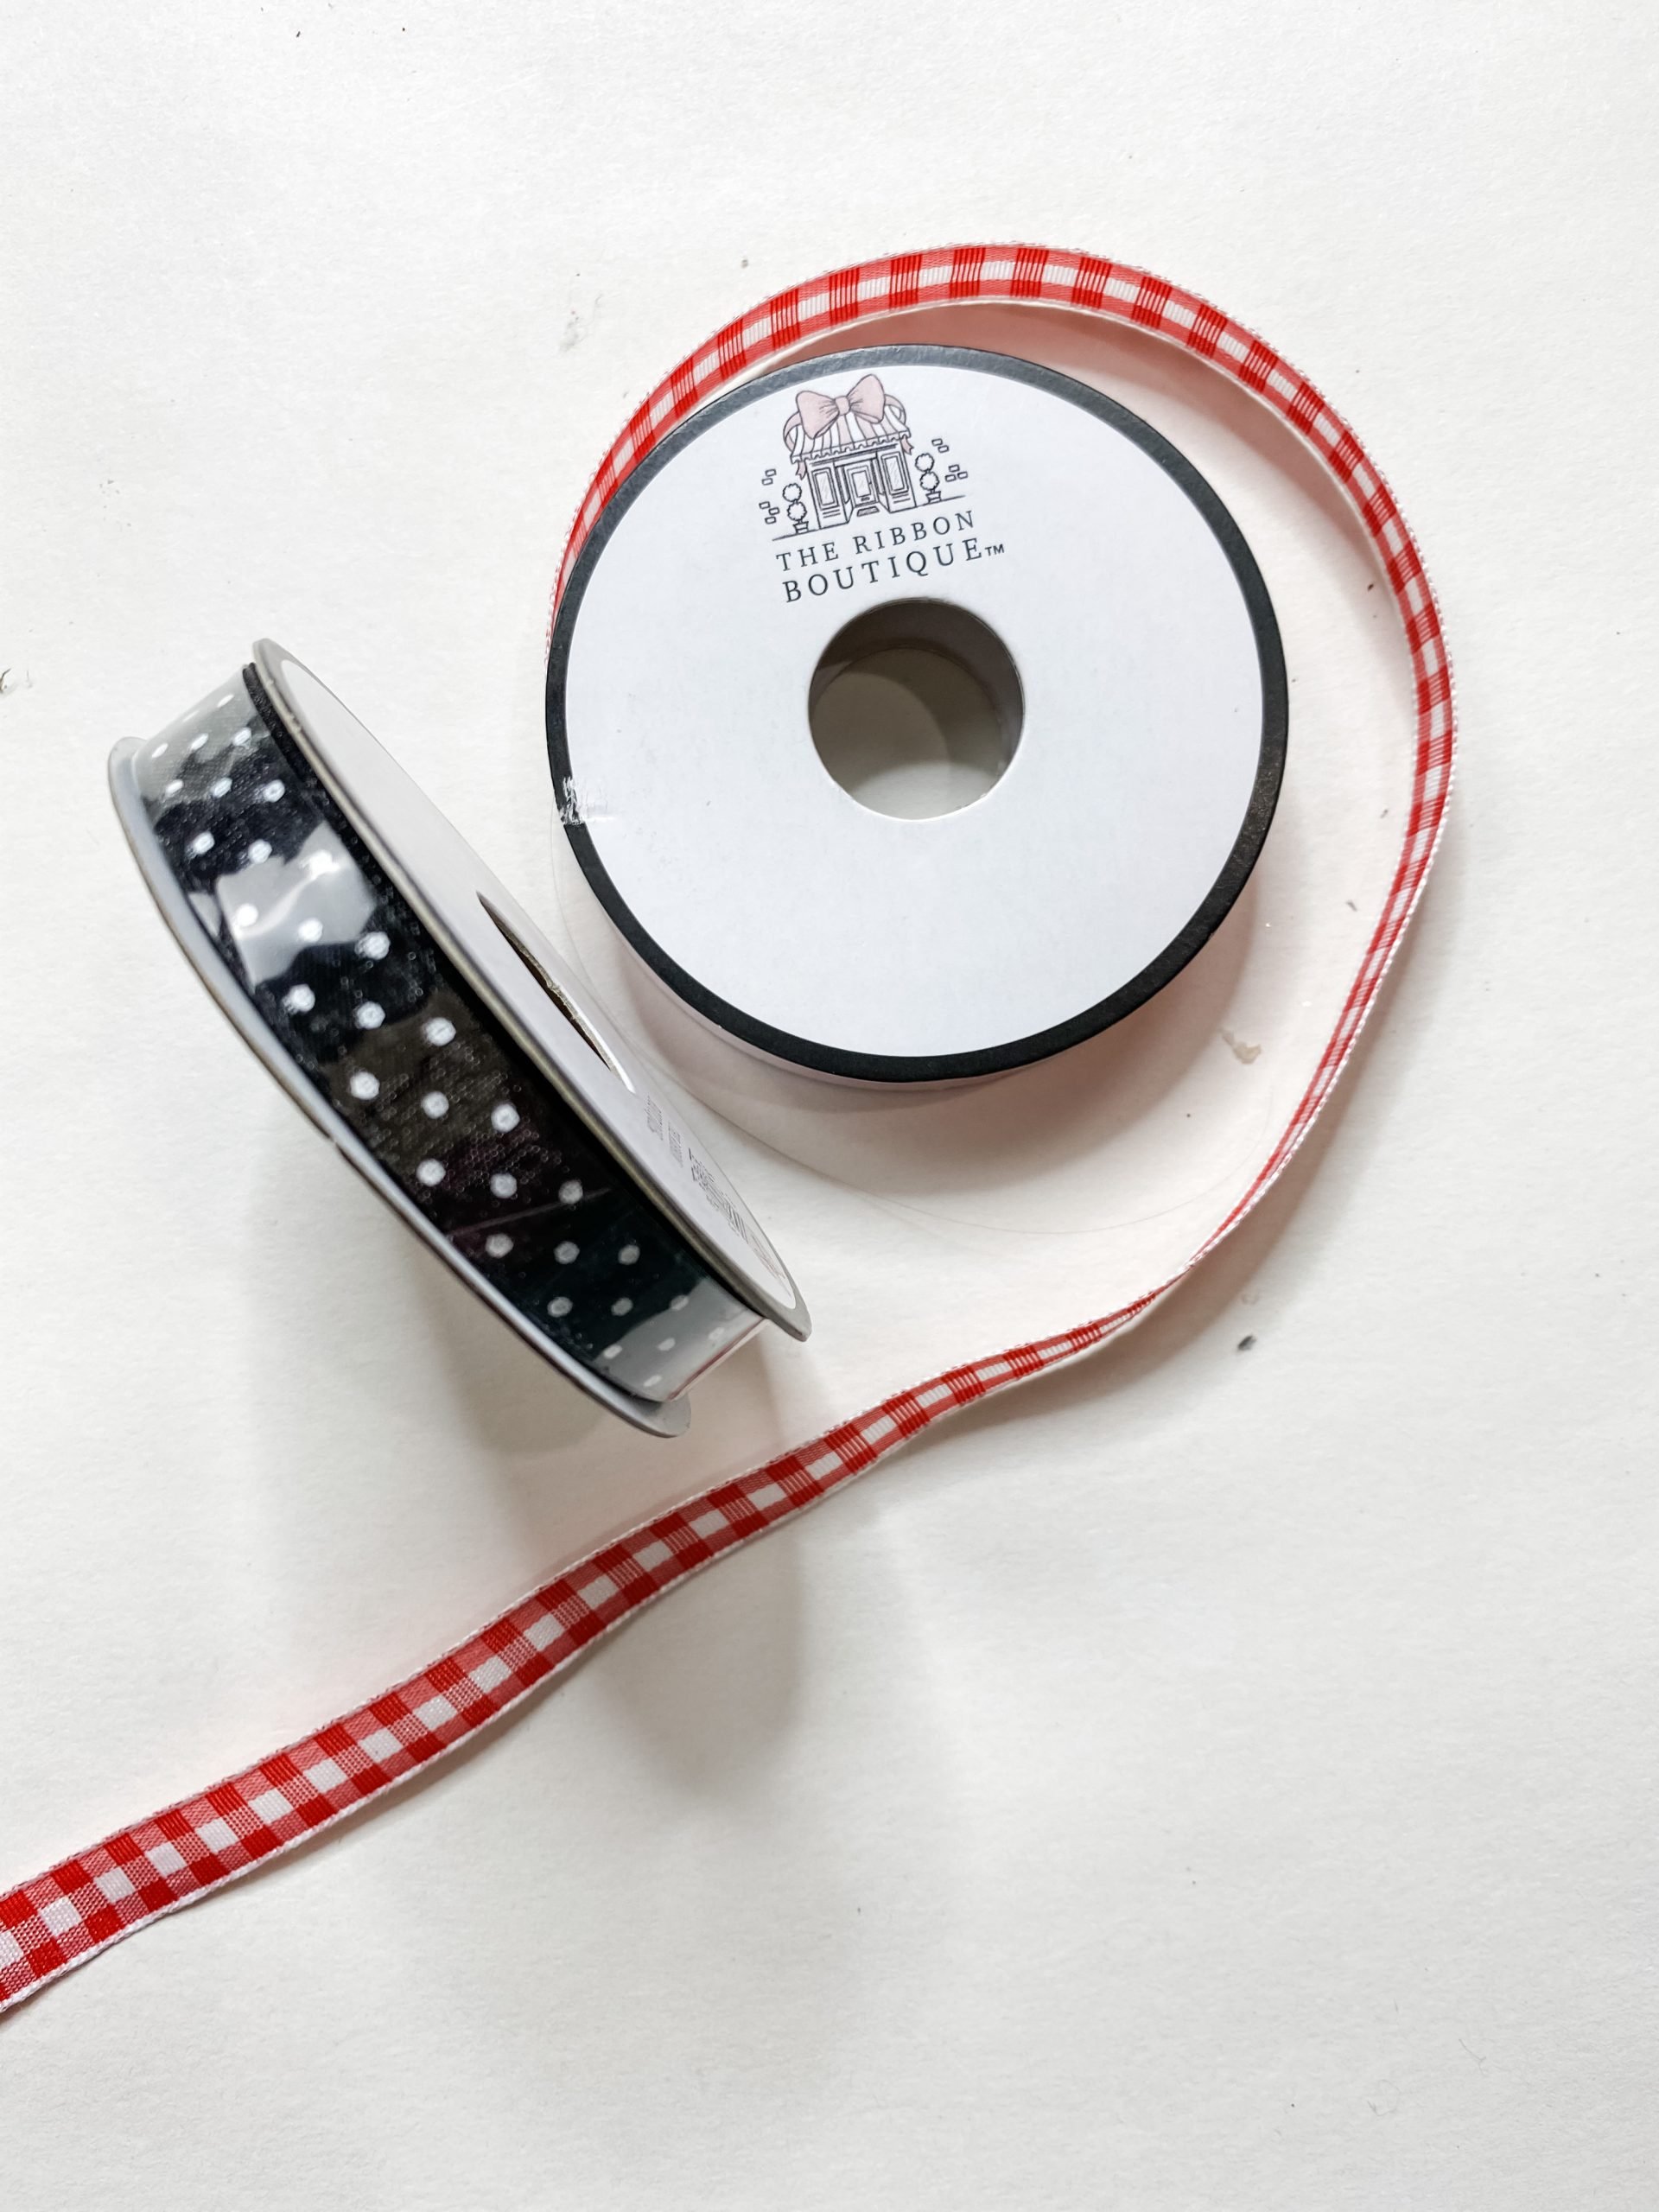
- Red Buffalo Check Ribbon
- Black and White Polka Dot Ribbon
- Dollar Tree Christmas Greenery Spray
- Aviation Snips
- Hot Glue Gun
- Glue Sticks
Let’s begin!
The first step to making these mop string ornaments is to cut the plastic piece off the Dollar Tree mophead. I used my Aviation Snips for this part! Be careful and make sure you don’t accidentally cut yourself!
Creating your ornament
After separating my mop strings, I took one single mop string and placed the rest to the side. I used my hot glue gun to glue the end of the string to the center of the top of each plastic ornament.
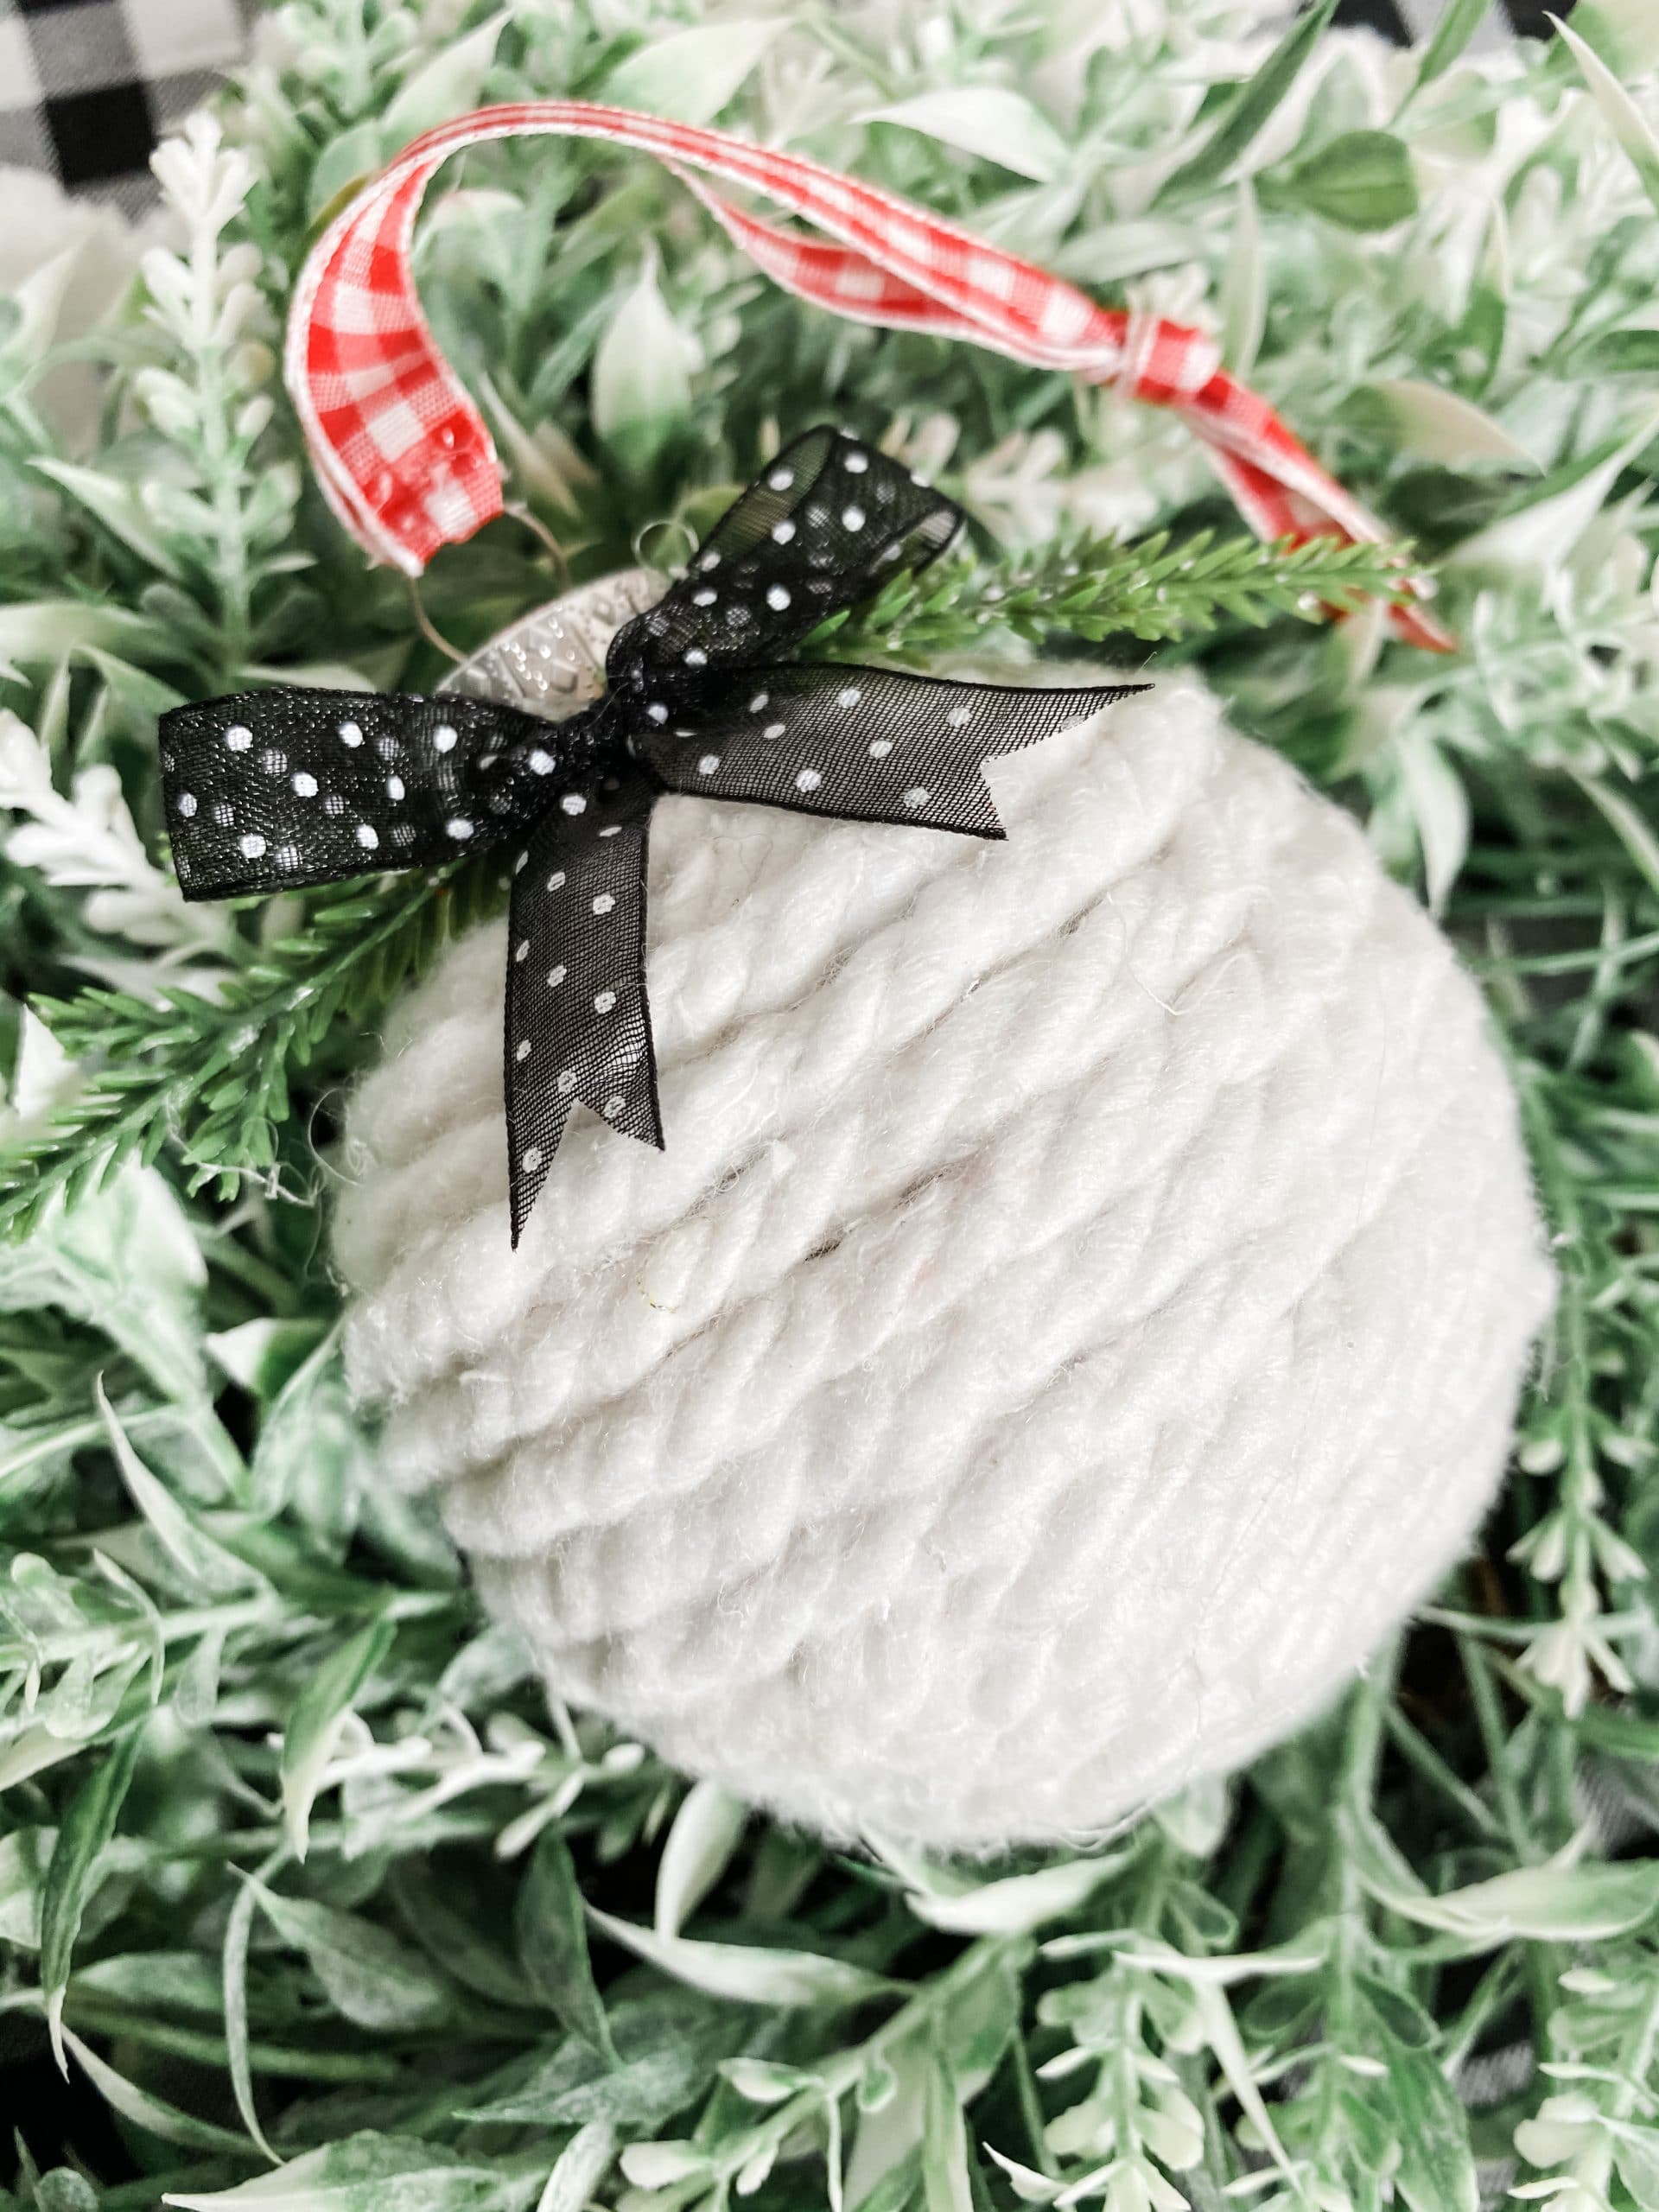
Next, I kept wrapping my mop string and securing it in place with hot glue in a spiral motion around the whole ornament. This part can be a little confusing so check out my Facebook Video if you want to get a closer look!
After I had covered the whole ornaments with string, I cut the end of the Dollar Tree mophead string and secured it with hot glue.
I also used scissors to trim any excess fuzz off of the mop string for a cleaner look!
Let’s make a hanger
To make a hanger for your ornament, use the red buffalo check ribbon. Loop a piece of the ribbon through the hole in the metal top of the Dollar Tree ornament and tie it in a knot.
I chose to use a red buffalo check patterned ribbon, but you can use any type of ribbon you want to! It all depends on the look you’re going for!
Now for the fun part
Finally, it’s time to decorate! For this first ornament, I used my Black and White Polka Dot Ribbon to create a little bow!
If you are looking for some fun ways to create a bow, make sure to check out these projects I’ve done:
- Easy DIY Layered Messy Bow
- Dollar Tree DIY Red Truck Christmas Decor
- Easy DIY Dollar Tree Cutting Board Christmas Sign
Keep on decorating!
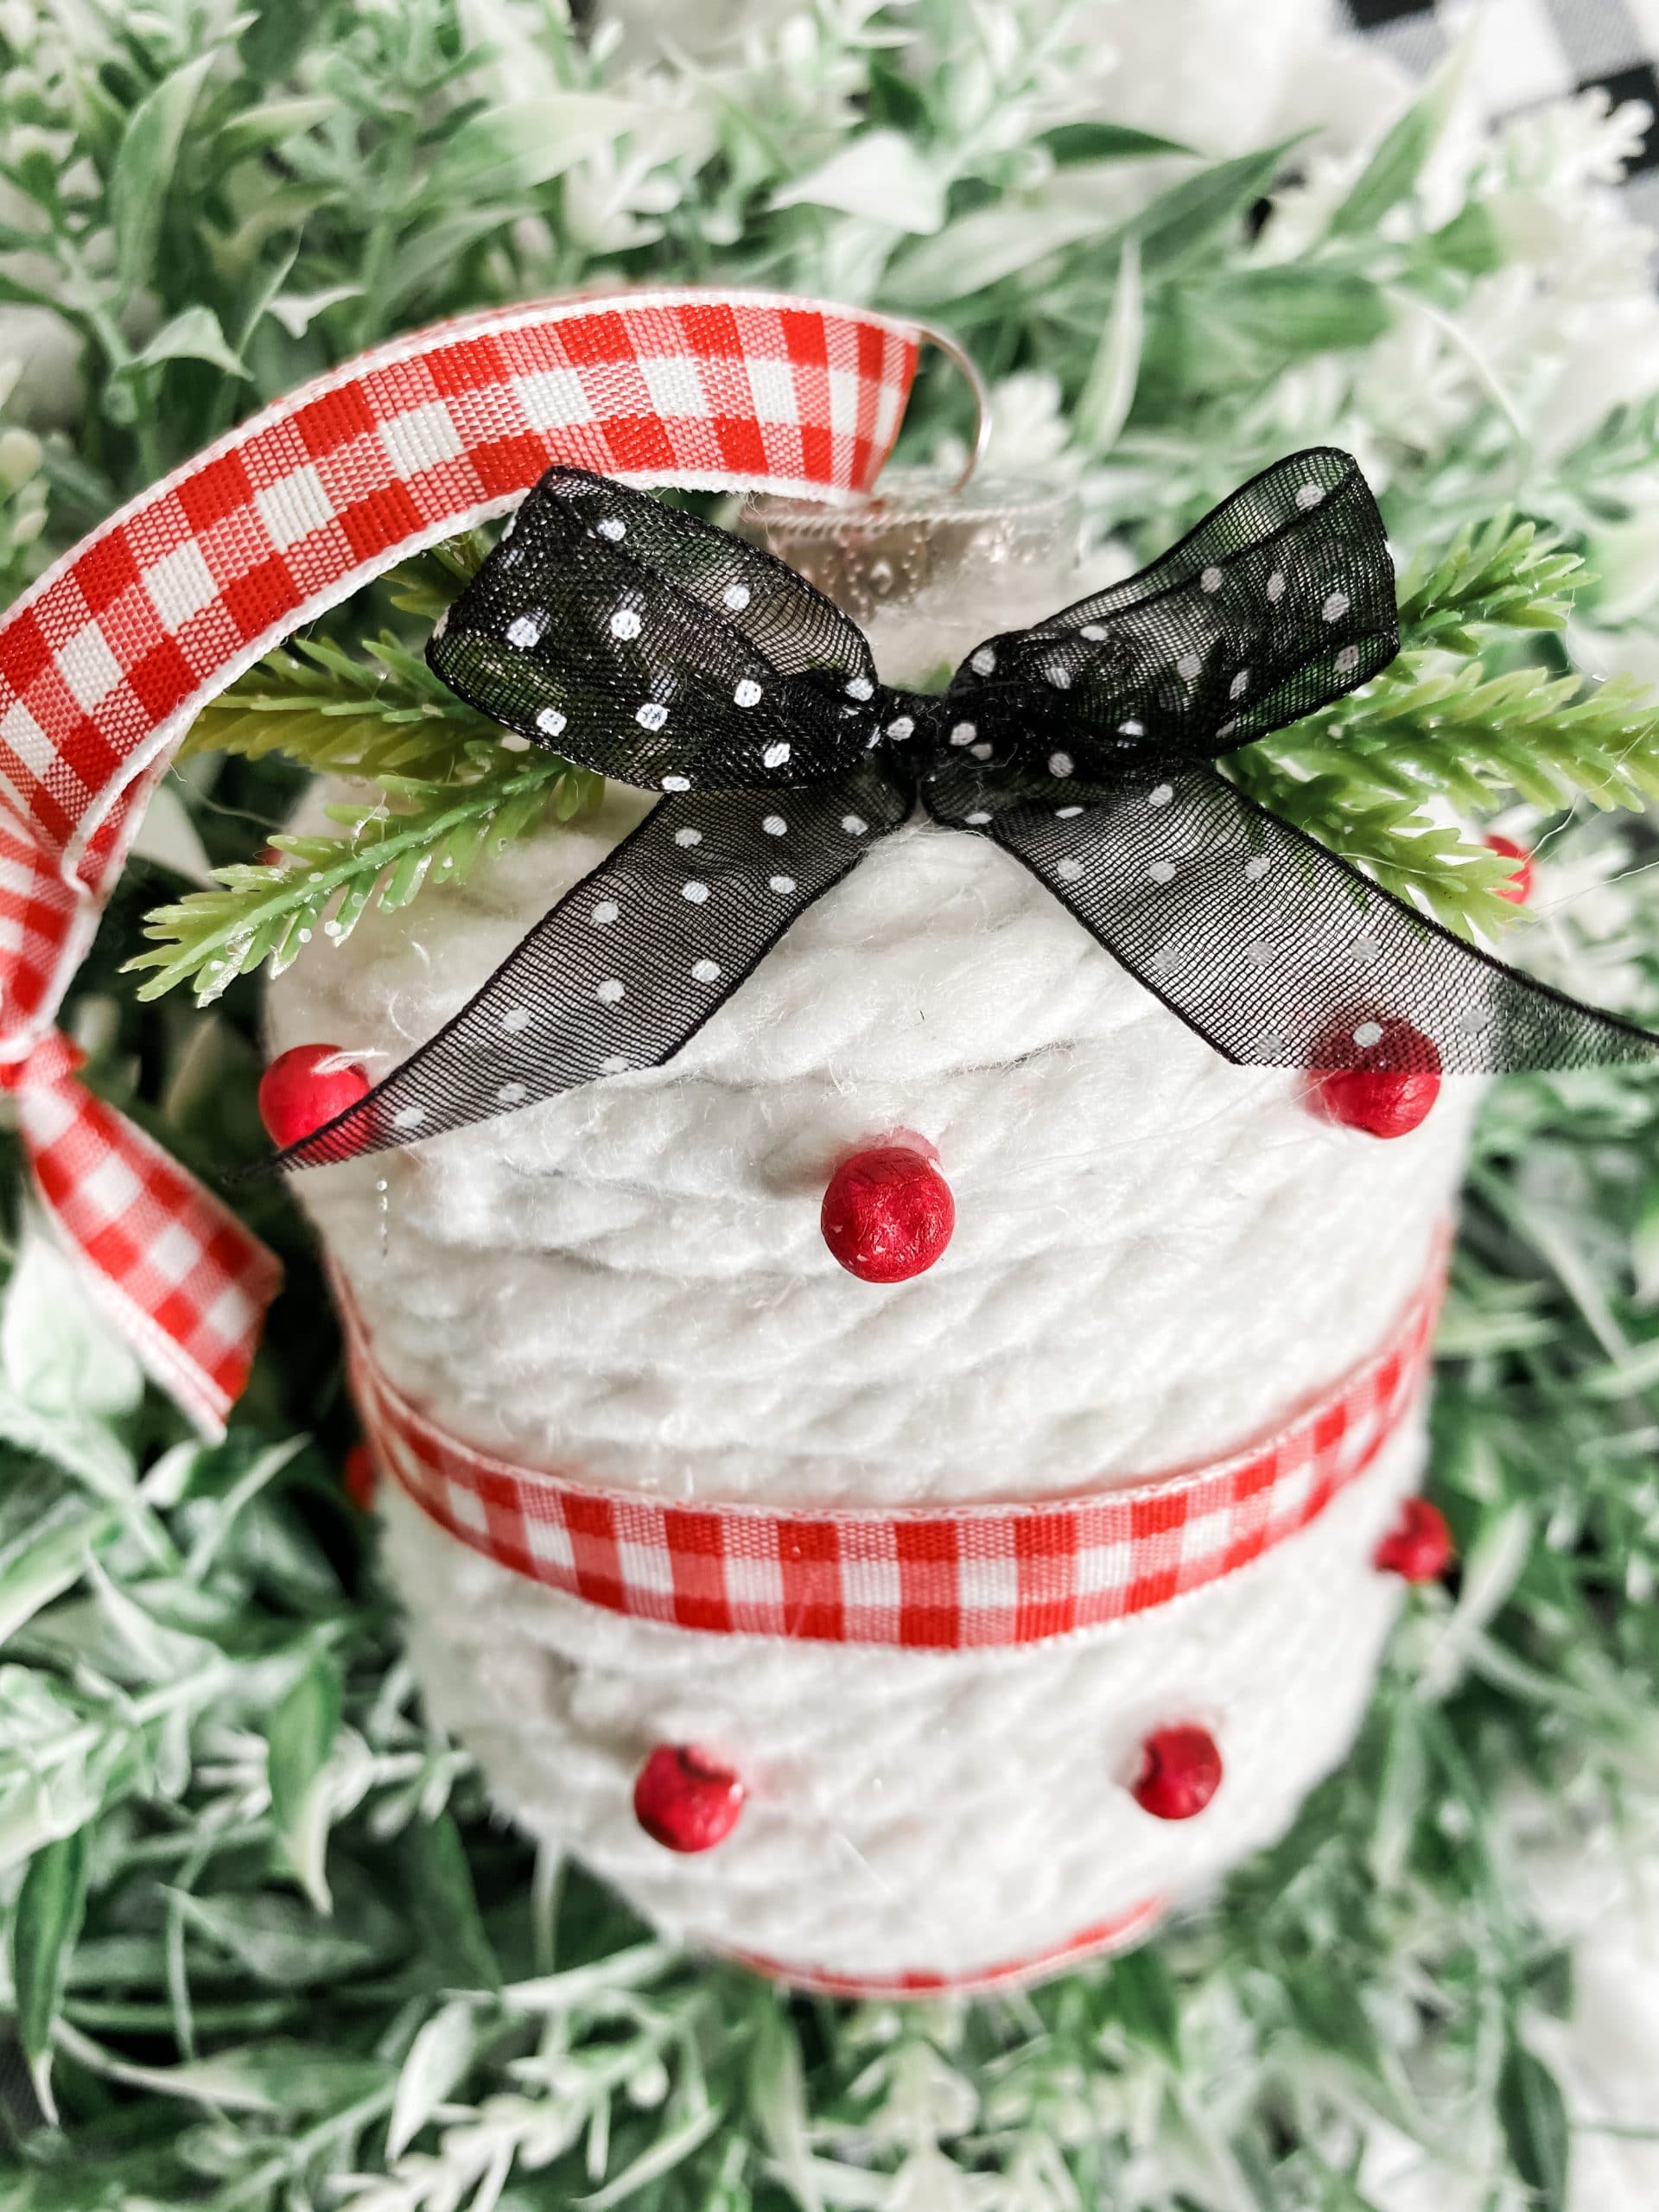
I decorated both of the ornaments differently. For the round Dollar Tree ornament, I hot glued a small piece of Dollar Tree Christmas greenery to the top by the metal hanger. Next, I made a small a small bow with the black polka dot ribbon.
For the more cylinder-shaped ornament, I used the same greenery and made another little ribbon bow. Then, I wrapped a red buffalo check ribbon around the ornament and hot glued it into place.
Finally, I hot glued little red beads onto the mop strings. These ornaments really are so easy to make, they would be great kid’s crafts!
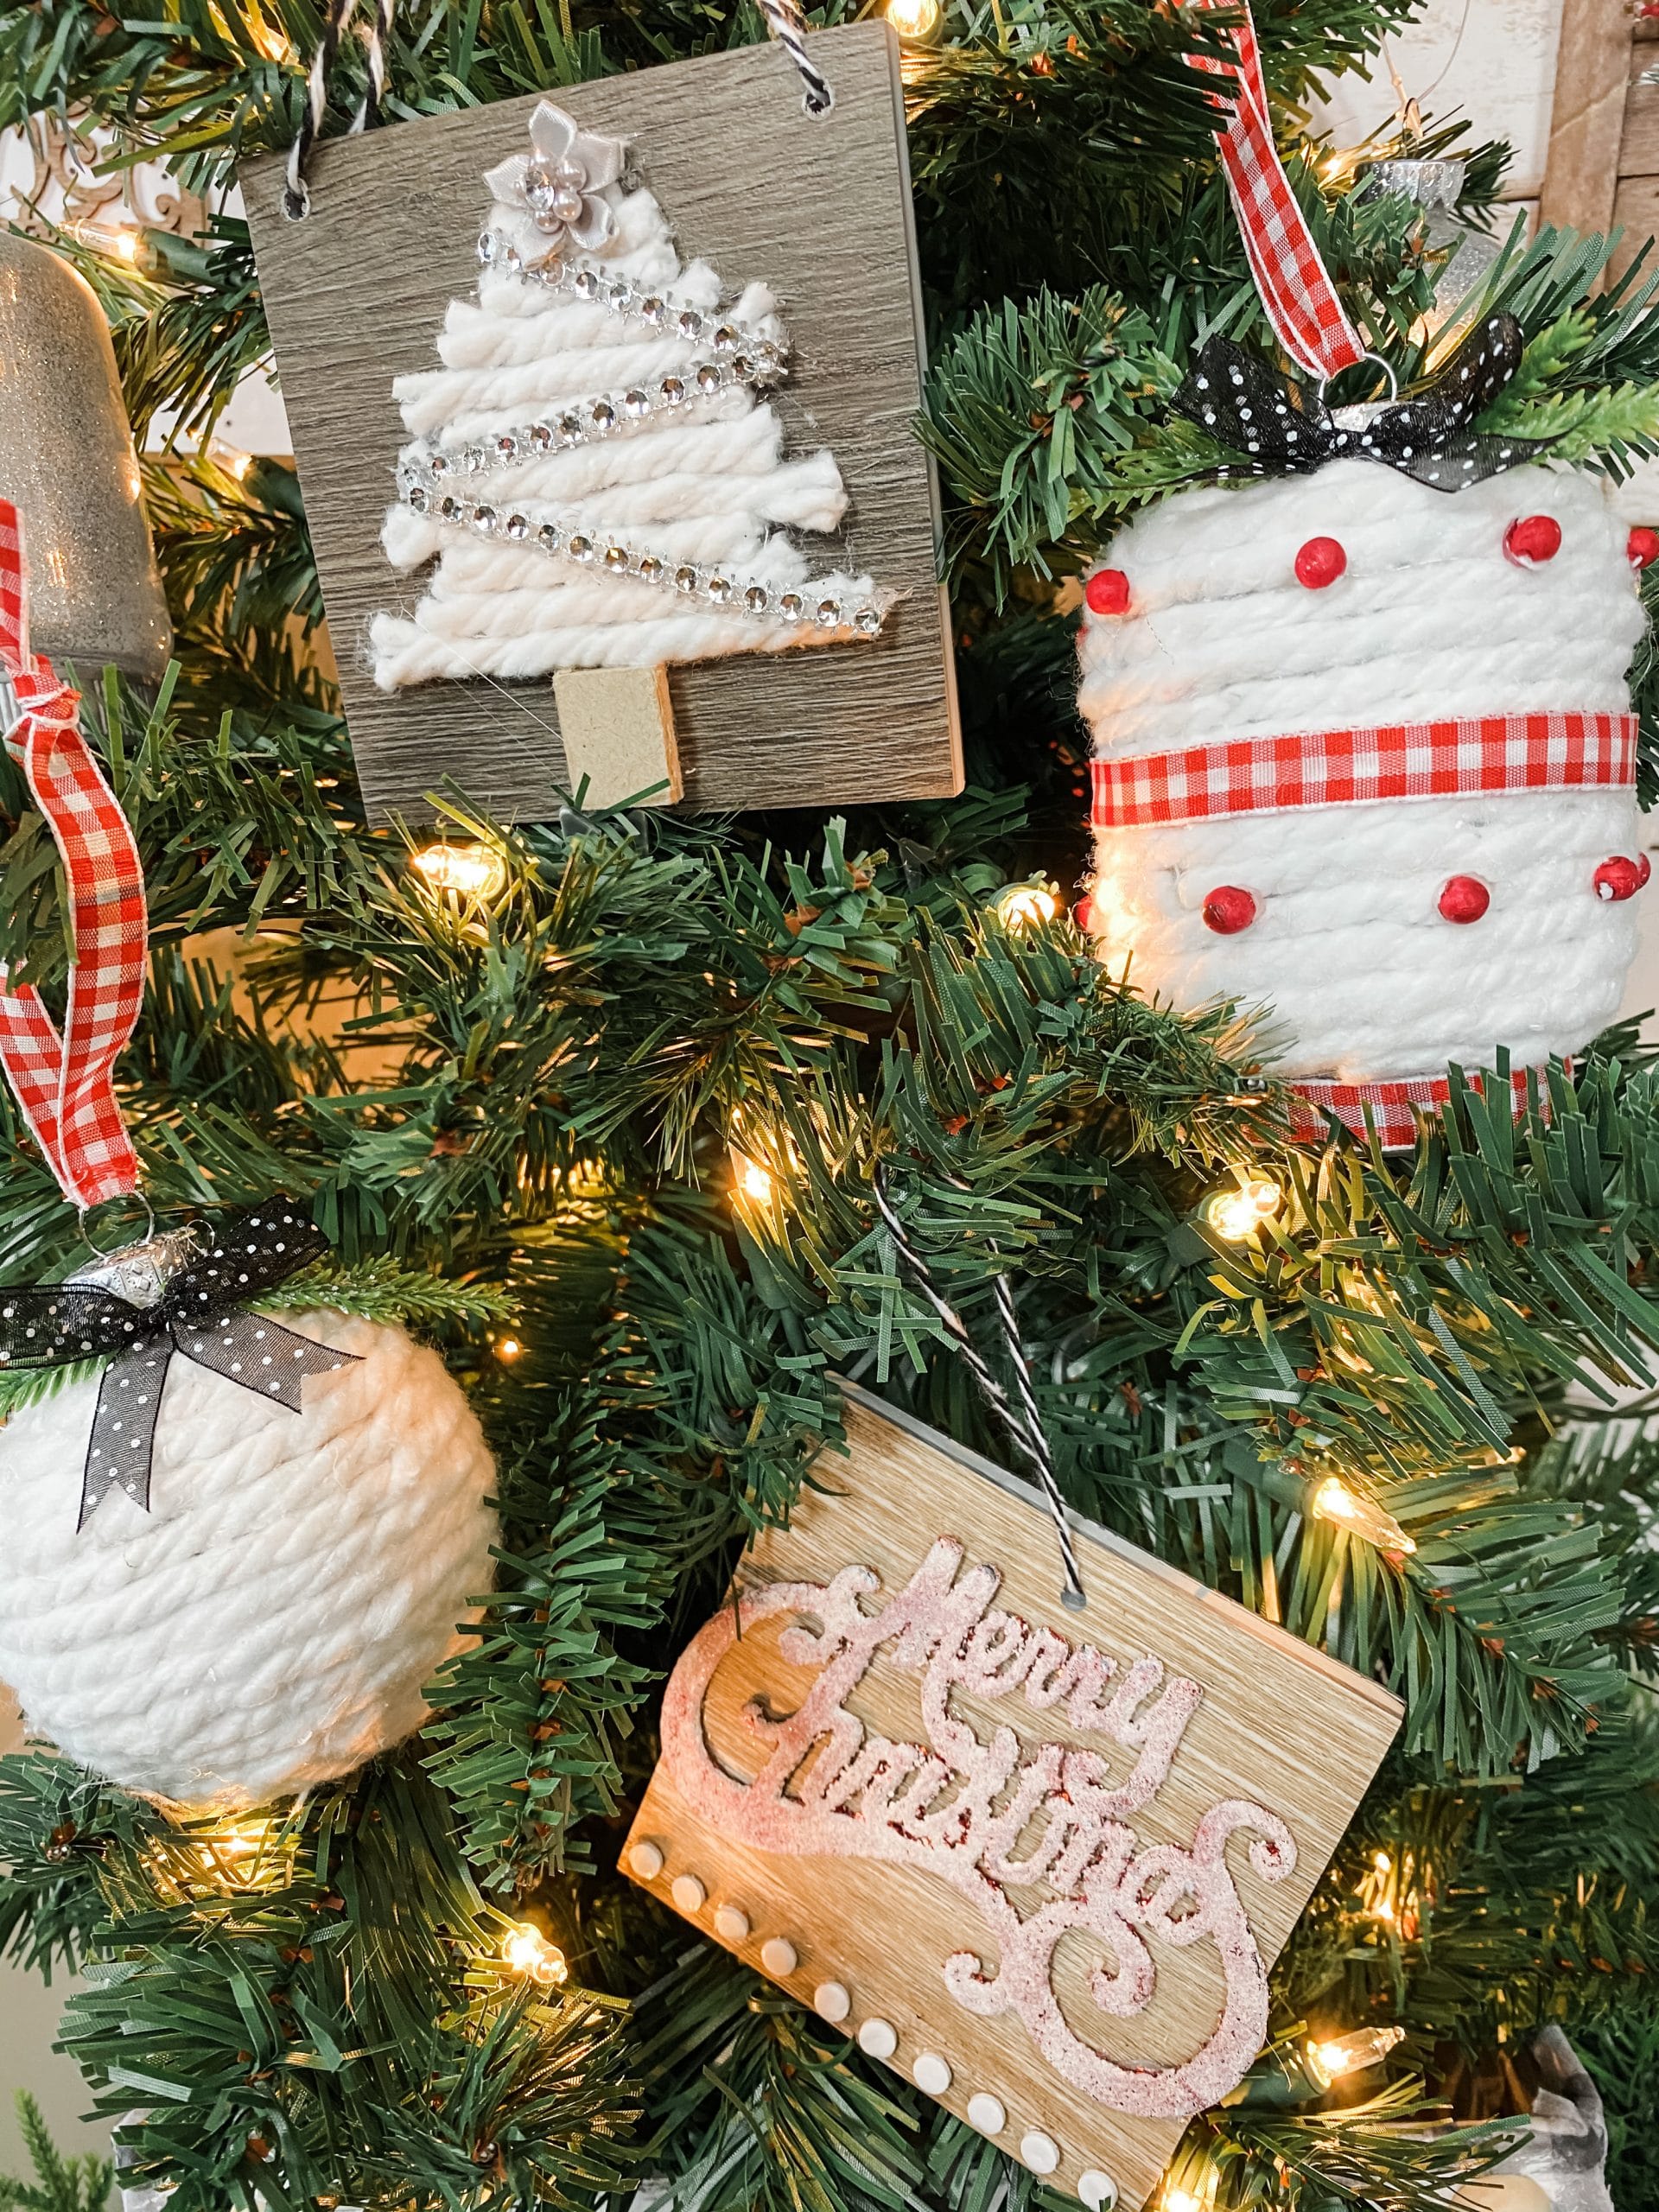
I hope you enjoyed learning how to make these DIY Dollar Tree Mop String Christmas Ornaments as much as I did and decide to make some for yourself!
I would love to see how yours turns out! You should totally join my FREE Facebook group called On A Budget Crafts! It is a judgment-free community for DIY crafters to show off their projects and ideas.
If you loved this DIY you might also like this Easy Christmas Ornament DIY!
Thanks for stopping by! XOXO Amber
Did you know that I send out text alerts to my community? You can get my text alerts too! It is super easy! Just text me! 912-875-8866

Remember, You can shop my ENTIRE AMAZON Favorites shop just click here! It is packed full of all the things I use, love, and recommend!
Inspired? Leave me a comment below! I love hearing from my readers!
>>>> PIN THIS POST FOR LATER! <<<<<


Very cute