DIY Dollar Tree Lantern
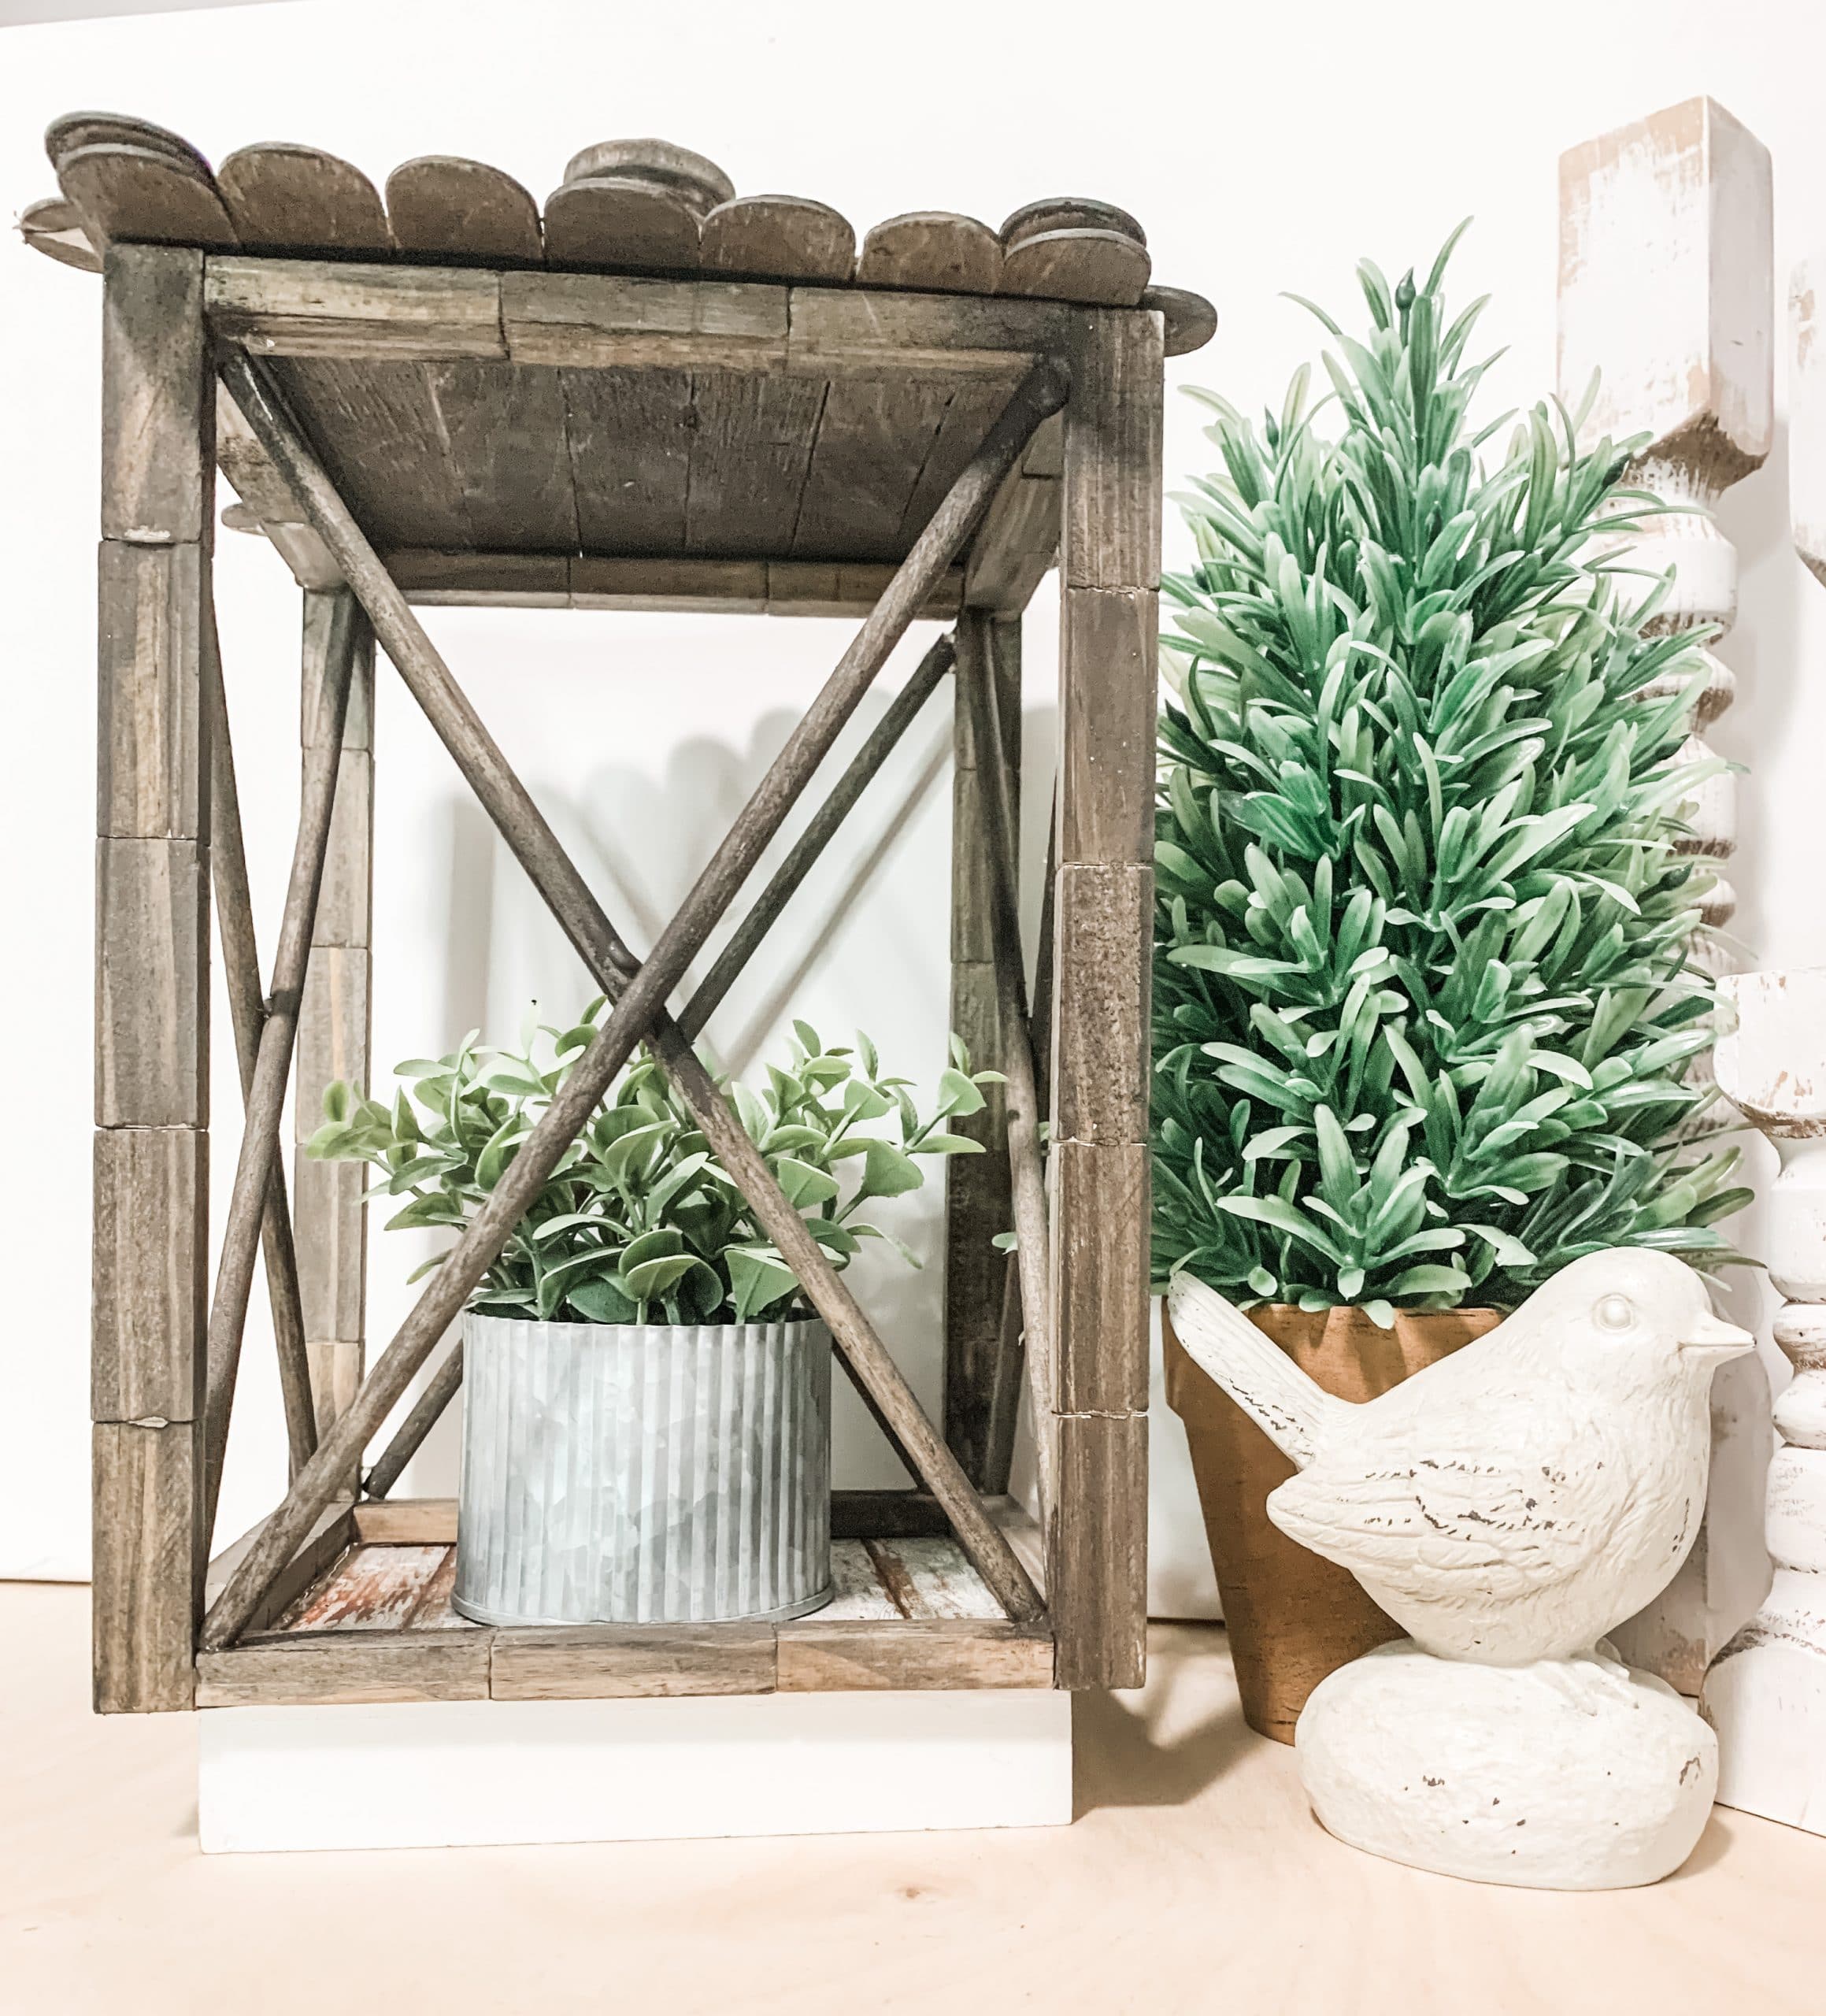
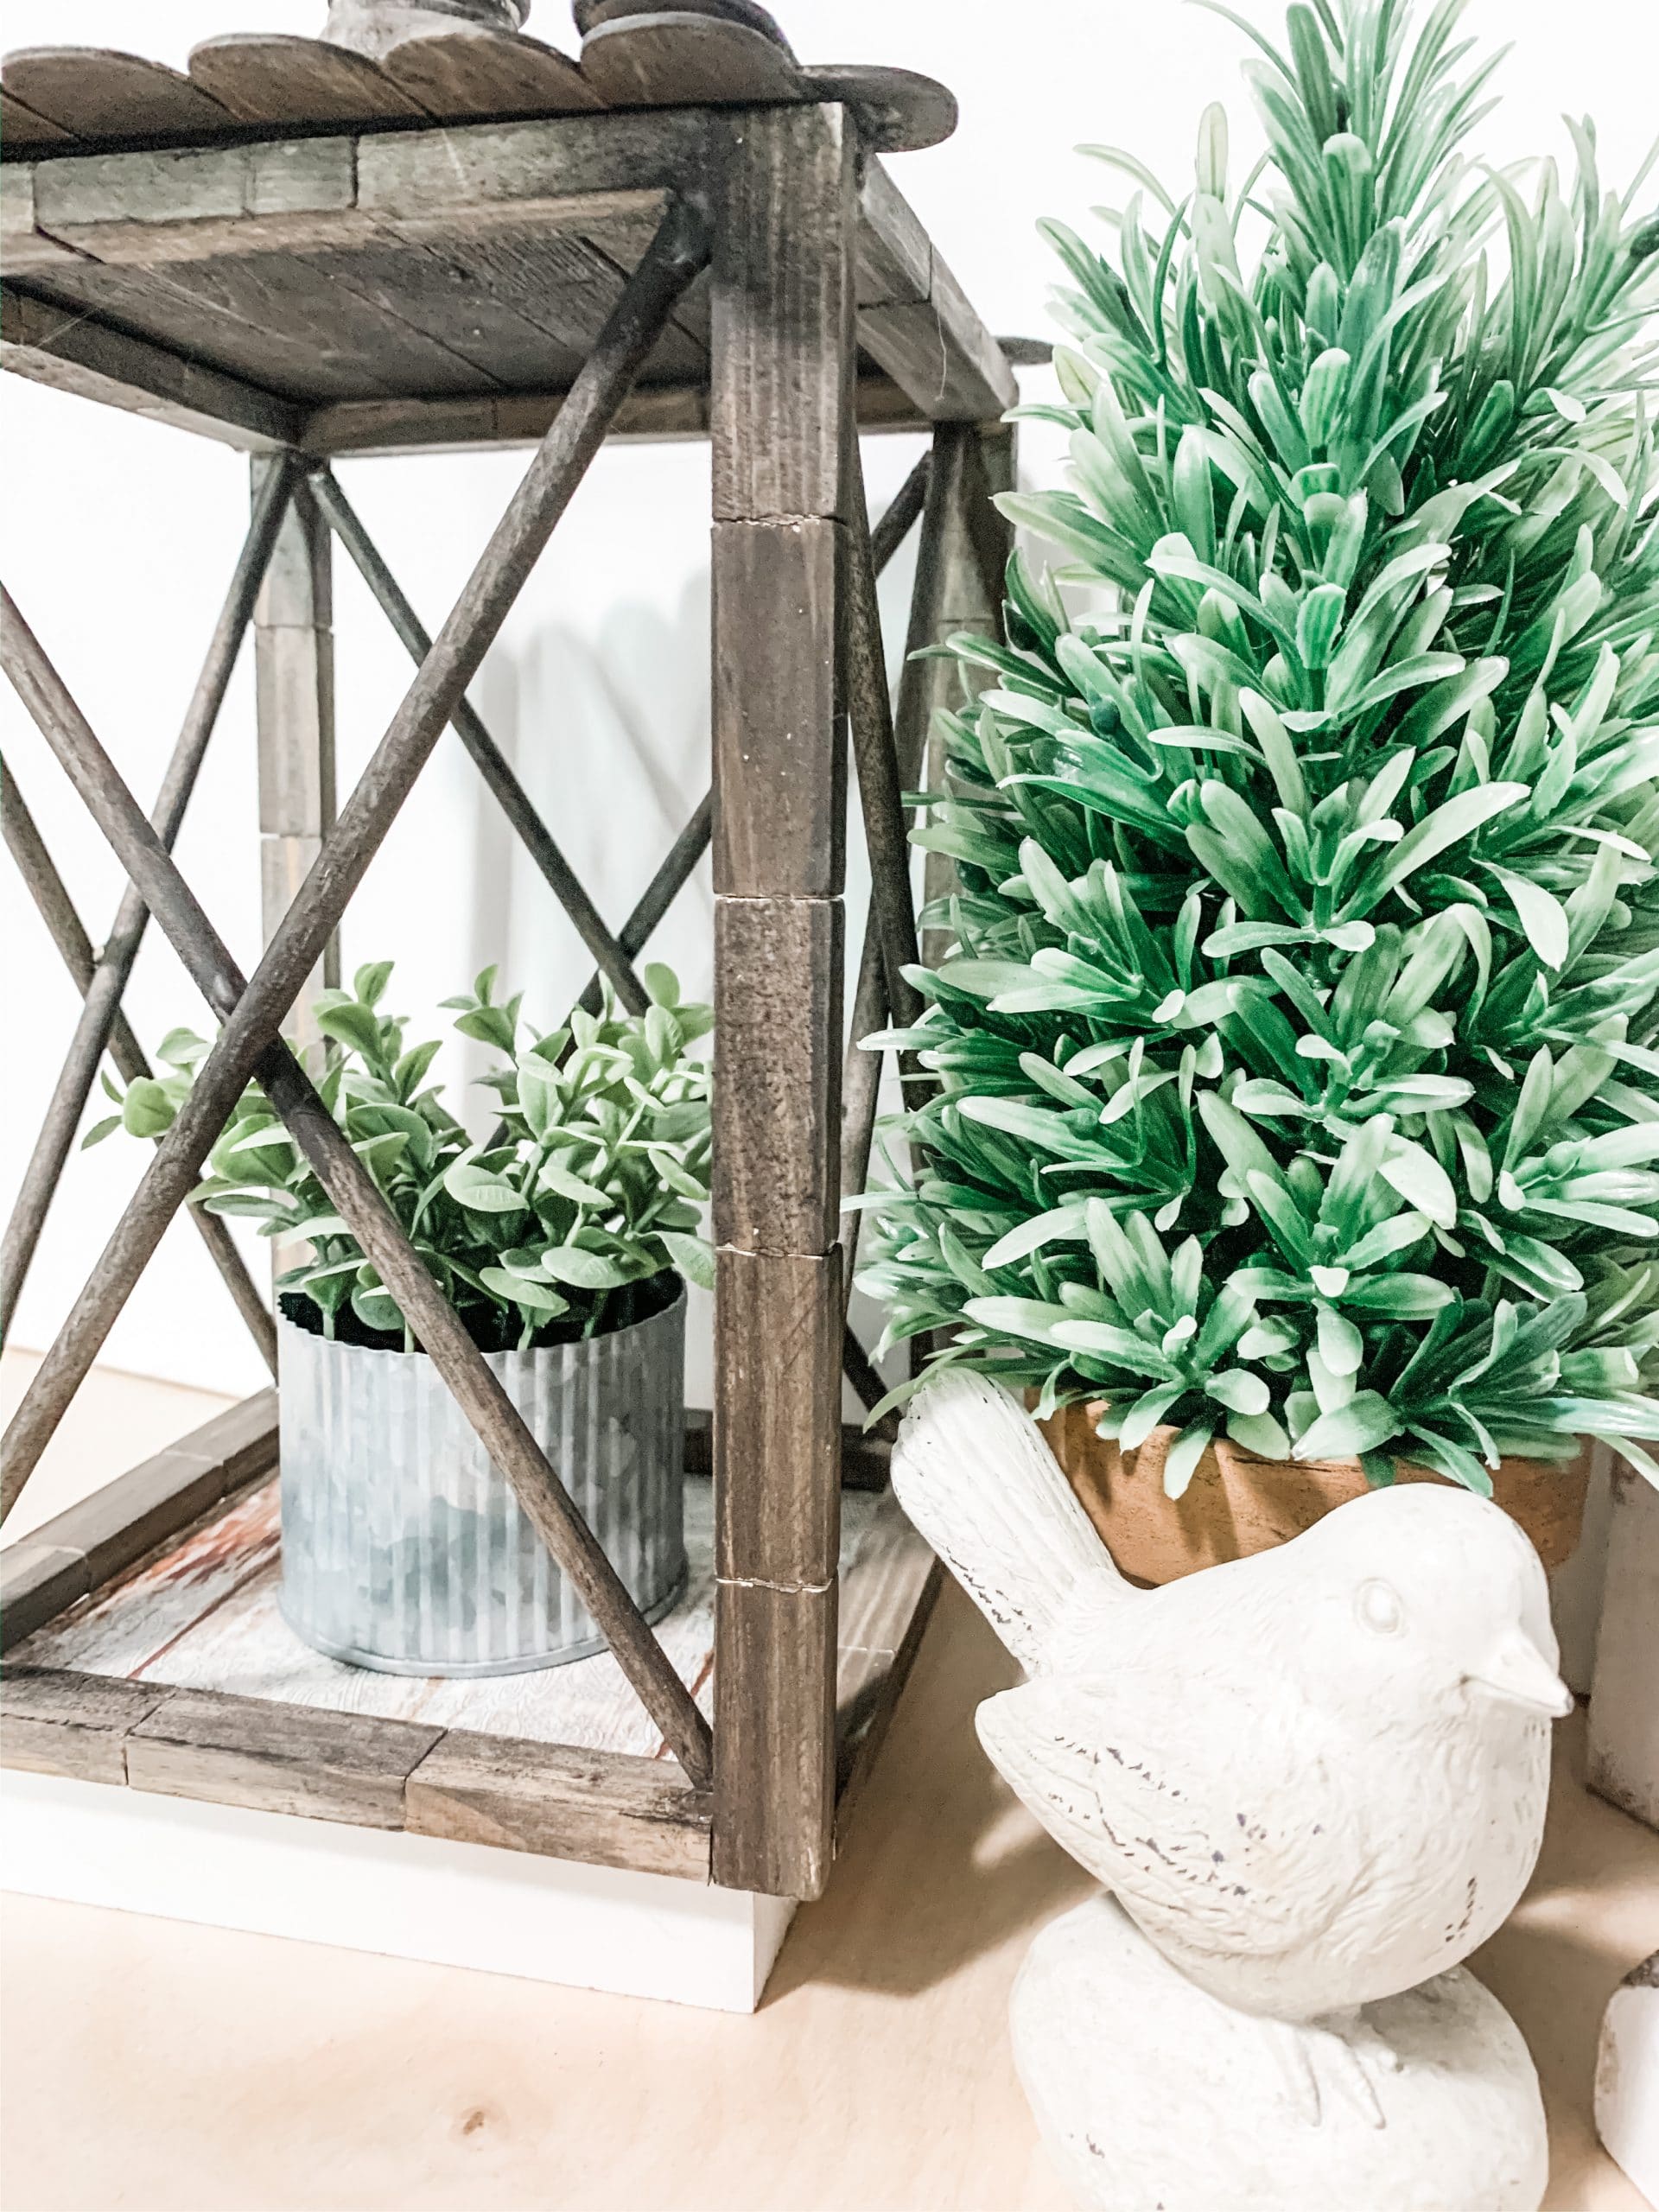
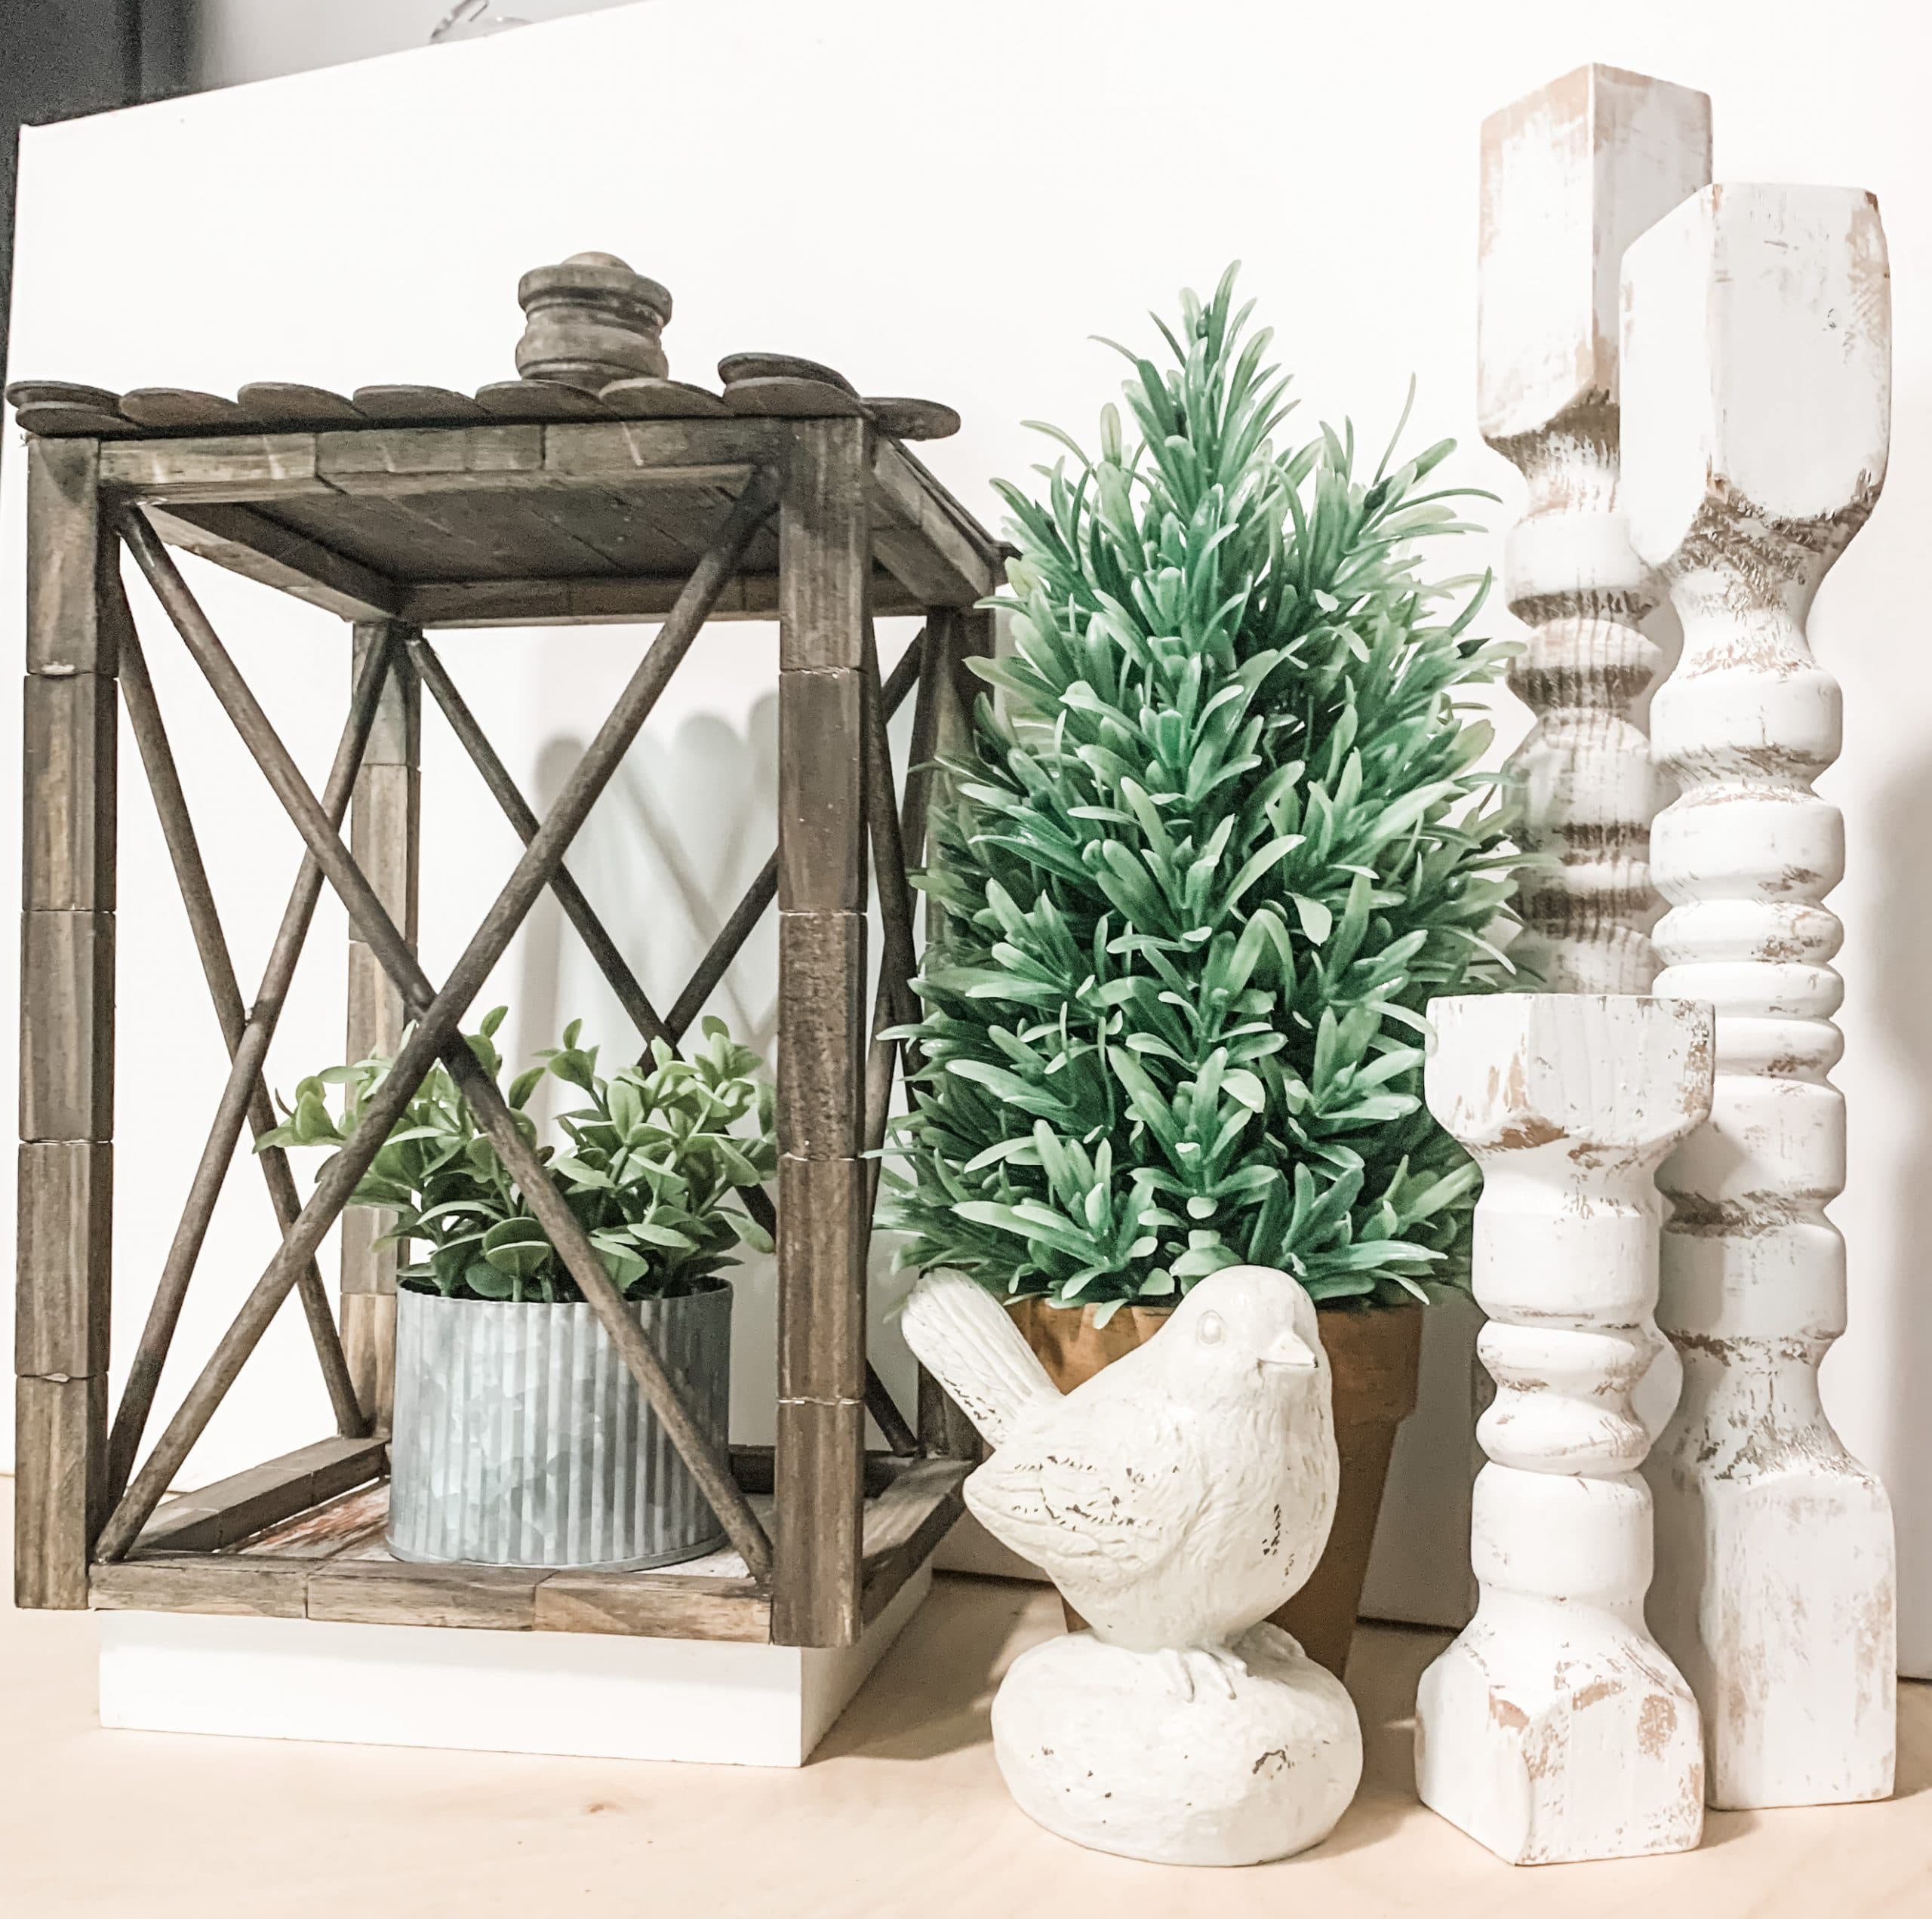
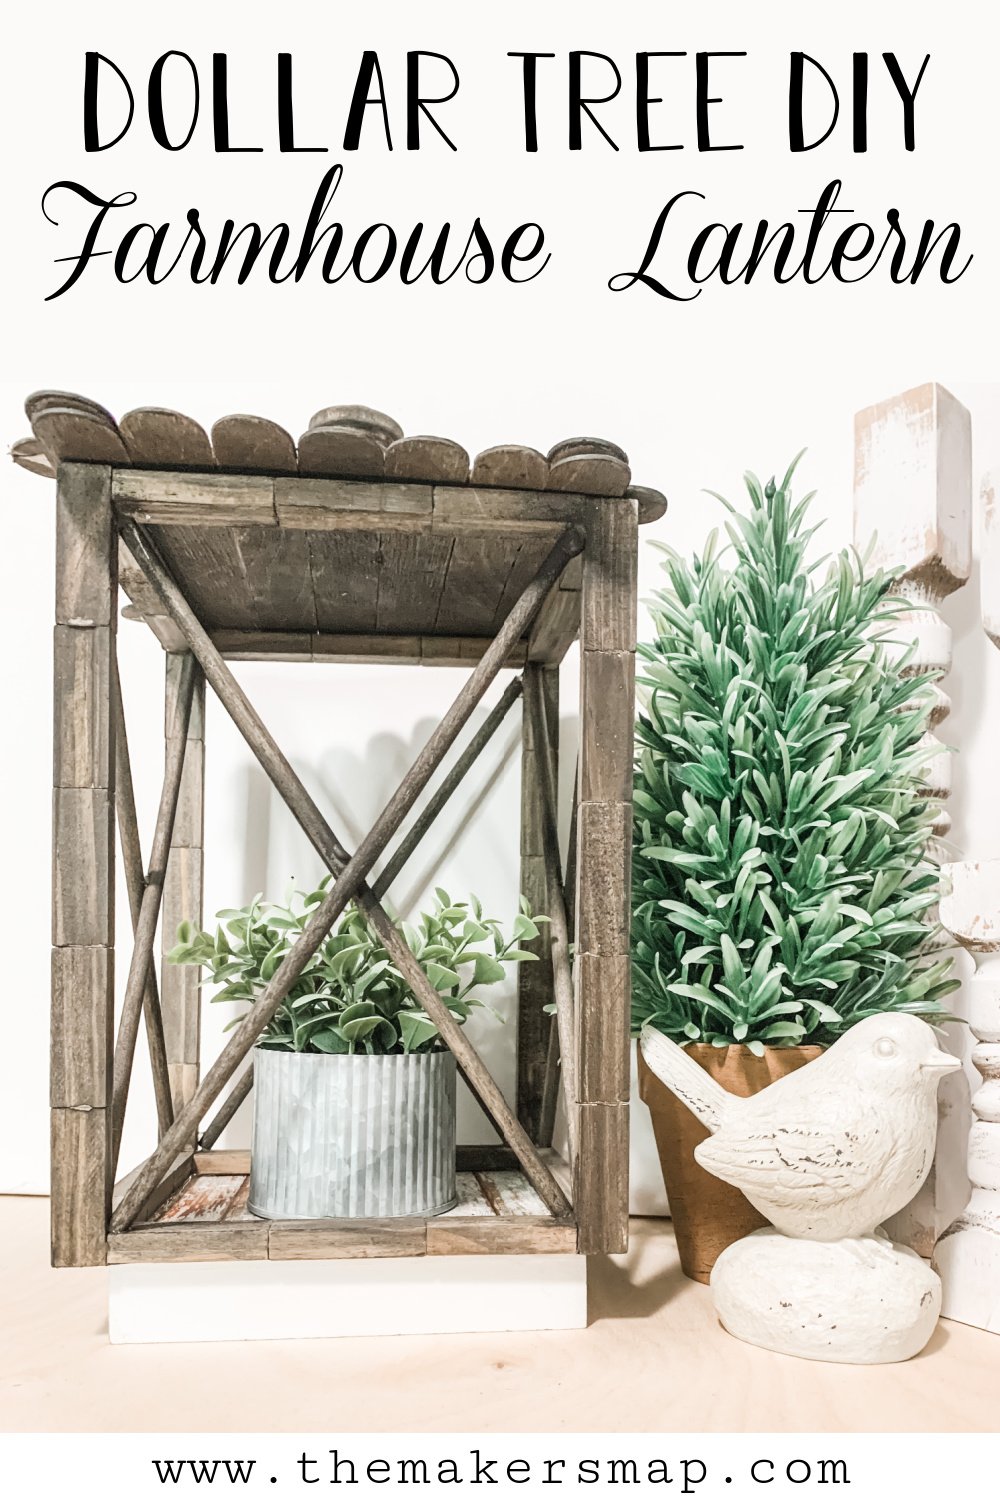
I am absolutely in love with how this DIY Dollar Tree Lantern turned out! If you’ve been a part of my Crafty Crew for a while, then you have to know that I love using Dollar Tree Tumbling Tower blocks in my DIY projects.
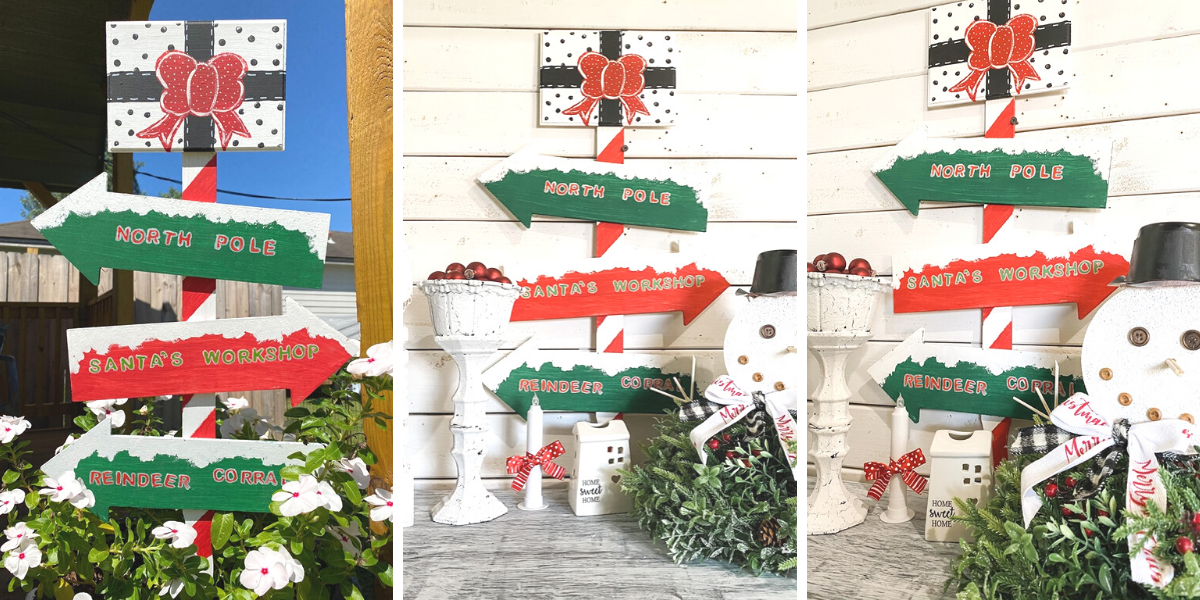
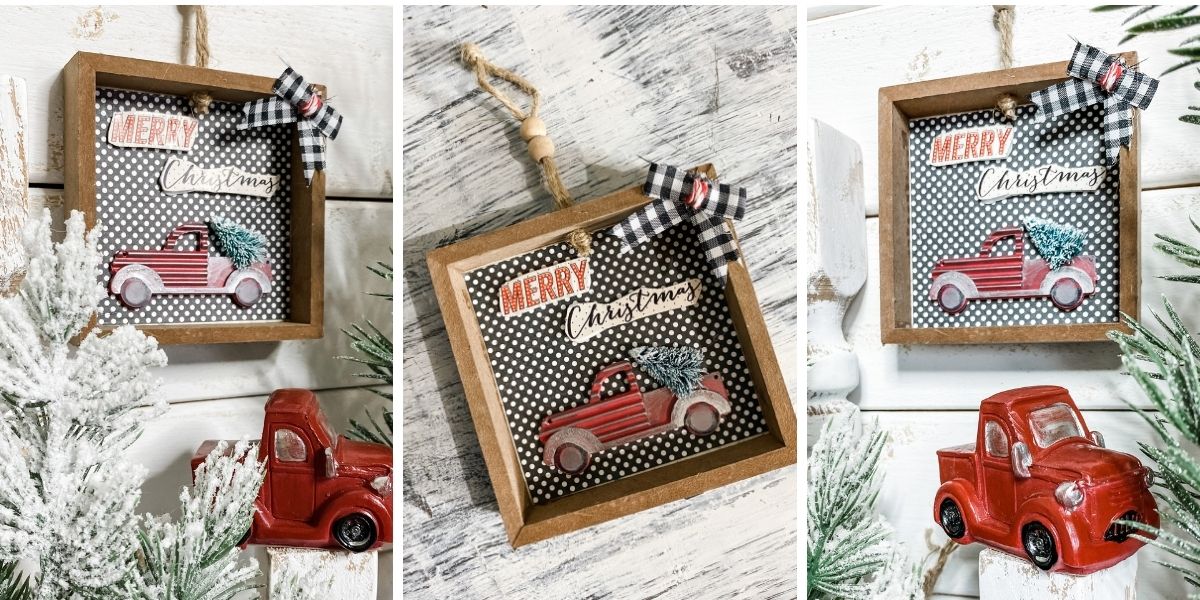
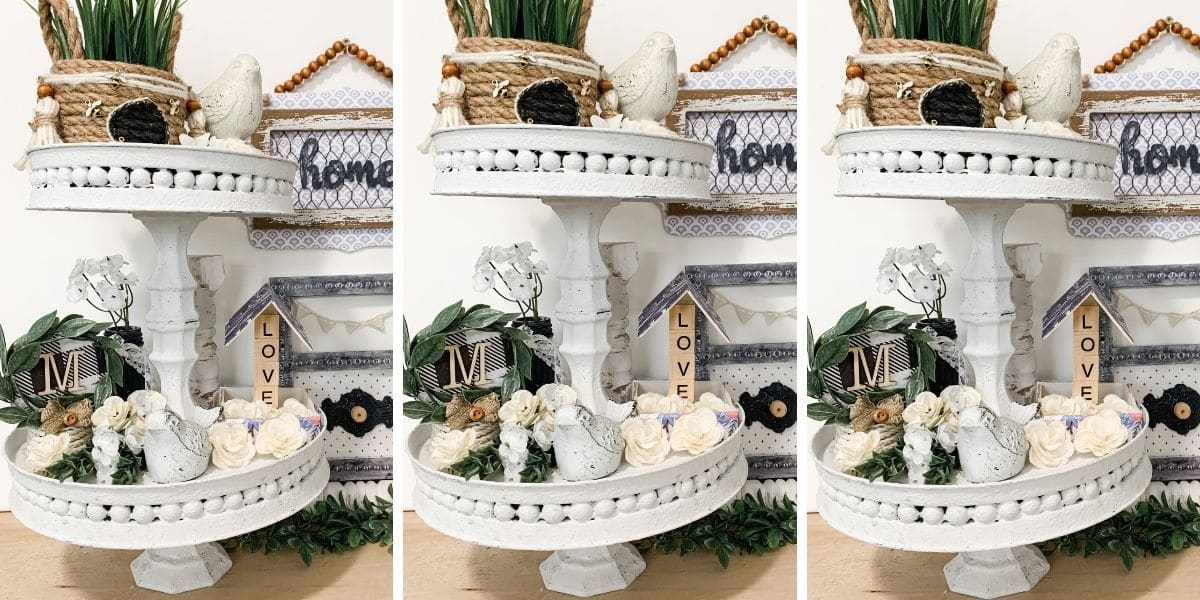
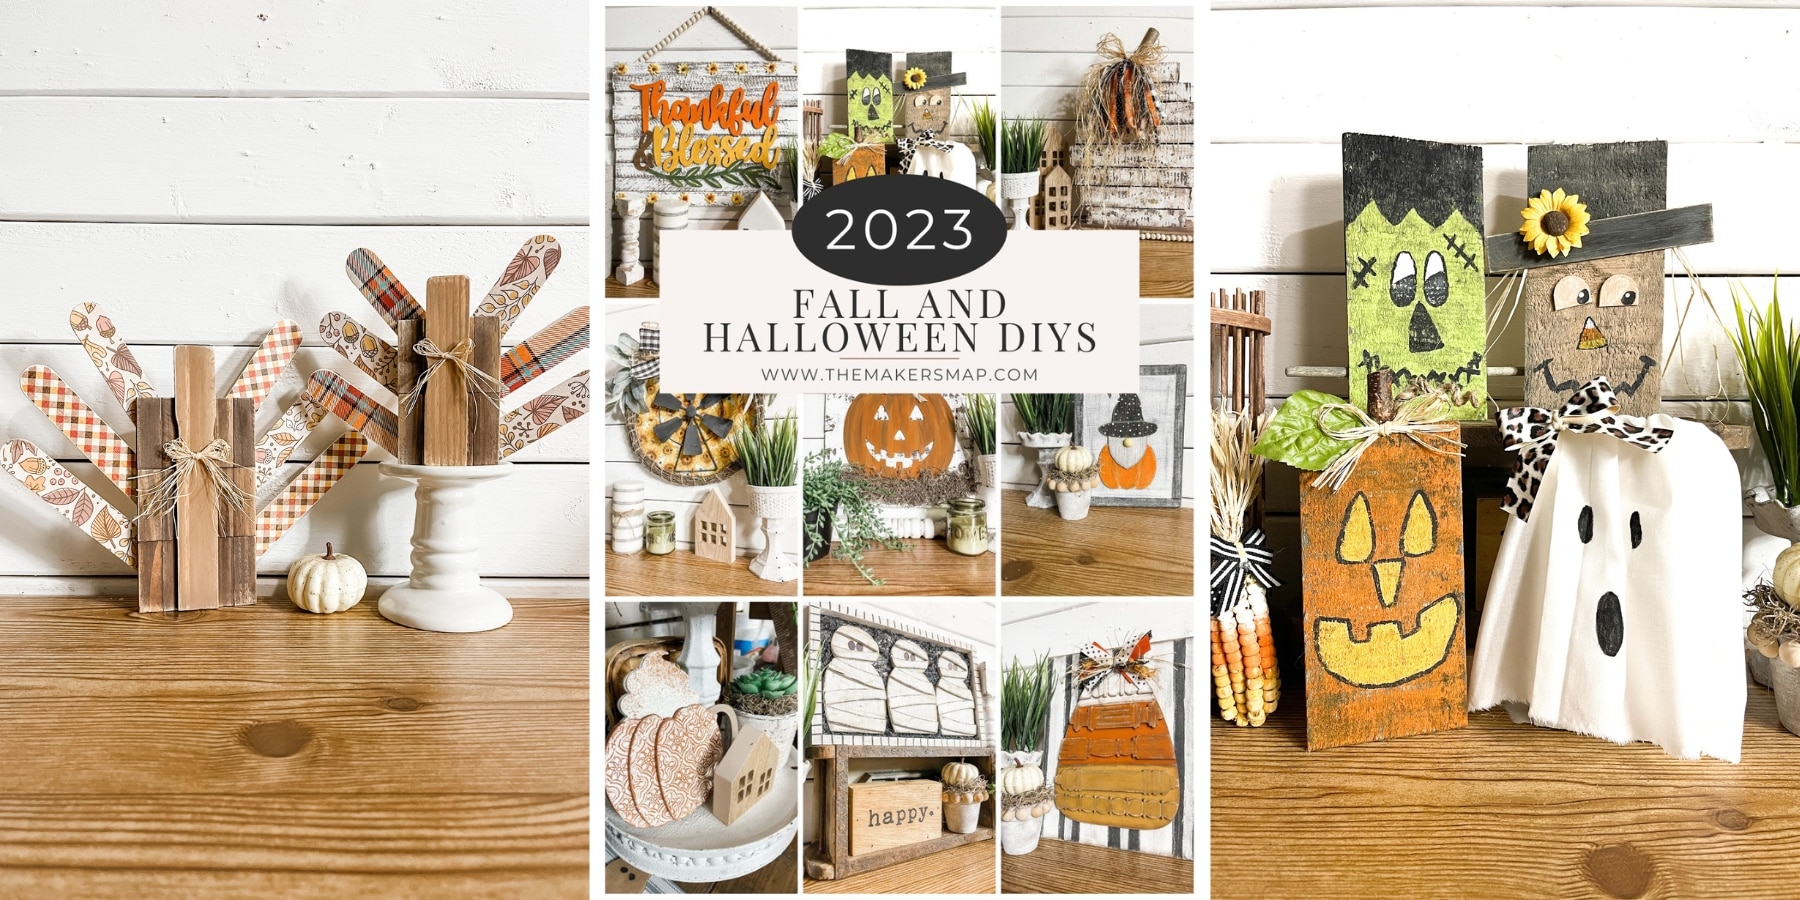
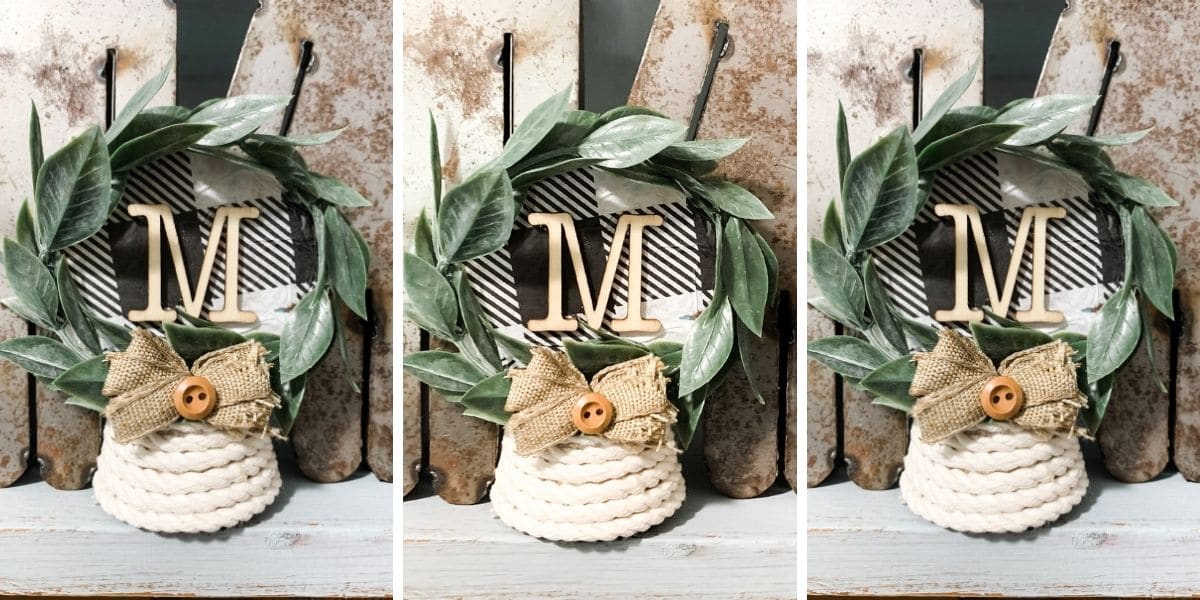
Check out these other projects I made using Dollar Tree Tumbling Tower blocks!
Watch the replay
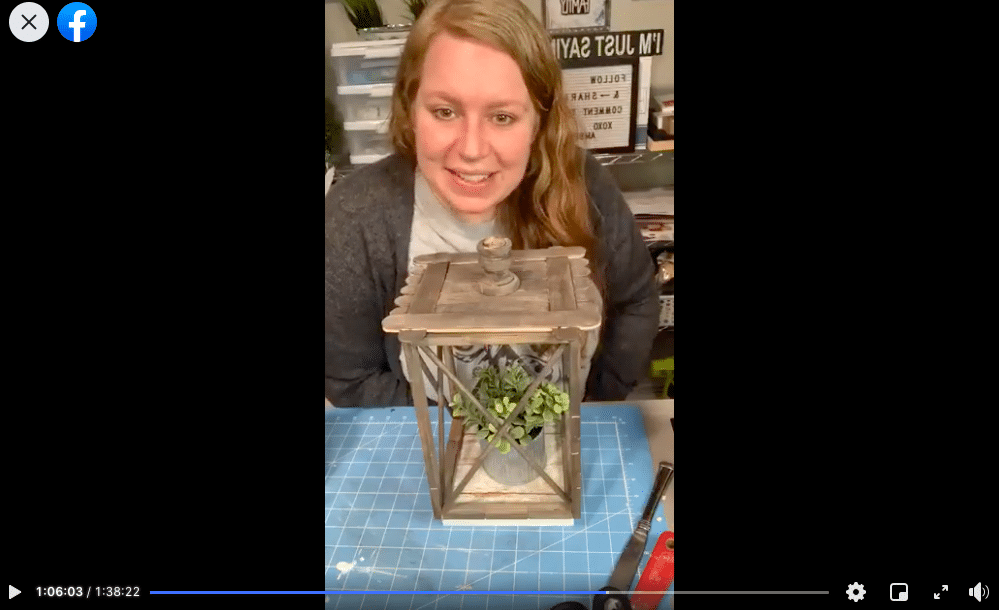
Want to see how I turned Dollar Tree Tumbling Tower blocks into an amazing DIY lantern? You can watch the replay of the Facebook LIVE video where I showed my Crafty Crew the how-to steps of making a DIY Dollar Tree Lantern!
For this project, I will be using these items but you can substitute where you want.
“As an Amazon Associate, I earn from qualifying purchases.”
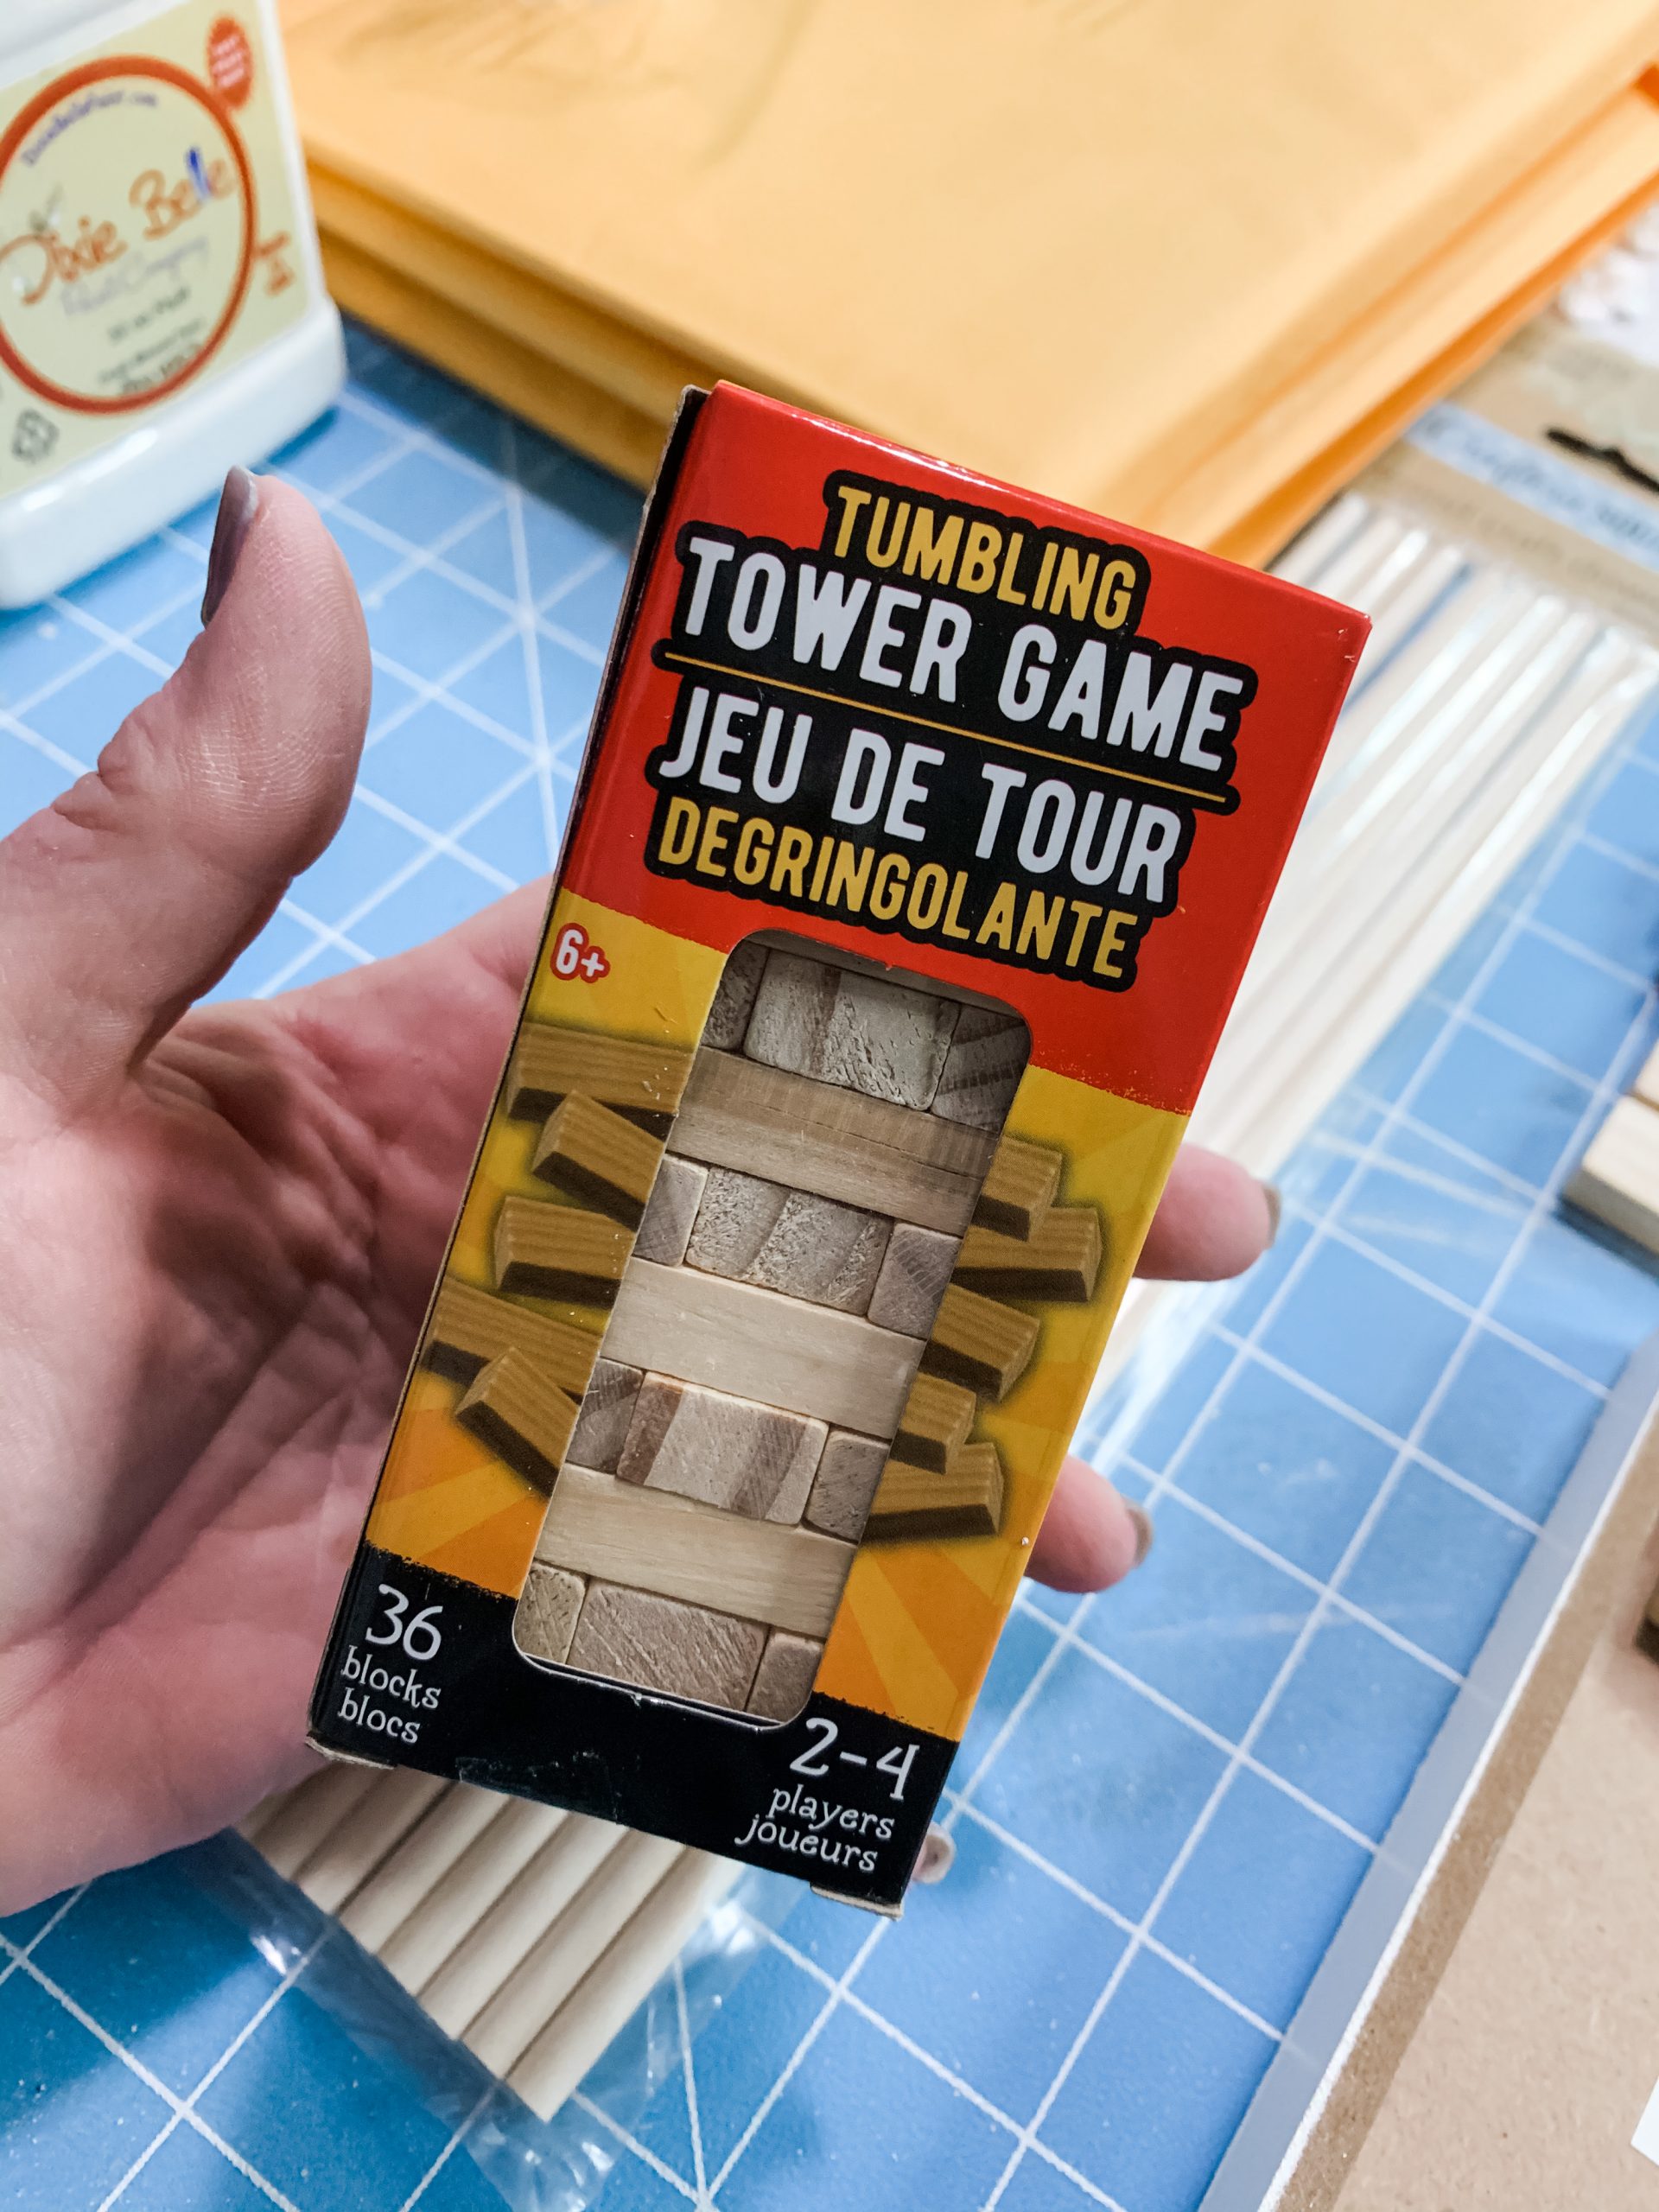
- Dollar Tree Tumbling Tower Blocks
- Dollar Tree Wood Dowels
- Shiplap Scrapbook Paper (Hobby Lobby)
- Dollar Tree Sign Box
- Large Wood Beads
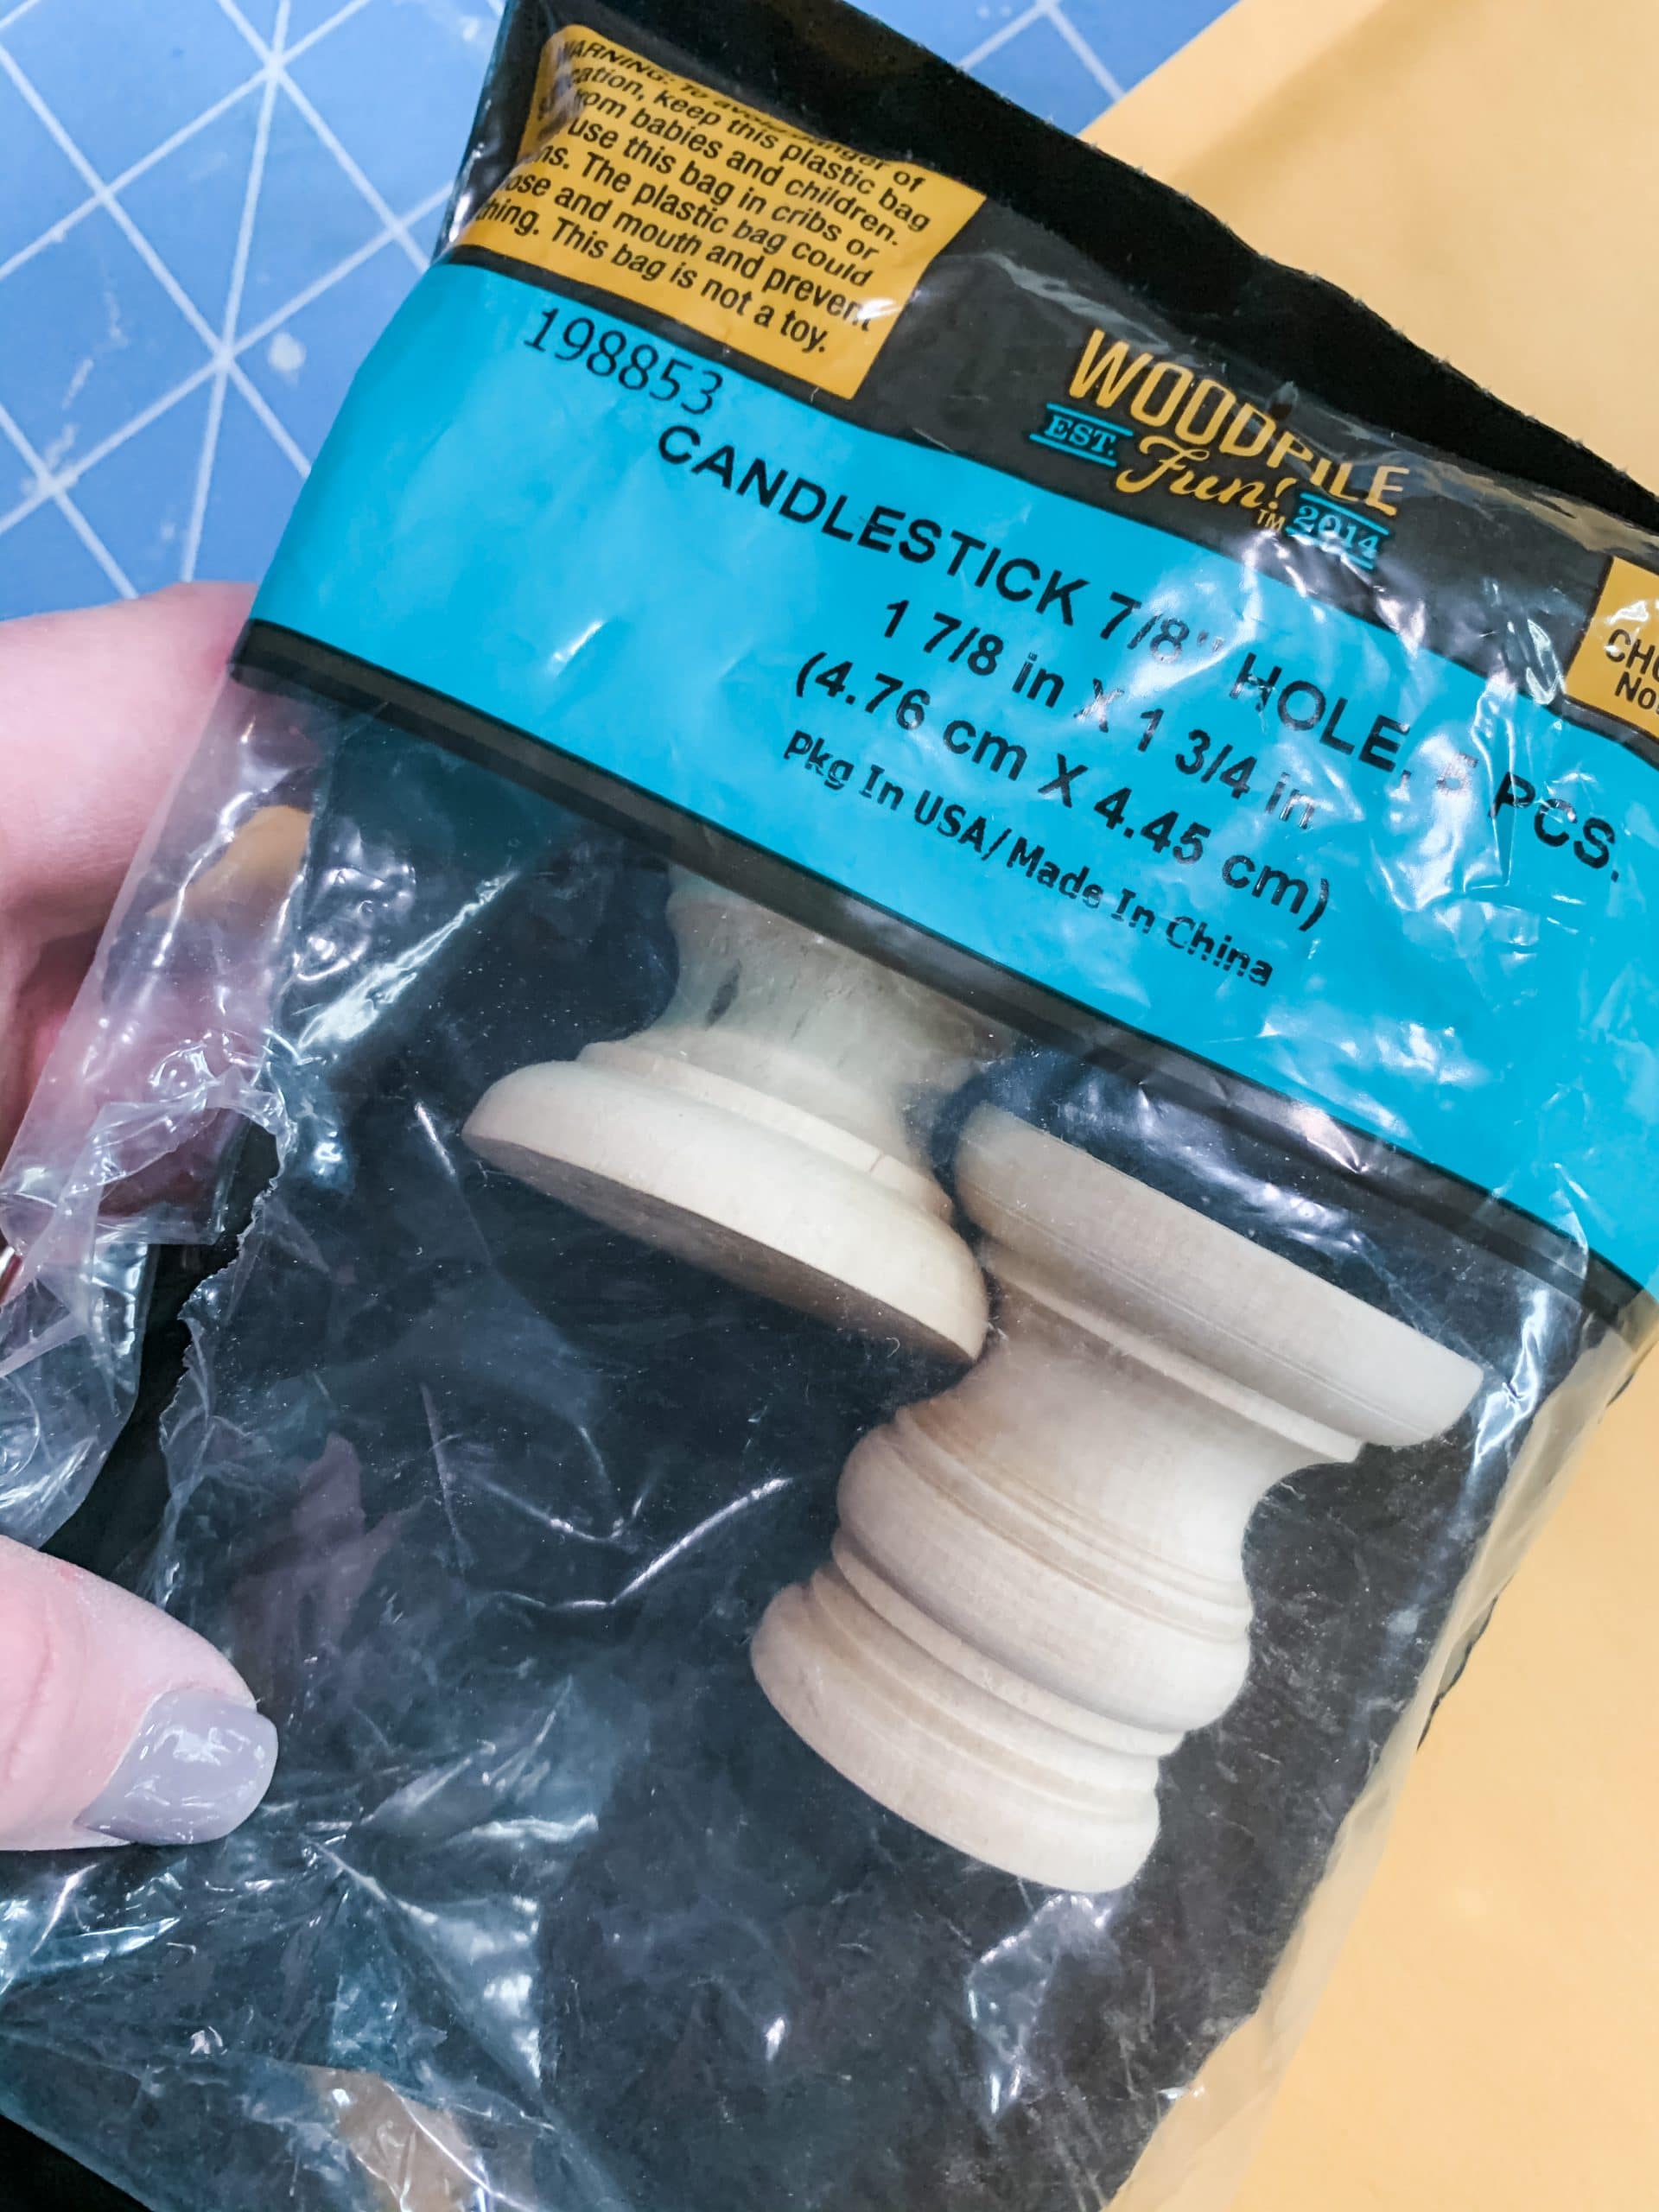
- Candlestick 7/8″ Hole
- Giant Craft Sticks
- Brown Paint
- Mod Podge
- Wet Wipes
- Paintbrushes
- Hot Glue gun
- Glue Sticks
How to make a DIY Dollar Tree Lantern
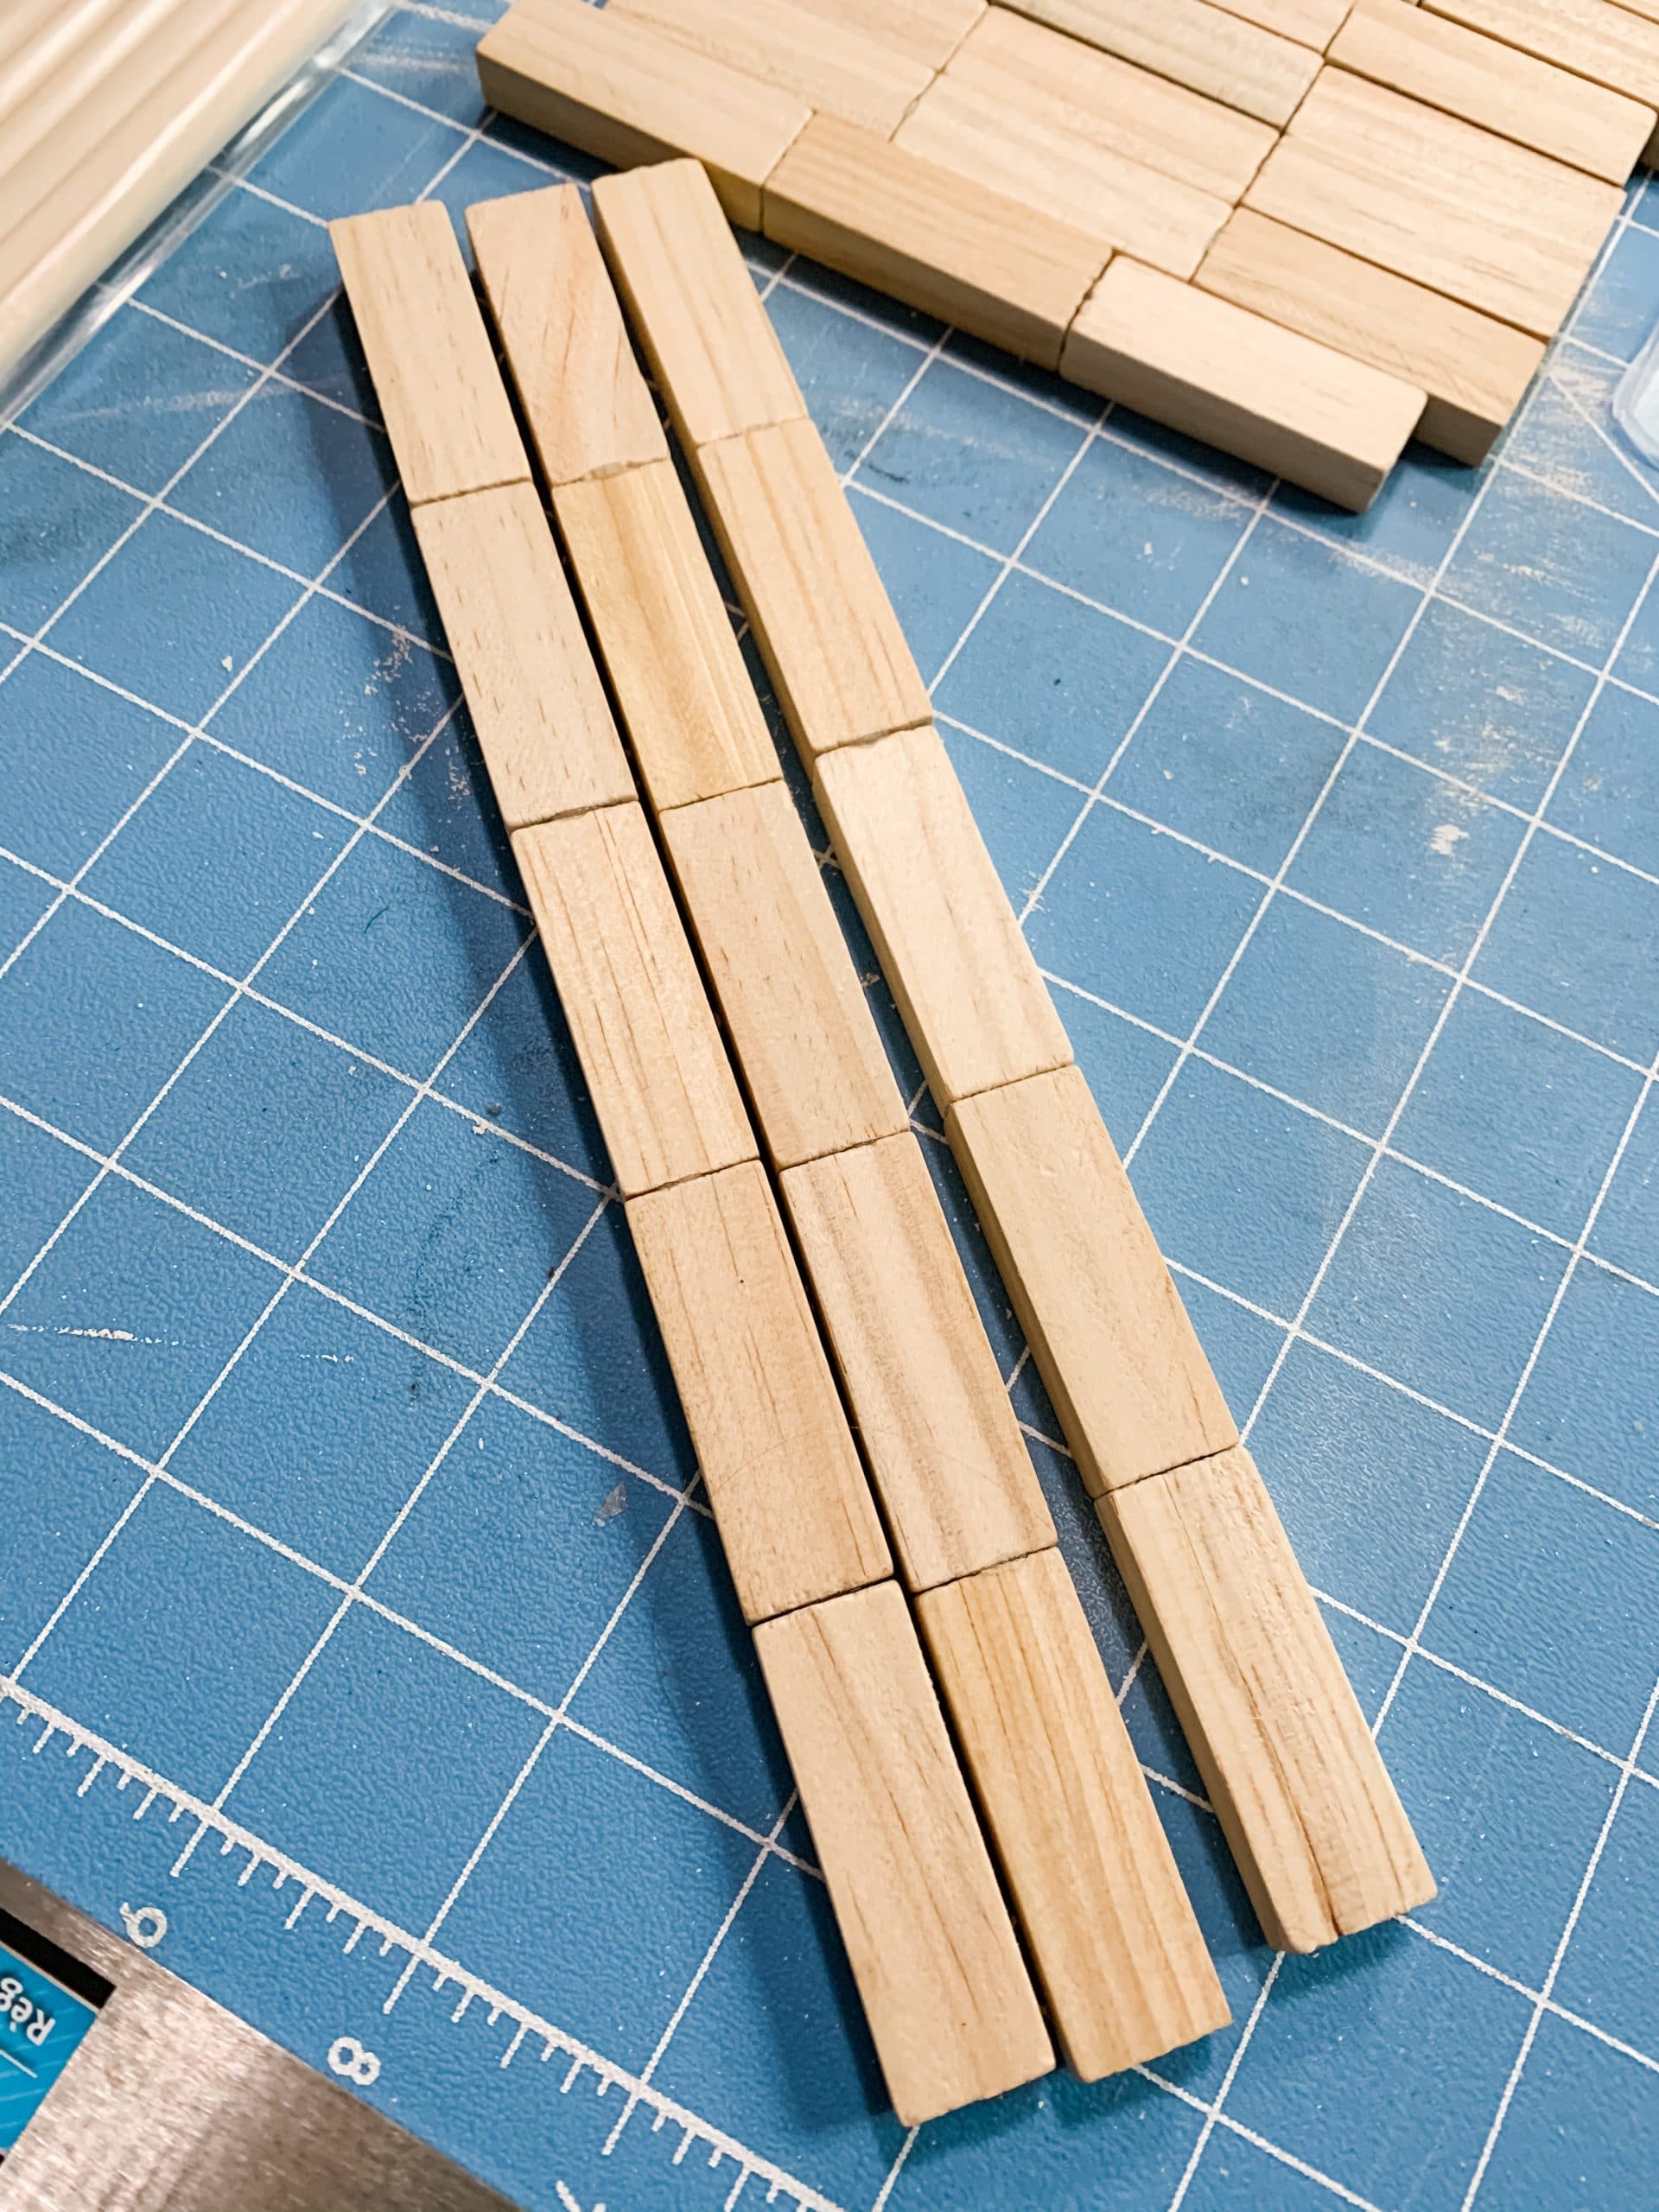
You’re going to start making this adorable DIY lantern by hot gluing your Dollar Tree Tumbling Tower blocks together into strips. The number of blocks you need depends on the size you want your lantern to be.
To make a lantern the same size as mine, put together:
- 4 strips of 5 blocks
- 8 strips of 3 blocks
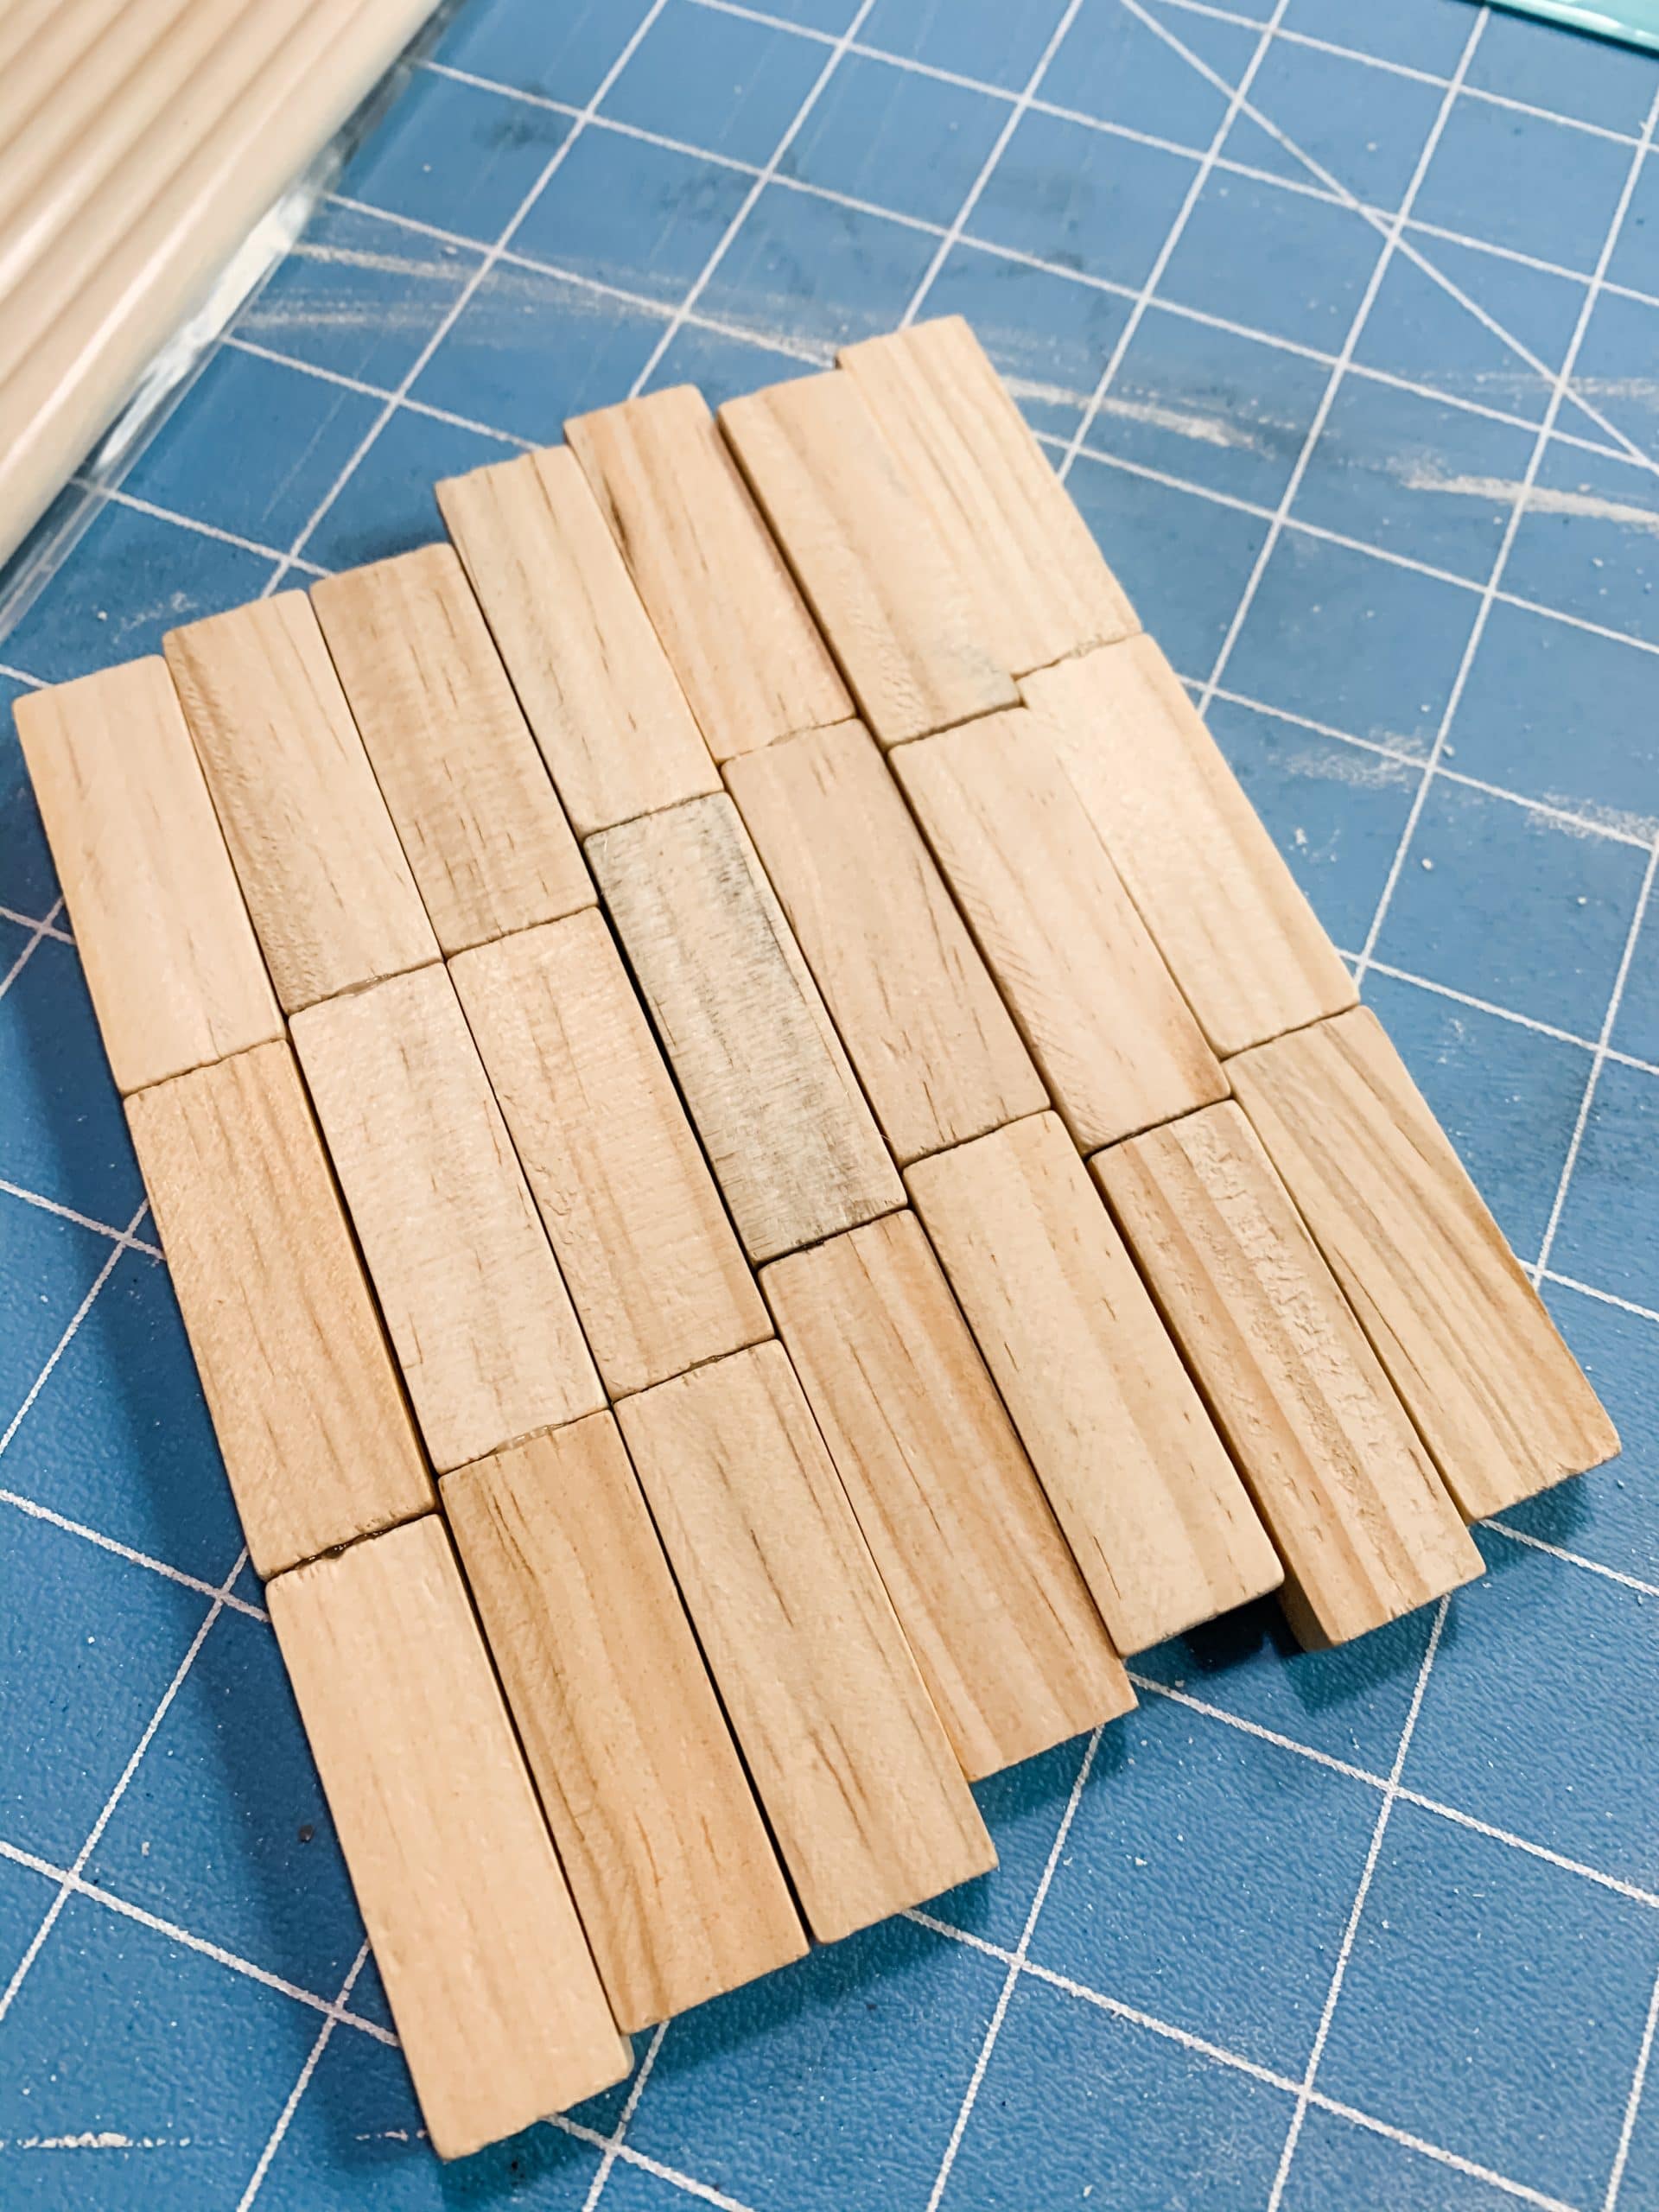
You’re going to frame out the sides of the lantern first, so make a rectangle using two strips of five blocks and two strips of three blocks. You’ll need two of these sized rectangles.
Next, I stained my rectangle frames with Dixie Belle Coffee Bean Chalk Paint, but you can use whichever brown paint you prefer or have on hand.
Spray the wooden blocks with water, then use a wet wipe to spread the brown paint across the wood. The water helps the wood absorb the paint and gives it a stained finish rather than a painted look.
I then used the same staining technique to stain nine Dollar Tree wooden dowels, except I used a paintbrush to apply the paint to the wood, then used a wet wipe to spread the paint across the dowels.
Next, I stained the remaining four strips of three Dollar Tree Tumbling Tower blocks and the wooden candlestick. Once all the stained wood is dry, it is time to start assembling your lantern!
Assemble your DIY lantern
The remaining four strips of the three blocks are the connectors for the two rectangle frames you’ve already made. Hot glue the connectors to one frame, then hot glue the second frame on the other end of the connecting pieces.
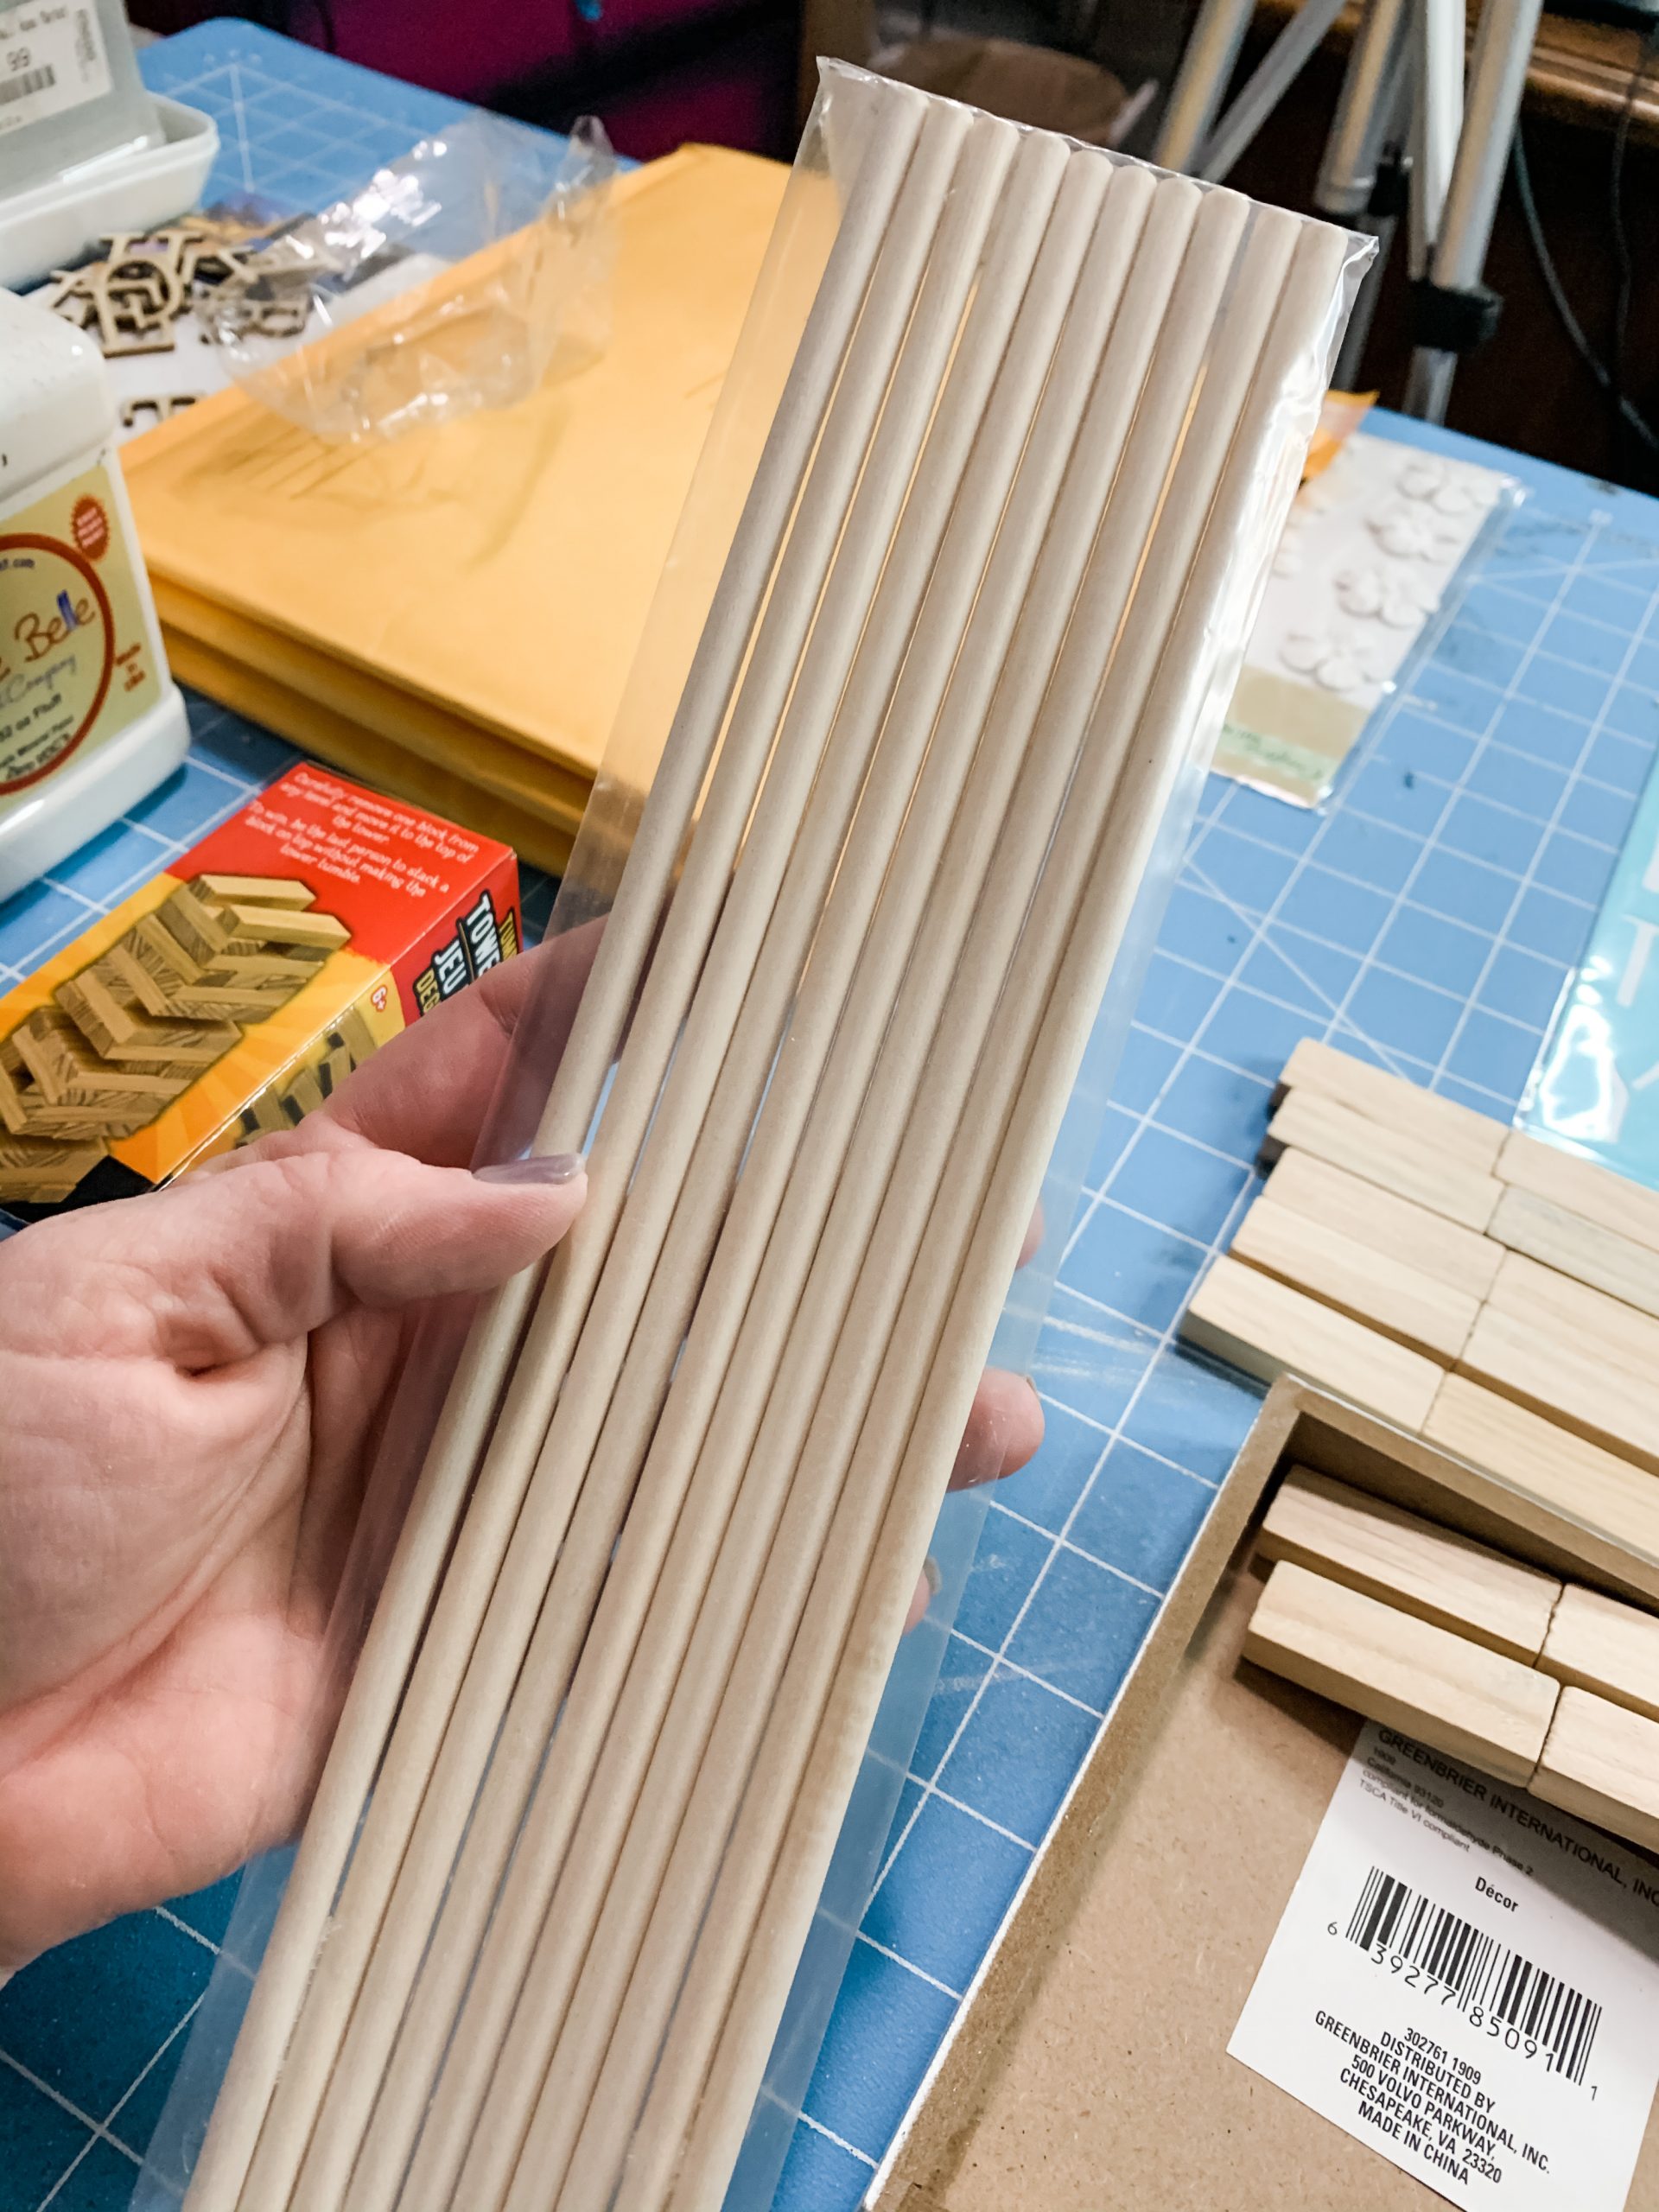
This will create a rectangle – the shape of our lantern. Then, hot glue the wooden dowels in an X on each side of the lantern. I had to trim my wooden dowels with aviation snips to make them fit.
I used giant craft sticks to make the top of my DIY lantern. It took seven giant craft sticks to cover the top of my lantern. Before I attached them to the top of the lantern, I secured the sticks together by hot gluing two craft sticks across the seven.
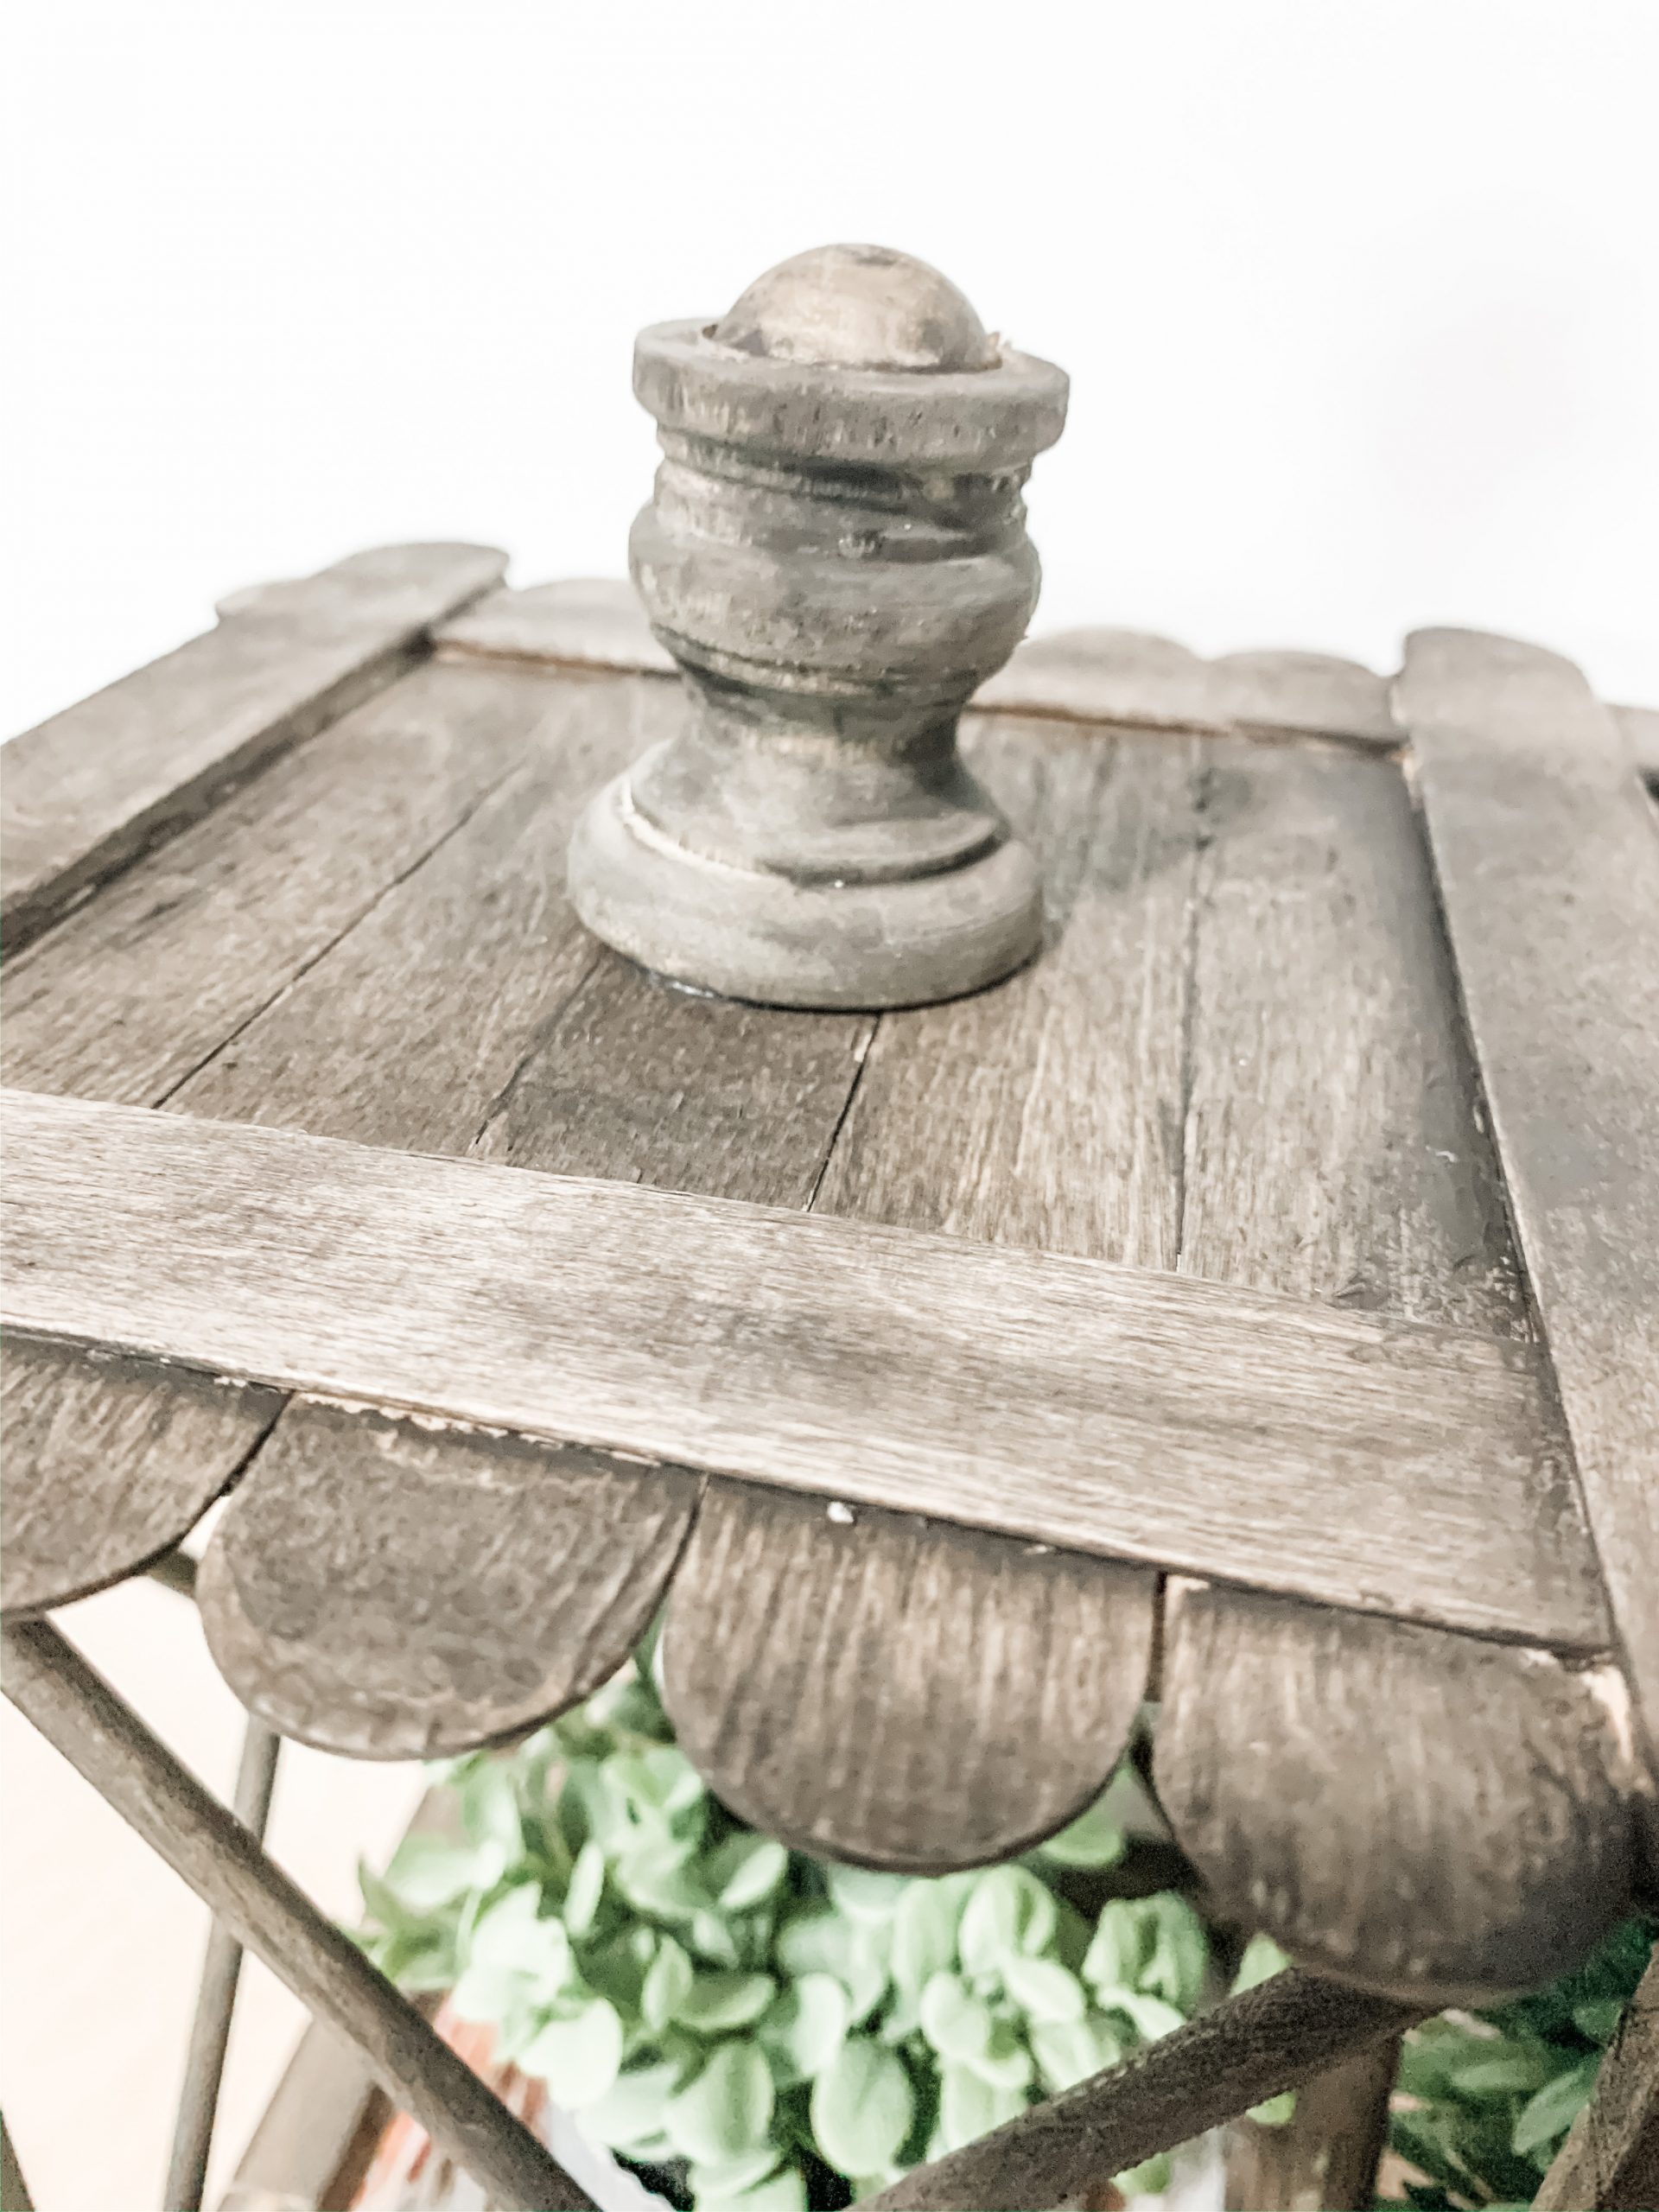
Then, I hot glued two more craft sticks going in the opposite direction of the first two craft sticks. This creates a square on top of the seven craft sticks.
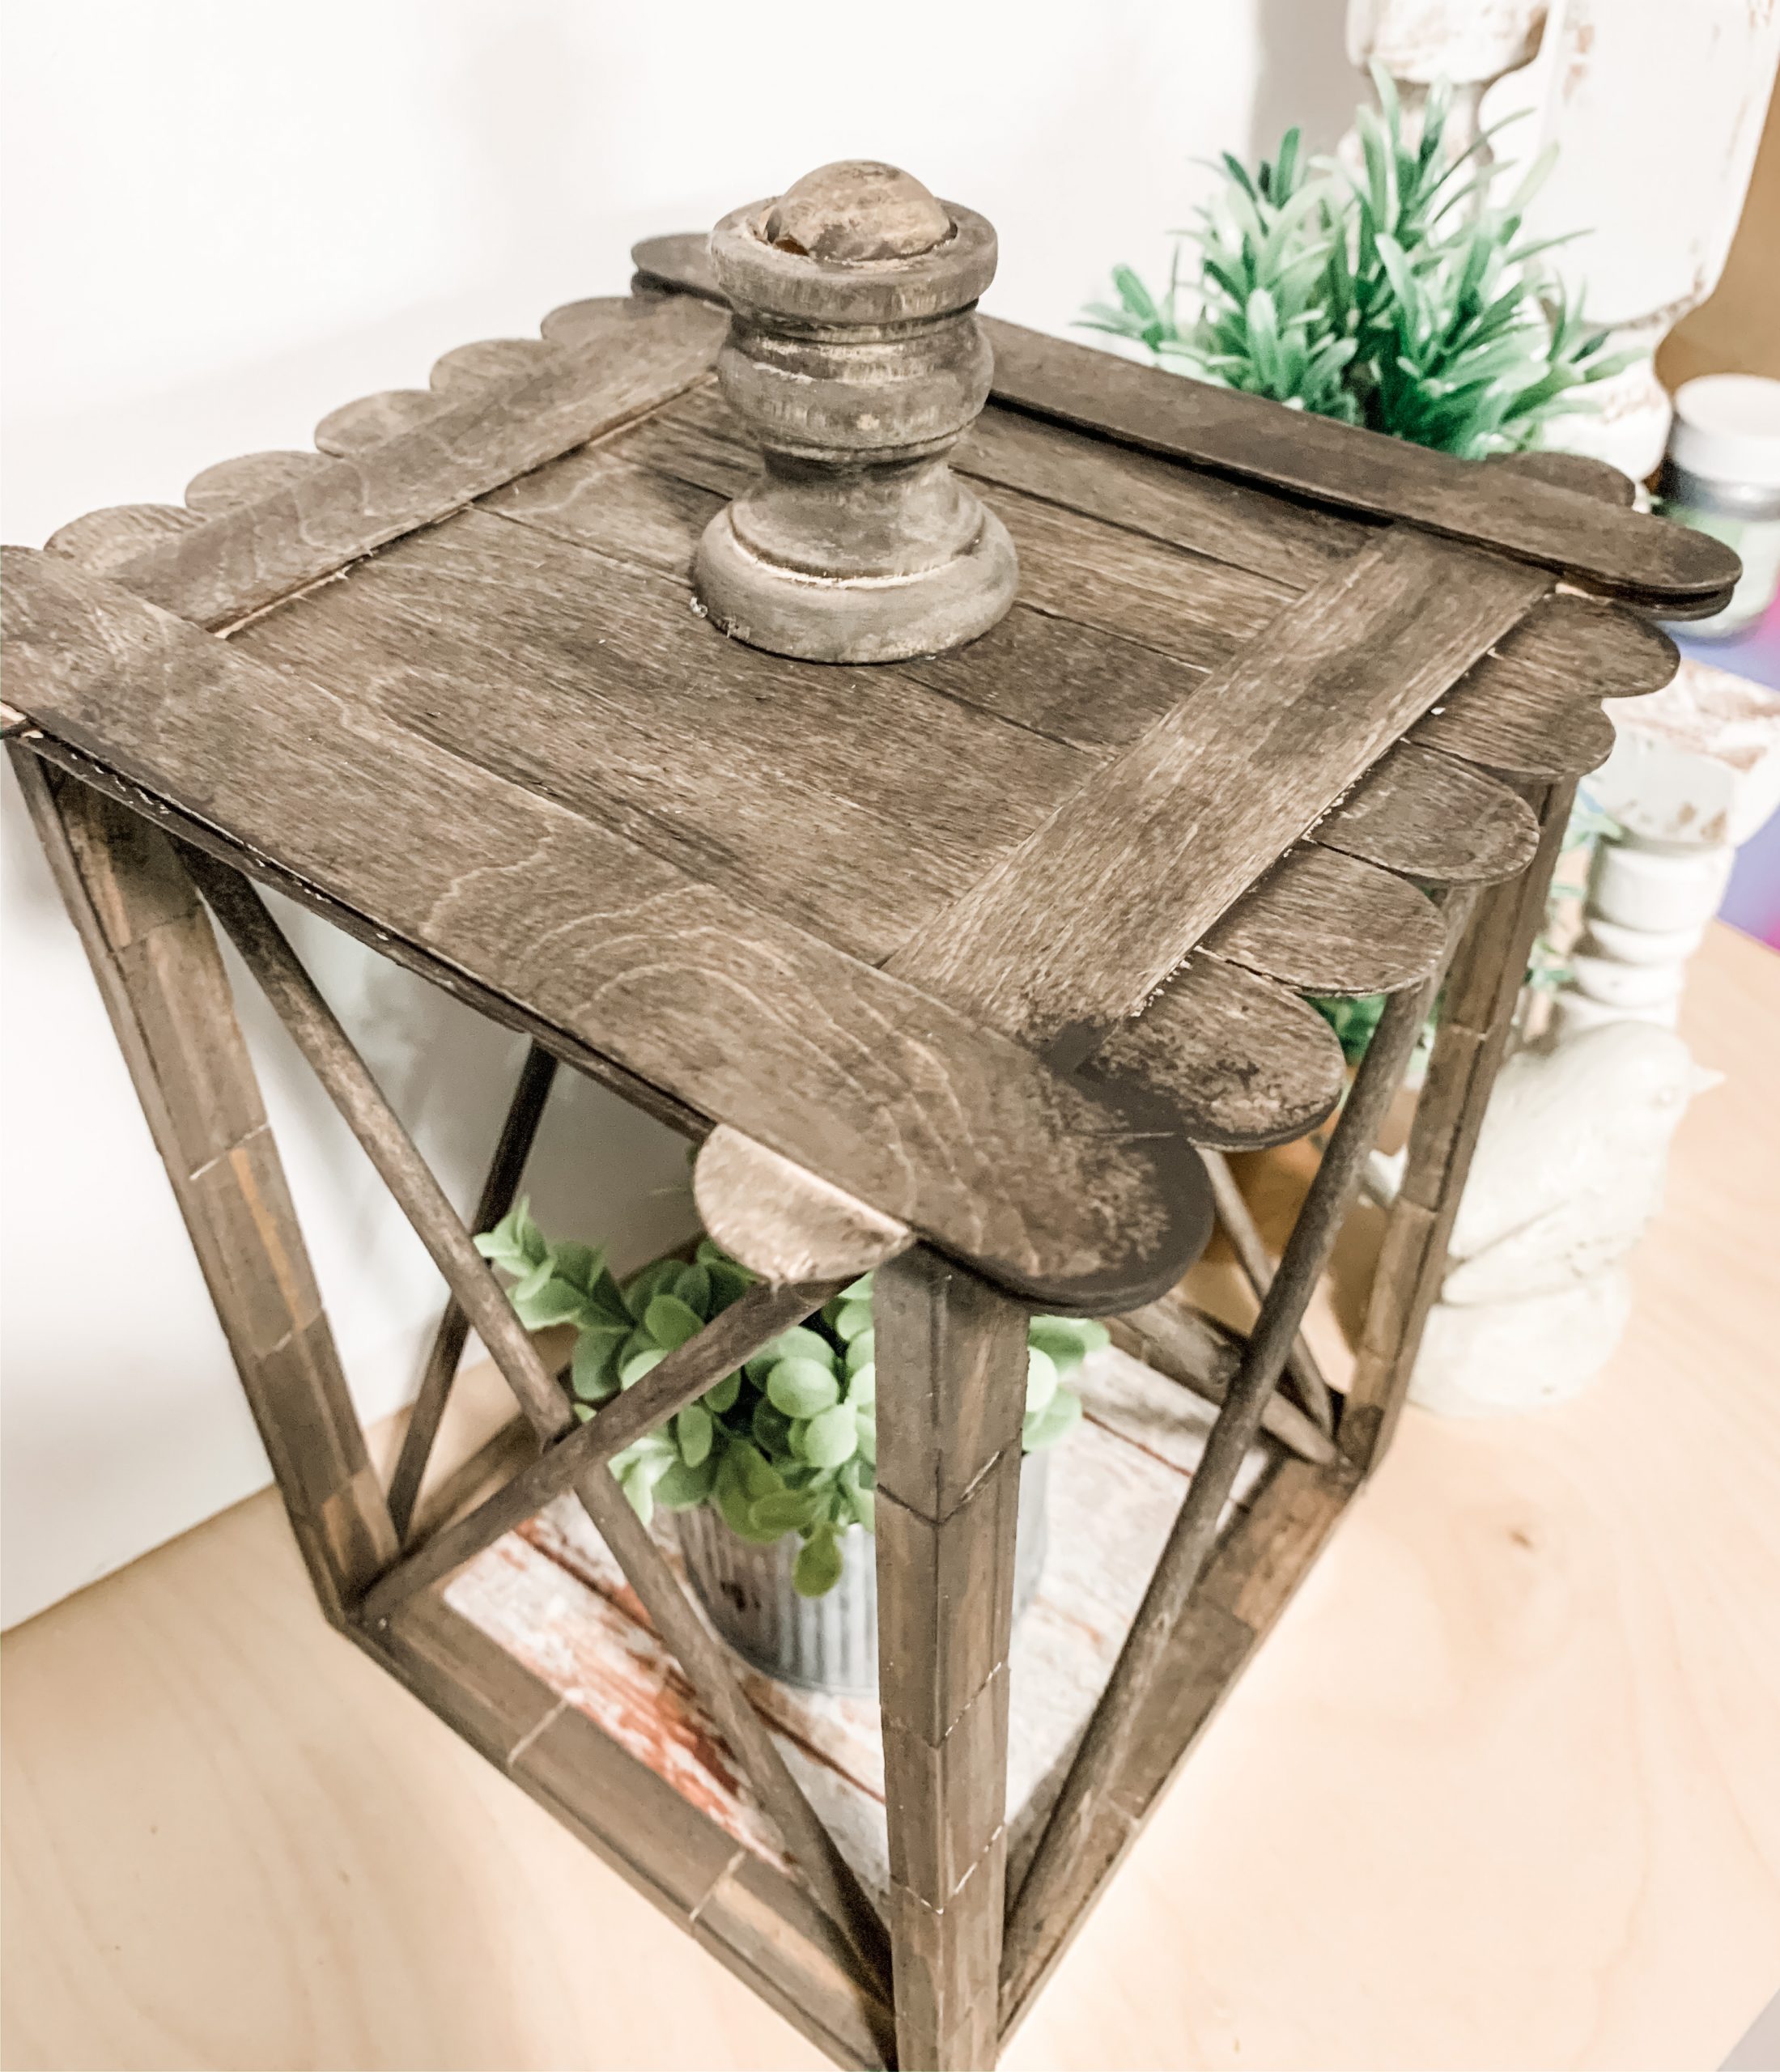
Once the craft sticks were all secured together, I stained them with the same staining technique I used on the frame of the lantern. I used my heat gun to dry the craft sticks, then hot glued the candlestick in the center on top.
Create the base of your DIY Dollar Tree Lantern
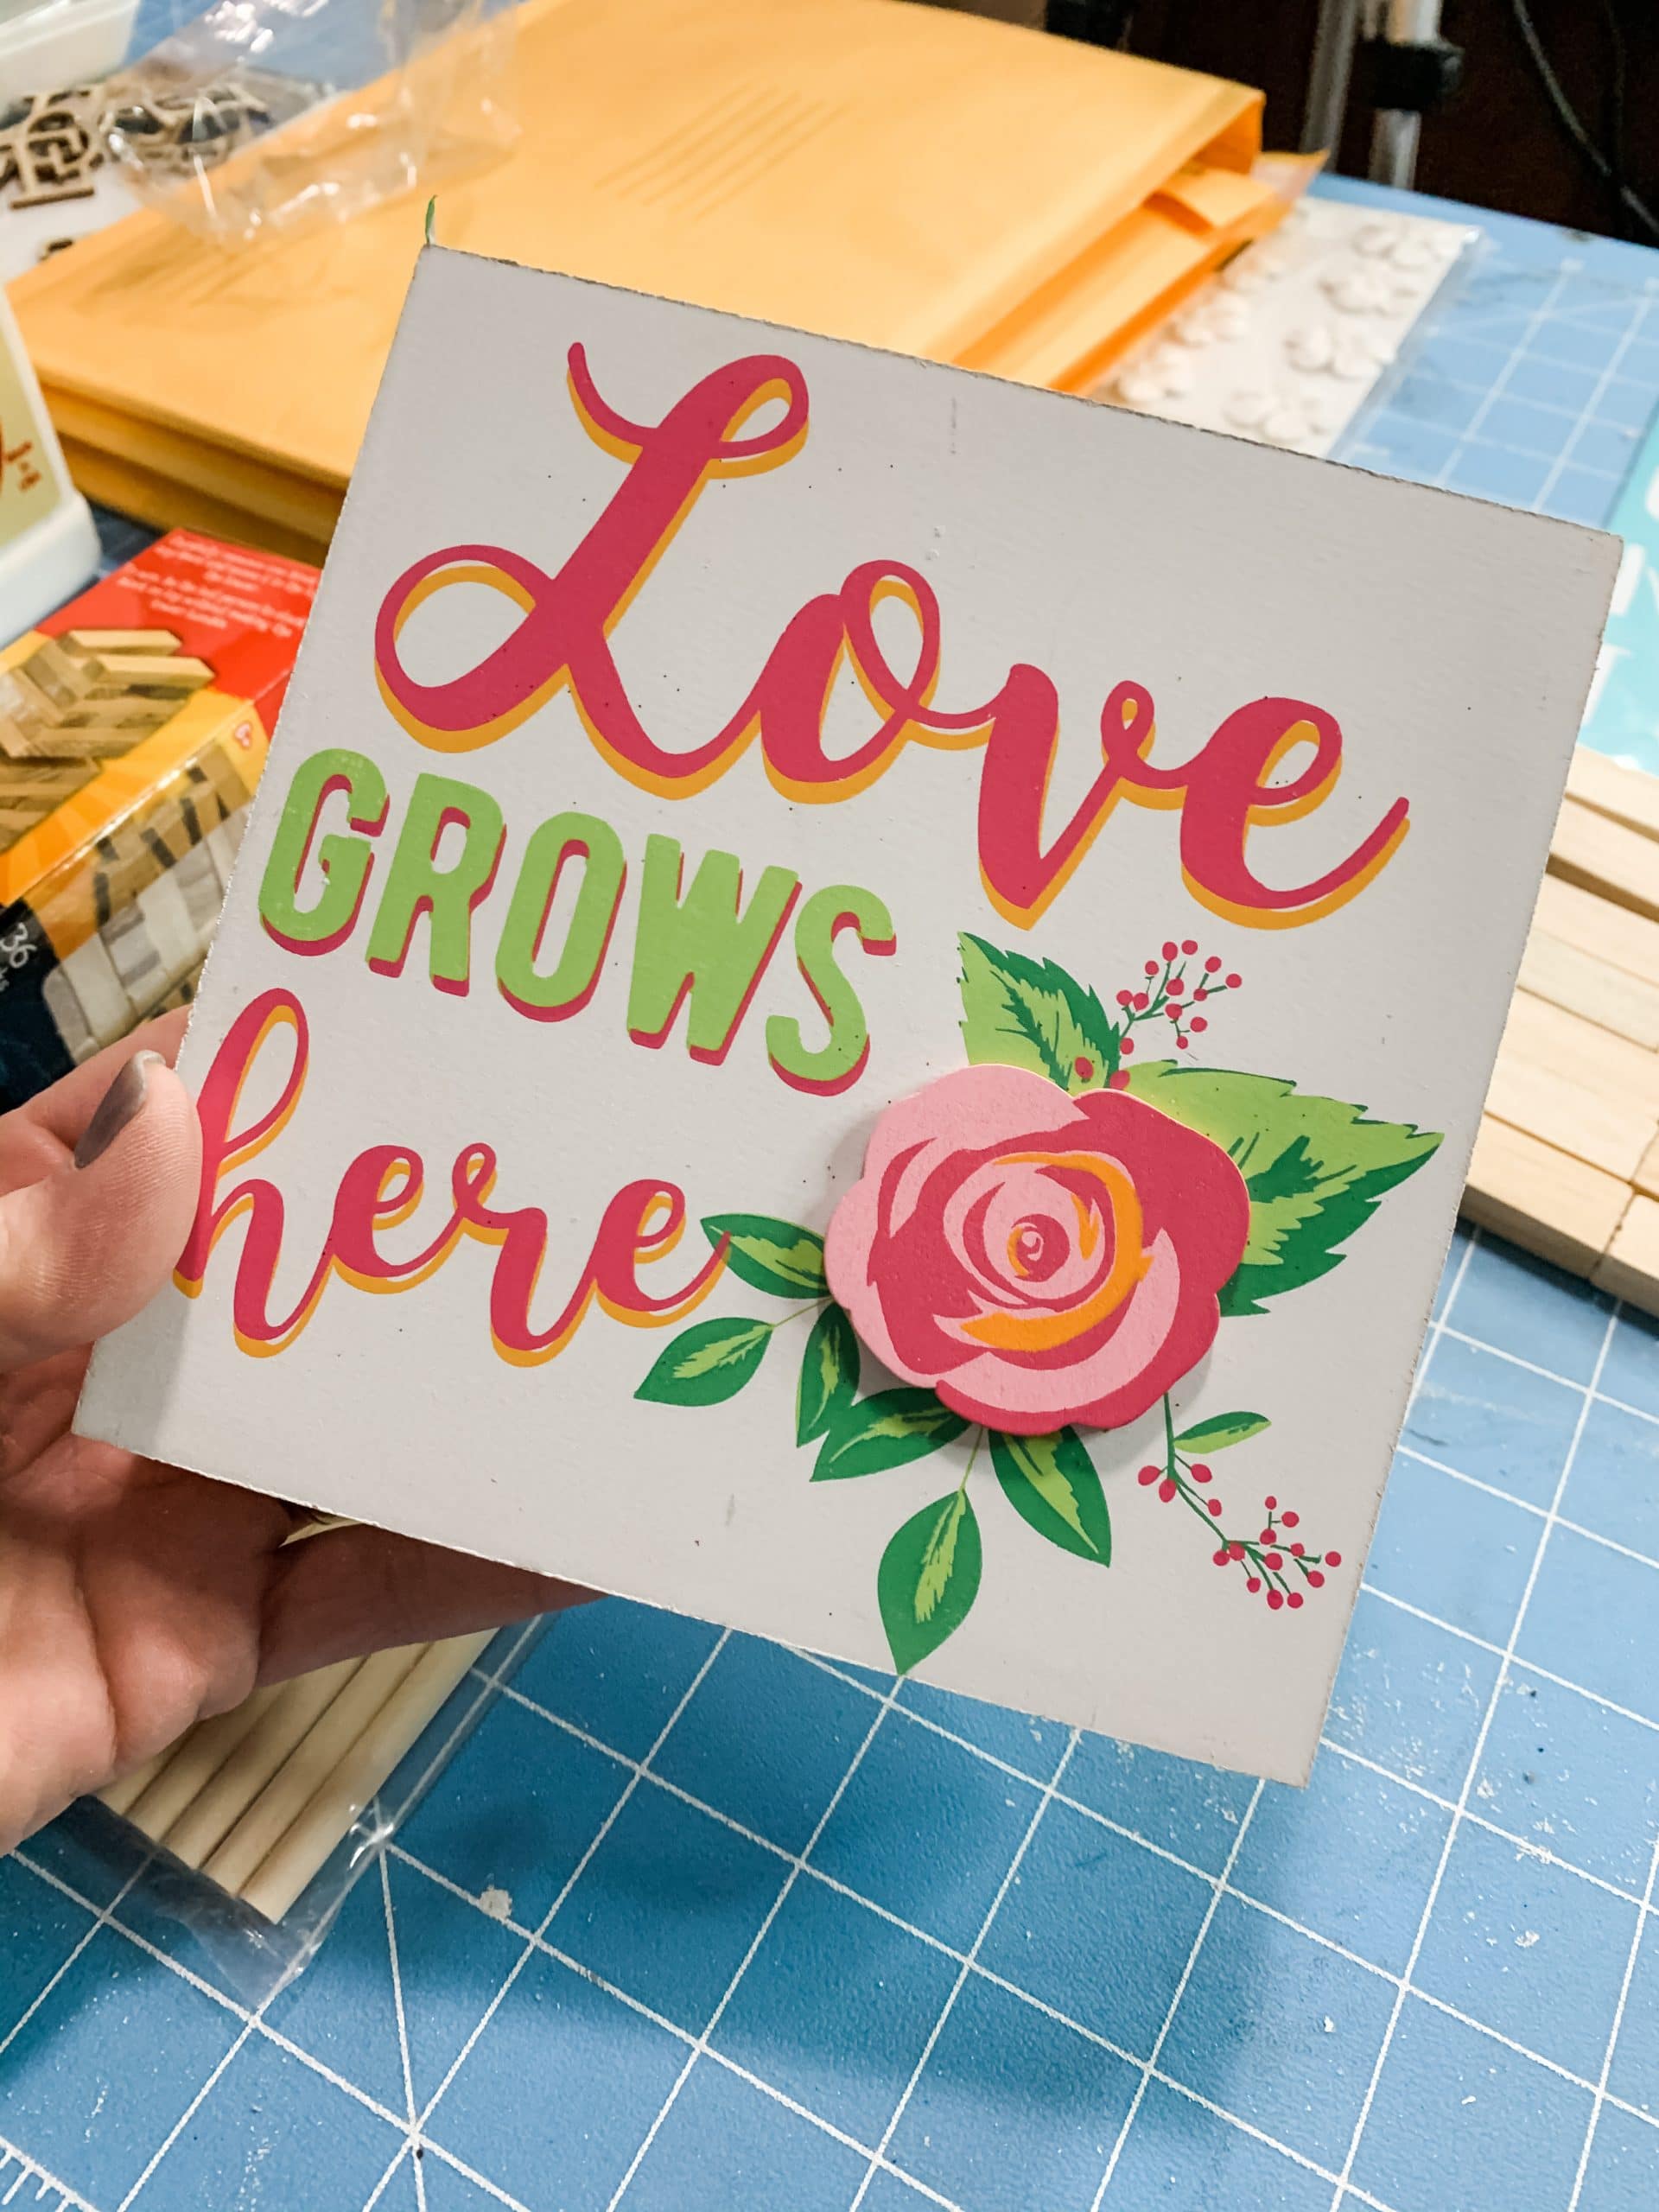
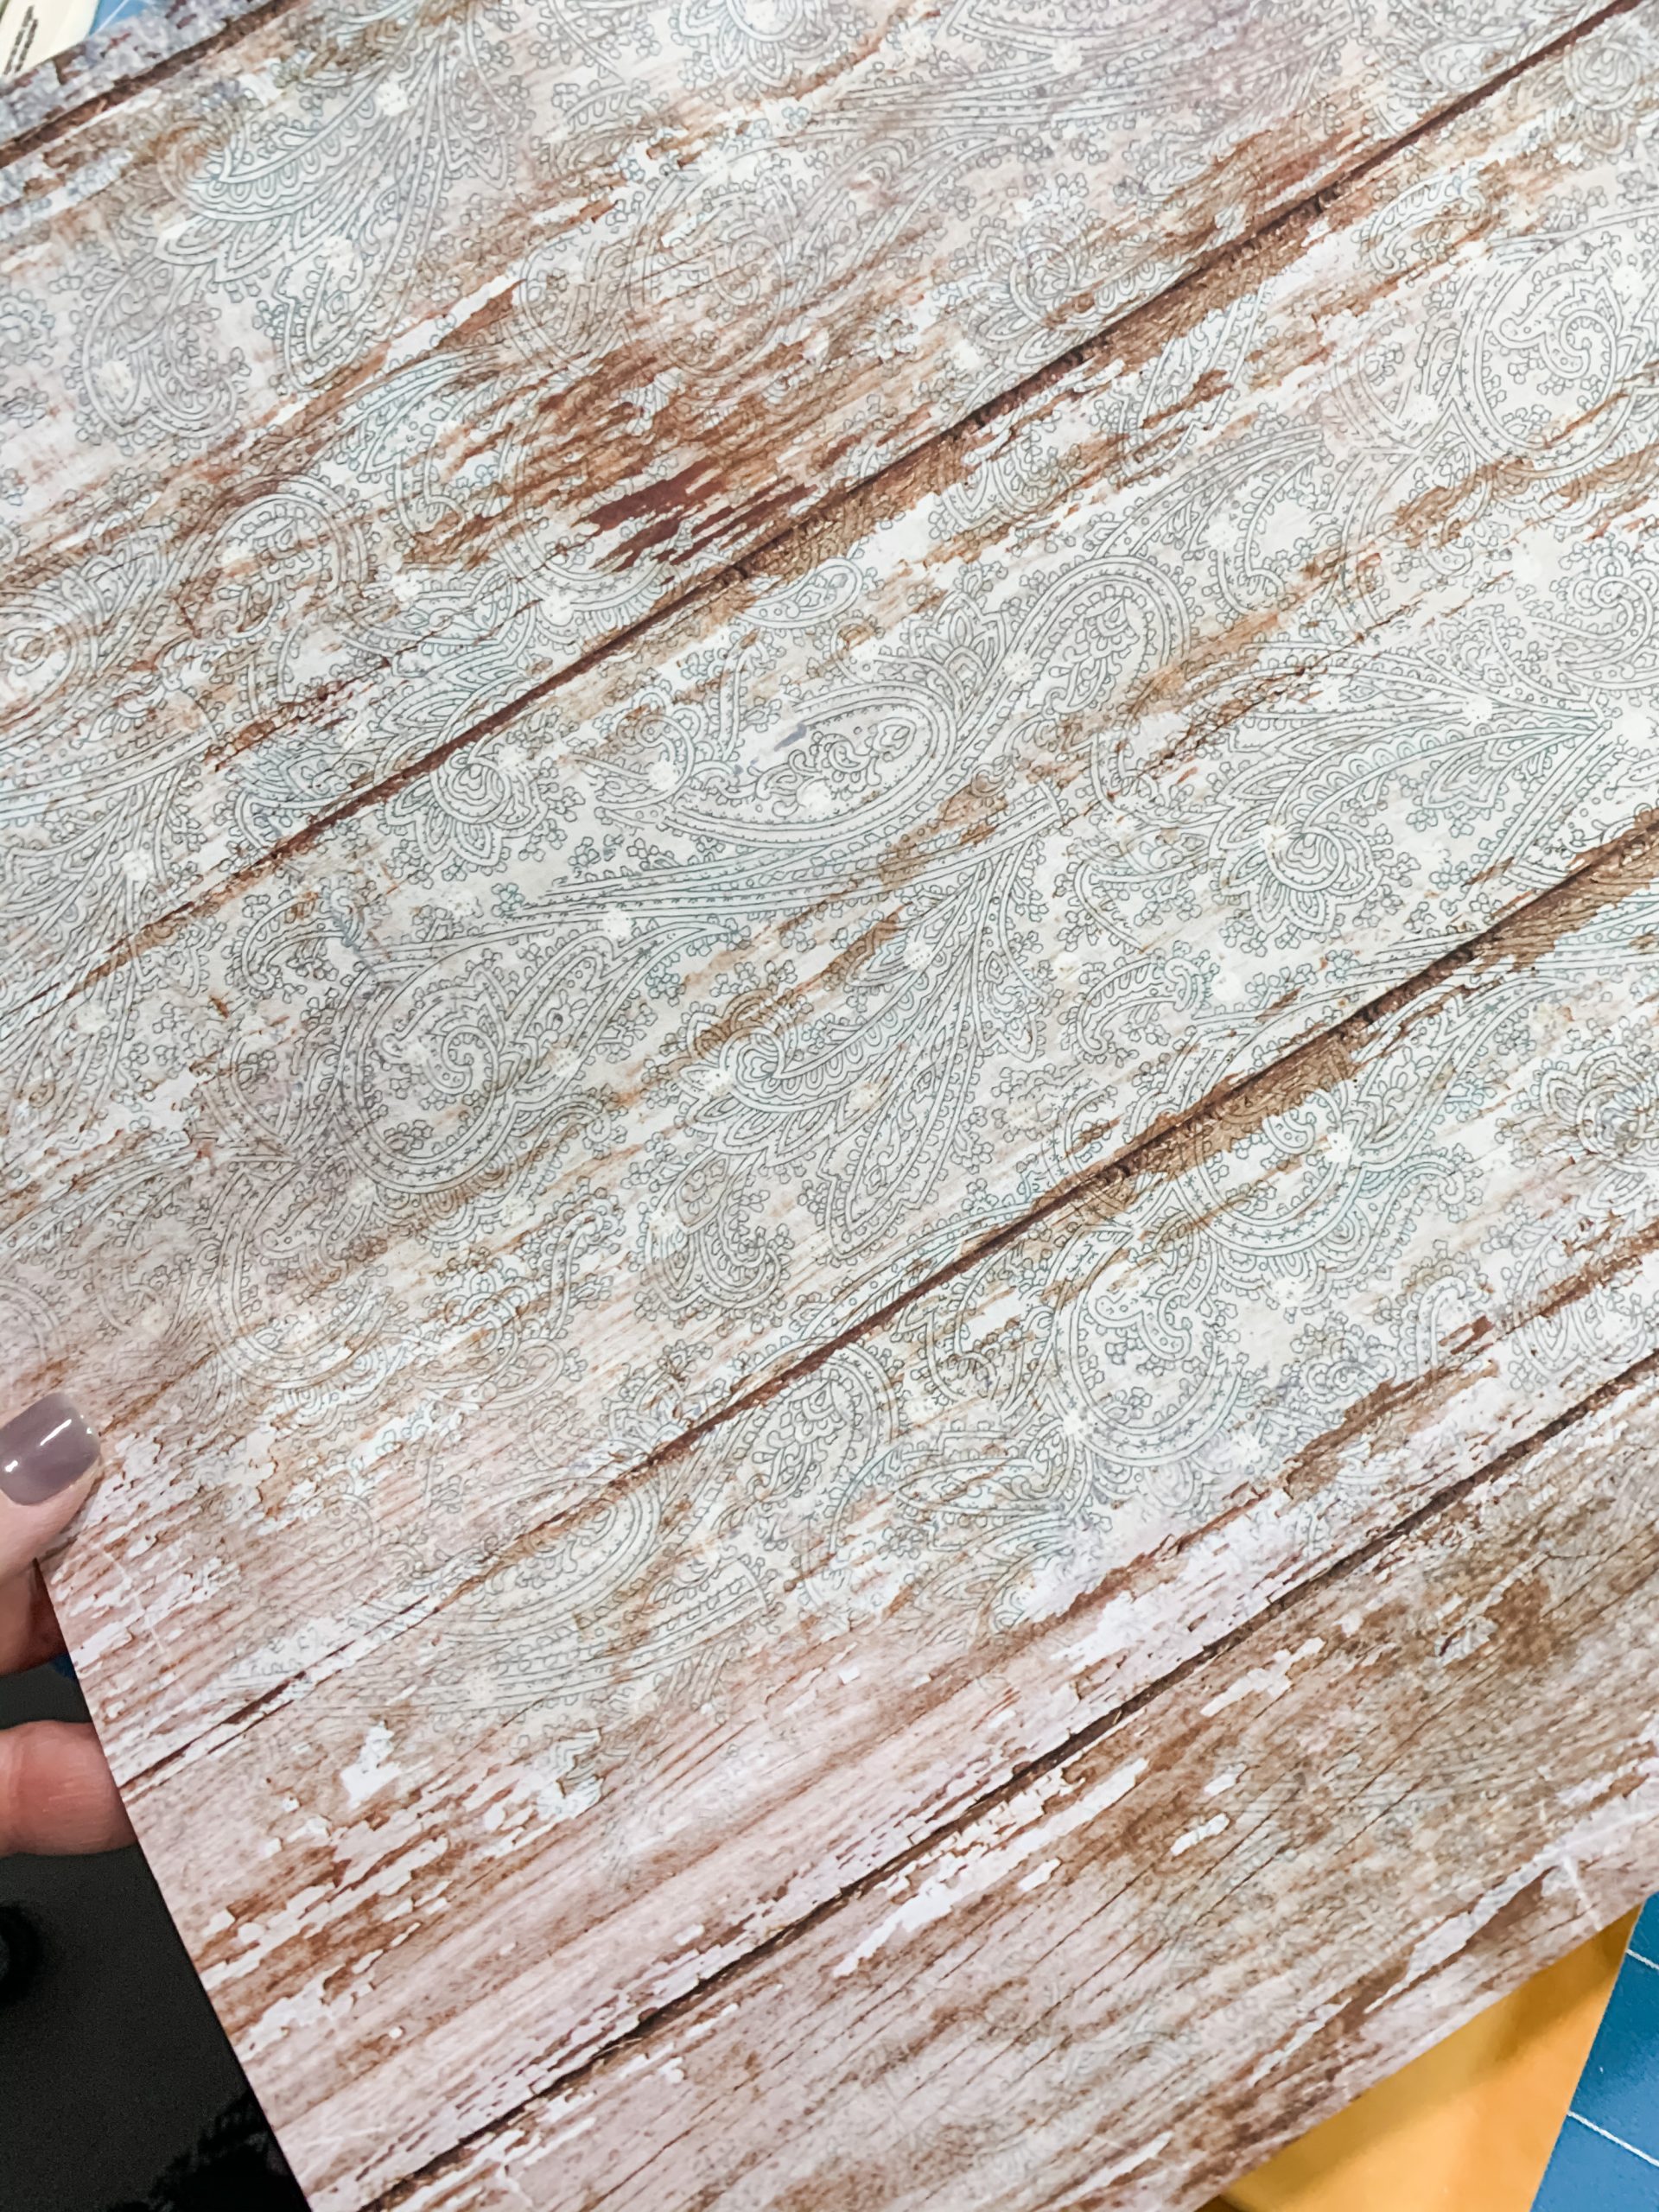
I used a Dollar Tree sign box to make the base of my lantern. The one that I used had a bright color design on the front of it, so I applied a coat of Mod Podge over the design and used a piece of scrapbook paper to cover the design.
Now, all that’s left to do, is put all the pieces together. I hot glued the lantern frame to the decoupaged sign box base. Then, I put a flower pot inside the lantern and placed the lid on top of the lantern frame.
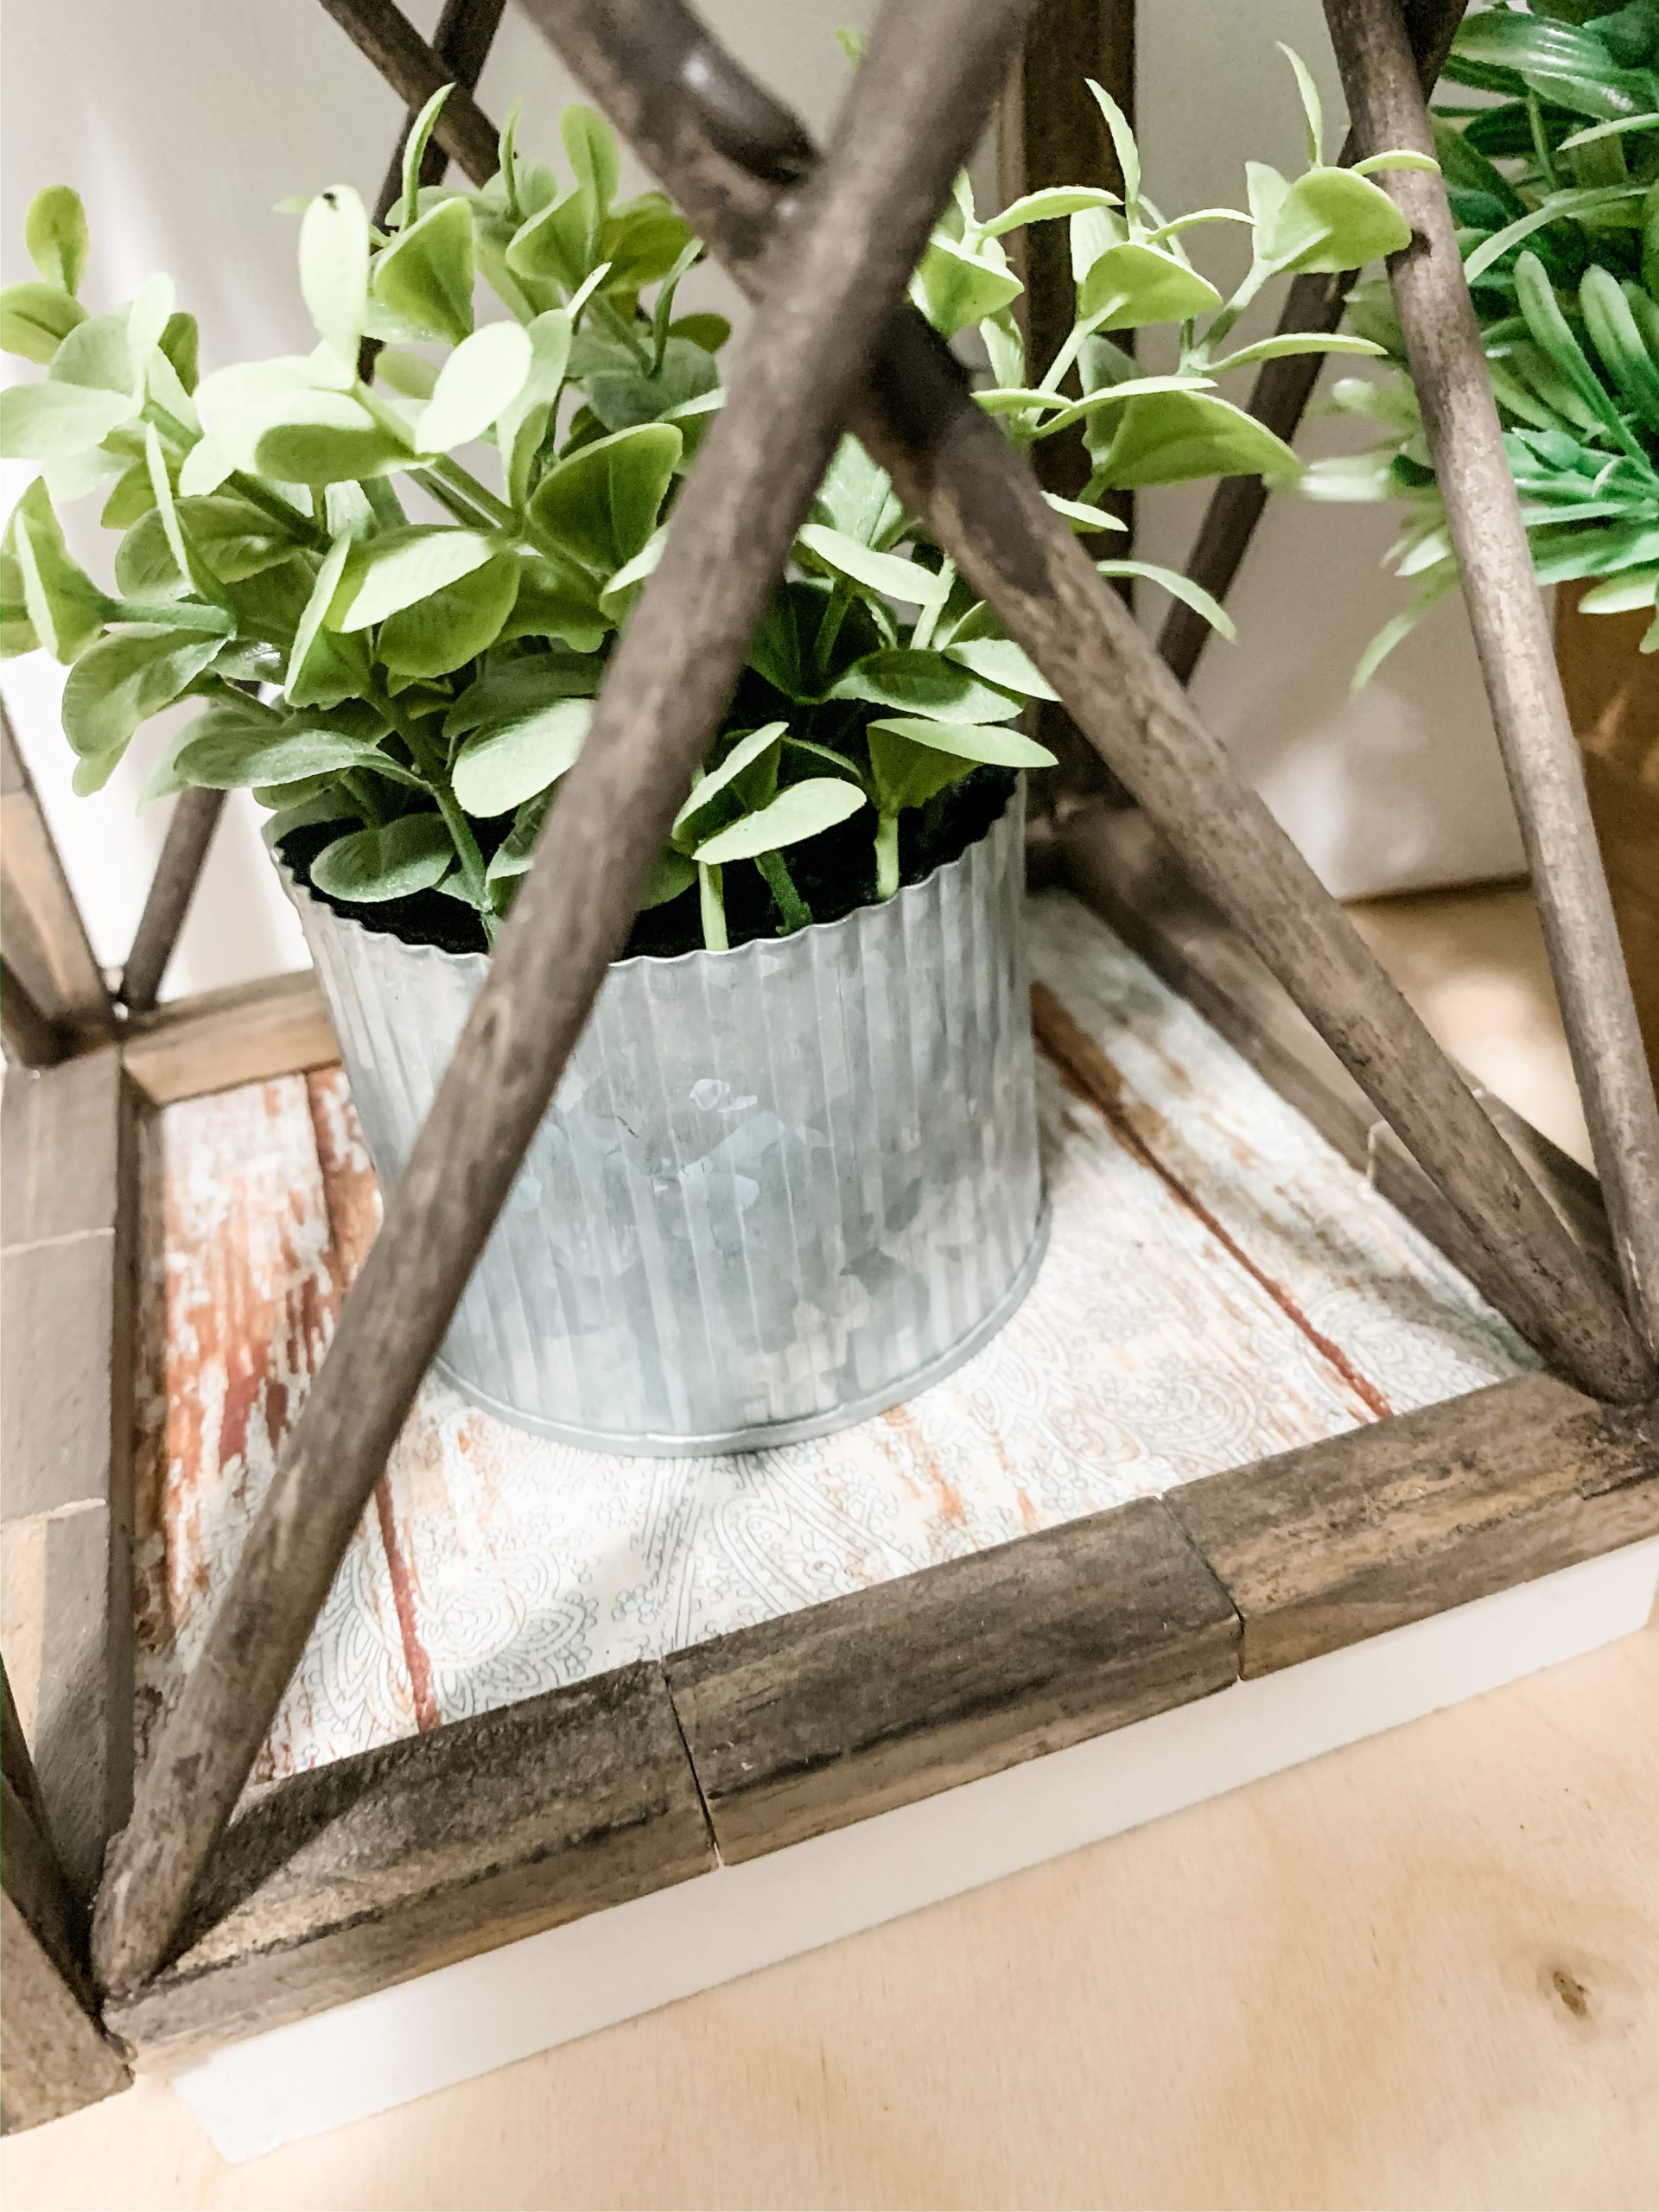
I hope you enjoyed this DIY Dollar Tree Lantern as much as I did and decide to make one for yourself! If you do, I would love to see how yours turns out!

You should totally join my FREE Facebook group called On A Budget Crafts! It is a judgment-free community for DIY crafters to show off their projects and ideas.
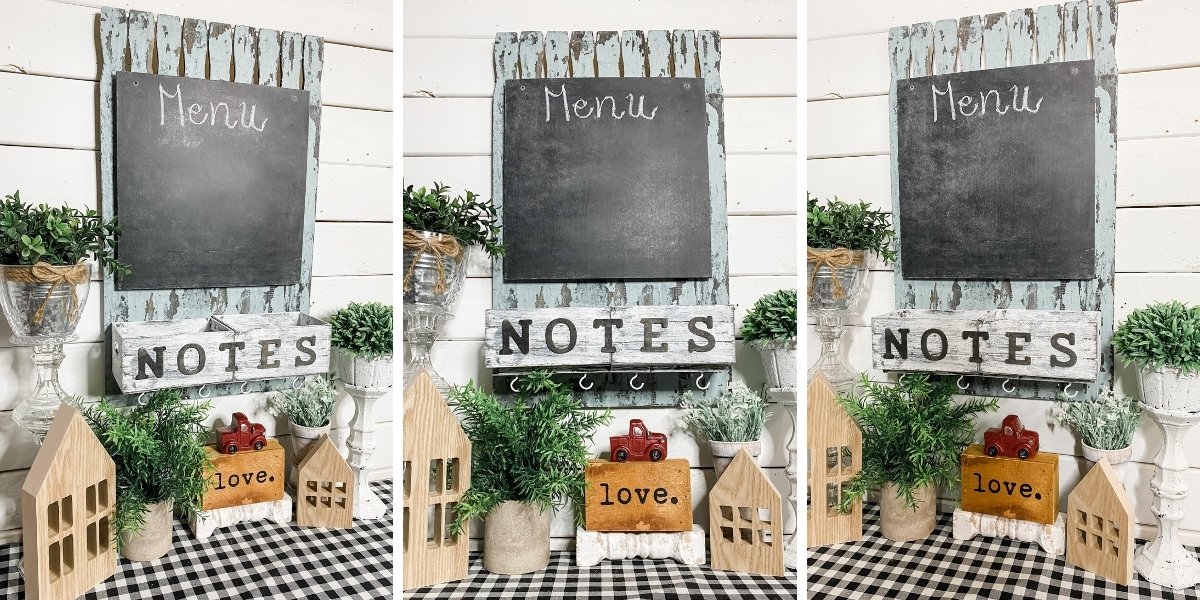
If you loved this DIY you might also like this one too!
Thanks for stopping by! XOXO Amber
You can also shop my ENTIRE AMAZON Favorites shop just click here! It’s packed full of all the things I use and love. Here is the supply list I highly recommend every creative have on hand!!
Would you also pin my blog for later and get on my newsletter alerts? I would love to have you join my #craftycrew.
Inspired? Leave me a comment below! I love hearing from my readers!

Join my free “ON A BUDGET CRAFTS” Facebook group!

Love this latern. You come up with the best ideas