DIY Decorative Birdhouse Craft Kit
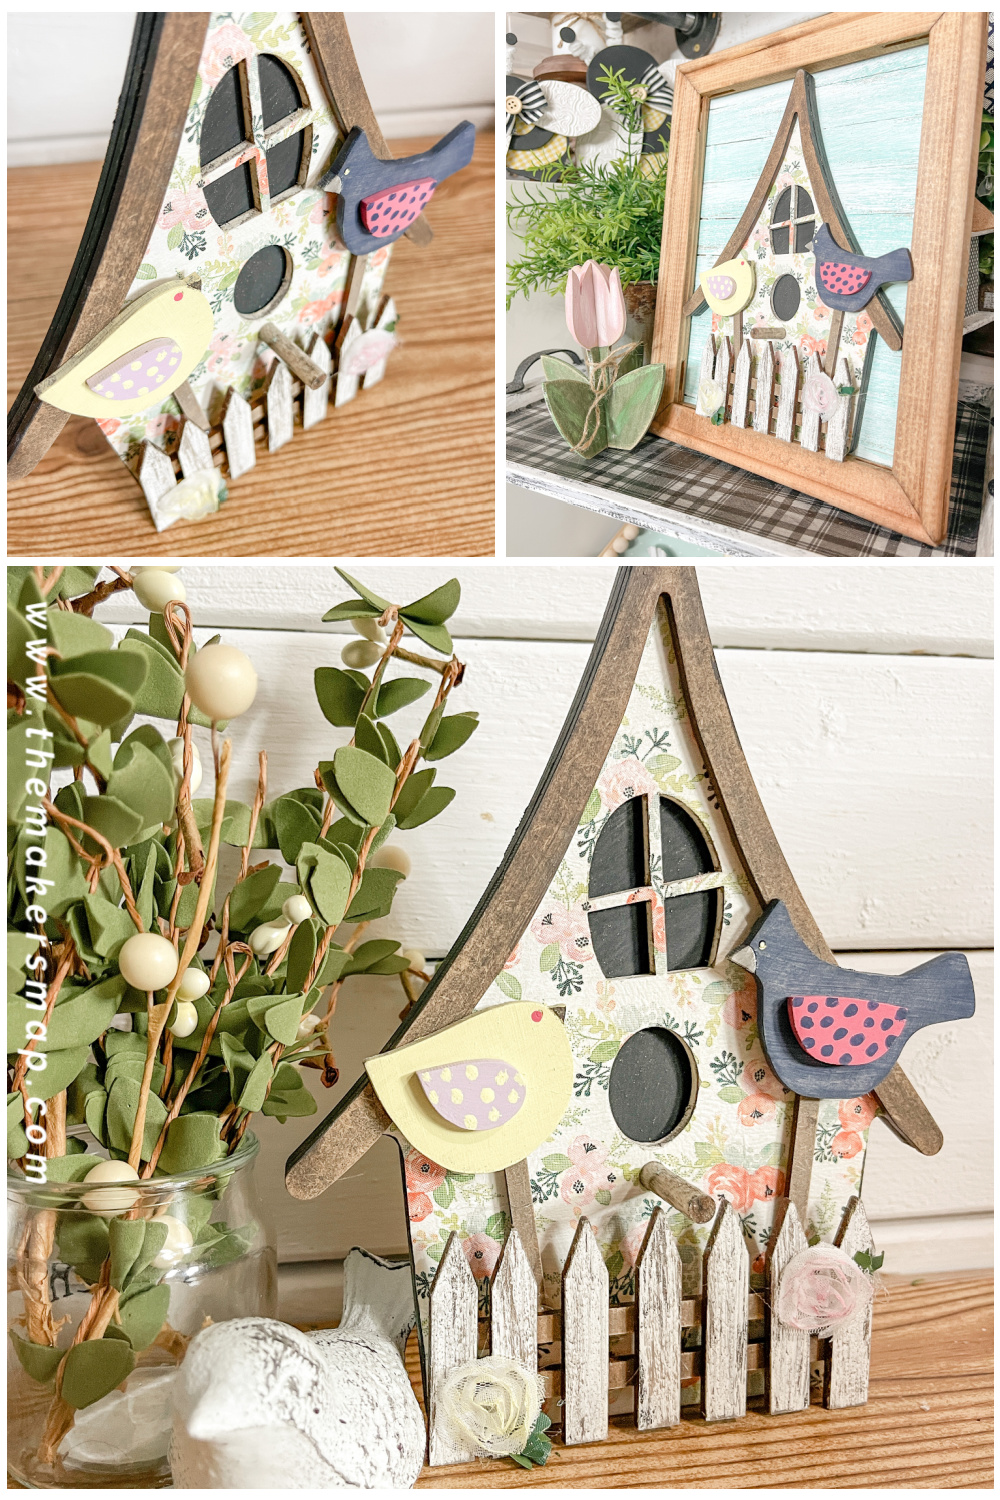
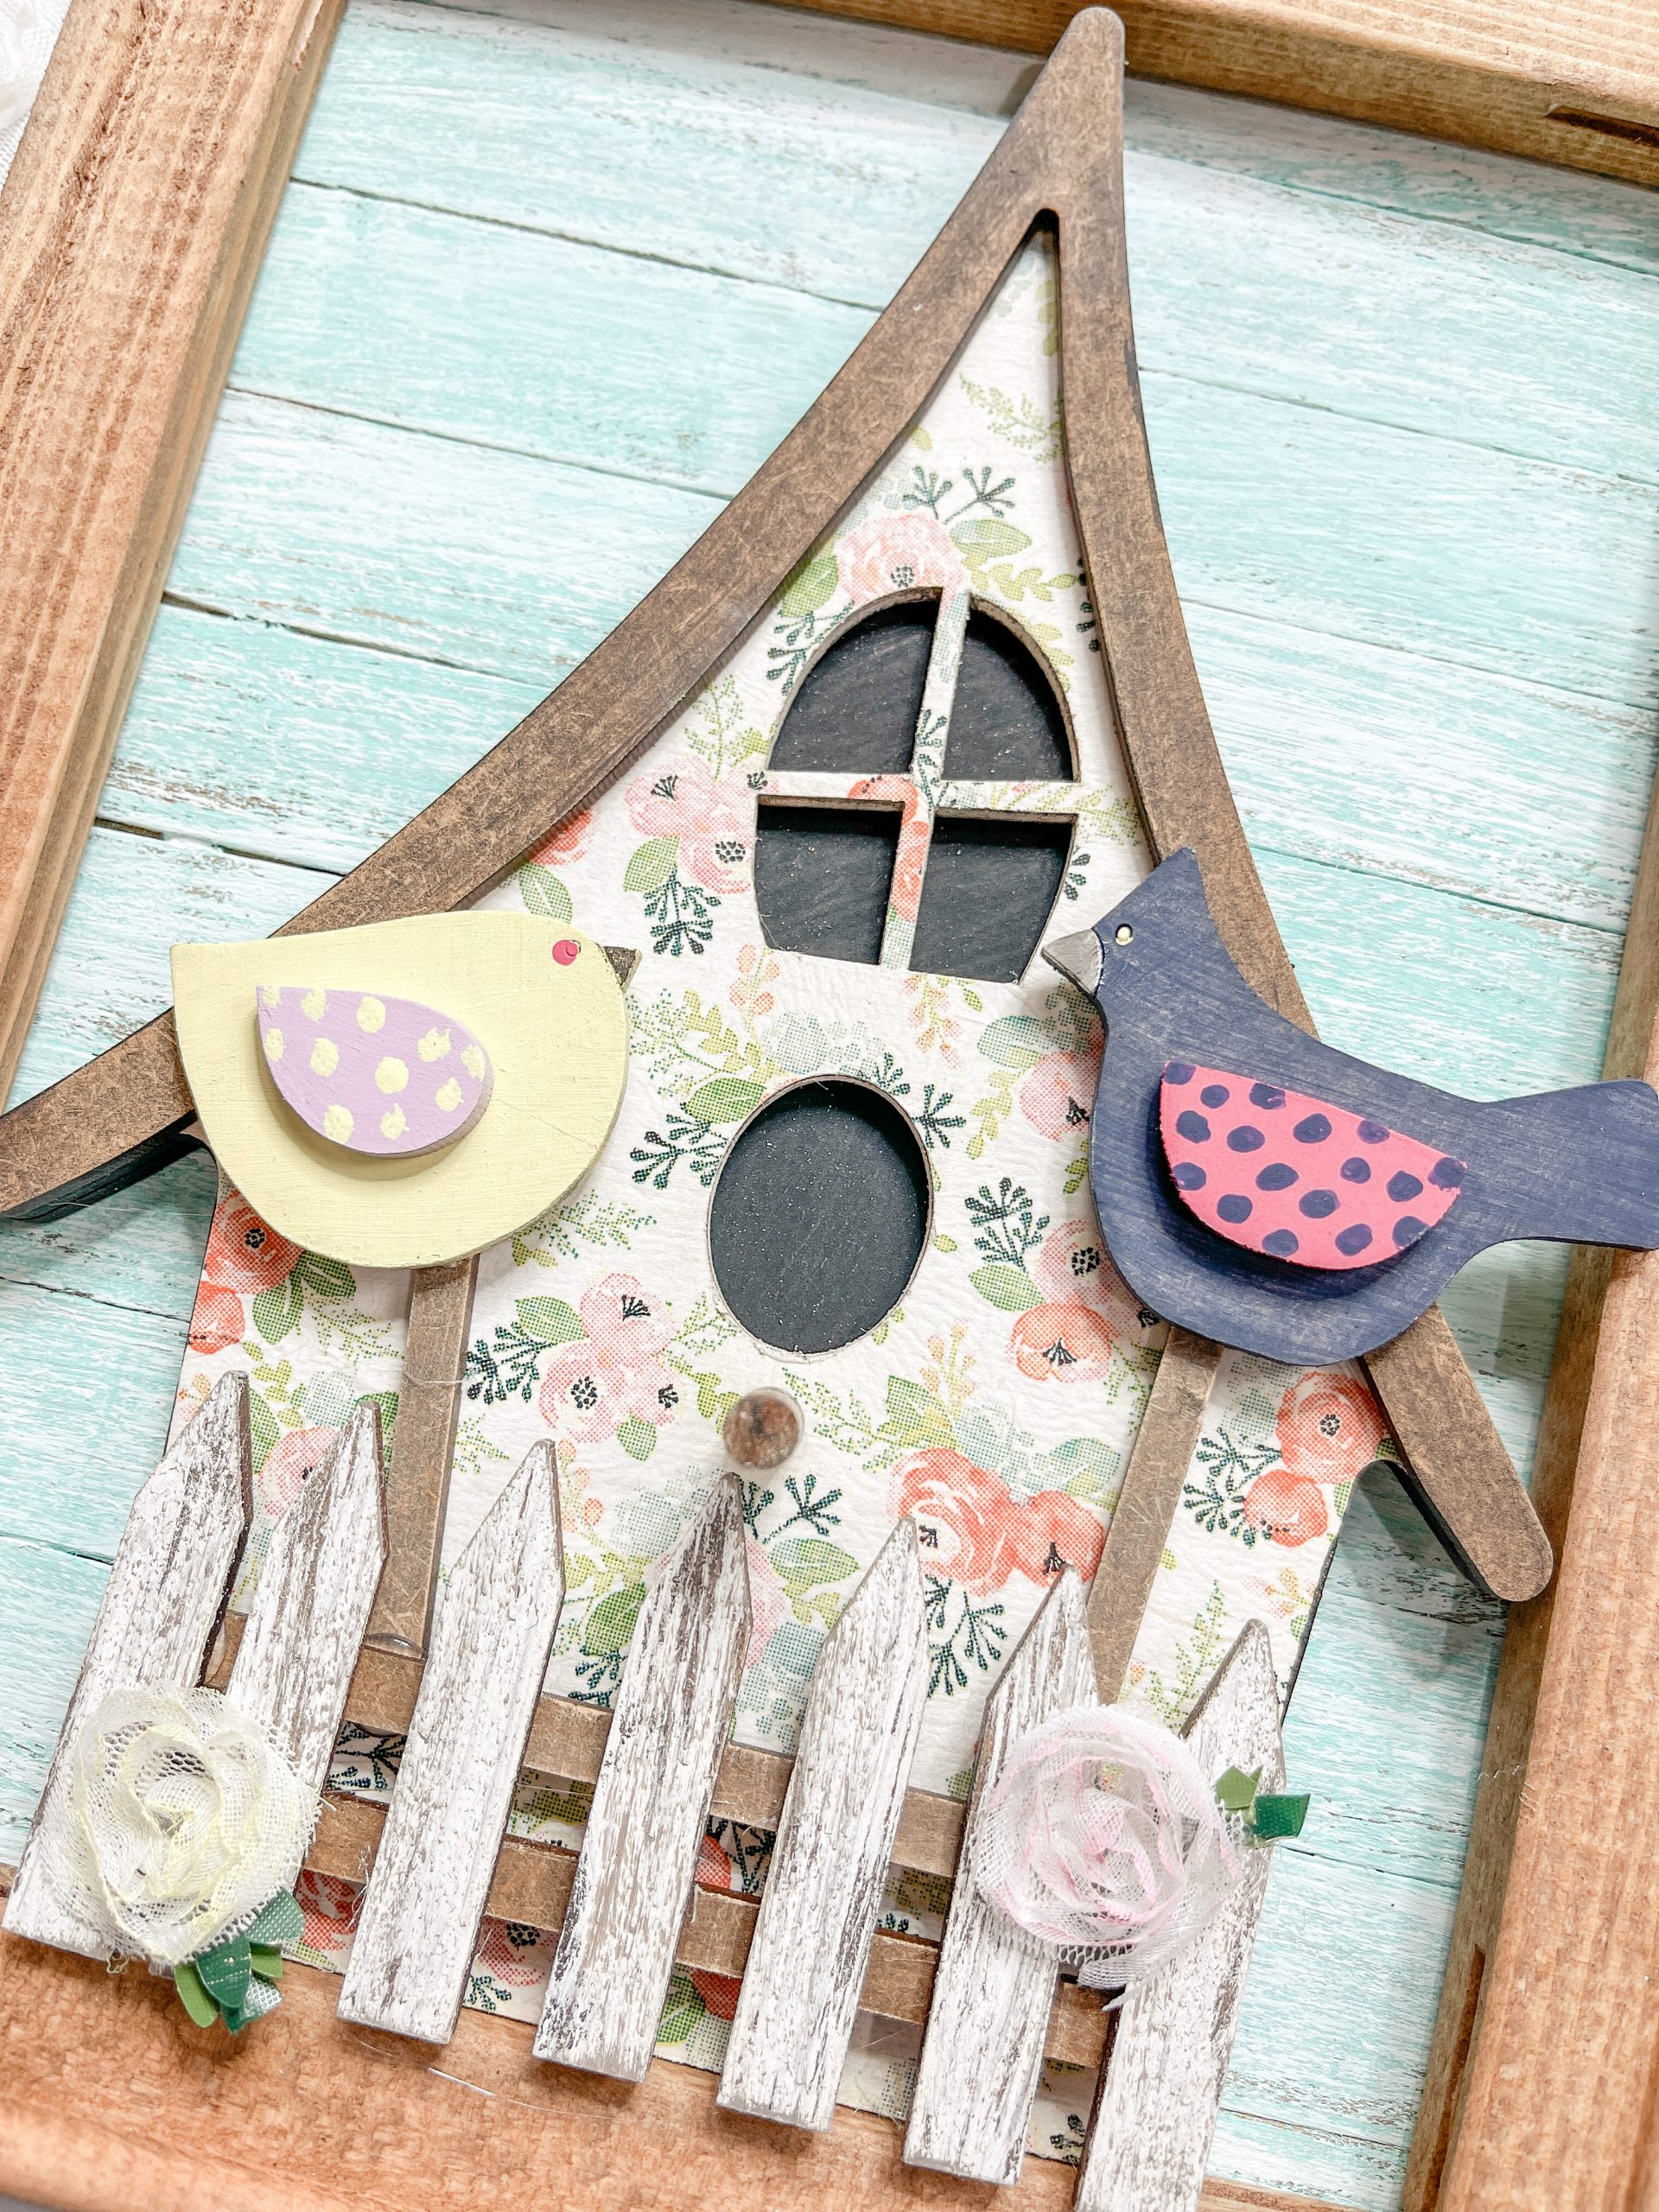
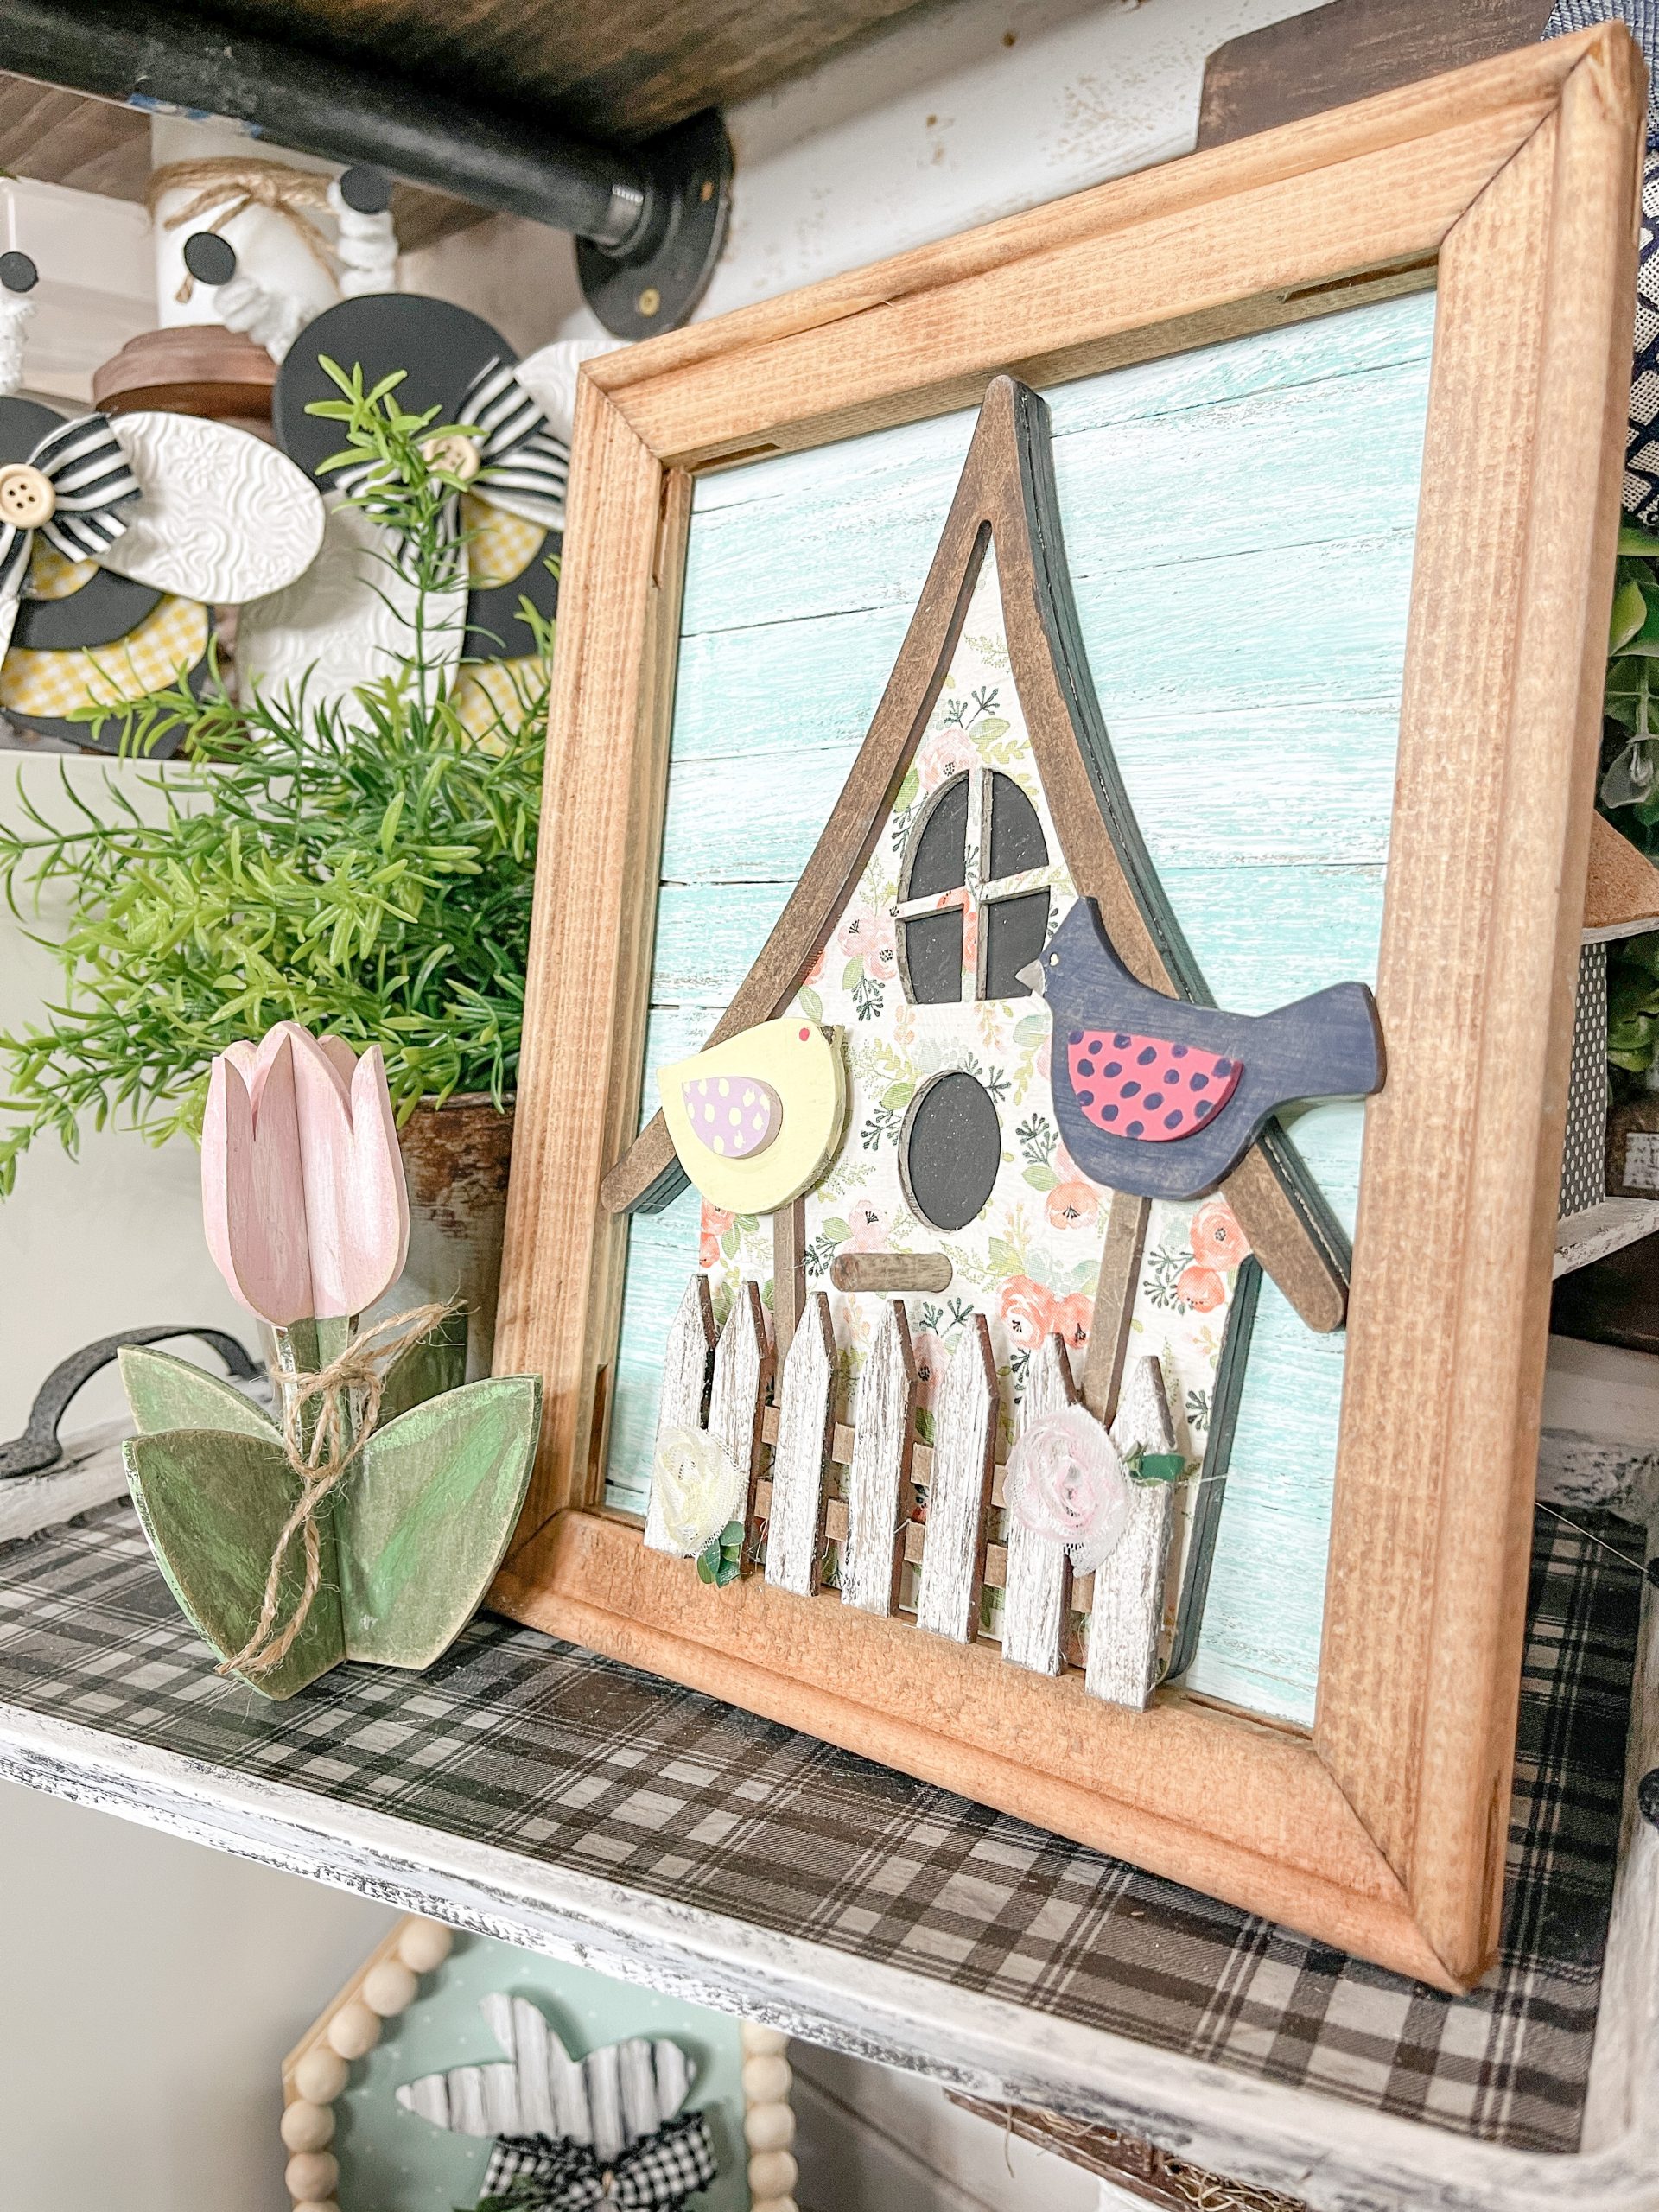
This DIY Decorative Birdhouse Craft Kit might be one of my favorites from the wood cut outs spring kit launch! I’m not kidding! There are so many ways to decorate this birdhouse, but I want to show you what I did with mine! This really is a cute birdhouse decoration.
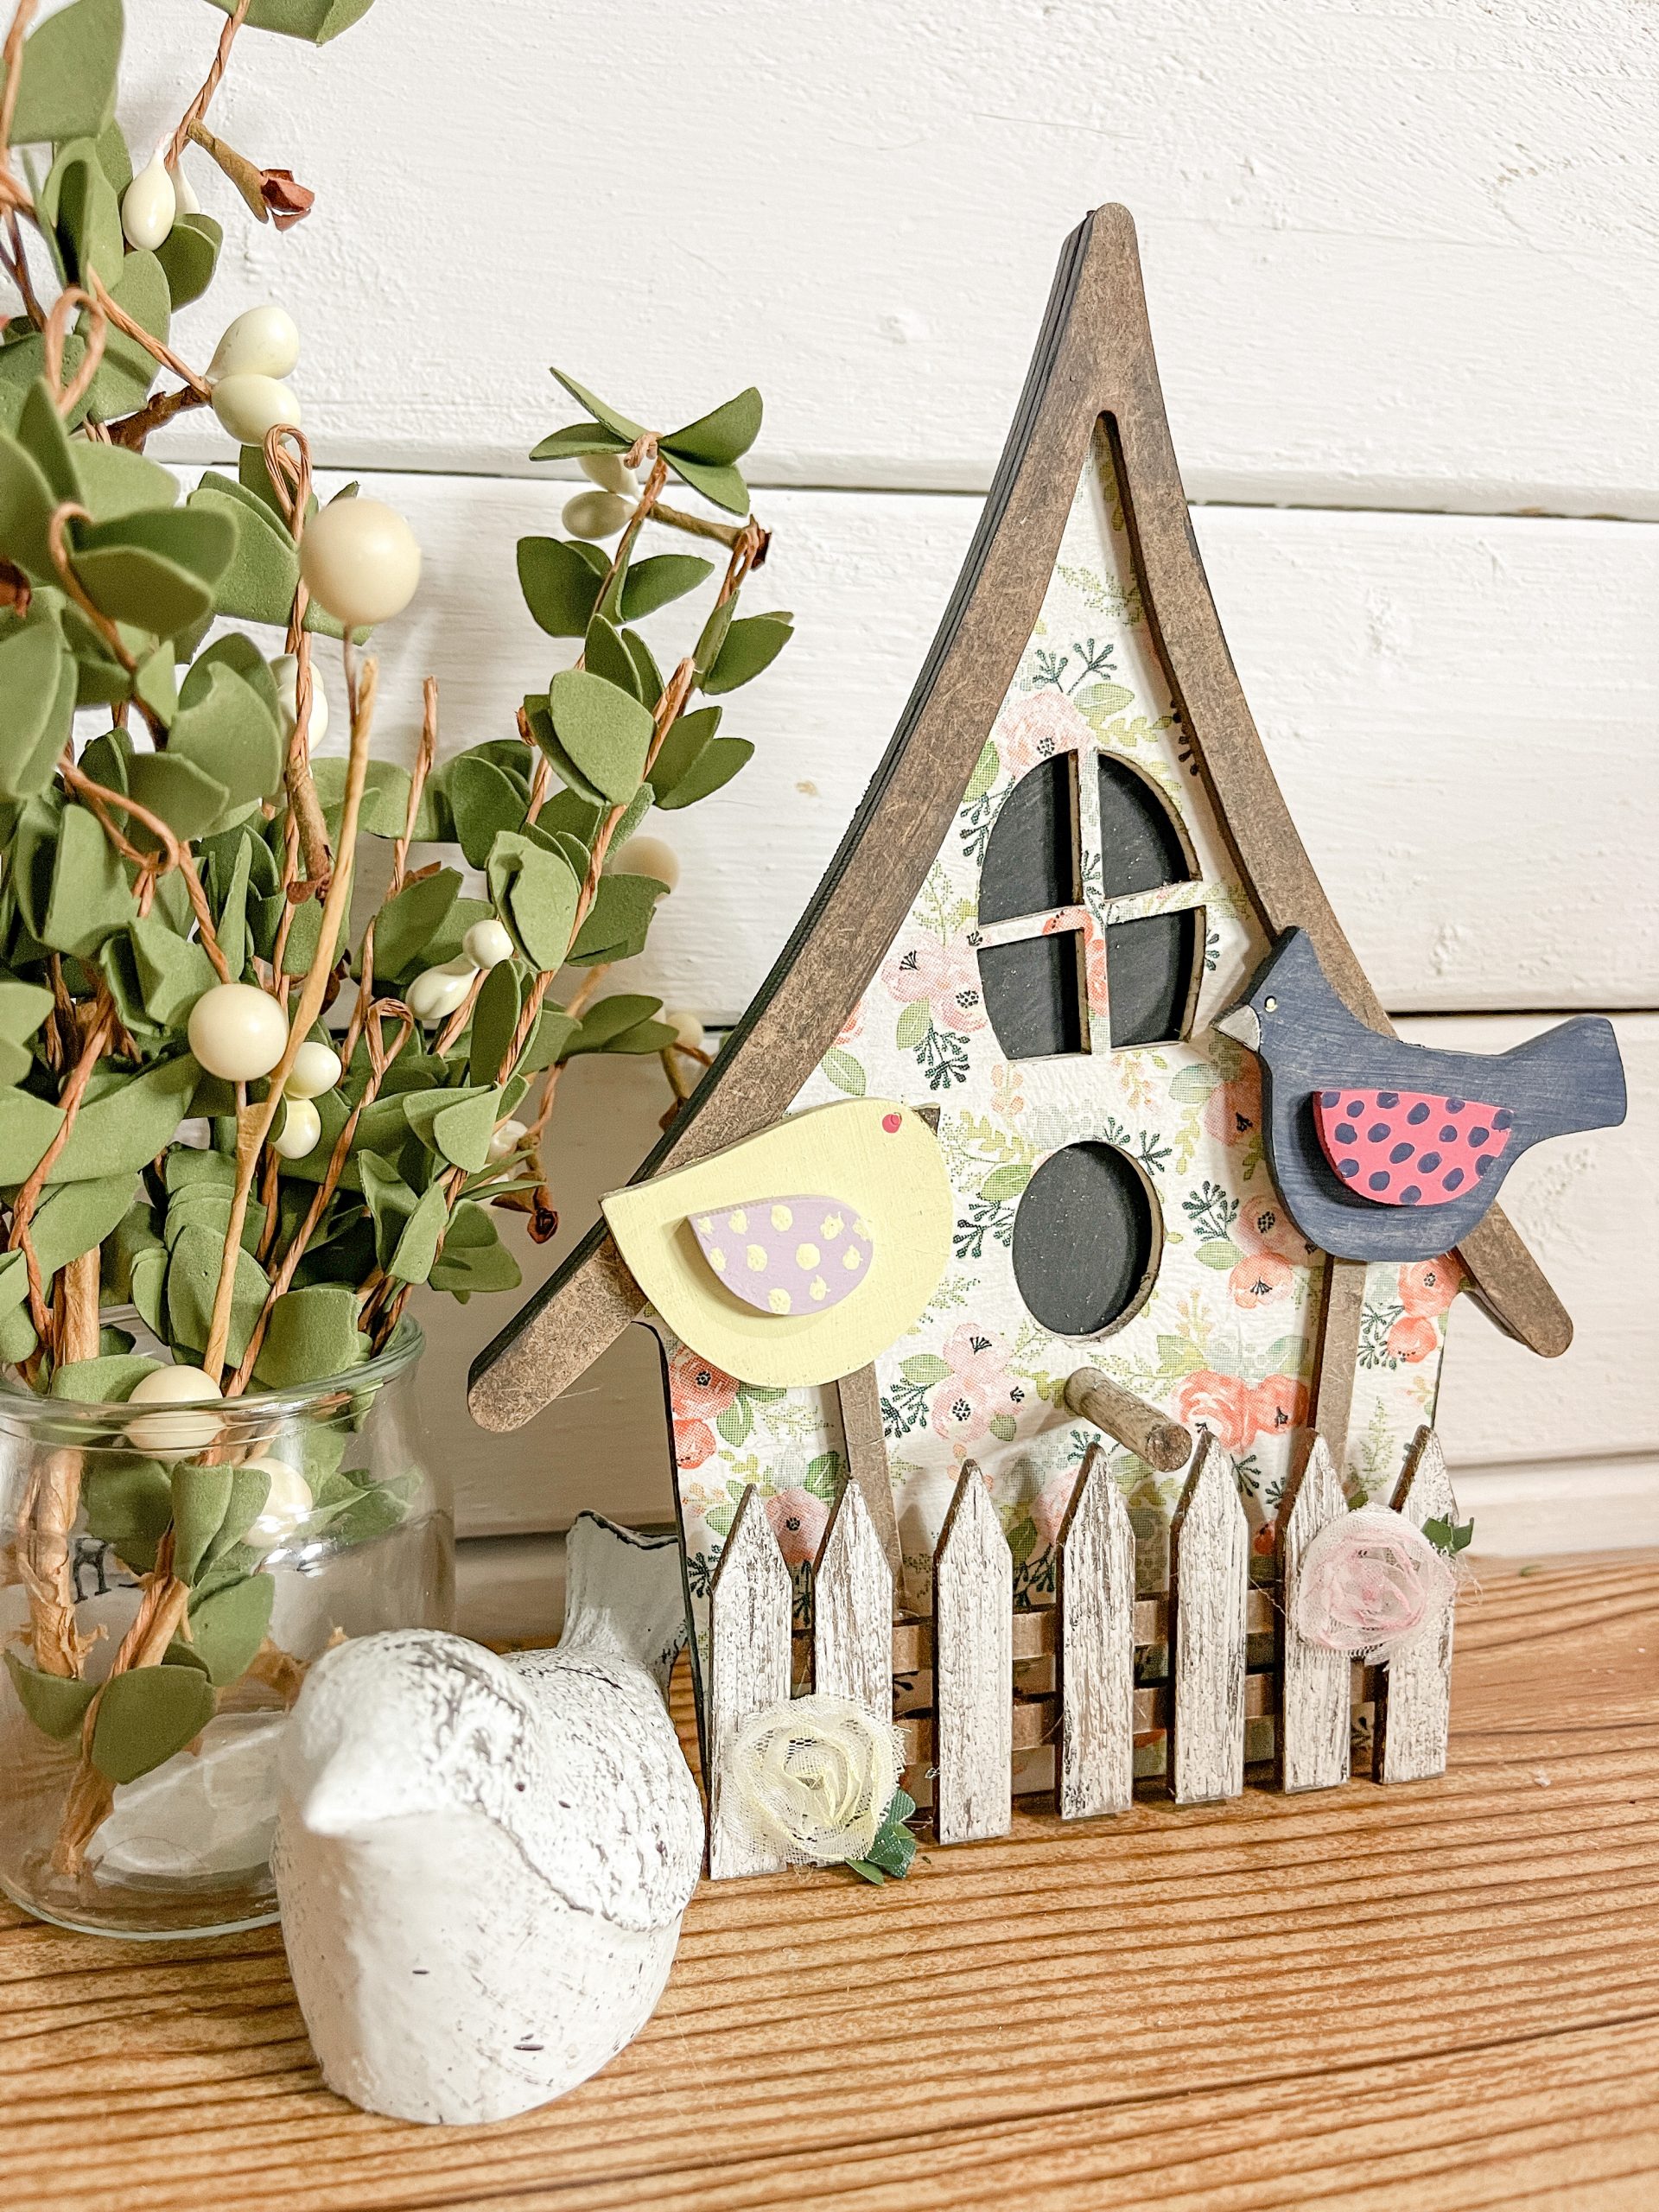
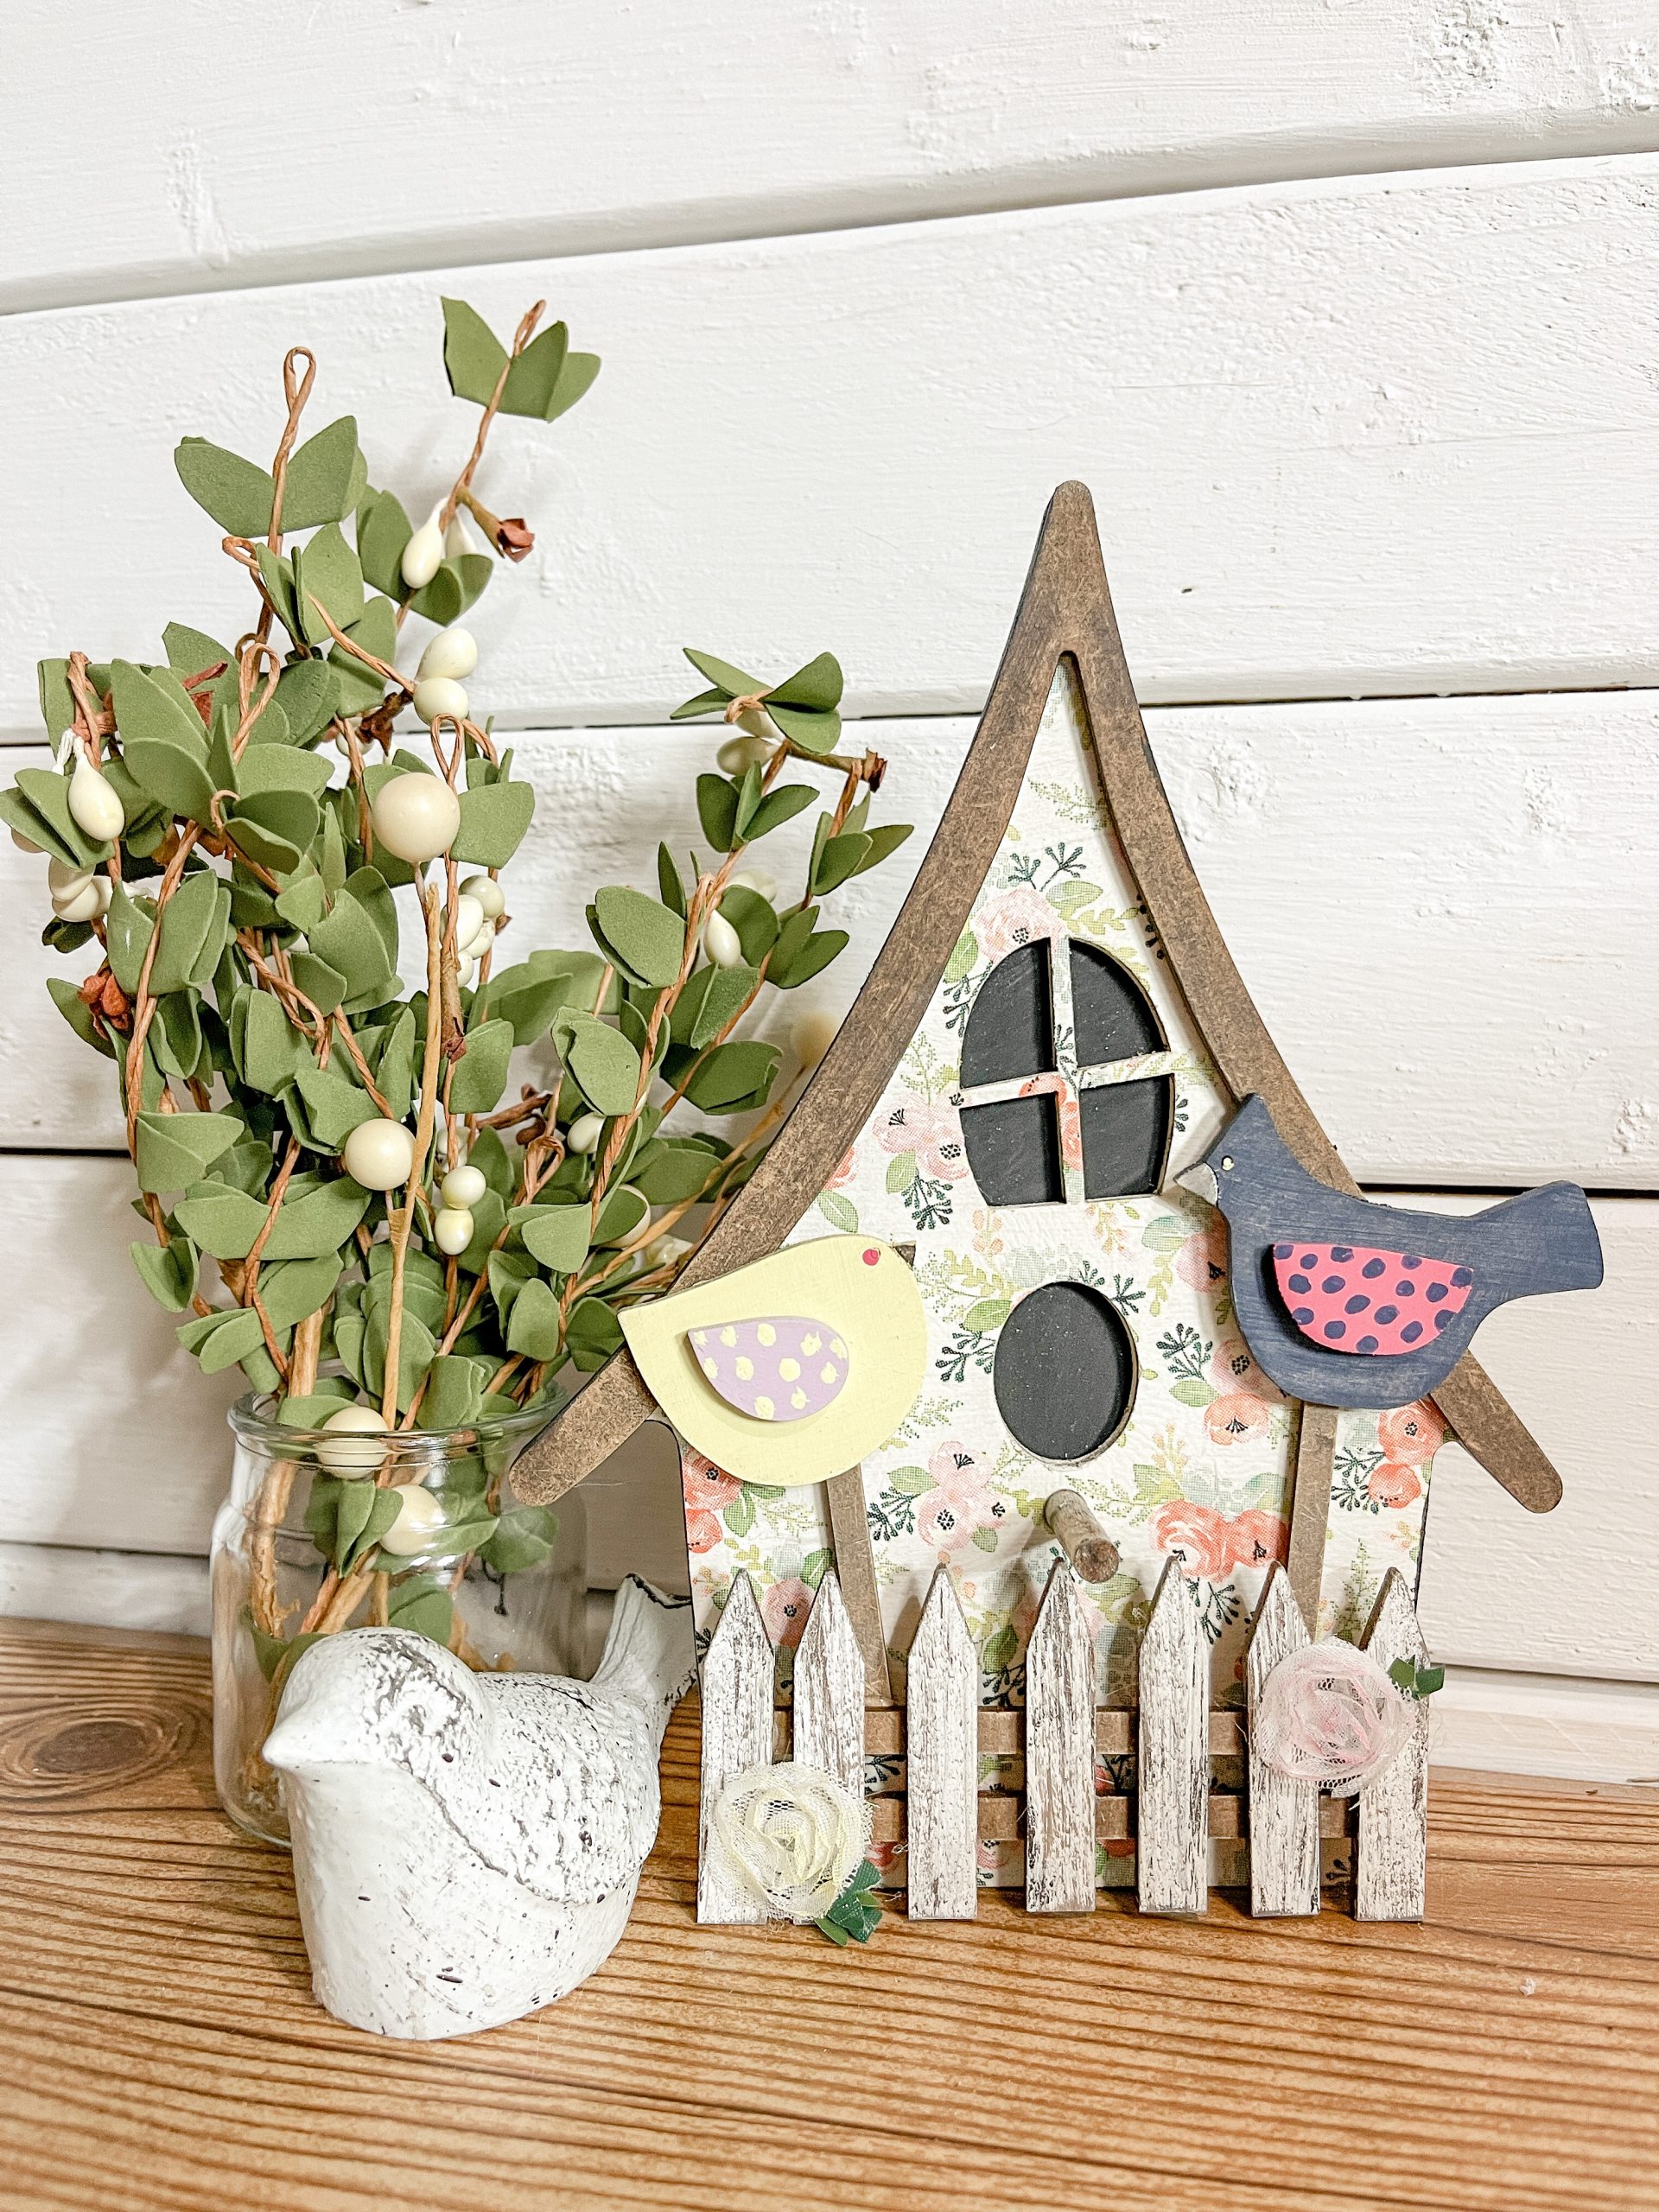
You can use just the bird house decor kit itself and a few embellishments to create something really adorable to match your home decor. Set this up on a shelf or layer in a tiered tray!
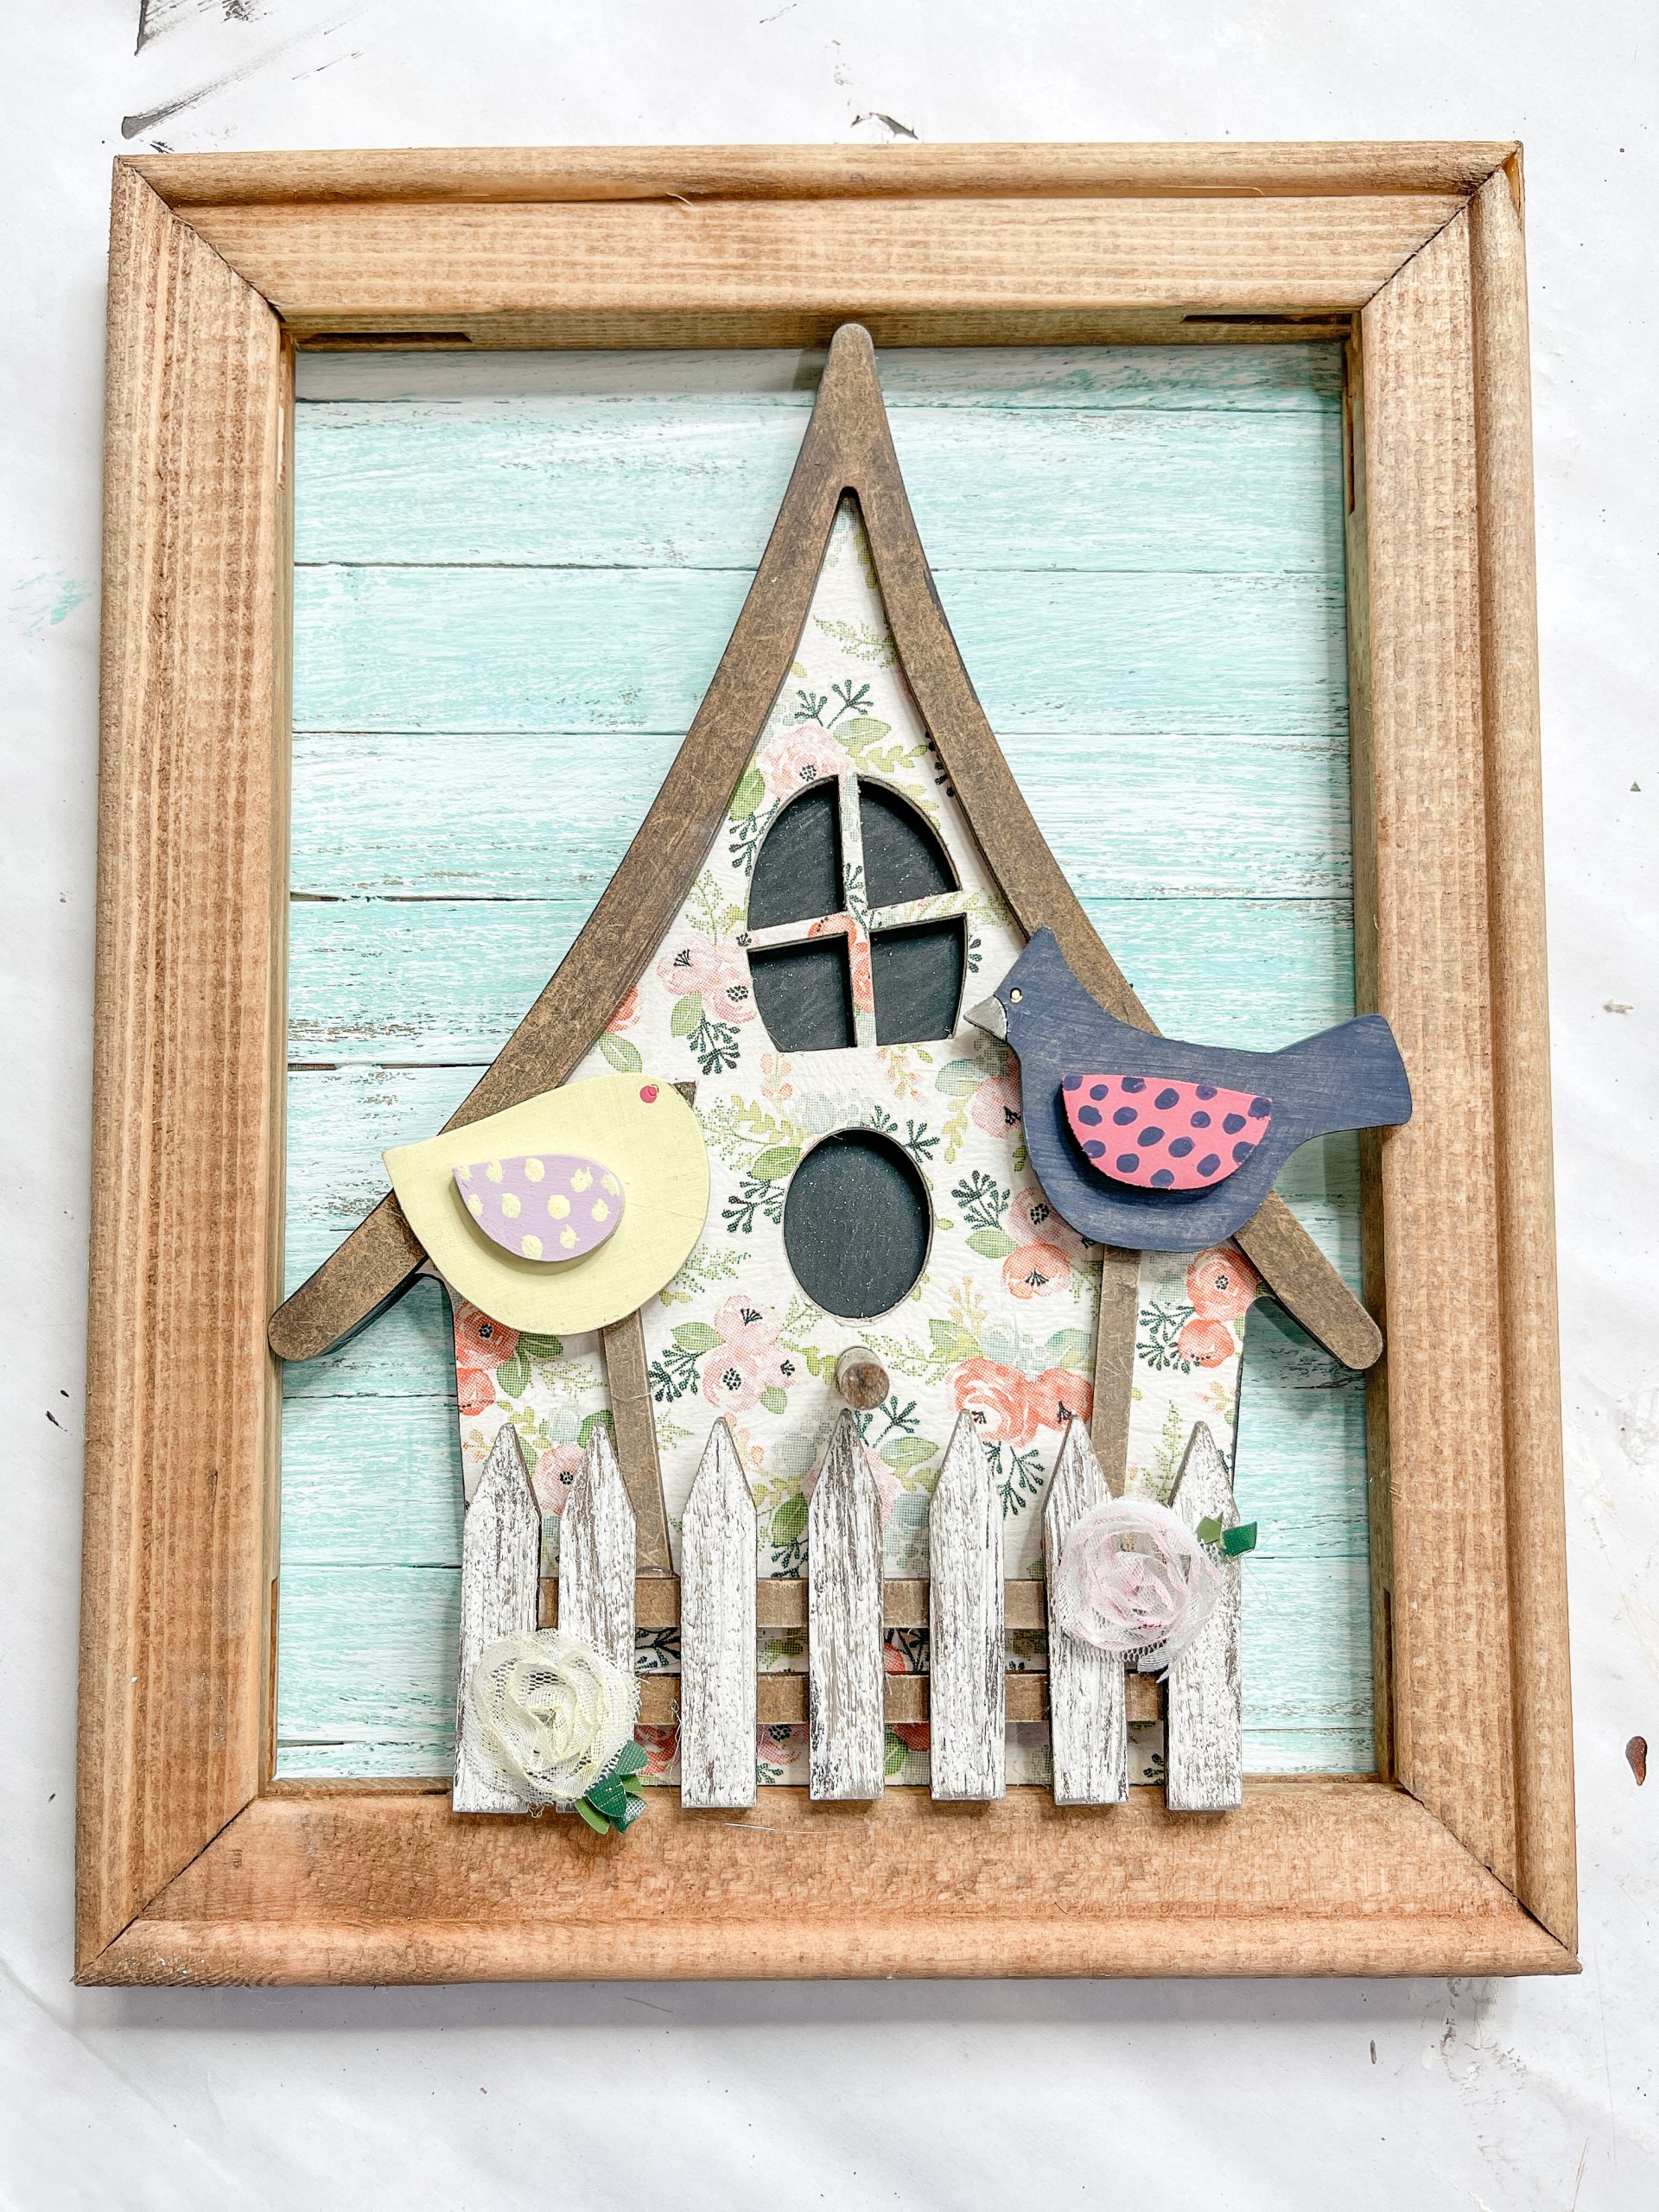
You can even add a frame with a quart paint stick backing and hang it up on your wall! There are quite a few ways you can use this bird house decoration in your home.
Check out the other craft kits available in my shop!
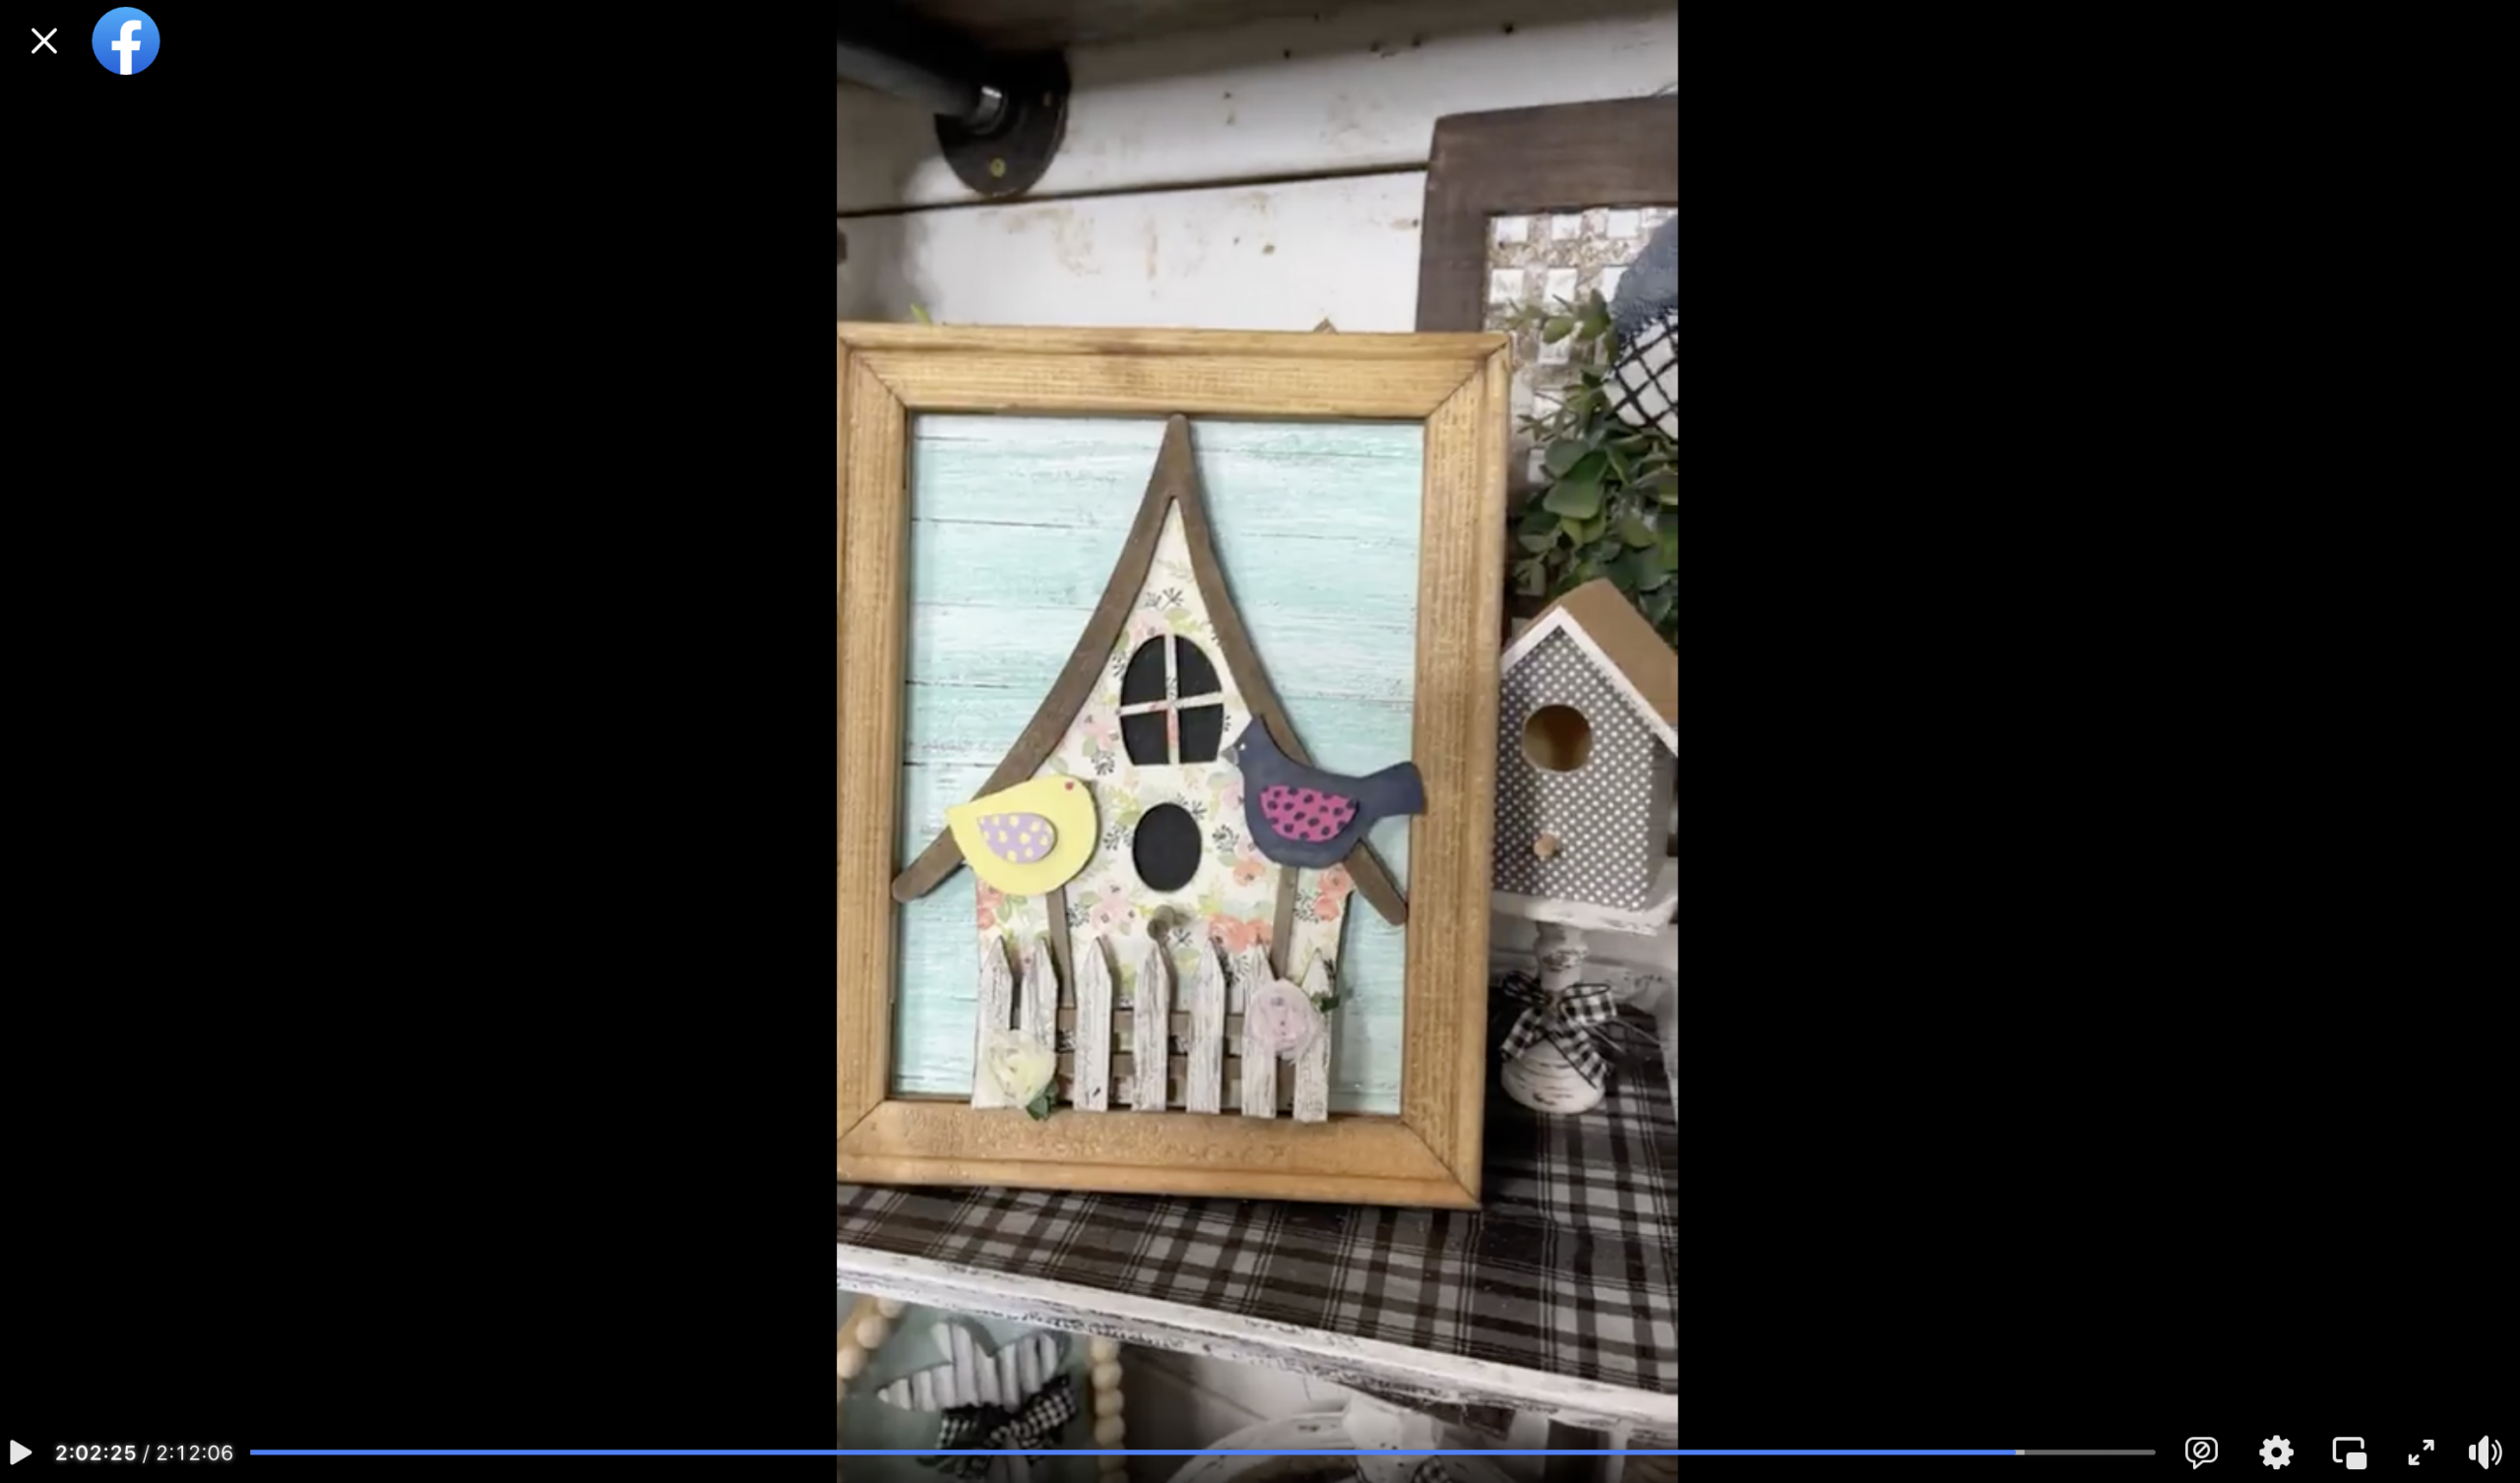
Watch the DIY tutorial!
I shared how to bring this decorative birdhouse craft kit to life during a LIVE video on my Facebook page.
If you want to see the DIY process, craft along, or just join in on the fun conversations, you can watch the DIY tutorial on Facebook!
For this project, I will be using these items but you can substitute where you want.
“As an Amazon Associate, I earn from qualifying purchases.”
- Birdhouse Craft Kit
- Canvas (Michael’s – It had a chunkier frame than the Dollar Tree canvas)
- Wired Garland
- Dollar Tree Dowel
- Floral Napkin
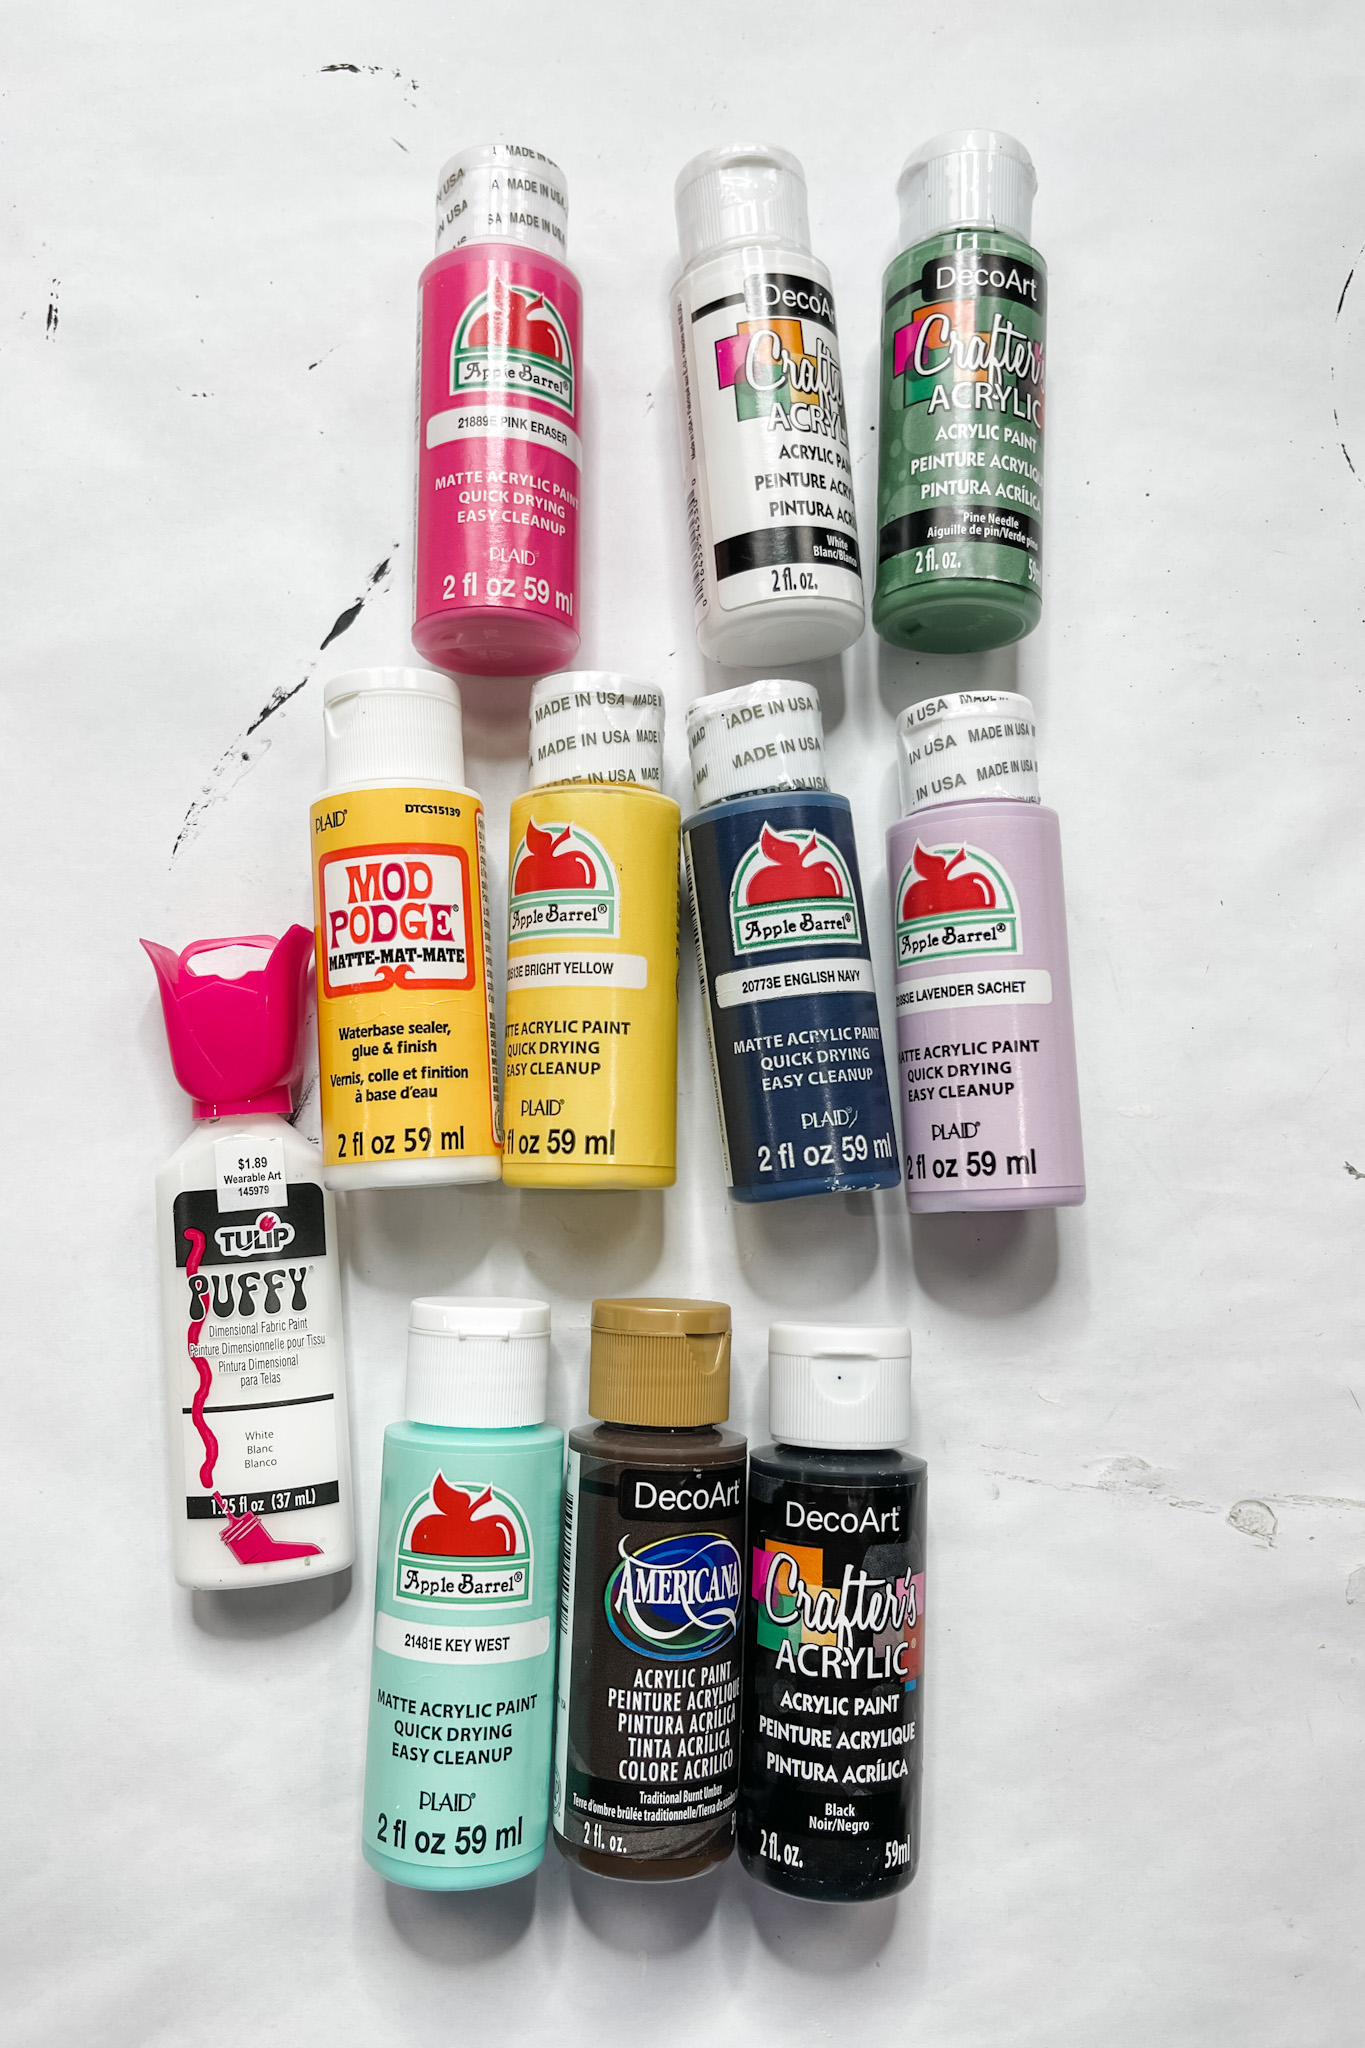
- DecoArt White Acrylic Paint
- DecoArt Black Acrylic Paint
- Quart Paint Sticks
- Decoart Burnt Umber Acrylic Paint
- Apple Barrel Key West Acrylic Paint
- Apple Barrel English Navy Acrylic Paint
- Mod Podge
- Apple Barrel Lavender Sachet Acrylic Paint
- Apple Barrel Bright Yellow Acrylic Paint
- DecoArt Pine Needle Acrylic Paint
- Apple Barrel Pink Eraser Acrylic Paint
- Hot glue gun and glue sticks
*I didn’t use the White Paper Flowers or Small Paper Sunflowers pictured below*
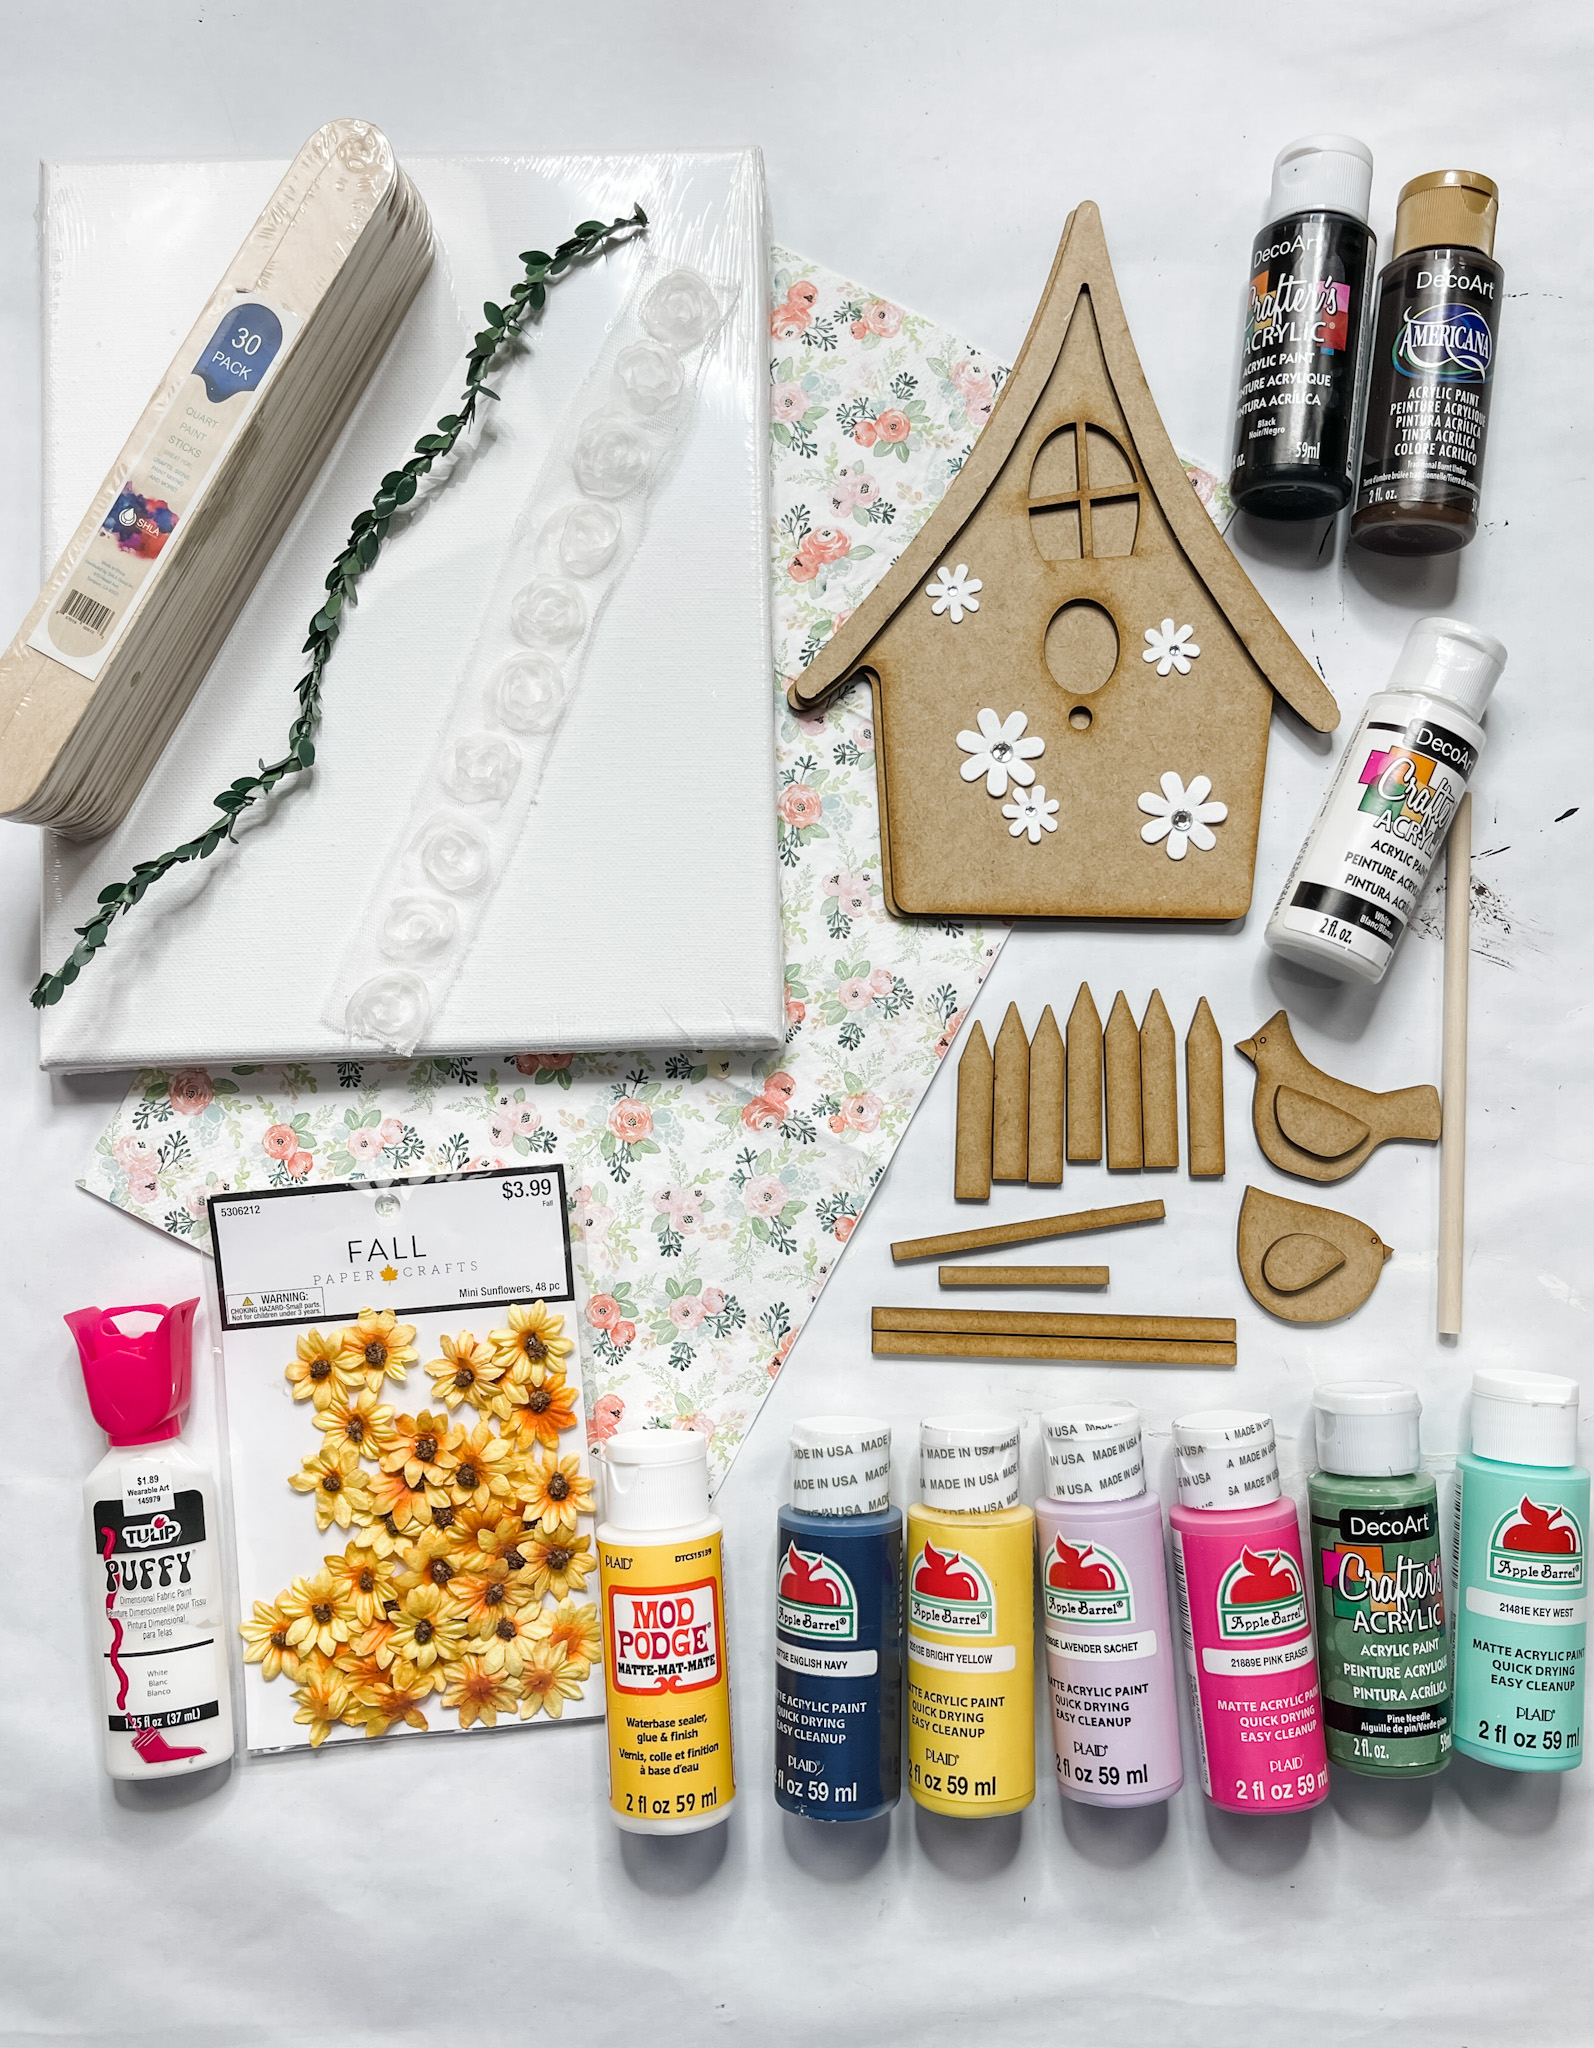
How to make a DIY Decorative Birdhouse Craft Kit
I started this project by prepping the canvas. If you have a Dollar Tree canvas already in your craft stash you can absolutely use it, but I wanted the chunkier frame from the Michael’s canvas.

I used a box cutter to remove the canvas from the frame. Then, I mixed a bit of brown paint with water and applied the mixture to the frame with a paintbrush to stain the wood.
I used a wet wipe to remove the excess paint mixture from the frame and used my heat gun to quickly dry the frame.
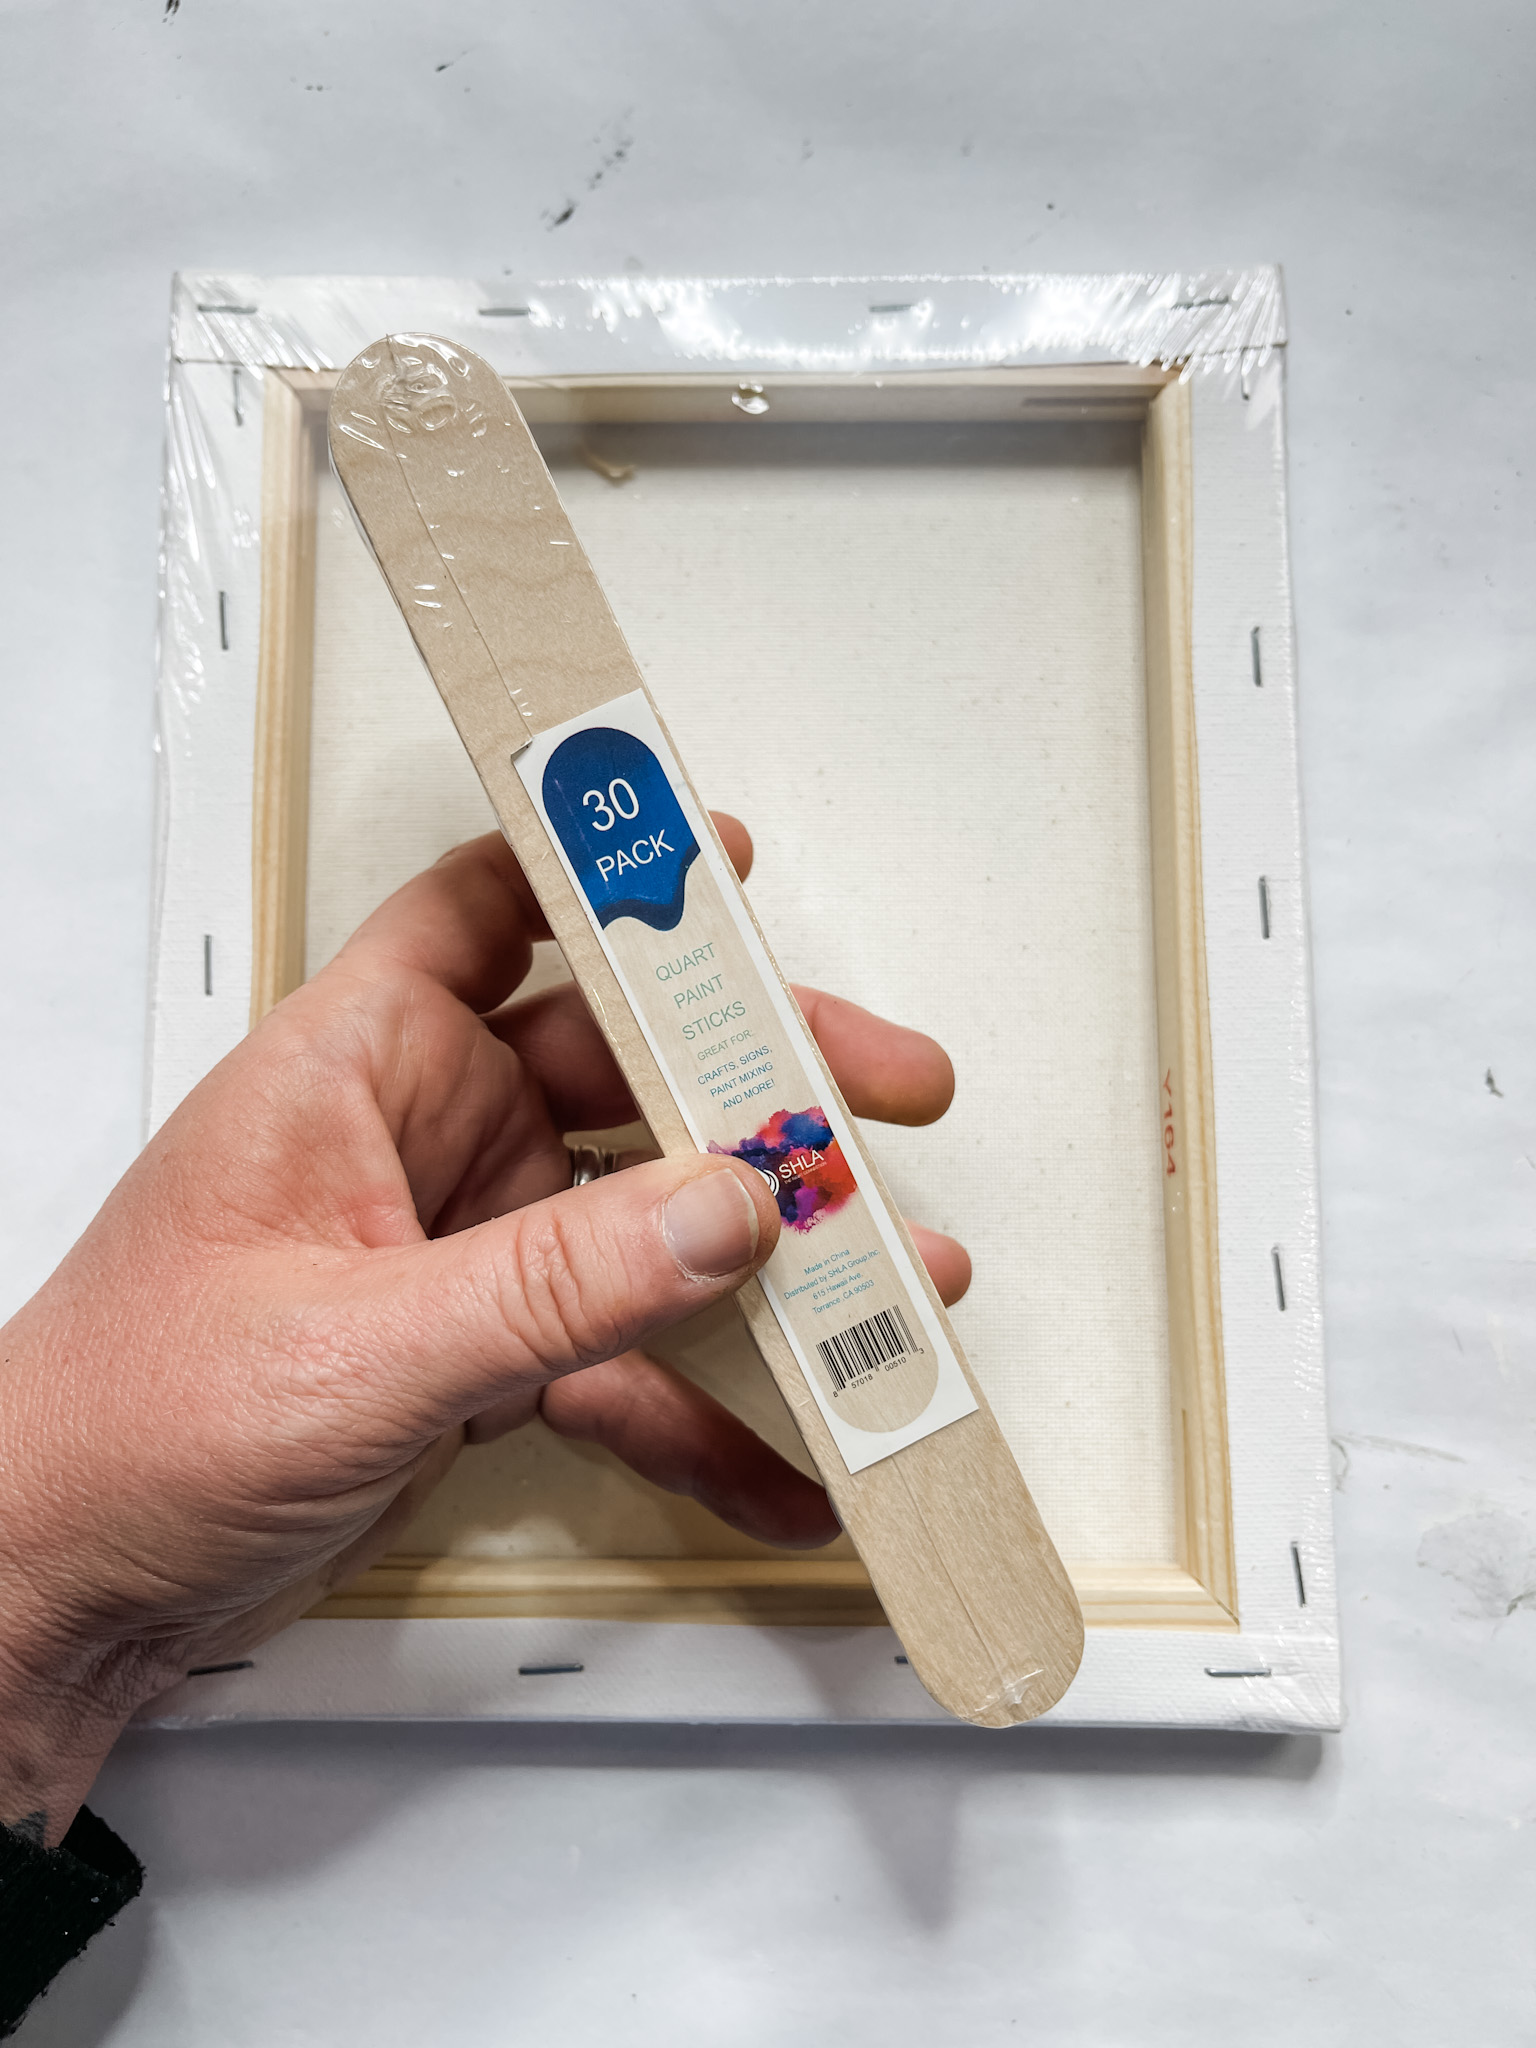
Next, I flipped the canvas over and laid out the quart paint sticks to create the backing. It took 10 quart paint sticks to cover the opening of the frame.
I glued four quart paint sticks perpendicular to the 10 quart paint sticks laid out to secure them all together. Once the glue was dry, I trimmed the curved edges off the paint sticks.
I stained the paint sticks with the same paint/water mixture I used to stain the wooden frame. Next it’s time to work on the birdhouse craft kit!
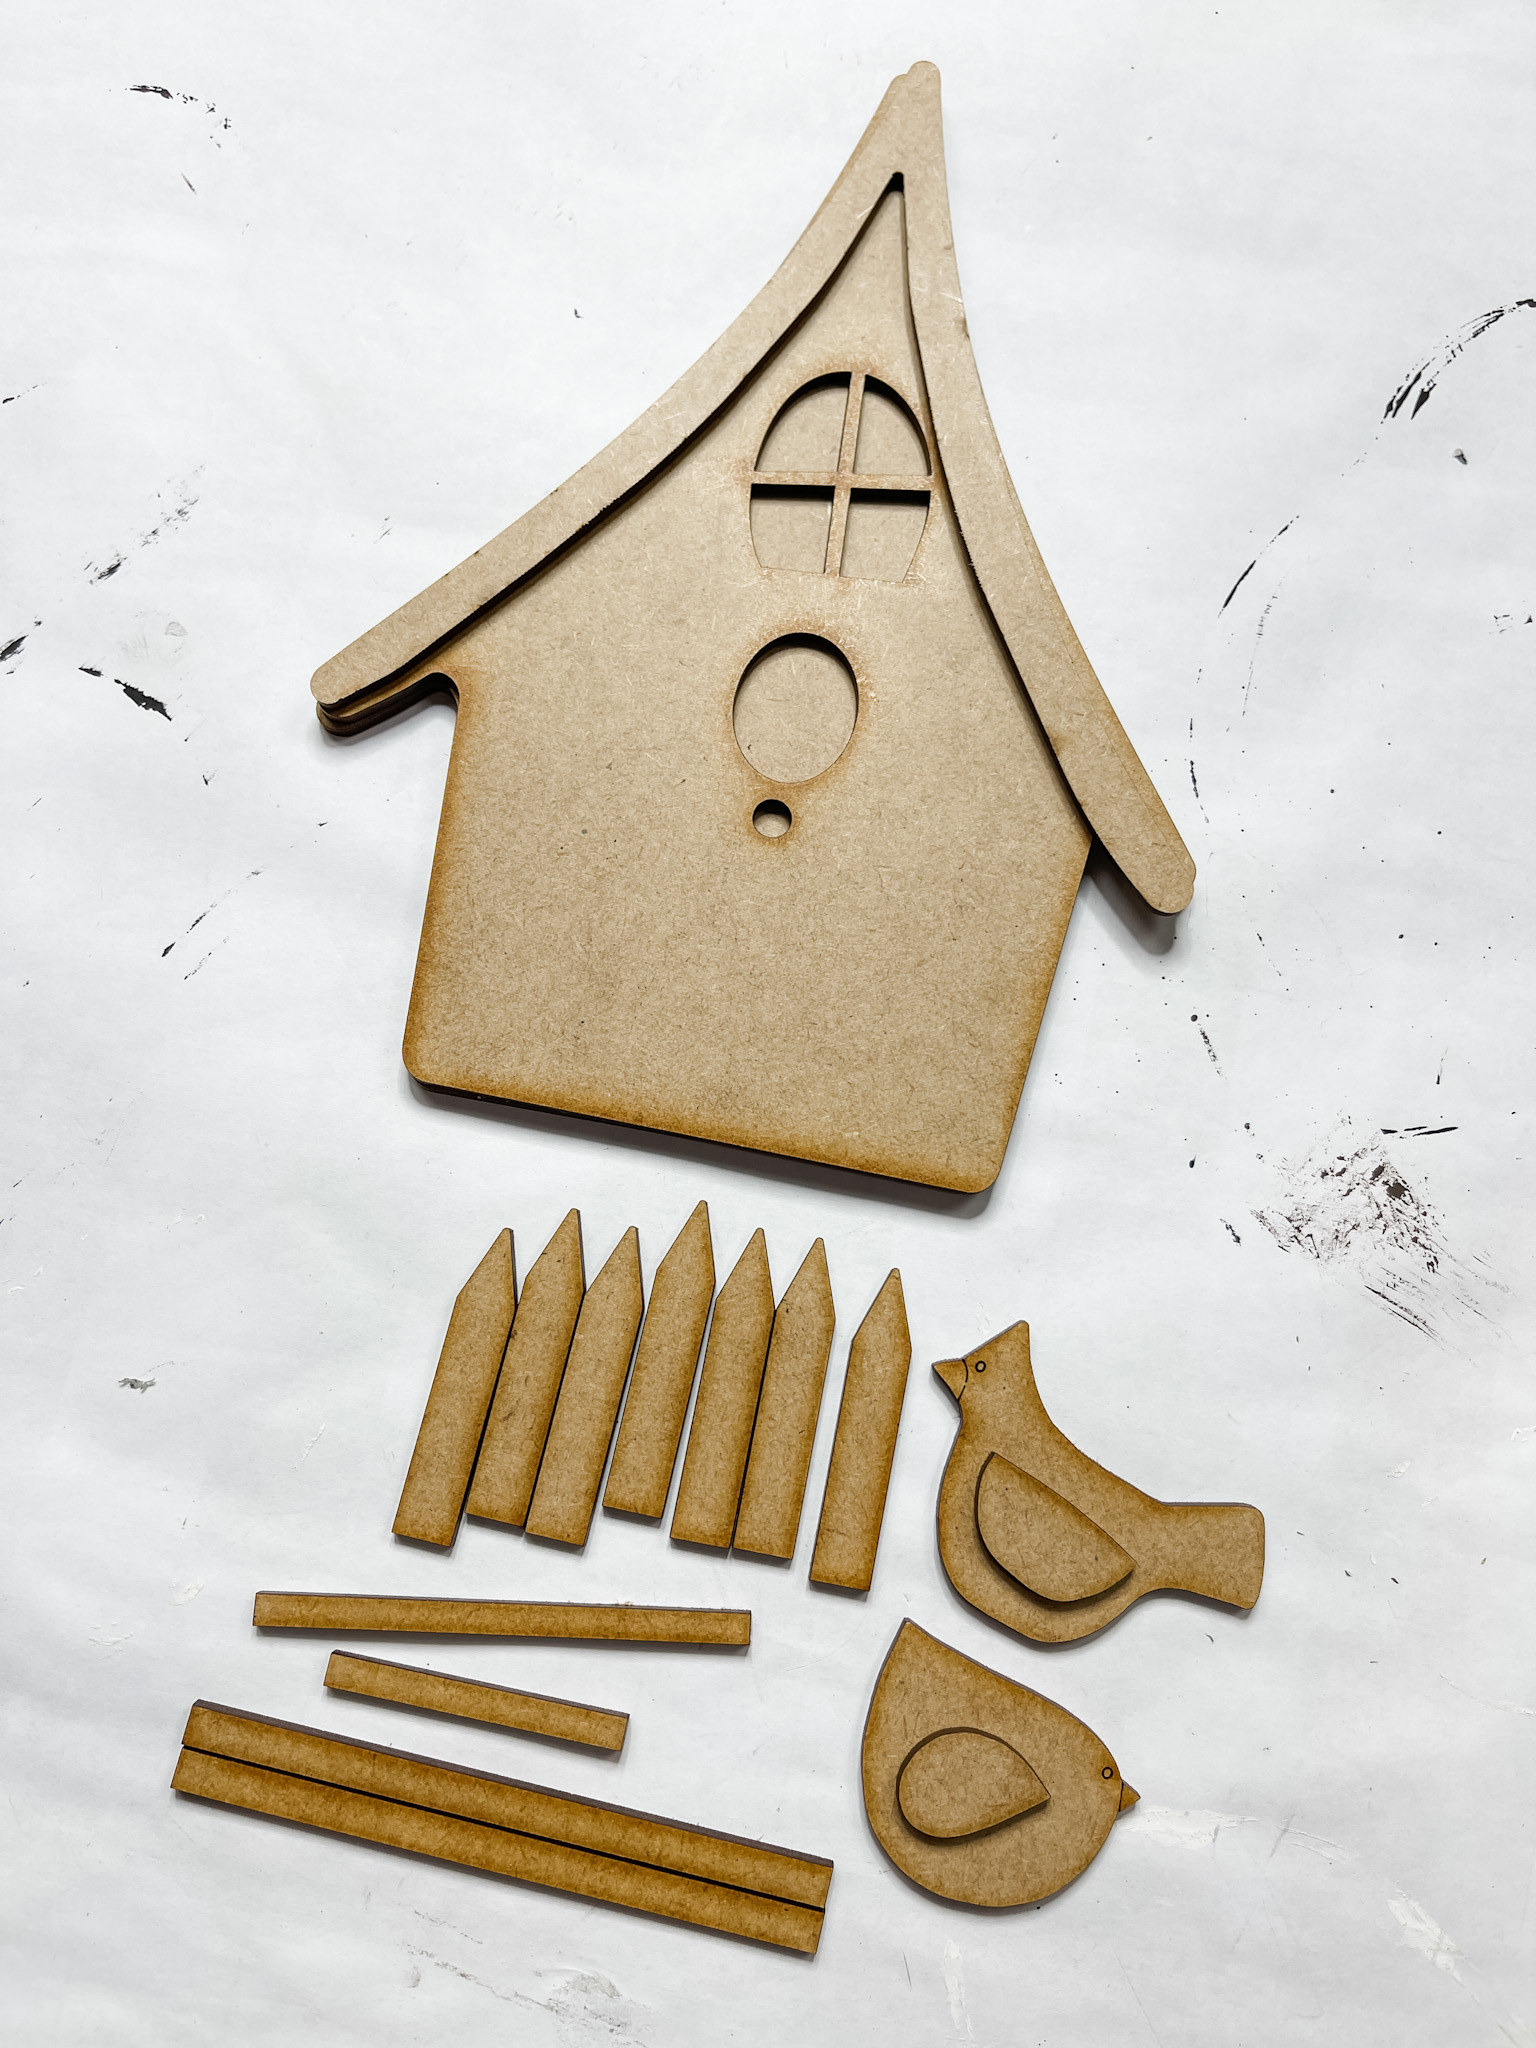
How to decorate your birdhouse craft kit
I started by painting the back piece of the birdhouse where you could see it through the cutouts of the front piece.
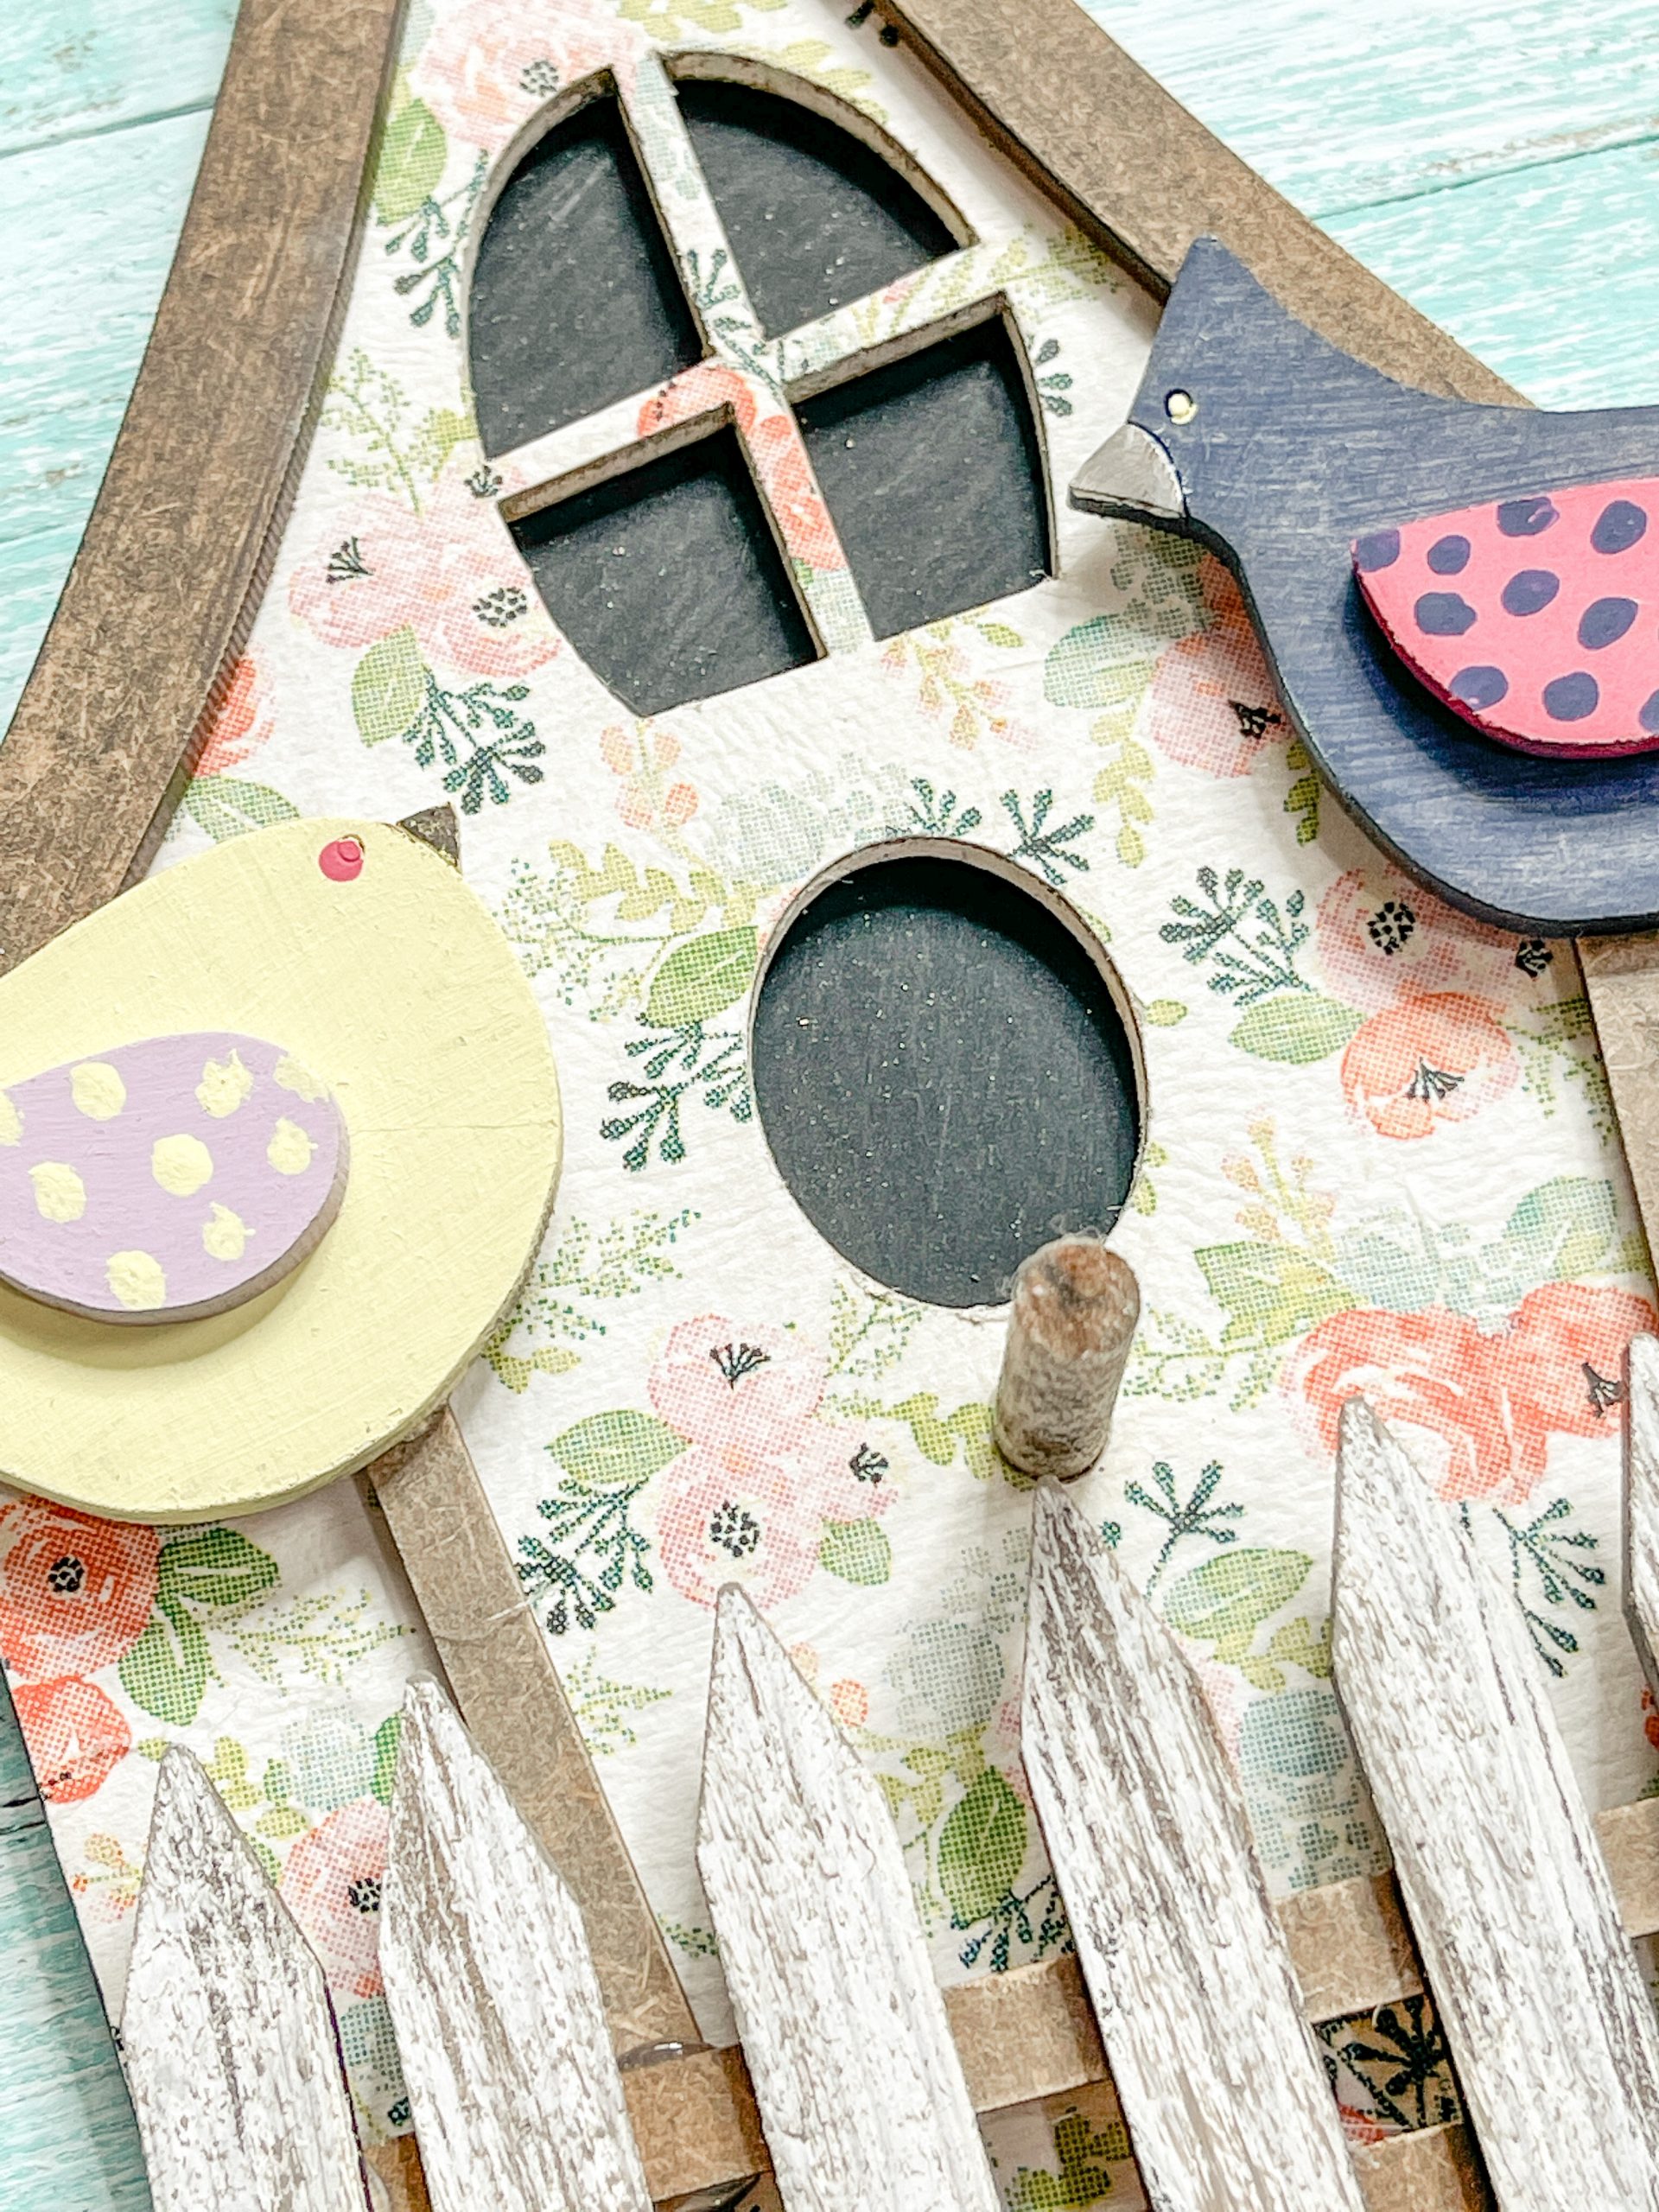
Then, I painted the front piece of the birdhouse white. Once the white paint is completely dry, apply a coat of Mod Podge over the white.
How to decorate a bird house using a napkin
Separate the paper napkin plies of your floral napkin and place the decorative ply onto the wet Mod Podge. Cover with a piece of saran wrap and use a rolling pin to smooth out any wrinkles or bubbles.
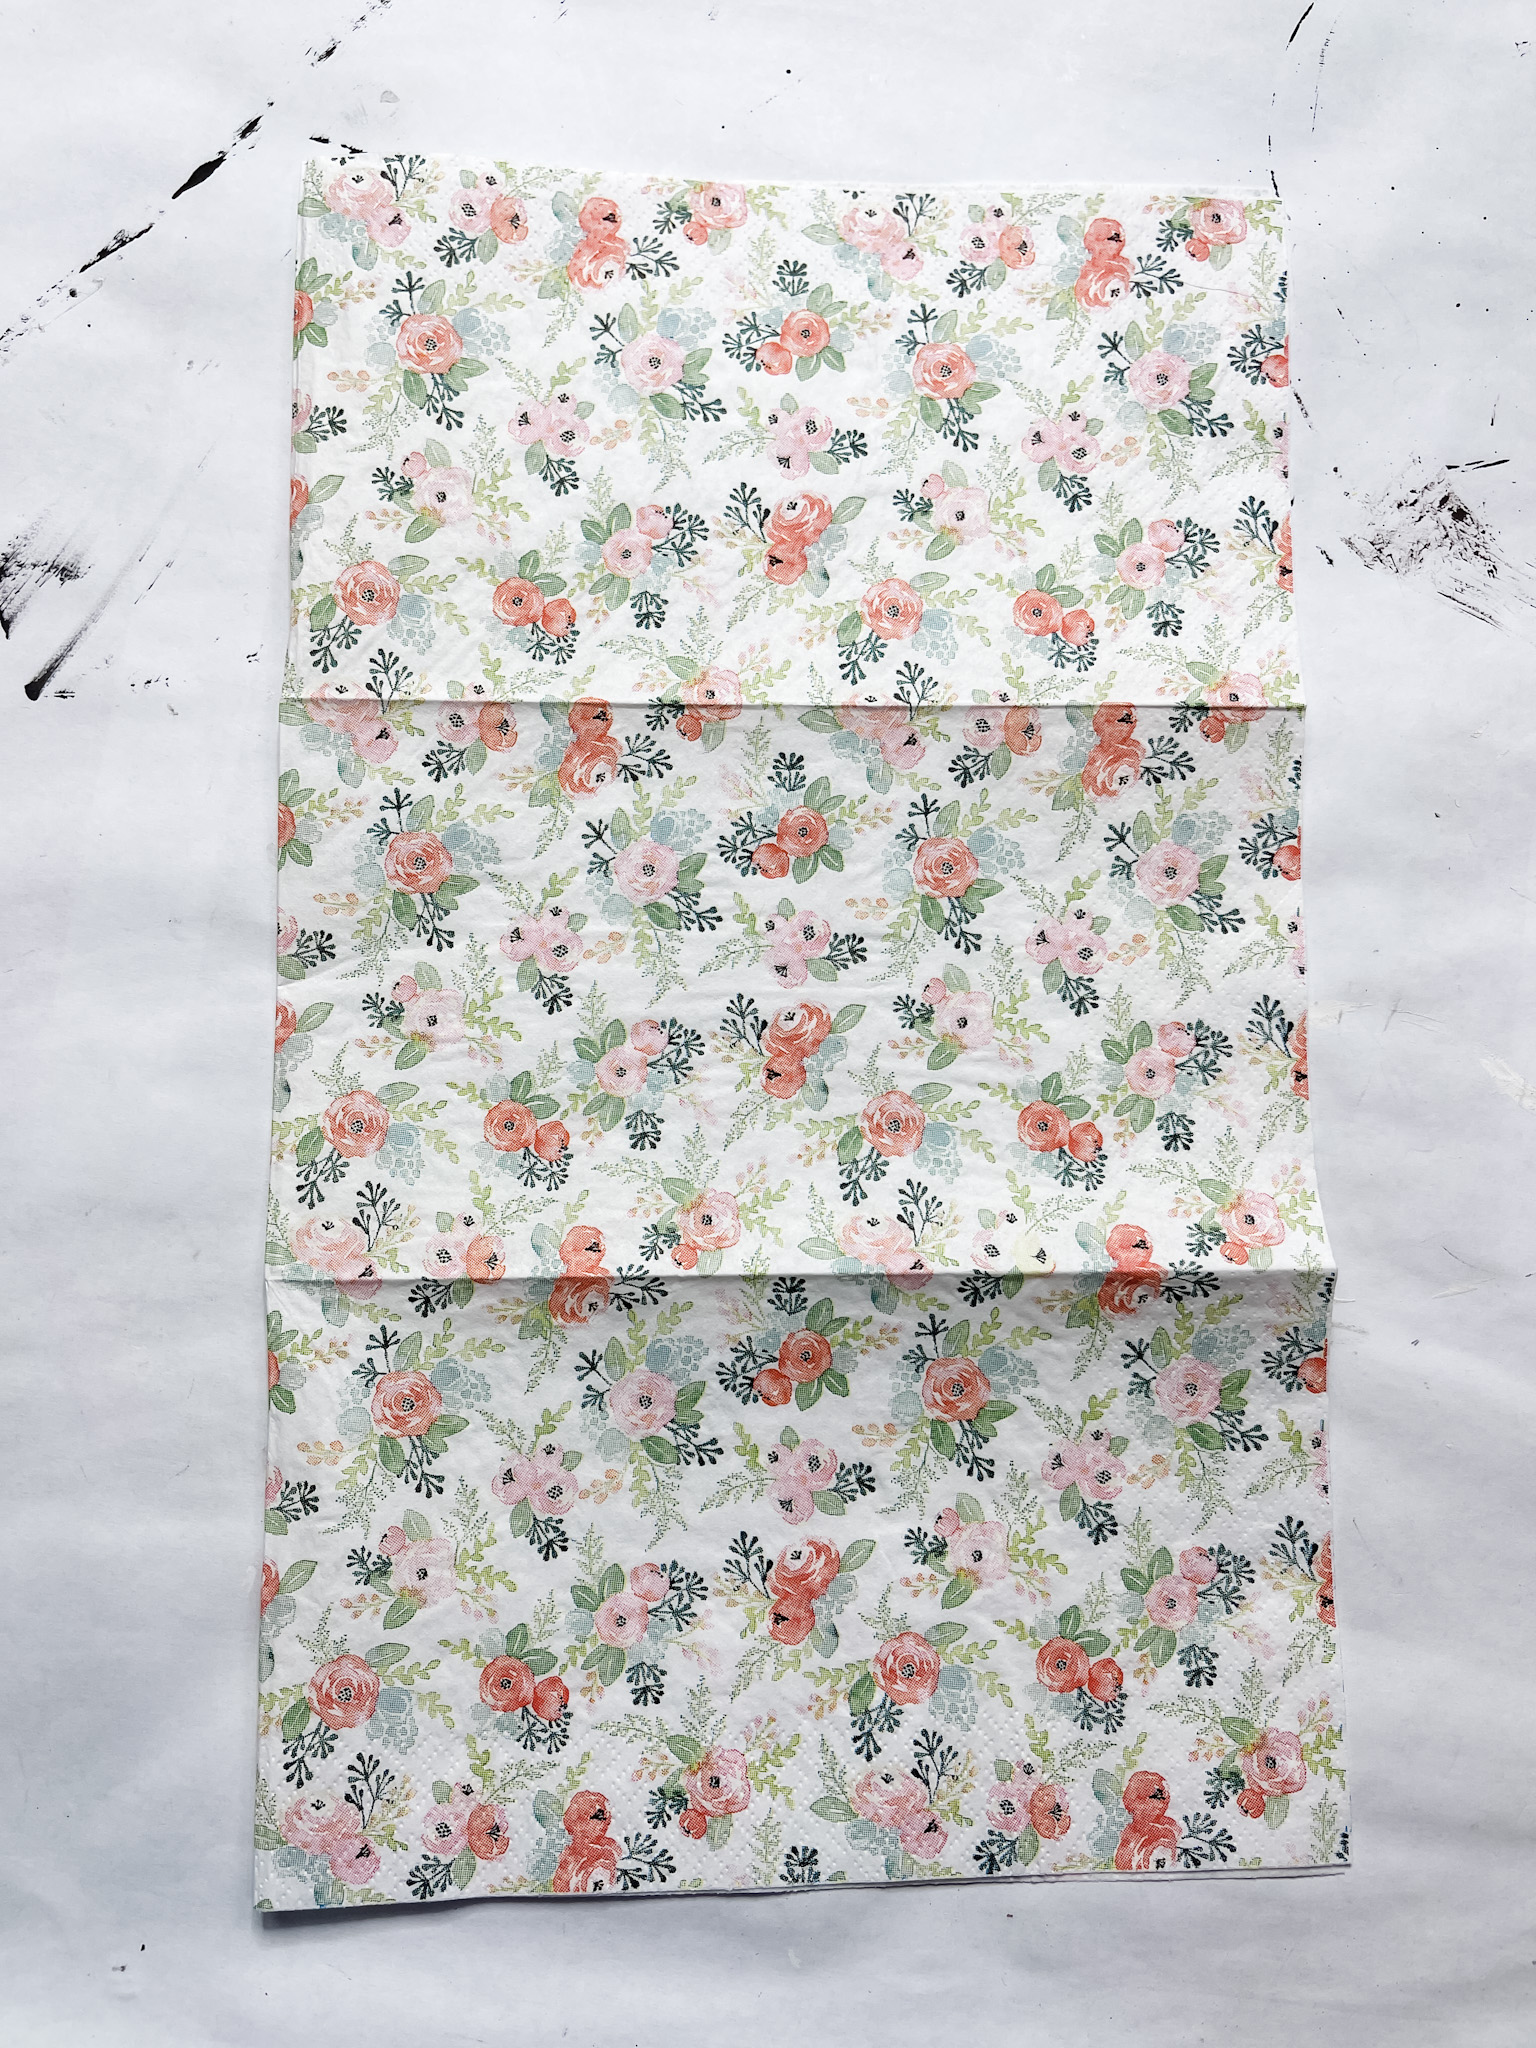
Let the Mod Podge dry completely, then remove the excess napkin from the birdhouse. Next, I painted the roof piece brown.
Stain all the remaining birdhouse craft kit pieces brown. Then, paint the fence piece white. Keep a light hand so you can still see the brown showing through.
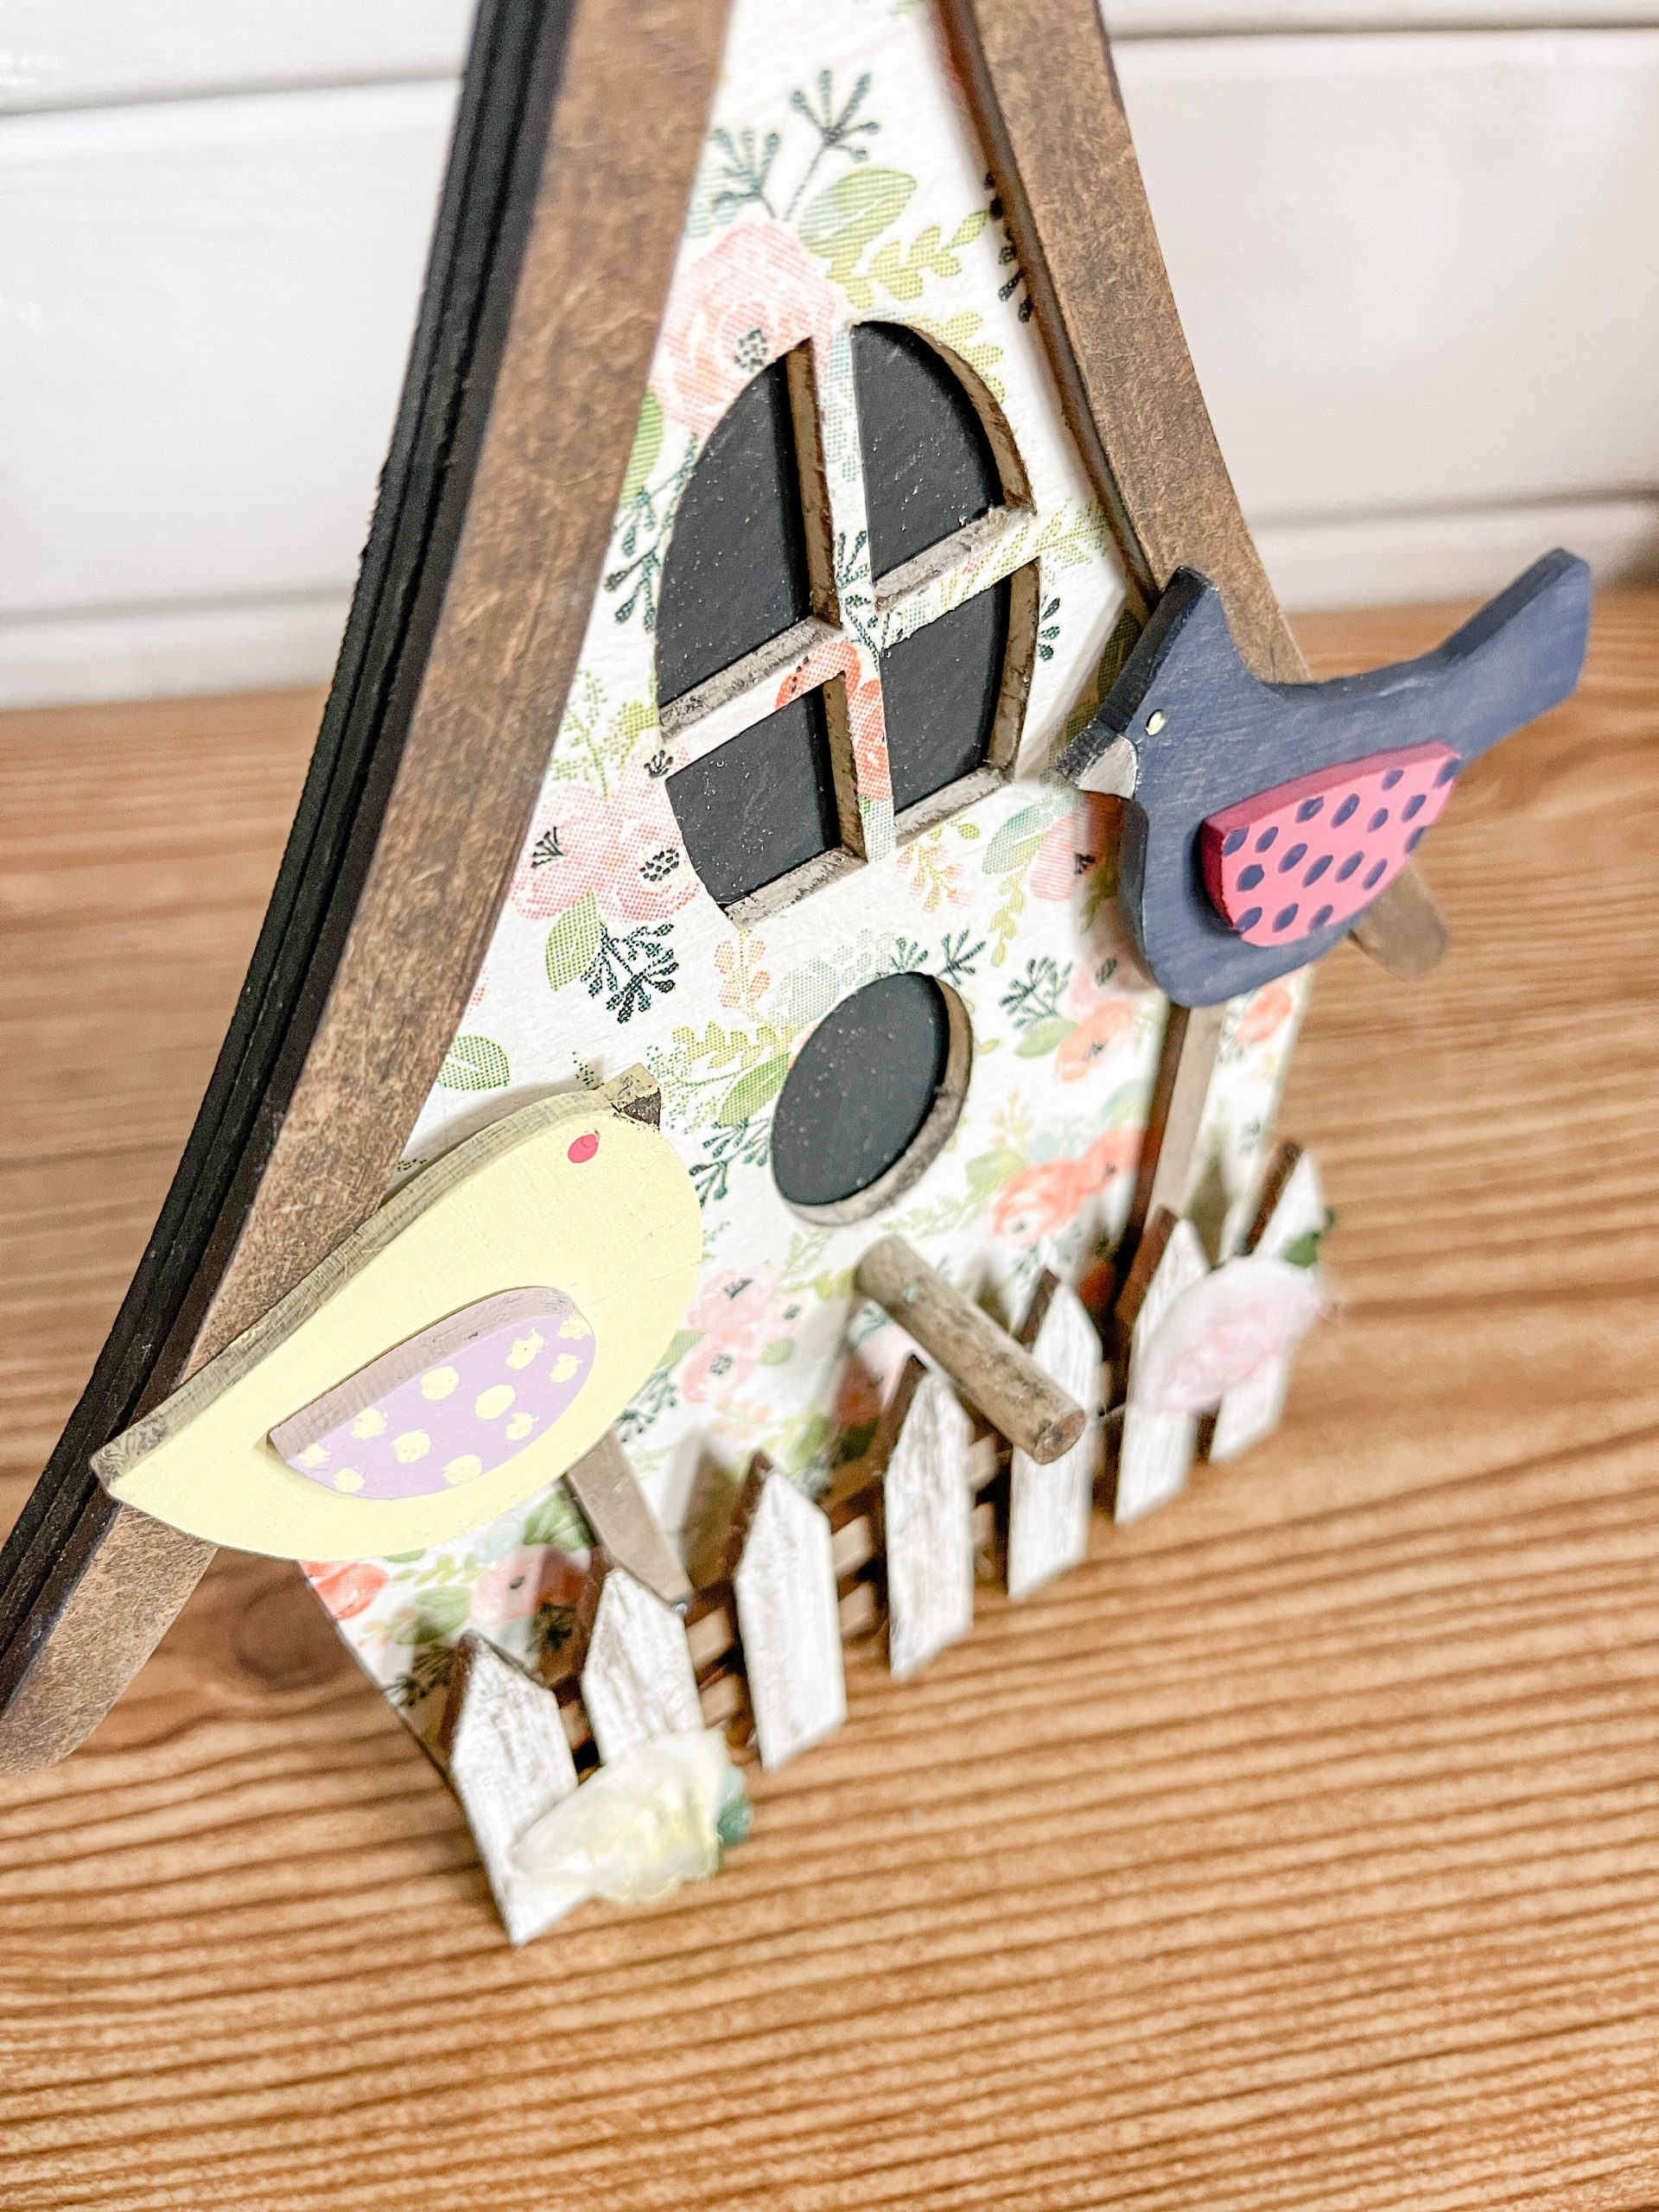
Next, I mixed a bit of white paint with grey paint and very lightly brushed the grey onto the fence picket pieces.
I painted the wood bird cut outs next. I did one wood bird cut out yellow (mix the bright yellow with white to get a pastel yellow) and its wing purple. The other laser cut wood bird I painted navy with a pink wing.
Bring it all together
Apply a coat of the Key West acrylic paint onto the stained quart paint stick surface. Once that paint is dry, lightly brush white paint over the blue paint.
Allow the paint to dry completely, then glue the painted quart paint stick surface to the back of the stained canvas frame.
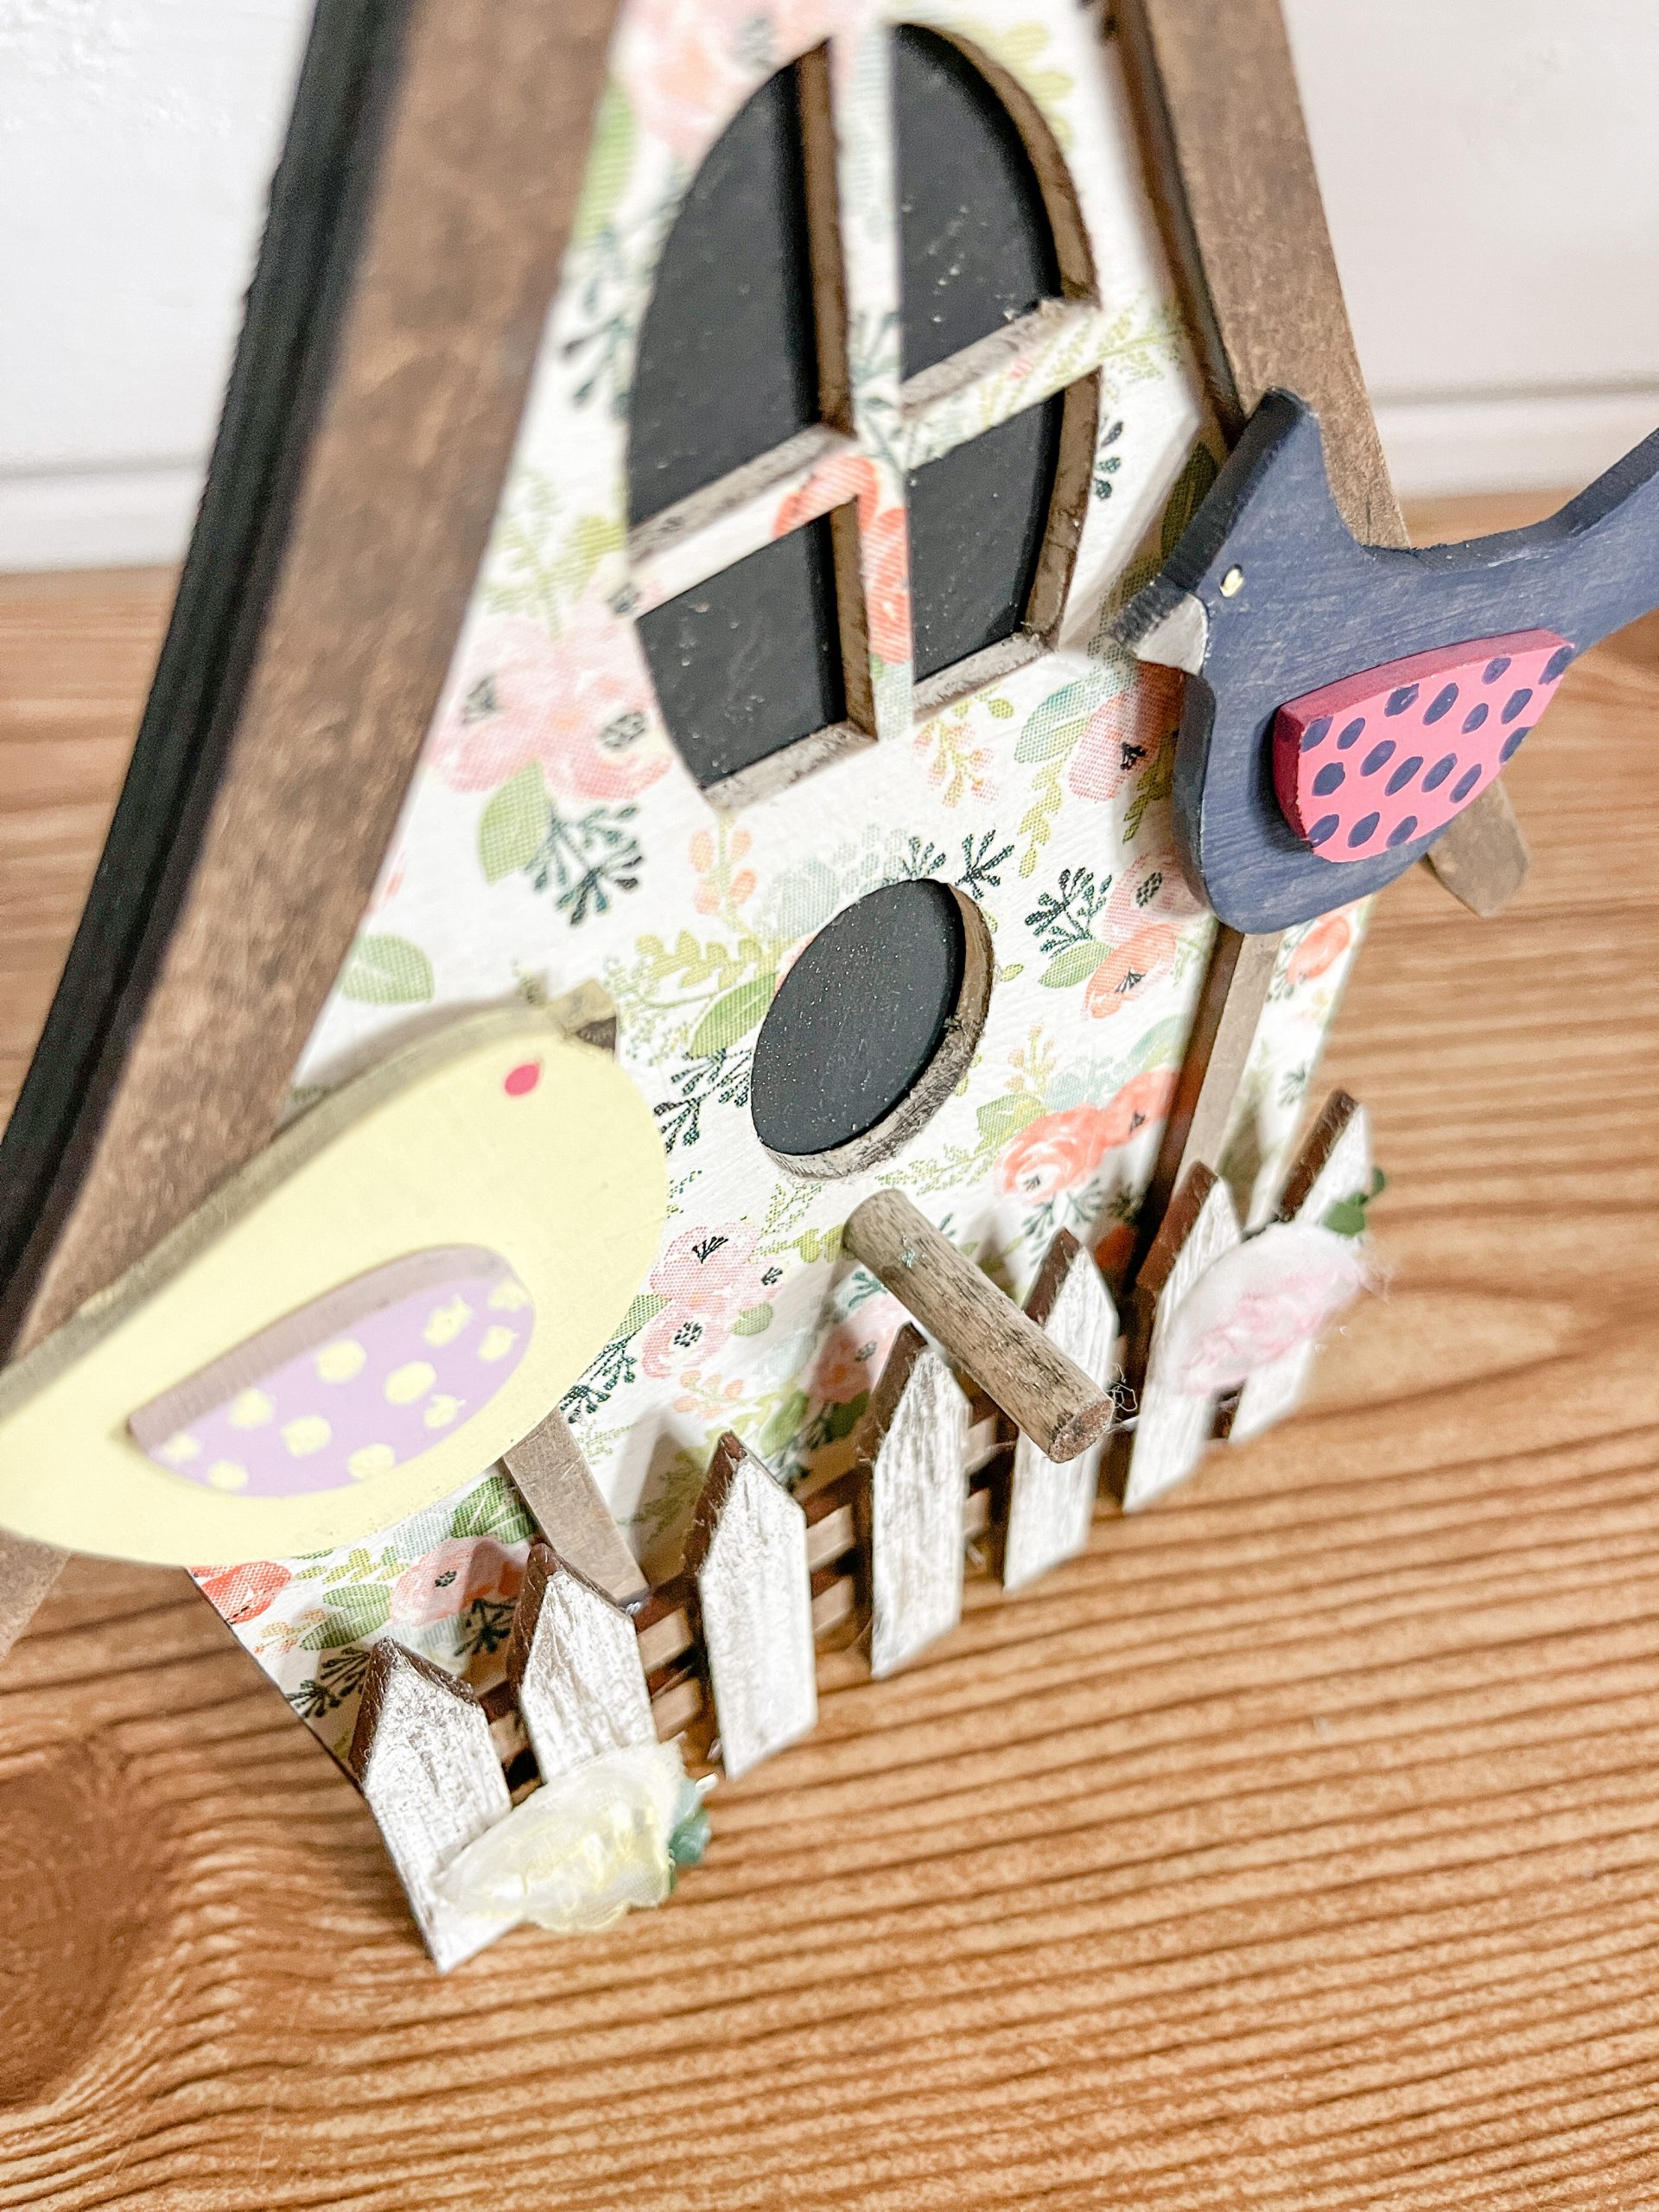
Glue all the birdhouse pieces together and paint the edges a dark color. Next, assemble the picket fence. Glue the pickets onto the two stained posts.
Glue the two wood bird perches on the front of the birdhouse, then glue the fence over the bottom of the perches. Then glue the wood bird cut outs onto their perches.
The finishing details
I trimmed a small piece of a wood dowel and stained it brown. Then, I glued it onto the birdhouse where the small hole is beneath the window.
I cut the flowers out of the white mesh ribbon and small pieces of the wired garland, glued them onto the birdhouse fence, and lightly brushed pink and yellow paint onto the flowers.
Lastly, glue the birdhouse craft kit onto the painted quart paint sticks. Once the glue is dry, you’re ready to decorate!
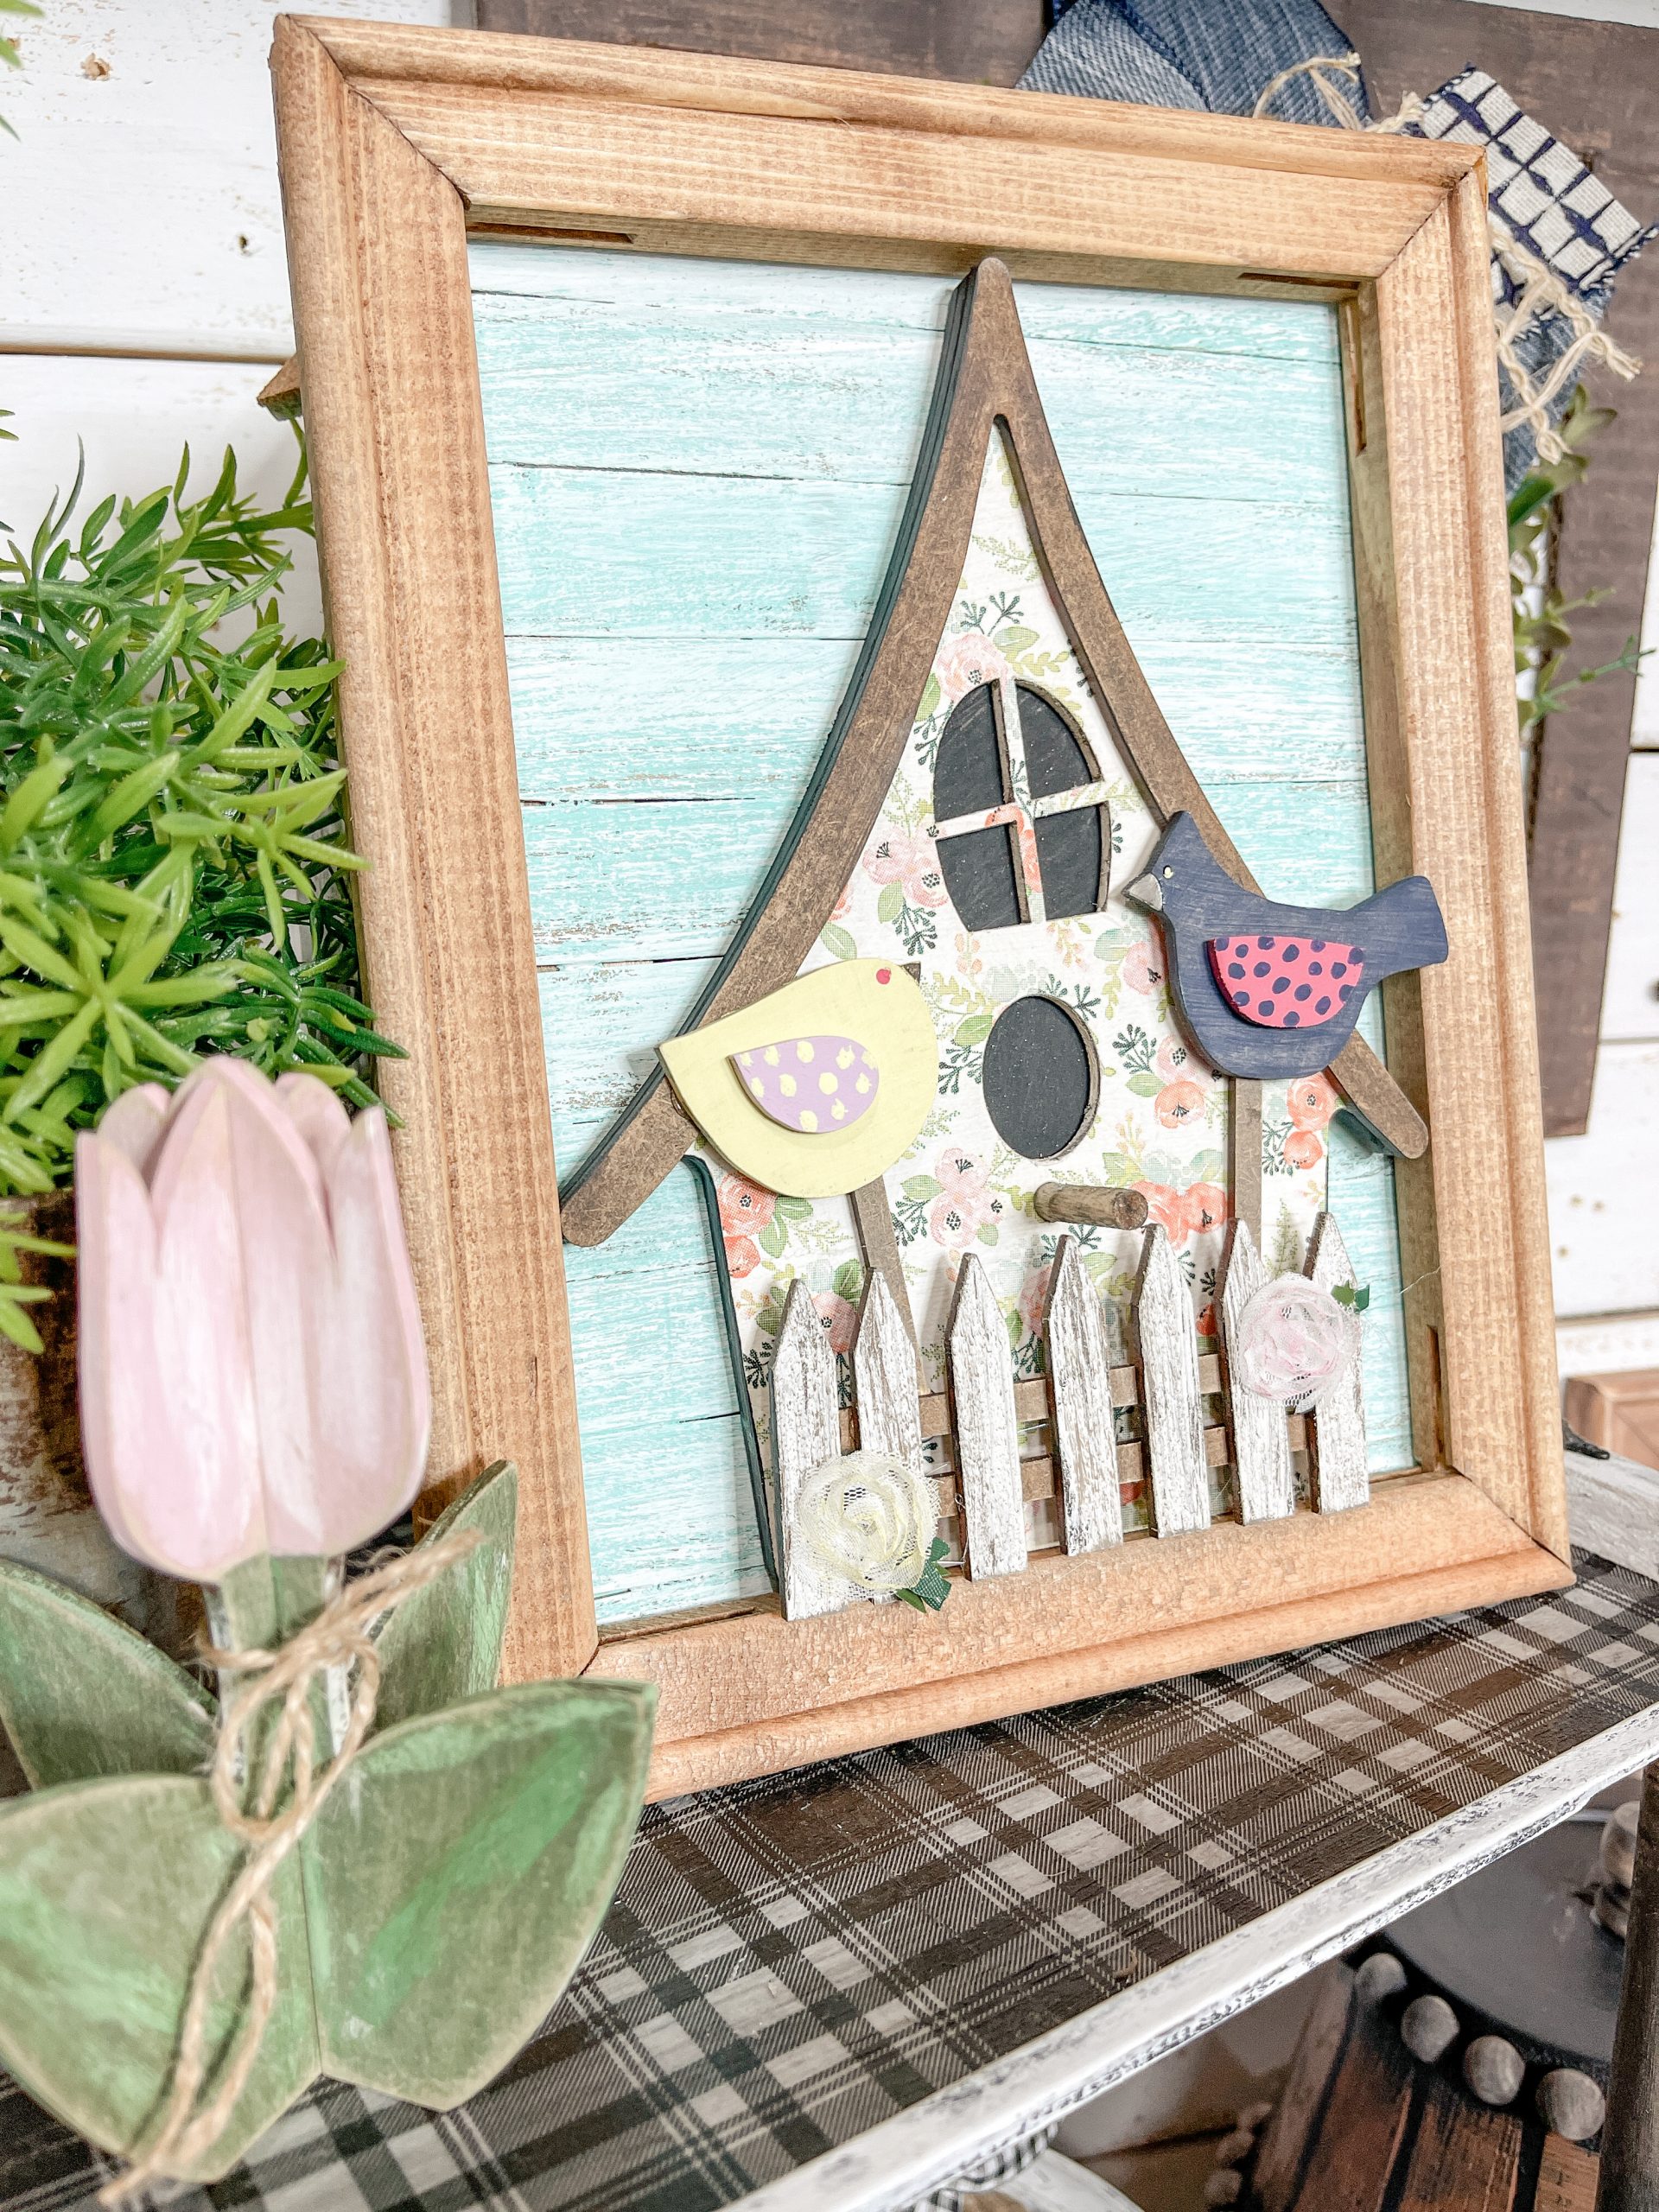
I hope you enjoyed this DIY Decorative Birdhouse Craft Kit as much as I did and decide to make one for yourself! I would love to see how yours turns out! If you love birdhouse decorating then this wood blank kit is perfect for you!
You should totally join my FREE Facebook group called On A Budget Crafts! It is a judgment-free community for DIY crafters to show off their projects and ideas.
If you loved this DIY you might also like these 3D tulips!
Thanks for stopping by! XOXO Amber
You can also shop my ENTIRE AMAZON Favorites shop just click here! It’s packed full of all the things I use and love. Here is the supply list I highly recommend every creative have on hand!!
Would you also pin my blog for later and get on my newsletter alerts? I would love to have you join my #craftycrew.
Inspired? Leave me a comment below! I love hearing from my readers!


So stinking cute, I love it