DIY Christmas Napkin Large Joy Sign
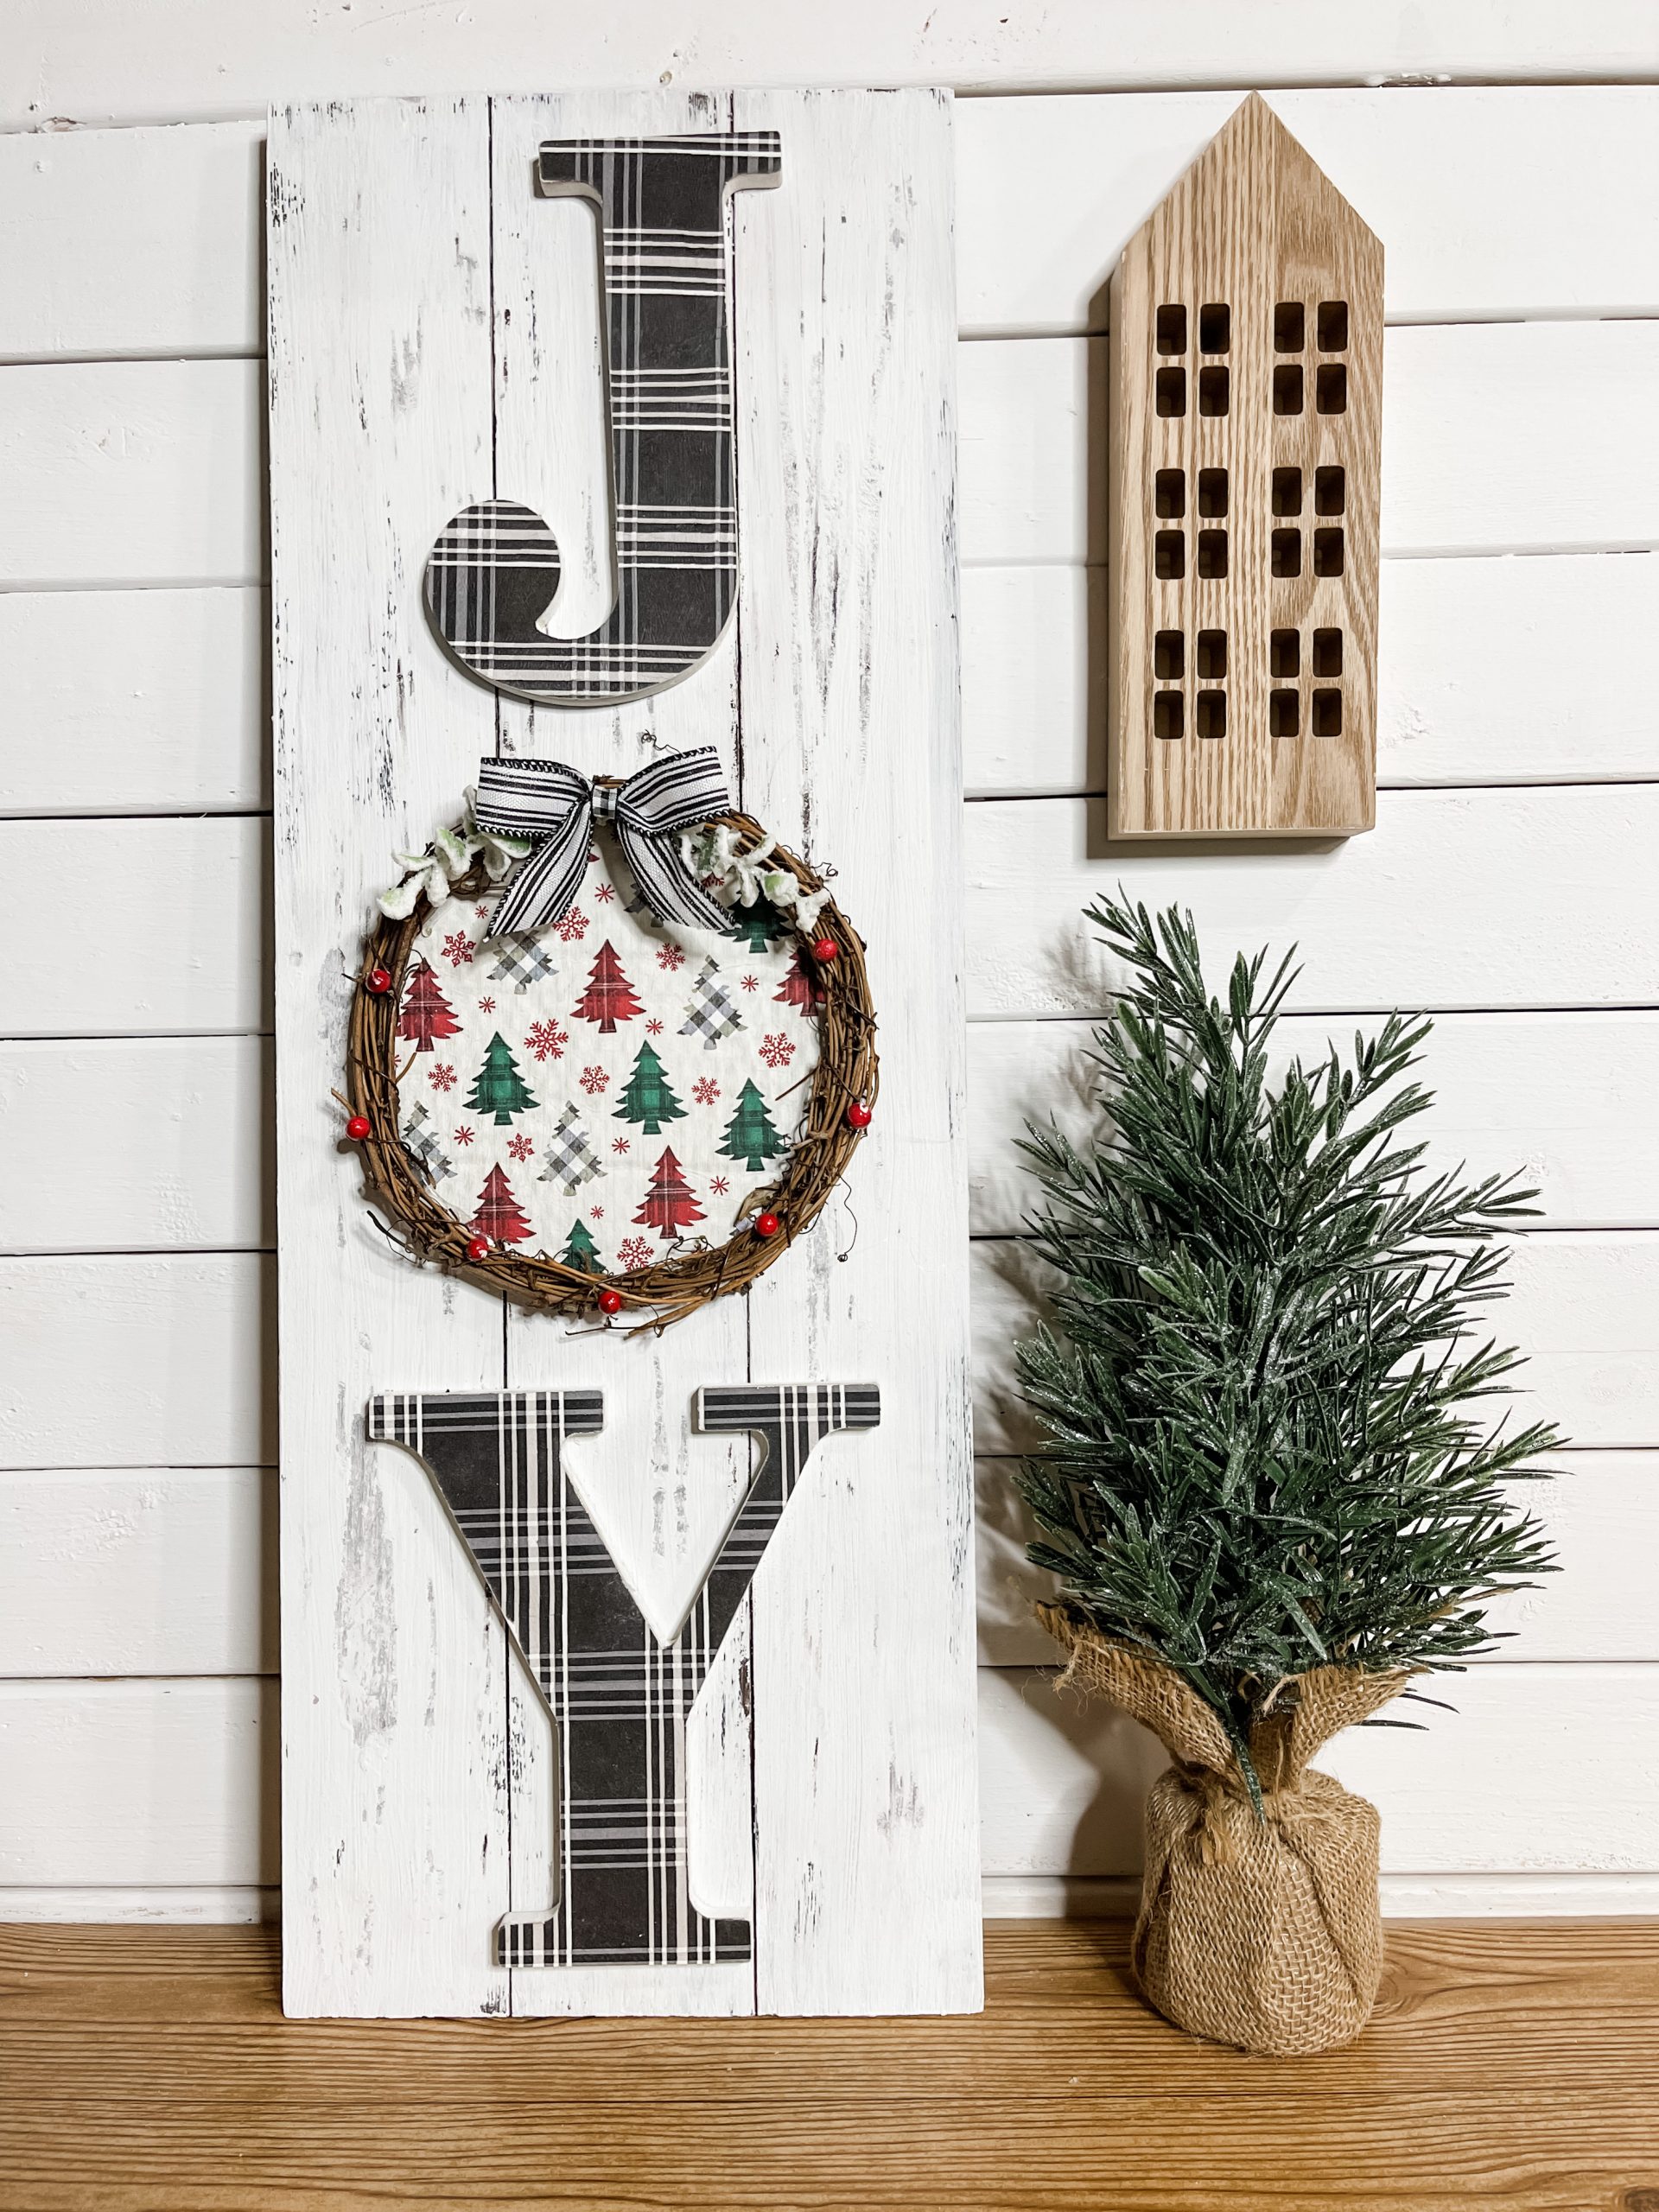
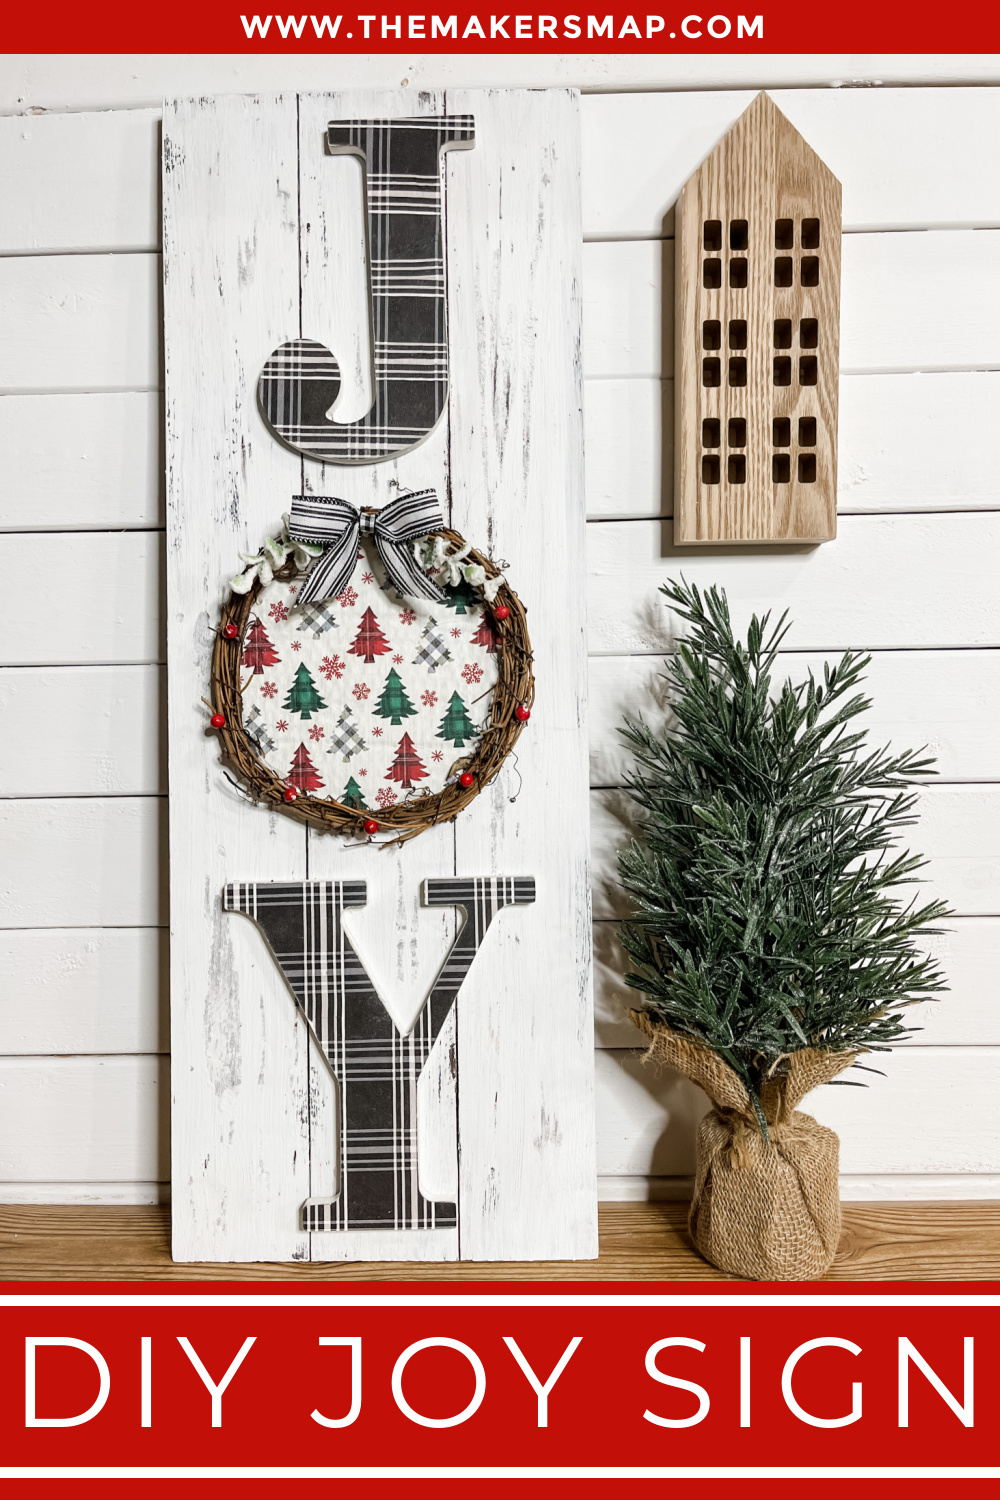
I want to show you how I’ve used Christmas napkins to make adorable holiday decor like this DIY Christmas Napkin Large Joy Sign!
One of the biggest comments I get about my napkin crafts is “I wish I could find that napkin!” Well, now you don’t have to search the stores, because I’m doing that for you!
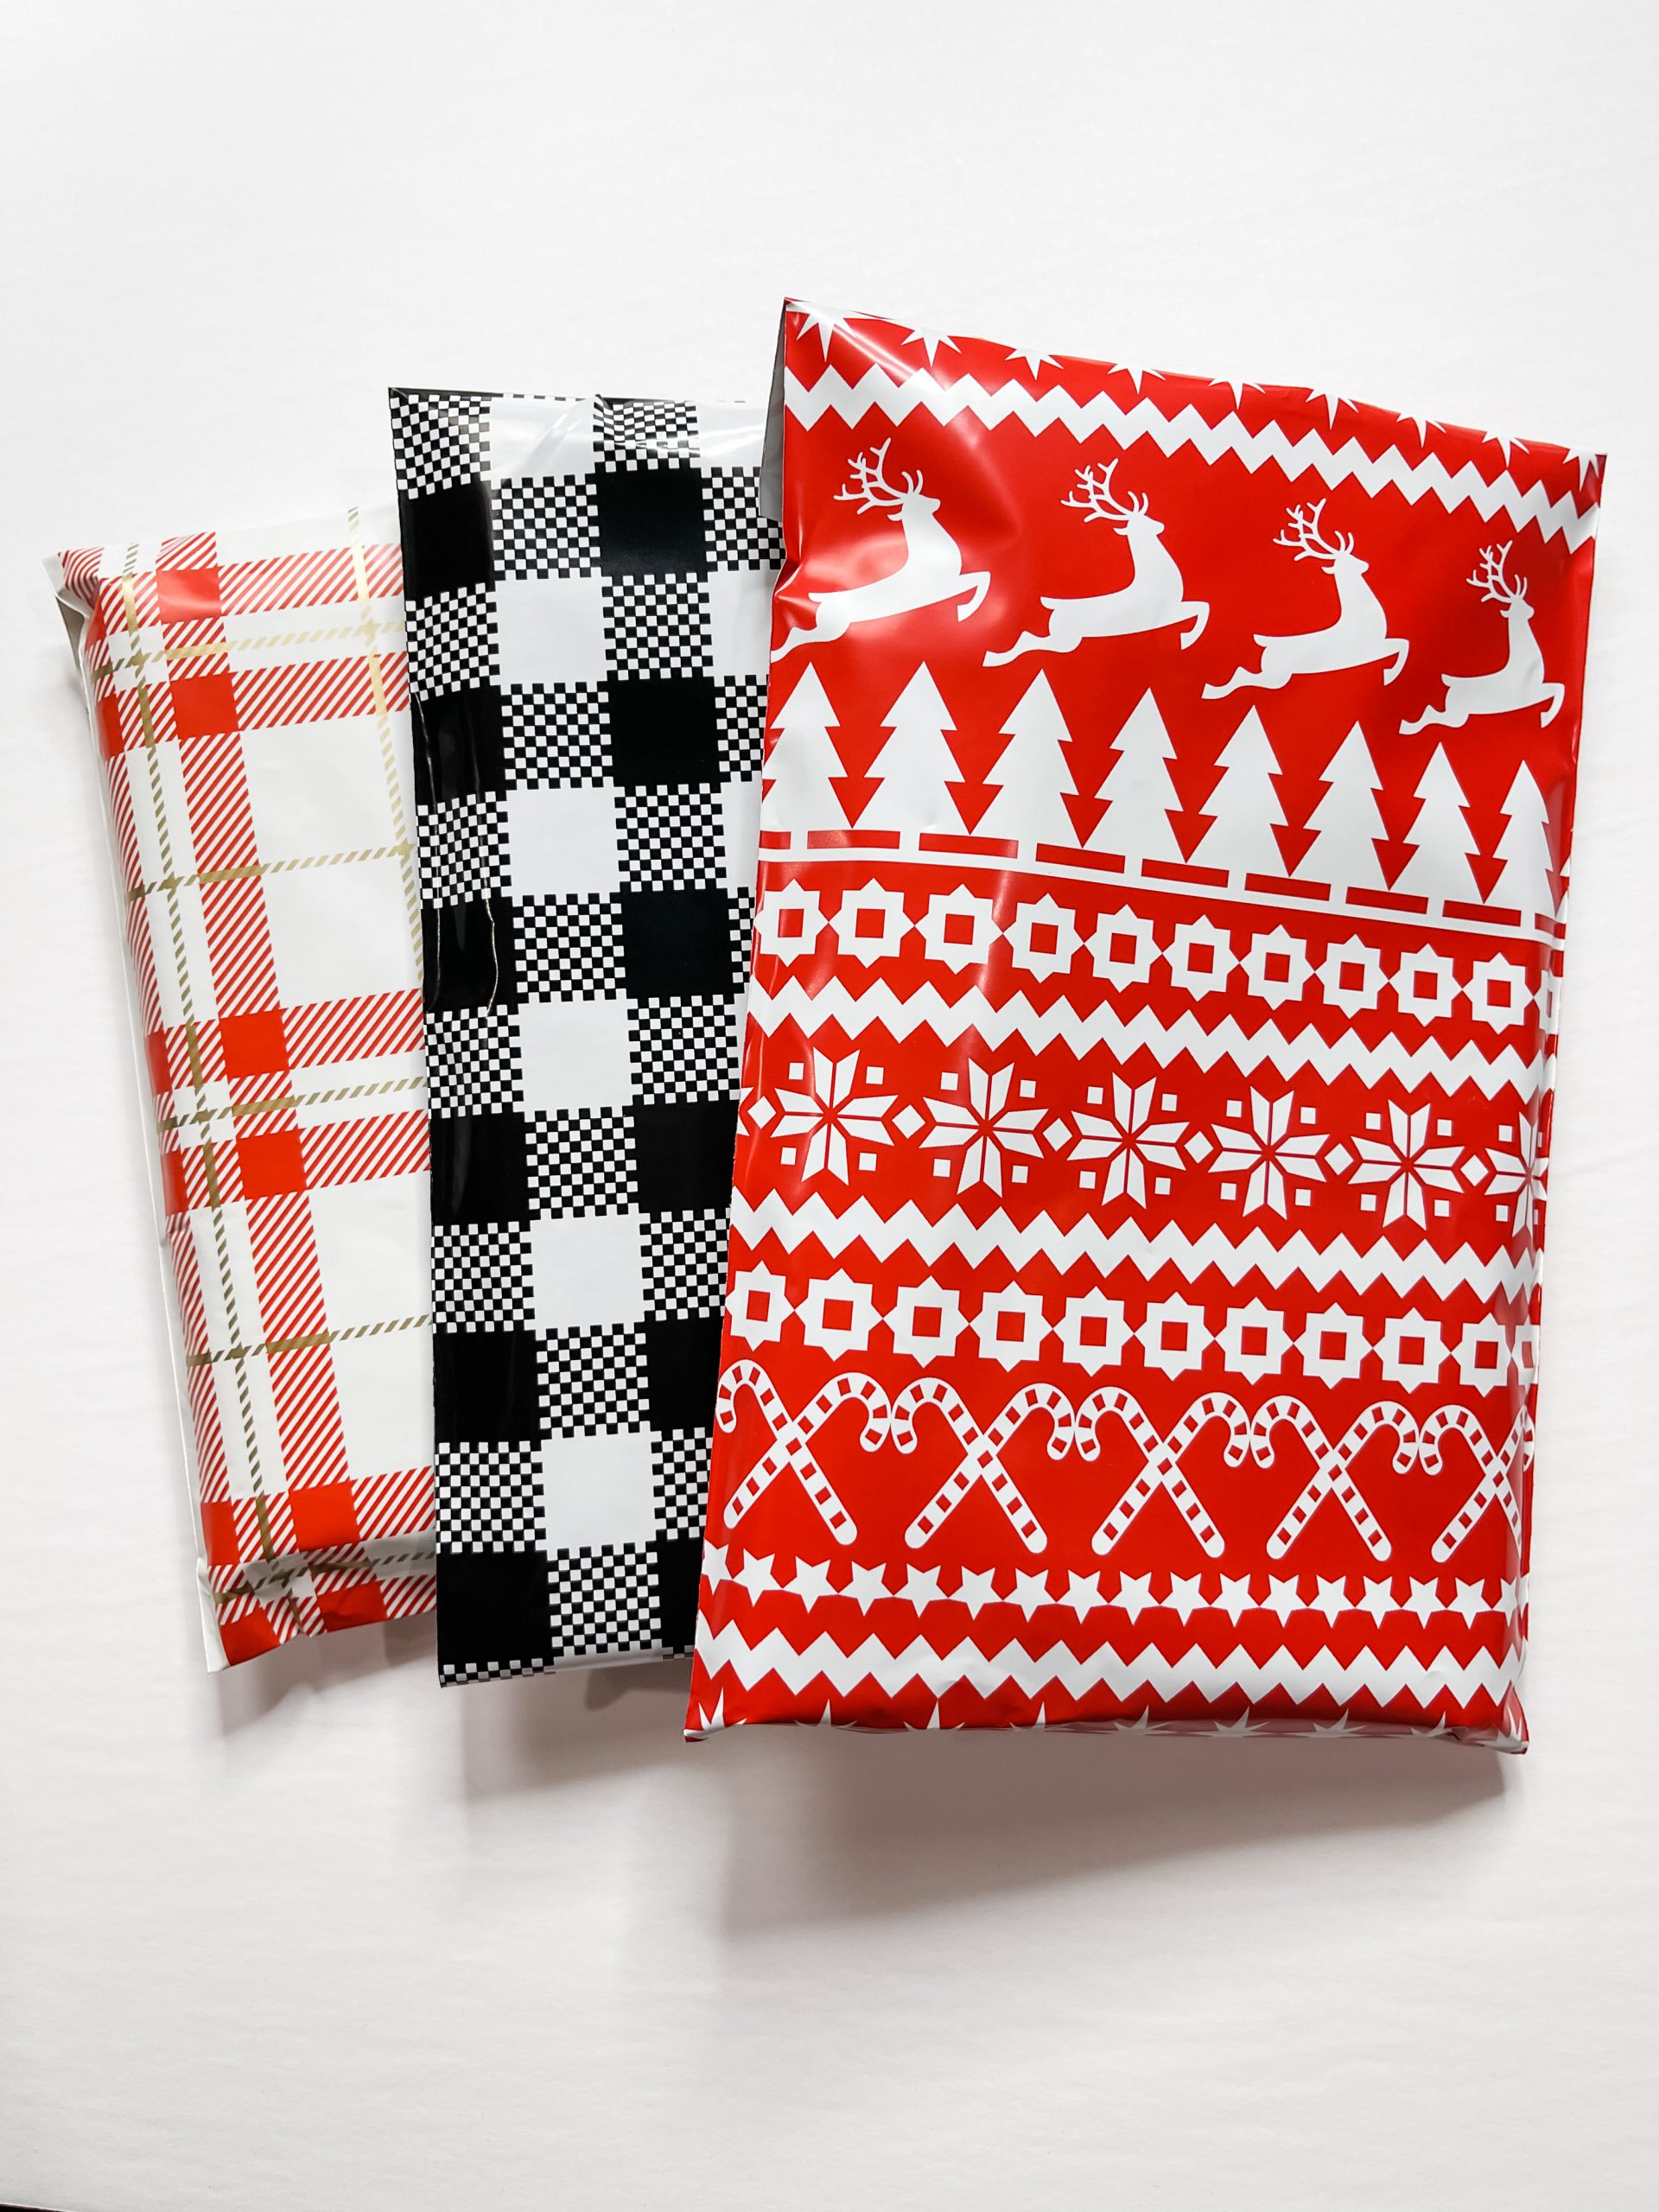
I’ve put together napkin bundles with napkins I have either already used or plan to use in the future to make my own home decor, and you can check them out in my shop!
Each napkin bundle has pictures of which designs you’ll be getting, and there are SEVERAL bundle varieties!
Don’t believe me? Check out the napkin collections in my shop!
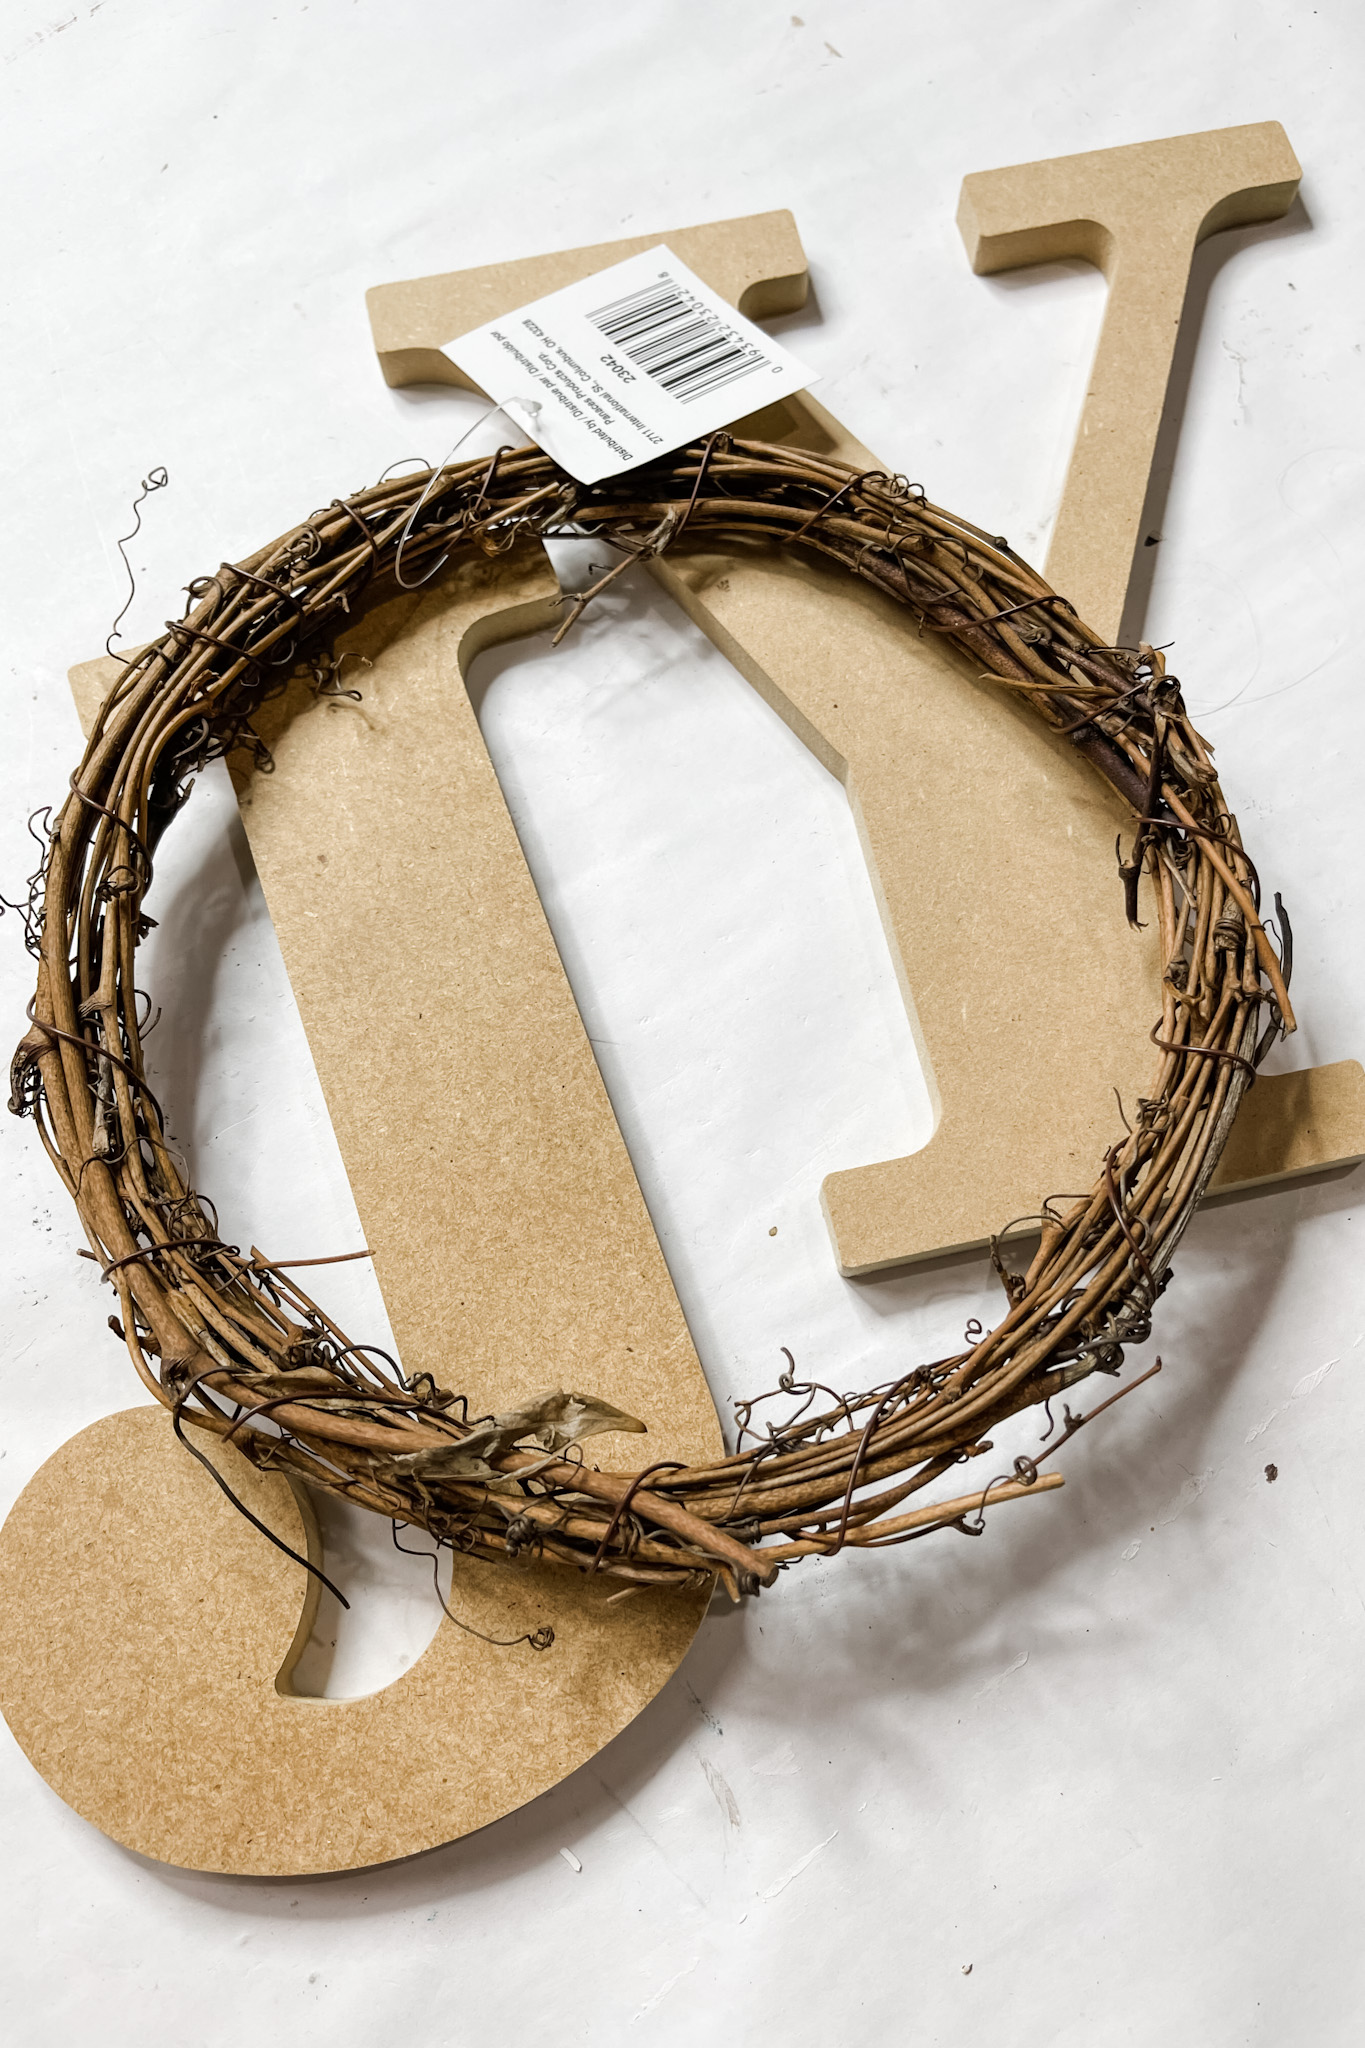
Watch the DIY tutorial video
I recorded how to make this adorable DIY Christmas Napkin Large Joy Sign during a LIVE video on my Facebook page.
If you want to see the DIY process, craft along, or just join in on the fun conversations, you can watch the DIY tutorial replay on Facebook!
Oh yeah, and I show TONS of the napkins I have available to bundle at the beginning of the video!
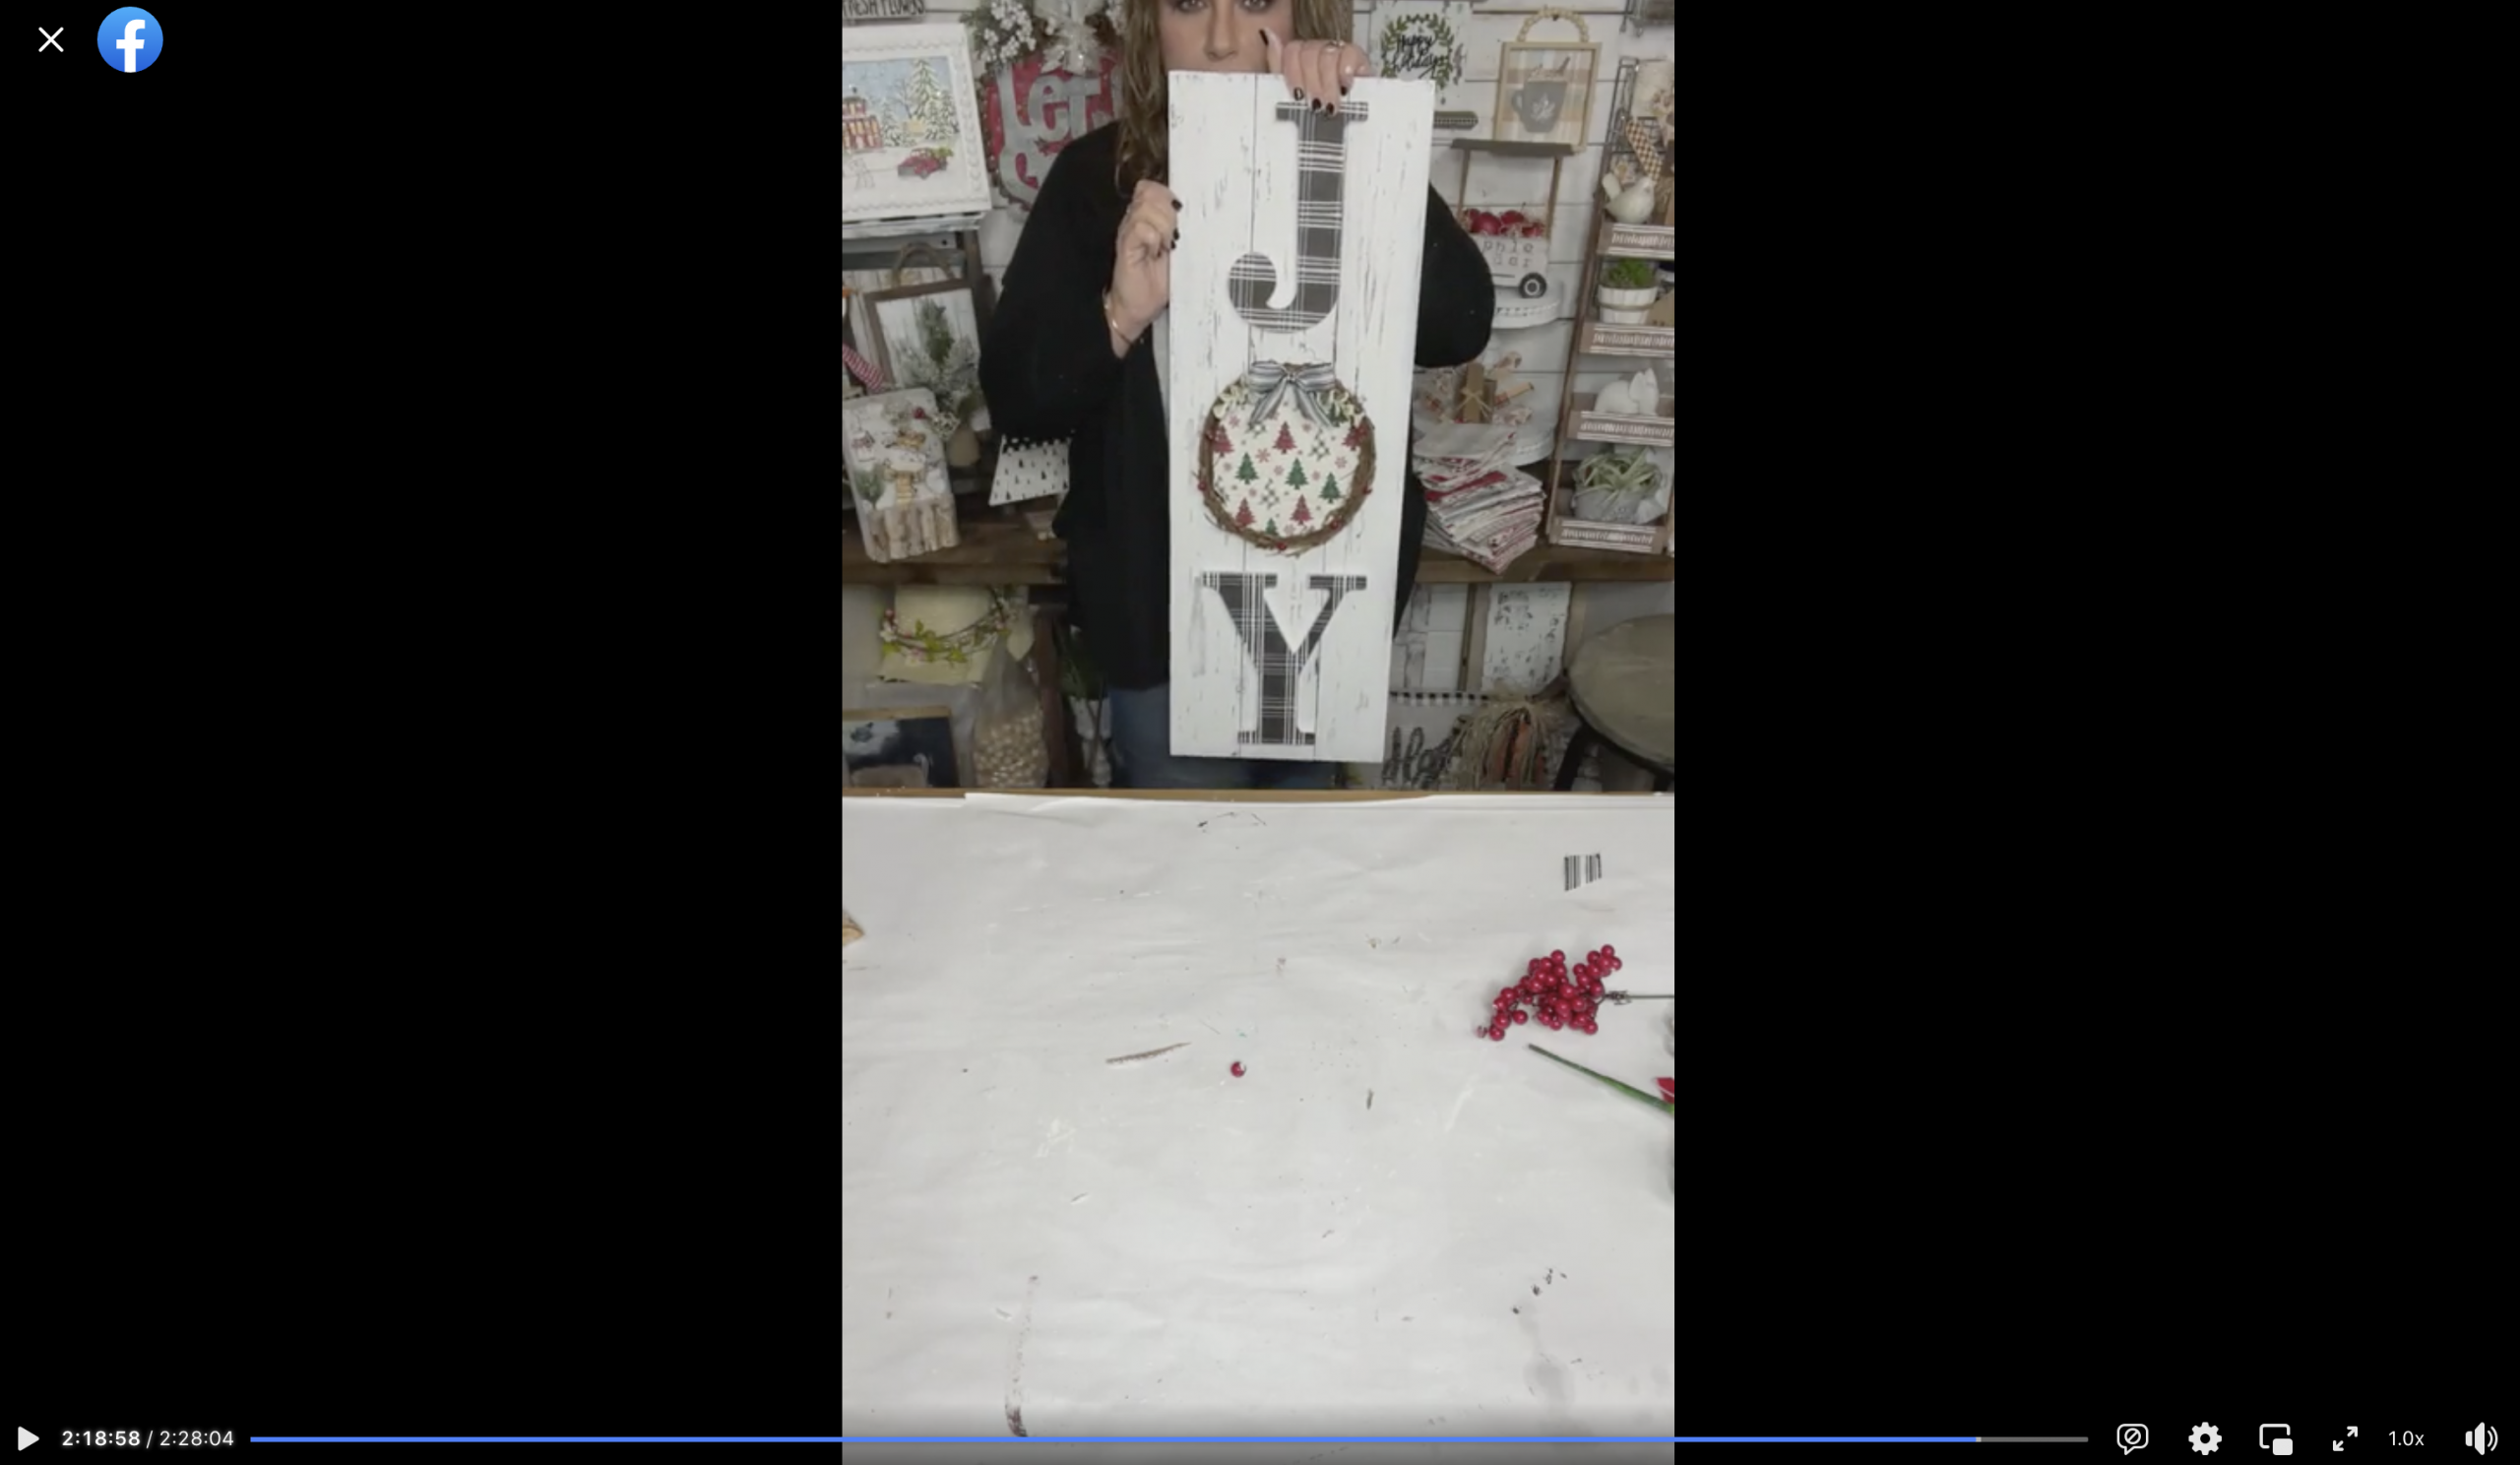
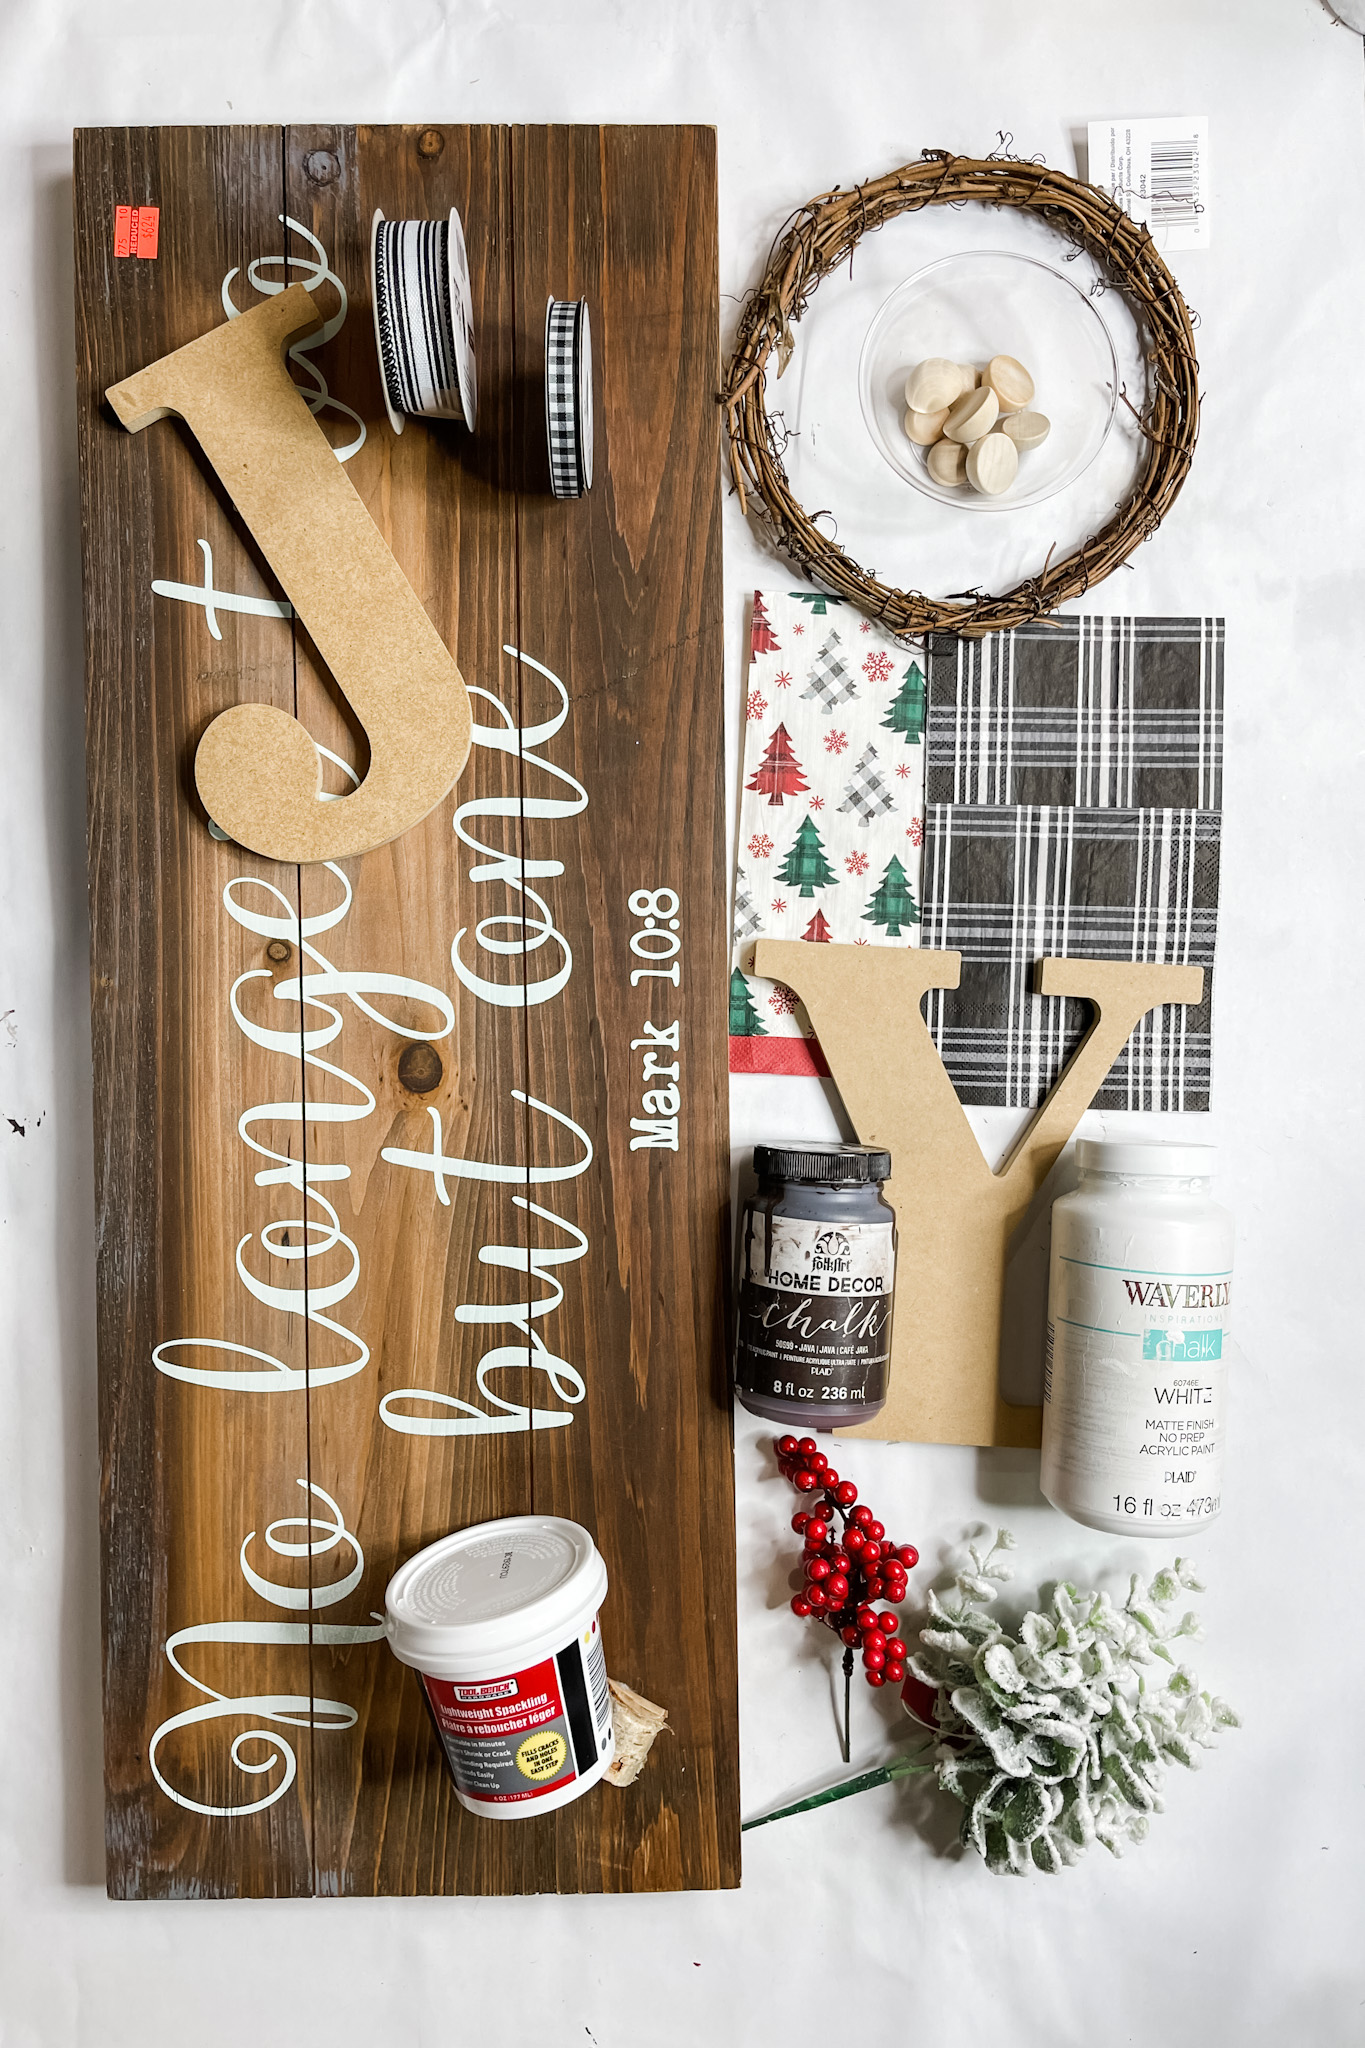
For this project, I will be using these items but you can substitute where you want.
“As an Amazon Associate, I earn from qualifying purchases.”
- Buffalo Check Trees Napkin
- Black Tartan Plaid Napkin (x2)
- Dollar Tree Spackling
- Black Buffalo Check ribbon (Hobby Lobby)
- Black and White Striped Ribbon (Walmart)
- Clearance Hobby Lobby Sign
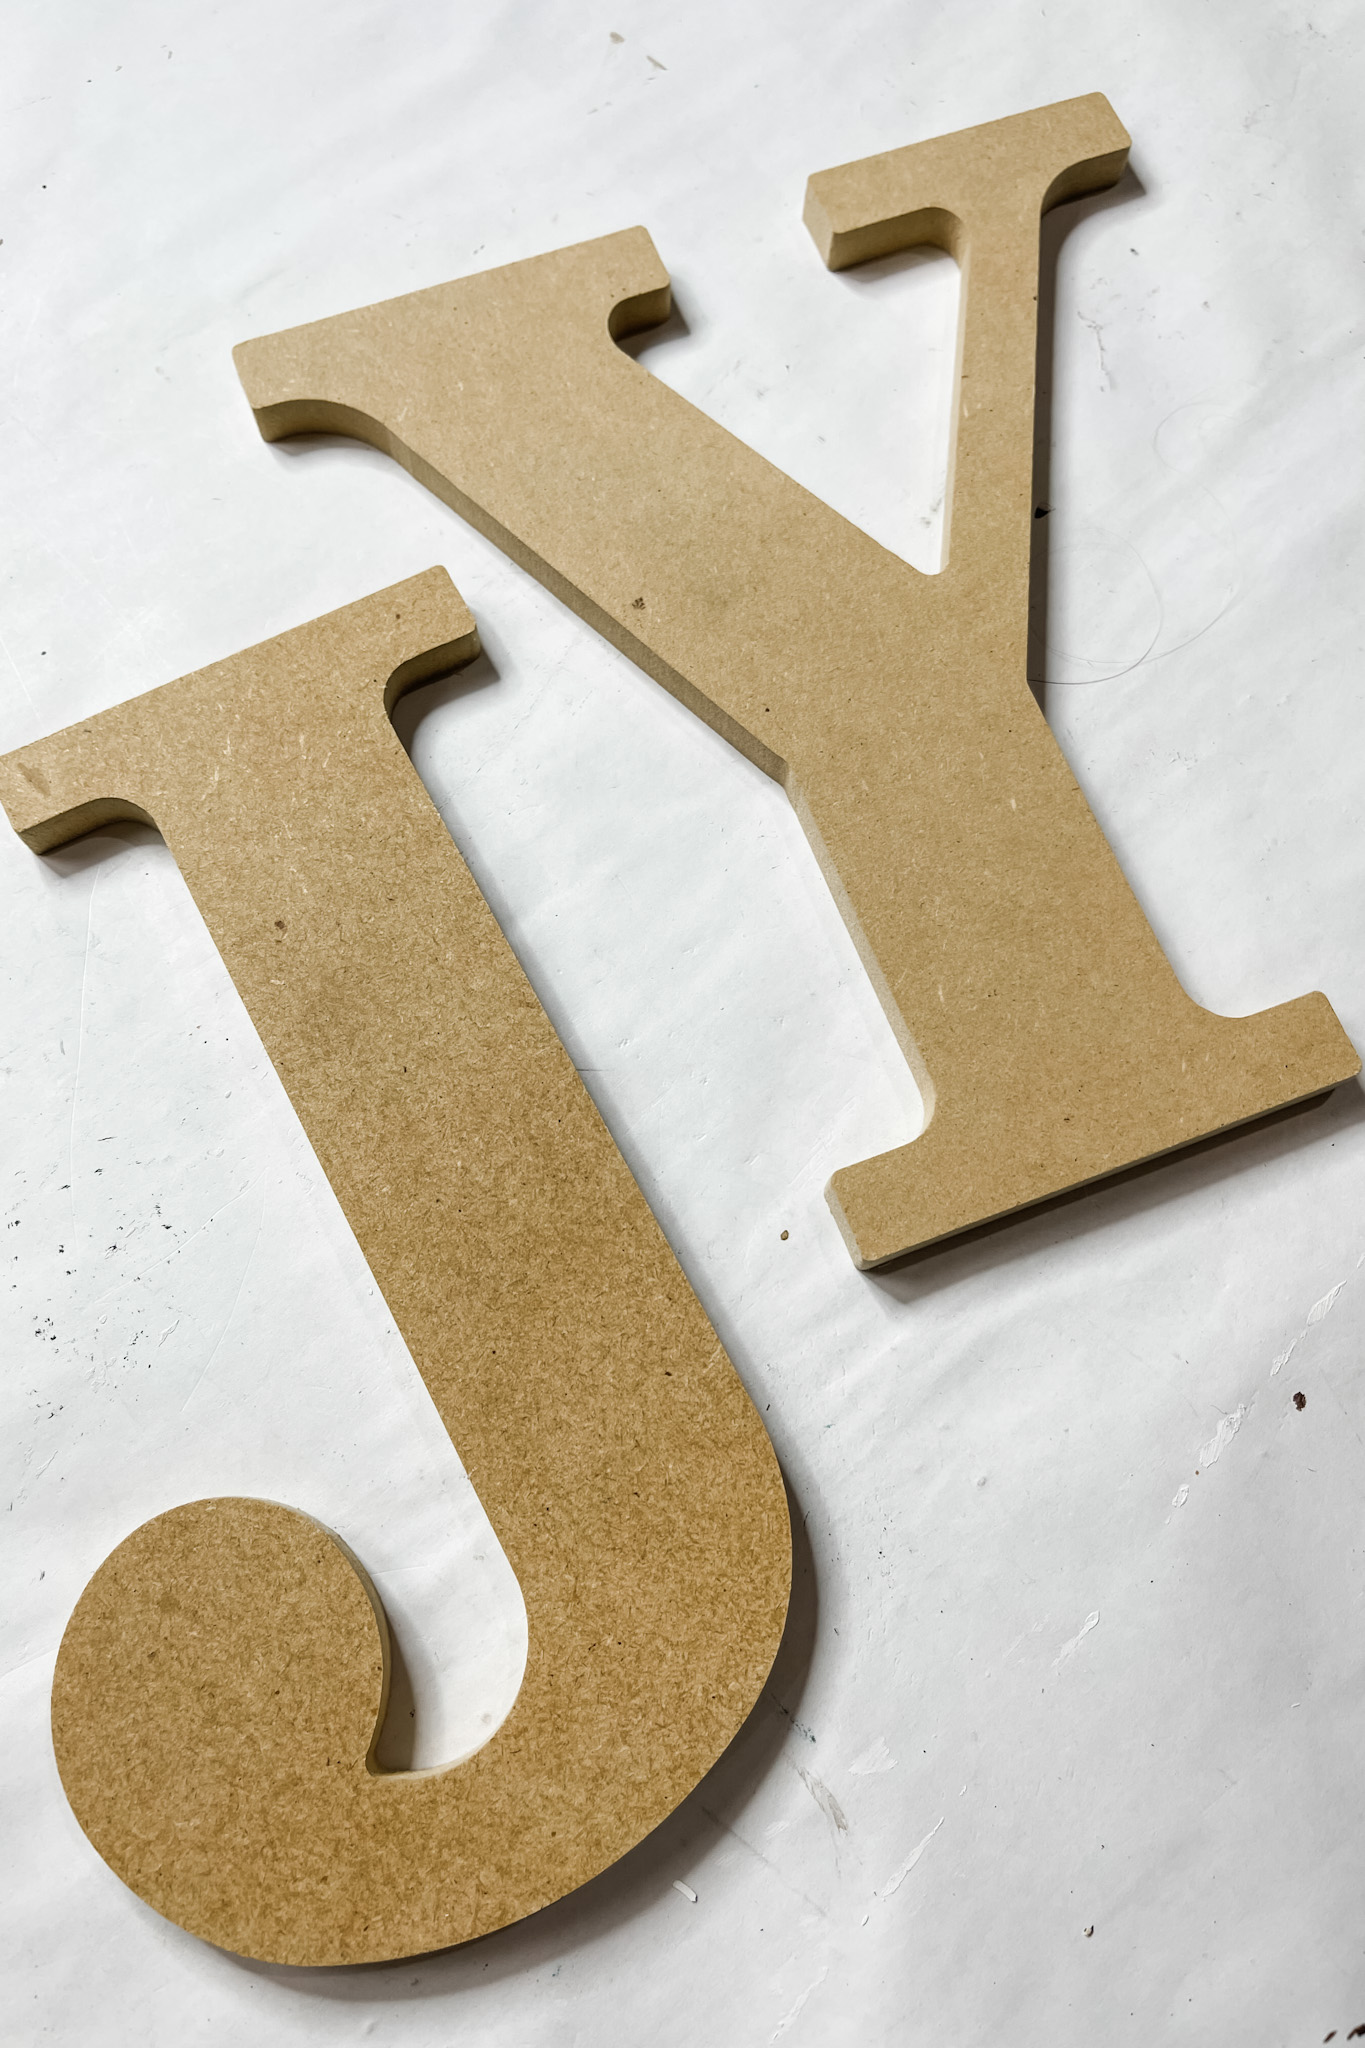
- Large MDF J and Y
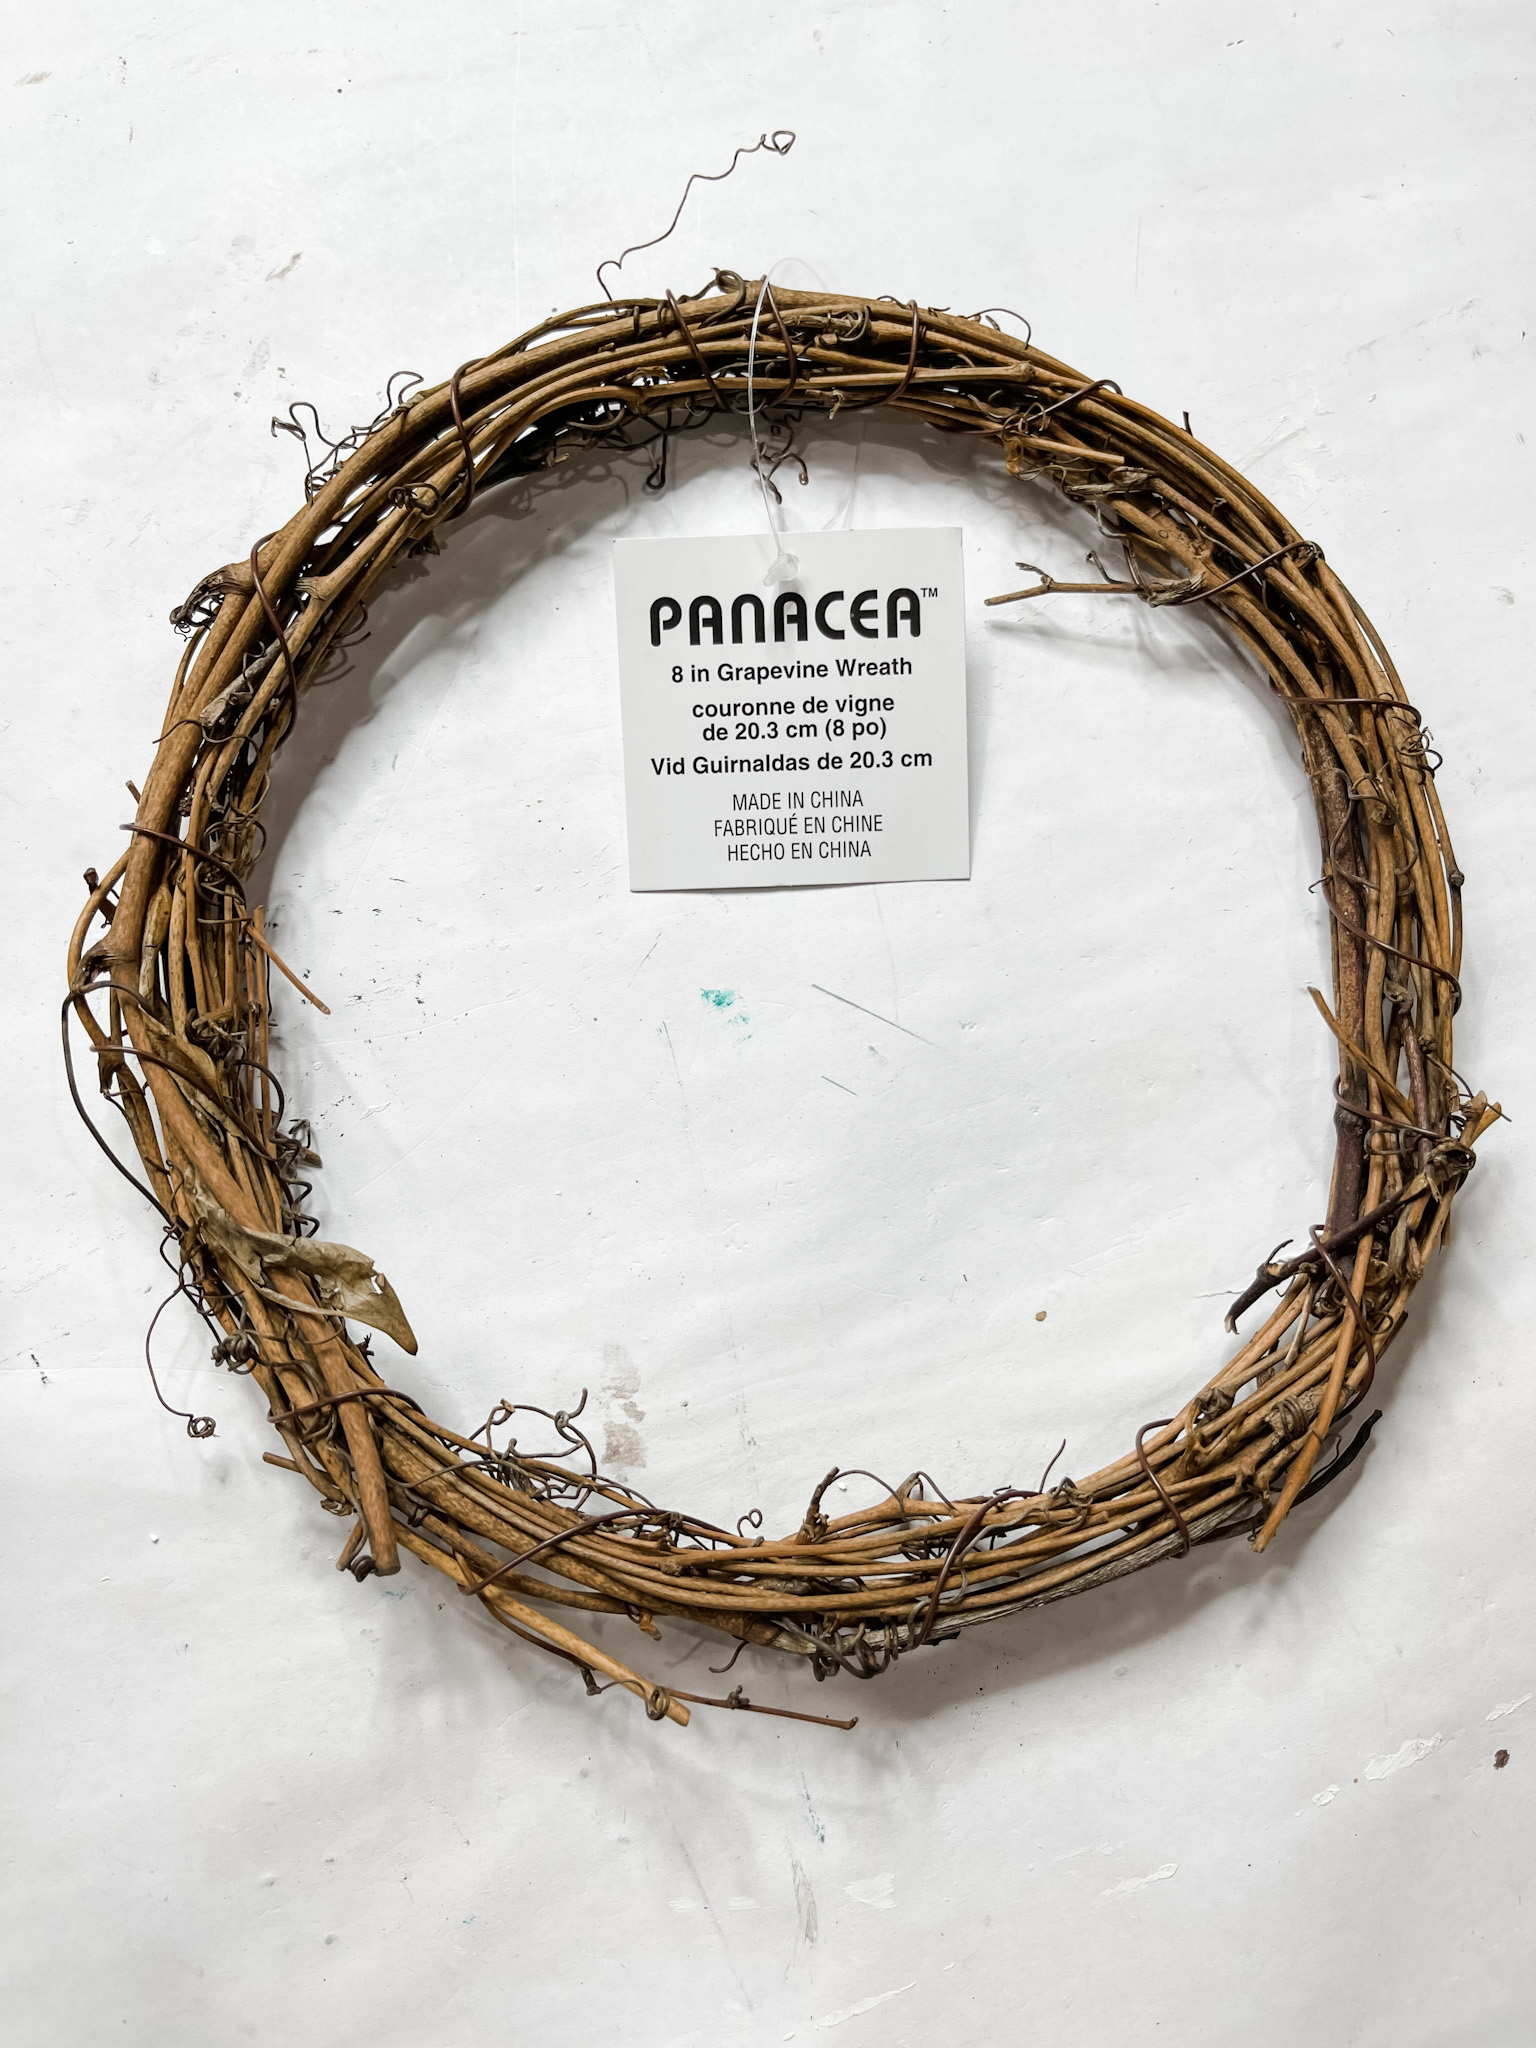
- 8-inch Grapevine Wreath
- Red Berries
- Christmas Greenery
- Folkart Java Chalk Paint
- Waverly White Chalk Paint
- 8-inch cardboard circle
- Glue Gun and Glue Sticks
- Heat gun
How to Make a DIY Christmas Napkin Large Joy Sign
Alright, so whether you’re crafting with napkins or using something different, you need to start this project by getting your surface!
I found mine at Hobby Lobby. Now I know what you’re thinking: “Hobby Lobby can be WAY expensive for crafting!”
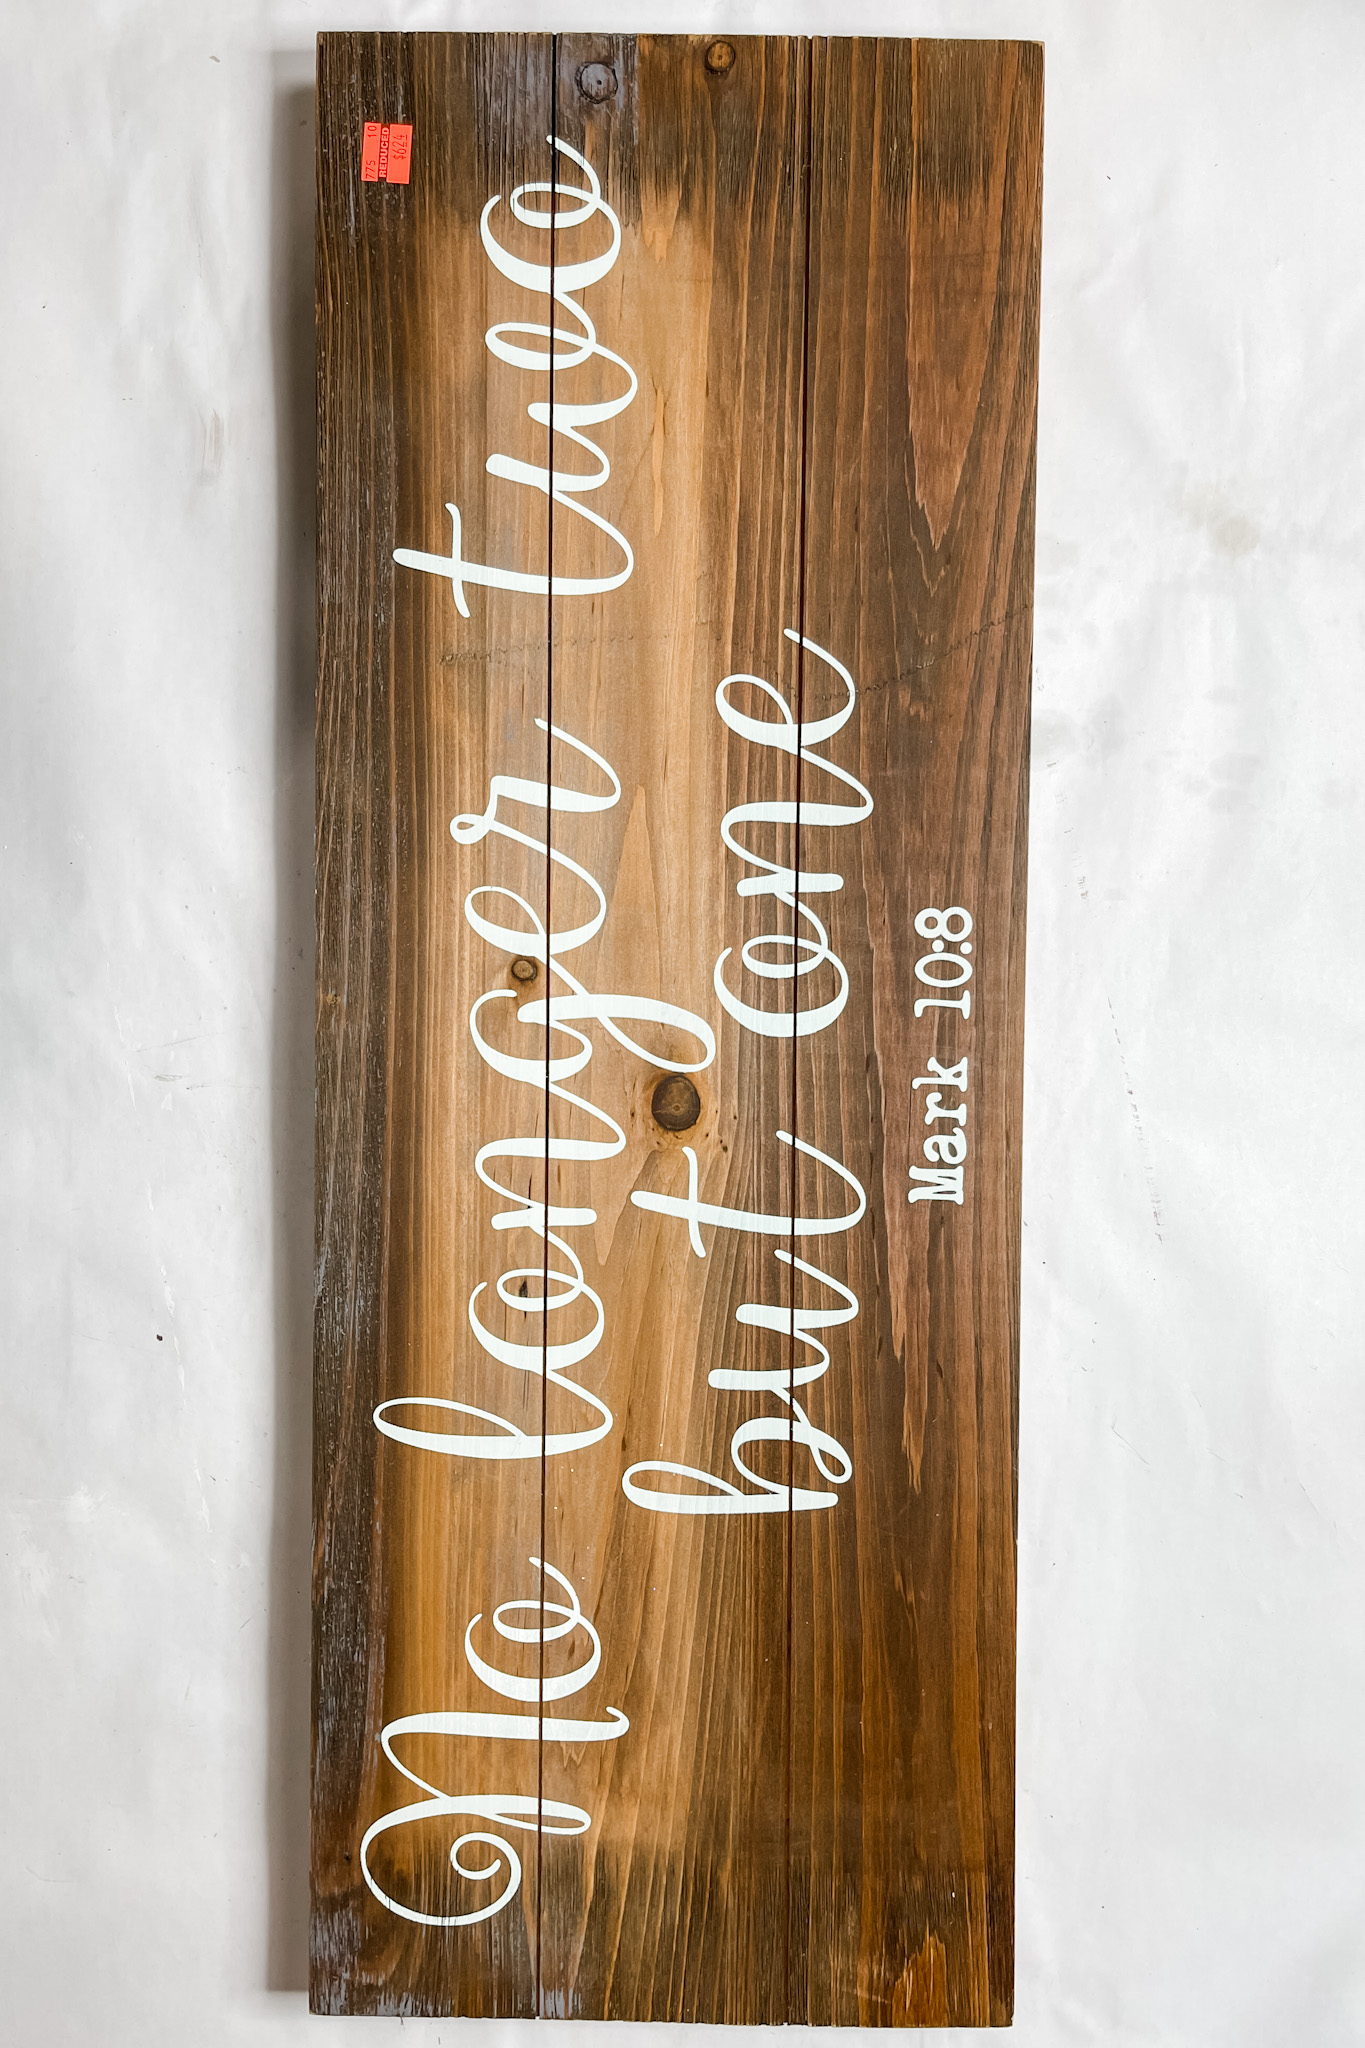
And you’re not wrong. But, I love Hobby Lobby for crafting because of their SALES! I found the sign I used for this project on clearance at Hobby Lobby.
Shop around to find the best-priced surface for you, or you can even take some scrap wood and make your own. Whatever works!
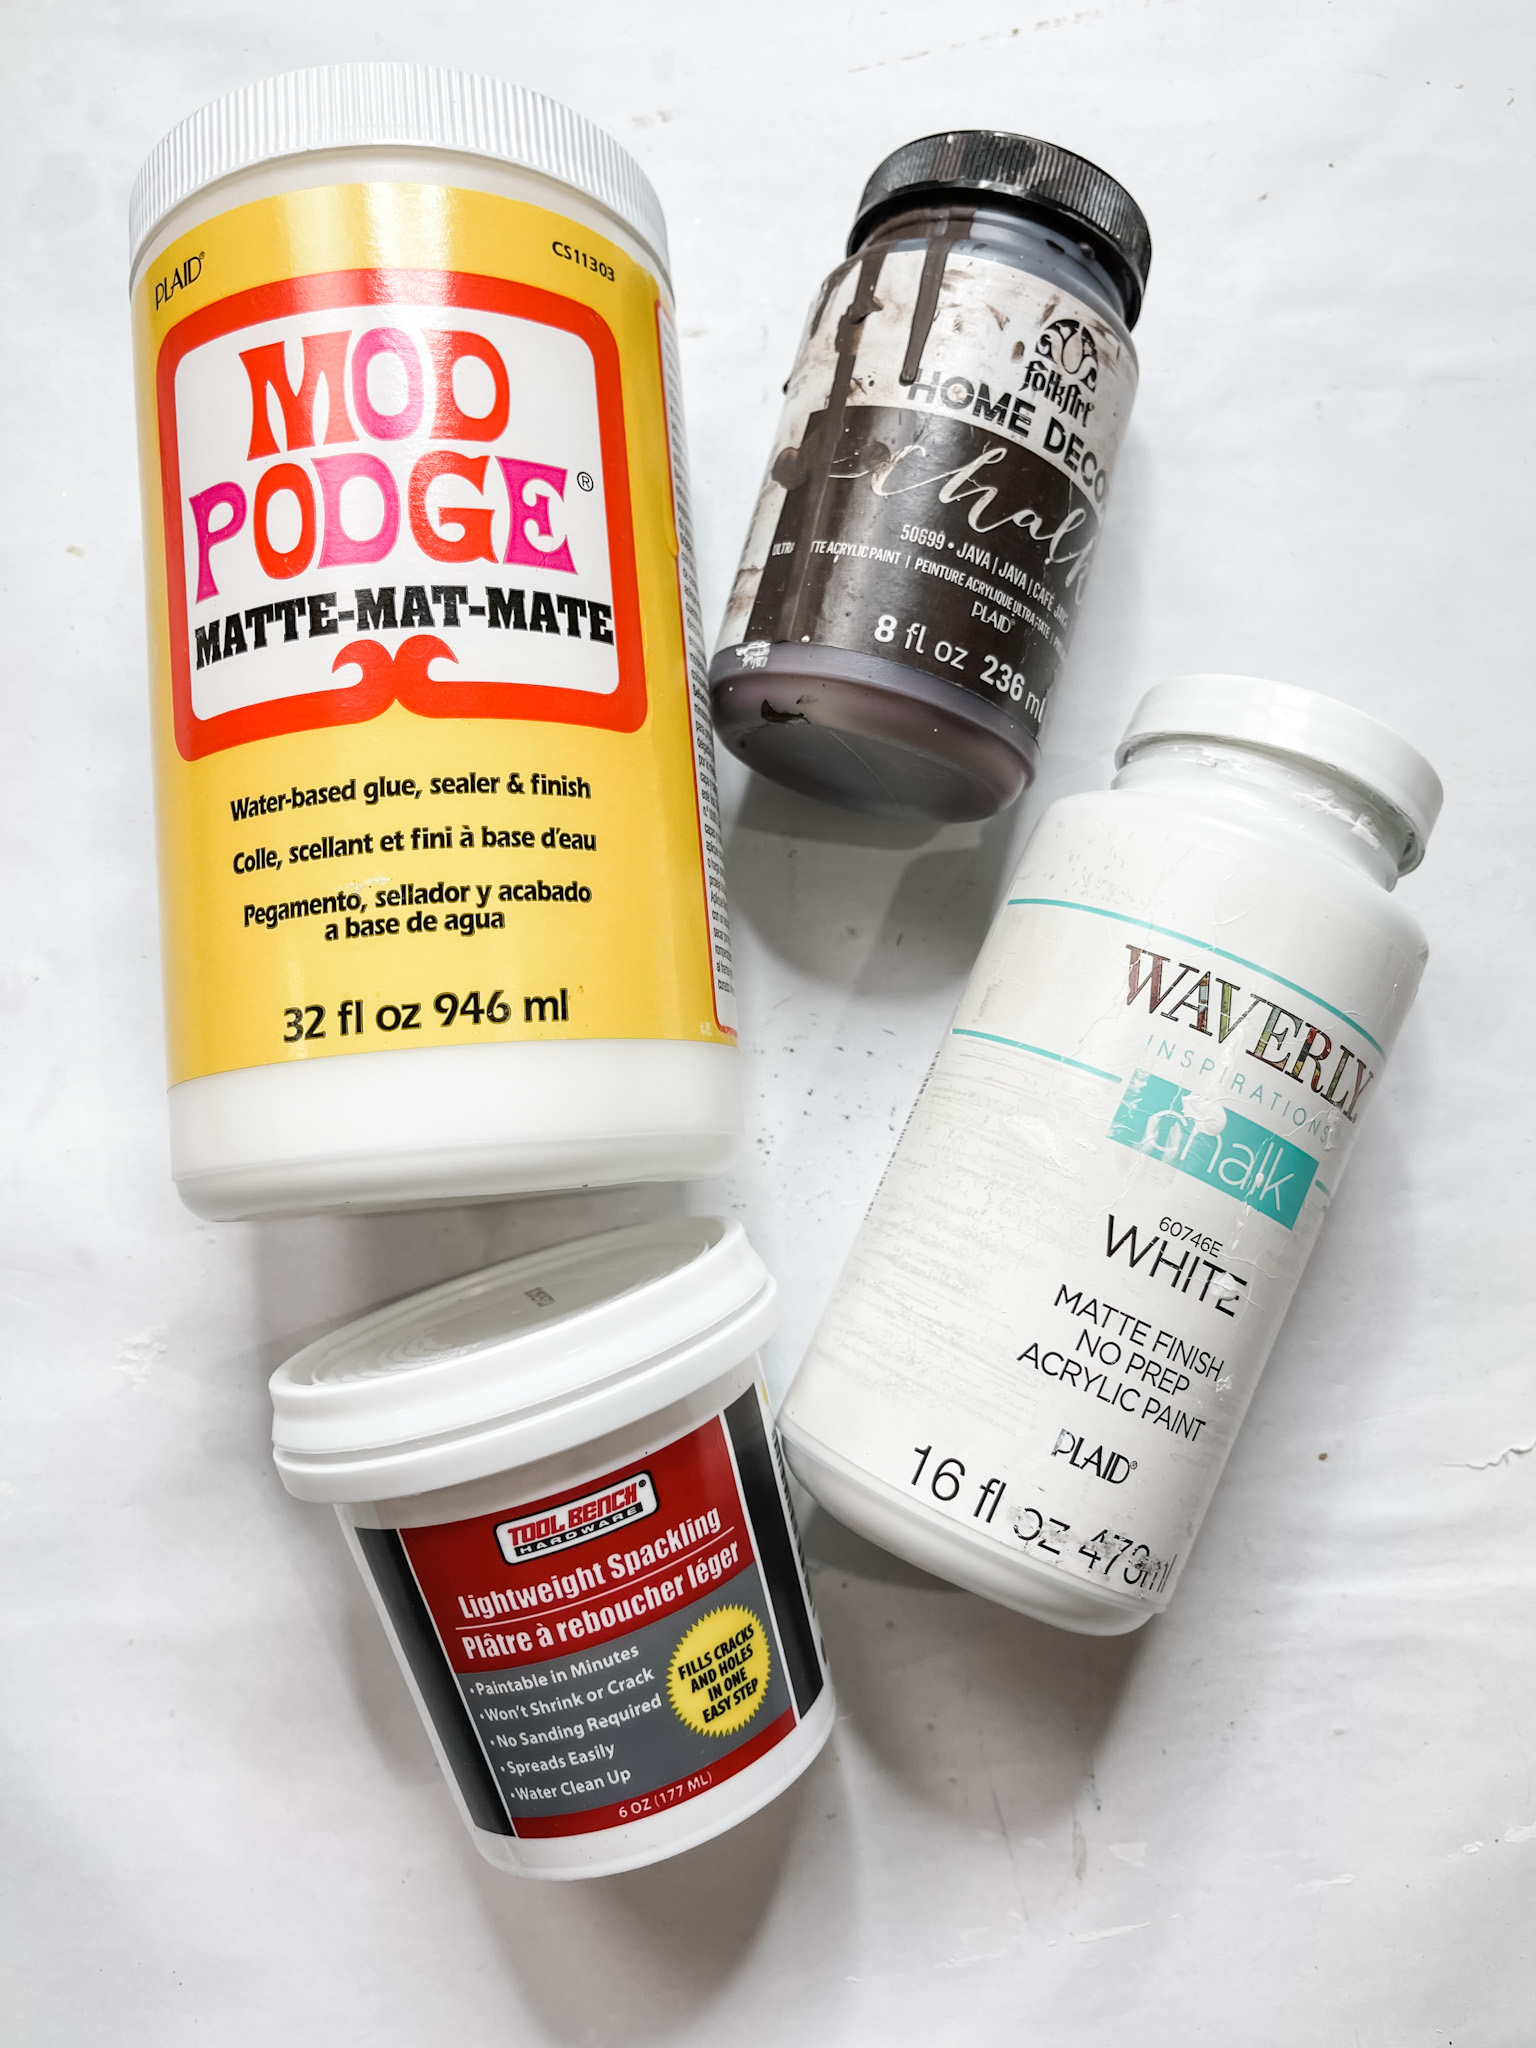
My sign had white lettering on it, so I had to paint over them with brown paint. I used Folkart Java Chalk Paint for this.
Then, I mixed some Waverly White Chalk Paint with a bit of Dollar Tree spackling. Let the brown paint dry completely. I used my heat gun to speed up the drying process.
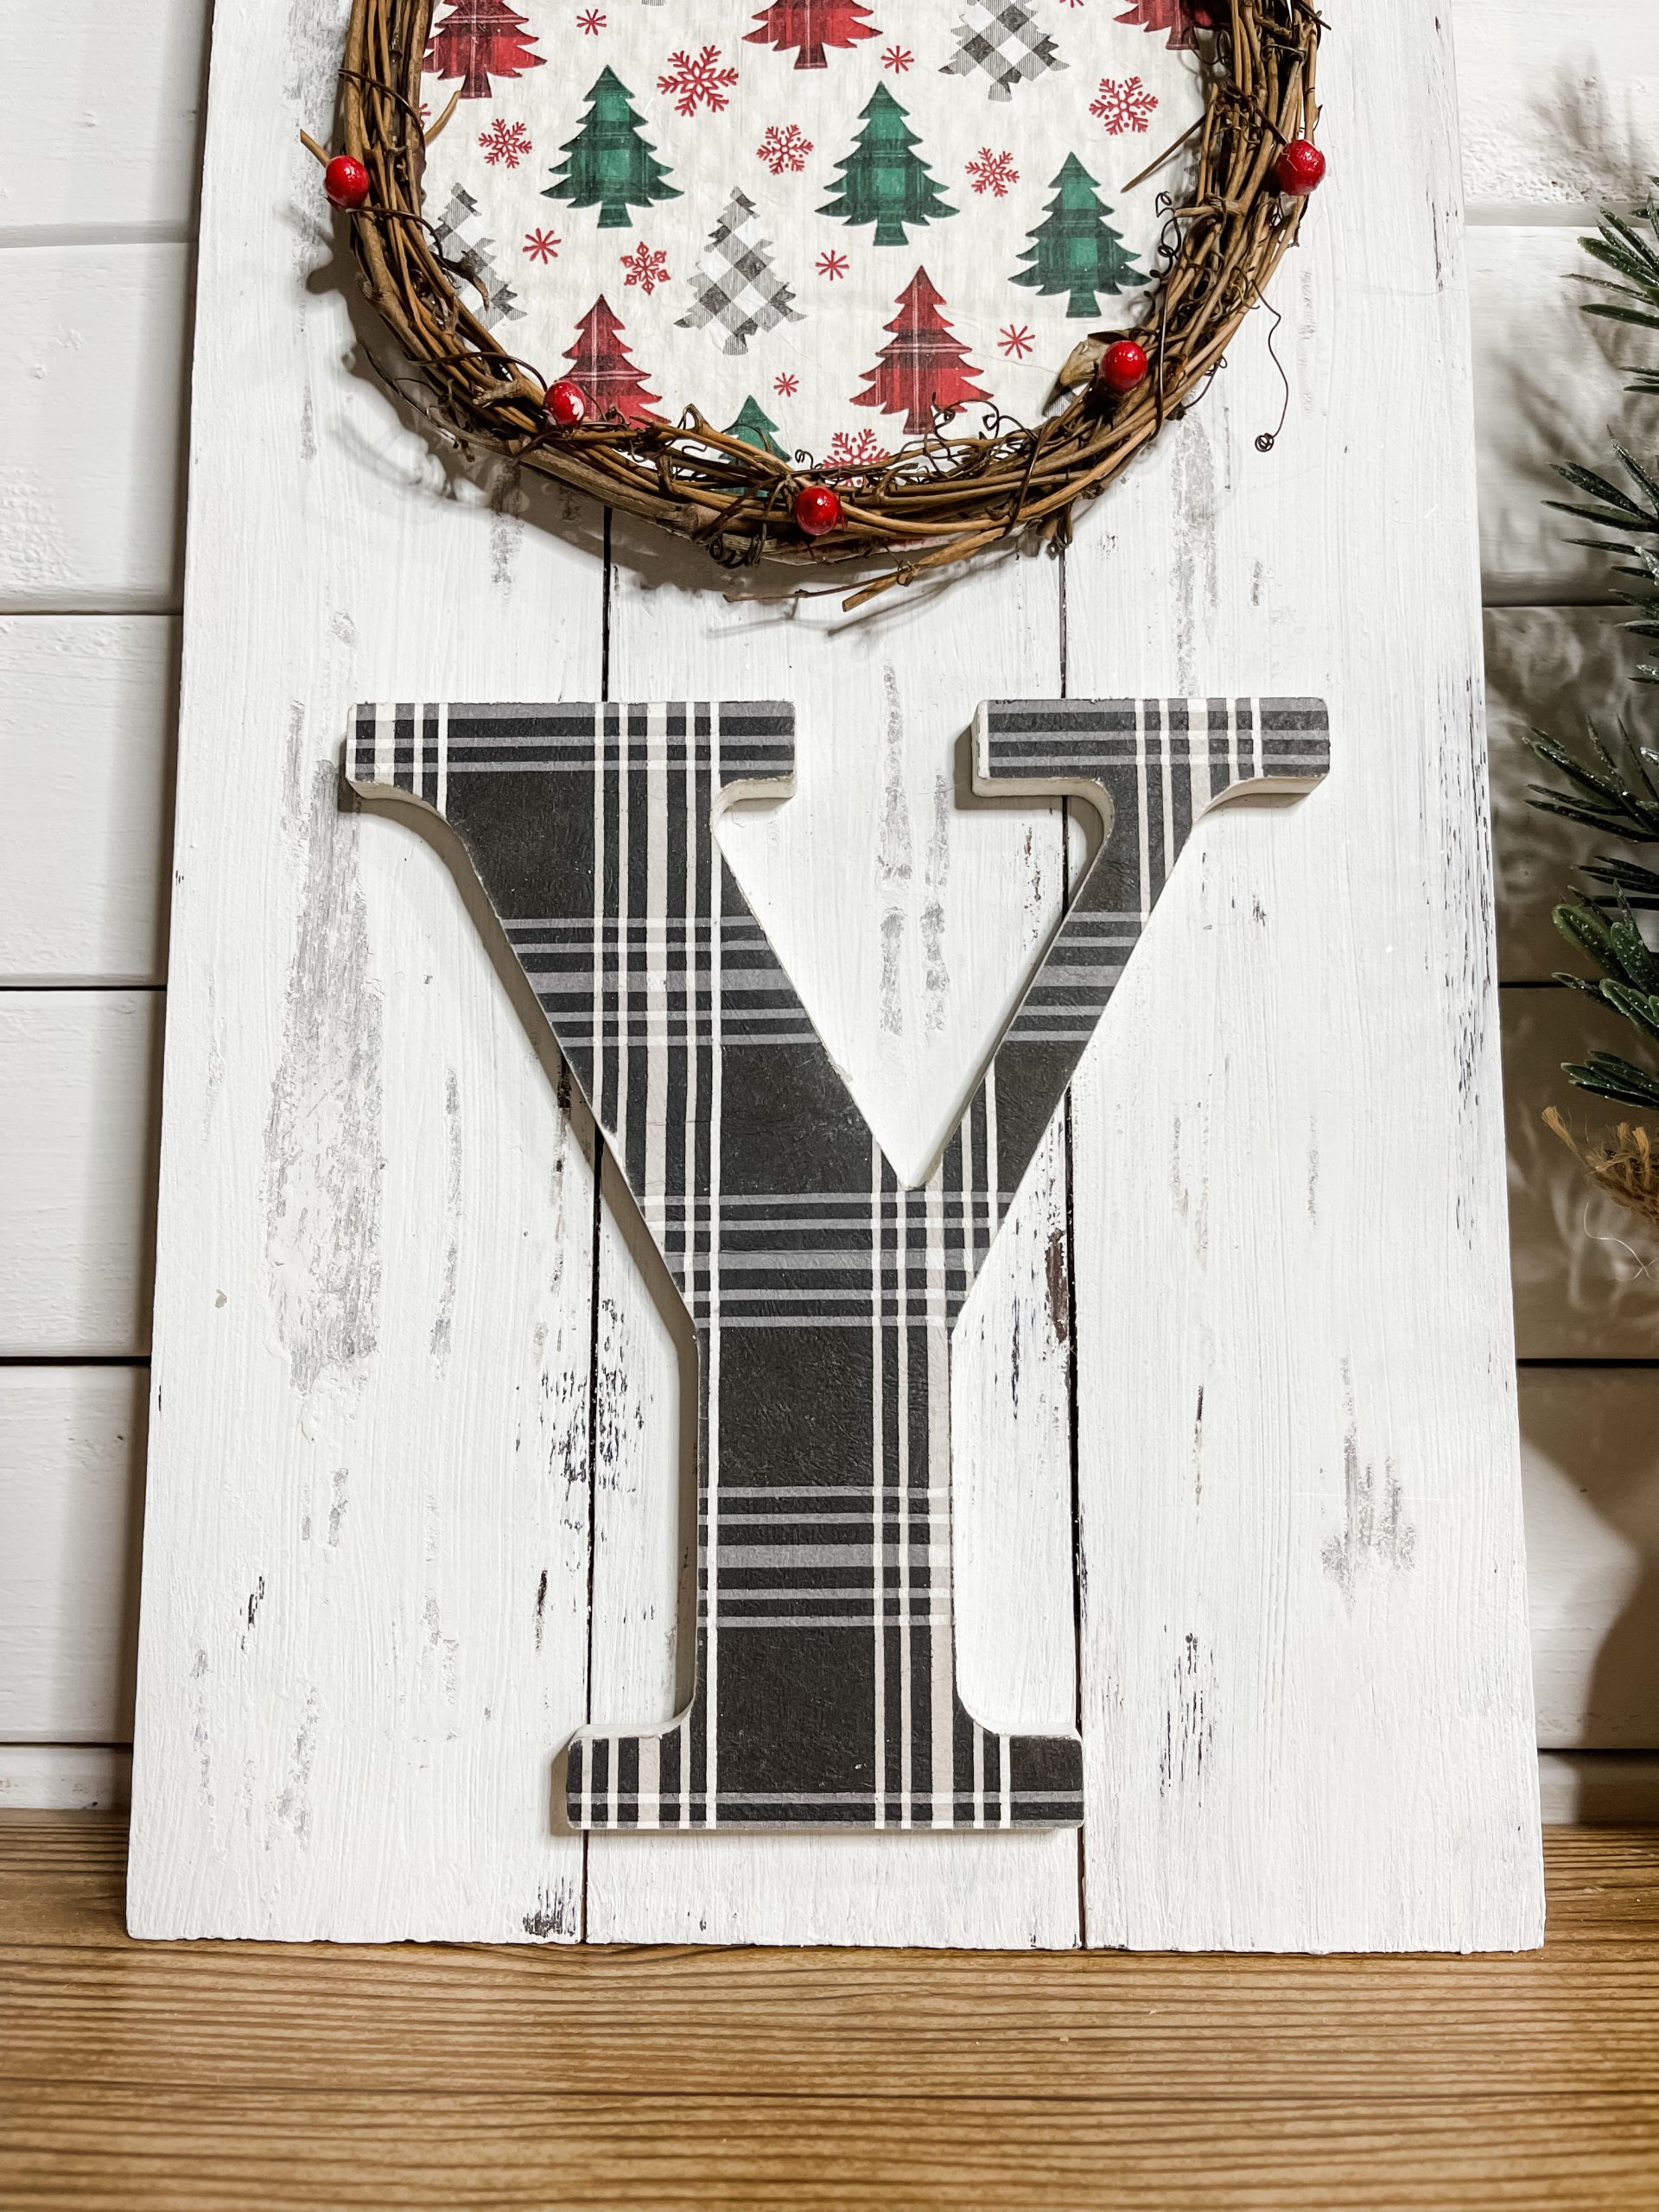
Once the brown paint was completely dry, spread the paint and spackling mixture across the front of your surface.
I didn’t go for extremely full coverage so I could get an aged, slightly distressed finish. The point of mixing the paint and spackling is so the paint will hold a bit of texture from the brush.
How to decoupage with Christmas napkins
Next, I prepped the MDF letters to be decoupaged with the black tartan plaid napkins!
First, I painted each of the letters with the white paint/spackling mix that was already on my brush.
You want to make sure that you paint the front and the sides of both the letters so the tan MDF color isn’t visible anymore.
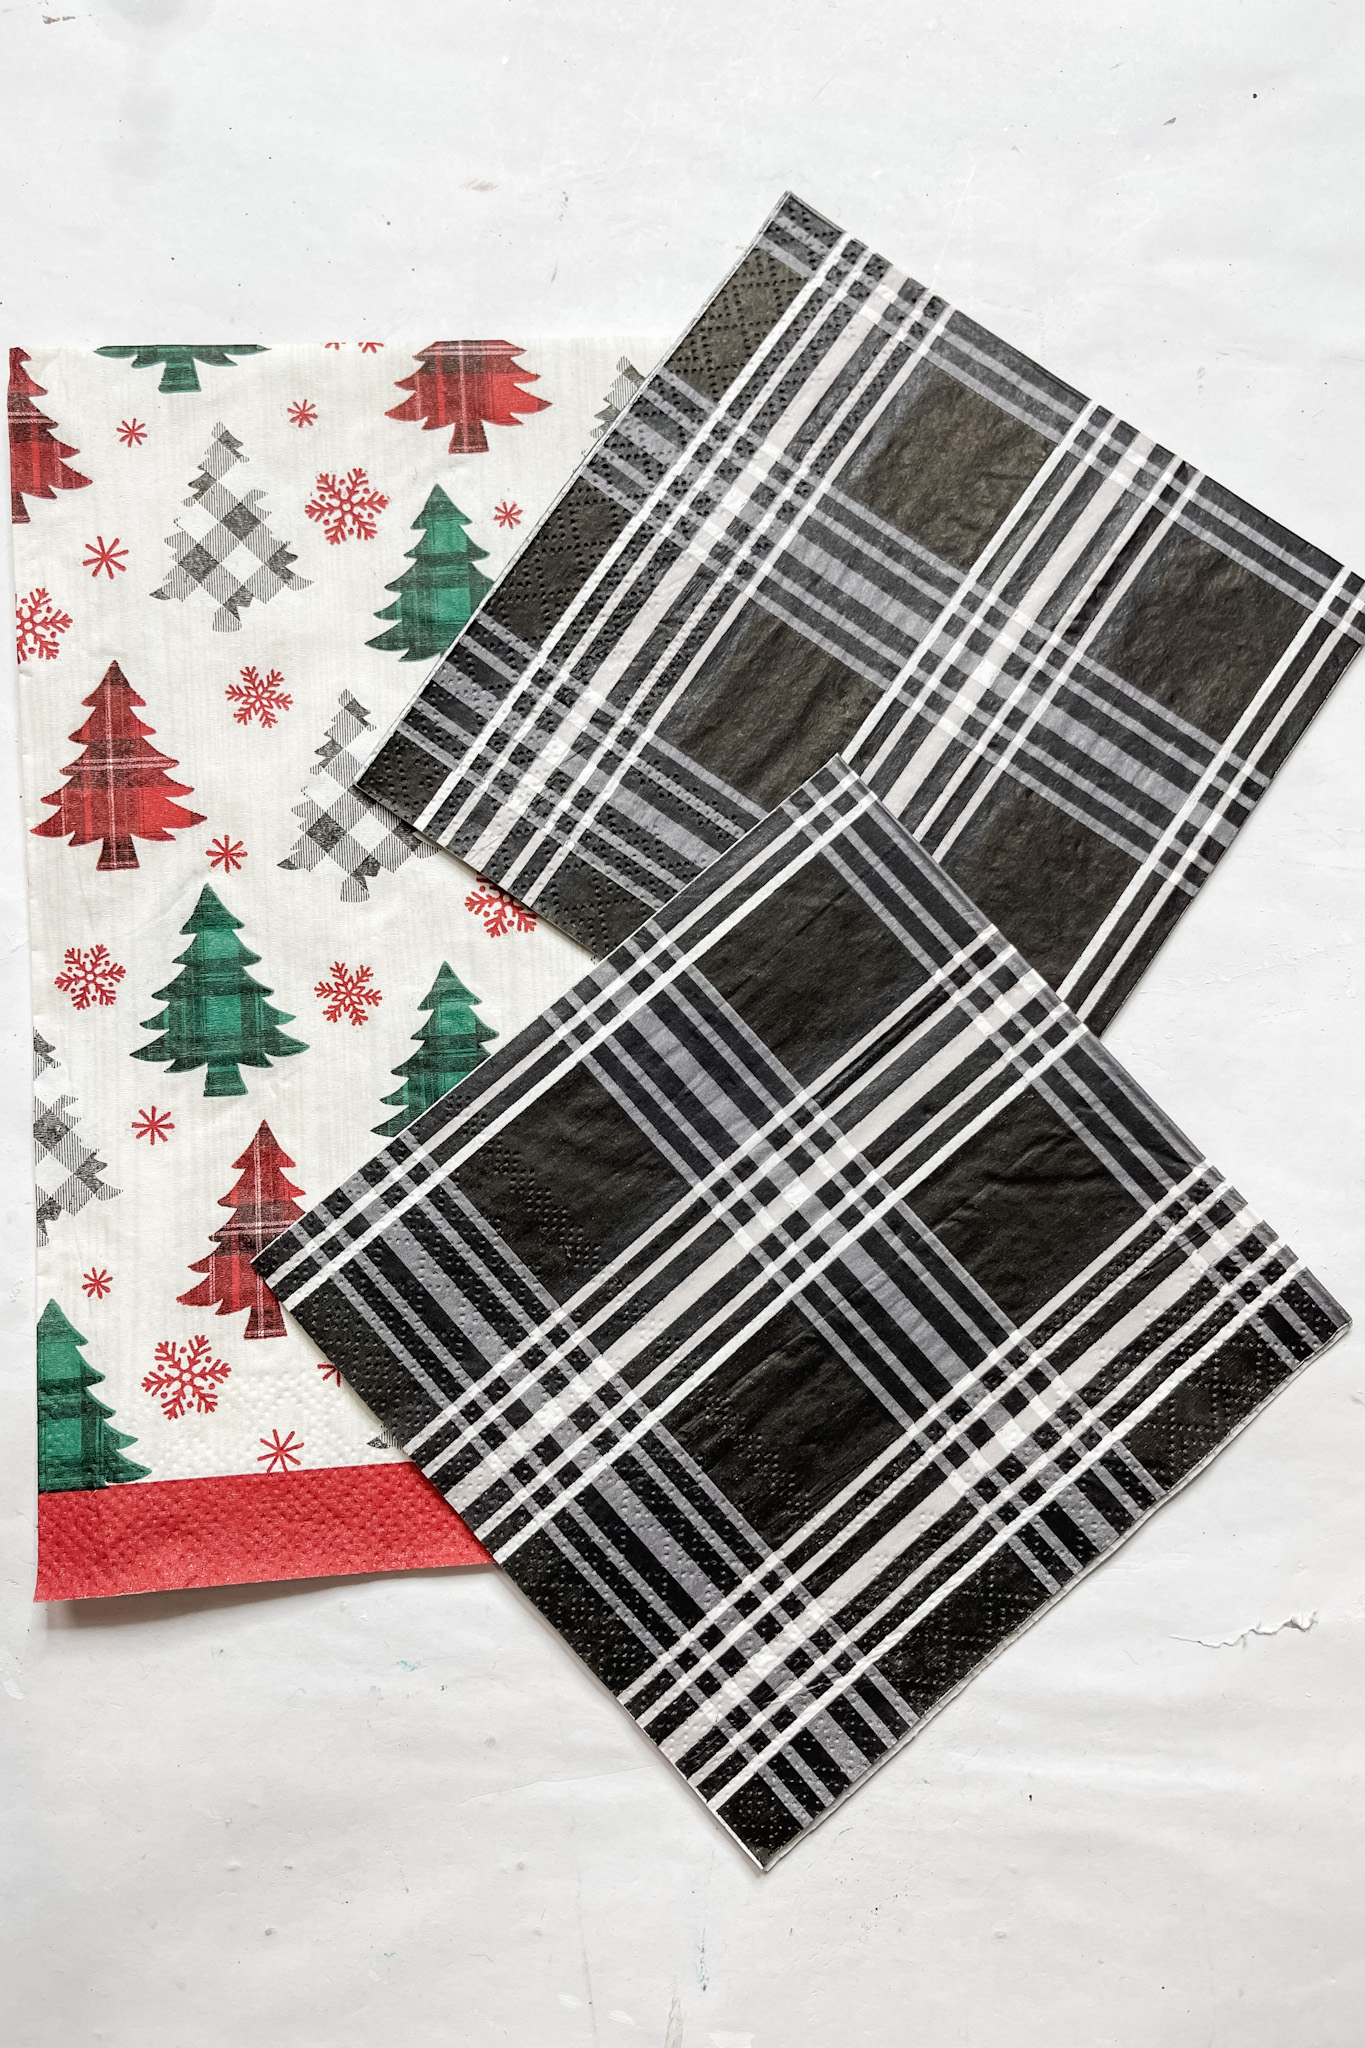
Once the paint is dry, apply a coat of Mod Podge to the front of each of the letters. Mod Podge is the key to decoupaging, whether you’re using napkins or scrapbook paper.
To decoupage napkins, you have one more step than when you’re using scrapbook paper or printer paper. You have to separate the napkin plies.
If you don’t, the top ply (the patterned ply) might not adhere properly to the surface and could start to peel up later.
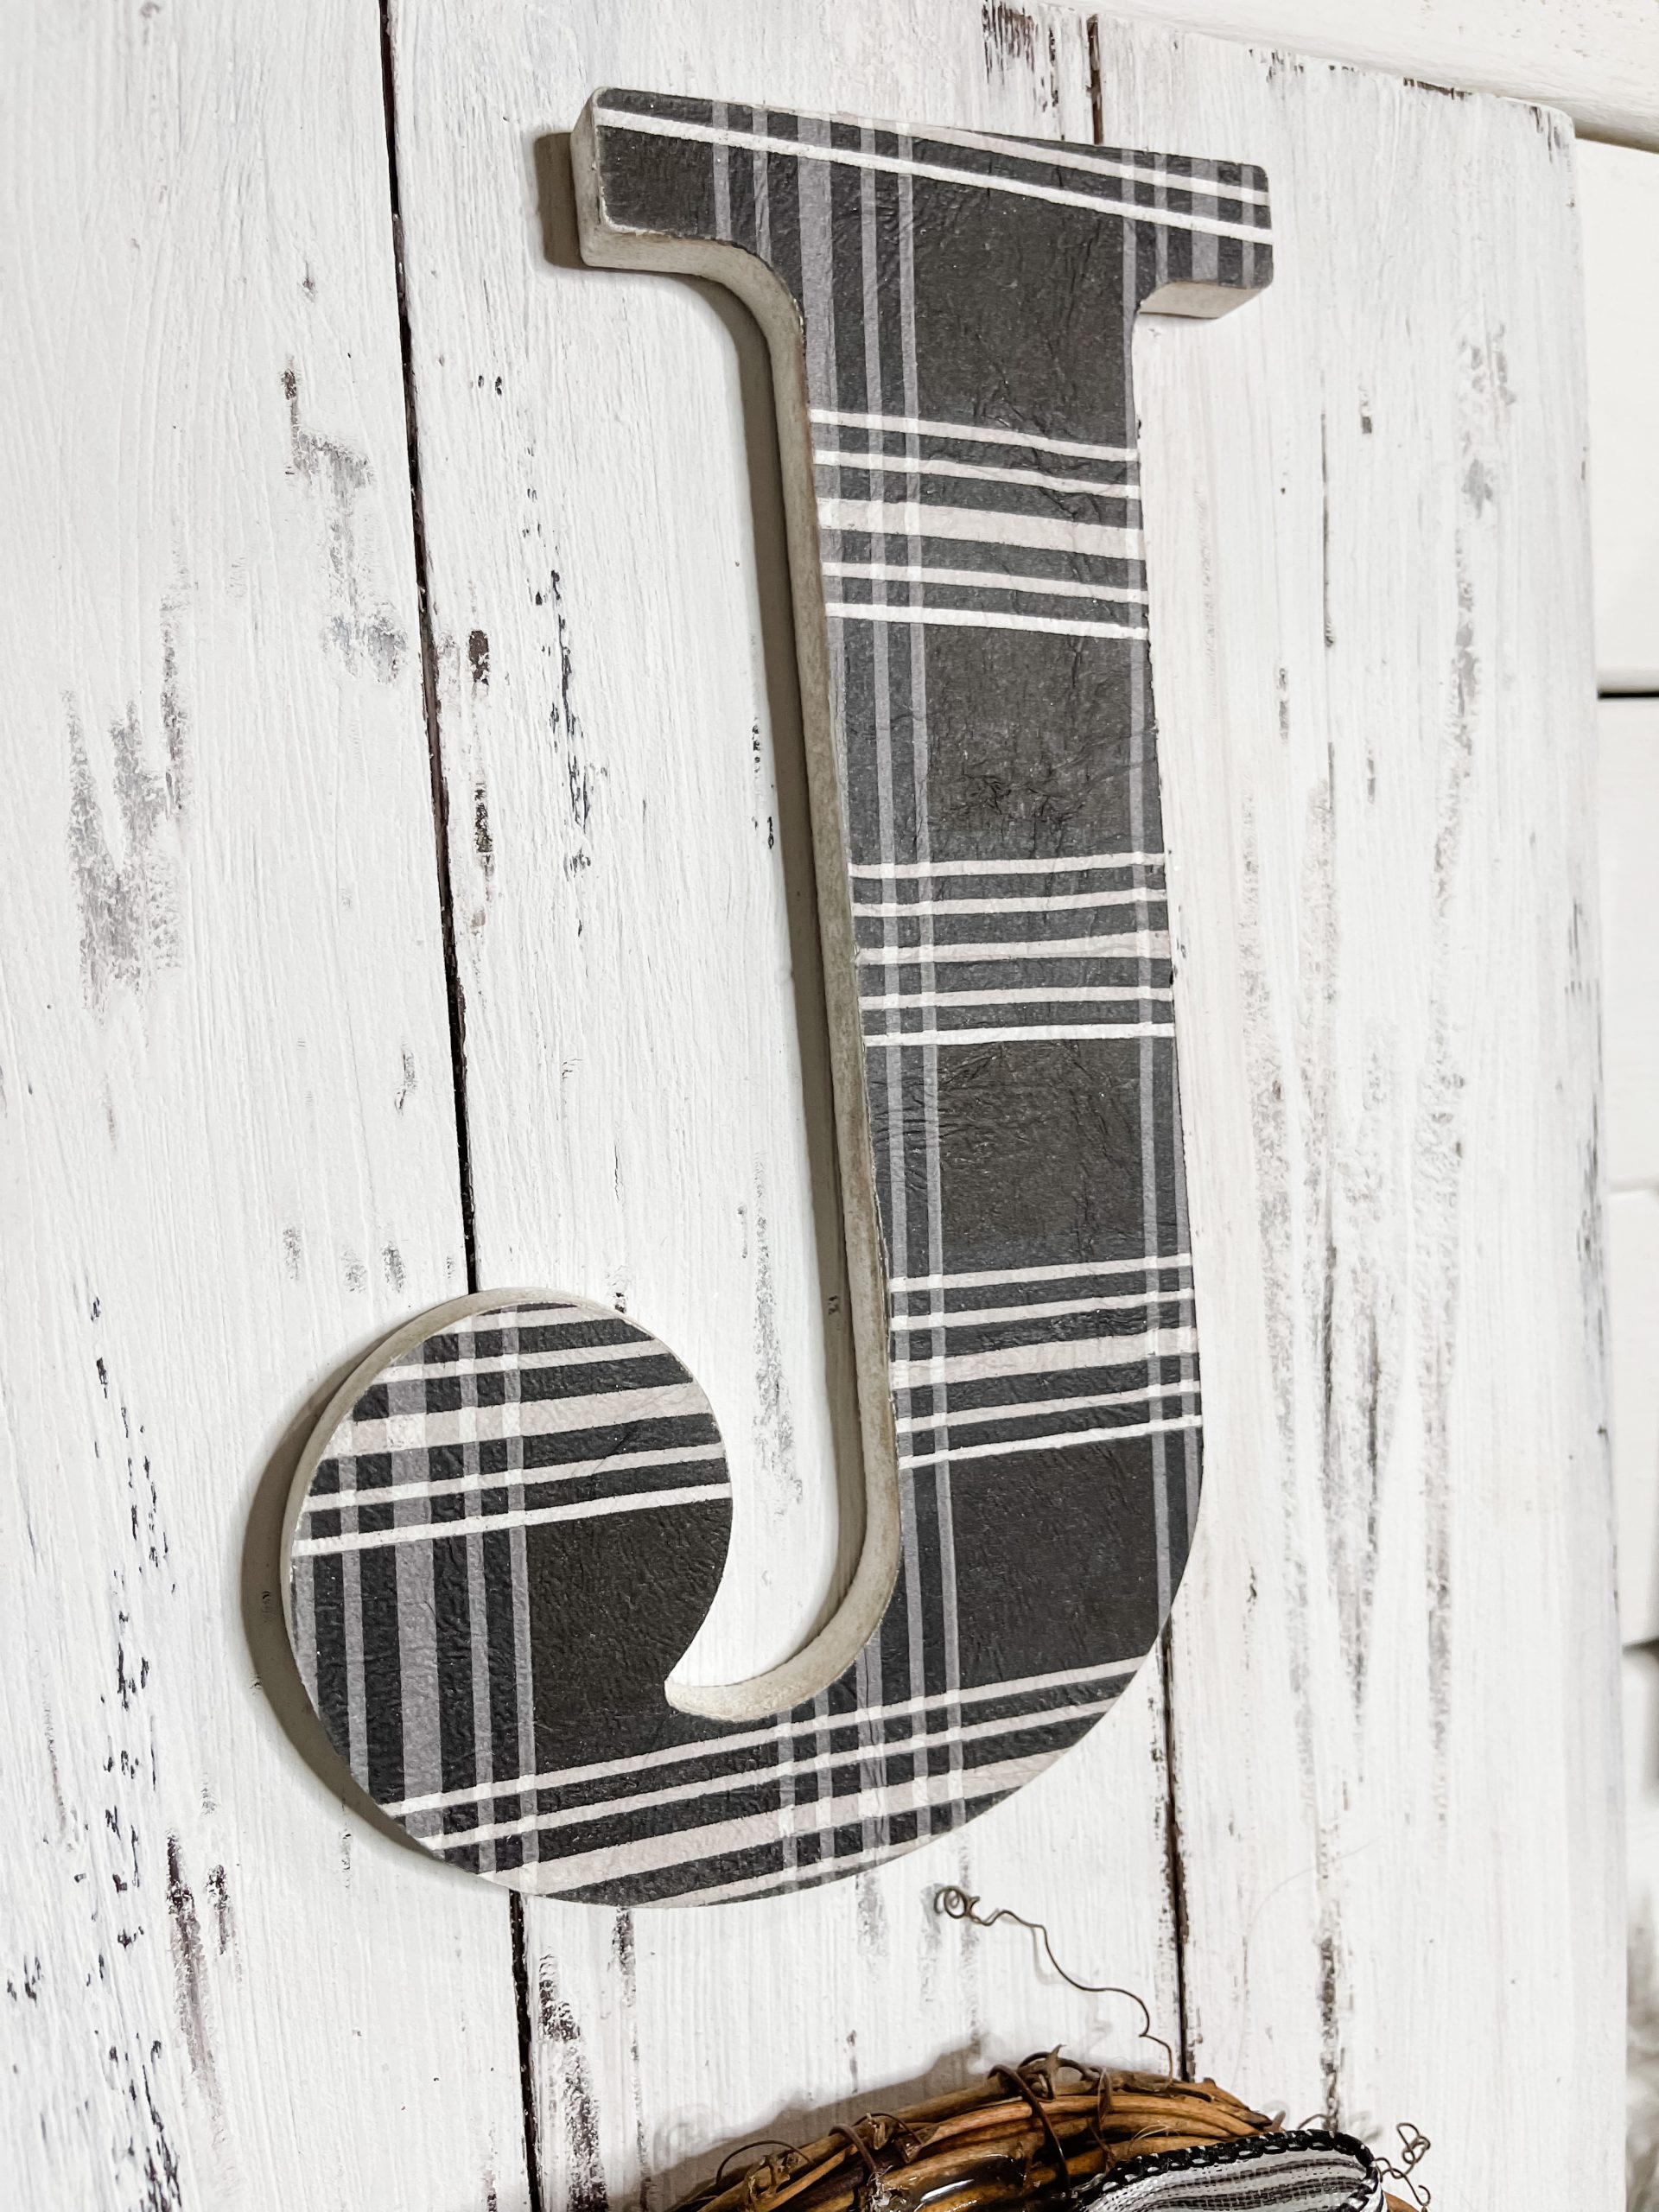
By separating the plies and only decoupaging the patterned one, you get a much more secure bond between the napkin and your surface.
So, separate the plies of your two black tartan plaid napkins and place them on the coat of Mod Podge on each letter.
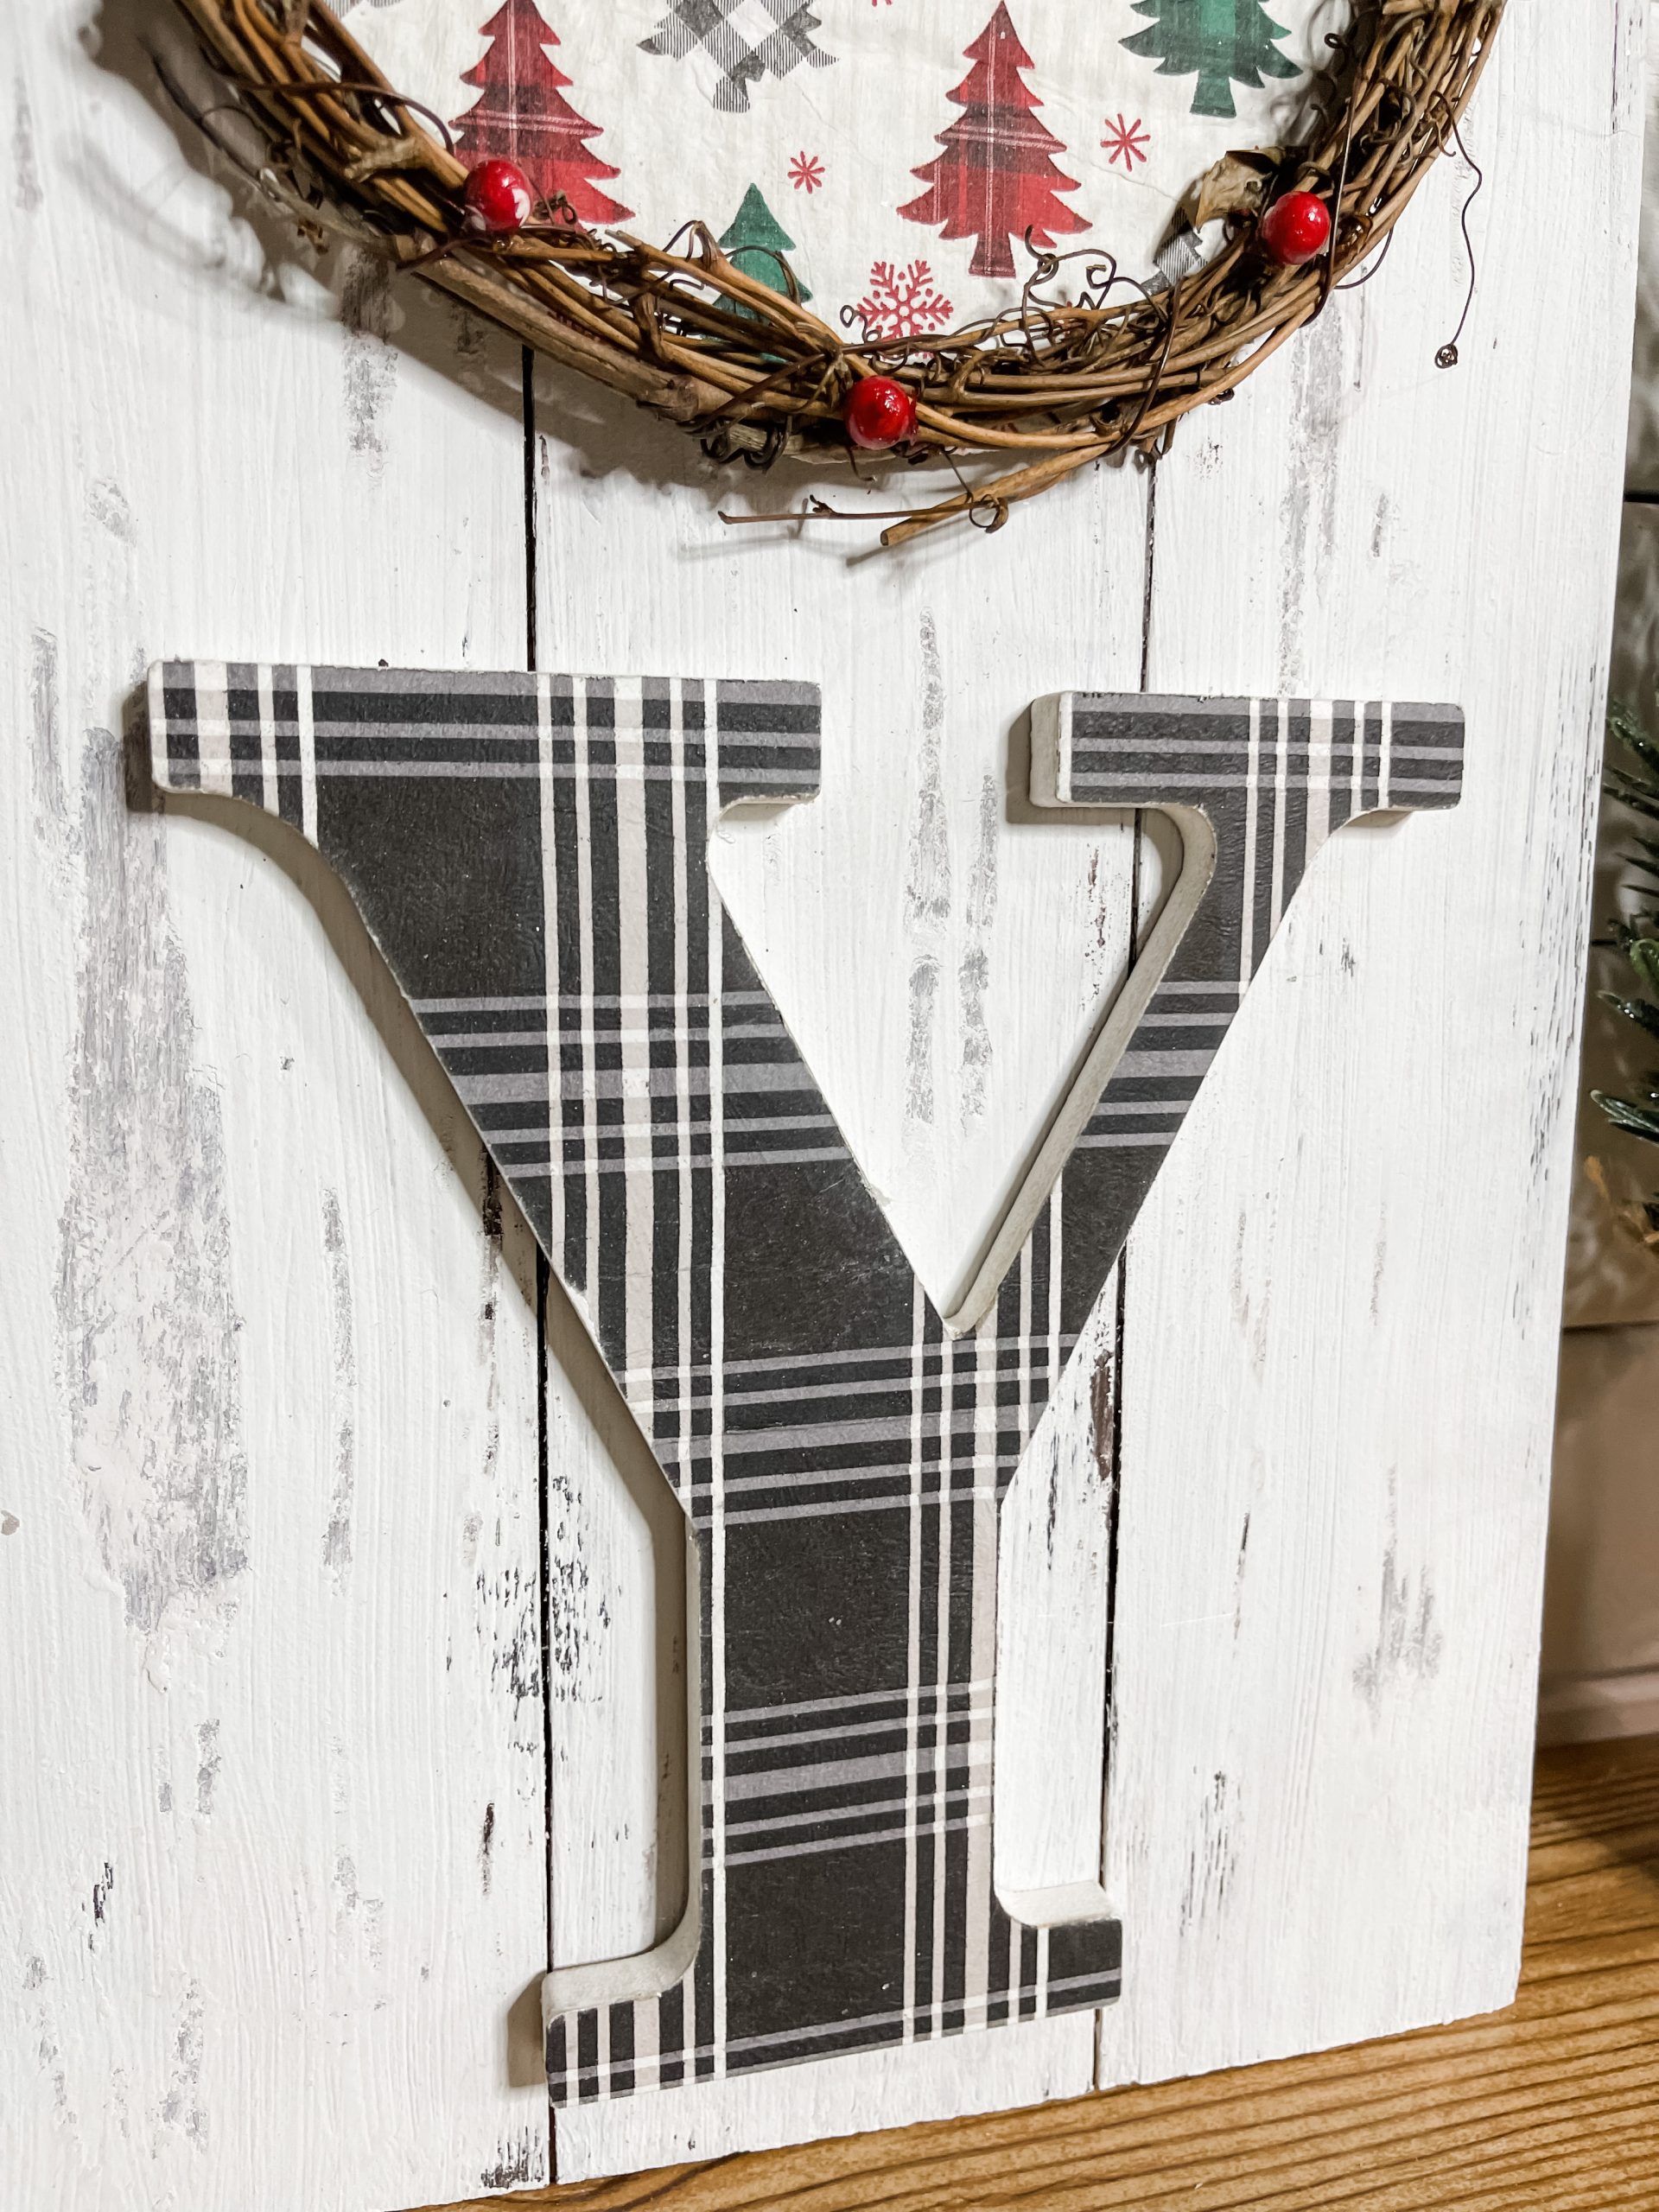
Cover the letters with a piece of plastic saran wrap and go over them with a rolling pin to smooth out any wrinkles or bubbles in the napkins.
I used my heat gun to quickly dry the Mod Podge, then removed the excess napkin from the letters. You can go over the edges with a sanding sponge to tear the napkin off.
How to decoupage on cardboard
Next, I had to make the cardboard surface to go inside the grapevine wreath. Because let’s be real, I can’t decoupage air!
I took one side from one of my cardboard boxes and placed the grapevine wreath on it. I traced the shape of the wreath on the cardboard and cut it to shape.
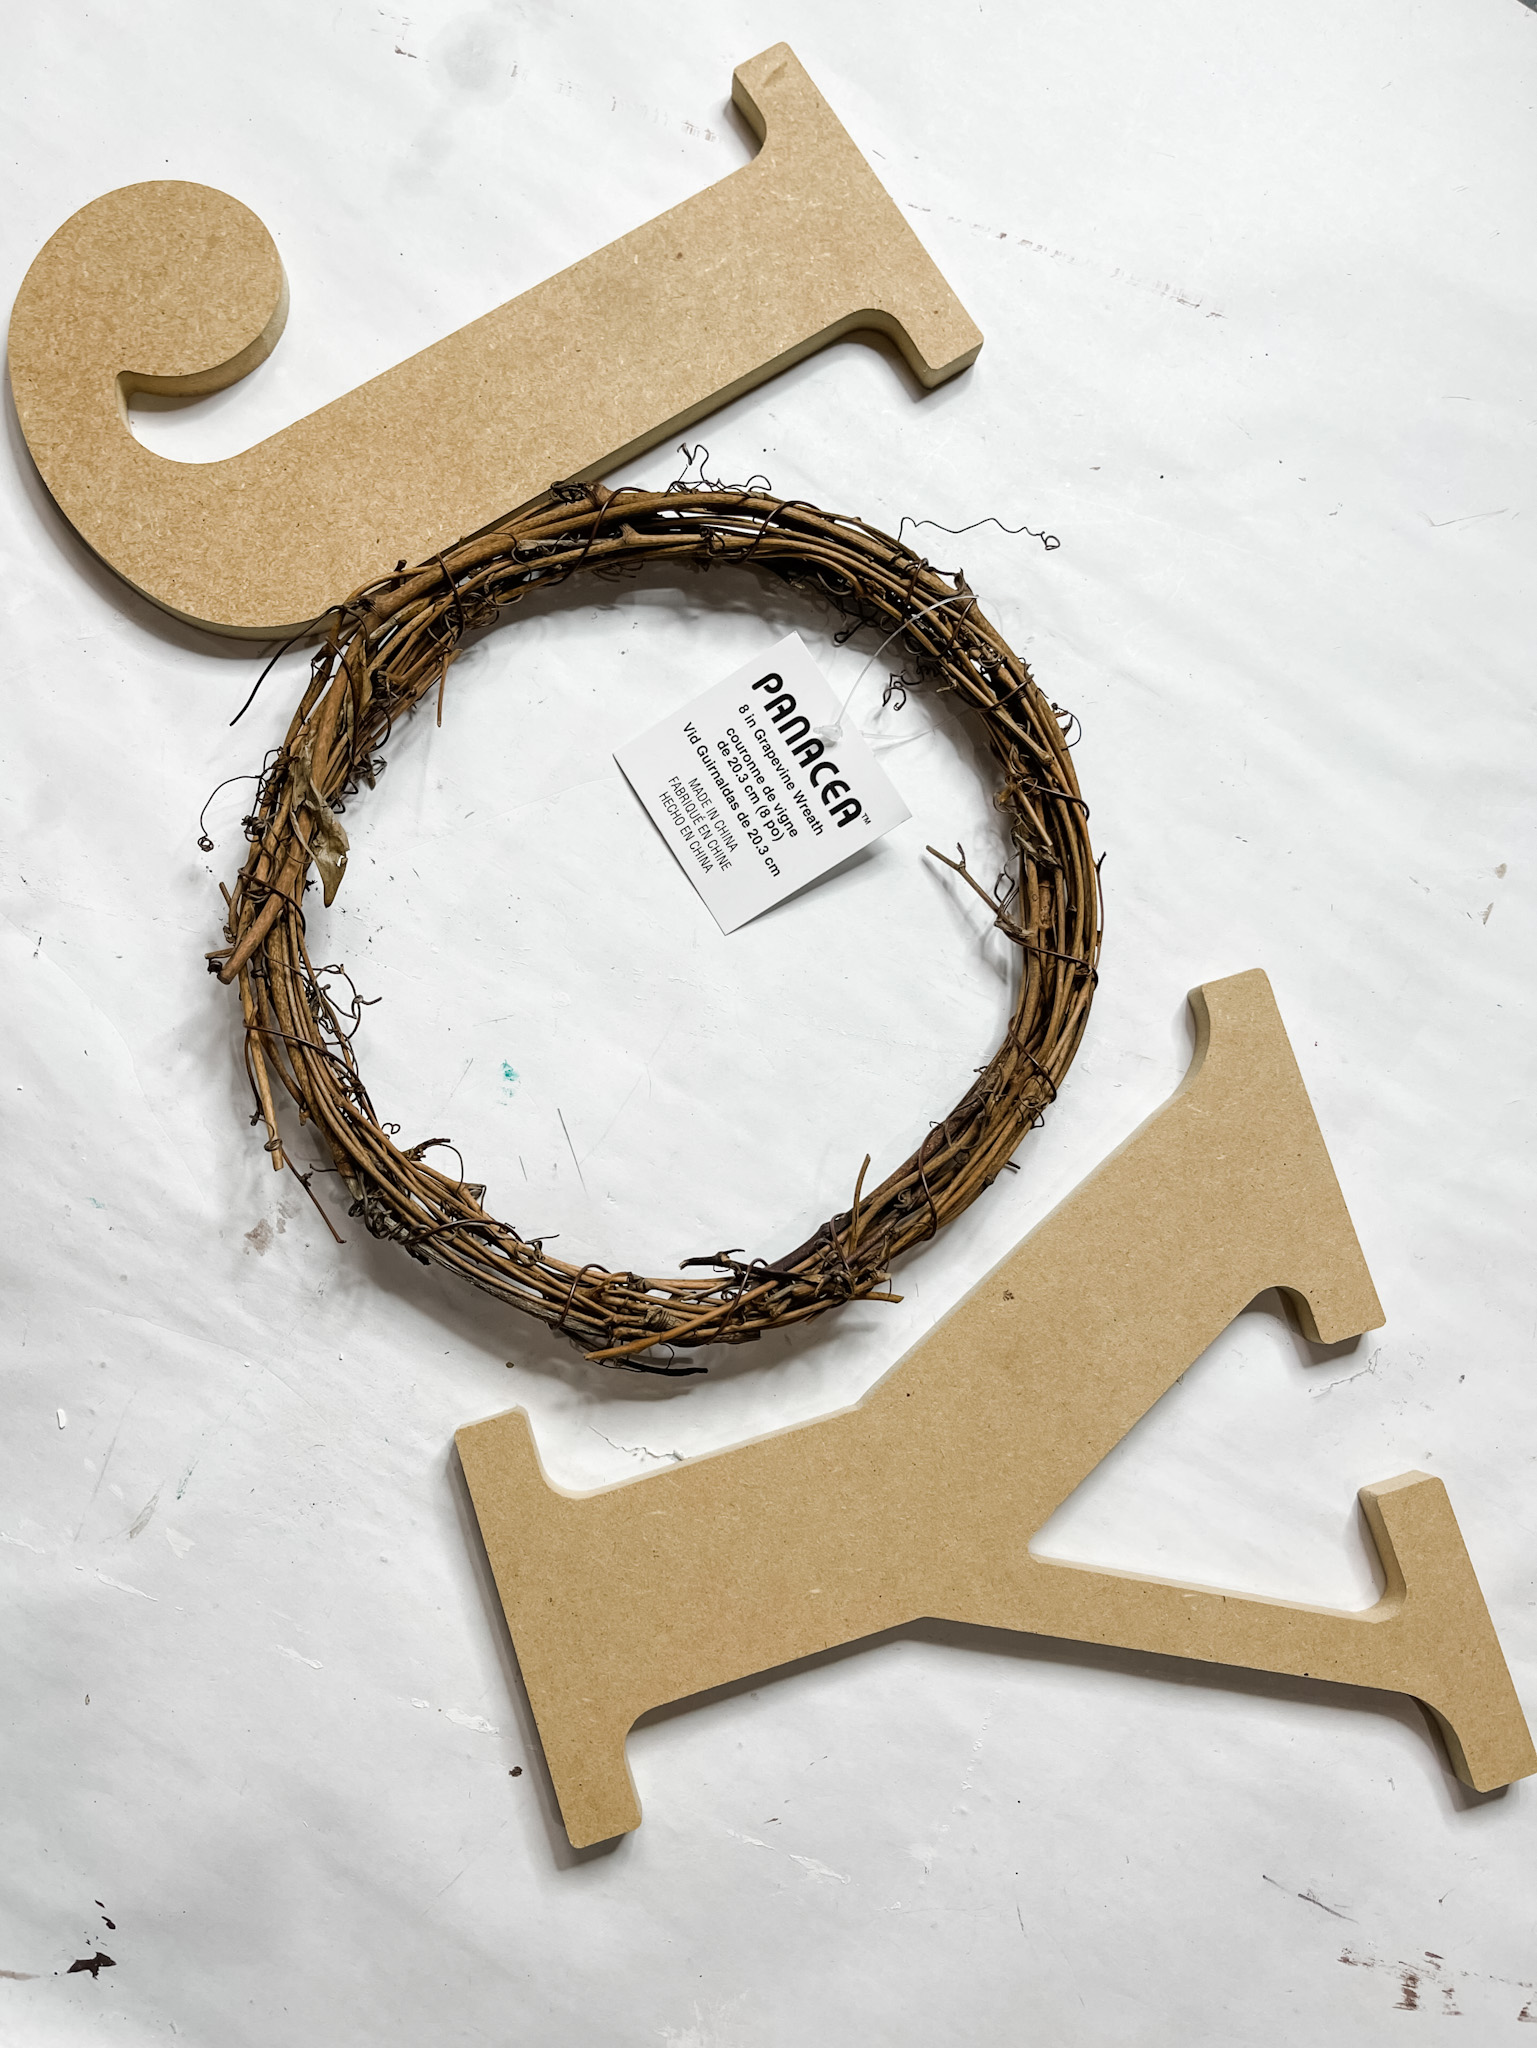
Paint one side of the cardboard circle with white paint. Let the white paint dry and apply a coat of Mod Podge.
Separate the plies of your buffalo check trees napkin and place the patterned ply on the coat of Mod Podge.
Just like with the decoupaged letters, cover the circle with a piece of plastic saran wrap and go over it with a rolling pin.
Once the Mod Podge is dry, remove the excess napkin from the cardboard by going over the edges lightly with a sanding sponge.
Bring it all together
Make sure that your painted Hobby Lobby sign is completely dry and you’re ready to start bringing your large joy Christmas sign together!
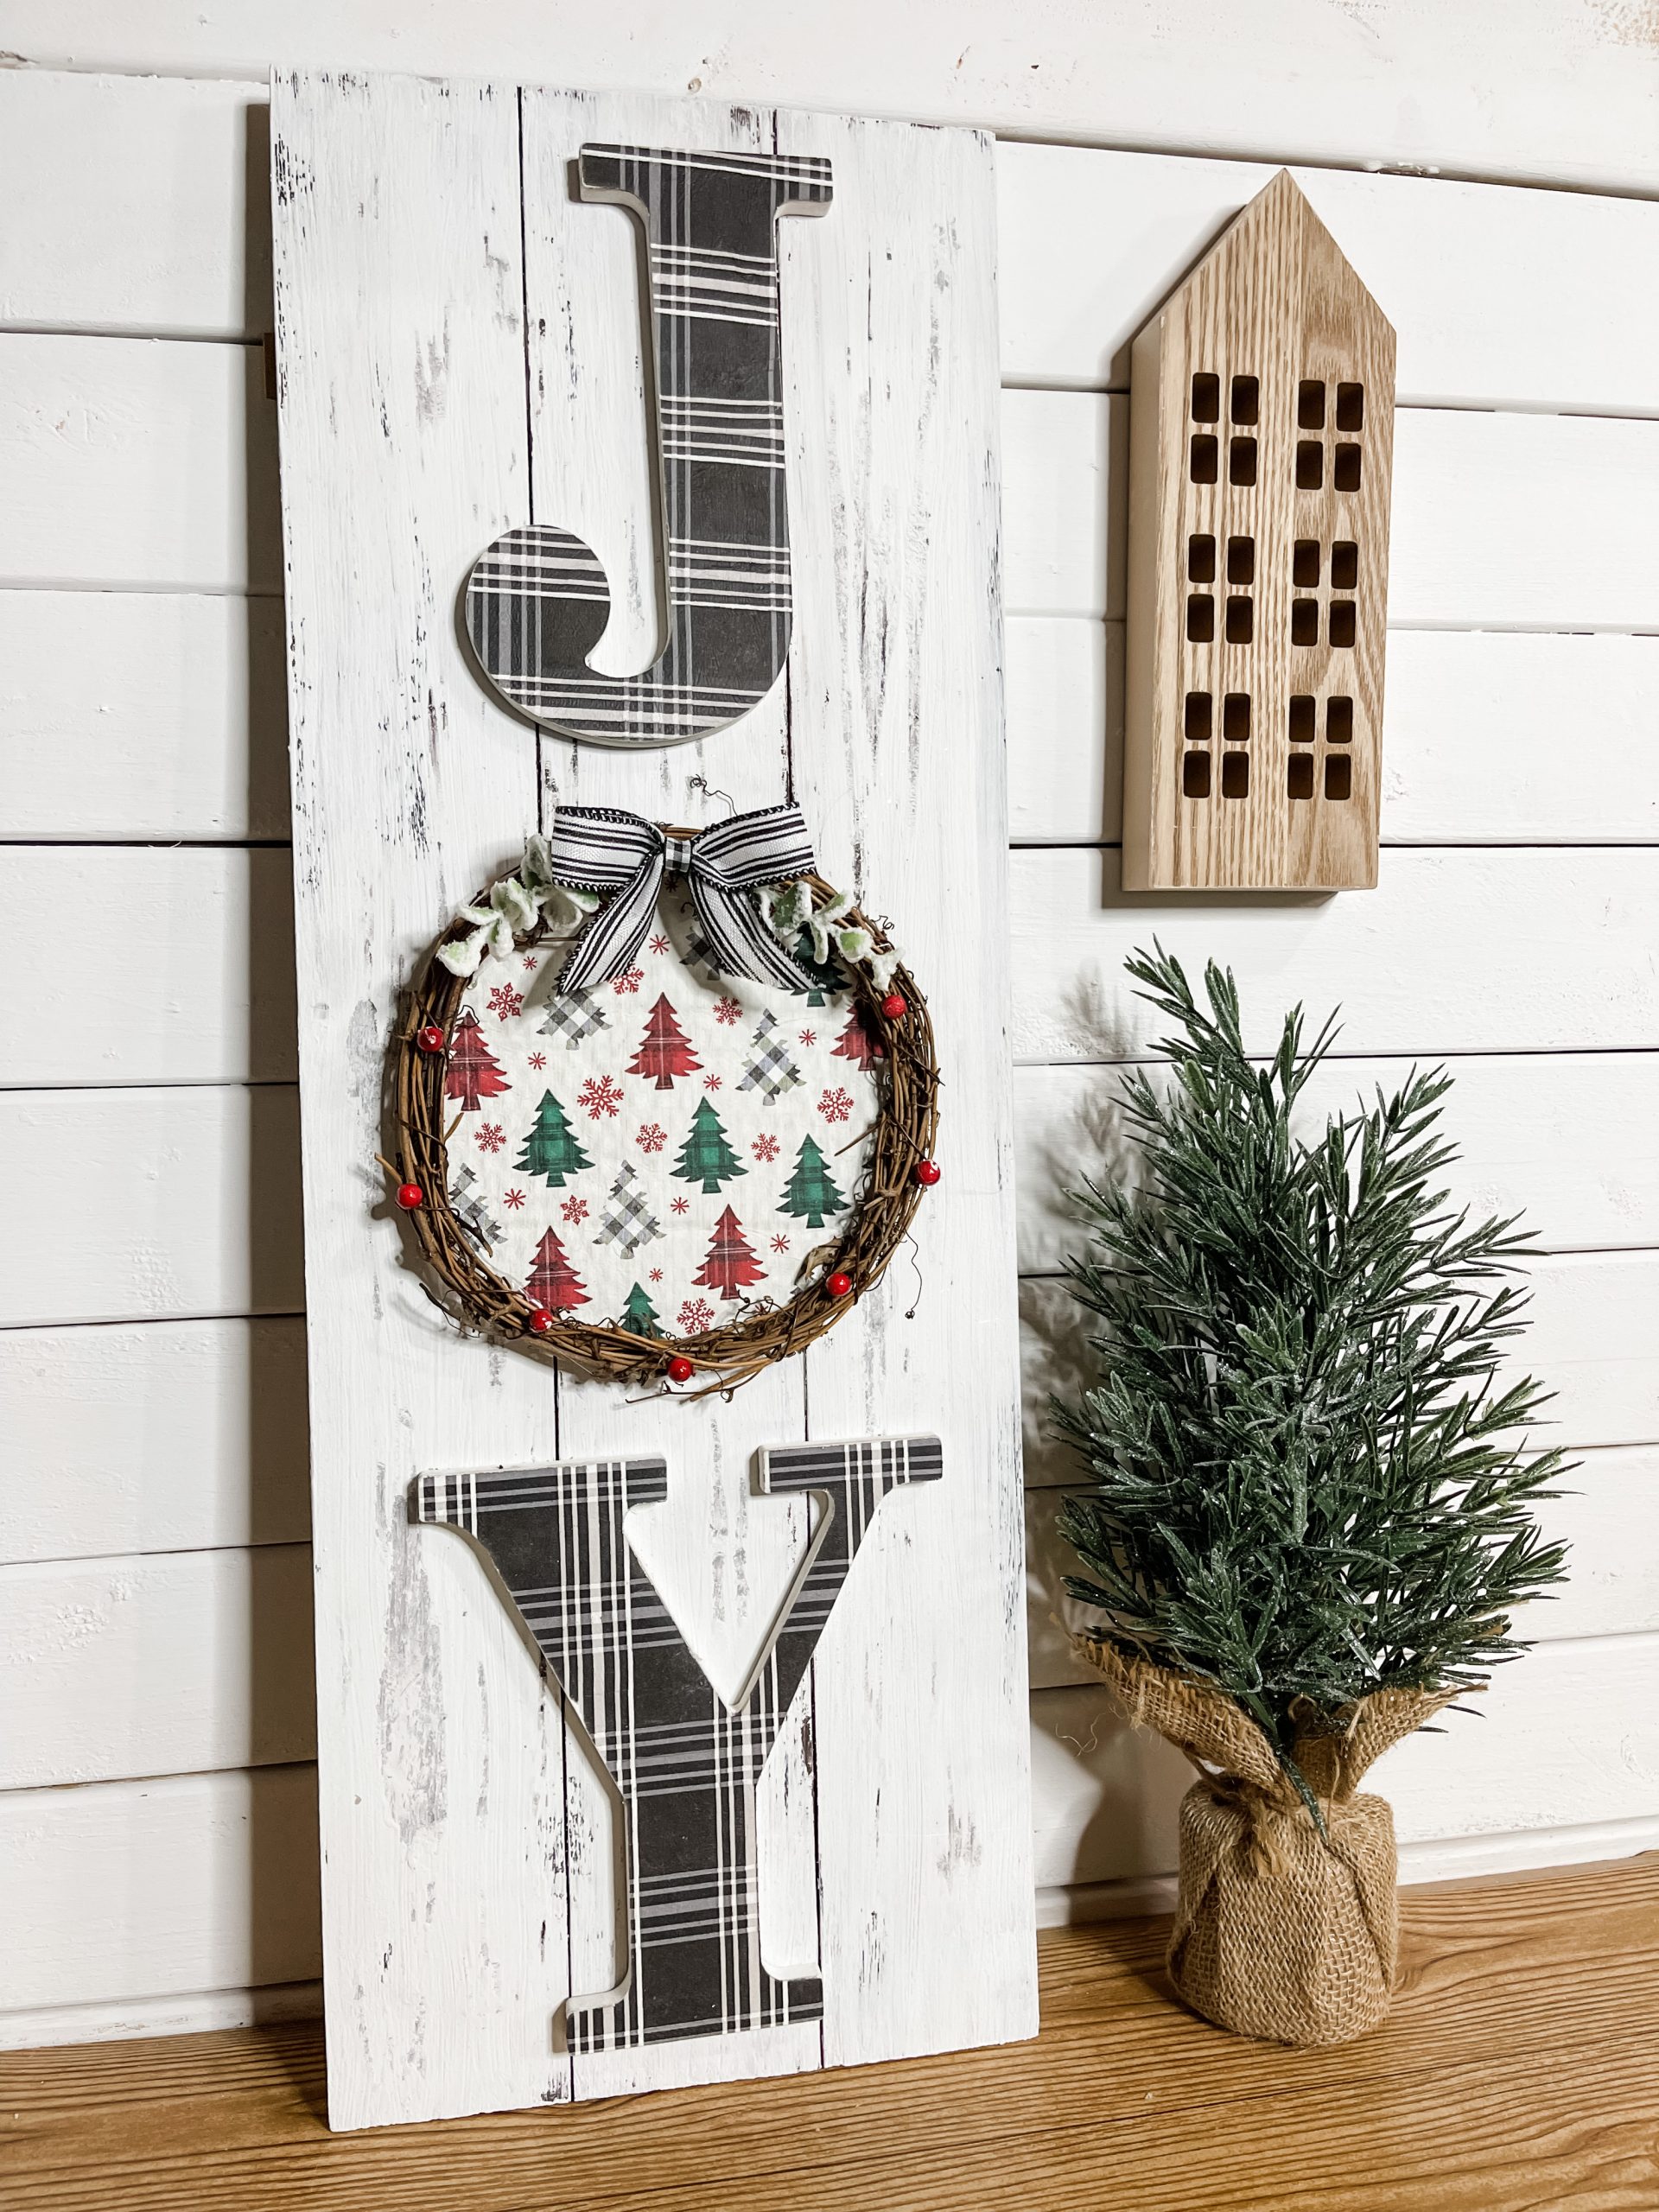
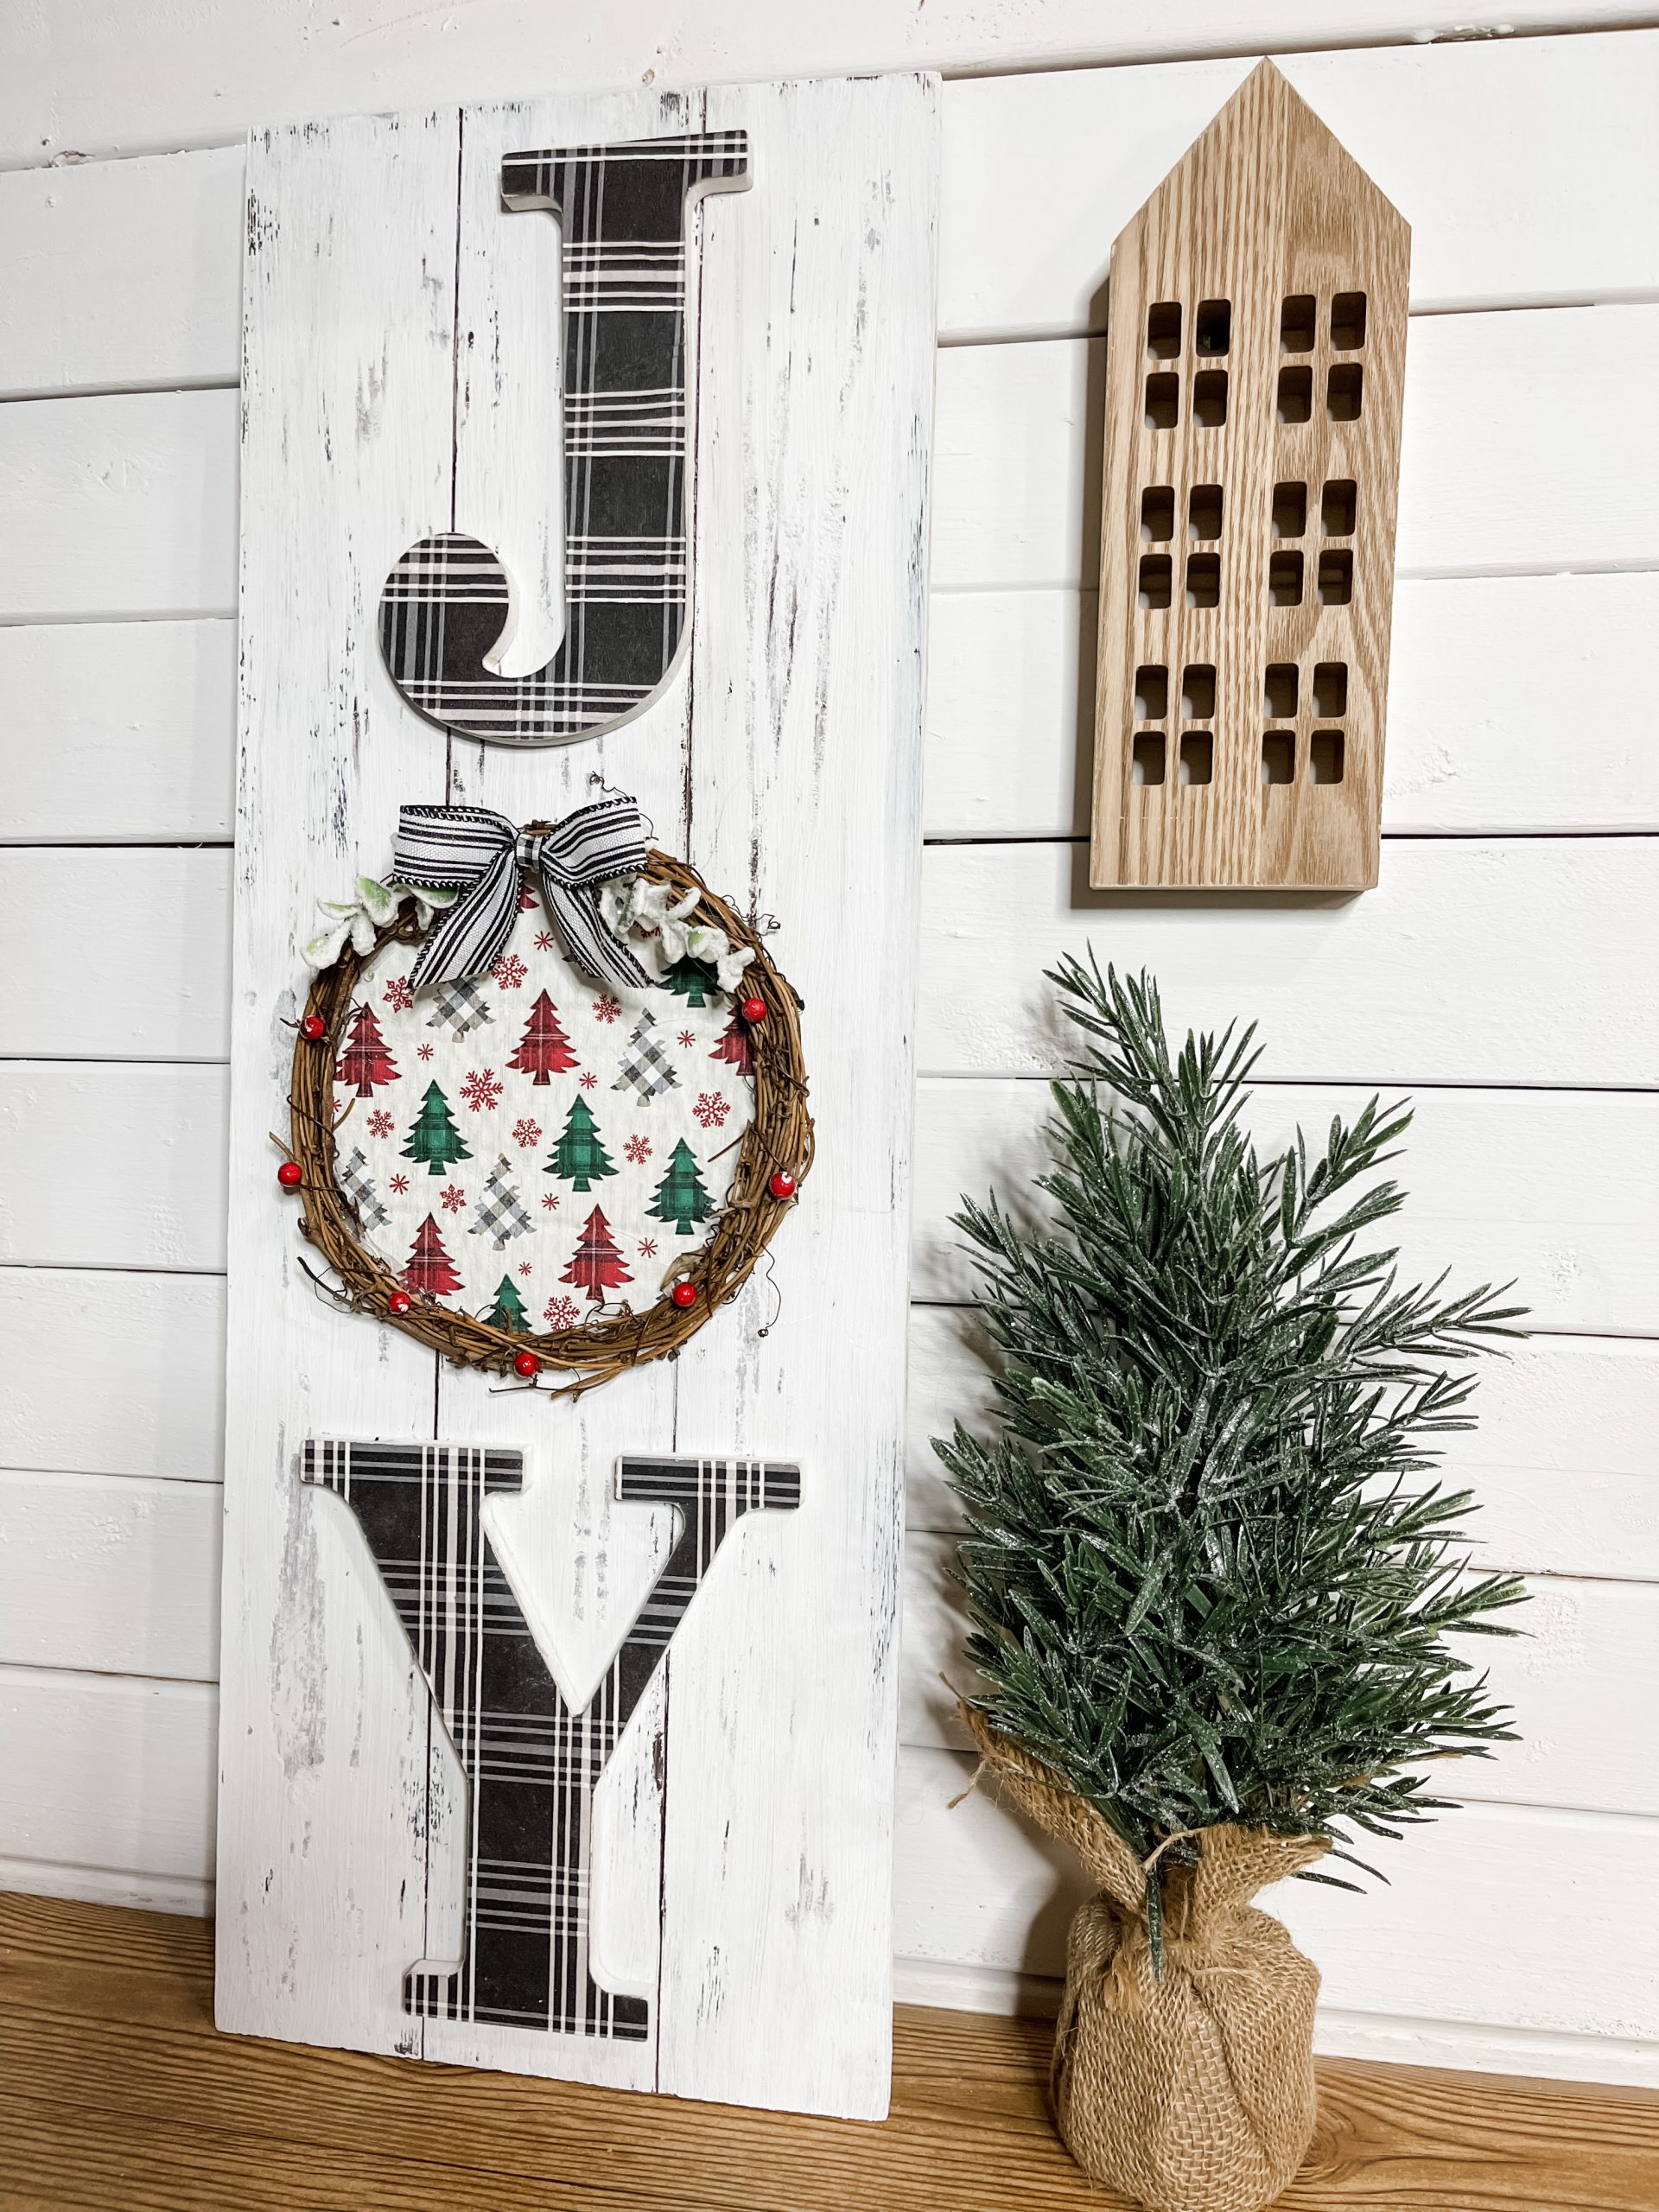
Hot glue the grapevine wreath onto the decoupaged cardboard circle. Then, hot glue both of the decoupaged letters and the cardboard circle onto the large sign.
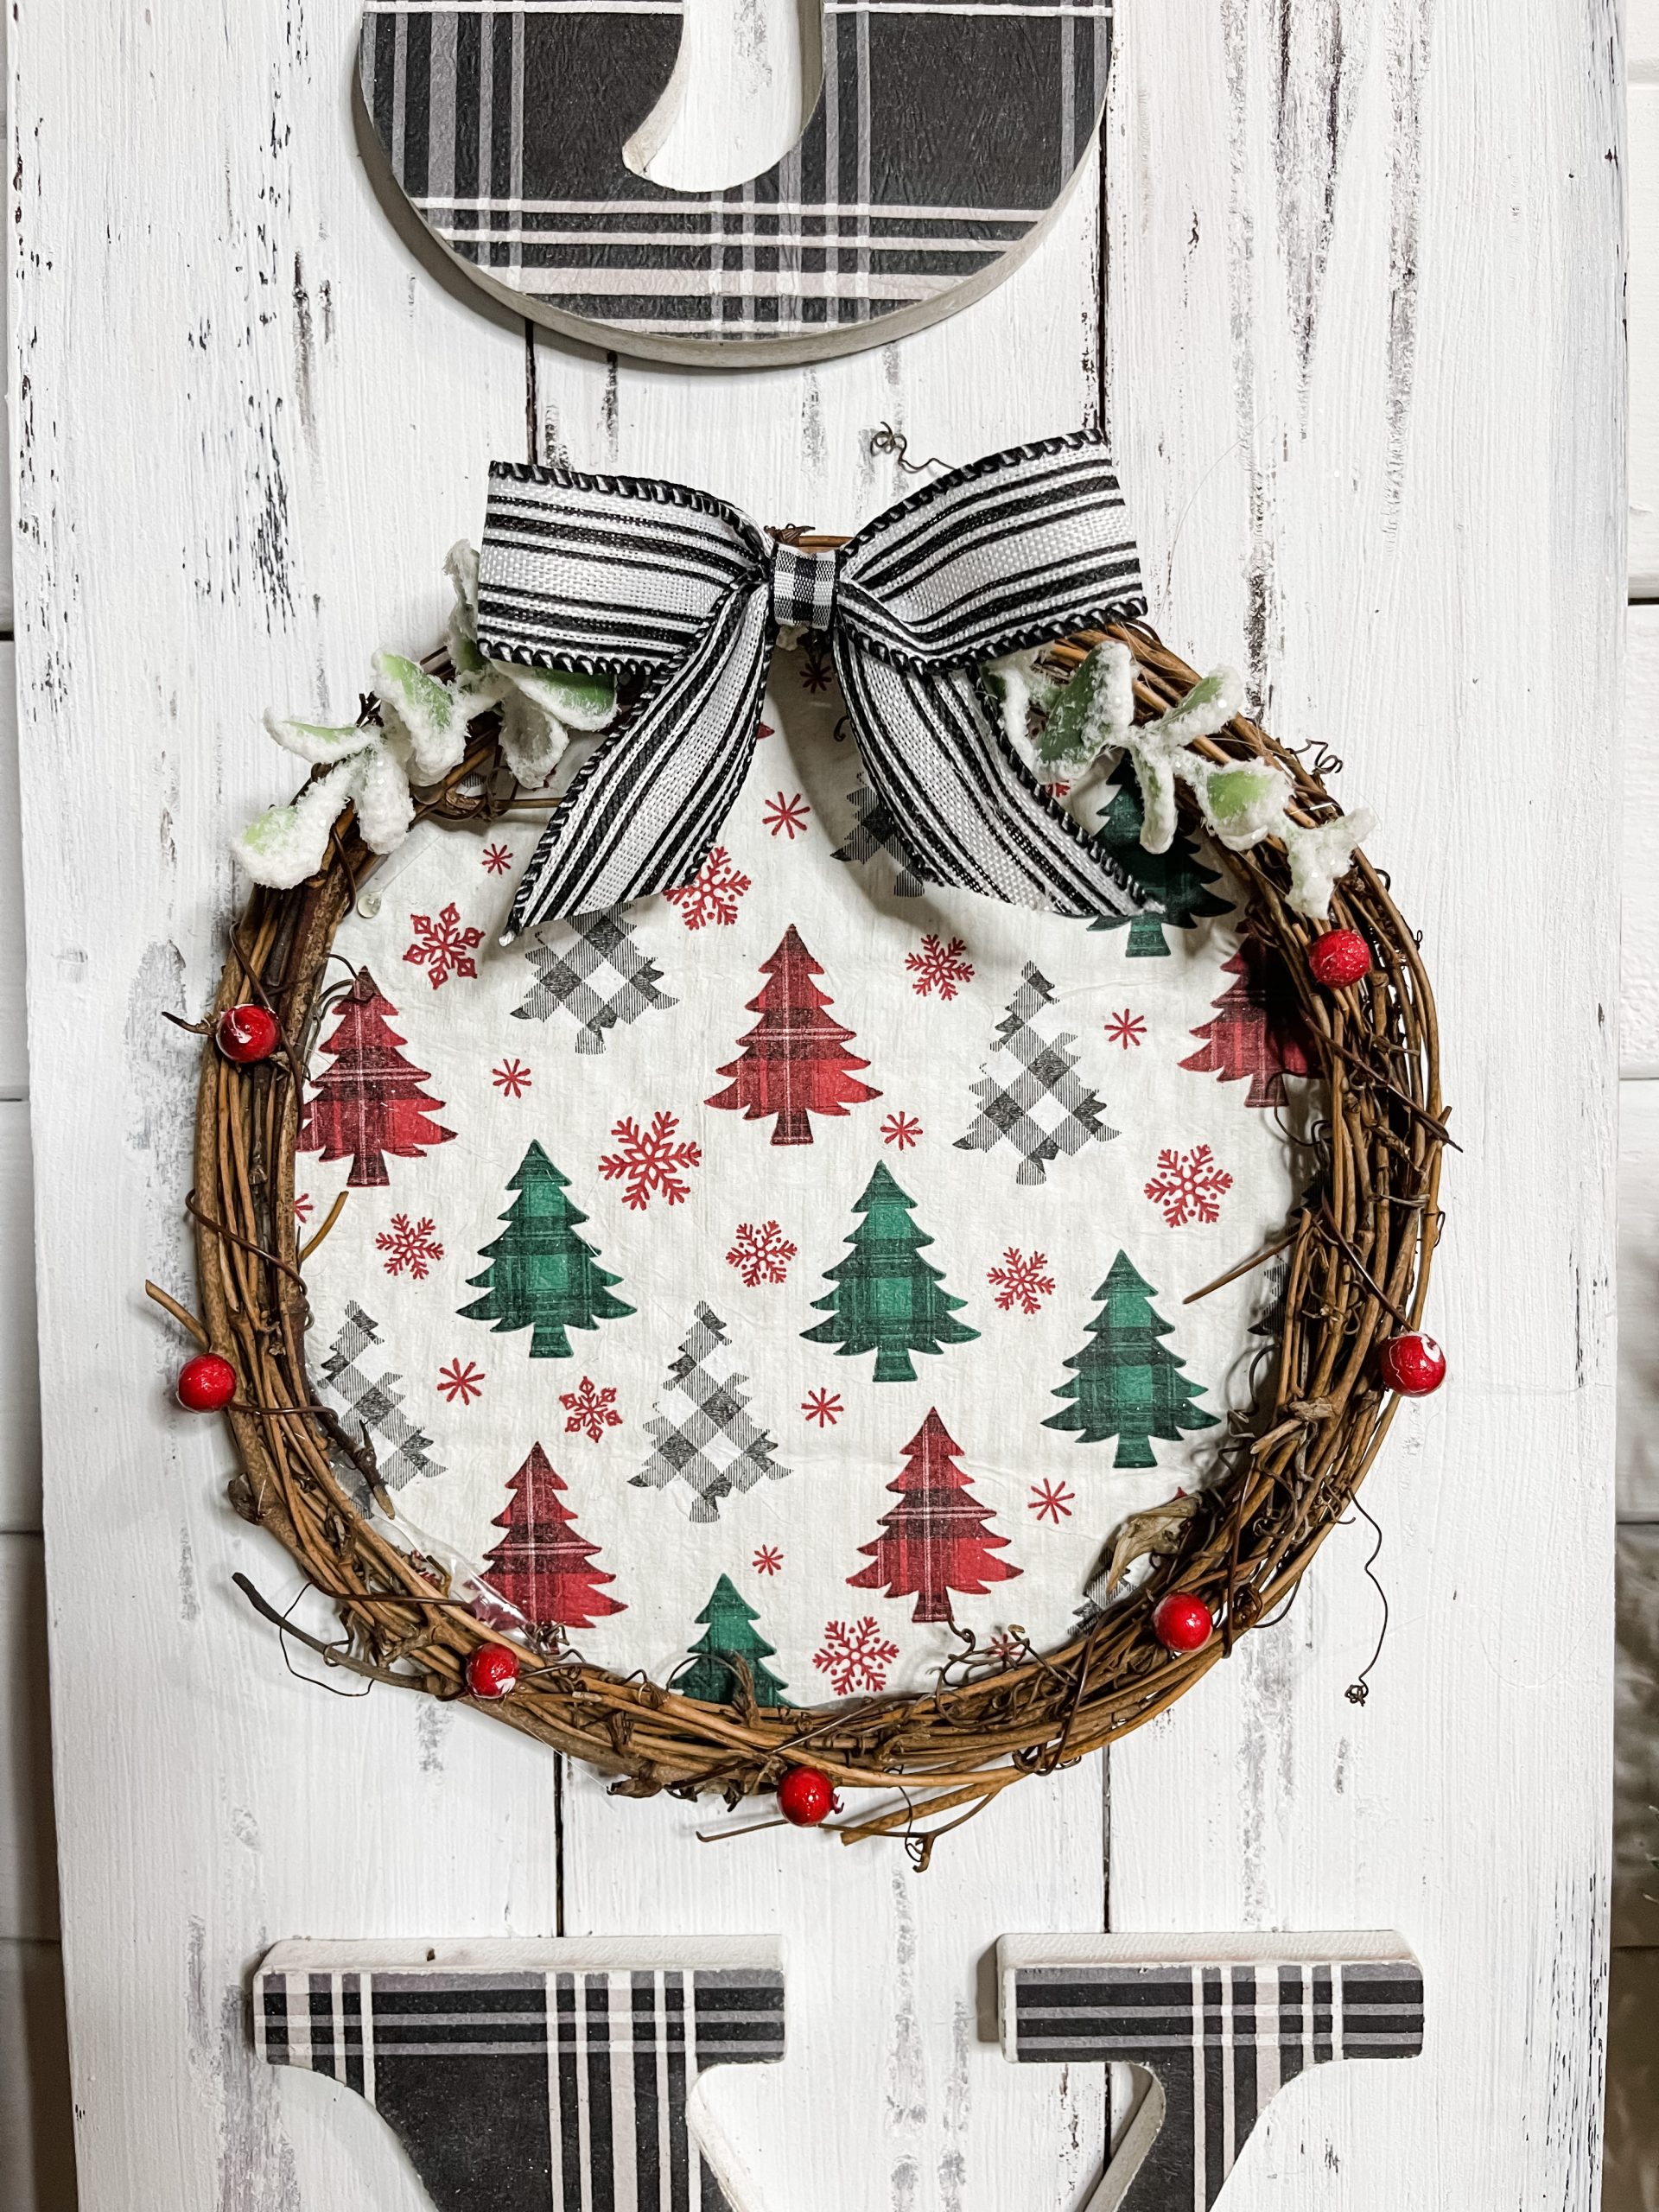
Next, I tied a little ribbon out of the Walmart black and white striped ribbon and secured it with a piece of the black buffalo check ribbon.
Trim two small pieces of the Christmas greenery and hot glue them to the top of the grapevine wreath. Hot glue the ribbon bow over the ends of the greenery pieces.
Lastly, I hot glued the red berries around the grapevine wreath!
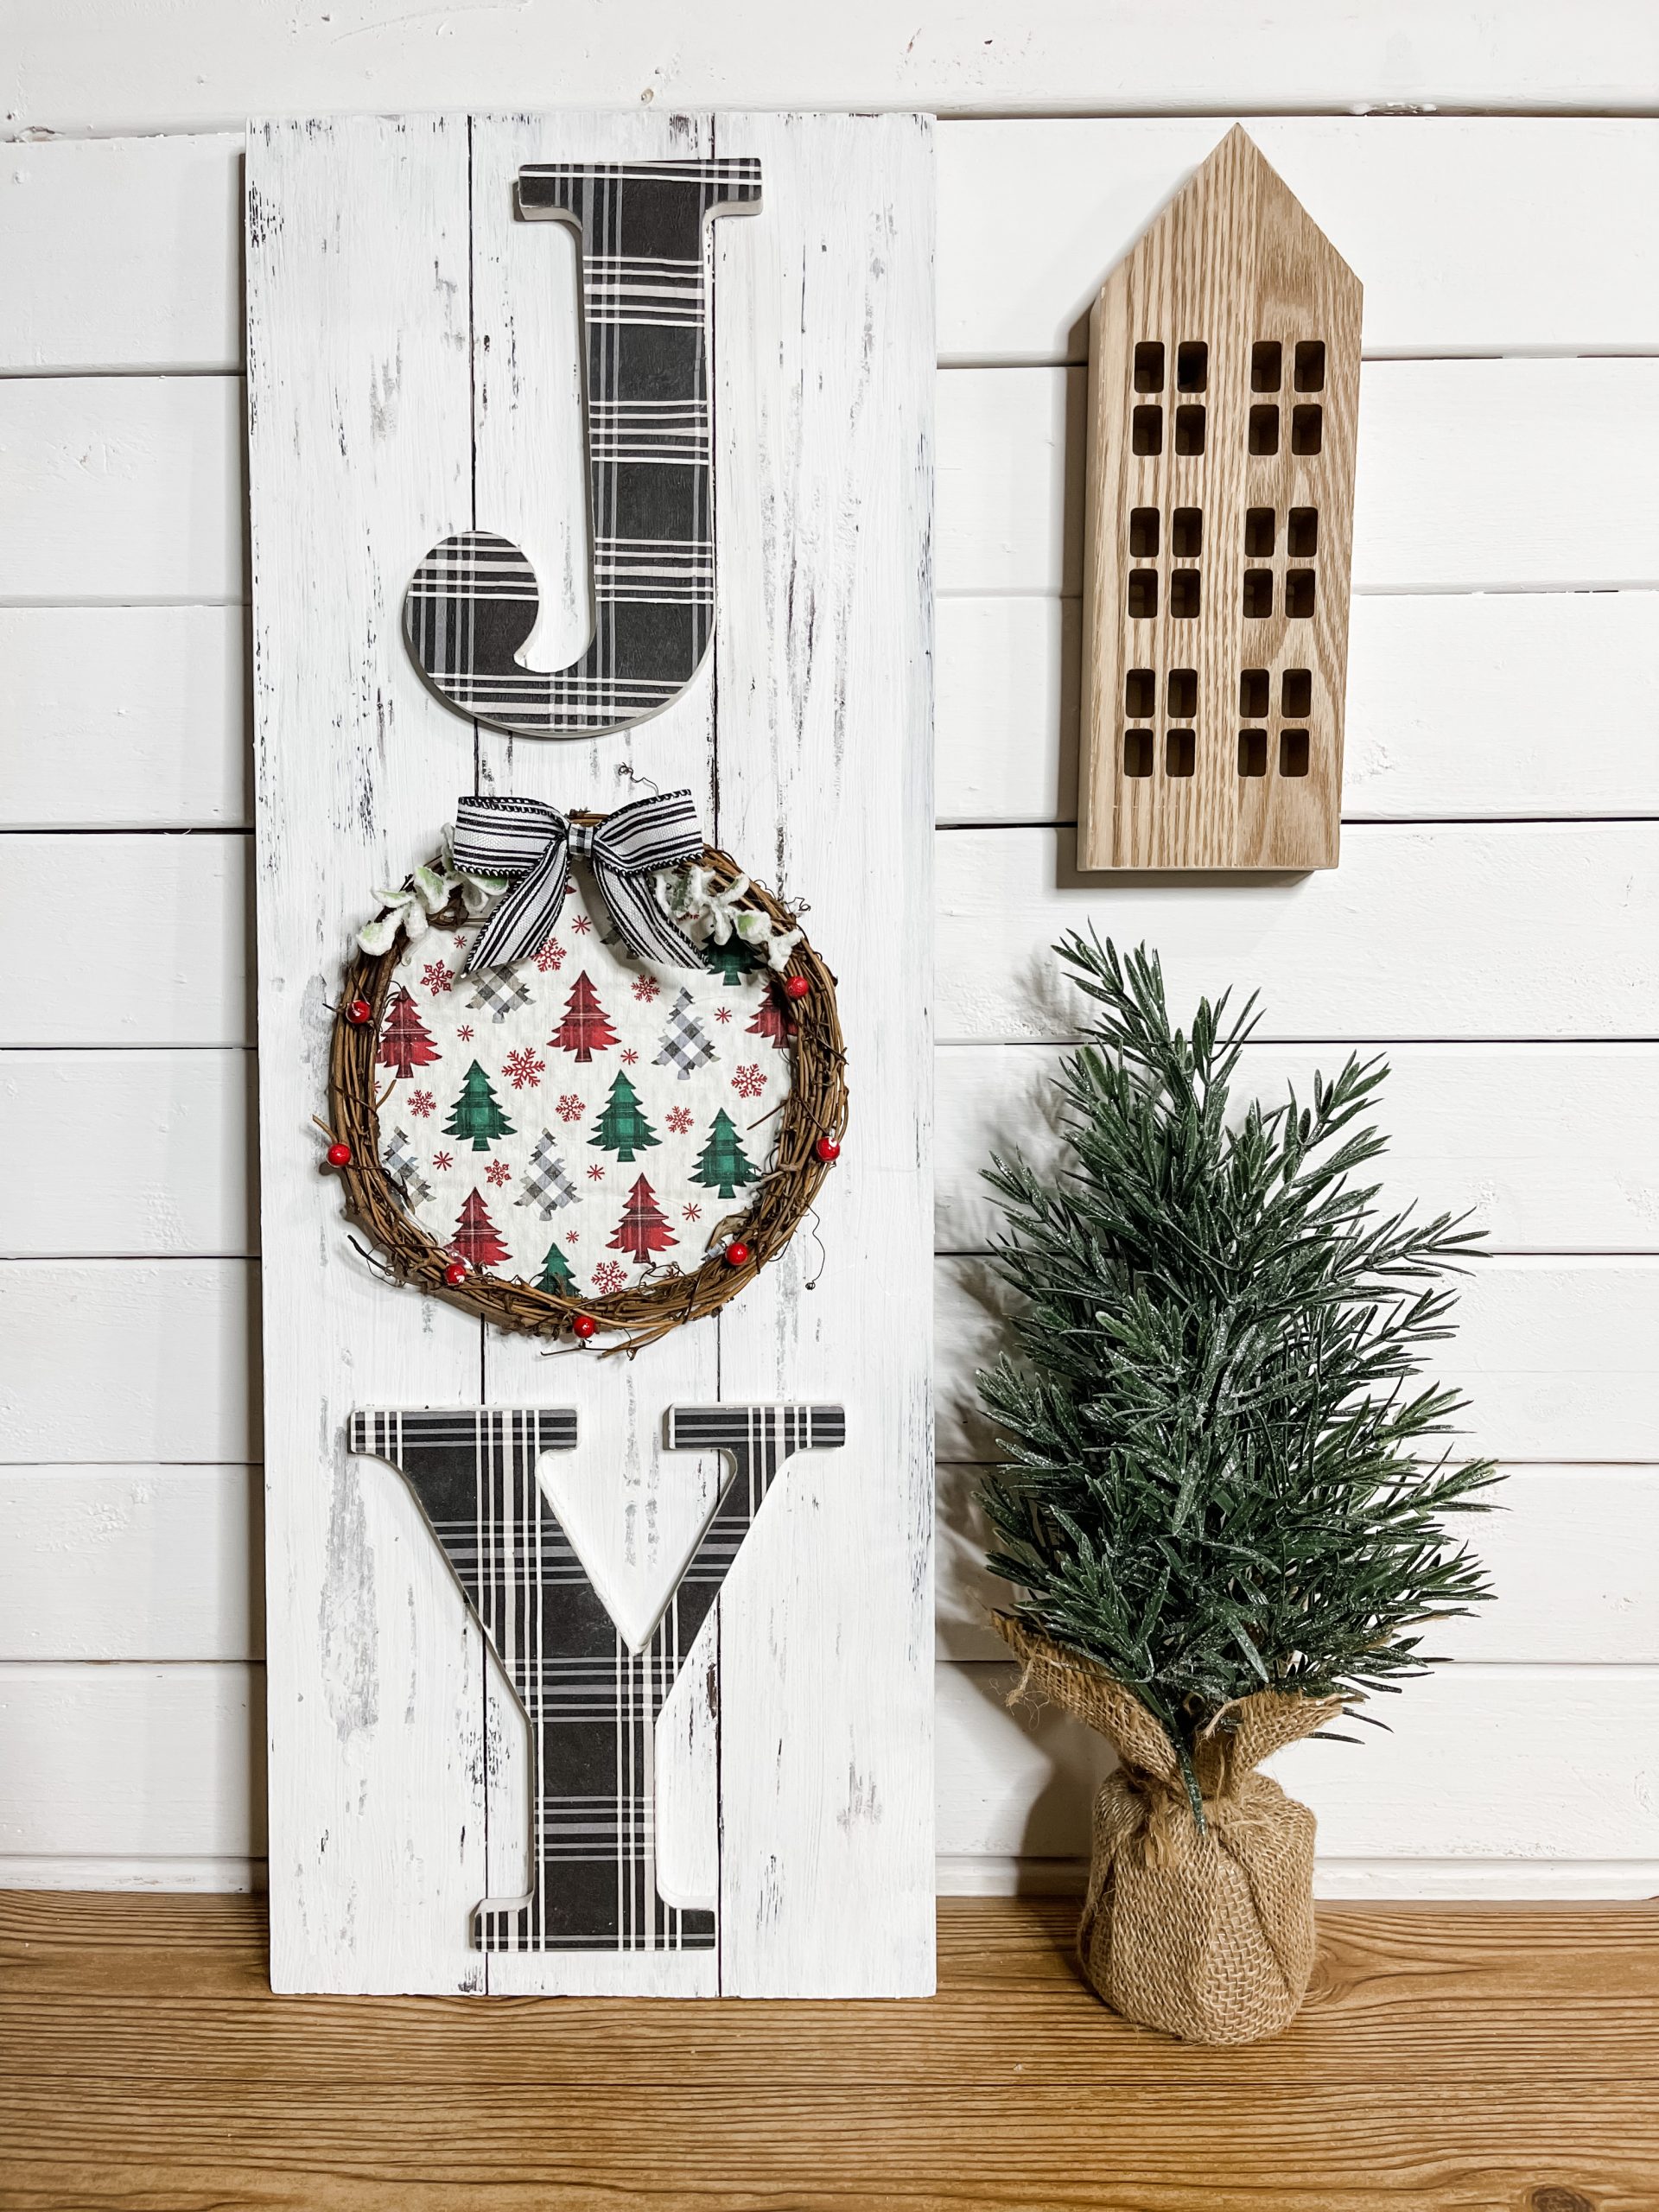
I hope you enjoyed this DIY Christmas Napkin Large Joy Sign as much as I did and decide to make one for yourself! If you do, I would love to see how yours turns out!
You should totally join my FREE Facebook group called On A Budget Crafts! It is a judgment-free community for DIY crafters to show off their projects and ideas.
If you loved this DIY Christmas Napkin Large Joy Sign, you might also like this Dollar Tree Gift Box DIY Christmas Decor!
Thanks for stopping by! XOXO Amber
You can also shop my ENTIRE AMAZON Favorites shop just click here! It’s packed full of all the things I use and love.
Here is the supply list I highly recommend every creative have on hand!! Would you also pin my blog for later and get on my newsletter alerts? I would love to have you join my #craftycrew.

Join my free “ON A BUDGET CRAFTS” Facebook group!
PIN THIS POST FOR LATER!

Hi. I’m new to DIY crafting. I love your decor. I can’t seem to find the supply lists to come through? We have a big craft tent event in October 2022, and I really would like to be part of it. ( or try to be.)
Can you please help me out?
Thank you so much for sharing your creativity.
Another cute idea. You ROCK! 😁👍🎅🤶🧑🎄👼
Yes a great way to use napkins. This turned out gorgeous