Easy DIY Chippy Rosette Home Decor
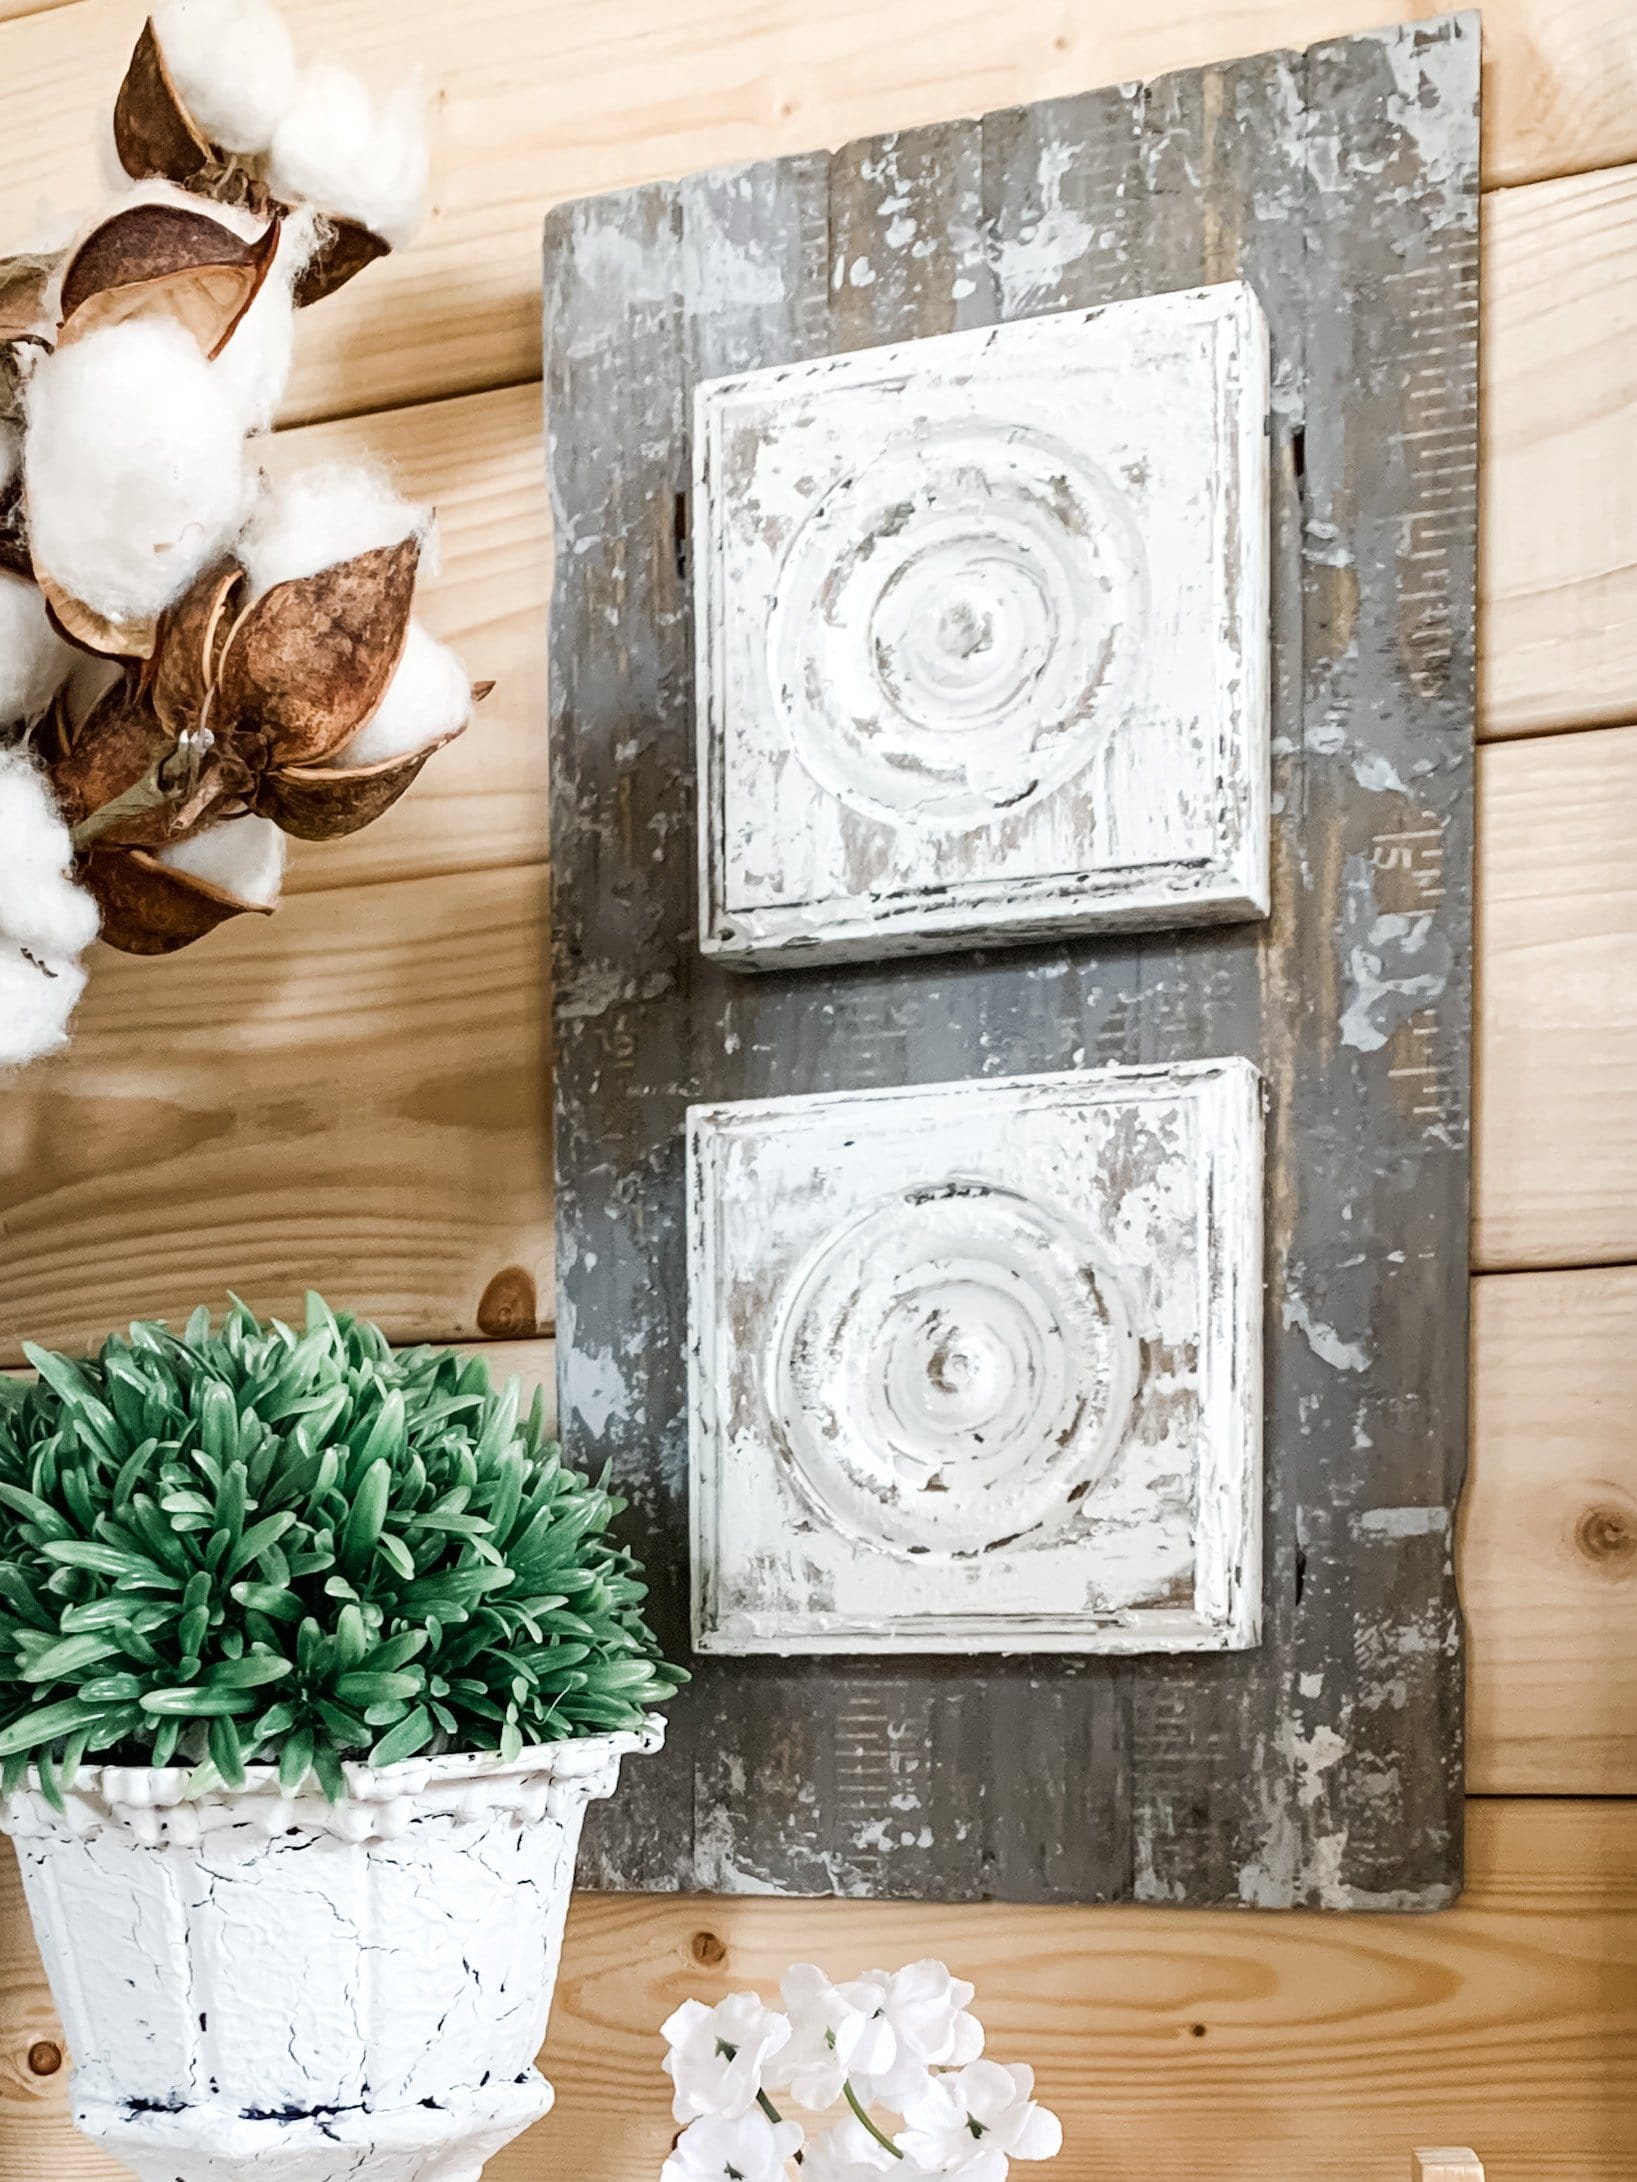
I’m not going to lie, I’m a little late getting this Easy DIY Chippy Rosette Home Decor up on my blog. I am sorry it took me so long to share this adorable home decor with you!
This is one of the first DIY crafts I did when I got my new she-shed (I call it my Creative Haven, just like my VIP crafting group on Facebook)! I am so excited to share with you how I made this Easy DIY Chippy Rosette Home Decor!
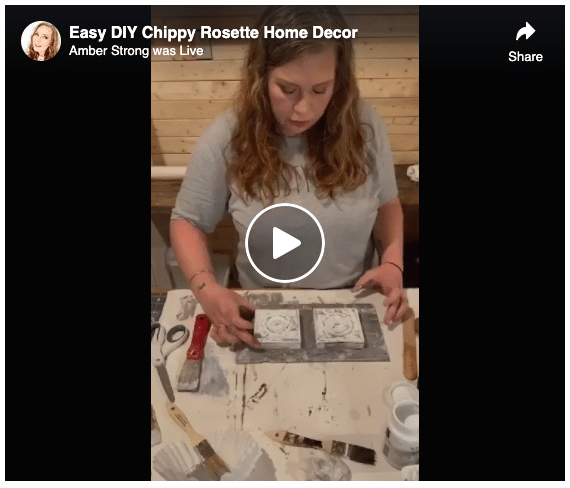
Watch the replay
Want to watch how I made my DIY rosette home decor? You can catch the replay over on my Facebook page! Now, this is an older Facebook live replay, so the video quality isn’t as good as my newer videos.
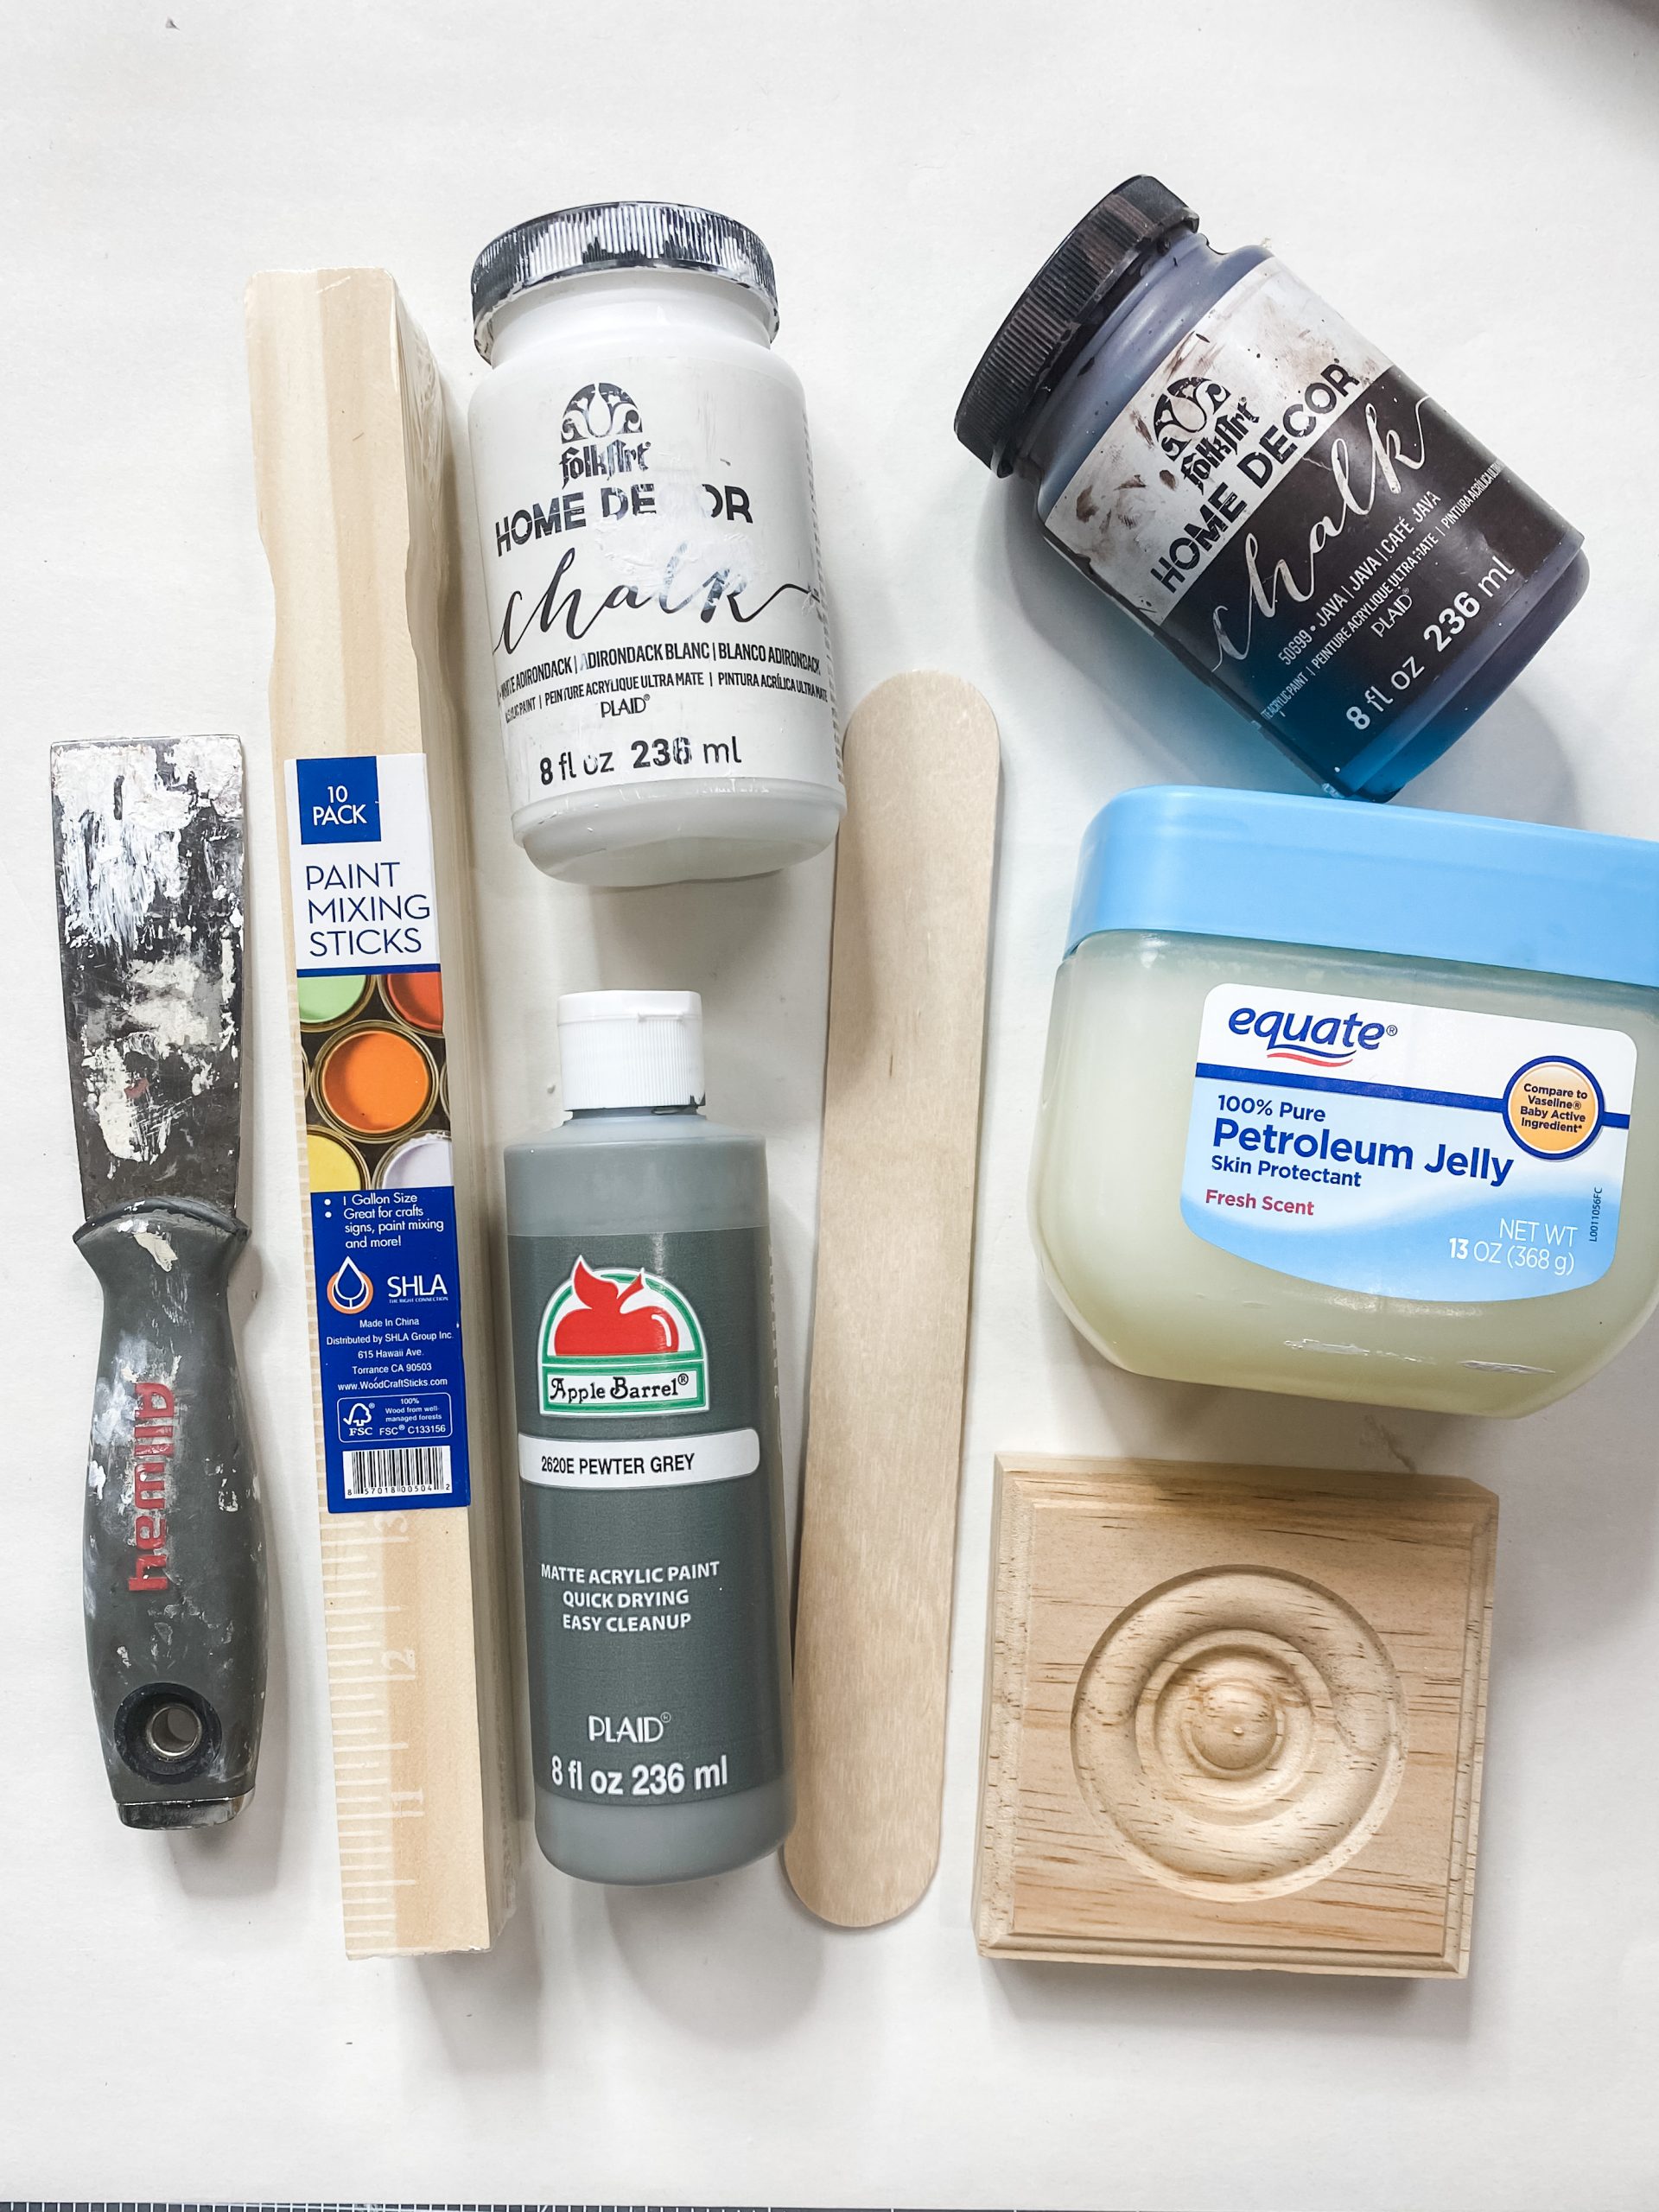
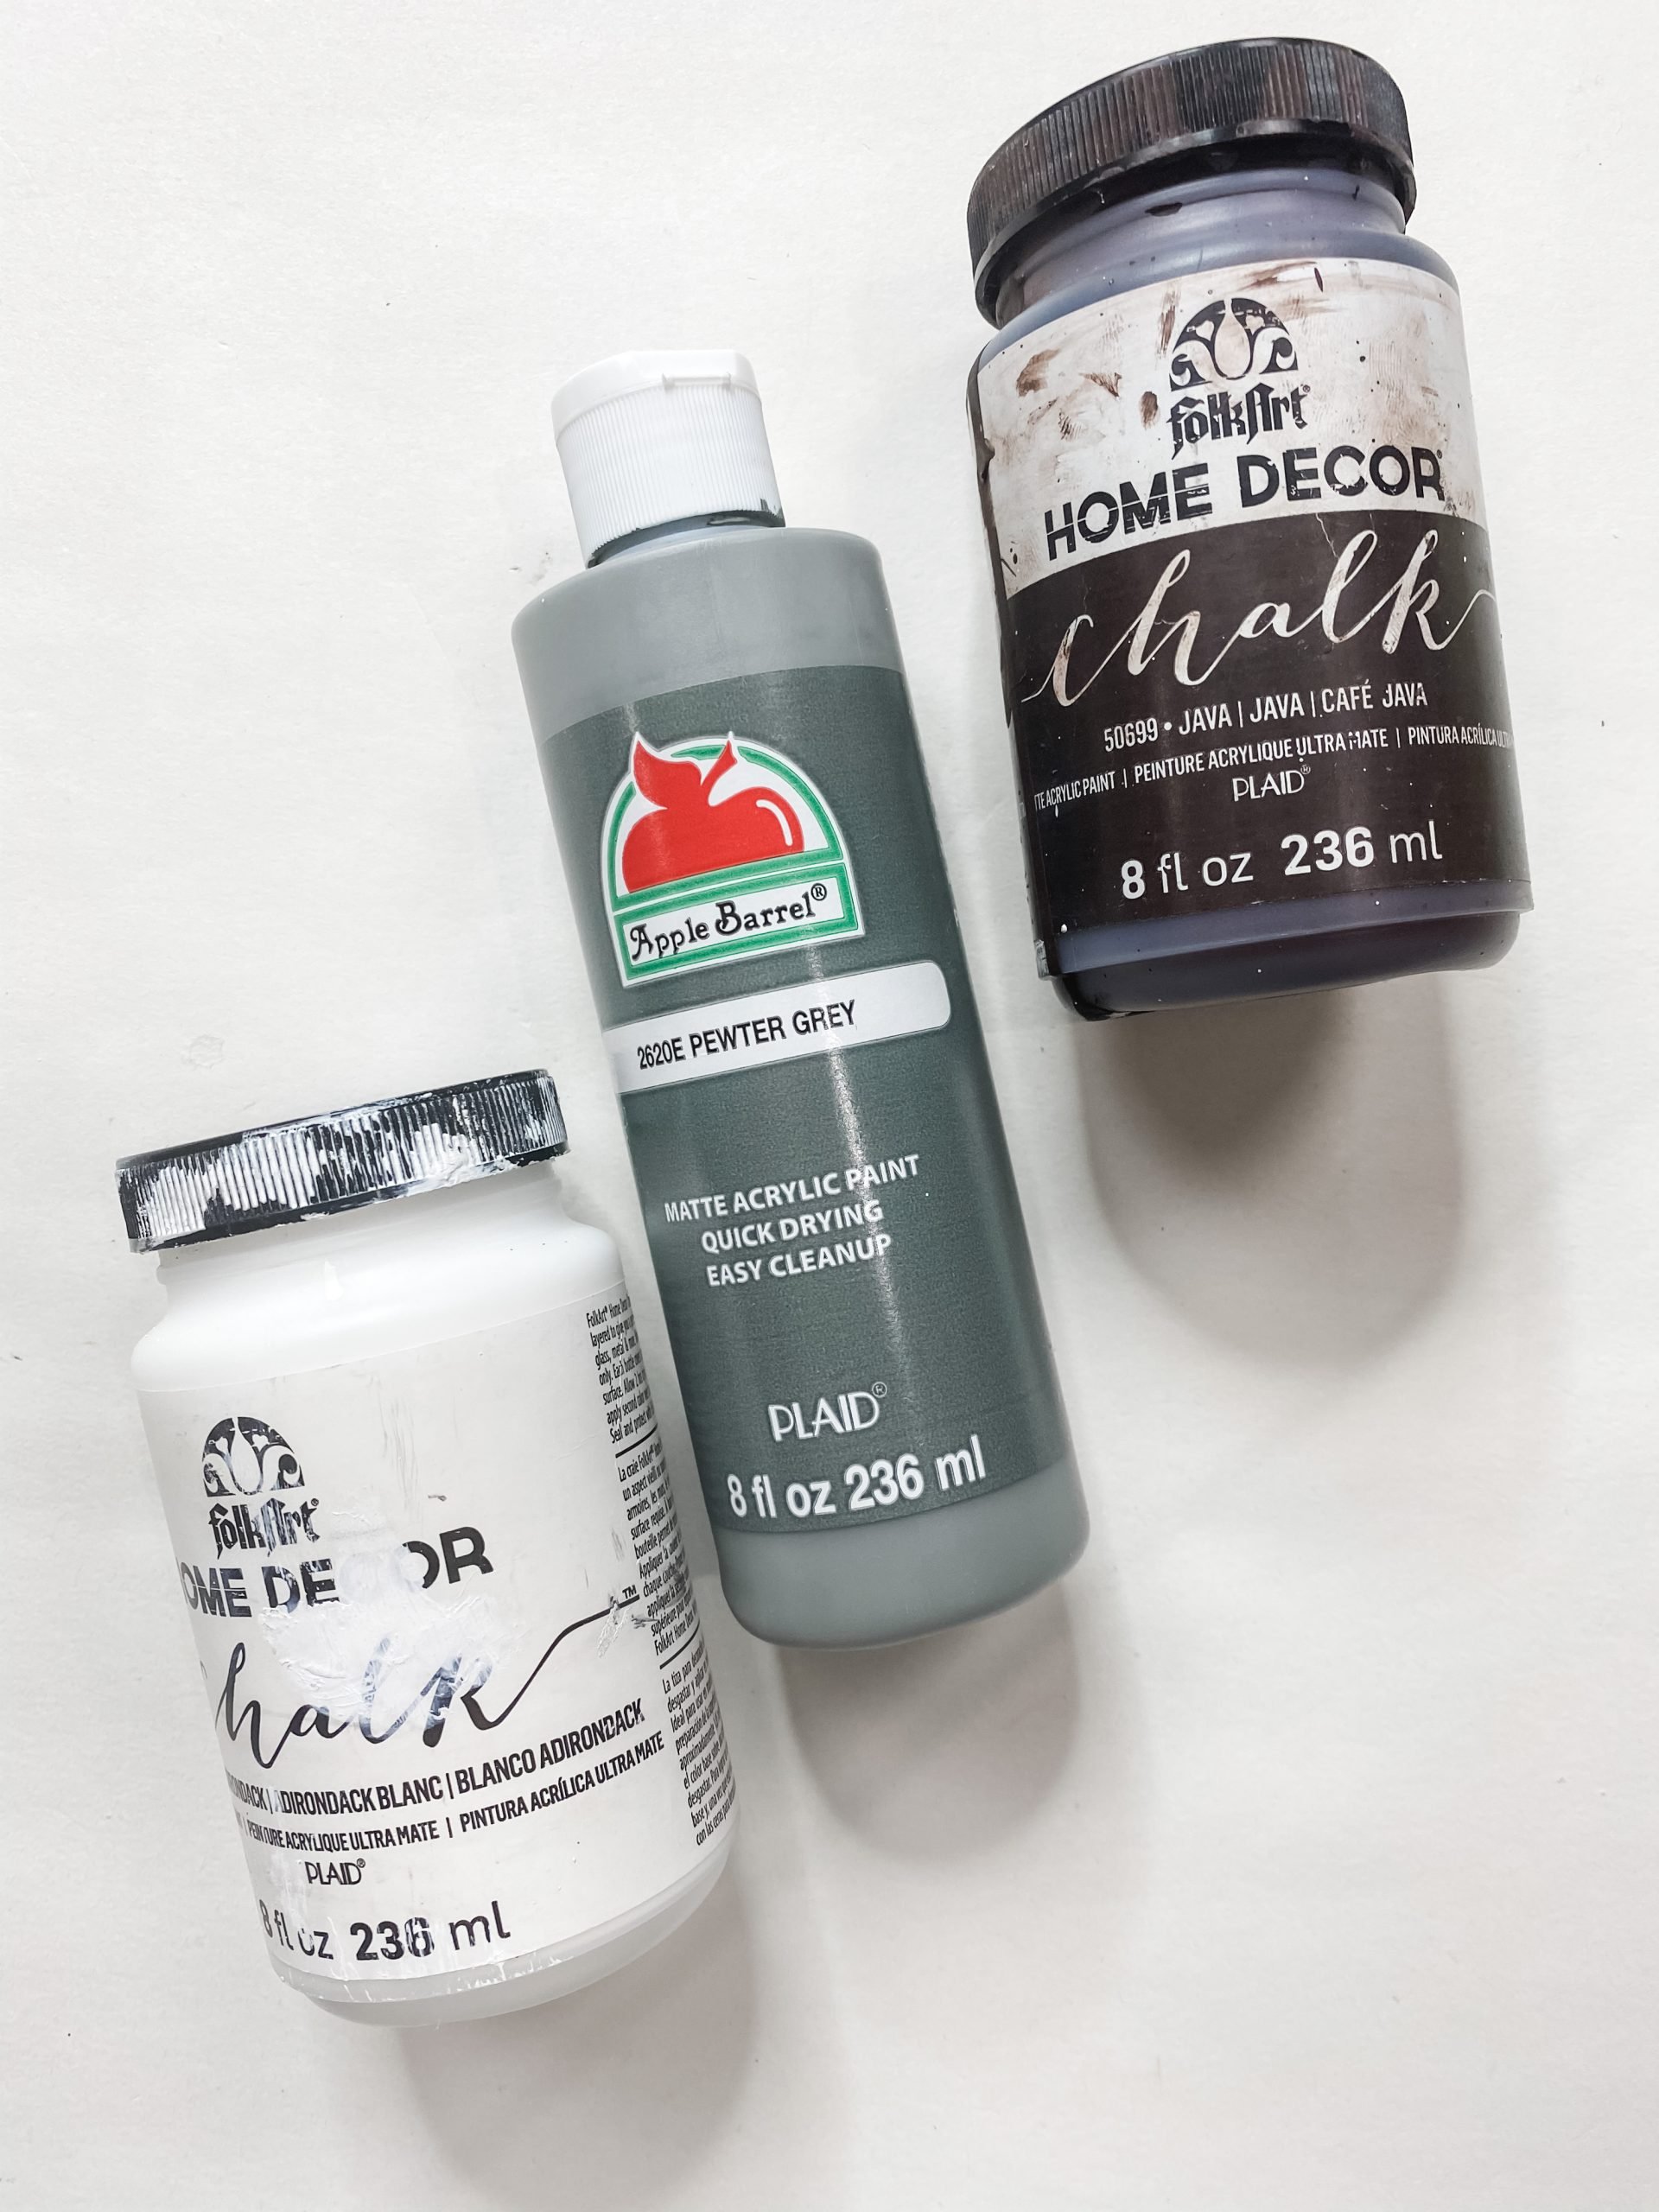
For this project, I will be using these items but you can substitute where you want.
“As an Amazon Associate, I earn from qualifying purchases.”
- Folkart White Chalk Paint
- Folkart Java Chalk Paint
- Apple Barrel Pewter Grey Acrylic Paint
- 6 5-gallon paint stirrers
- Dollar Tree giant craft sticks
- 2 wood rosettes
- Petroleum jelly
- Putty Knife
- Glue Gun and Glue Sticks
Let’s get started
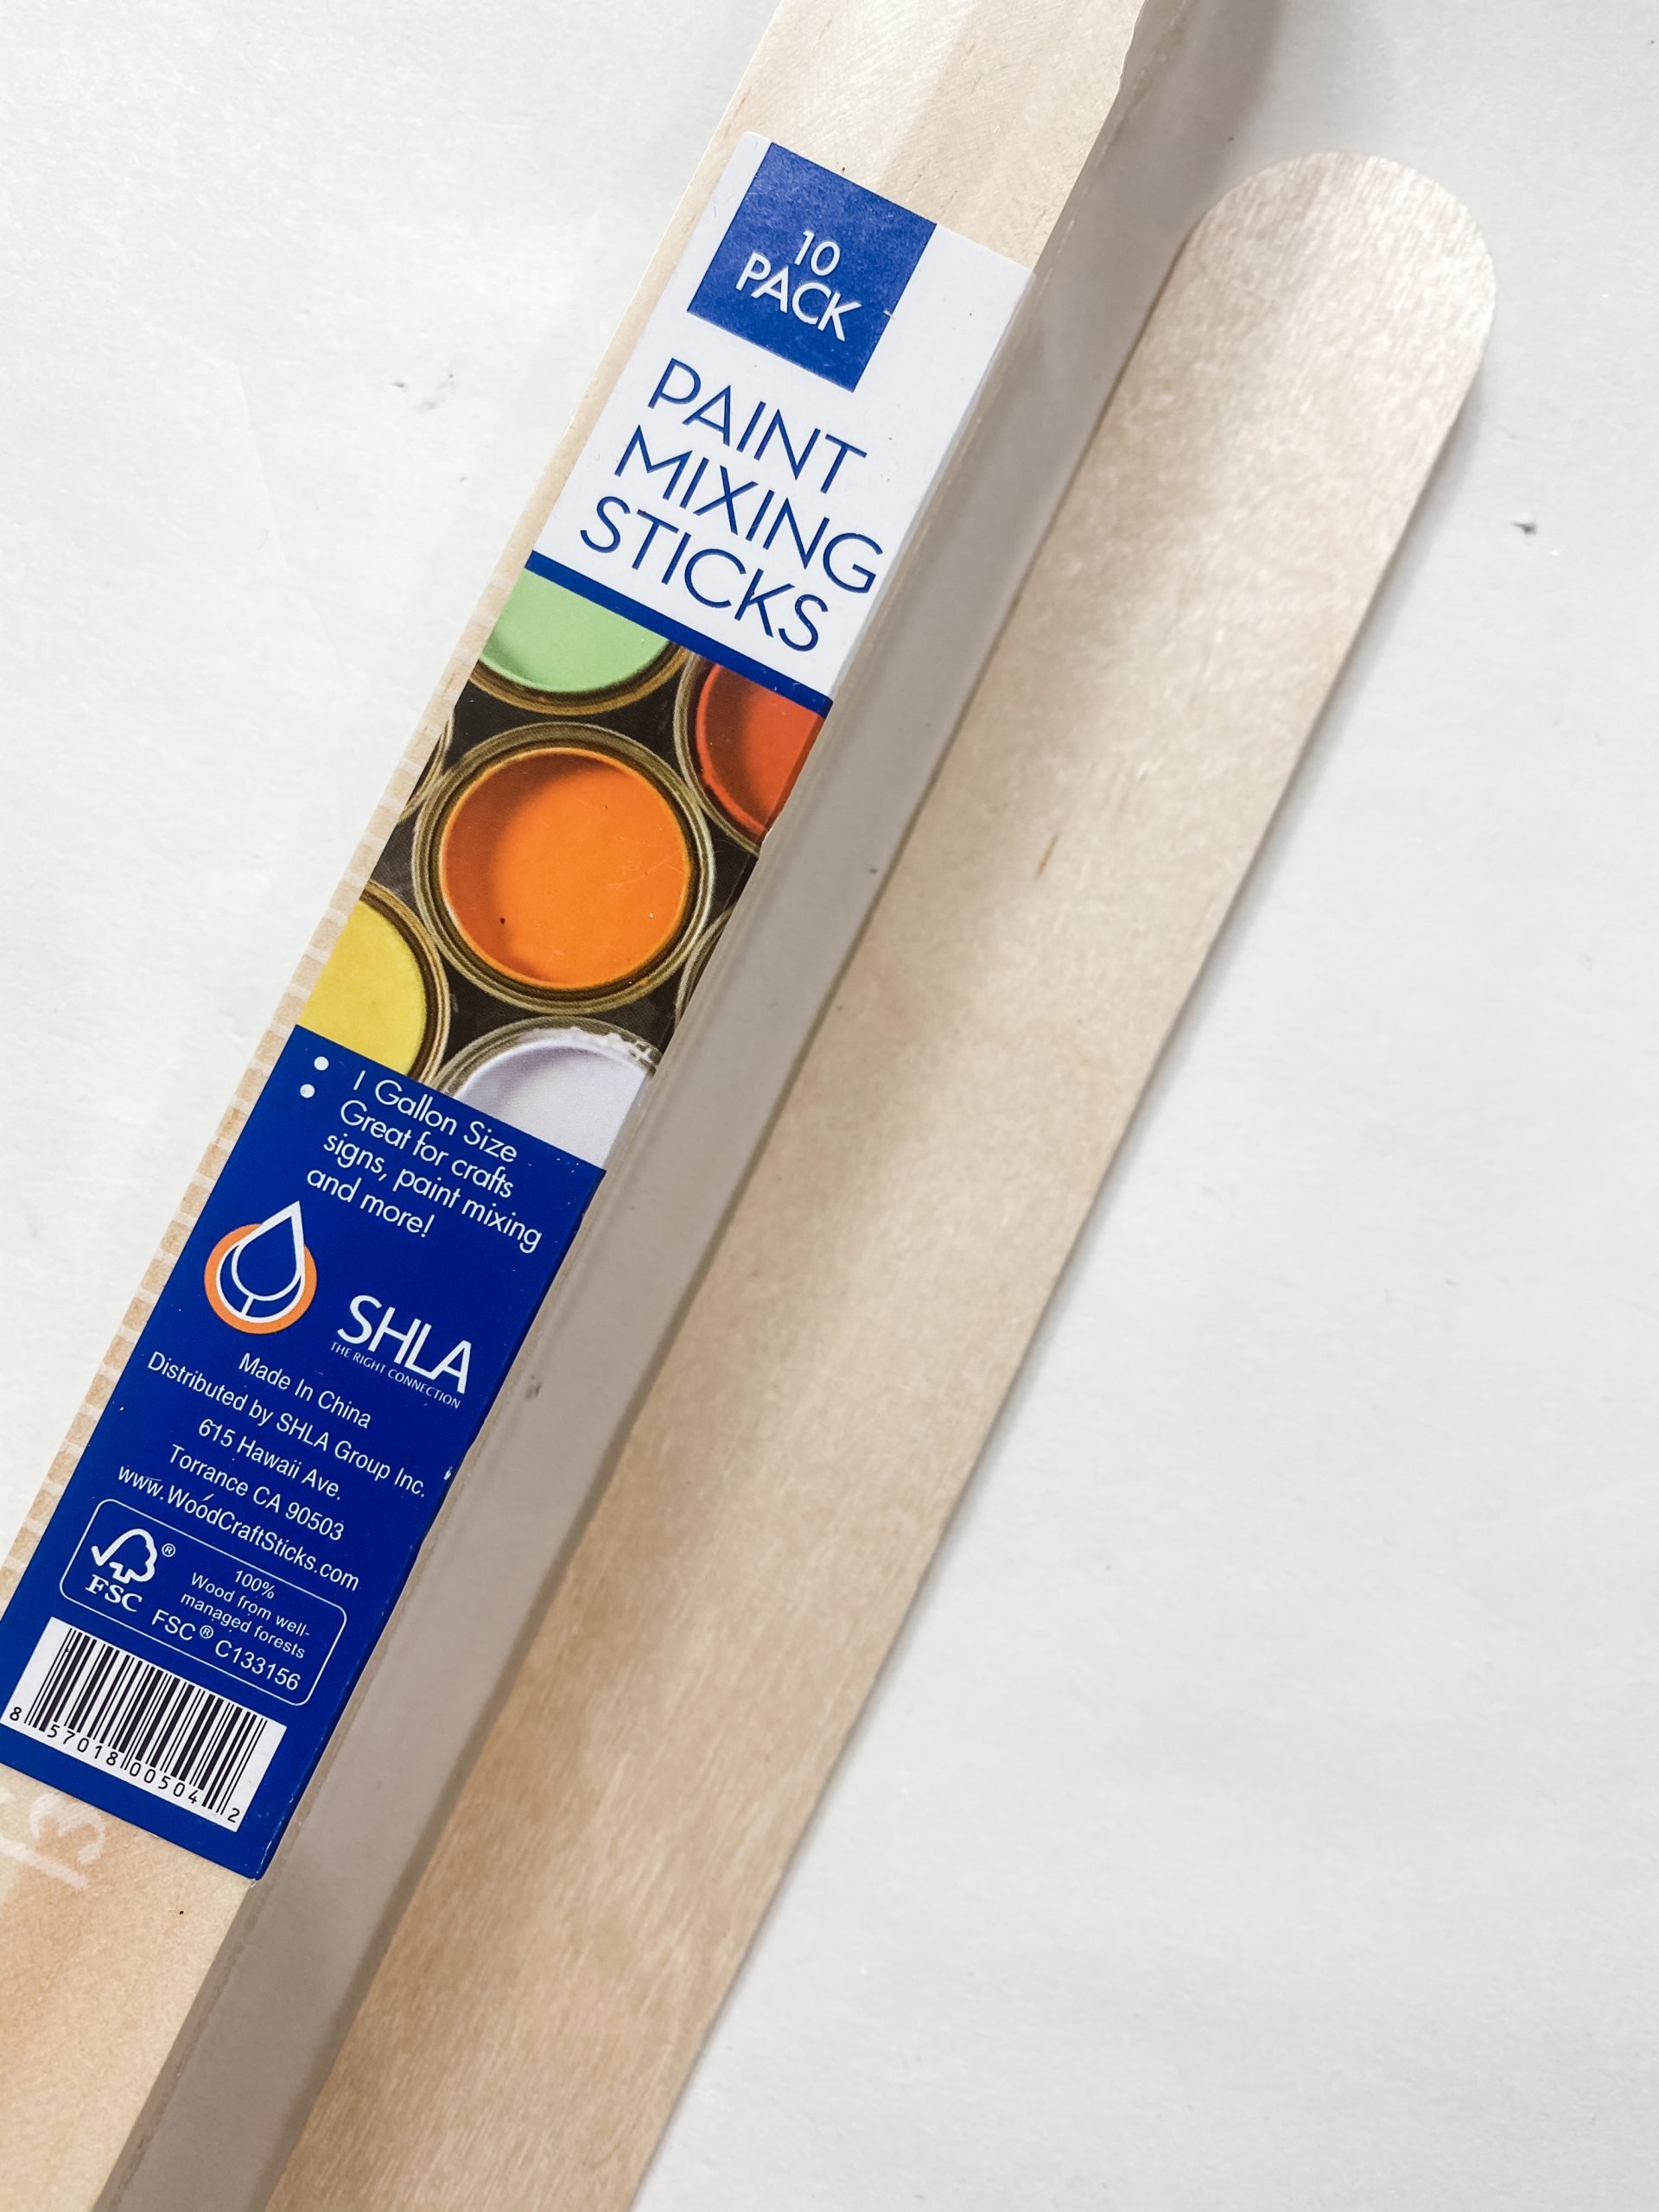
Step one to making this easy home decor DIY is to make the wood board backing. To do this, attach the 5-gallon paint stirrers by hot-gluing Dollar Tree’s giant craft sticks across the back of the paint stirrers.
Lay the paint stirrers with the handles on alternating ends and trim the craft sticks so that they won’t hang off the edges of the paint stirrers. Apply hot glue to the trimmed craft sticks and press them across the paint stirrers.
Stain the wood
To get the chippy look on the wood, you have to stain the paint stirrers first. Spray the wood paint stirrers with water, then brush the Folkart Java Chalk Paint onto the wood.
Next, use a piece of cloth or a baby wipe and wipe the paint off the wood. The water helps the wood absorb the paint and gives it a stained finish.
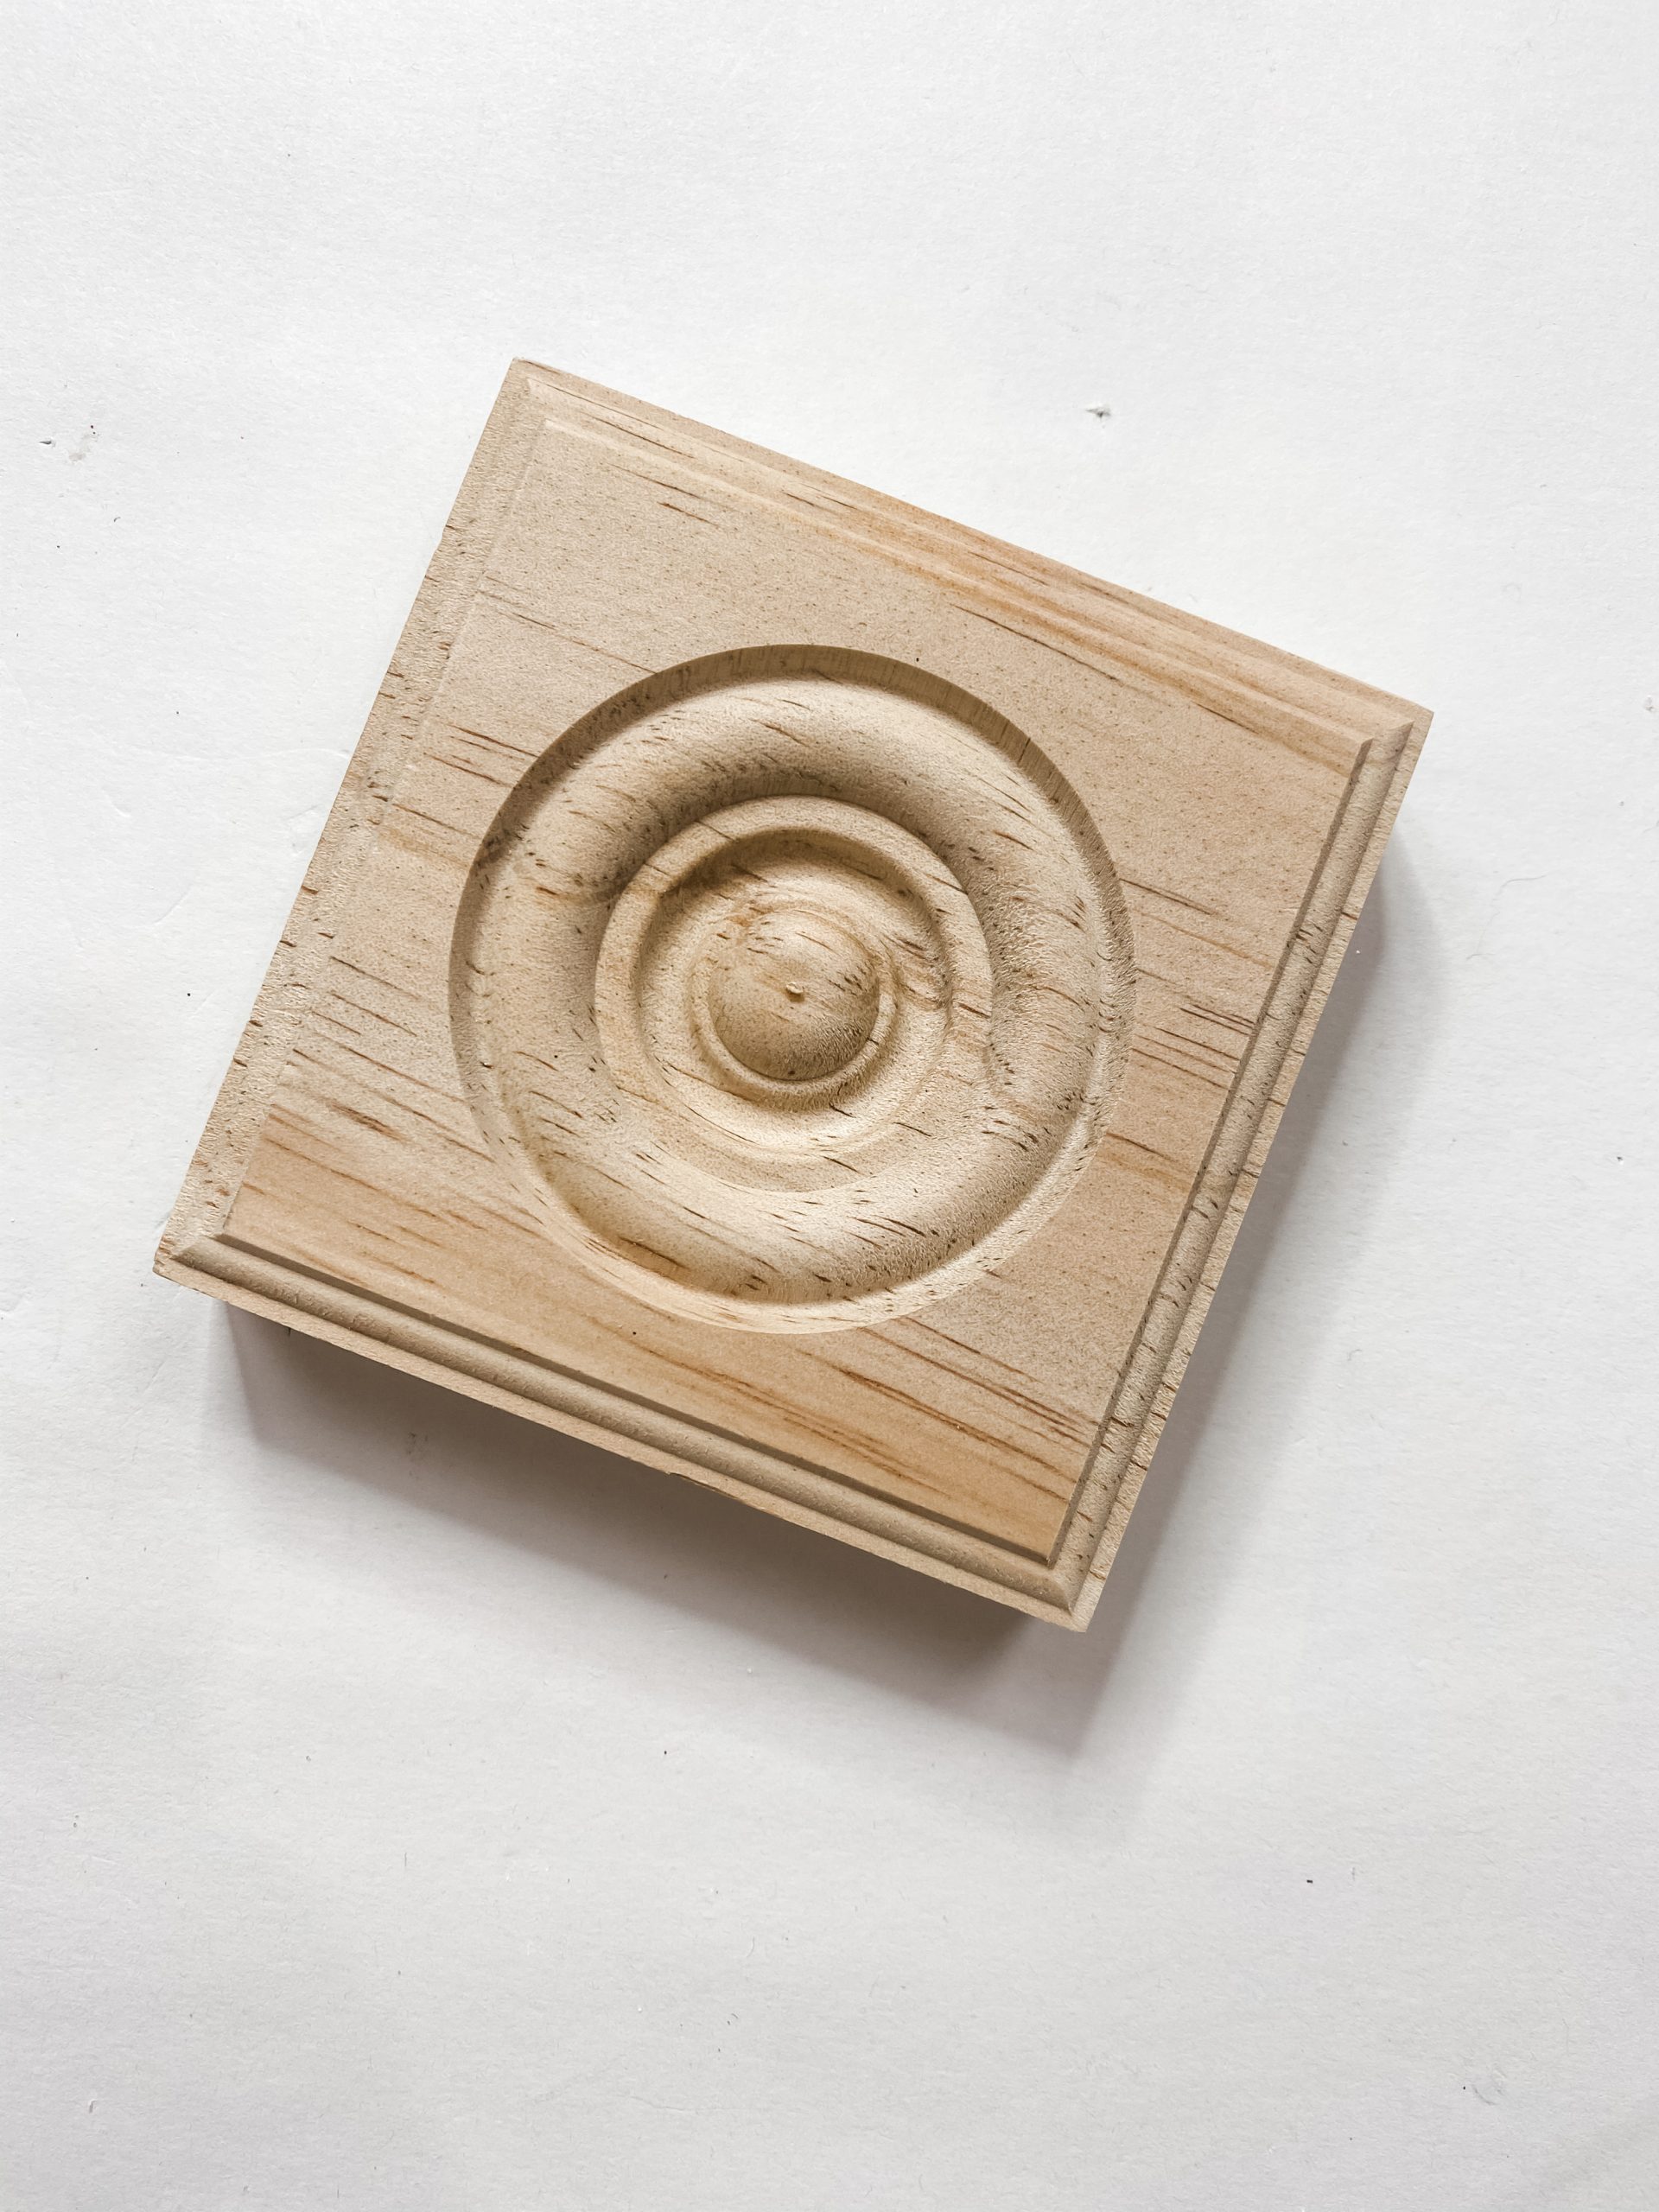
Repeat this process on the wood rosettes. Make sure you stain the edges of the wood rosettes as well. If you don’t have a spray bottle, you can mix water and the paint in a little bowl and use a baby wipe or a piece of cloth to spread the mixture on the wood.
Allow the wood to dry before moving to the next step. I like to use my heat gun to speed up the drying process.
Let’s get chippy
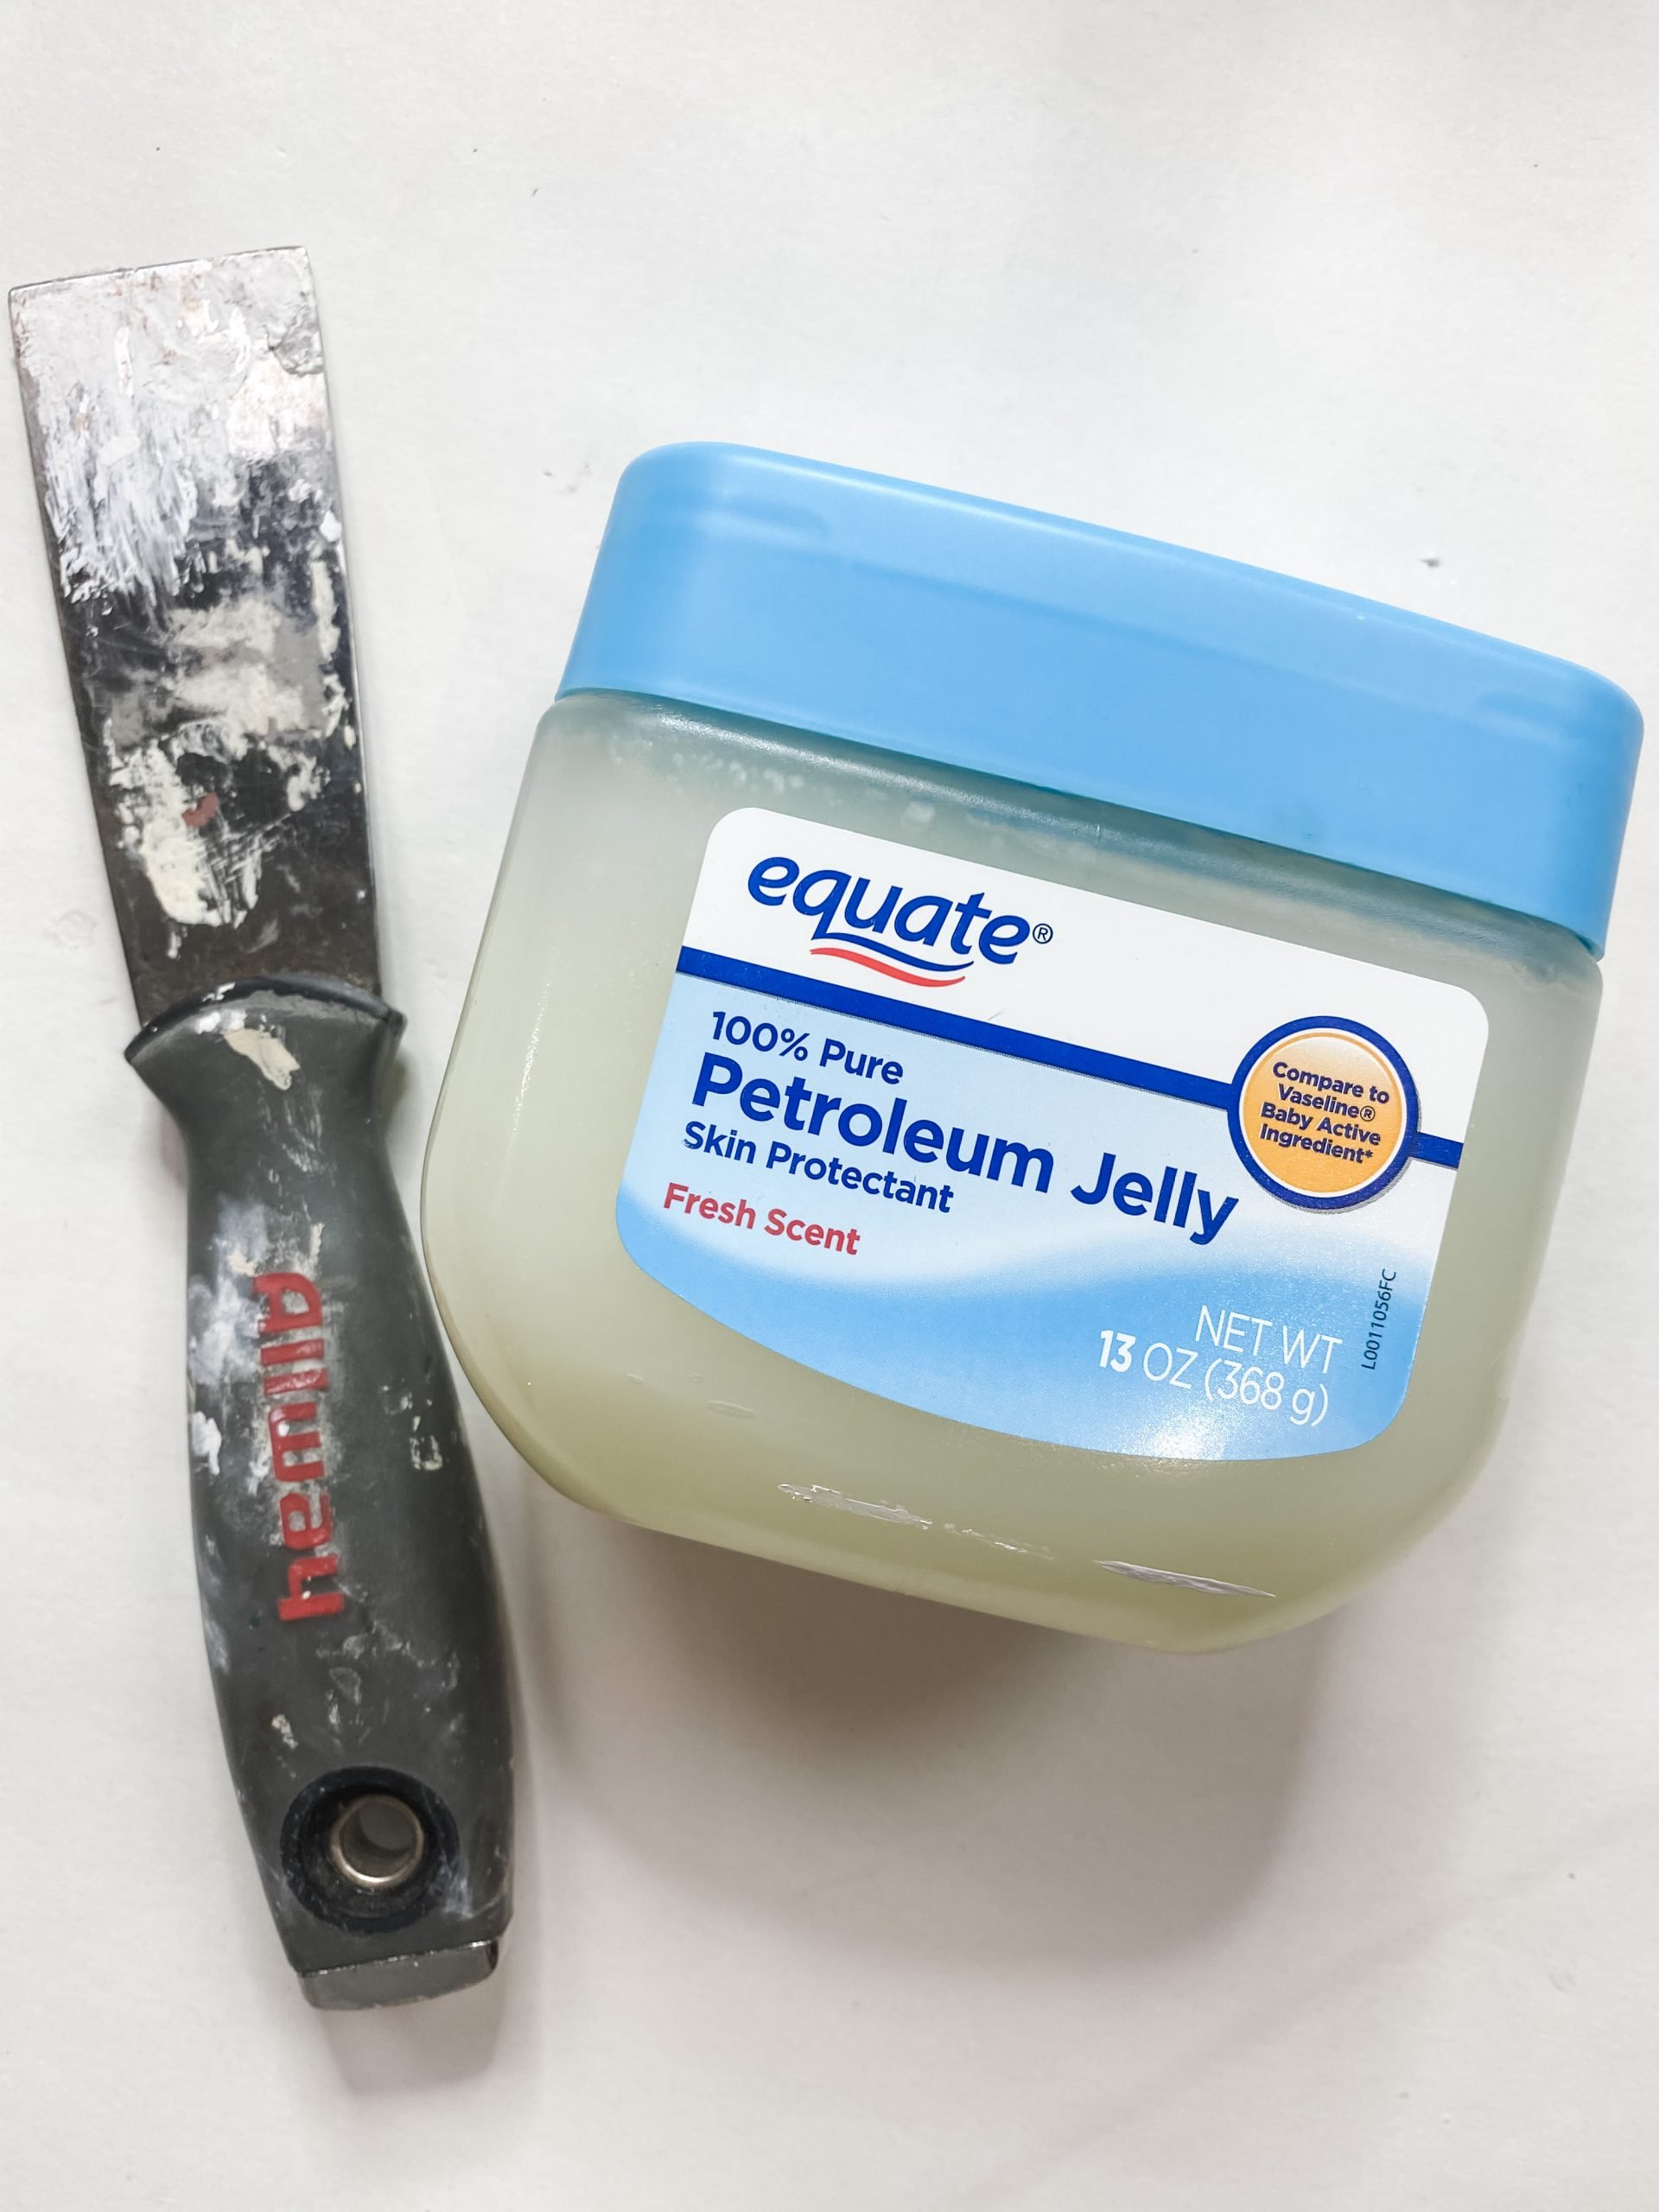
The key to getting the perfect chippy finish is a colorless wax or jelly. When I made this DIY home decor, I used DIY Wax, but Petroleum Jelly is a good substitute if you don’t have that specific wax.
Use a paintbrush to apply the petroleum jelly or wax to the areas of the wood paint stirrers that you want to be chippy. The jelly is going to create a barrier for when you paint a coat of Apple Barrel Pewter Grey Acrylic Paint and prevent the paint from adhering to the wood in those areas.
Once you’ve placed wax or jelly in the areas that you want to be chippy, paint an even coat of Apple Barrel Pewter Grey. Allow the paint to mostly dry. The paint will still be wet in the areas that you applied the wax.
Use your putty knife and drag it across the areas where the paint is still damp. This is going to pull the wet paint off the wood and onto the putty knife.
Drag the wet paint back over the same areas over and over. The paint will mix with the wax as you do this and will be chippy as it dries.
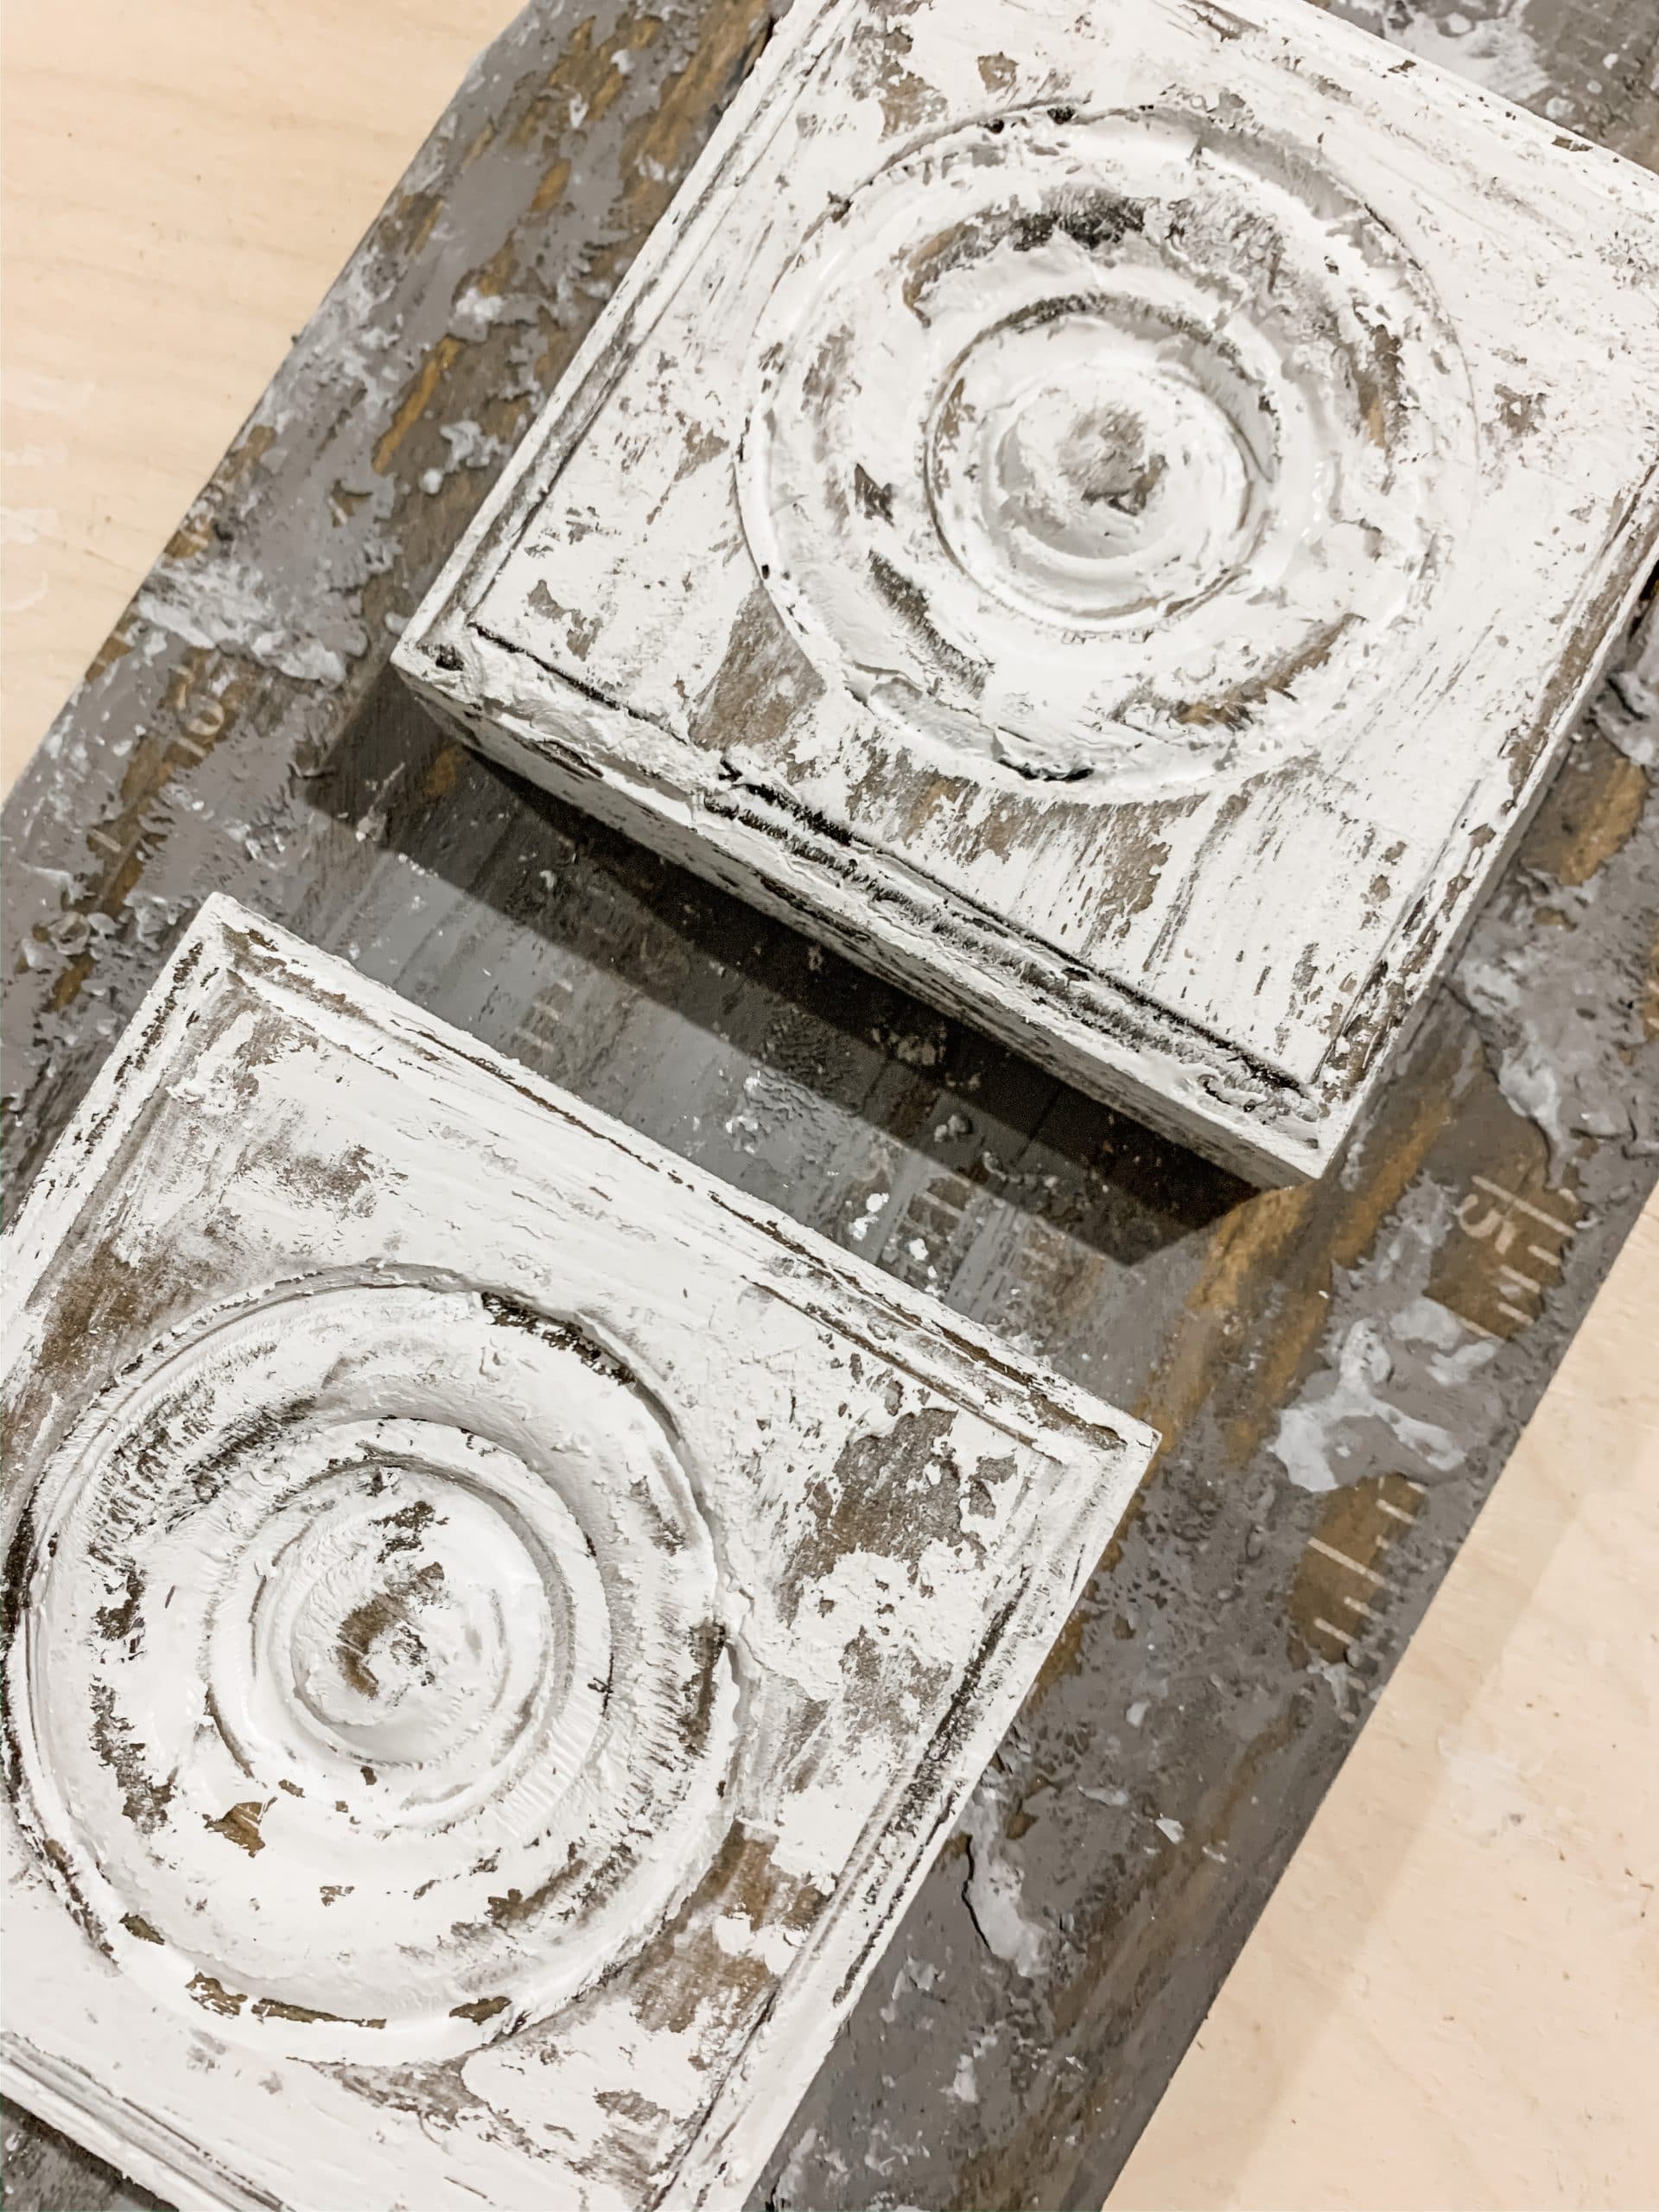
Repeat this technique with the wood rosettes, but use the Folkart White Chalk Paint instead of the Apple Barrel Pewter Grey Acrylic Paint.
I used some of the remnants of the white chalk paint from the rosettes and drug it across the wood board to brighten the wood just a little.
Allow the paint to dry on both the wood board and wood rosettes before moving to the next step.
Put it all together
Once the paint is dry, all that is left to do is attach the wood rosettes to the wood board backing. I used my glue gun and hot glued the wood rosettes to the paint stirrer wood board.
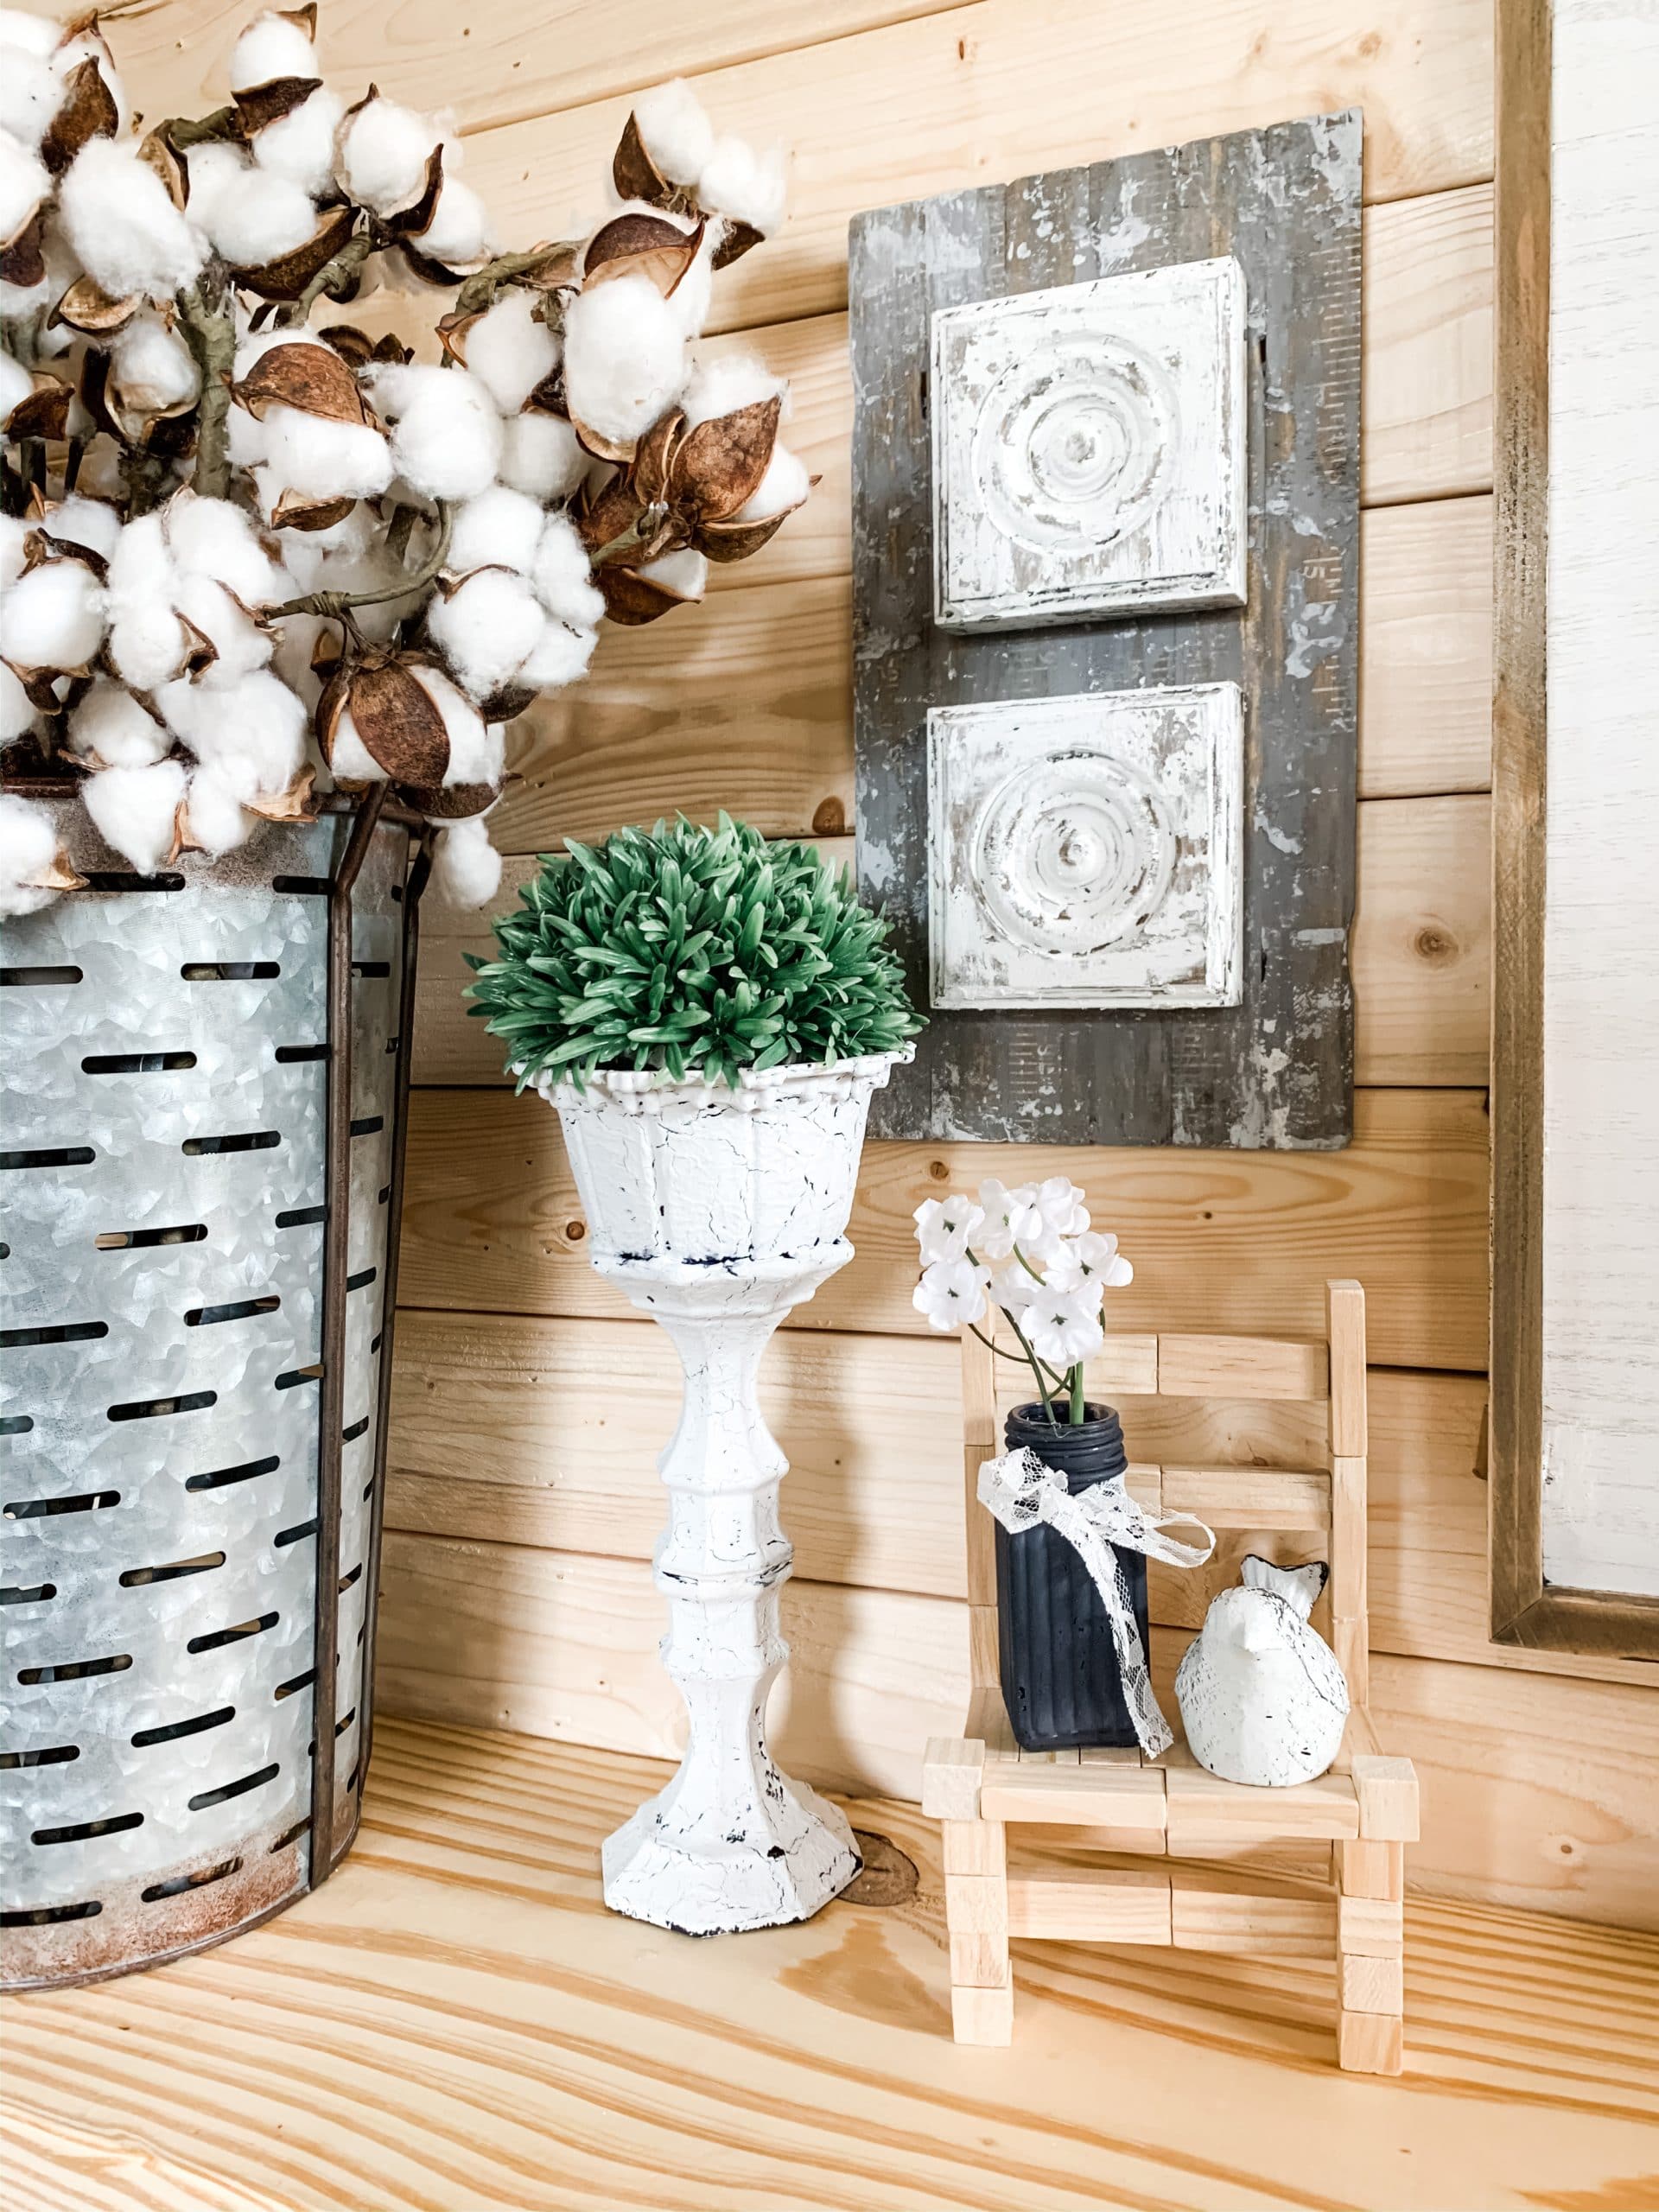
I hope you learning how to make an Easy DIY Chippy Rosette Home Decor as much as I did and decide to make one for yourself!
I would love to see how yours turns out! You should totally join my FREE Facebook group called On A Budget Crafts! It is a judgment-free community for DIY crafters to show off their projects and ideas.
If you loved this DIY you might also like this Surebonder Glue Gun to make DIY Home Decor!
Thanks for stopping by! XOXO Amber
You can also shop my ENTIRE AMAZON Favorites shop just click here! It’s packed full of all the things I use and love.
Here is the supply list I highly recommend every creative have on hand!! Would you also pin my blog for later and get on my newsletter alerts? I would love to have you join my #craftycrew.

Join my free “ON A BUDGET CRAFTS” Facebook group!
PIN THIS POST FOR LATER!

Awesome job