DIY Chippy Farm Fresh Pumpkins Sign
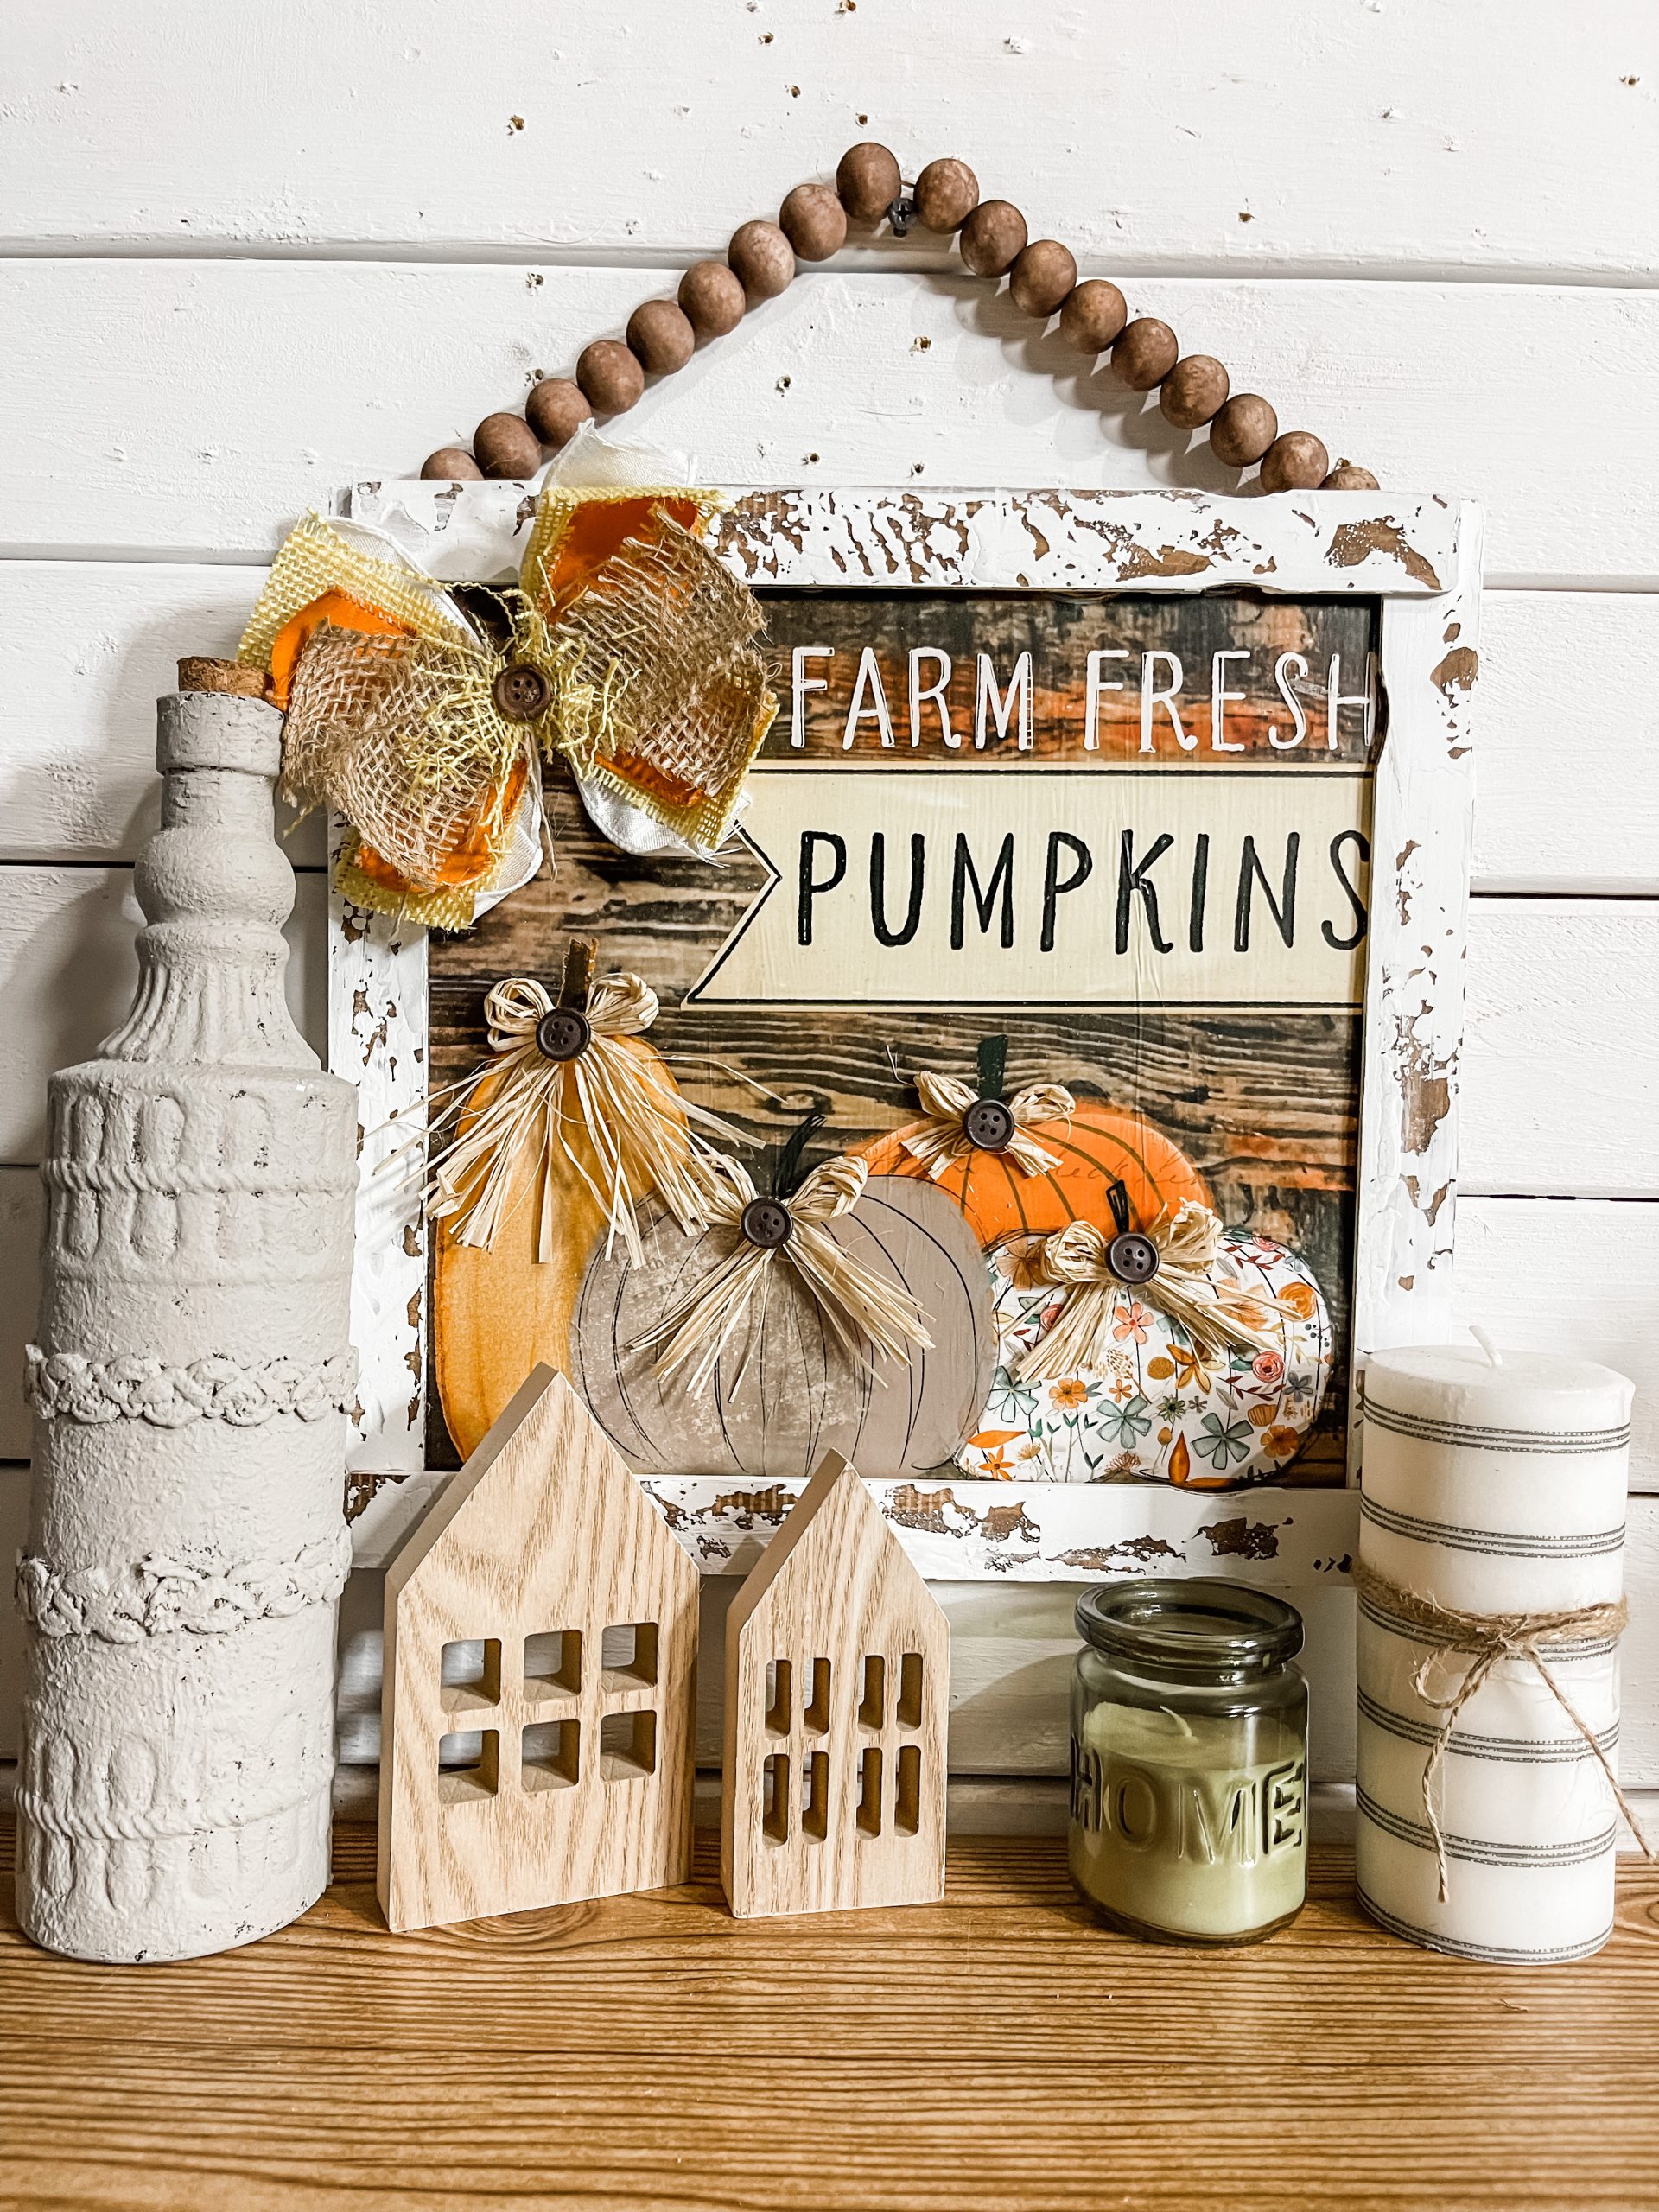
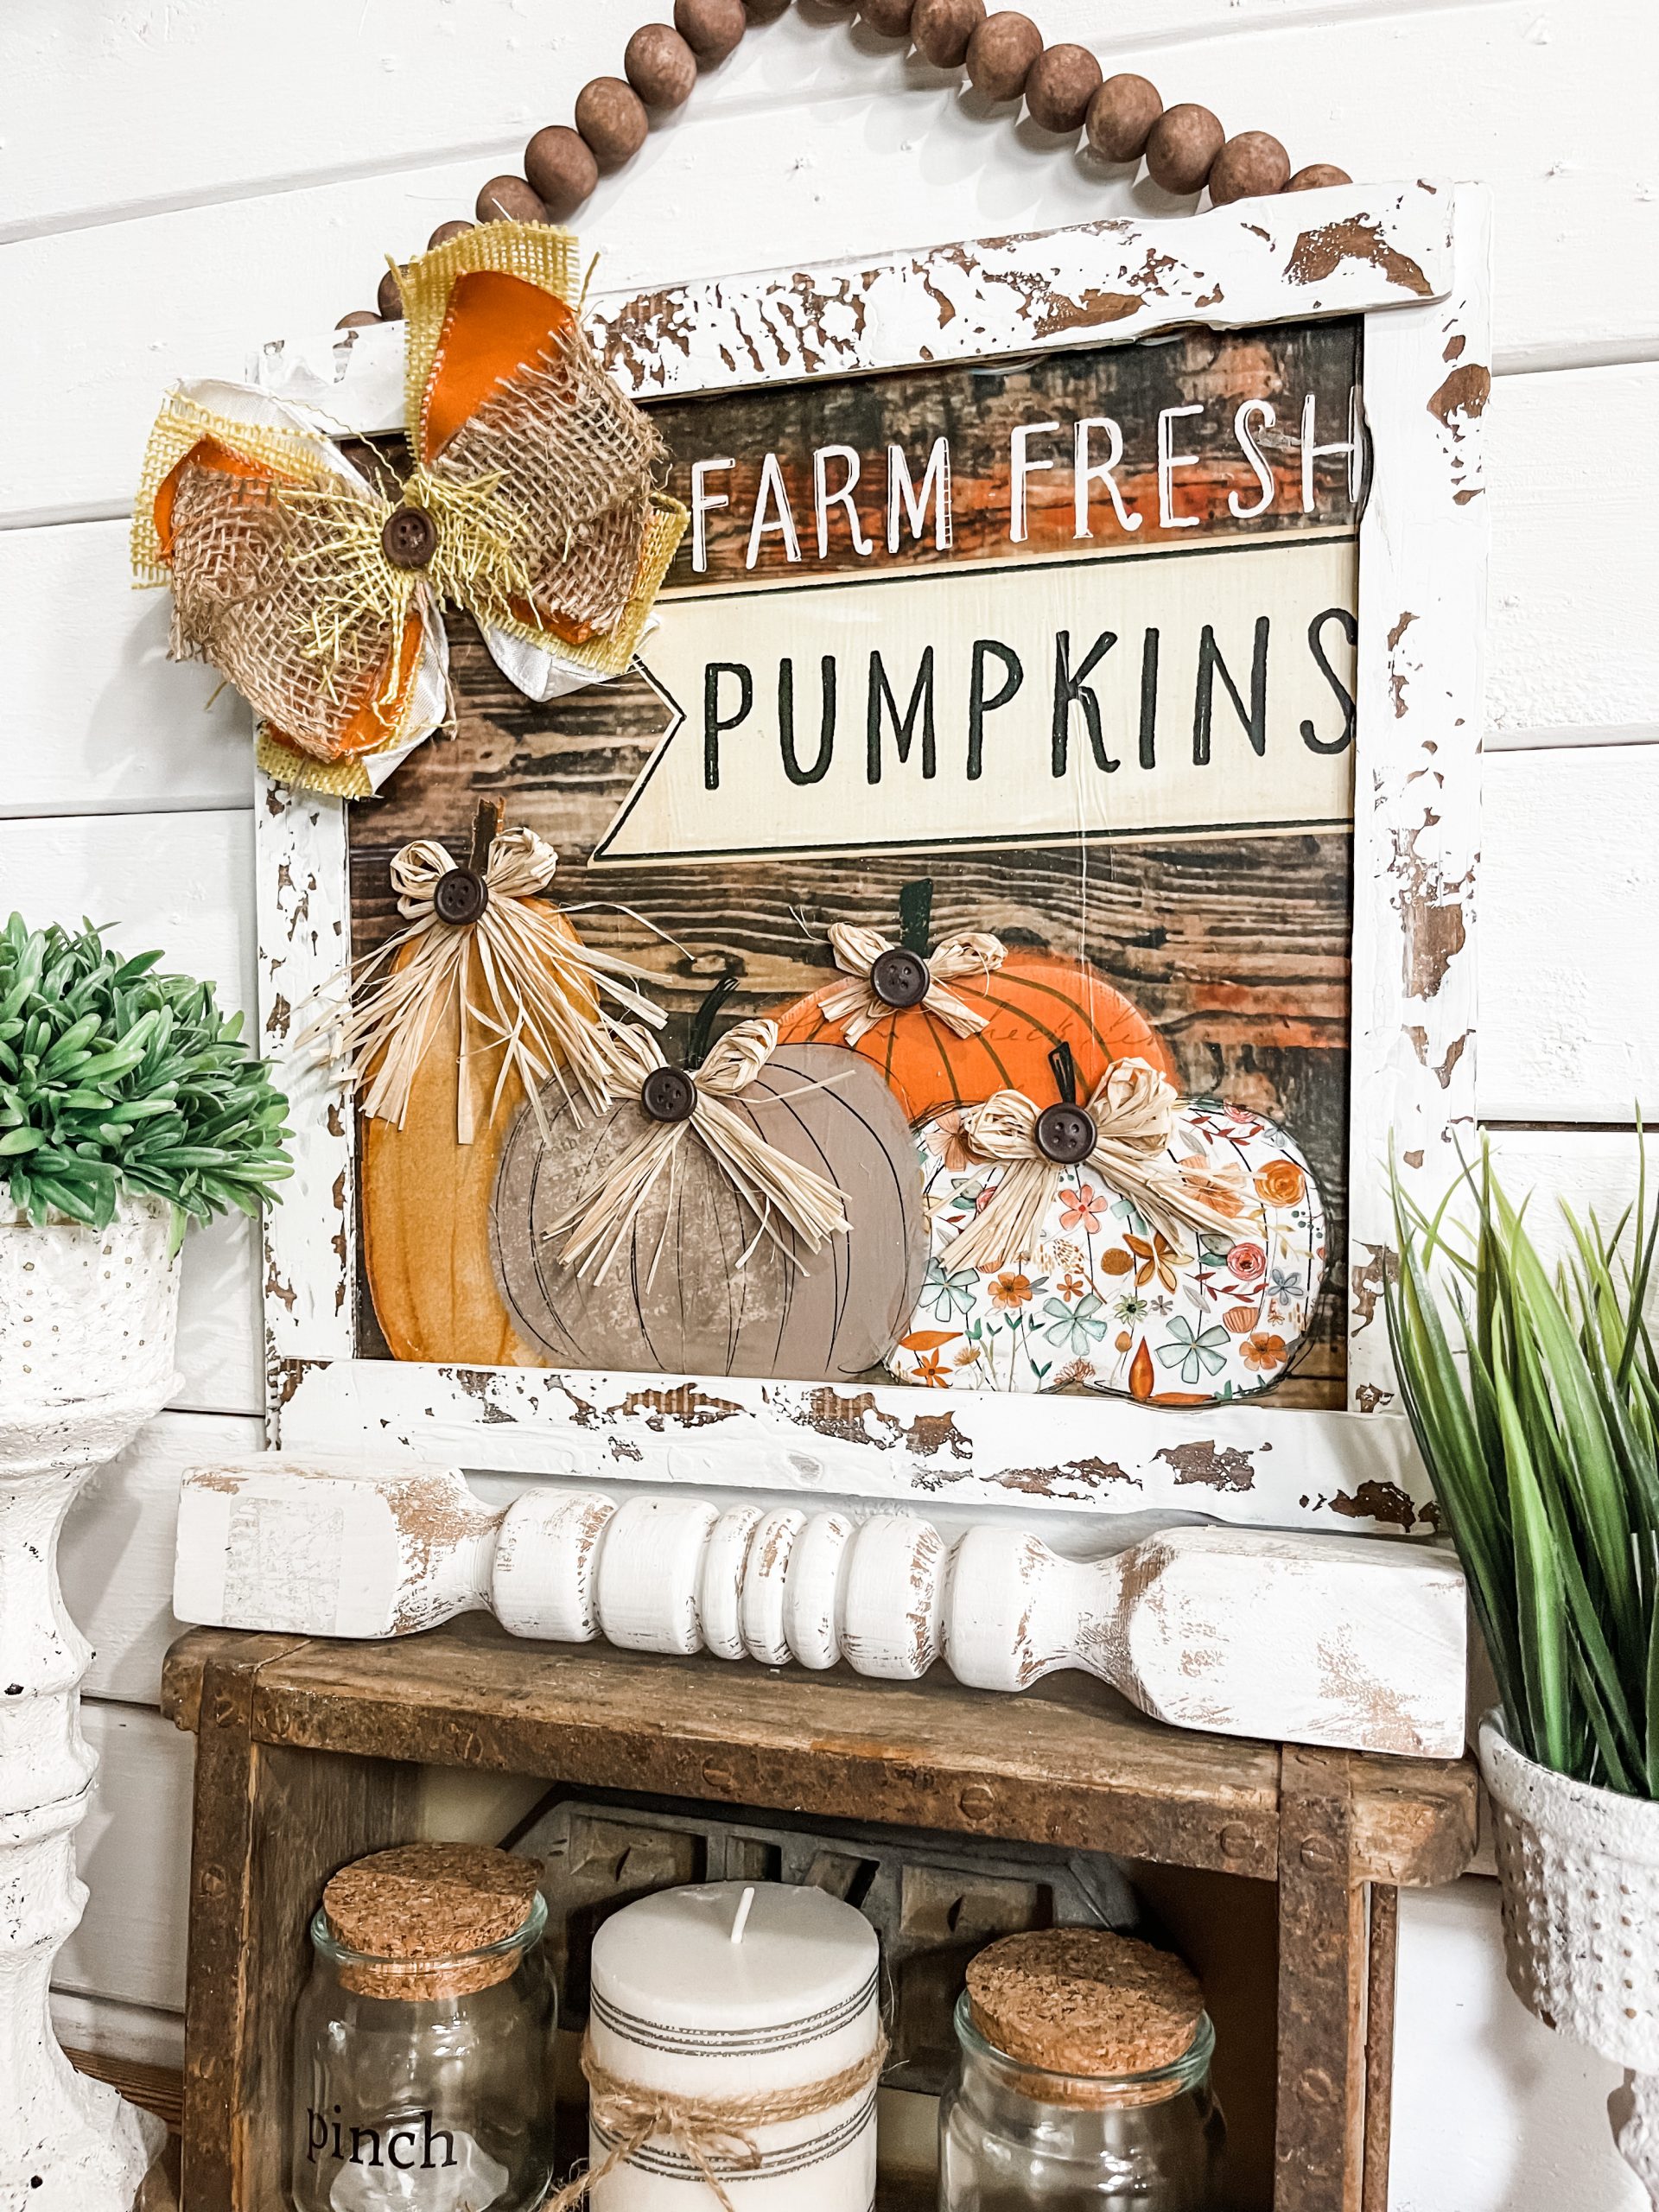
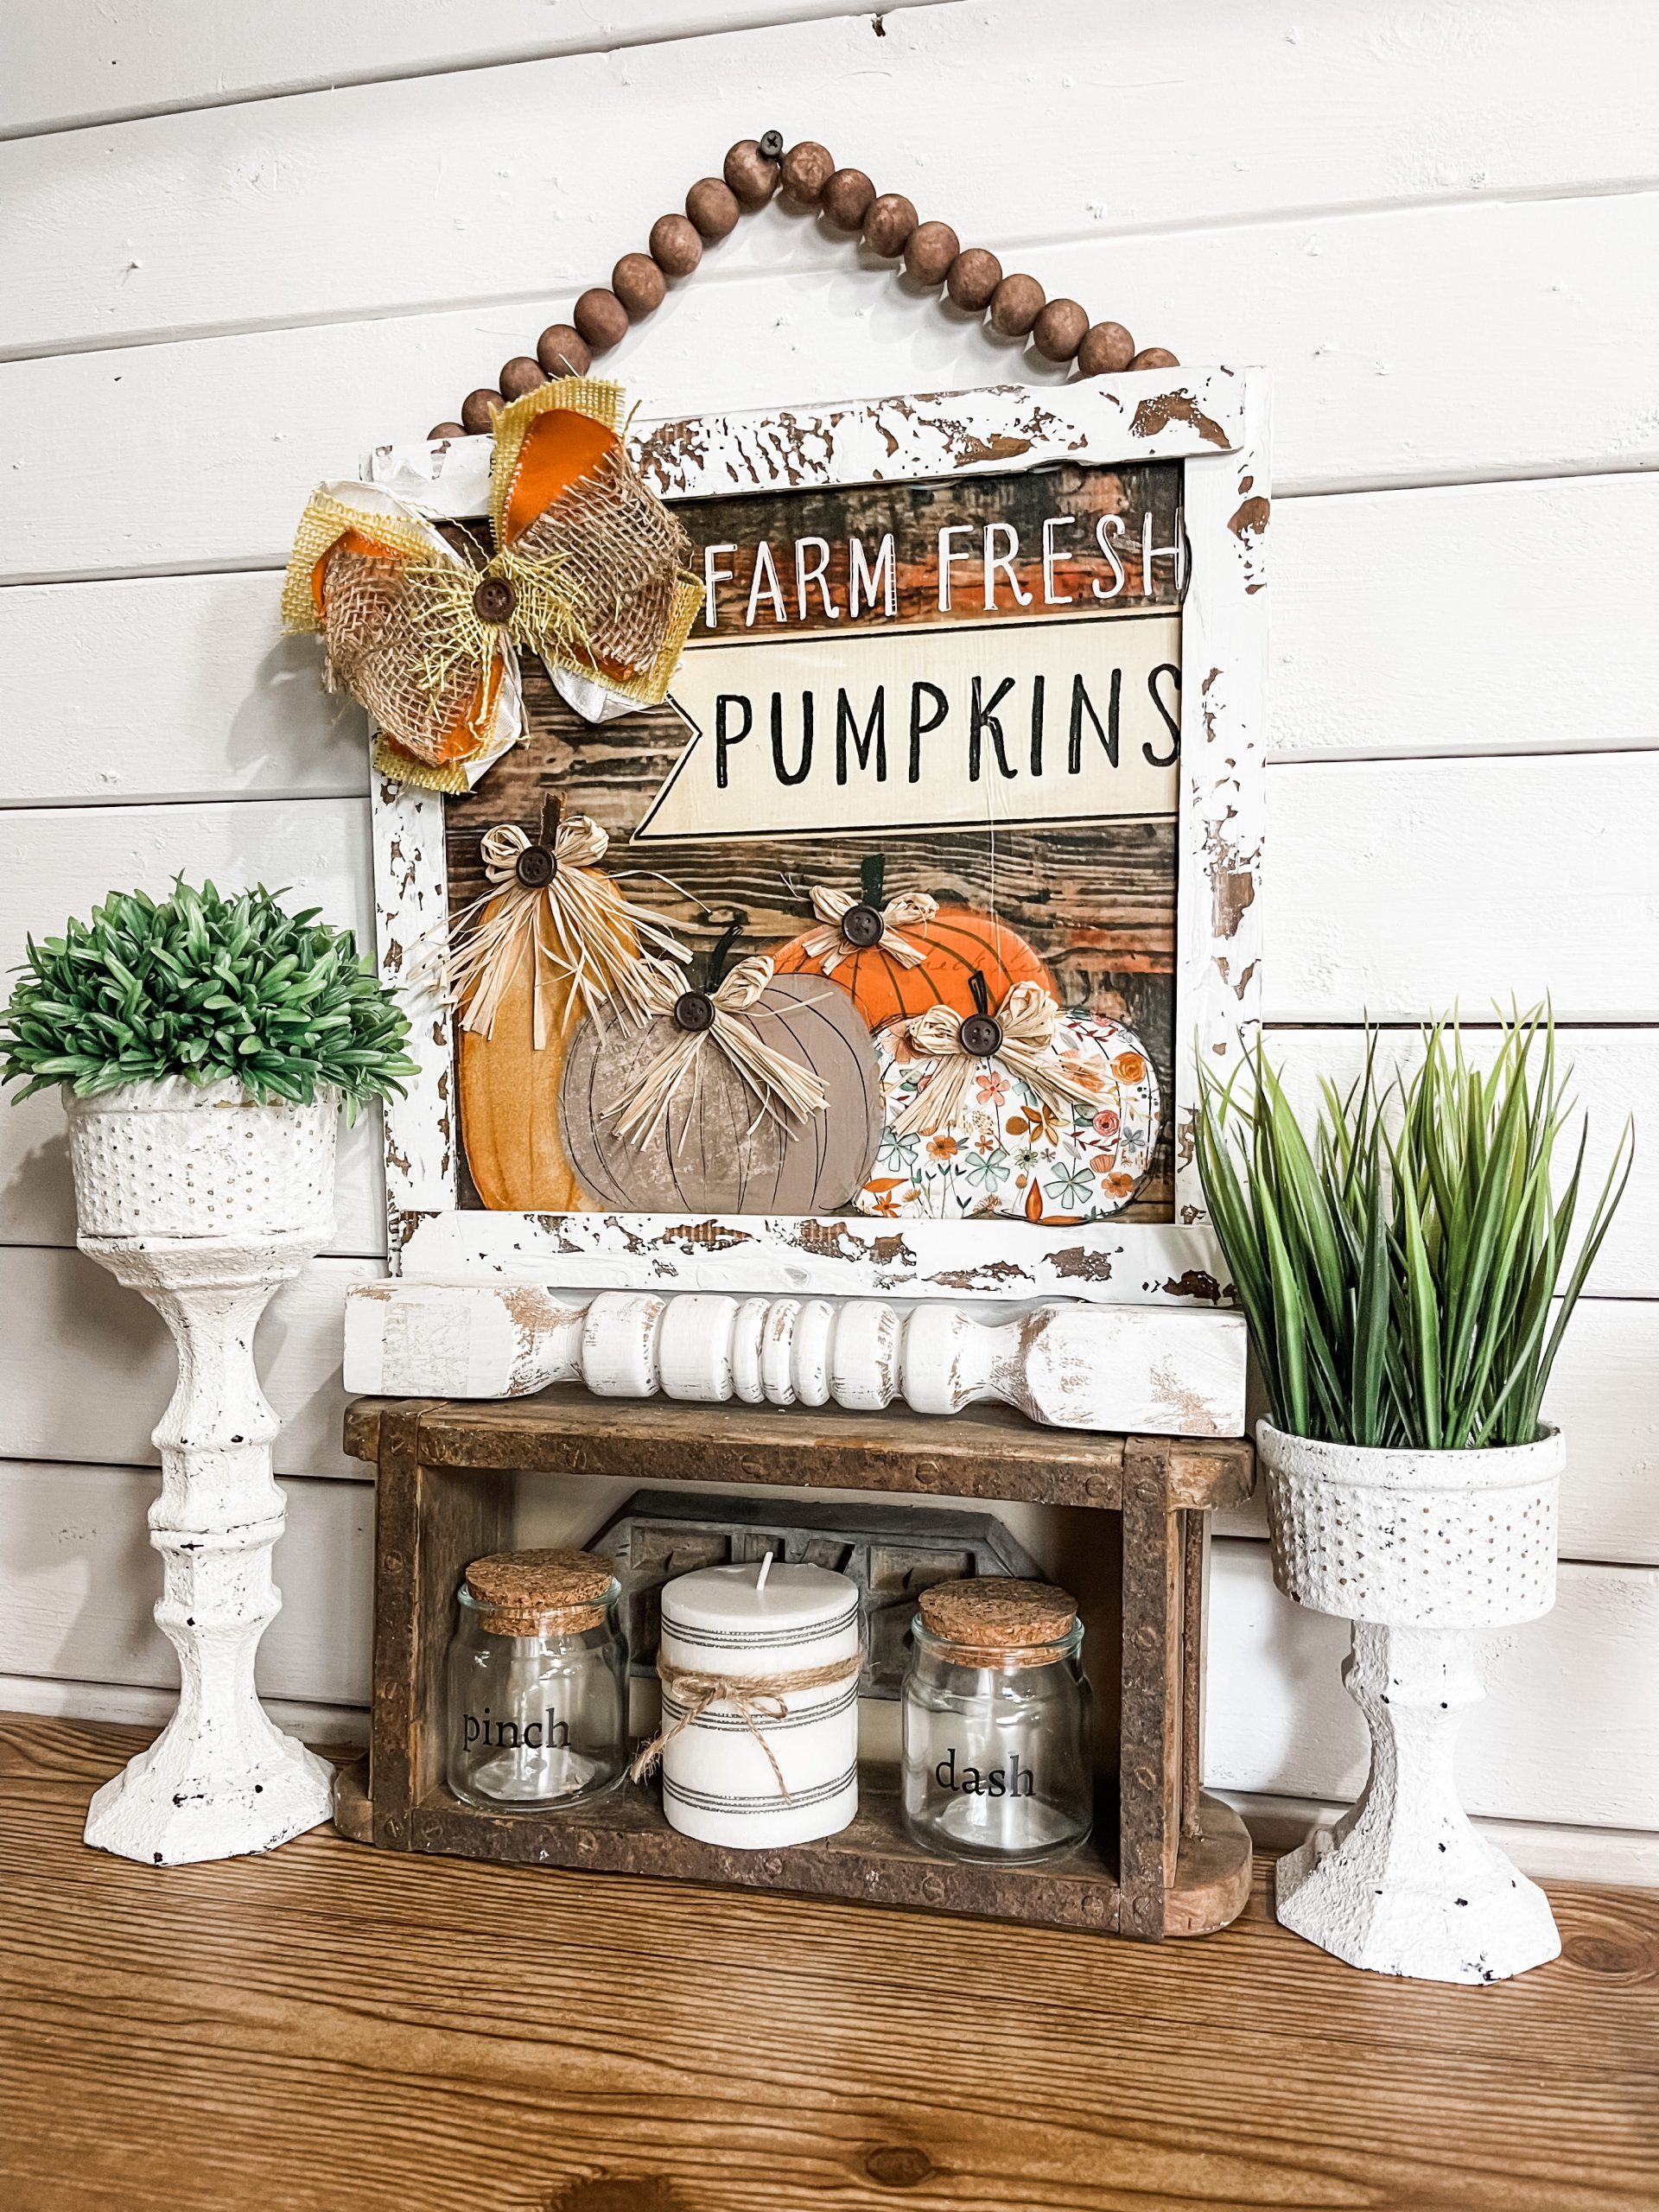
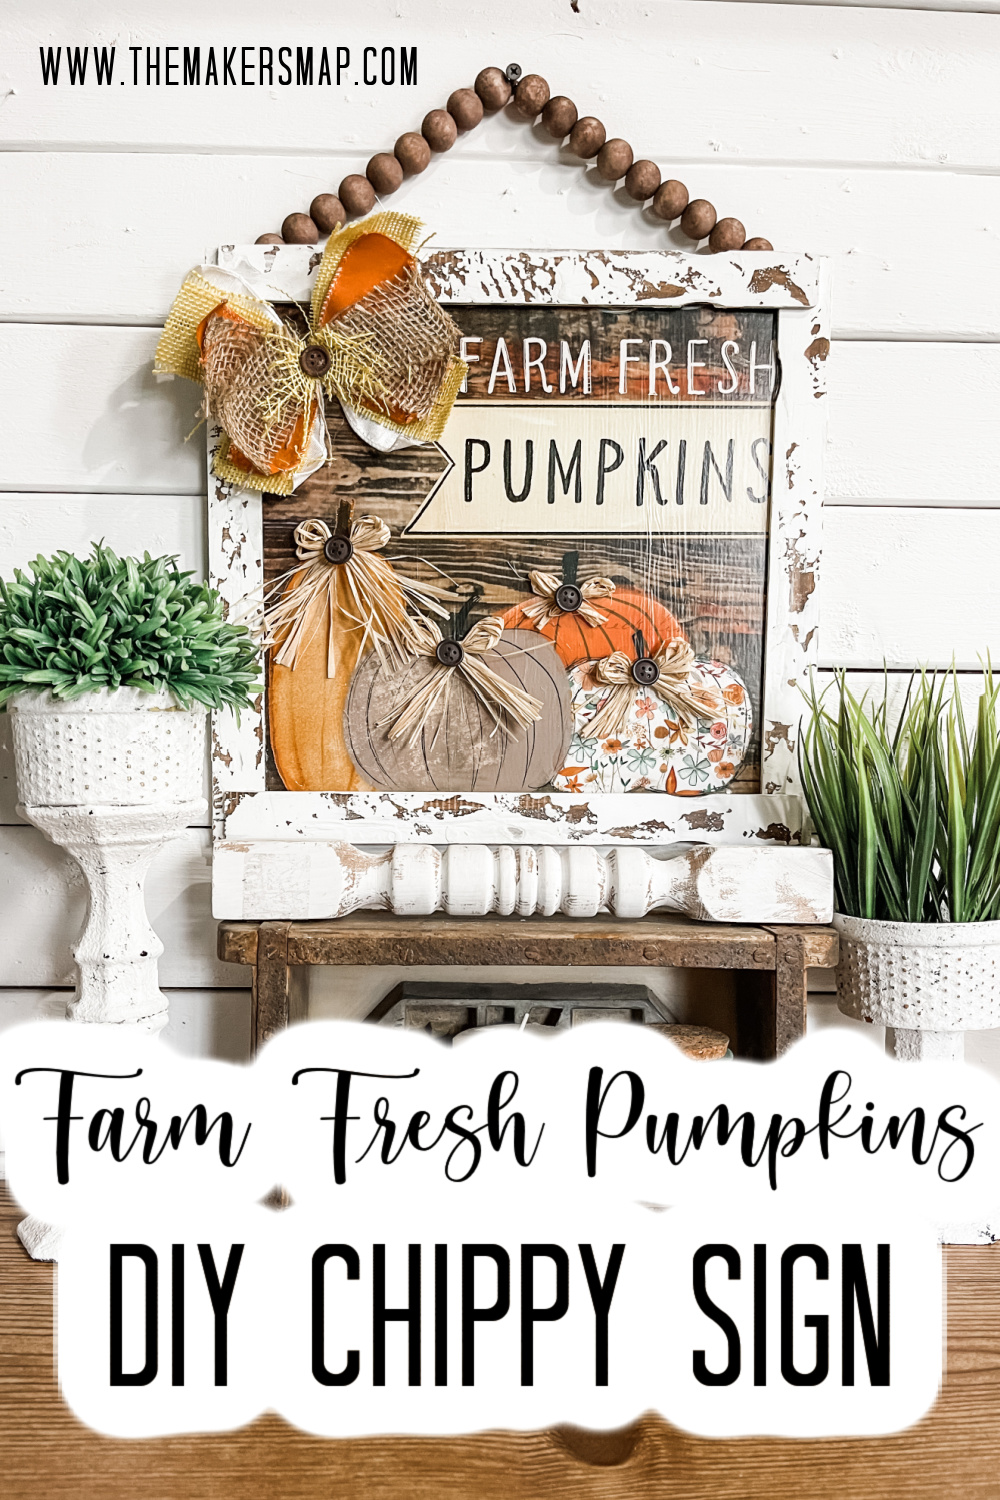
I am so excited to share this adorable (and affordable) DIY Chippy Farm Fresh Pumpkins Sign with you! I am no stranger to Dollar Tree calendars, and how this project turned out should tell you why!
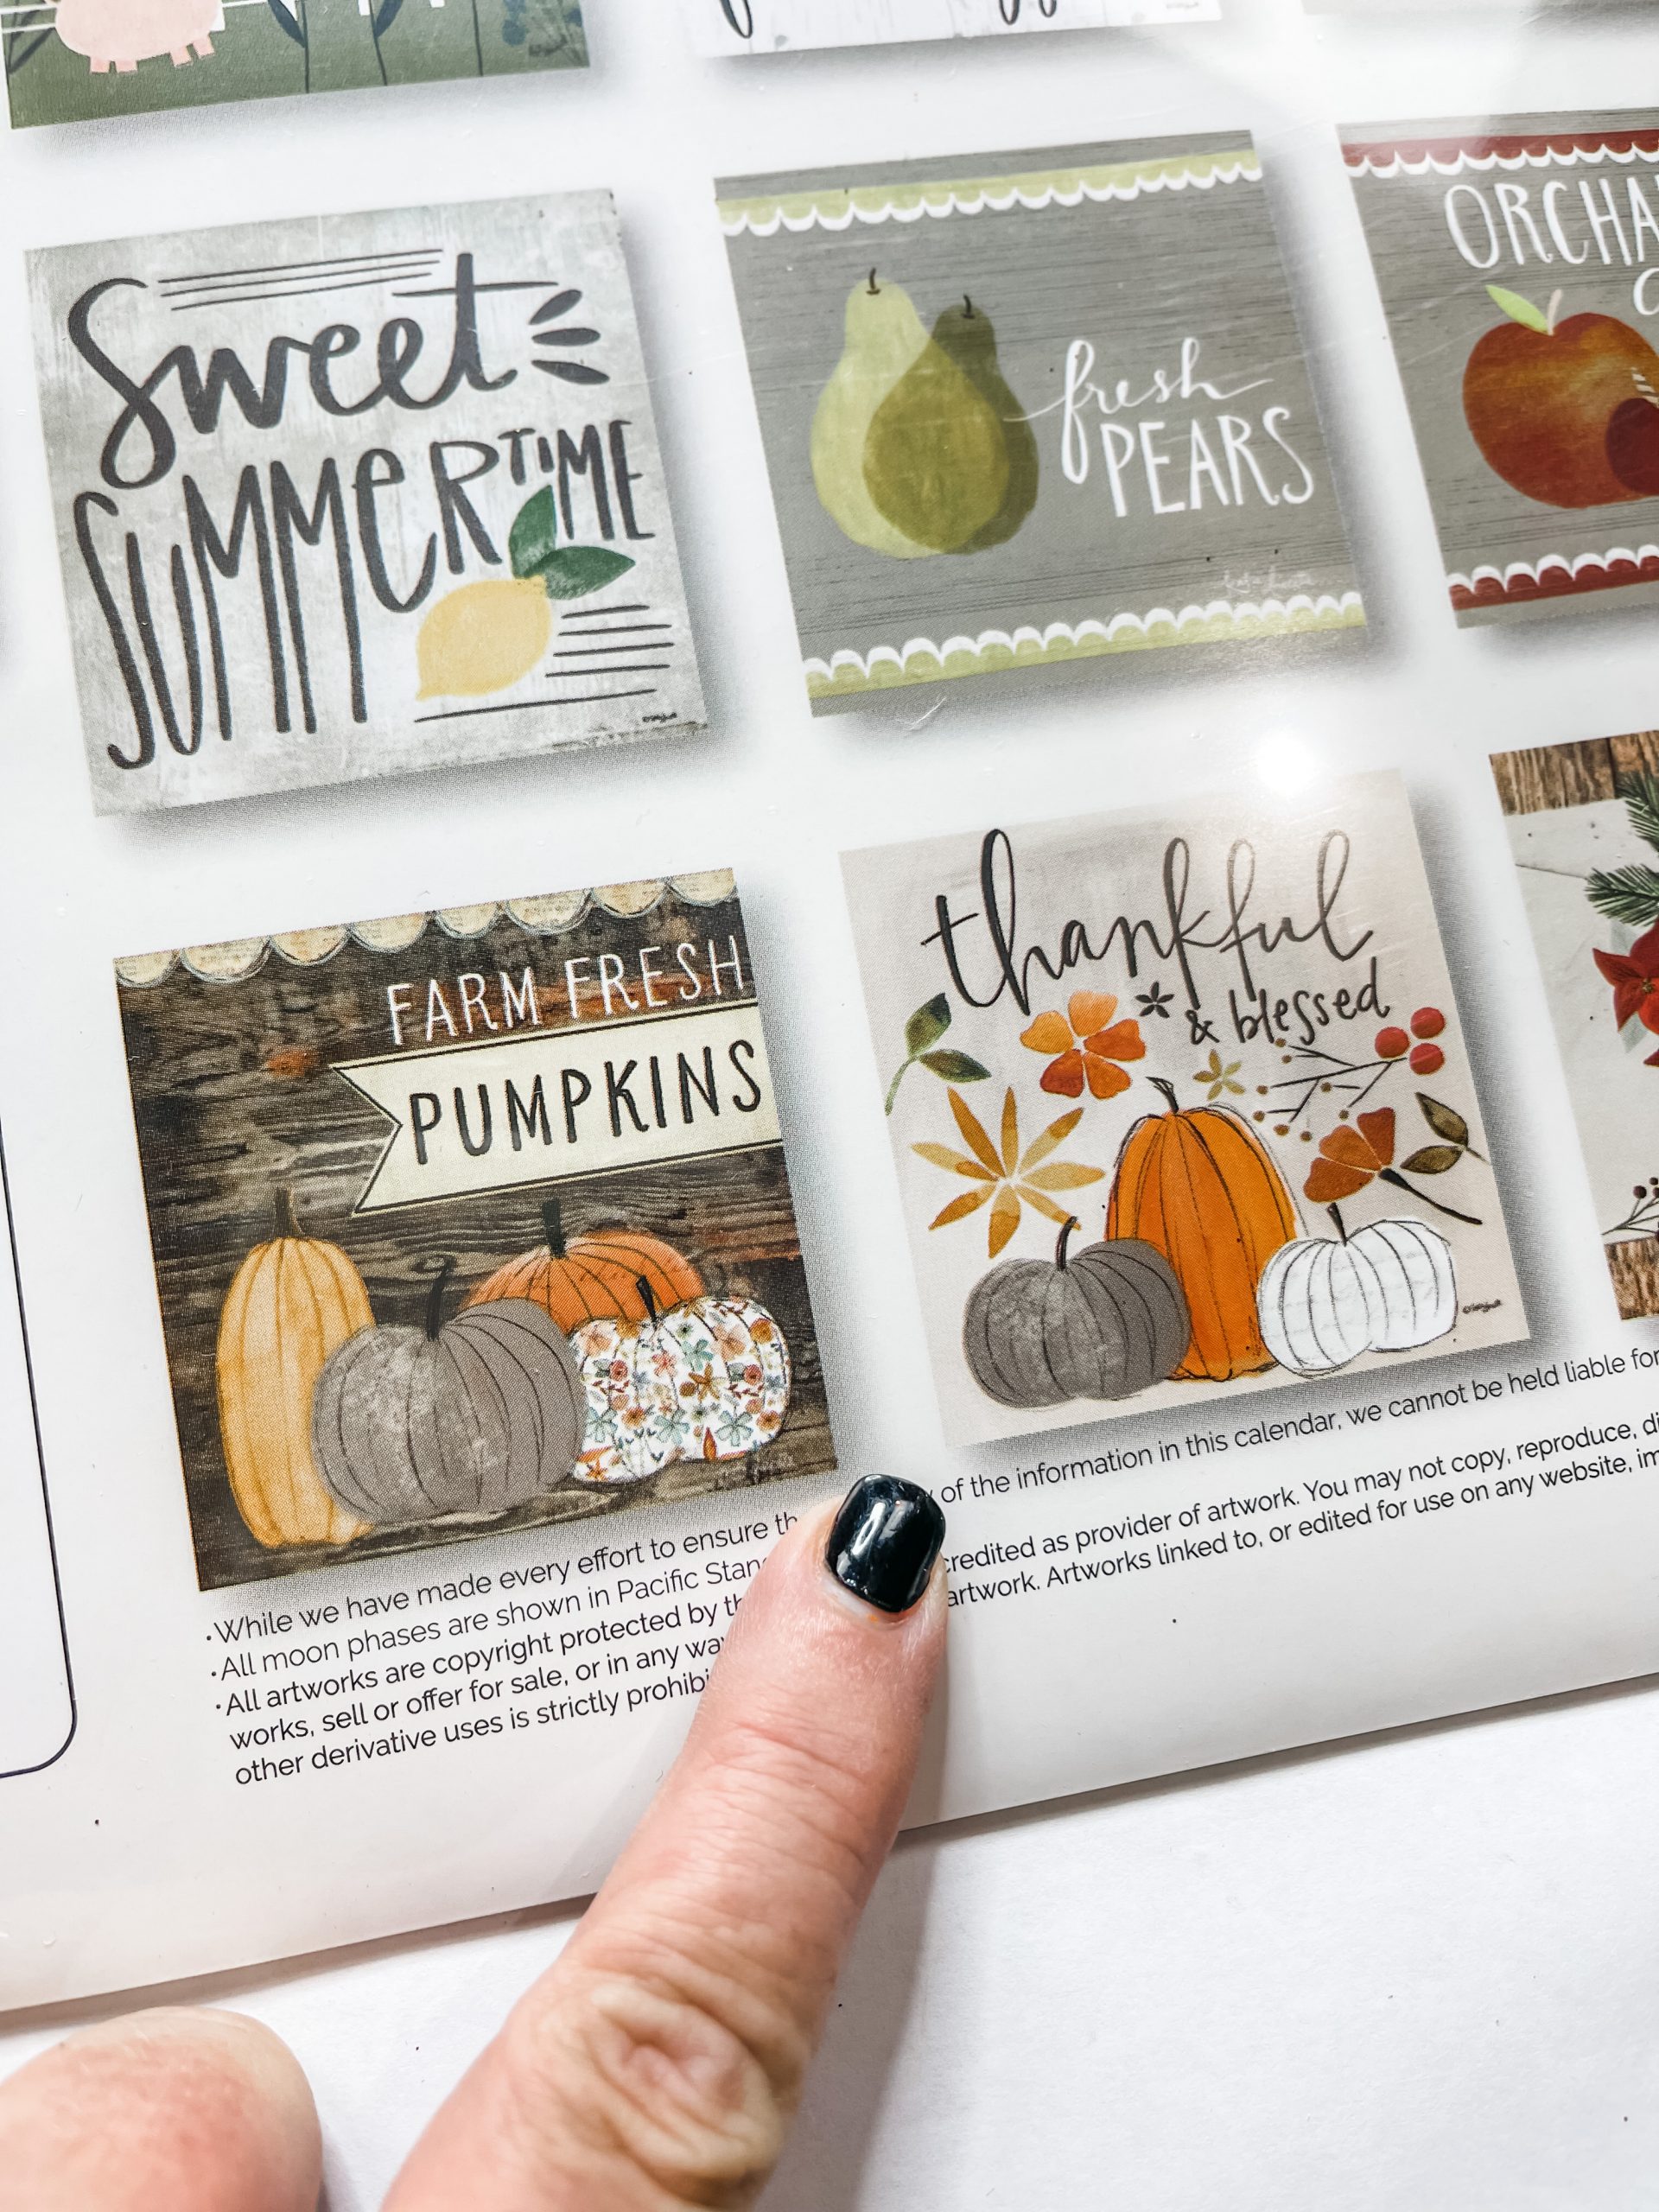
Dollar Tree calendars are, of course, $1, and they come with 12 pictures that are perfect for crafting with!
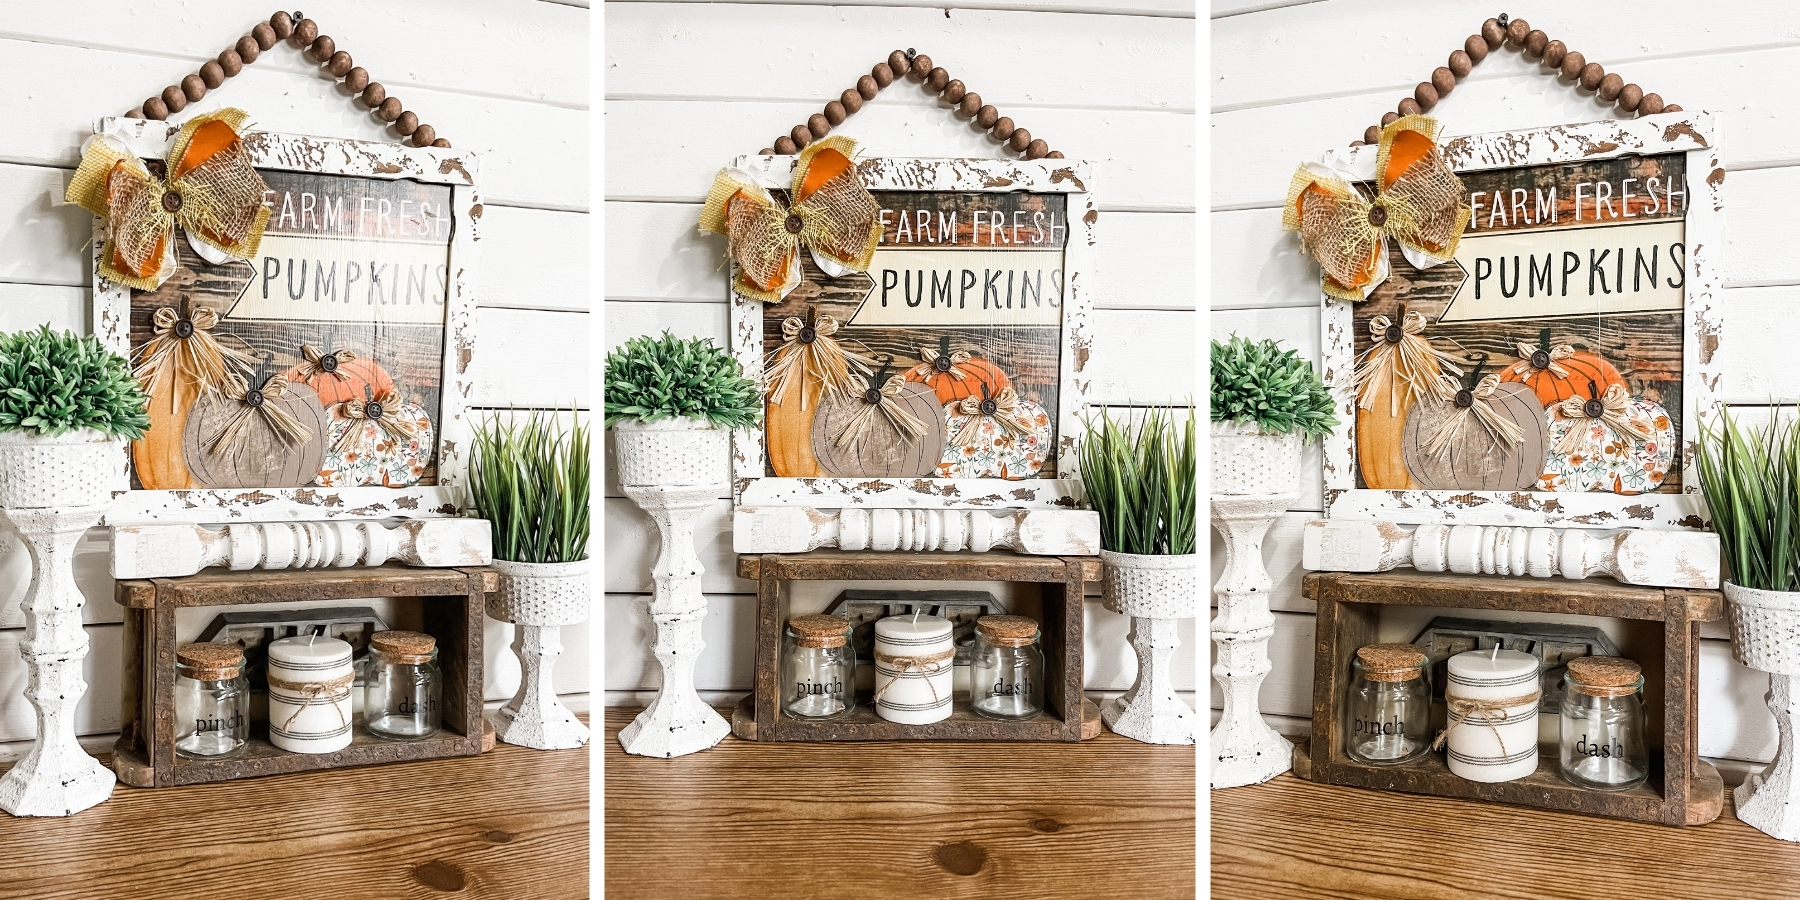
The pumpkins, raffia bows, and chippy frame are just to die for!
Watch the DIY tutorial video
I shared the quick DIY tutorial video for how to make this adorable farm fresh pumpkin sign along with three other autumn decor ideas in a video on my Youtube channel!
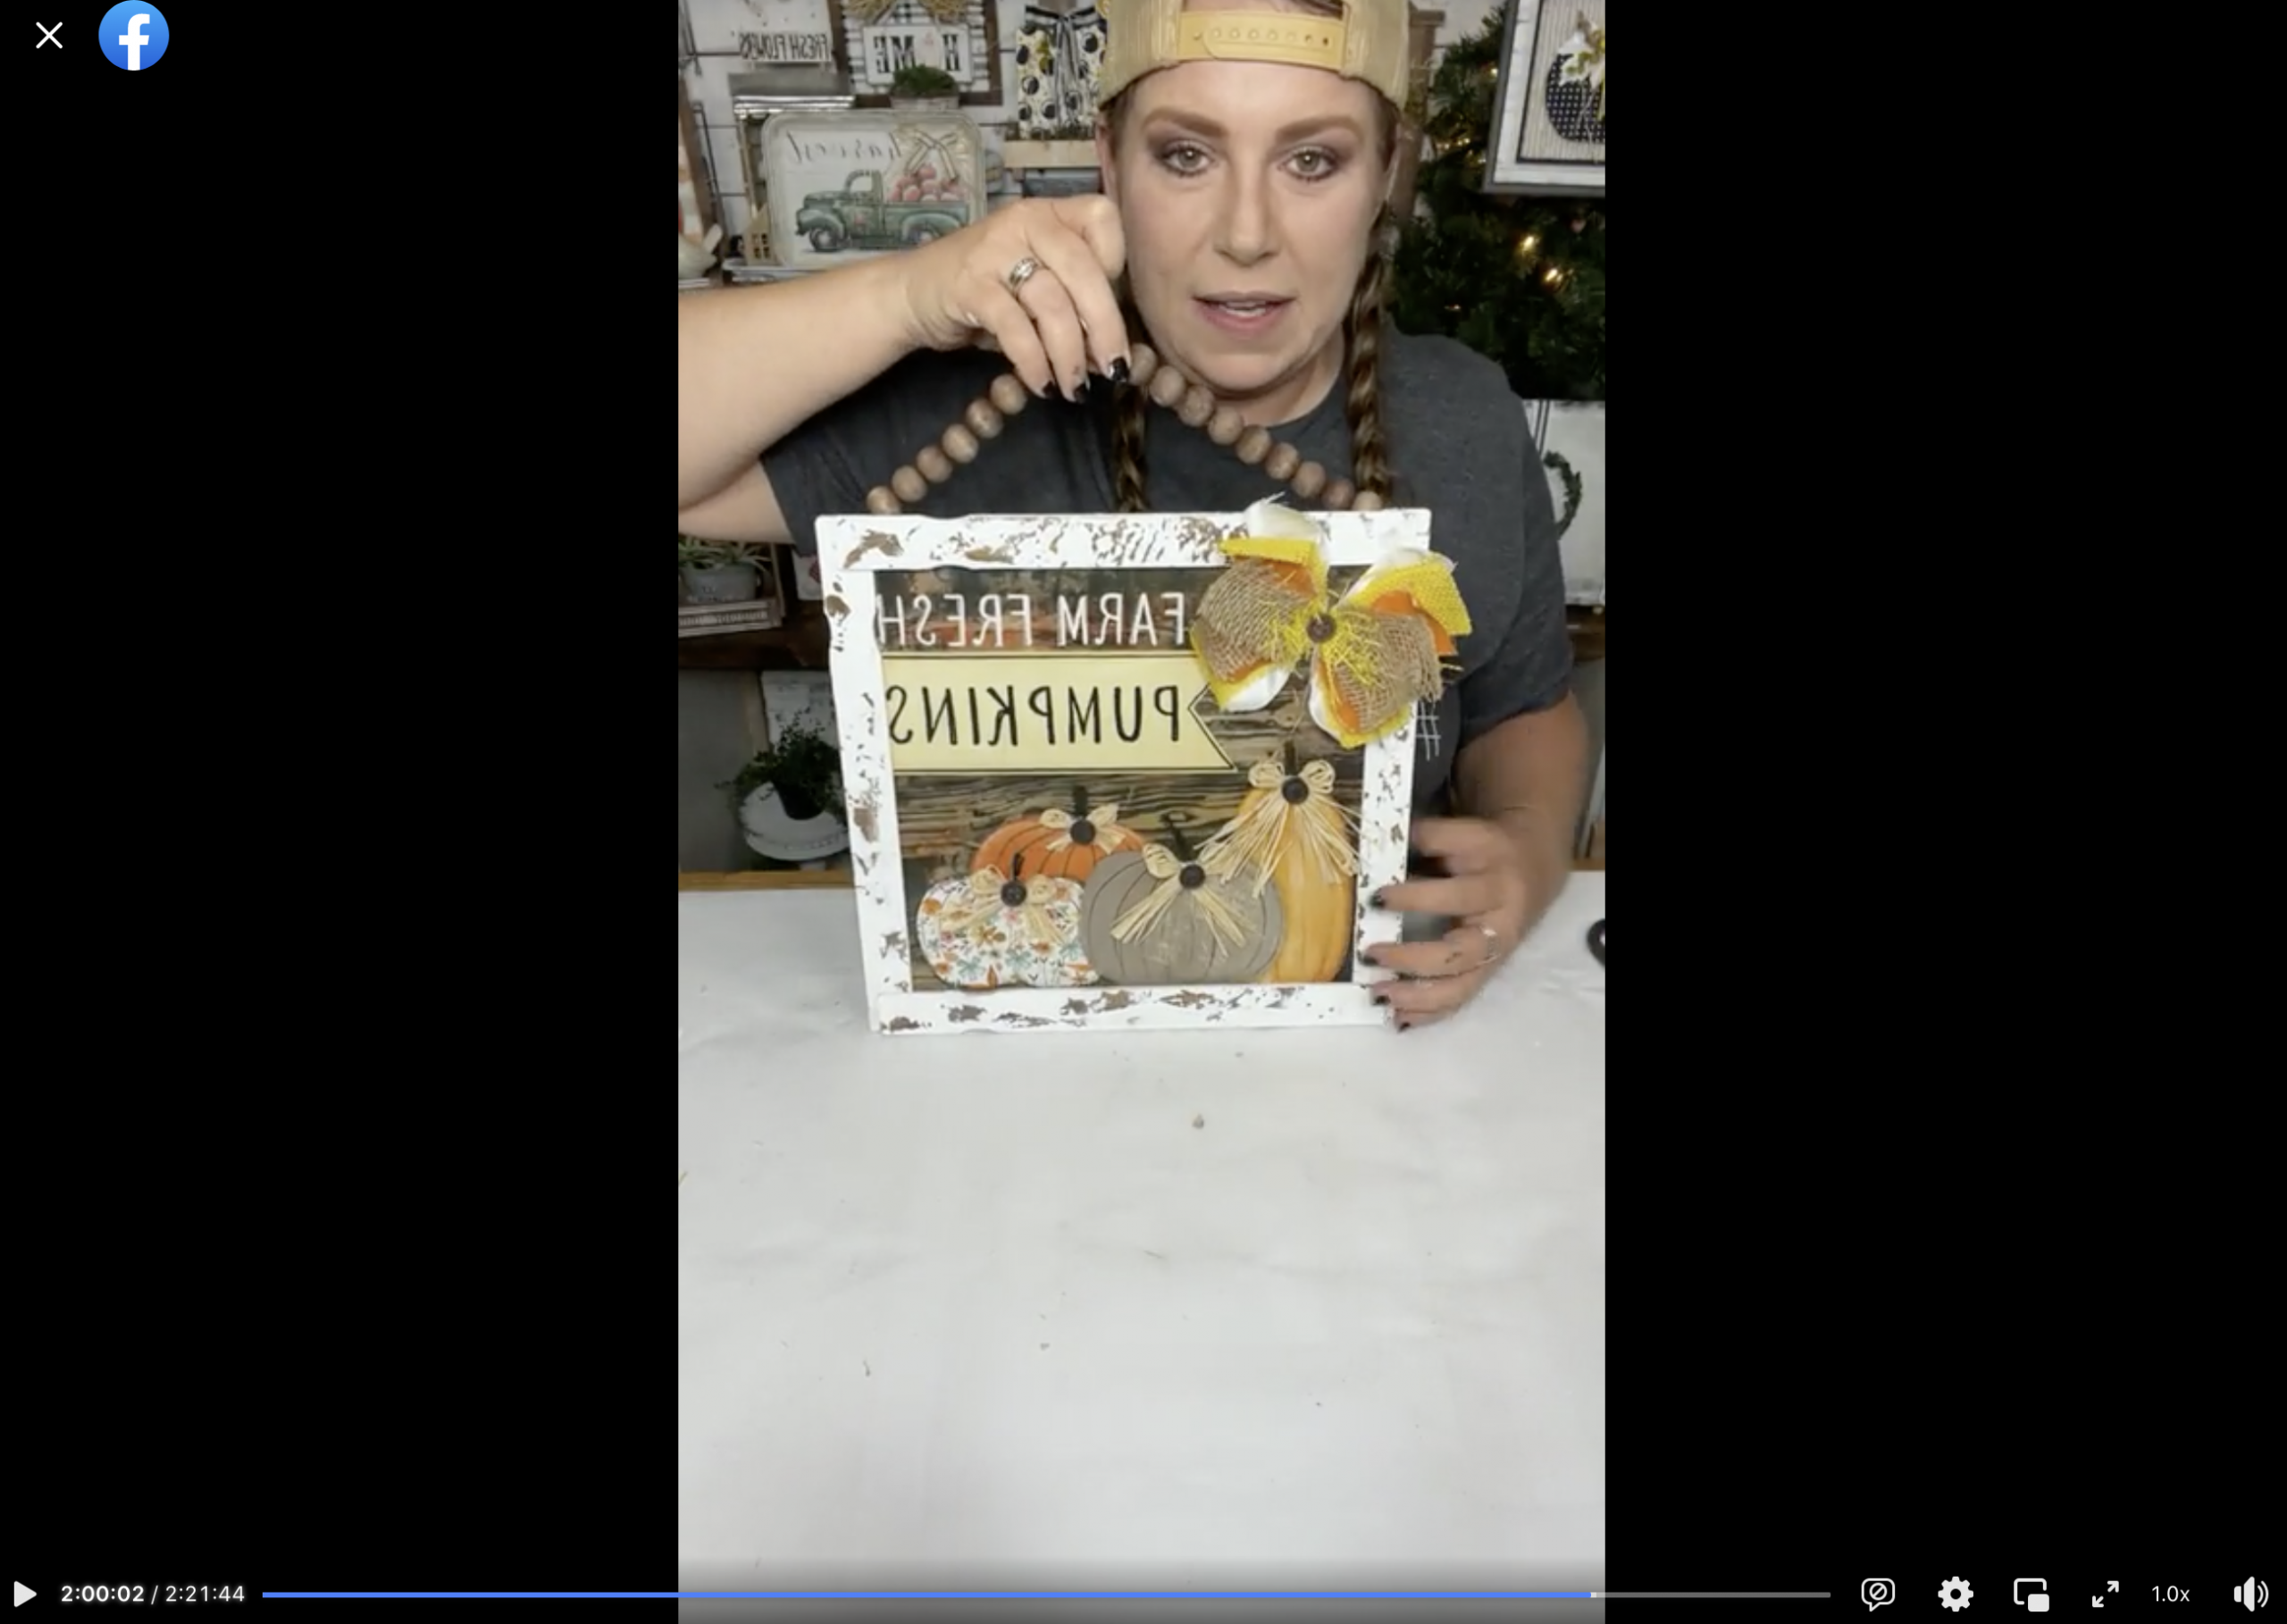
I recorded how to make this adorable DIY Chippy Farm Fresh Pumpkins Sign during a LIVE video on my Facebook page!
If you want to watch the extended DIY process, craft along, or just join in on the fun conversations, you can watch the DIY tutorial replay on Facebook!
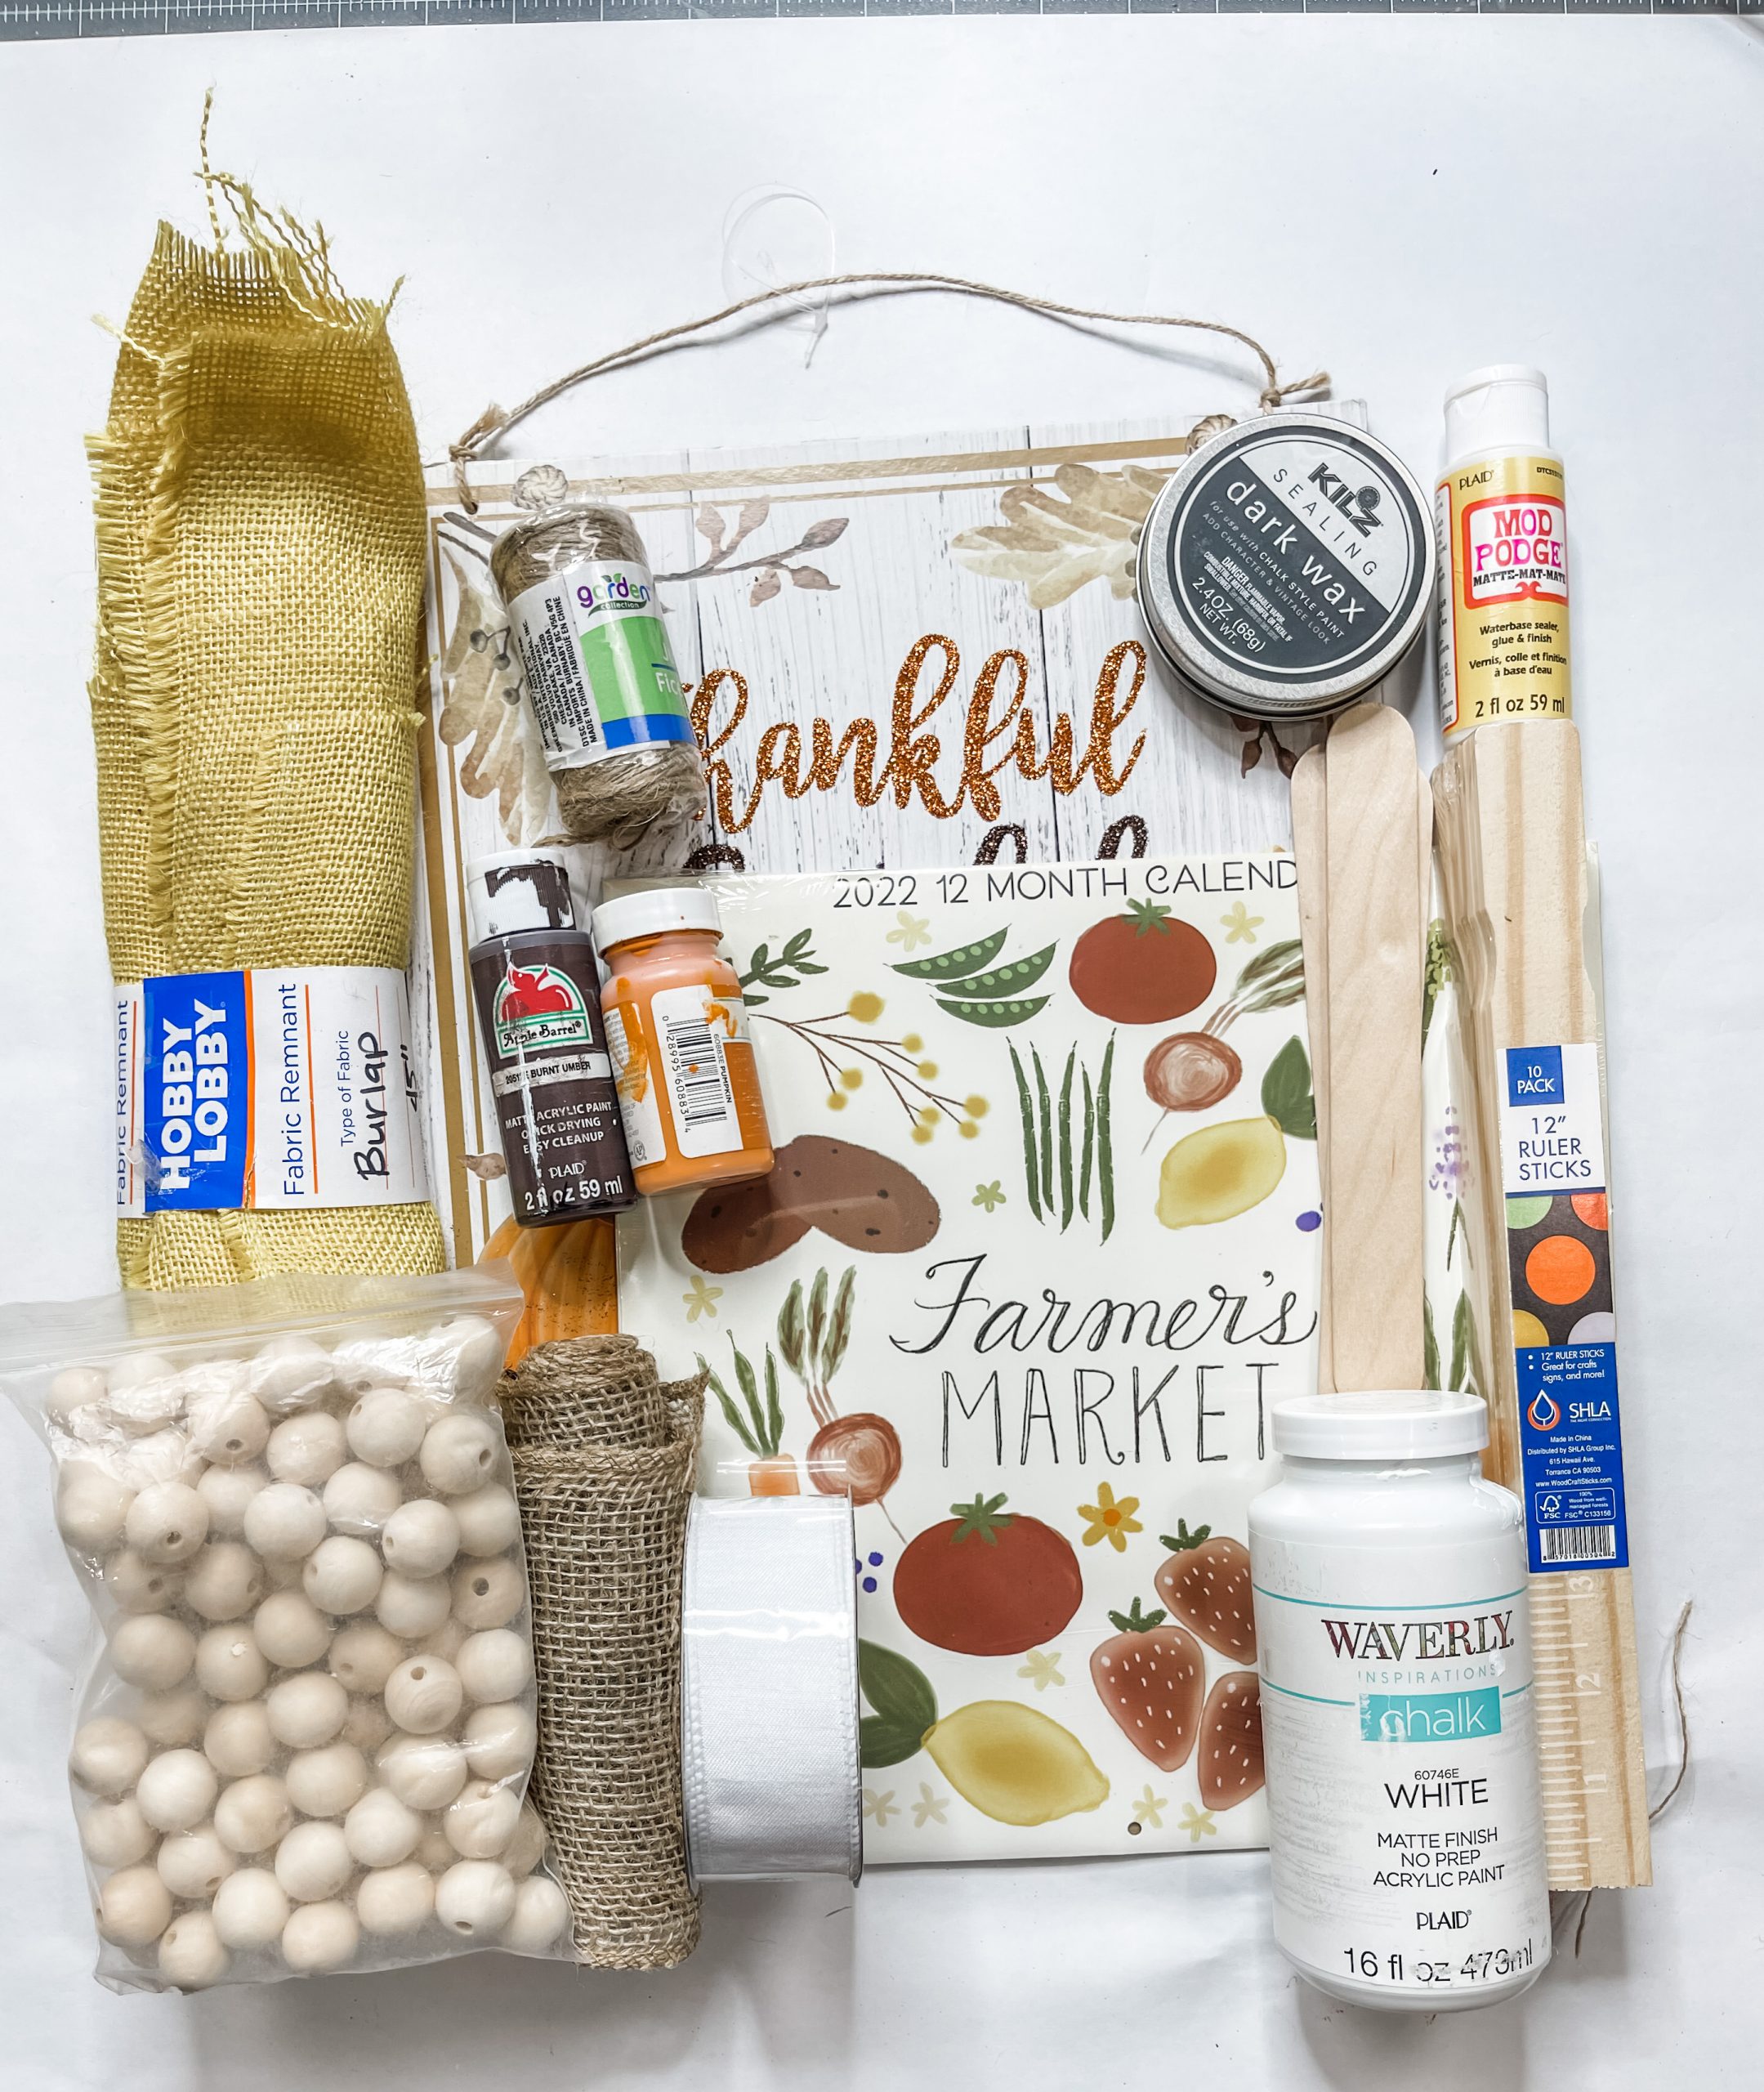
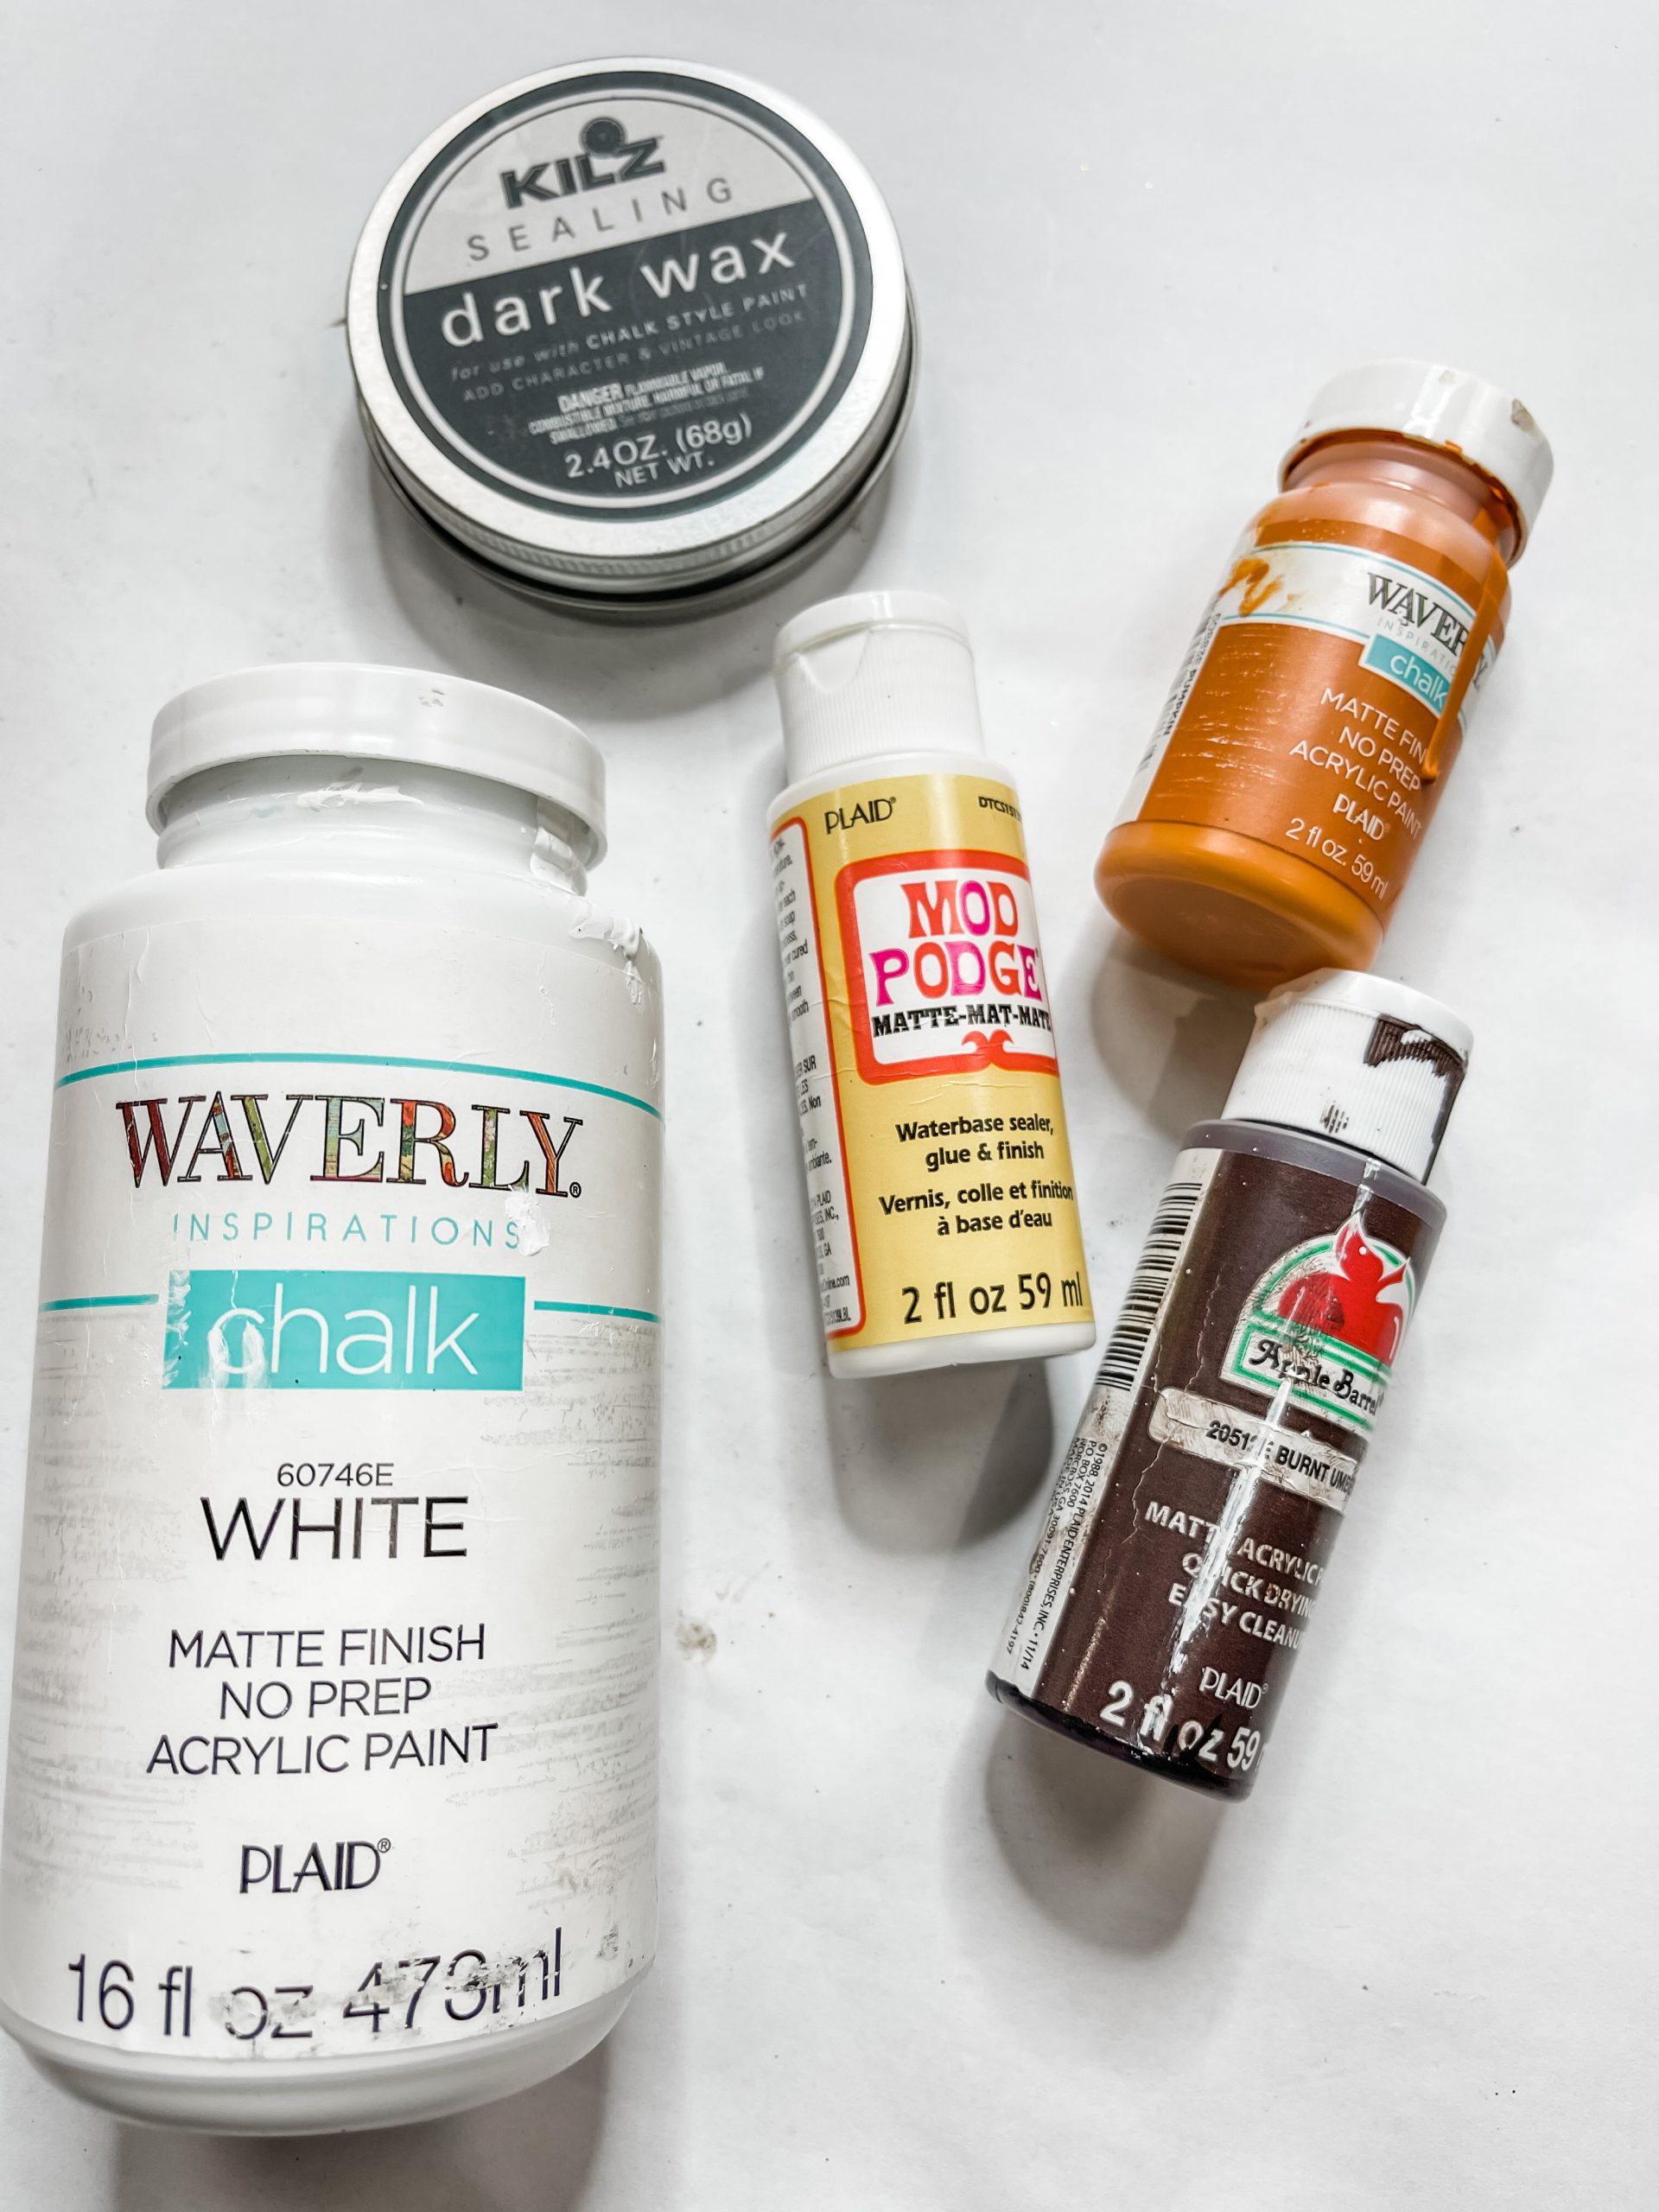
For this project, I will be using these items, but you can substitute where you want.
“As an Amazon Associate, I earn from qualifying purchases.”
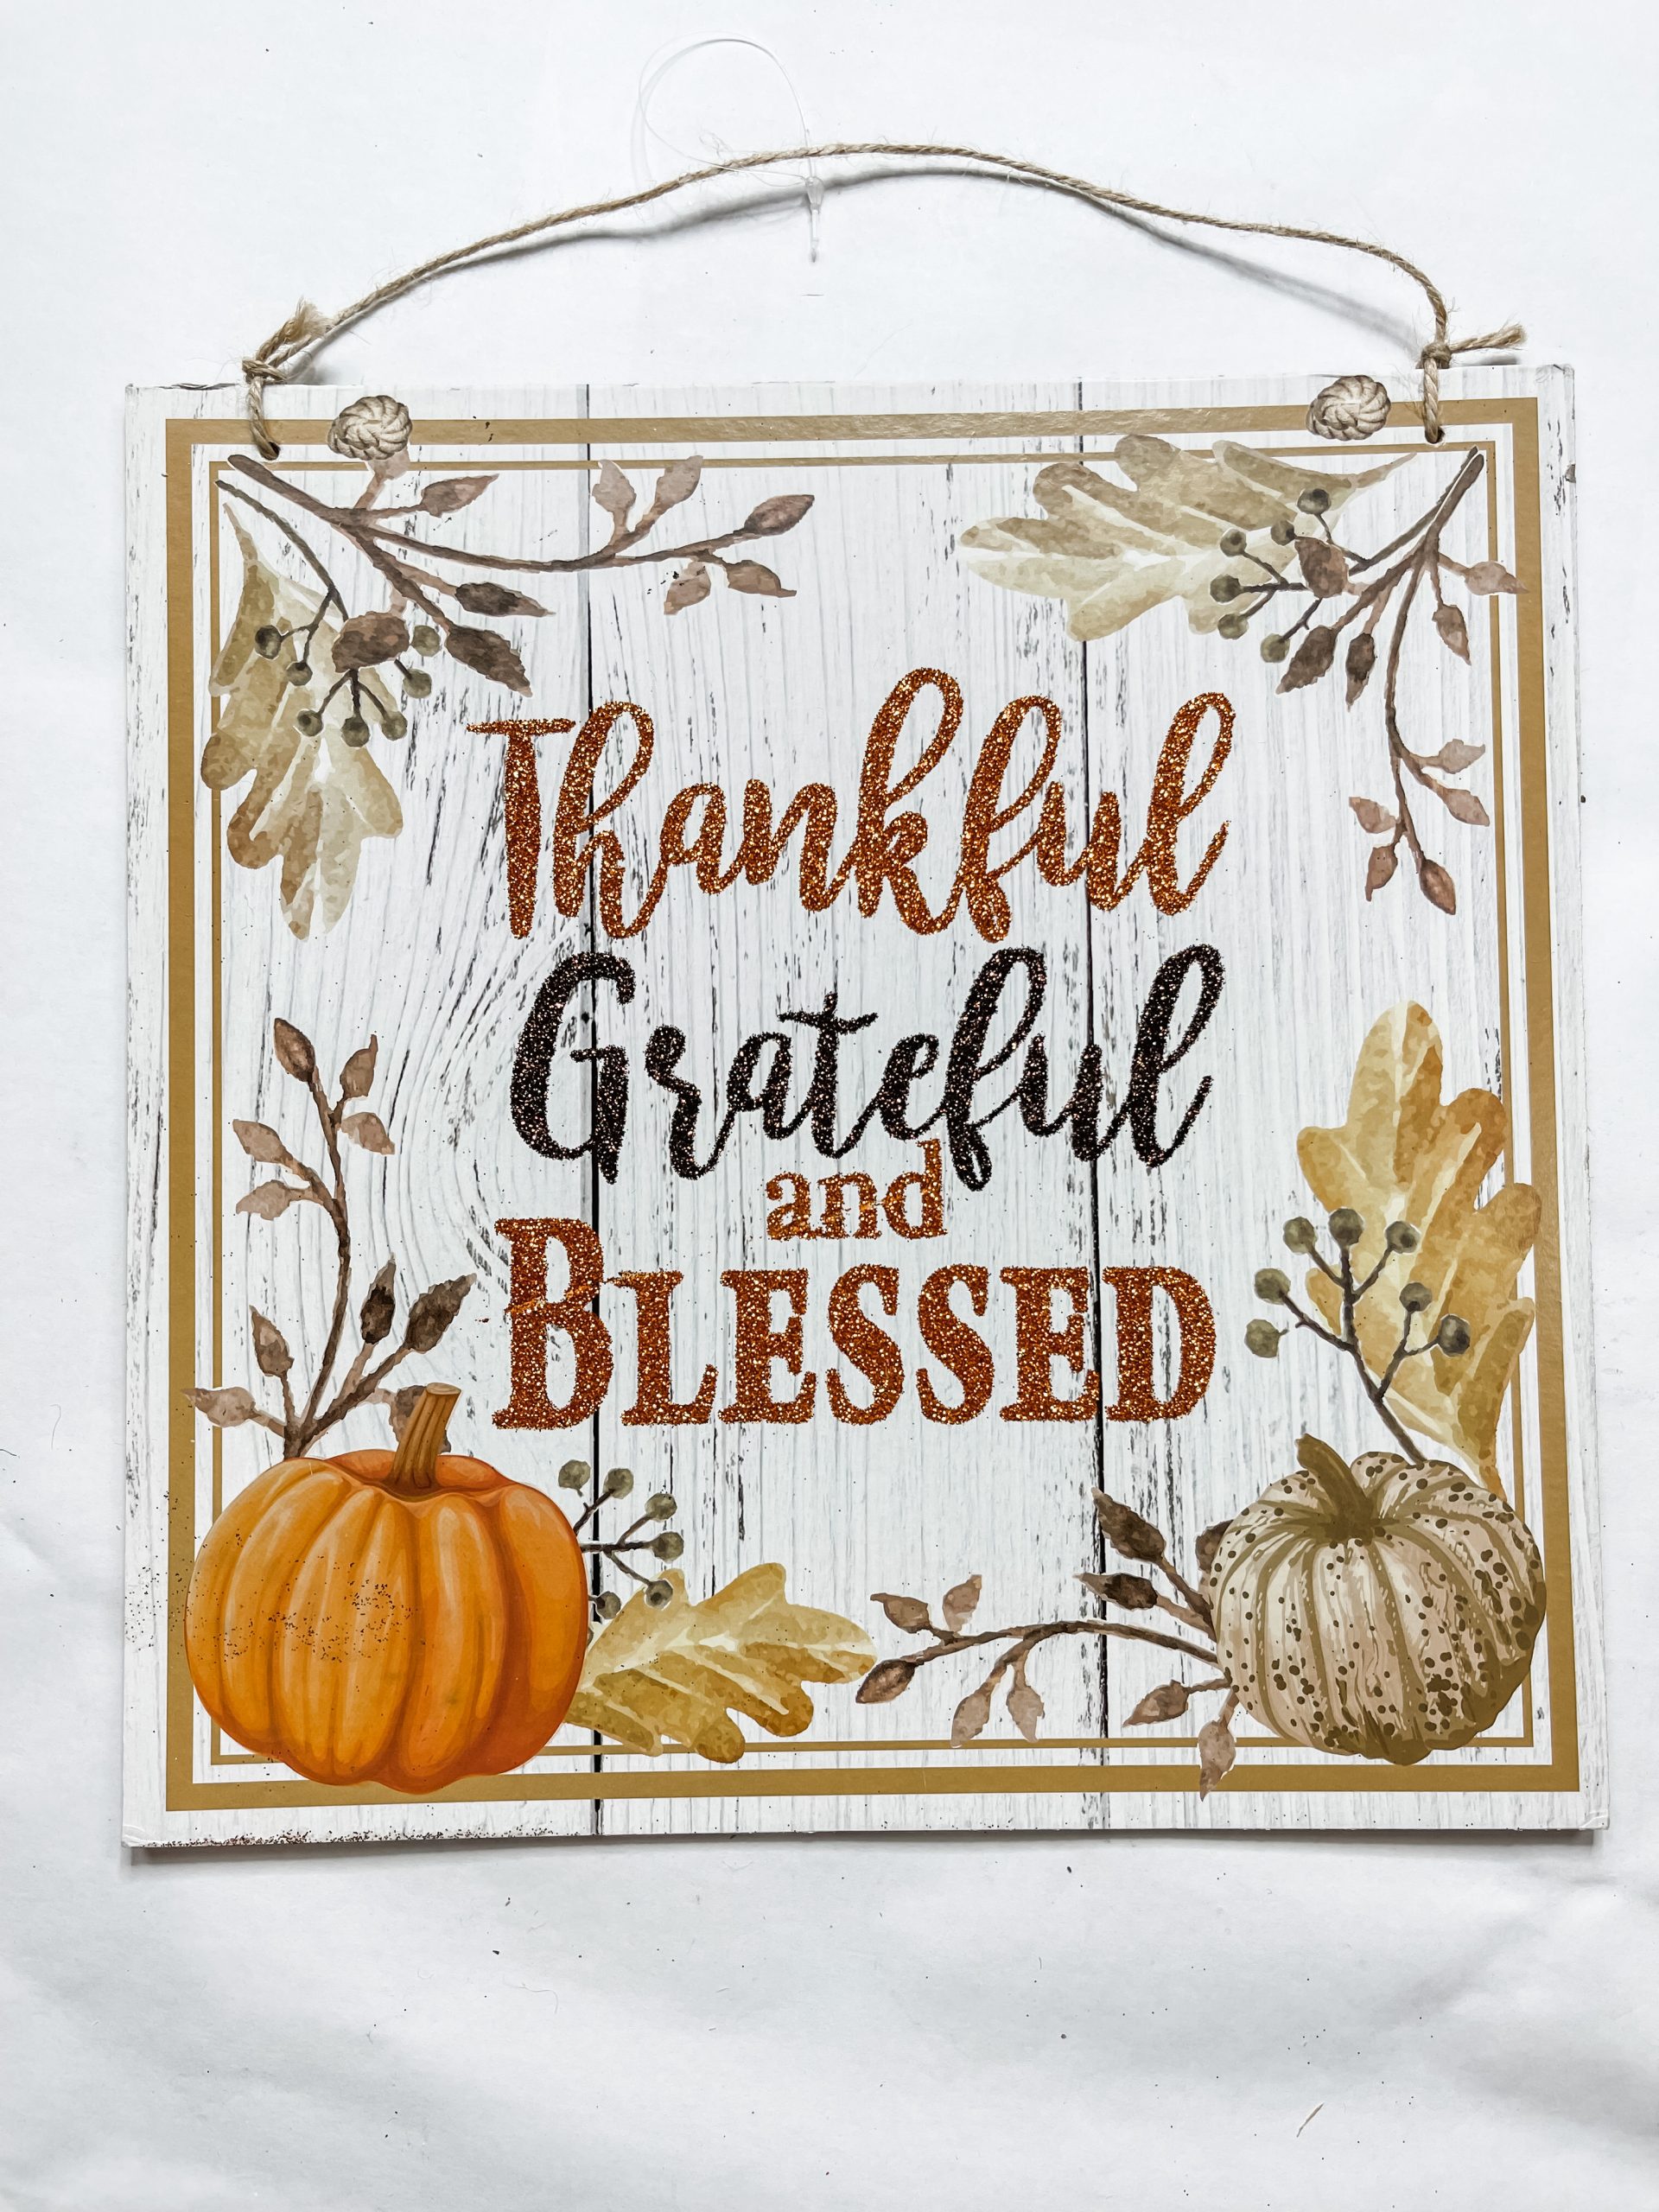
- Dollar Tree Square Sign
- Dollar Tree 2022 Farmer’s Market Calendar
- Wood Beads
- Yellow Burlap (Hobby Lobby Fabric Remnant)
- Dollar Tree Jute Twine
- Dollar Tree Burlap Ribbon
- Small Button
- Raffia bows with small buttons (Hobby Lobby)
- White Ribbon
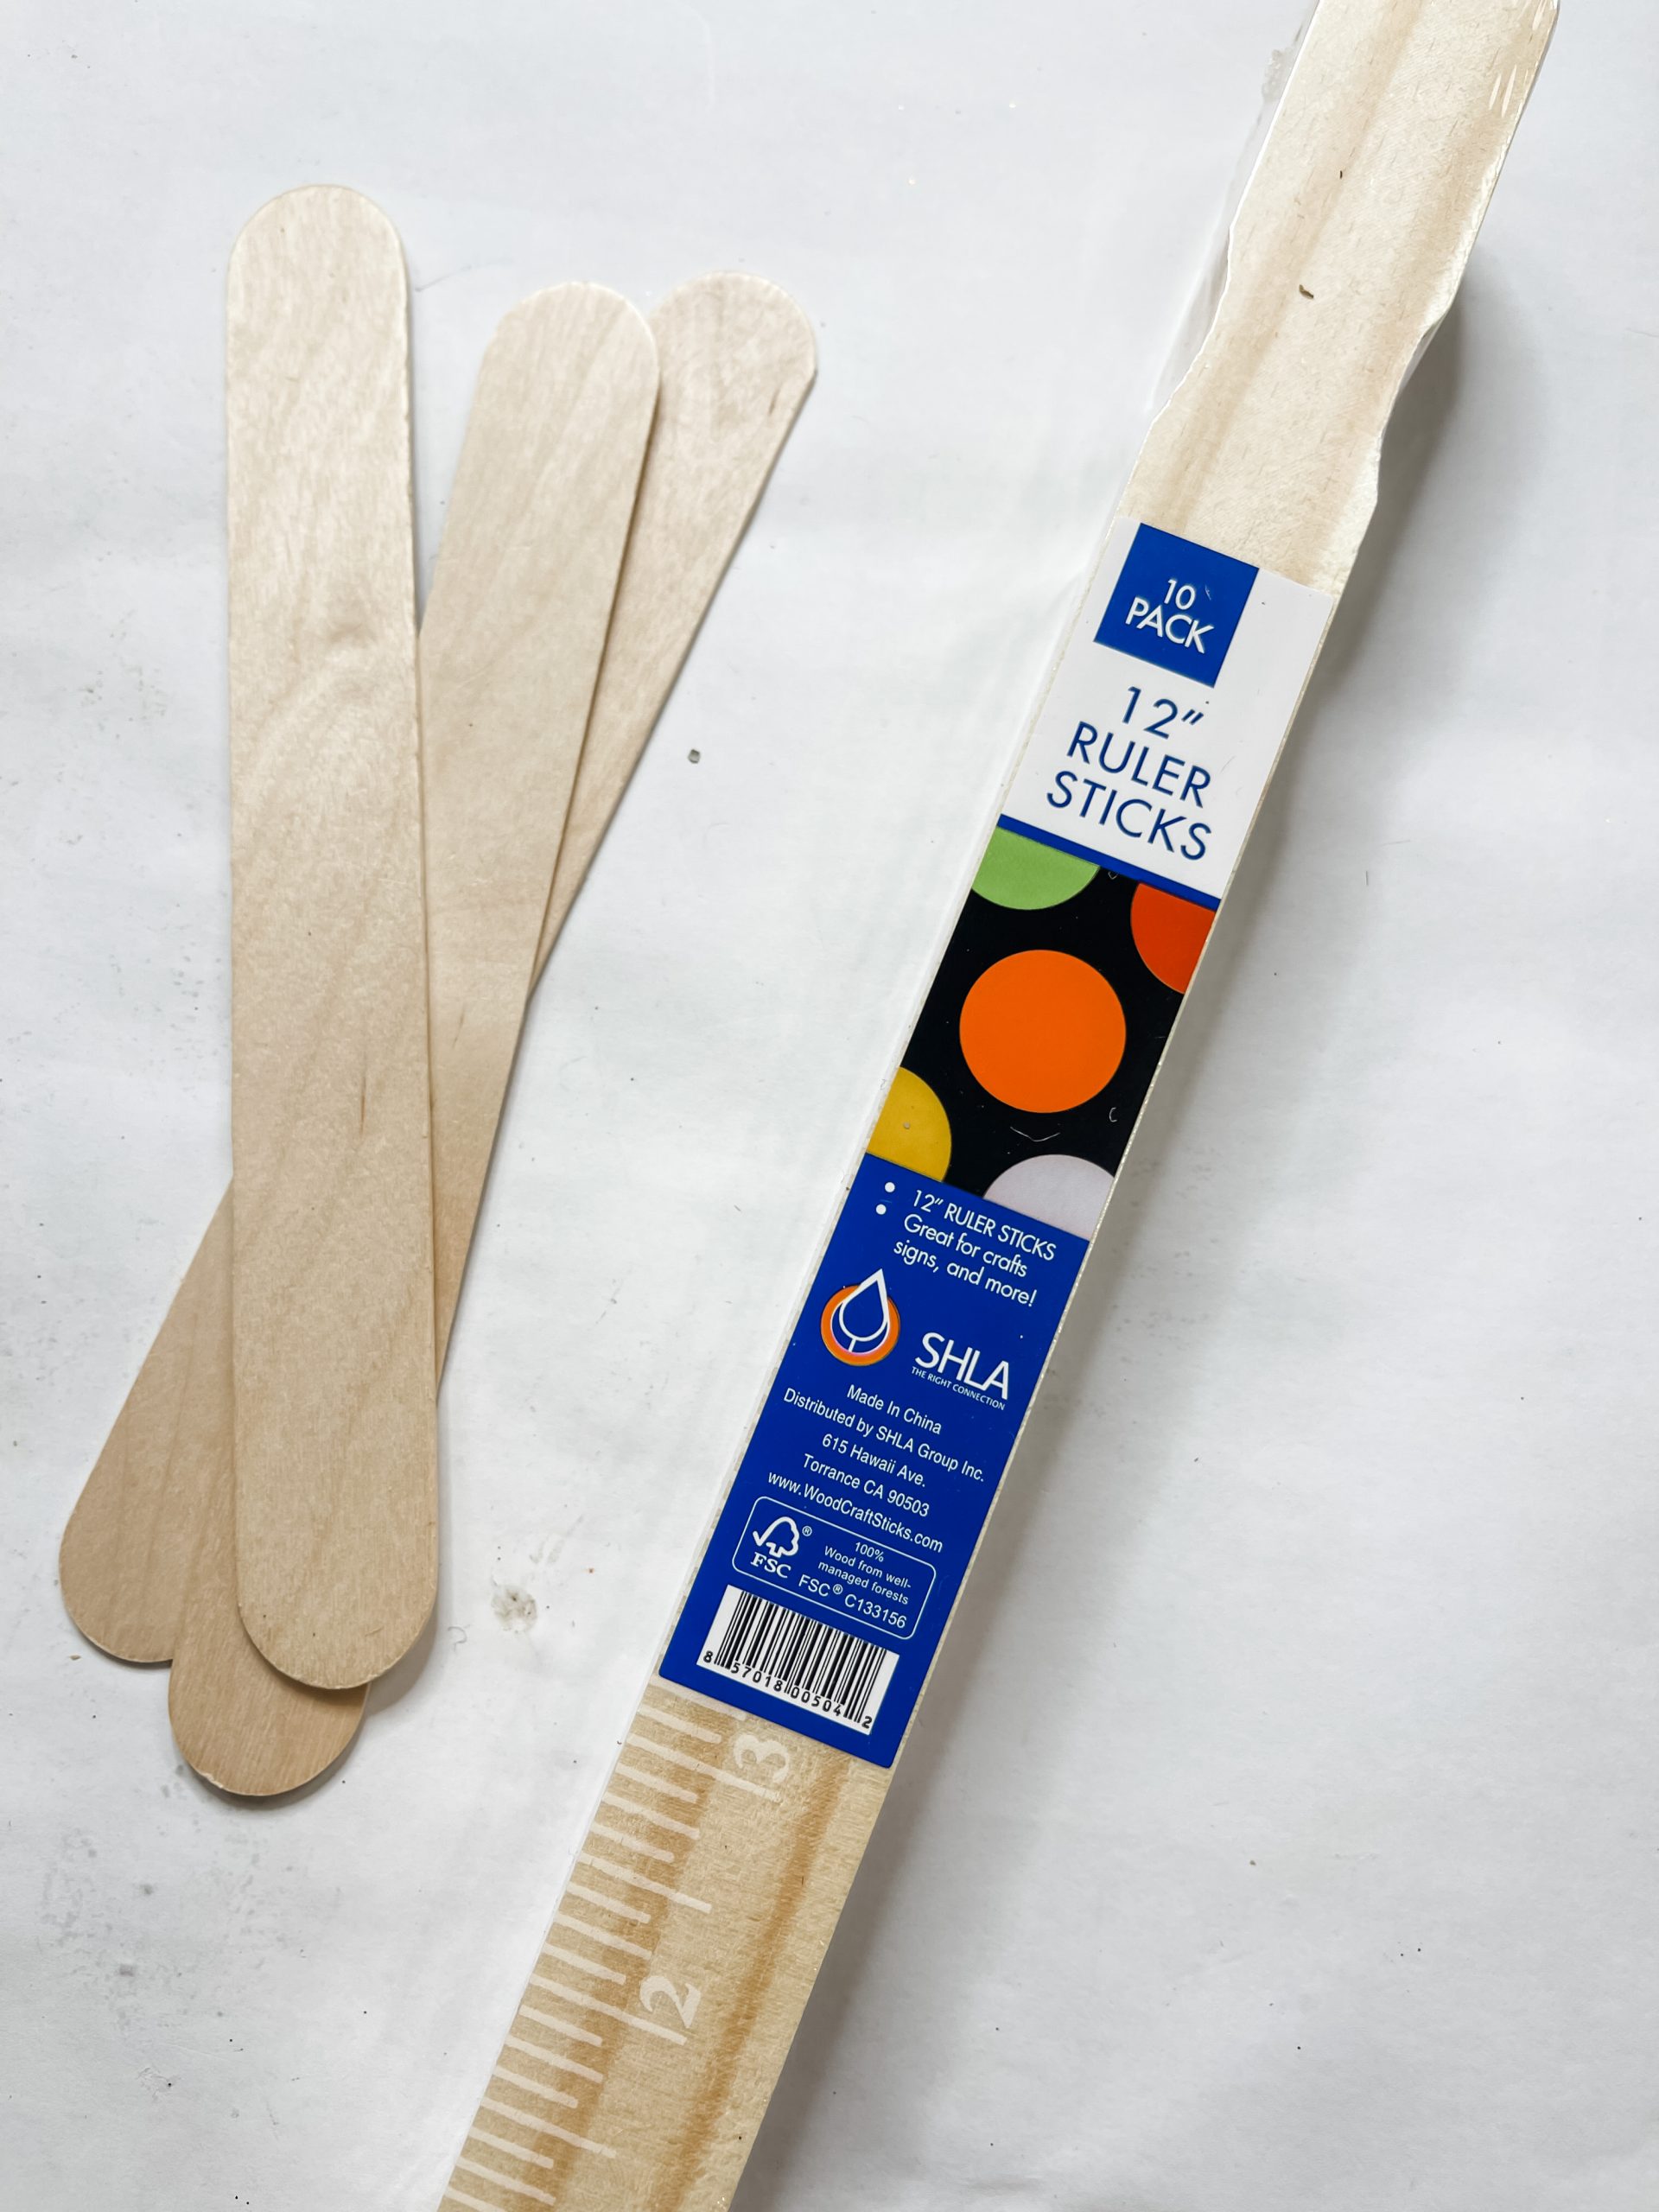
- Paint Mixing Sticks
- Giant Craft Sticks
- Apple Barrel Burnt Umber Acrylic Paint
- Waverly Pumpkin Paint
- Waverly White Paint
- Kilz Sealing Dark Wax
- Mod Podge
- Hot Glue gun
- Glue Stick
How to Make a DIY Chippy Farm Fresh Pumpkins Sign
First, you need to pick the design you’re going to use. I pulled the Farm Fresh Pumpkins image from the Dollar Tree 2022 Farmer’s Market Calendar.
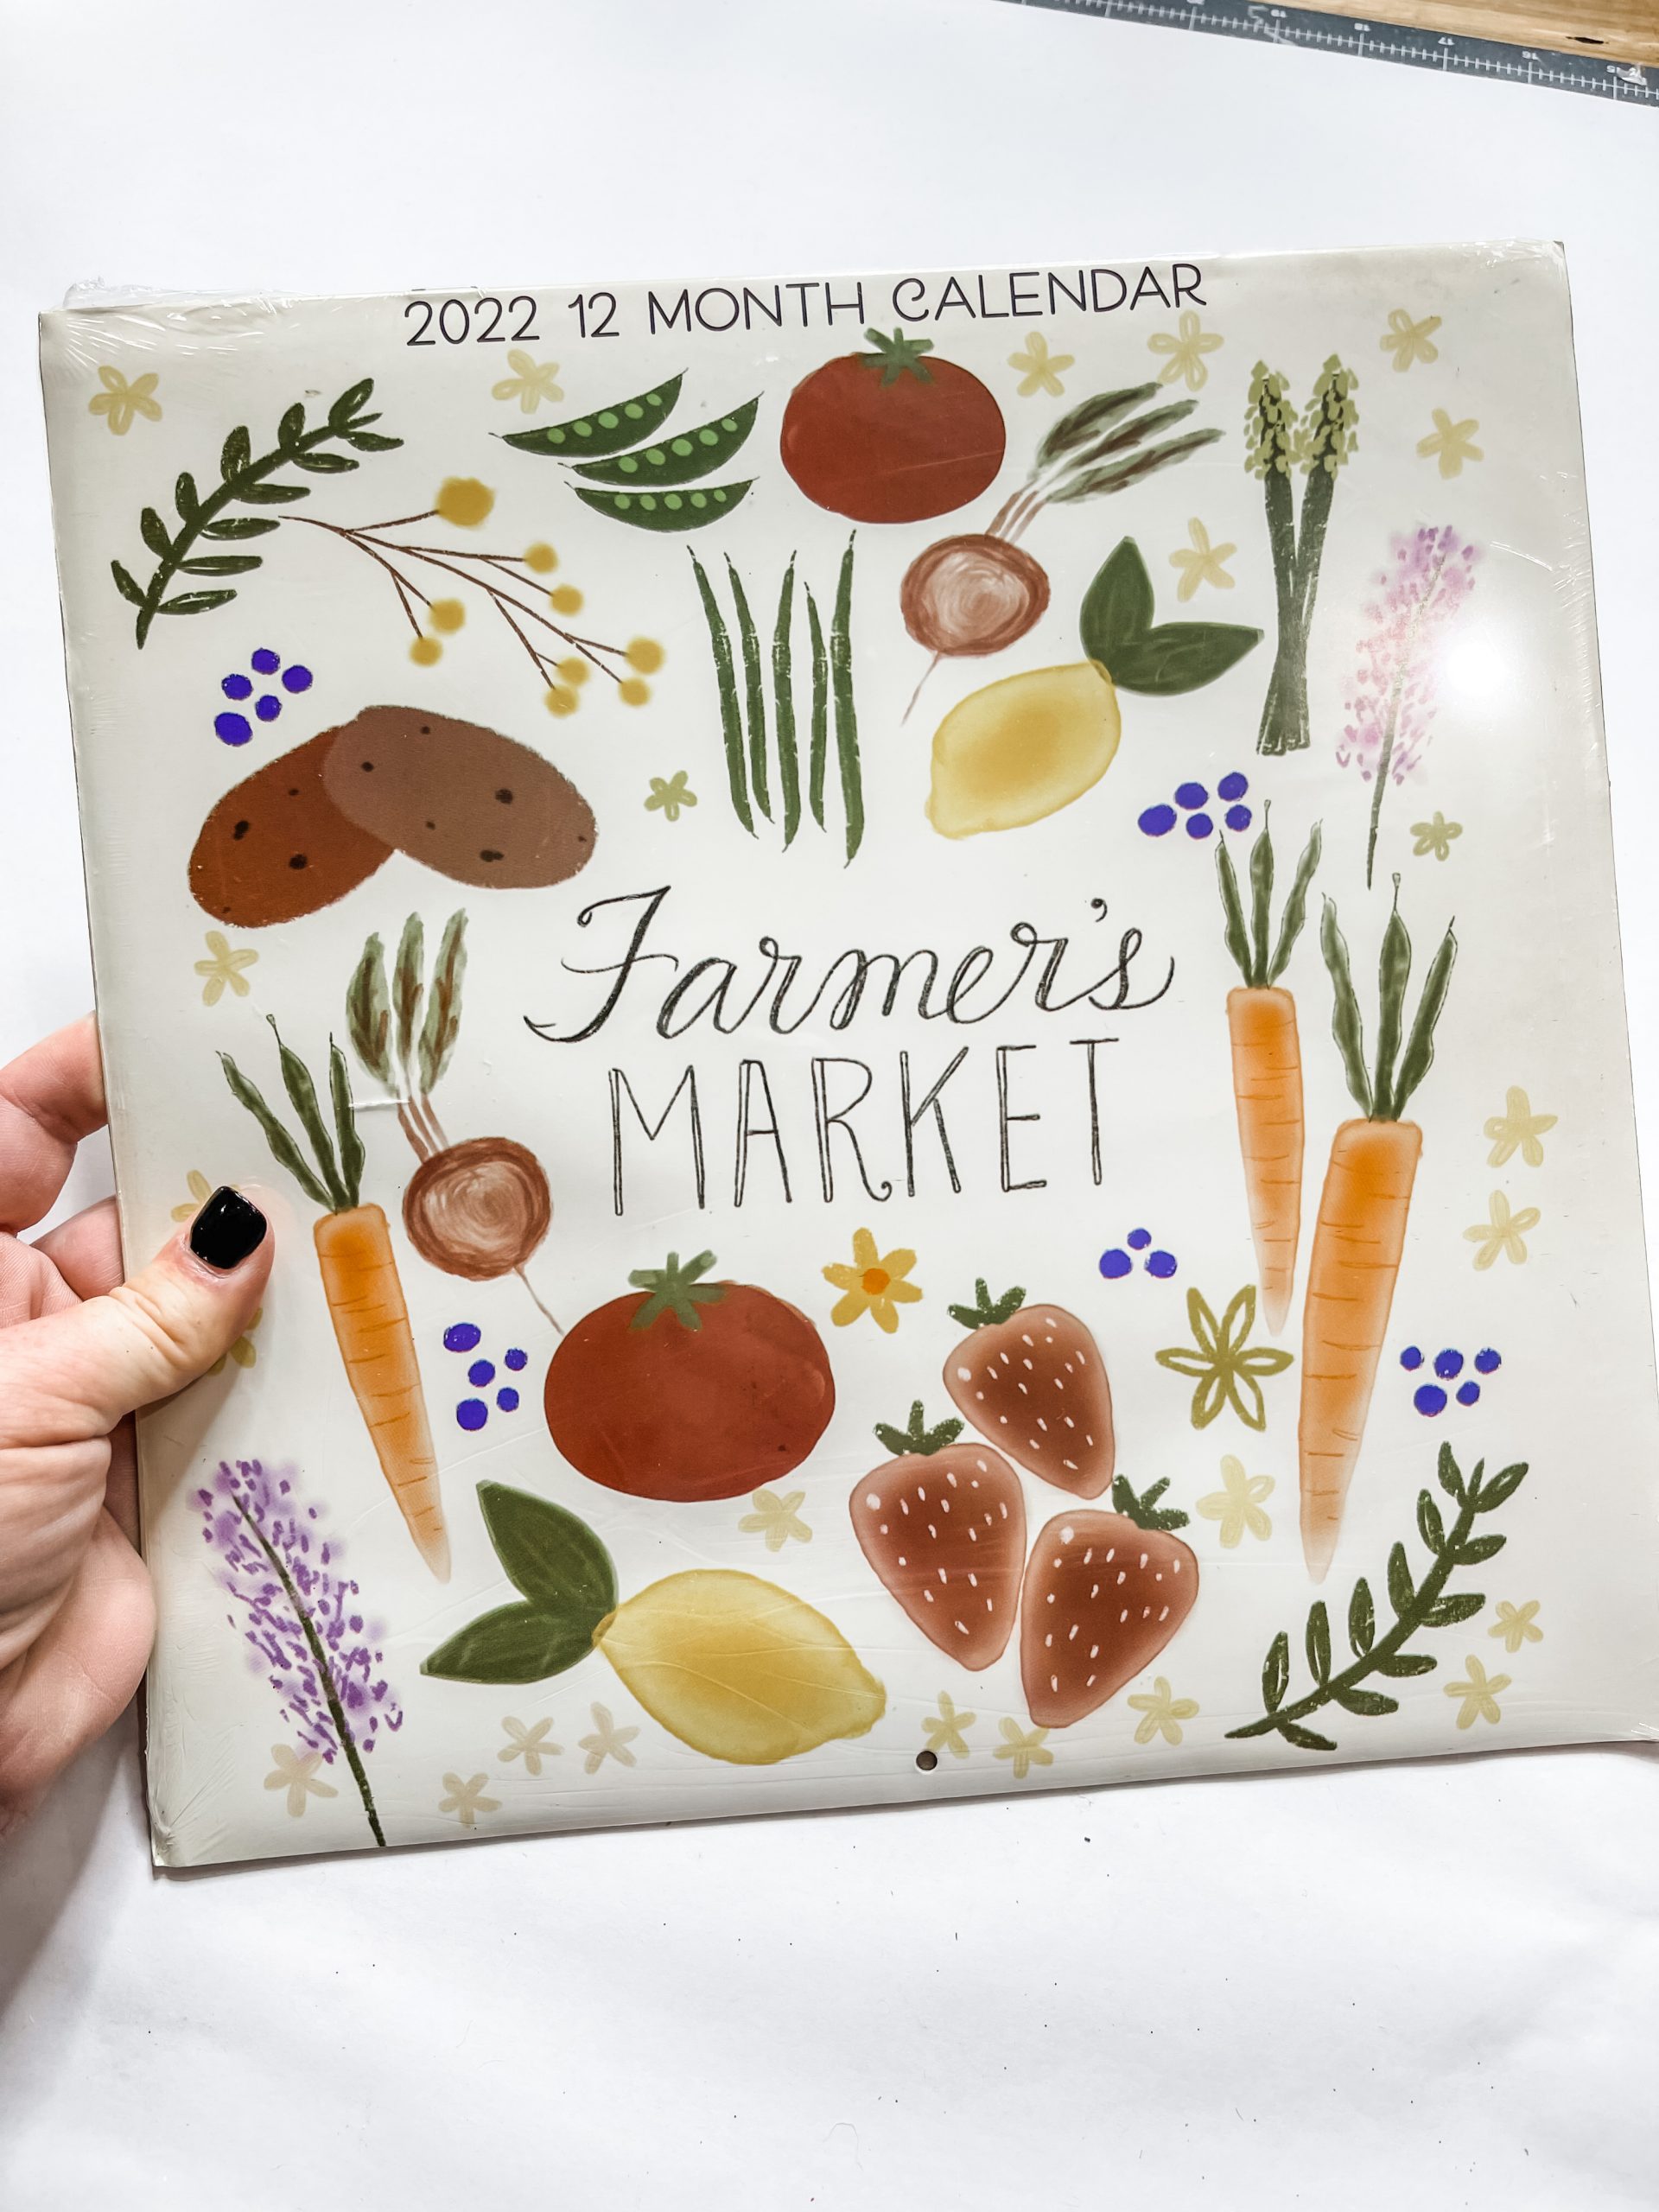
Then, apply a coat of Mod Podge to the back of the Dollar Tree square sign and place the image on the Mod Podge.
Place a piece of plastic saran wrap and use a rolling pin over the surface to smooth out any wrinkles or creases on the paper.
Allow the Mod Podge to dry completely and then go over the edges of the farm fresh pumpkin sign with a sanding sponge to remove any excess paper. I used my heat gun to speed up the drying process.
How to make a DIY chippy frame
Next, get the paint mixing sticks that you’re going to use for the frame. I applied a coat of the Kilz Dark Sealing Wax, then painted over that with a small amount of Apple Barrel burnt umber paint.
Wipe over the paint mixing sticks with a dry paper towel to remove any excess paint and wax from the paint sticks.
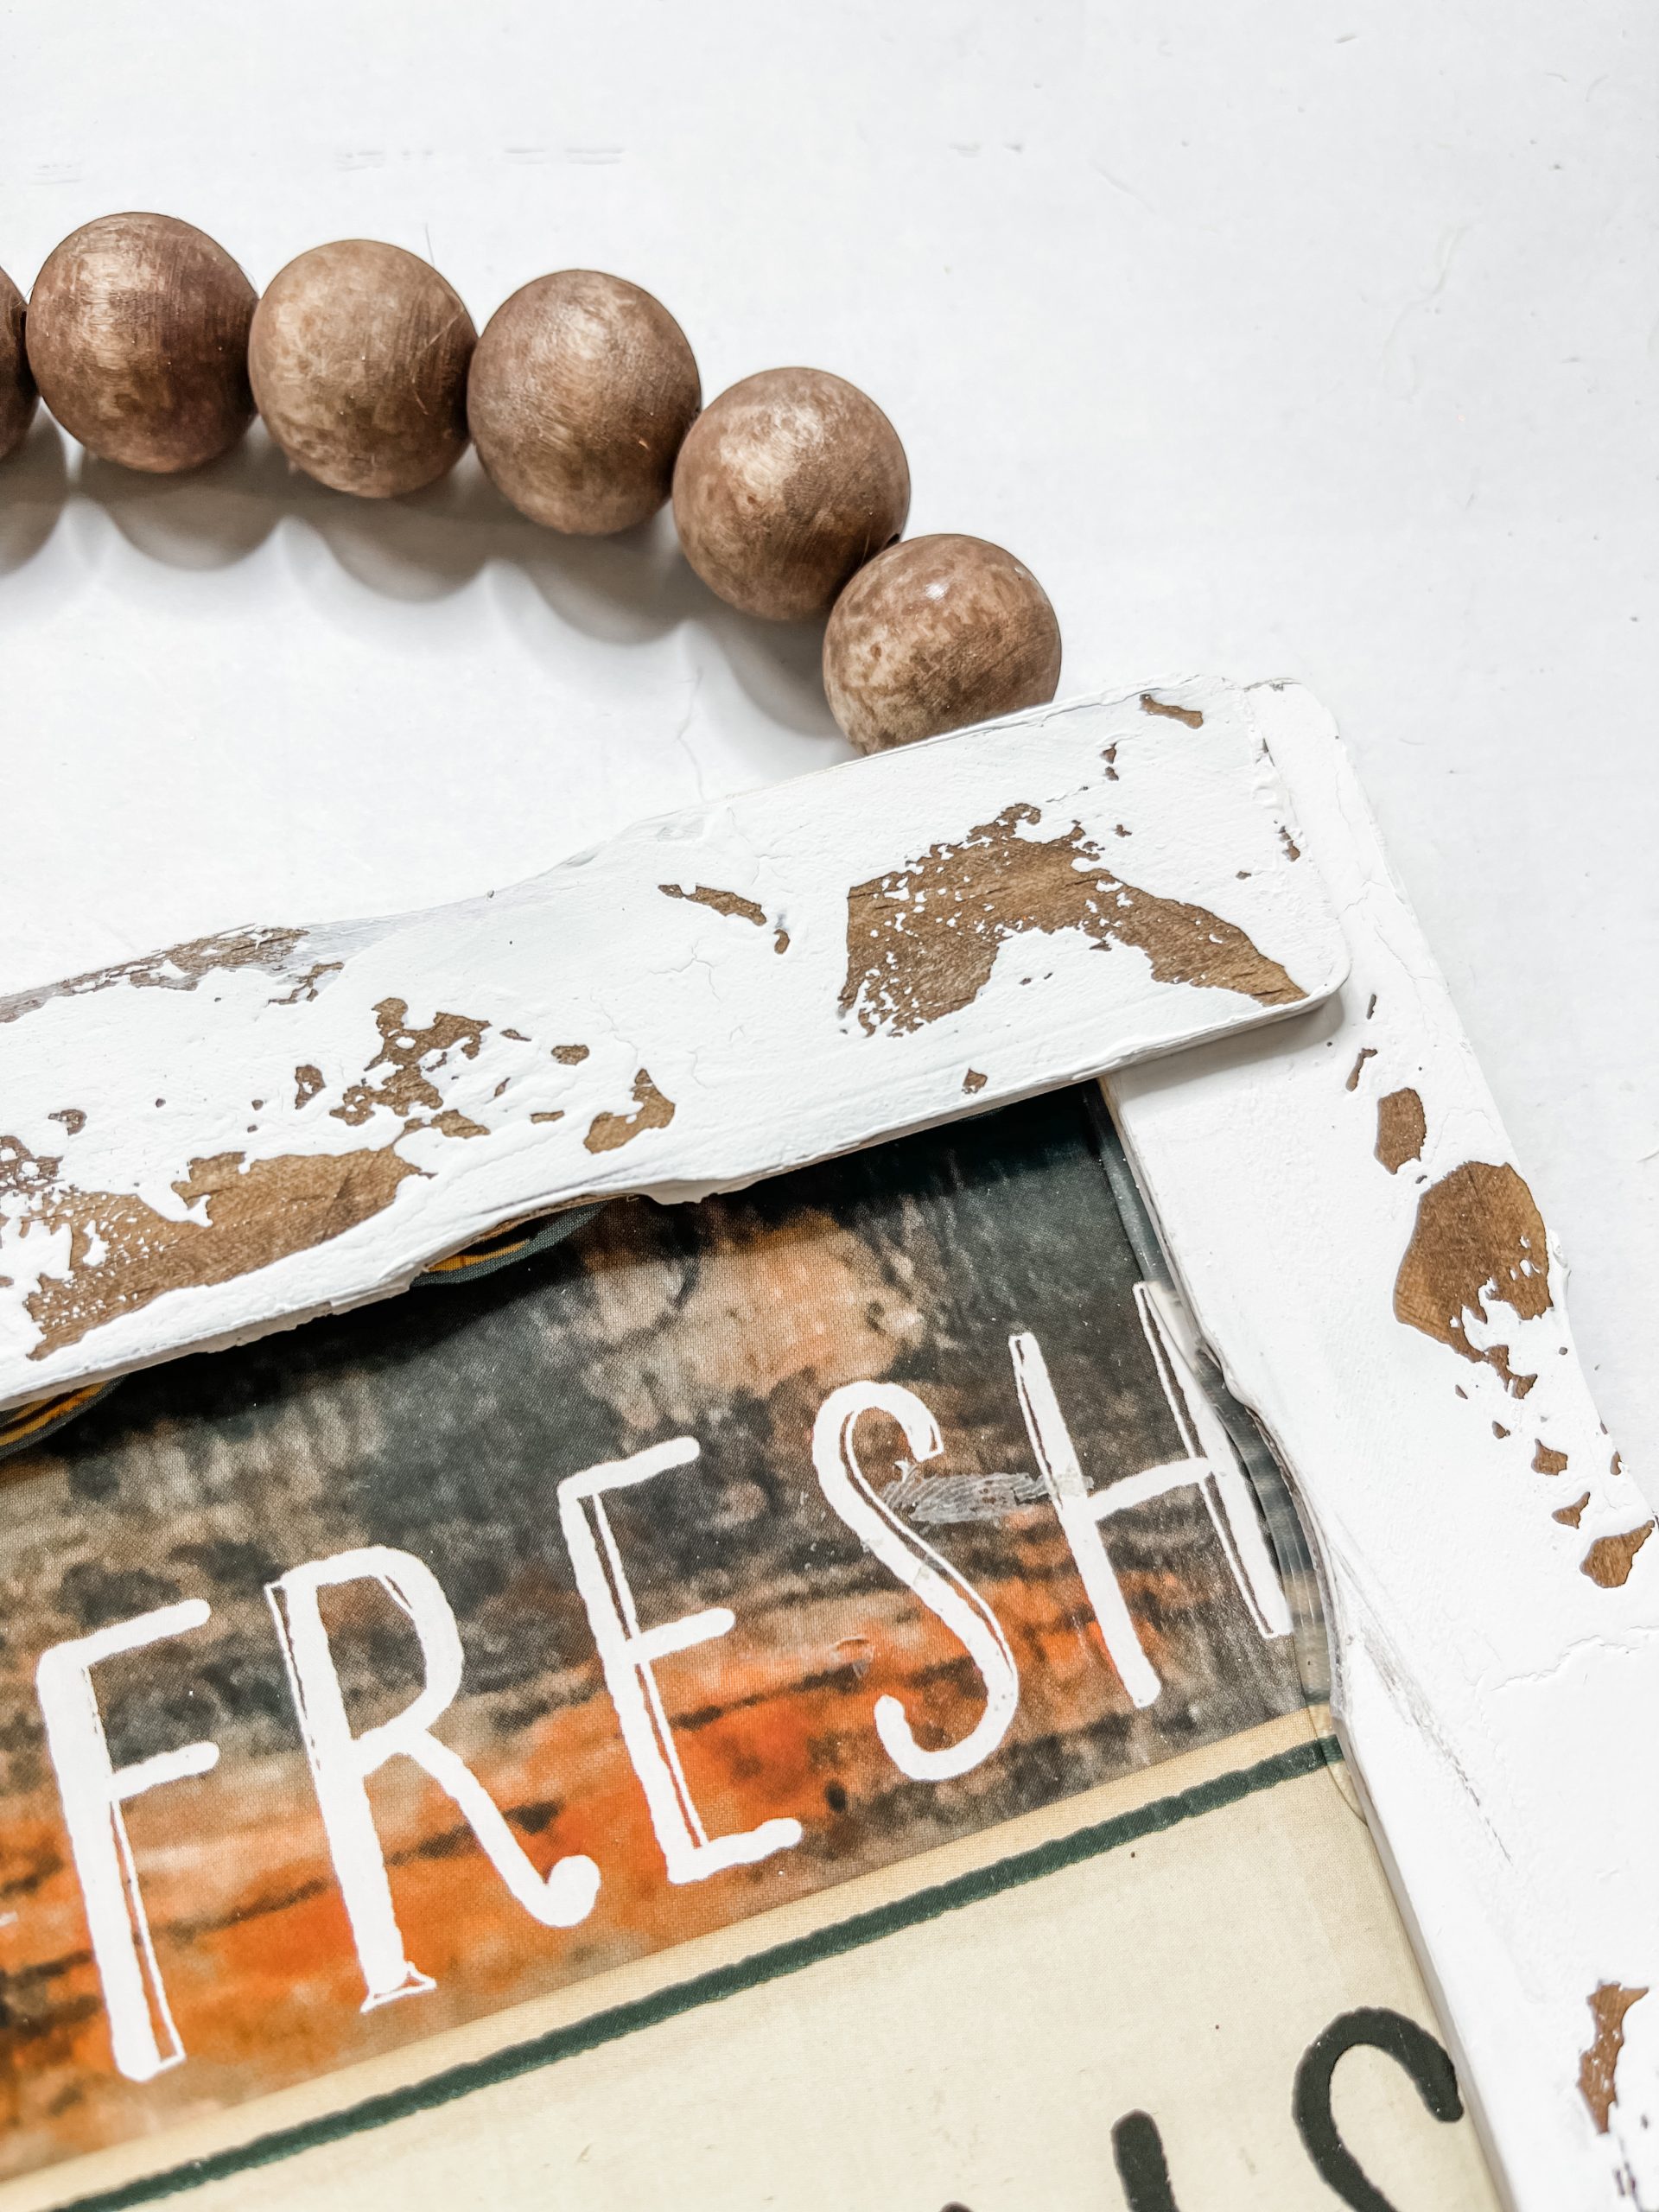
Next, dip your giant craft stick in the Waverly white chalk paint and lightly drag it across the paint mixing sticks. This is how you get the DIY chippy finish on the paint mixing sticks.
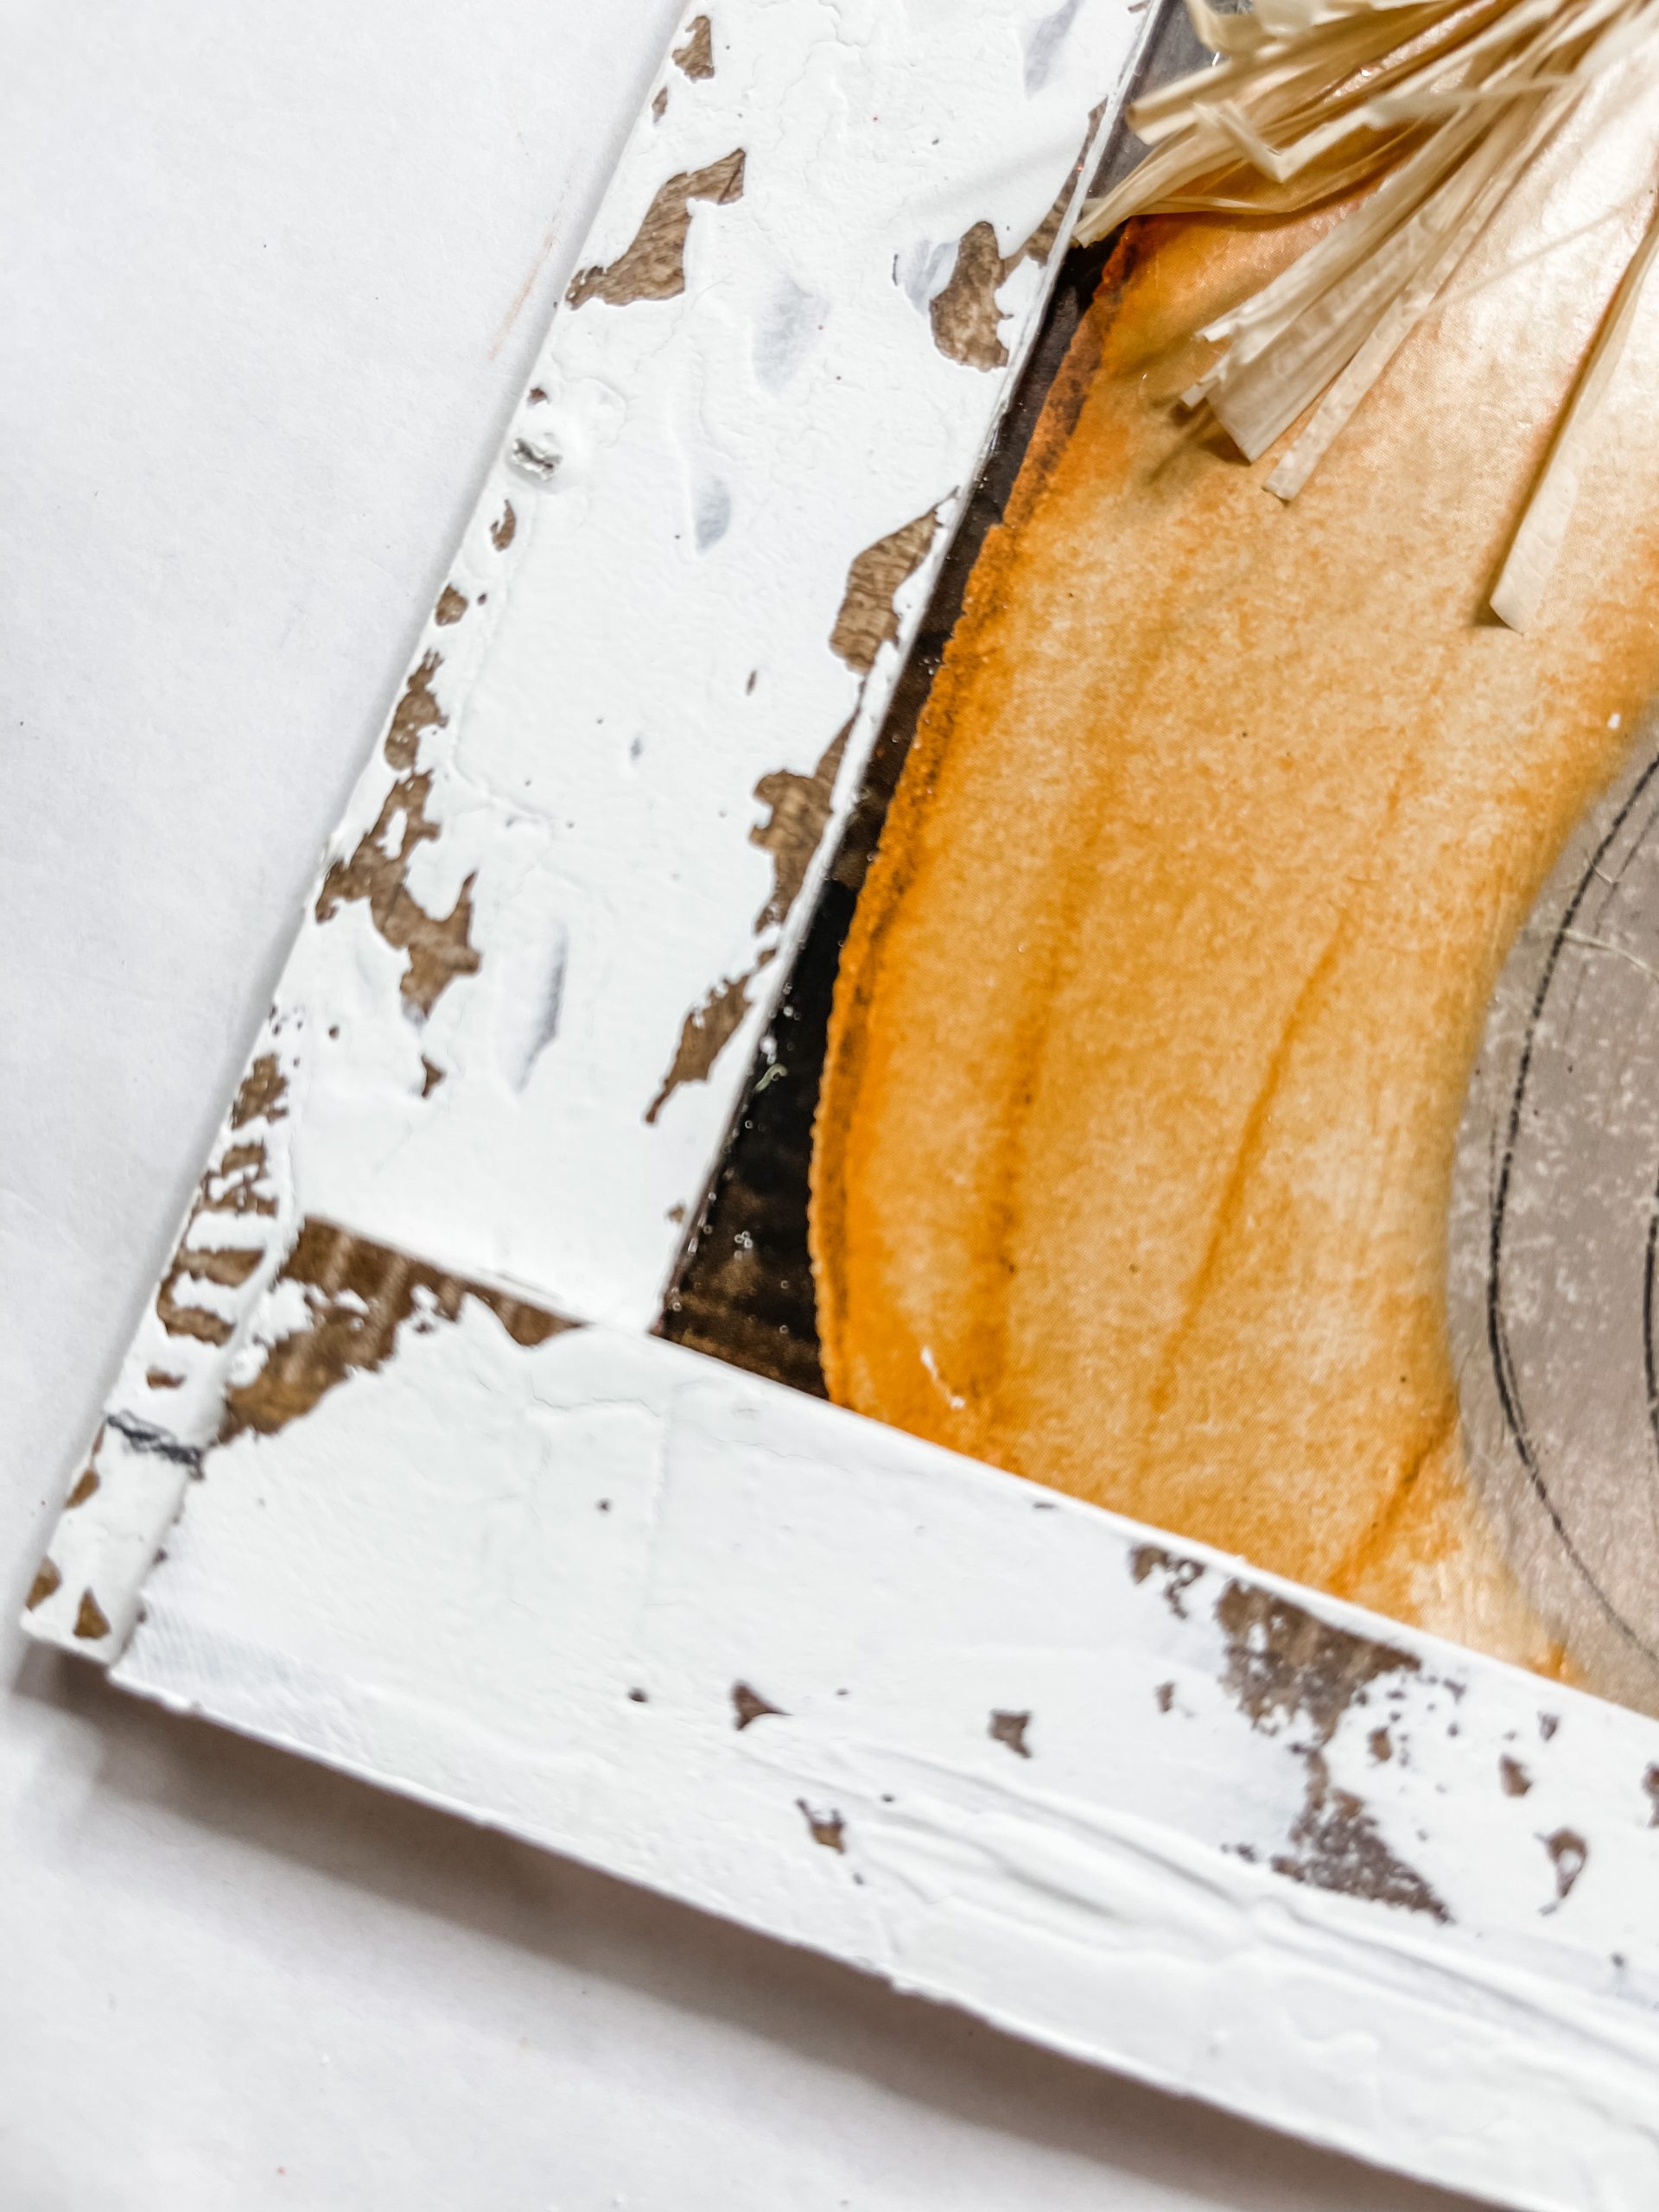
I used my heat gun again to quickly dry the white paint on the paint mixing sticks, then used my finger to paint the edges of the paint mixing sticks.
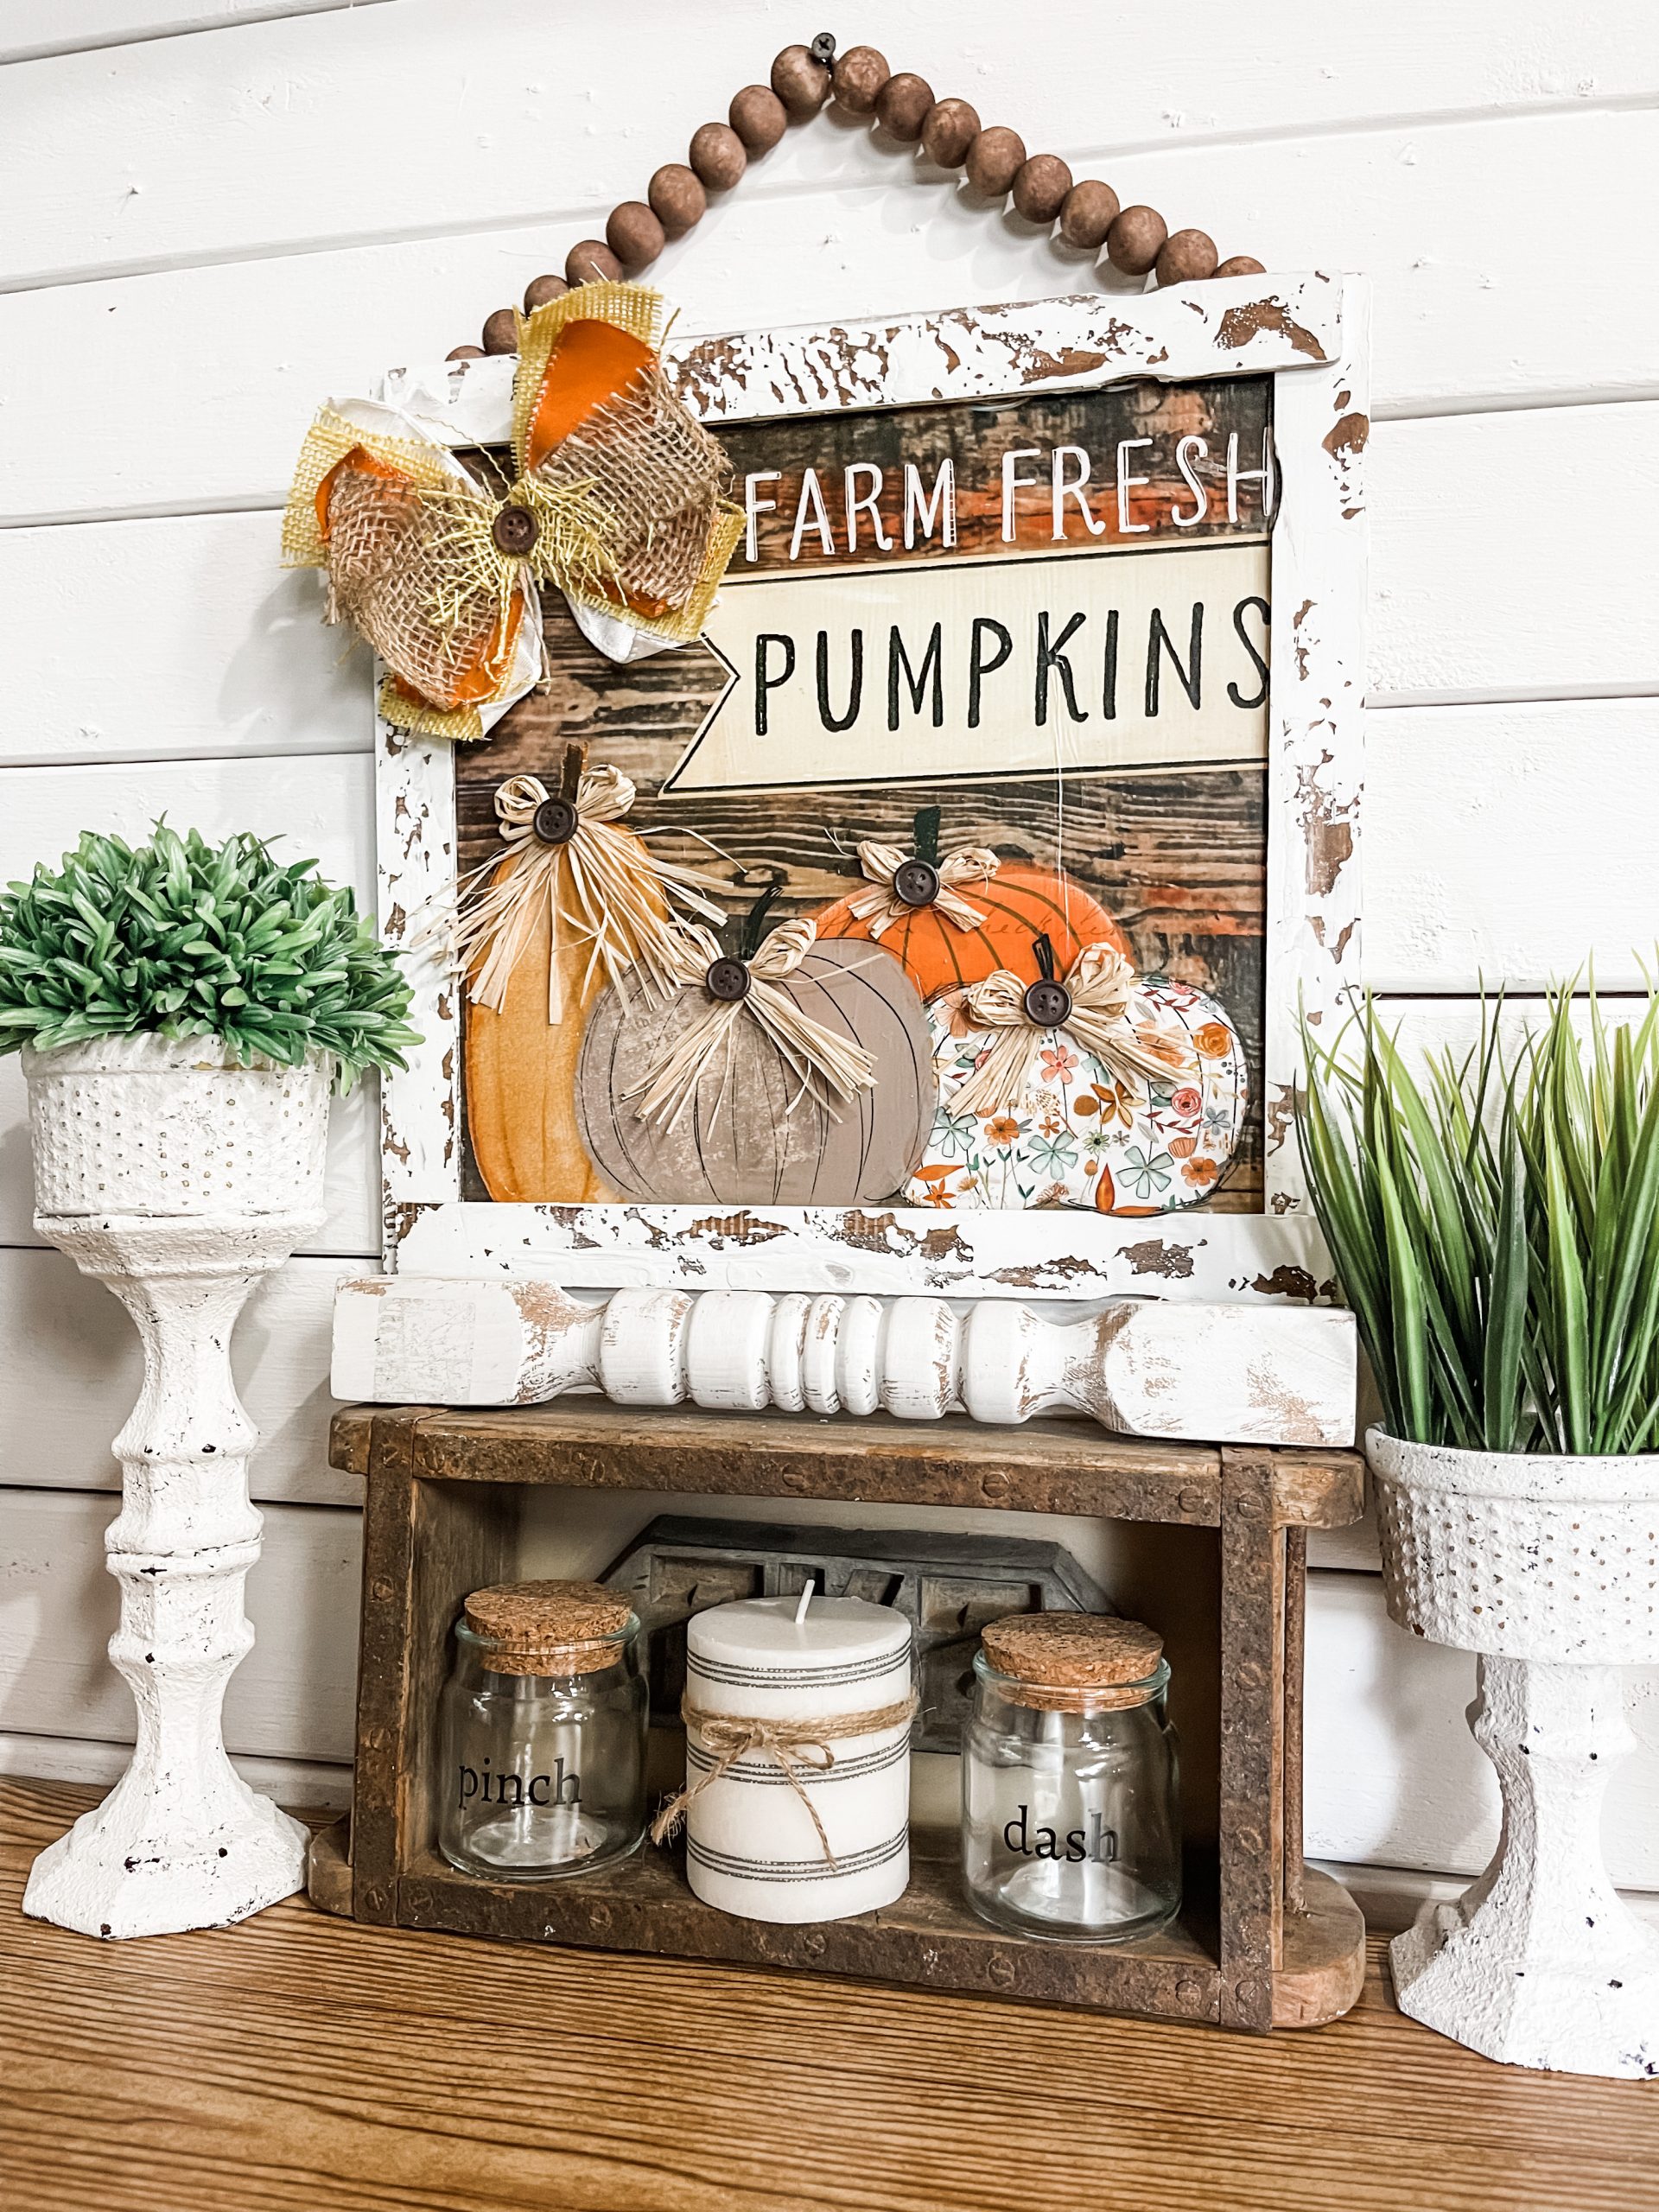
Once all the paint was dry, I hot glued a paint mixing stick on both the left and right side of the sign, then a paint mixing stick horizontally across the top and bottom of the sign.
Bring it all together
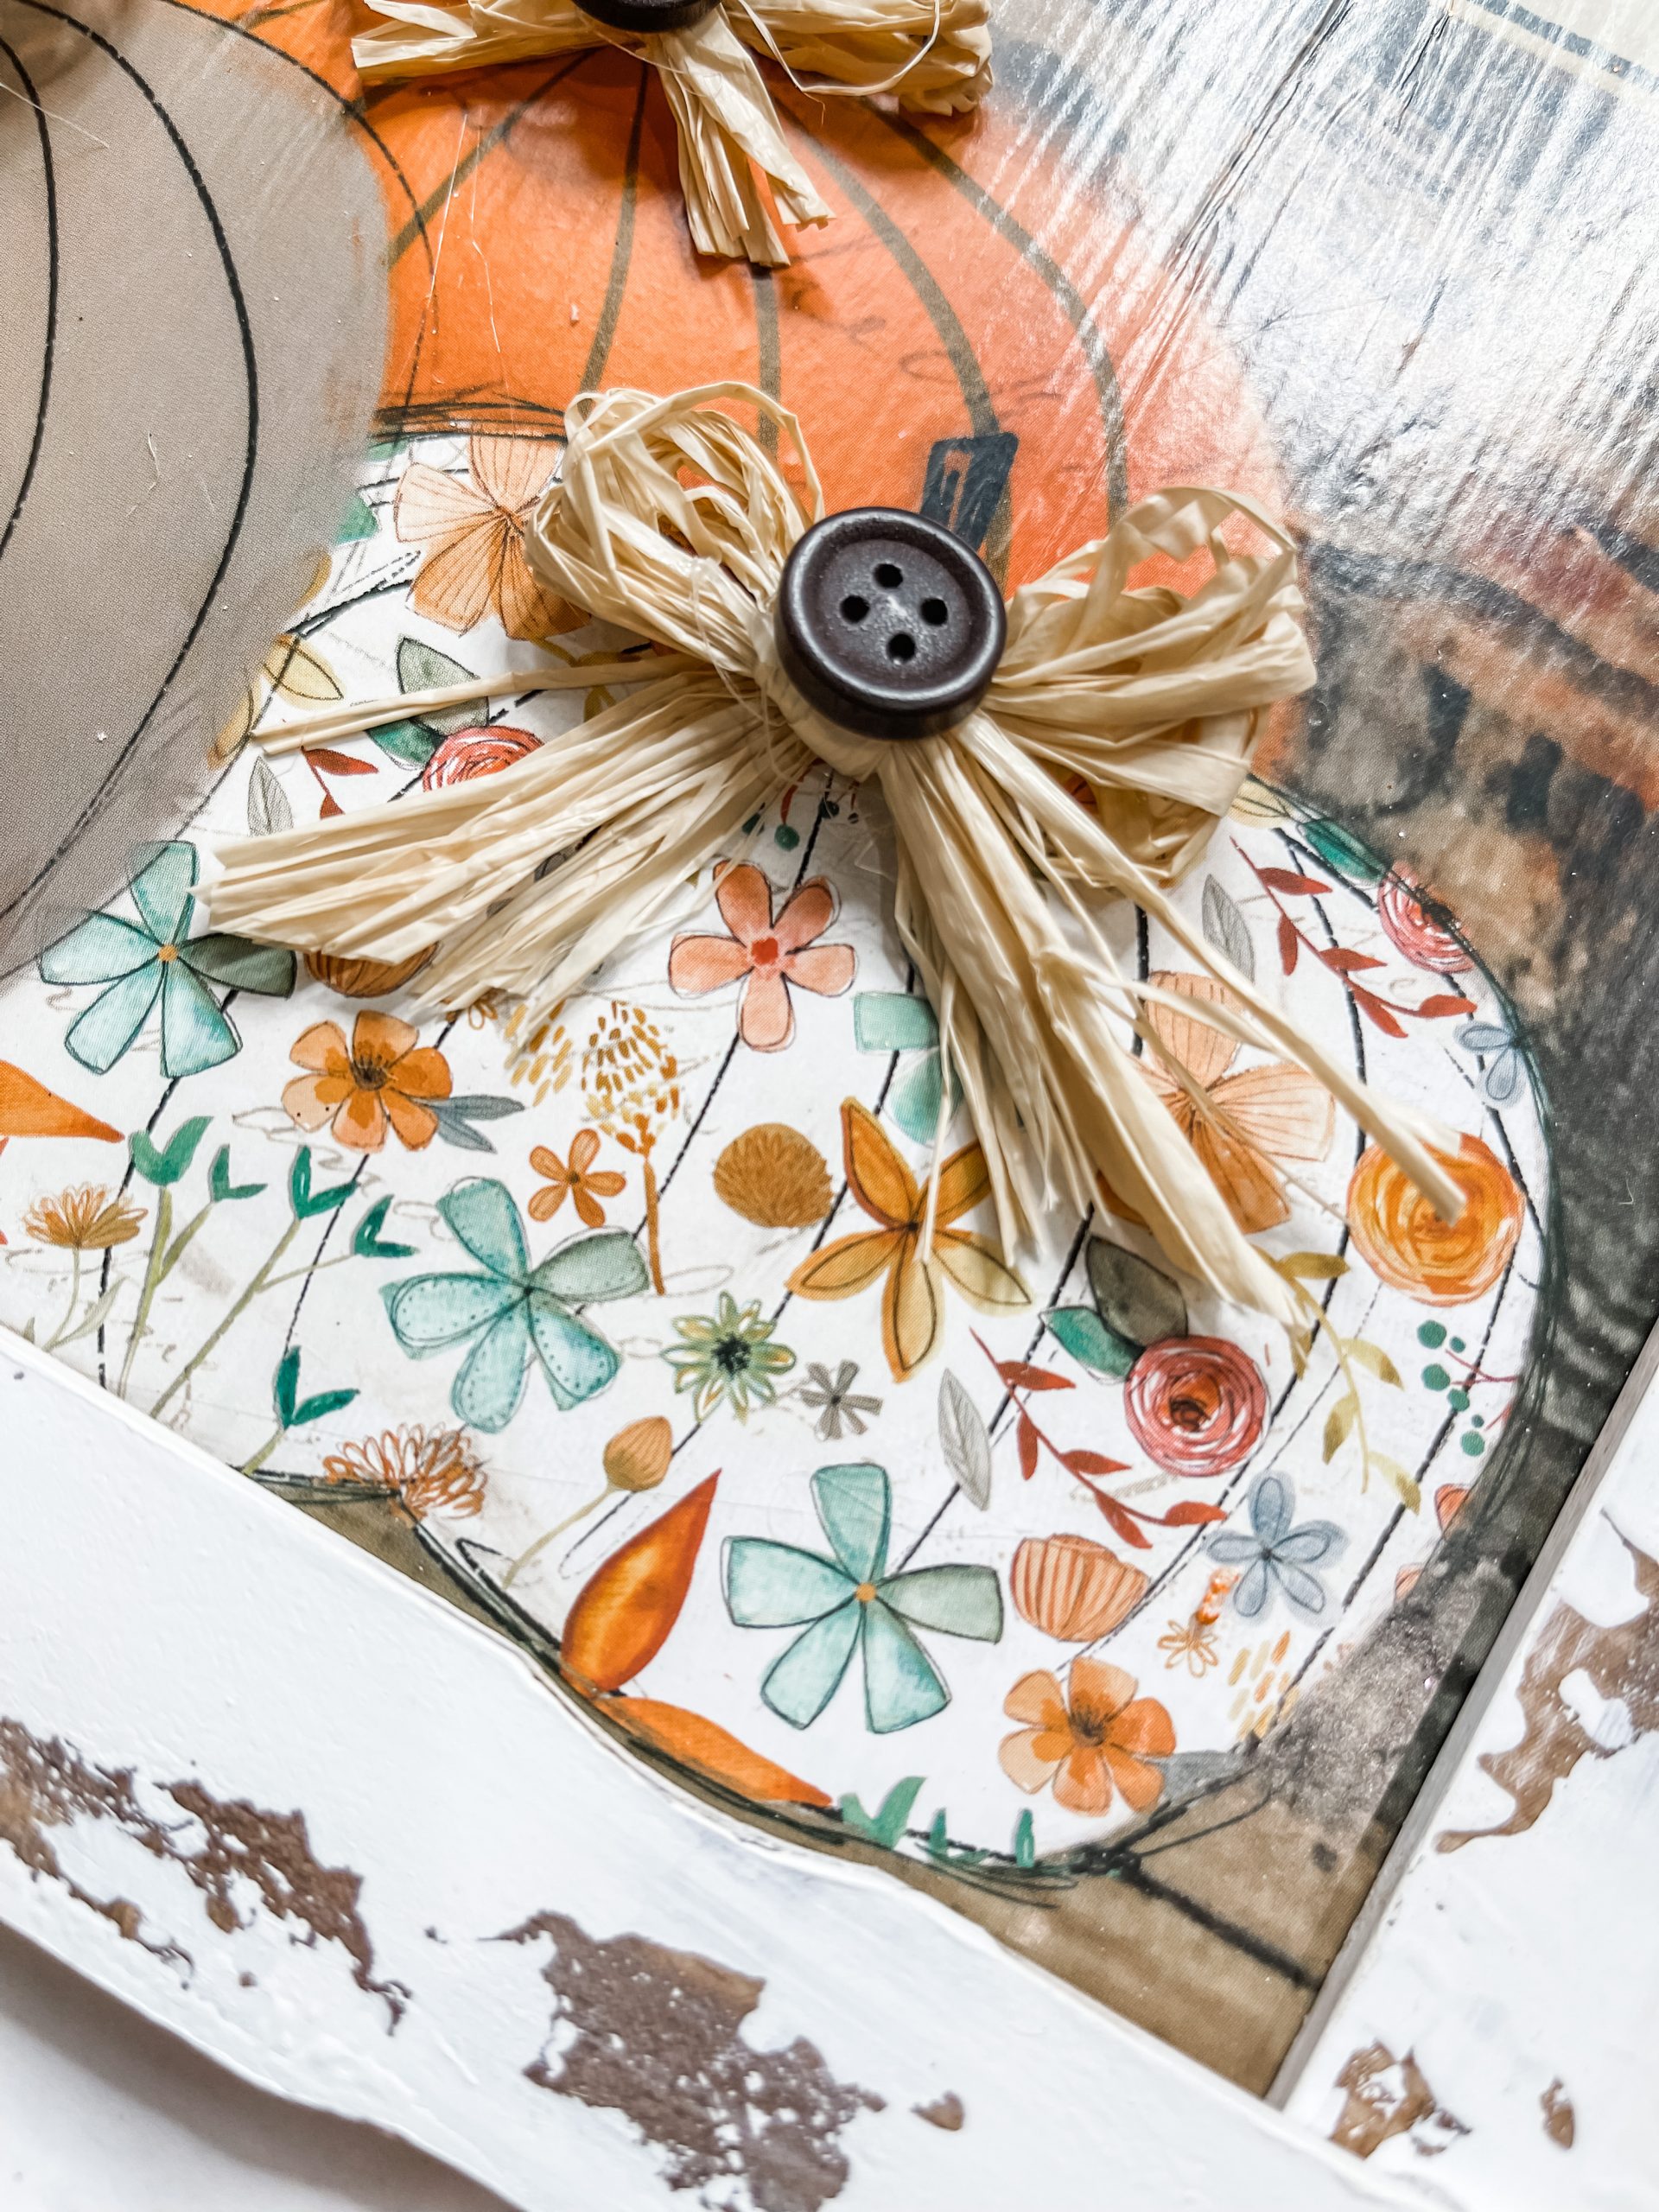
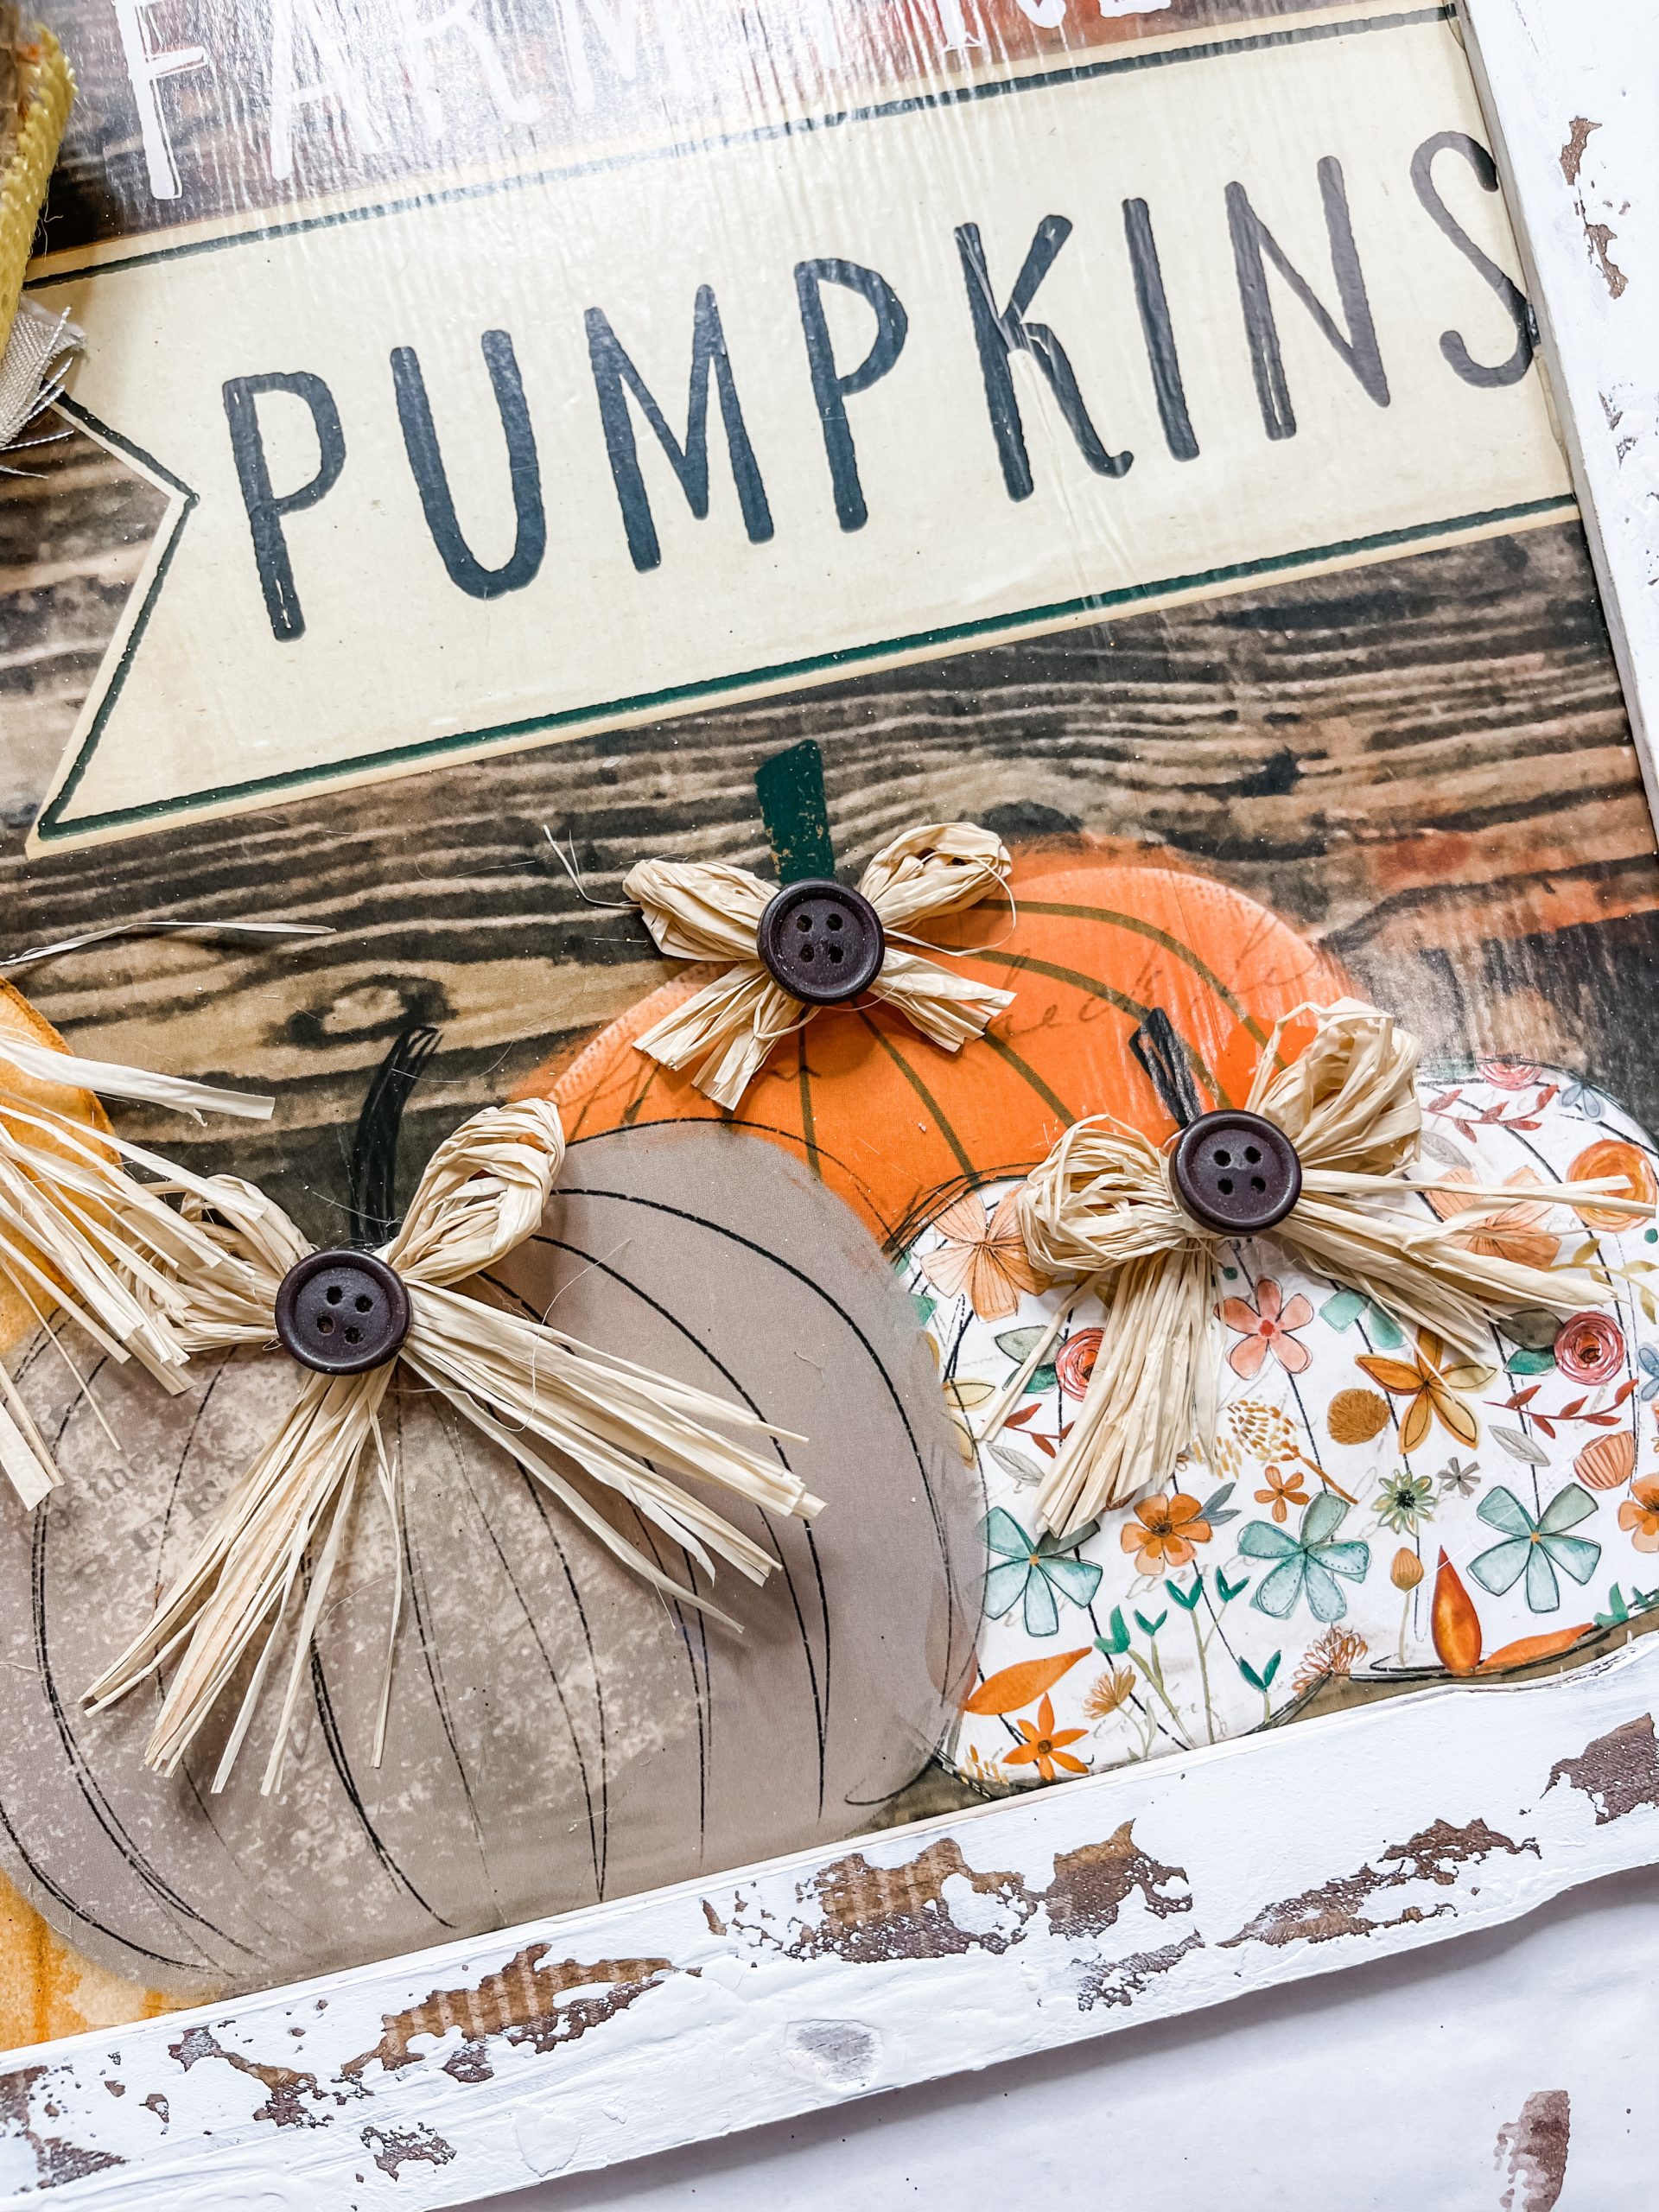
Next, I grabbed four of the small raffia bows from Hobby Lobby, fluffed them up, trimmed the ends just a little, and hot glued them at the base of each farm fresh pumpkin stem on the calendar image.
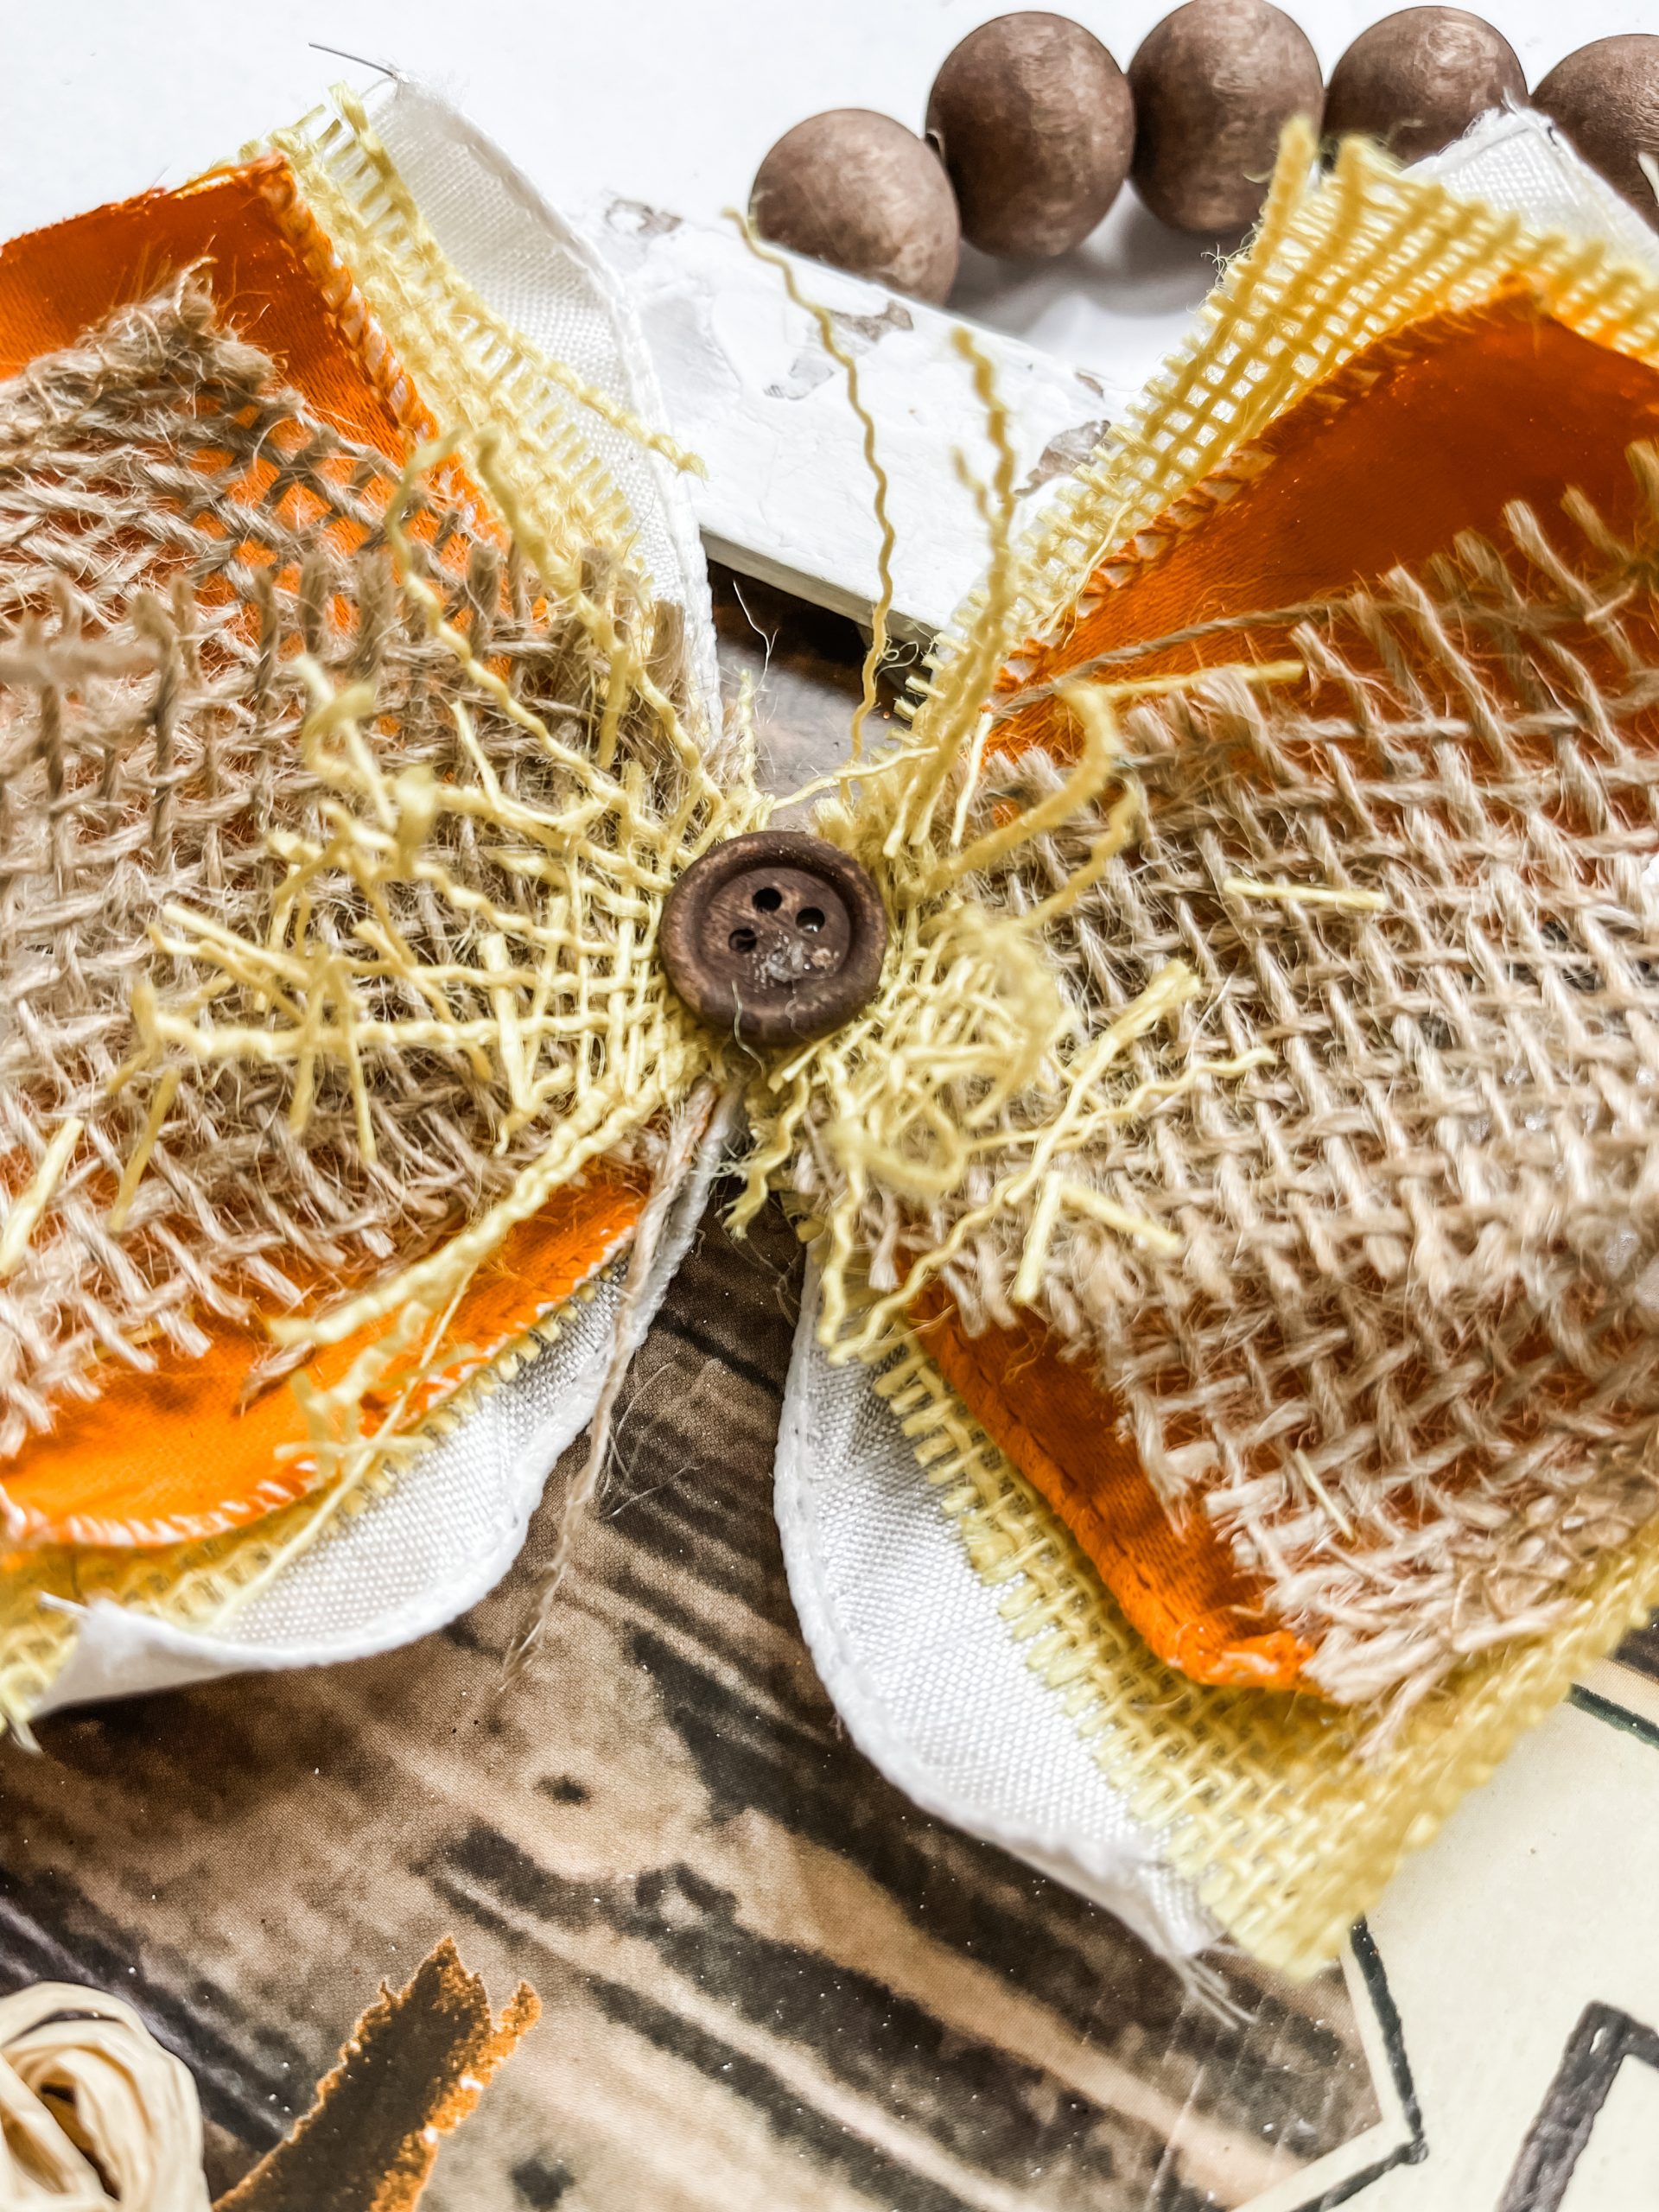
Now it’s time to make the bow! I cut one long strip of the yellow burlap from Hobby Lobby, then cut it in half to create two smaller strips.
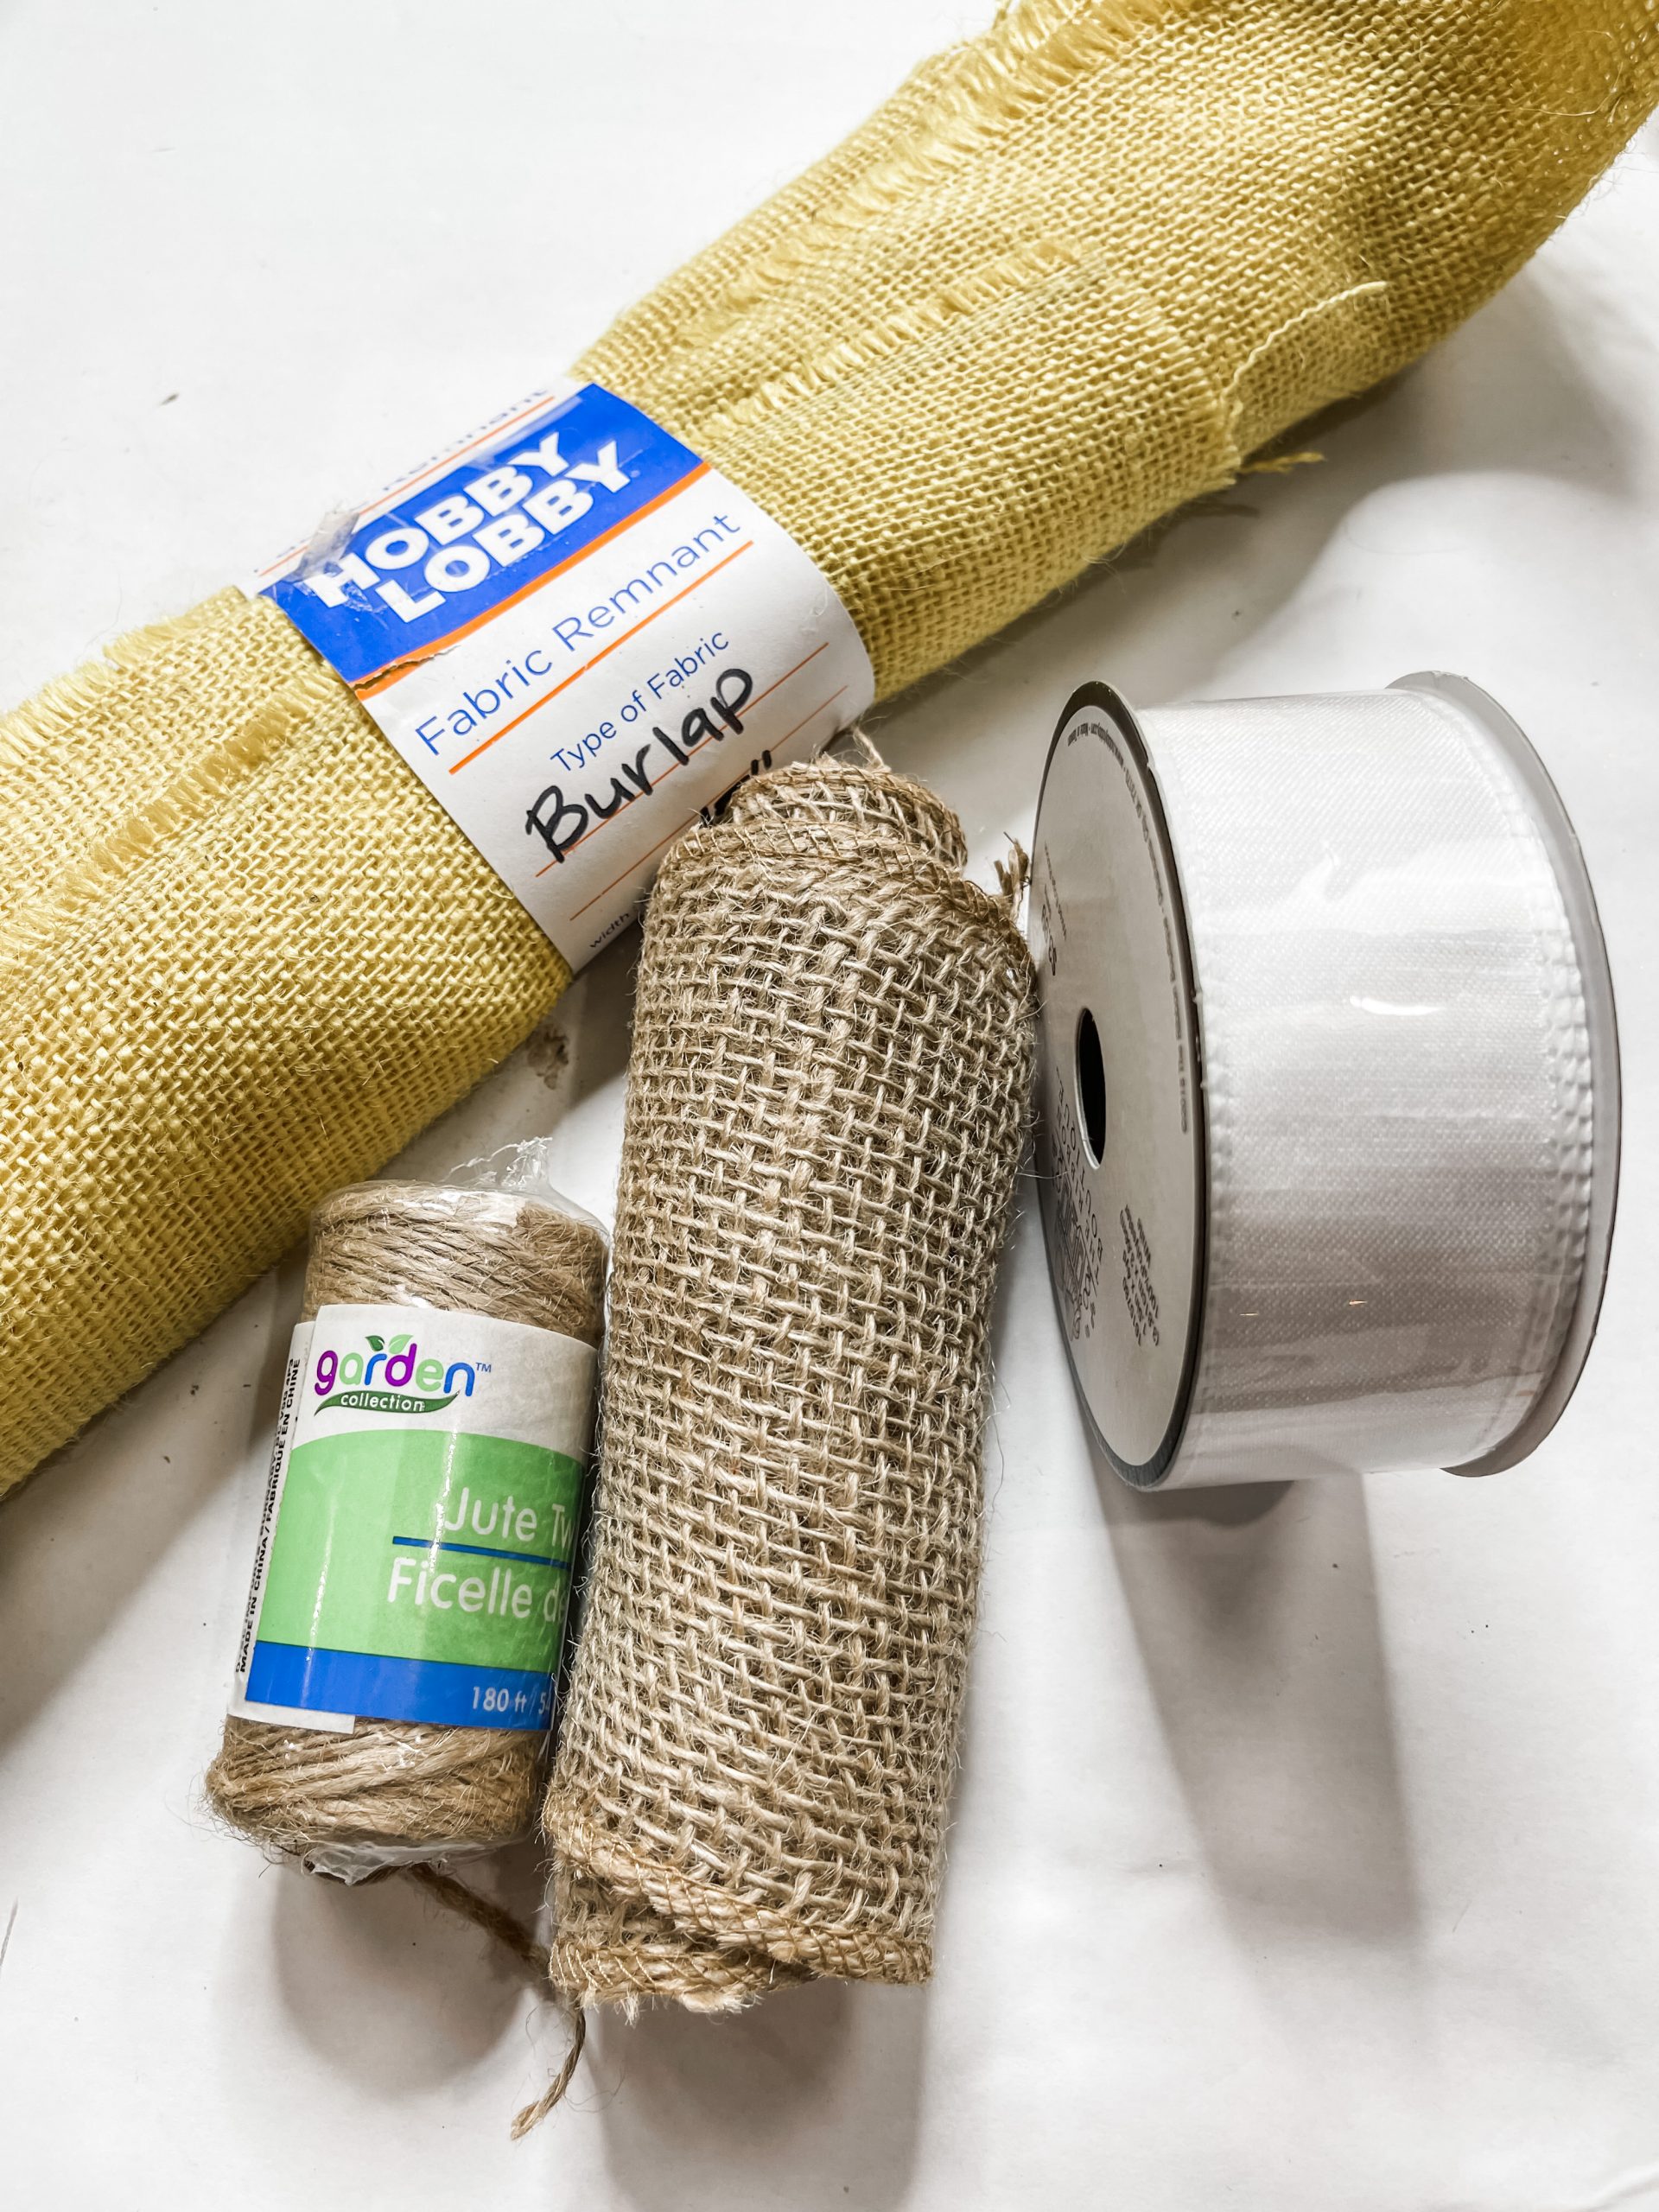
Cut two strips of the burlap ribbon the same length and the yellow burlap. Then, cut four strips of the white ribbon, the same length as the other pieces.
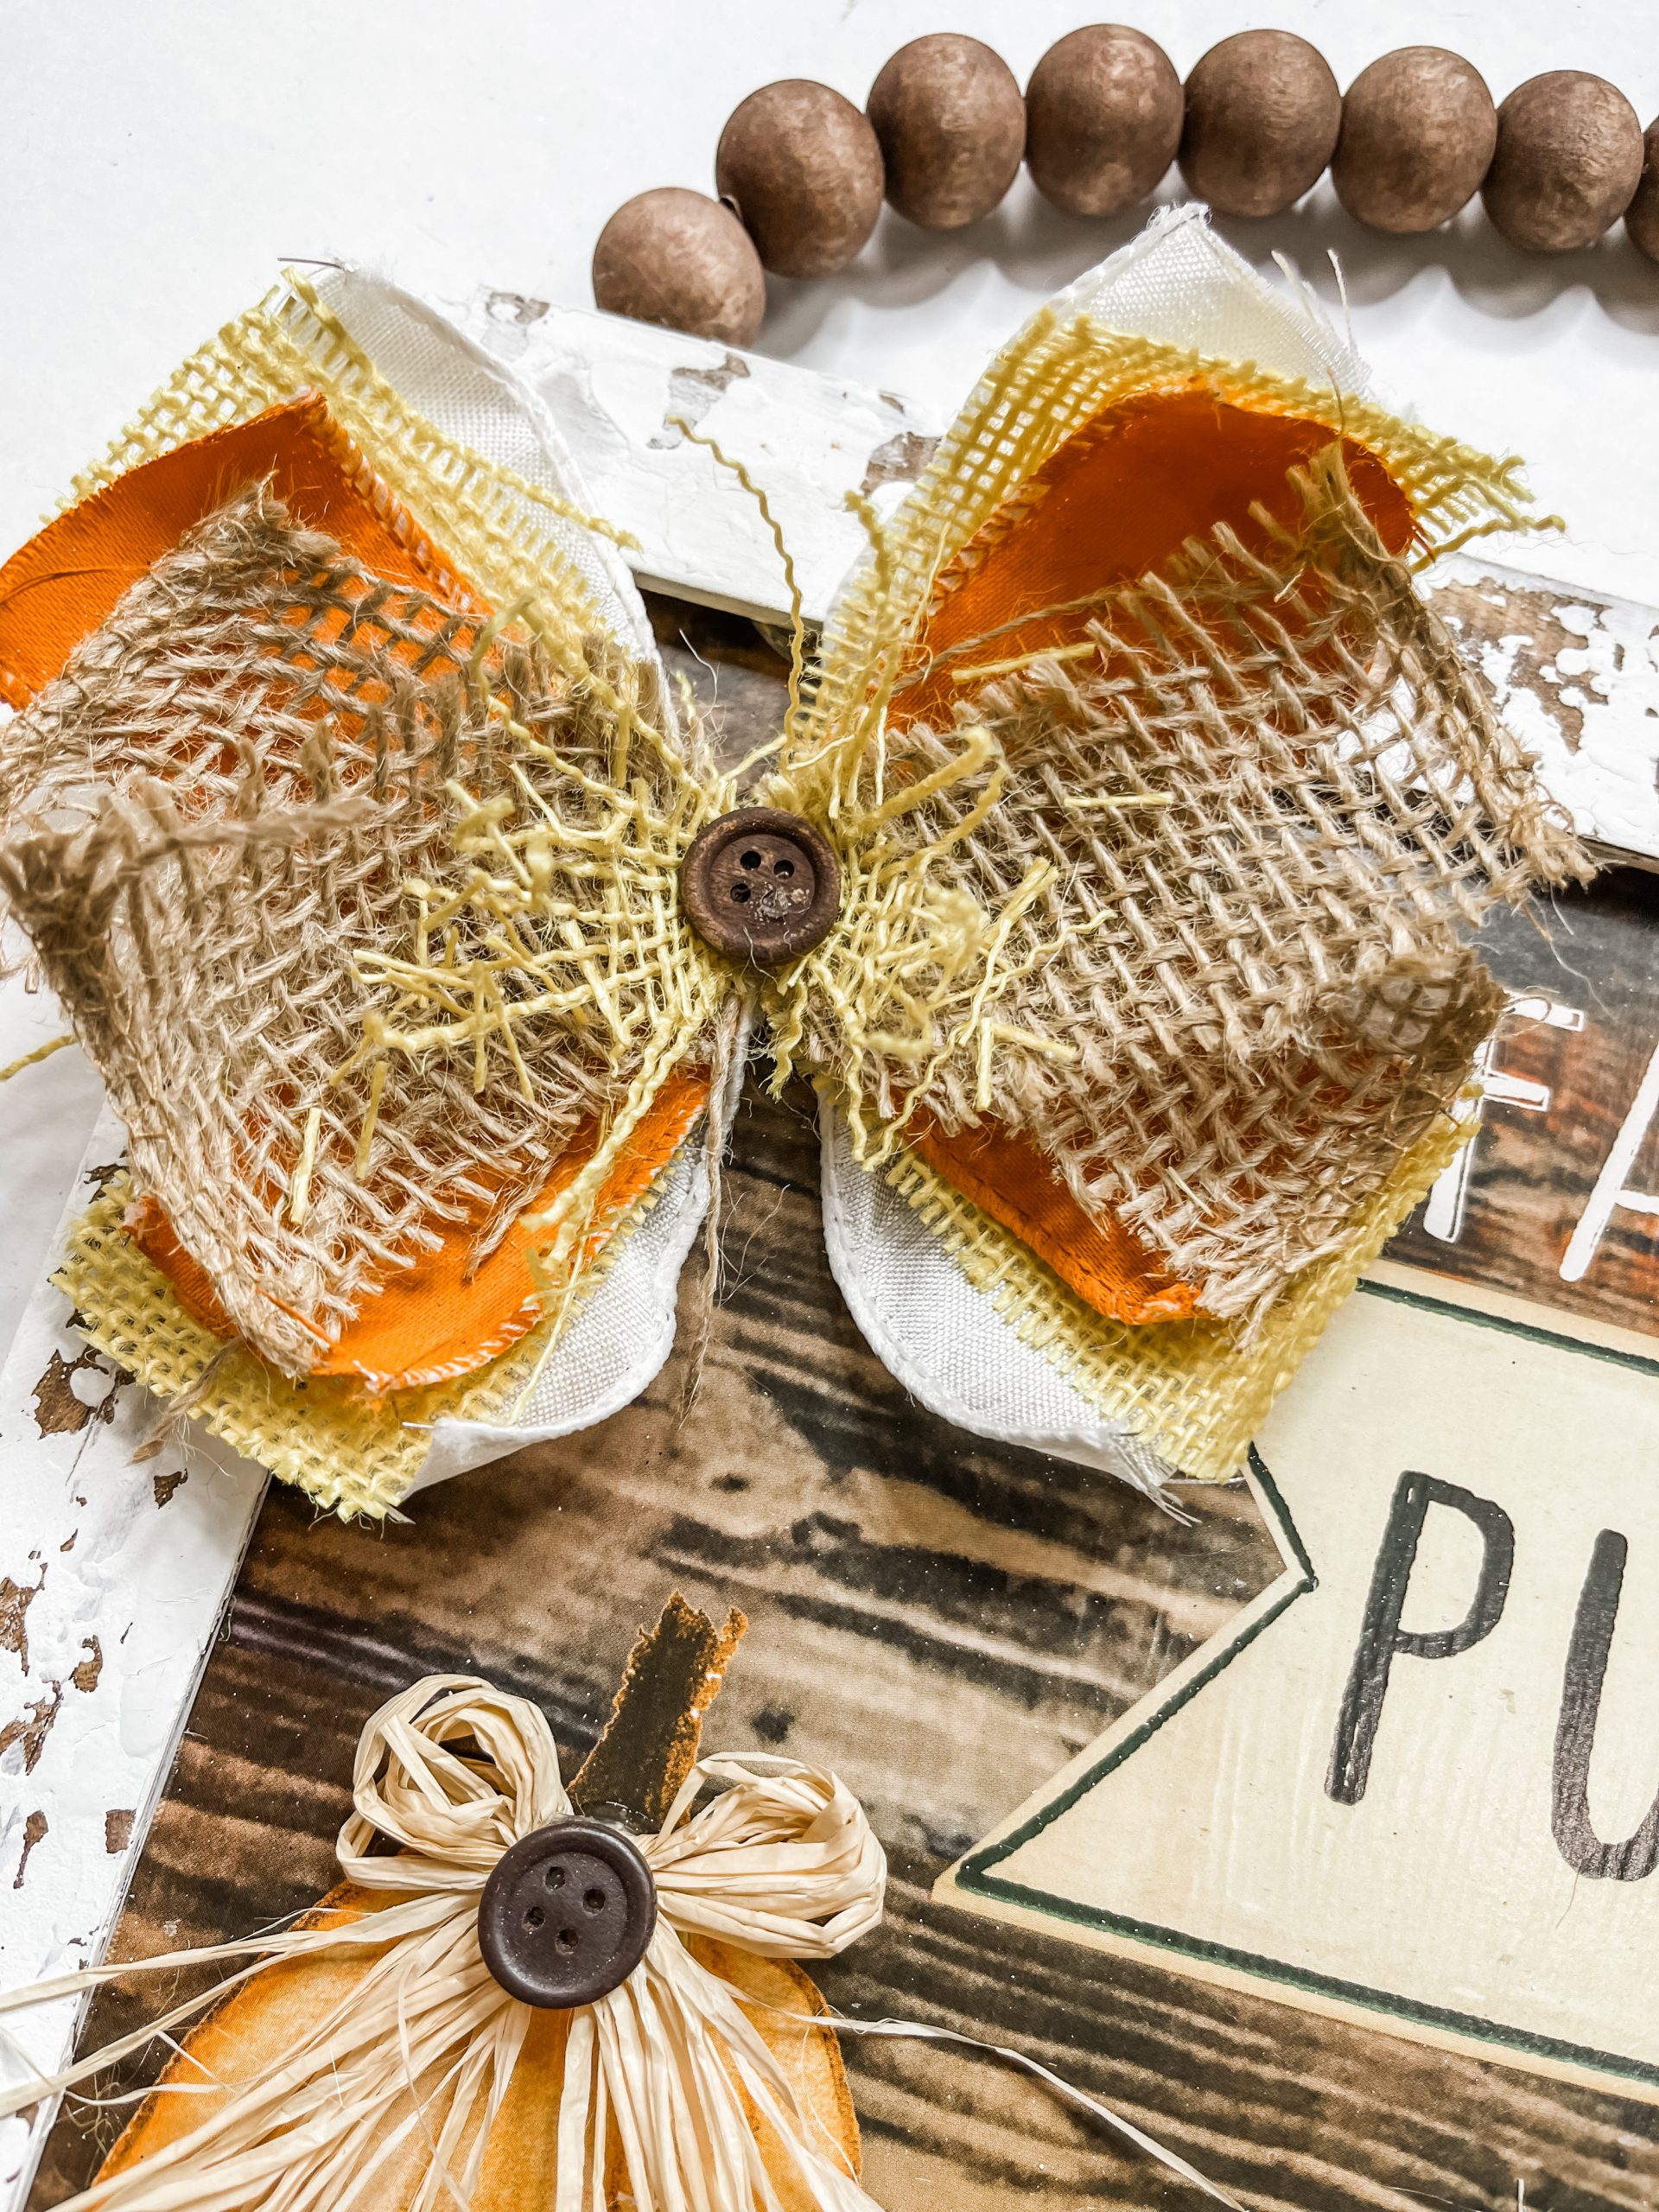
Paint two of the white strips with the Waverly Pumpkin Chalk Paint. Lay the ribbons in an x pattern starting with white, then yellow, then orange, then burlap.
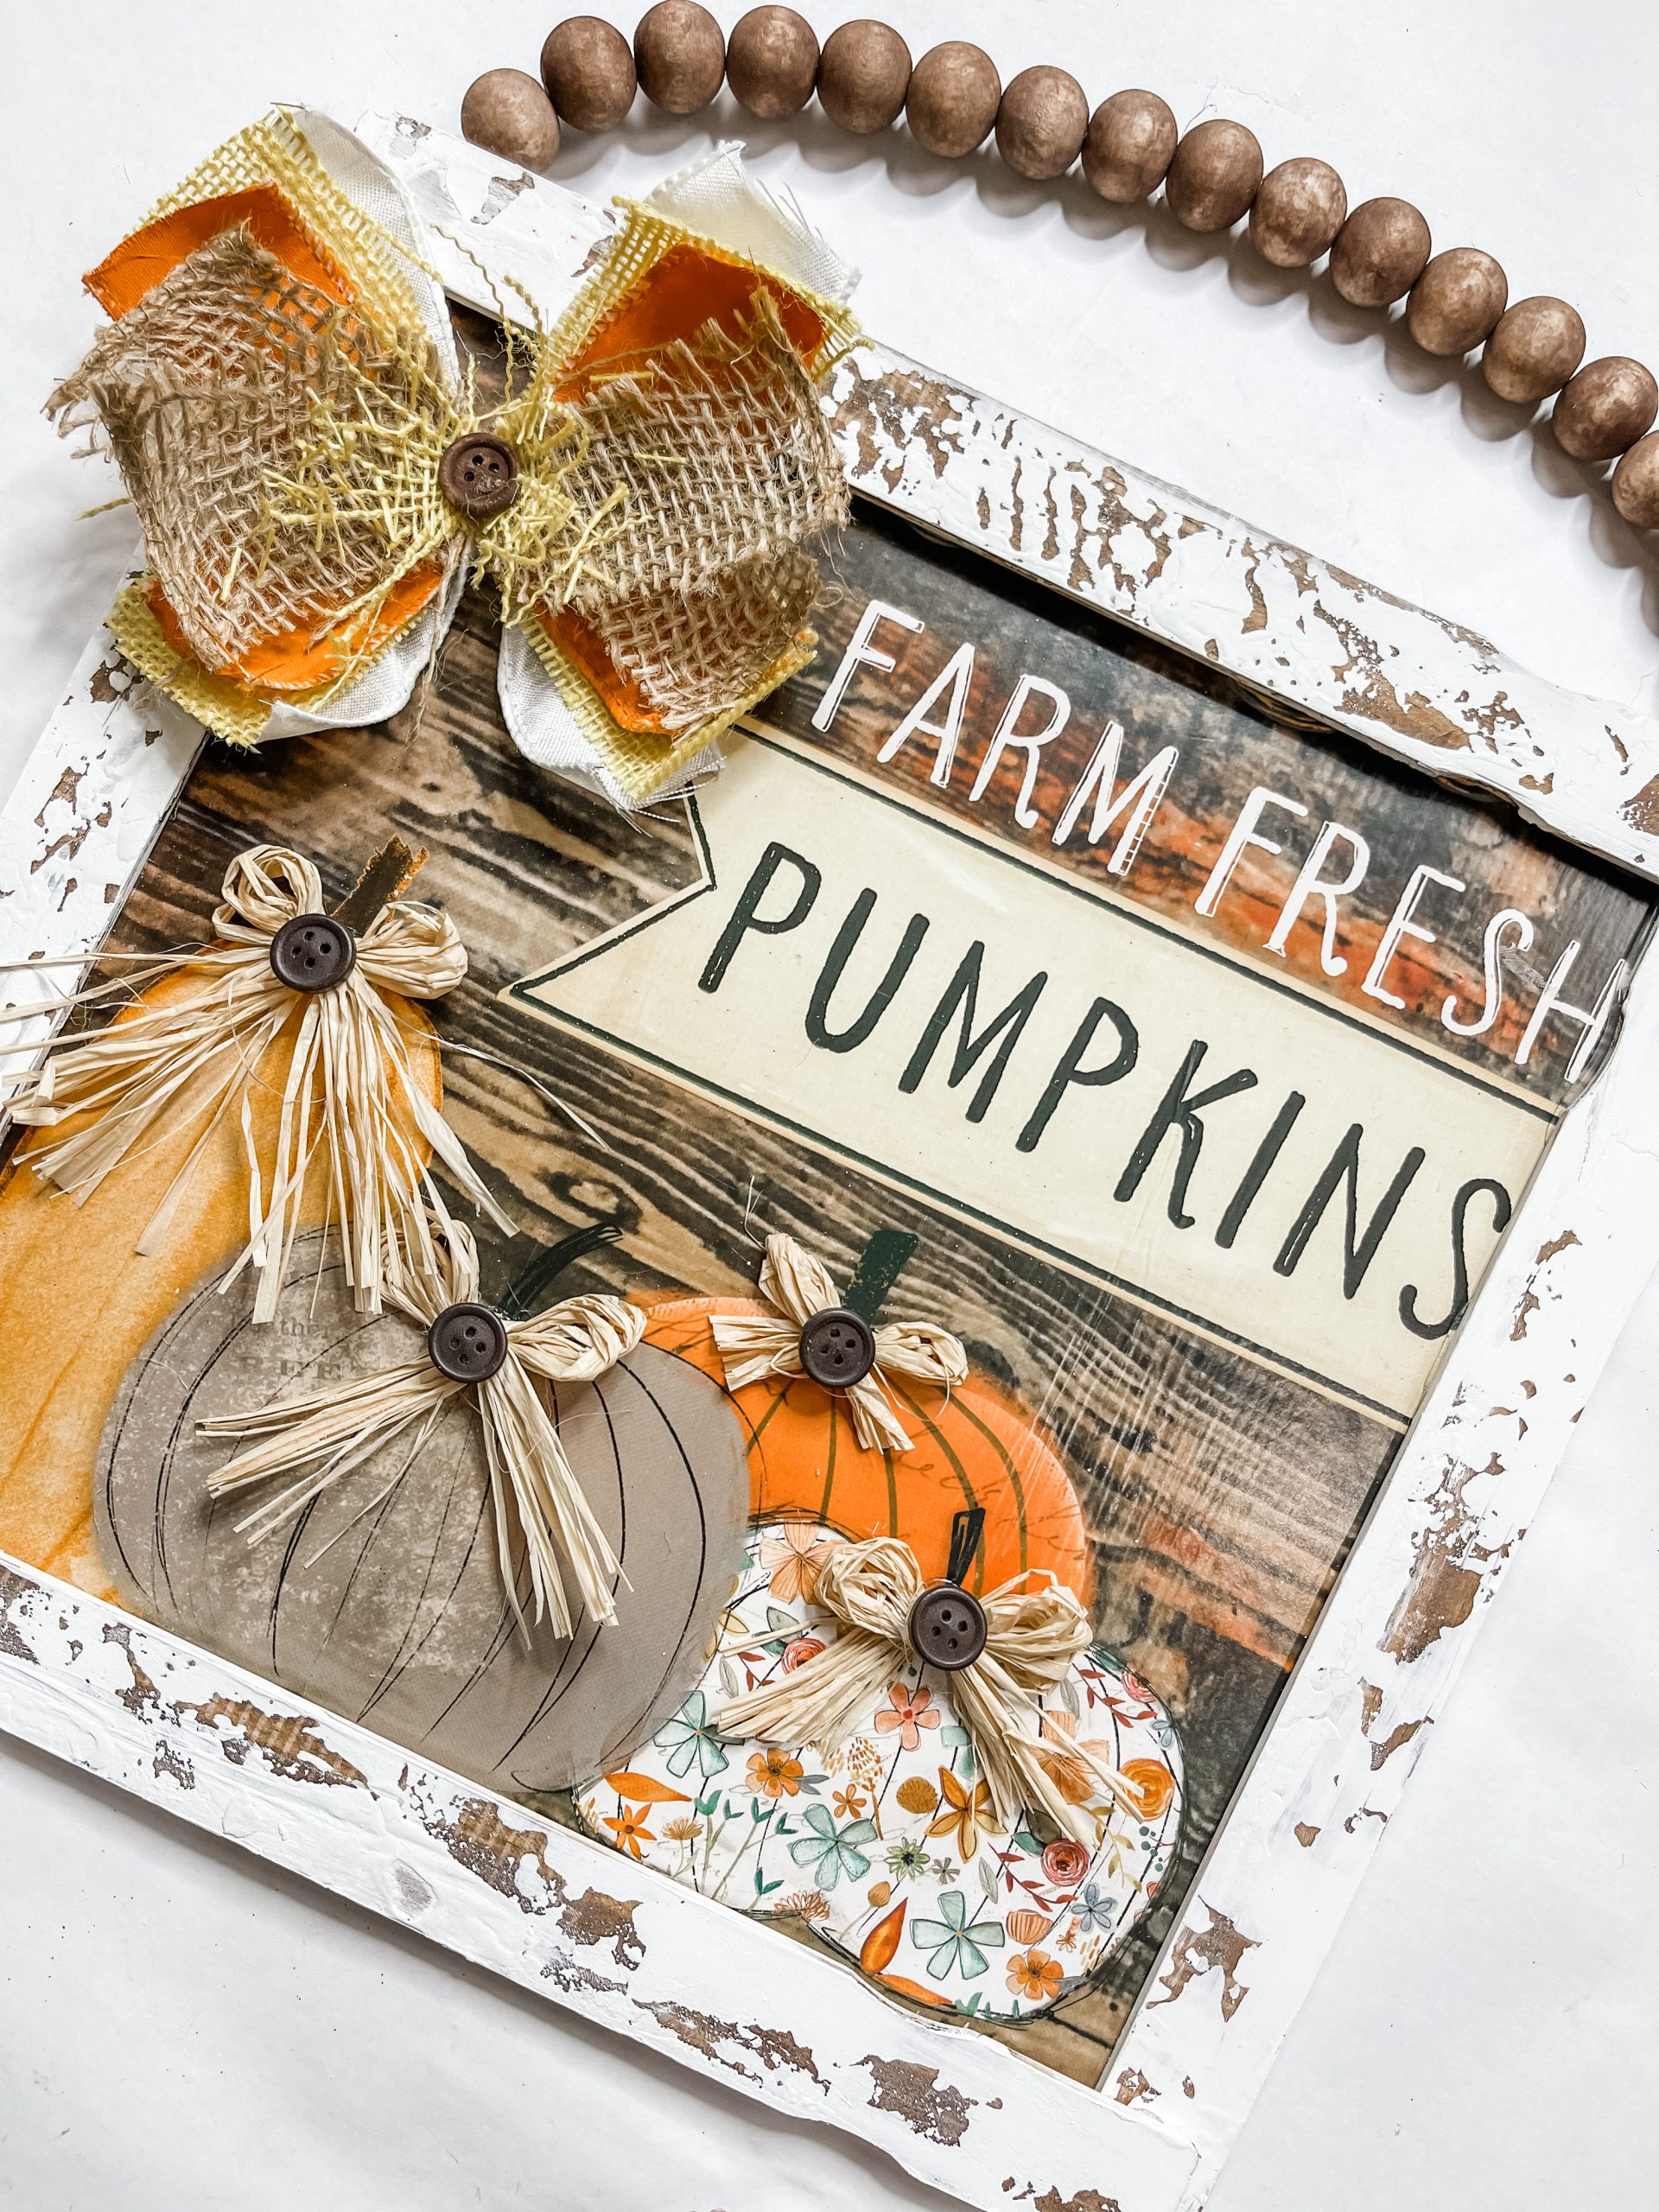
Place a strip of the yellow burlap (cut in half horizontally) horizontally across the X and secure the center of the bow with a piece of jute twine.
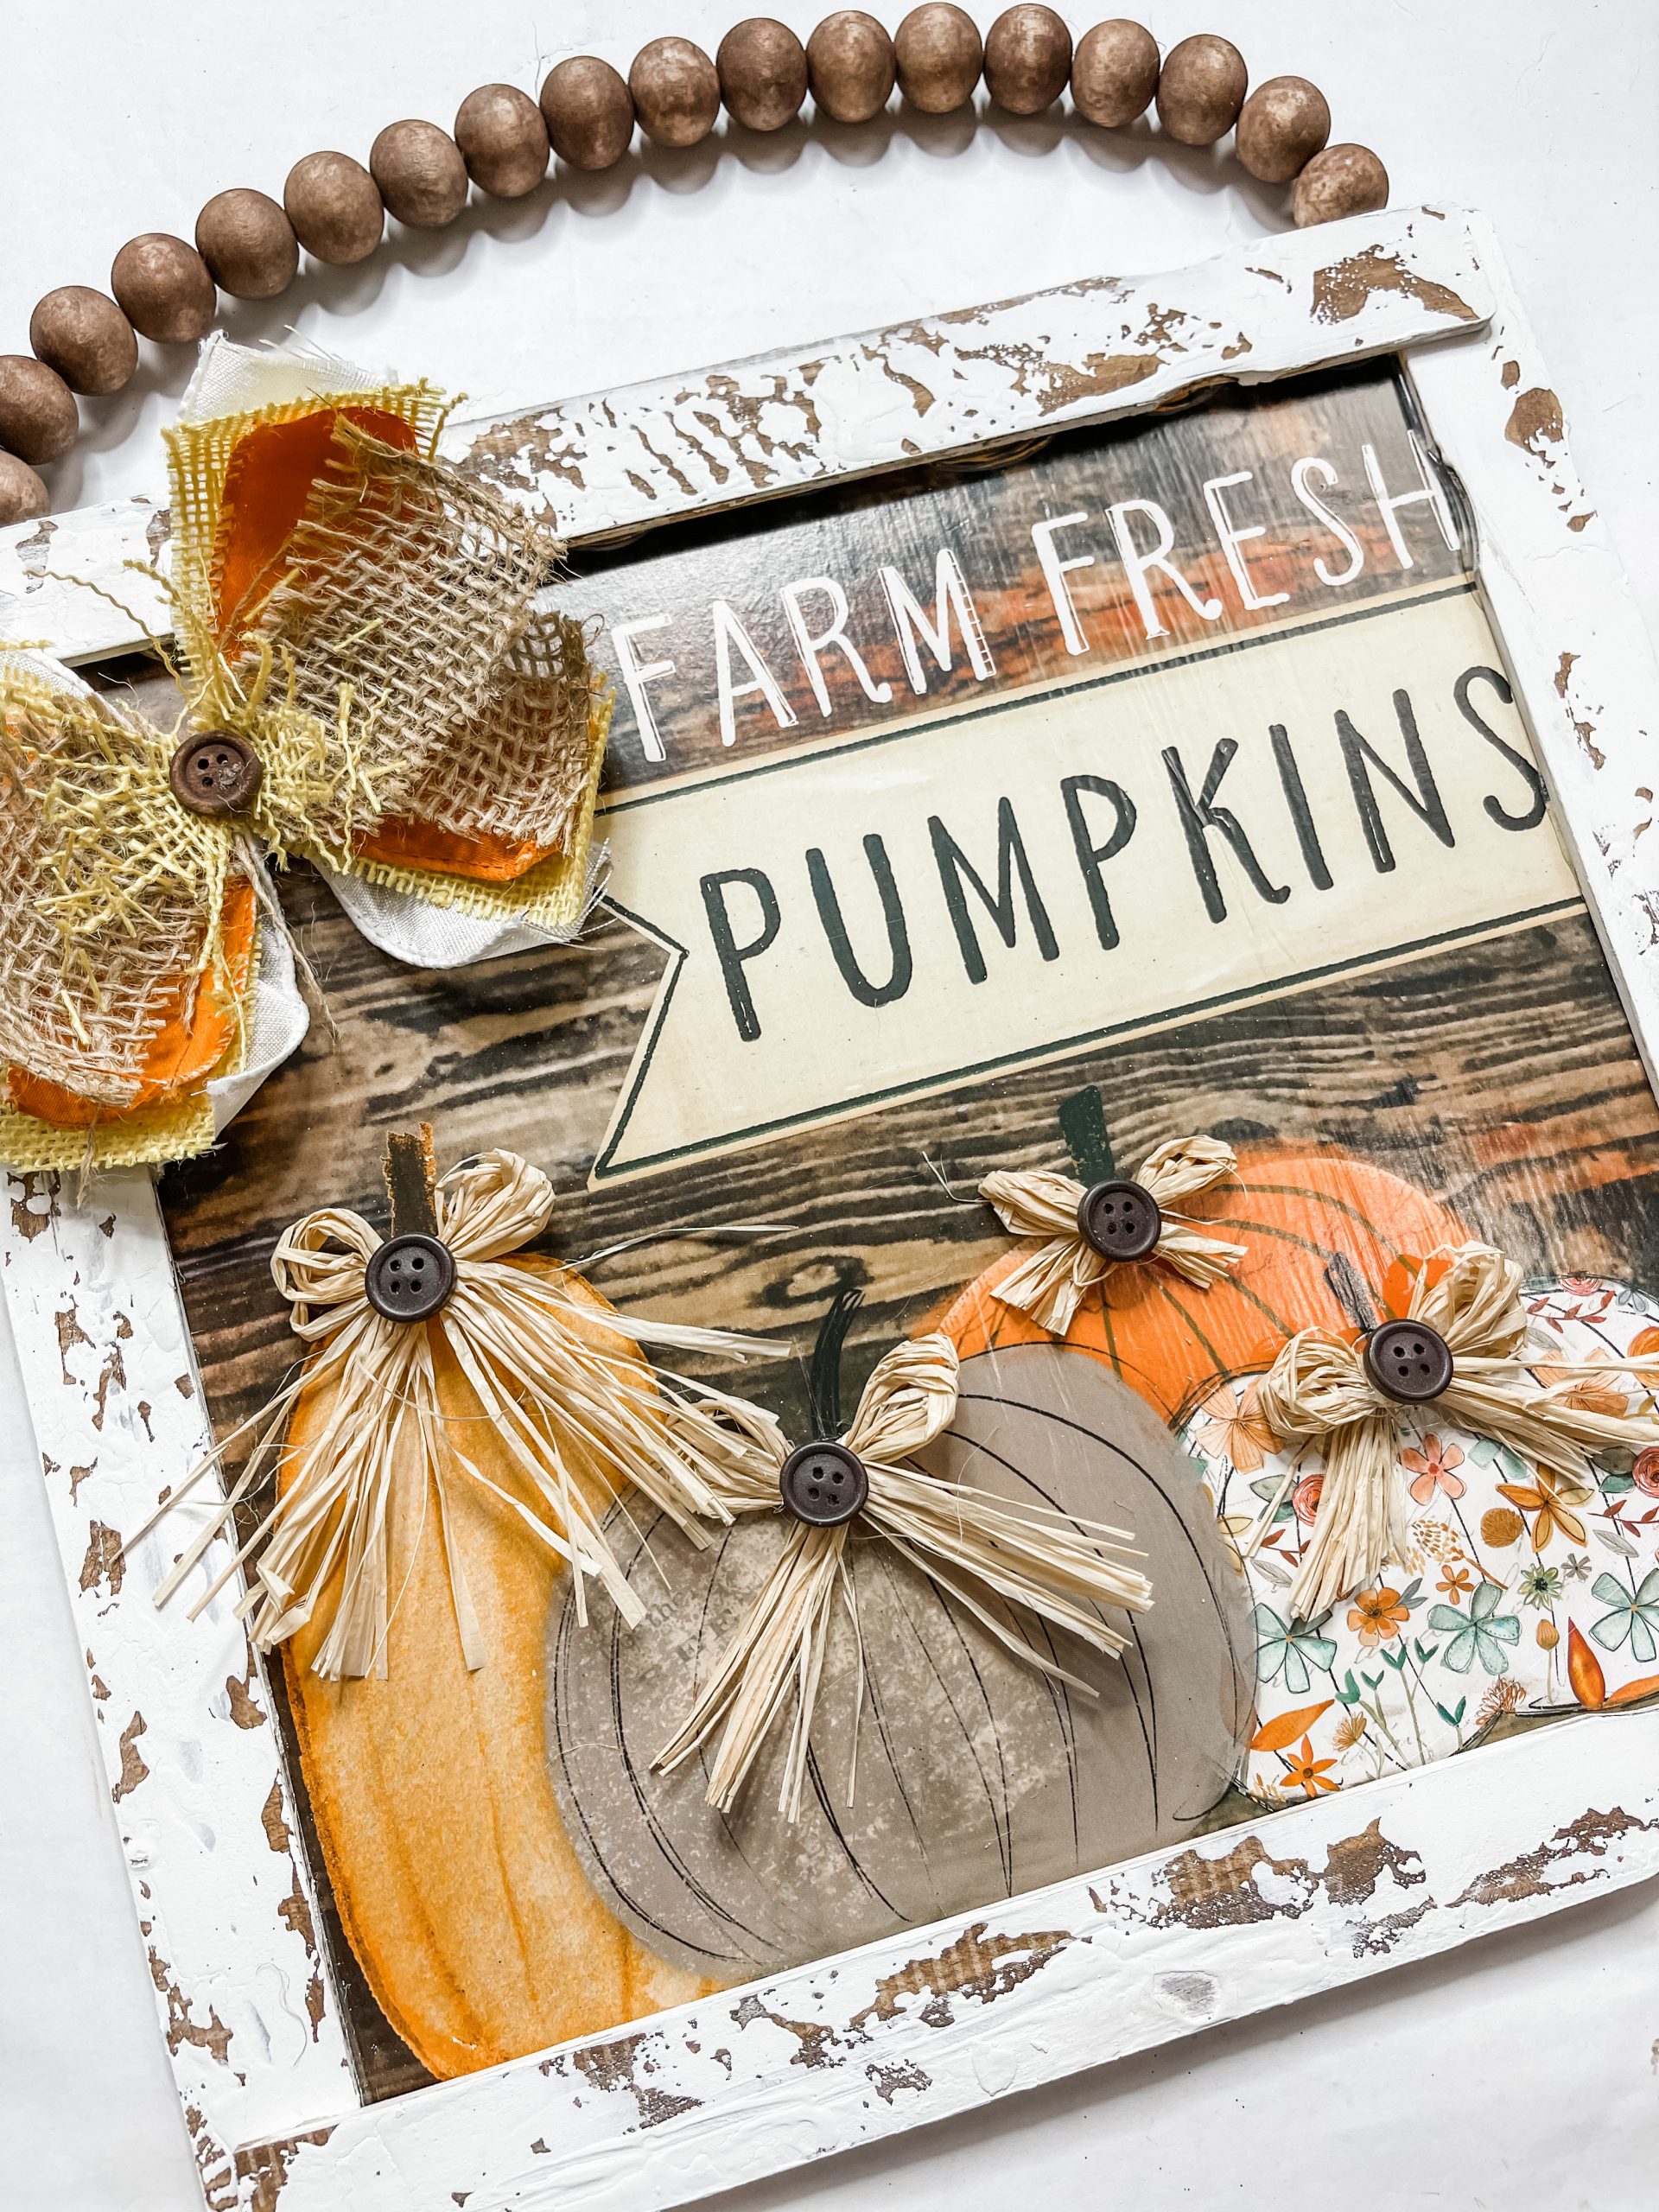
Hot glue the bow to the top right of the sign where there is a small bit of empty space. Next, I had to paint a small button with brown paint, then hot glued it over the center of the bow.
The finishing touches
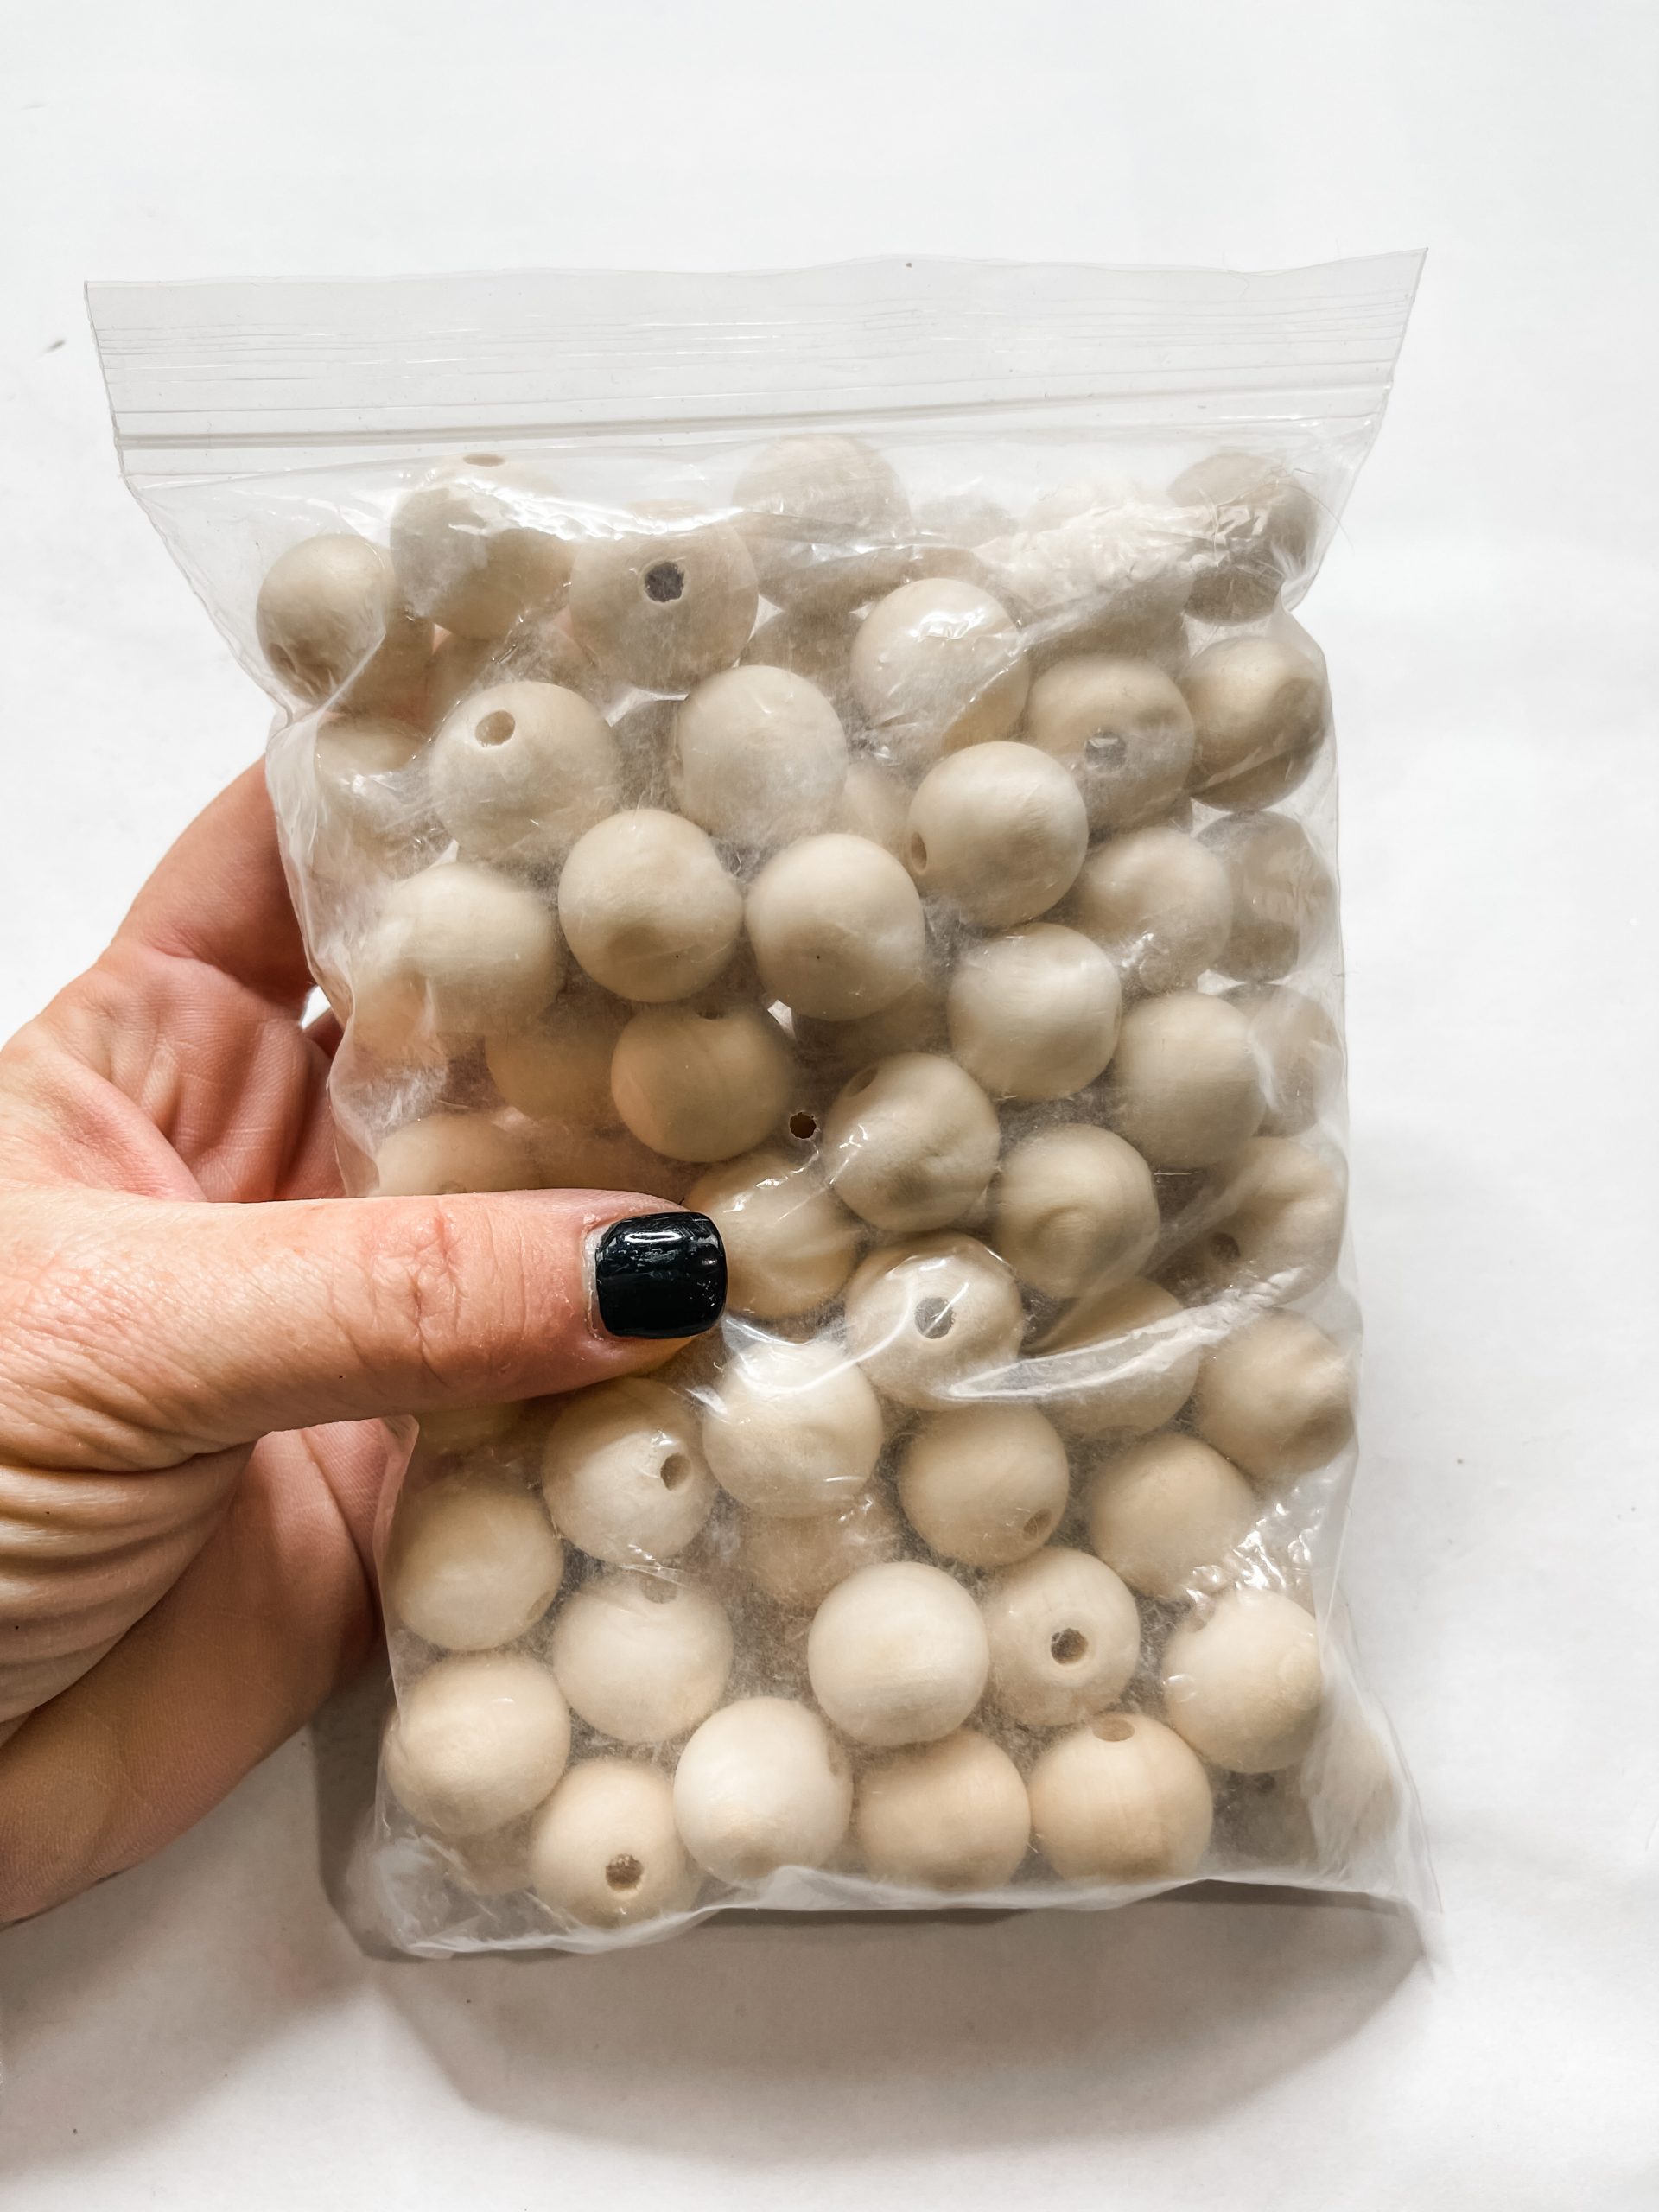
To make the hanger, I stained my wood beads first. I put them in a small plastic bowl, sprayed them with water, poured brown paint on them, and swirled the beads in the bowl until they were all coated.
Pour the beads out onto a paper towel and roll them around to remove any excess paint from the beads, then allow them to dry.
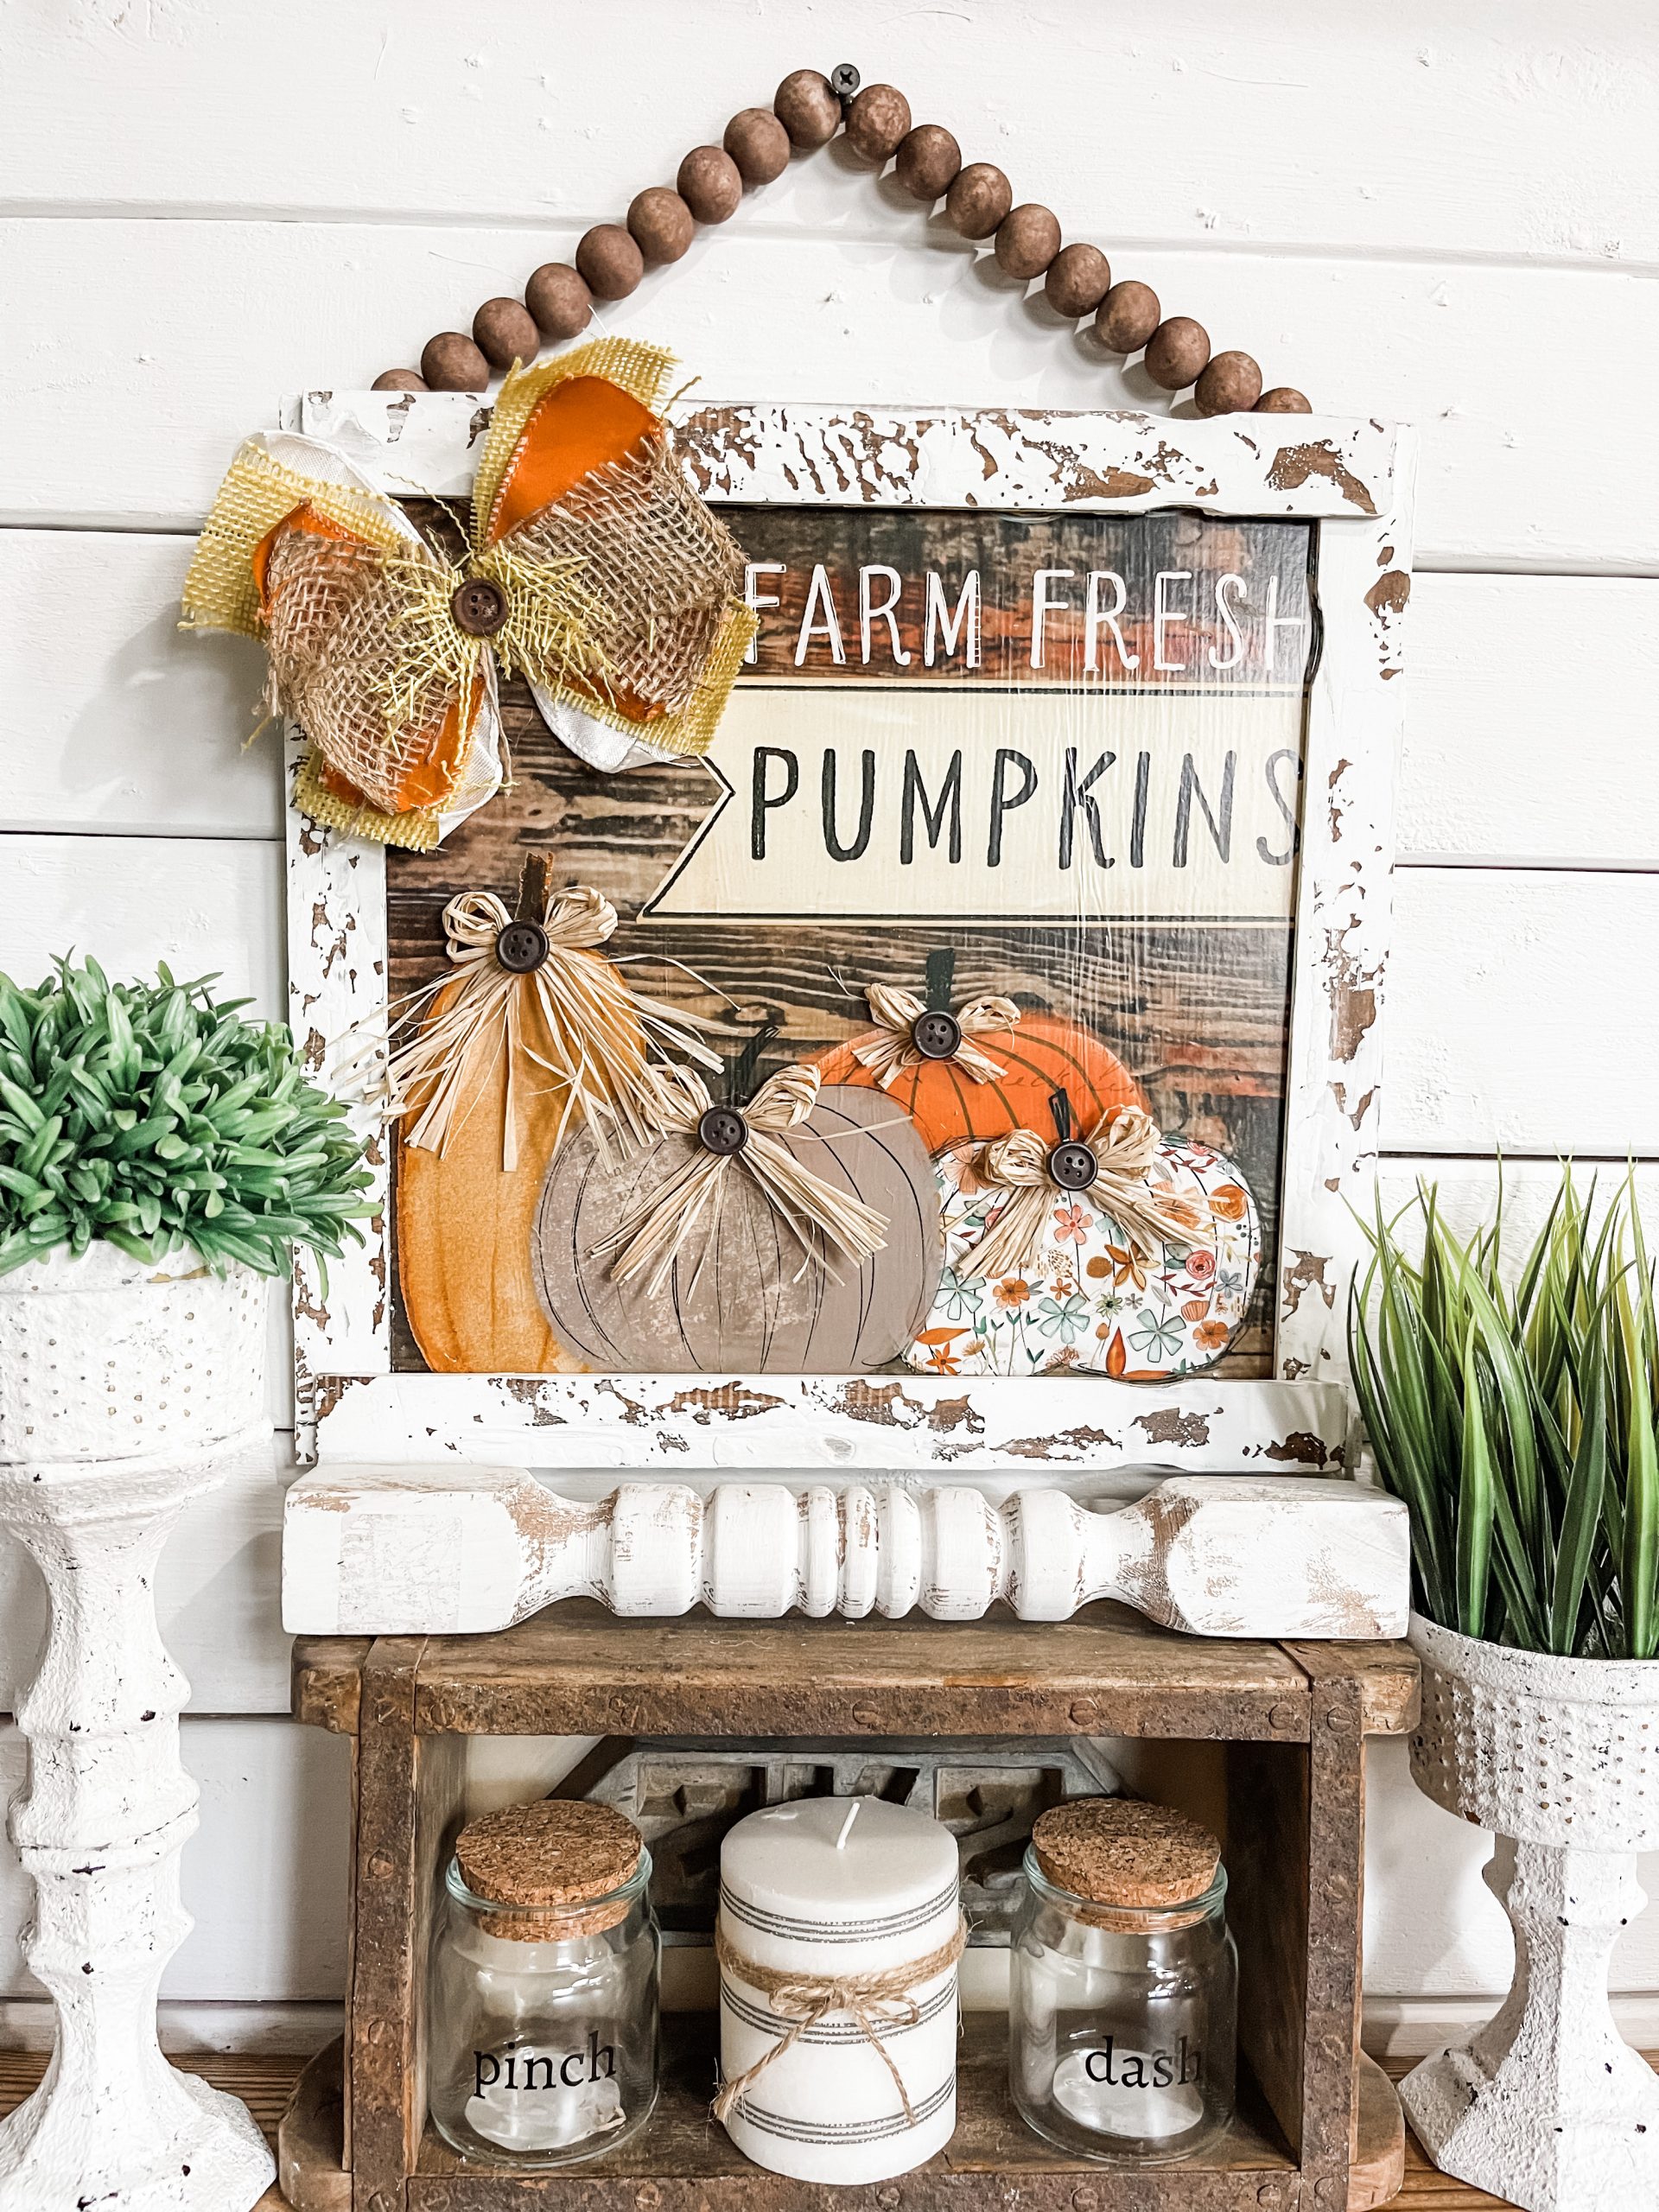
Next, thread your wood beads onto a piece of jute twine and hot glue the ends of the twine to the back of the sign. You can hot glue a piece of ribbon over the ends to secure the hanger more.
Lastly, I cut and frayed the yellow burlap strip on the front of the bow!
I hope you enjoyed this DIY Chippy Farm Fresh Pumpkins Sign as much as I did and decide to make it for yourself! If you do, I would love to see how yours turns out!
You should totally join my FREE Facebook group called On A Budget Crafts! It is a judgment-free community for DIY crafters to show off their projects and ideas.
If you loved this DIY Chippy Farm Fresh Pumpkins Sign, you might also like these DIY ideas!
Thanks for stopping by! XOXO Amber
You can also shop my ENTIRE AMAZON Favorites shop just click here! It’s packed full of all the things I use and love. Here is the supply list I highly recommend every creative have on hand!!
Would you also pin my blog for later and get on my newsletter alerts? I would love to have you join my #craftycrew.
I email alerts about new blogs like this DIY Chippy Farm Fresh Pumpkins Sign so you’re always up to date on fun, new DIY ideas!
Inspired? Leave me a comment below! I love hearing from my readers!

Join my free “ON A BUDGET CRAFTS” Facebook group!

Awesome craft, love that bow
Hi Amber, I just this past week was able to find this calendar!! I so loved your project that I had to have this one and I didn’t want to substitute. Hoping this weekend to get caught up on some crafts I’ve been wanting to start. This will definitely be one of my projects. Thank you so much for inspiring us all! 😍😊🥰