DIY Boho Hello Home Decor
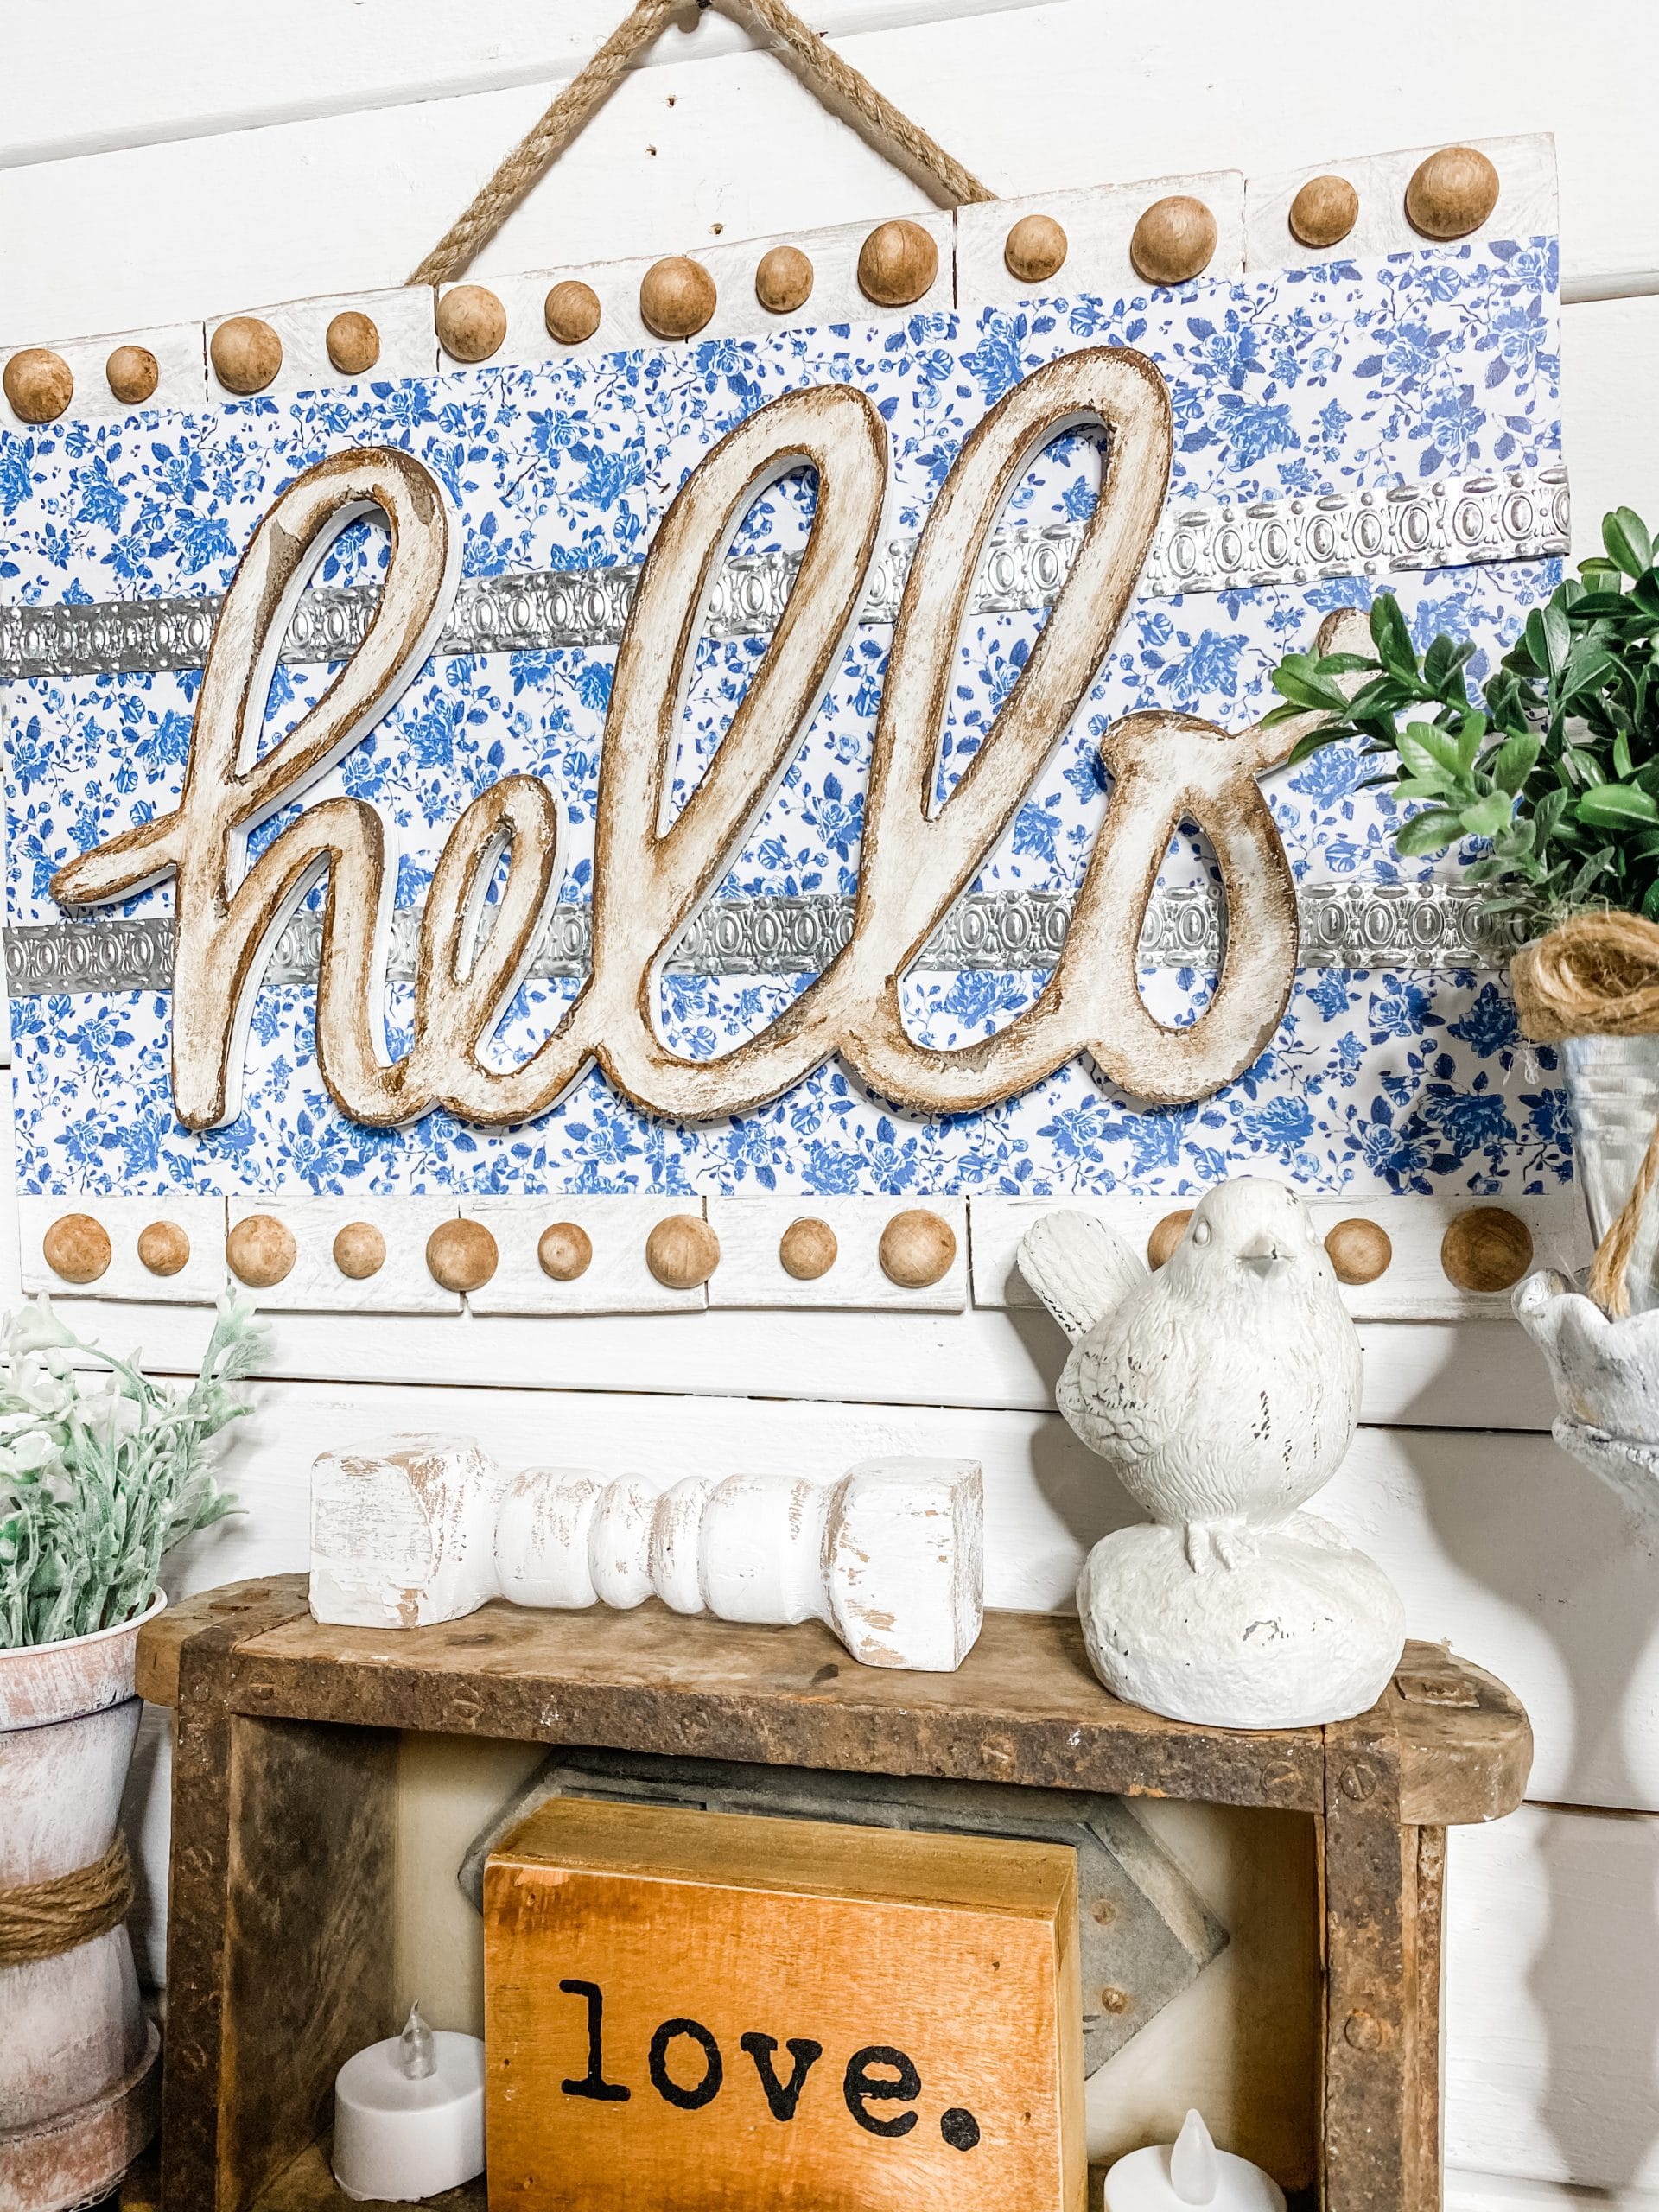
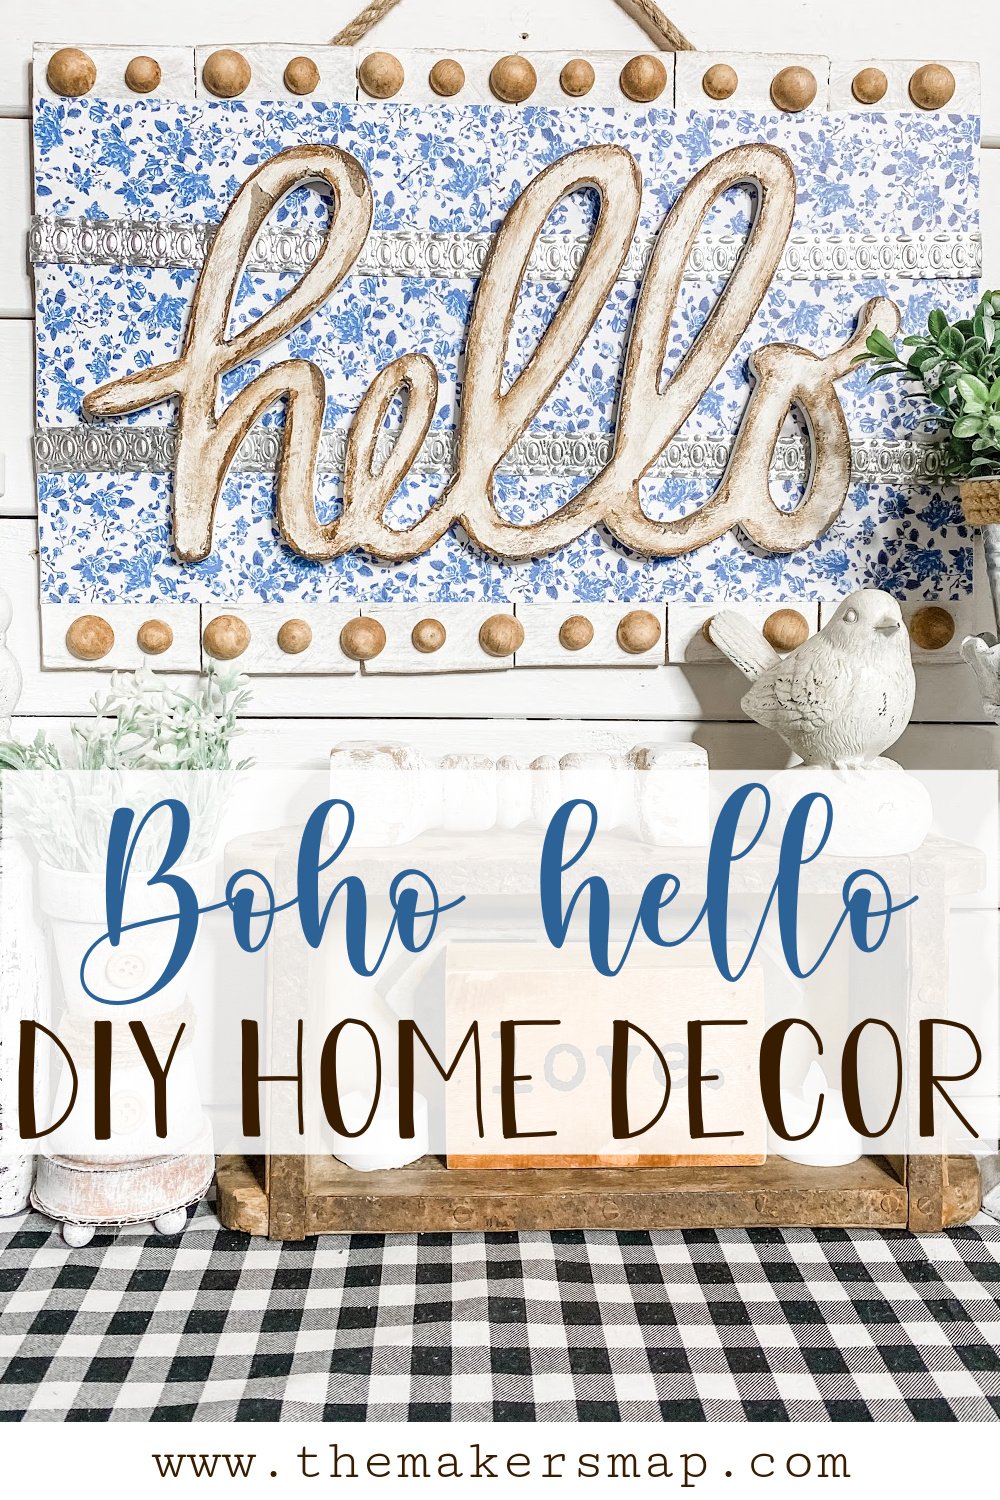
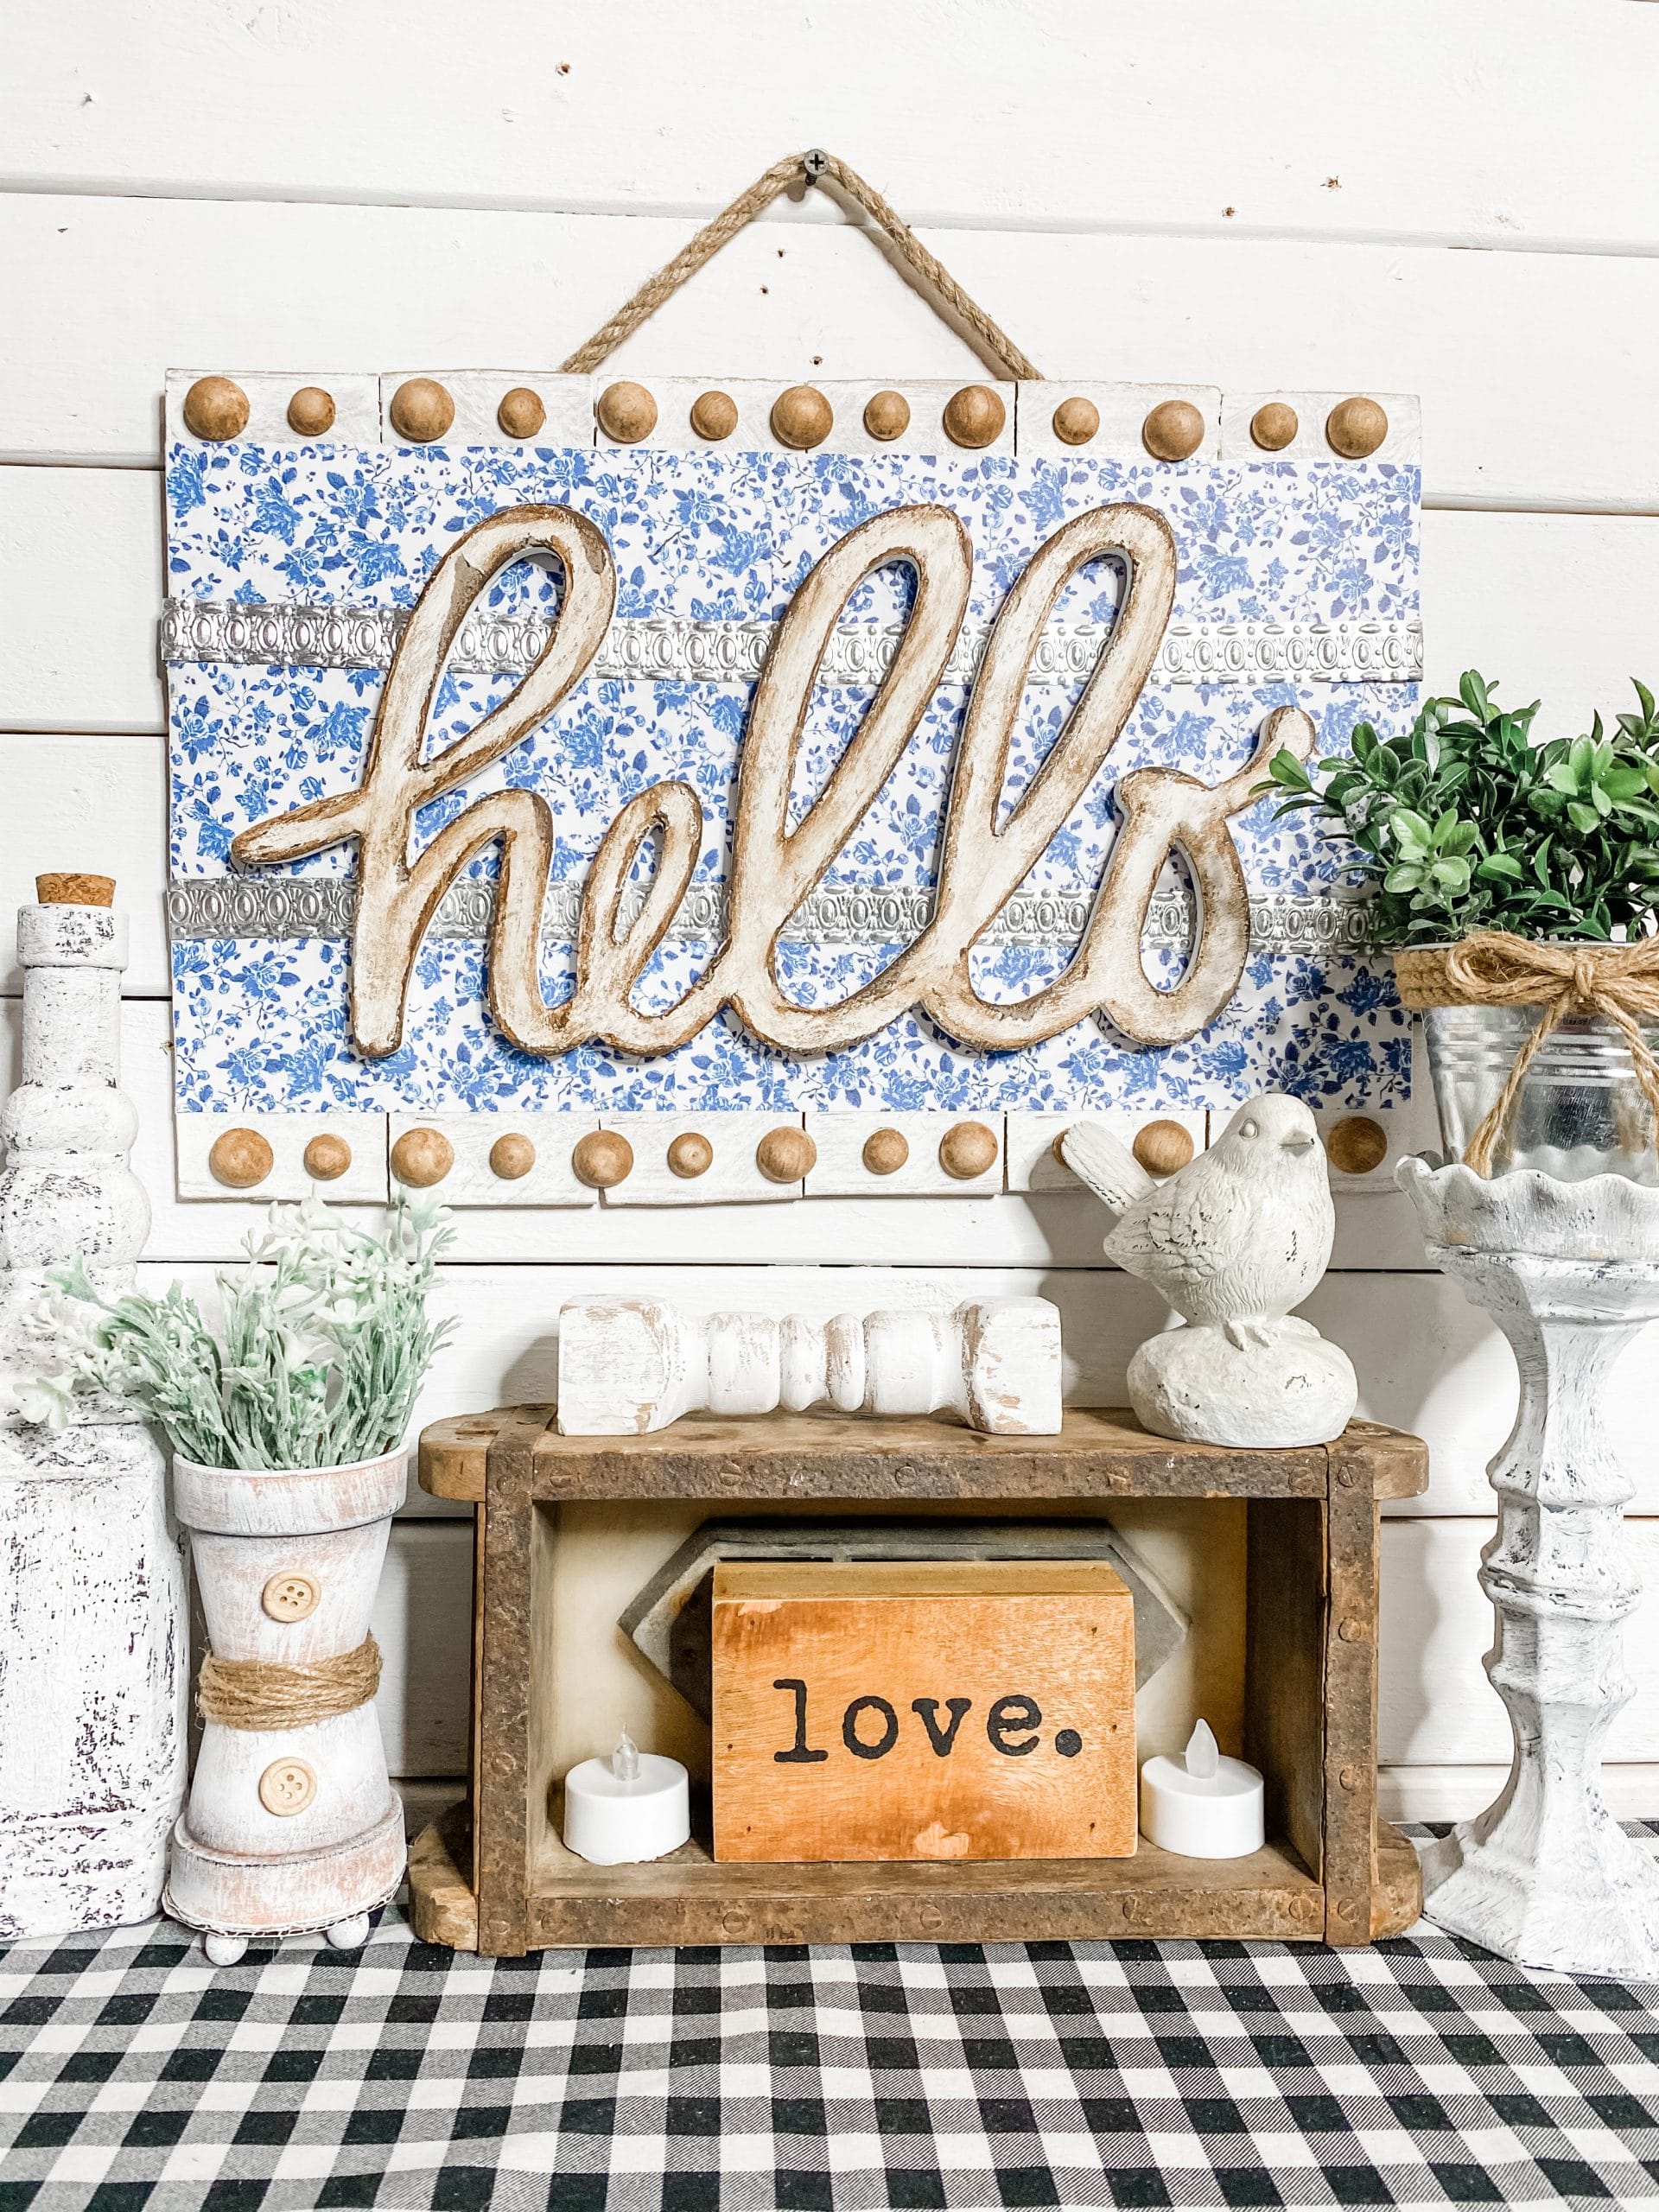
If you didn’t know, my bedroom is decorated with navy decor, and this adorable DIY Boho Hello Home Decor would fit right in! I
love the aged finish I gave the hello lettering from Hobby Lobby and the way it perfectly matches the stained half wood bead trims!
Even though this isn’t a Dollar Tree DIY, it is still extremely affordable and easy to make. I am so excited to show you how I brought this DIY to life, so let’s get to it!
How to Make a DIY Boho Hello Home Decor
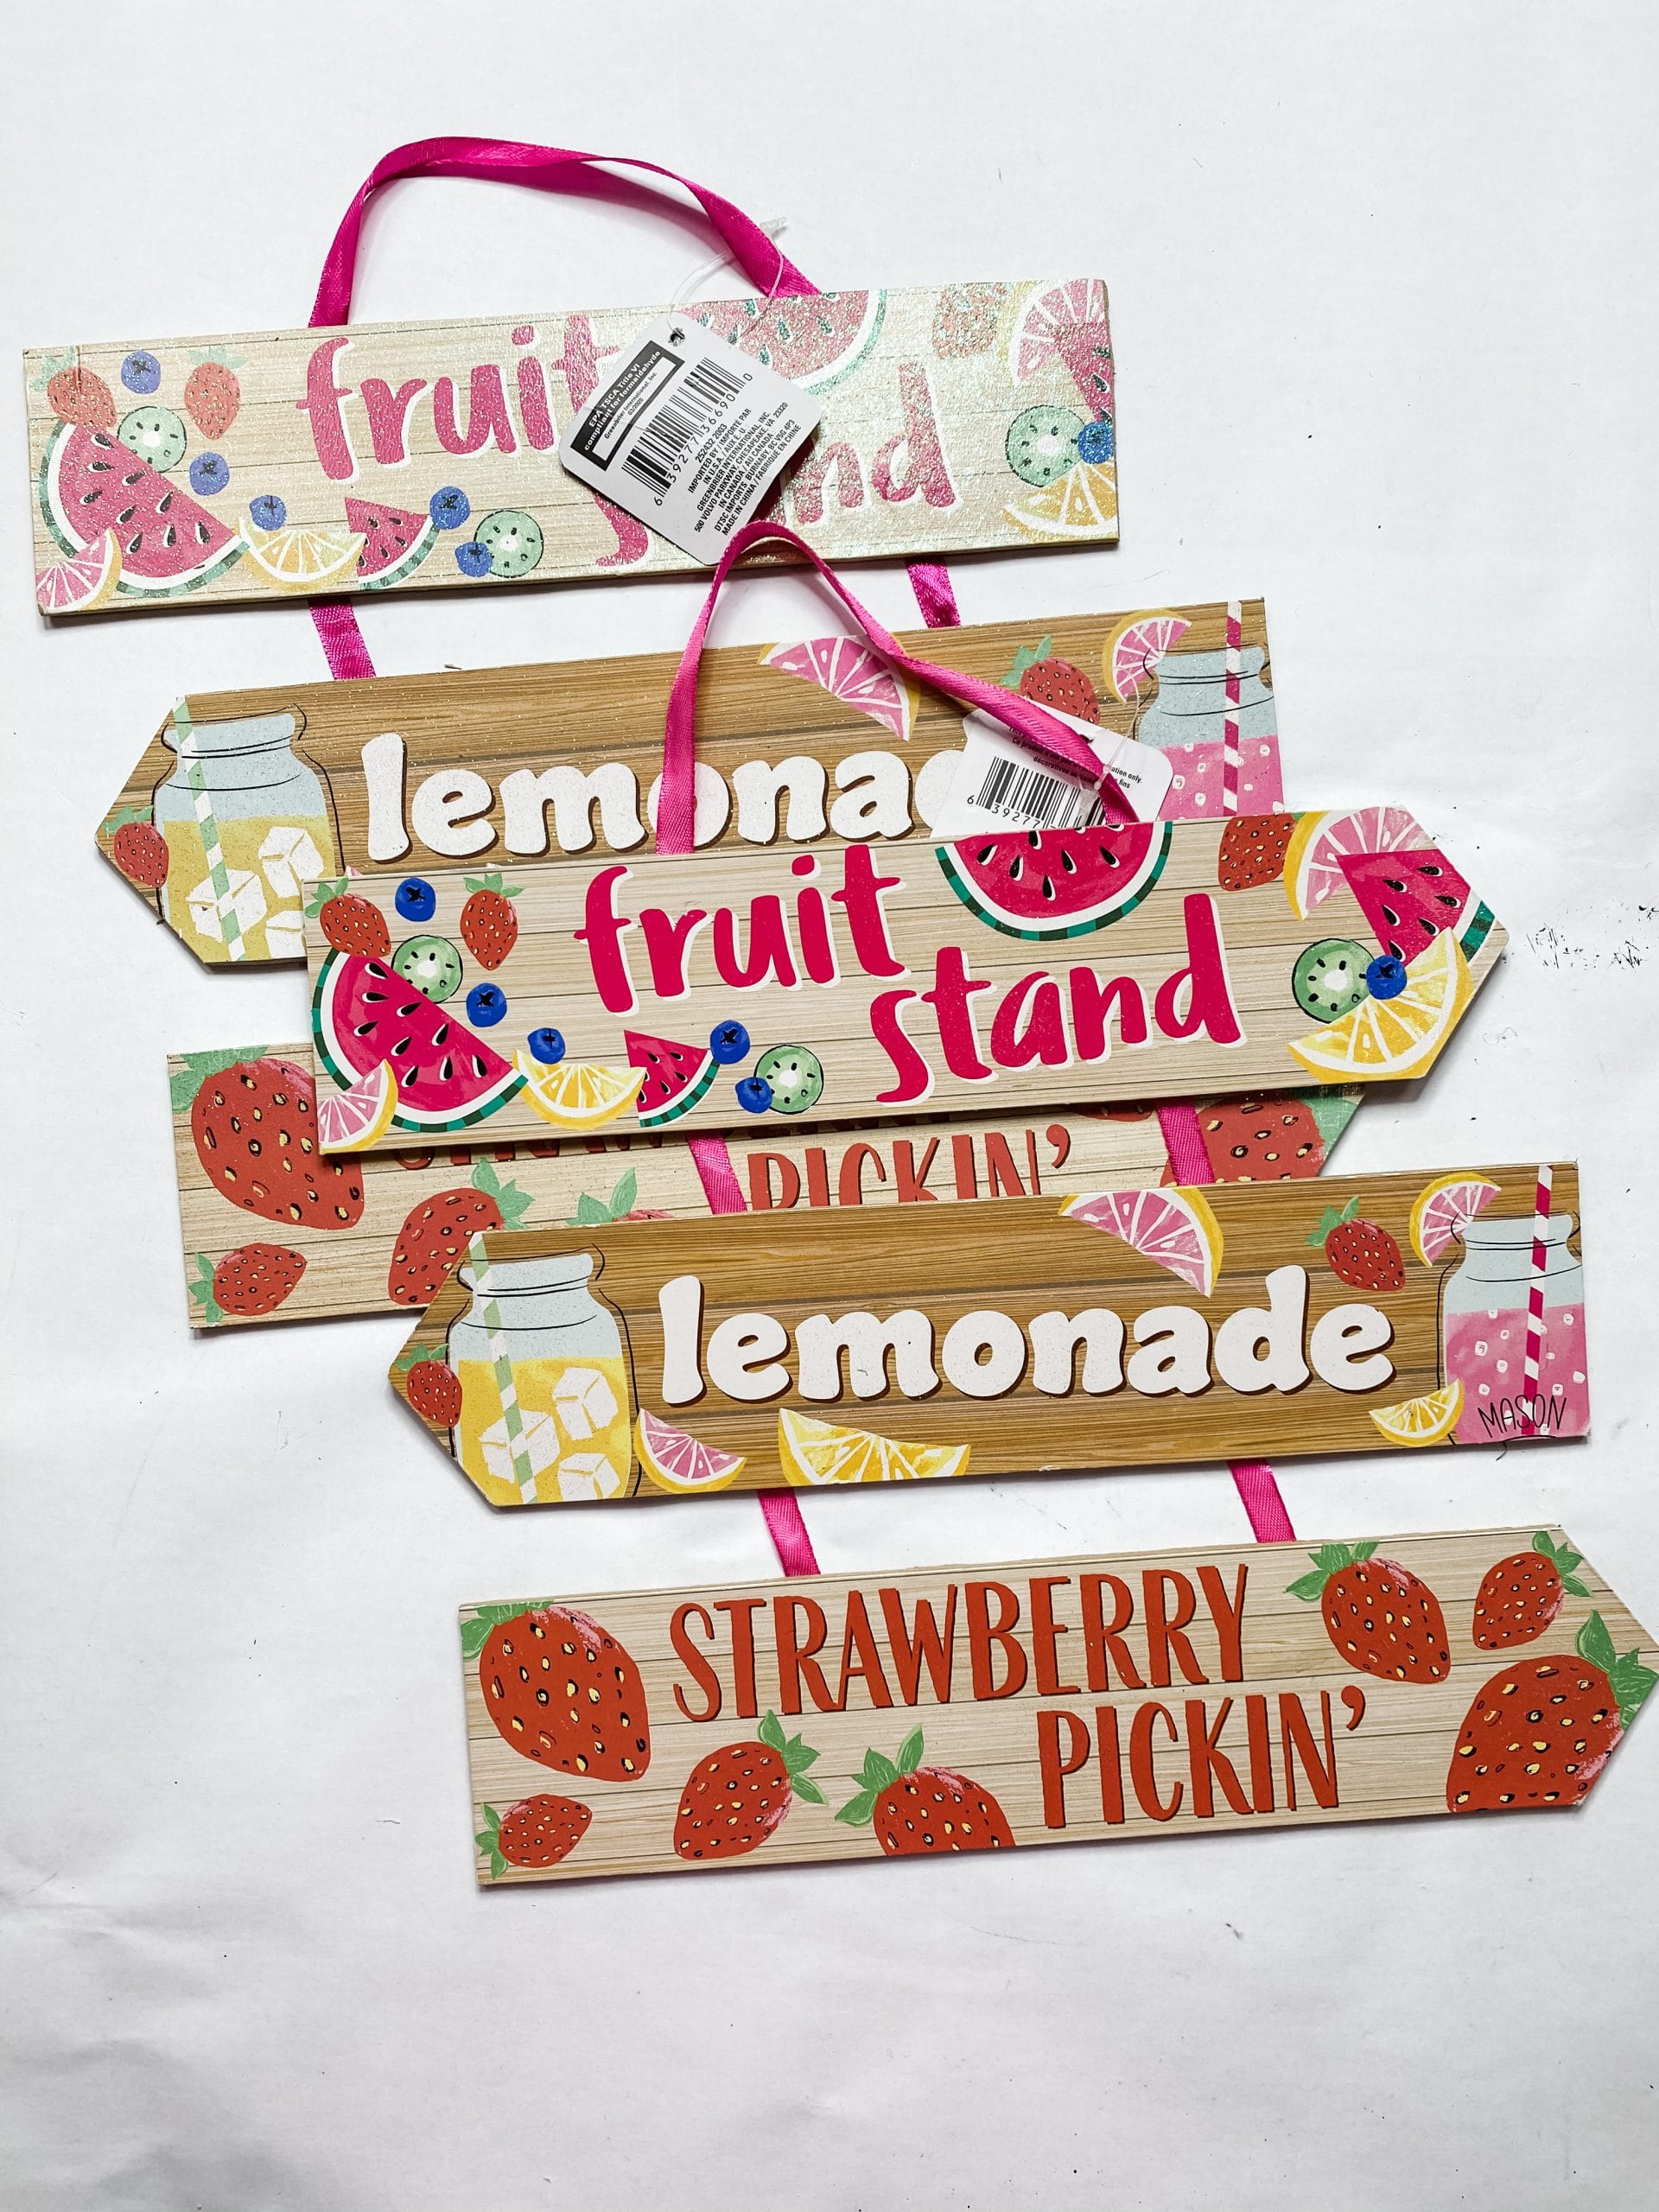
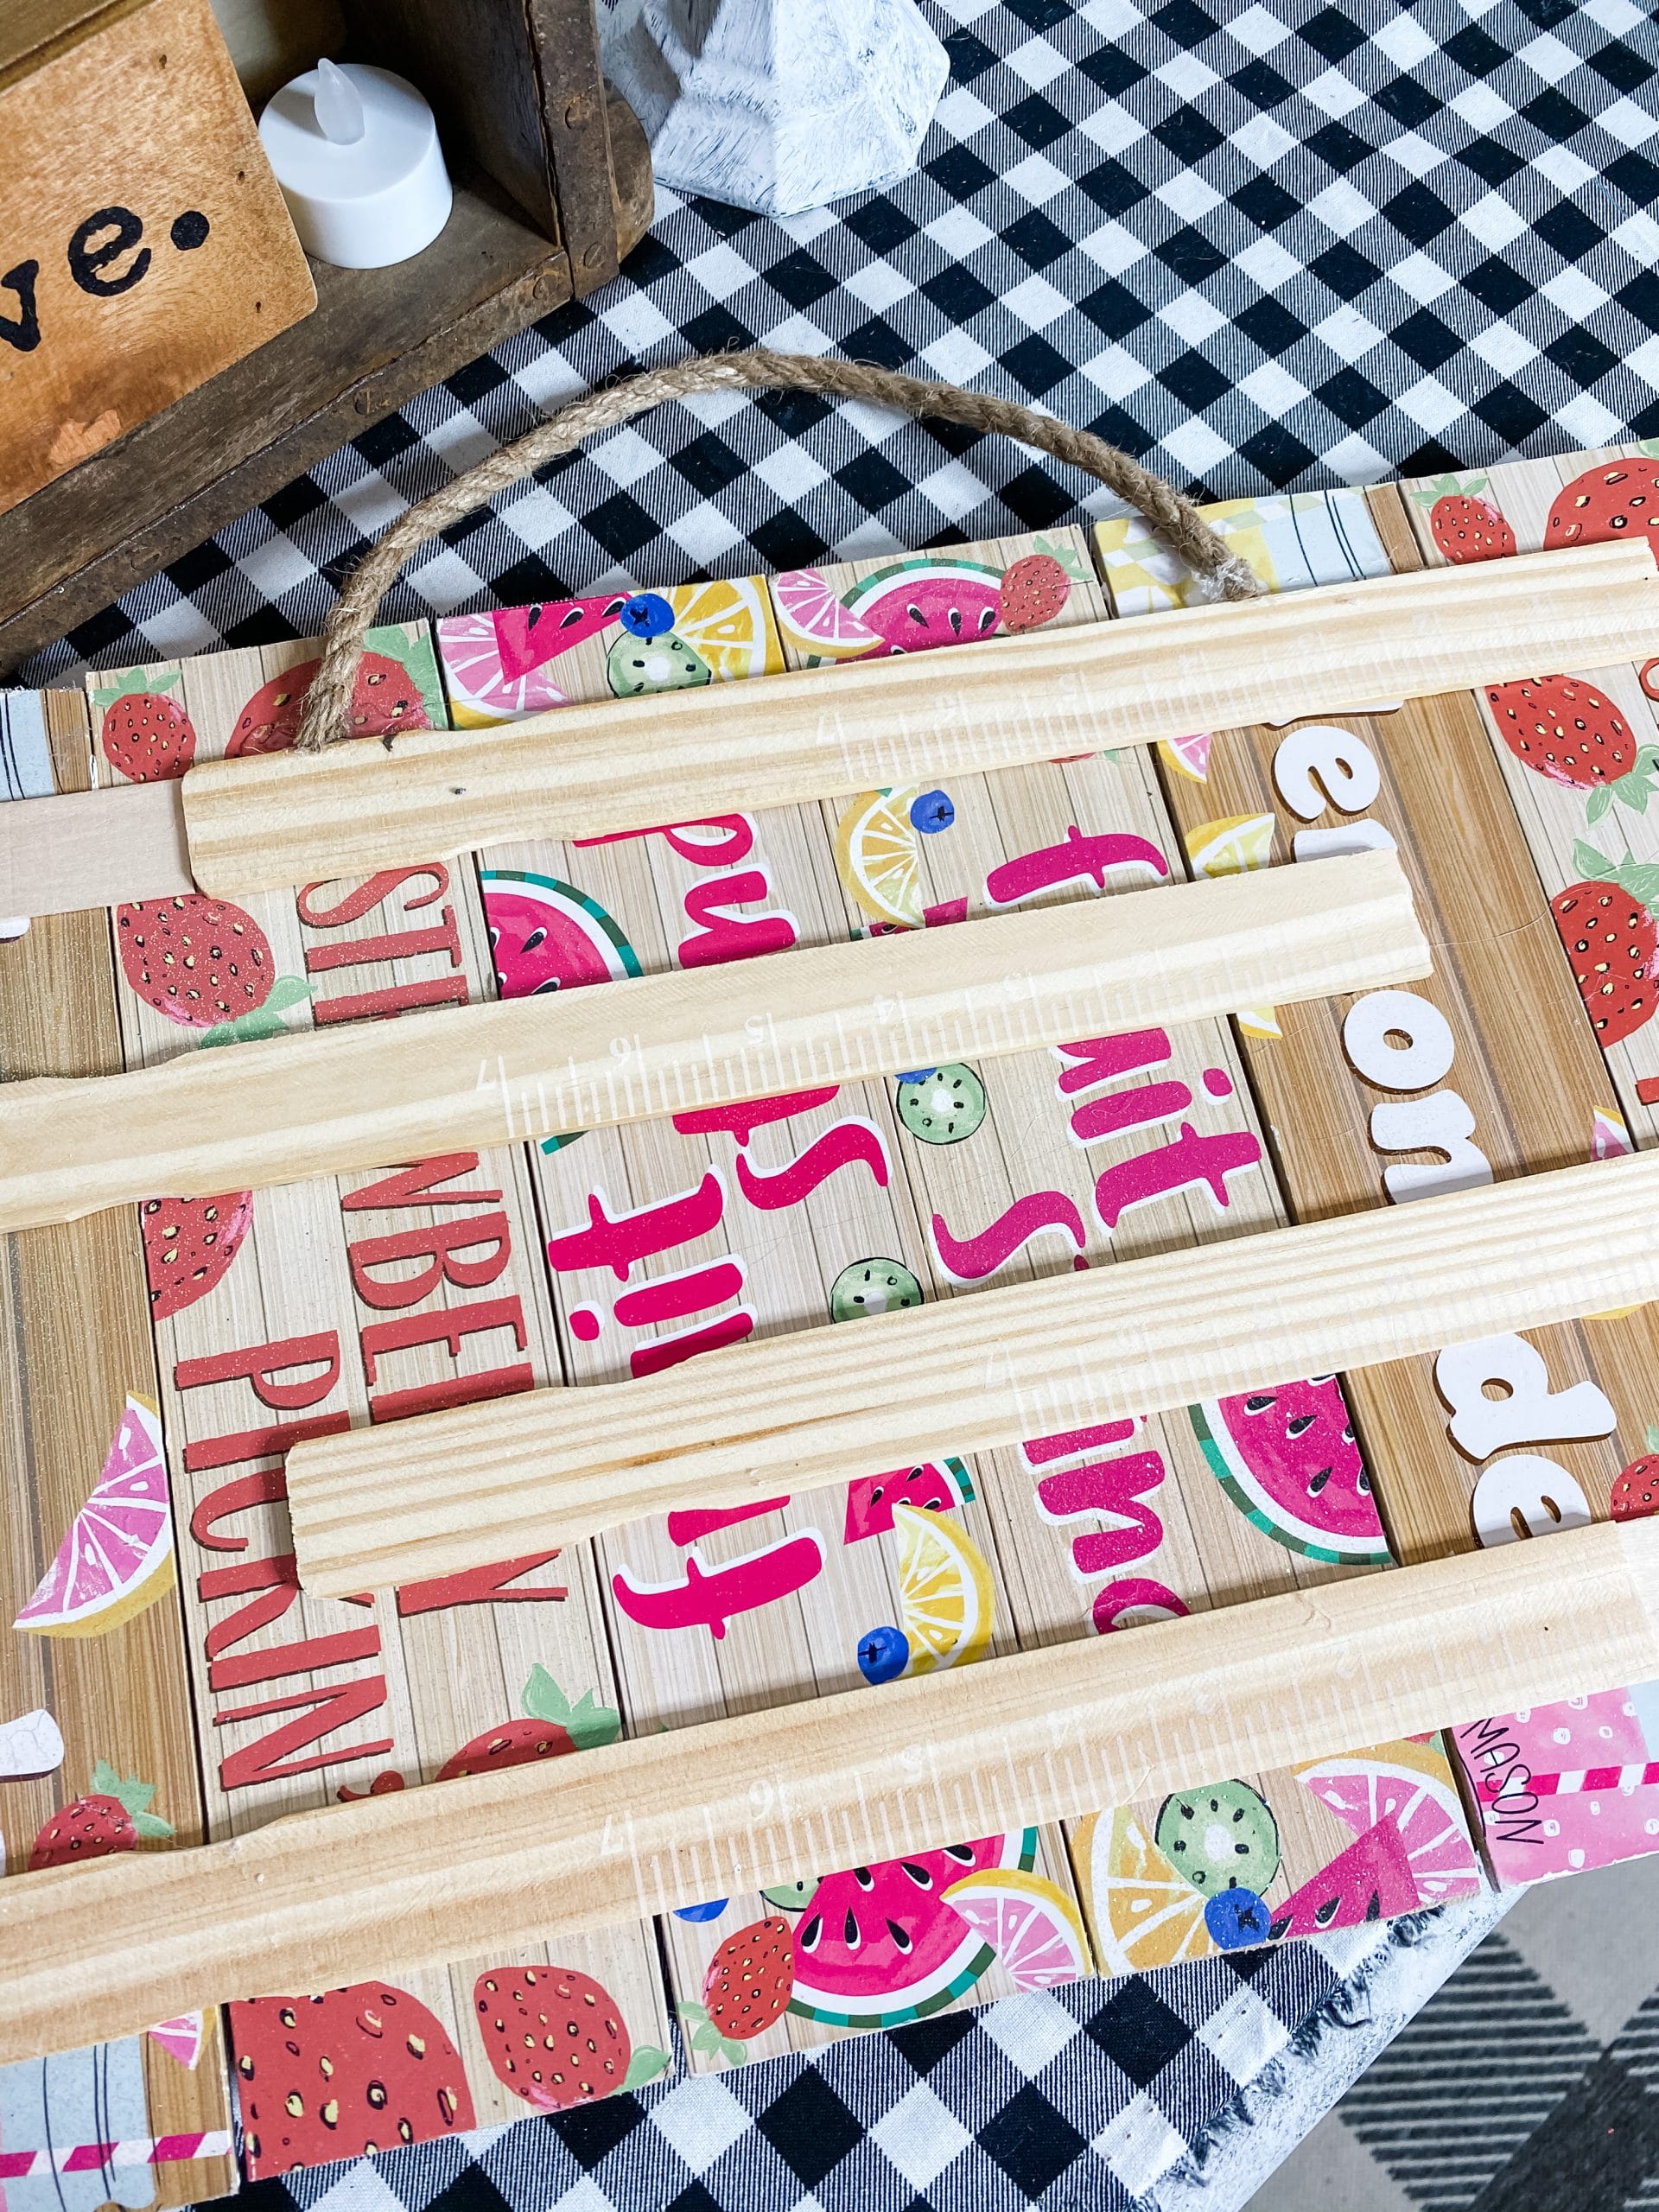
Start this project by separating the planes on your Dollar Tree signs. I pulled off the ribbon that connects them on the back, then pulled the staples out of the wood.
It does leave some holes in the wood, but it is okay because we are going to cover them up later.
Then, I used my aviation snips to cut the pointed end off the arrows and create regular rectangle planks.
They don’t have to be perfect, just similar. Lay all the planks side by side and hot glue the paint sticks across the back to create one long surface.
Once the glue is dry and your planks are secured together, go ahead and paint the top and bottom edges of them with white paint.
I used Apple Barrel White Acrylic Paint, and I only did one coat so that I would get the distressed finish I wanted.
How to Decoupage
Next, I applied a coat of Mod Podge over the center of the surface so I could decoupage my blue floral scrapbook paper in between the painted sections of the wood.
Carefully place your scrapbook paper and do your best to line us the seams without any gaps.
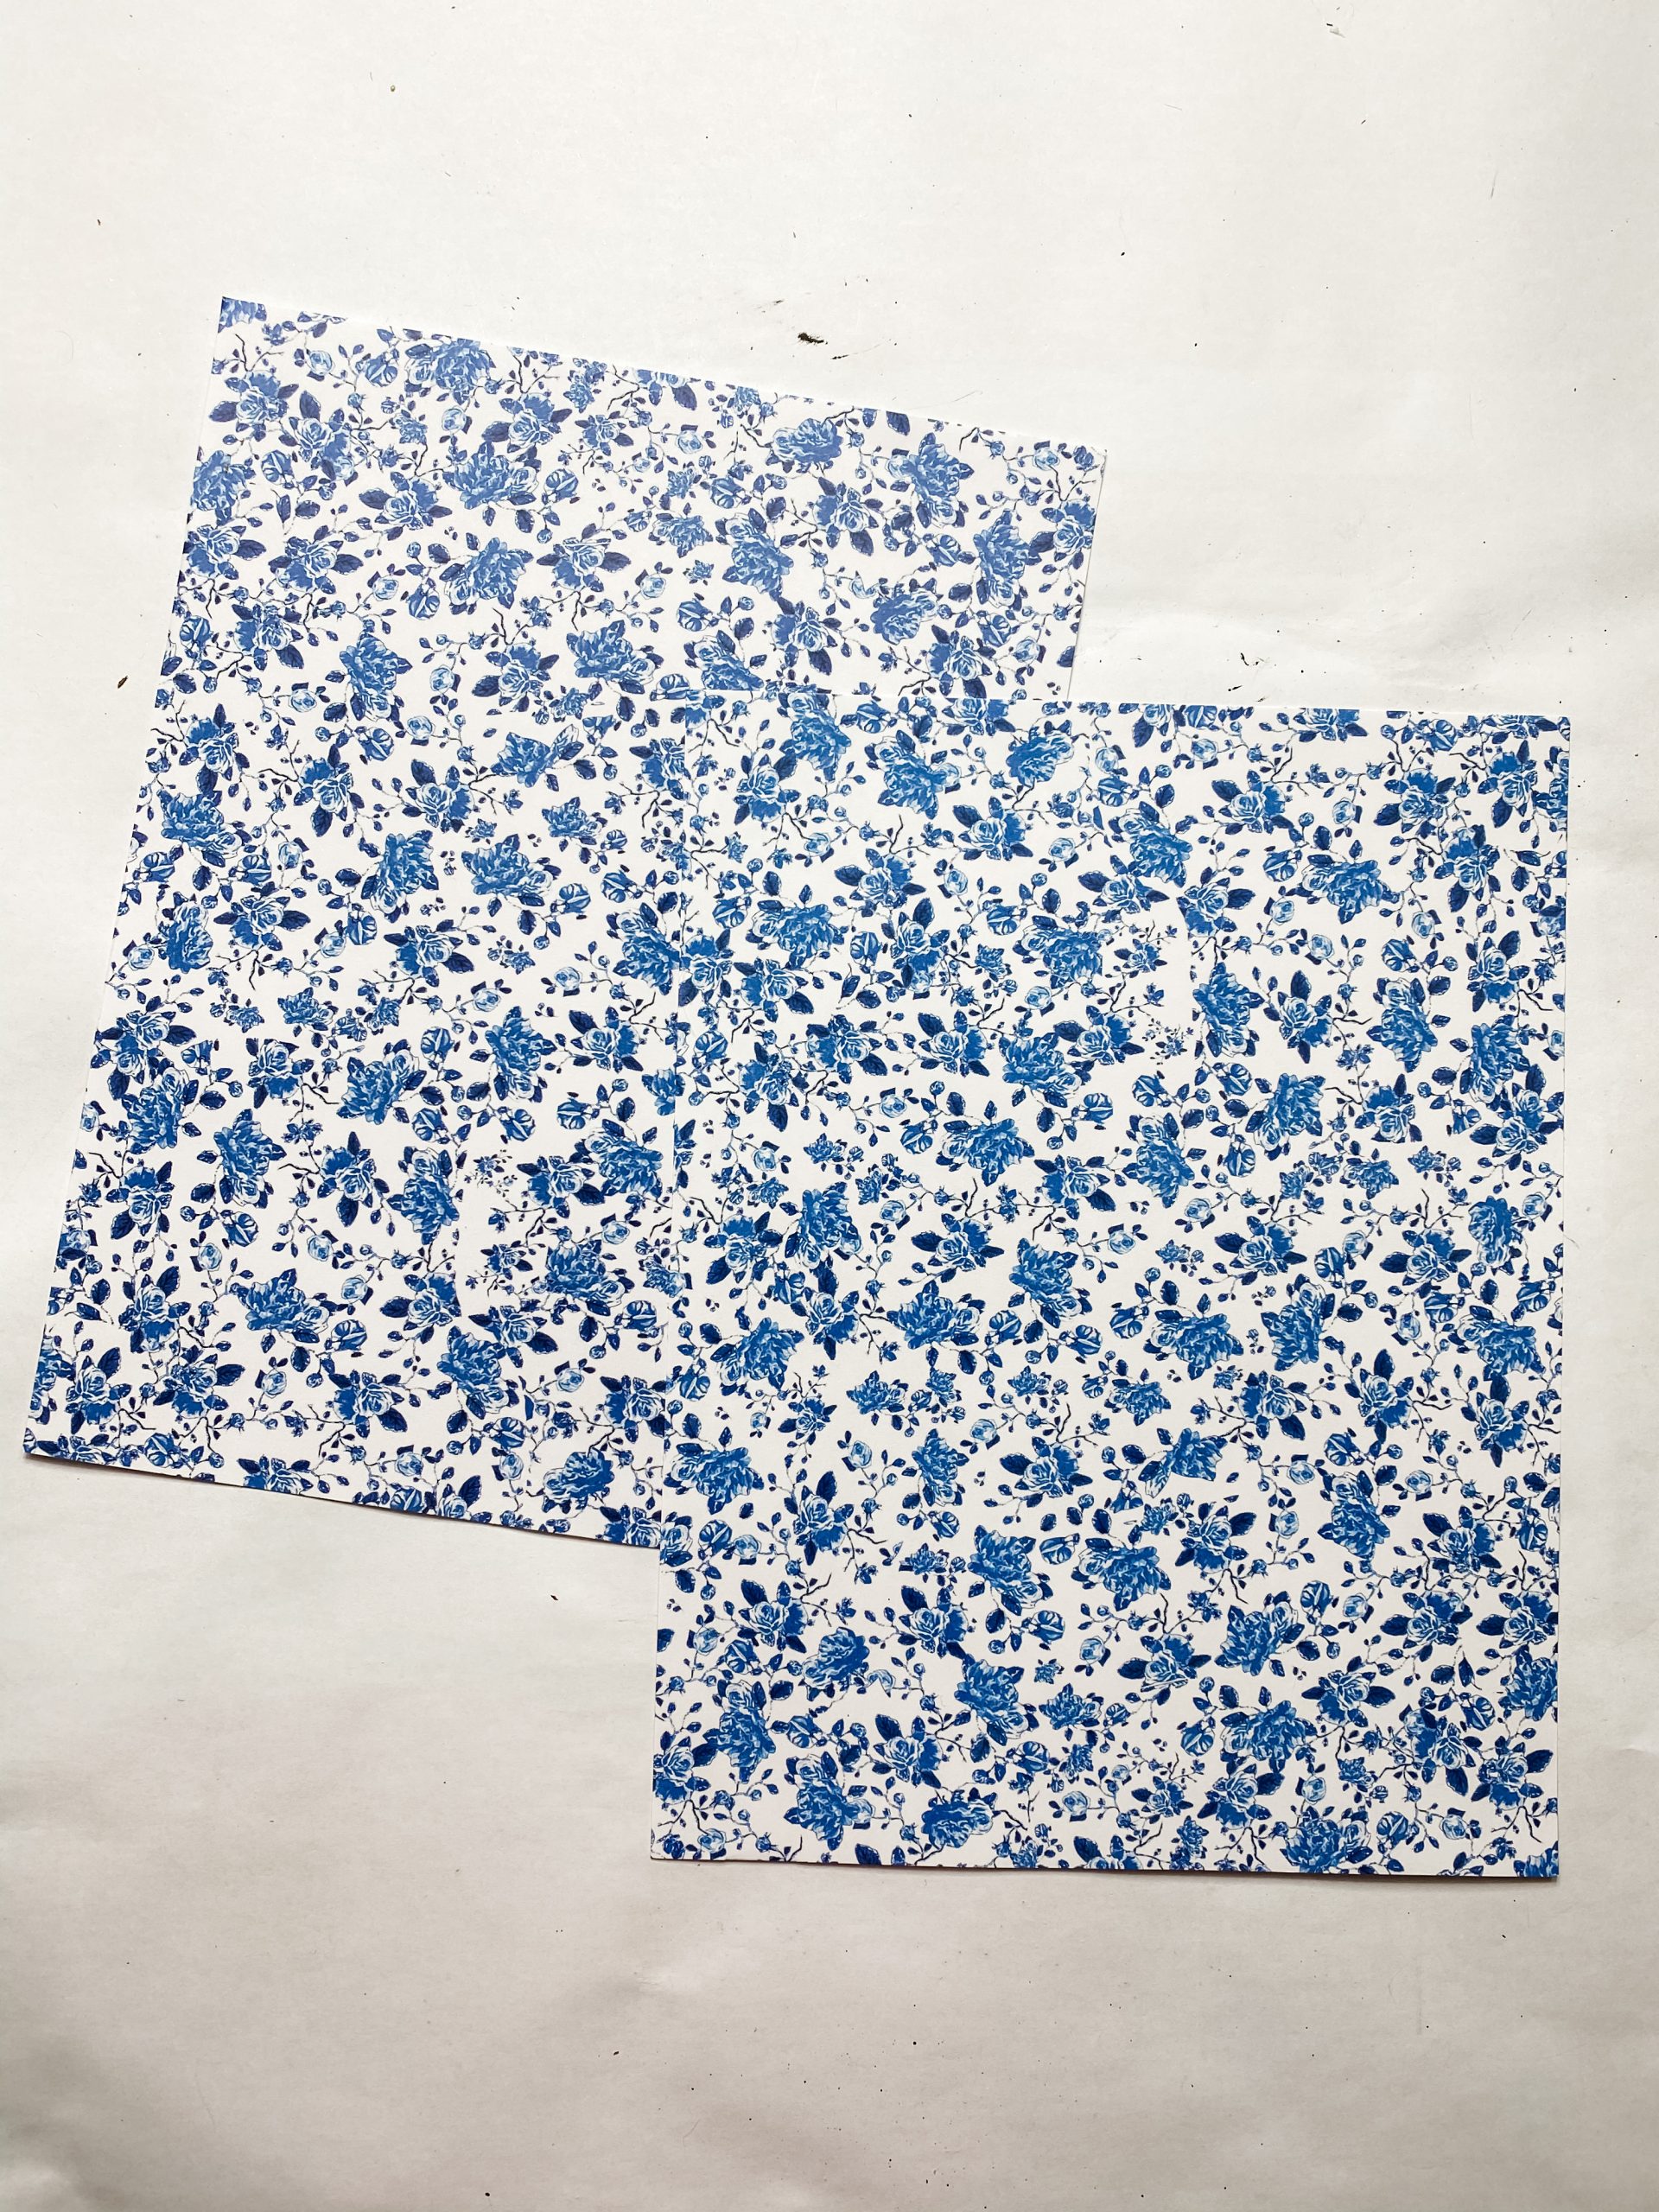
I used my heat gun to speed up the drying process, then used a sanding sponge to remove the excess scrapbook paper from the edges of the wood planks.
Next, I hot glued the metal ribbon across the scrapbook paper in two places. You’re going to want finger protectors because the hot glue makes the metal ribbon pretty hot.
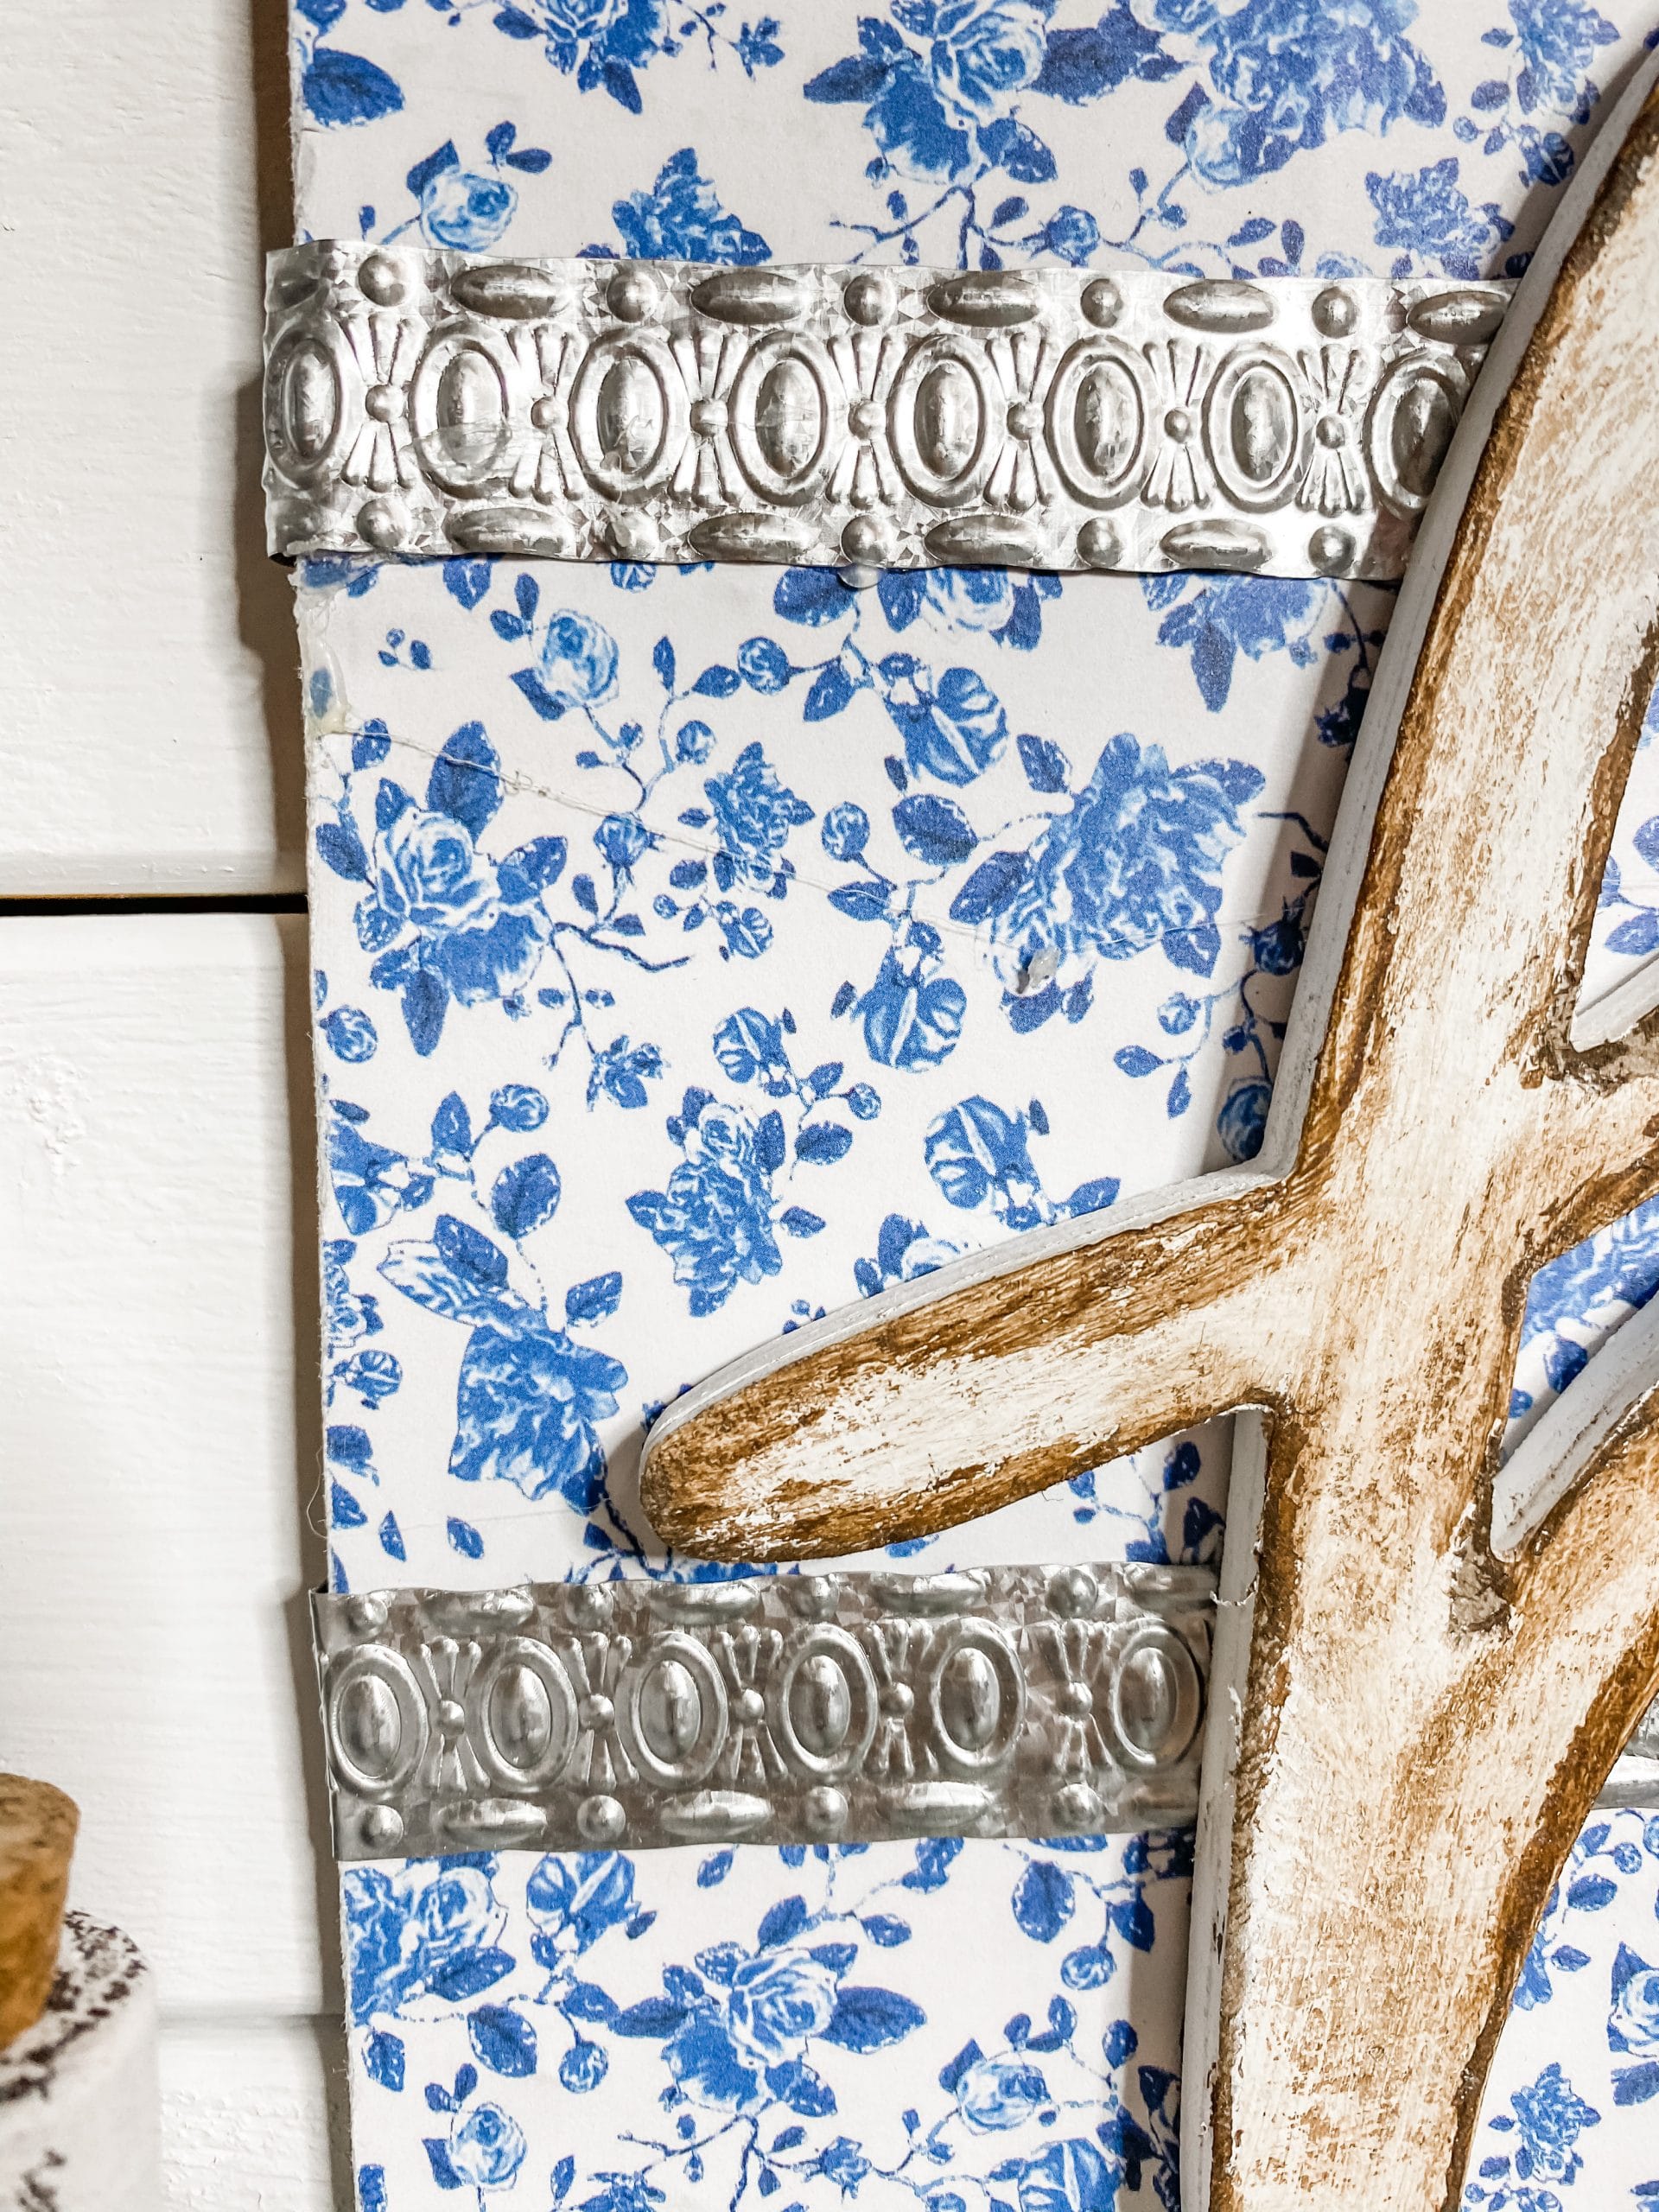
I bent the end of the metal ribbon around the edge of the wood planks and then hammered them down to make them lay more flat to the surface.
Once the metal ribbon strips are secured on the wood, you can set the wood to the side and grab your hello lettering.
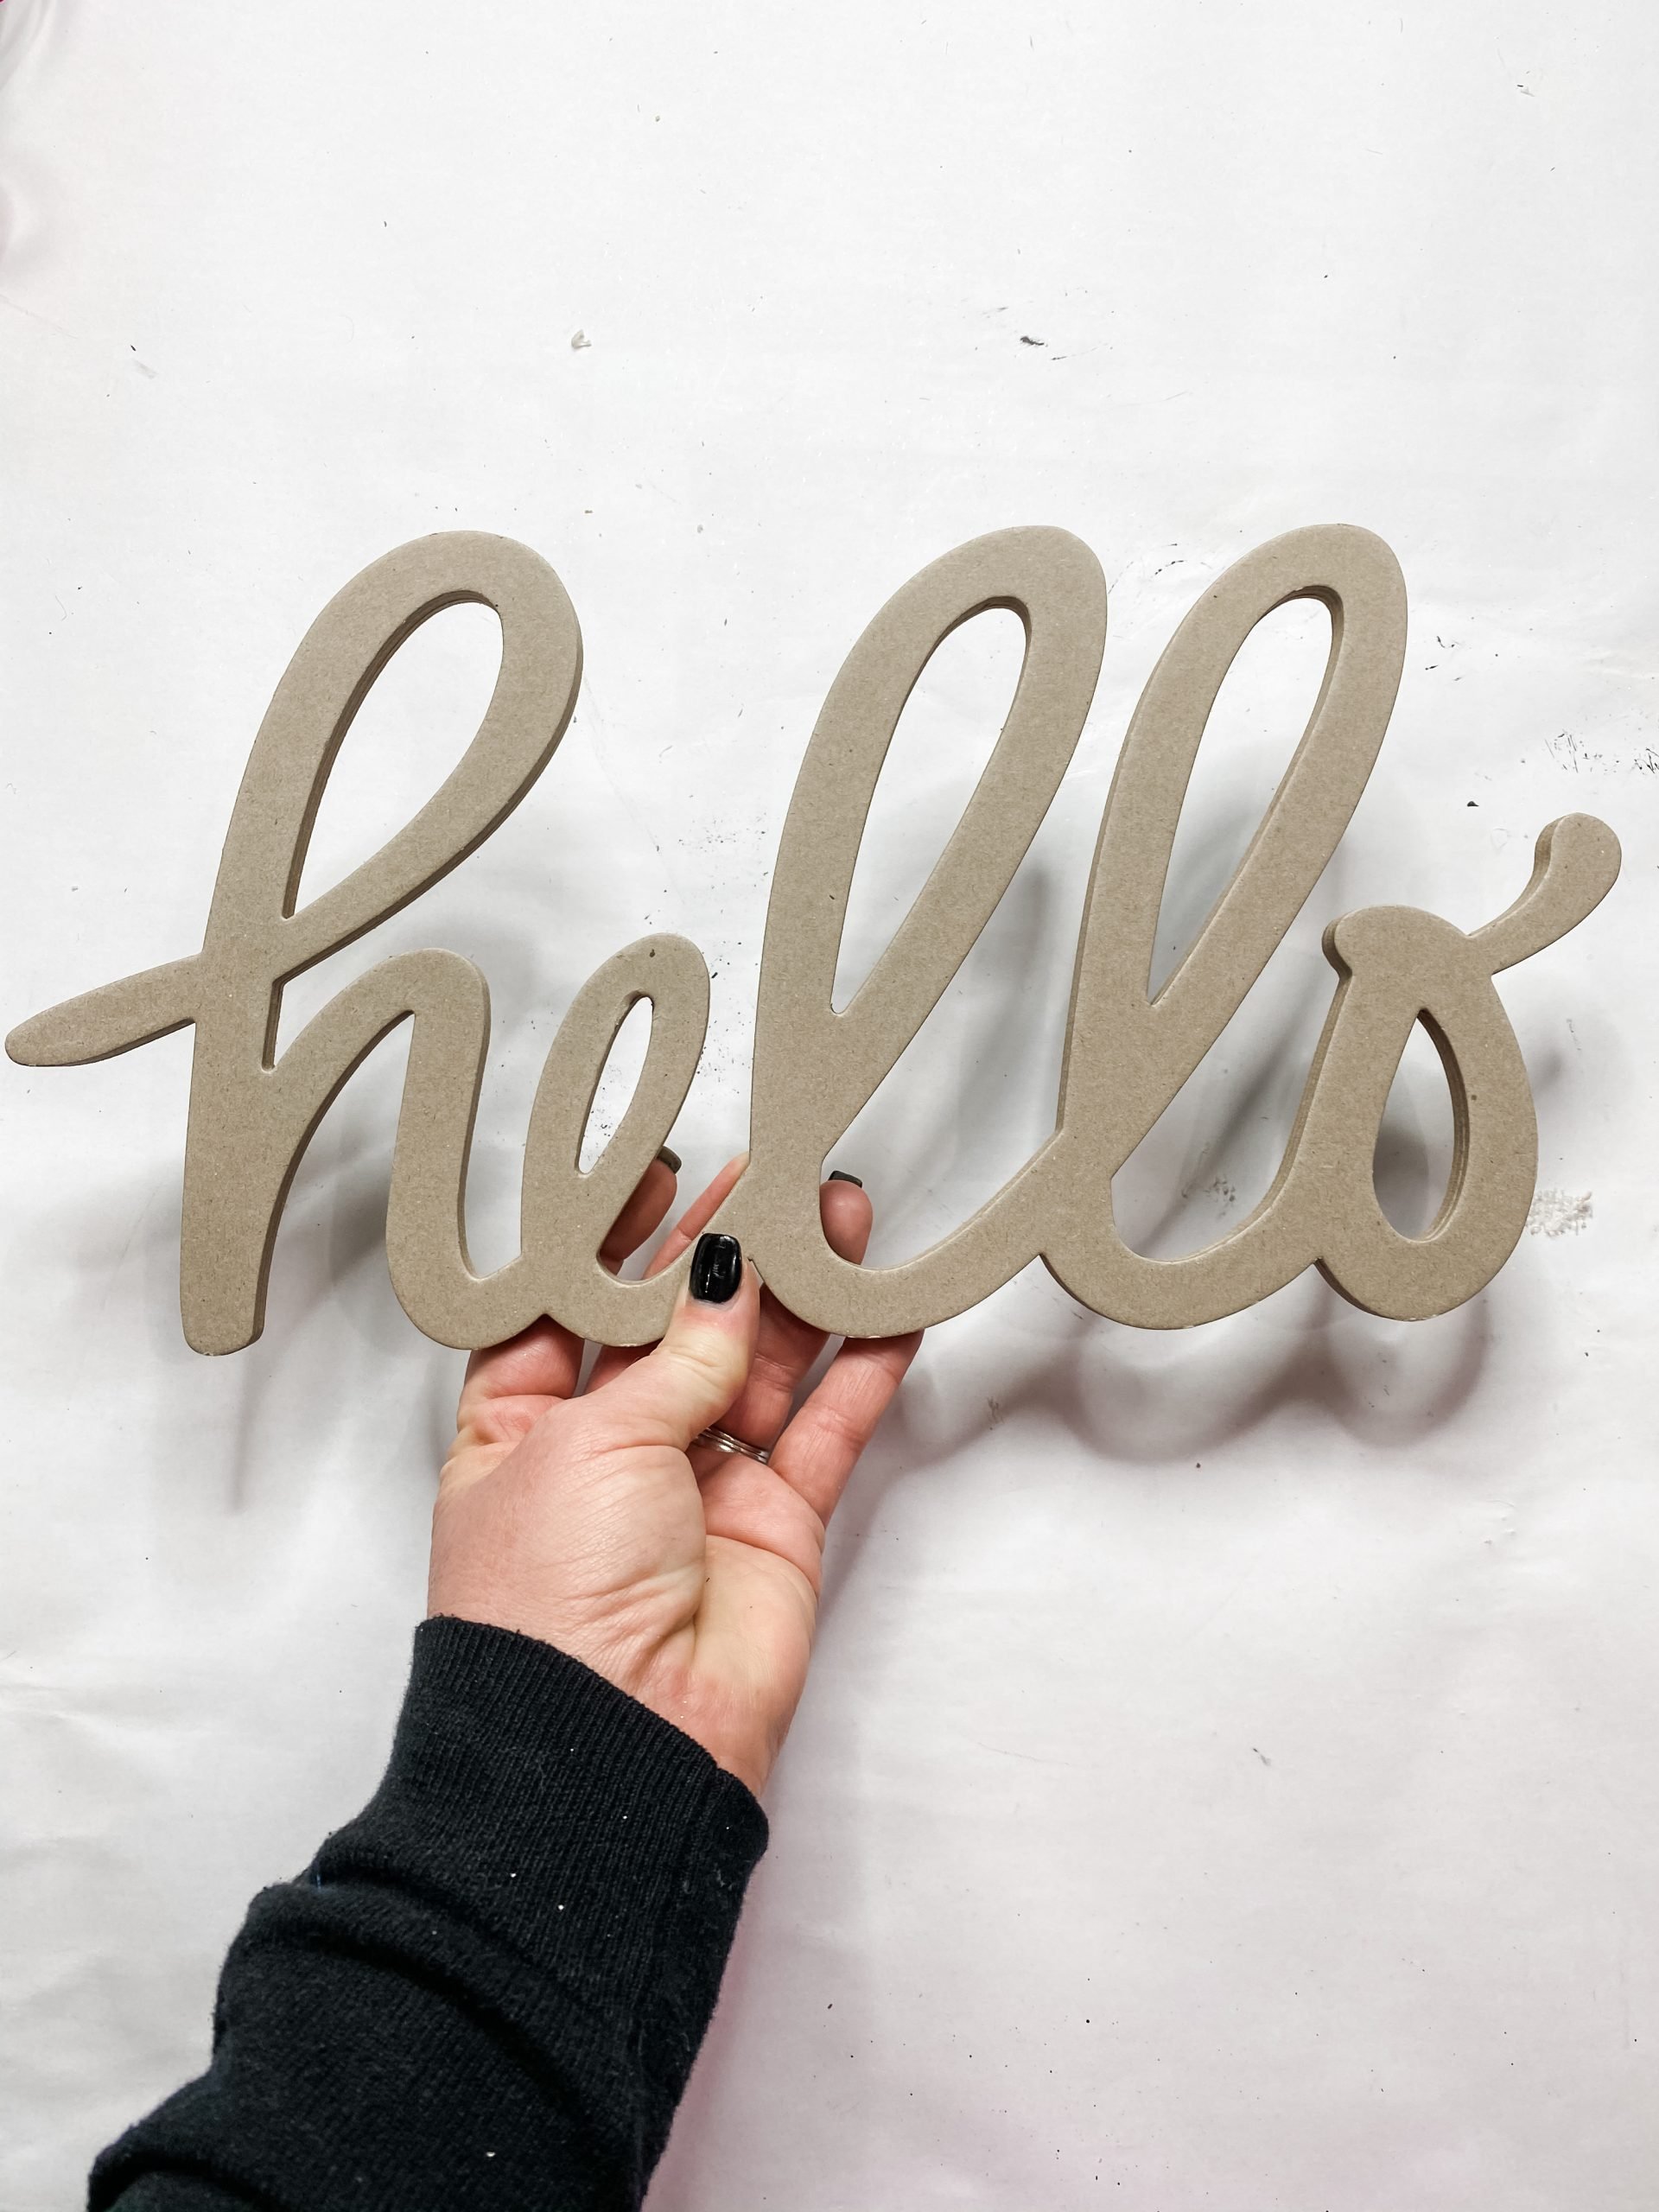
Hobby Lobby Hello
I painted my Hobby Lobby hello lettering with Apple Barrel White Acrylic Paint.
I pounced my chippy paintbrush around the sides of the lettering first, and it got some of the paint on the front of the lettering. After the sides, I painted the front of the lettering.
I used my heat gun to dry the lettering, then I applied a coat of Mod Podge. The Mod Podge is going to help the wax adhere properly to the lettering and keep it from getting stuck on the paint.
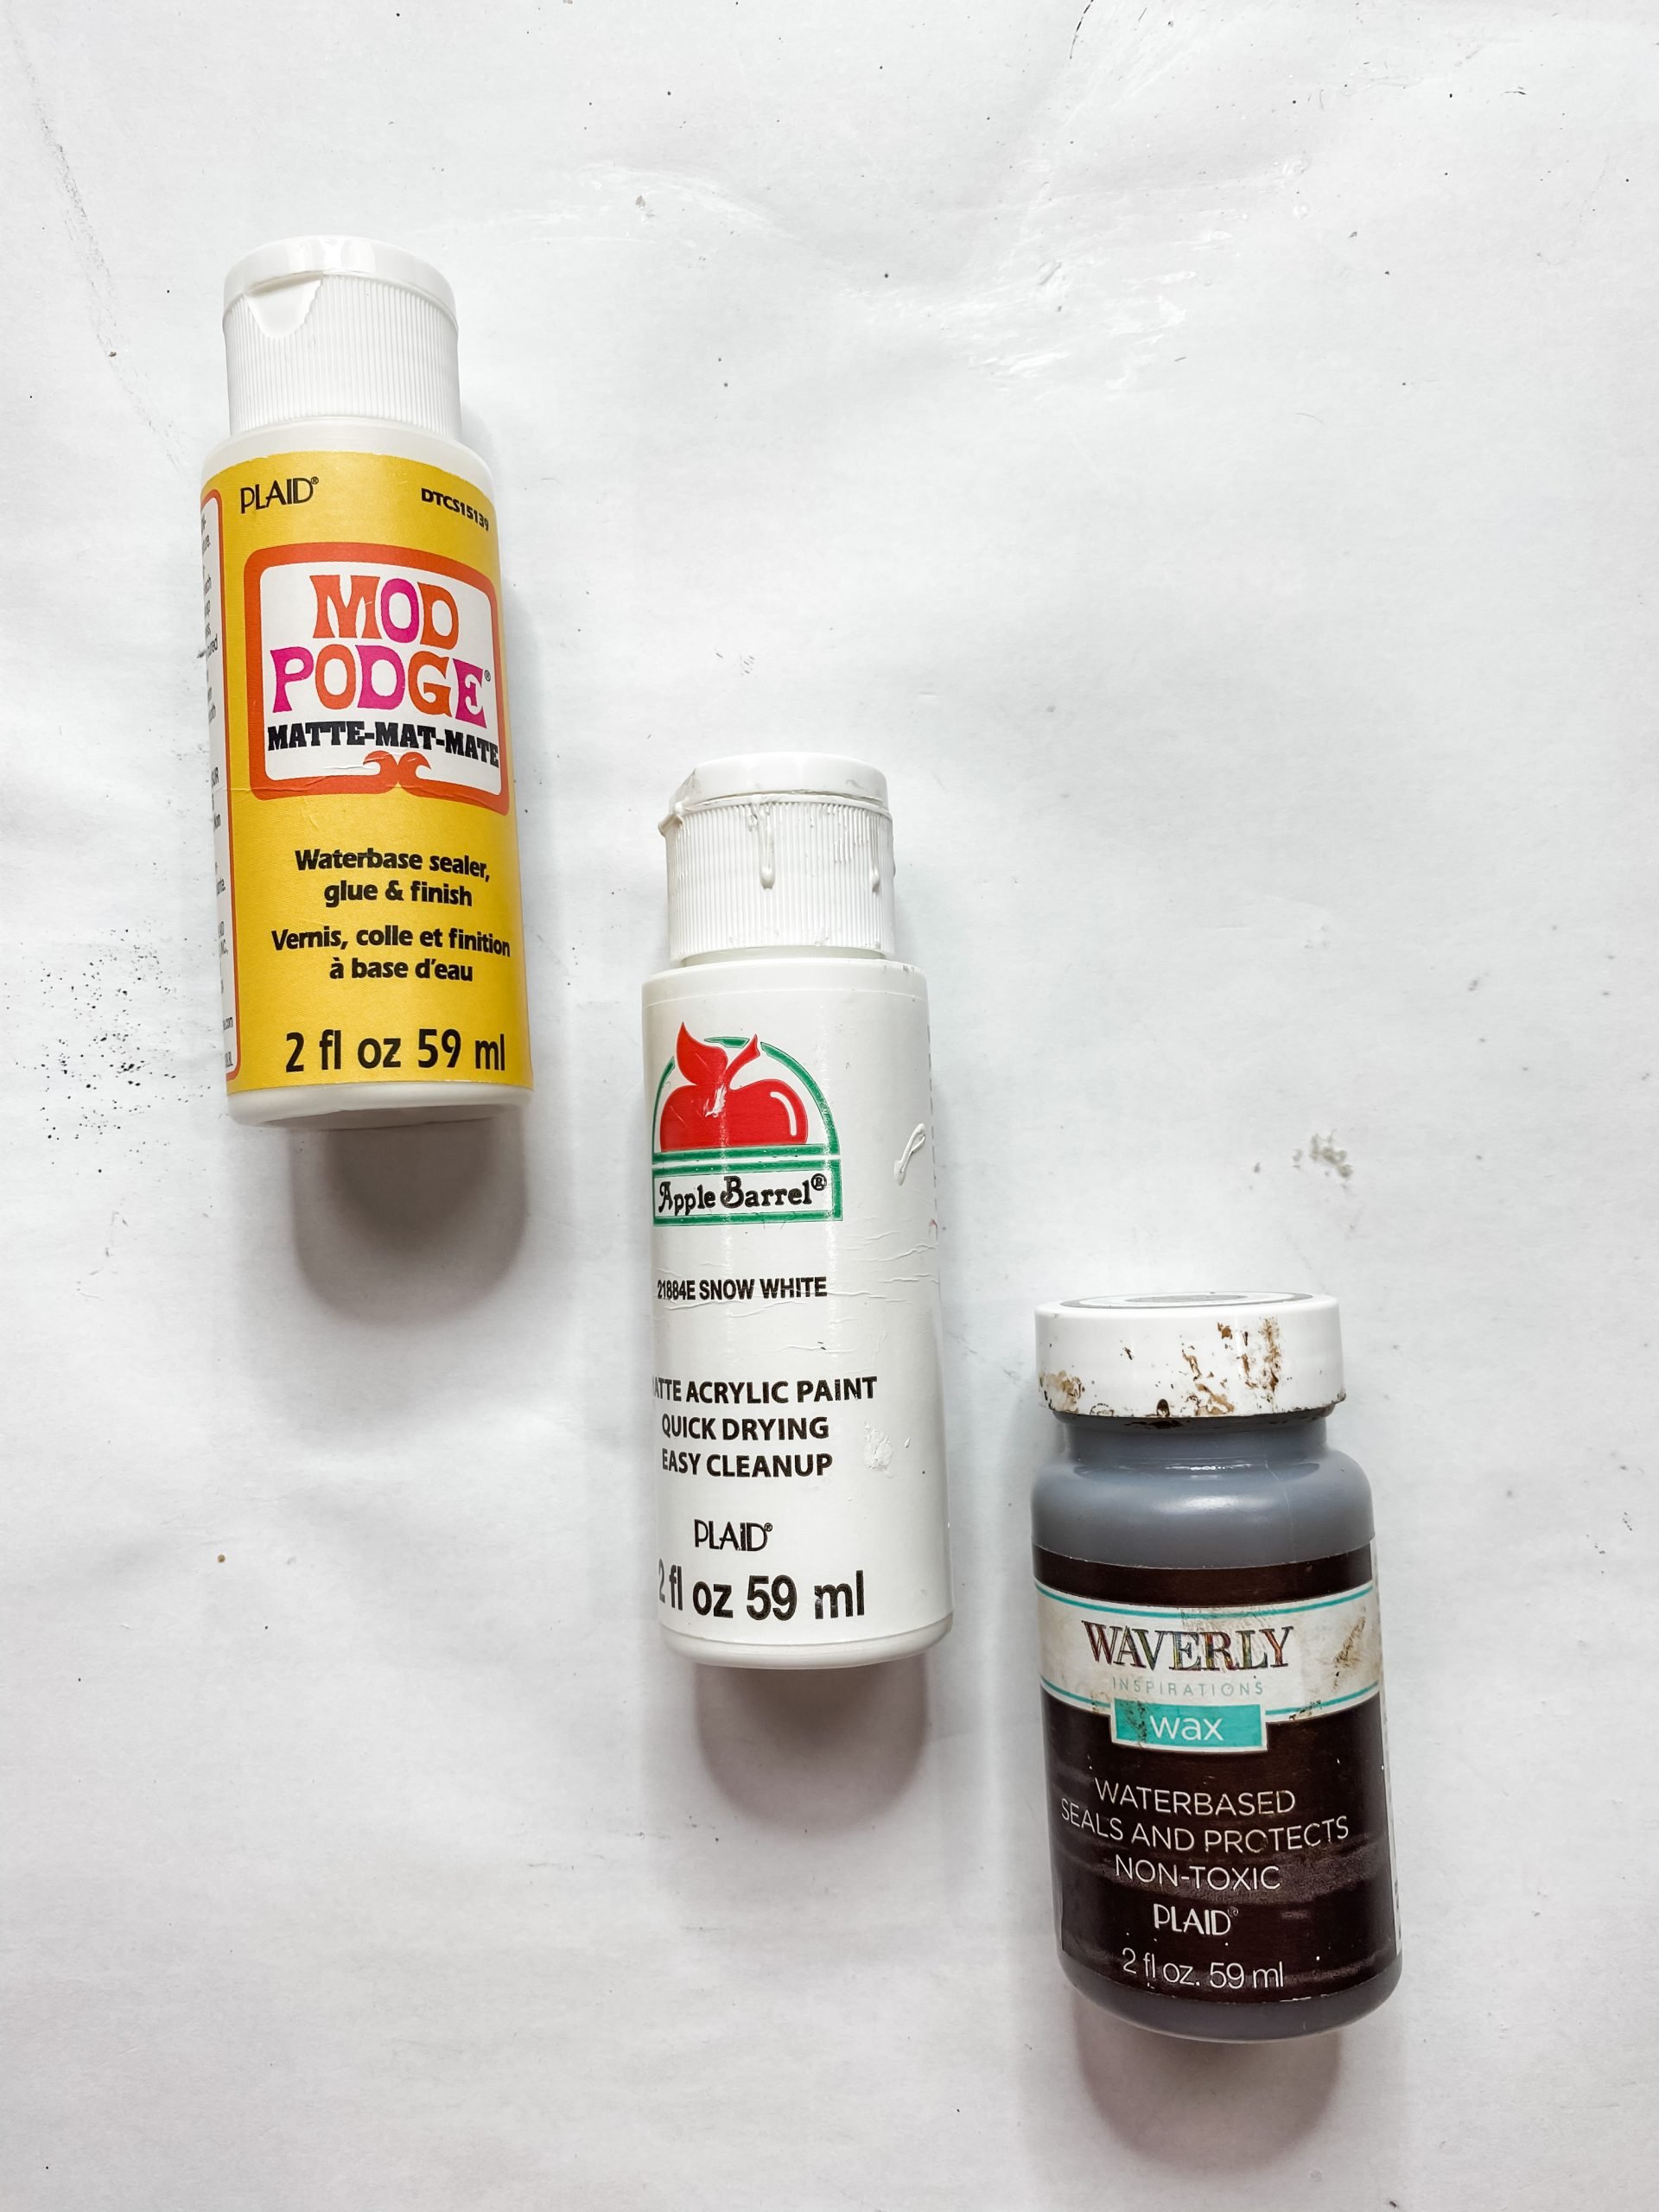
You only need a small amount of wax, so dab some onto a piece of wax paper or a plate. Then, swirl the brush into the wax, and brush it lightly onto the lettering.
Go back over the wax with a wet wipe to blend it out. This is going to create an aged look. Next, you’re going to use the wax to add a bit of color to the half wood beads.
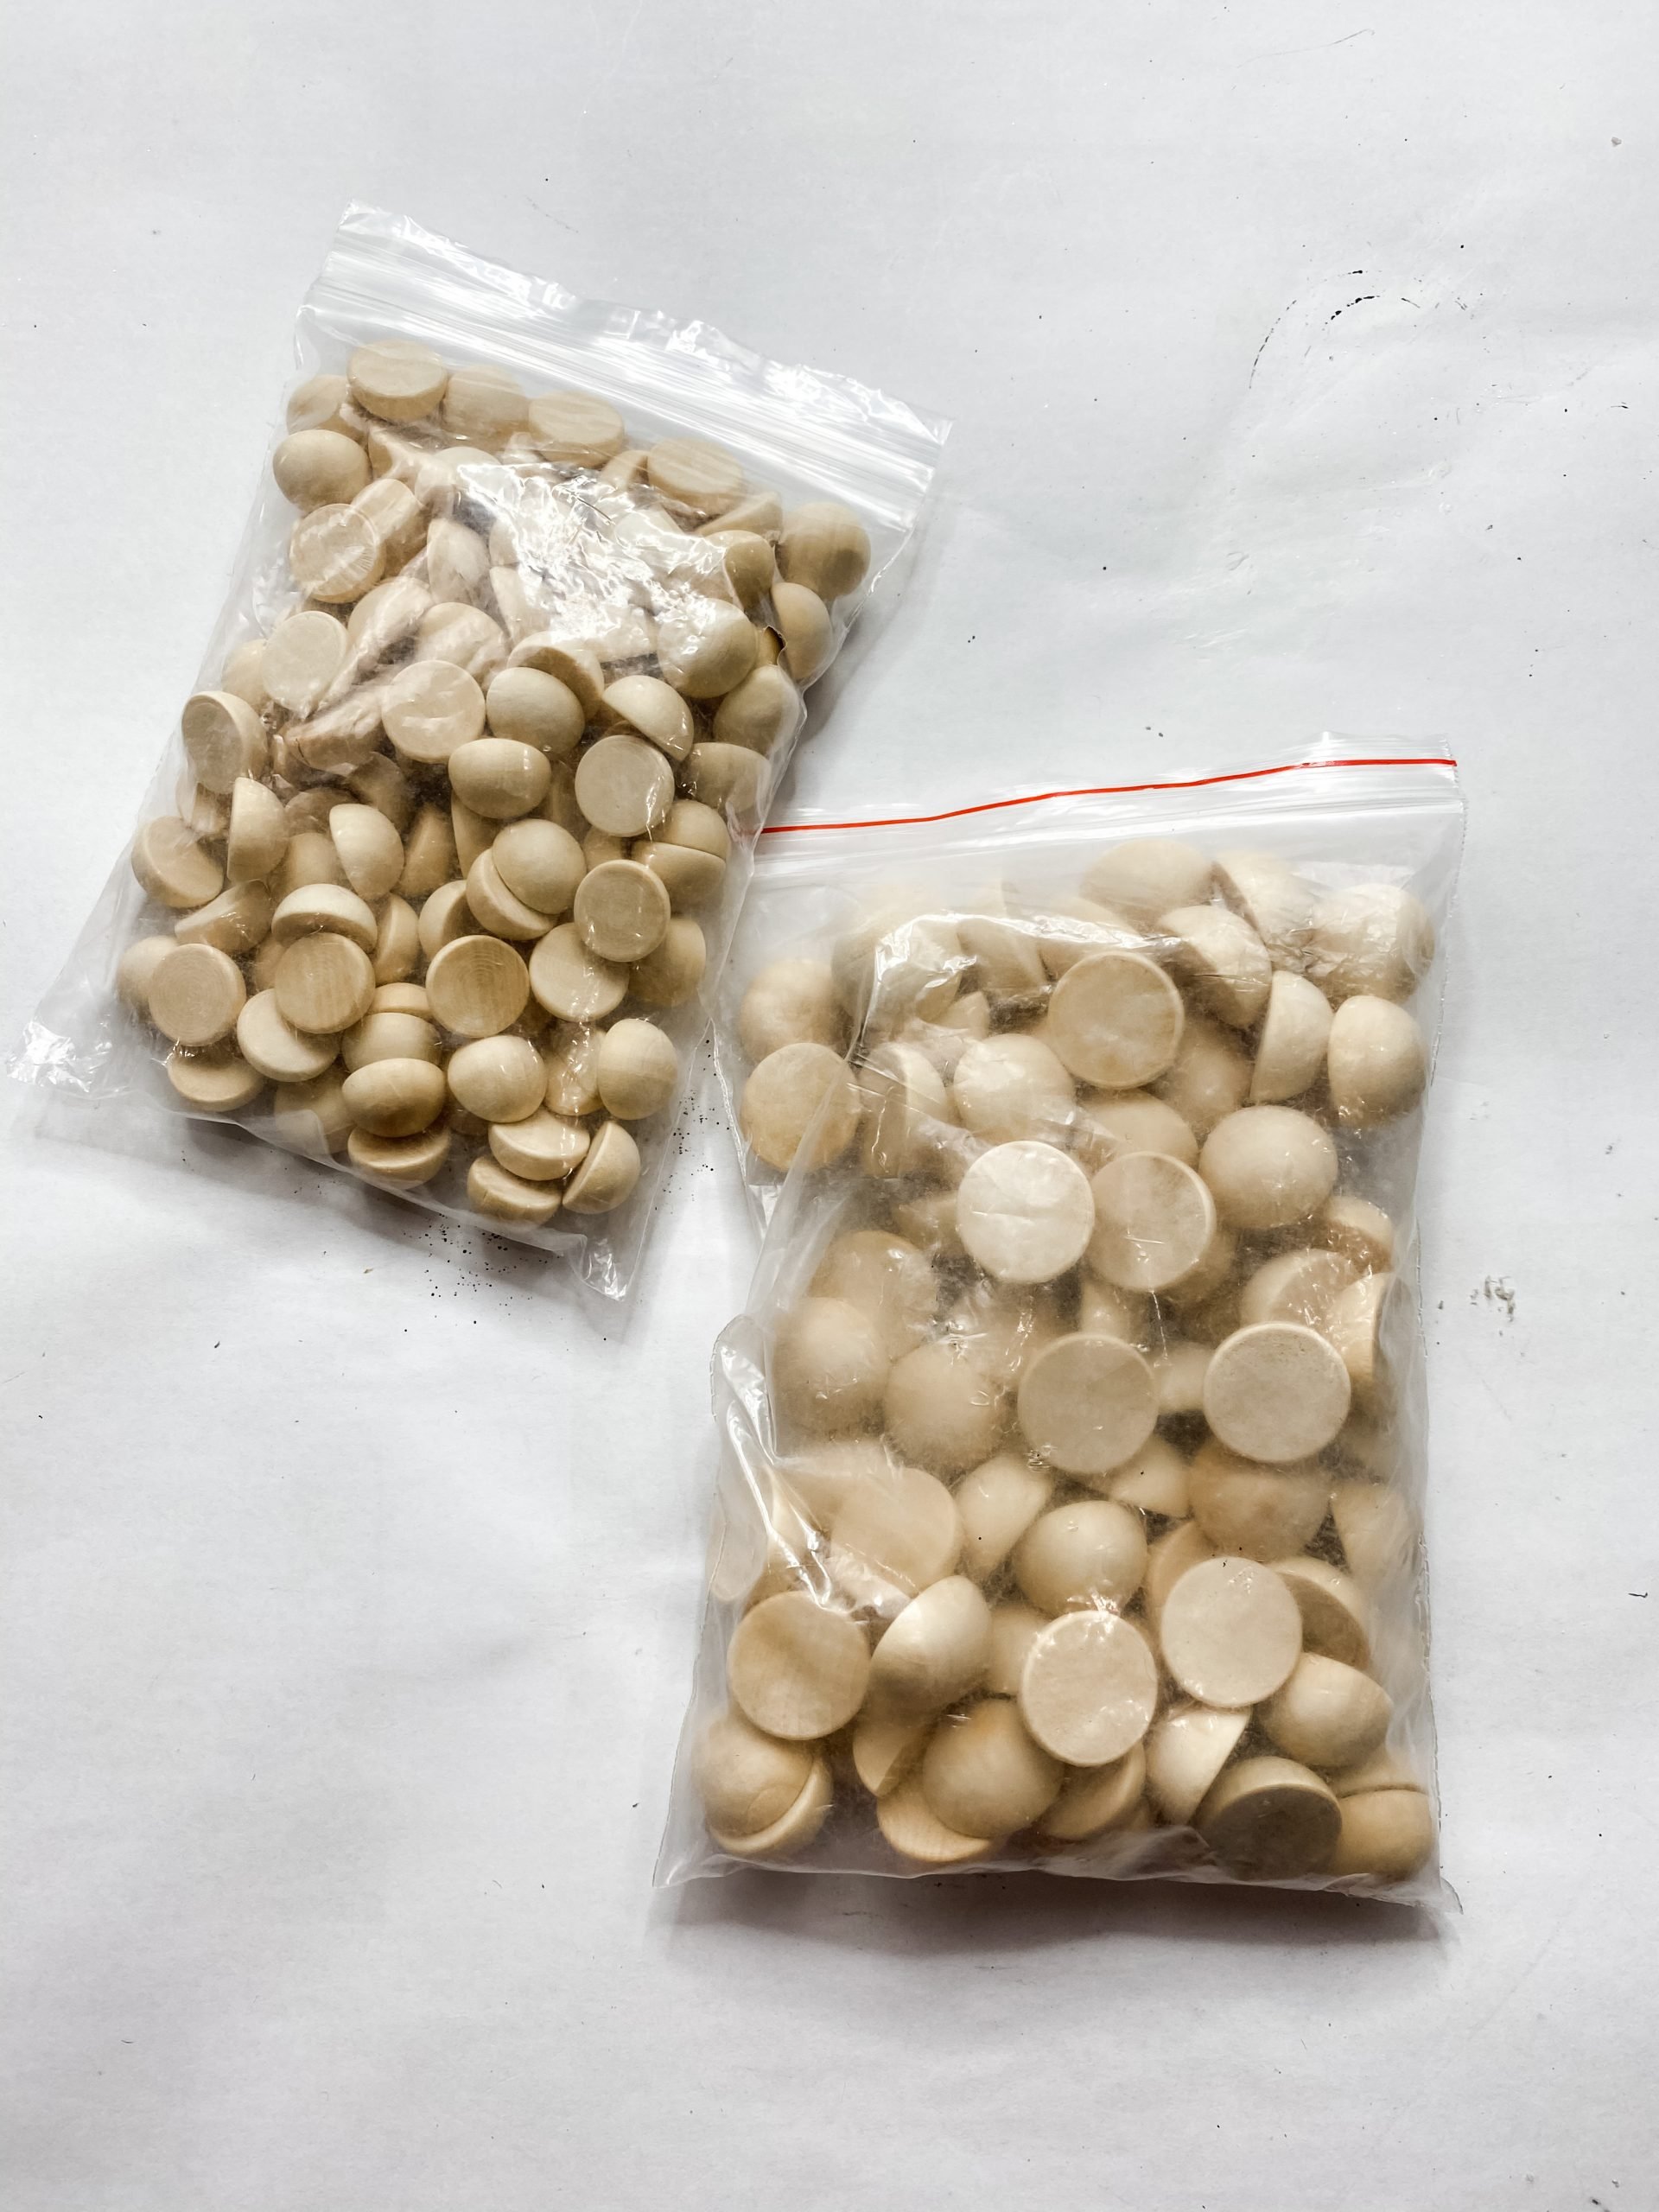
First, I dry placed my beads to see how many I was going to need, then I put them into a small mixing bowl, poured a small amount of wax into the bowl, and swirled them around until they all had a bit of color on them.
Bring it all together
I used my heat gun to dry the half wood beads, then hot glued them across the white space on the top and bottom edges of the planked surface.
Before I added the hello lettering, I went over the wood beads, edges of the surface, and the hello lettering with a sanding sponge.
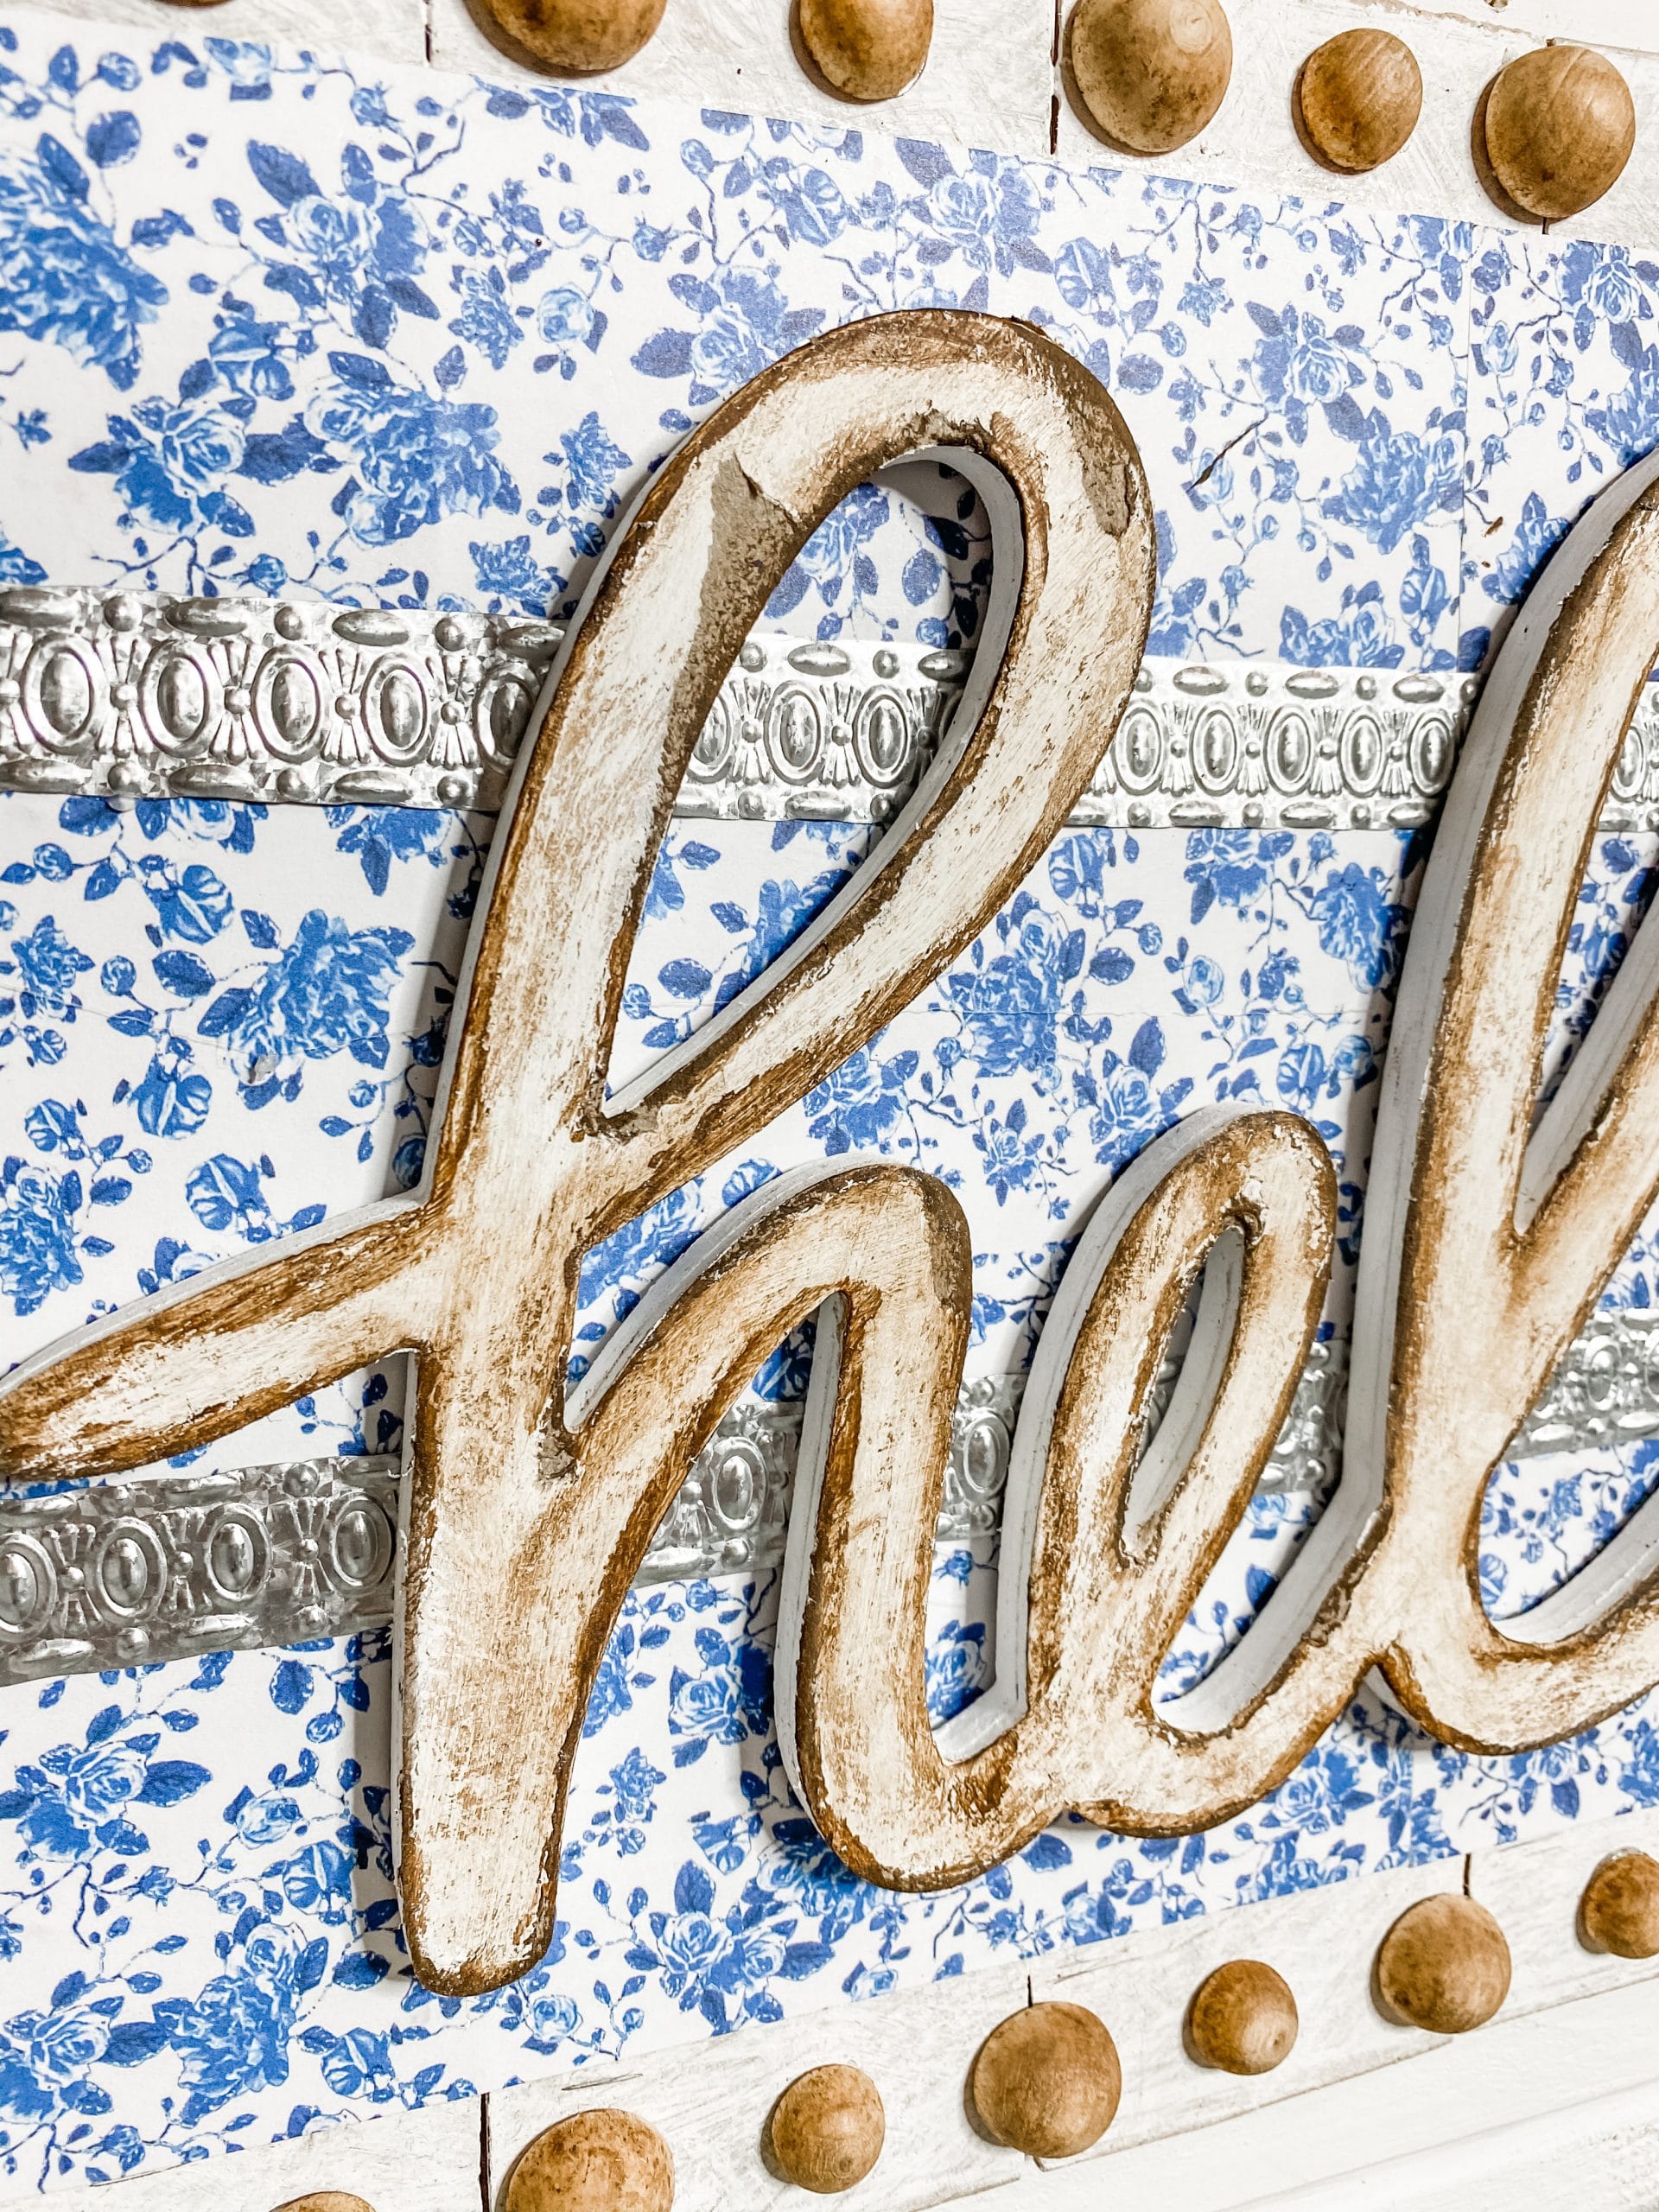
The last detail I added to the hello lettering was some more of the wax around the edges of the letters. I dabbed my fingertip into the wax and then wiped it across the edges.
If you put too much wax, you can go back with a wet wipe to blend it out and remove the excess wax.
Once you’re happy with the finish, go ahead and hot glue the hello lettering to the center of your planked surface.
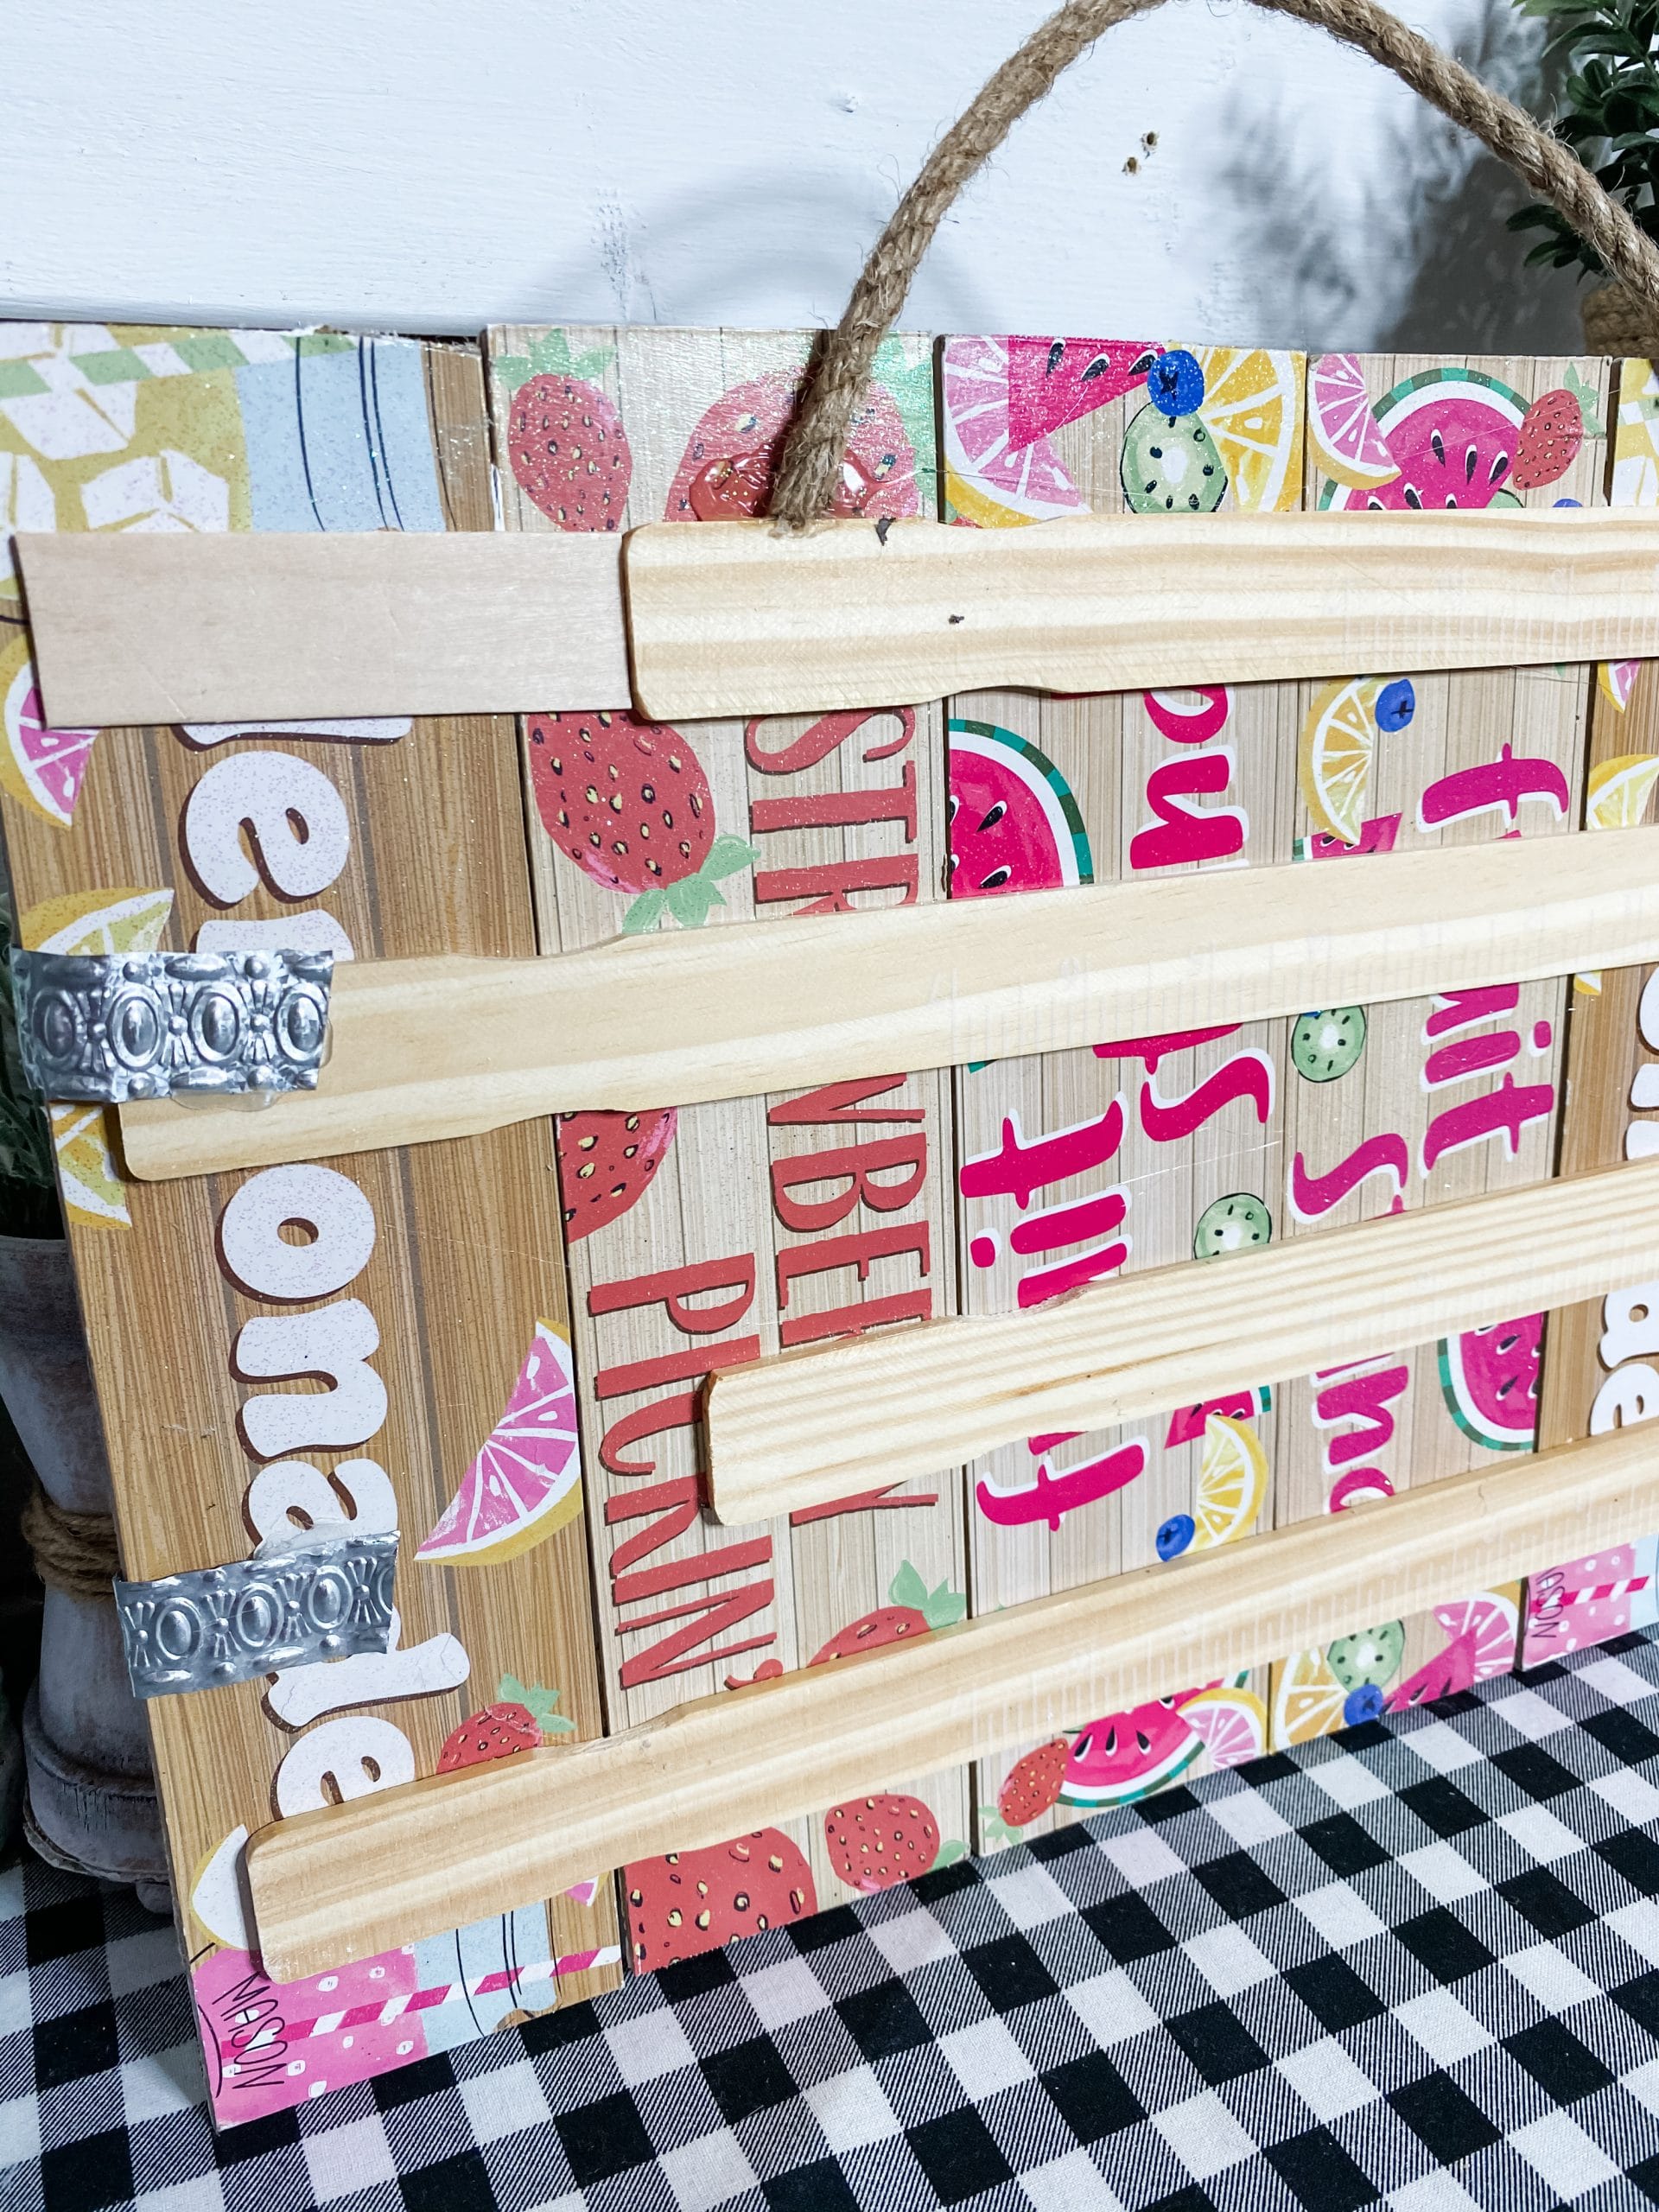
Lastly, I created a hanger for this DIY boho hello home decor sign out of Dollar Tree nautical rope. I cut a piece of it then hot glued the ends to the back of the sign.
I hope you enjoyed this DIY Boho Hello Home Decor as much as I did and decide to make one for yourself! If you do, I would love to see how yours turns out!
Watch the replay
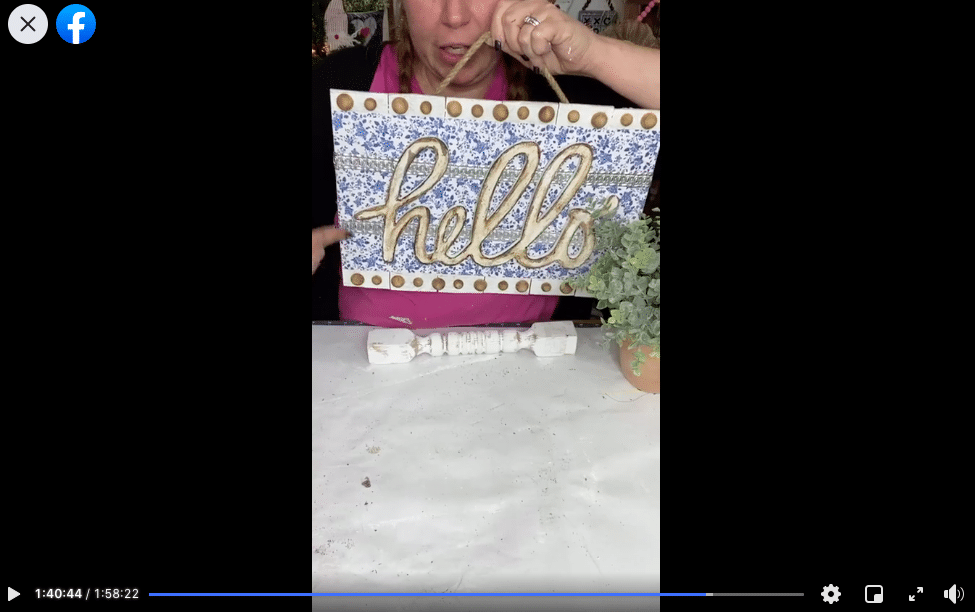
I recorded the how-to steps during a LIVE video on my Facebook page, and I had a blast crafting and chatting with my amazing Crafty Crew! If you want to join in on the DIY fun, you can watch the replay!
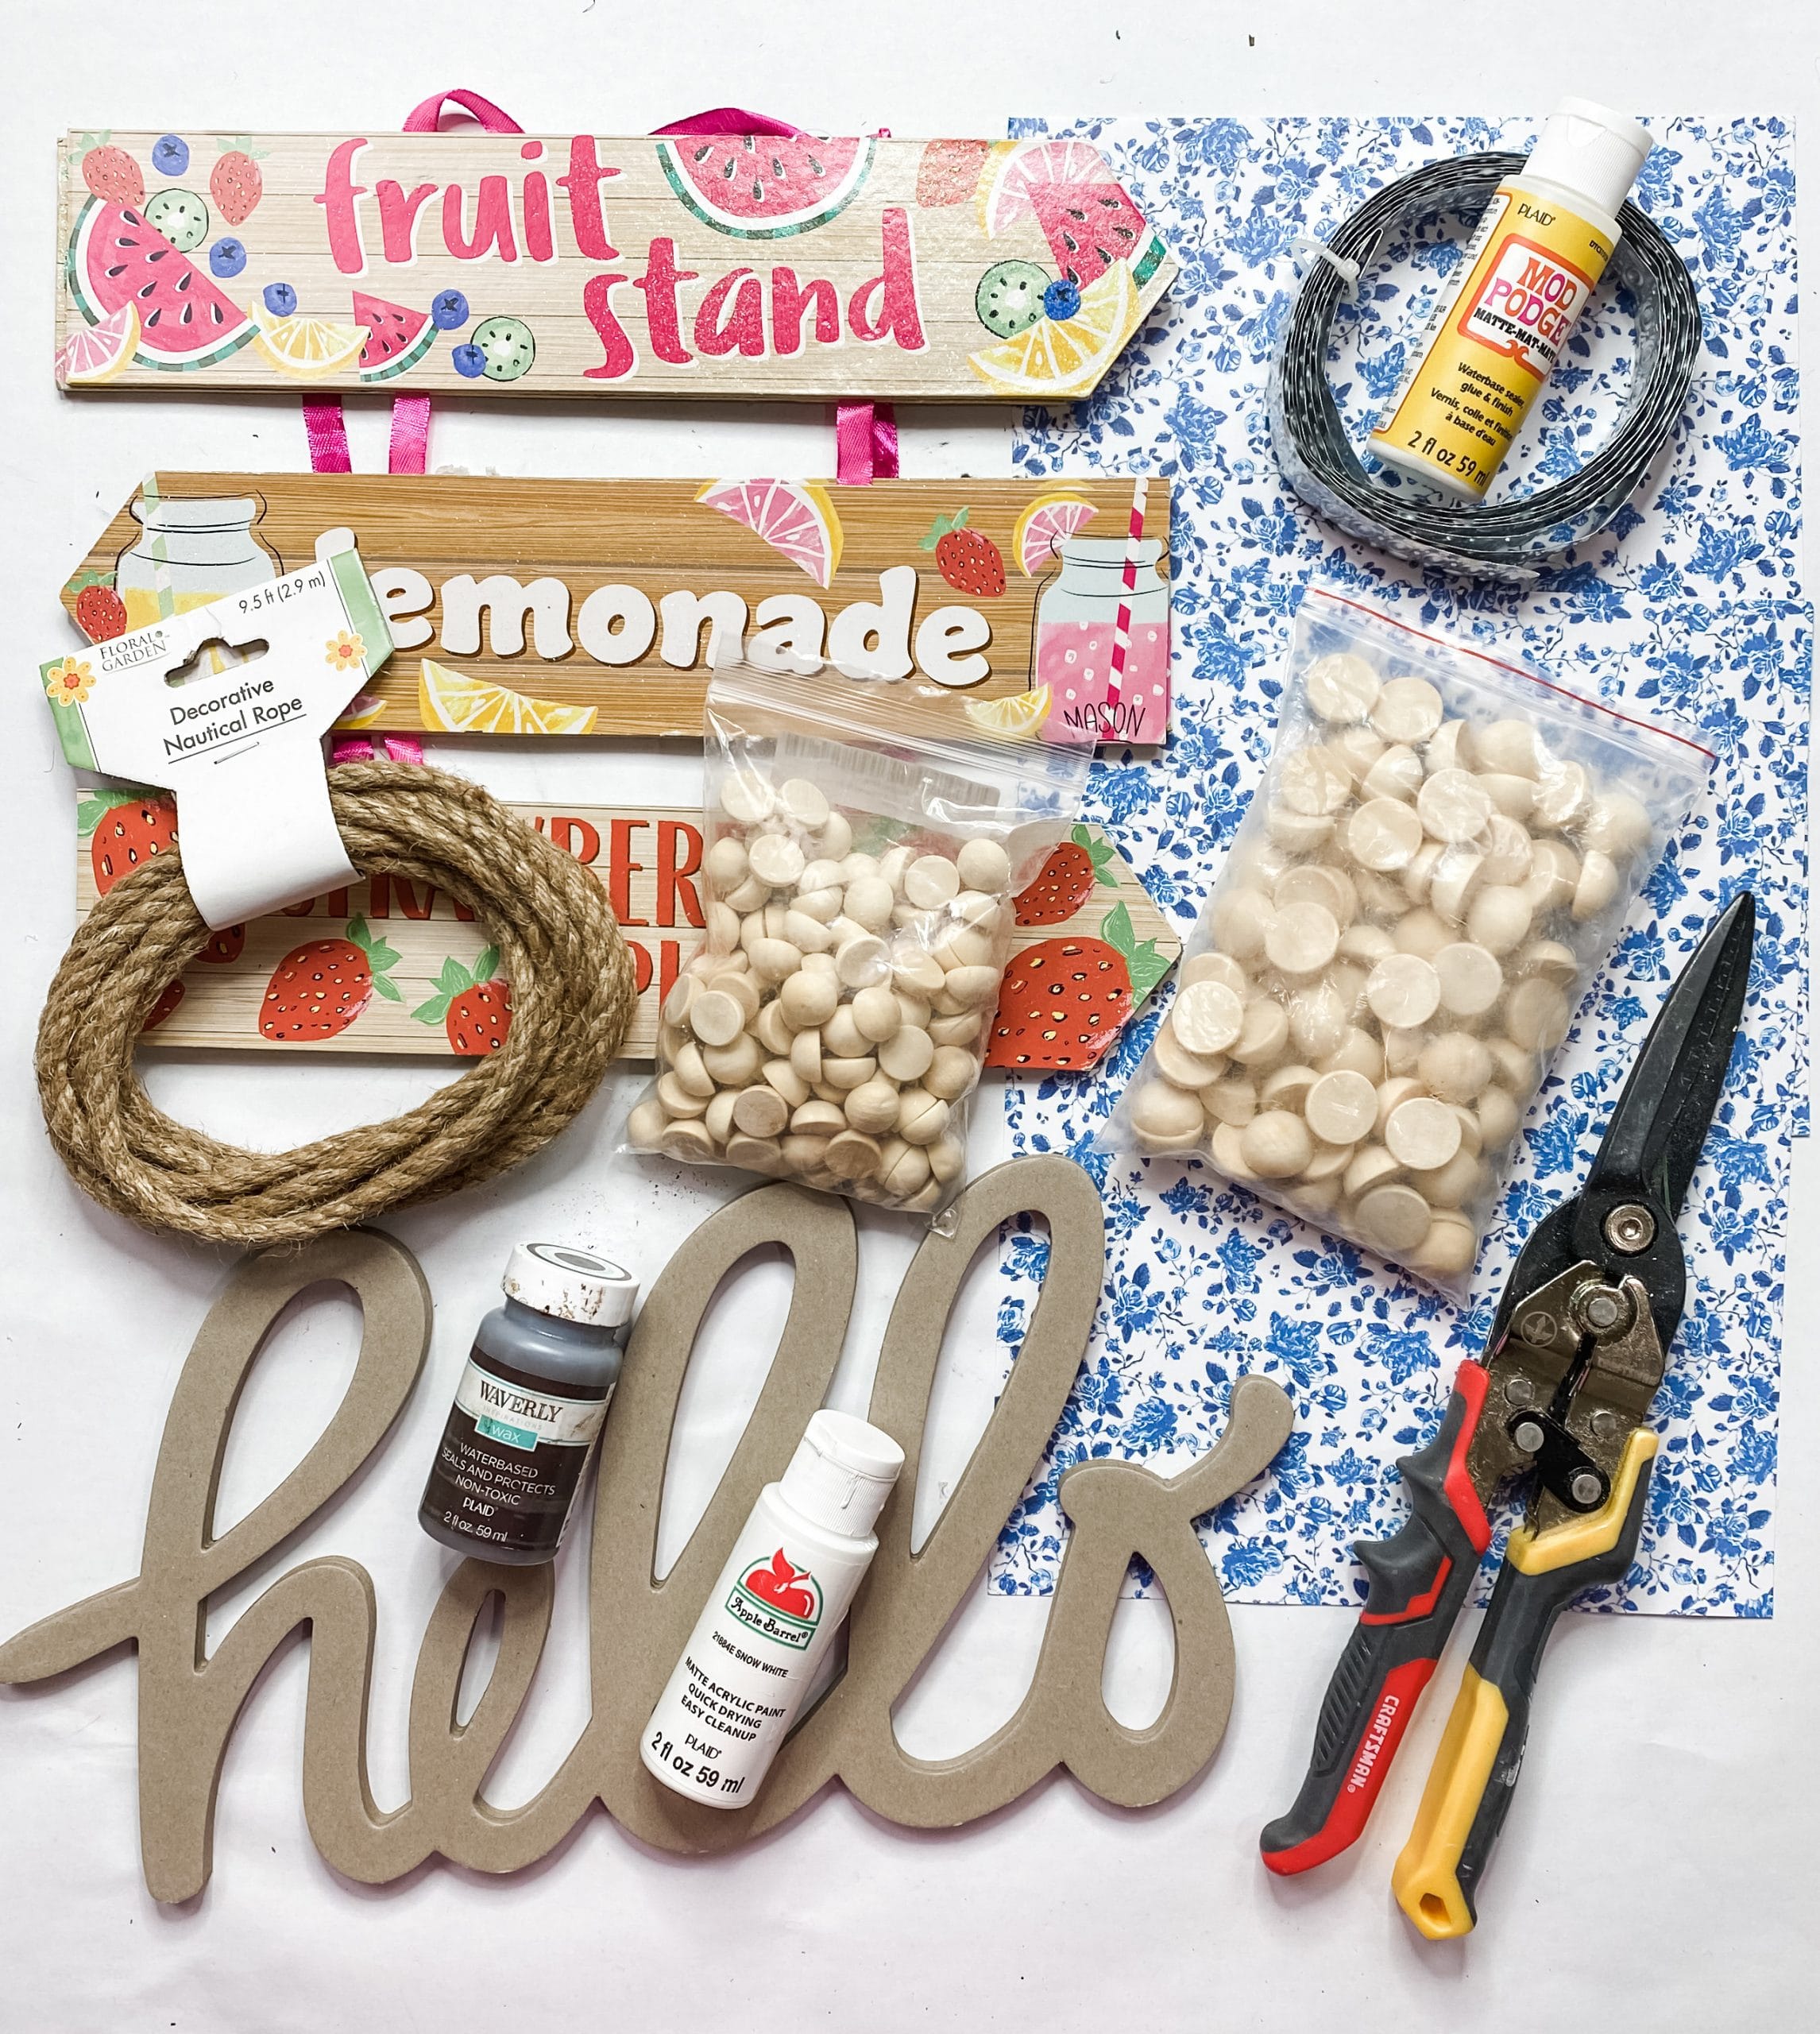
For this project, I will be using these items but you can substitute where you want.
“As an Amazon Associate, I earn from qualifying purchases.”
- Dollar Tree Planked arrow signs (x2)
- Dollar Tree Nautical Rope
- 1-Gallon Paint Sticks (x4)
- Hello lettering (Hobby Lobby)
- Blue Floral Scrapbook Paper (Hobby Lobby)
- Half wood beads (20mm and 15mm)
- Blue Floral Scrapbook Paper (Hobby Lobby)
- Metal Ribbon
- Apple Barrel White Acrylic Paint
- Mod Podge
- Waverly Wax
- Aviation Snips
- Hot glue gun and glue sticks
- Heat Gun
You should totally join my FREE Facebook group called On A Budget Crafts! It is a judgment-free community for DIY crafters to show off their projects and ideas.
If you loved this DIY you might also like this Spring Decor DIY Dollar Tree Love Sign!
Thanks for stopping by! XOXO Amber
You can also shop my ENTIRE AMAZON Favorites shop just click here! It’s packed full of all the things I use and love. Here is the supply list I highly recommend every creative have on hand!!
Would you also pin my blog for later and get on my newsletter alerts? I would love to have you join my #craftycrew.
Inspired? Leave me a comment below! I love hearing from my readers!


