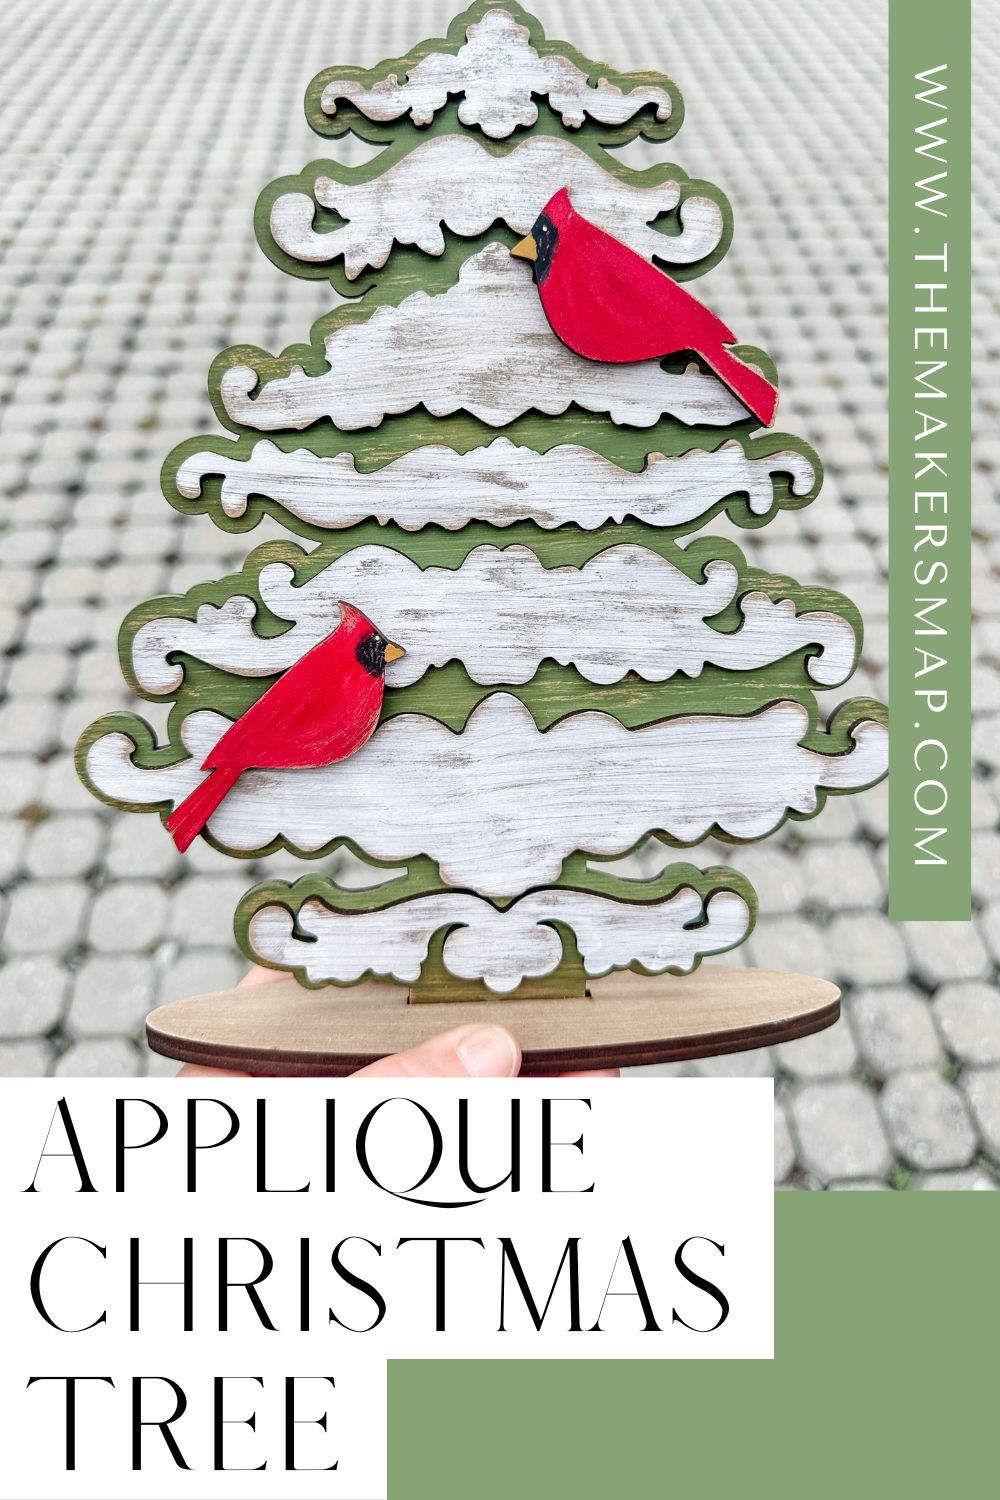
Decorative Applique Christmas Tree
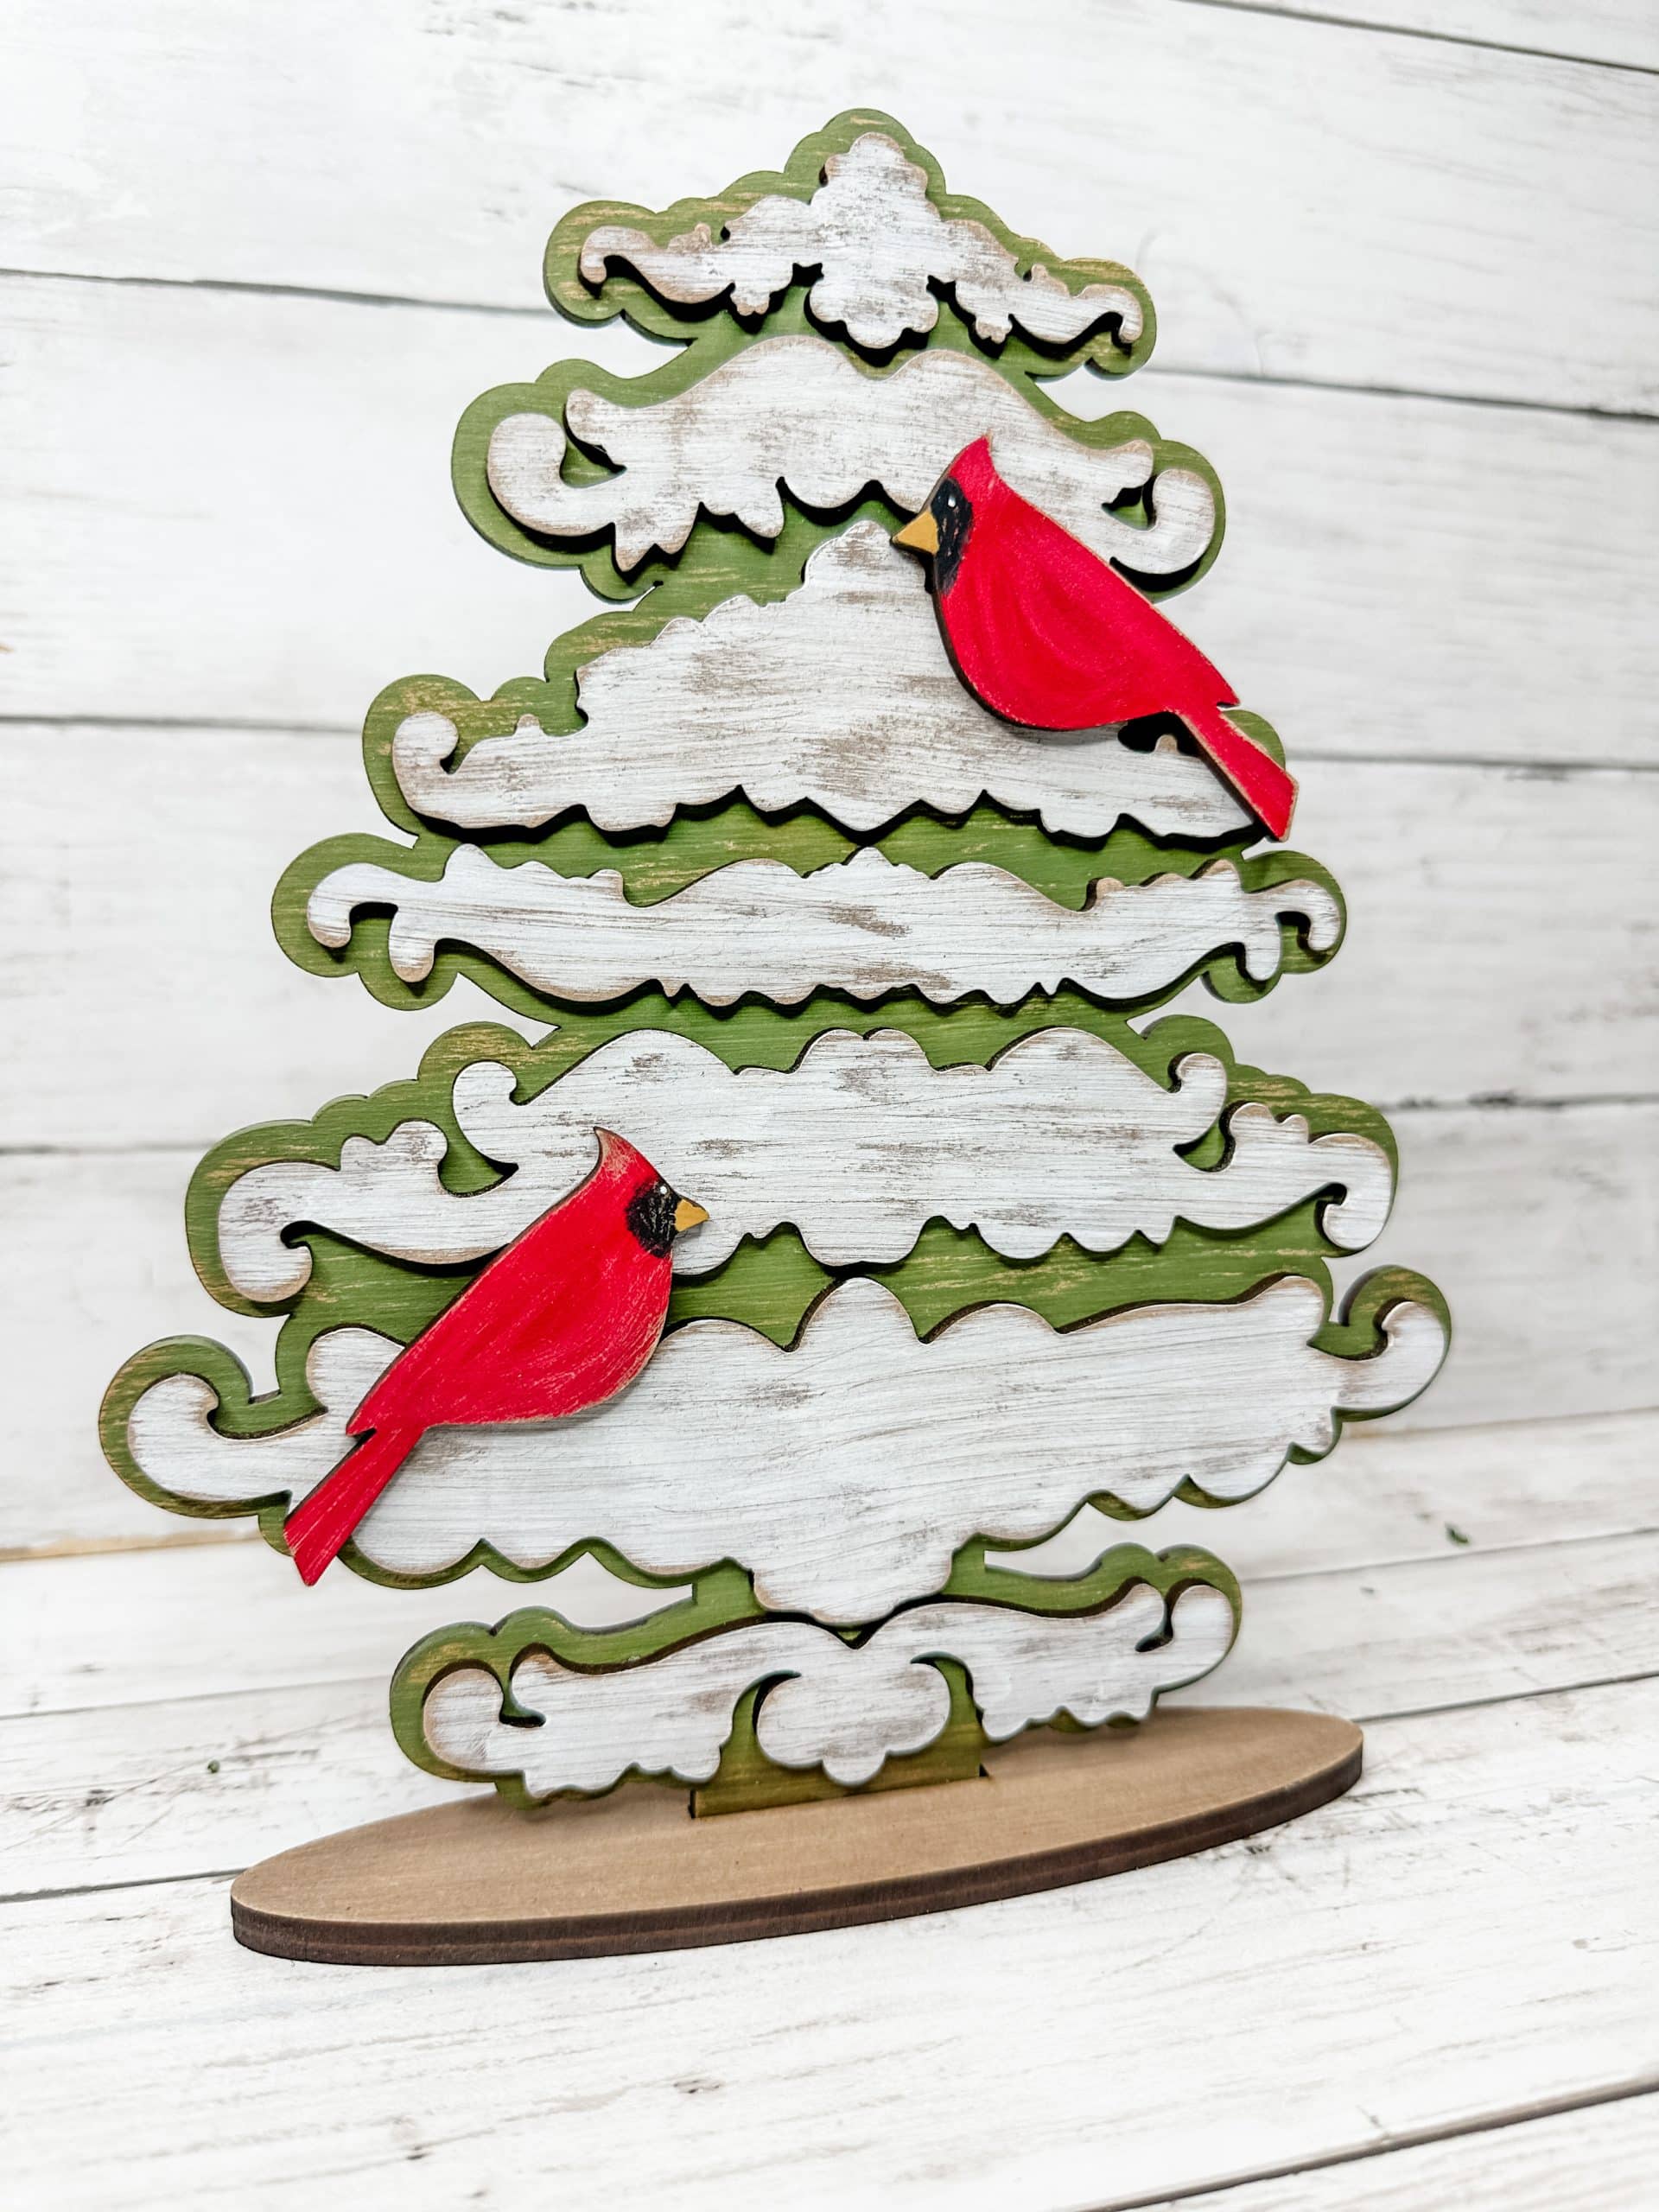
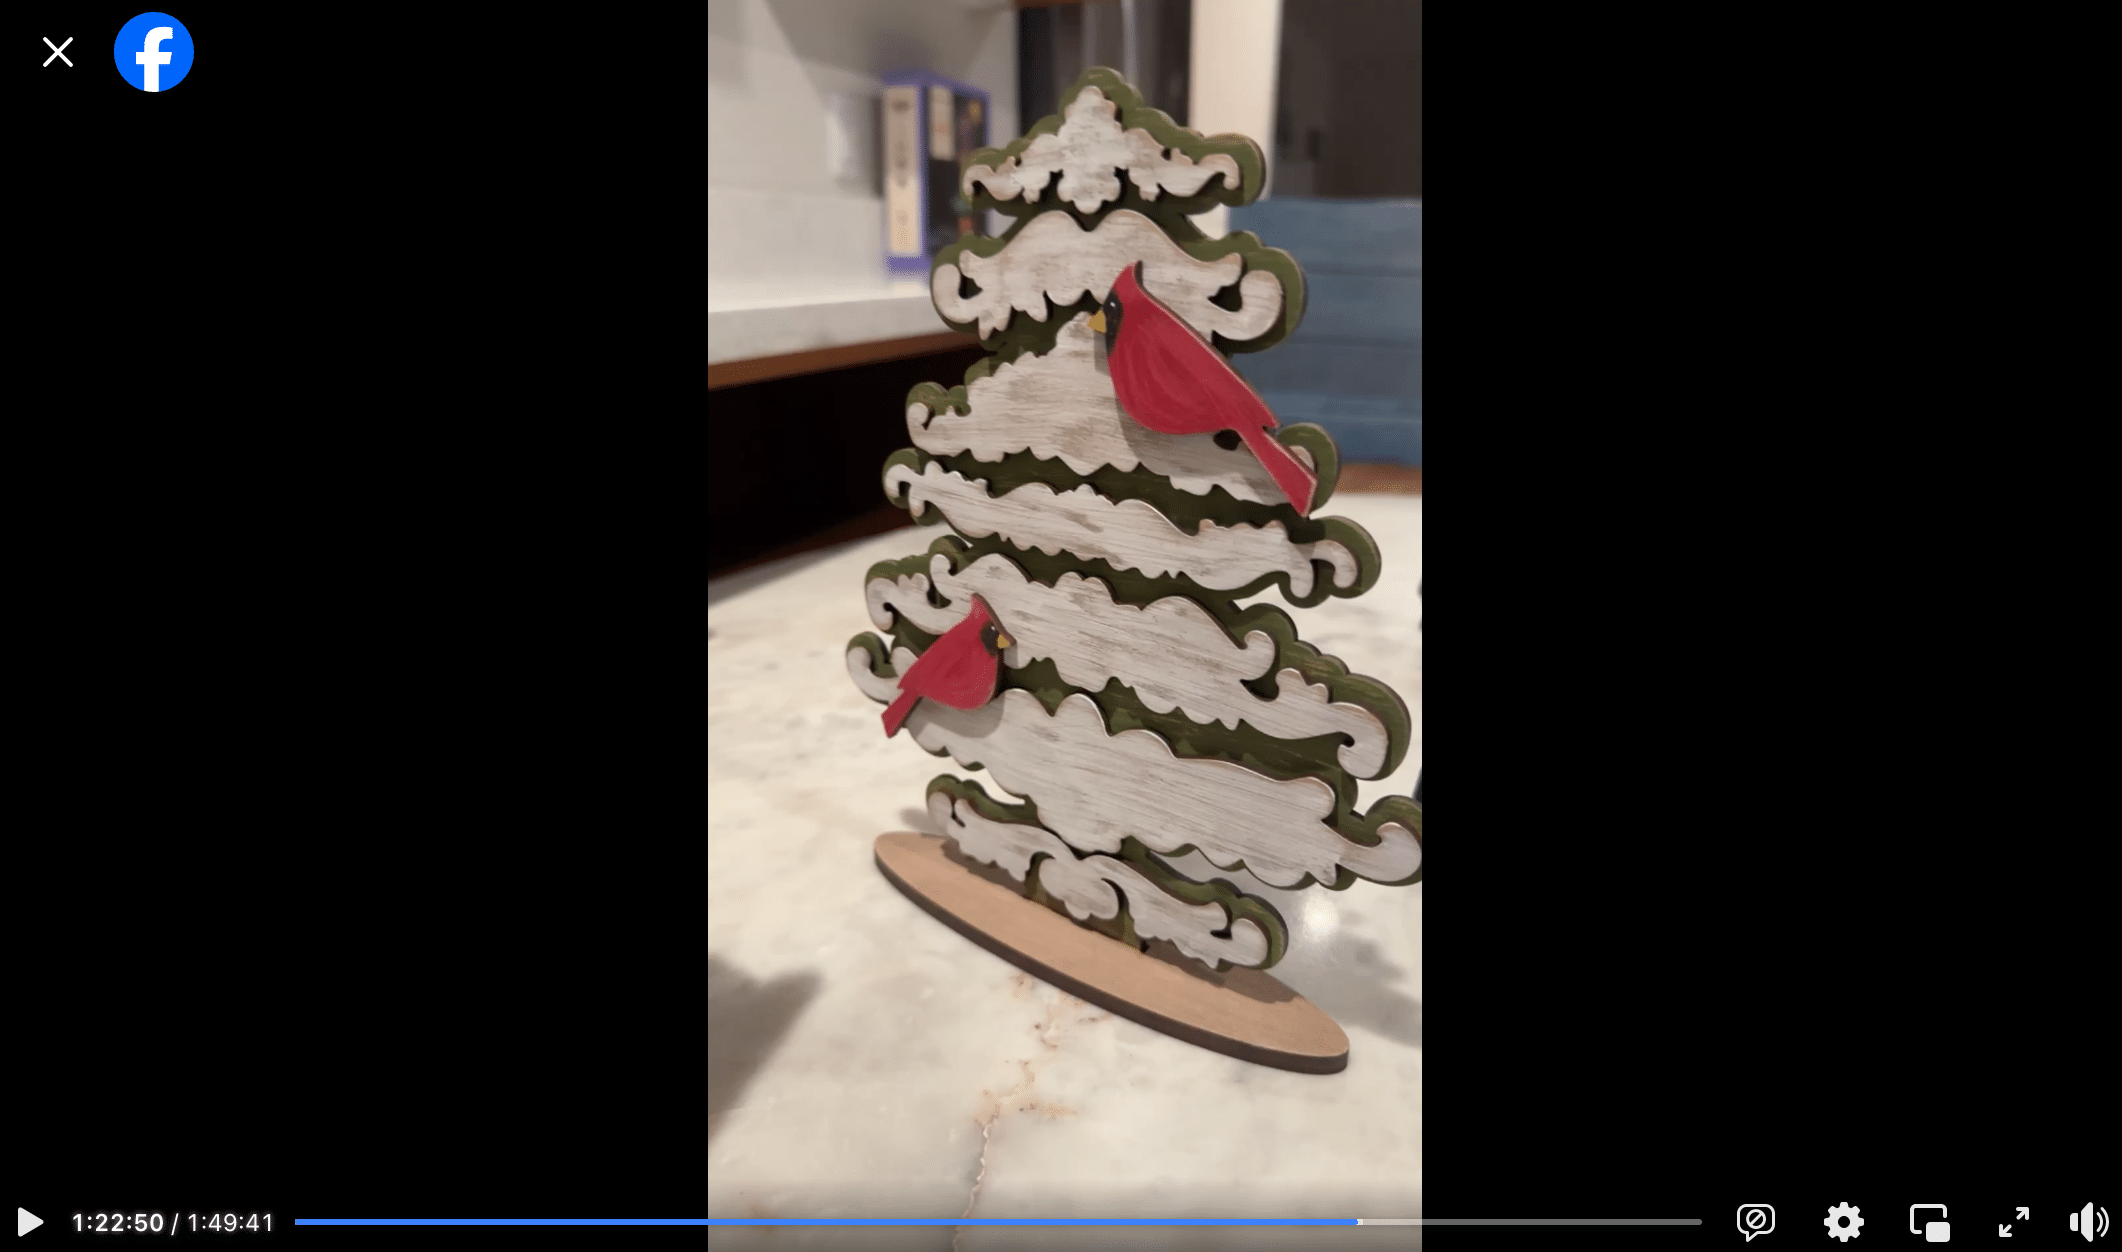
This Decorative Applique Christmas Tree was so much fun to make, so I just had to share it with you!
This holiday craft is a kit that I cut on my laser machine and sell in my shop – www.shopthemakersmap.com
We design and sell so many kits for all seasons, most holidays, everyday, and even personalized options! Also, we have a Crafty Kid’s Collection with kits perfect for the little’s in your life!
They allow even the most beginner crafters to hone in on their creativity and express their love for being crafting right along side you!
If you love my Decorative Applique Christmas Tree craft kit, you have to check out my other DIY kits!
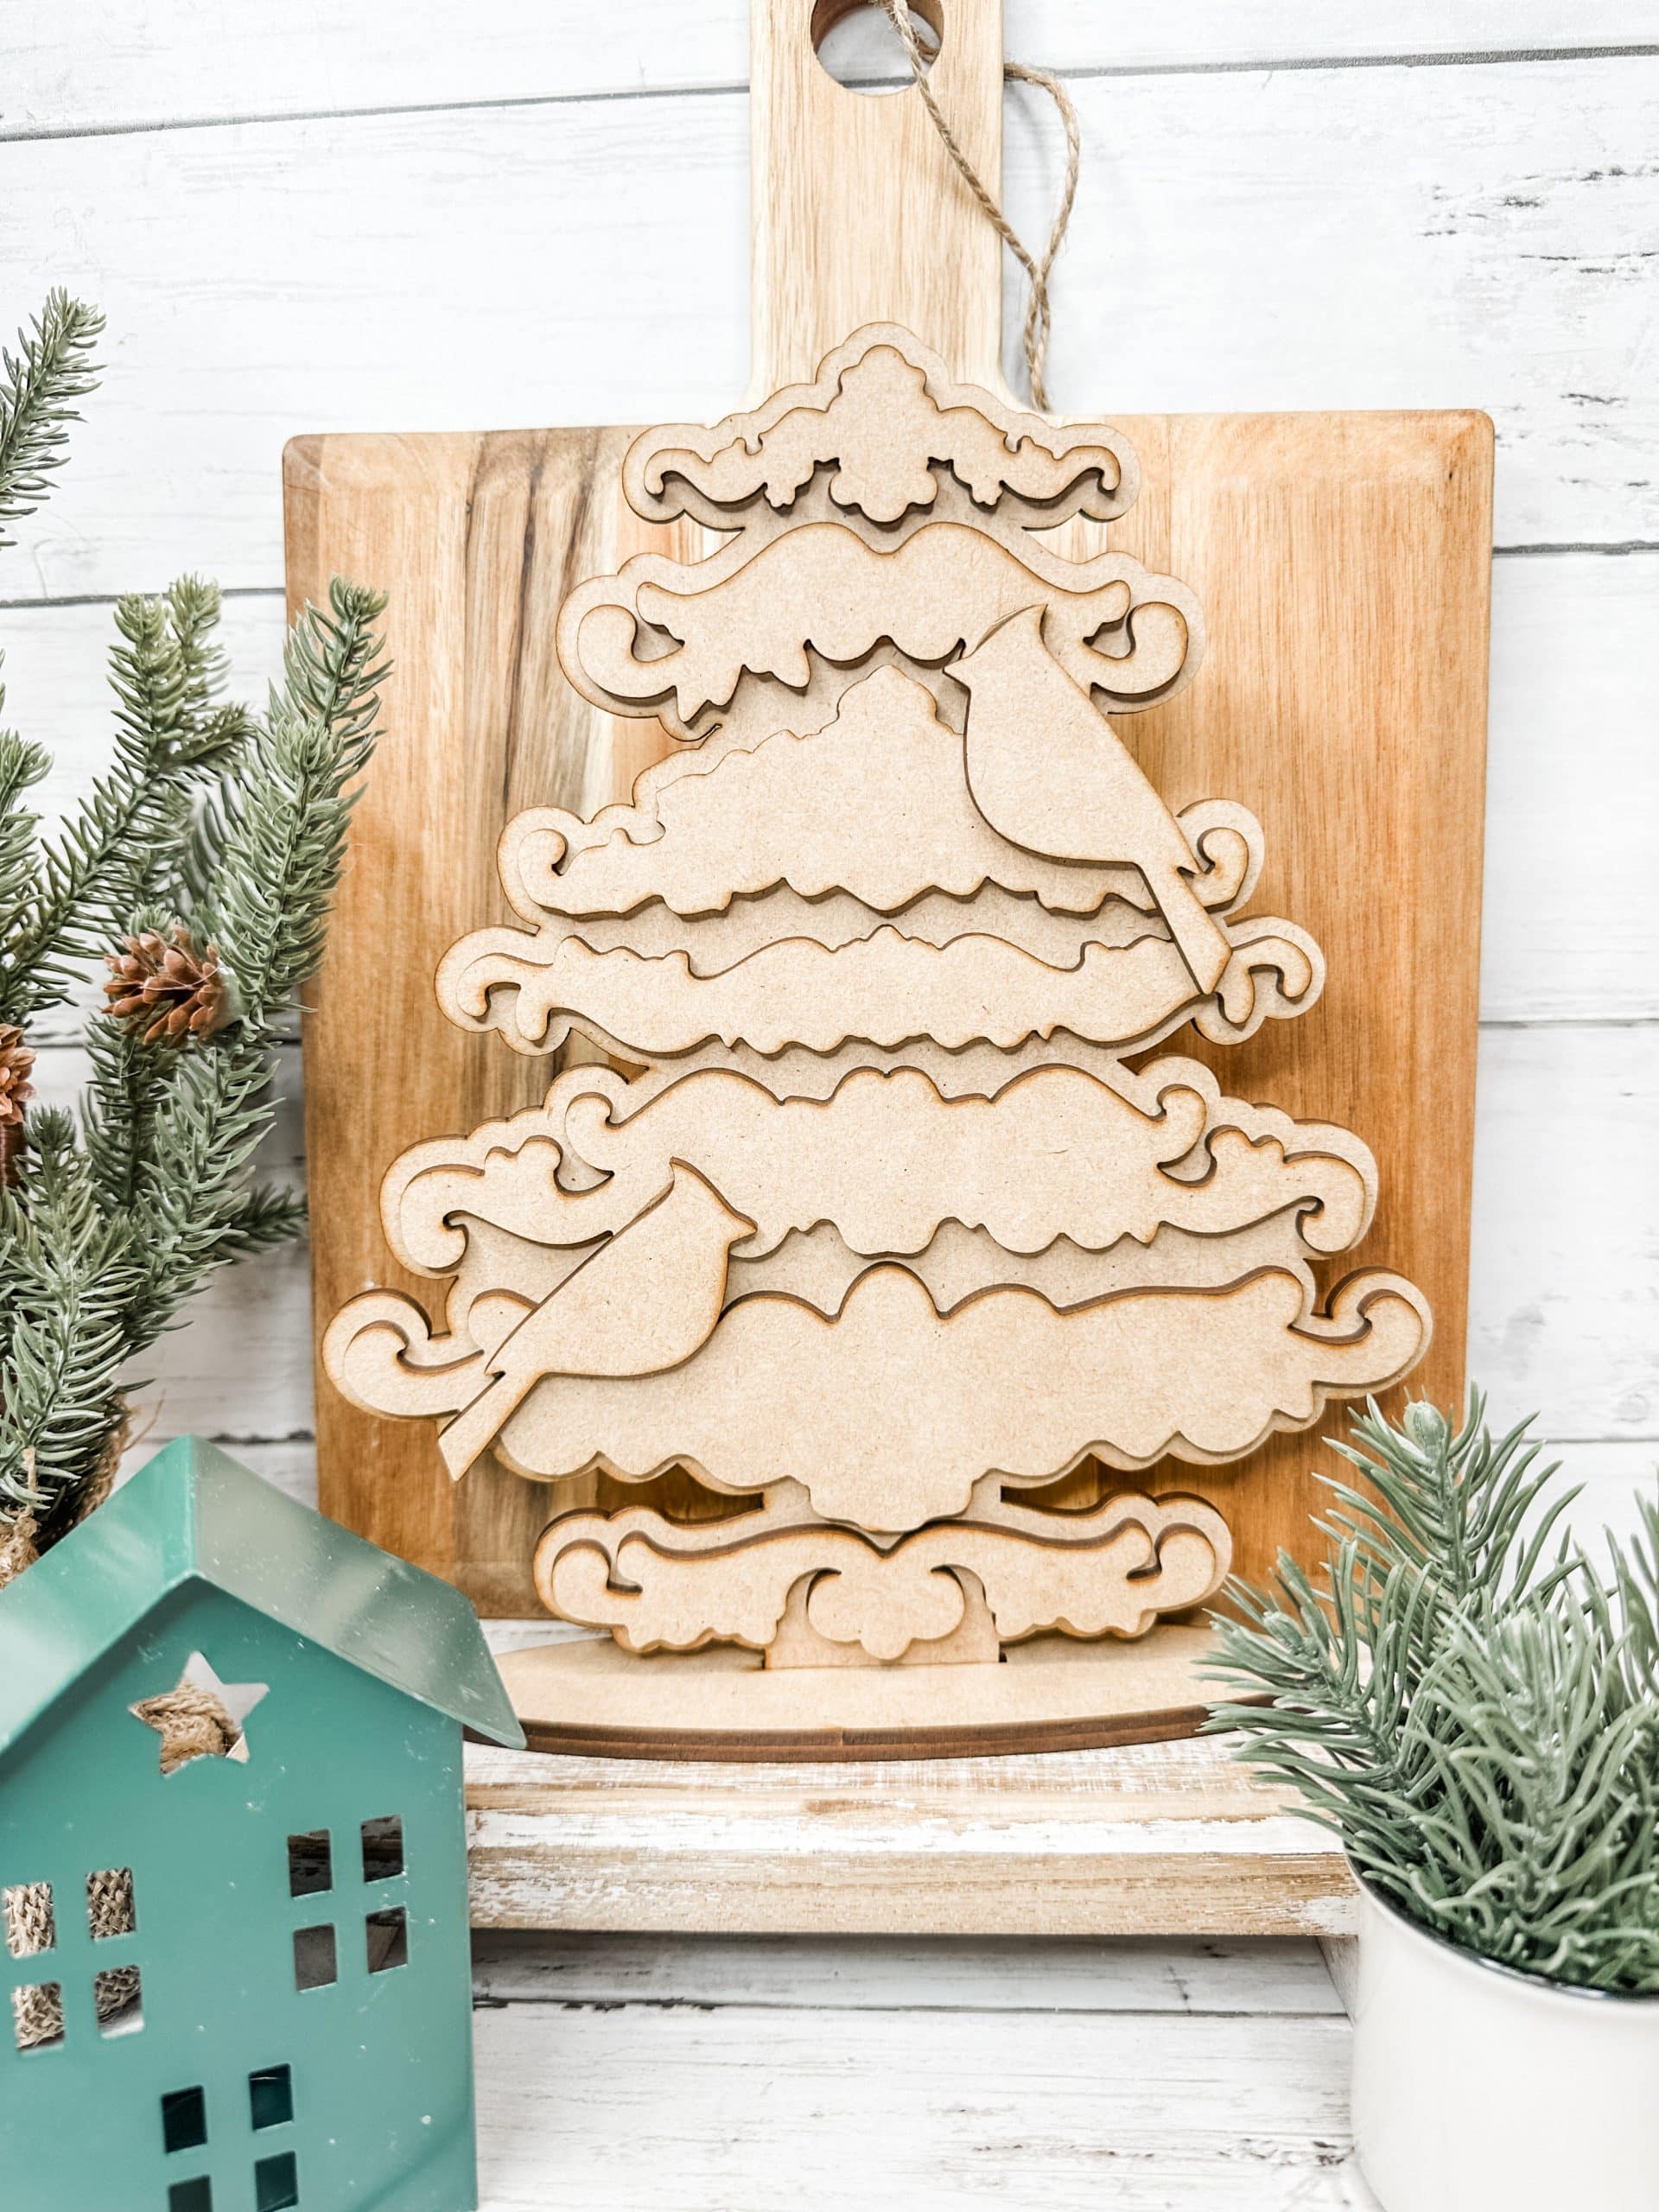
How to make my Decorative Applique Christmas Tree
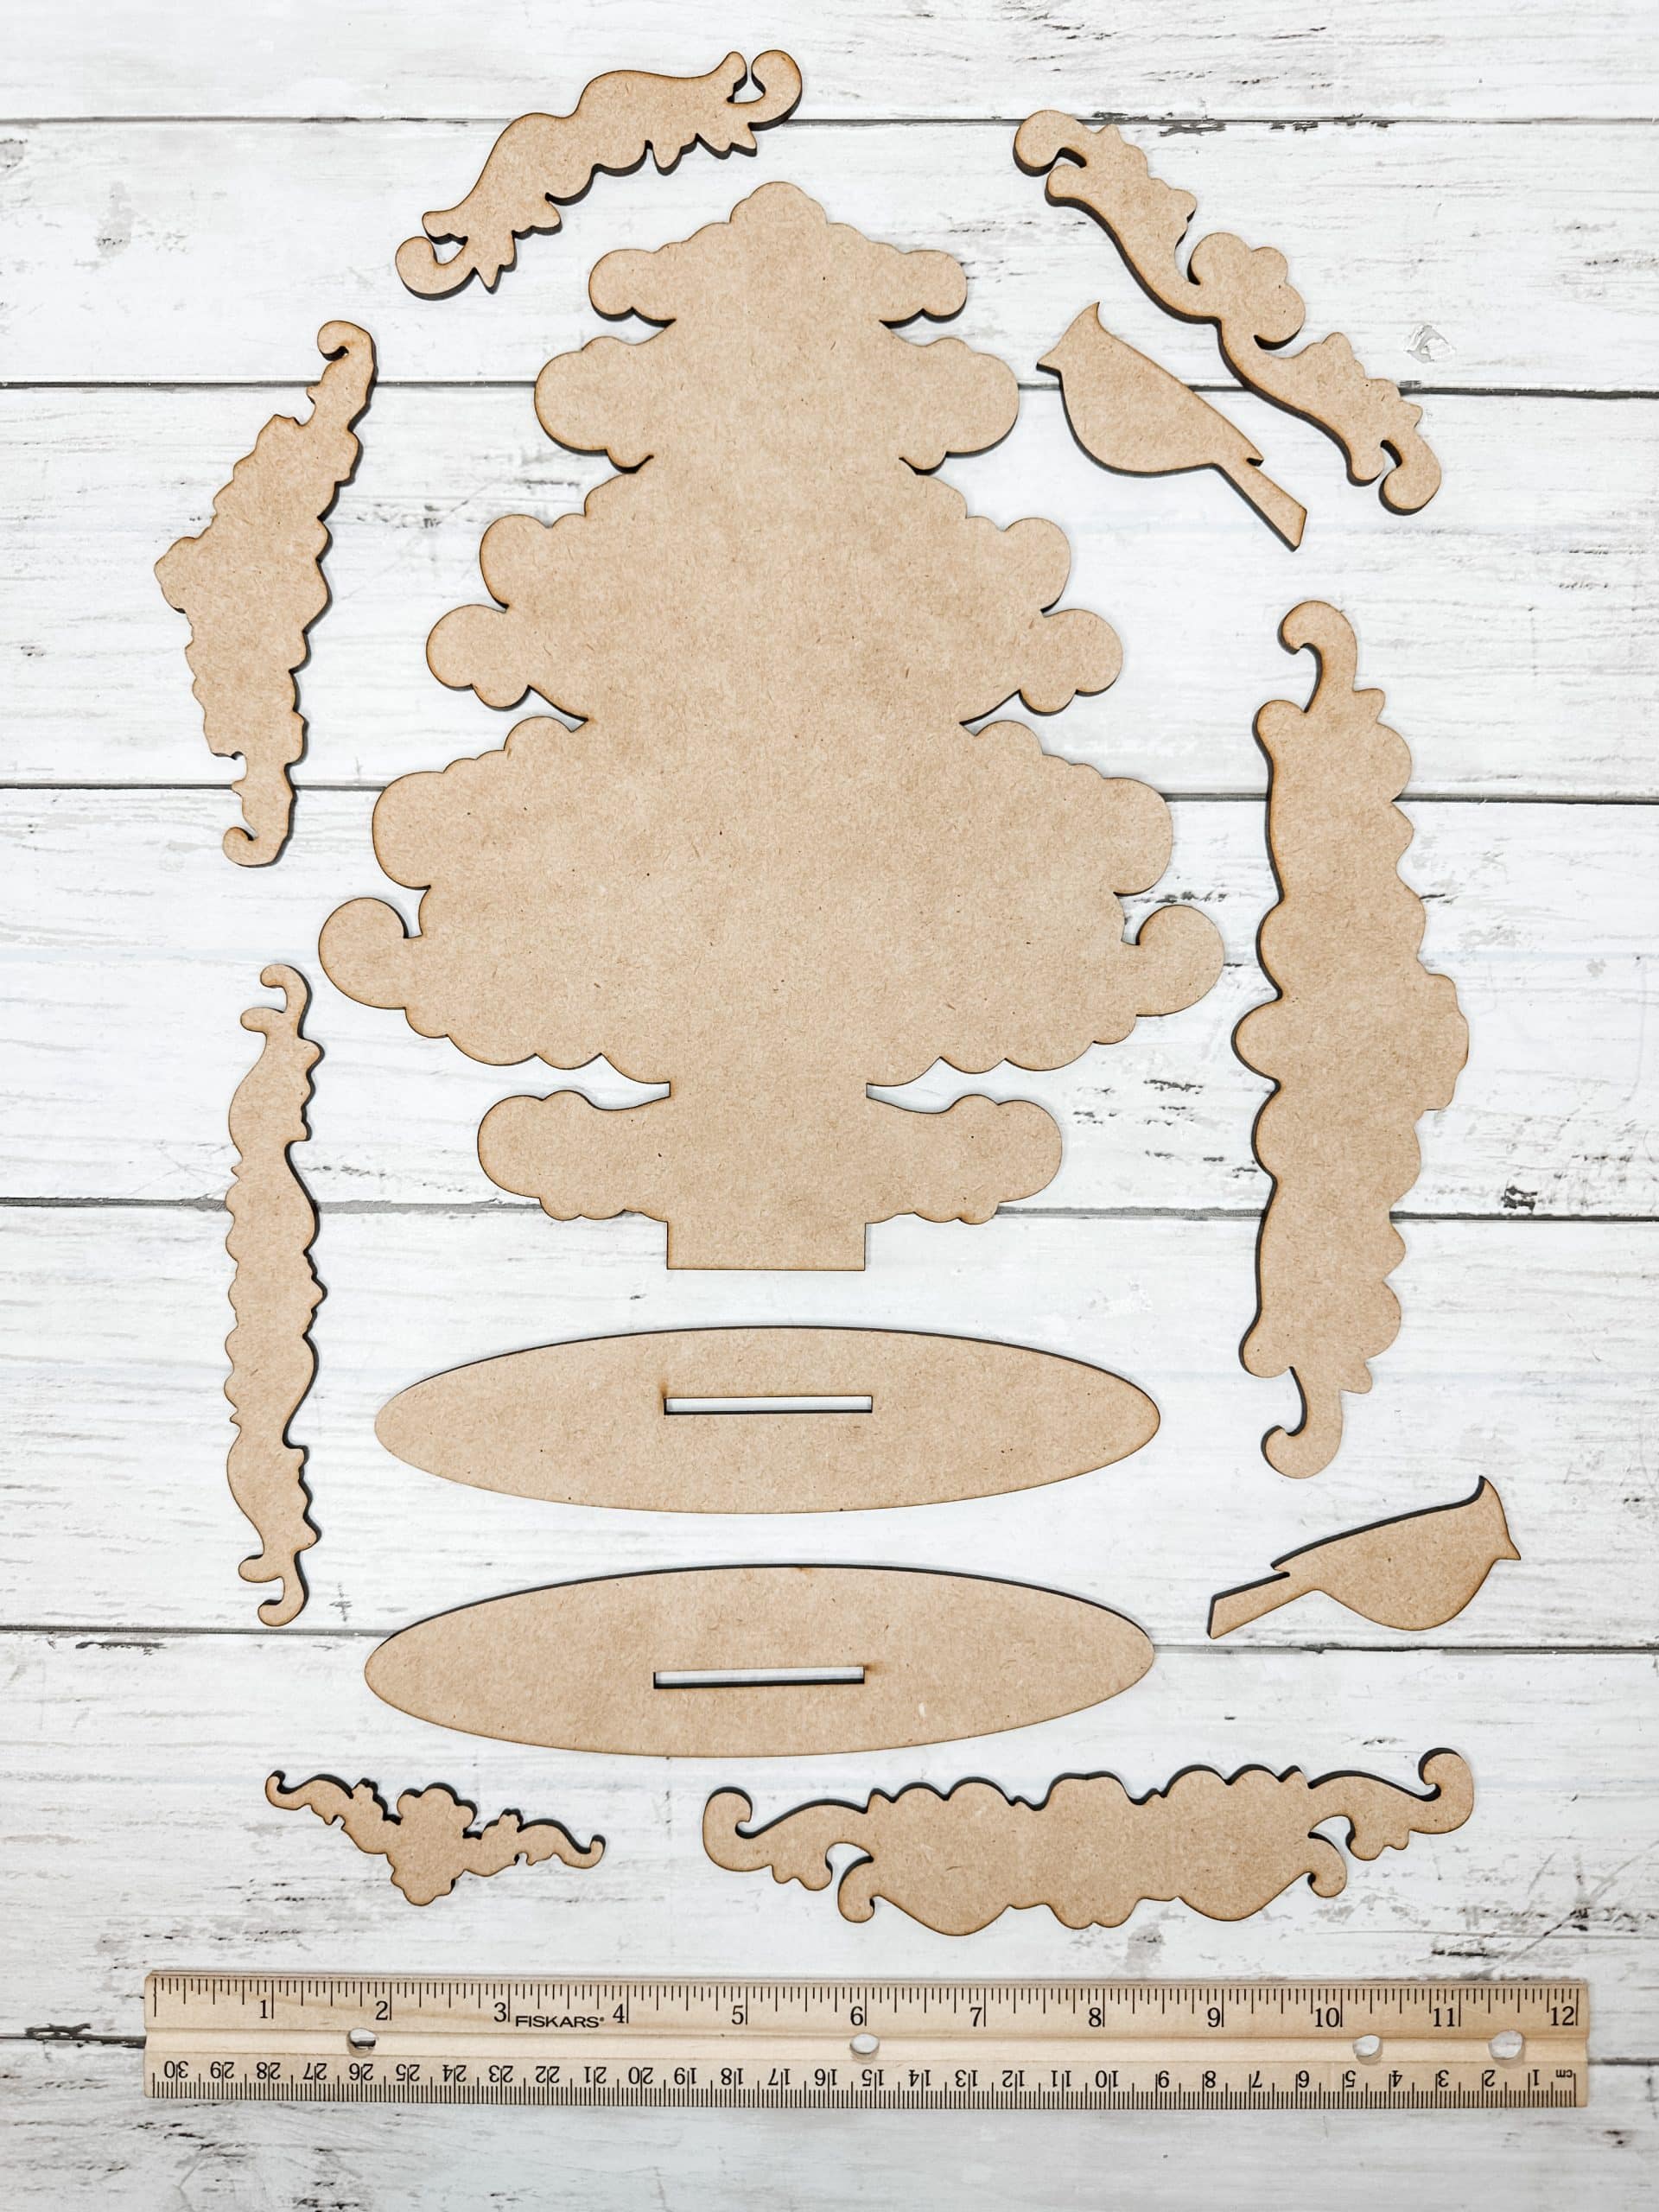
I started this fun Christmas craft like I do all my craft kits – by sanding each piece of the kit to remove any residue left over from our laser machine.
Sanding helps ensure a smooth finish on the pieces and gives me better coverage of paint. Once you’re done sanding, dust off each piece to clean them. You can even wipe them with a wet wipe.
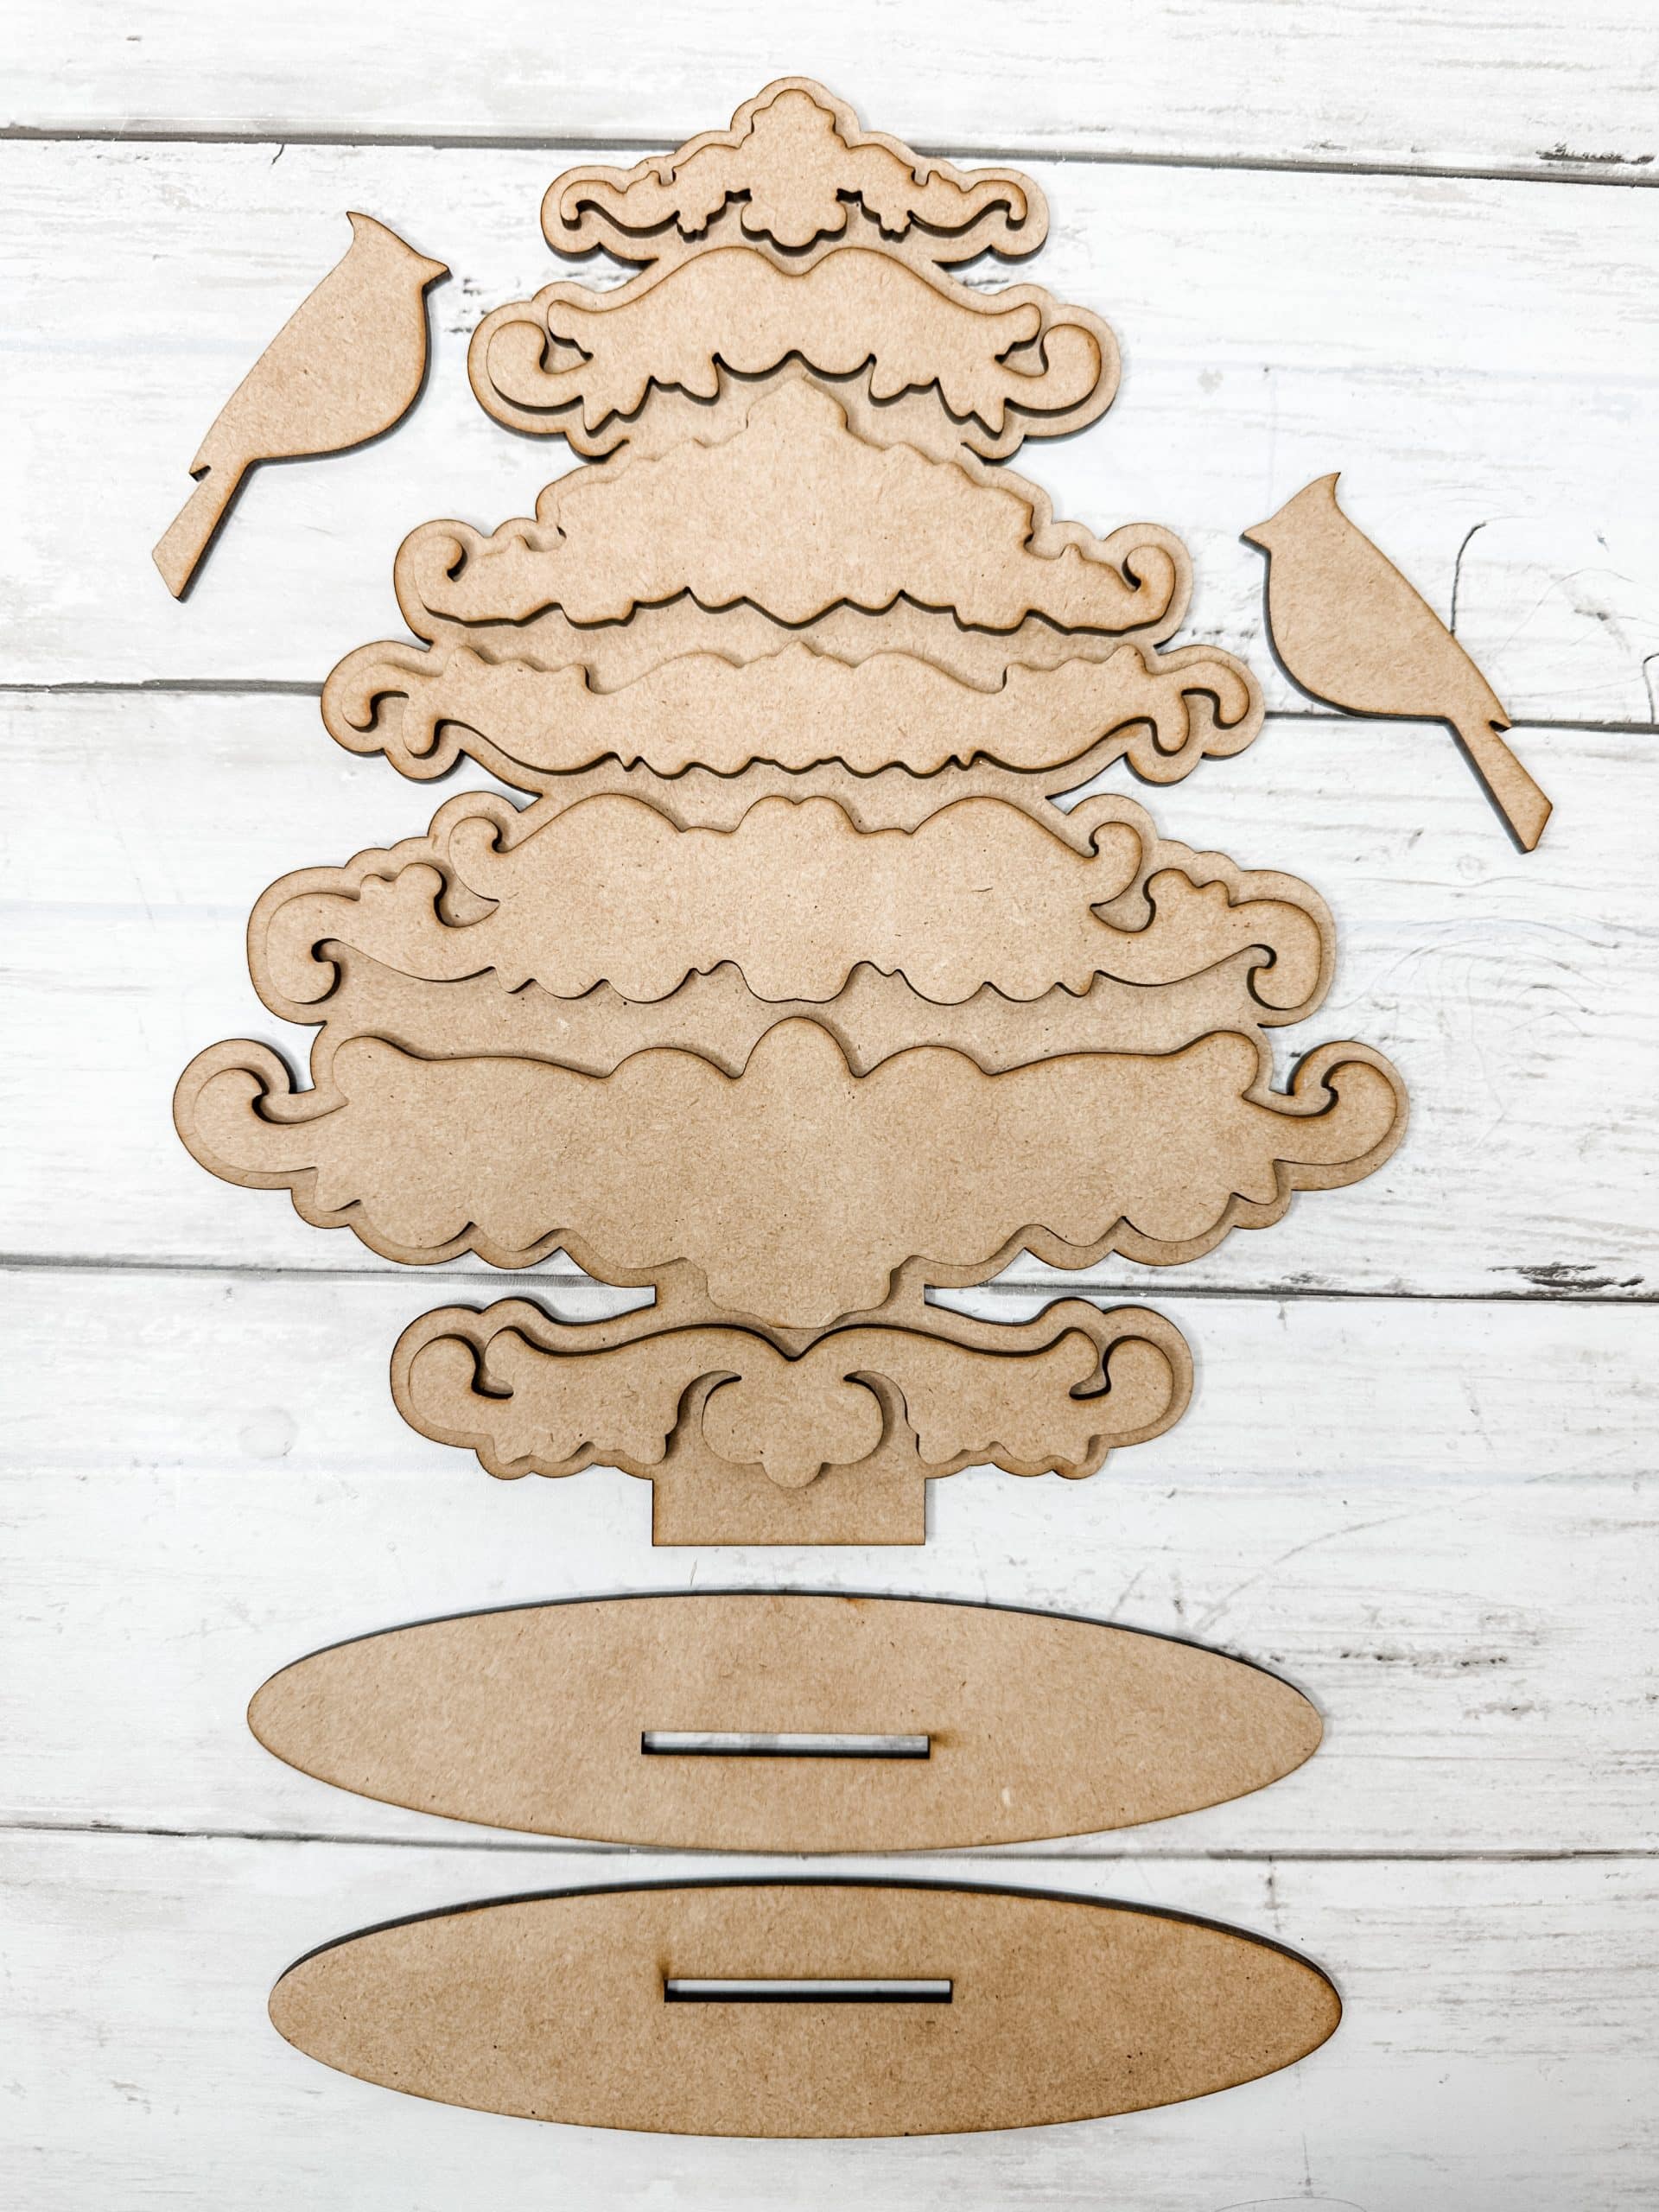
I painted the backing of the applique Christmas tree with green paint. Using a dry paint brush, I applied a light coat of the green paint and allowed it to dry.
Next, I stained each layer piece with brown paint. Mix a bit of paint with water and use a wet wipe to apply it to each piece. Allow the stain to dry completely and you’re ready to paint!
I applied a light coat of white paint over the brown stain on each of the layer pieces. I wanted a lightly distressed finish, so I used a sponge and kept a very light hand to allow some of the brown stain to show through.
The finishing touches
If you apply too much white paint, you can always go back over each piece after they dry with a sander to get the perfect distressed finish.
After I finished the layer pieces, I stained each of the cardinals with the same brown paint/water mixture I used on the layer pieces.
Allow the stain to dry completely, then paint the cardinals red. I used a detail paintbrush to add the beak and eyes to the birds, and allowed them to dry.
Bring it all together
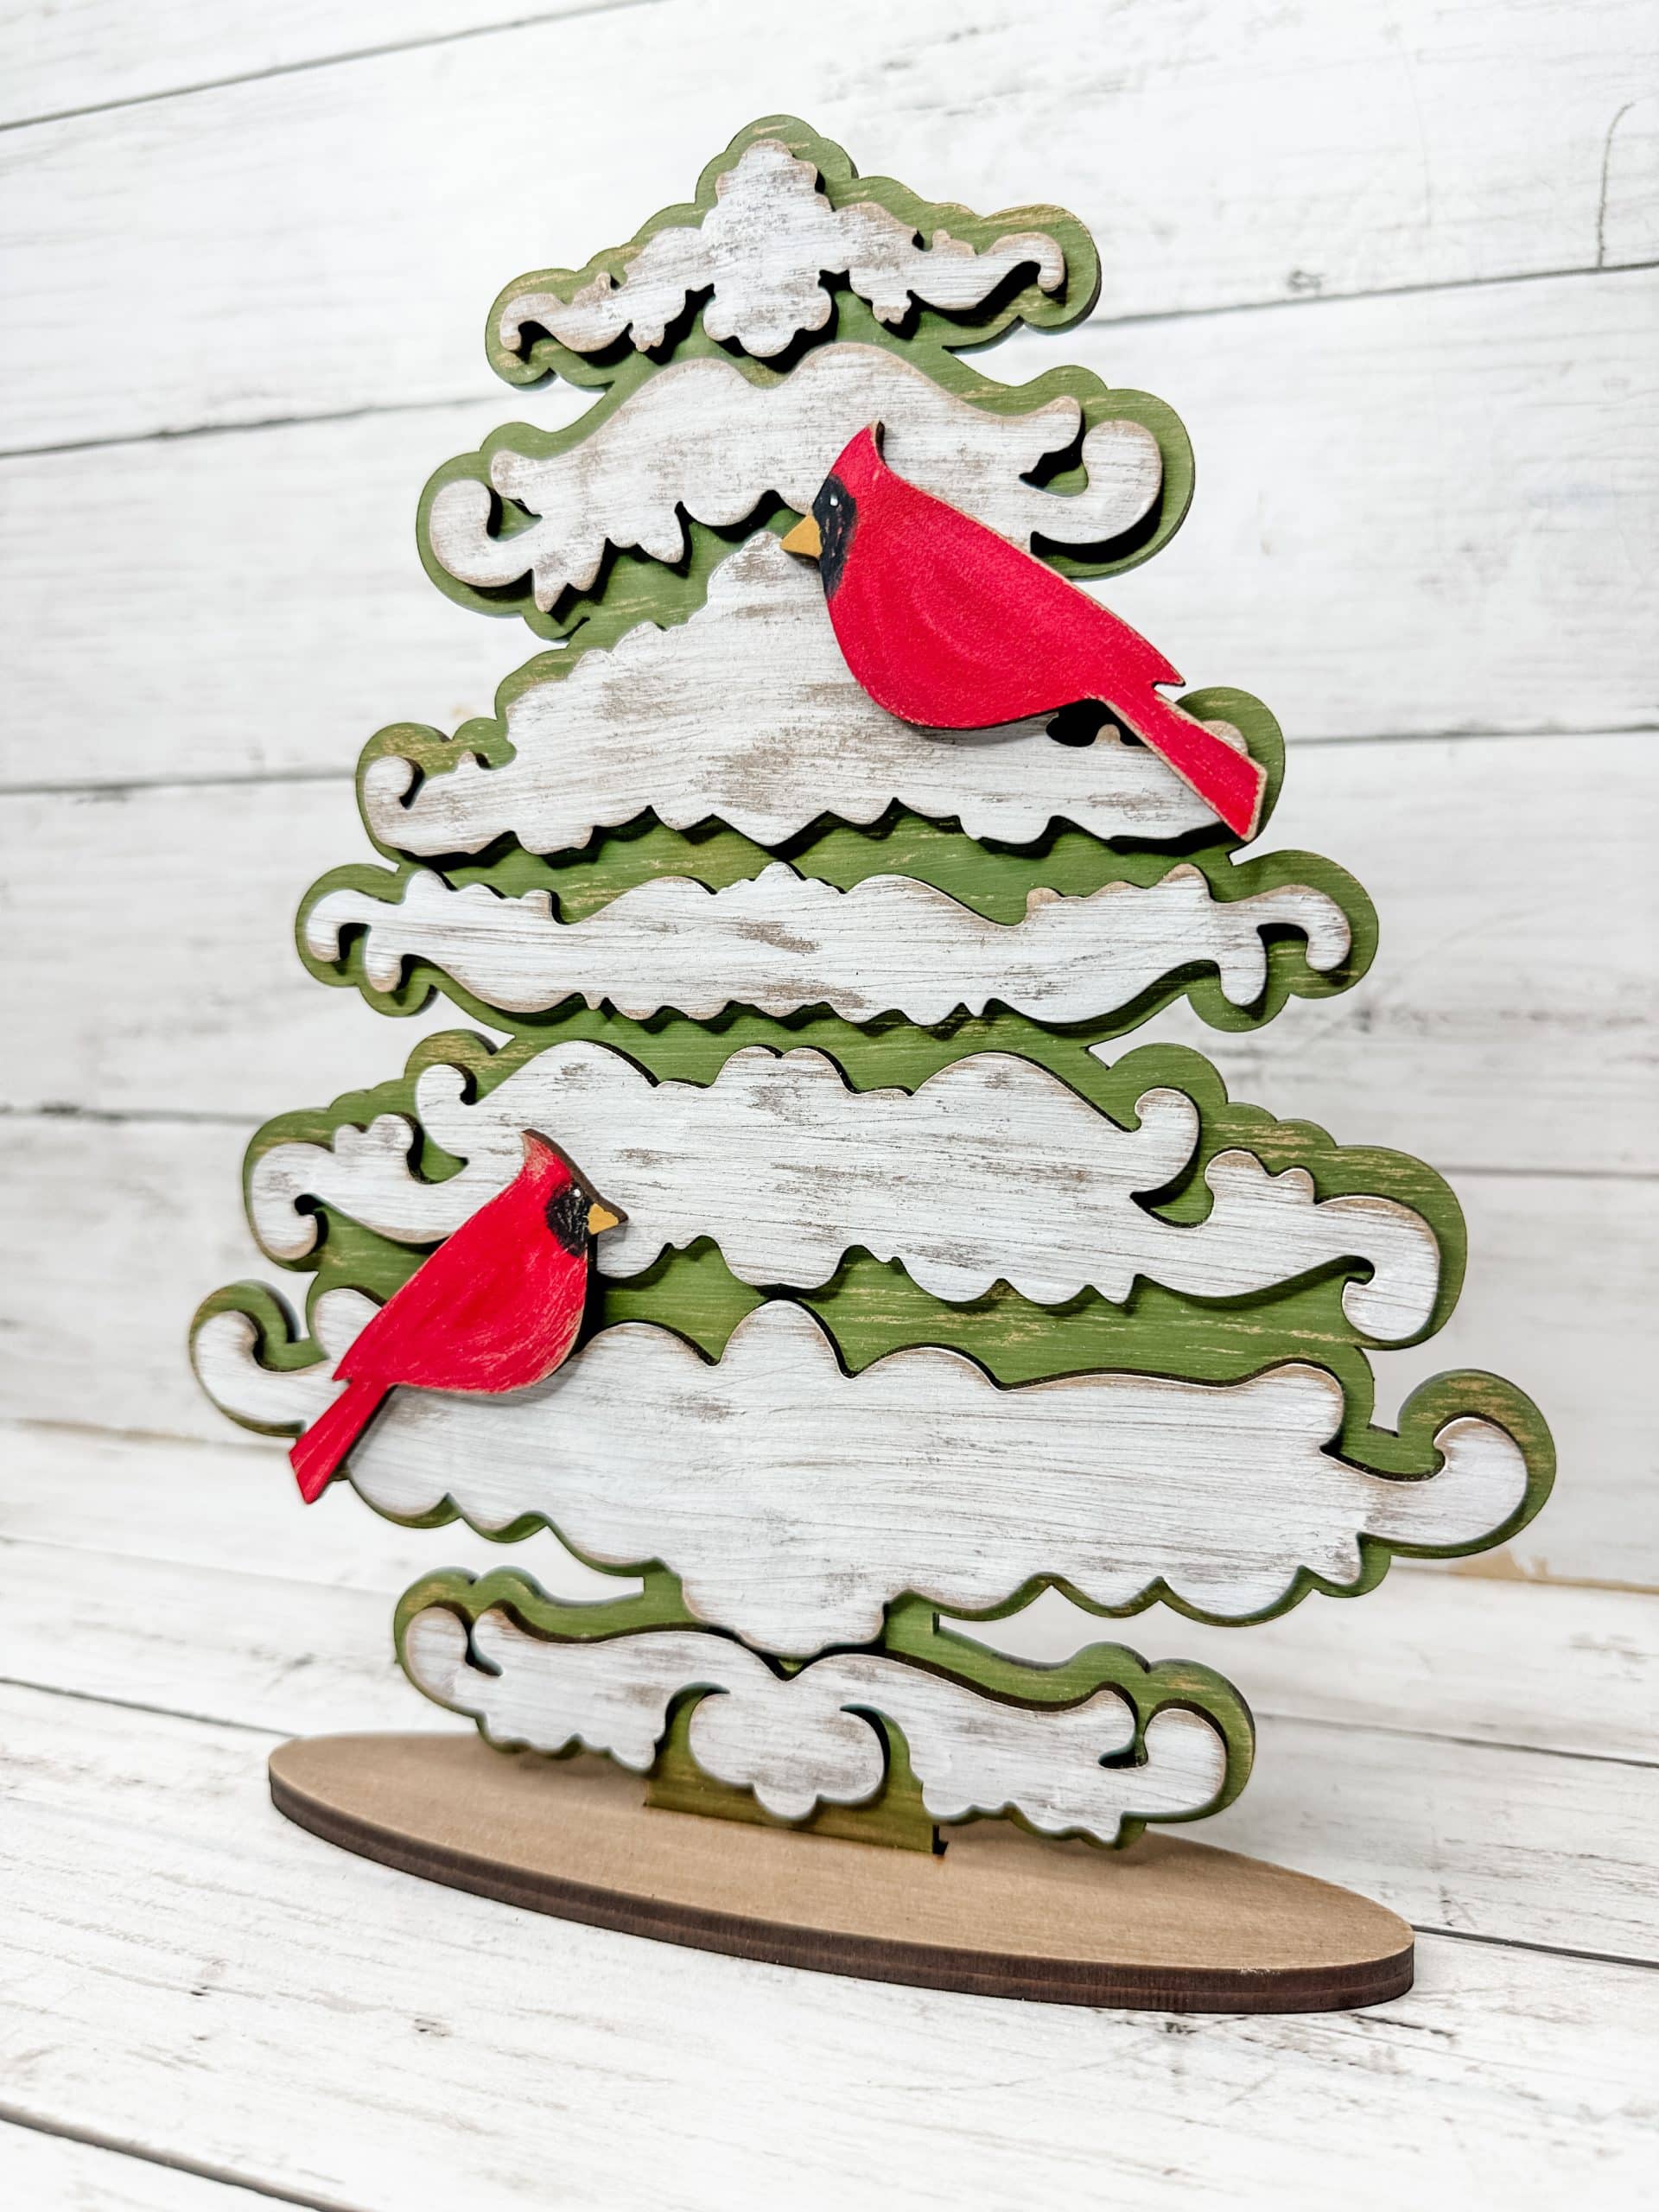
Once all your pieces are painted and dry completely, you can start assembling! I like to use superglue because it is a more secure bond.
If you choose to use hot glue, just be careful with your storage because it can melt in warmer storage and cause the pieces to separate.
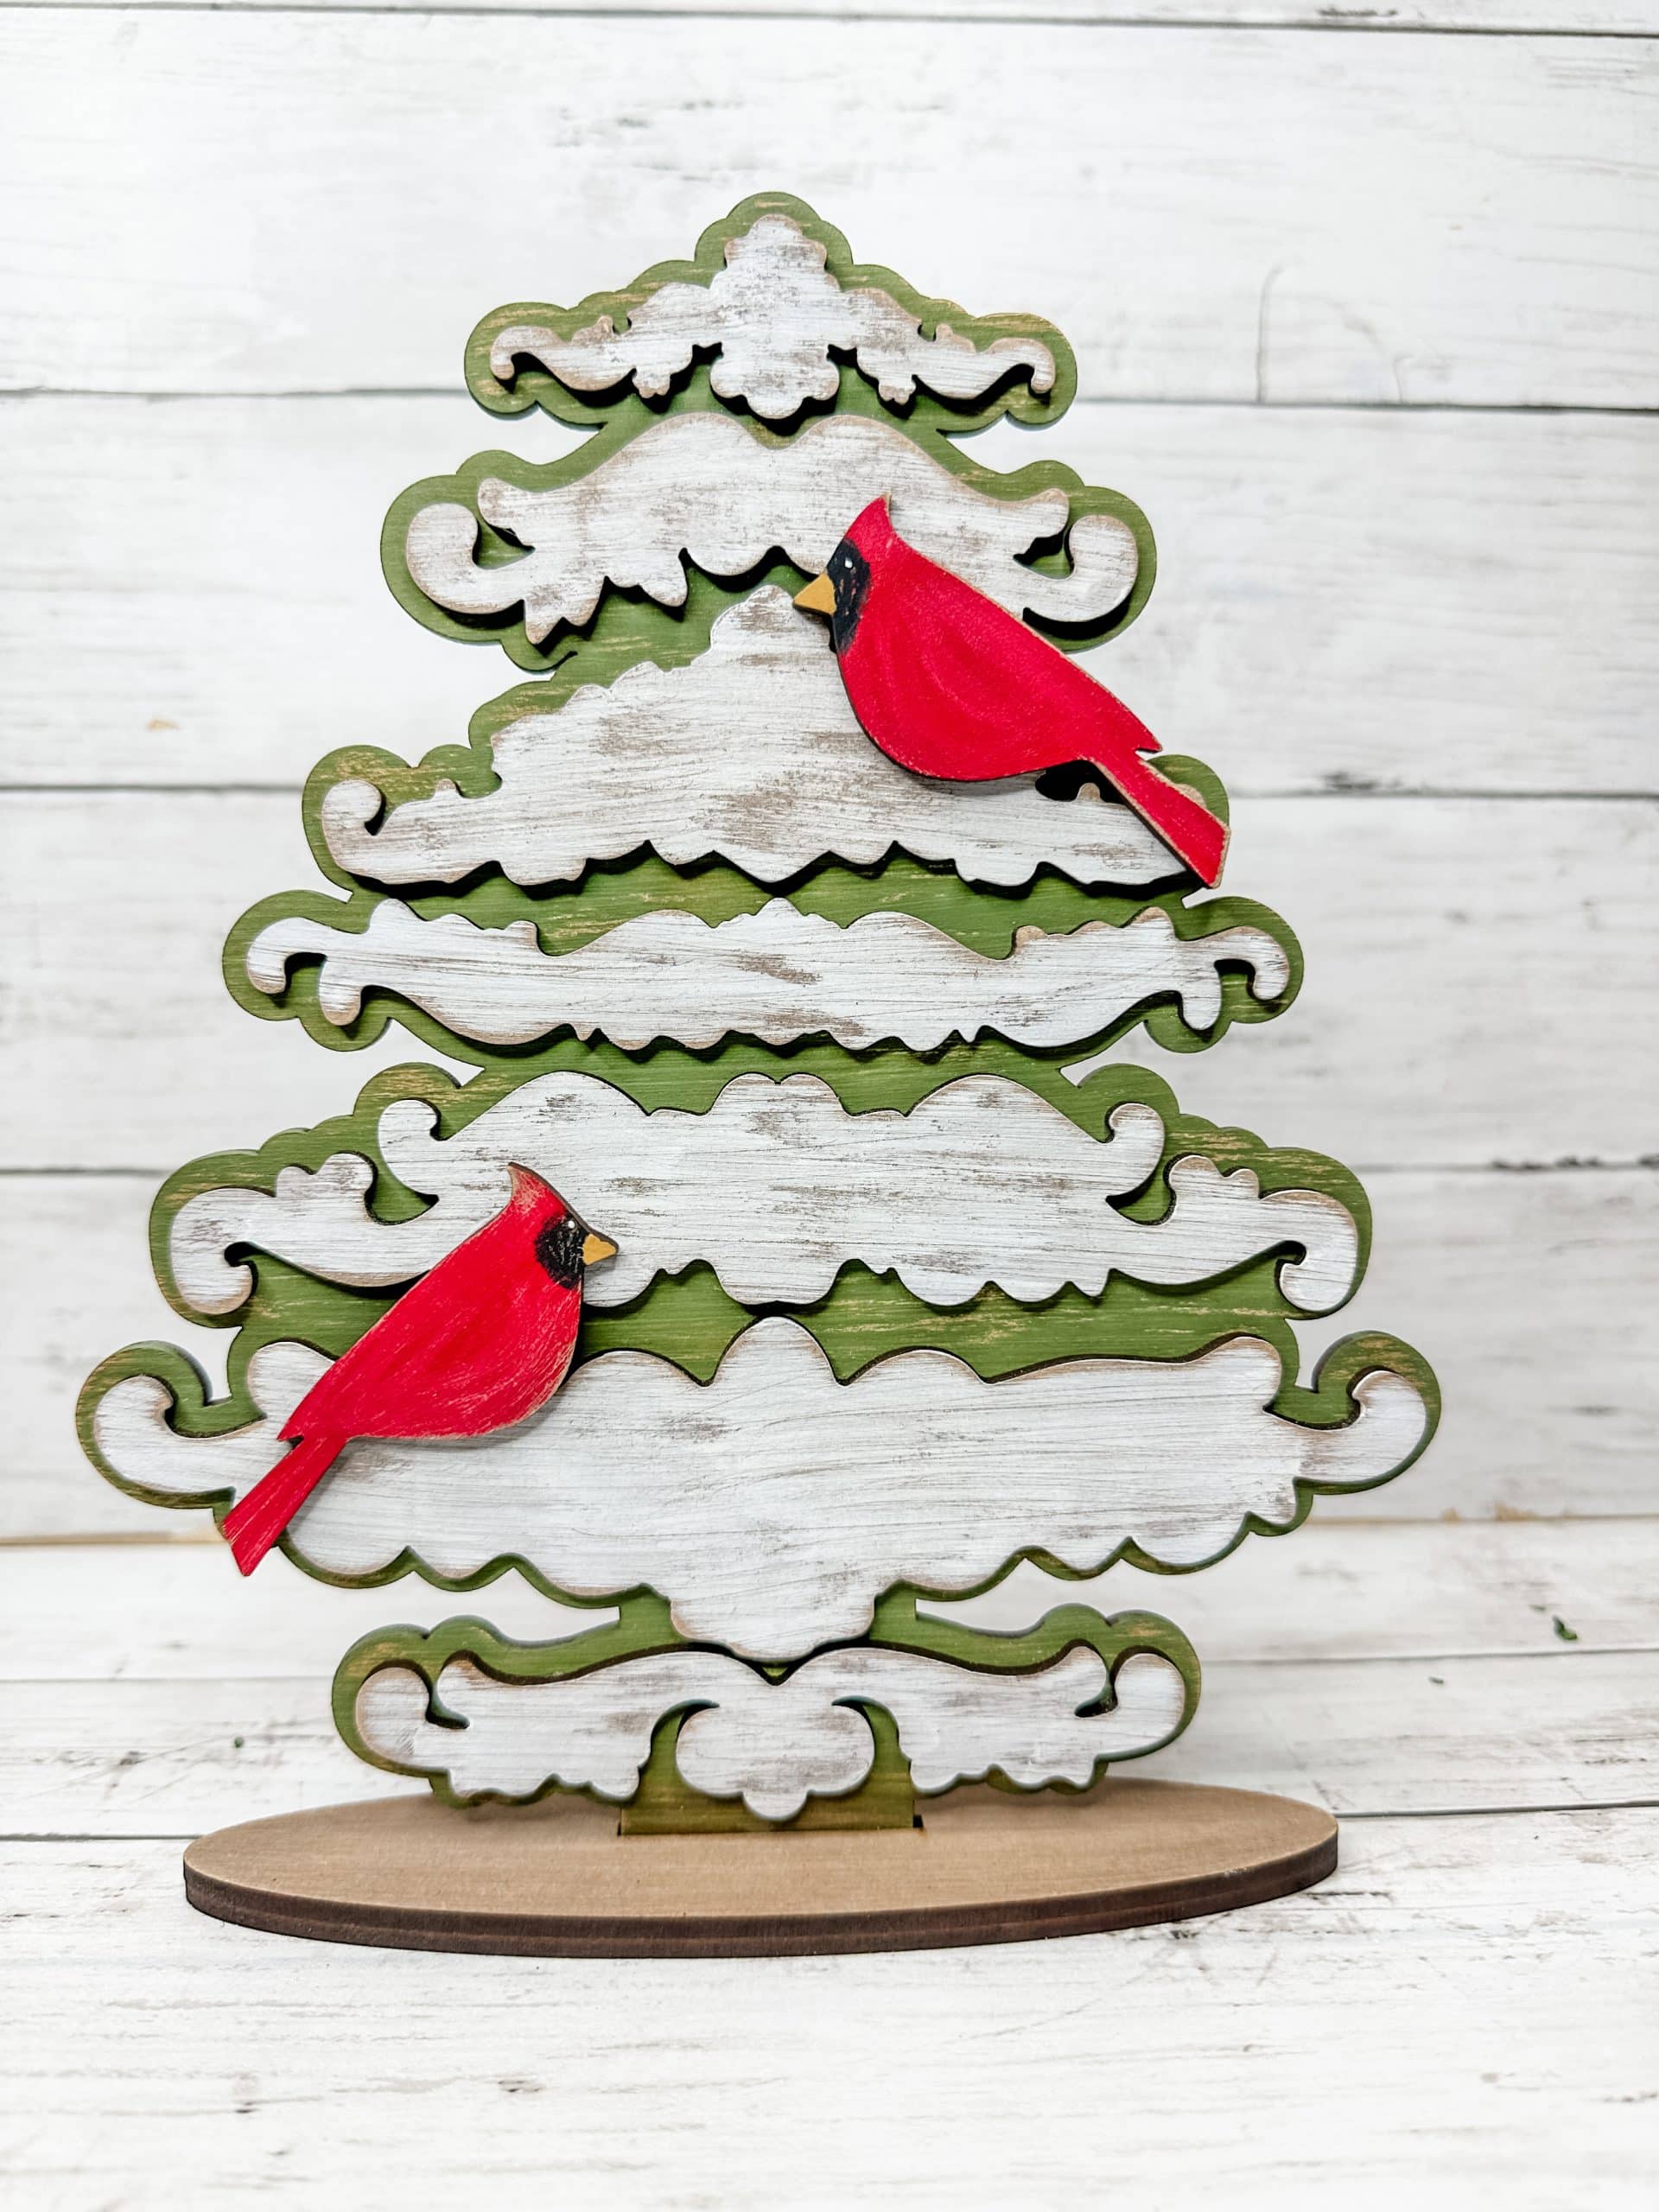
I hope you enjoyed my Decorative Applique Christmas Tree as much as I did and decide to make them for yourself! I would love to see how yours turns out!
You should totally join my FREE Facebook group called On A Budget Crafts! It is a judgment-free community for DIY crafters to show off their projects and ideas.
Watch the DIY tutorial
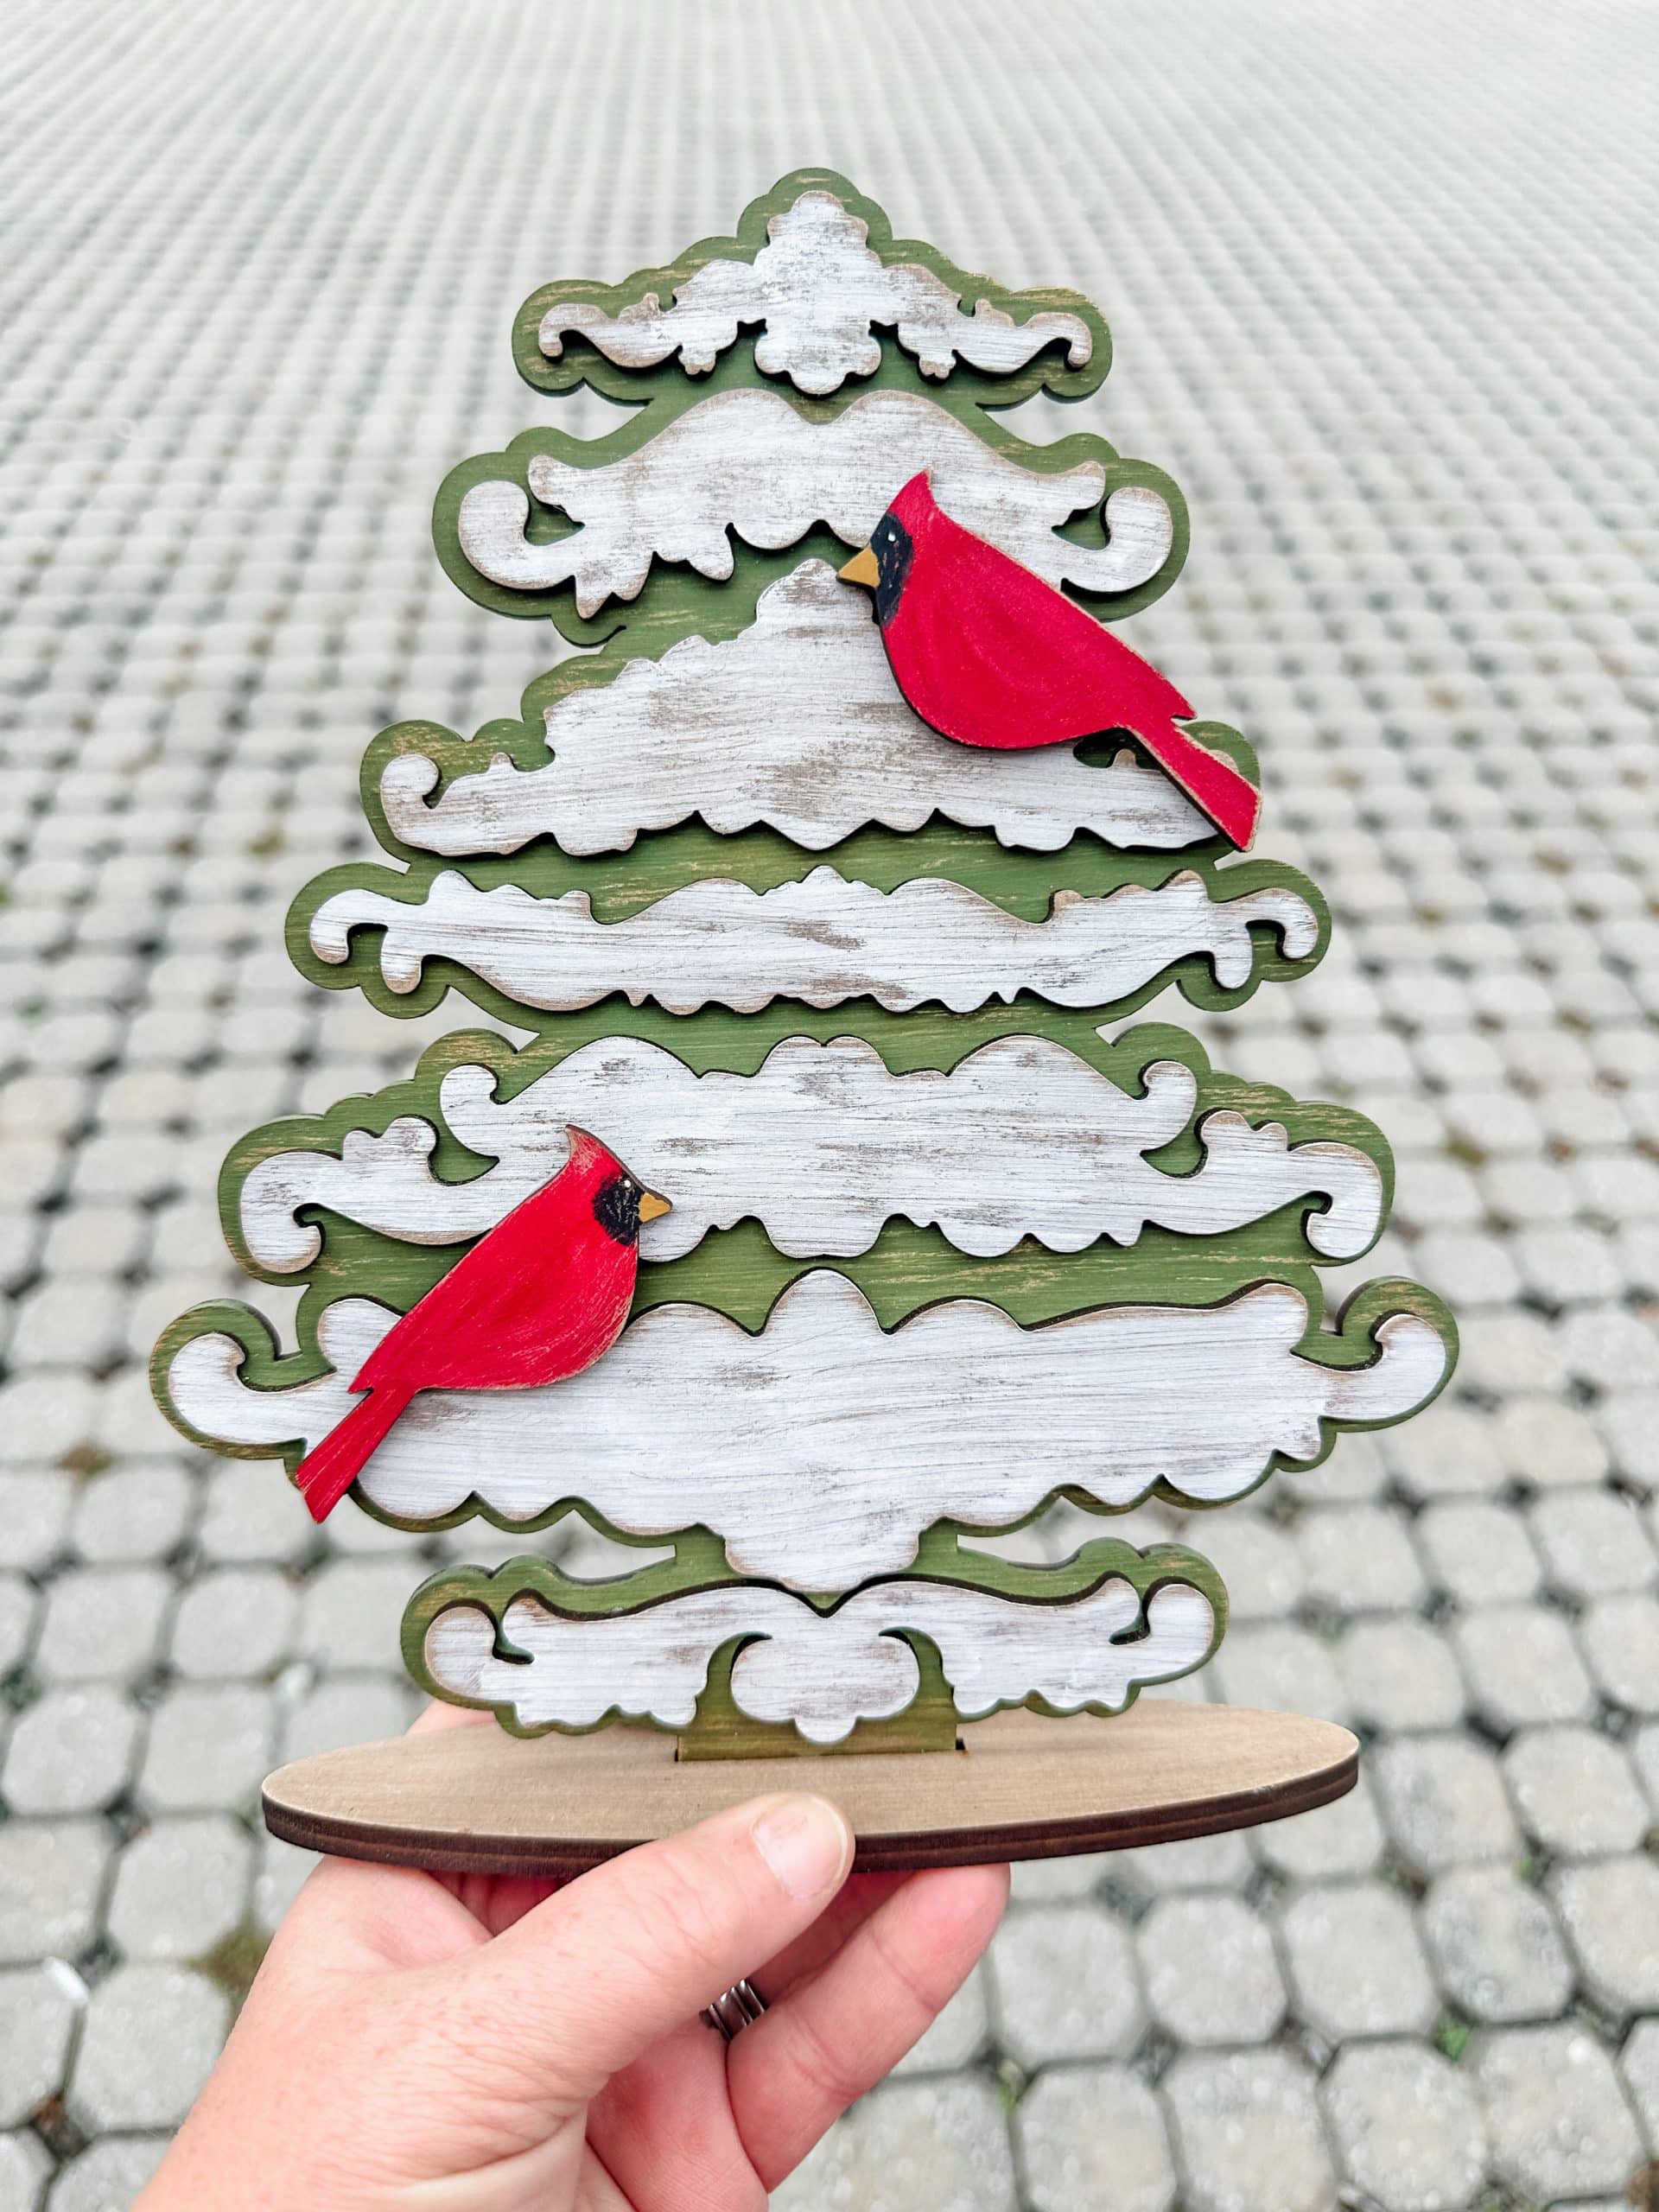
I shared how I made my Decorative Applique Christmas Tree during a LIVE video on my Facebook page.
If you want to see the DIY process, craft along, or just join in on the fun conversations, you can watch the DIY tutorial on Facebook!
For this project, I will be using these items but you can substitute where you want.
“As an Amazon Associate, I earn from qualifying purchases.”
- DIY Applique Christmas Tree Kit
- Paint colors of your choice
- Green
- White
- Red
- Brown
- Black
- Super Glue
- Hot Glue gun
- Glue Sticks
If you loved this DIY you might also like this Pine Forest Winter Decor!
Thanks for stopping by! XOXO Amber
You can also shop my ENTIRE AMAZON Favorites shop just click here! It’s packed full of all the things I use and love. Here is the supply list I highly recommend every creative have on hand!!
Would you also pin my blog for later and get on my newsletter alerts? I would love to have you join my #craftycrew.
Inspired? Leave me a comment below! I love hearing from my readers!


