How to Make a Dollar Tree Chippy Church DIY Farmhouse Decor
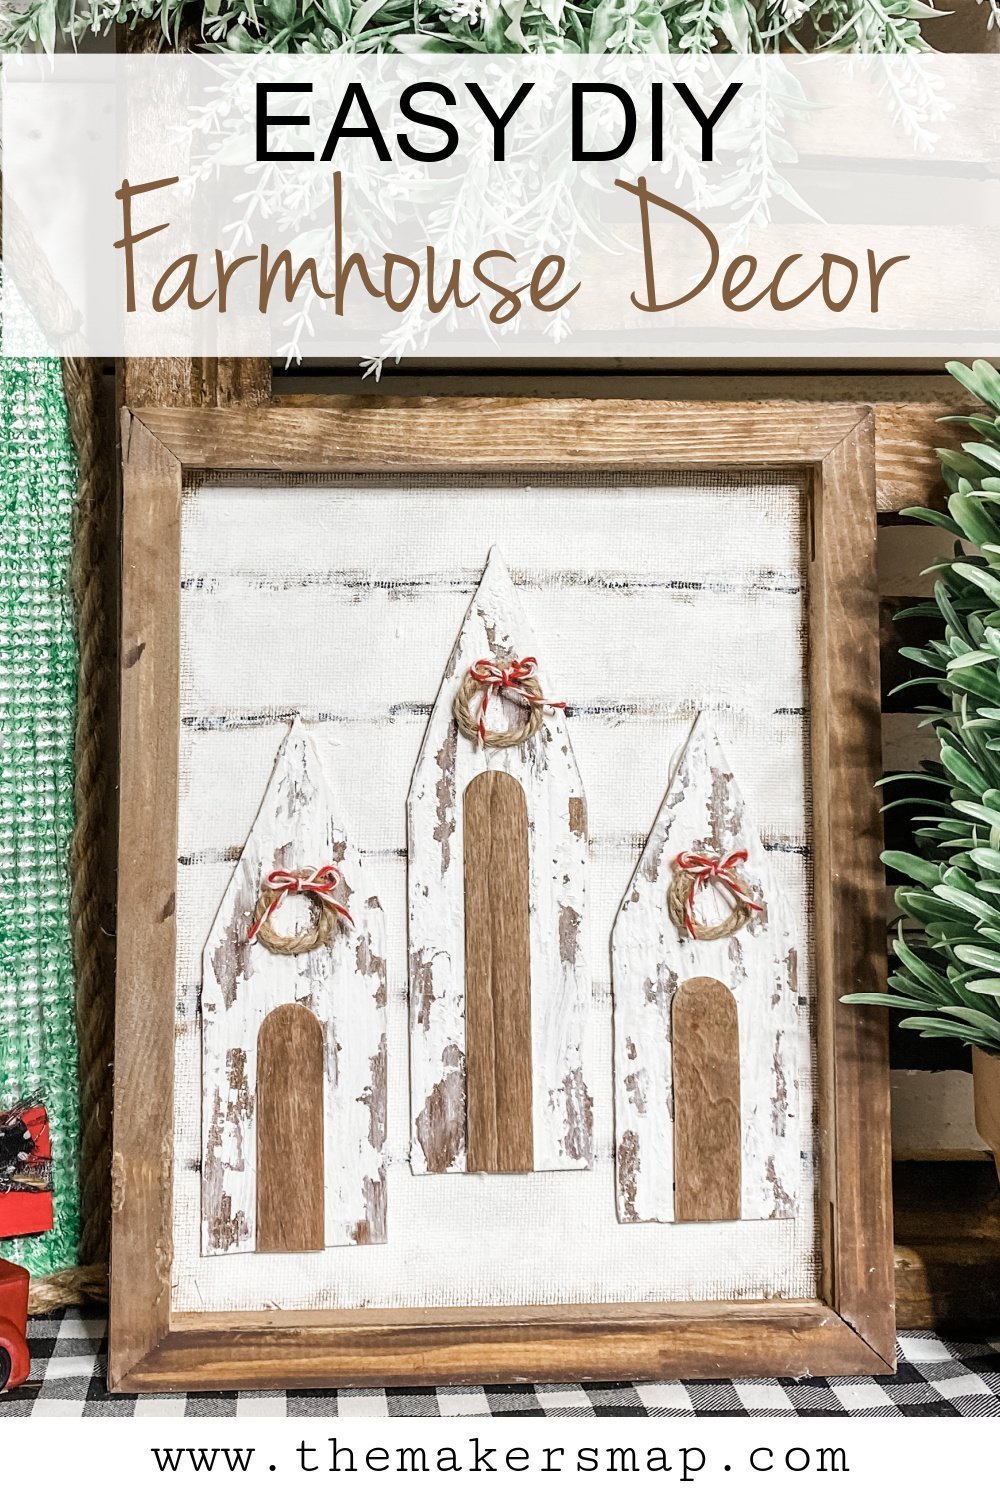
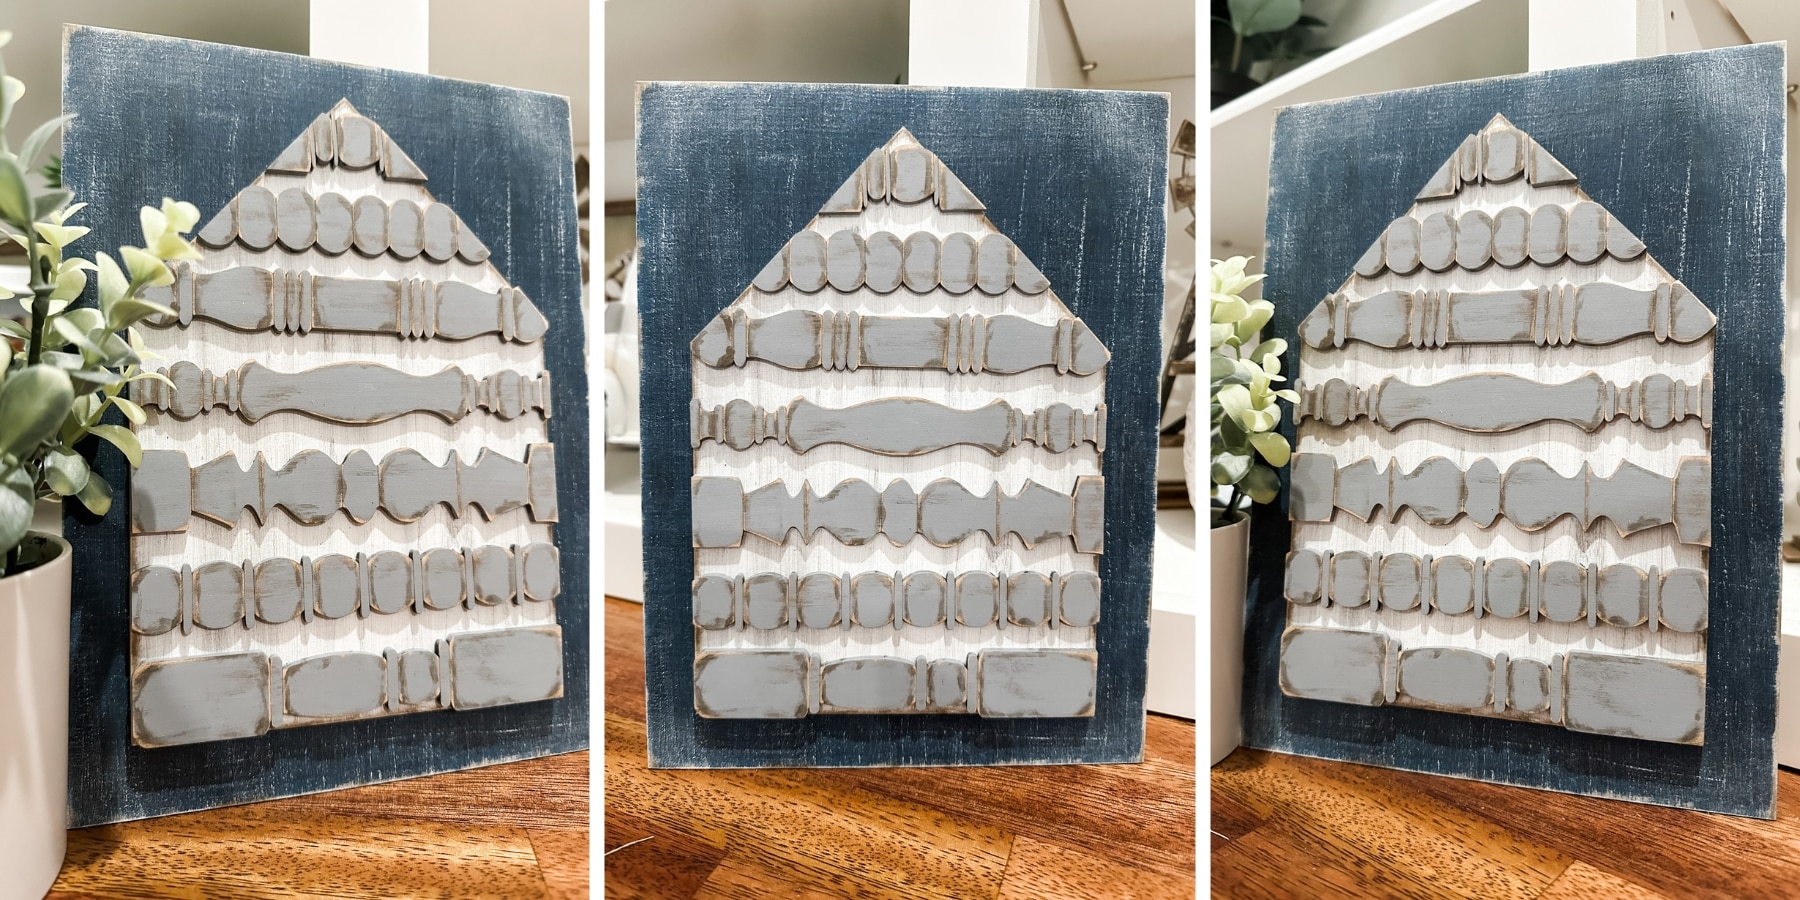
Can you guess what I used to make the adorable little churches in this Dollar Tree Chippy Church DIY Farmhouse Decor?
I love making DIY crafts like this where you can’t even tell that I used Dollar Tree items! This super cute DIY decor is so easy to make, so I’m going to show you how to make a Dollar Tree Chippy Church DIY Farmhouse Decor.
Watch the tutorial
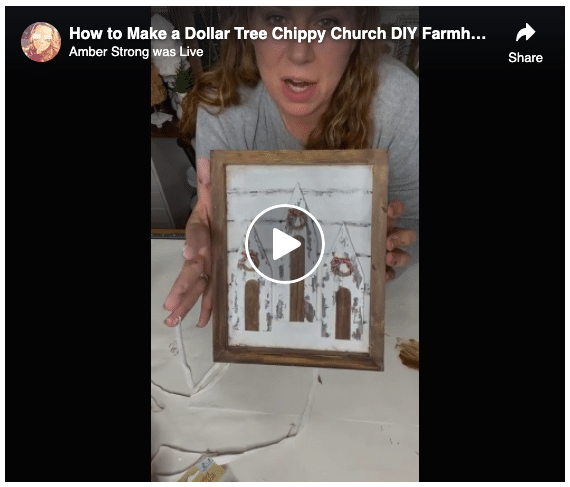
If you want to see exactly how I made this super easy Dollar Tree DIY, you can watch the video tutorial I made over on my Facebook page.
Now, I did make this during a Facebook LIVE, so there may be more chatting than you like. If that’s the case, you can definitely fast forward to the points you want to see.
For this project, I will be using these items but you can substitute where you want.
“As an Amazon Associate, I earn from qualifying purchases.”
- Dollar Tree Canvas
- Dollar Tree Craft Sticks
- Quart Paint Sticks
- Dollar Tree Baker’s Twine
- Dollar Tree Square Sign Box
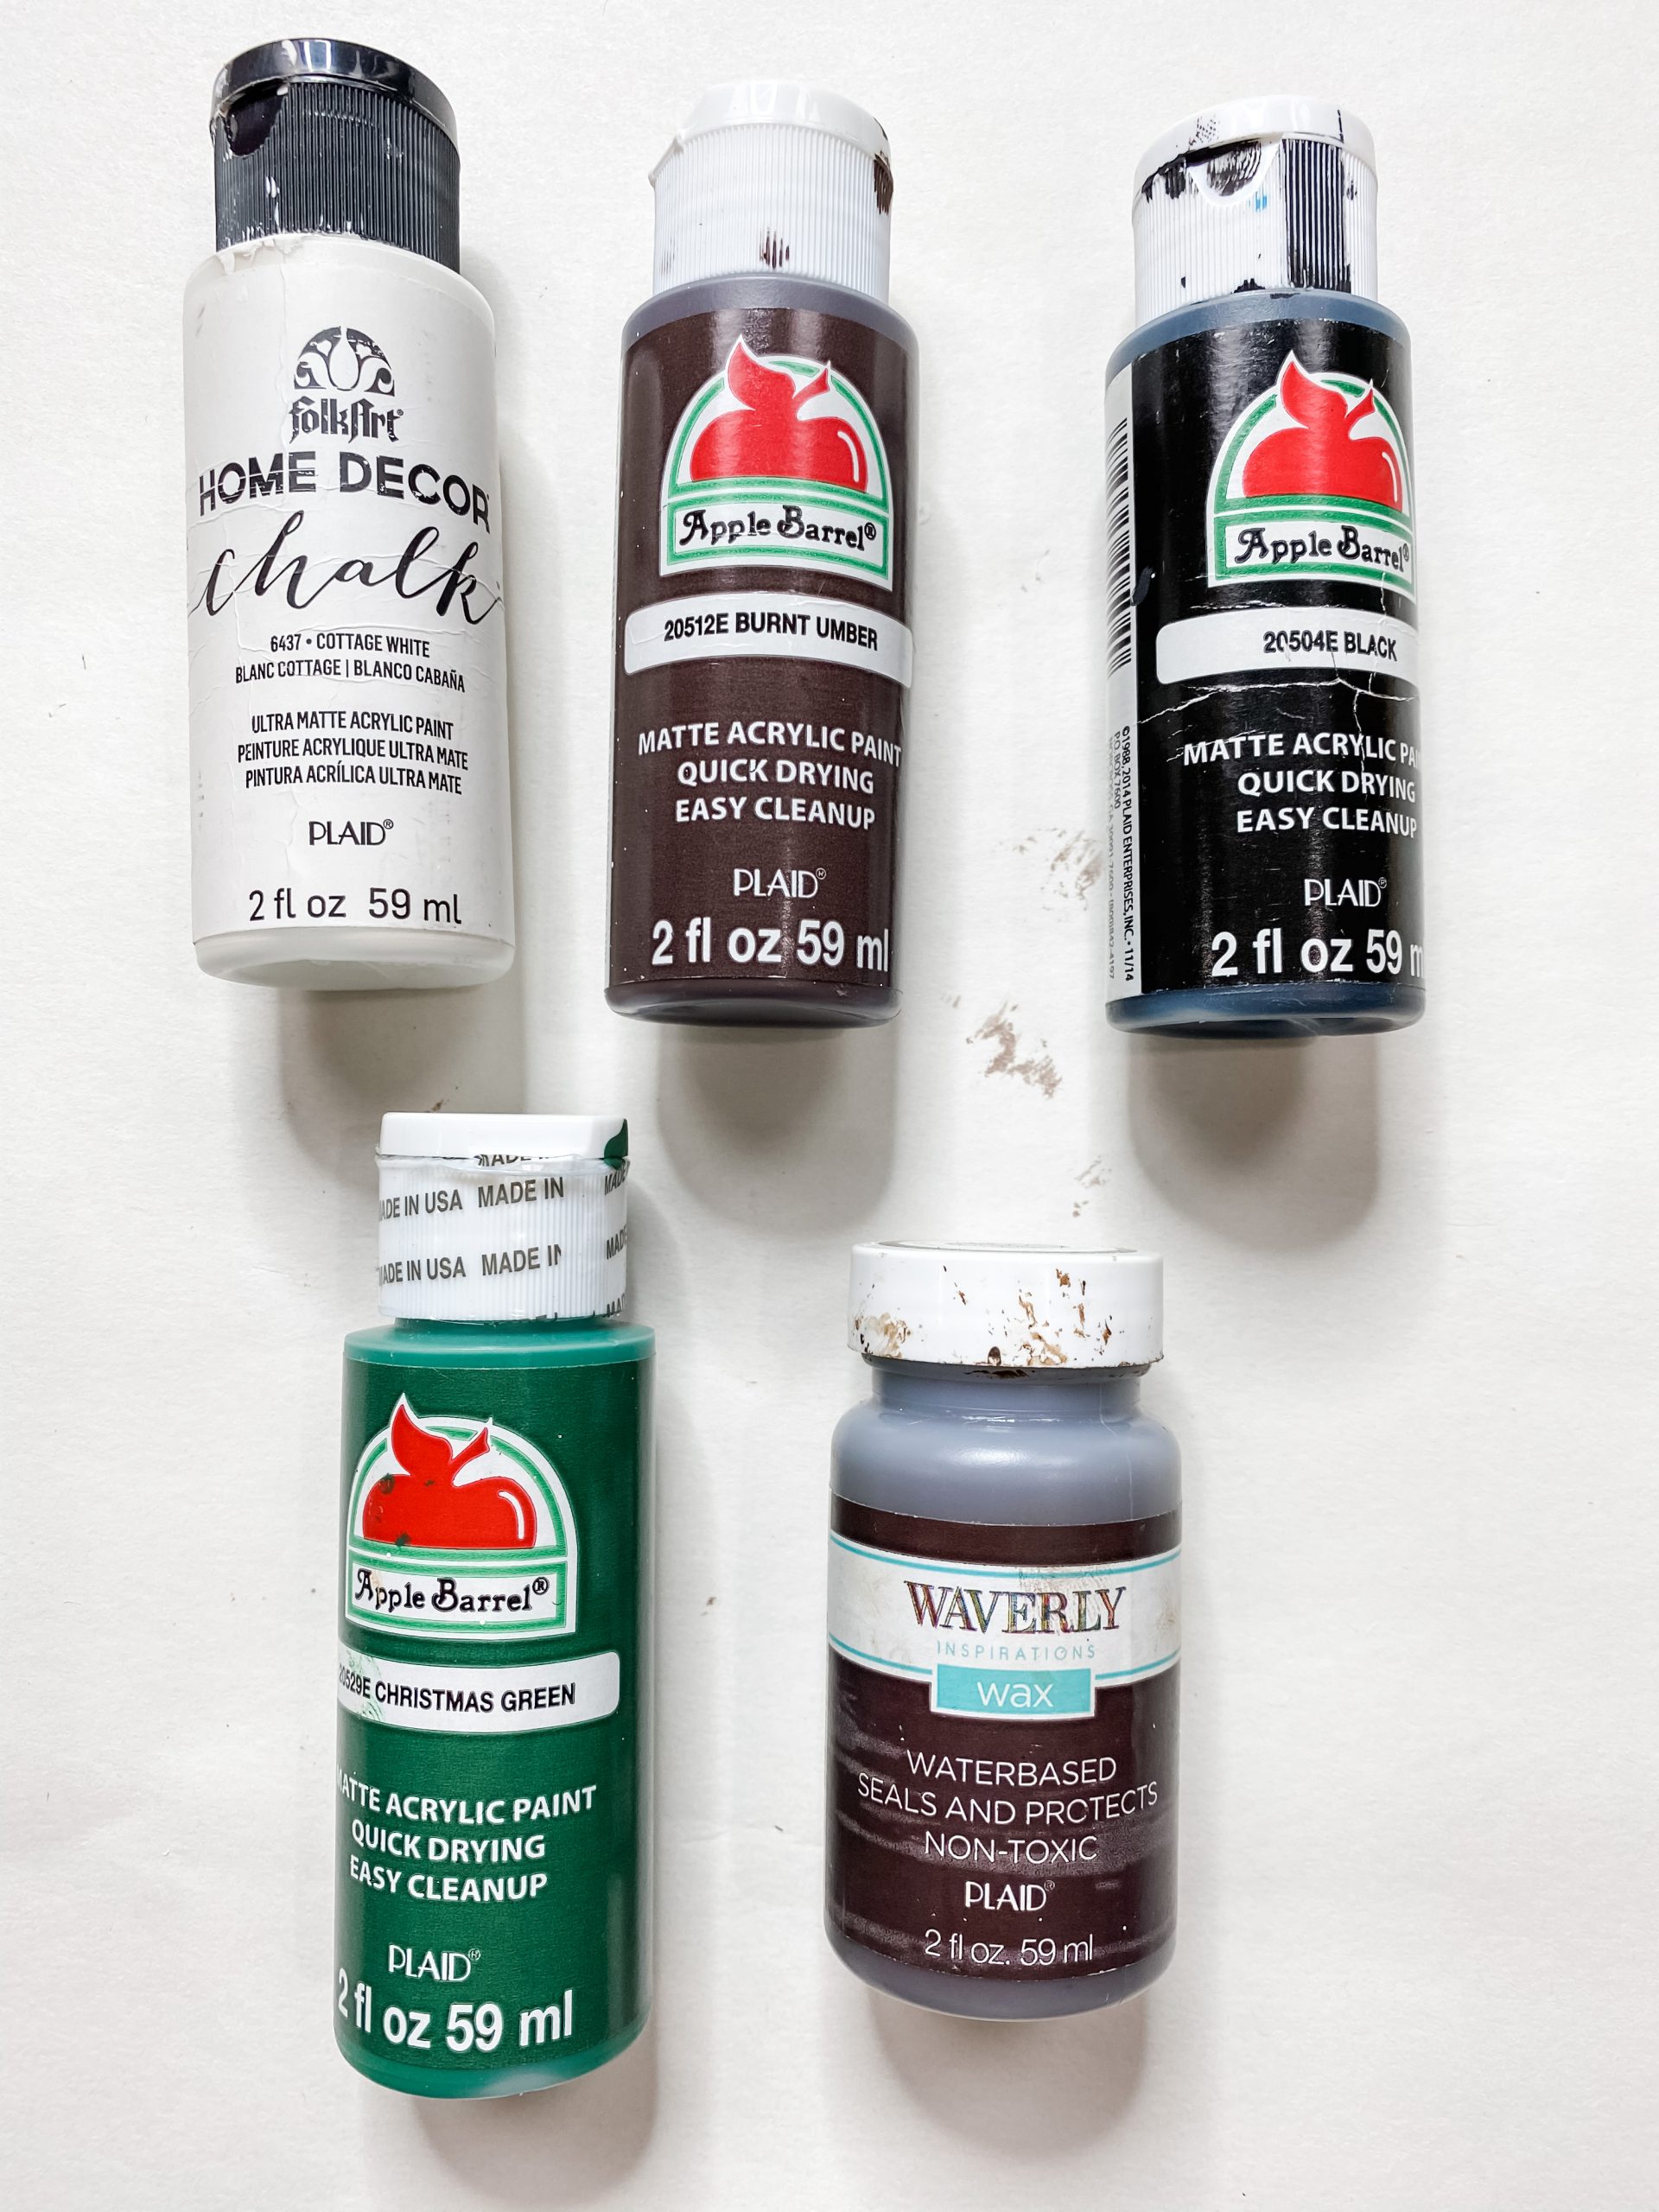
- Apple Barrel Burnt Umber Acrylic Paint
- Apple Barrel Black Acrylic Paint
- Folkart White Chalk Paint
- Apple Barrel Christmas Green Acrylic Paint
- Wired Jute Twine
- Waverly Wax
- Petroleum Jelly
- Artists brush
- Putty knife
- Pliers
- Glue Gun and Glue Sticks
- Heat gun
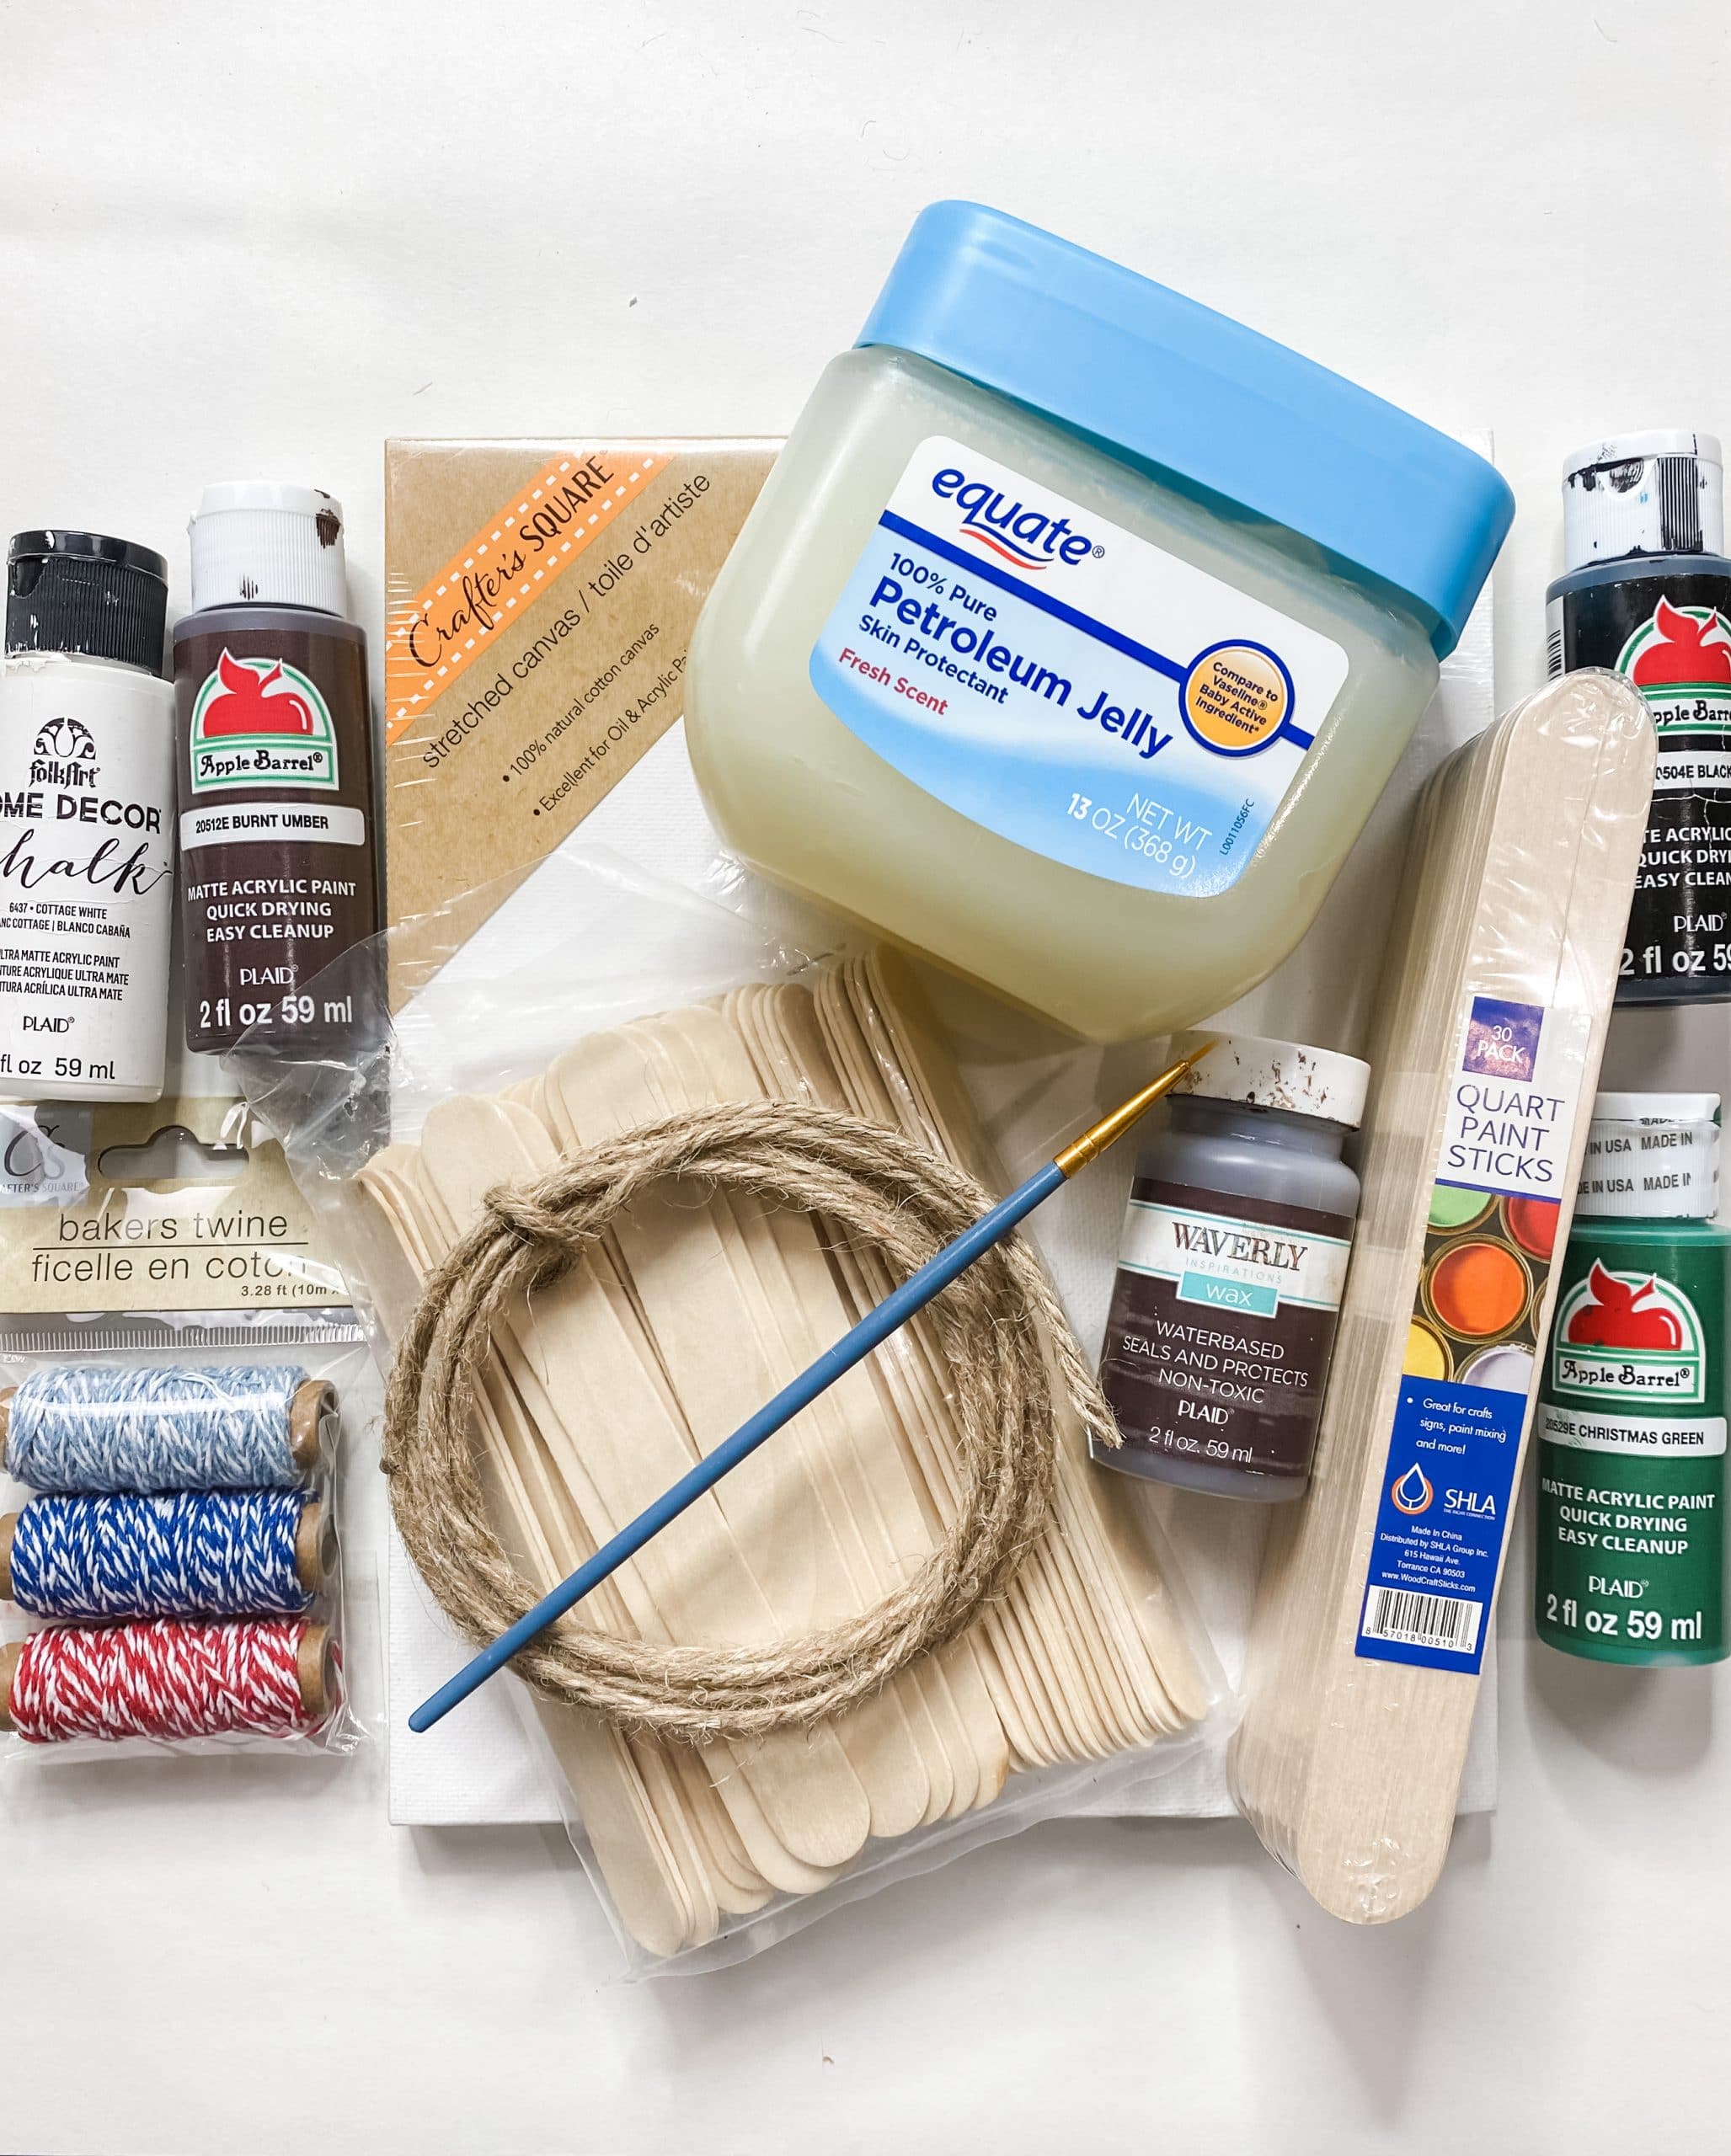
Let’s get to the good stuff!
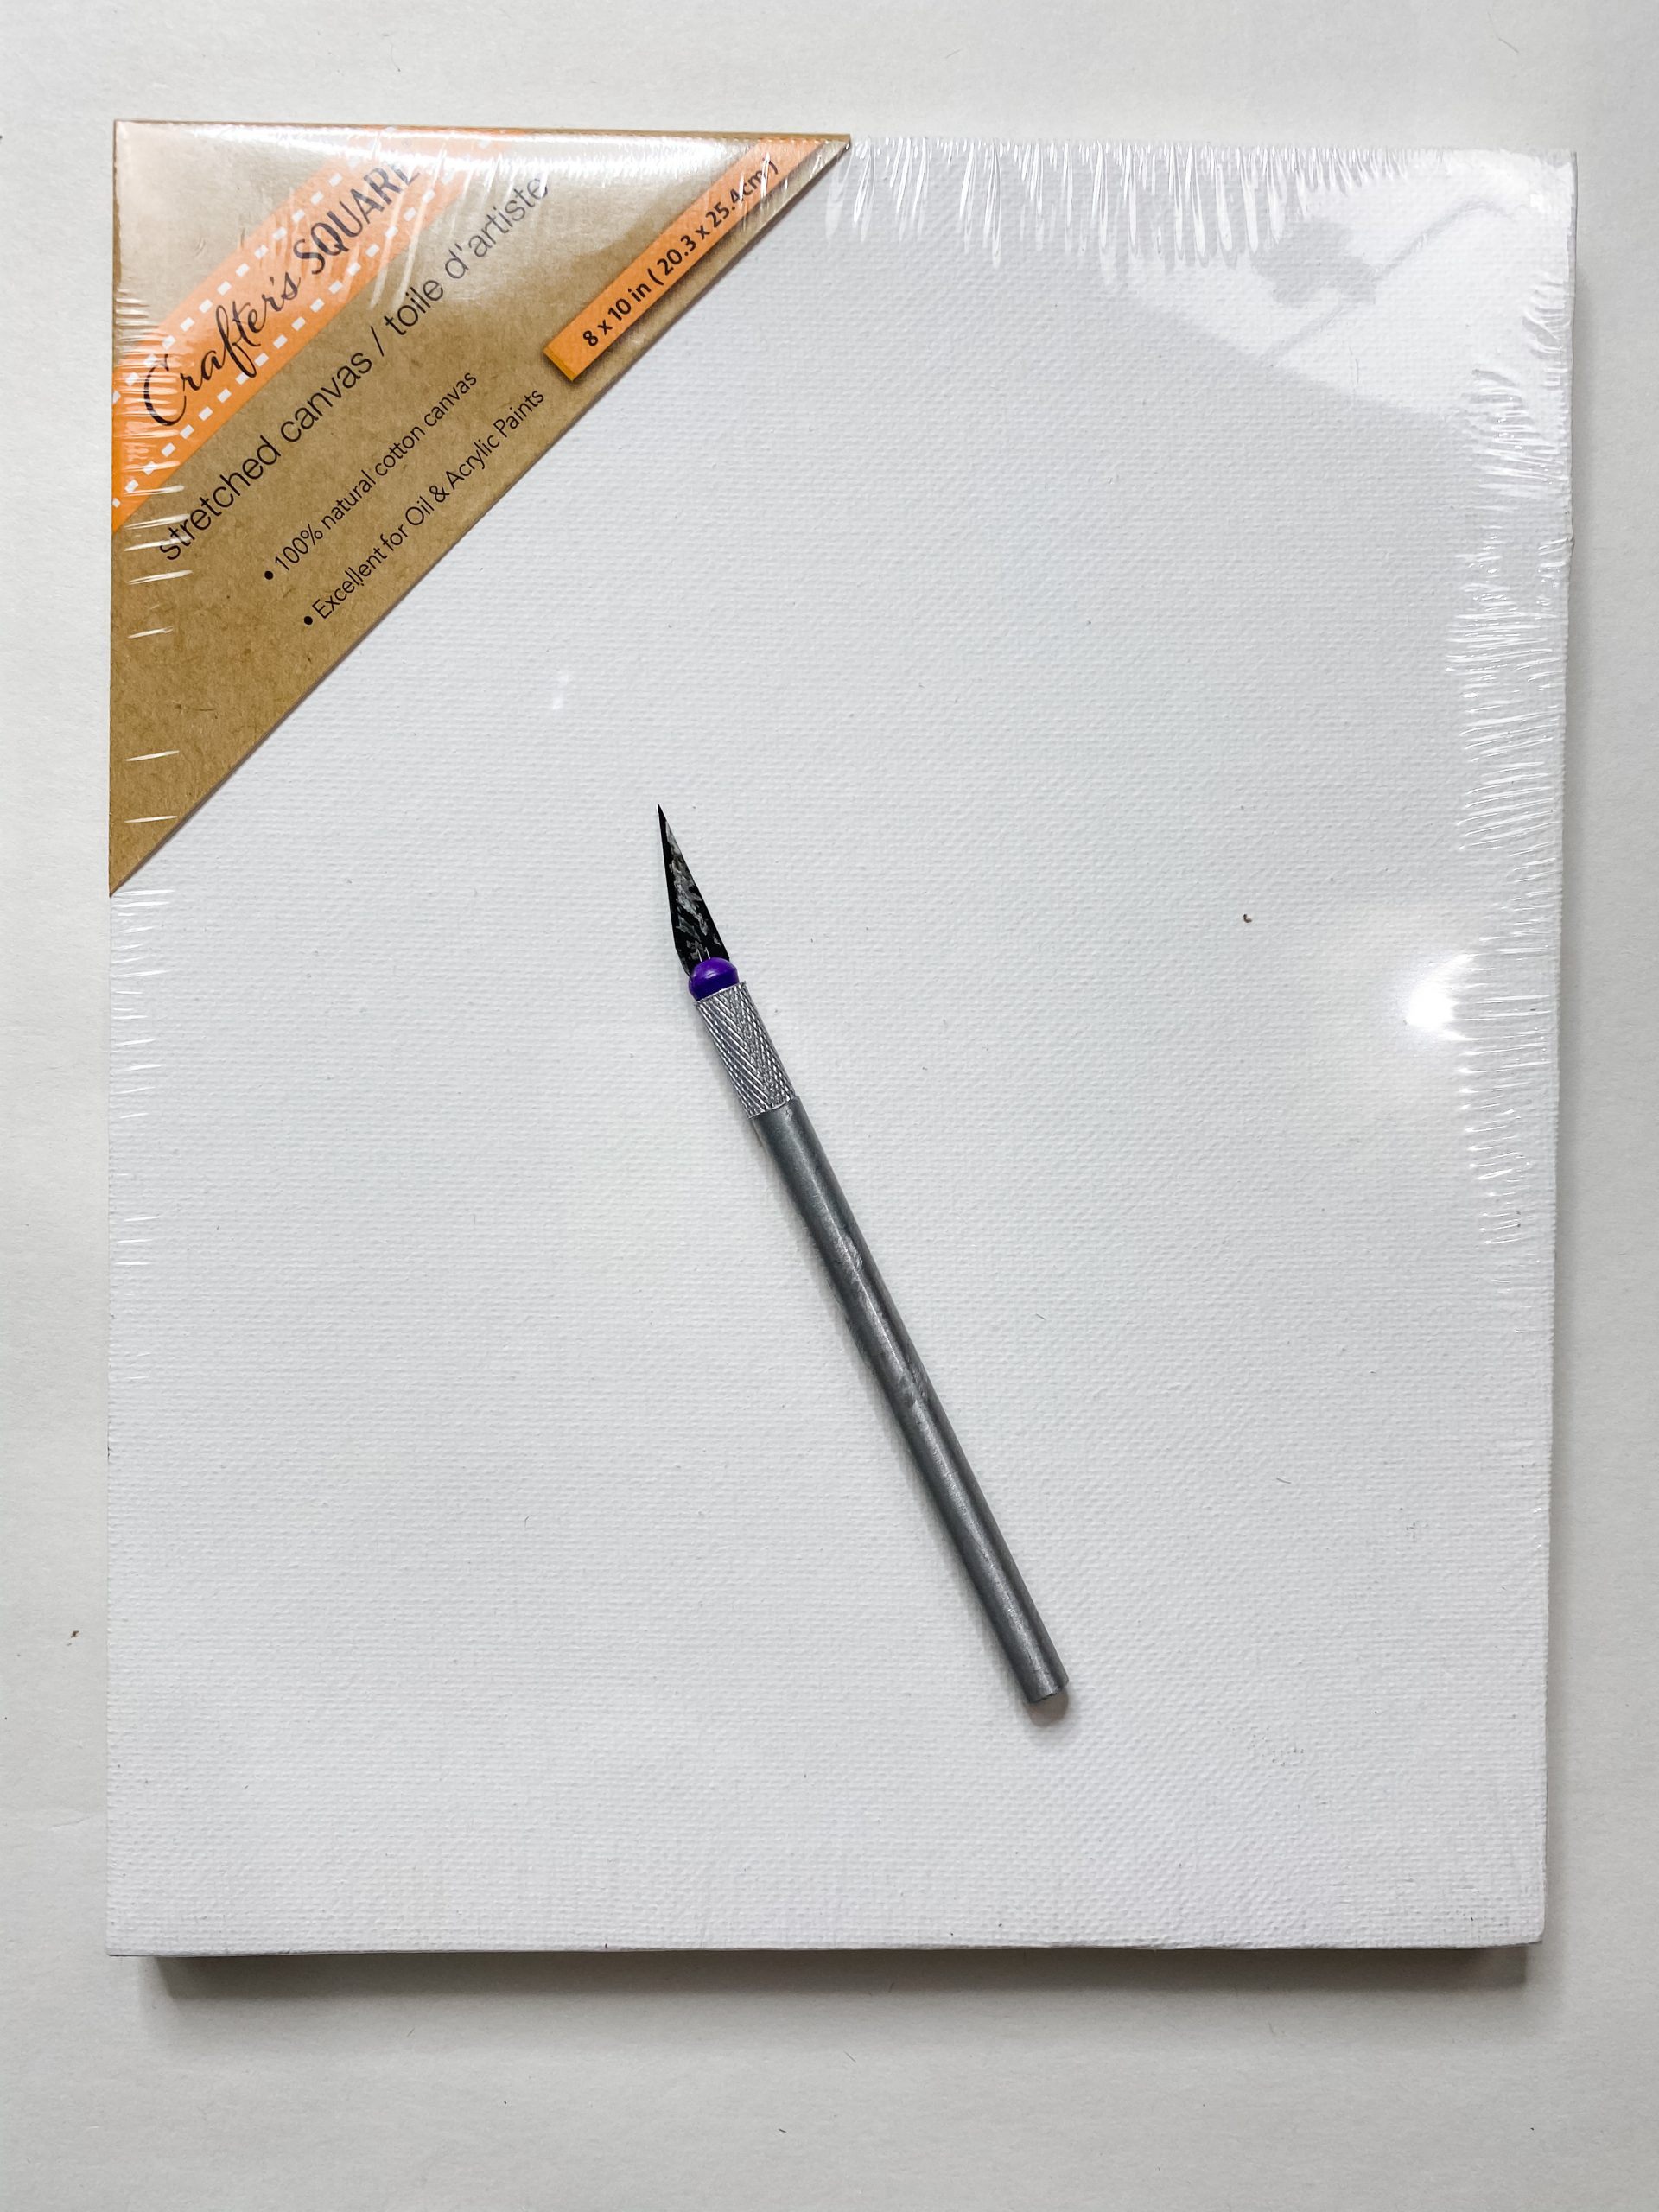
To get started making this adorable Farmhouse Decor DIY, you’re going to start by removing the Dollar Tree canvas from its frame. I used pliers to pull the canvas off and remove the staples, just make sure to be careful!
Once you have the frame exposed, you’re going to stain it with the Apple Barrel Burnt Umber Acrylic Paint.
I mix a little of the brown paint with some water and then spread it over the wood with a baby wipe. The water helps the wood absorb the paint and gives it a stained finish.
Paint the canvas
Next, I dry brushed the canvas with Folkart White Chalk Paint. Once the paint dries, we are going to attach the canvas back to the frame, so set it aside for now.
Make the churches
This next step was so fun for me. I love doing the chippy finish in my DIY crafts, but I usually do it on the background. For this DIY, I decided to mix it up a little bit!
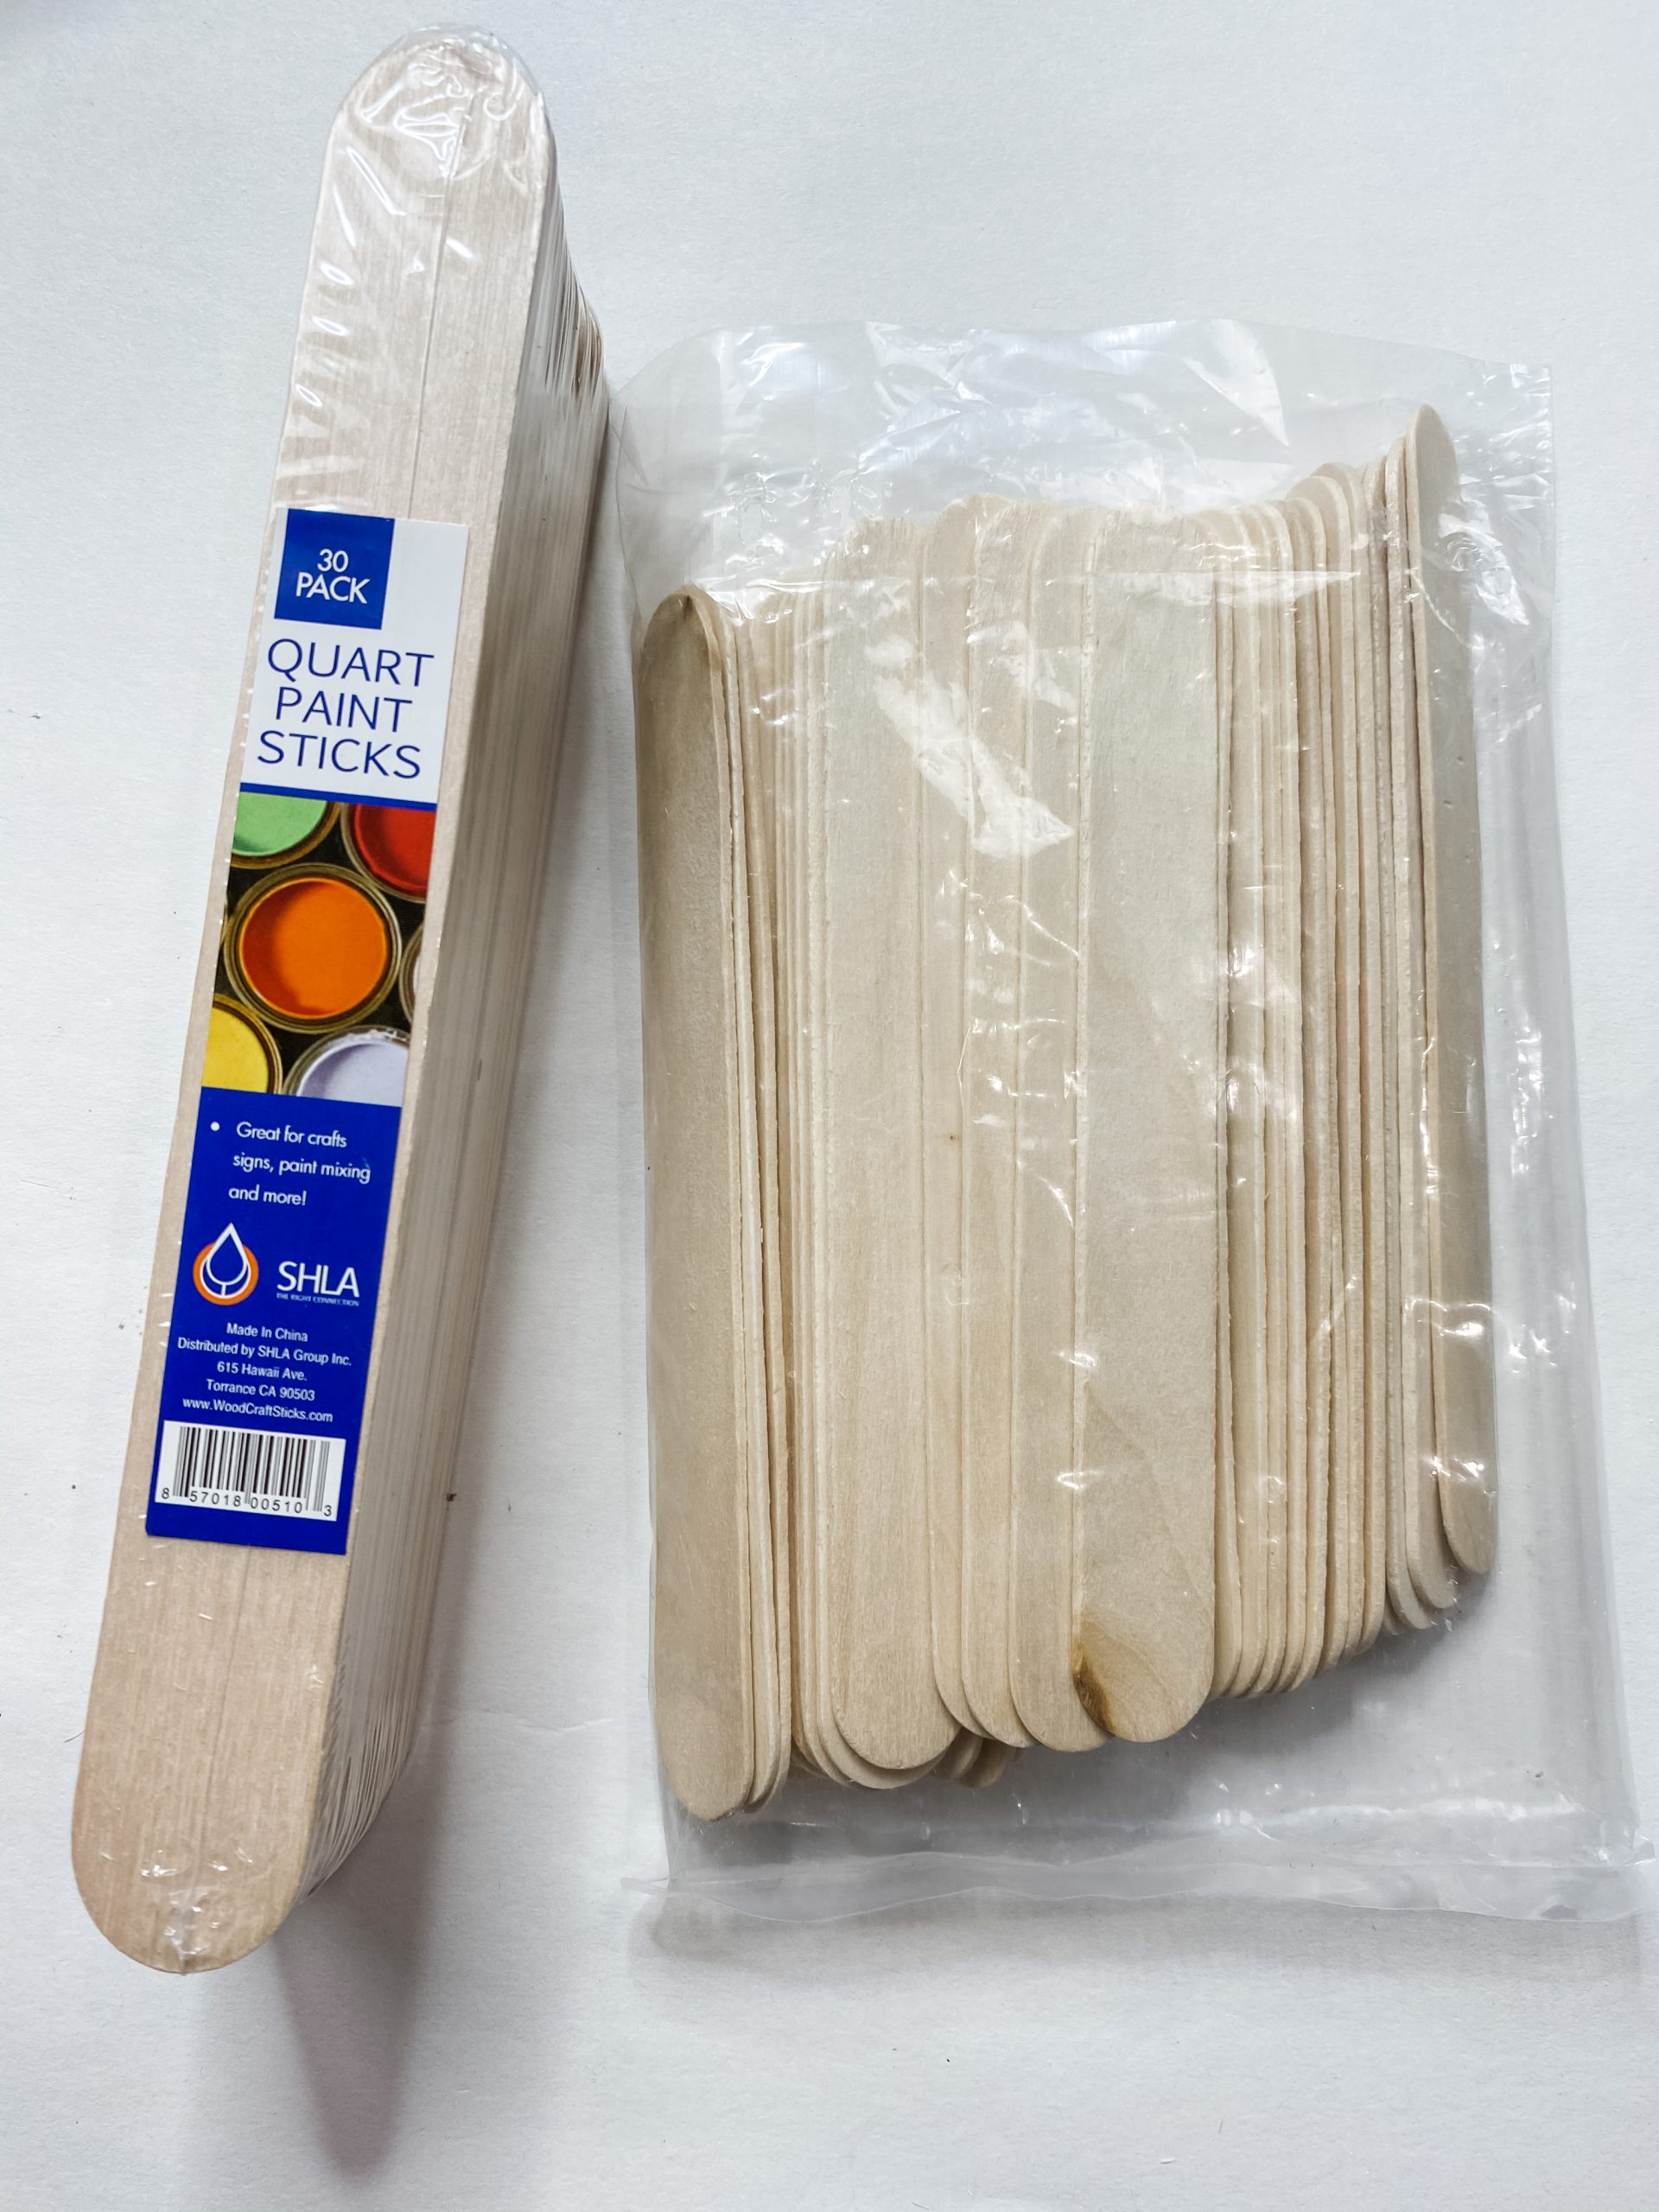
I used quart paint sticks from Home Depot and Dollar Tree craft sticks. I paired two of the quart paint sticks for each church and attached them together by hot-gluing a craft stick to the back of each pair.
Make sure you trim the craft stick because we are going to cut the quart paint sticks into the church shape.
Once the quart paint sticks were attached to each other, I stained each pair with the same technique I used on the Dollar Tree canvas frame.
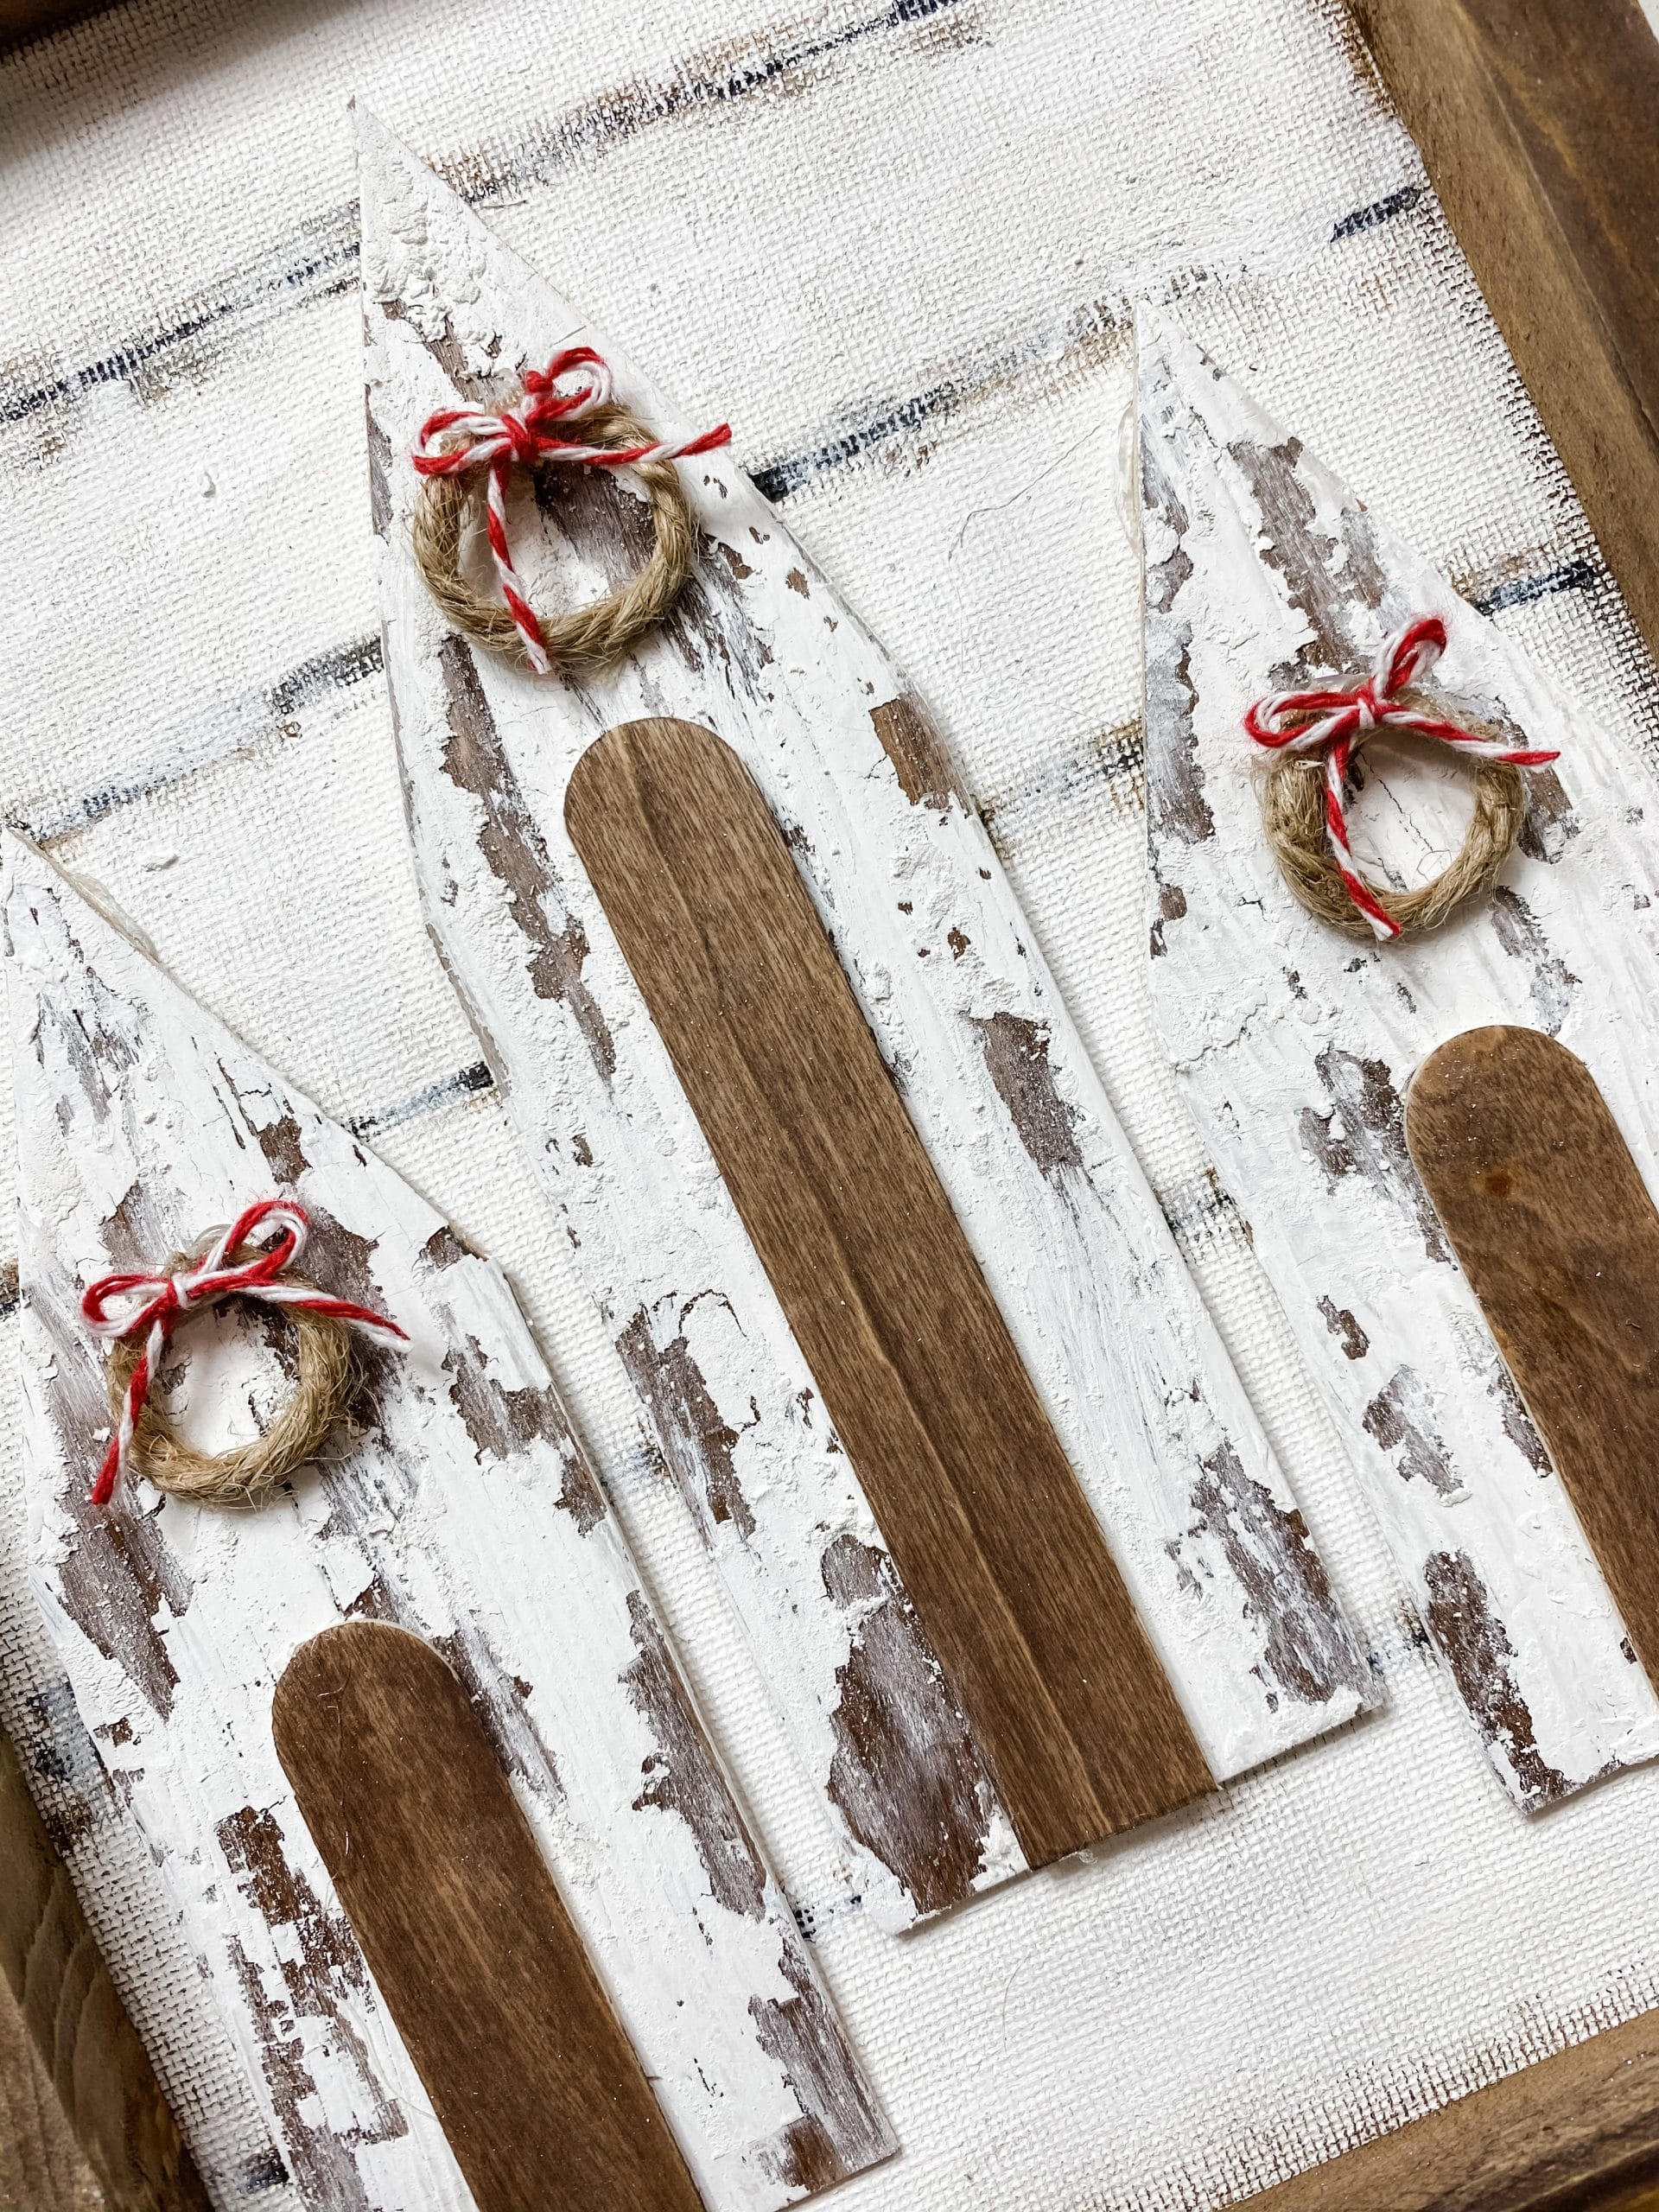
Go ahead and stain 3 of the craft sticks as well because these will be the doors of the churches. Once, the wood is dry, use some scissors to trim the wood into the shape of a church. Just trim the curved edge off one end of the craft sticks.
Let’s get chippy!
I’ve said before how much I love the chippy finish, so I want to tell you exactly how I do it!
If you like the chippy look, check out these other DIY crafts I’ve done with this chippy technique: DIY Chippy Christmas Sign, Chippy Farmhouse Home Decor Sign, Shabby Farmhouse Christmas Sign DIY.
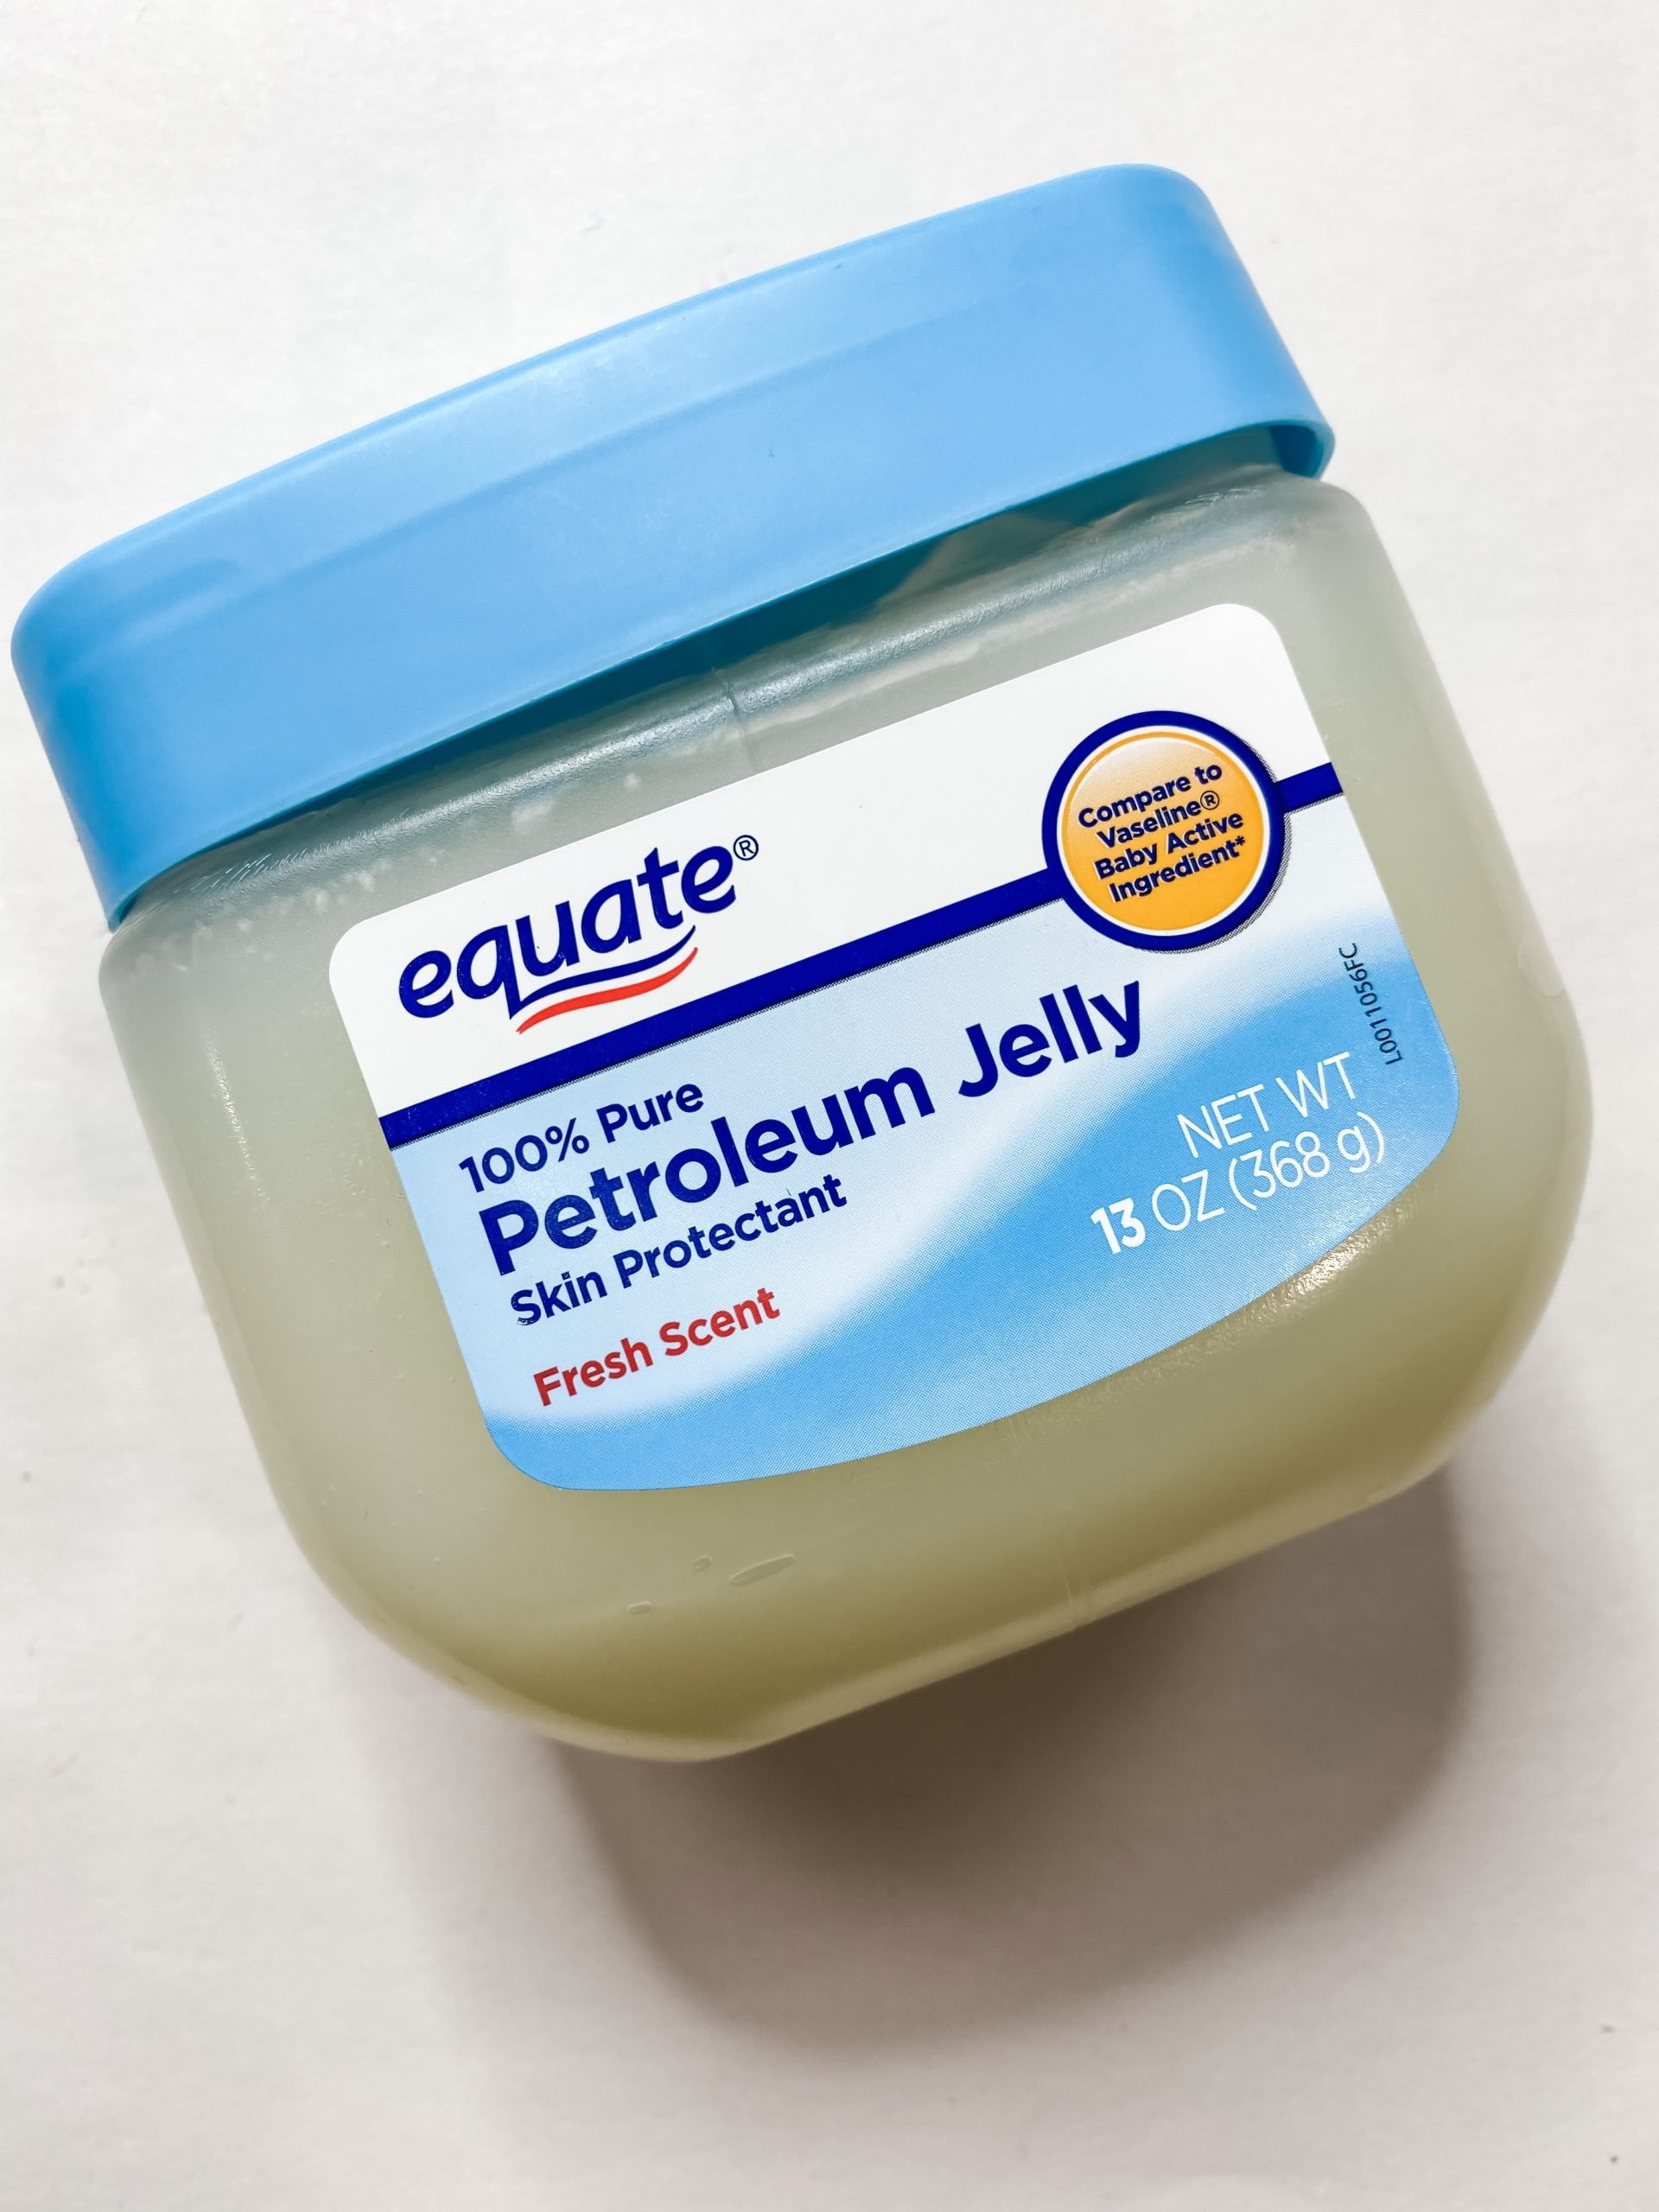
The key to getting the perfect chippy finish is using something like petroleum jelly. I like to use Wise Owl Furniture Salve, but petroleum jelly is a good substitute!
Once the stain is dry, brush some petroleum jelly onto the places of the wood that you want it to have a chippy look.
Next, paint over the entire surface with Folkart White Chalk Paint. Allow the white paint to dry mostly (it will still be wet in the places that you applied the jelly).
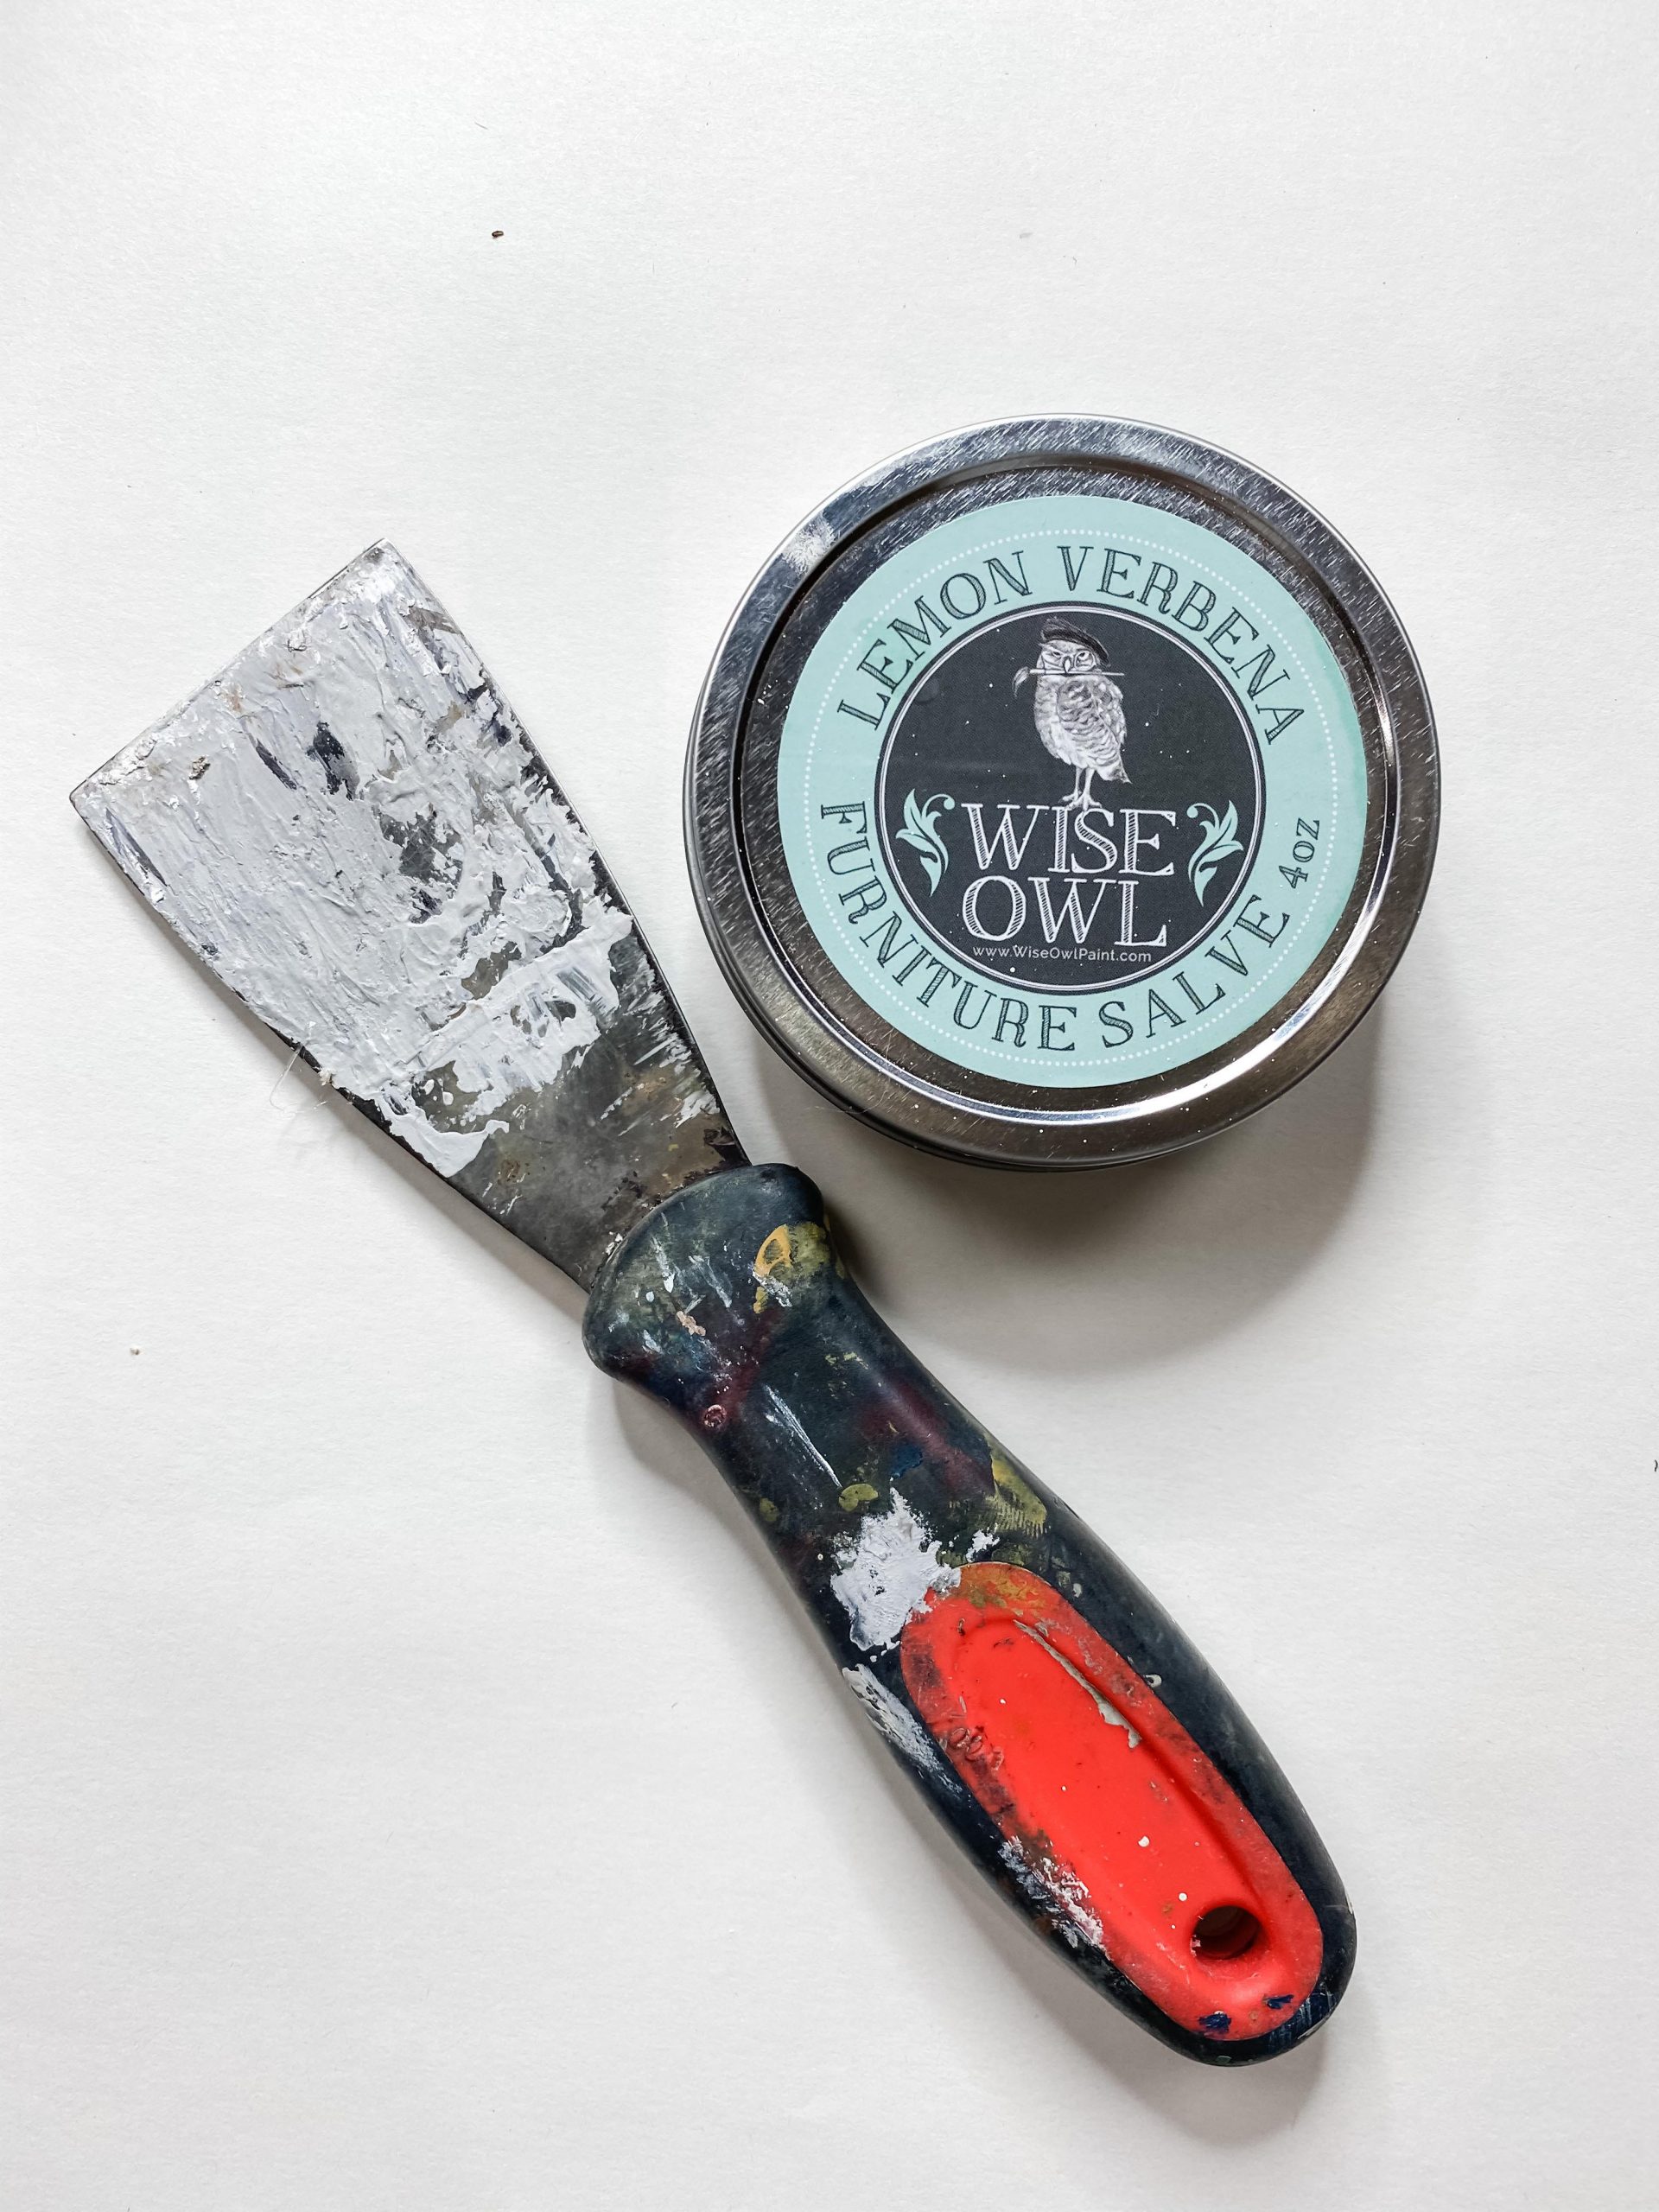
Use a putty knife or paint scraper and drag it over the areas that are still wet. Repeat this over and over until the paint begins to dry with a chippy look.
You can do this as many times as you want until you get the chippy finish you want.
Put the canvas back together
Alright, your canvas should be dry by now, so it is time to attach it back to the frame.
Instead of stapling it back together, I just hot glue the canvas back onto the frame and used an Exacto knife to trim the extra edges of the canvas.
Faux Shiplap
To get the faux shiplap look, I use an artist brush and lightly dry brush lines across the canvas with Apple Barrel Black Acrylic Paint.
To give it a real faux shiplap feel, I just took some of the Waverly wax and brushed it around the lines. This gives the faux planks an aged look.
Once your canvas is dry, (I like to use a heat gun to speed up the drying process) it is time to hot glue the little churches!
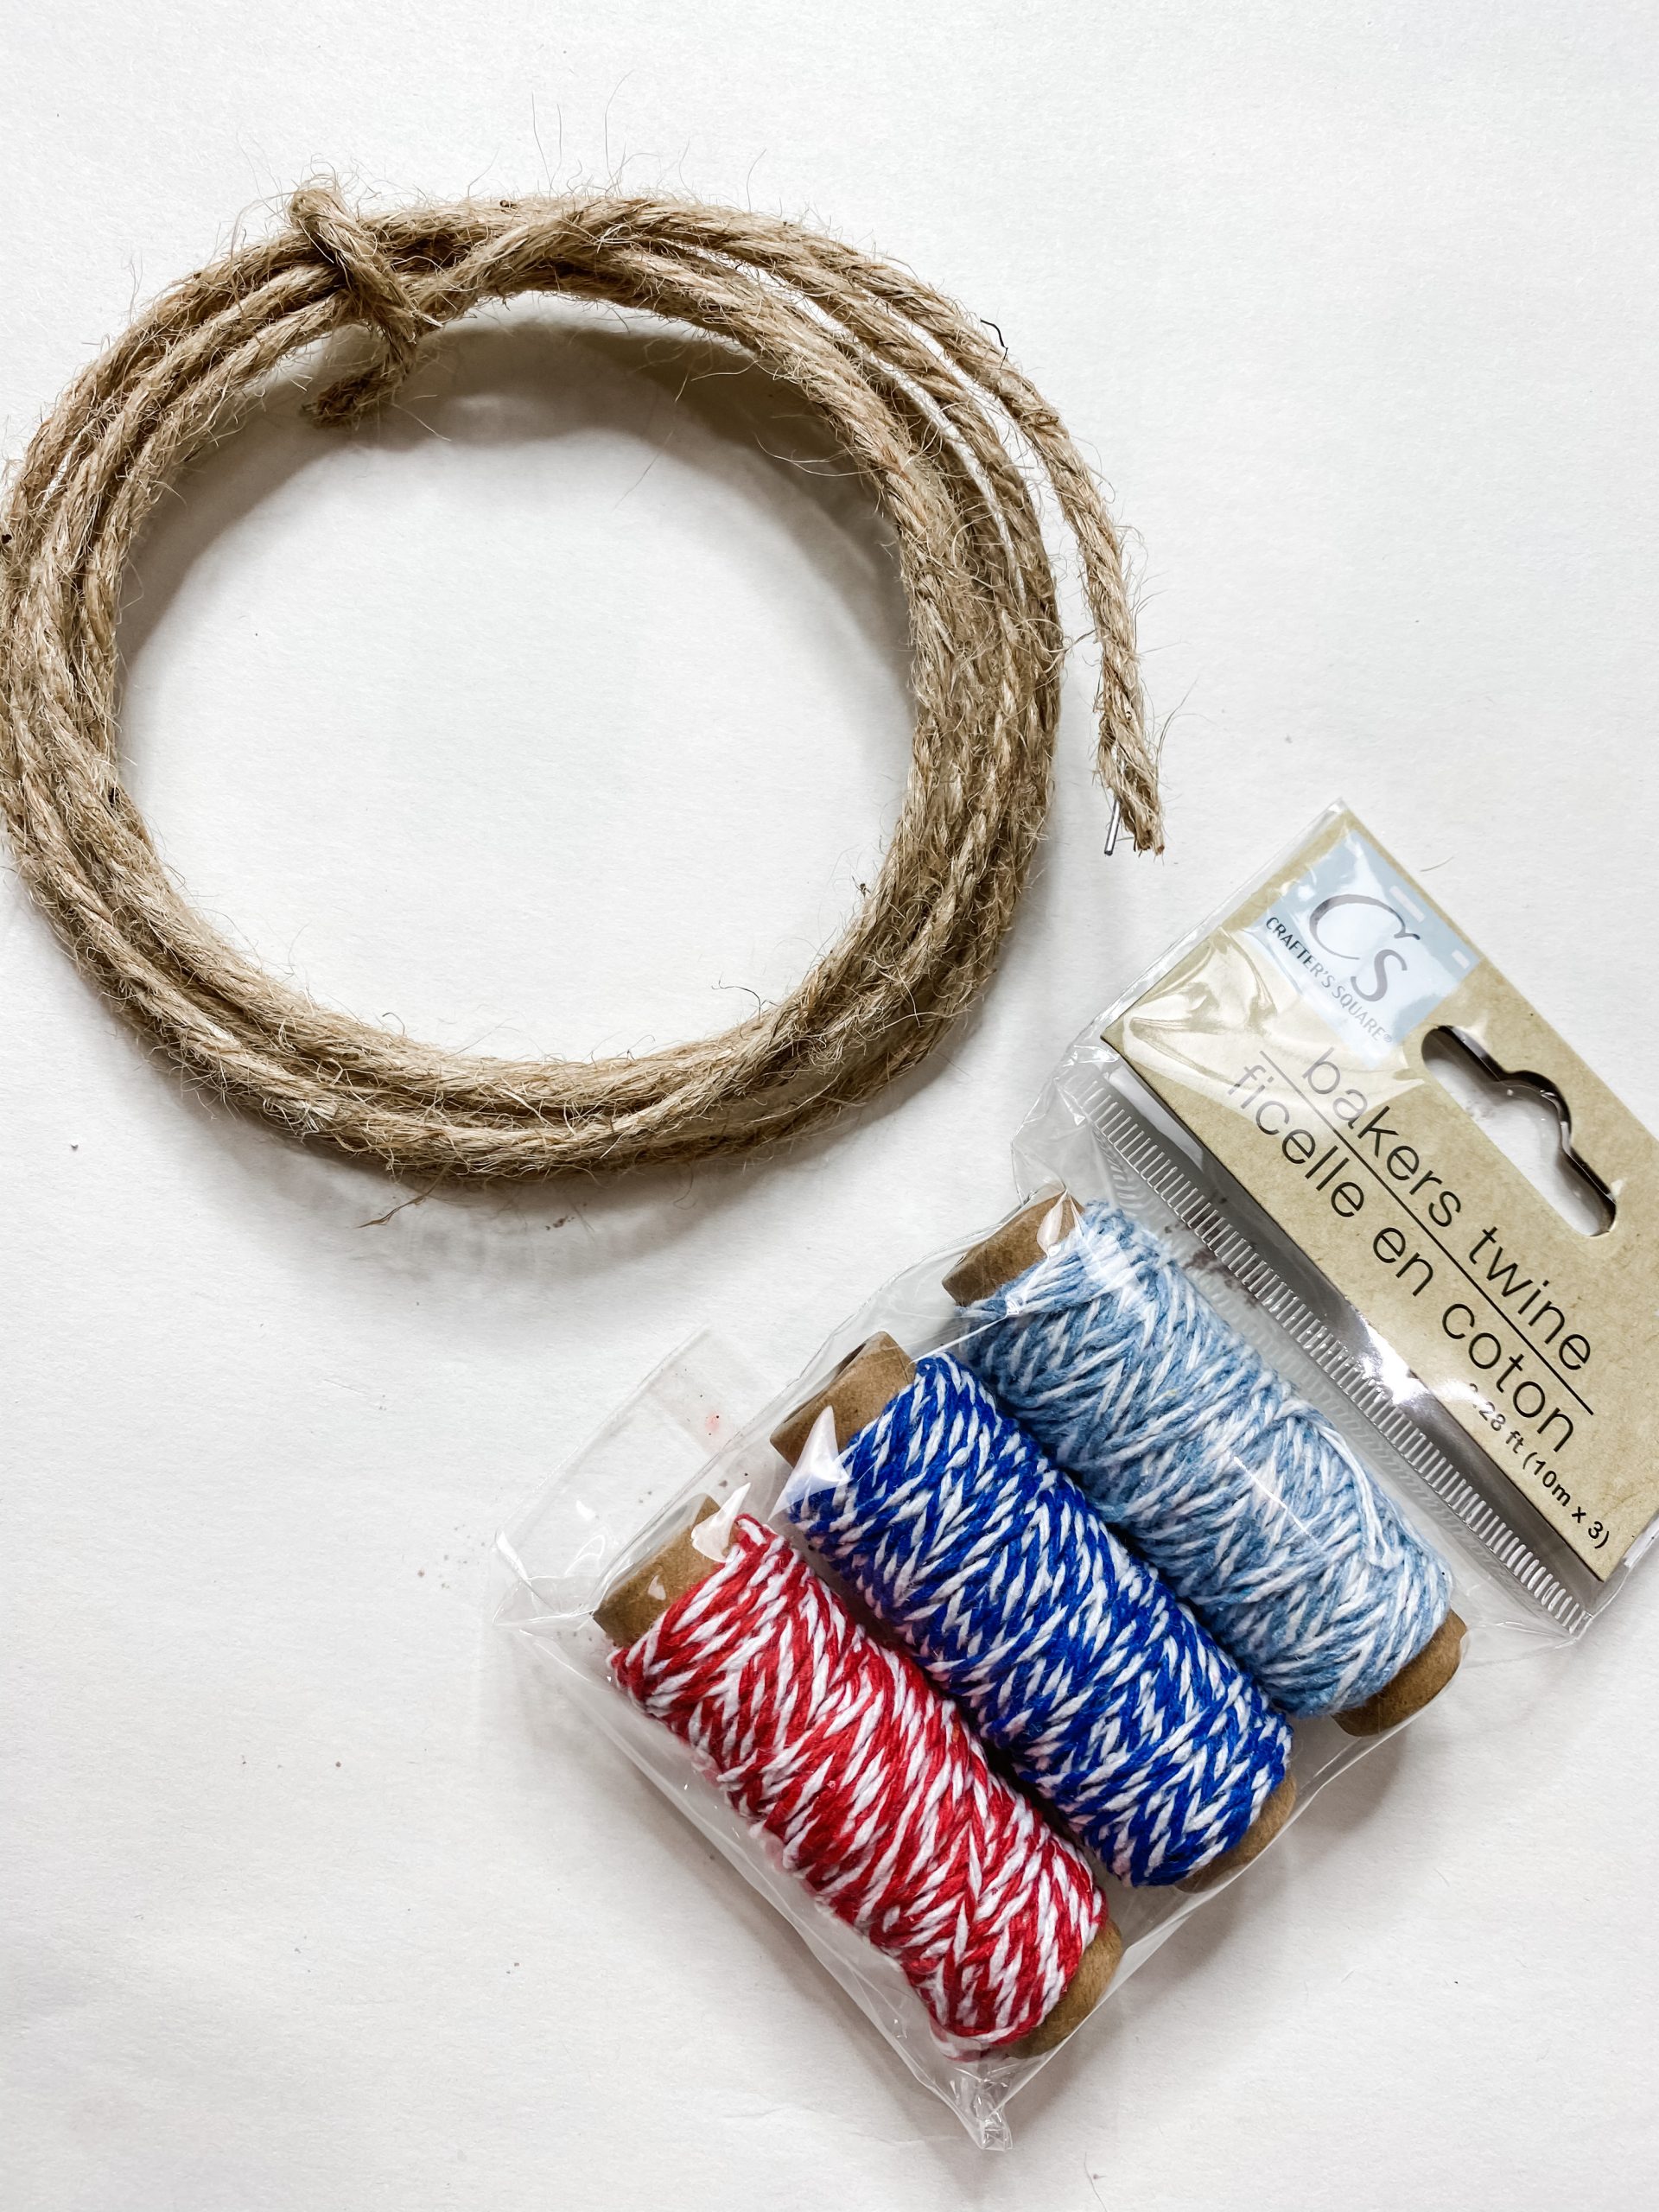
Let’s make the little wreaths!
To make the little wreaths for this adorable DIY, I used some wired jute twine and baker’s twine. First, I cut a small strip of the wired jute twine and hot glued it into a circle.
Next, I made a tiny little bow with the baker’s twine and hot glued it onto the wreath. Finally, I glued each wreath into place on each church.
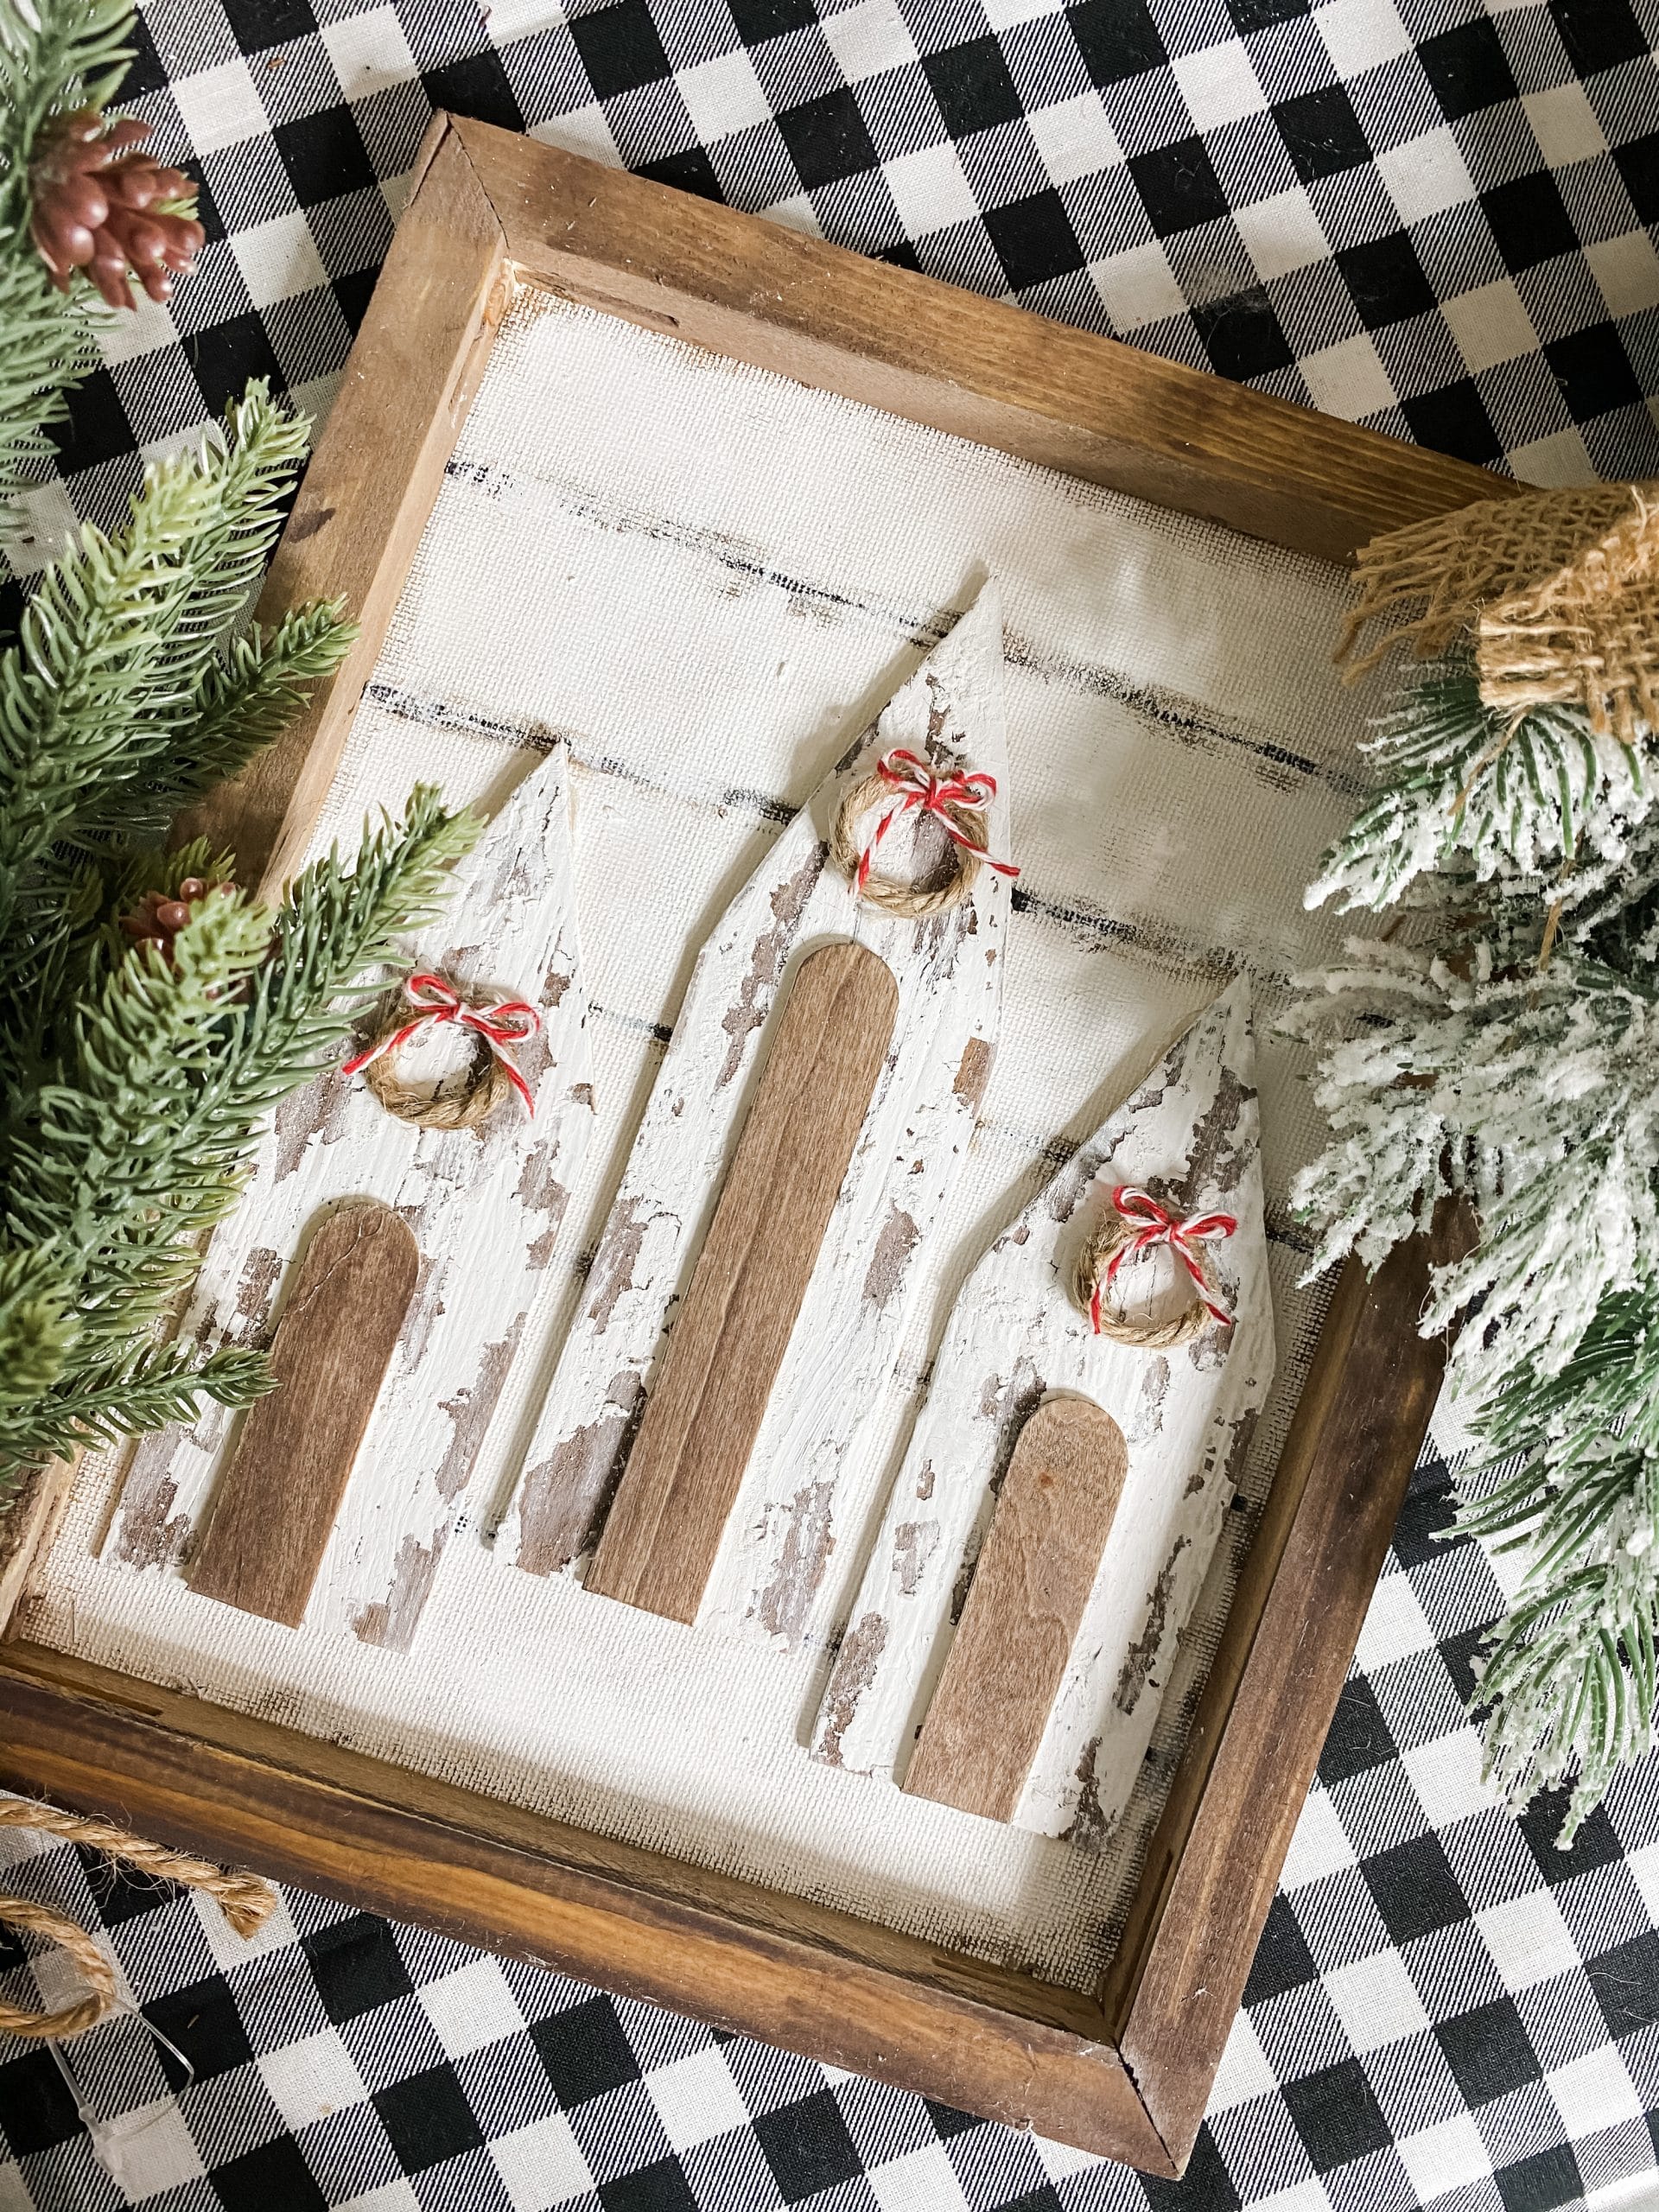
I hope you enjoyed learning how to make a Dollar Tree Chippy Church DIY Farmhouse Decor as much as I did and decide to make it for yourself!
I would love to see how yours turns out! You should totally join my FREE Facebook group called On A Budget Crafts! It is a judgment-free community for DIY crafters to show off their projects and ideas.
If you loved this DIY you might also like this DIY Christmas Tree Shelf Decor!
Thanks for stopping by! XOXO Amber
You can also shop my ENTIRE AMAZON Favorites shop just click here! It’s packed full of all the things I use and love.
Here is the supply list I highly recommend every creative have on hand!! Would you also pin my blog for later and get on my newsletter alerts? I would love to have you join my #craftycrew.

Join my free “ON A BUDGET CRAFTS” Facebook group!
PIN THIS POST FOR LATER!

This was before I found your page, but I had posted a picture of you, Debbie & Jamie from Chalk It Up Fancy from when y’all met! I recognize Wise Owl paint brand from them!! Love your project!!
This is super cute!! Thank you!
This one is super-duper the cutest! Thank you!
Love this one. Very pretty. 😇