DIY Wall Decor with a Fall Wreath Napkin
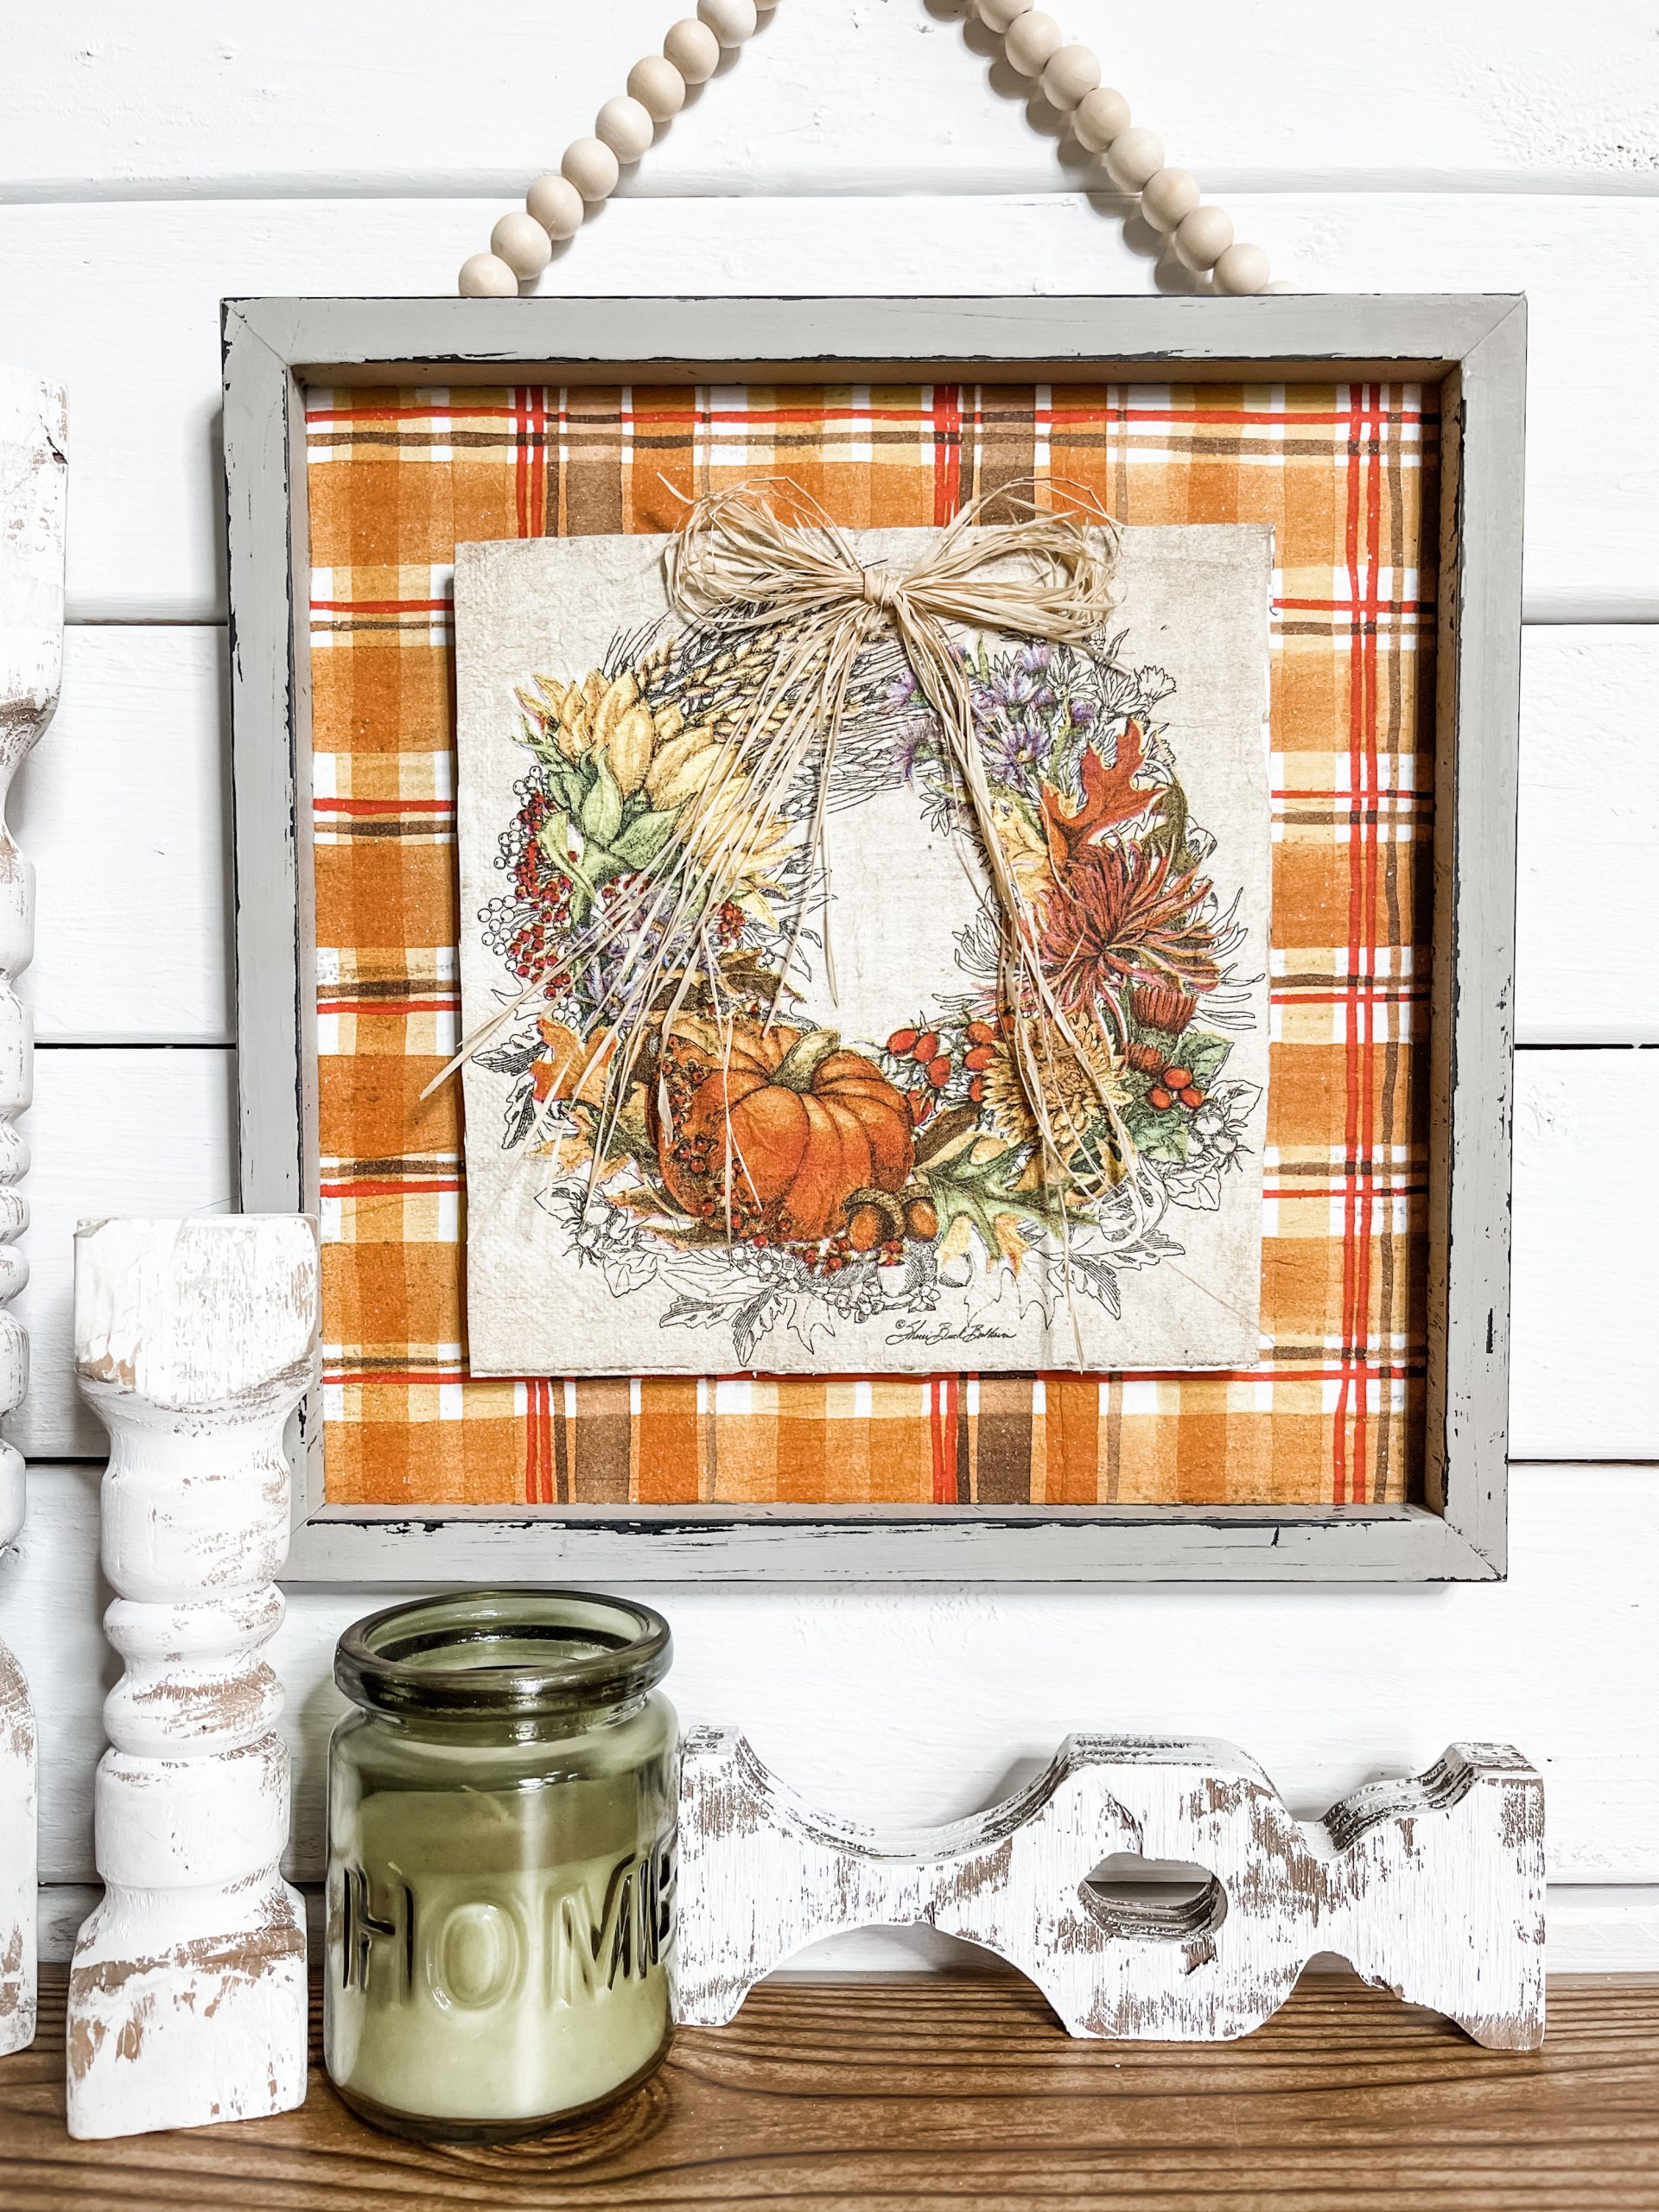
If you aren’t crafting with napkins, you need to start ASAP! Let this DIY wall decor with a Fall wreath napkin be my evidence for why you absolutely need to DIY with napkins!
If you’re like me and like to make your own home decor, then you’re probably always looking for ways to step up your projects and make something unique.
Well, I’m here to say napkins are what you need! Using napkins in your home decor projects gives you the chance to diversify your decor and make something 100% unique!
Watch the DIY tutorial video
I shared the quick DIY tutorial for how to make this DIY wall decor with a Fall wreath napkin along with three other fall decor ideas in a video on my Youtube channel!
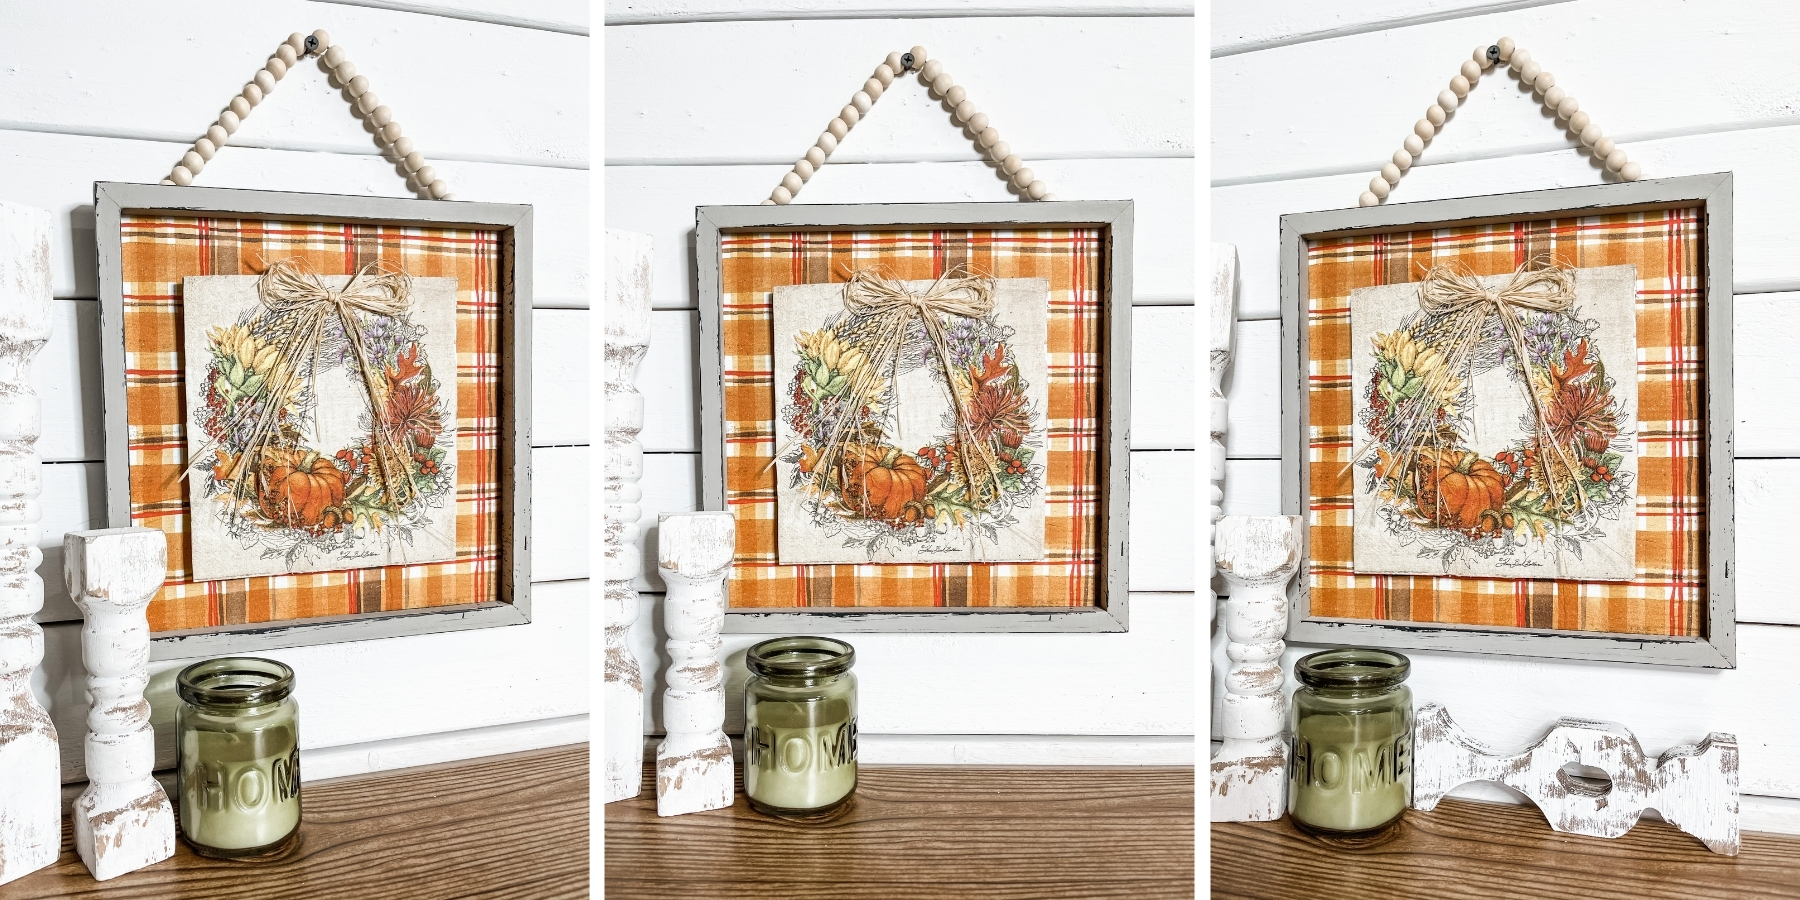
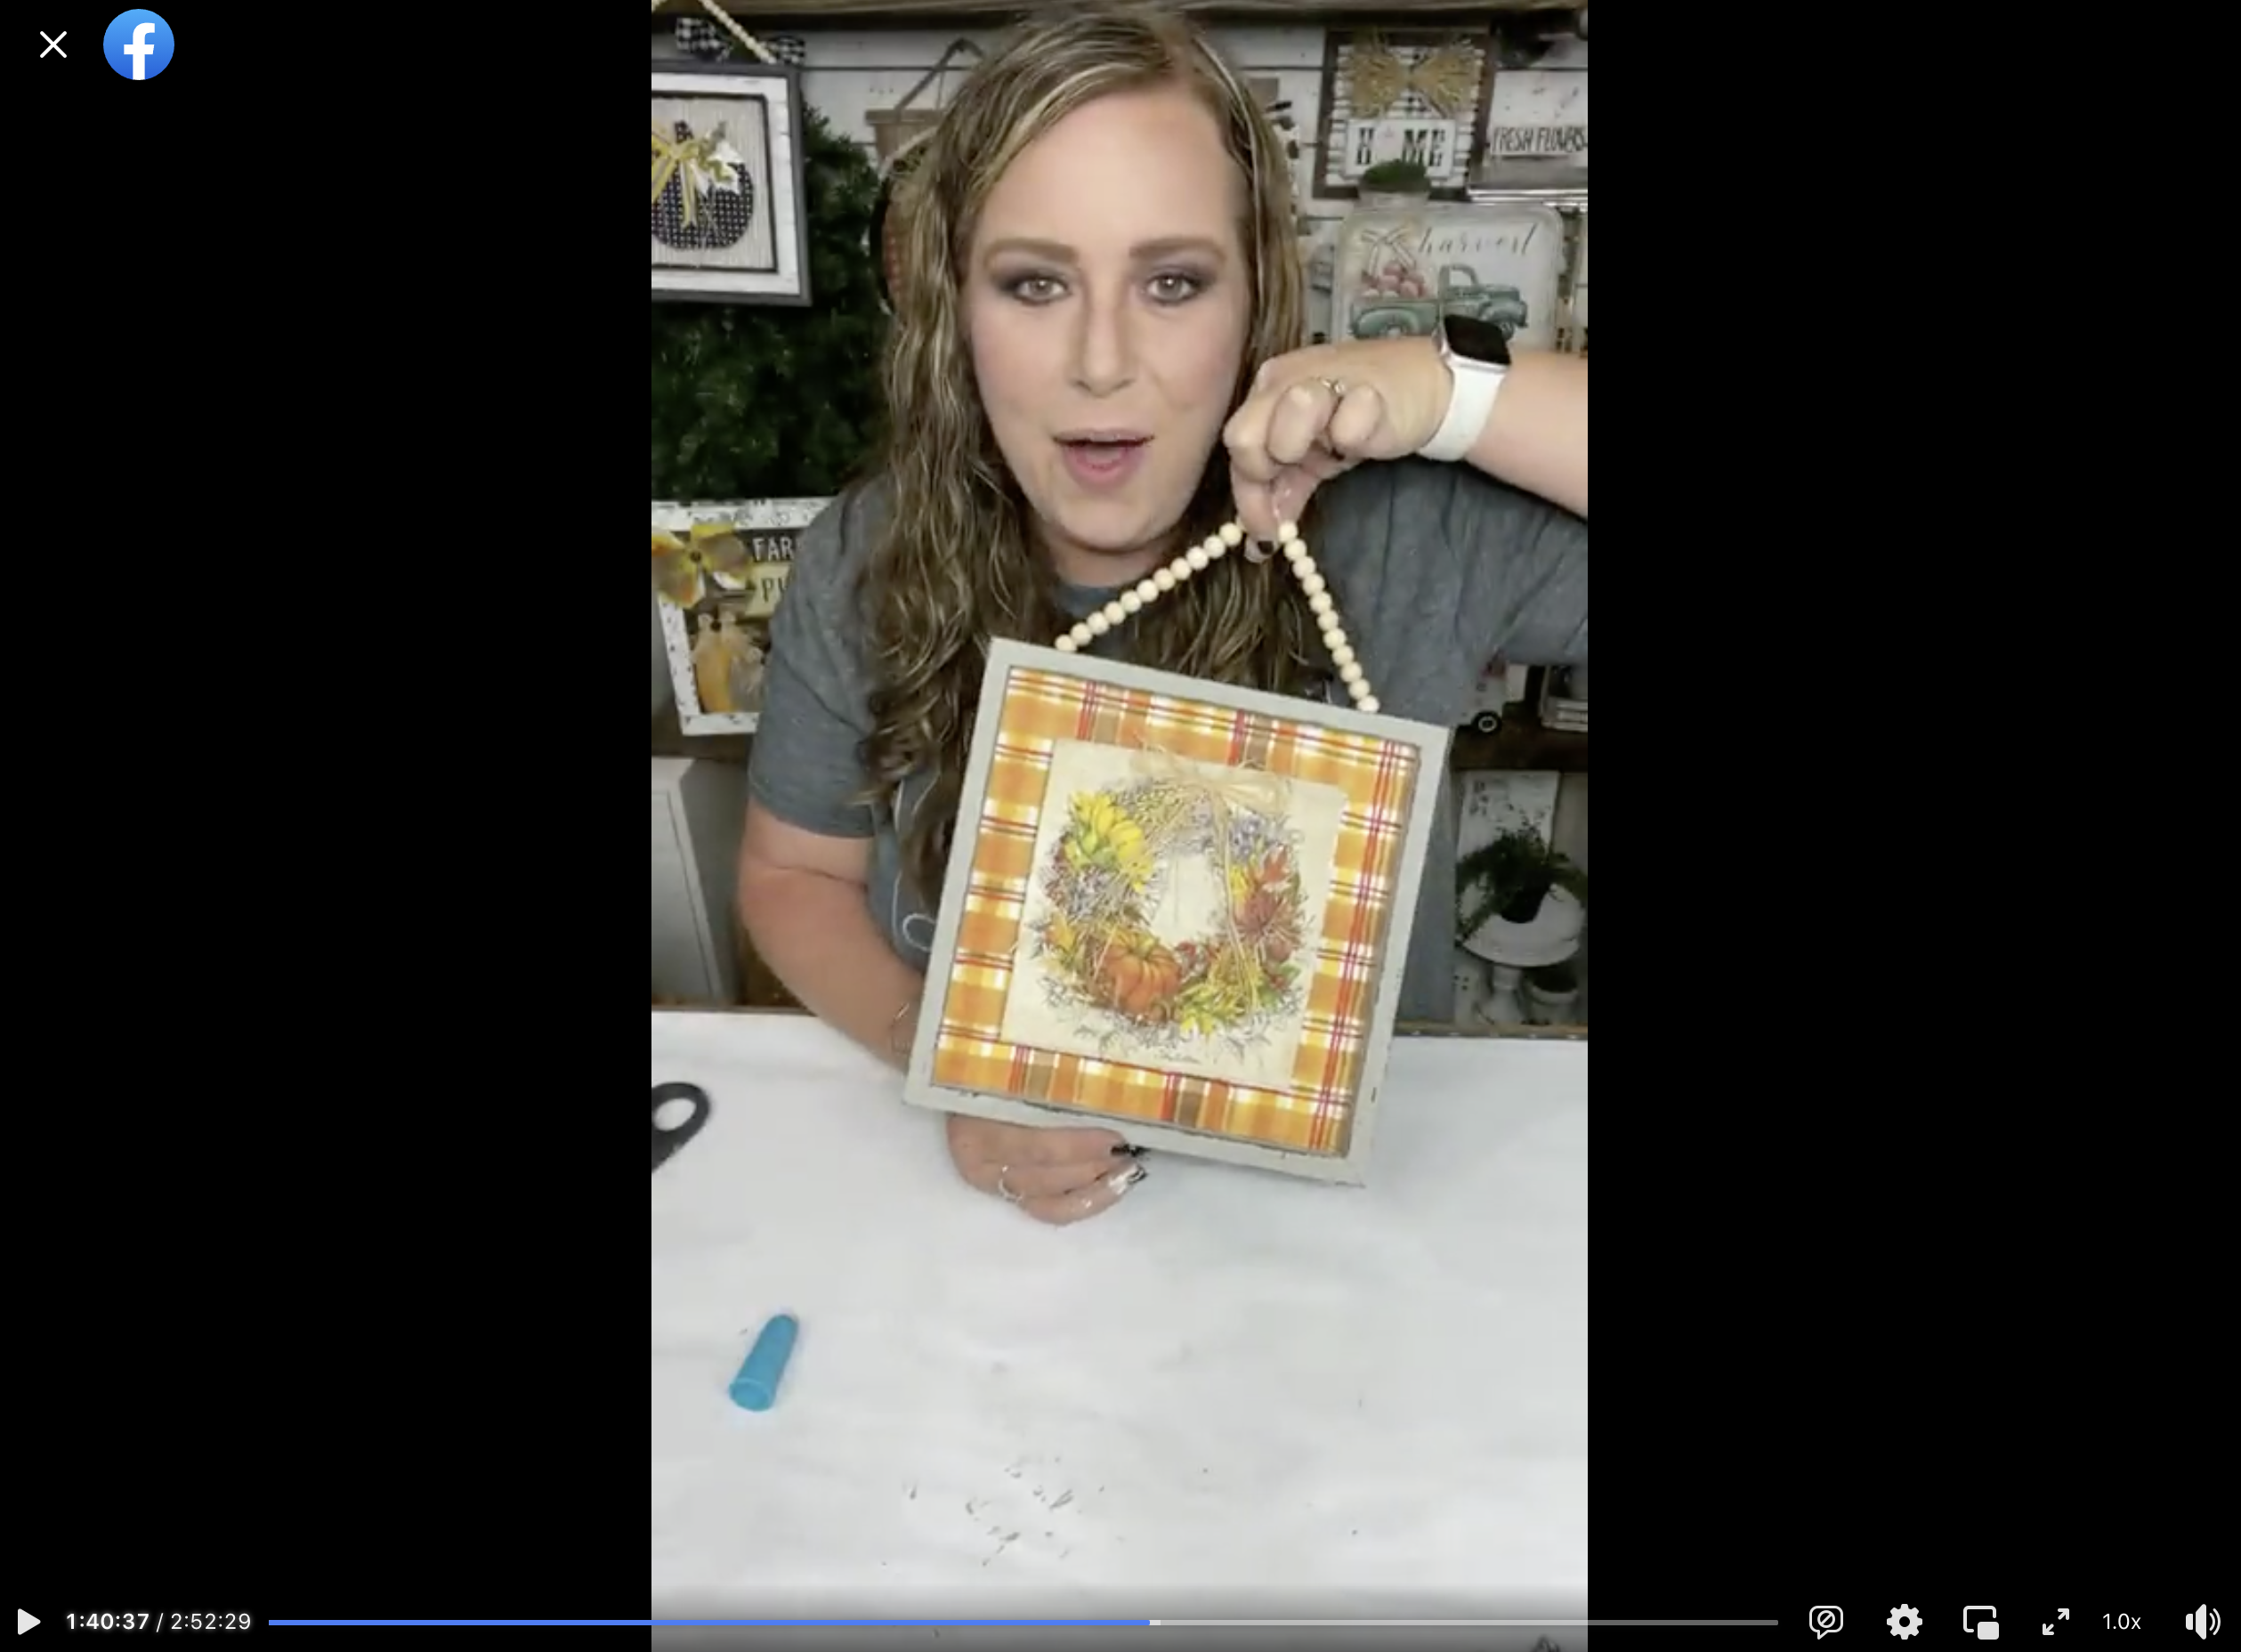
I recorded how to make this adorable fall napkin decor idea during a LIVE video on my Facebook page.
If you want to see the extended DIY process, craft along, or just join in on the fun conversations, you can watch the DIY tutorial replay on Facebook!
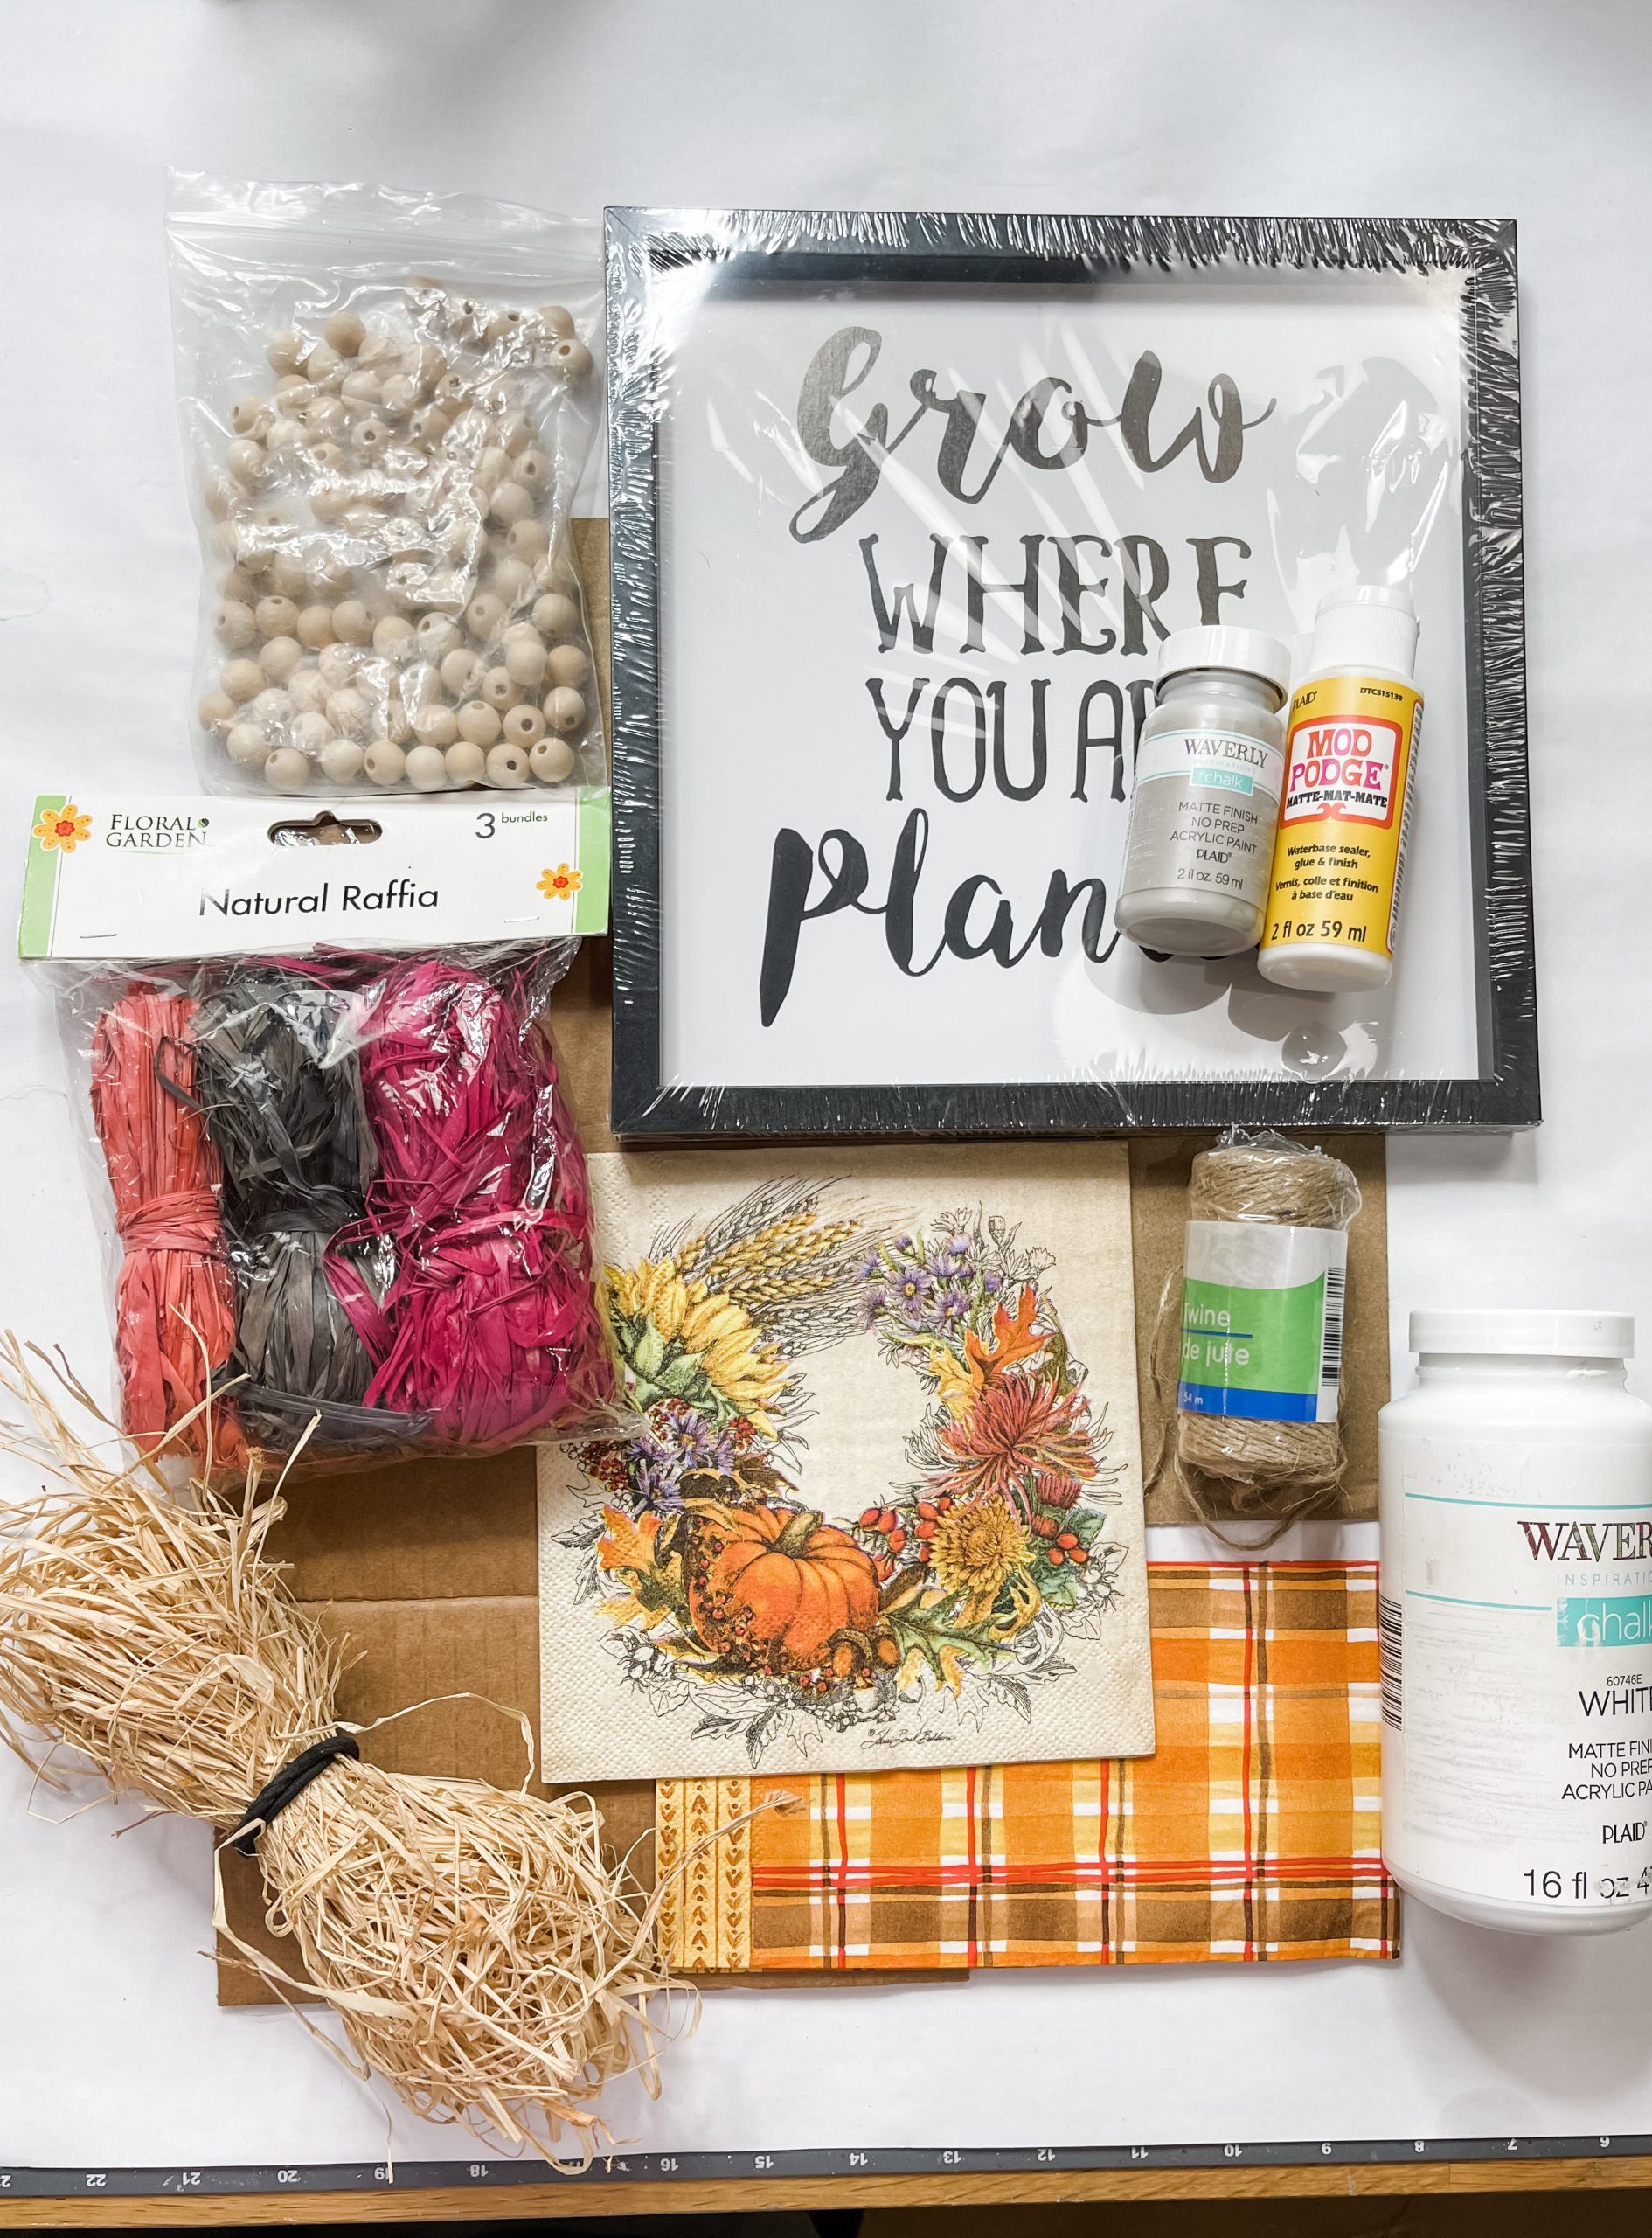
For this project, I will be using these items, but you can substitute where you want.
“As an Amazon Associate, I earn from qualifying purchases.”
- Dollar Tree Square Picture Frame
- Dollar Tree Raffia
- Wood Beads
- Dollar Tree Jute Twine
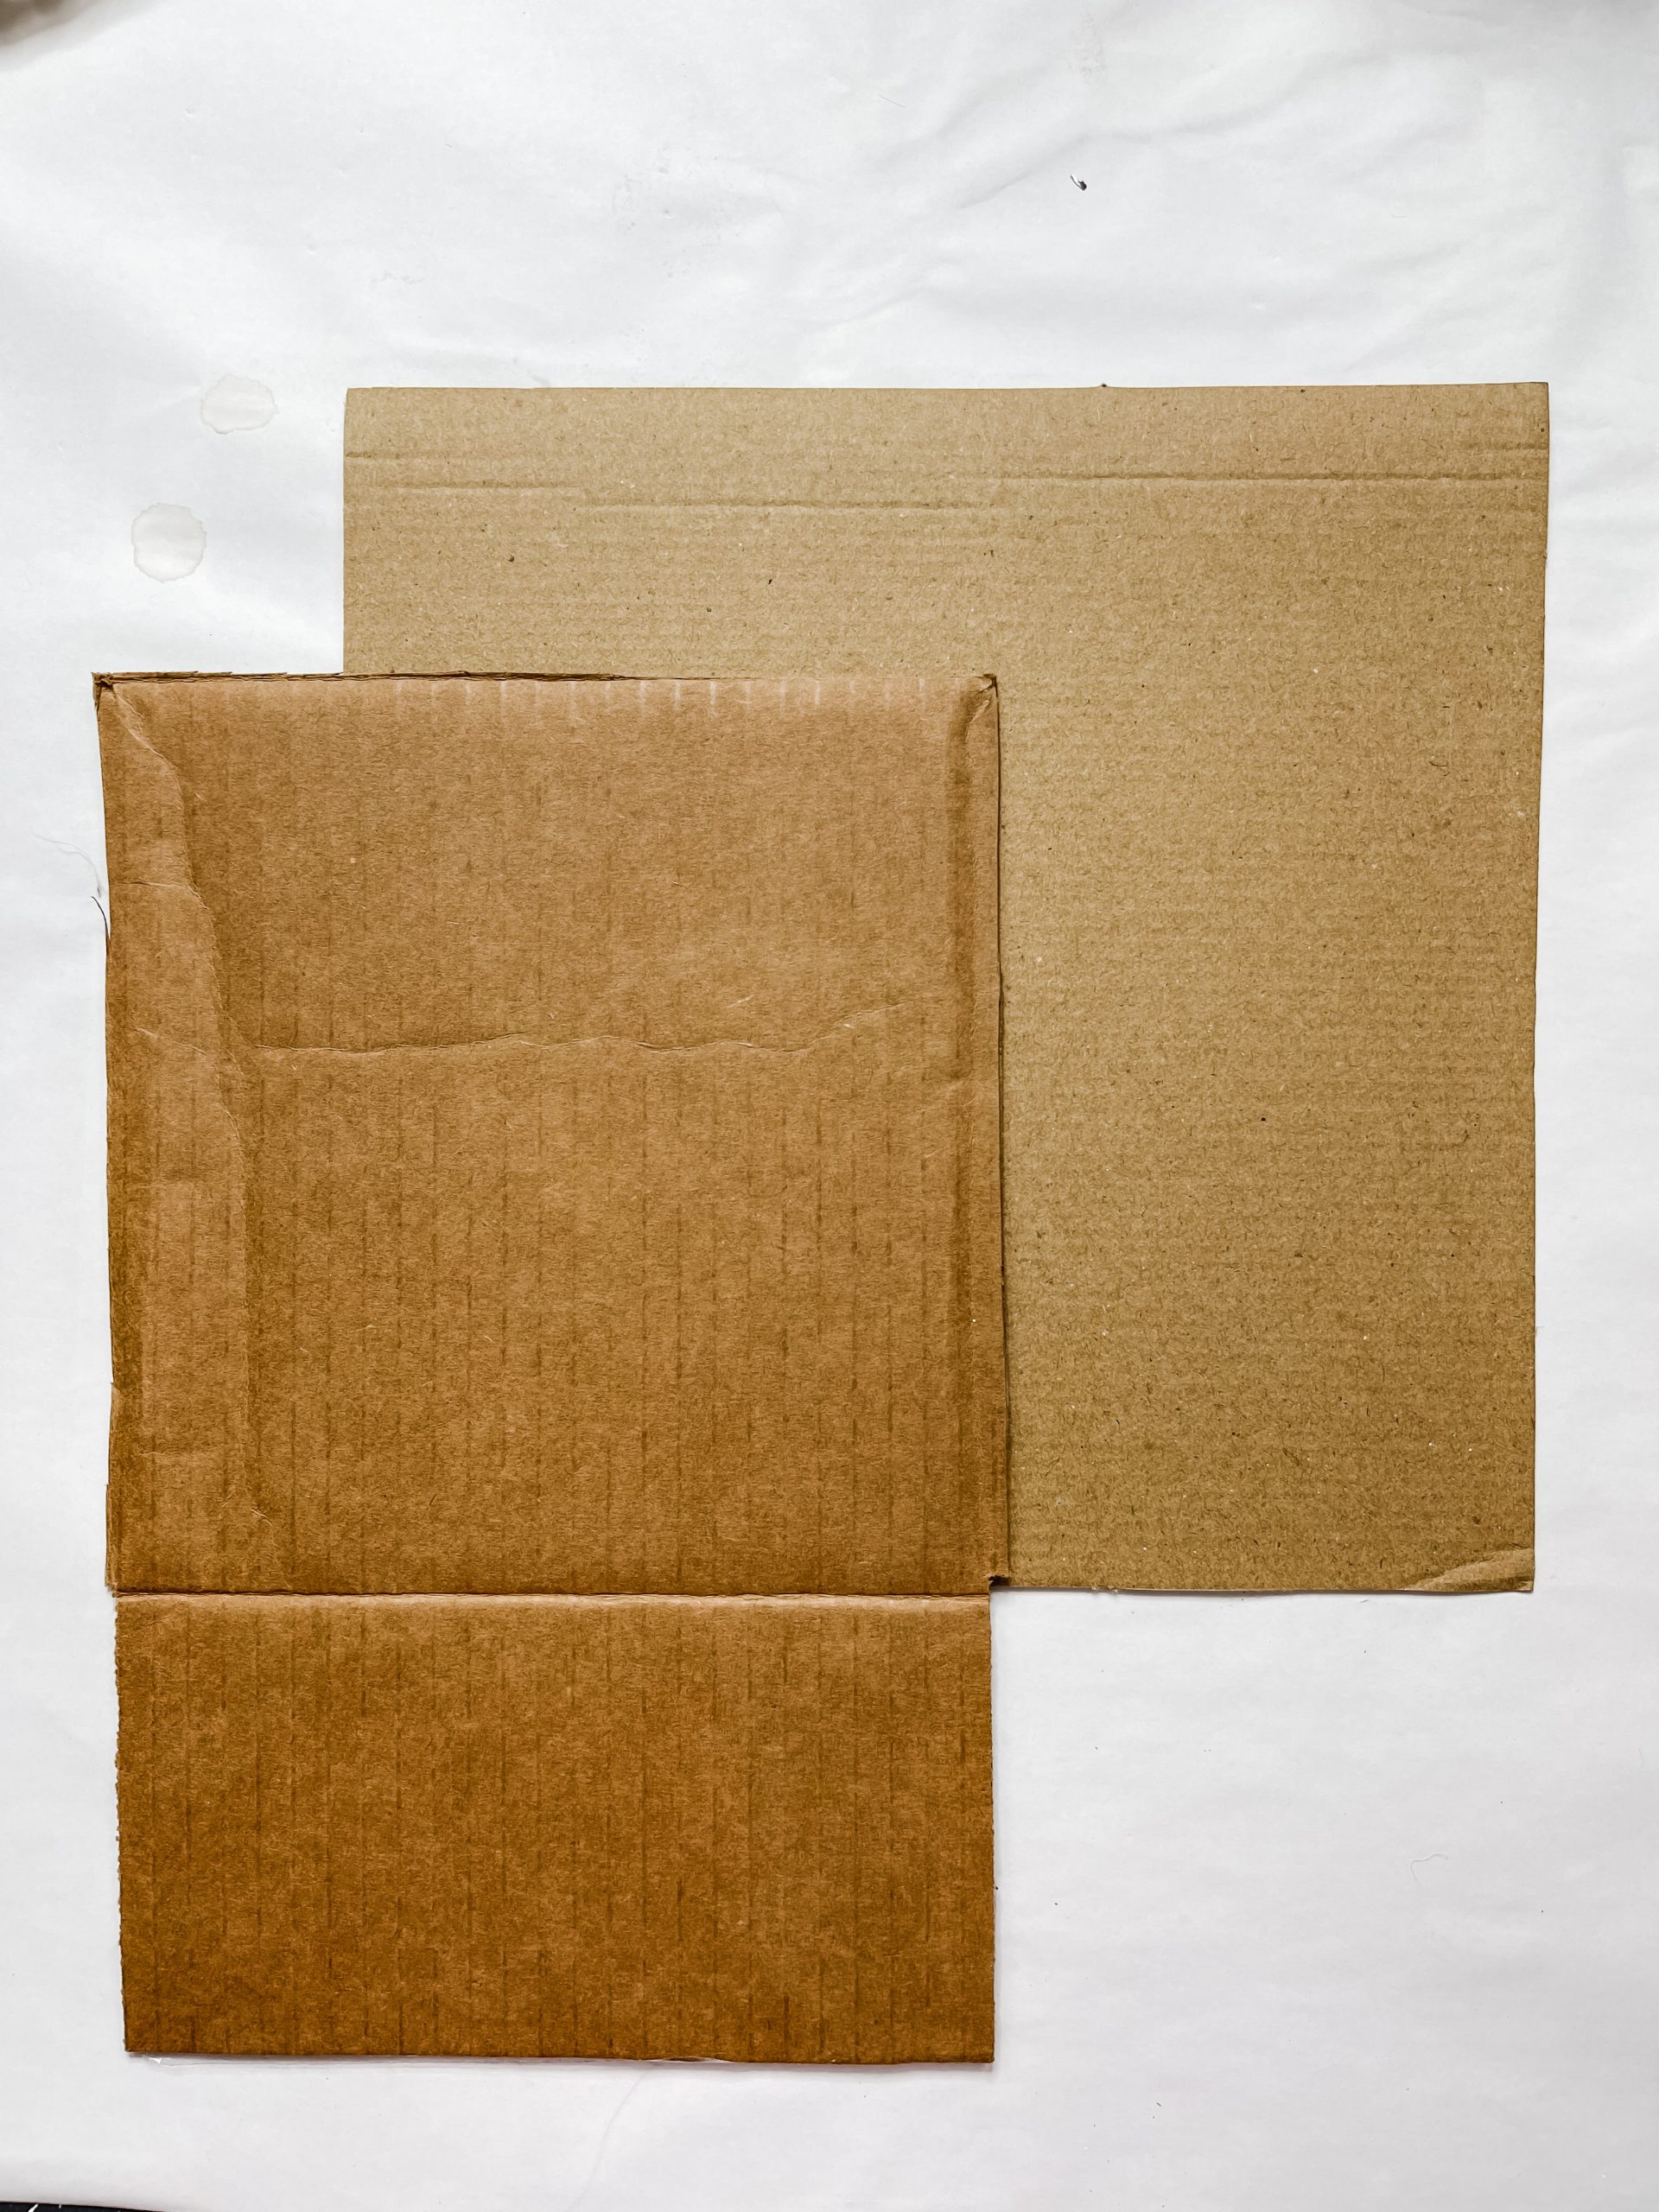
- Cardboard
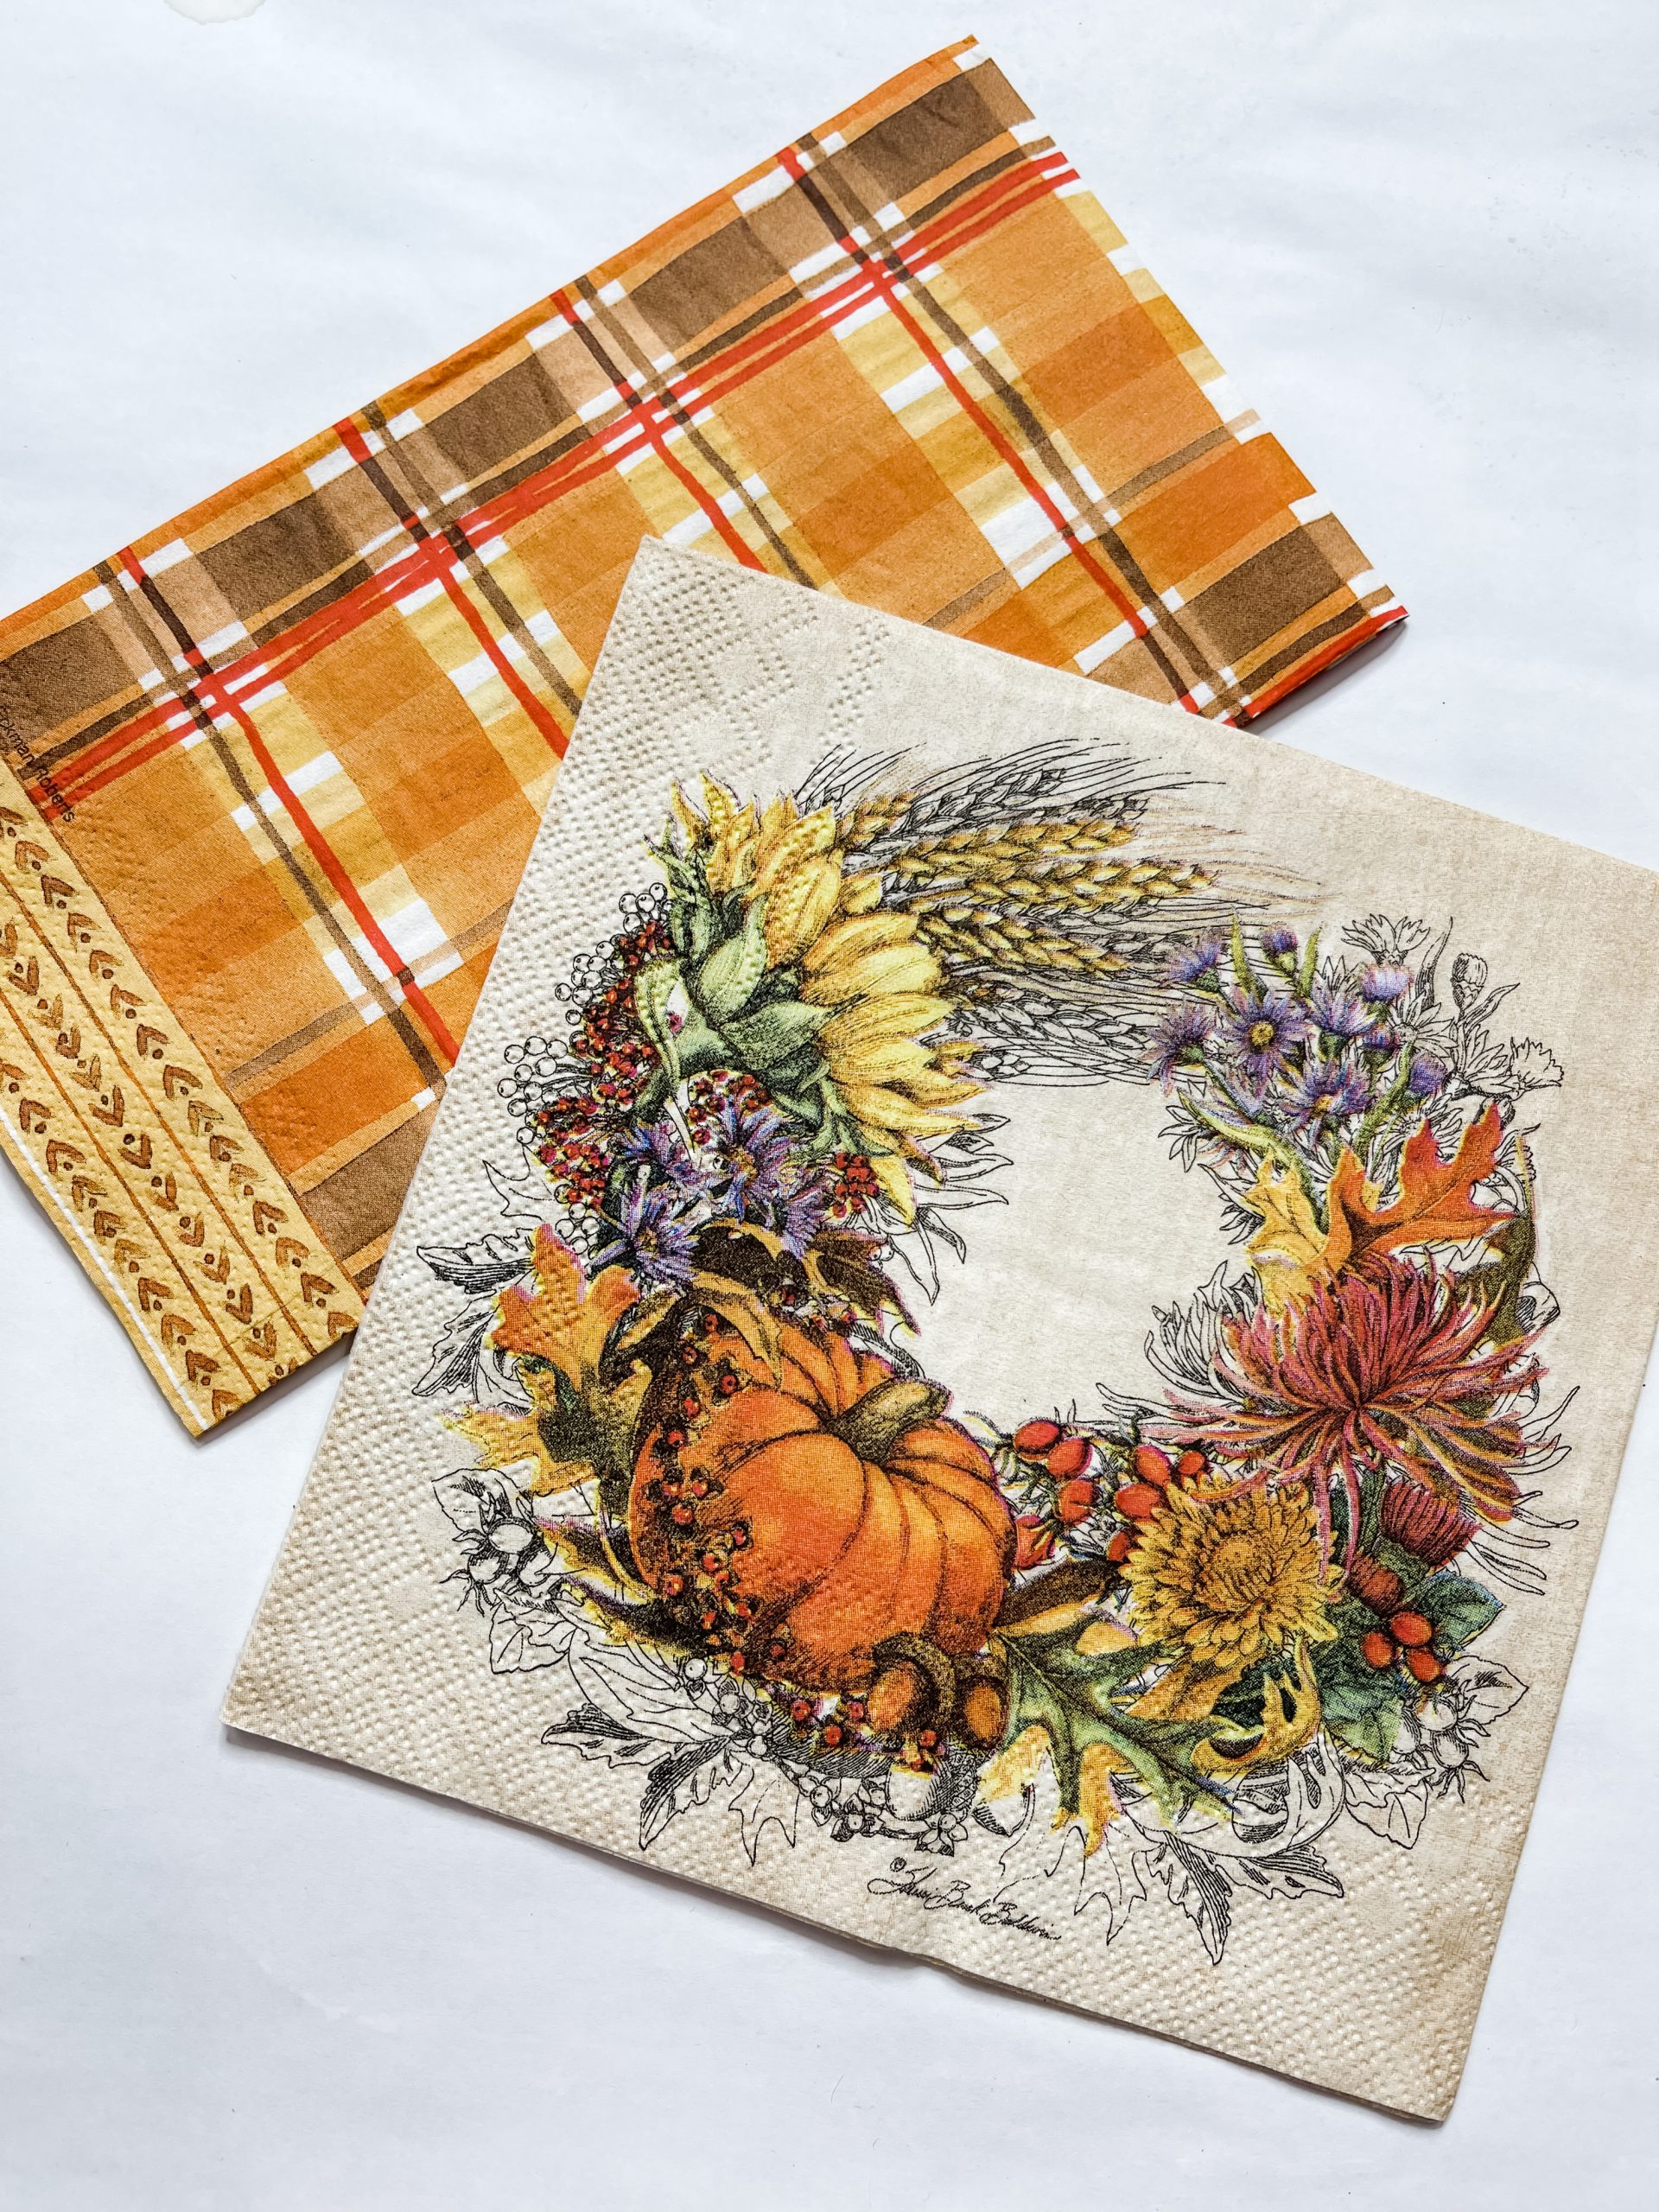
- Orange Plaid Napkin
- Fall Wreath Napkin
- Waverly Mineral Chalk Paint
- Waverly White Chalk Paint
- Mod Podge
- Hot Glue gun
- Glue Stick
How to Make DIY Wall Decor with a Fall Wreath Napkin
Start by removing the backing from the picture frame, then paint the frame with the Waverly Mineral chalk paint.
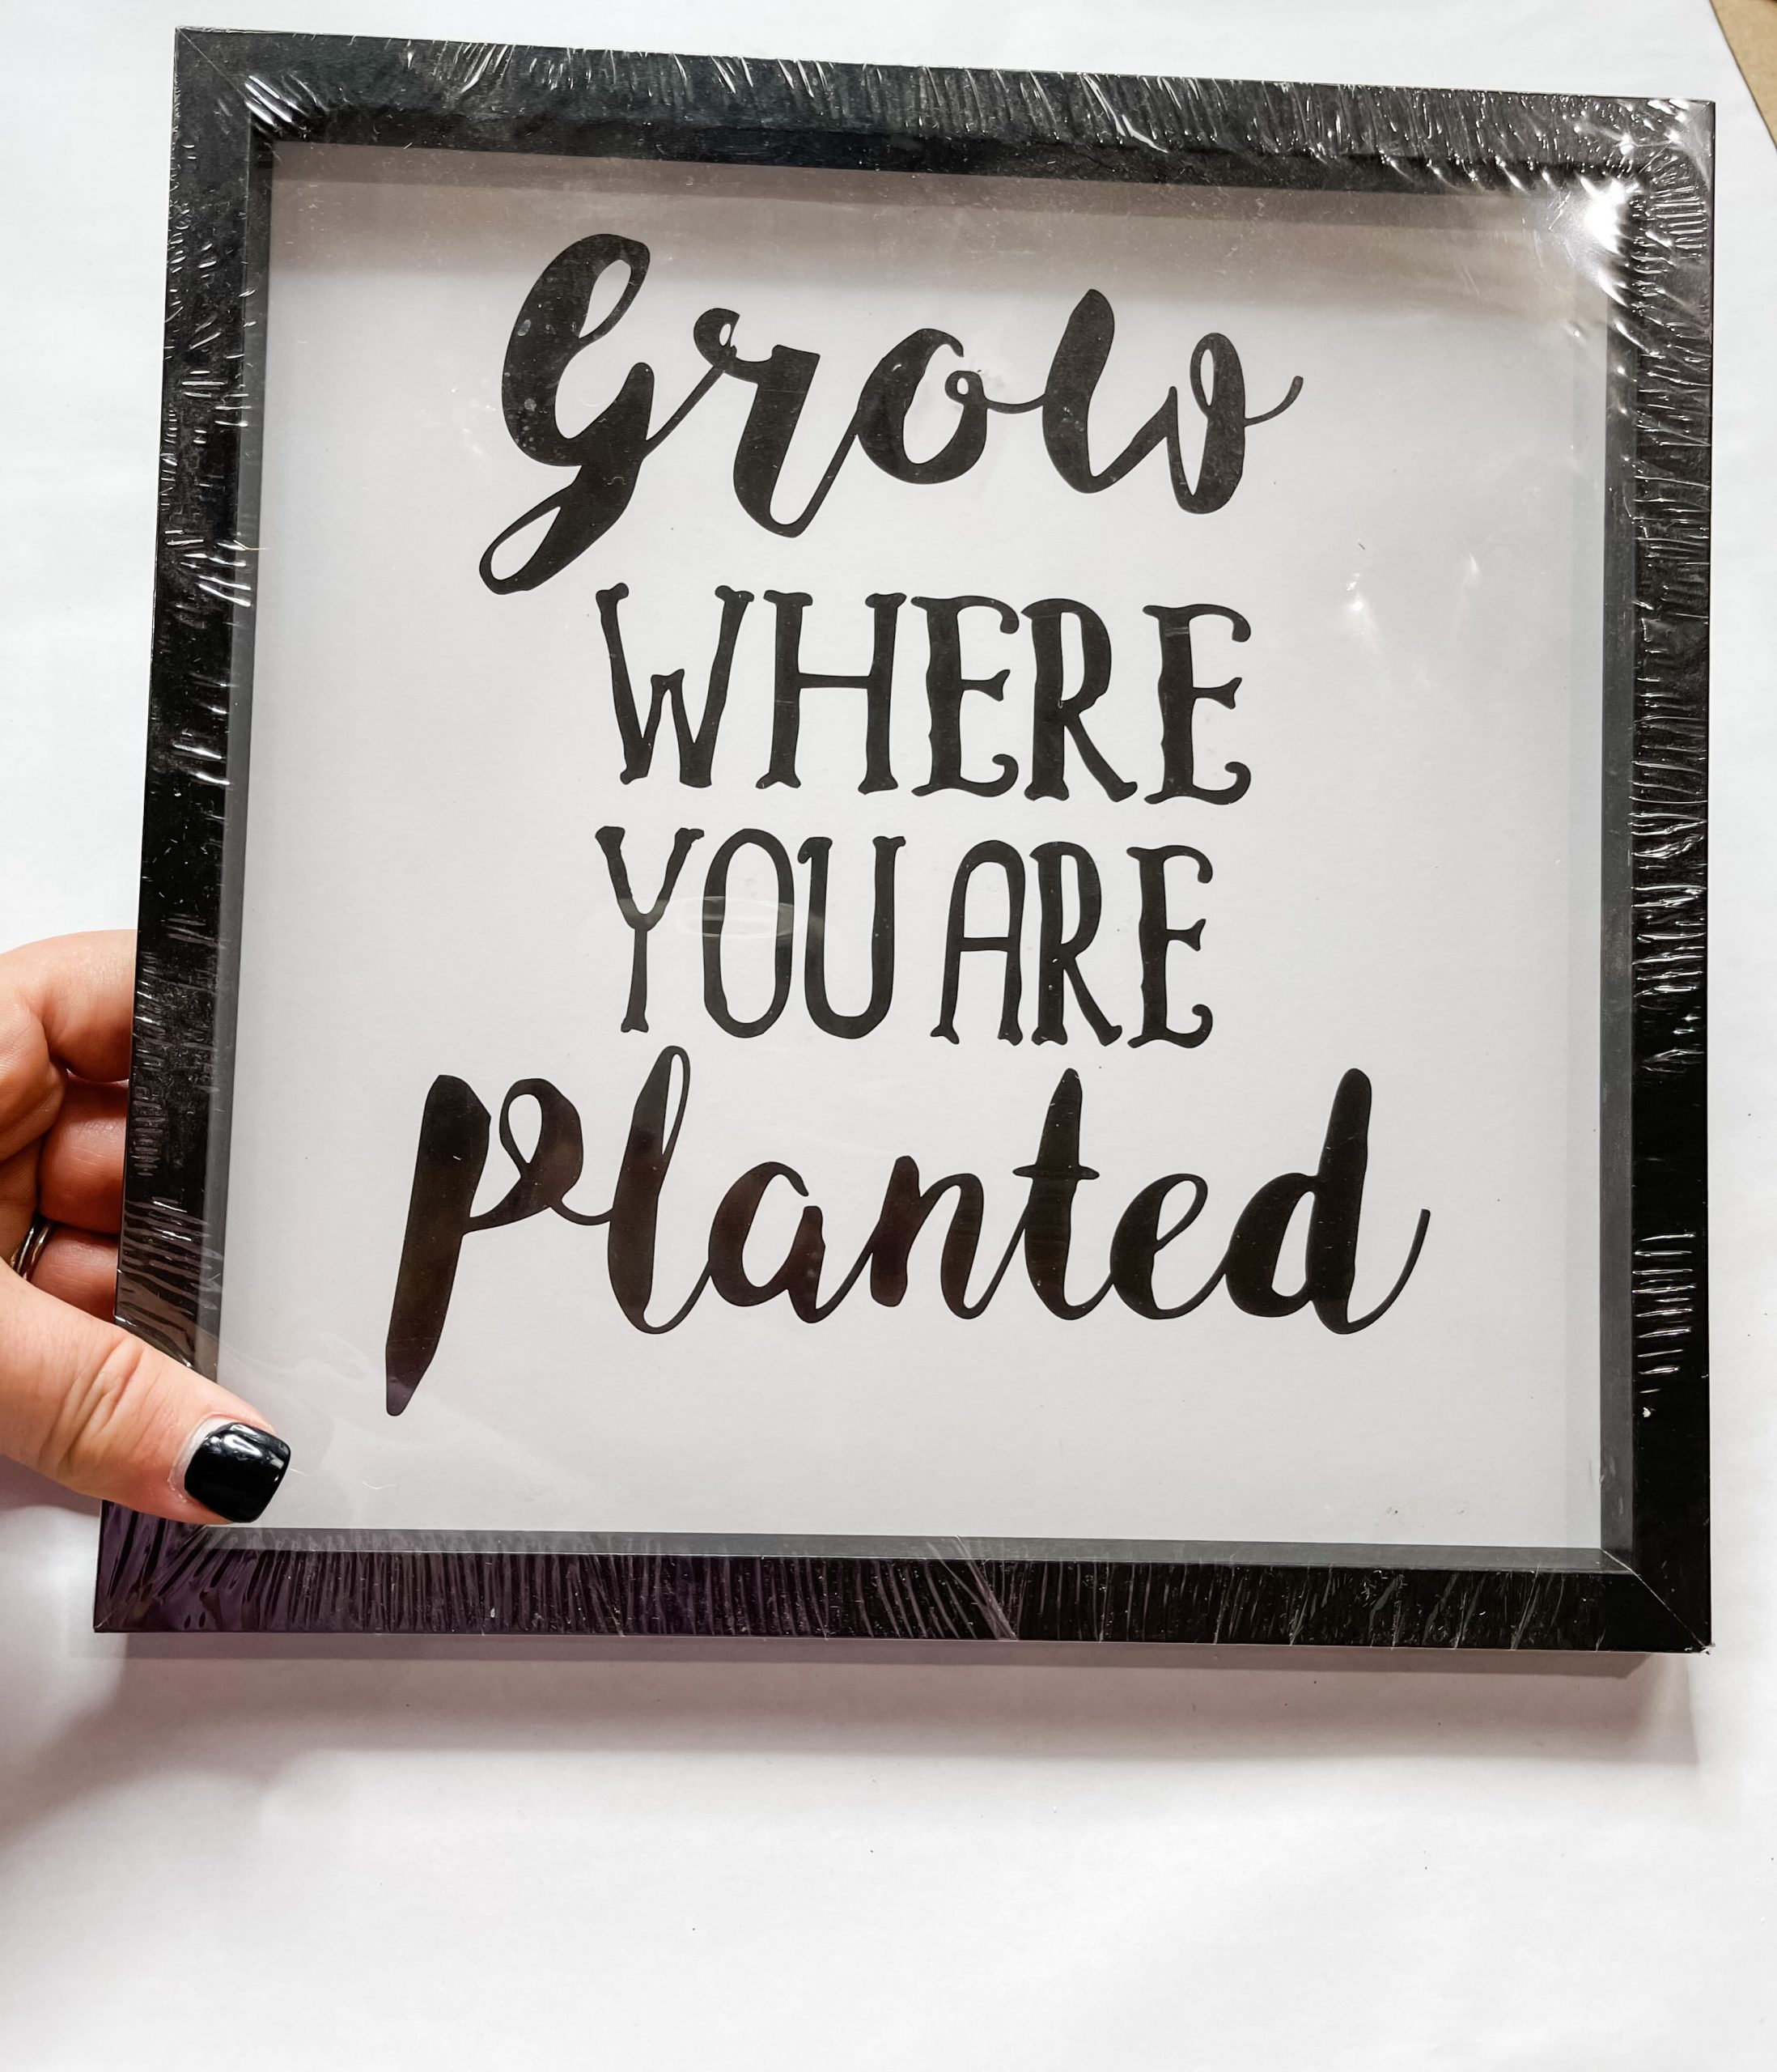
Allow the paint to completely dry before moving on. I used my heat gun to speed up the drying process, but you can use a hairdryer on the low-cool setting.
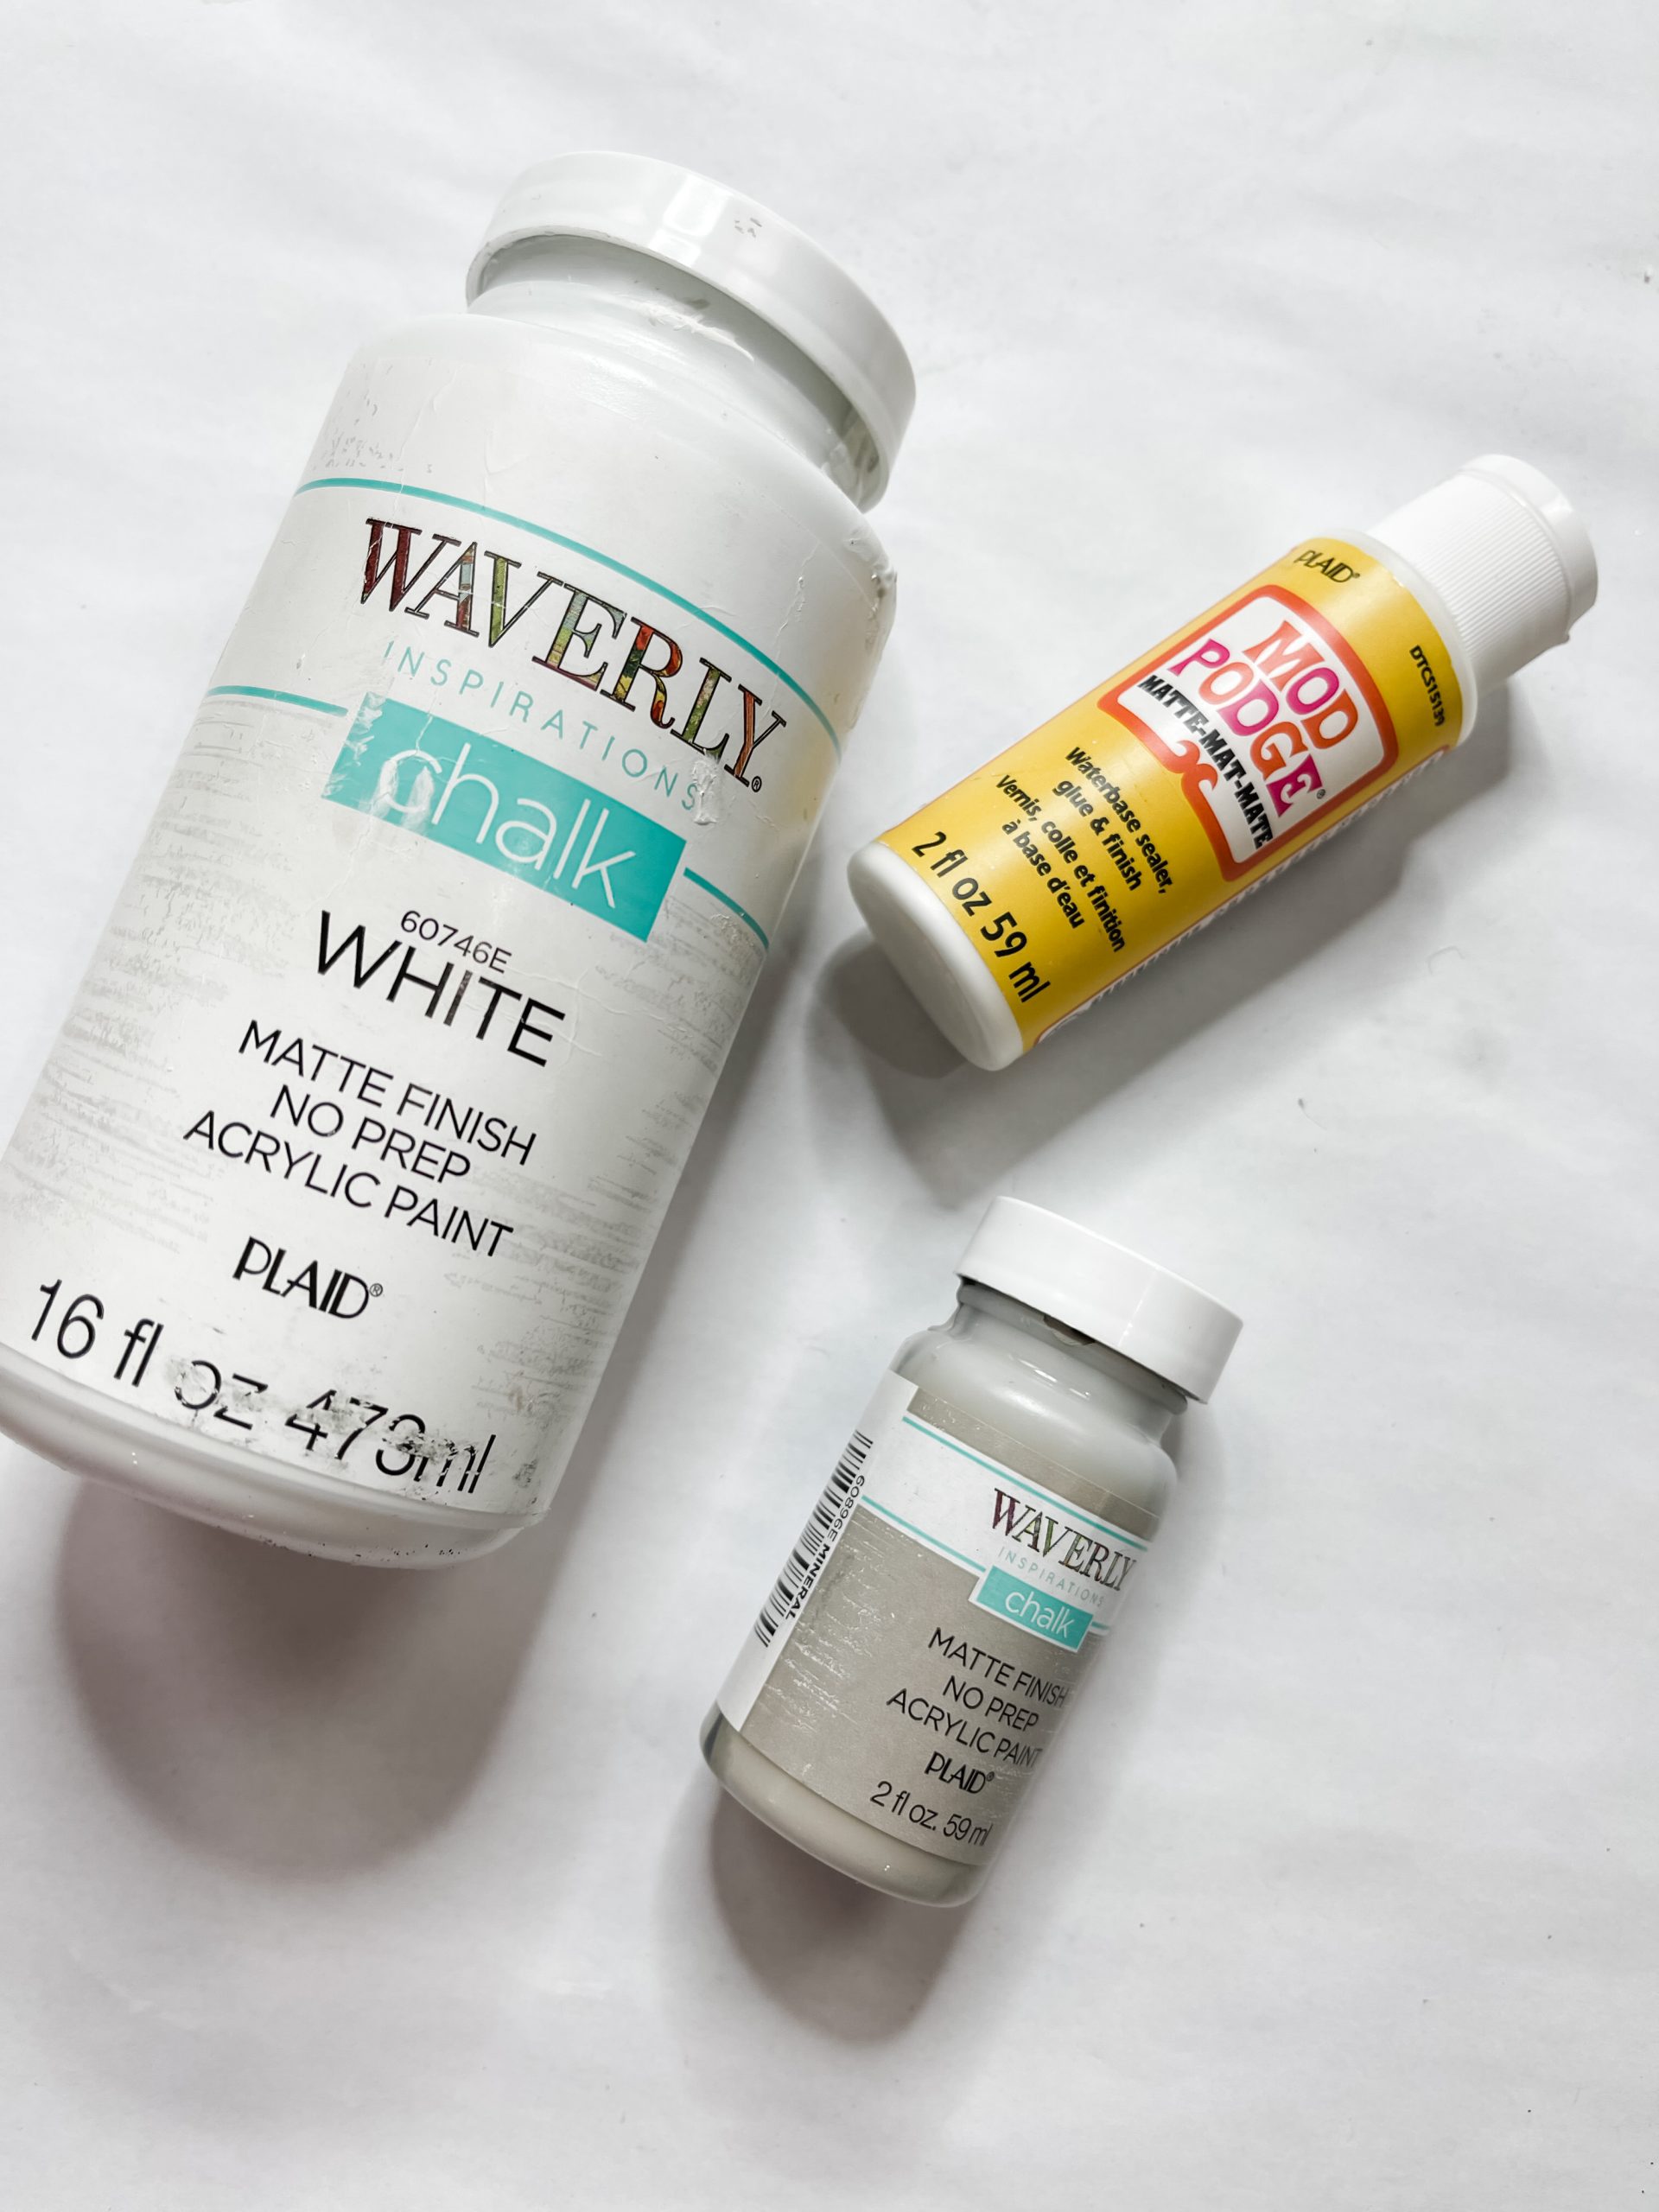
Once it’s dry, you can set it to the side, or you can set it aside to dry. Either way, set it to the side and get your plaid napkin, picture insert, and your cardboard.
Trace the shape of the picture insert on the cardboard and then cut it to shape. Paint the cardboard cutout with Waverly white chalk paint.
How to decoupage
Let the paint dry. Next, carefully separate the plies from your plaid napkin. This makes it easier to decoupage the print onto the cardboard.
Apply a coat of Mod Podge over the dried white paint and place the patterned napkin ply onto the surface of the cardboard. Cover it with plastic saran wrap and smooth it out with a rolling pin.
The saran wrap creates a non-stick barrier between the napkin and the rolling pin so the Mod Podge doesn’t cause the napkin to stick to the rolling pin and peel up from the surface.
Next, you’re going to cut another square out of cardboard that is smaller than the size of the square picture frame. Separate the plies from the fall wreath napkin.
Paint the surface of the cardboard white, allow the paint to dry, apply a coat of Mod Podge, and place the fall wreath napkin onto the cardboard’s surface.
Cover the napkin with a piece of plastic saran wrap and use a rolling pin to smooth out any wrinkles or bubbles. Once the Mod Podge is dry, trim the edges of the cardboard so none is showing around the napkin design.
Bring it all together!
Now, grab the painted picture frame and lightly distress it with a sanding sponge. Once you’re happy with the frame, place the decoupaged cardboard in the frame and secure it in place.
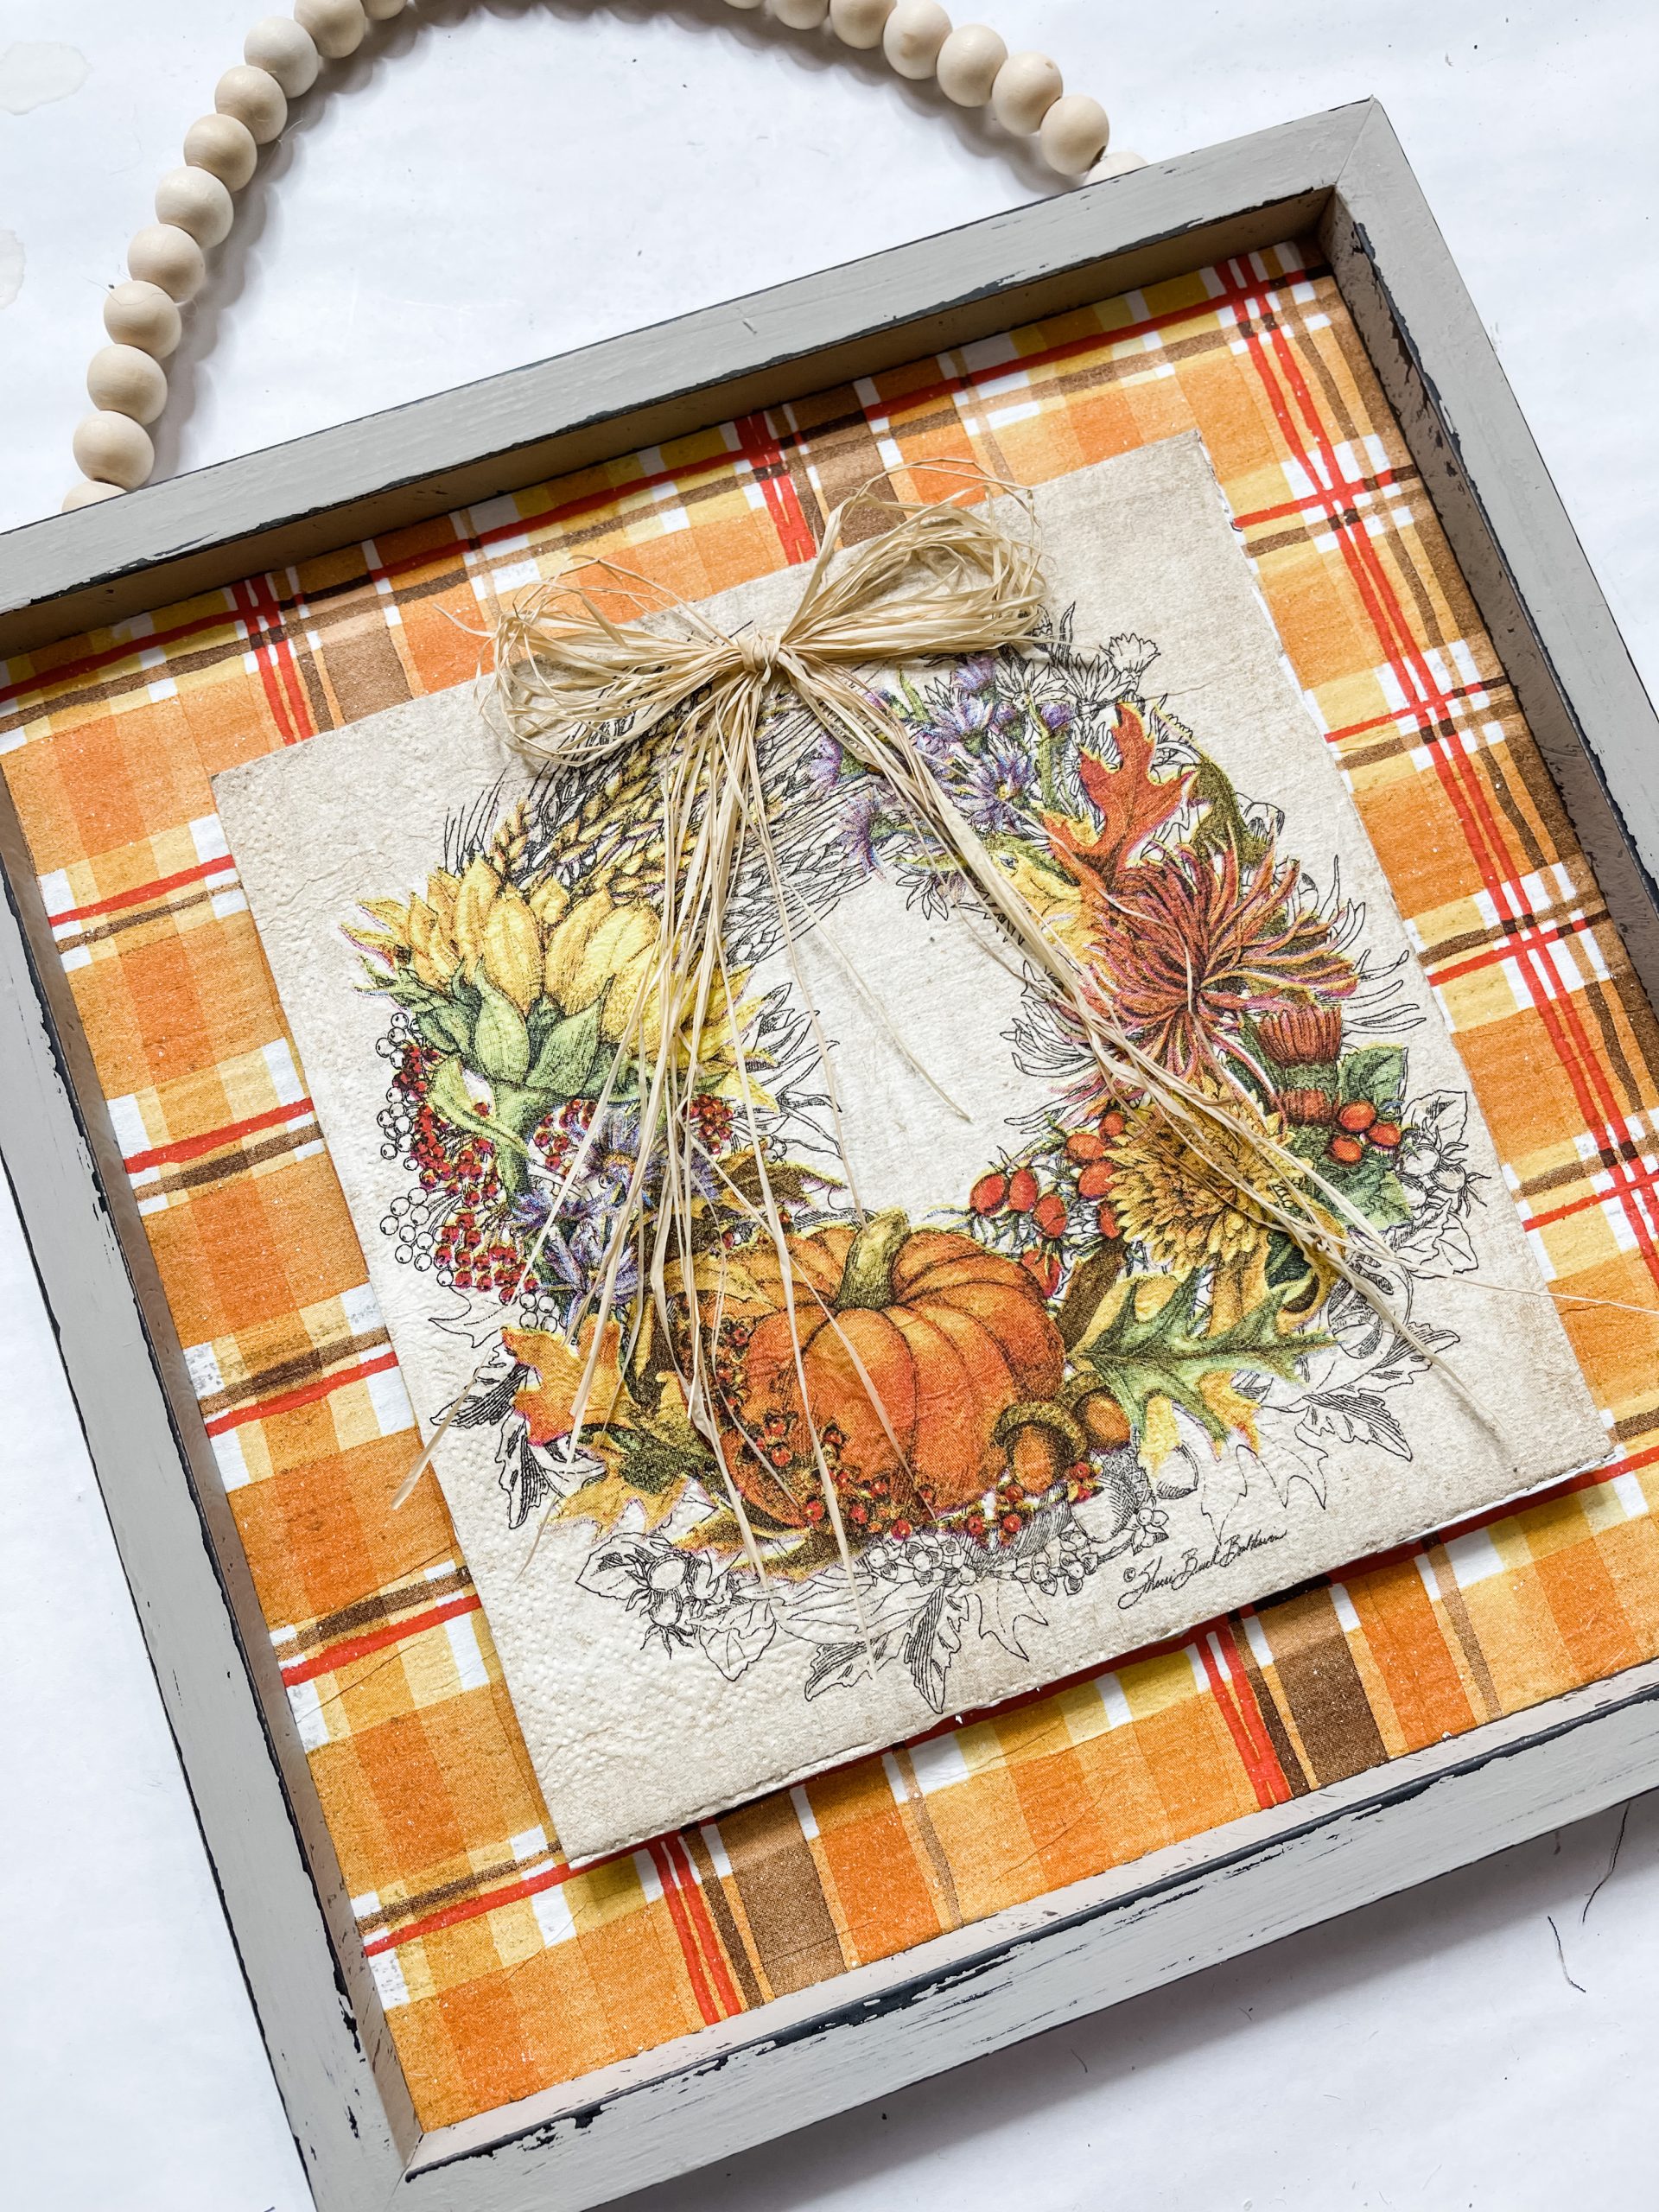
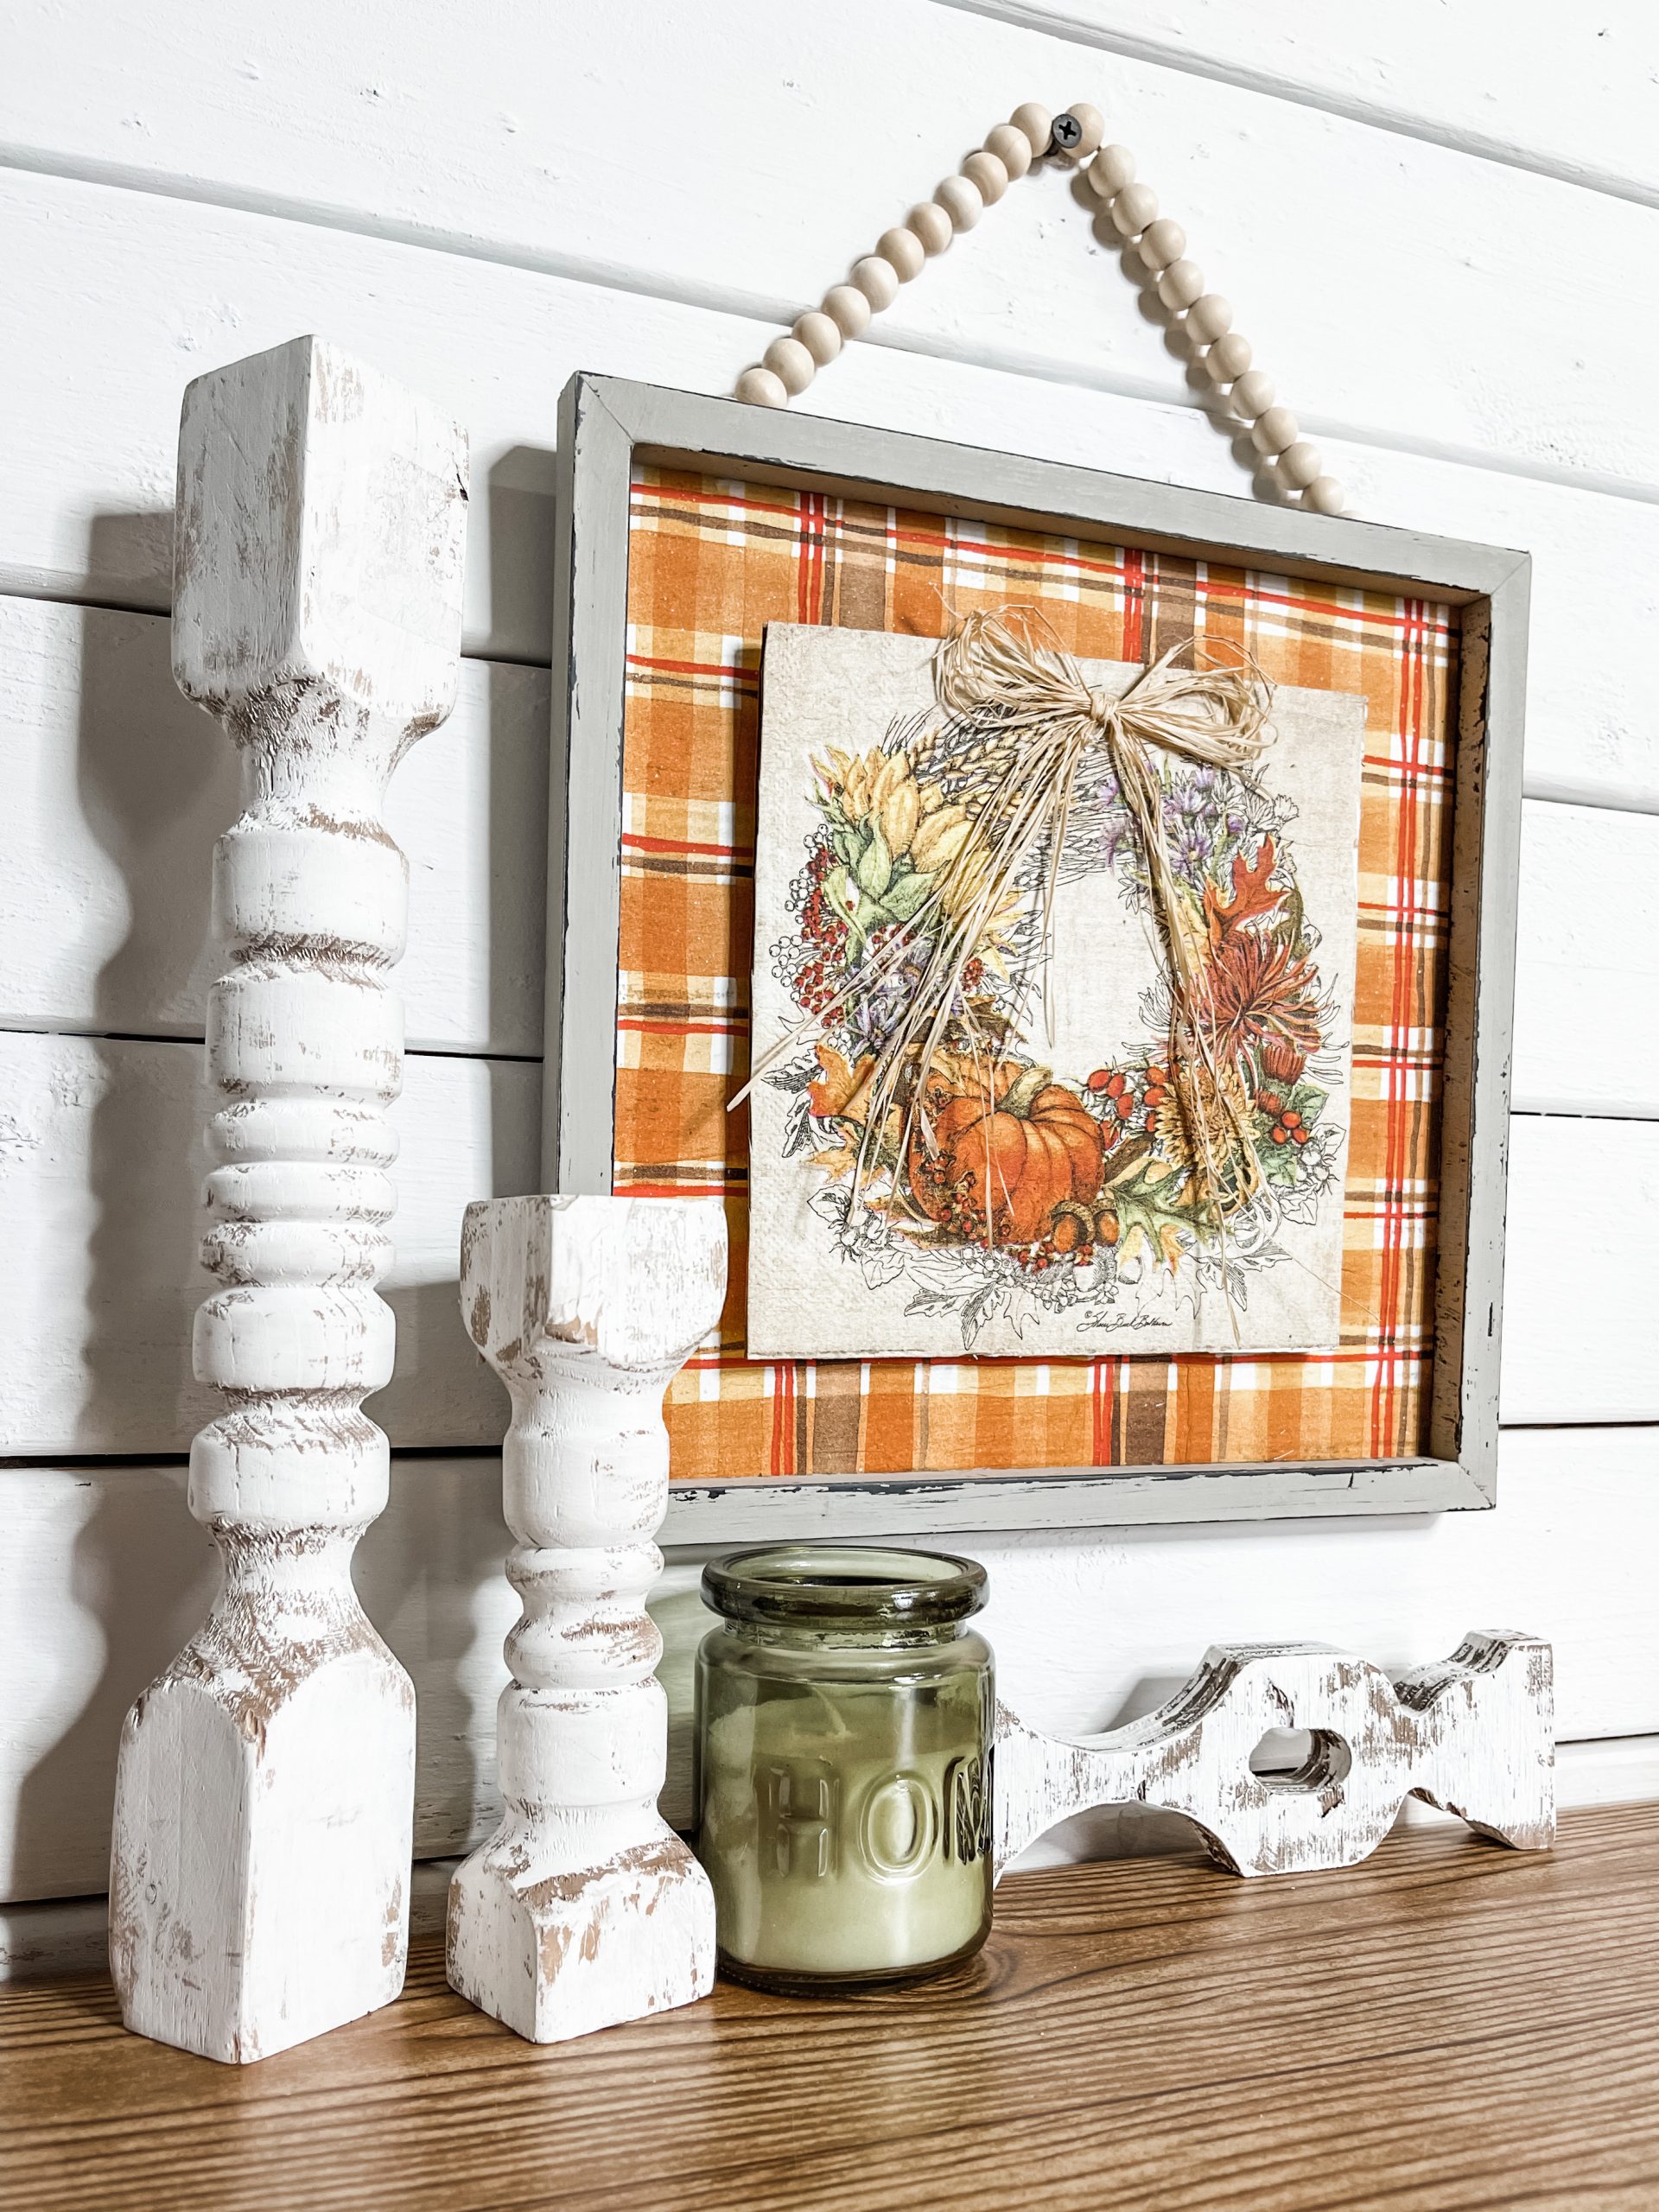
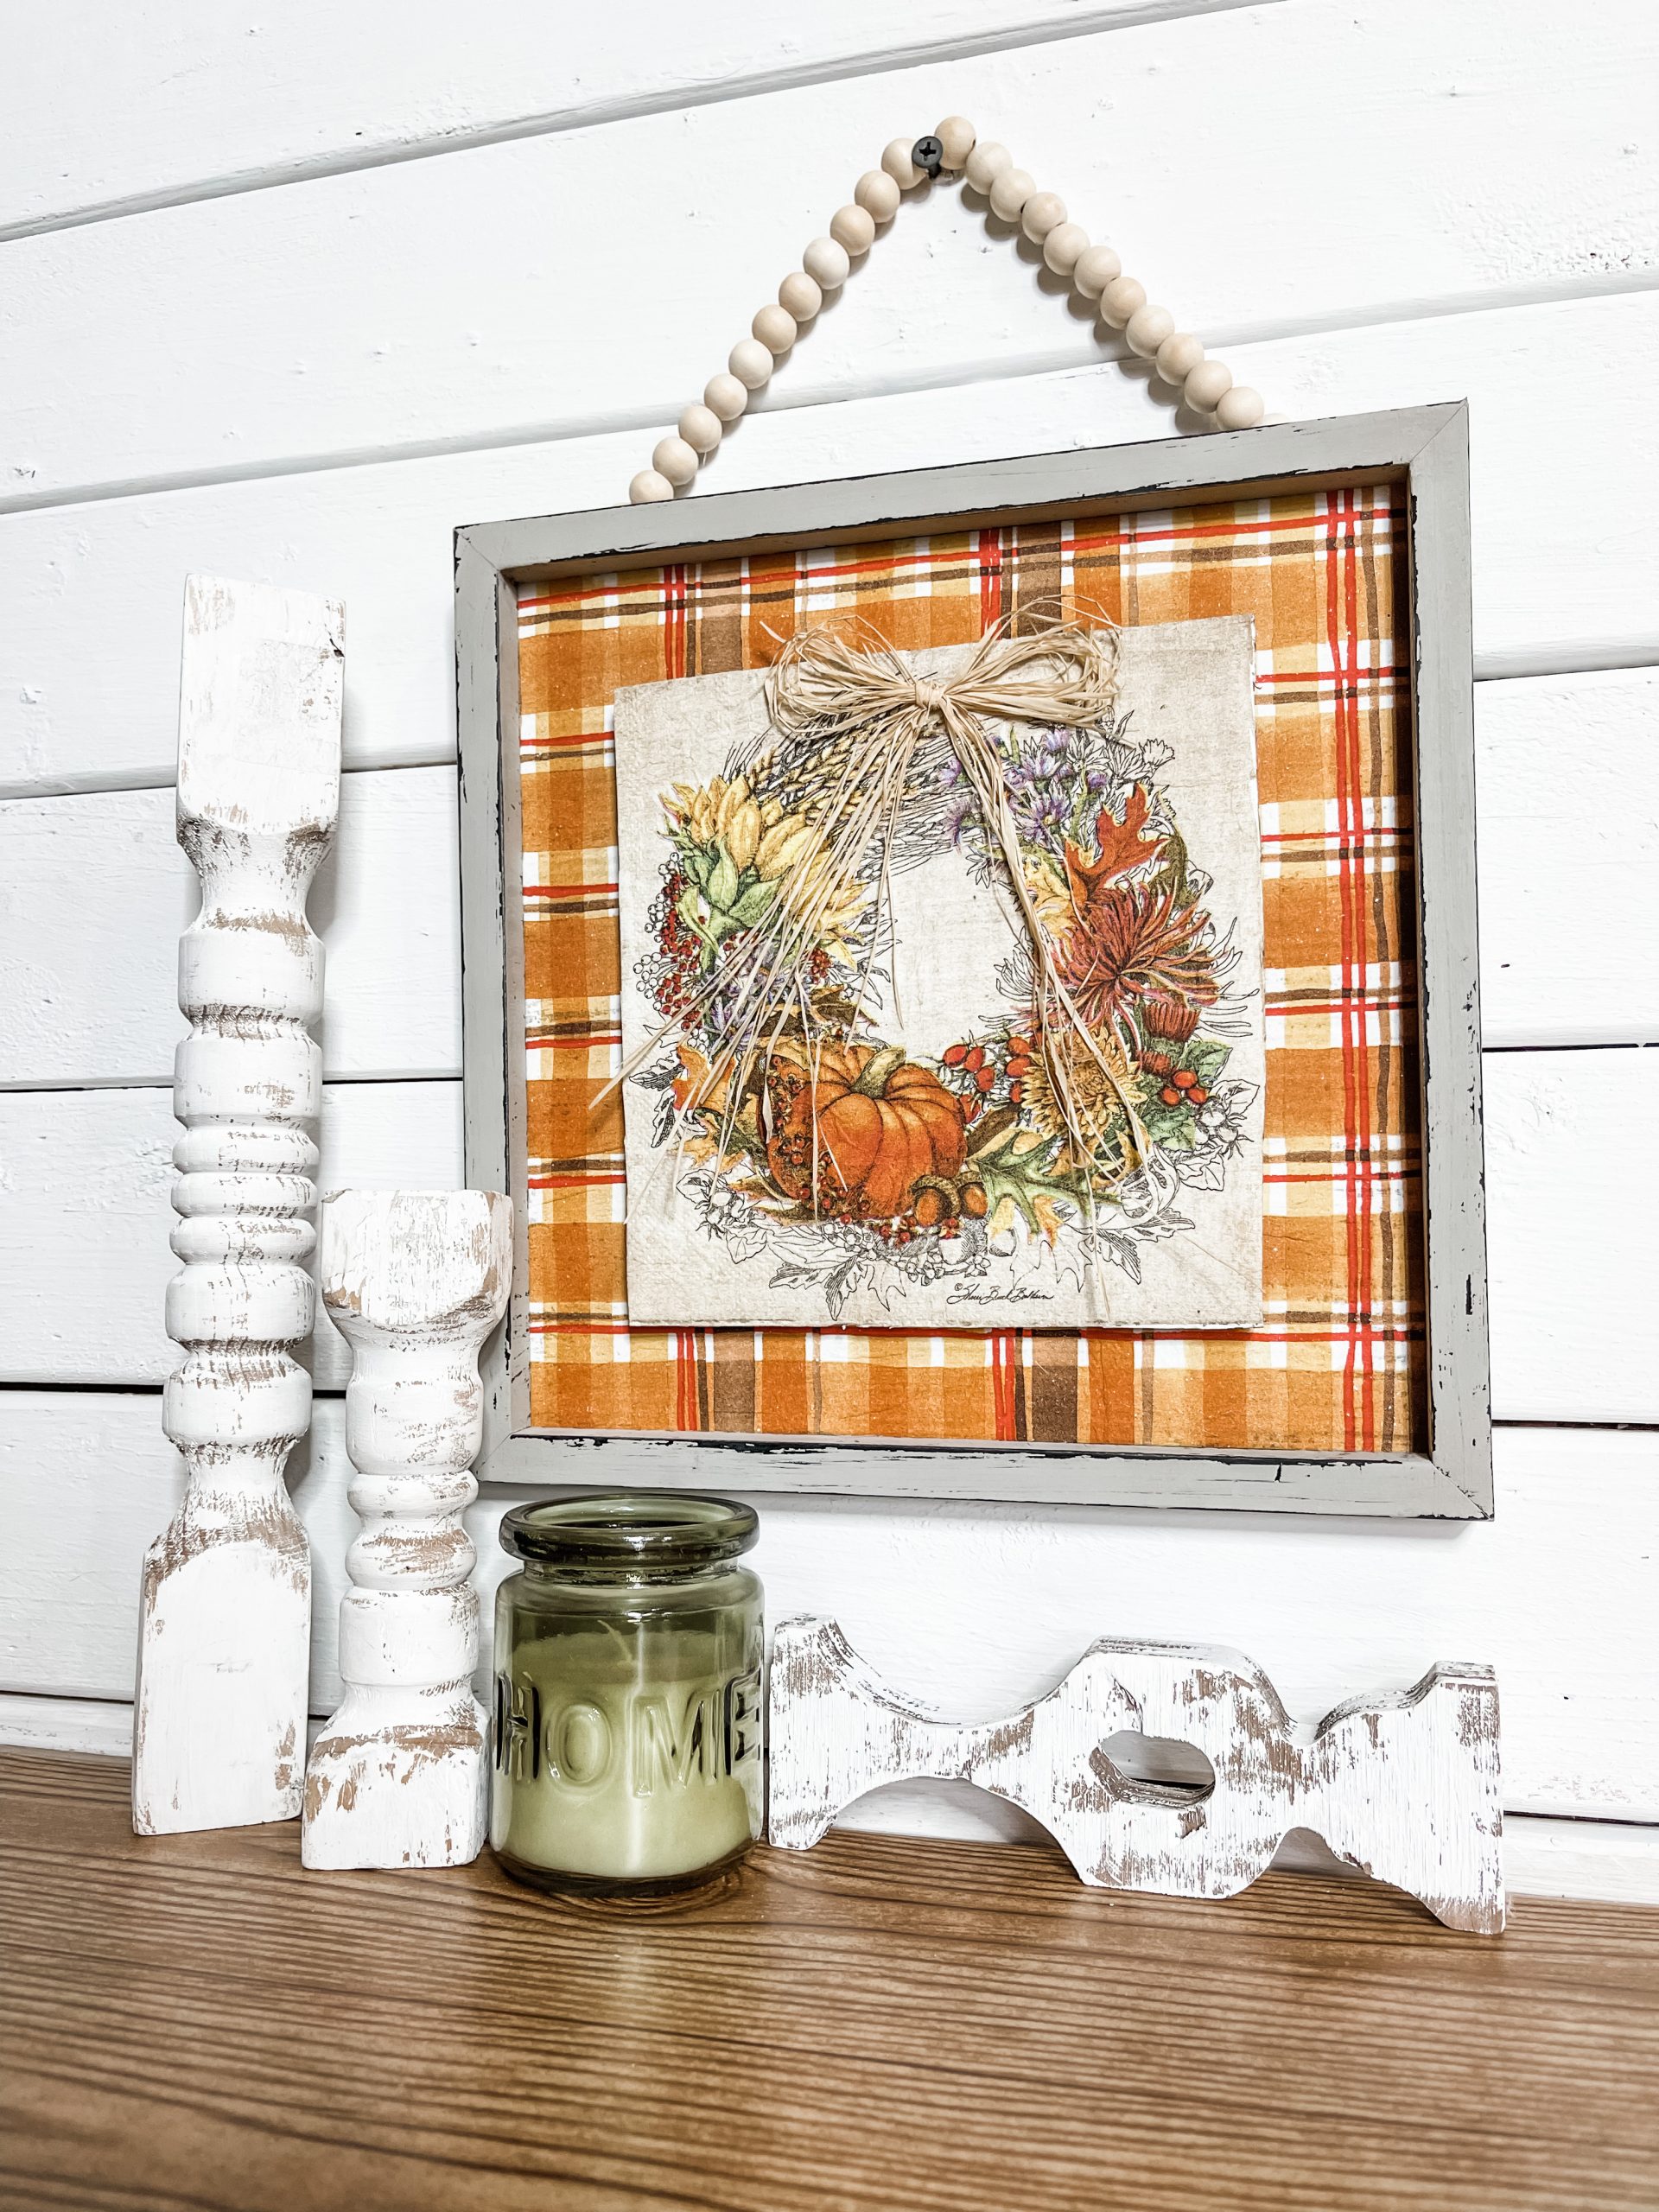
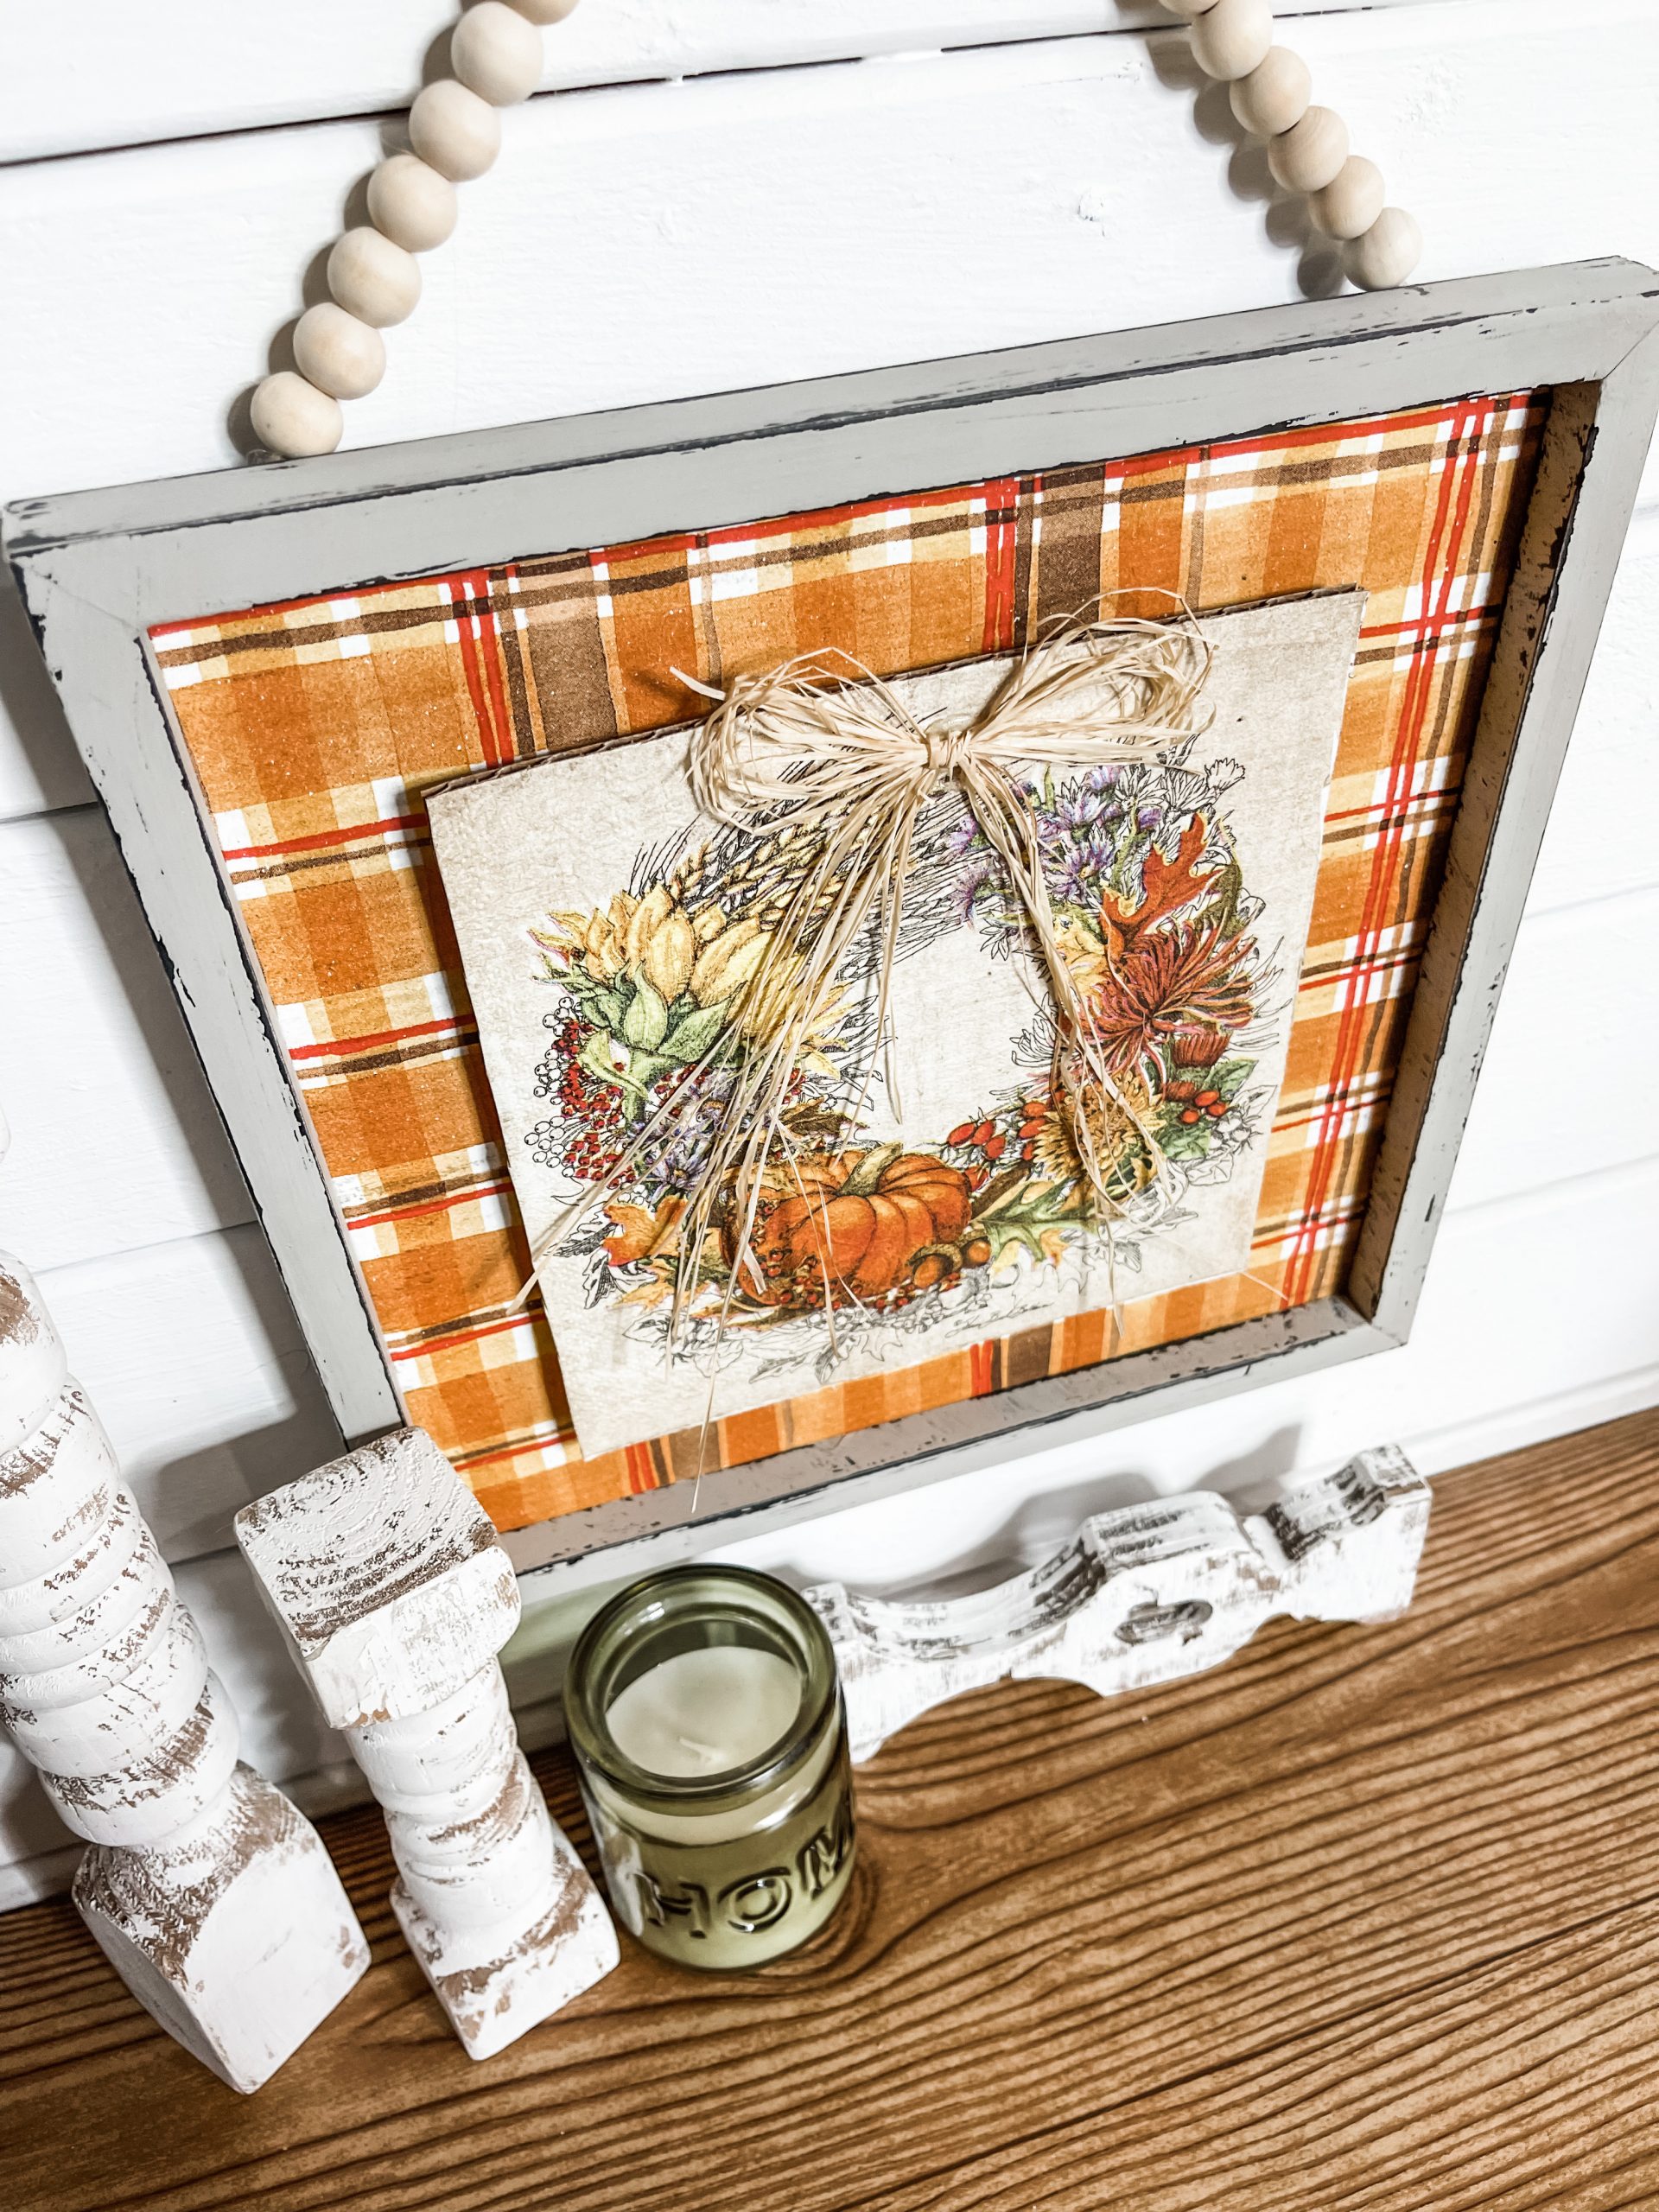
I cut a few strips of cardboard that fit on the backside of the fall napkin wreath cardboard and I hot glued them to raise the square from the surface of the plaid napkin.
Then, I hot glued the fall napkin wreath square of cardboard to the center of the orange plaid napkin. Next, I took a few strands of raffia, tied them into a bow, and hot glued the bow at the top of the wreath.
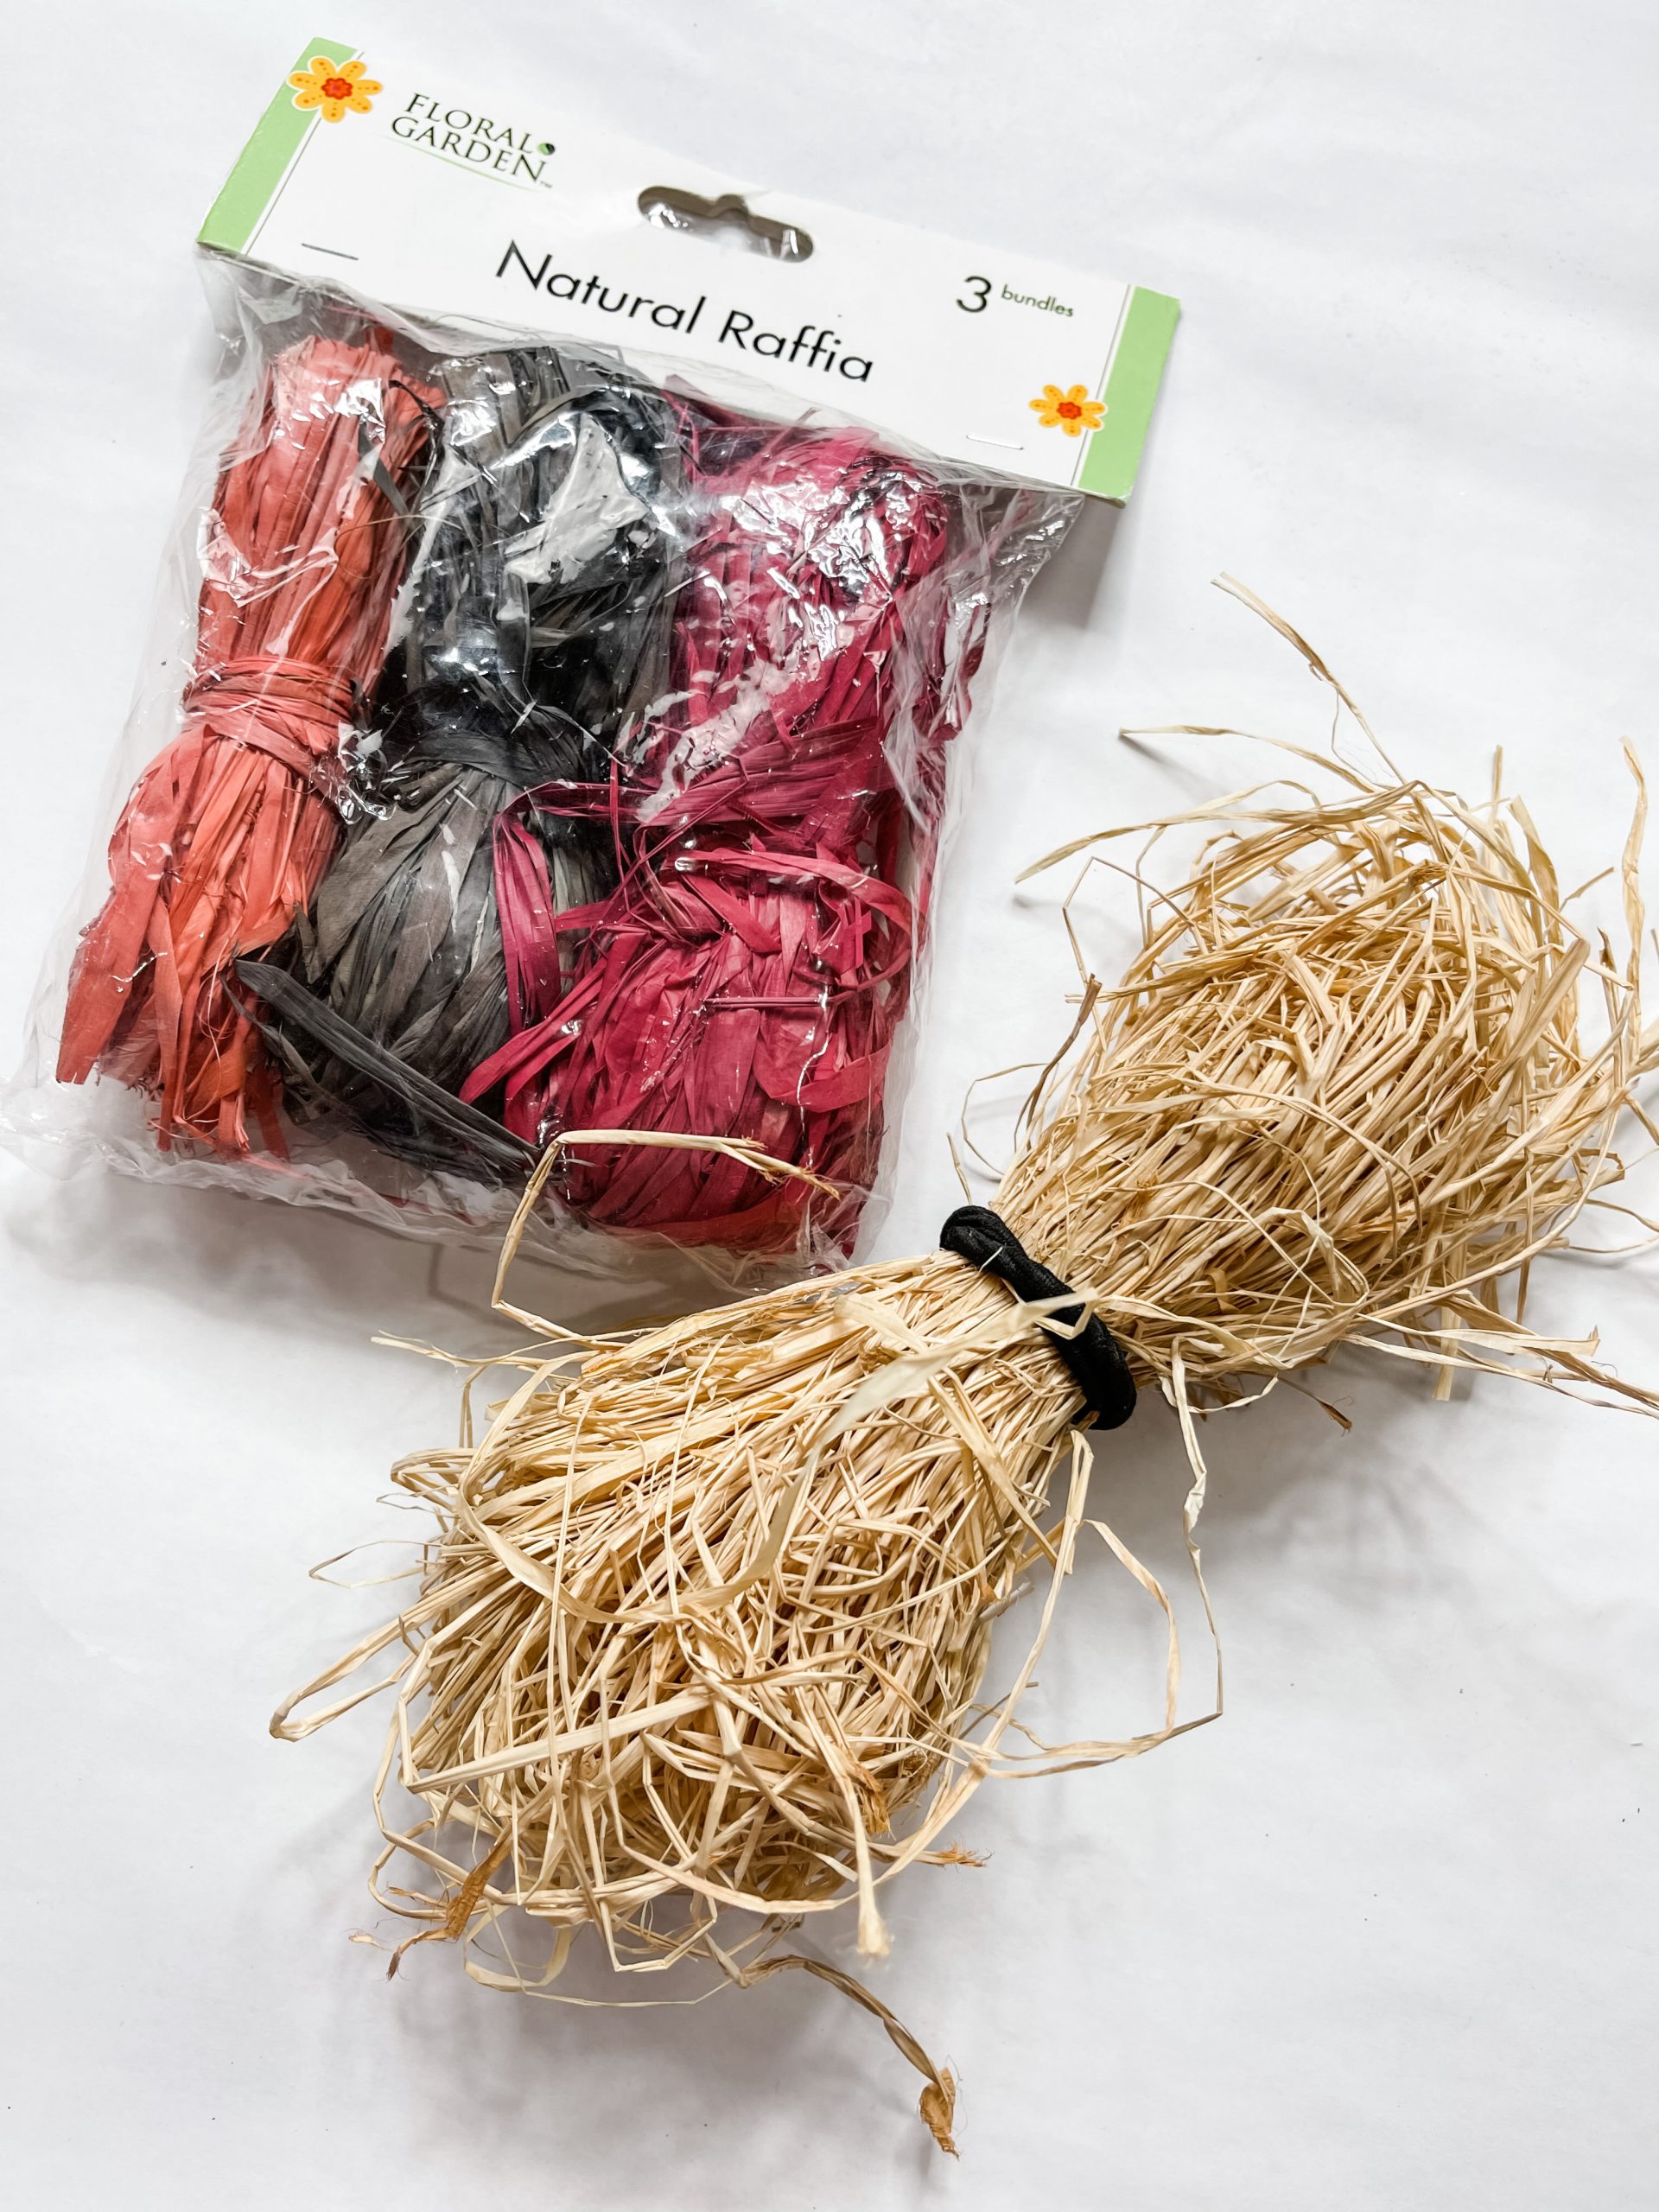
Finally, it’s time to make the hanger! This is a really easy step. I used wood beads and jute twine to make mine.
Thread the wood beads onto the jute twine until you’re happy with the hanger’s length, then secure the beads in place by either tying knots next to them or putting a dab of hot glue on the twine.
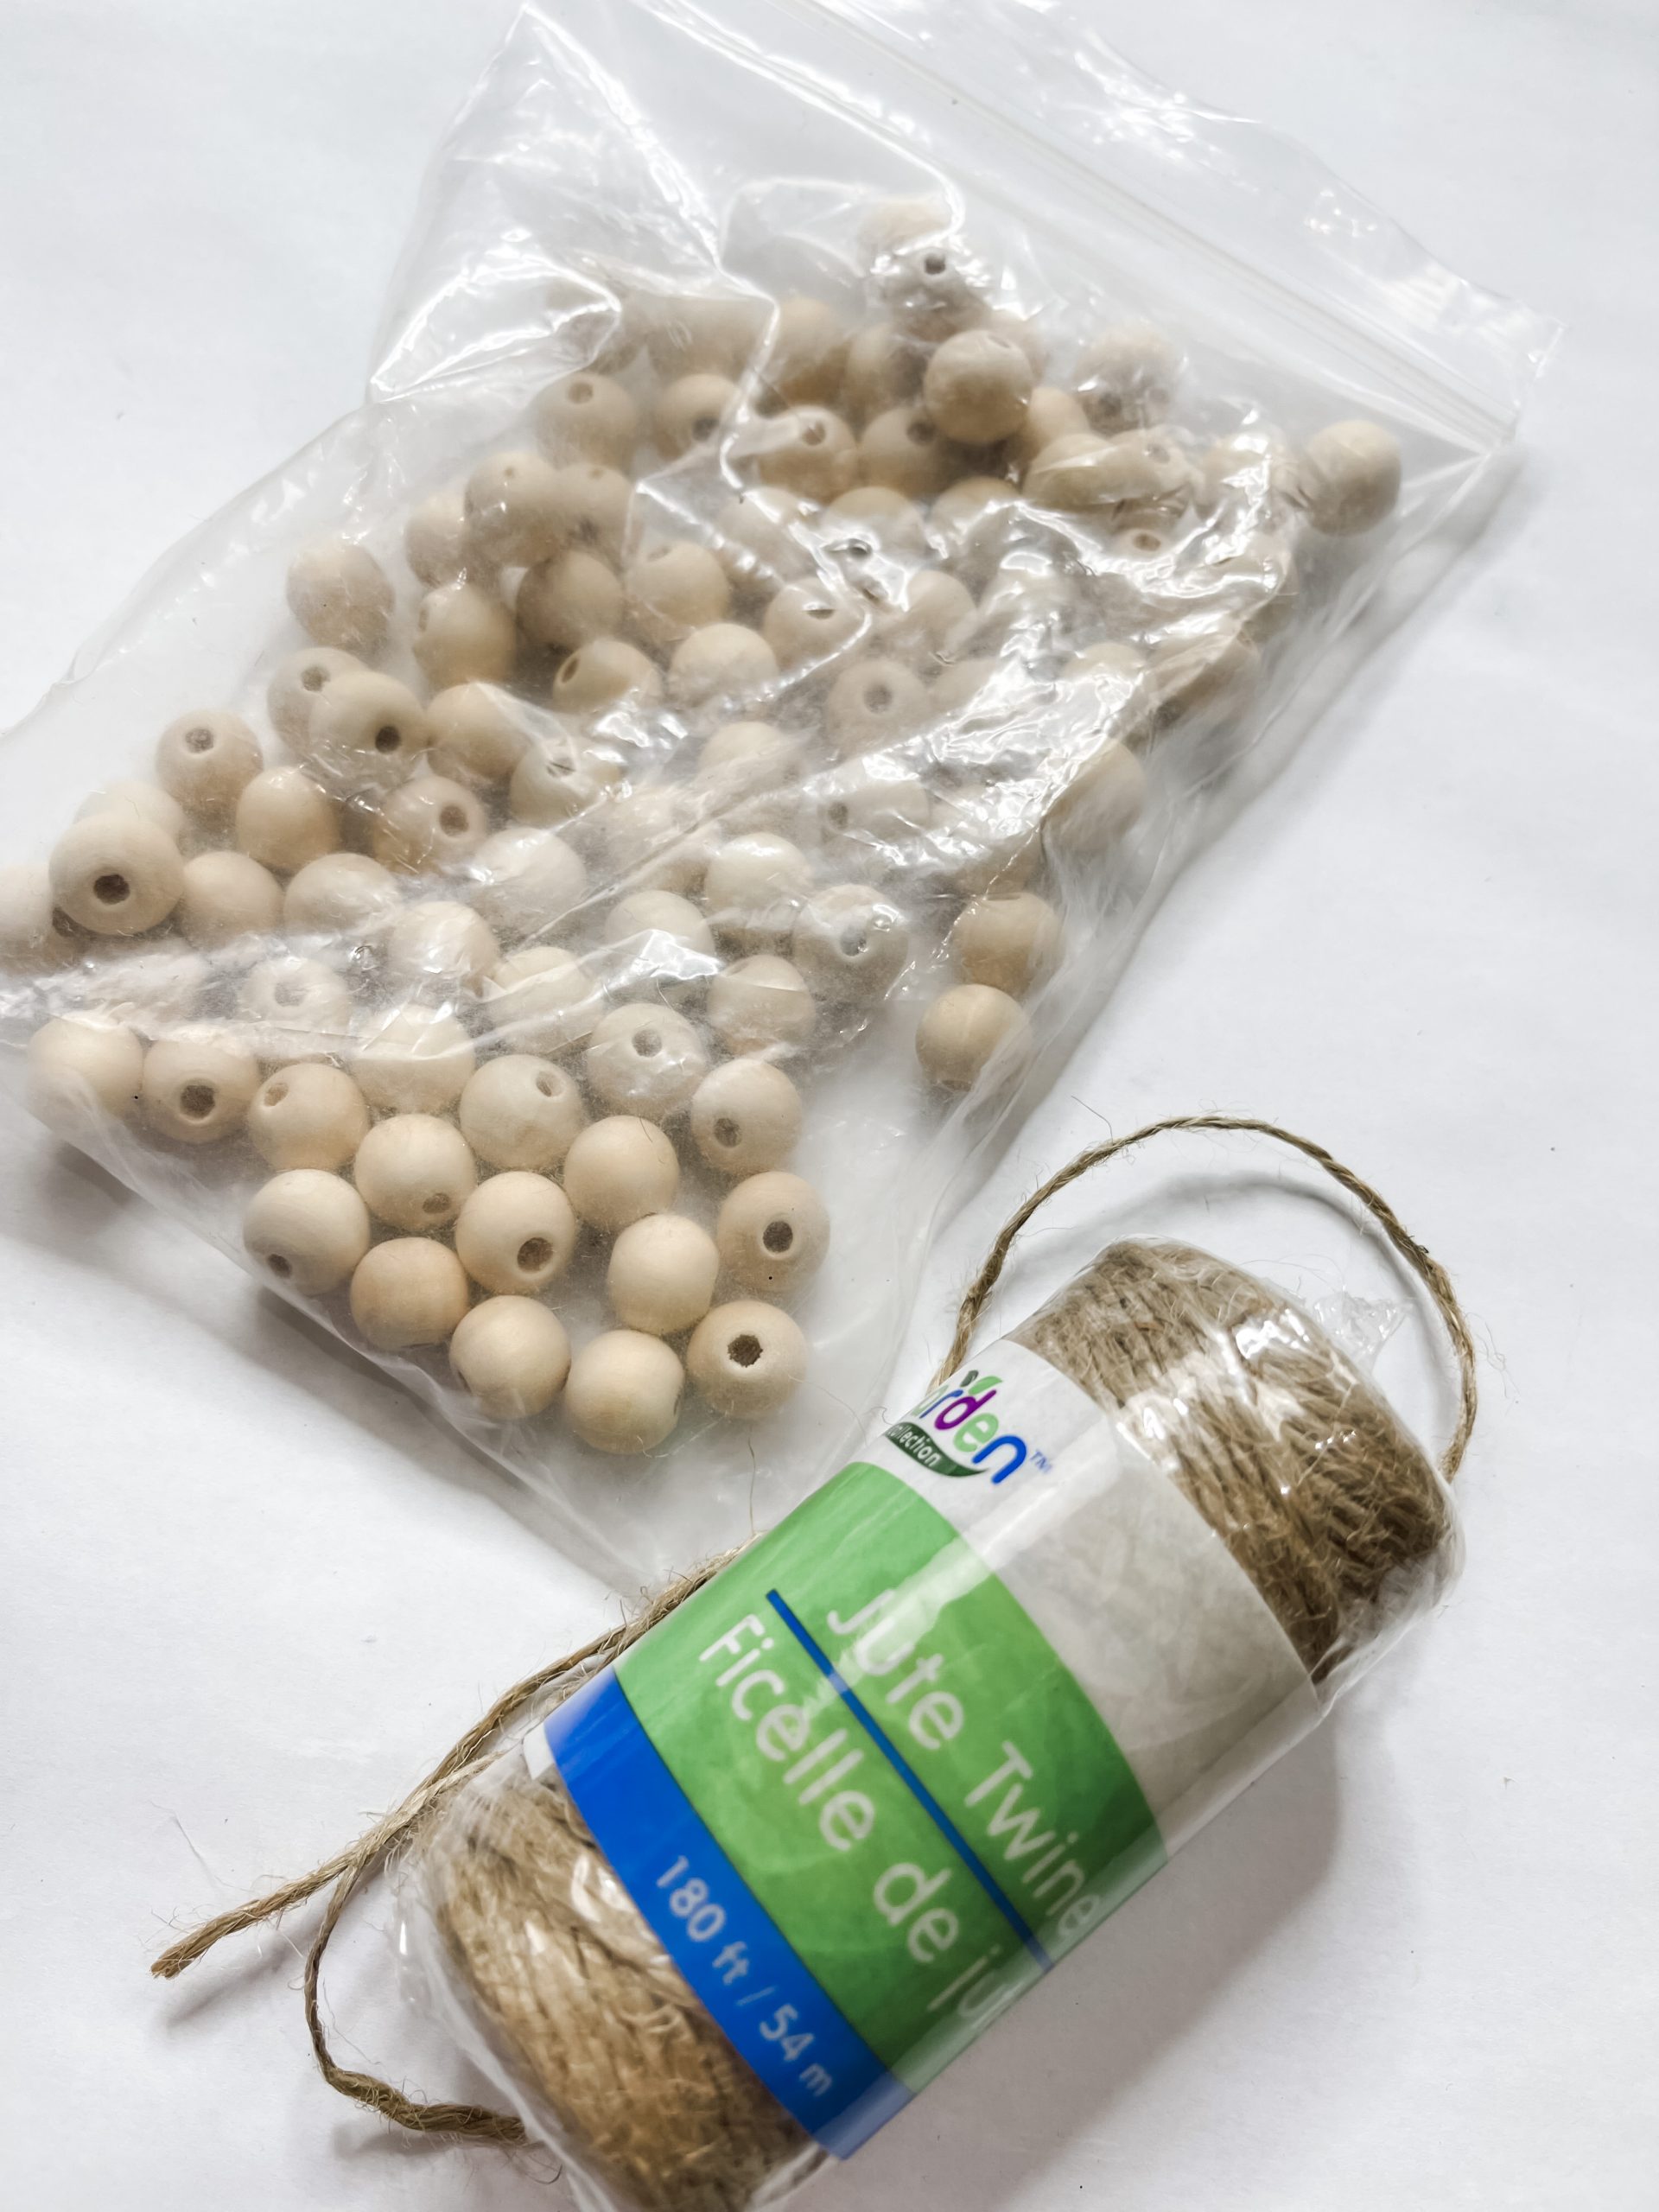
Lastly, secure the hanger to the picture frame by hot gluing the ends of the jute twine to the back of the picture frame. Once the glue dries, you’re ready to decorate!
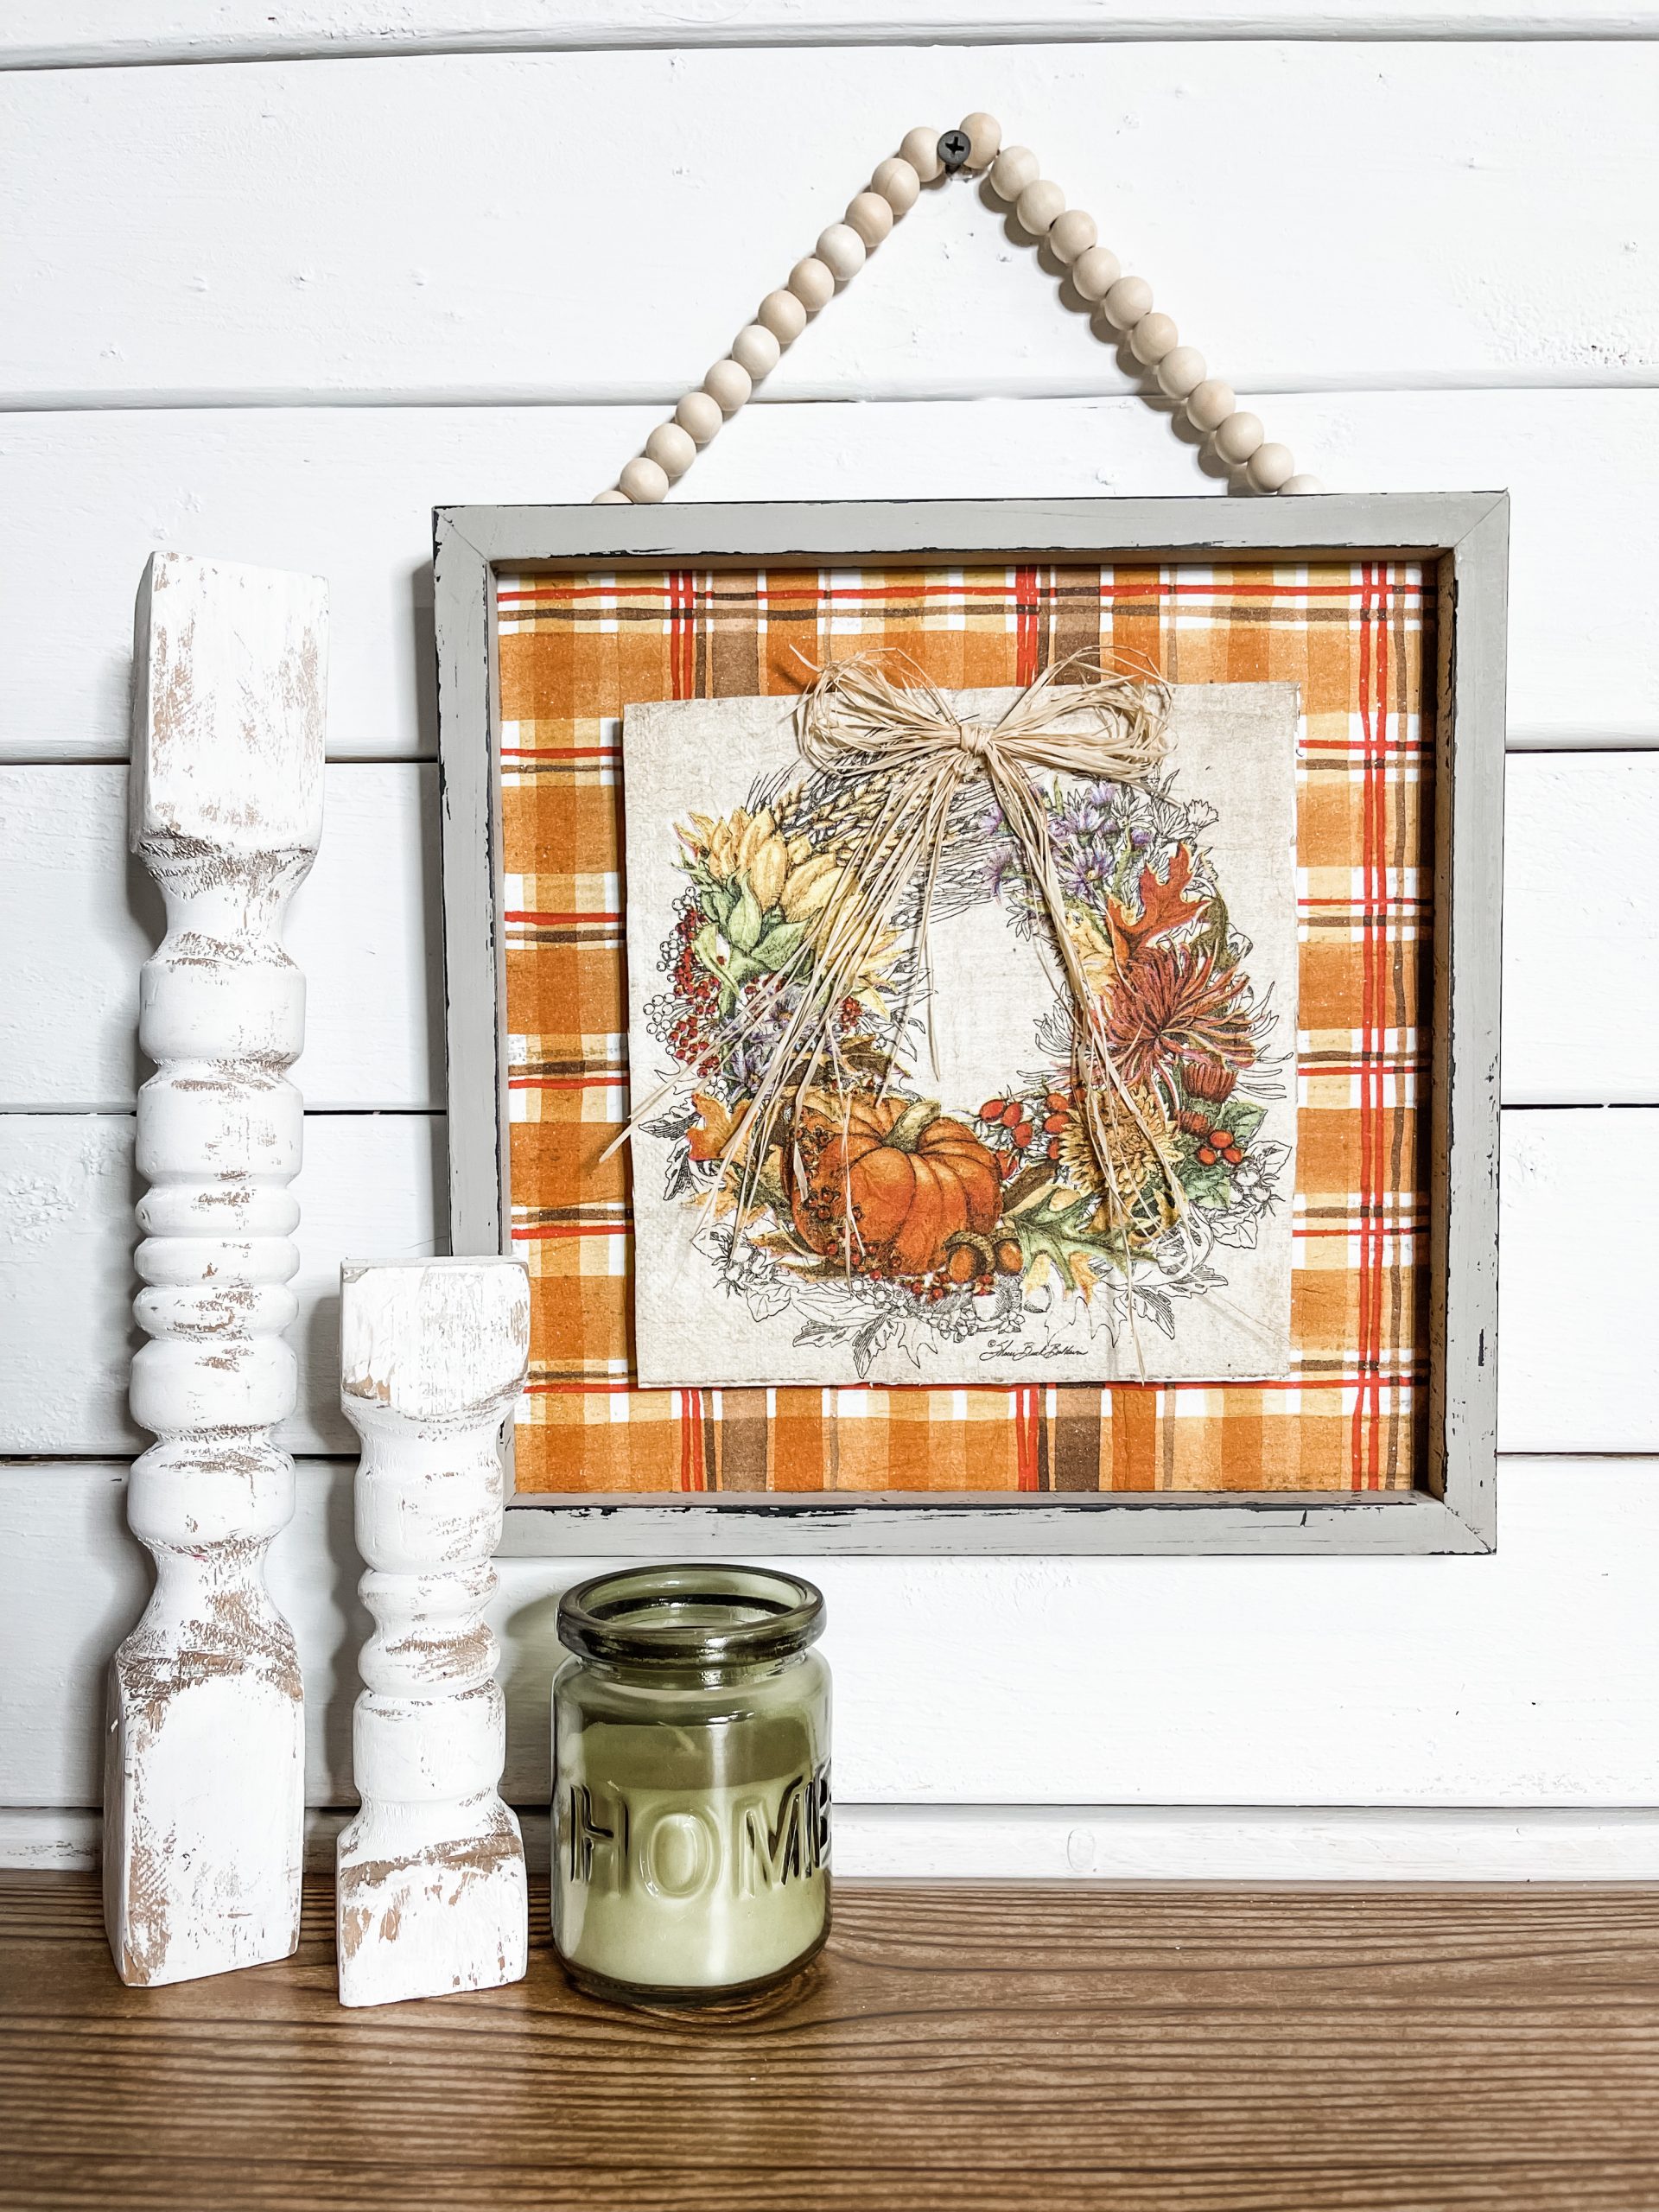
I hope you enjoyed this DIY Wall Decor with a Fall Wreath Napkin as much as I did and decide to make it for yourself! If you do, I would love to see how yours turns out!
You should totally join my FREE Facebook group called On A Budget Crafts! It is a judgment-free community for DIY crafters to show off their projects and ideas.
If you loved this DIY Wall Decor with a Fall Wreath Napkin, you might also like these DIY ideas!
Thanks for stopping by! XOXO Amber
You can also shop my ENTIRE AMAZON Favorites shop just click here! It’s packed full of all the things I use and love. Here is the supply list I highly recommend every creative have on hand!!
Would you also pin my blog for later and get on my newsletter alerts? I would love to have you join my #craftycrew.
I email alerts about new blogs like this DIY Wall Decor with a Fall Wreath Napkin so you’re always up to date on fun, new DIY ideas!
Inspired? Leave me a comment below! I love hearing from my readers!

Join my free “ON A BUDGET CRAFTS” Facebook group!

Great matching the napkins. Looks great
You actually make it seem so easy together with your presentation however I to find this topic
to be actually something that I think I’d by no means understand.
It seems too complex and very vast for me. I
am taking a look ahead on your next post, I will attempt to get the hold of it!
Hi Amber, I so love this napkin that I got in my bundle! I’ll be working on a few this weekend and even though Christmas is coming, I still want to get this one finished. Thank you for inspiring all of us and because of you I have discovered my favorite past time again from years ago! 😊💗
Love this . I would hang it on my wall all year.
Love it I am going to try