DIY Dollar Tree Nautical Decor
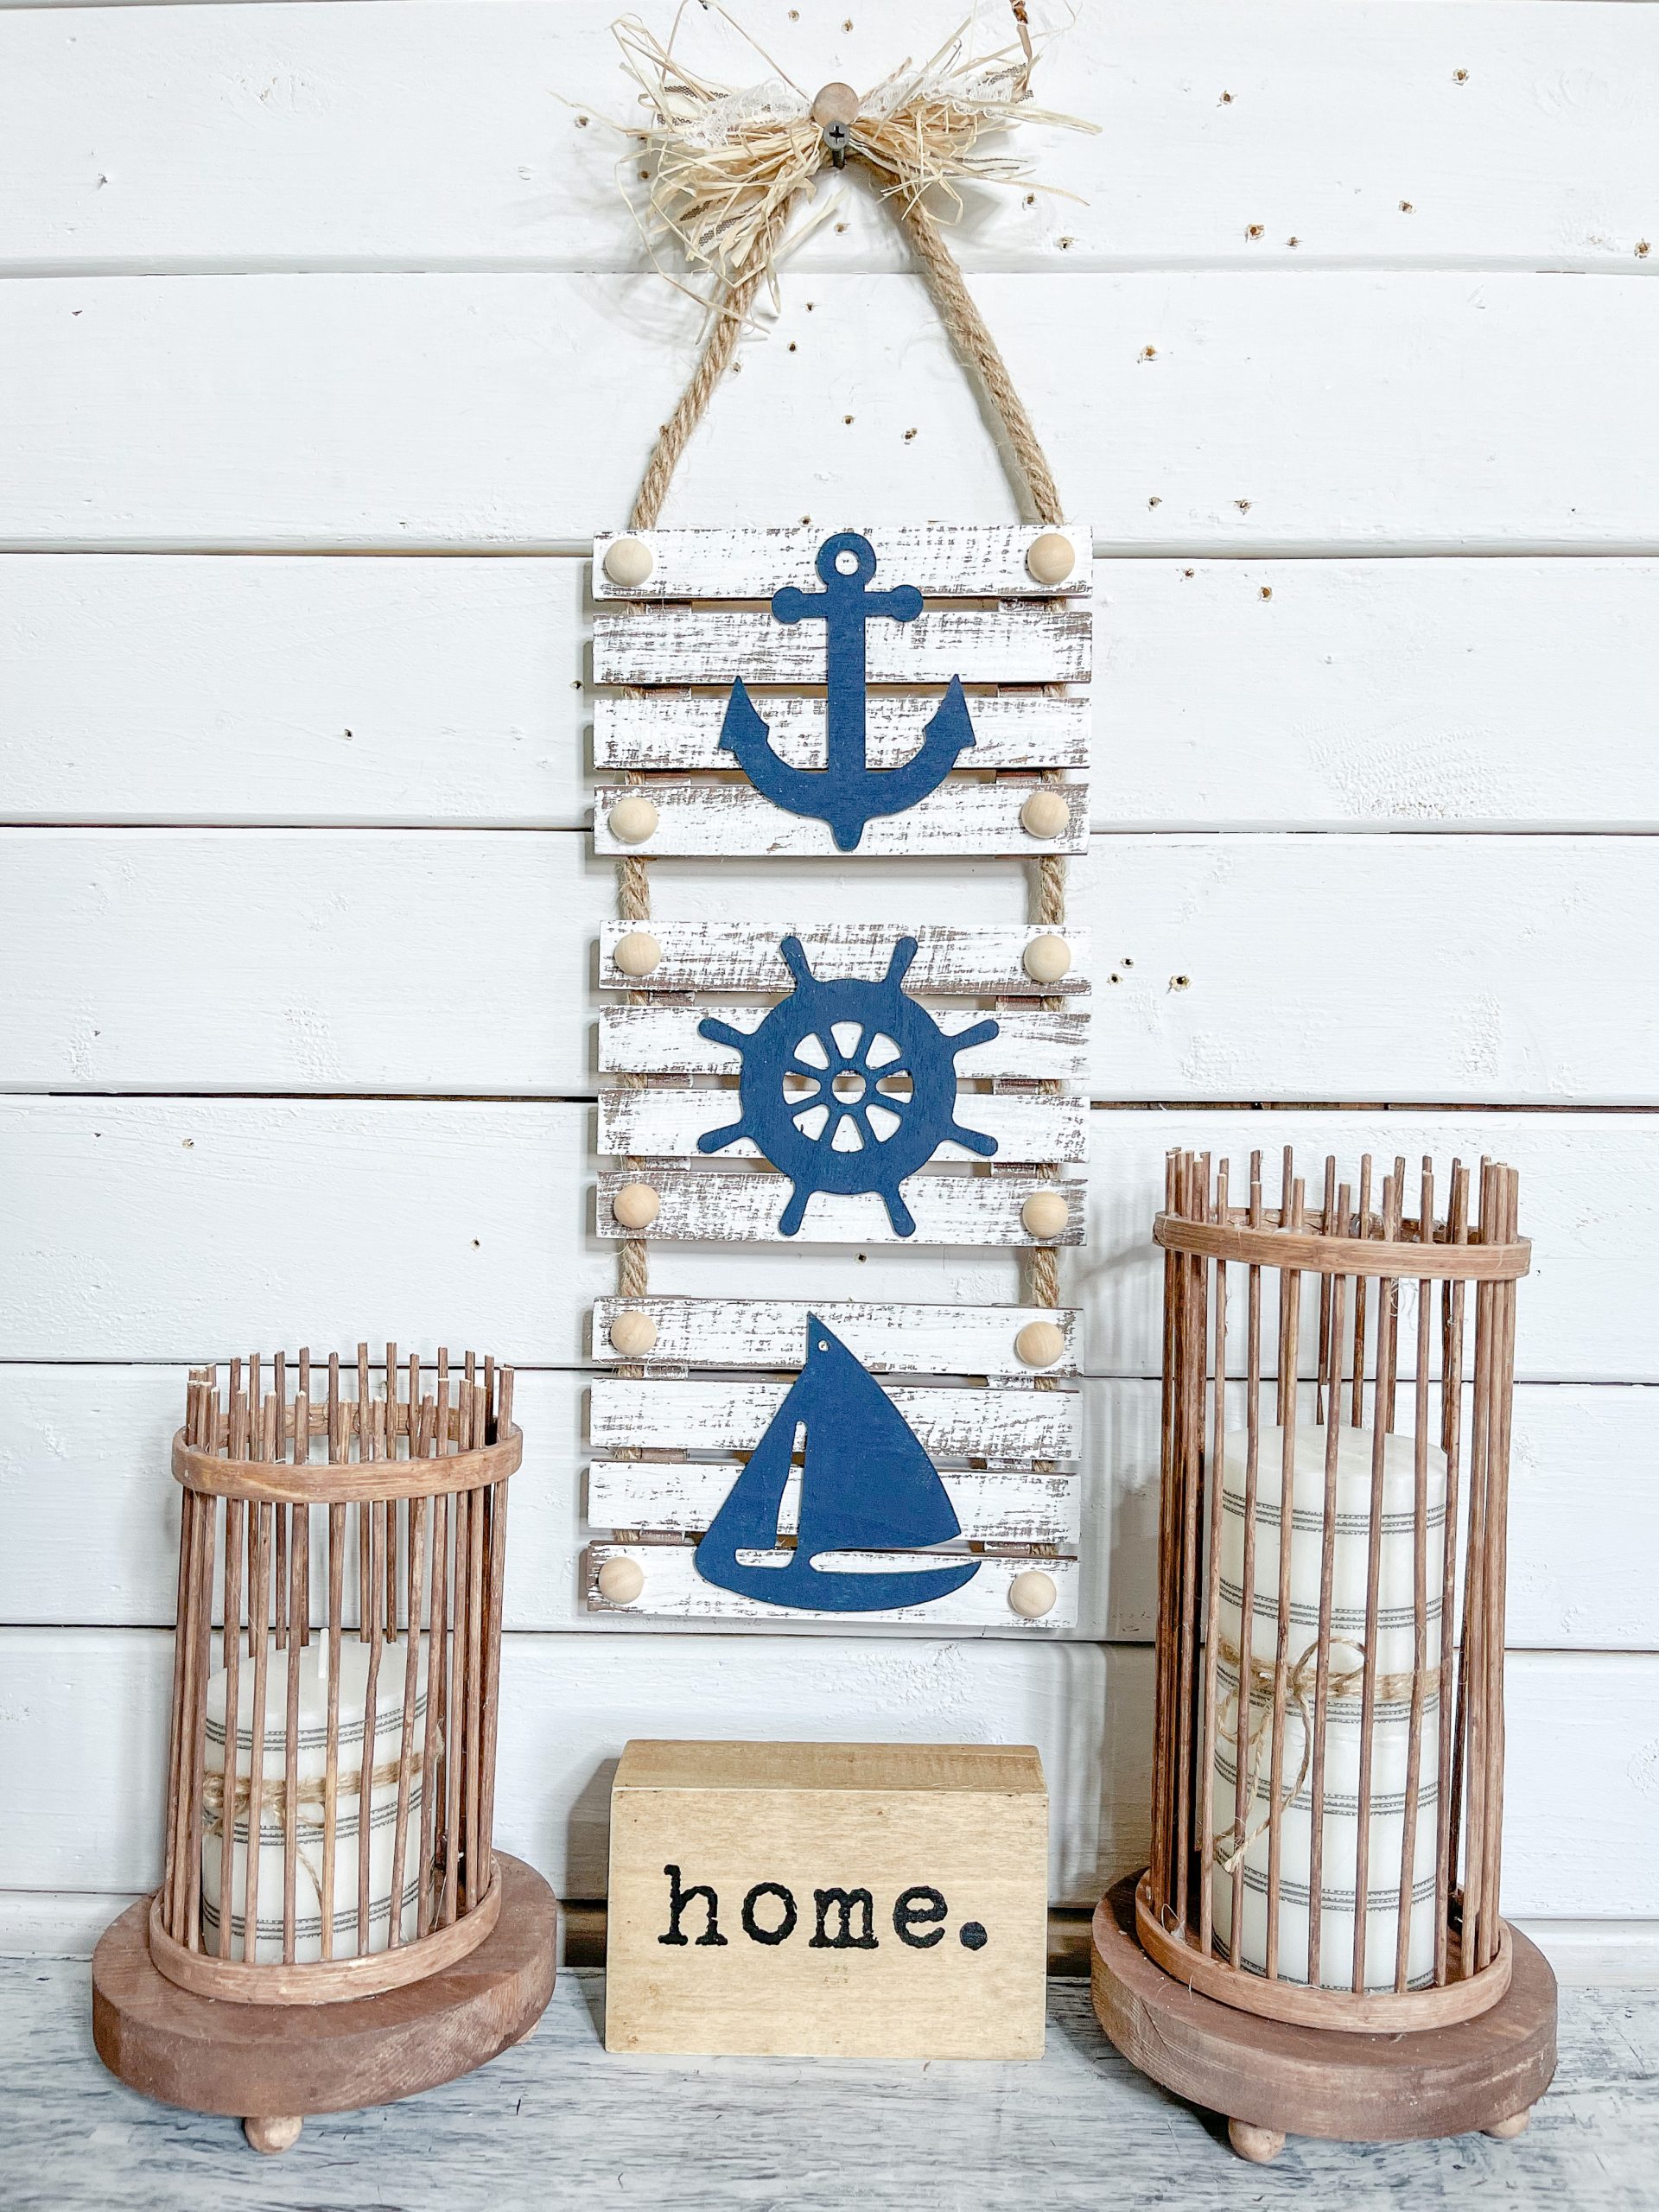
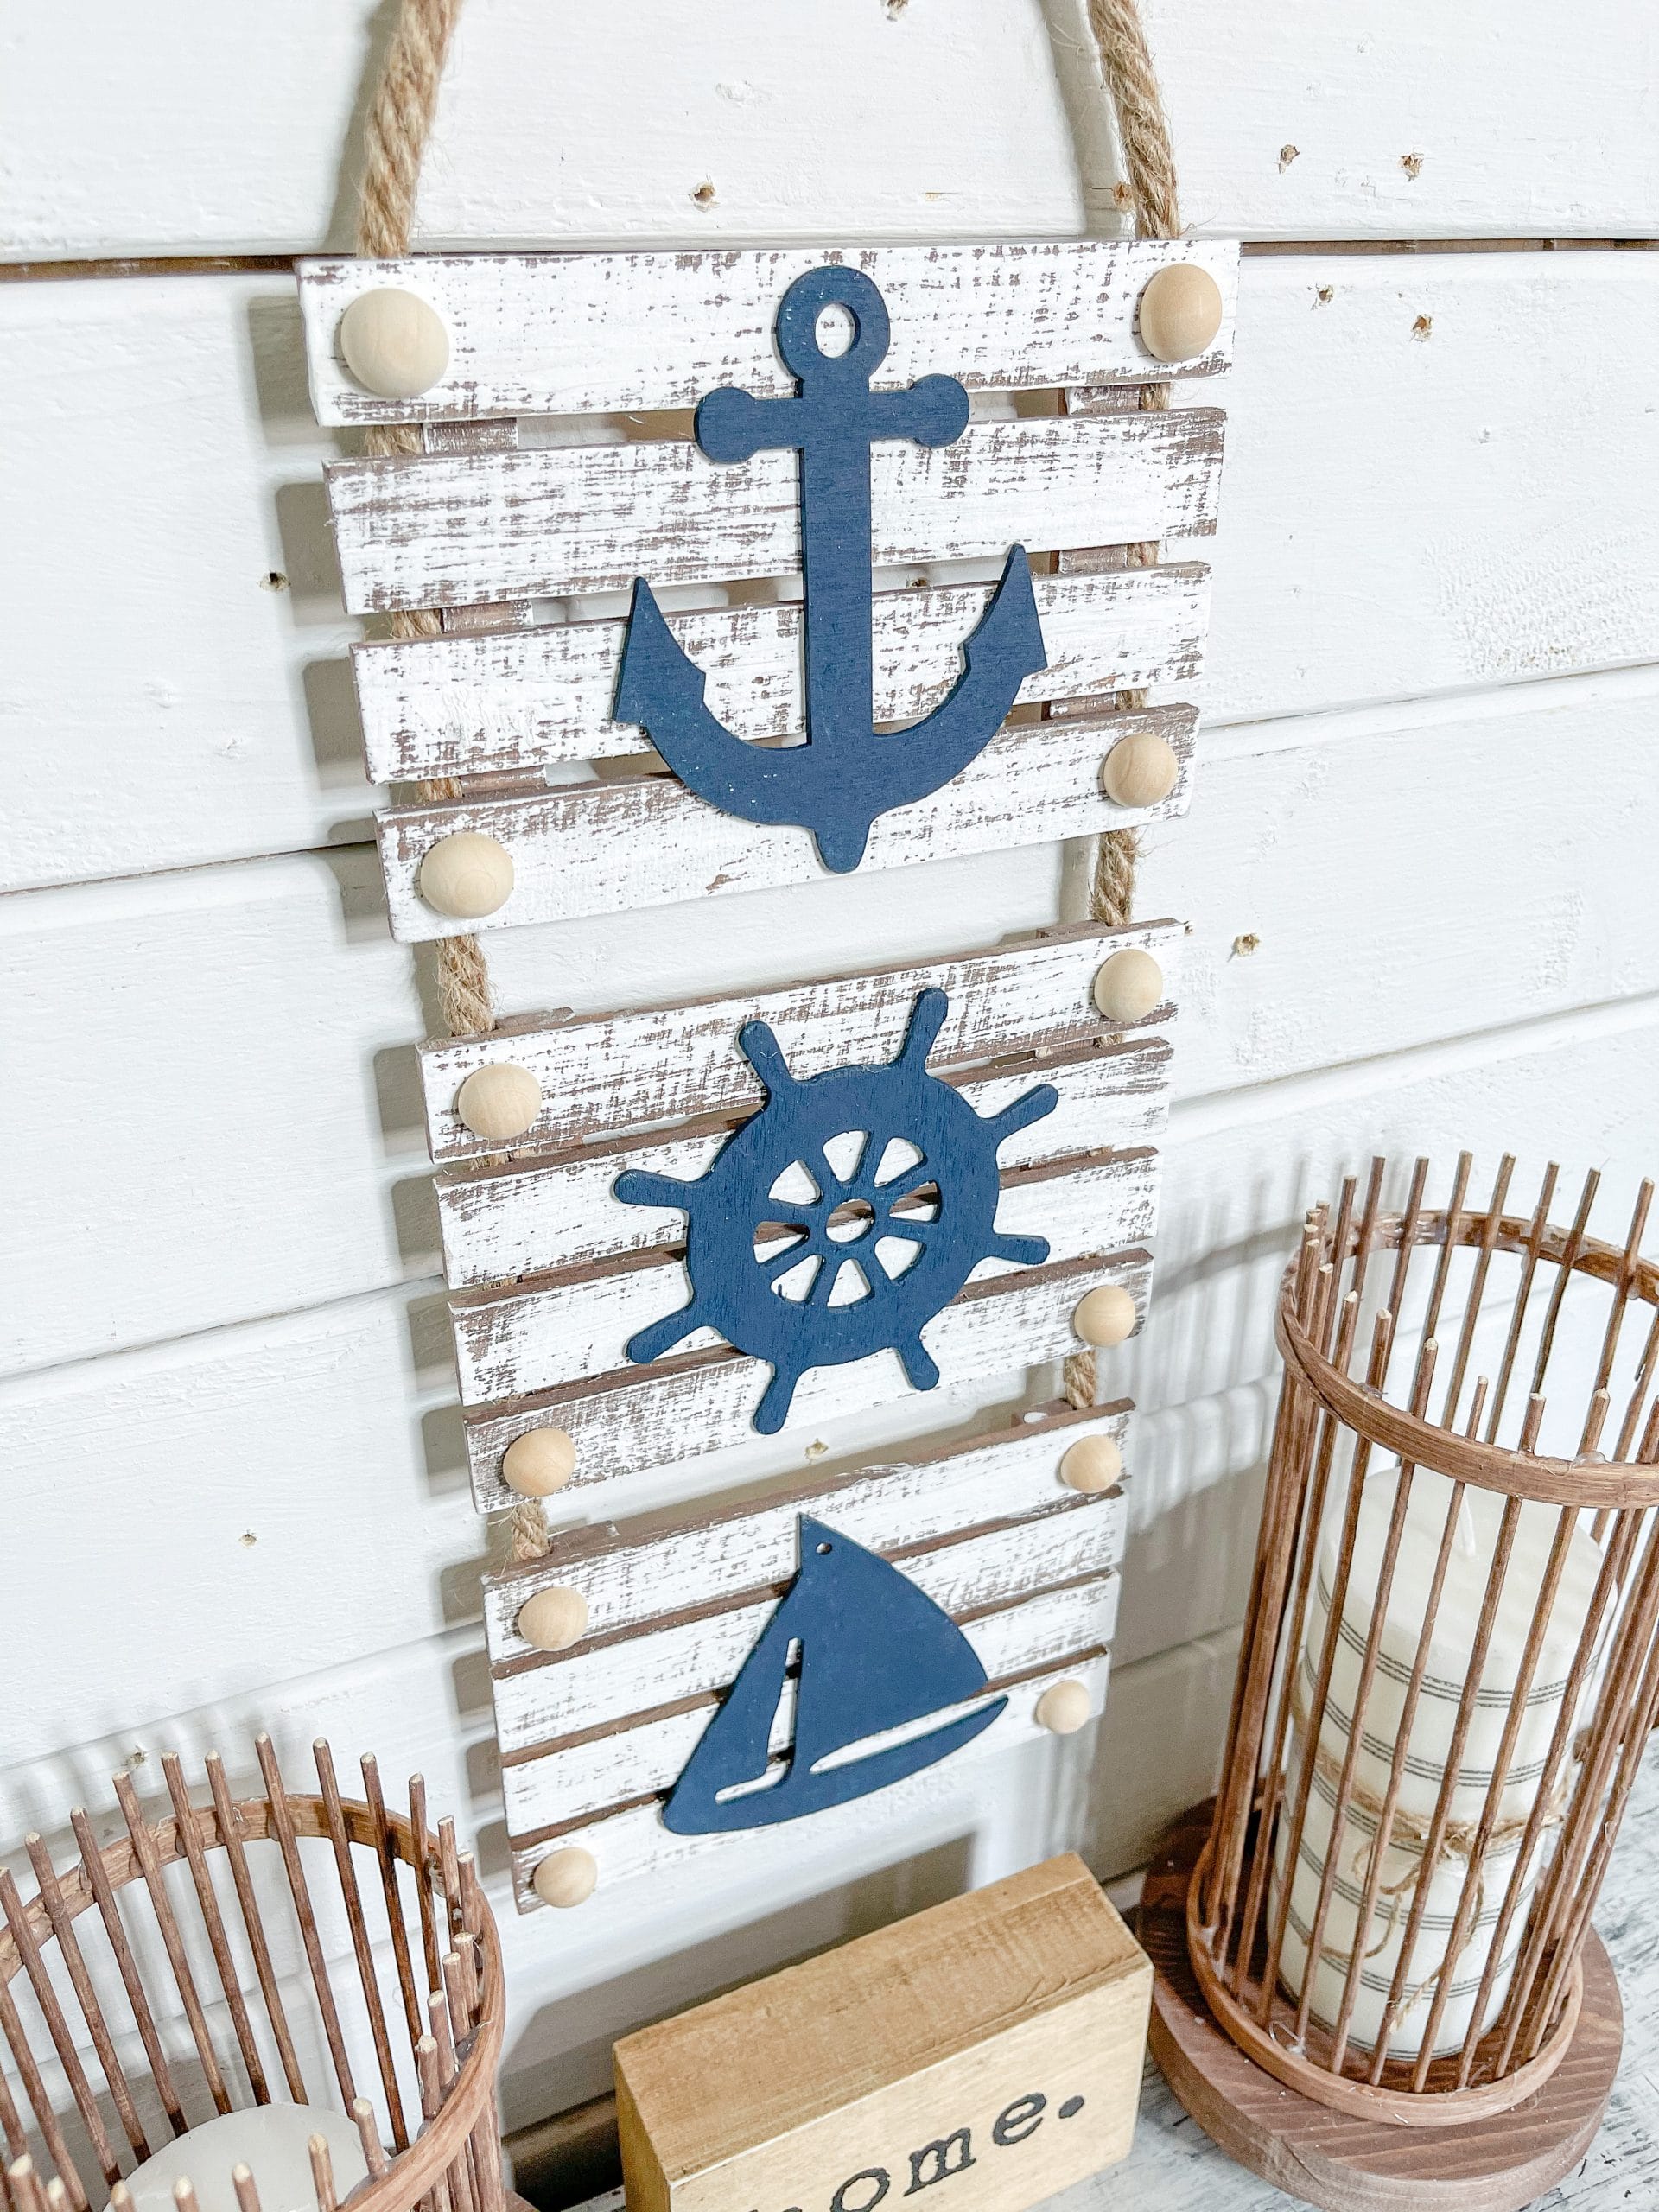
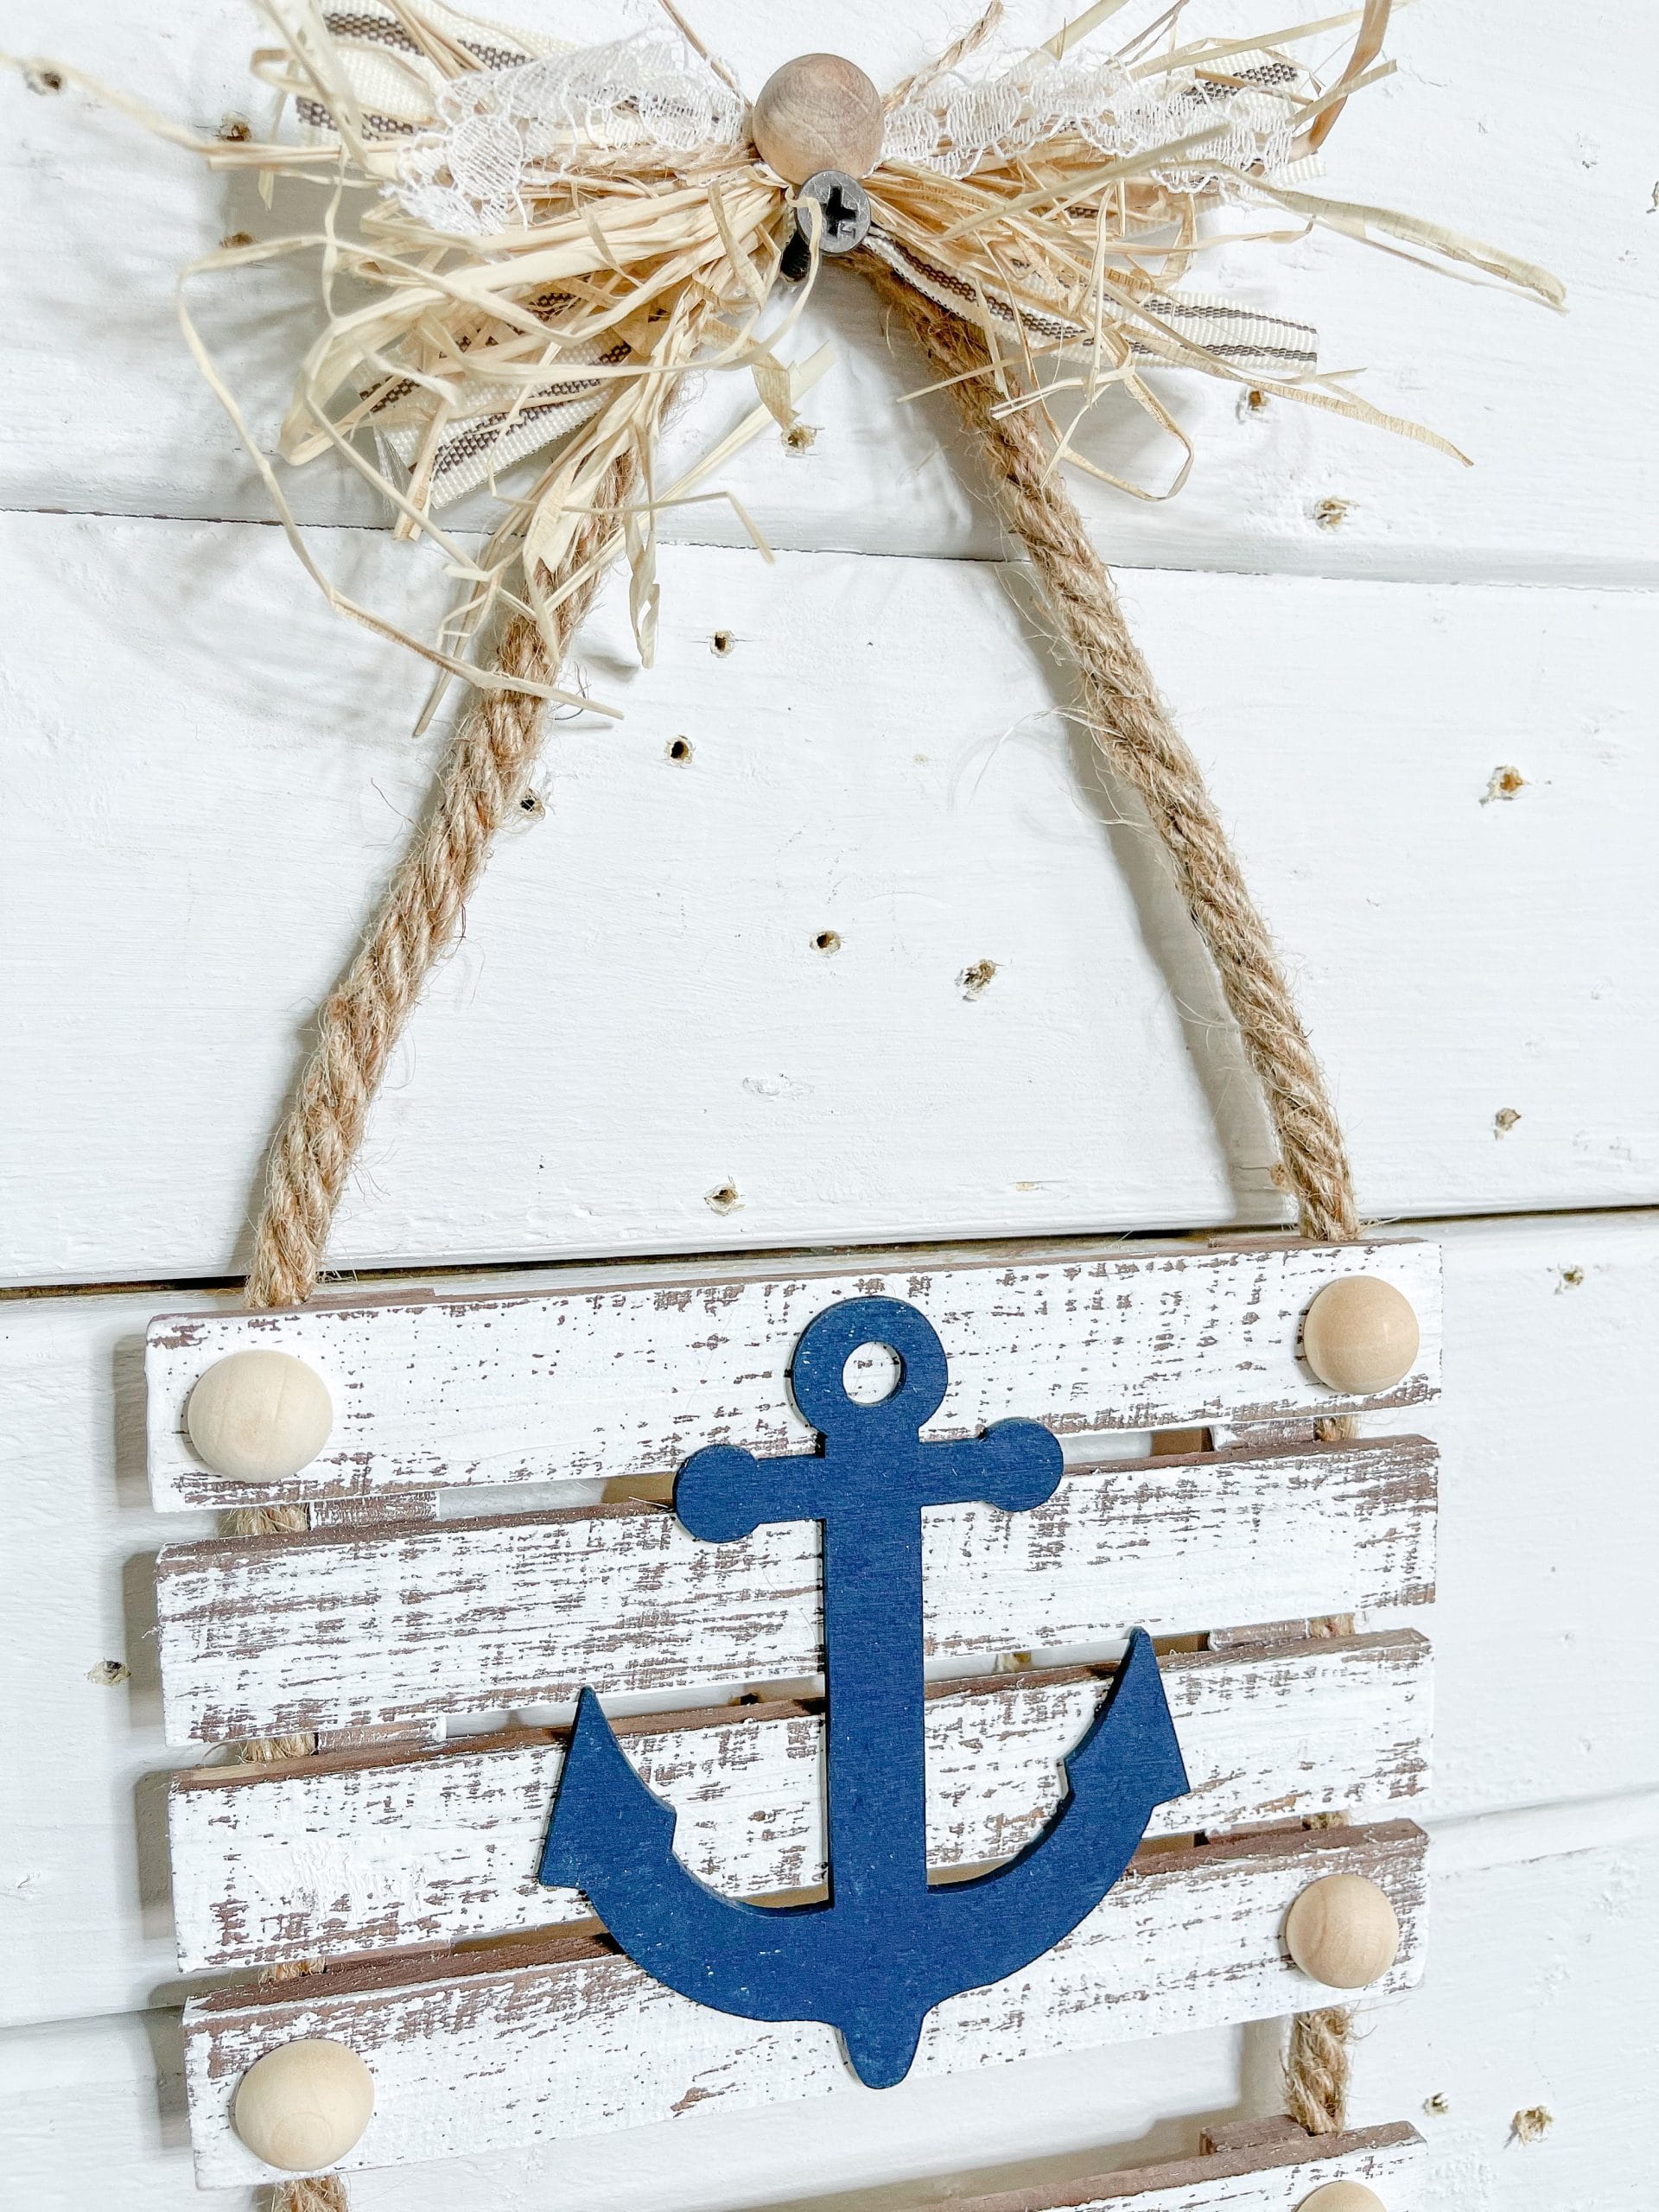
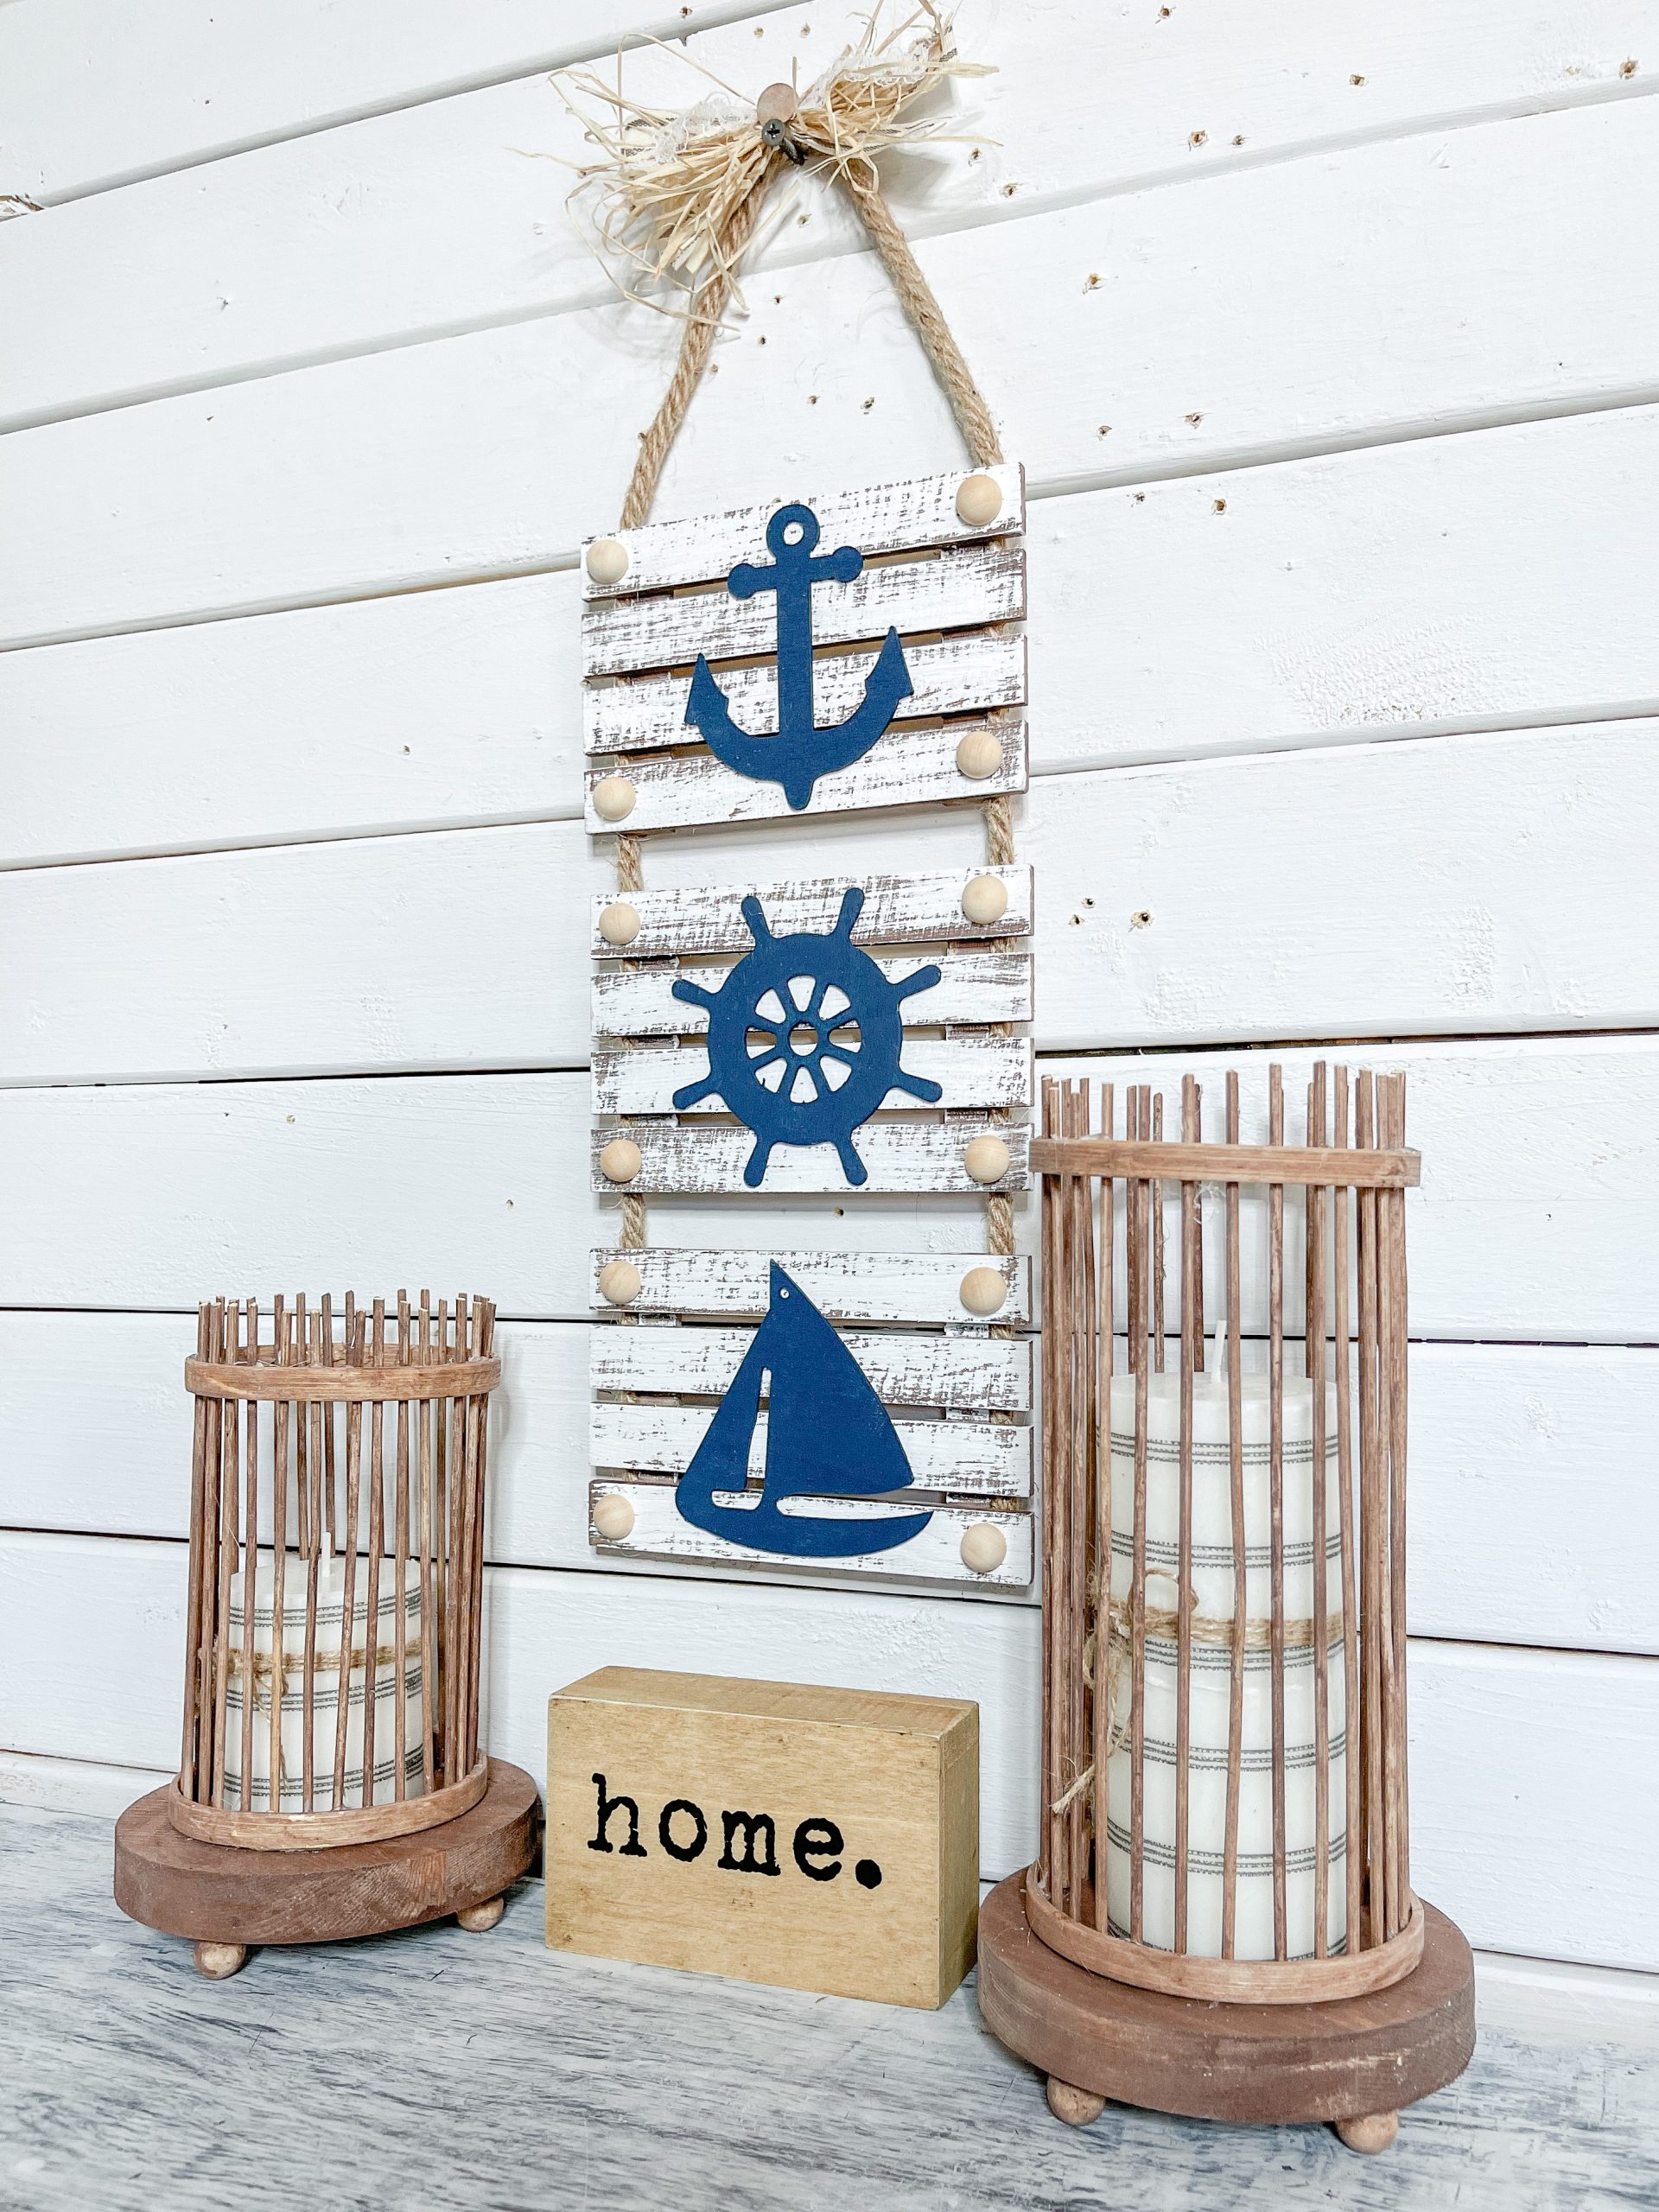
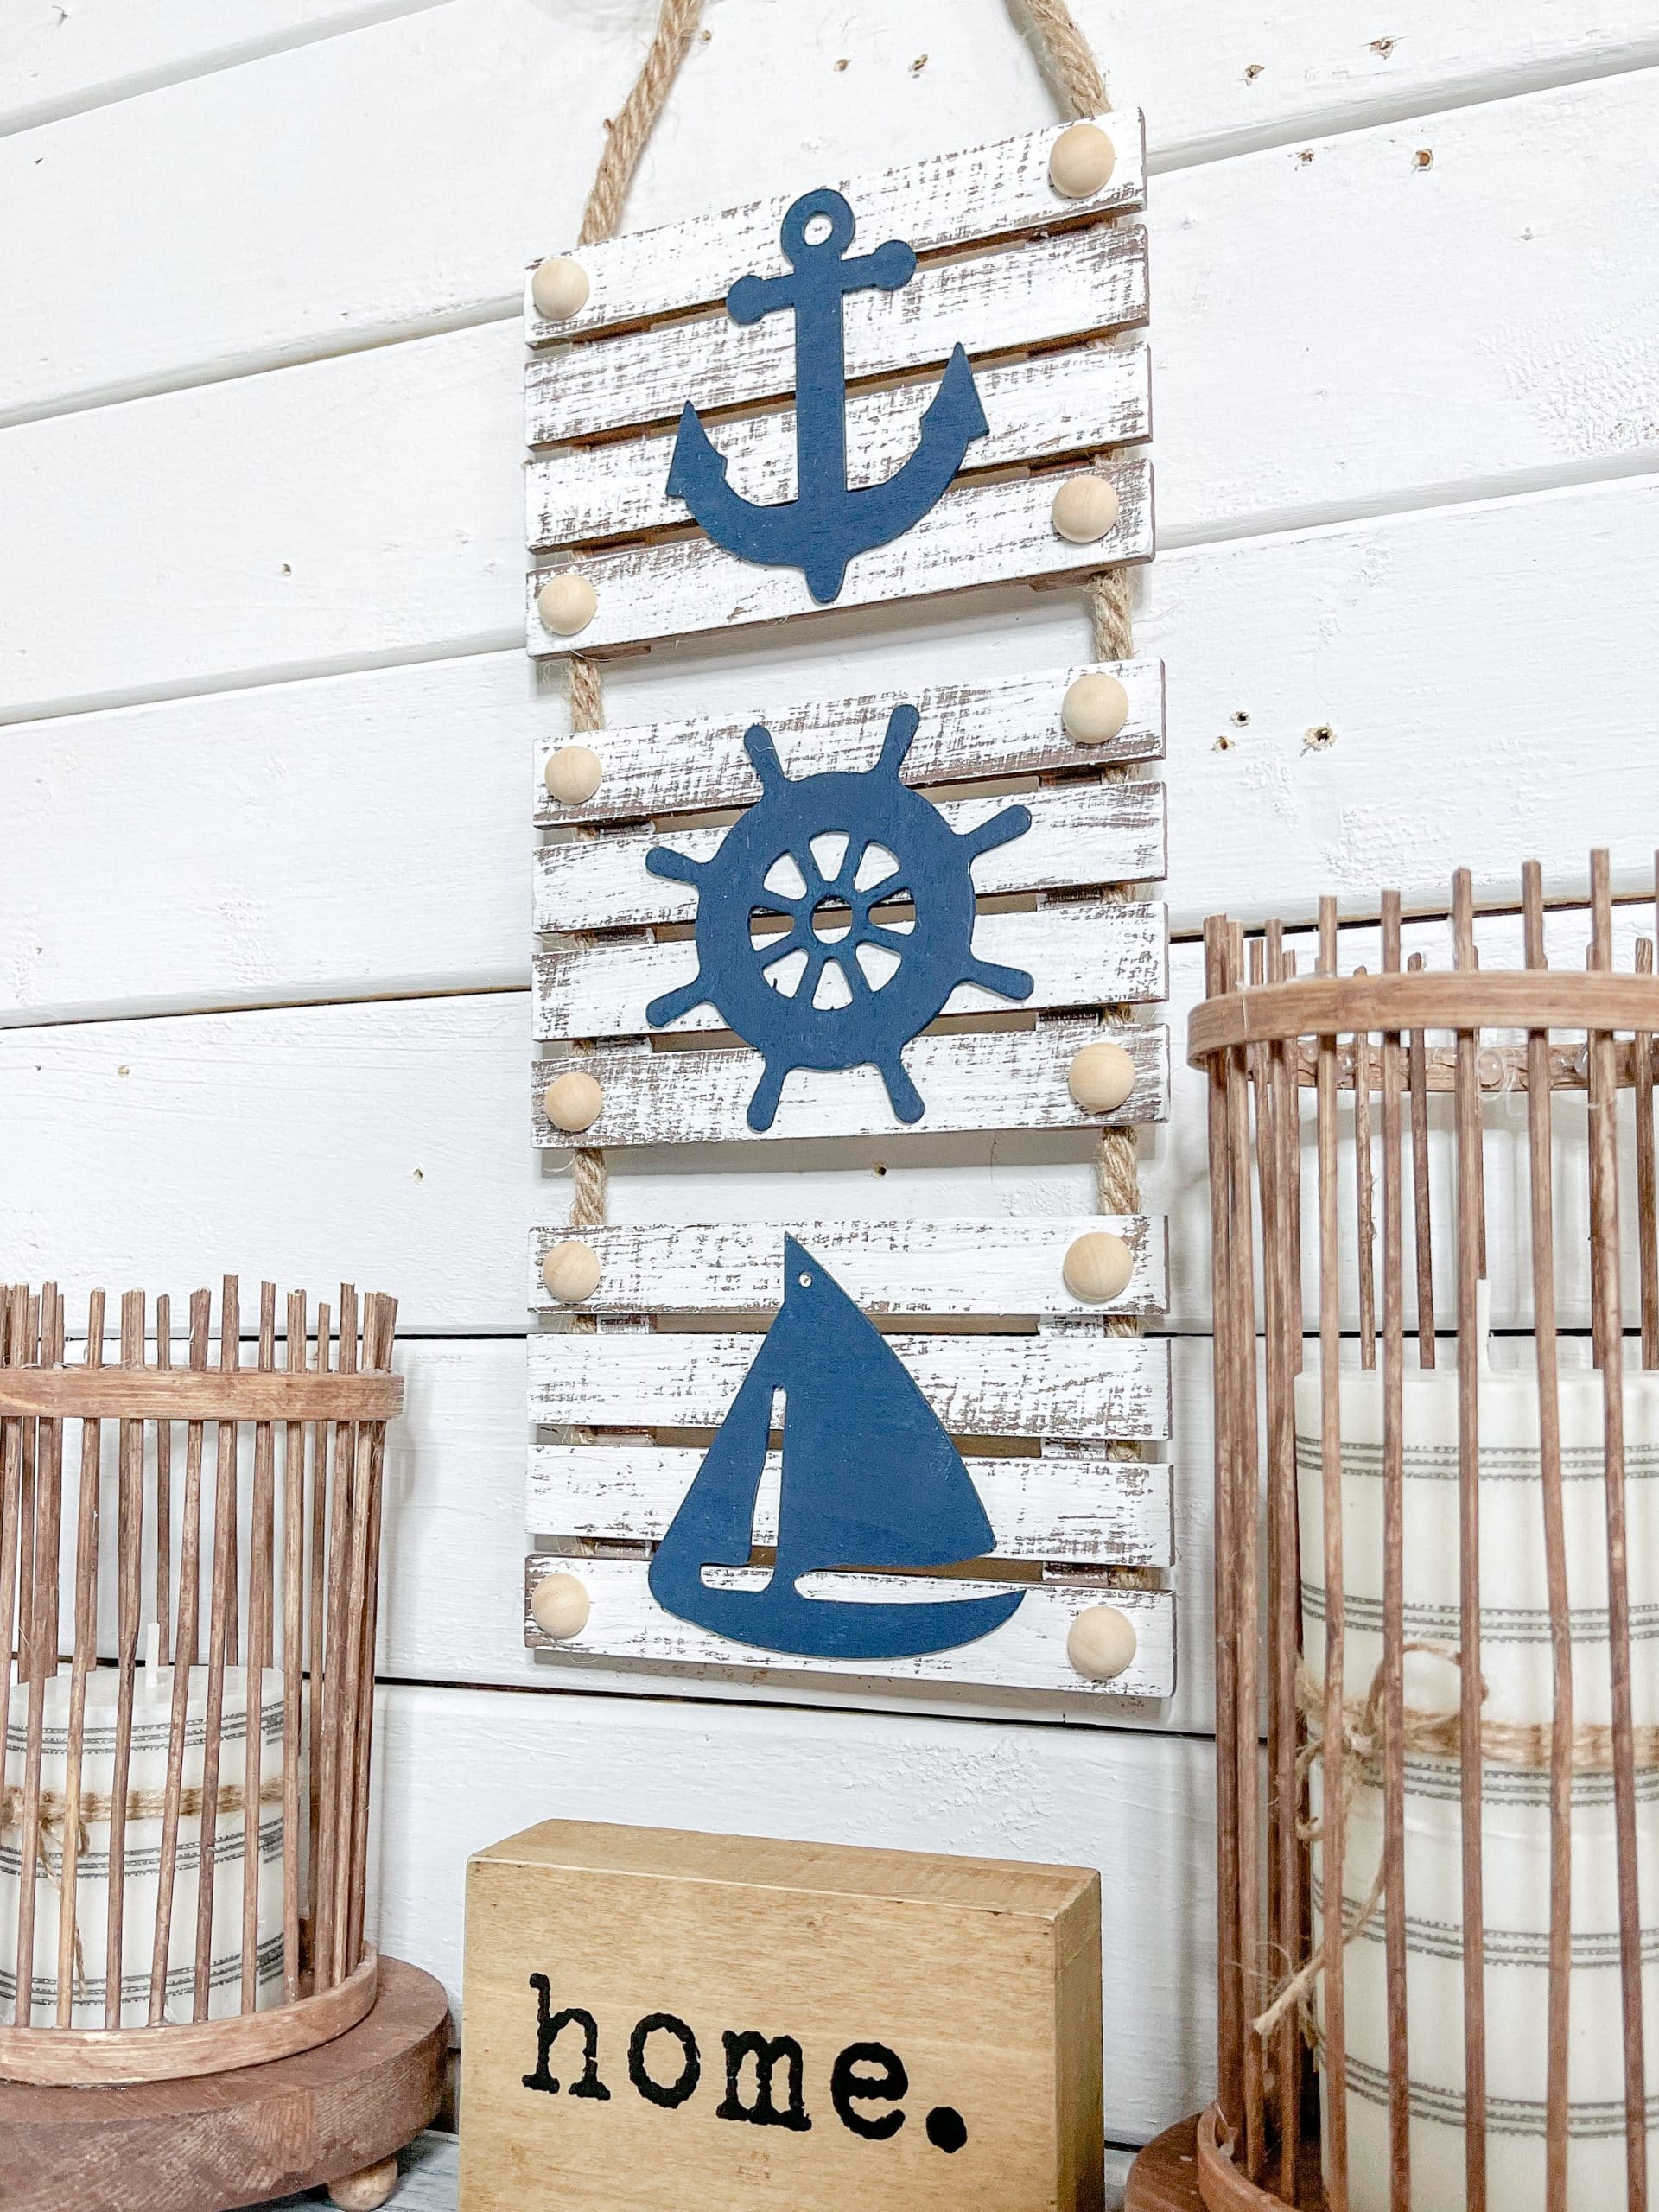
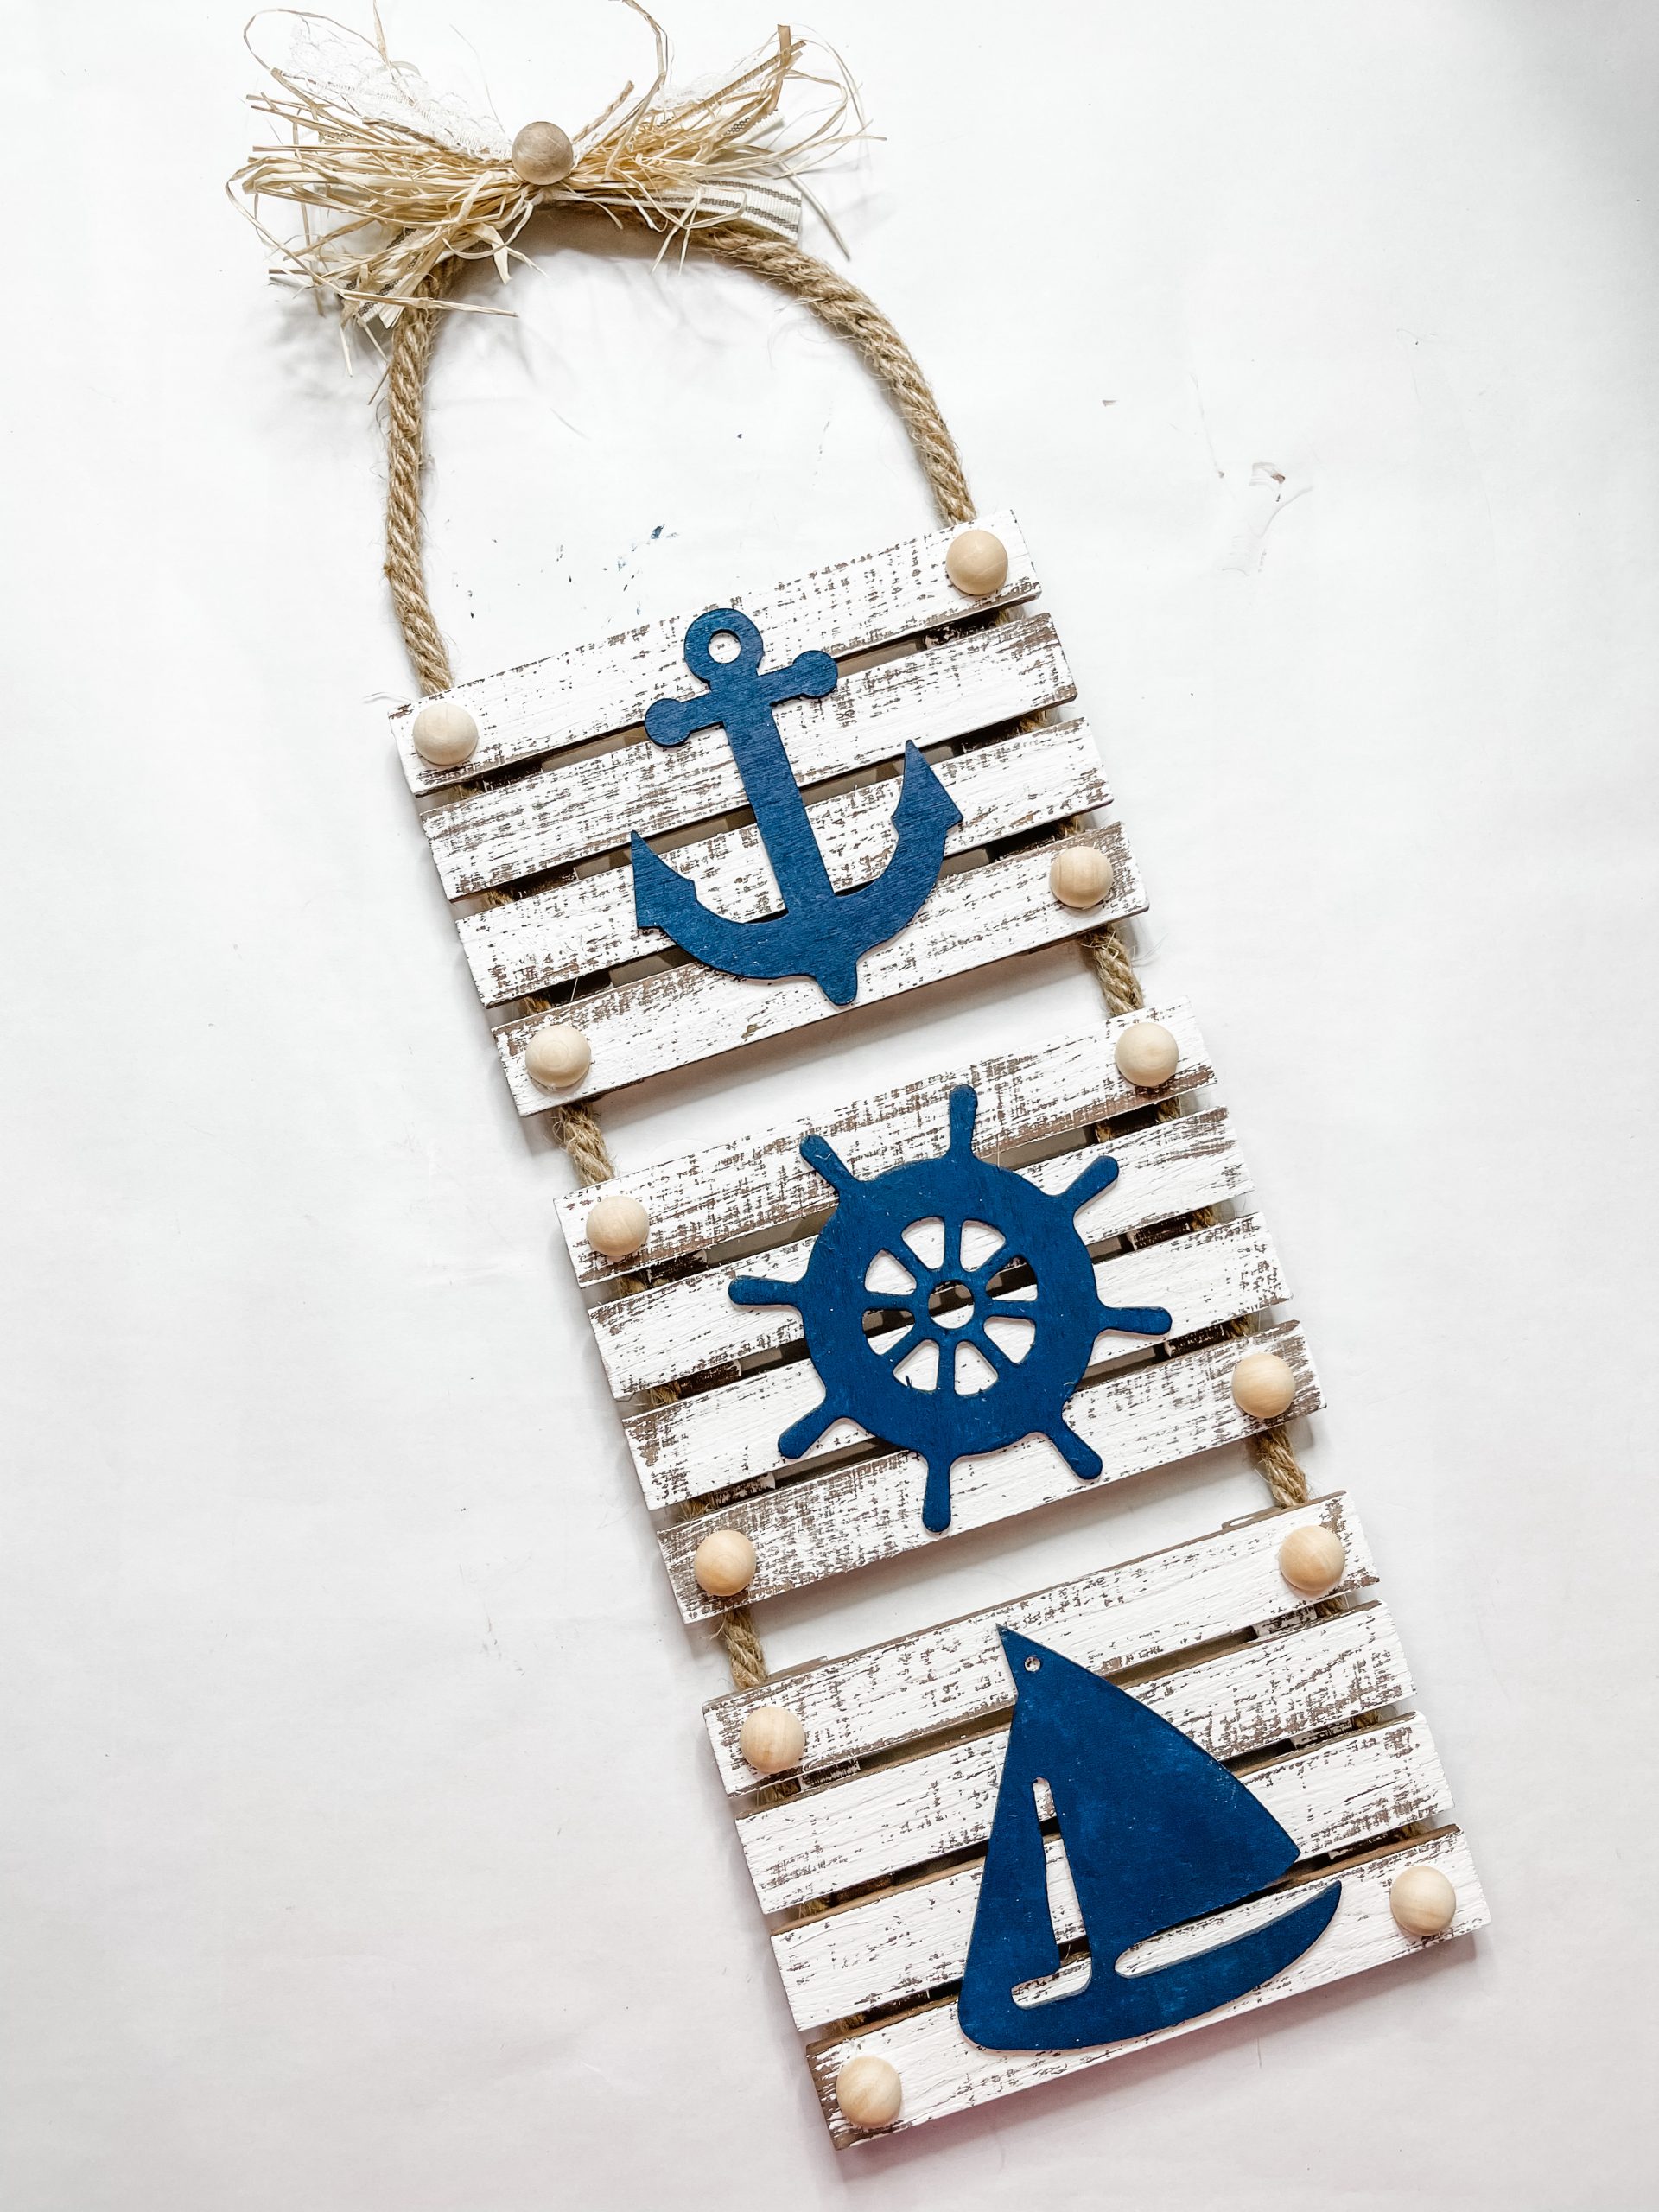
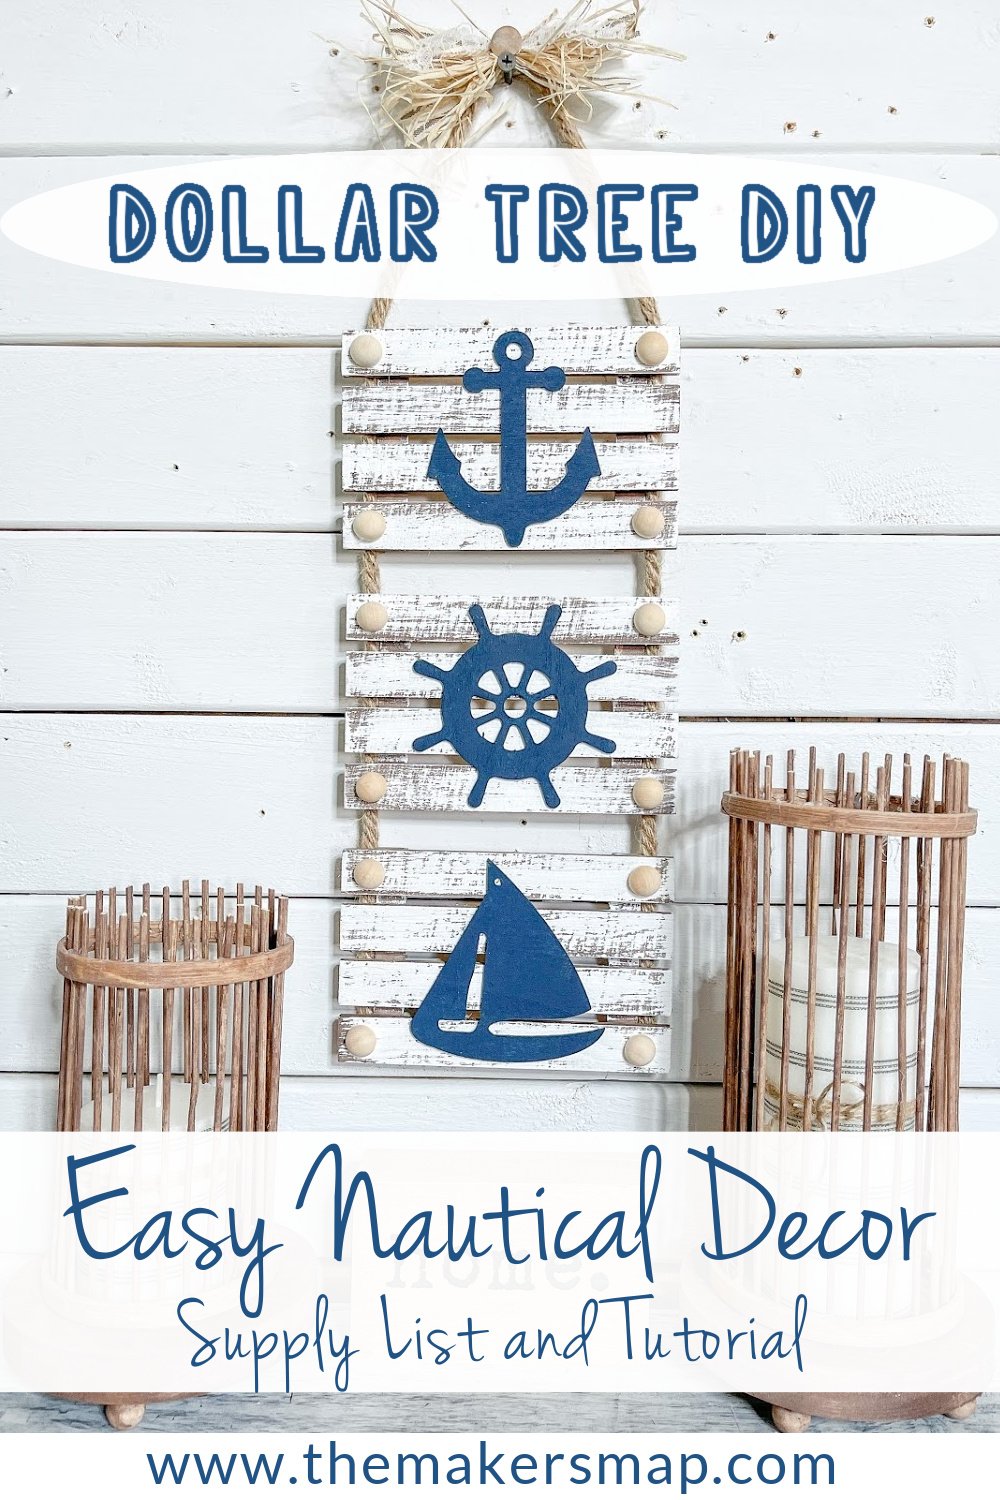
I’ve said it before, and I’ll say it again: I LOVE the Dollar Tree nautical line! I used three Dollar Tree nautical wood cutouts along with other regular Dollar Tree craft supplies to create this adorable DIY Dollar Tree Nautical Decor!
I know that not all Dollar Trees are created equal, and not everyone has access to the new nautical items, so I created a printable template for several of the nautical designs! You can have the Free Nautical Template Printables delivered straight to your email inbox!
Watch the replay
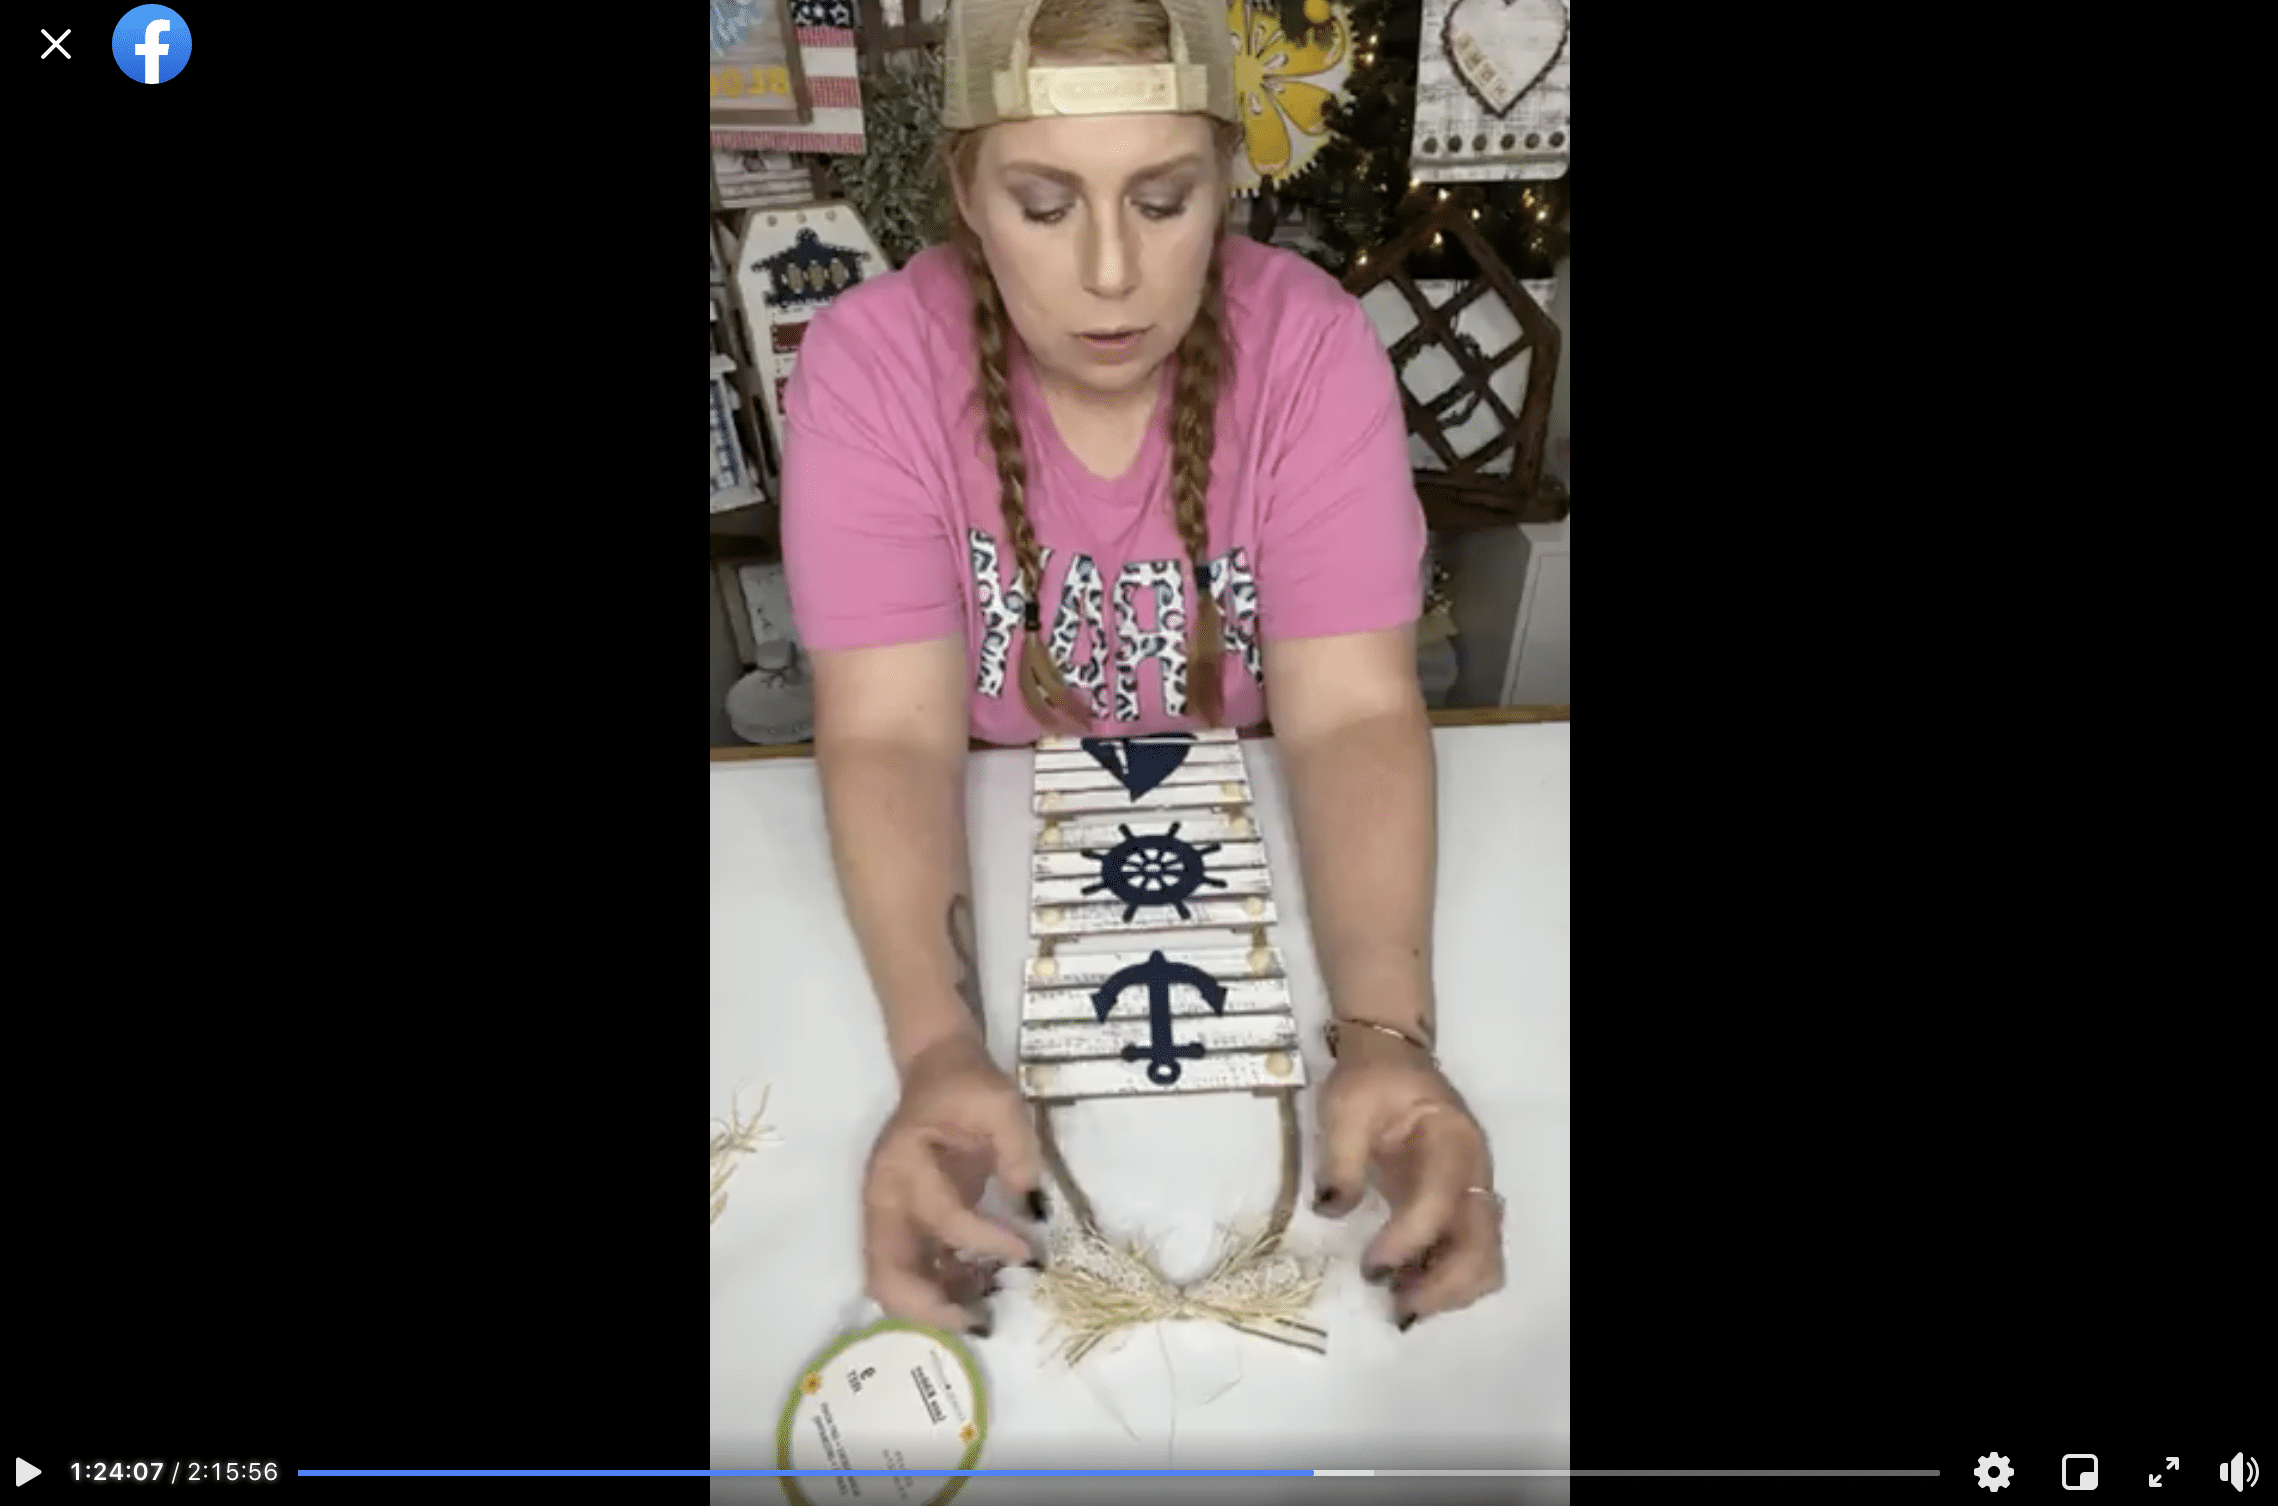
I recorded the how-to steps of making this DIY Dollar Tree nautical decor during a LIVE video on my Facebook page.
If you want to see the process, craft along, or join in on the fun conversations, you can watch the DIY tutorial replay!
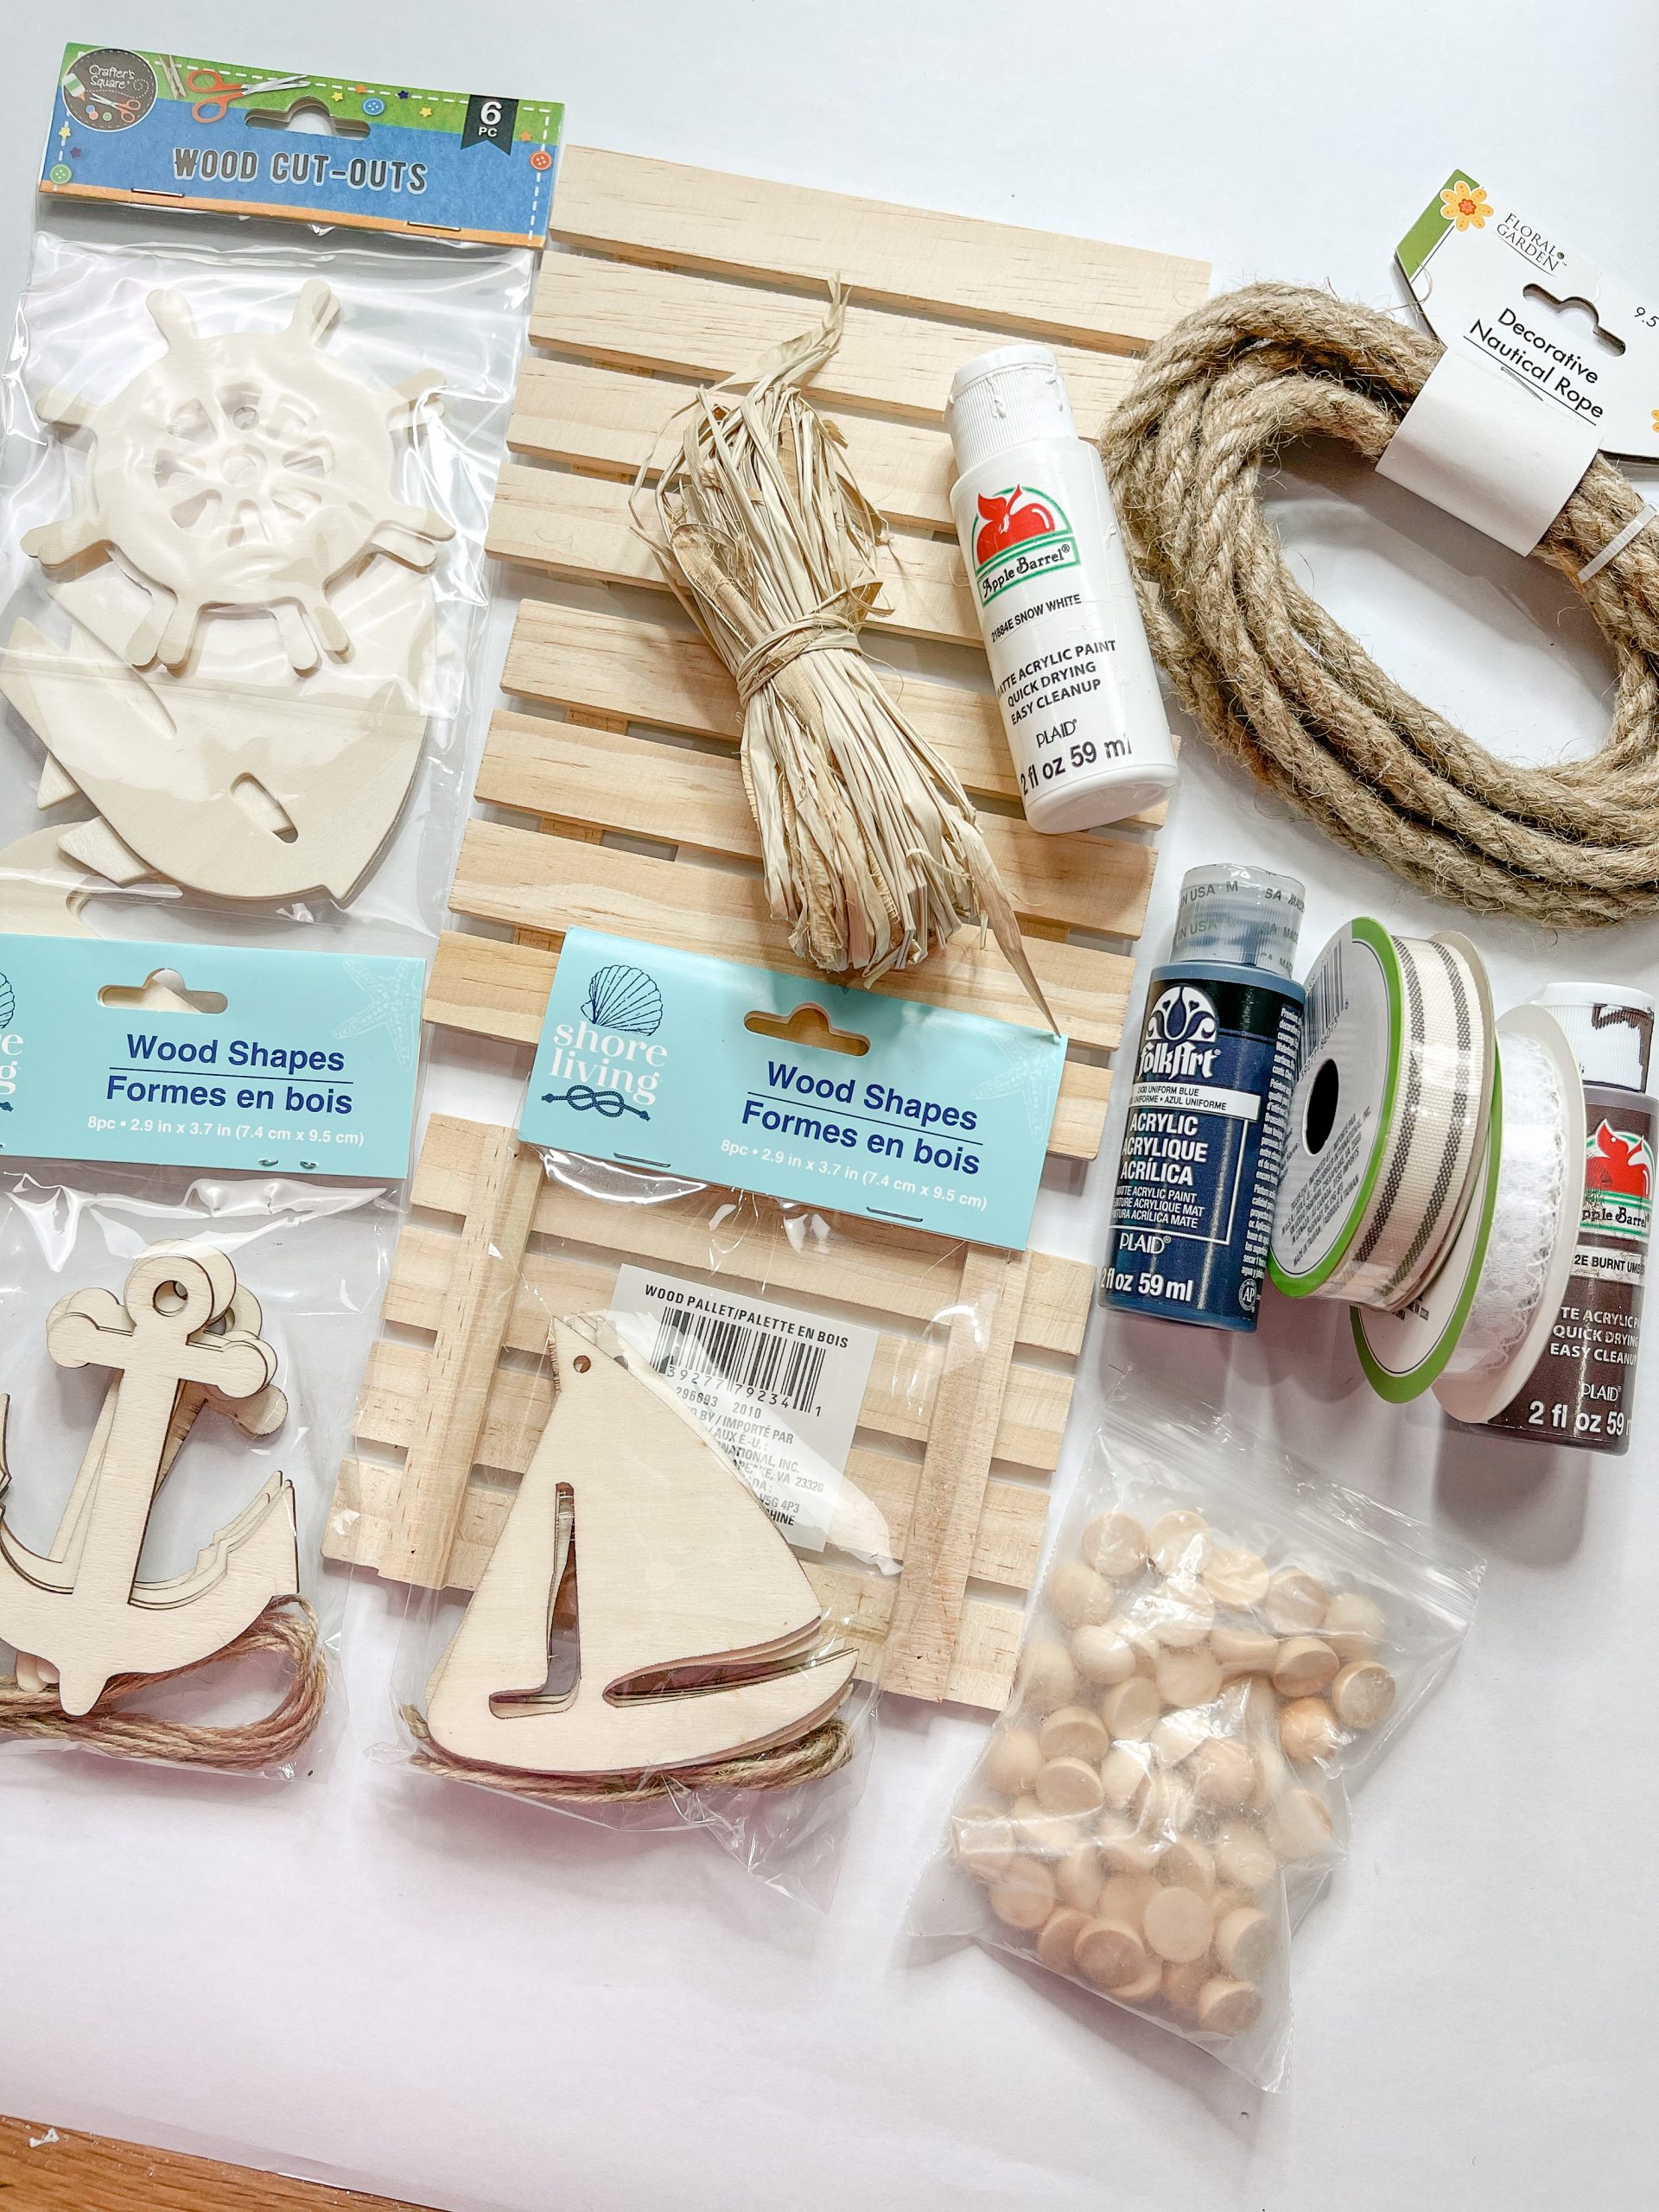
For this project, I will be using these items but you can substitute where you want.
“As an Amazon Associate, I earn from qualifying purchases.”
- Dollar Tree Mini Pallets (x3)
- Dollar Tree Nautical Wood Cutouts (x3)
- Halfwood Beads
- Dollar Tree Nautical Rope
- Dollar Tree Natural Raffia
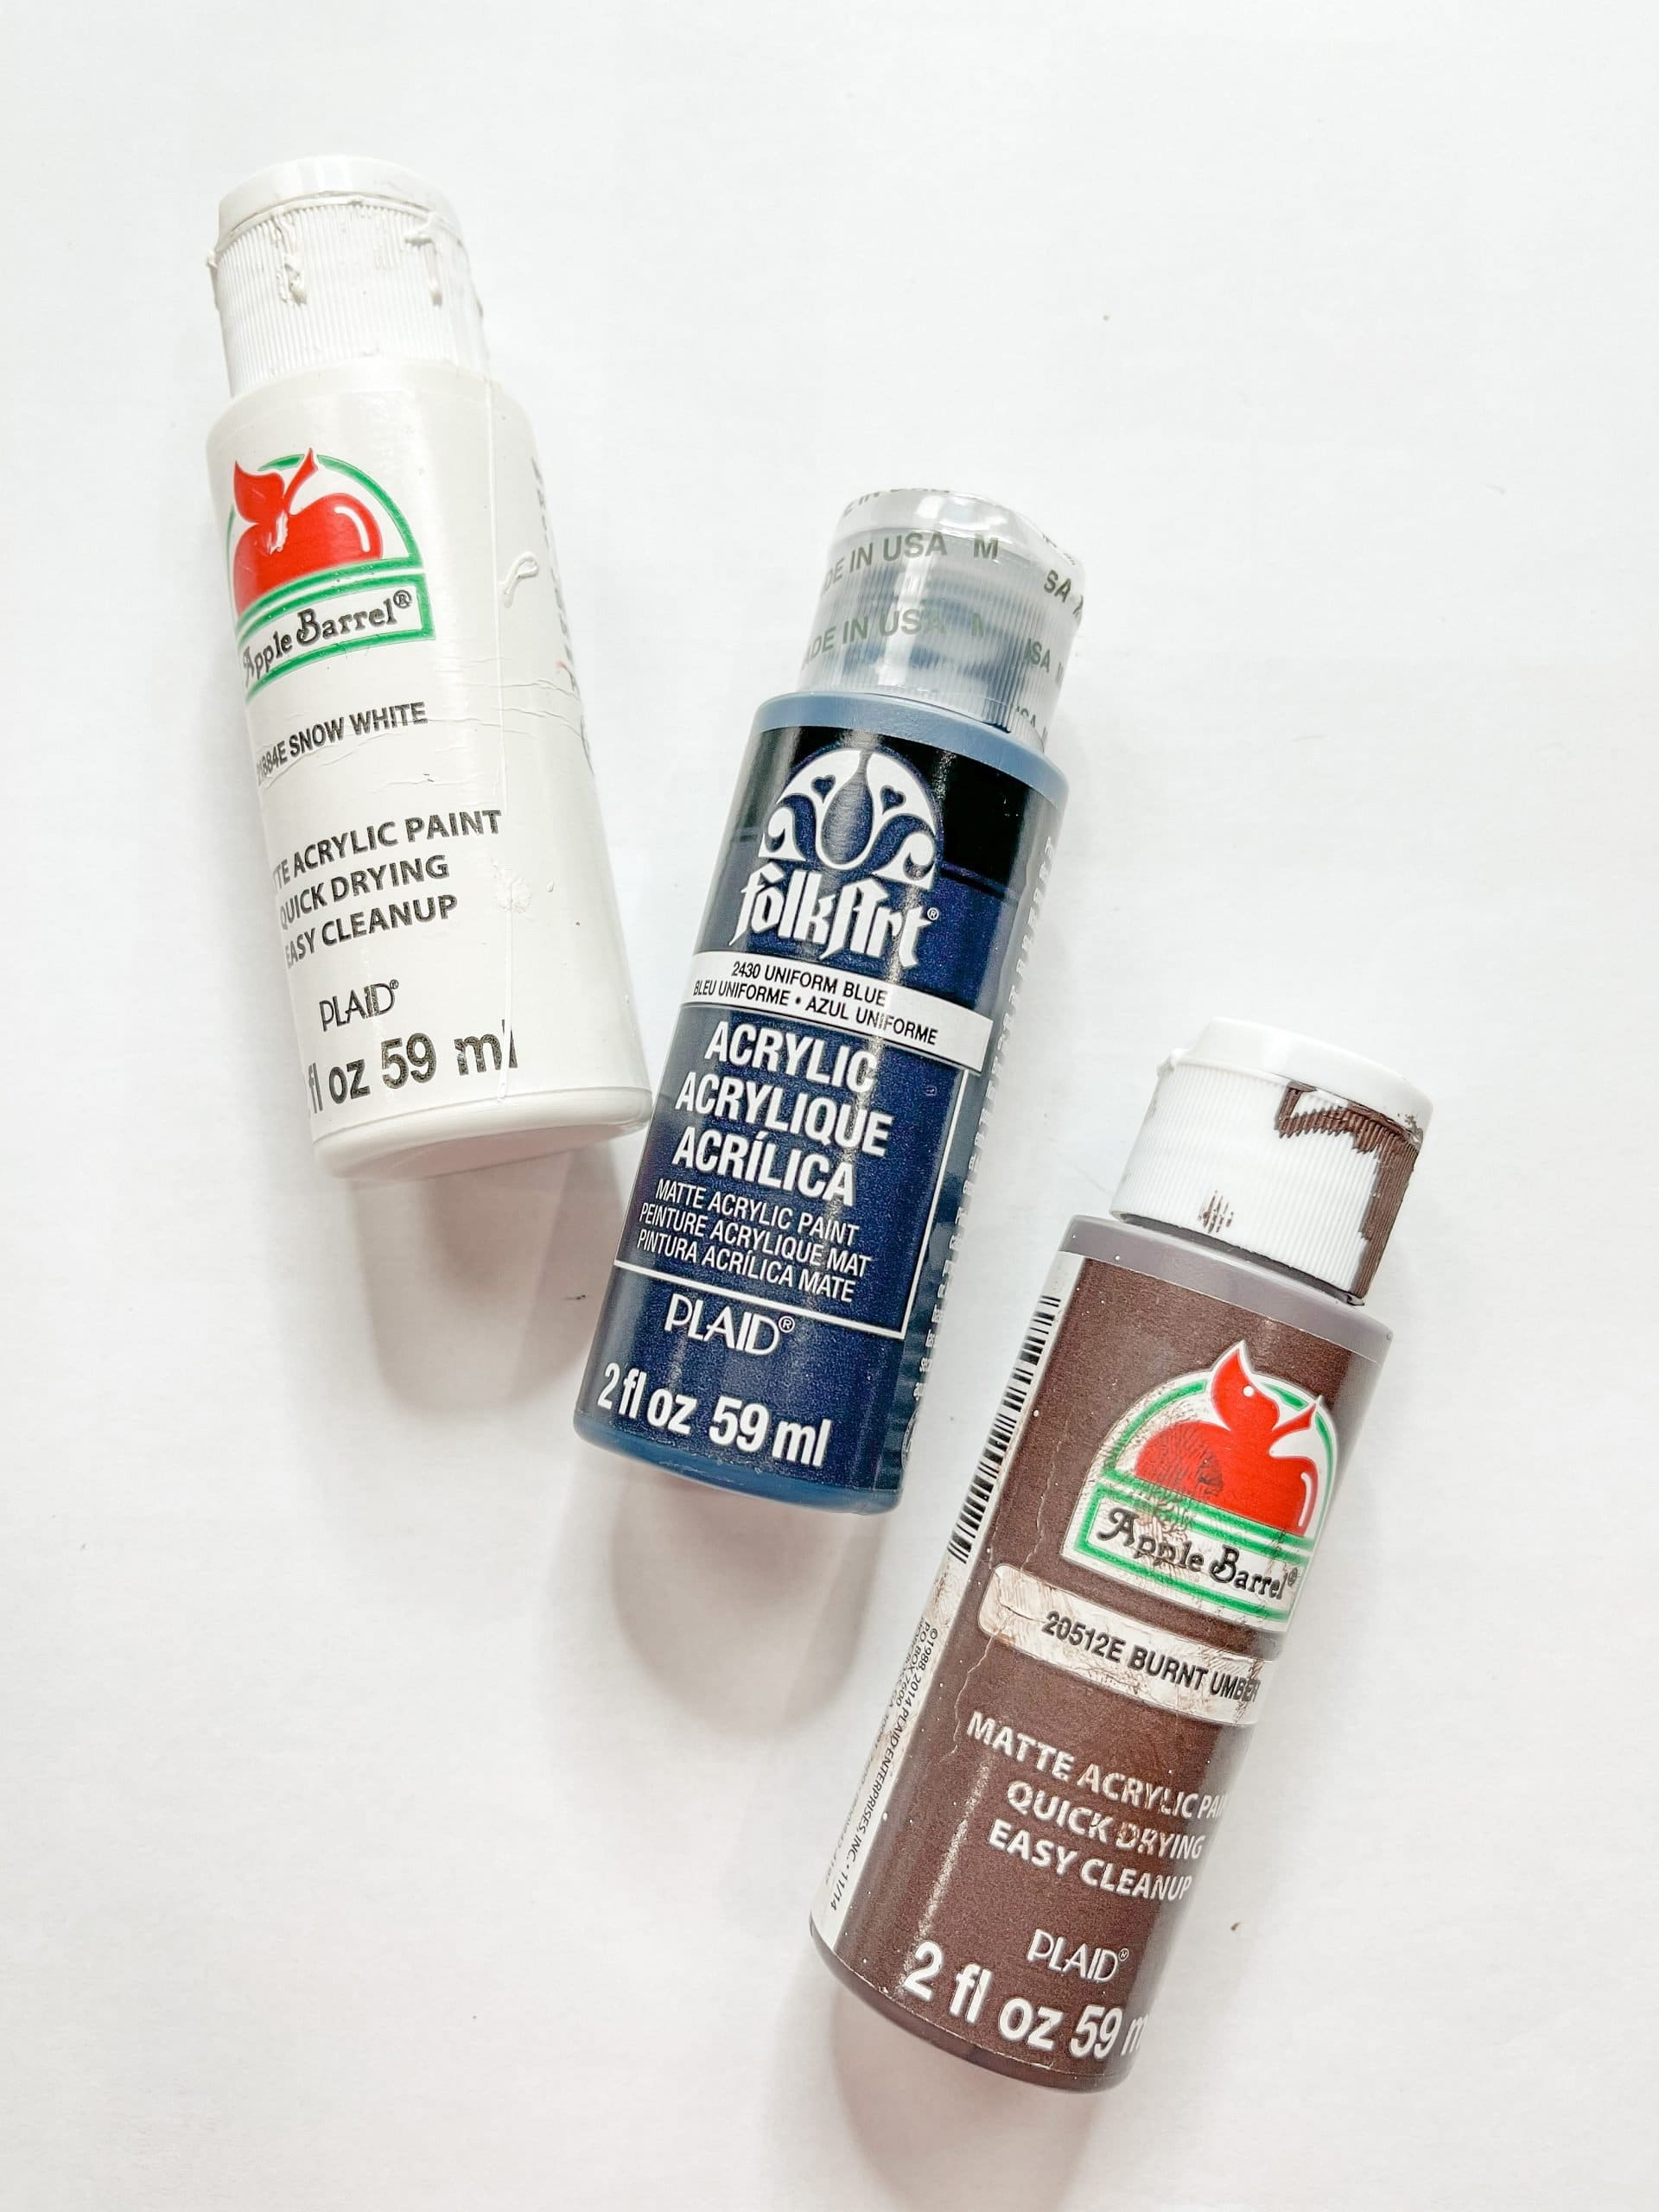
- Folkart Blue Acrylic Paint
- Dollar Tree Ticking Ribbon
- Dollar Tree Lace Ribbon
- Apple Barrel Burnt Umber Acrylic Paint
- Apple Barrel White Acrylic Paint
- Hot Glue gun
- Glue Sticks
How to make DIY Dollar Tree Nautical Decor
Start this easy nautical DIY by staining your Dollar Tree mini pallets brown. I used Apple Barrel Burnt Umber Acrylic Paint for this. Pour some of the brown paint into a small bowl and mix in some water.
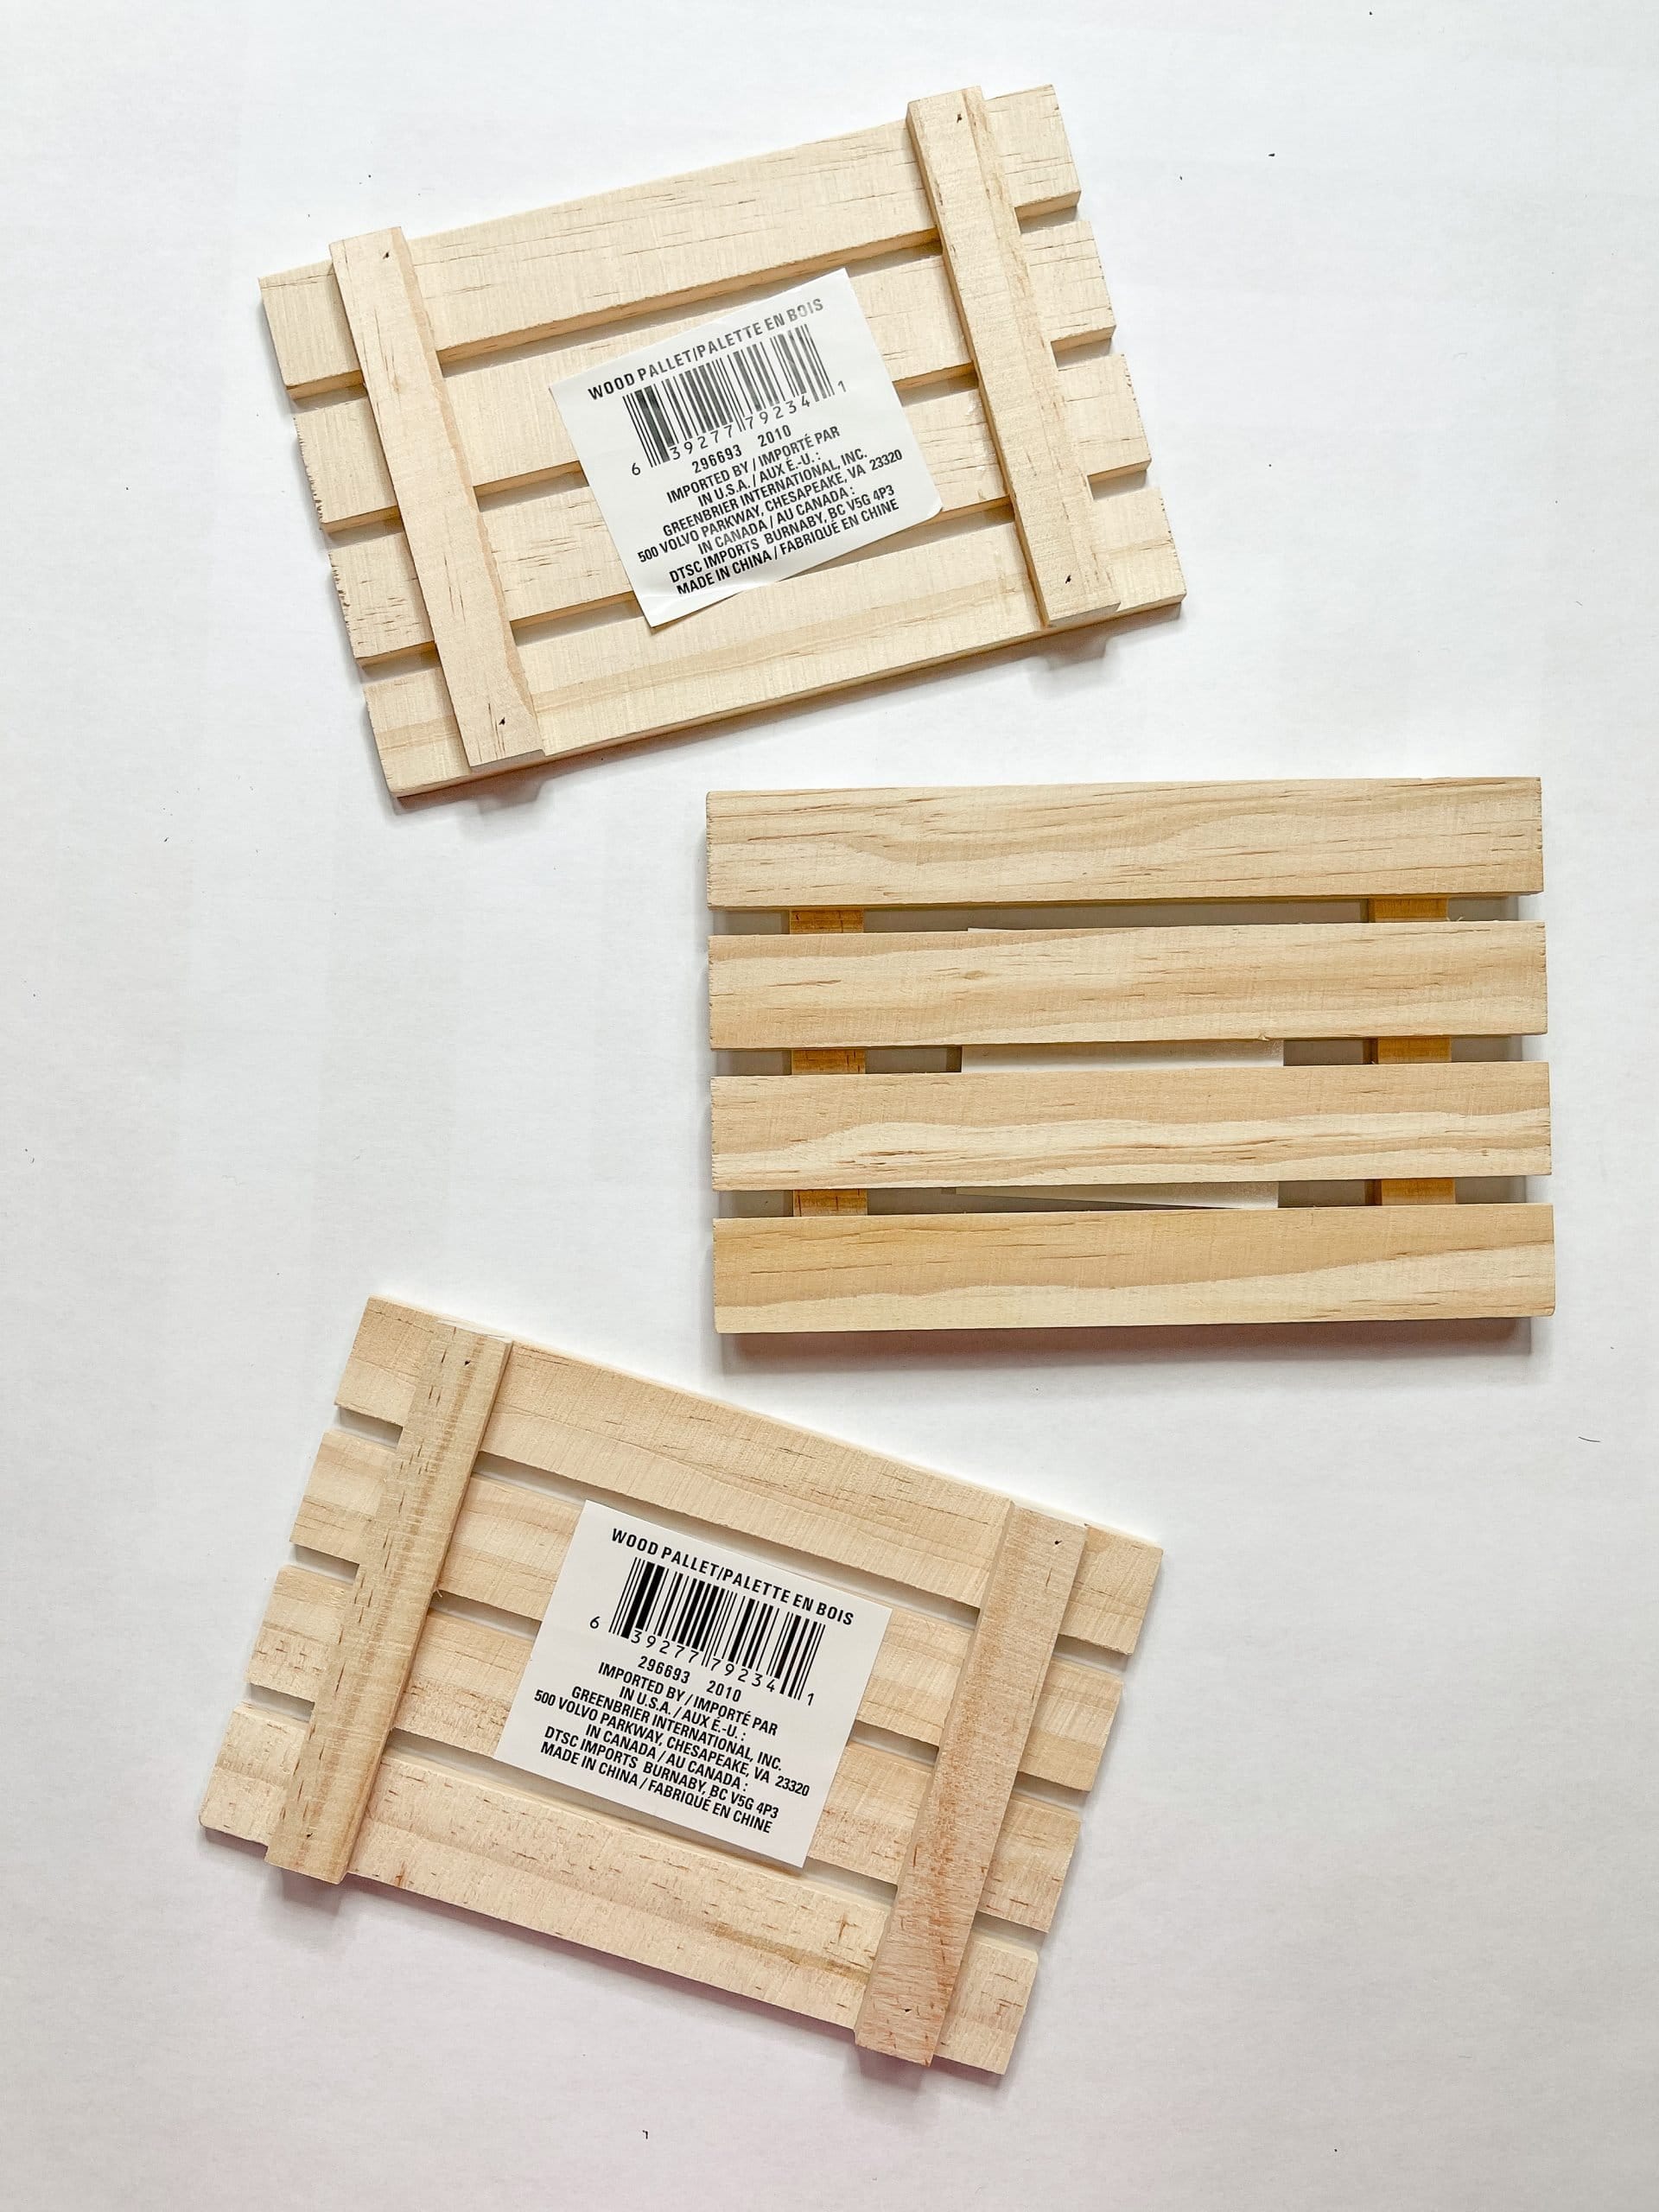
Then, use a baby wipe to spread the paint/water mixture across the surfaces of the three mini pallets. You can also use a small artist’s paintbrush to get the mixture into the crevices of the pallets.
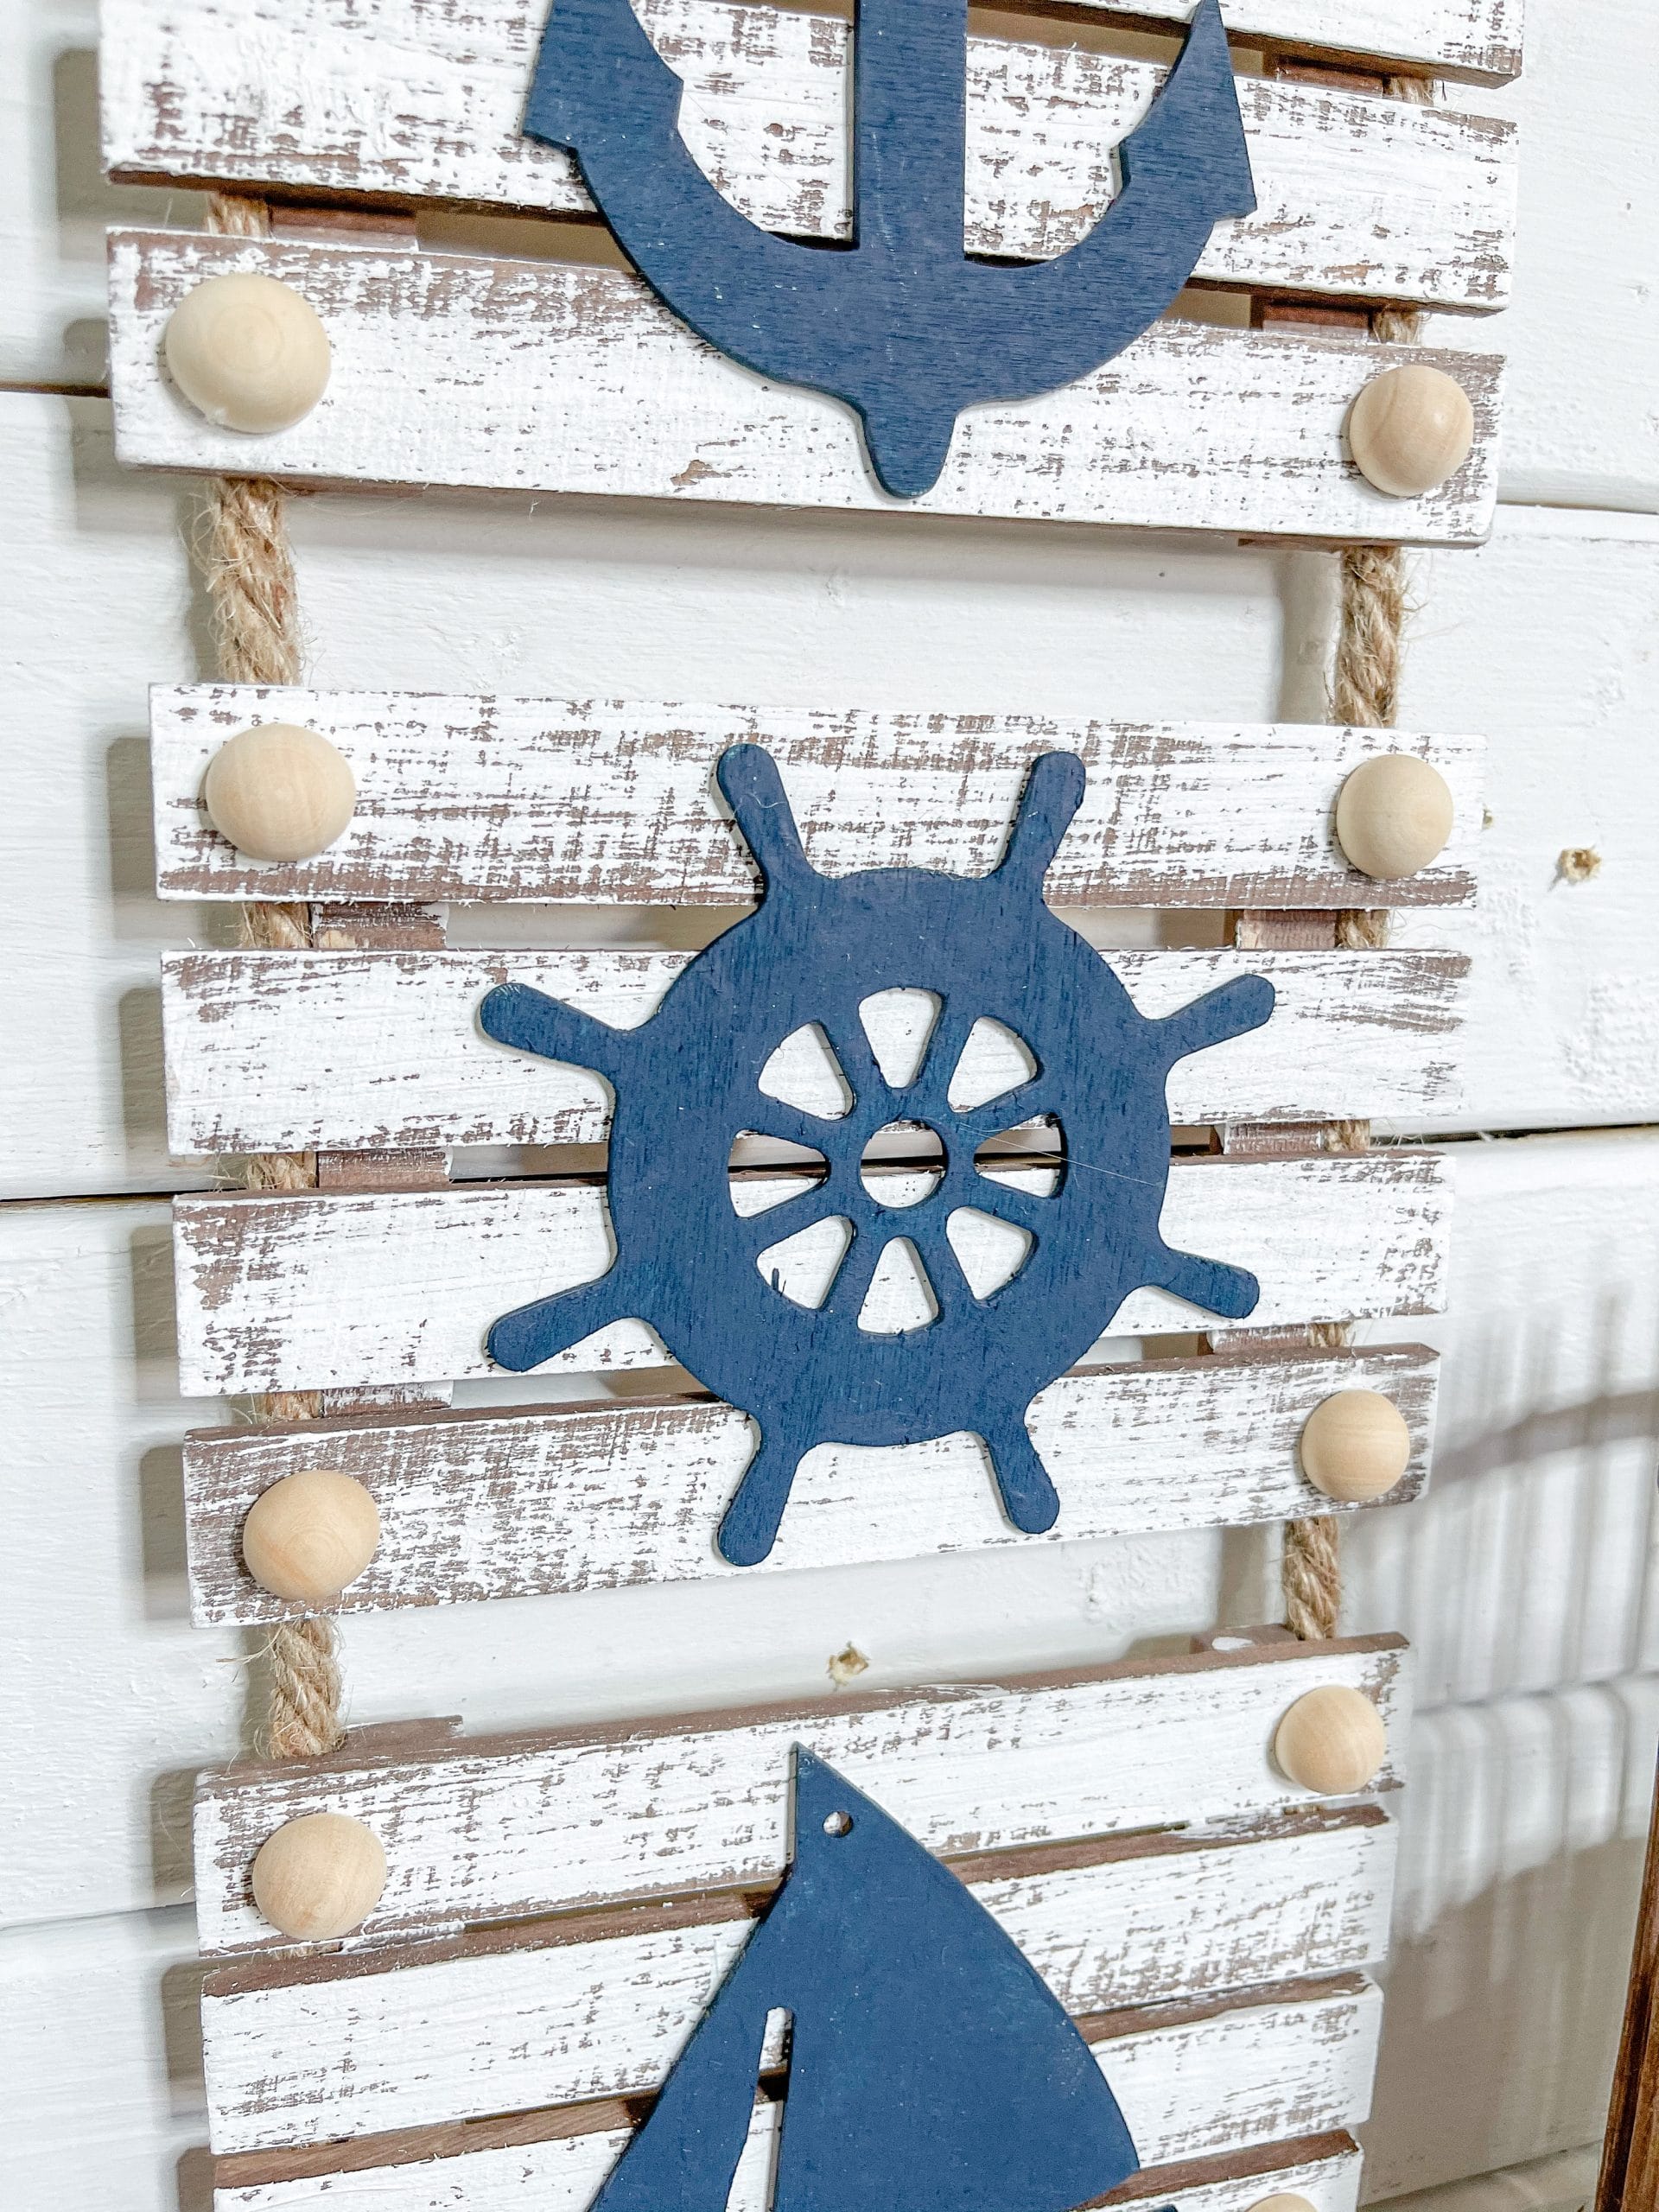
Let the pallets dry (I used my heat gun to speed up the drying process), then dry brush white paint with a chippy paintbrush onto the mini pallets. I used Apple Barrel White Acrylic Paint.
Drybrushing and keeping a light hand will give you an effortless distressed finish. Set the pallets to the side for right now and get the Dollar Tree nautical wood cutouts and your blue paint.
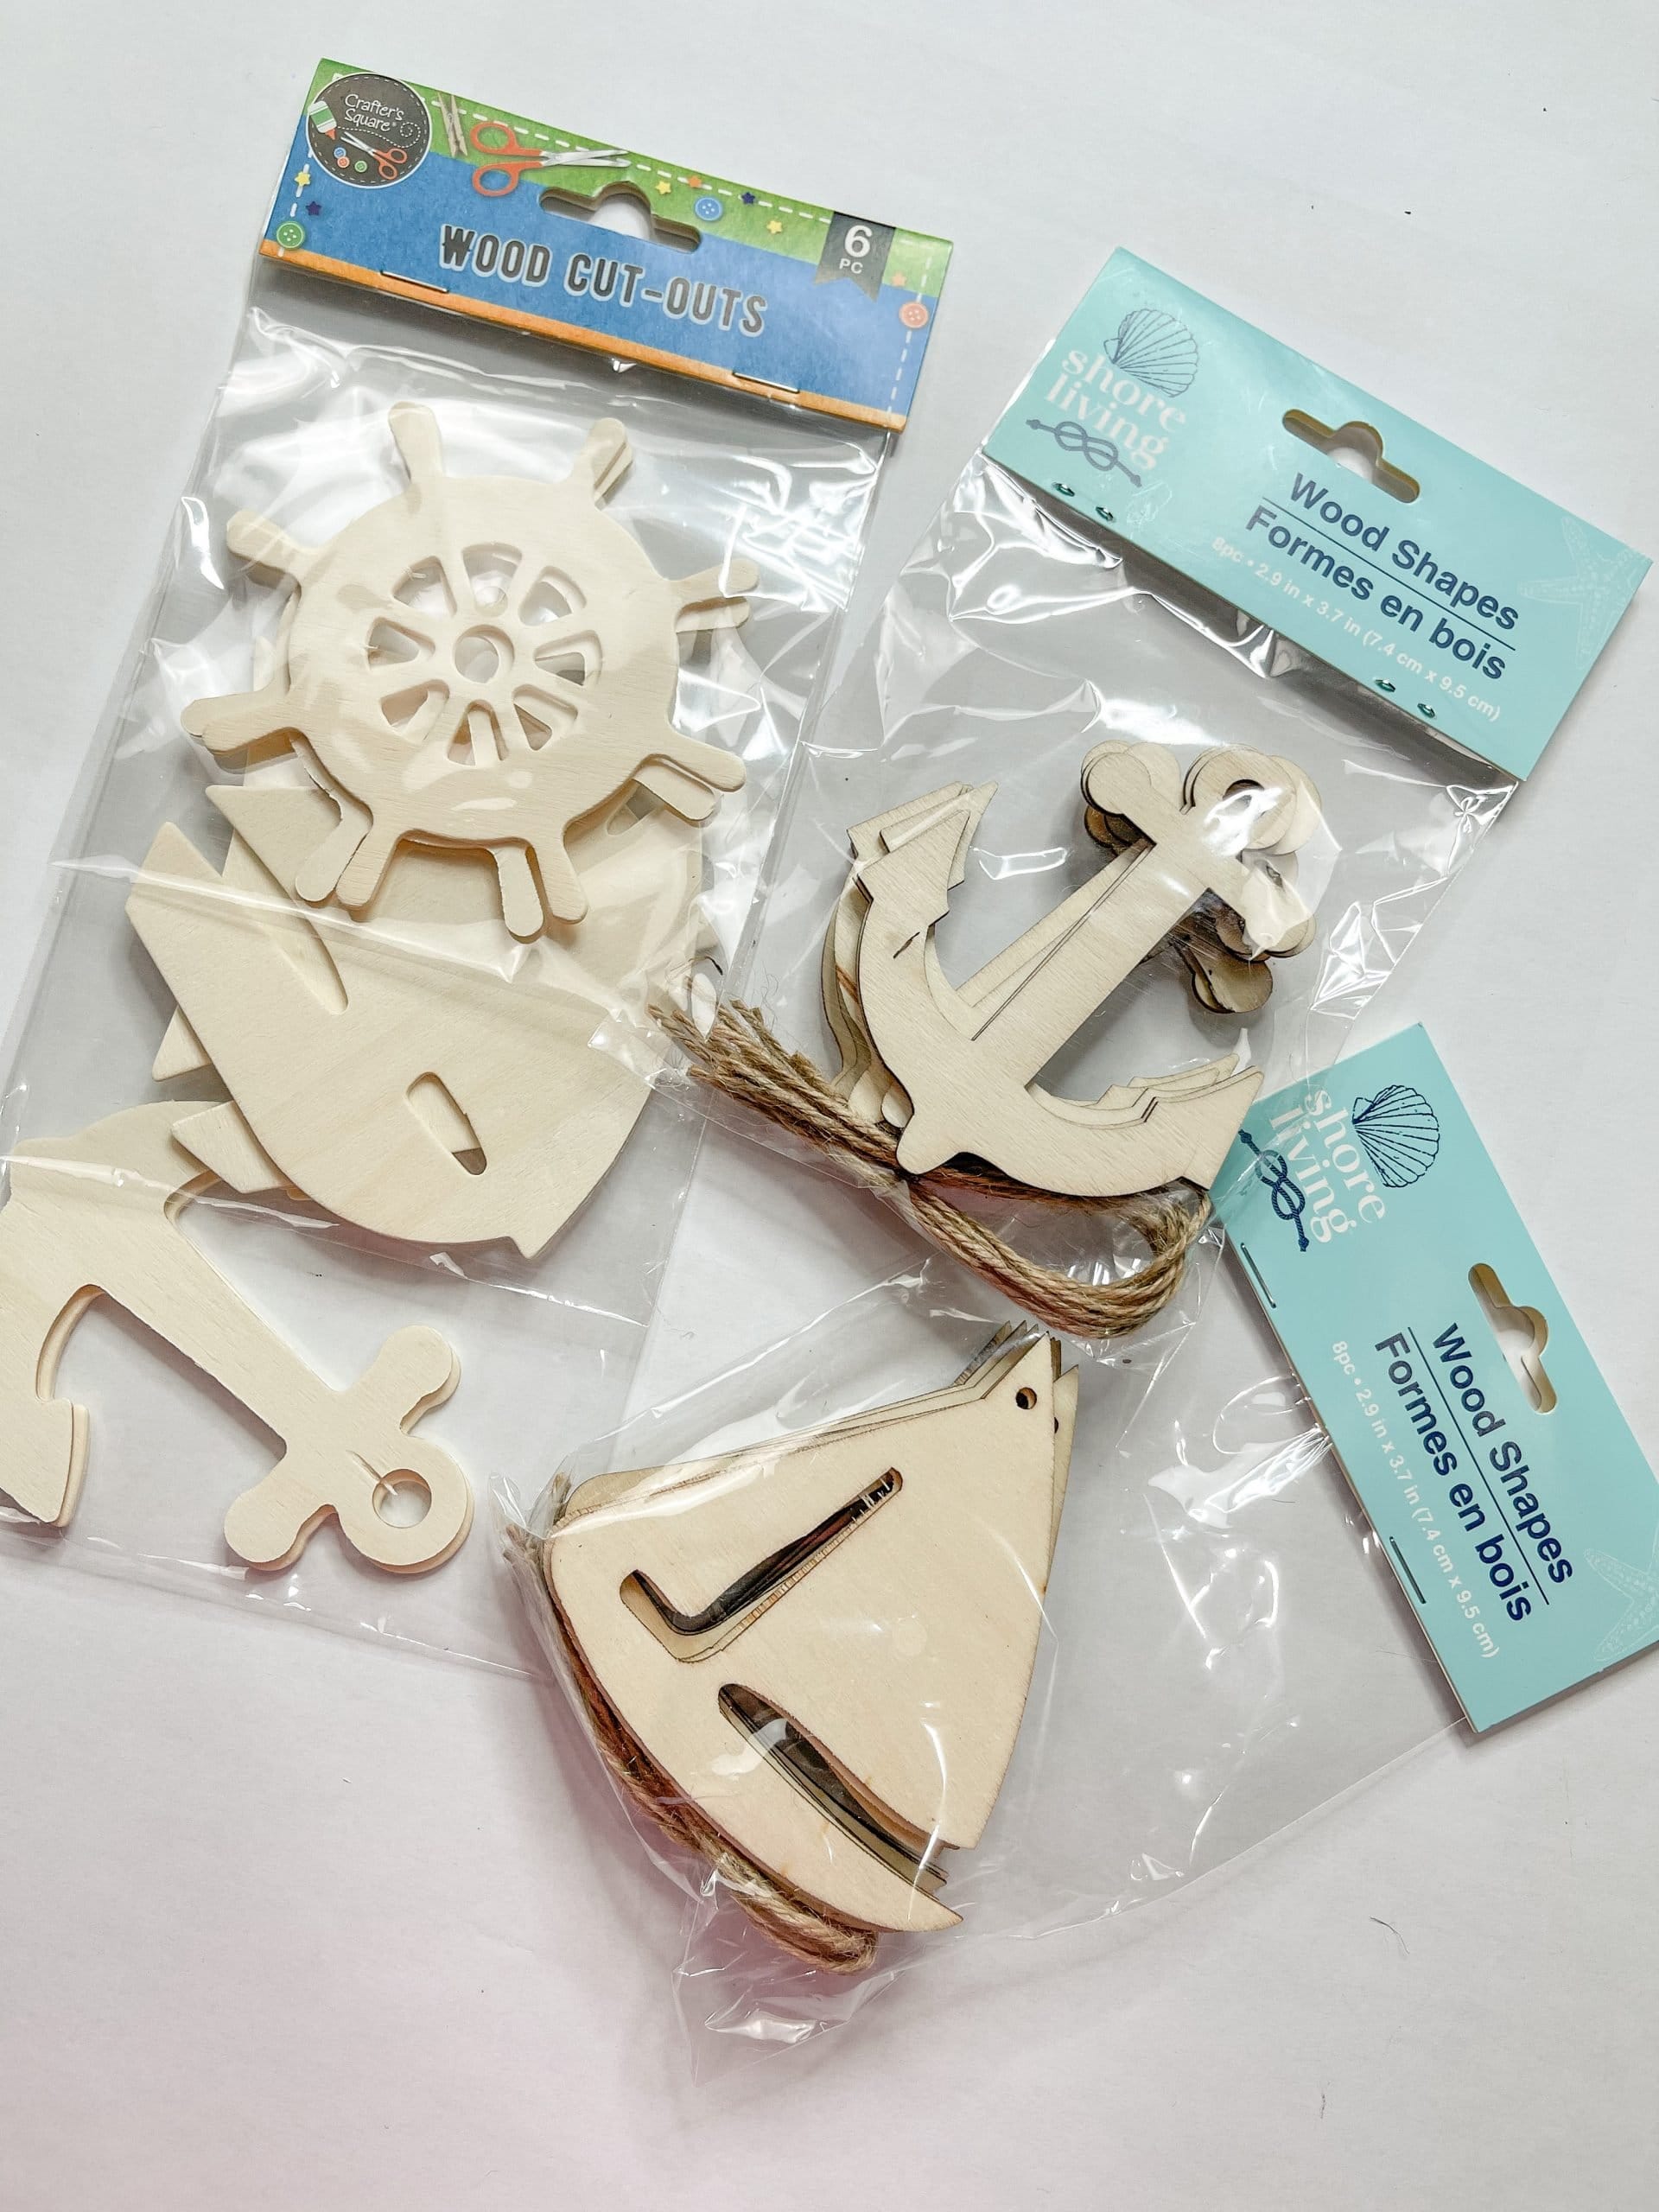
I chose to use an anchor, ship’s wheel, and sailboat cutouts for this project and I used Folkart Blue Acrylic Paint. I used a wet wipe to spread the blue paint onto each of the nautical wood cutouts.
To get the paint on the edges of the cutouts, I did use a small paintbrush. Then, I used my heat gun to quickly dry each of the wood nautical cutouts. If you don’t have a heat gun, you can use a hairdryer on the low cool setting.
Bring it all together
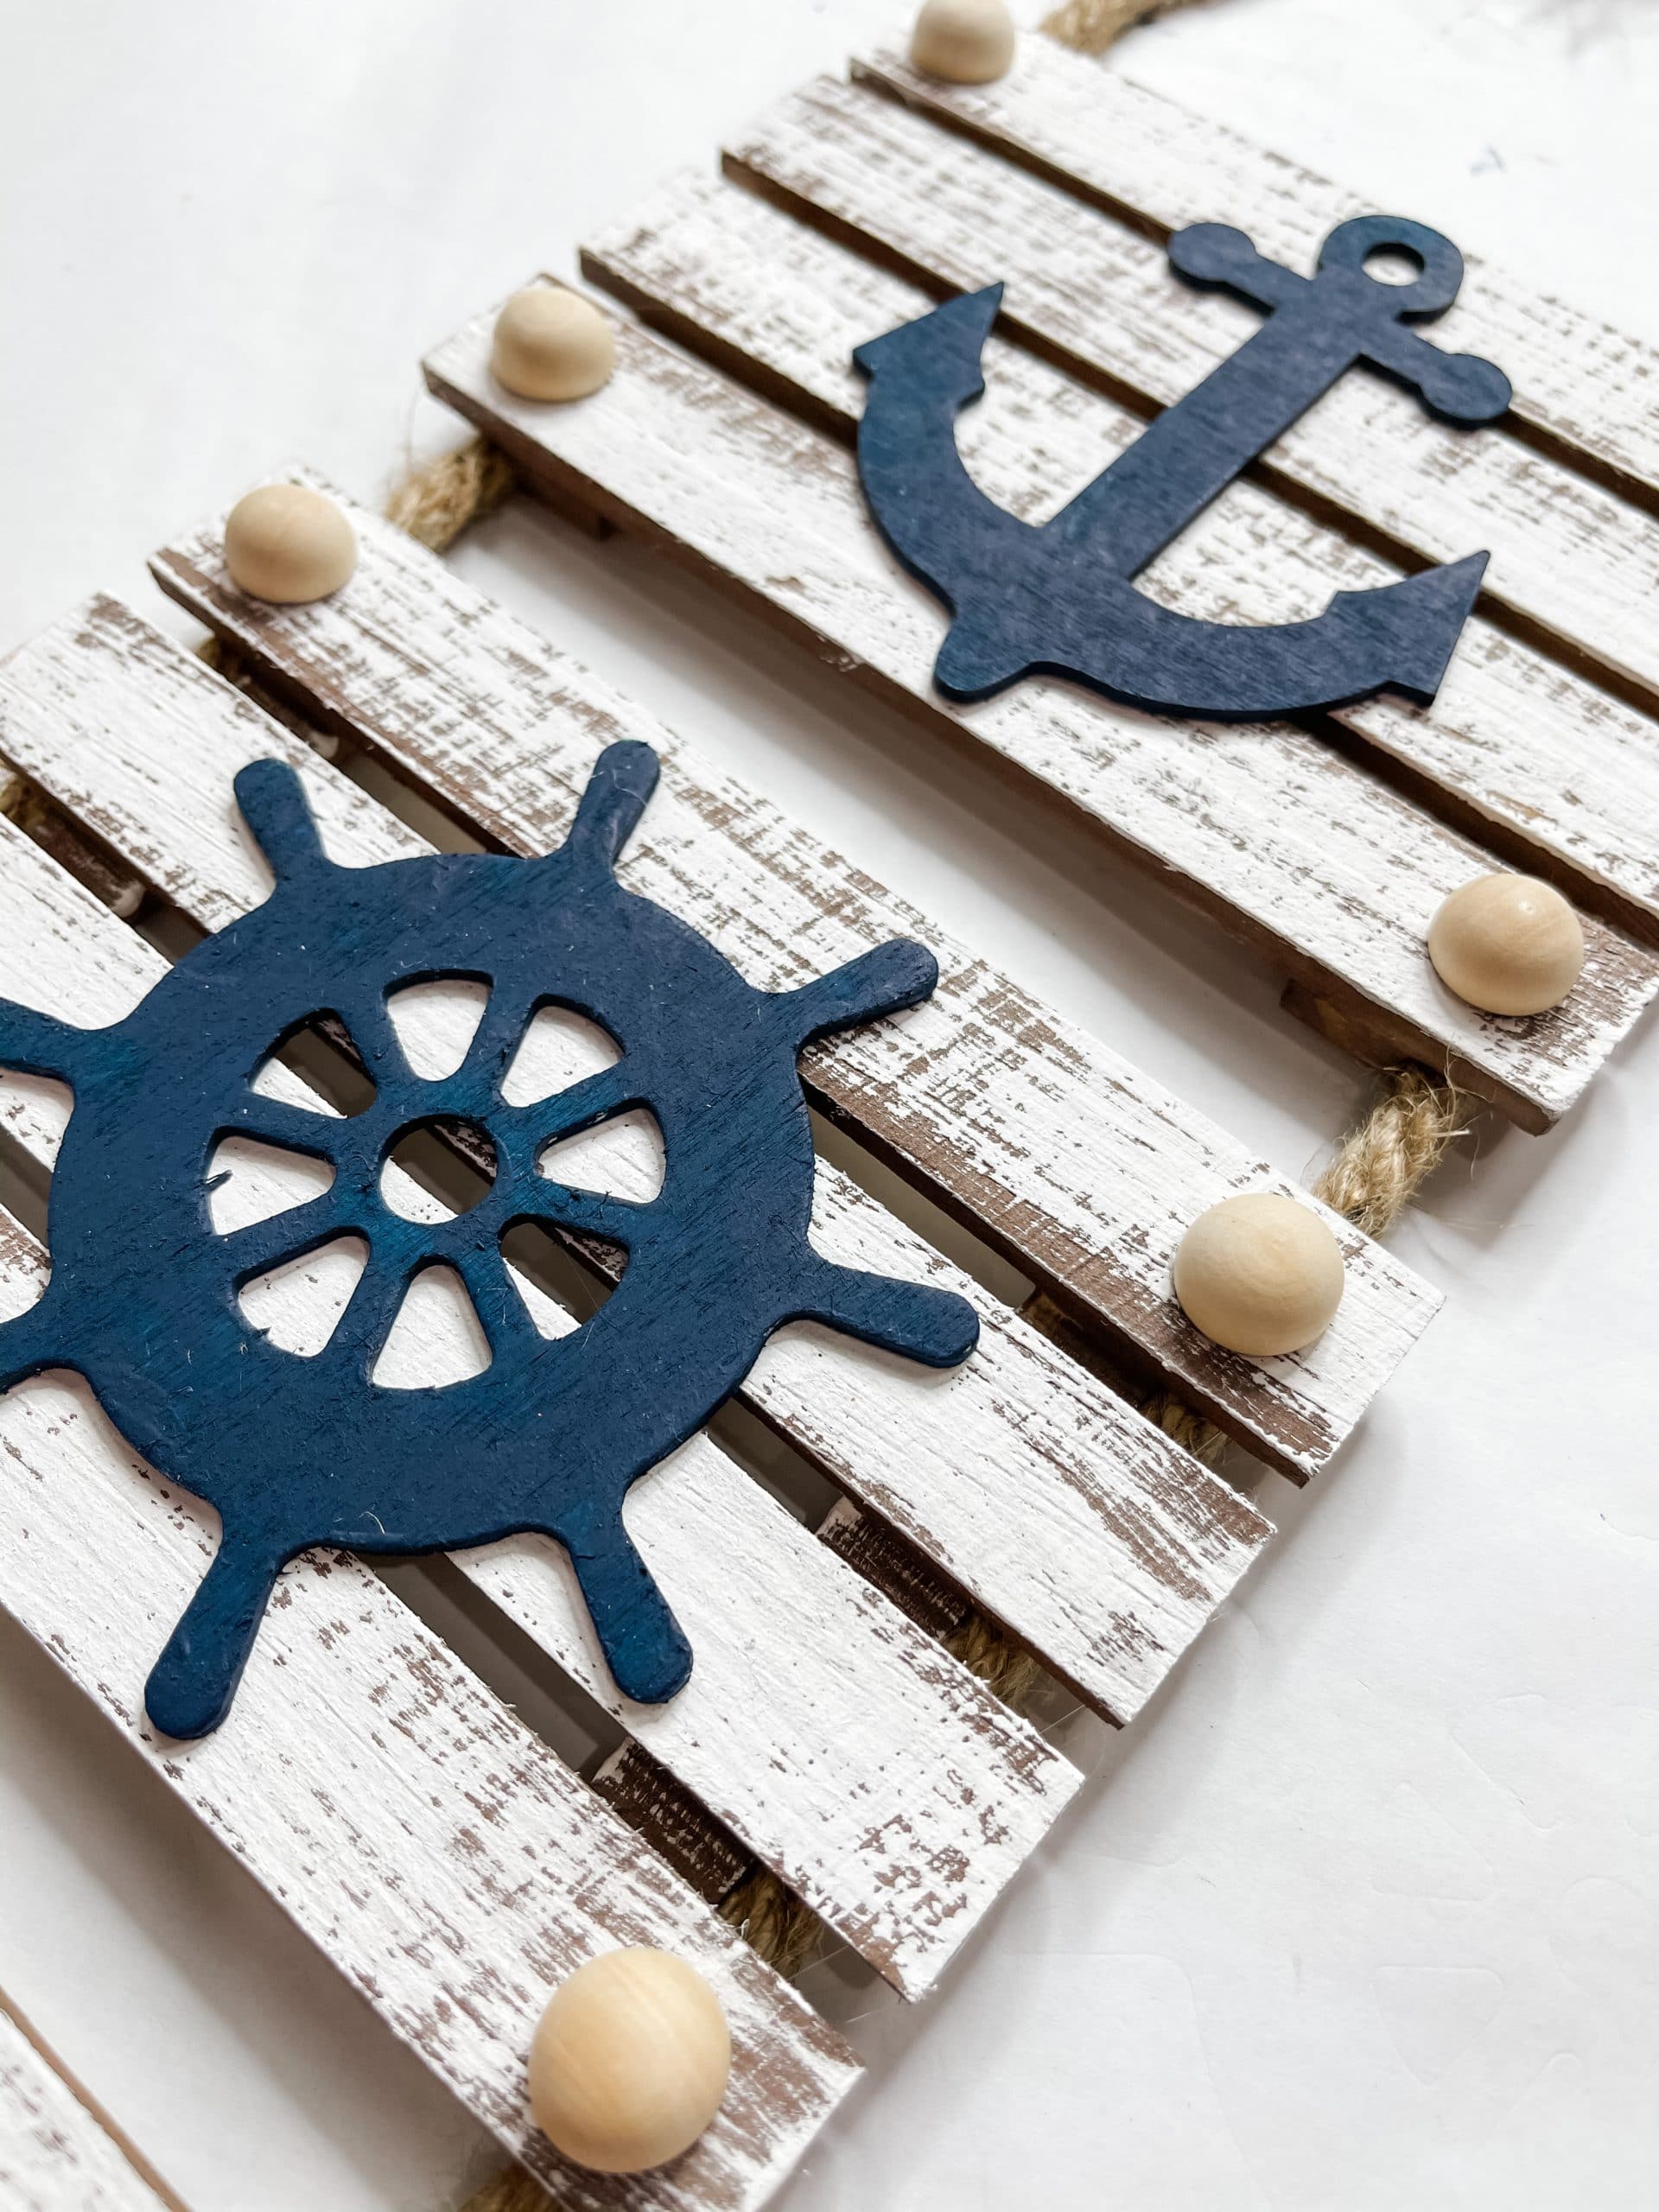
Once all of your paint is dry, it’s time to start putting all of your pieces together. I hot glued a painted nautical wood cutout to the middle of each of the mini pallets. Then, I hot glued a wood bead in each corner of all three mini pallets.
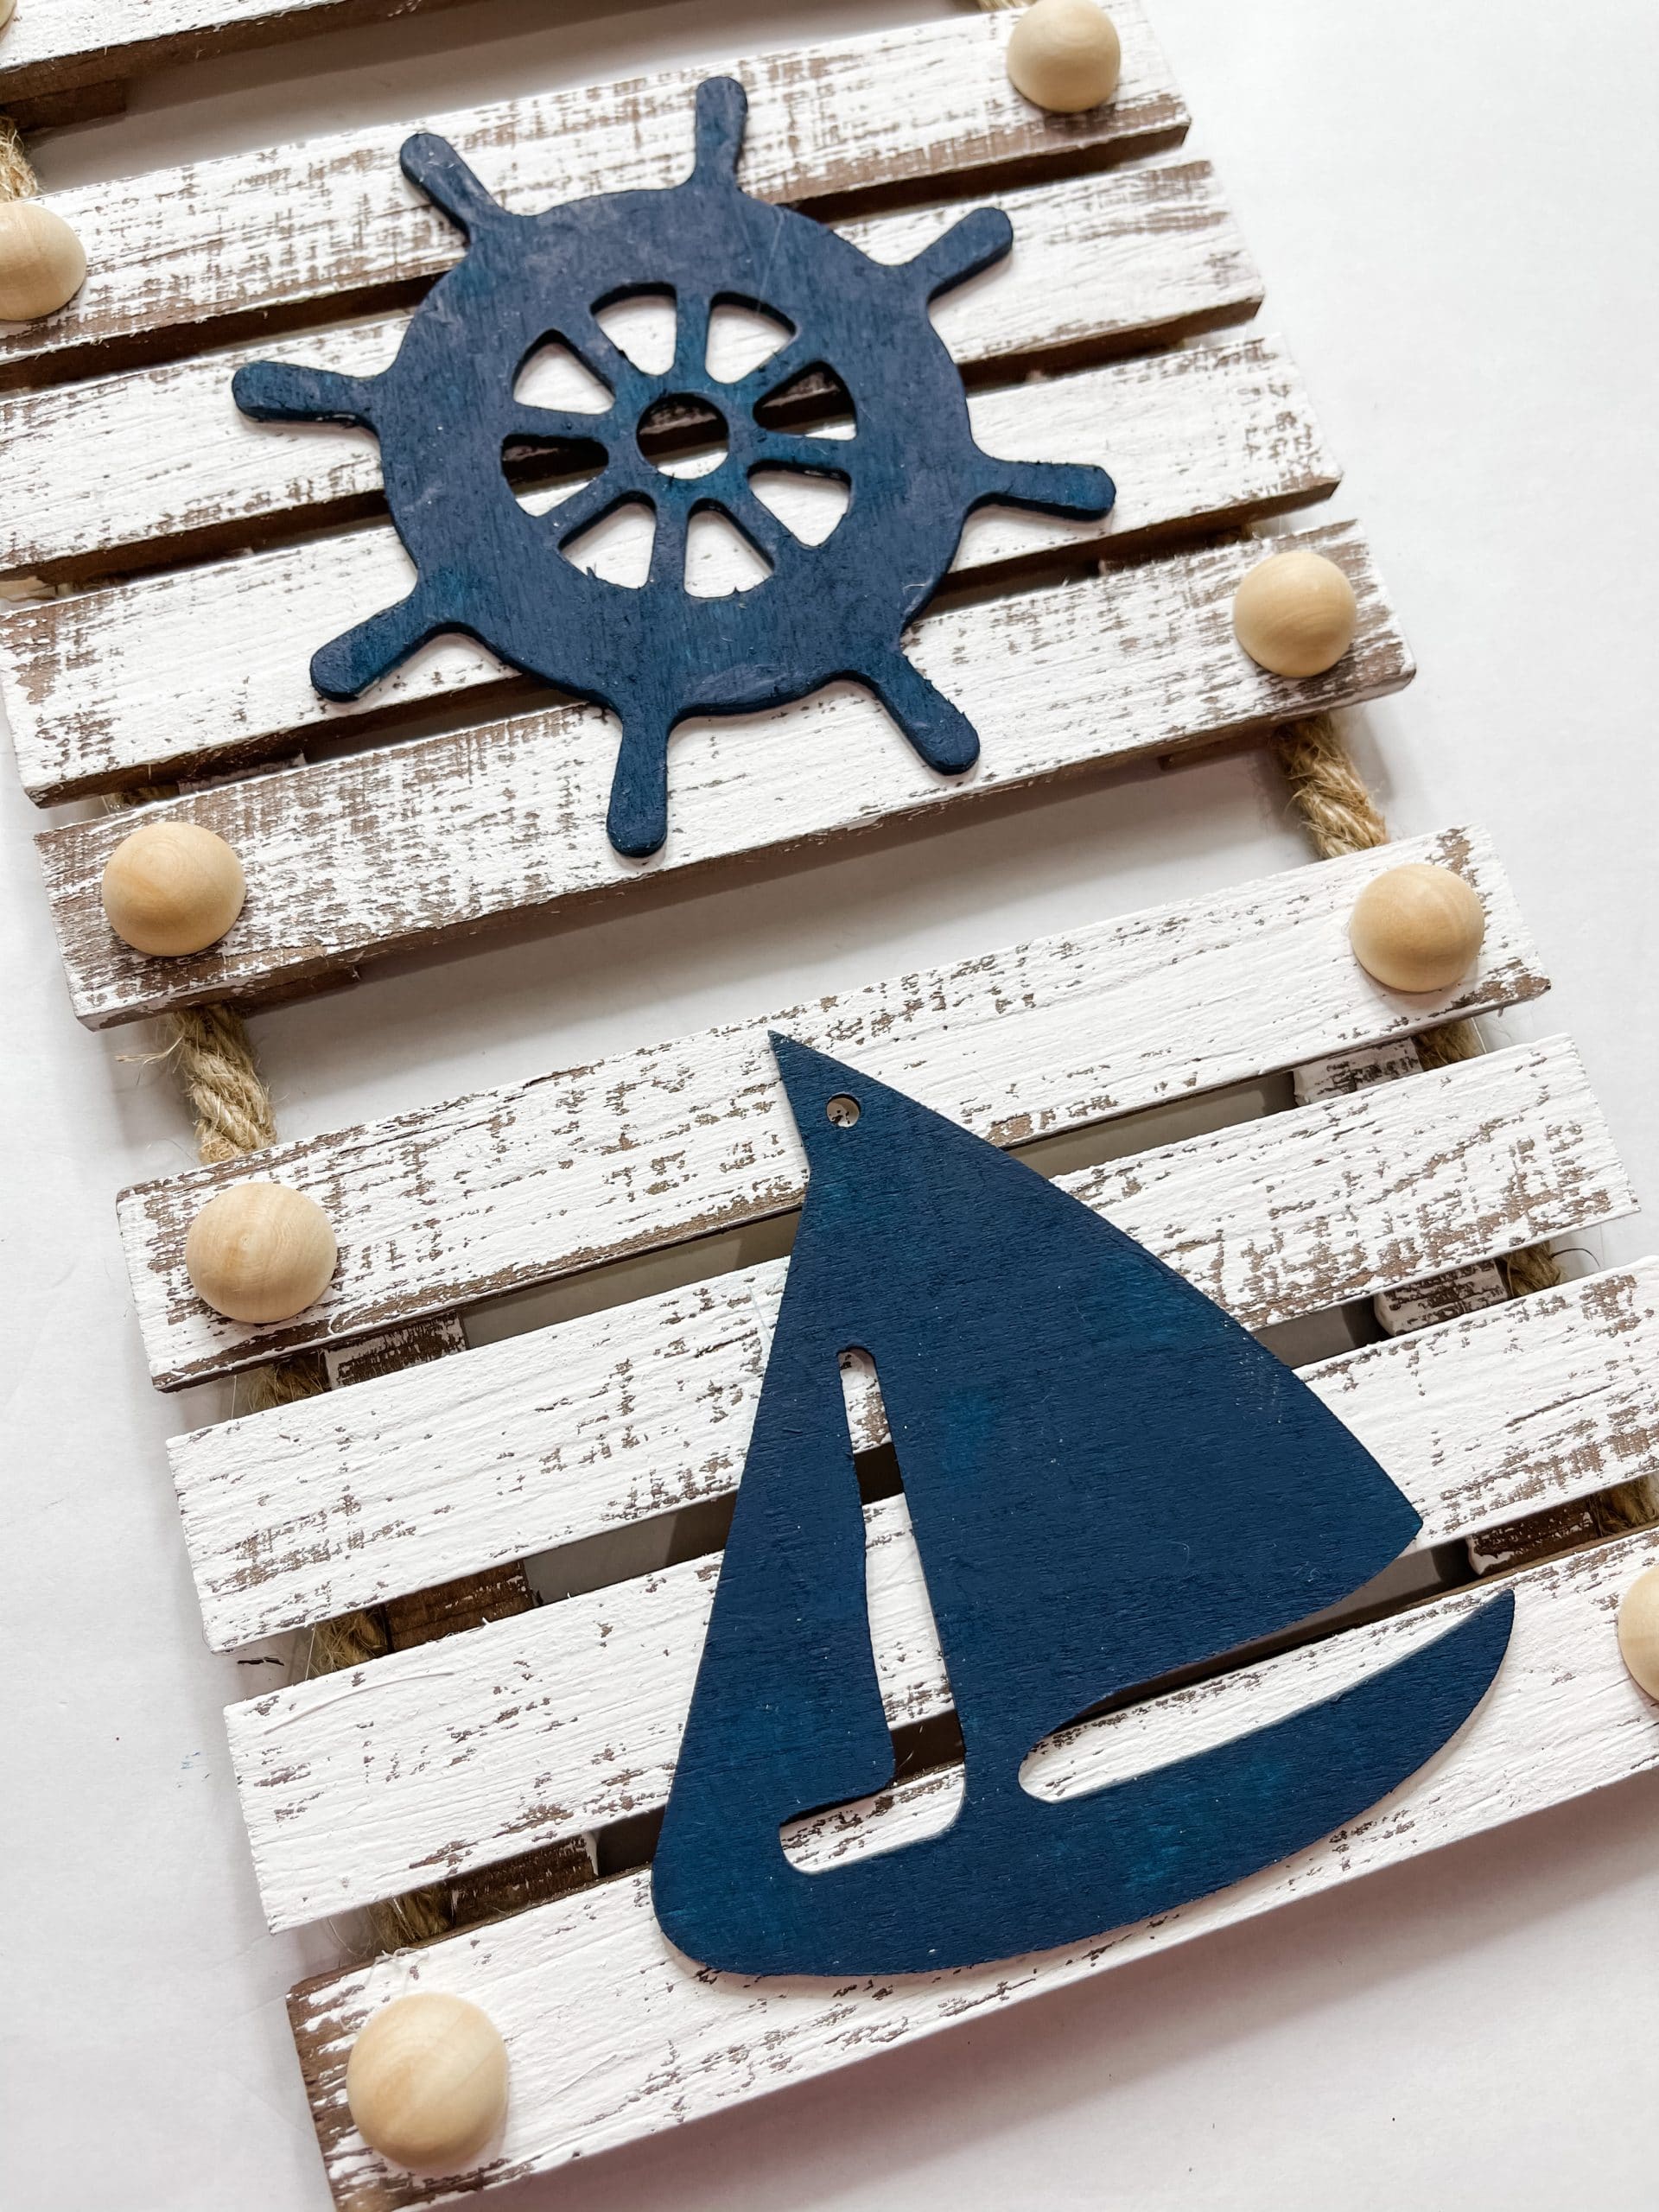
Now, lay the pallets with painted sides down. Make sure they’re each an even distance apart. Then, hot glue the nautical rope down both sides of the back of the mini pallets.
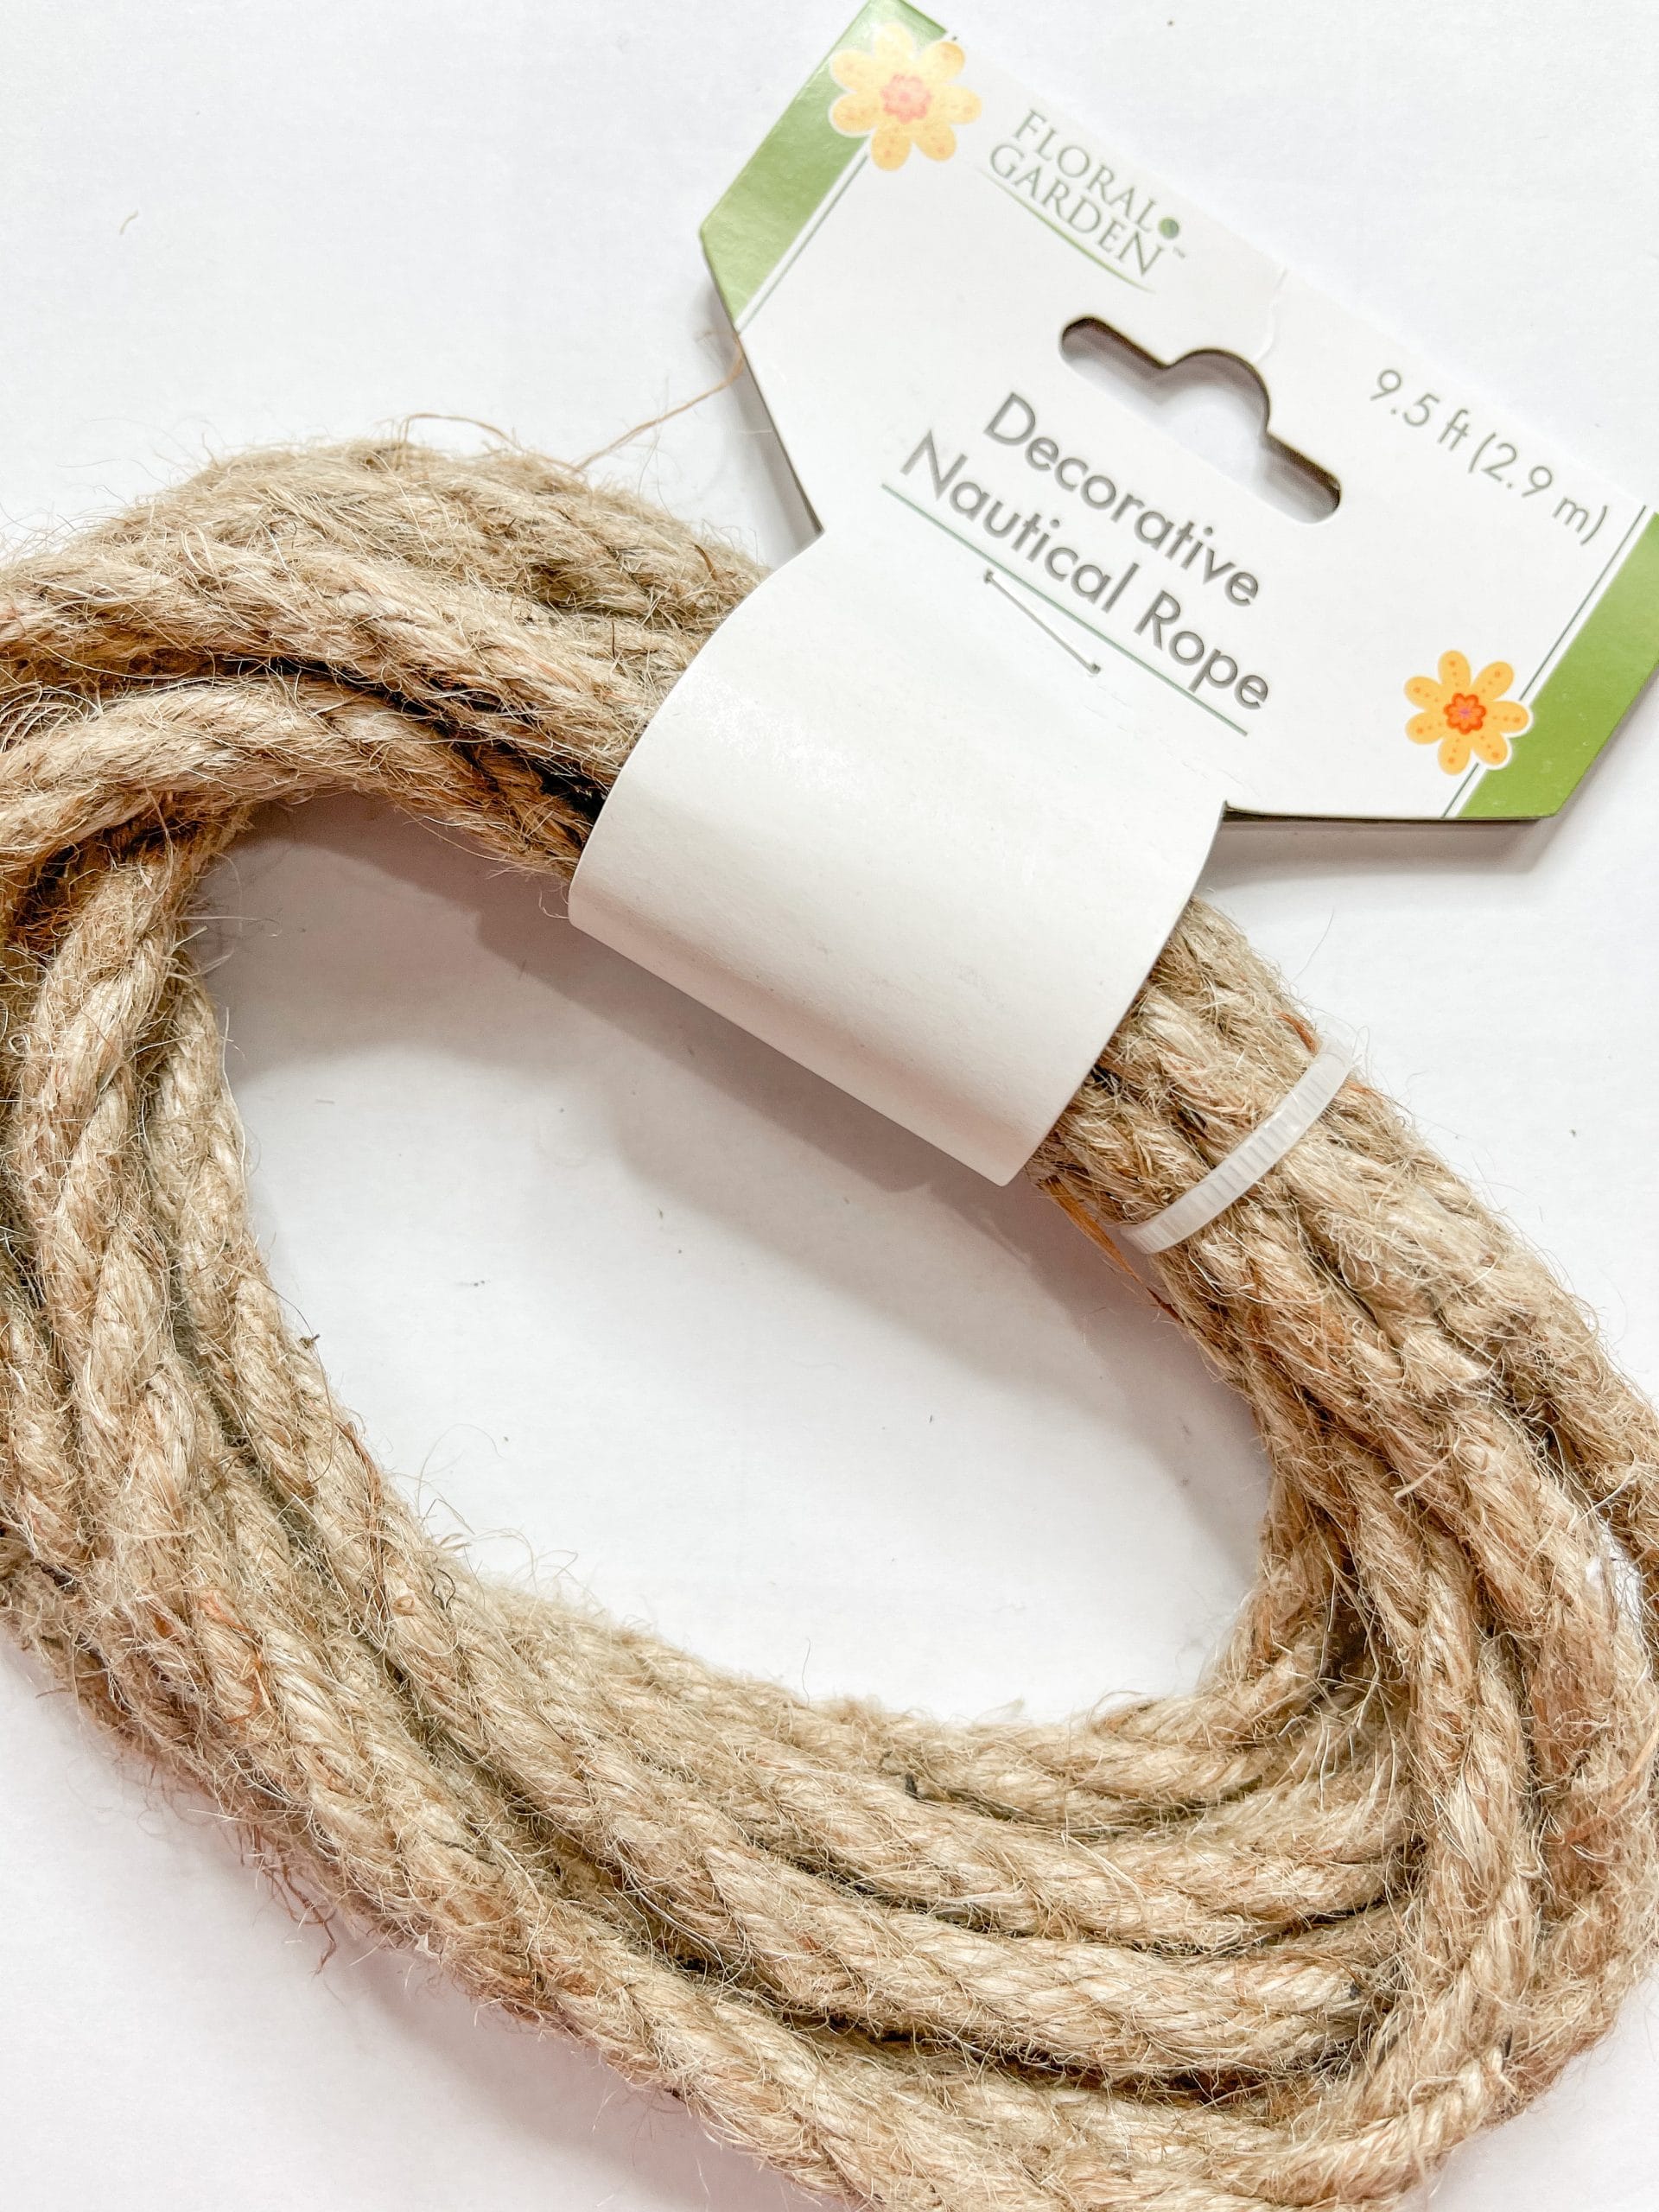
Have the nautical rope overhang at the top of the mini pallets, and that will create your hanger! I wanted to add a little bit more to this DIY Dollar Tree Nautical Decor, so I made a little bow to go at the top of the hanger.
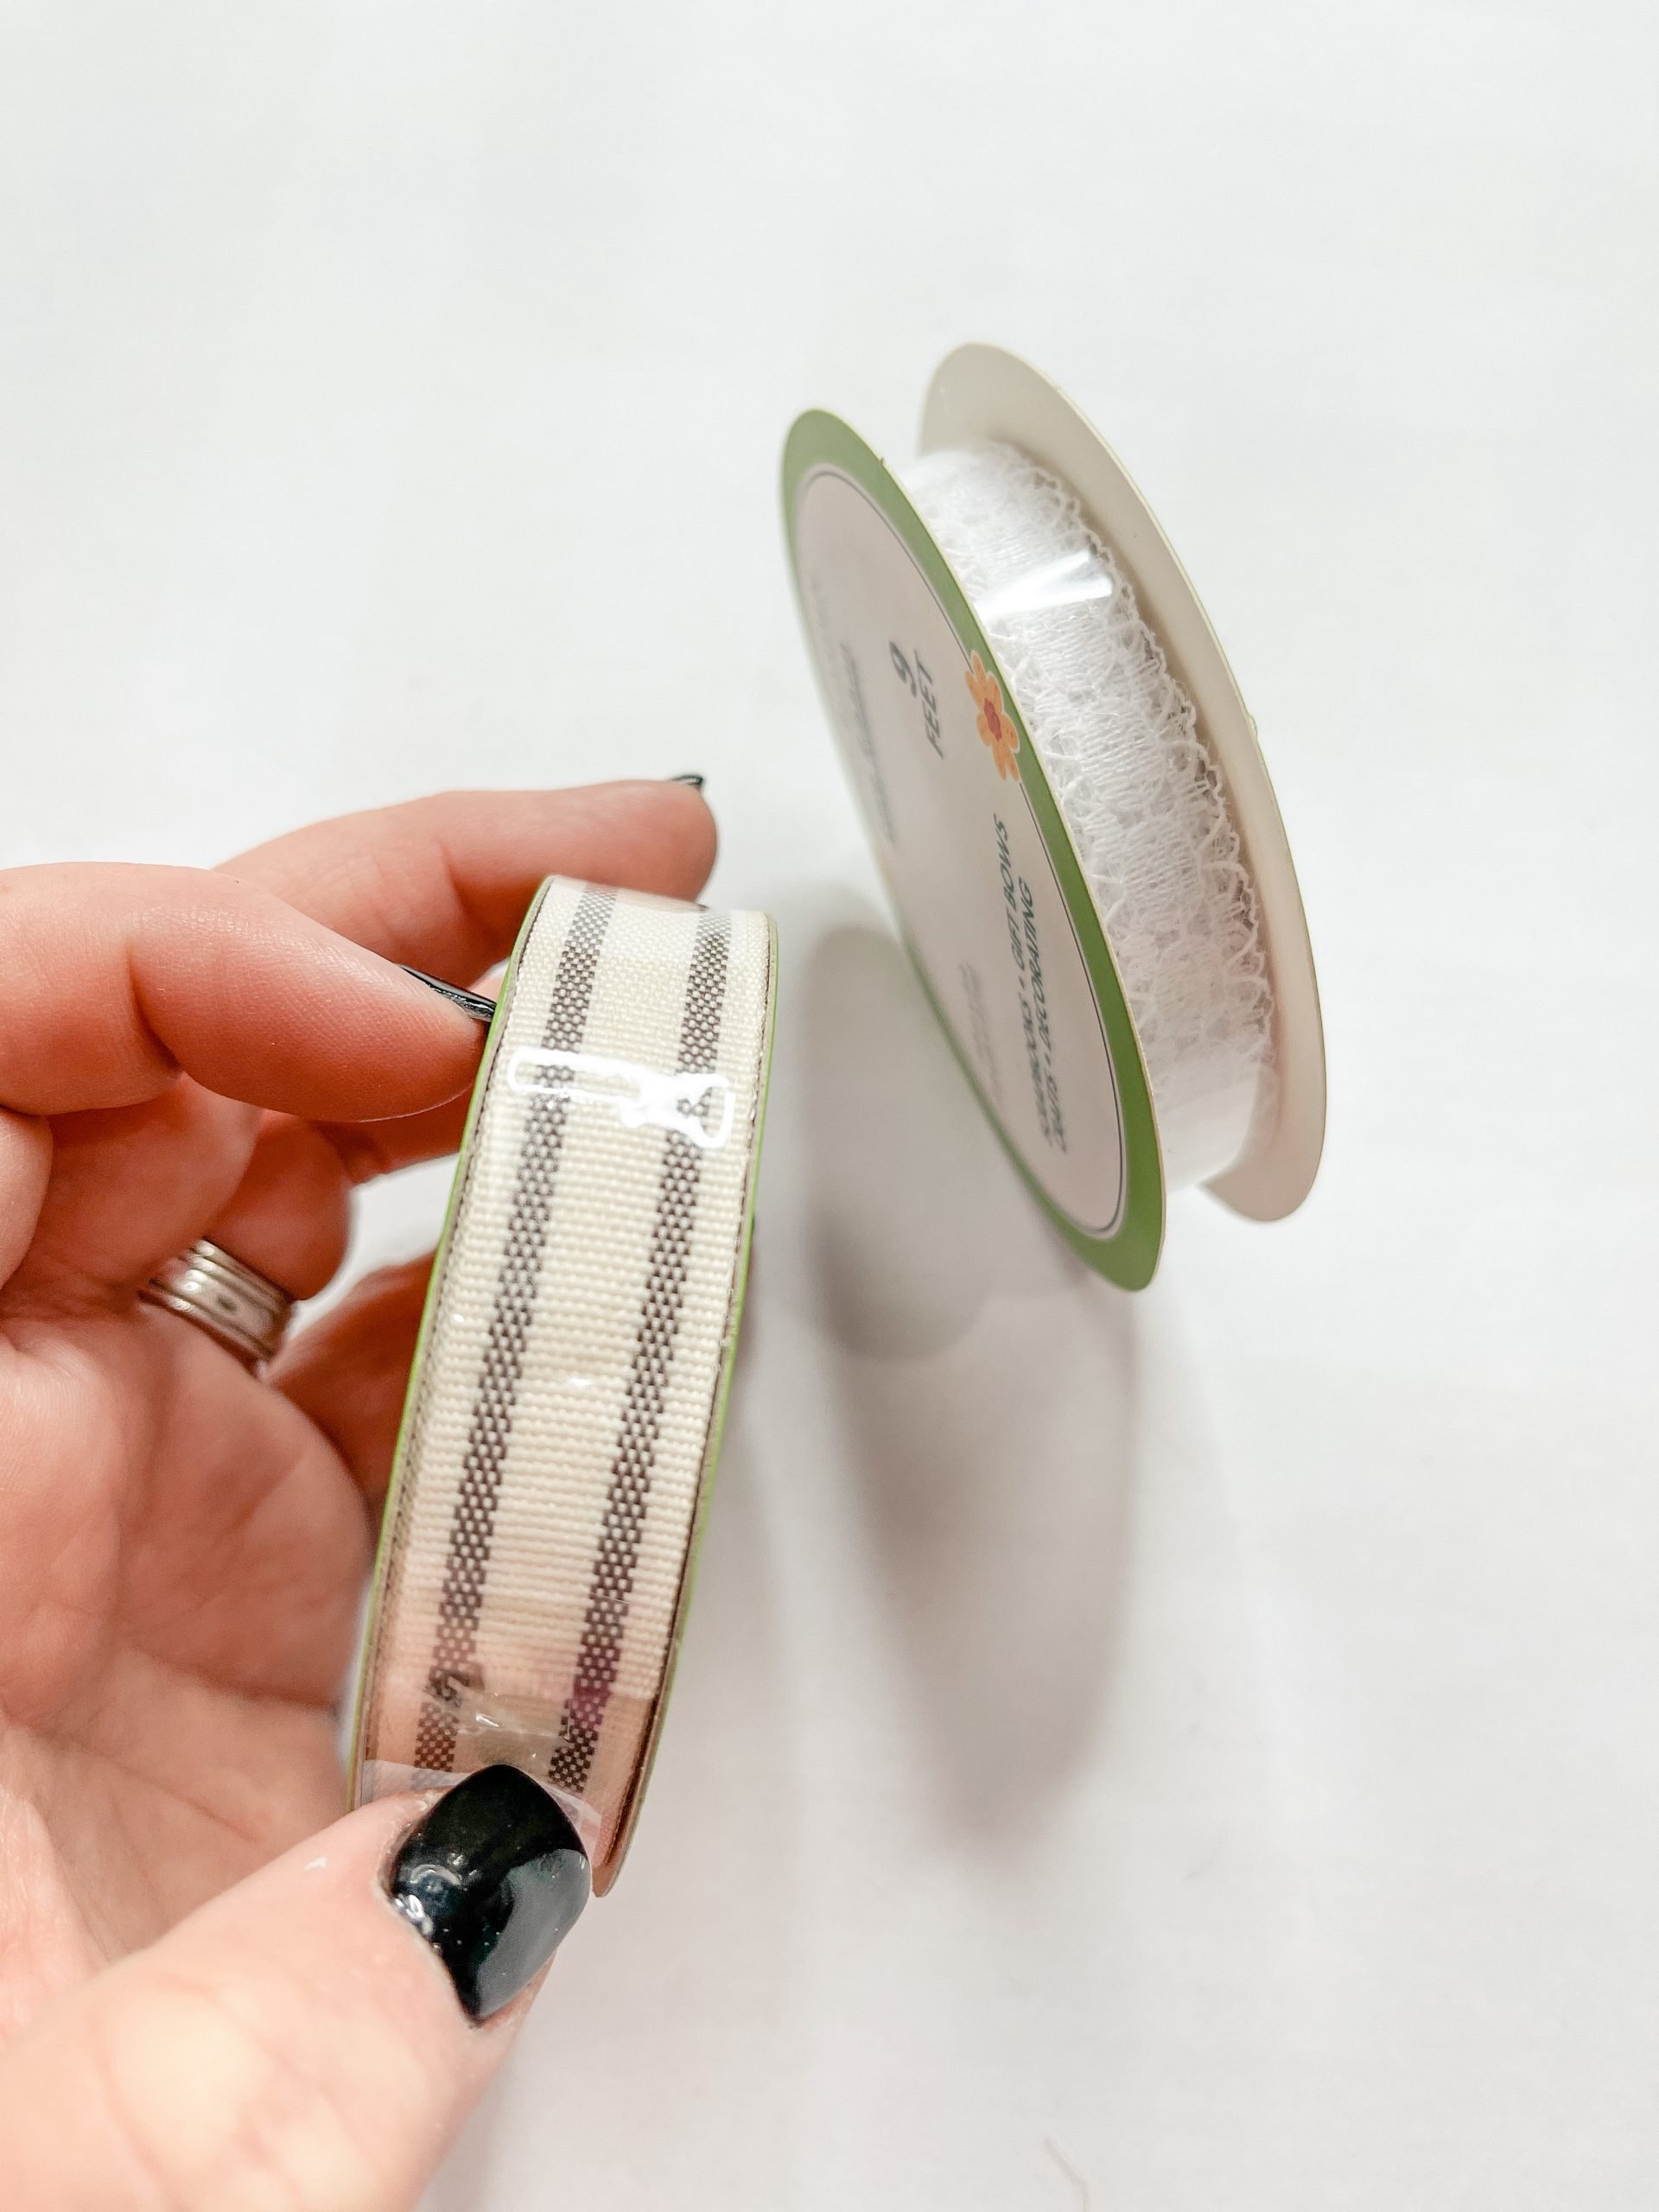
For the bow, I used natural raffia, ticking ribbon, and lace ribbon. I cut two strips of the ticking ribbon and one strip of the lace ribbon. I placed the ticking ribbon strips in an X with the lace ribbon horizontally across their center. Then, I bundled up some raffia and placed it on top of the two ribbon strips.
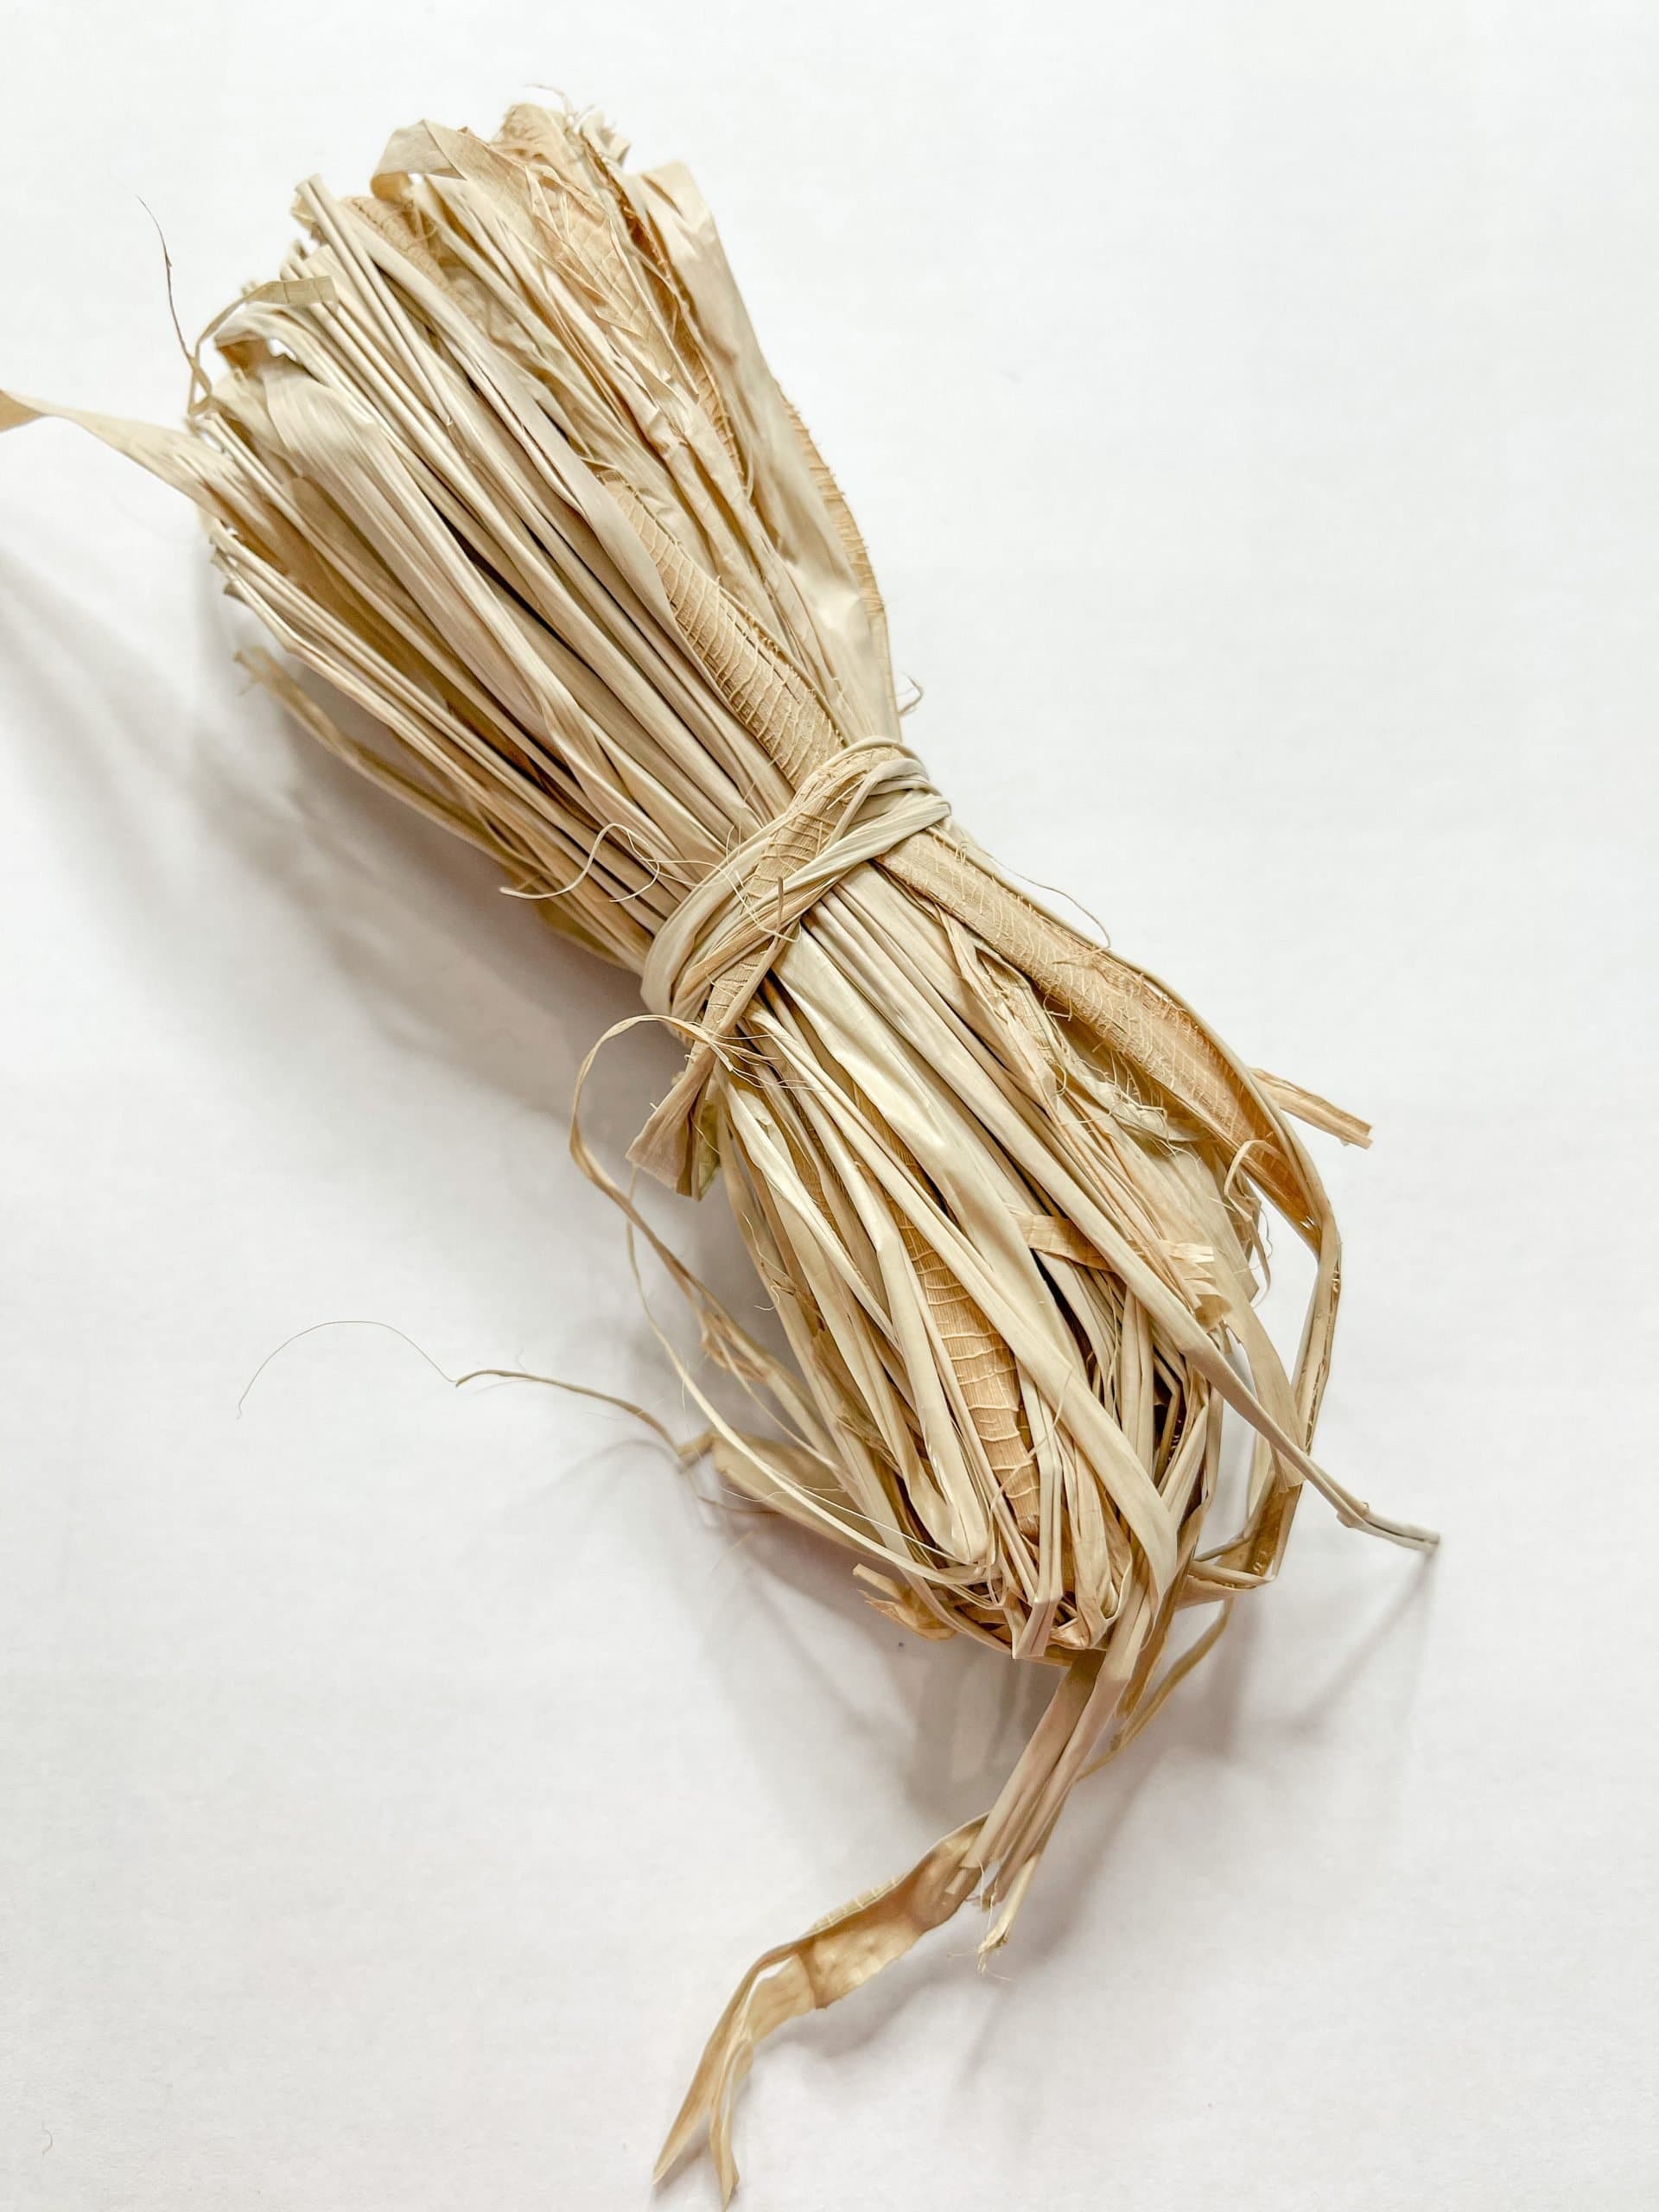
I pinched the center of the raffia and ribbon and secured it with a piece of jute twine. Finally, I trimmed the raffia to make it neater, then I hot glued the bow to the top of the nautical rope hanger!
I hope you enjoyed this DIY Dollar Tree Nautical Decor as I did and decide to make it for yourself! If you do, I would love to see how yours turns out!
You should totally join my FREE Facebook group called On A Budget Crafts! It is a judgment-free community for DIY crafters to show off their projects and ideas.
If you loved this DIY you might also like this DIY American Flag!
Thanks for stopping by! XOXO Amber
You can also shop my ENTIRE AMAZON Favorites shop just click here! It’s packed full of all the things I use and love. Here is the supply list I highly recommend every creative have on hand!!
Would you also pin my blog for later and get on my newsletter alerts? I would love to have you join my #craftycrew.
Inspired? Leave me a comment below! I love hearing from my readers!

Join my free “ON A BUDGET CRAFTS” Facebook group!

L love your crafts and I have try some of them!!
I made one for a Christmas gift. She loved it
Love this project. I’m going to use it next month at our 50th anniversary party and they will distressed and then lettering for each one. Bar sign–beer, wine, liquors; cake and cupcake flavors; and best of all, I think, will be using them at the buffet stations. YAY, thanks for sharing
Loved this project