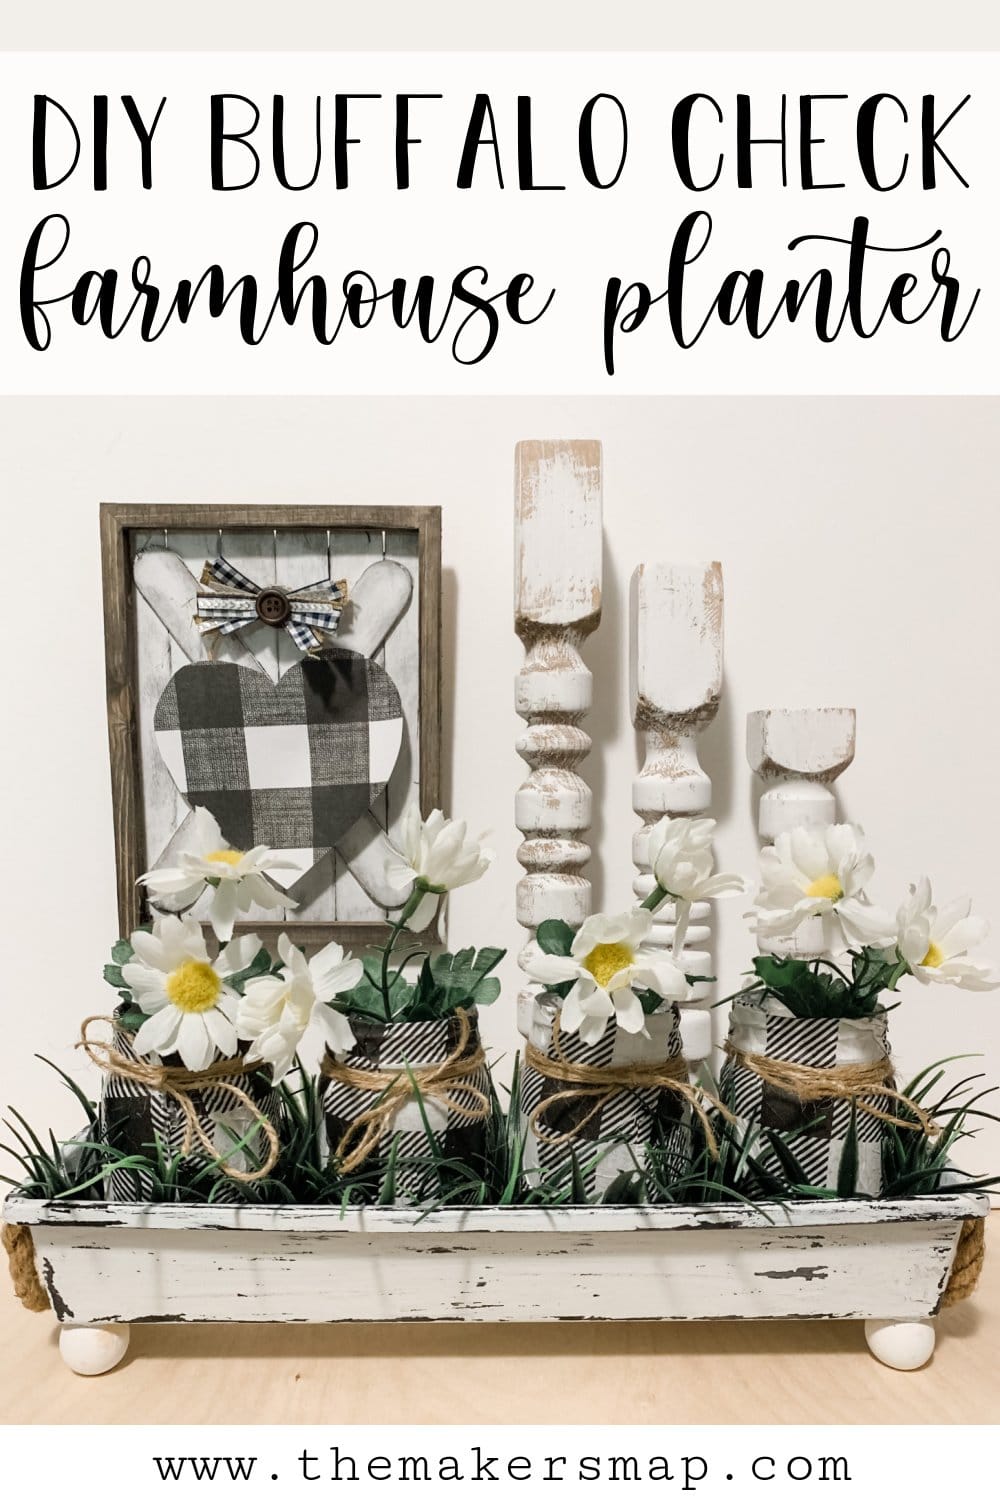
DIY Mason Jar Planter
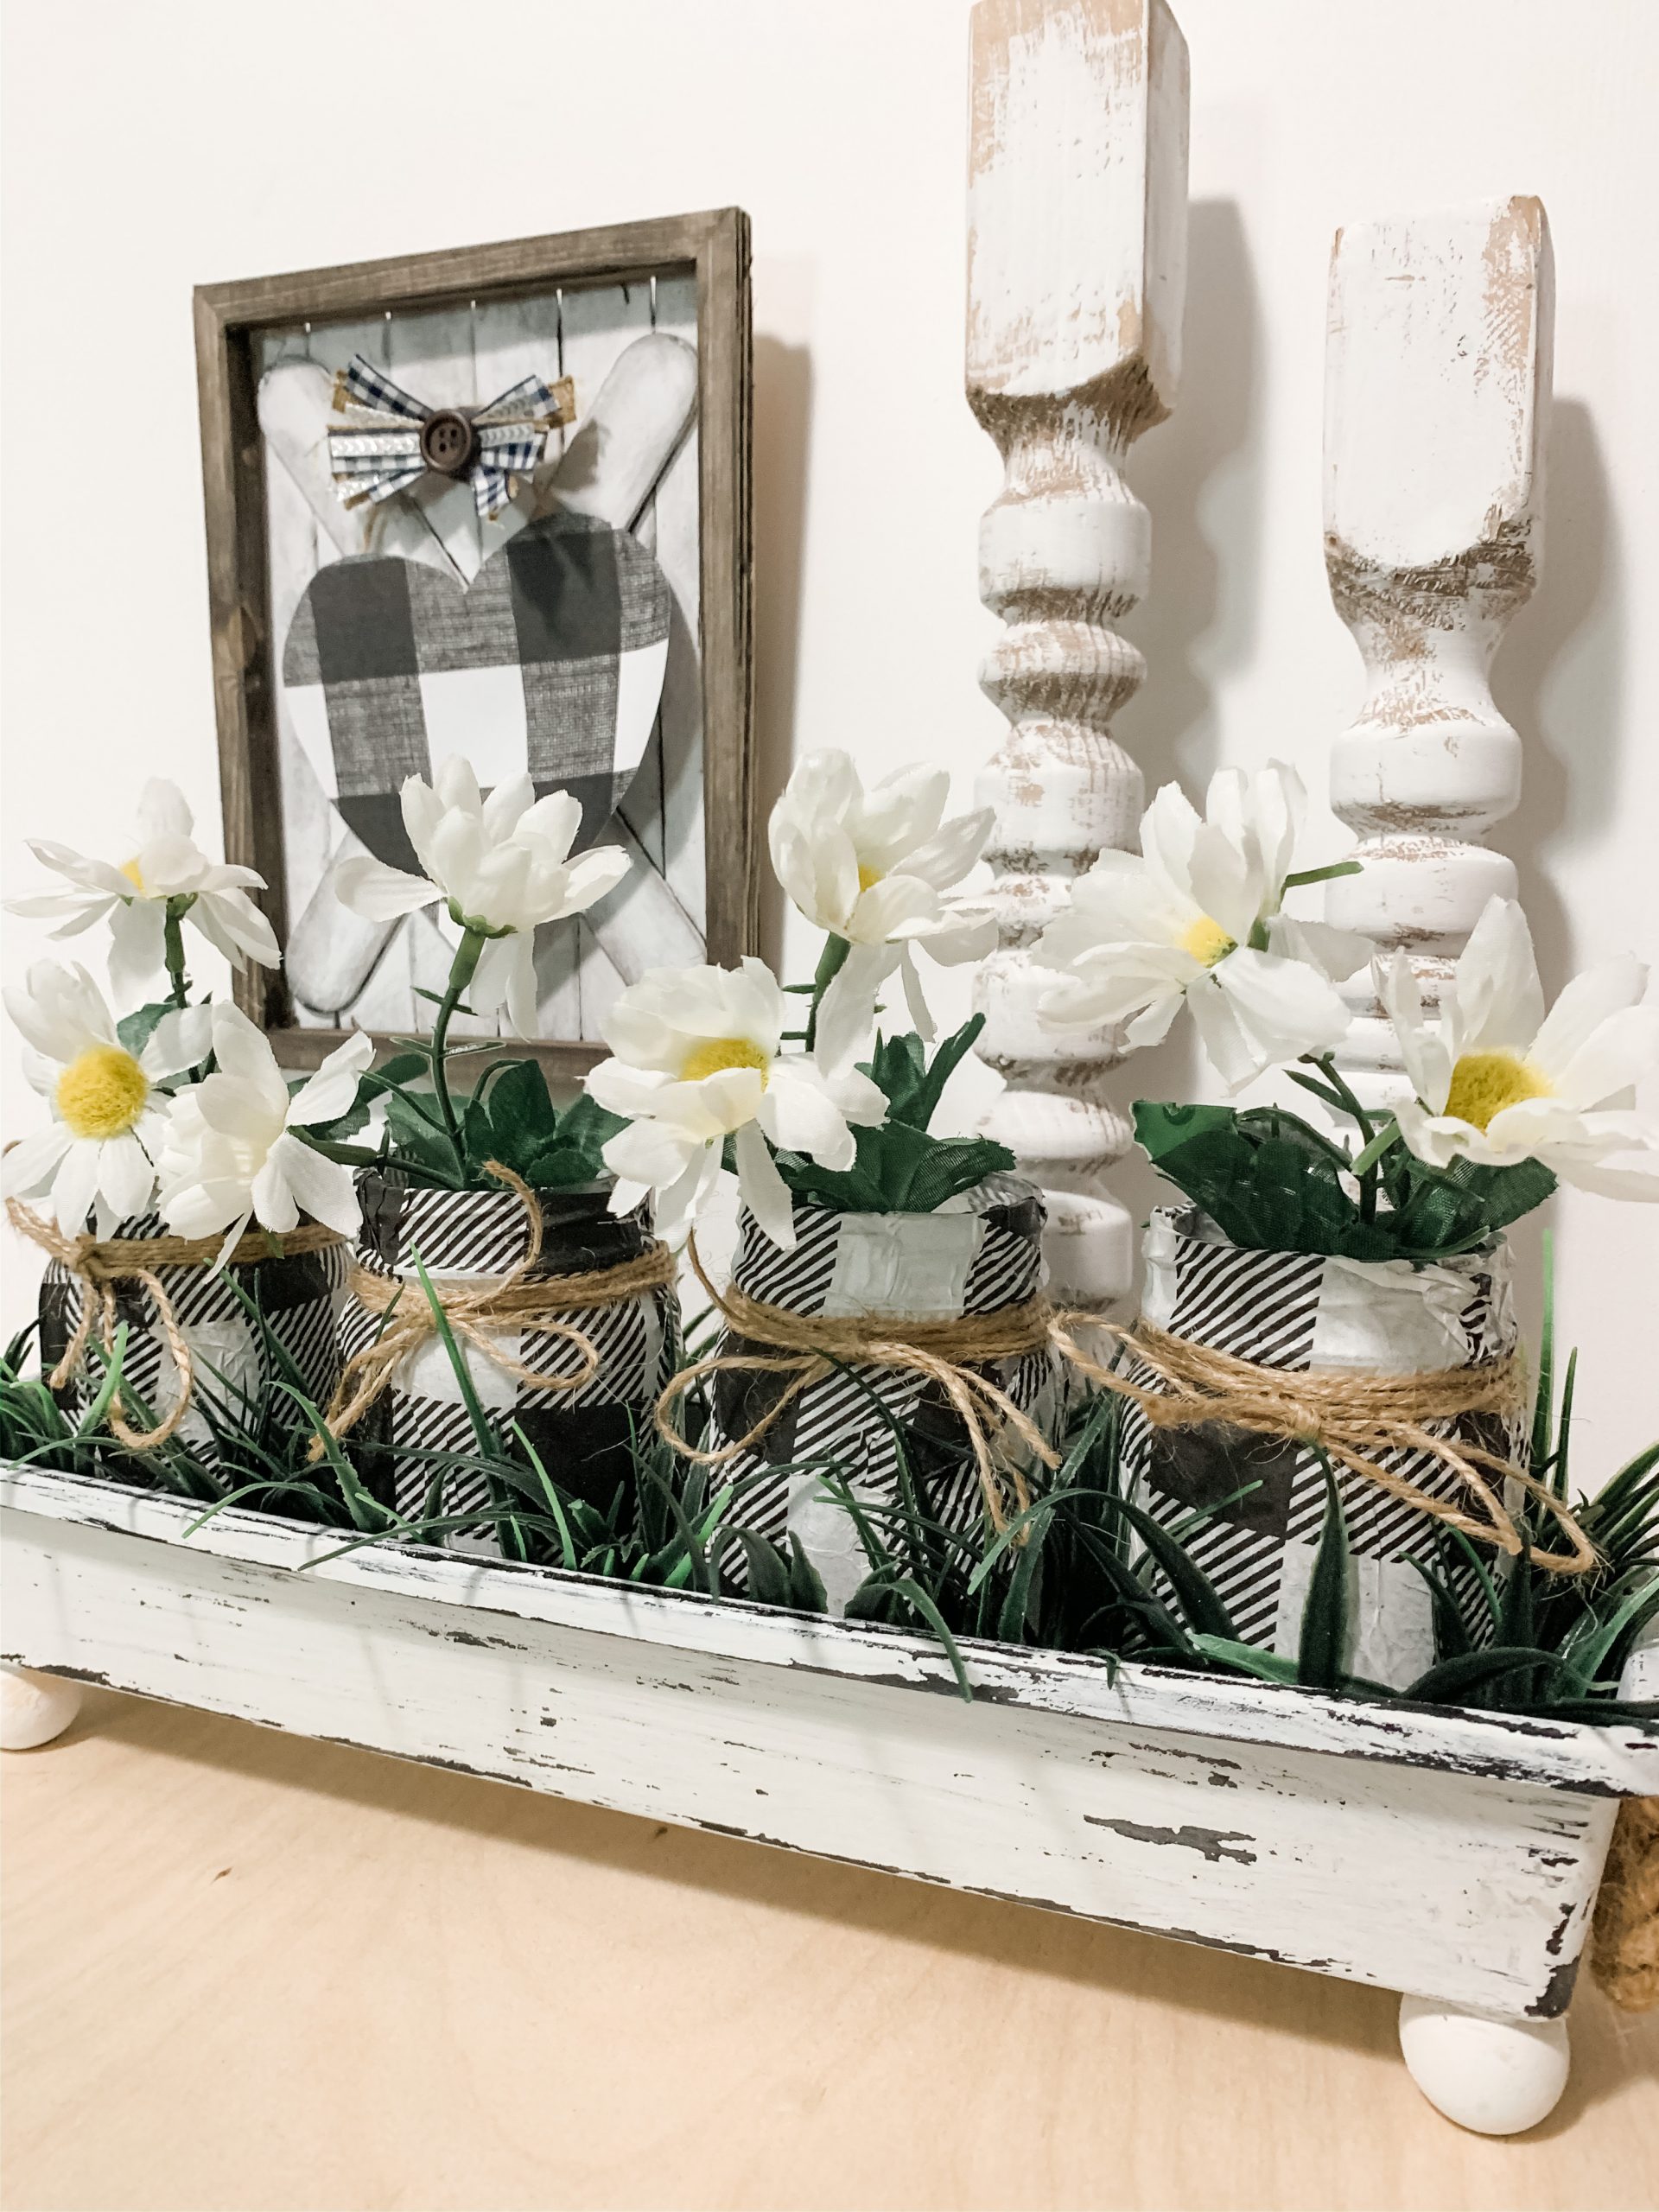
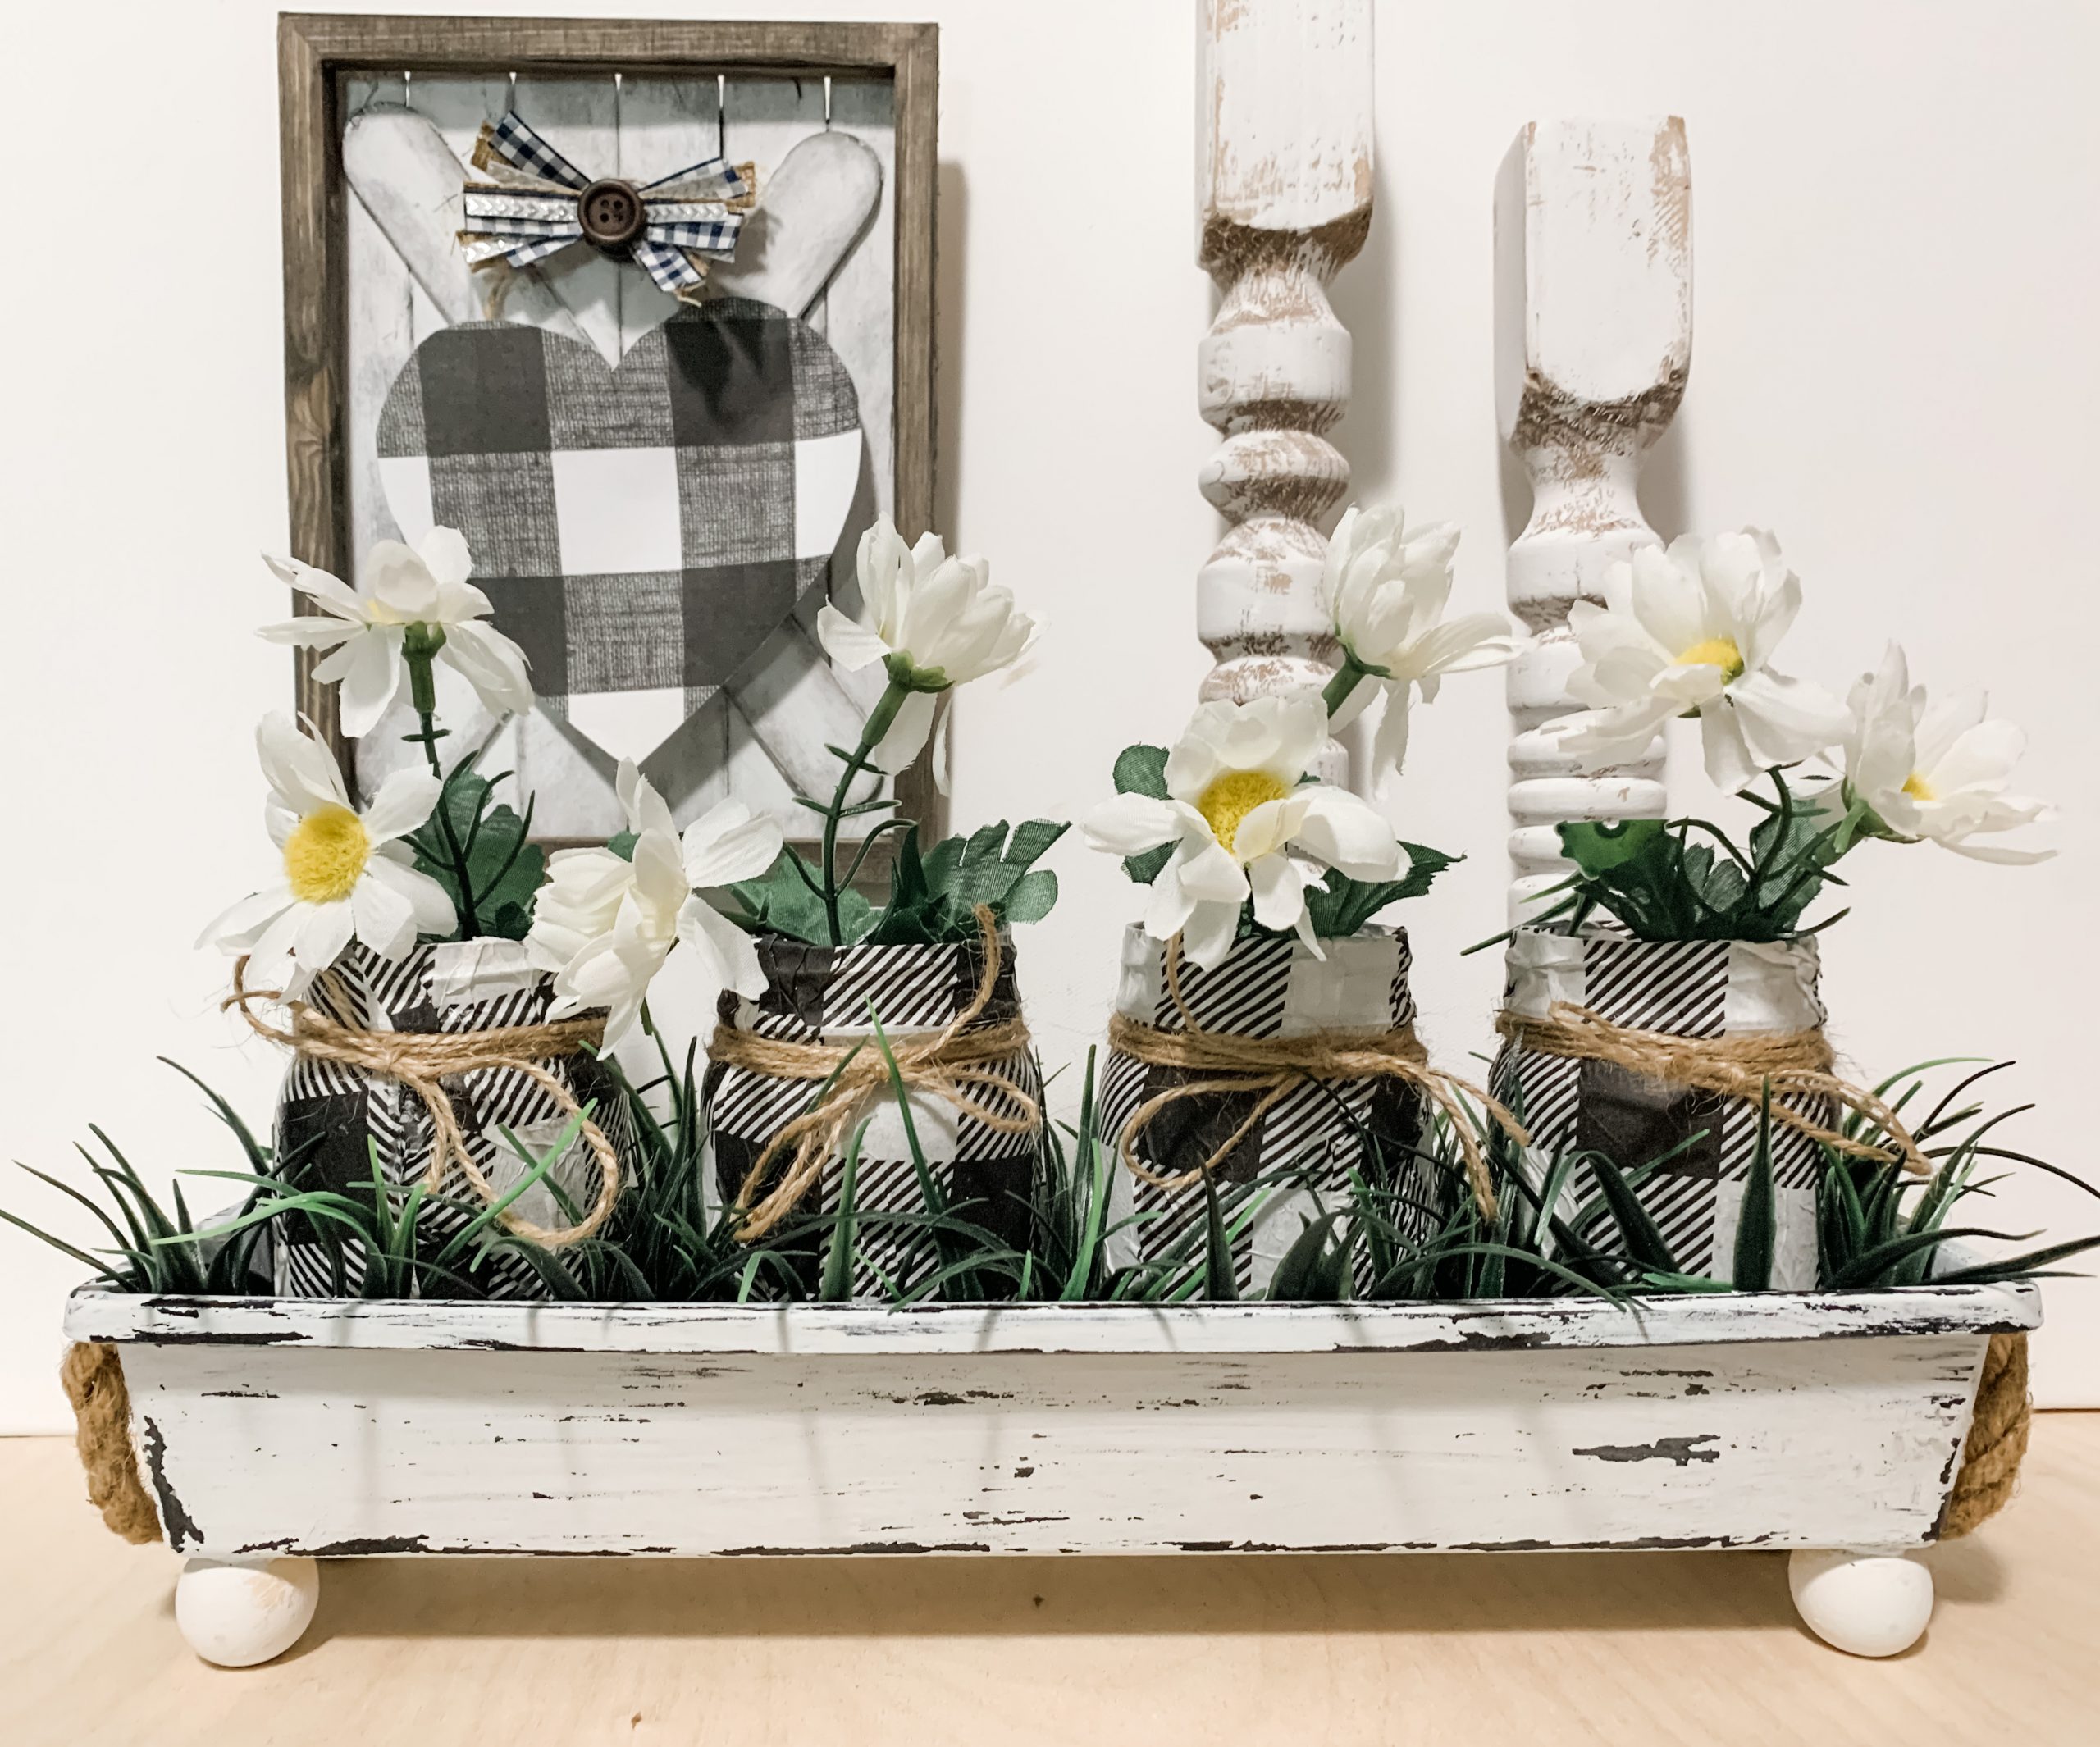
I always say that I make my DIY decor to decorate my own home with, and that isn’t a lie. I’ve had this adorable DIY Mason Jar Planter in my bedroom for a year now, and I am still in love with it!
Watch the replay
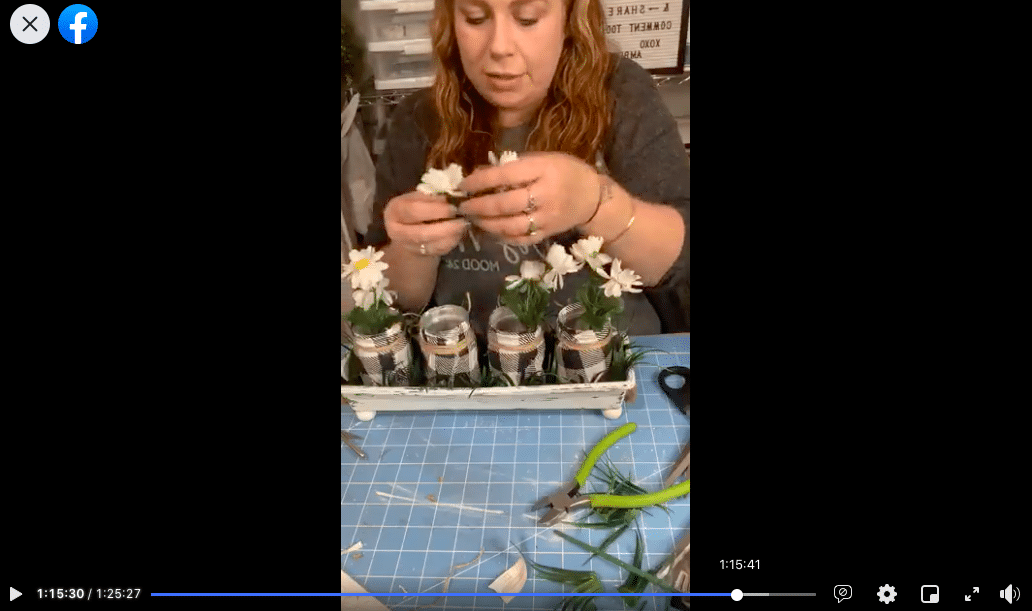
This is a very simple DIY project, but you can still watch the replay if you want to see the how-to details of making a super cute DIY Mason Jar Planter!
For this project, I will be using these items but you can substitute where you want.
“As an Amazon Associate, I earn from qualifying purchases.”
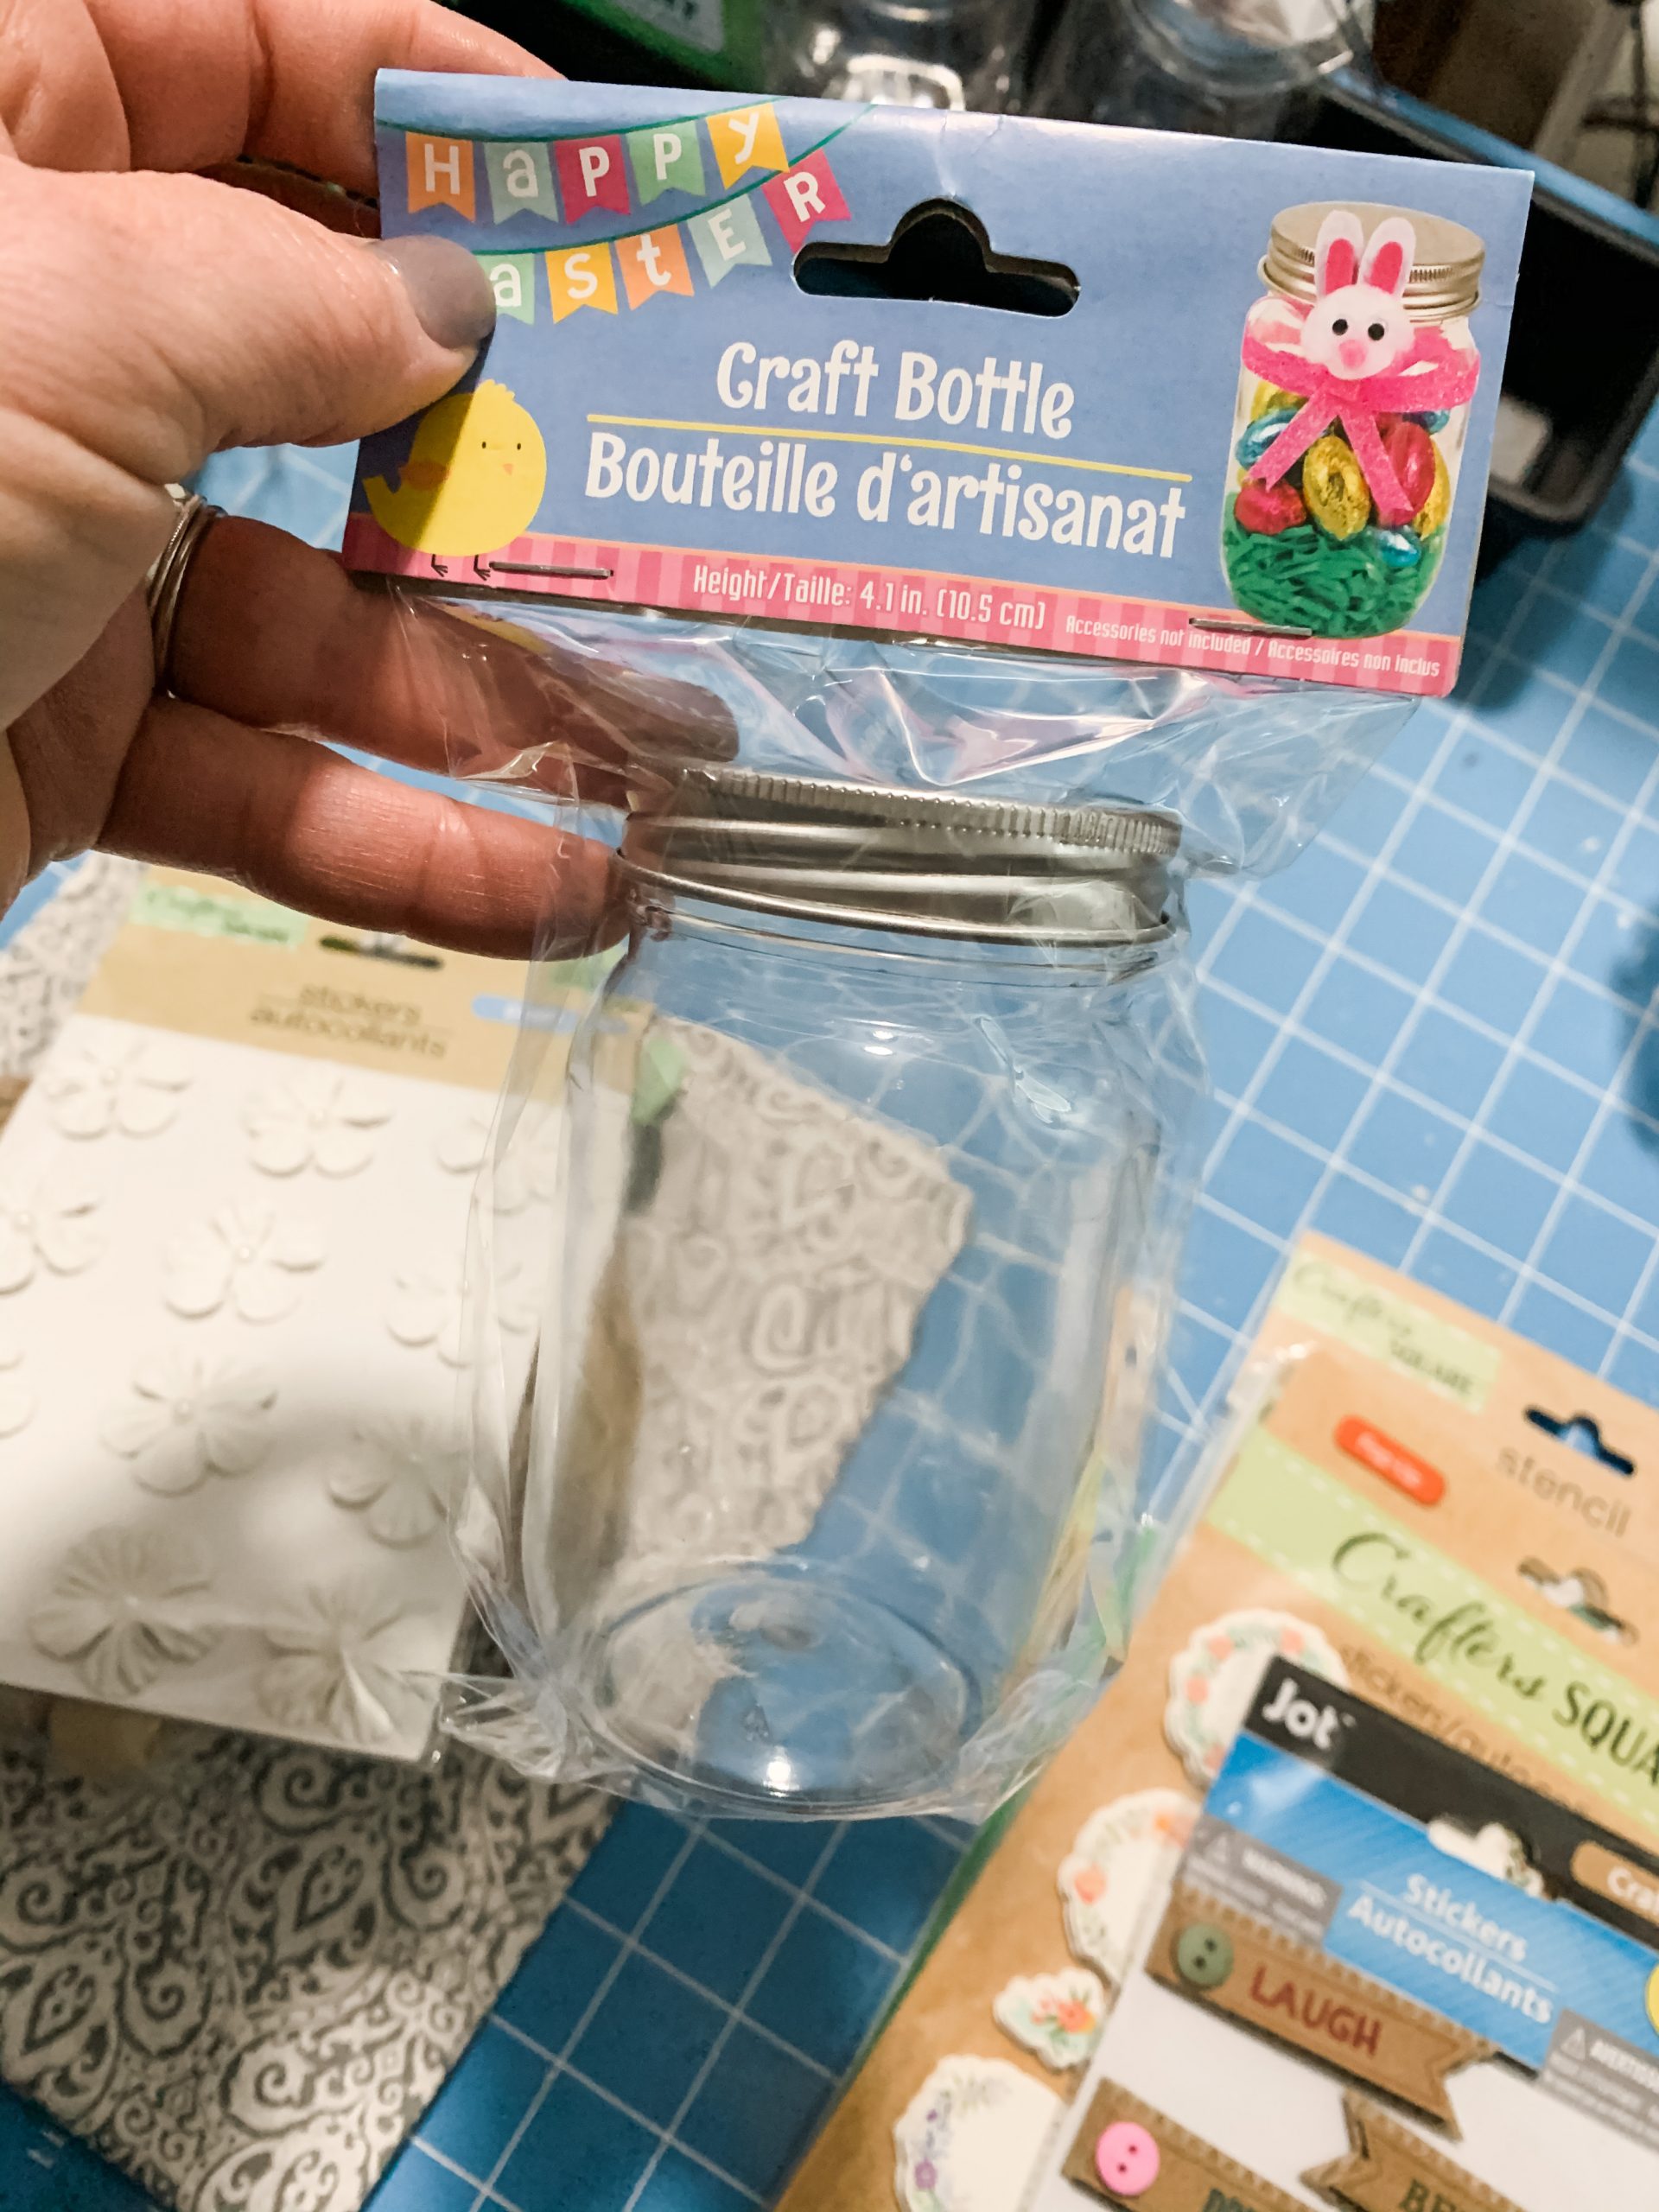
- Dollar Tree Craft Jars (x4)
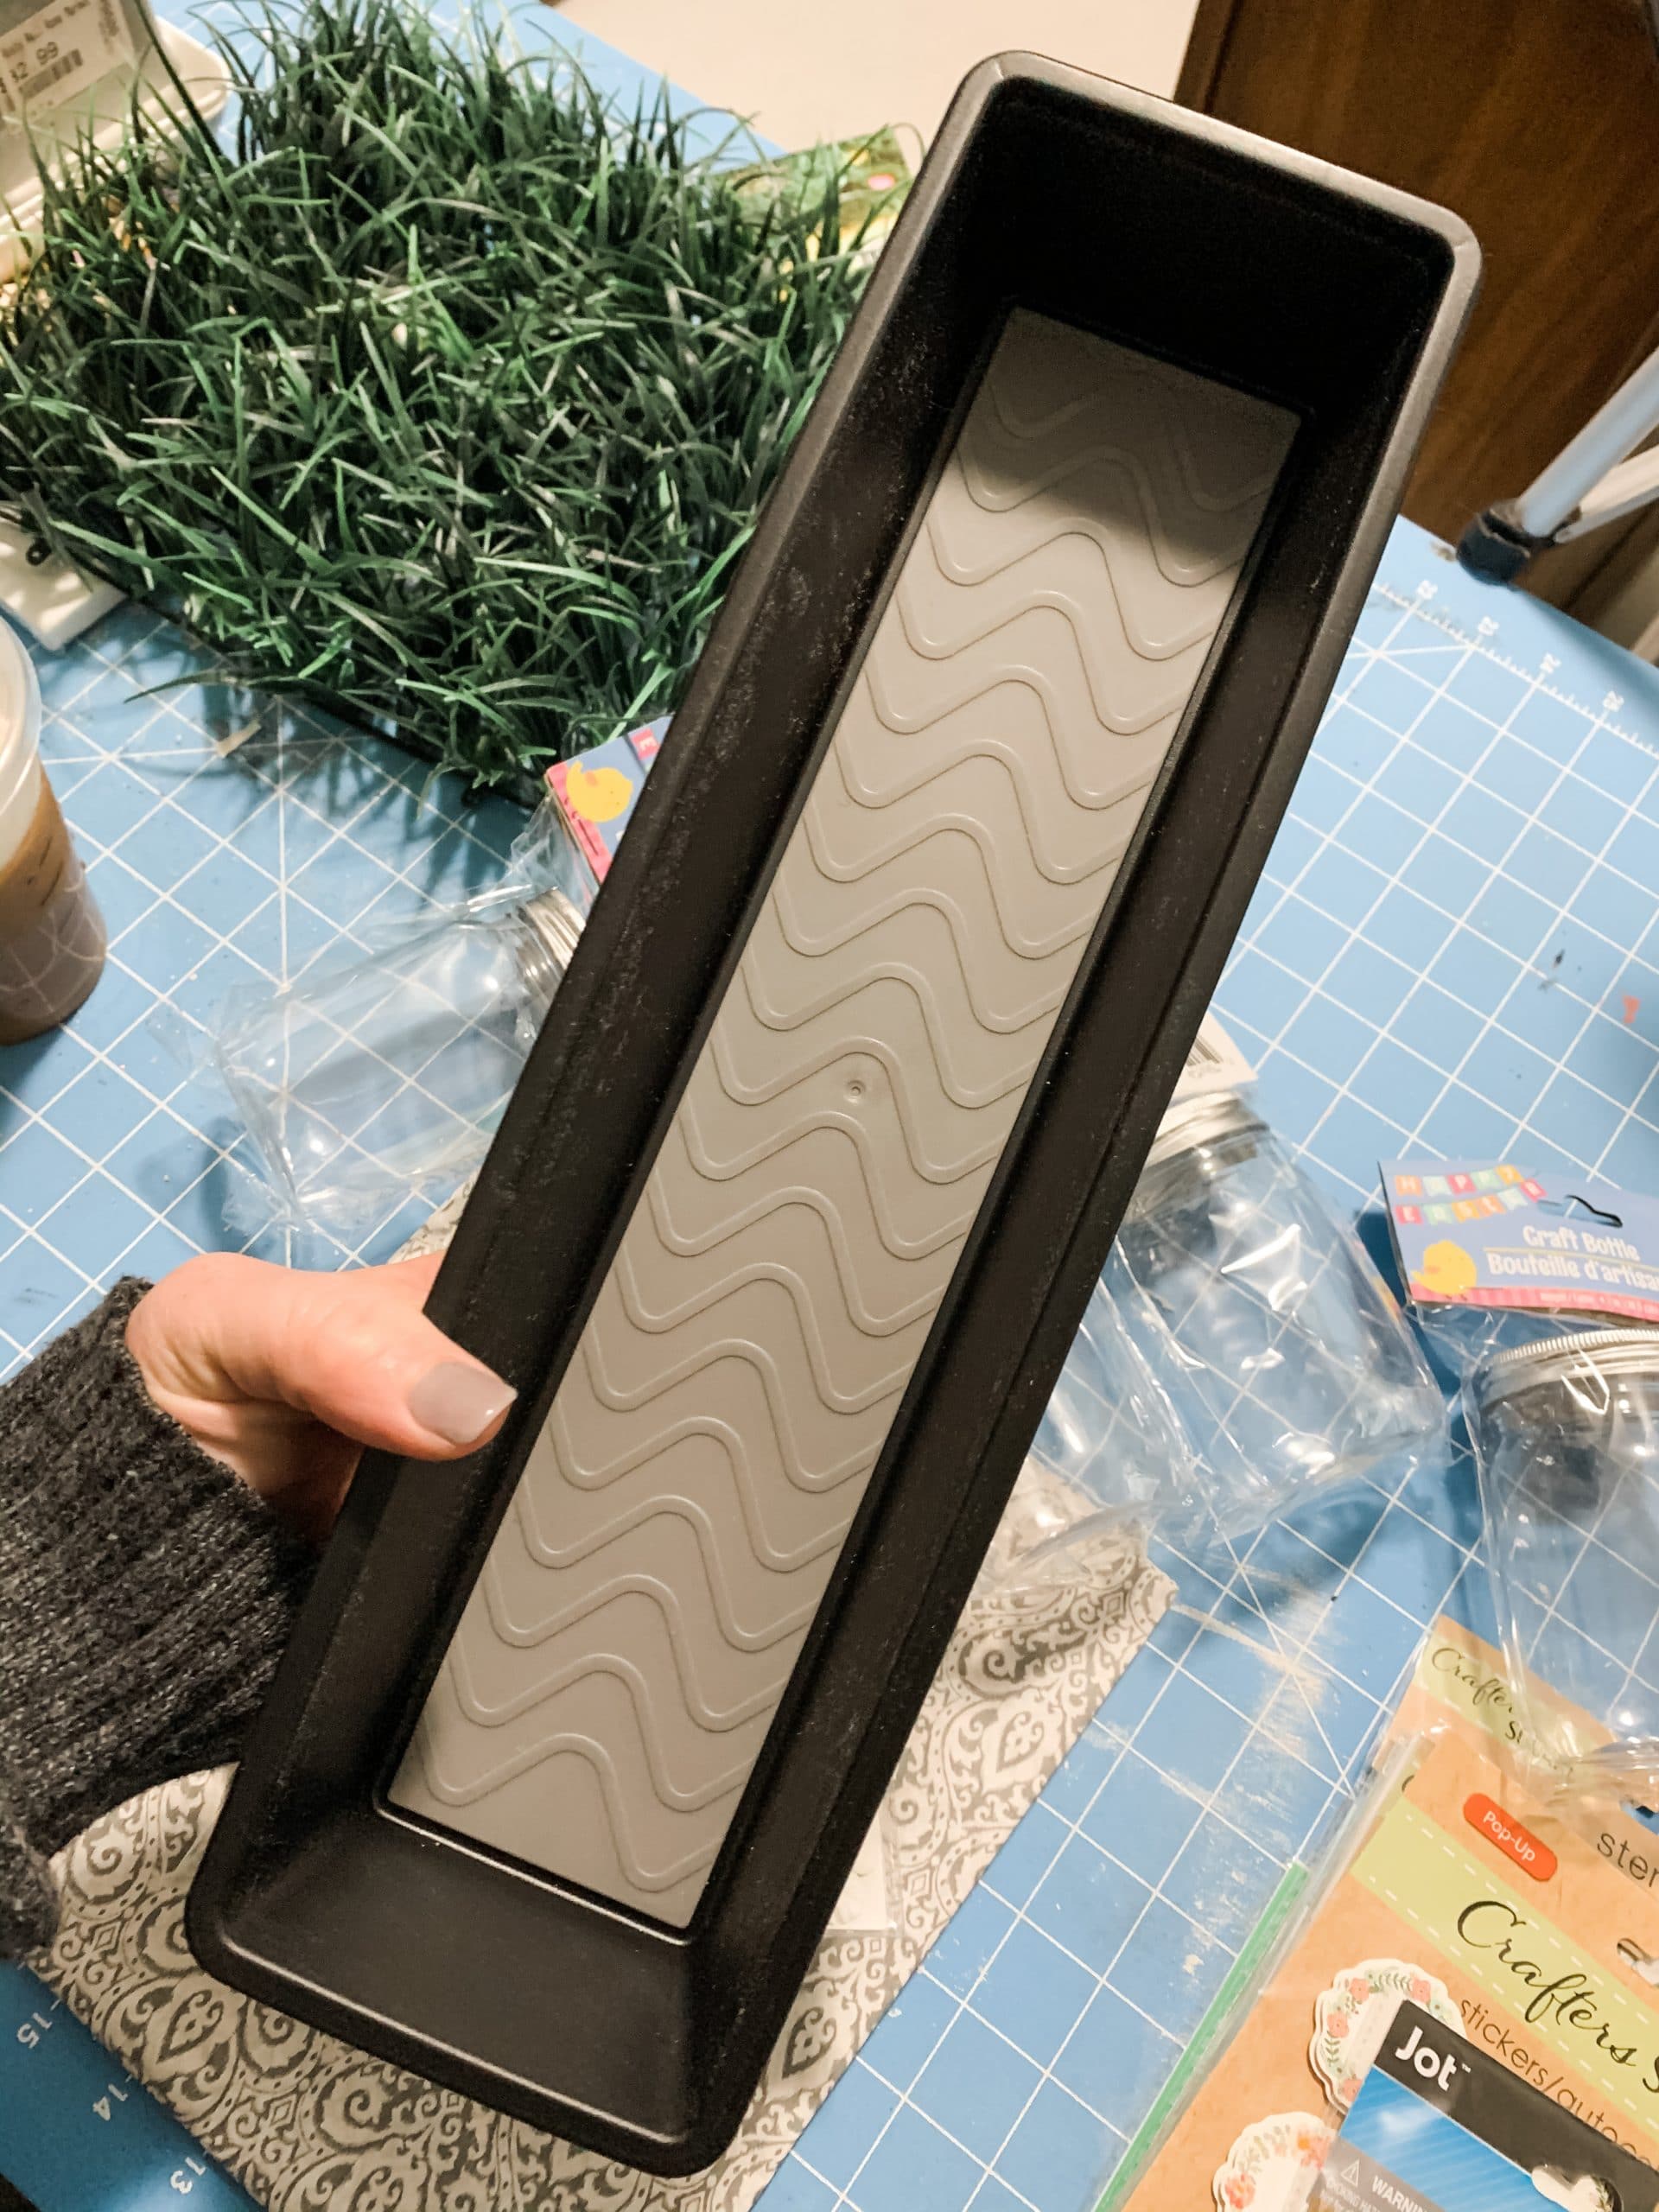
- Dollar Tree organizer tray
- Buffalo Check Tissue Paper
- Dollar Tree Nautical Rope
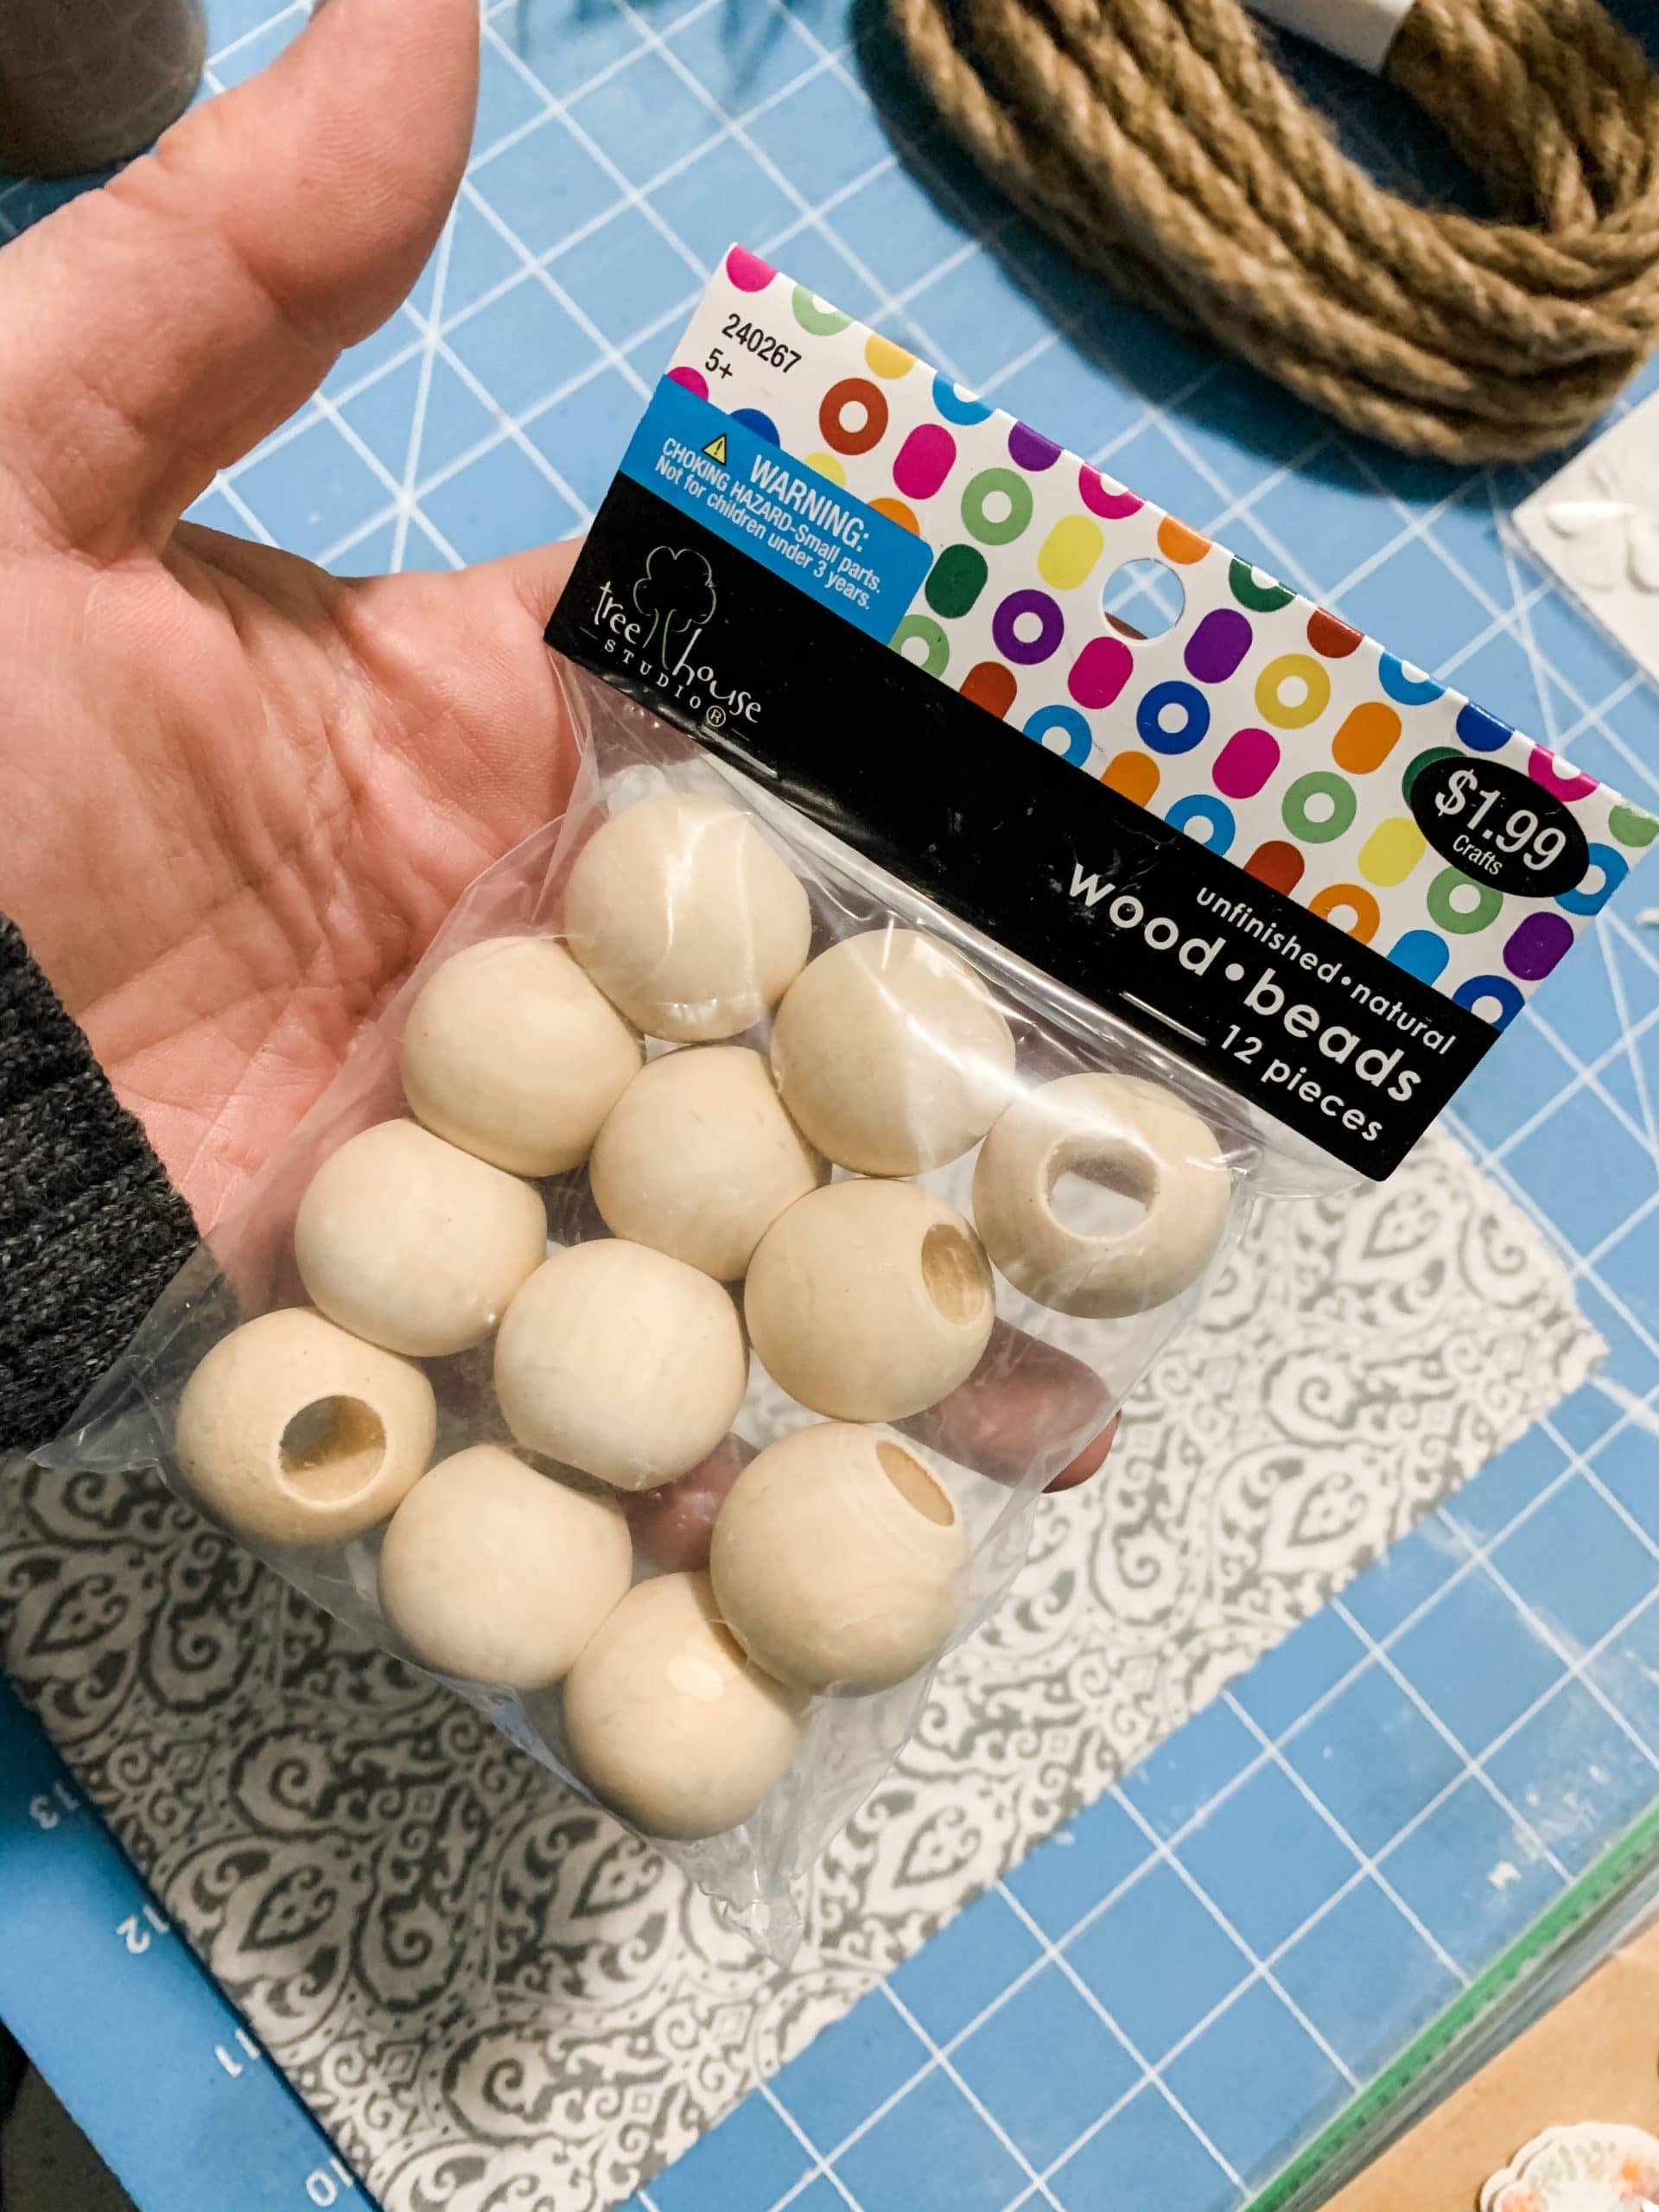
- Large Wood Beads (x4)
- Dollar Tree Jute Twine
- Dollar Tree Fake Flowers
- Fake Grass
- White Paint
- Hot Glue gun
- Glue Sticks
How to Make a DIY Mason Jar Planter
Start by hot gluing four wood beads to the bottom corners of the Dollar Tree plastic organizer tray. Glue them with the hole vertical. This will create a flat surface on the bottom of the beads and help keep the organizer tray level.
Set your organizer tray to the side and get your Mod Podge, tissue paper, and four Dollar Tree craft jars. Apply Mod Podge across the entire craft jars.
Then, press the buffalo check tissue paper onto the craft jars. It’s going to wrinkle and crease, and that is perfectly fine! Do this with all four jars, then use scissors to trim the excess tissue paper from the top of the jars.
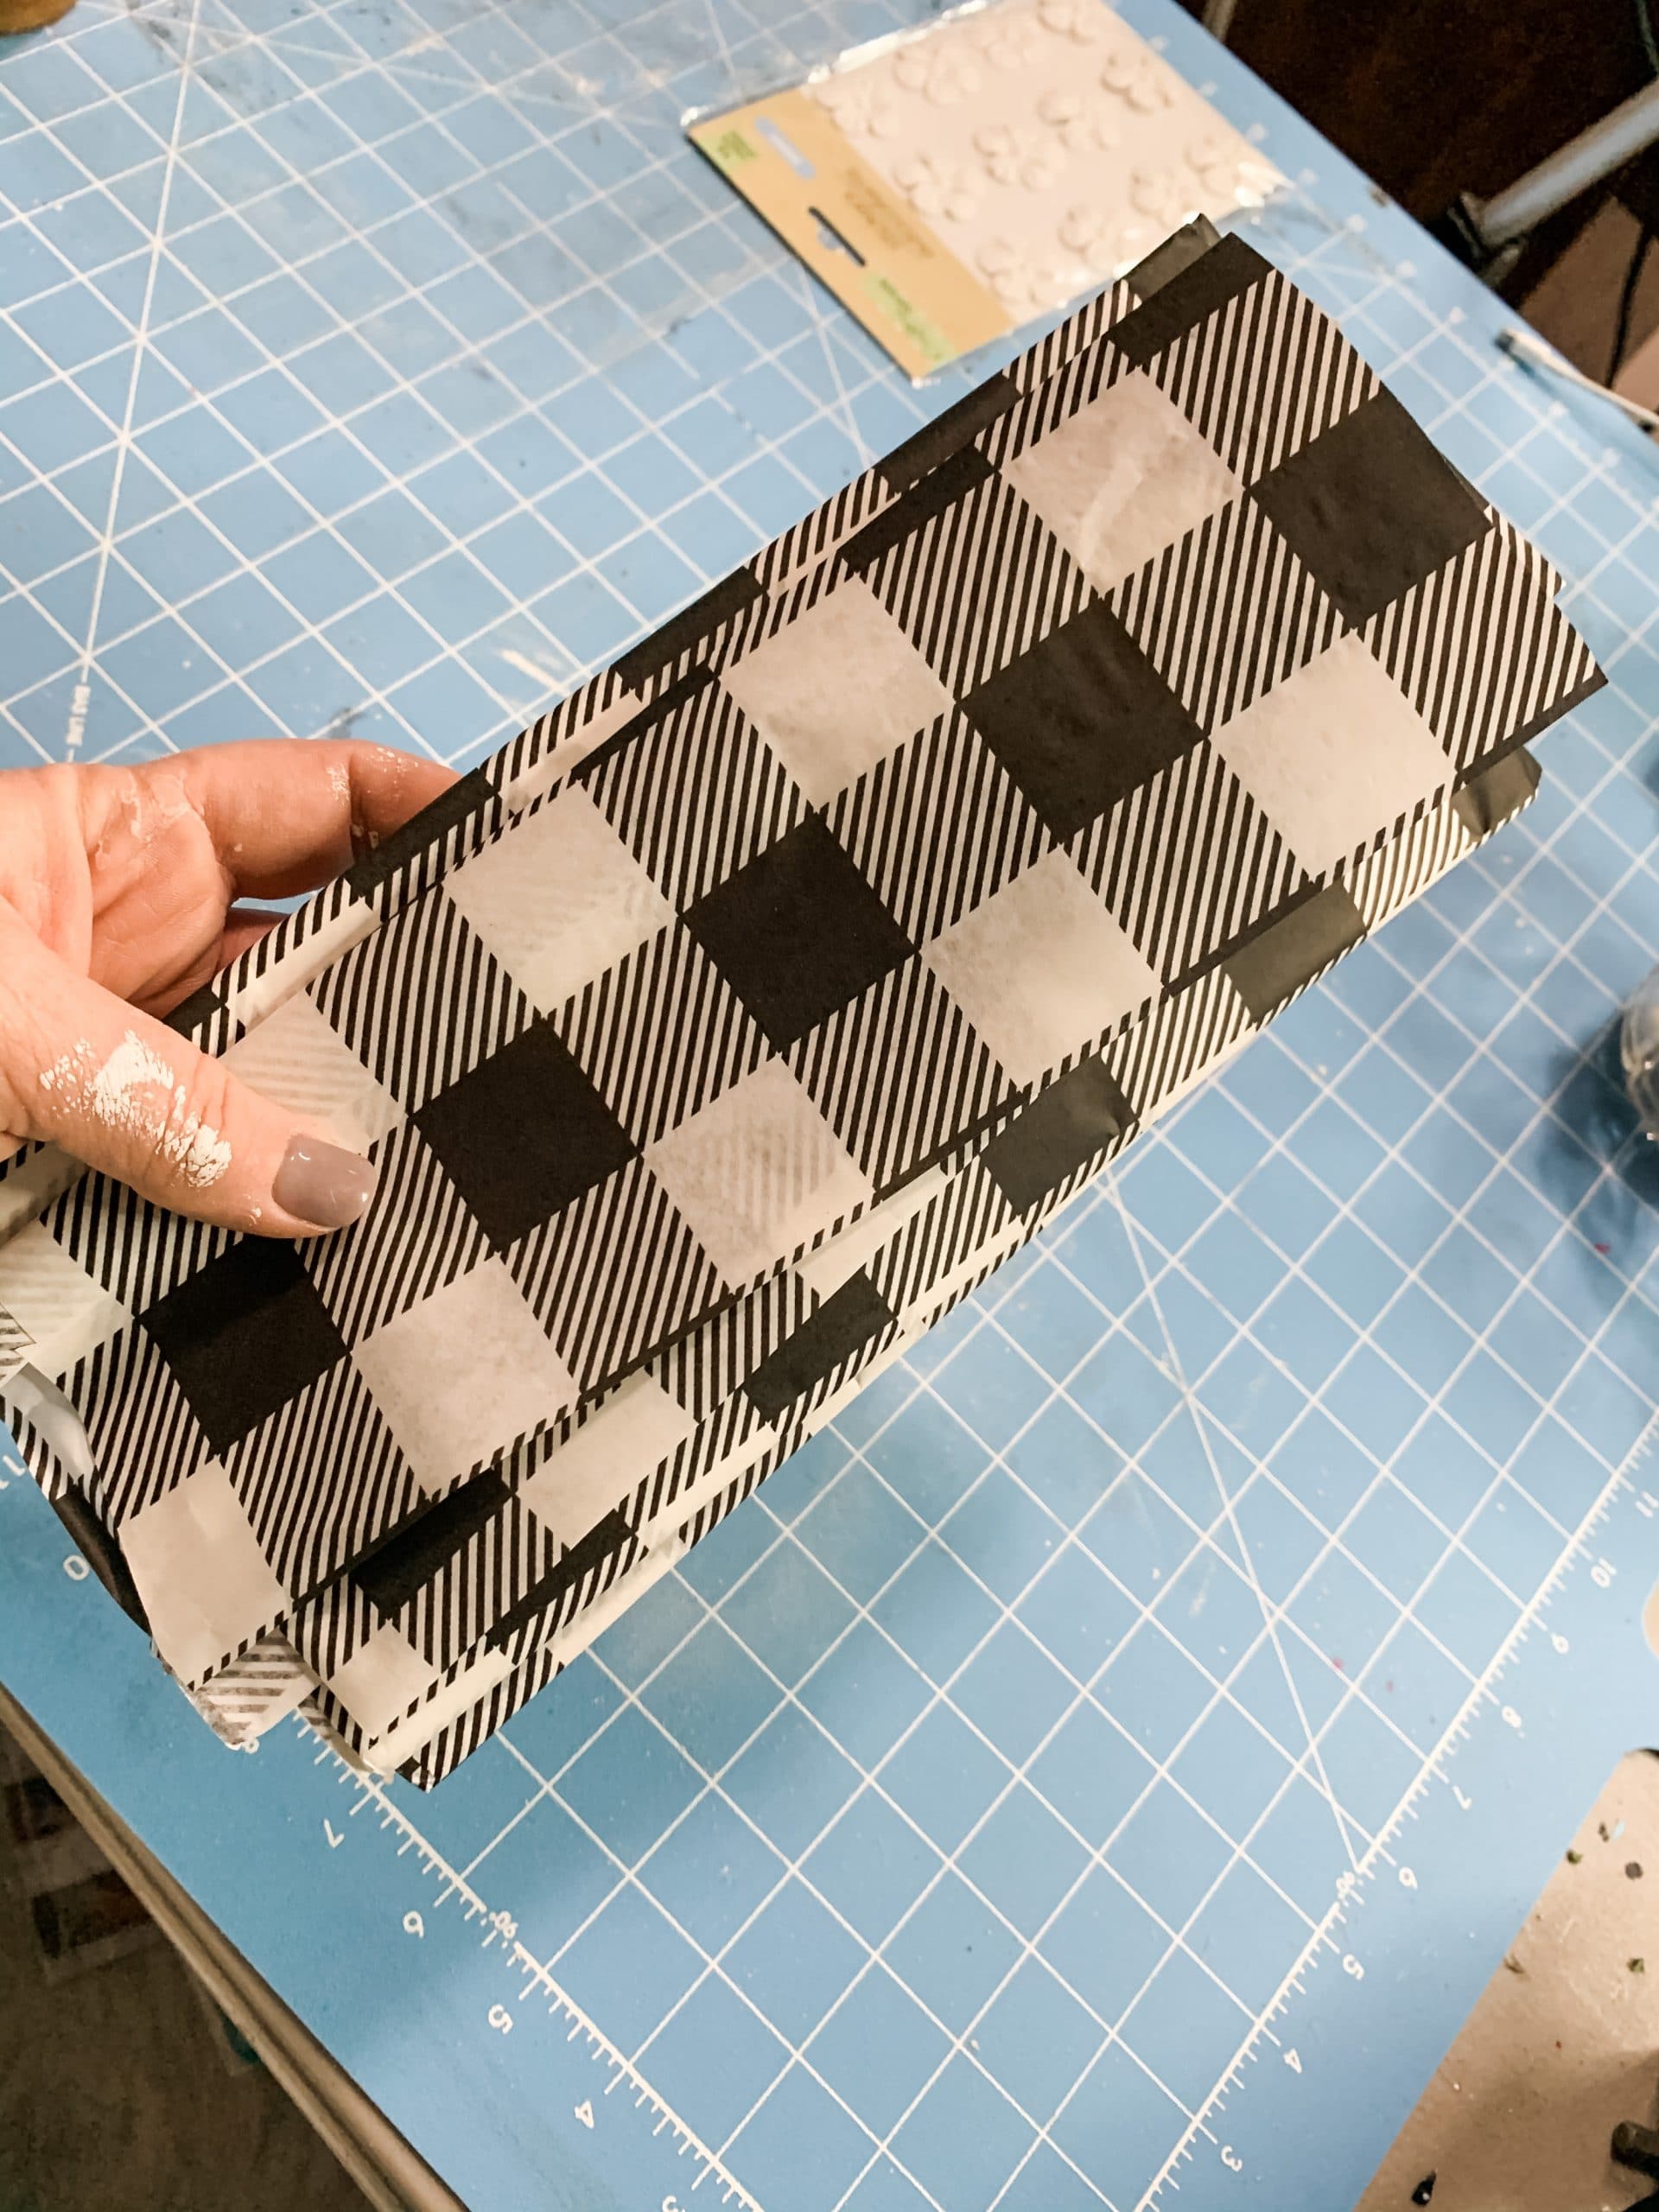
If there are any places where the tissue paper isn’t adhering to the jars, you can apply Mod Podge over top of the tissue paper to secure it in place.
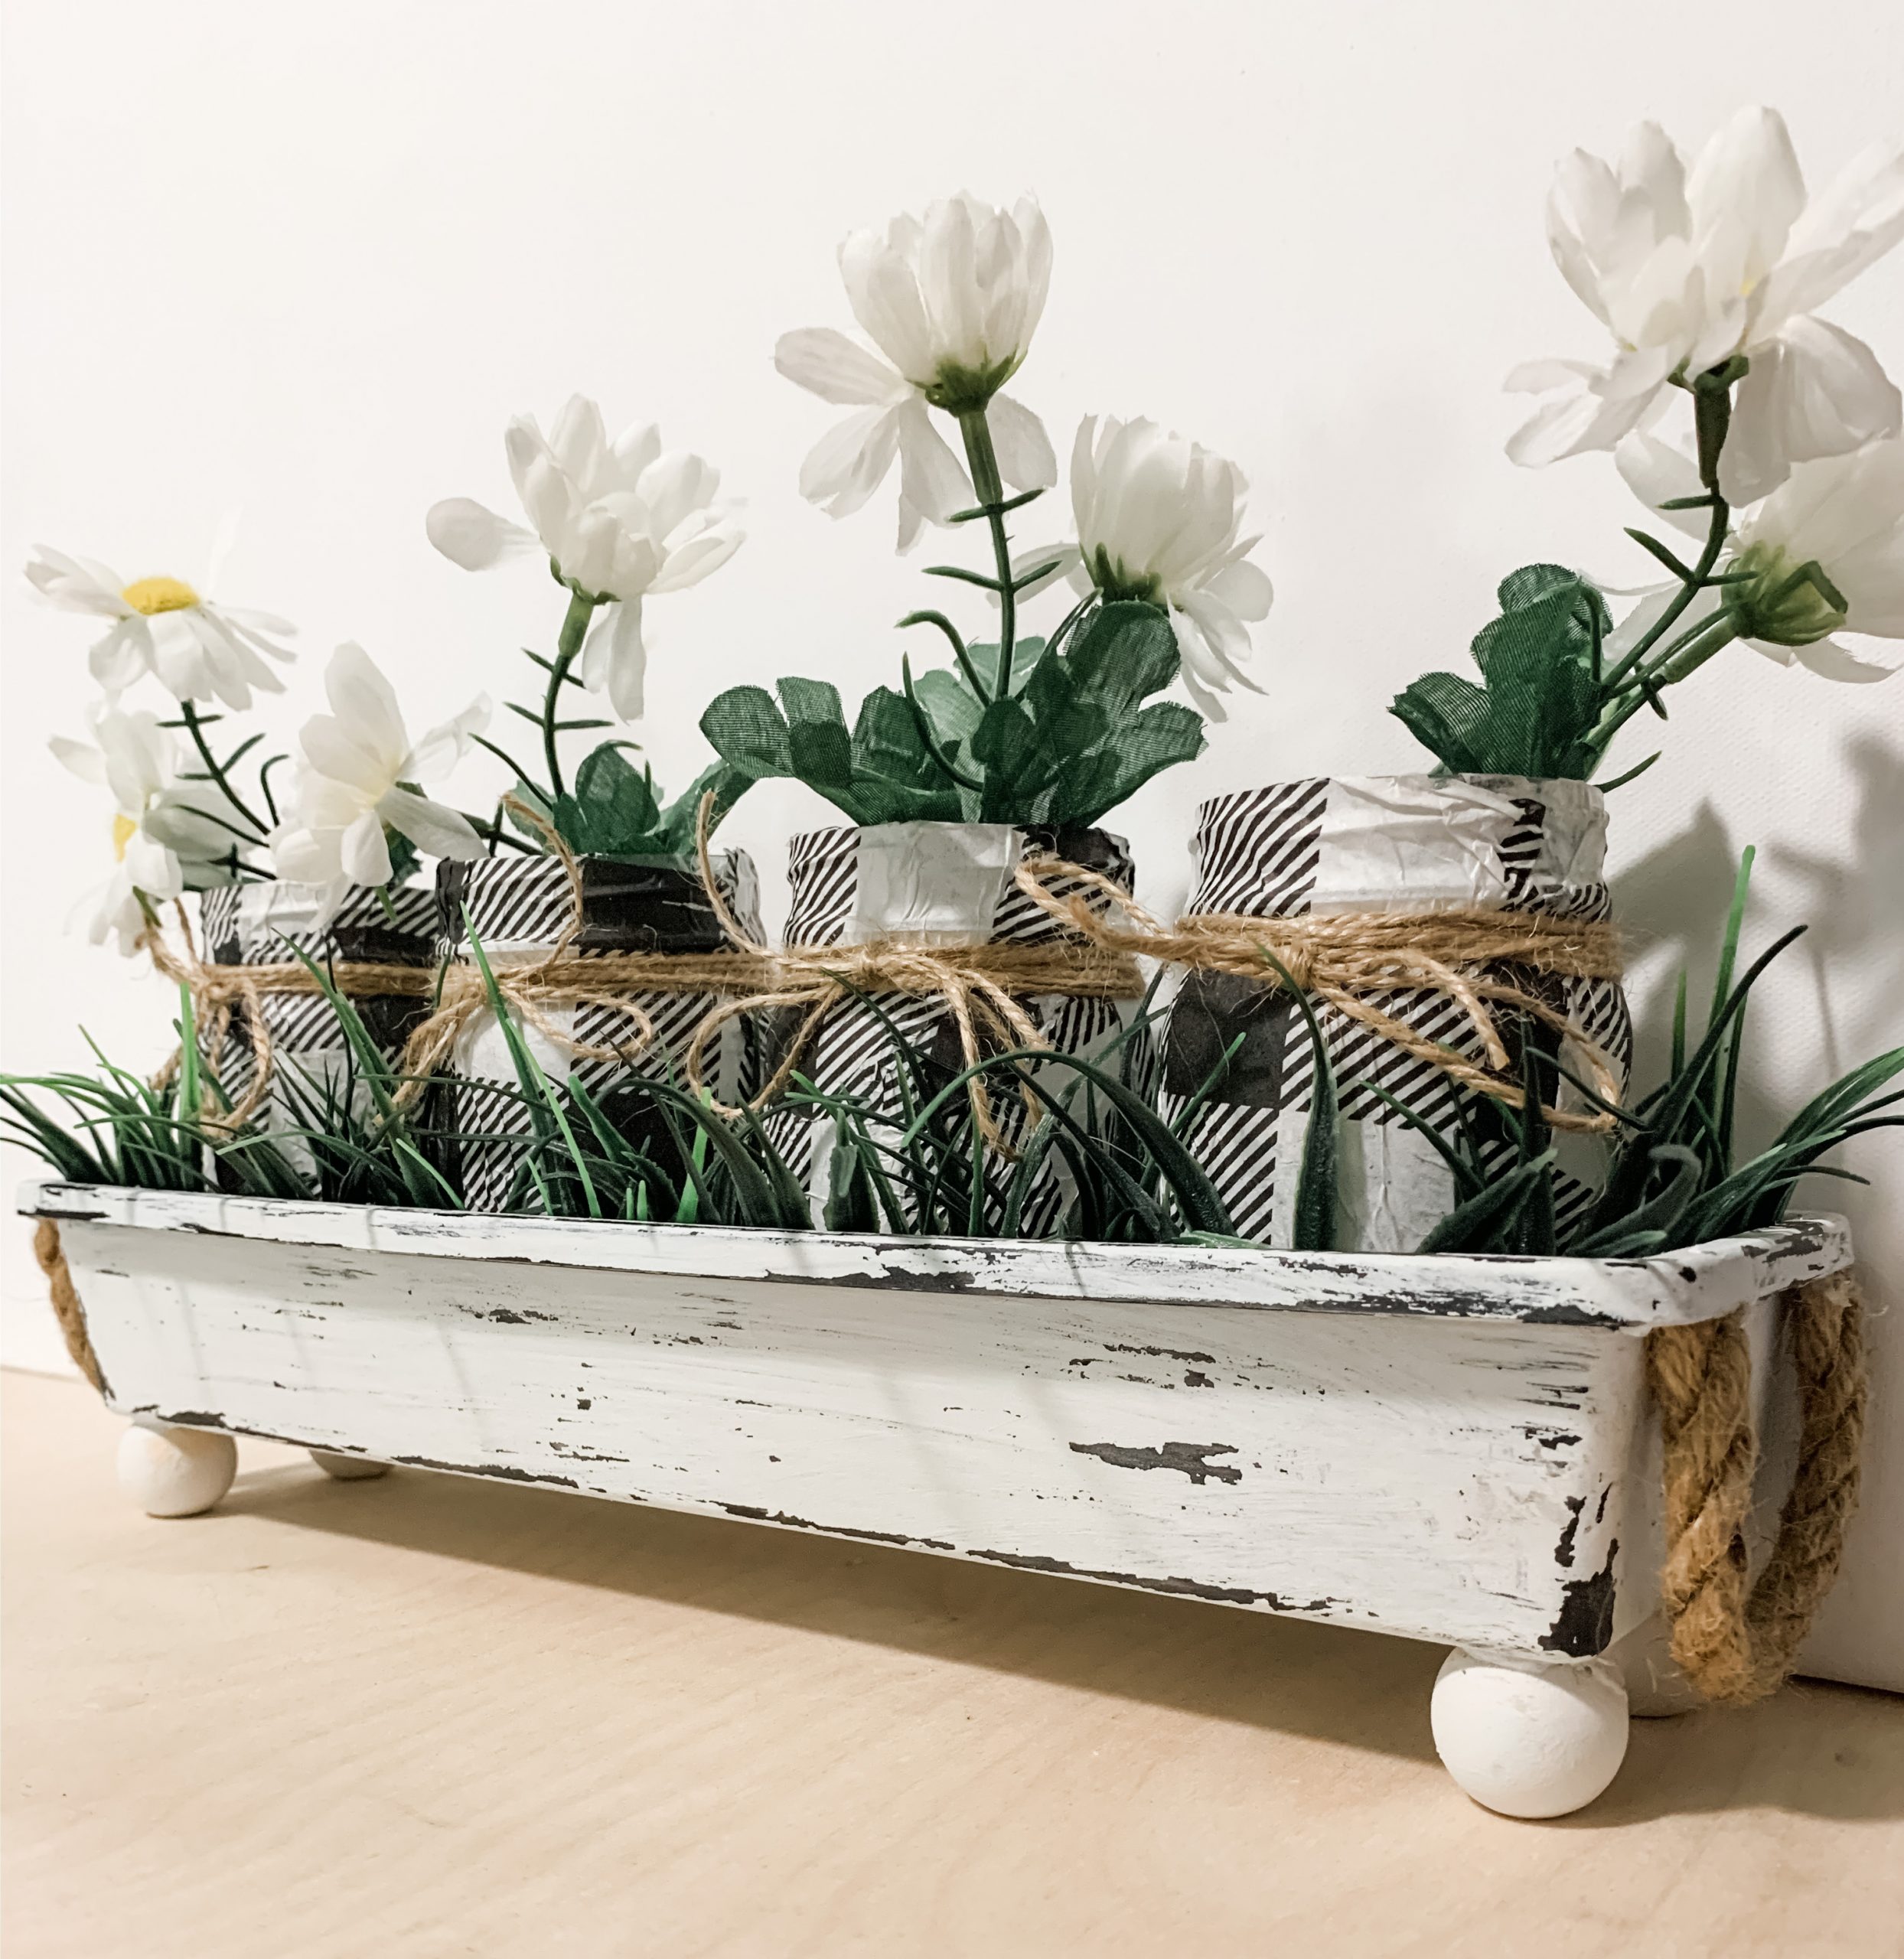
Set all the jars to the side for now, and get ready to paint the Dollar Tree organizer tray. I used Dixie Belle Fluff Chalk Paint, but you can use whichever white paint you already have.
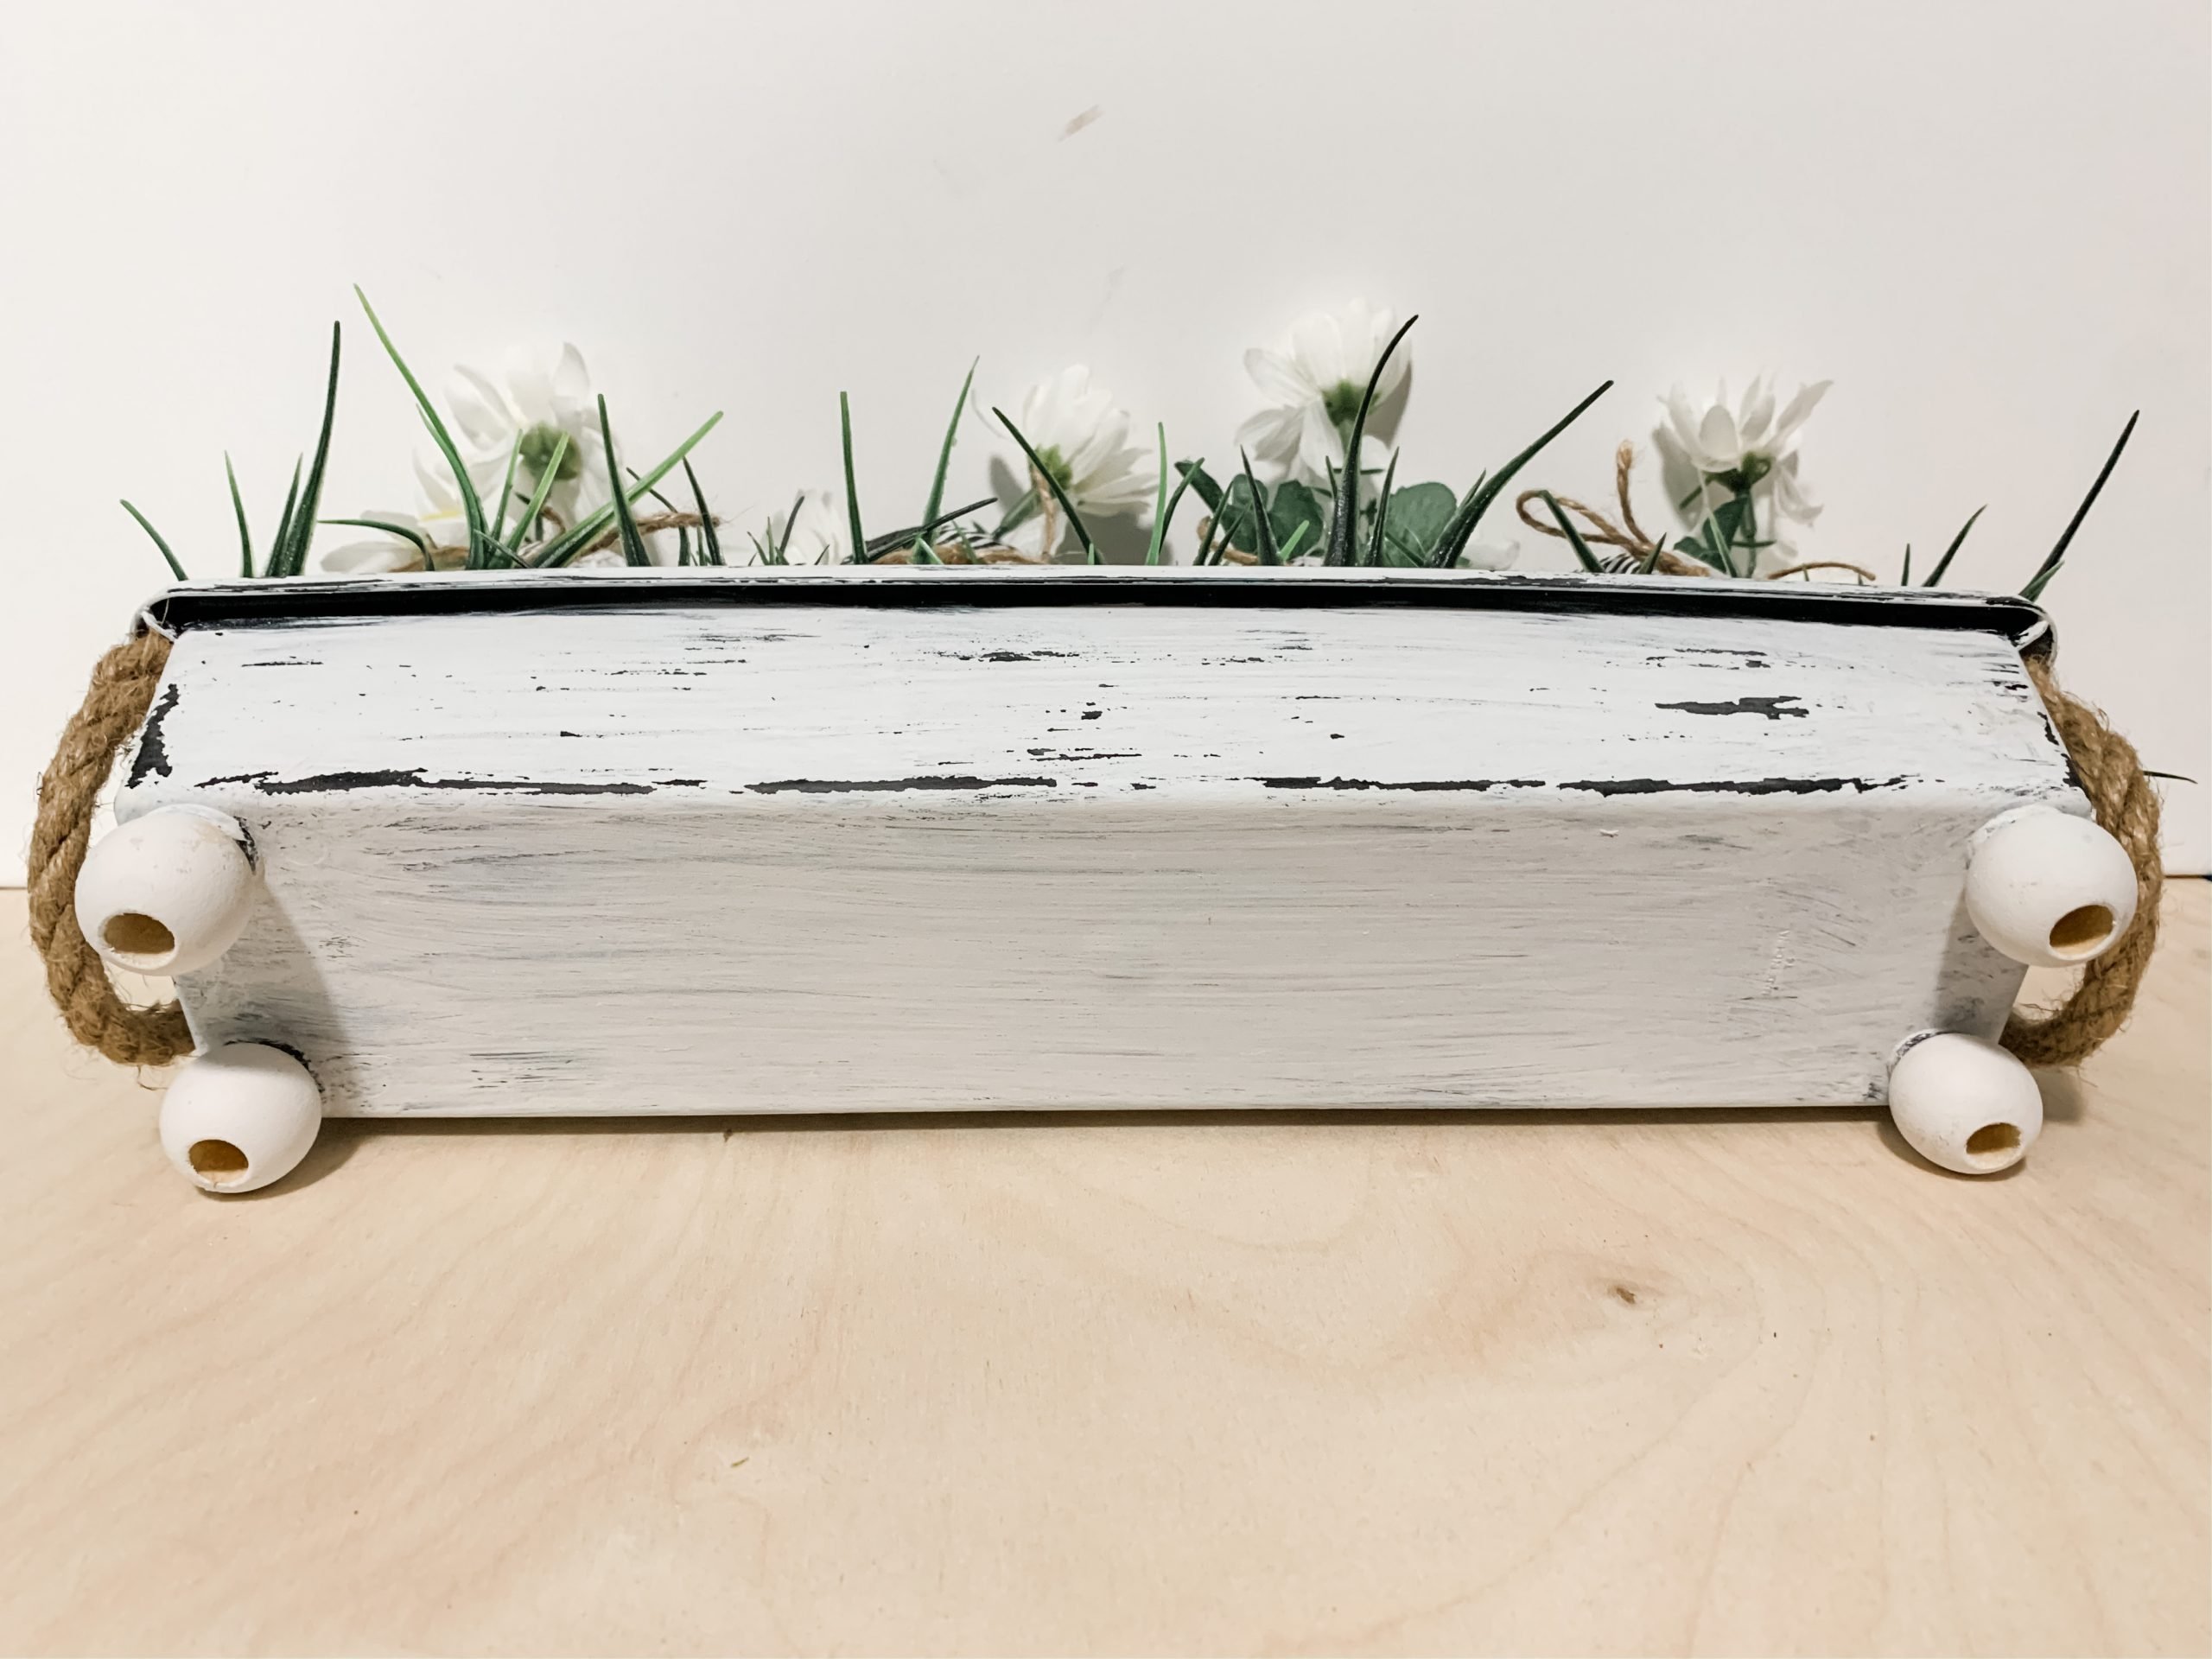
Use a dry chippy paintbrush and paint the entire outside of the organizer tray, including the wood beads on the bottom. I also painted the inside edges of the organizer tray so there wasn’t too much black peeking through the grass and craft jars.
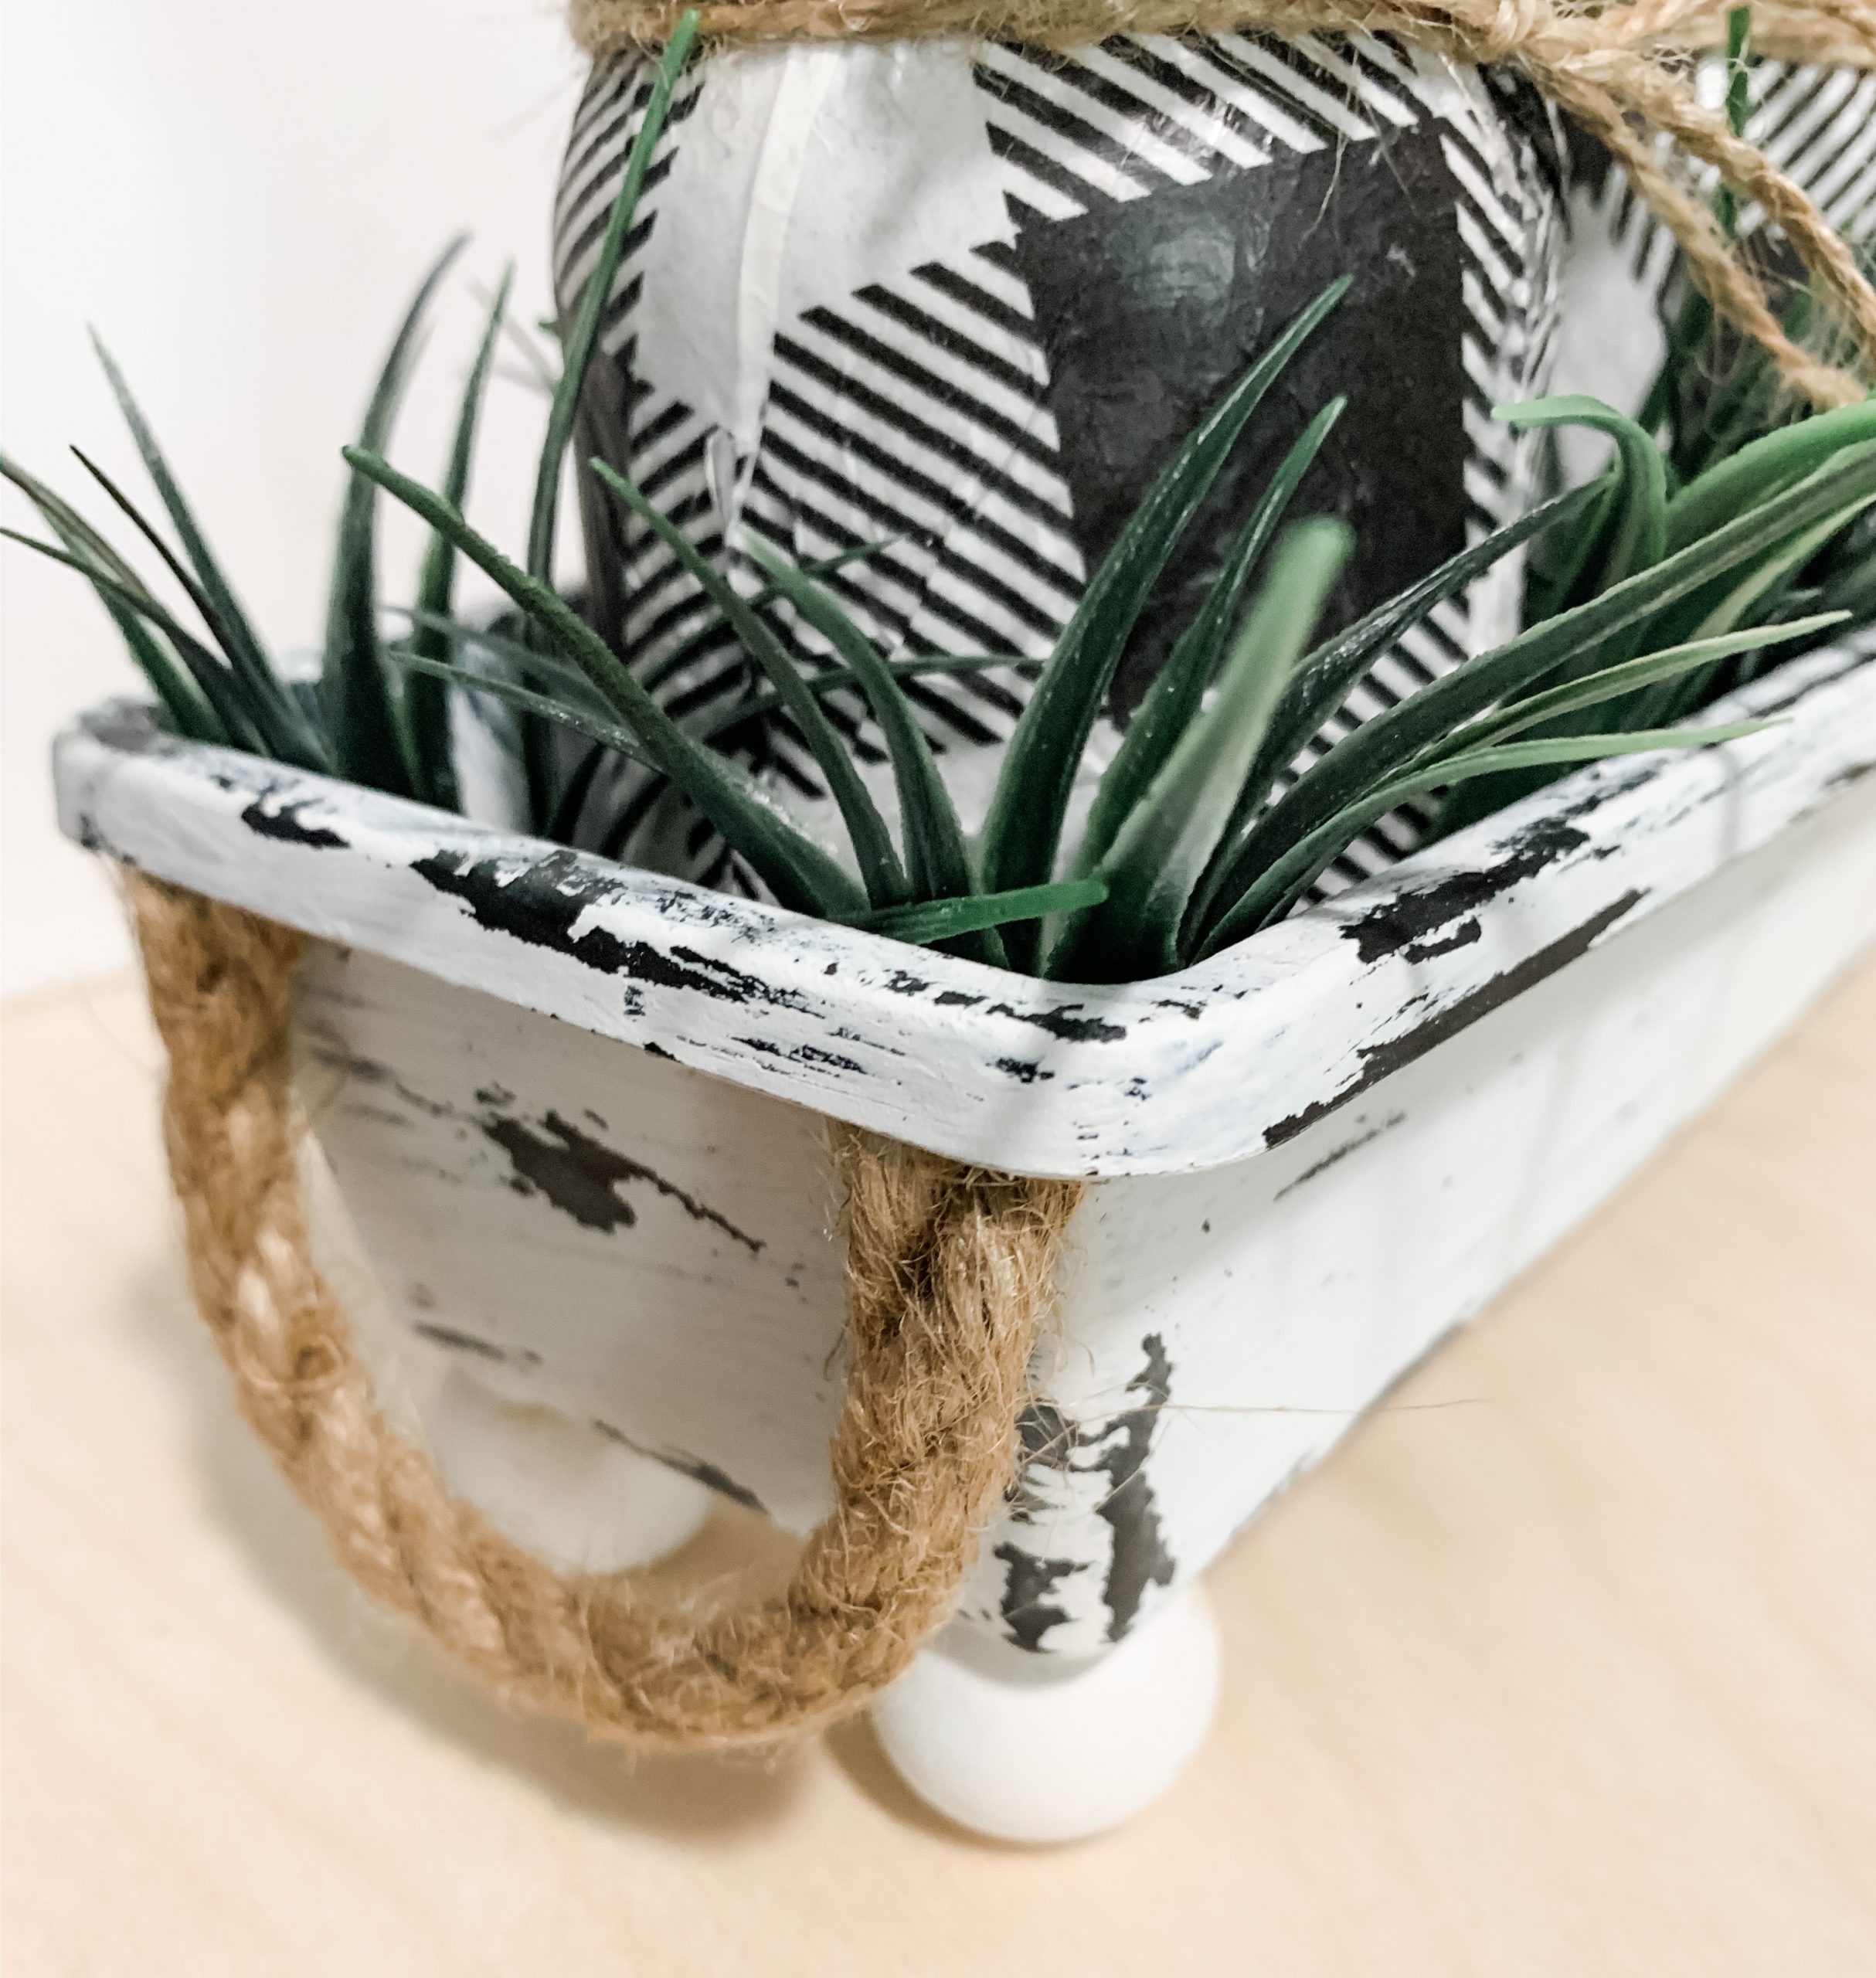
Once the white paint was dry (I used my heat gun to speed up the drying process), I hot glued a piece of nautical rope on the short sides of the organizer tray to make small handles.
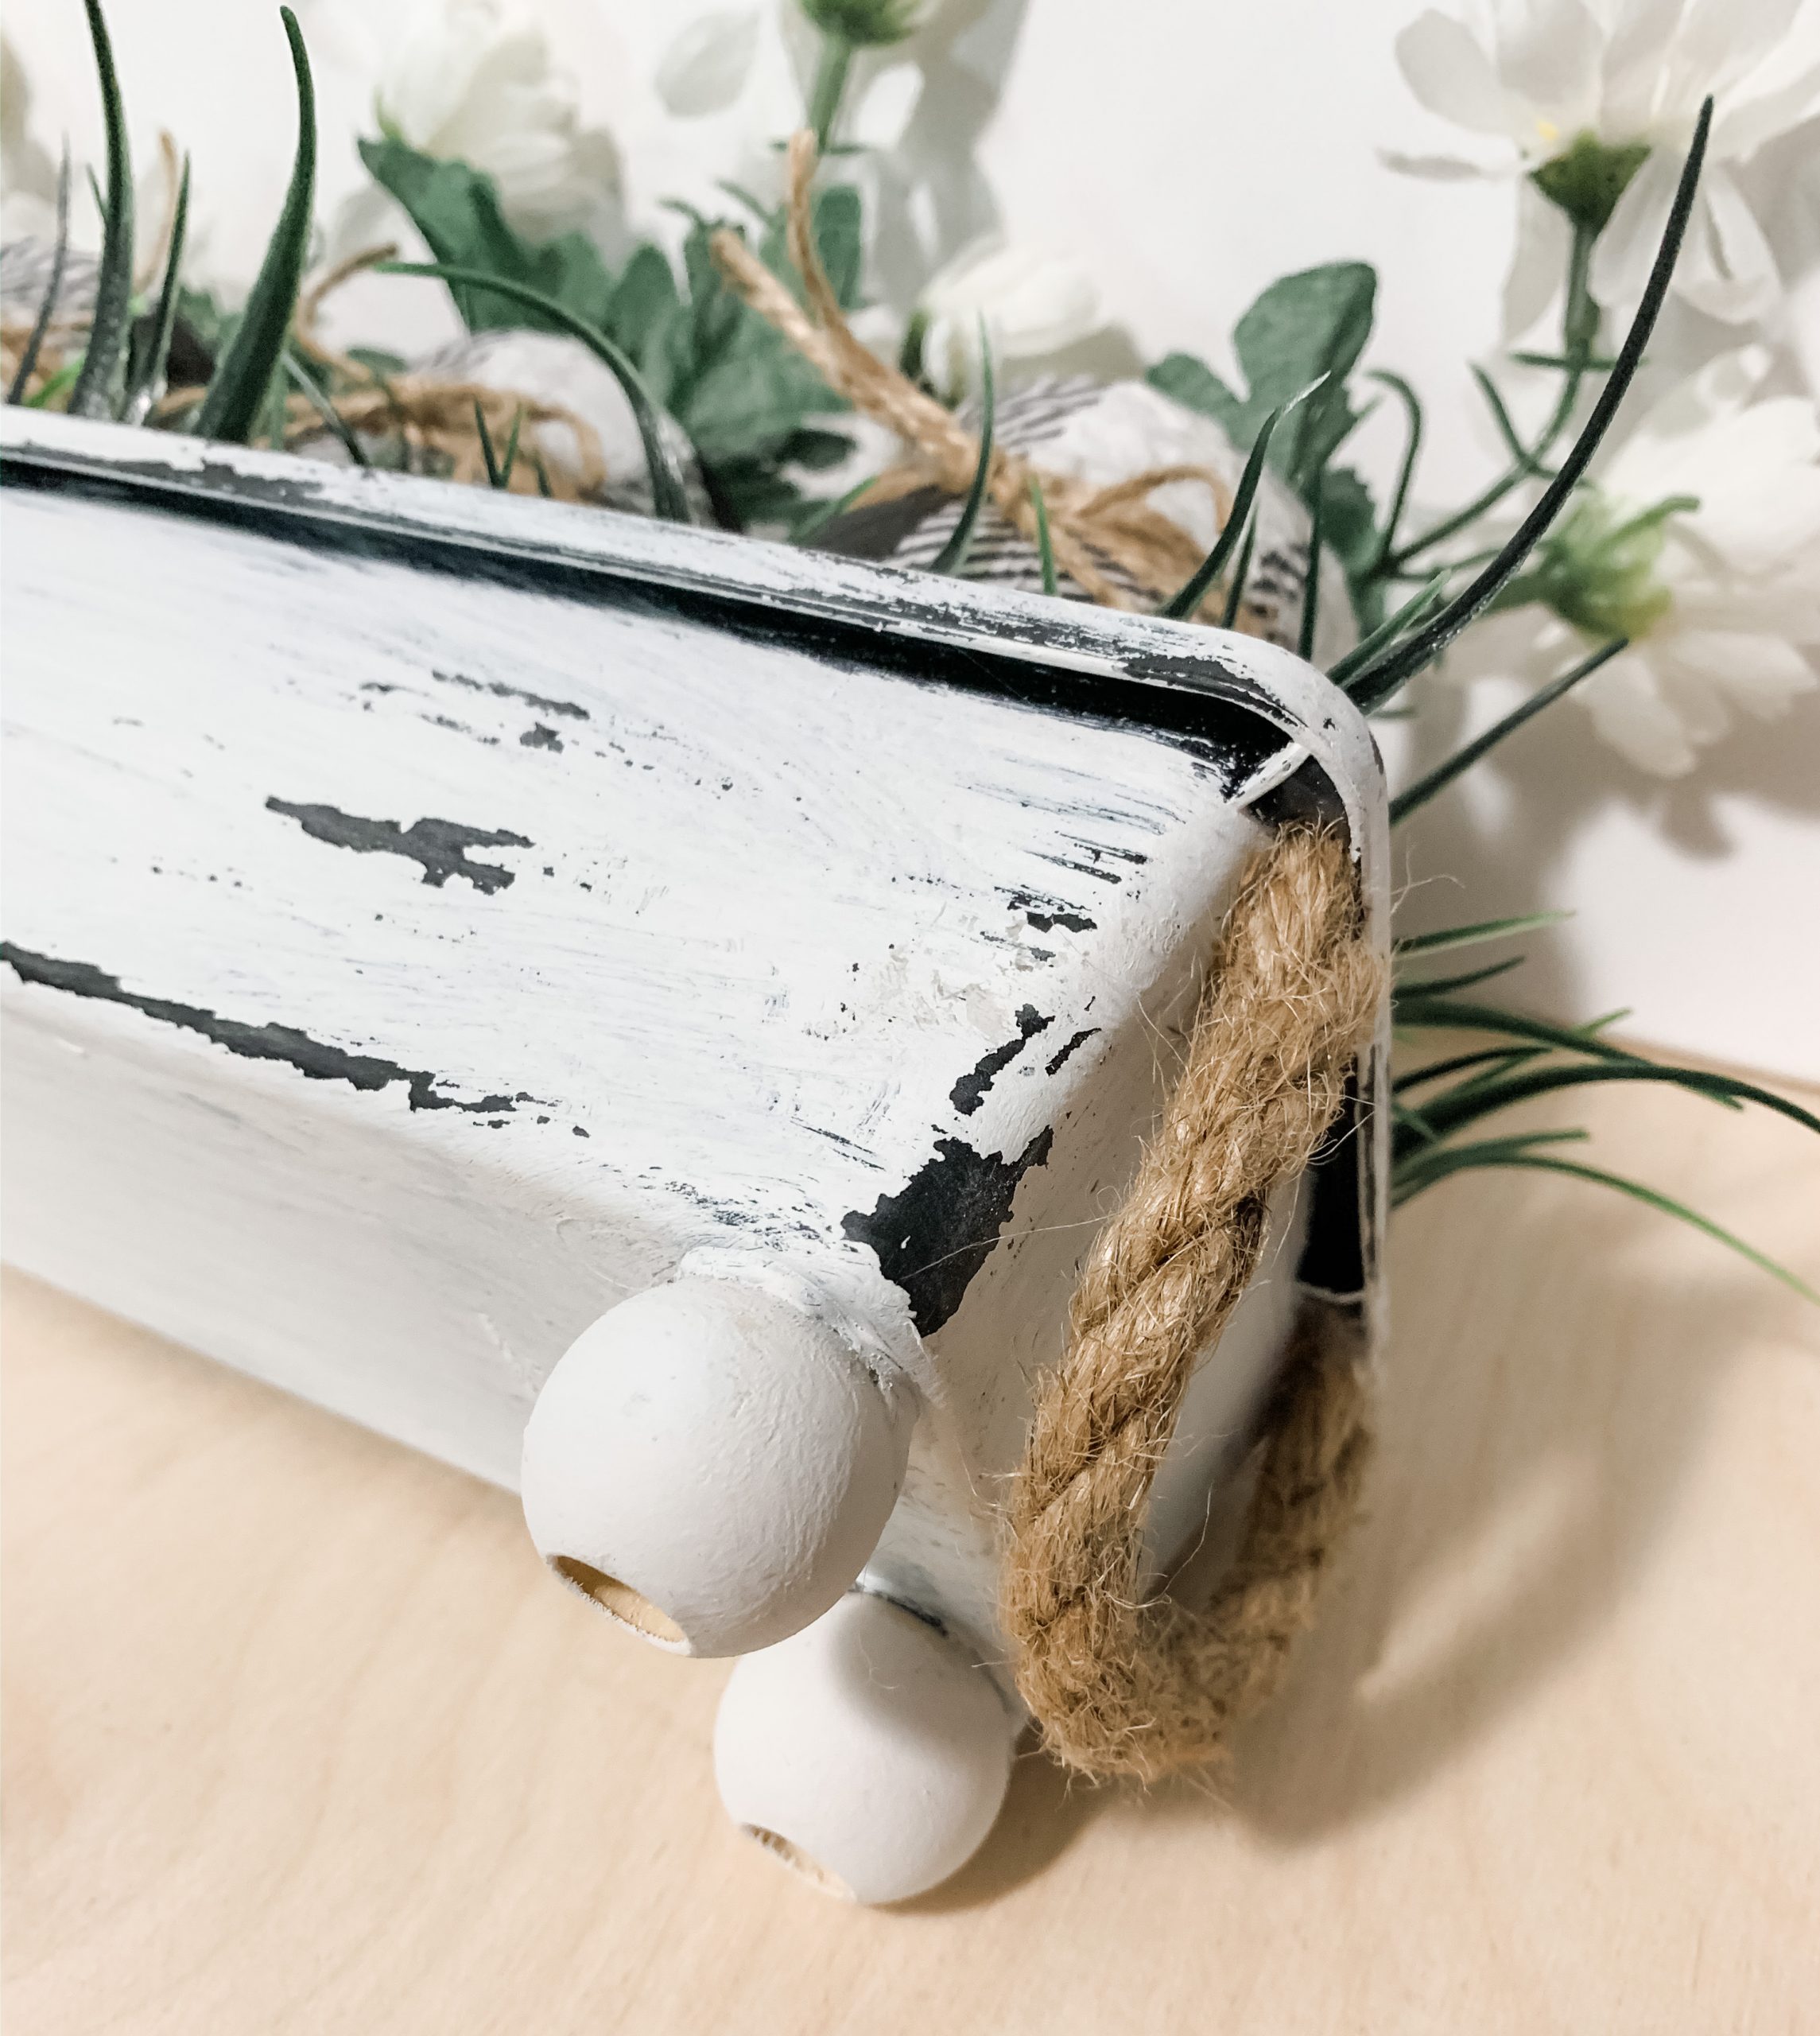
Next, I went over the organizer tray with a piece of sandpaper to distress the white paint and give the organizer tray an aged look. Keep sanding until you’re happy with how distressed the organizer tray is.
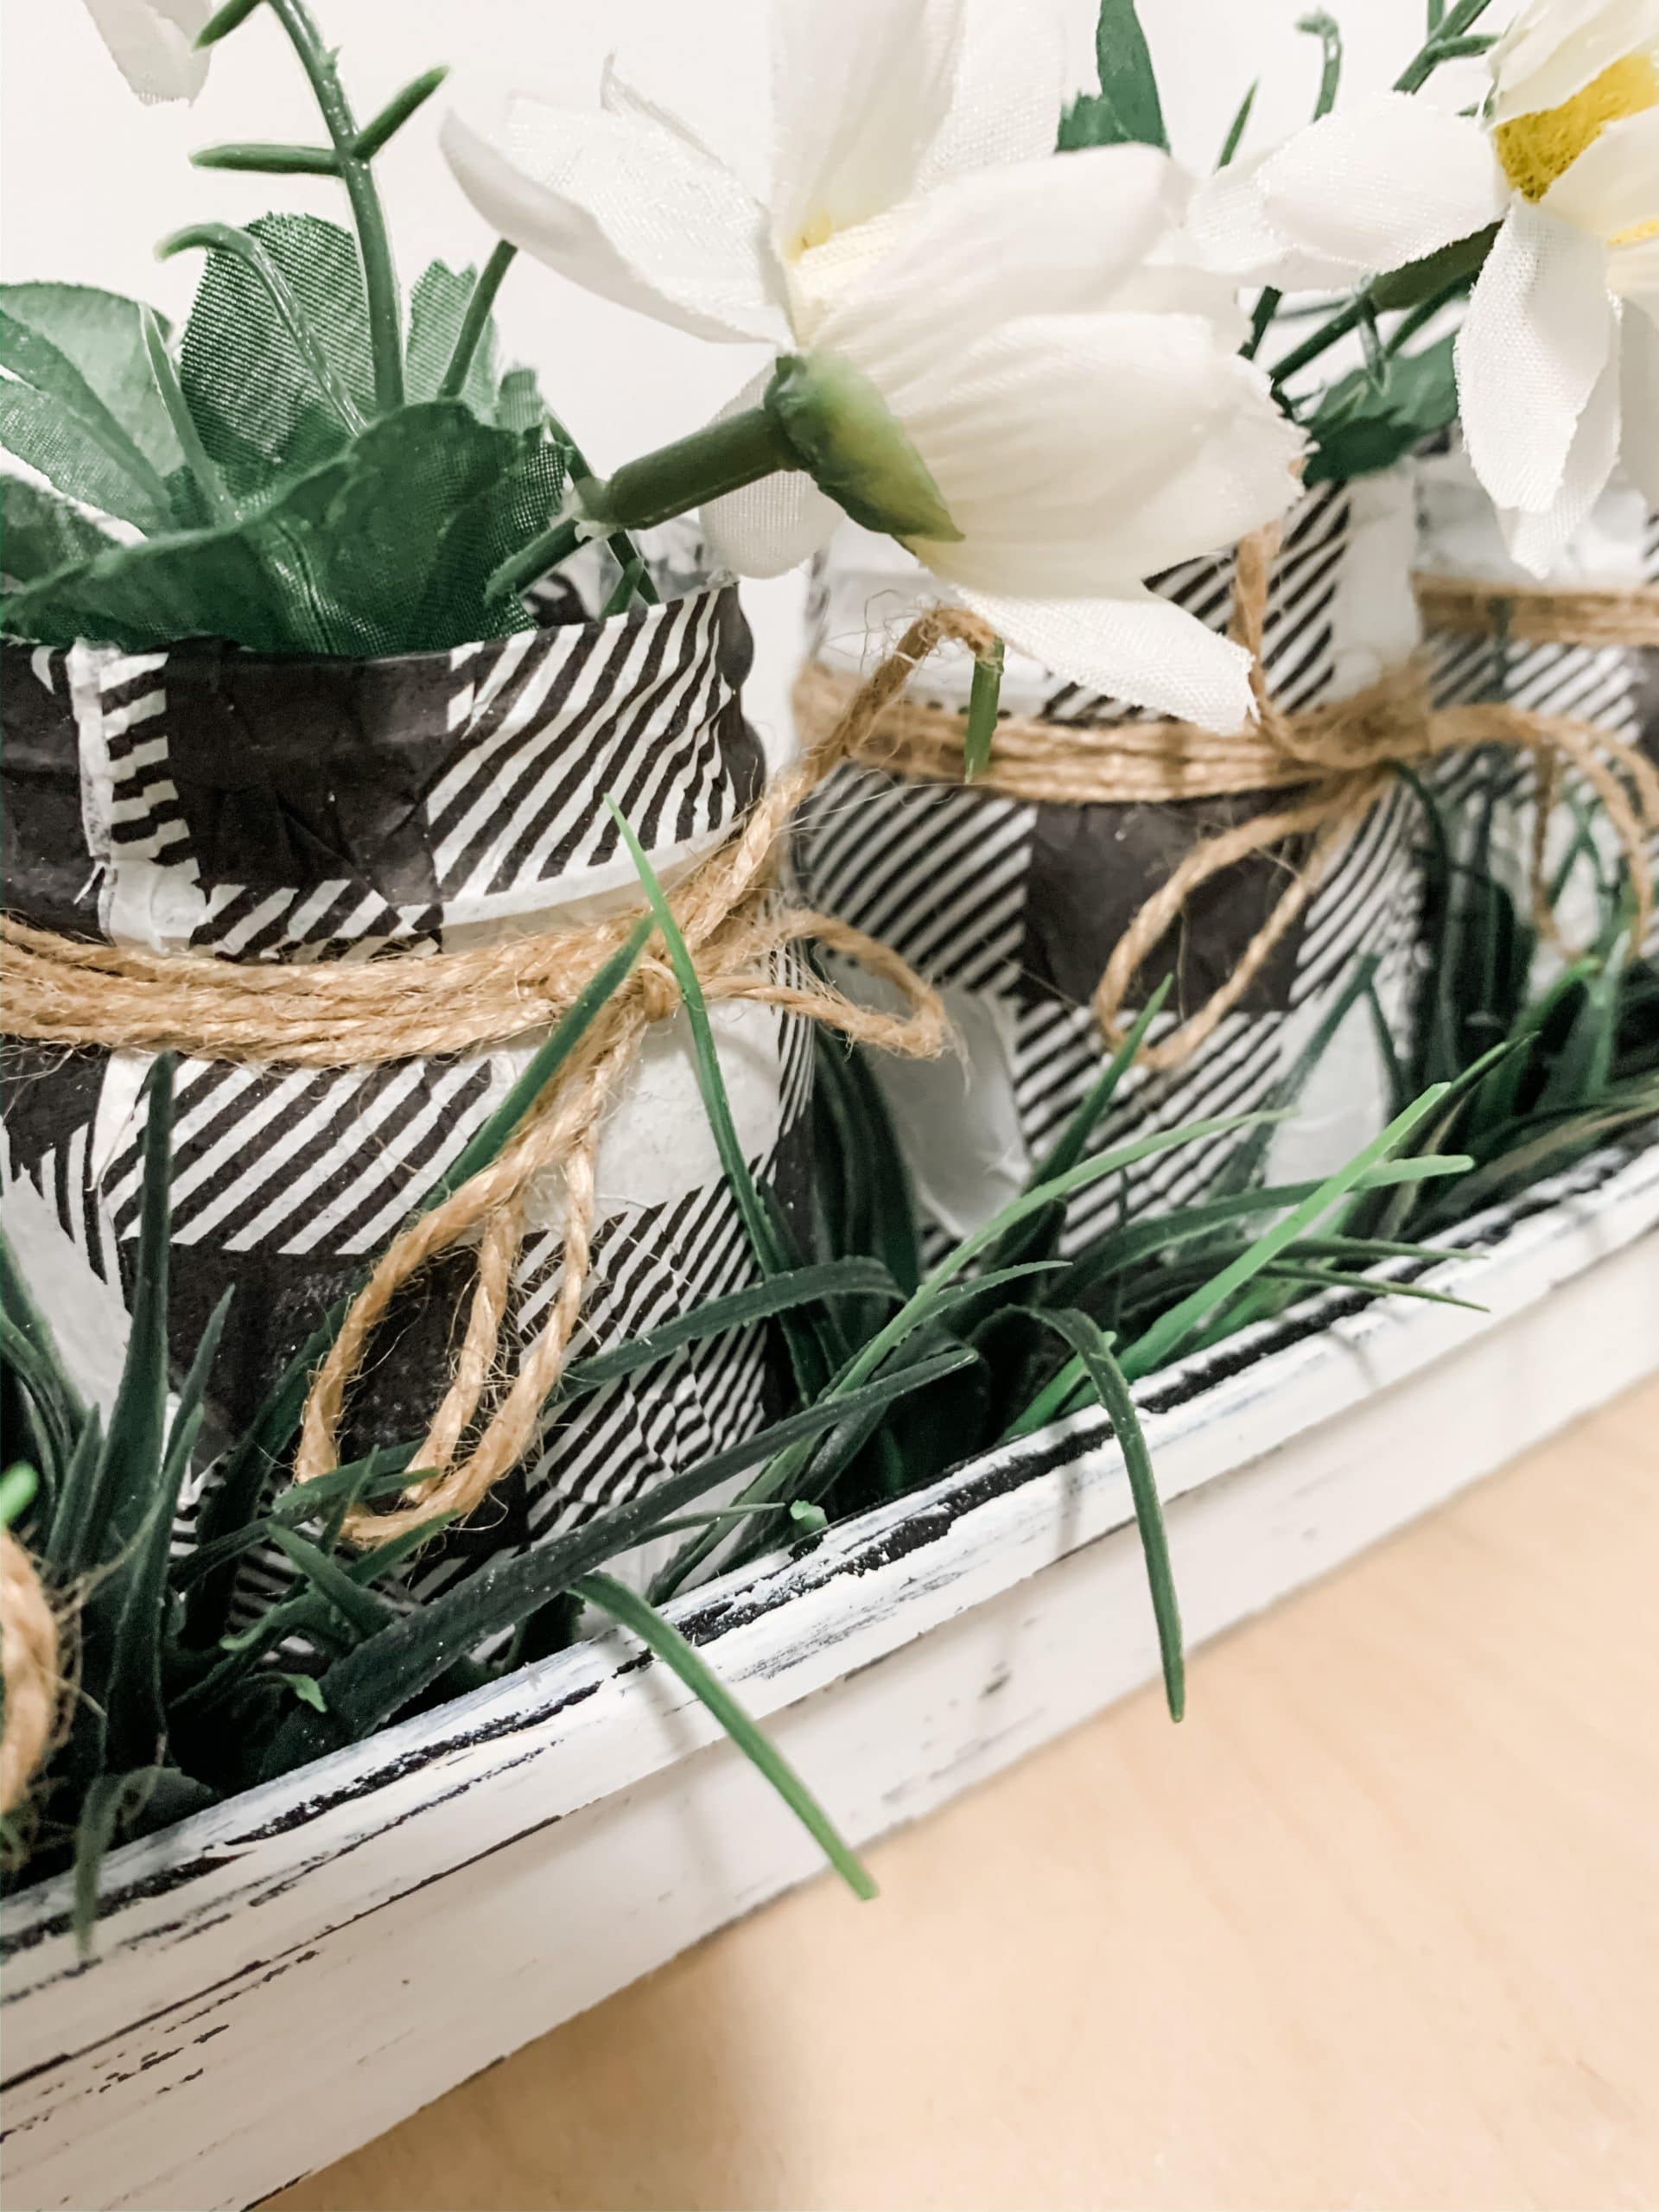
The finishing touches
I wrapped jute twine around the top of the craft jars, just below the ridges where the lids screw on, and tied the twine into a little bow on each jar.
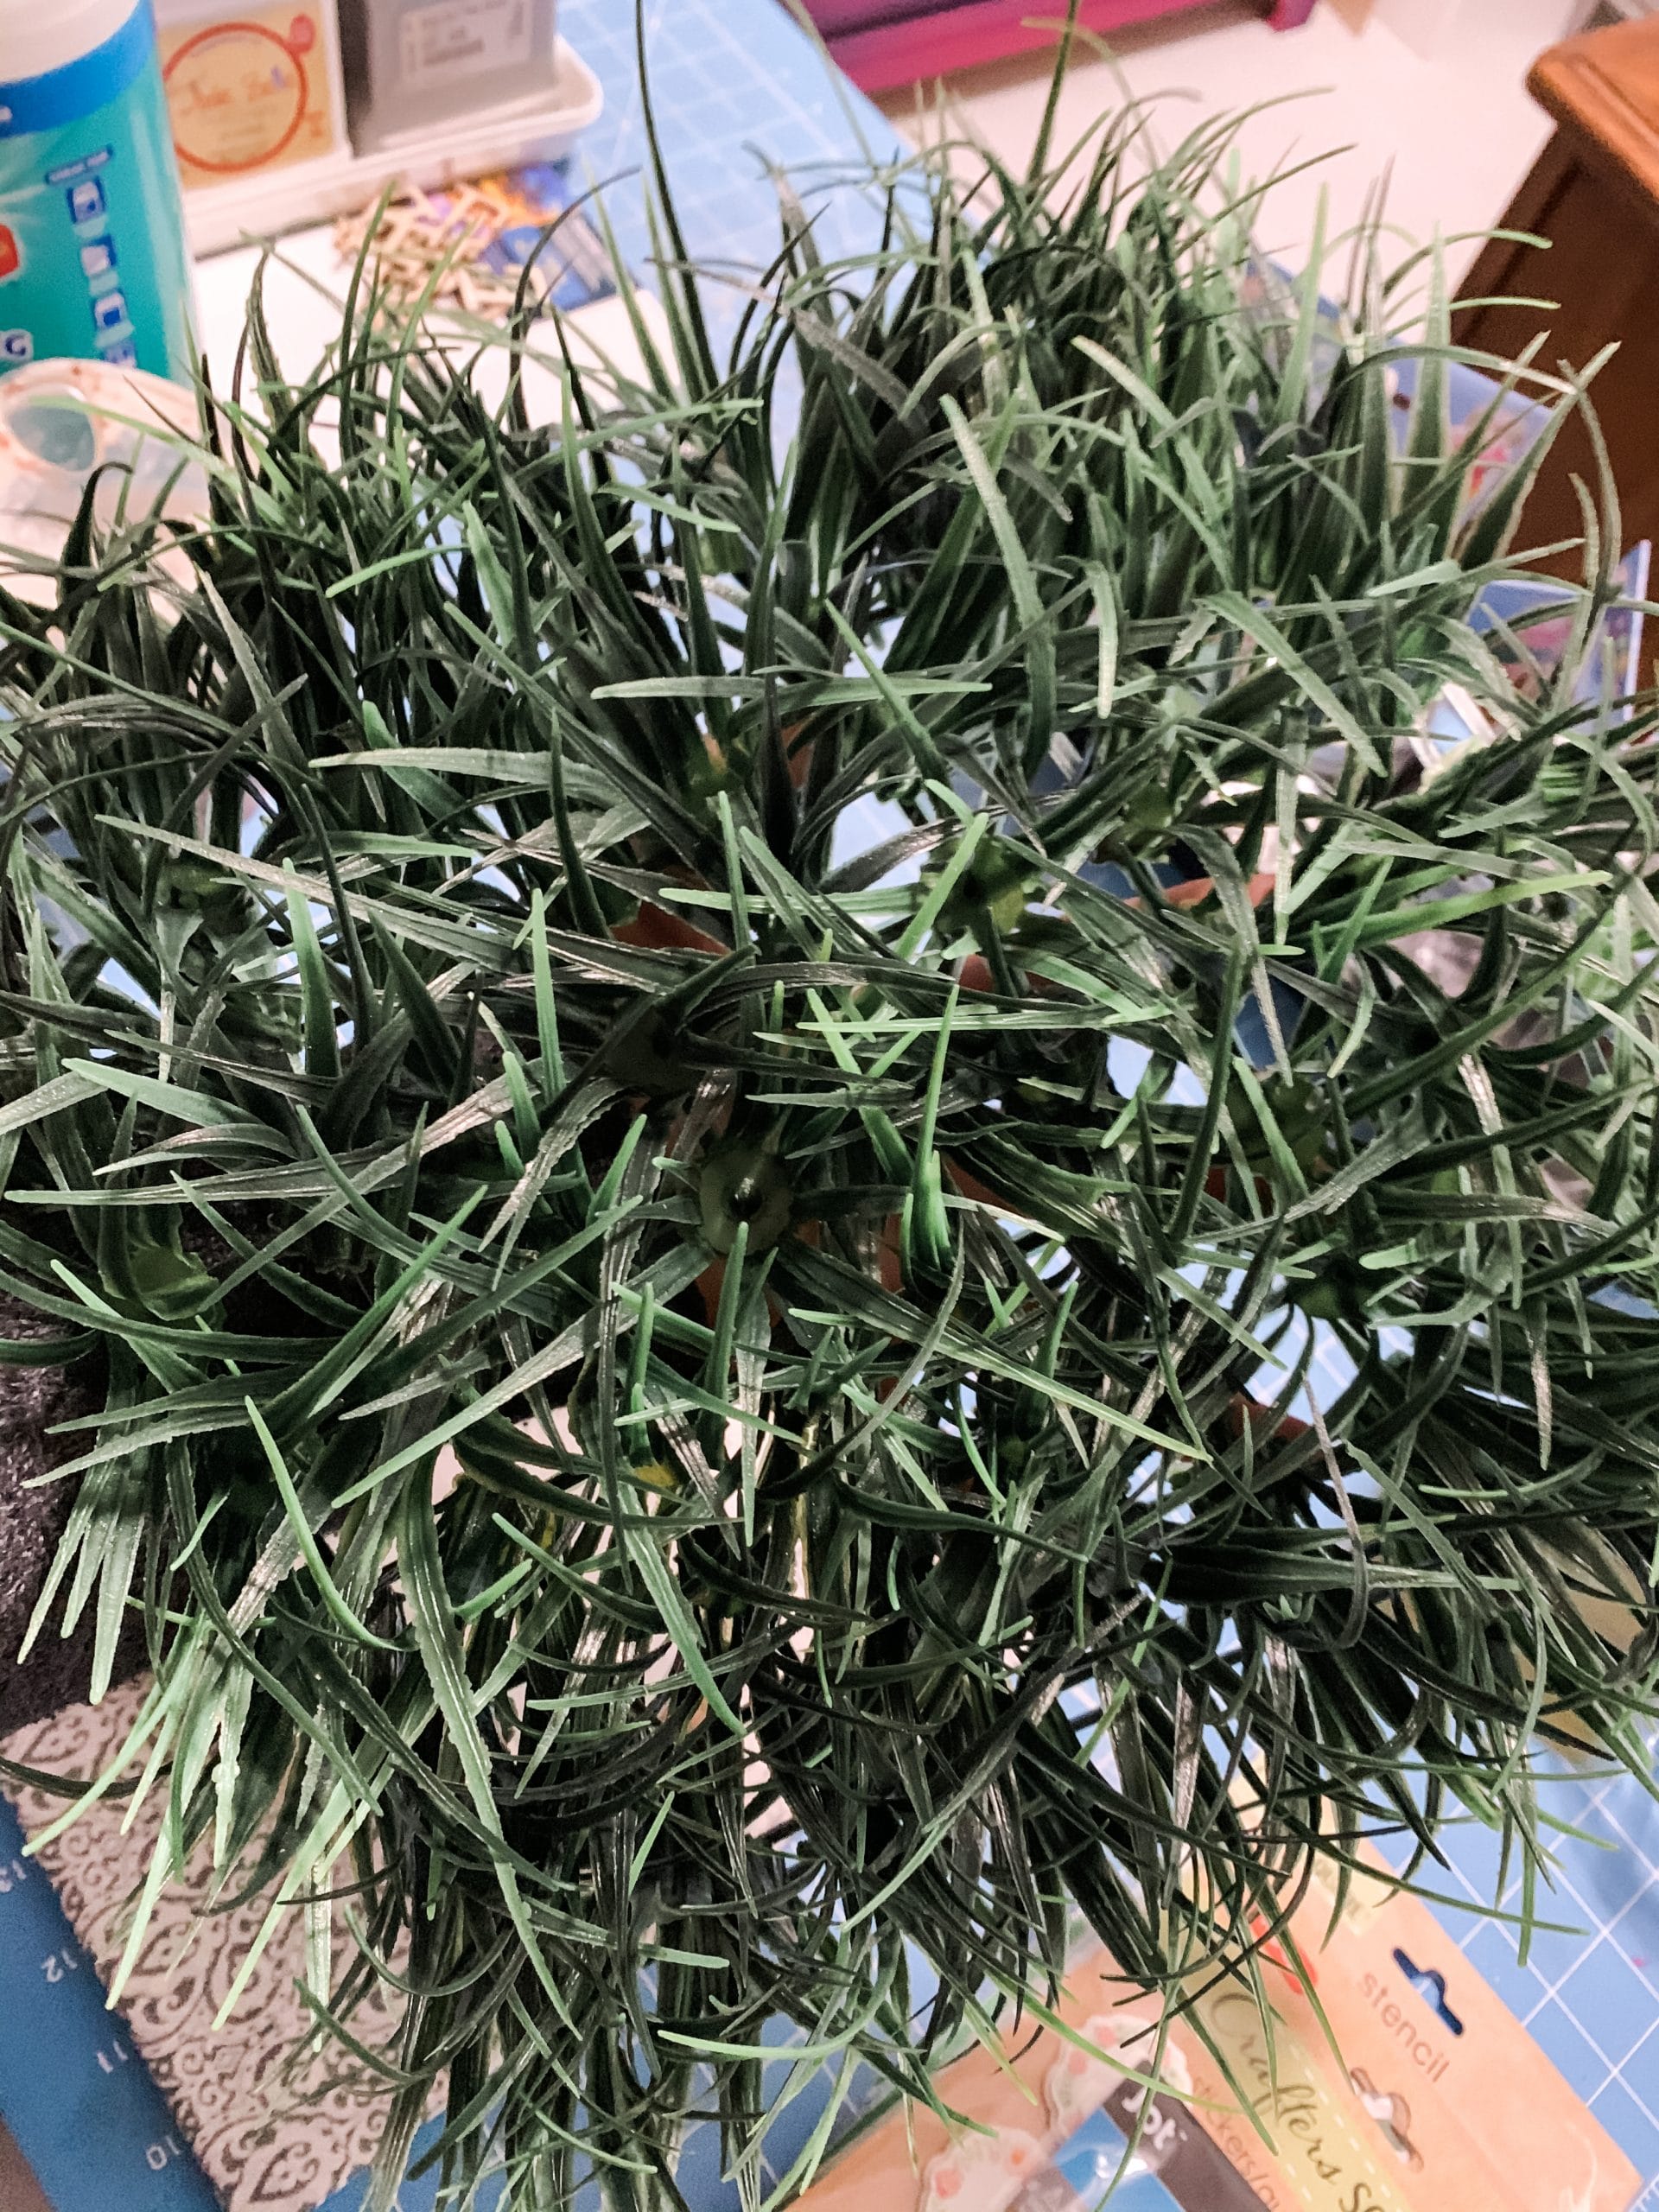
This next step is optional, but I hot glued each of the jars to the inside of the organizer tray. If you want to be able to switch out the jars, definitely don’t glue them down.
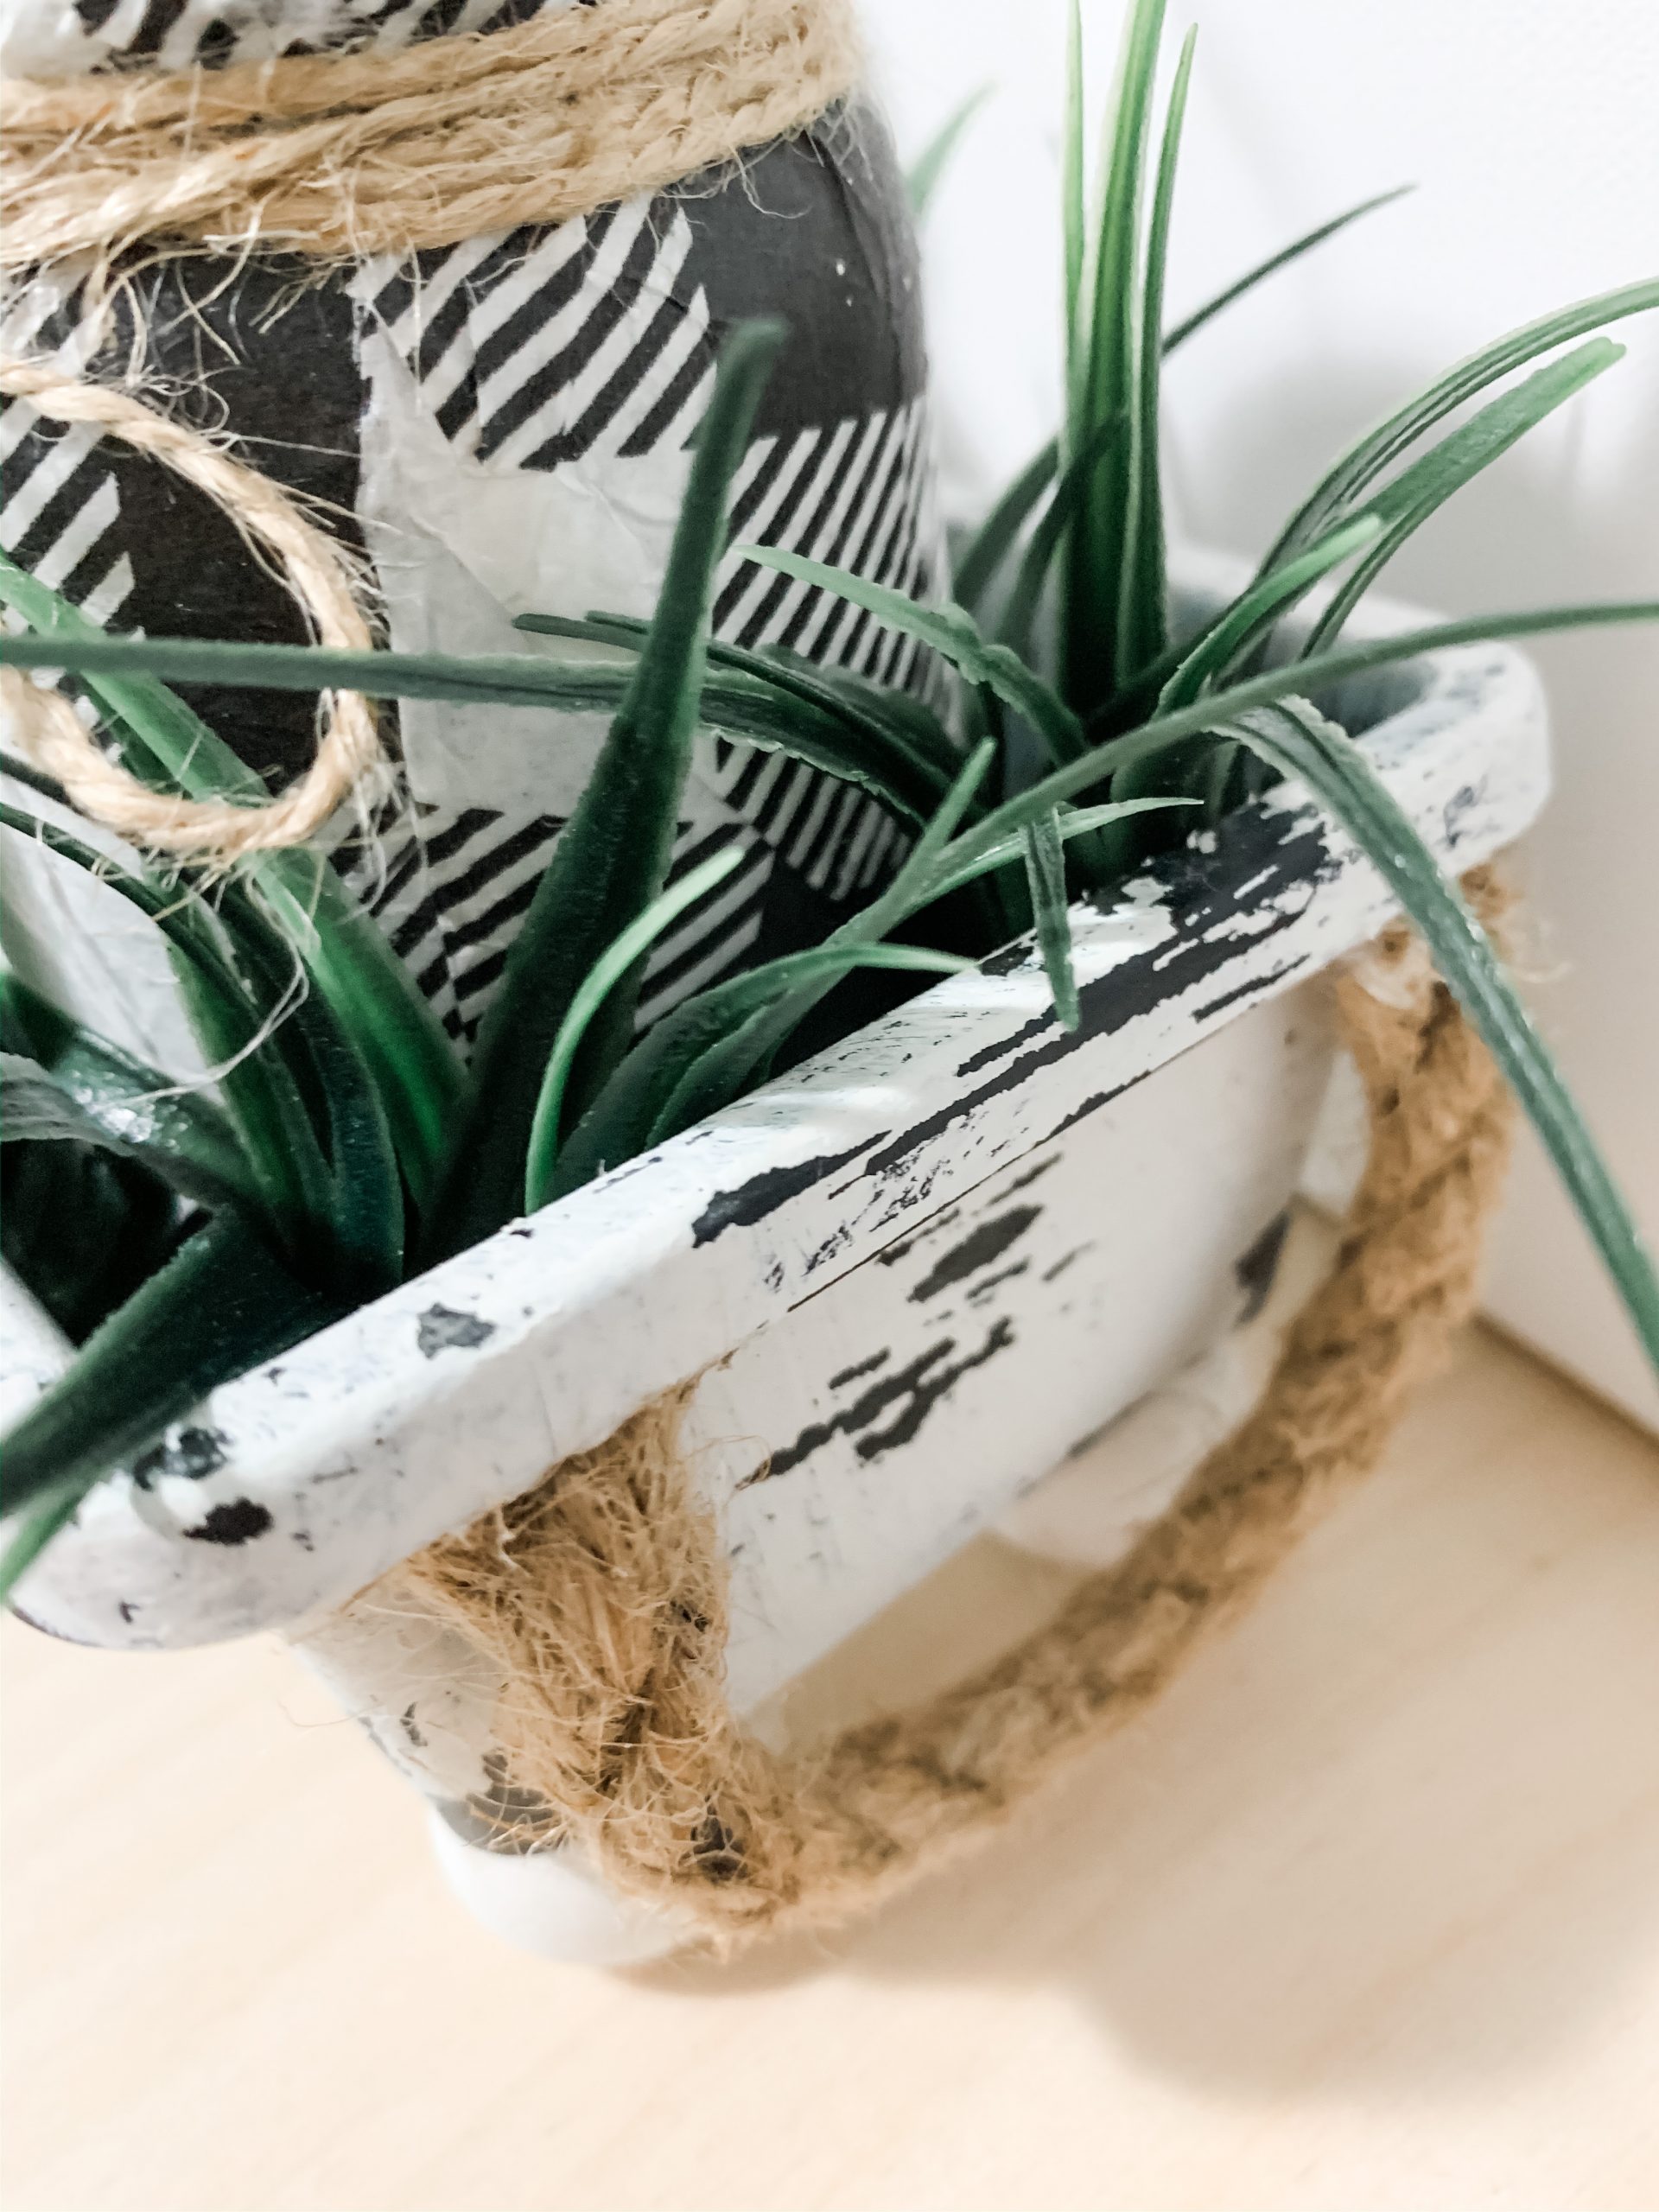
Once the jars are secure in place, start filling the empty space around the jars with your fake grass. If you have young children in your home, I definitely recommend gluing the grass down because my sweet granddaughter LOVES pulling the grass out of mine!
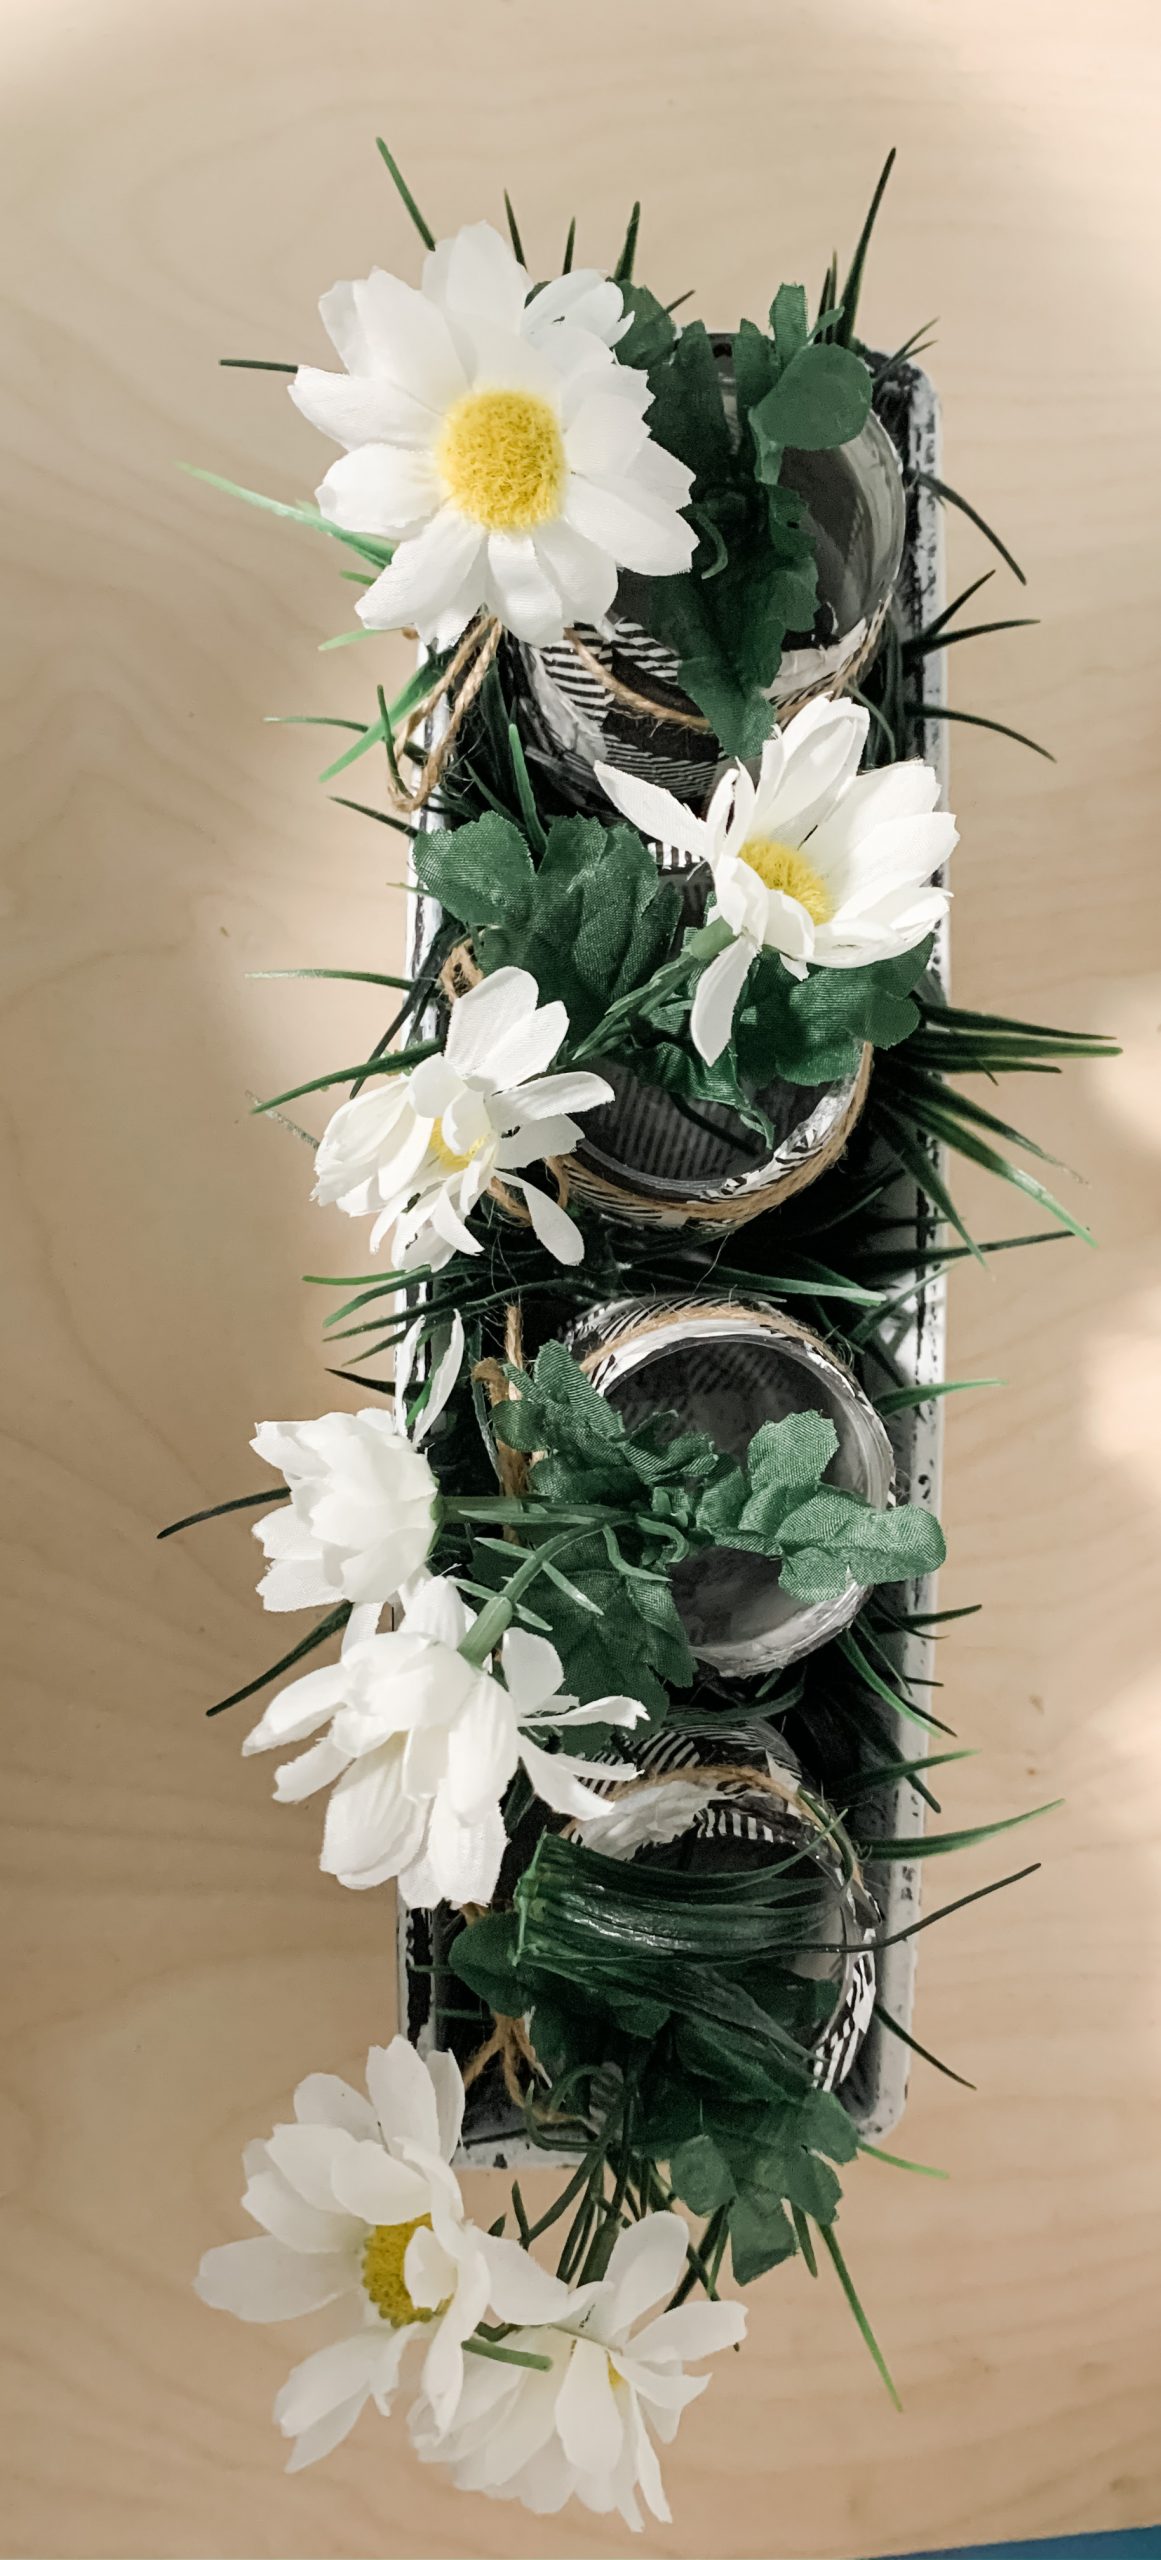
Lastly, fill the craft jars with the flower of your choosing, and you’re ready to decorate your home with this DIY farmhouse planter!
I hope you enjoyed this DIY Mason Jar Planter as much as I did and decide to make one for yourself! I would love to see how yours turns out!
You should totally join my FREE Facebook group called On A Budget Crafts! It is a judgment-free community for DIY crafters to show off their projects and ideas.
If you loved this DIY you might also like this one too!
Thanks for stopping by! XOXO Amber
You can also shop my ENTIRE AMAZON Favorites shop just click here! It’s packed full of all the things I use and love. Here is the supply list I highly recommend every creative have on hand!!
Would you also pin my blog for later and get on my newsletter alerts? I would love to have you join my #craftycrew.
Inspired? Leave me a comment below! I love hearing from my readers!

Join my free “ON A BUDGET CRAFTS” Facebook group!

Omg, this is awesome, love it and picture behind it. Great job as always