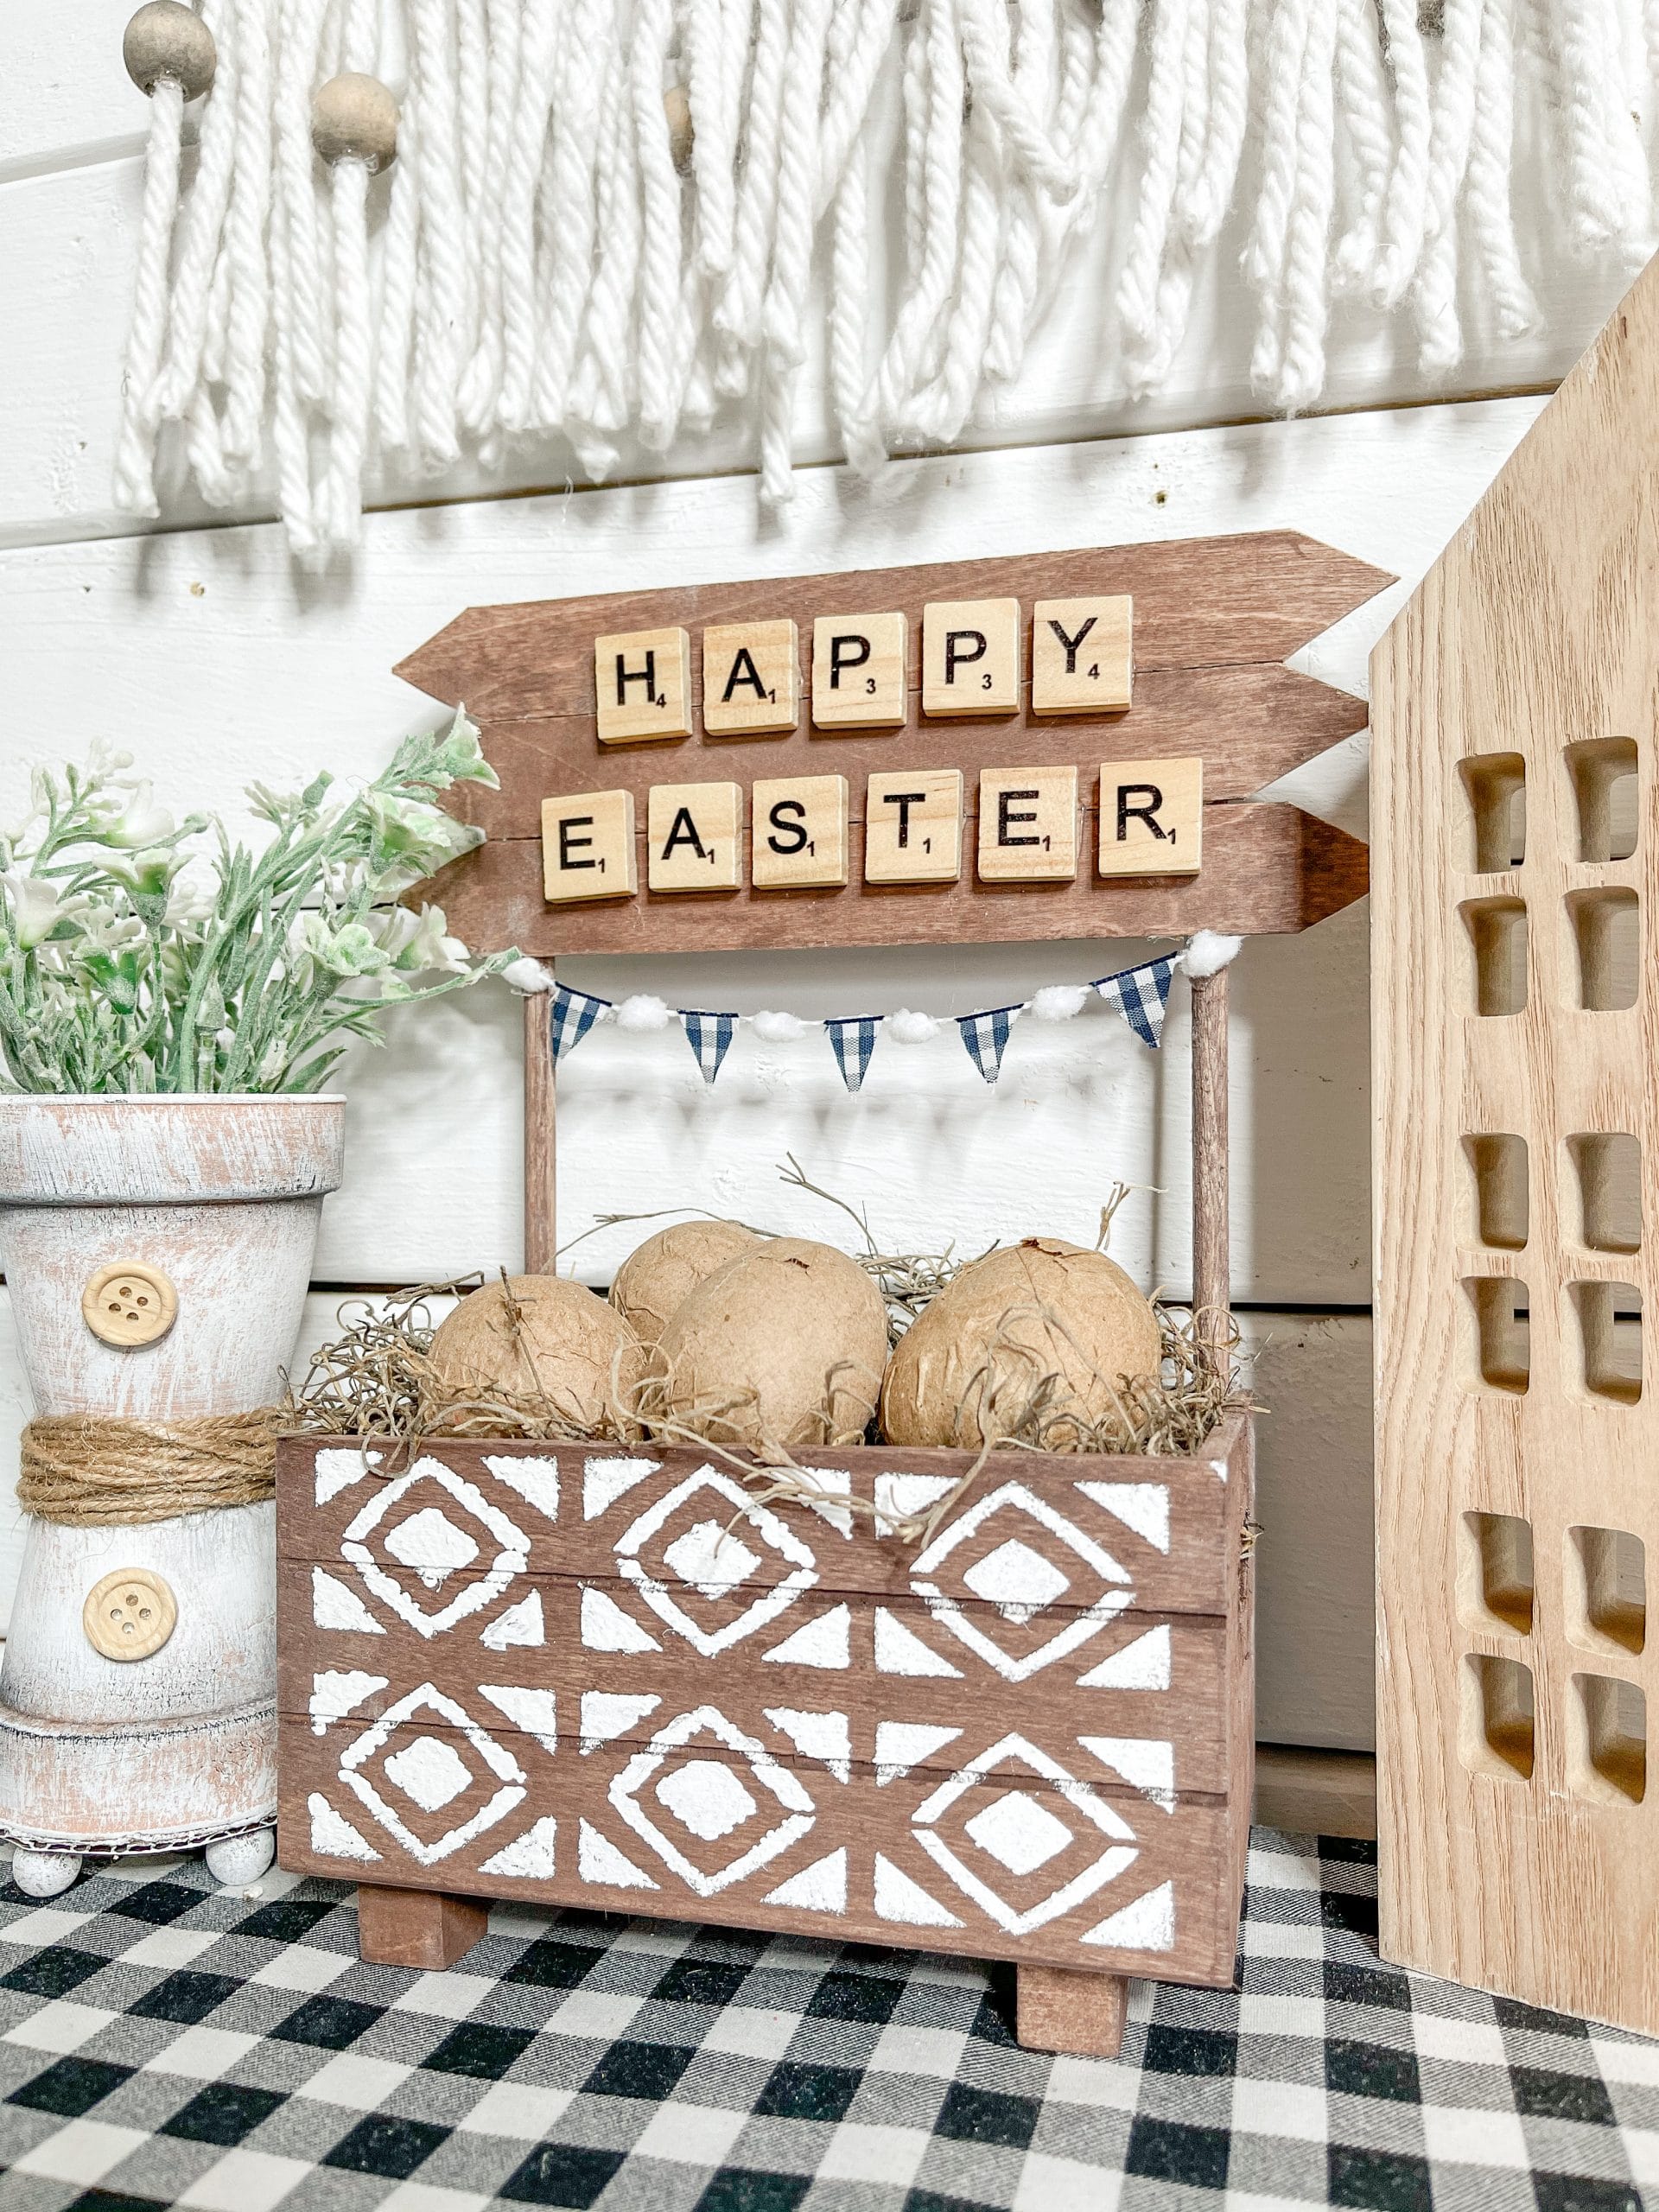
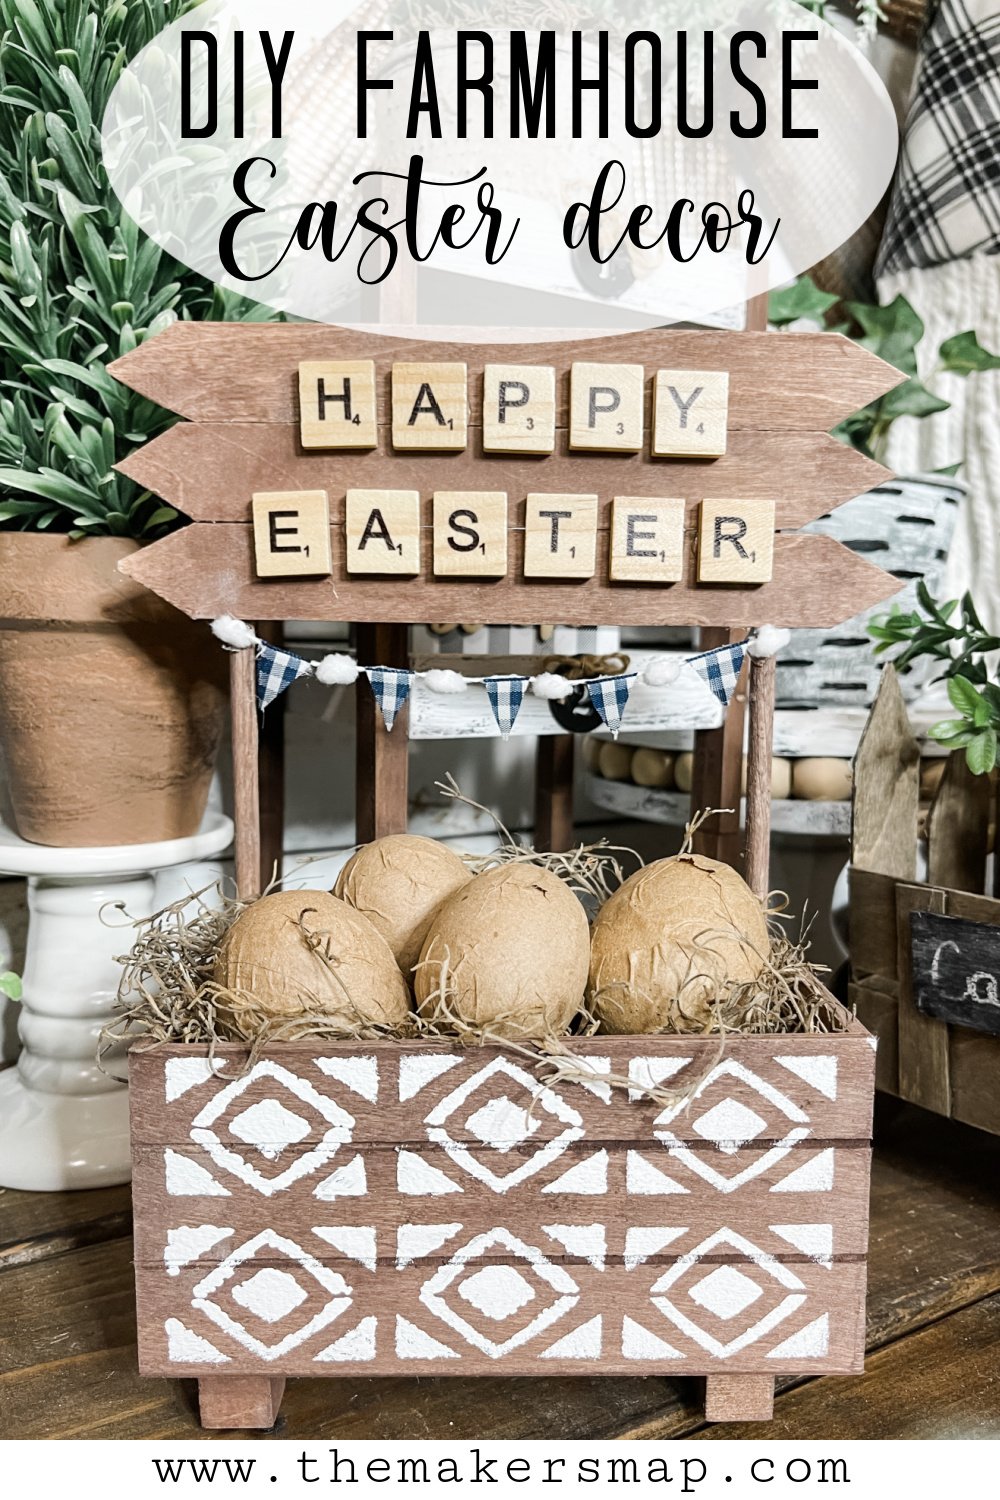
DIY Farmhouse Easter Crate
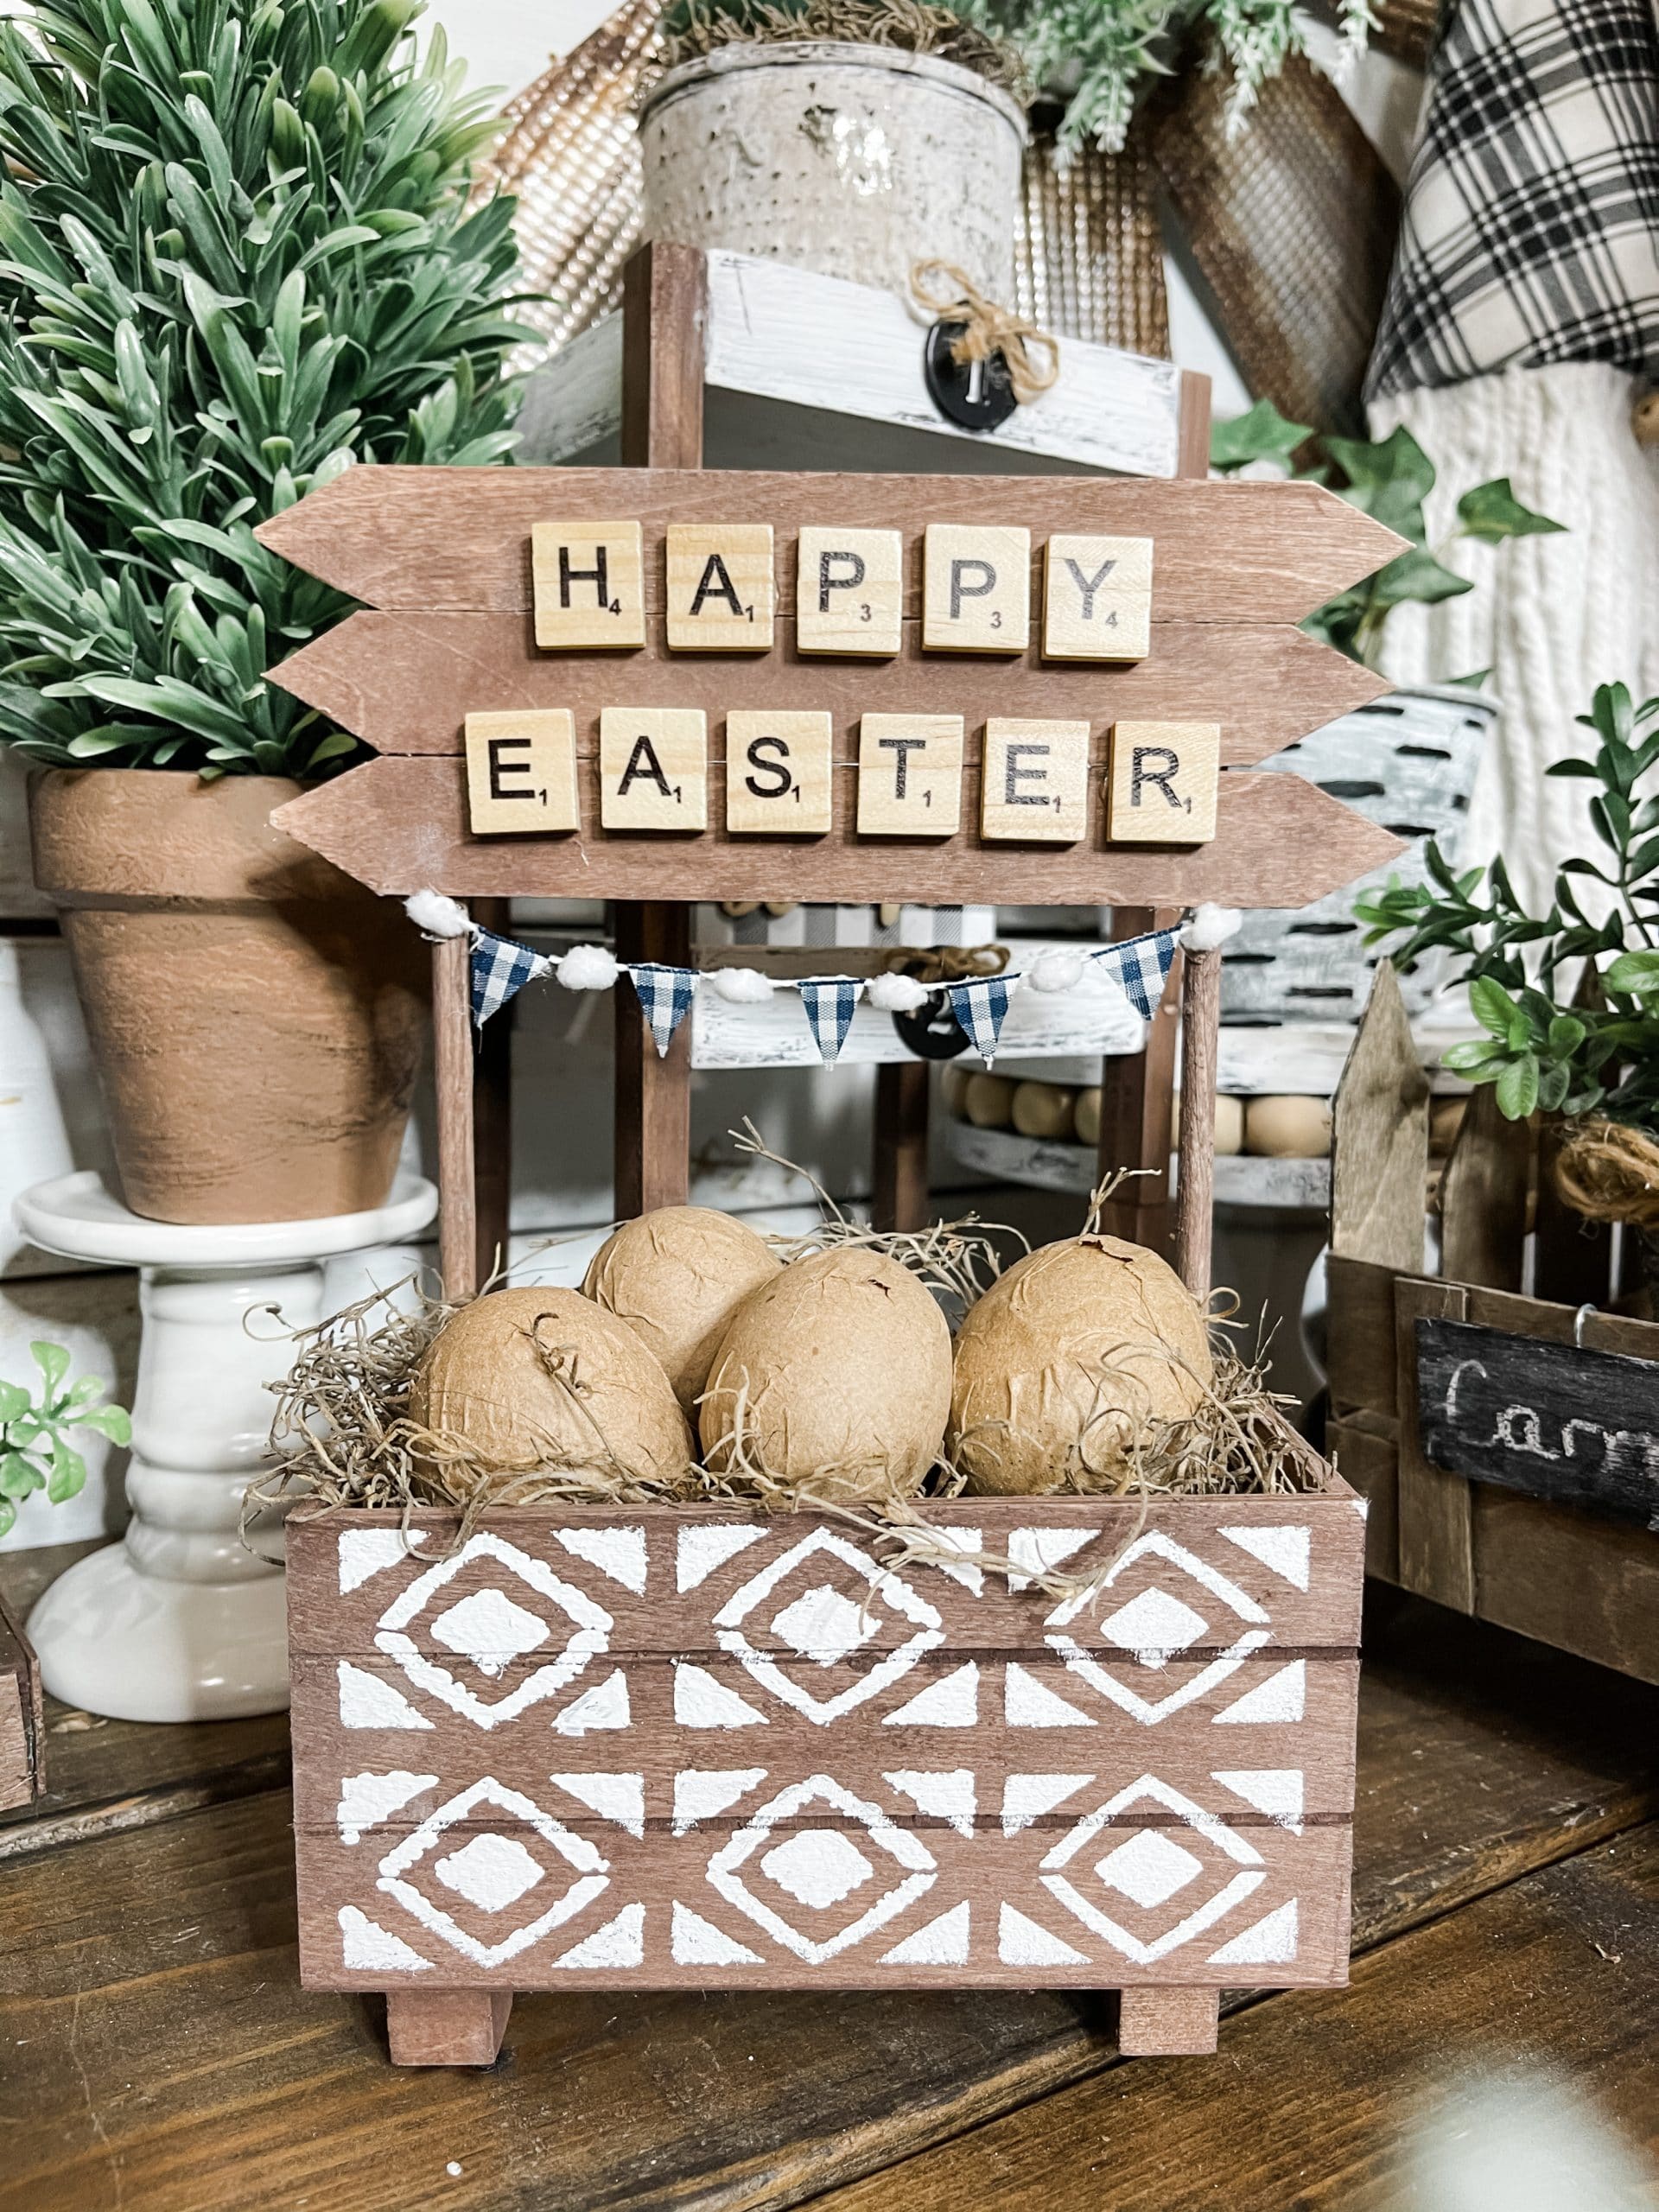
I had a lot of fun making this DIY Farmhouse Easter Crate, but I got a lot of the same comment: “I would have made this for everyday decor, not Easter.” And they aren’t wrong or crazy. That’s the beauty of DIY decor – you can make it however you want!
I always just want to be a source of inspiration for you, and it doesn’t hurt my feelings at all when you or anyone changes parts of DIY projects. That’s why I do this!
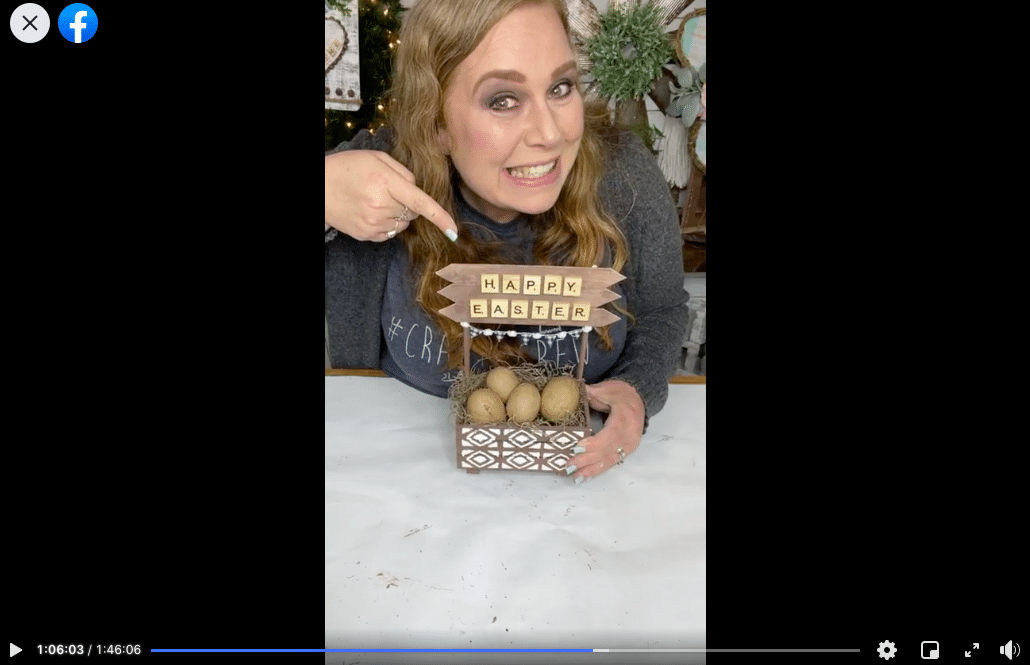
Watch the replay
I recorded the how-to steps of this easy DIY Farmhouse Easter Crate during a LIVE video on my Facebook page. If you want to craft along or join in on the good times, you can watch the replay!
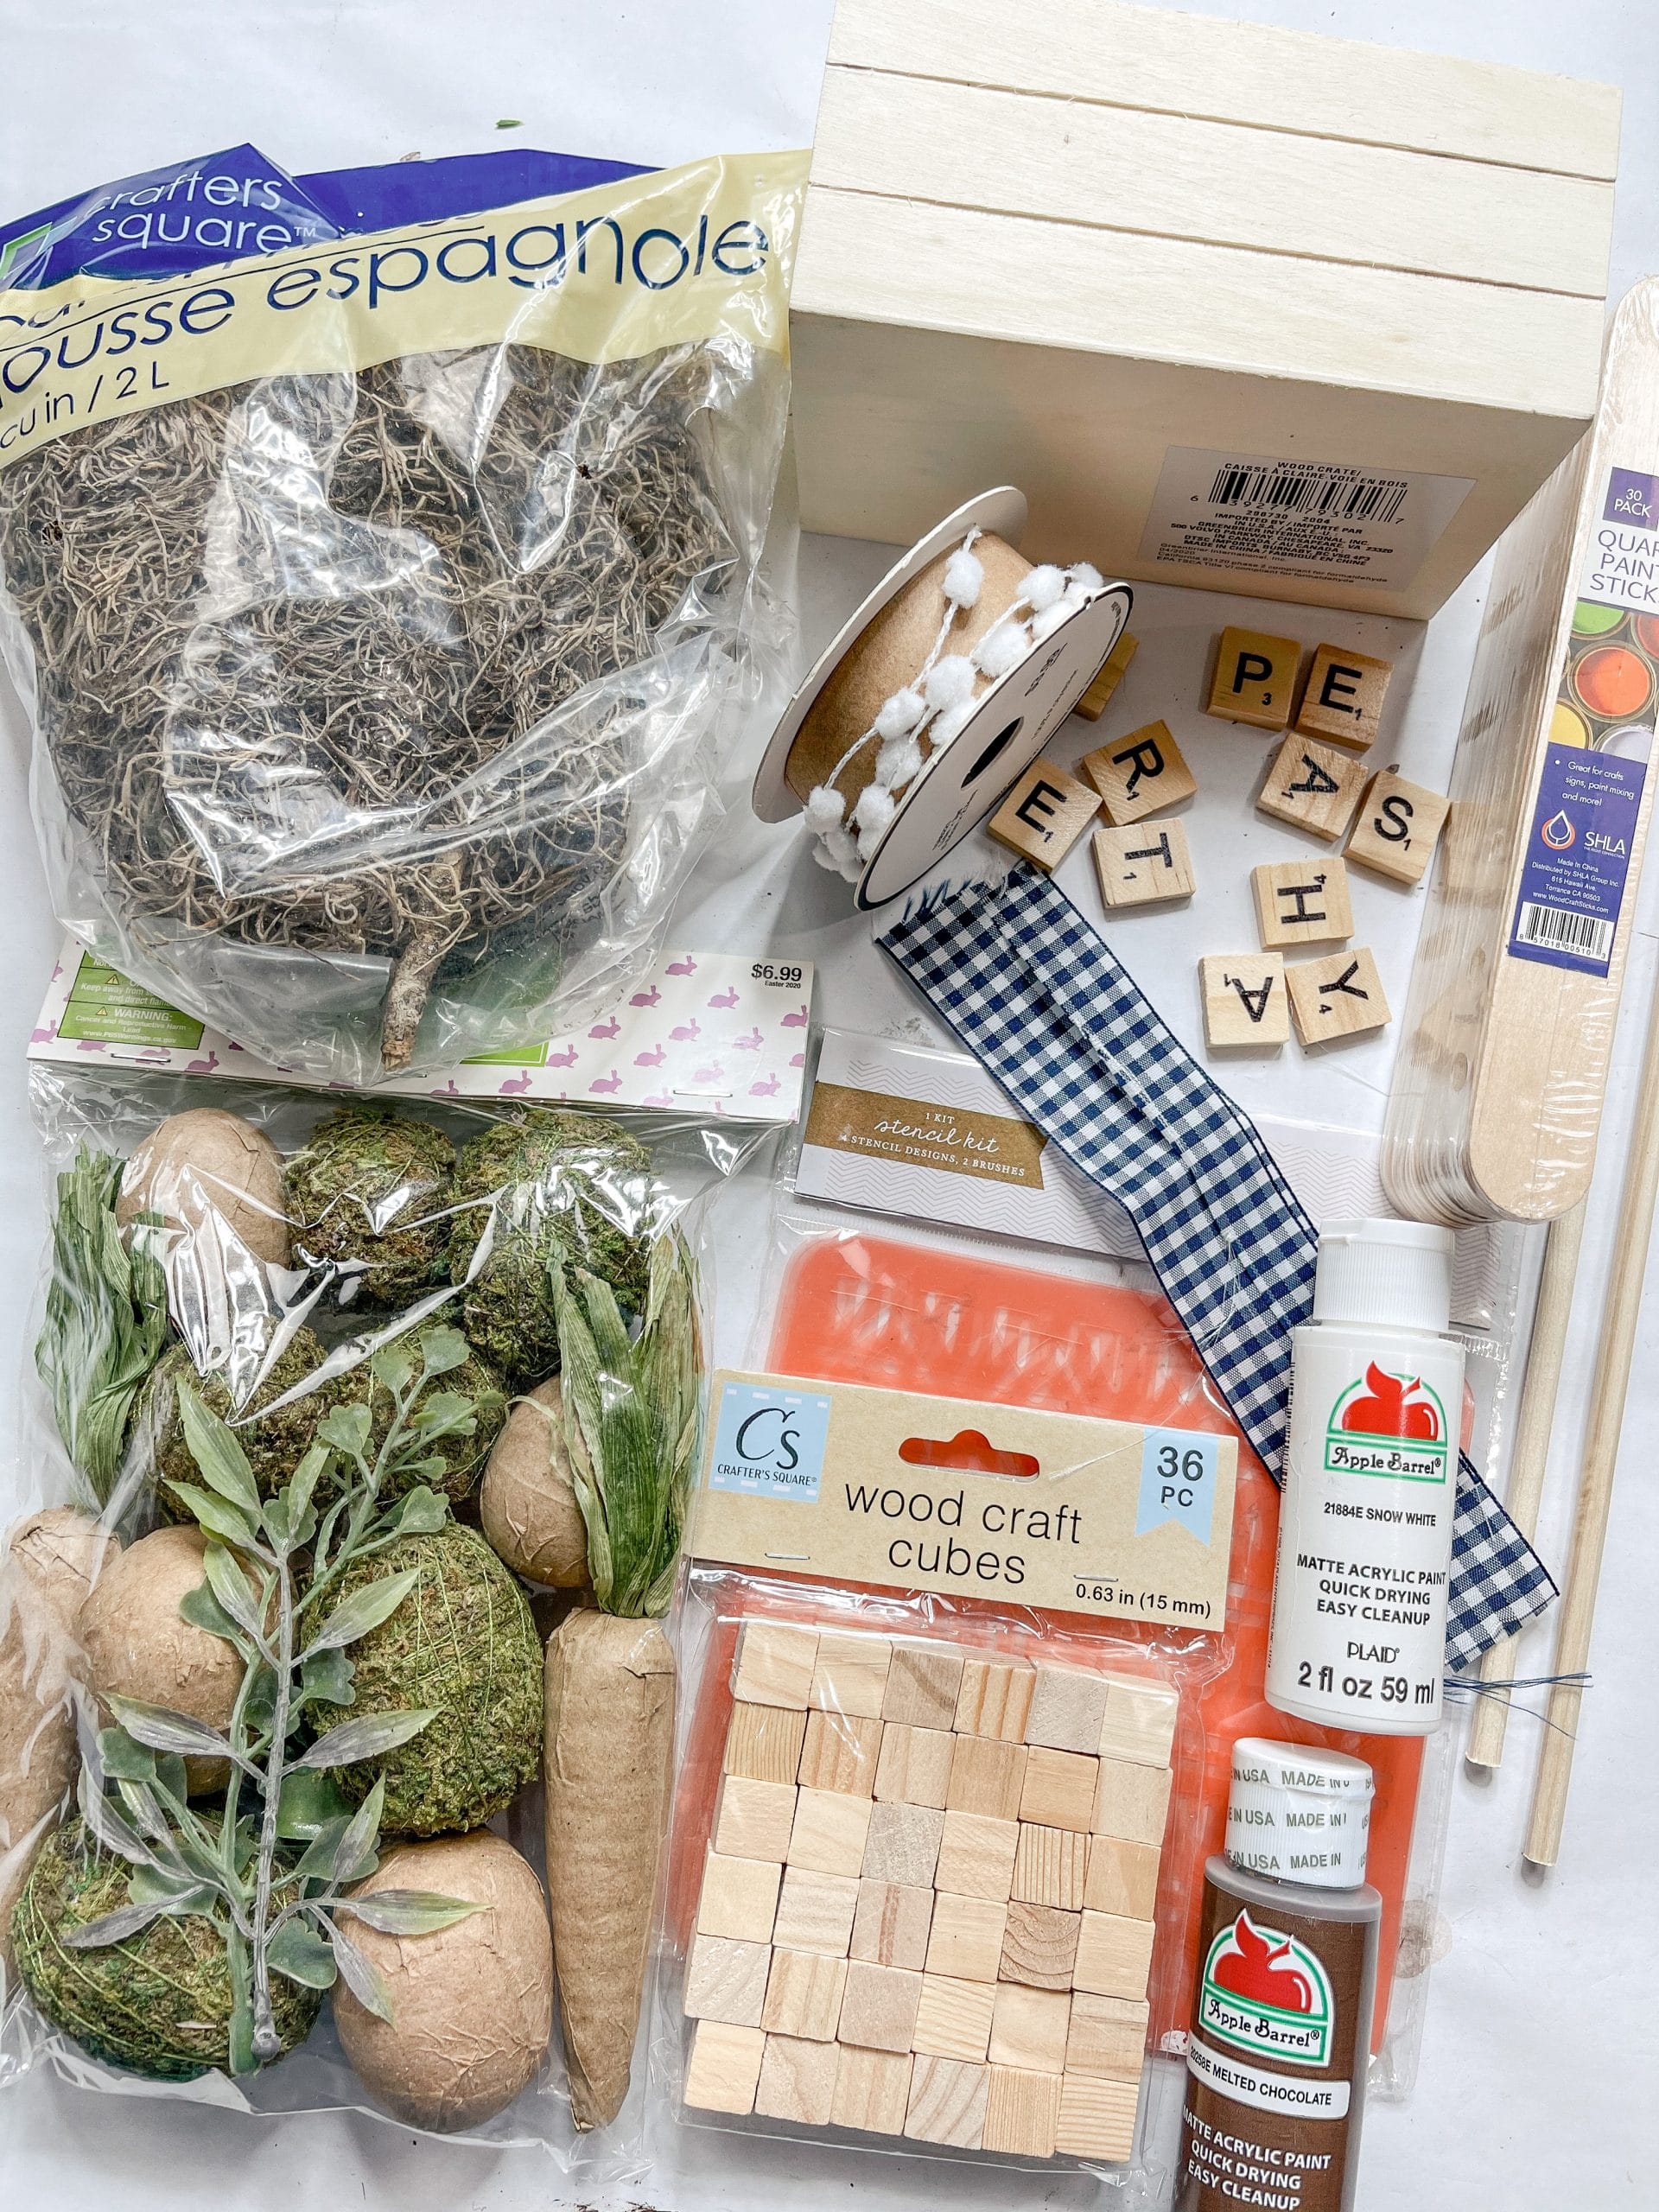
For this project, I will be using these items but you can substitute where you want.
“As an Amazon Associate, I earn from qualifying purchases.”
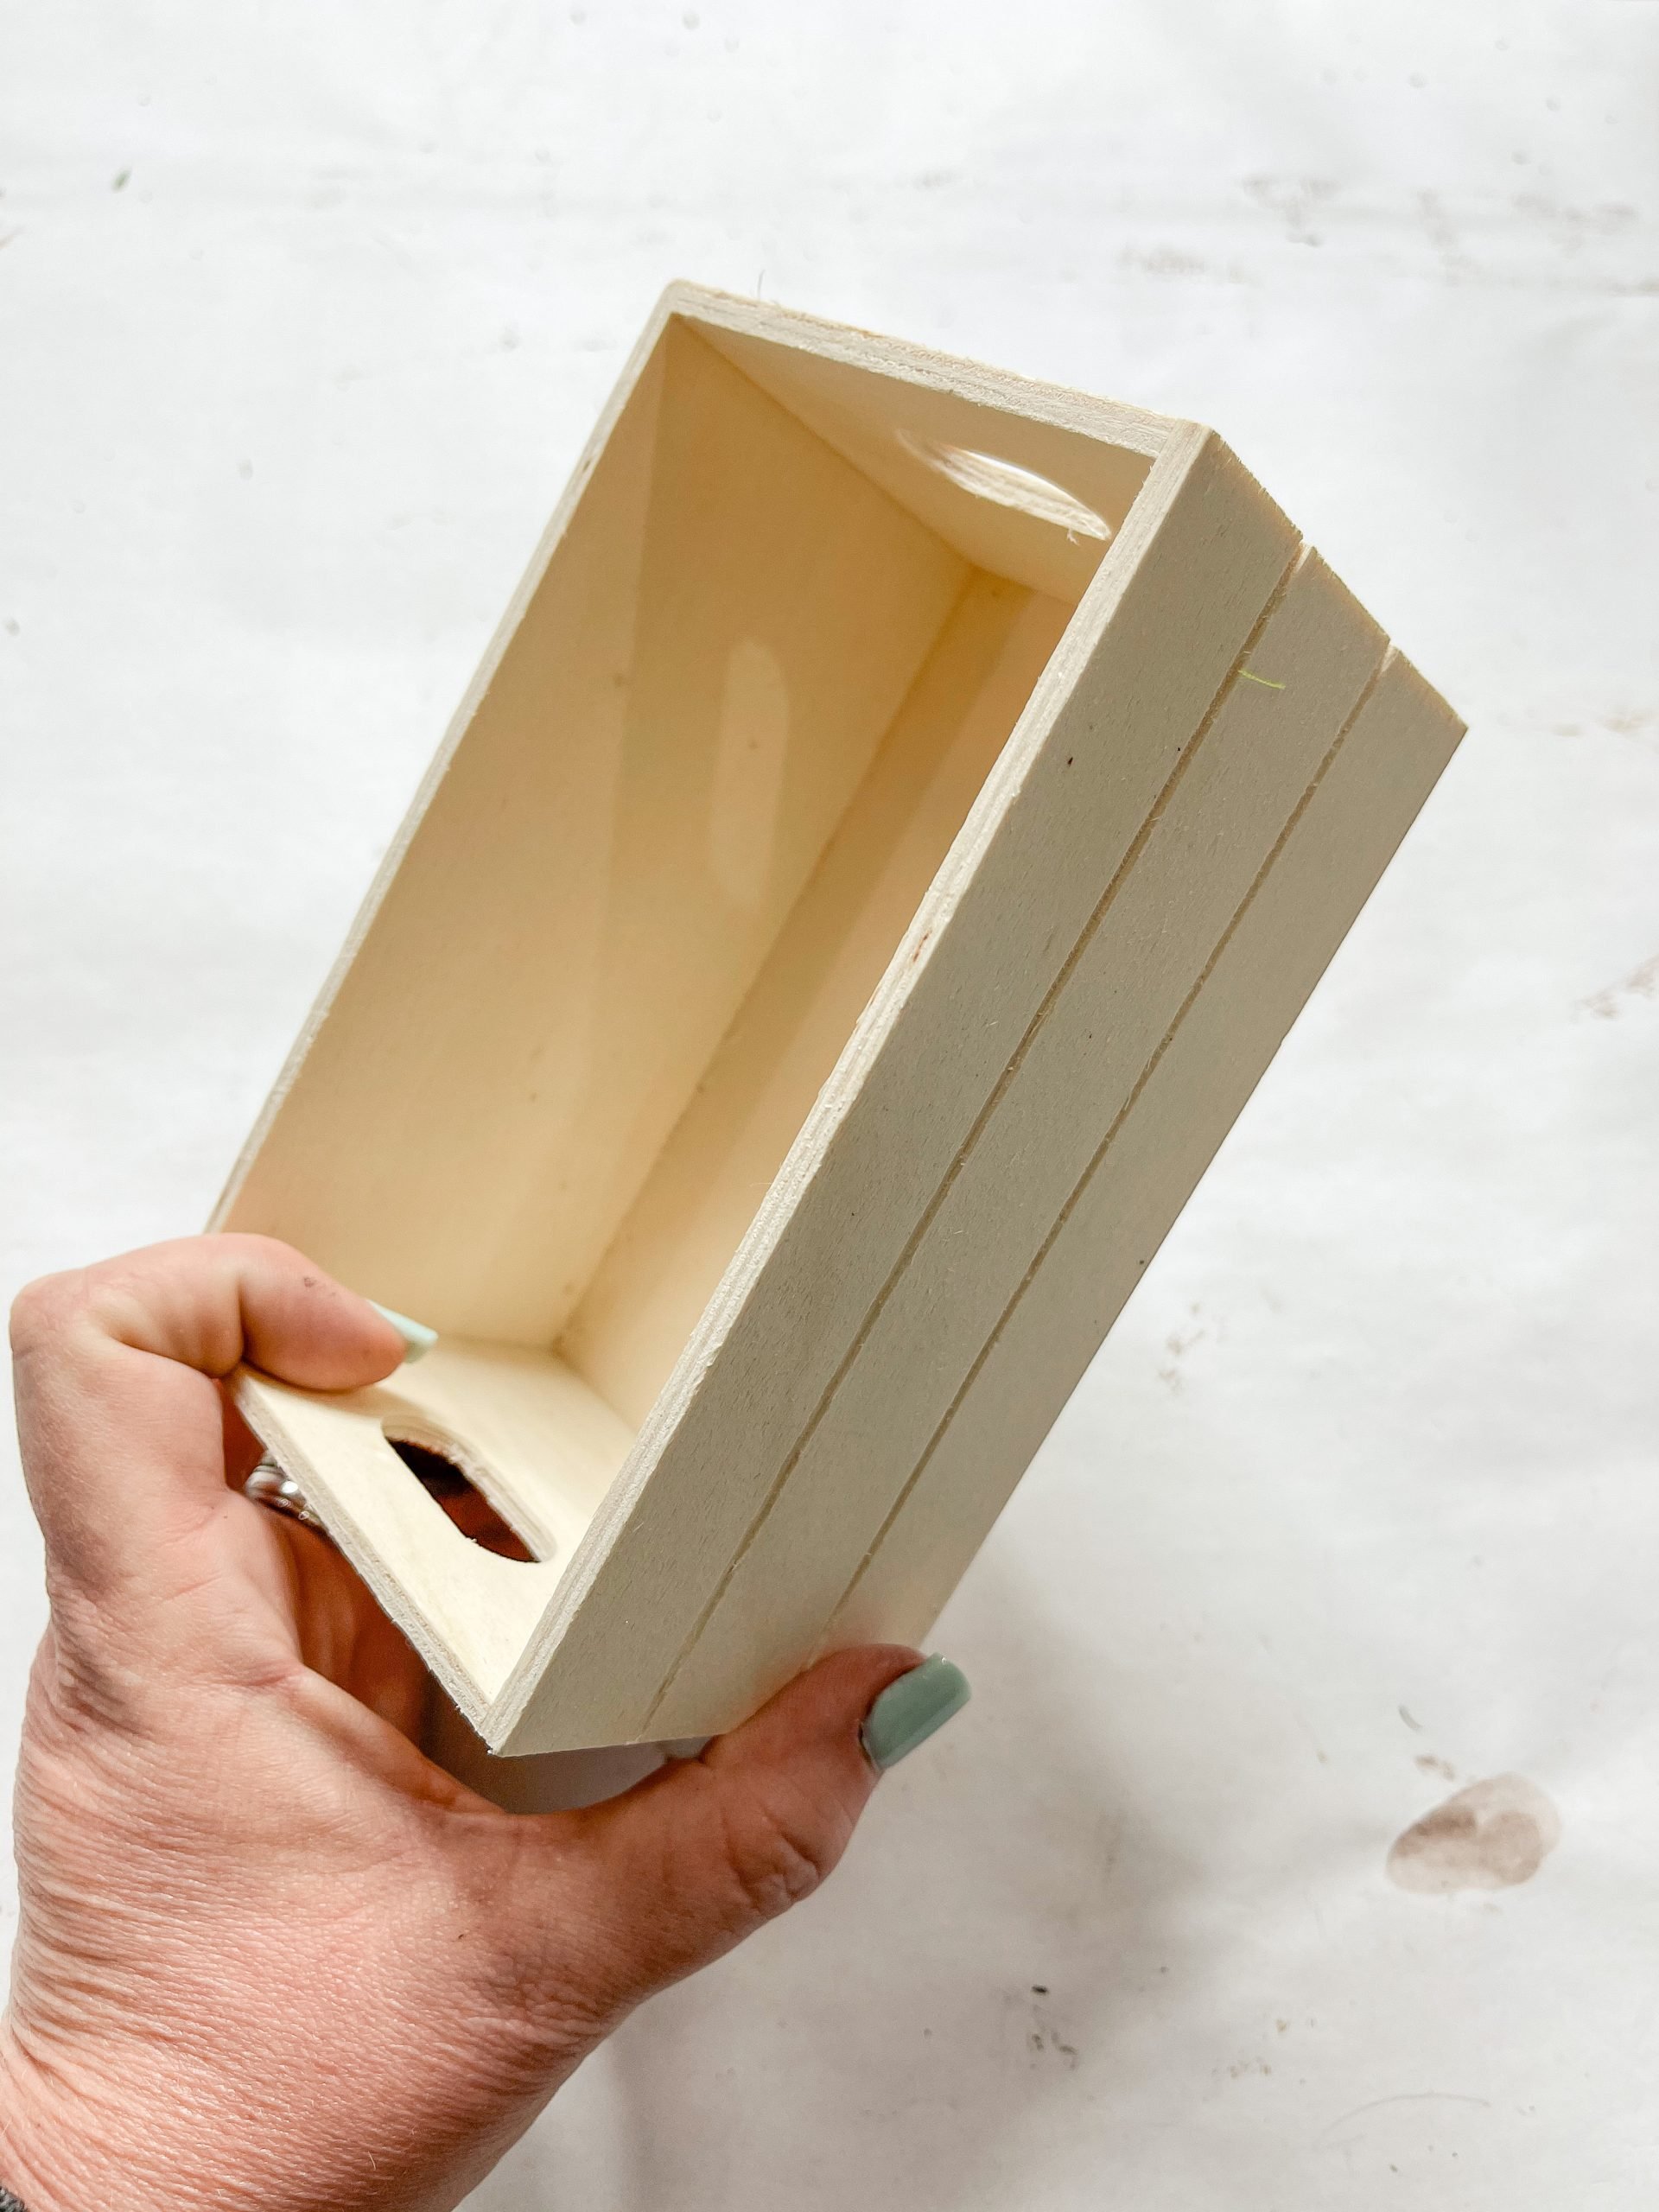
- Dollar Tree Mini Crate
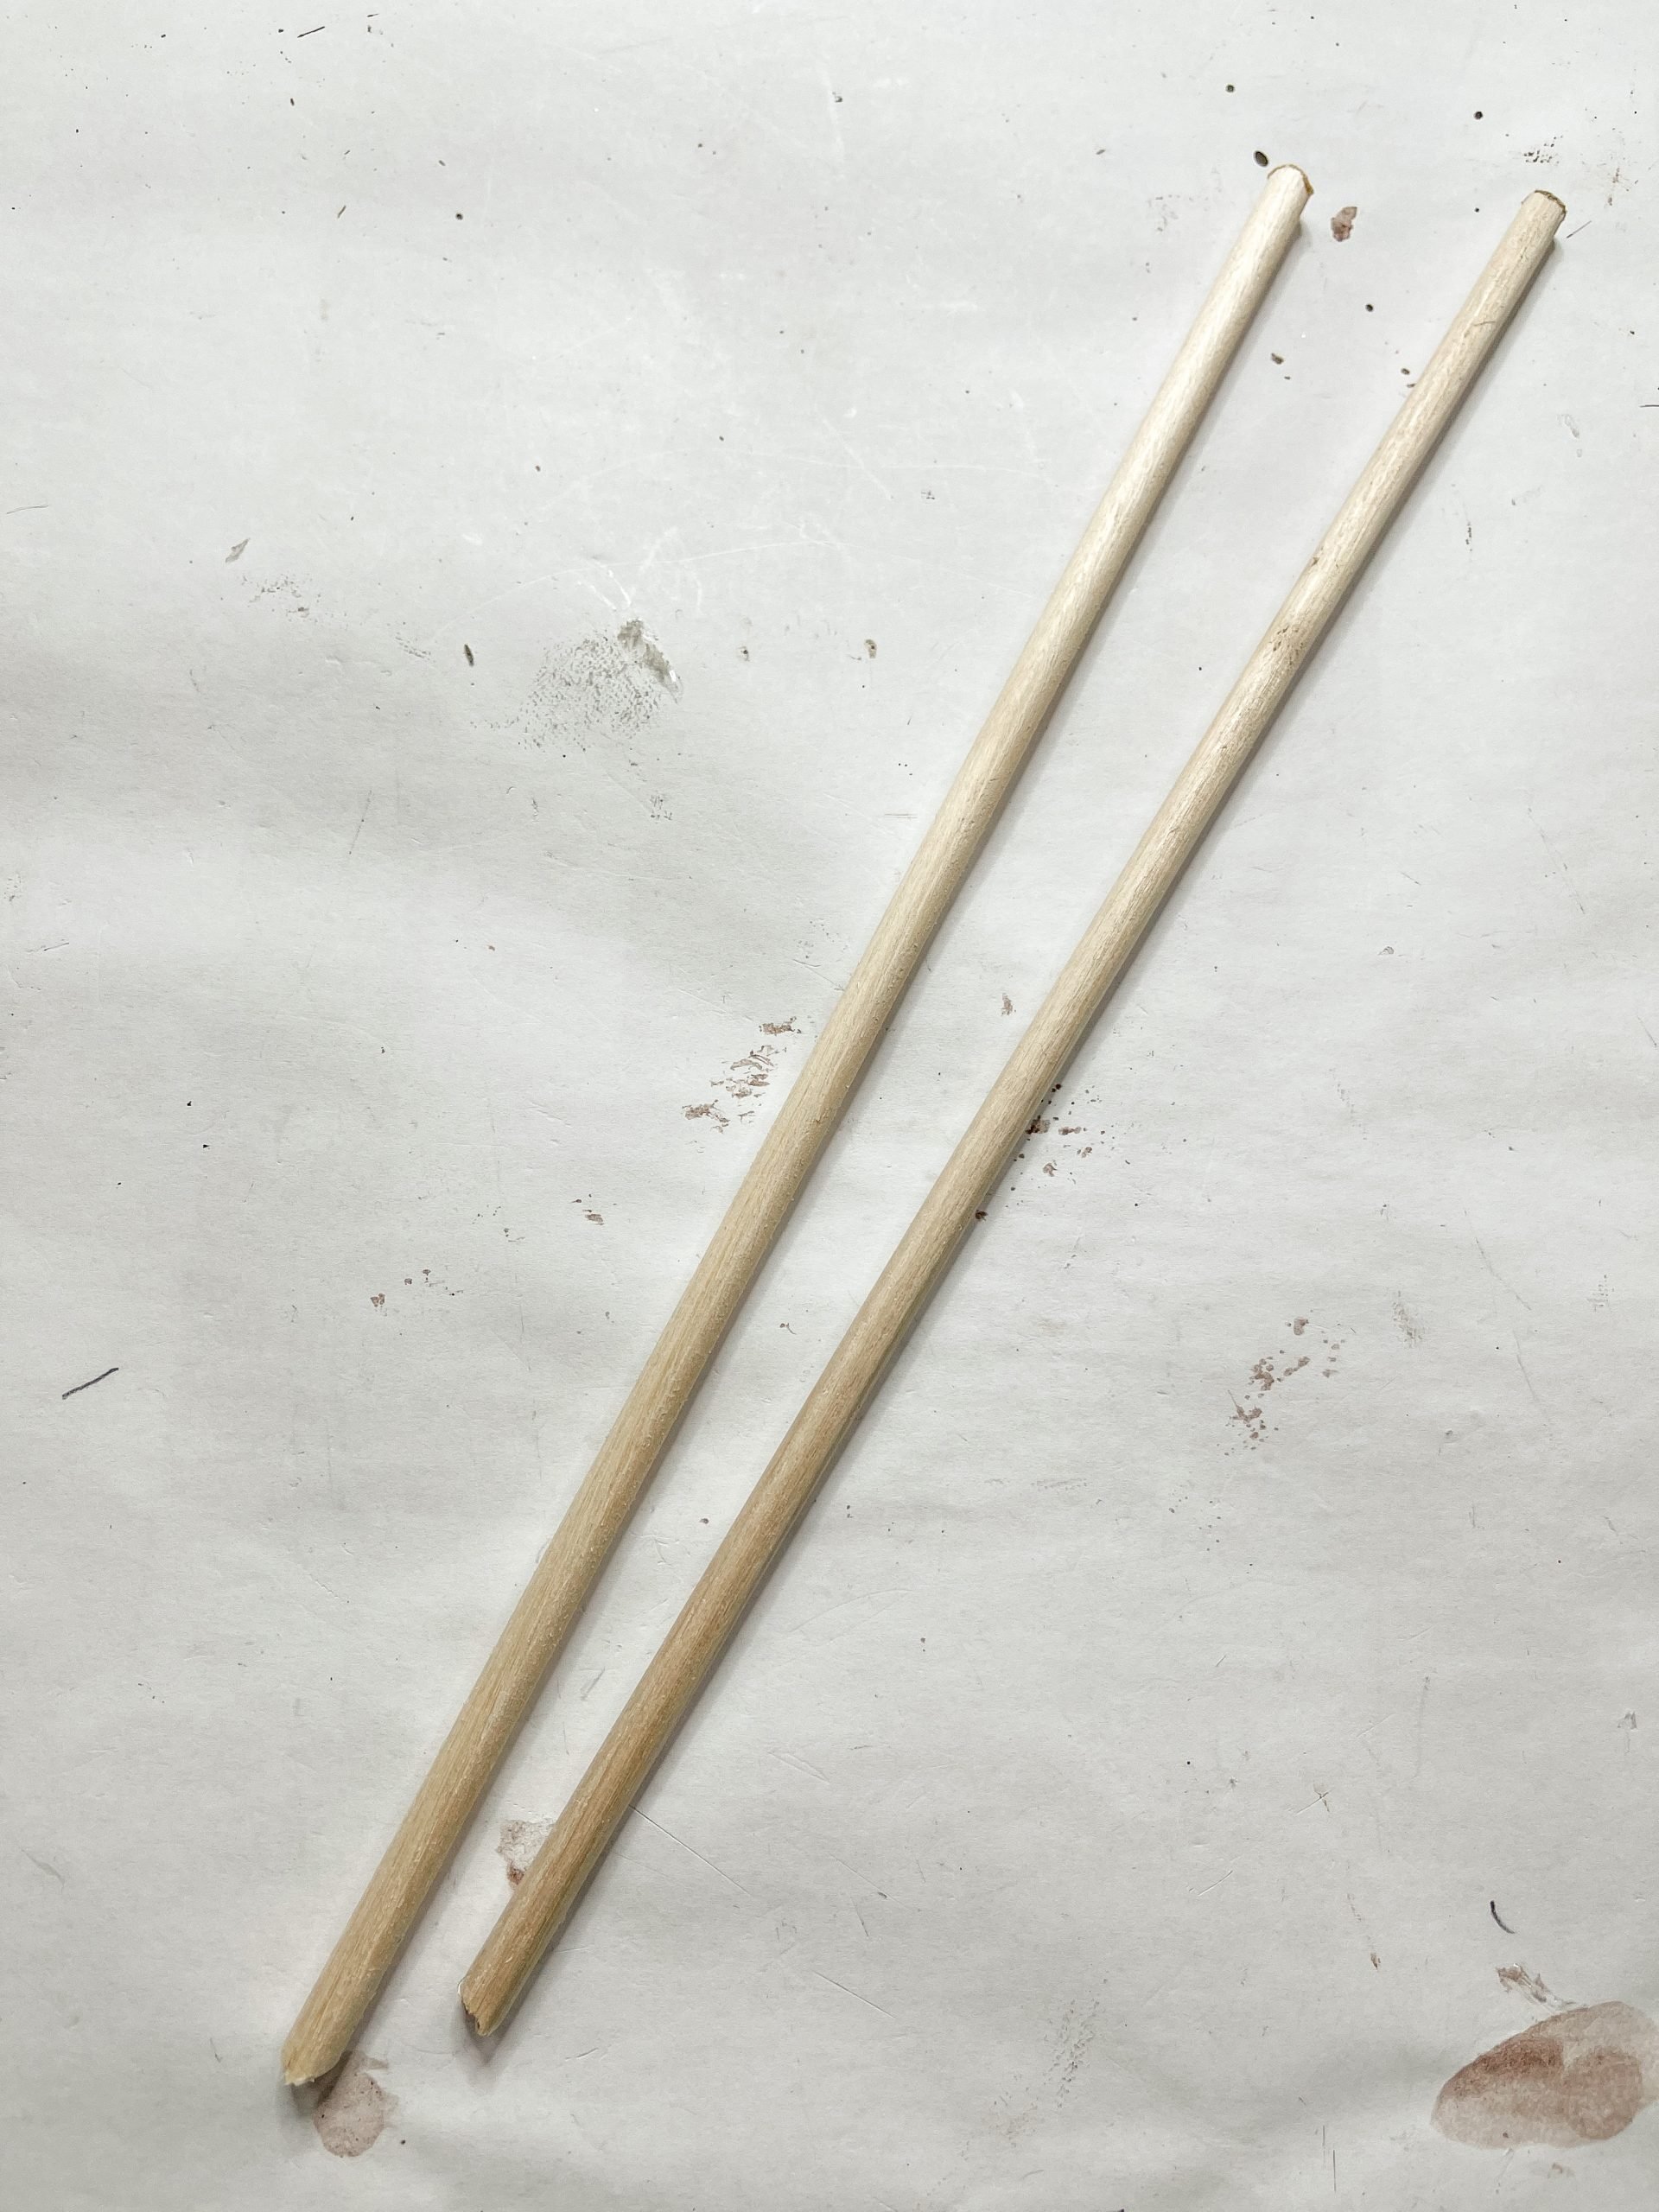
- Dollar Tree Wood Dowels
- Scrabble Tiles
- Dollar Tree Wood Craft Cubes
- Dollar Tree Spanish Moss
- Paper mache eggs (Easter Scatters and Fillers from Hobby Lobby)
- White Pom Pom Ribbon
- Blue Buffalo Check Ribbon
- Quart Paint Sticks
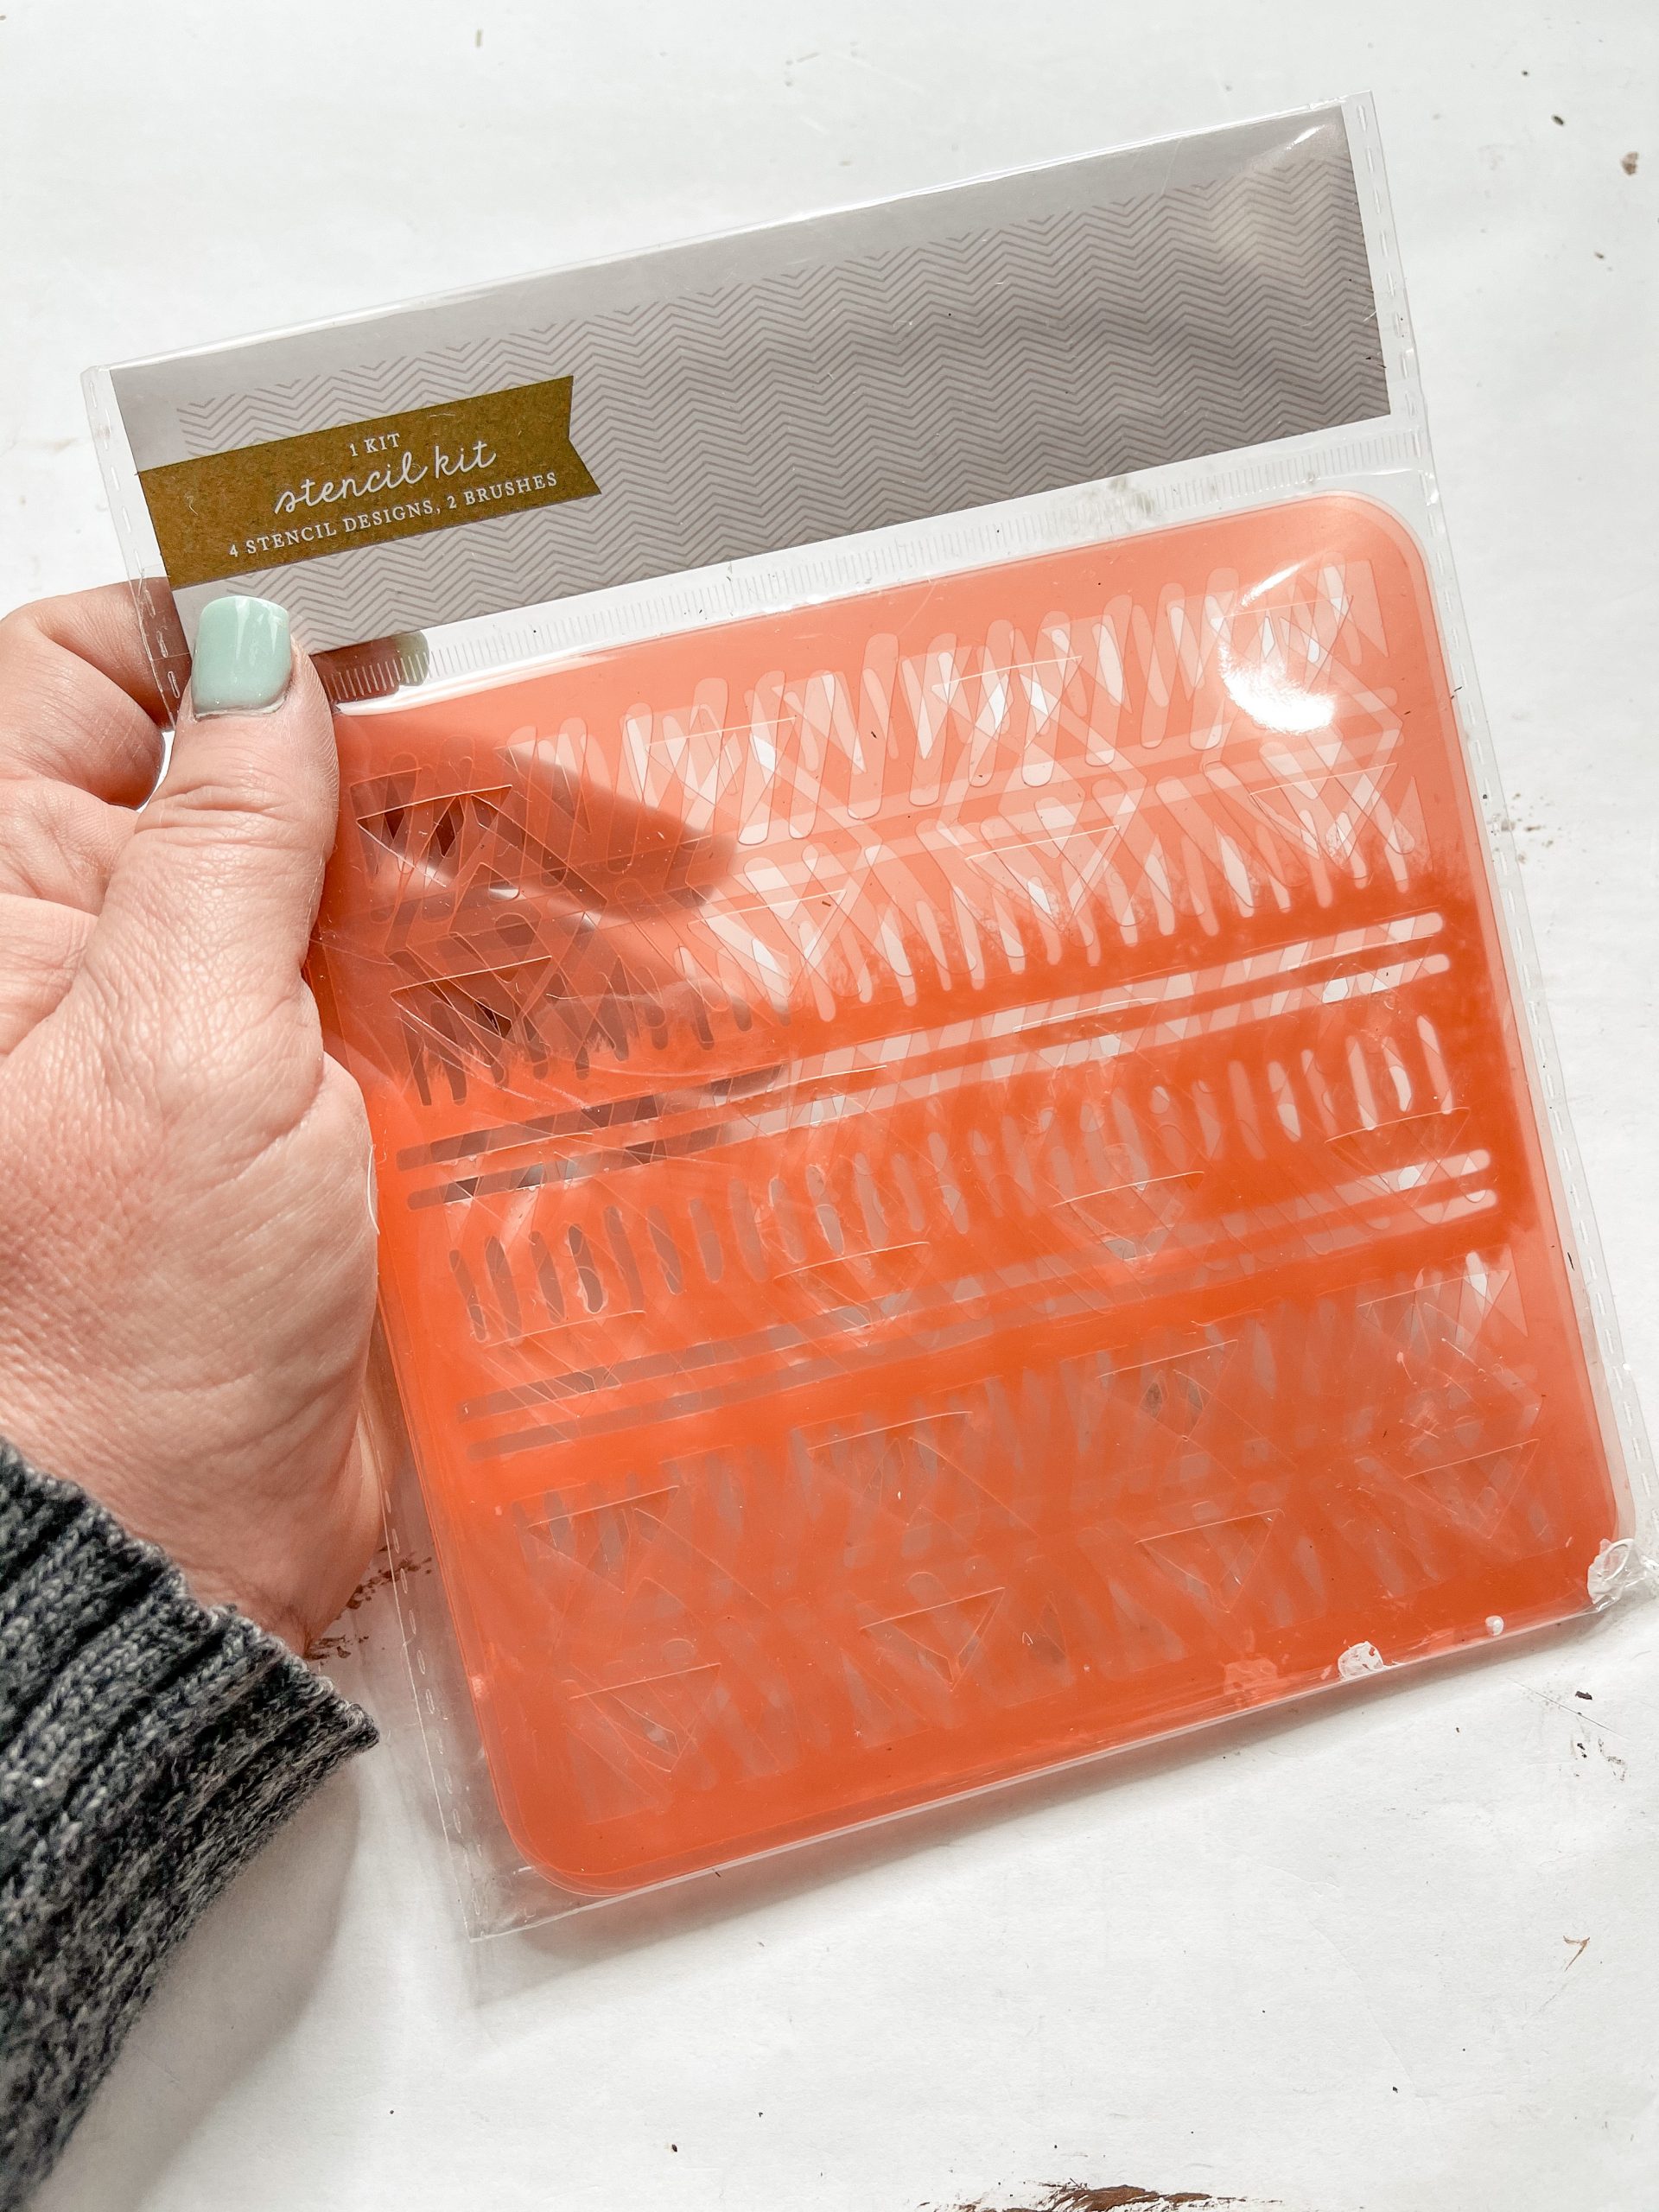
- Stencil (Target)
- Apple Barrel White Acrylic Paint
- Apple Barrel Burnt Umber Acrylic Paint
- Hot Glue gun
- Glue Sticks
How to Make a DIY Farmhouse Easter Crate
You’re going to start this fun DIY project by staining all your wood. That means you need to get your Dollar Tree mini crate, two wood dowels, four wood craft cubes, and three craft sticks.
To stain the wood, I poured Apple Barrel Burnt Umber Acrylic Paint into a small mixing bowl and added a little bit of water. Then, I used a wet wipe to spread the mixture across all of the wood.
The water helps the wood absorb the paint pigment and gives it a stained finish rather than a painted look. If you apply too much of the mixture, get a clean wet wipe to remove the excess.
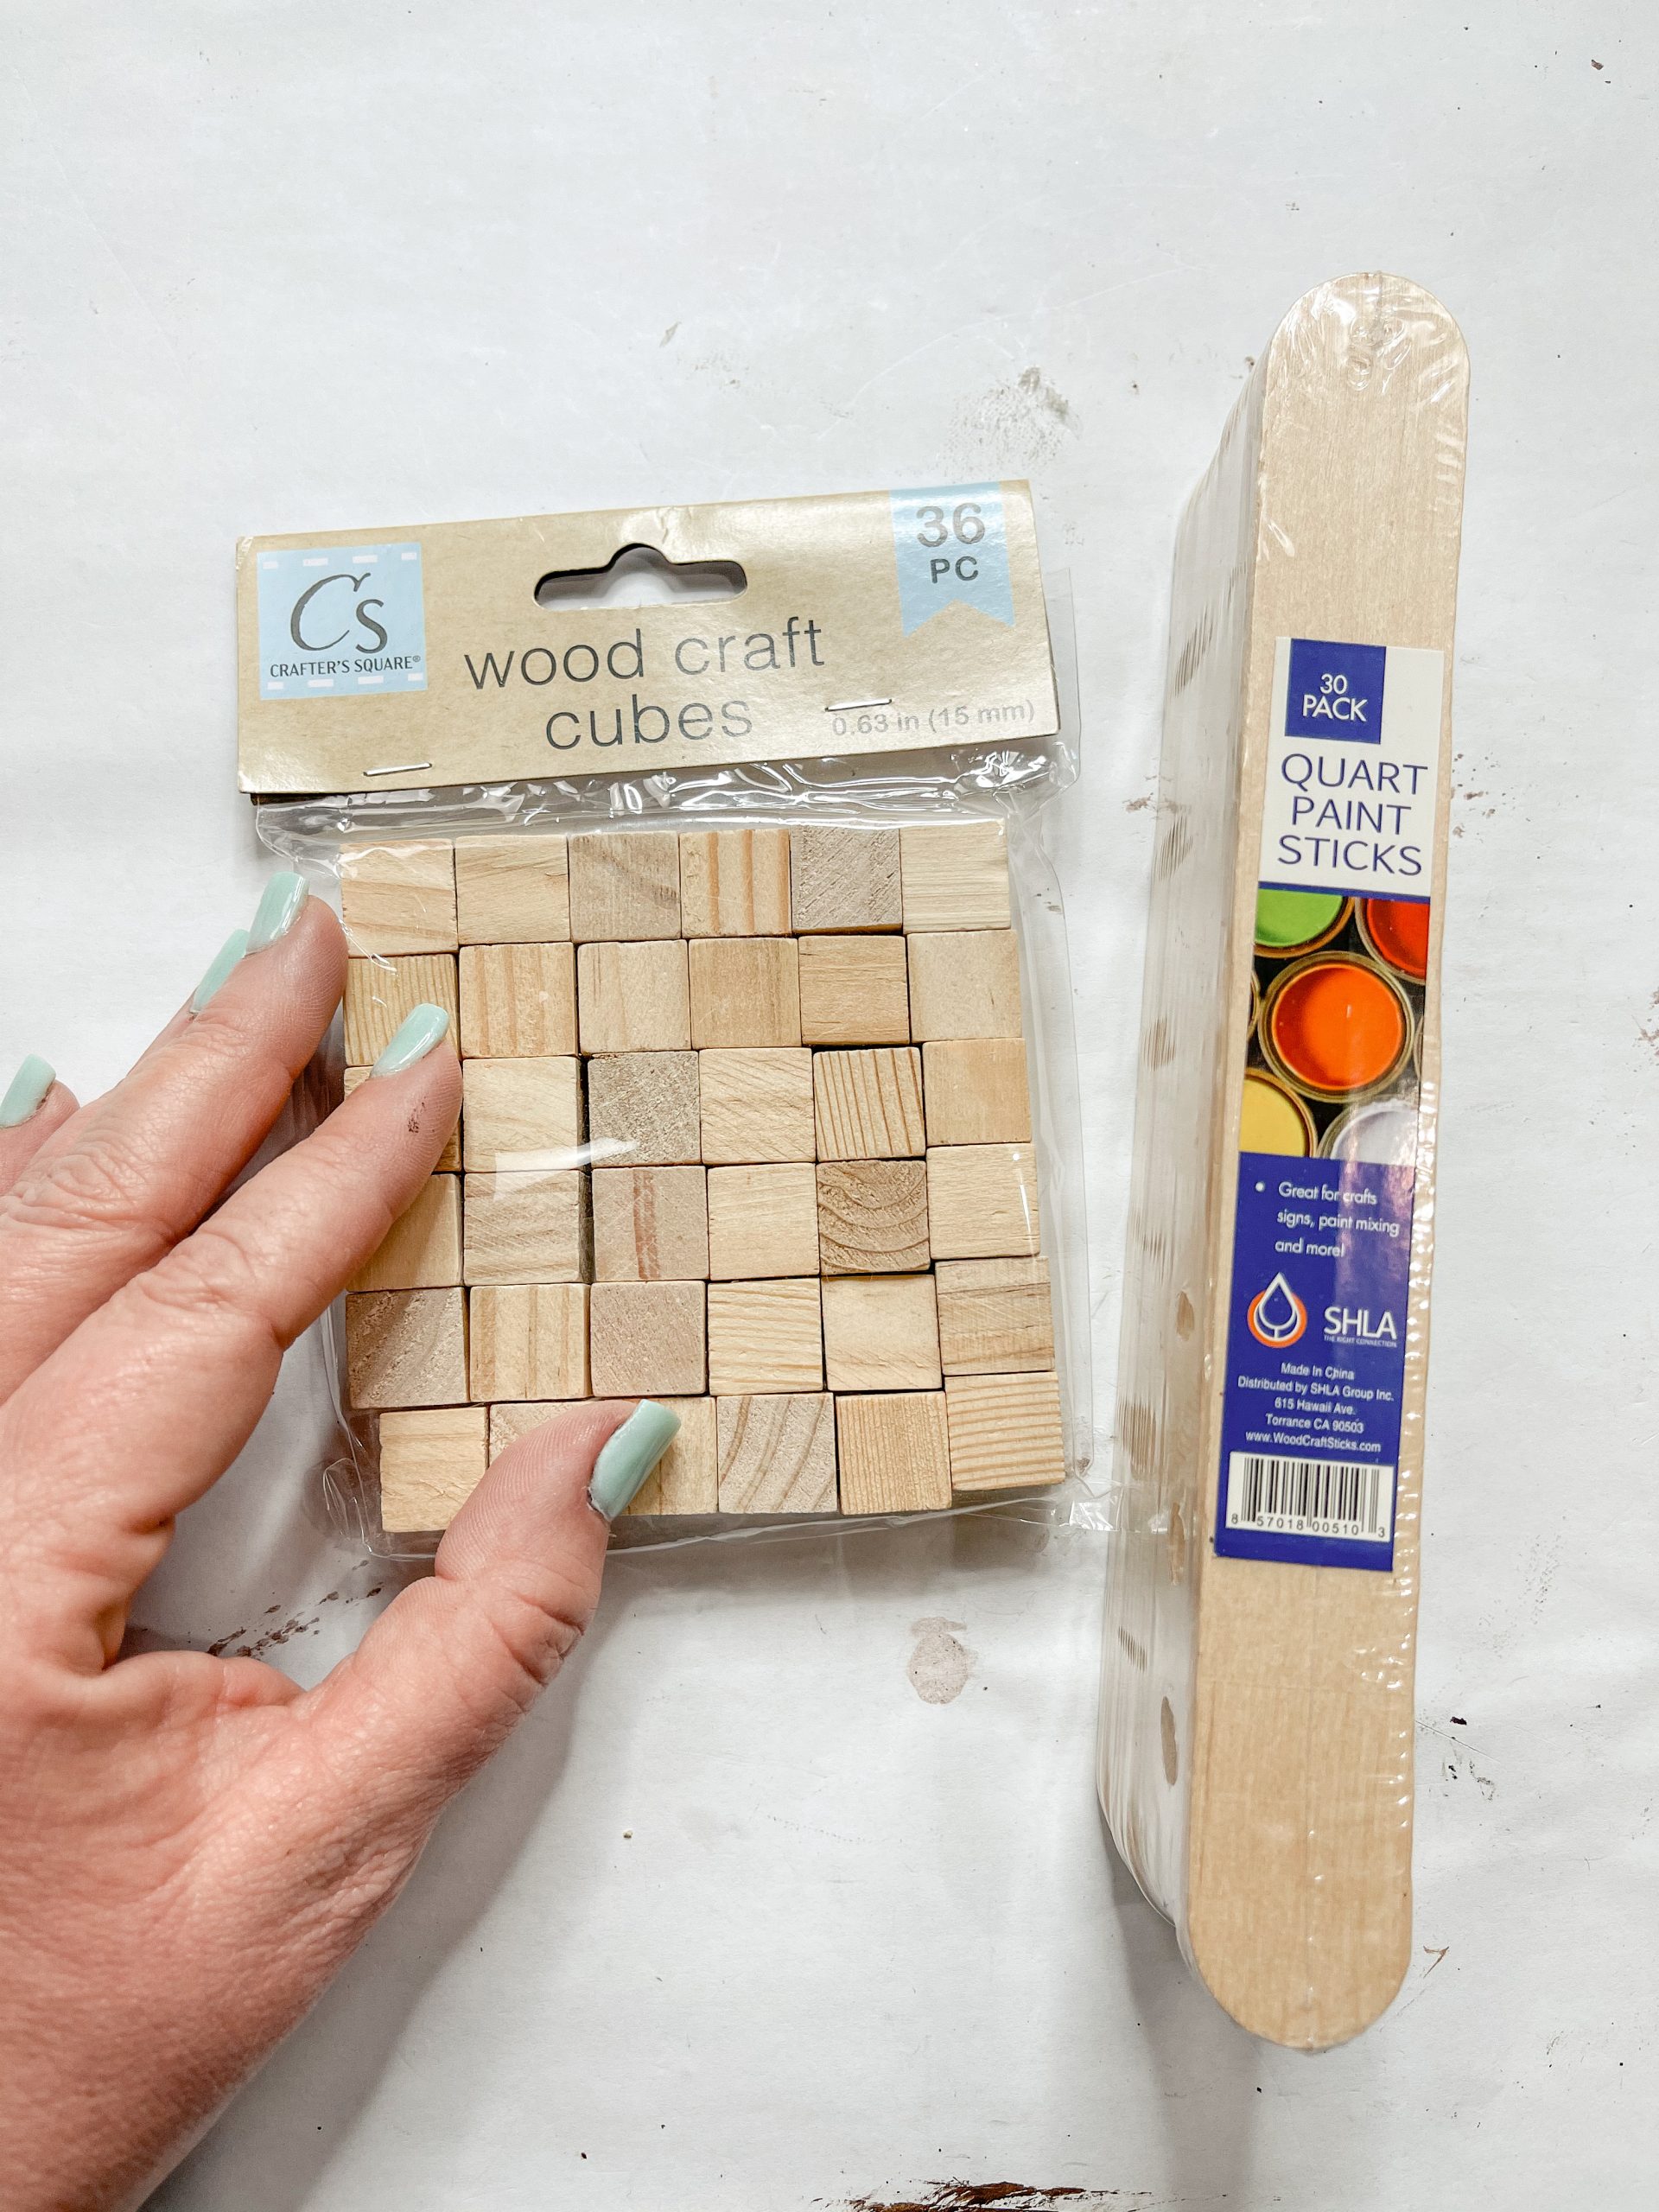
Allow all the stained wood to dry, then get white paint and your stencil. I used Apple Barrel White Acrylic Paint and a stencil I found at Target.
Then, I hot glued the four wood craft cubes to the bottom four corners of the mini crate. Before I could hot glue the wood dowels, I needed to trim them down just a little bit.
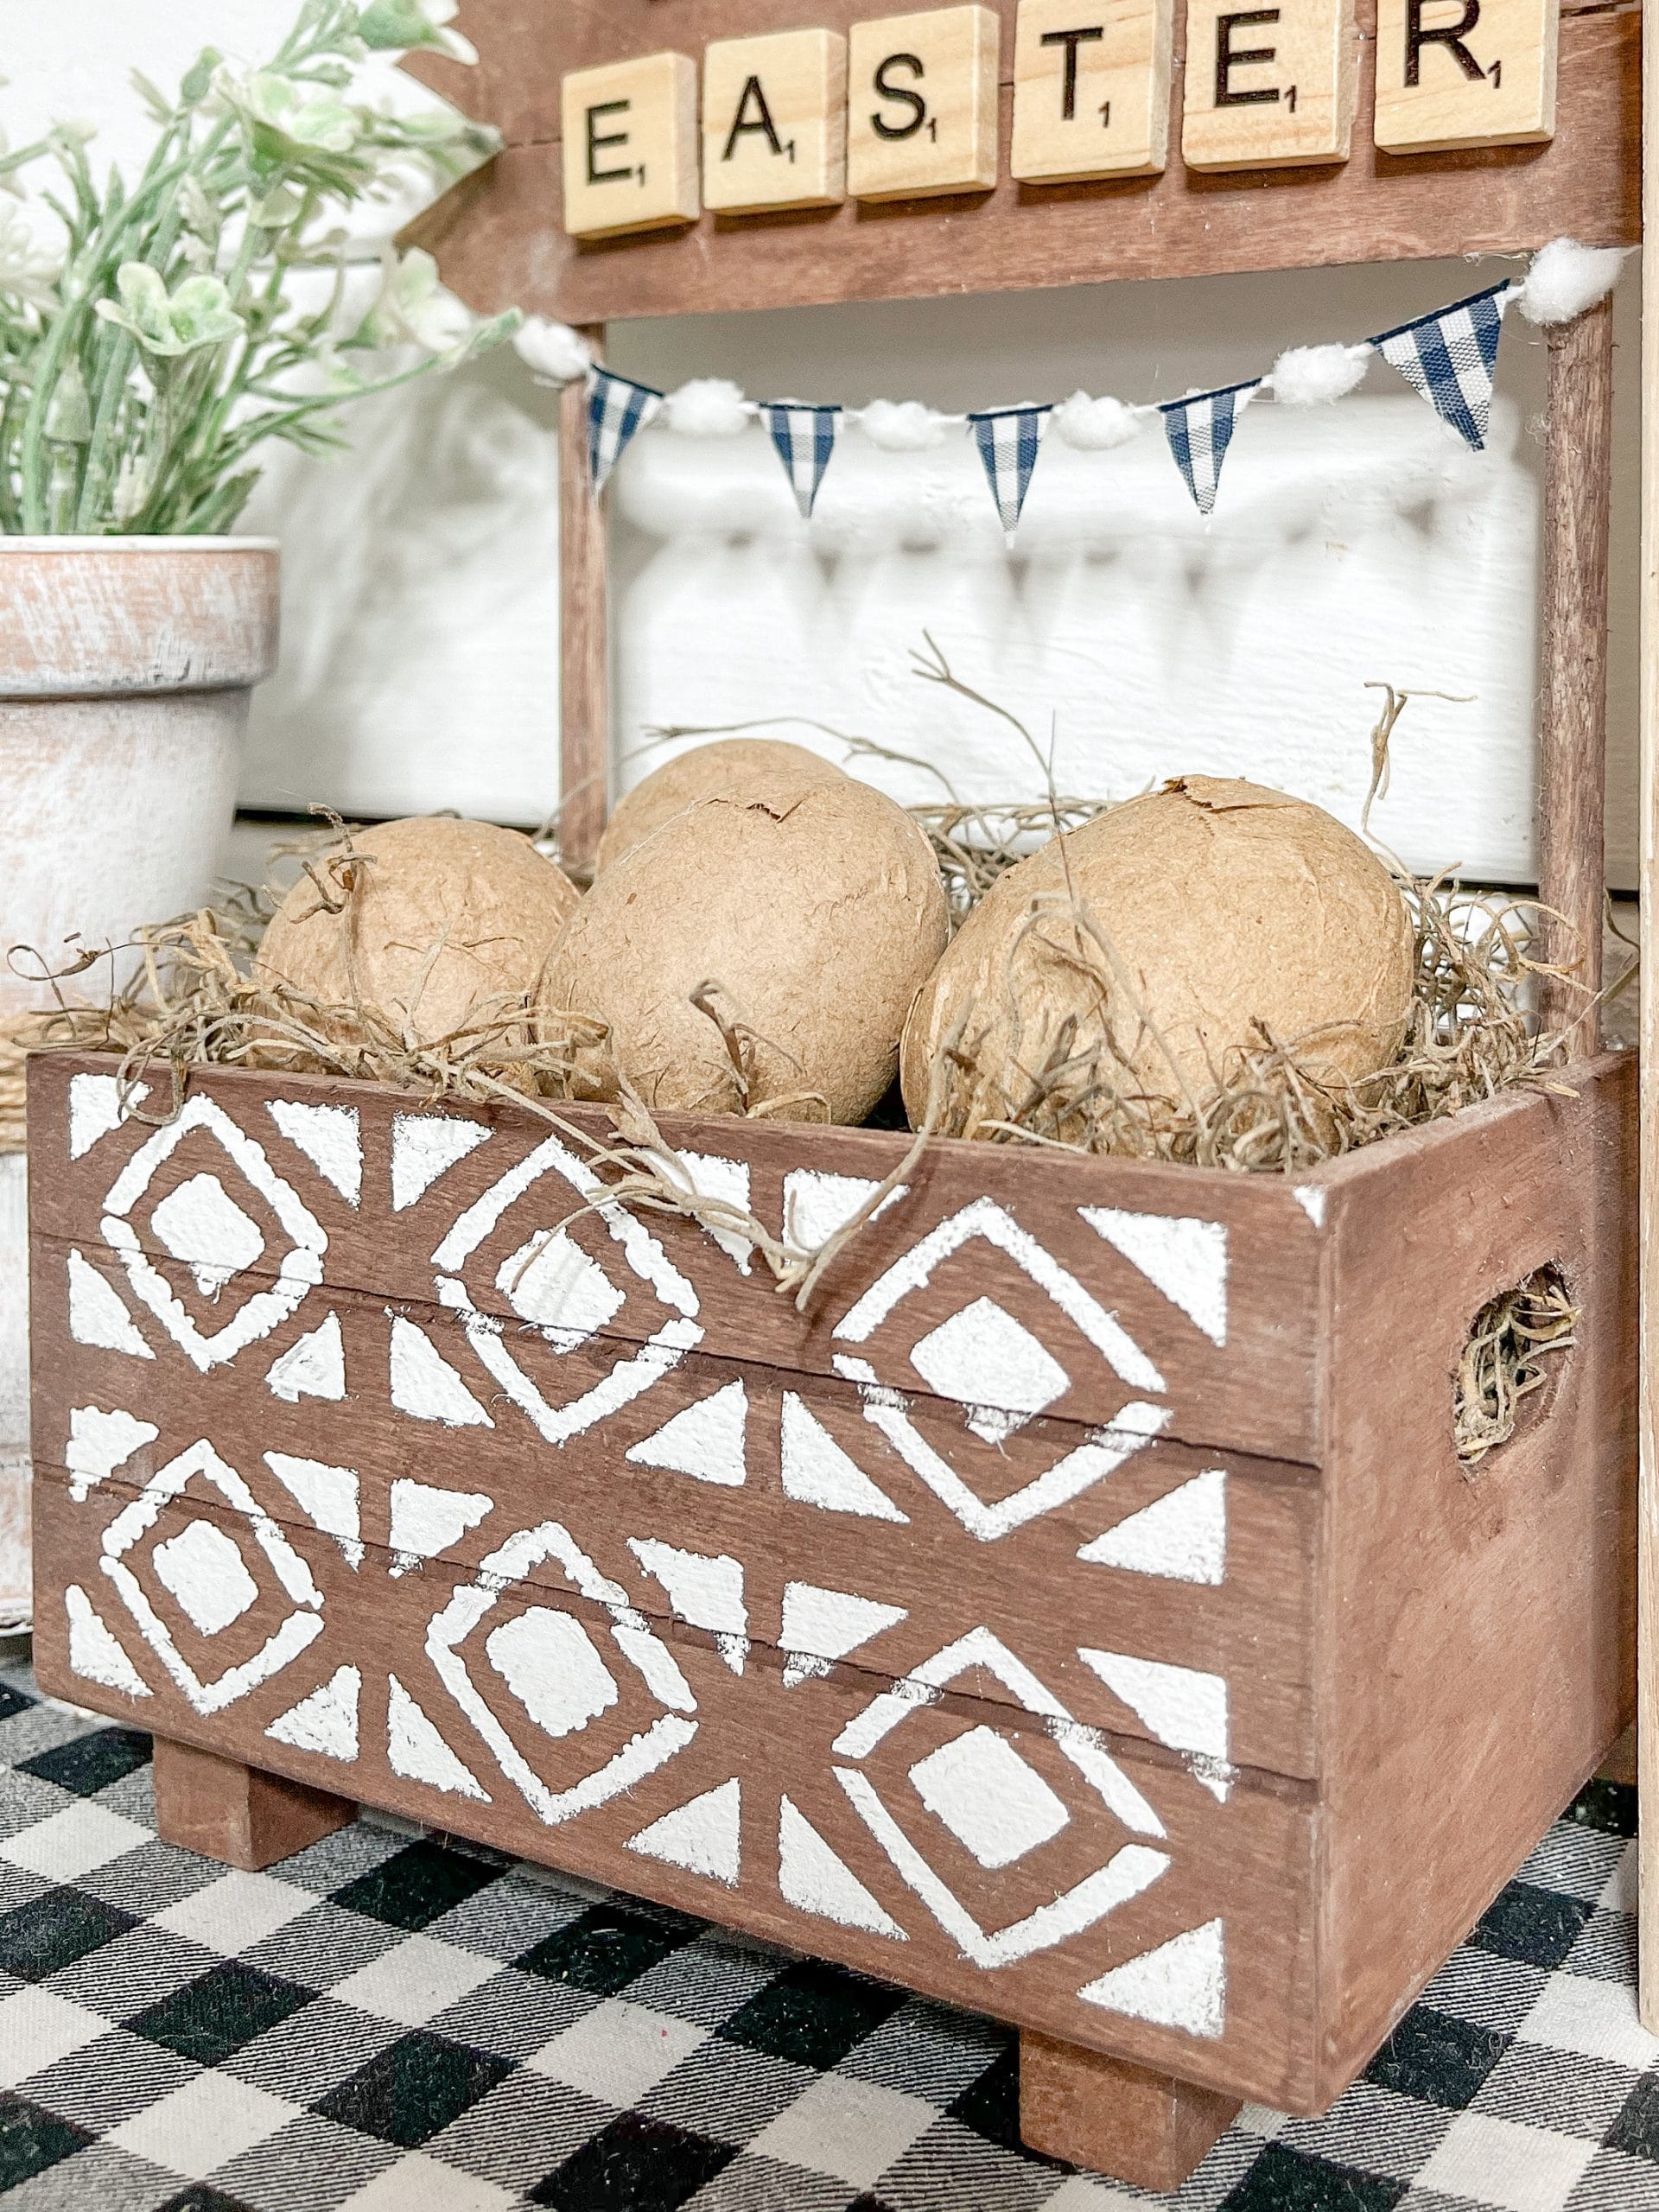
I used my aviation snips to cut the wood dowels down shorter, then hot glued them with the flat side down in the back two corners of the mini crate.
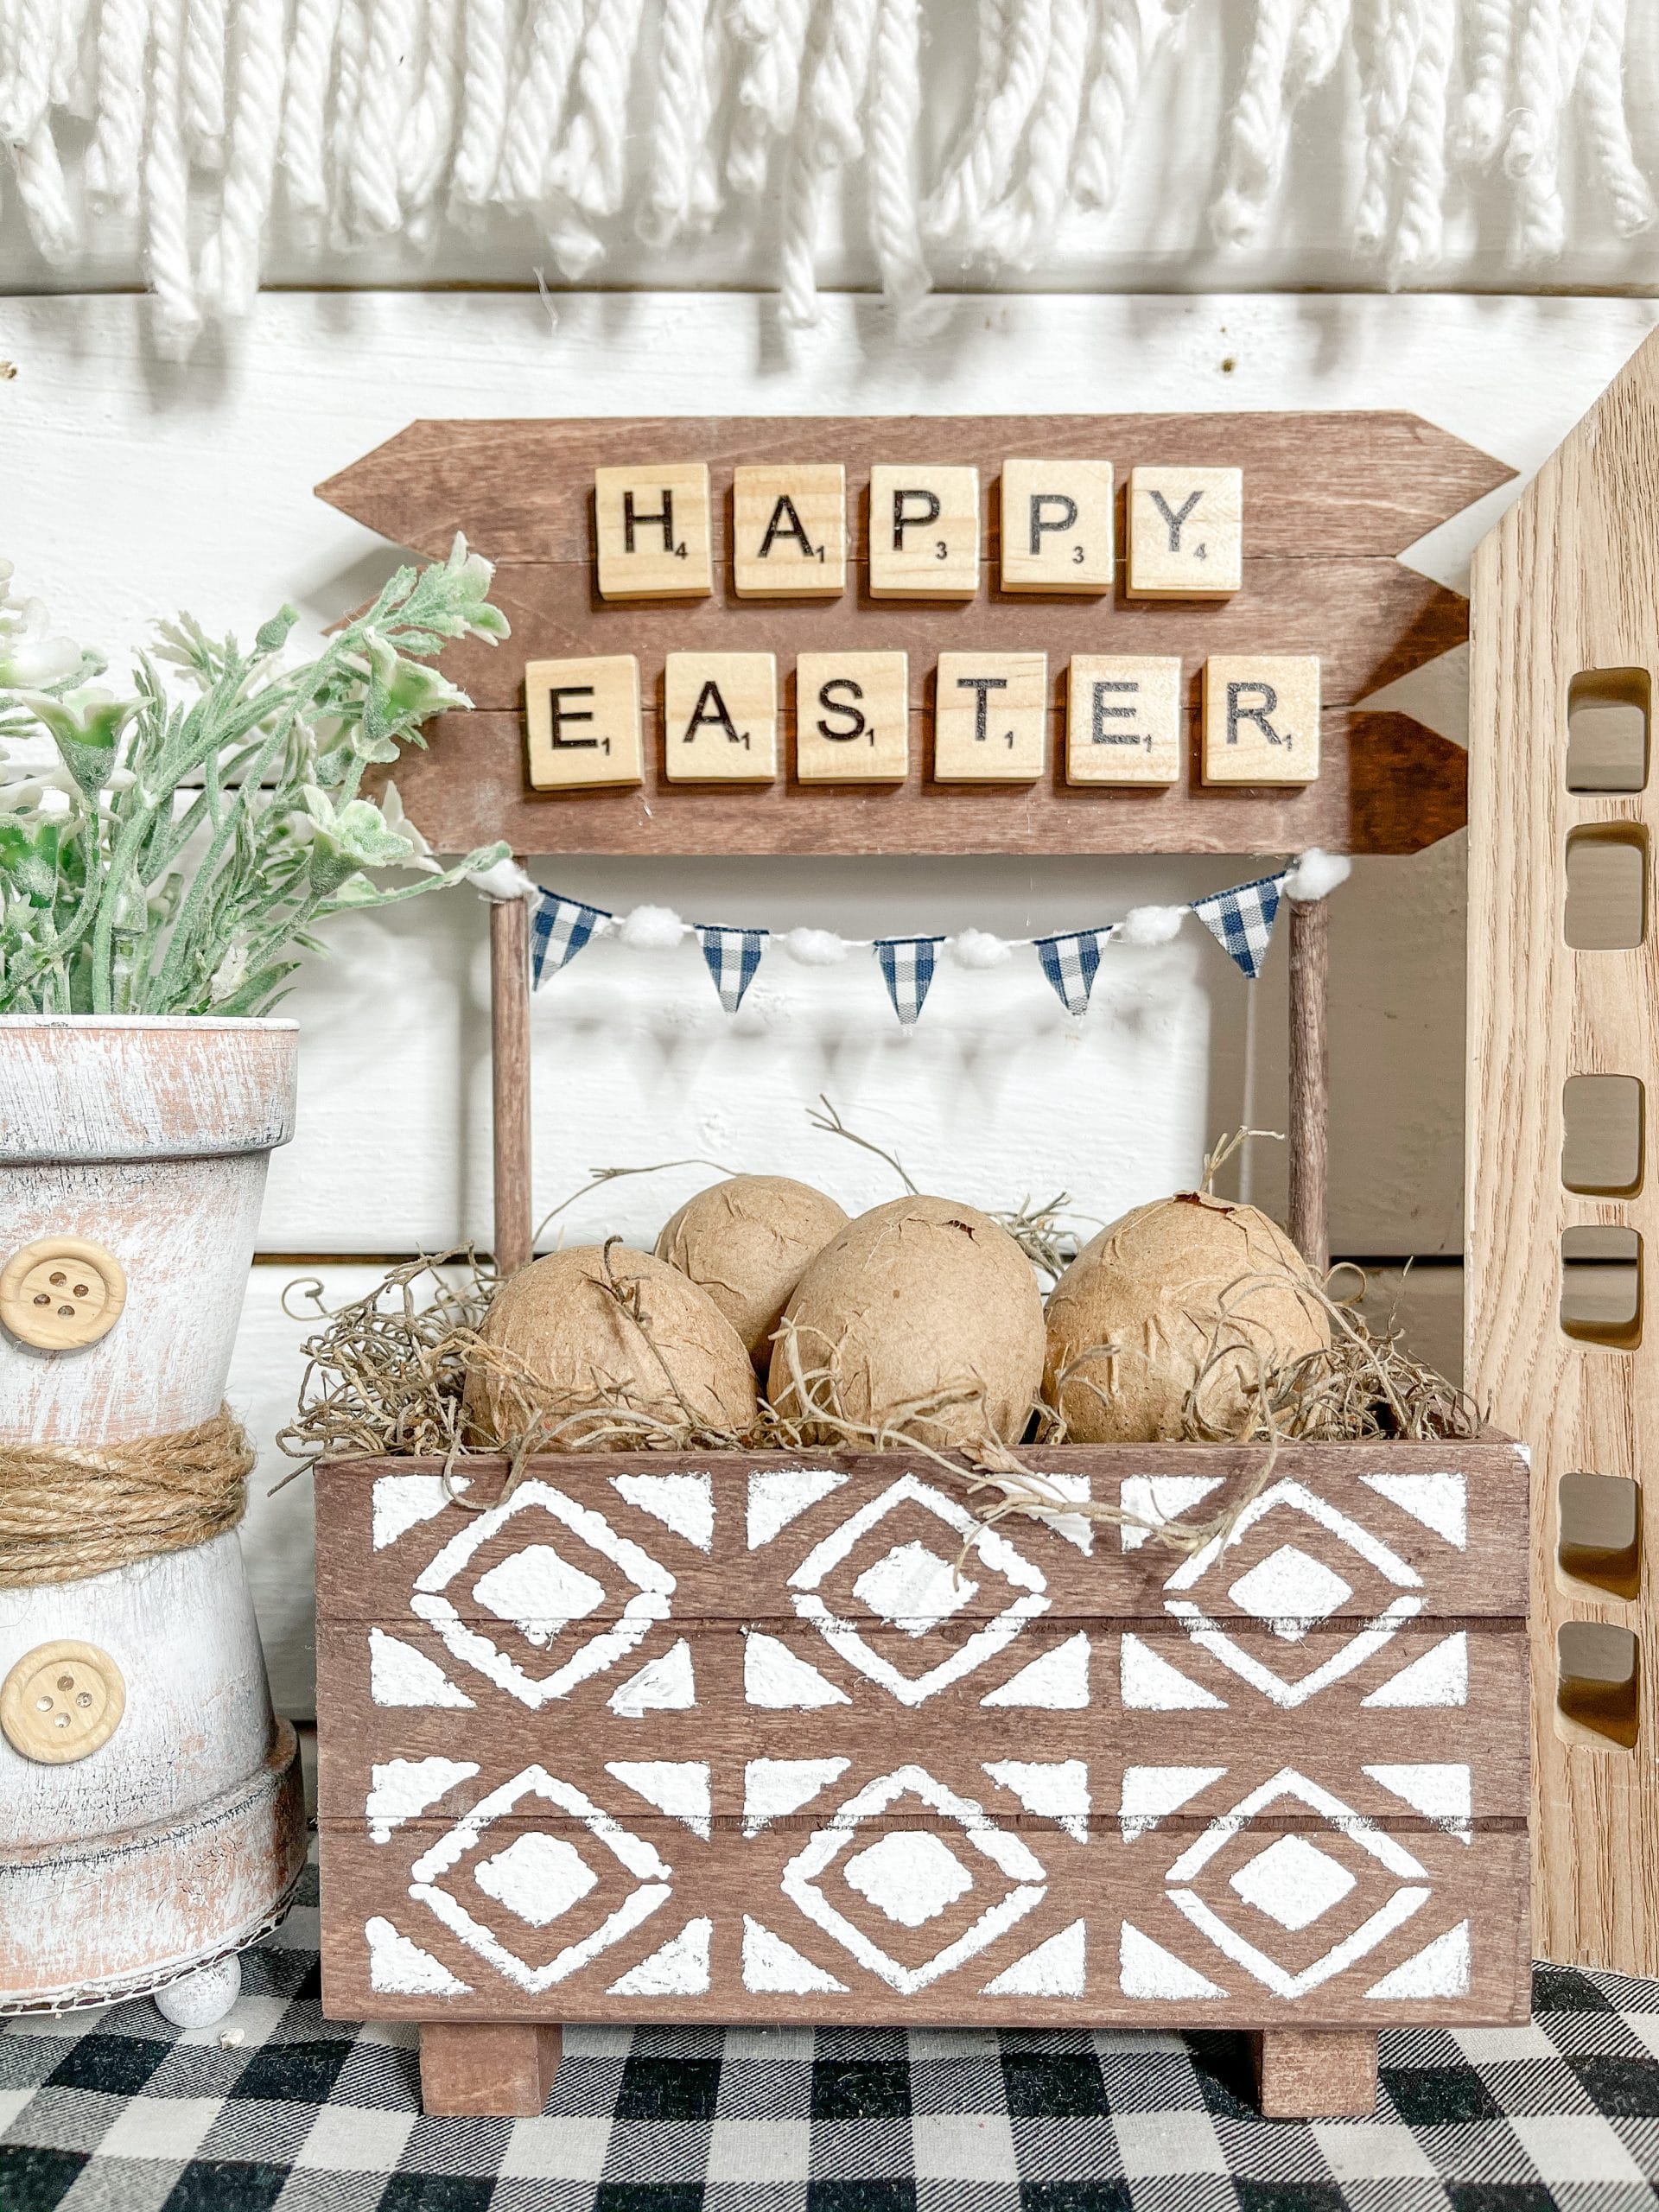
Next, grab your three craft sticks and cut the ends into points. Then, hot glue the three craft sticks across the top of the two wooden dowels.

I decided to make my DIY farmhouse crate say “Happy Easter,” but this is the perfect project to customize! You could make this every day and make the phrase “Fresh Eggs” or you could make it say “Hello Spring”!
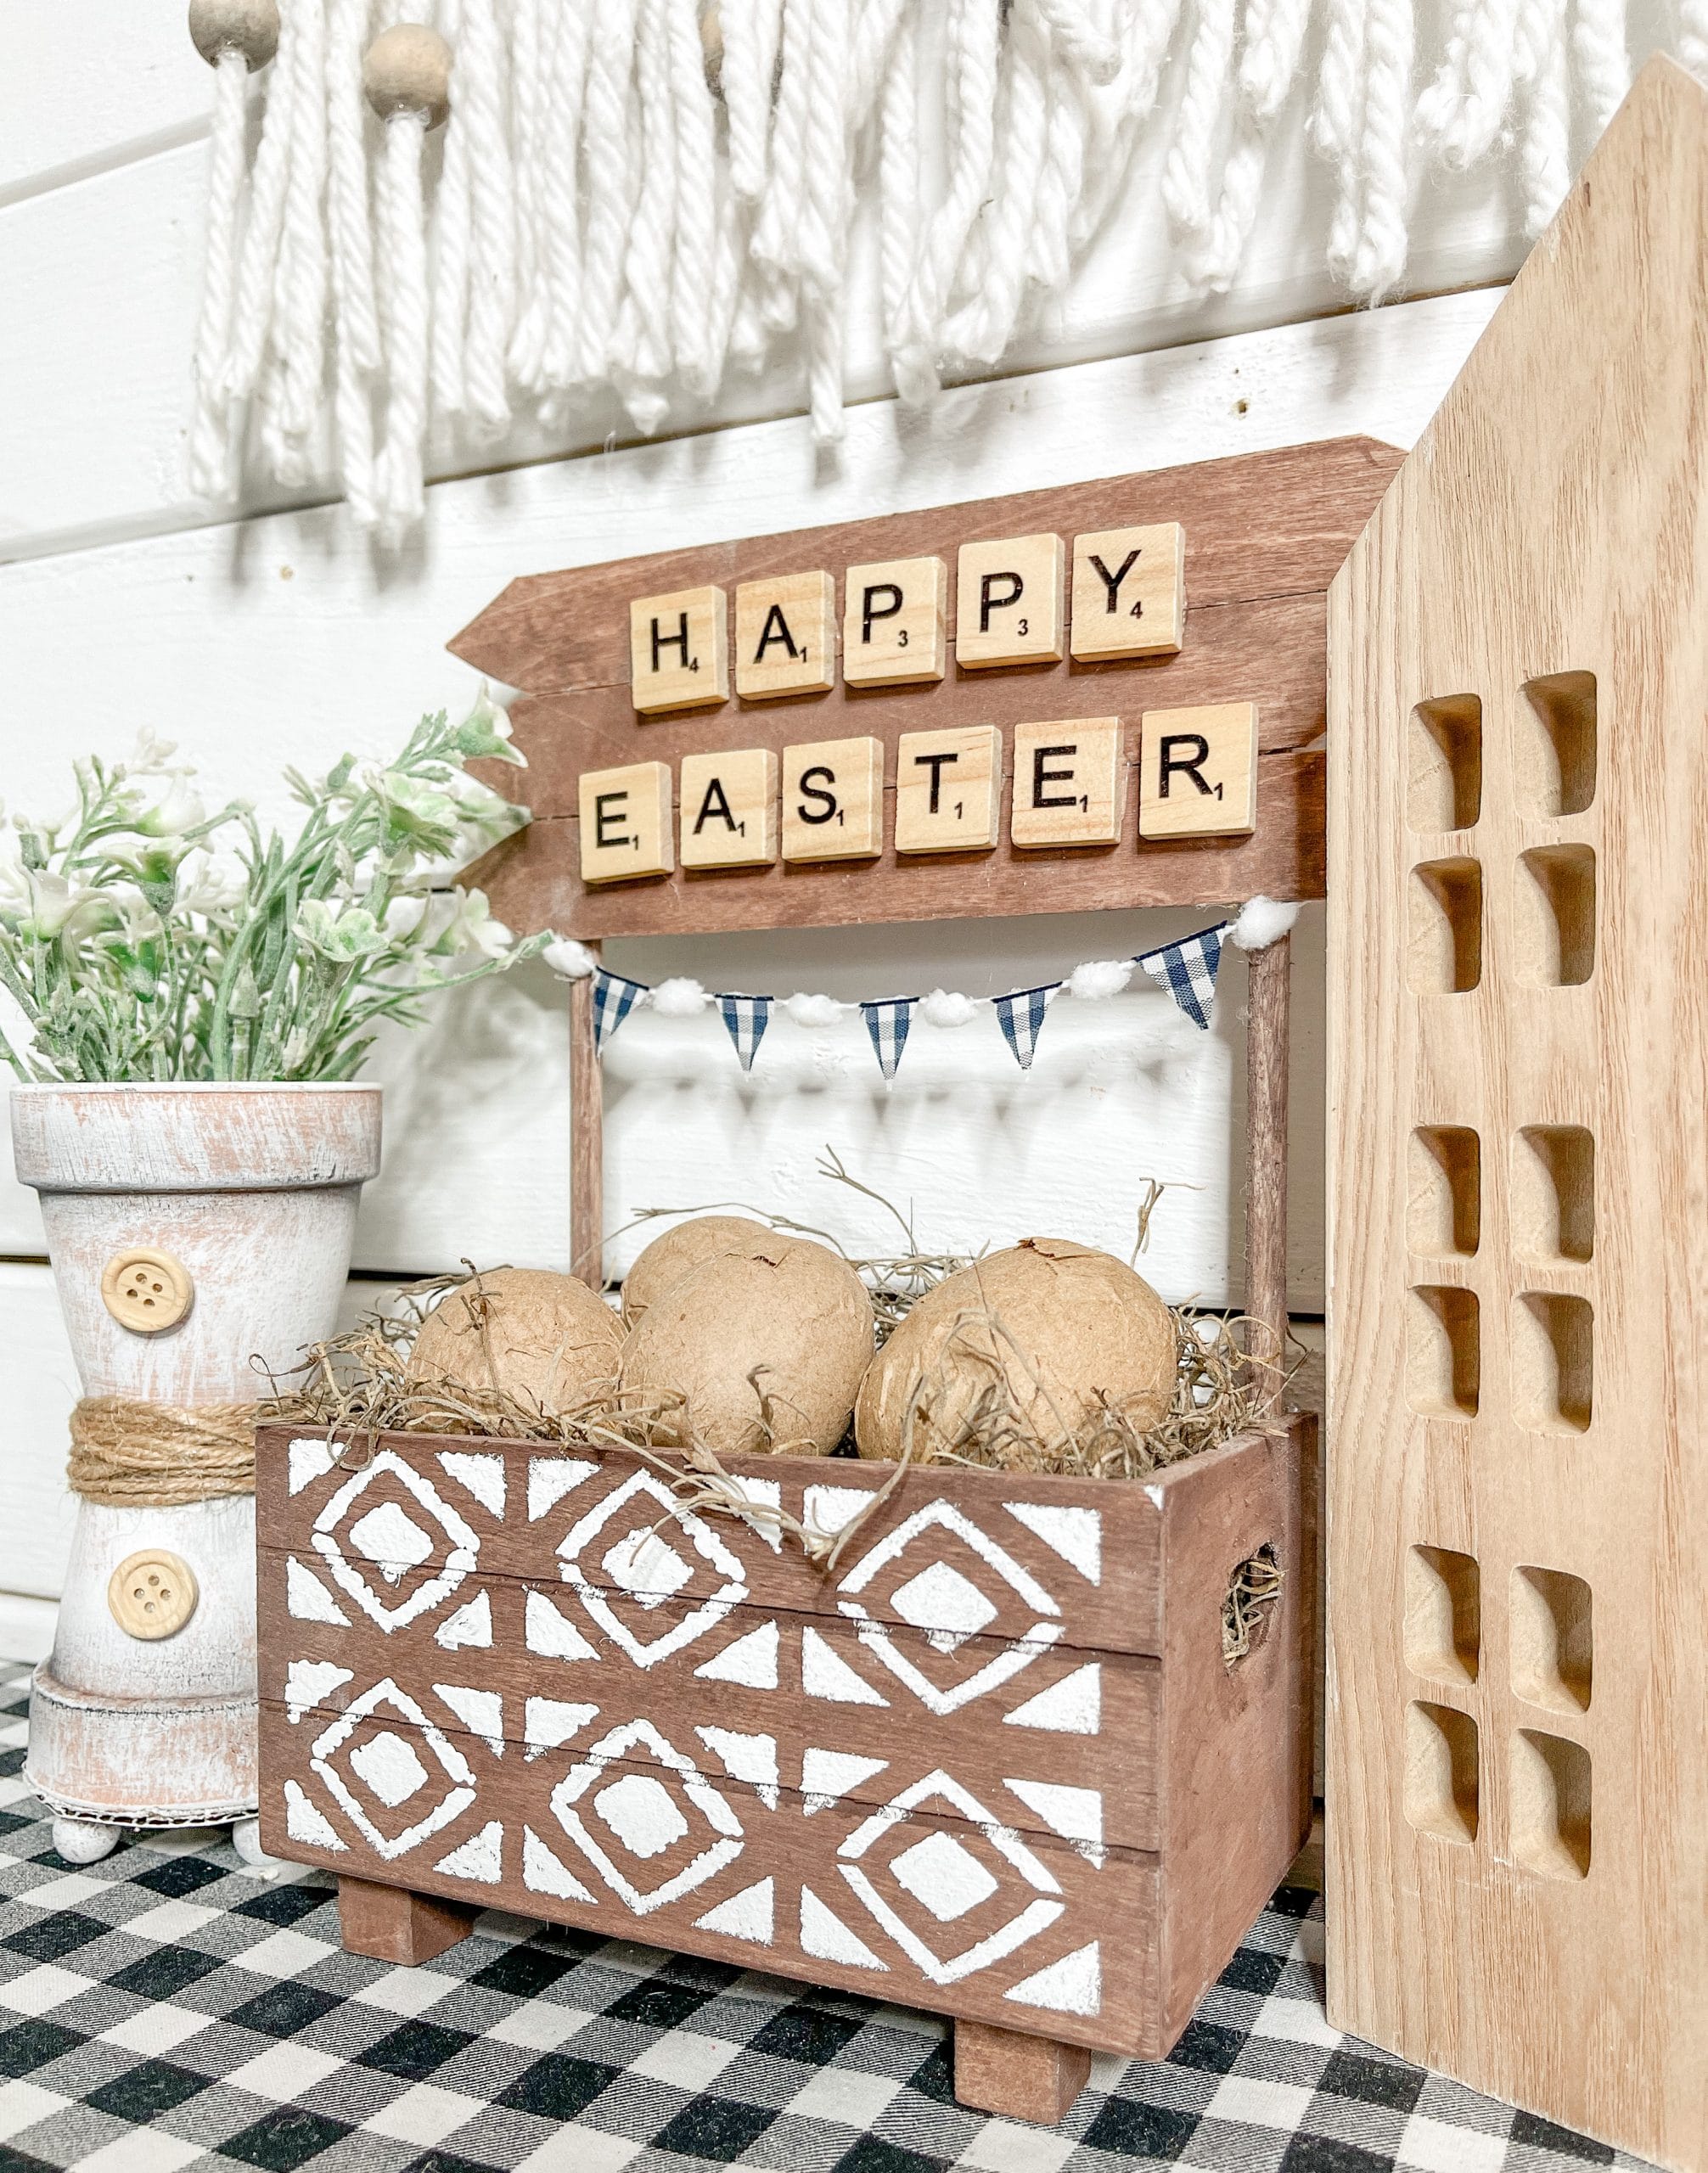
The finishing touches
We are almost done! Next, I made a little banner out of white pom pom ribbon and blue buffalo check ribbon to hang under the craft sticks.
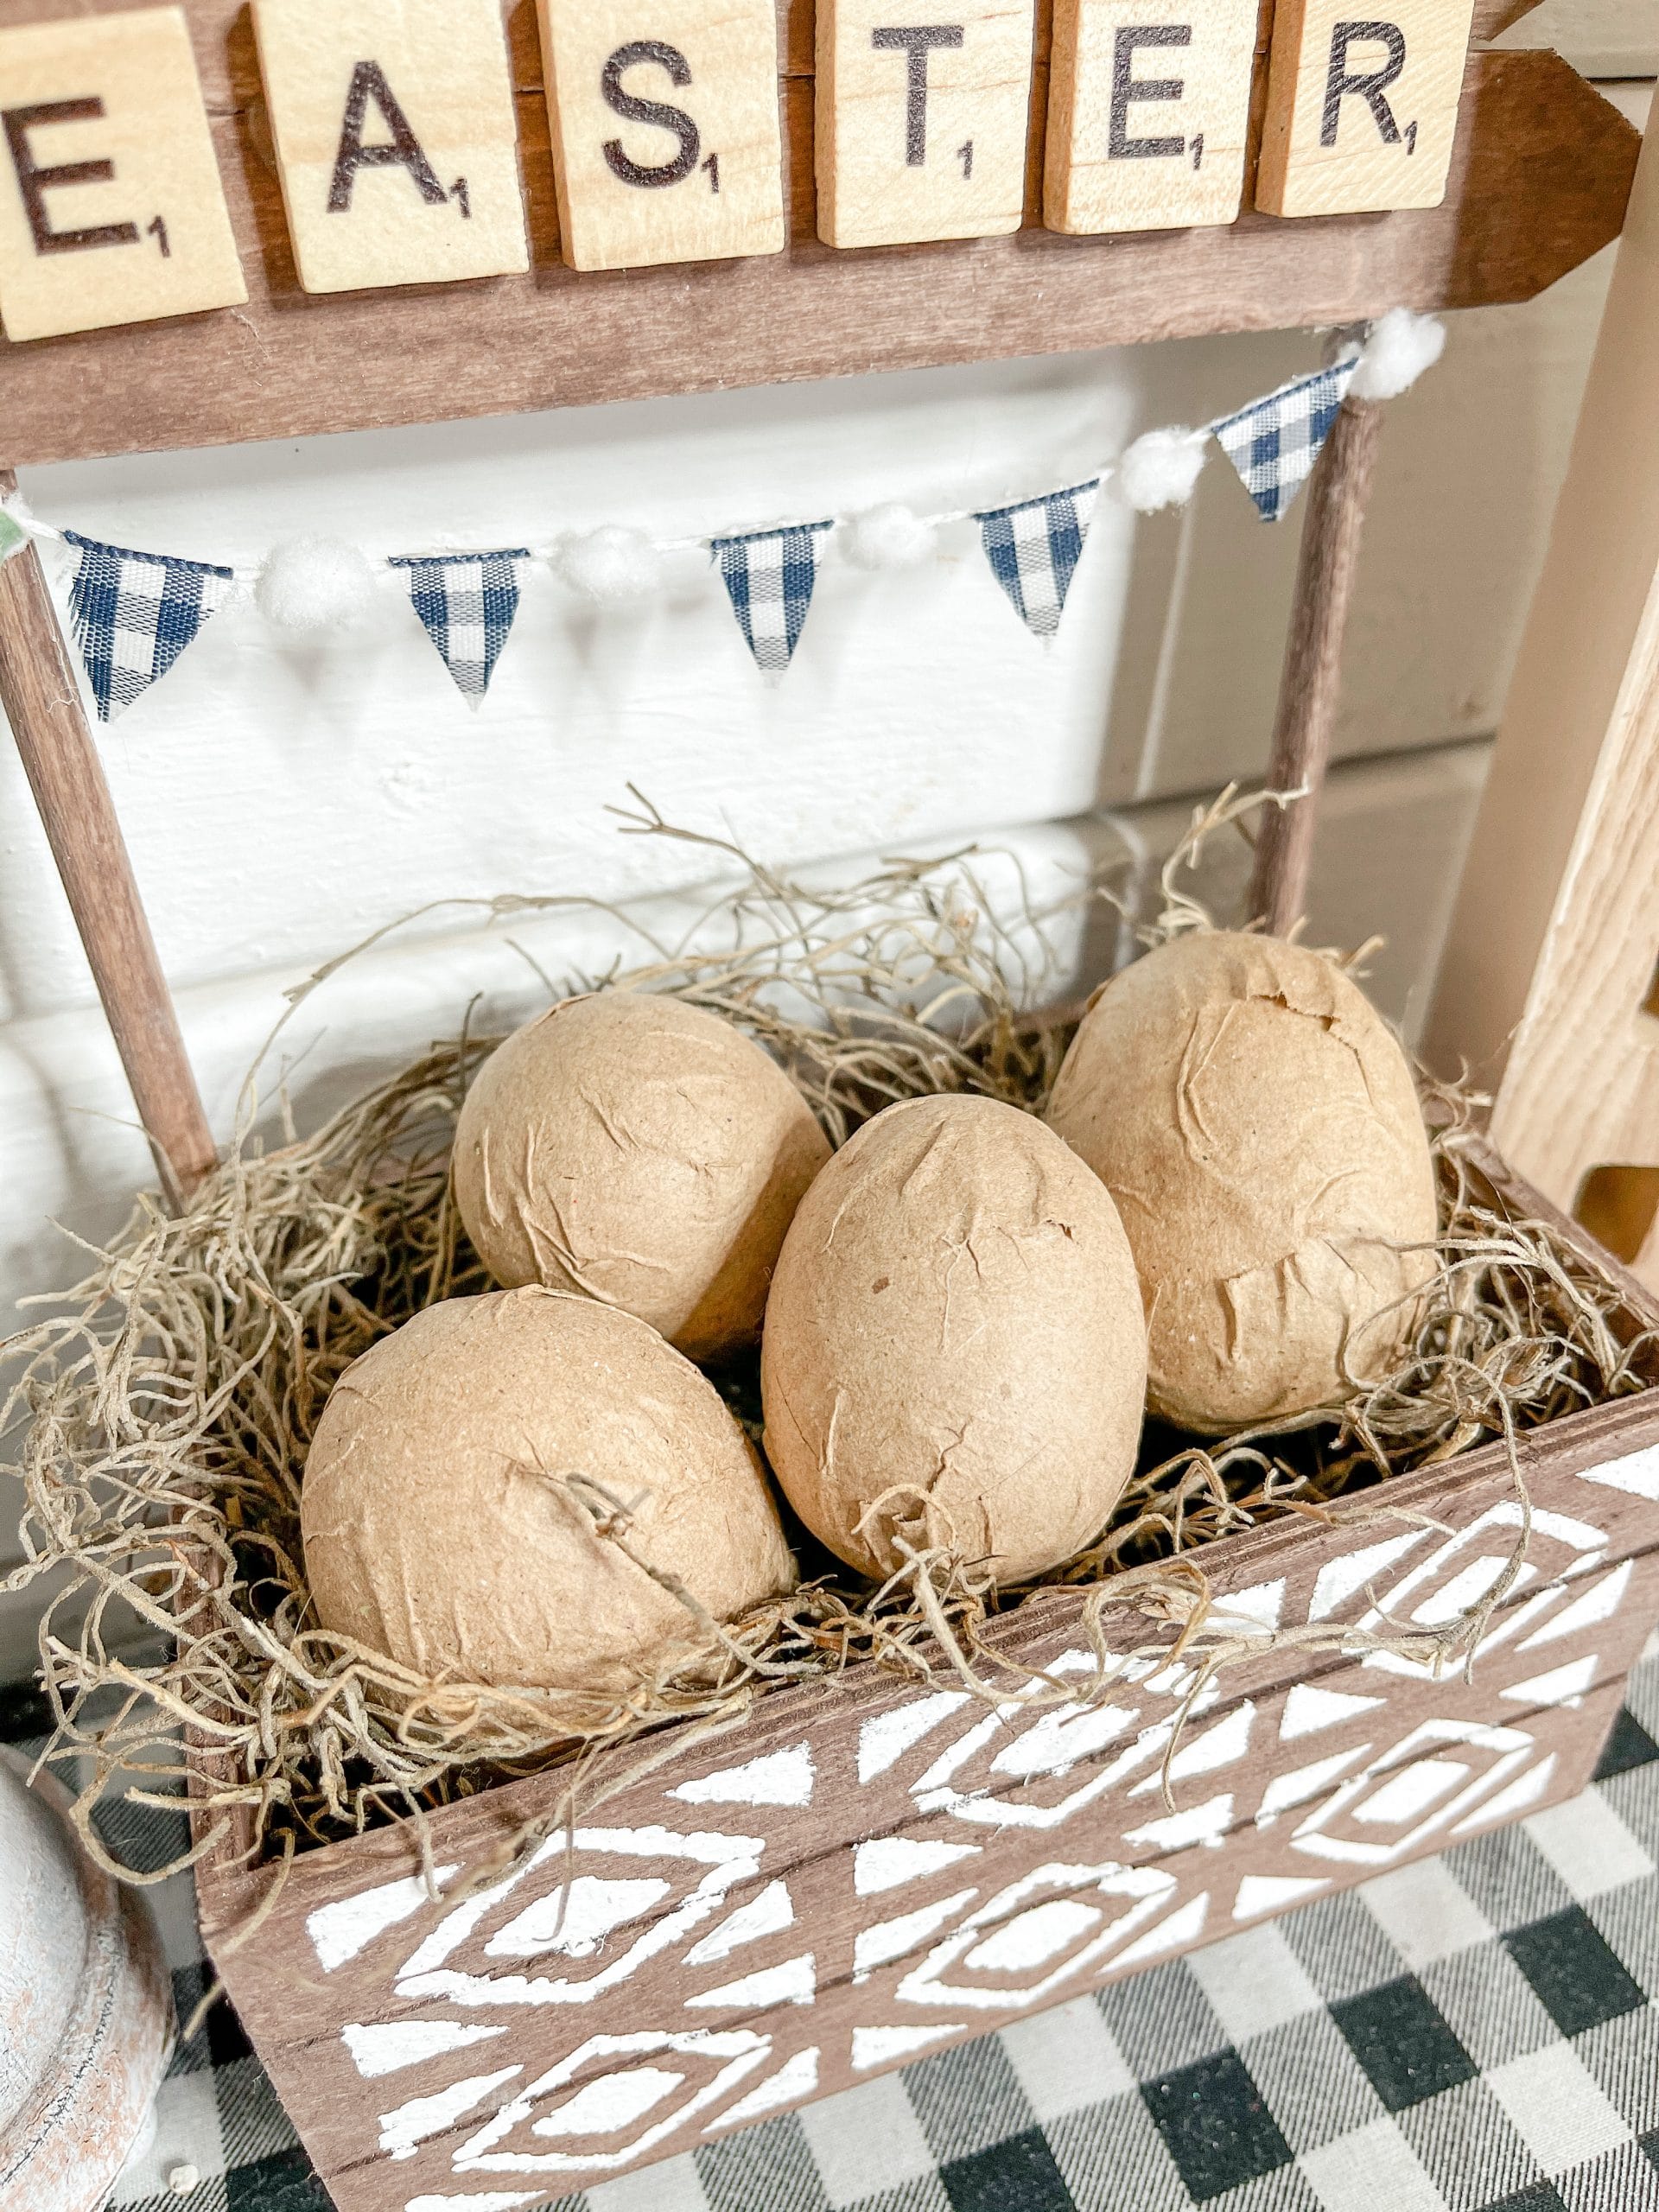
I hot glued the pom pom ribbon first, then cut little triangles out of the blue buffalo check ribbon and hot glued them in between each pom pom.
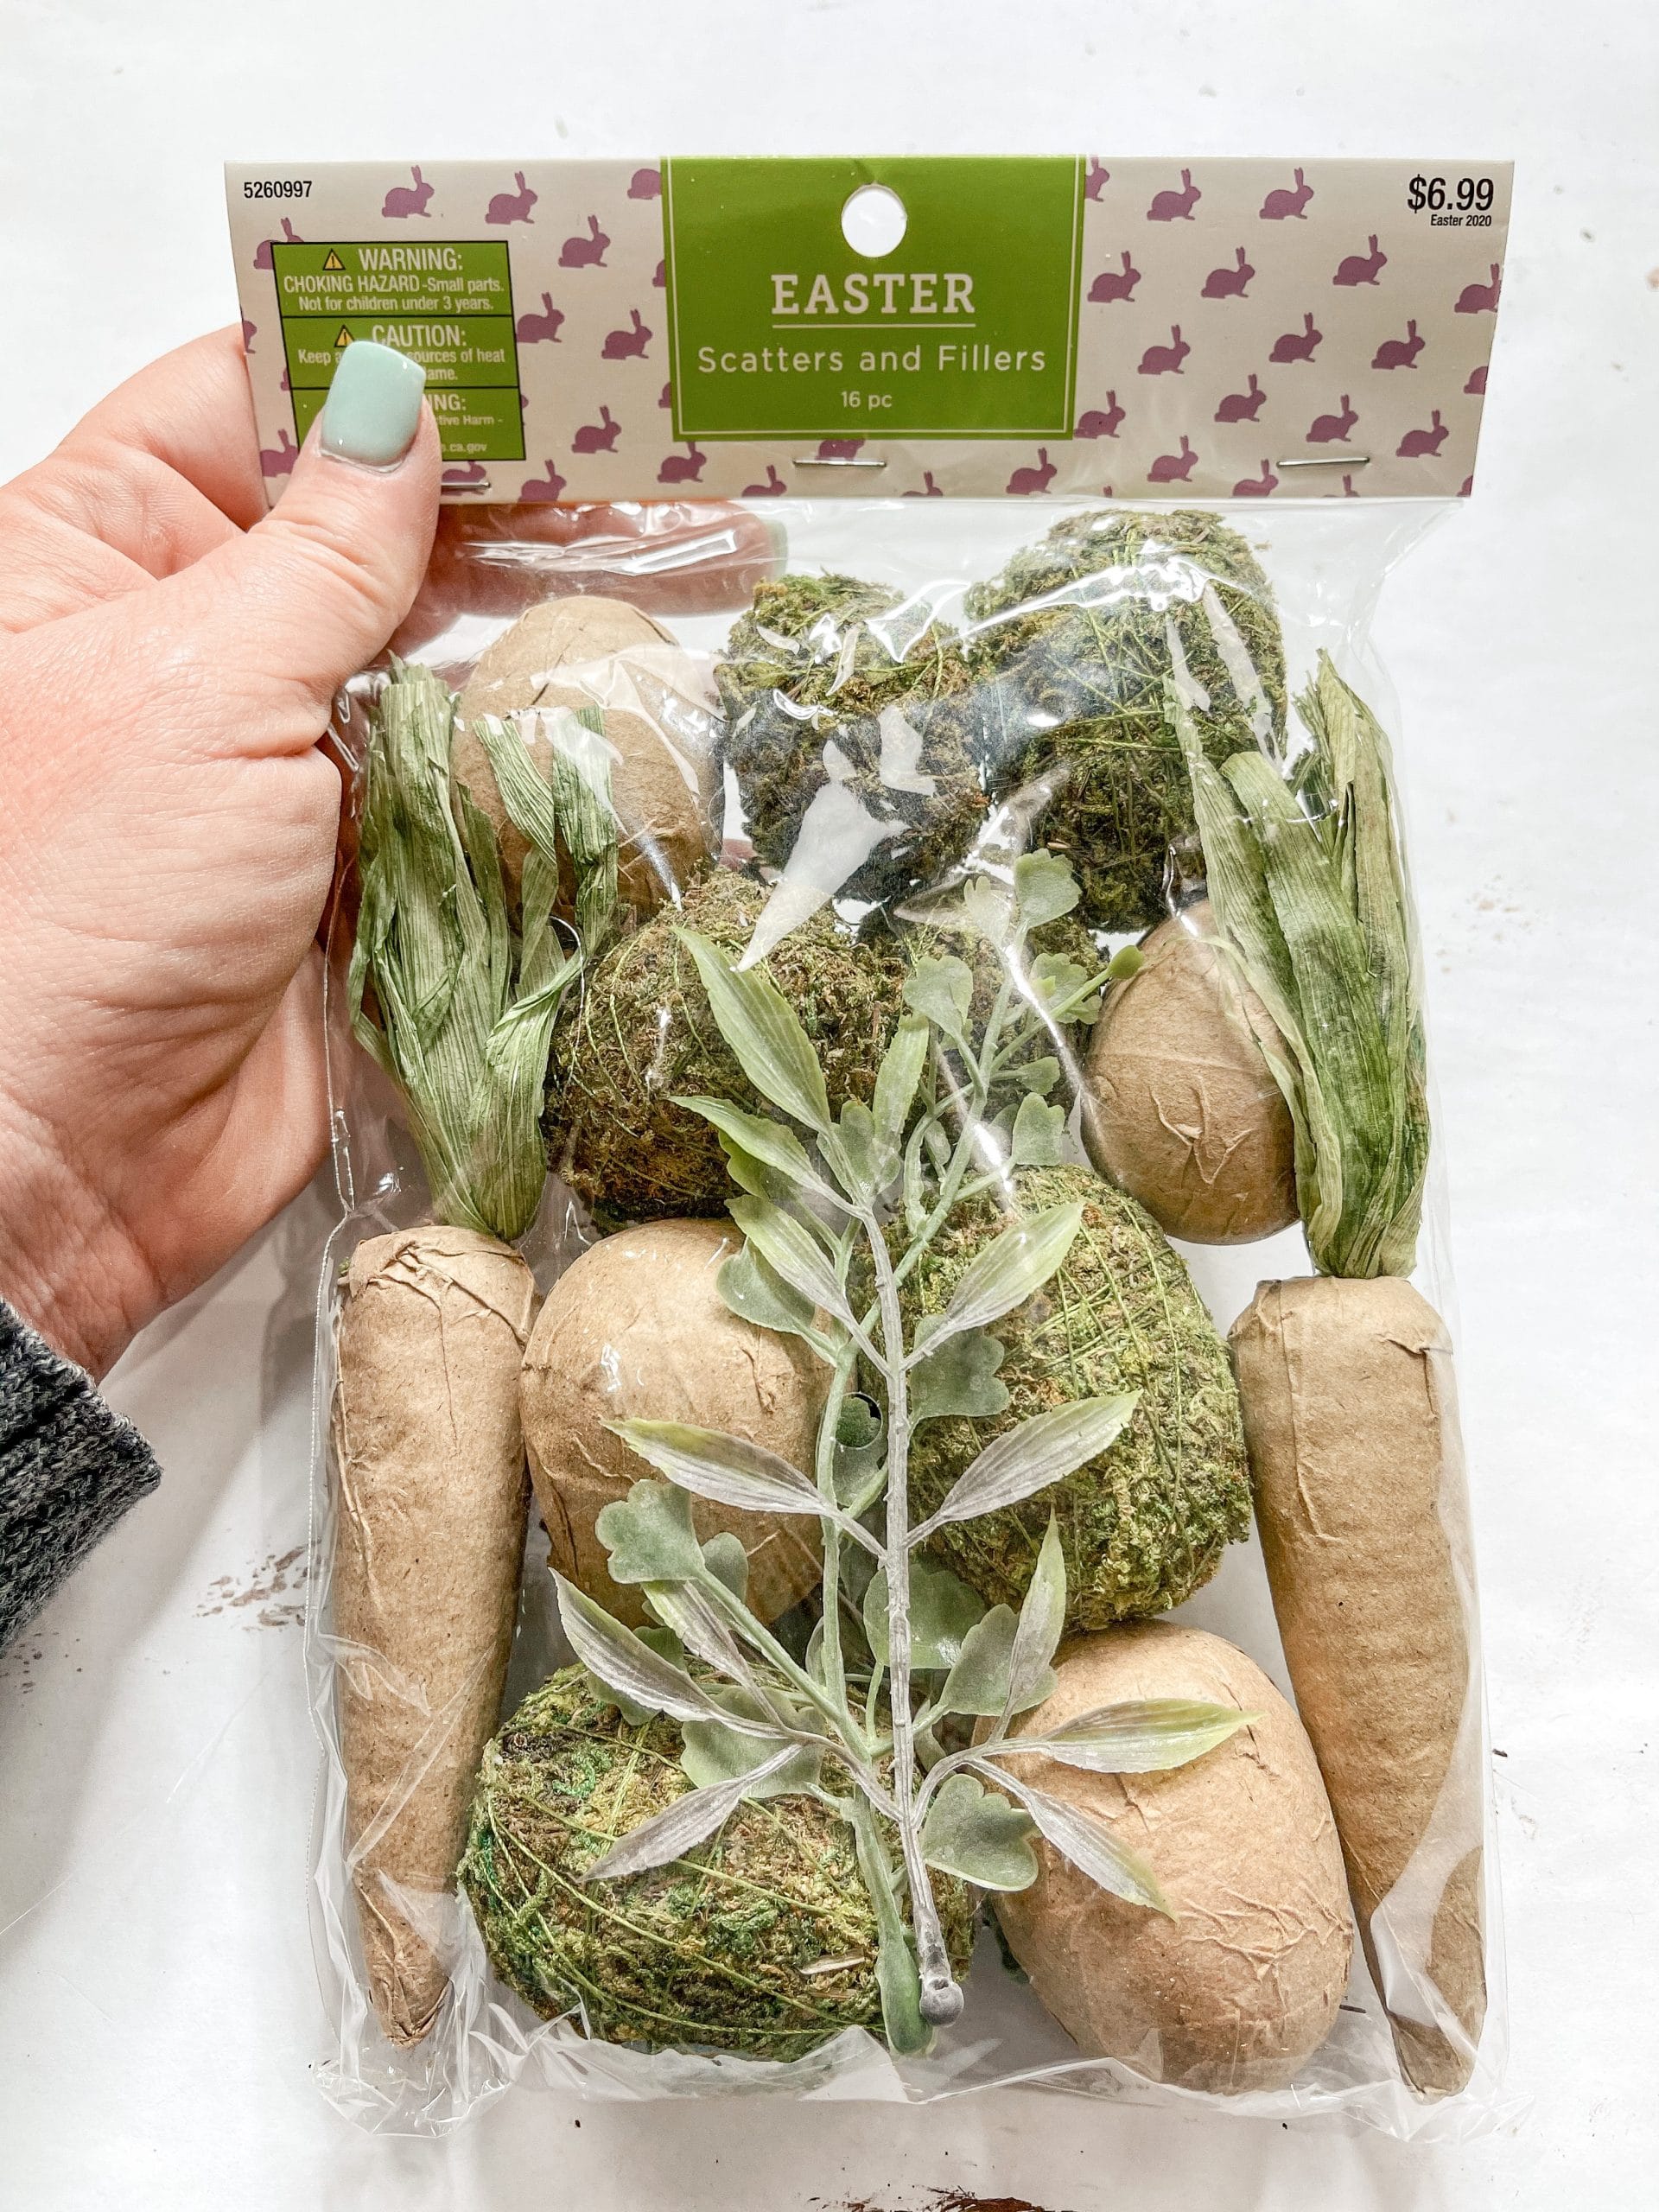
Finally, all you have to do is fill your crate! I used paper mache eggs and some Spanish moss to fill mine. So, I lightly placed the moss into the crate, then carefully placed the eggs on top to make the crate look more full.
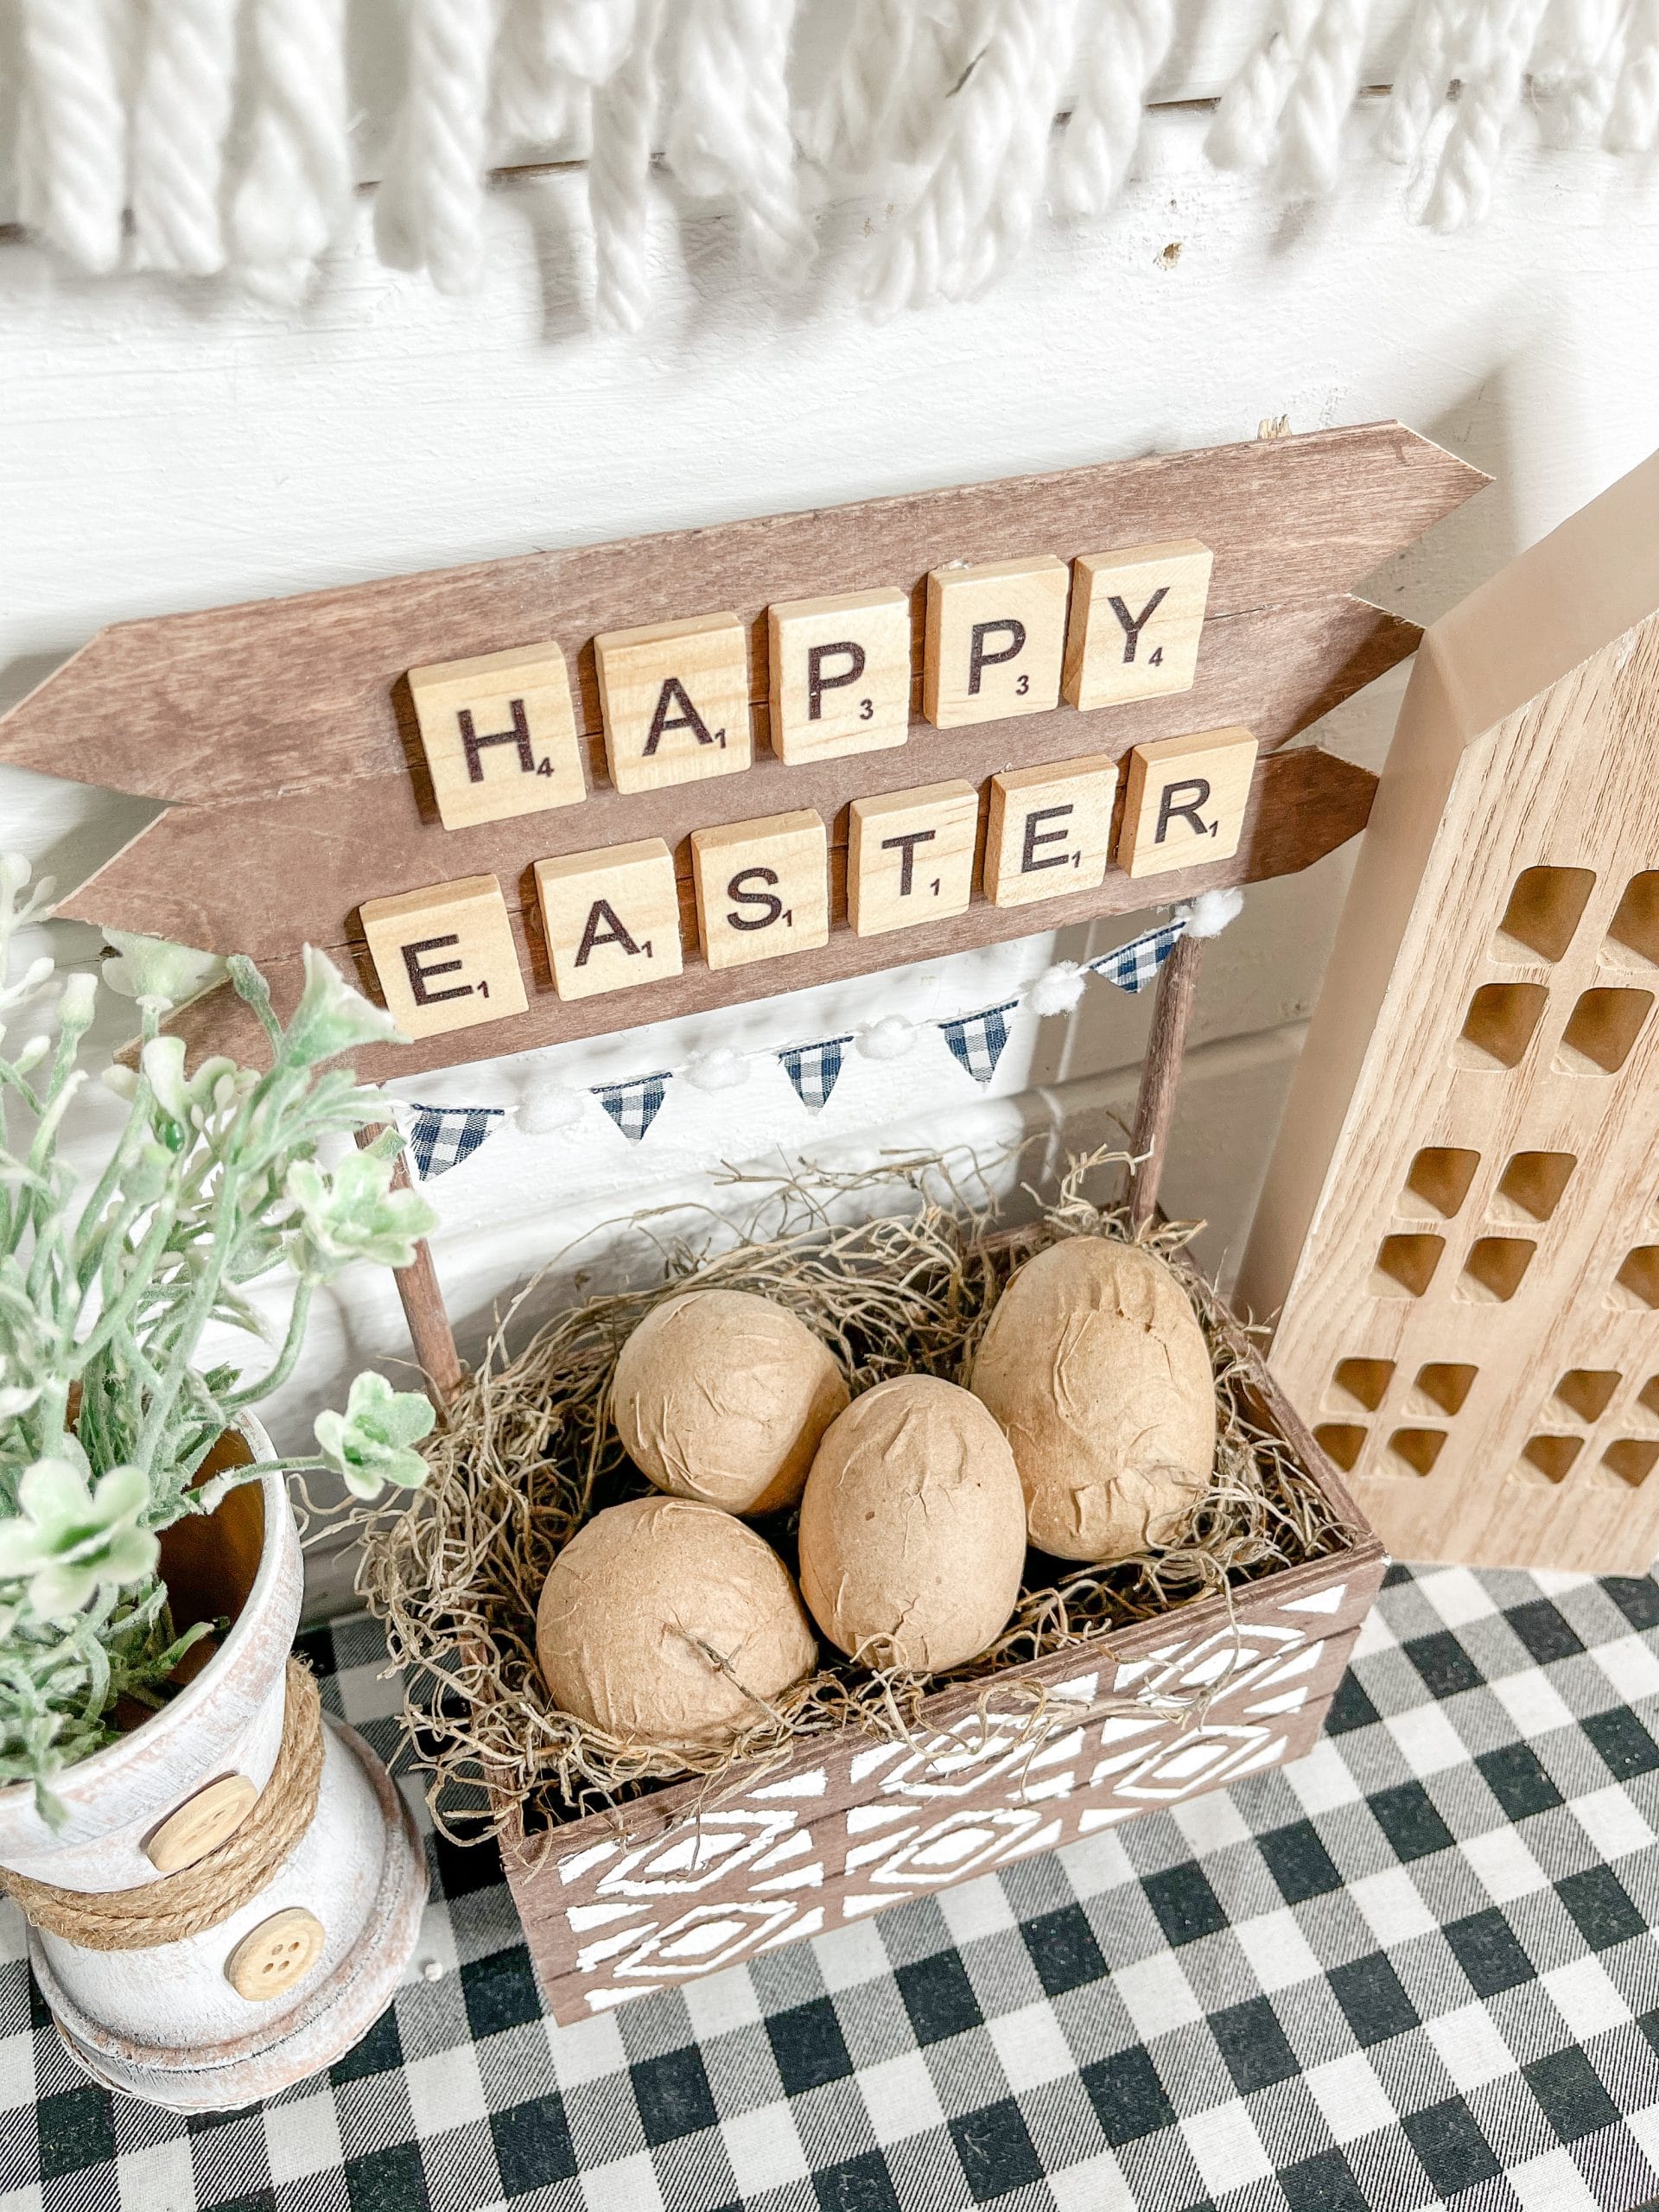
I hope you enjoyed this DIY Farmhouse Easter Crate as much as I did and decide to make one for yourself! If you do, I would love to see how yours turns out!
You should totally join my FREE Facebook group called On A Budget Crafts! It is a judgment-free community for DIY crafters to show off their projects and ideas.
If you loved this DIY you might also like this one too!
Thanks for stopping by! XOXO Amber
You can also shop my ENTIRE AMAZON Favorites shop just click here! It’s packed full of all the things I use and love. Here is the supply list I highly recommend every creative have on hand!!
Would you also pin my blog for later and get on my newsletter alerts? I would love to have you join my #craftycrew.
Inspired? Leave me a comment below! I love hearing from my readers!

Join my free “ON A BUDGET CRAFTS” Facebook group!

This is really cute! I have one crate left from another project. I need to check the dollar tree to see if I can find some eggs!!
Thank you for sharing!
Absolutely adorable. Love it!
Cutest little stand, I made one but was lemons
I love crafts and I like what you have done and want to see what you do next.