DIY Rope Beehive/Bee Skep
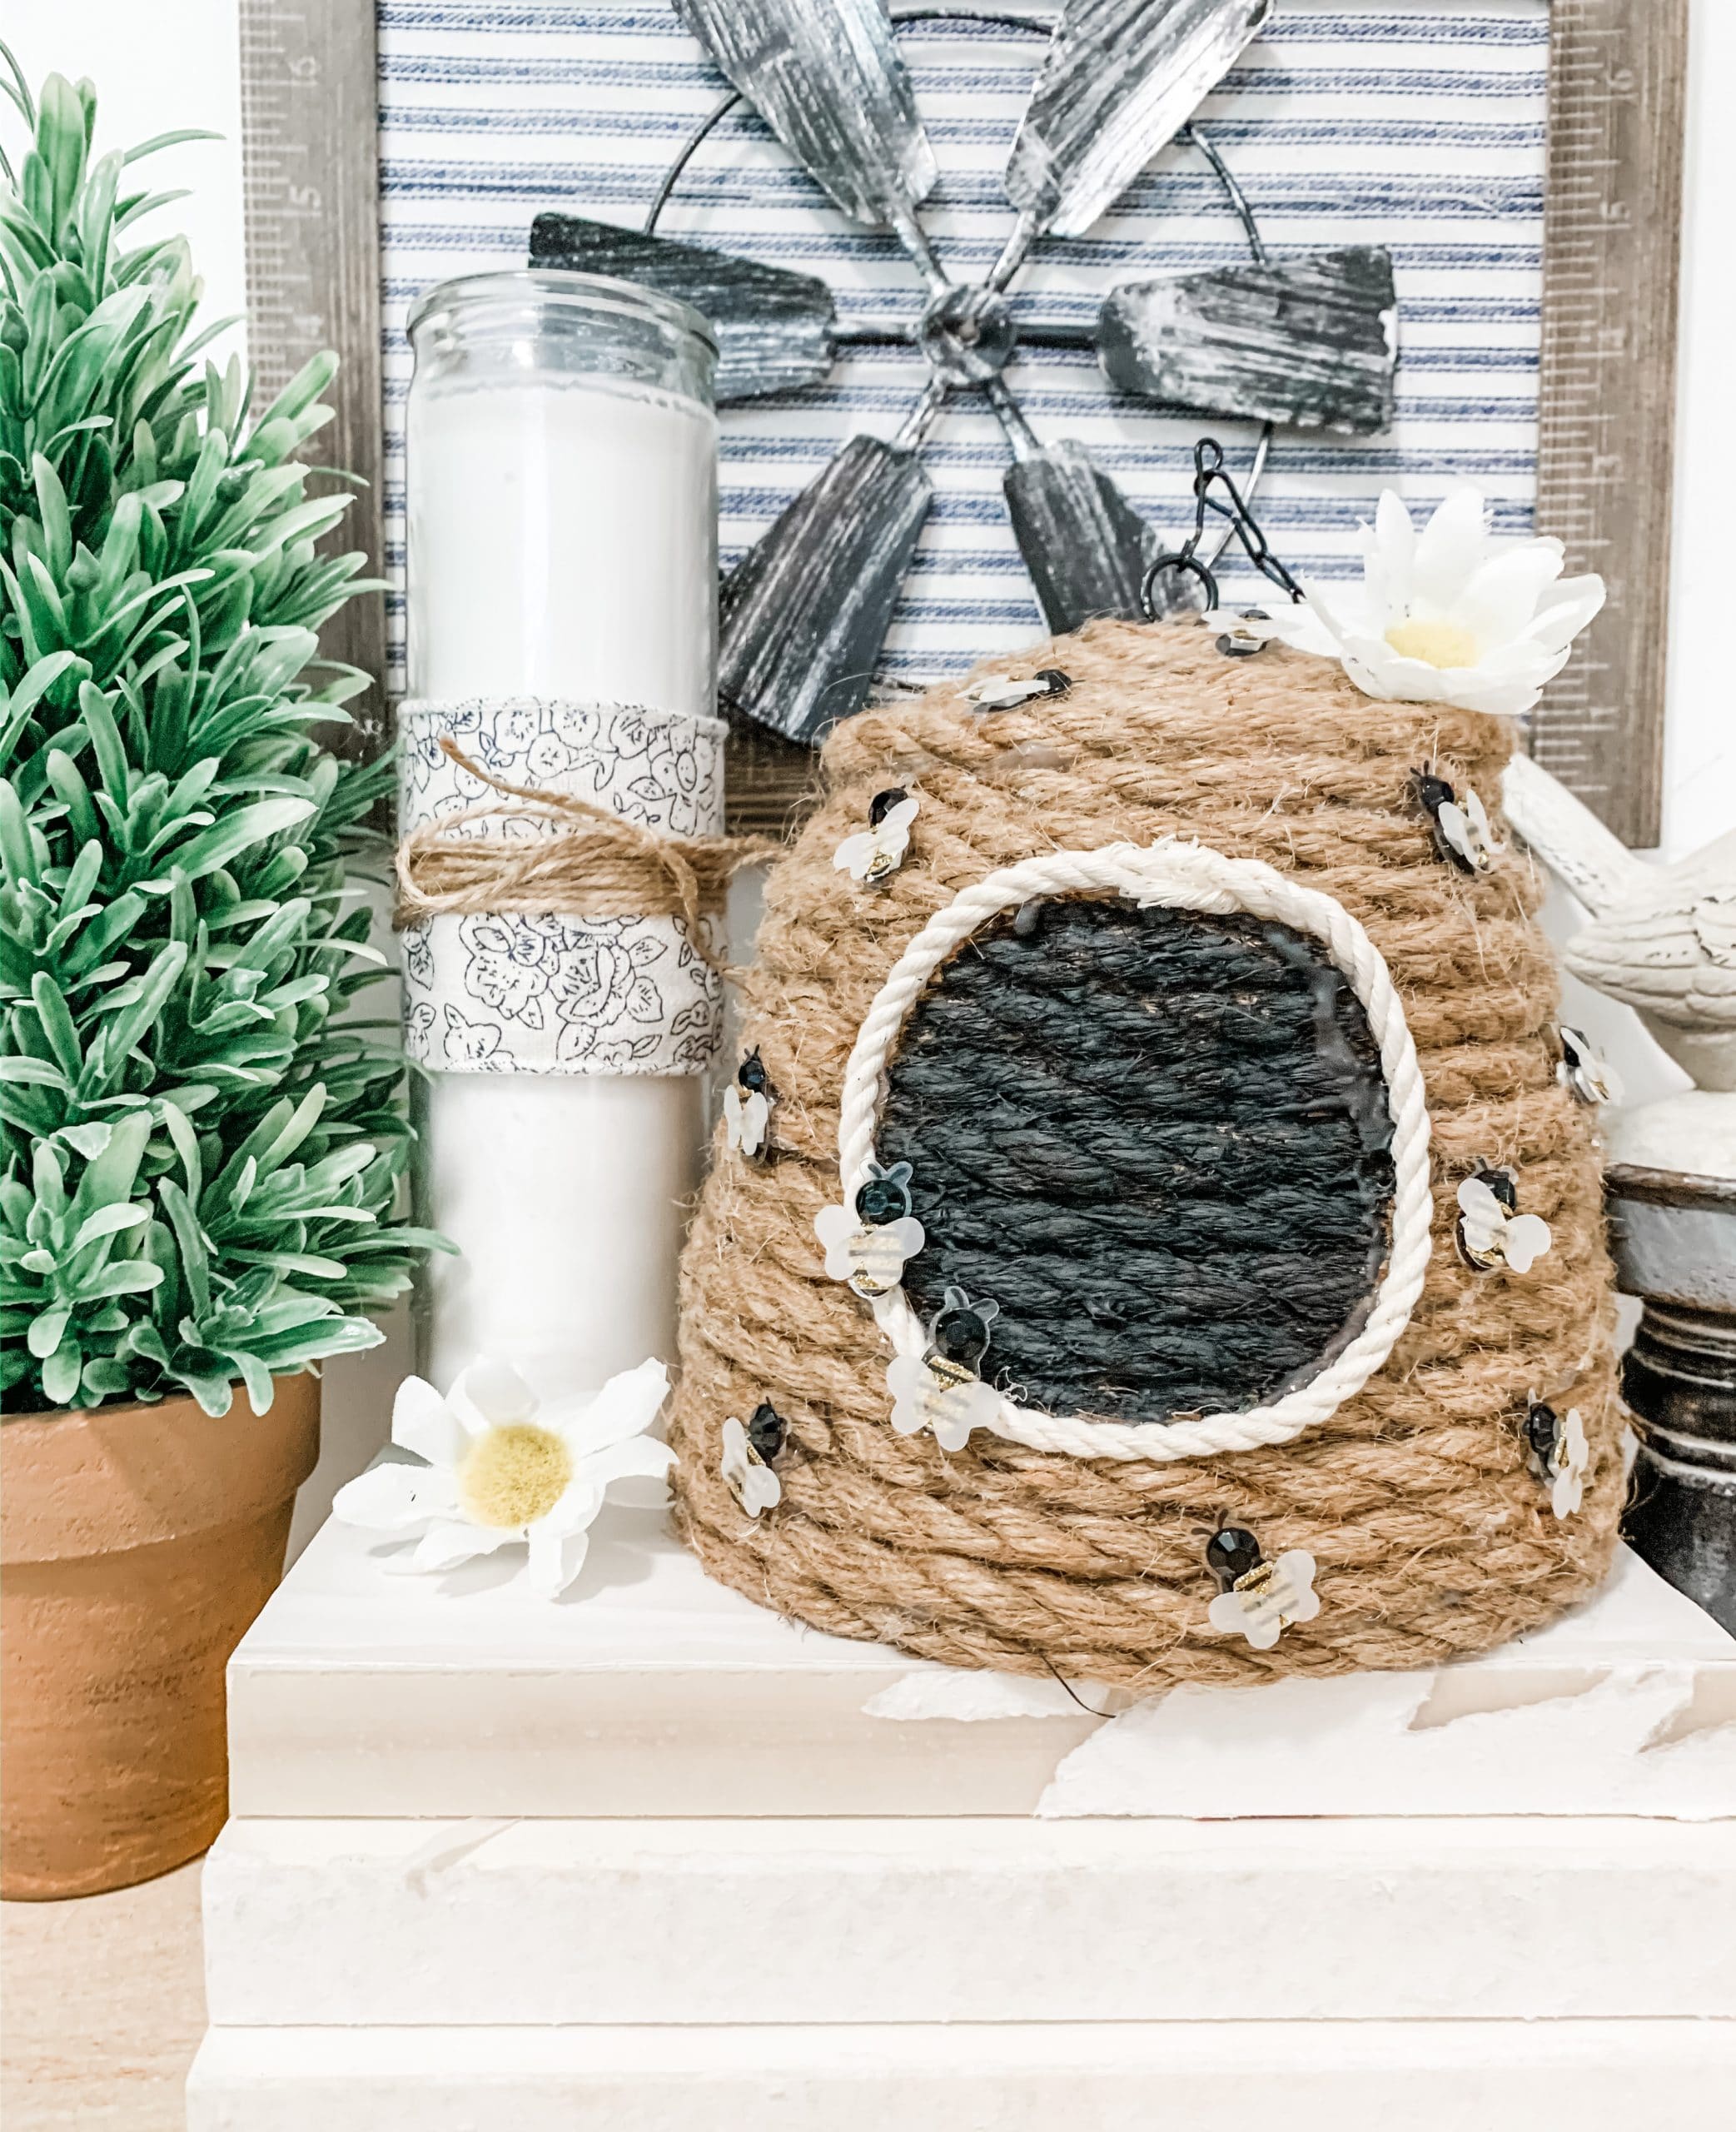
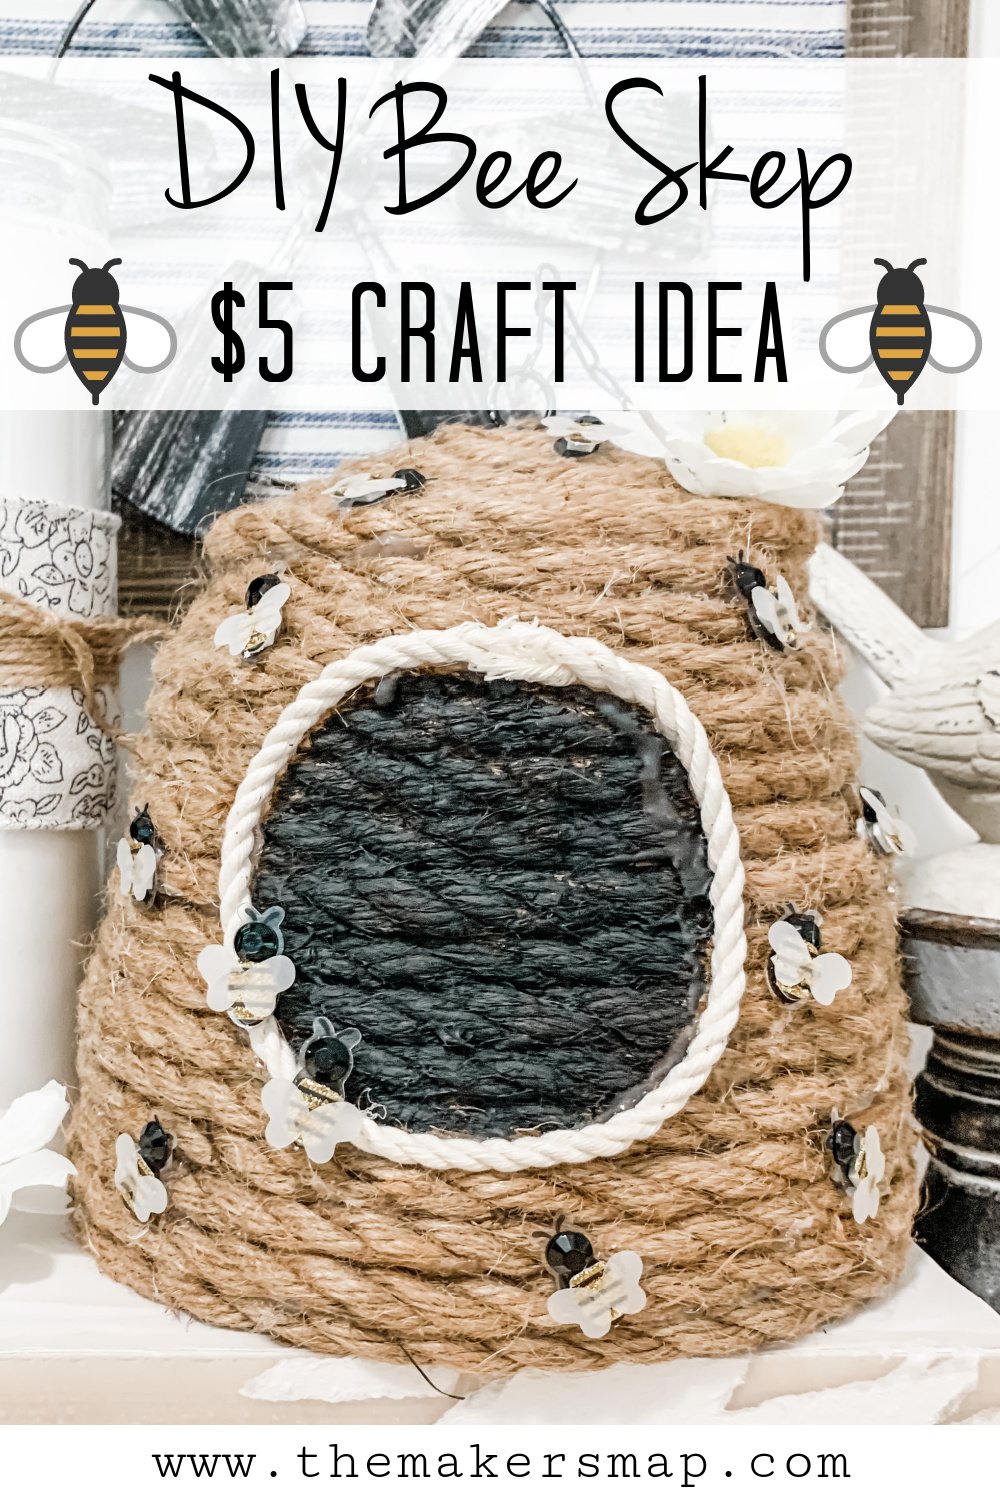
If you’re on Pinterest like I am on Pinterest, then you have definitely seen a DIY rope bee skep at some point. I know I did, and I just had to try my hand at it, and that is how I came up with this DIY Rope Beehive/Bee Skep!
Made from (mostly) Dollar Tree supplies, this is an incredibly affordable and easy DIY project that even beginner crafters can master!
Watch the replay
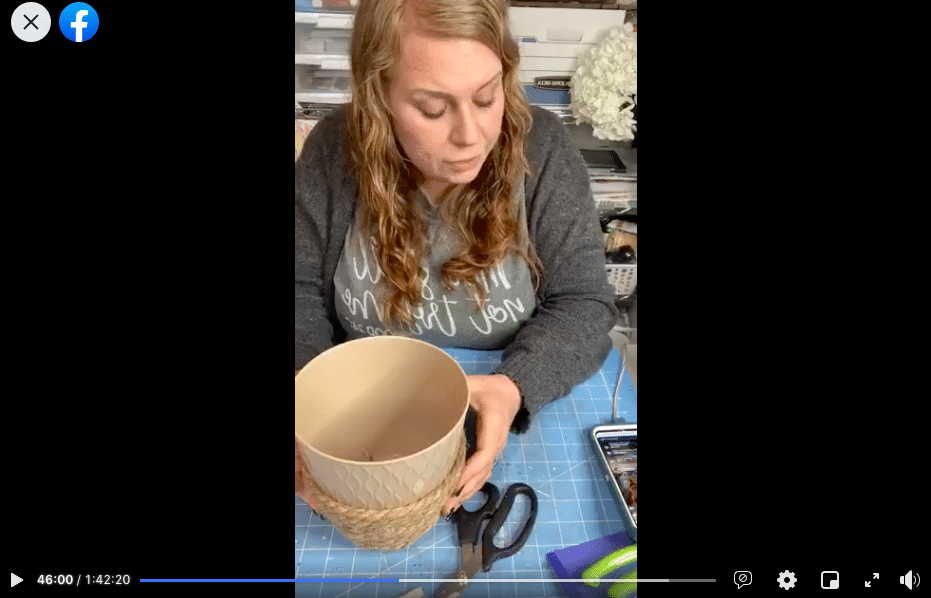
Like all my DIY crafts, I recorded the how-to steps of bringing this DIY Rope Beehive/Bee Skep to life during a LIVE video on my Facebook page.
I always have so much fun making adorable DIY decor with my Crafty Crew, and you can join in on the fun by watching the replay!
For this project, I will be using these items but you can substitute where you want.
“As an Amazon Associate, I earn from qualifying purchases.”
- Dollar Tree Plastic Planter
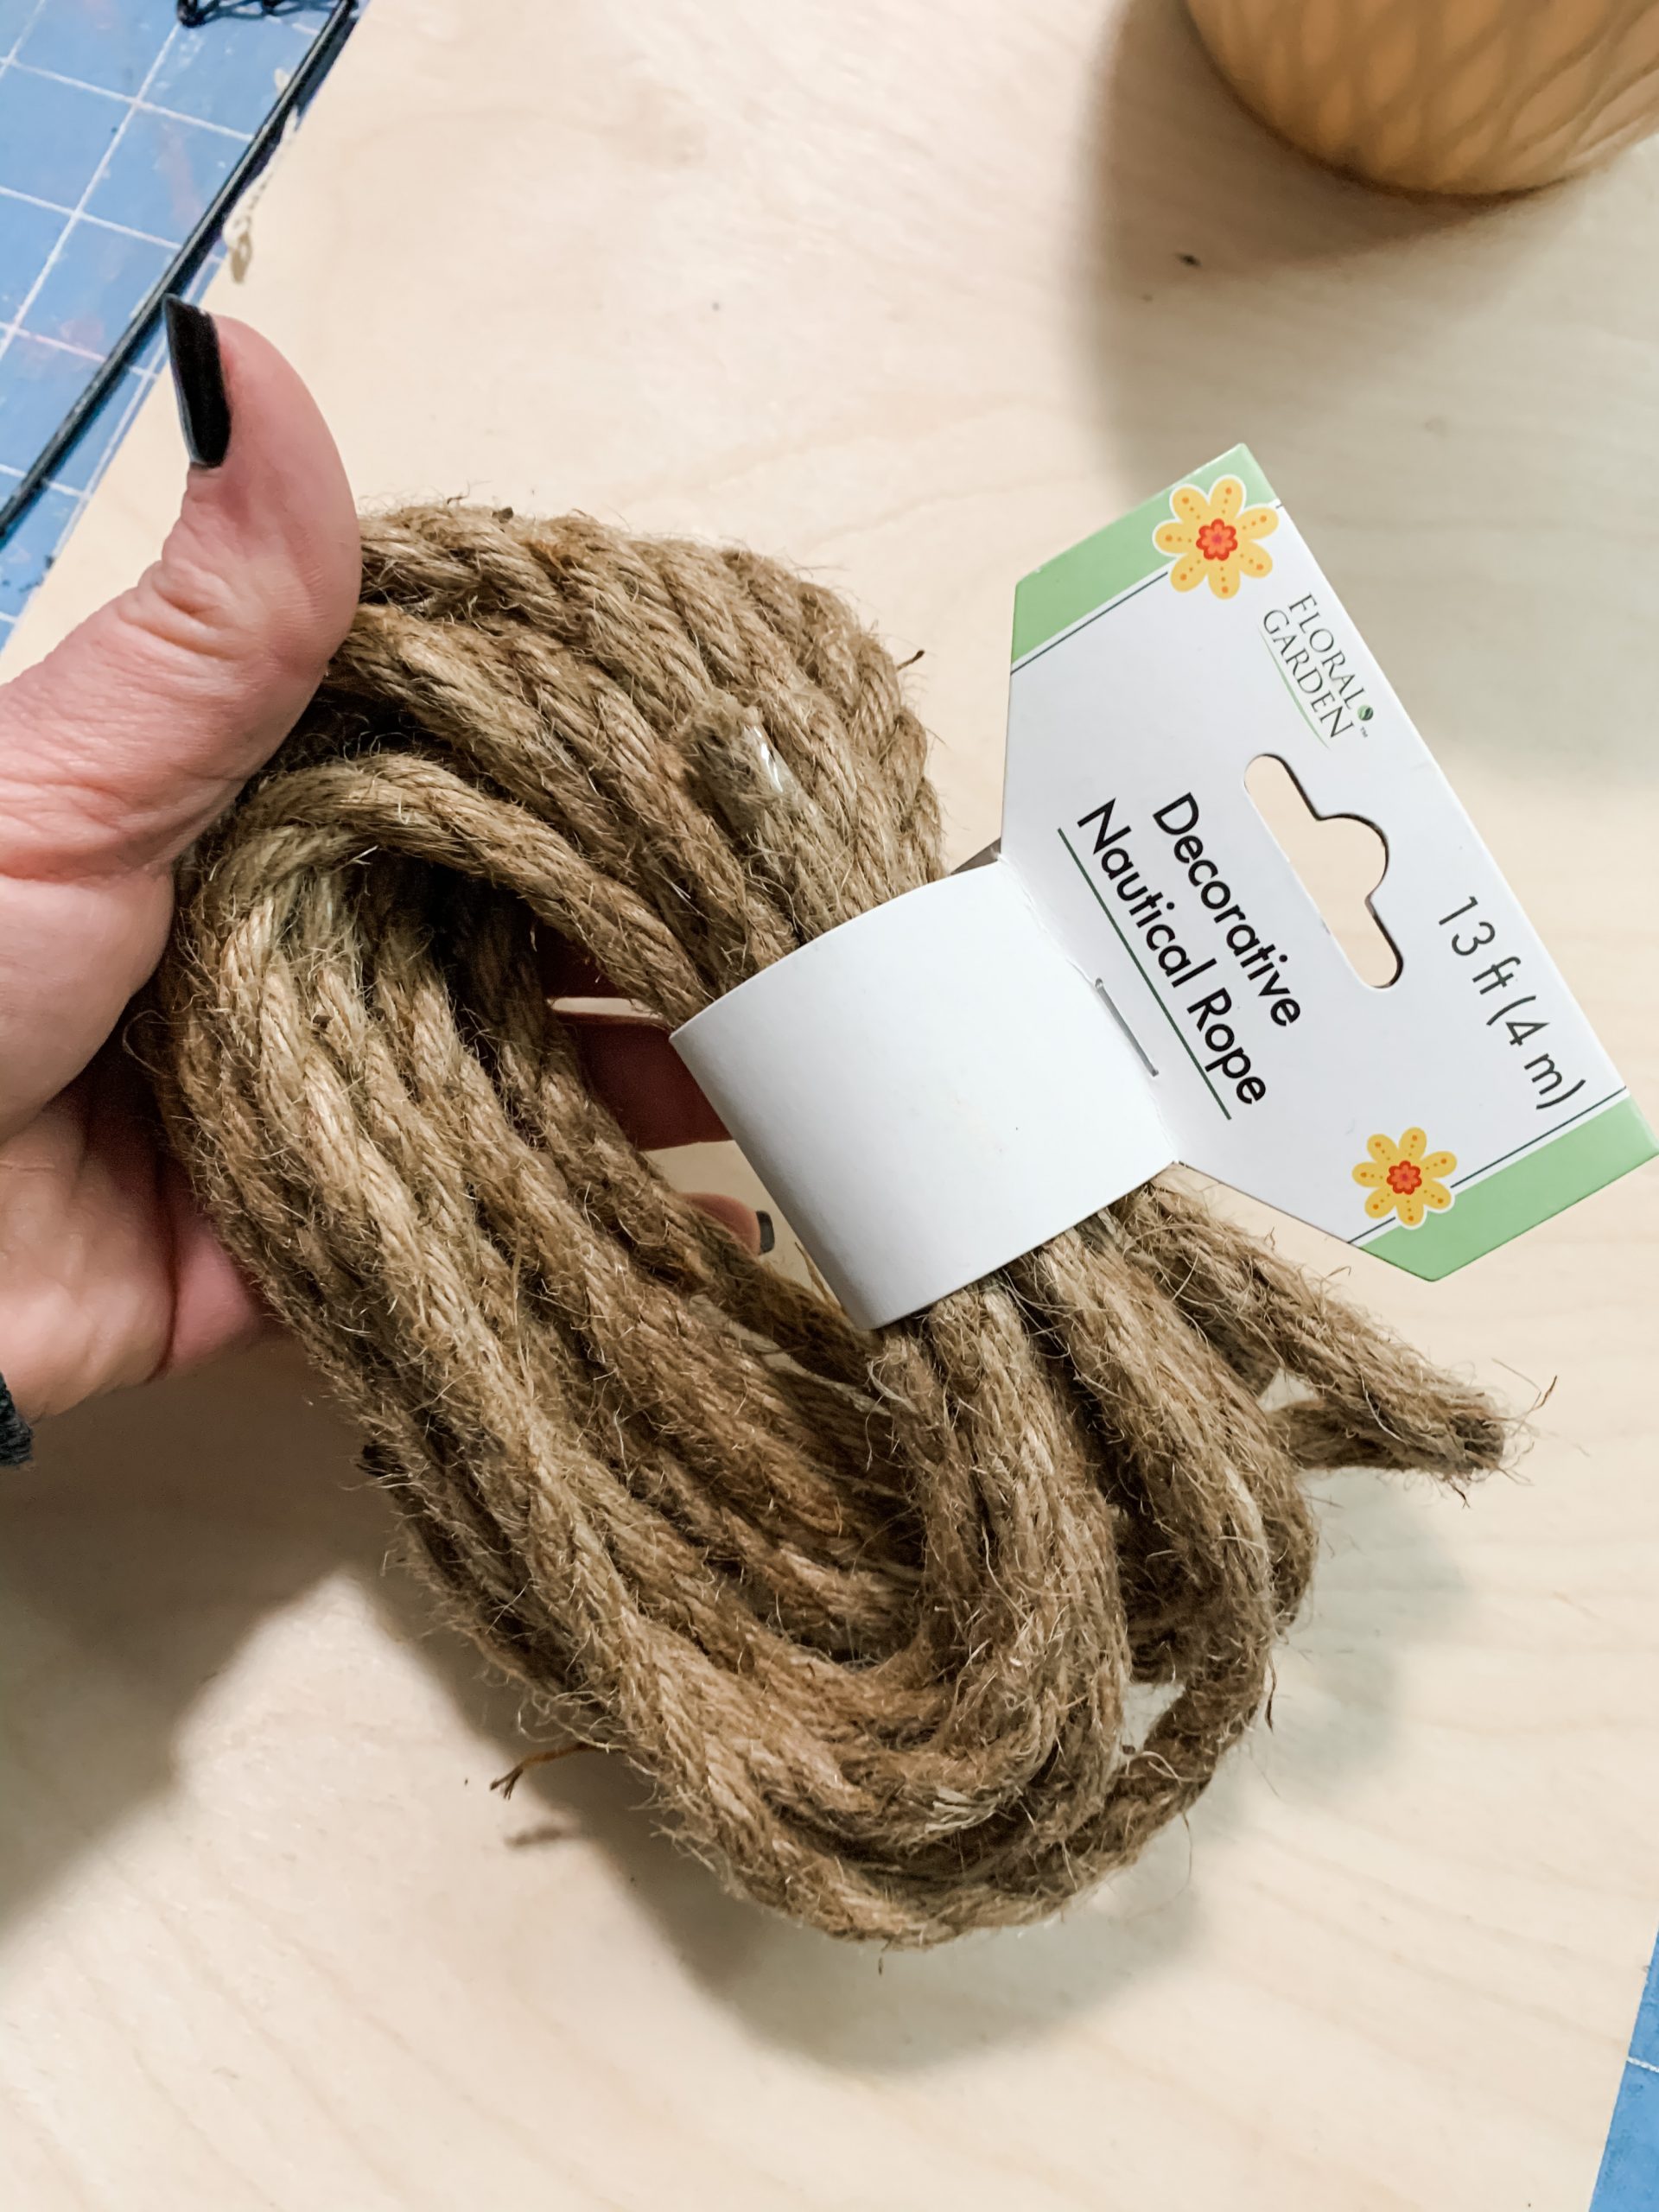
- Dollar Tree Nautical Rope
- Mini bee stickers (Hobby Lobby)
- Dollar Tree White jute twine
- Apple Barrel Black Acrylic Paint
- Hot Glue gun
- Glue Sticks
How to make a DIY Beehive/Bee Skep
We are going to use the Dollar Tree plastic planter as the mold for our rope beehive, but first, we have to start the rope. To do this, twist the end of the rope into itself to start forming a circle. Use hot glue to keep the rope secured together.
Keep wrapping the rope around itself into a circle, hot gluing it as you go until the circle is large enough to cover the bottom of the plastic planter.
Then, set the planter on top of your rope circle and start looping your circles of rope on top of each other around the outer loop. This will start to form a basket!
You’re going to have to use more than one piece of nautical rope, so when you get to the end of the first piece, hot glue the end of the second piece to it to create a continuous piece of rope, and keep going looping your rope around and hot gluing it in place.
If you’re using the plastic planter method as I did, do your best not to hot glue the rope to the planter. We aren’t keeping the planter inside the rope, just using it to get the shape for our beehive.
Once you’re happy with the height of your beehive, you can stop looping it around and cut the end of the rope off. Next, you’re going to need the white jute twine!
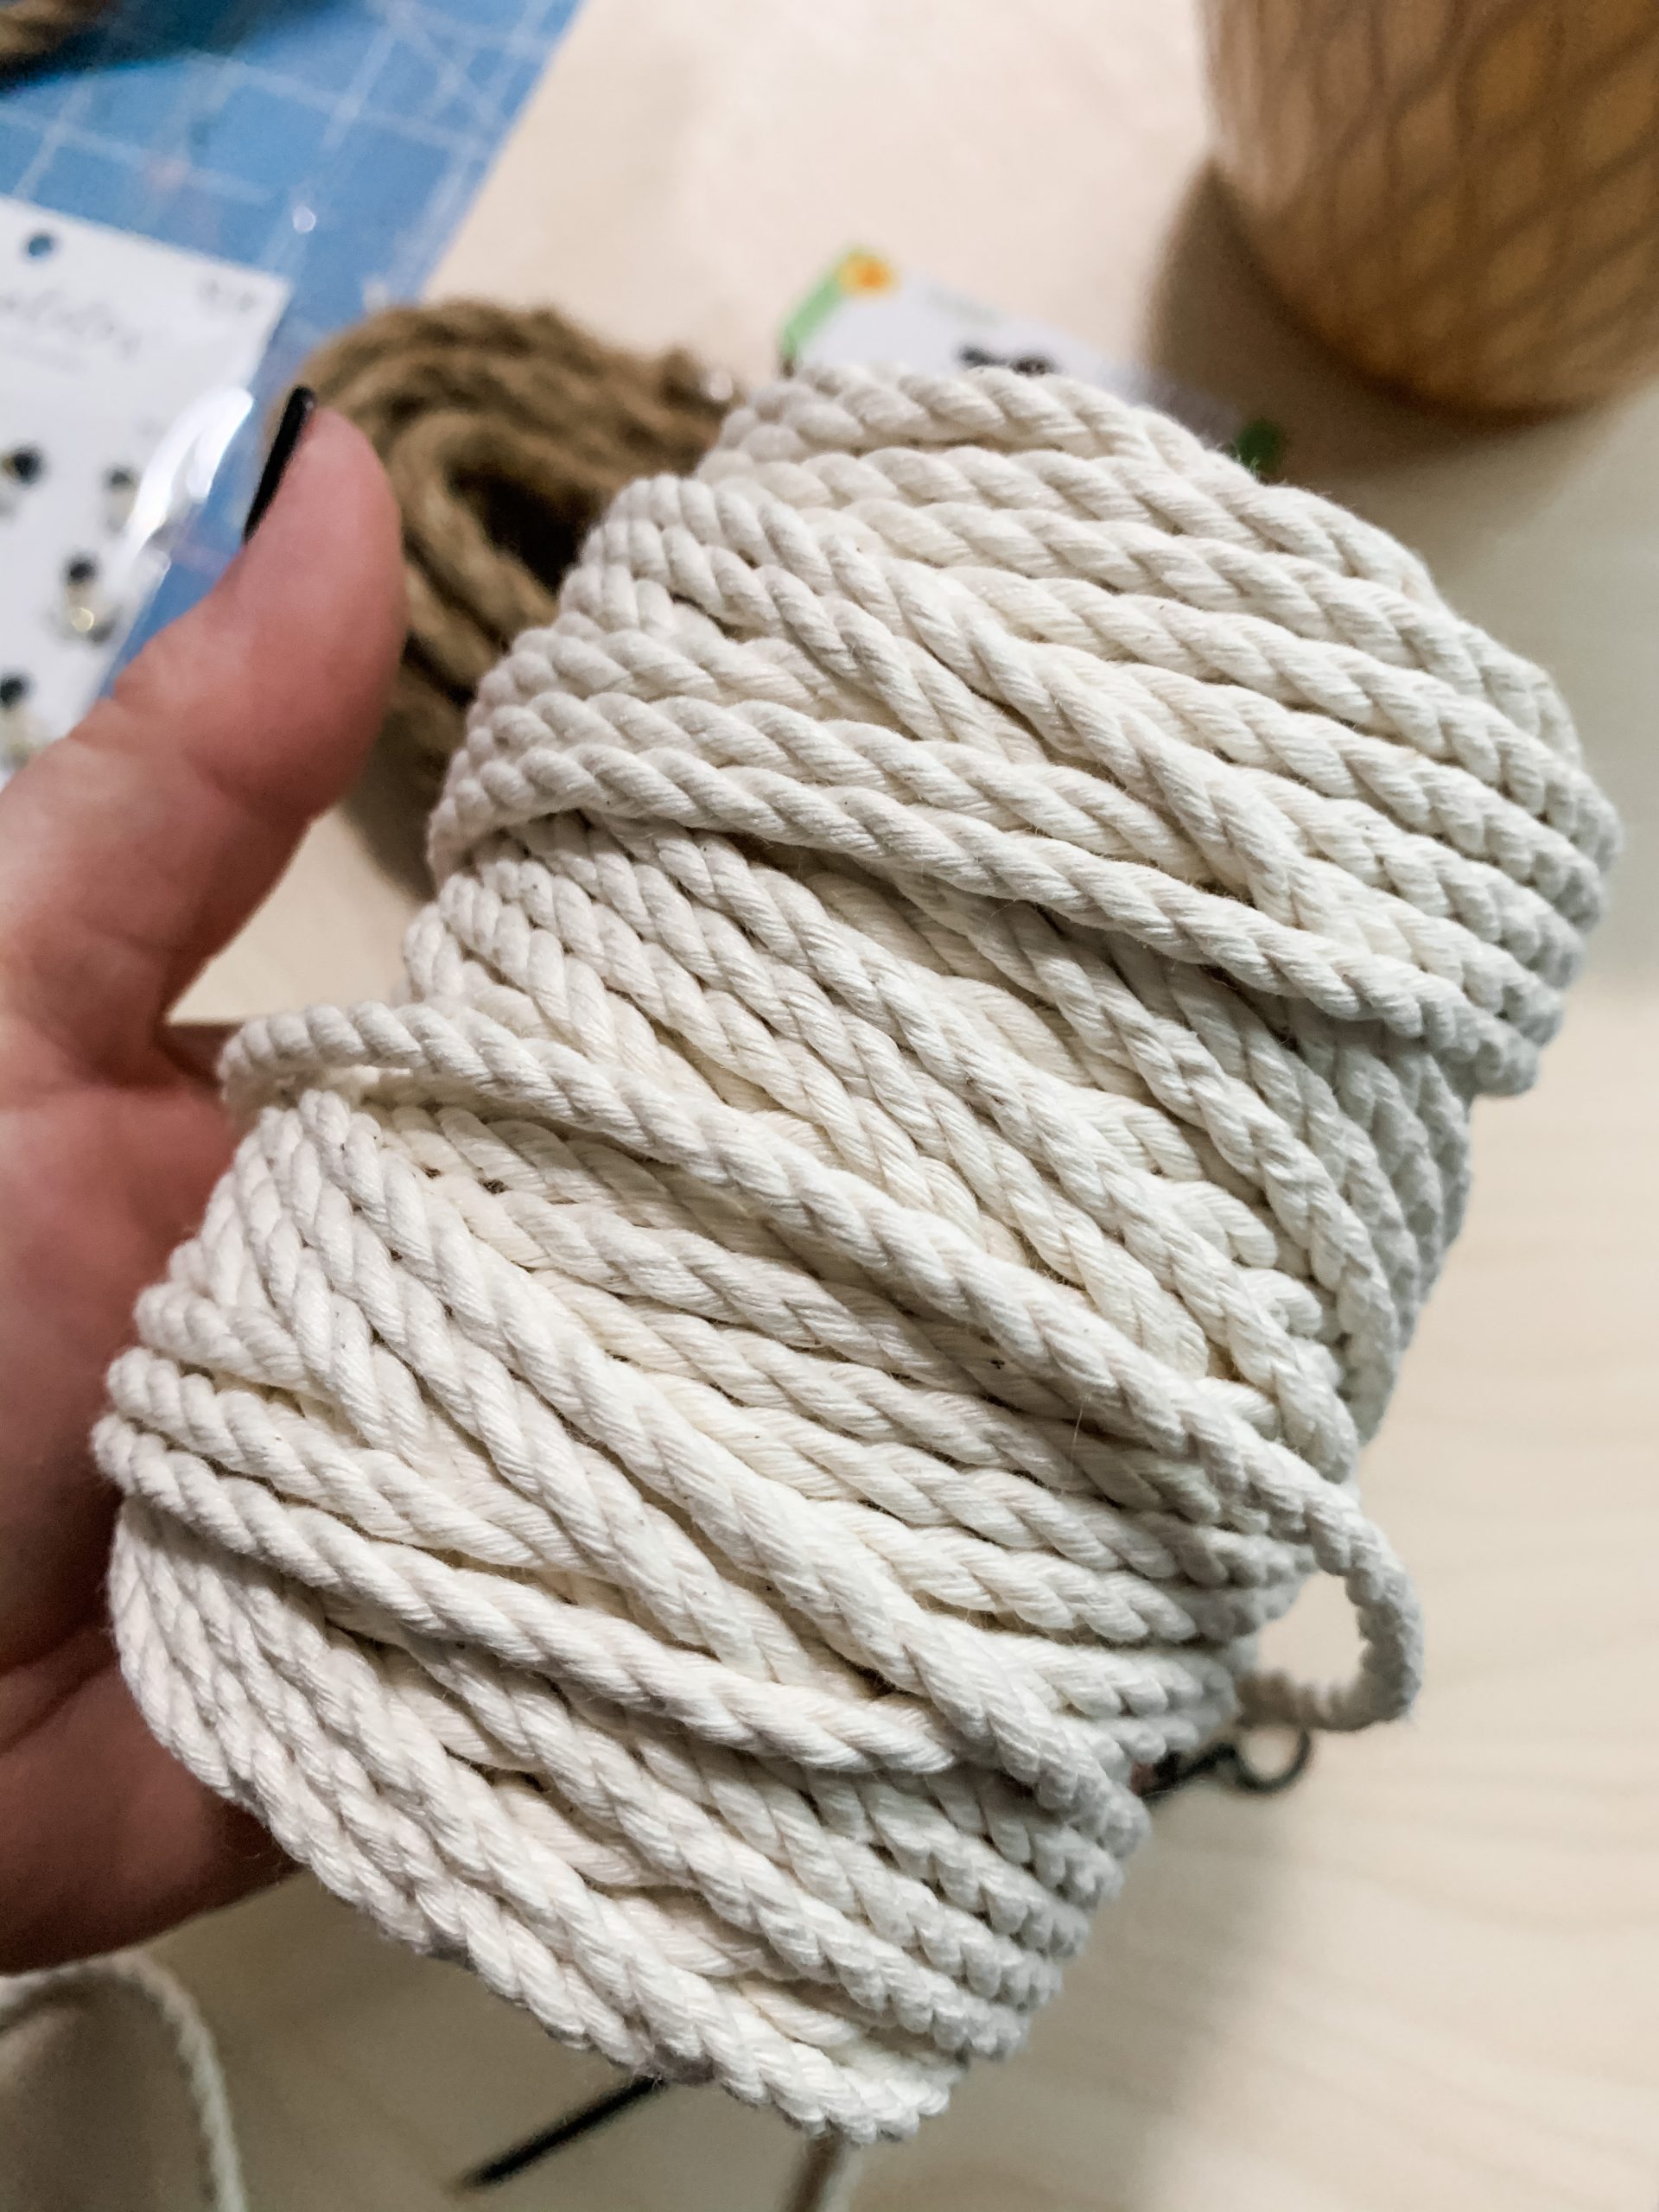
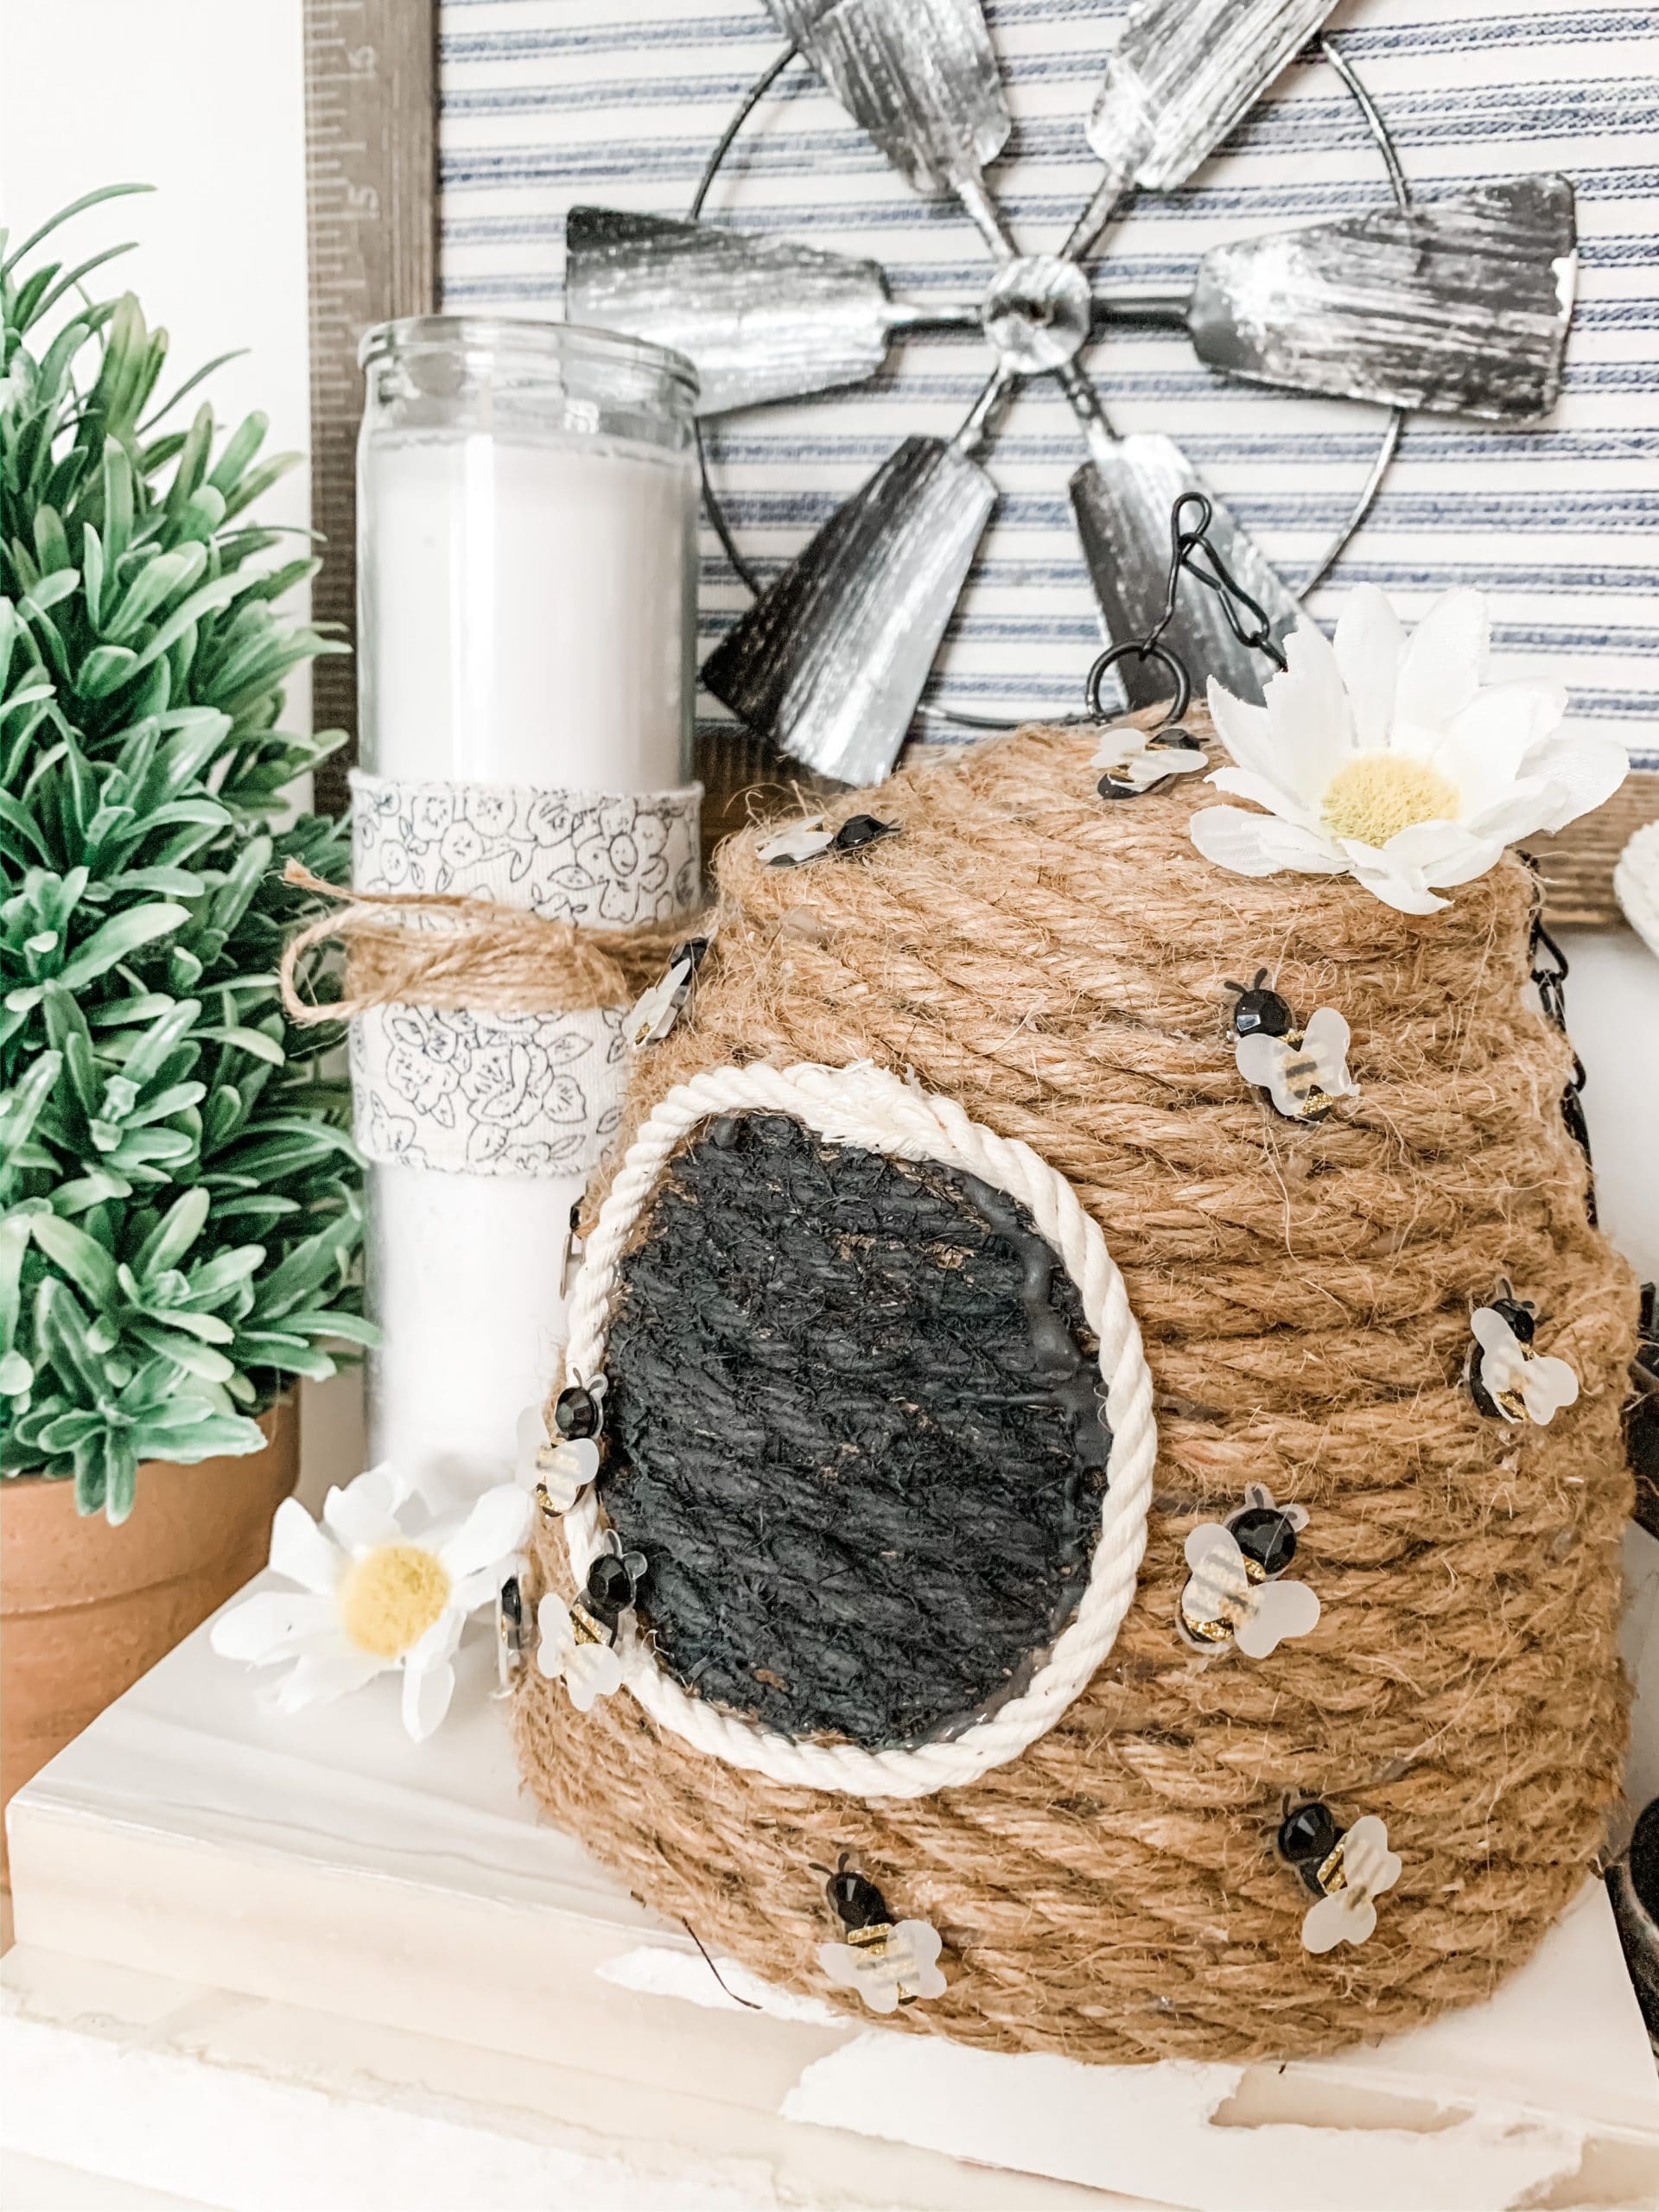
Flip the rope basket over, and you’ll see the shape and height of your beehive. Hot glue a piece of white jute twine into an O on the side of your nautical rope beehive. I hot glued my twine before I cut the strip to make sure the O was the exact size I wanted it to be.
The finishing touches
Once my twine circle was in place, I grabbed some black paint that I already had on hand (it was Dixie Belle Midnight Sky Chalk Paint. You can use Apple Barrel Black Acrylic Paint) and painted inside of the white jute twine.
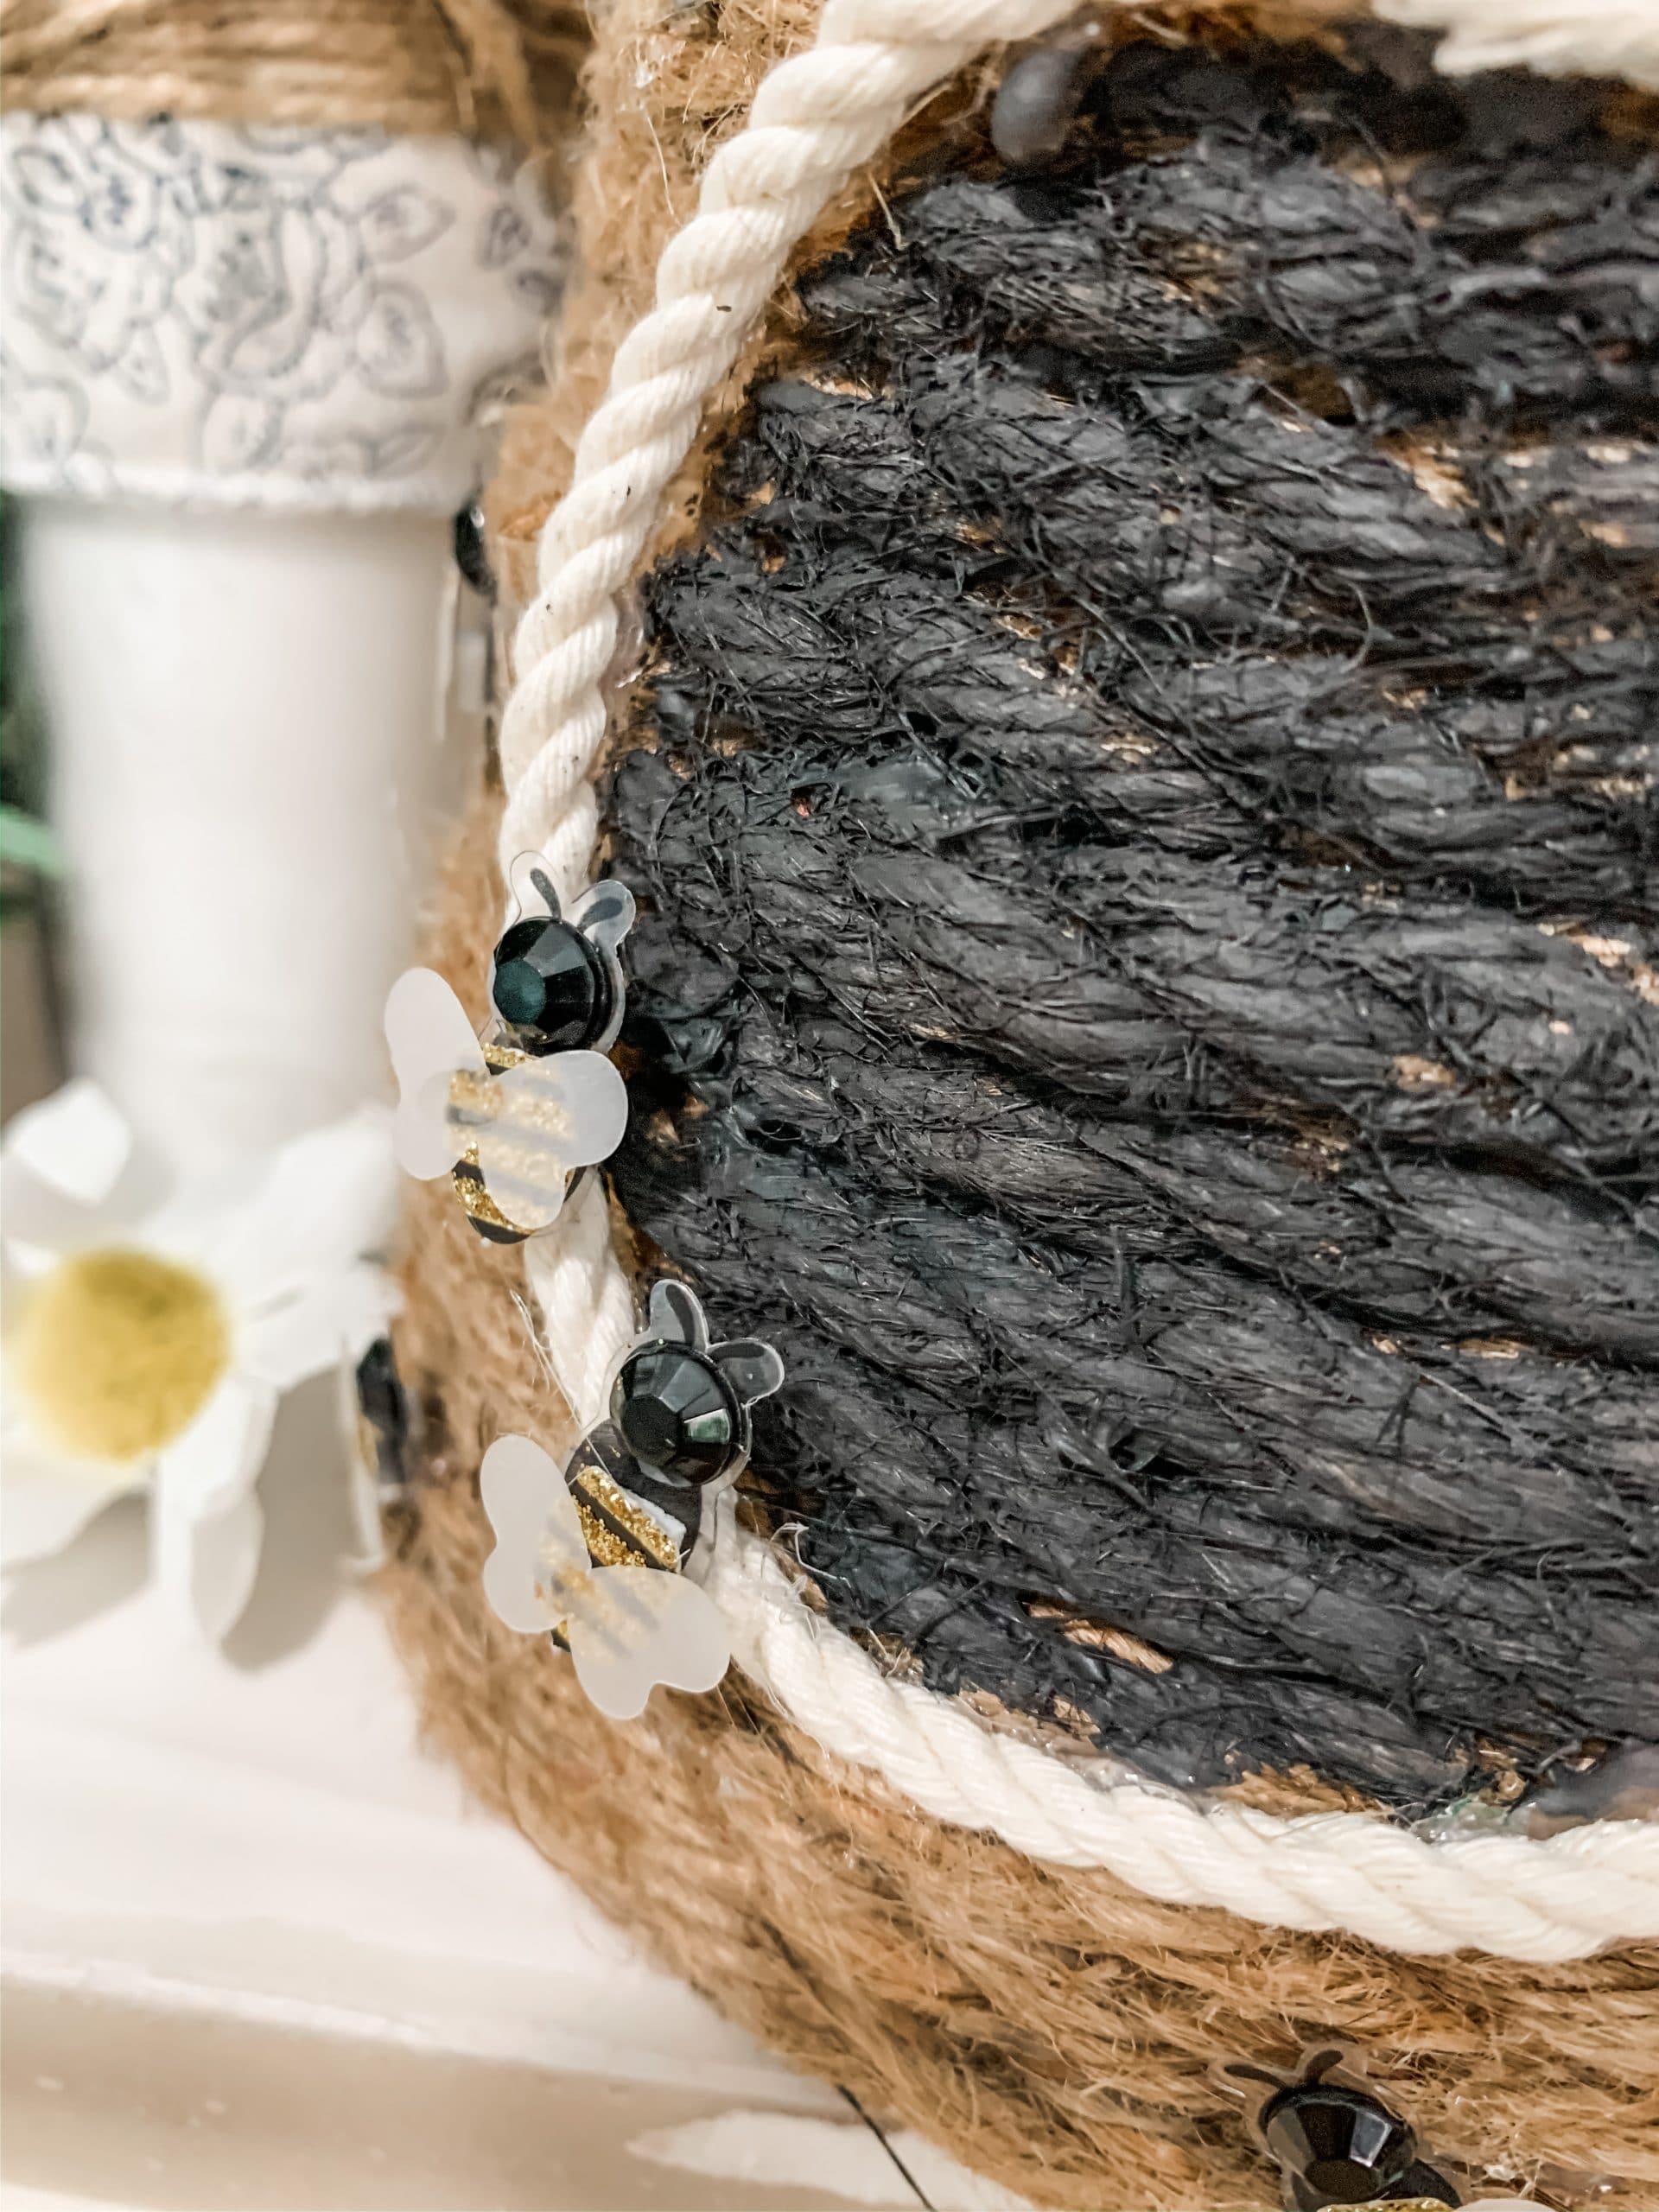
Alternatively, you could paint your black circle, then hot glue the twine around. That way you don’t have to worry about getting the black paint on the white twine.
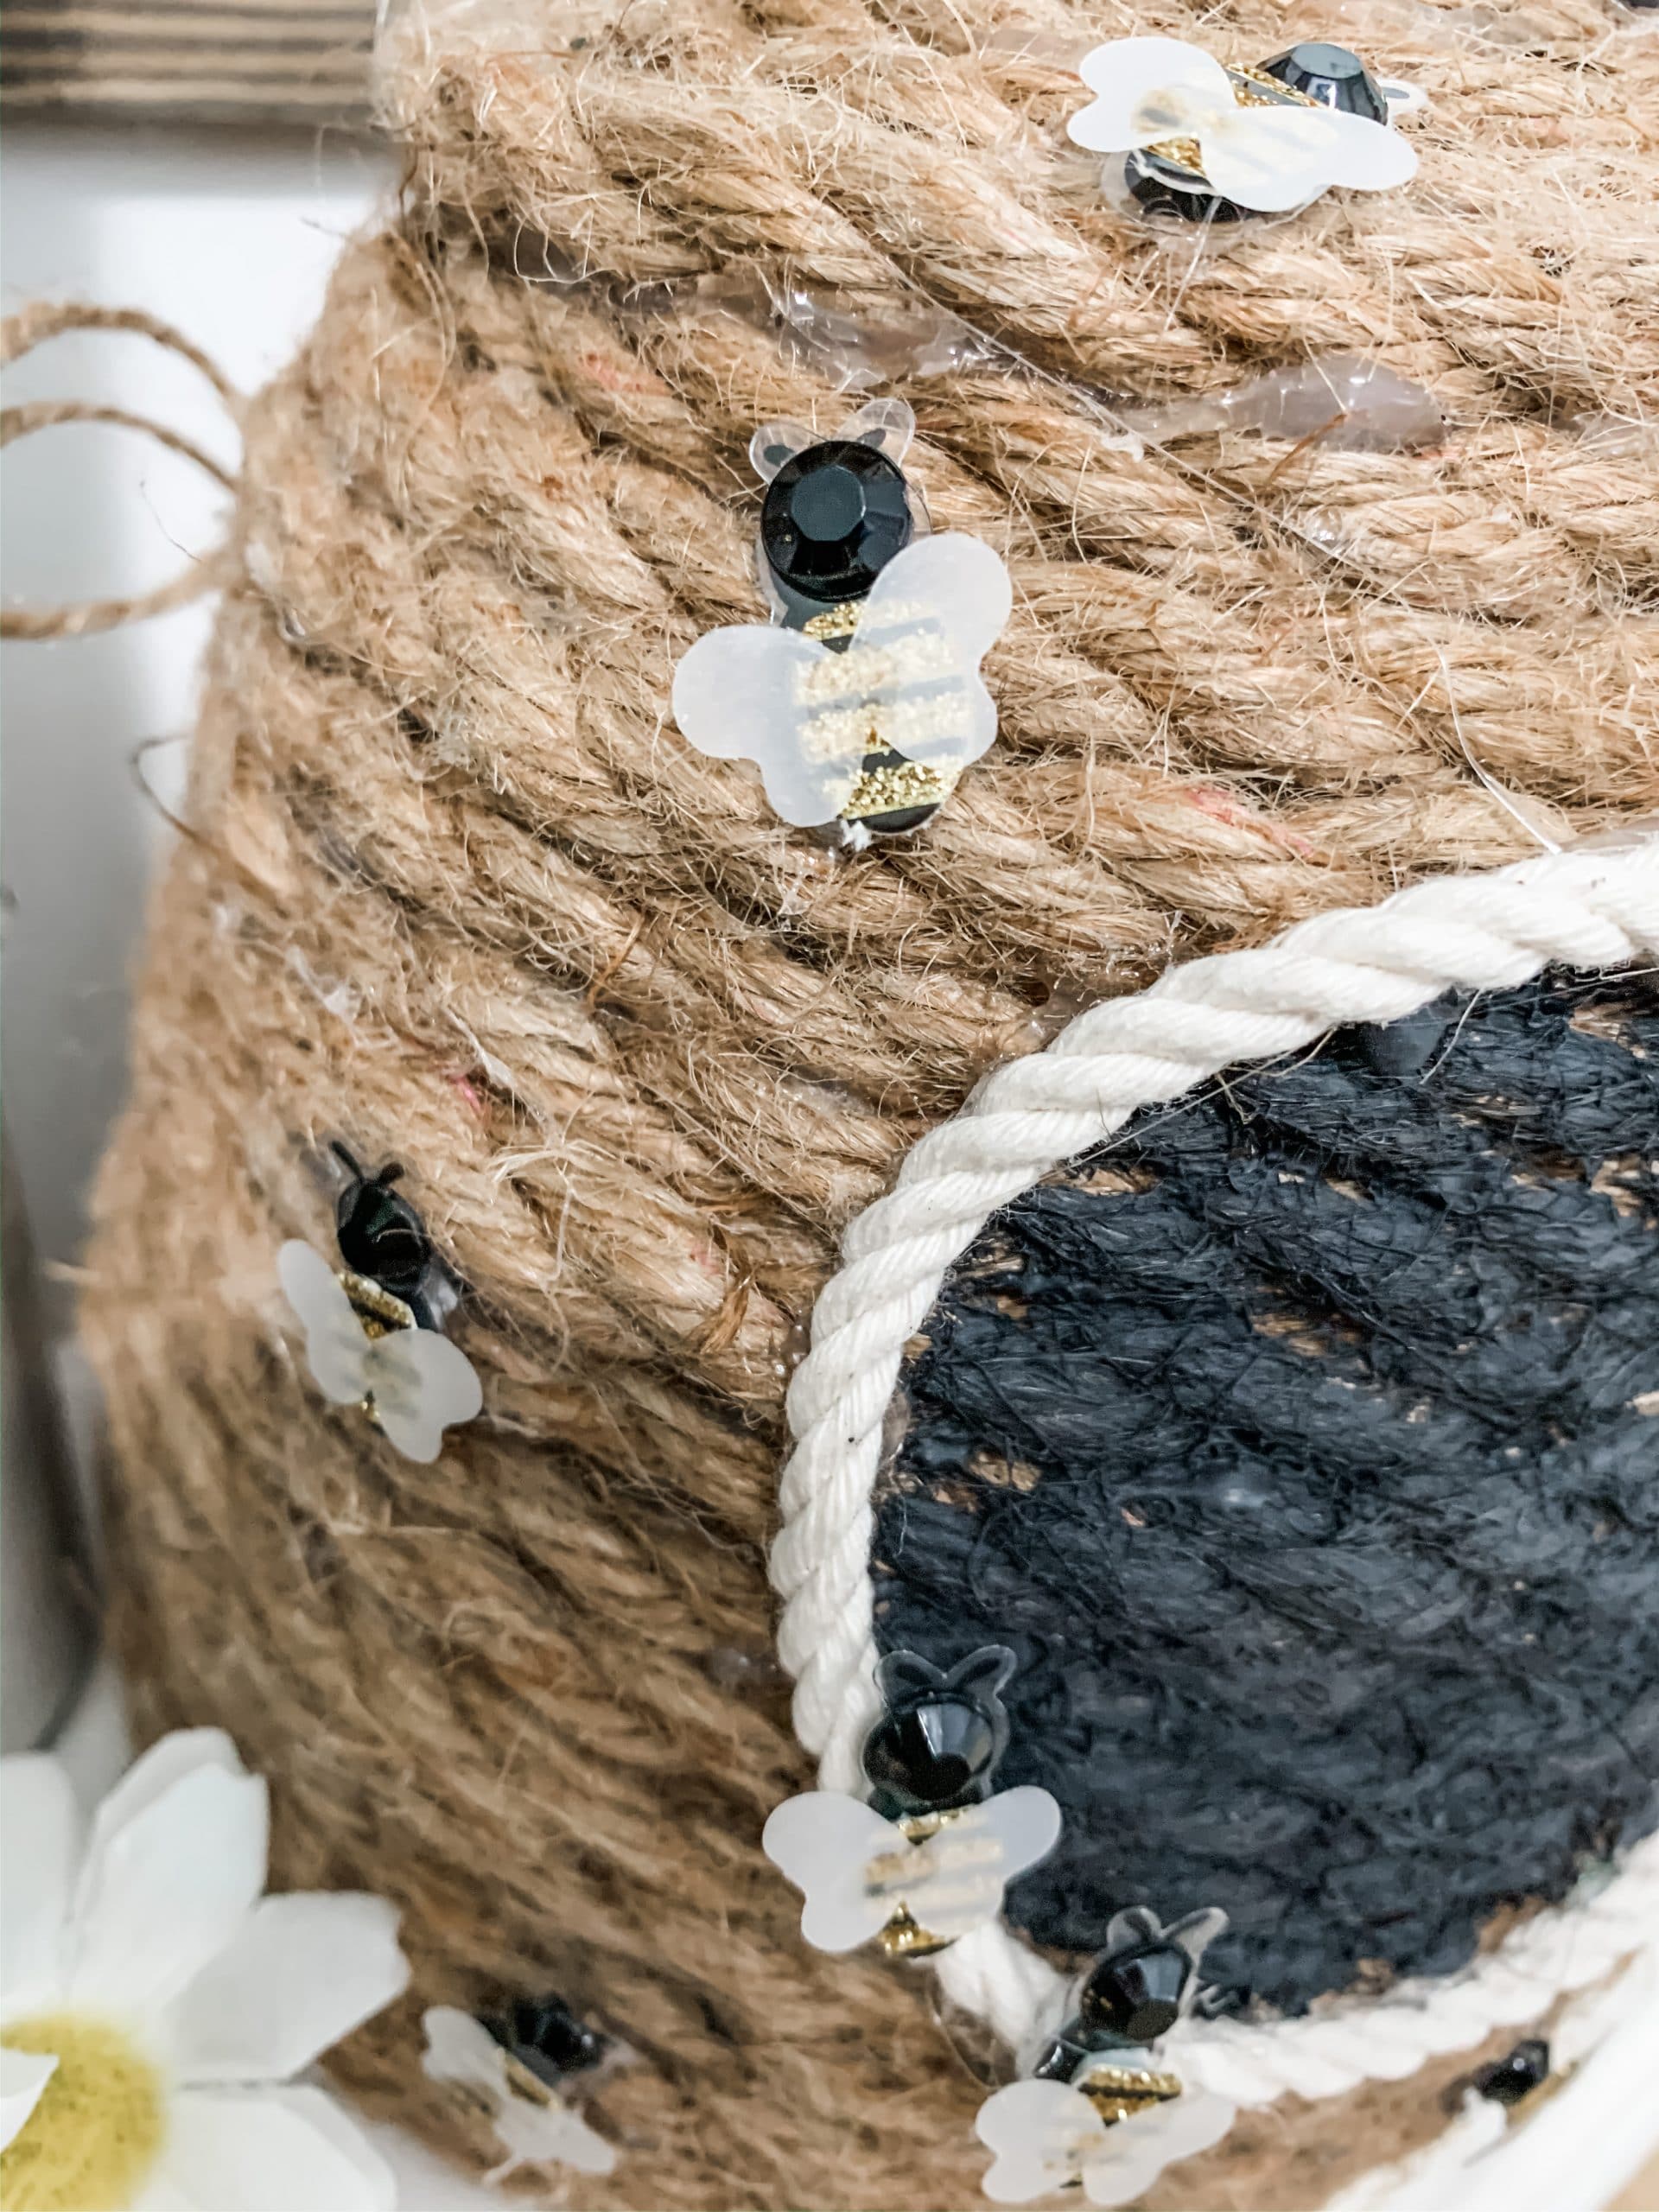
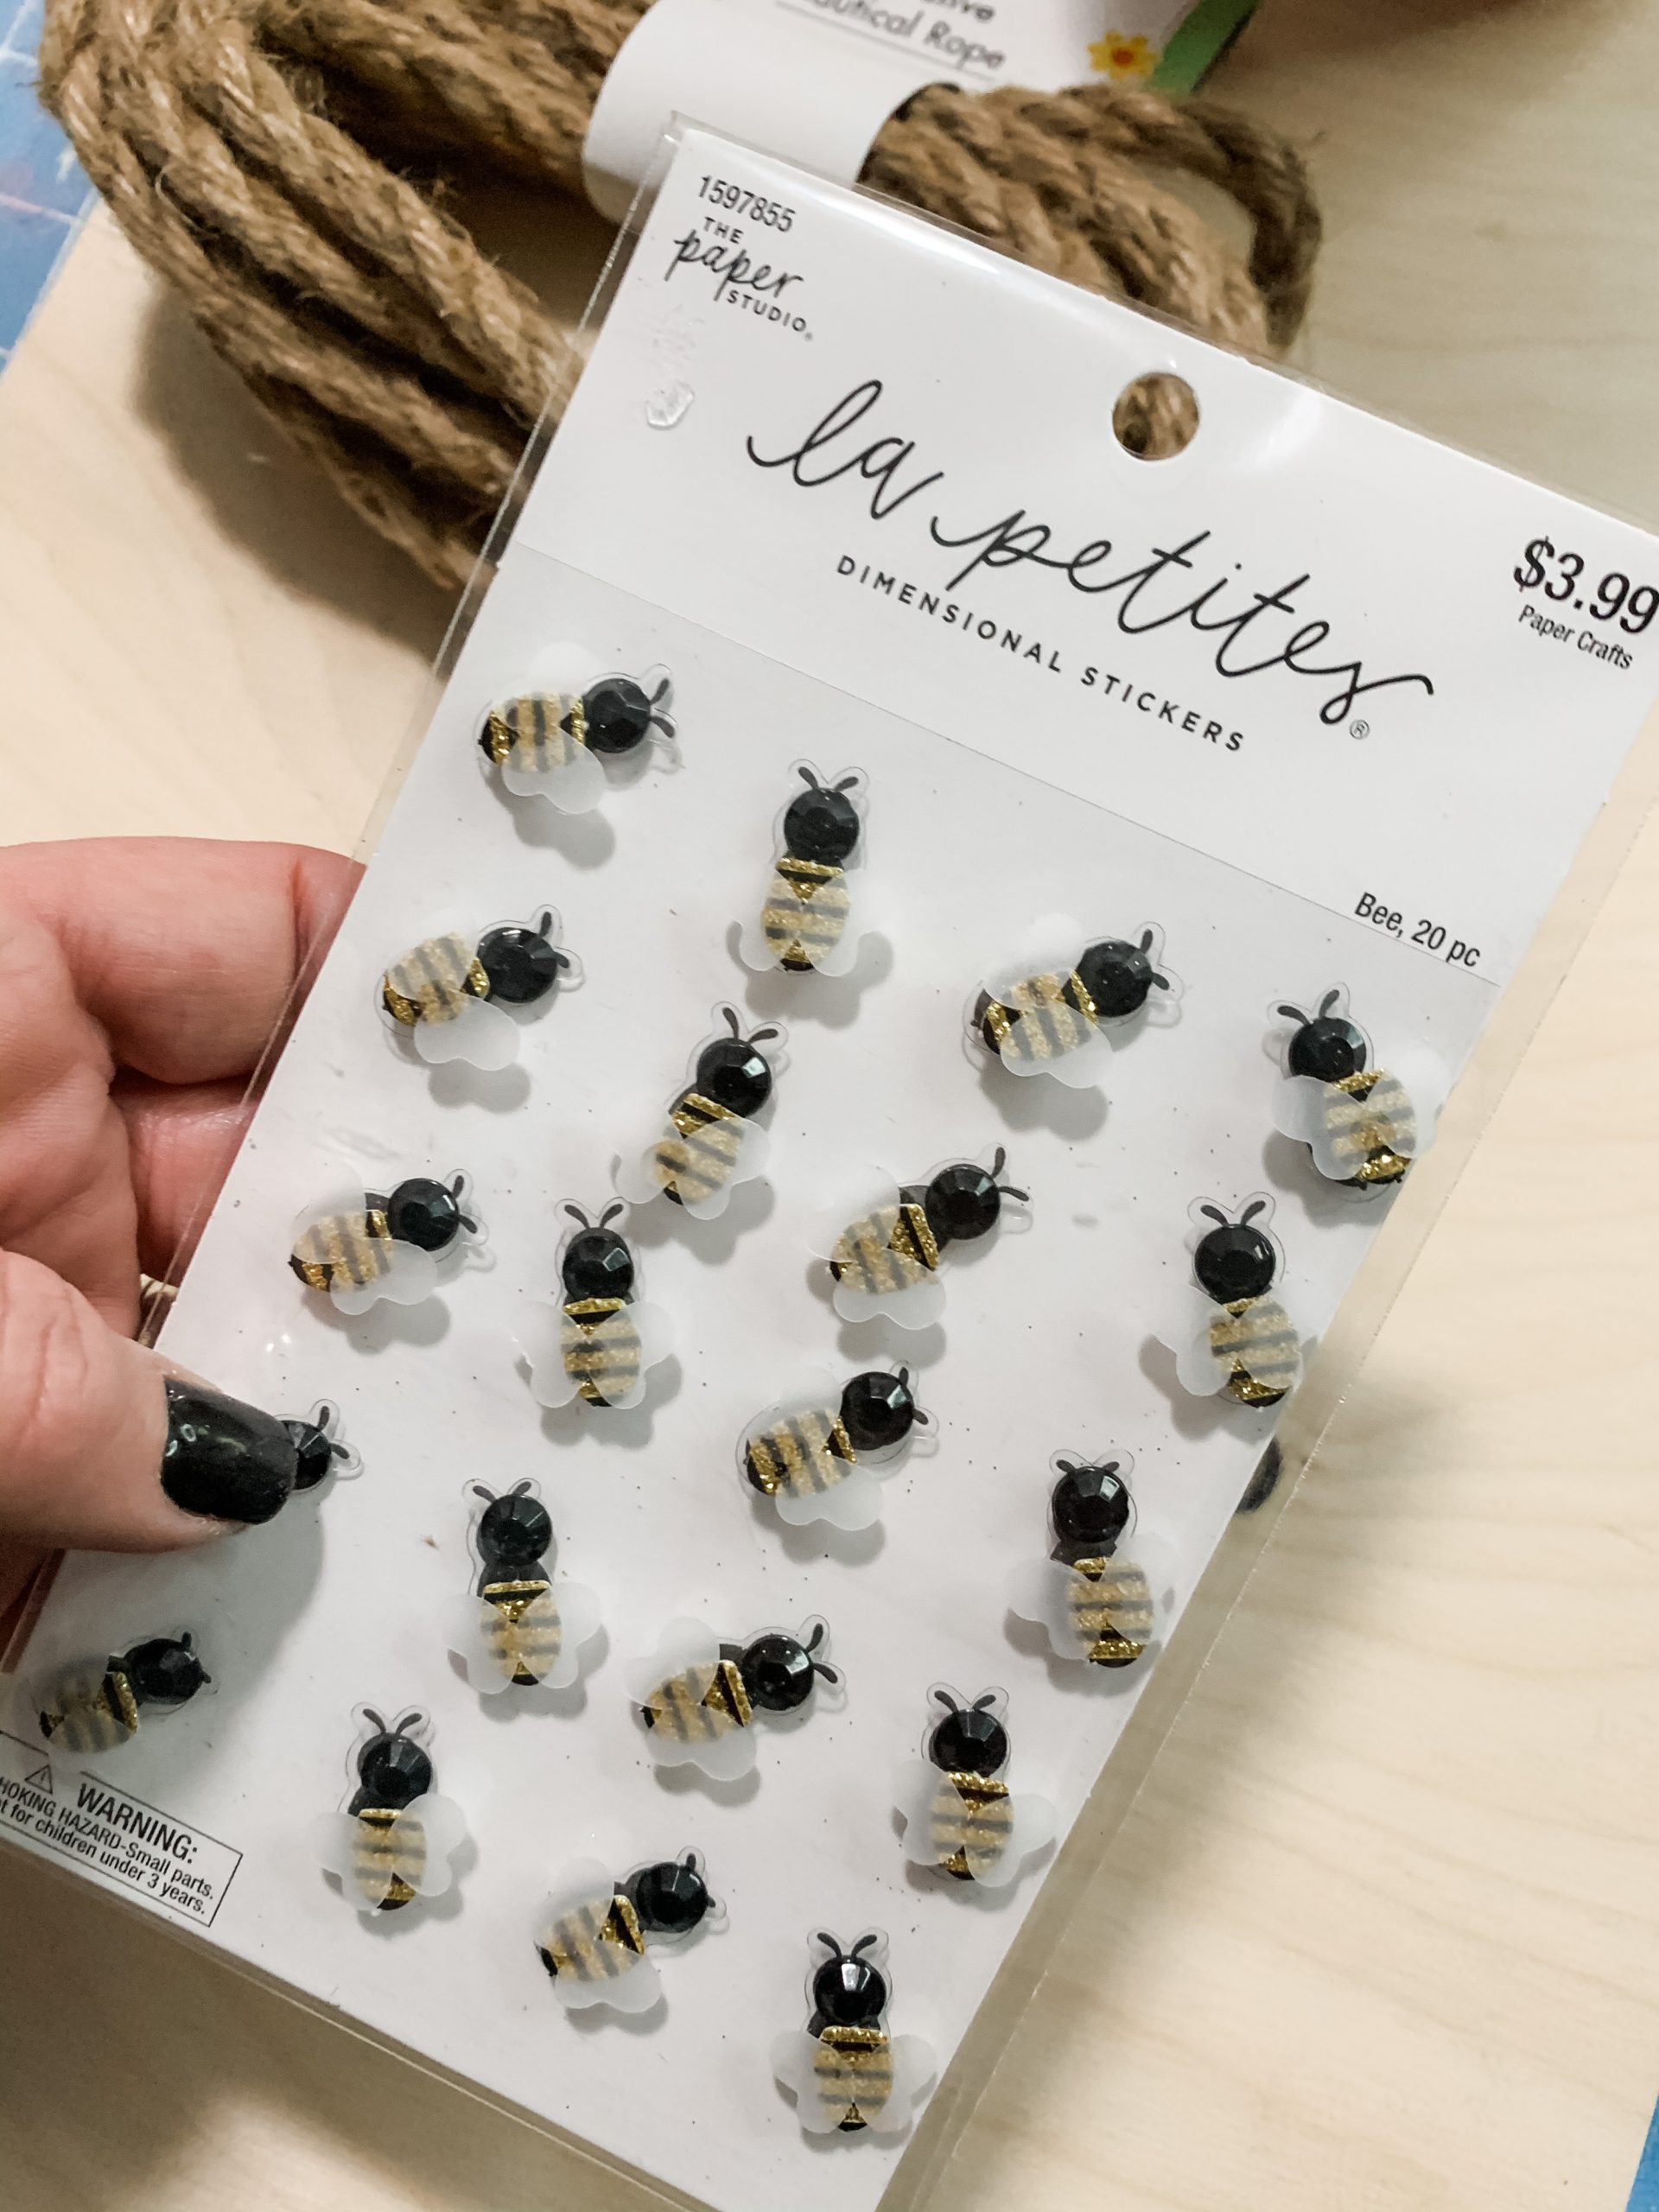
Next, I added the little bee stickers that I picked up from Hobby Lobby. I got them when The Paper Studio products were 50% off (SCORE!)!
I added a small dab of hot glue onto the stickers, then placed them randomly on my DIY rope beehive/bee skep.
The last thing I added to this adorable Dollar Tree DIY Bee Skep was a hanger, and I did something just a bit different than usual for this one!
Y’all know that I am always taking apart craft supplies to use only parts of them. I took apart a Dollar Tree windmill welcome sign and pulled these pieces off for the hanger for this craft.
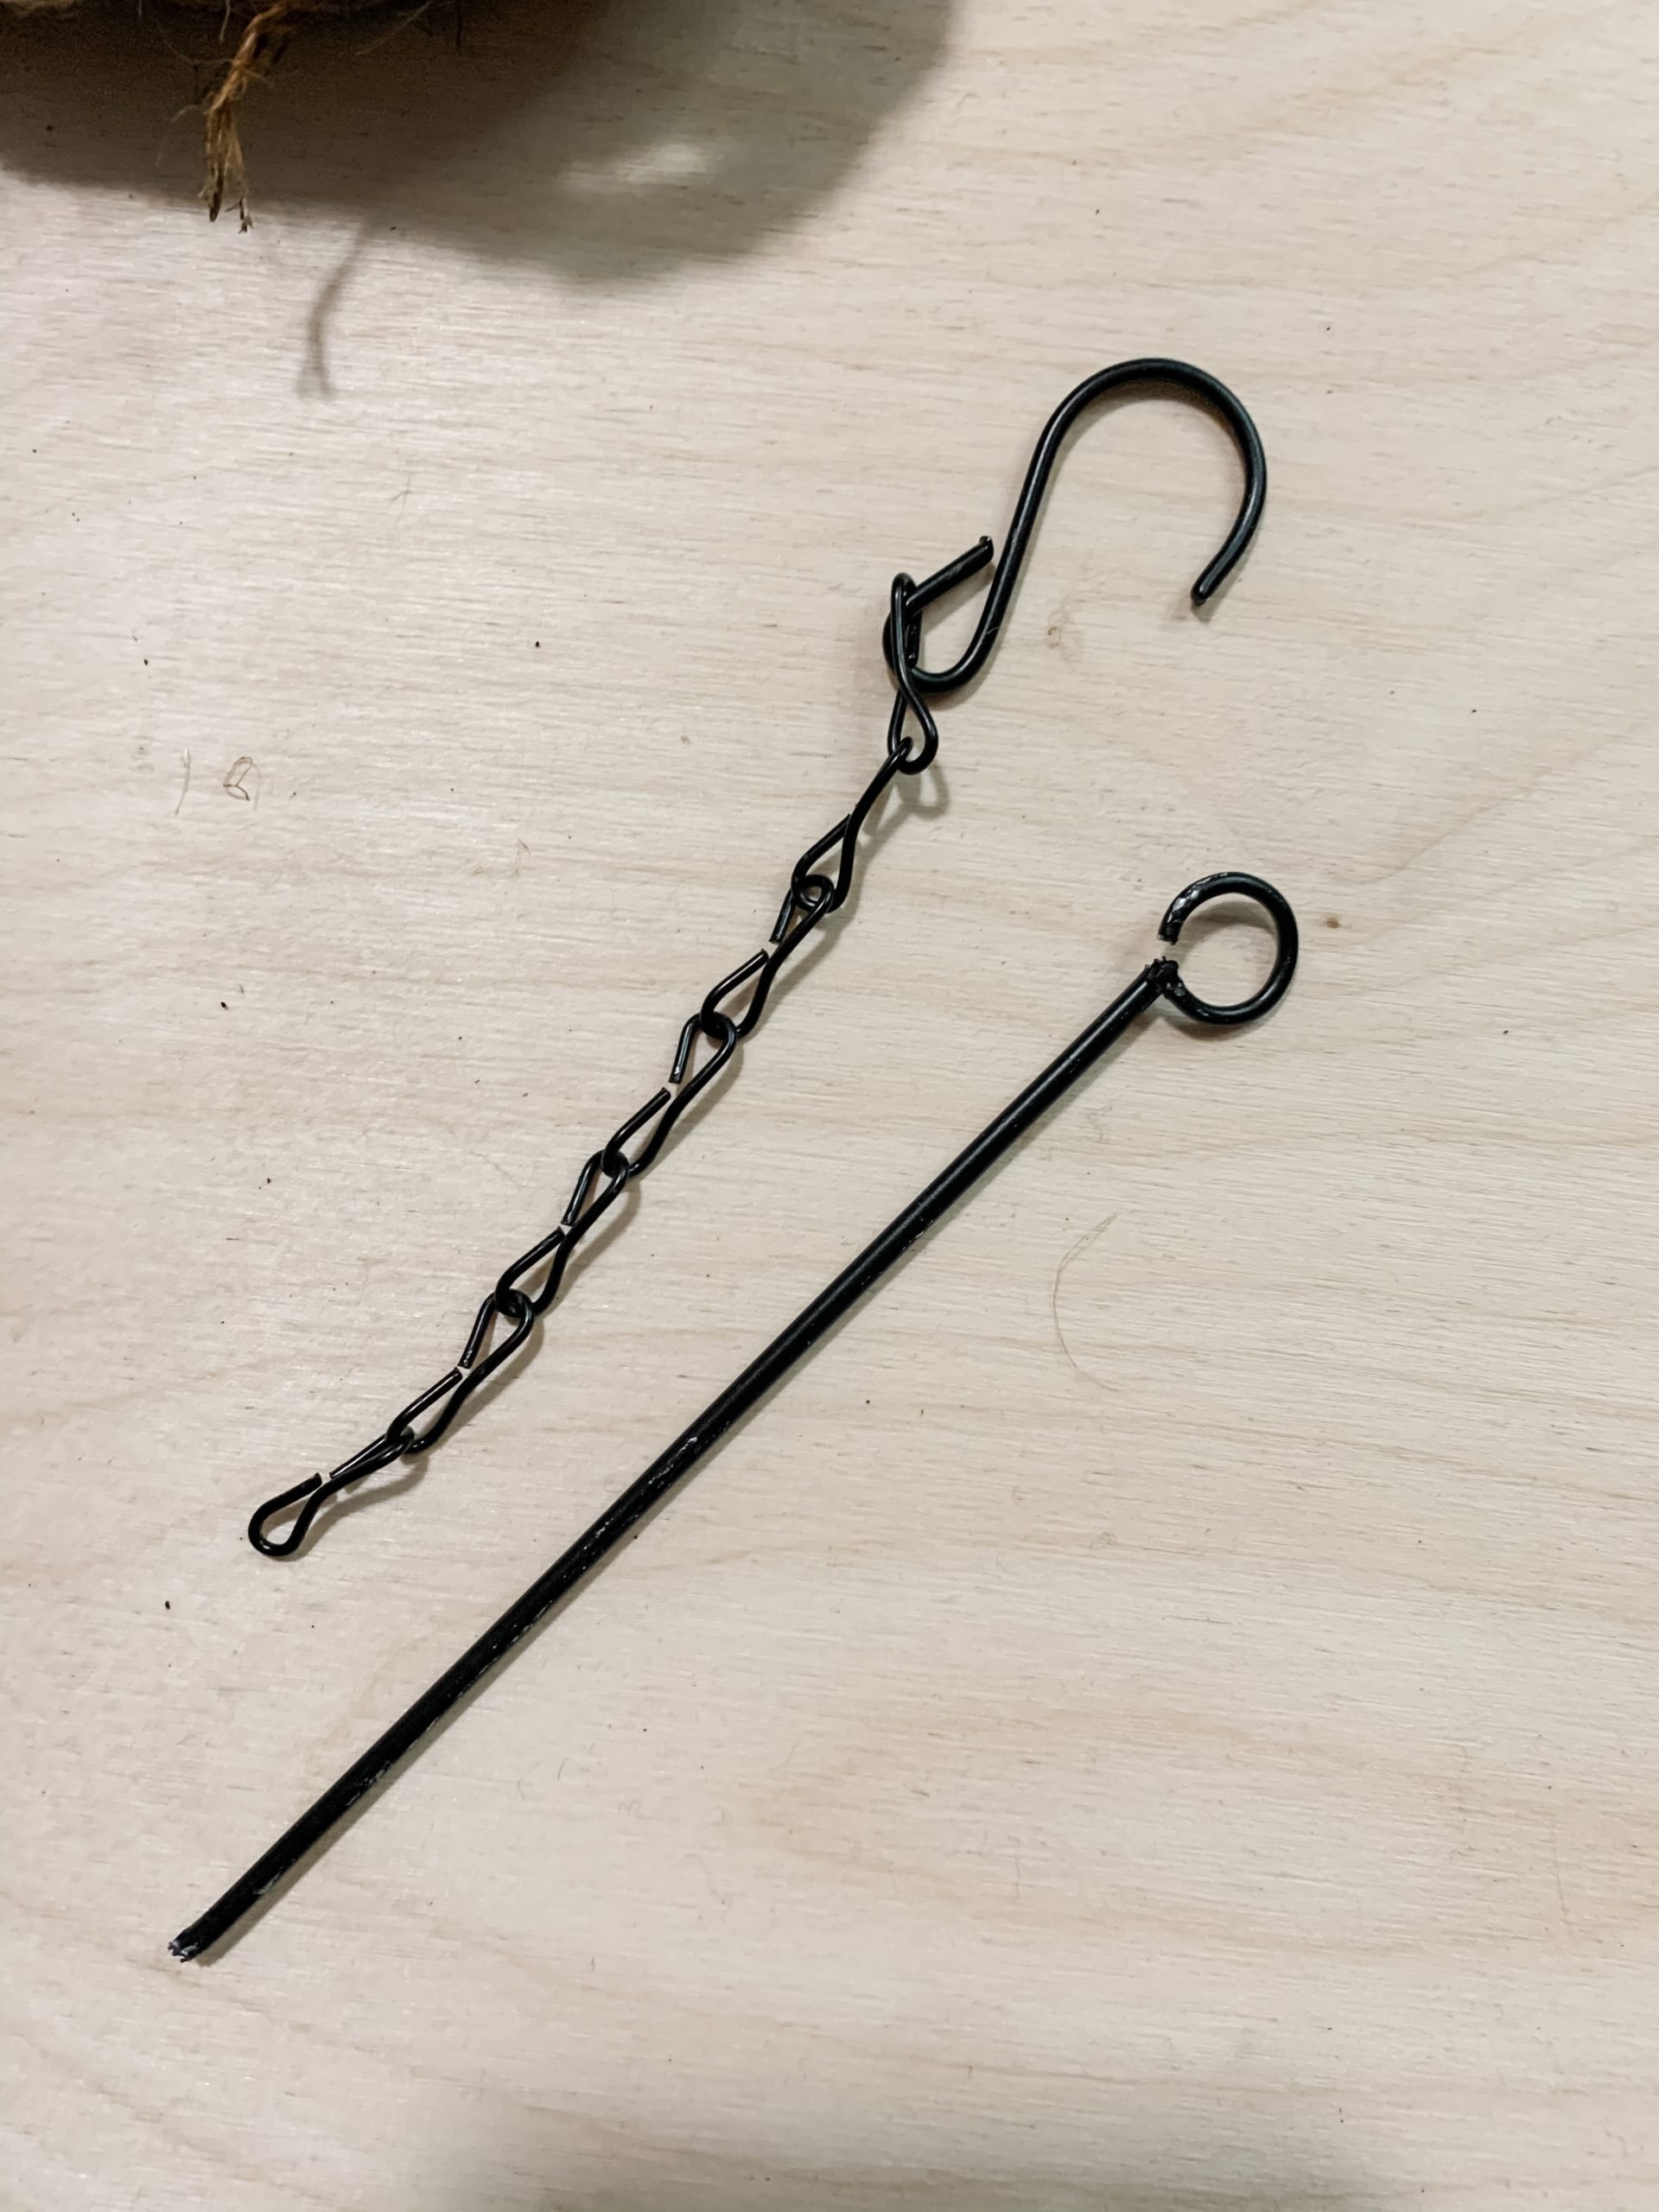
I put a dab of glue on the inside center and top center of the beehive and pushed the straight piece down into the hot glue.
Then, I bent the bottom link of my chain so I could connect it to the hook on the basket.
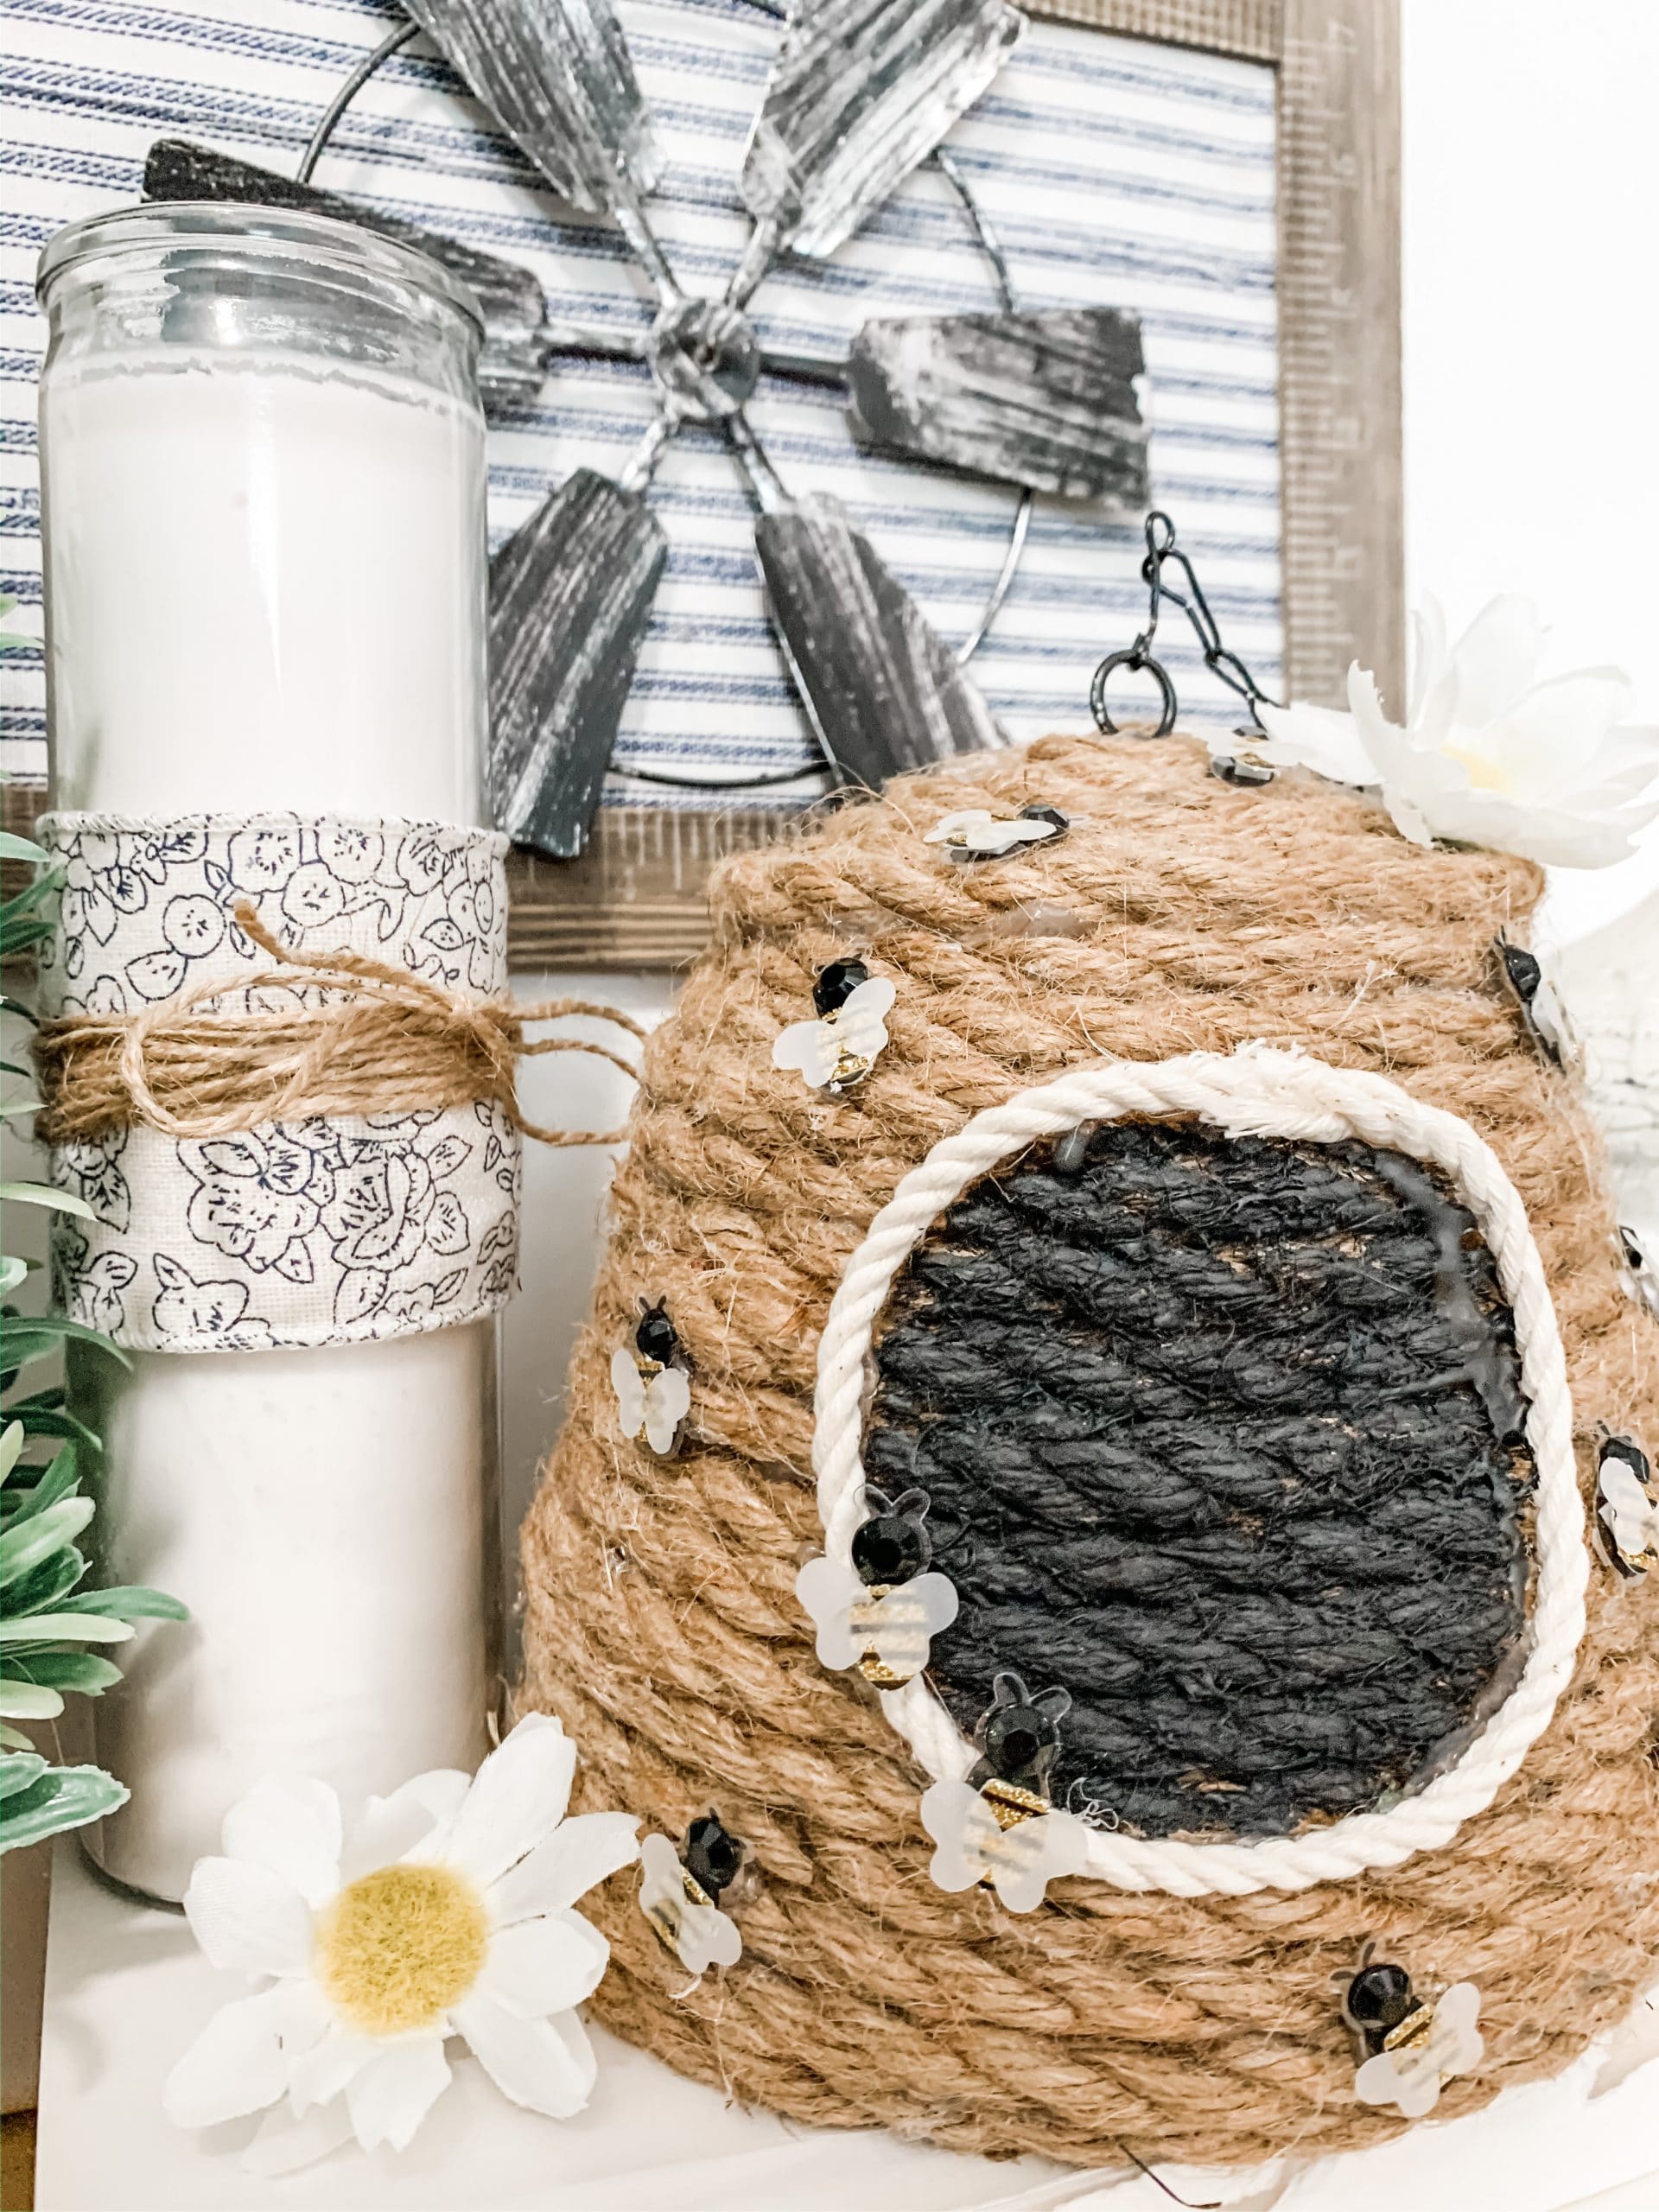
I hope you enjoyed this DIY Rope Beehive as much as I did and decide to make one for yourself! If you do, I would love to see how yours turns out!
You should totally join my FREE Facebook group called On A Budget Crafts! It is a judgment-free community for DIY crafters to show off their projects and ideas.
If you loved this DIY you might also like this Fun and Easy DIY Spring Door Hanger!
Thanks for stopping by! XOXO Amber
You can also shop my ENTIRE AMAZON Favorites shop here!
It’s packed full of all the things I use and love. Here is the supply list I highly recommend every creative have on hand!!
Would you also pin my blog for later and get on my newsletter alerts?
I would love to have you join my #craftycrew.
Inspired? Leave me a comment below! I love hearing from my readers!

Join my free “ON A BUDGET CRAFTS” Facebook group!
