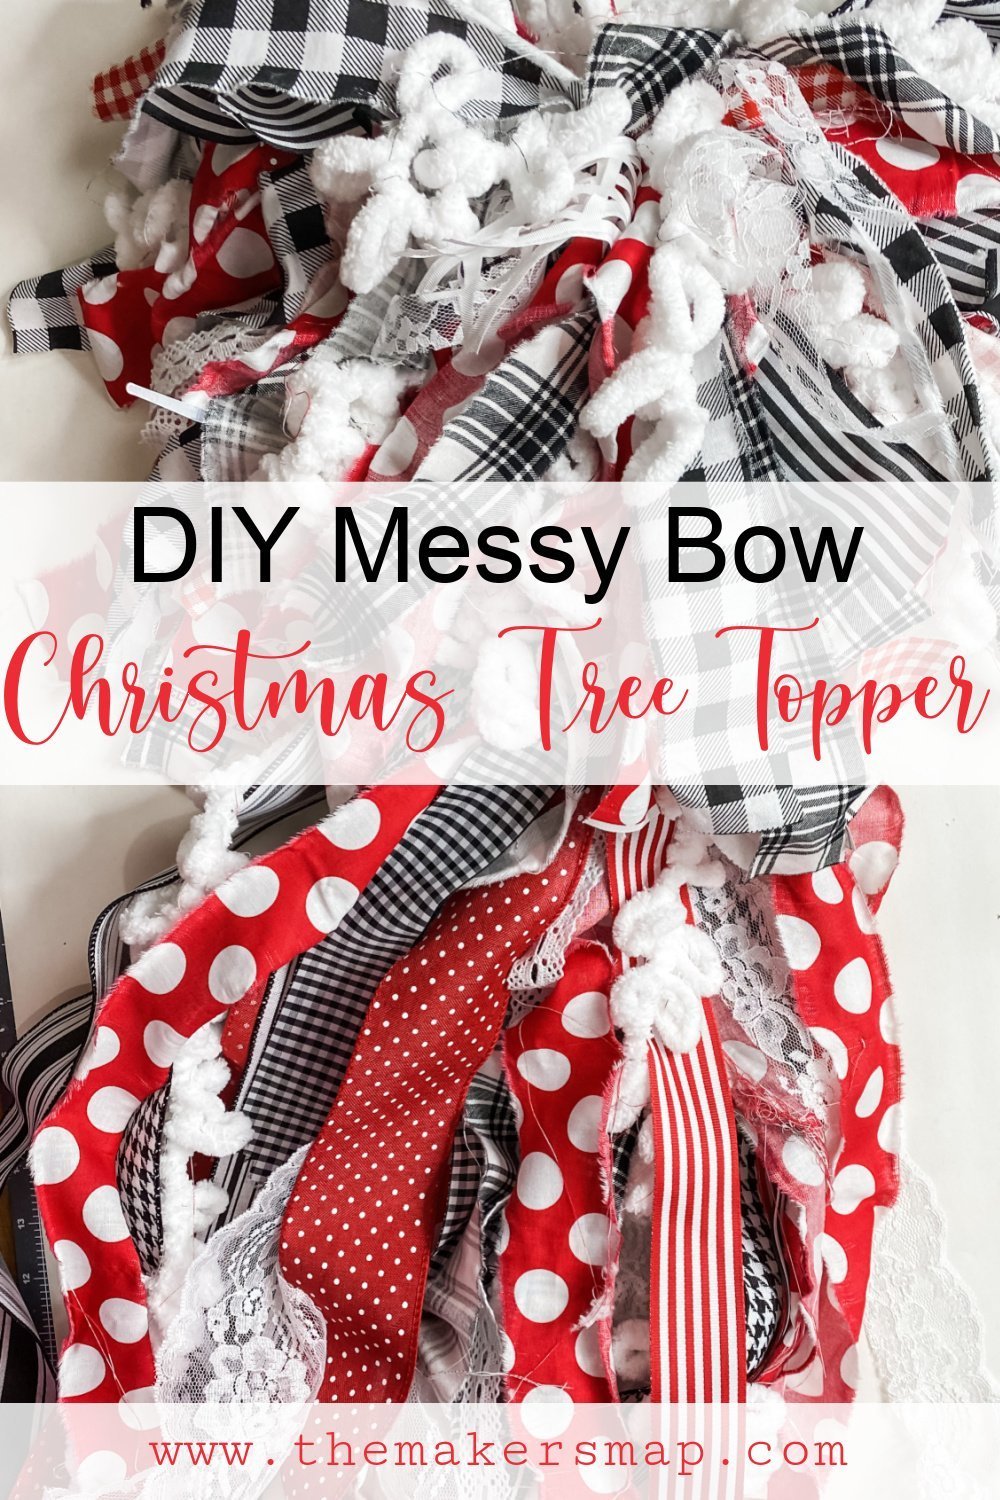
How to Make a Messy Bow Christmas Tree Topper
It’s beginning to look a lot like Christmas in the Strong household! I love decorating my house for Christmas, but my favorite thing to do is decorate my Christmas Tree! This year, I went with a color palette of red, white, and black. I make almost all of the decorations for my house, so it’s only fitting that I make a bow tree topper, too! Let me tell you how to make a messy bow Christmas Tree topper.
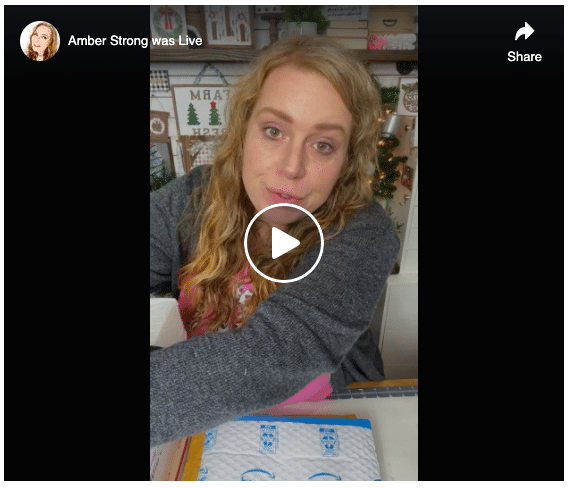
Watch the replay
Want to watch how I made my messy bow Christmas Tree topper? You can catch the replay over on my Facebook page!
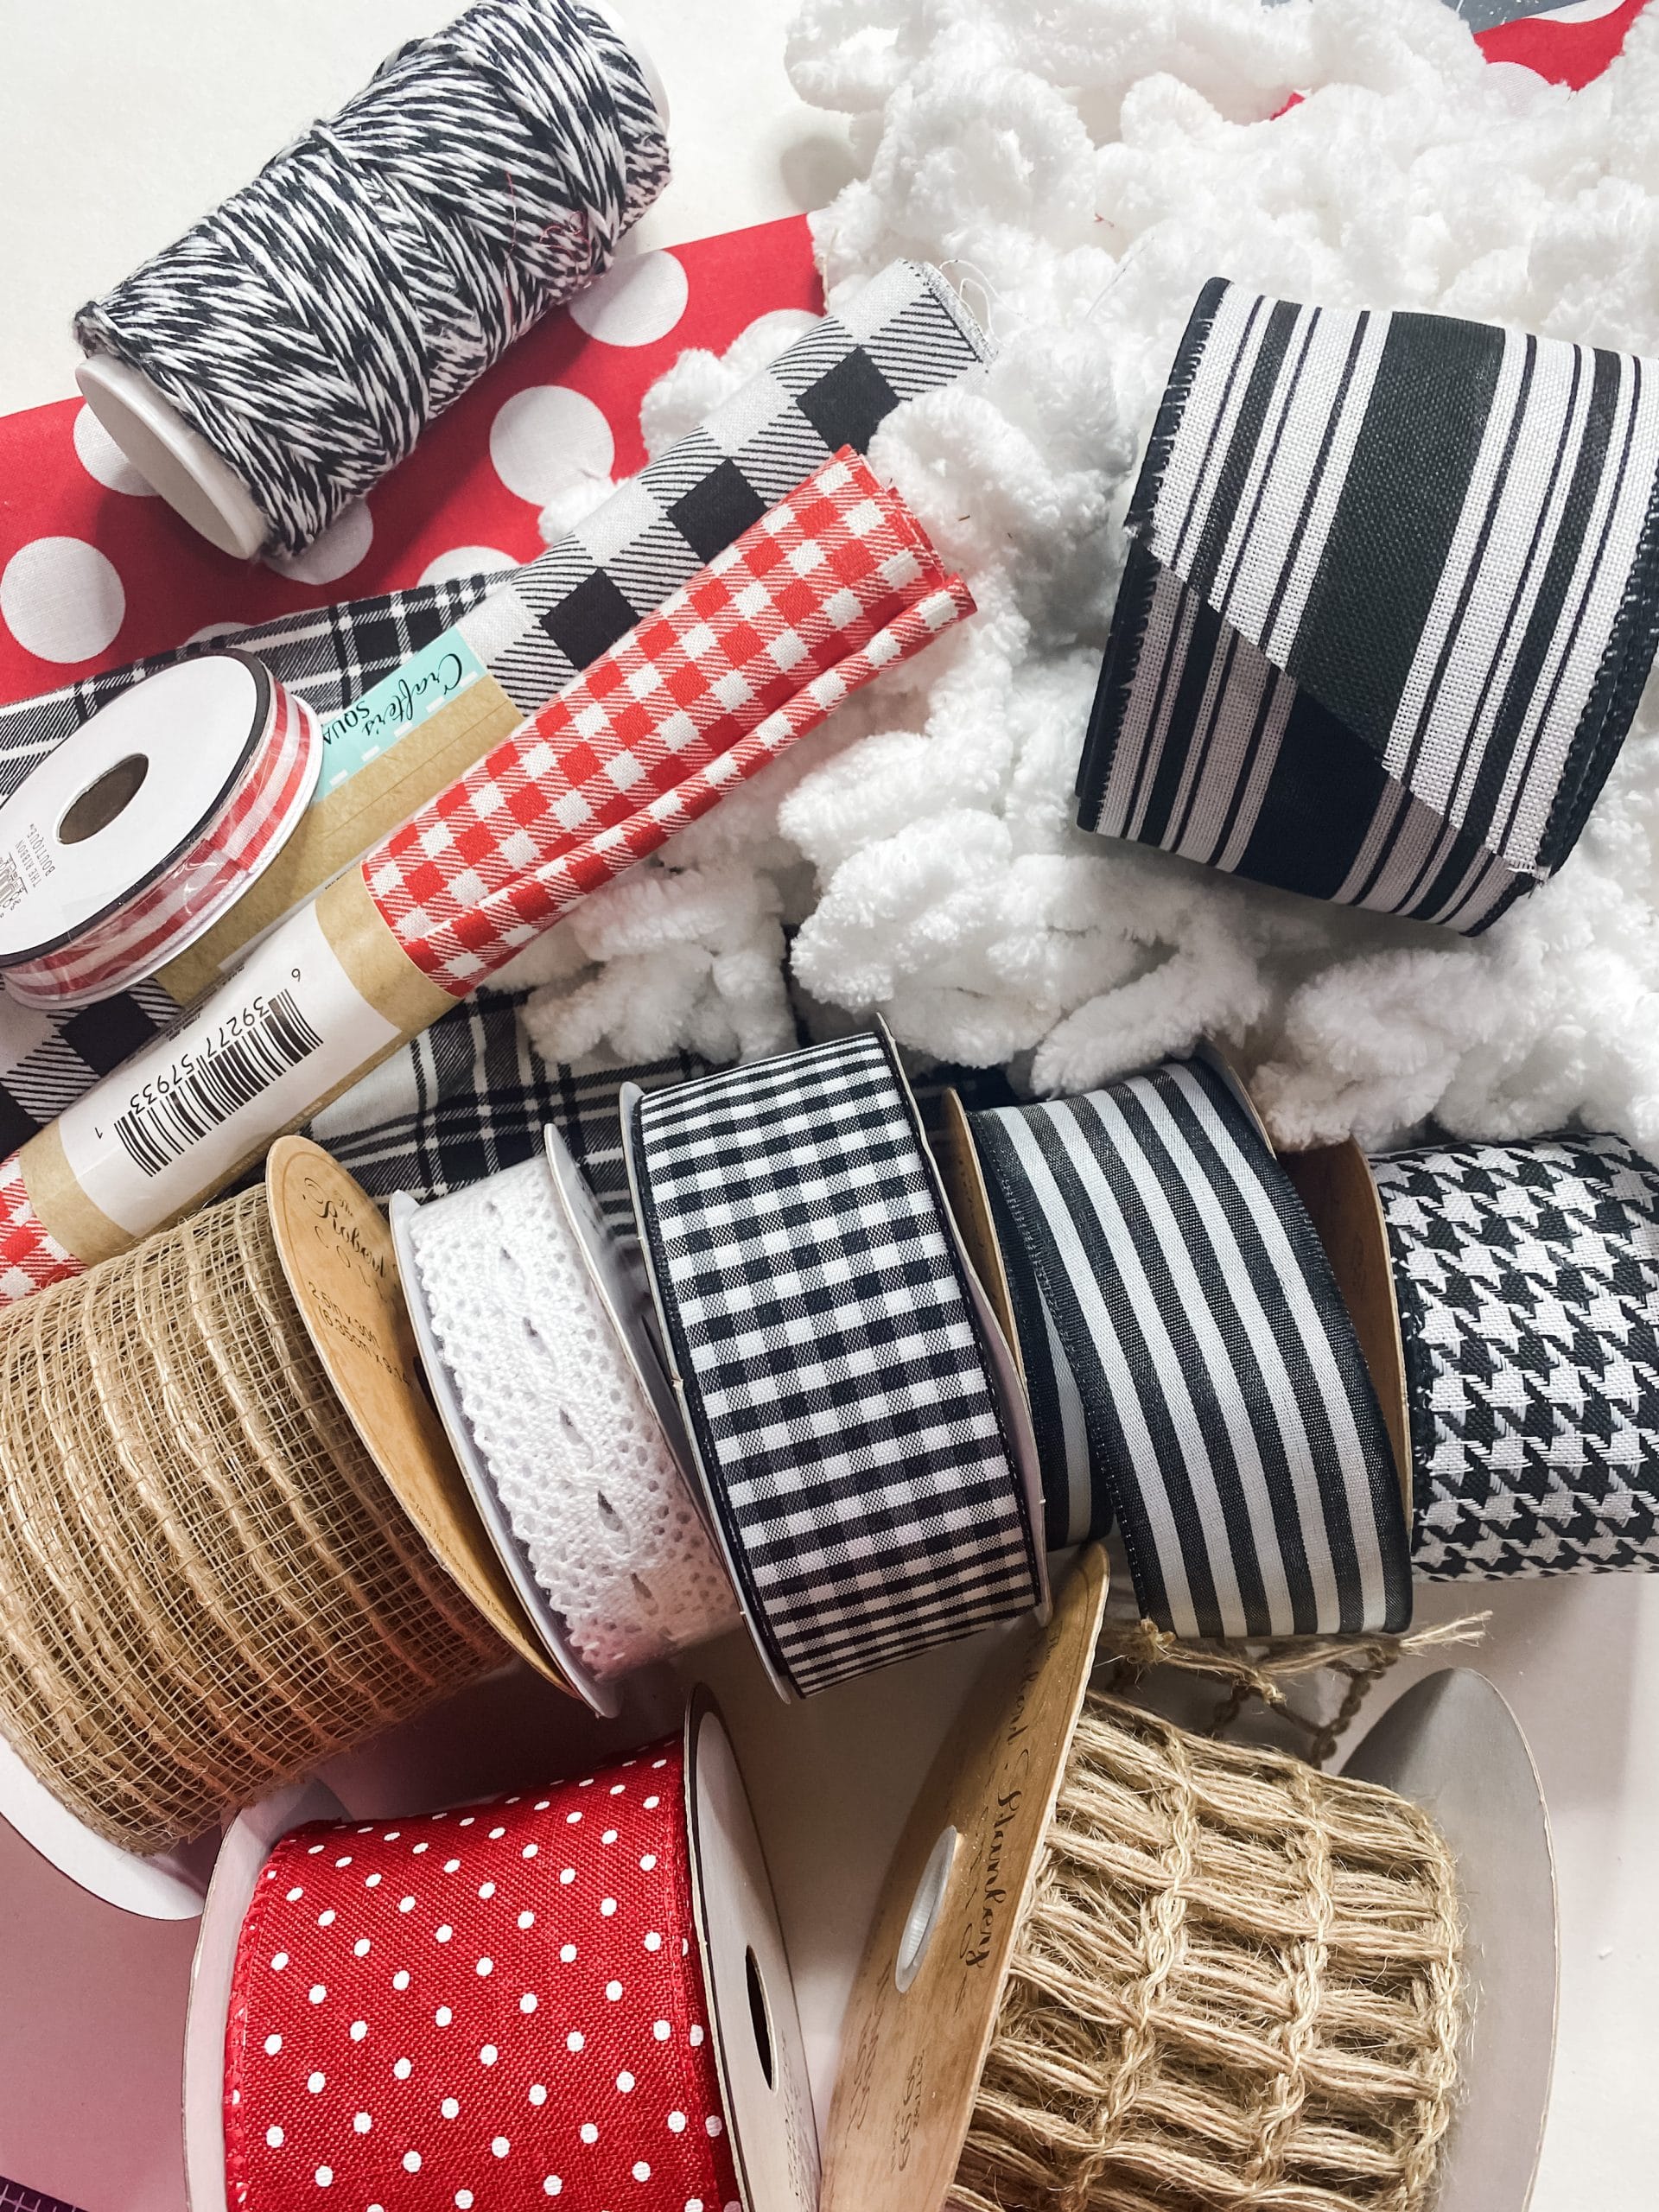
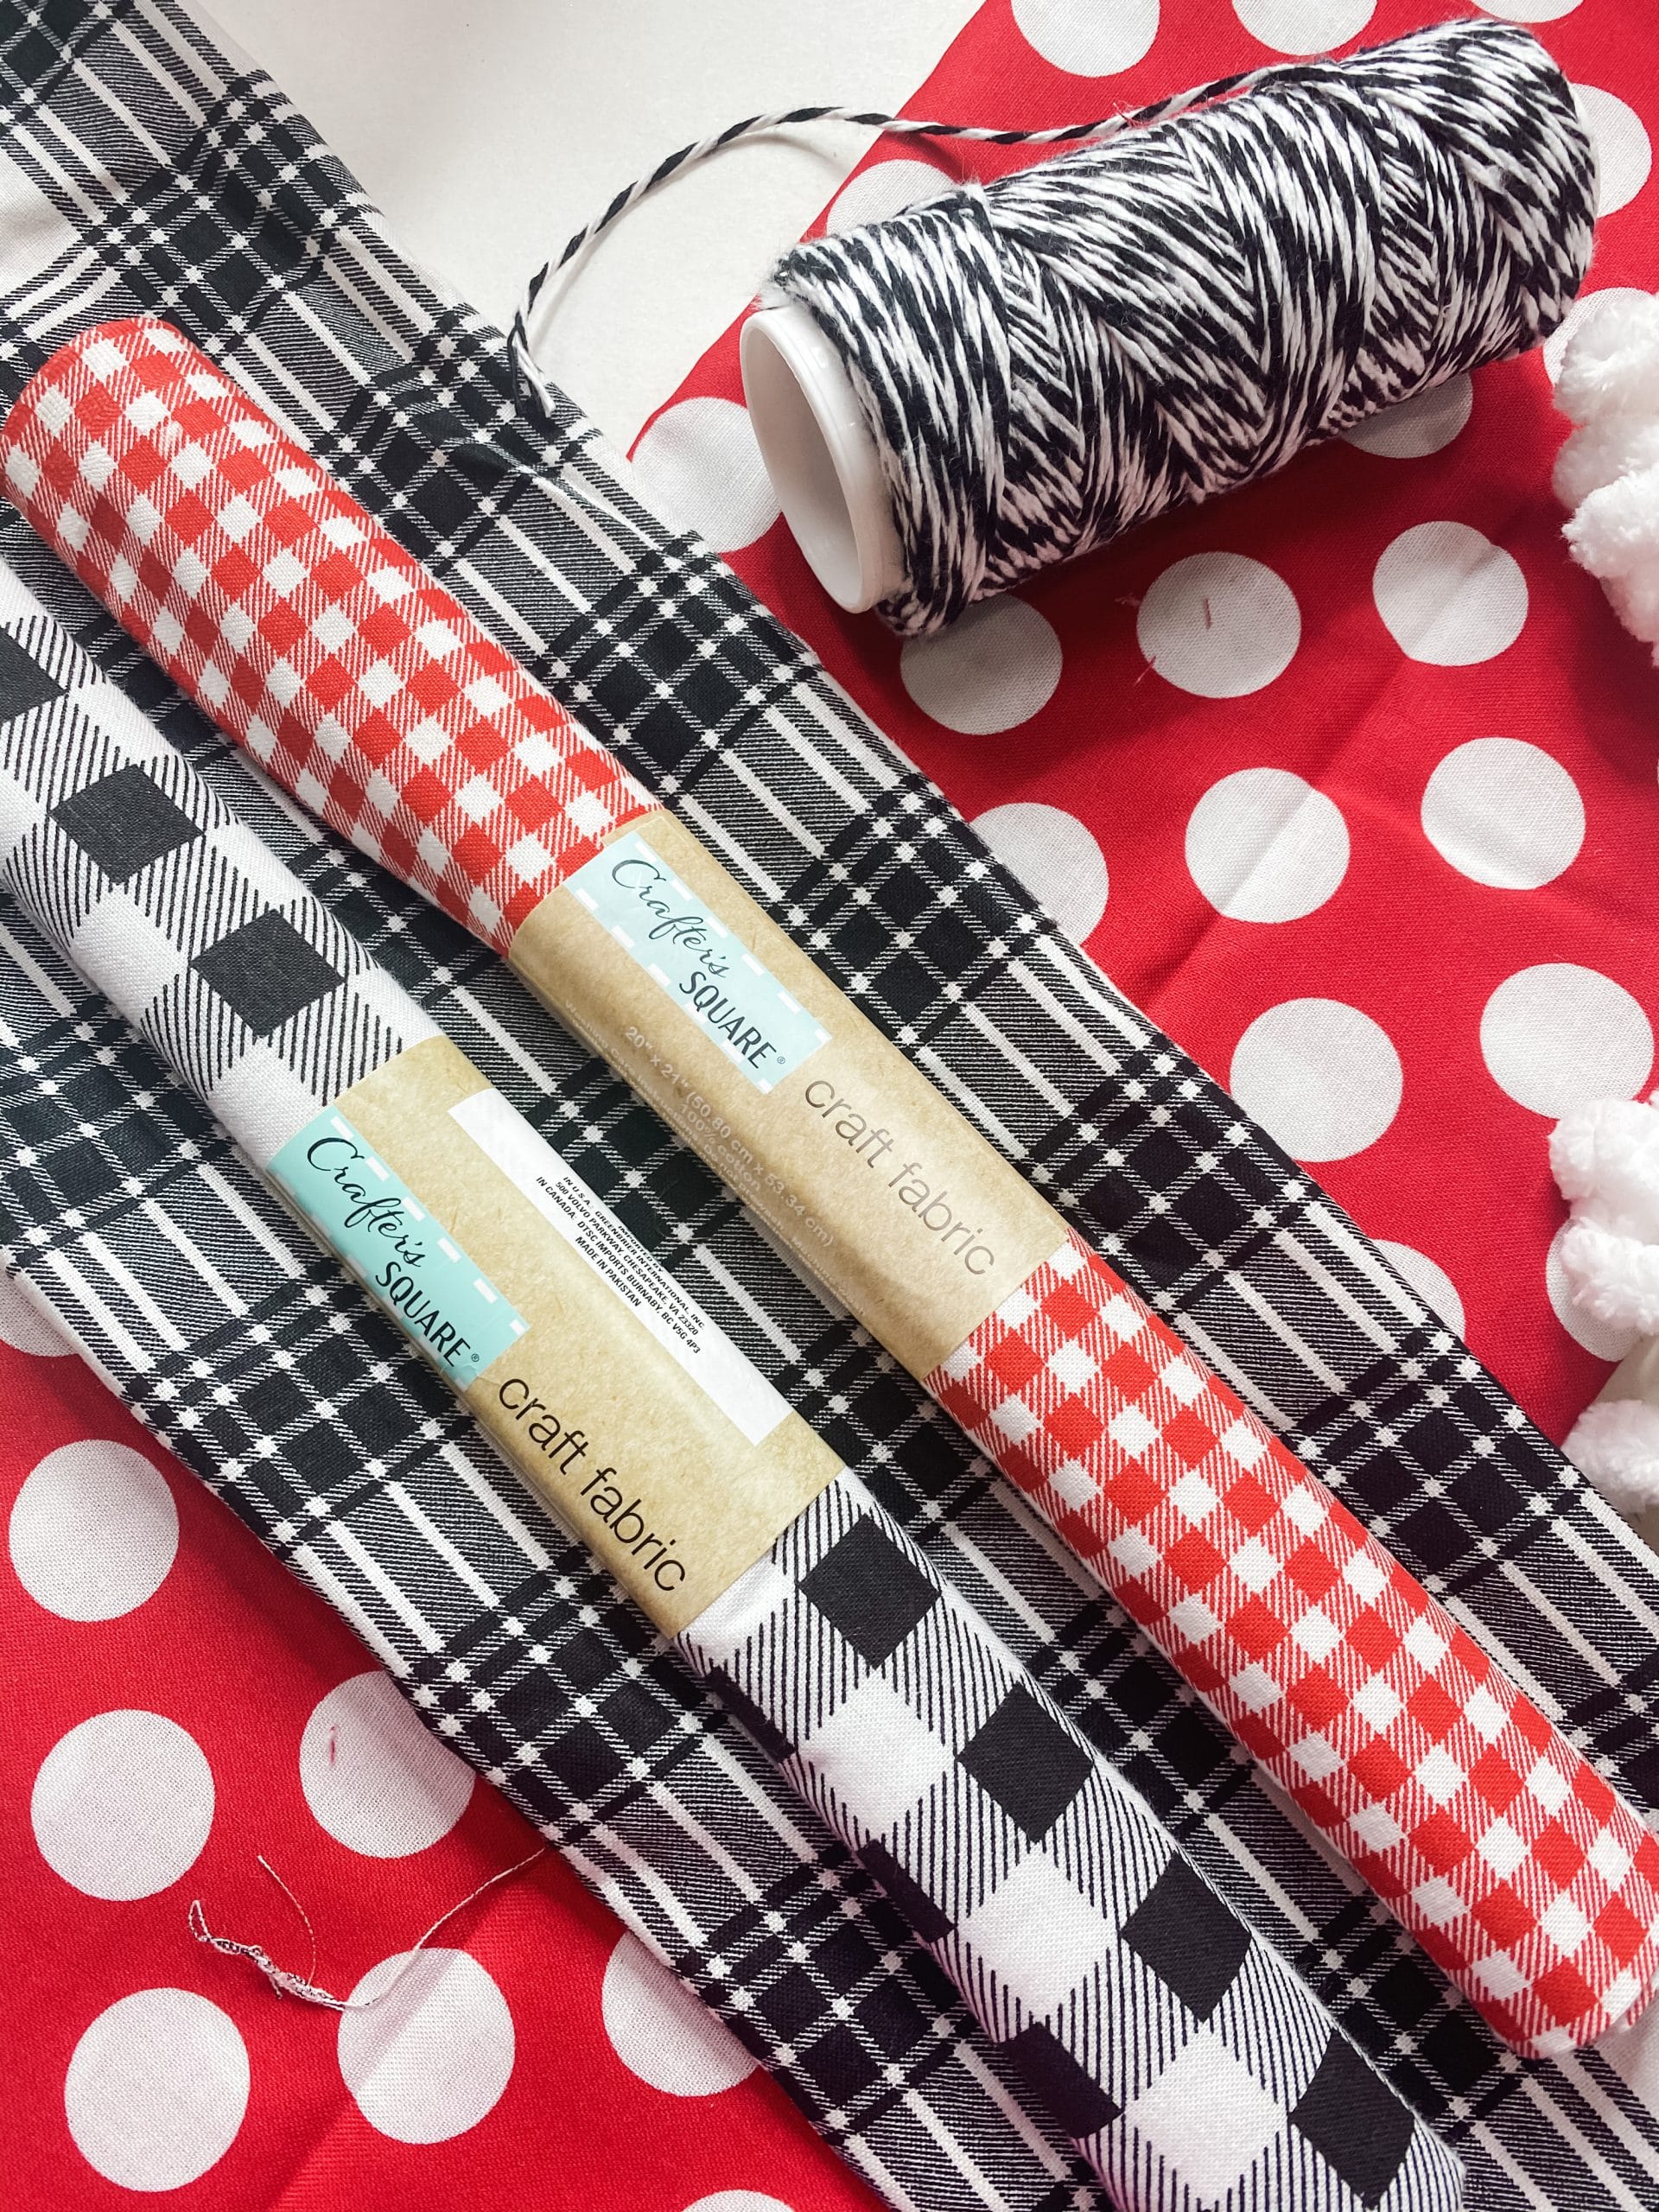
For this project, I will be using these items but you can substitute where you want.
“As an Amazon Associate, I earn from qualifying purchases.”
- Dollar Tree Baker’s Twine
- Red Stripe 1/4in ribbon (HL)
- Dollar Tree Lace Ribbon
- Black and White Stripe 2.5in Ribbon (HL)
- 2.5in Burlap Ribbon (HL)
- 1in Lace Ribbon (HL)
- 1.5in Buffalo Chek Ribbon (HL)
- 1.5in black and white stripe ribbon (HL)
- 2.5in Red and white polka dot ribbon (HL)
- Red and white polka dot fabric remnants (HL)
- Loop-it yarn (HL)
- Dollar Tree Red Buffalo Check fabric
- Dollar Tree Black Buffalo Check fabric
- 2.5in Natural Jute Lattice Wired Ribbon (HL)
- Houndstooth ribbon (HL)
- Glue Gun and Glue Sticks
How to make the Christmas Messy Bow
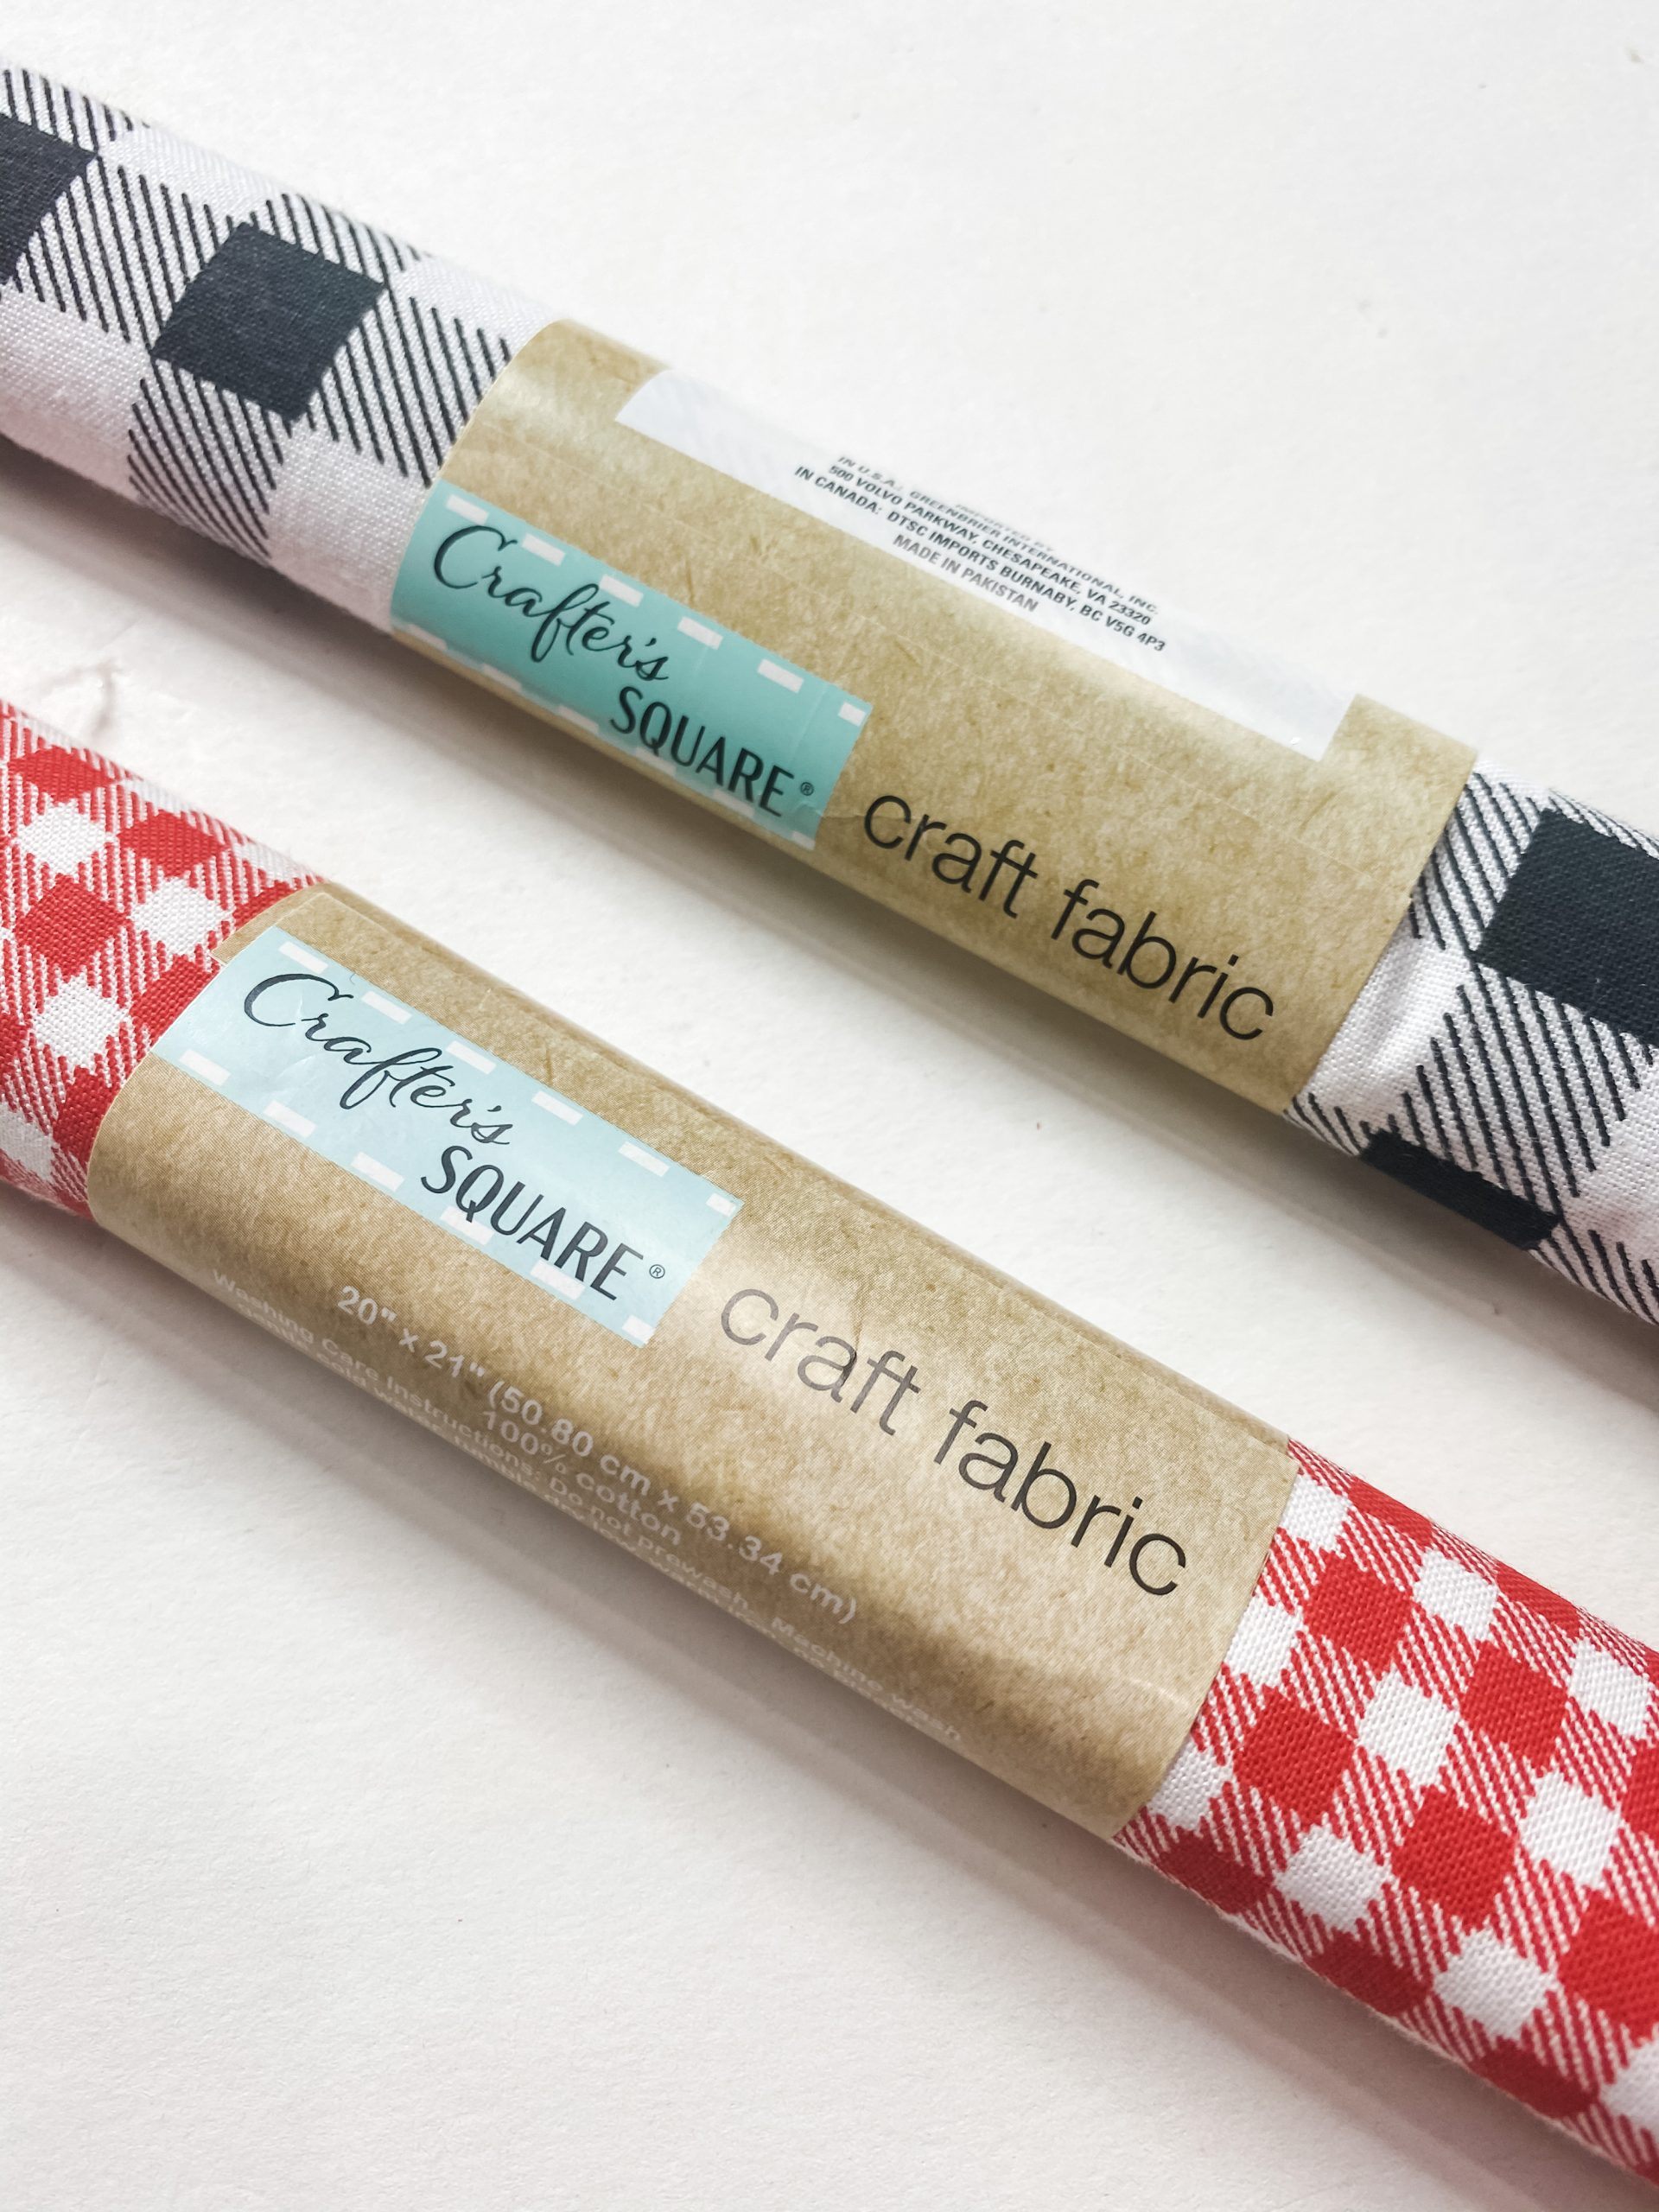
To start making this DIY messy bow Christmas Tree topper for my 9ft Christmas Tree, I cut slits in each of my fabrics and tore them into strips.
I wanted the fabric strips to have frayed edges which really adds to the messy look. There are many ways to make a bow but I am going to show you the way that I prefer to make mine that works for me!
By the way, I am not really good at making bows! But it really is very easy to make a Christmas messy bow and use it as a tree topper.
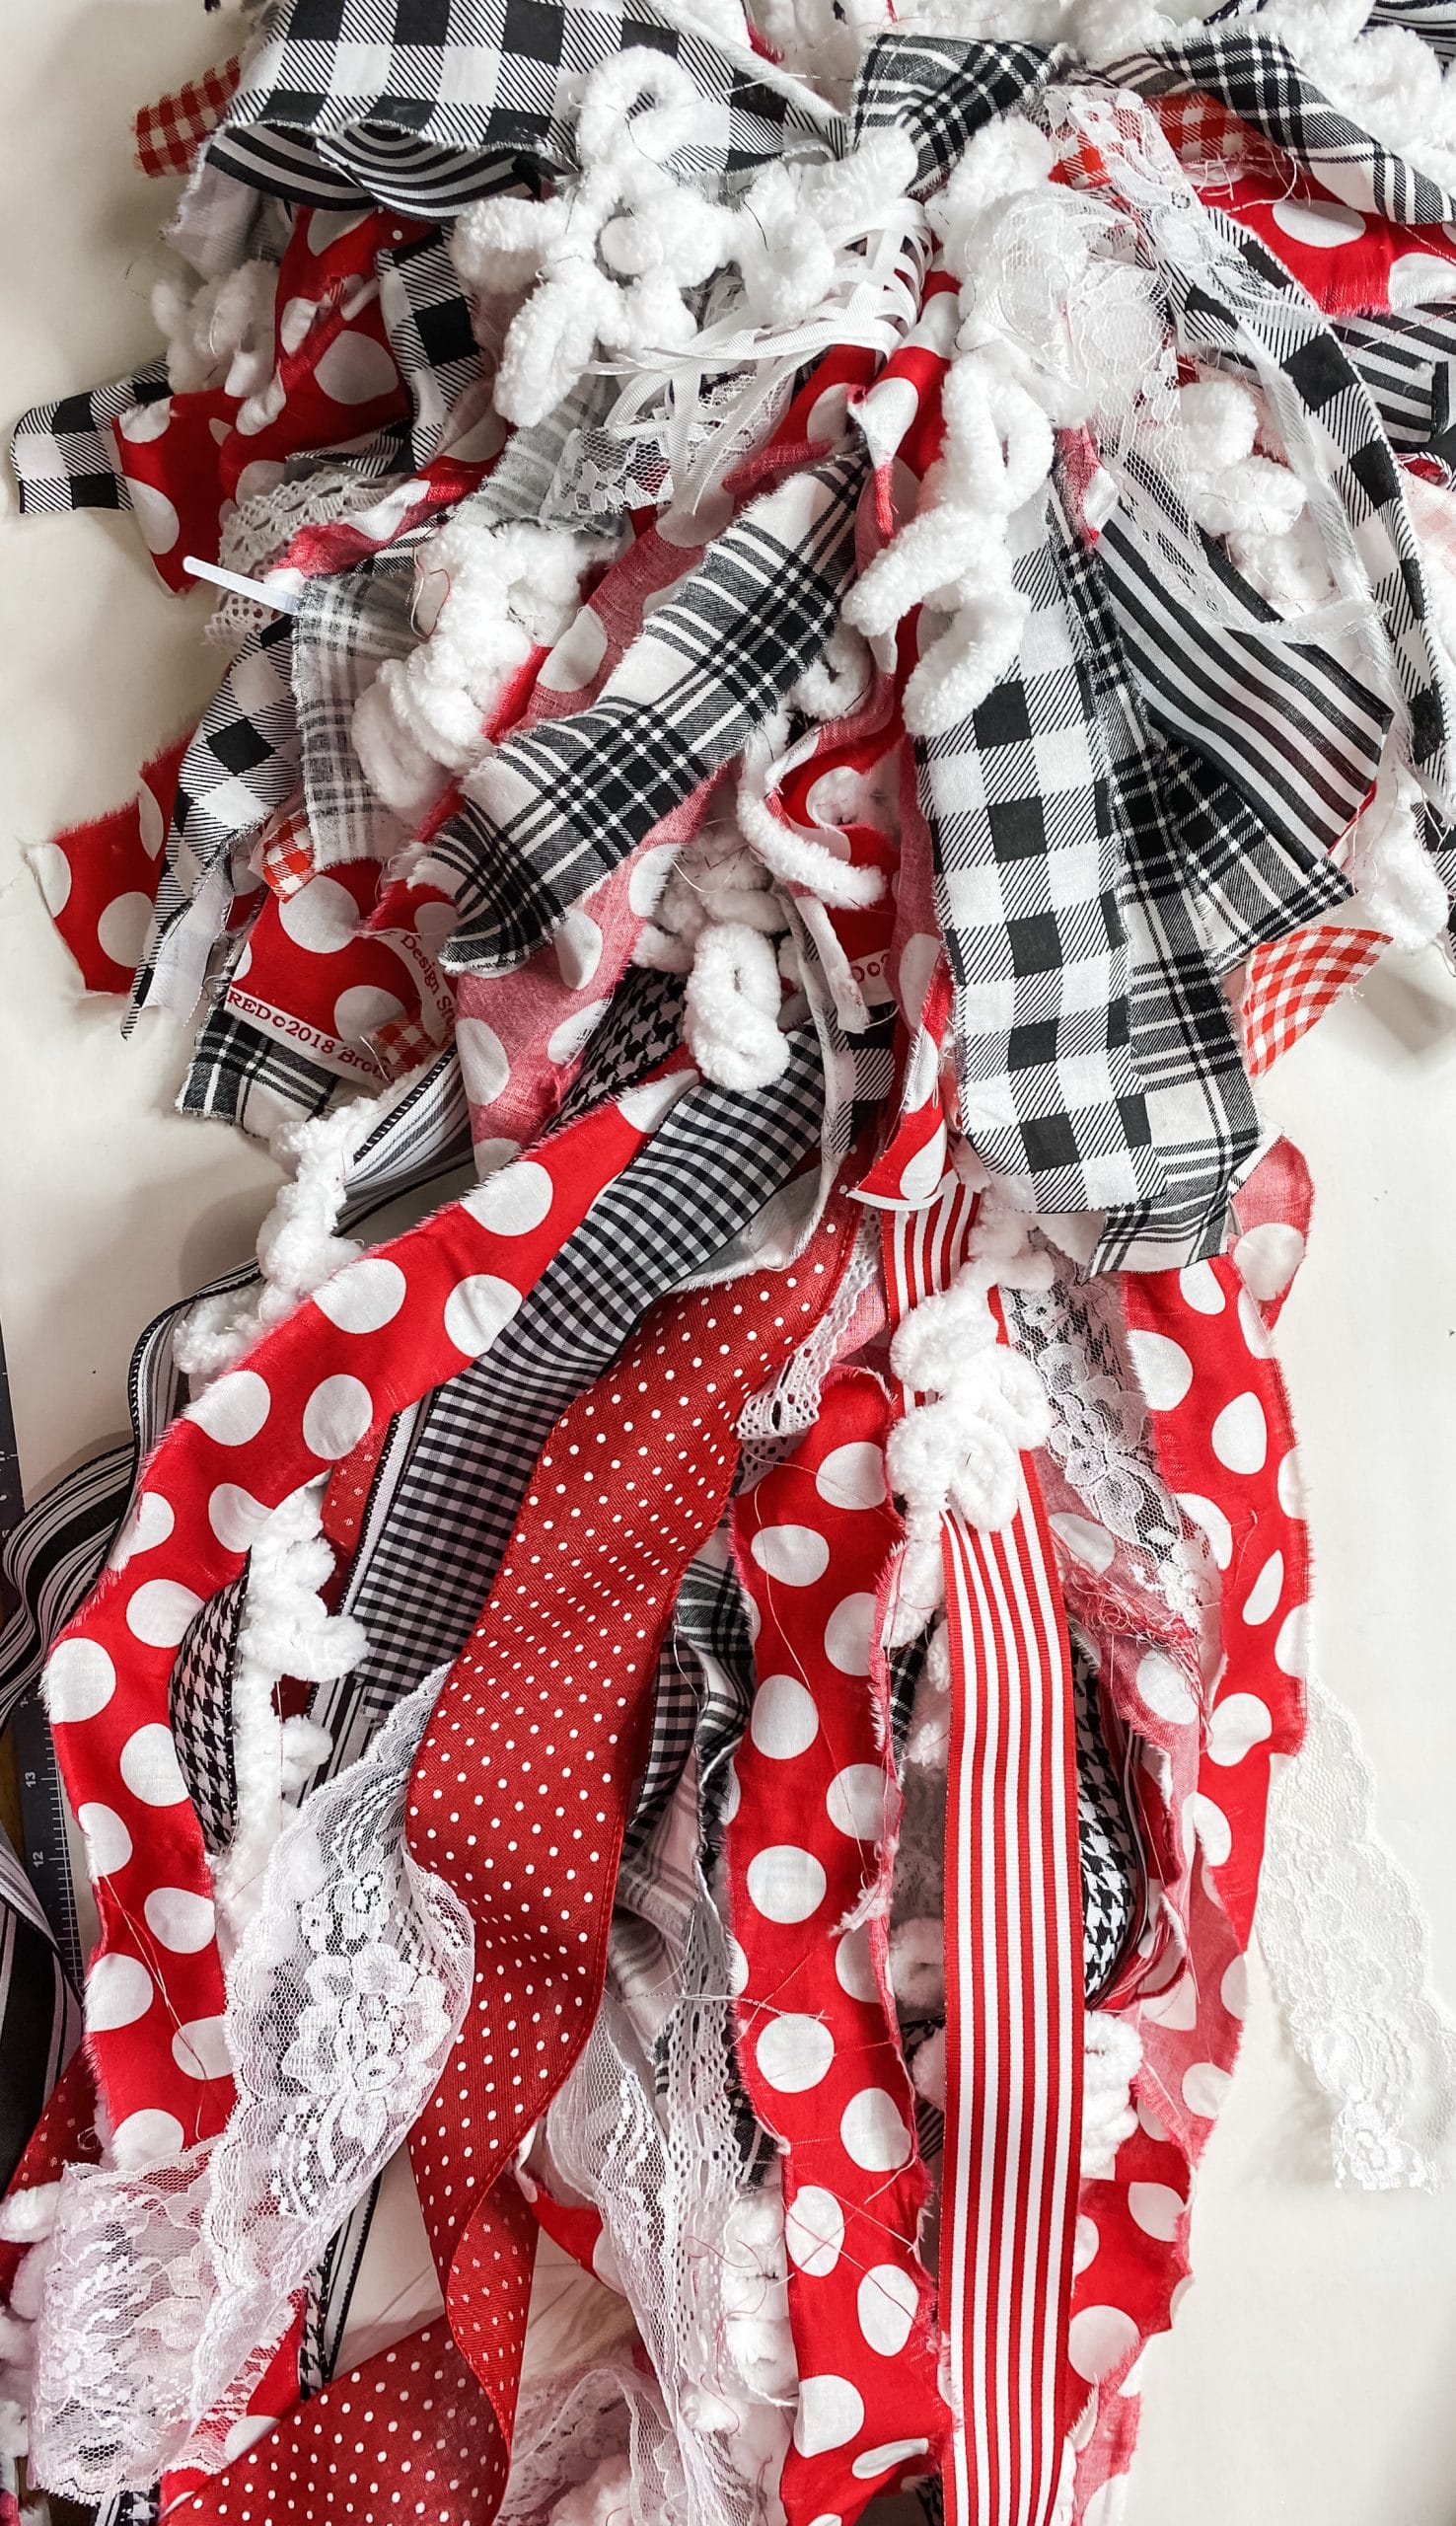
Next, I cut several strips of varying lengths of each ribbon pattern and the loop-it yarn. The ribbon lengths varied from 10 inches to 36 inches. Cut several 36-inch strips and set them to the side. You don’t need them for this next step.
I did get some of my ribbon and fabric for the most part from Hobby Lobby! Yes, it can be expensive! That is why you want to wait for the 50% off hobby lobby sale.
Or you want to use the 40% off hobby lobby coupon! The hobby lobby 40 pct off latest coupon here. (Get Hobby Lobby code and use online or in-store here)
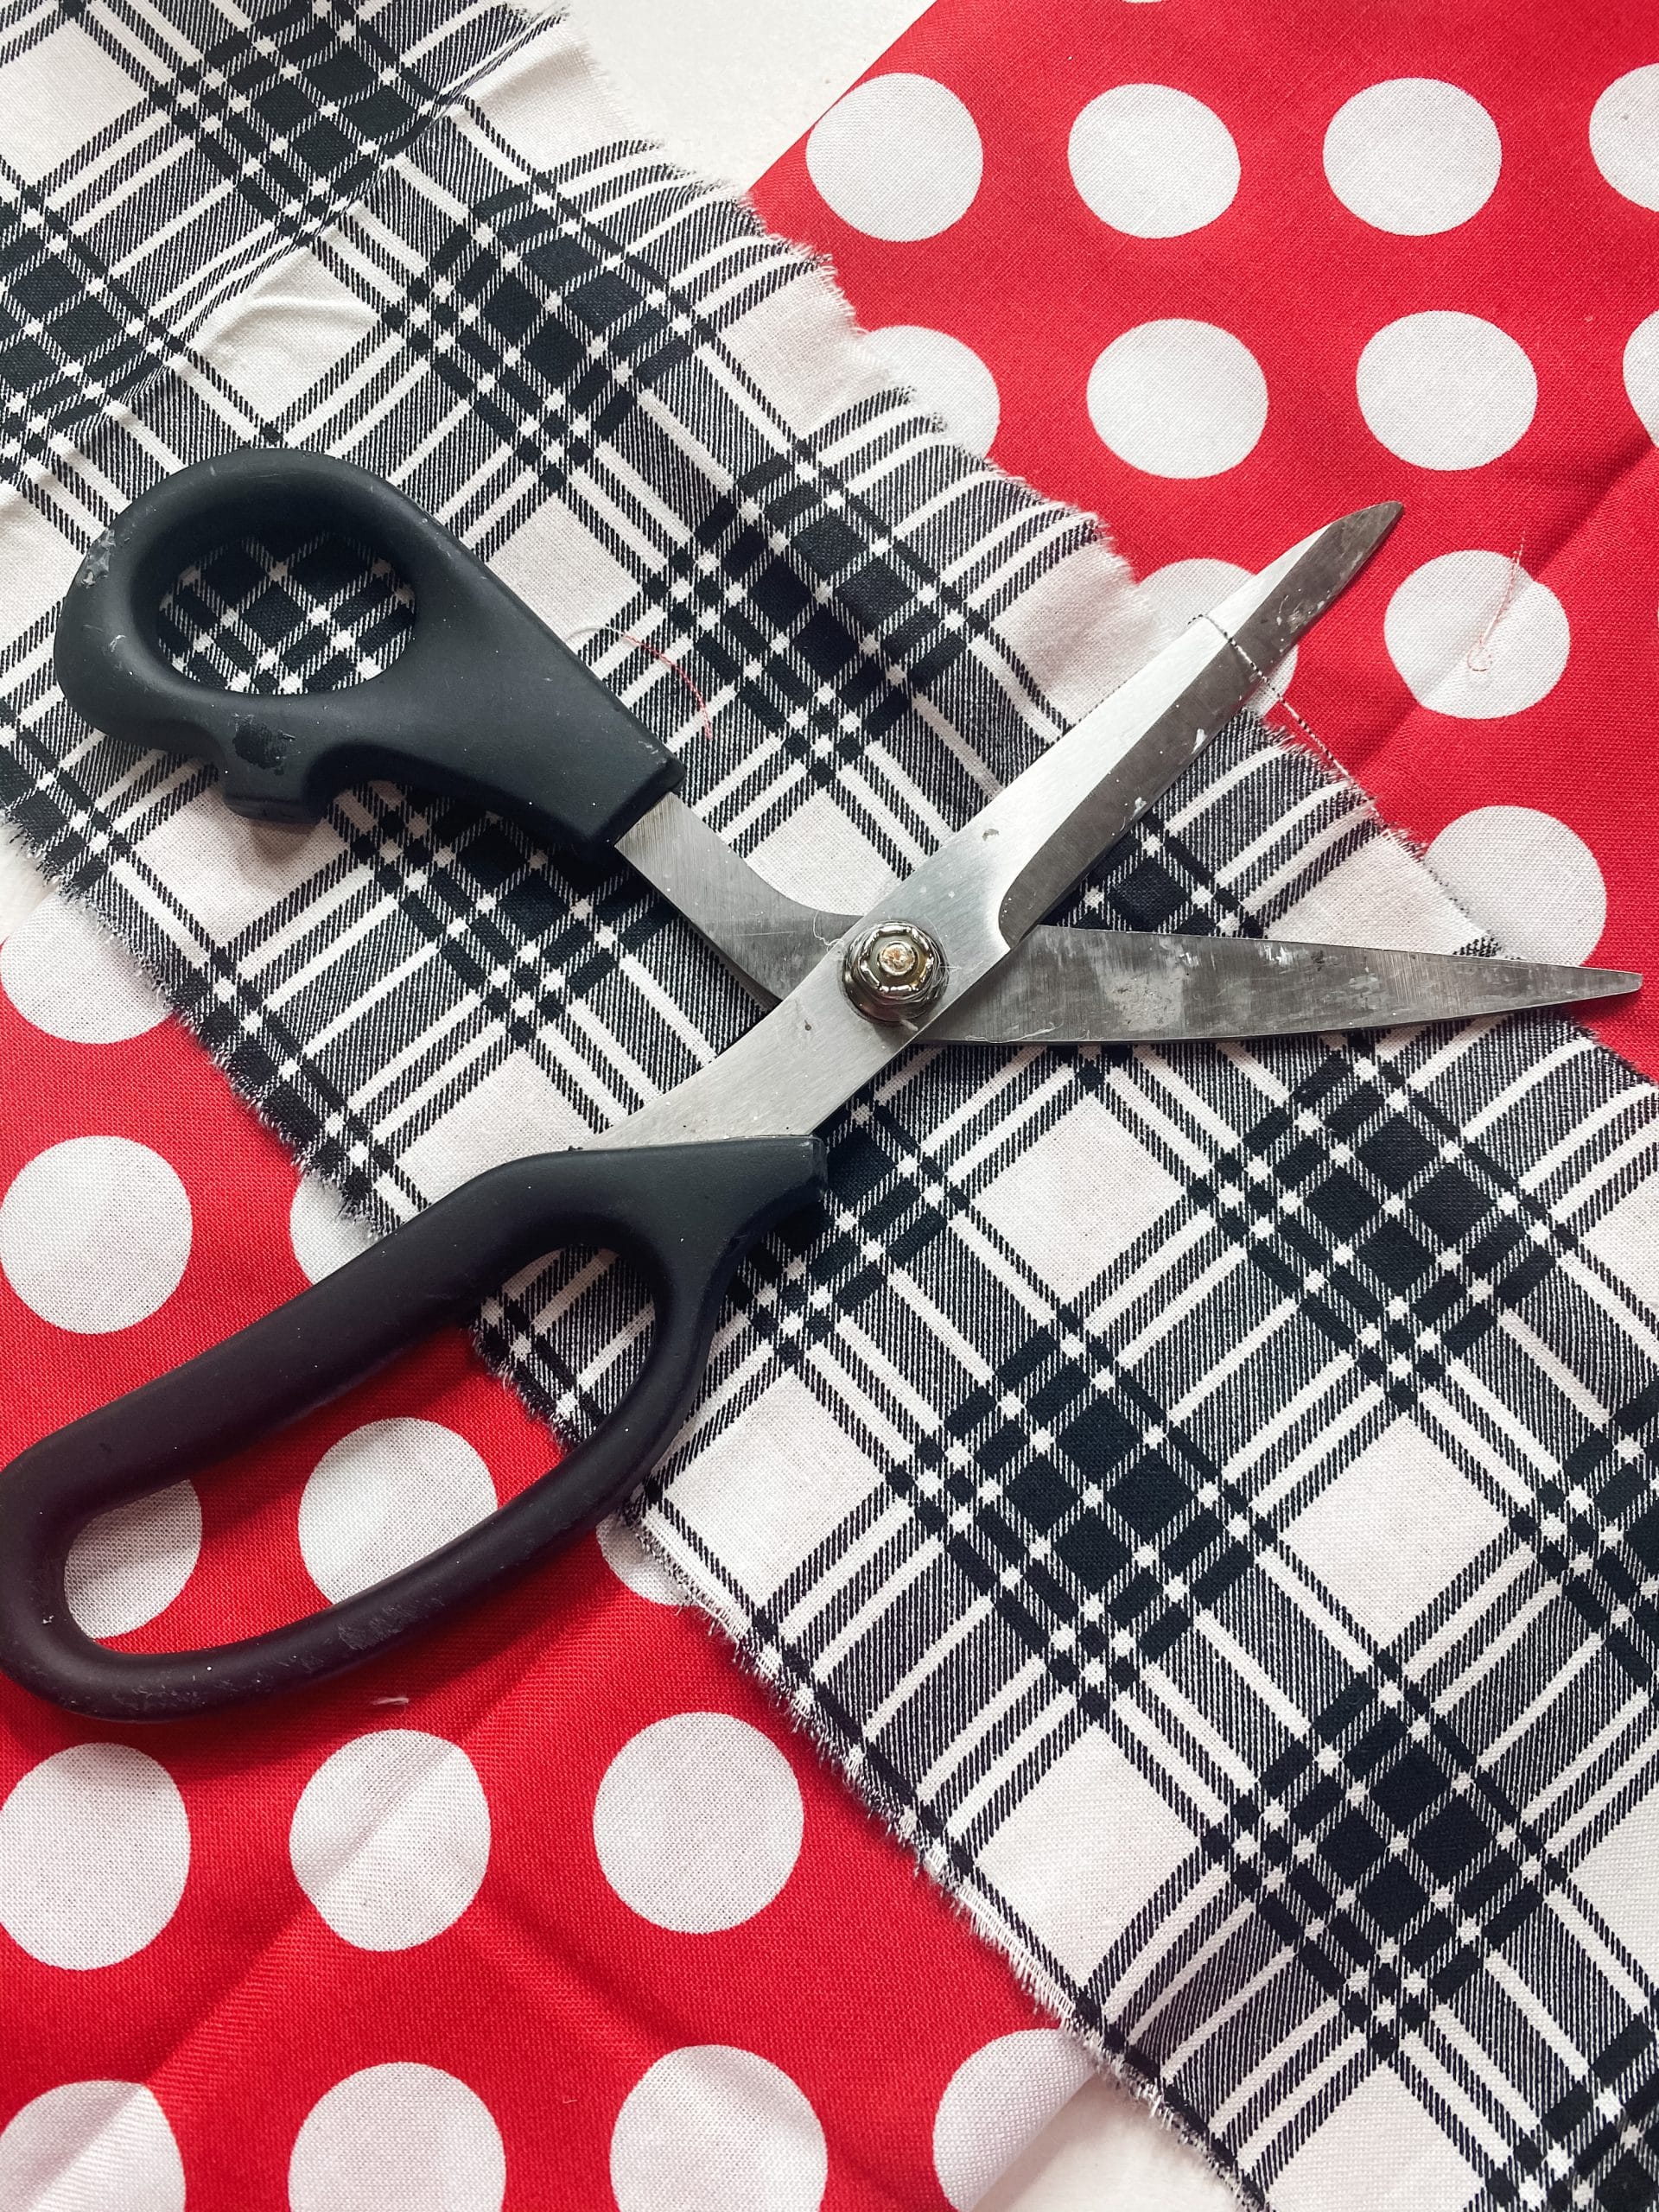
The rest of it came from Dollar Tree Crafters square. I love the Dollar Tree Crafters square fabric!
Now, lay the ribbon, fabric, and yarn strips in an x-shape alternating patterns. There is no right or wrong order or method for this. It is supposed to look messy! After all, it is a messy bow!
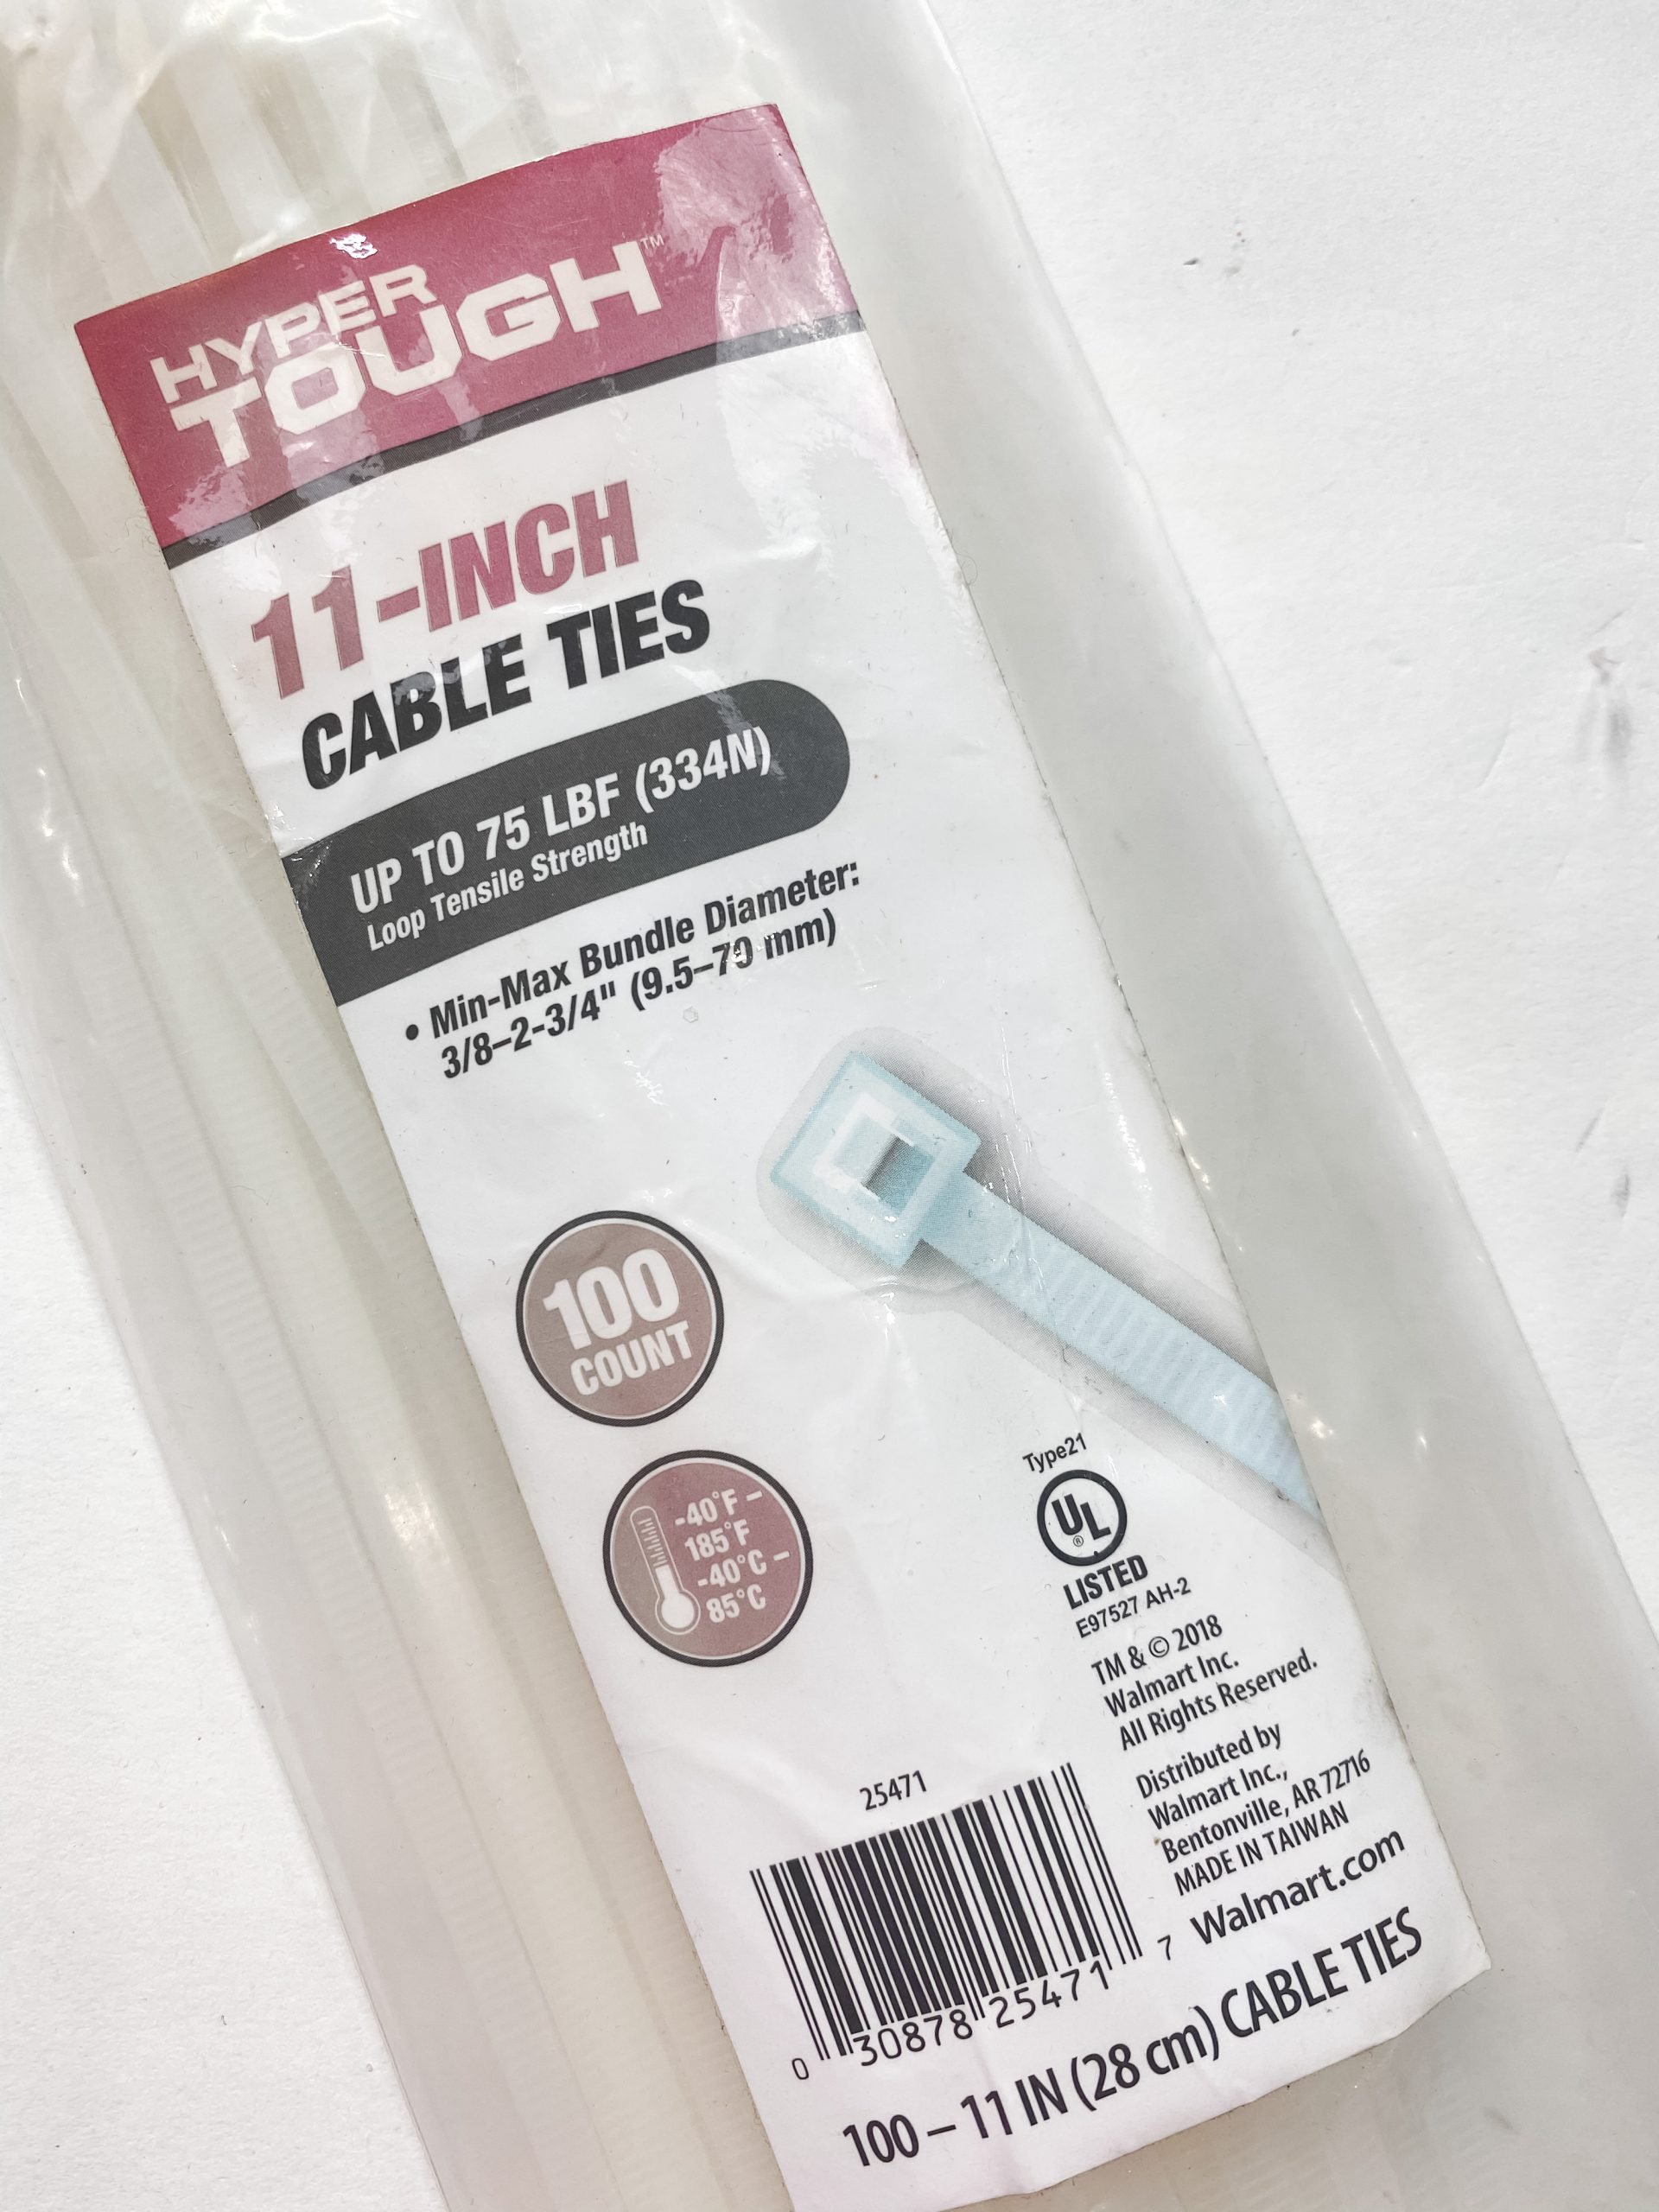
Once you’ve reached the size and messiness you want for your large tree topper messy bow, secure the center of the bow with a zip tie. Make sure to cut the excess of the zip tie off.
It’s looking cute!
Remember the 36-inch strips I told you to set aside? Grab those now. These are going to attach to the messy bow and. hang down the Christmas Tree. Lay these strips on top of one another, but don’t dry and make them neatly stacked.
Add as many or as few strips as you want and secure one end with a zip tie. Now you know How to make a bow!
Place your topper!
To put the messy bow on your Christmas Tree, place the secured long strips on top of the tree first and spread out the strips around the tree.
Make sure you’re happy with the placement of the strips before getting the messy bow.
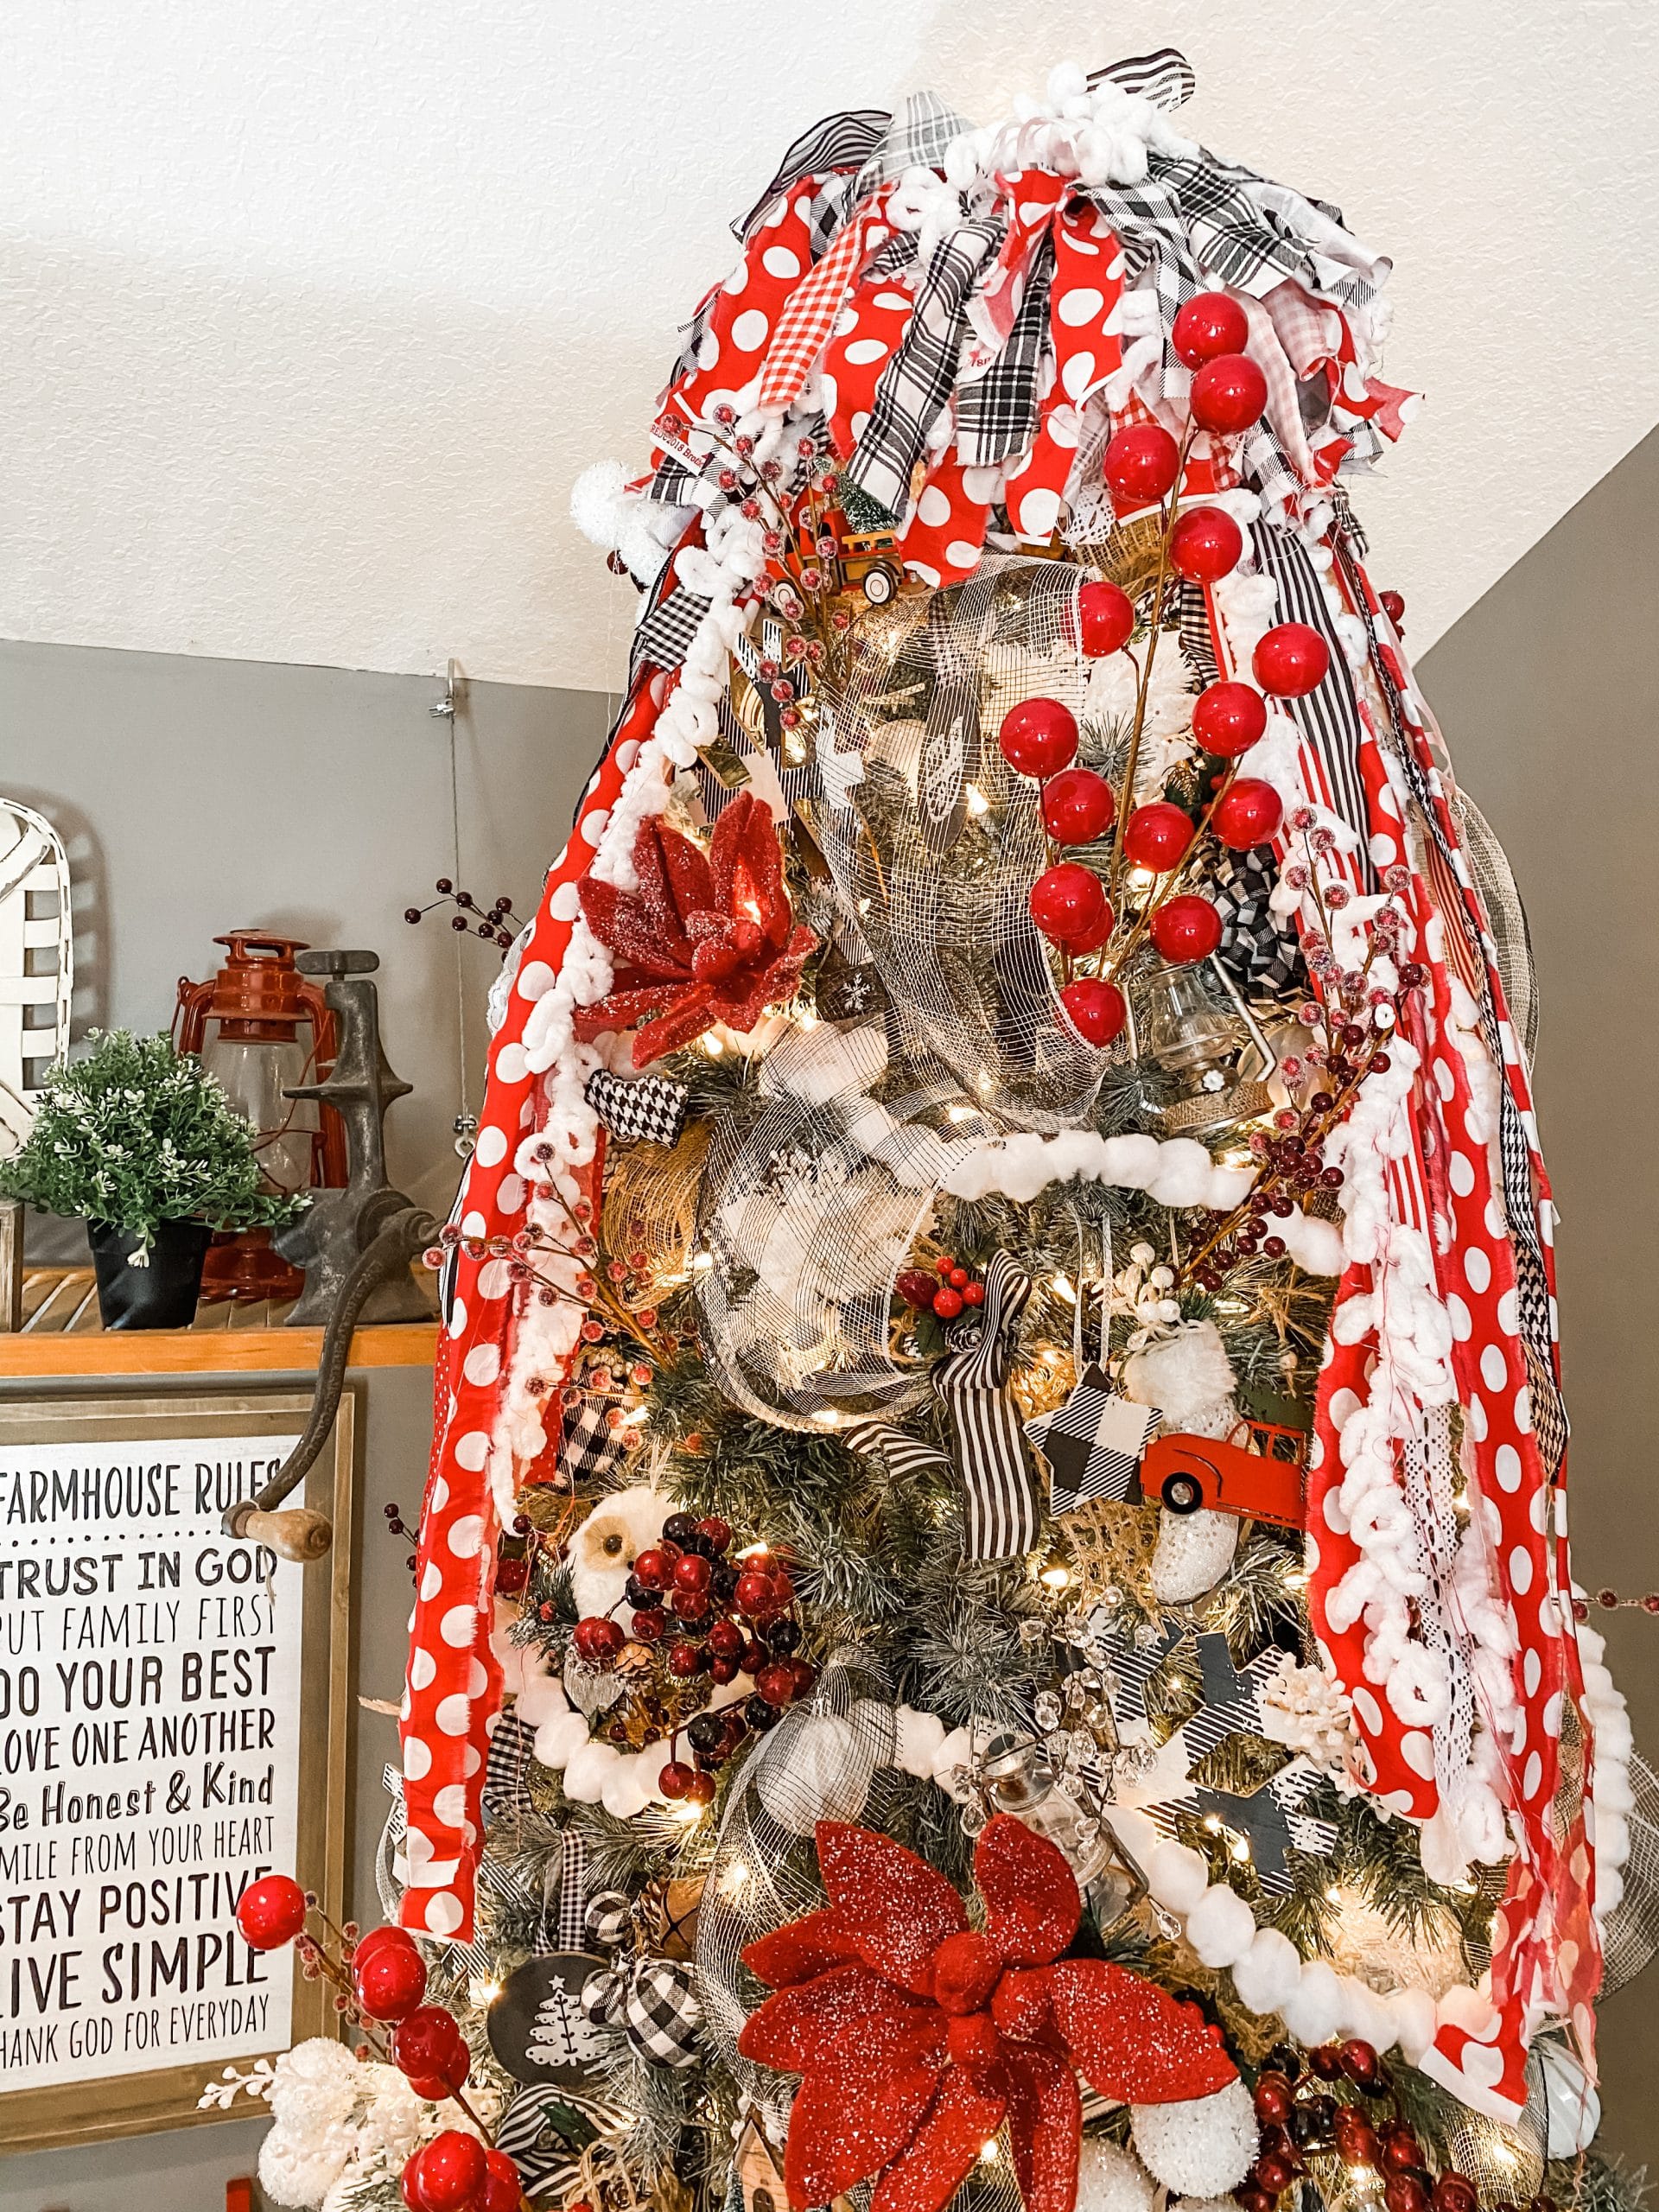
Now all you have to do is set the messy bow on top of your Christmas Tree! The bow is so large that you don’t need anything to secure it to the tree. It will sit securely on top of the tree!
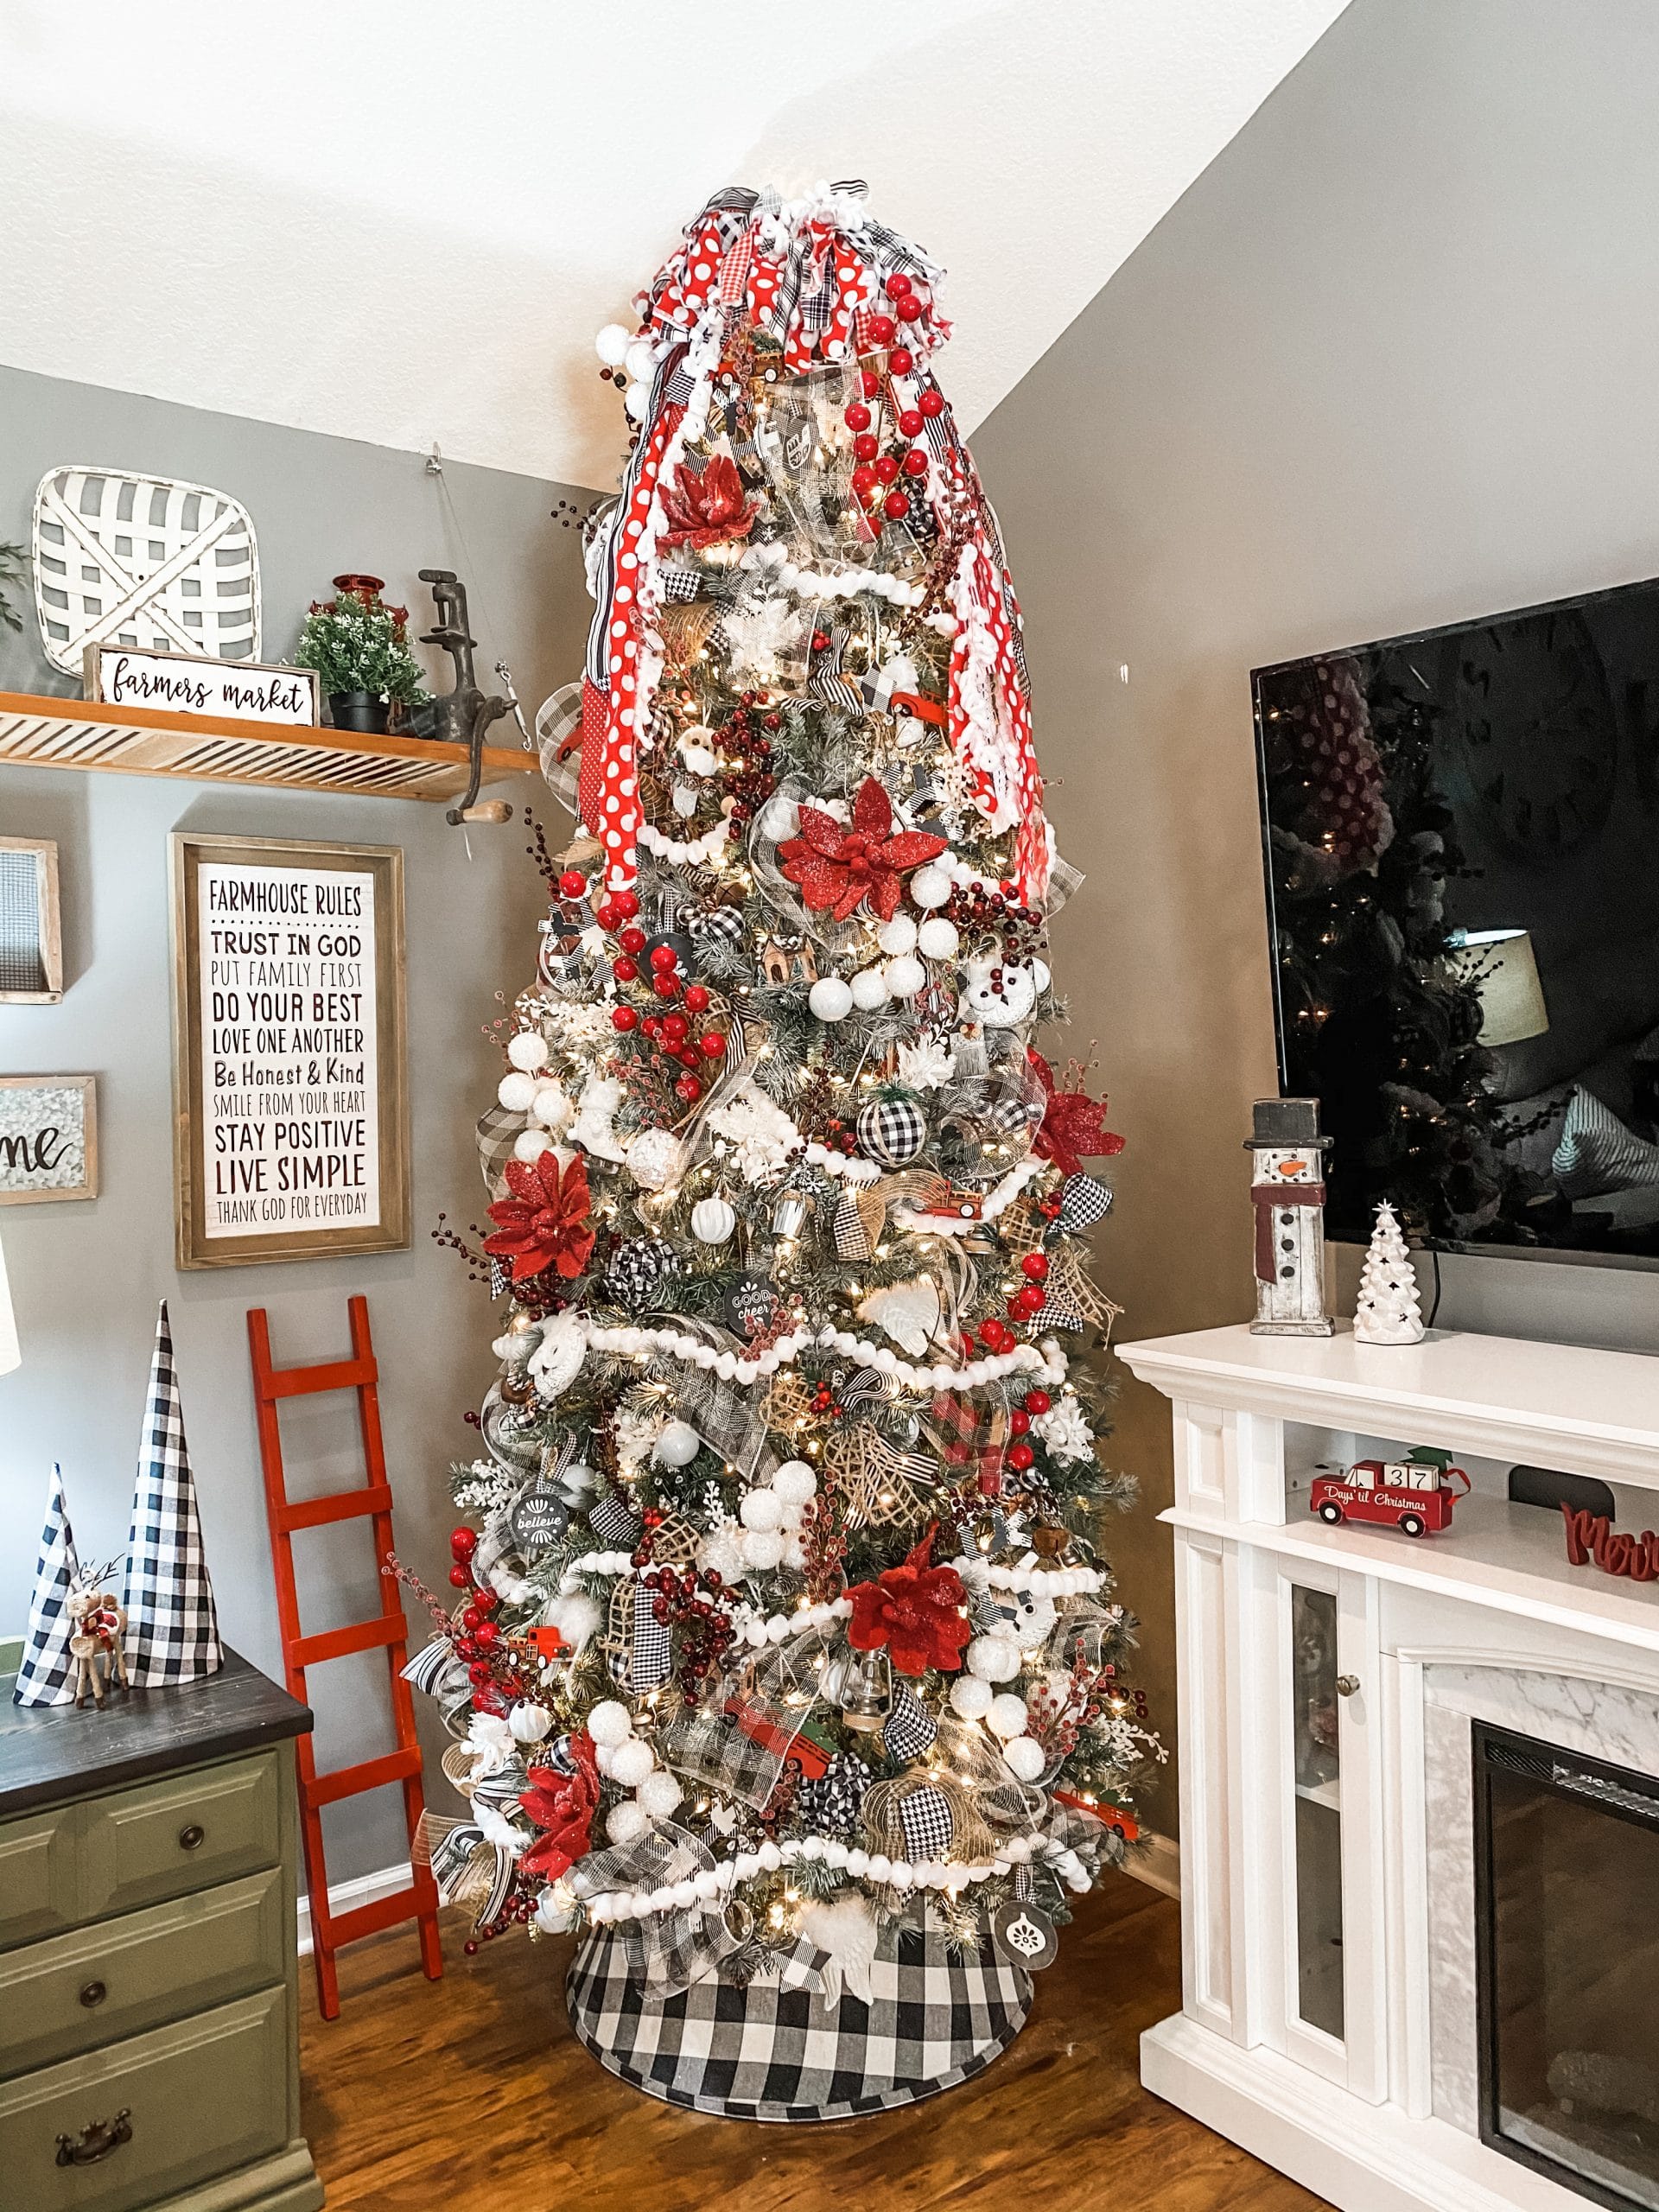
I hope you enjoyed this Christmas messy bow as much as I did and decide to make one for yourself! I would love to see how yours turns out! Y
ou should totally join my FREE Facebook group called On A Budget Crafts! It is a judgment-free community for DIY crafters to show off their projects and ideas.
If you loved this DIY you might also like this DIY Christmas Tree Shelf Decor!
Thanks for stopping by! XOXO Amber
You can also shop my ENTIRE AMAZON Favorites shop just click here! It’s packed full of all the things I use and love.
Here is the supply list I highly recommend every creative have on hand!! Would you also pin my blog for later and get on my newsletter alerts? I would love to have you join my #craftycrew.

Join my free “ON A BUDGET CRAFTS” Facebook group!
PIN THIS POST FOR LATER!


Absolutely beautiful