DIY Christmas Decor with a Michael’s Ornament
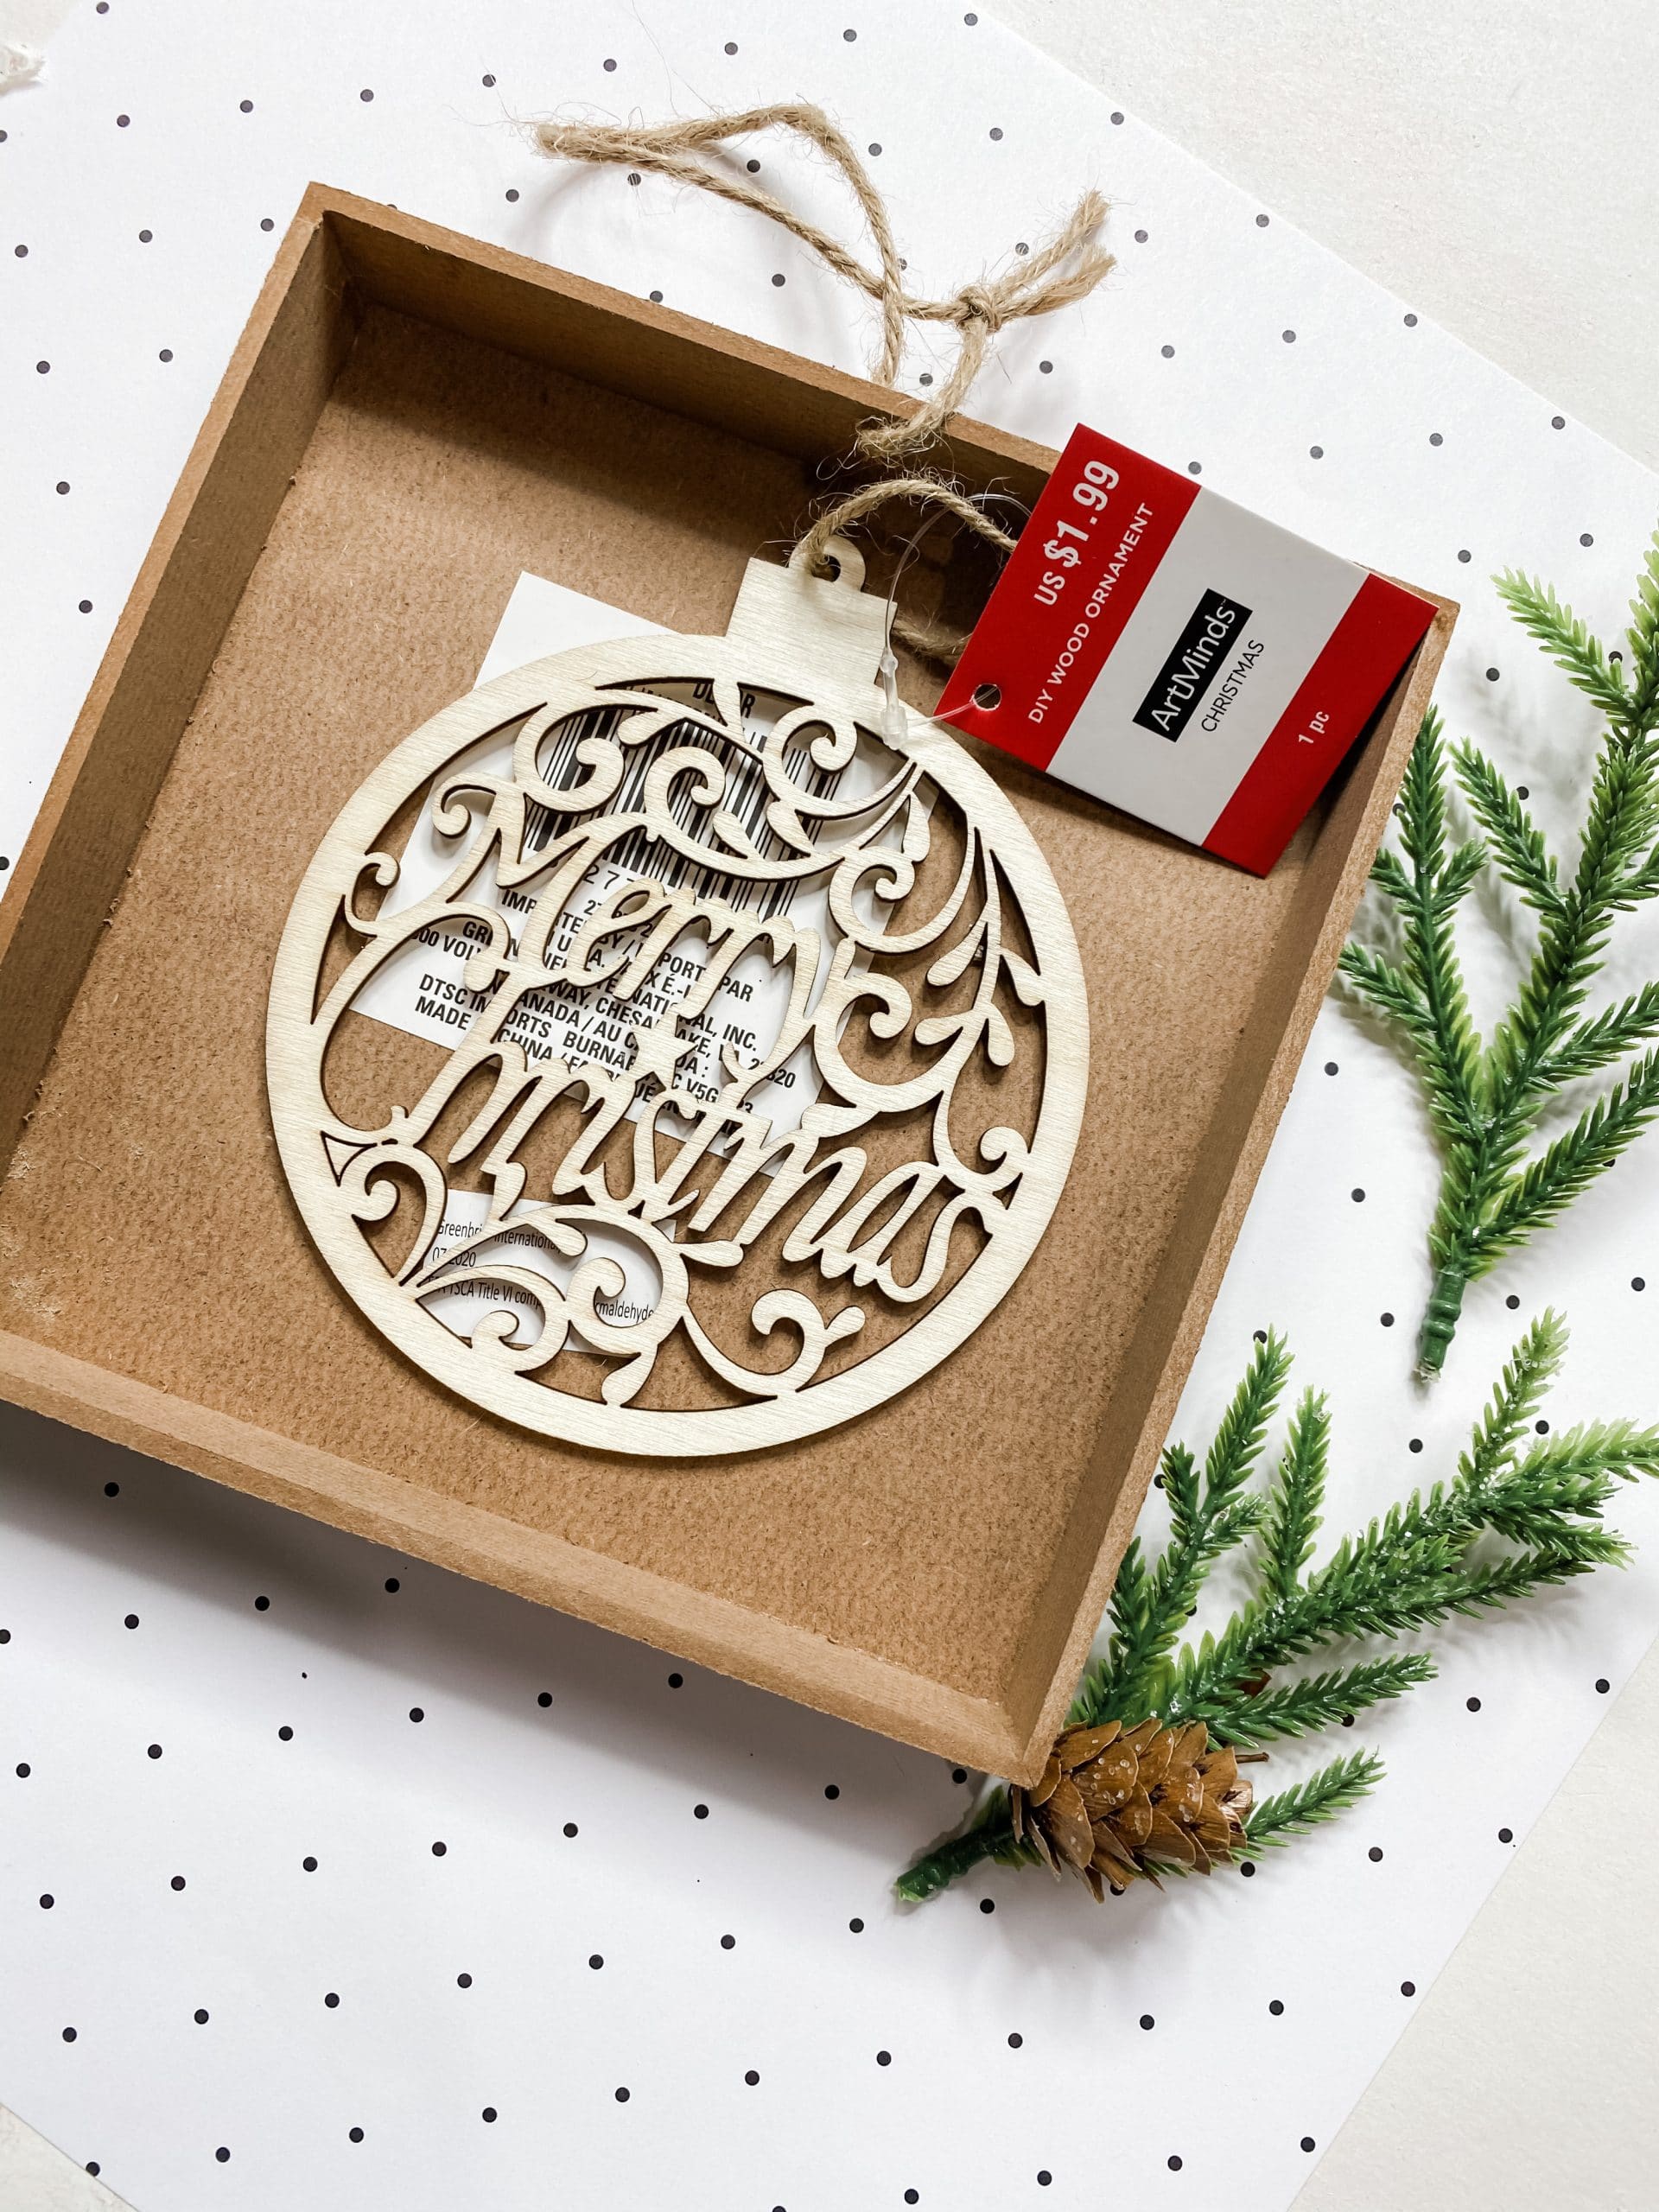
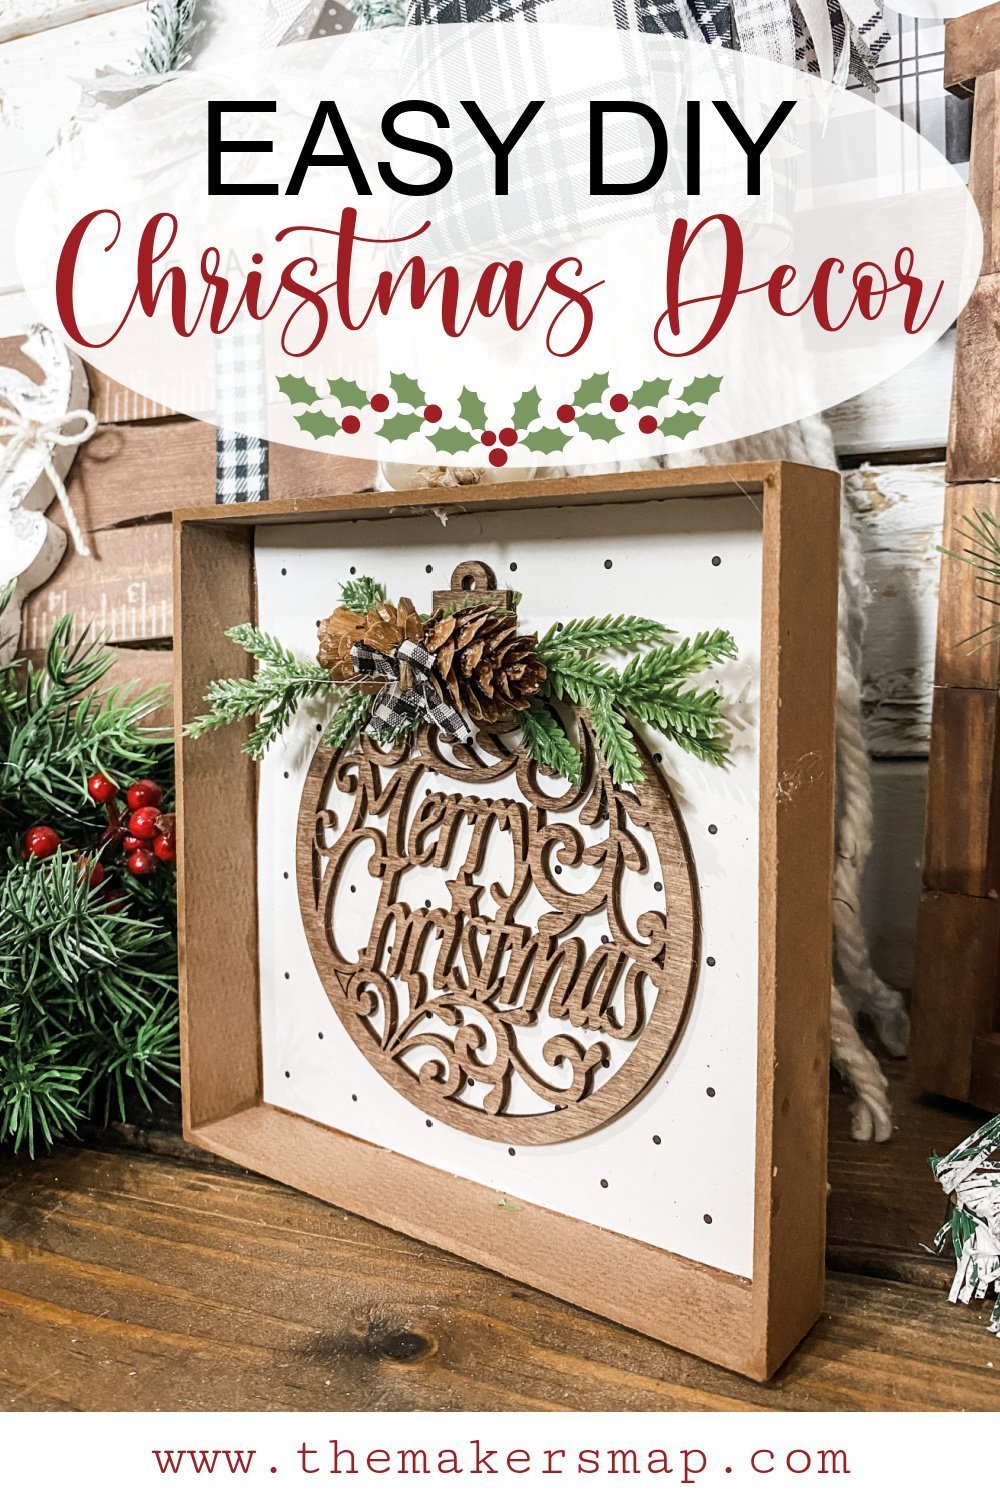
If I had to pick my favorite Dollar Tree item to use in my DIY crafts, it just might be the wooden sign boxes I used for this DIY Christmas Decor with a Michael’s Ornament. They are so cheap and can be used in so many different ways!
Even though I am rarely a fan of the design already on the front, I LOVE turning them around and using the back for shadowbox-like DIYs, and that’s exactly what I did here!
Watch the replay
I am all about making the most of my time and being the most productive I can be. So, I made this super adorable DIY Christmas decor during a 2-in-1 Live video.
That’s right, there are 2 super cute DIY craft tutorials in this video! If you want to see how I made this easy Christmas DIY, you can watch the replay!
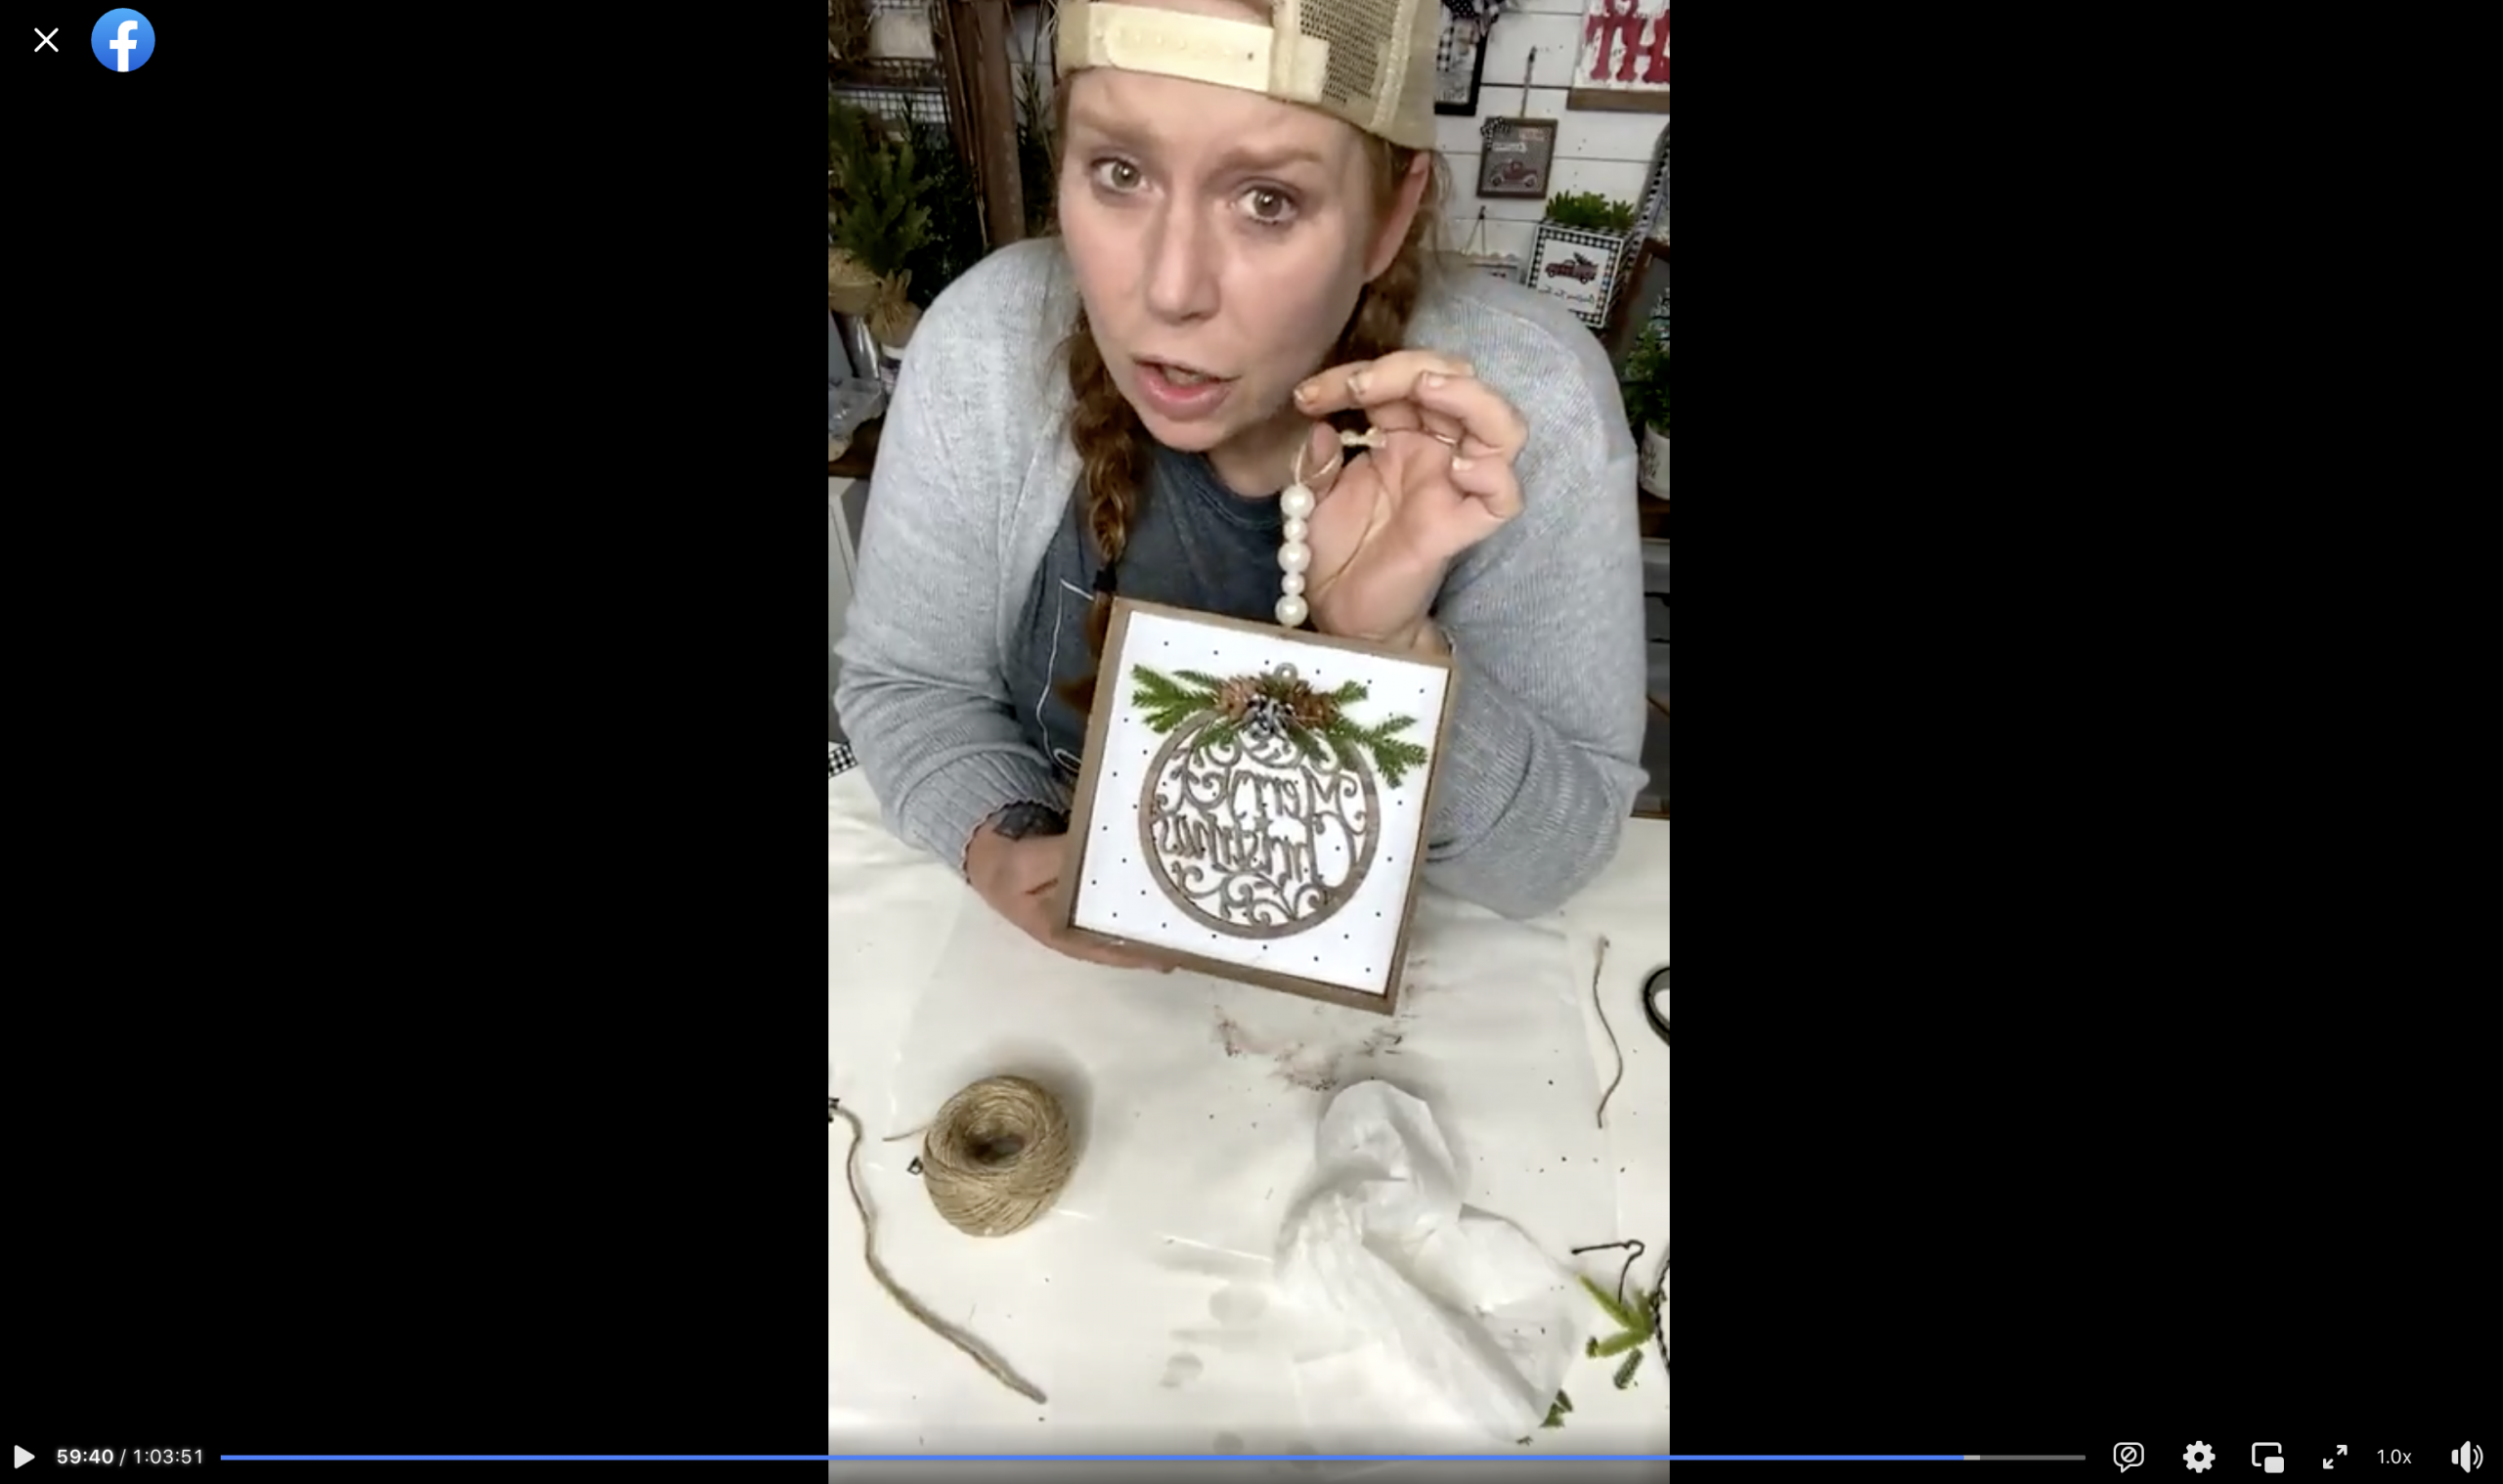
For this project, I will be using these items but you can substitute where you want.
“As an Amazon Associate, I earn from qualifying purchases.”
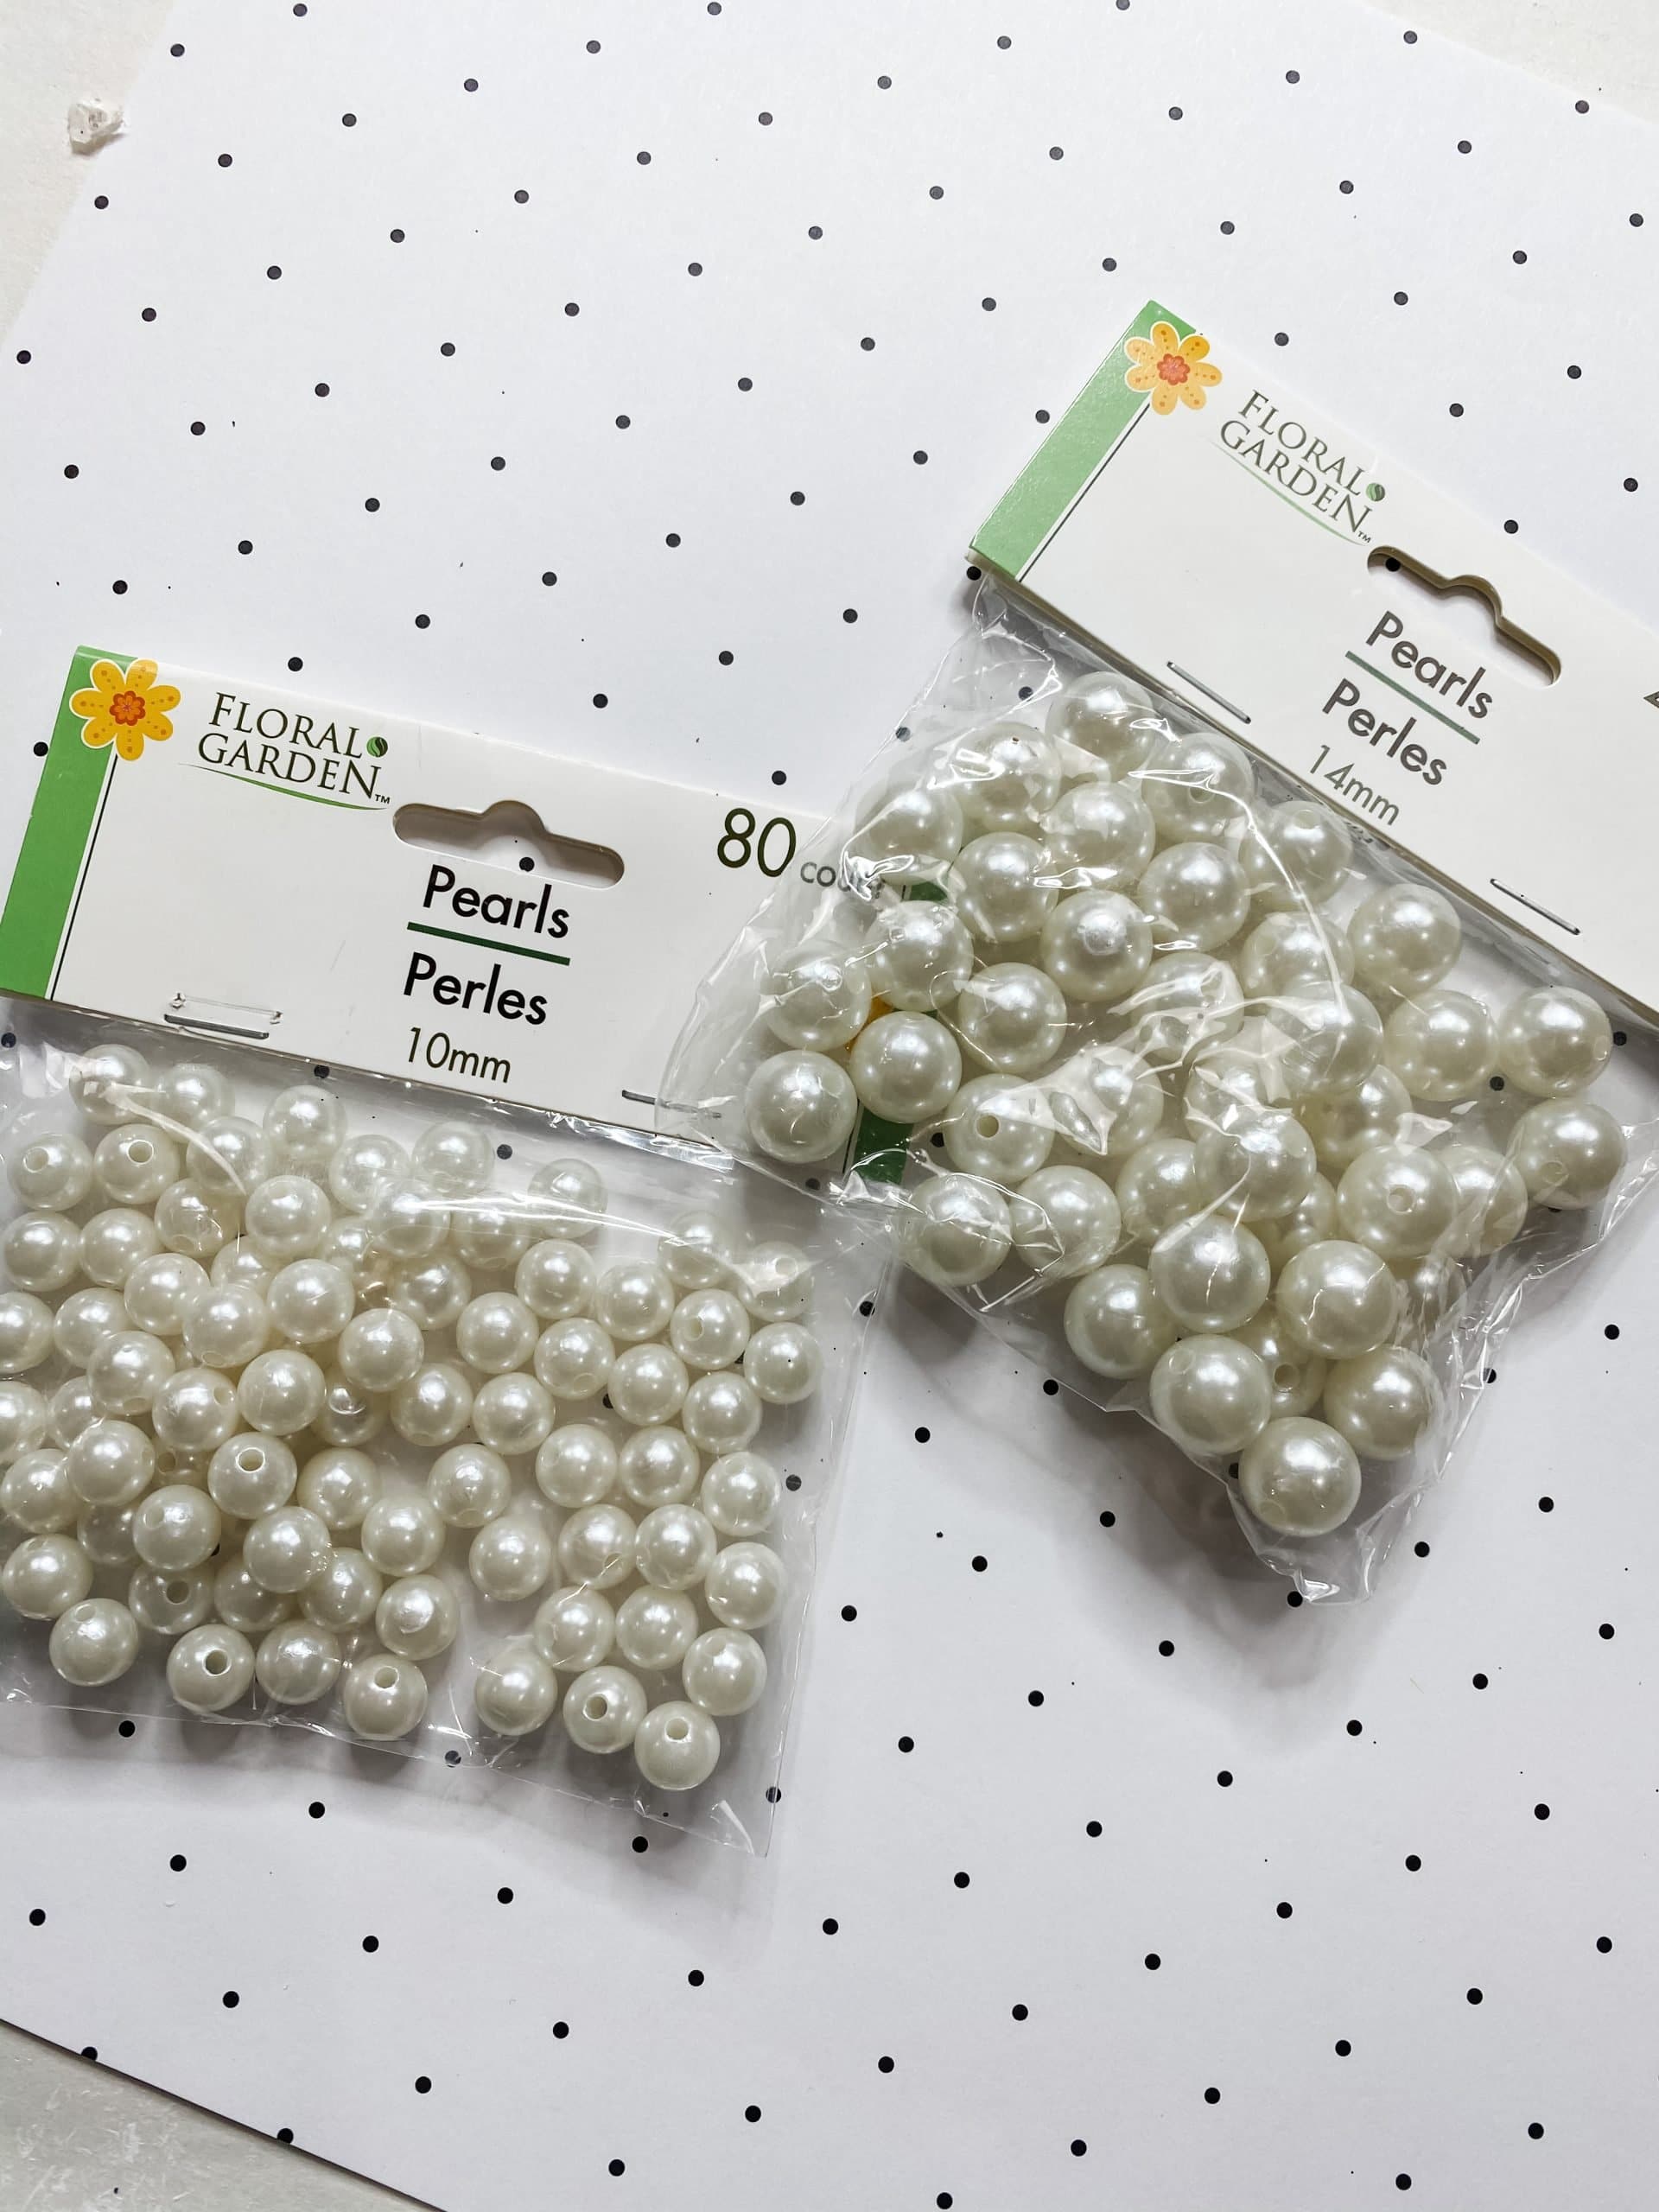
- Dollar Tree 10mm White Pearls
- Dollar Tree 14mm White Pearls
- Buffalo Check Ribbon
- Dollar Tree Christmas Greenery Spray
- Dollar Tree Square Sign Box
- Apple Barrel Burnt Umber Acrylic Paint
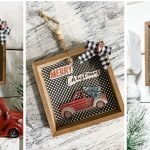
- Merry Christmas Ornament (Michael’s)
- Scrapbook Paper
- Mod Podge
- Glue Gun and Glue Sticks
- Heat gun
Let’s get started
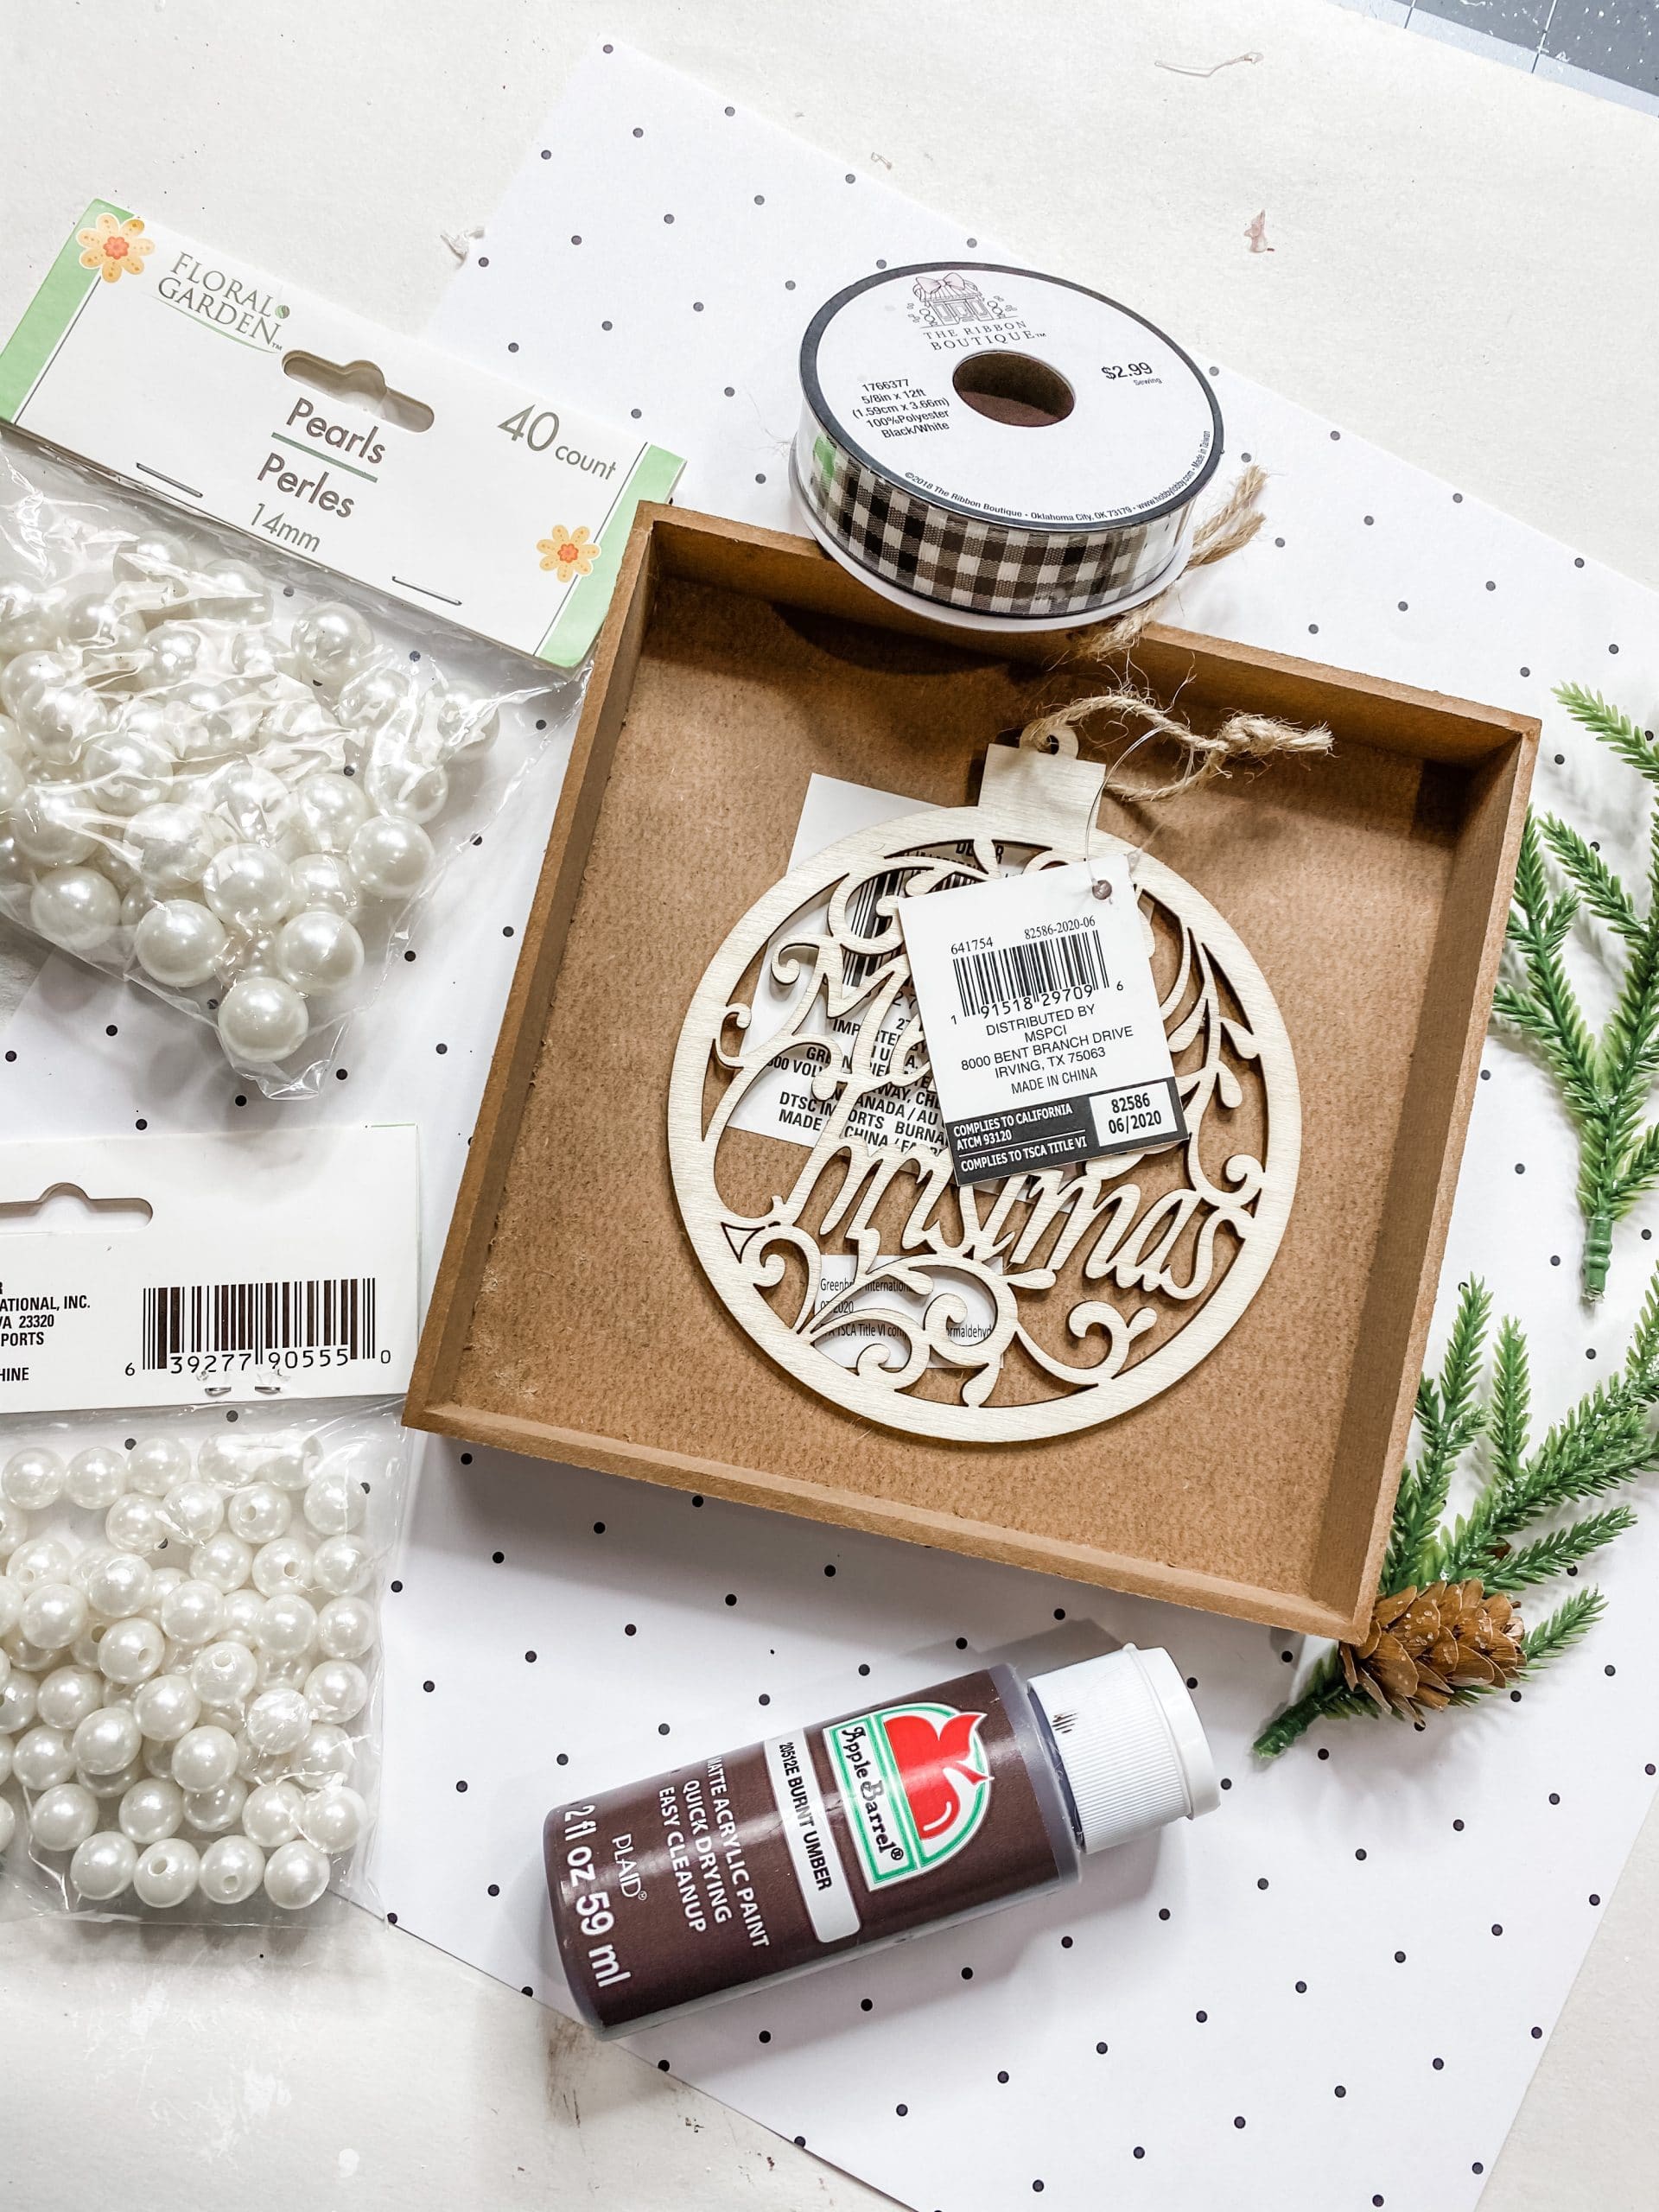
Alright, the first step to recreating this adorable DIY is to cut the scrapbook paper to fit inside the back of the Dollar Tree wood box.
I used a piece of scrapbook paper that was white with black polka dots, but you can use any pattern that you like!
Once you have cut the scrapbook paper to fit inside the back of the wood box, coat the surface of the wood with a layer of Mod Podge and carefully apply the scrapbook paper.
You can use a debit card to smooth out the wrinkles/bubbles. If you cover the paper with a piece of plastic saran wrap, it’ll help keep the paper from pulling up when you smooth it out.
Merry Christmas!
Set your wood sign to the side for the Mod Podge to dry, and grab the Merry Christmas ornament (I got mine from Michael’s!)
If you’ve never seen my staining technique, you’re going to want to stick around and read this next part.
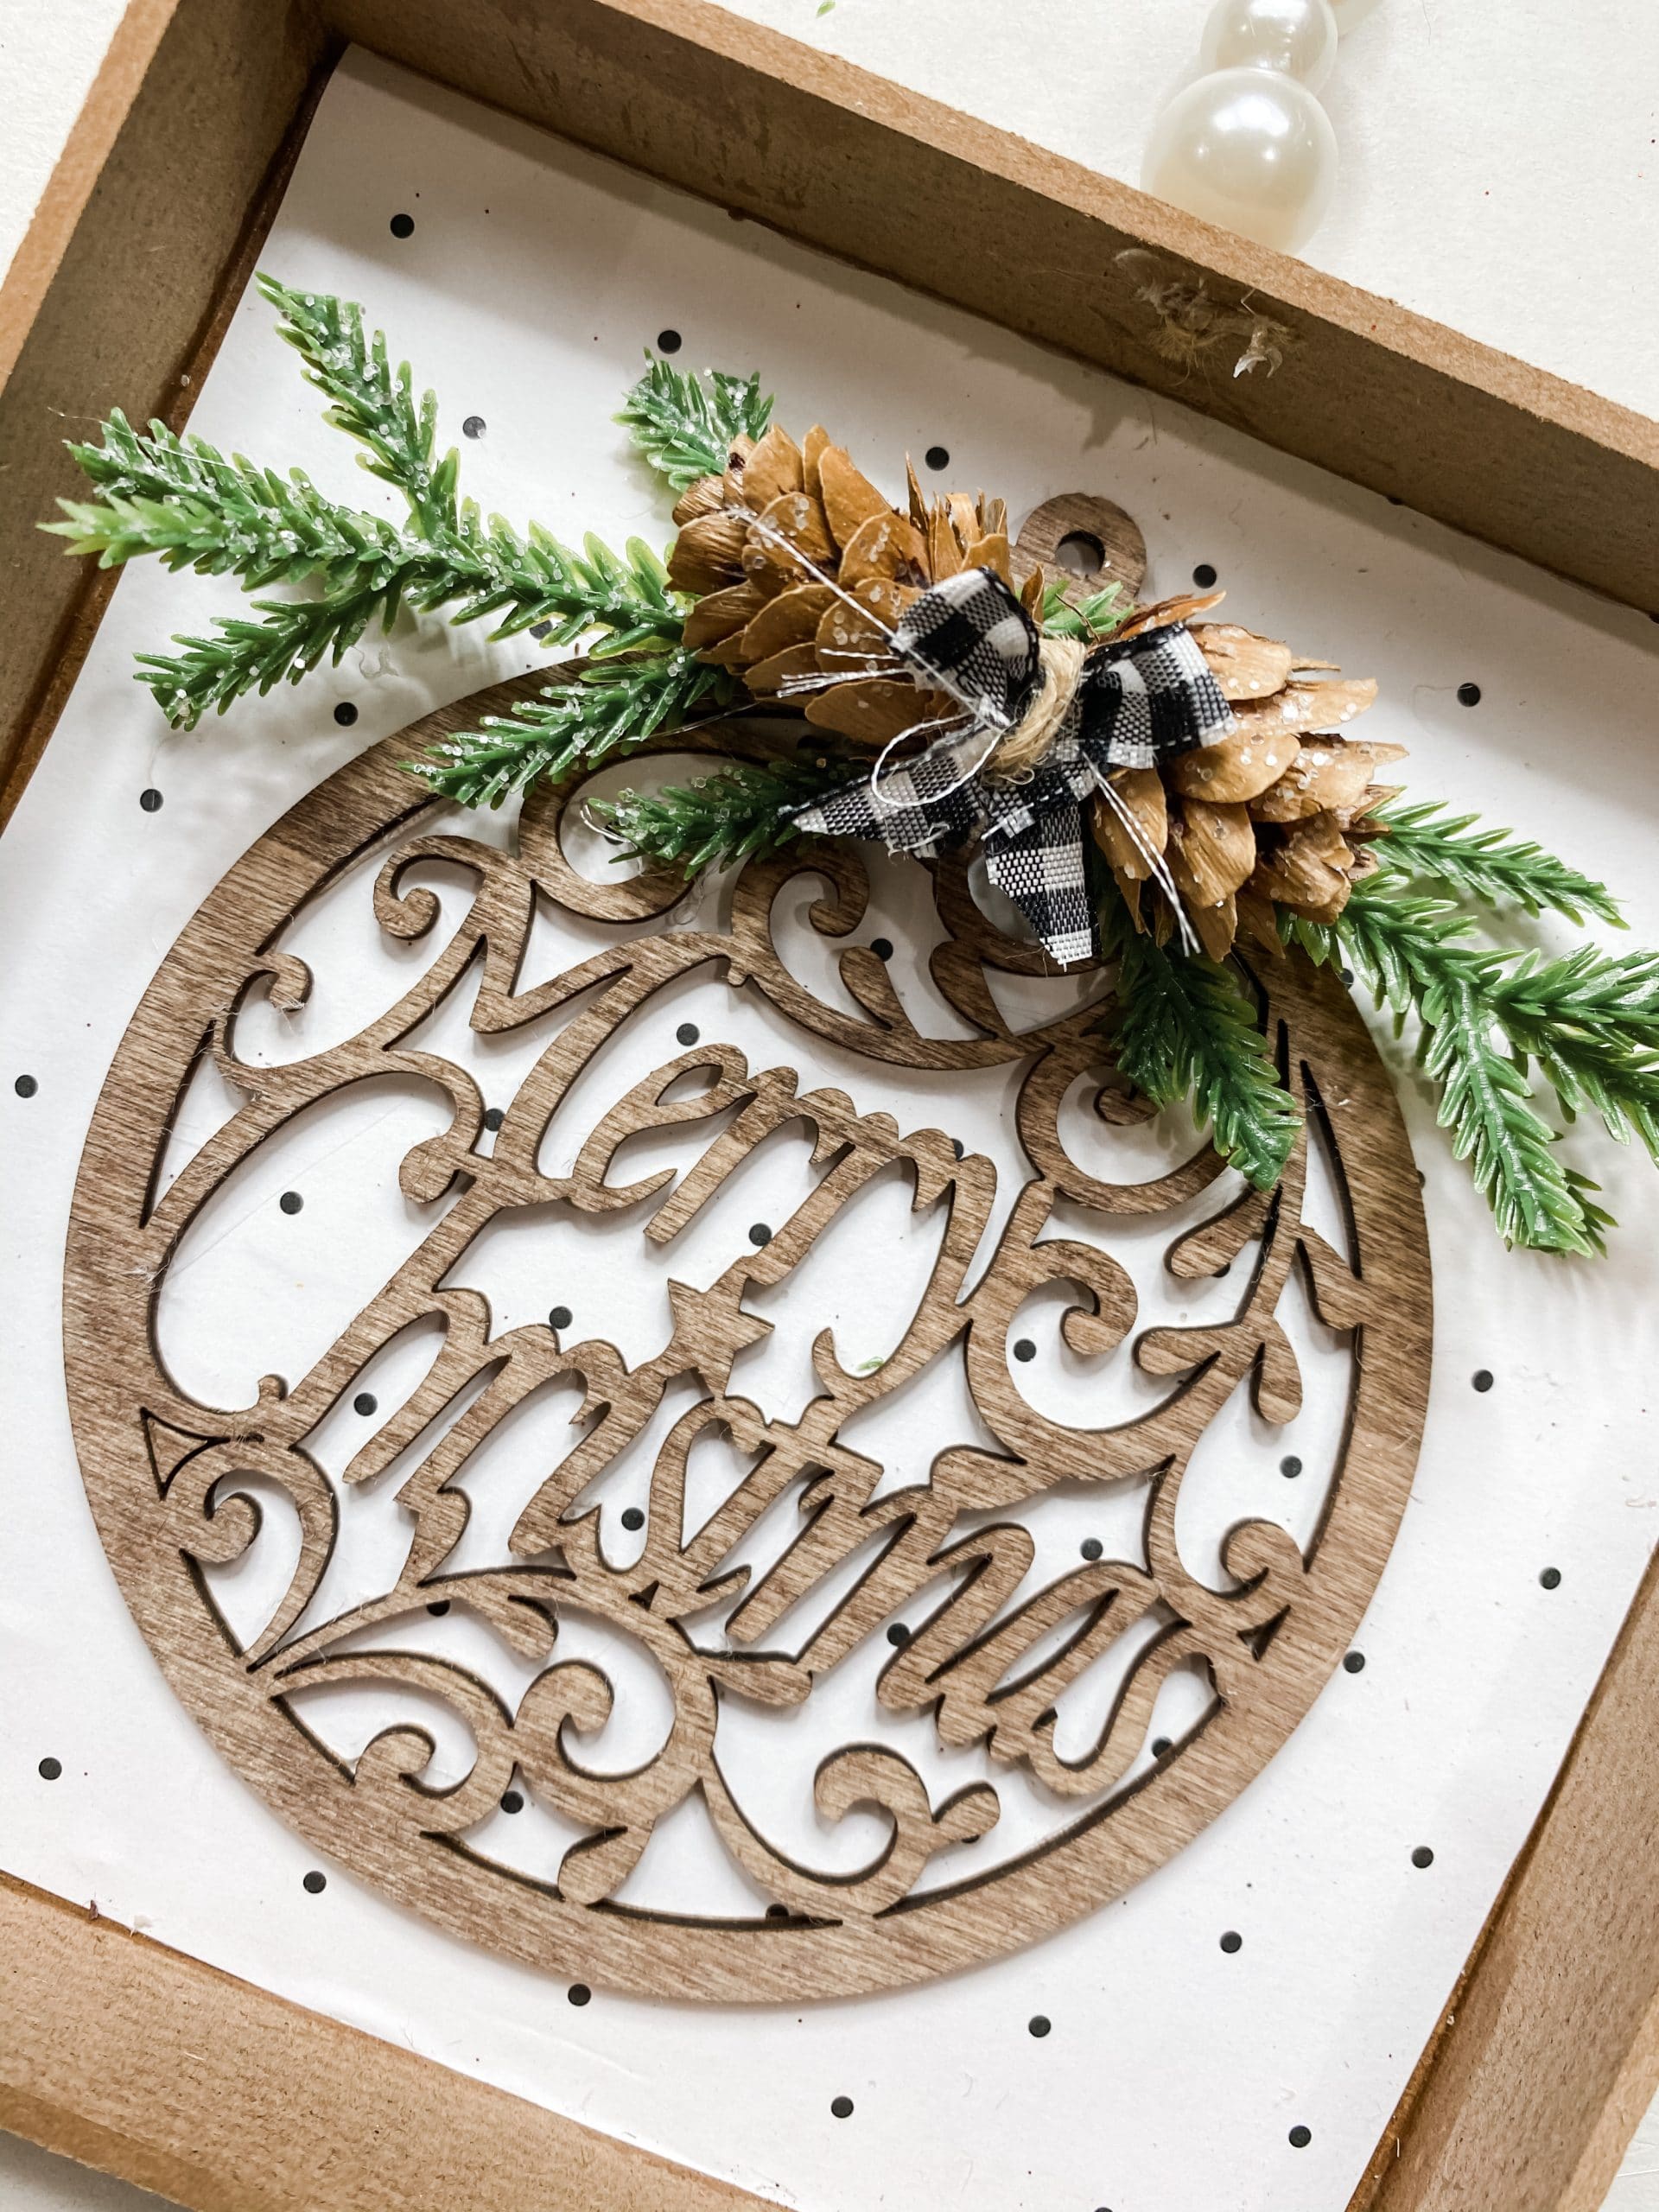
Mix some of the Apple Barrel Burnt Umber Acrylic Paint with a bit of water. Dip a baby wipe into the paint/water mixture and wipe it across the Merry Christmas ornament.
The water helps the wood absorb the paint rather than just coating the wood. This technique really gives the stained look. Once the ornament is dry, hot glue it to the inside of the wood box.
Add some details
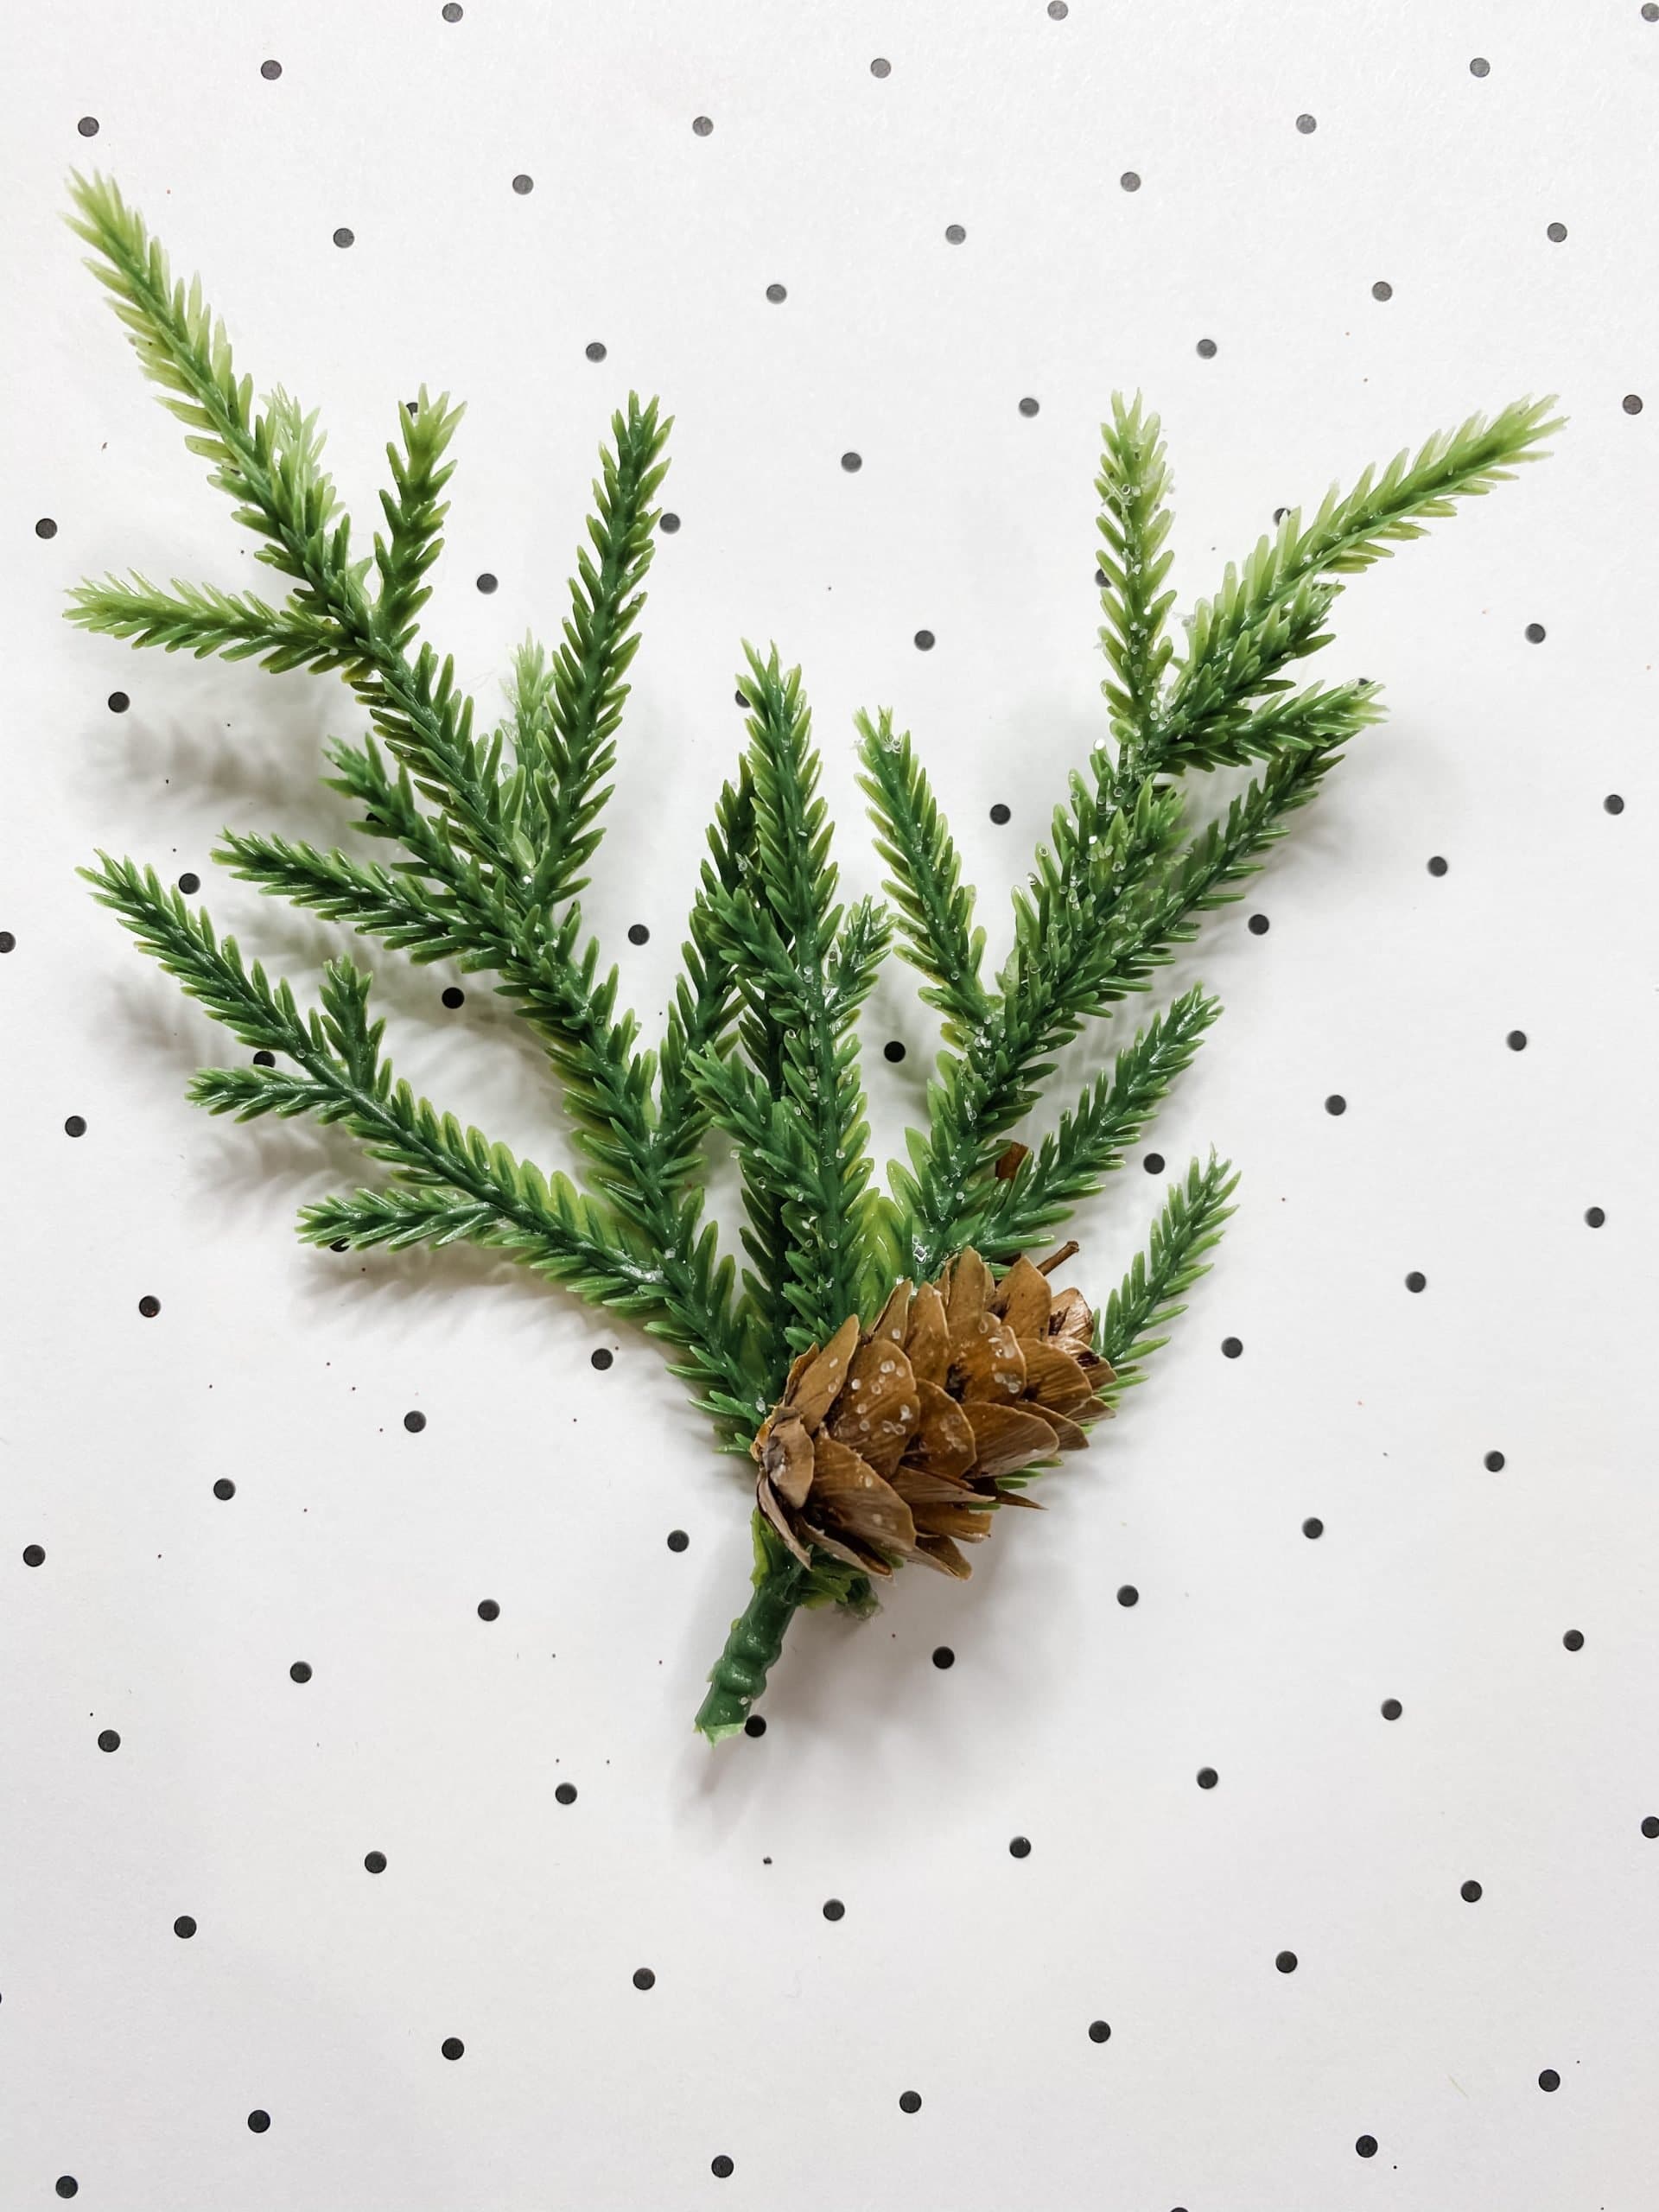
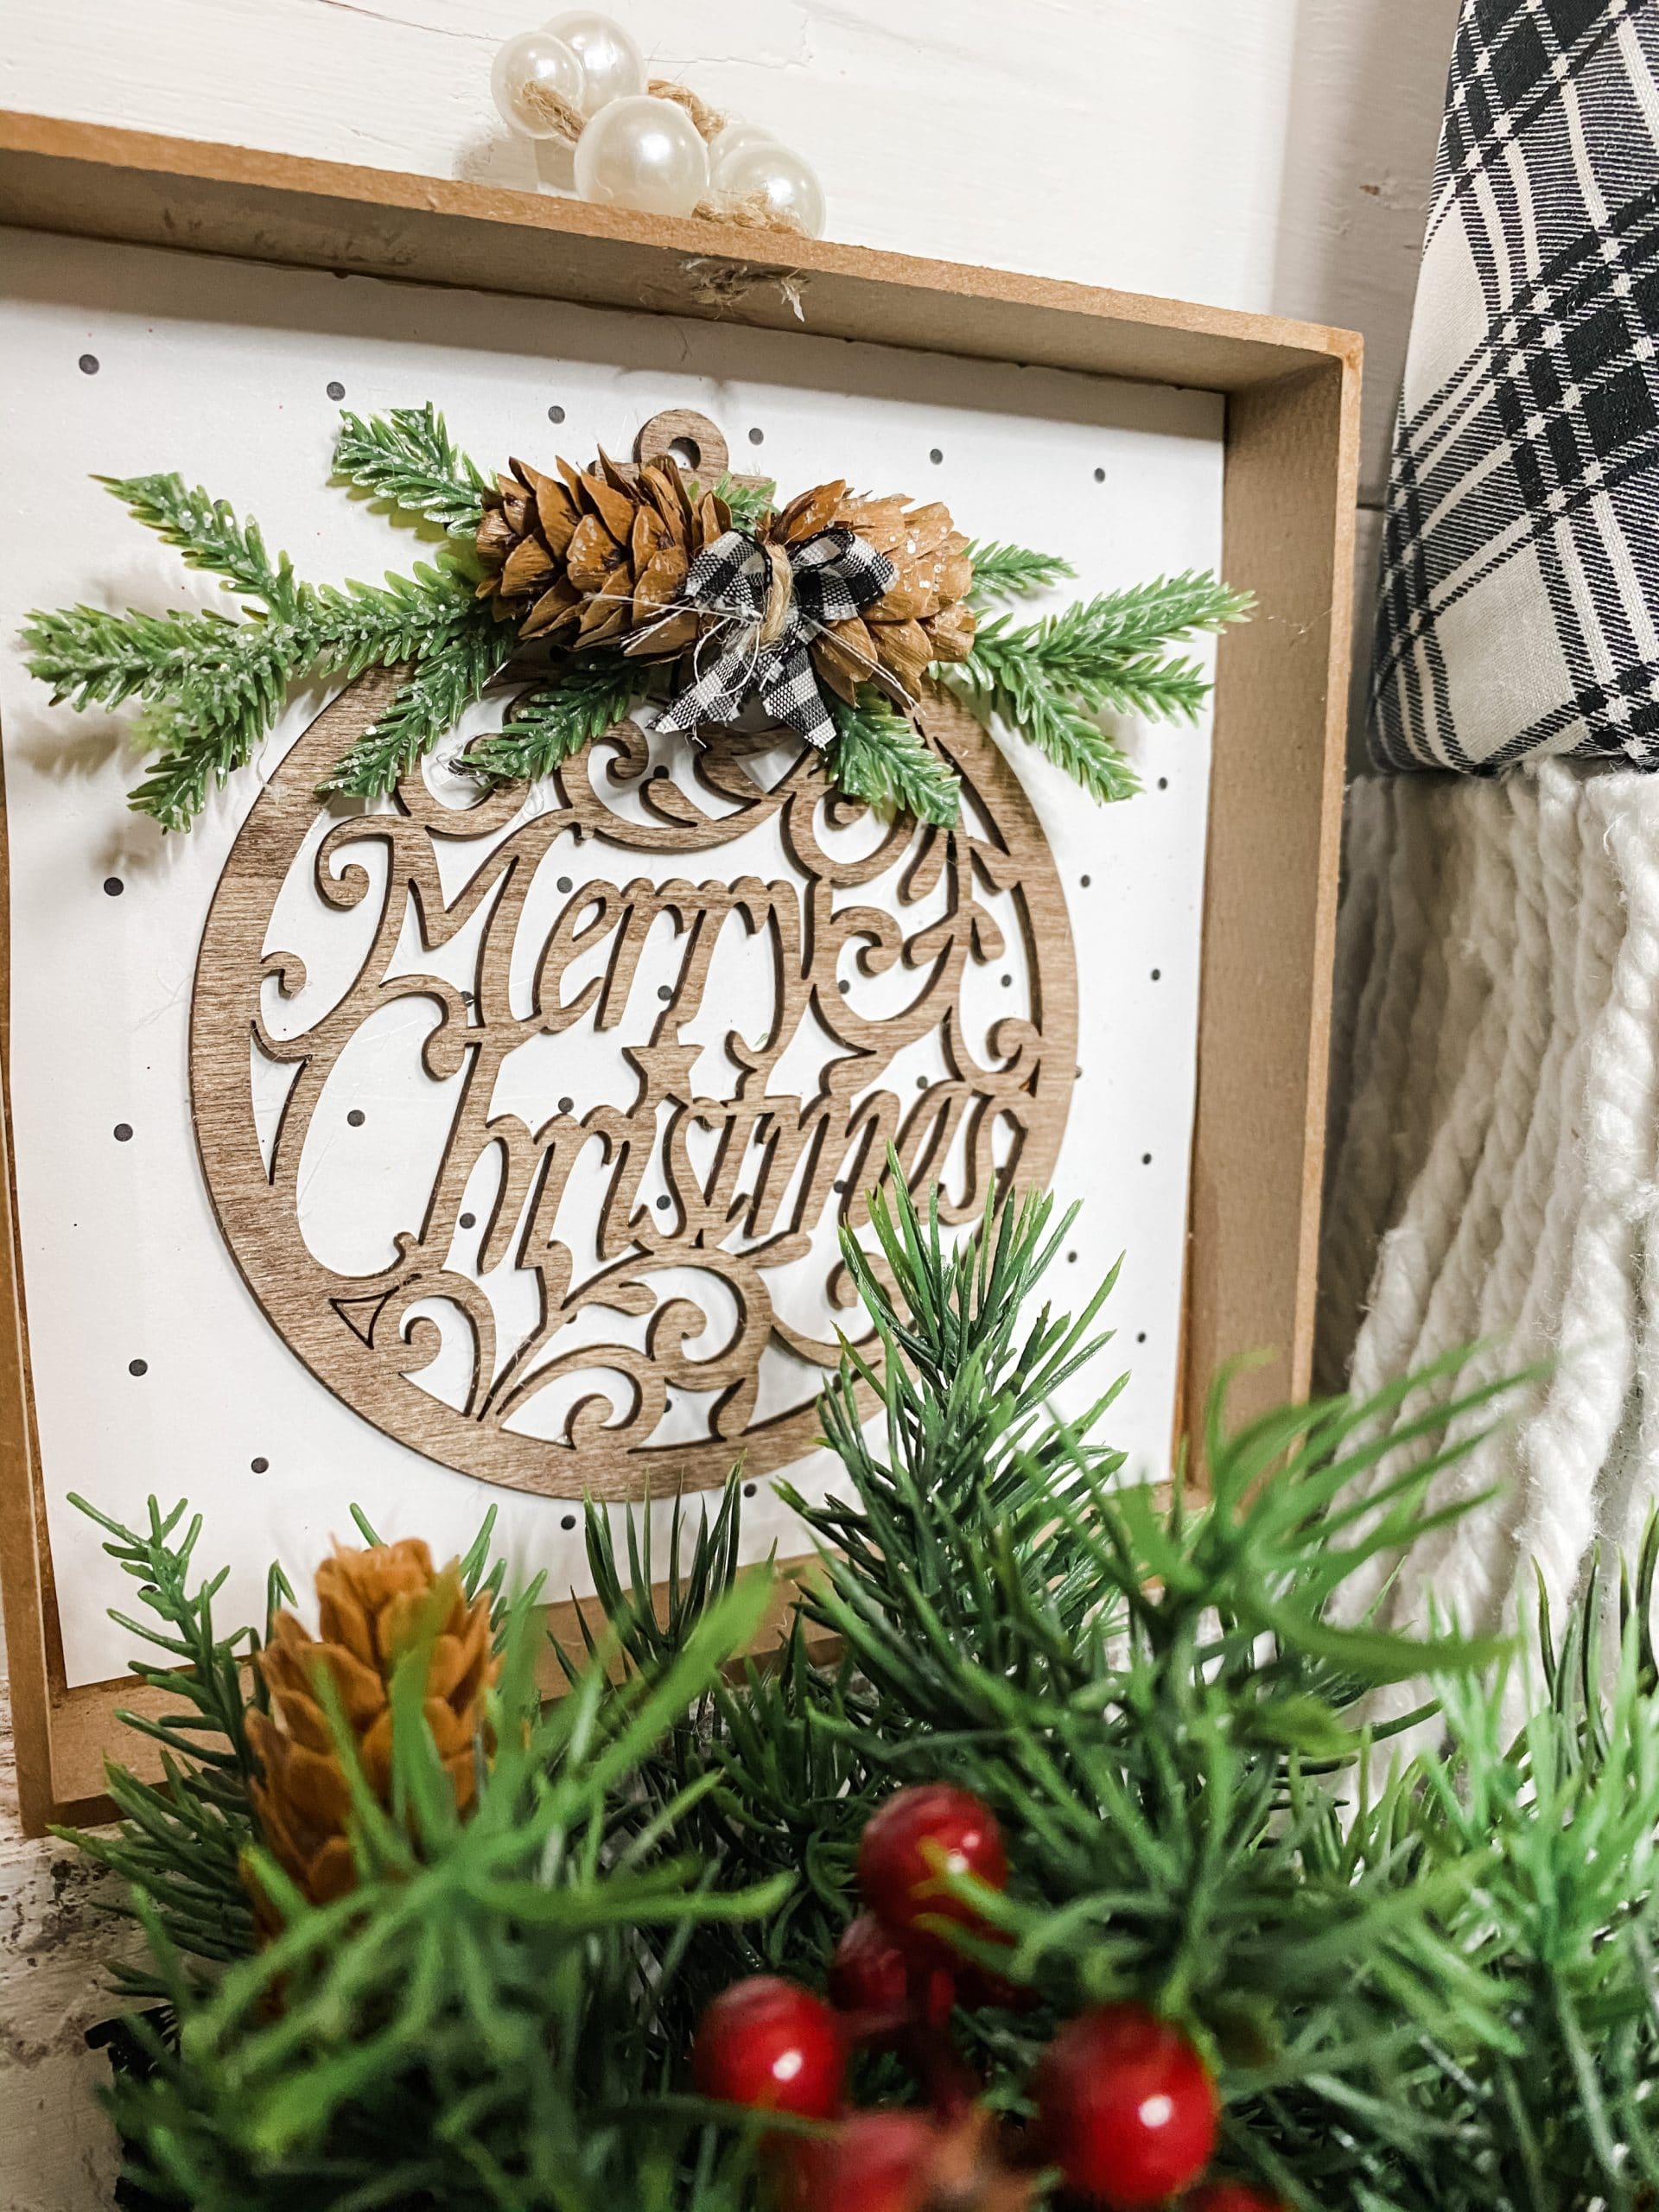
I used some super cute Christmas greenery from the Dollar Tree for this next part. Just cut the greenery to the right size (the right size is just how big or small you want it to be!), and hot glue it onto the top of the Merry Christmas ornament.
This greenery had little pinecones on it, so I took a couple of them off of the greenery and hot glued them onto the ornament as well.
Next, I made a little ribbon bow with the black buffalo check ribbon and hot glued that onto the ornament.
The finishing touches
We’re almost done! All that is left to do is make and attach the little pearl hanger! In most of my DIYs, I use wood beads and just twine, but this time I used some adorable pearl beads from the Dollar Tree instead of the regular wood beads.
I used 10mm and 14mm beads and just alternated each one as I threaded them onto the twine. To attach the hanger, I used a drill to make a hole in the top of the wood and threaded the end of the hanger through it, but you could also hot glue it to the top if you don’t have a drill.
I hope you enjoyed learning how to make this DIY Christmas Decor with a Michael’s Ornament as much as I did and decide to make it for yourself!
I would love to see how yours turns out! You should totally join my FREE Facebook group called On A Budget Crafts! It is a judgment-free community for DIY crafters to show off their projects and ideas.
If you loved this DIY you might also like this DIY Christmas Tree Shelf Decor!
Thanks for stopping by! XOXO Amber
You can also shop my ENTIRE AMAZON Favorites shop just click here! It’s packed full of all the things I use and love.
Here is the supply list I highly recommend every creative have on hand!! Would you also pin my blog for later and get on my newsletter alerts? I would love to have you join my #craftycrew.

Join my free “ON A BUDGET CRAFTS” Facebook group!
PIN THIS POST FOR LATER!

So adorable. So creative. Live everything you make
This turned out so precious. I love everything about it. Beautiful as all your crafts are, Amber.