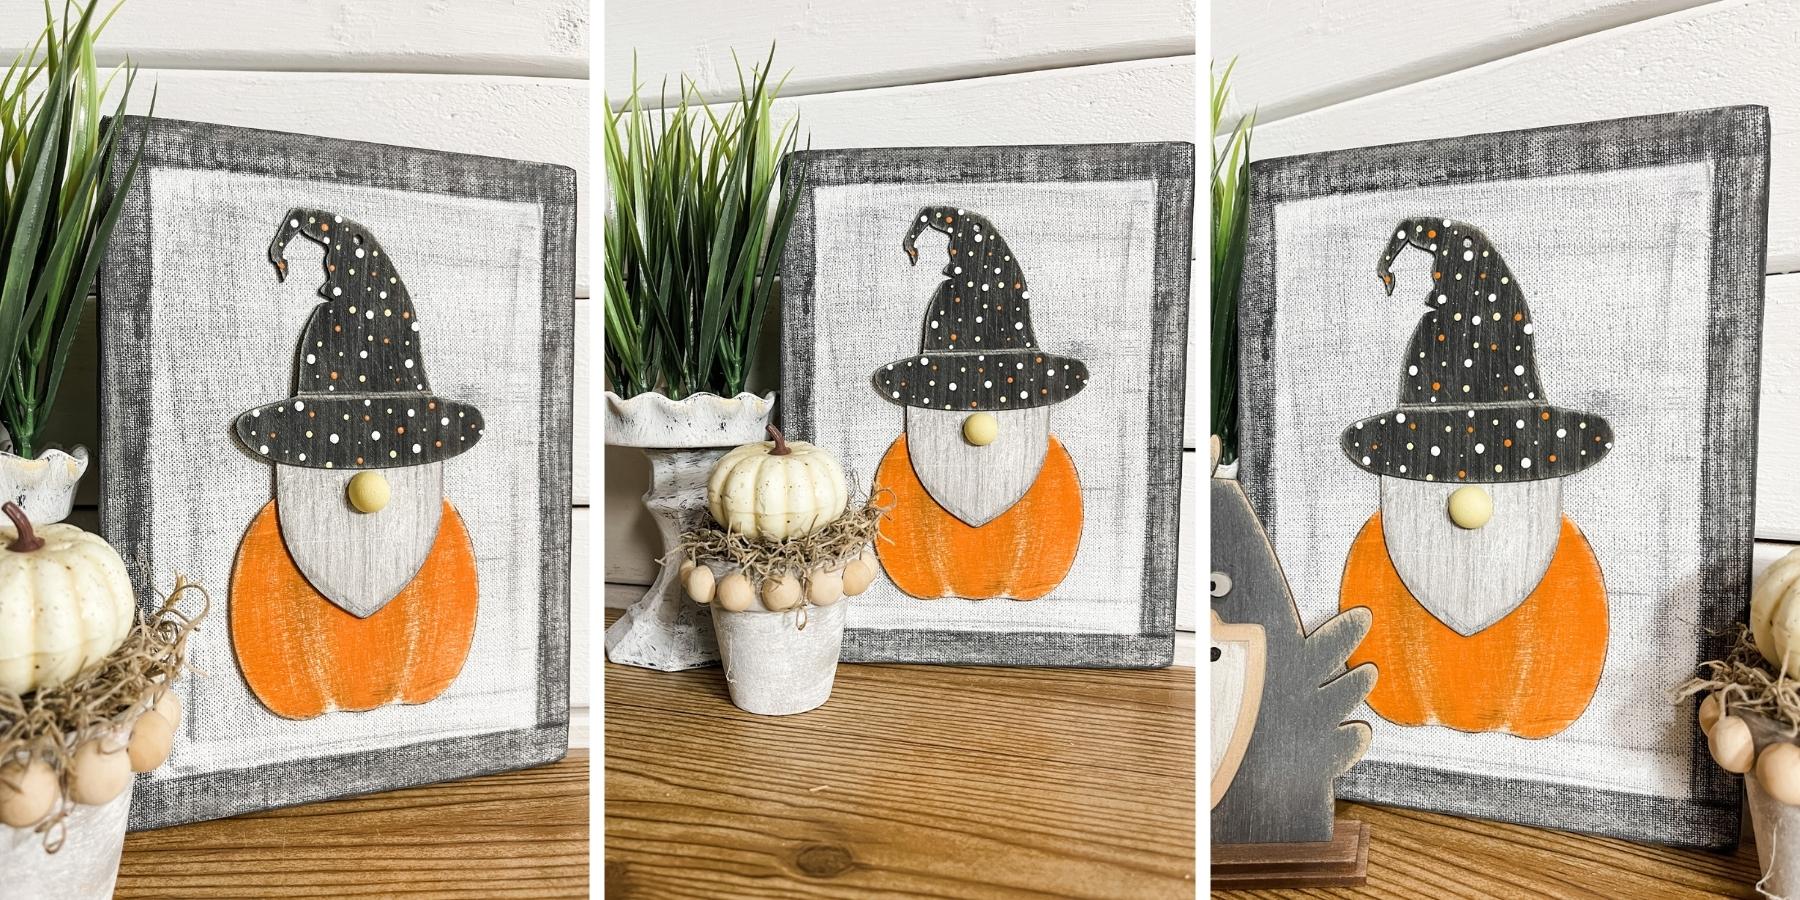
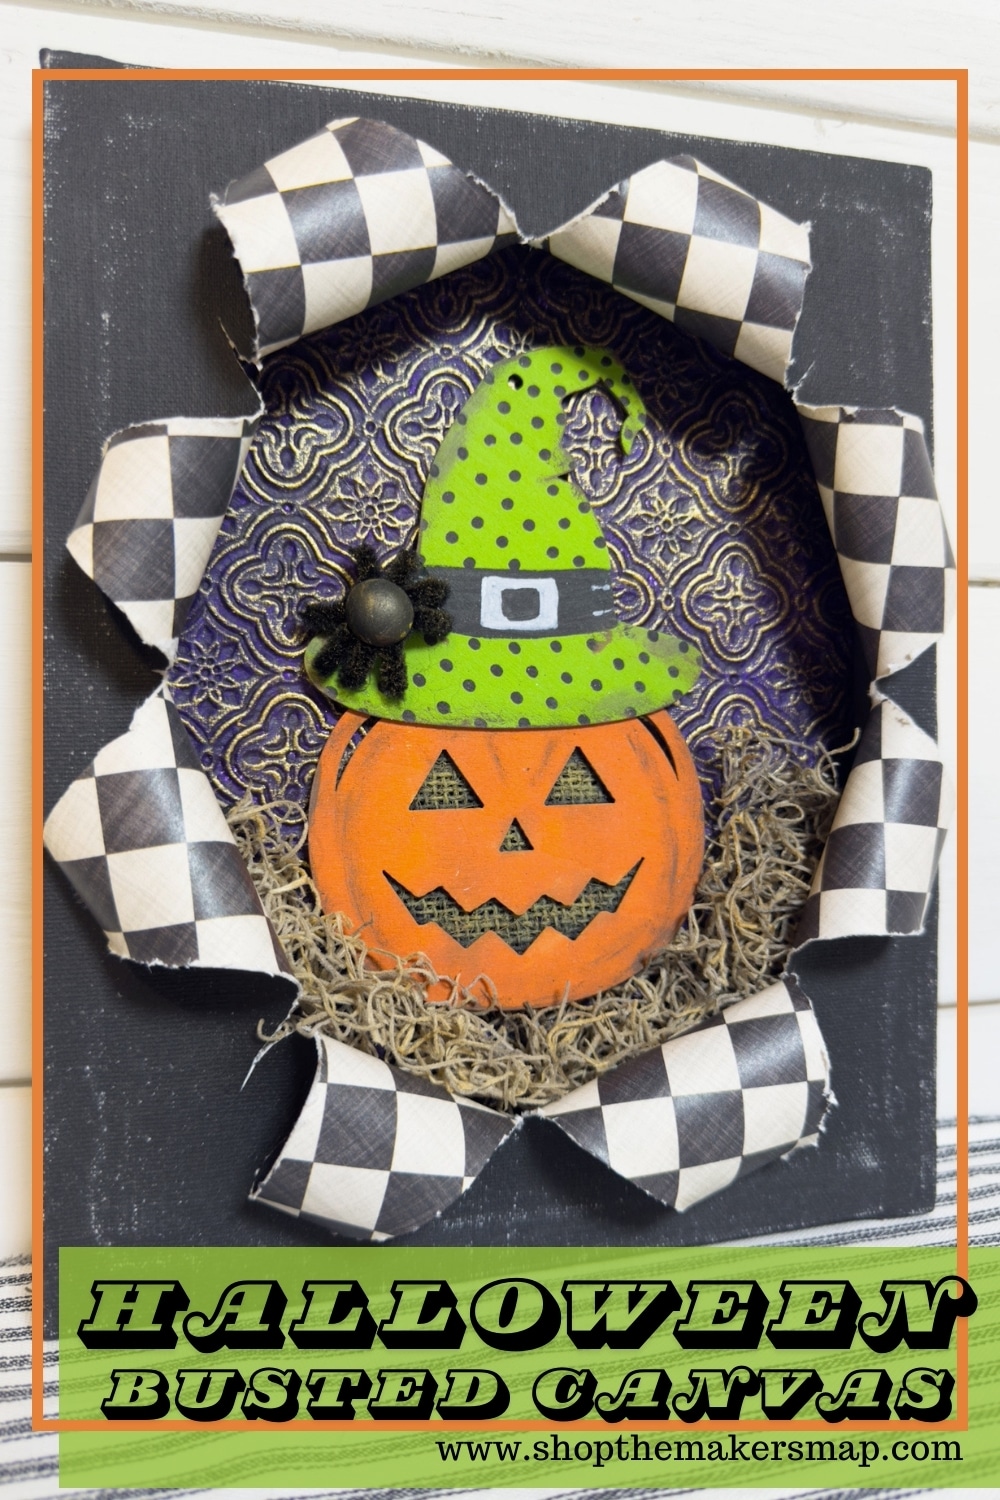
Halloween Busted Canvas Jack-O-Lantern
Now listen, this Halloween Busted Canvas Jack-O-Lantern was something new that I had never tried. I was a little nervous, but very excited to give the busted canvas trend a try!
I used to do a TON of Dollar Tree crafting, and then I opened my own DIY craft kit business and shifted to crafting mostly my own home decor wood cutouts.
When I saw the busted canvas idea trending, I just KNEW I had to see if I could pull it off. And I just have to say, I’m OBSESSED!
This easy and affordable Dollar Tree DIY came out better than I could’ve imagined. The best part – even a beginner crafter could do it!
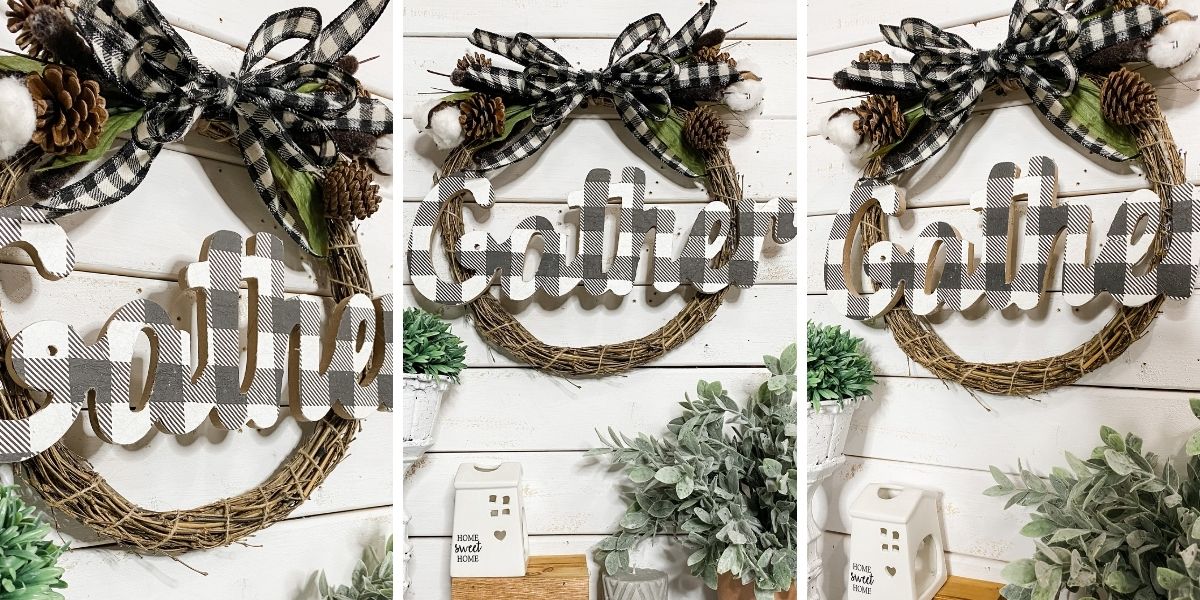
Be inspired
My blog is full of hundreds of DIY home decor ideas ranging from Dollar Tree budget crafts to my wood cutouts crafted to match my own home decor style.
I love taking something simple, whether a few different supplies from a budget store like Dollar Tree or blank wood kits that you can paint, stain, or decoupage then assemble with a bit of glue, and turning it into something incredible and unique!
What I love most about my craft kits is that you don’t have to search and find several supplies from different stores in order to bring your vision to life.
All you need to complete my wooden craft kits is paint and glue! If you want to add some extra detailing, you can add in ribbon, twine, scrapbook paper, moss, and more.
How to make a Halloween Busted Canvas Jack-O-Lantern
I started this fun Halloween craft by cutting the checkerboard scrapbook paper to fit inside the backside of the Dollar Tree canvas. You don’t have to specifically use a Dollar Tree canvas, though.
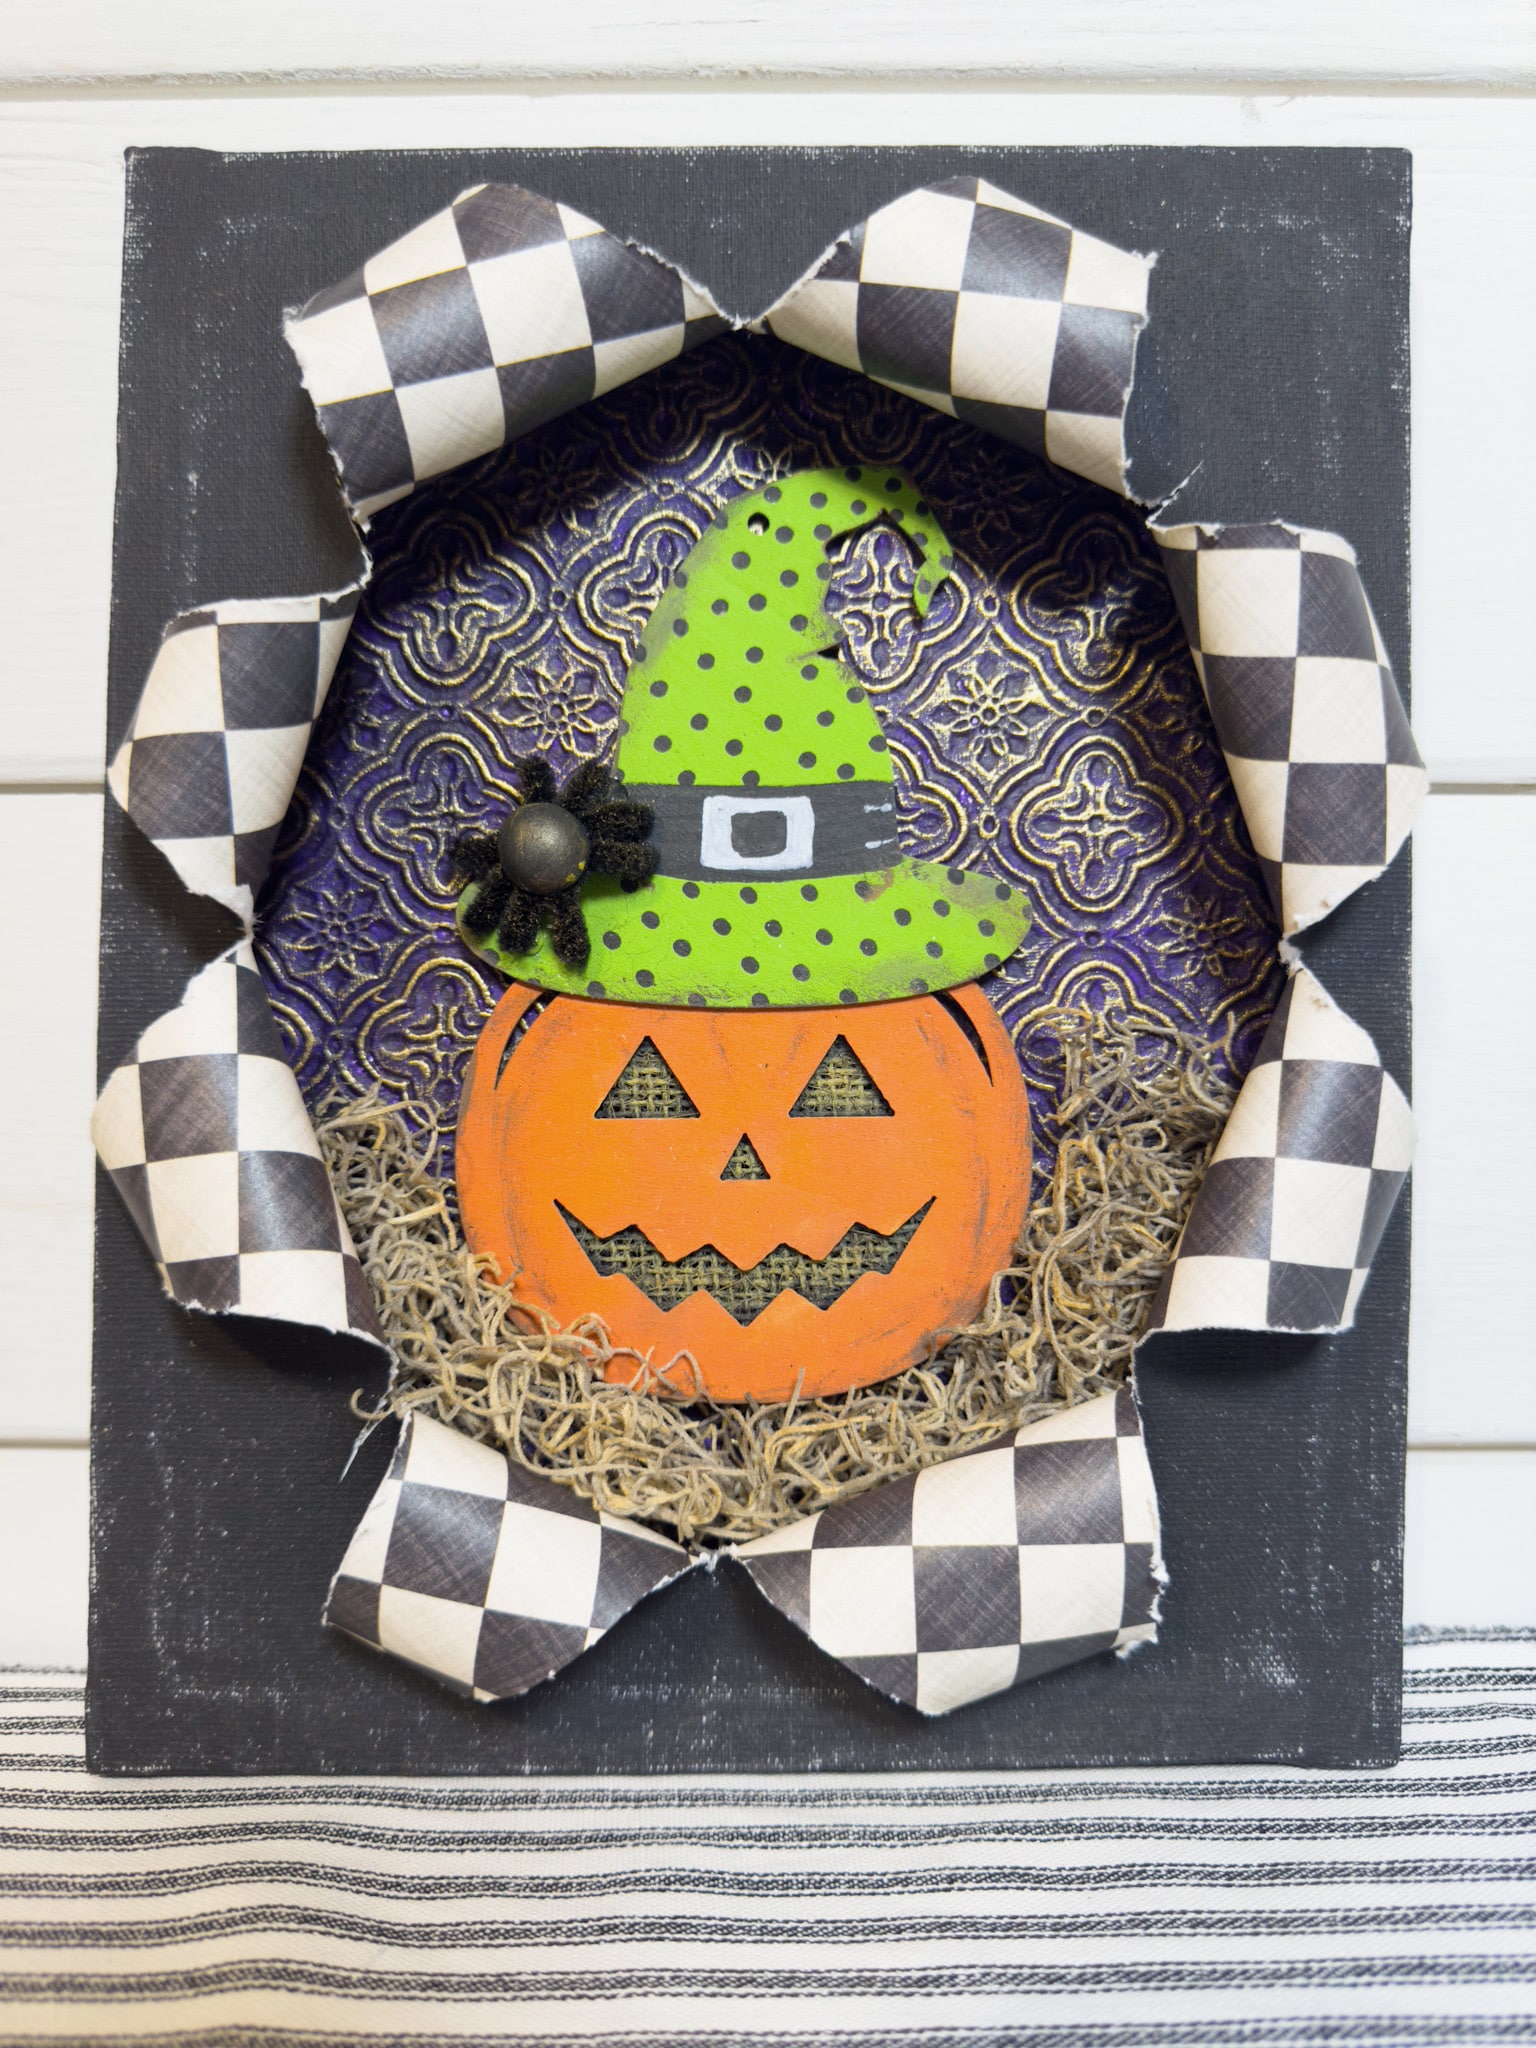
Next, I flipped the canvas over and painted the front and sides of it with black paint. Now, you need to wait for your paint to dry completely.
I’m impatient, so I speed up the drying process by using a heat gun. If you don’t have a heat gun, you can also use a hair dryer on a low, cool setting.
Once my paint was dry, I flipped the canvas back over and applied a coat of Mod Podge to the backside of the canvas. Press the checkered scrapbook paper onto the Mod Podge.
Smooth out the checkered scrapbook paper and allow the Mod Podge to dry. Again, I like to use a heat gun to speed this up.
Create your layers
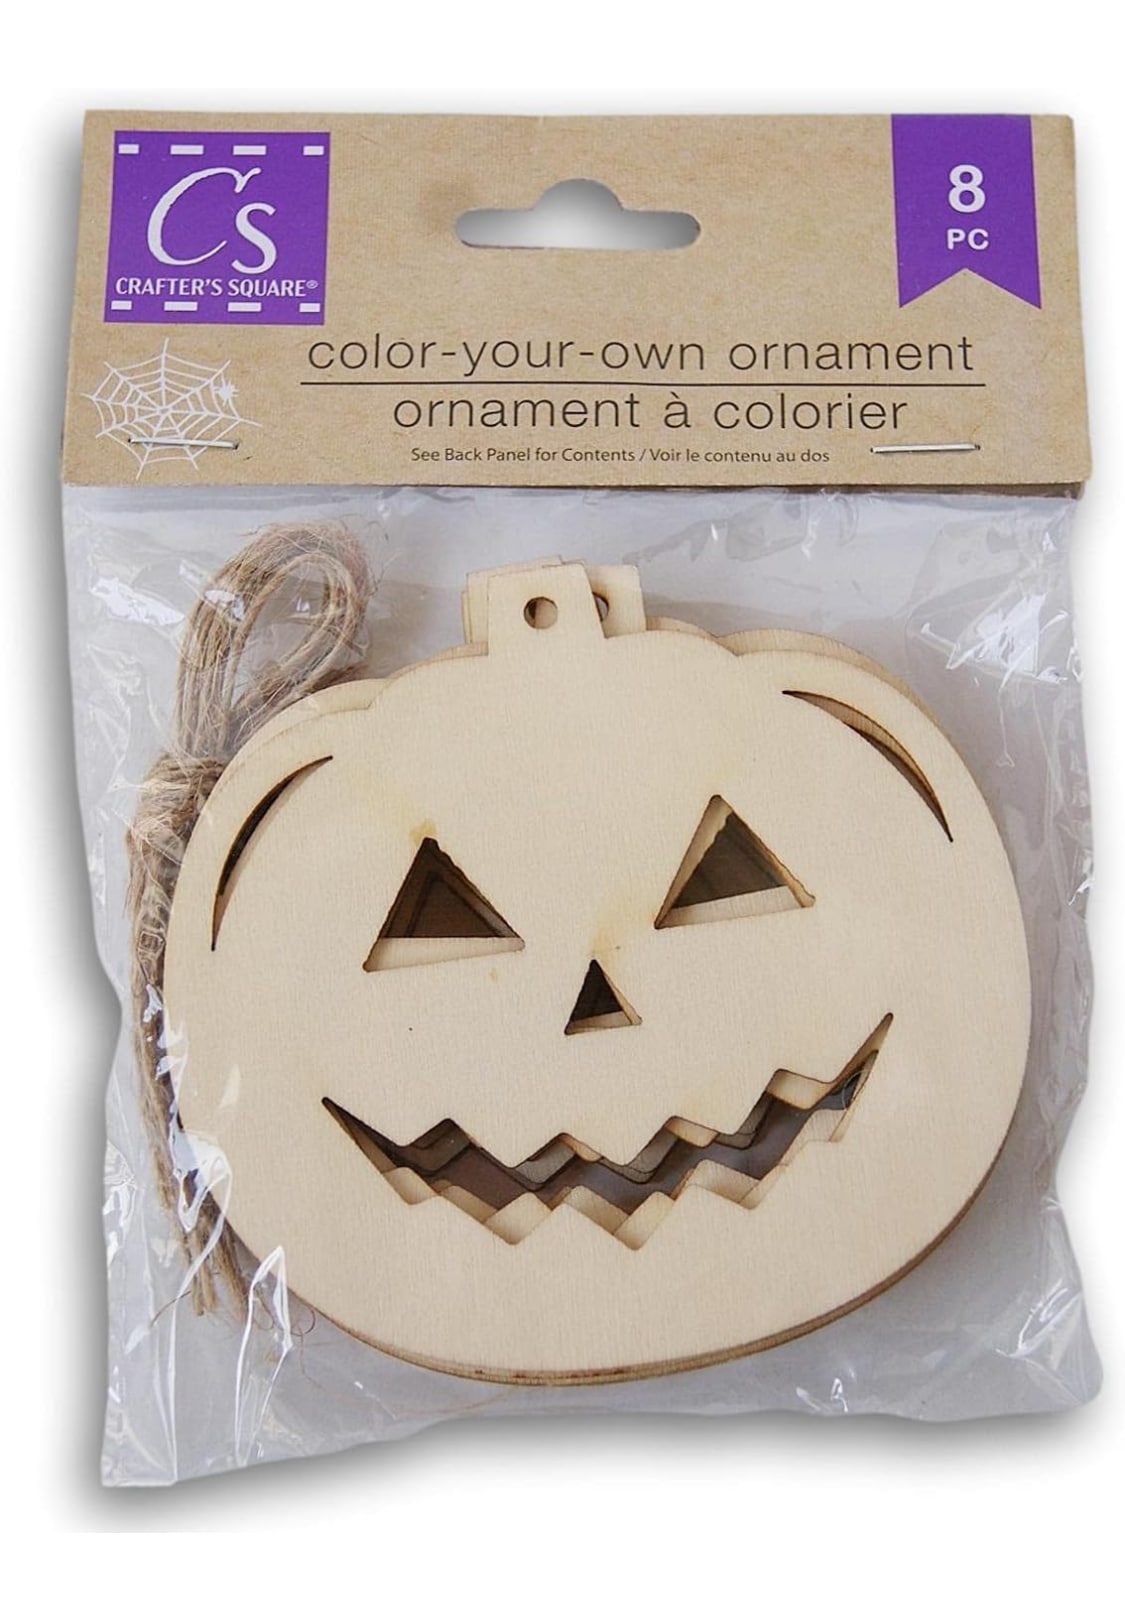
Next, I got the flat canvas and cut the textured scrapbook paper to fit the front of it. I dabbed some black paint onto my burlap ribbon, and started painting the Dollar Tree wooden jack-o-lantern cutout.
Once the paint was dry on both the jack-o-lantern pumpkin and the painted burlap, I glued the burlap ribbon to the backside of the pumpkin so it would show through they eyes, nose, and mouth holes.
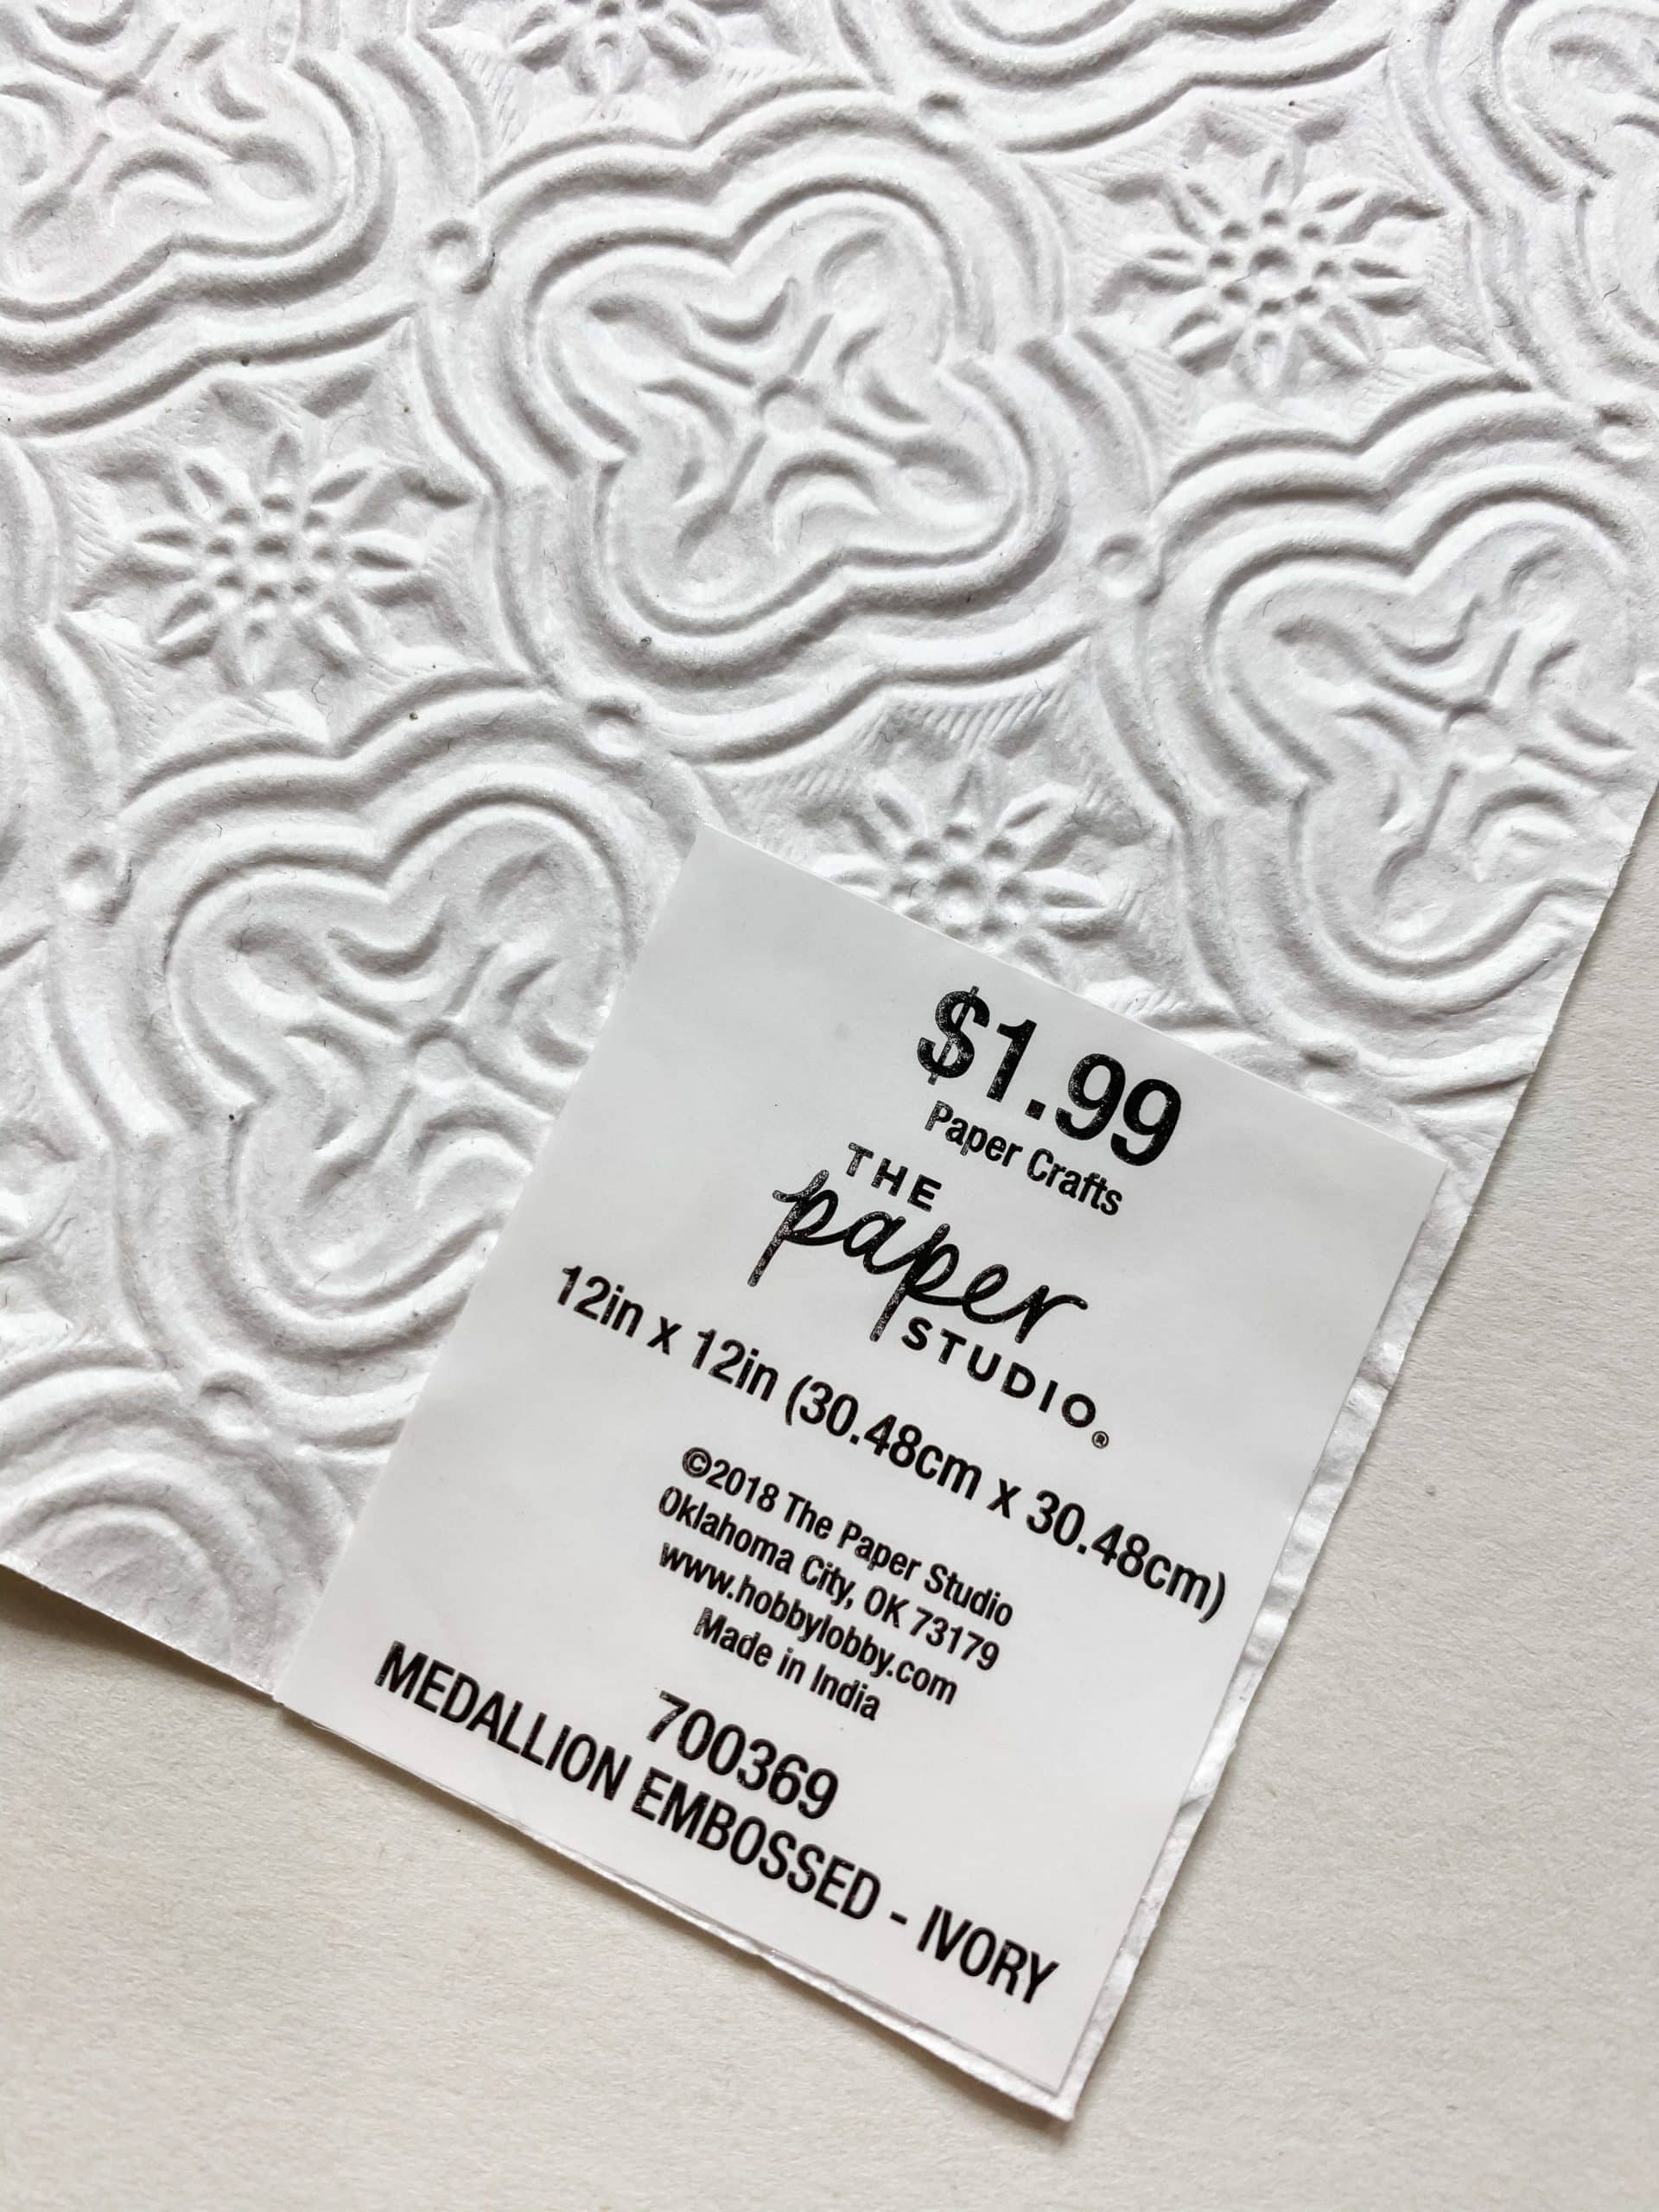
I used a few different shades of purple on the textured scrapbook paper for the background, then moved onto the hat.
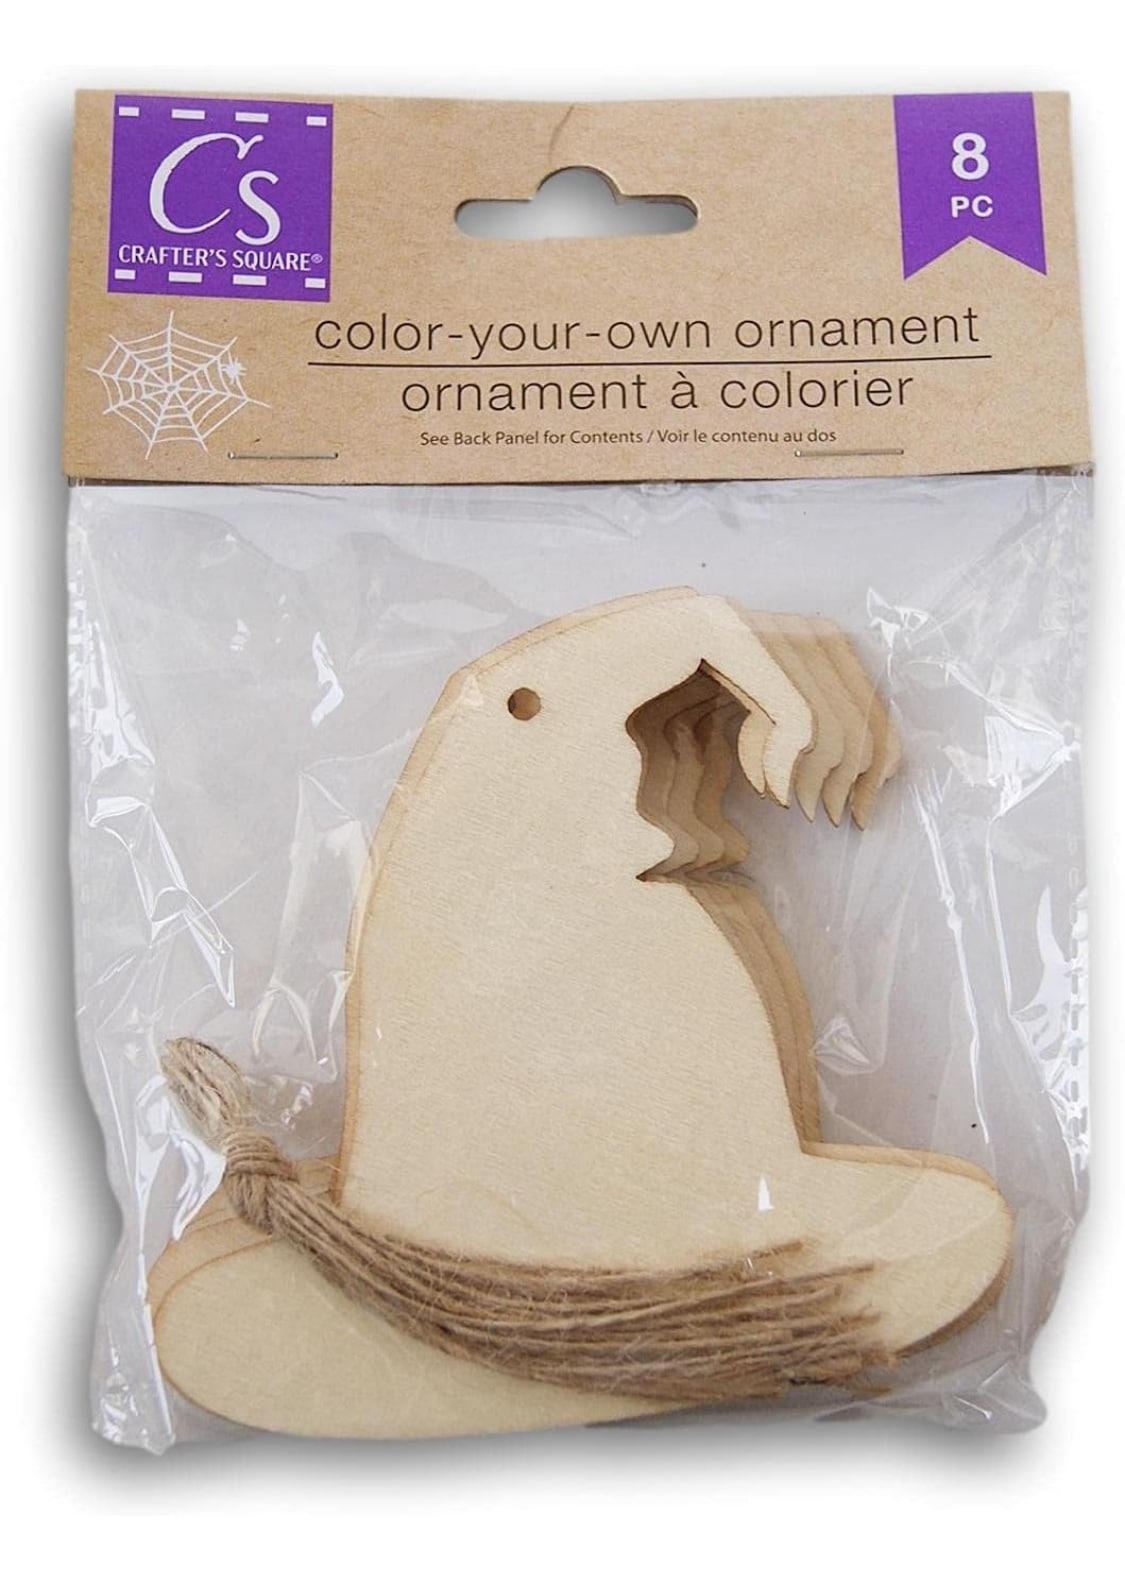
For the Dollar Tree wooden witches hat, I used green paint. I let the green paint dry, then painted on the hat’s belt. Next, I made the little pipe cleaner spider by gluing small pieces of pipe cleaner and a half wood bead (stained black) together.
Bring it all together
Once all your pieces are painted and completely dry, you can starting putting everything together to create your Halloween busted canvas jack-o-lantern!
I decoupaged the textured purple scrapbook paper to the front of my flat canvas, then started cutting the black stretched canvas to create the busted effect.
Starting from the center, I cut lines out towards the edges to create the triangles. I folded the triangles outward and glued the tips to the outer edges of the canvas.
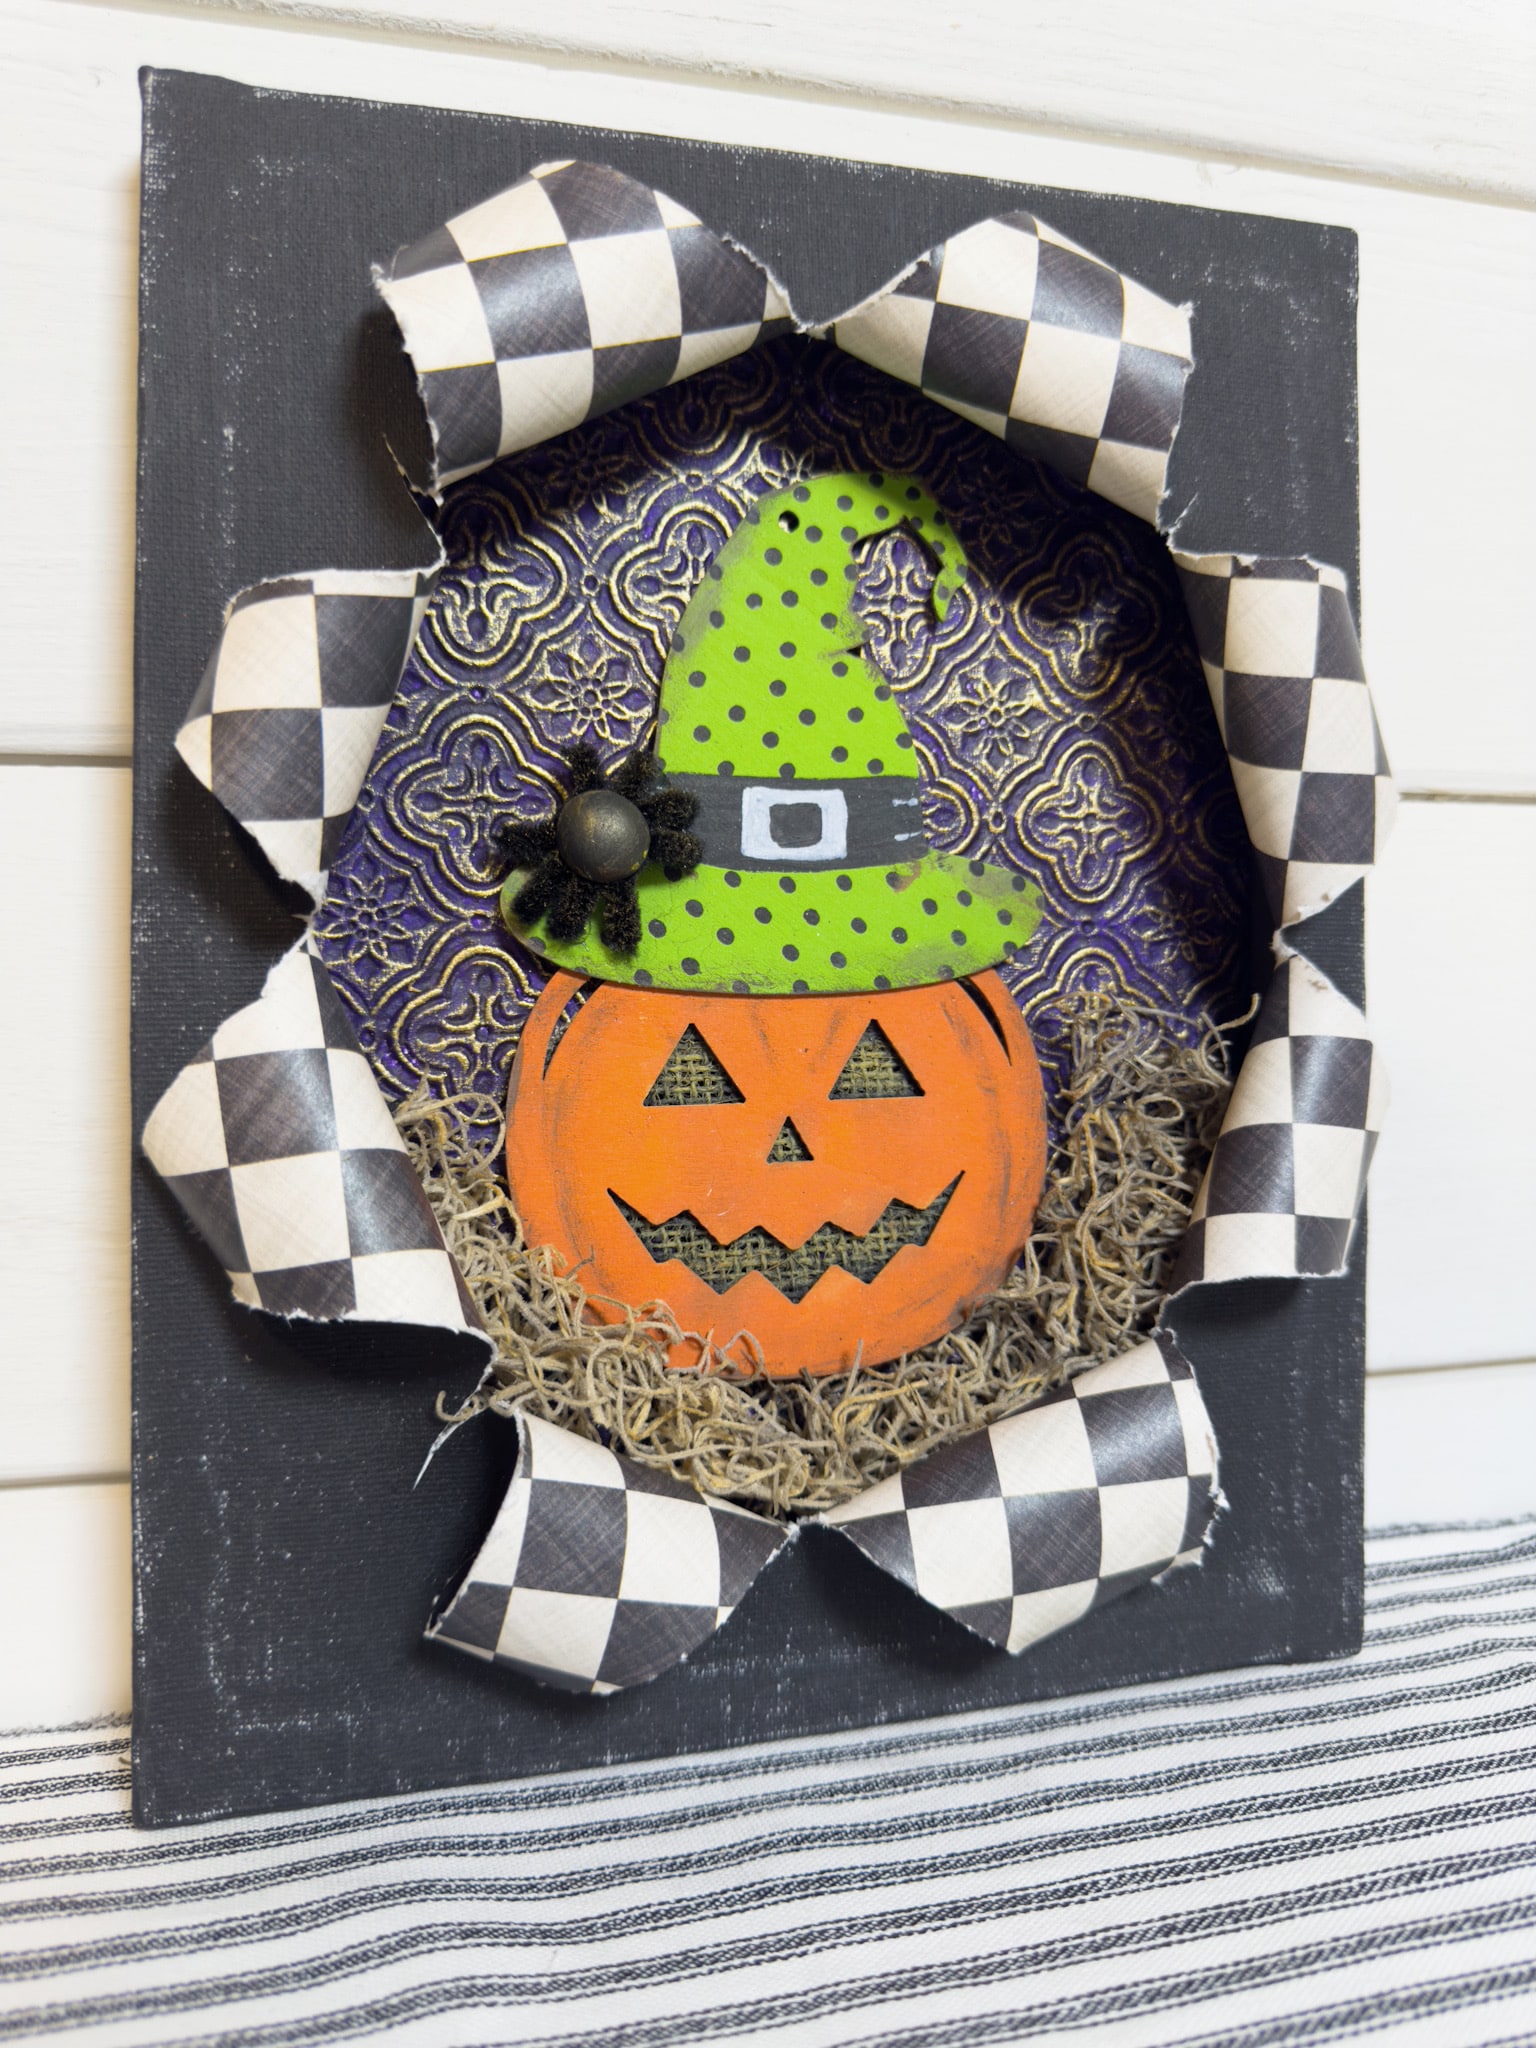
Next, I added the polka dots to the hat and detailing to my pumpkin and started gluing the pieces together.
Glue the canvas with the textured scrapbook paper to the back of the busted canvas so that the purple is showing through the hole.
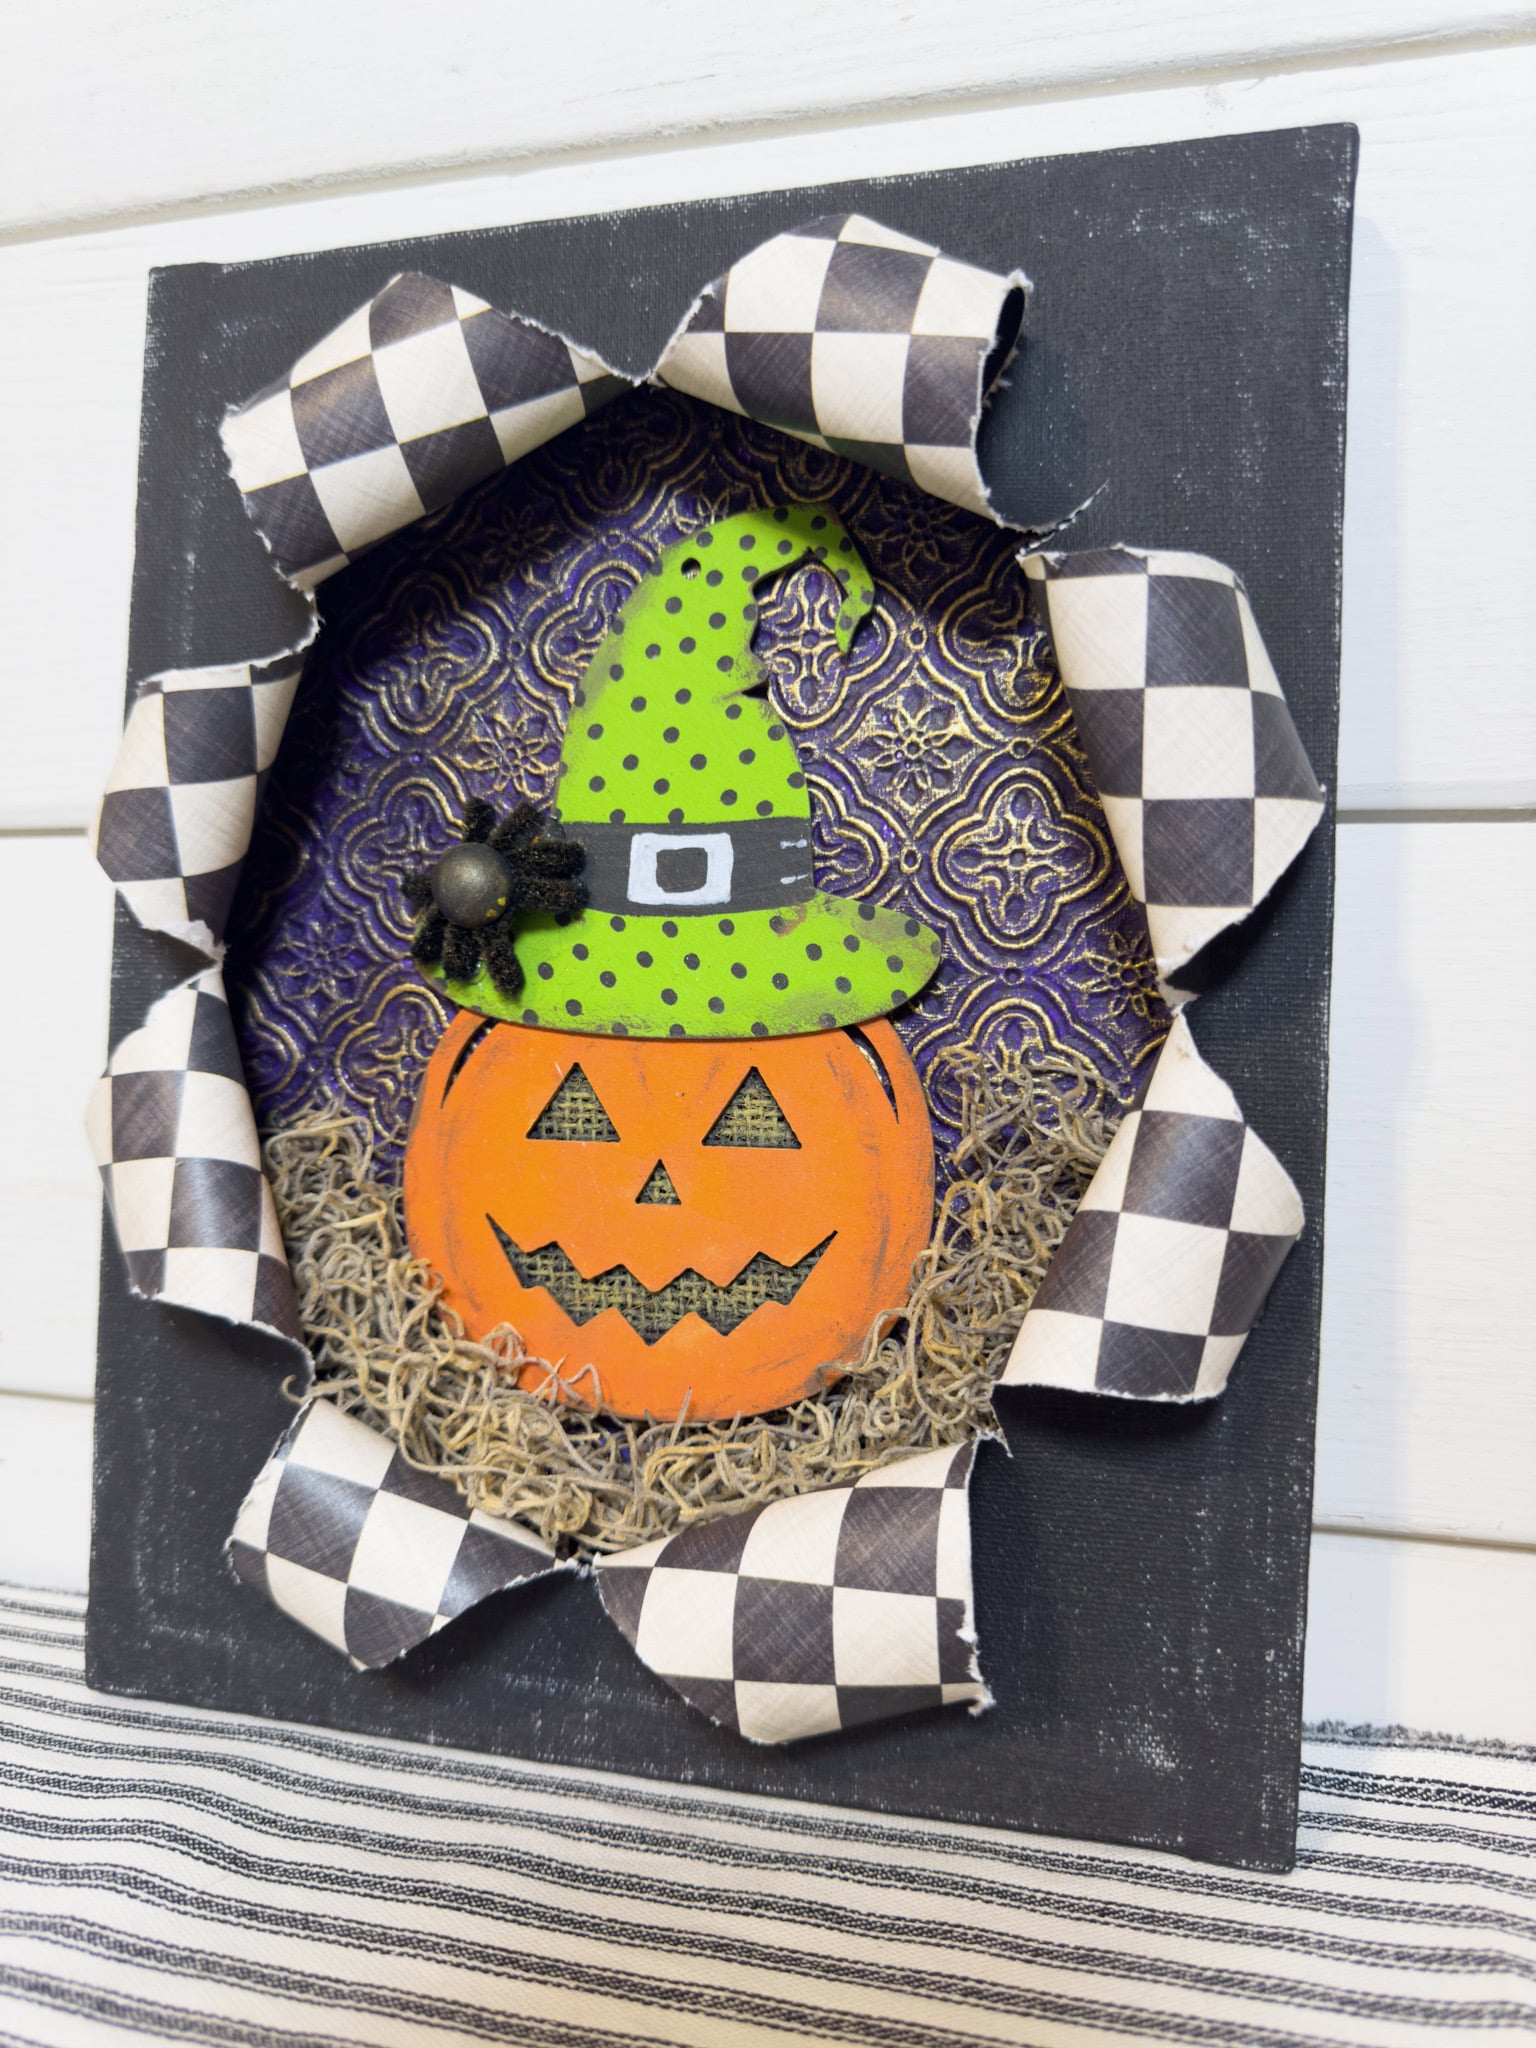
Once the canvases are secured together, you can glue in the pumpkin, spider, and hat. Then, glue in the moss around the bottom of the pumpkin.
Lastly, I lightly sanded the black canvas to create a distressed, spooky finish for my Halloween Busted Canvas Jack-O-Lantern!
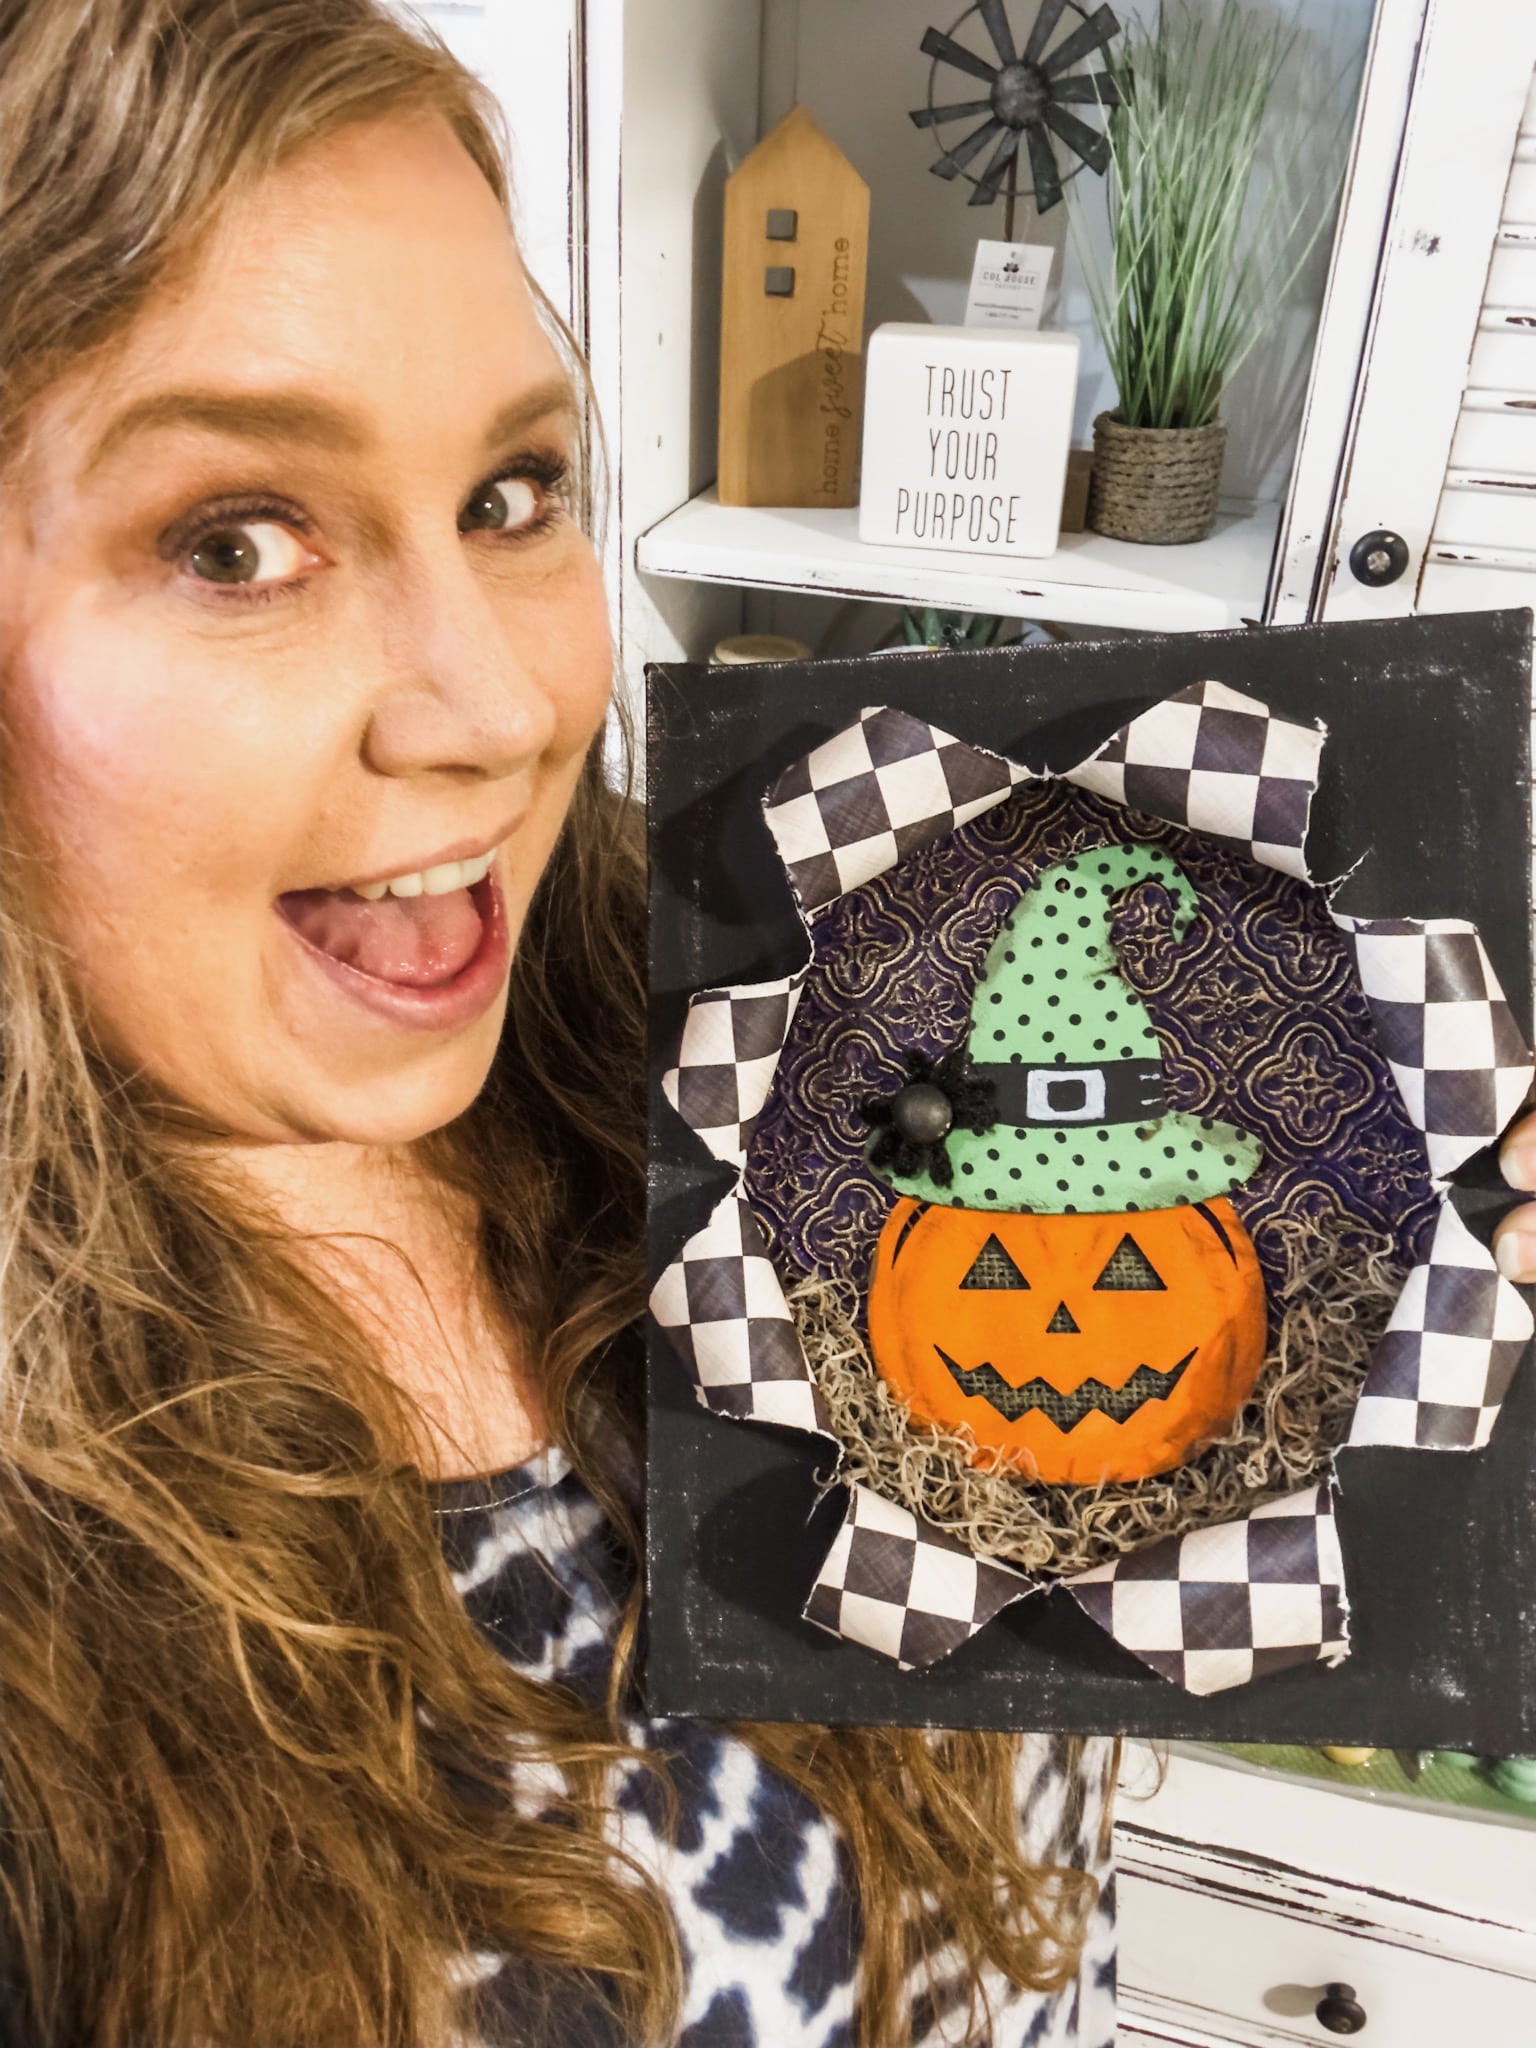
I hope you enjoyed this Halloween busted canvas tutorial as much as I did and decide to make it for yourself! If you do, I would love to see how yours turns out!
You should totally join my FREE Facebook group called On A Budget Crafts! It is a judgment-free community for DIY crafters to show off their projects and ideas.
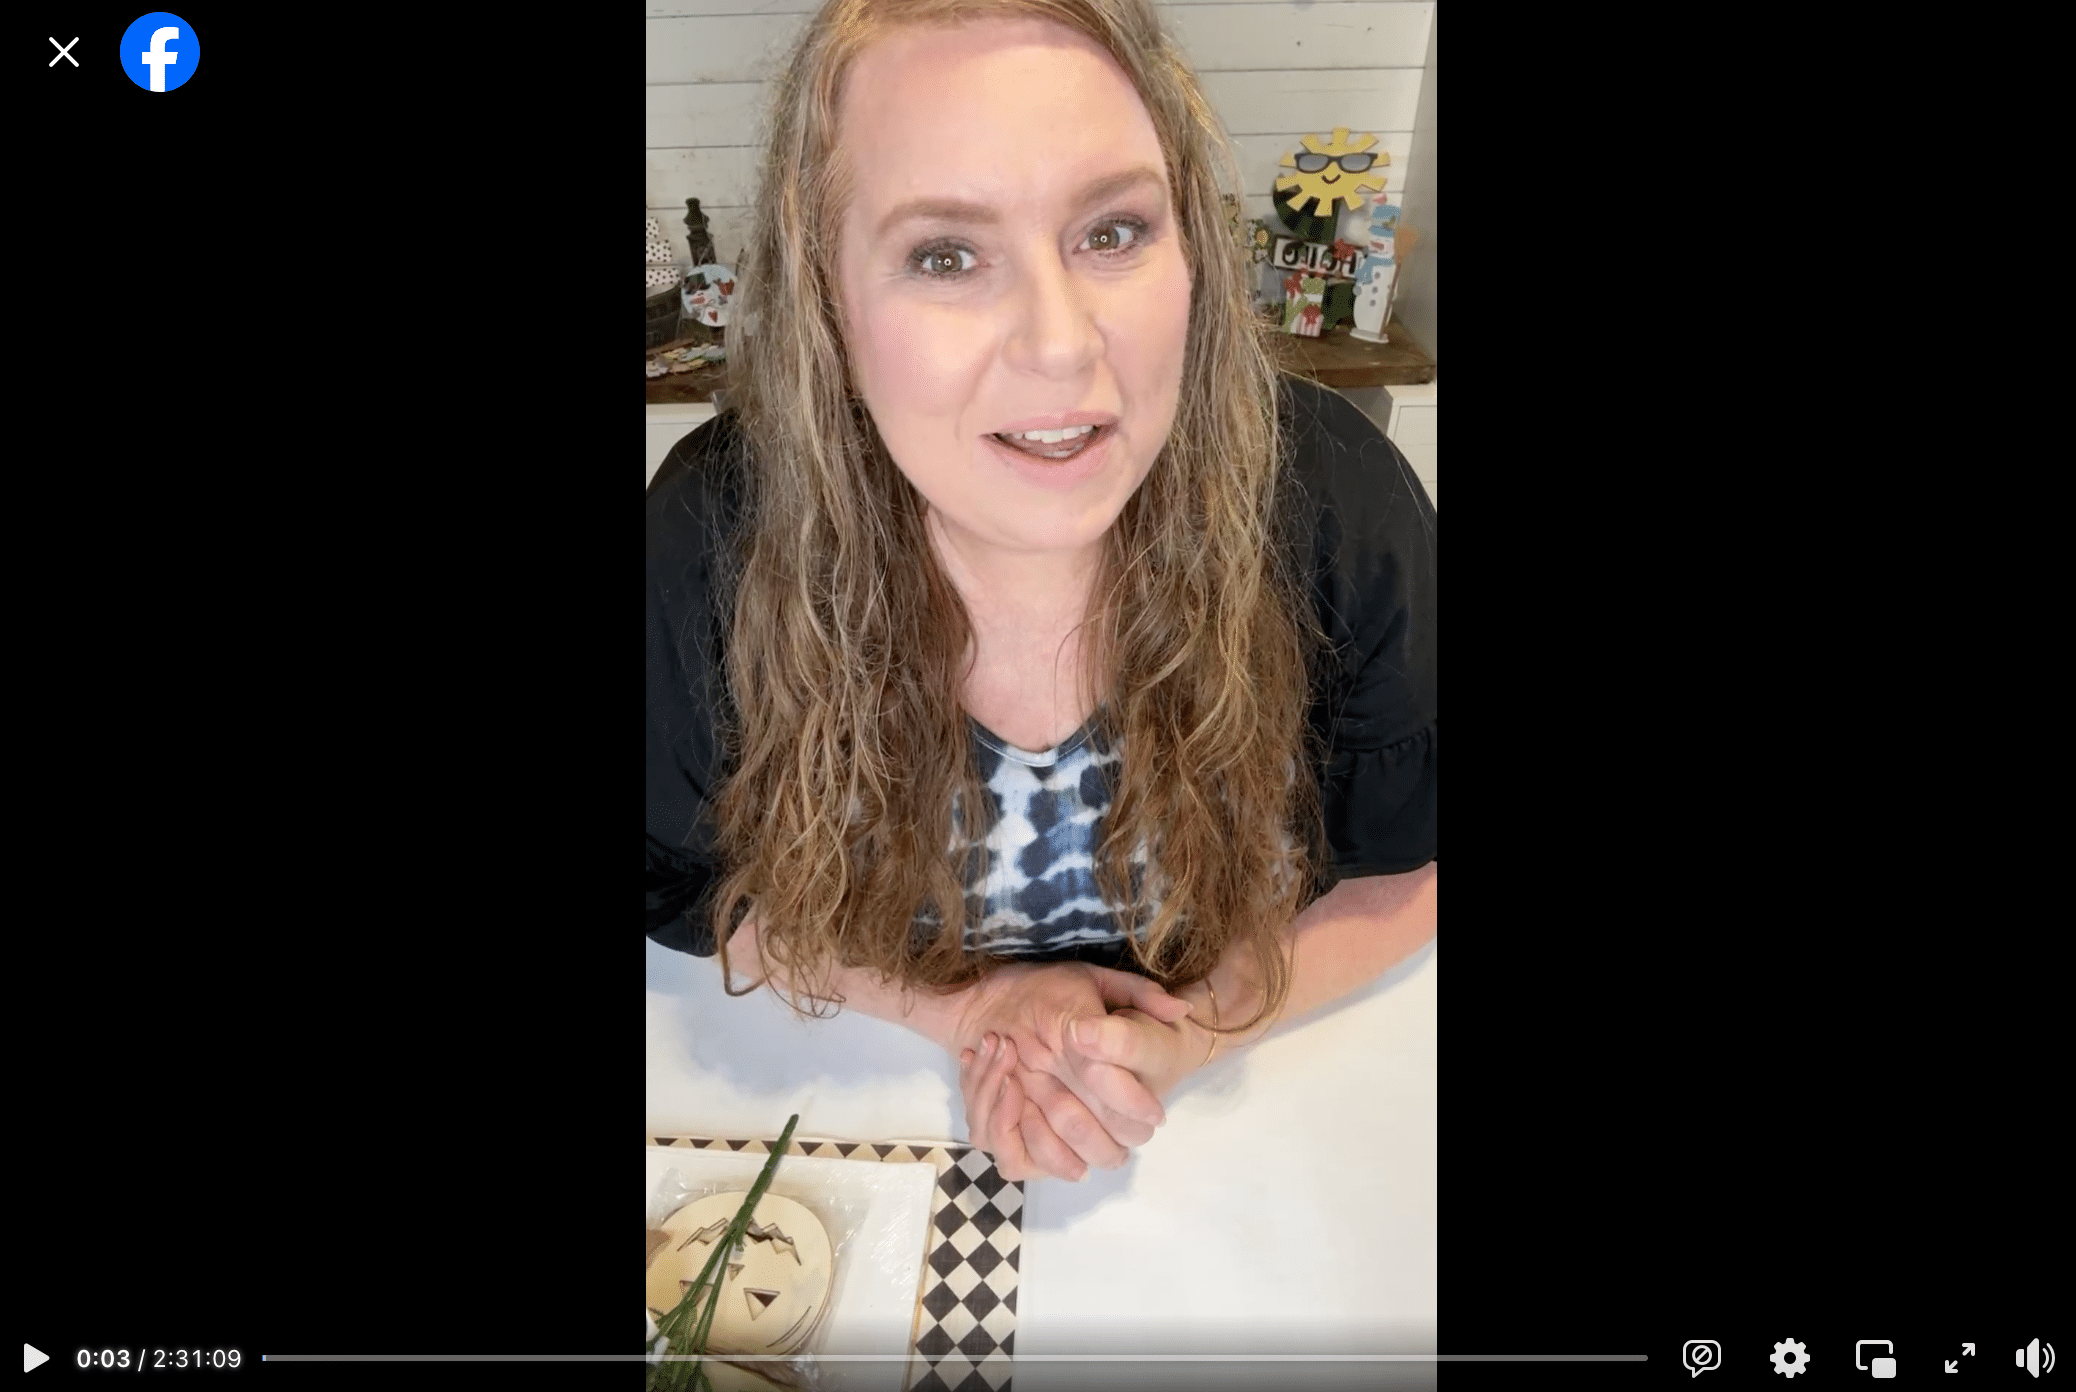
Watch the DIY tutorial
I shared how to make this Halloween Busted Canvas Jack-O-Lantern during a LIVE video on my Facebook page.
If you want to see the tutorial, craft along, or join in the fun conversations, you can watch the replay! There is a basic supply list below, but you can see my specific colors and choices in the video.
For this project, I will be using these items but you can substitute where you want.
“As an Amazon Associate, I earn from qualifying purchases.”
- Dollar Tree Wooden Jack-O-Lantern Pumpkin Cutout
- Dollar Tree Wooden Witches Hat Cutout
- Checkered Scrapbook Paper
- Textured Scrapbook Paper
- Burlap Ribbon
- Wooden Half Bead
- Moss
- Black Pipe Cleaner
- Stretched Canvas
- Flat Canvas
- Paint of Choice
- Exacto Knife
- Greenery of Choice
- Hot glue gun and glue sticks
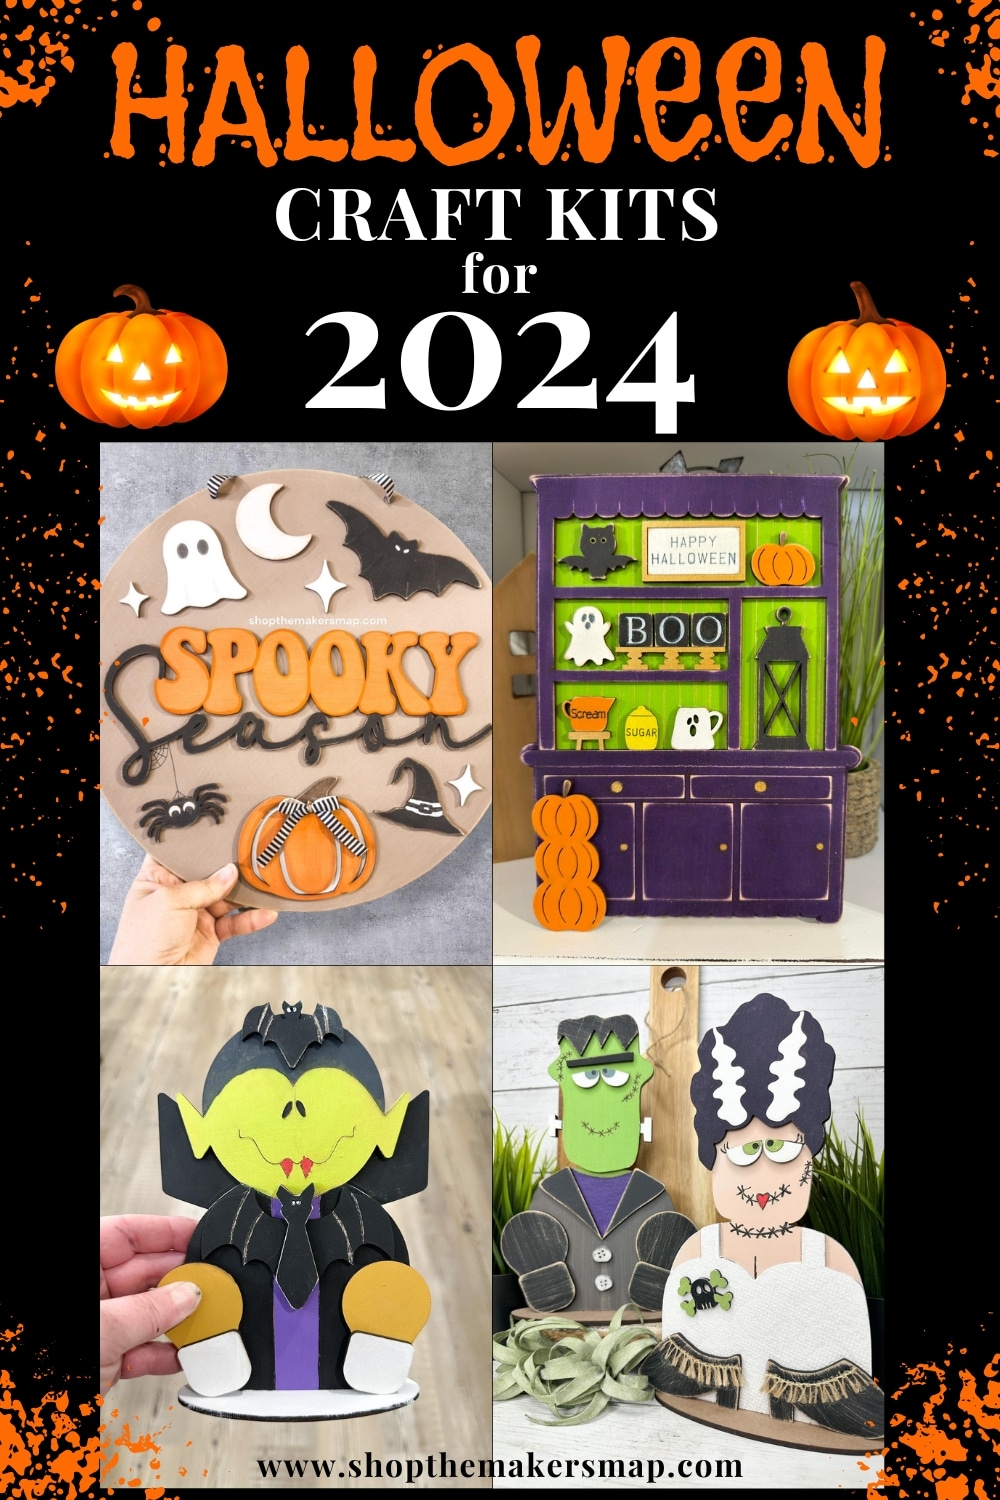
If you loved this Halloween Busted Canvas Jack-O-Lantern, you might also like this picture frame pumpkin!
Thanks for stopping by! XOXO Amber
You can also shop my ENTIRE AMAZON Favorites shop just click here! It’s packed full of all the things I use and love. Here is the supply list I highly recommend every creative have on hand!!
Would you also pin my blog for later and get on my newsletter alerts? I would love to have you join my #craftycrew.
Inspired? Leave me a comment below! I love hearing from my readers!

Join my free “ON A BUDGET CRAFTS” Facebook group!